Follow us on X. We're posting regular updates about everything GTA VI!
@iGrandTheftAutoStreet Races
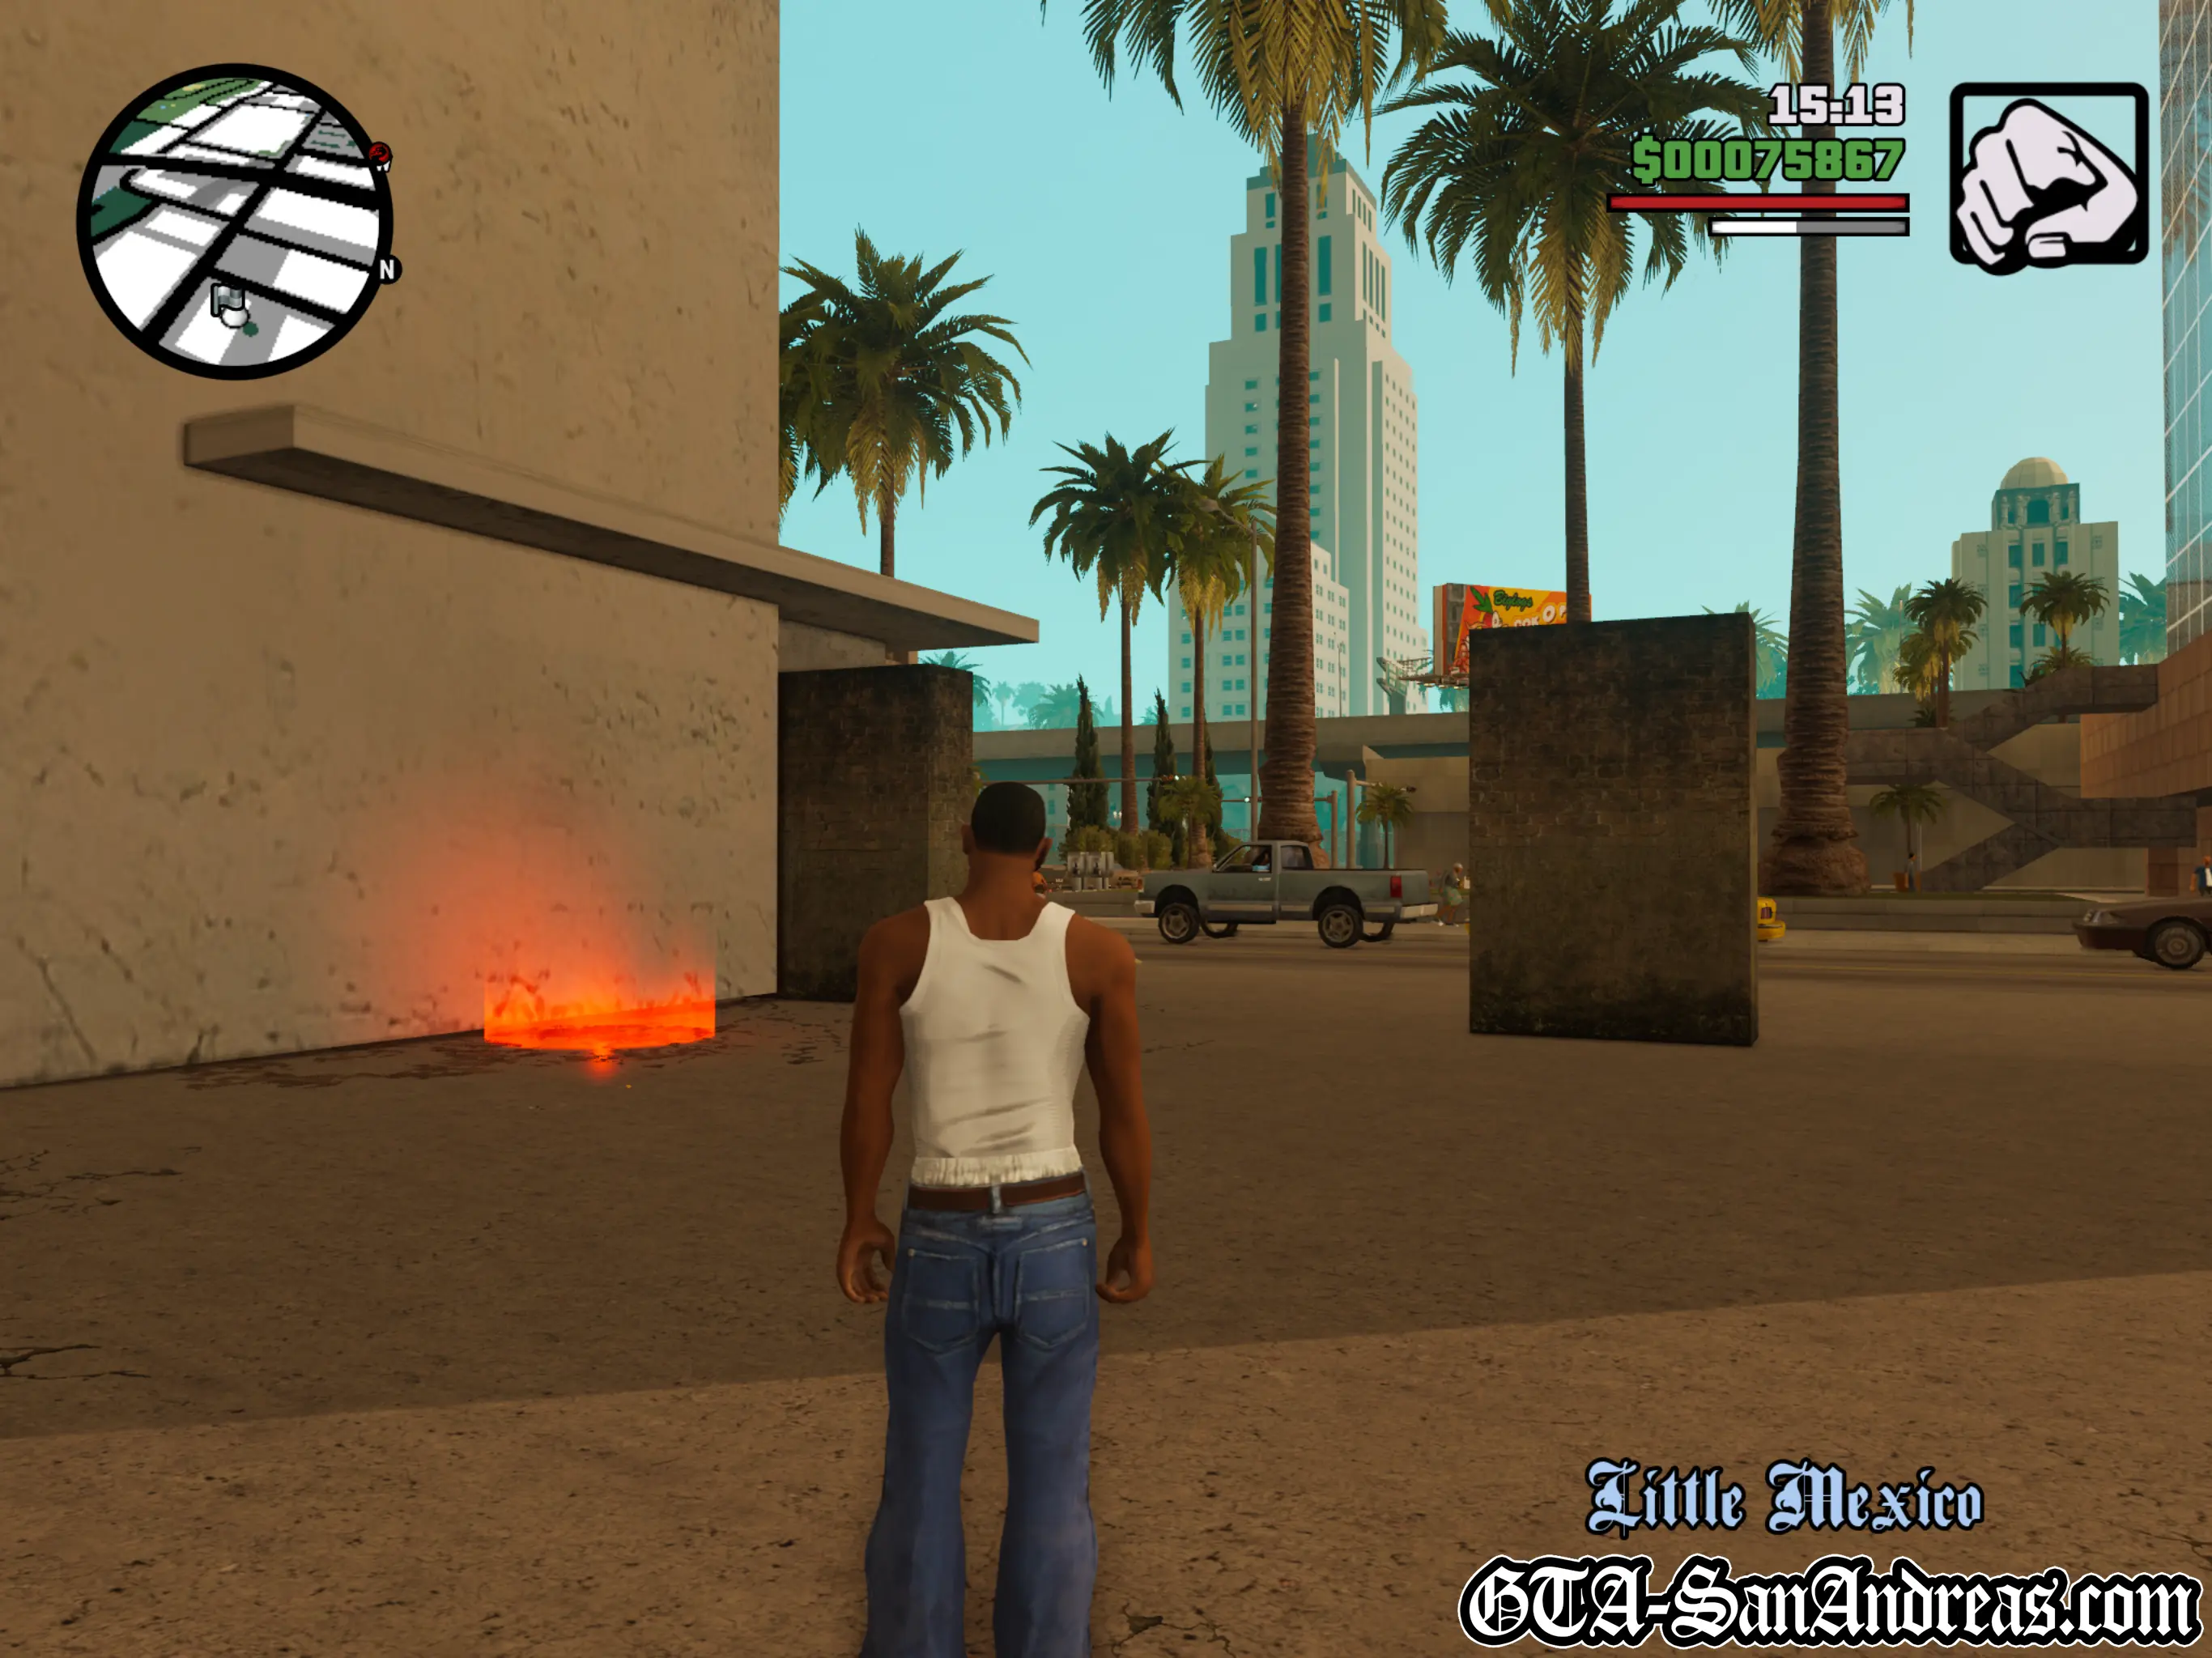
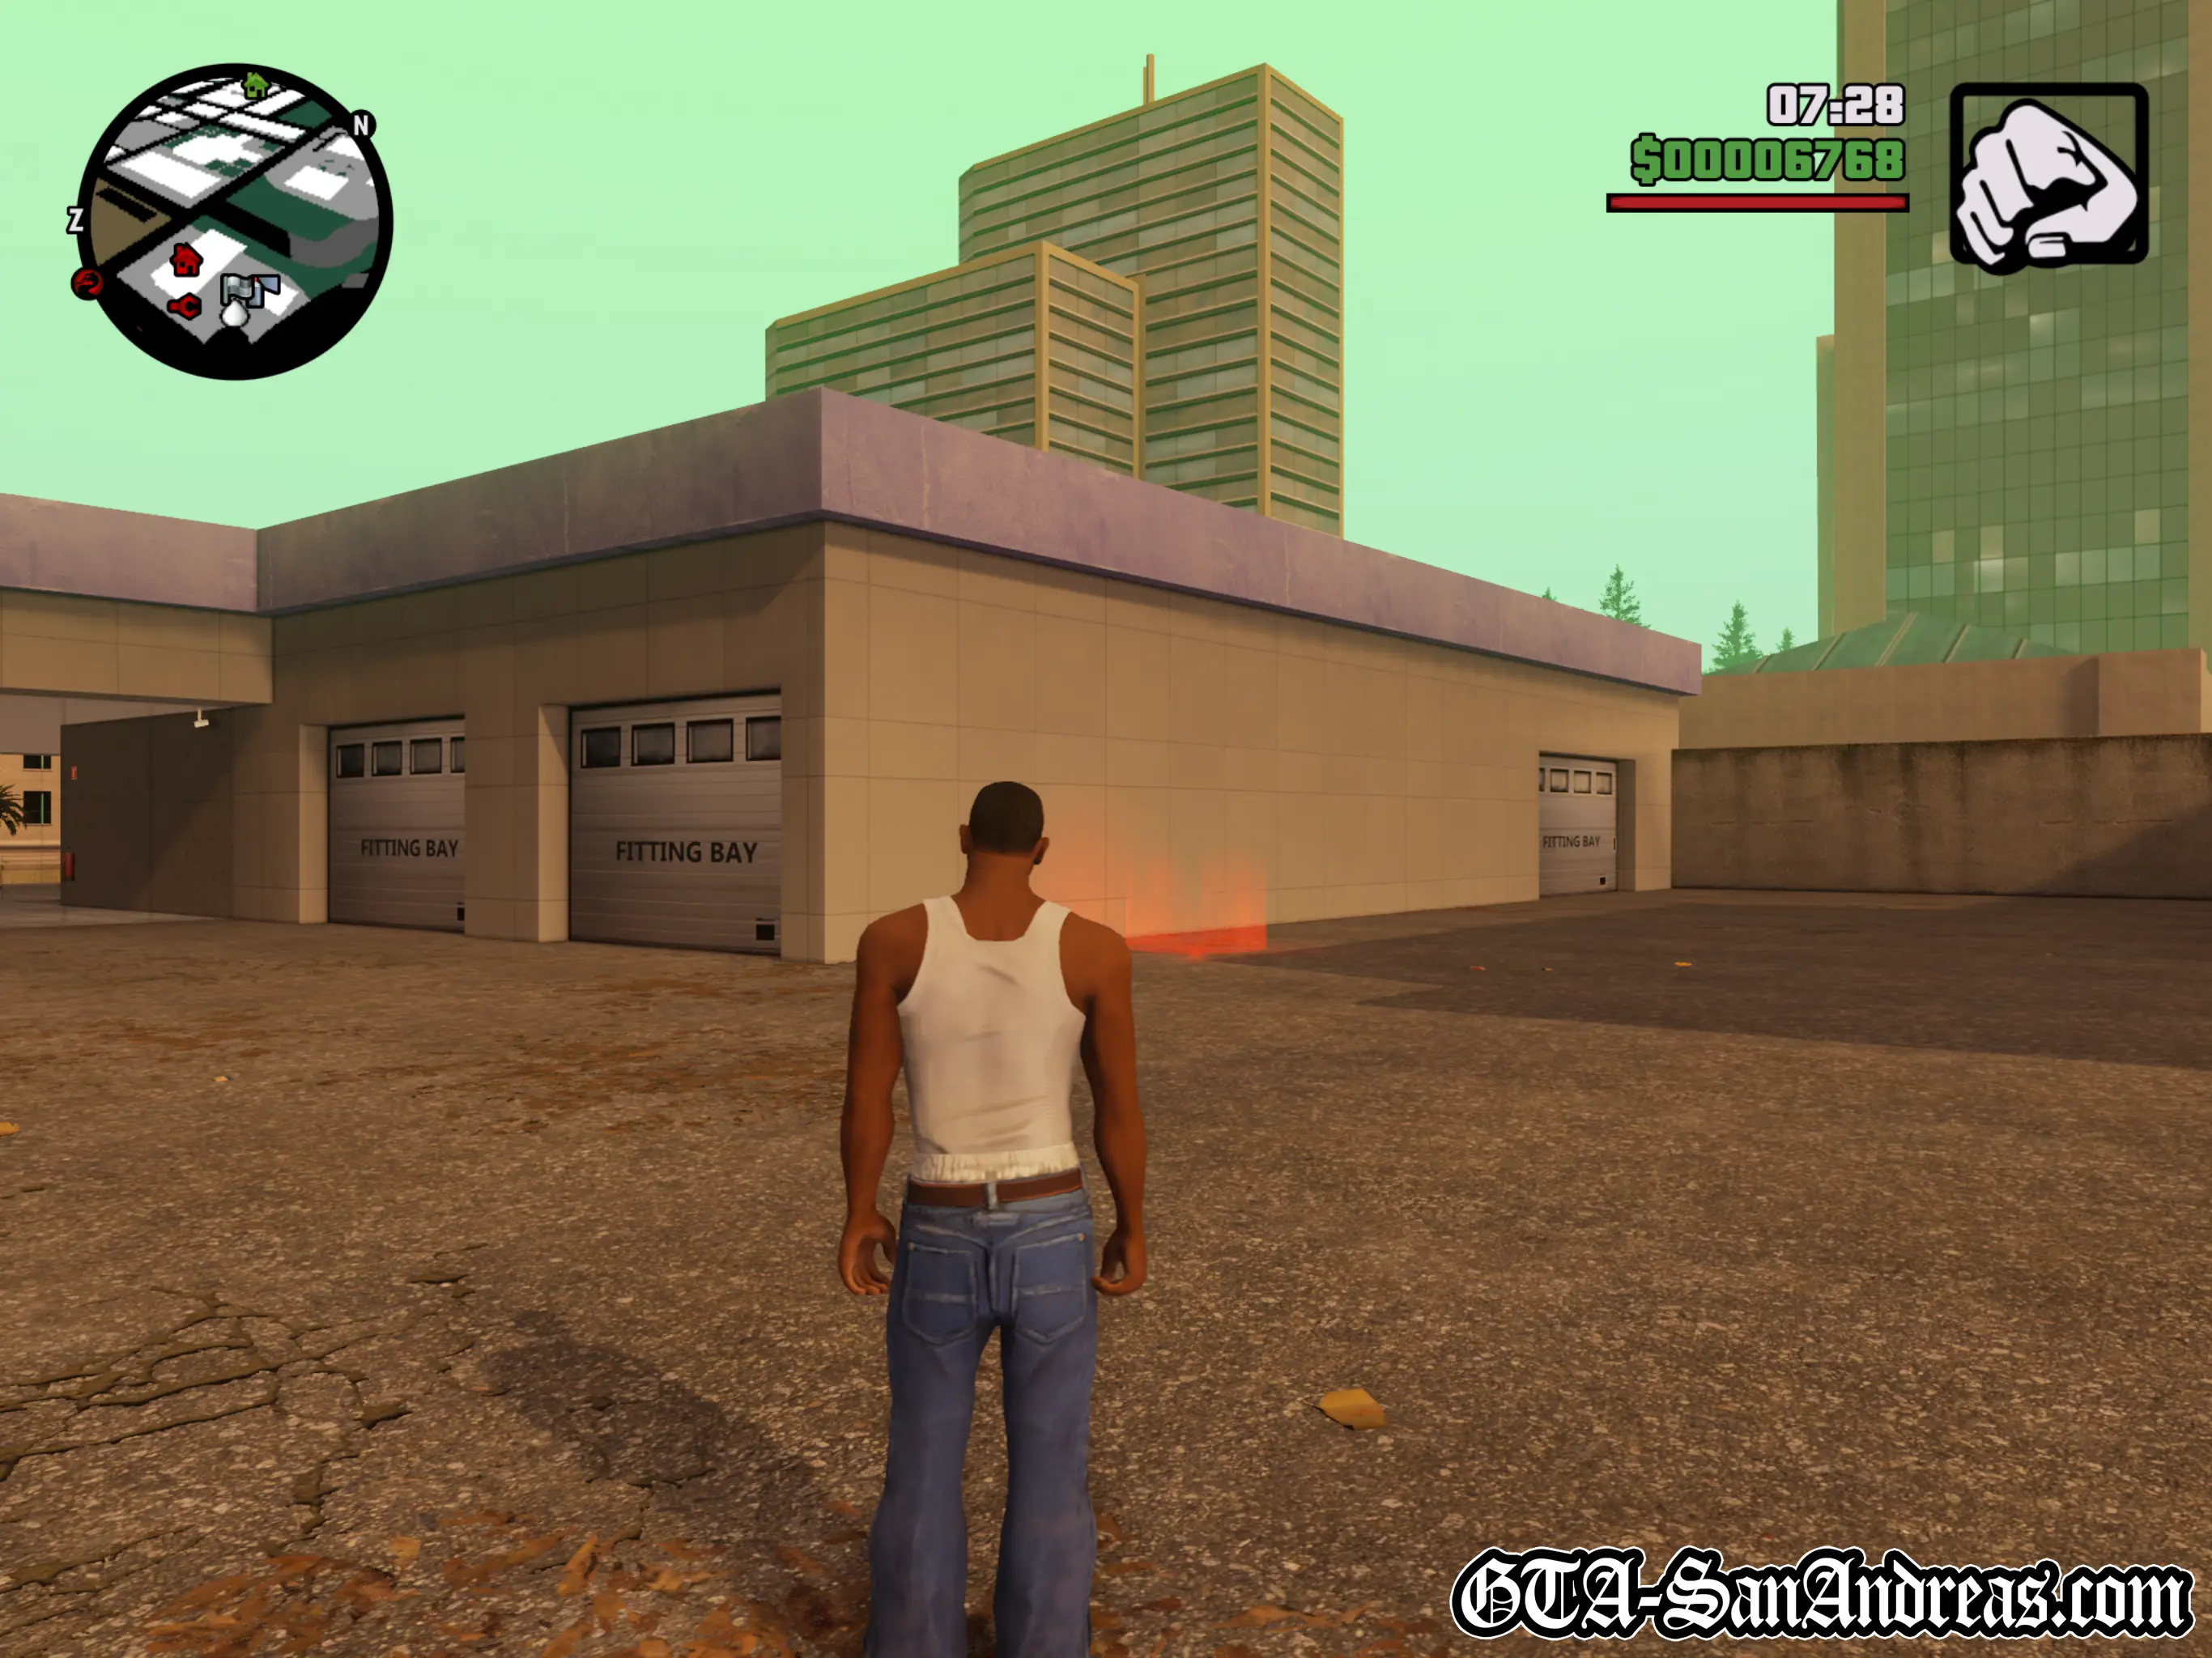
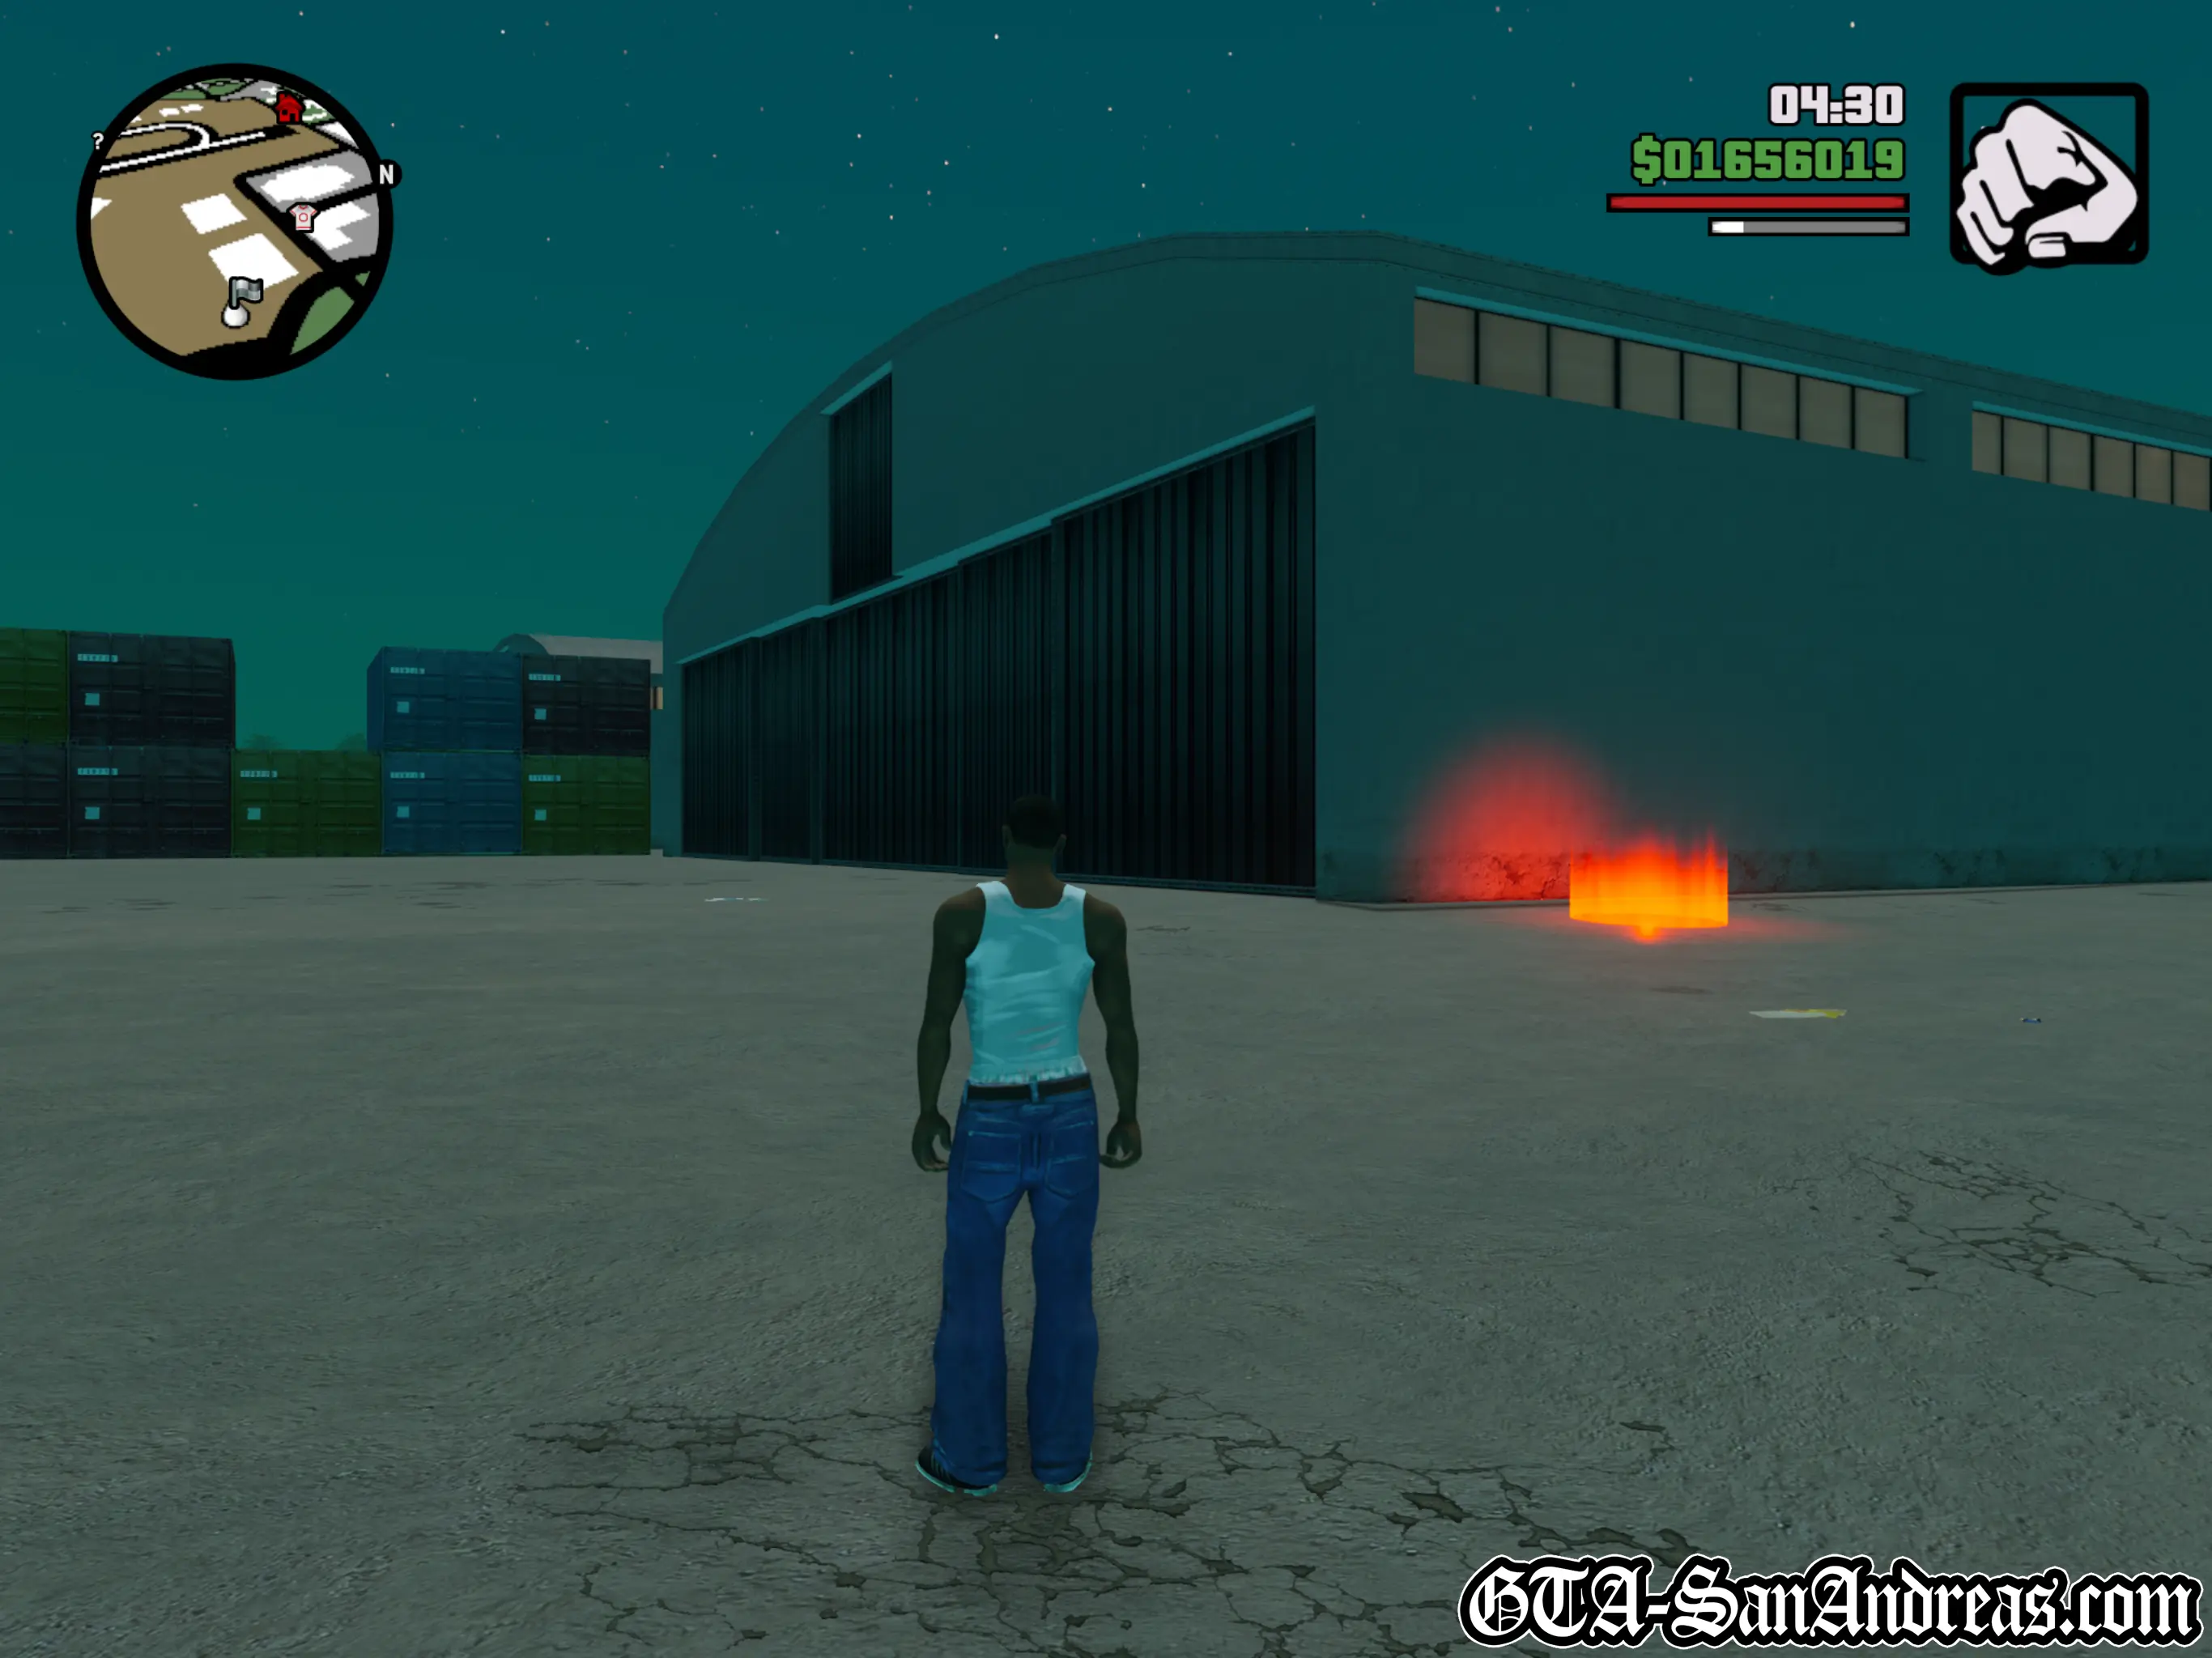
The street races will be unlocked after completing various missions throughout the game. The first batch will be available after finishing Cesar's missions in Los Santos and can be found in Little Mexico marked by the chequered flag on the map.
All of the street races are marked by a chequered flag, so they're not hidden or hard to find. Just walk up to one and stand in the red circle then choose which race you want to take part in.
Street Races also appear in Grand Theft Auto V and there are many GTA 5 accounts for sale.
This guide will explain each race, where it is, show a map of each route and explain rewards and other details.
For all races you'll need to speed around the course grabbing the checkpoints. Each checkpoint will have an arrow showing you the direction of the next one and they'll also be marked on your radar.
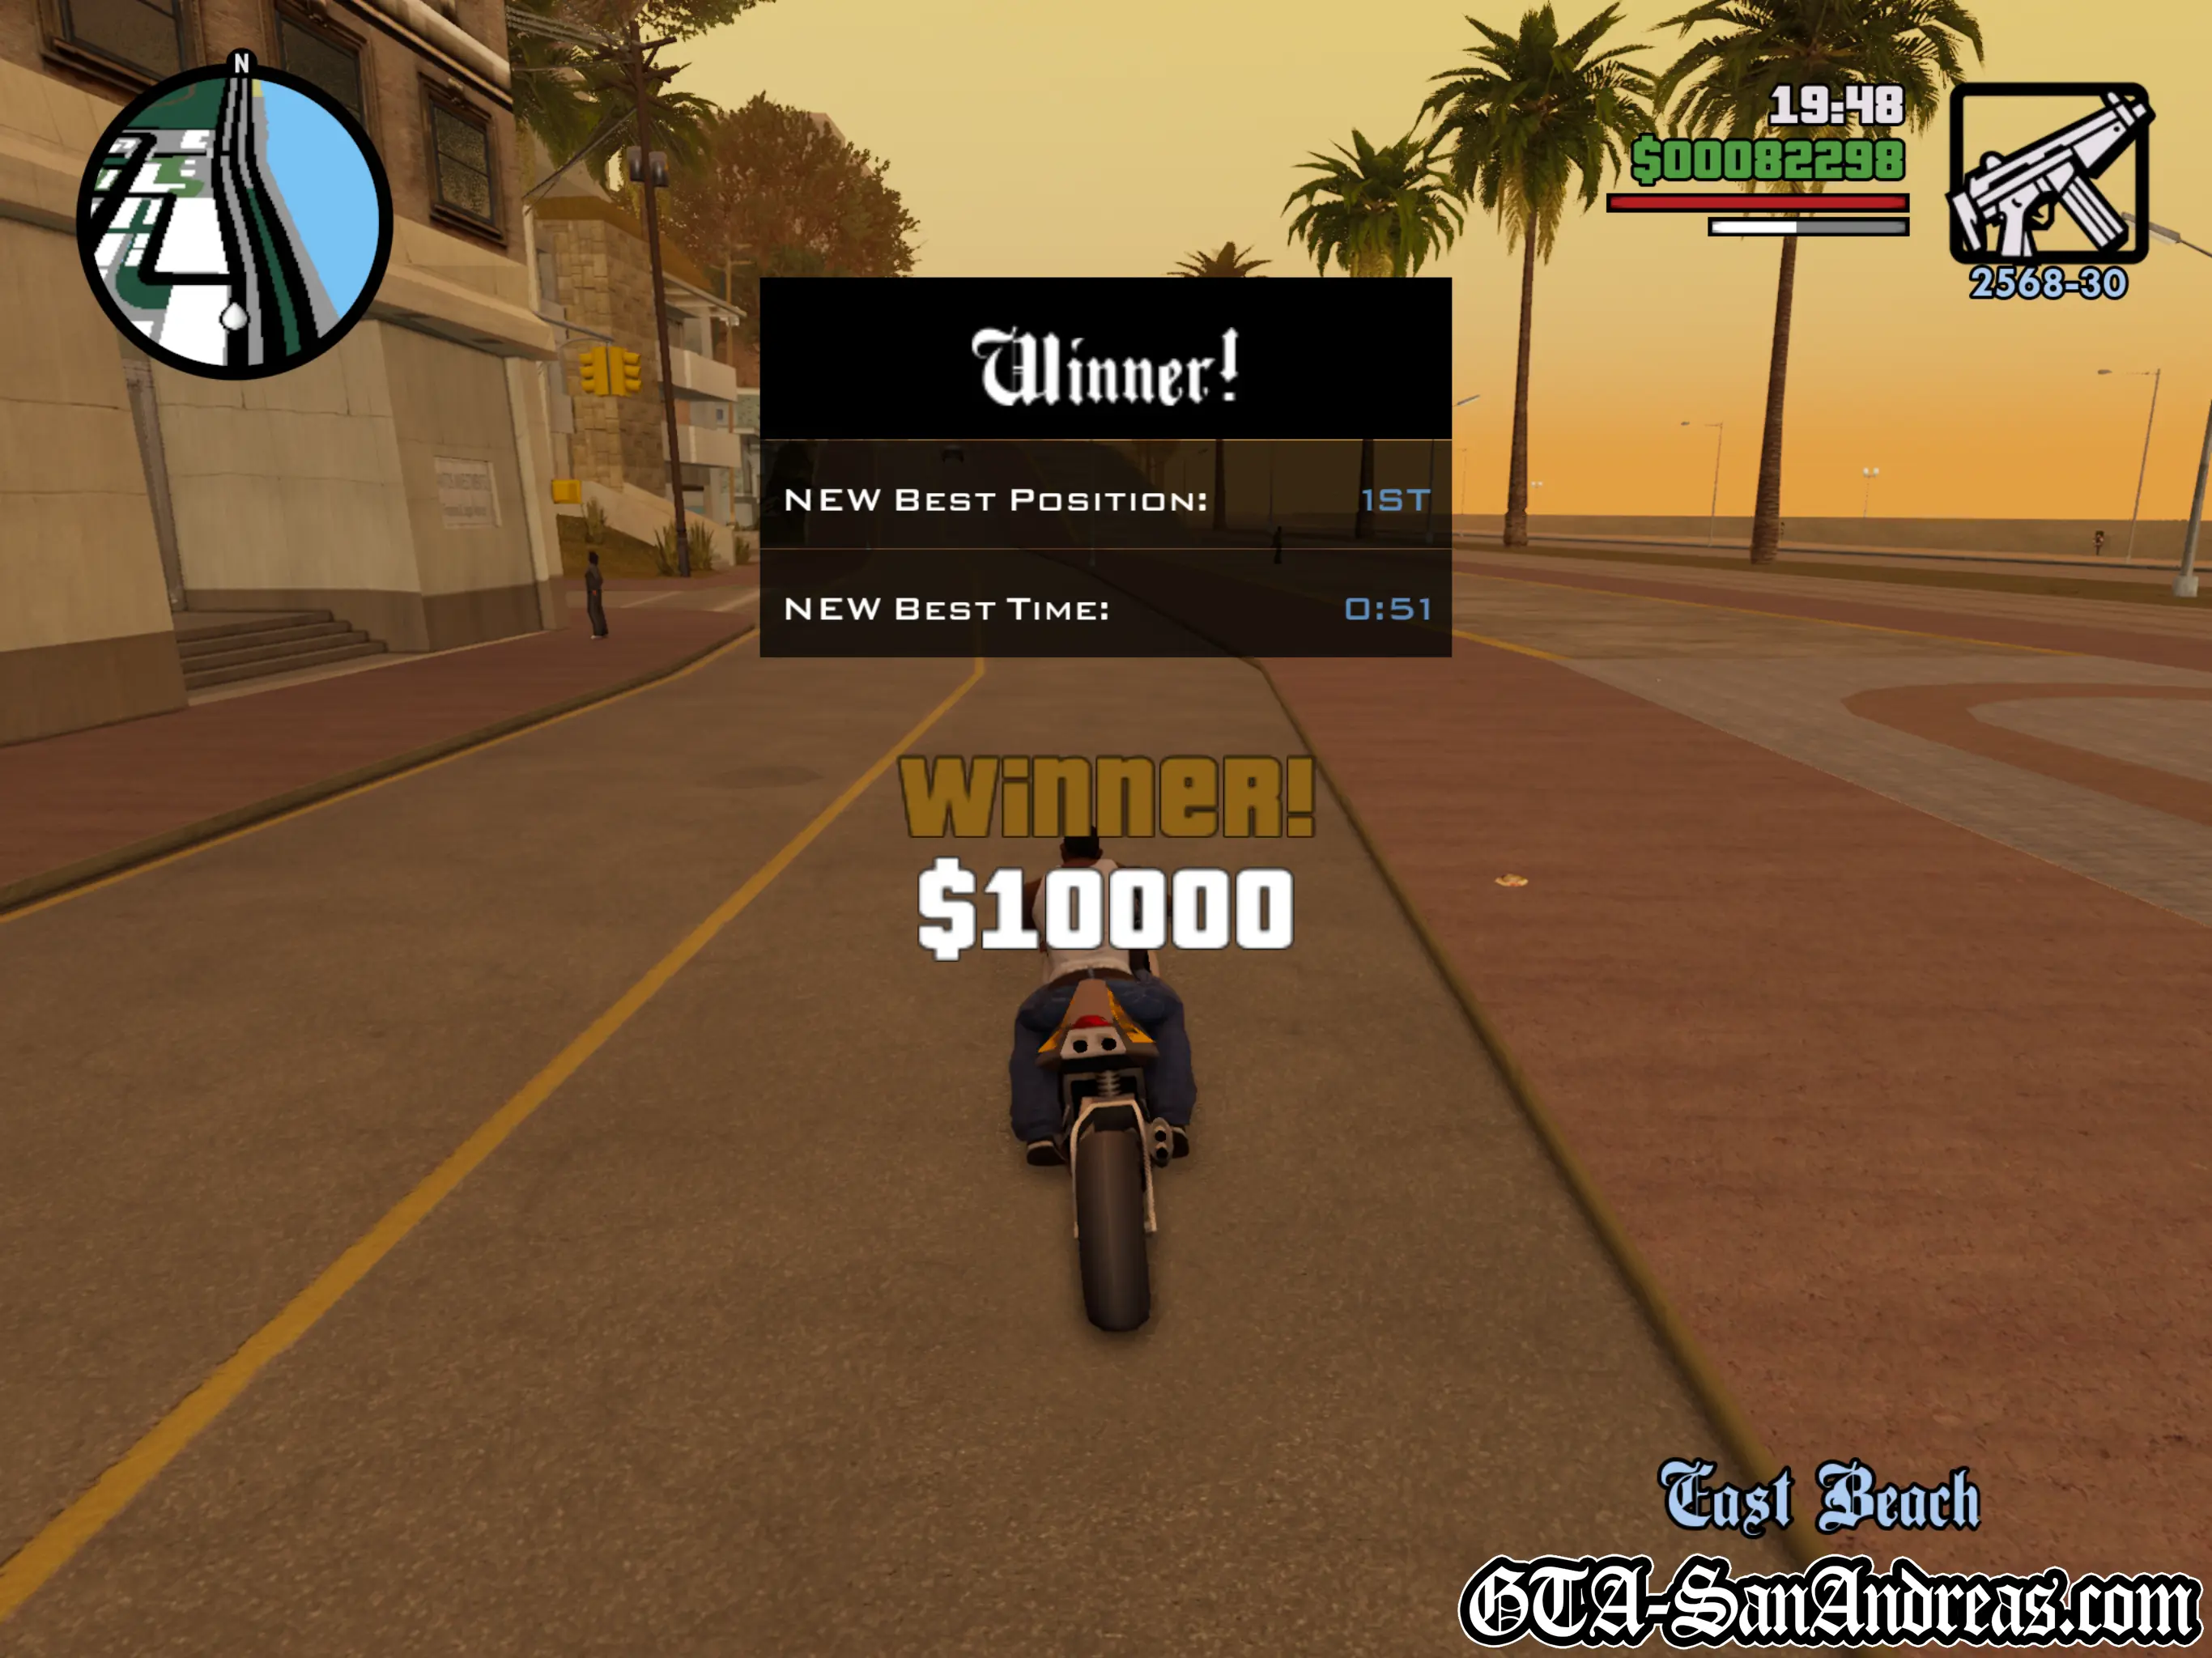
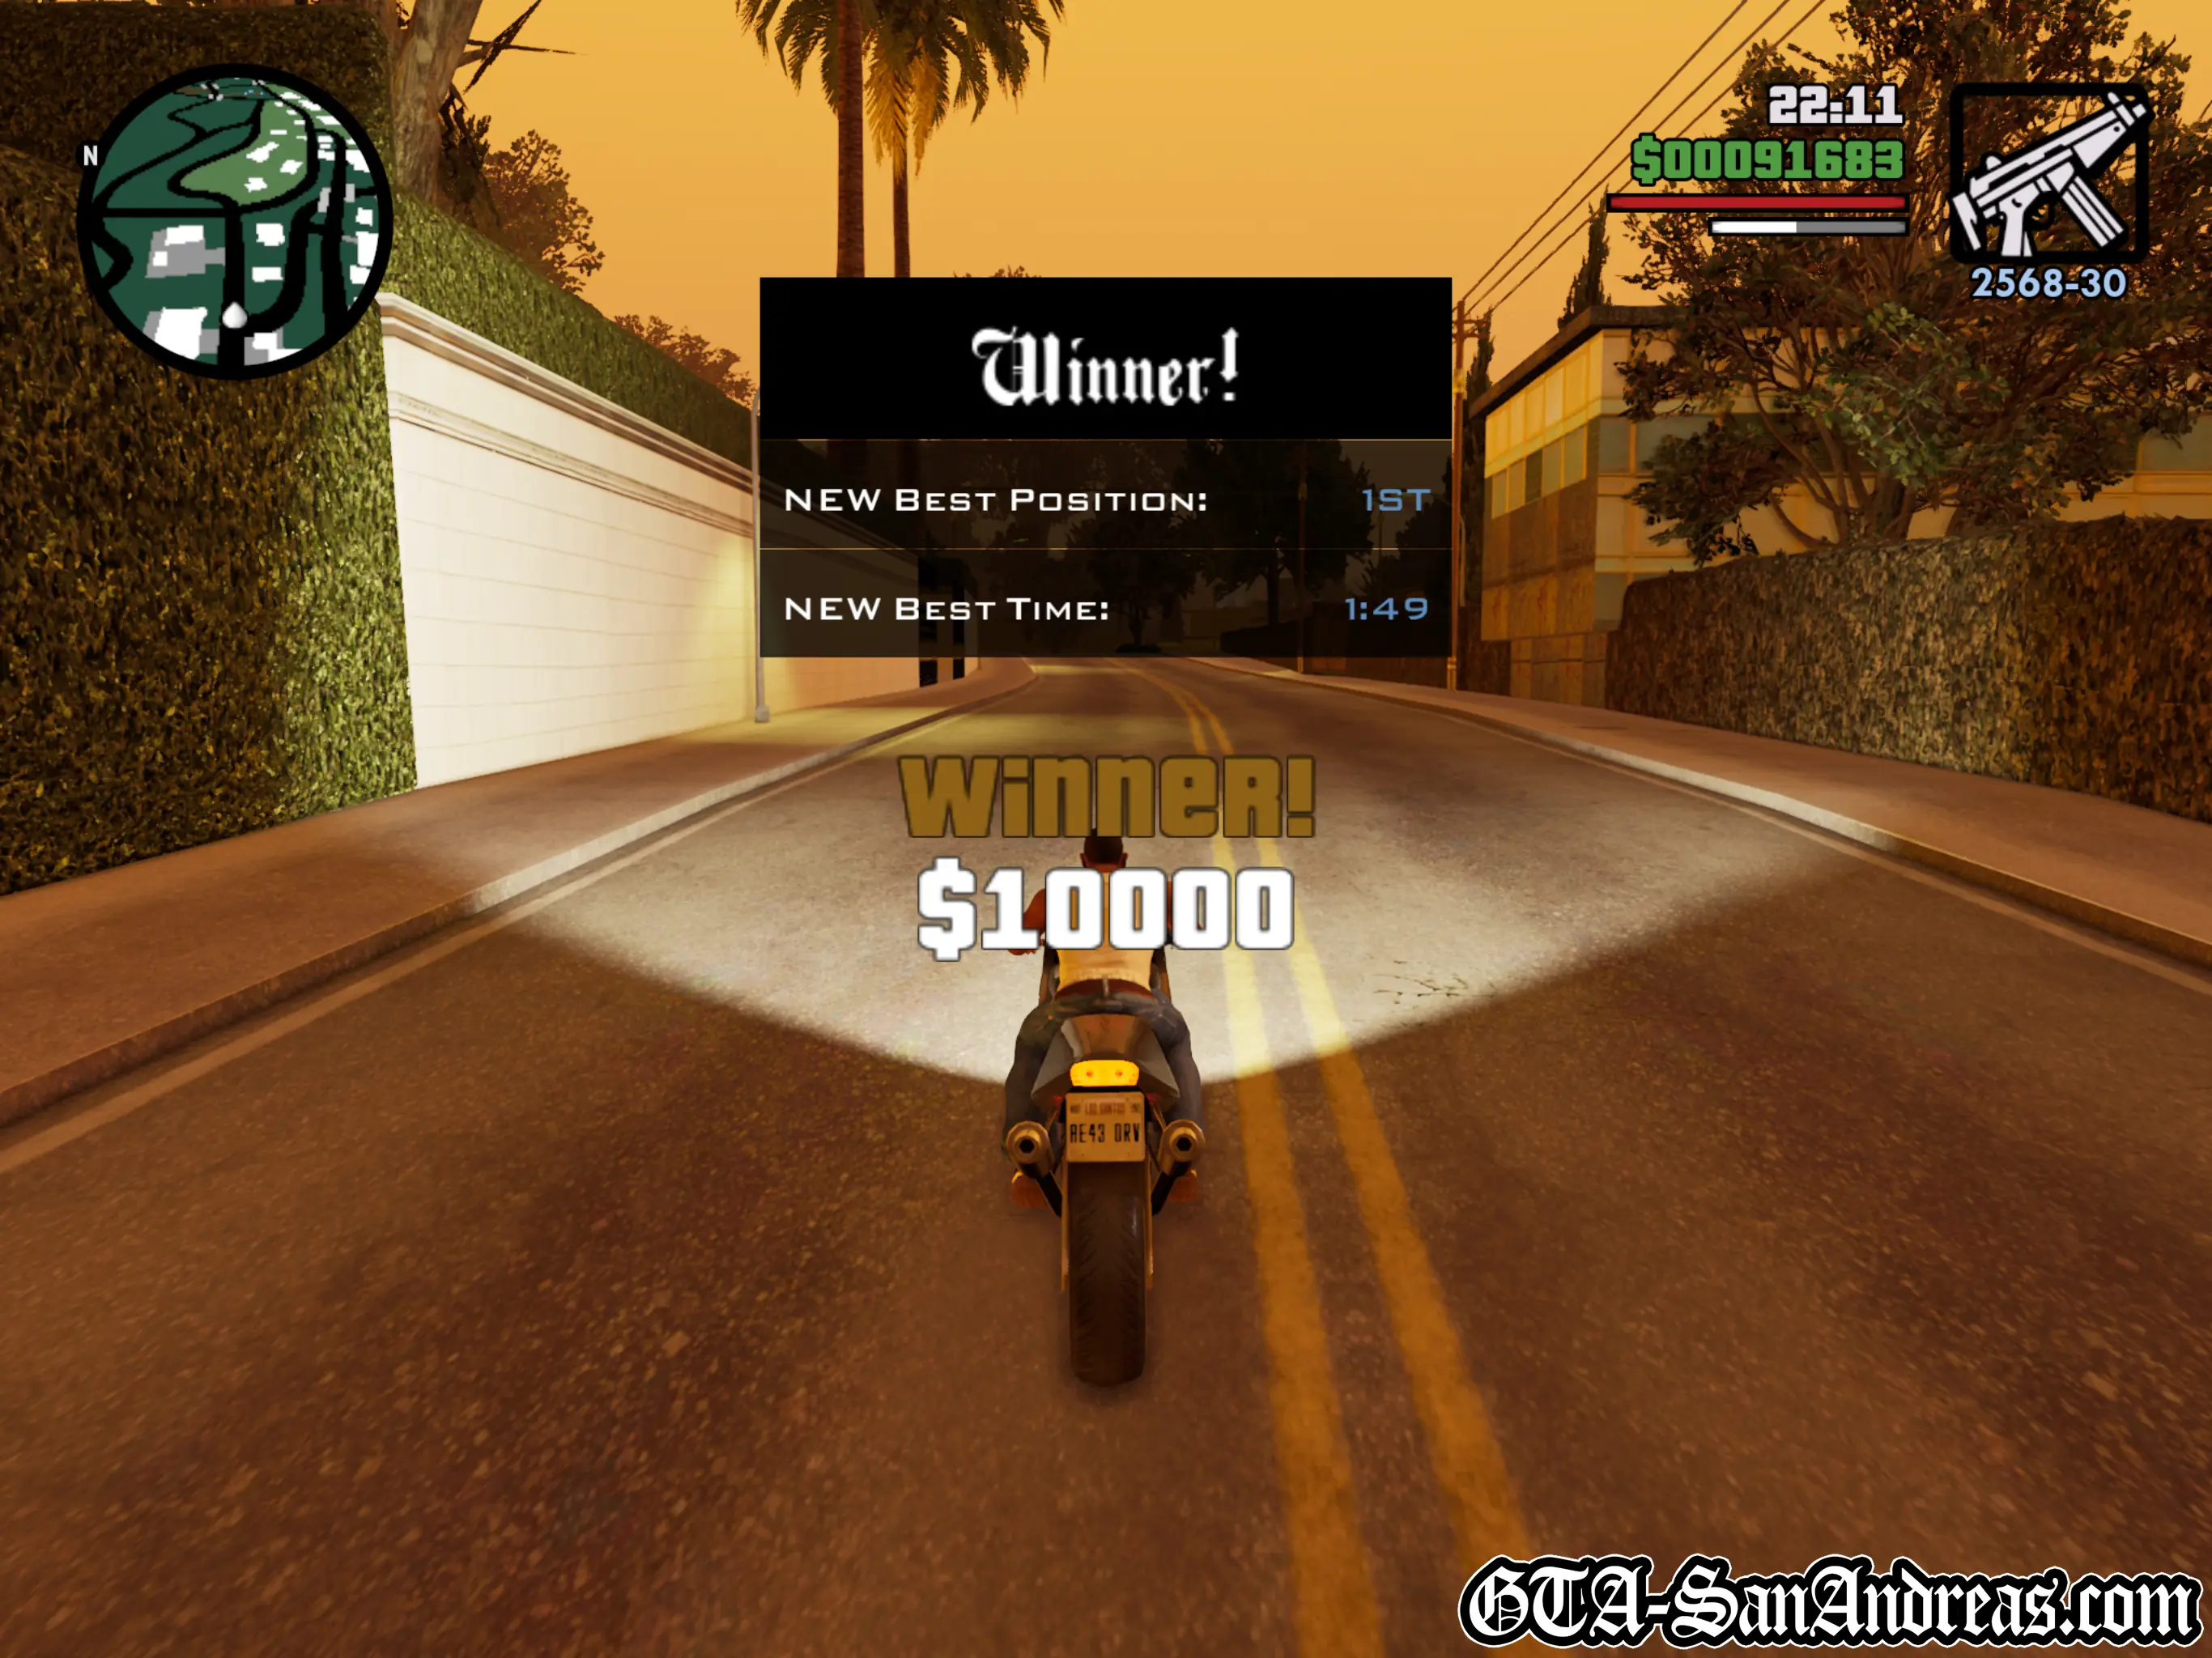
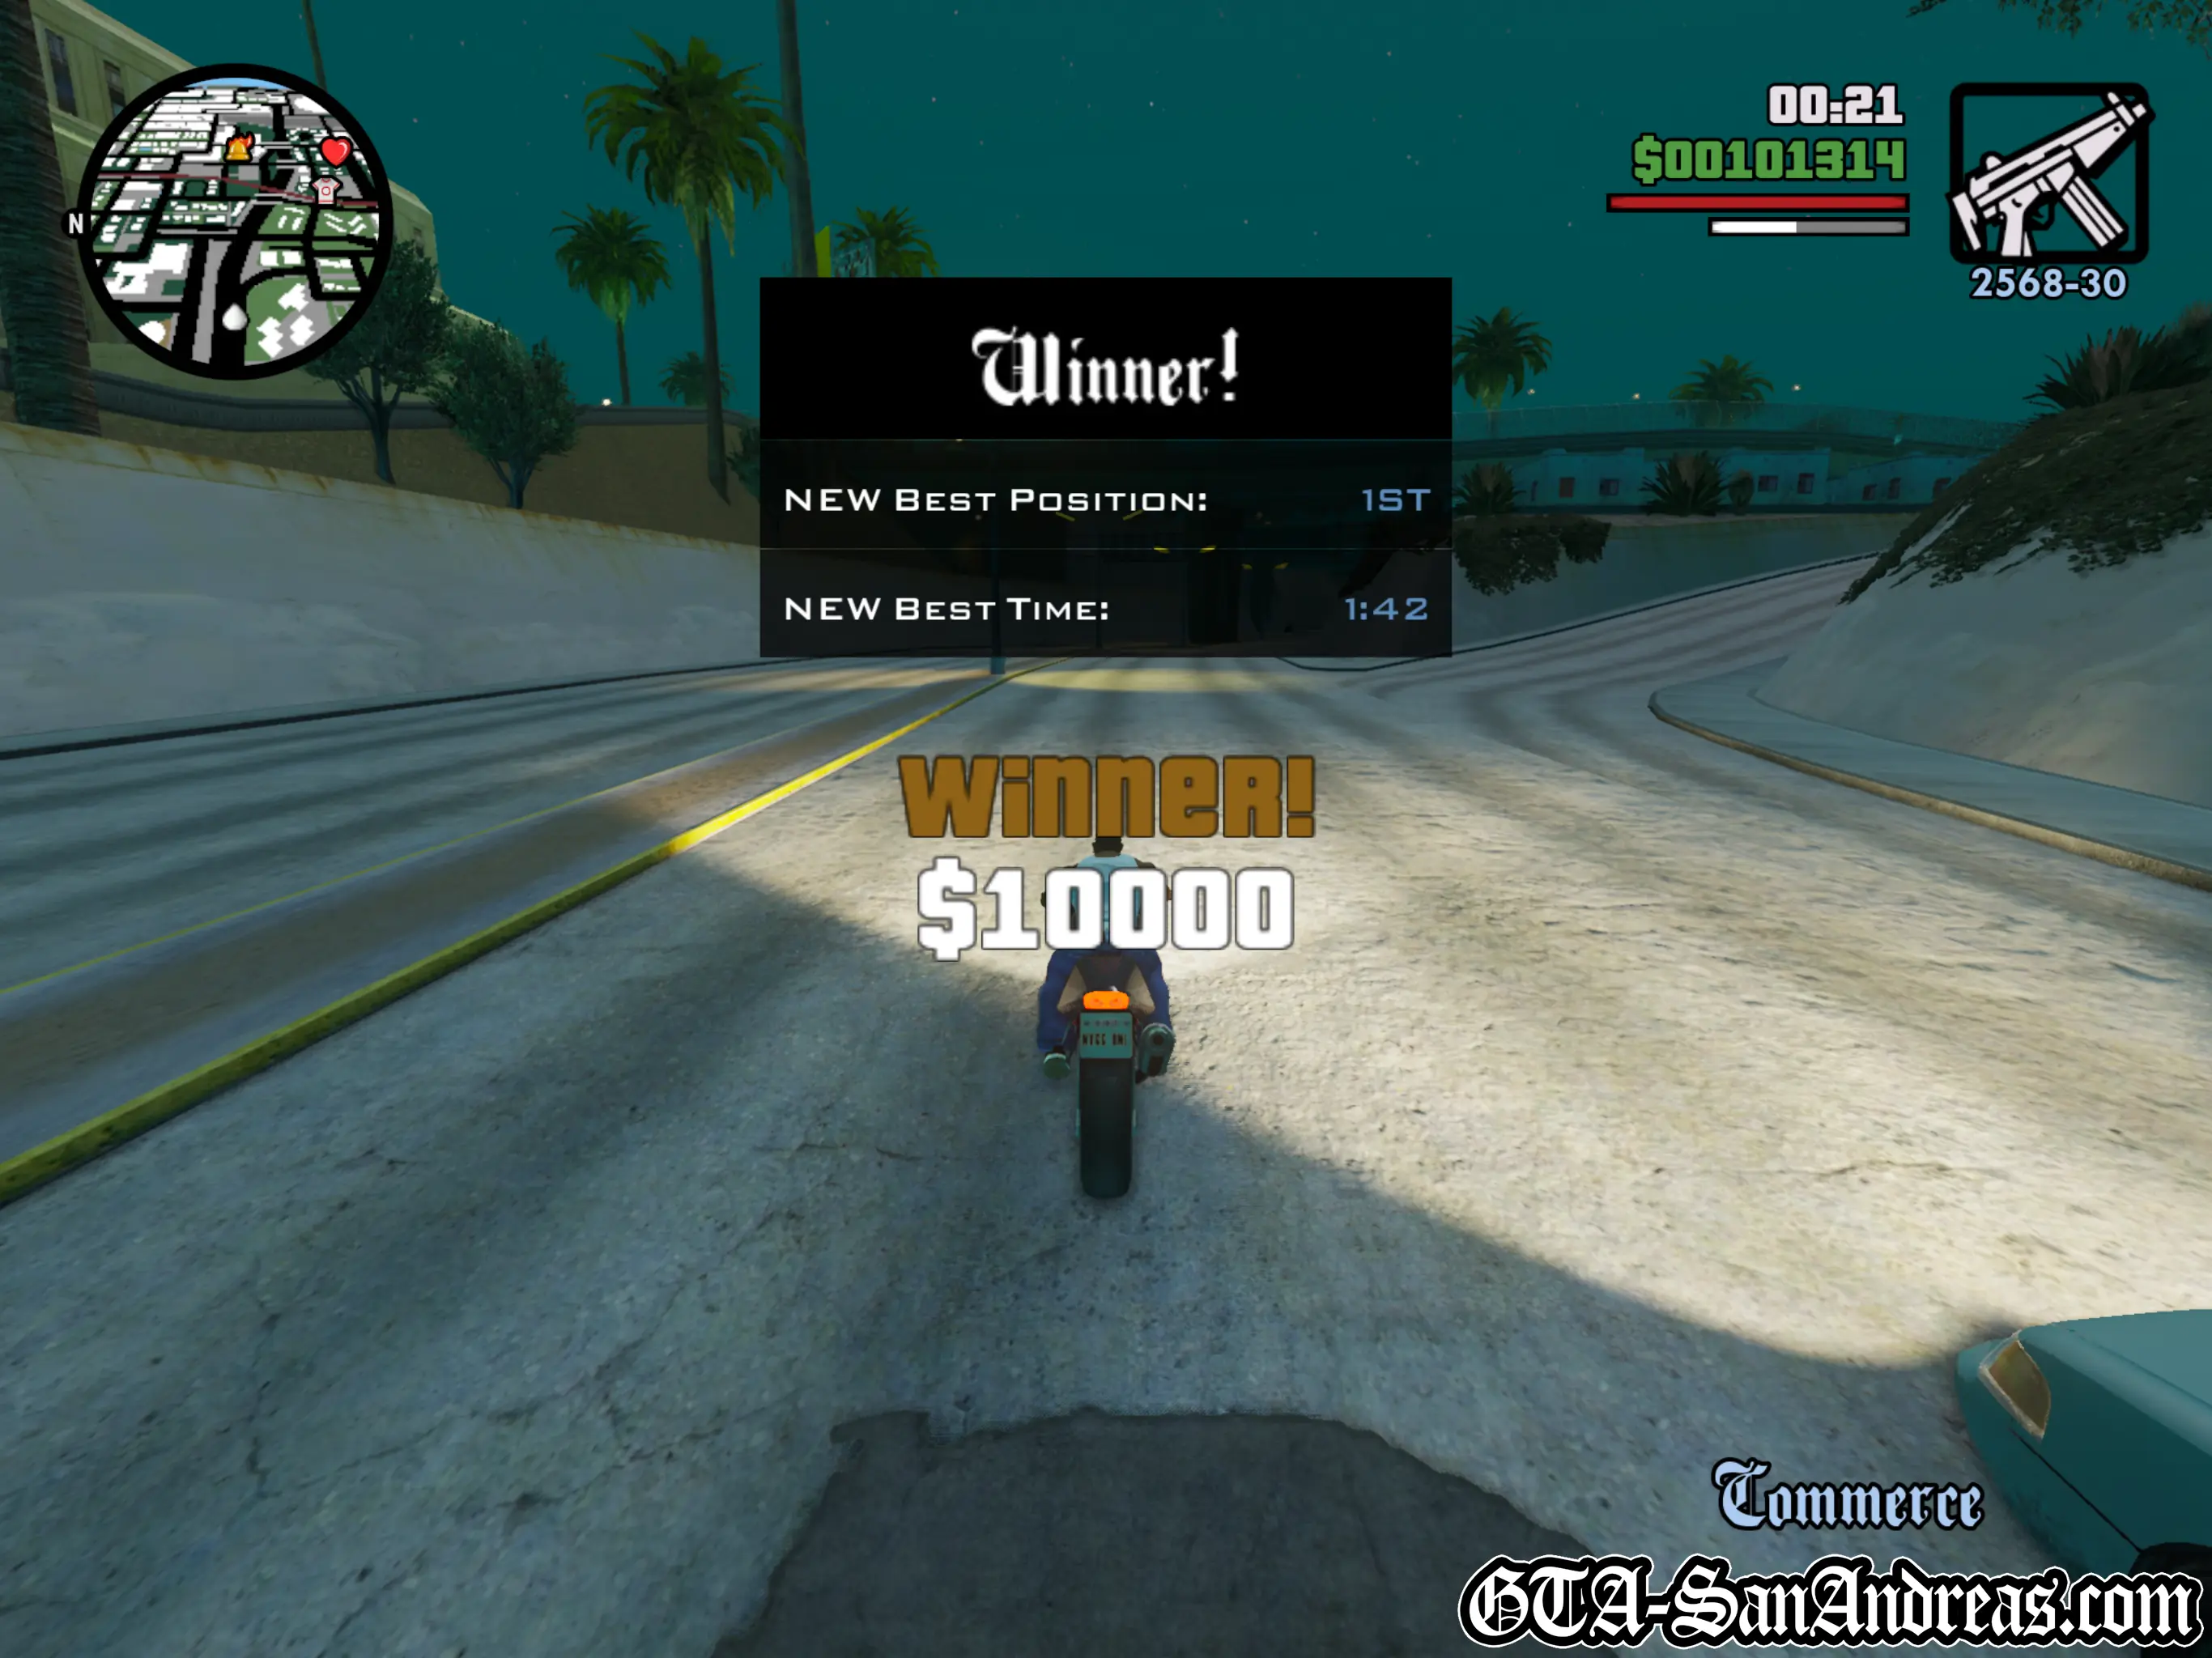
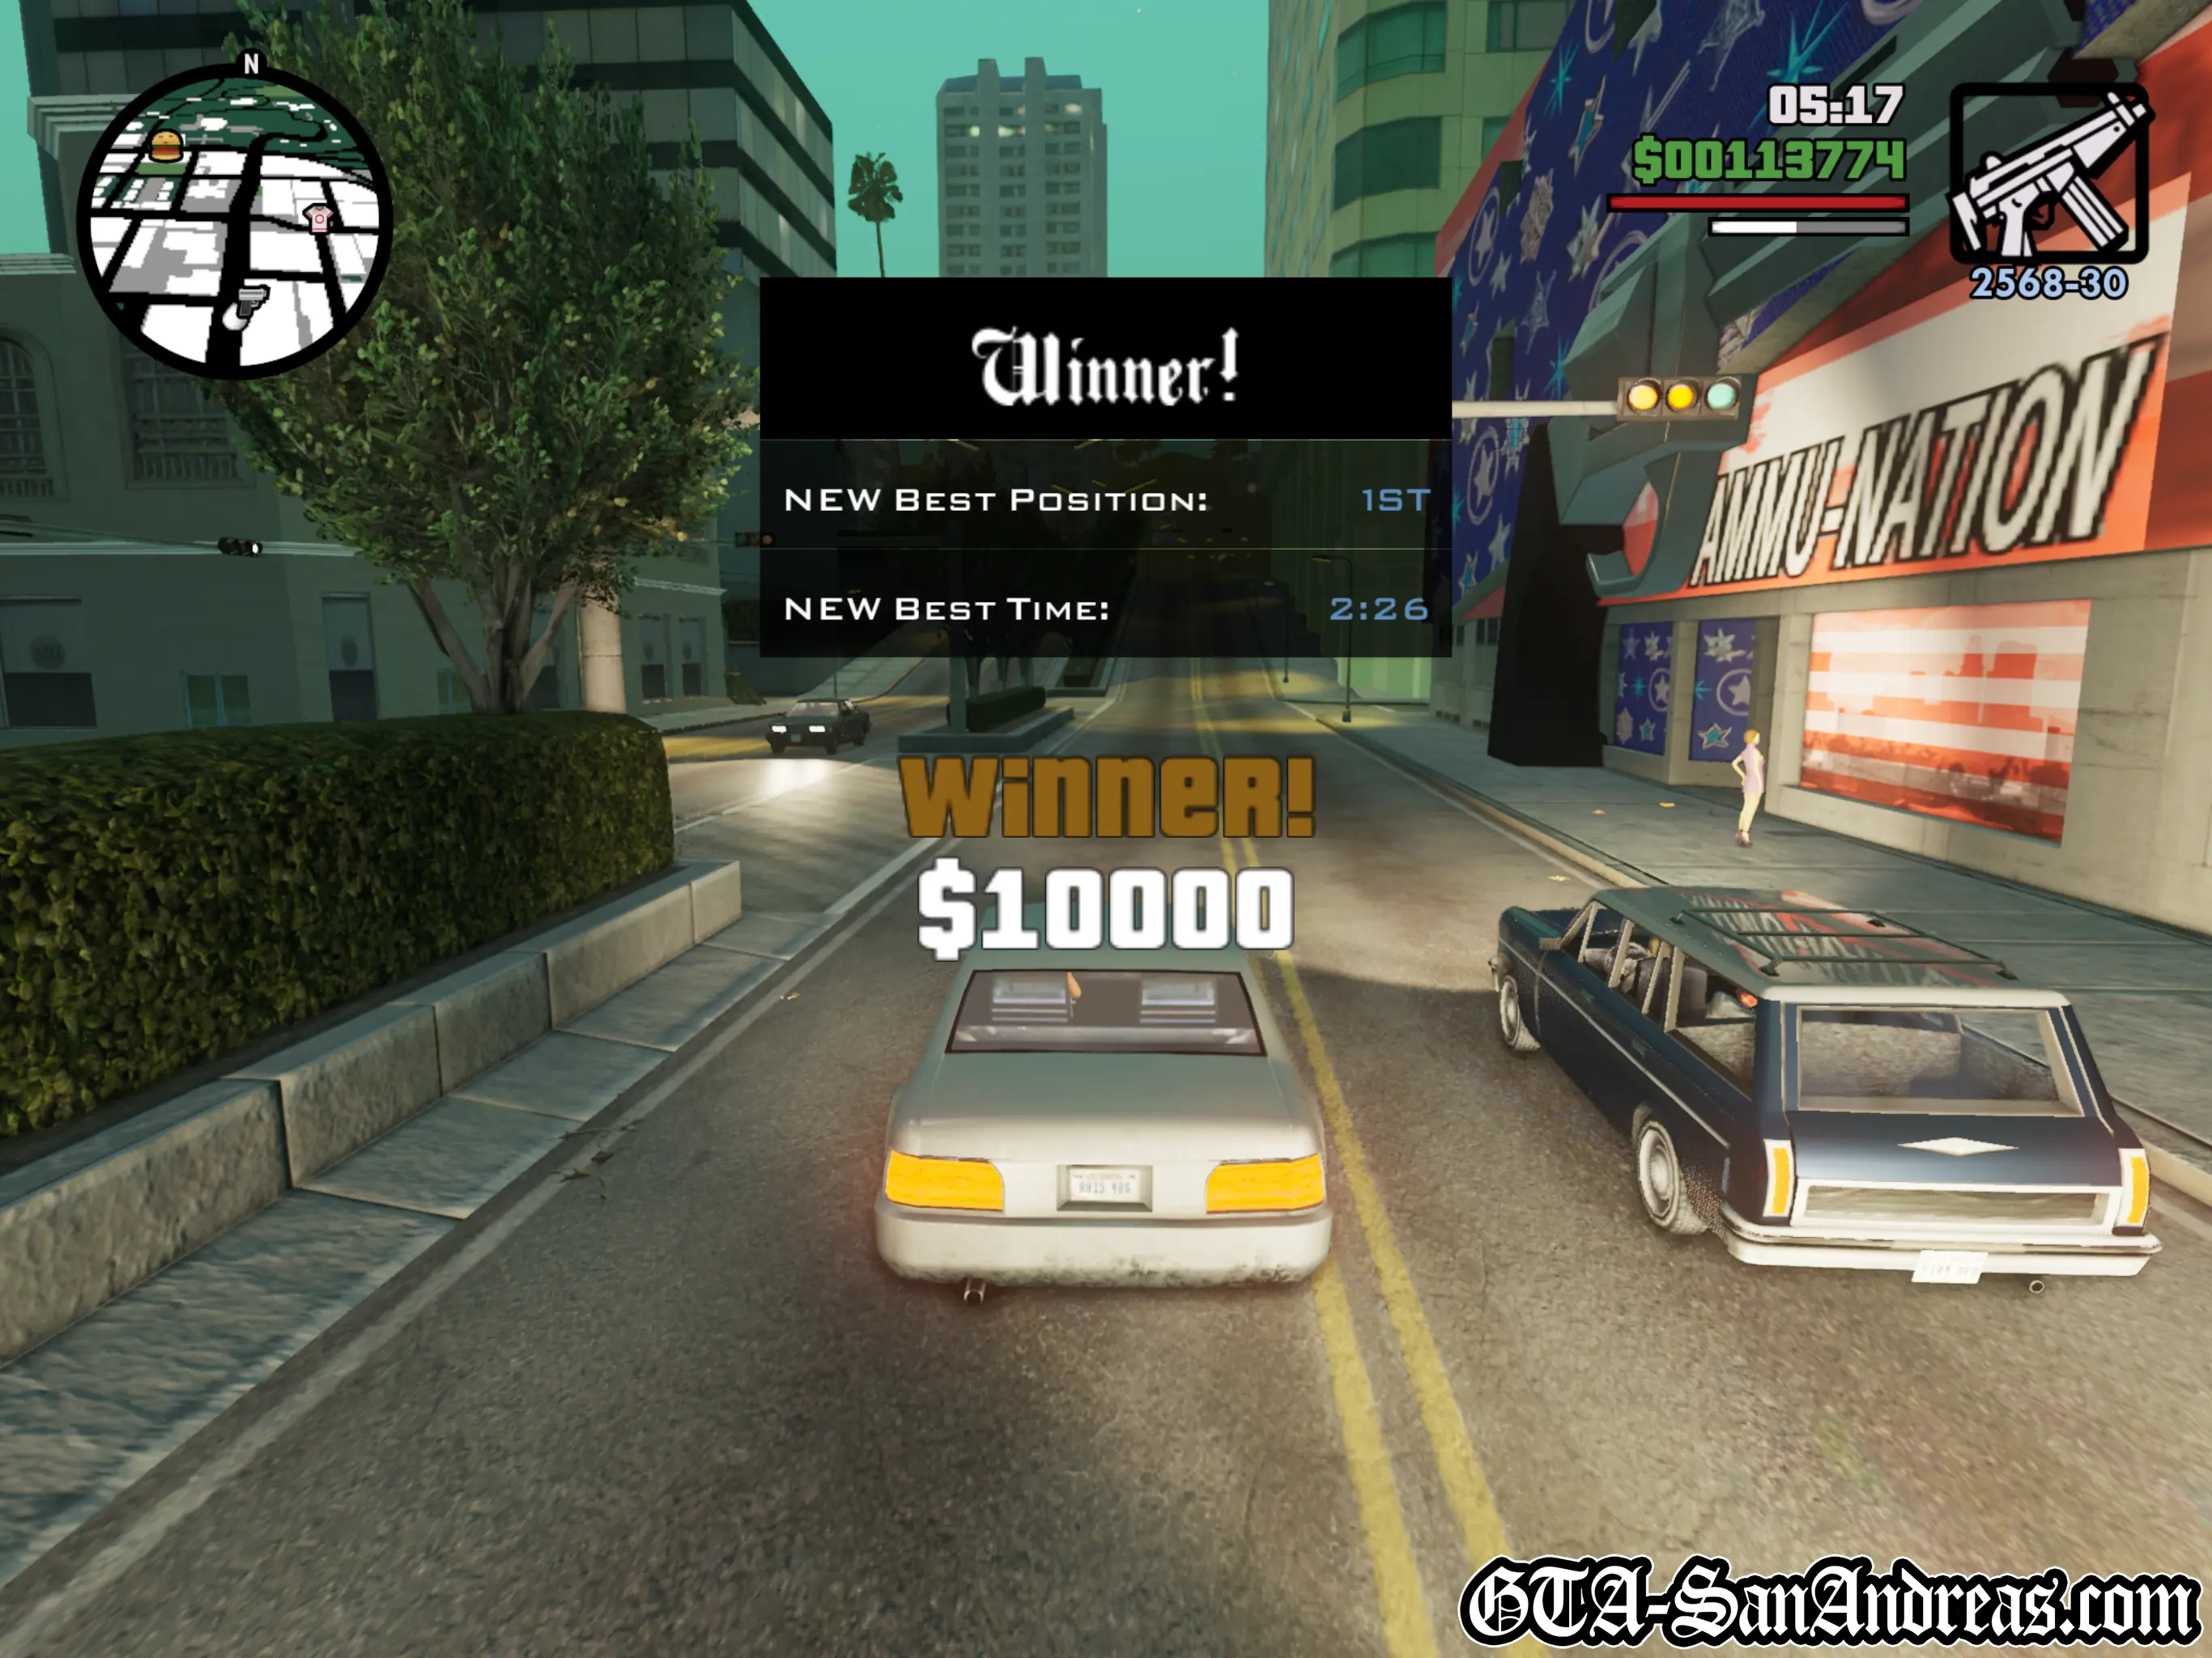
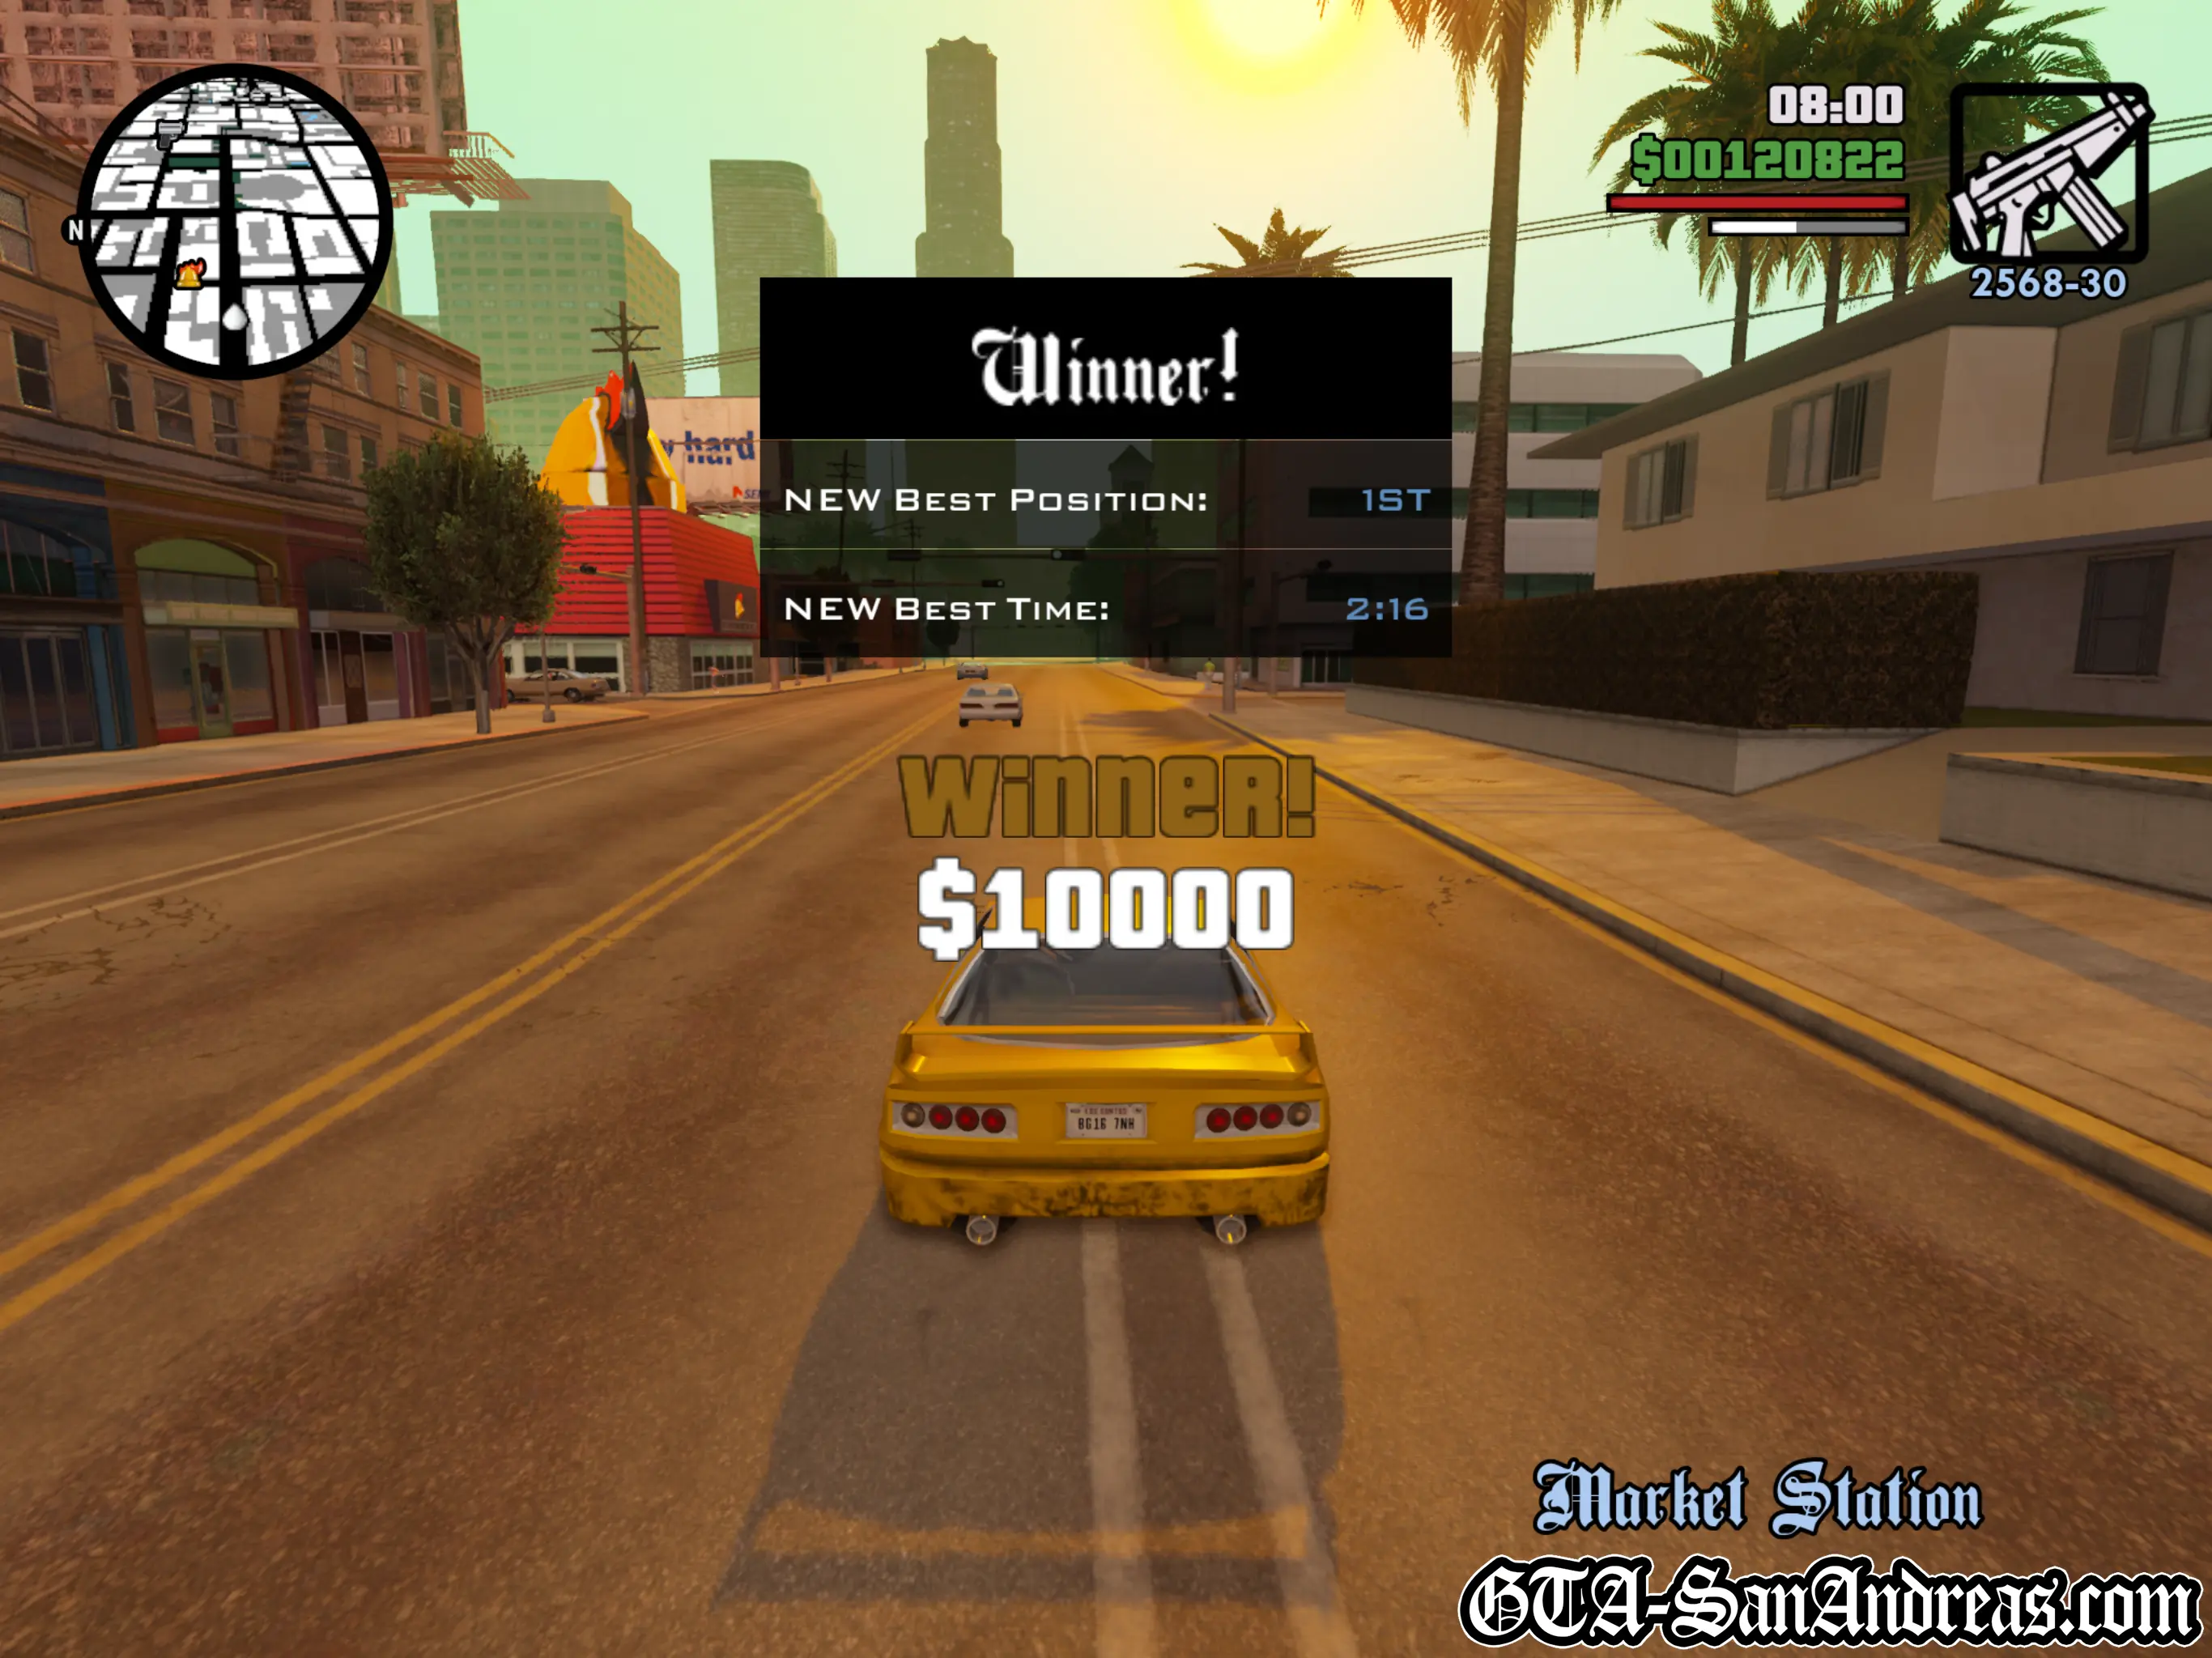
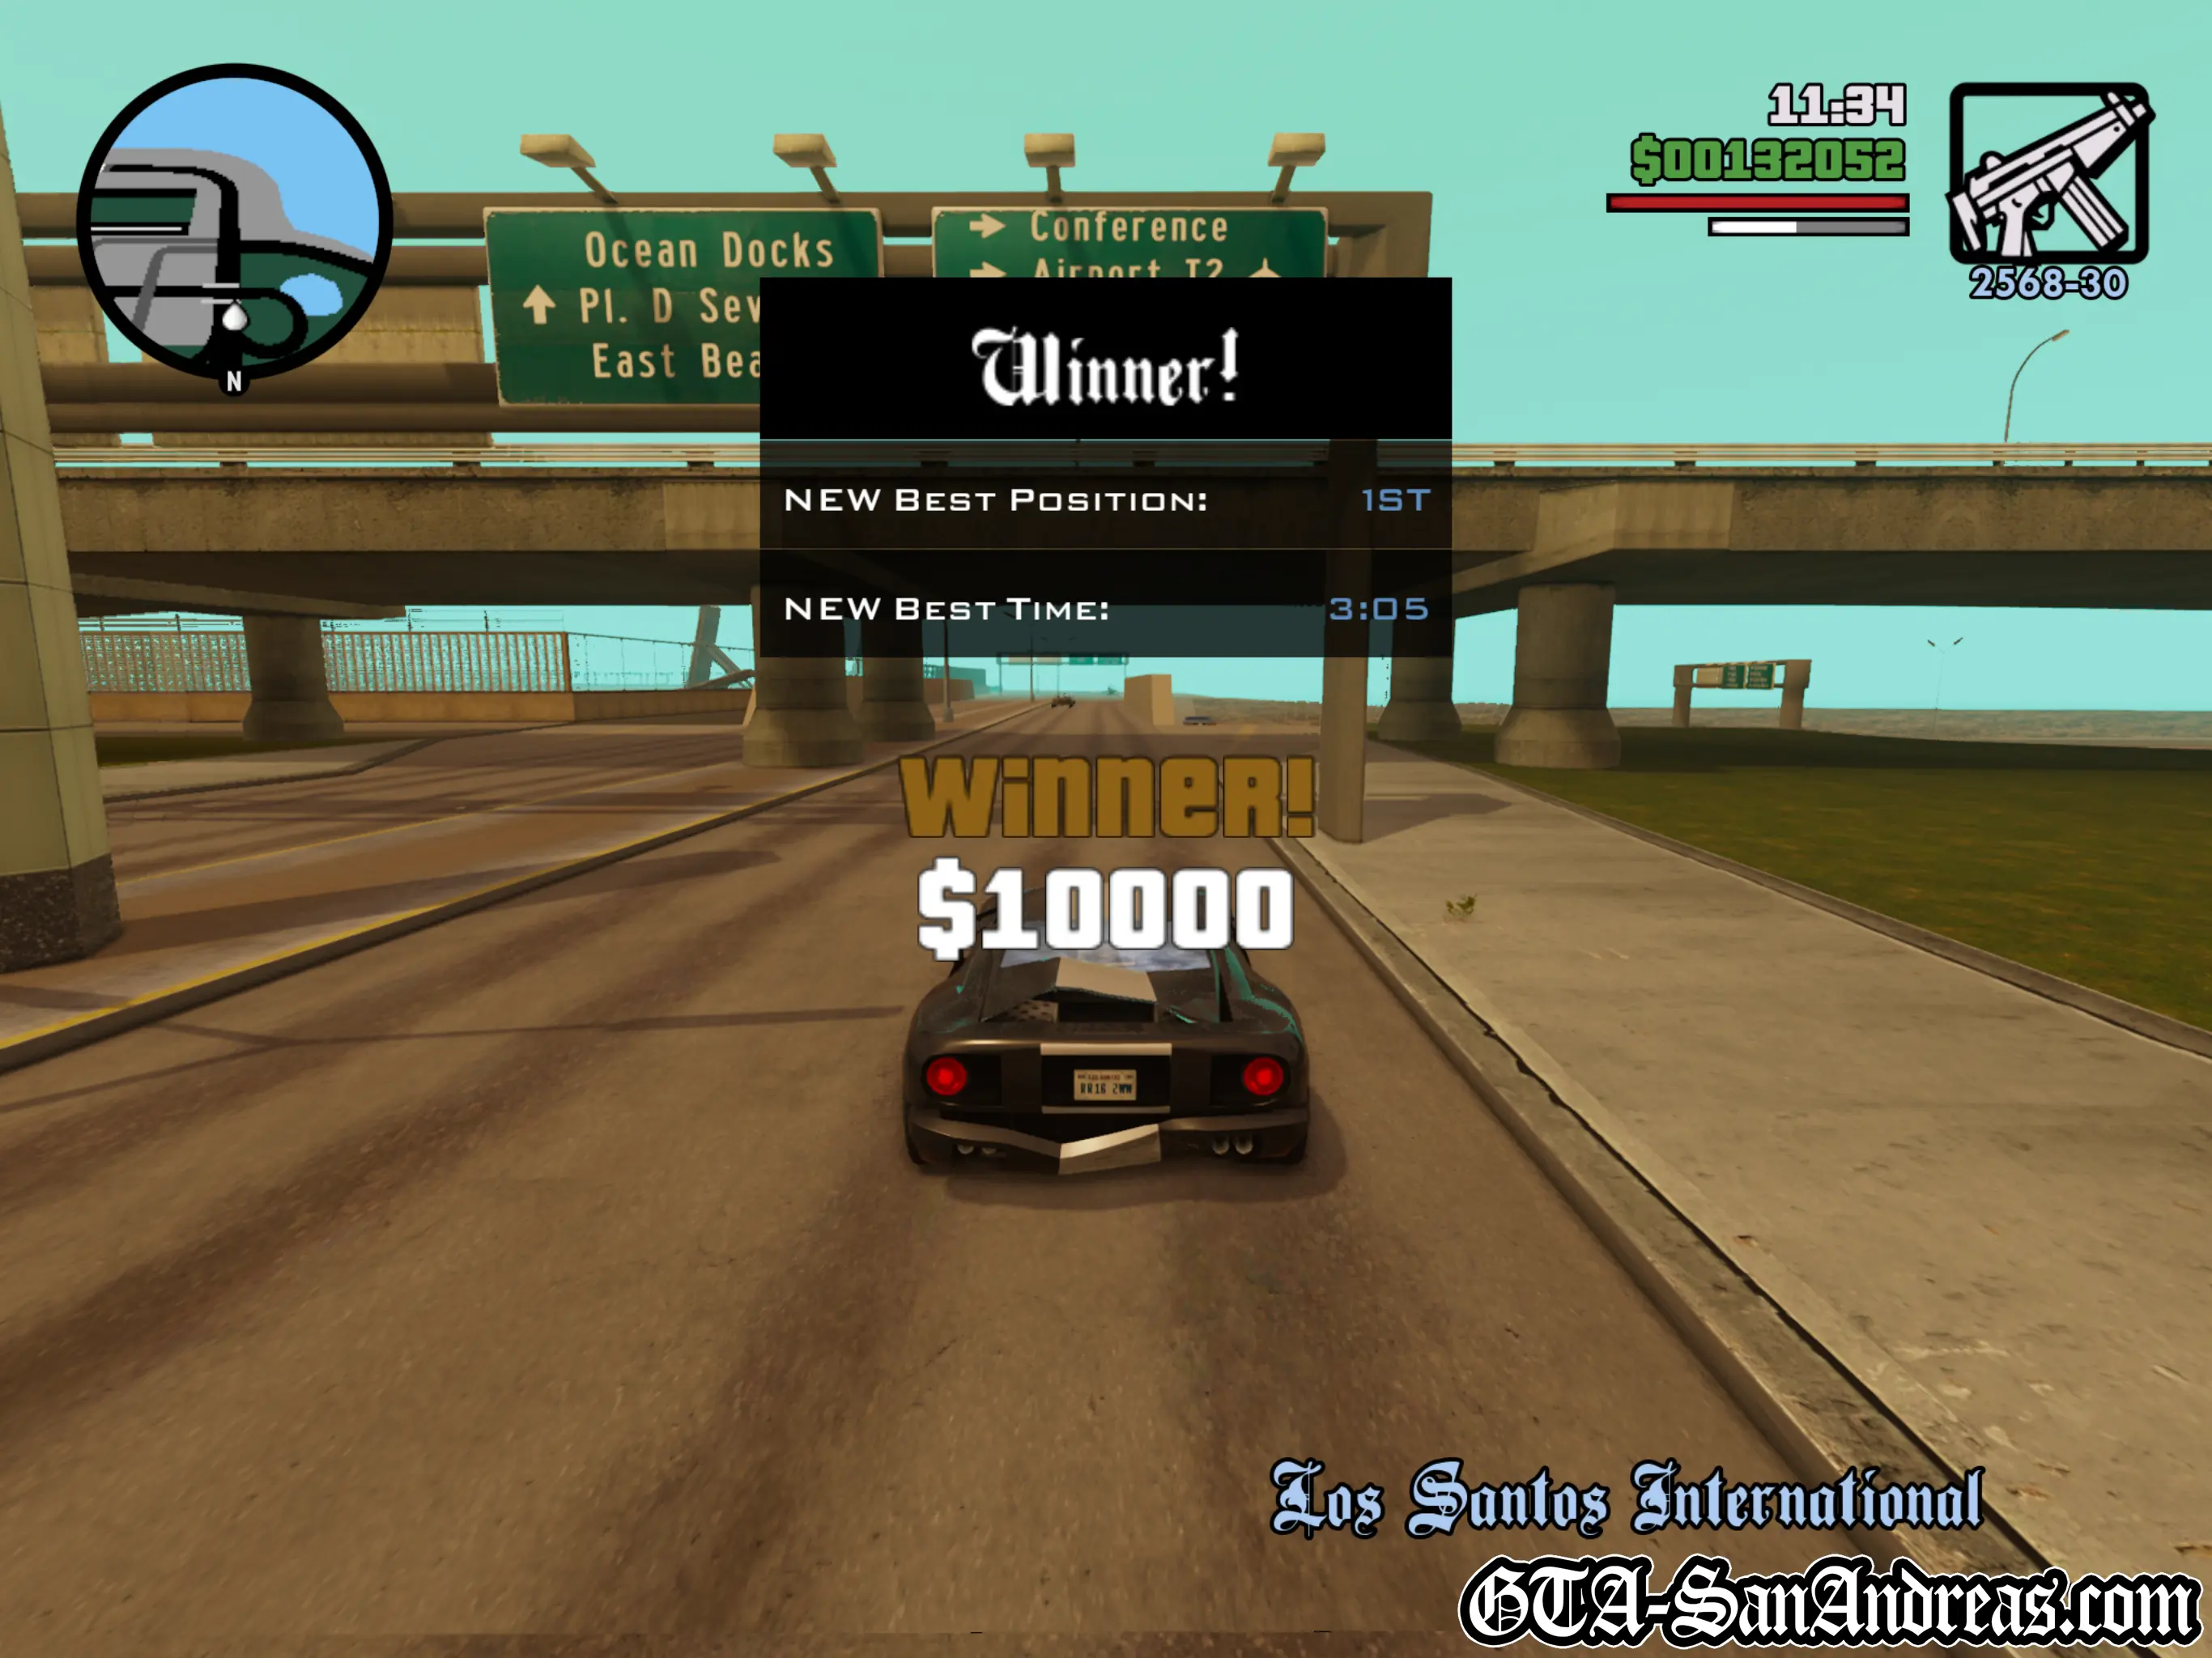
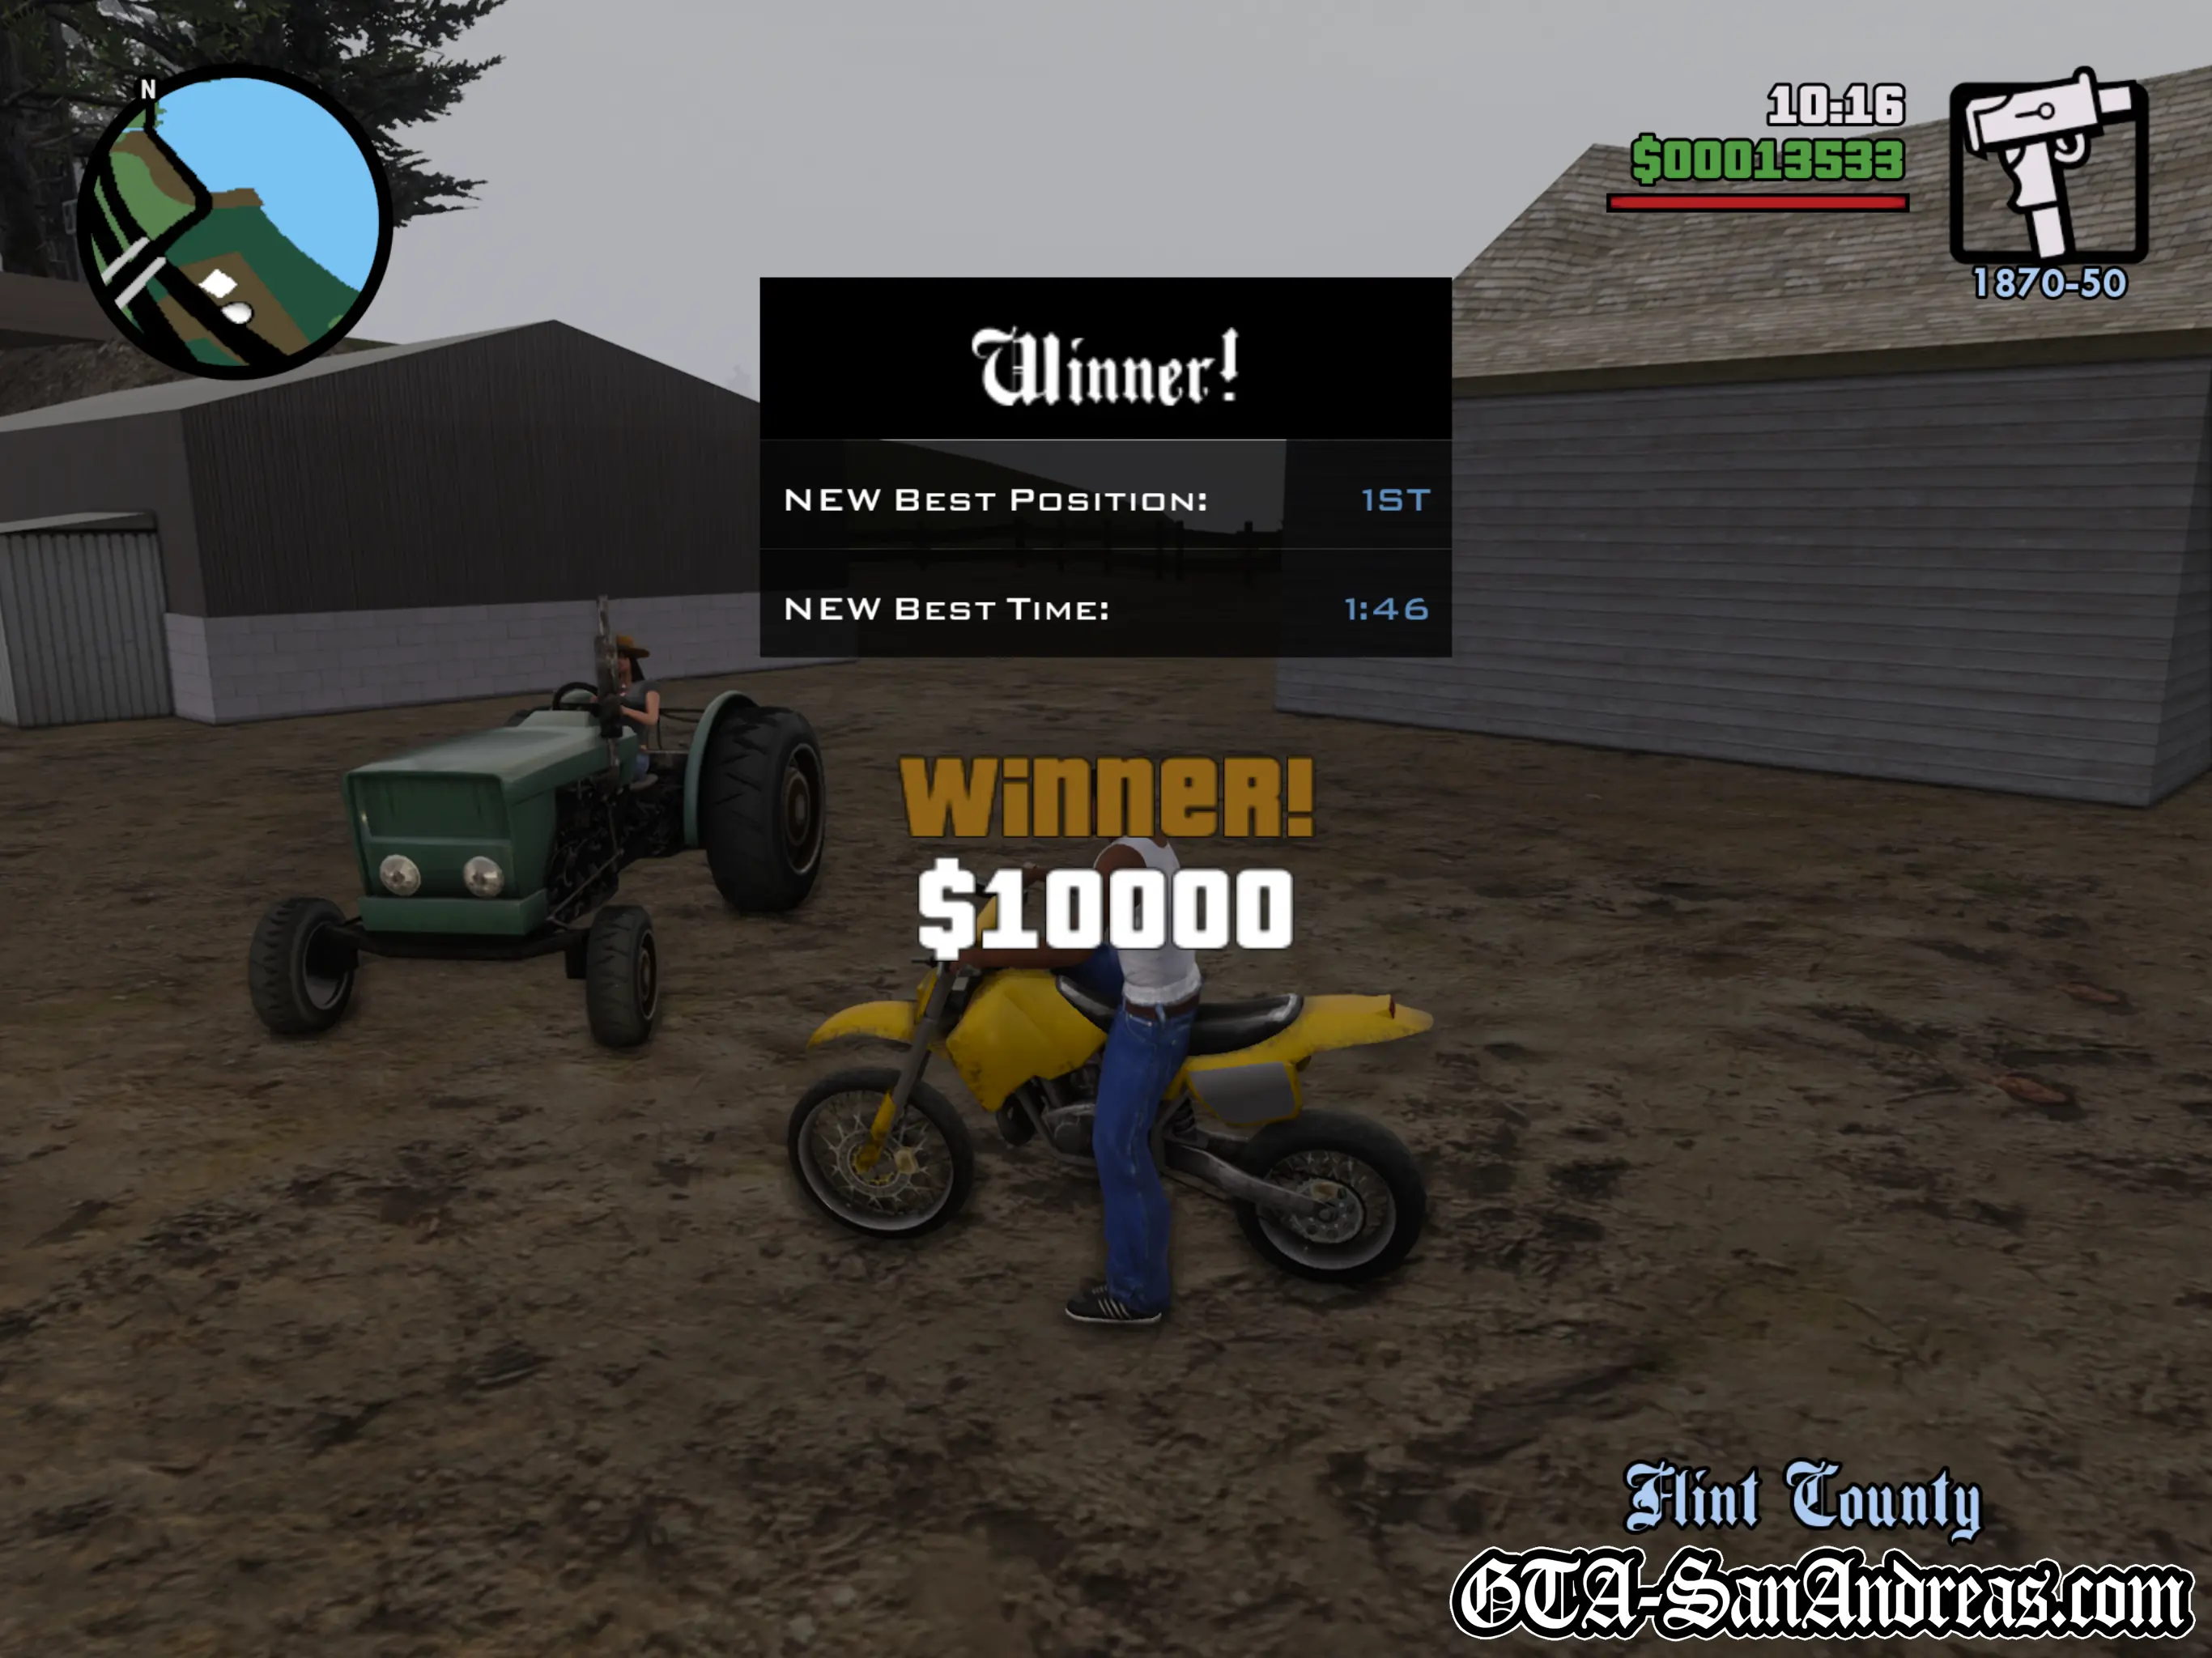
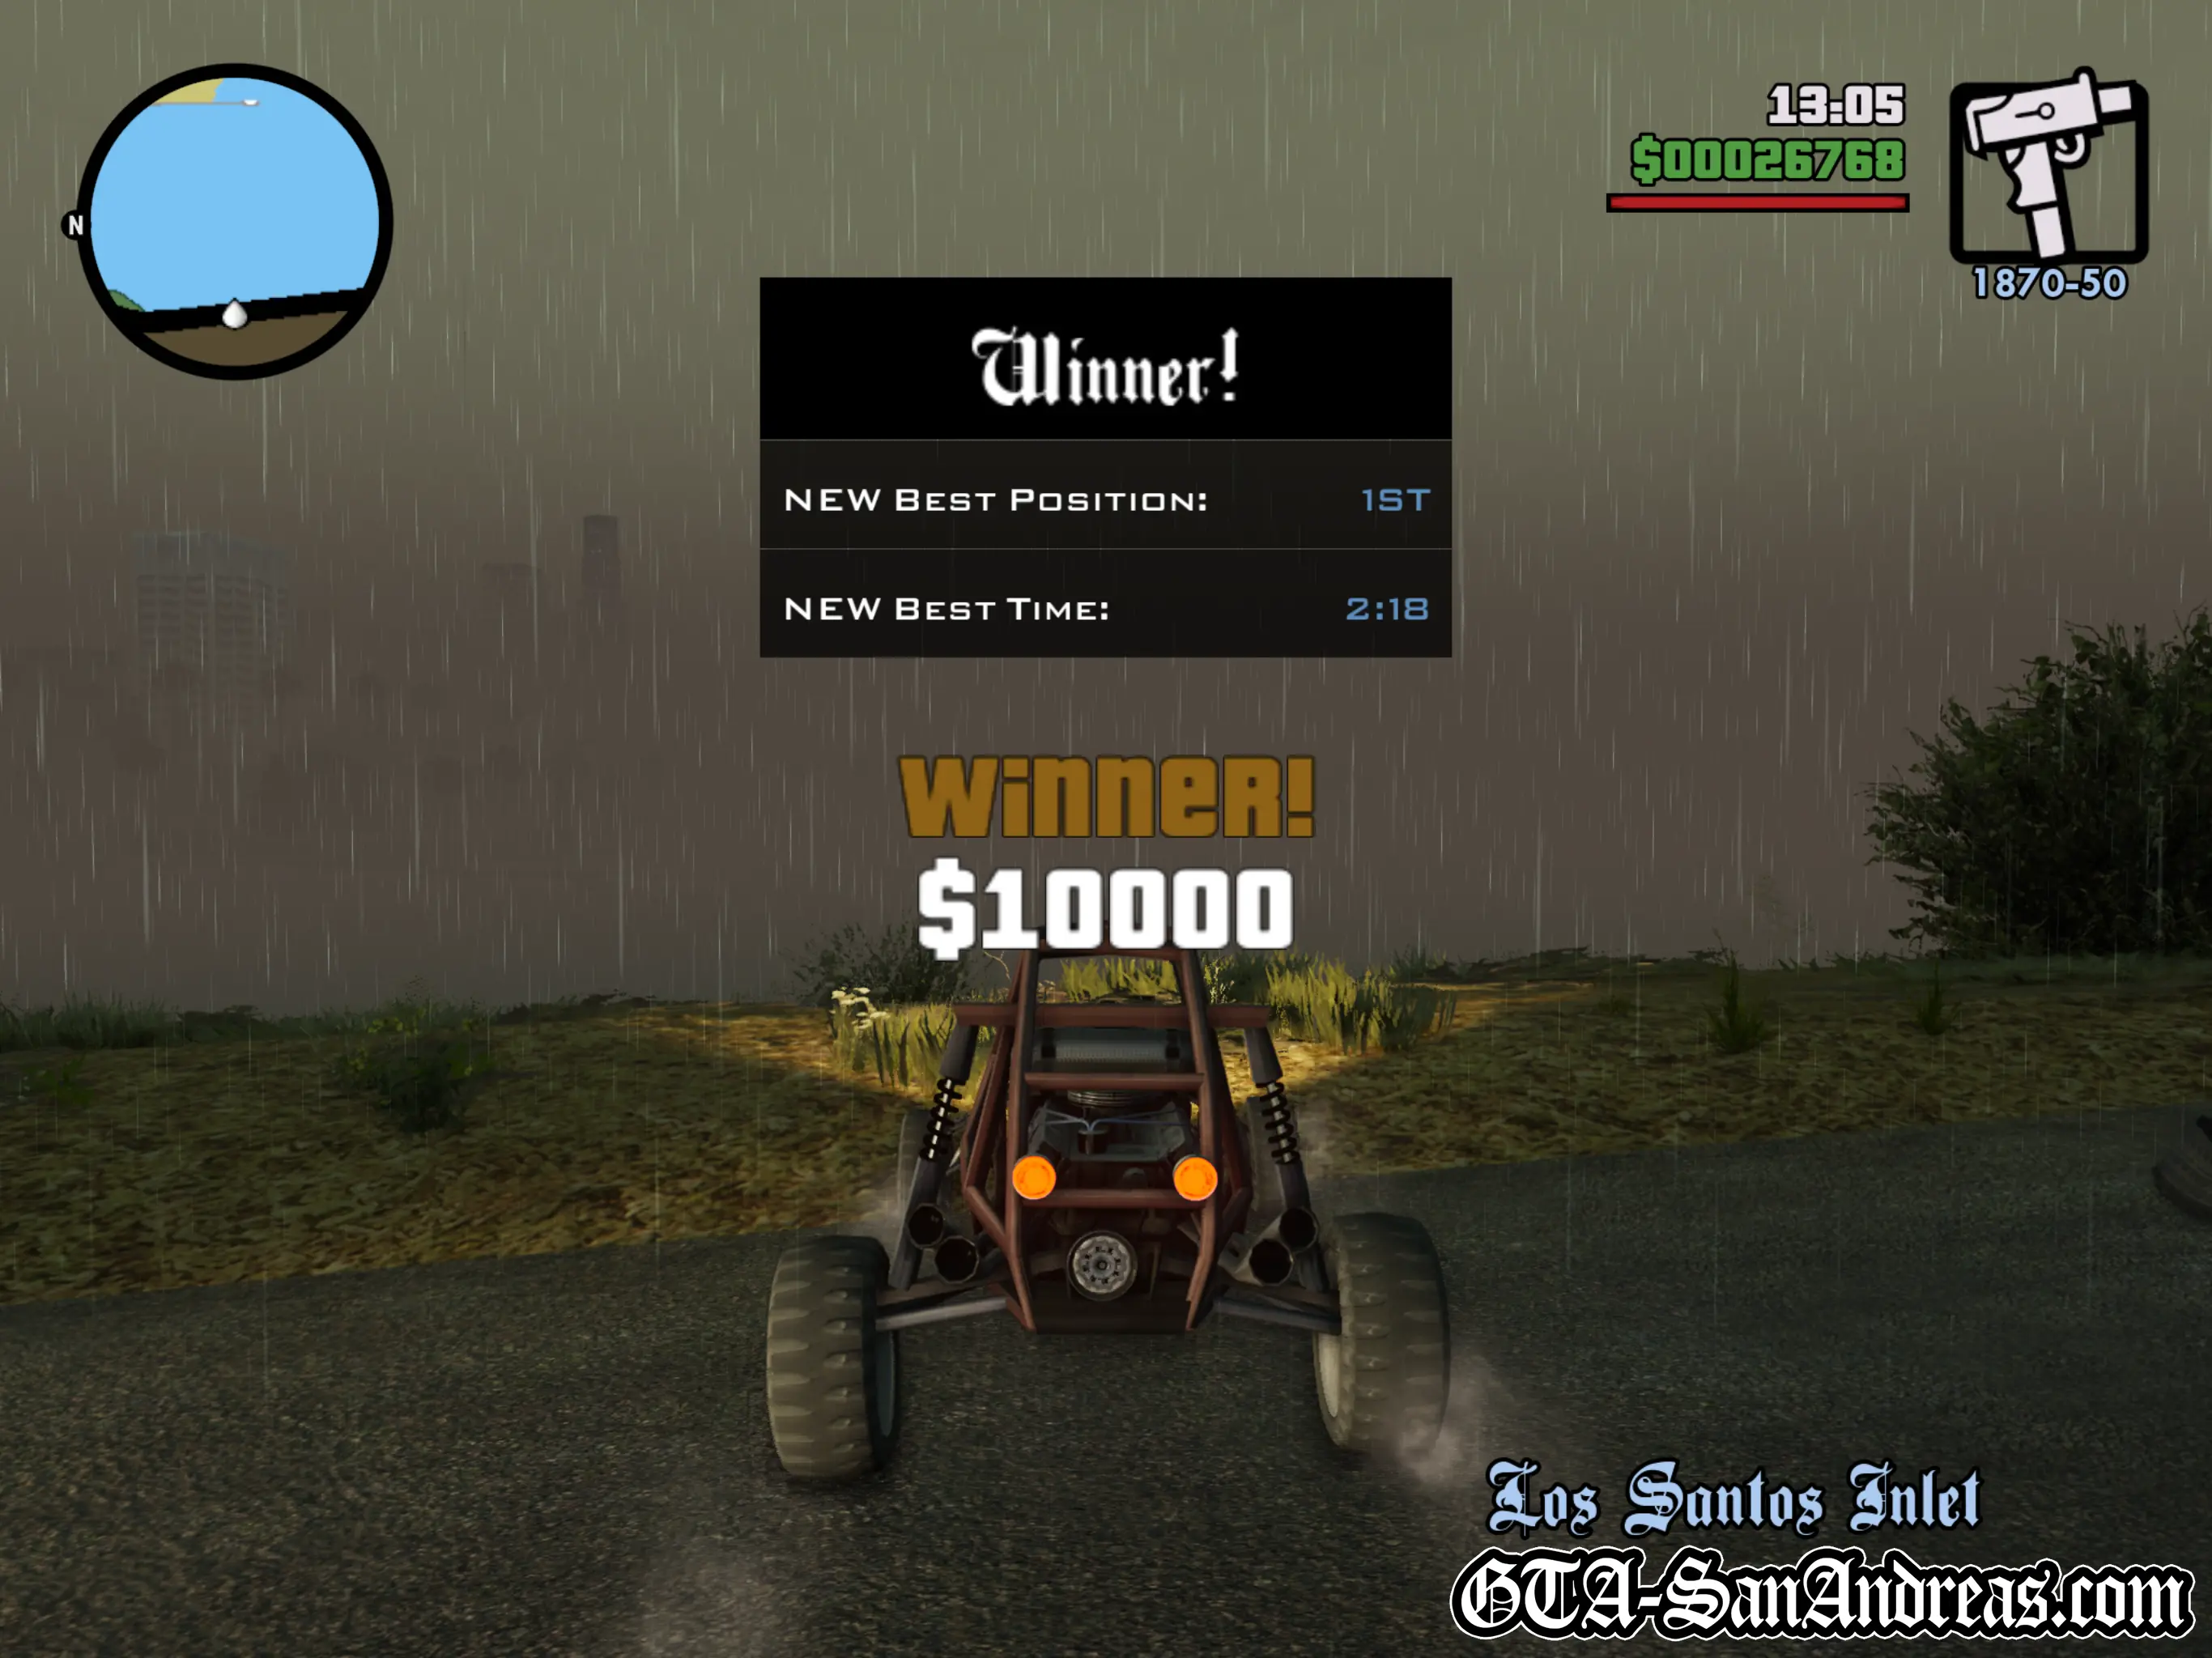
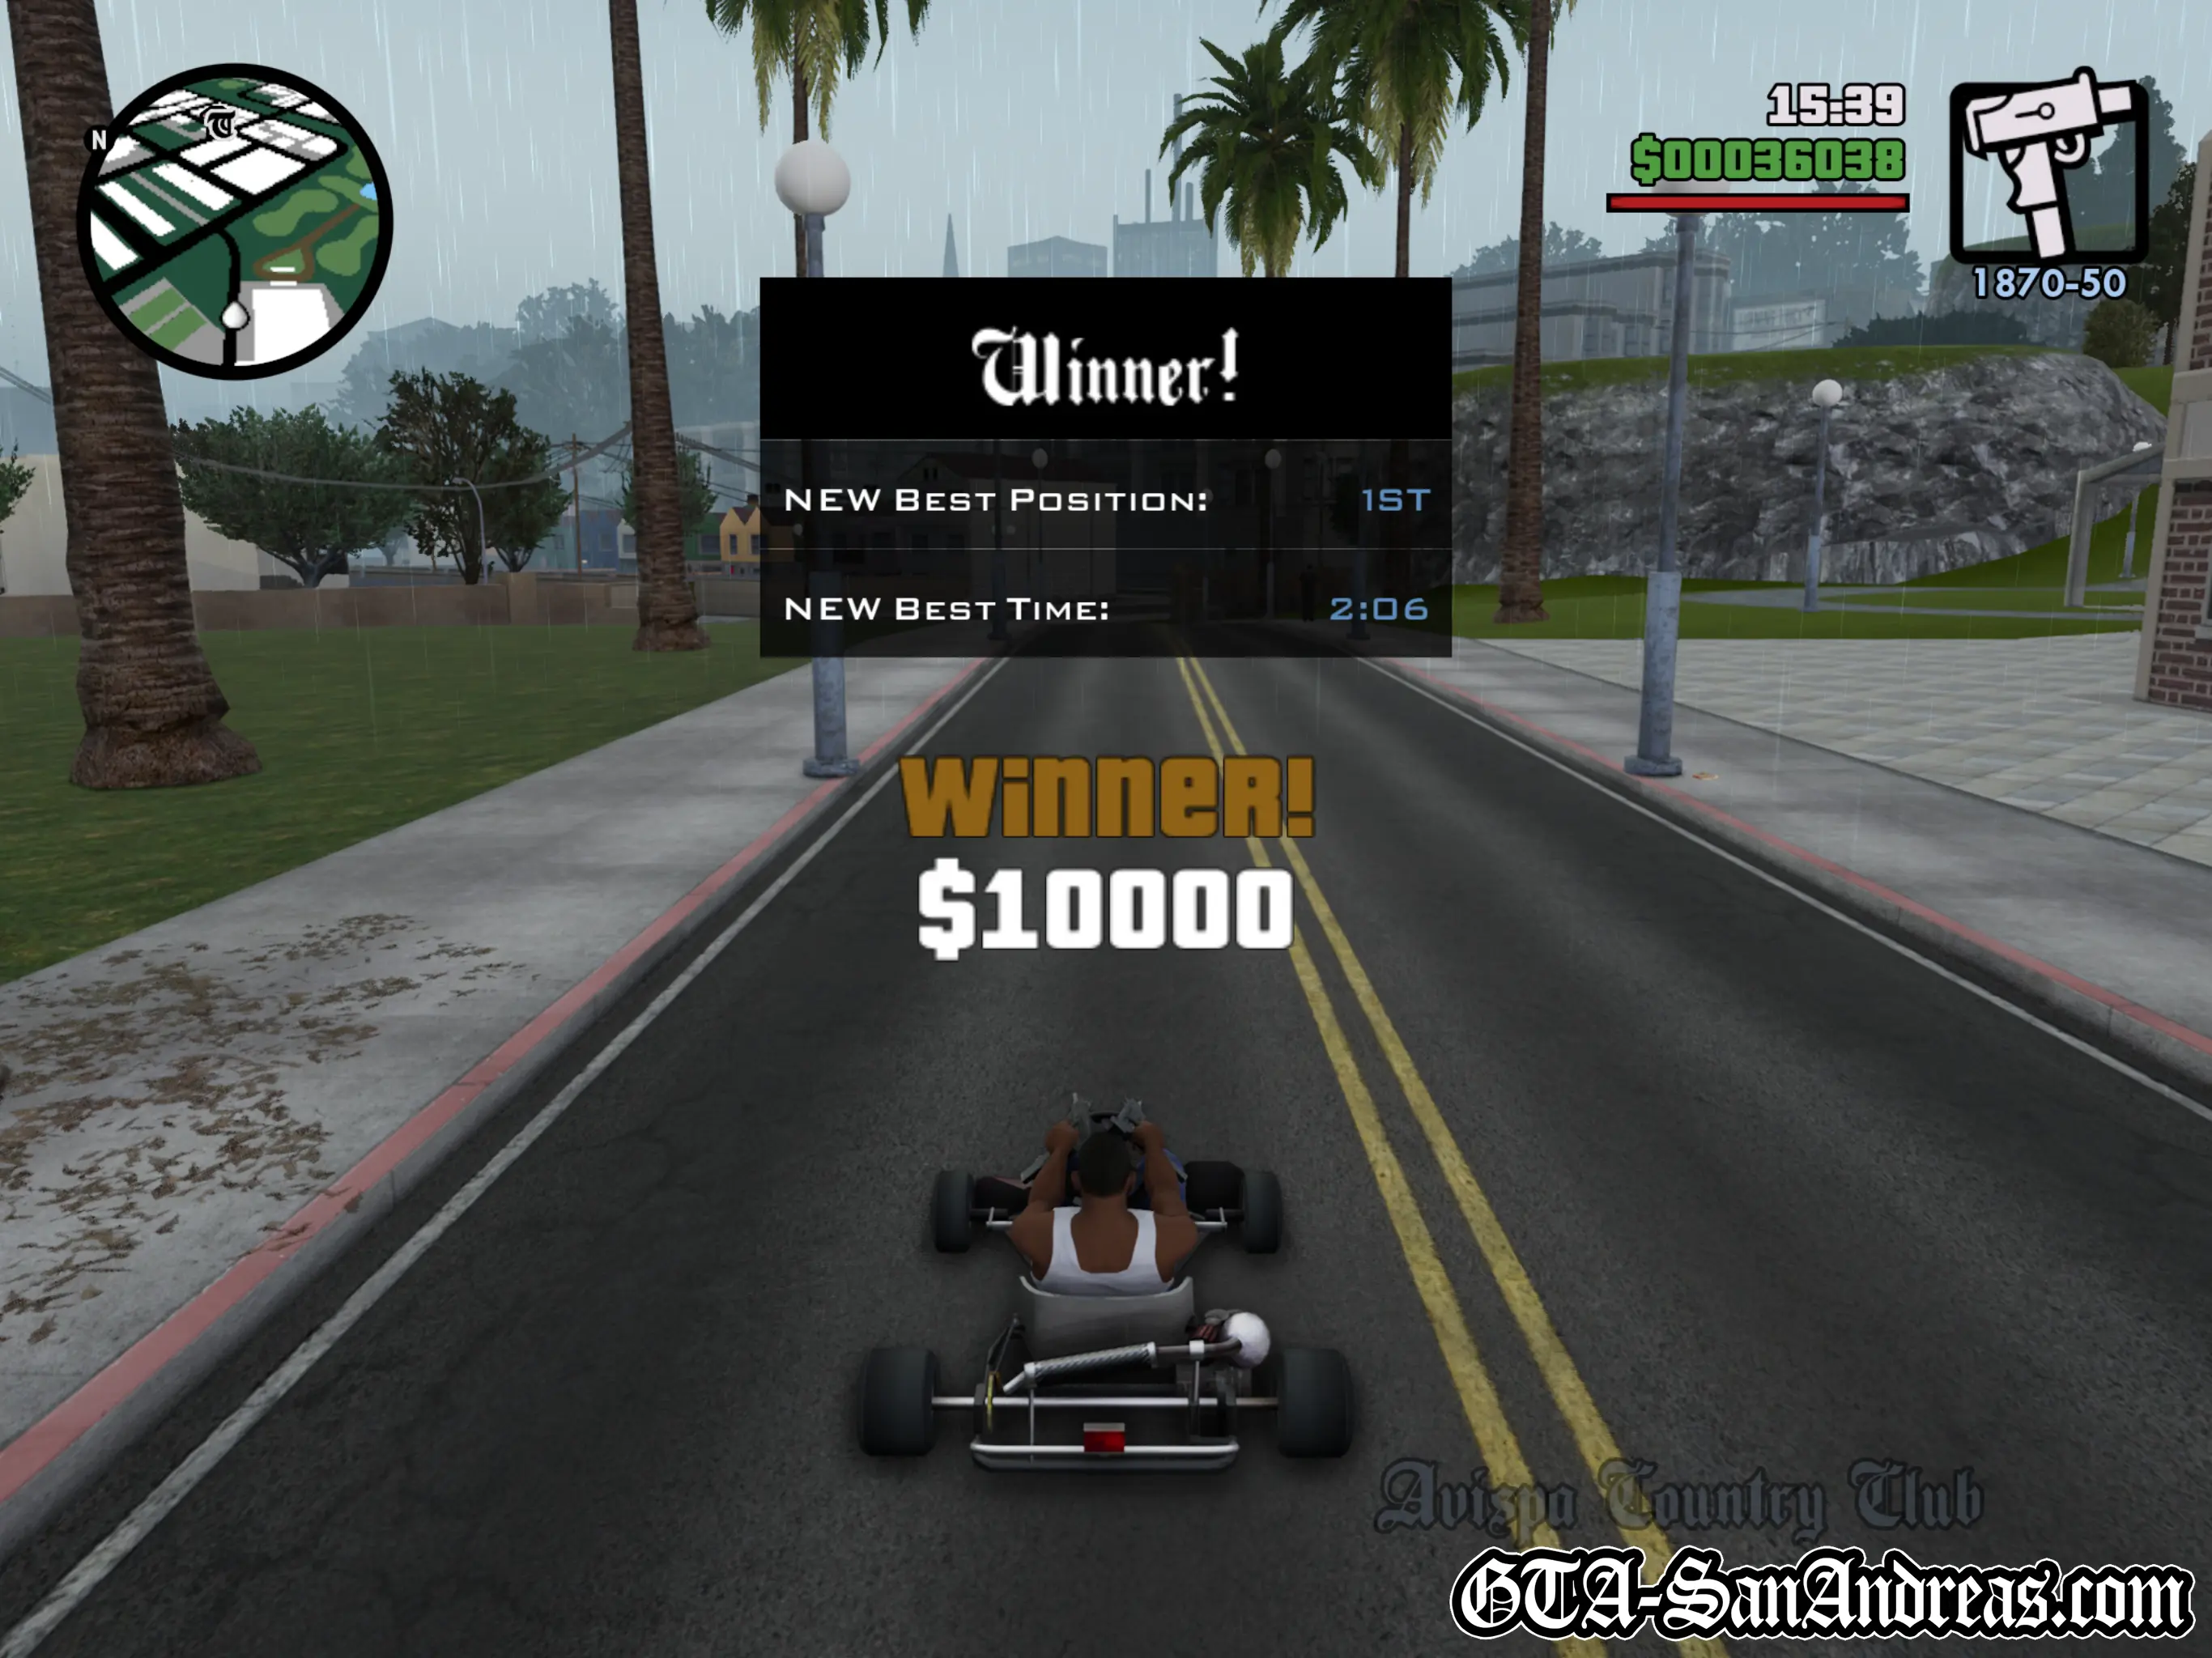
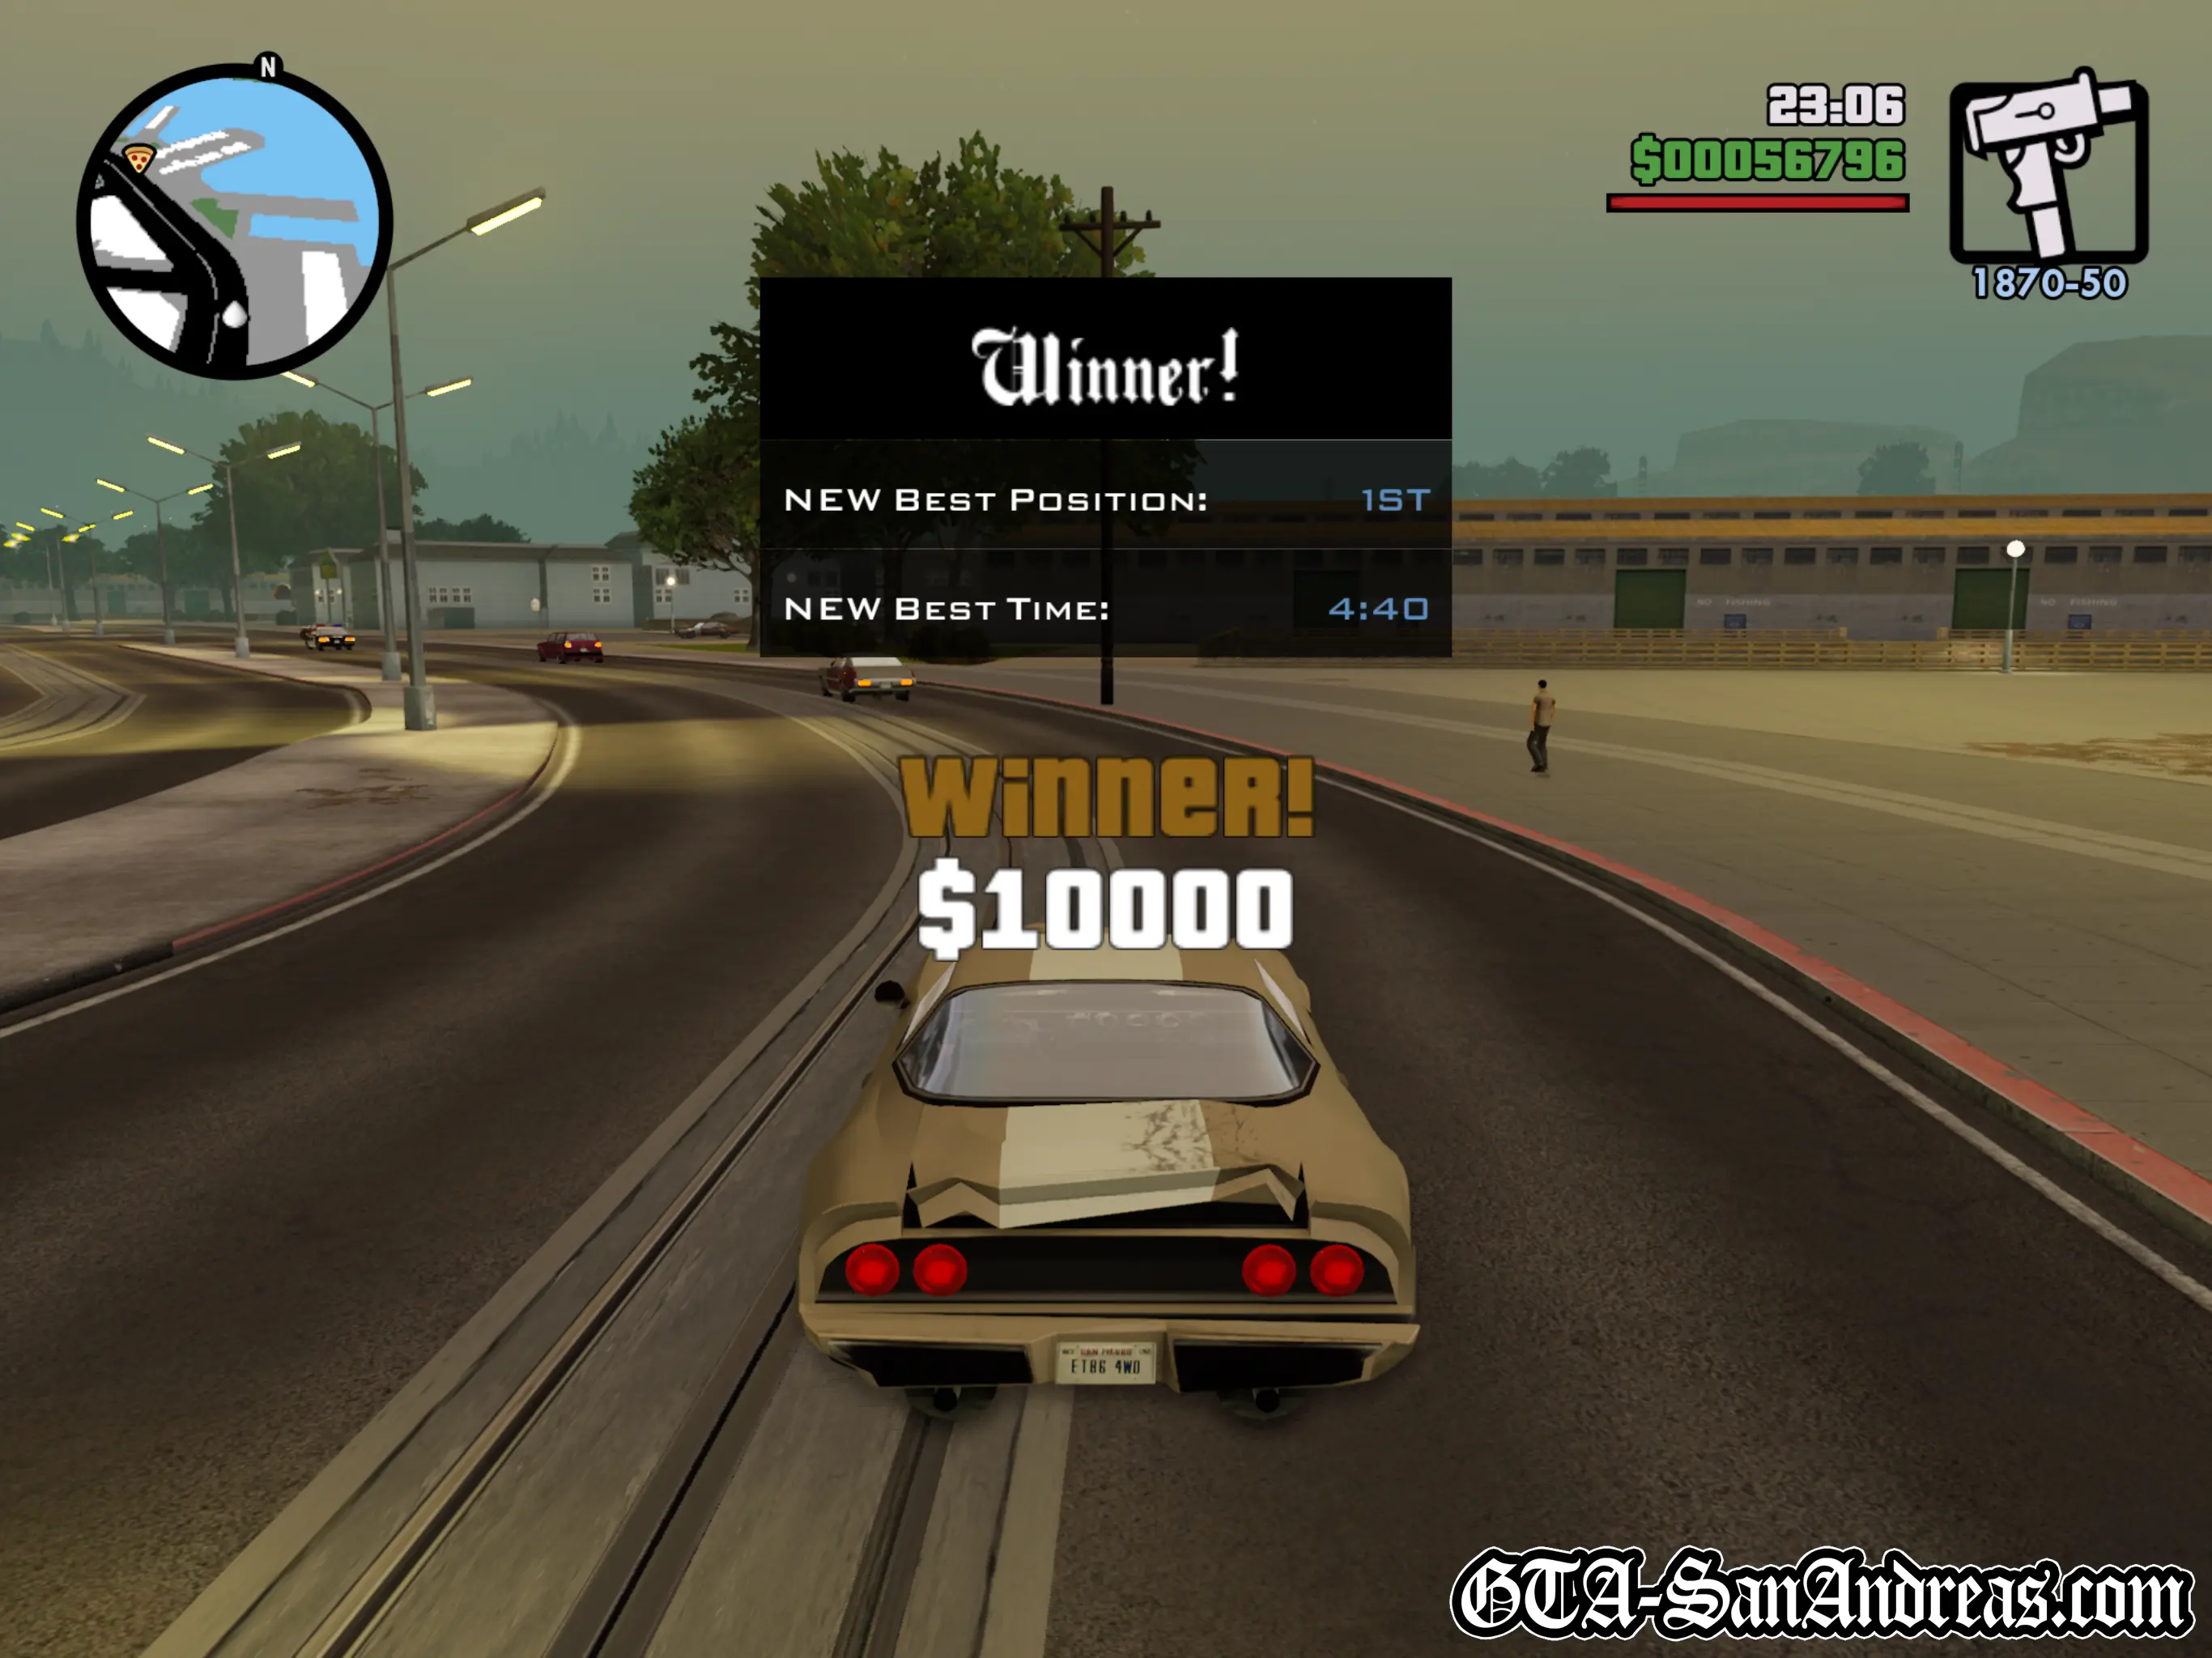
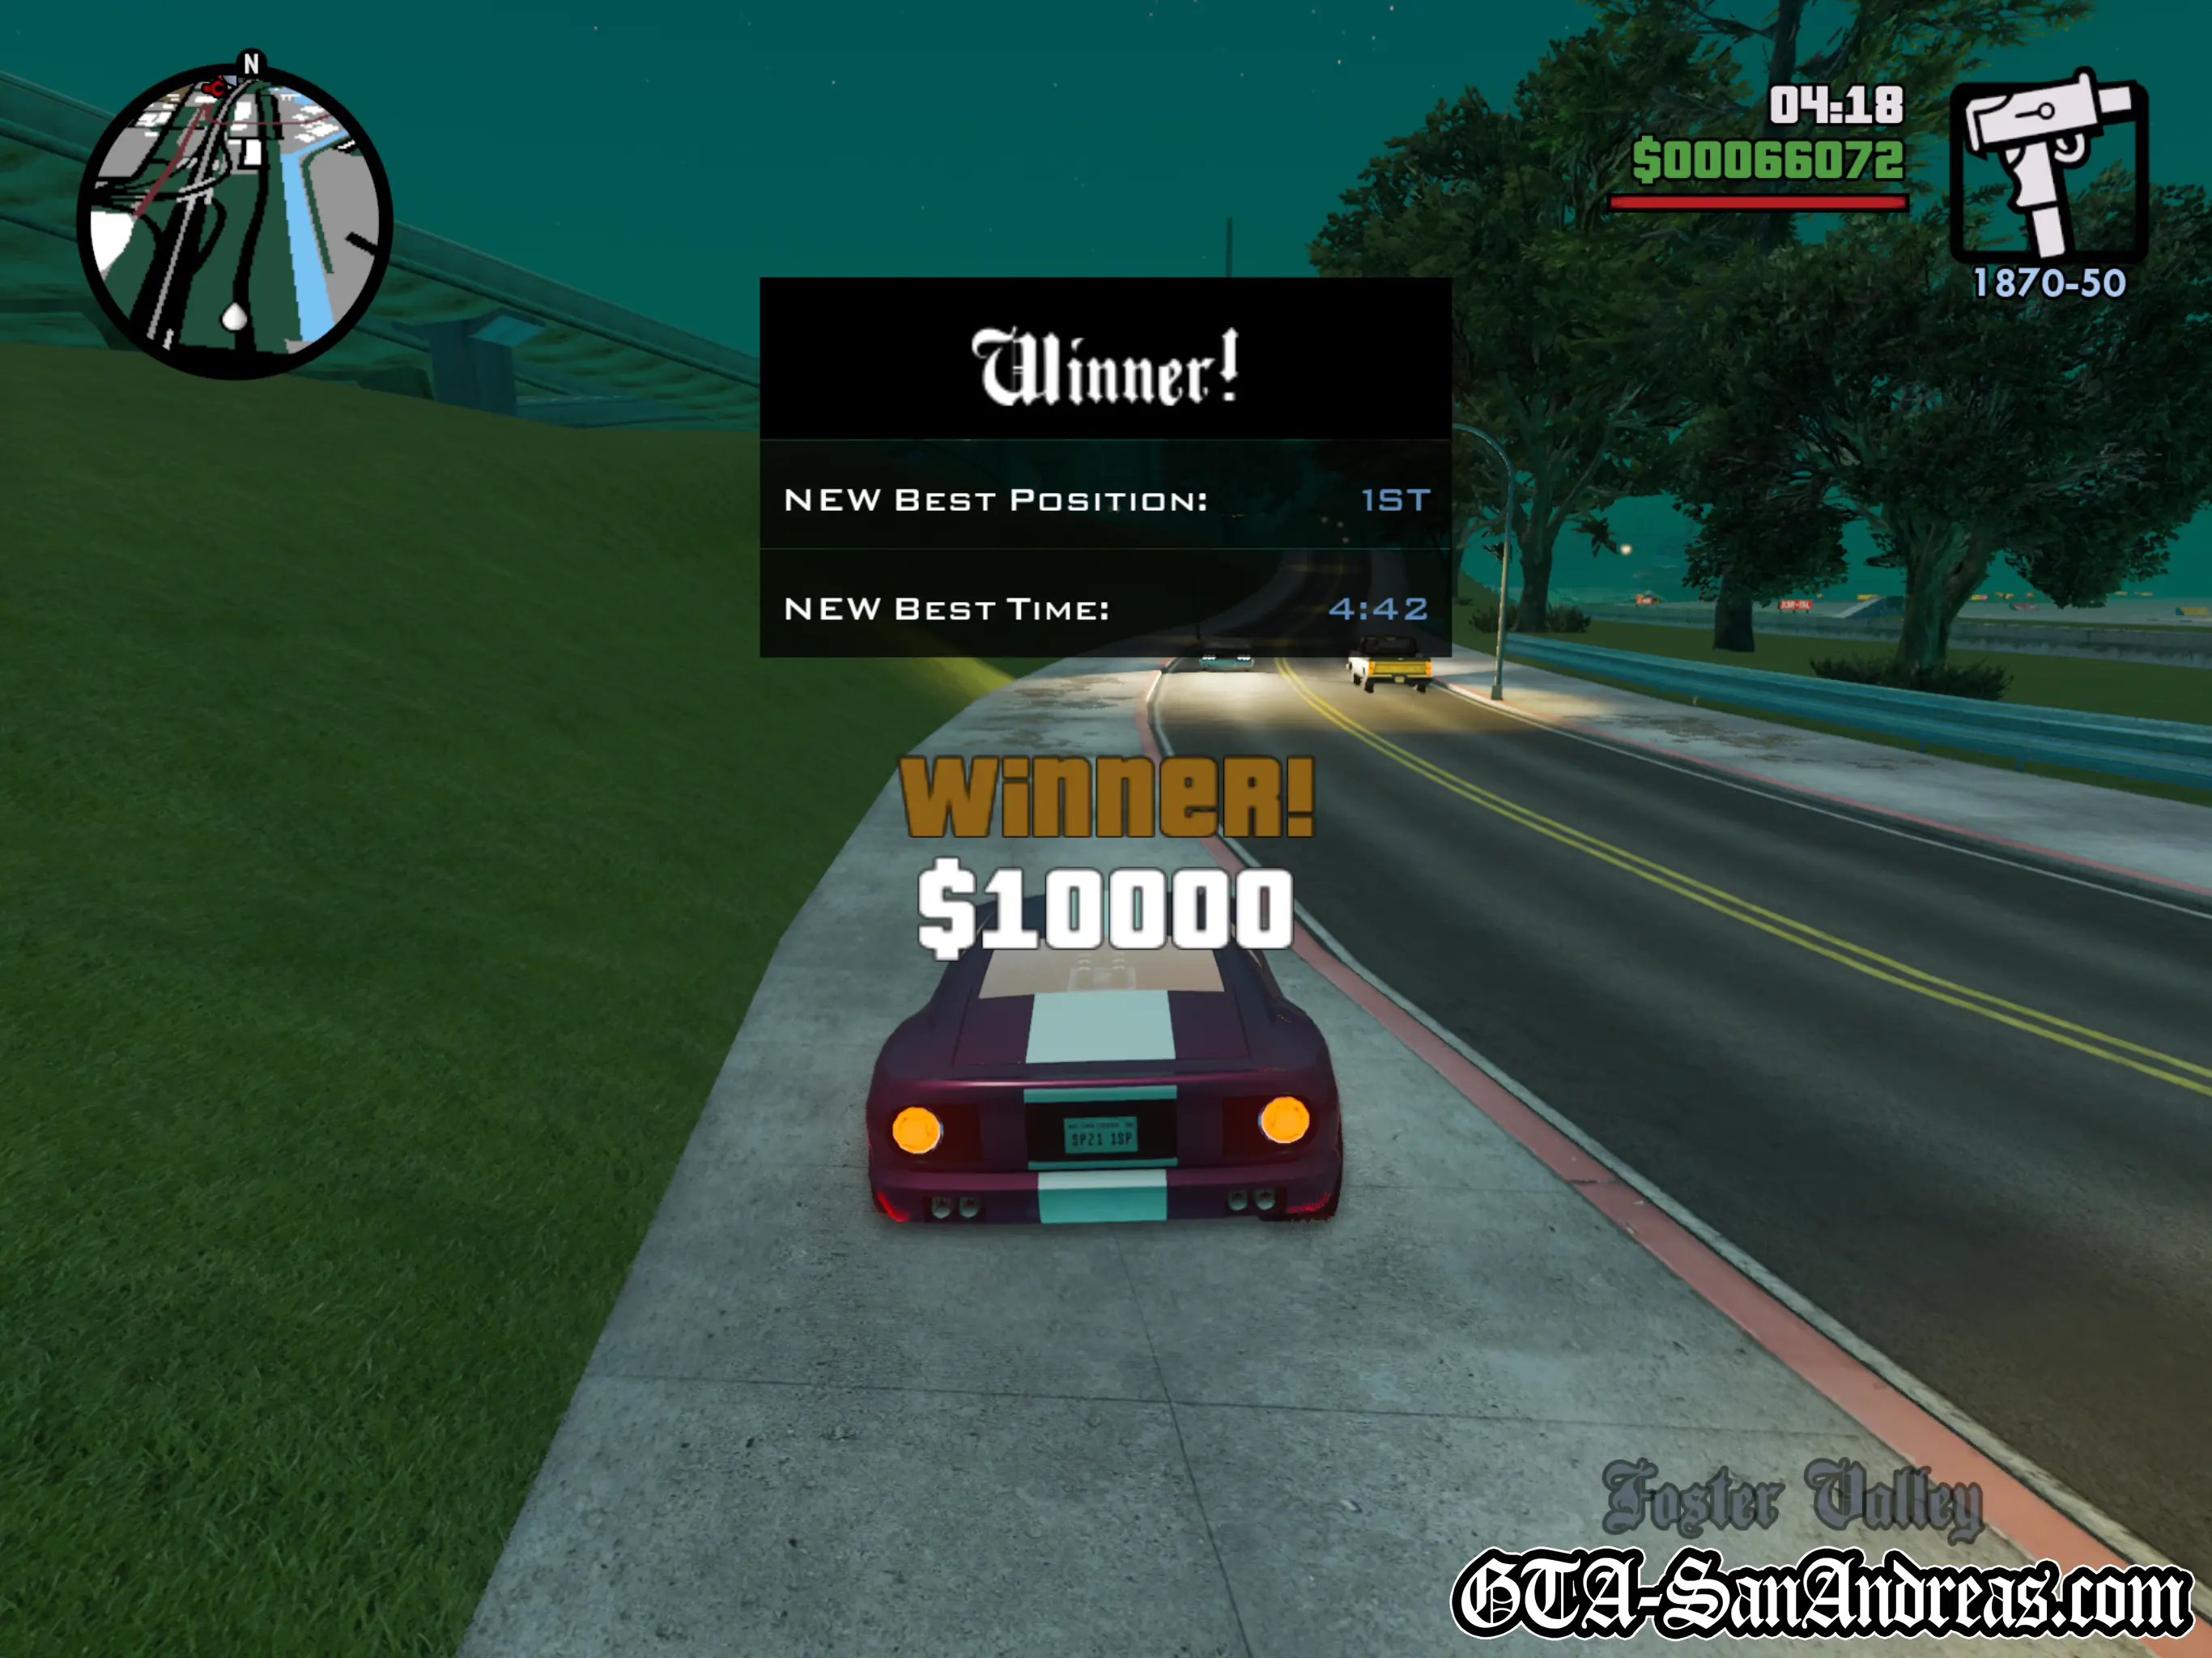
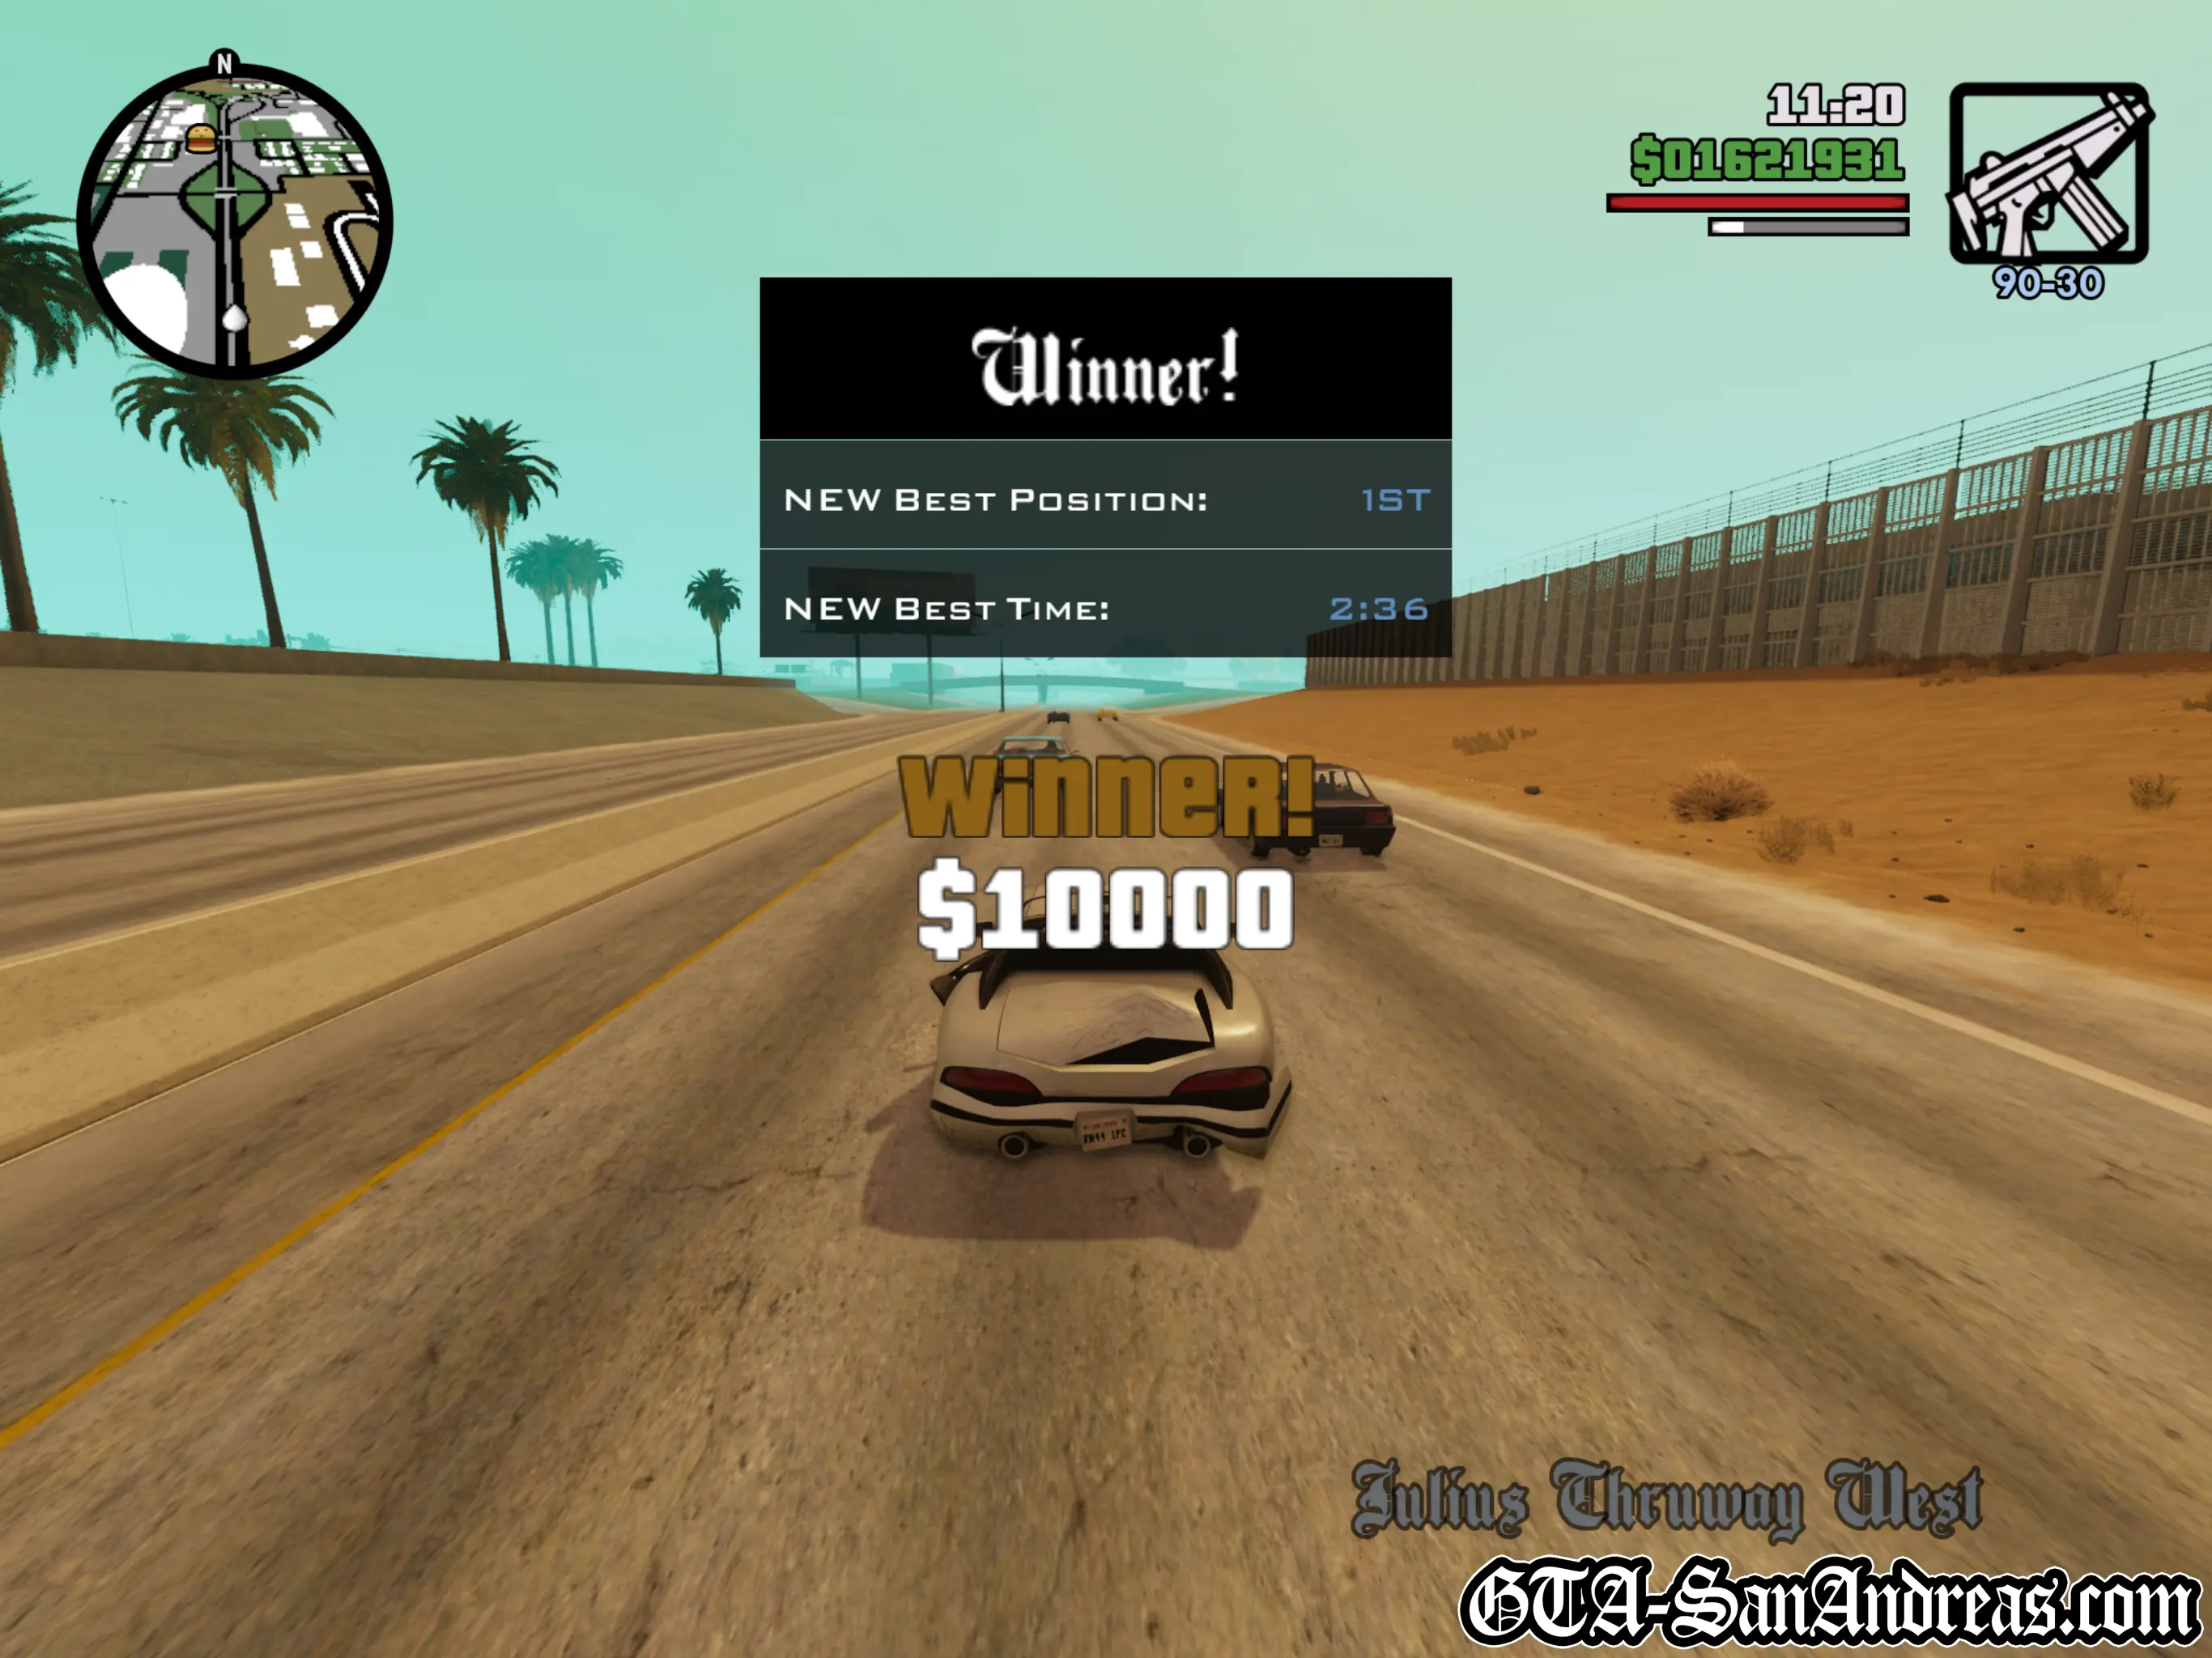
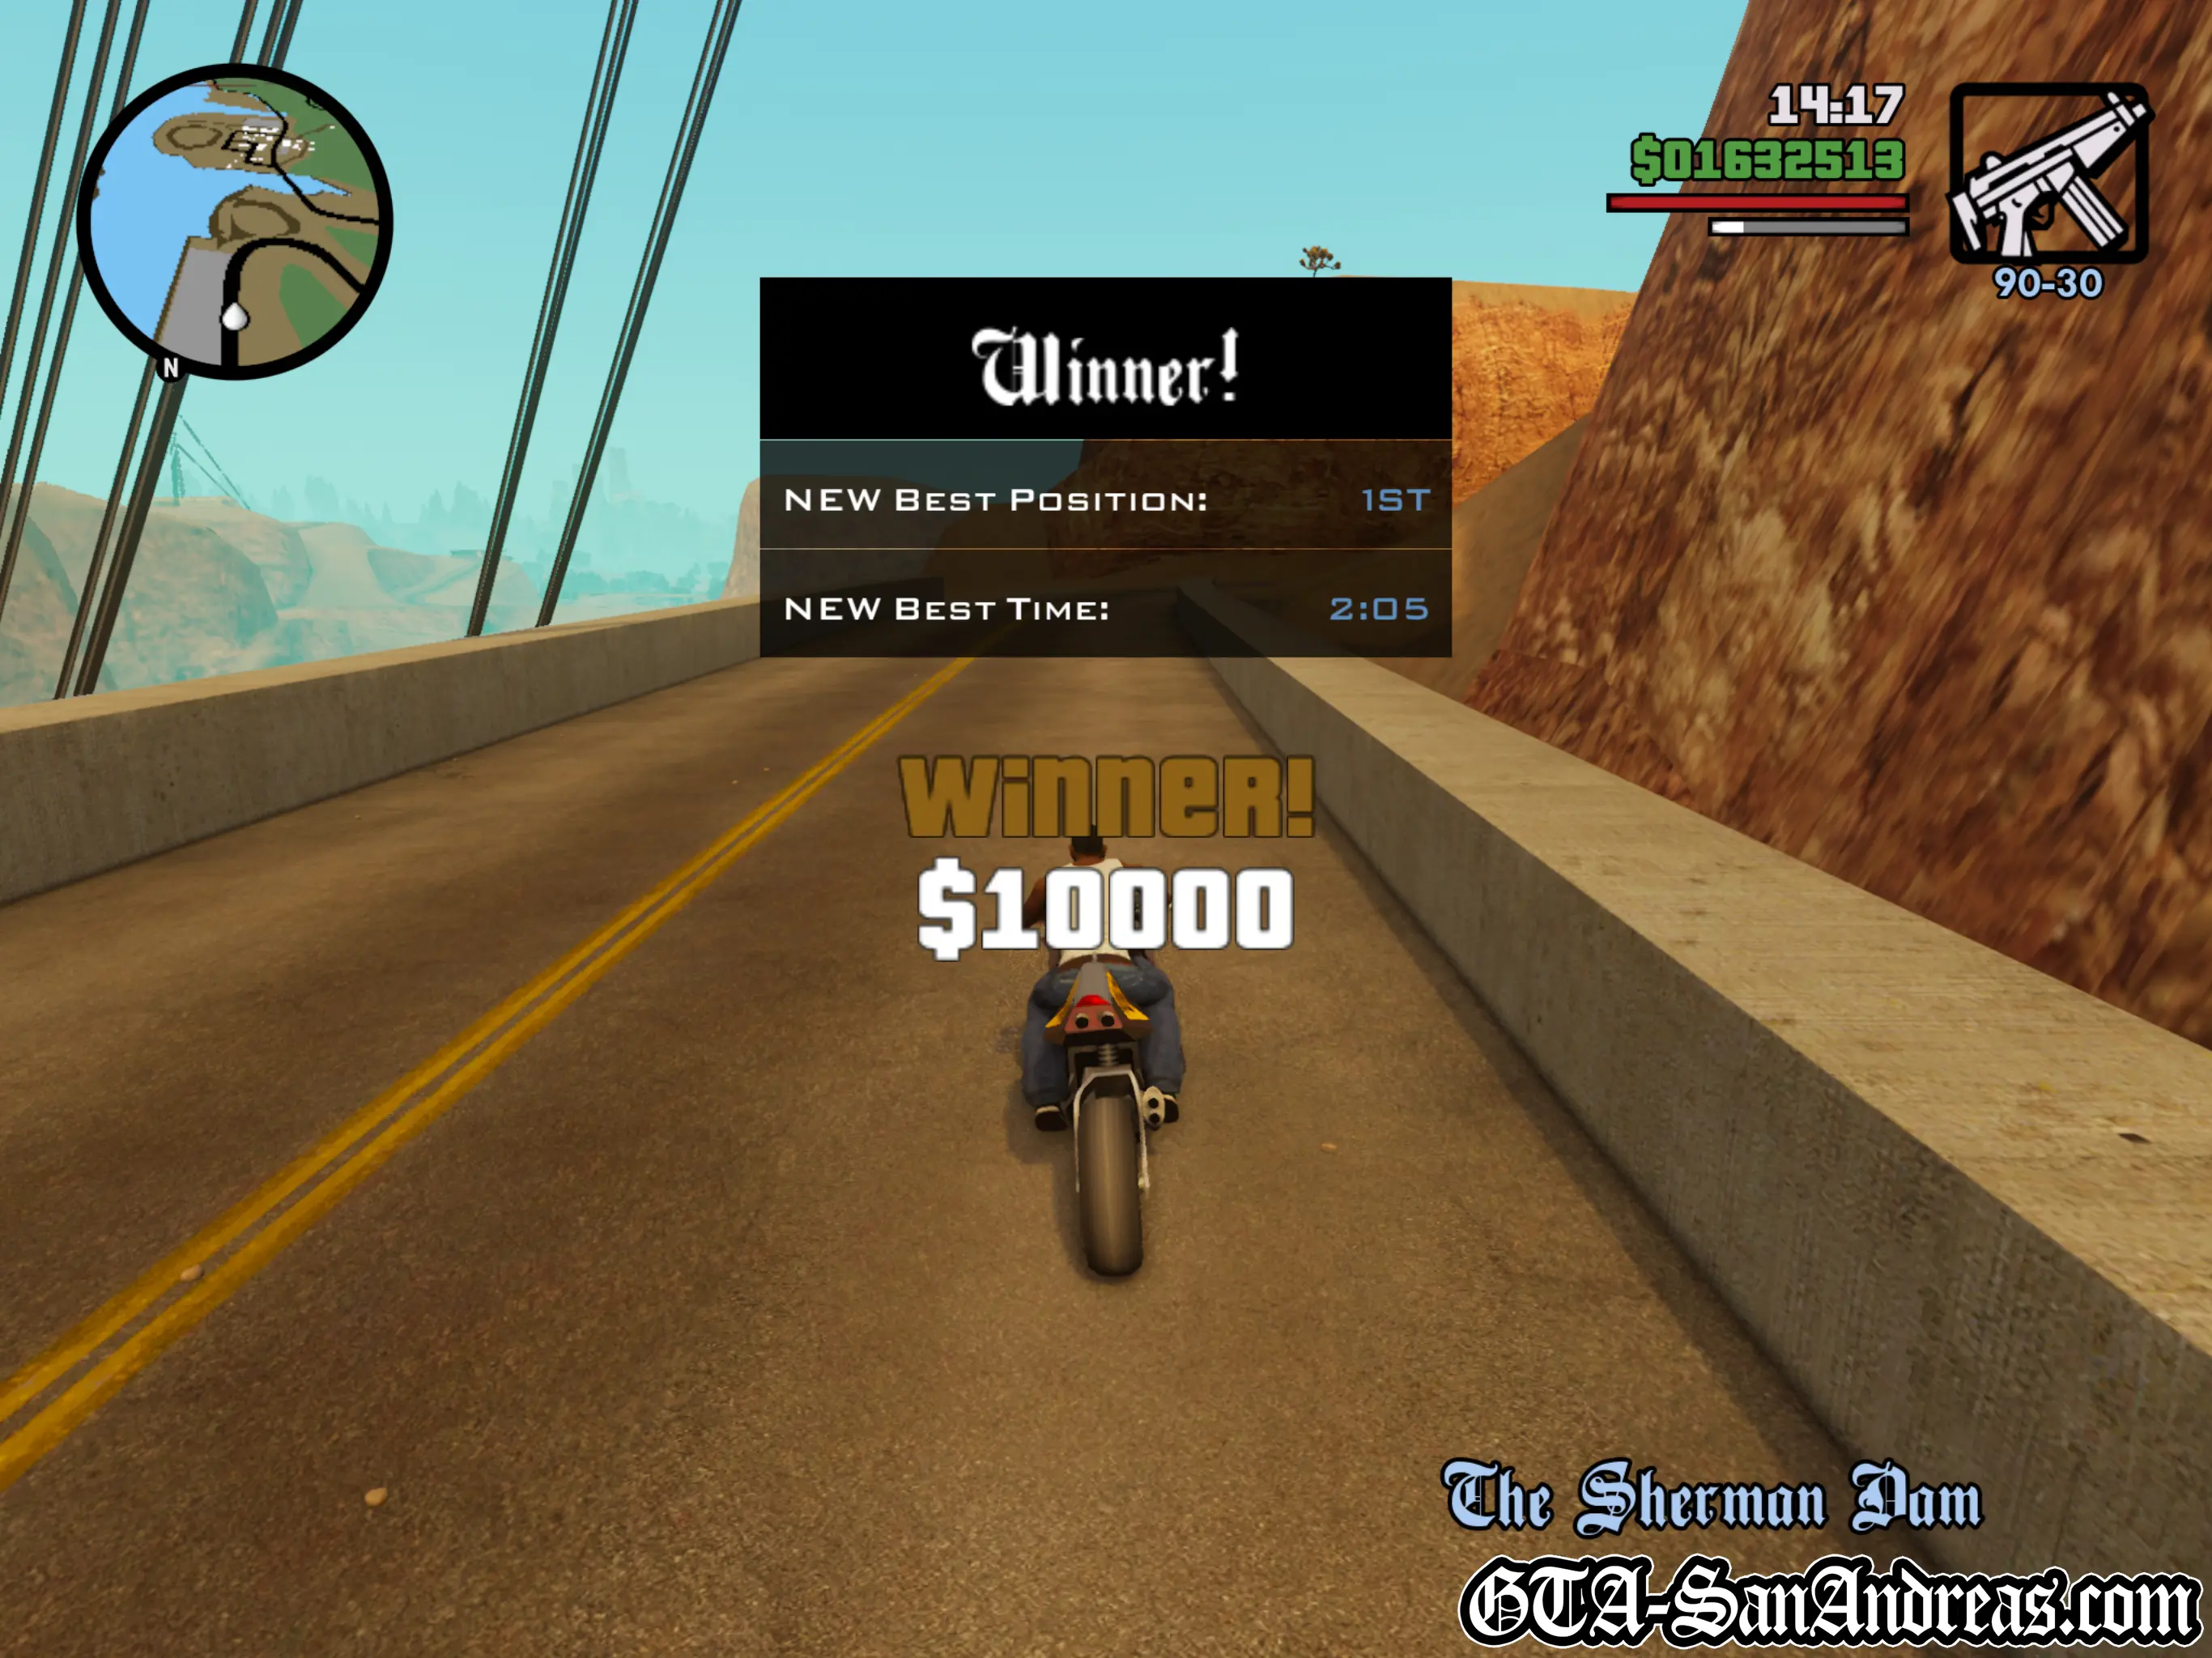
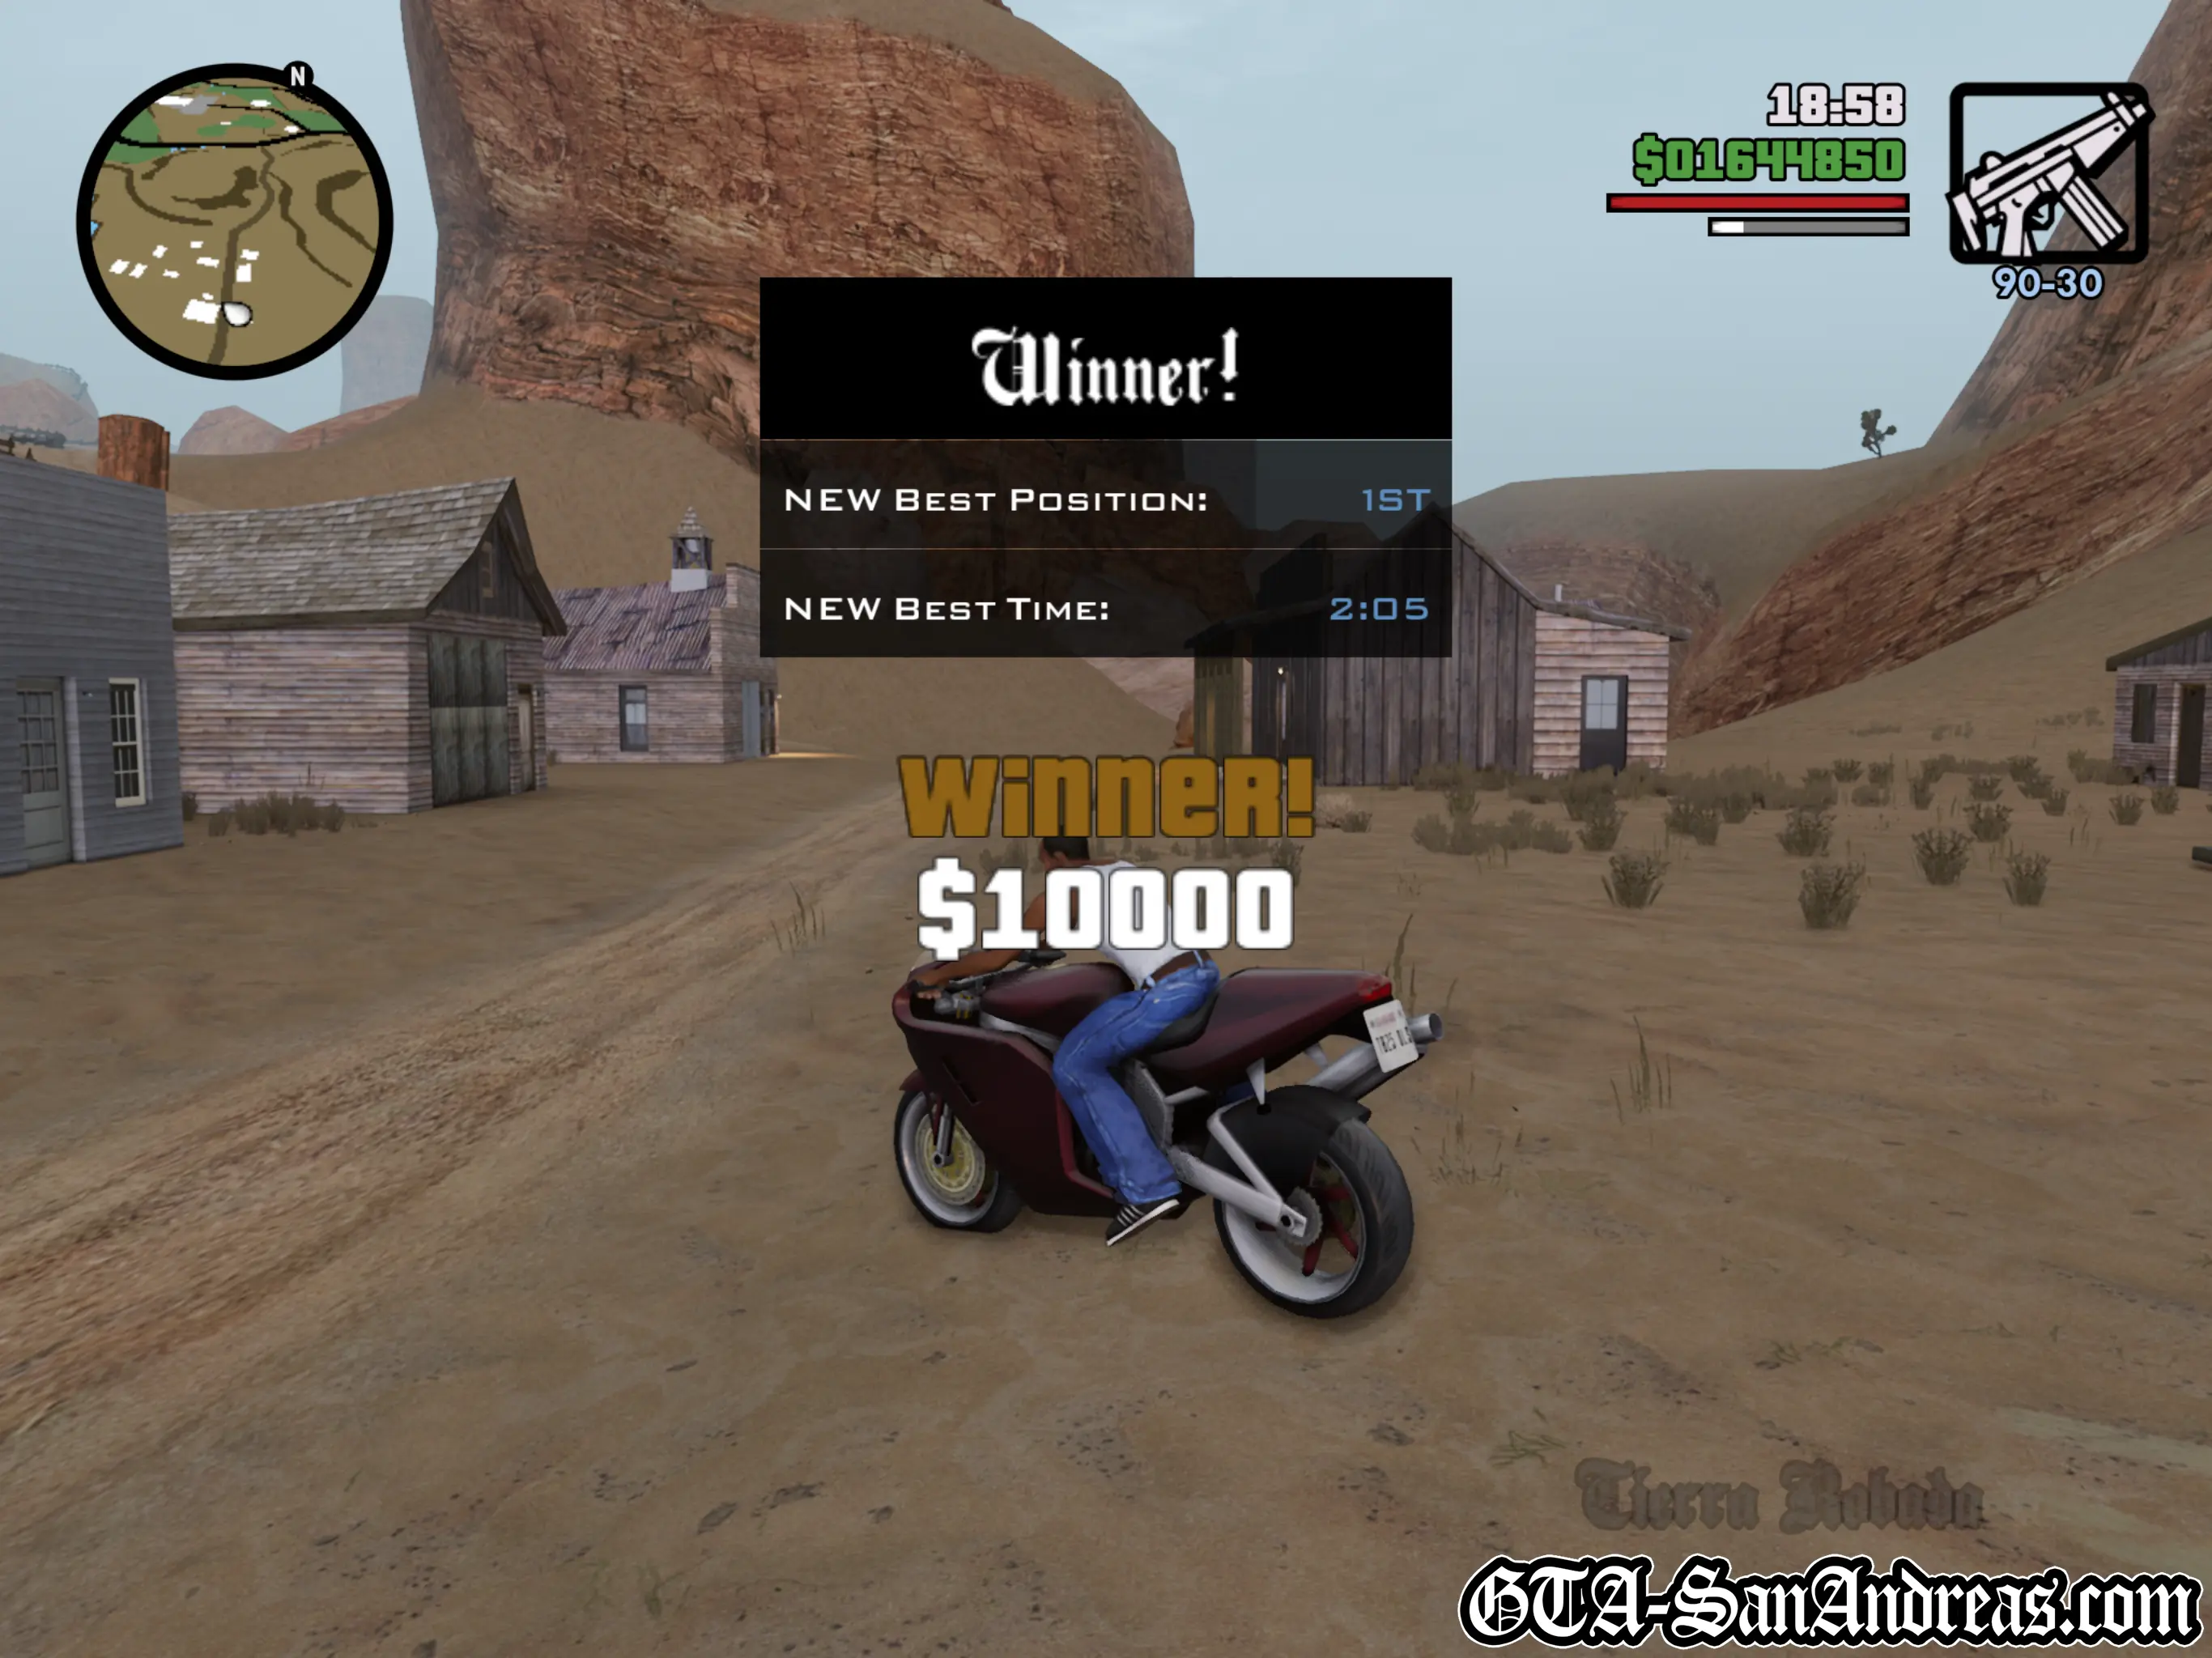
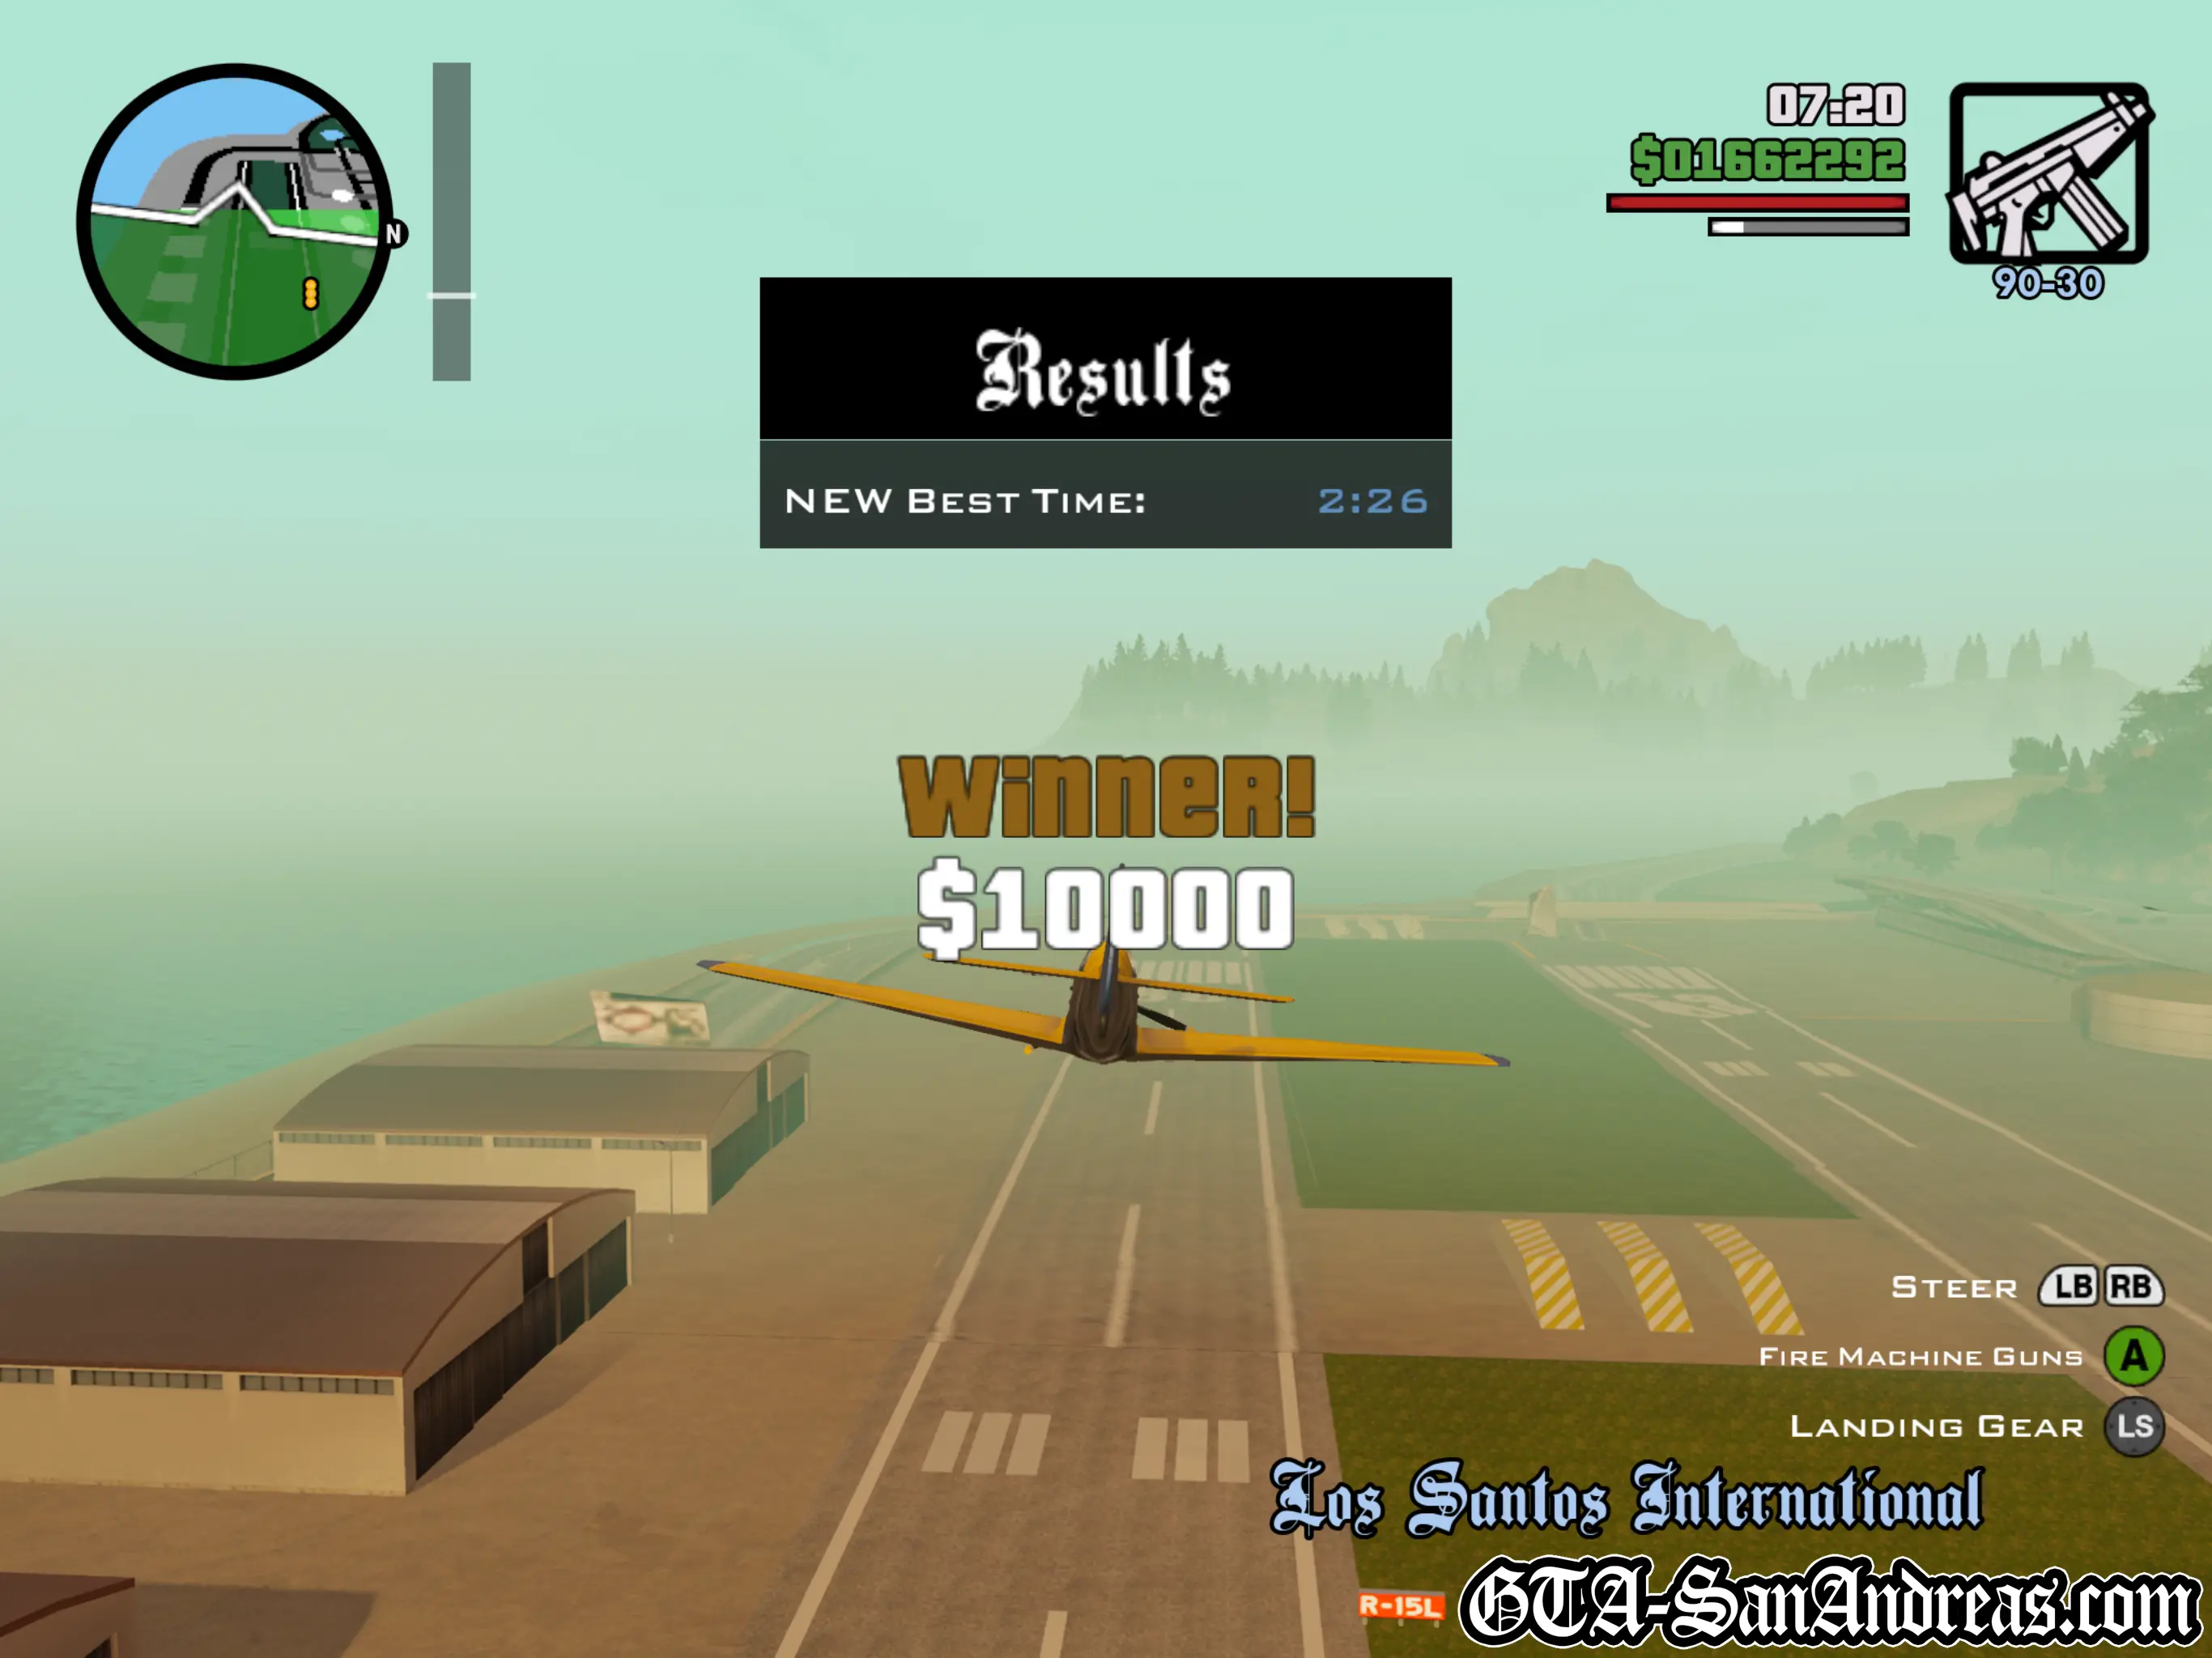
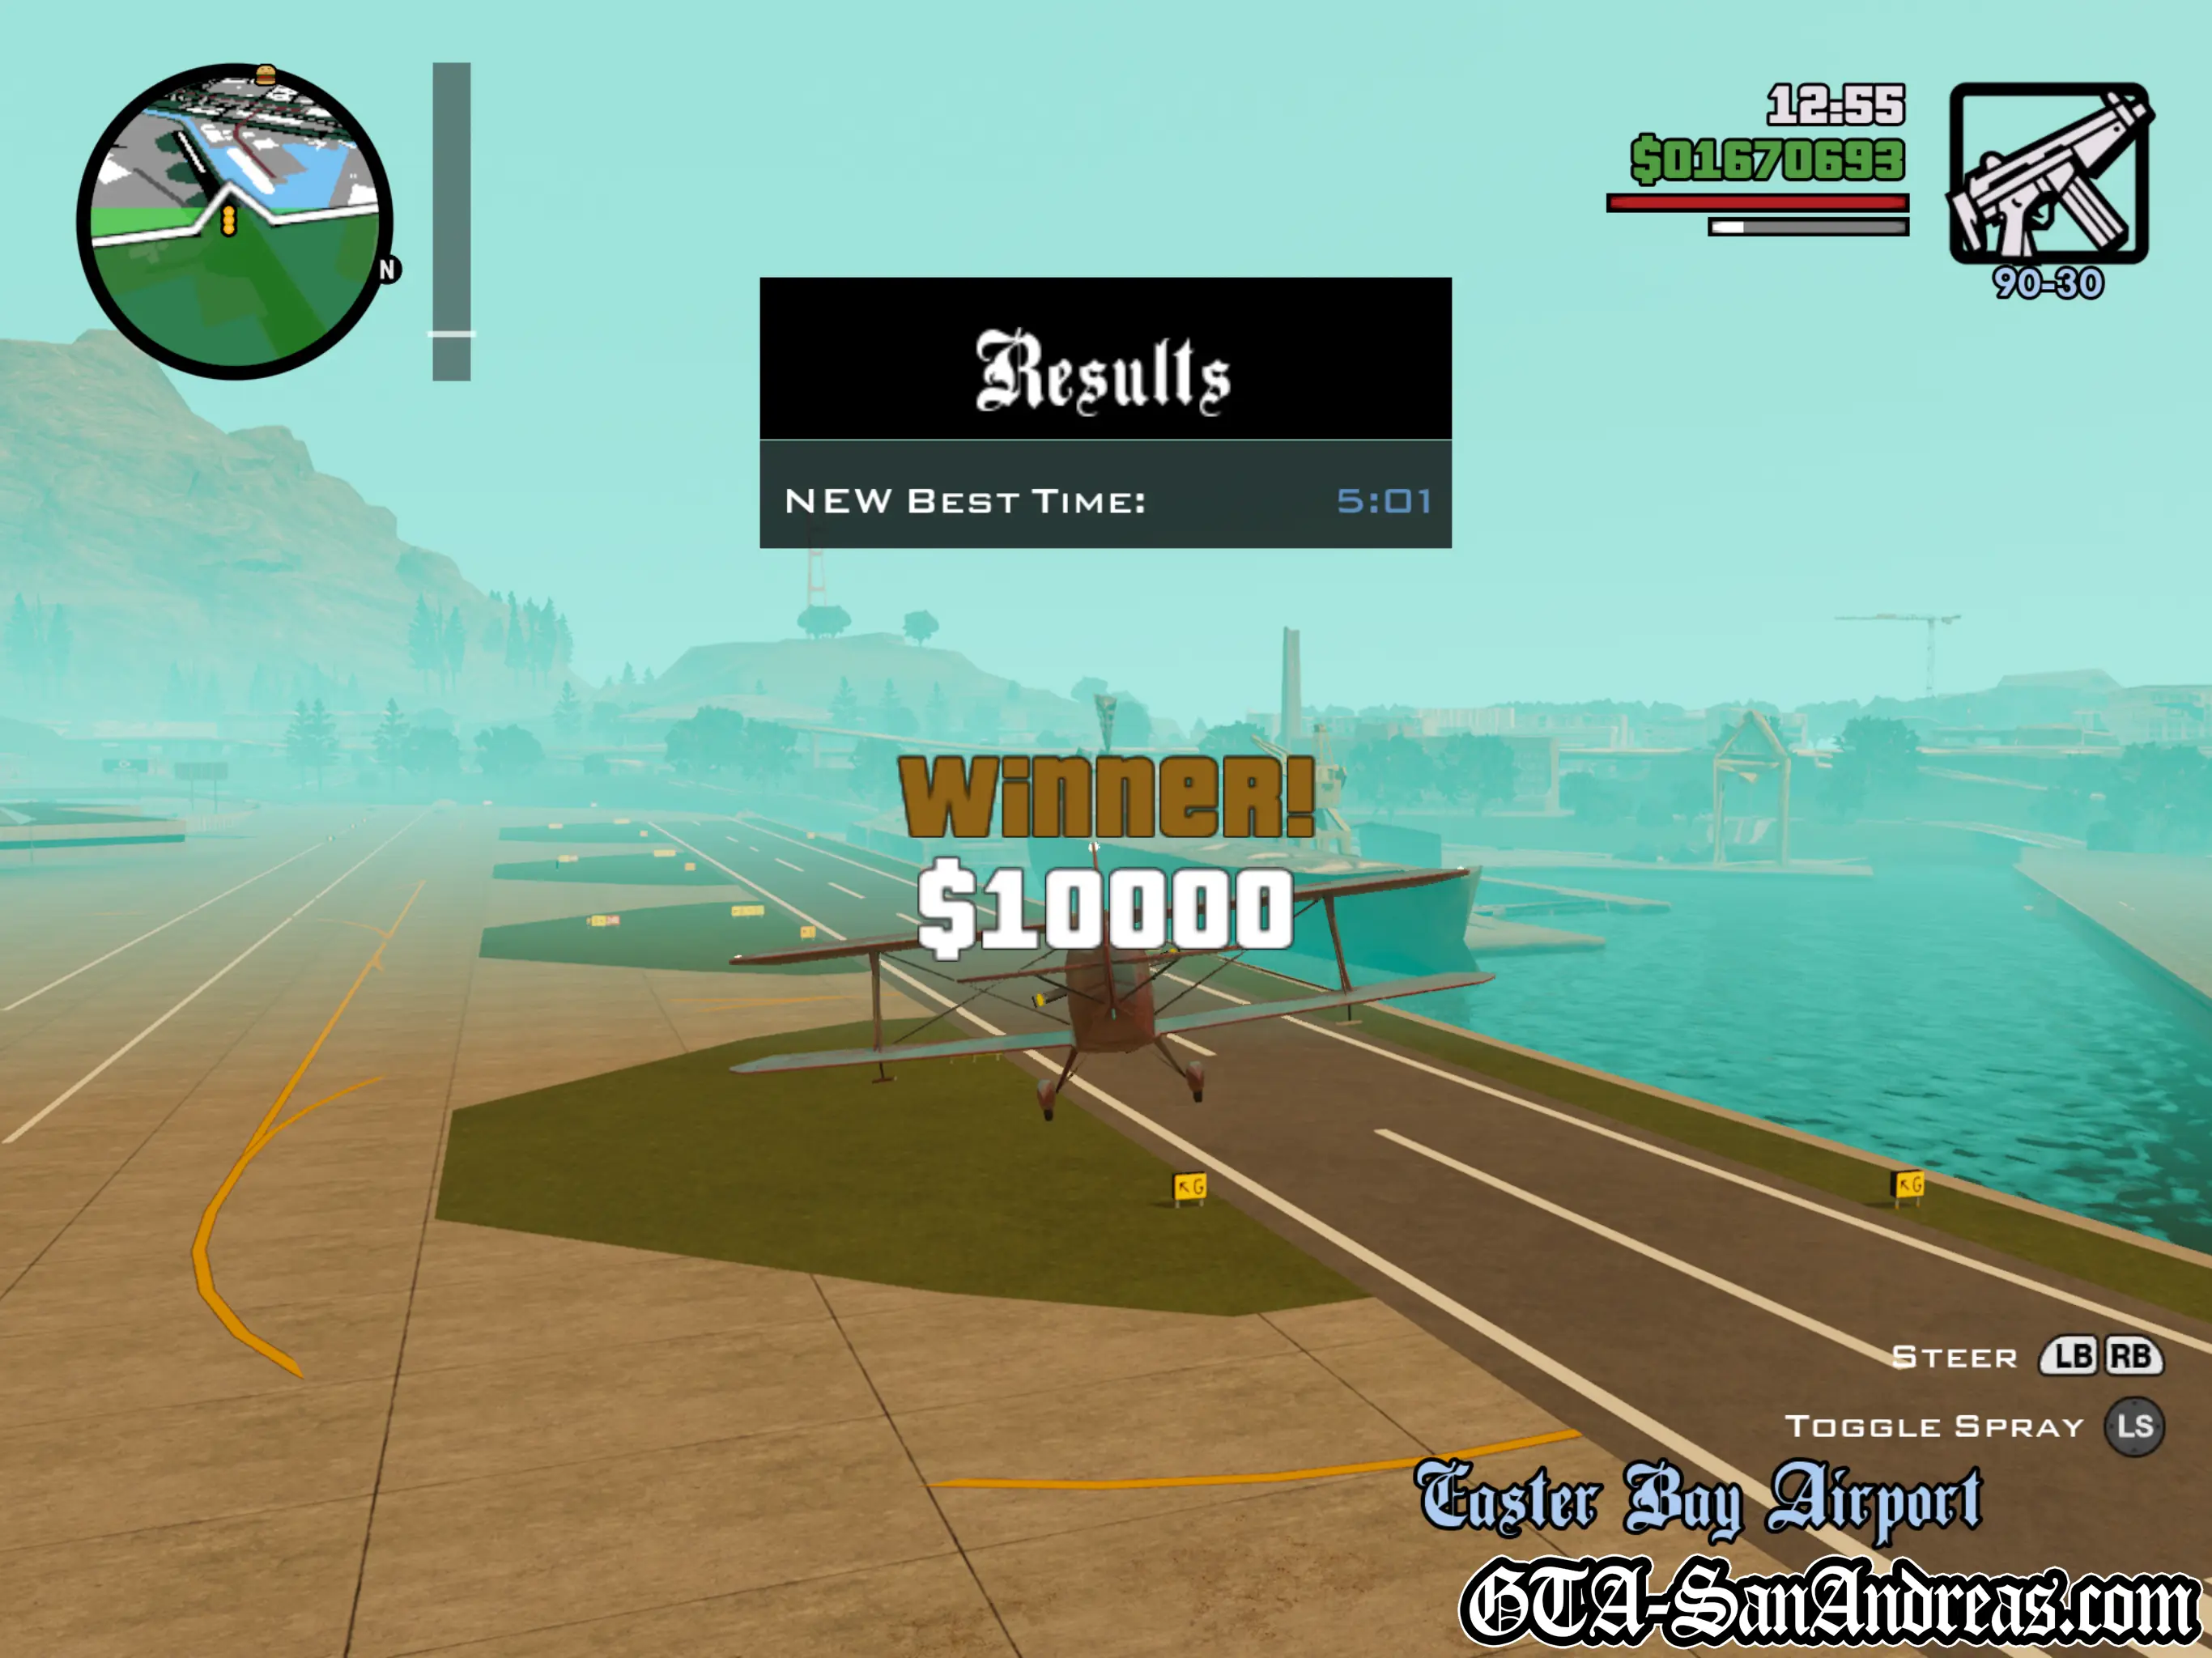
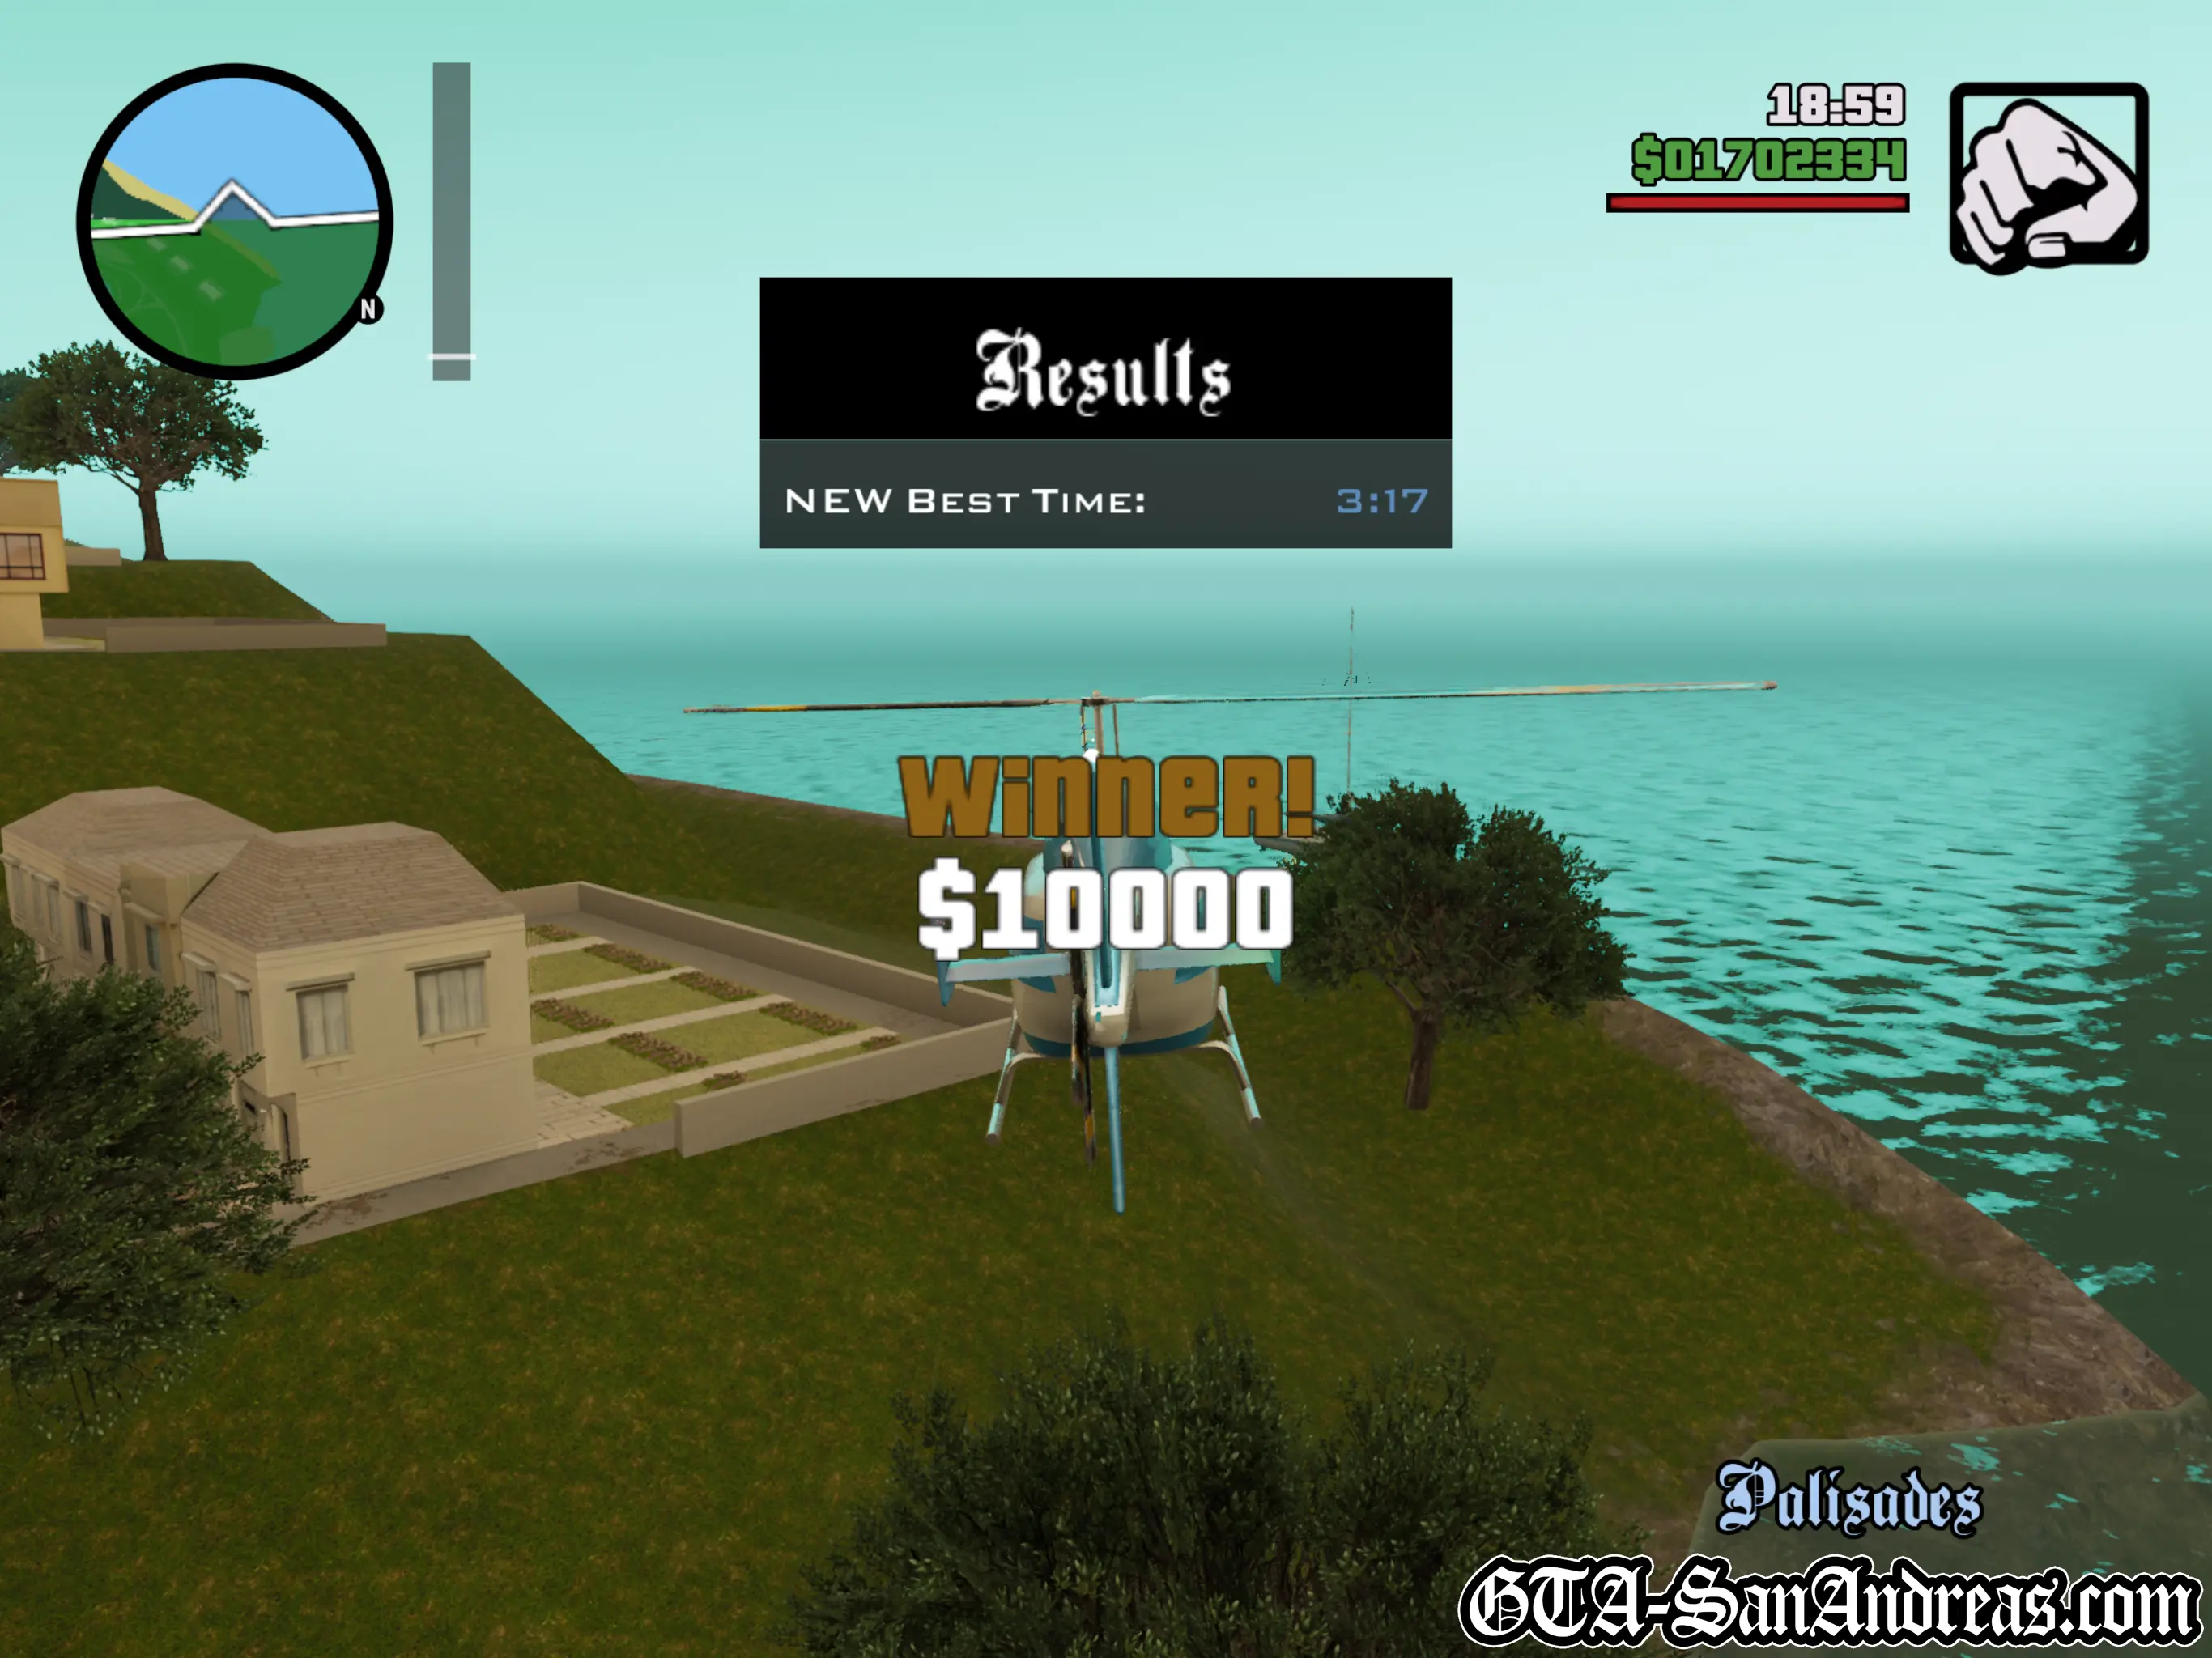
You'll win $10,000 for each race you successfully finish in first place.
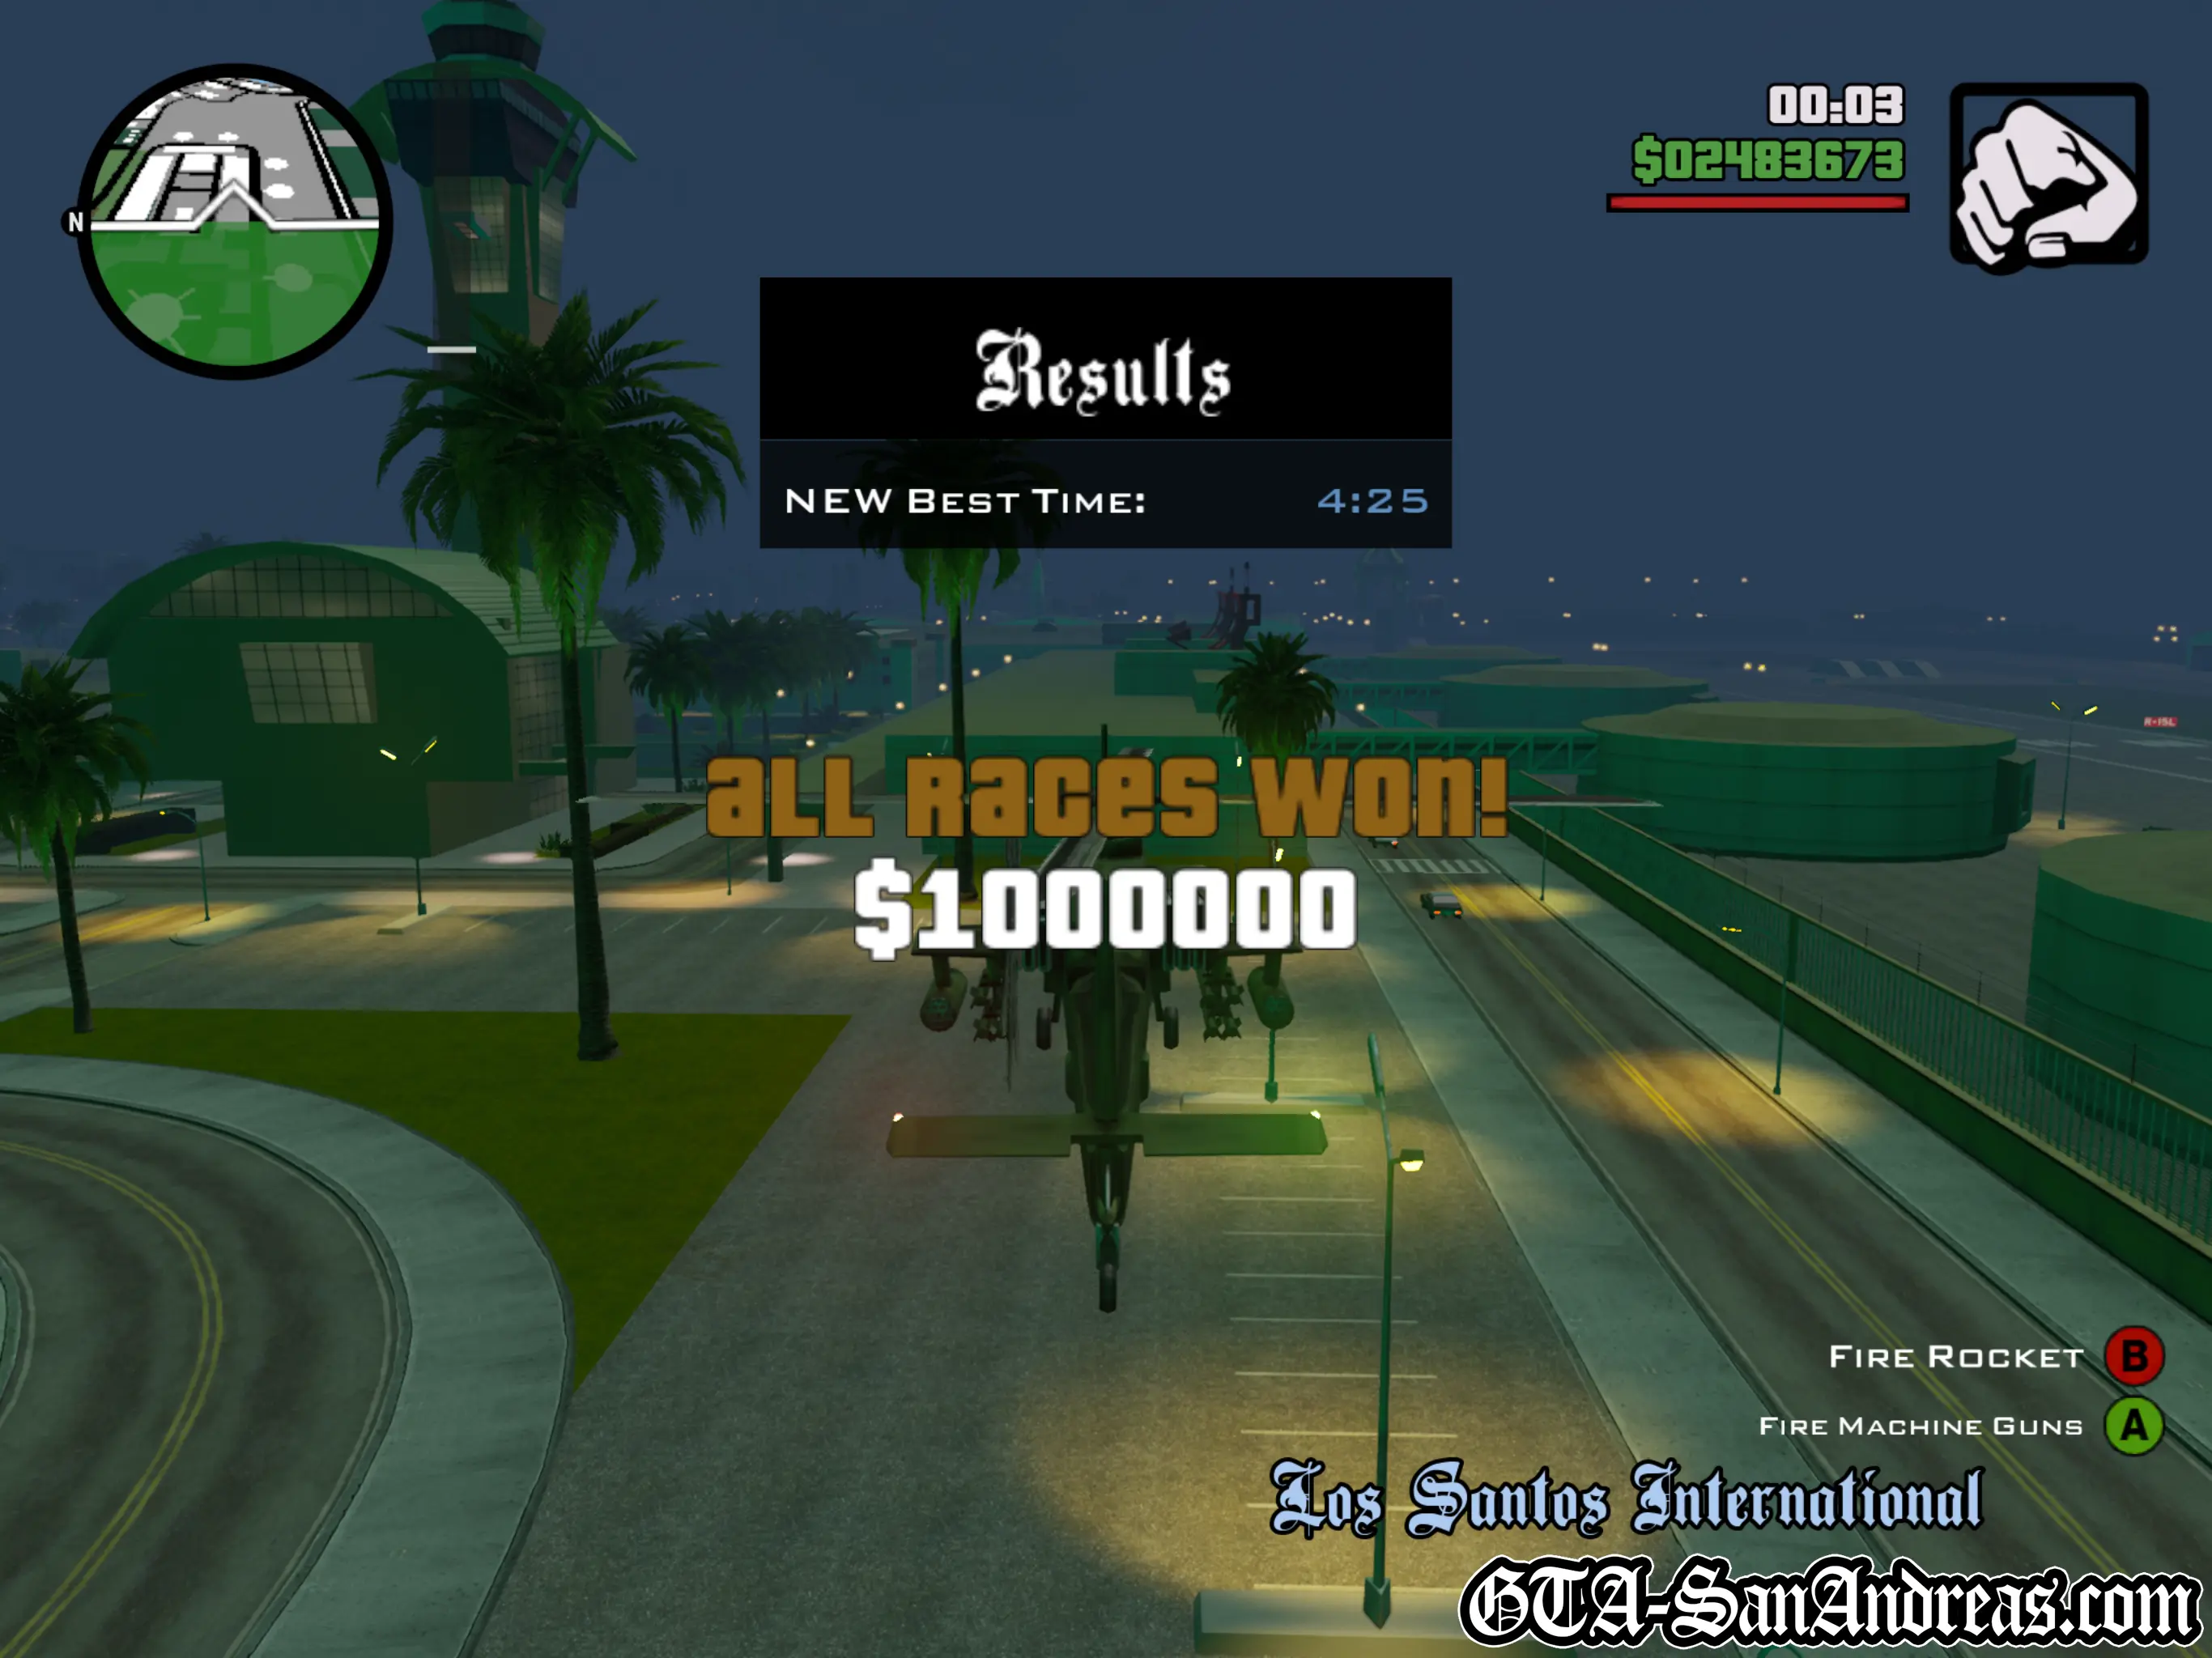
Once you've finished all of the races you'll be rewarded with a huge $1,000,000!
All four locations for the race challenges are:
- Little Mexico, Los Santos
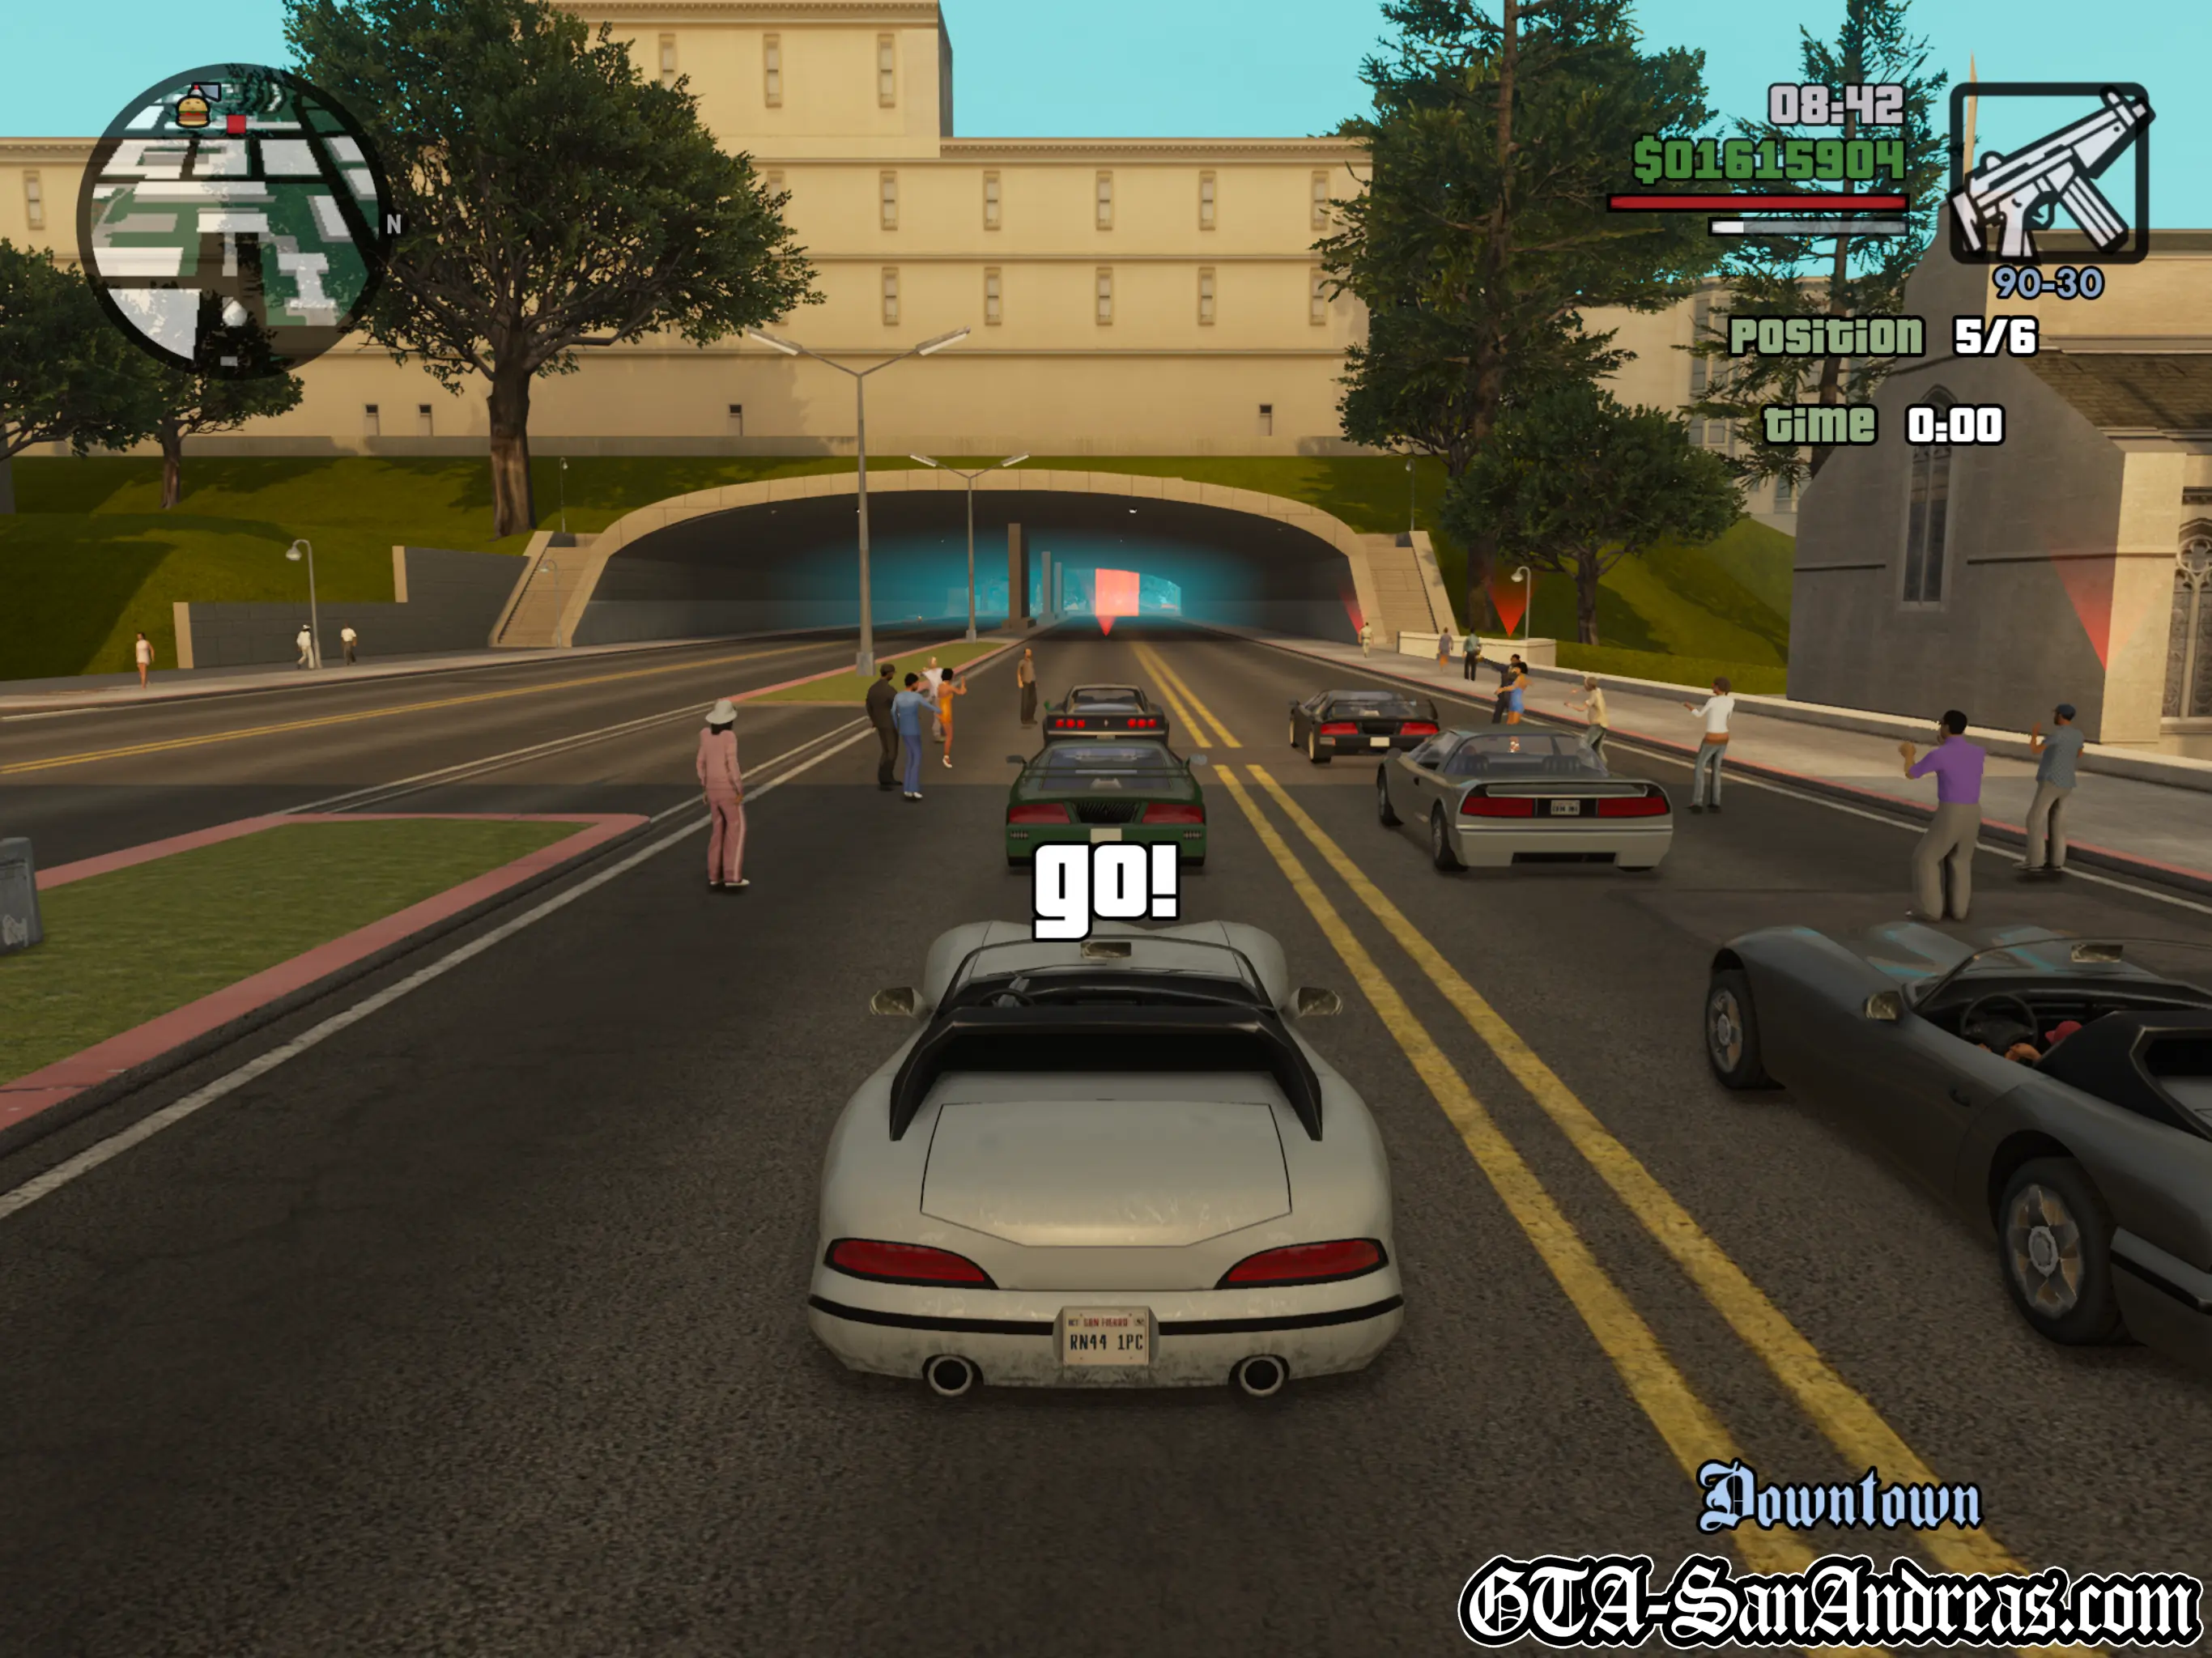
- Downtown, San Fierro
- LVA Freight Depot, Las Venturas
- Las Venturas Airport (Checkpoint Challenges)
Quick Links
- Los Santos
- Lowrider Race
- Little Loop
- Backroad Wanderer
- City Circuit
- Vinewood
- Freeway
- Into The Country
- Badlands A
- Badlands B
- San Fierro
- Dirtbike Danger
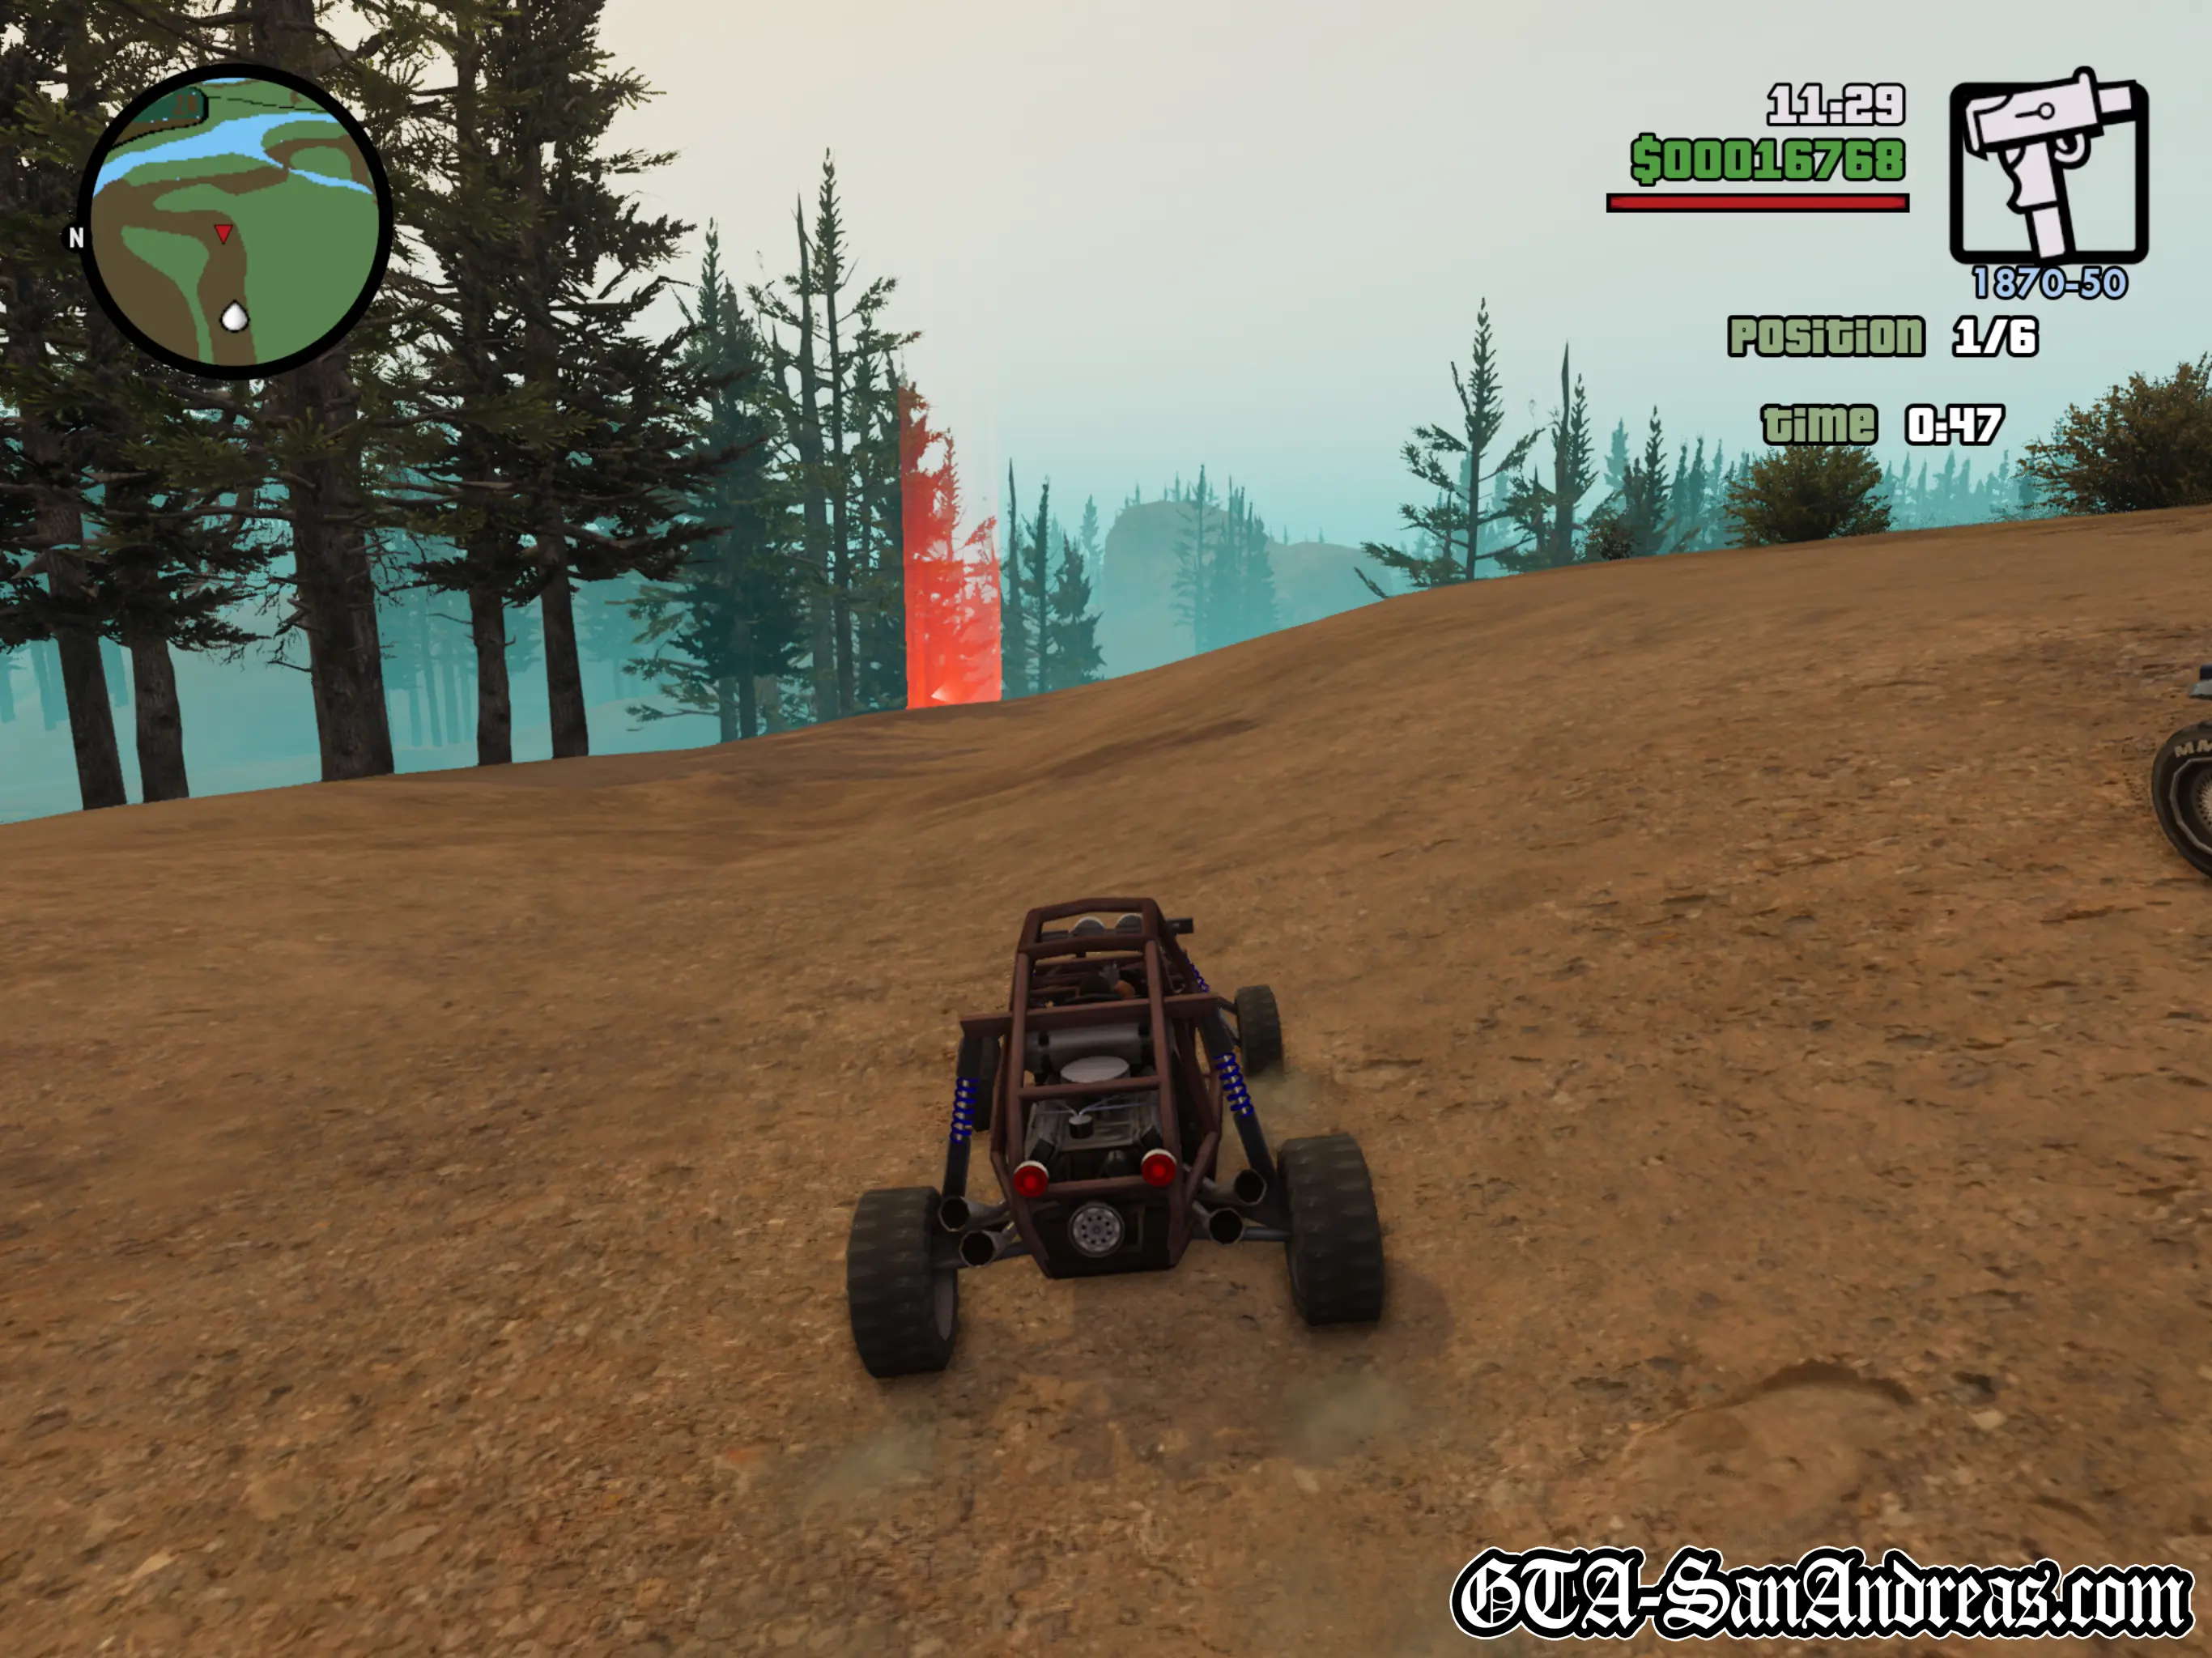
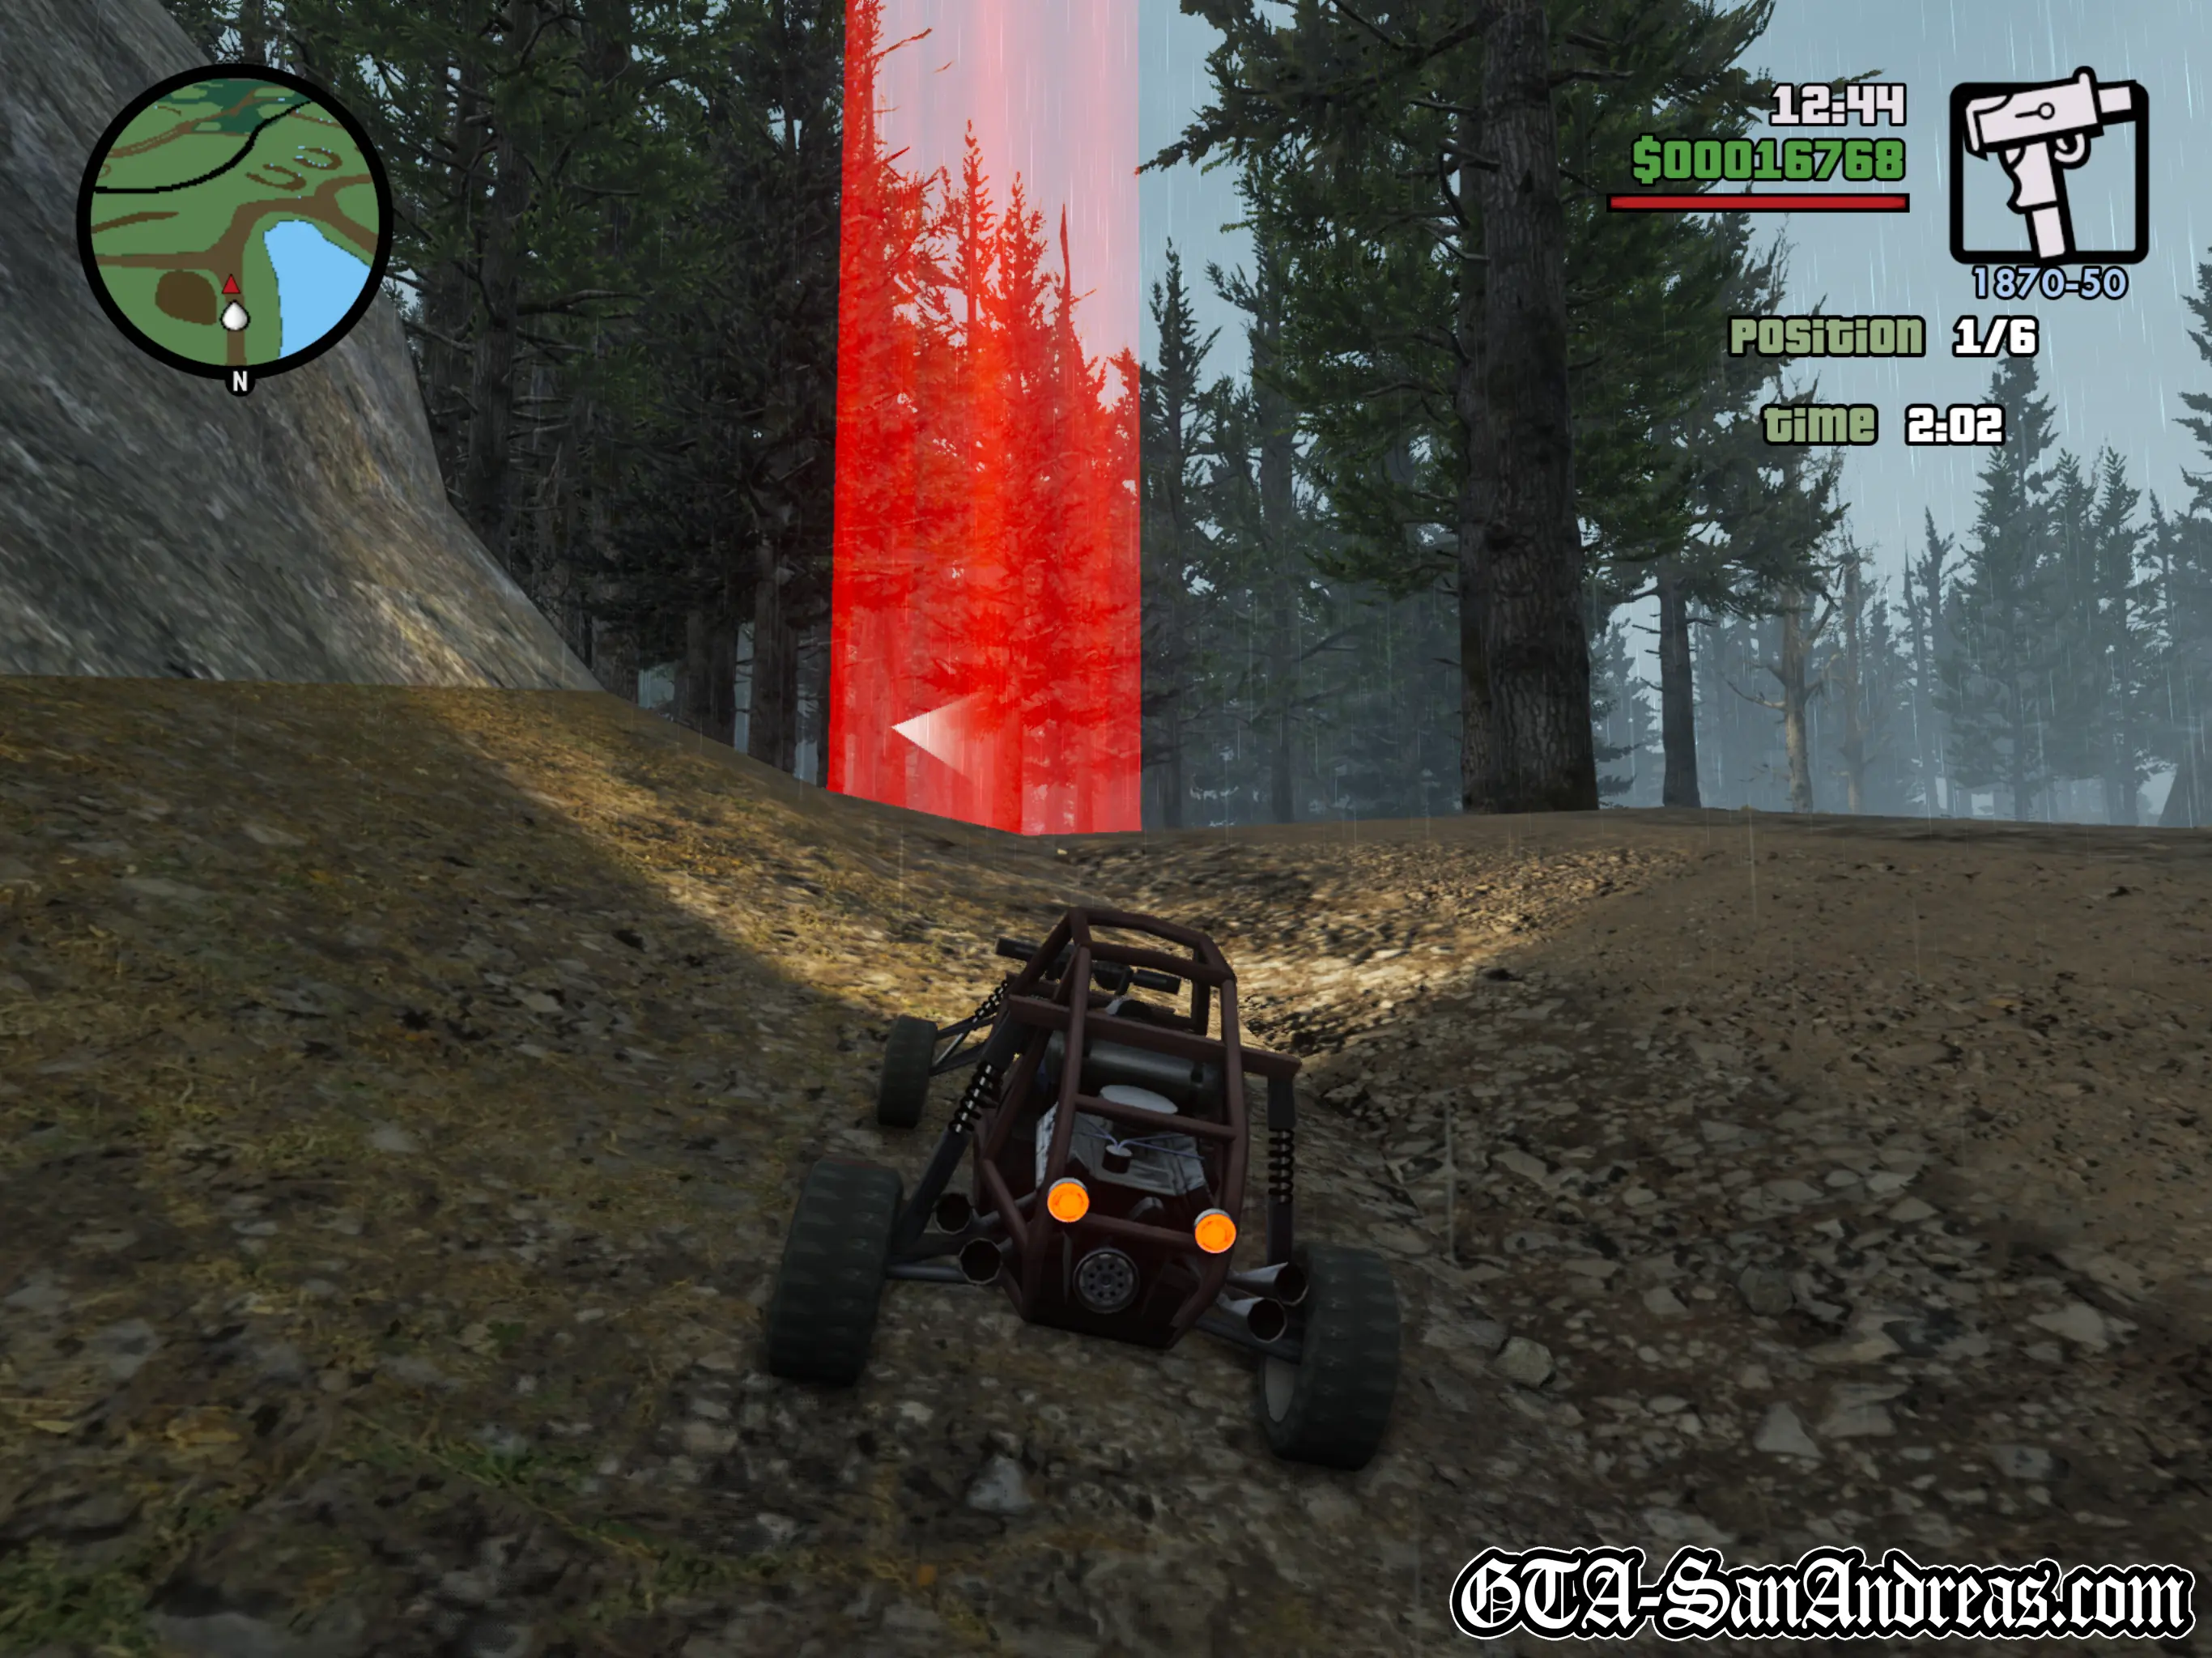
- Bandito Country
- Go-Go Karting
- San Fierro Fastlane
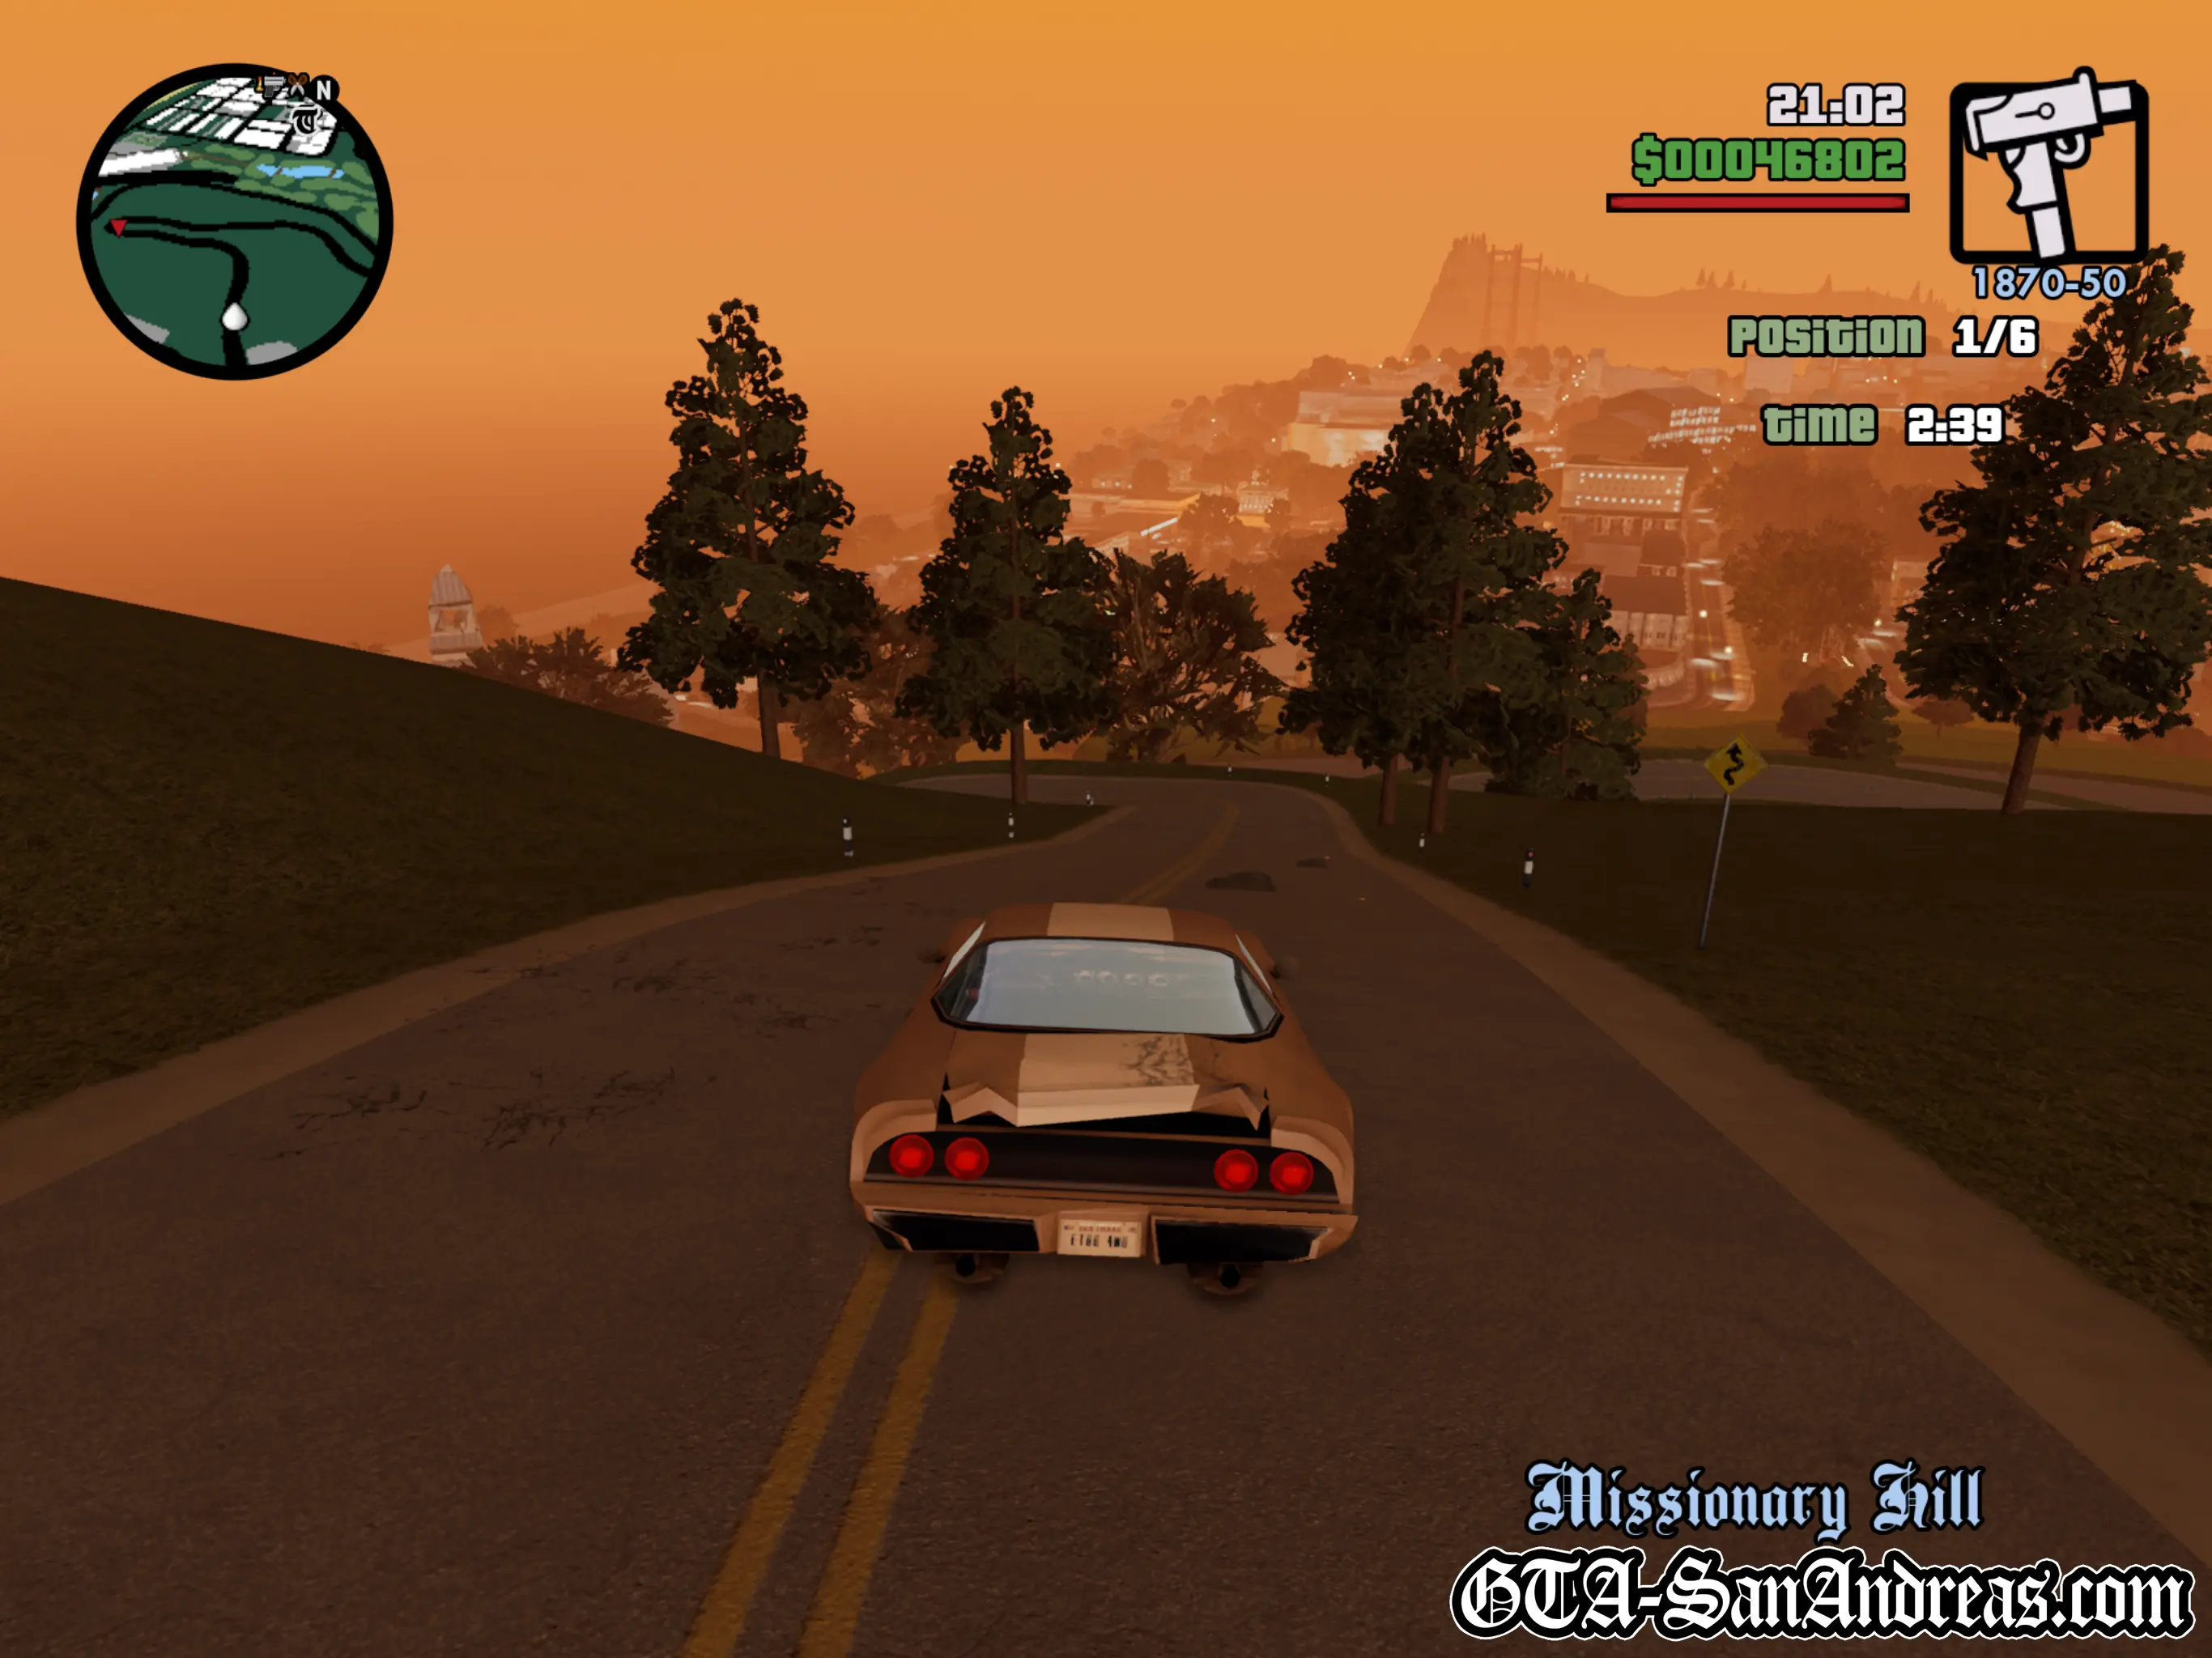
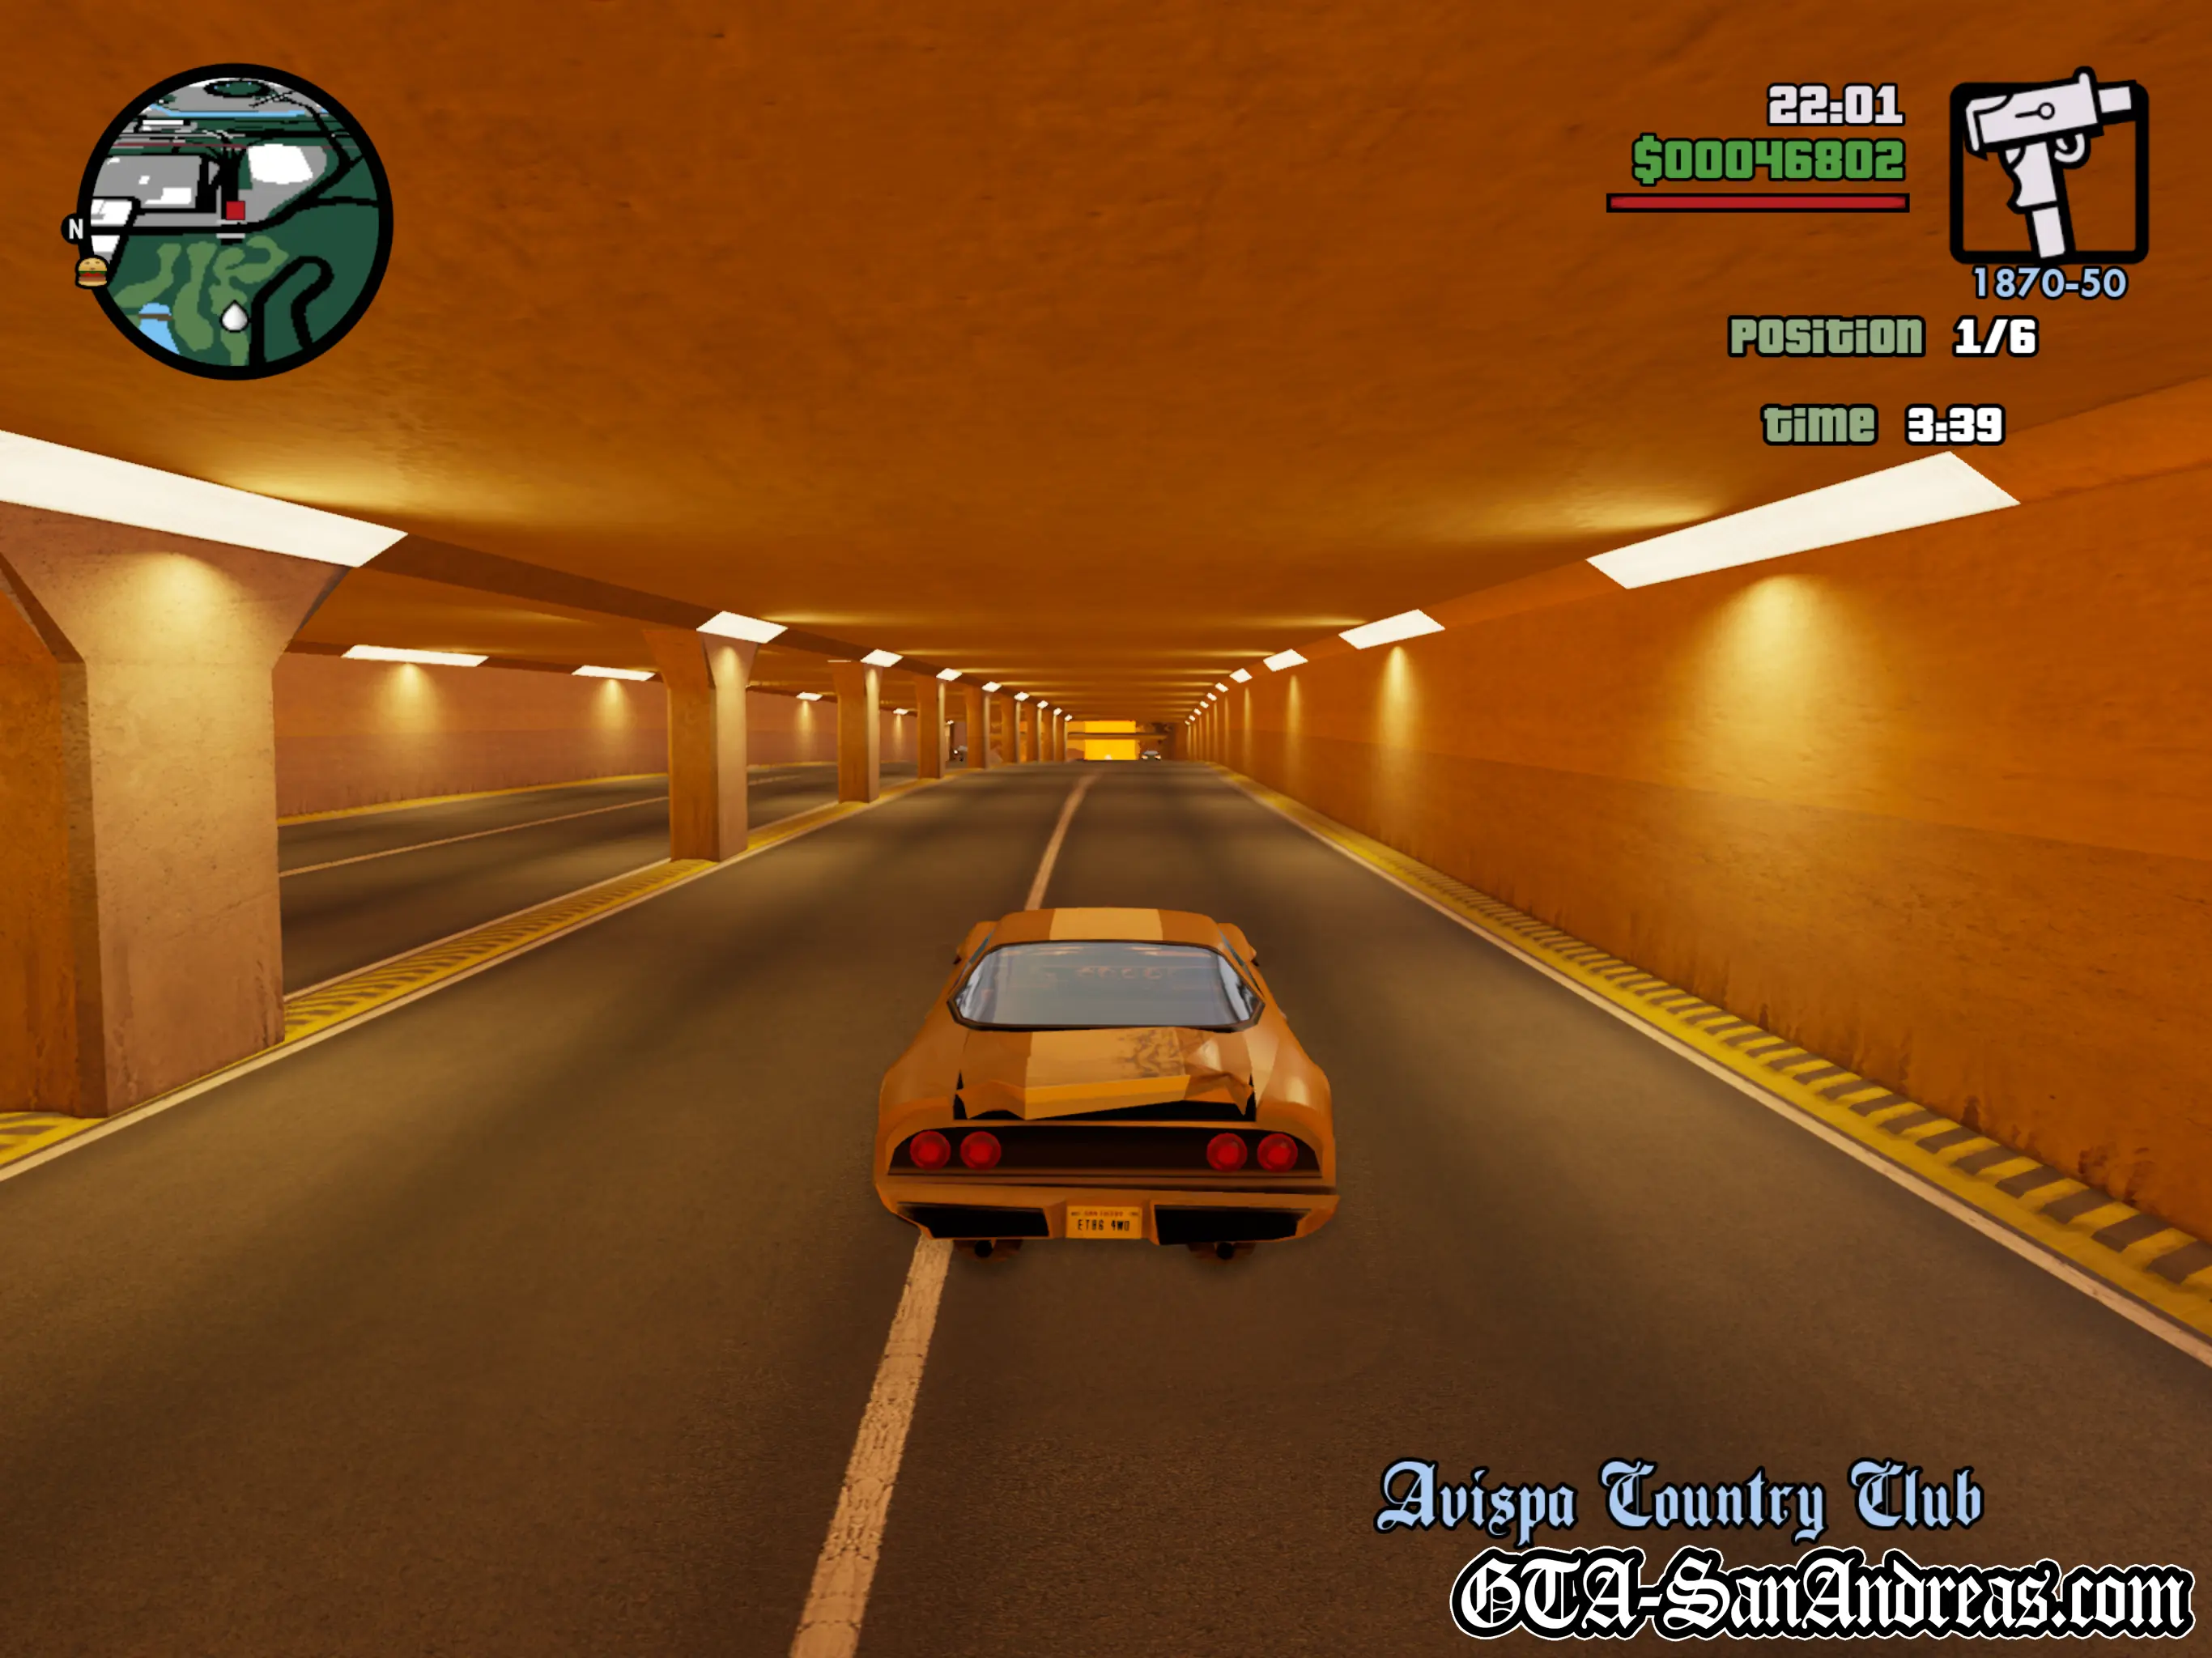
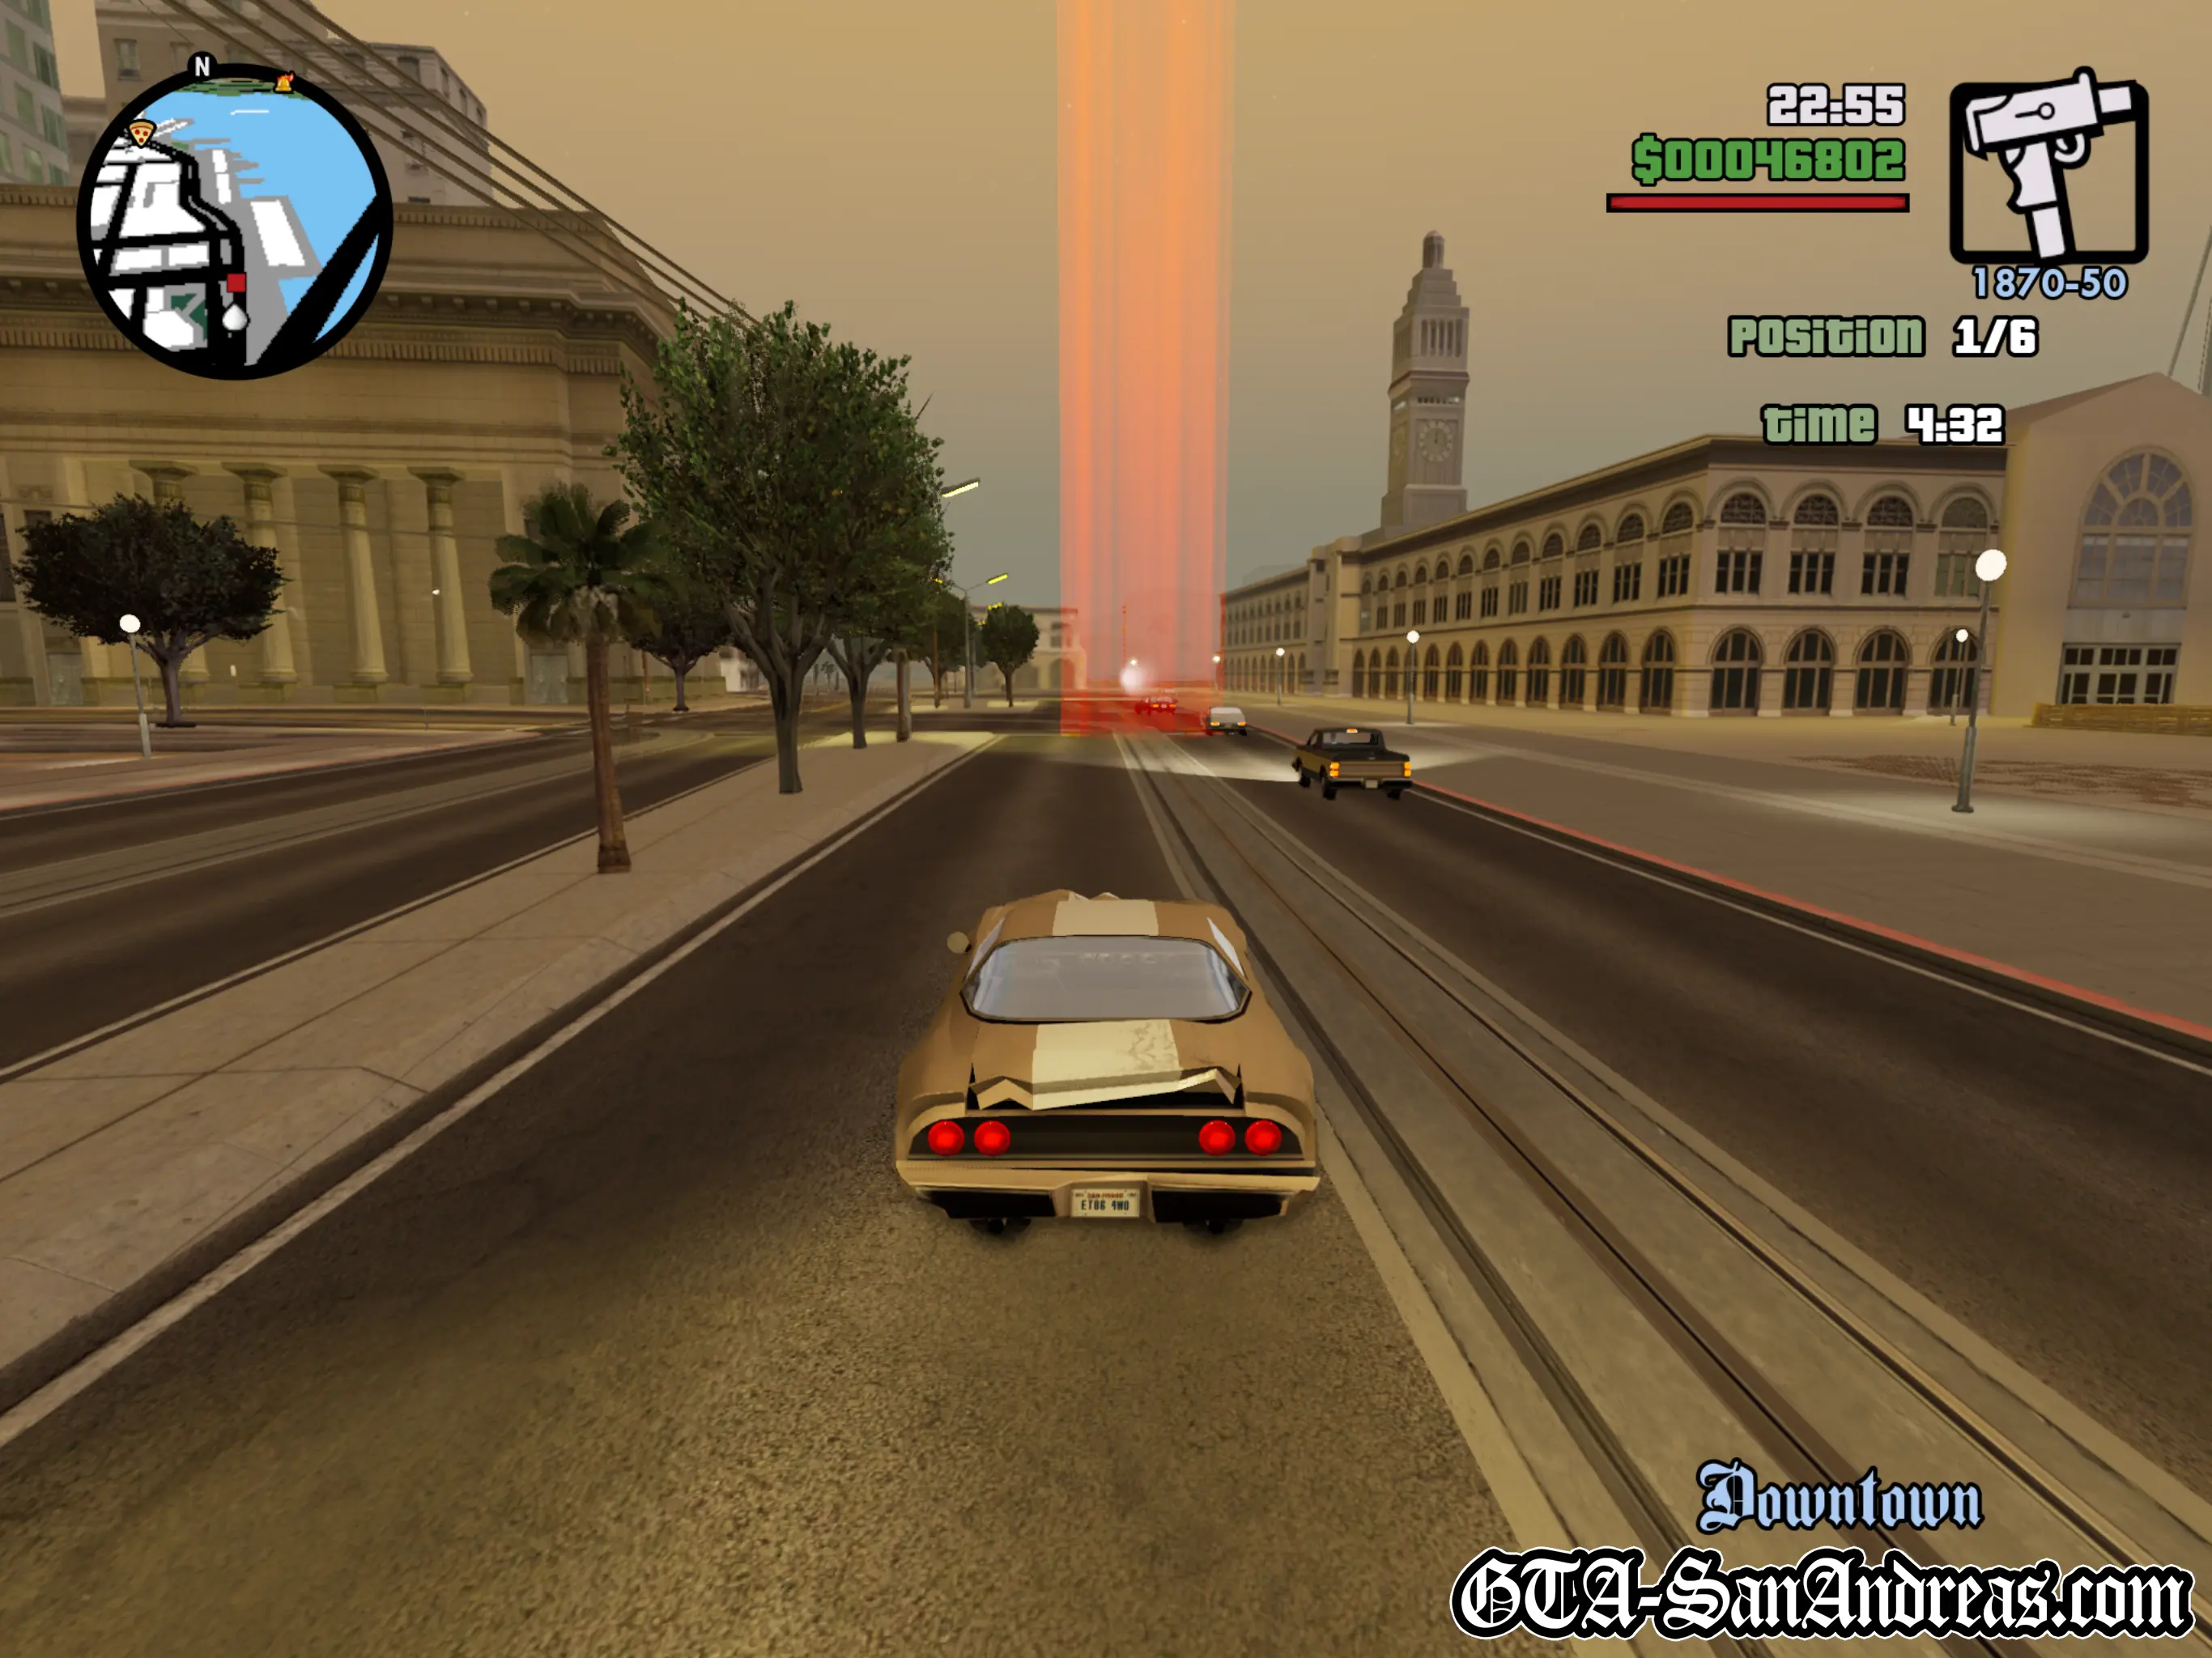
- San Fierro Hills
- Country Endurance
- Las Venturas Airport (Flying Checkpoint Challenges)
- World War Ace
- Barnstorming
- Military Service
- Chopper Checkpoint
- Whirly-Bird Waypoint
- Heli Hell
Los Santos
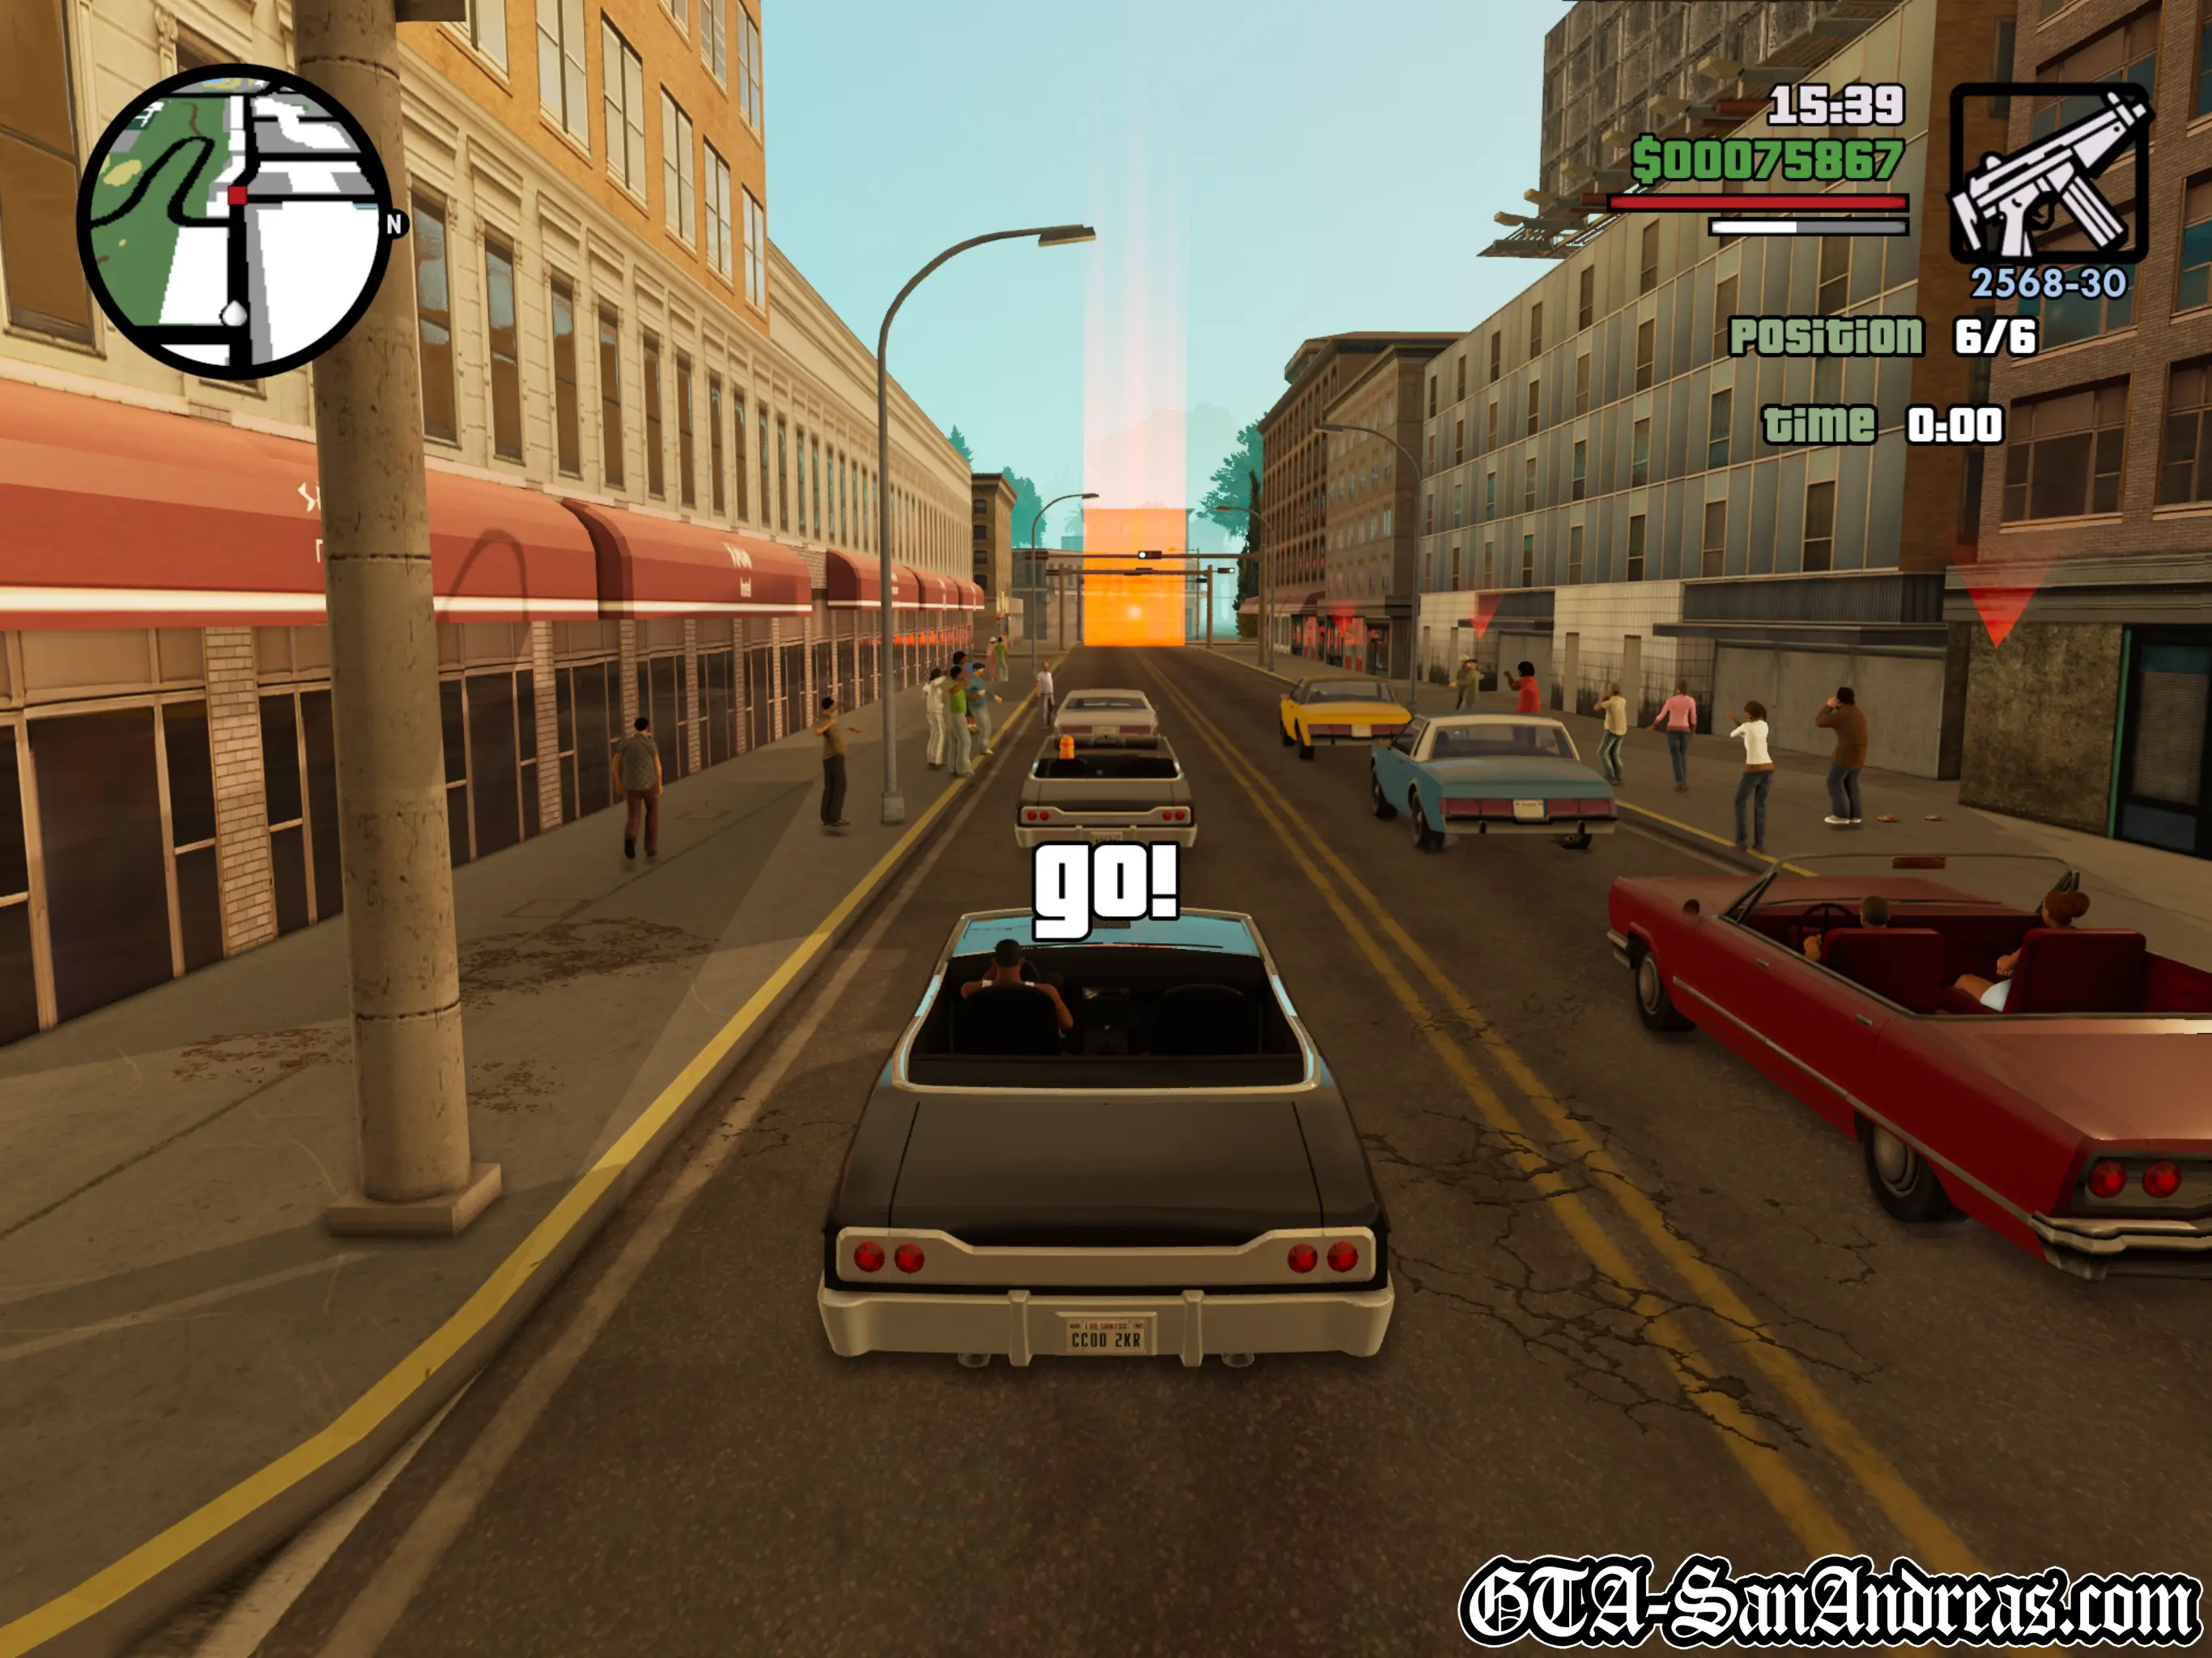
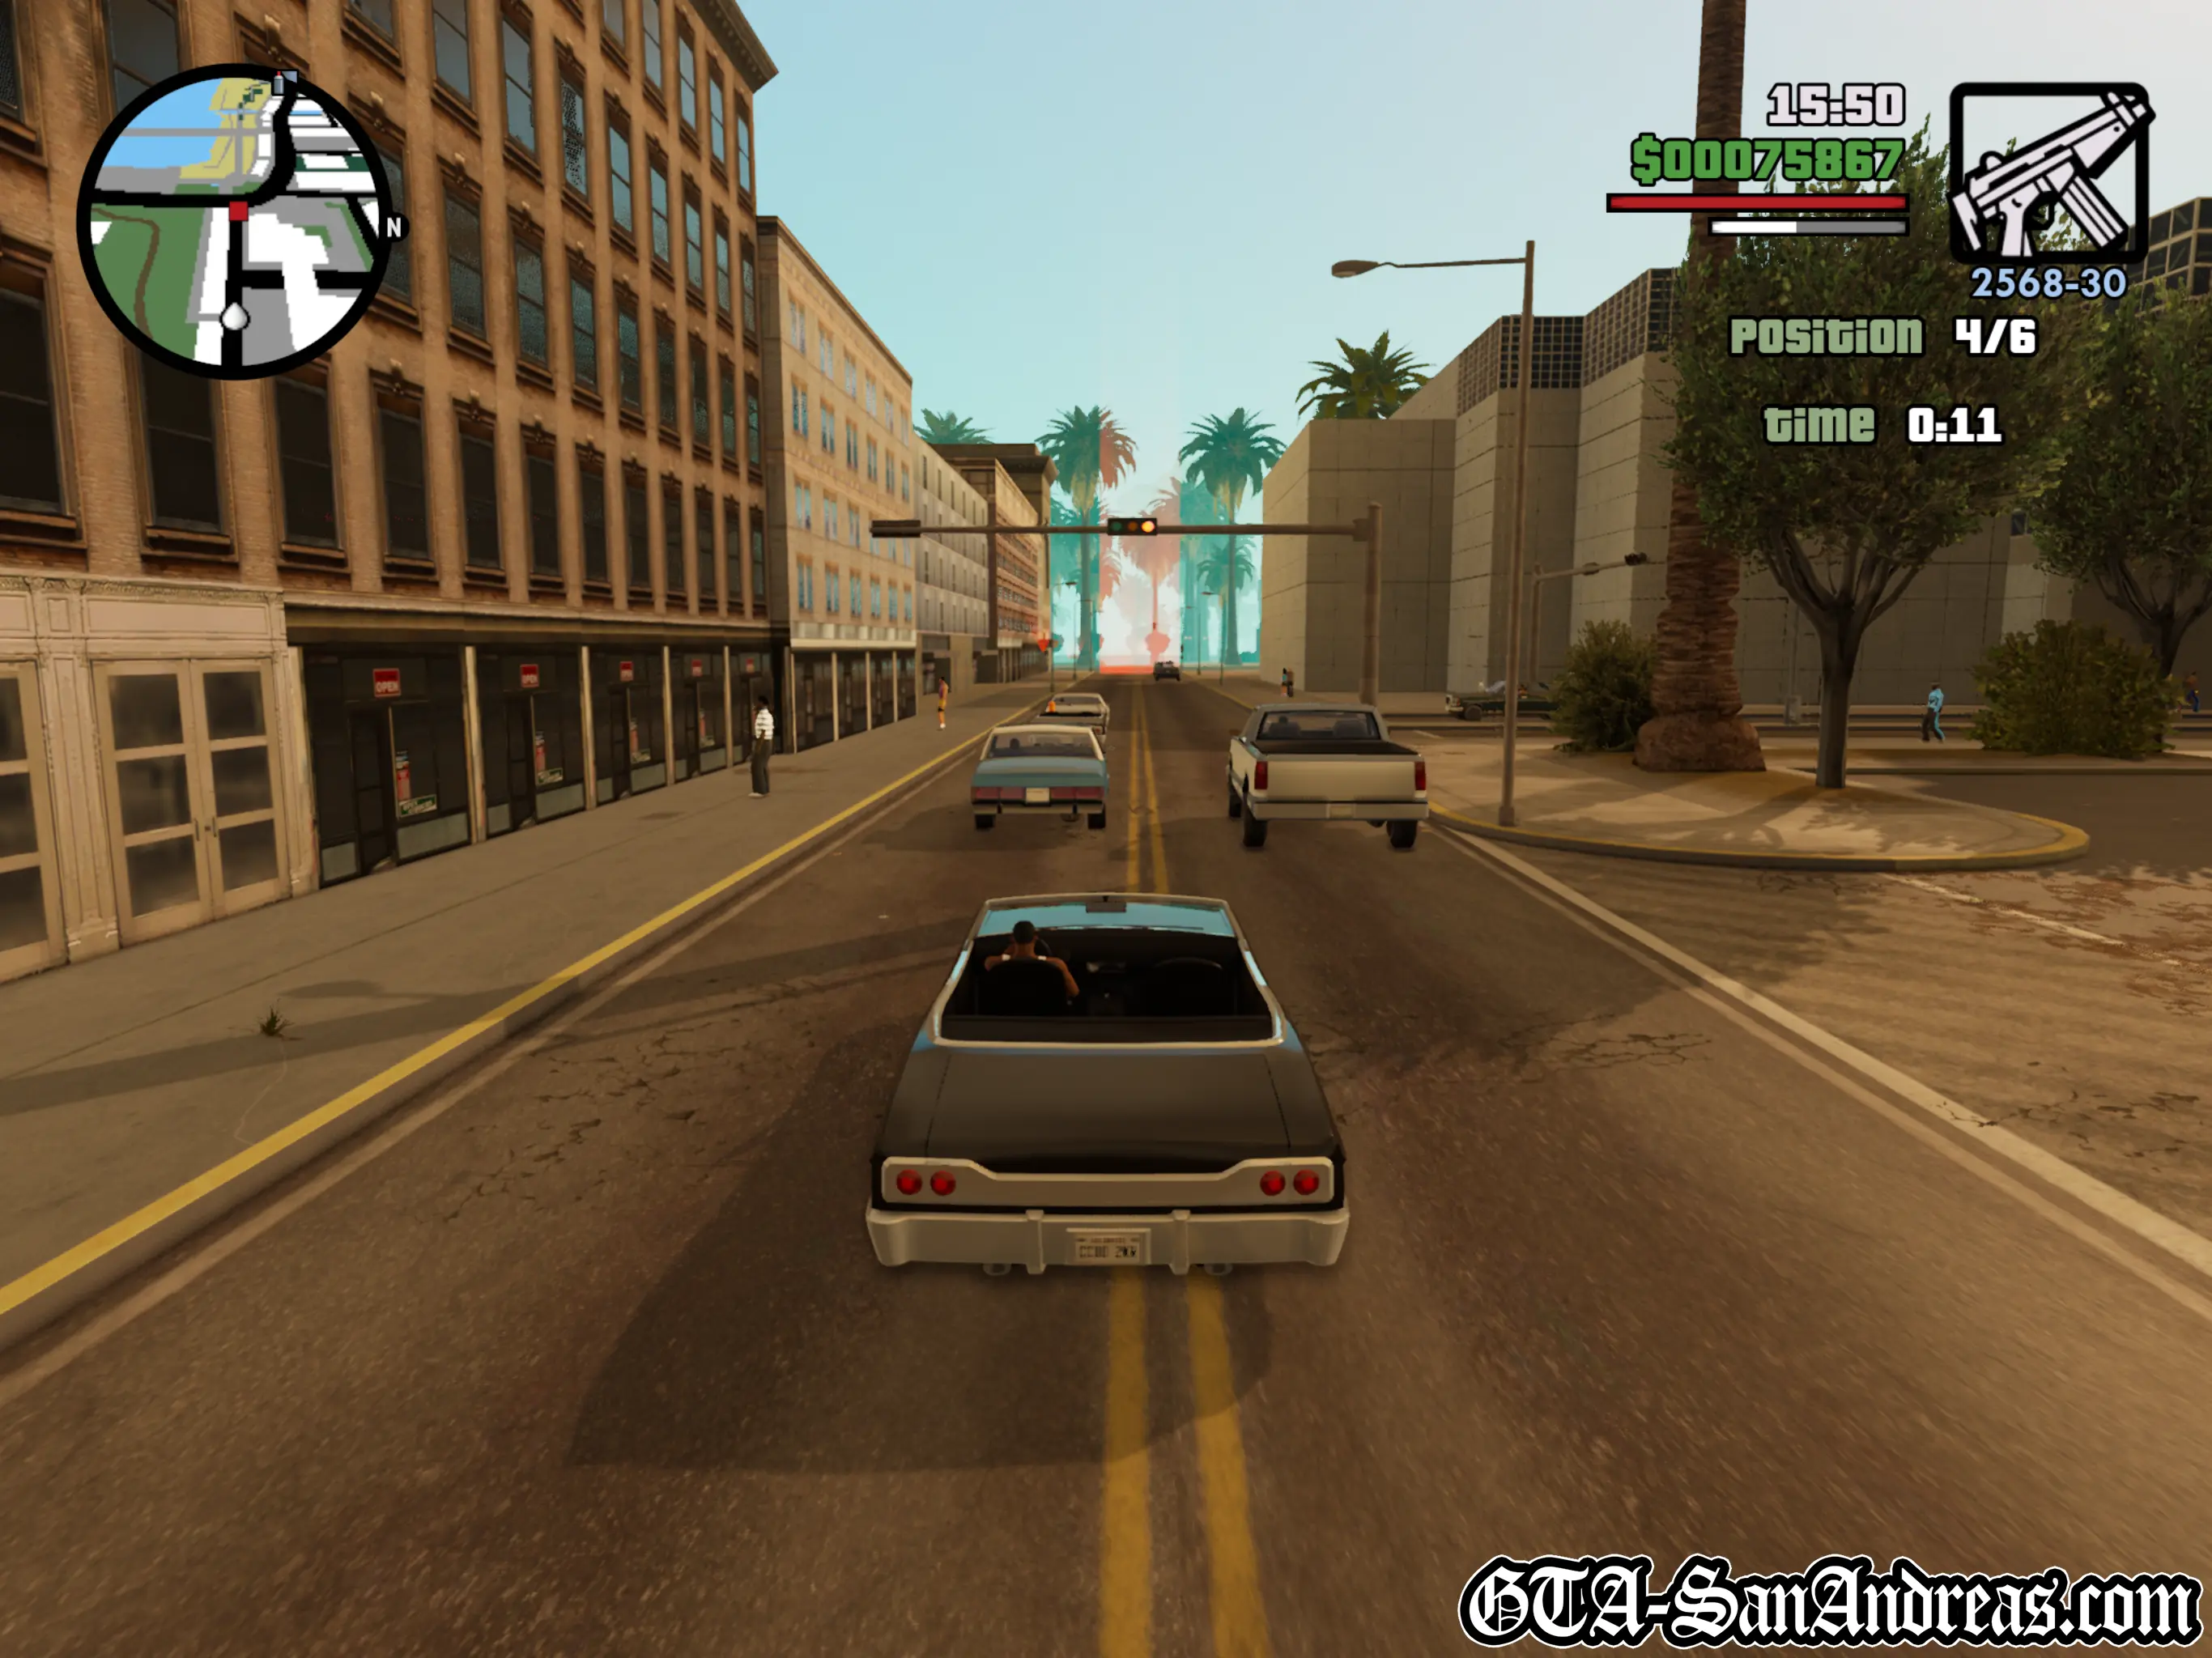
Lowrider Race
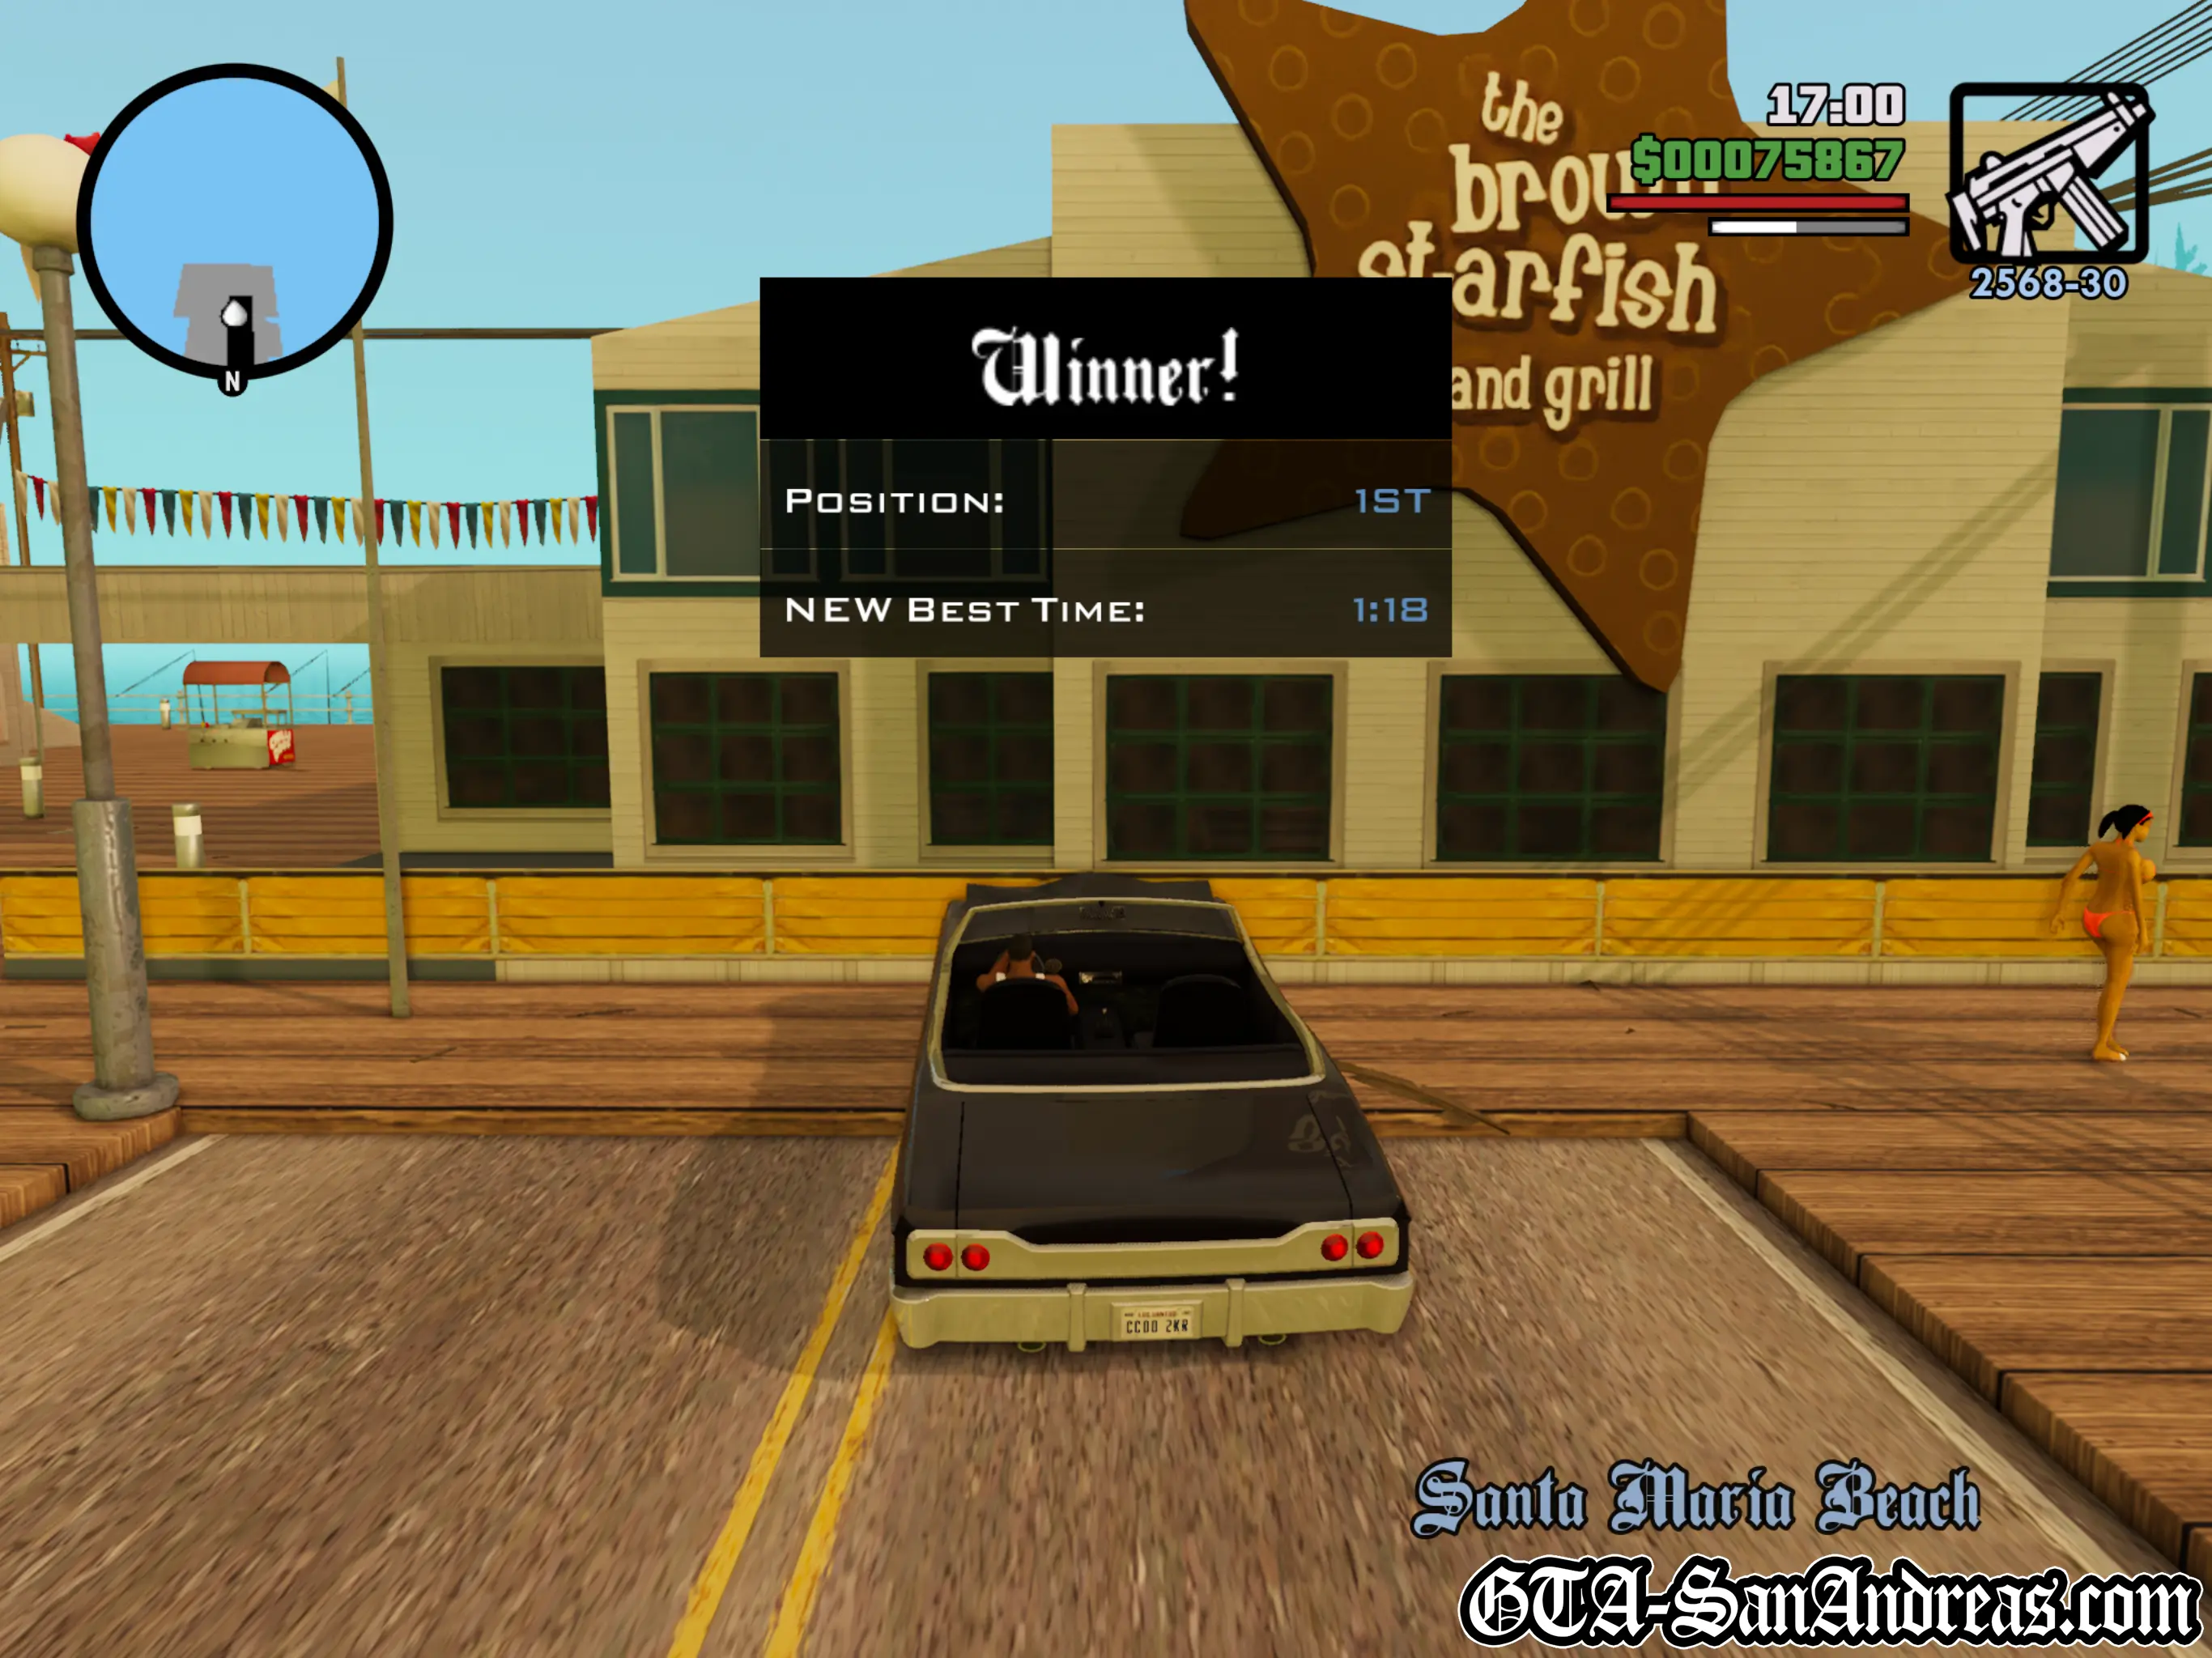
The Lowrider Race is part of an early story mission for Cesar Vialpando called "High Stakes, Low Rider", so you've most likely already completed it and won't need to do it again.
| Vehicle Provided | Track Distance |
|---|---|
| Blade | 2.00 KM |
Tactics
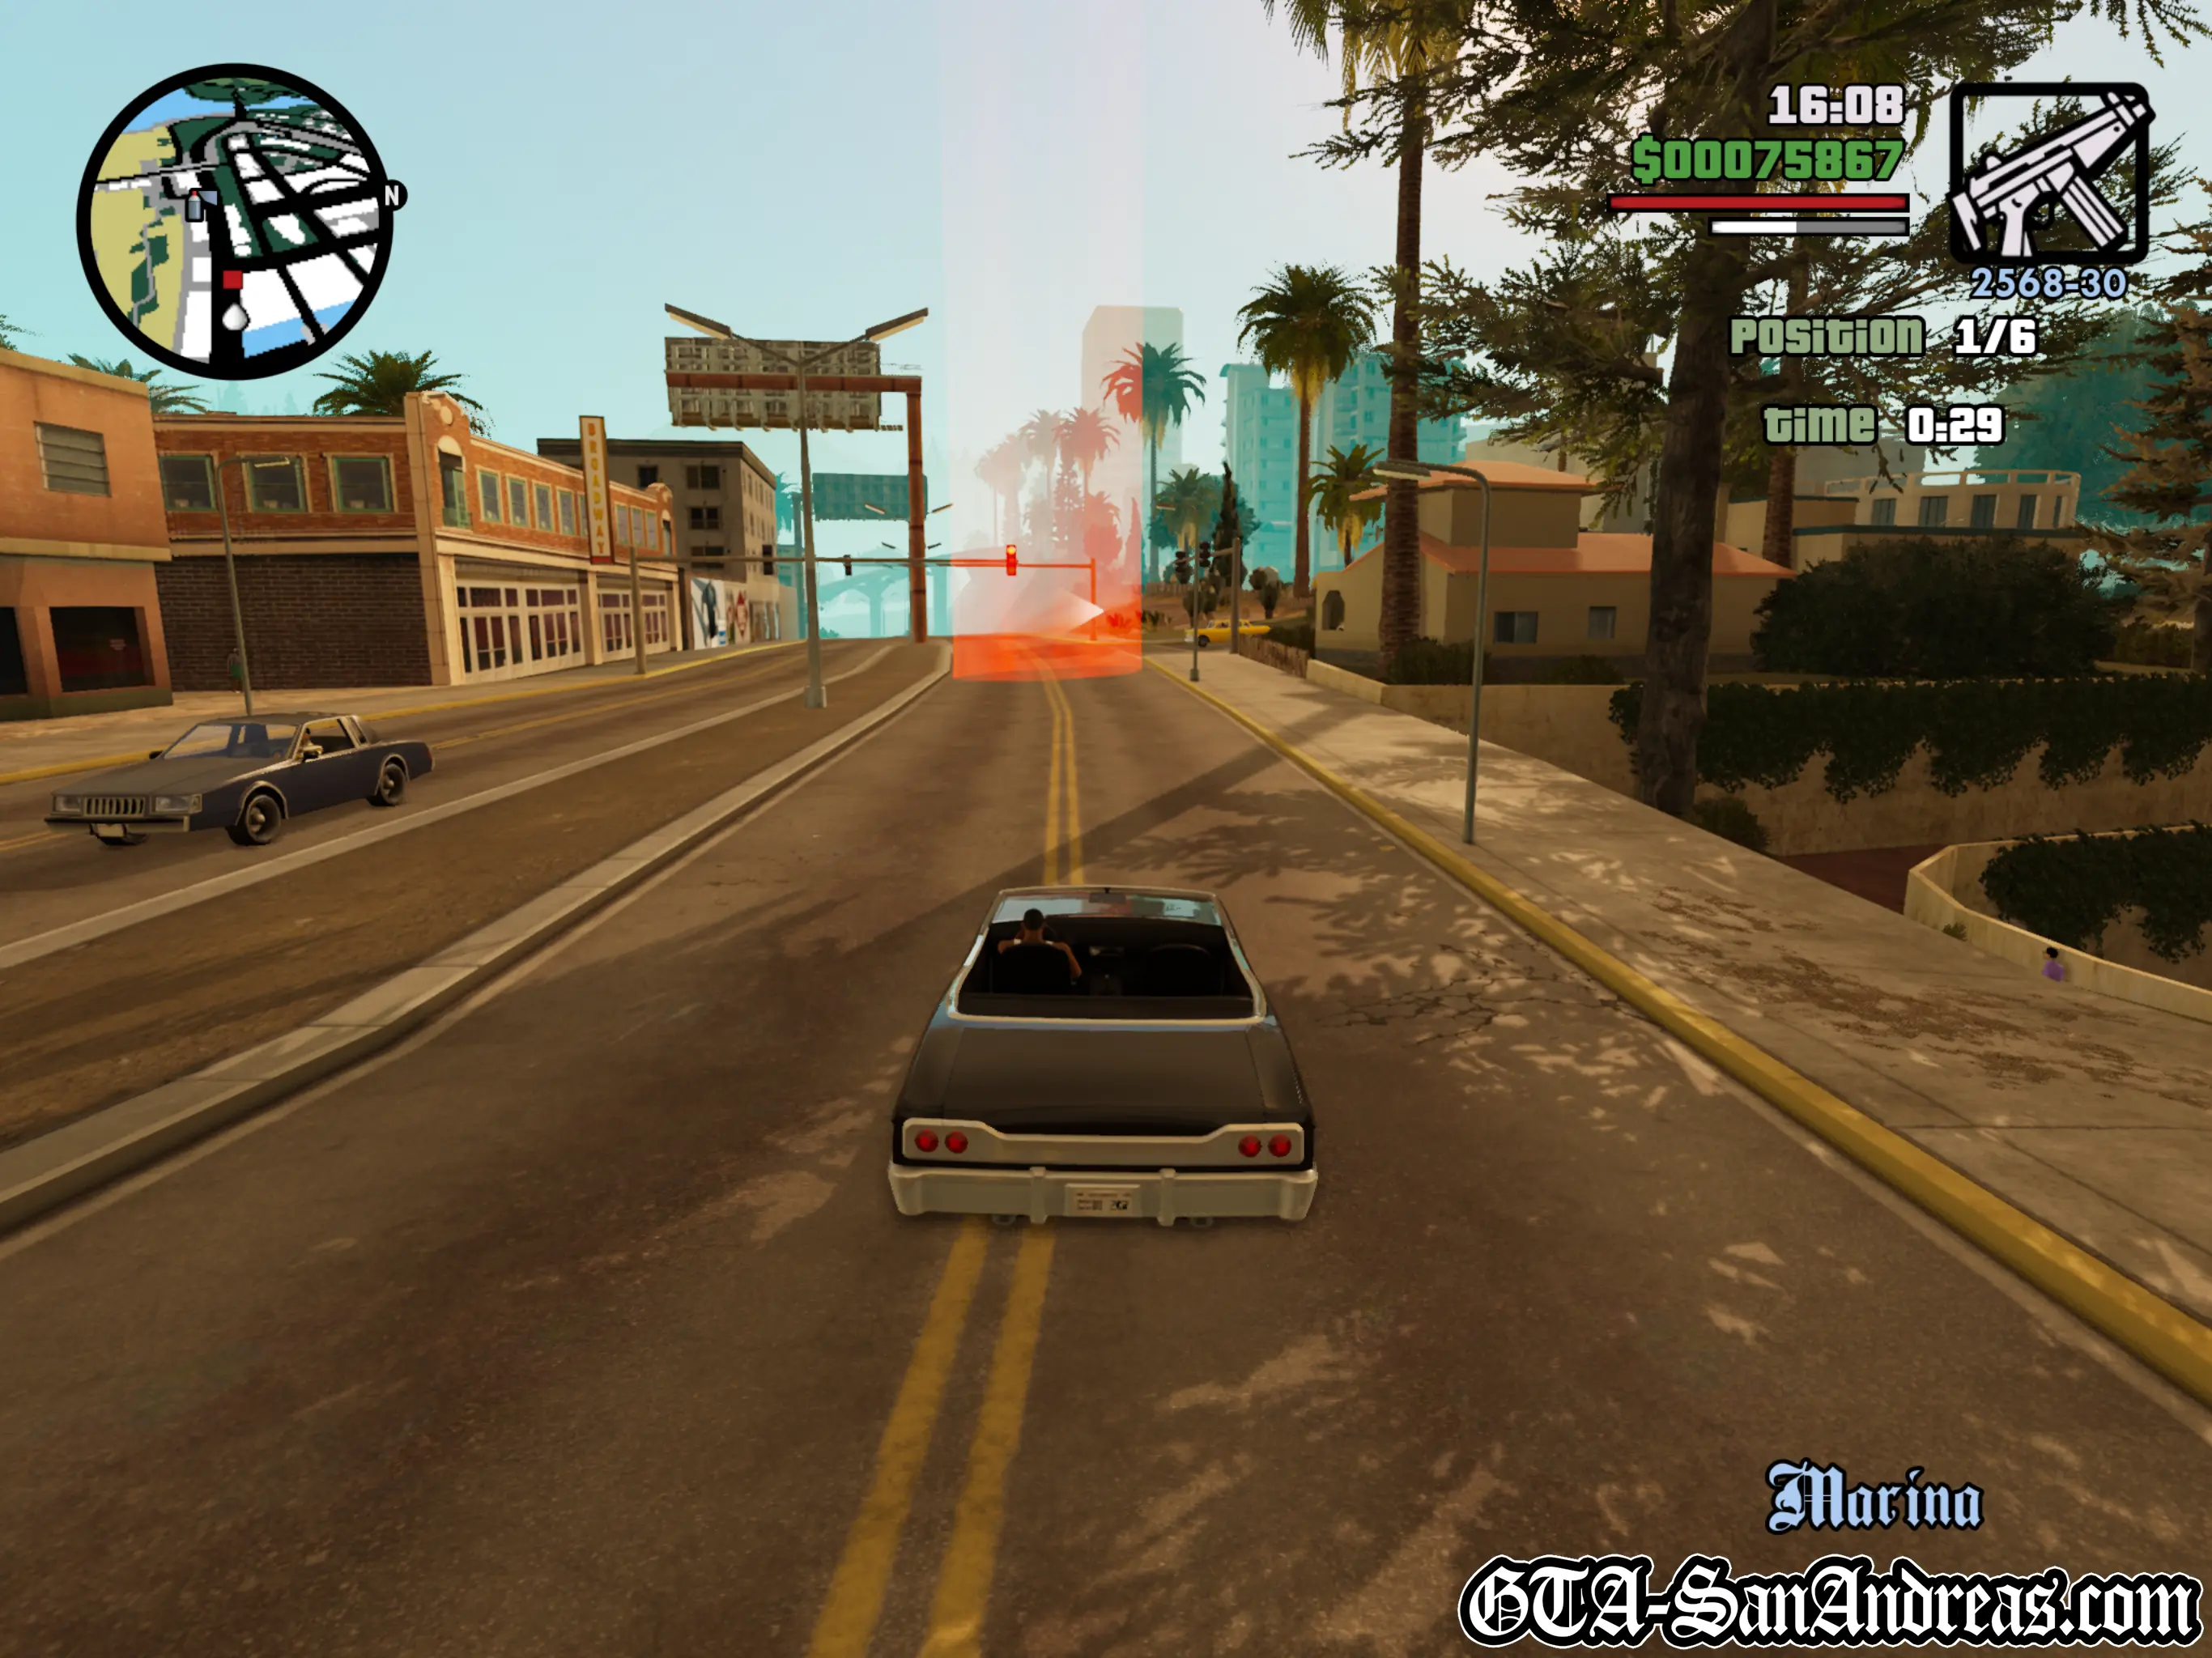
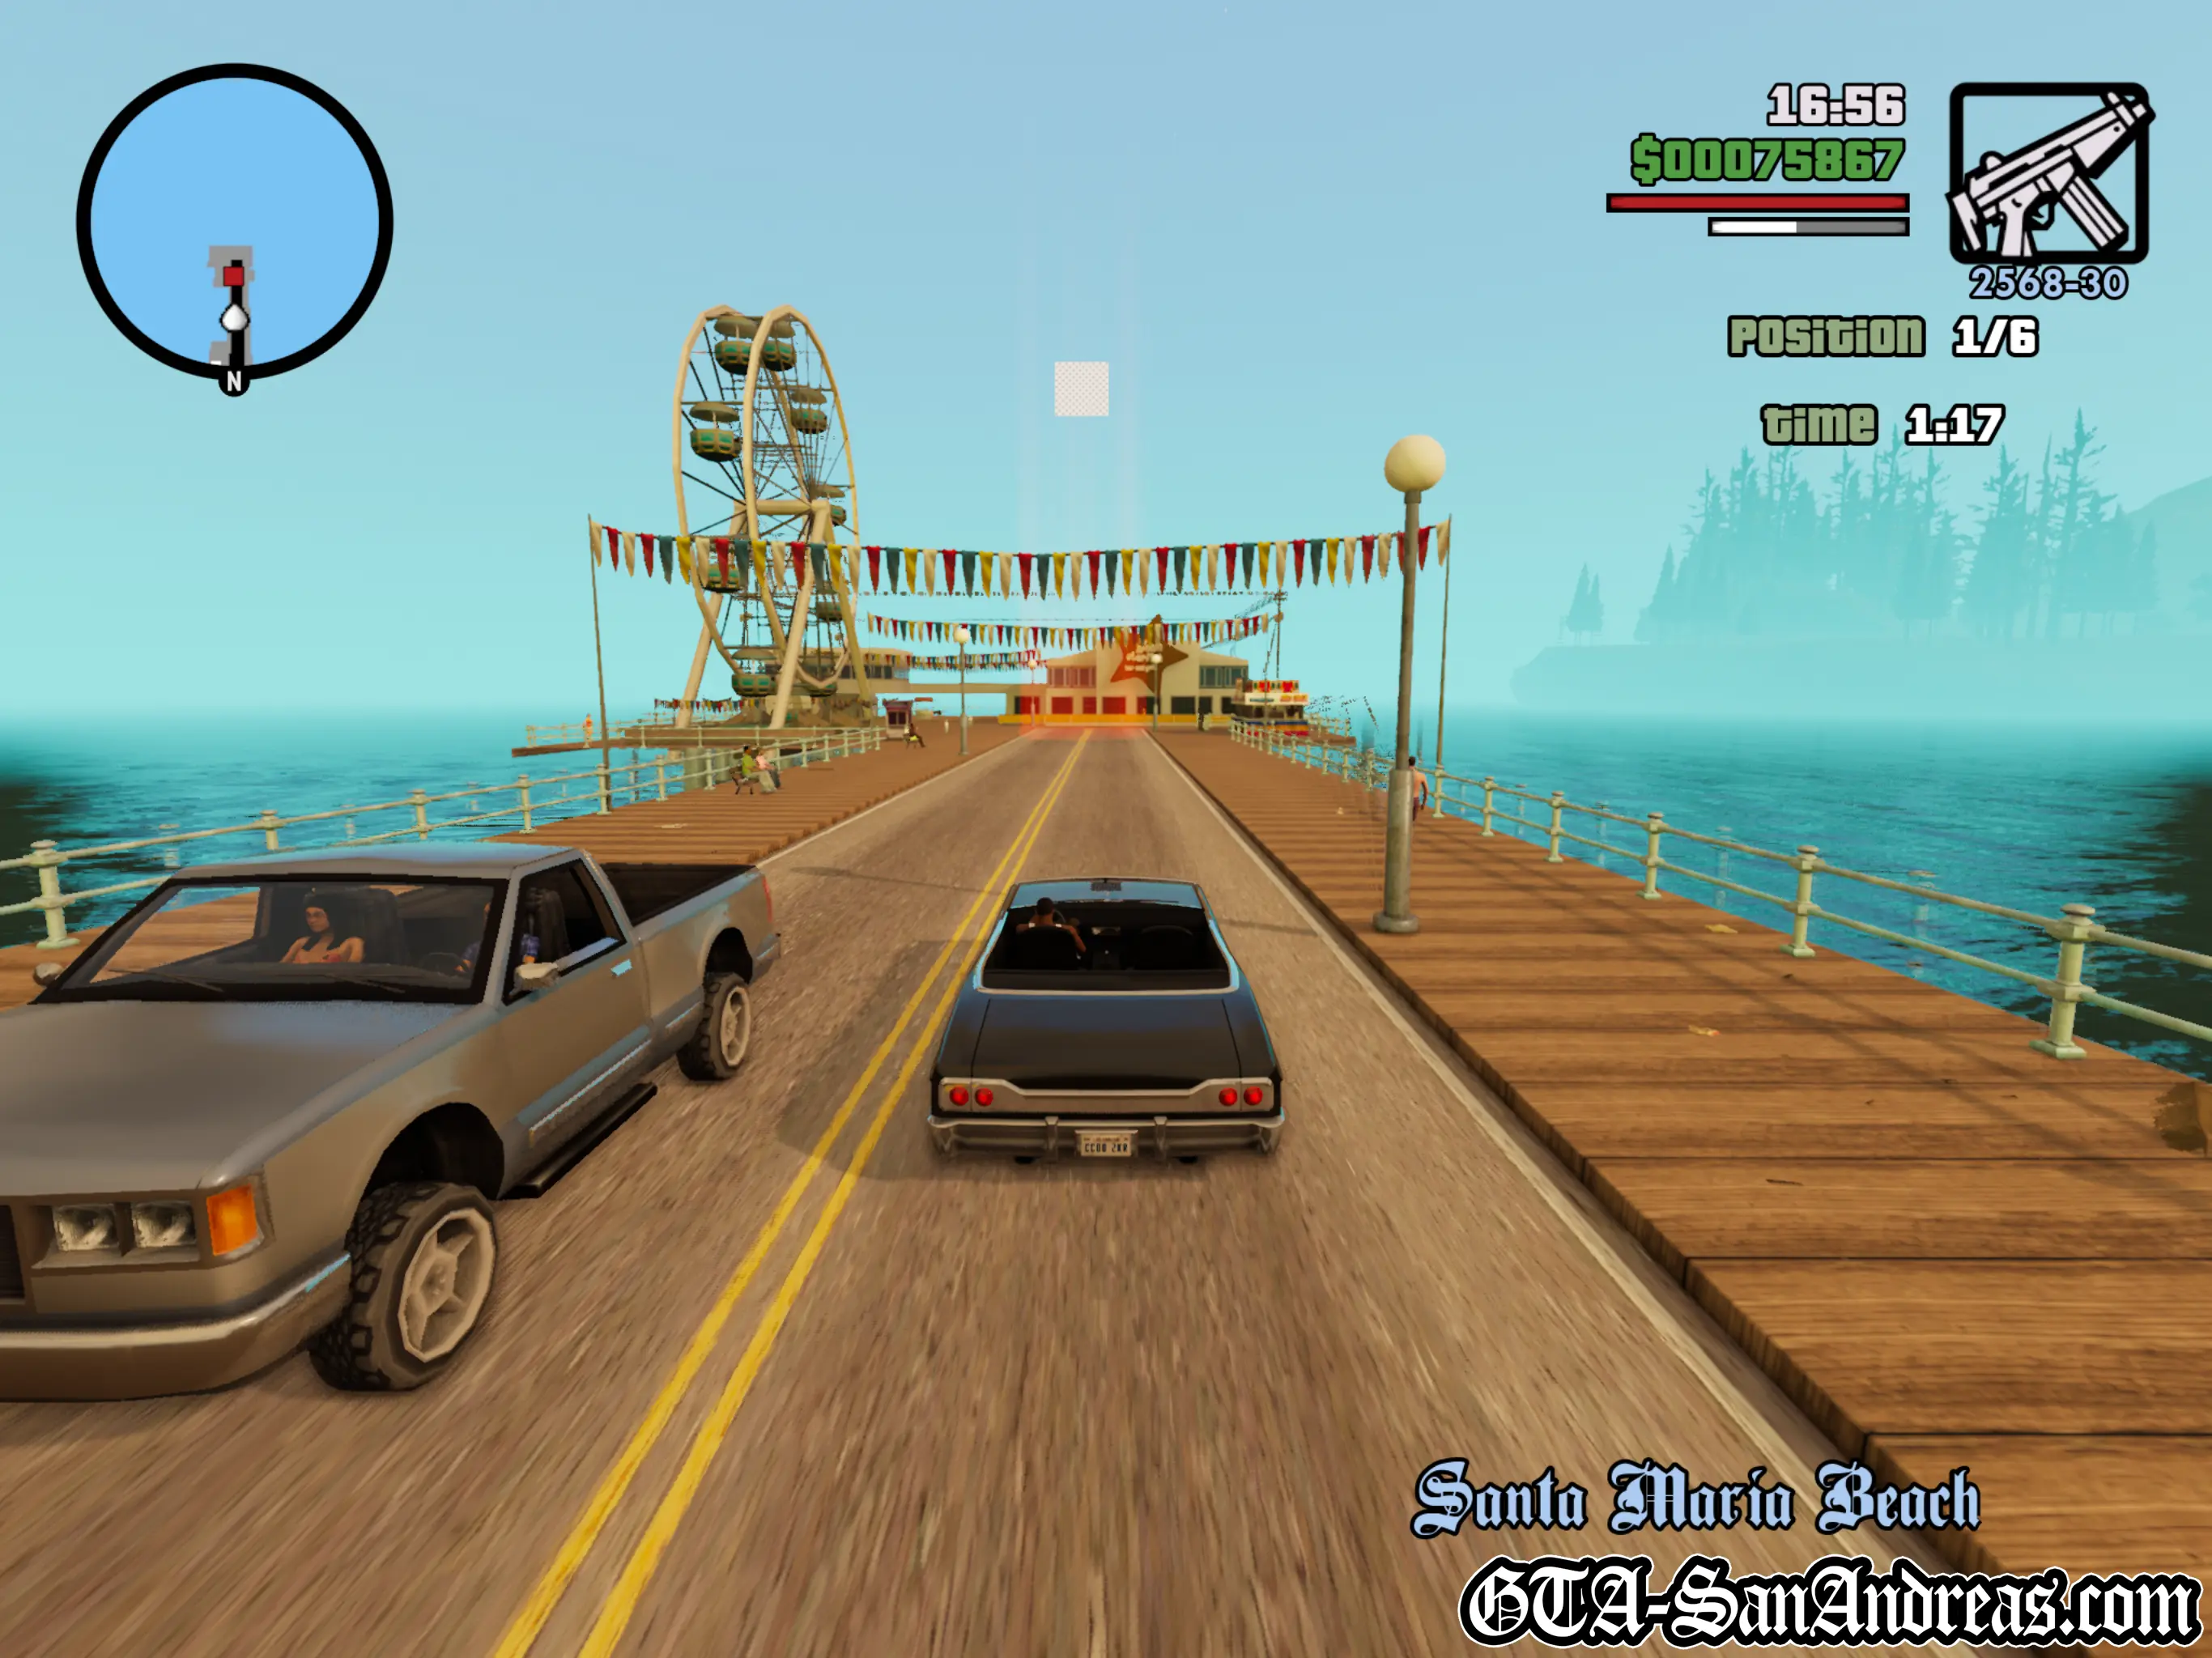
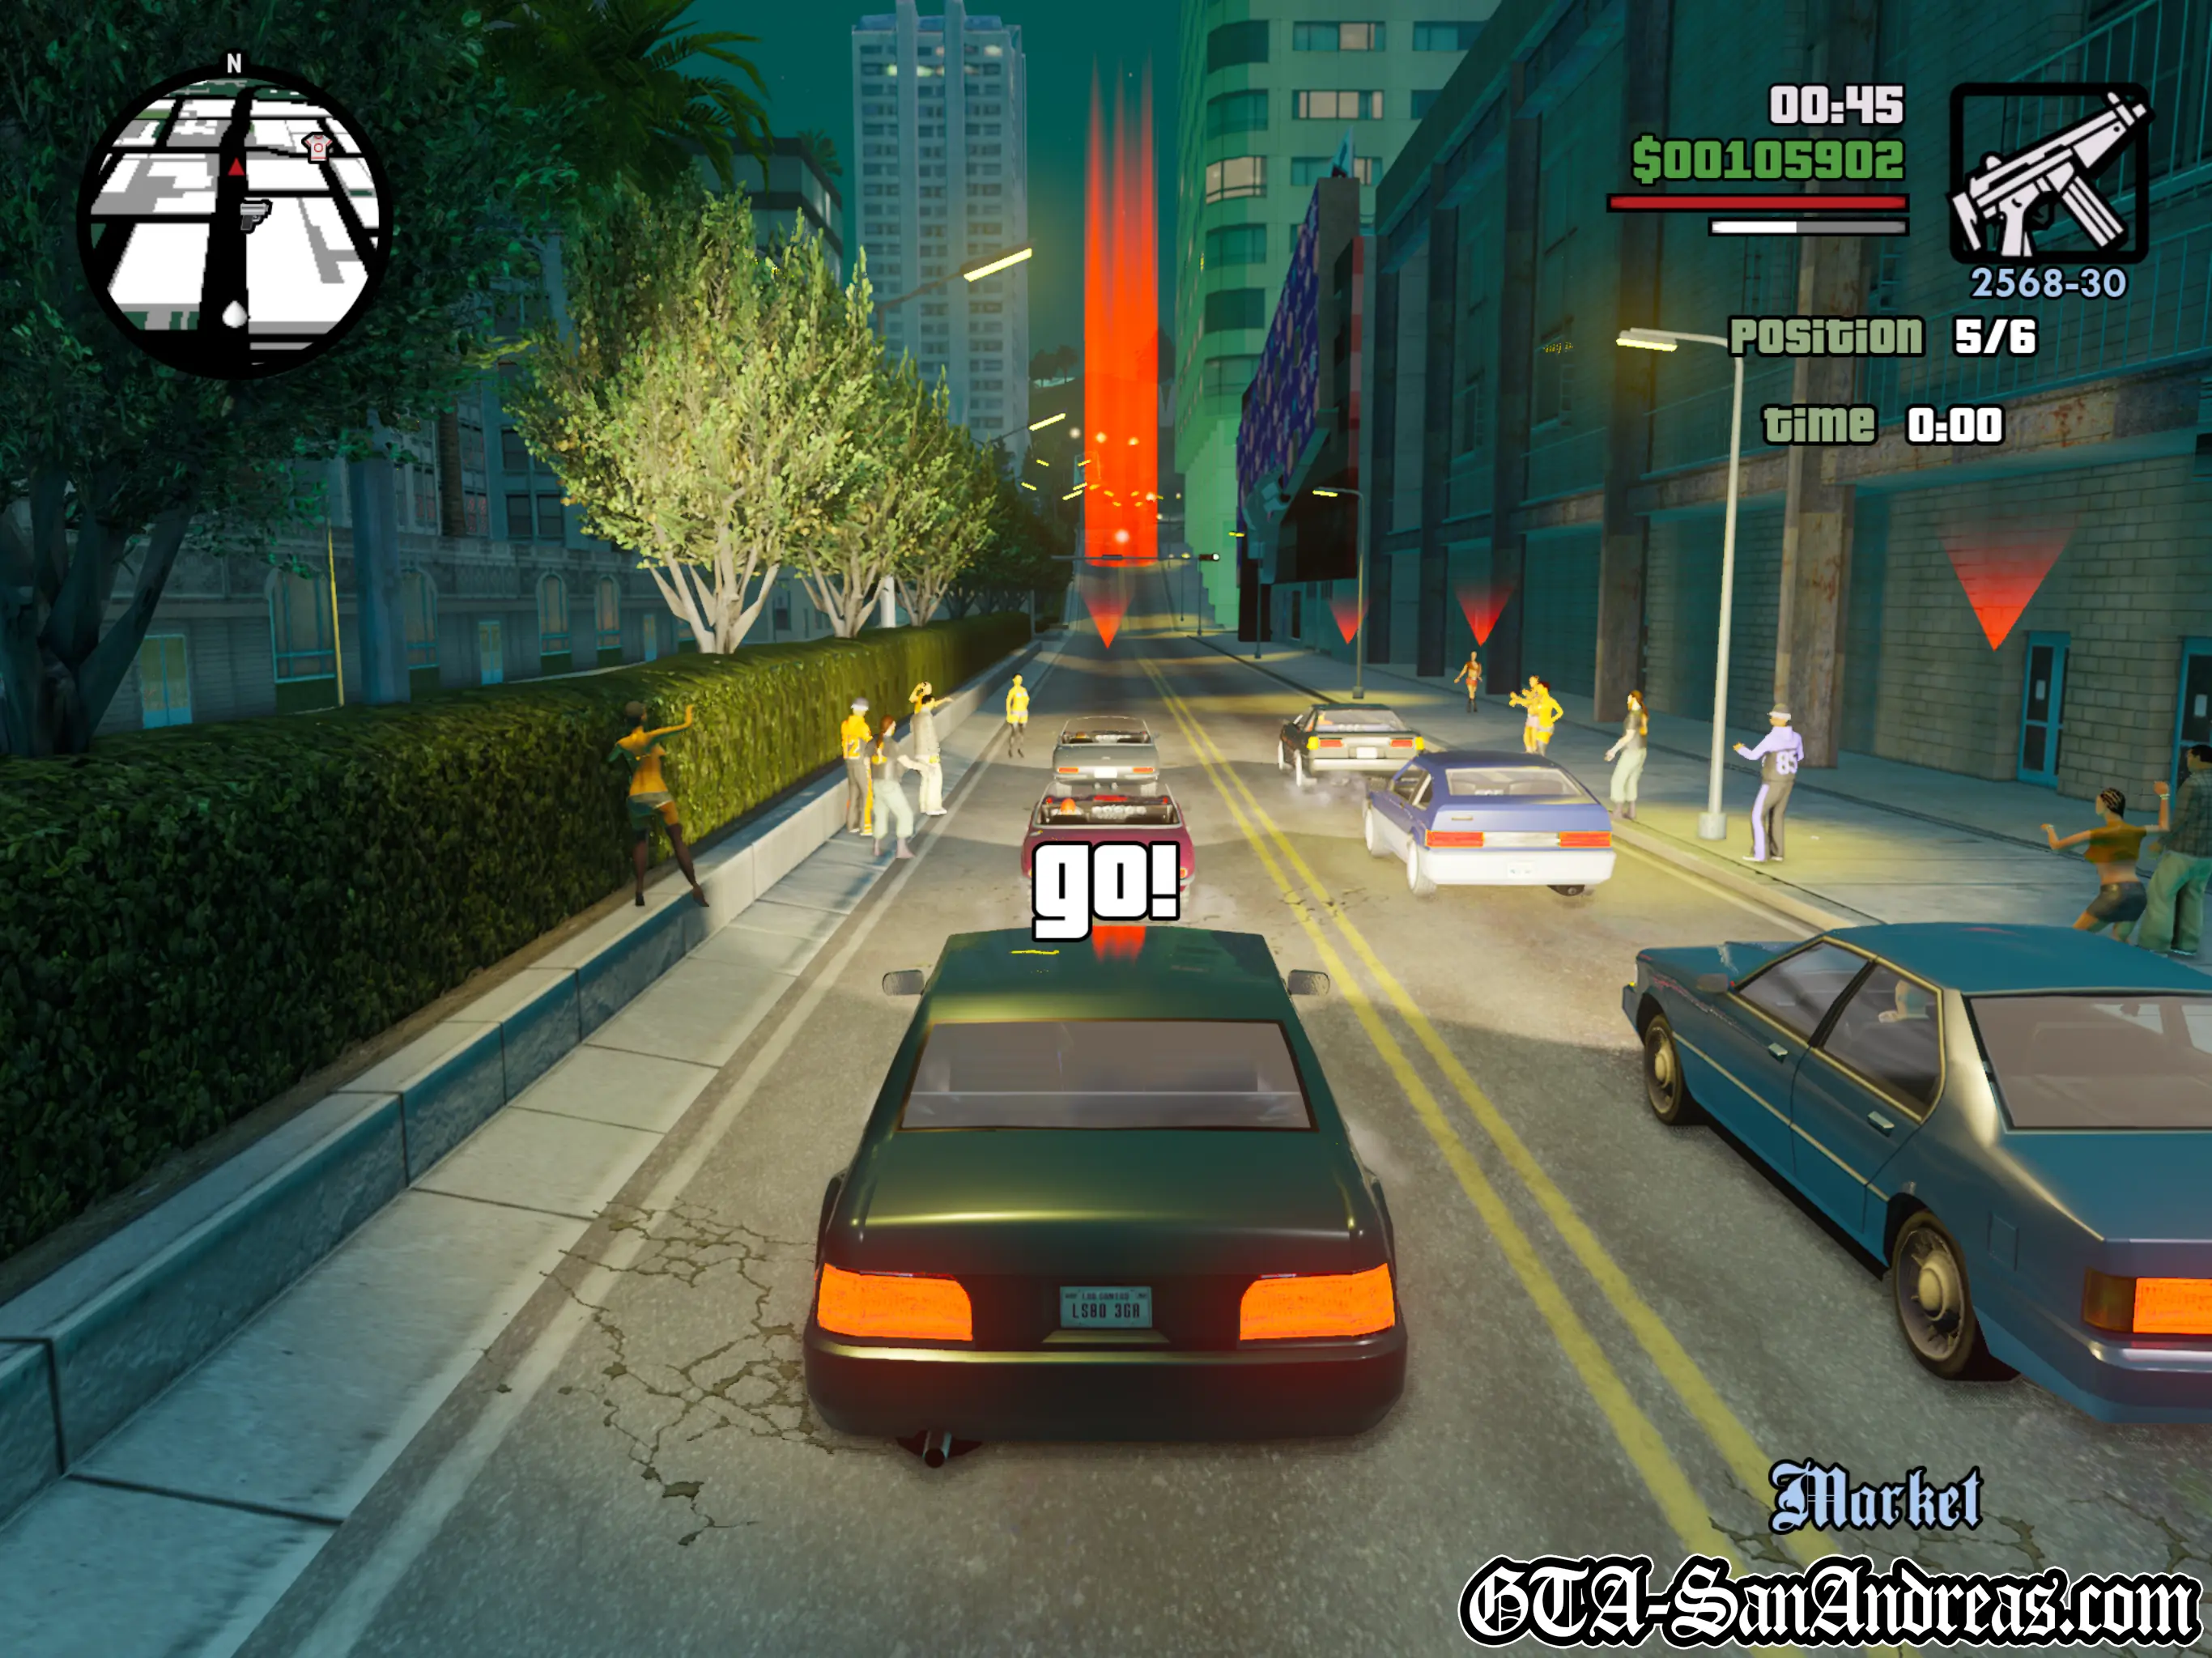
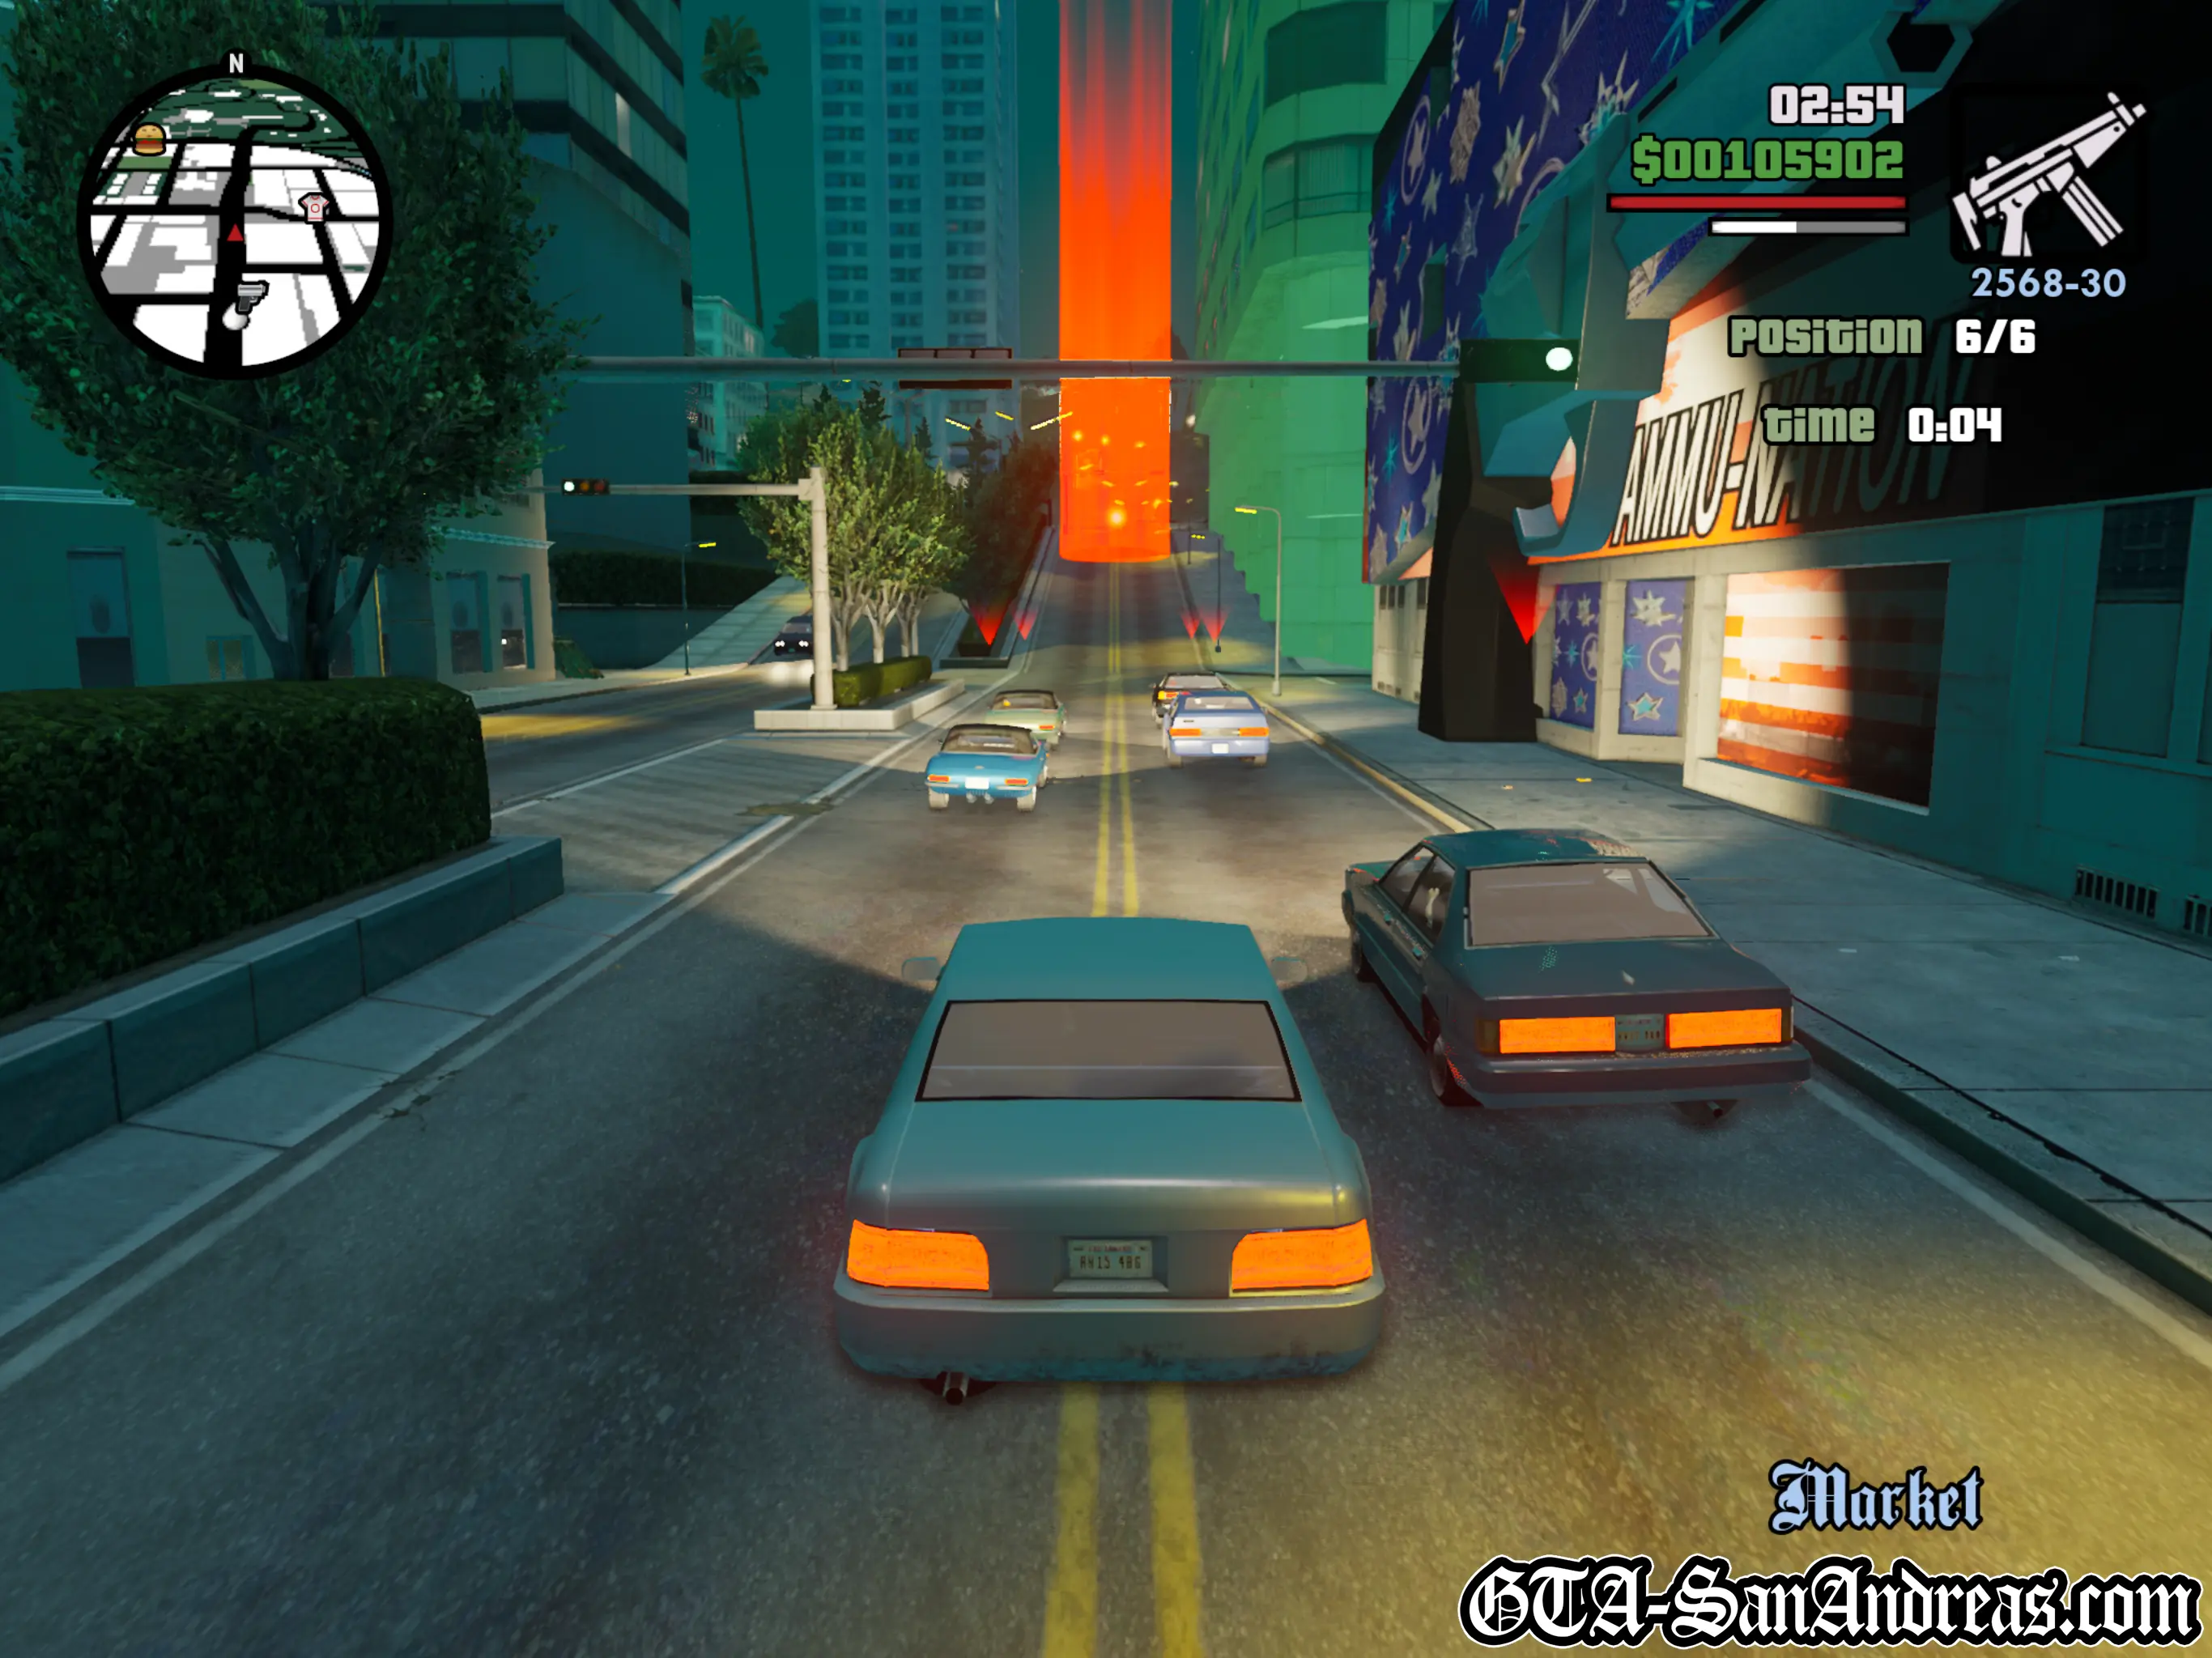
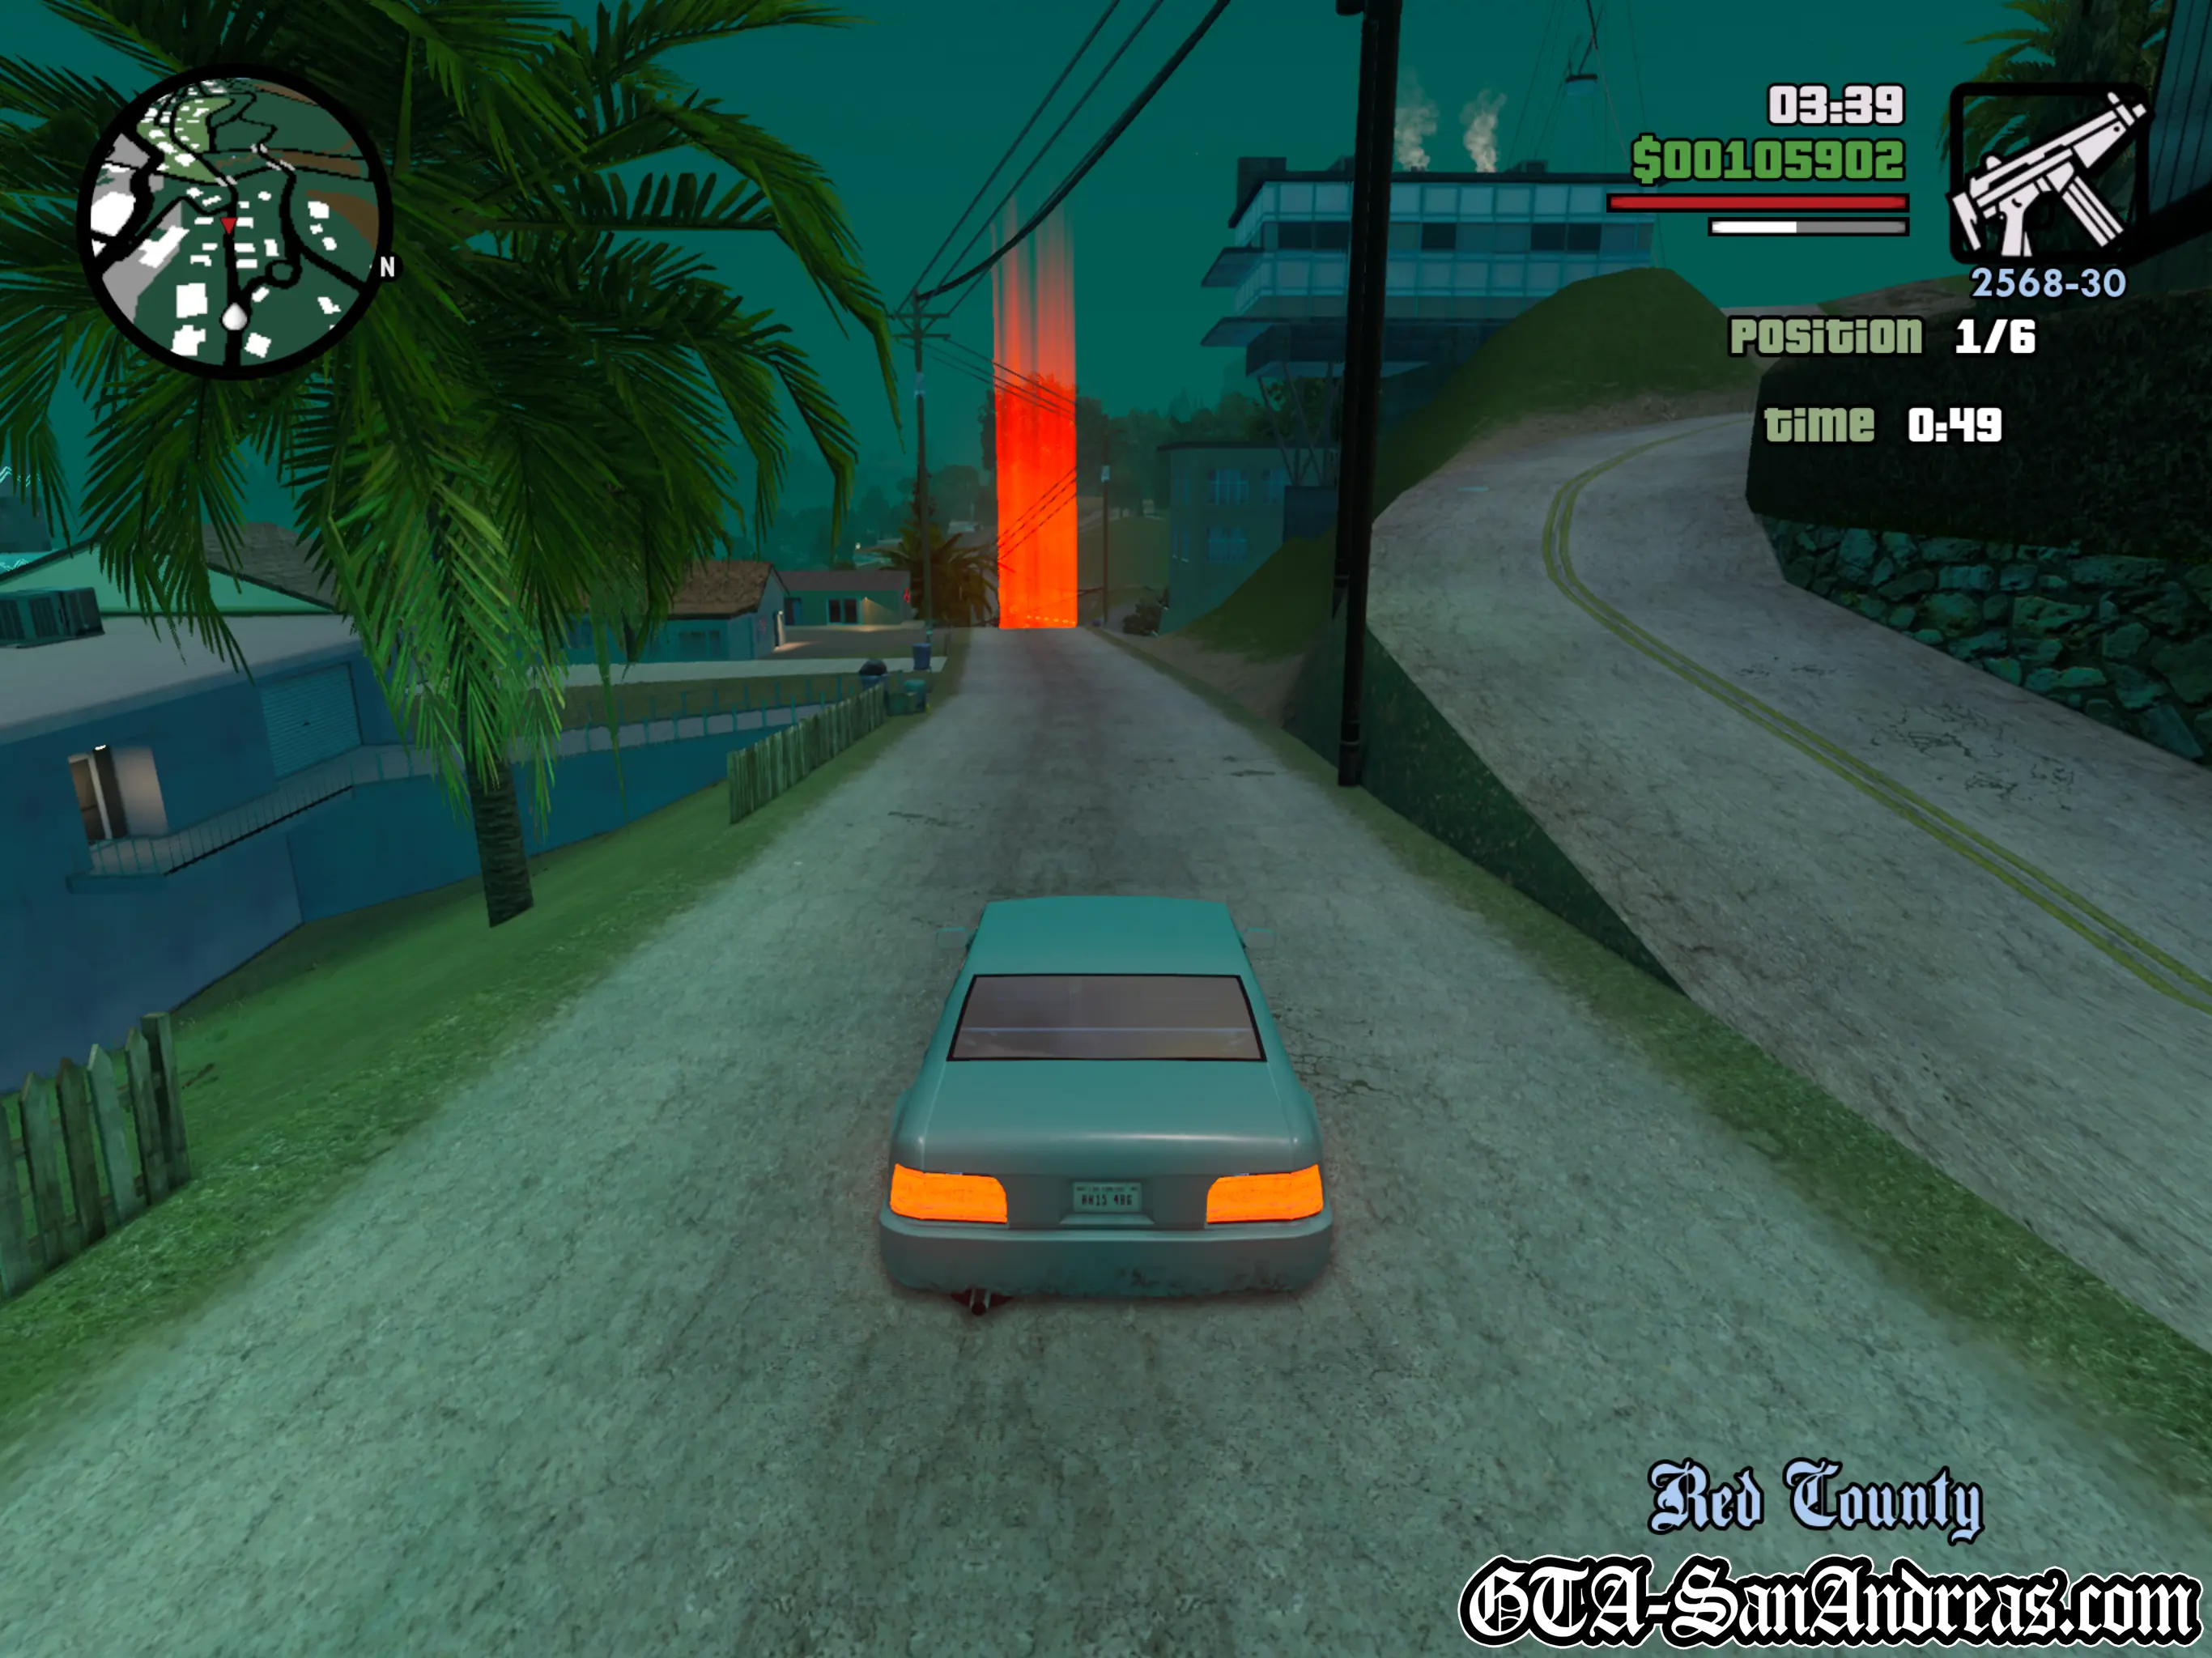
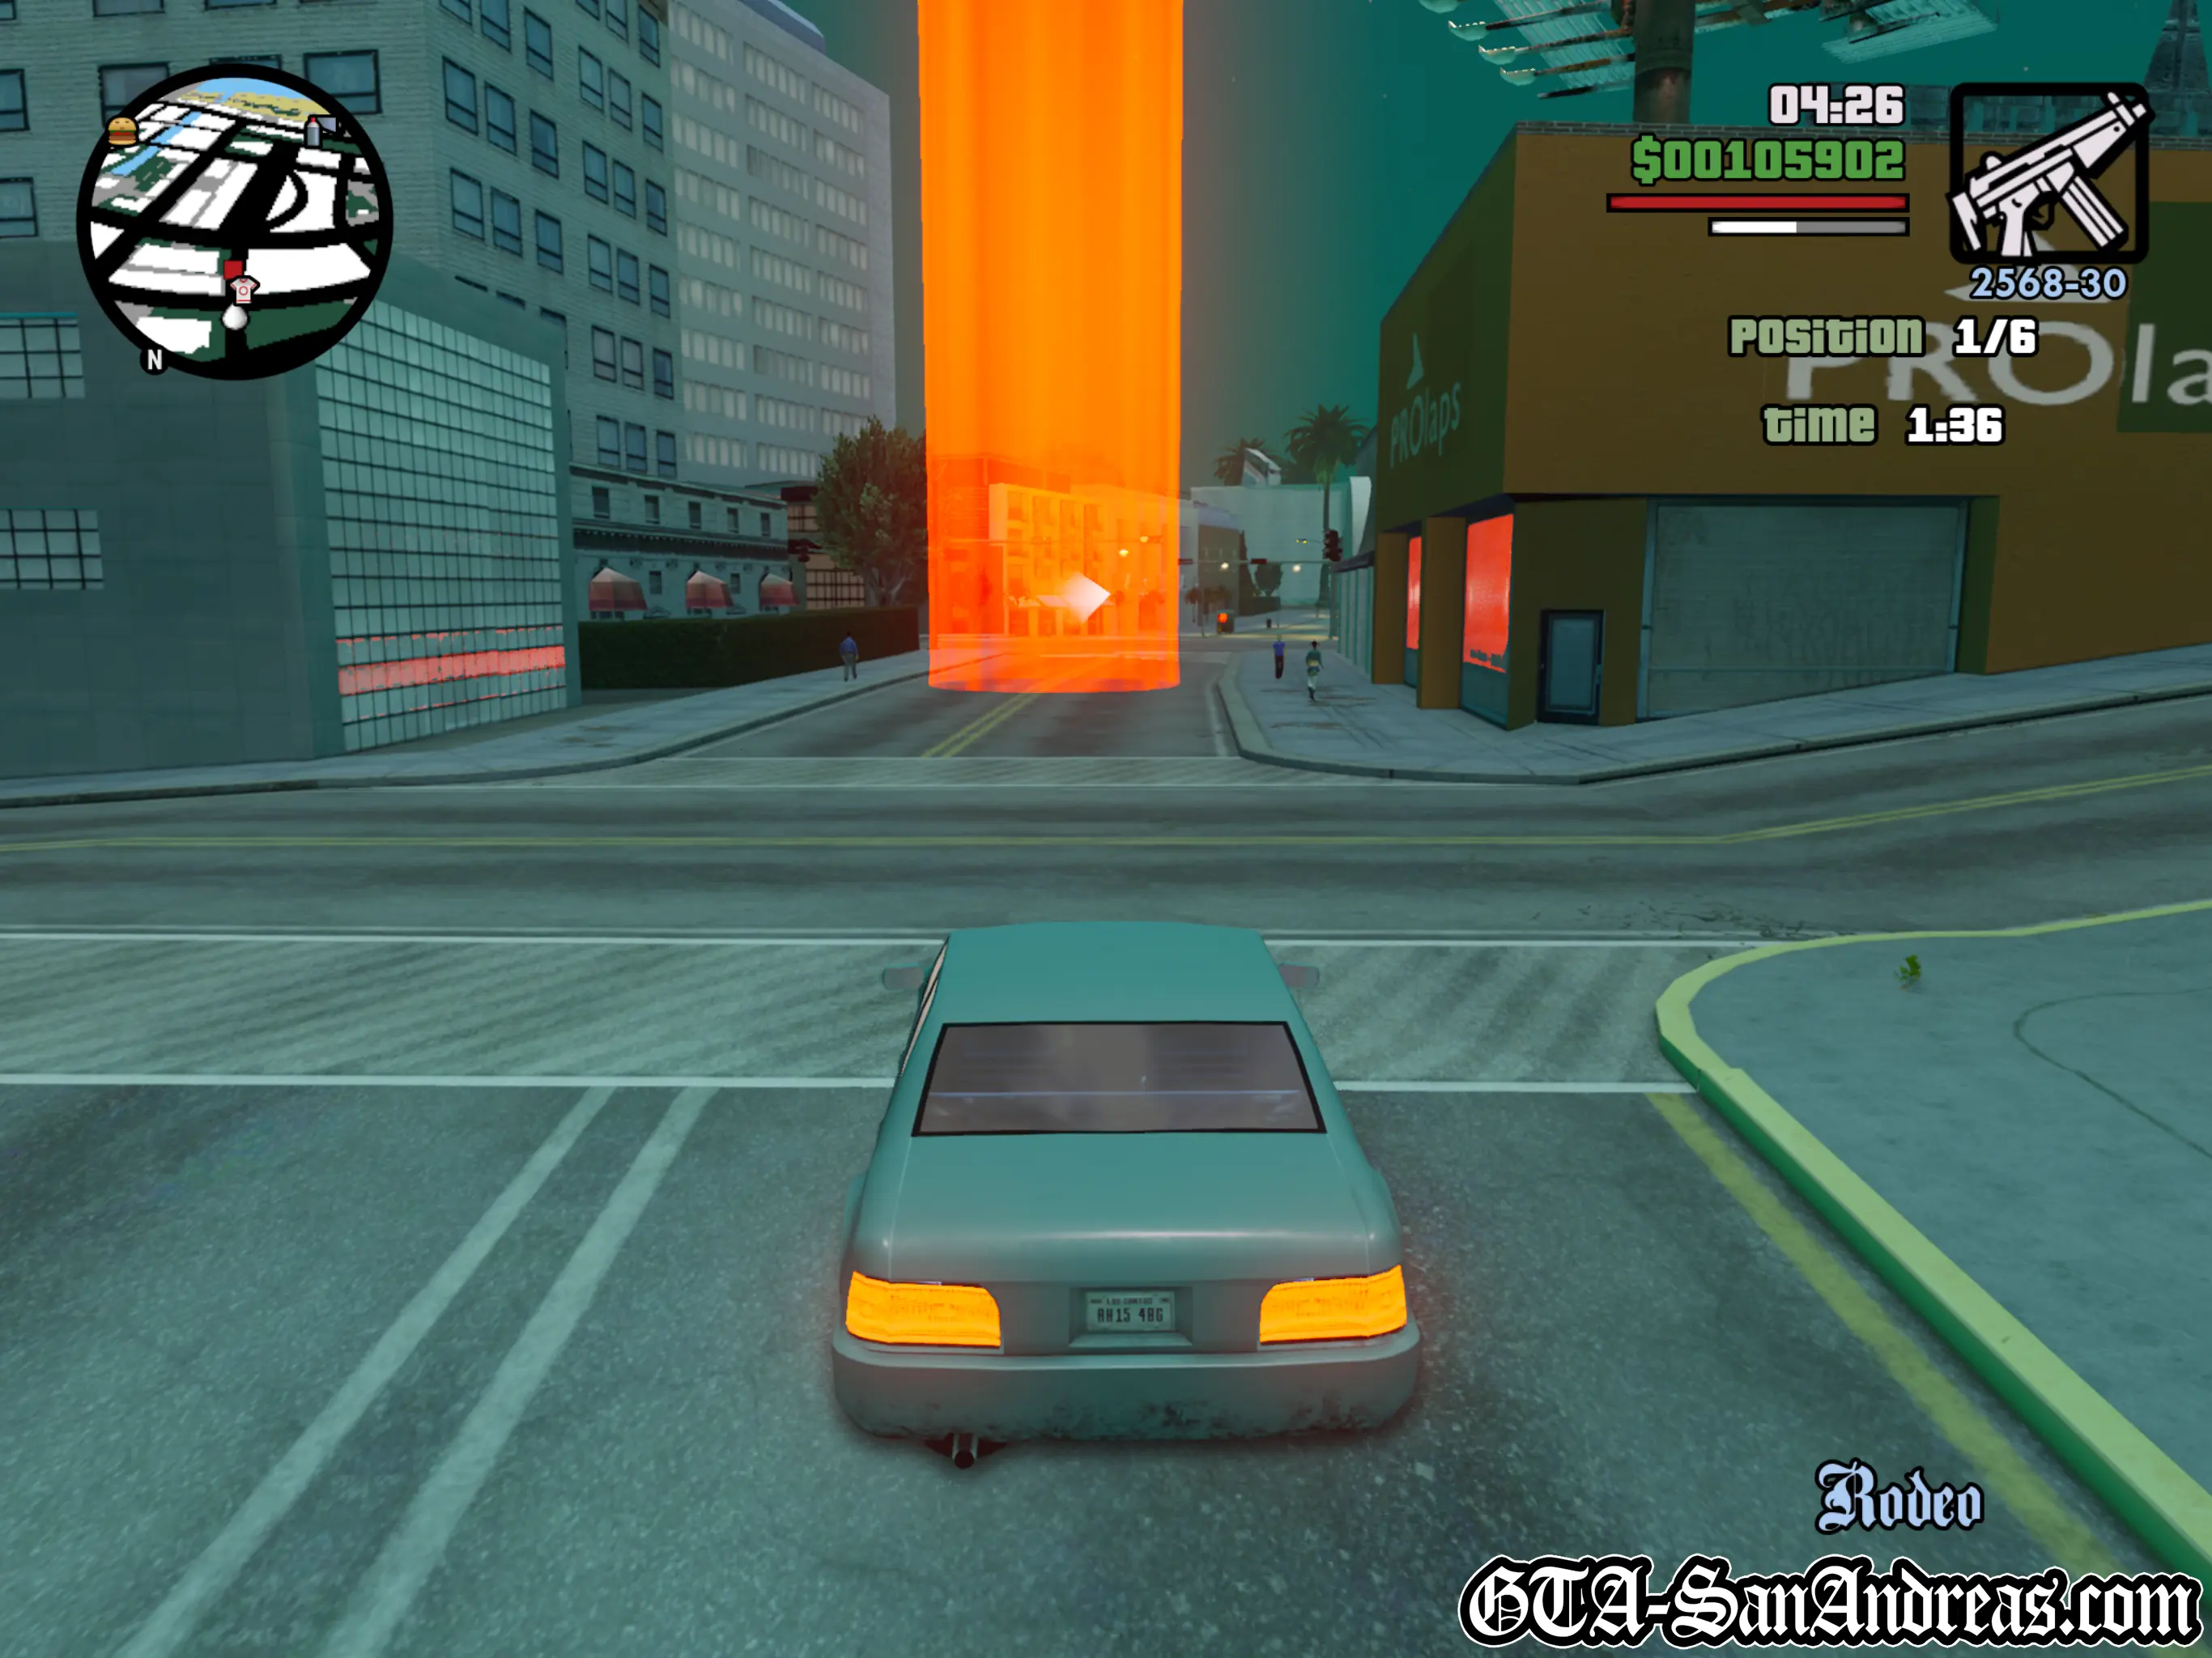
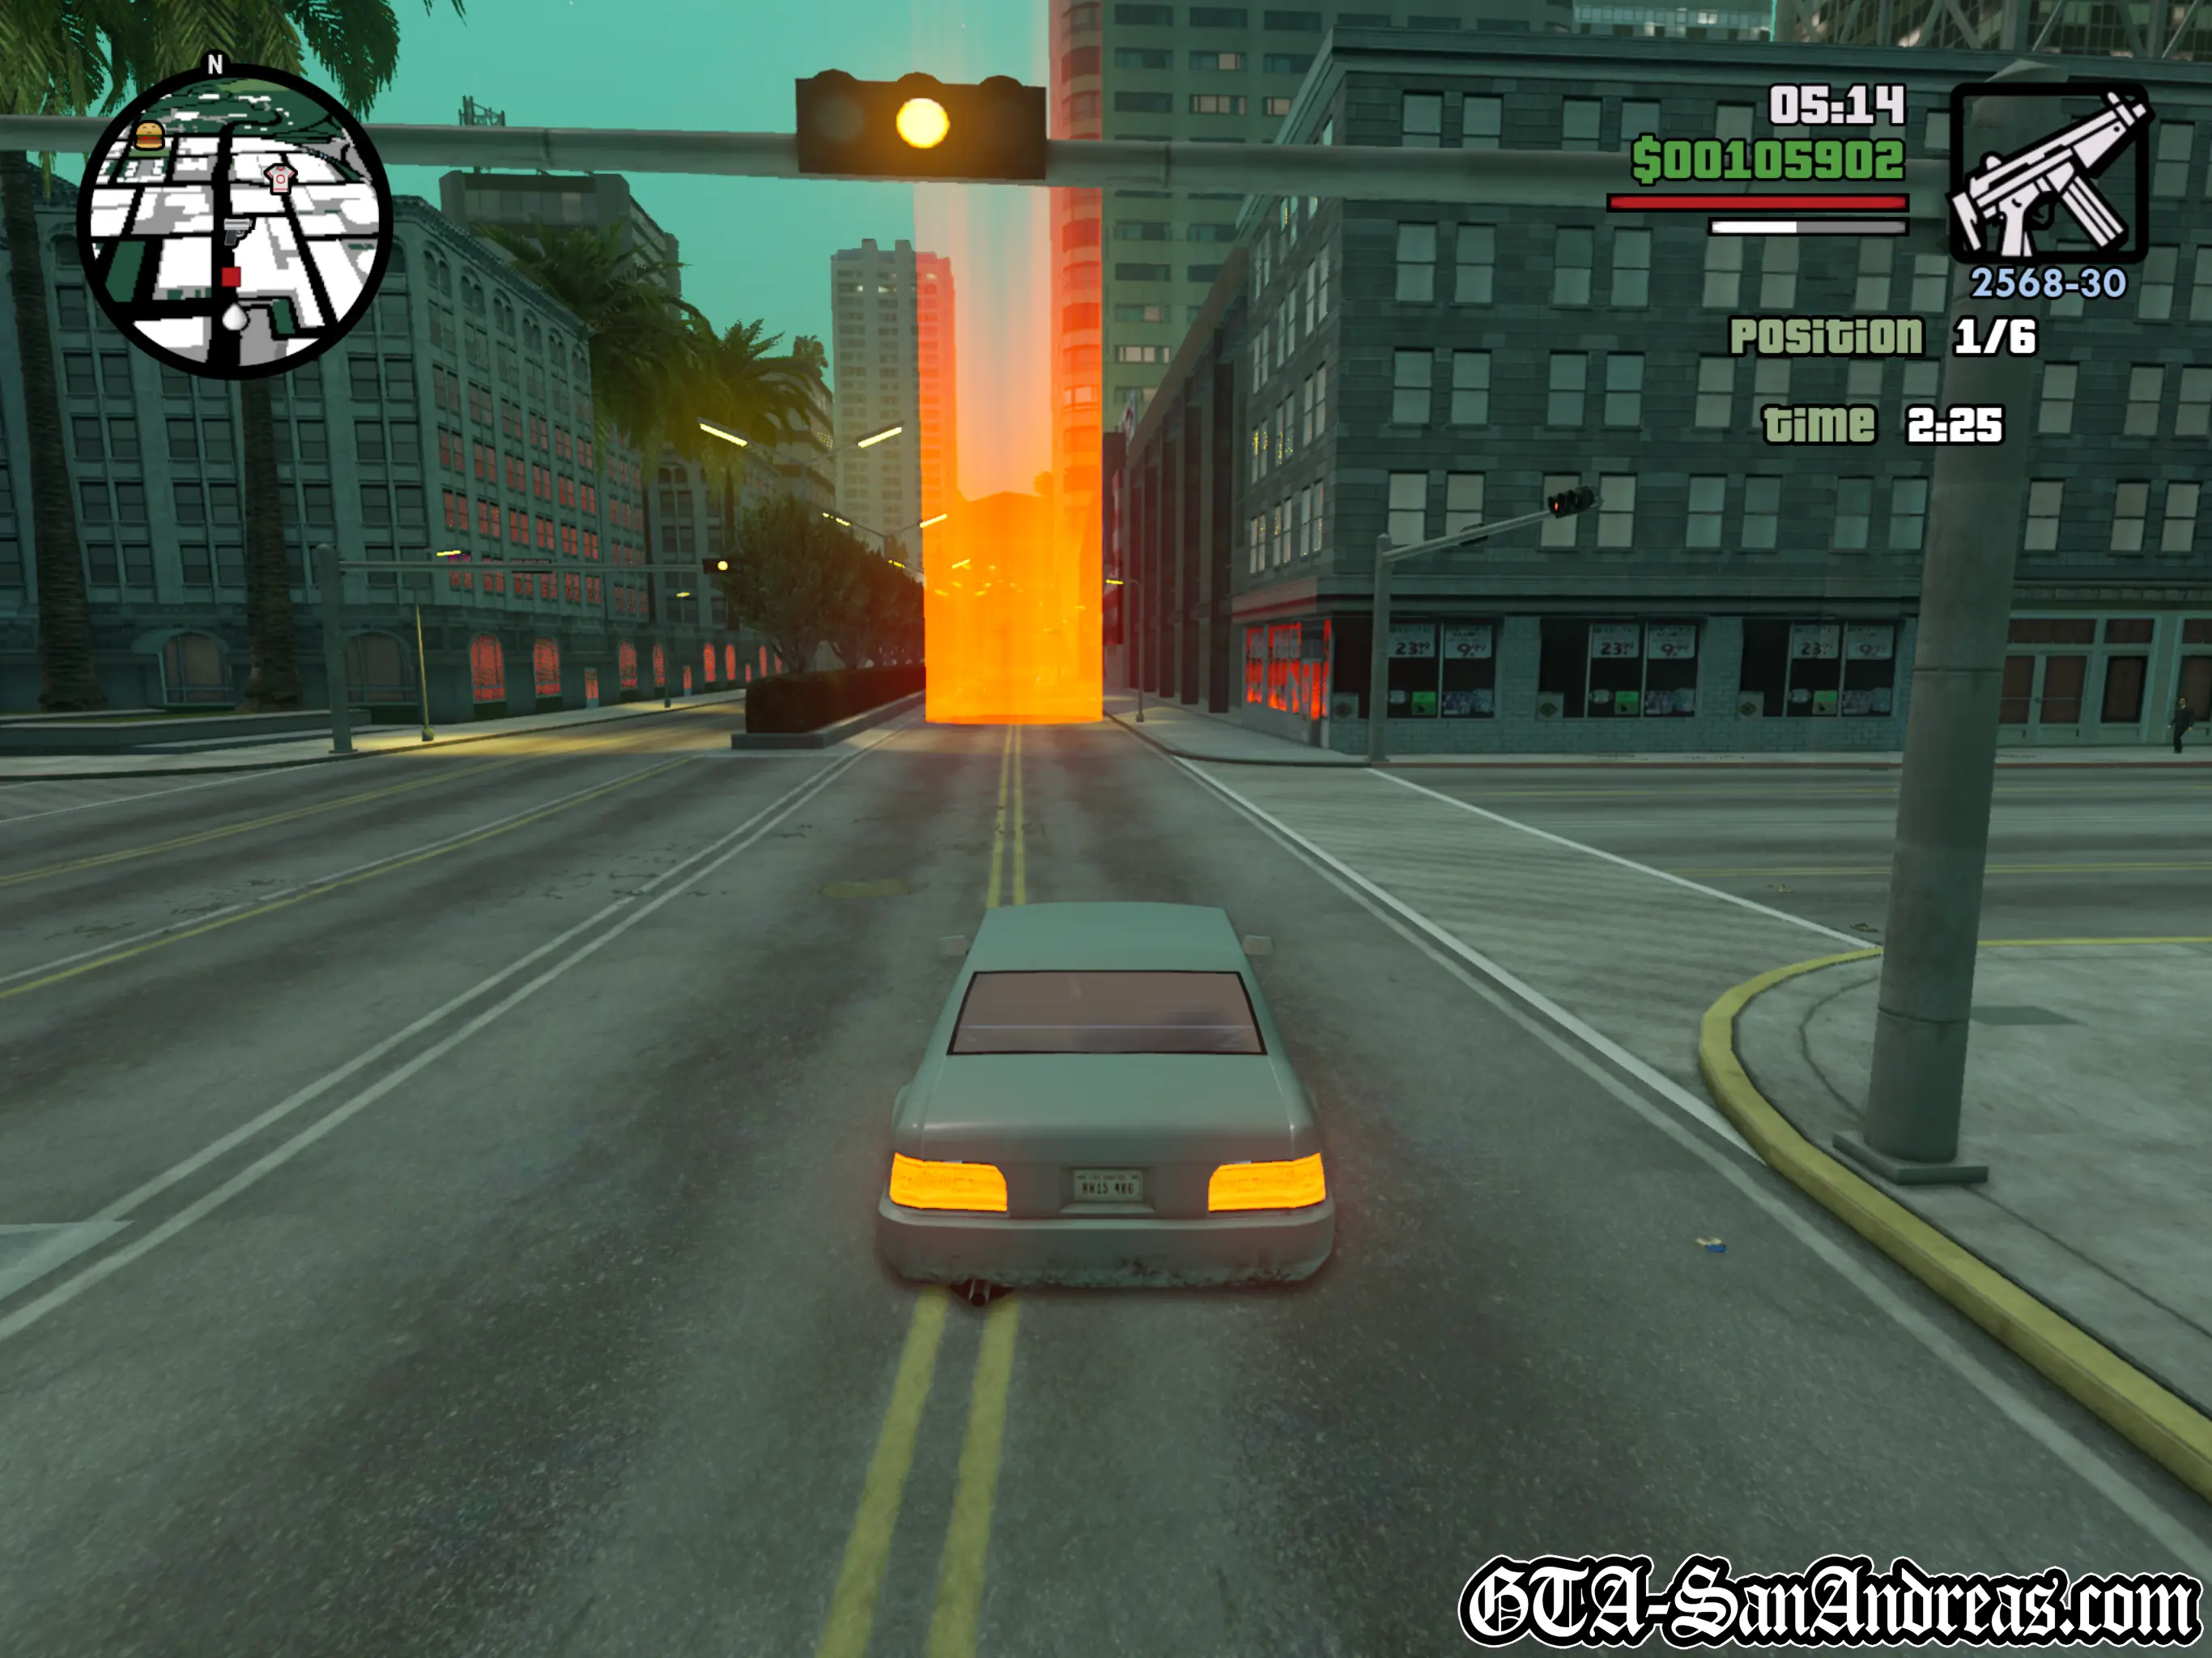
This race will most likely have been completed previously, however details you'll need to know are that the race ends at the pier and takes a few turns through the streets of Vinewood and Market.
There is nothing in this race which should cause any sort of problem apart from avoiding any oncoming traffic, so just take it easy, brake at relatively hard corners and speed down the straights.
Screenshots


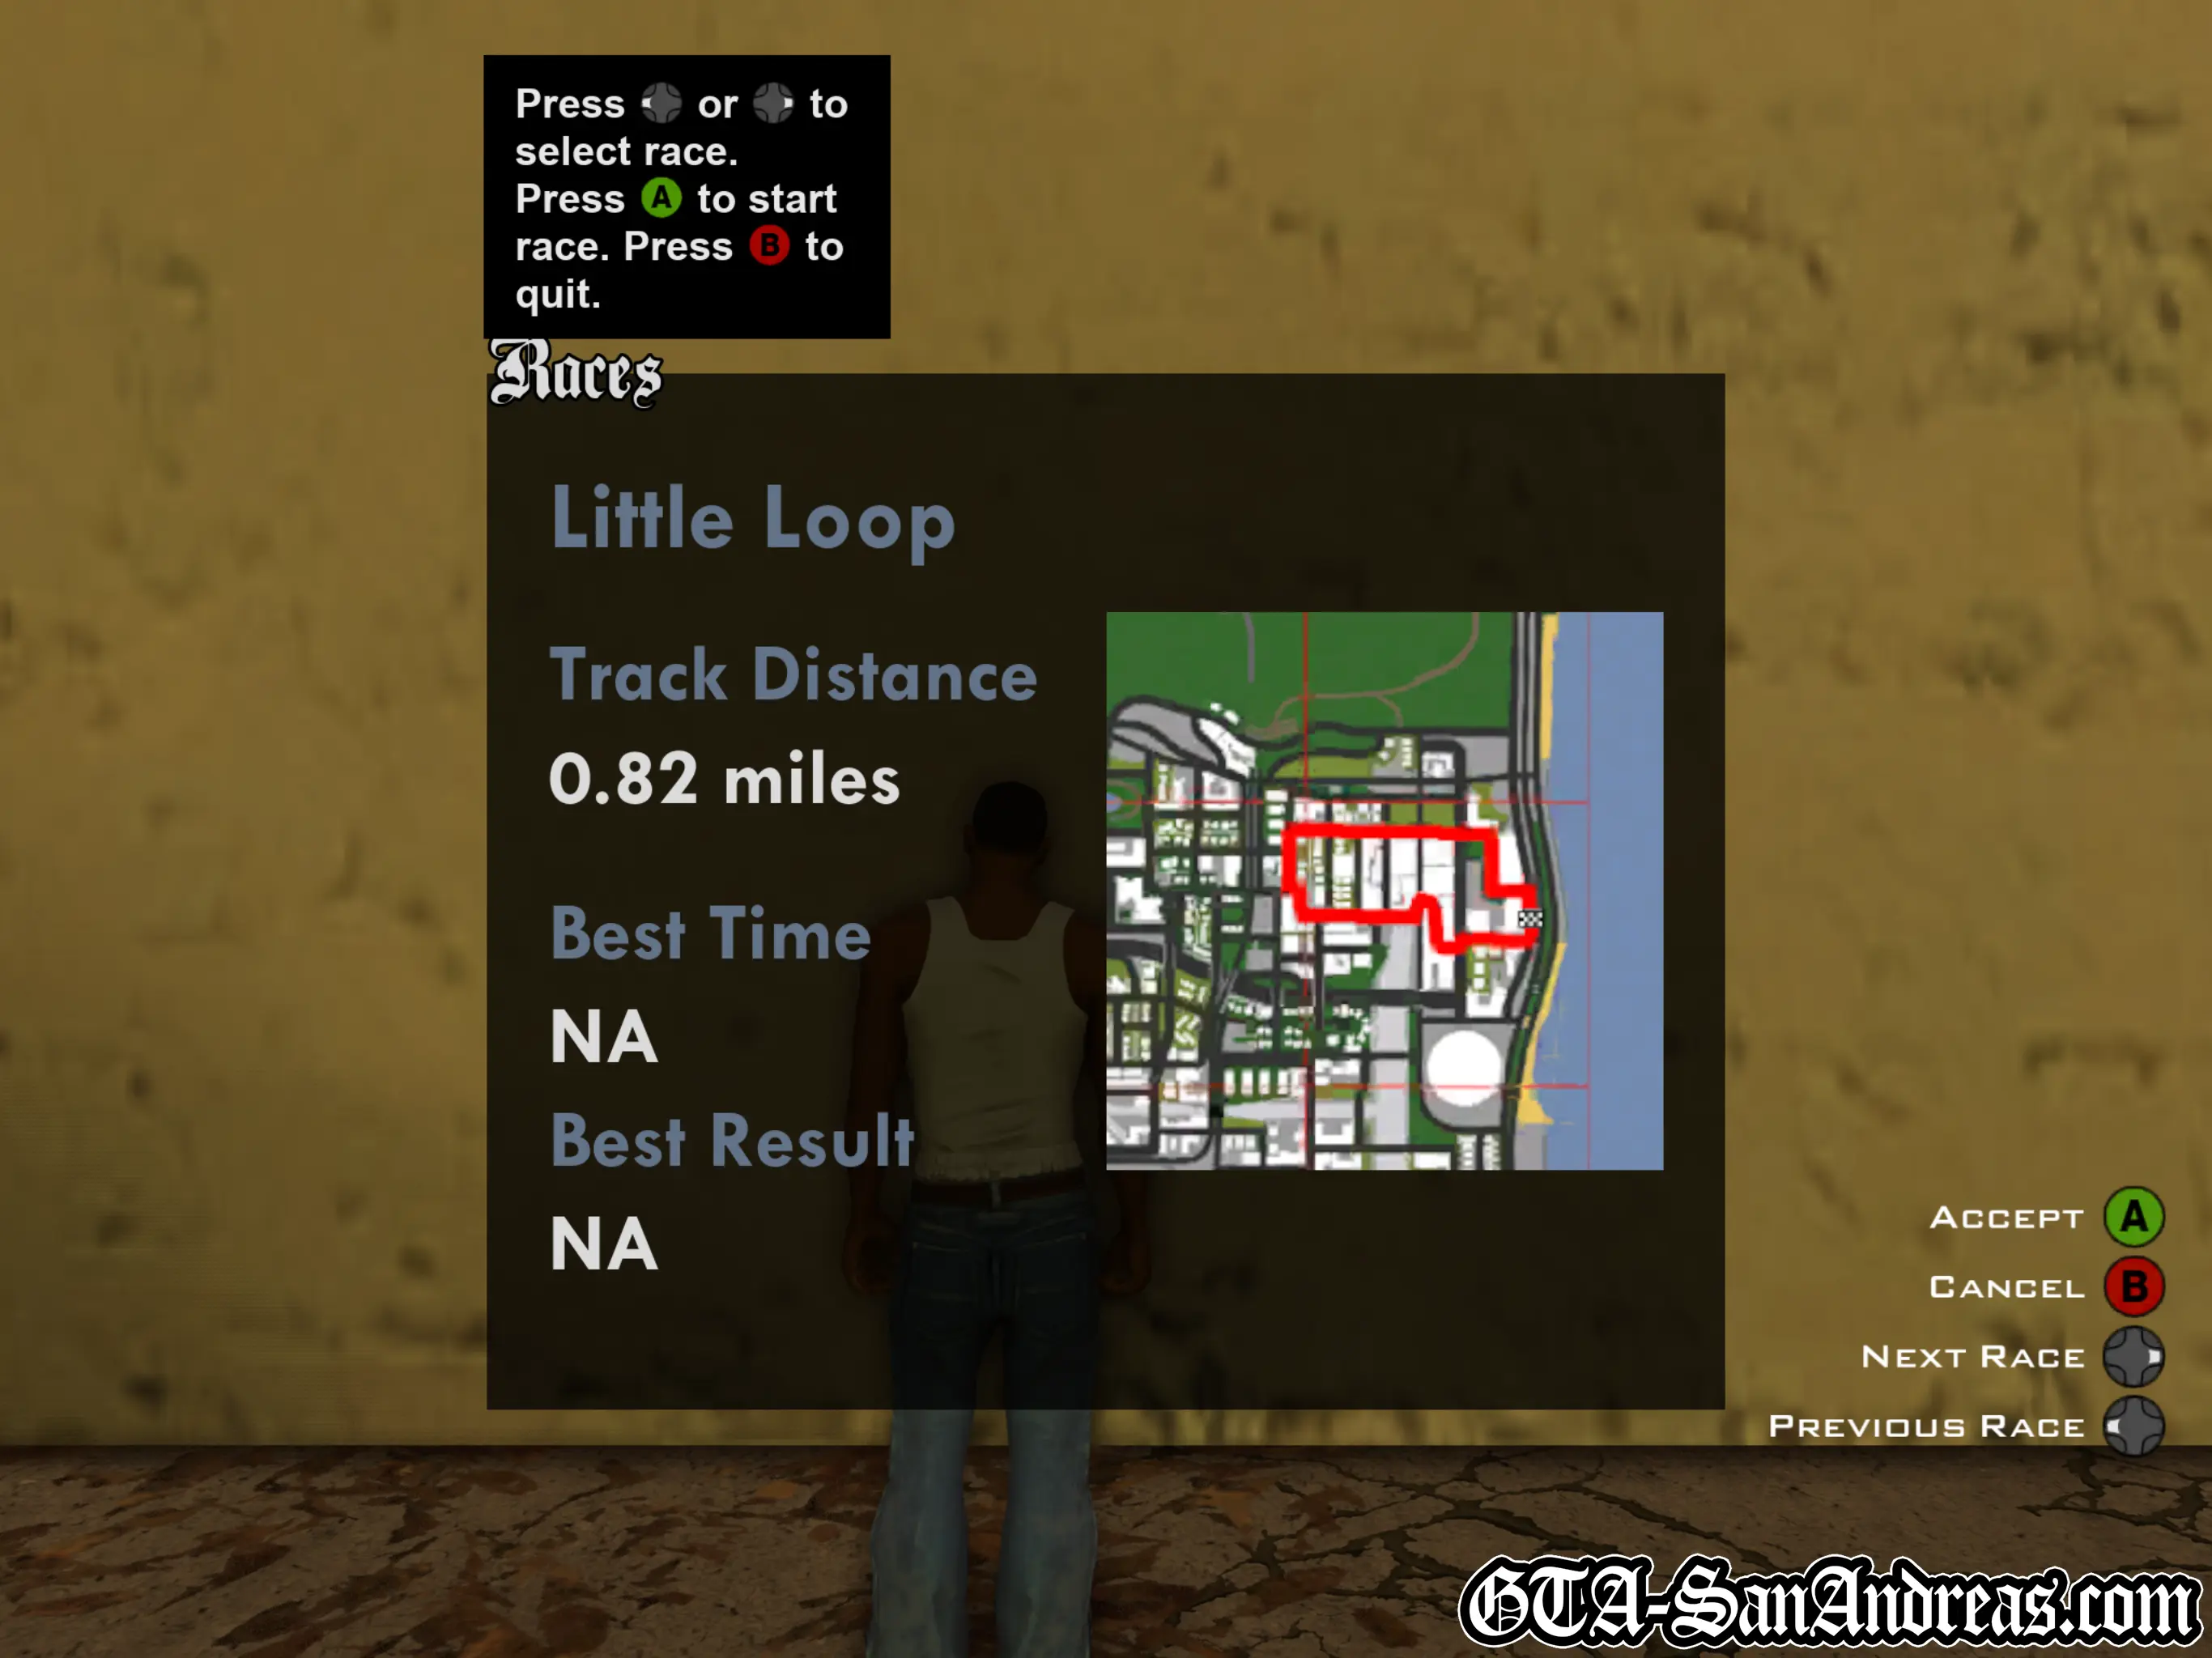
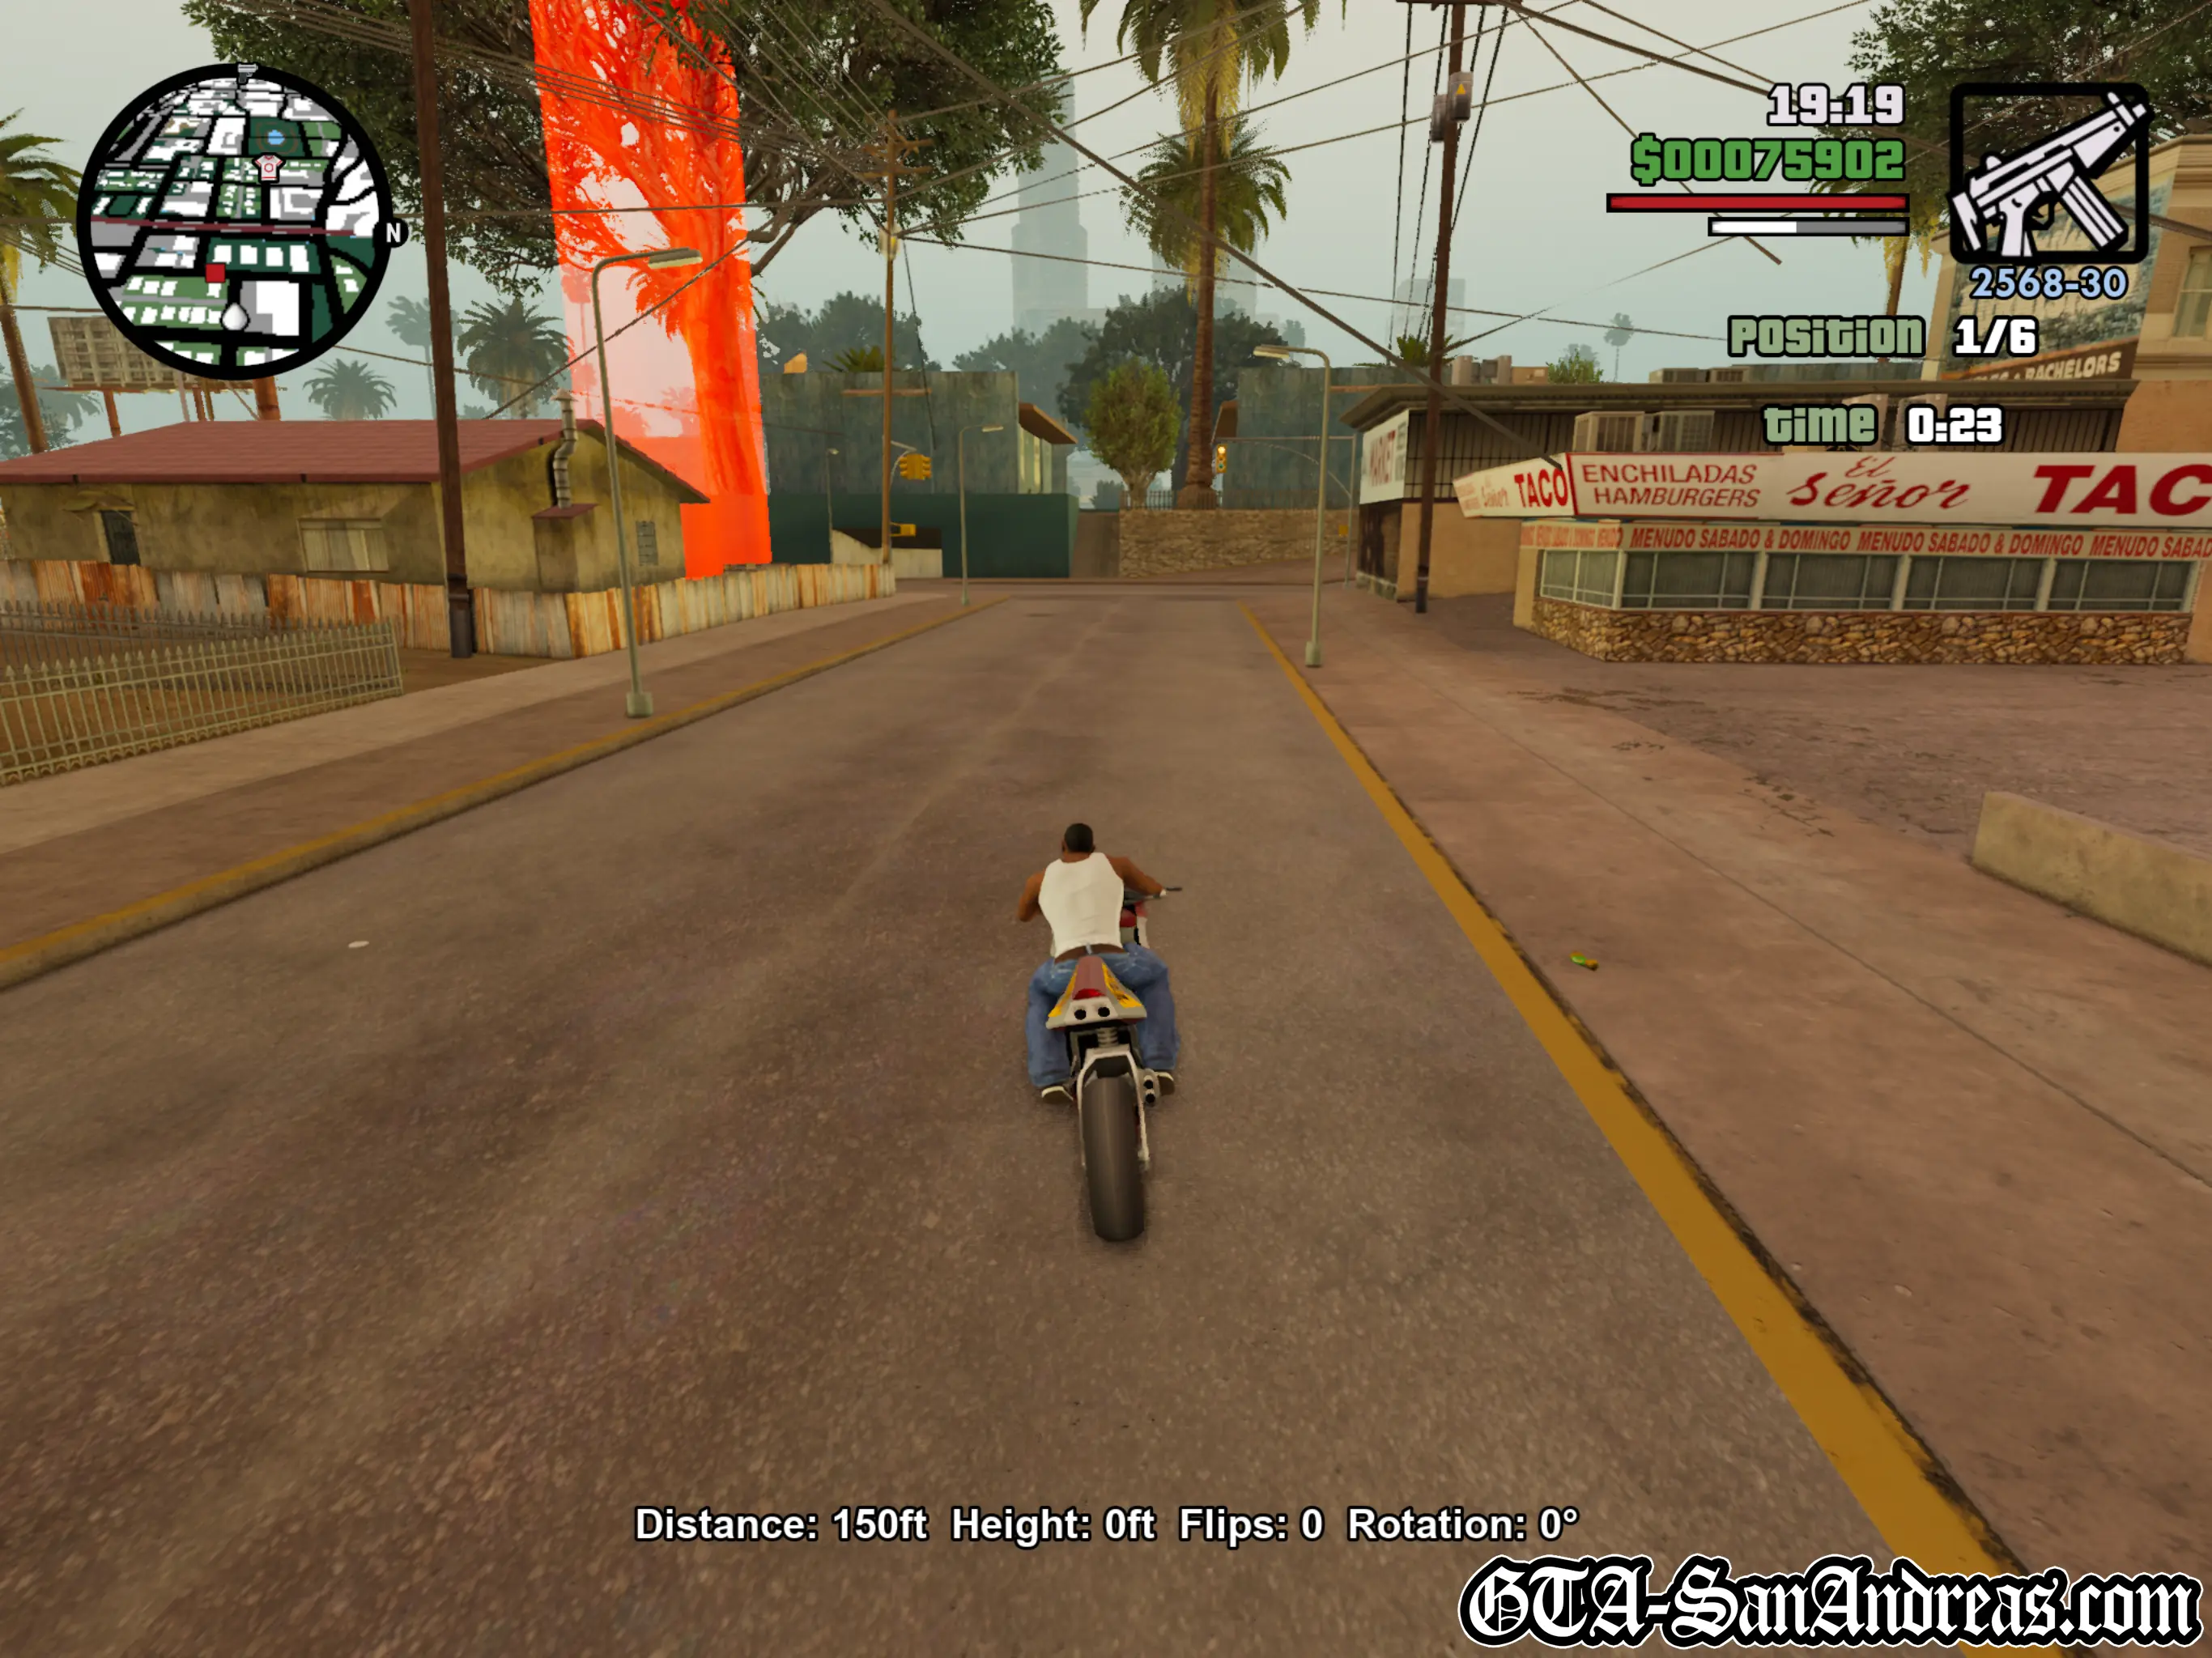
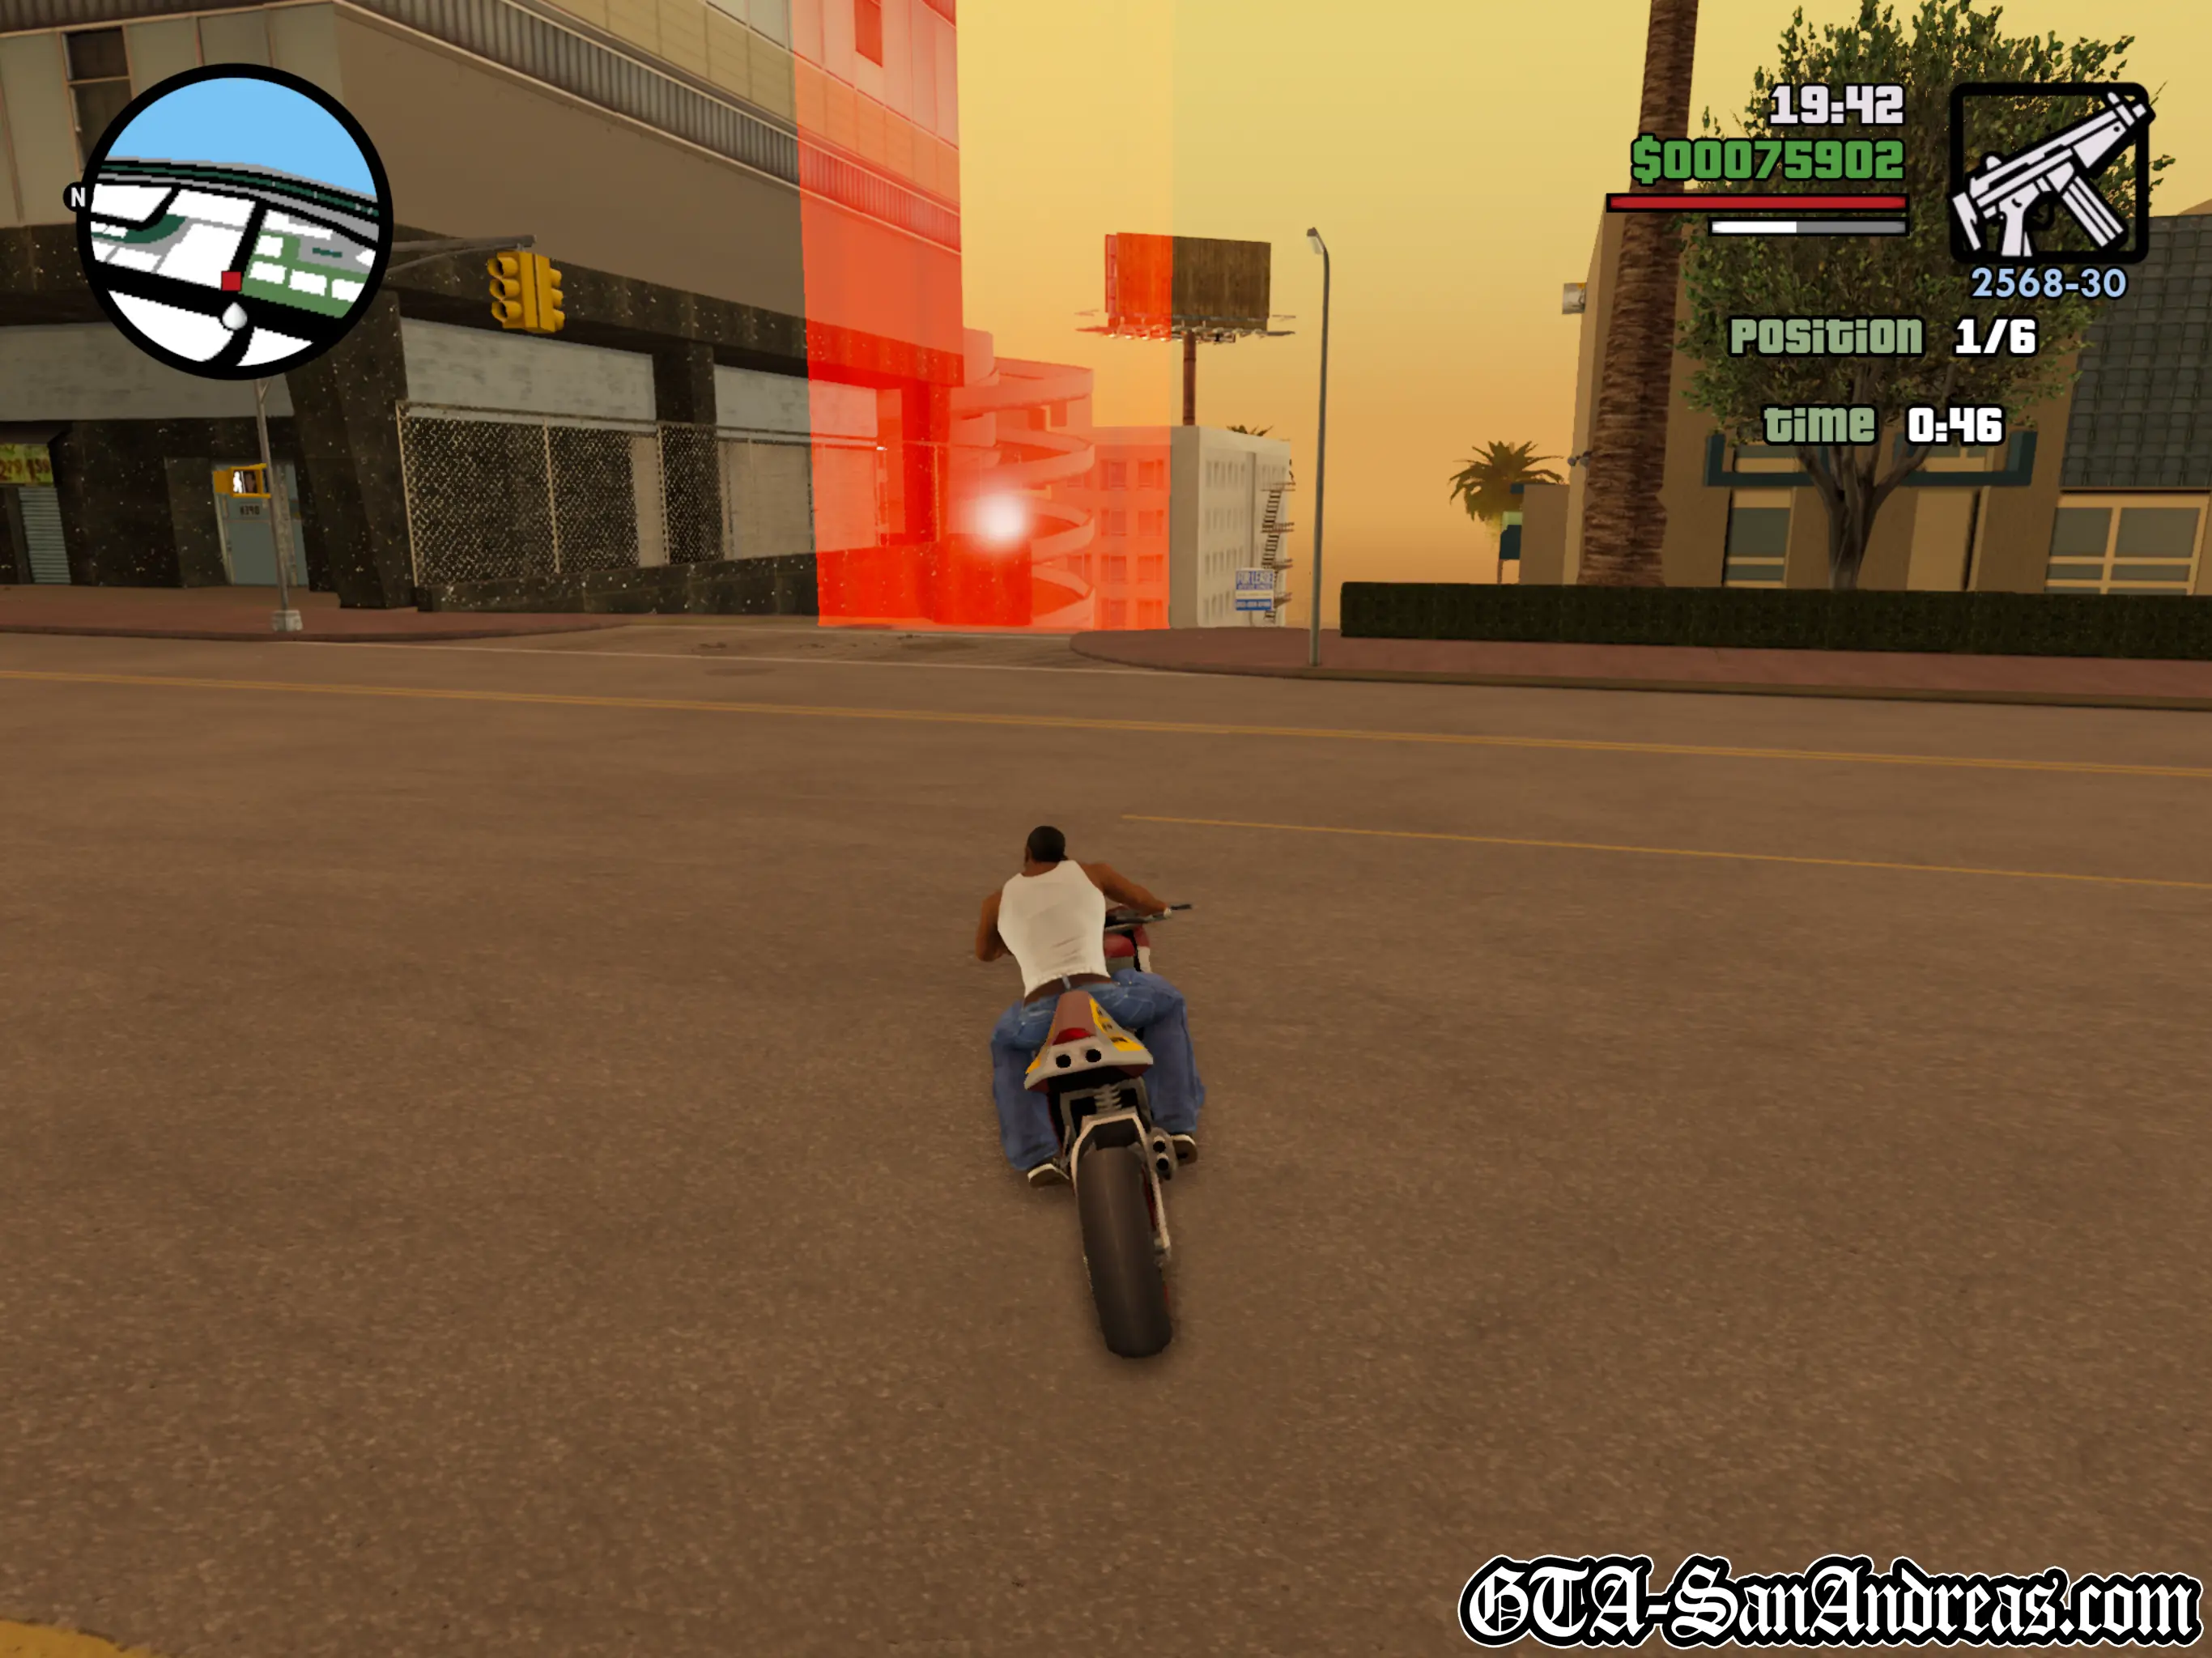
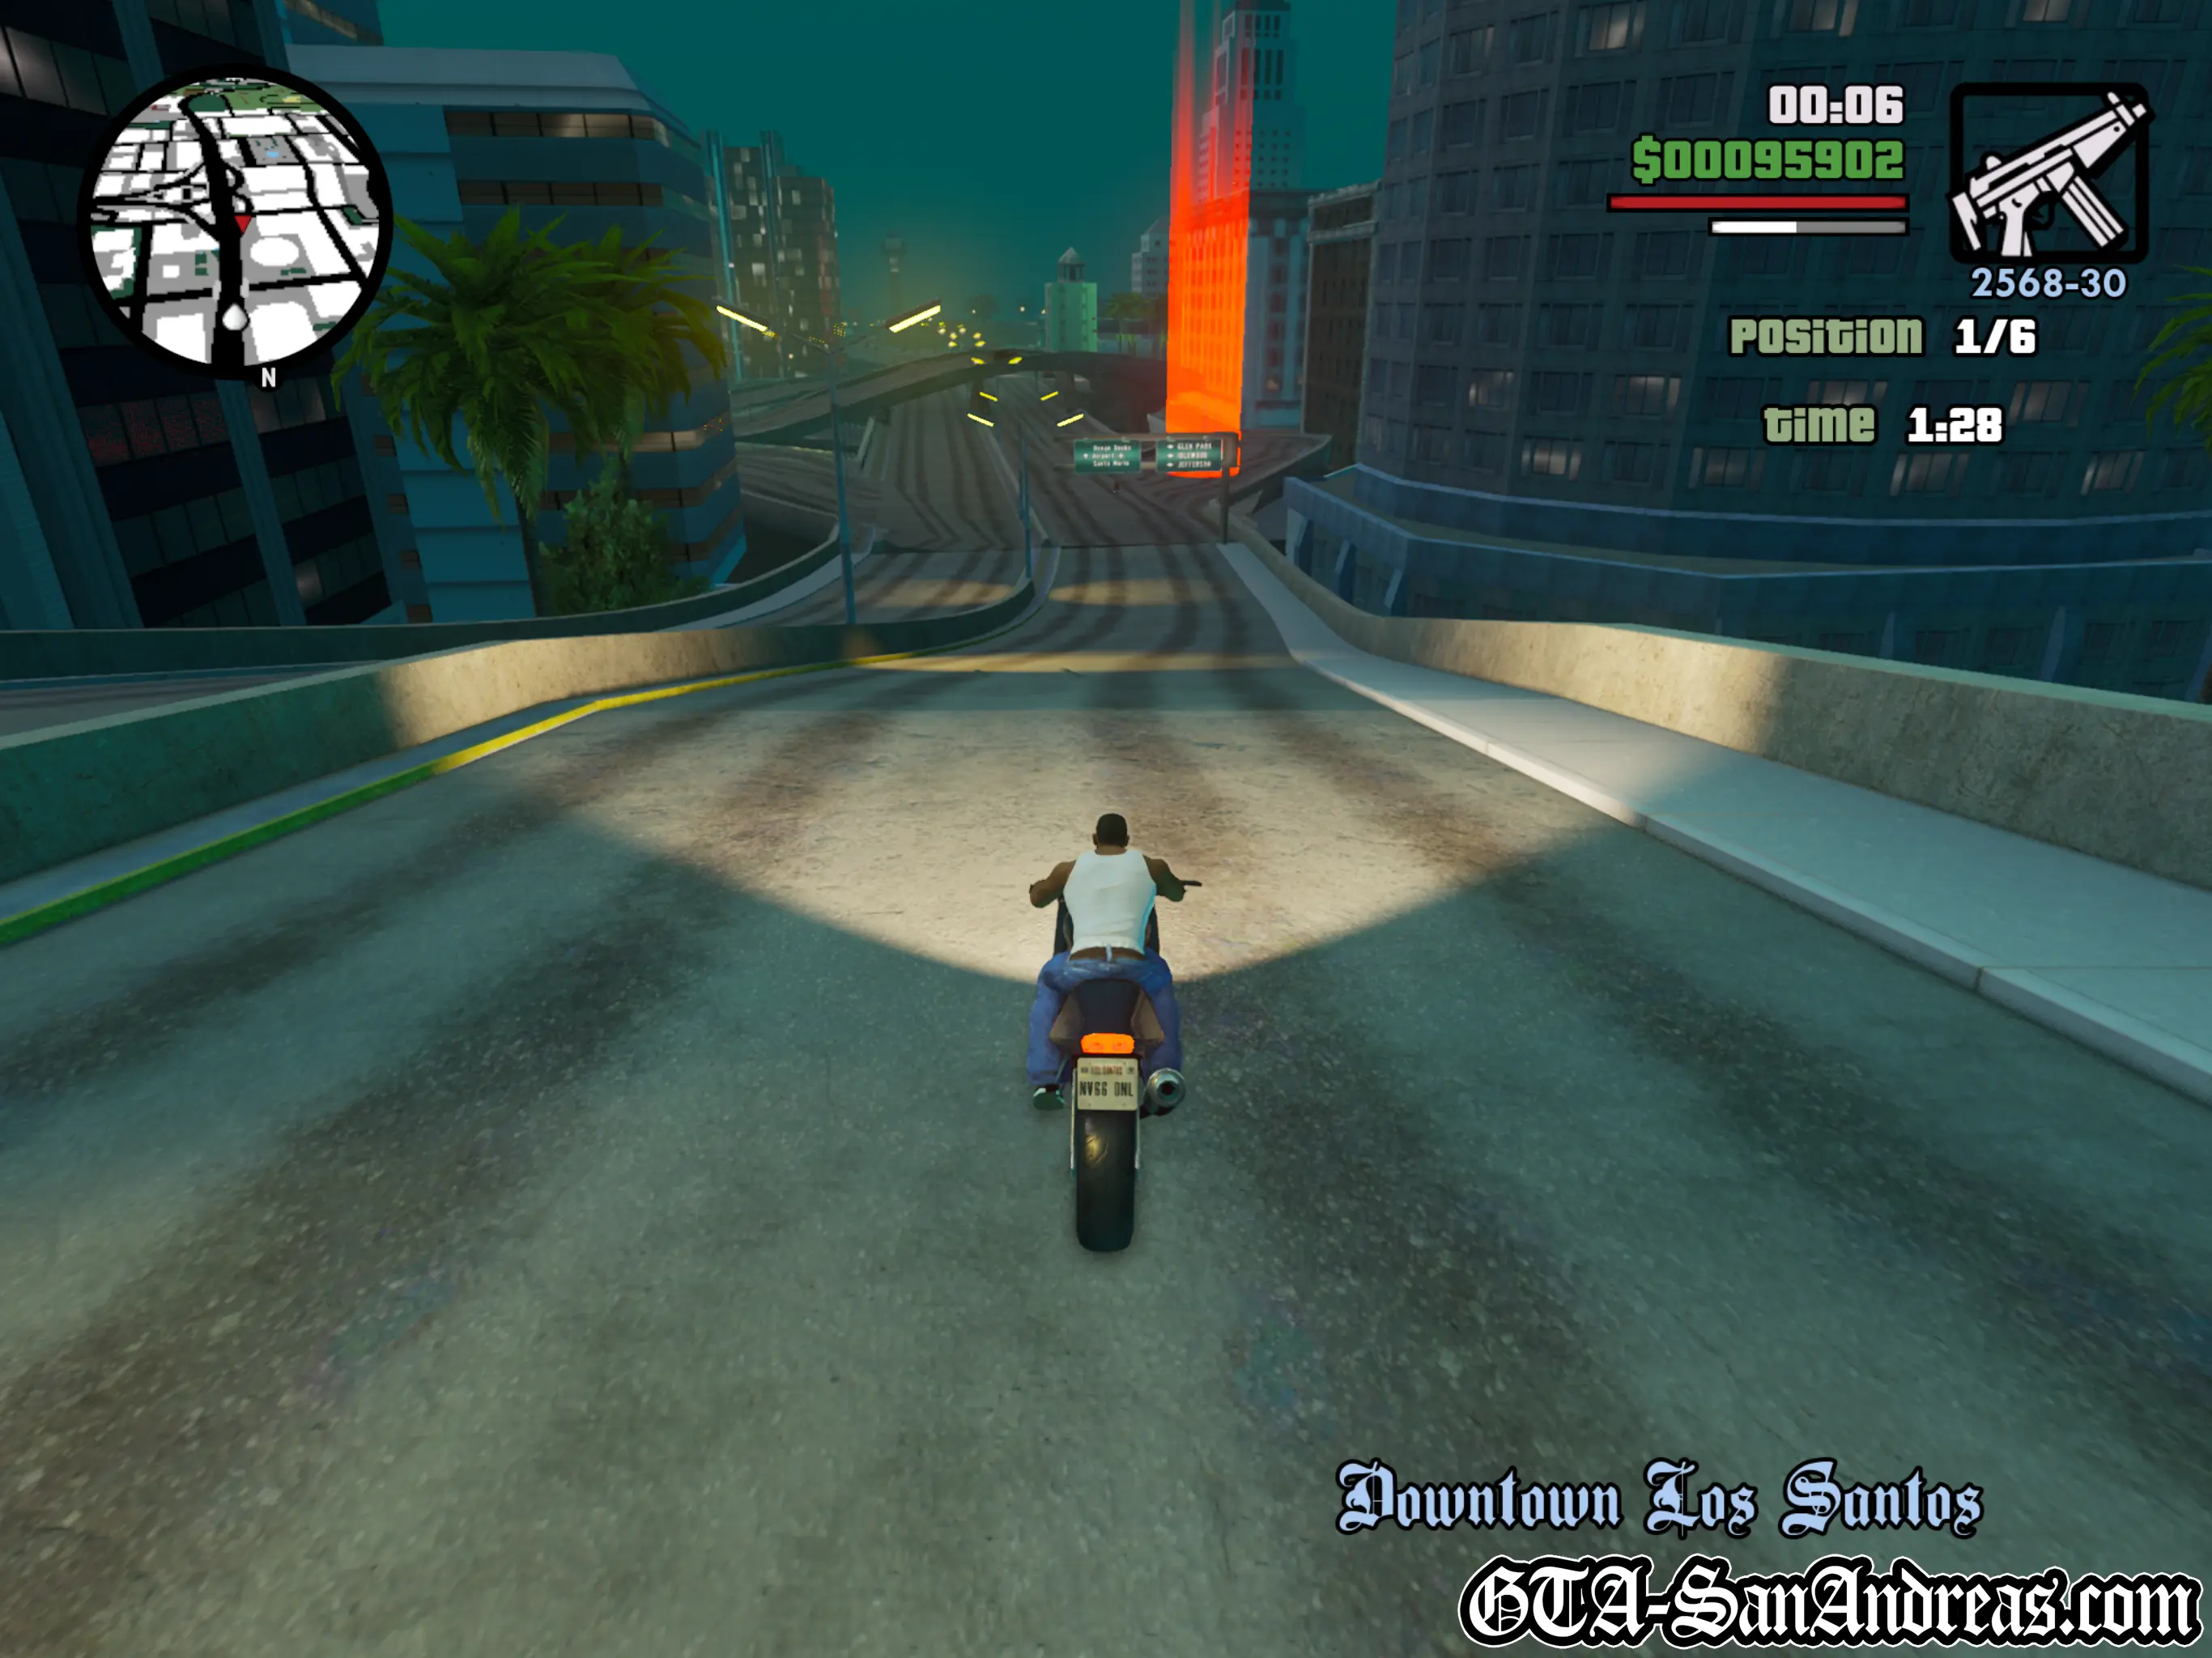
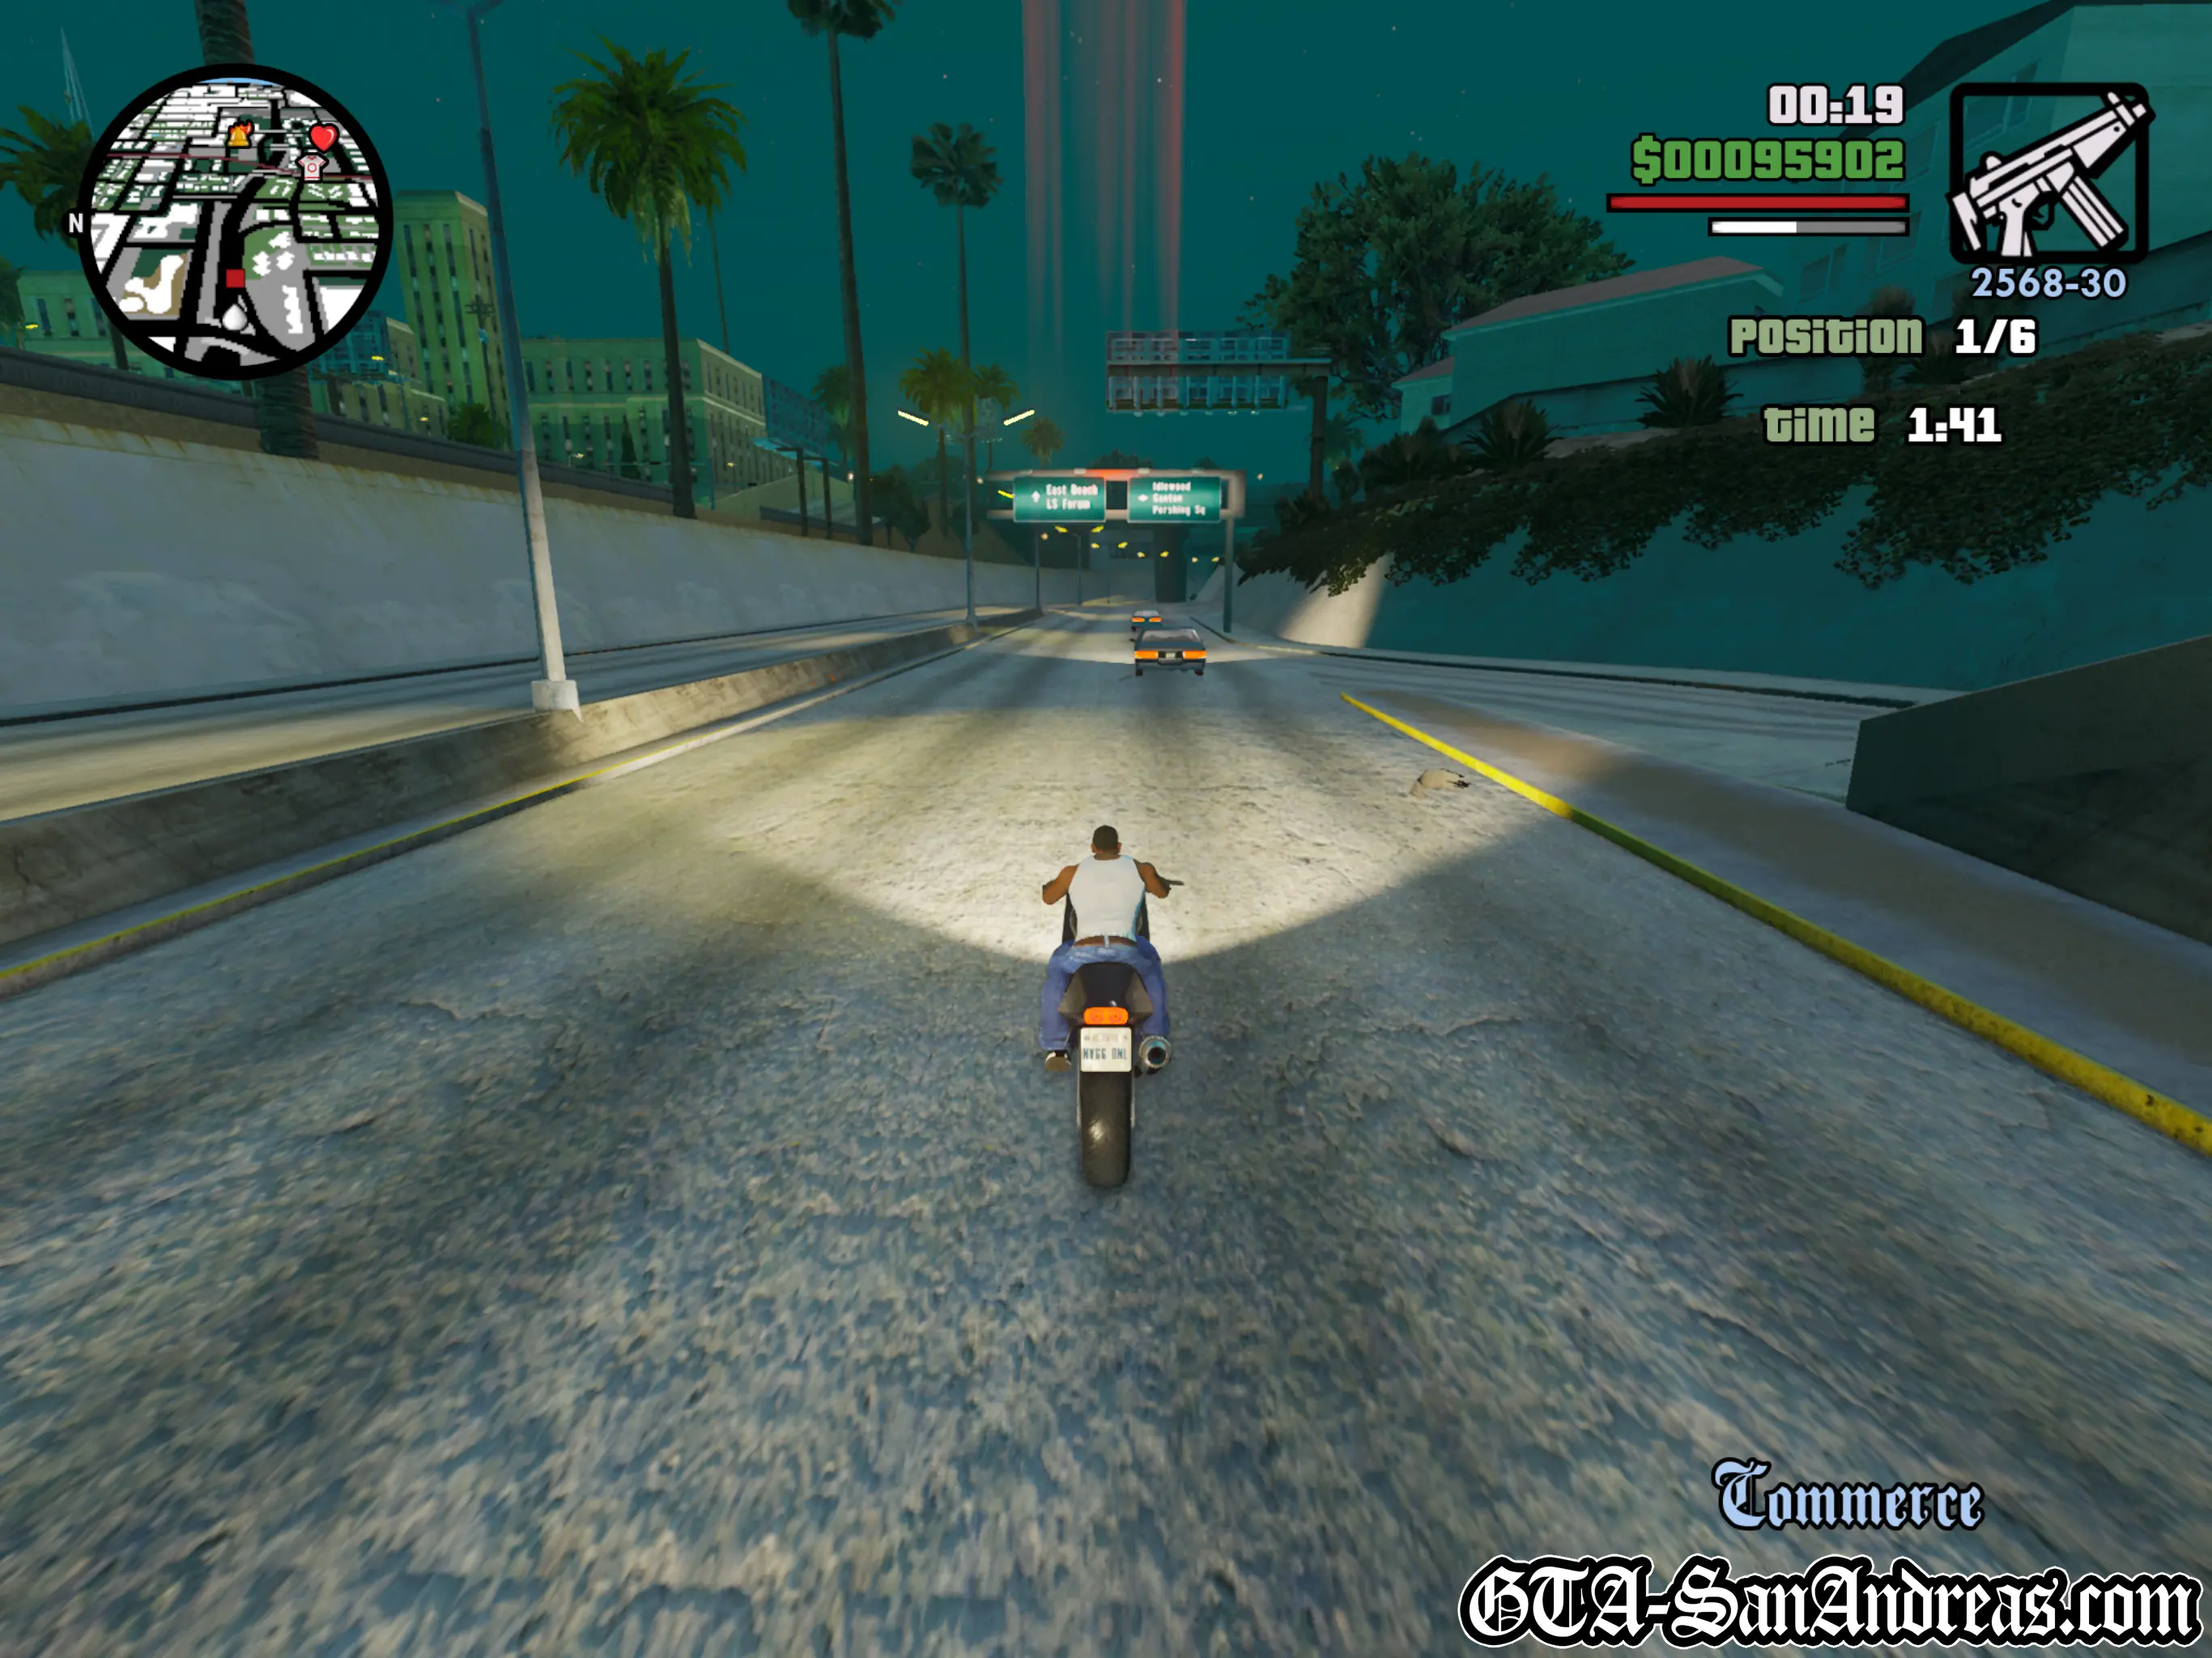
Little Loop
| Vehicle Provided | Track Distance |
|---|---|
| NRG-500 | 1.00 KM |
Tactics
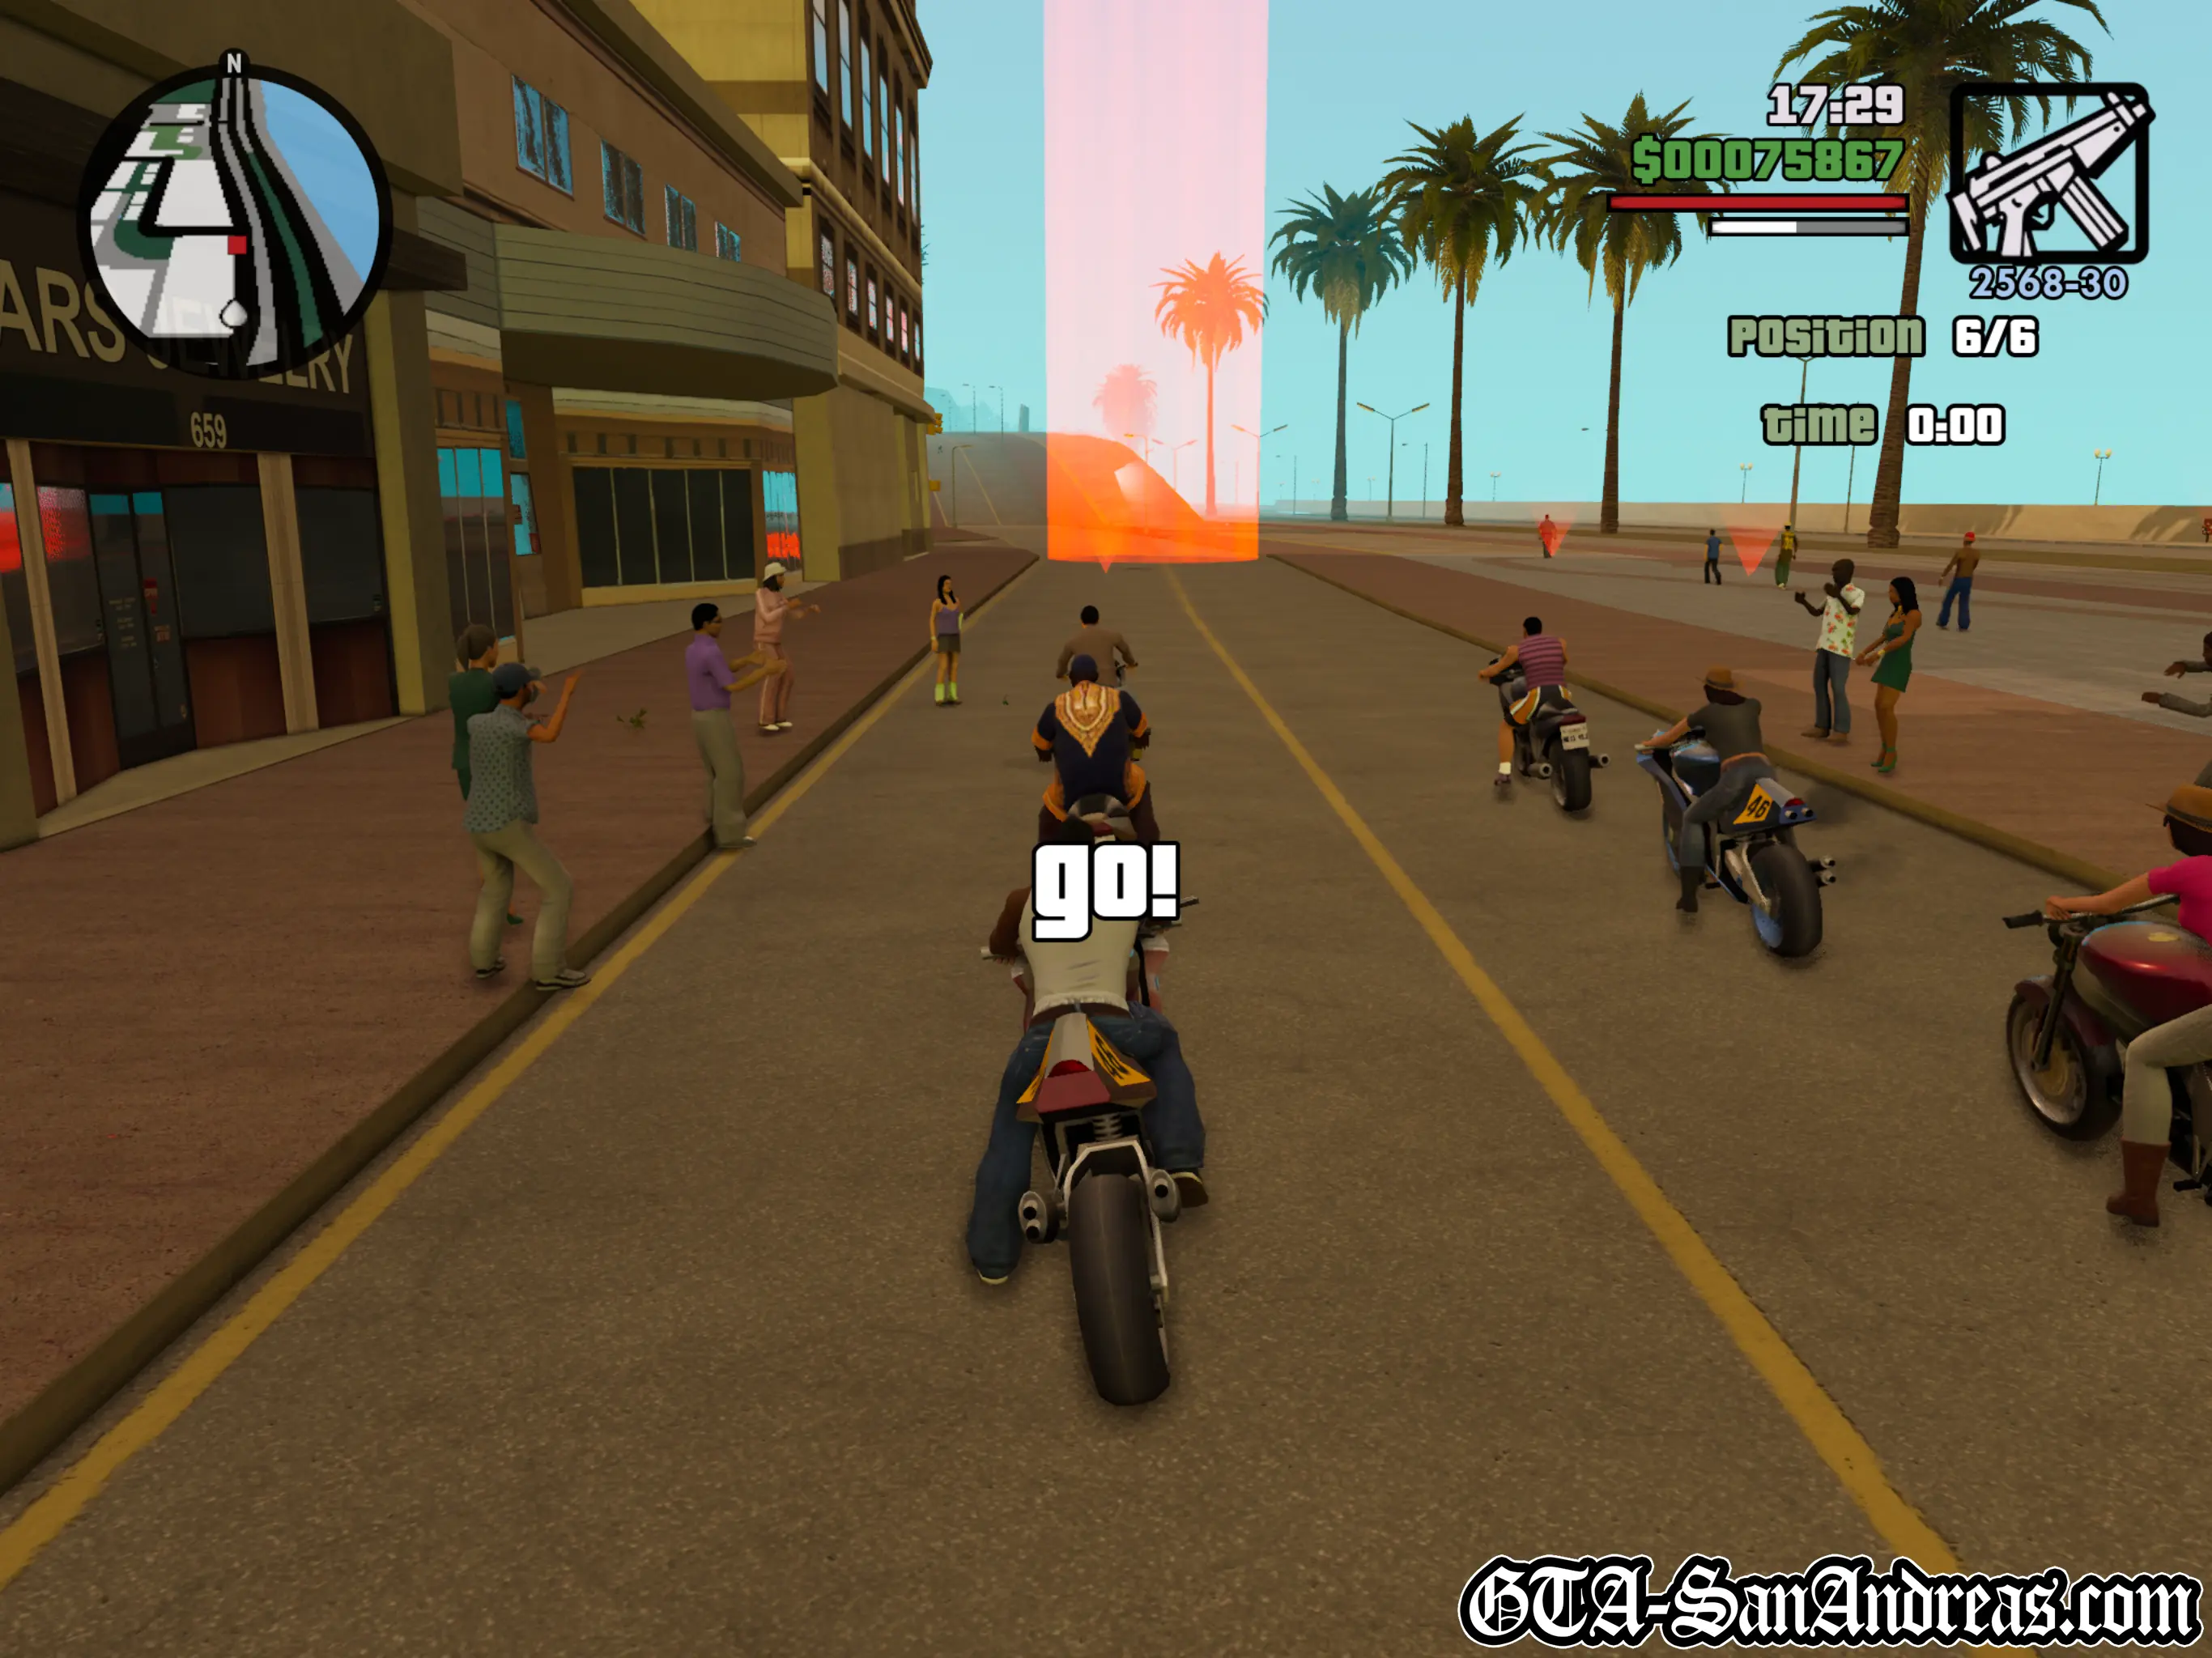
While this track is rather small, the fact that you're on a bike makes it a lot more challenging due to the fact that any sort of collision will likely send you flying.
The bike also has a tendency to pull a wheelie when you try to accelerate.
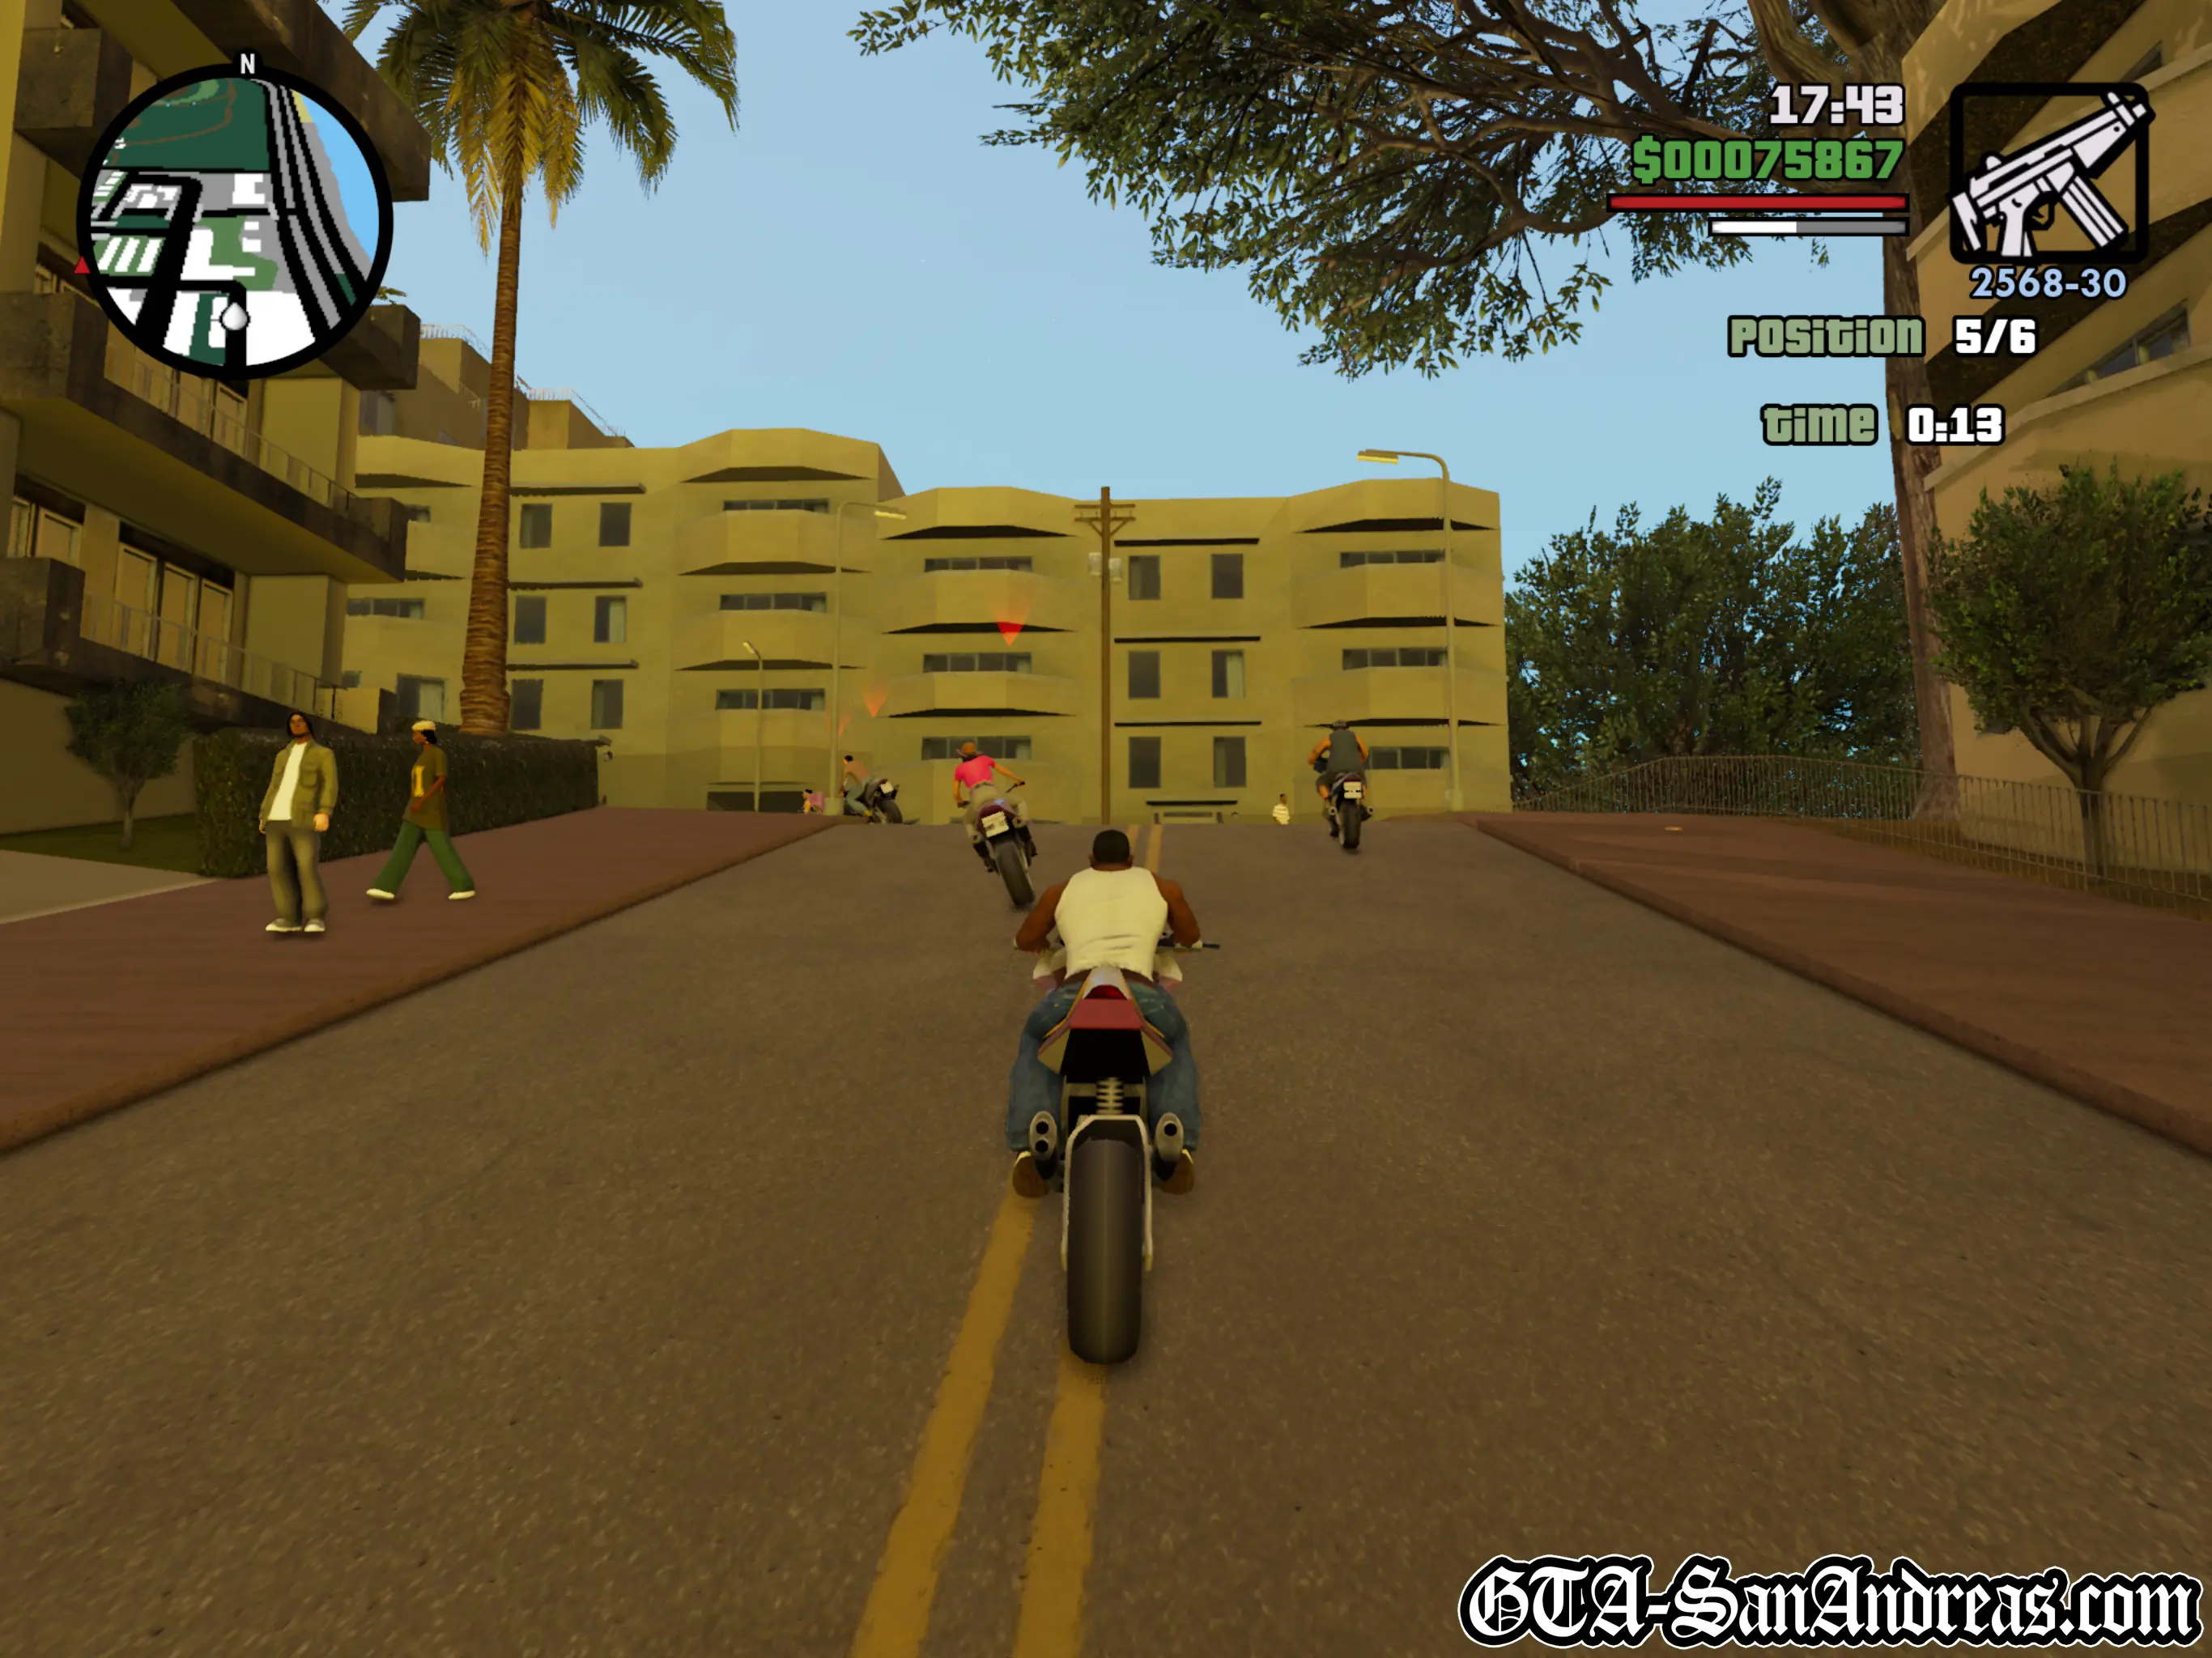
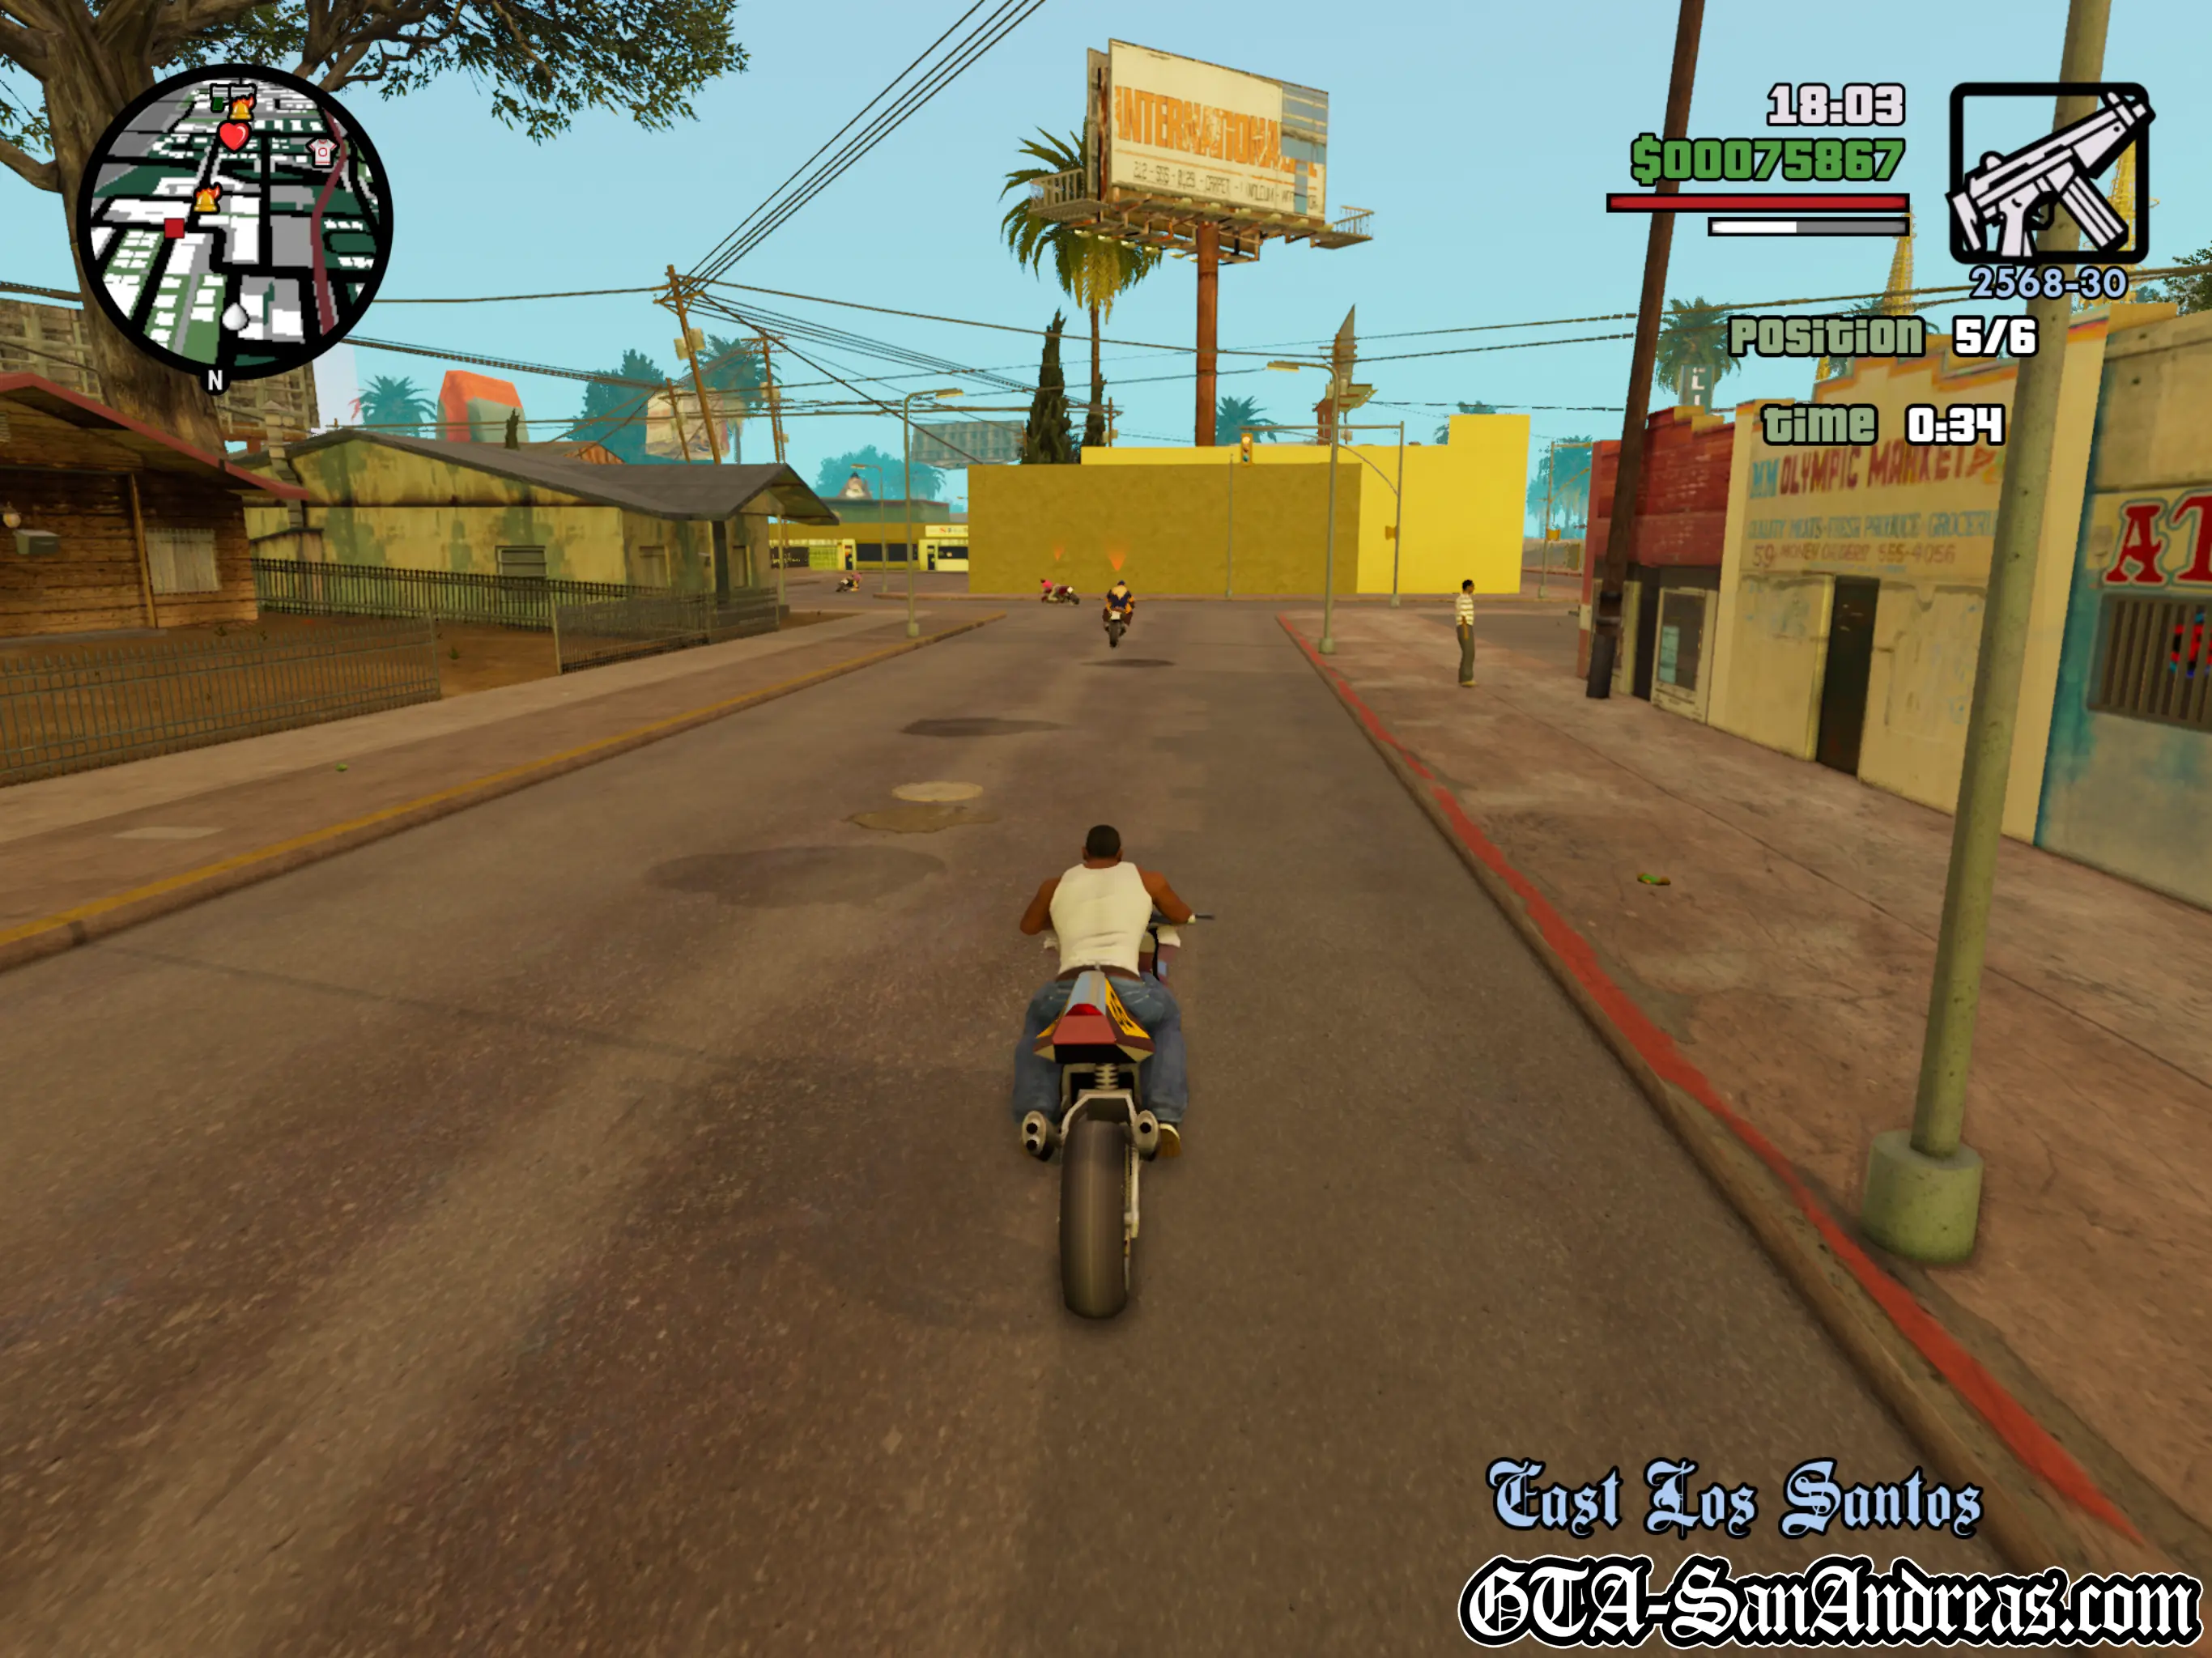
You can go pretty fast throught this race, just watch out for other bikers, cars and lamp posts.
It's pretty difficult to actually win the race, so you may need to try it a few times before you get it right. Thankfully it's very short, so it doesn't take too long to do again.
One downside to the short track length is that it doesn't give you enough time to catch up if you make a mistake. You'll pretty much need a perfect run to win.
Screenshots
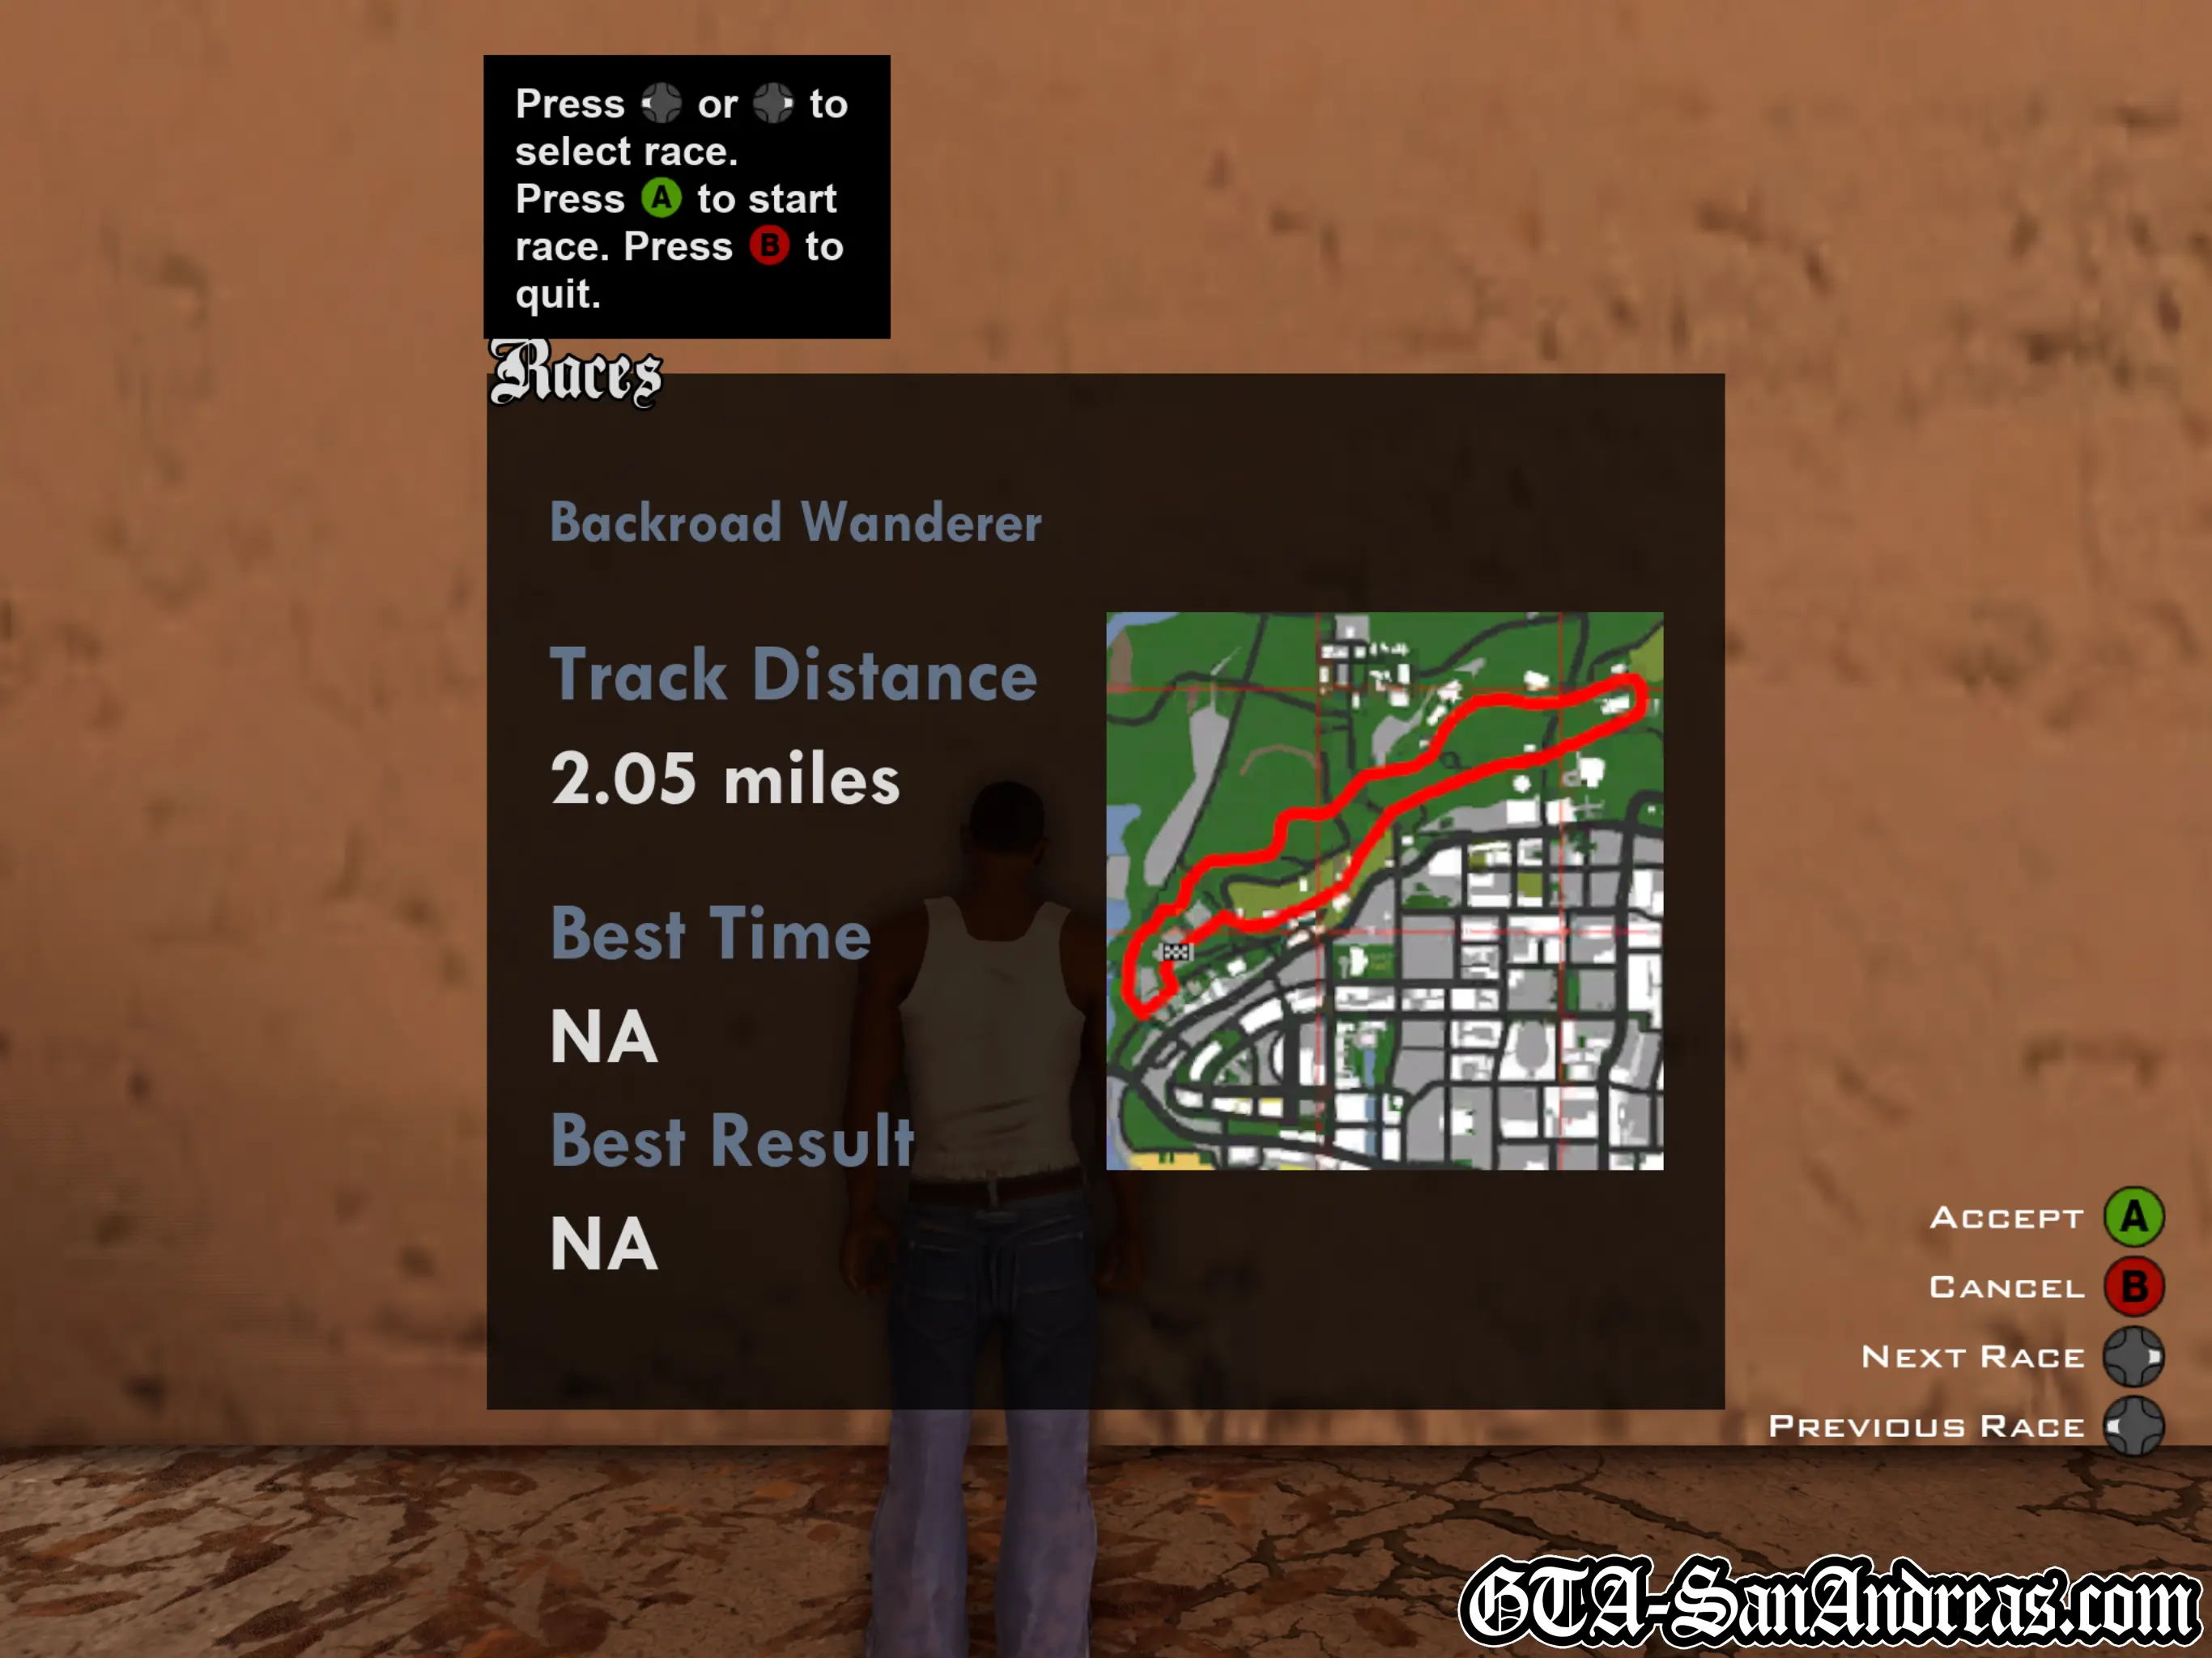
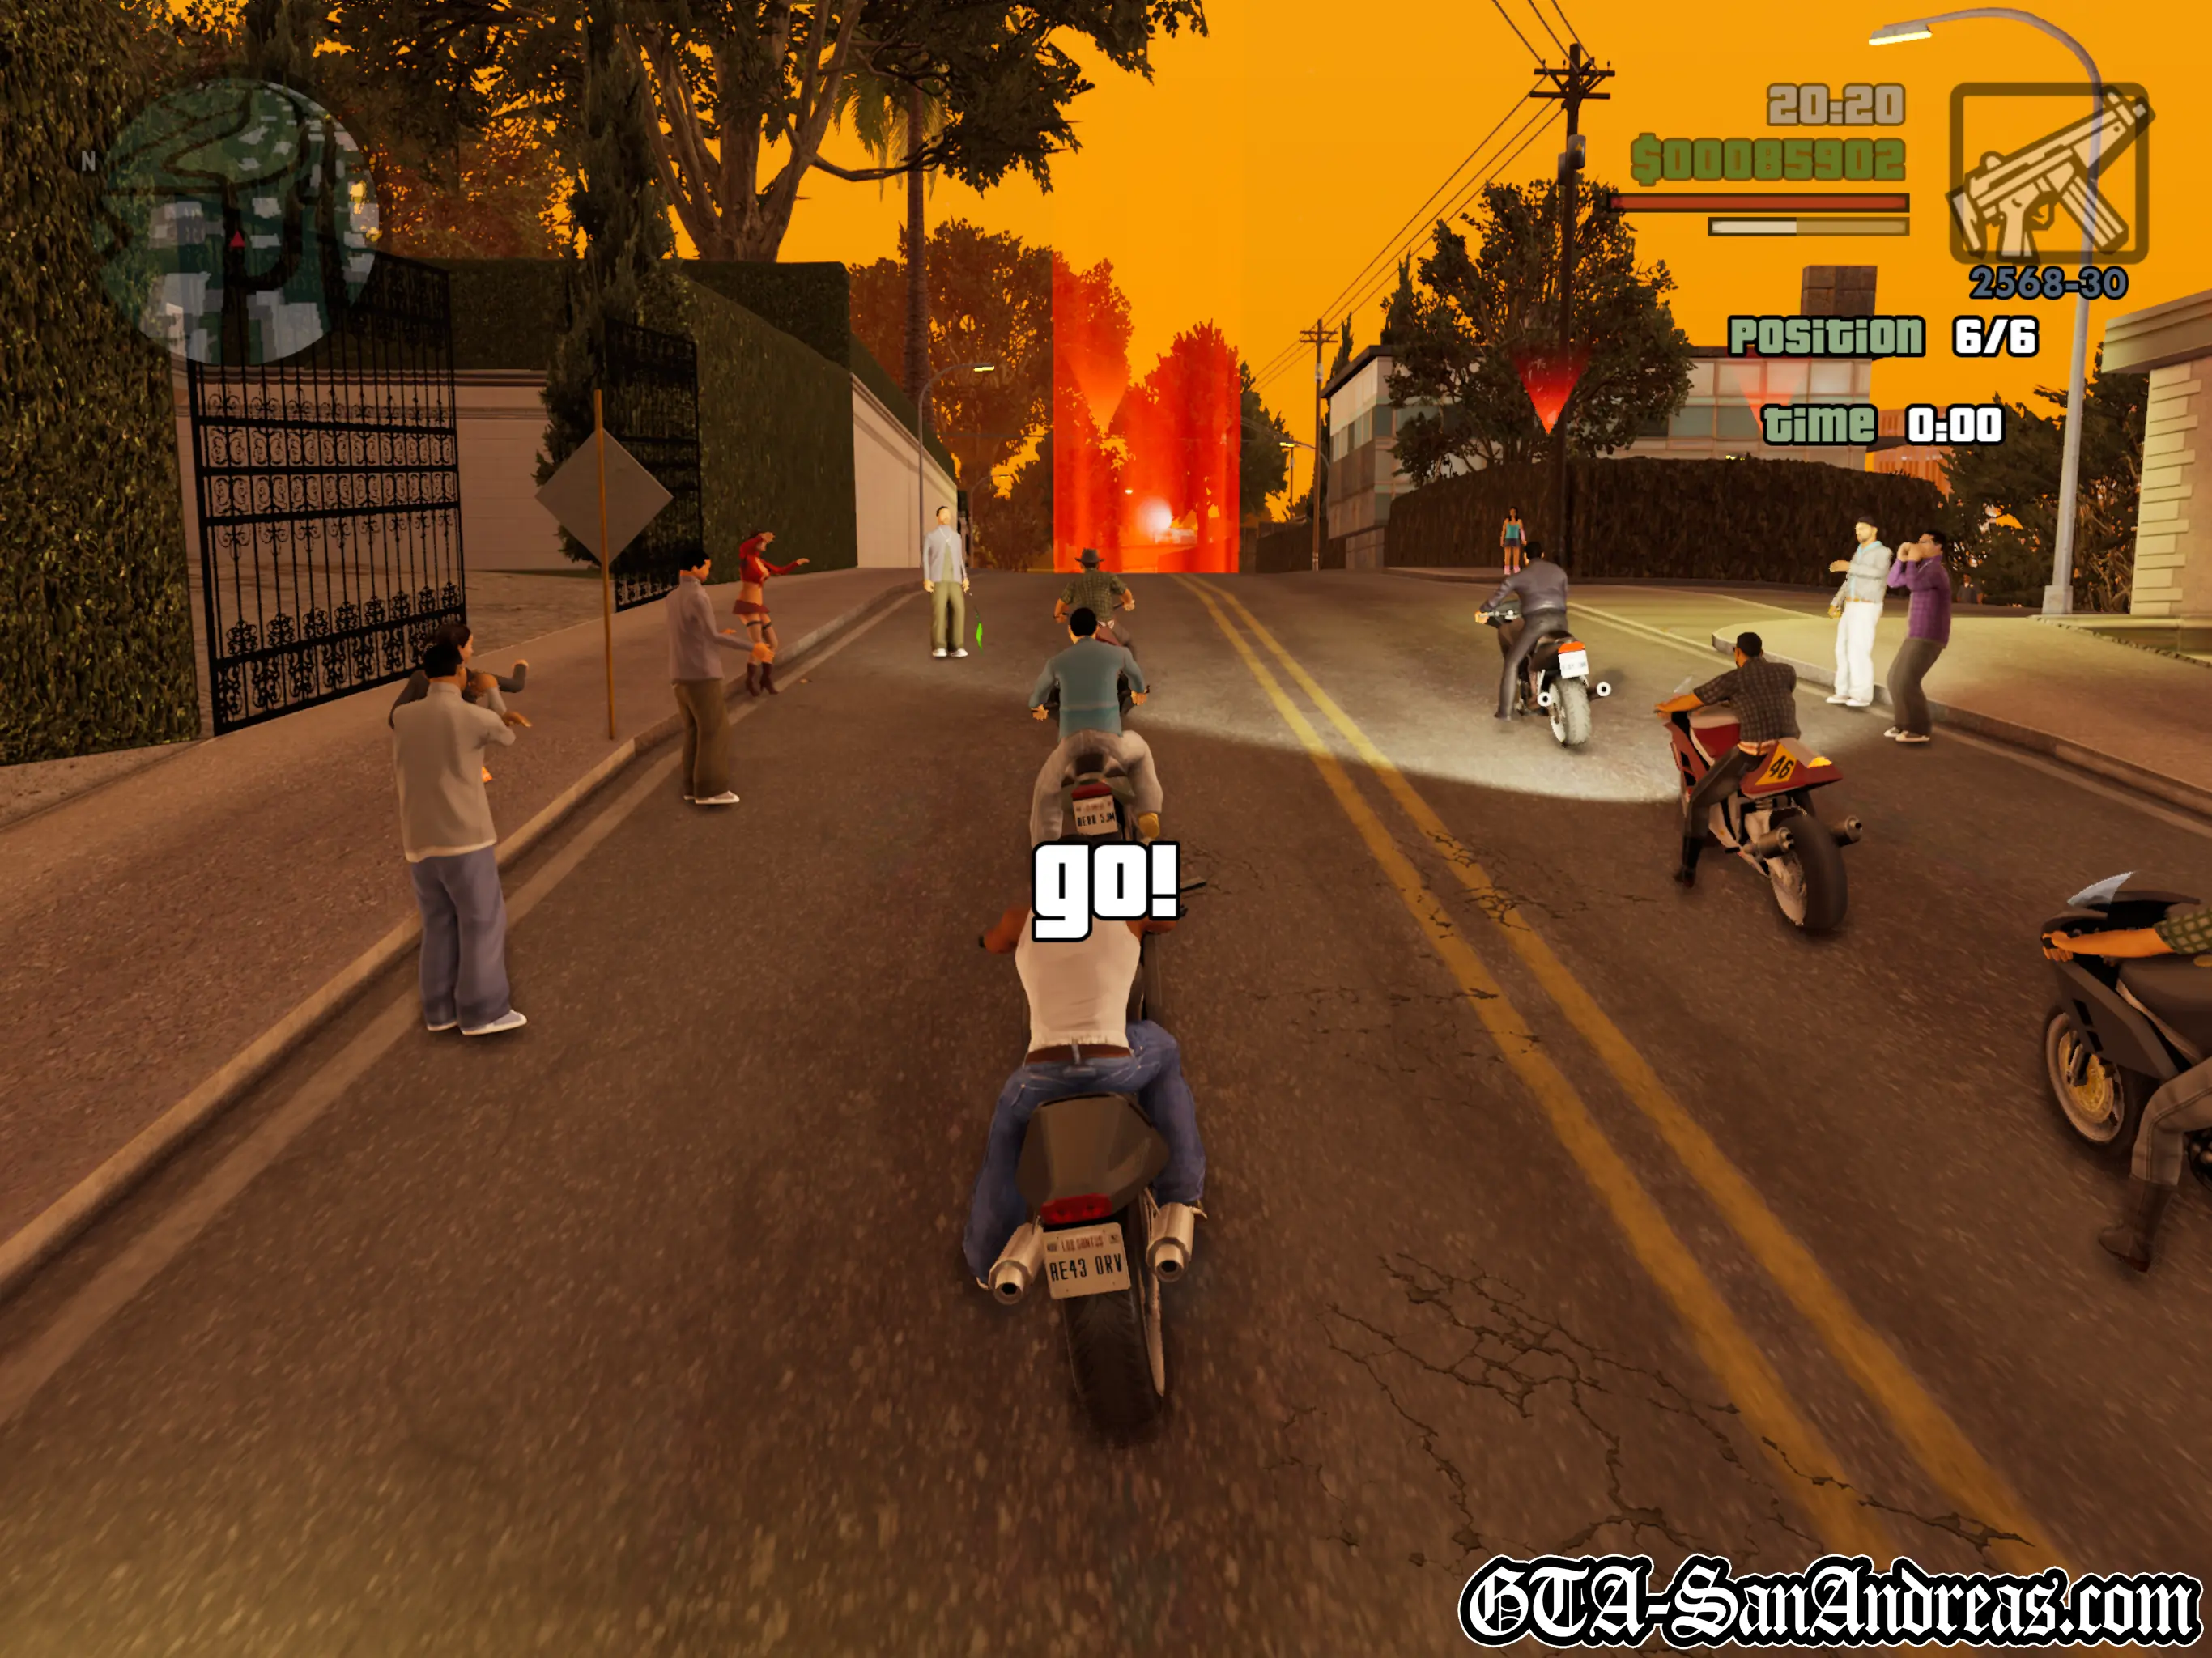
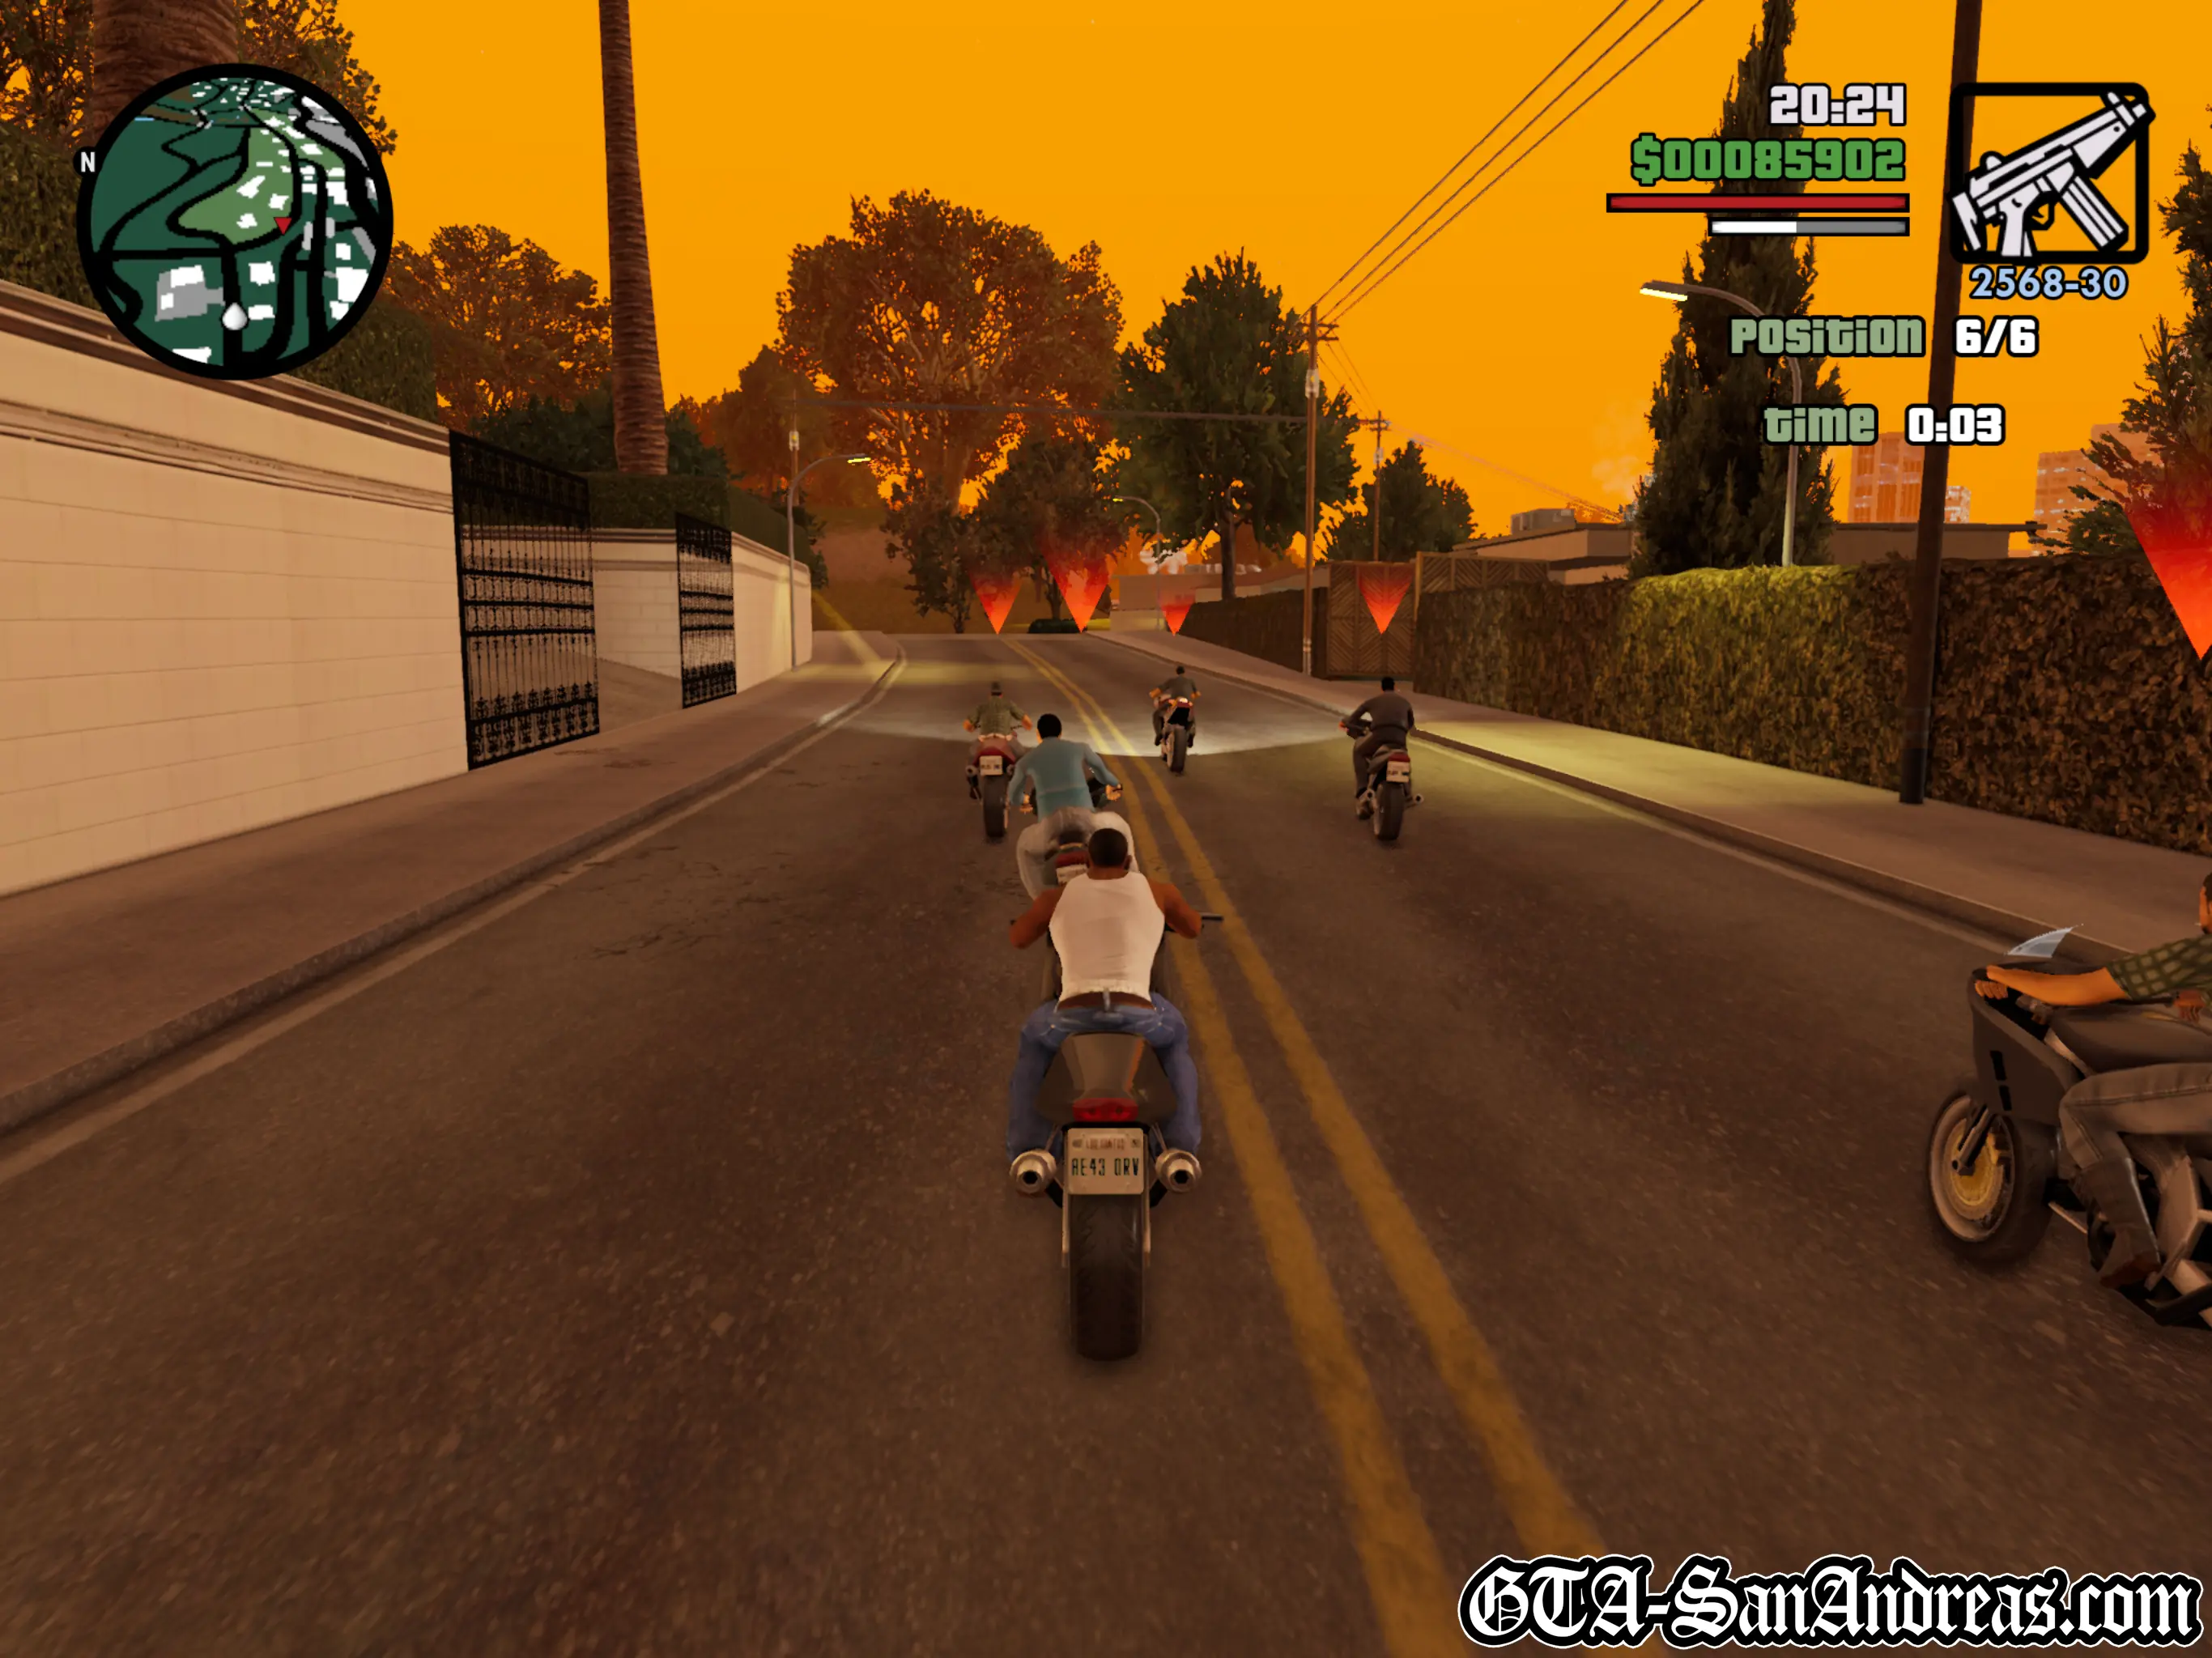
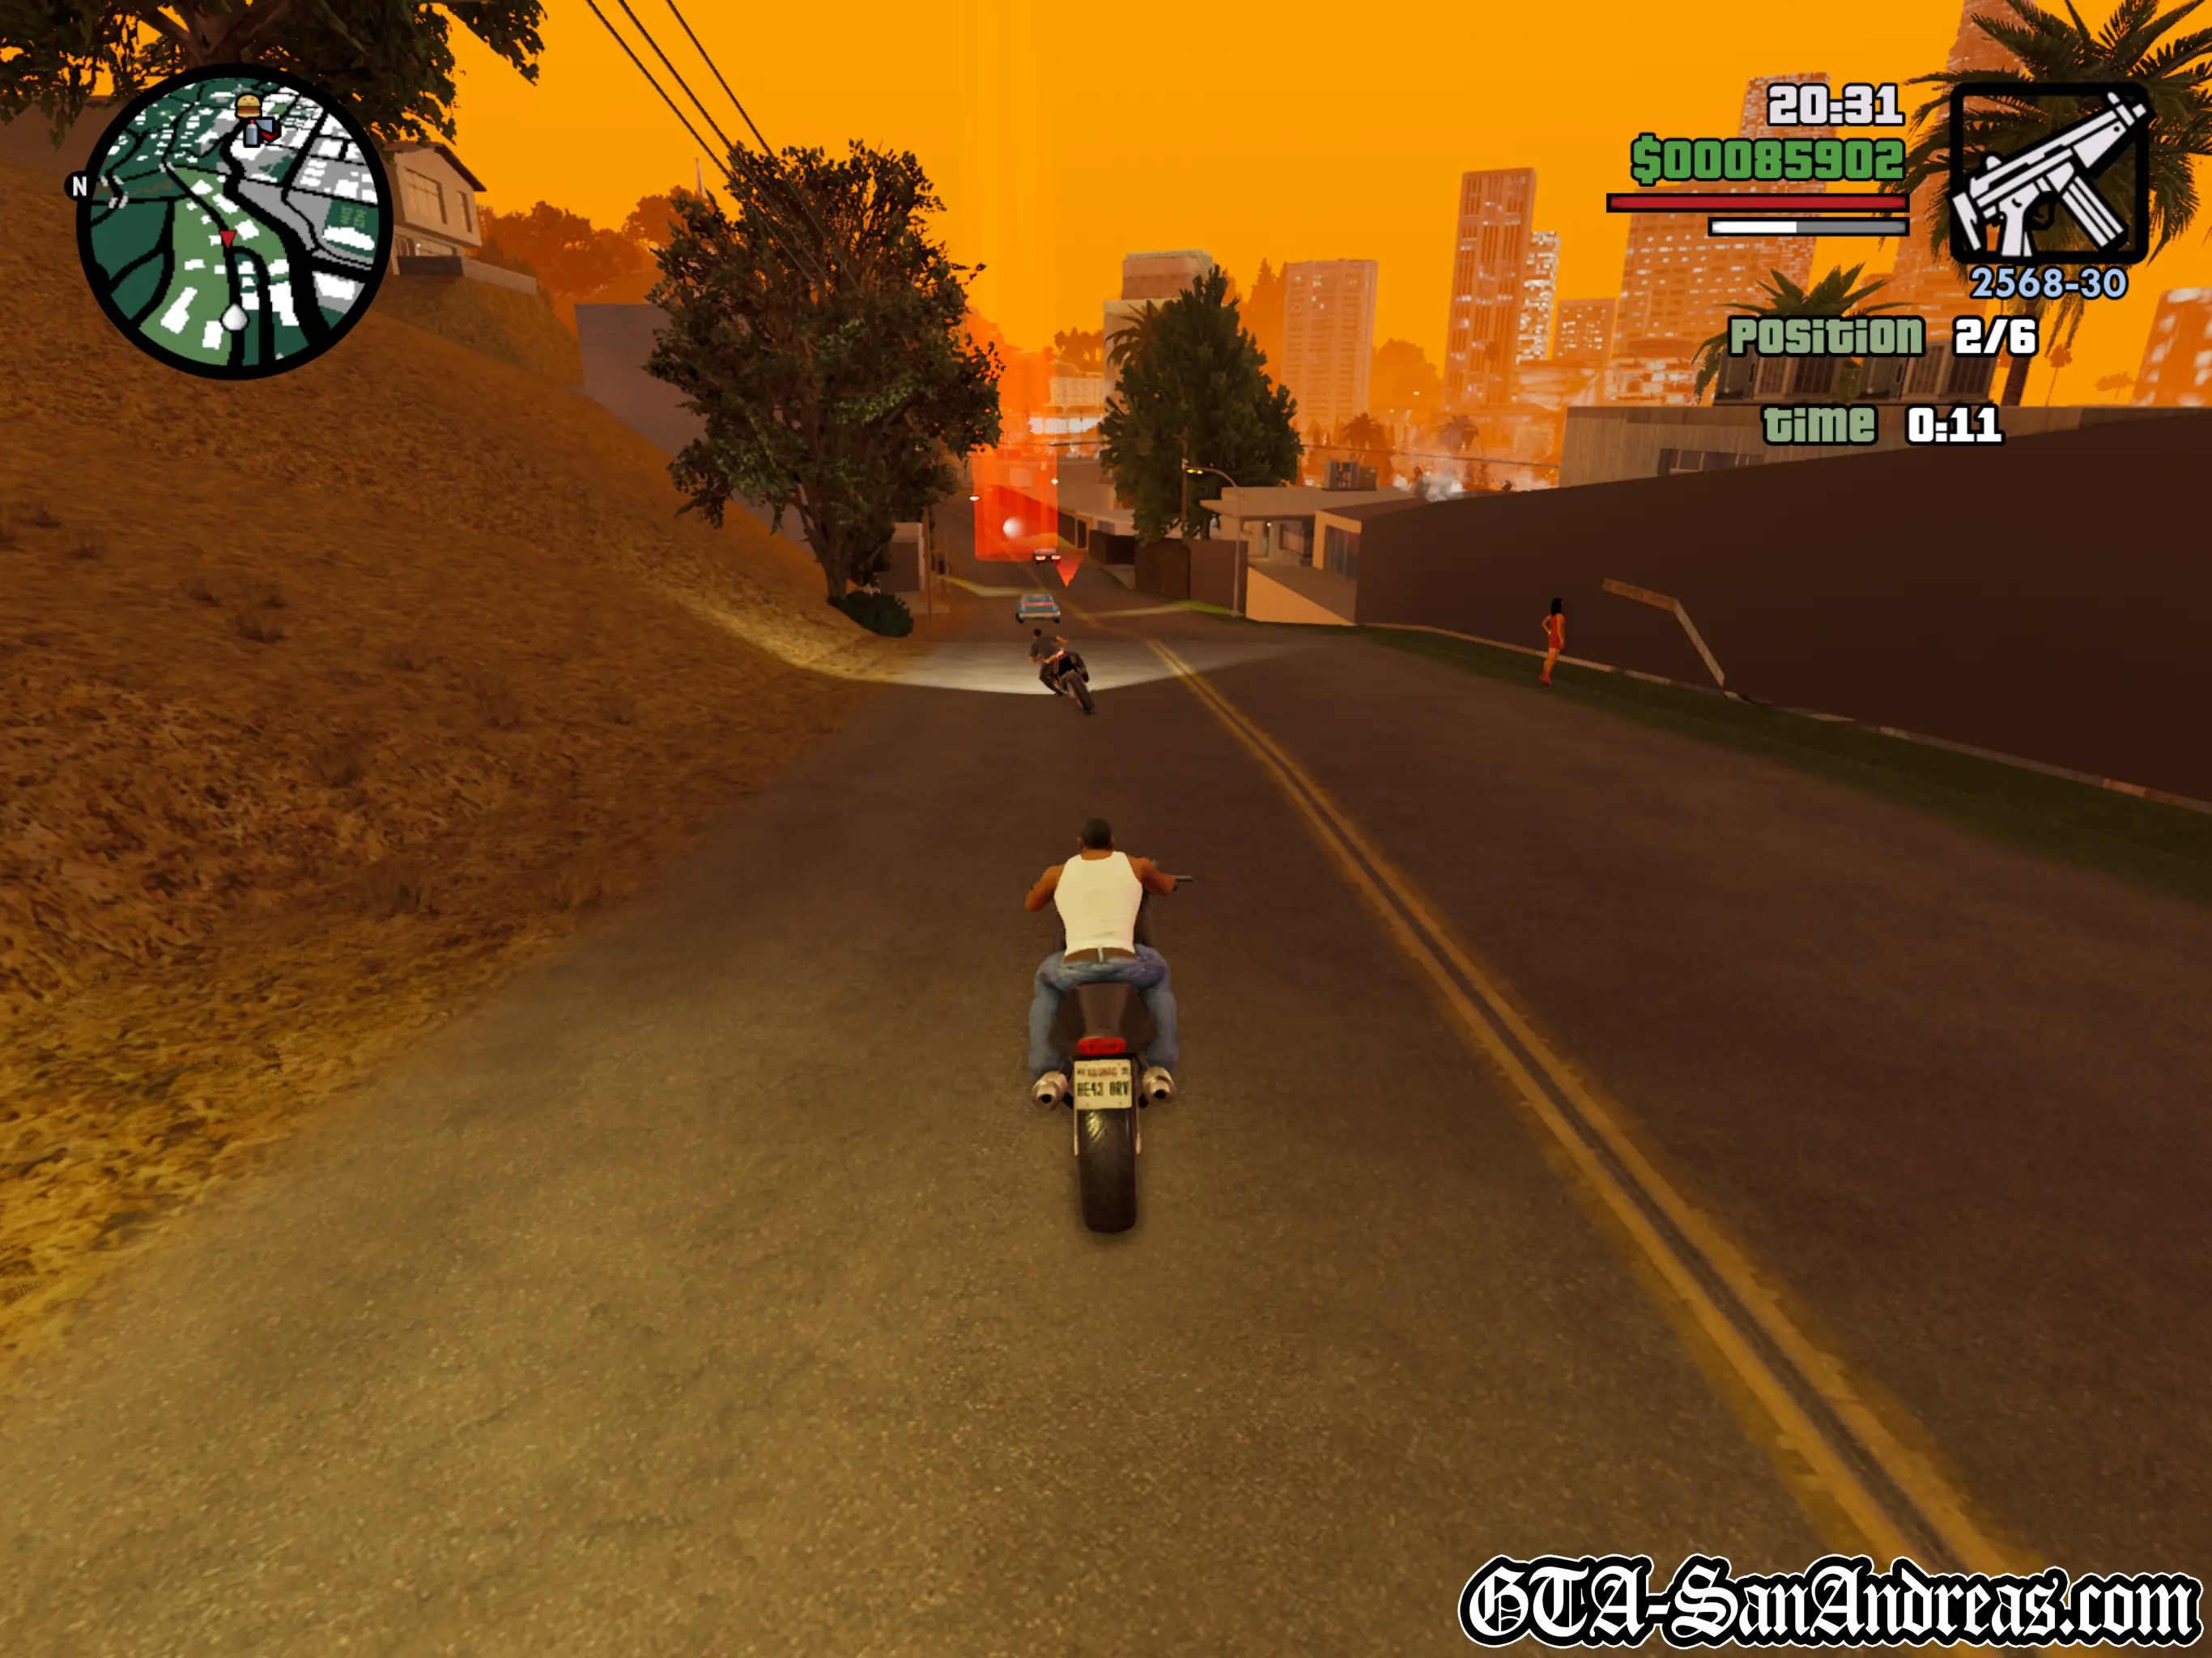
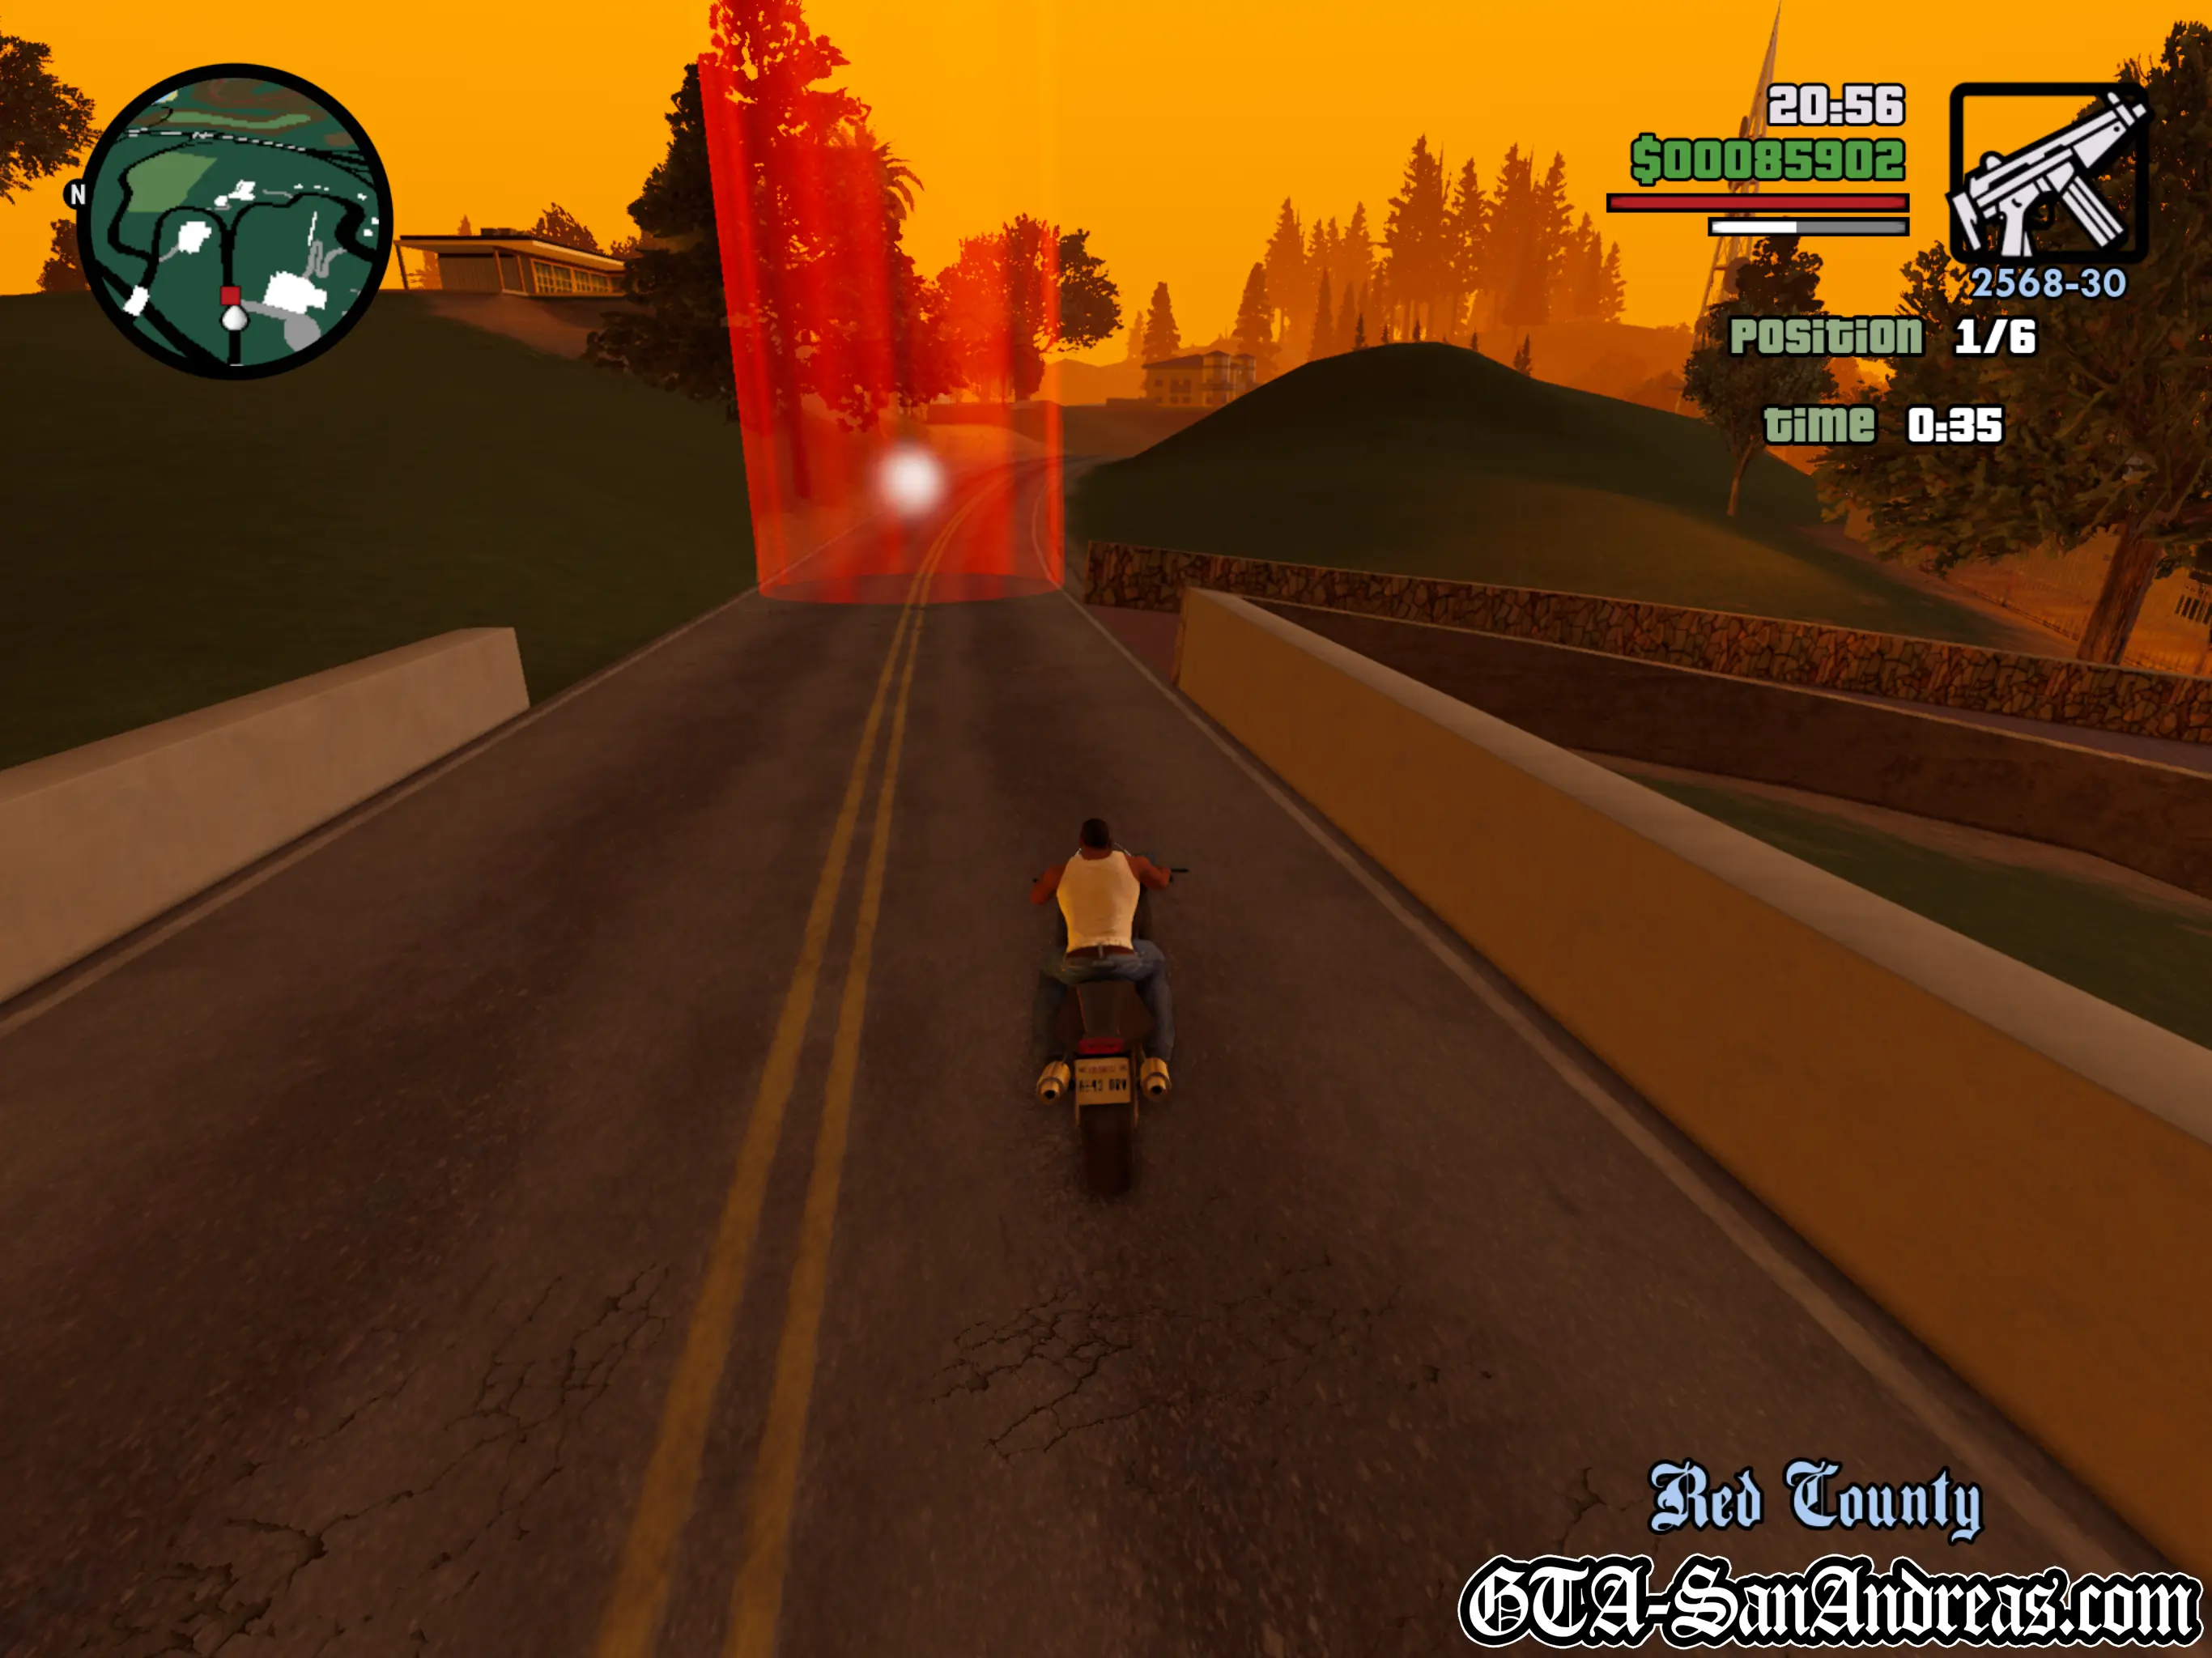
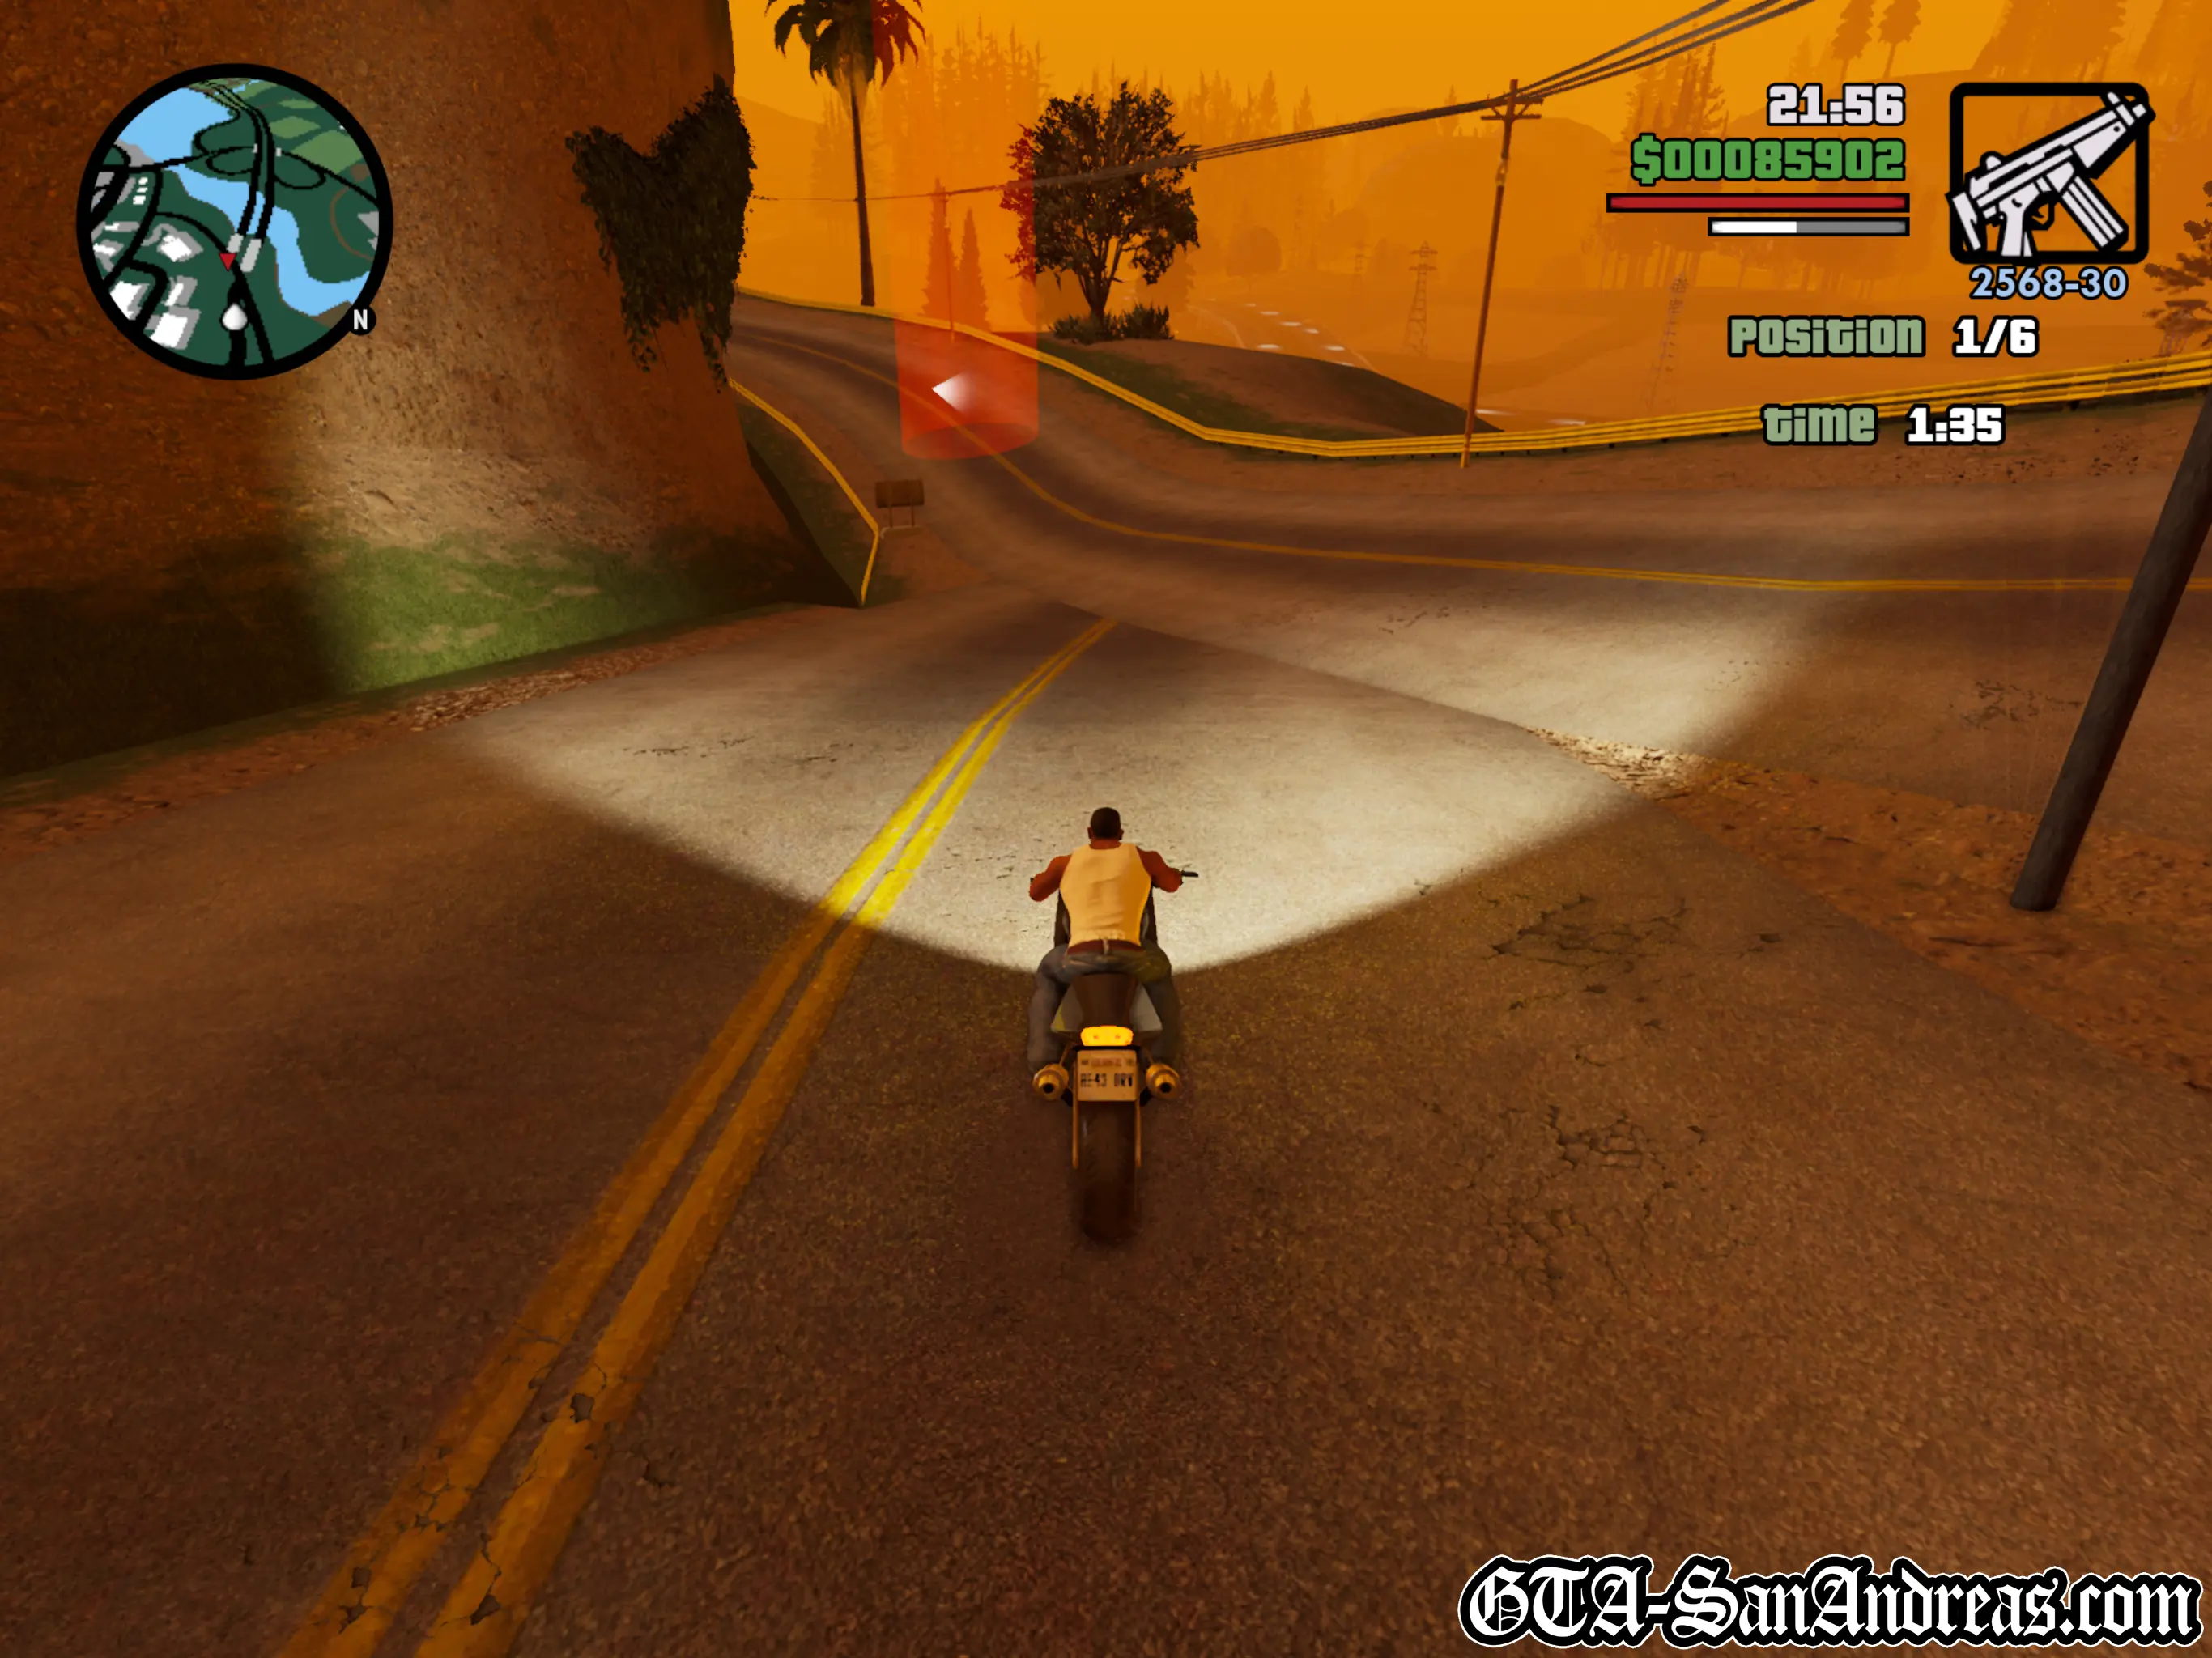
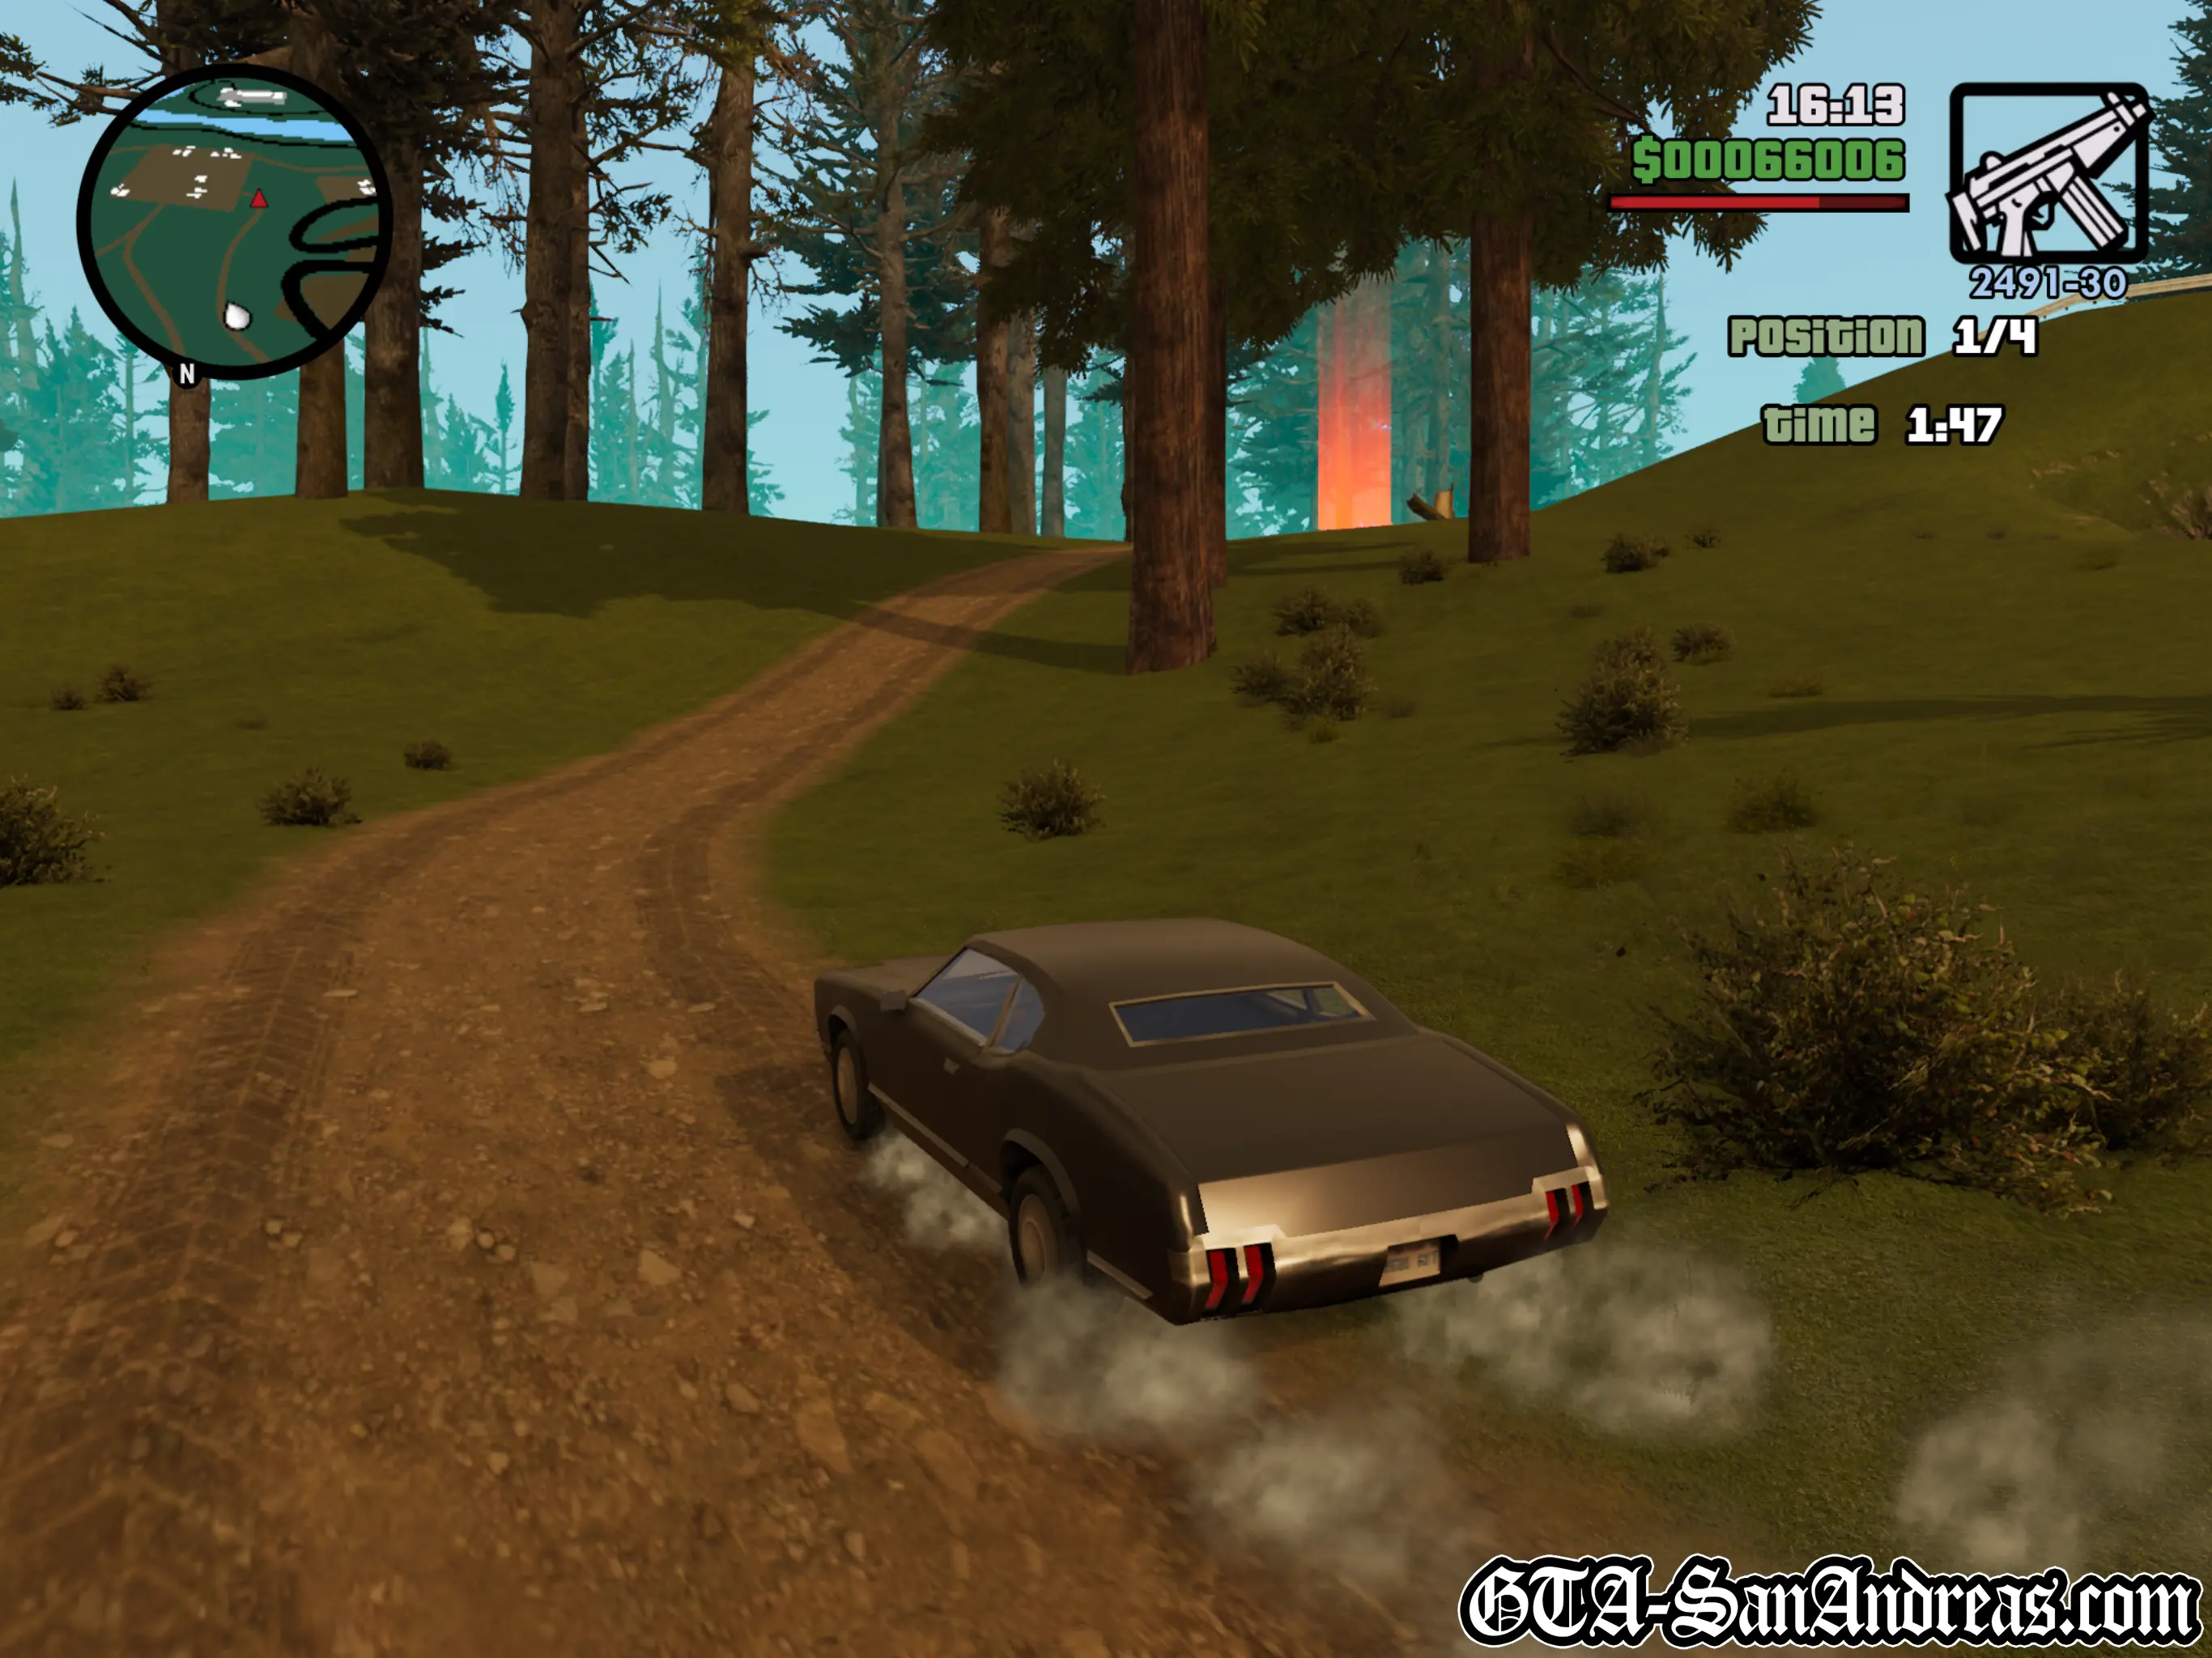
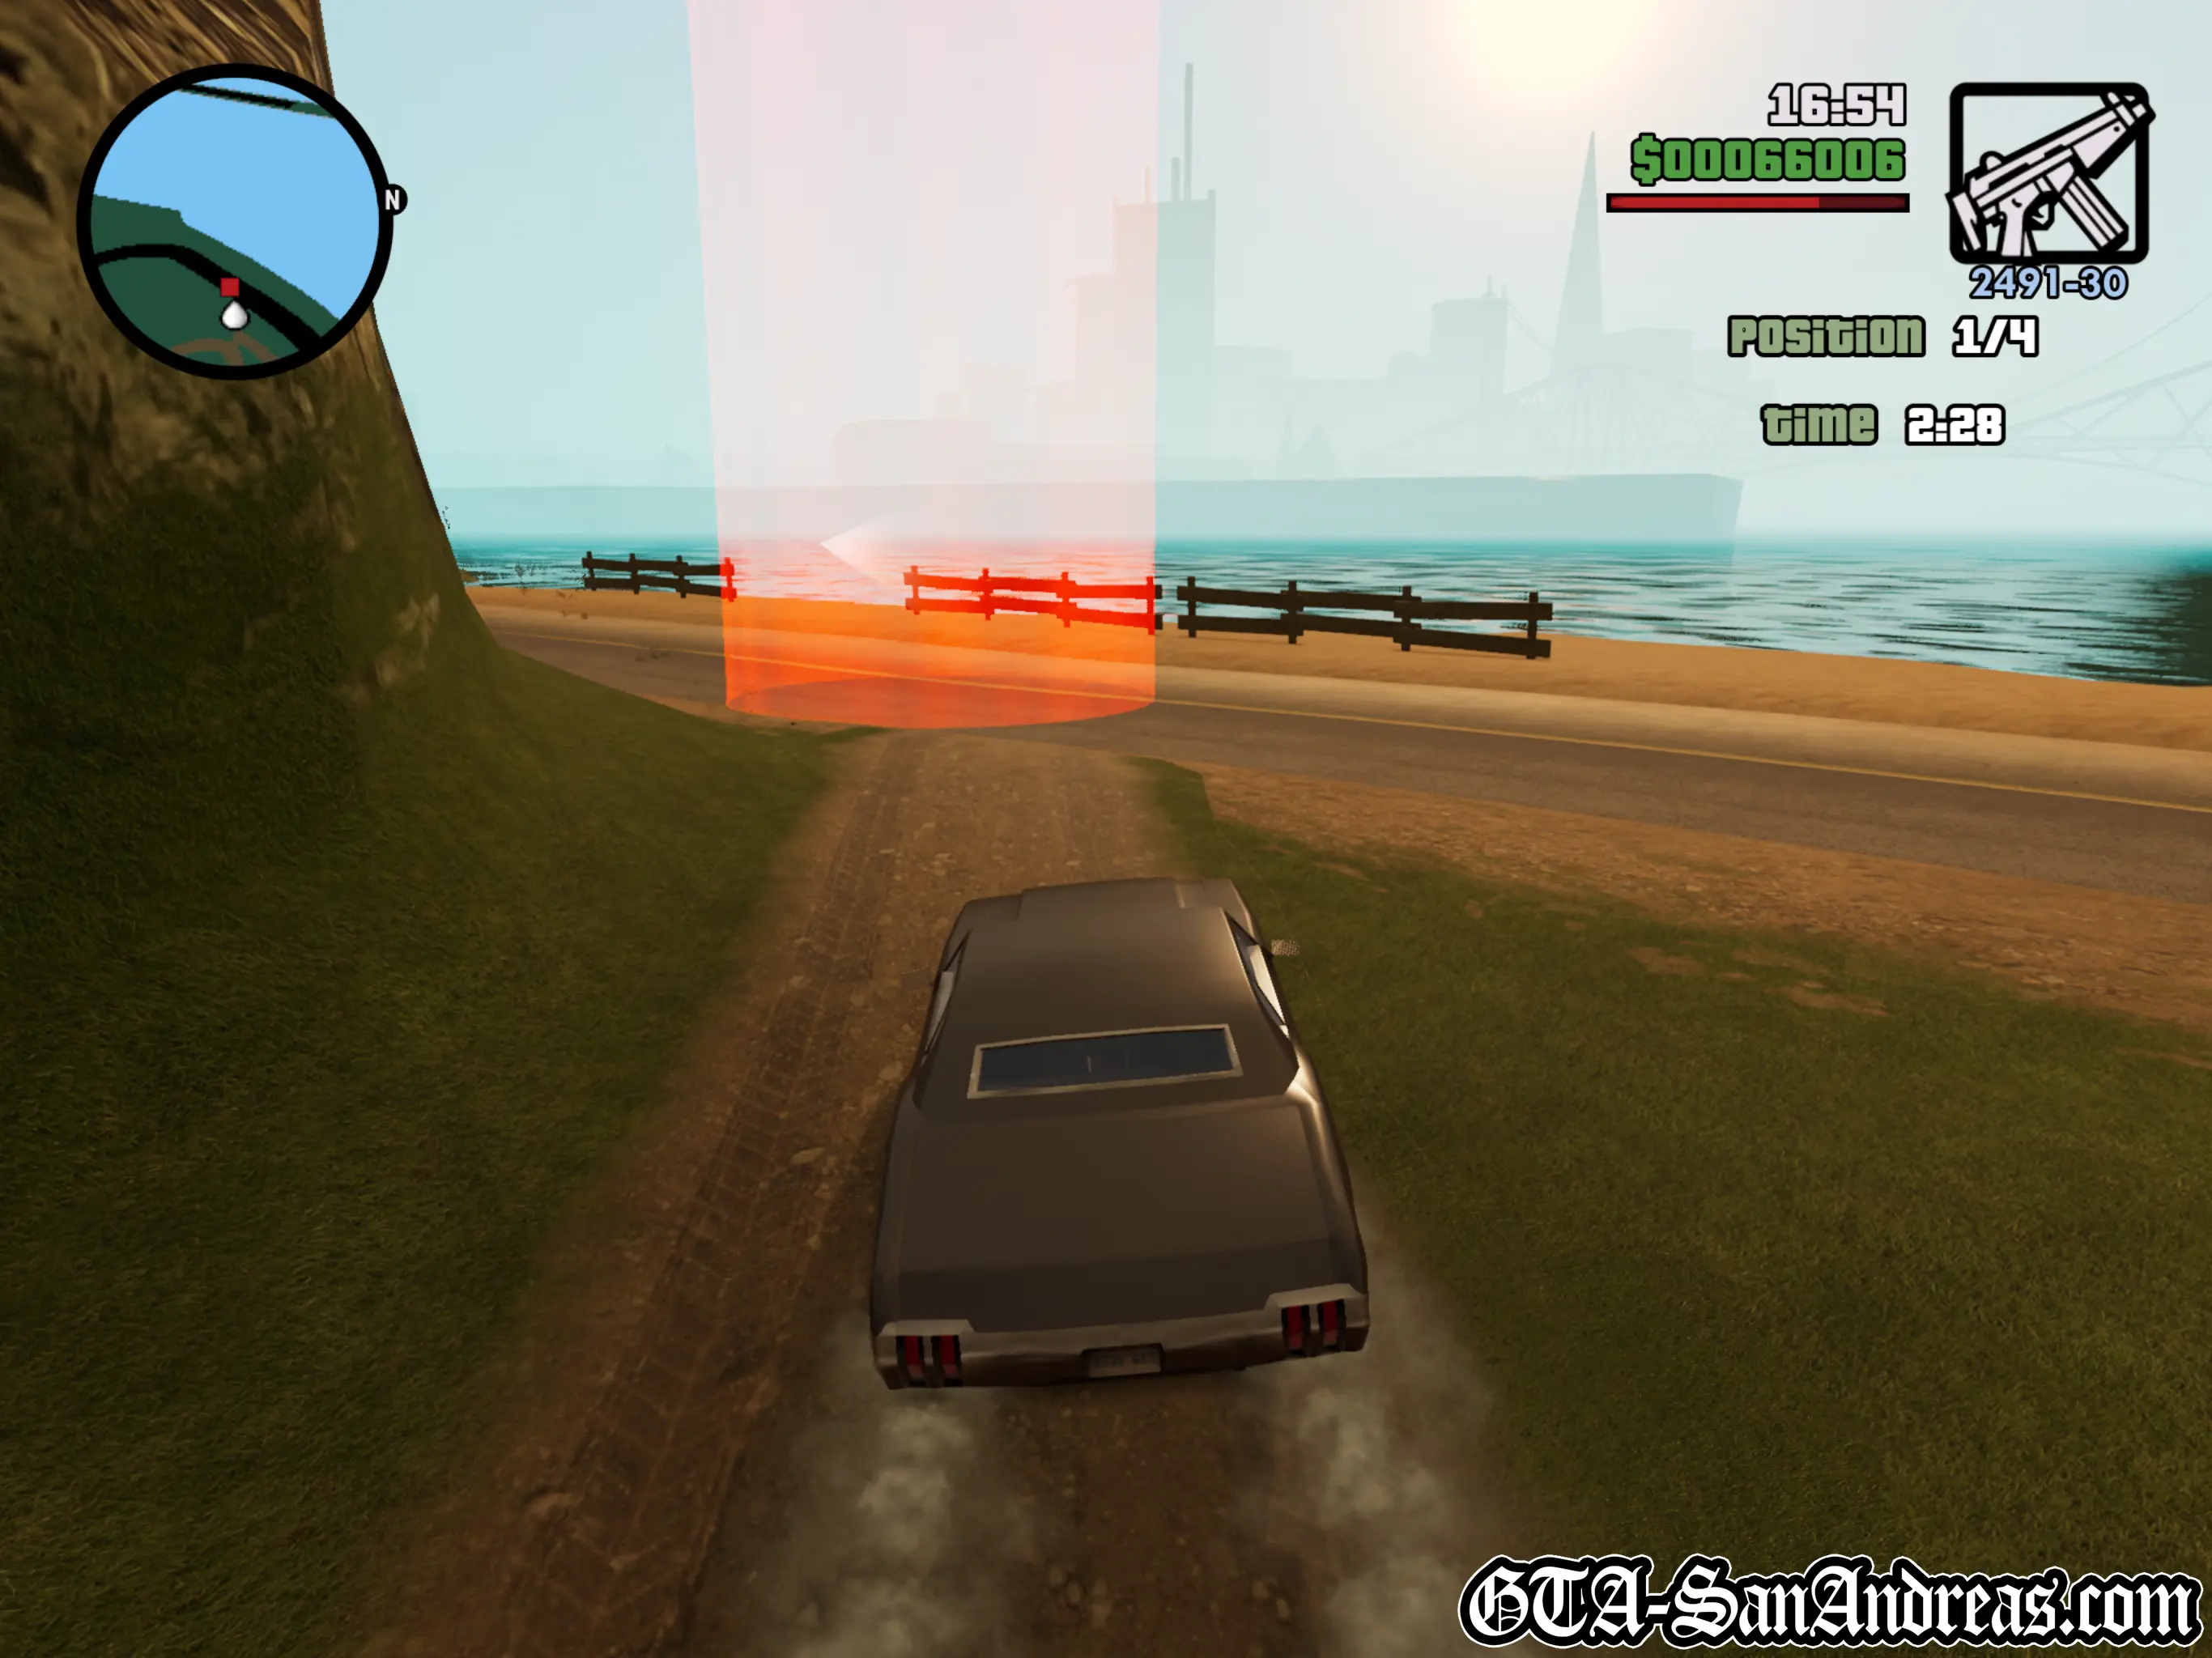
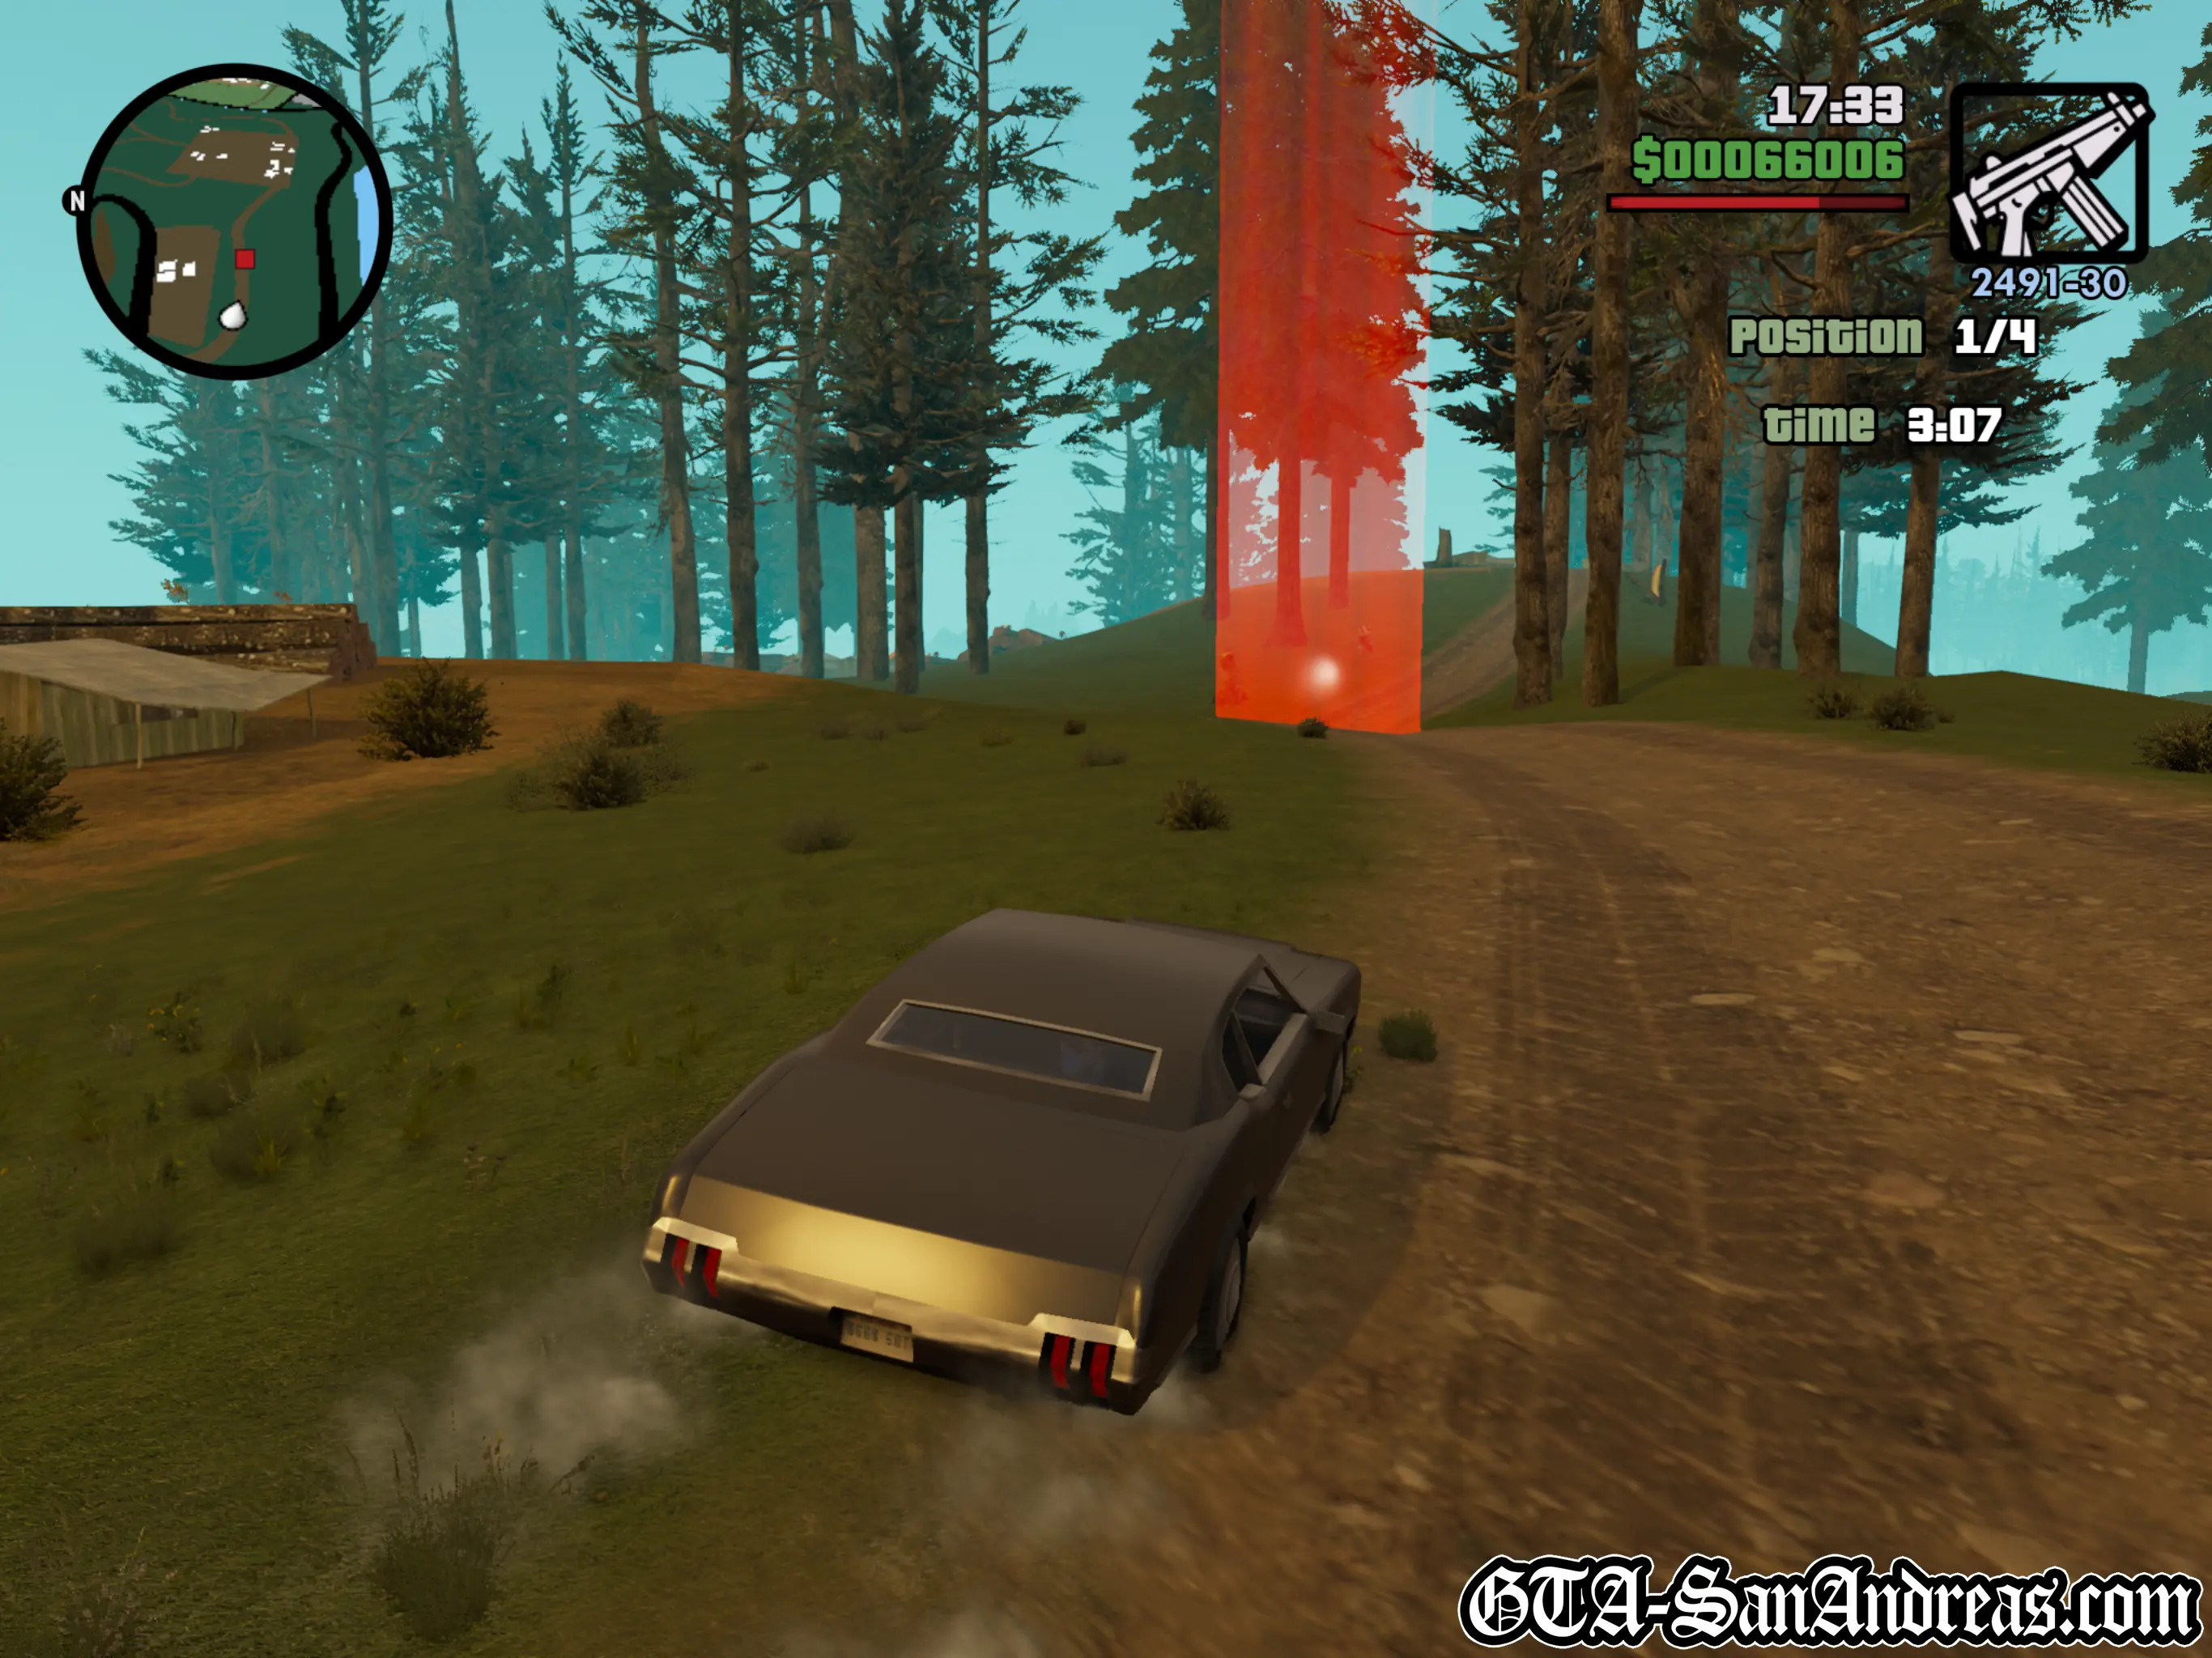
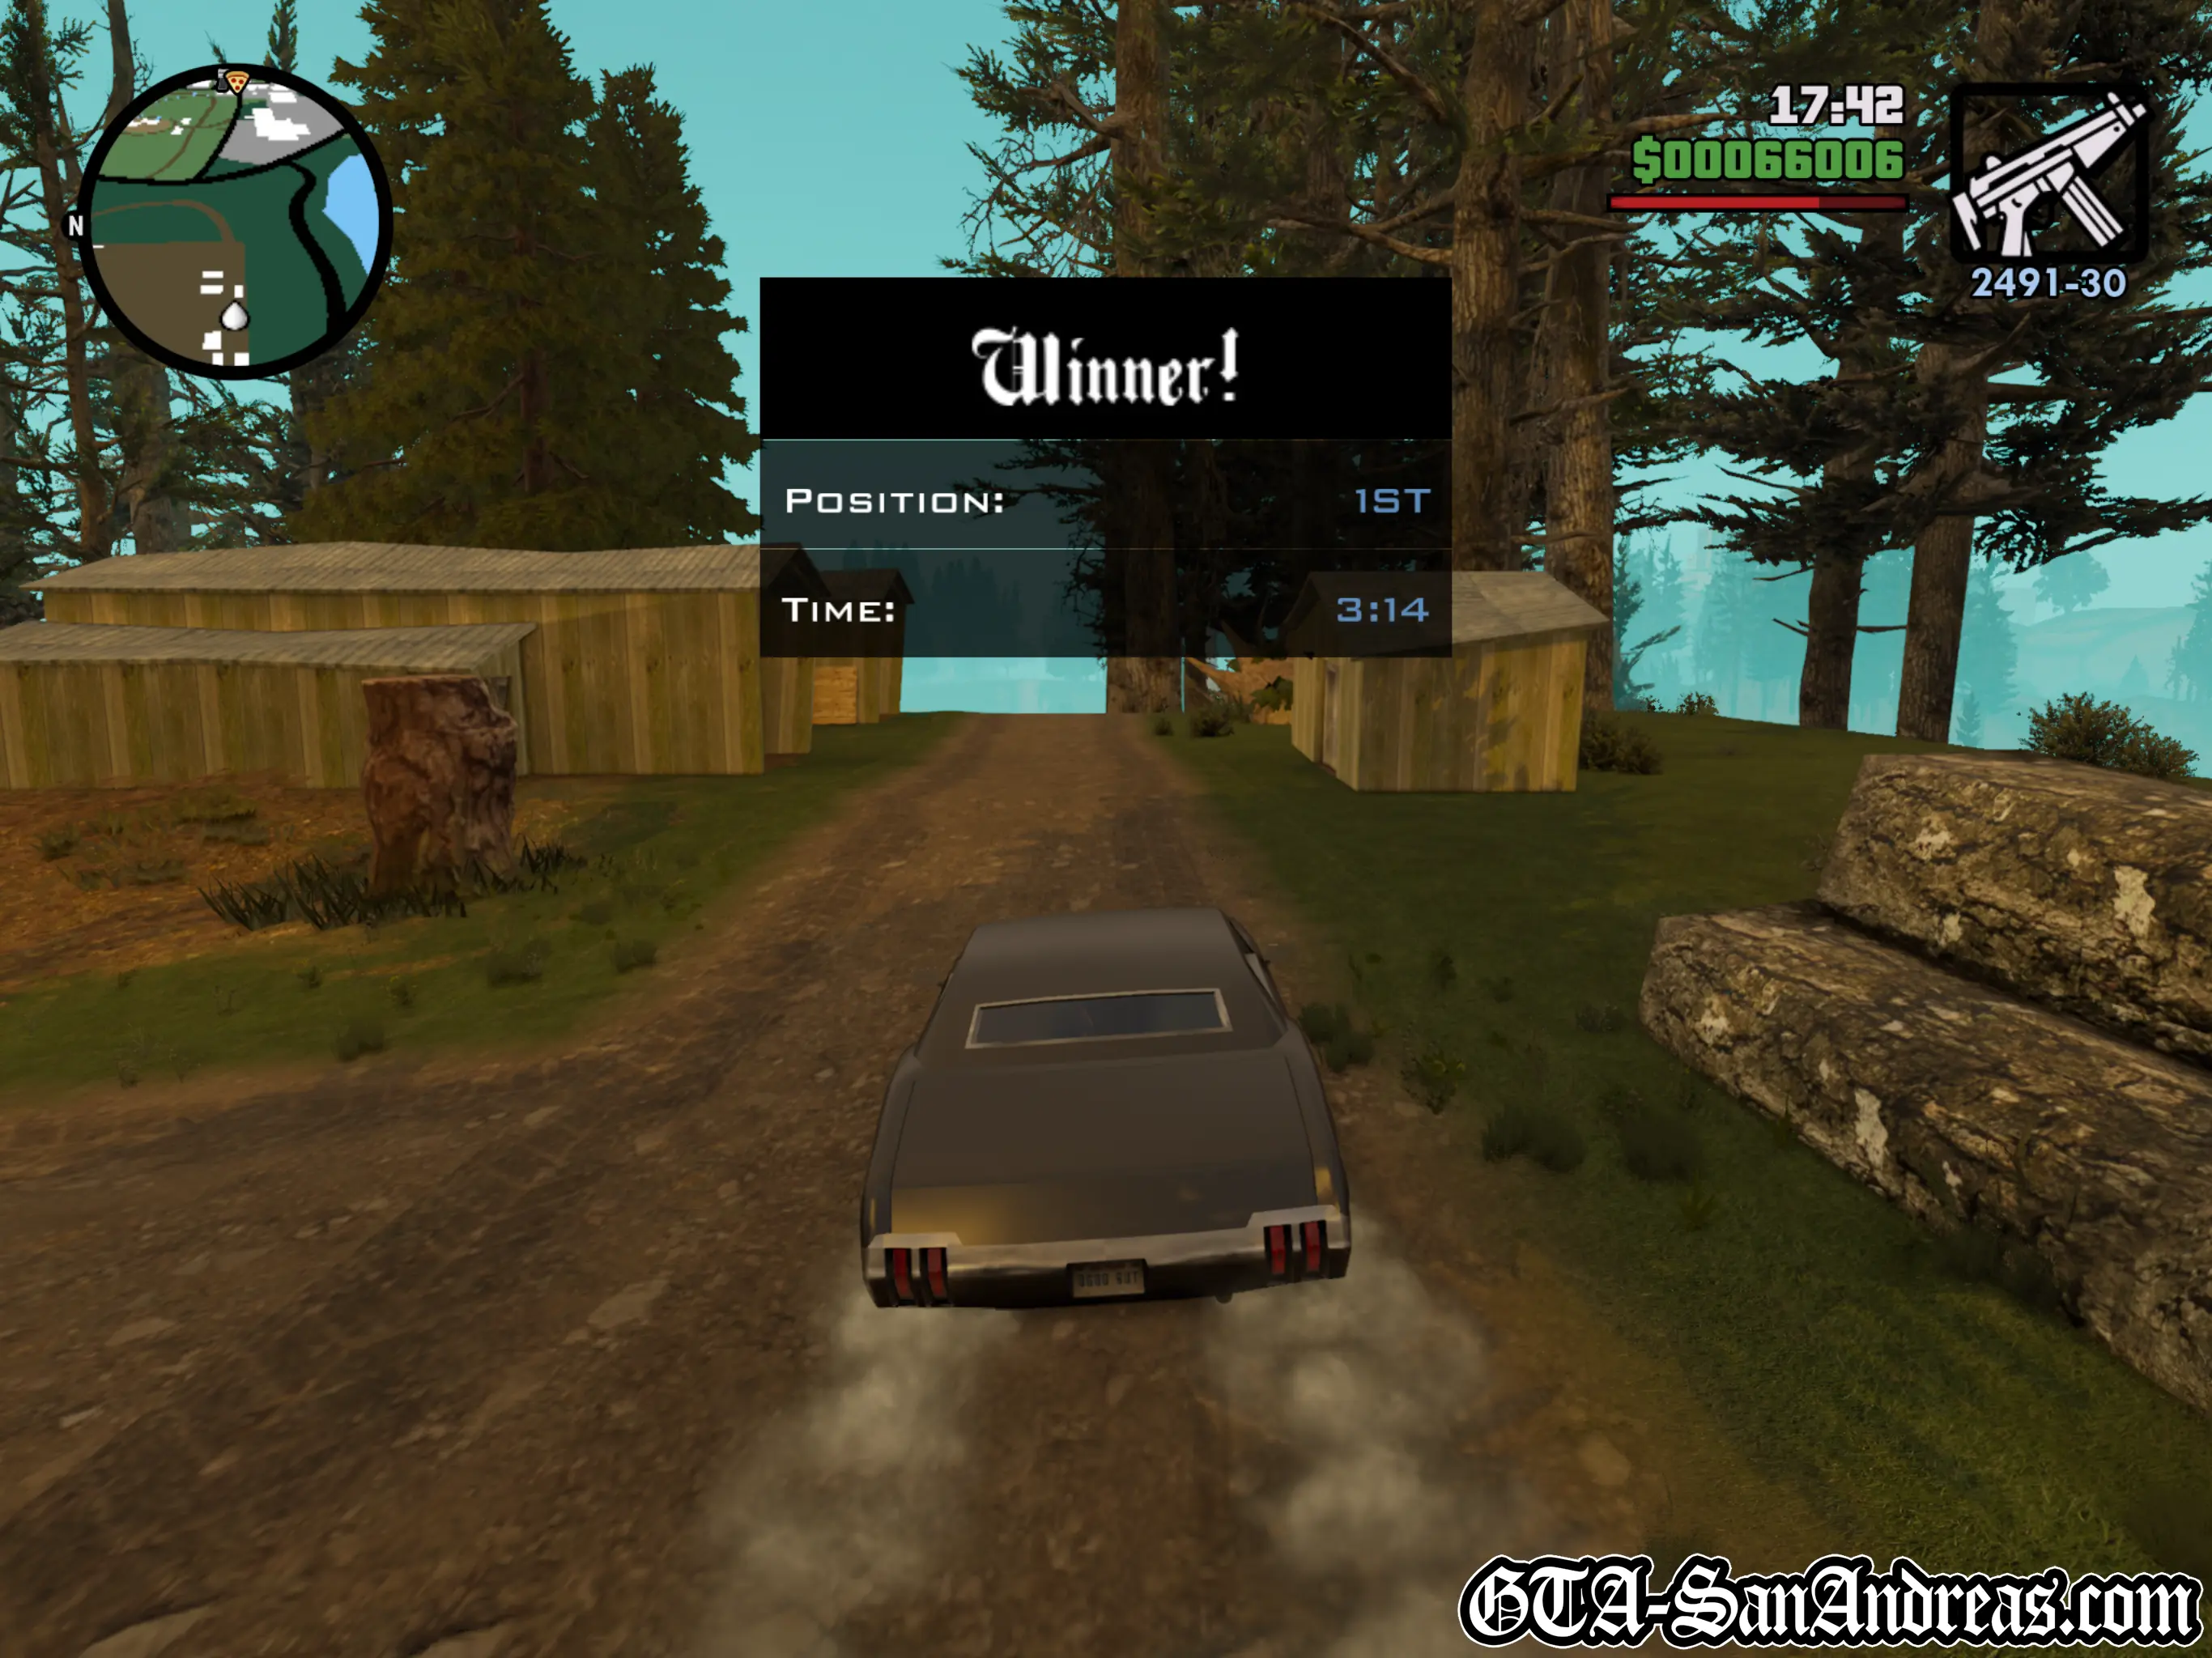
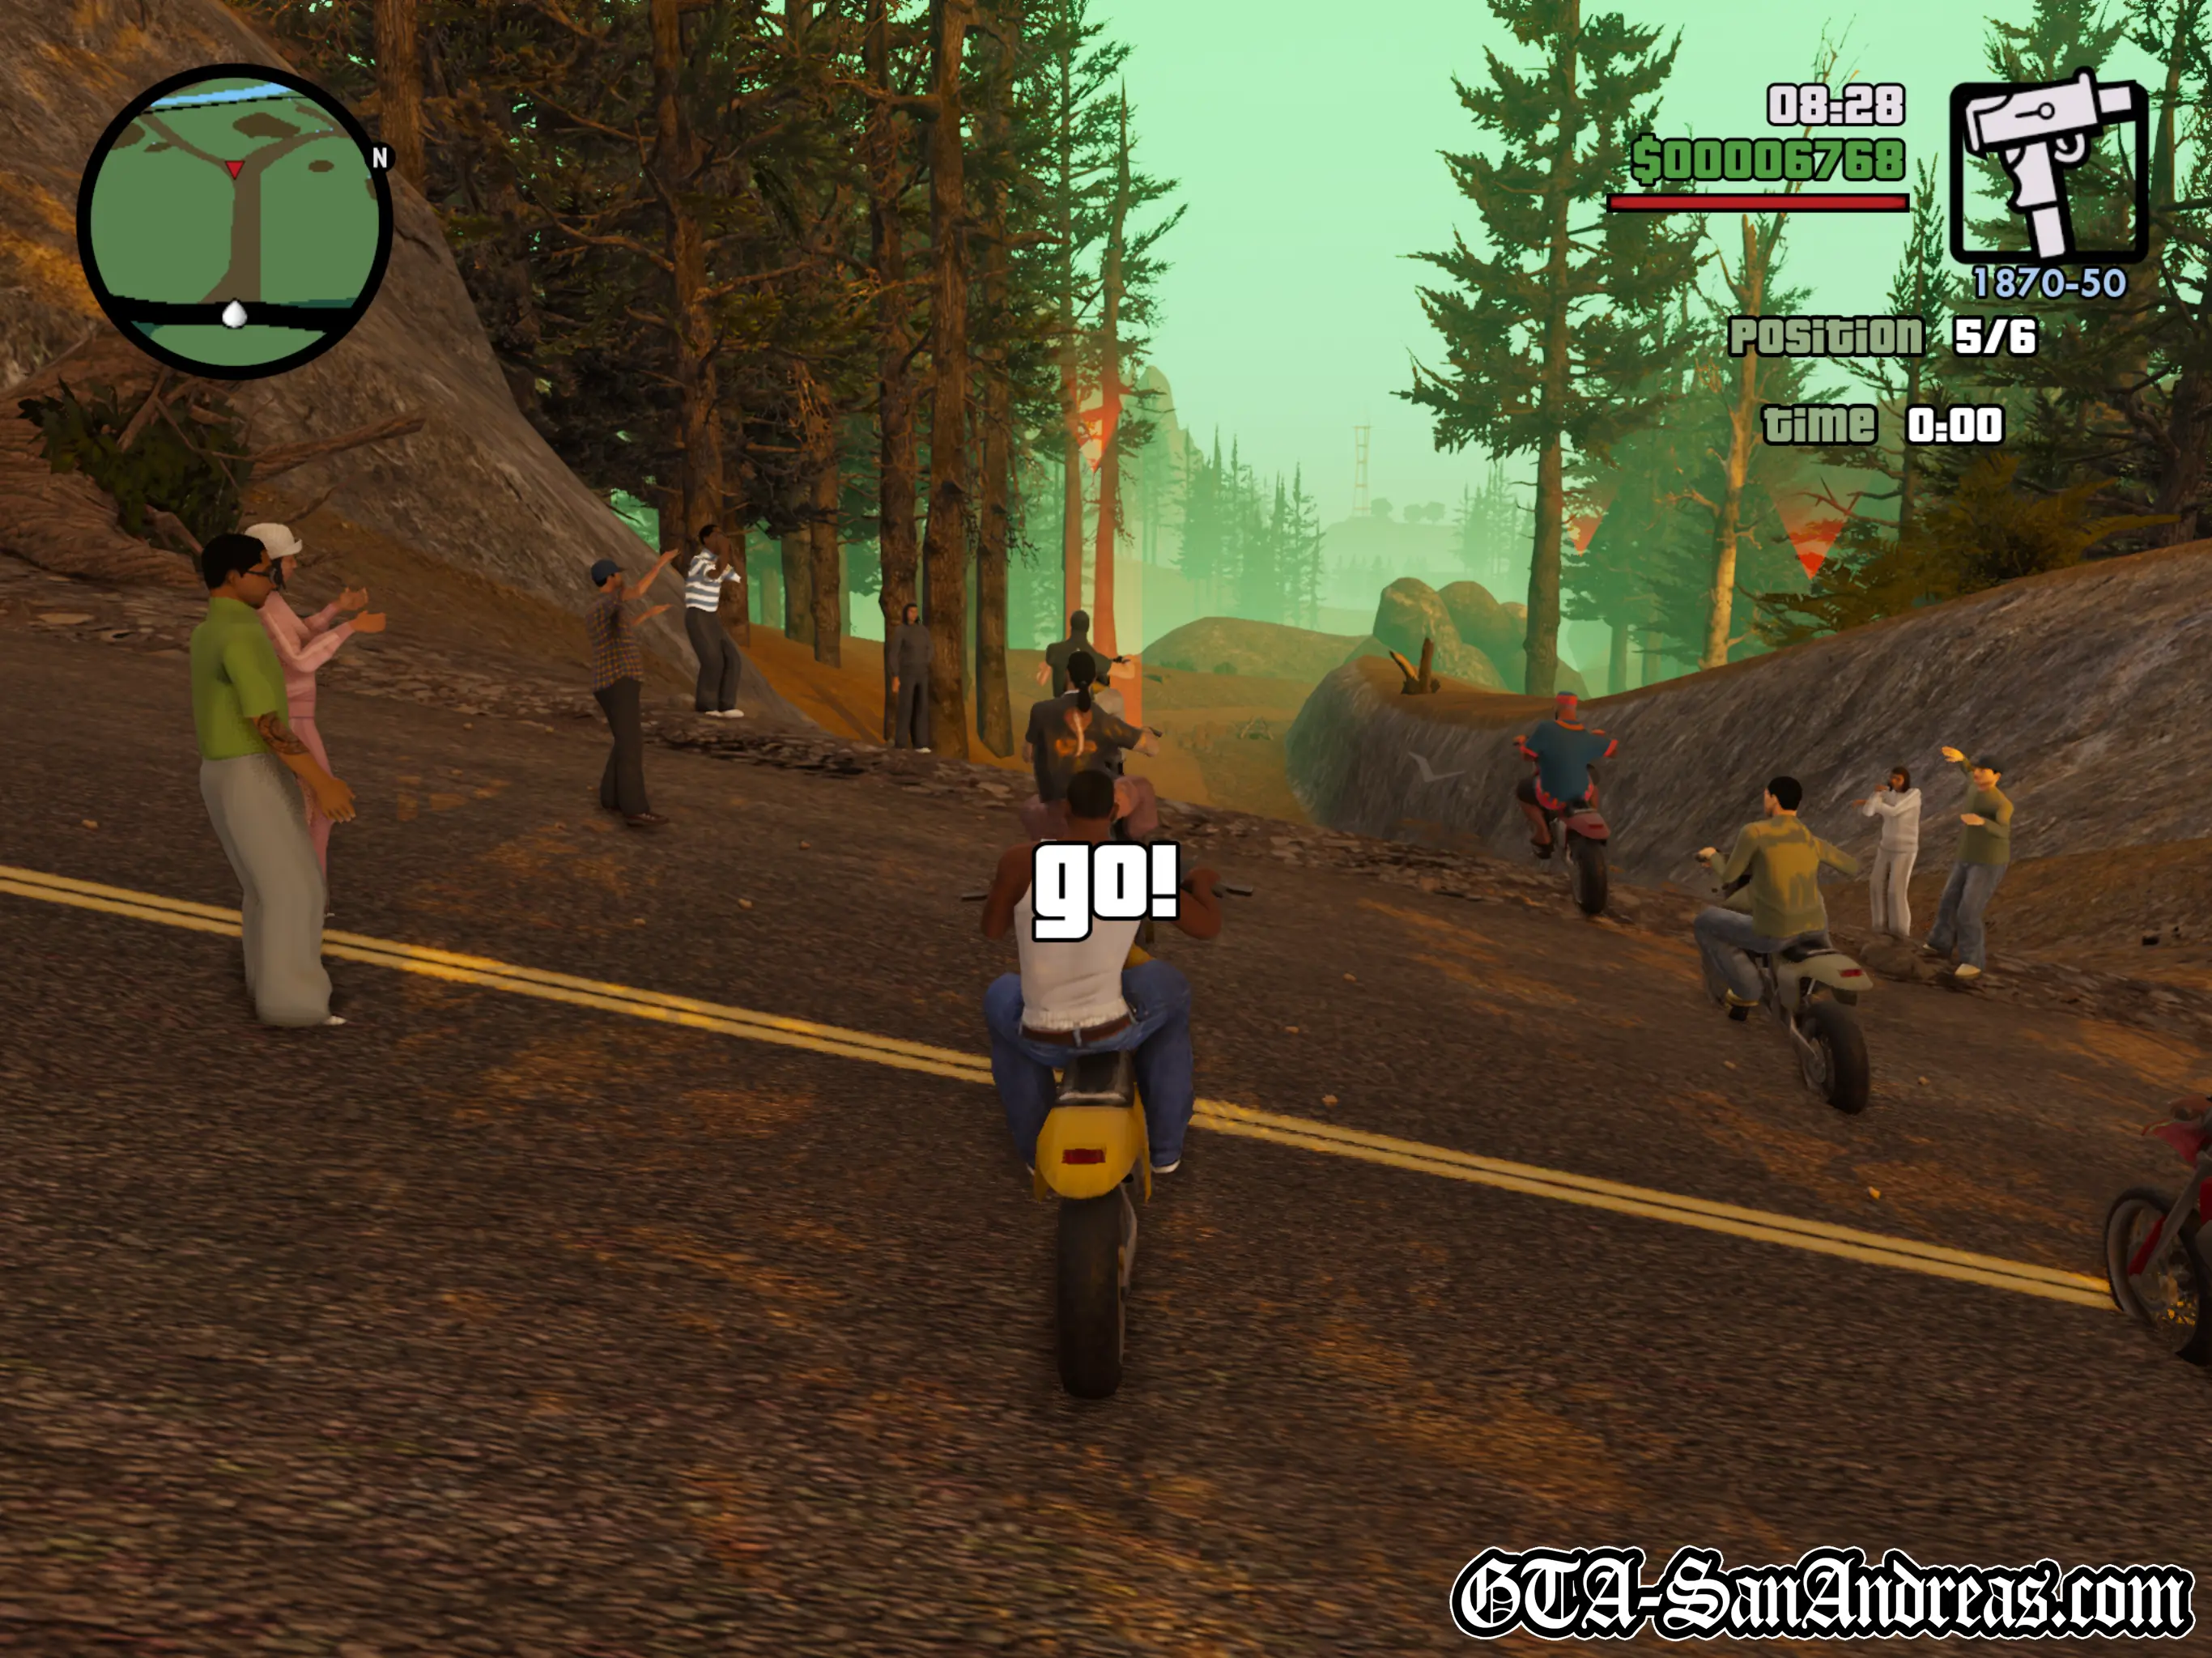
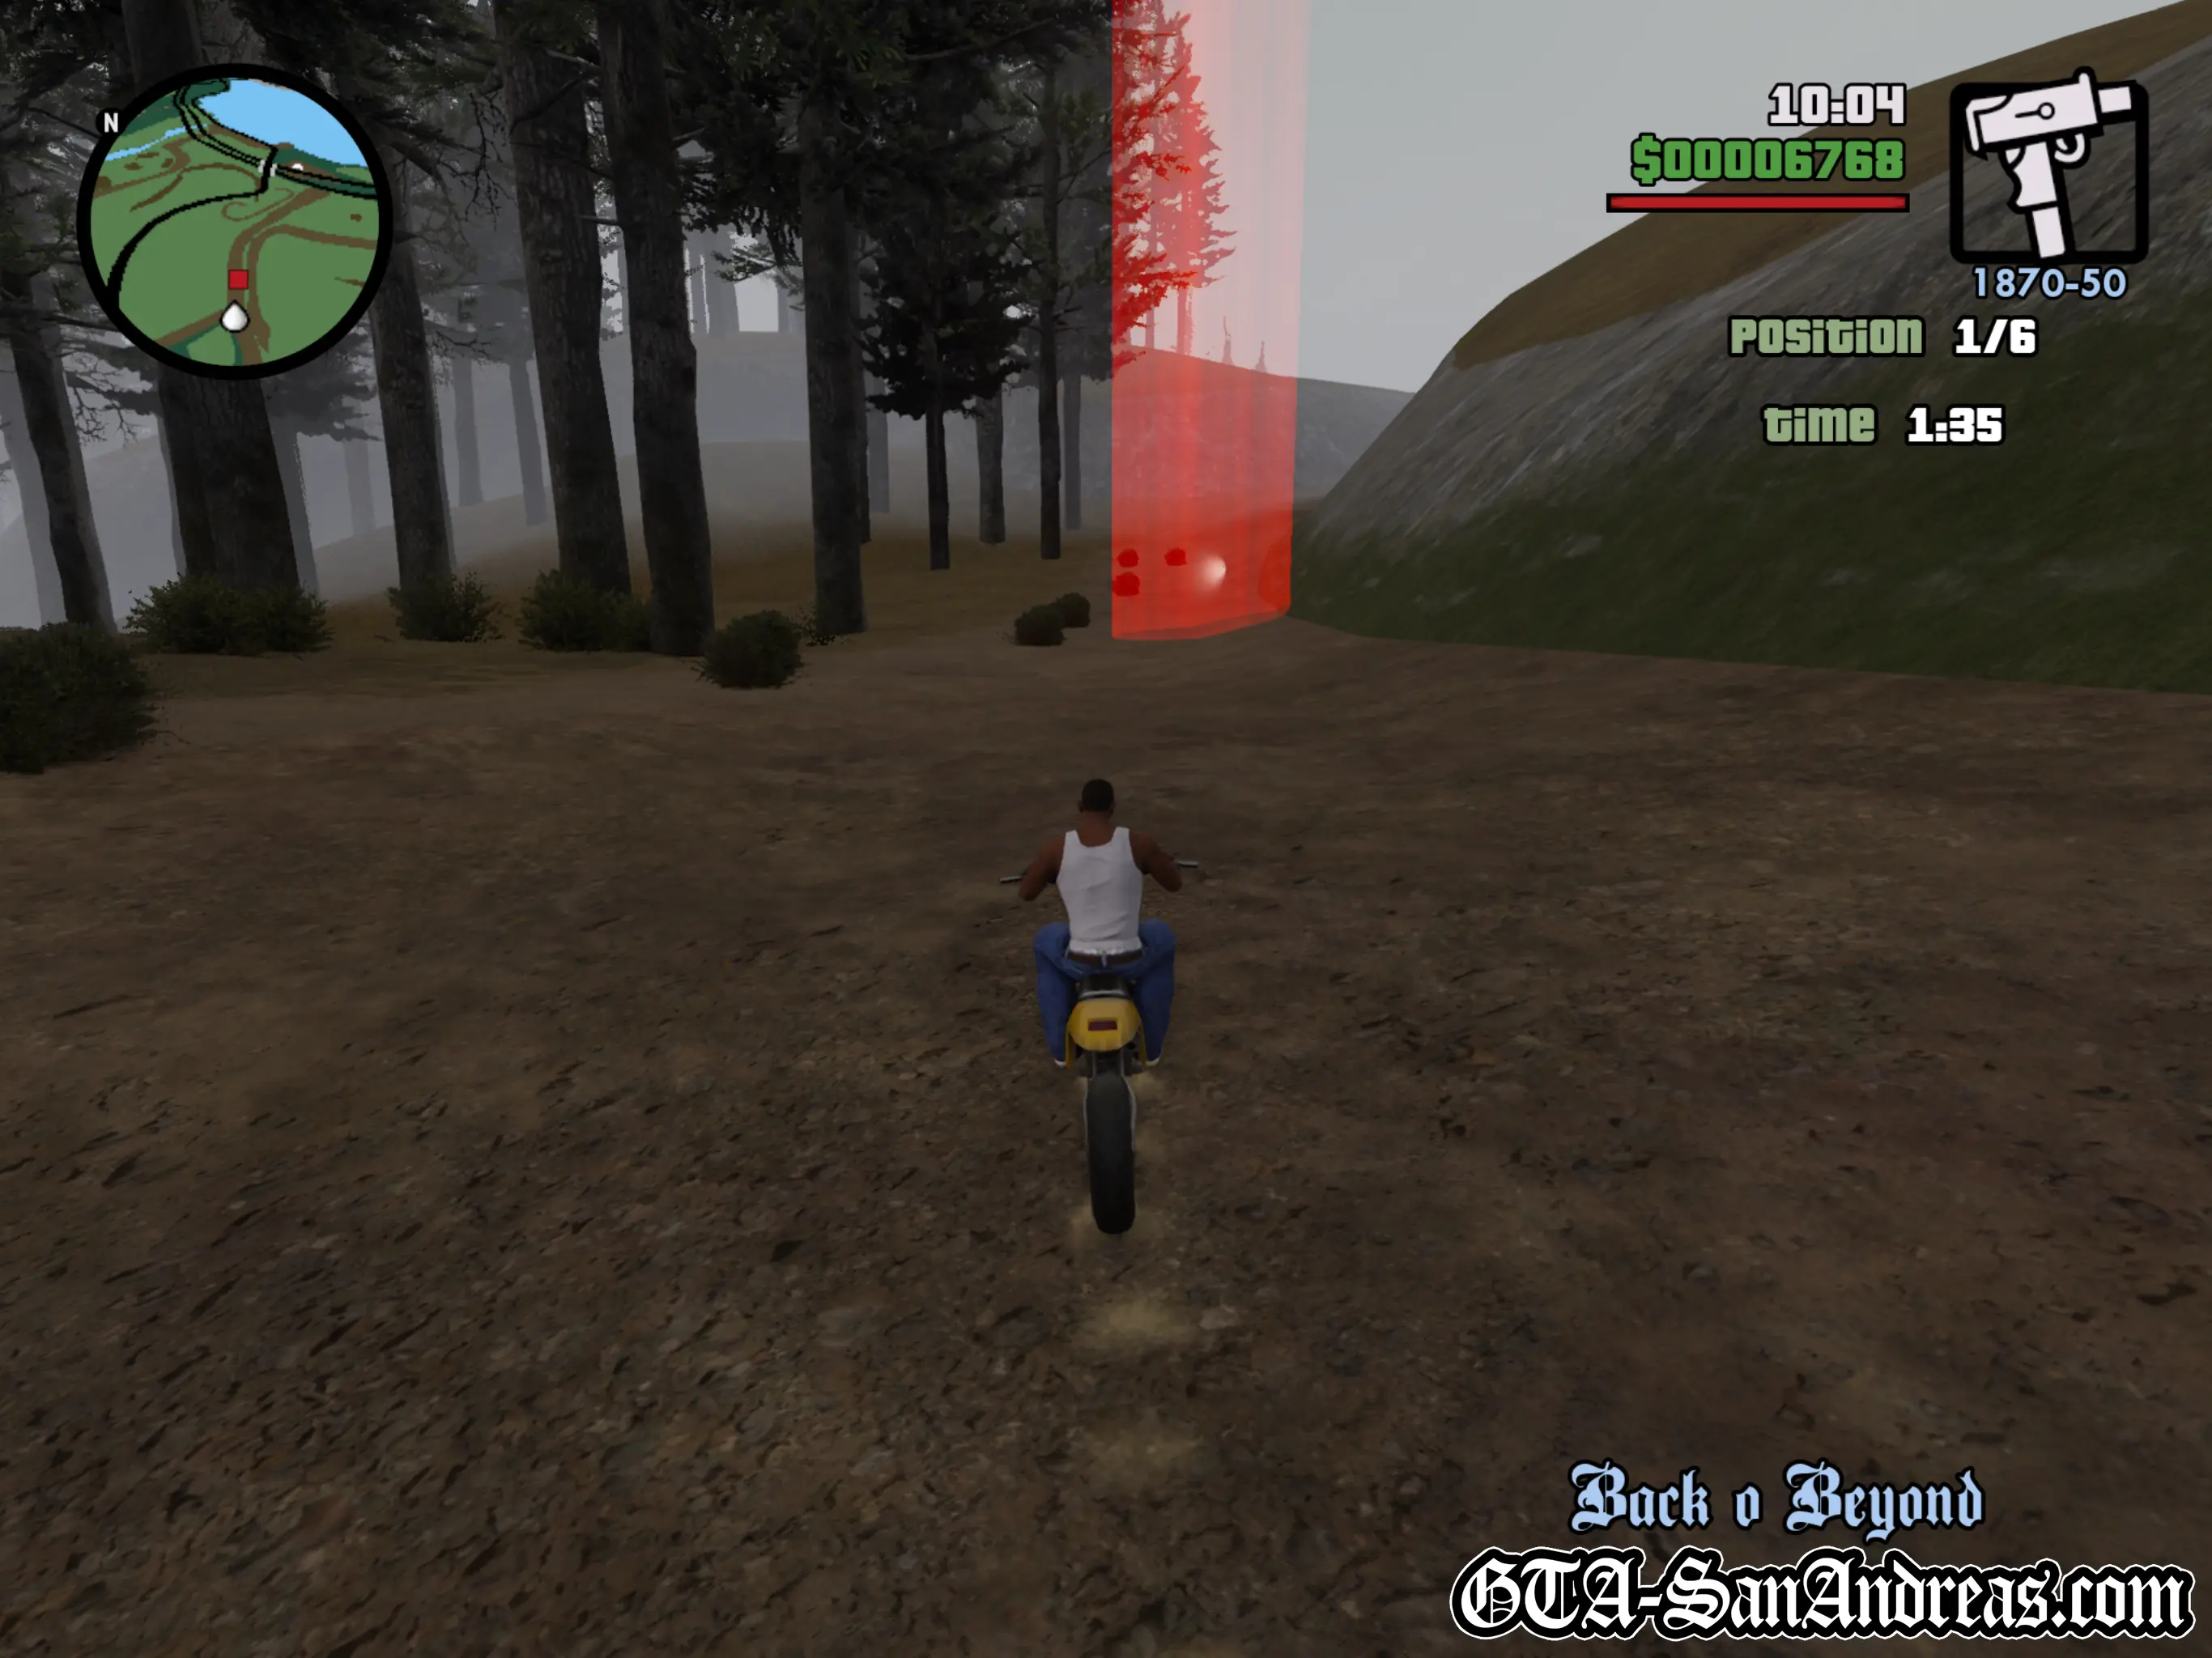
Backroad Wanderer
| Vehicle Provided | Track Distance |
|---|---|
| FCR-900 | 3.00 KM |
Tactics
The early parts of this race take you through some extremely dangerous roads, packed with cars. You'll notice a lot of the other bikers go flying, so keep up the pace, but be extremely careful to not bail or crash.
If you can get through the early part of the race in third place or better, you should be able to win the race on the way back because the returning roads are much quieter.
As you reach the hairpin bend at the right of the map above, make sure you brake or you'll go off the side of the hill lose a lot of time for the remainder of the race.
Do your best to avoid the traffic and you should be able to catch up and win the race on the way back to the start/finish line.
Screenshots
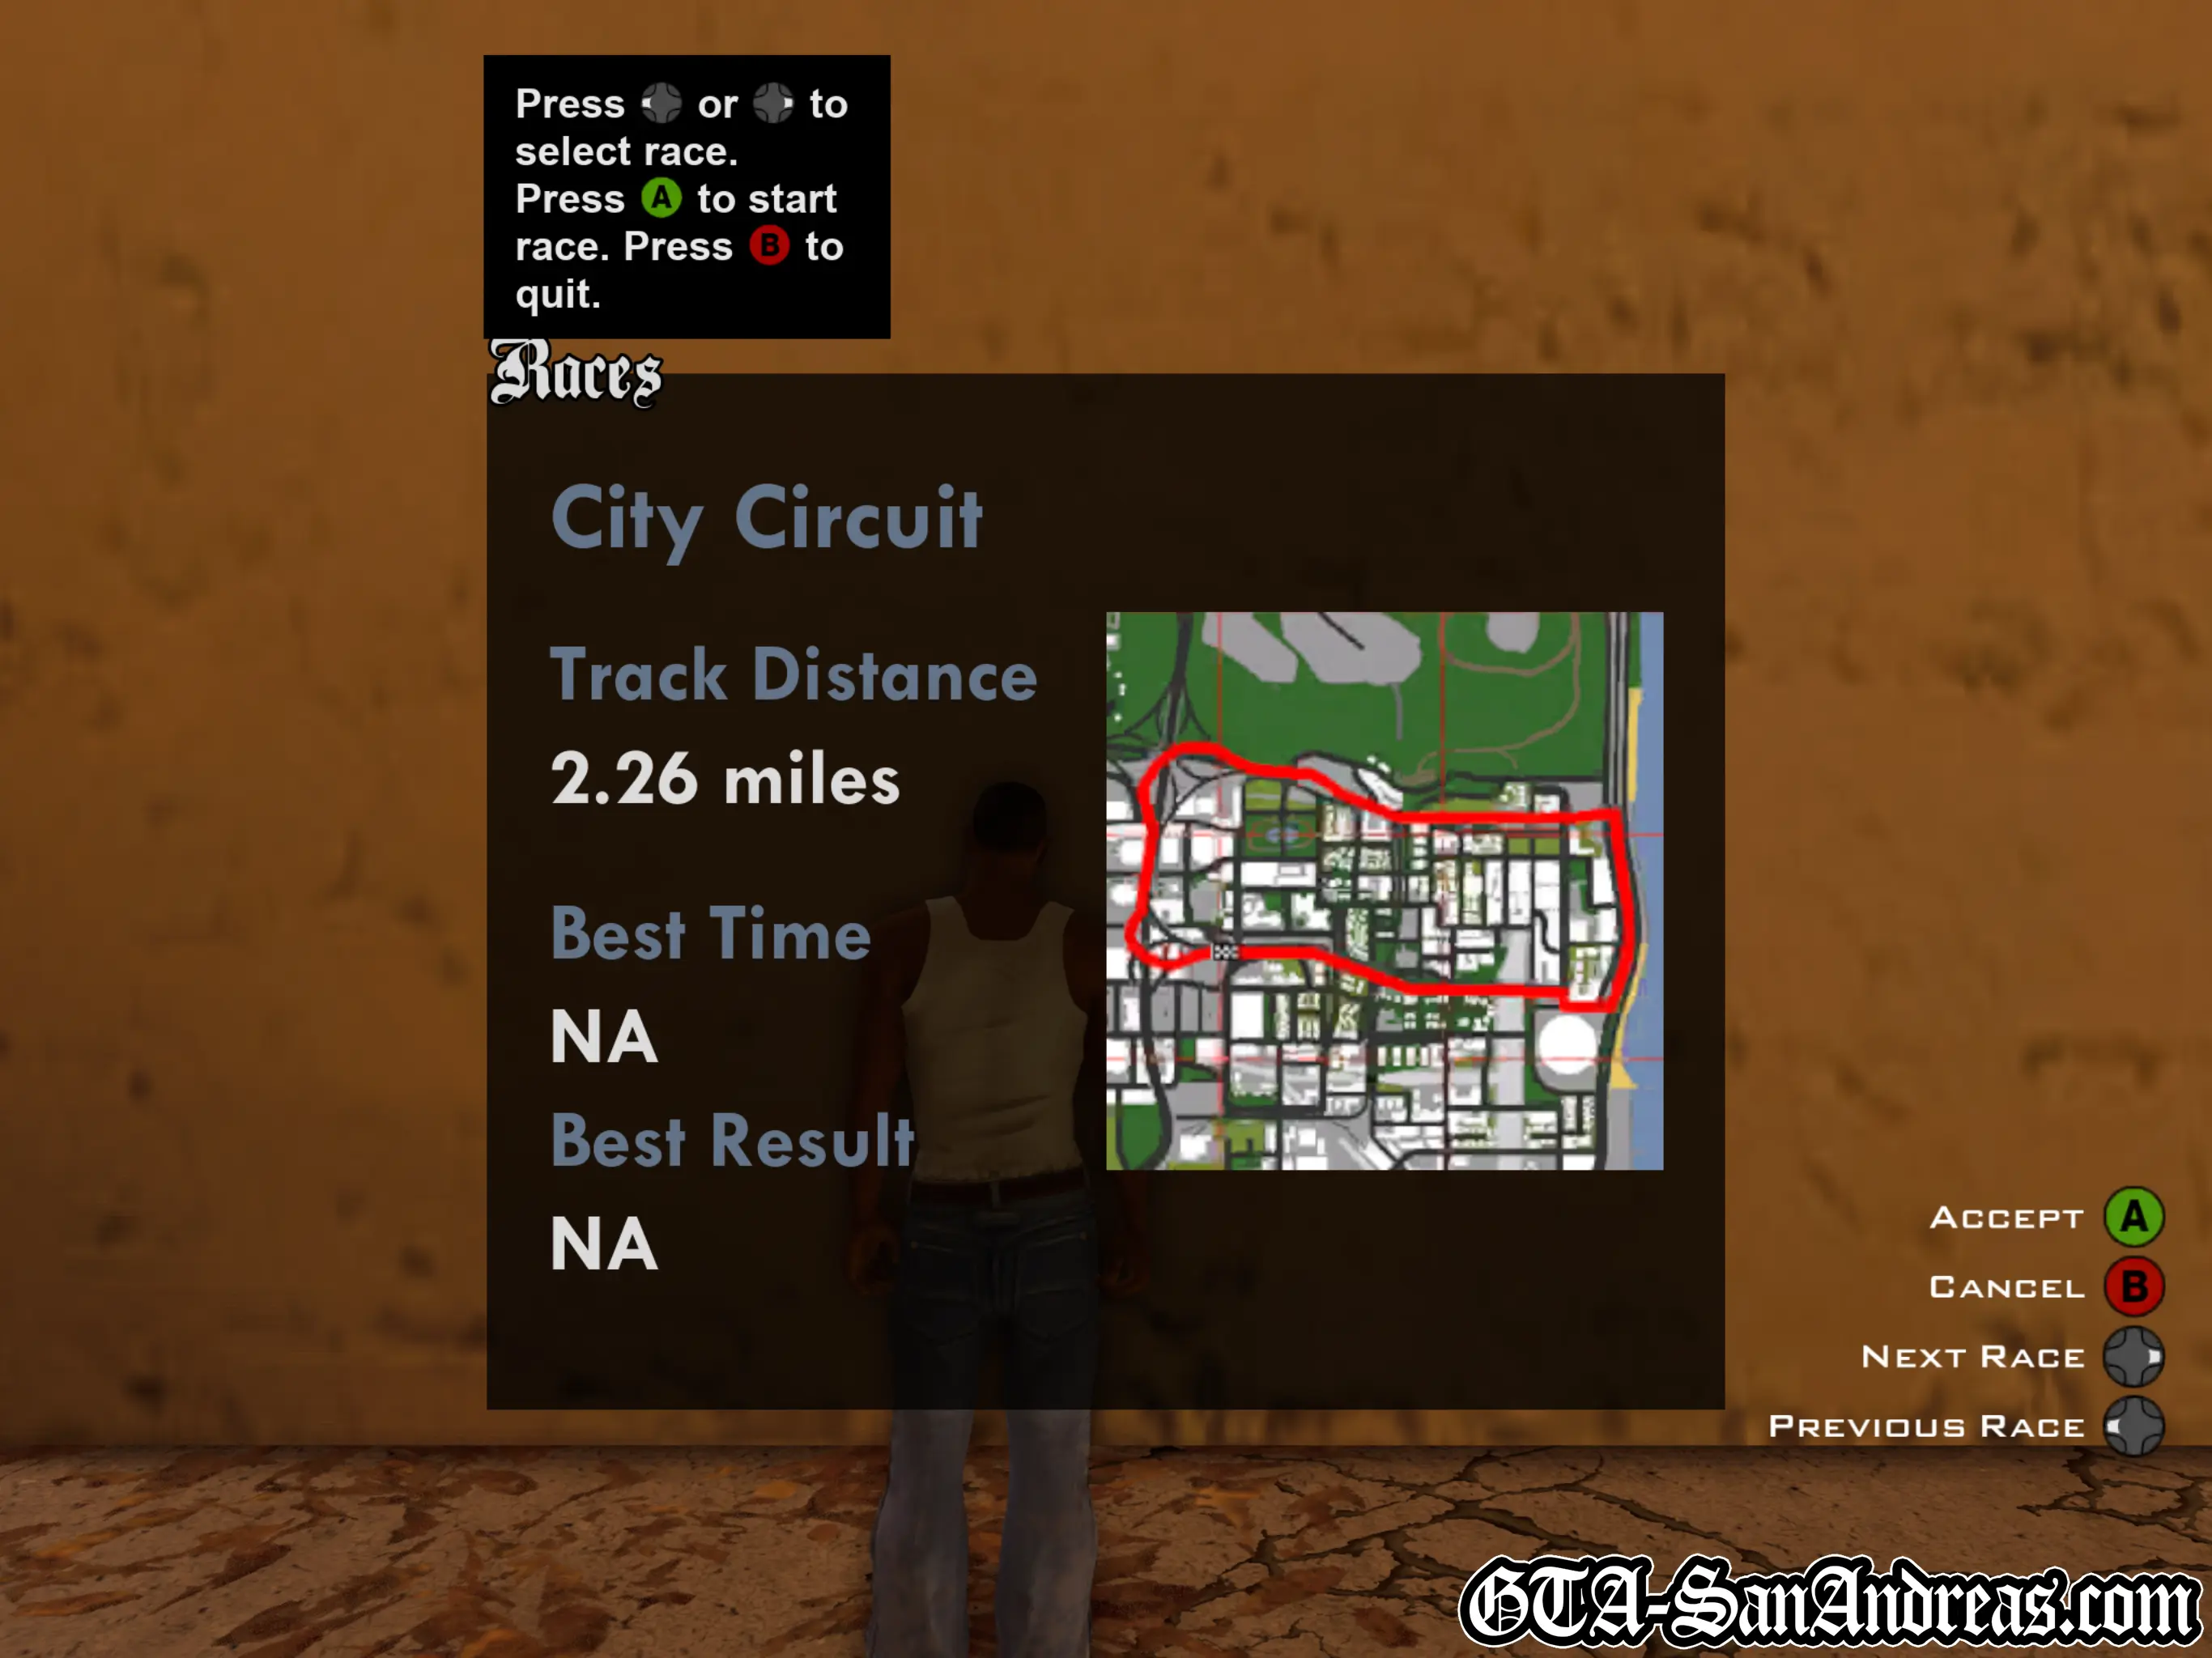
City Circuit
| Vehicle Provided | Track Distance |
|---|---|
| FCR-900 | 3.00 KM |
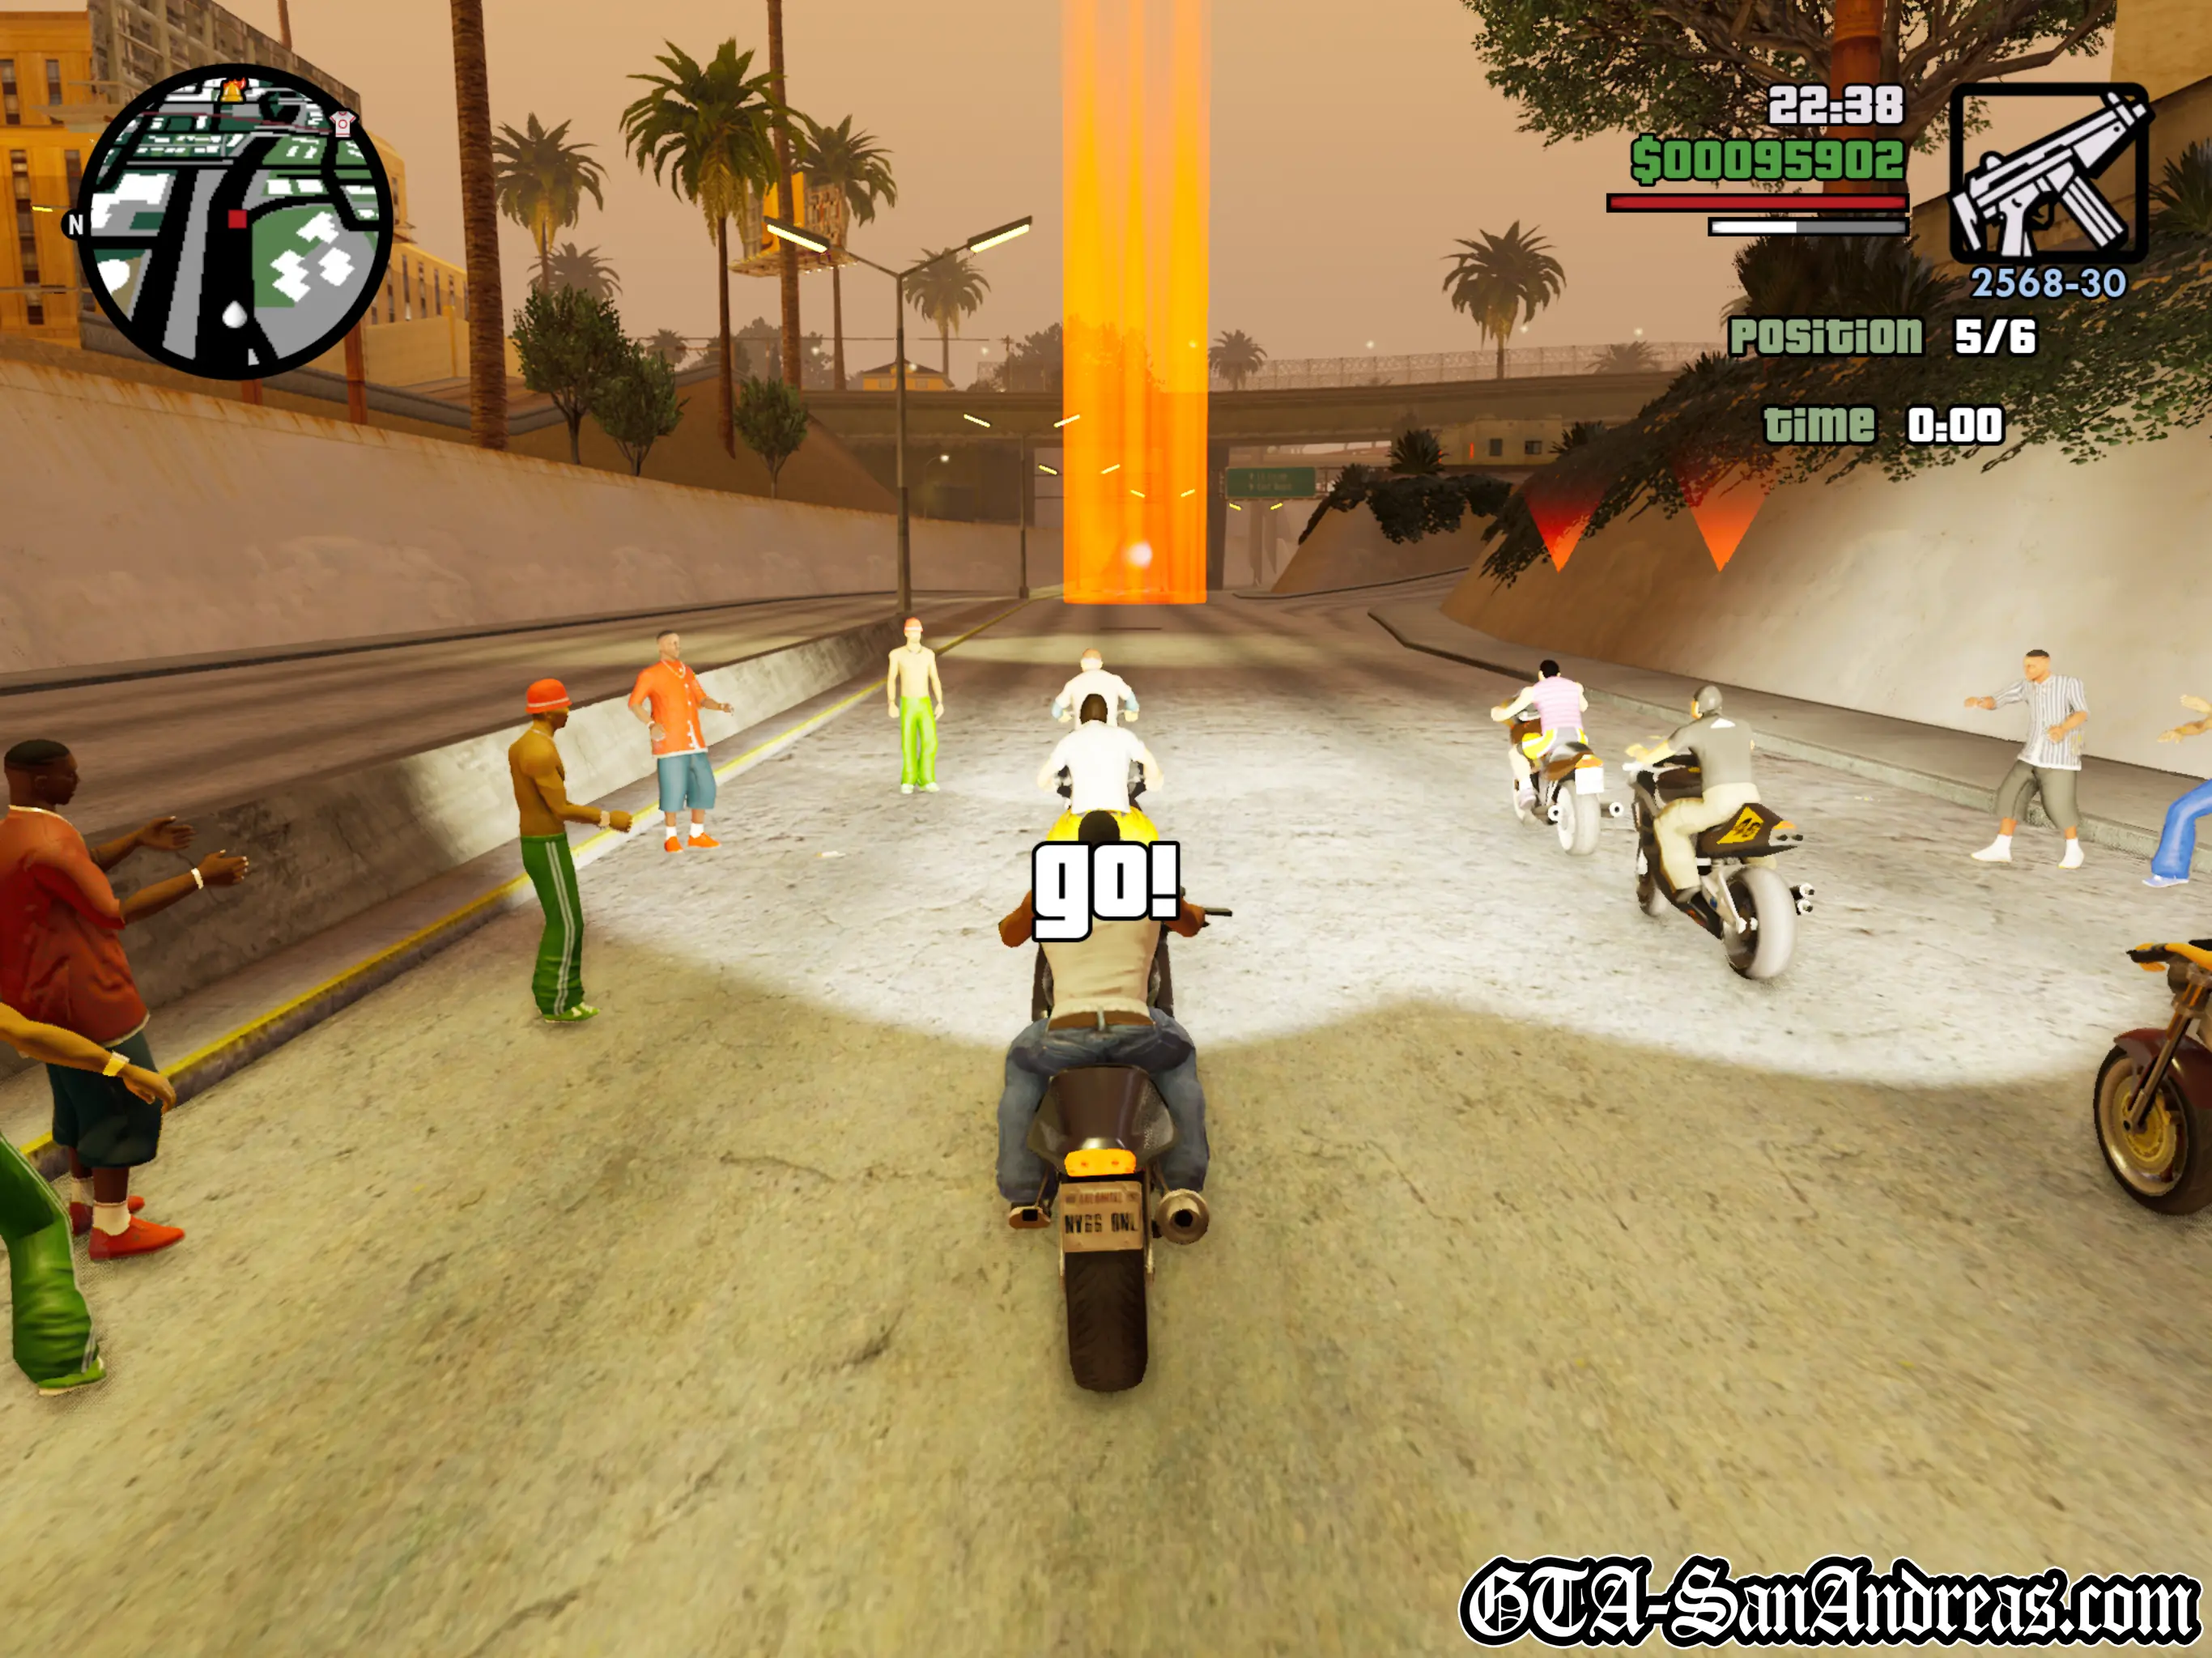
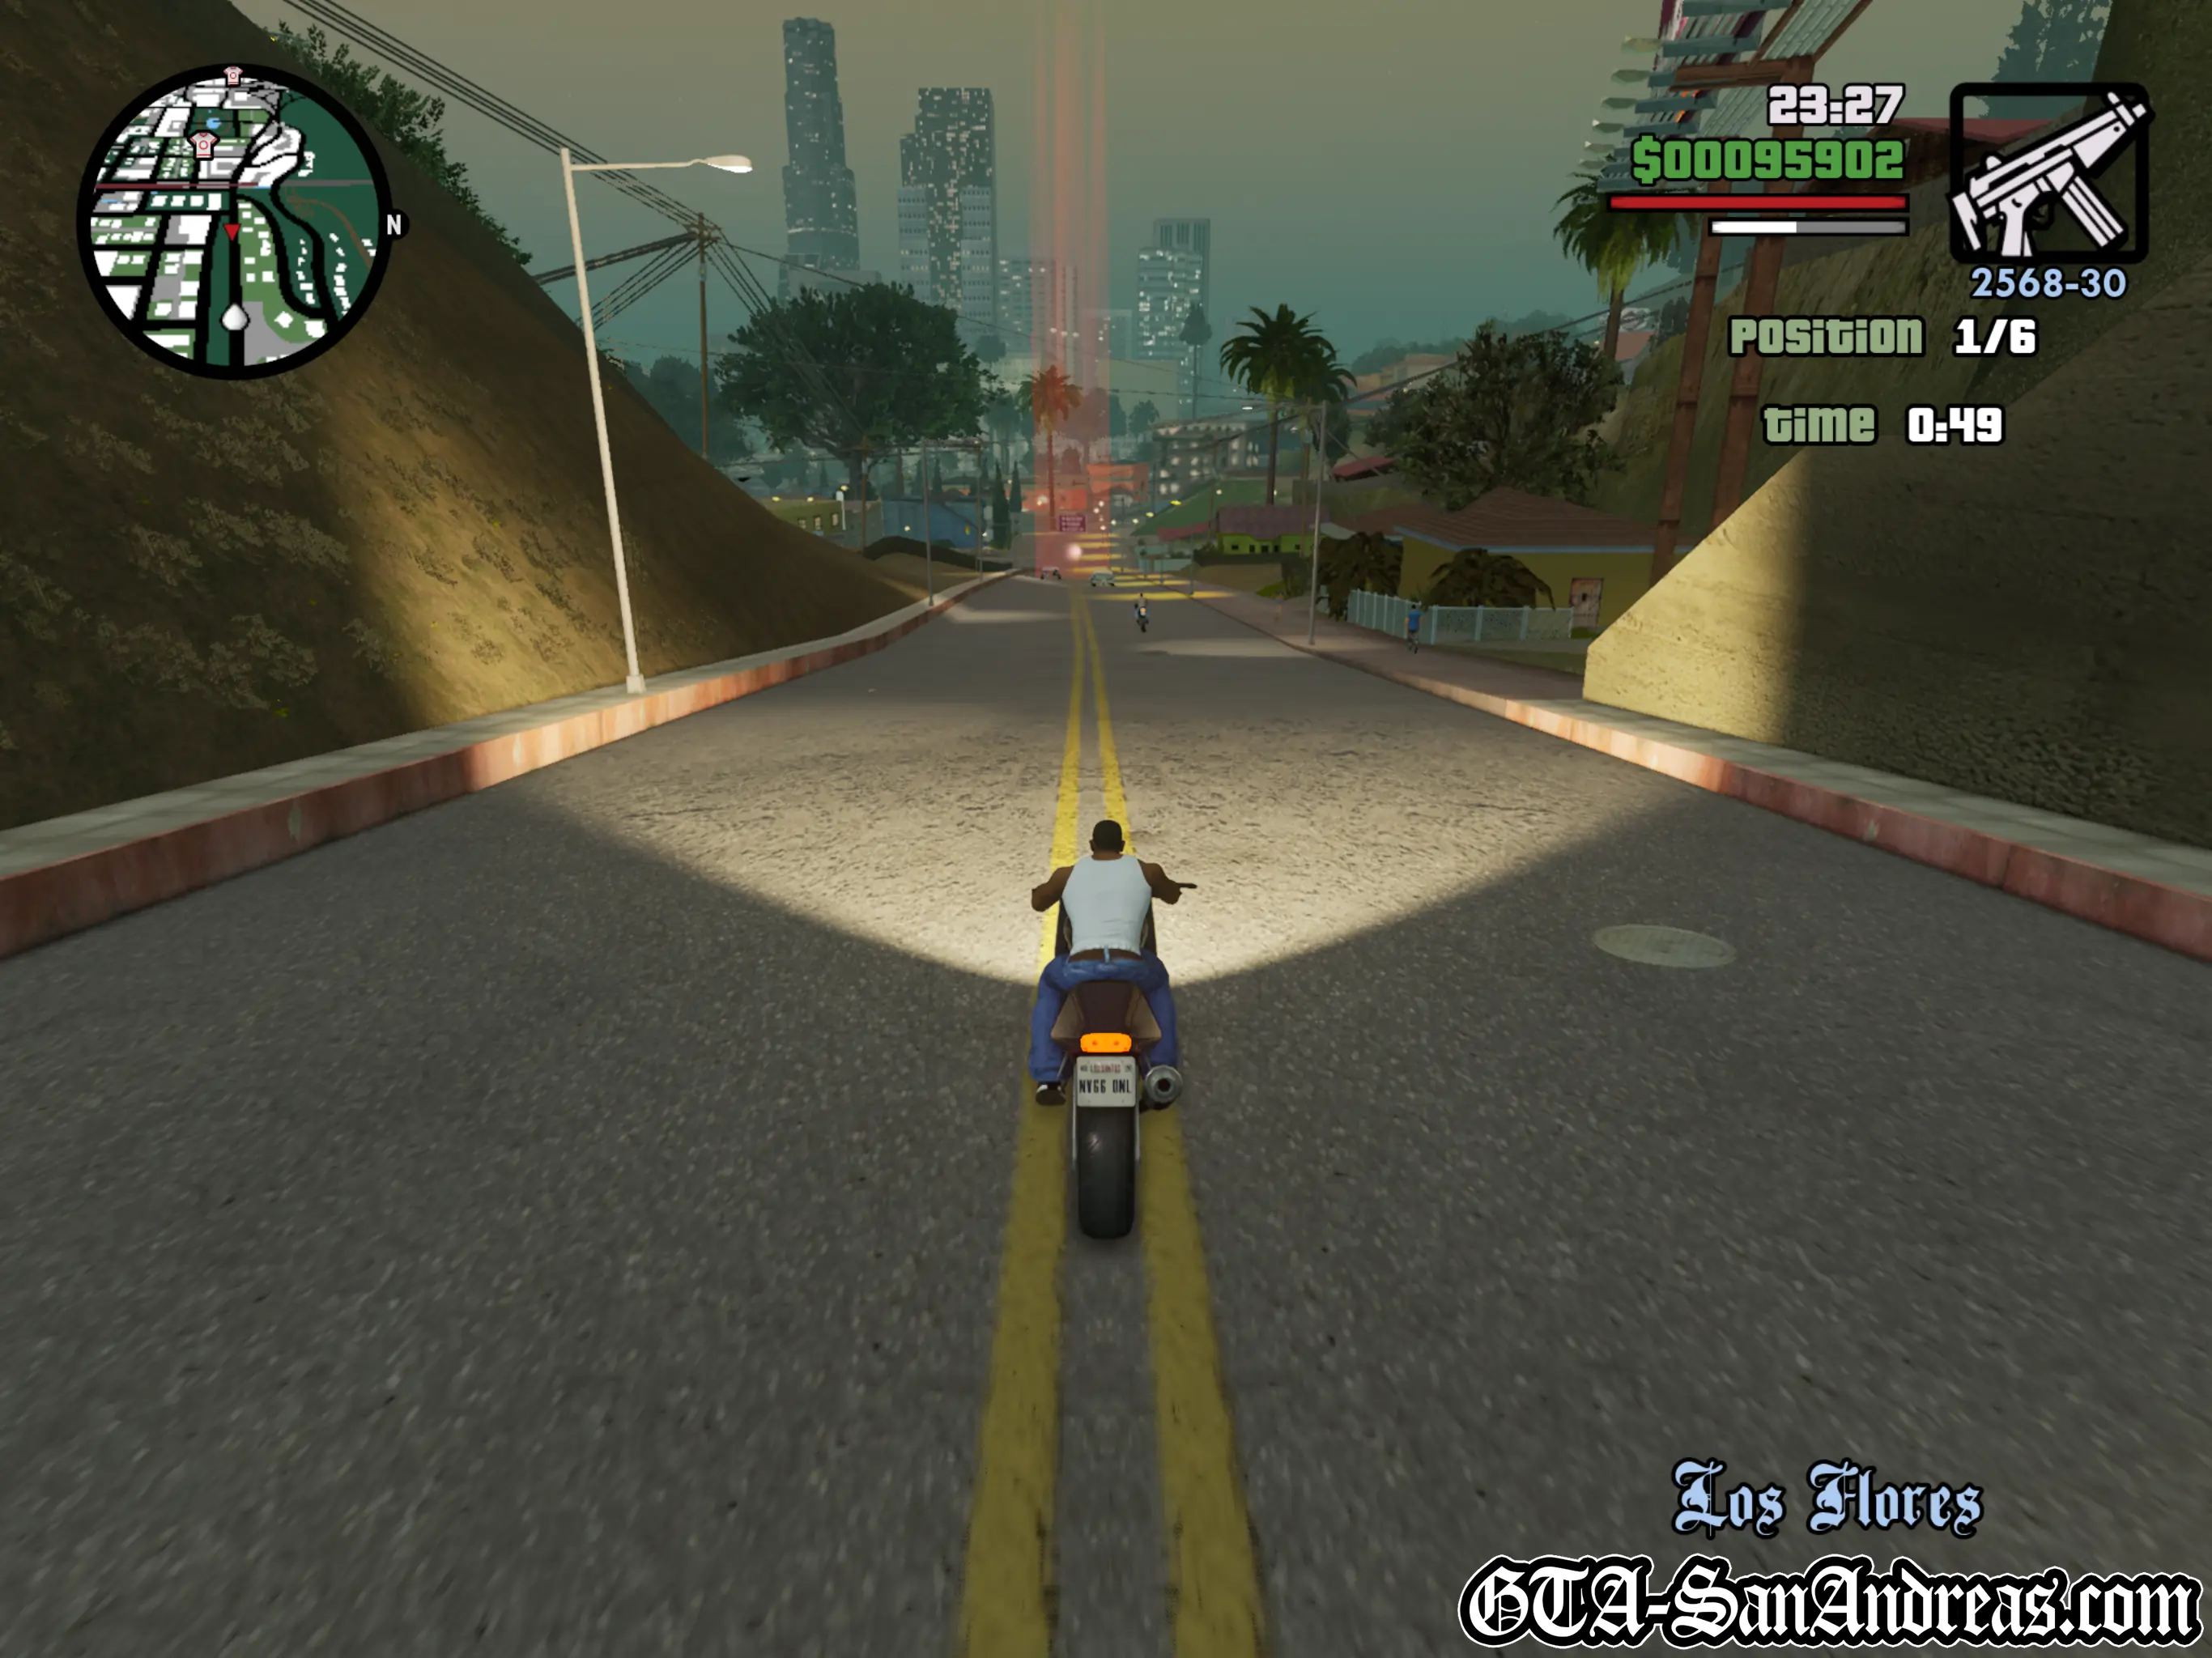
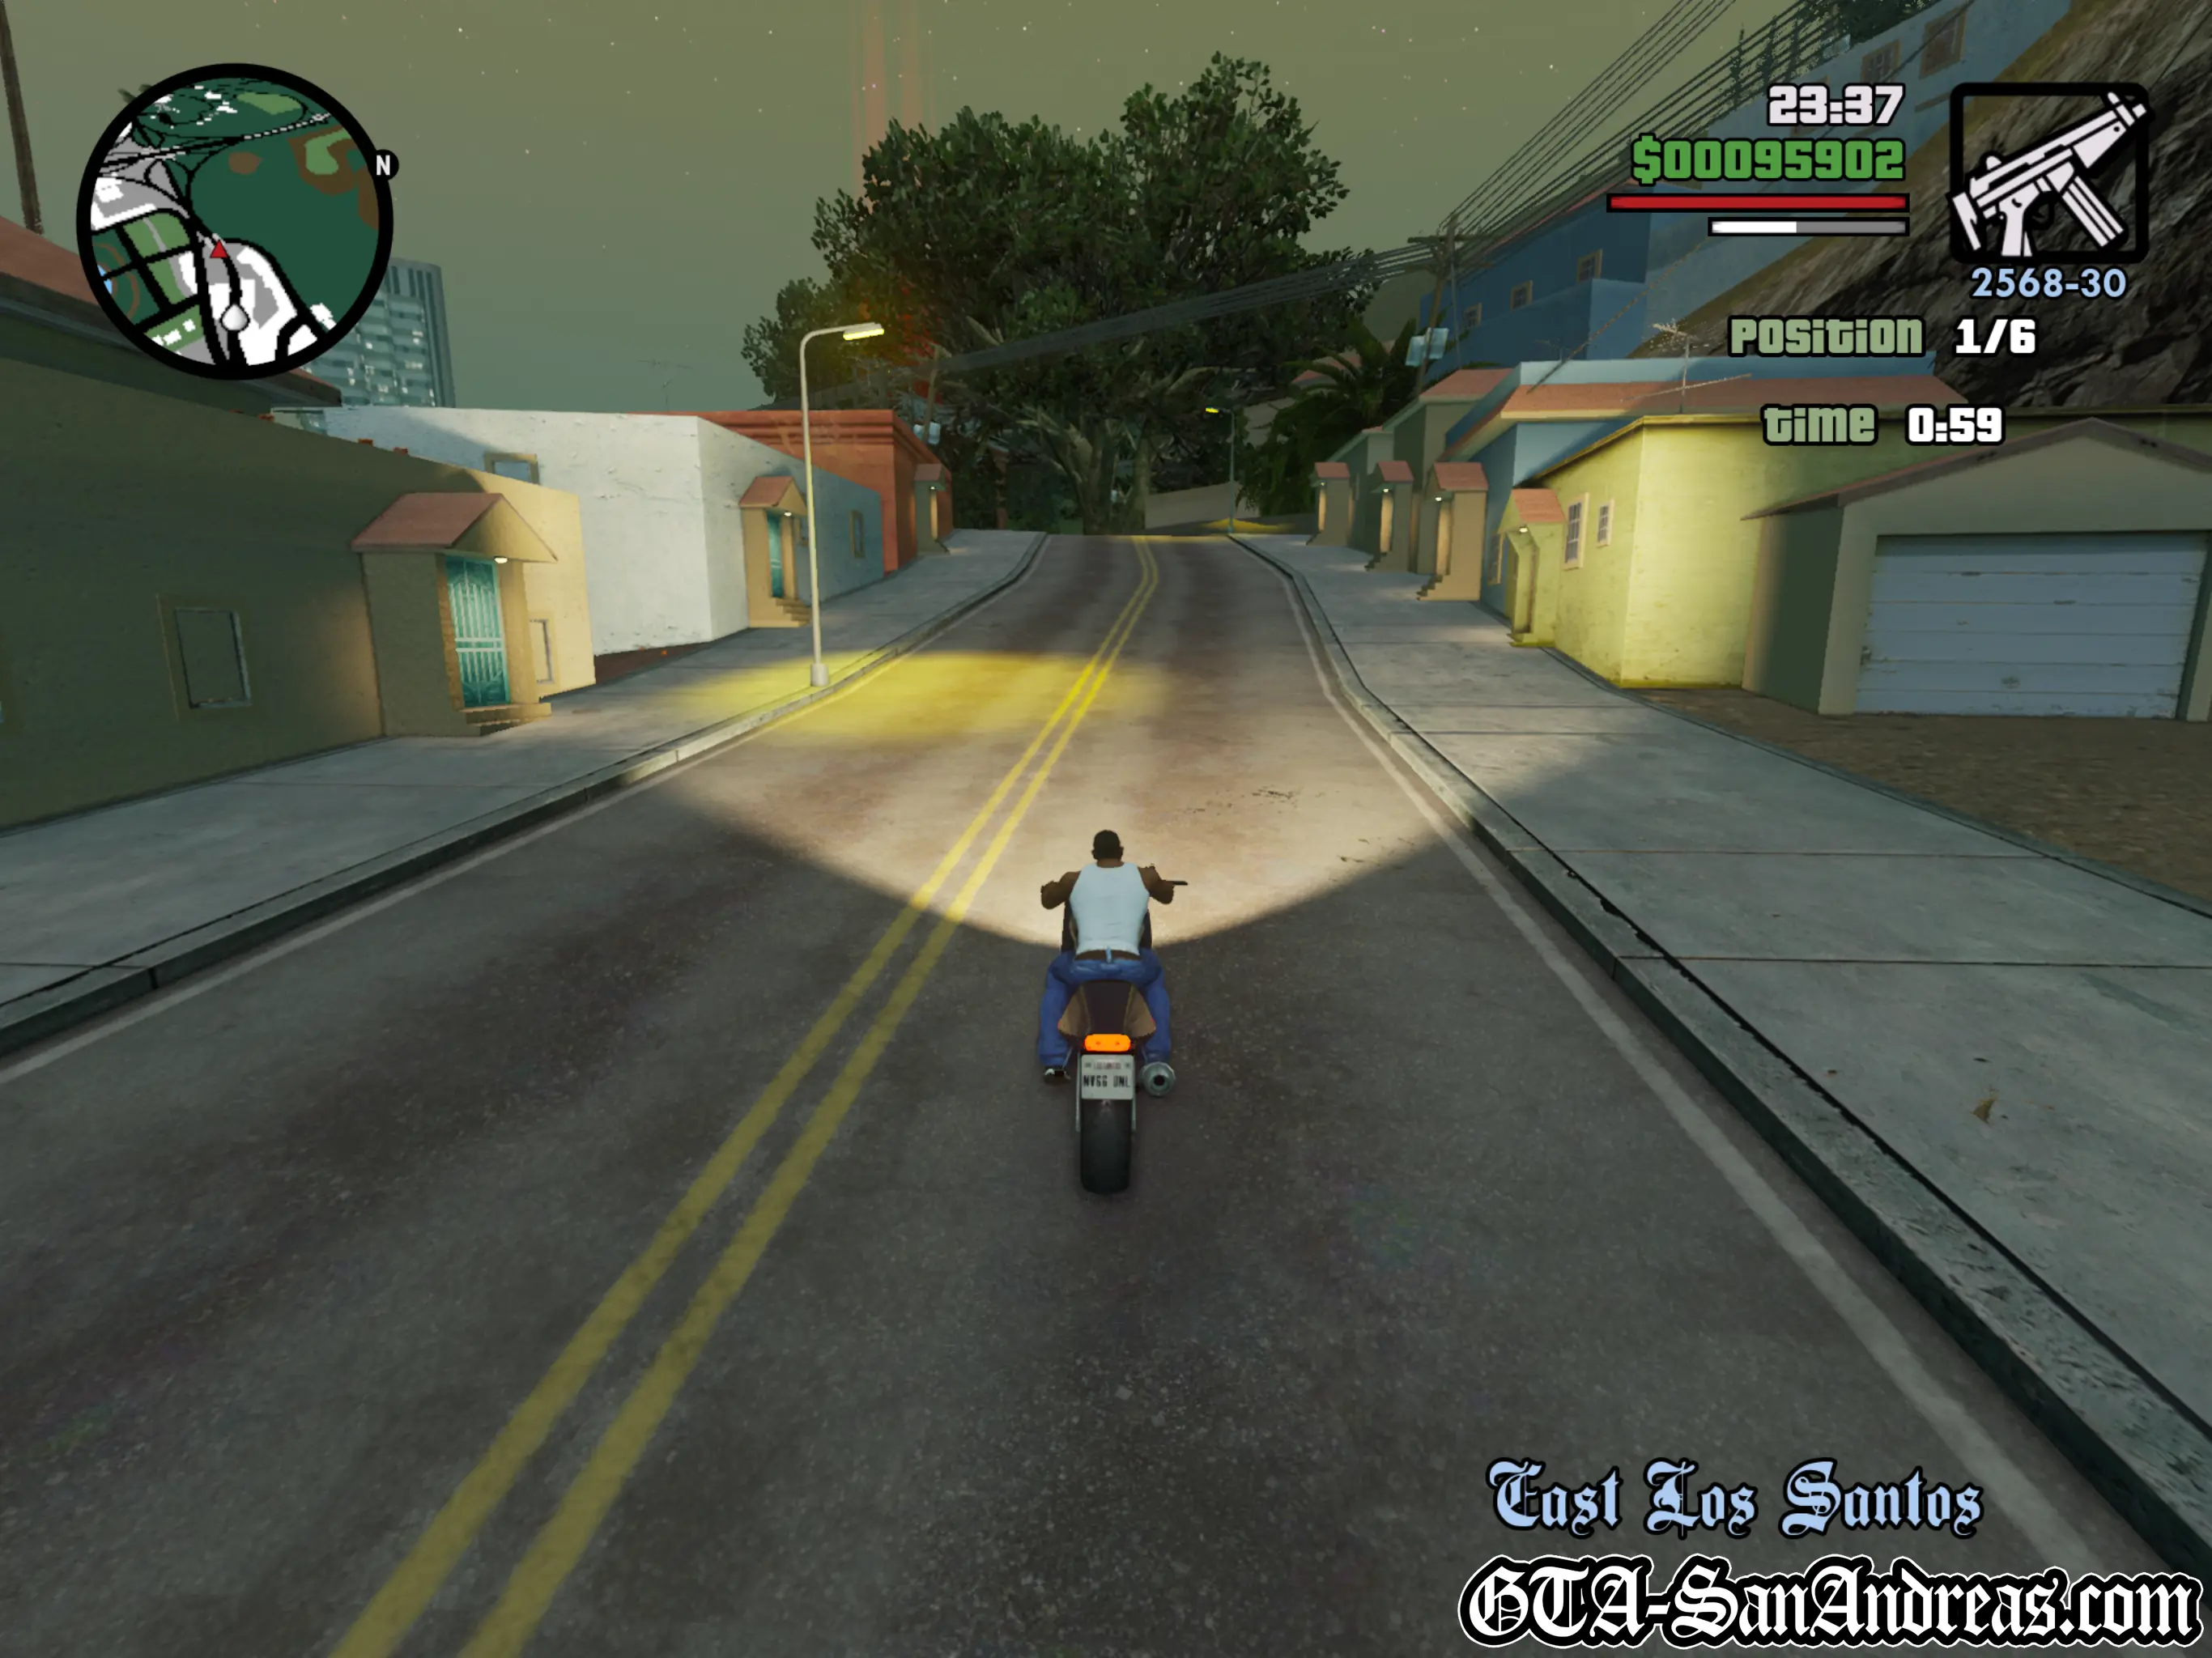
Tactics
This race is very straight forward. The course is not difficult in the slightest, although the arrows can sometimes be confusing. Remember to stick to the road you're on or heading towards and you should be fine. As long as you don't crash into a car and bail from the bike you should easily be able to win this race.
Screenshots
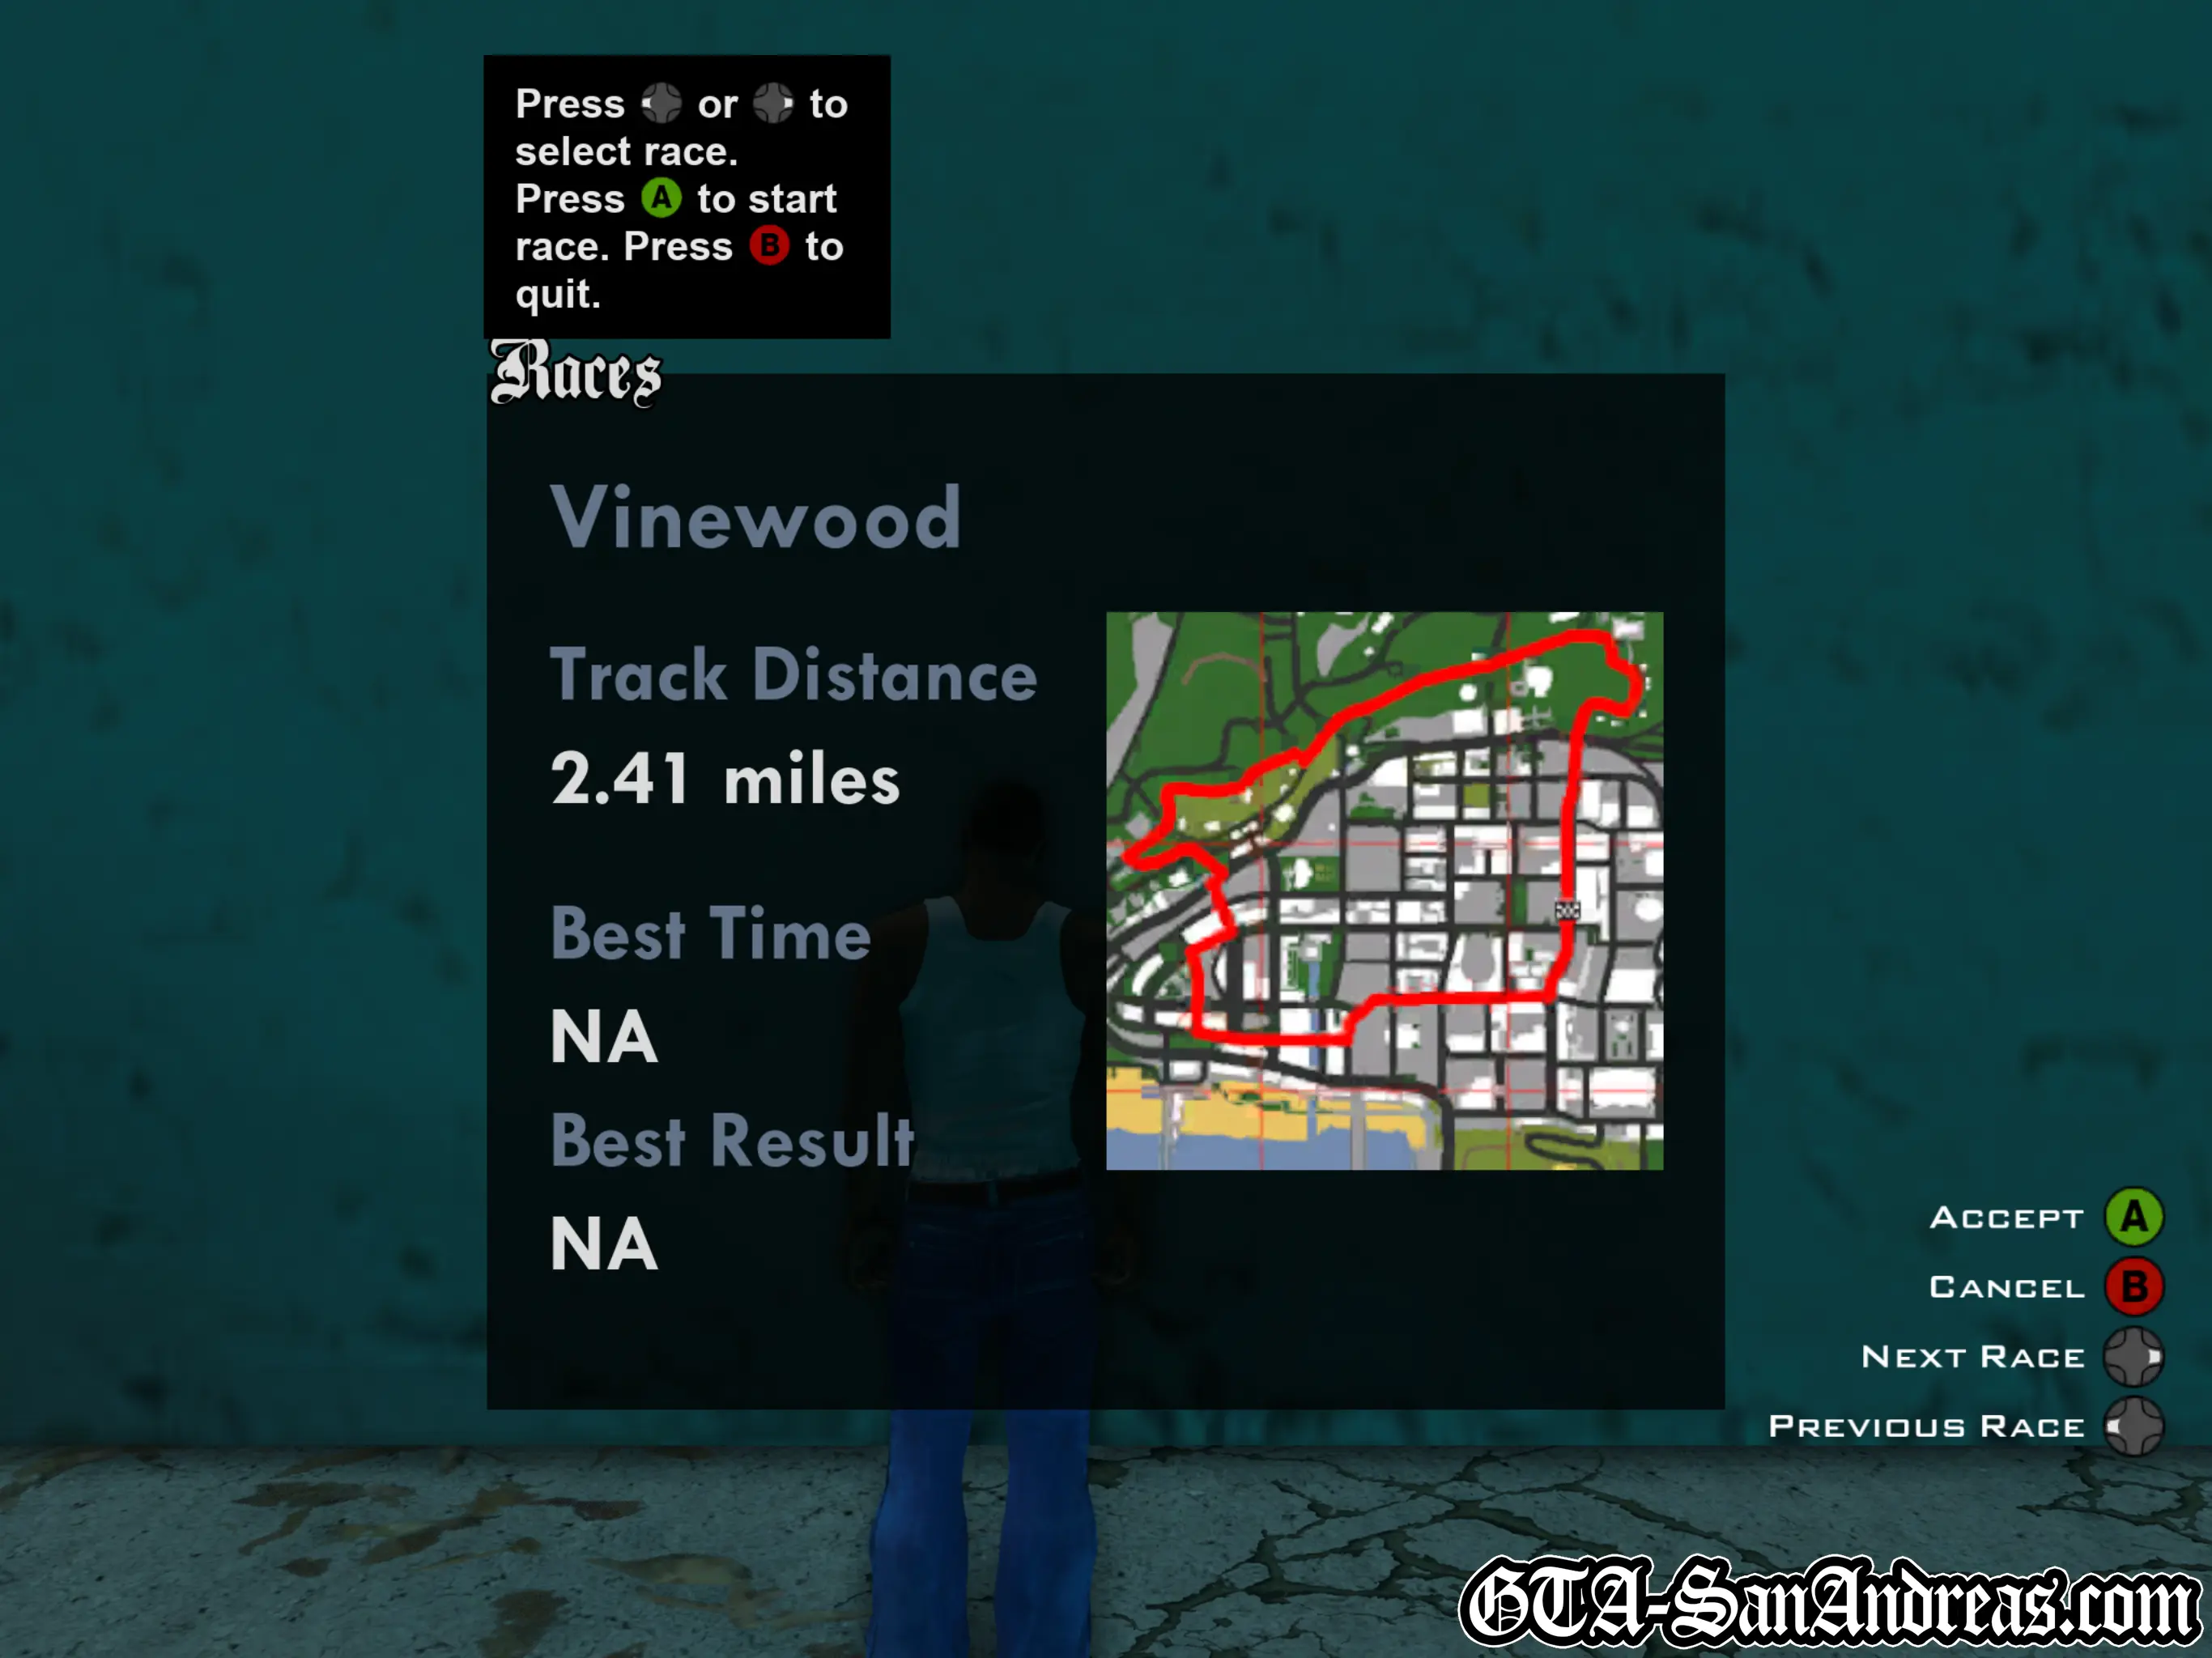
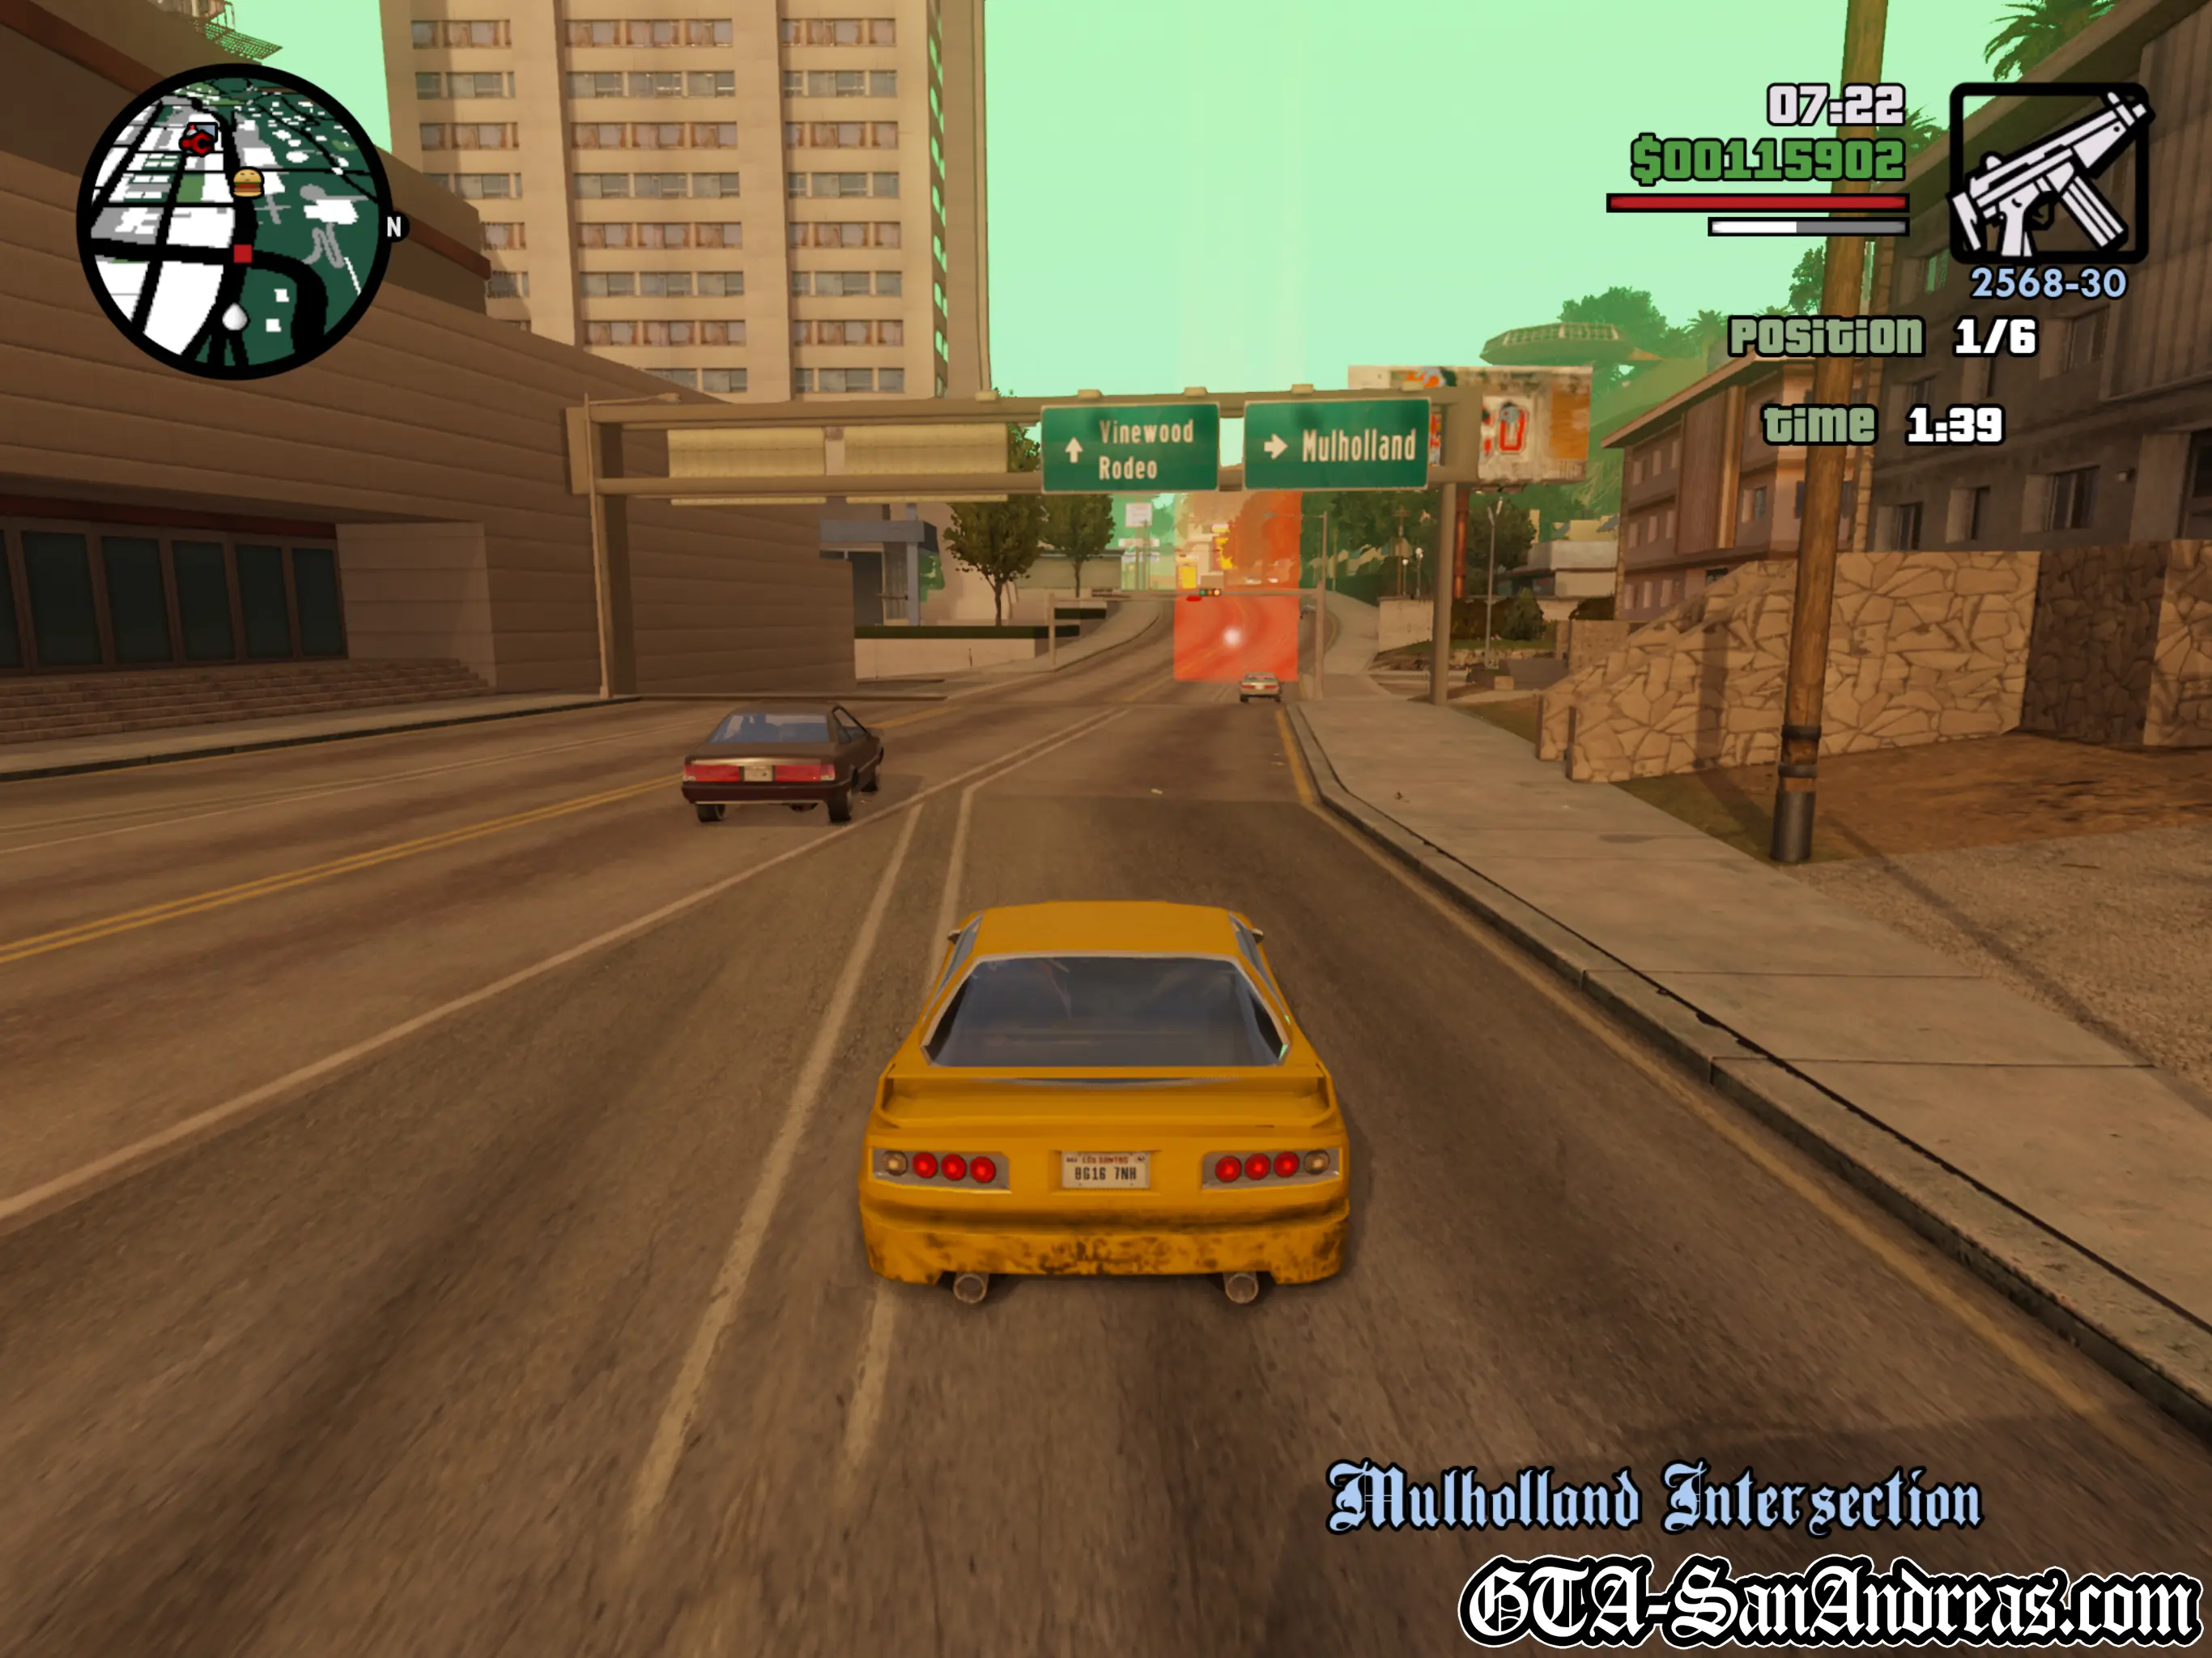
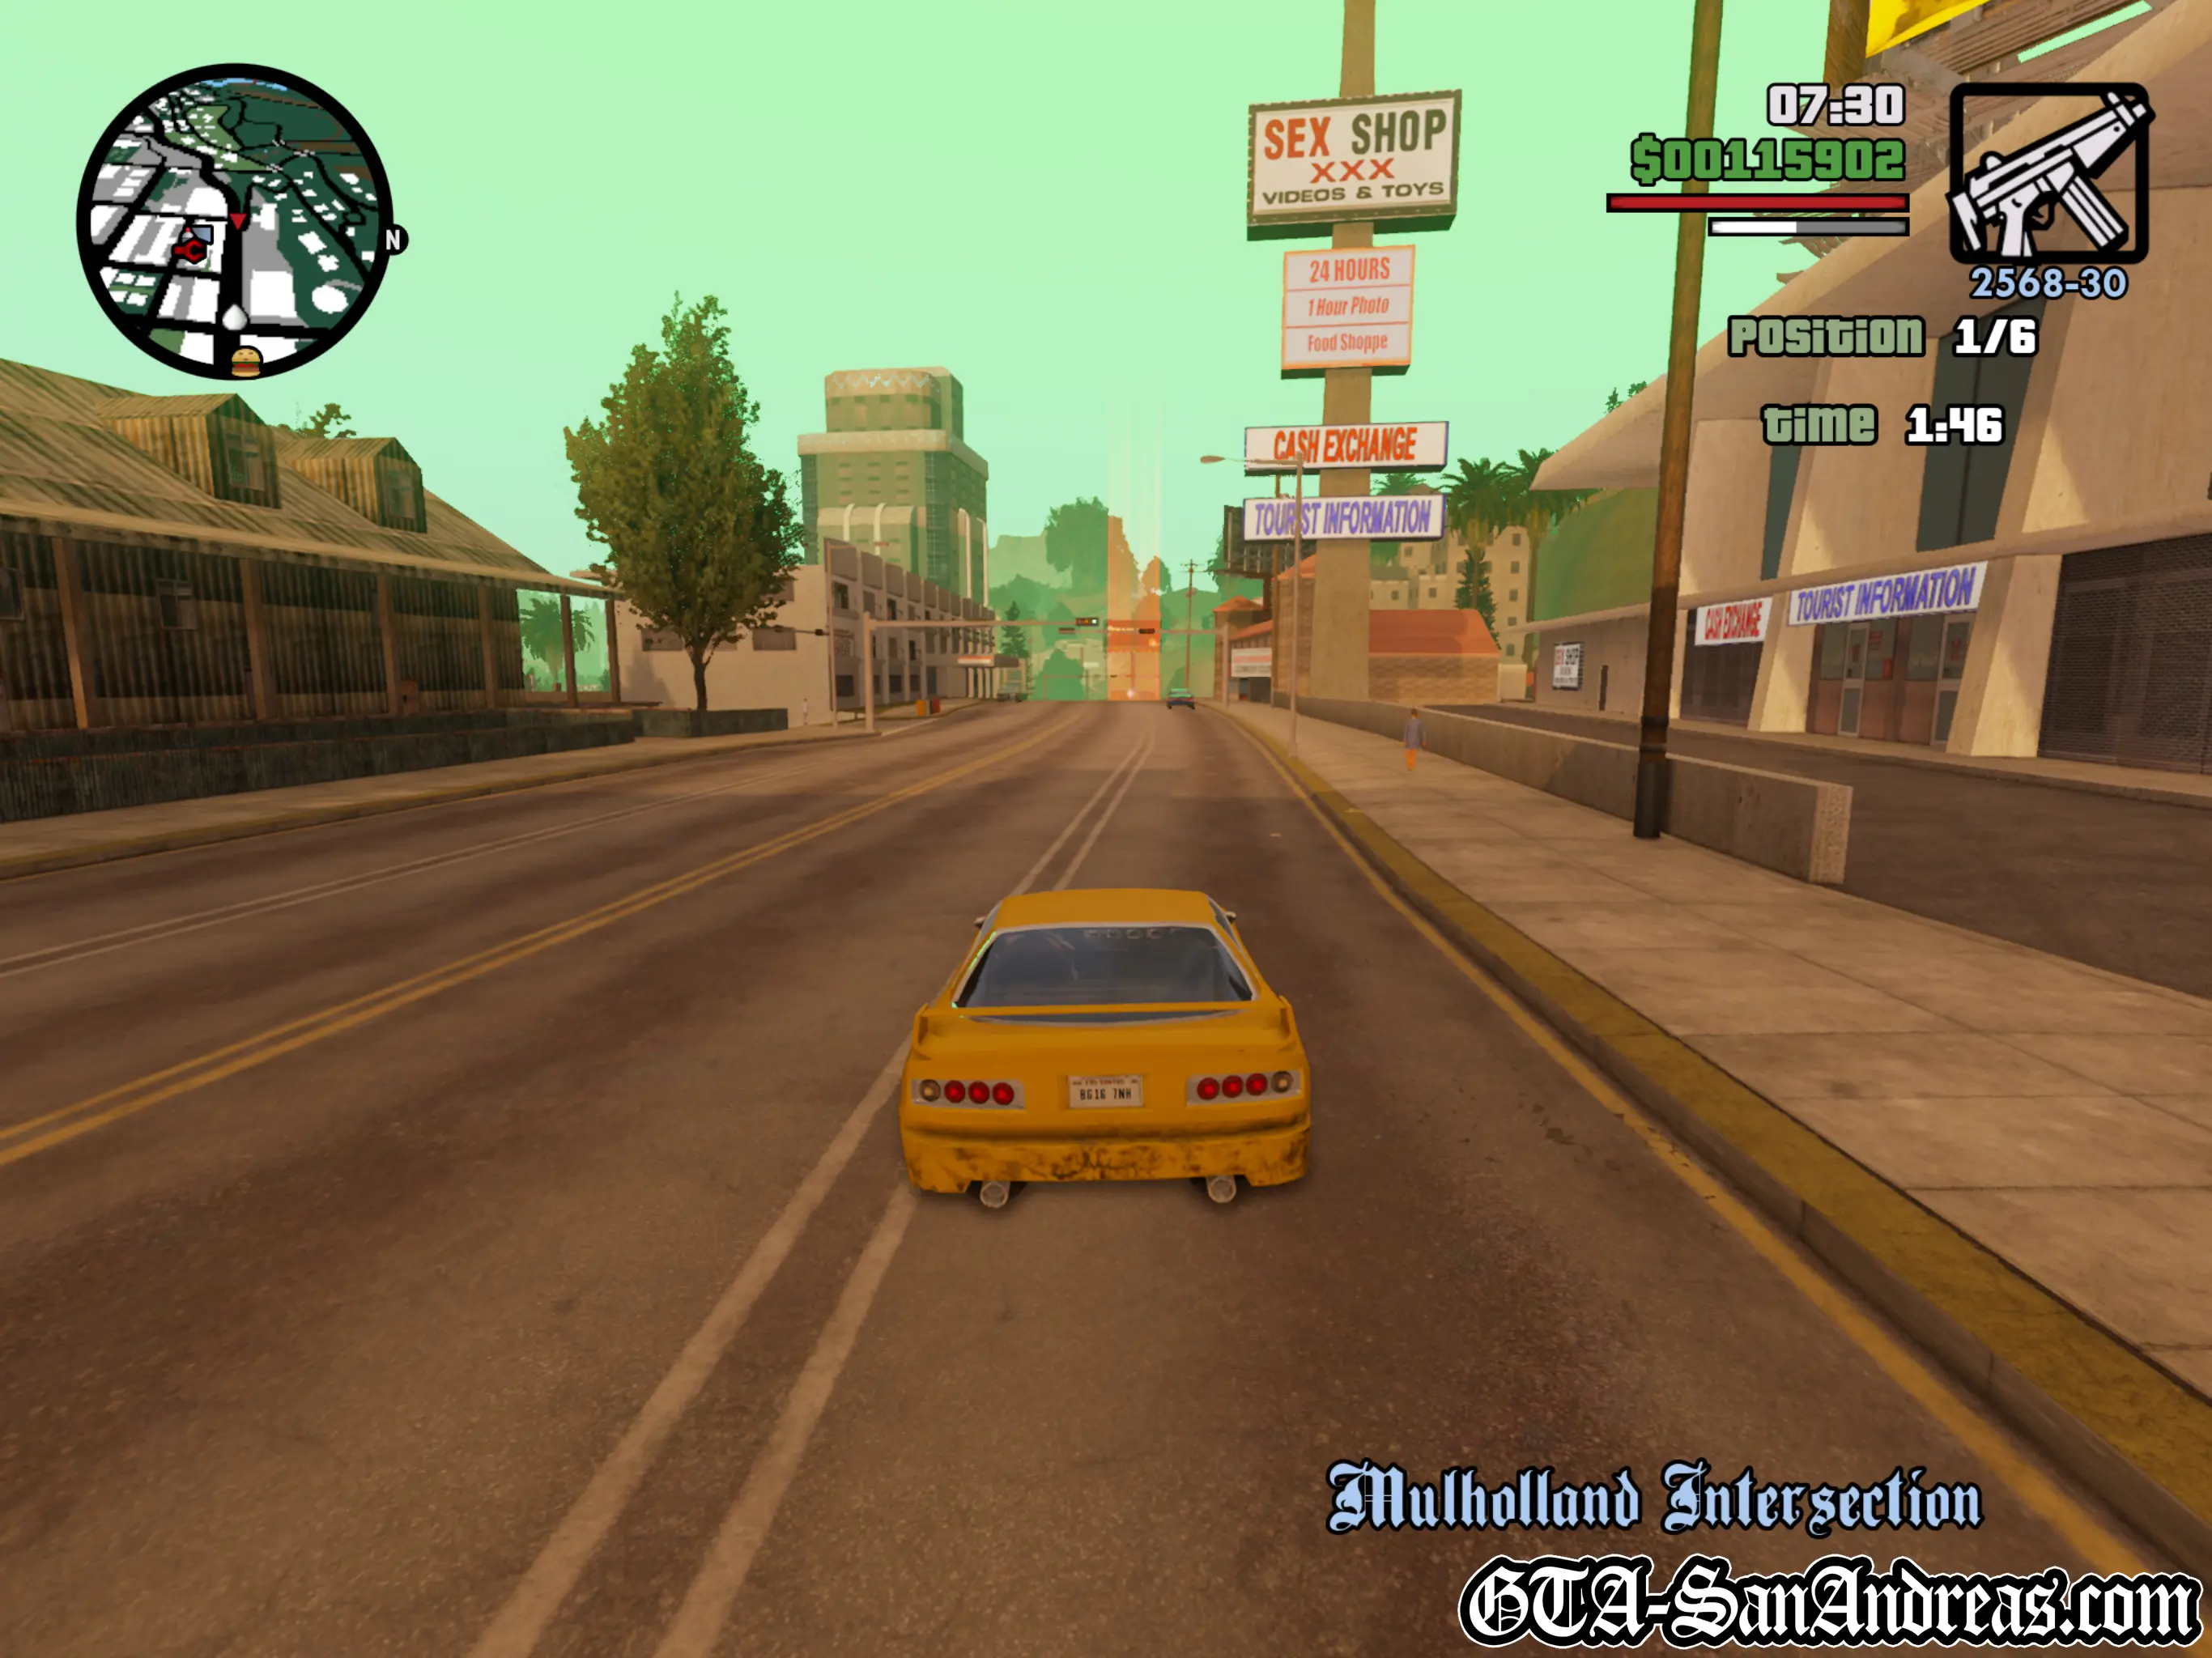
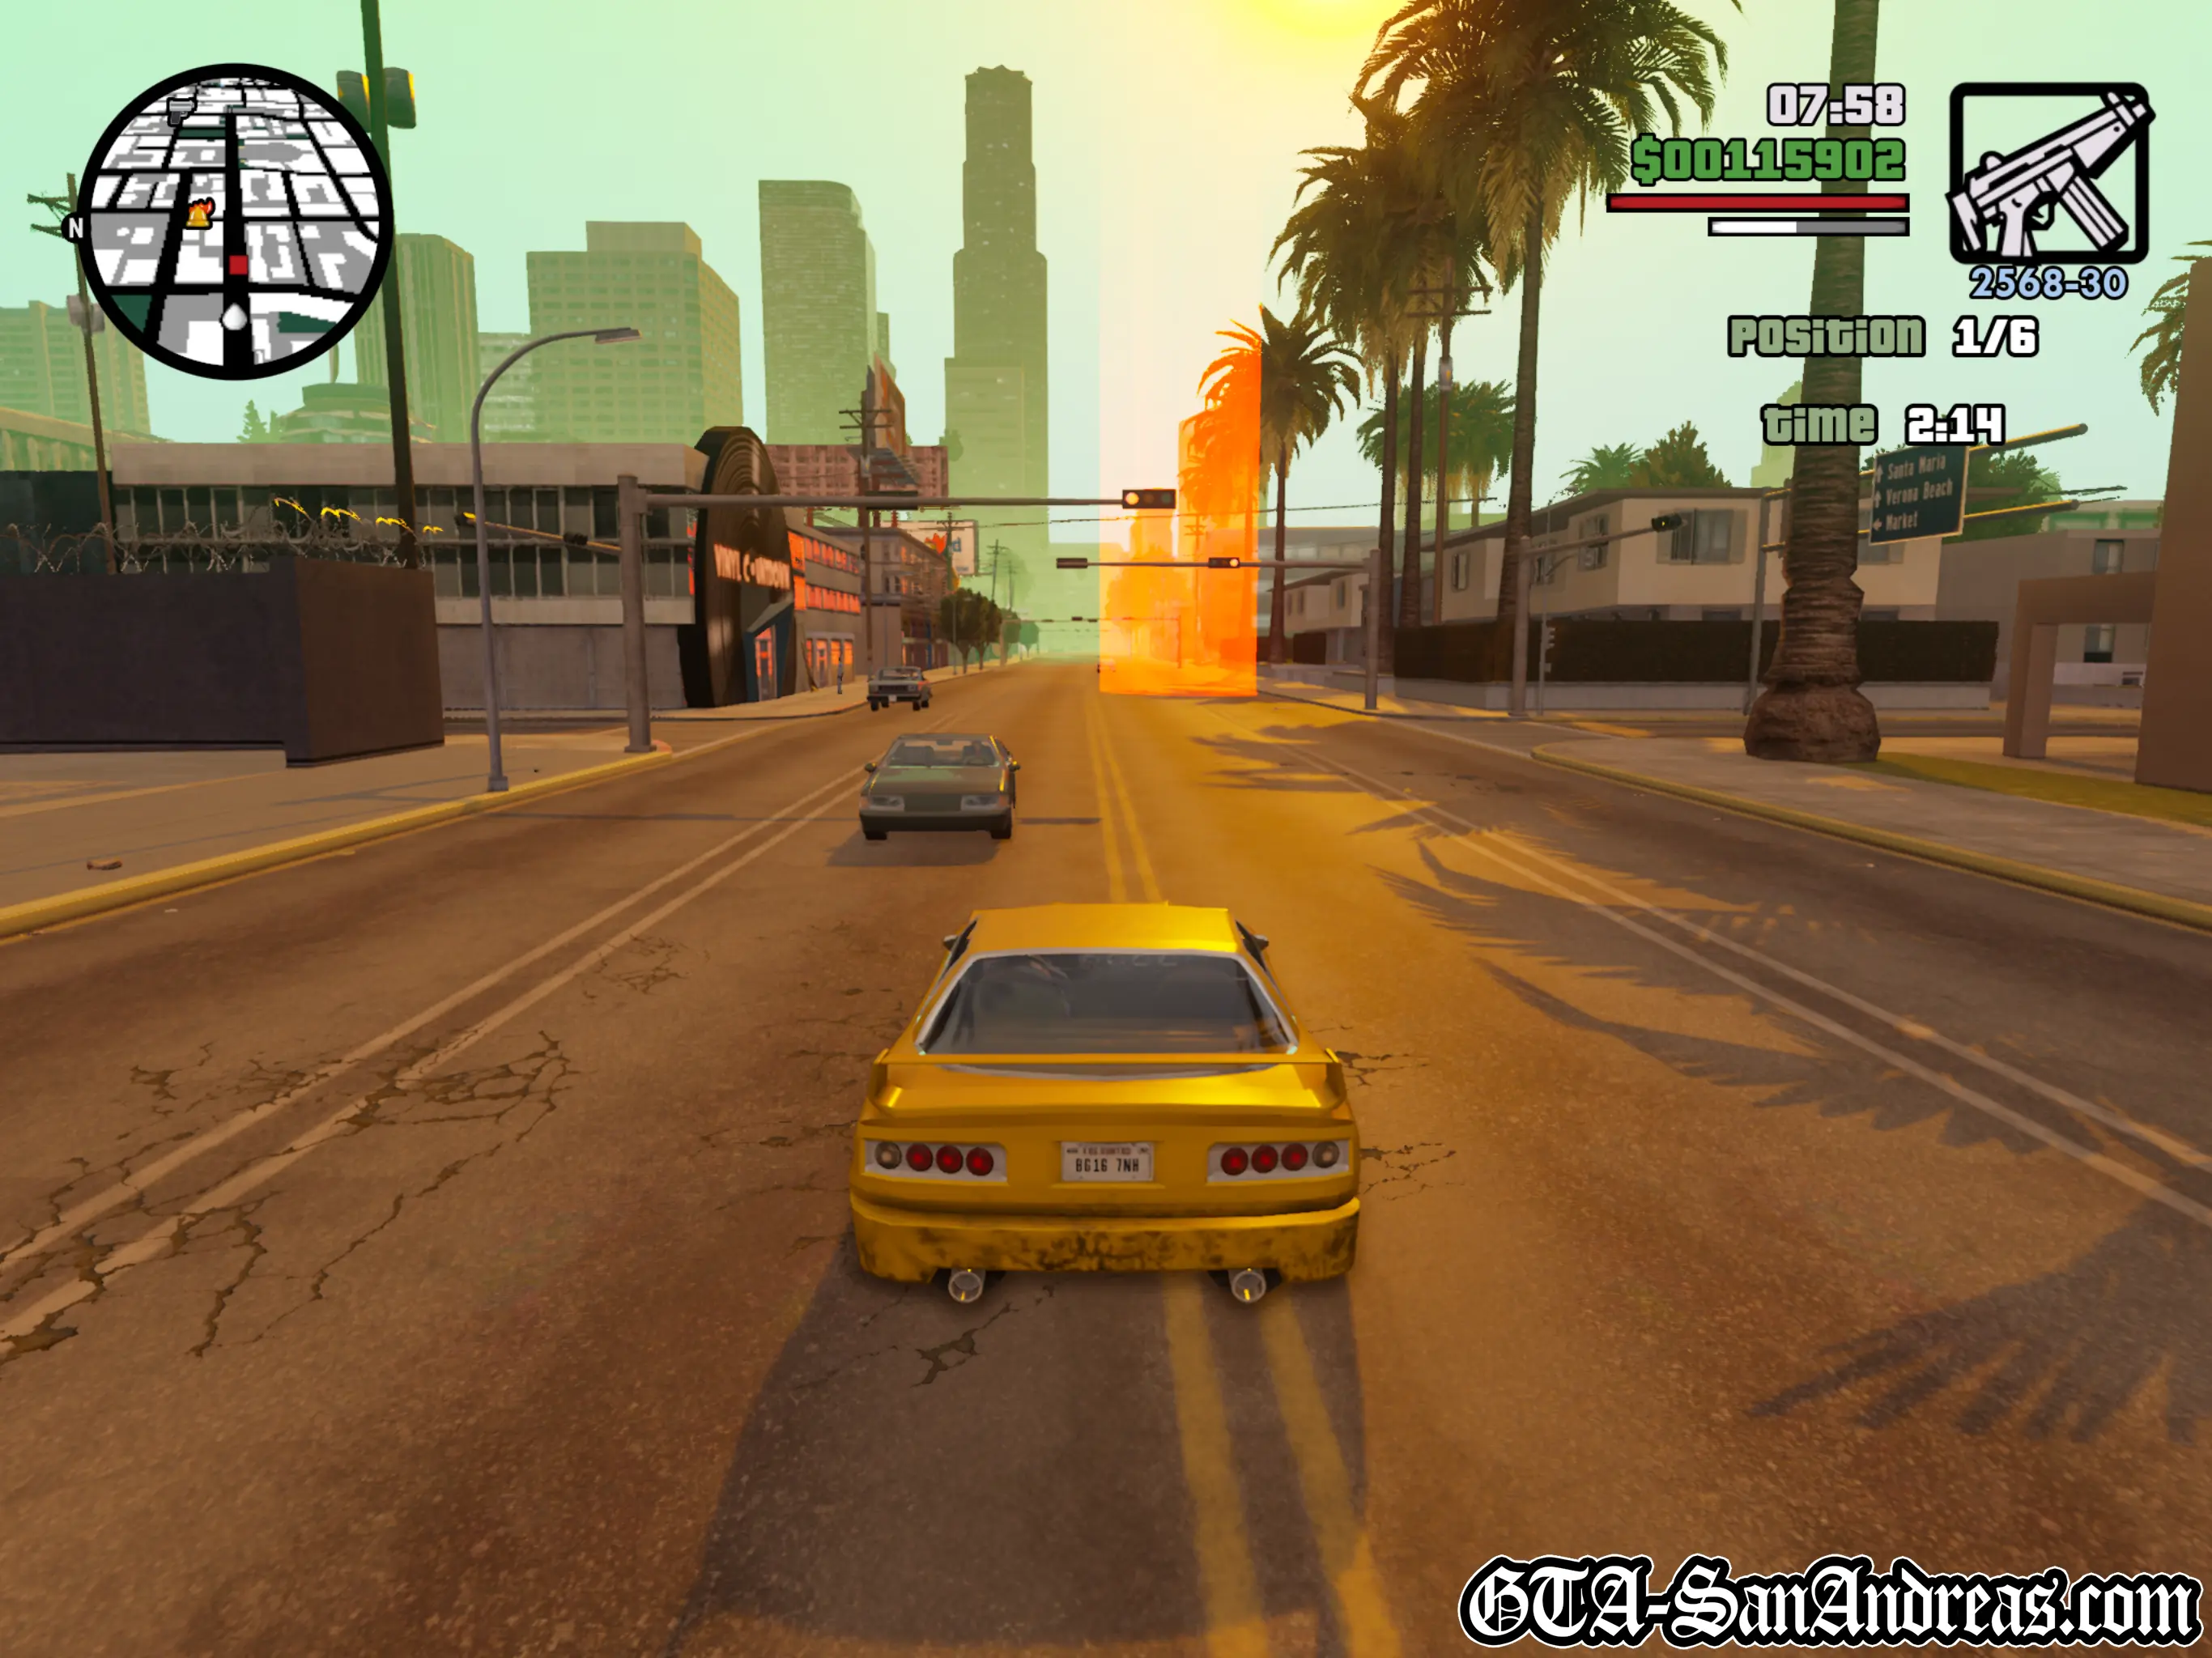
Vinewood
| Vehicle Provided | Track Distance |
|---|---|
| Sunrise | 3.00 KM |
Tactics
This is one of the most difficult street races of them all.
For a start you're not exactly in the best vehicle for racing, but secondly the course is rather extreme too. The first part isn't too challenging, but just after you pass the Vinewood sign, the hills and corners can be pretty hazardous unless you brake and drive carefully.
You'll probably watch 3 of the 5 opponents speed down a hill and roll their car, so if you maintain your speed and drive carefully, you should be able to gain a decent position before the race comes to a conclusion.
After a tough start, the rest of the track is fairly straightforward. Watch out for the hairpin at the West end of the track though!
If you take the hills just past the Vinewood bridge slowly, you should be able to get into first place and from there just drive VERY carefully, braking for everything and you can hang on to win.
Screenshots
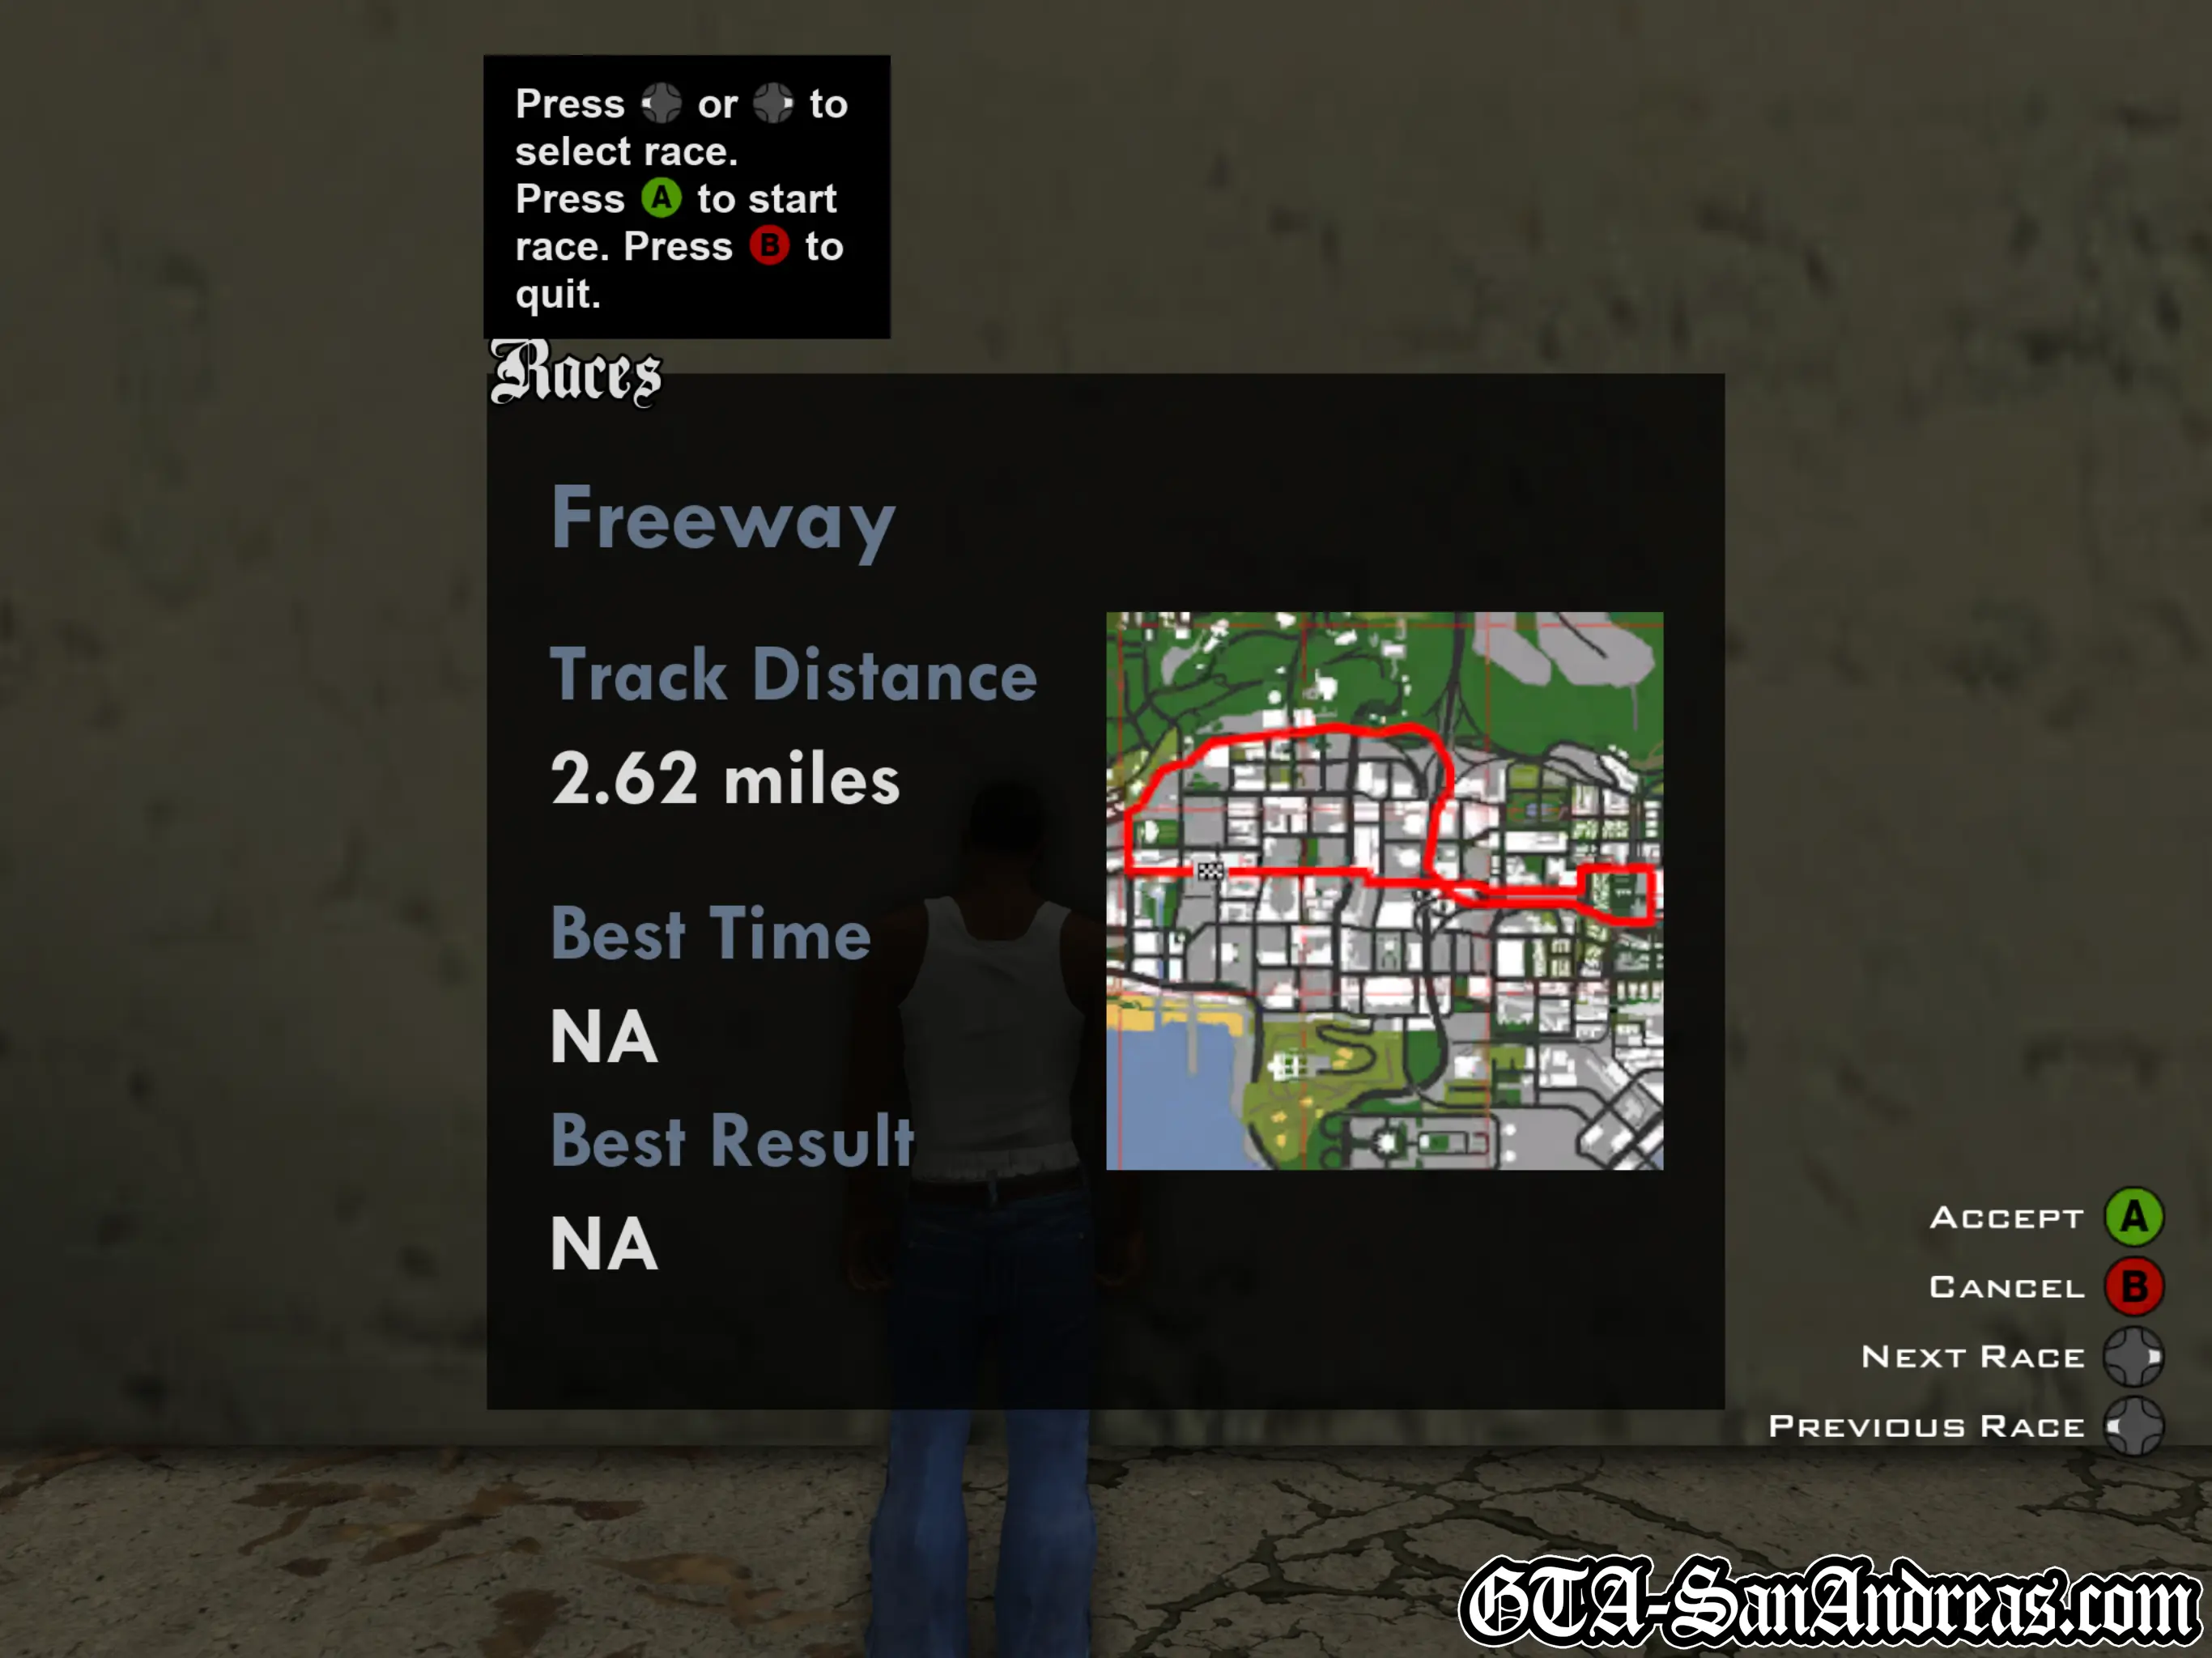
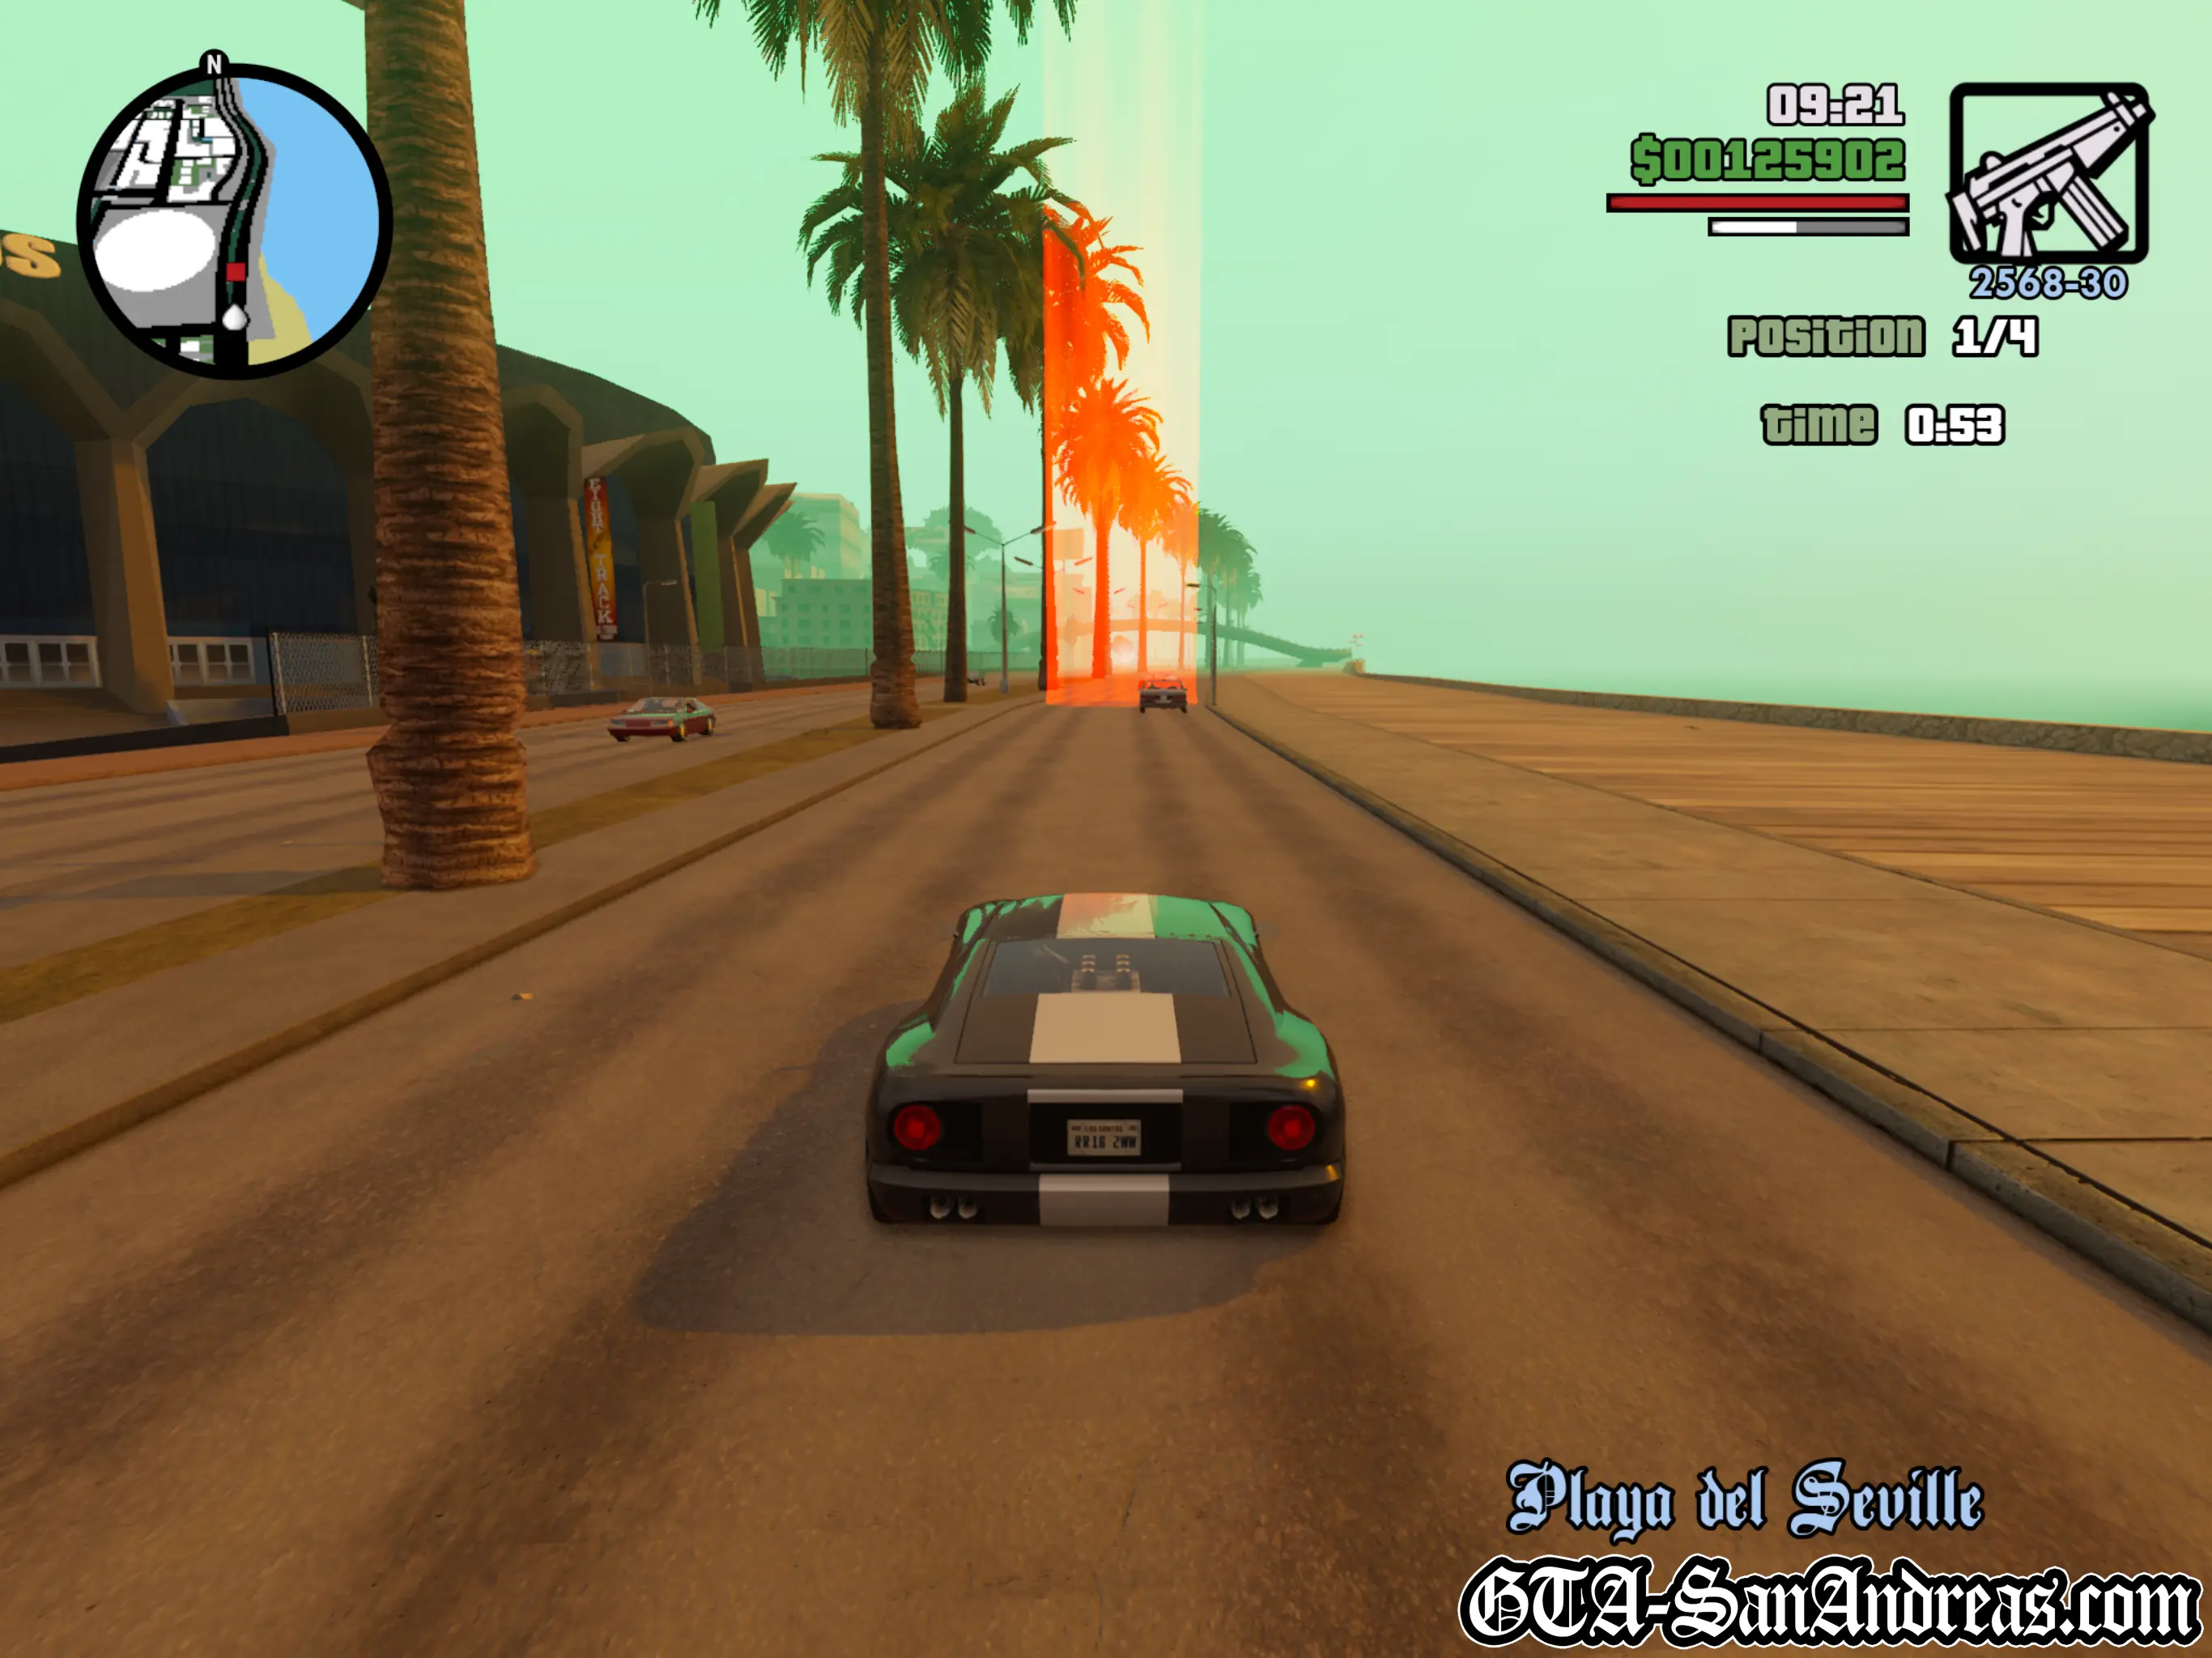
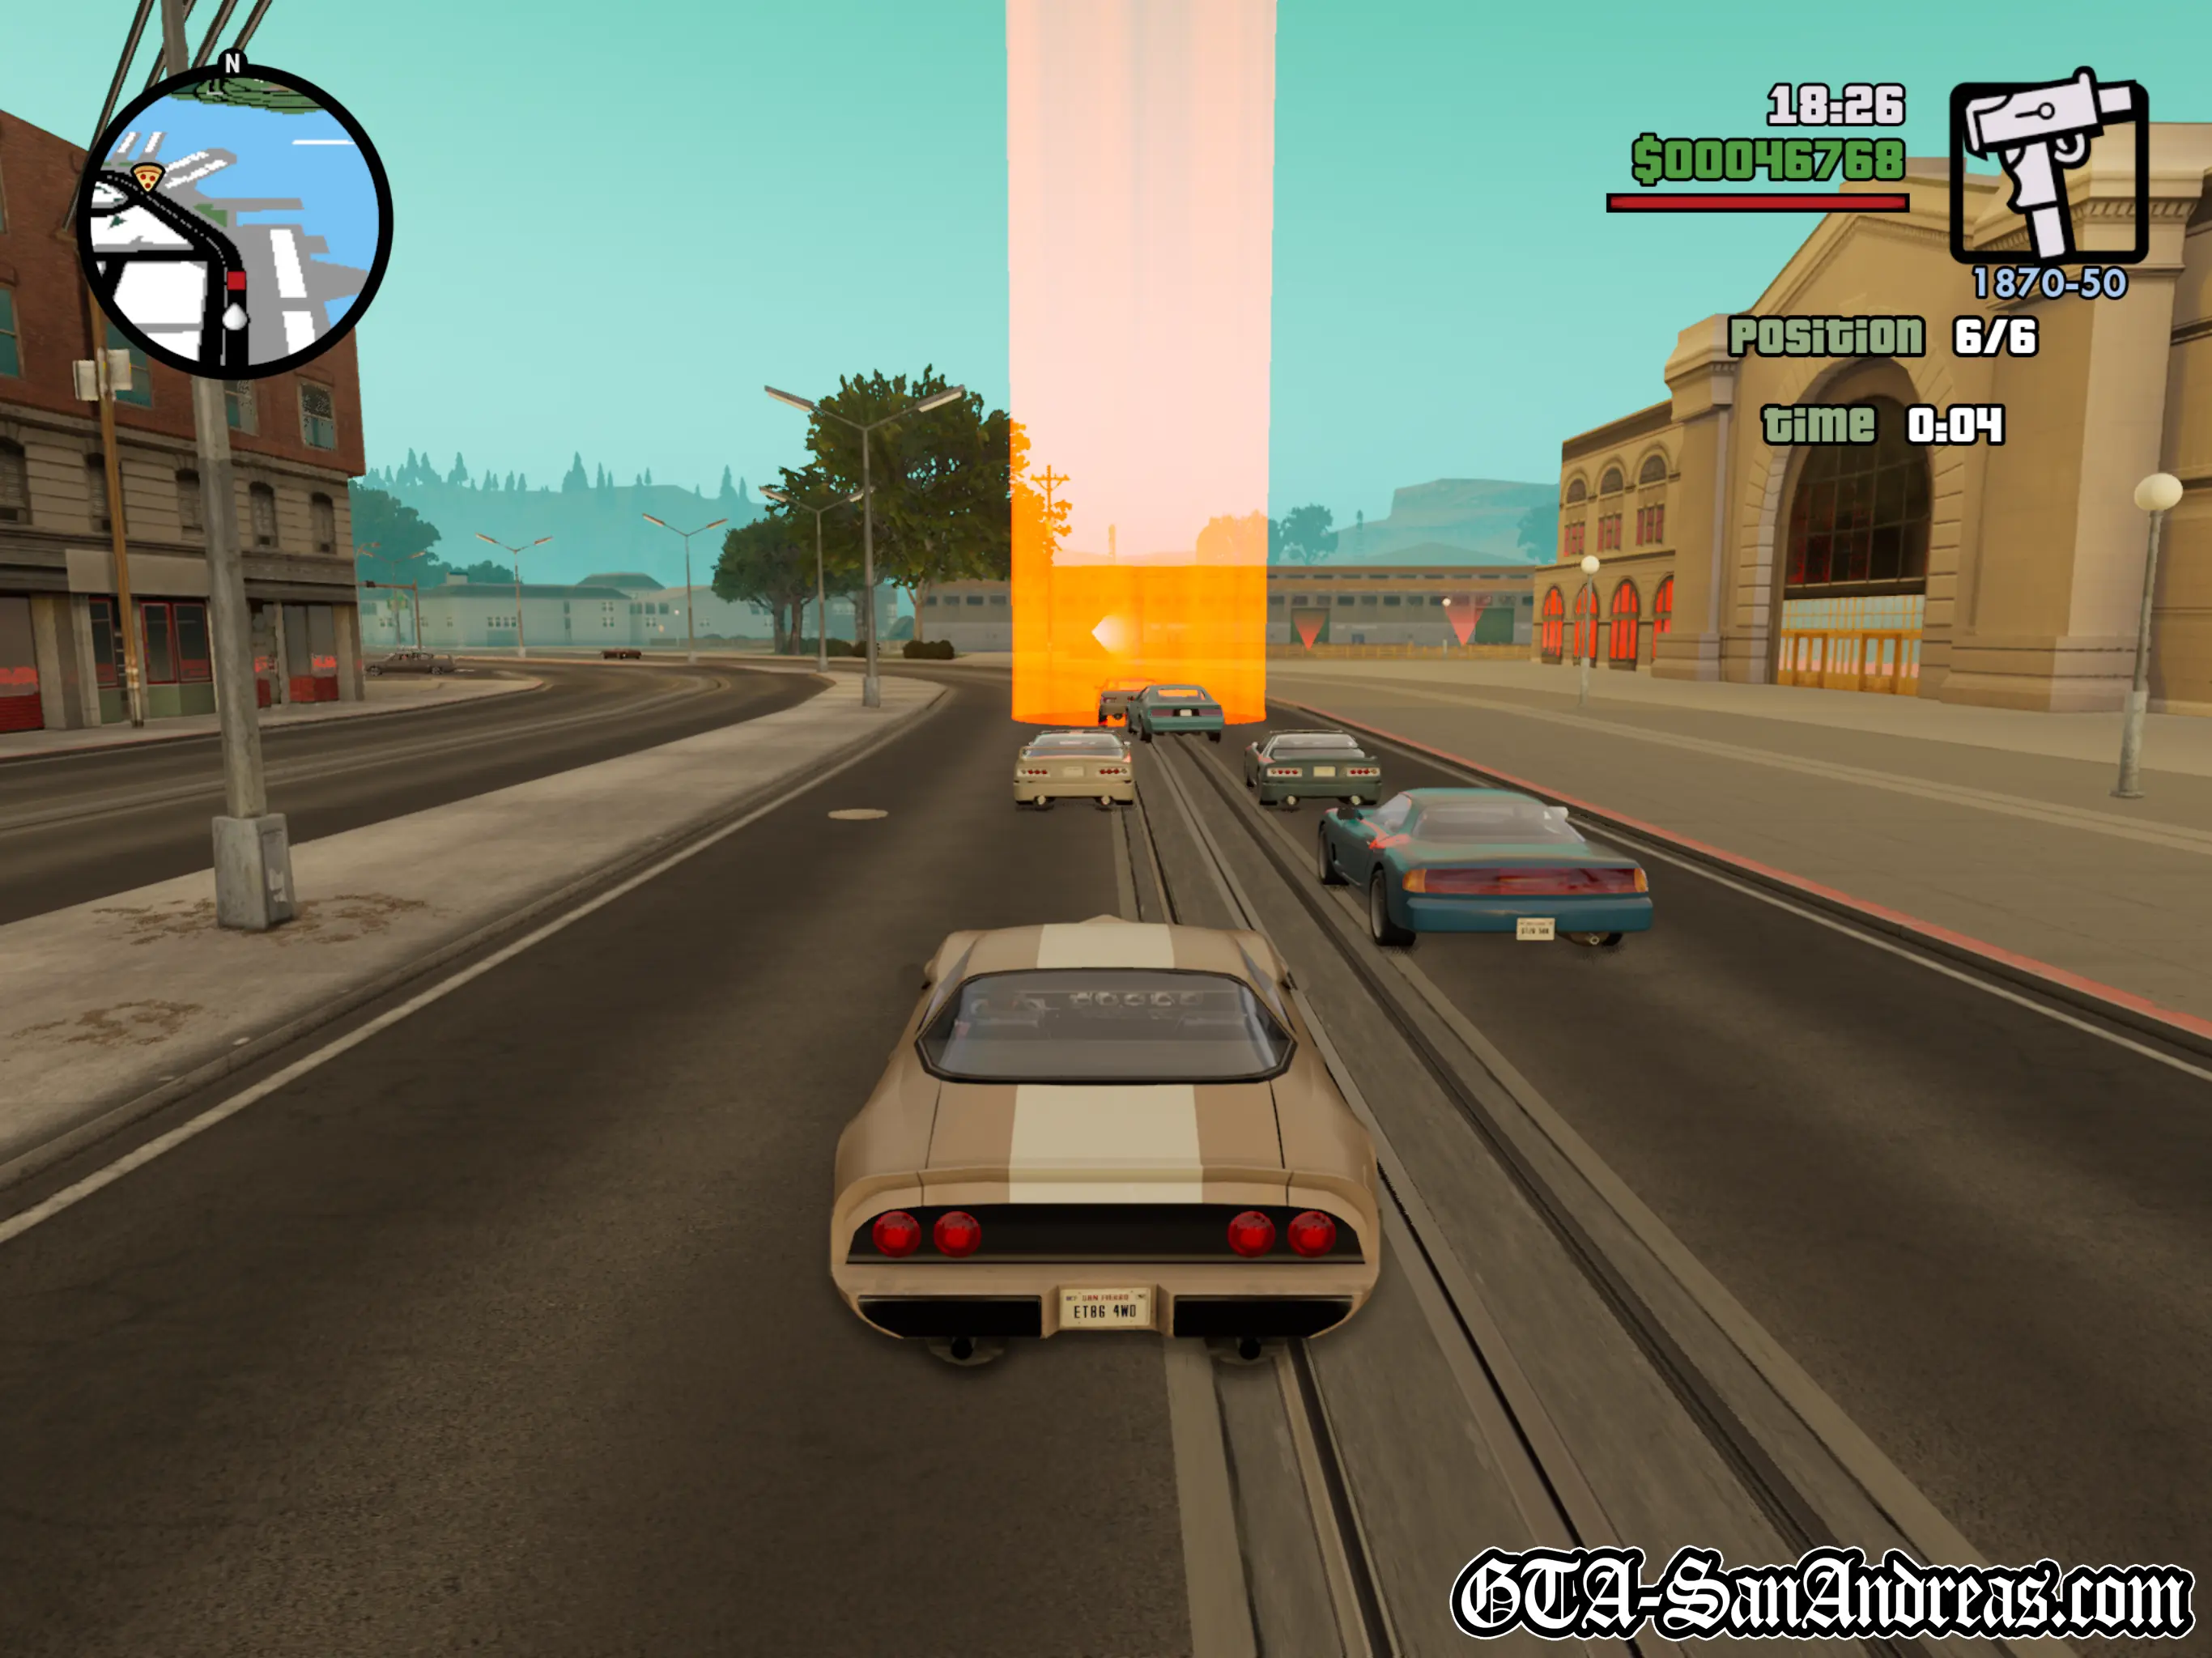
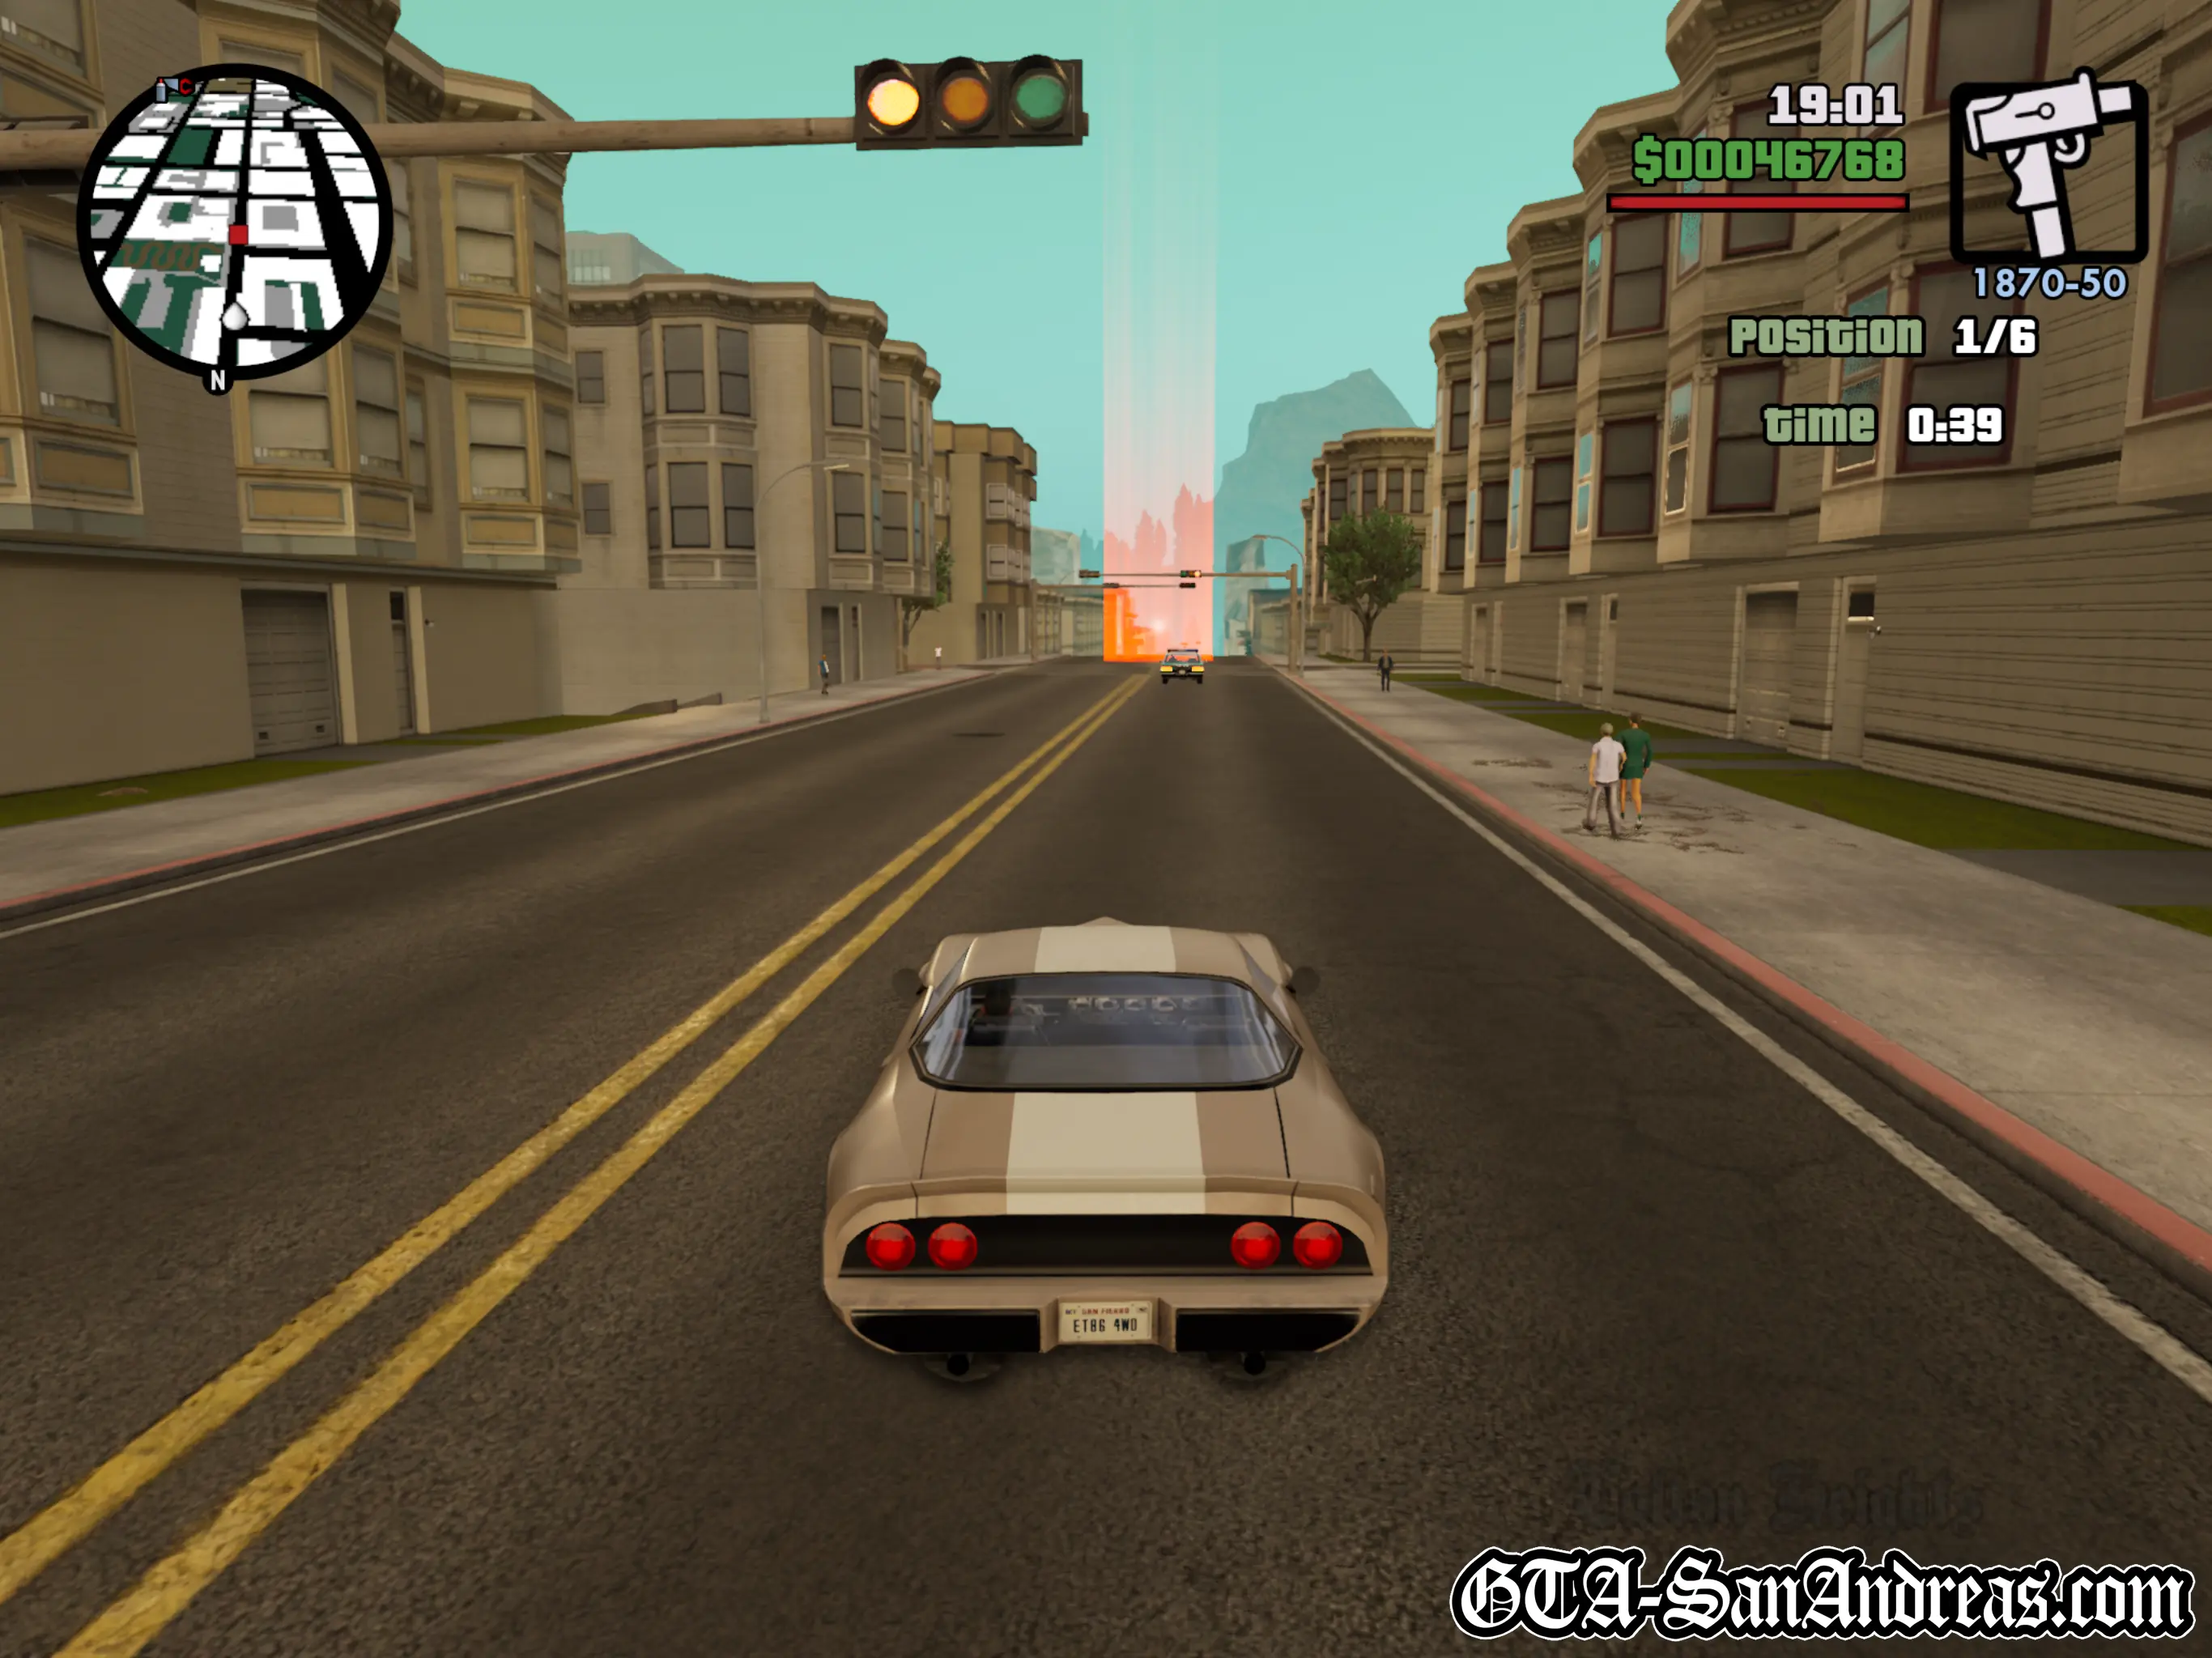
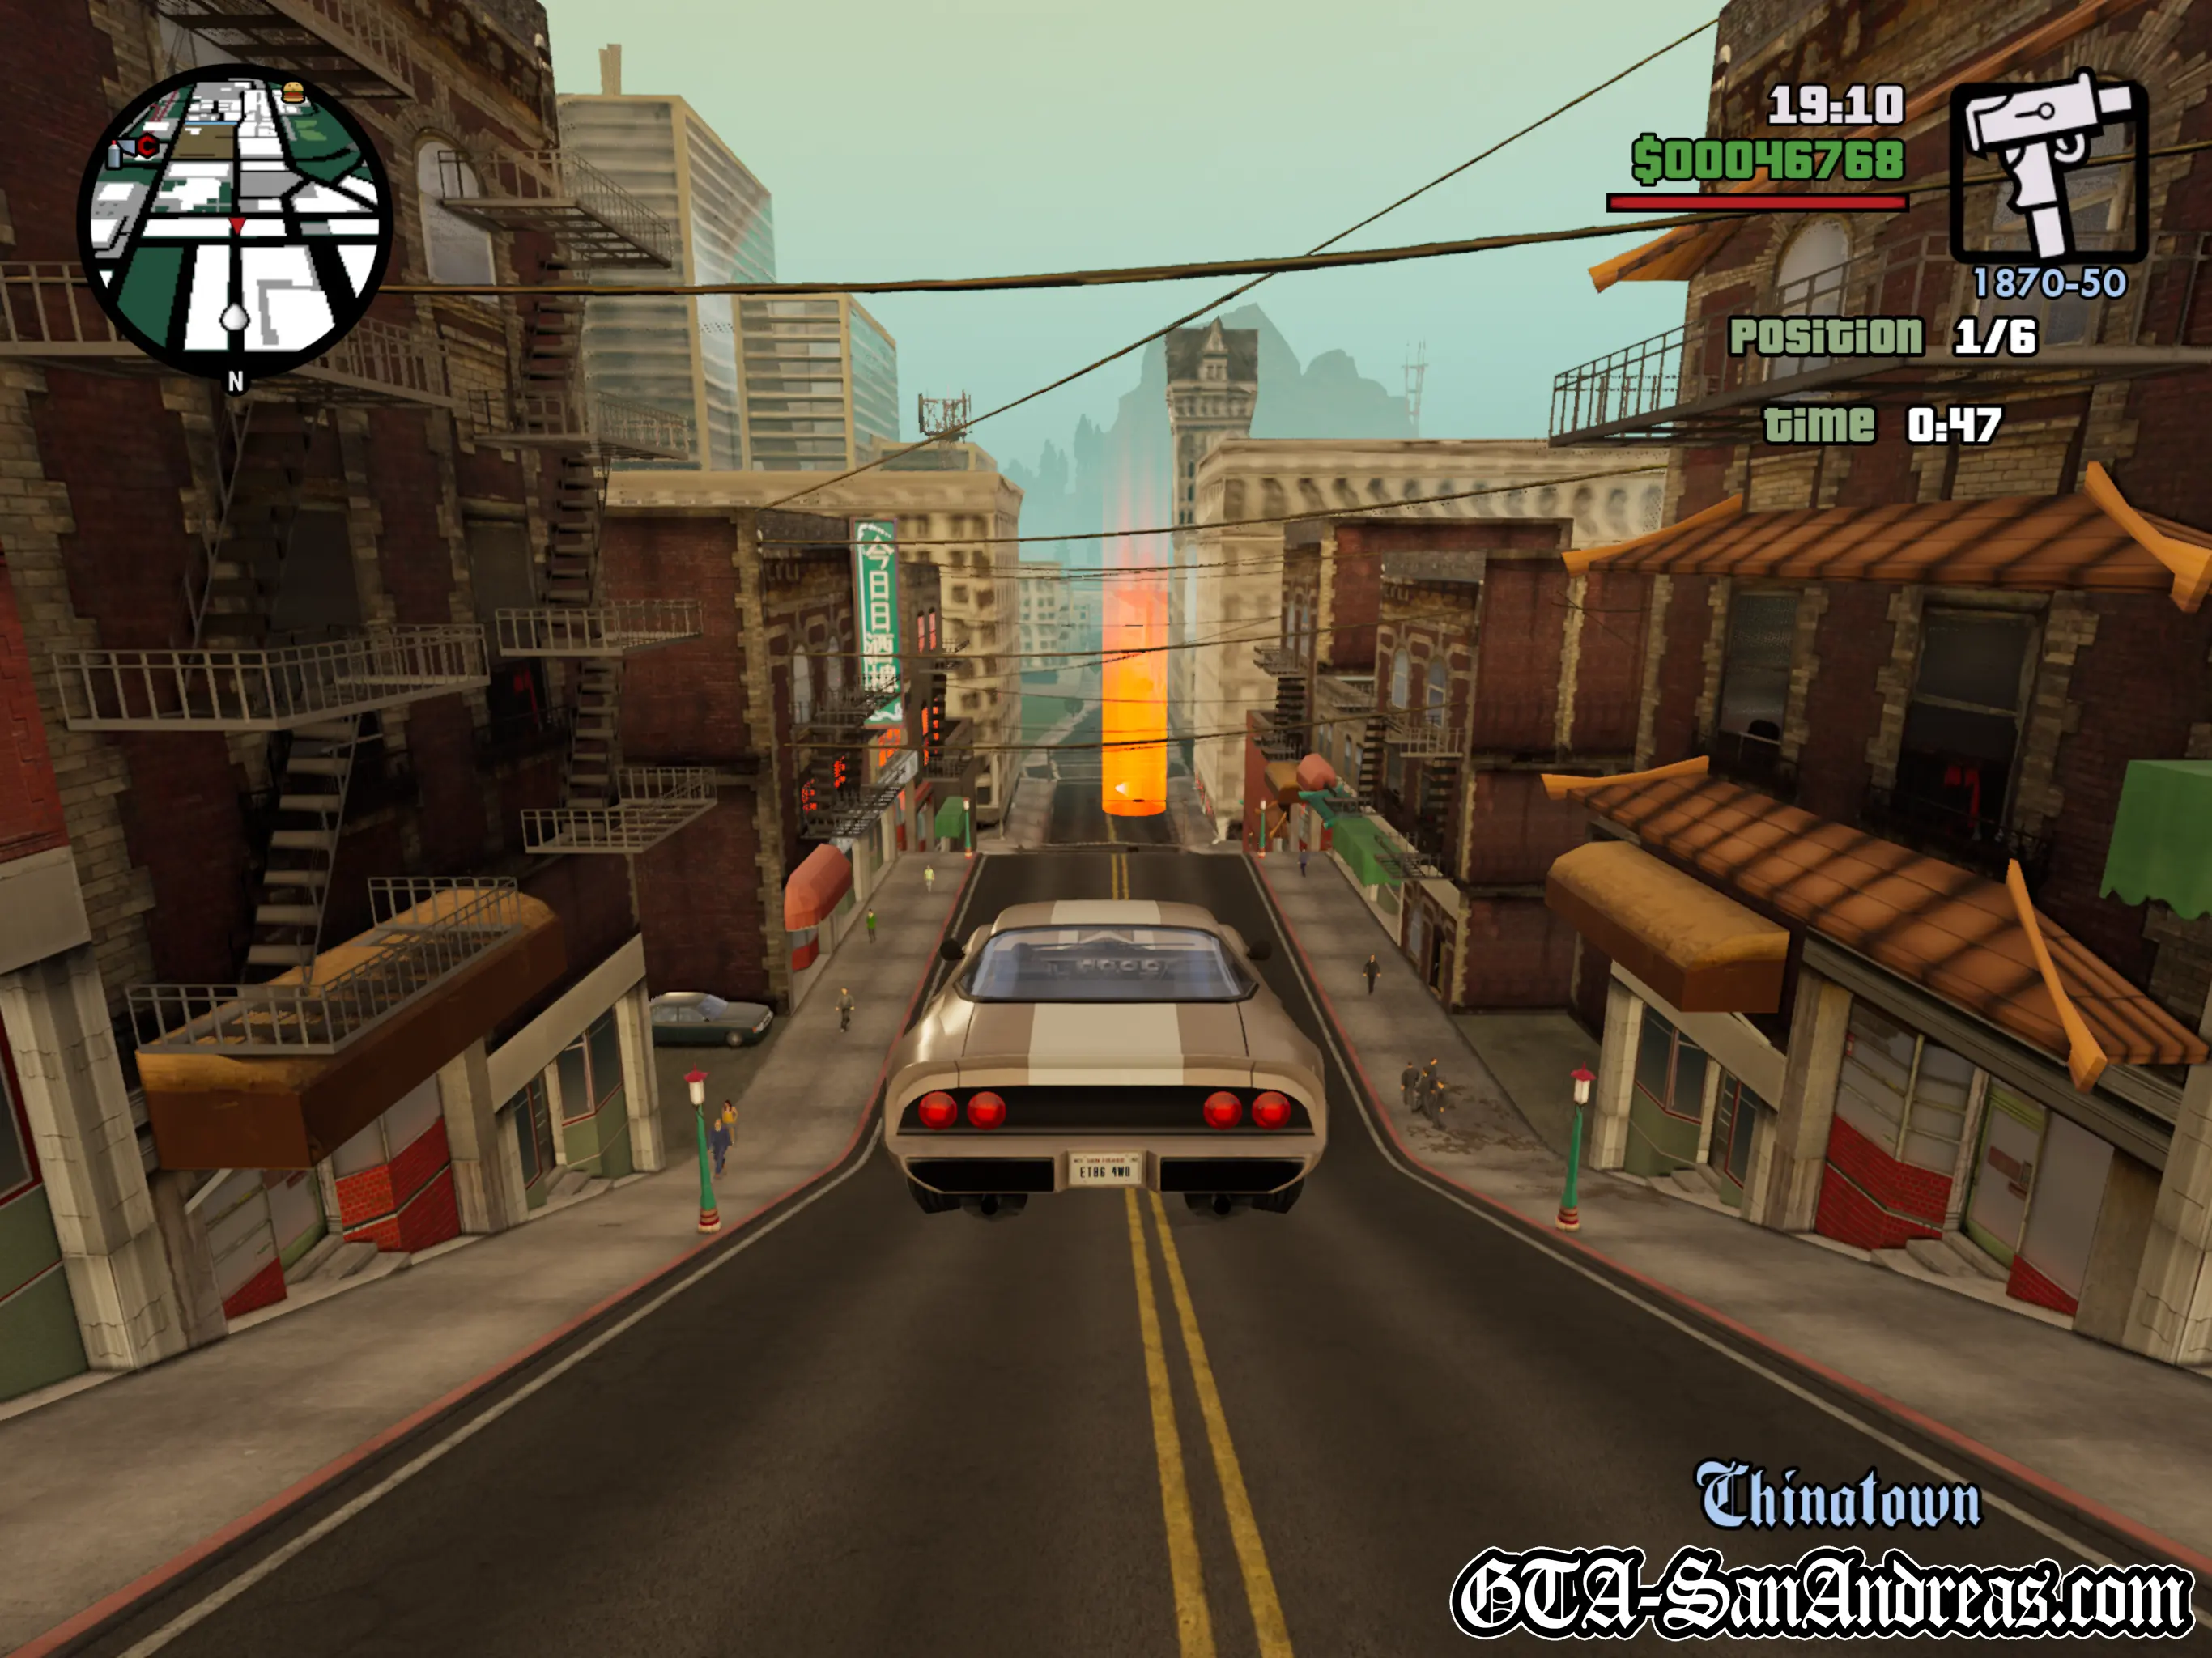
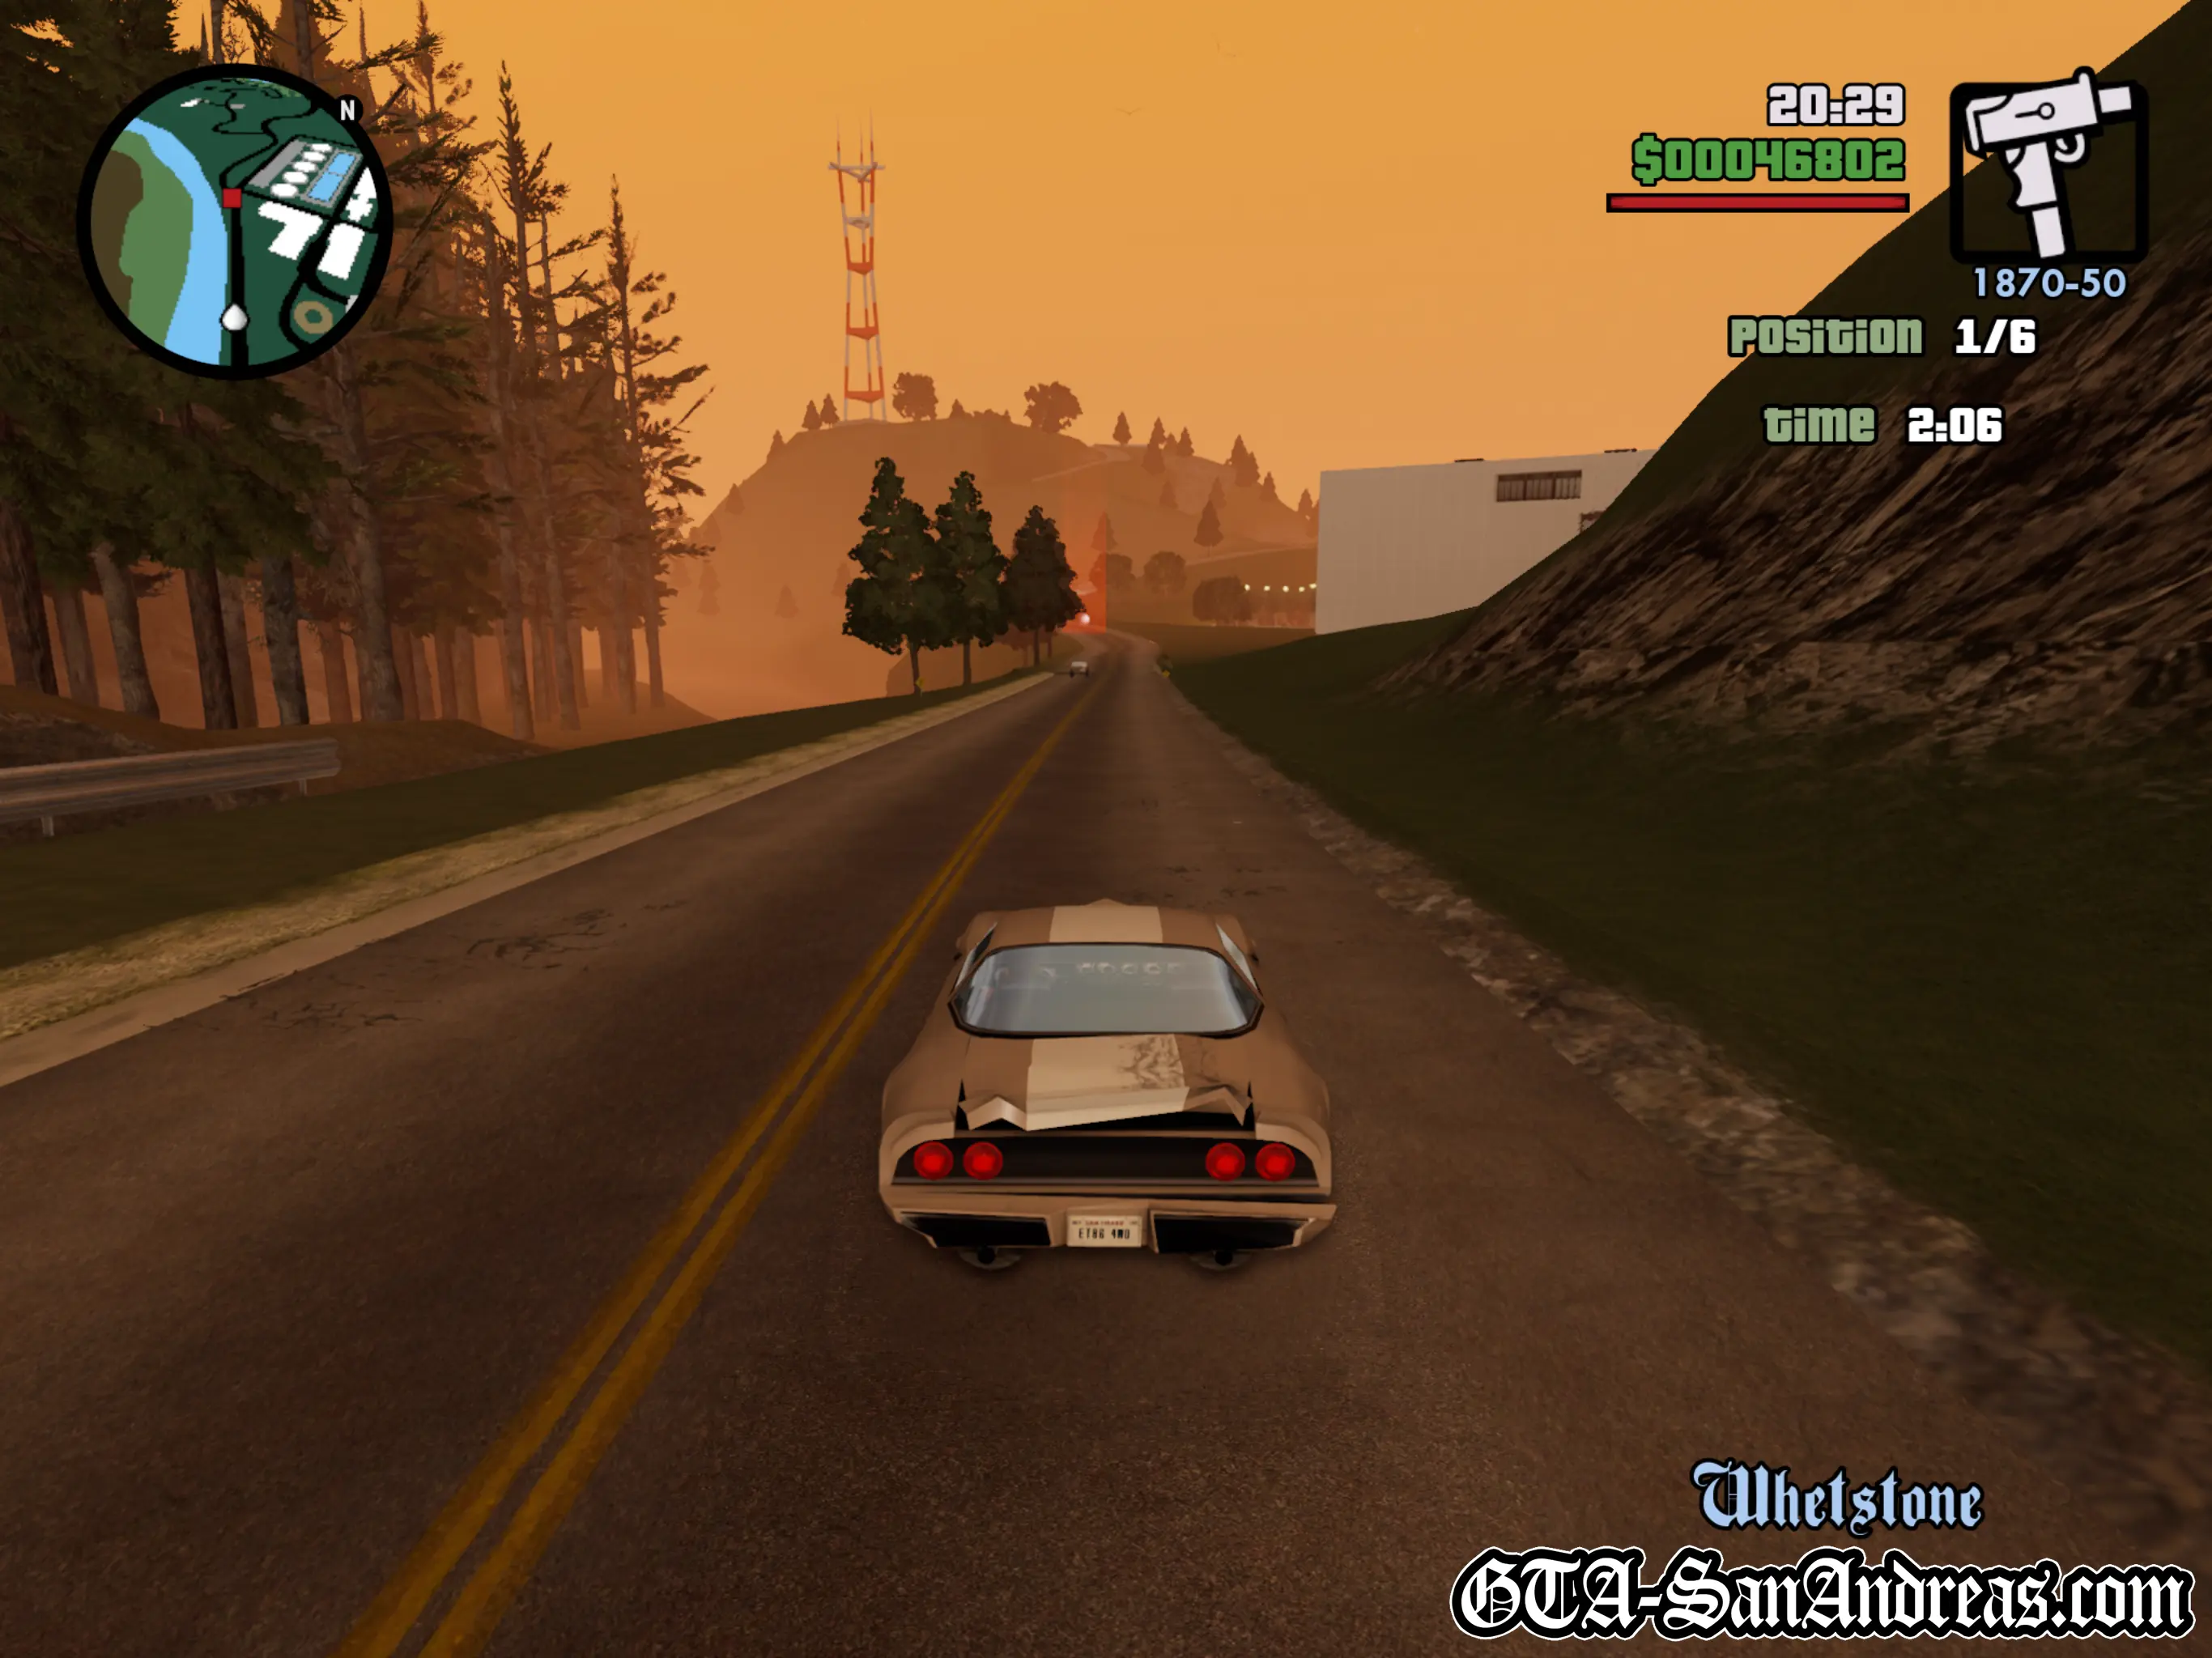
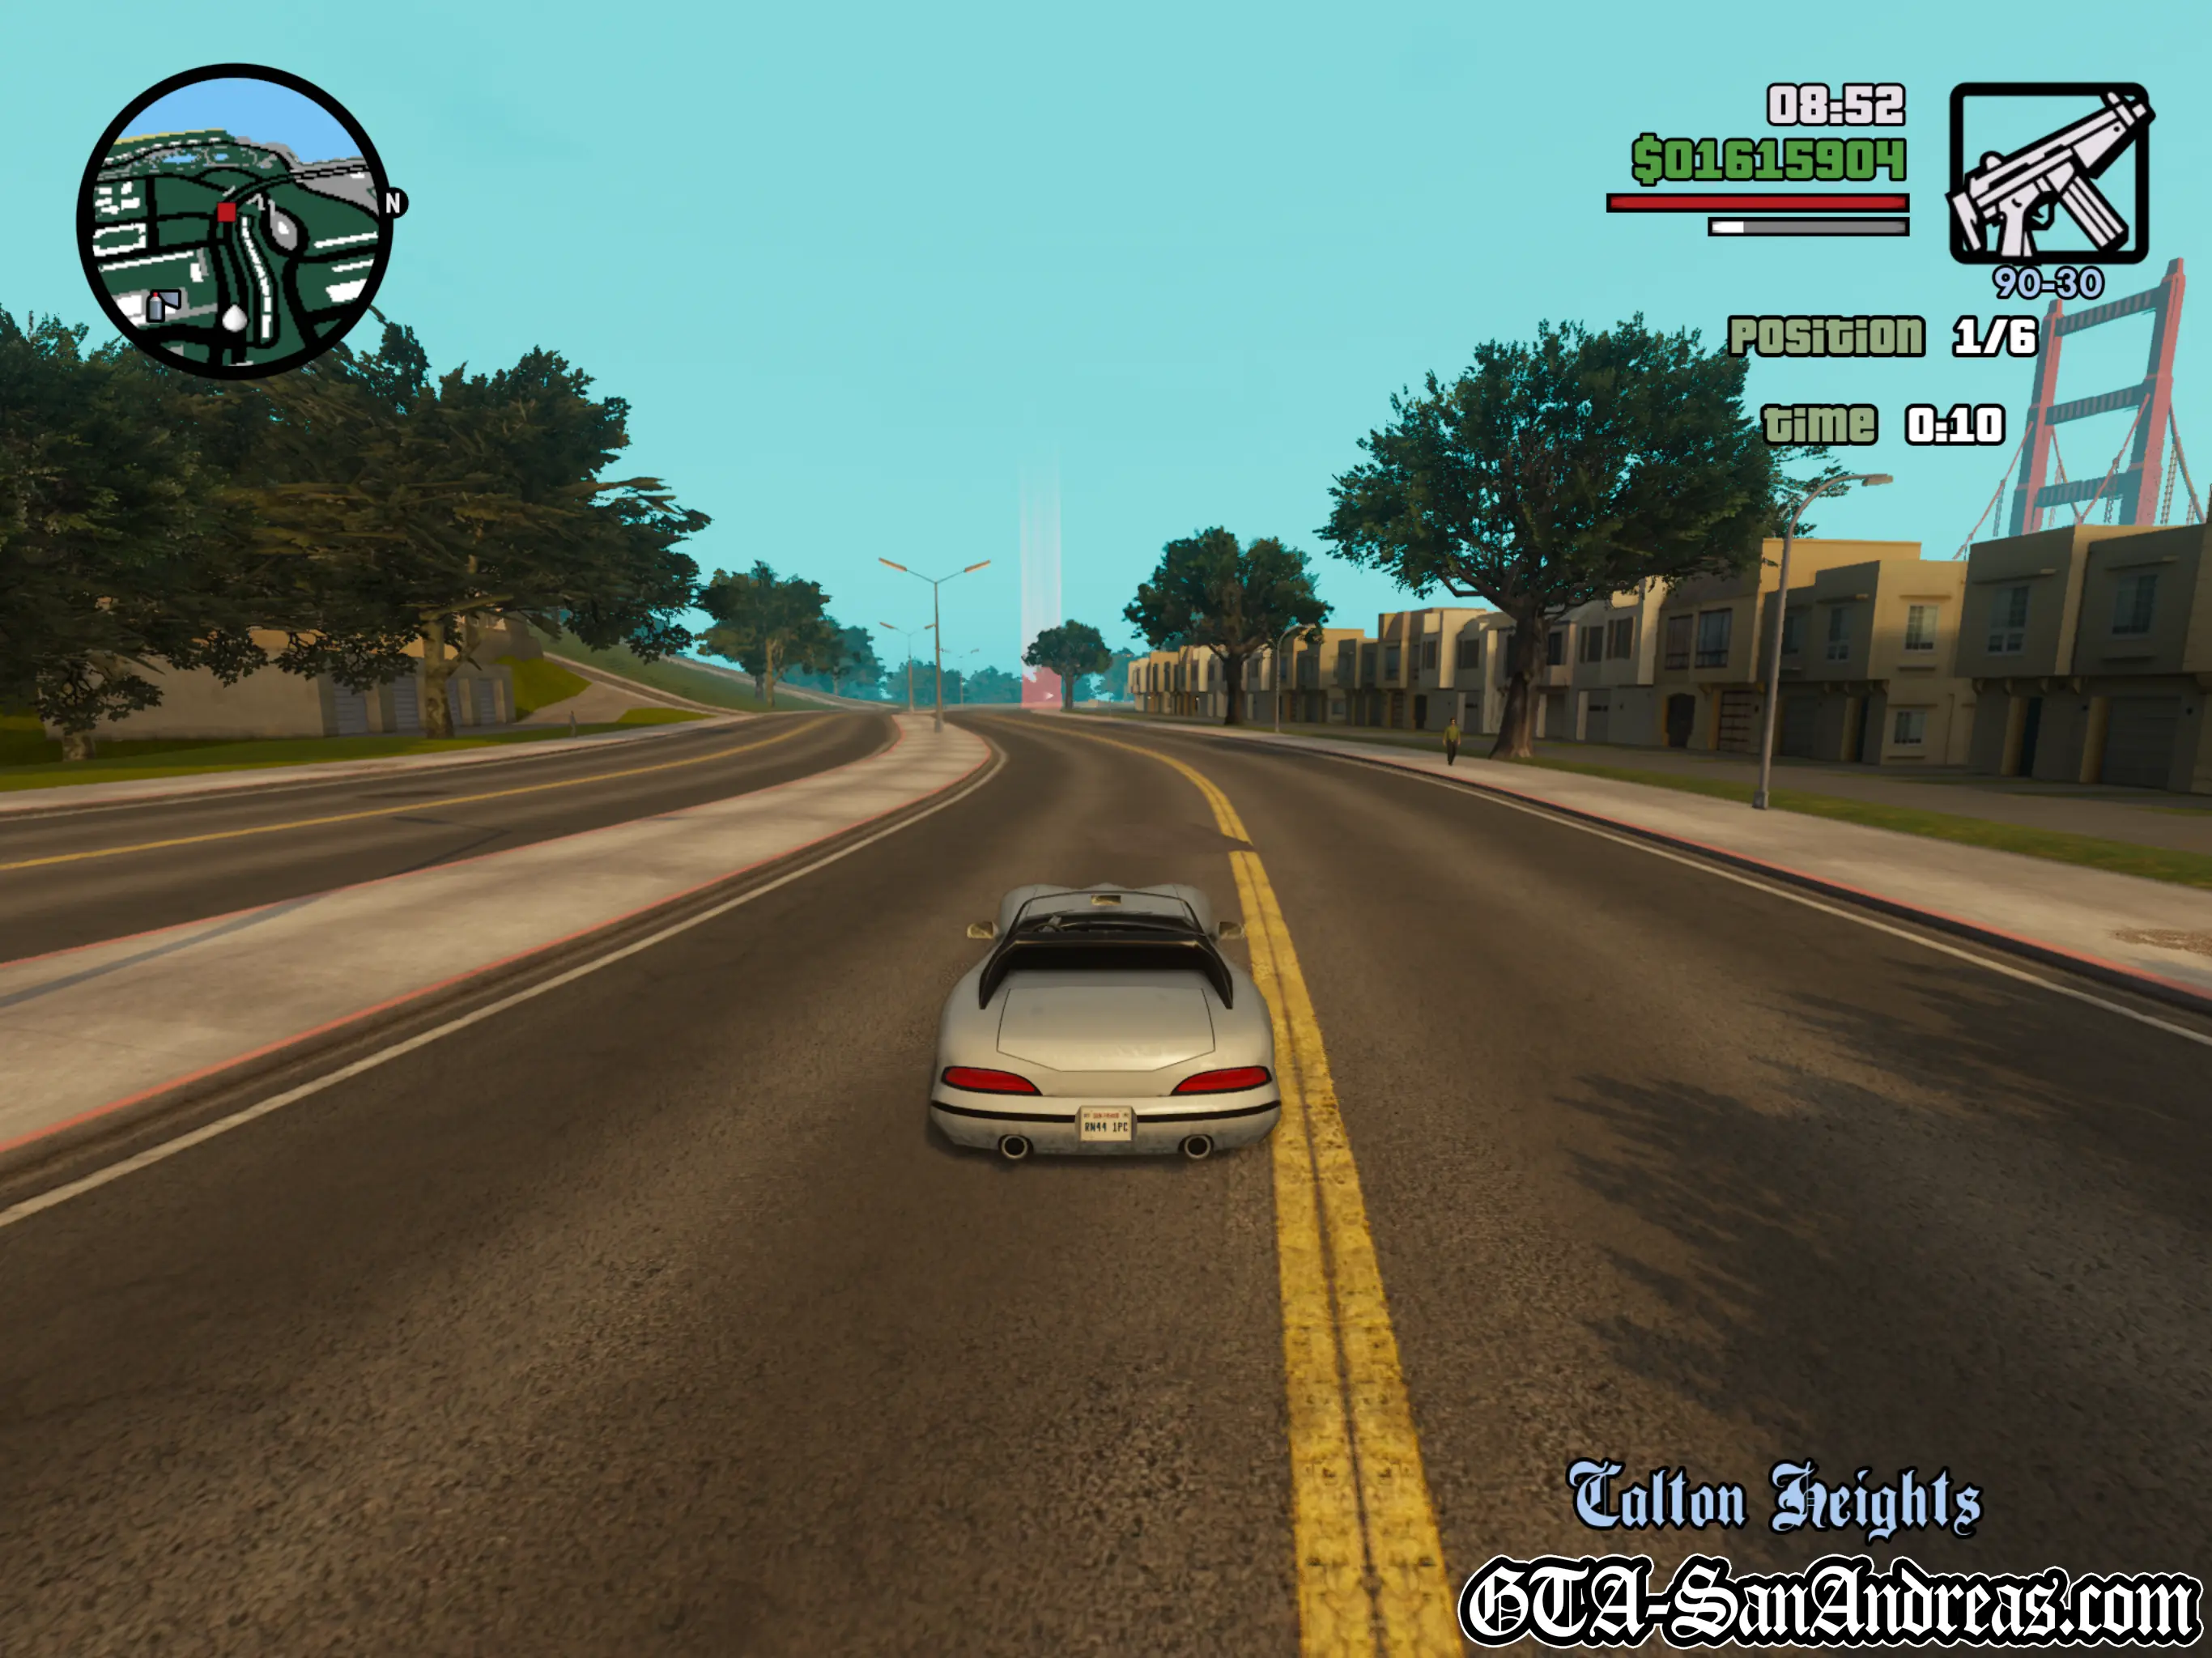
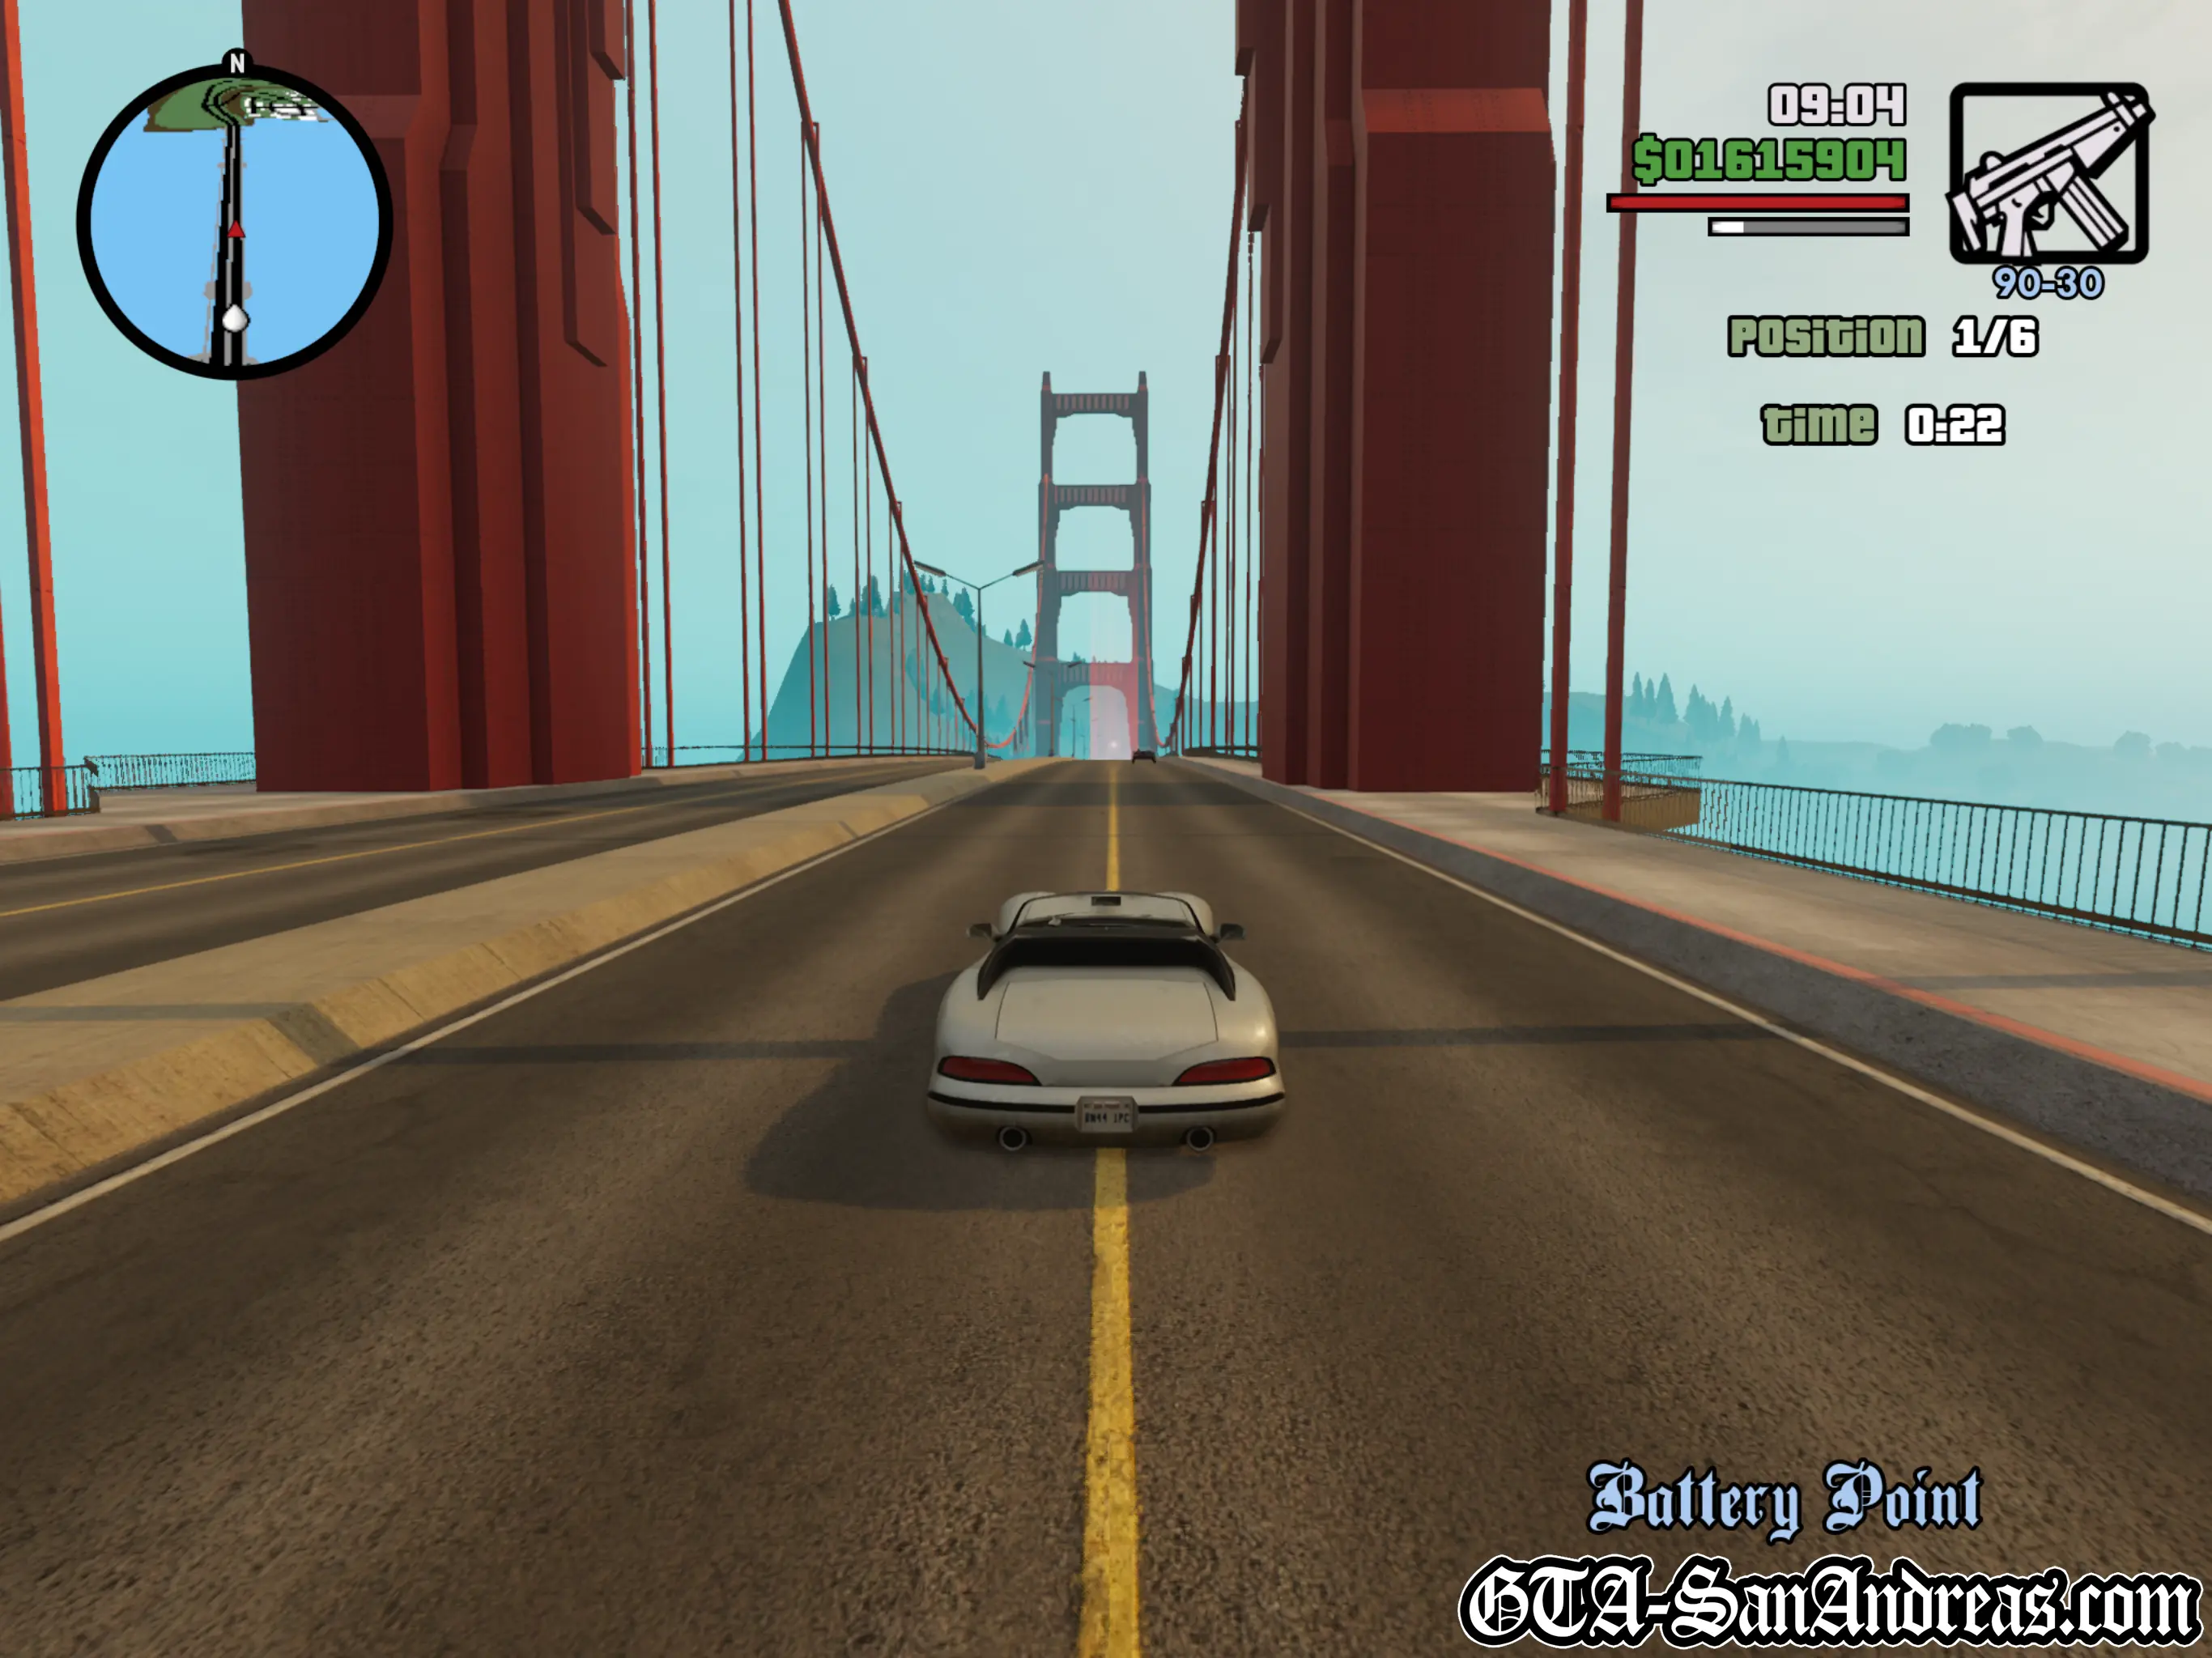
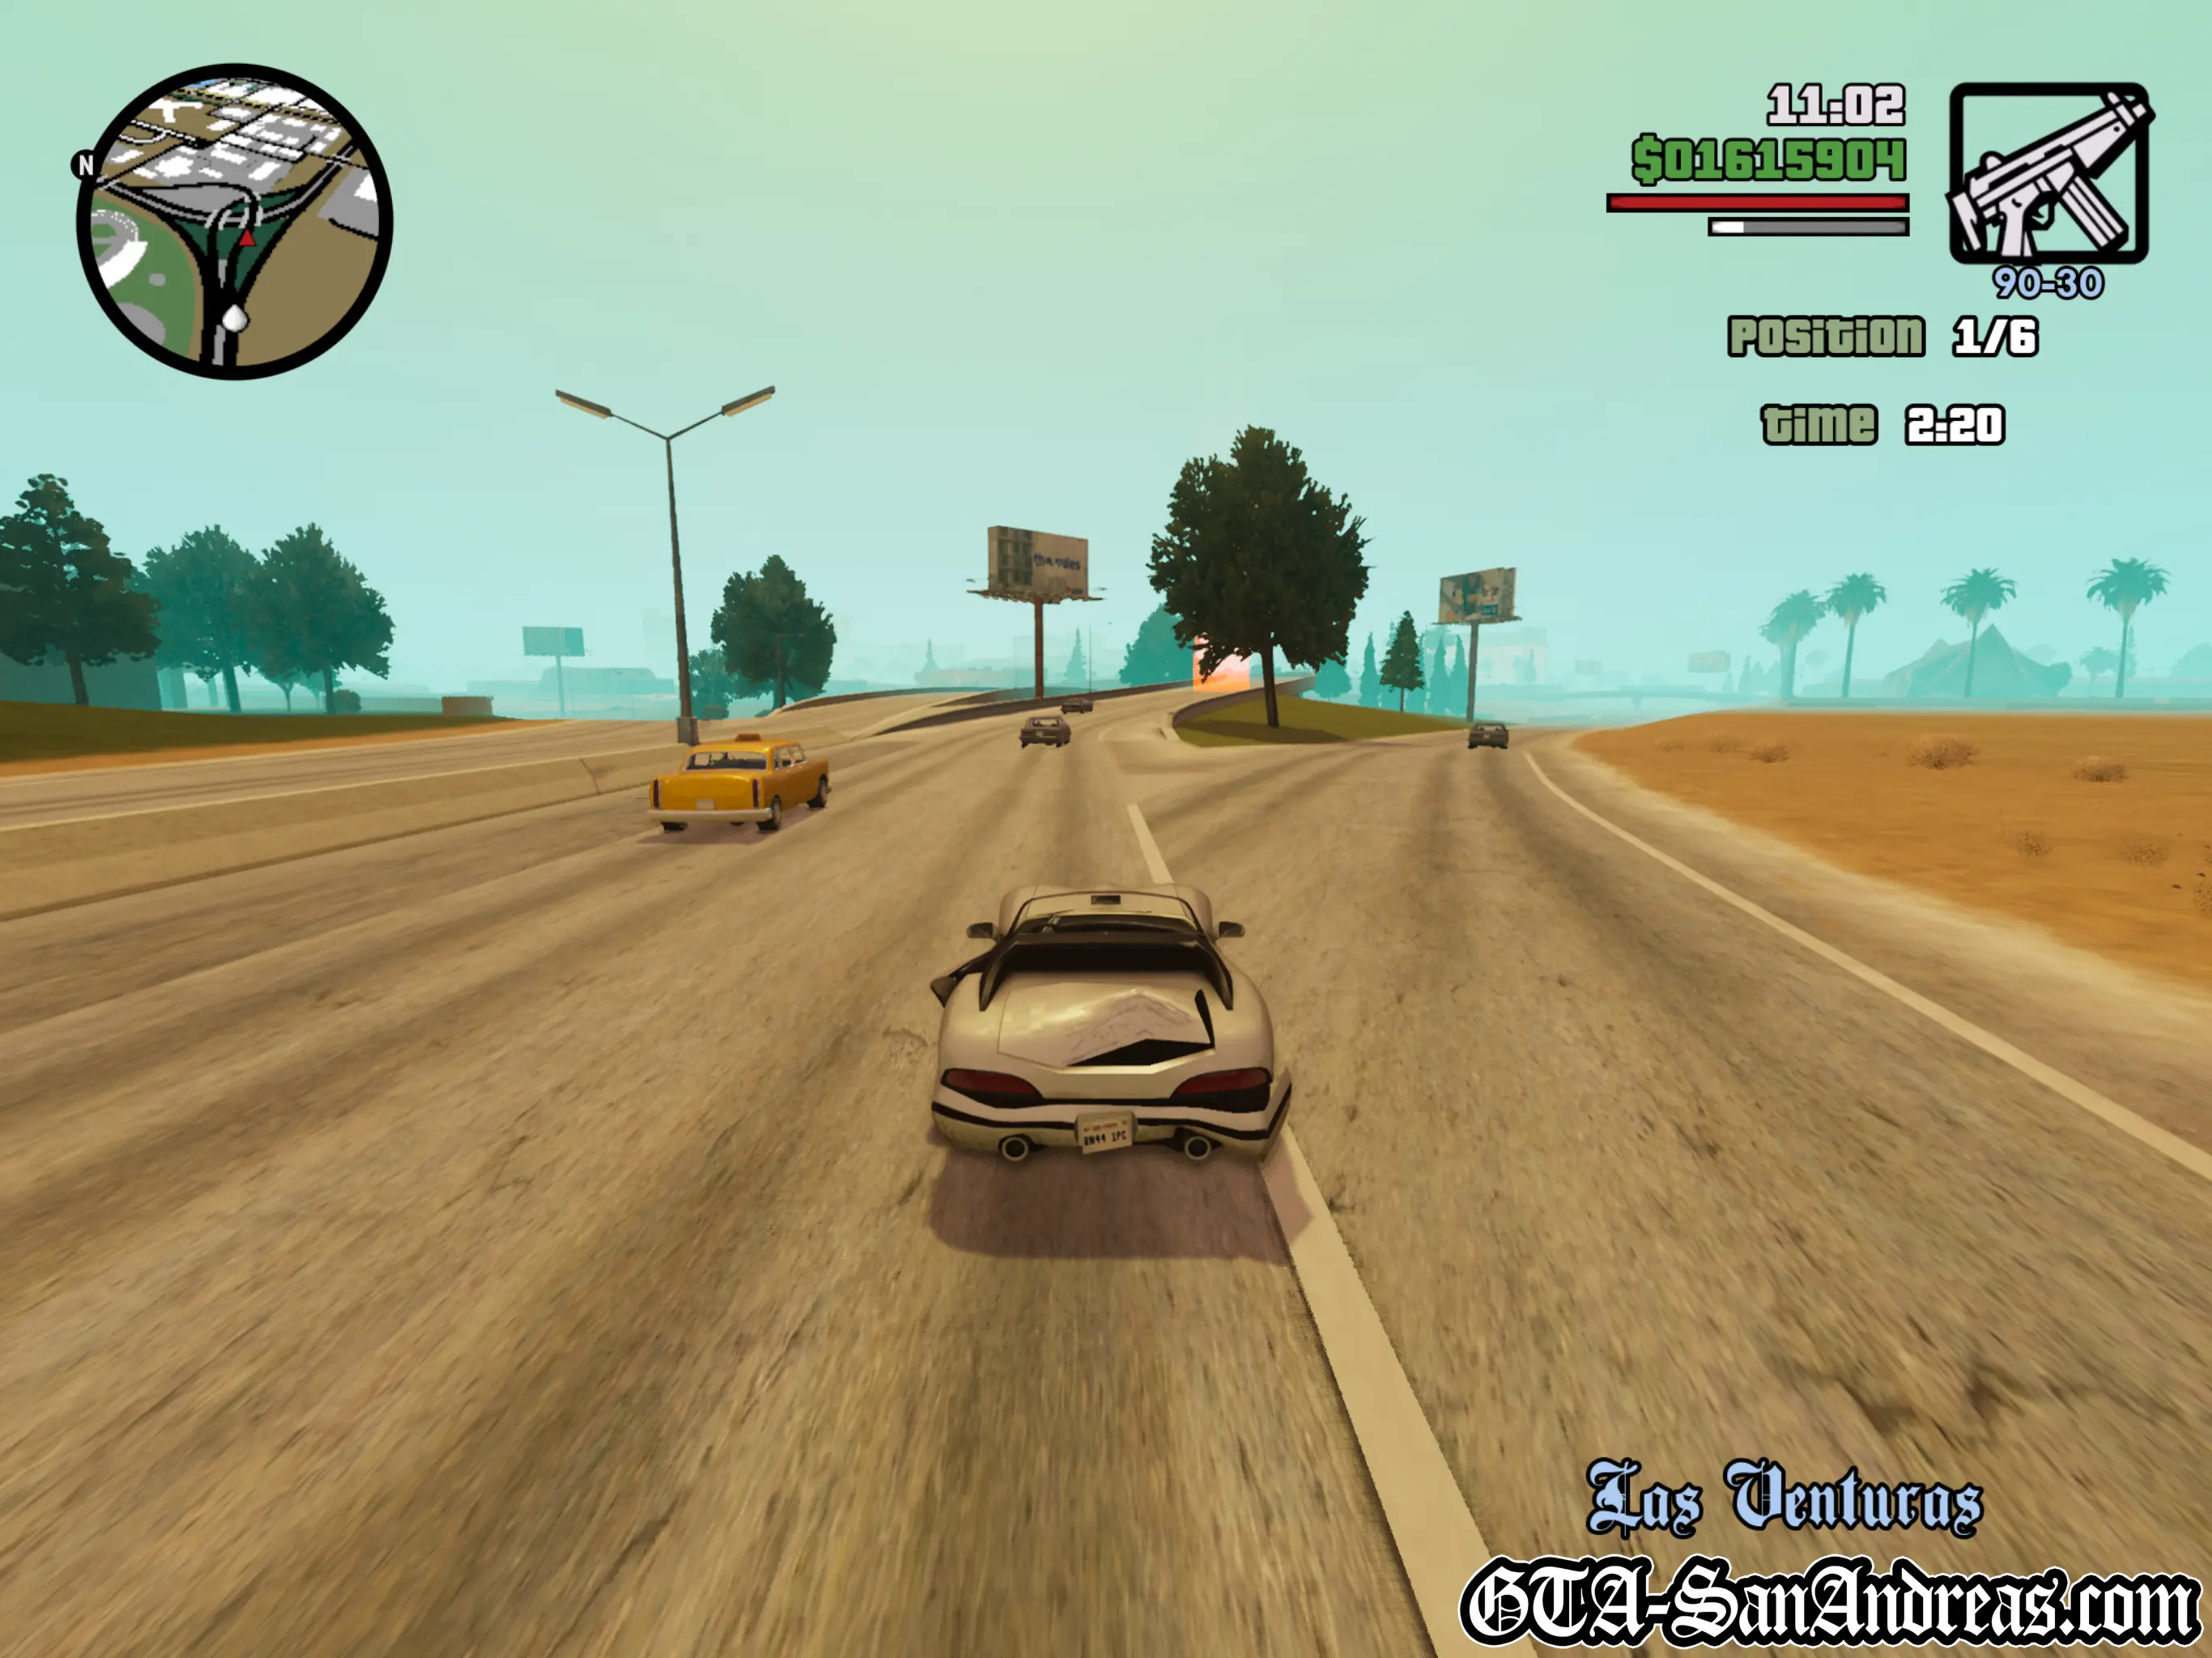
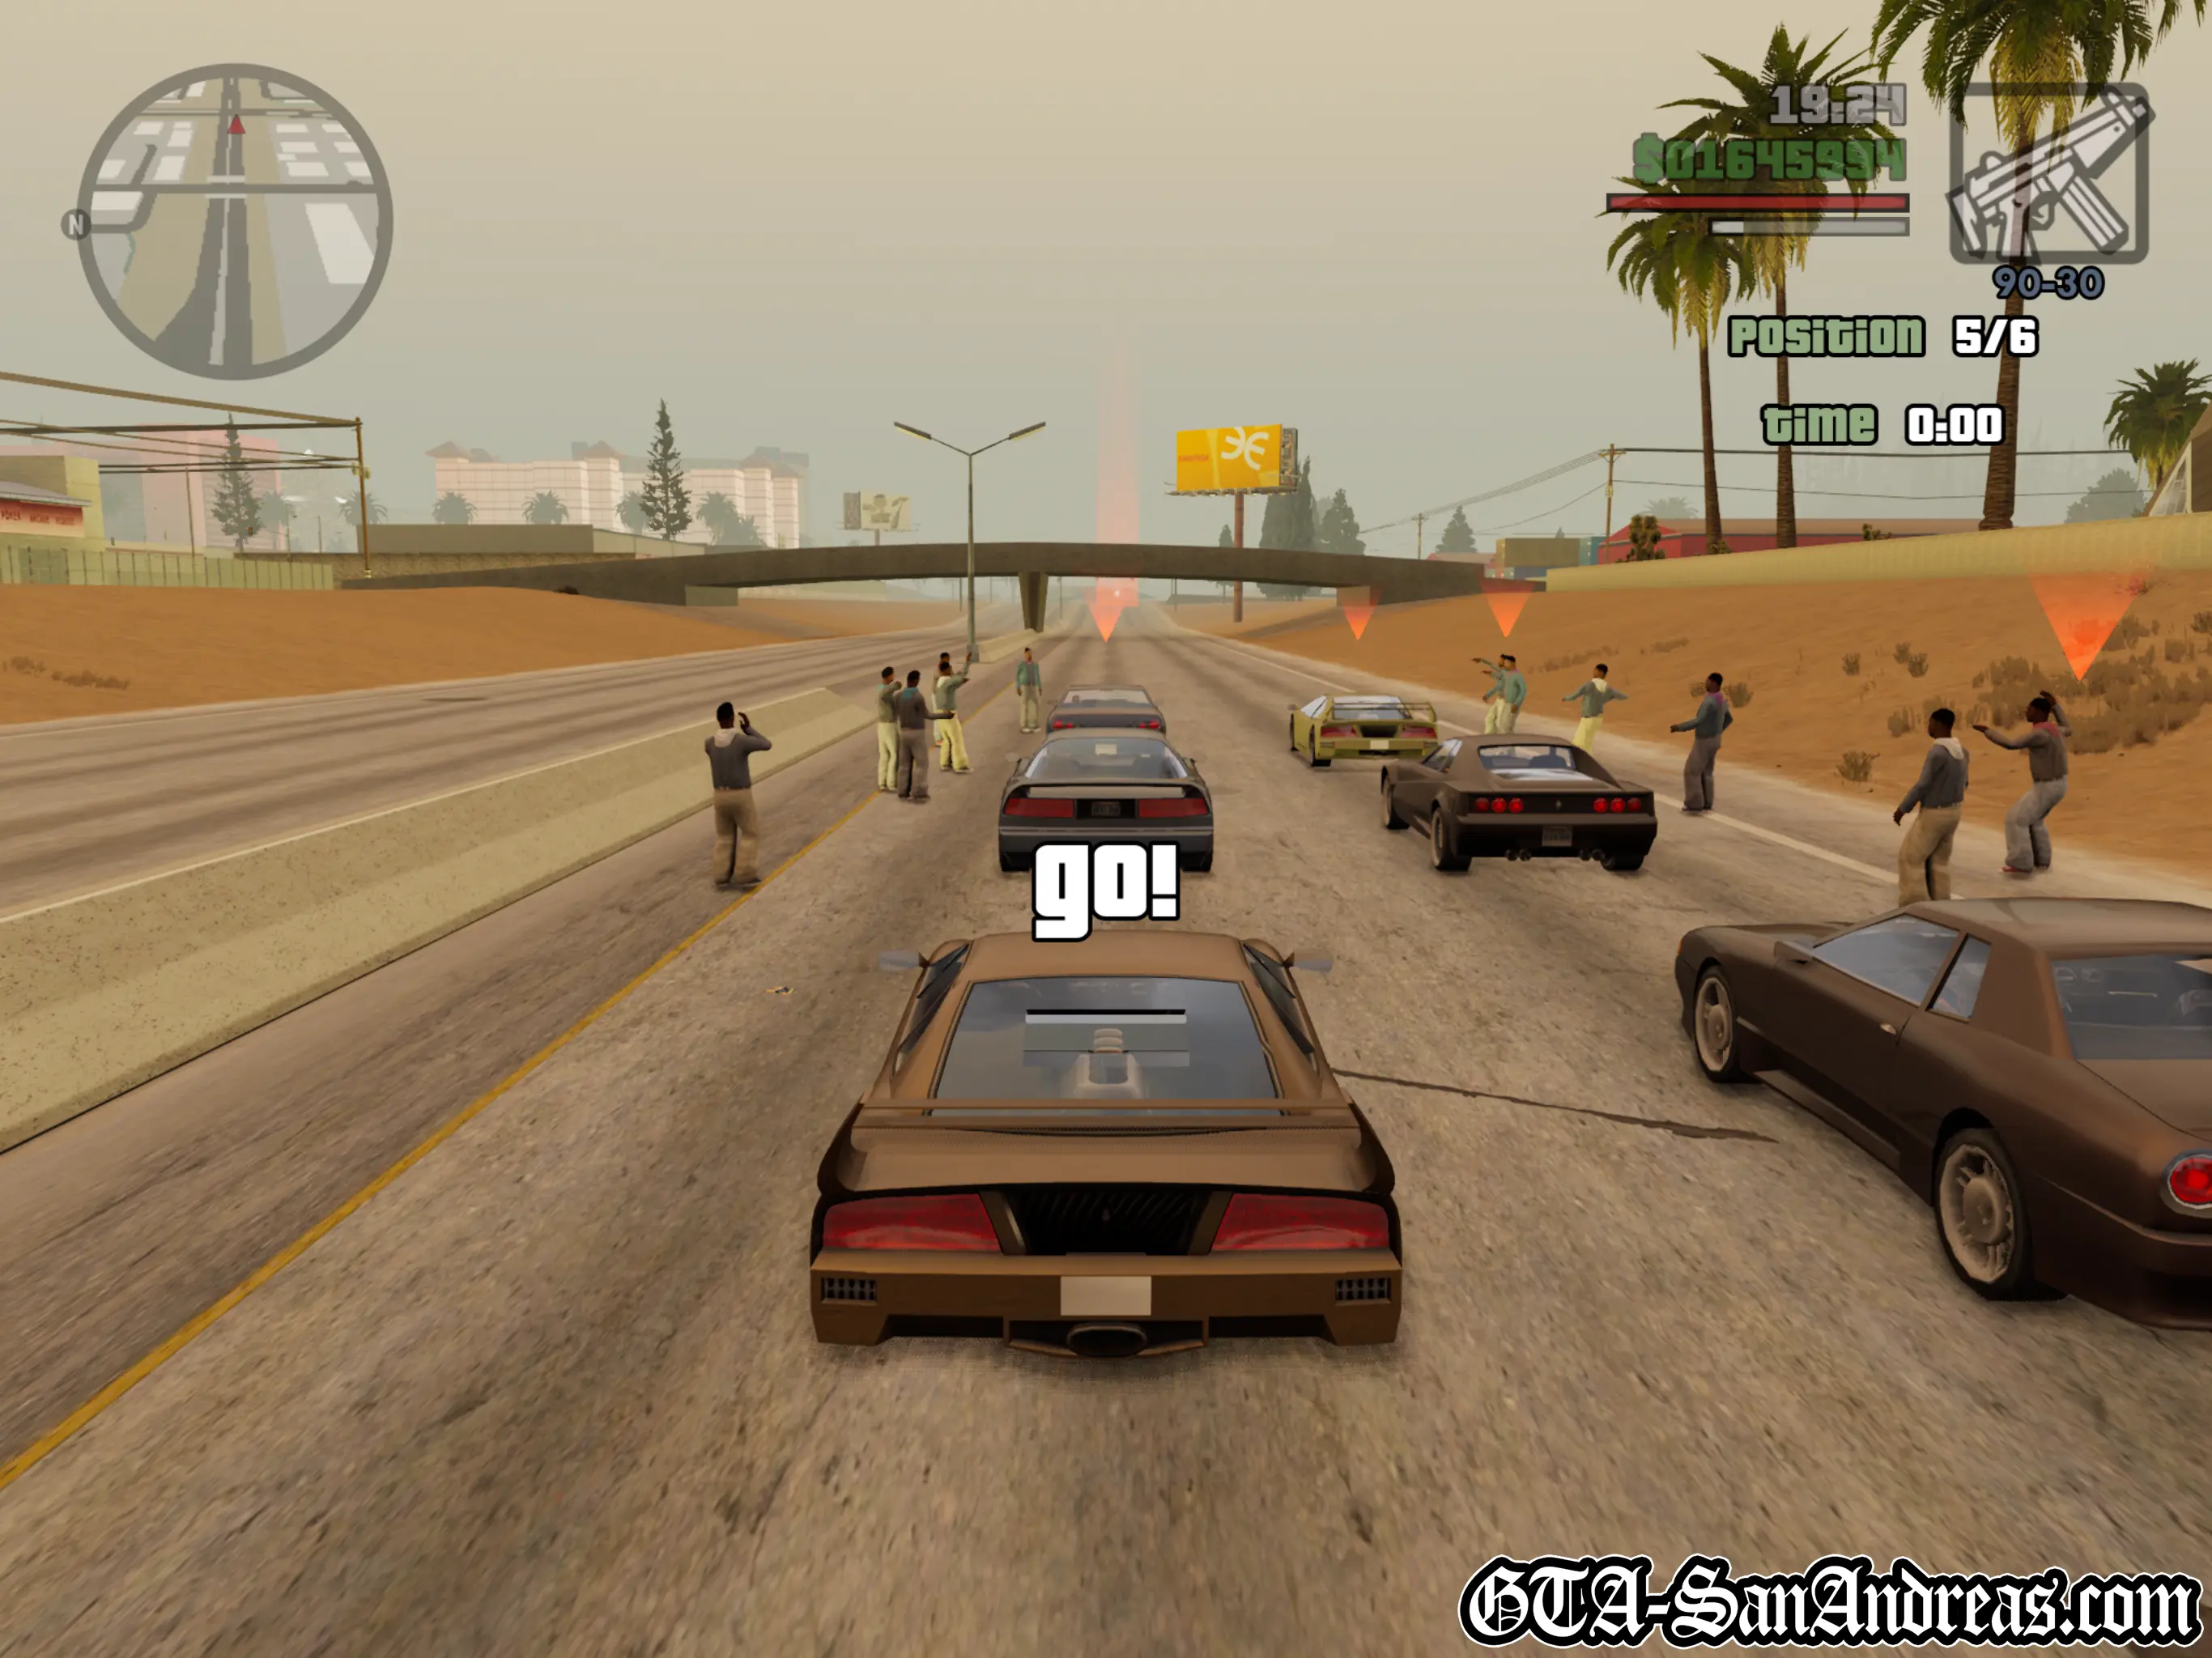
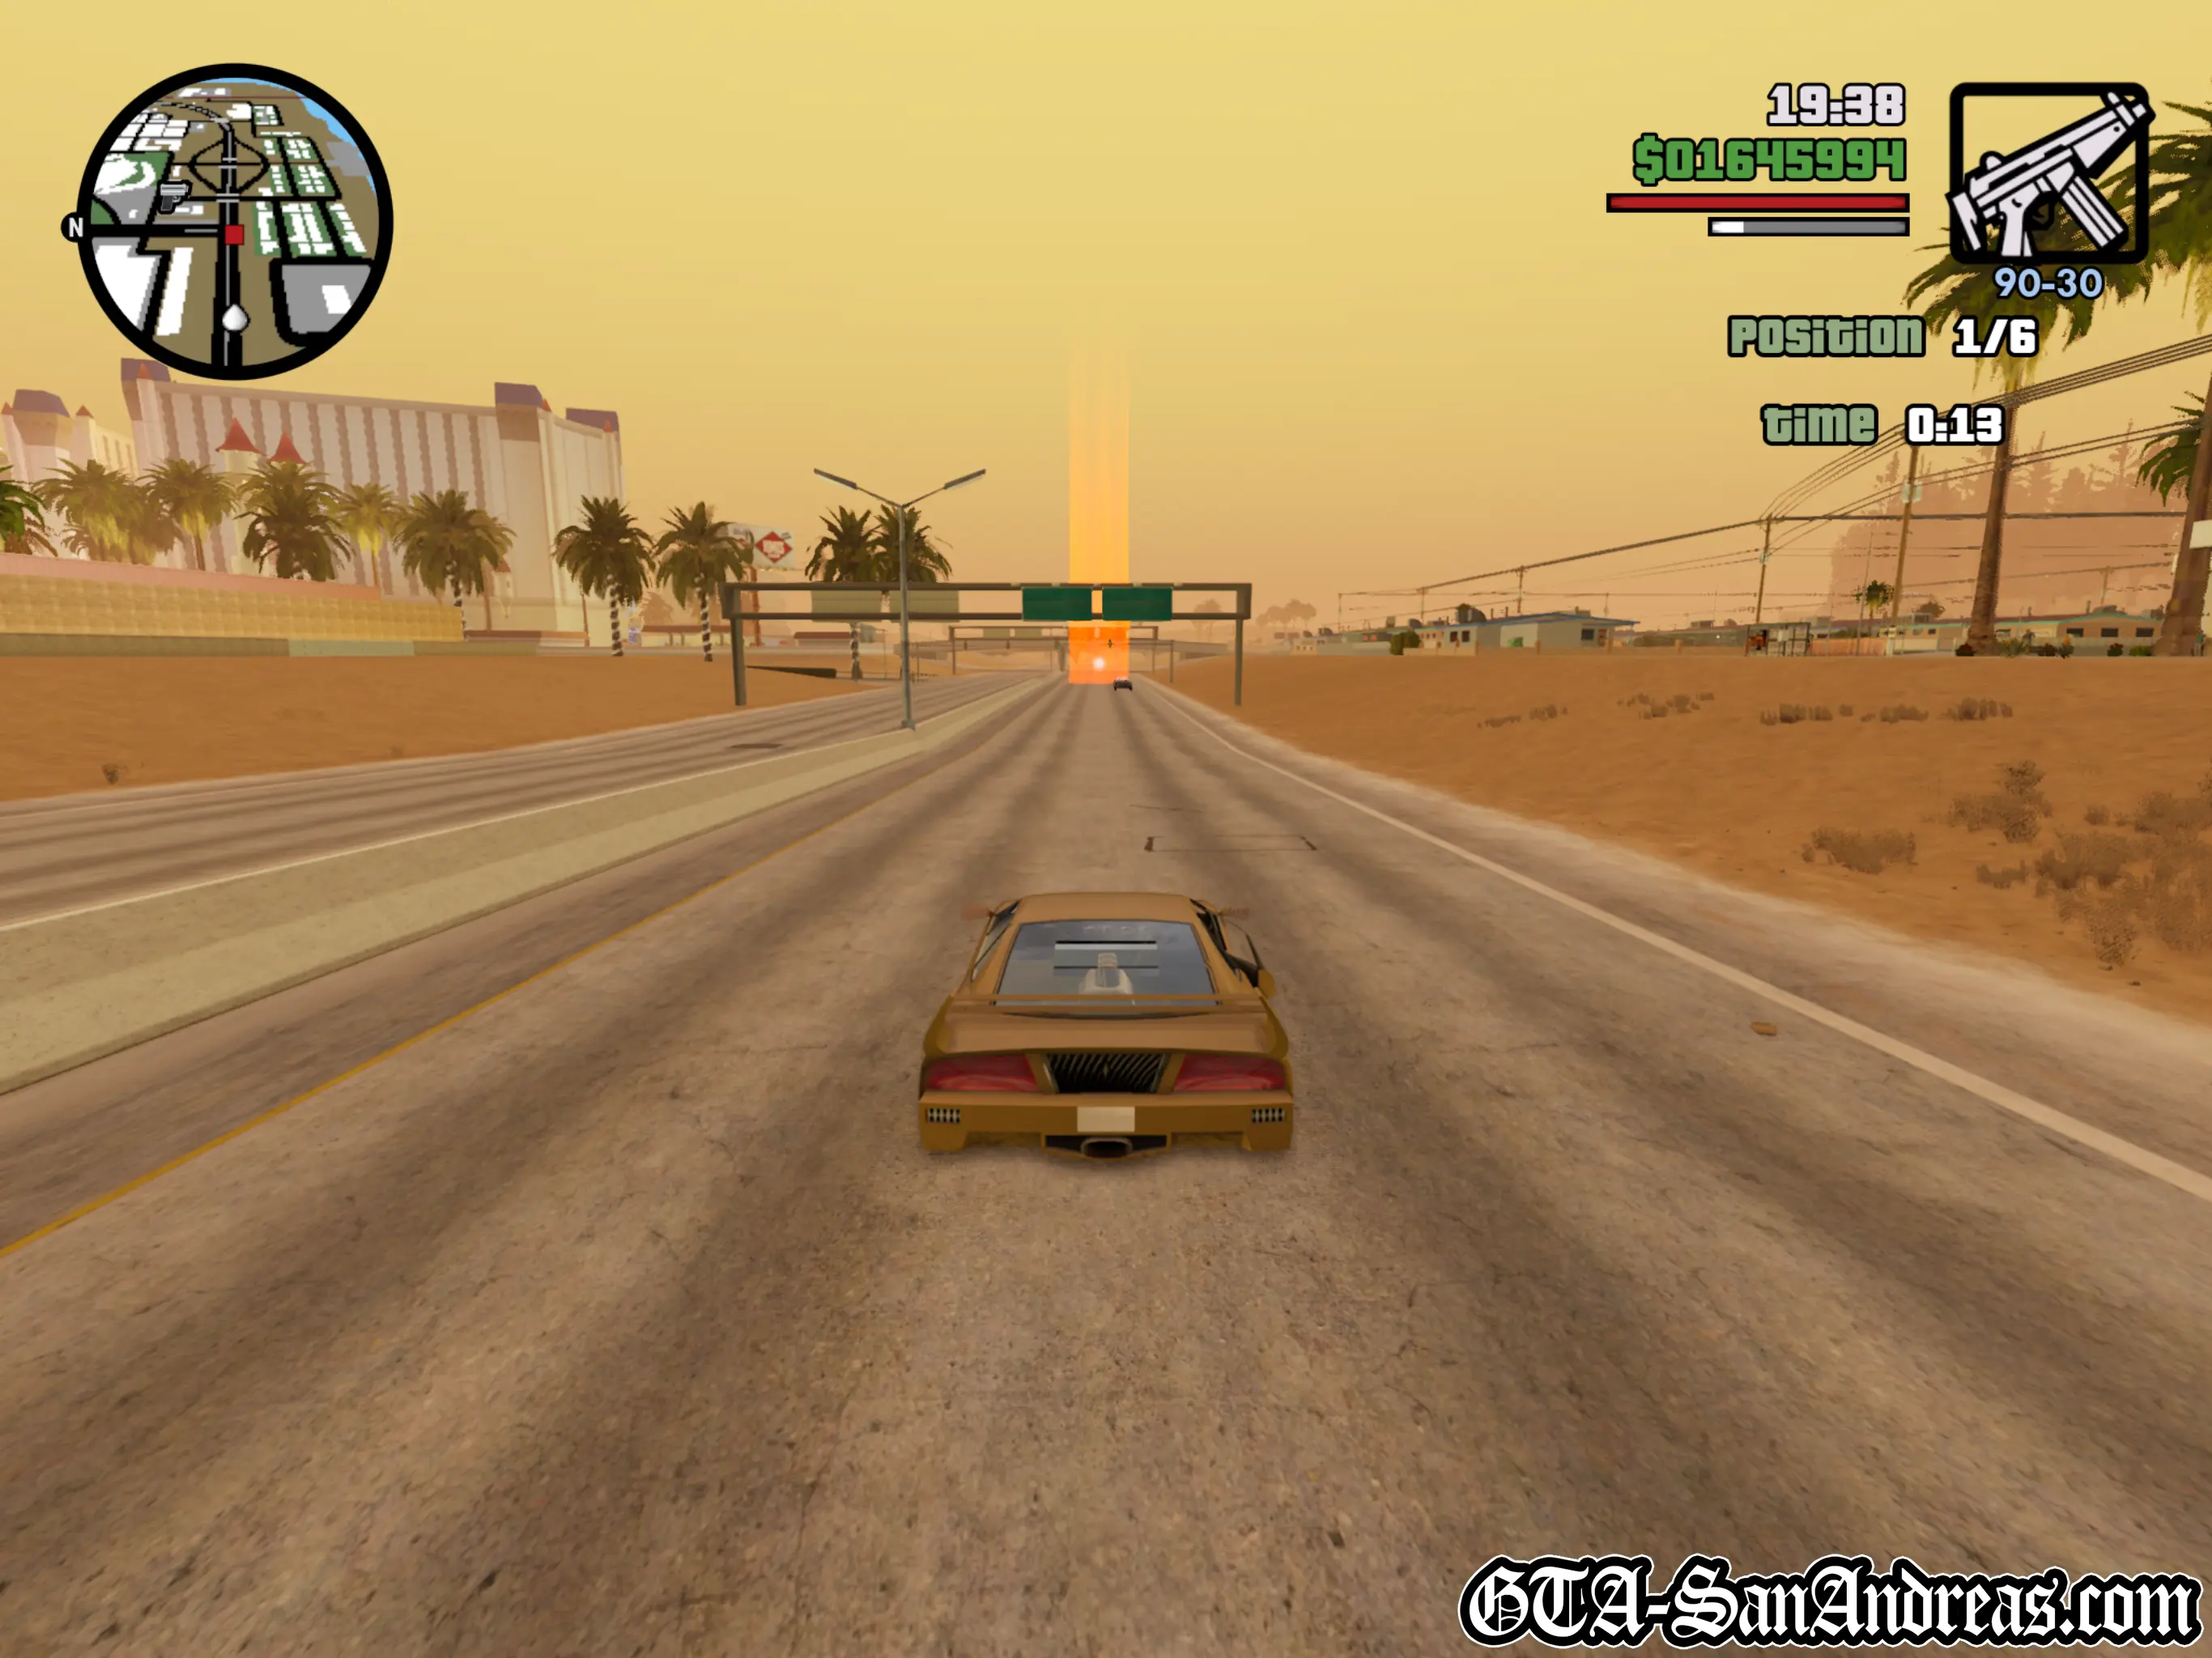
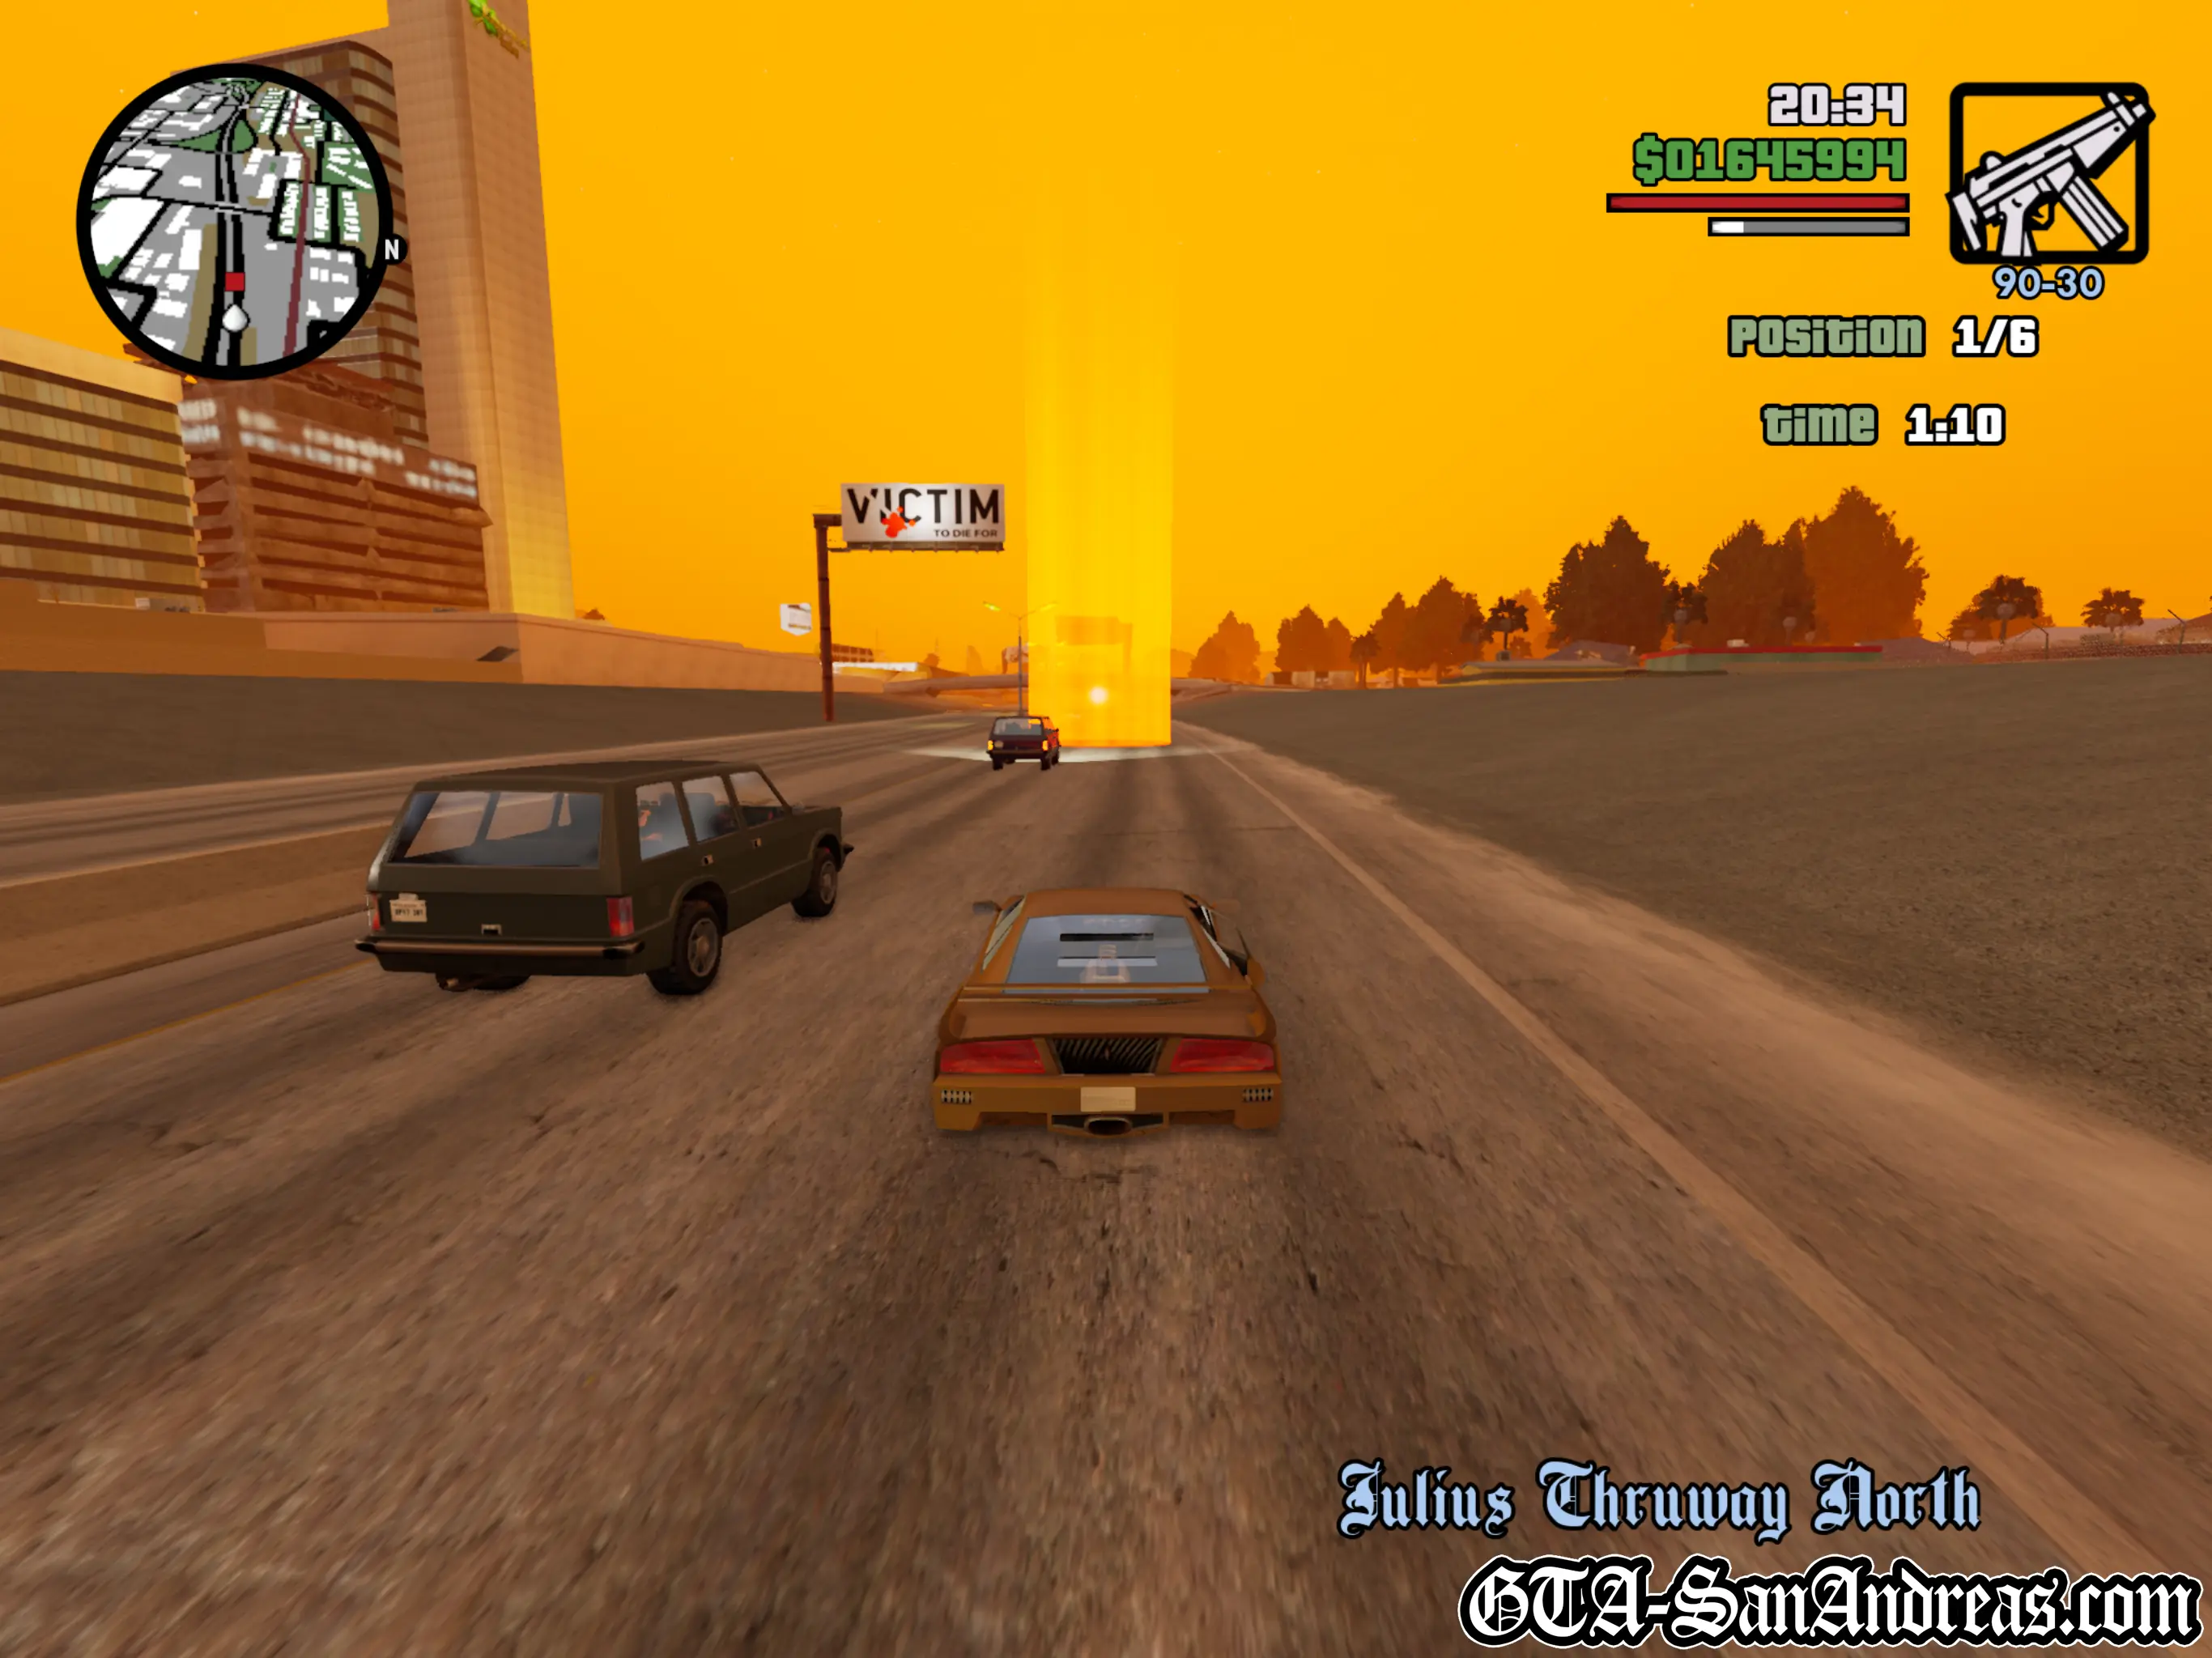
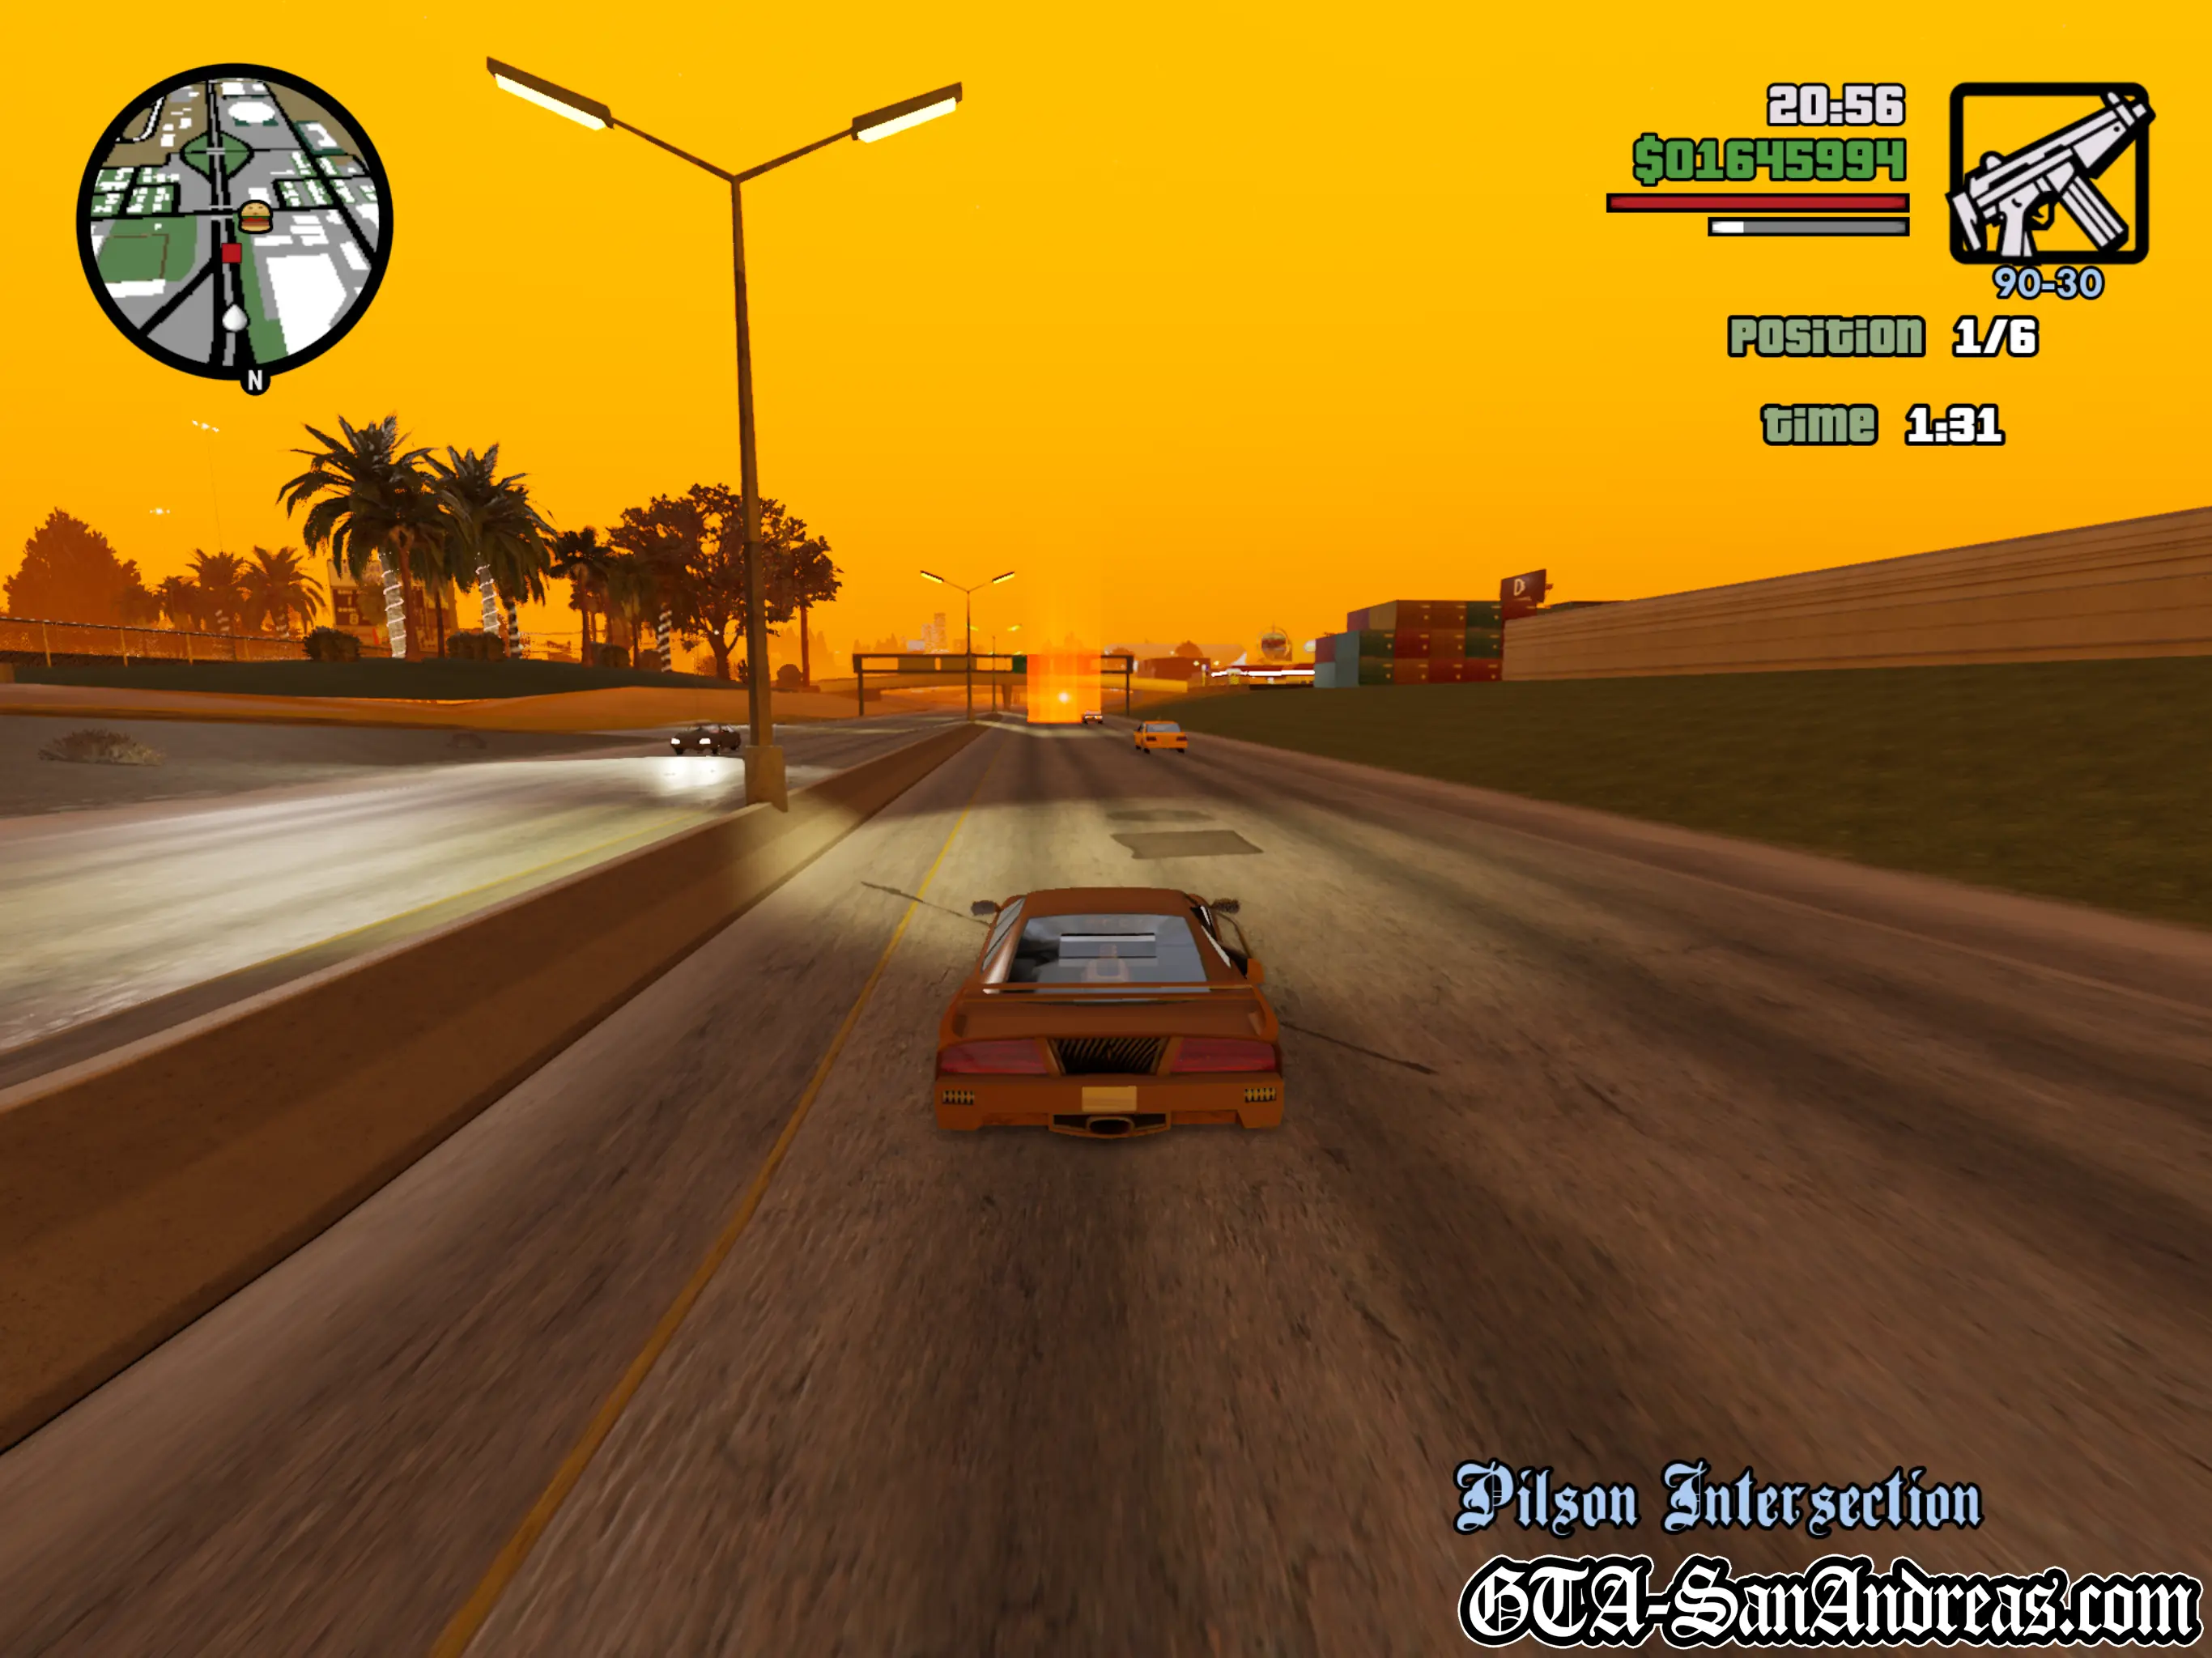
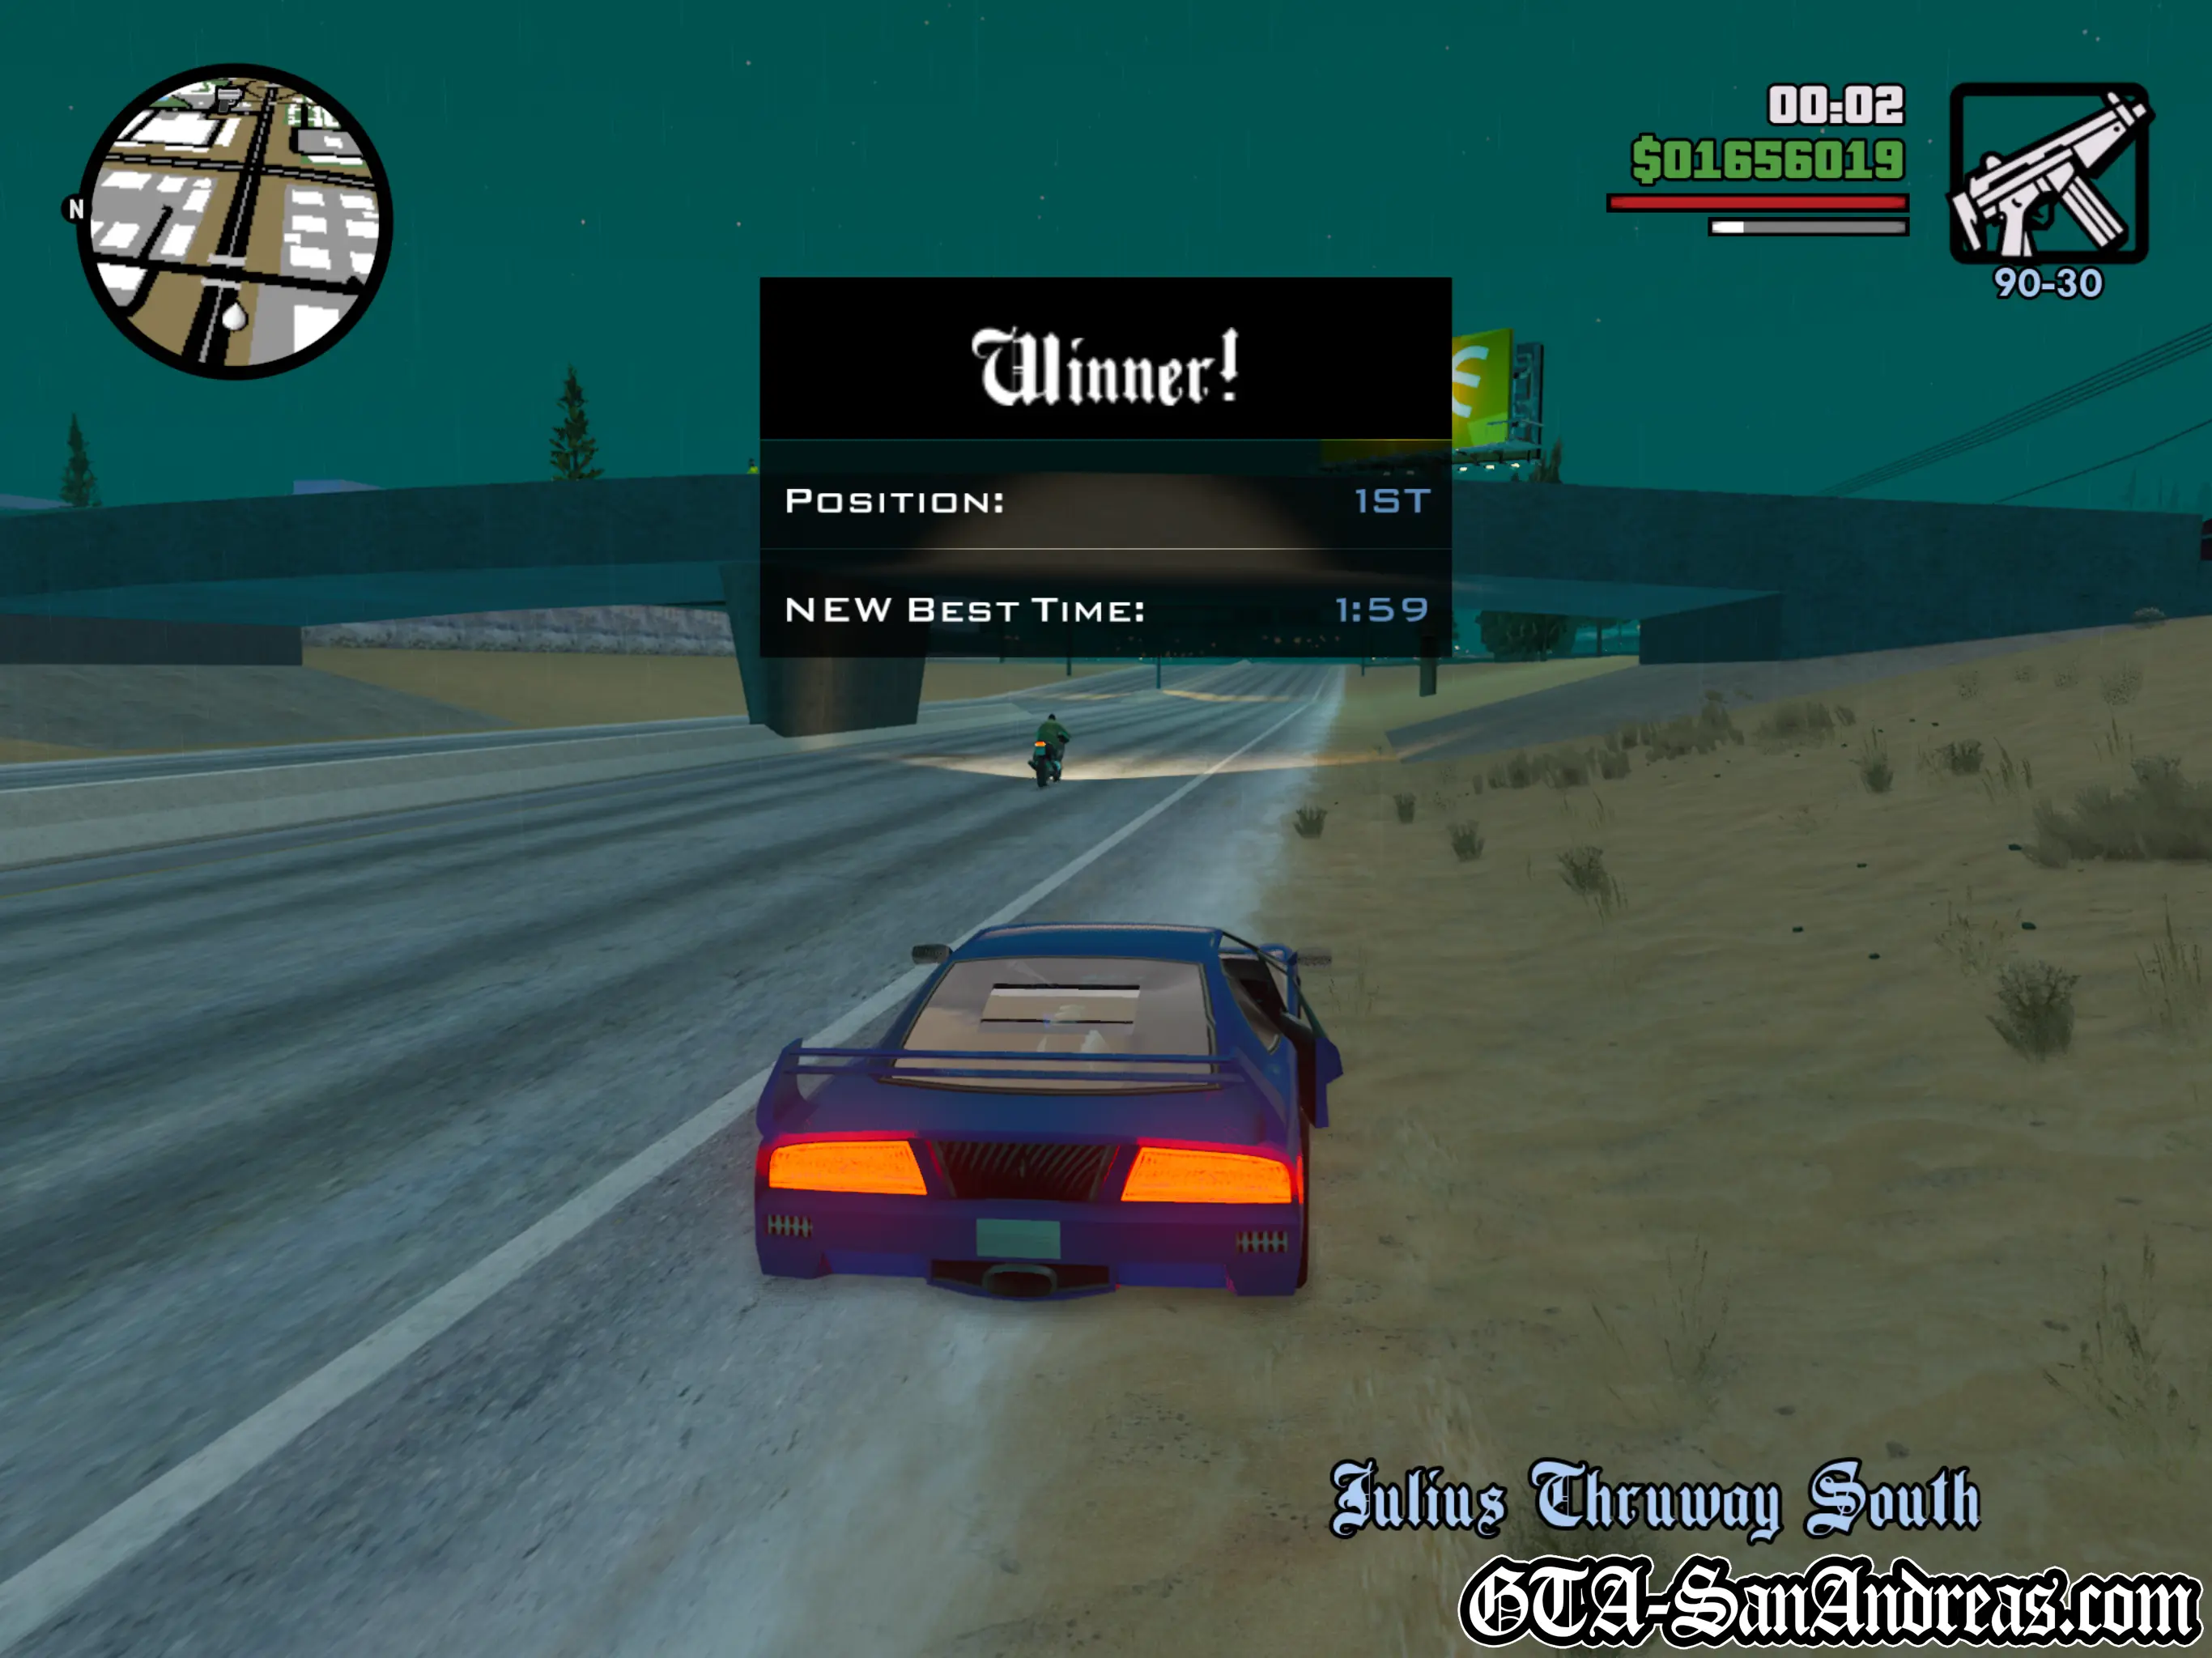
Freeway
| Vehicle Provided | Track Distance |
|---|---|
| Super GT | 4.00 KM |
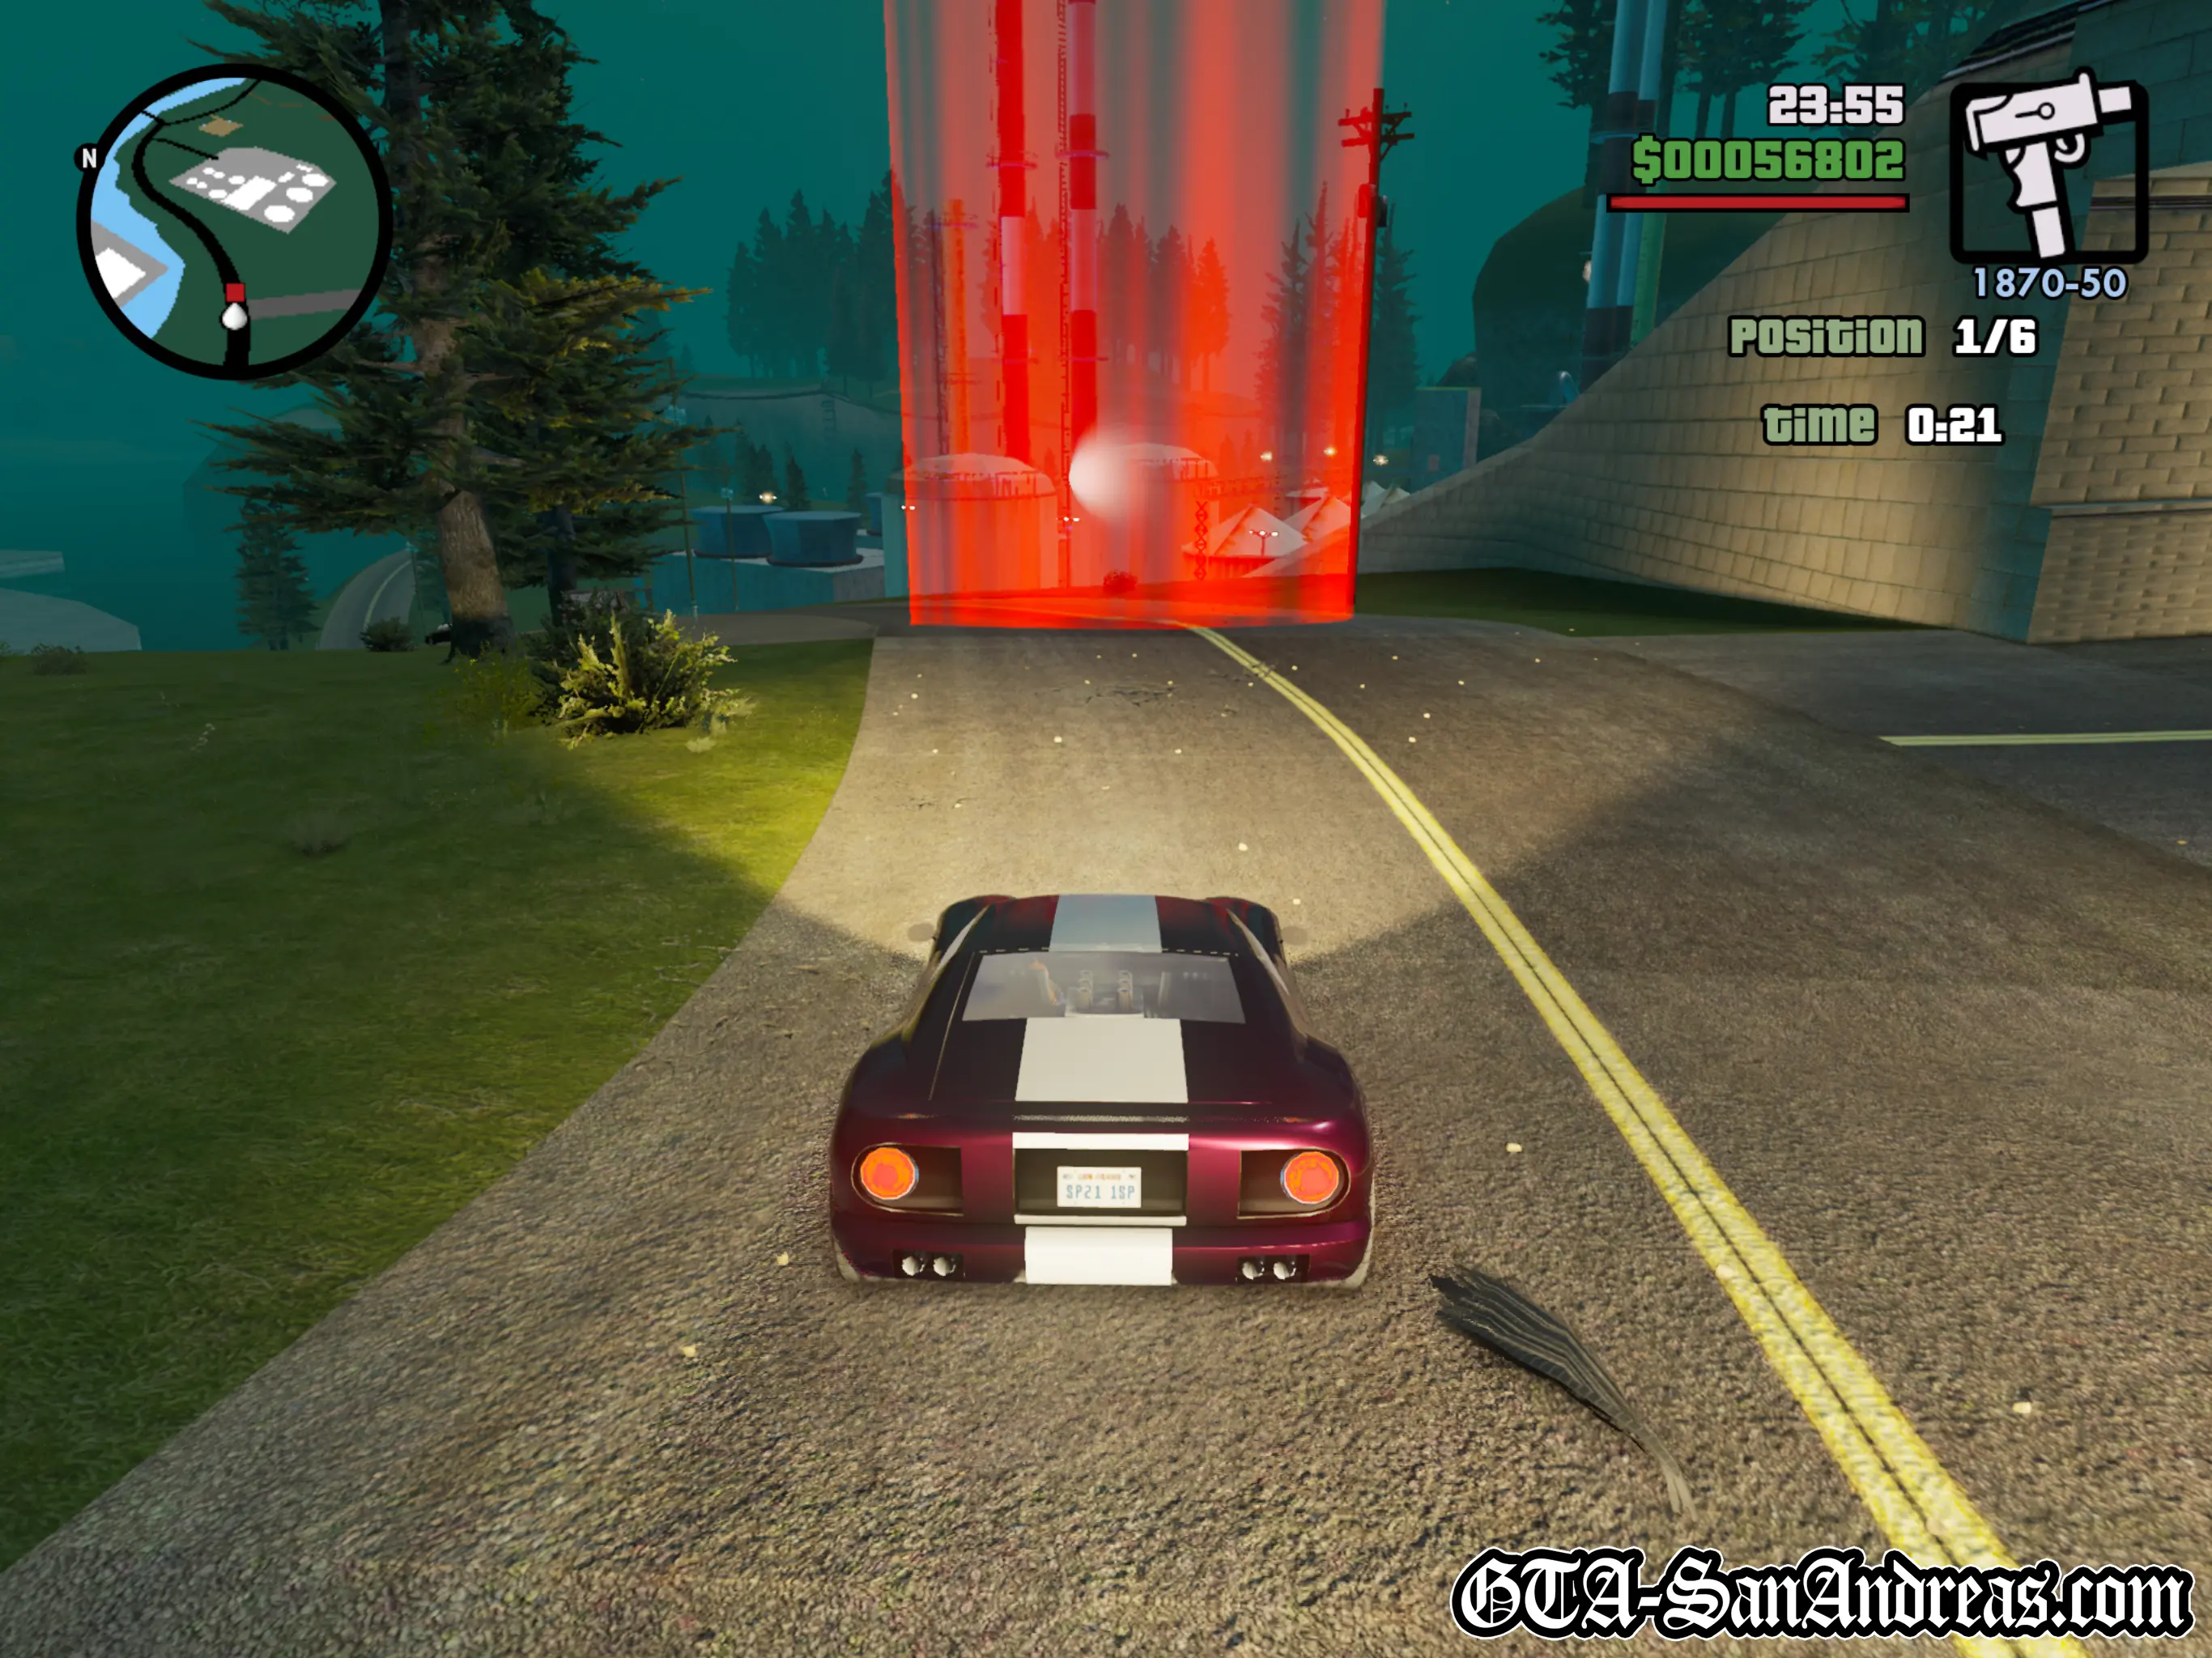
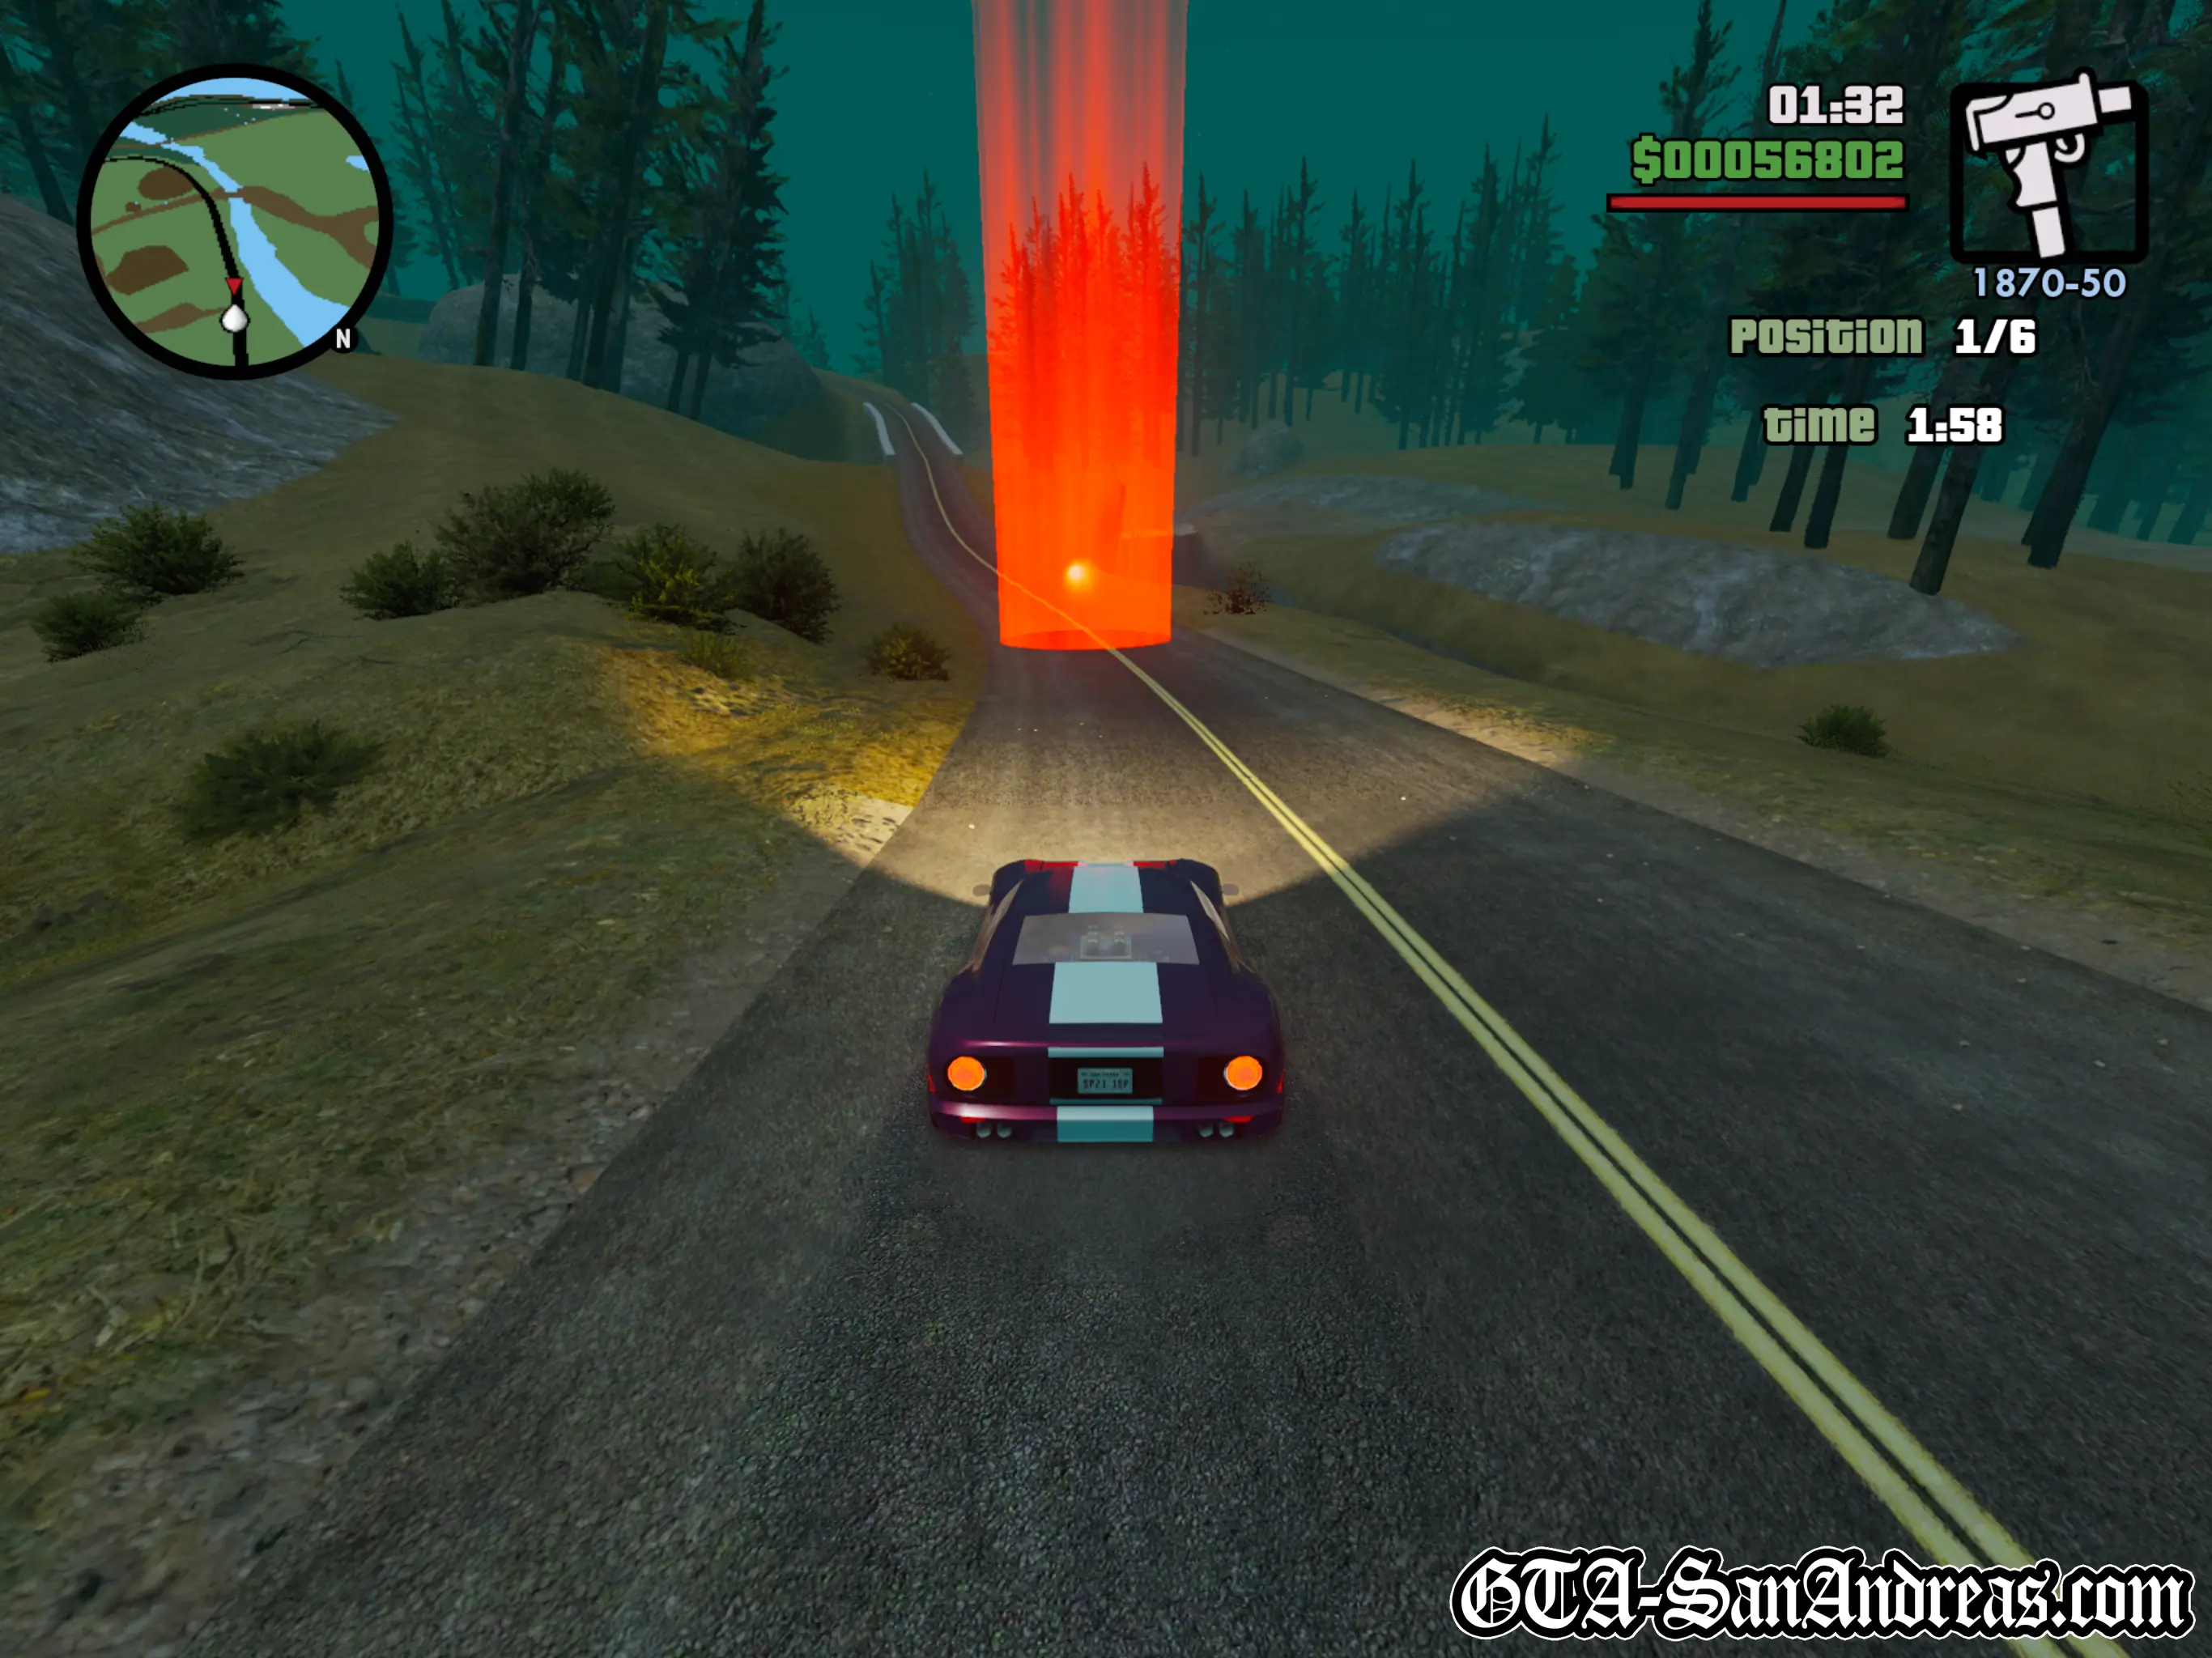
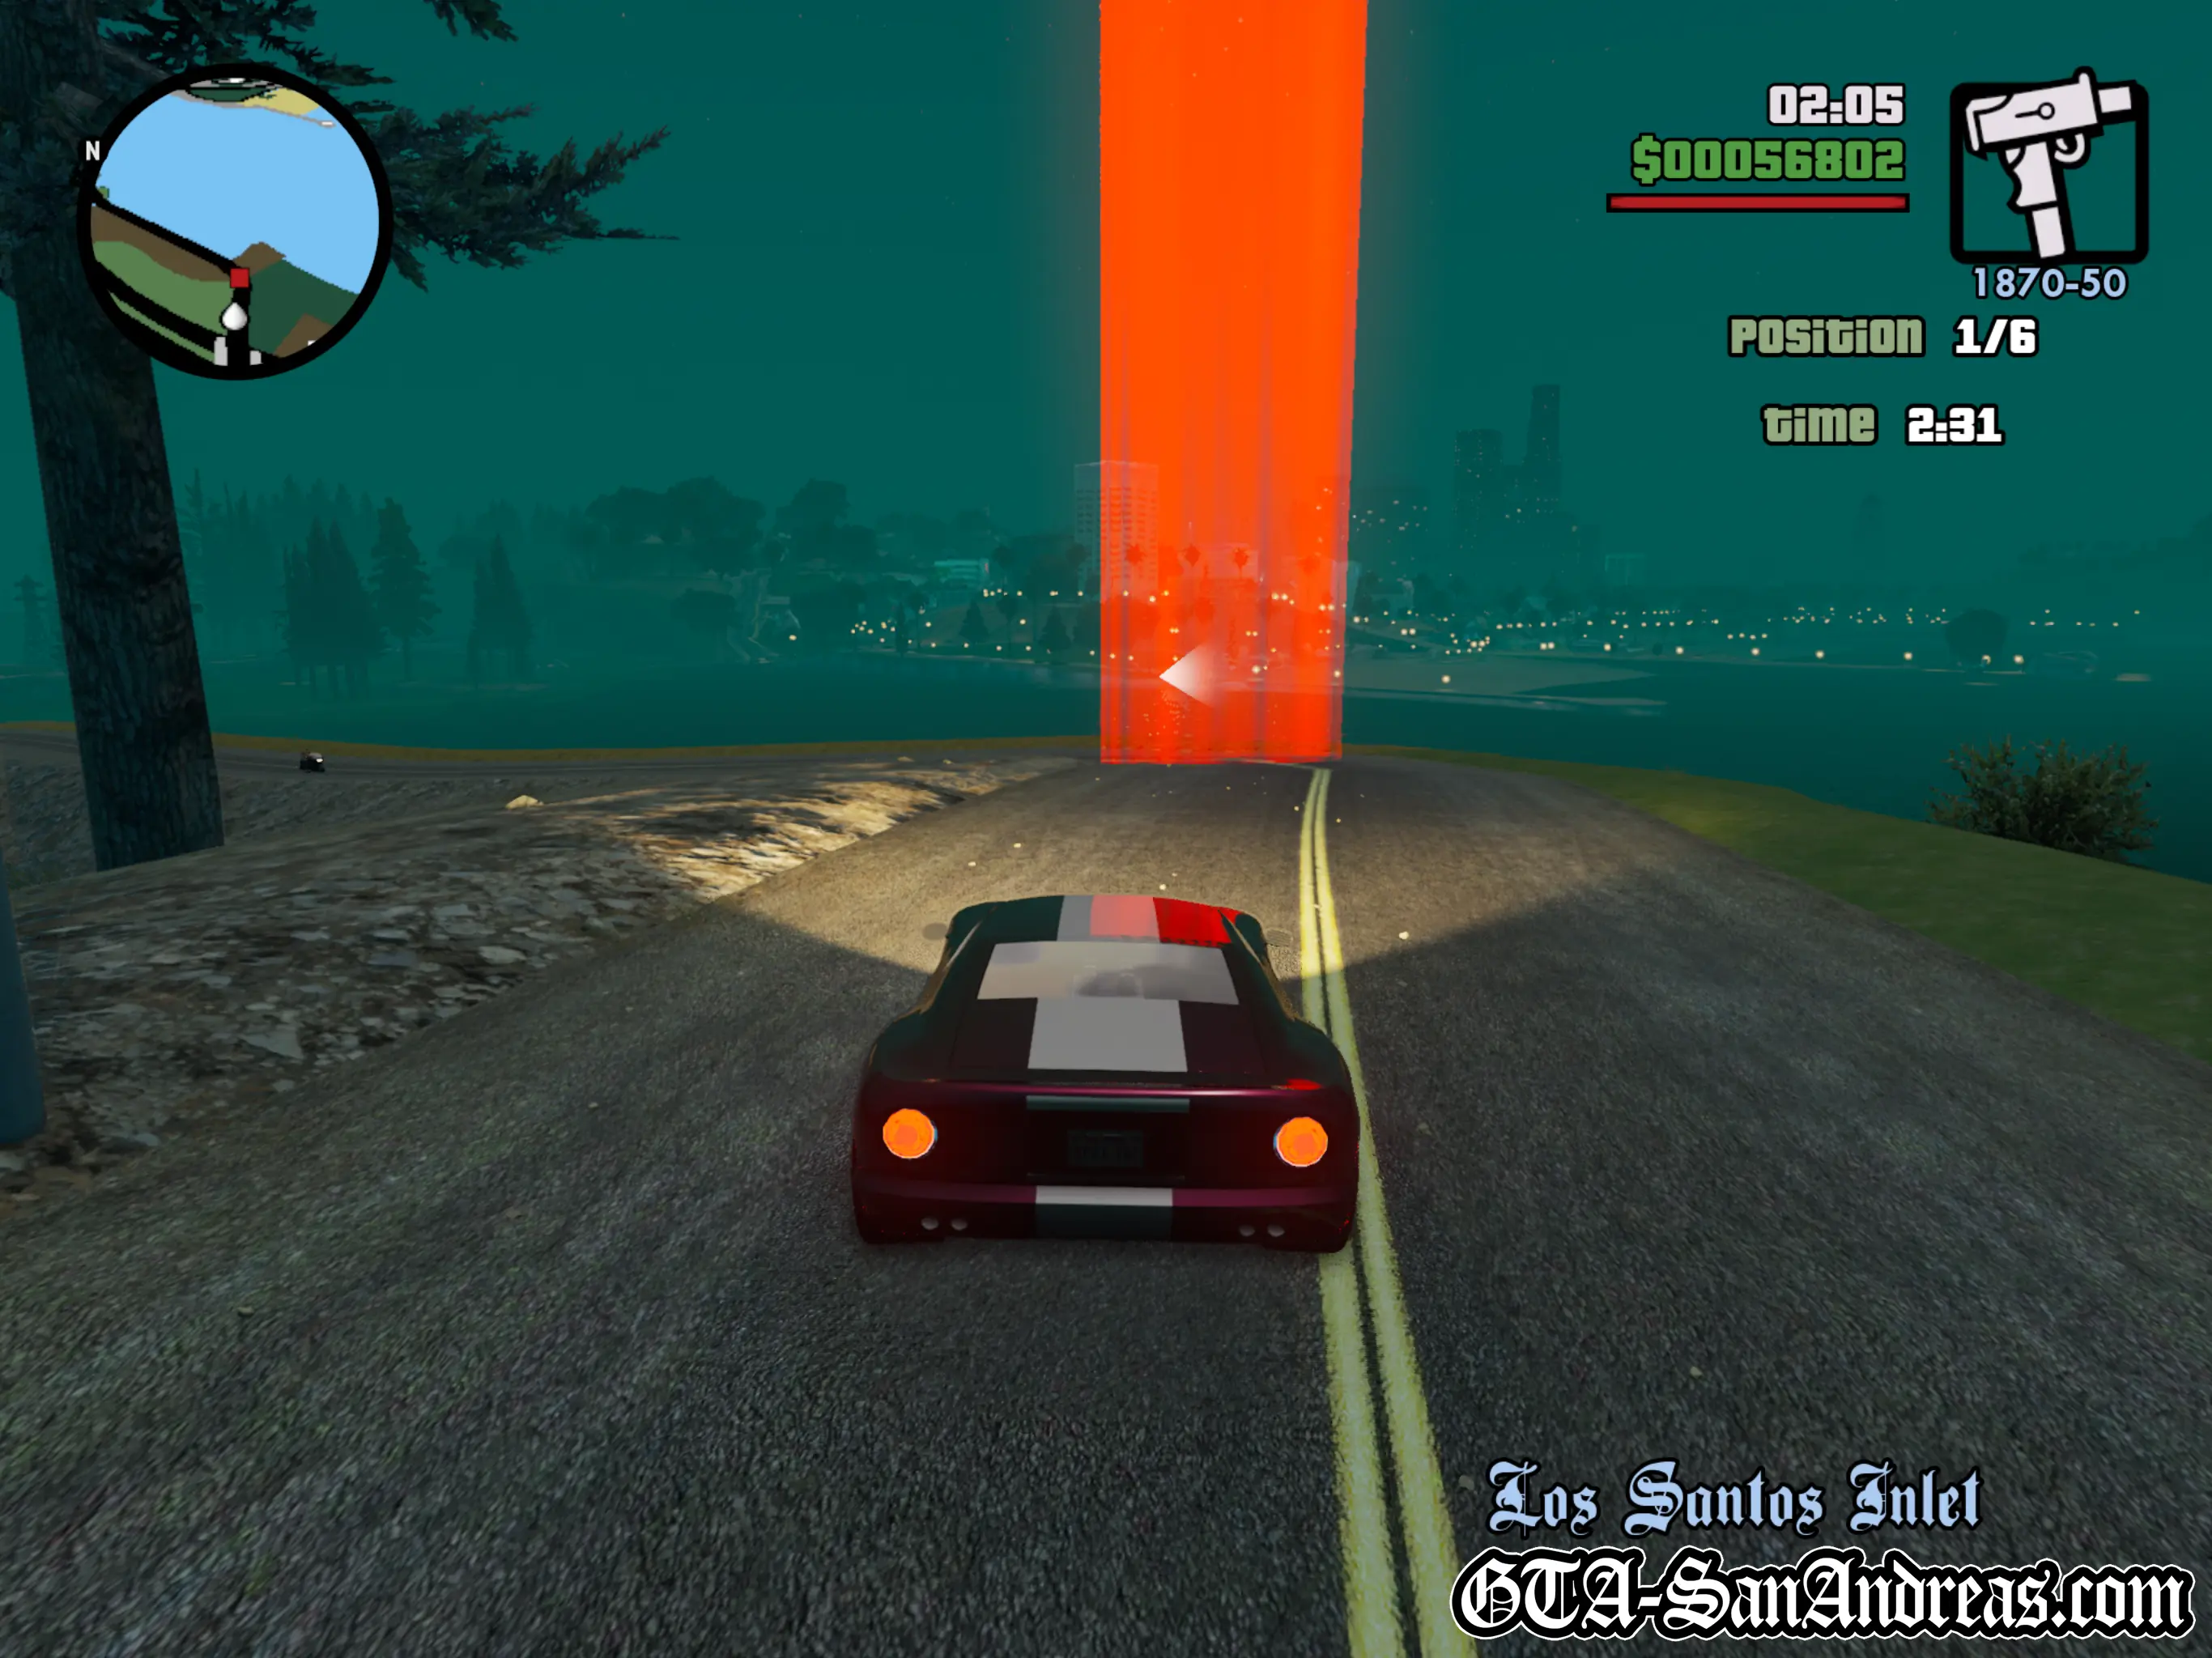
Tactics
This is another relatively hard race, but mainly because of the vehicles used by both yourself and your opponents.
They're all fast super-cars, typically what you'd expect to see in a street race, however they aren't the best at turning at high speeds and will spin out easily.
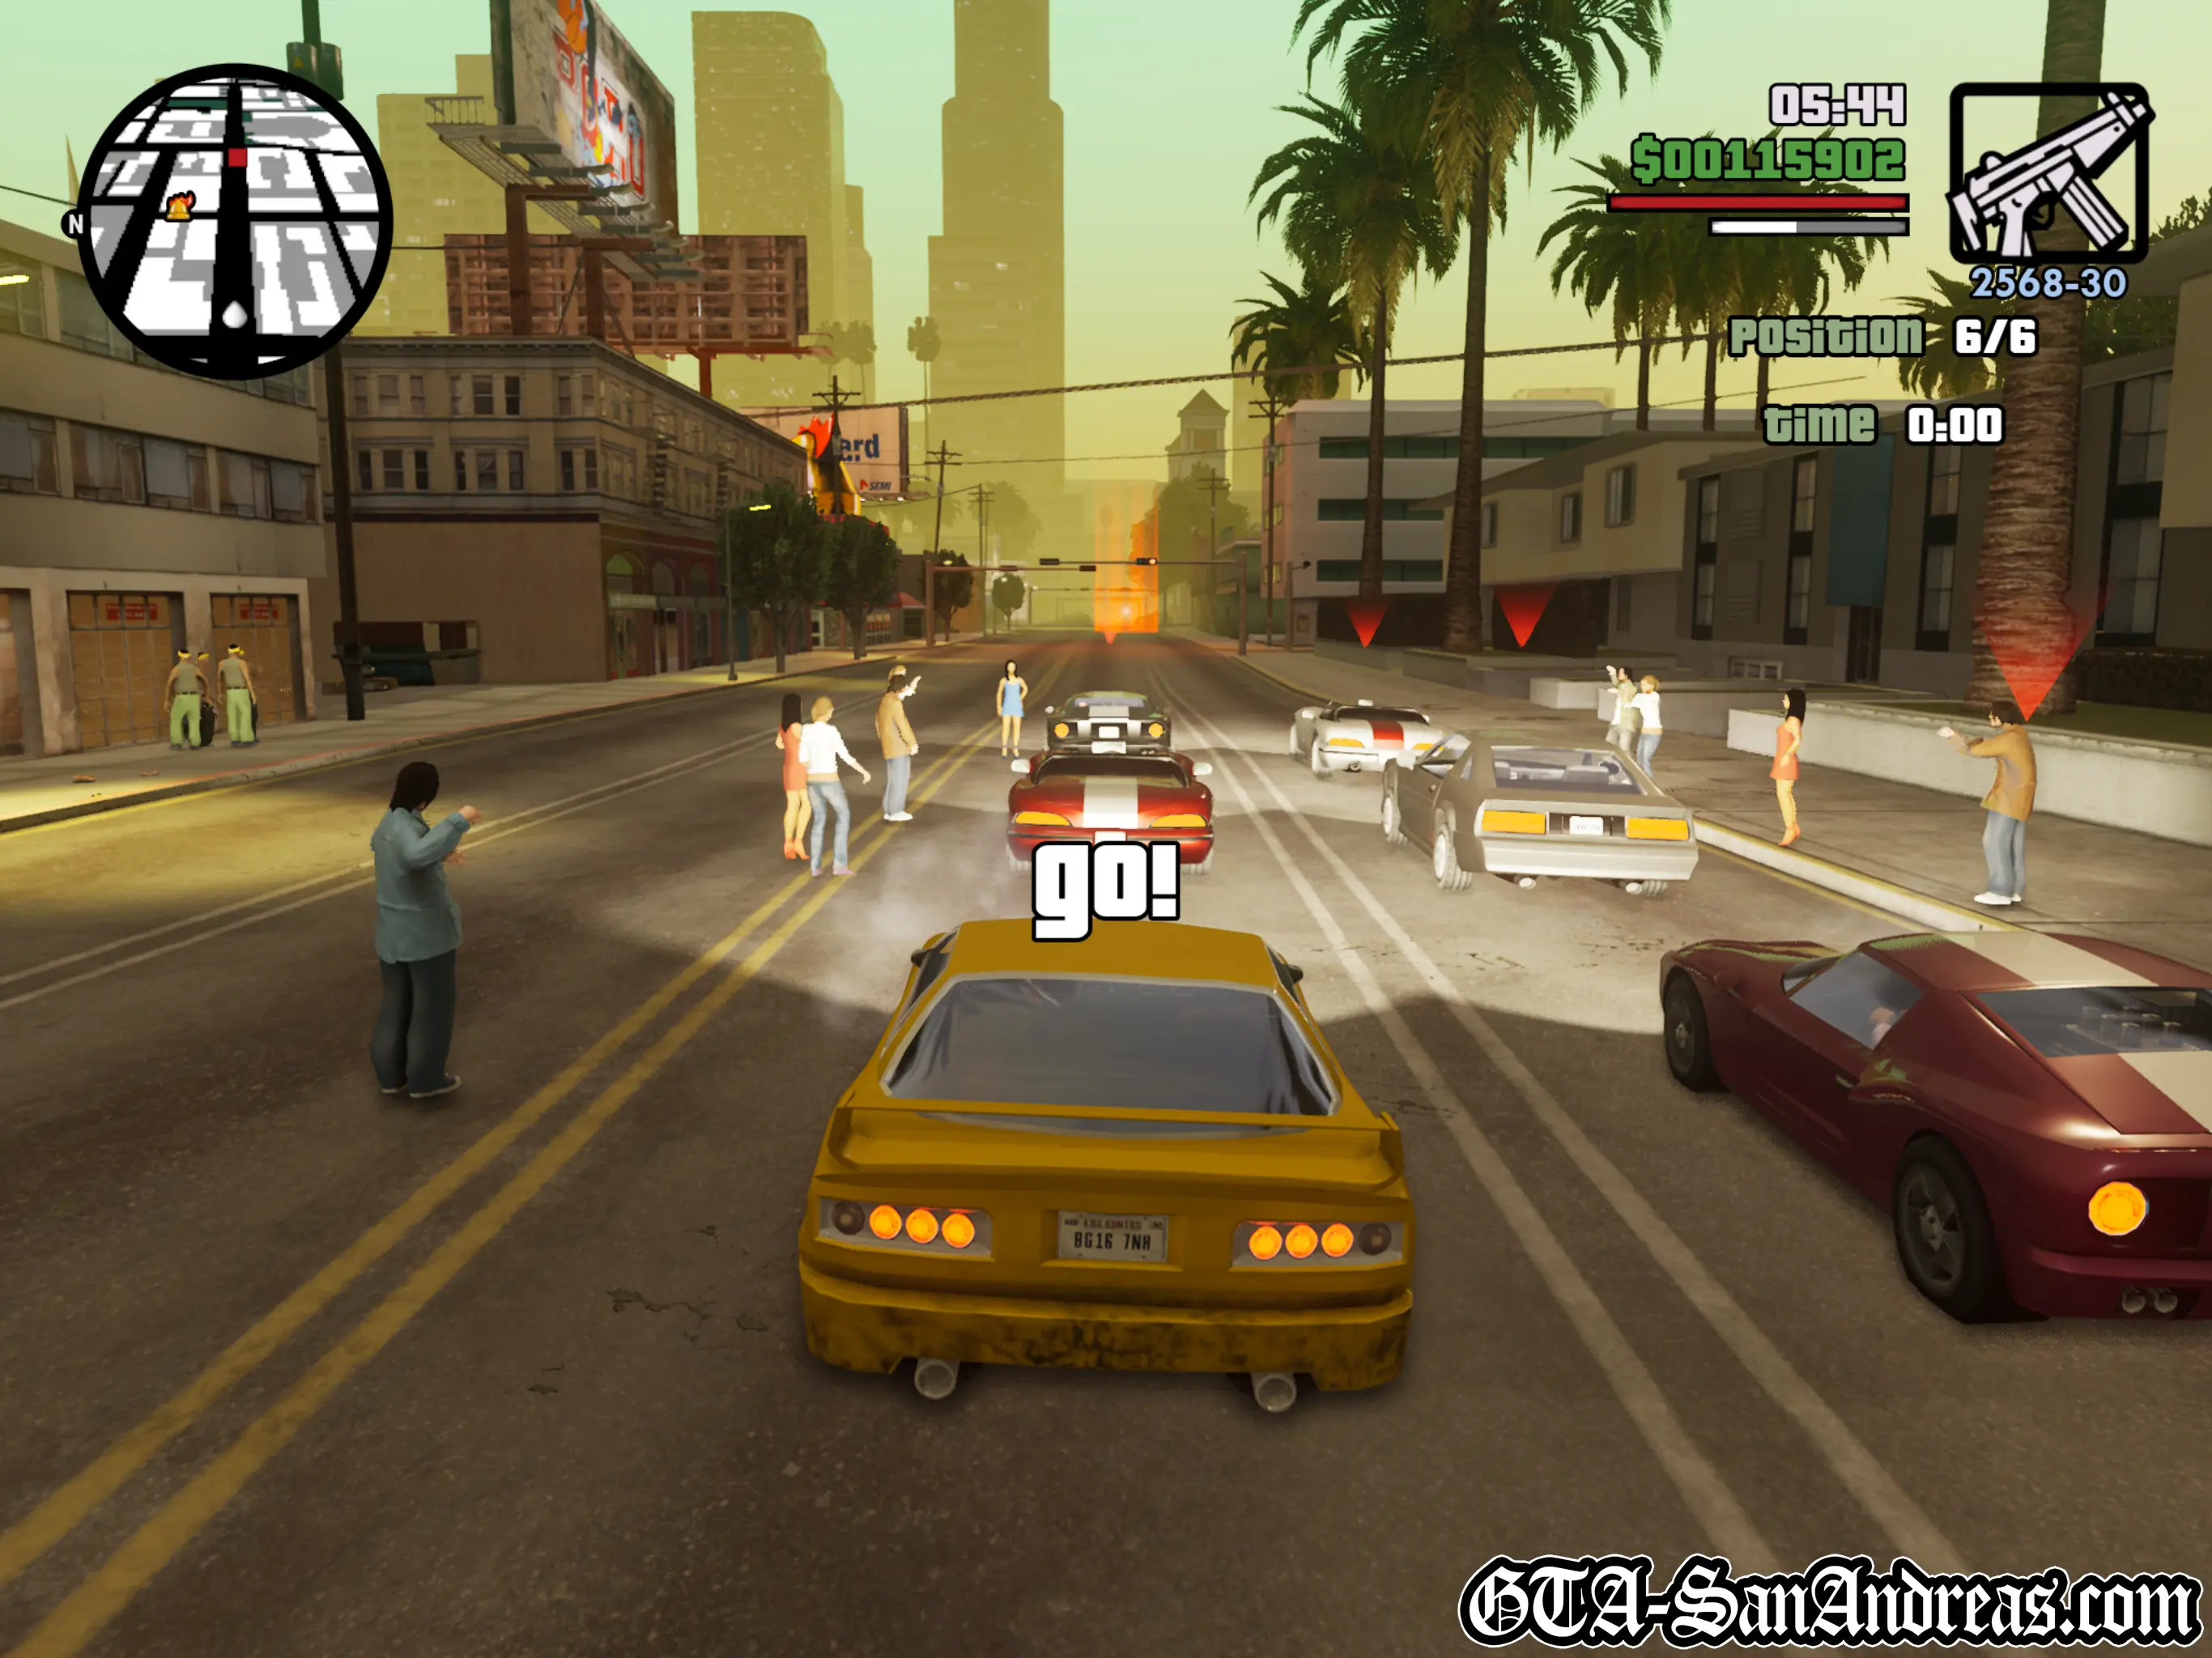
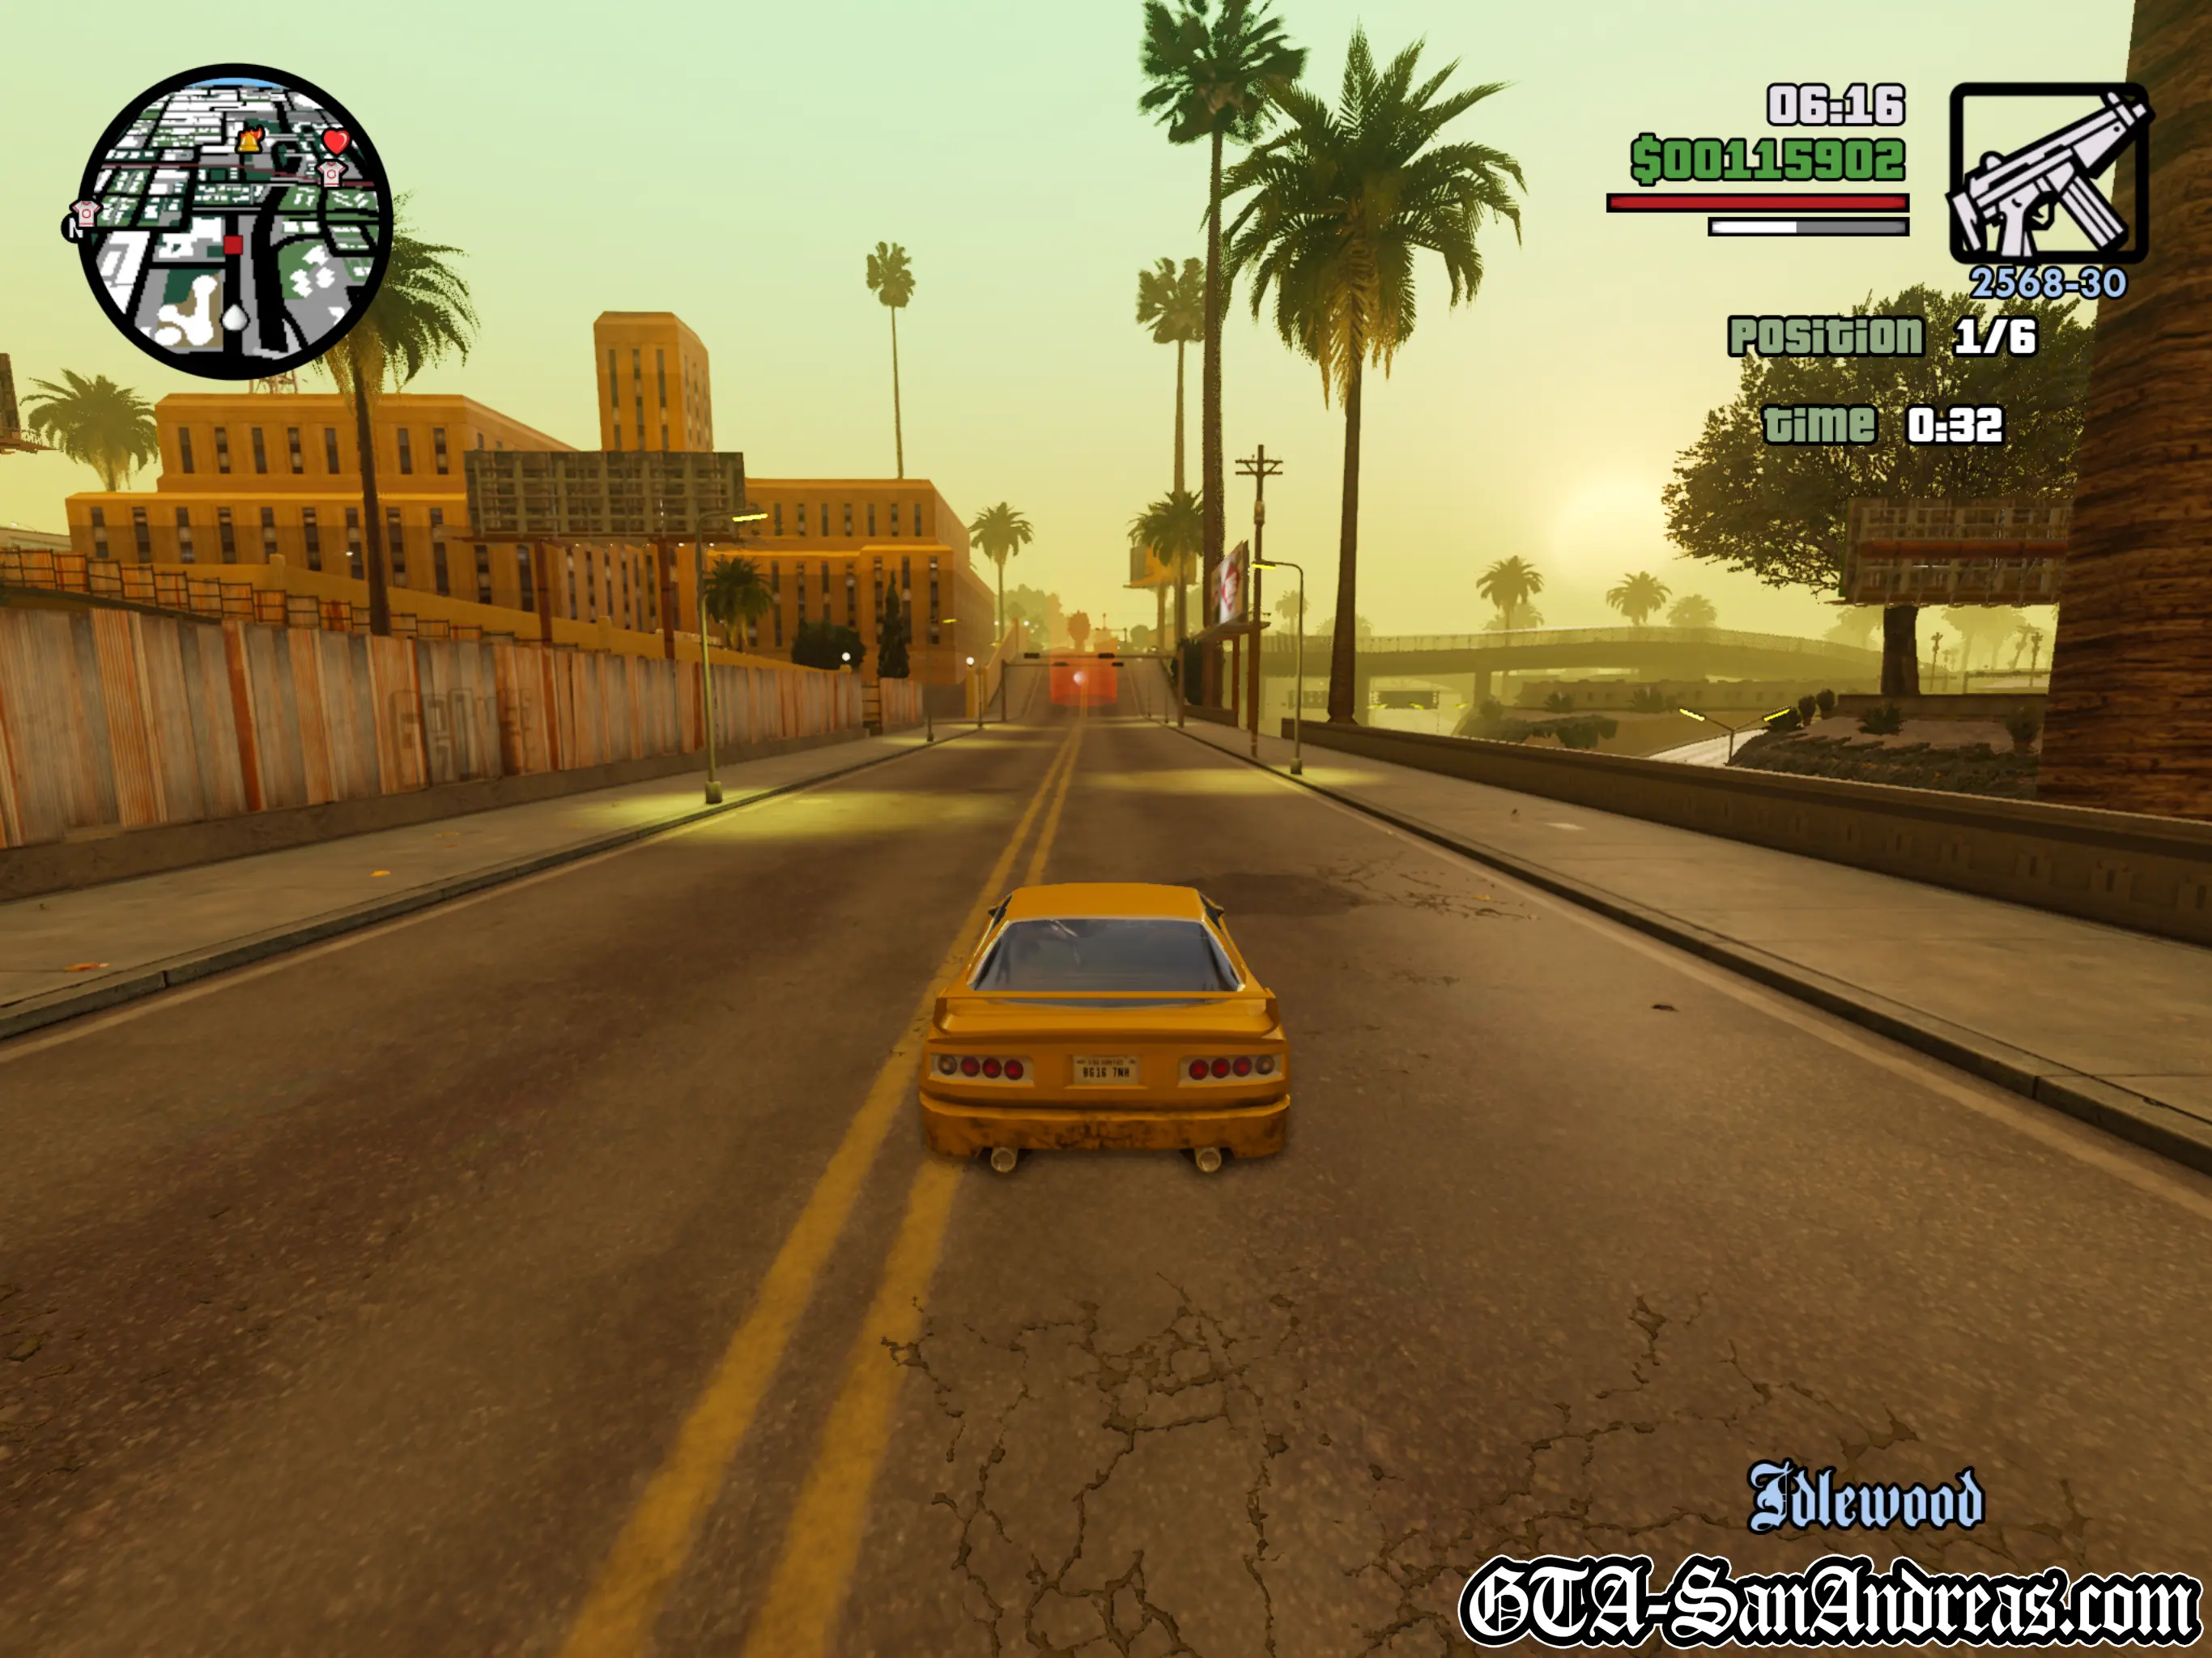
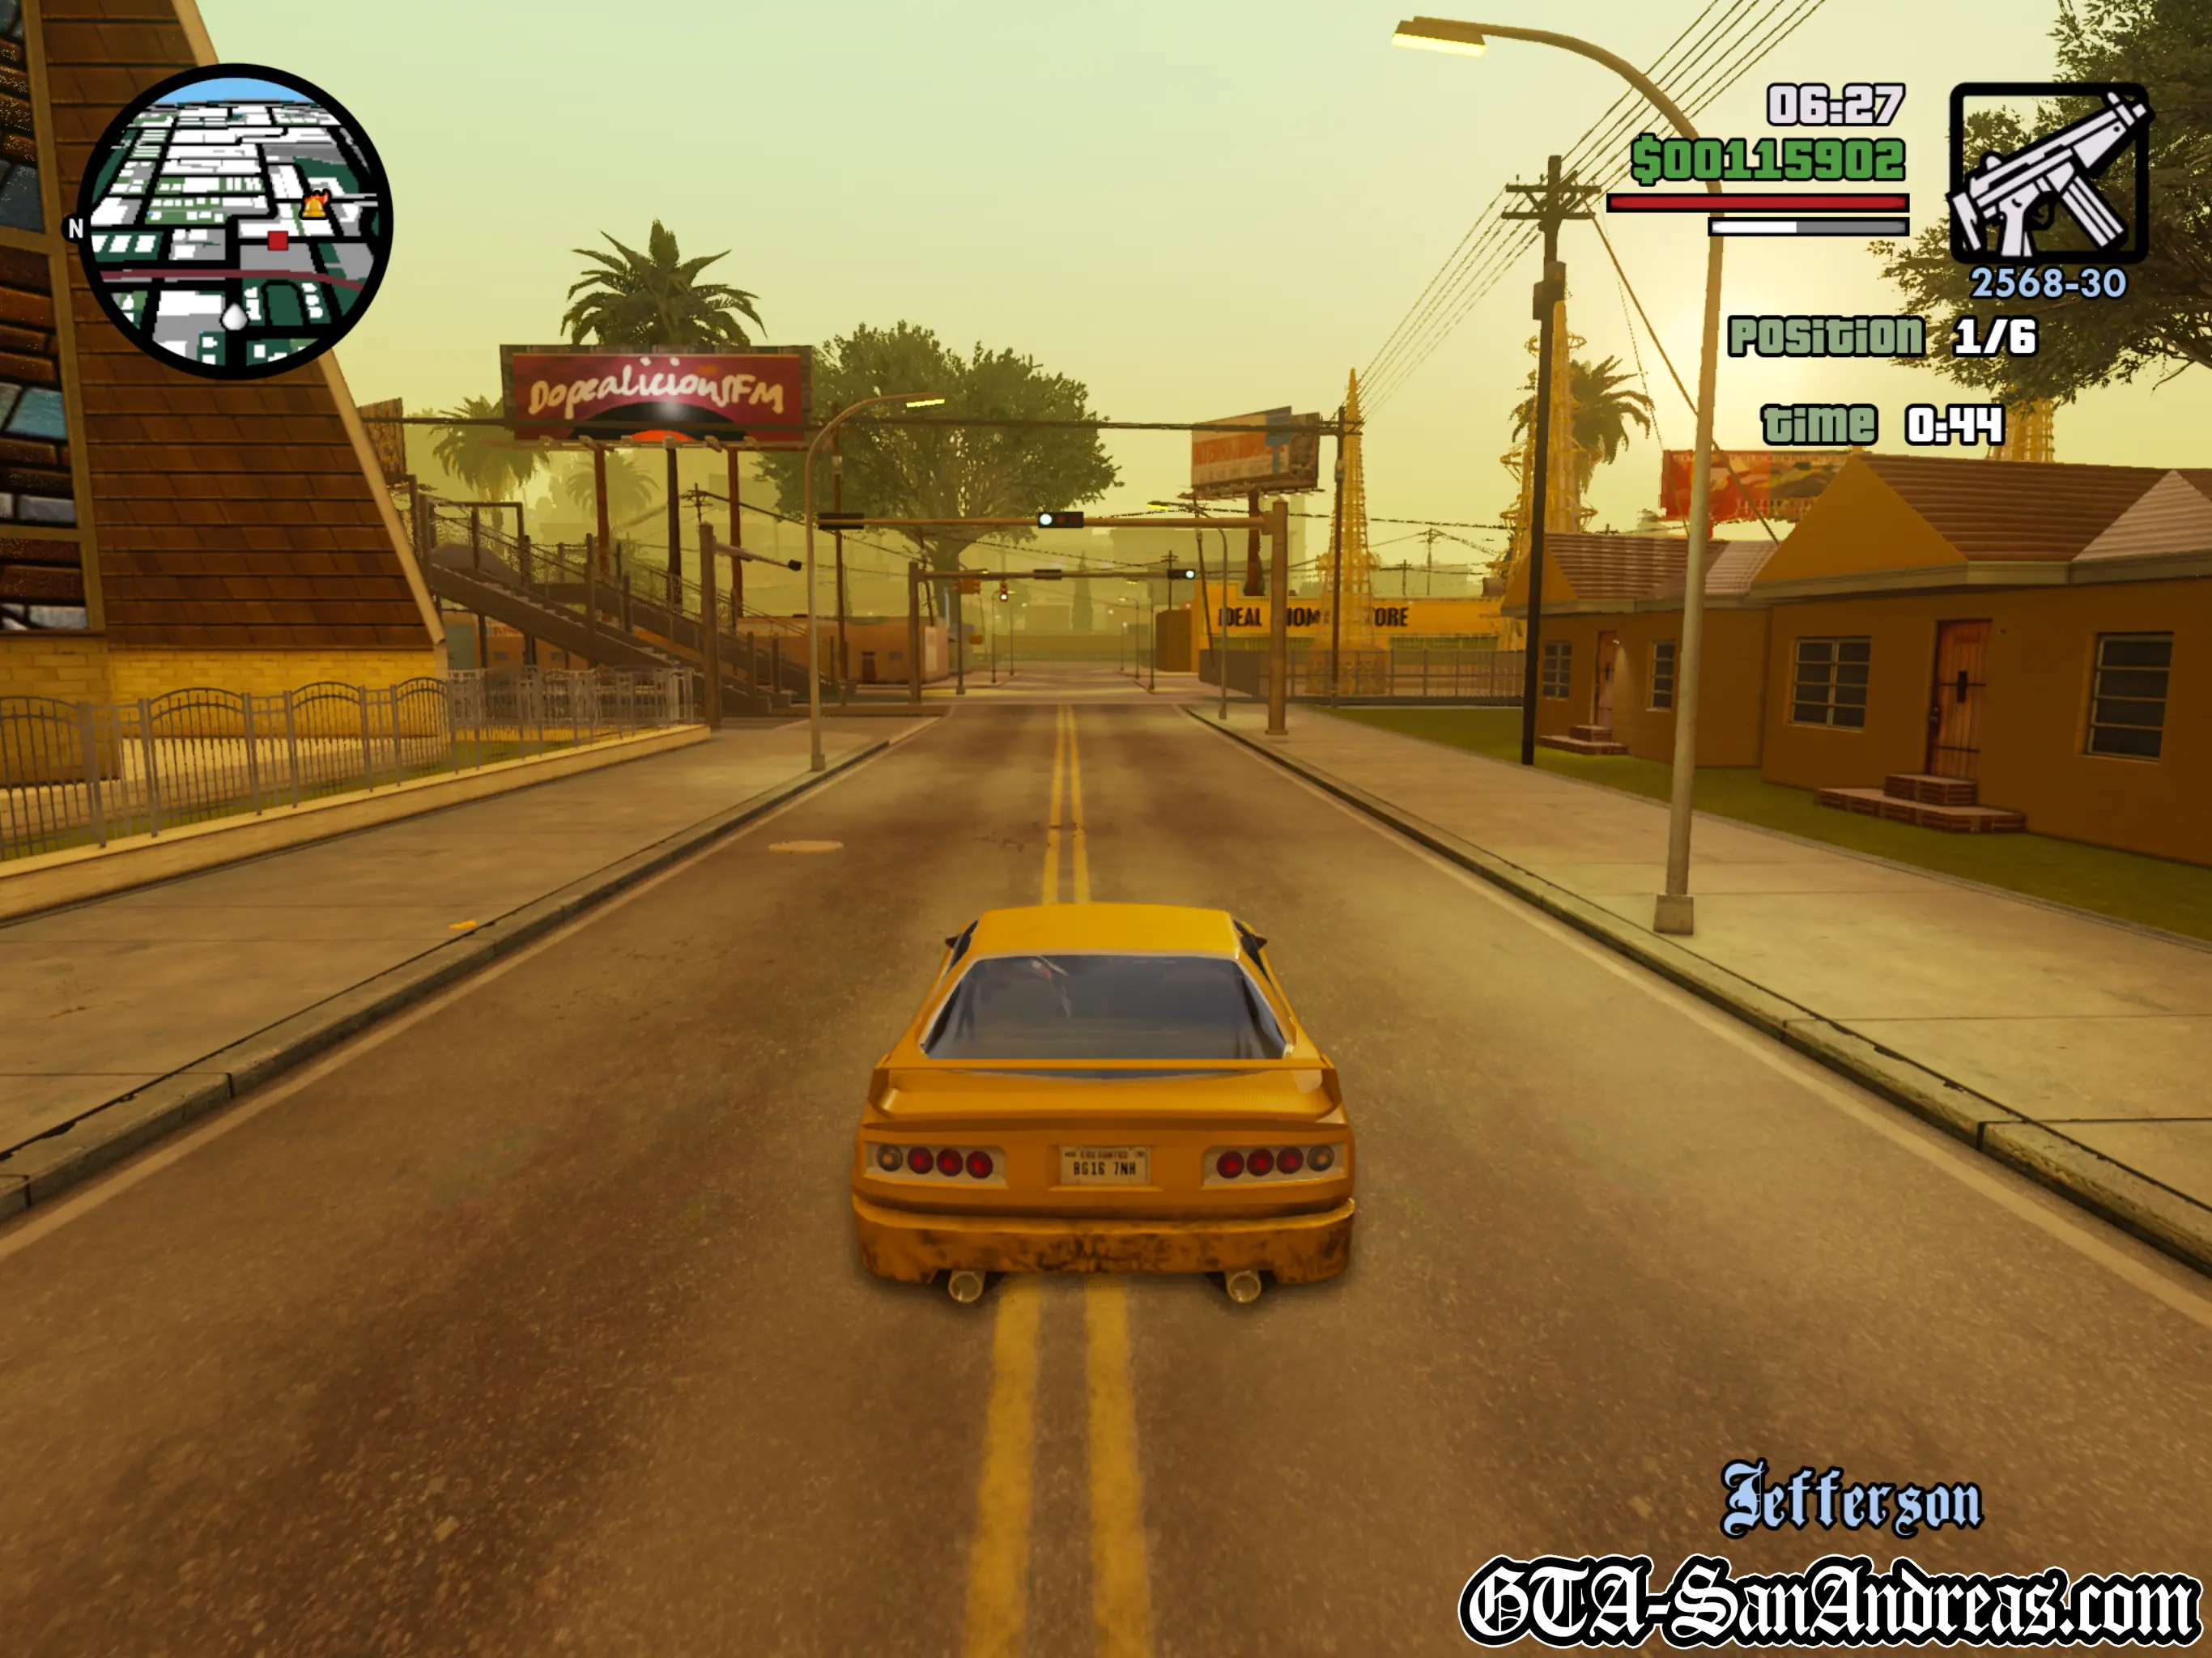
The race is long with a lot of straights, so even if you make a mistake, you'll still have chances to catch up.
Ensure you're careful on the highway though, you probably won't notice how sharp the turns can feel at high speed so brake early.
Avoid all traffic too and if you can get off the freeway in first place, you should be able to win.
Screenshots
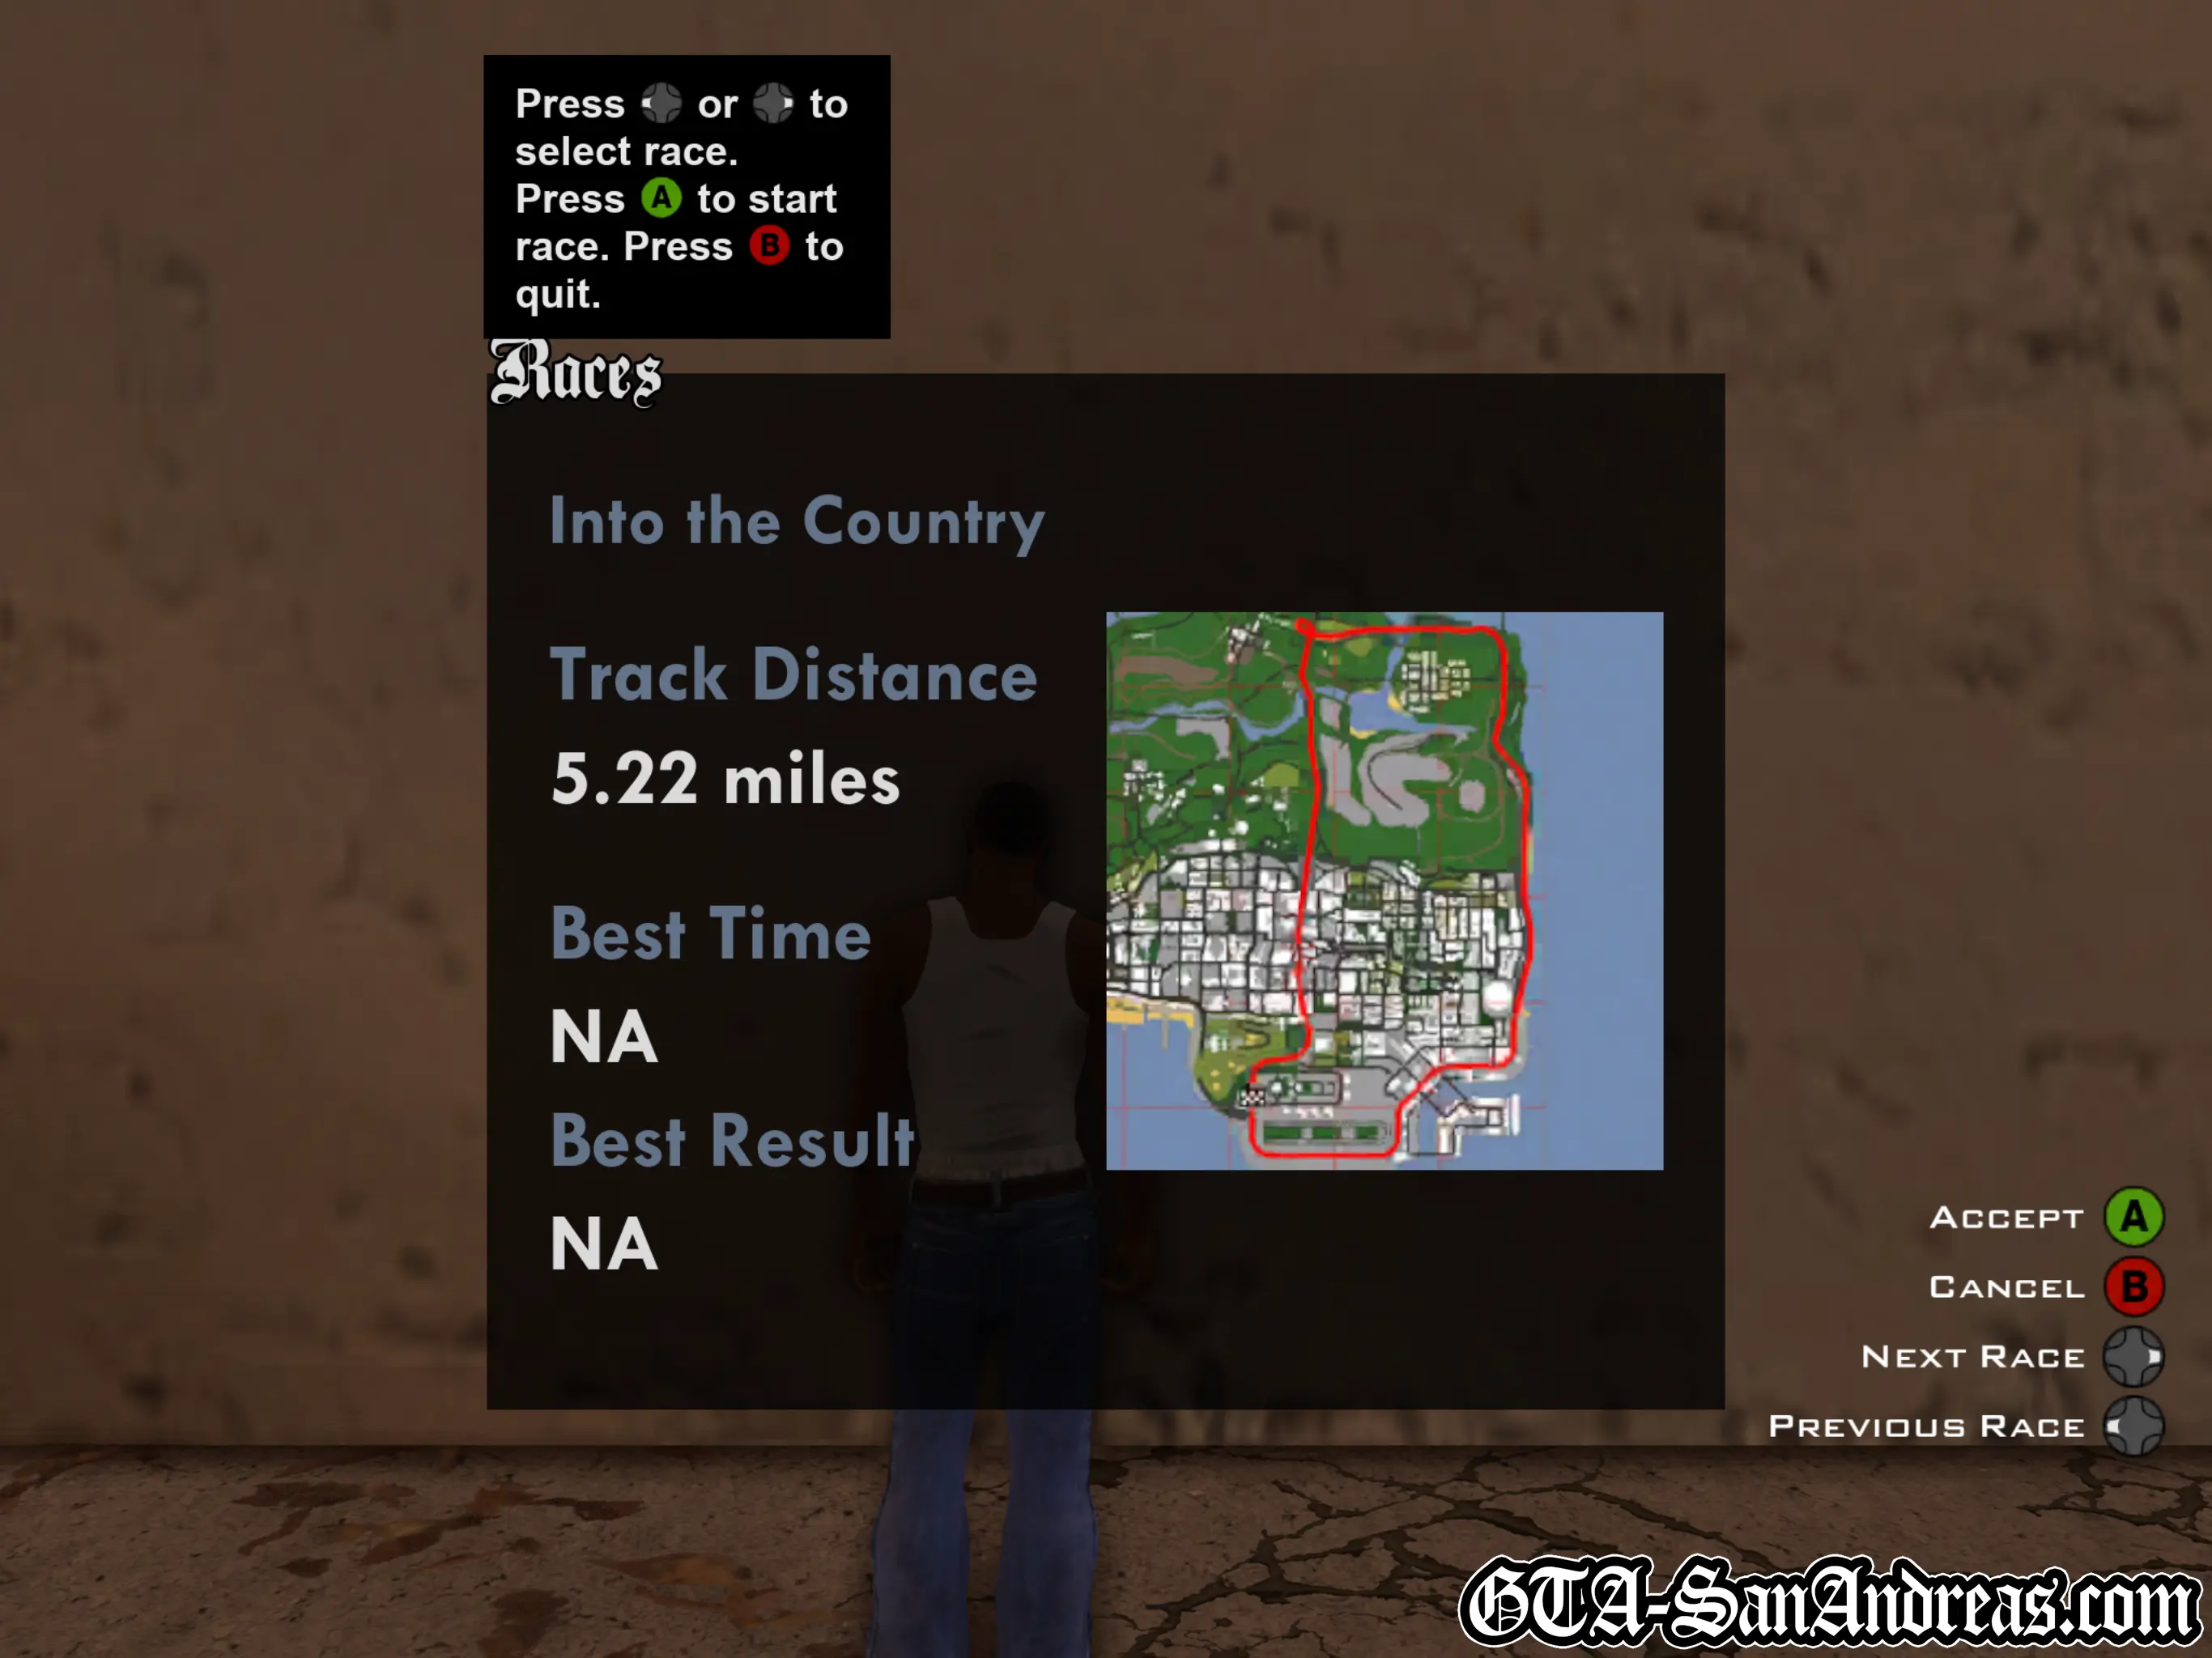
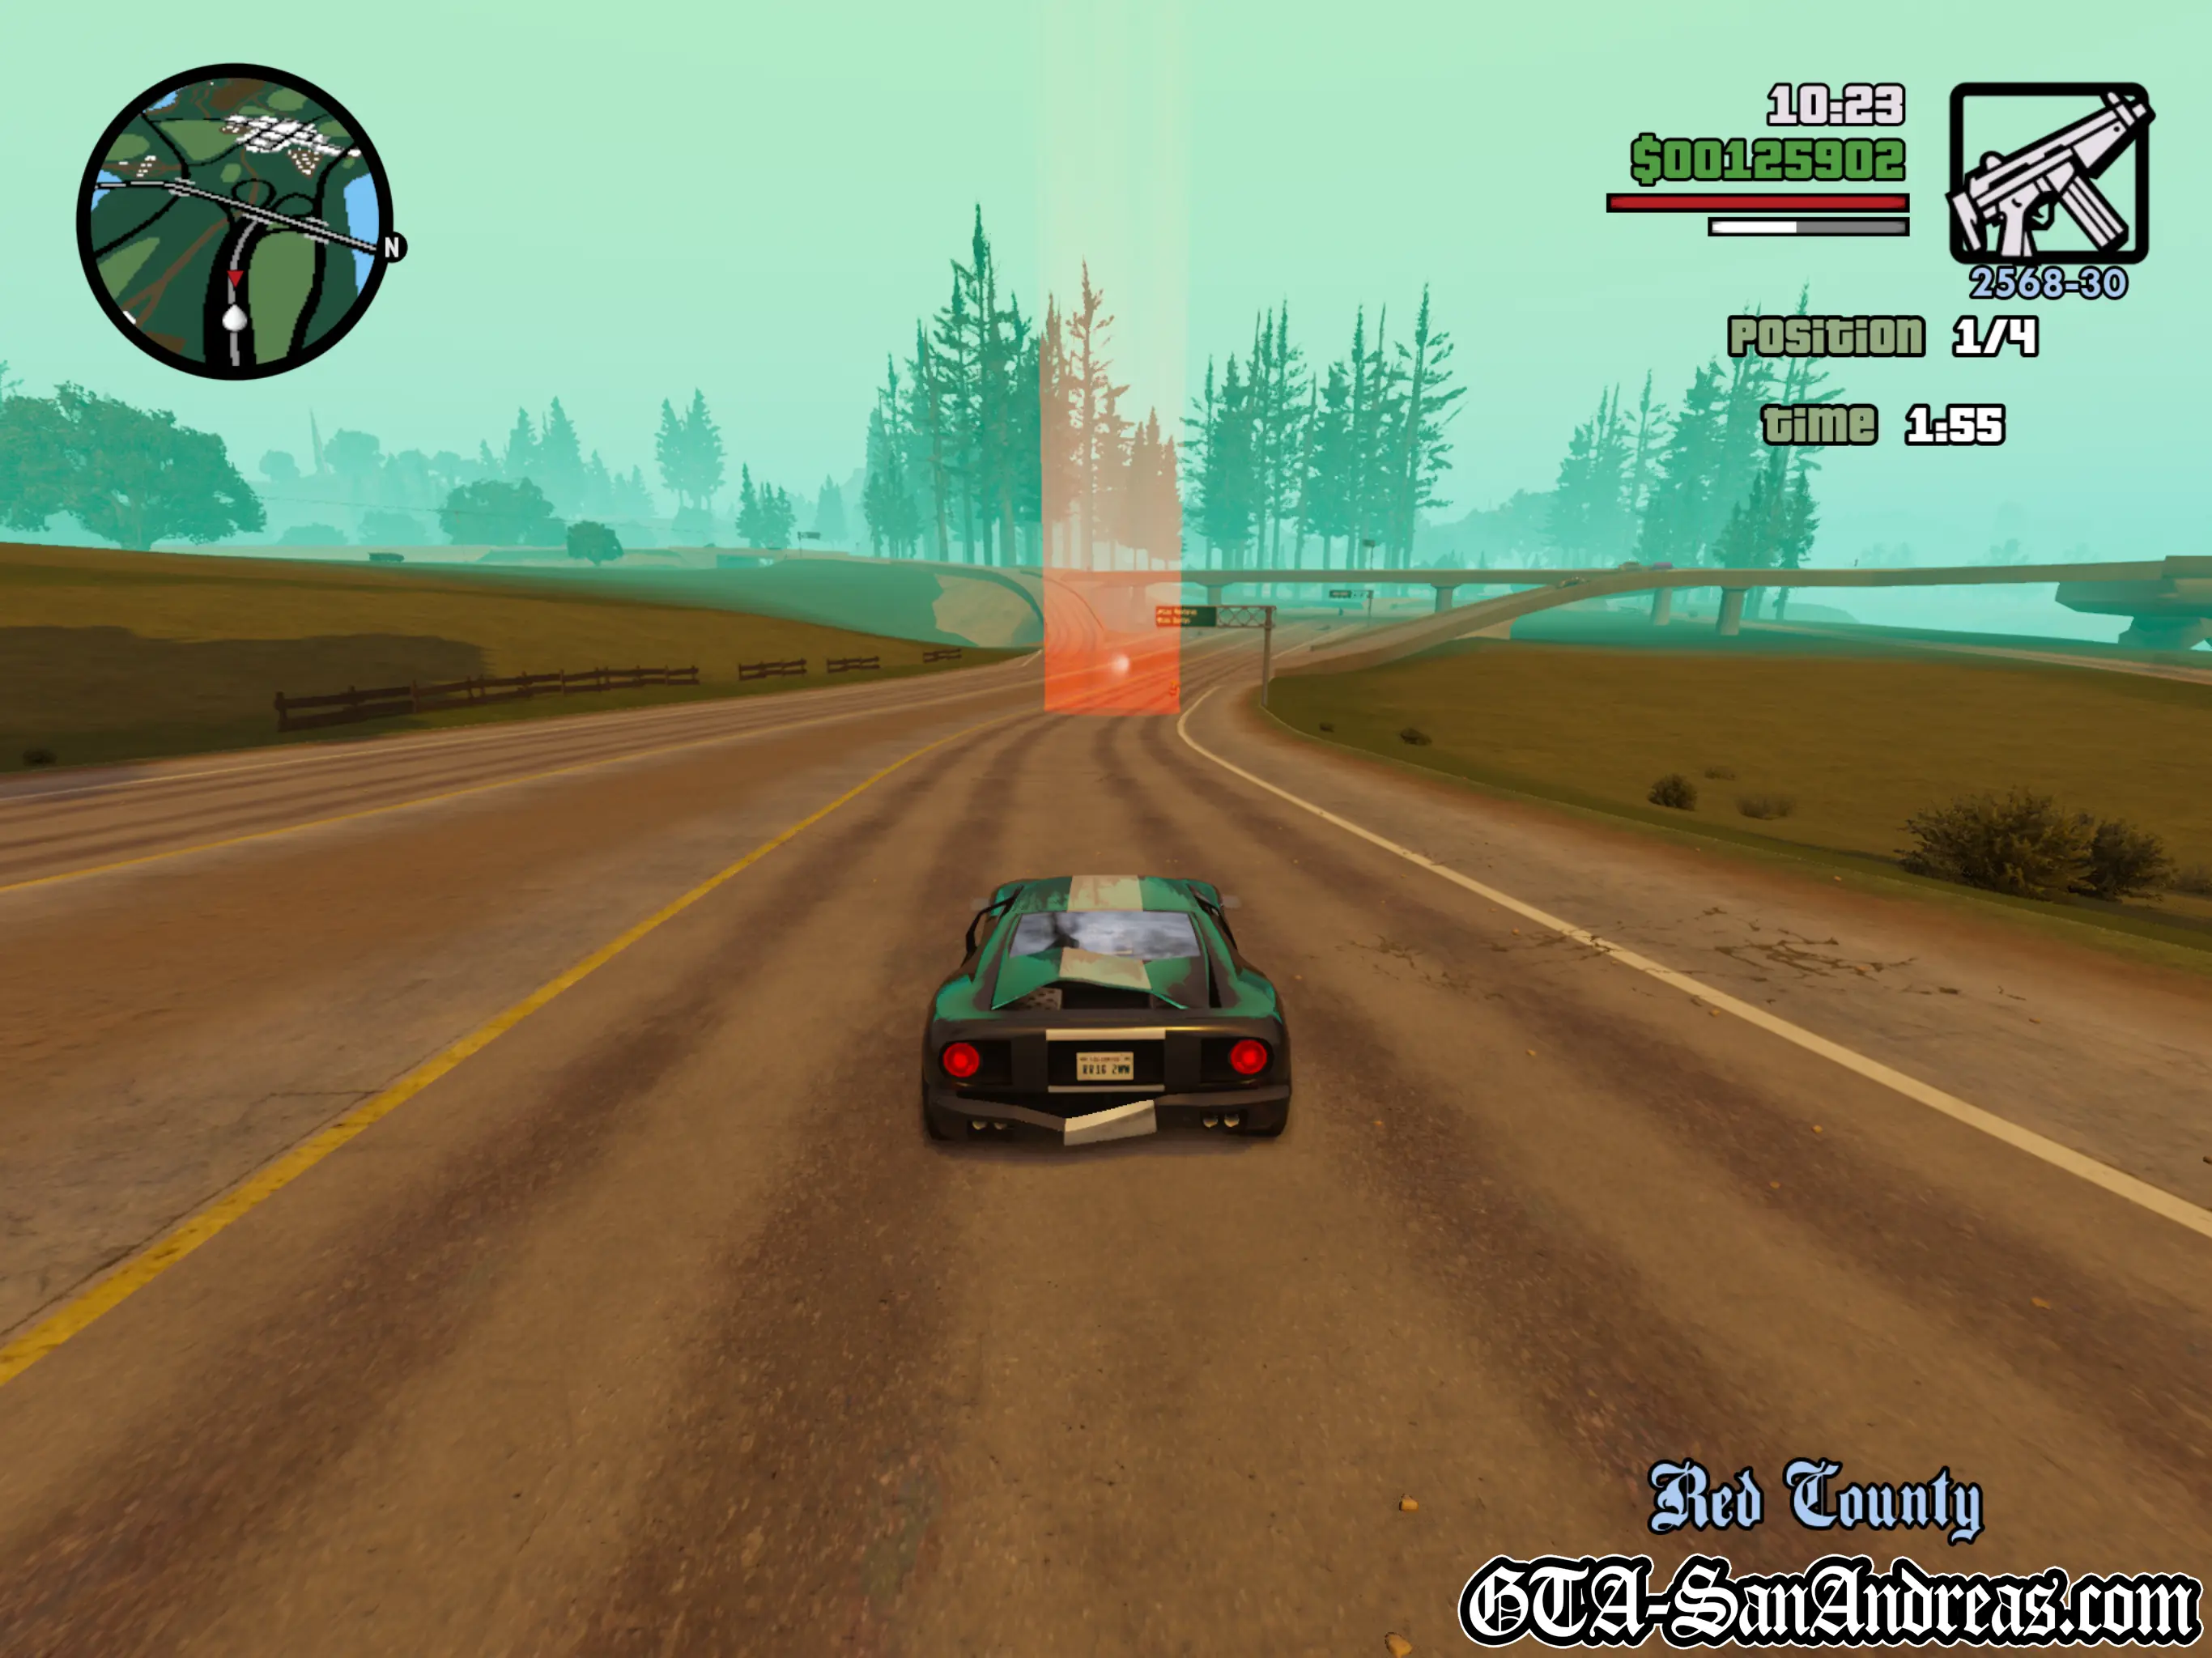
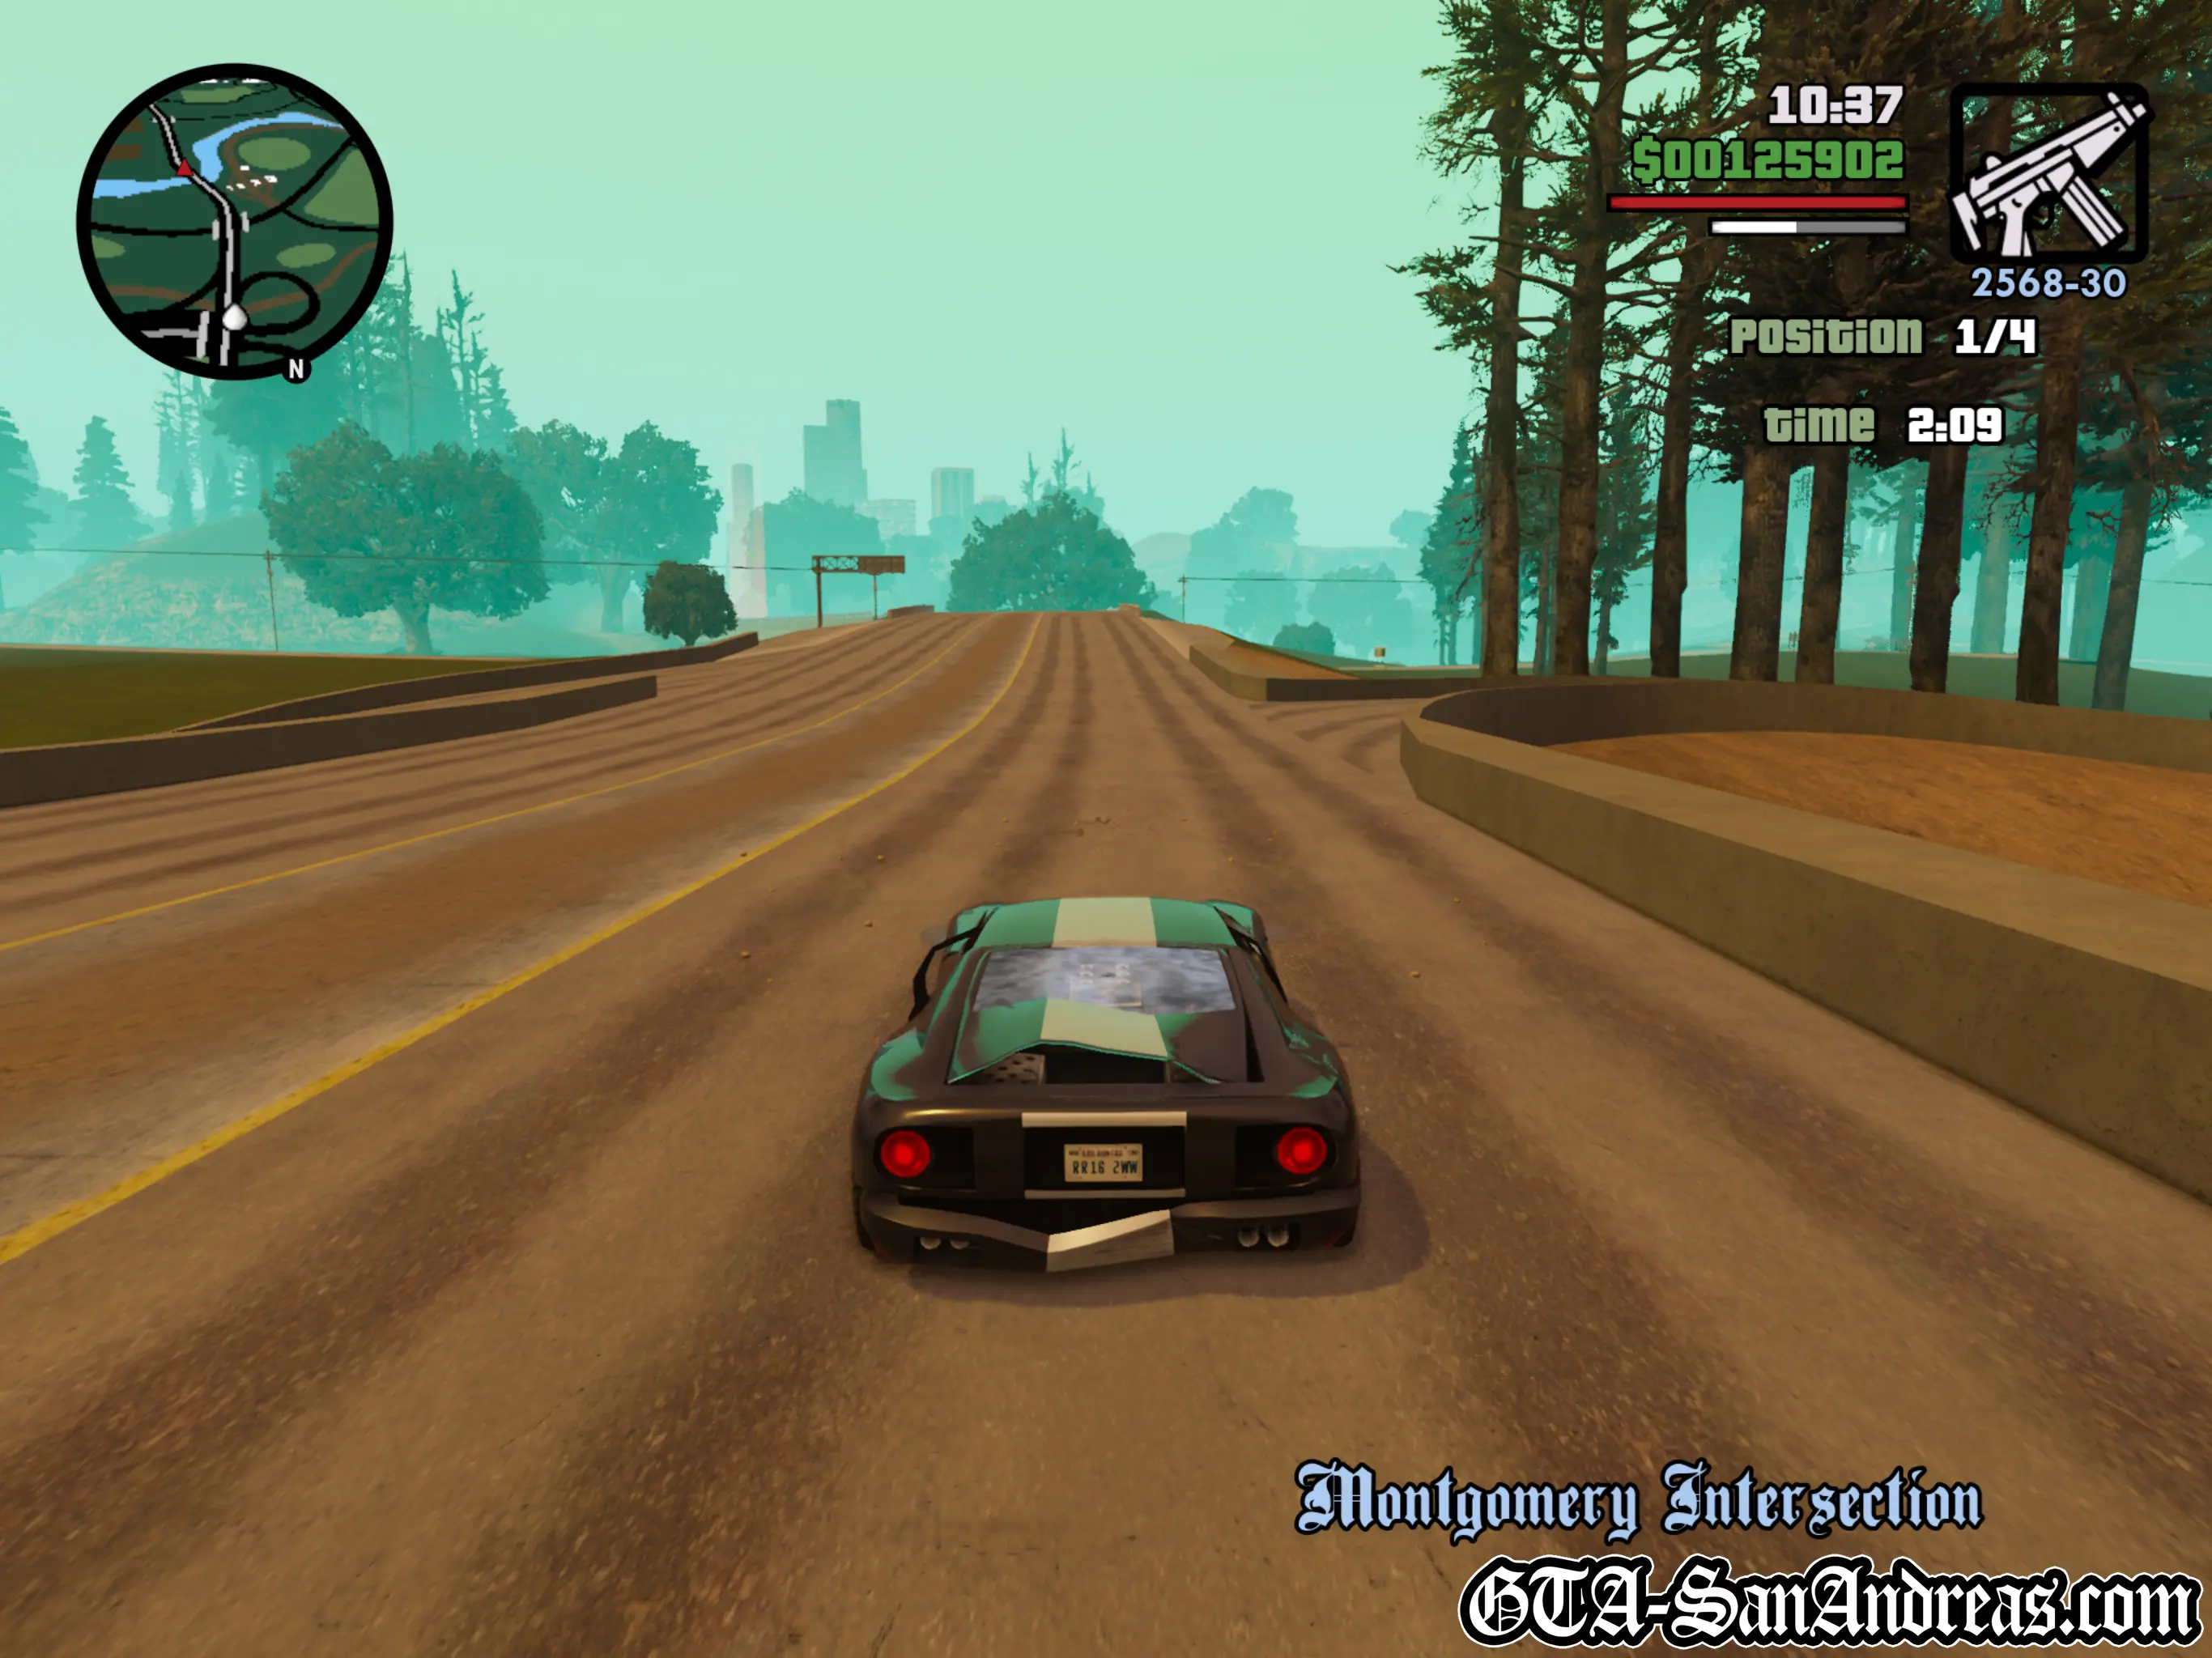
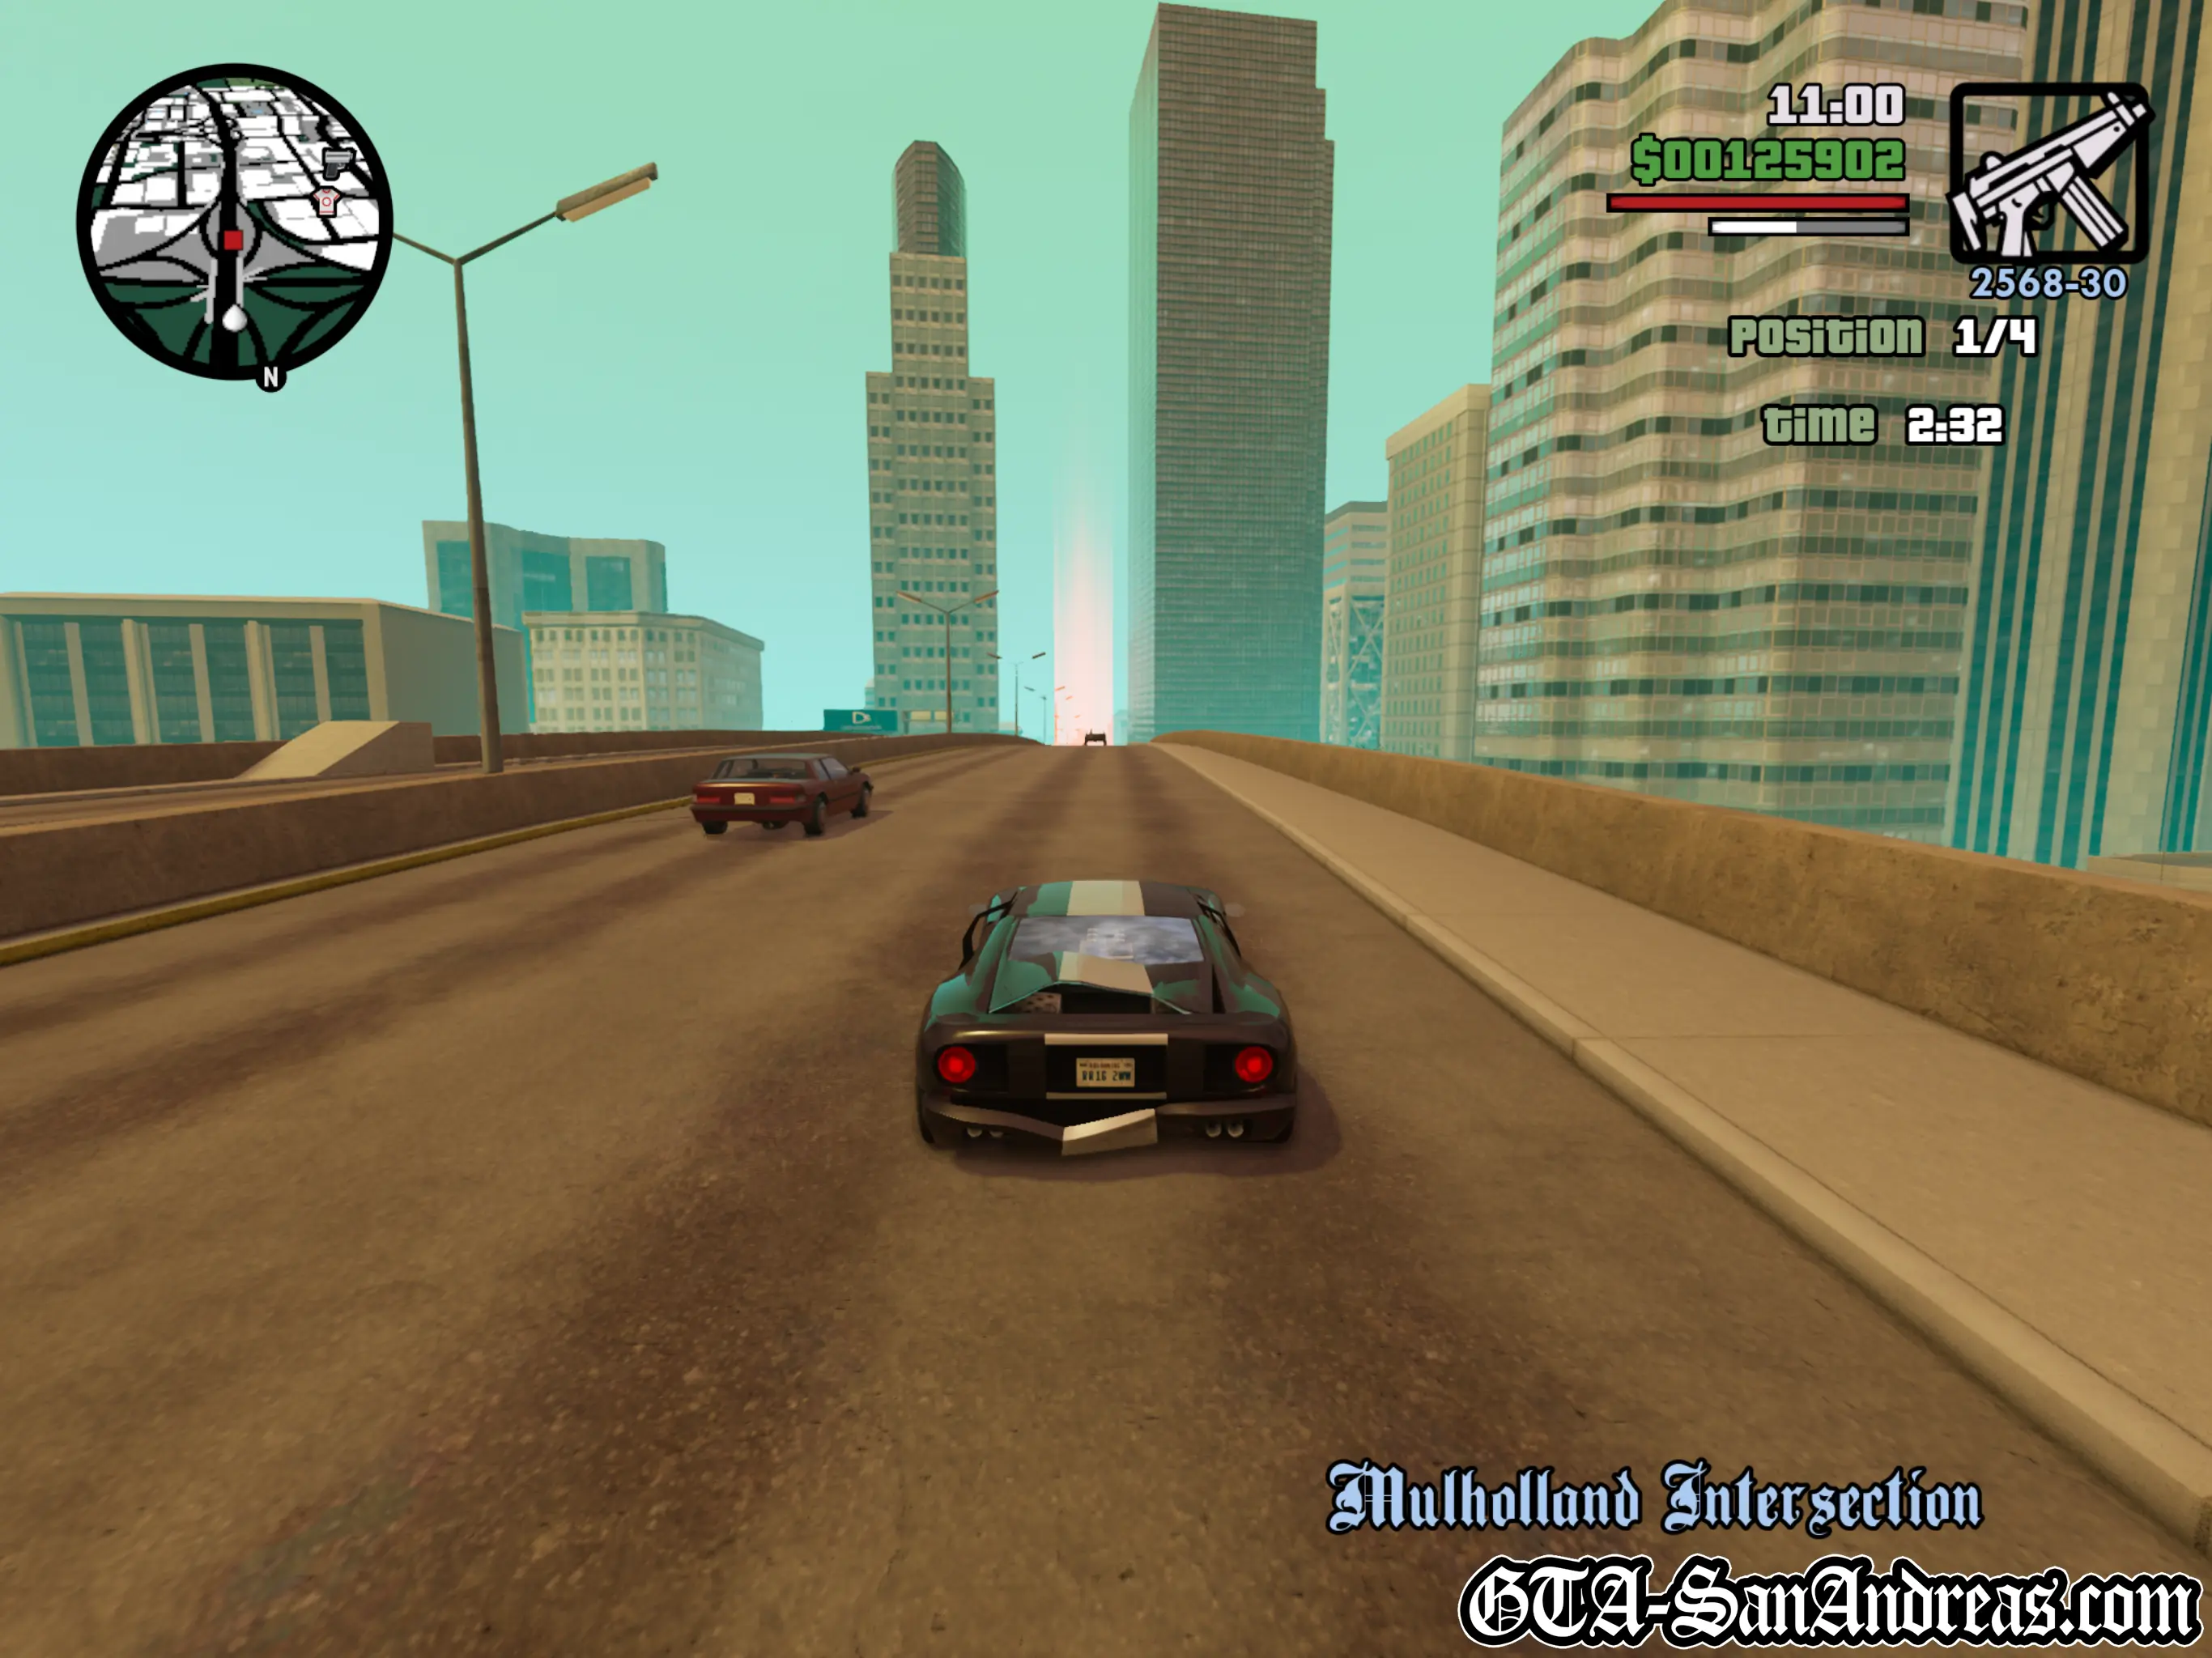
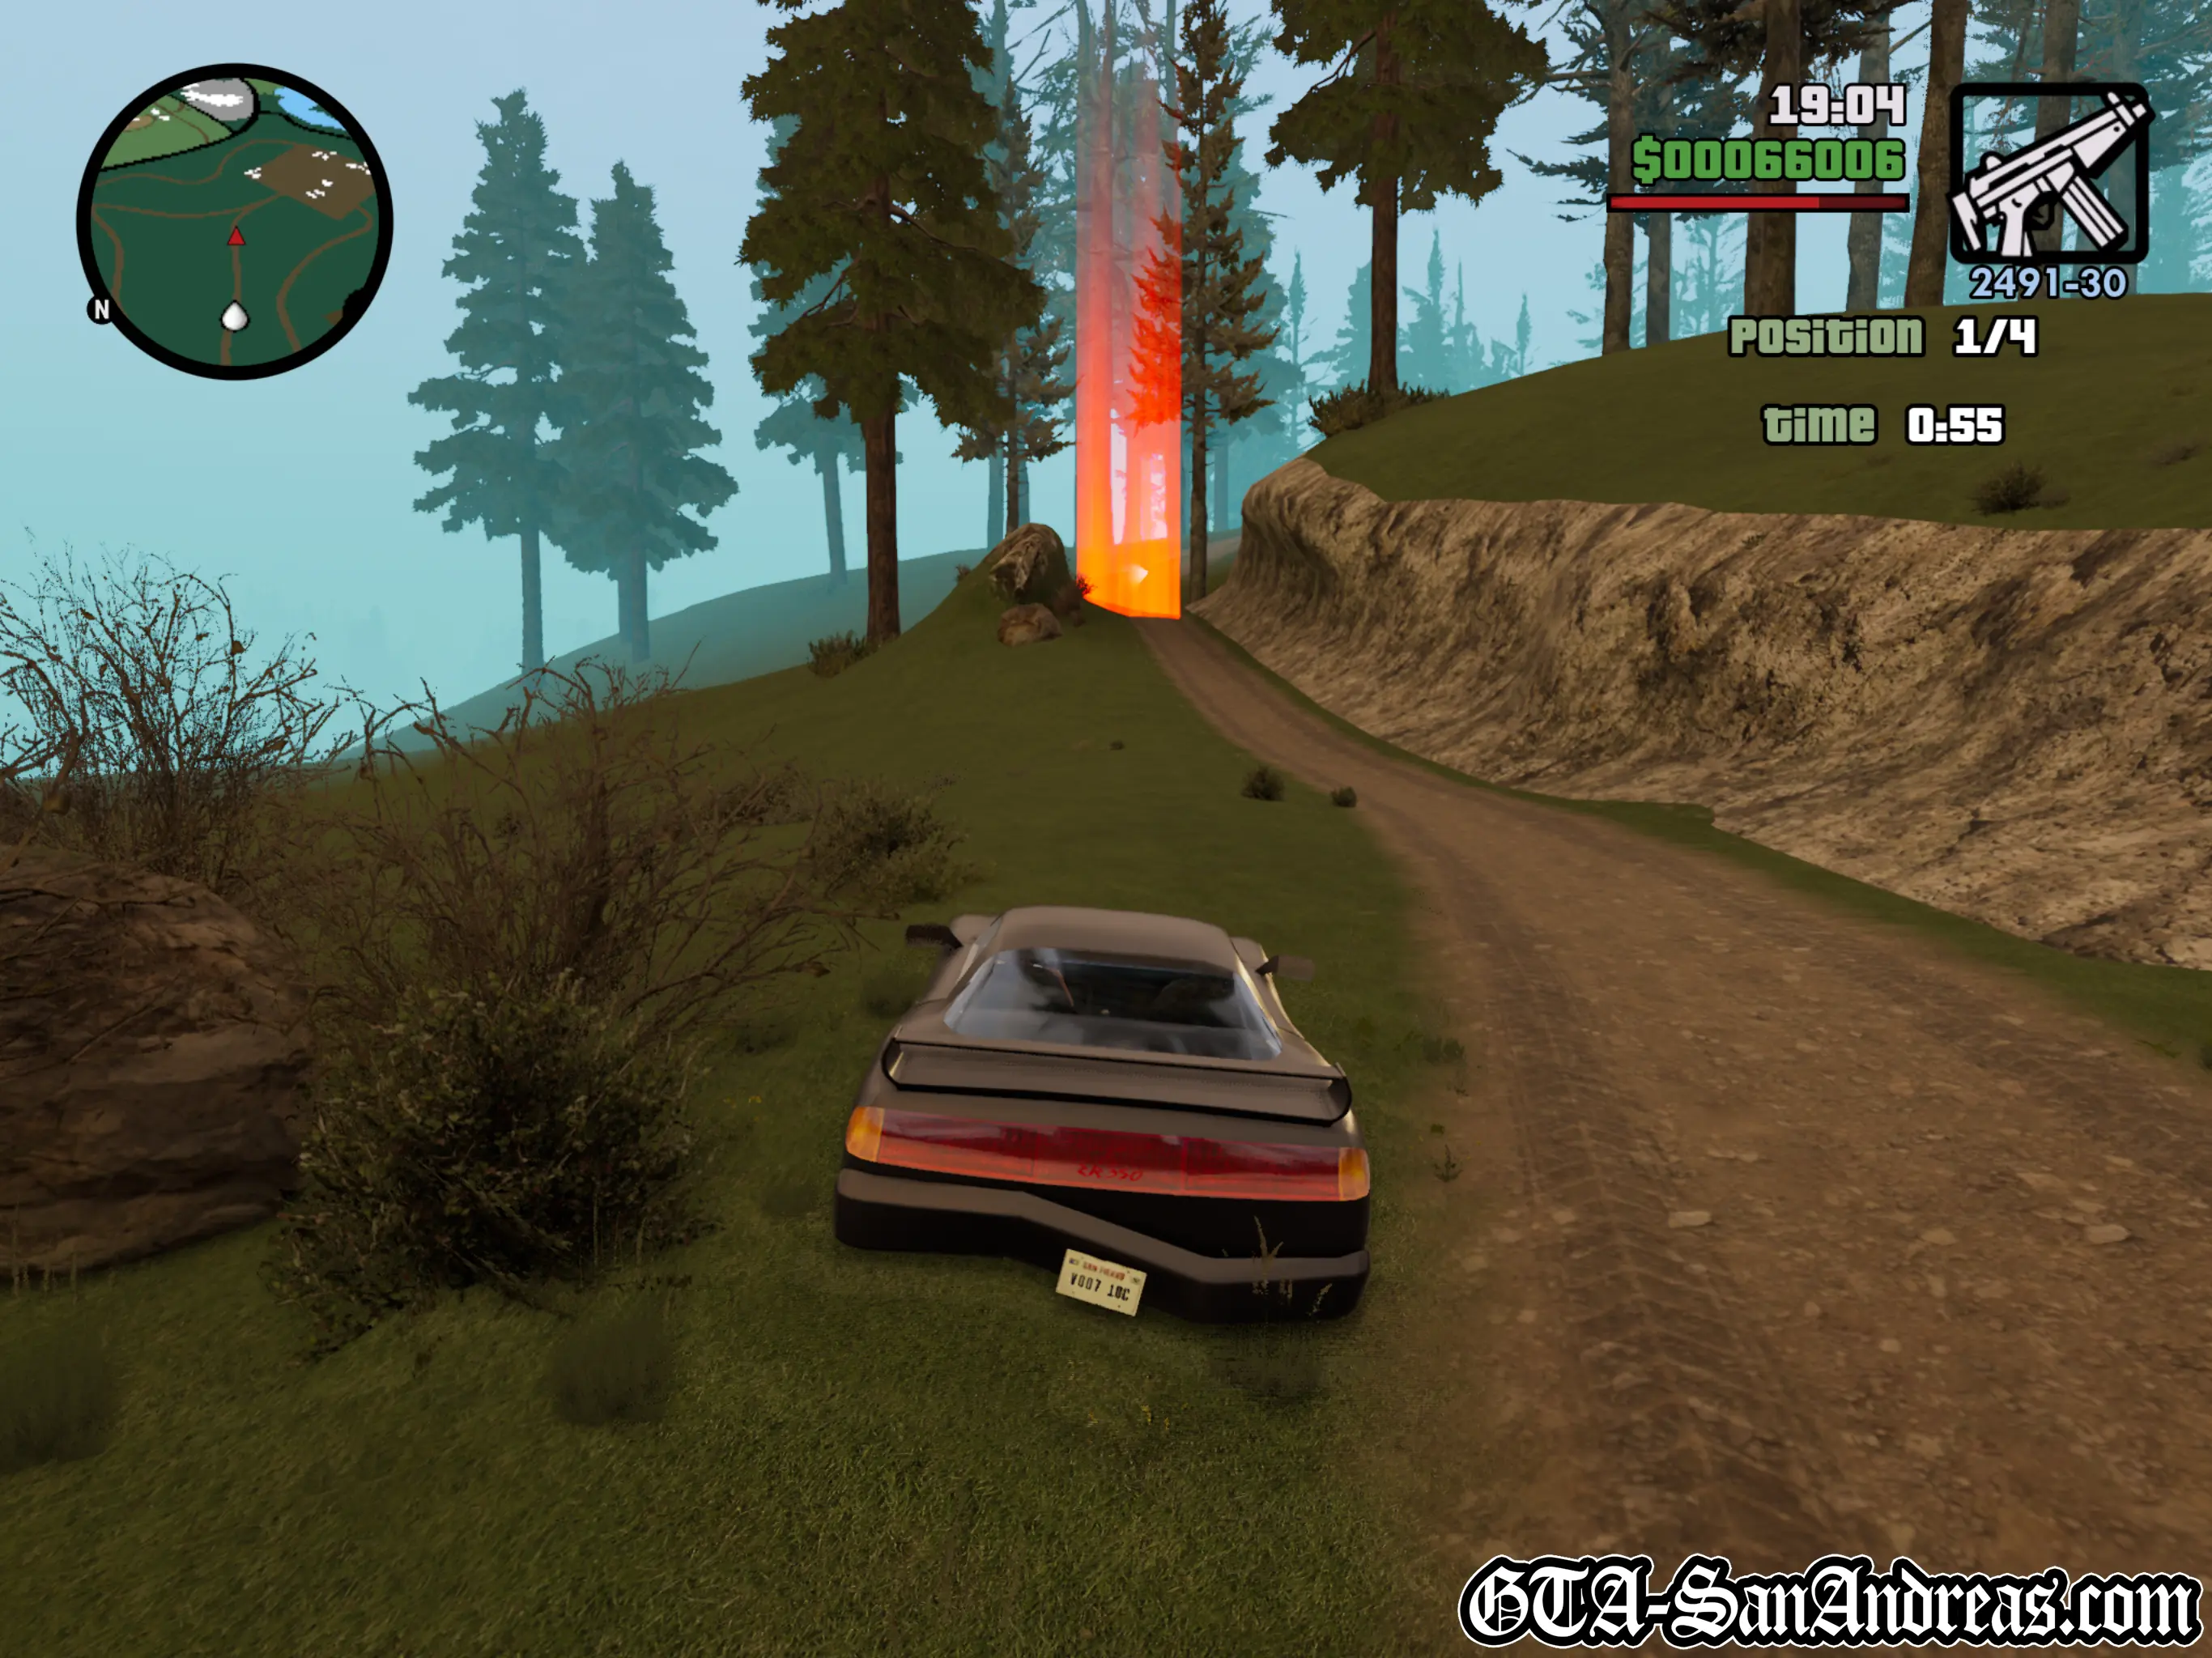
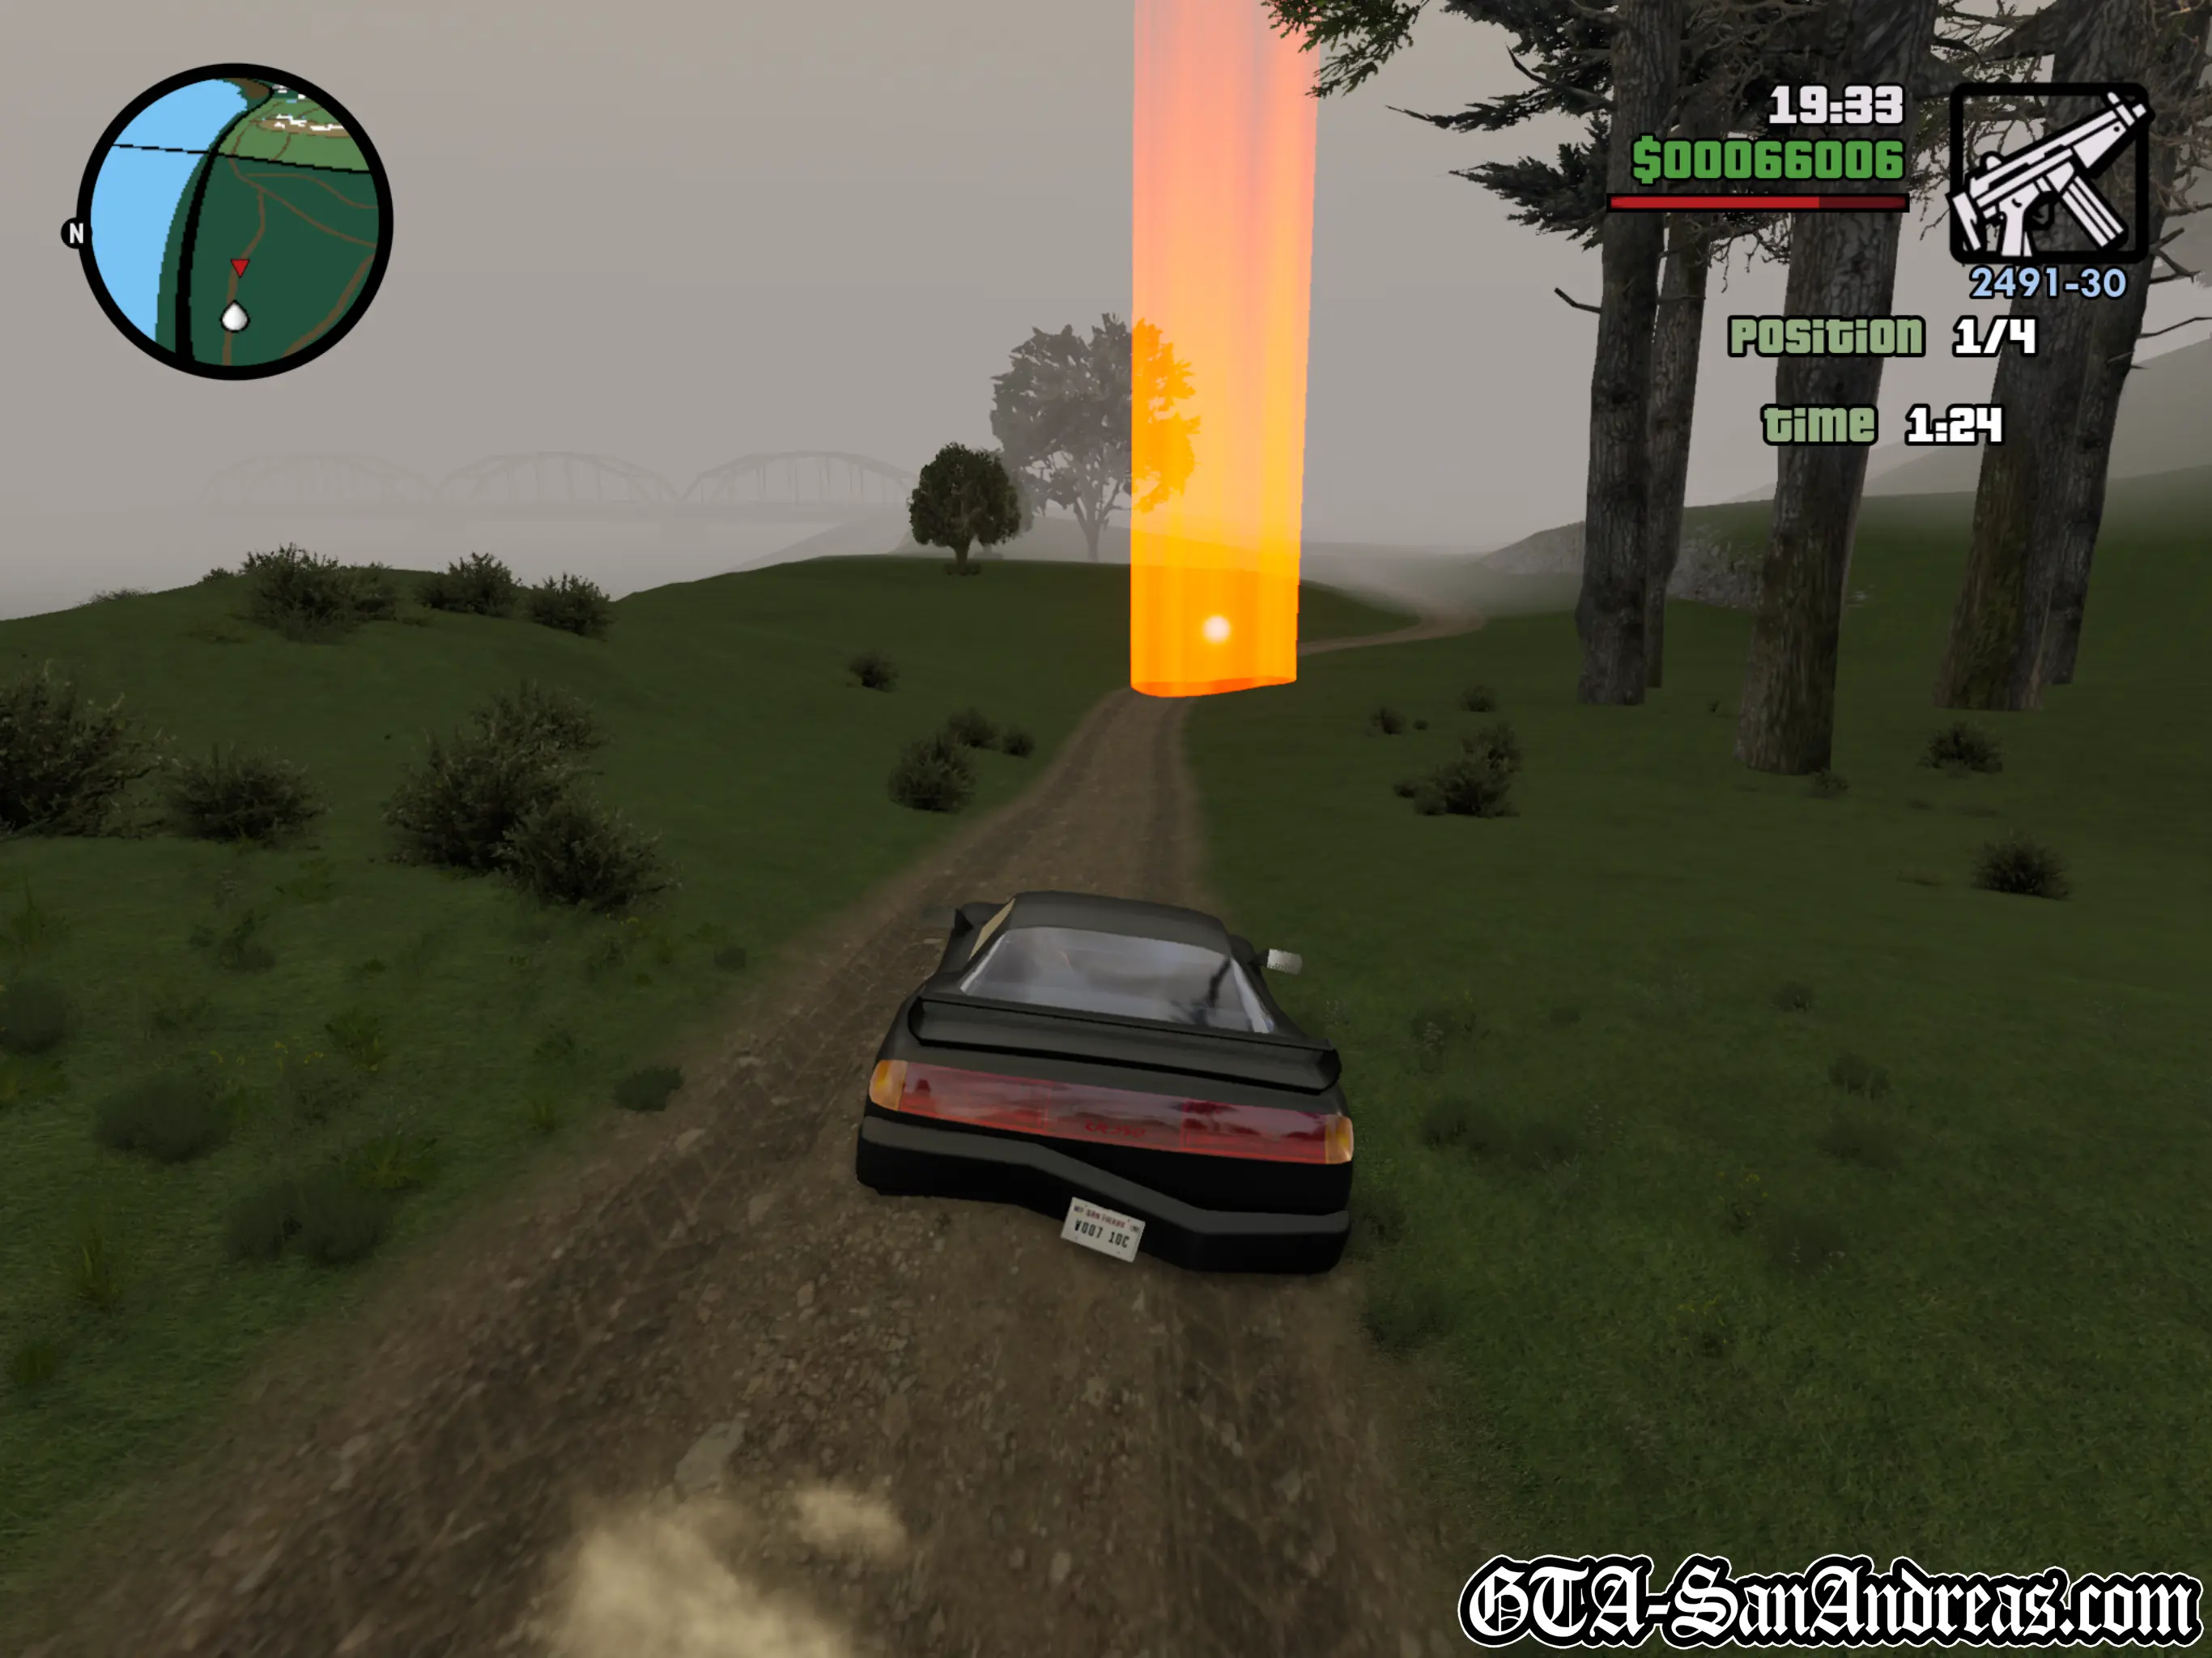
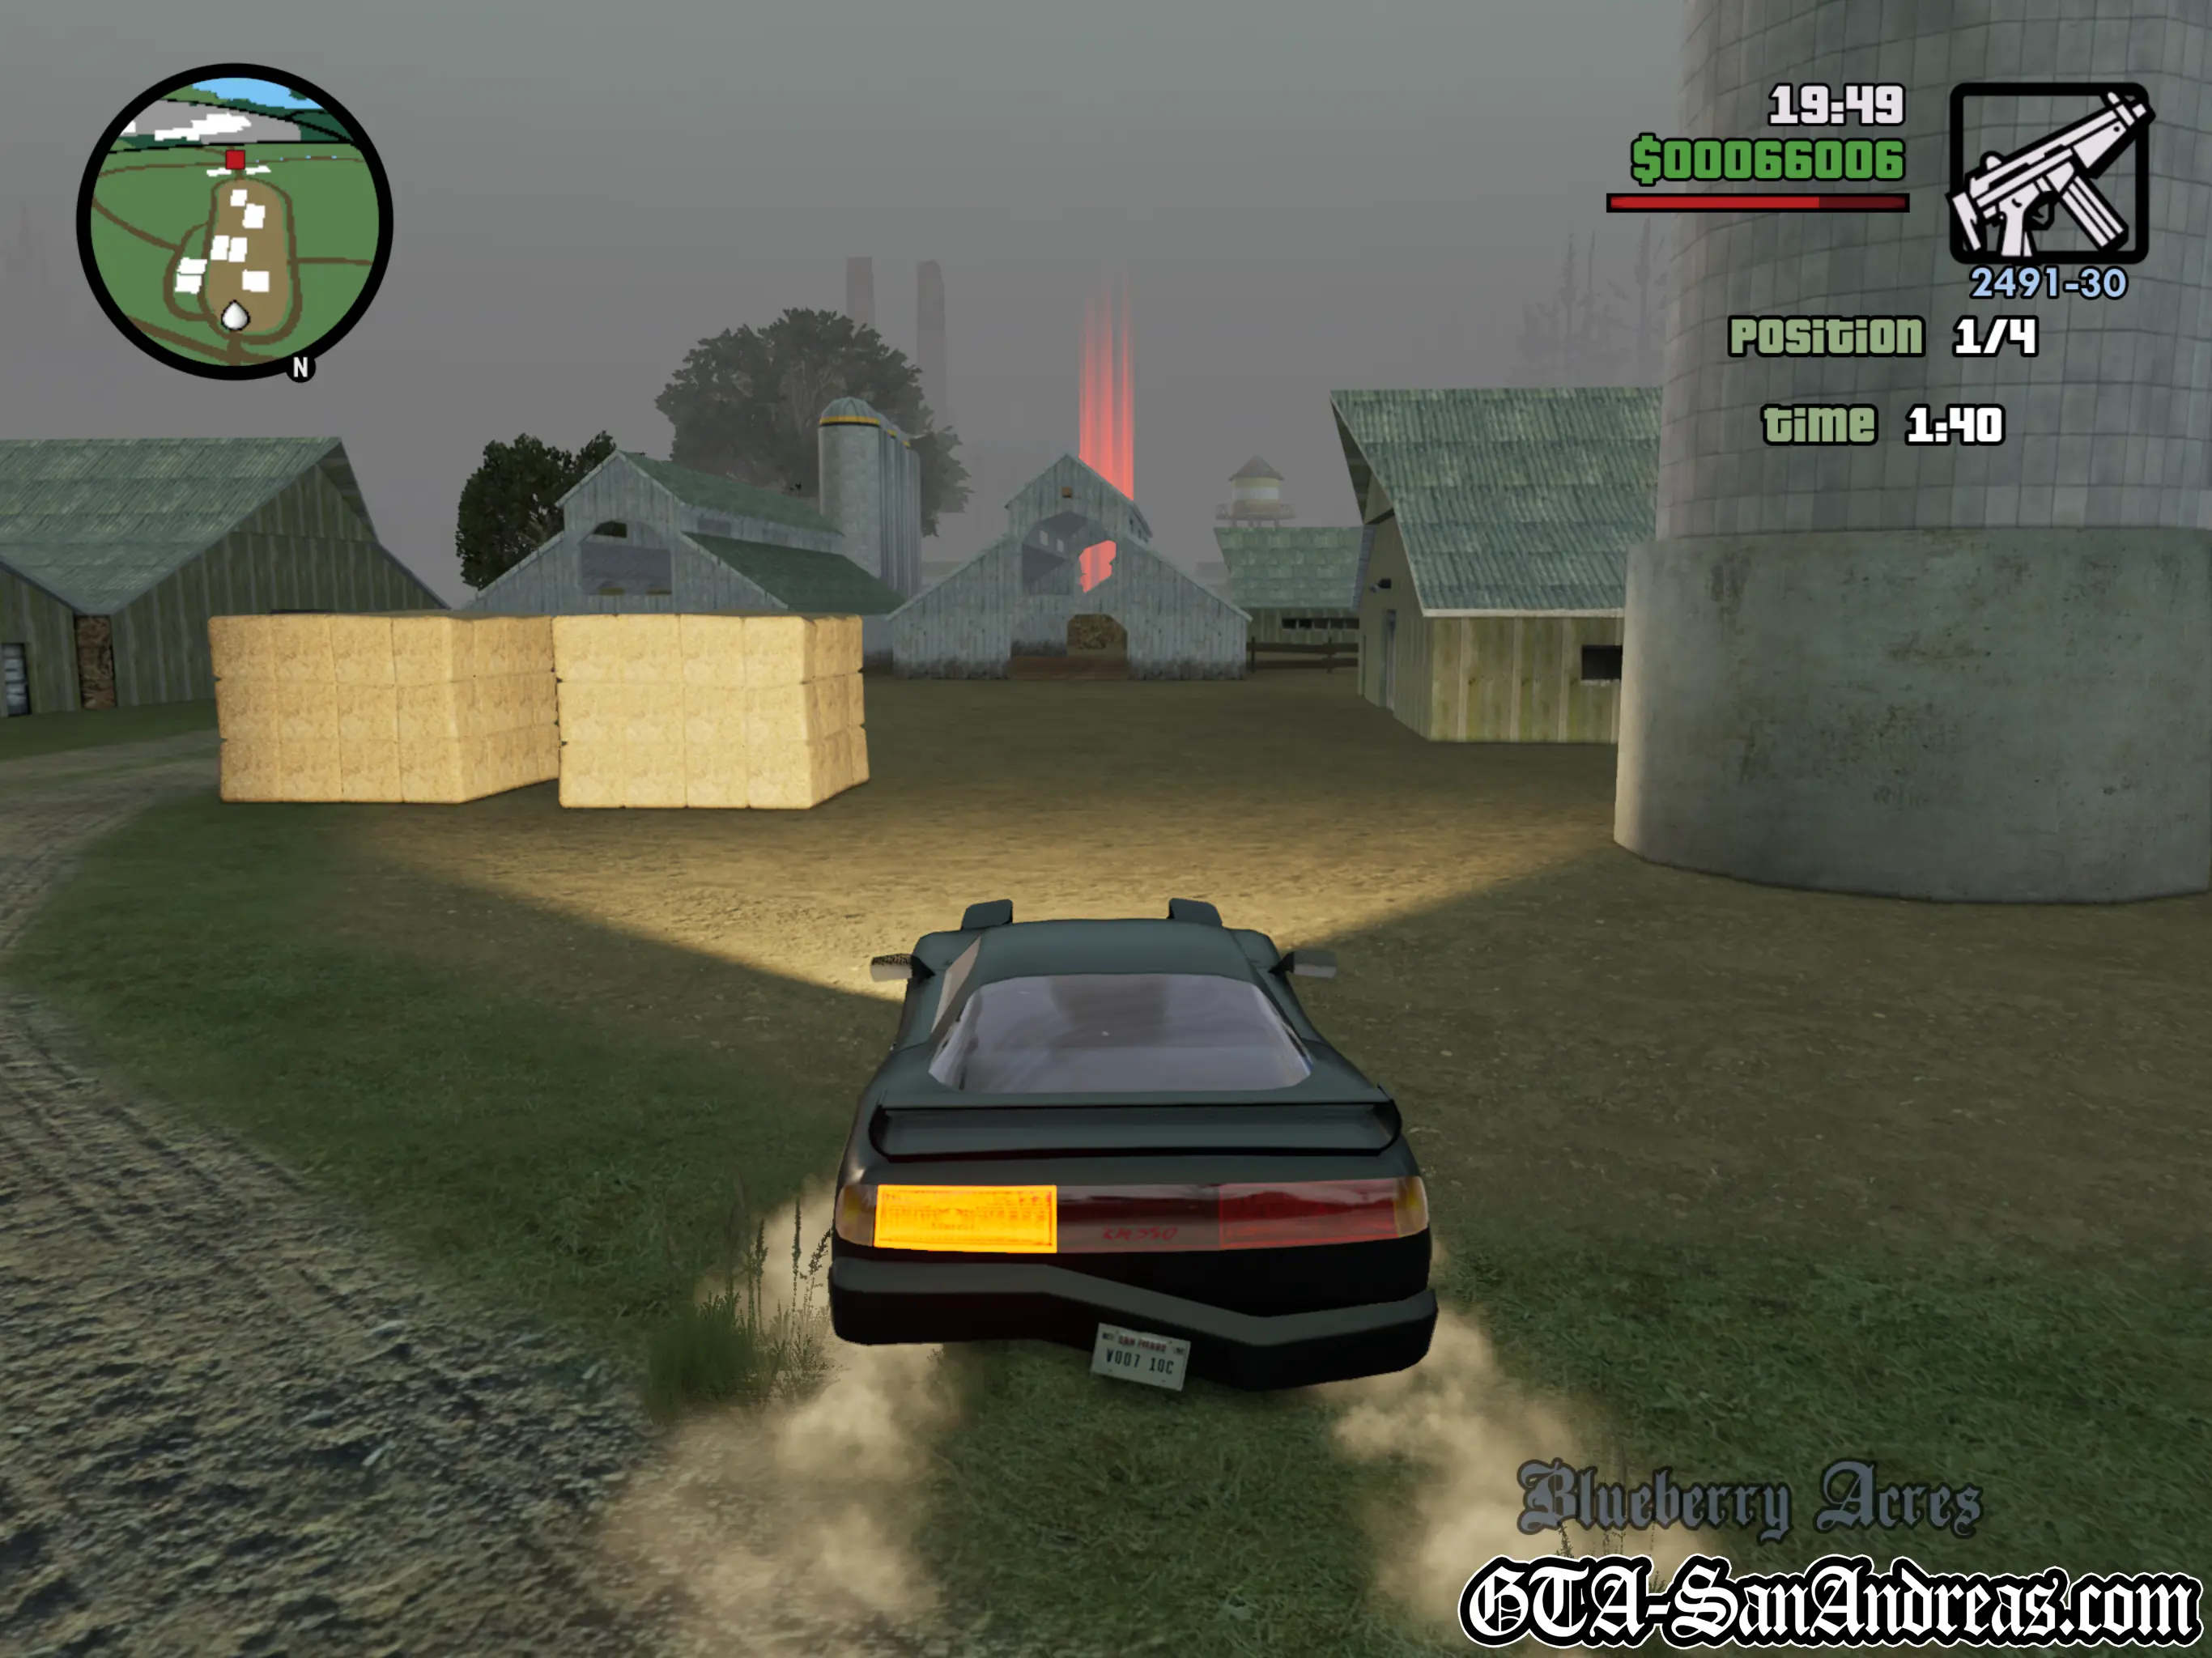
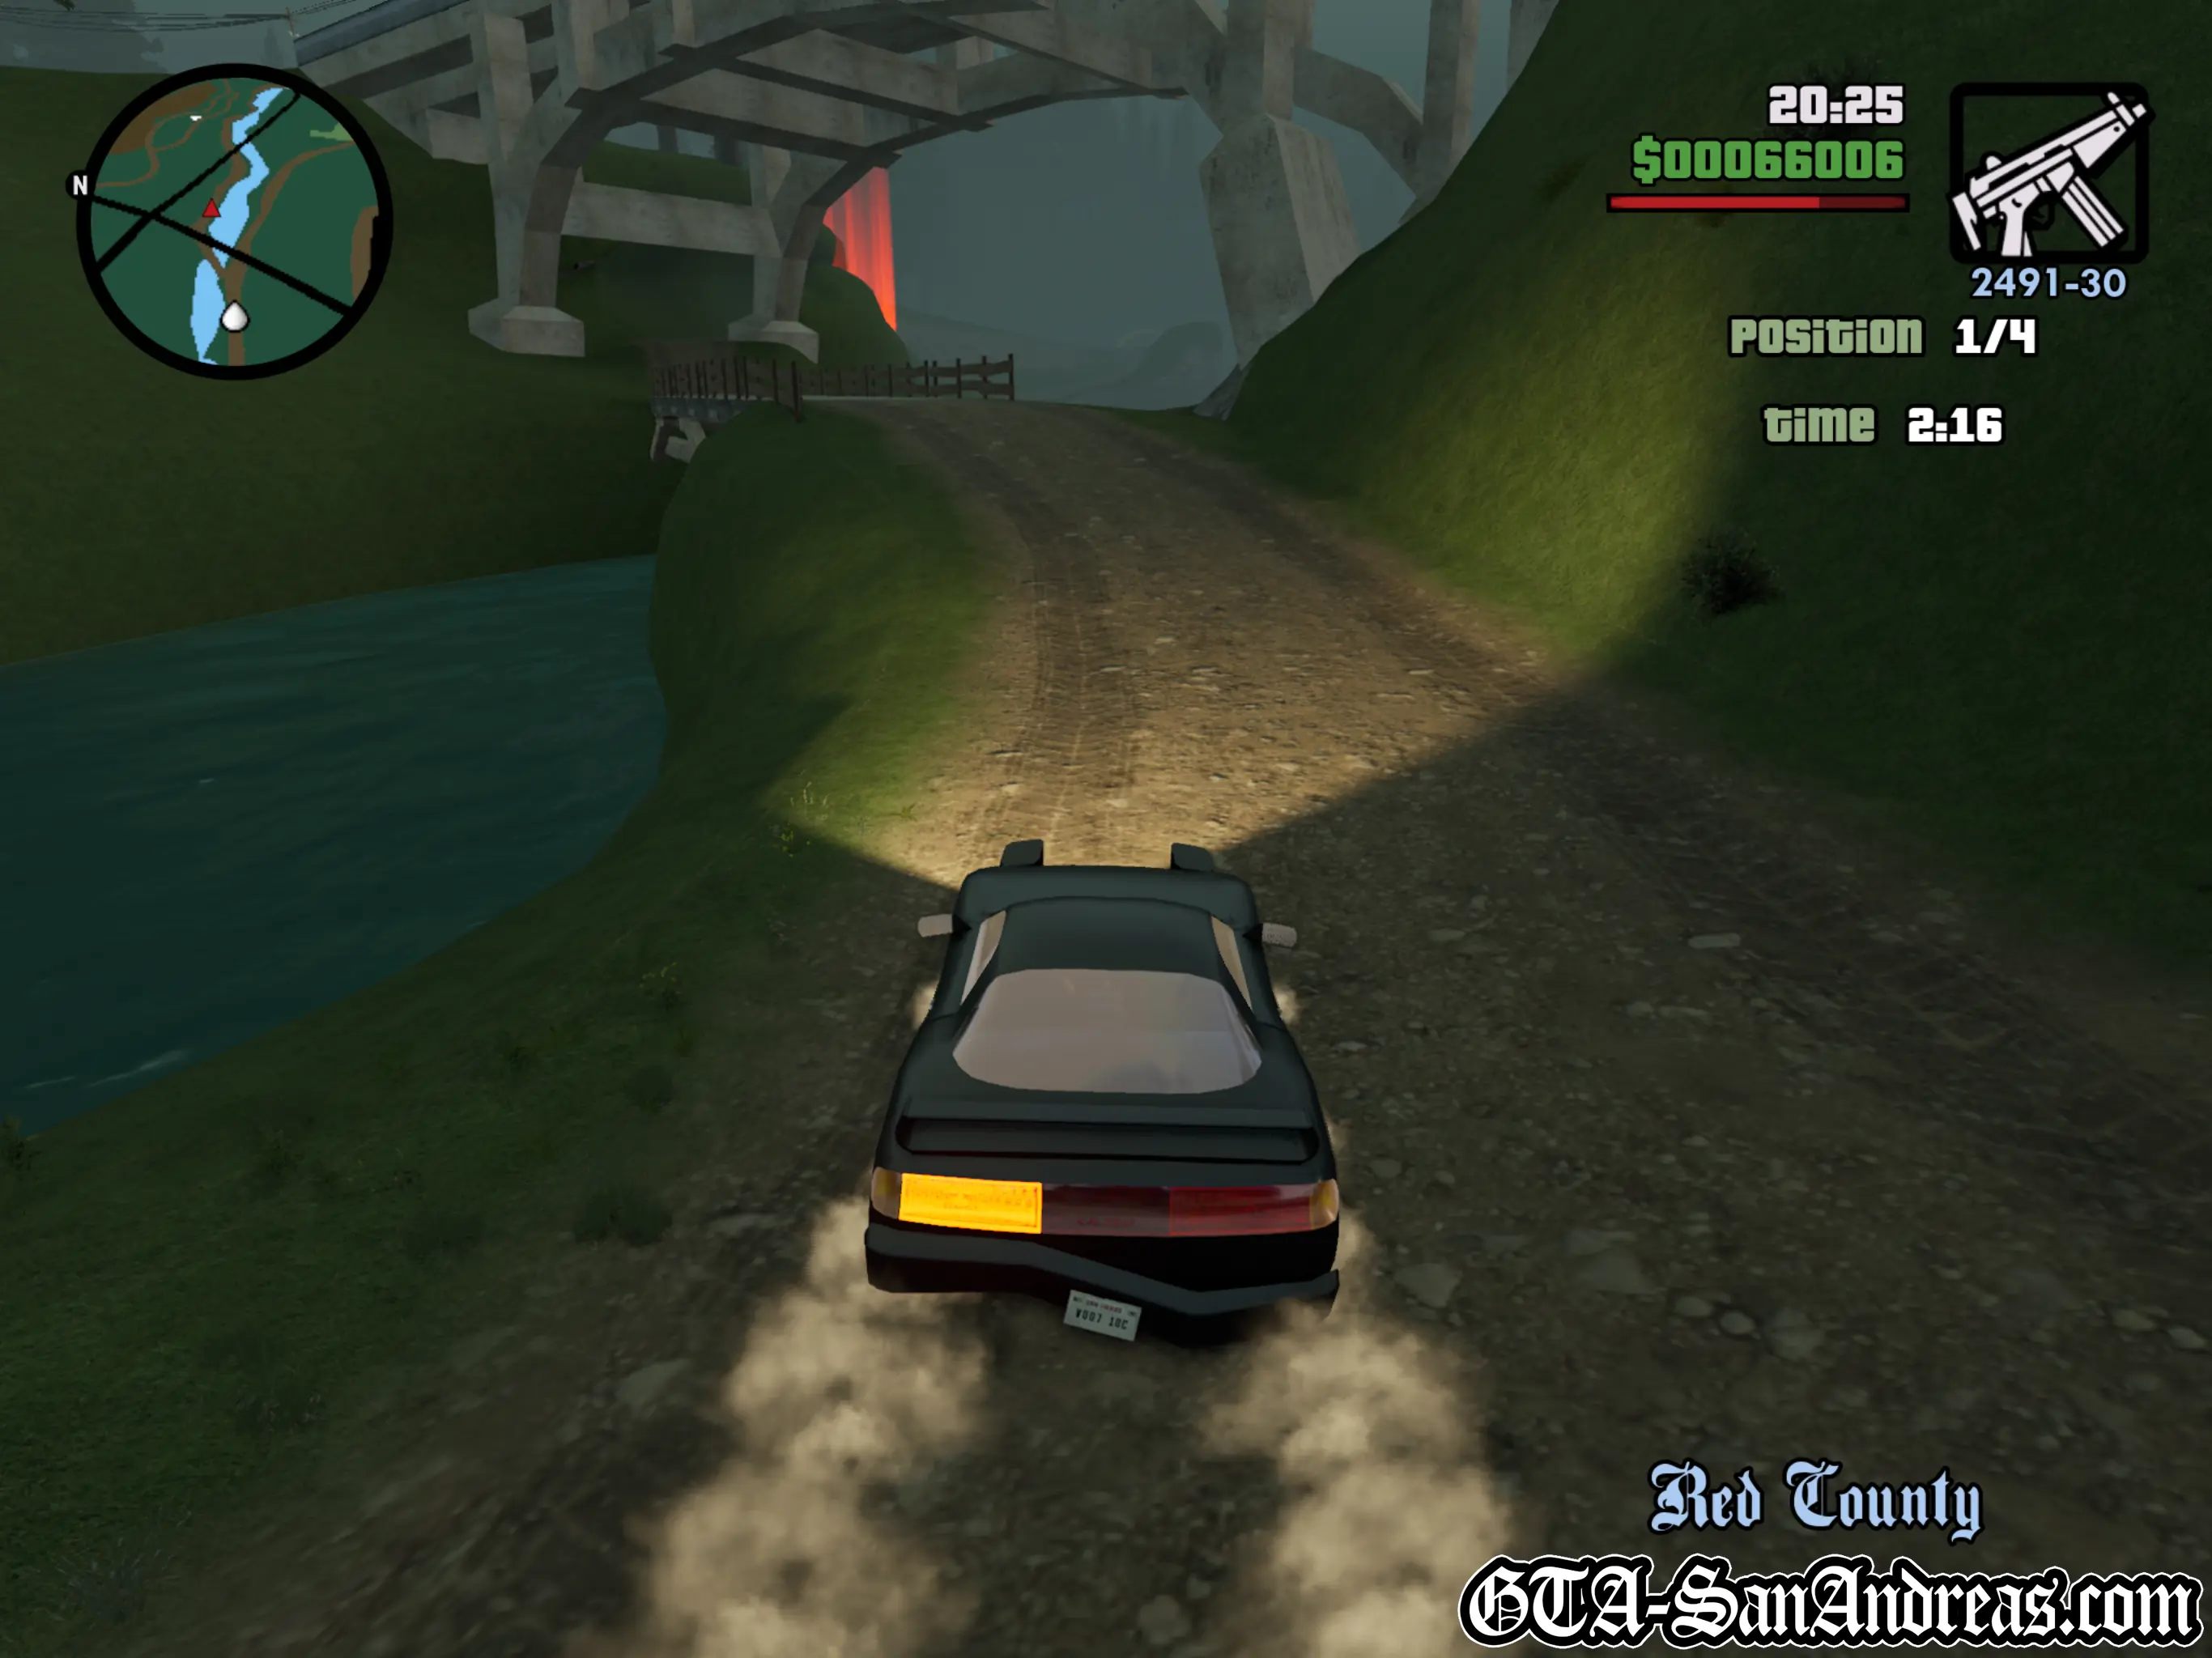
Into The Country
| Vehicle Provided | Track Distance |
|---|---|
| Bullet | 8.00 KM |
Tactics
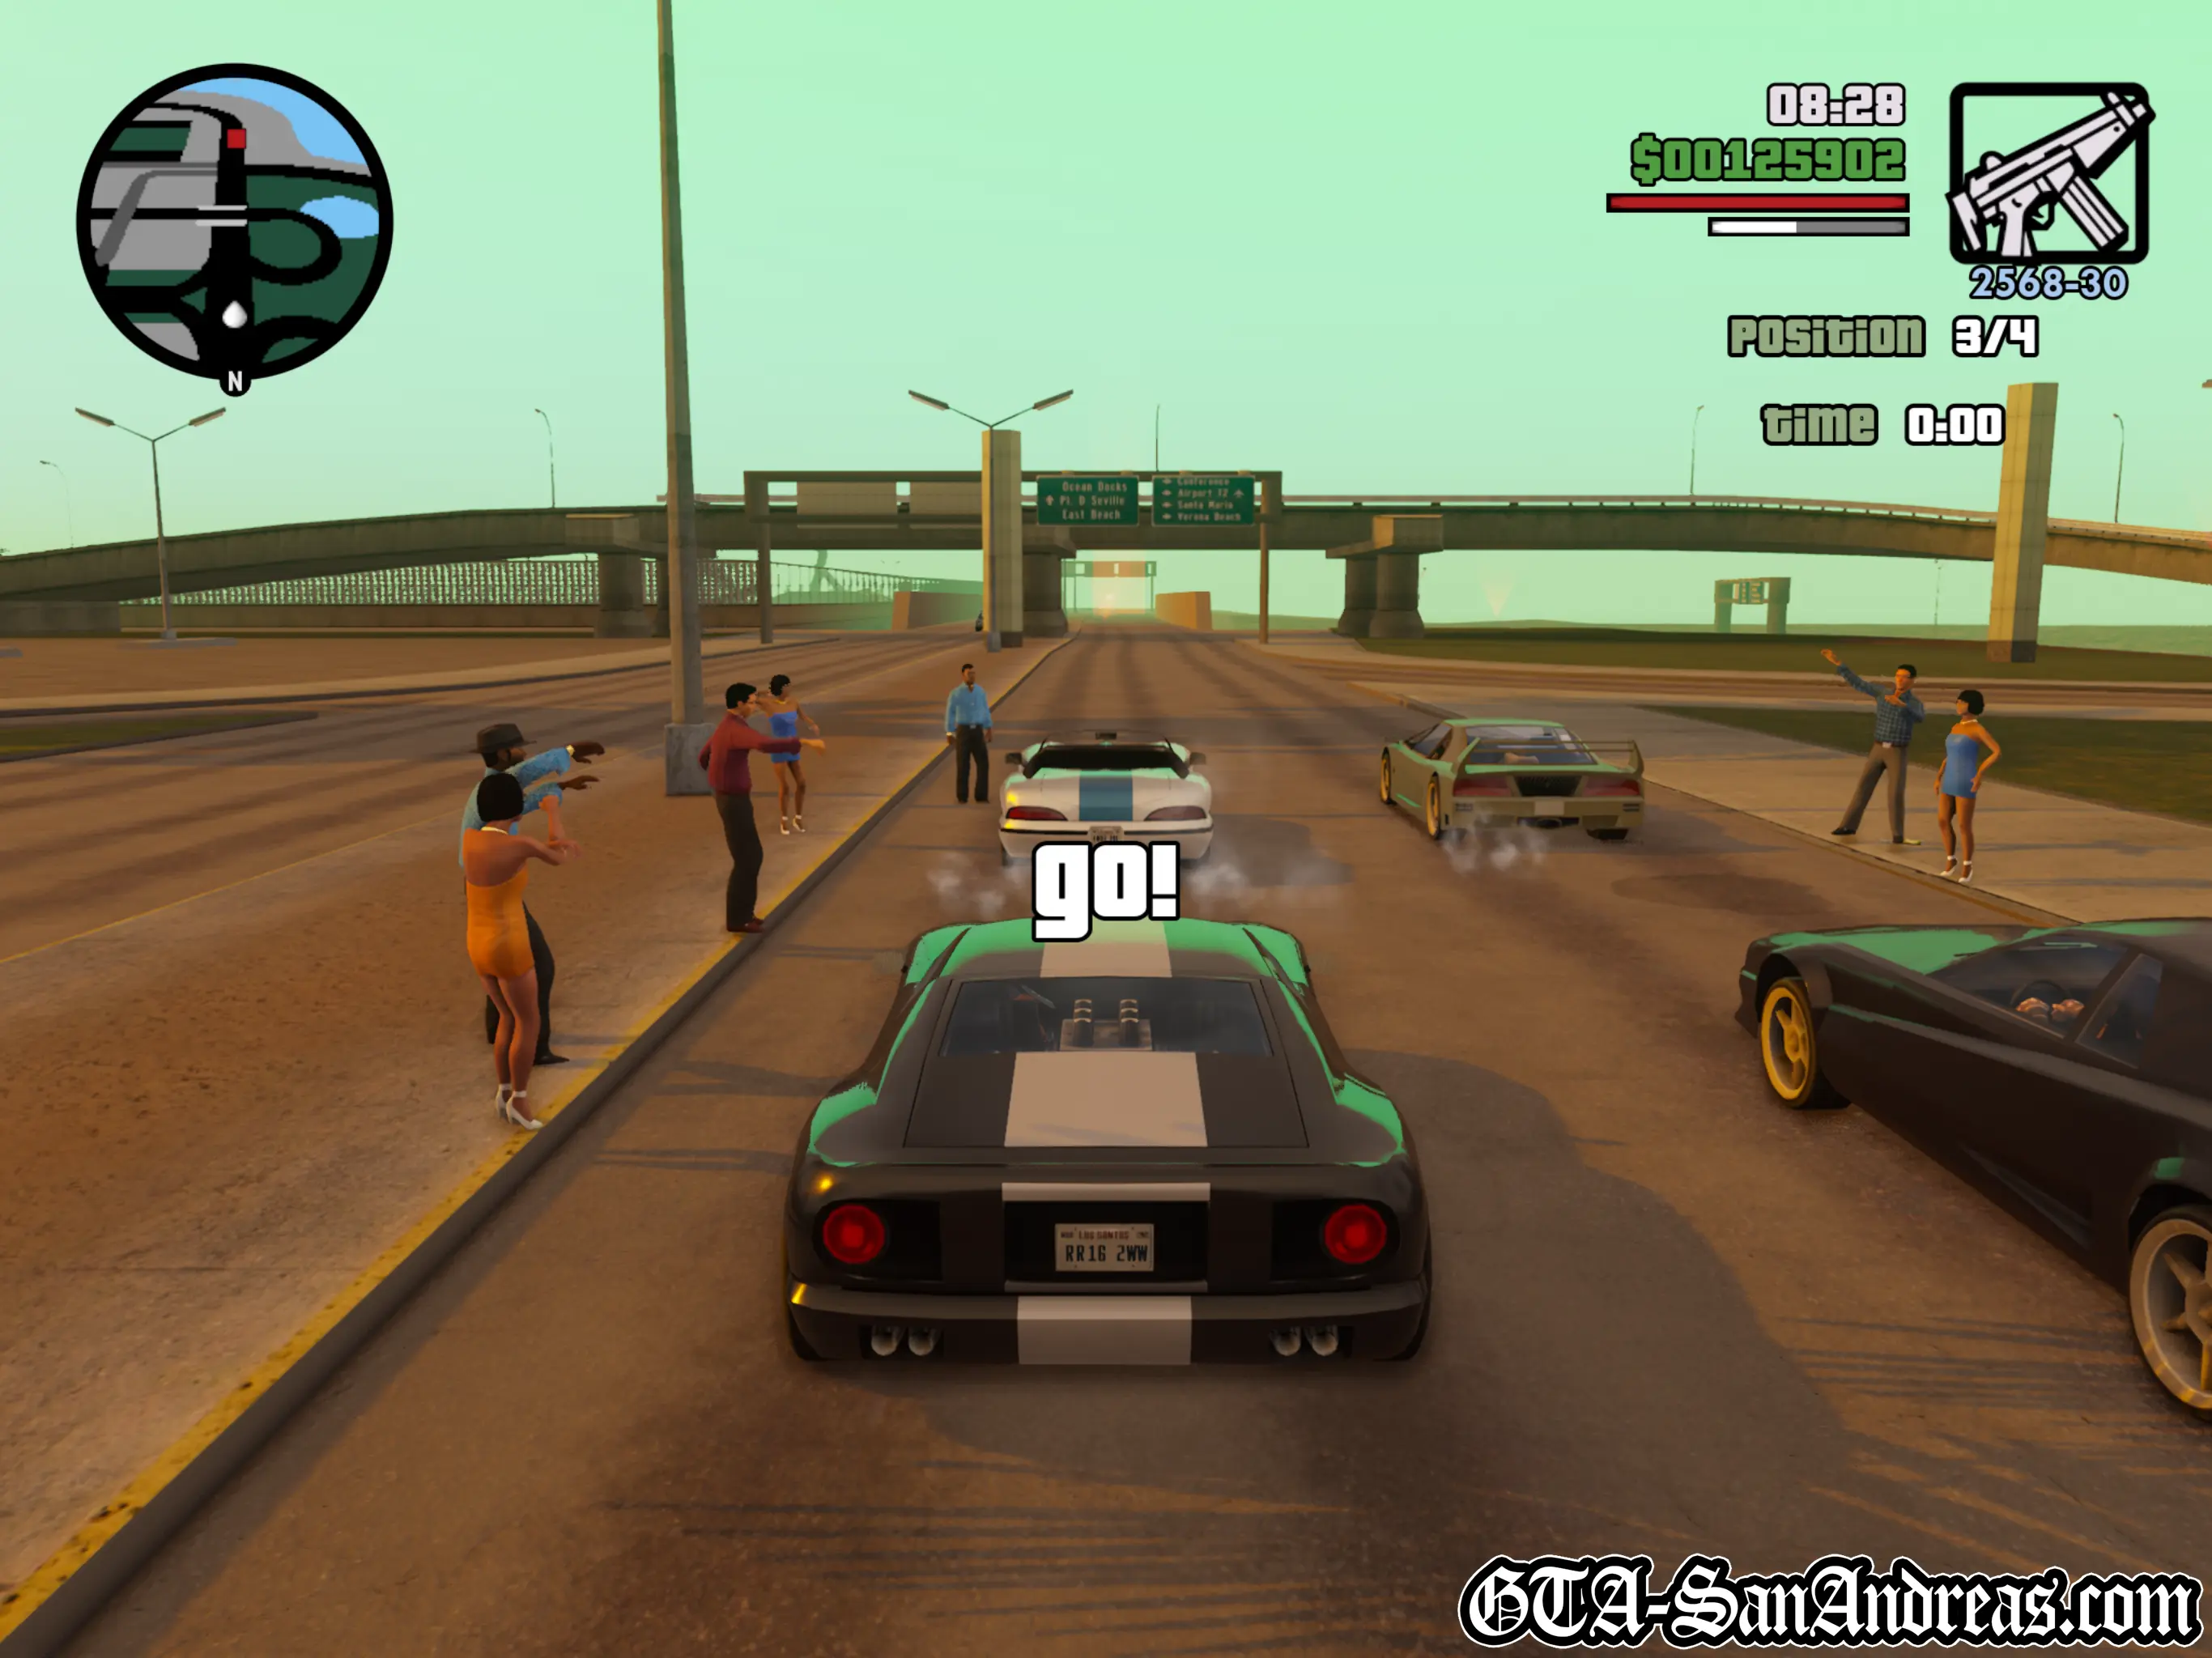
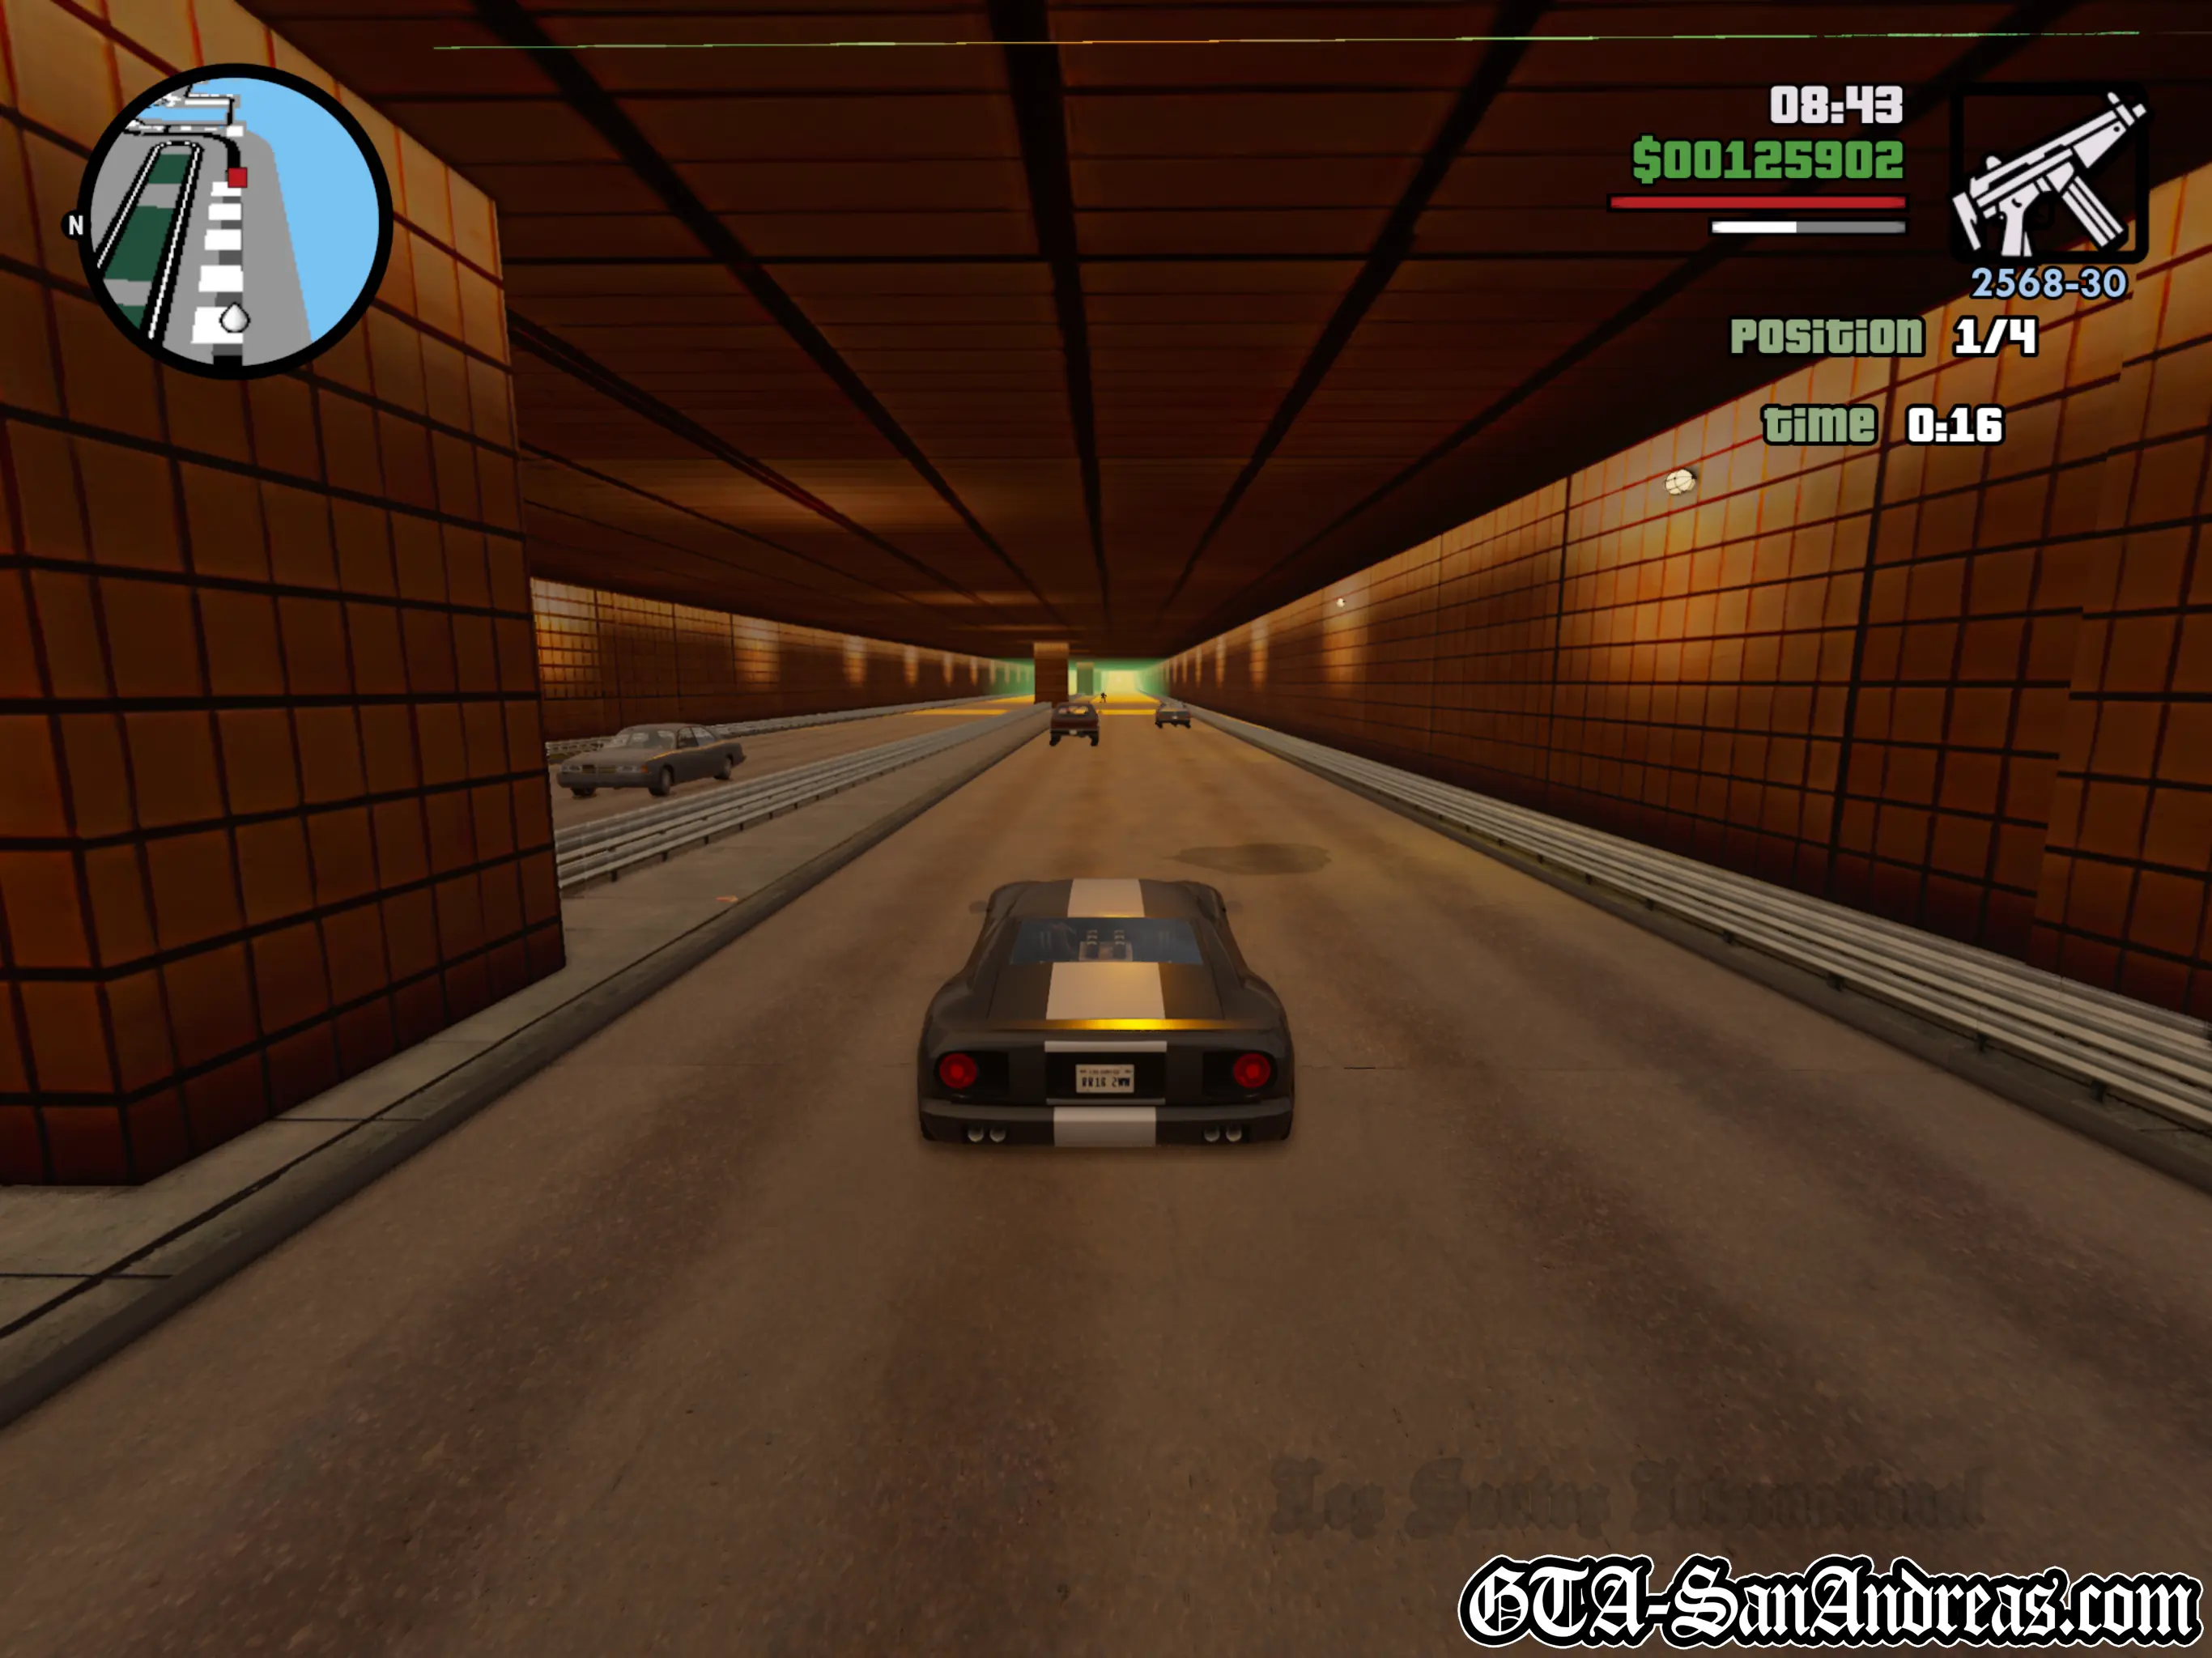
Despite the fact this track is insanely long, it's actually incredibly easy too.
For a start, you only have 3 other opponents which you can lose by the time you get out of the tunnel next to Los Santos airport.
From there just carefully speed your way through the industrial traffic and onto the freeway heading North.
It's pretty much a straight road all the way and cars will stop spawning in front of you when you travel extremely fast, so unless you completely smash up your car, you should be able to hold together long enough to win by a mile. Even spinning out will give you more than enough time to get going again before you're caught but the Bullet has great high-speed handling so you shouldn't have many problems.
Screenshots
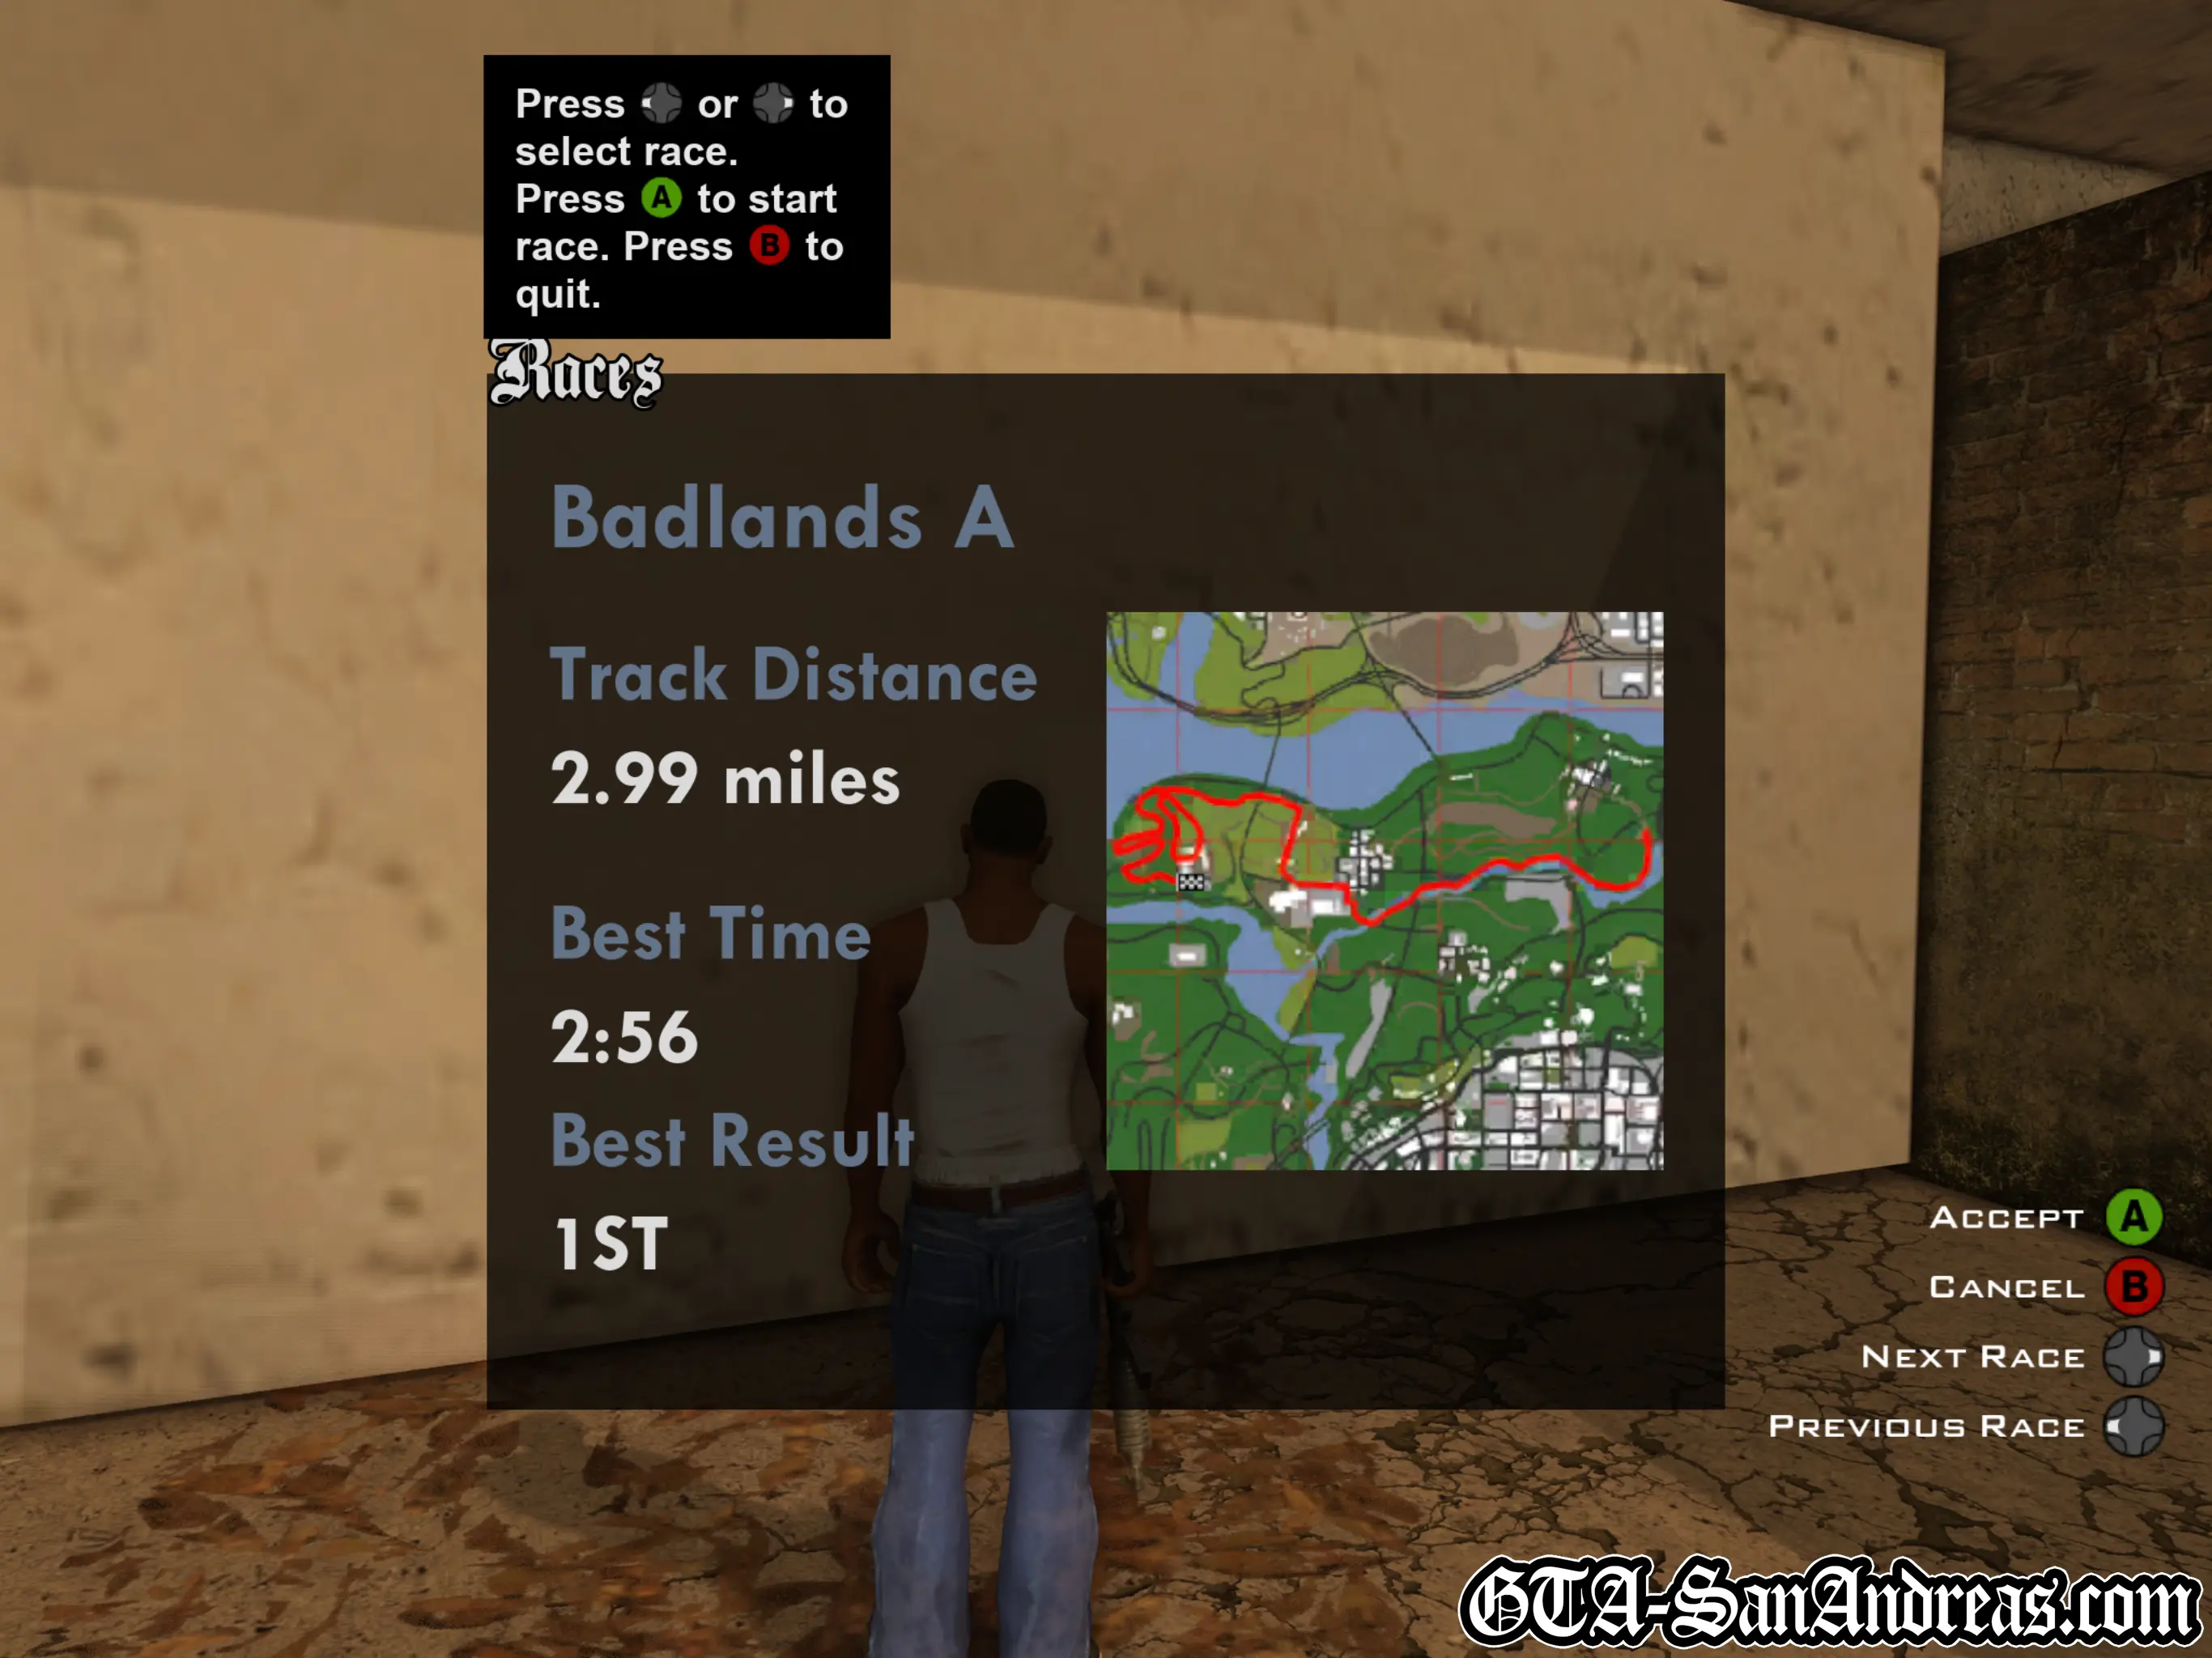
Badlands A
The Badlands A race is part of a story mission in the countryside called "Wu Zi Mu", so you've most likely already completed it and won't need to do it again.

| Vehicle Provided | Track Distance |
|---|---|
| Sabre | 4.00 KM |
Tactics
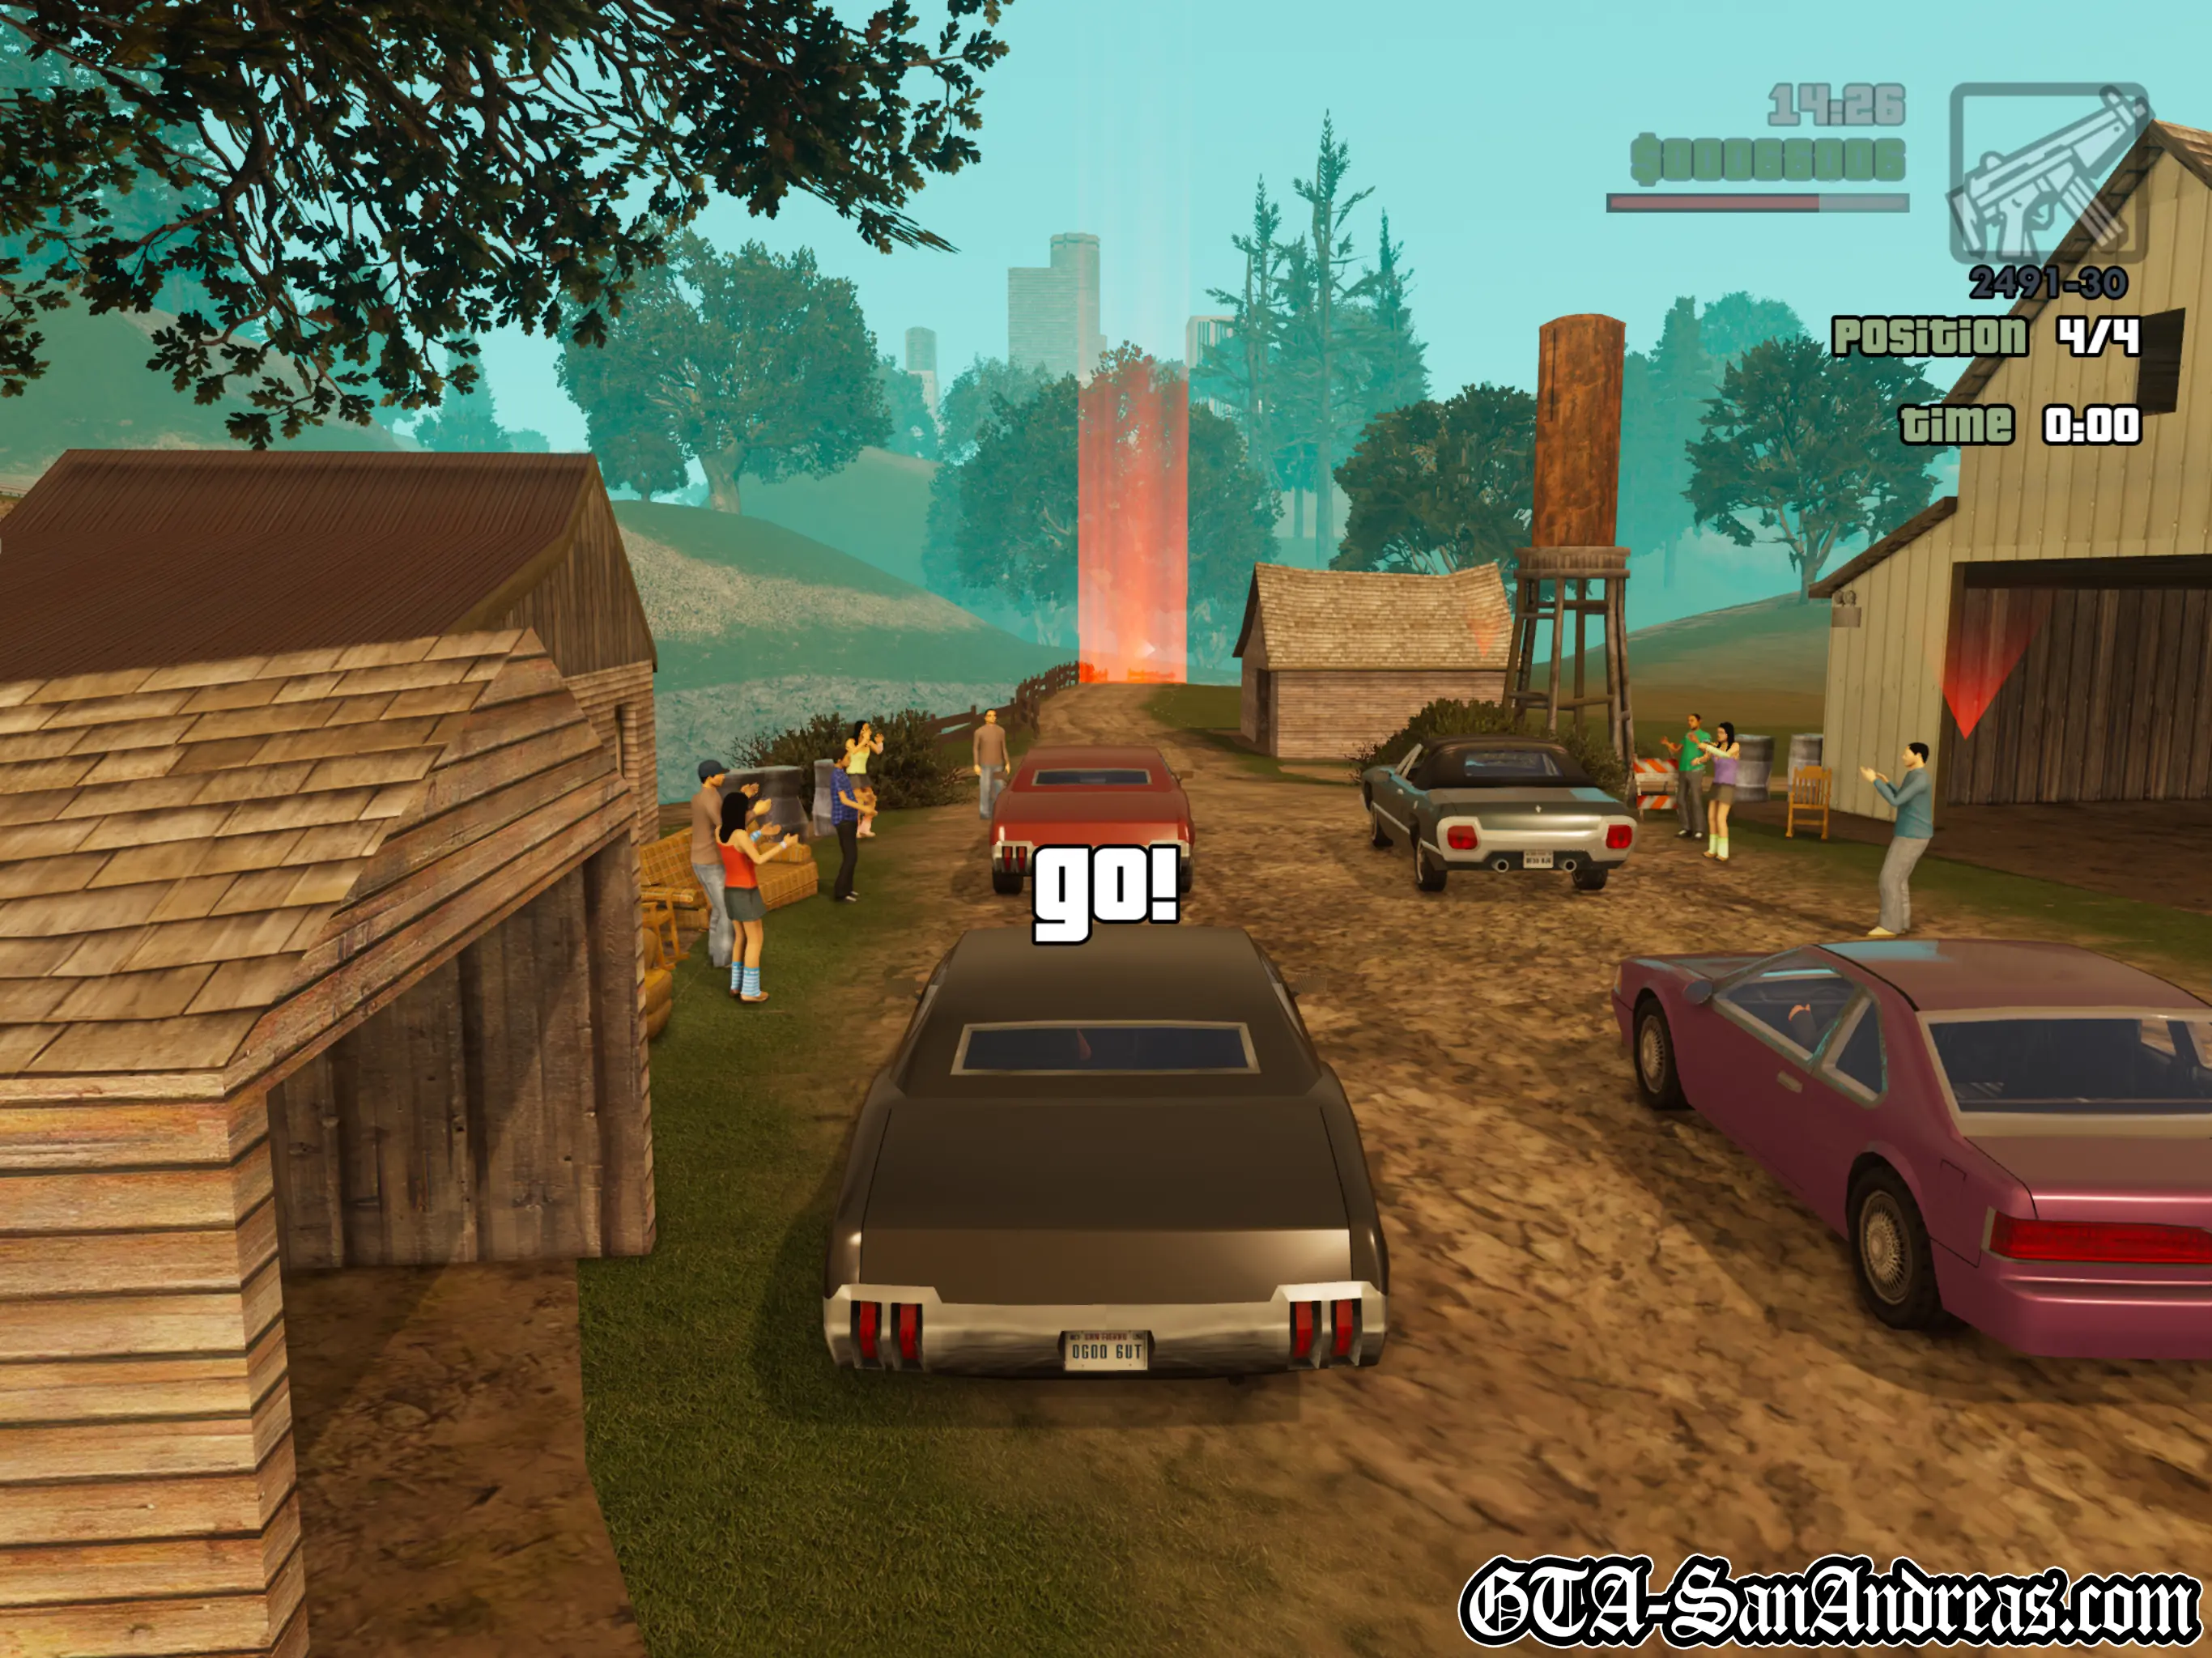
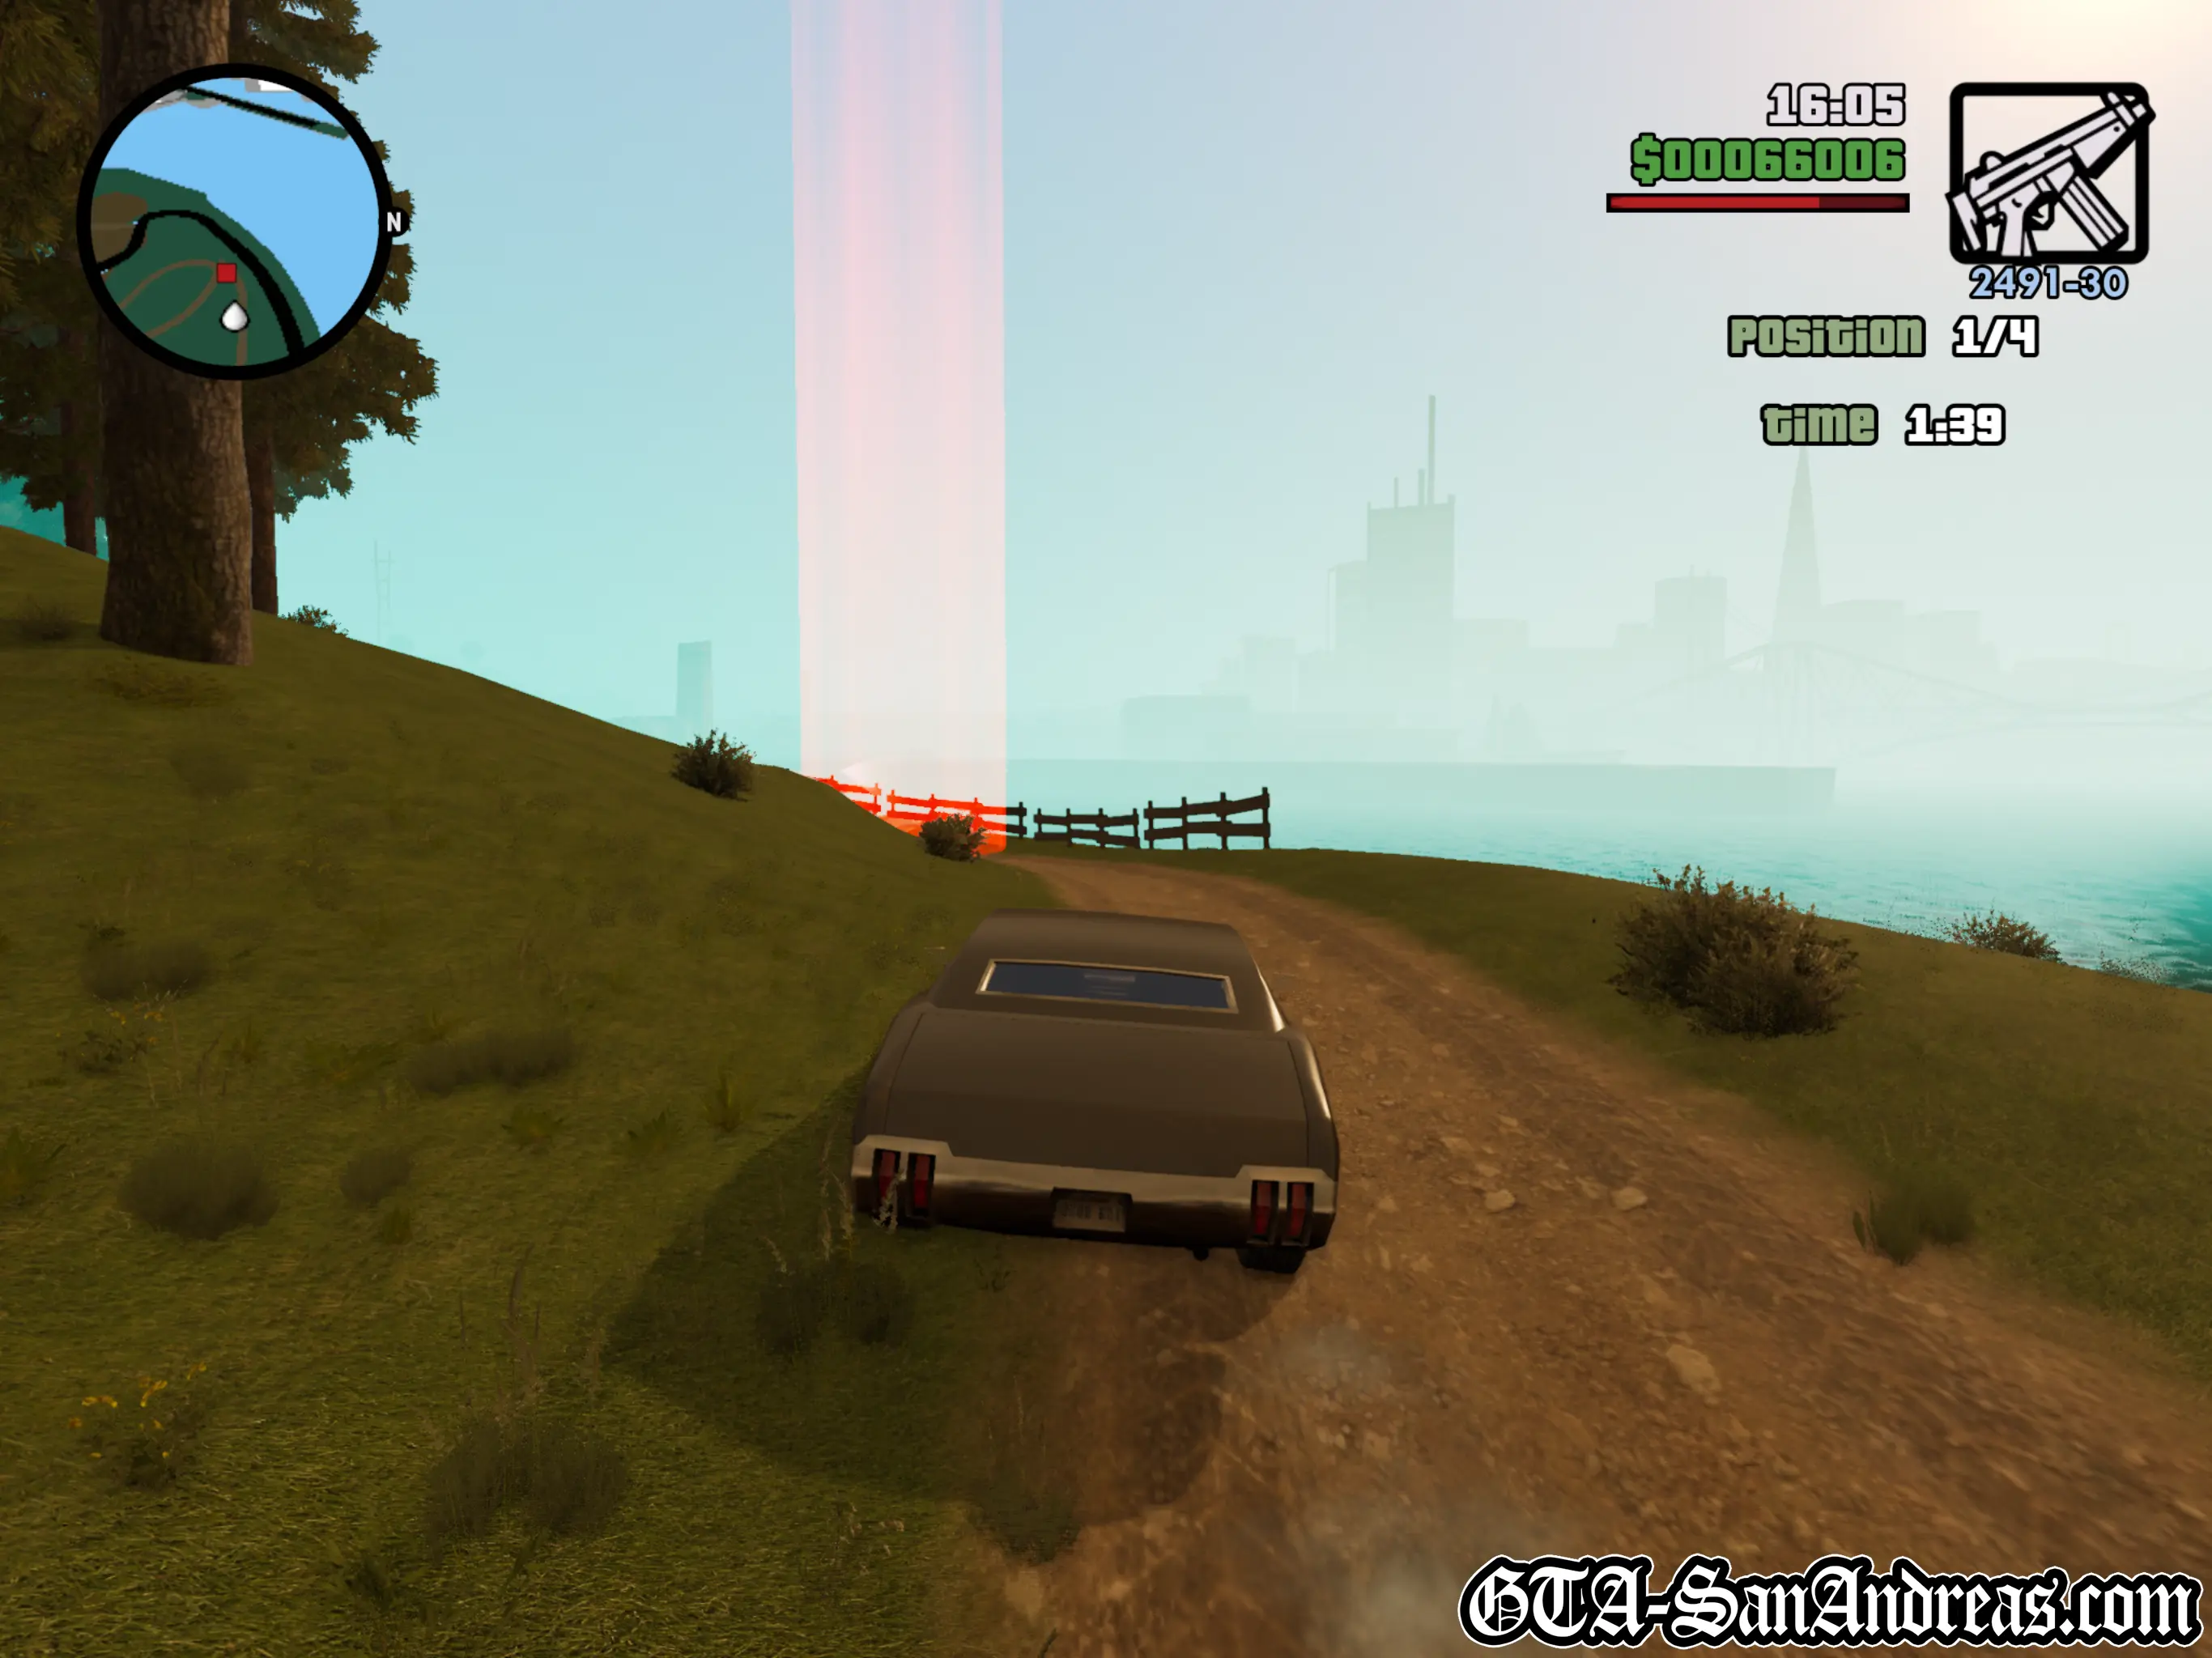
Looking at the map you'd think this was hard, but it's not really too bad if you ensure you stick to the dirt roads and brake when going over the top of hills or around sharp bends.
Once again you only have 3 other opponents and they're a bit slower than you, so providing you don't end up in the water and drive carefully enough, you'll win this race comfortably.
Screenshots
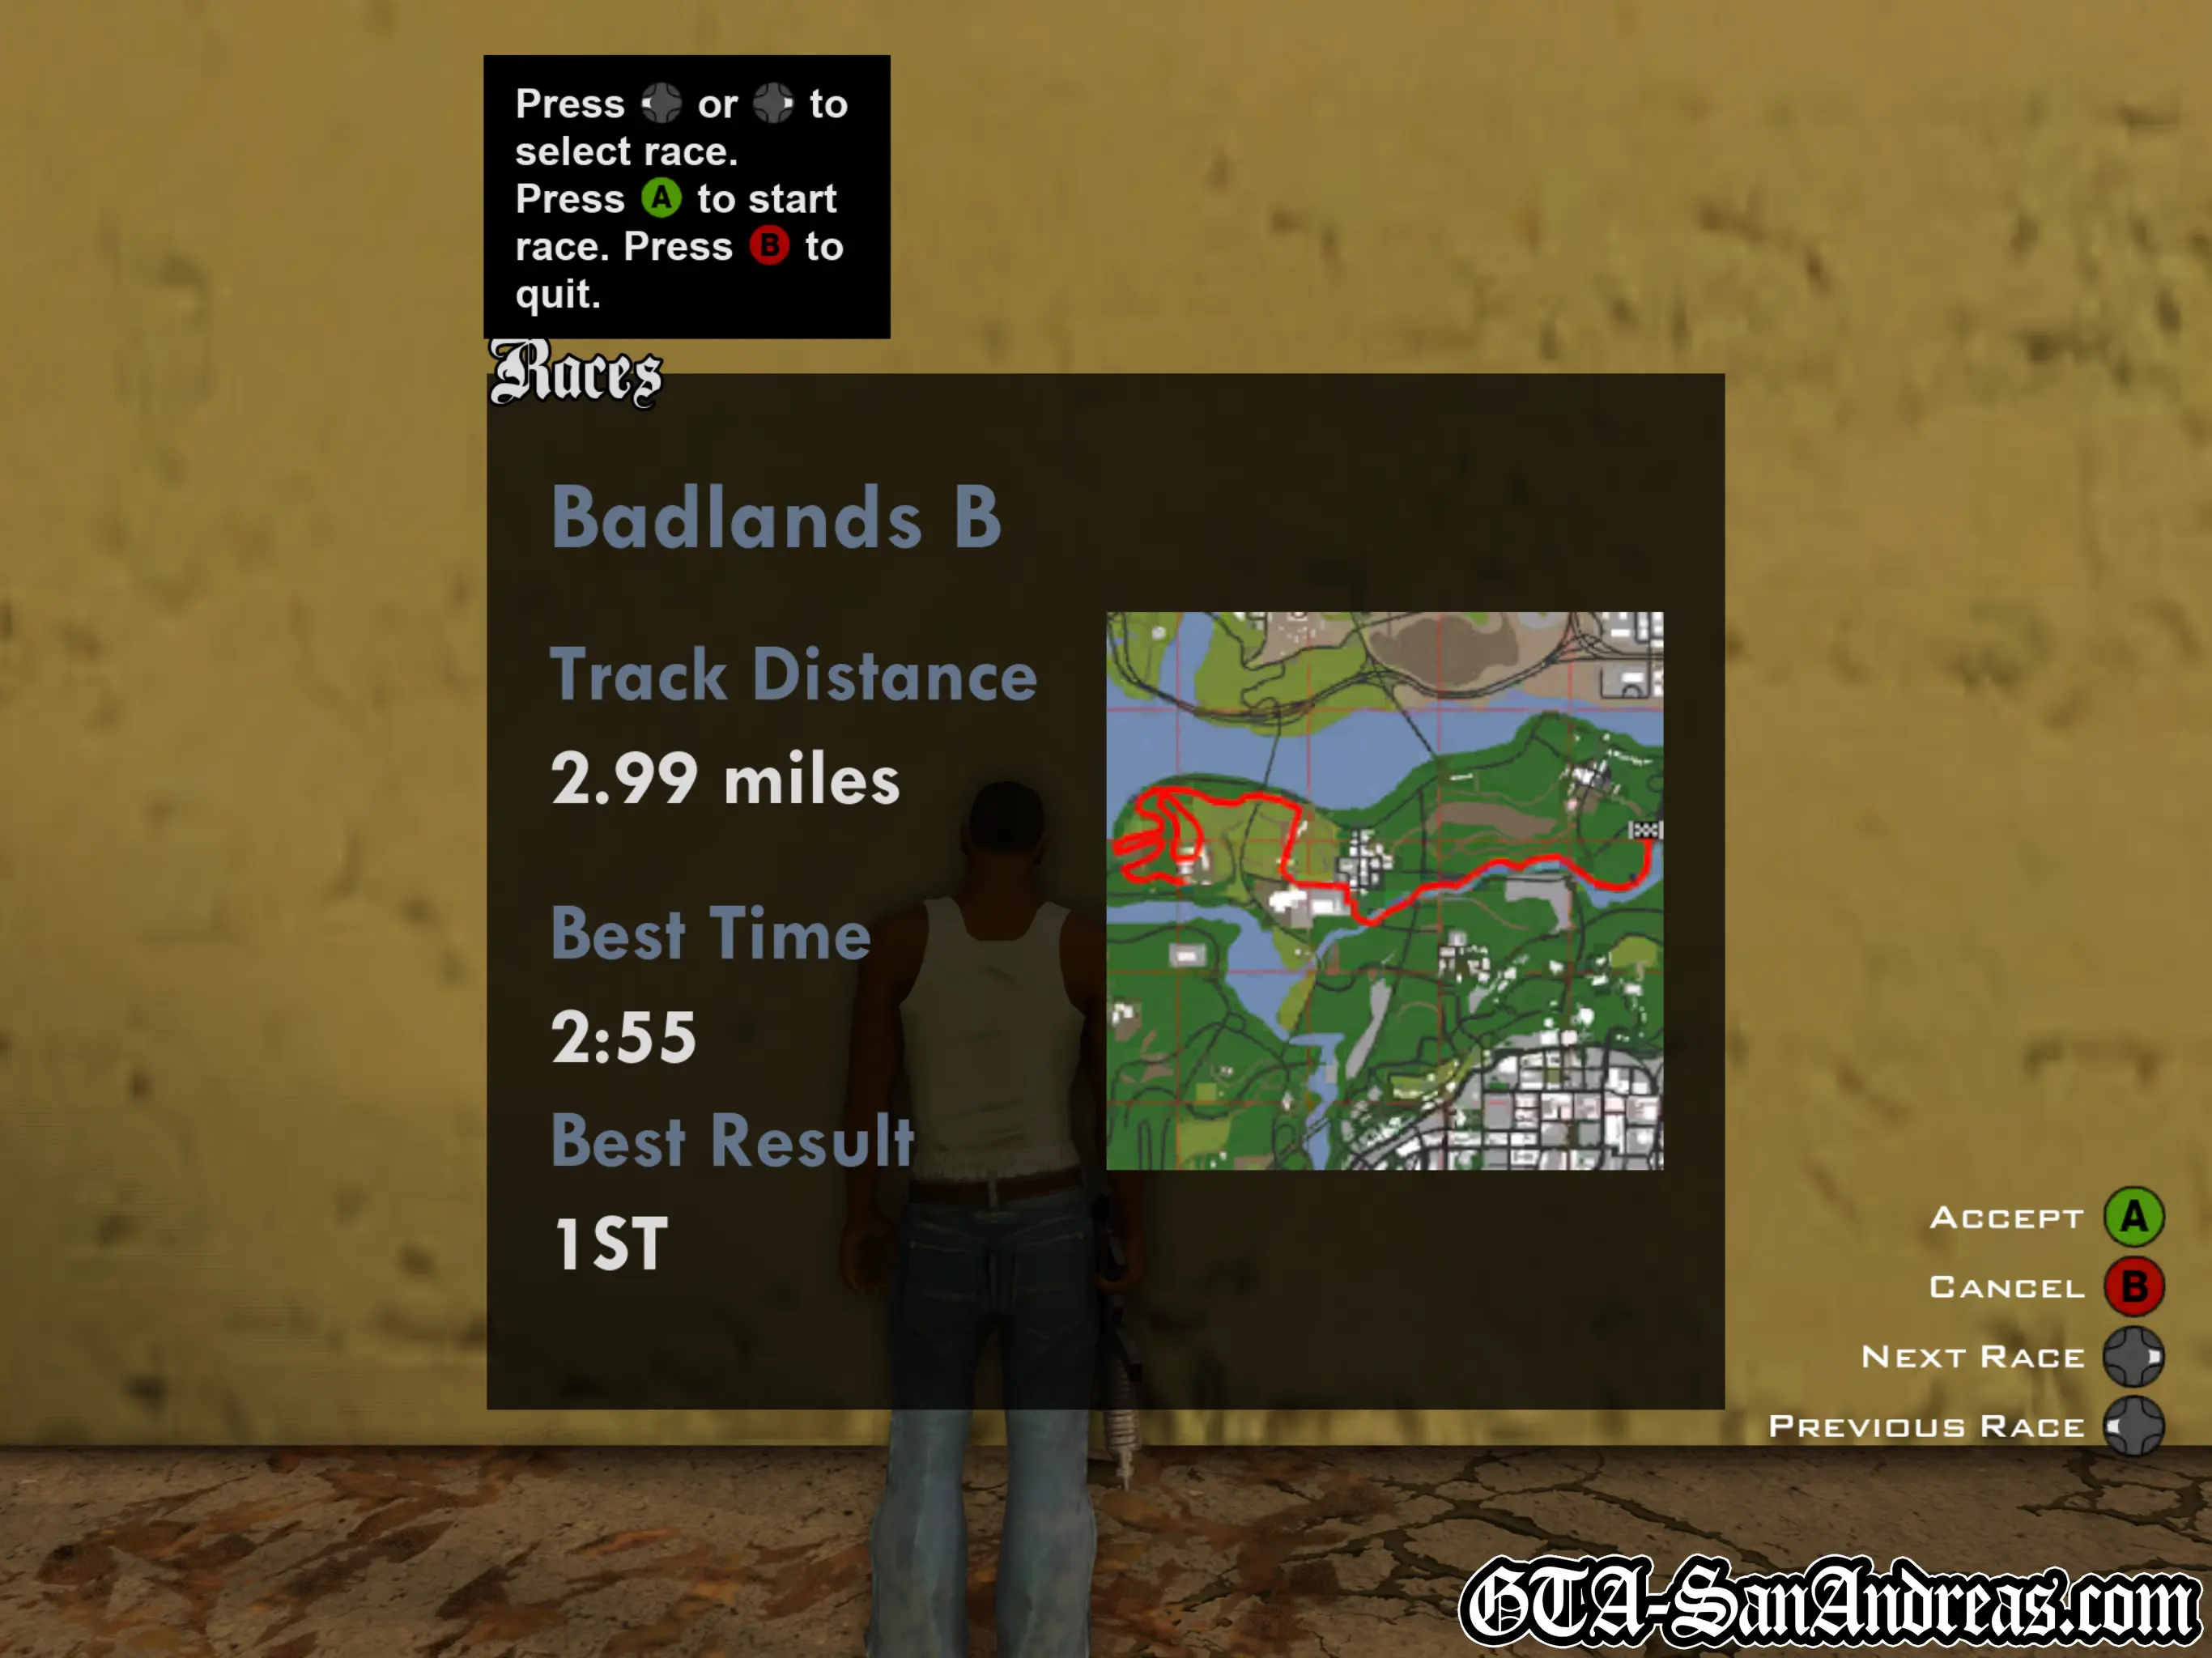
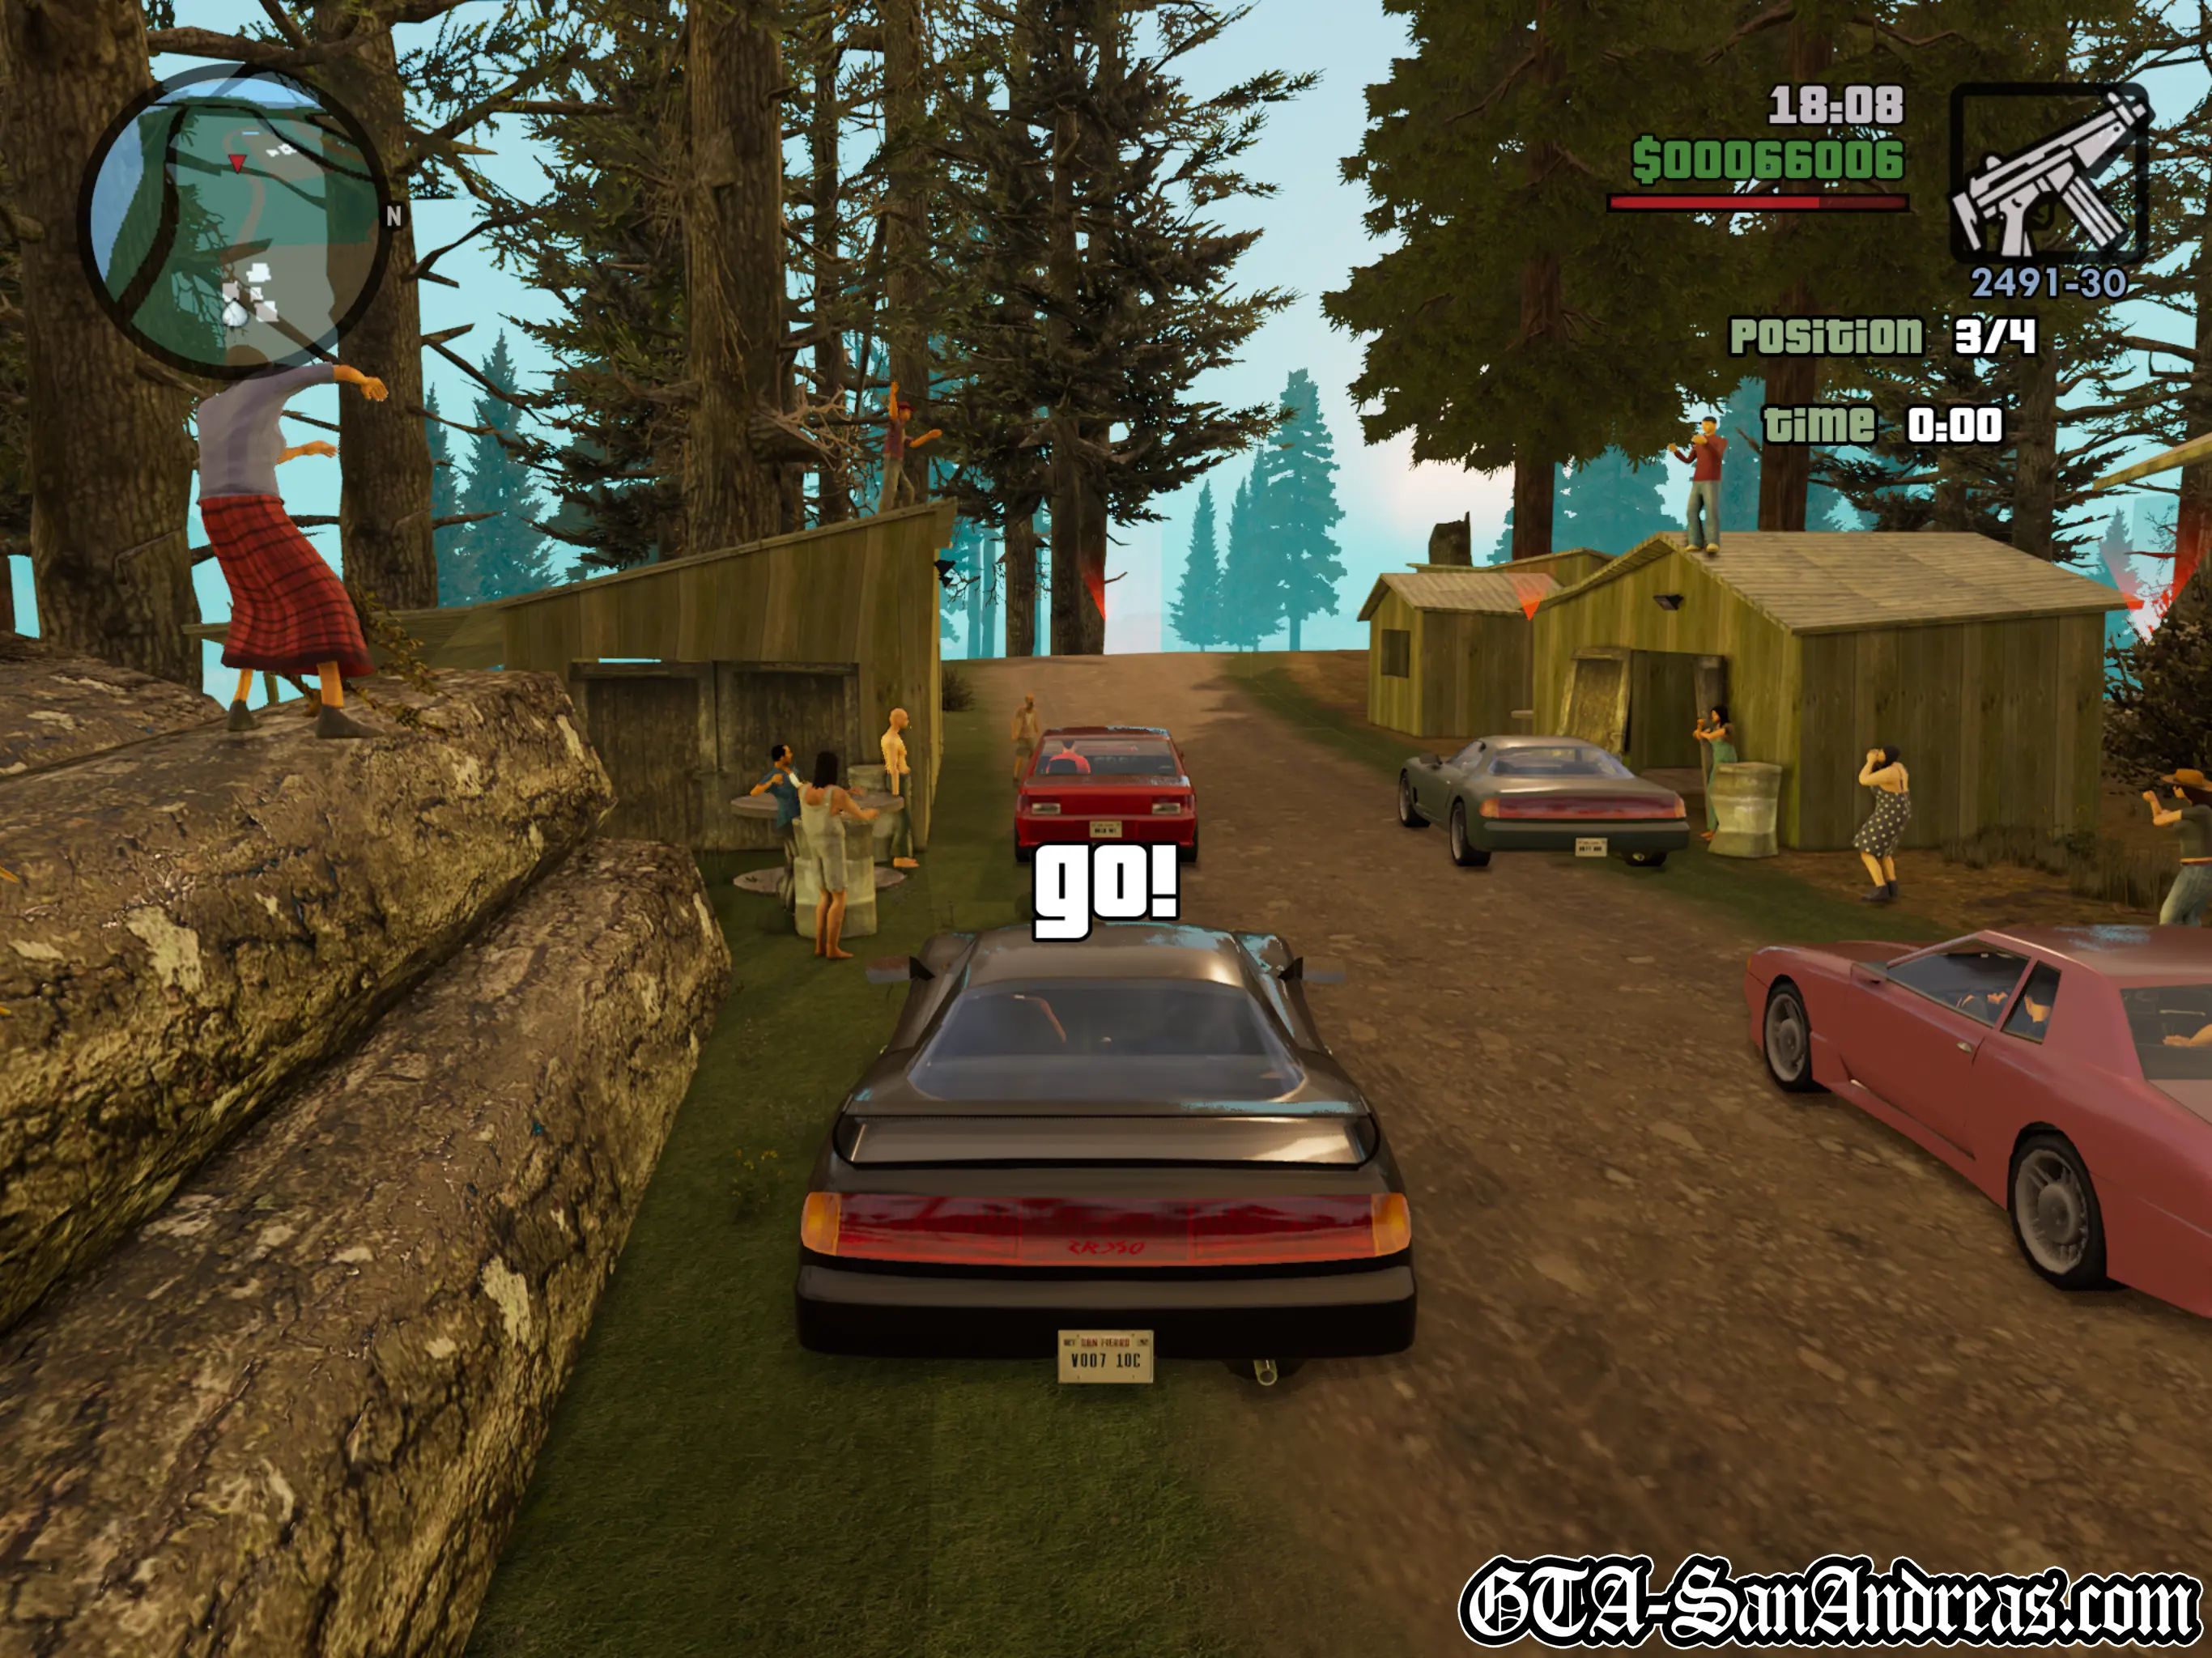
Badlands B
The Badlands B race is part of a story mission in the countryside called "Farewell, My Love...", so you've most likely already completed it and won't need to do it again.
| Vehicle Provided | Track Distance |
|---|---|
| ZR-500 | 4.00 KM |
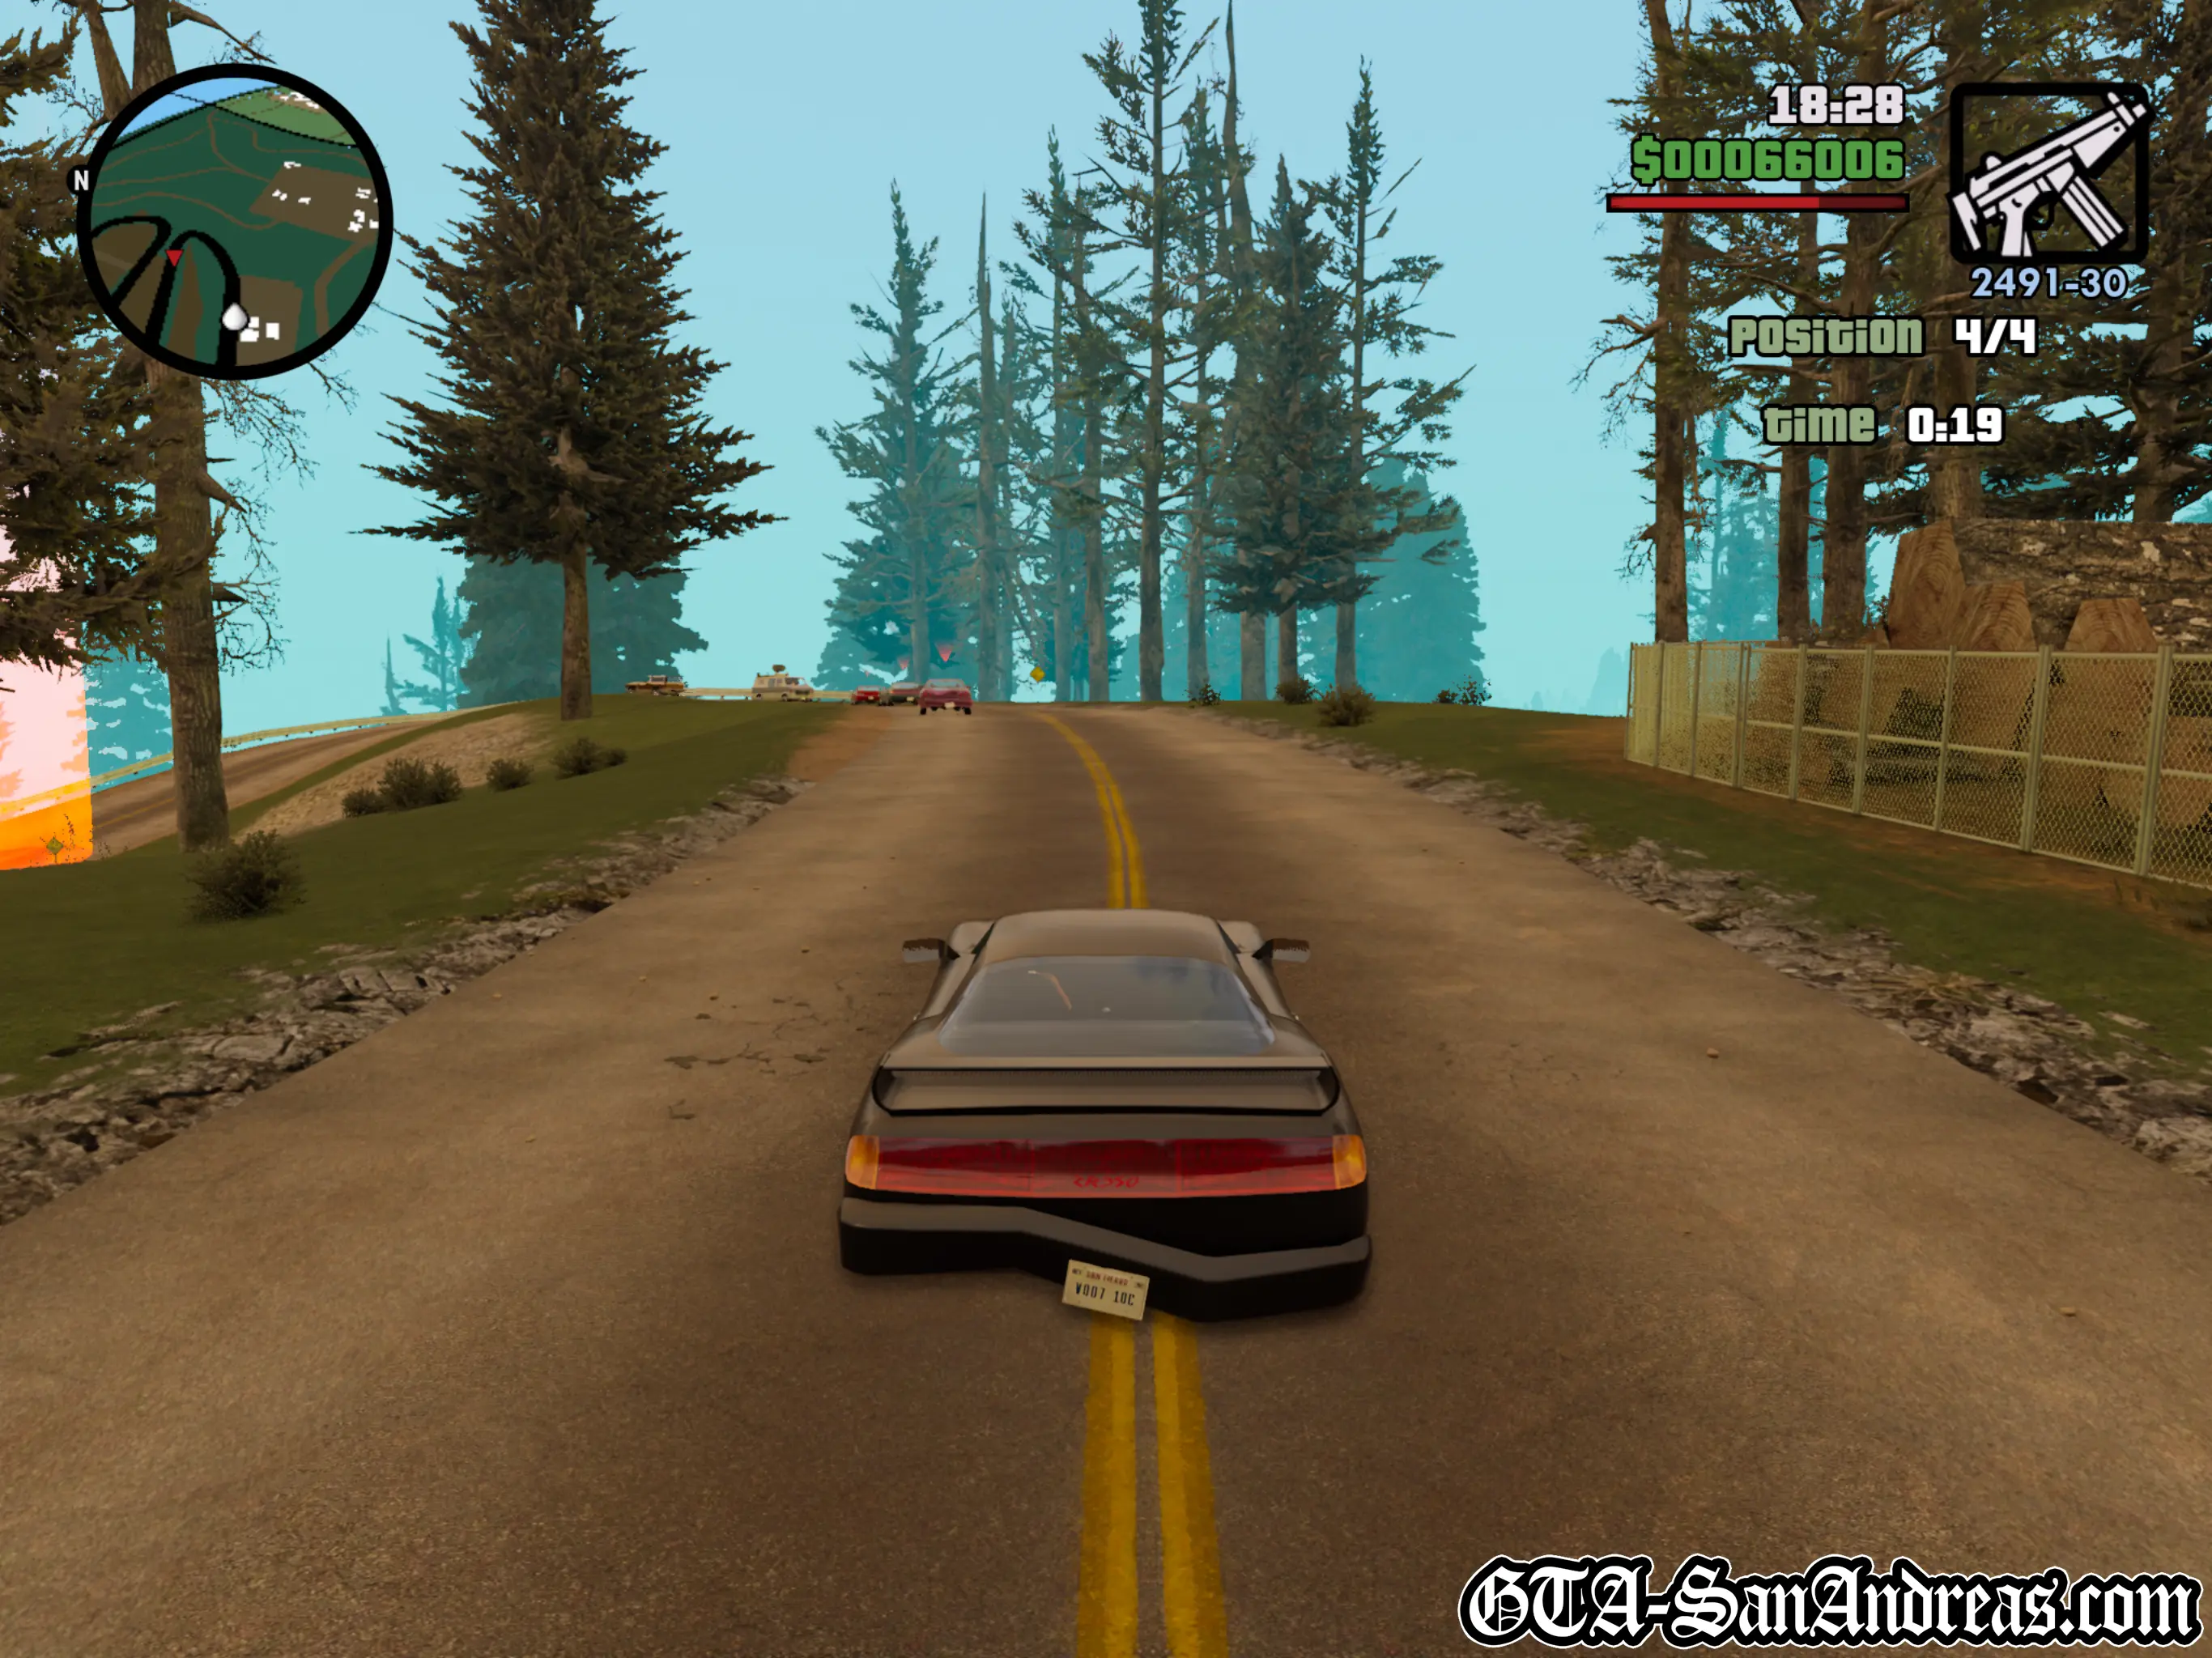
Tactics
This is exactly the same track as Badlands A, however you're doing it in reverse. I suppose it's sort of like a new track, however just follow the same instructions as listed above for Badlands A and you should be able to win this one fairly easily too.
Once you've won this one, providing you went through the races in order, that's all of the Los Santos Street Races complete.
Screenshots
San Fierro
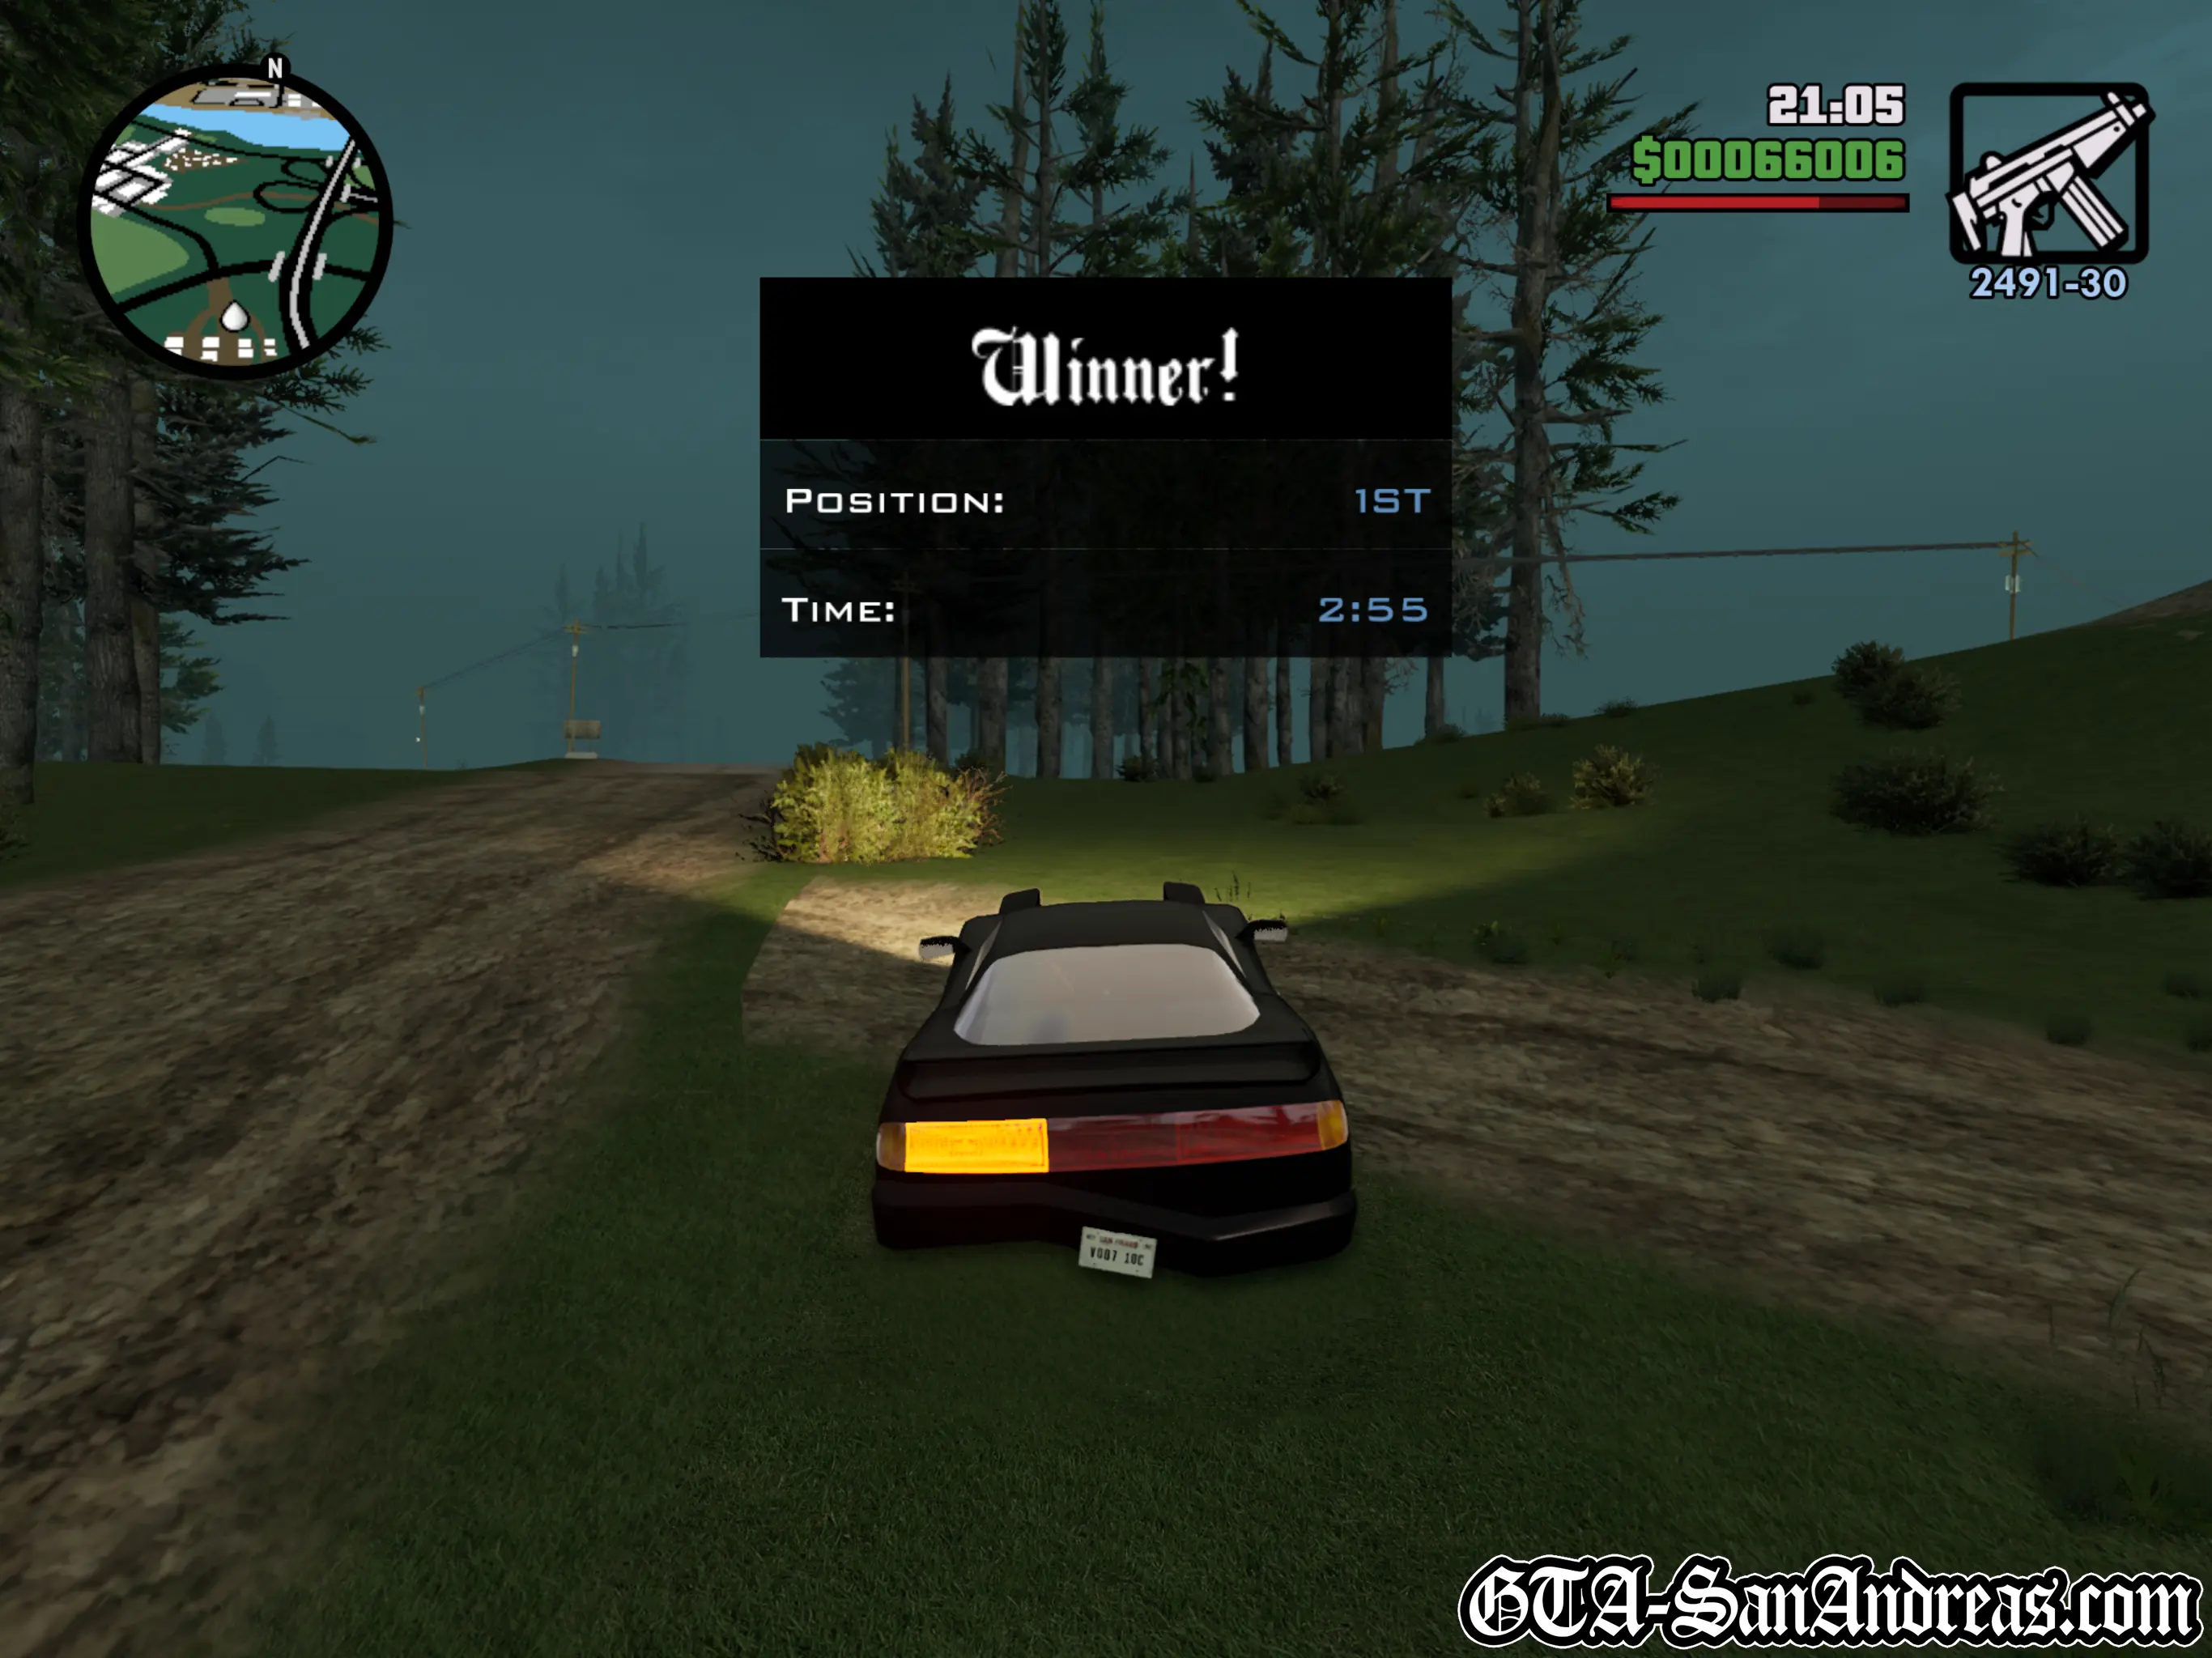
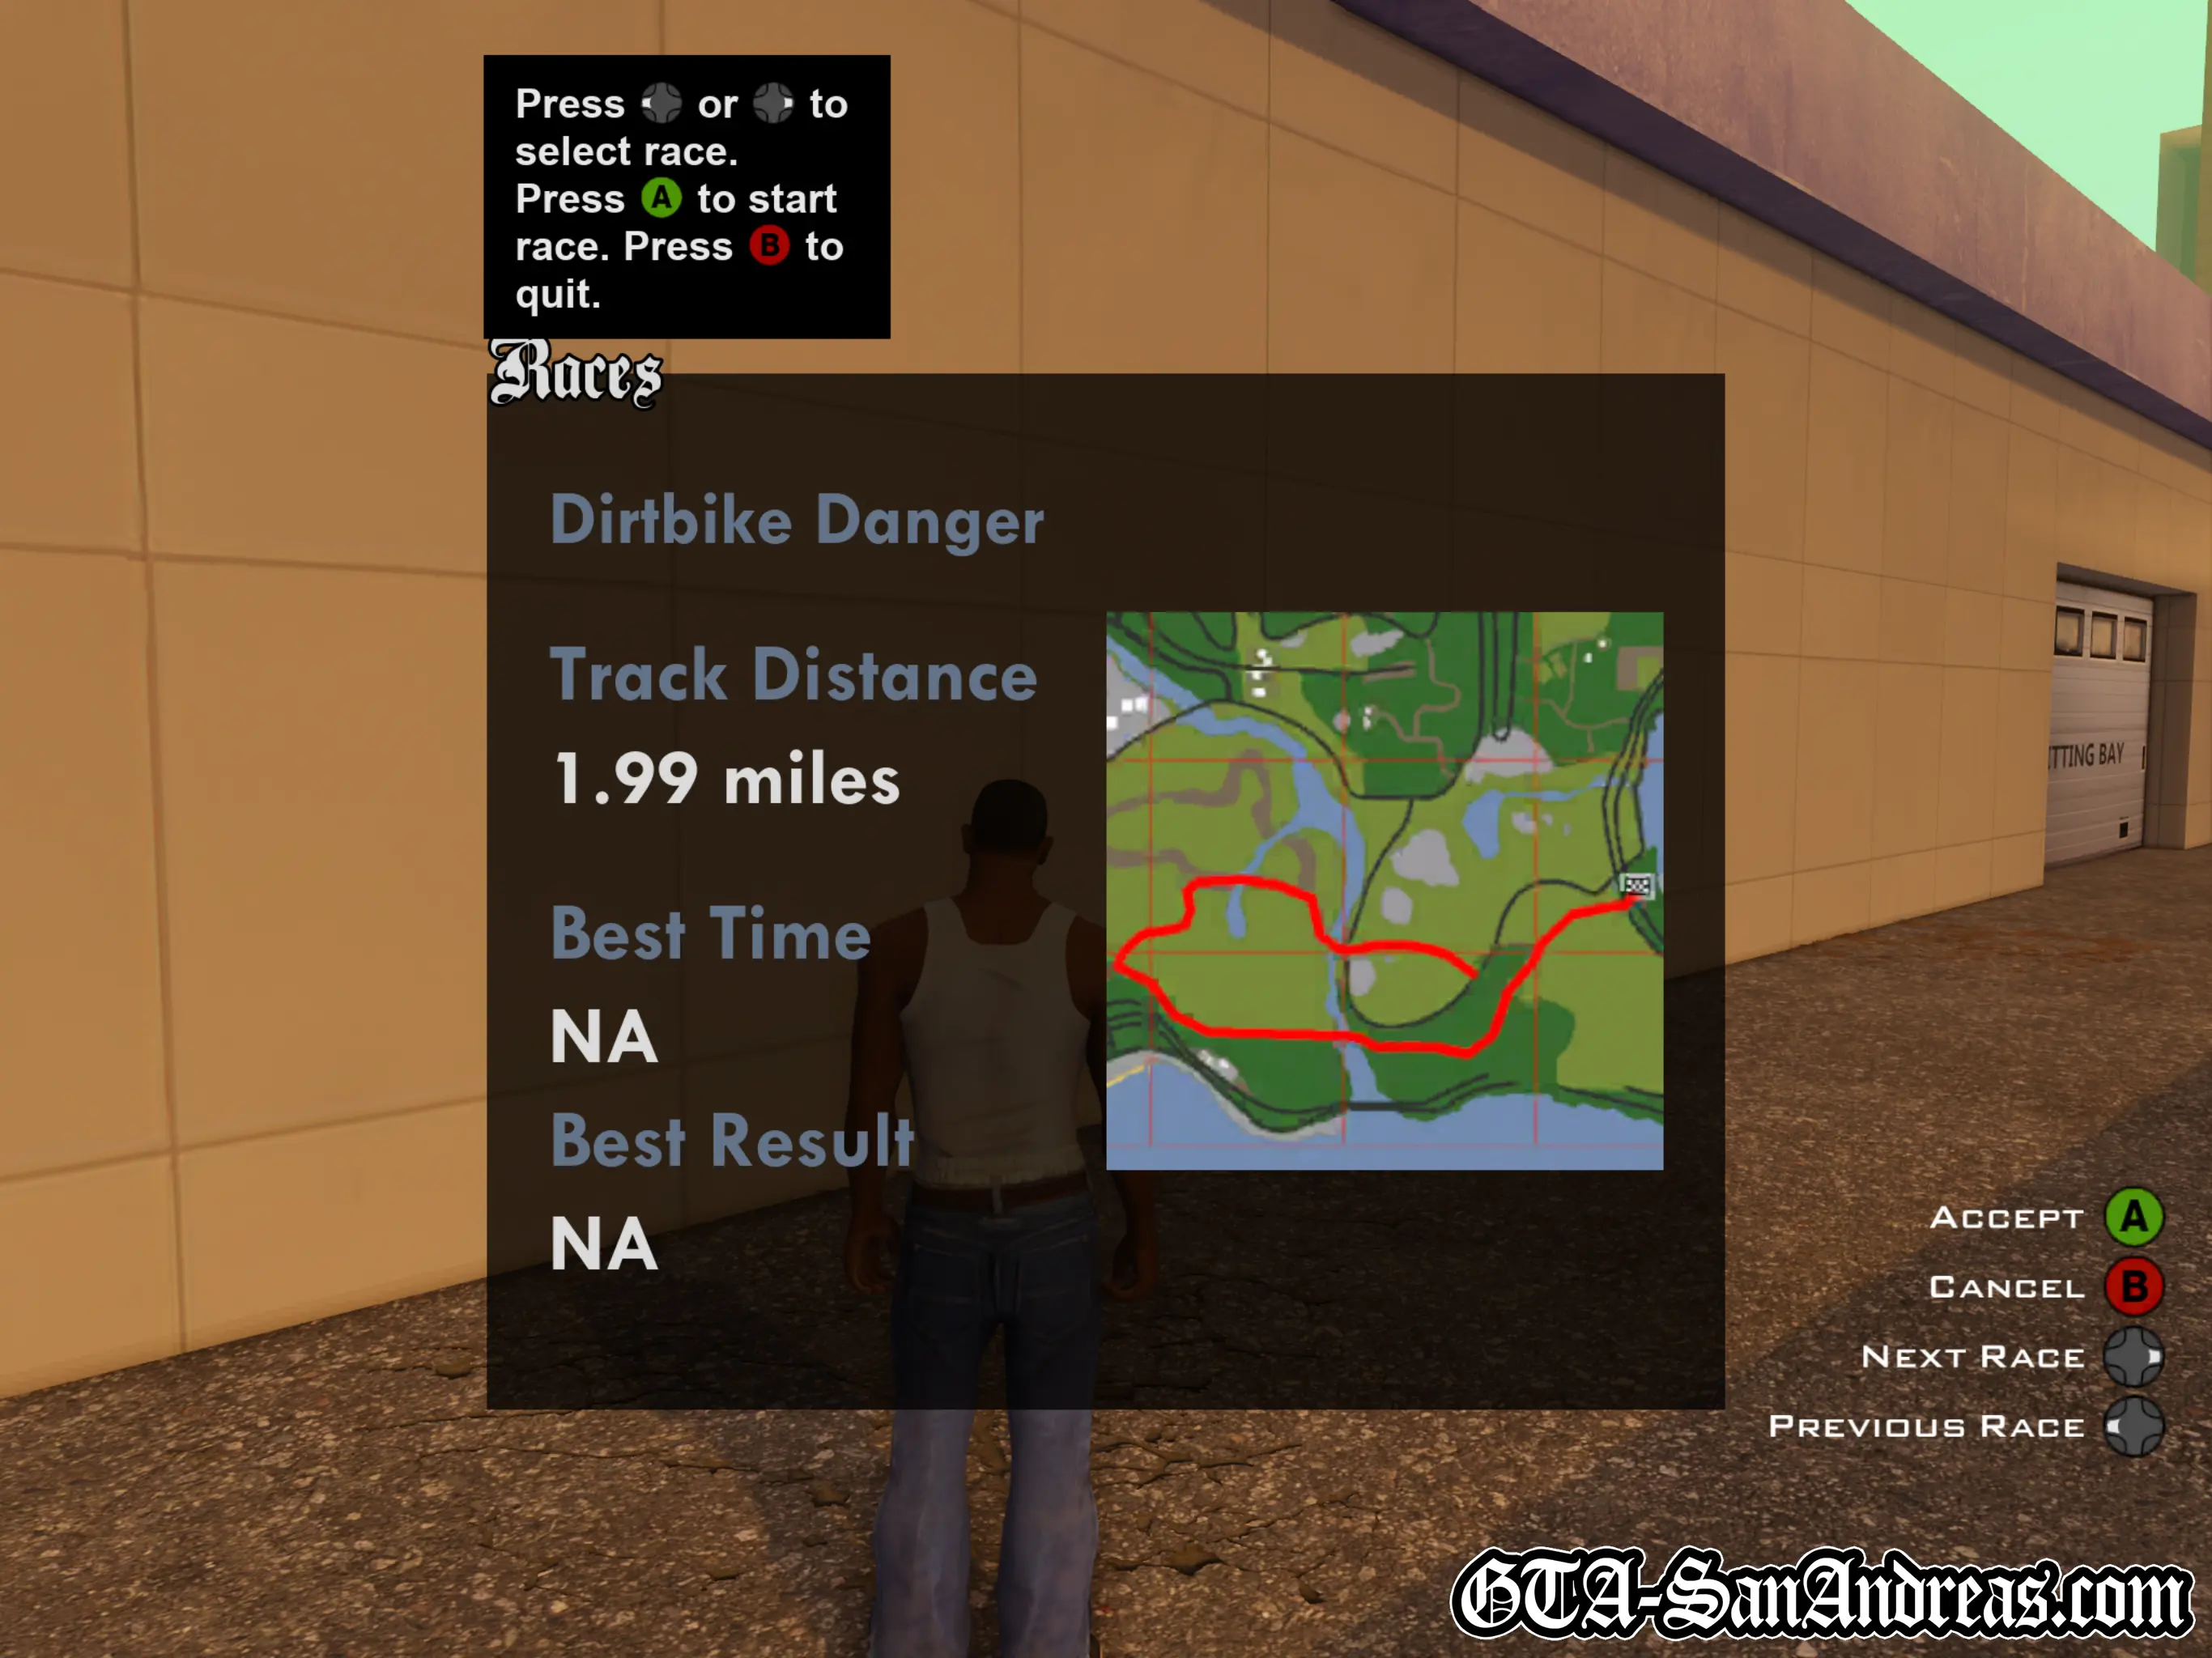
Dirtbike Danger
| Vehicle Provided | Track Distance |
|---|---|
| Sanchez | 3.00 KM |
Tactics
Bikes are always better at handling than cars, so this challenge is more about your driving skill than anything else.
Keep up your speed and use handbrake turns to save time when cornering. Assuming you don't make a really bad mistake like falling off a cliff, you should be able to win this one pretty easily.
Screenshots

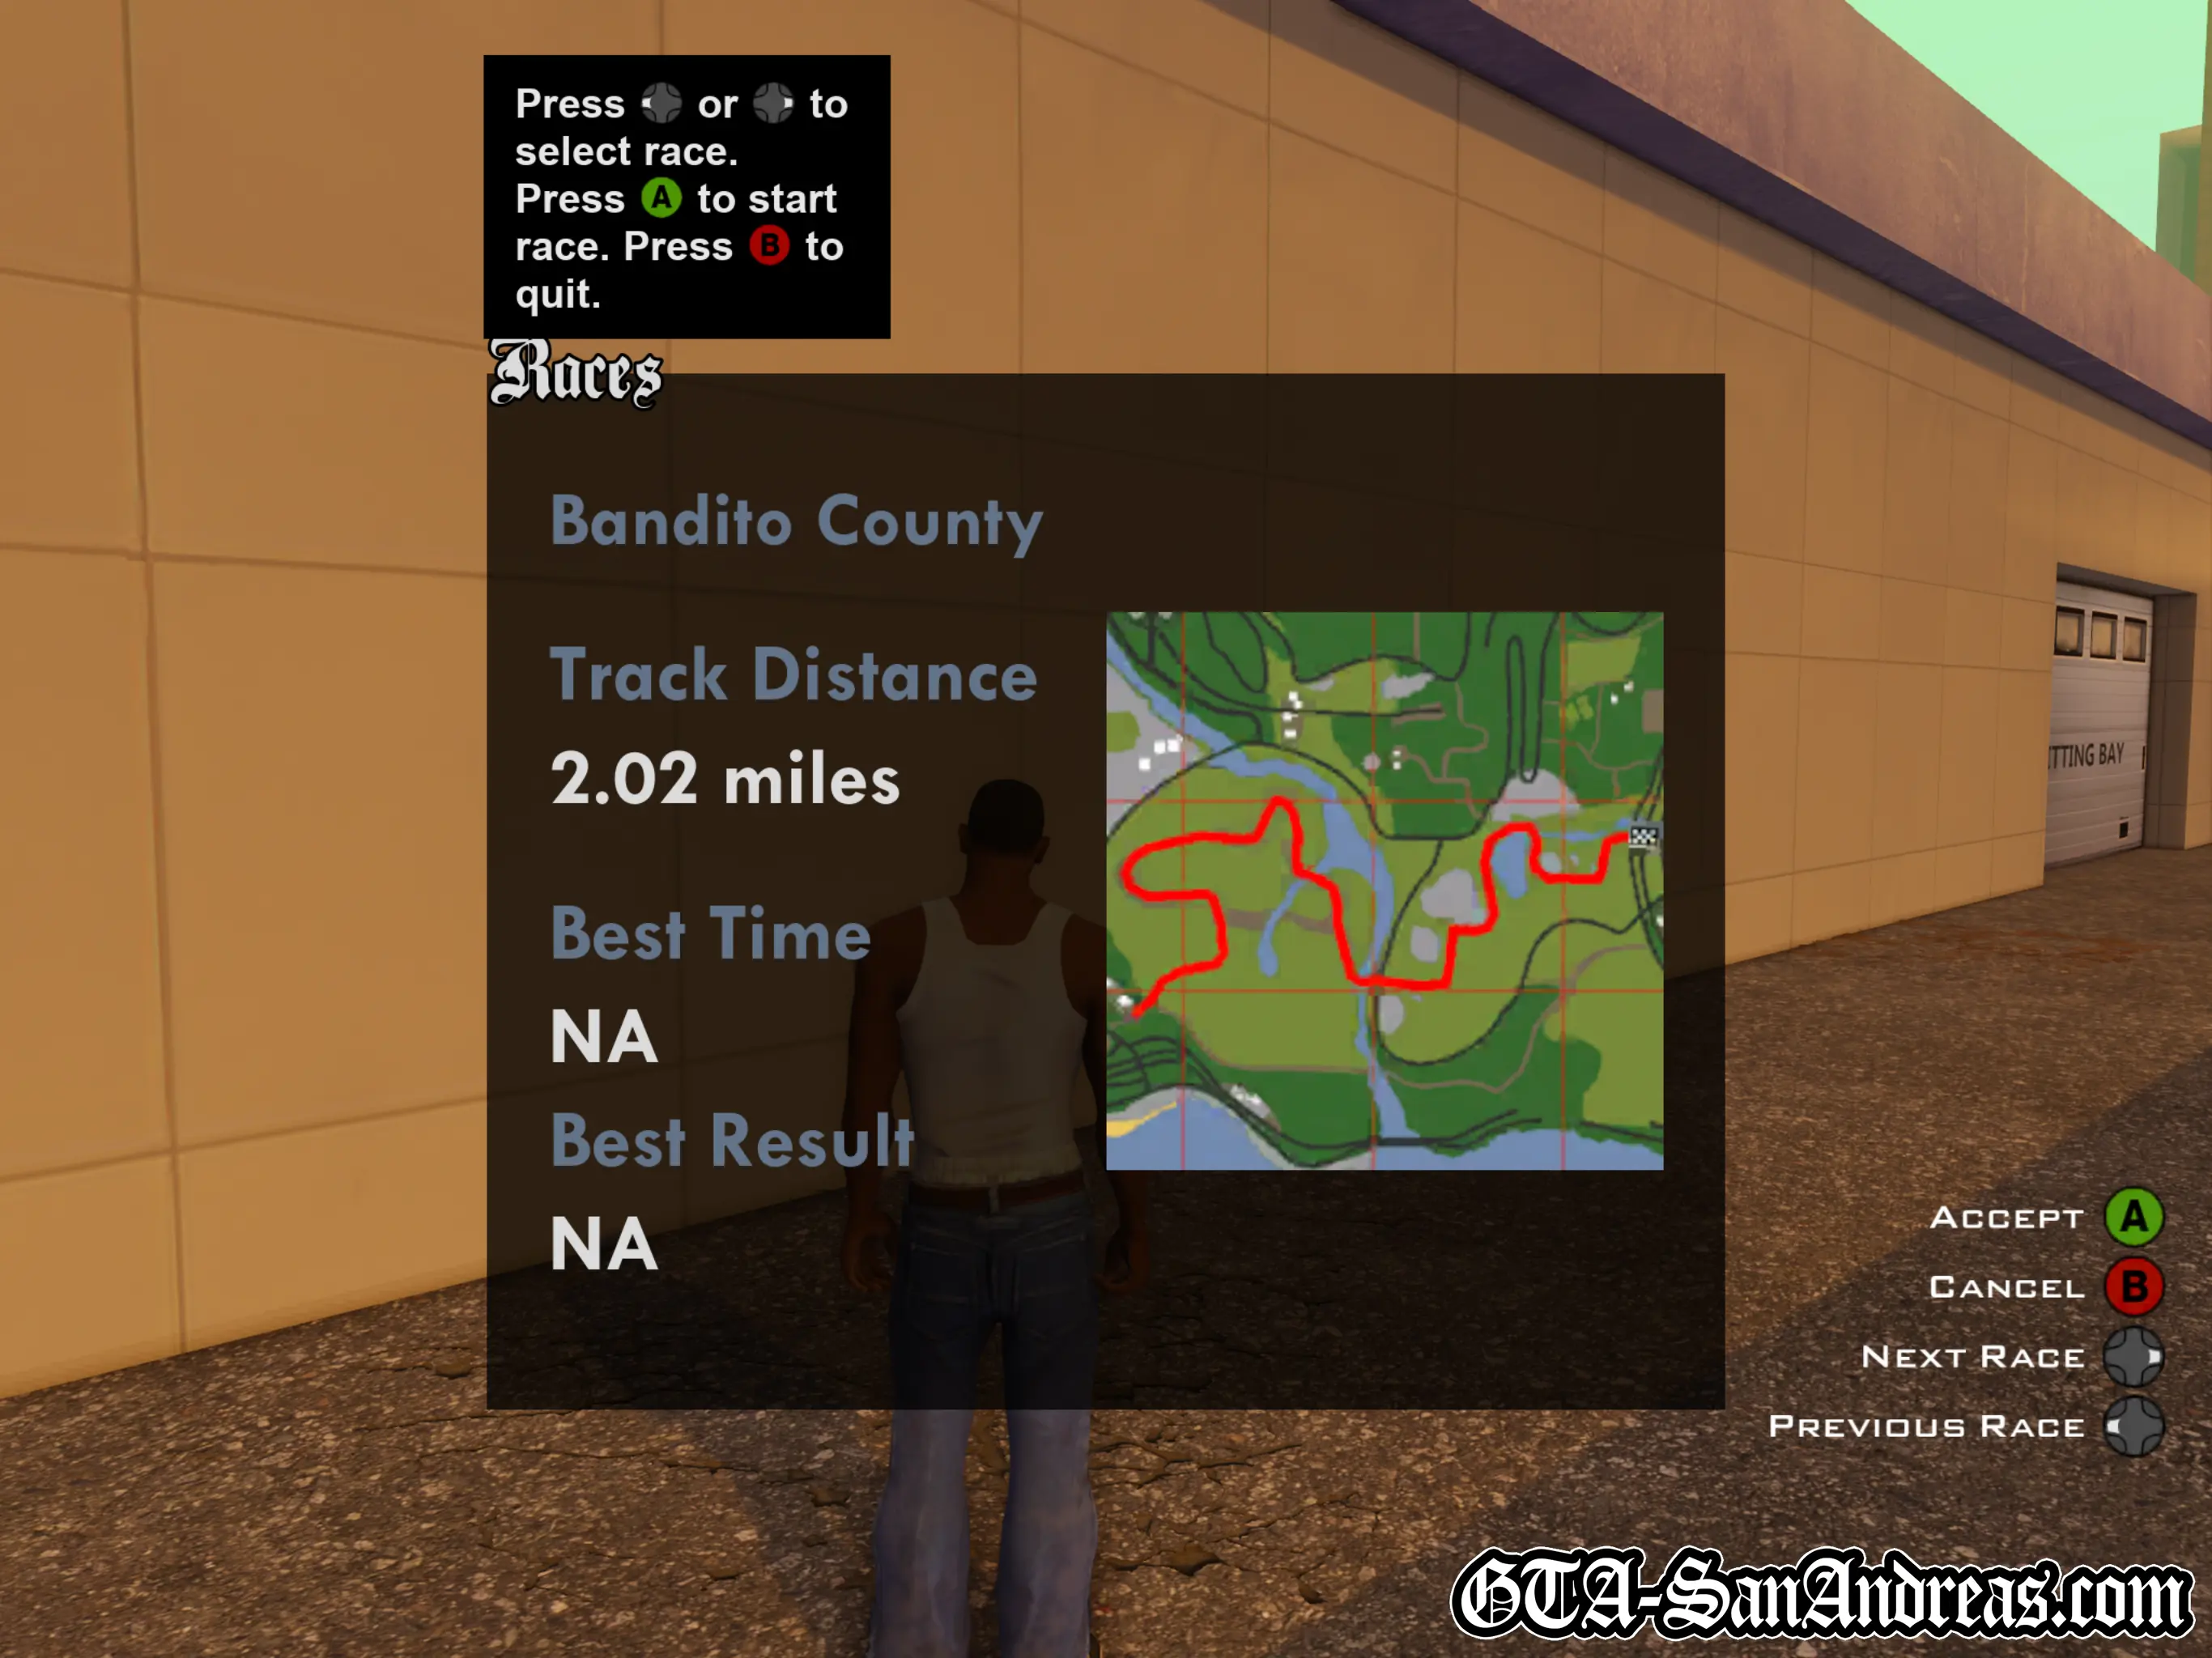
Bandito Country
| Vehicle Provided | Track Distance |
|---|---|
| Bandito | 3.00 KM |
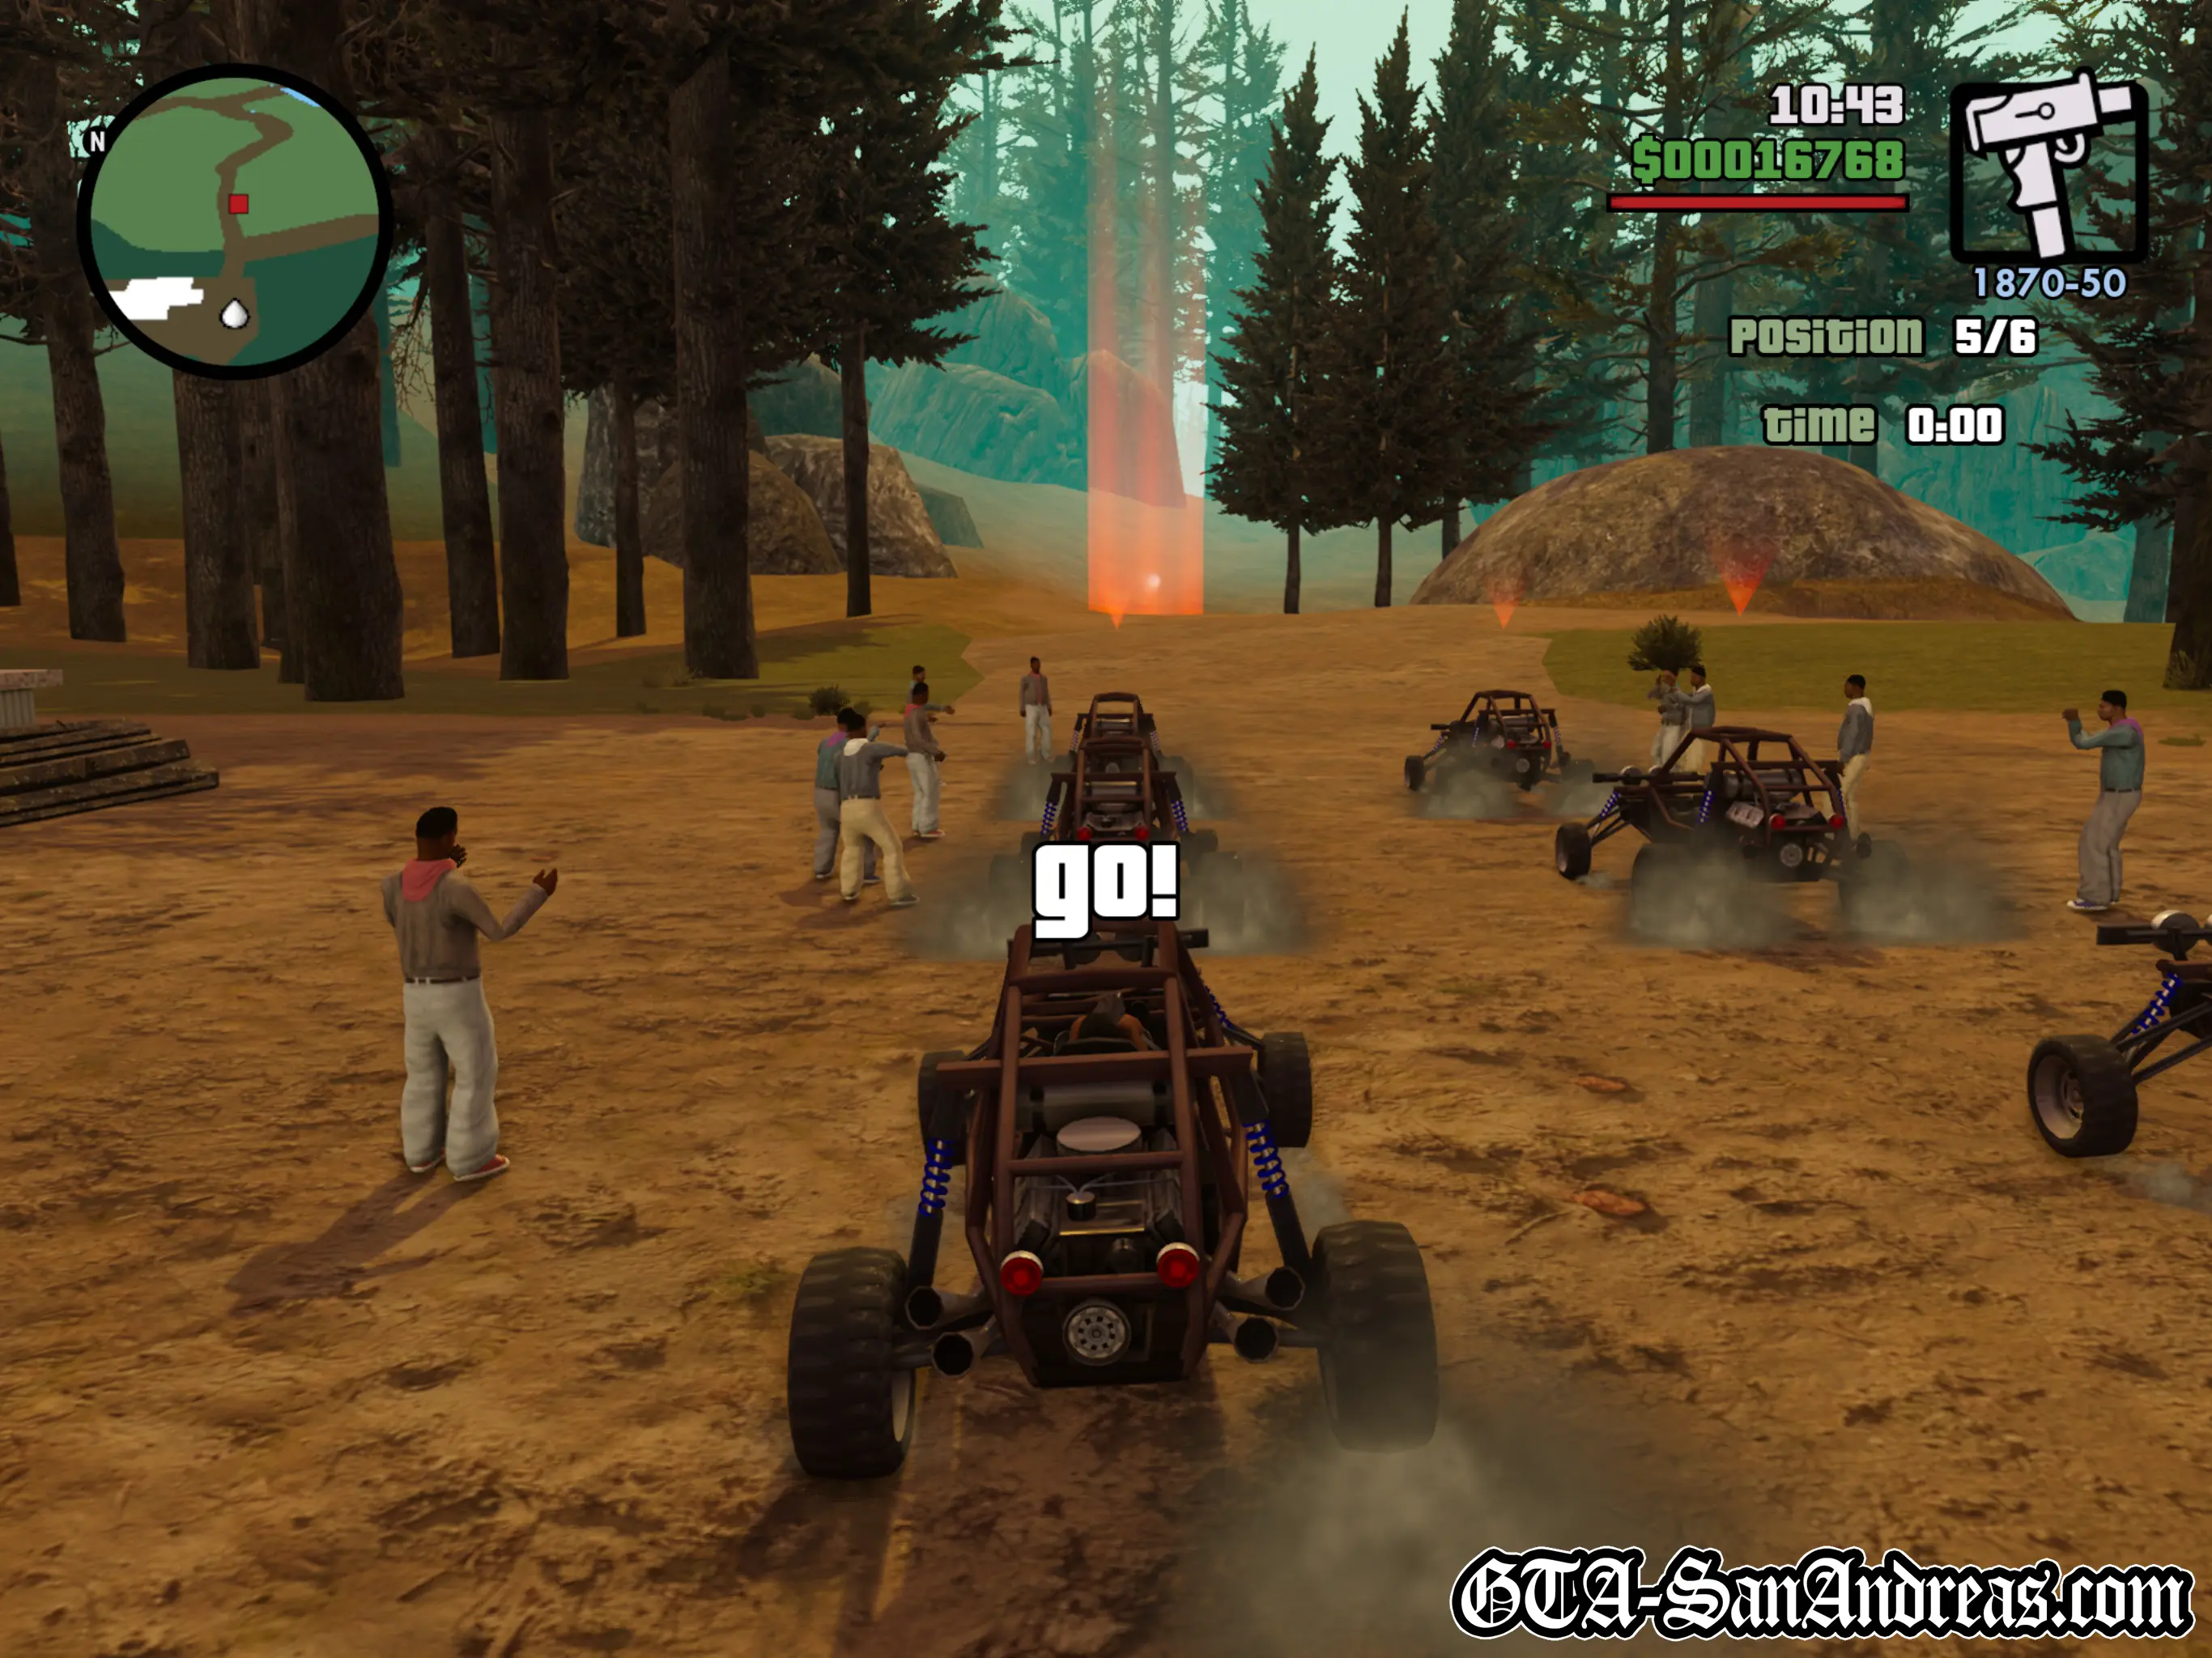
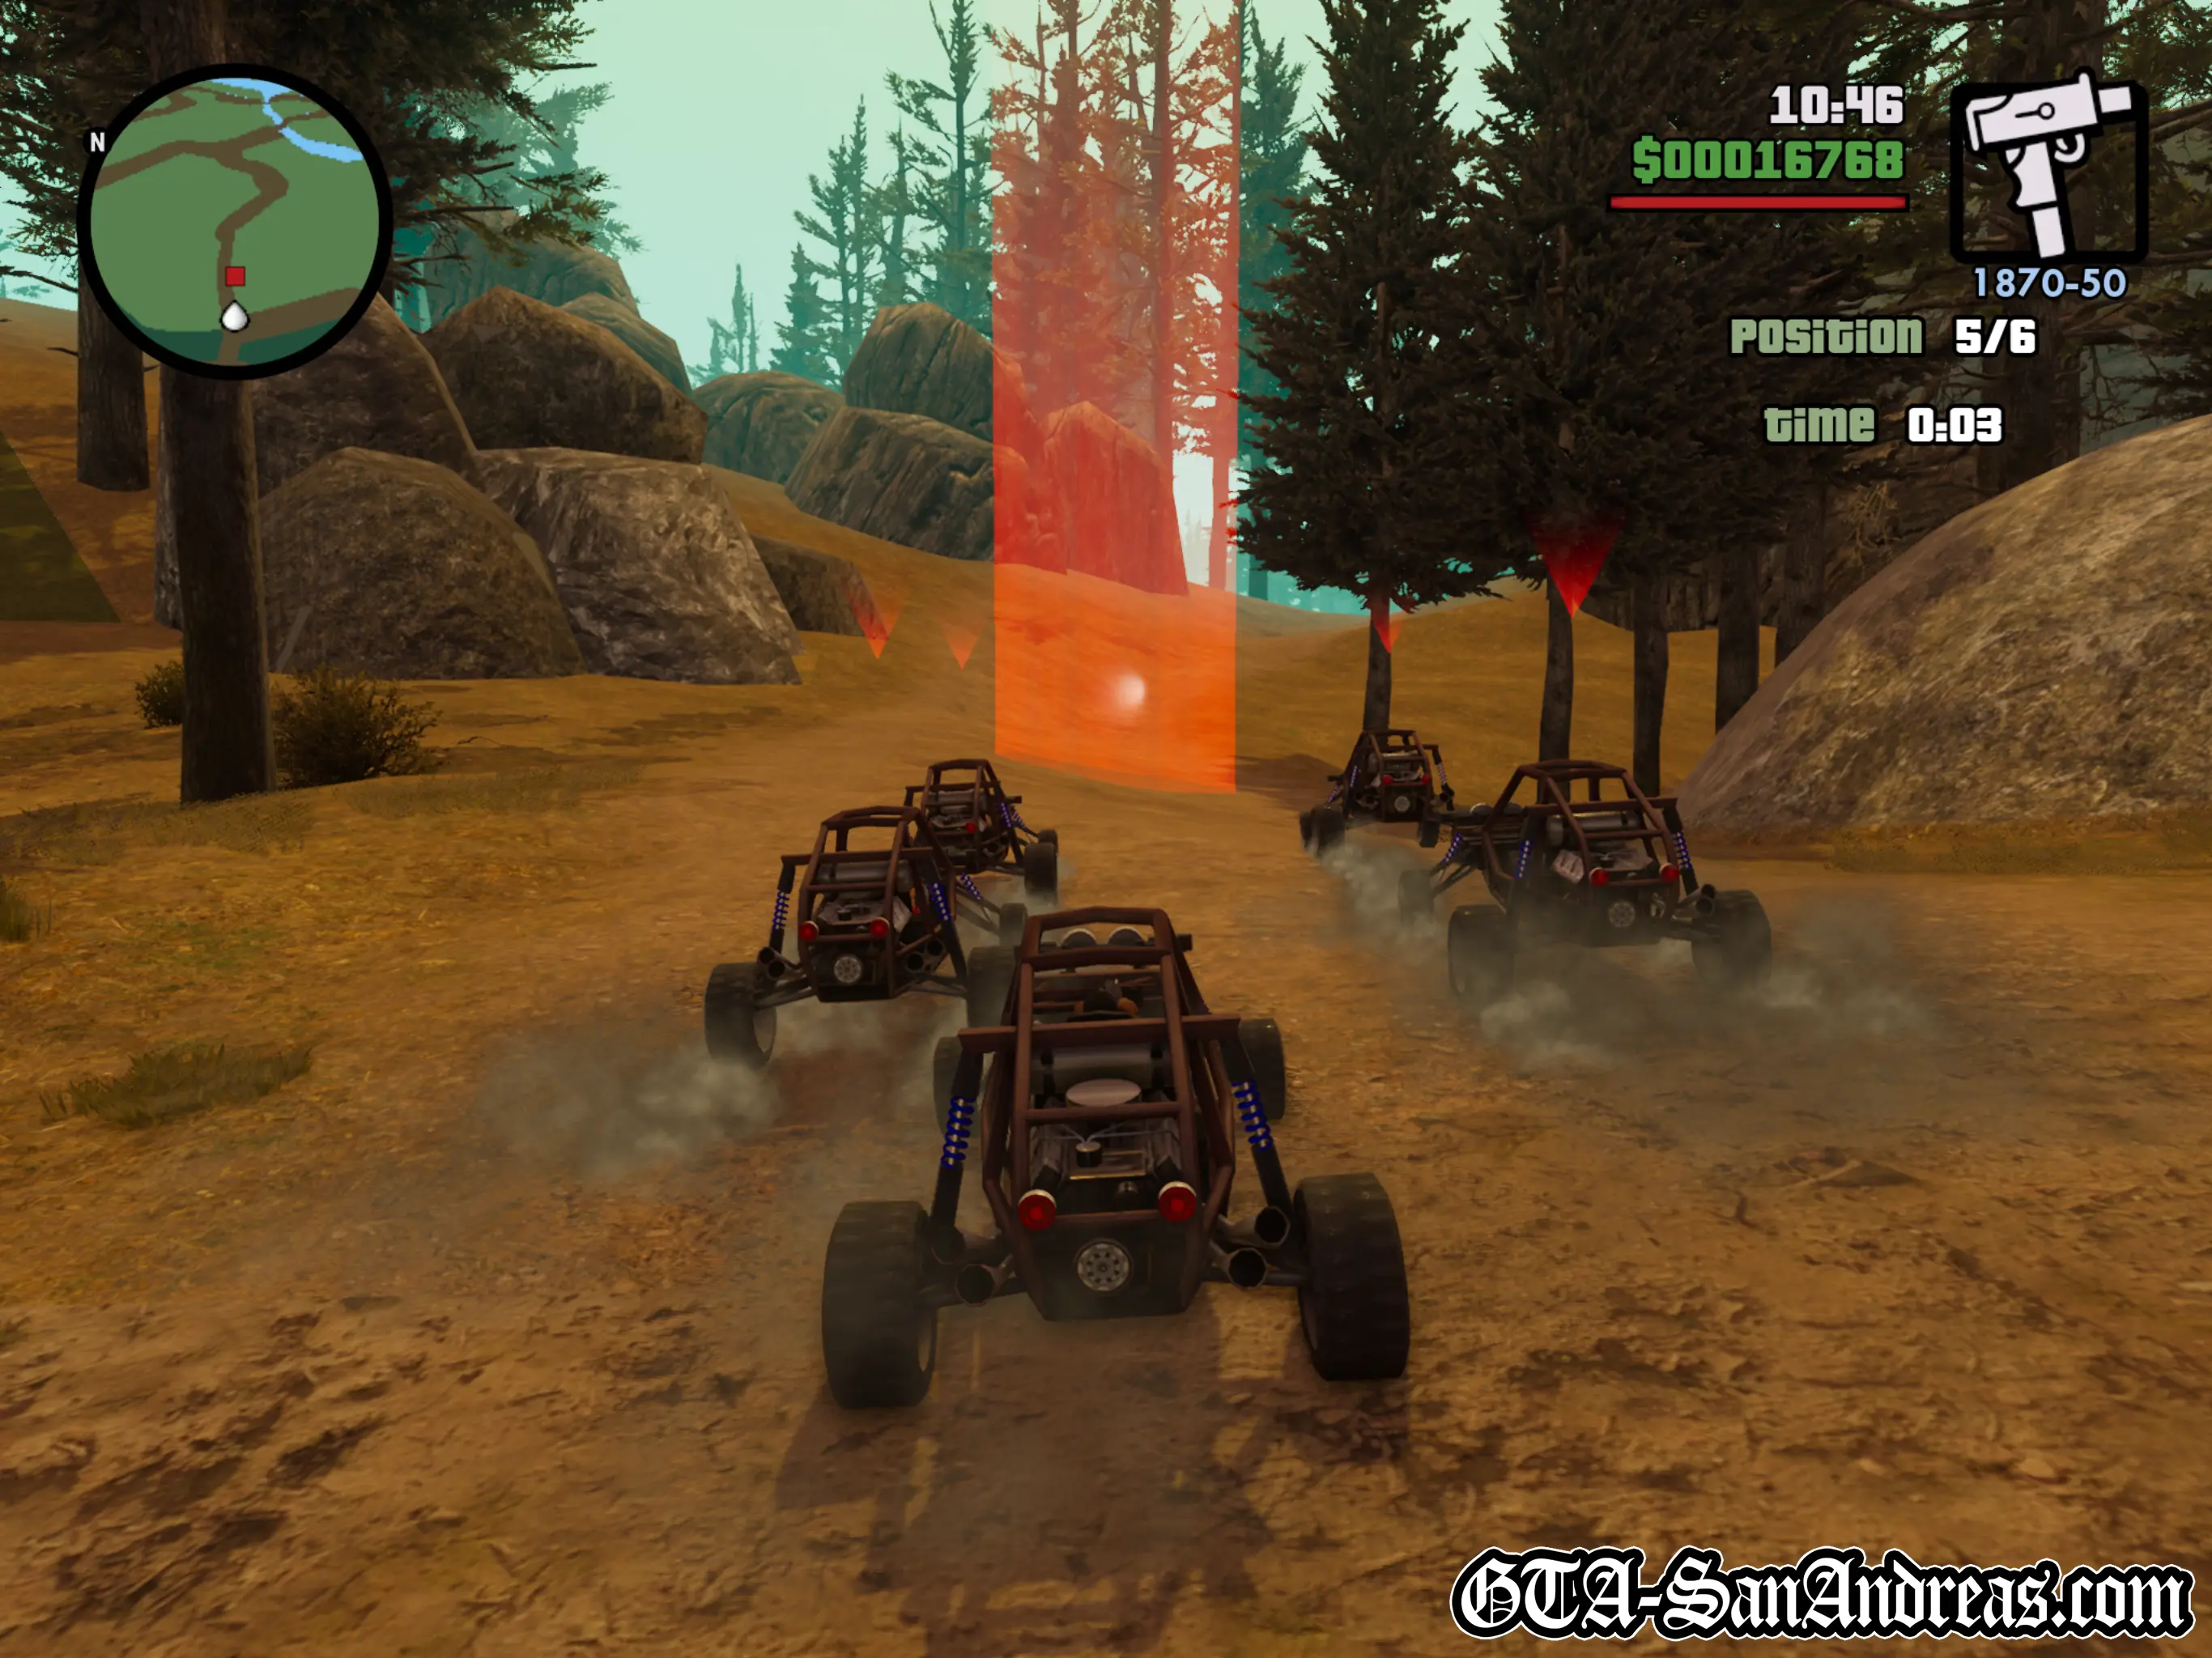
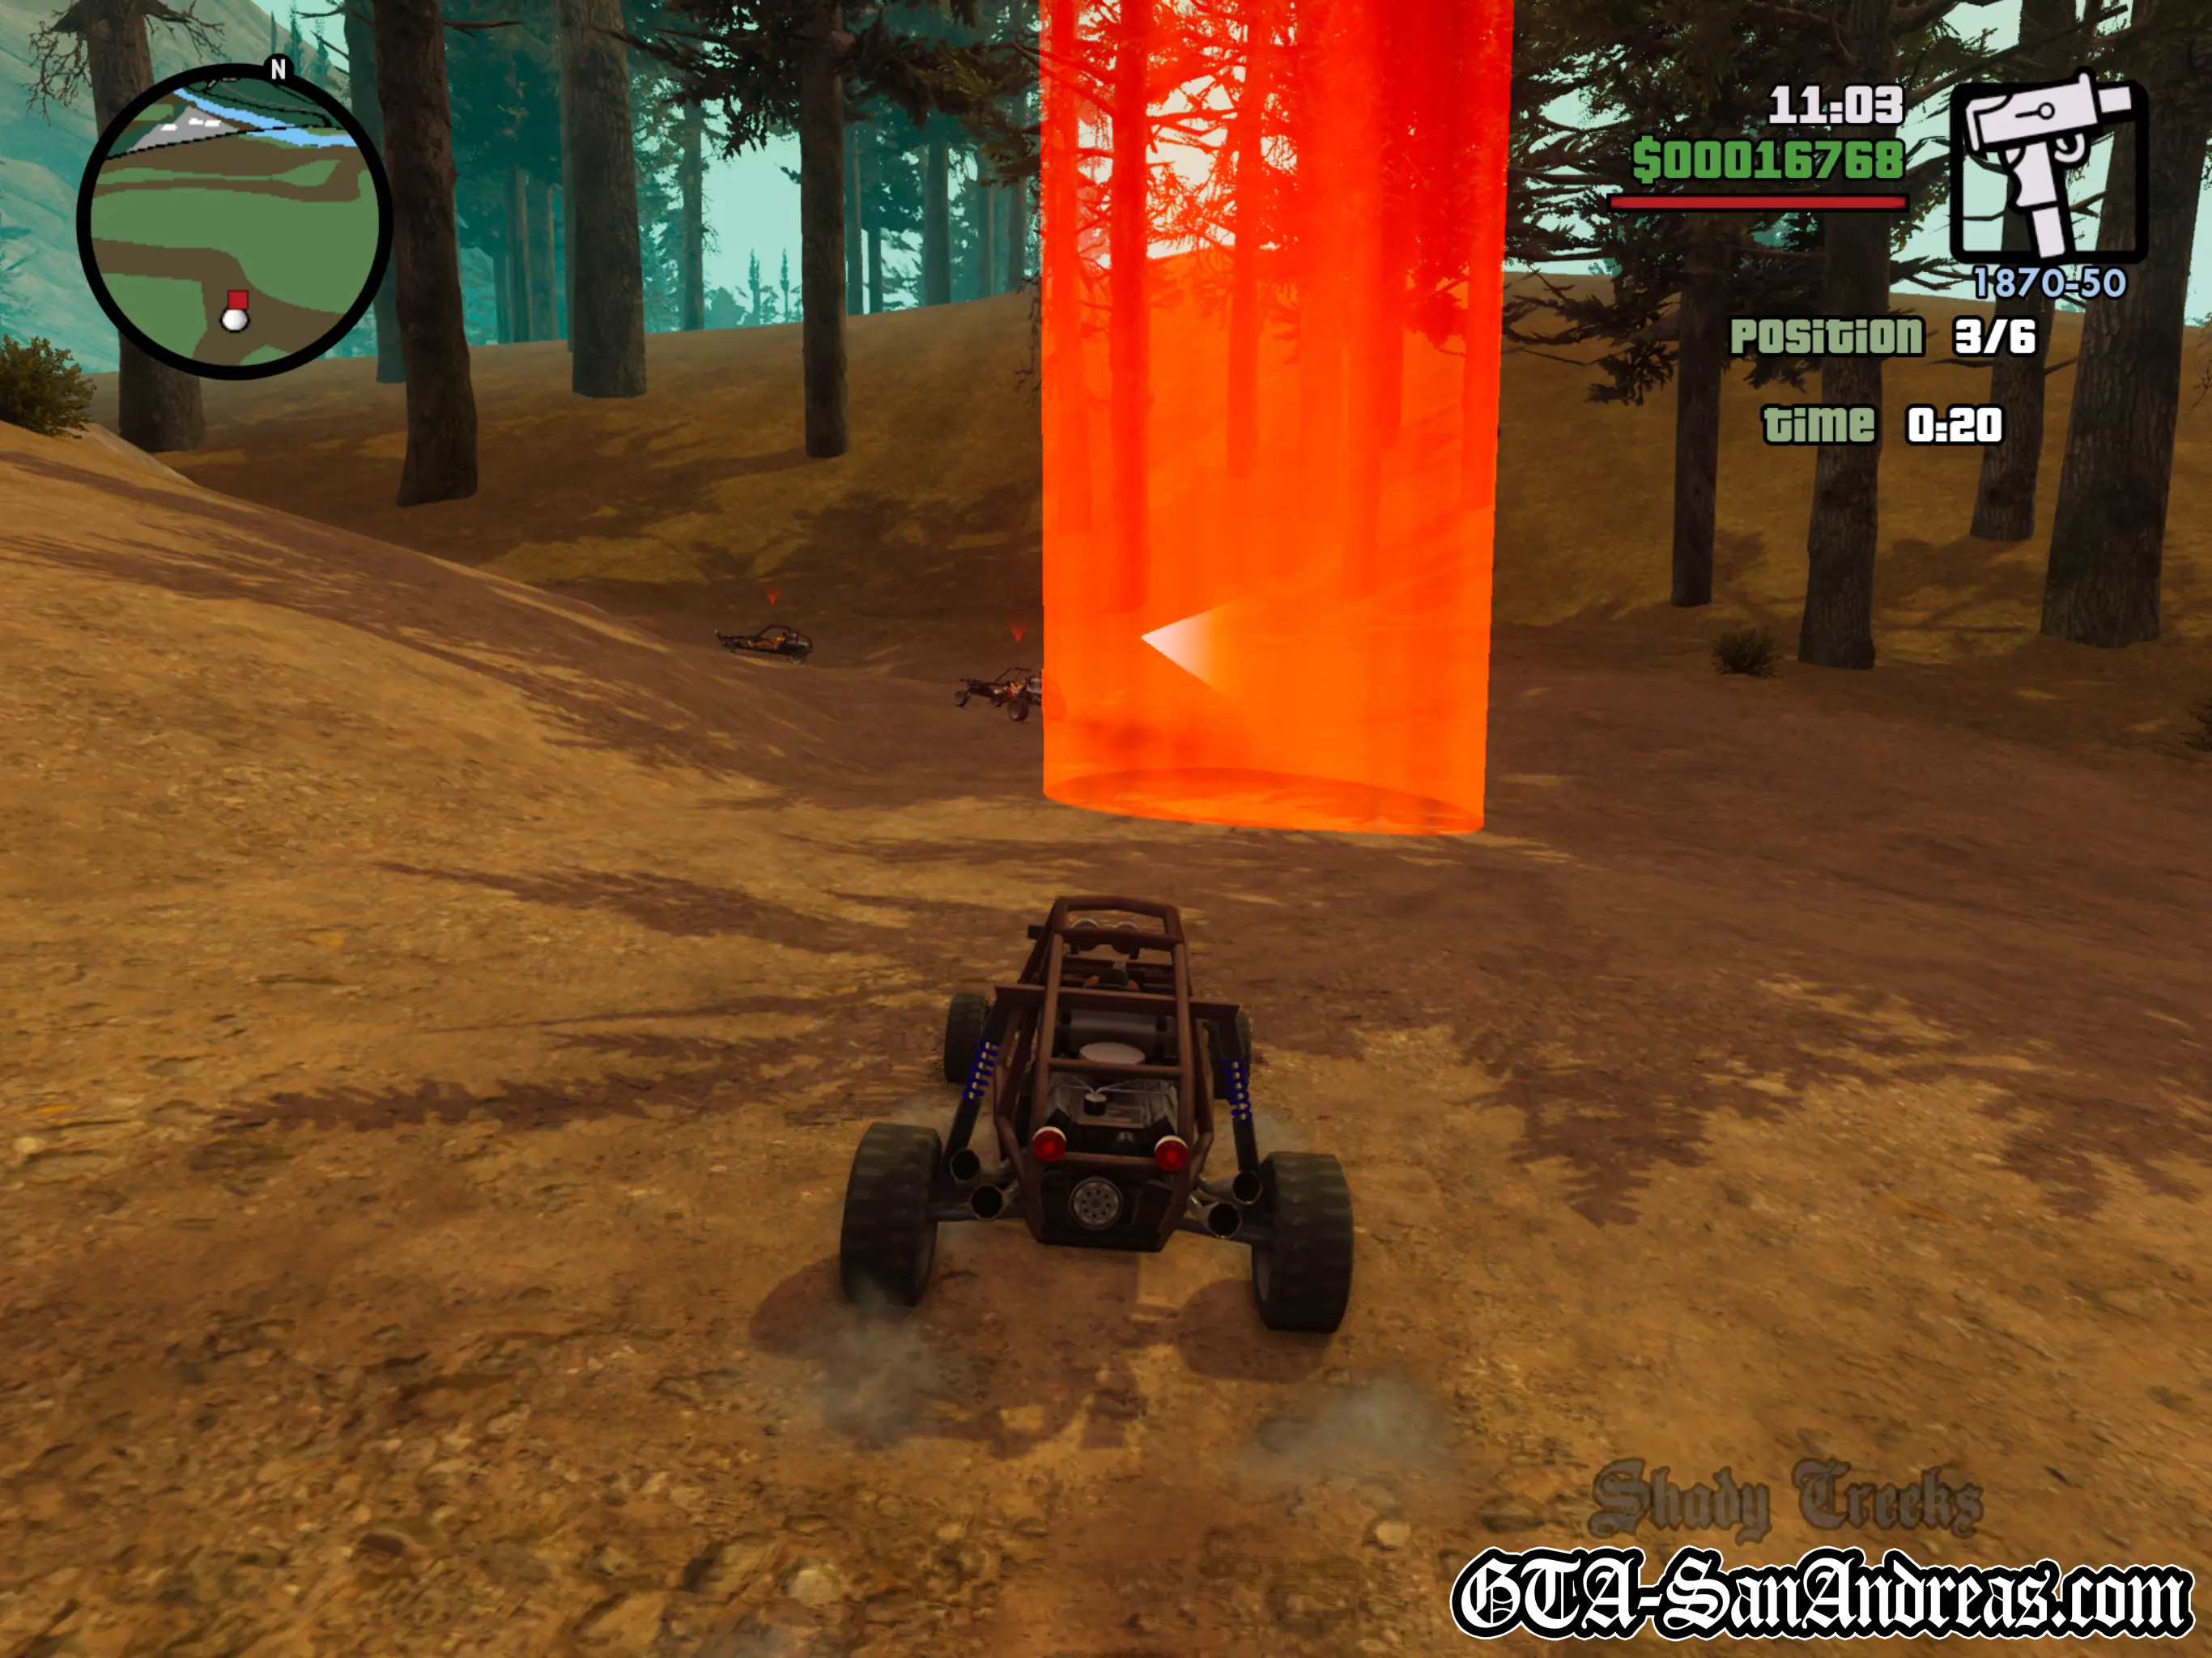
Tactics
This is once again a rather easy challenge because of the Bandito's nice offroad handling.
Keep up your speed and brake for sharp corners and you shouldn't have any problems finishing ahead of the other drivers.
Screenshots

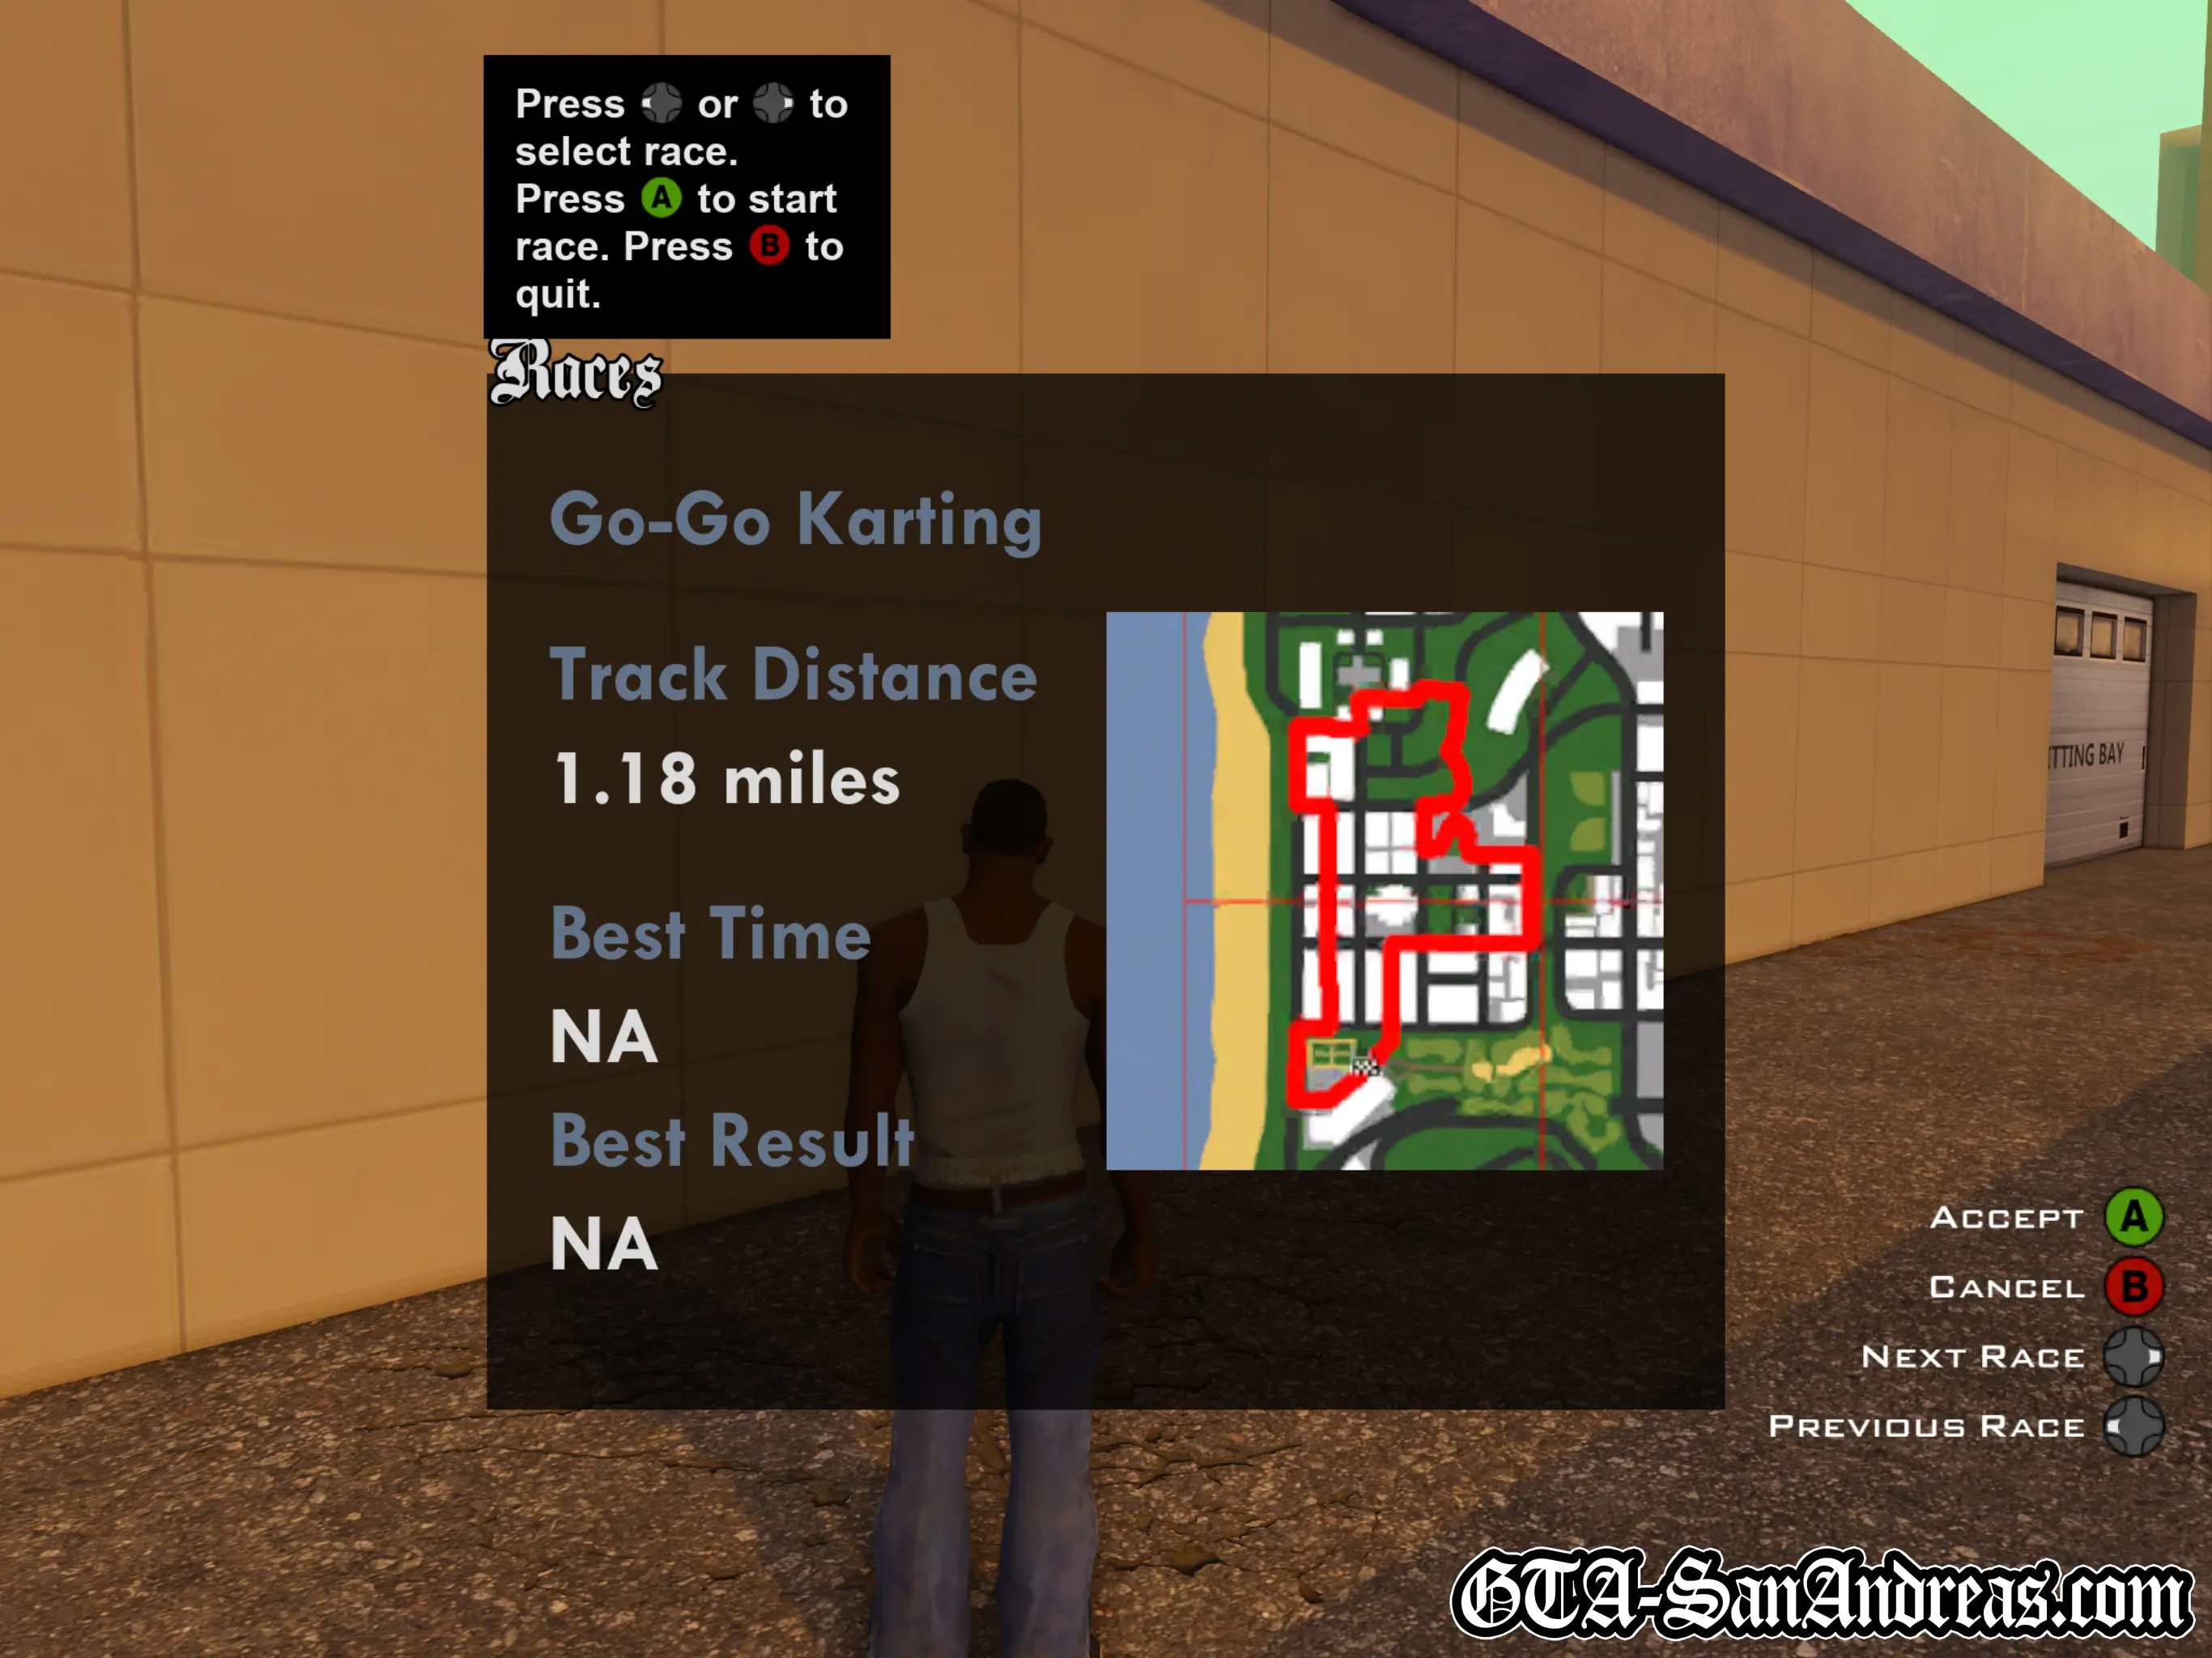
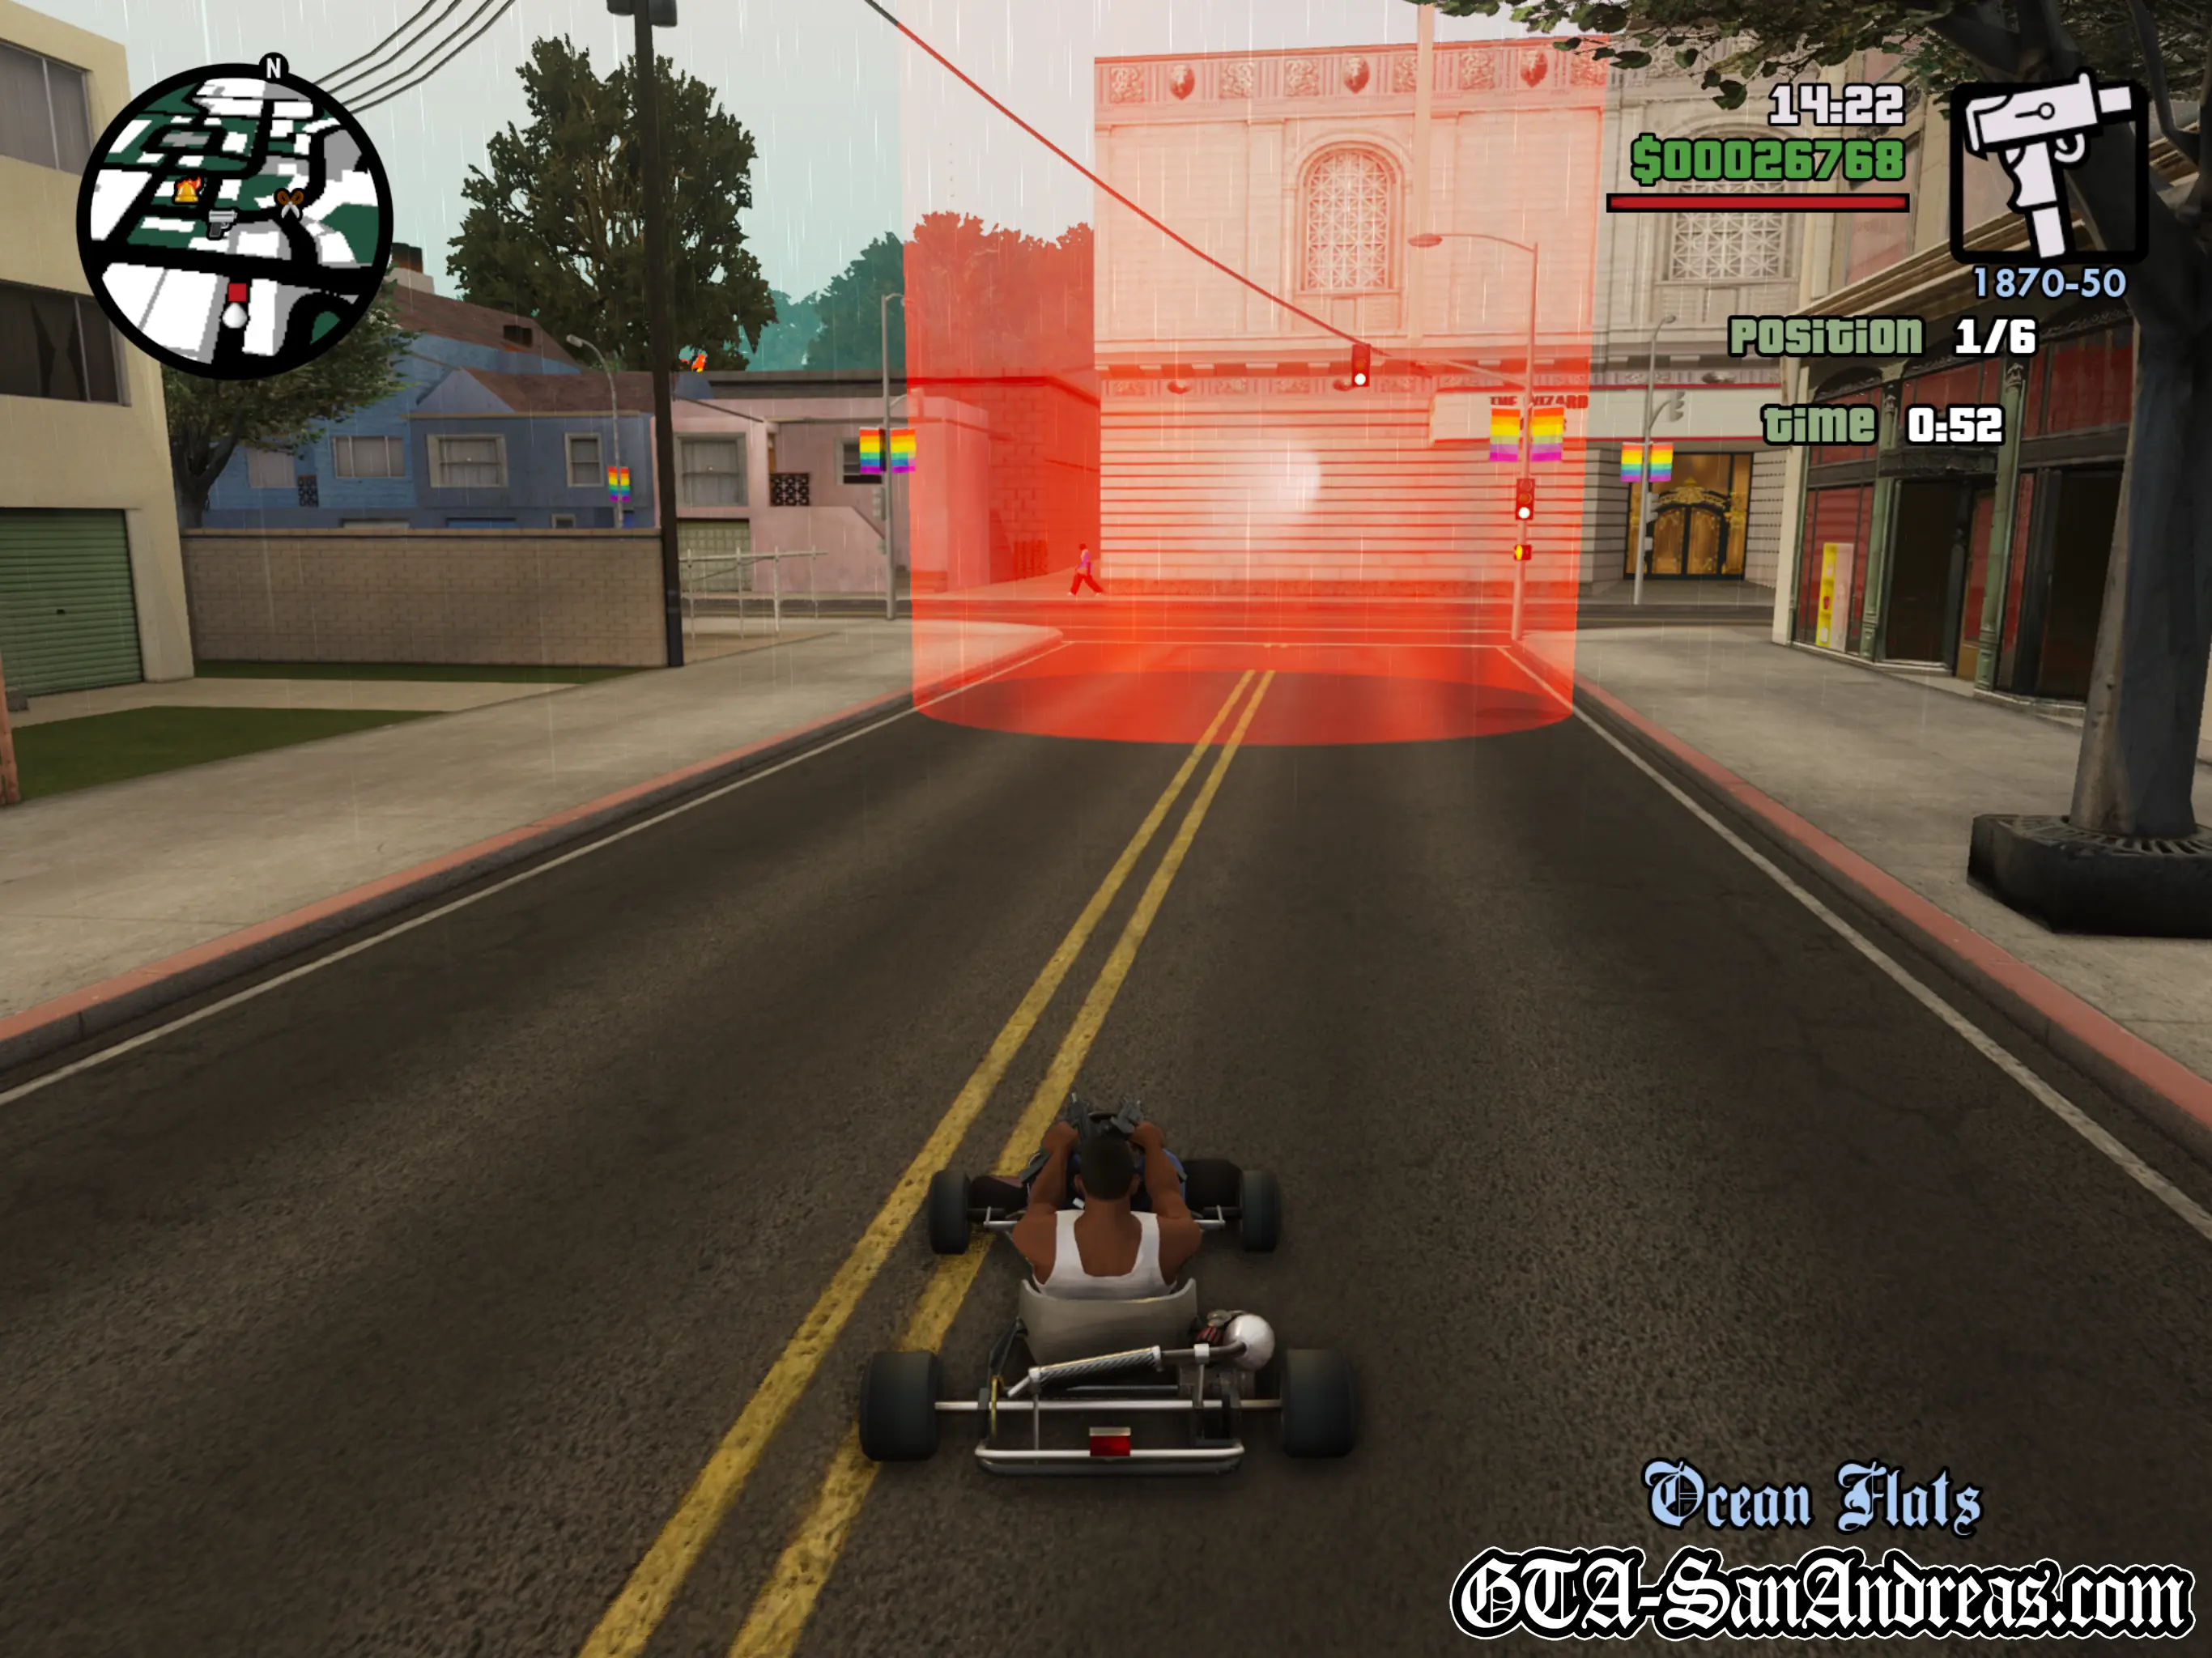
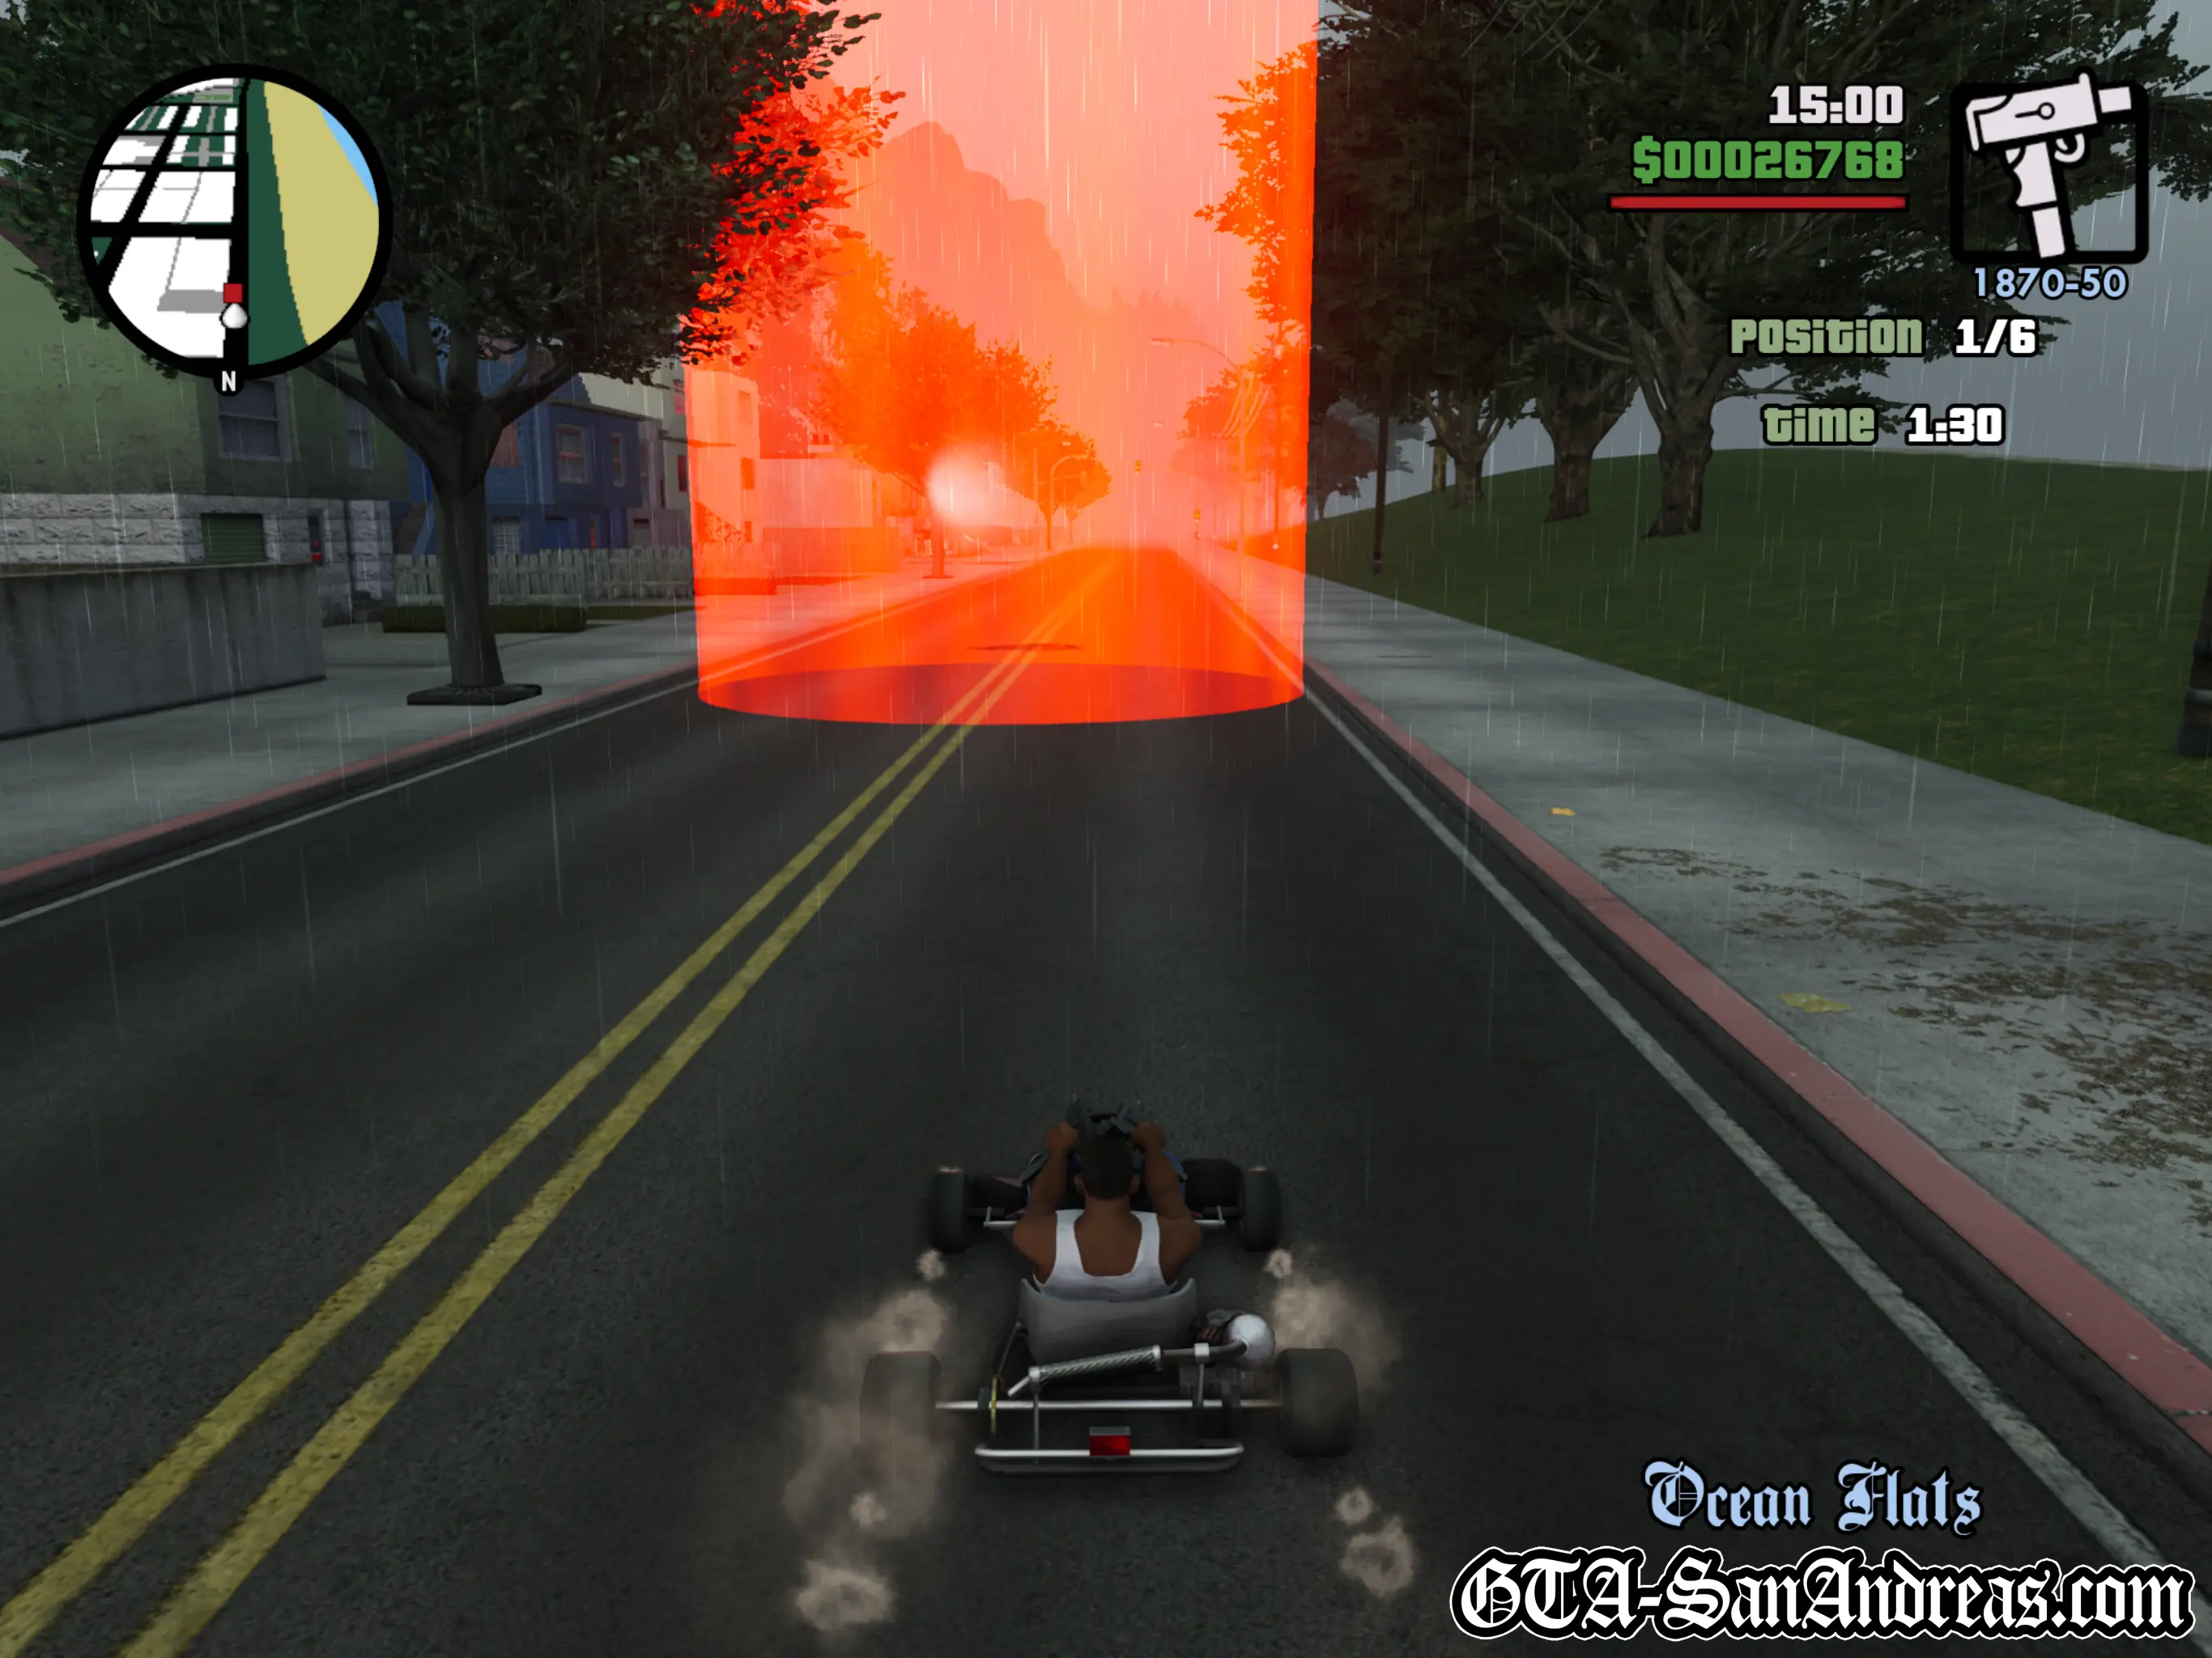
Go-Go Karting
| Vehicle Provided | Track Distance |
|---|---|
| Kart | 1.00 KM |
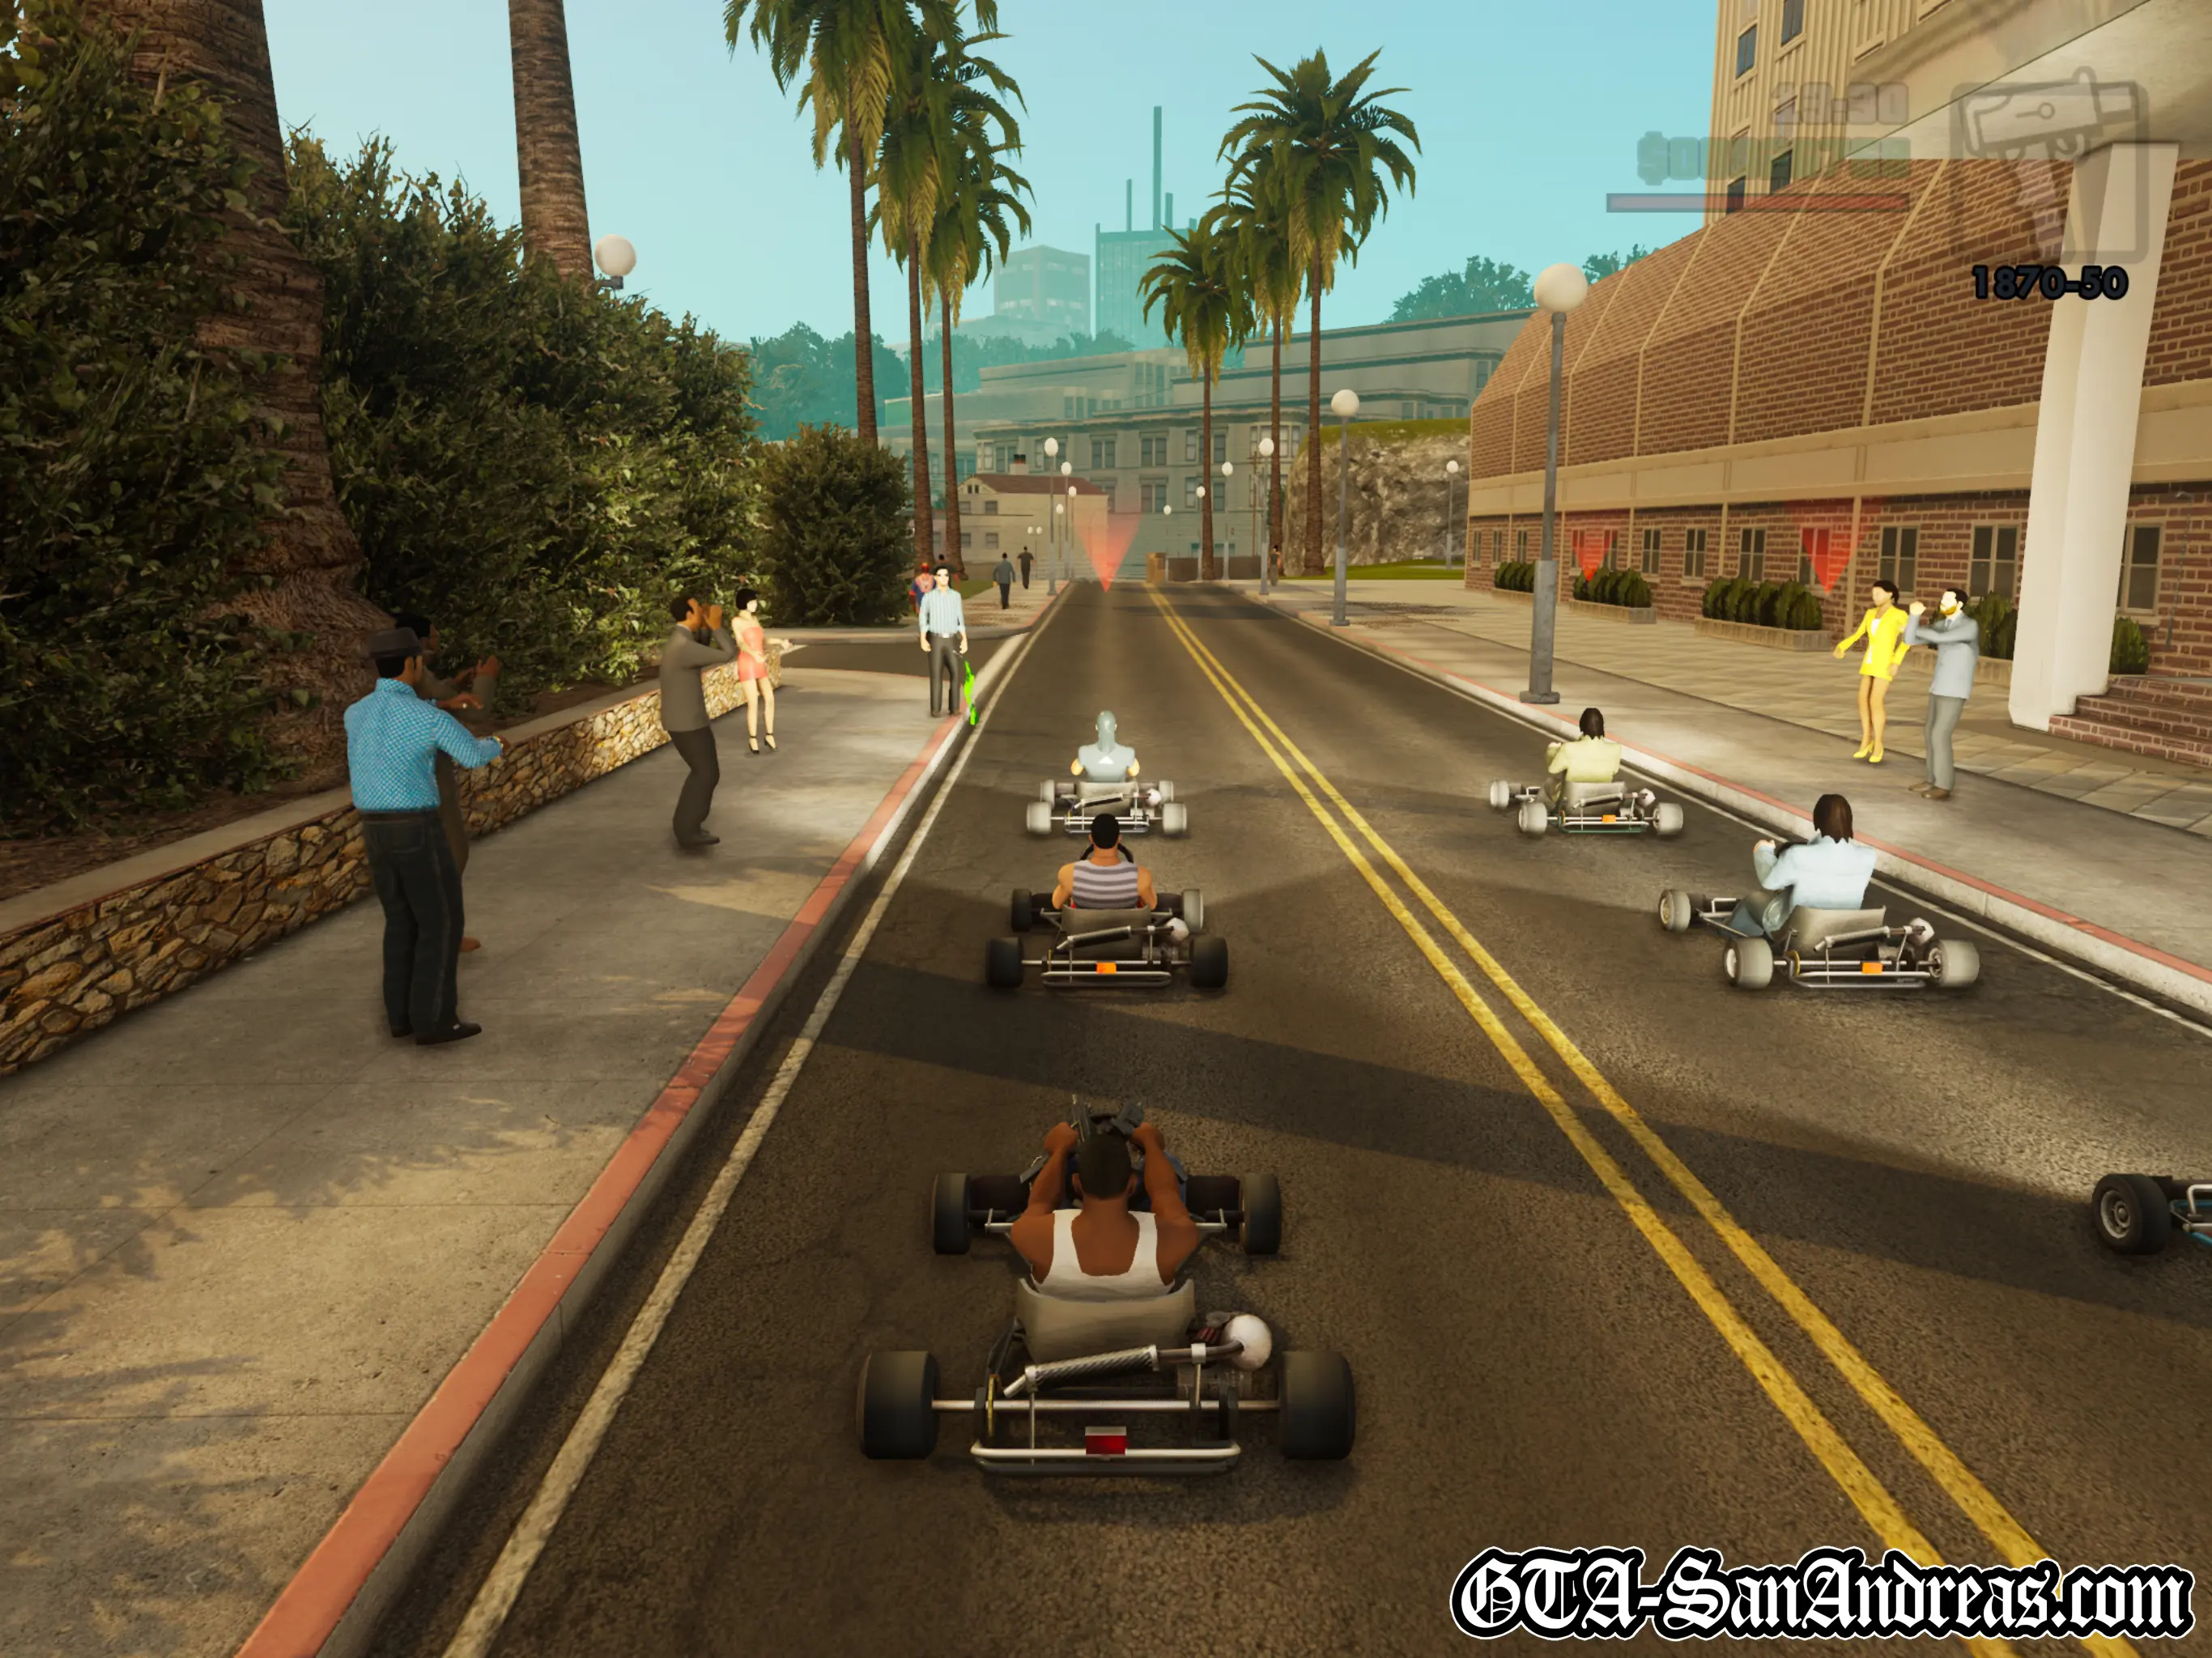
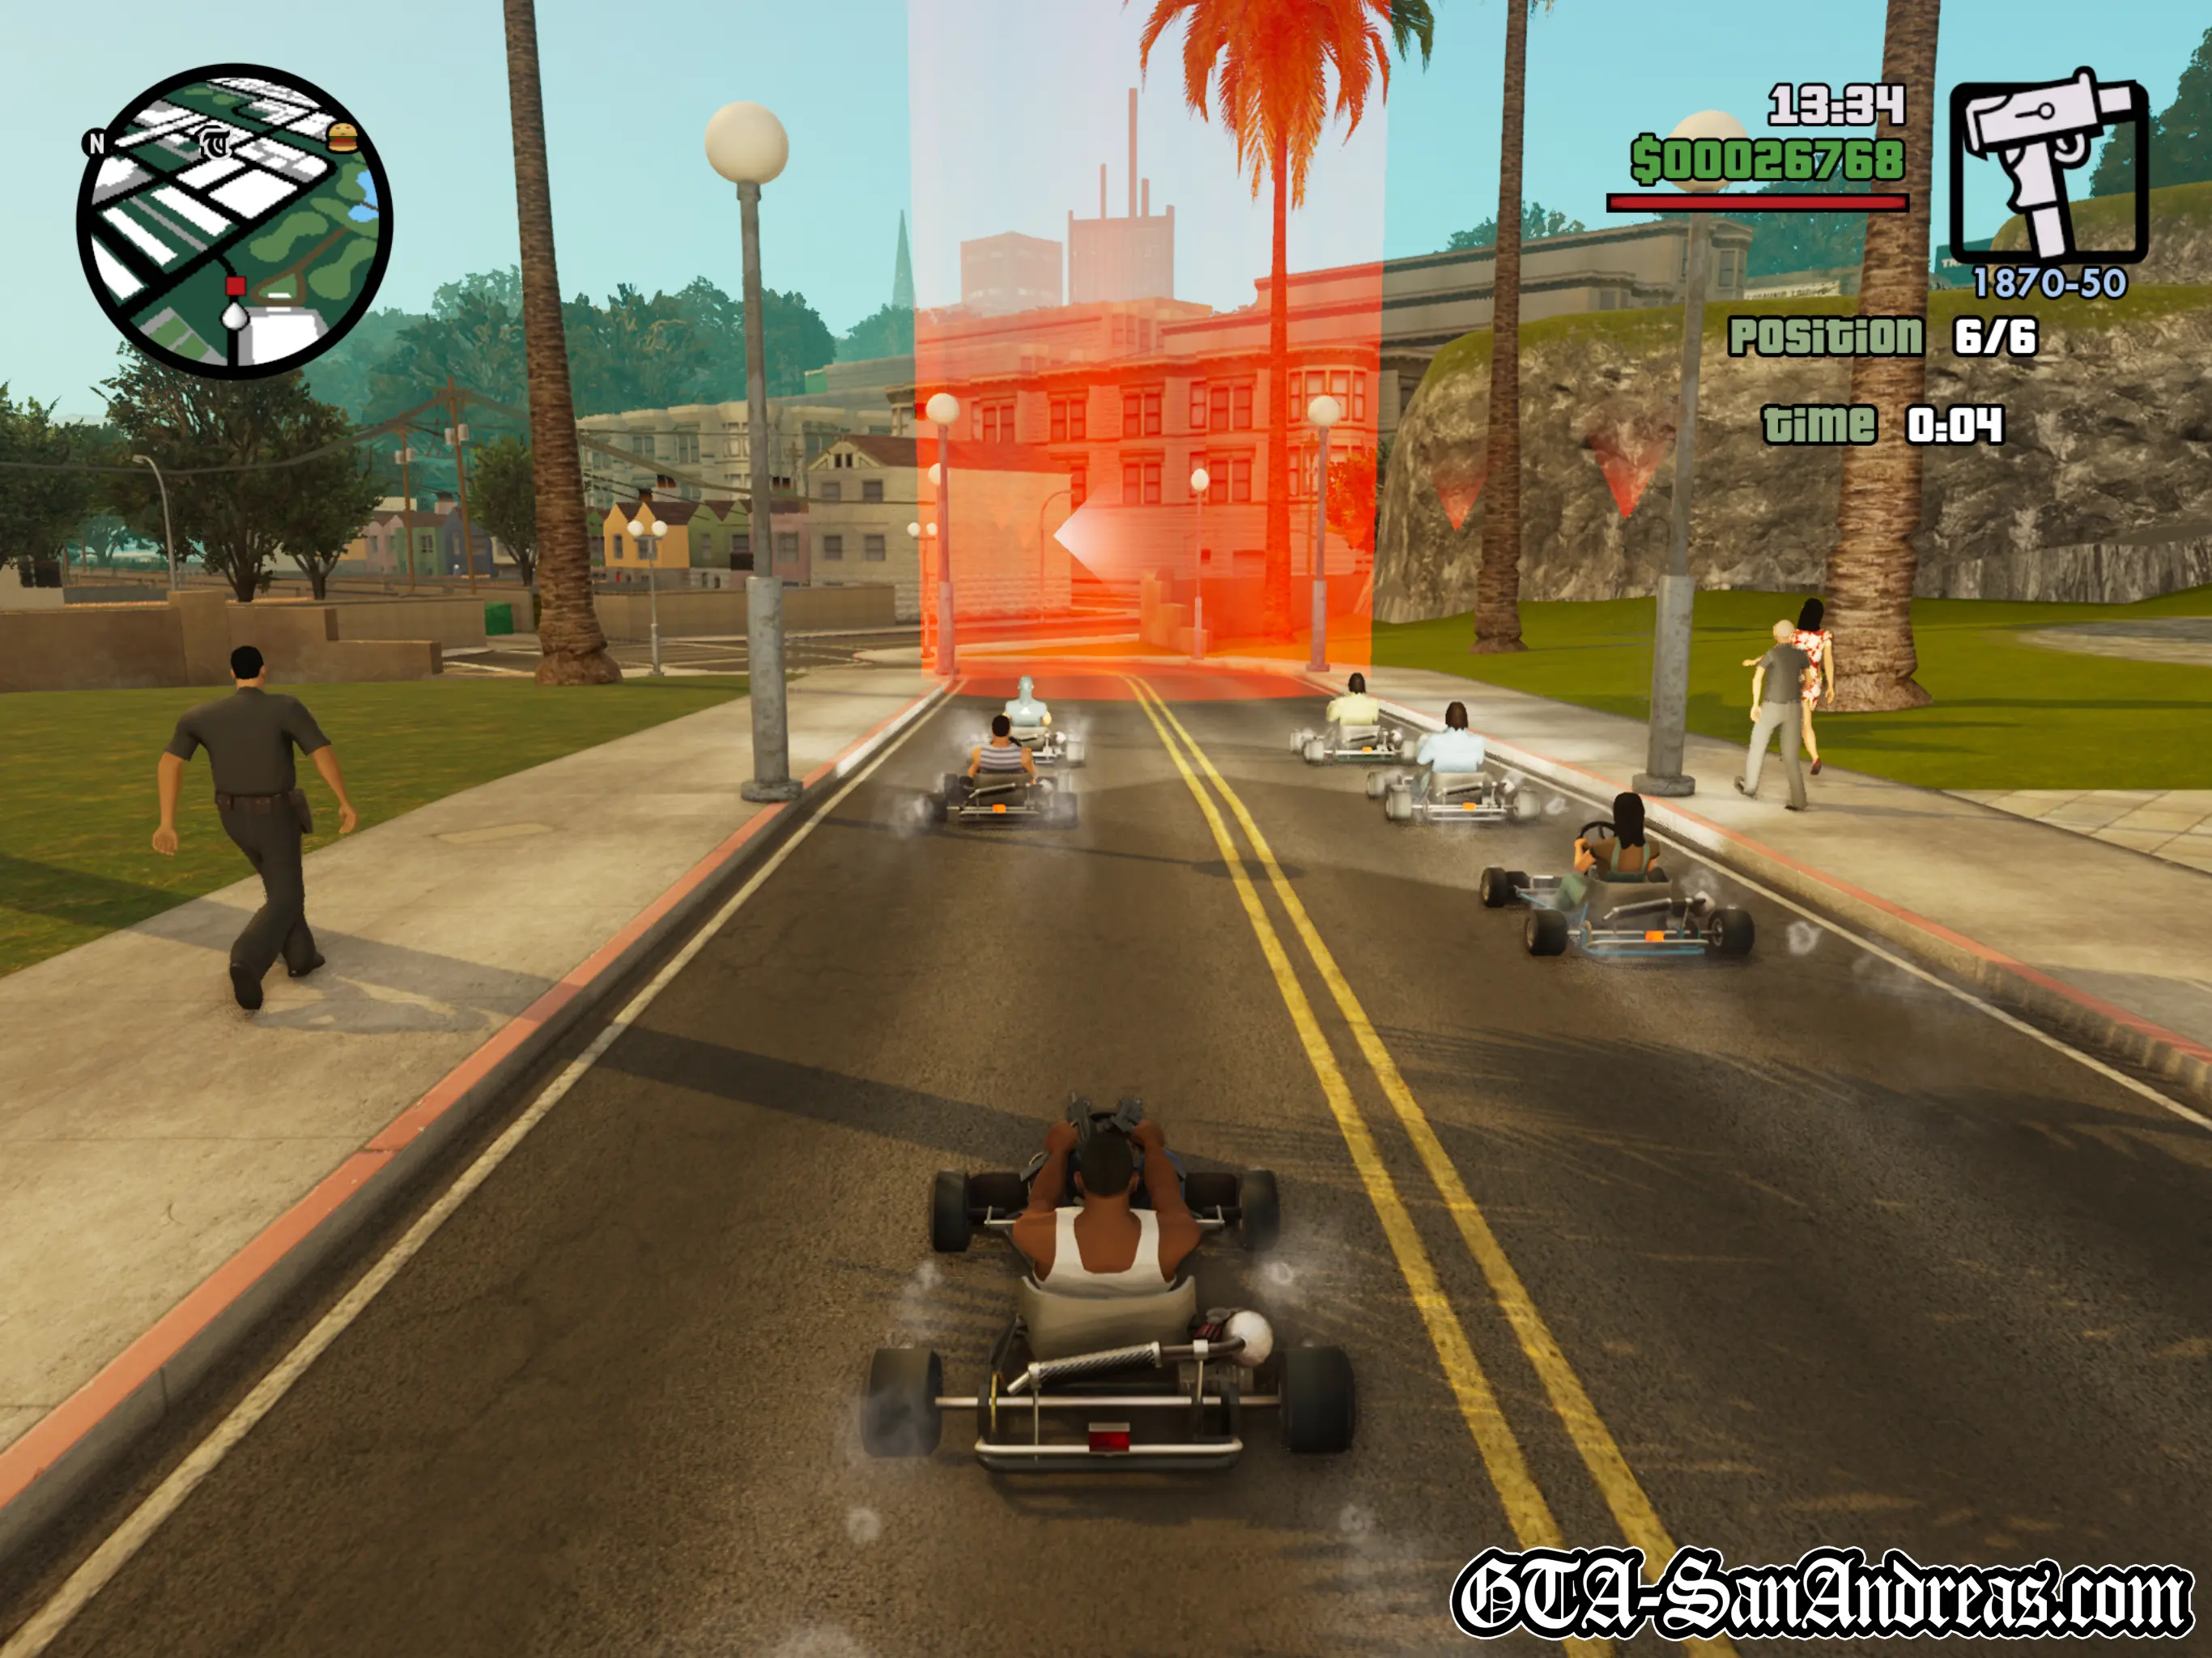
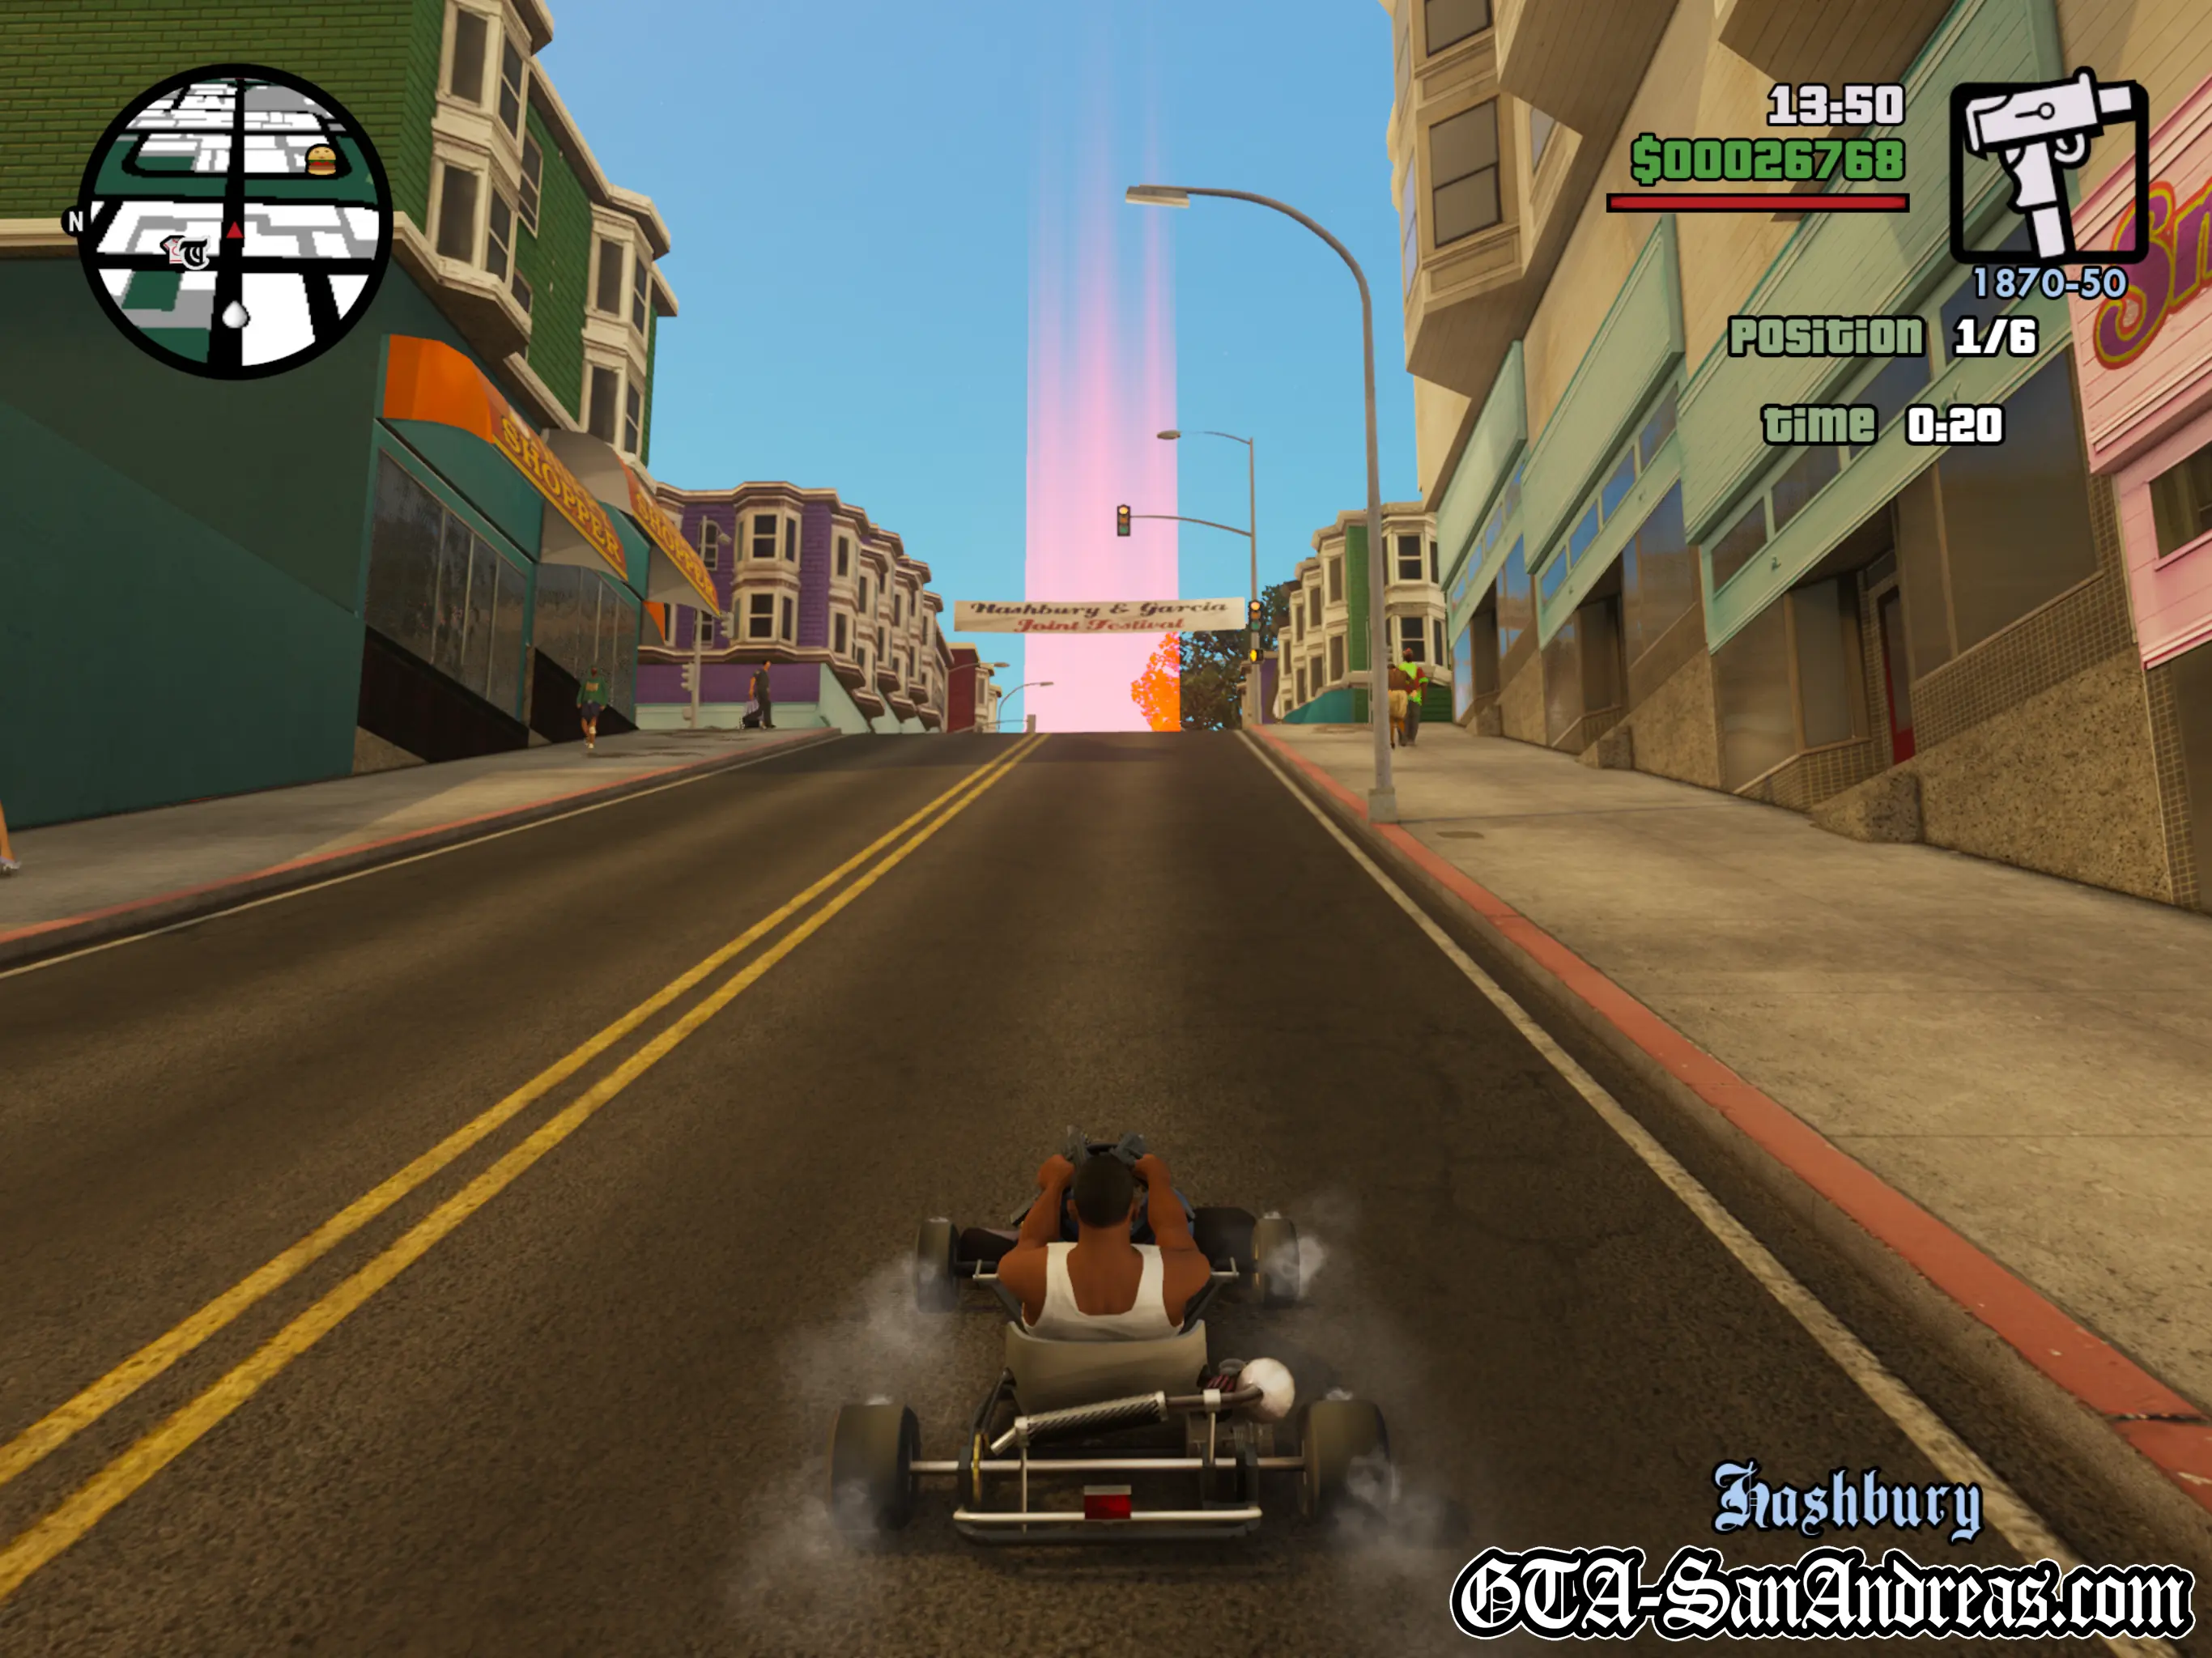
Tactics
This race is slightly more difficult than the previous few due to the insane handling of the kart and it's inability to go over curbs very well.
If you hav a good start and get along the alley in first or second place, you shouldn't have too much trouble maintaining the lead.
Remember to brake or let go of accelerate to slow down when turning, avoid traffic and you should win easily once you learn the track.
Screenshots
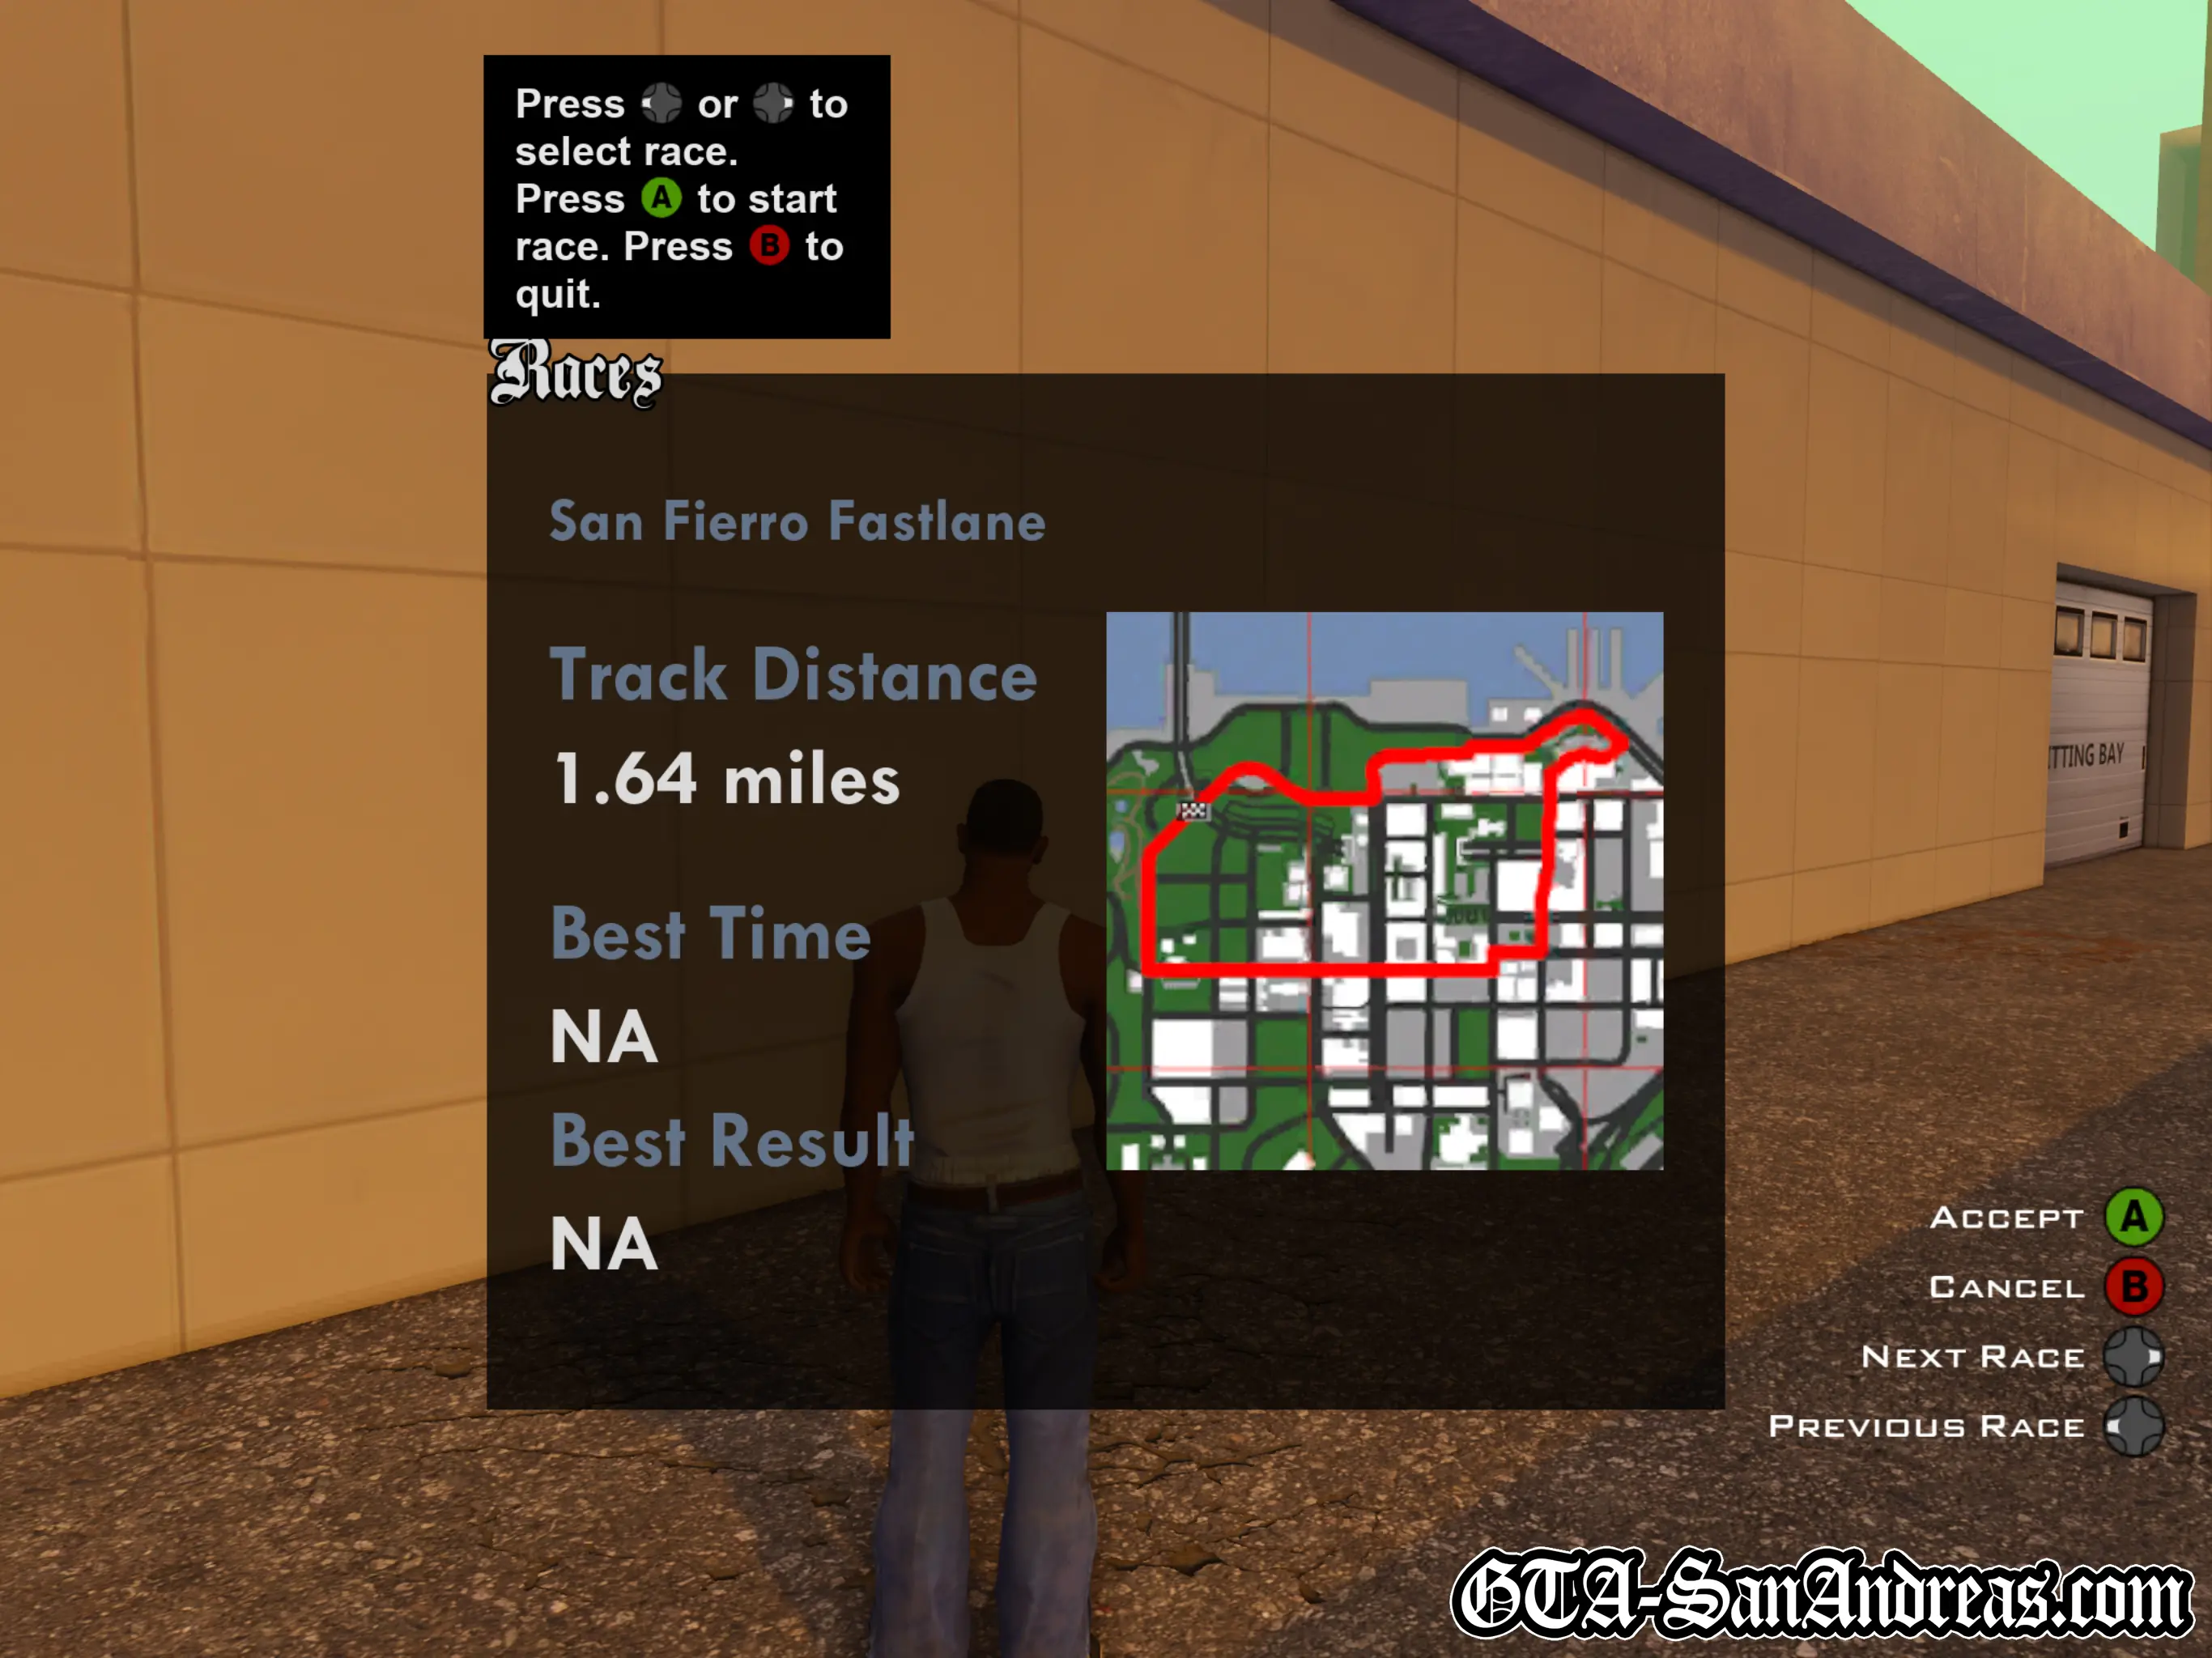
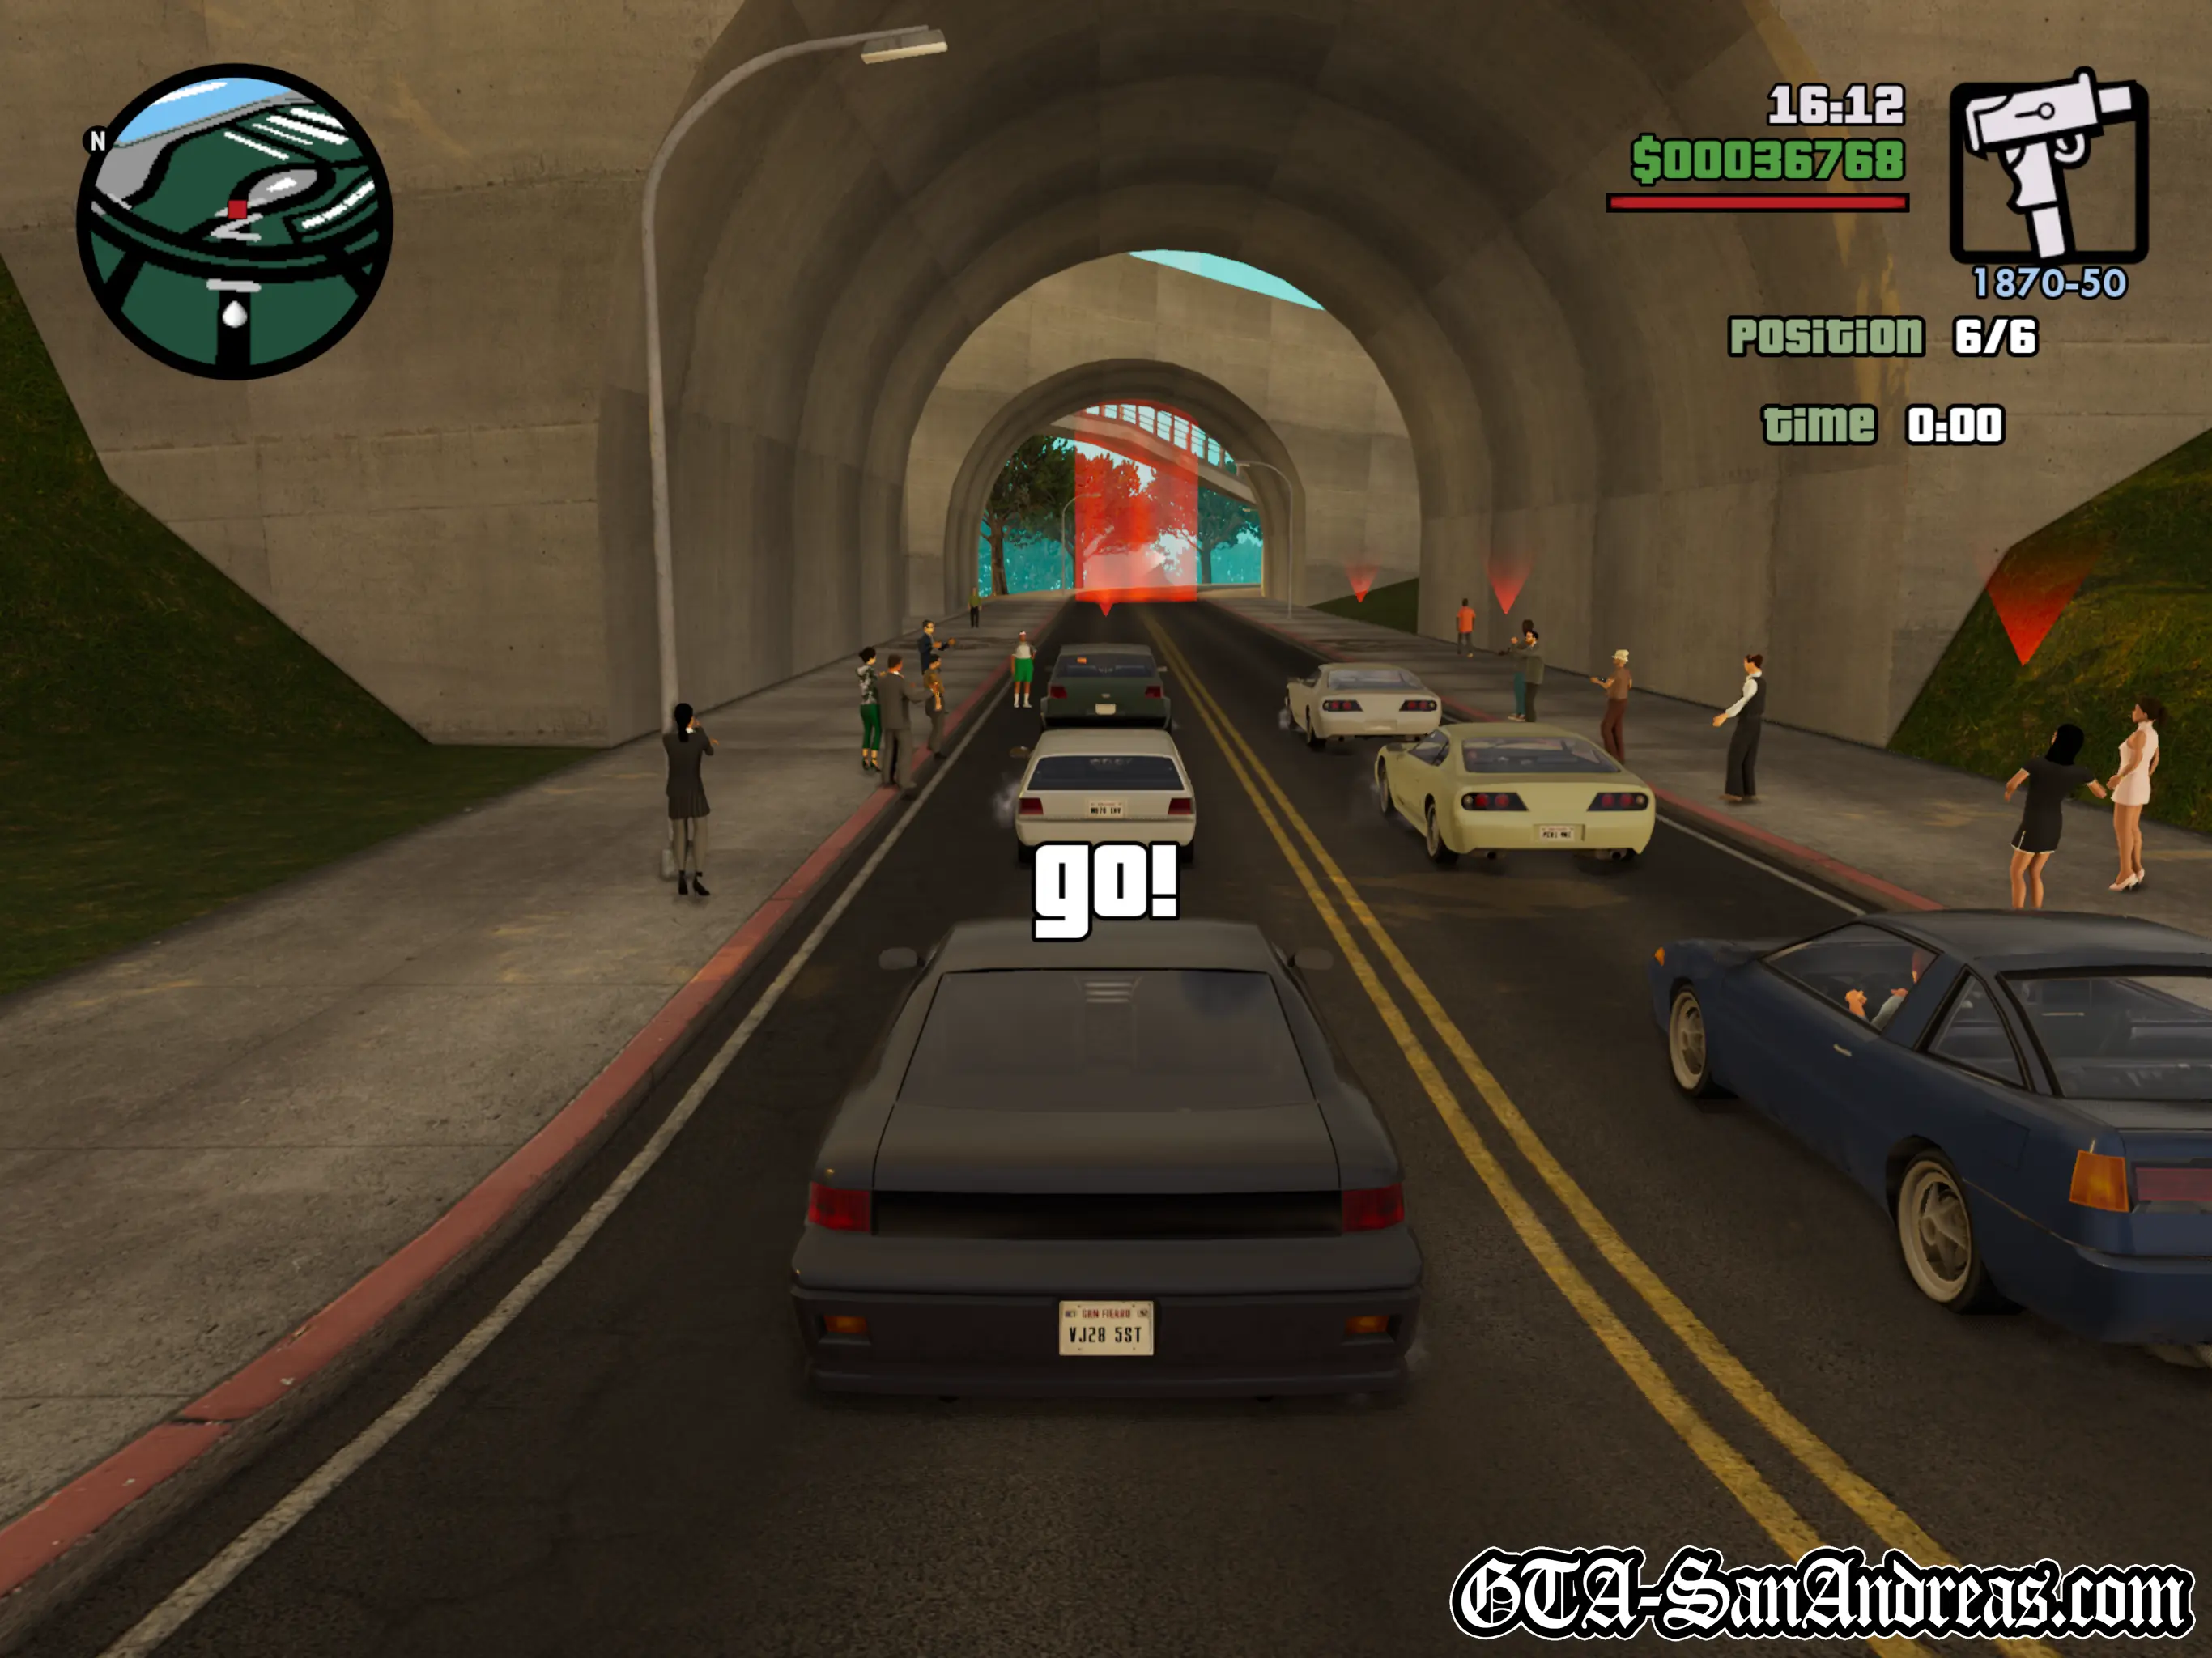
San Fierro Fastlane
| Vehicle Provided | Track Distance |
|---|---|
| Alpha | 2.00 KM |
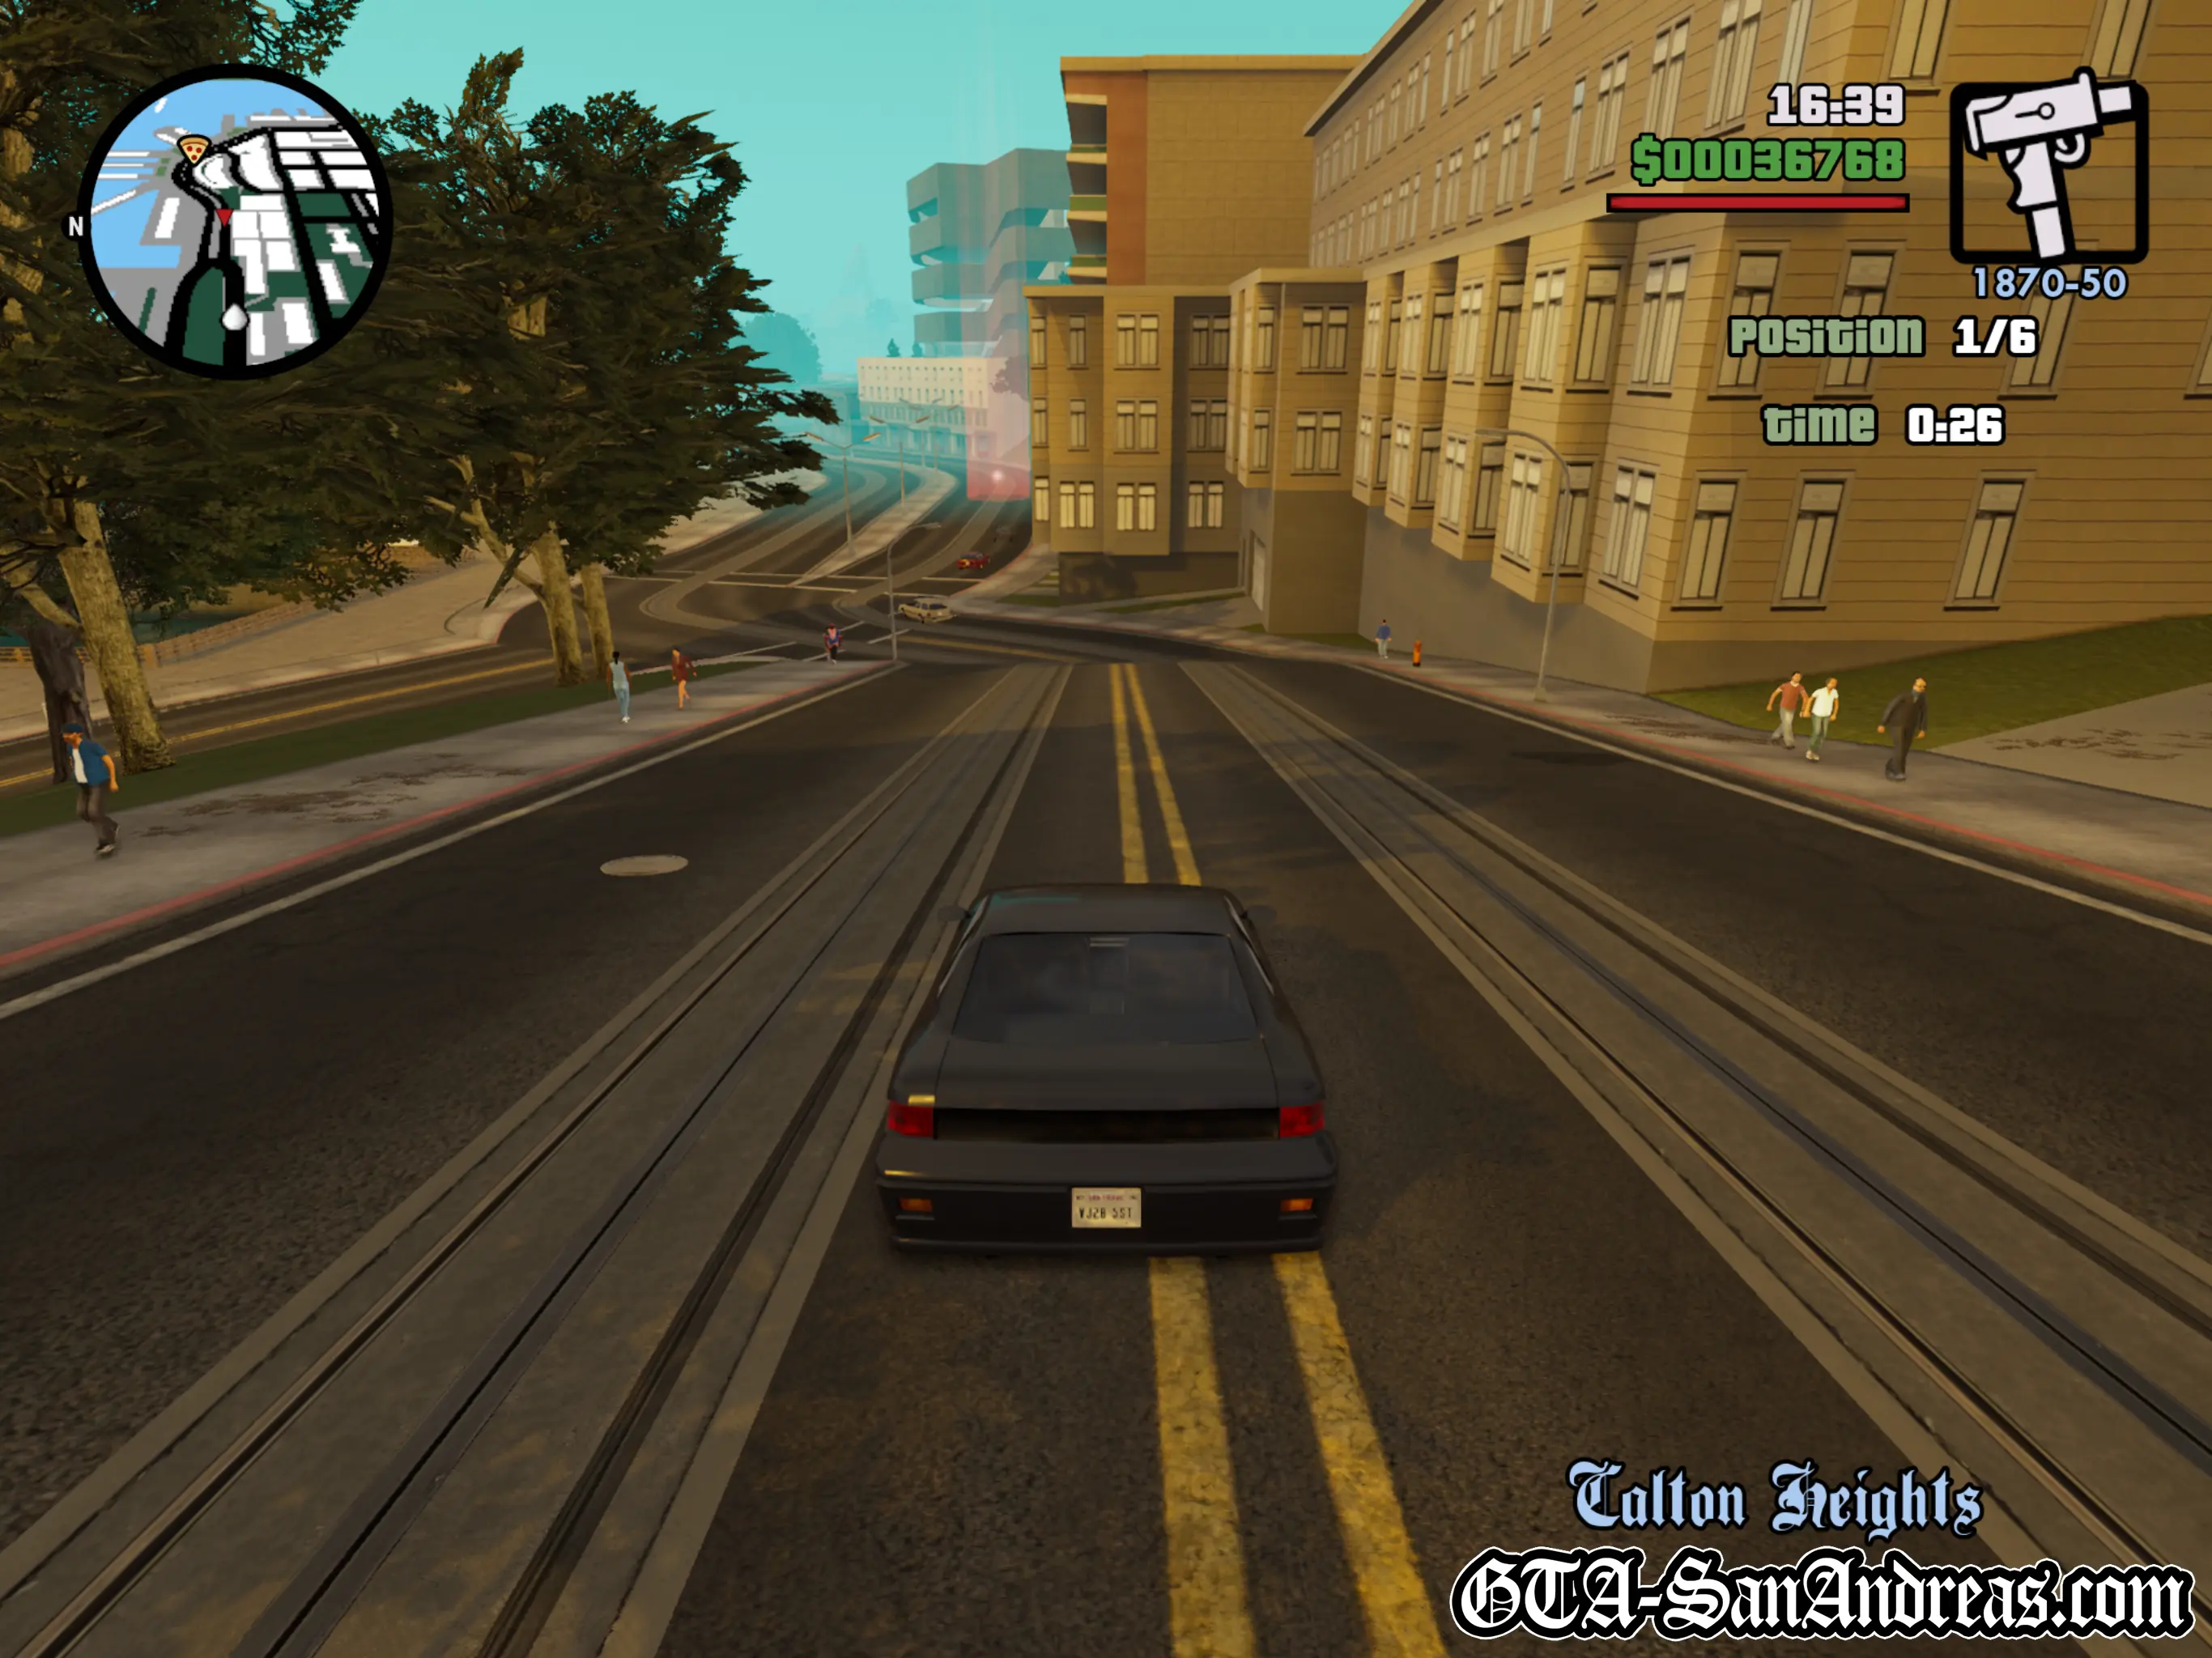
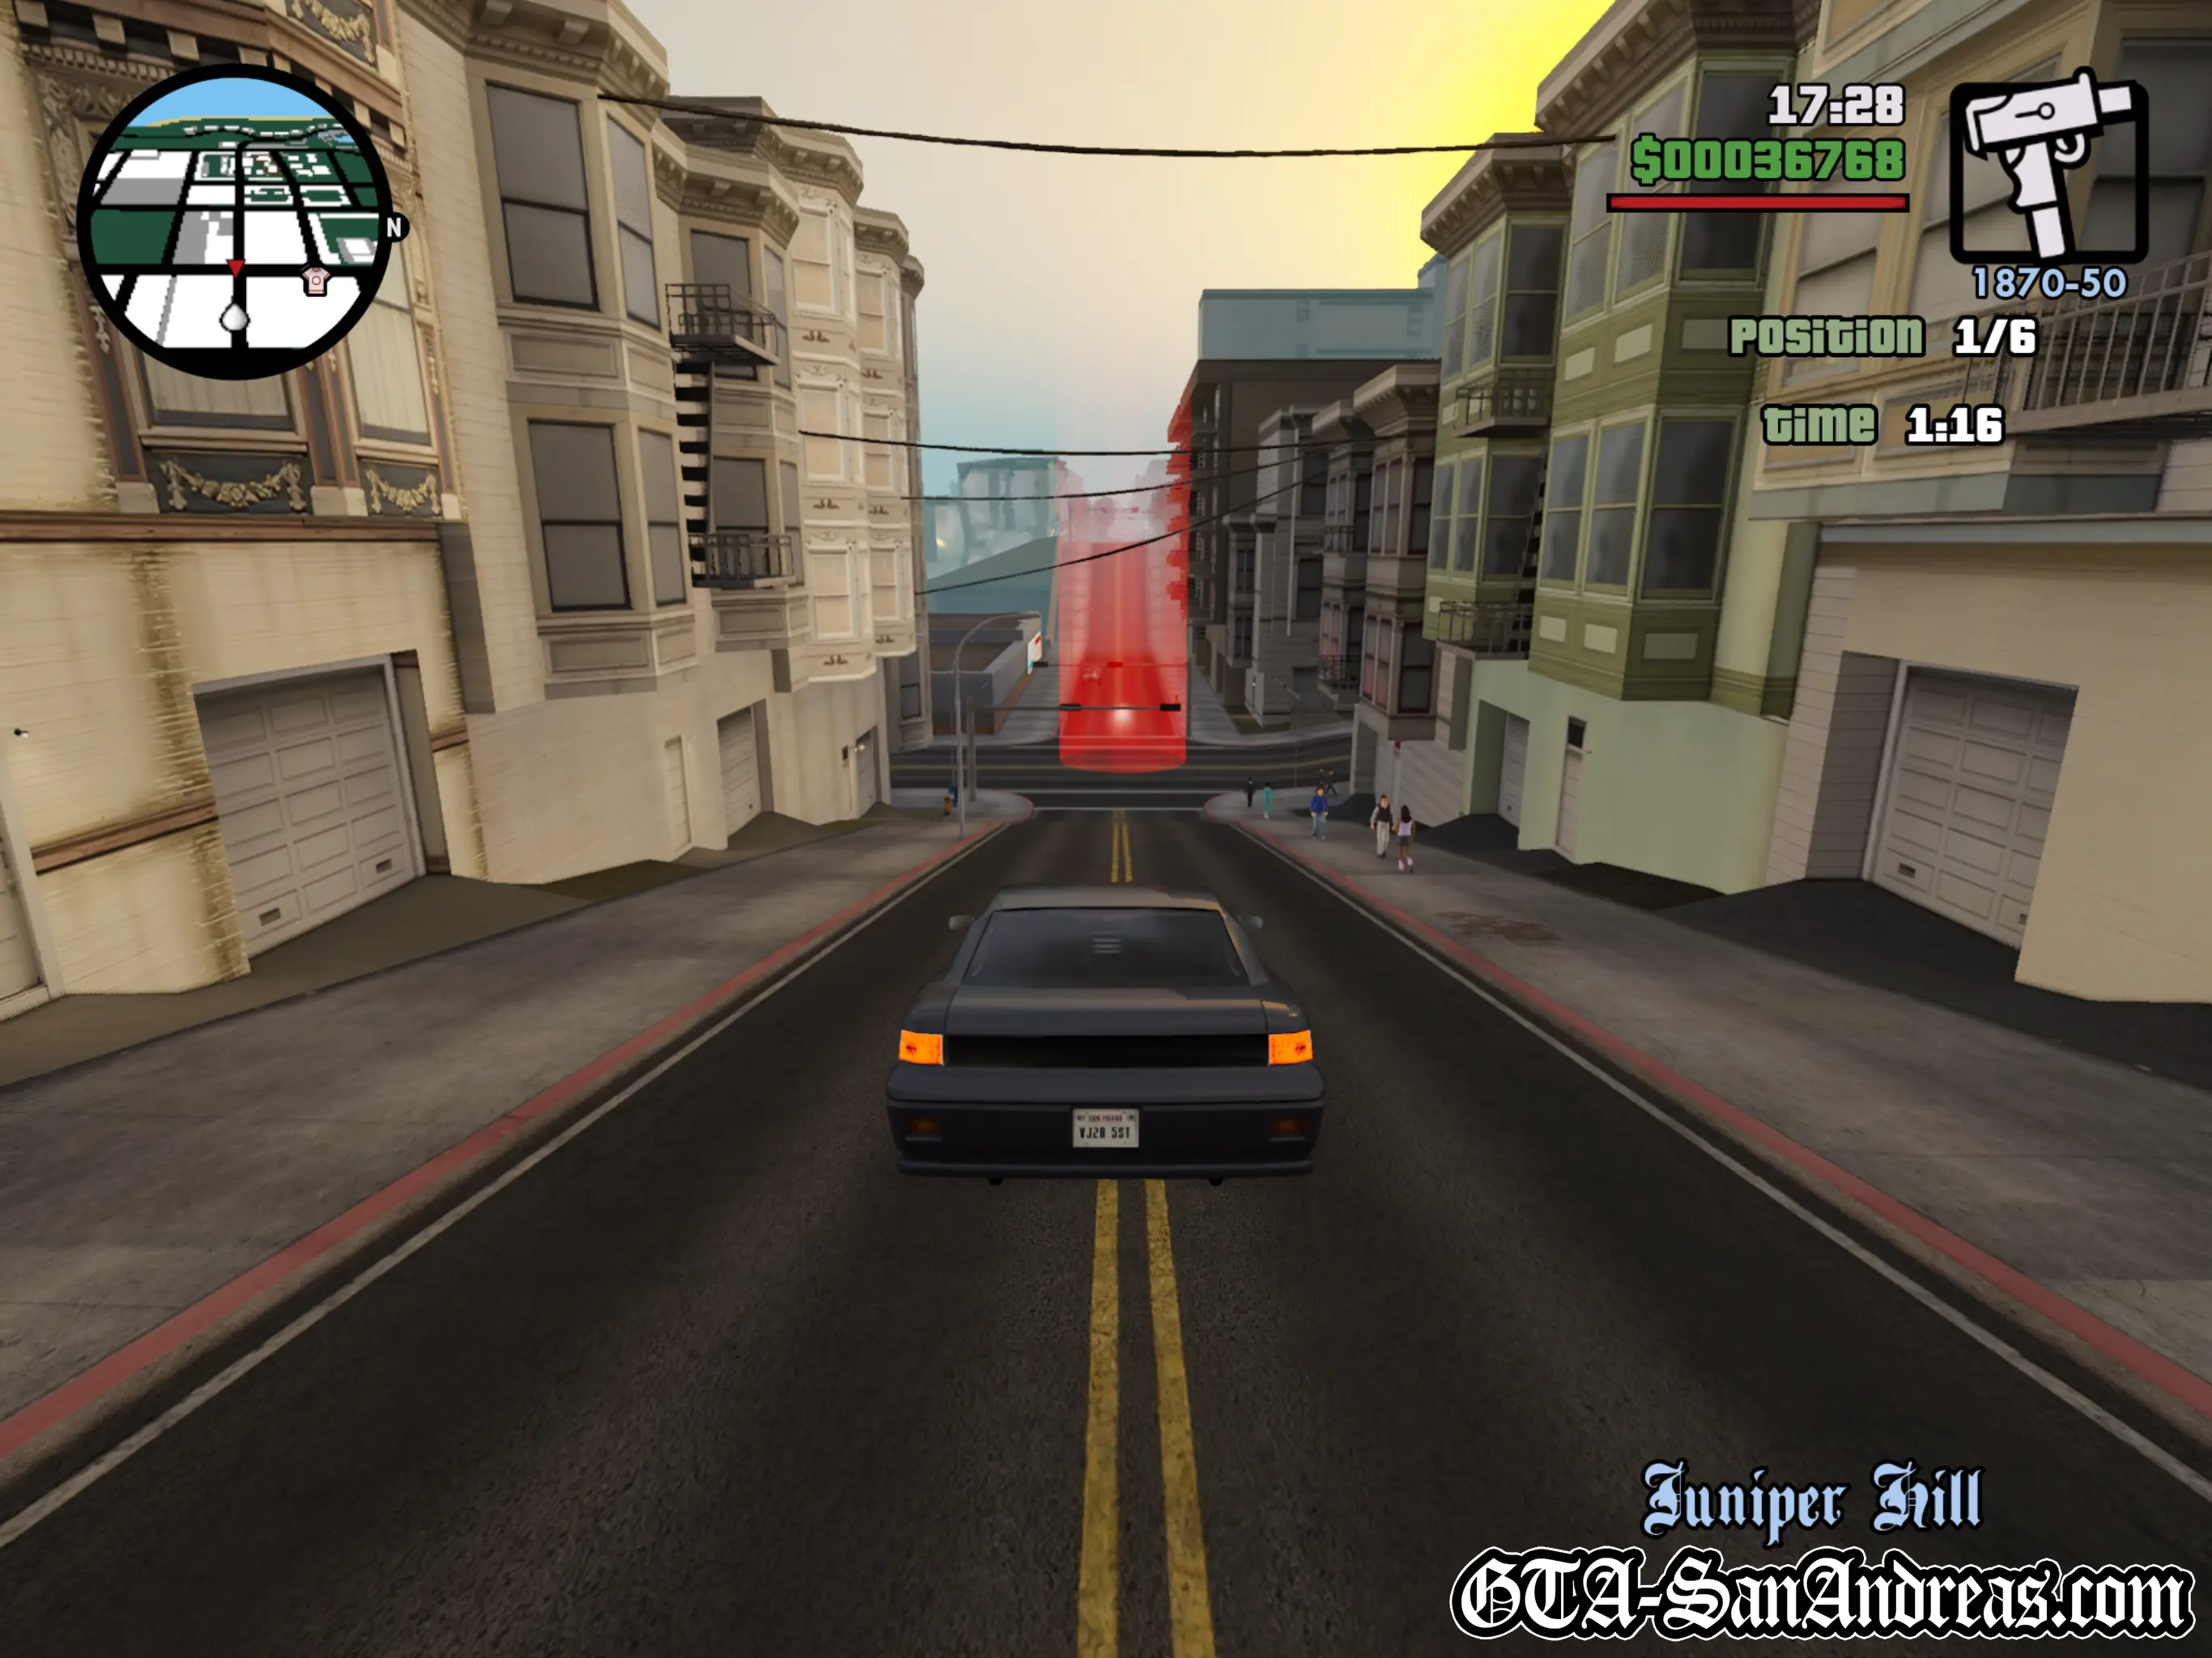
Tactics
This race is another pretty simple one. You're in one of the better "average" cars, but so are your opponents. If they get ahead, it's not too difficult to catch back up.
The track itself isn't too difficult, but you might need to practice it a few times until you learn the route and where the sharper turns are.
Screenshots
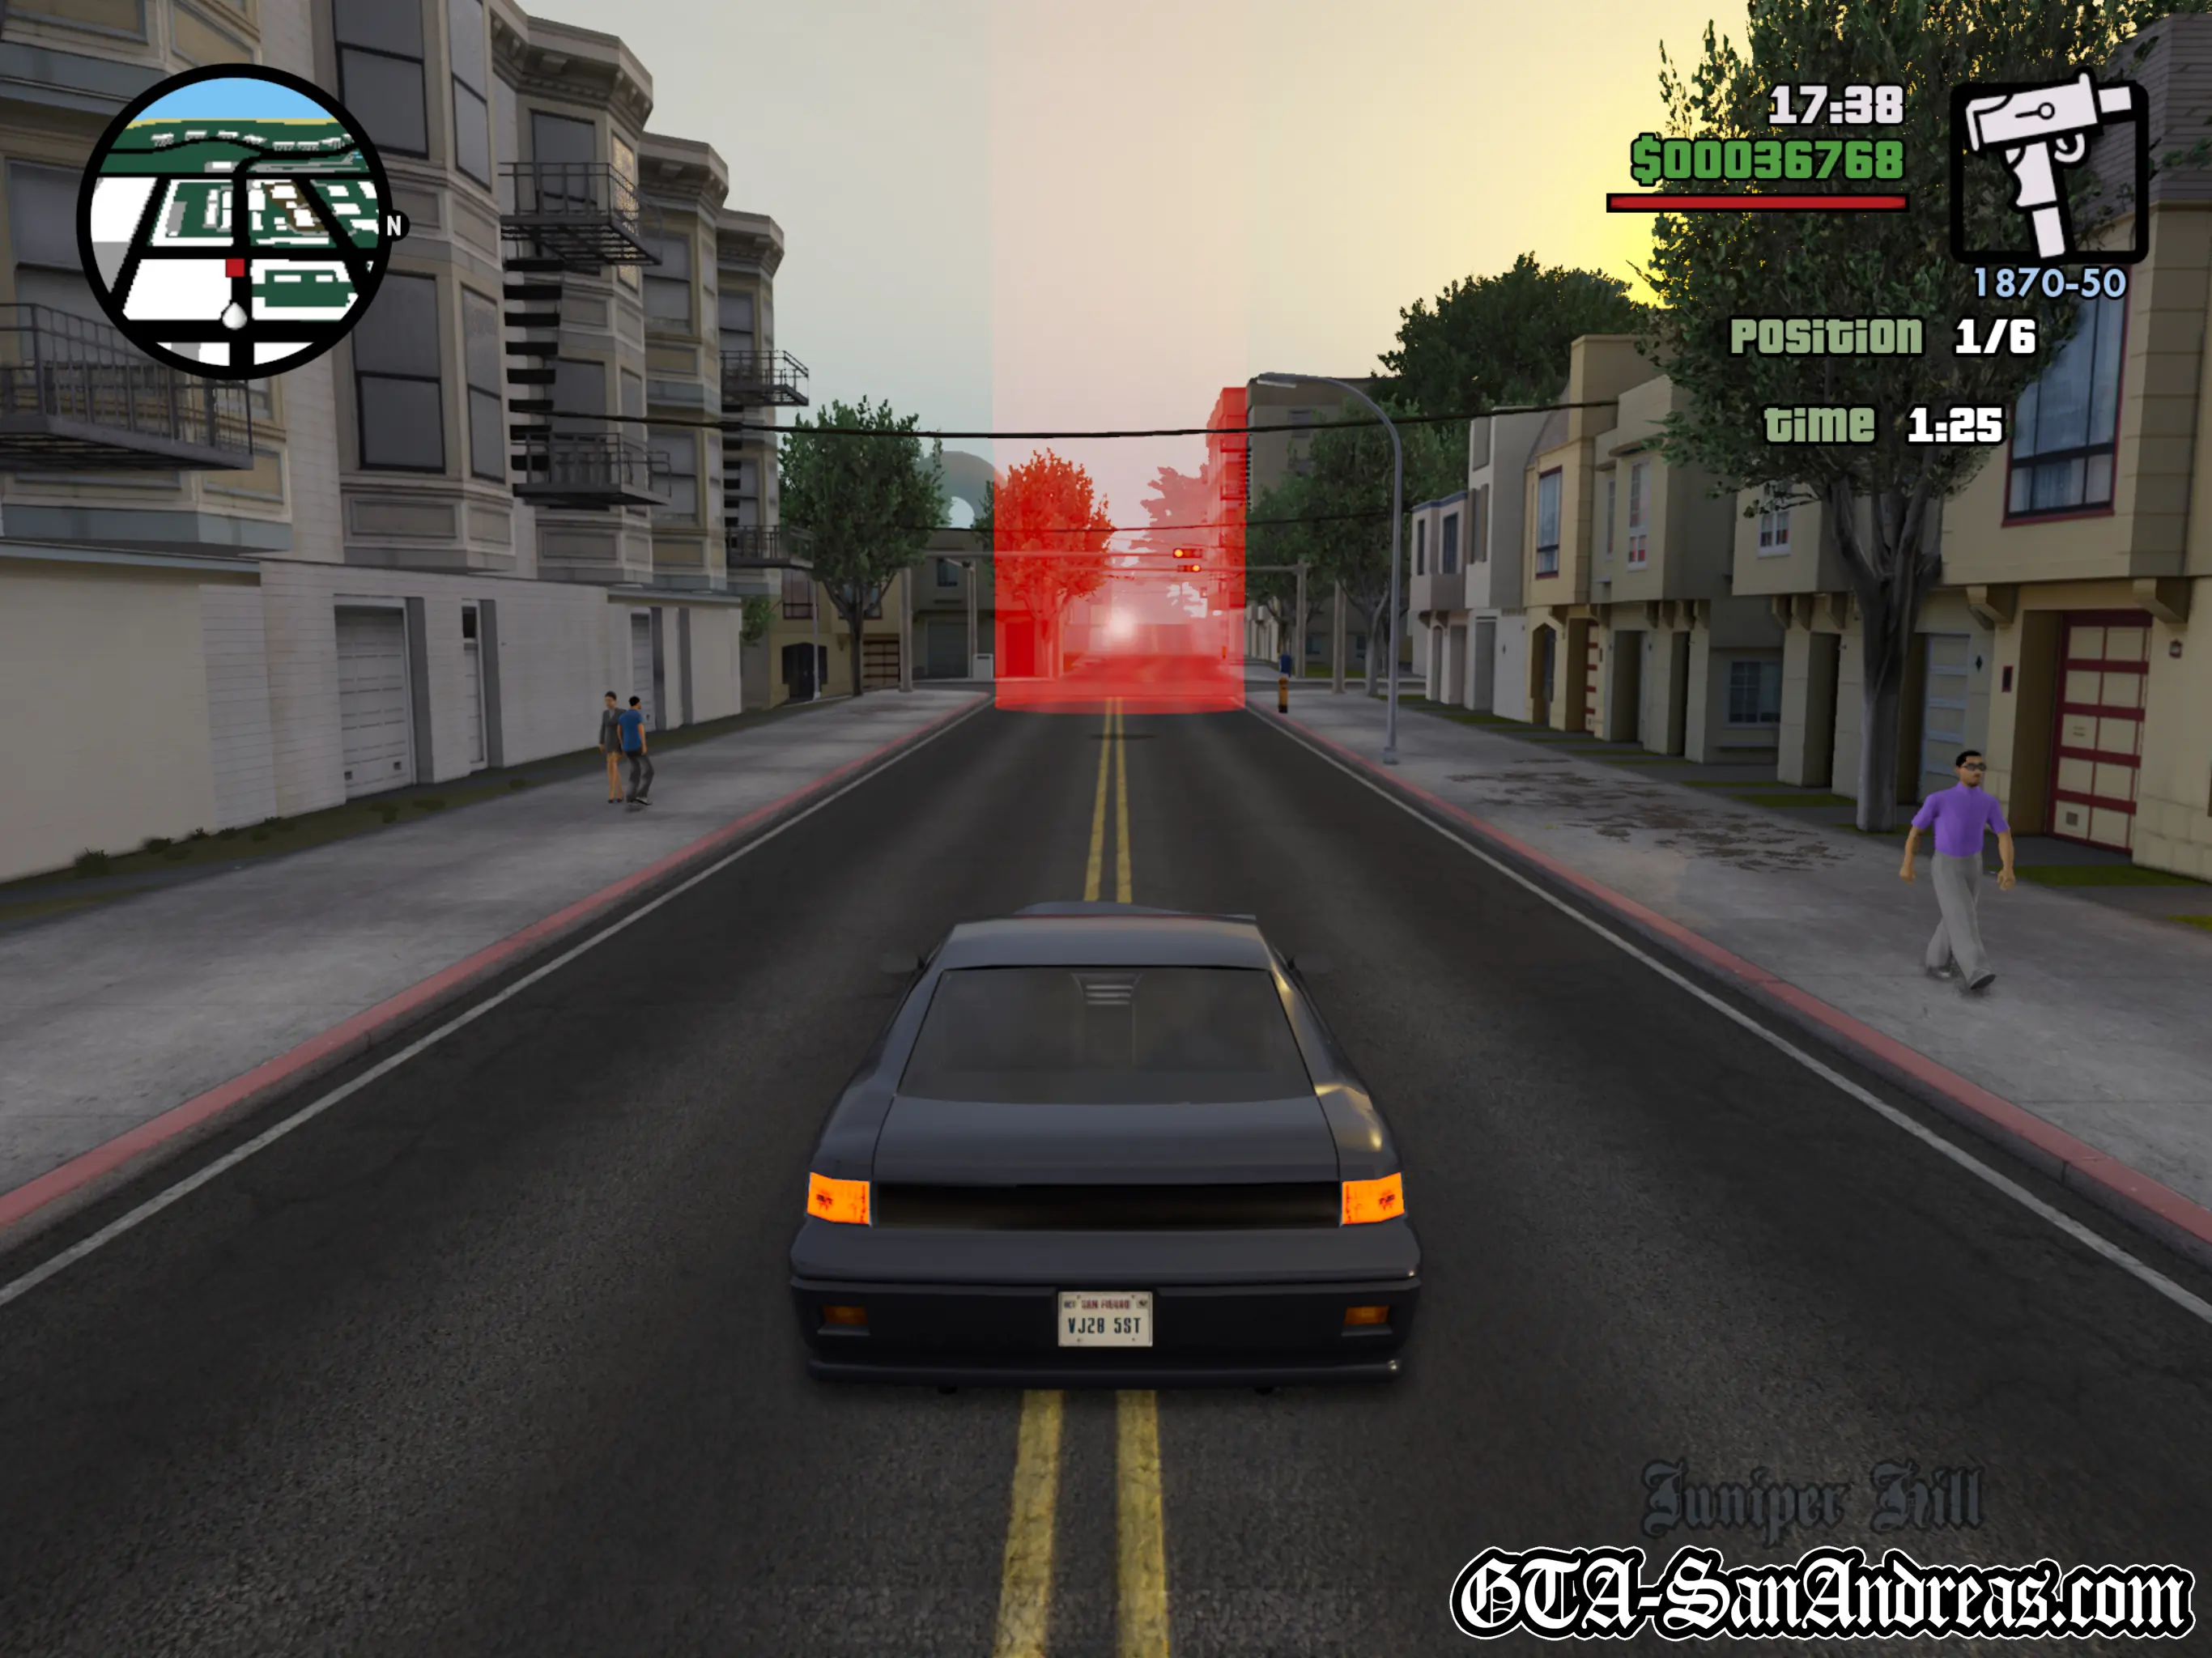

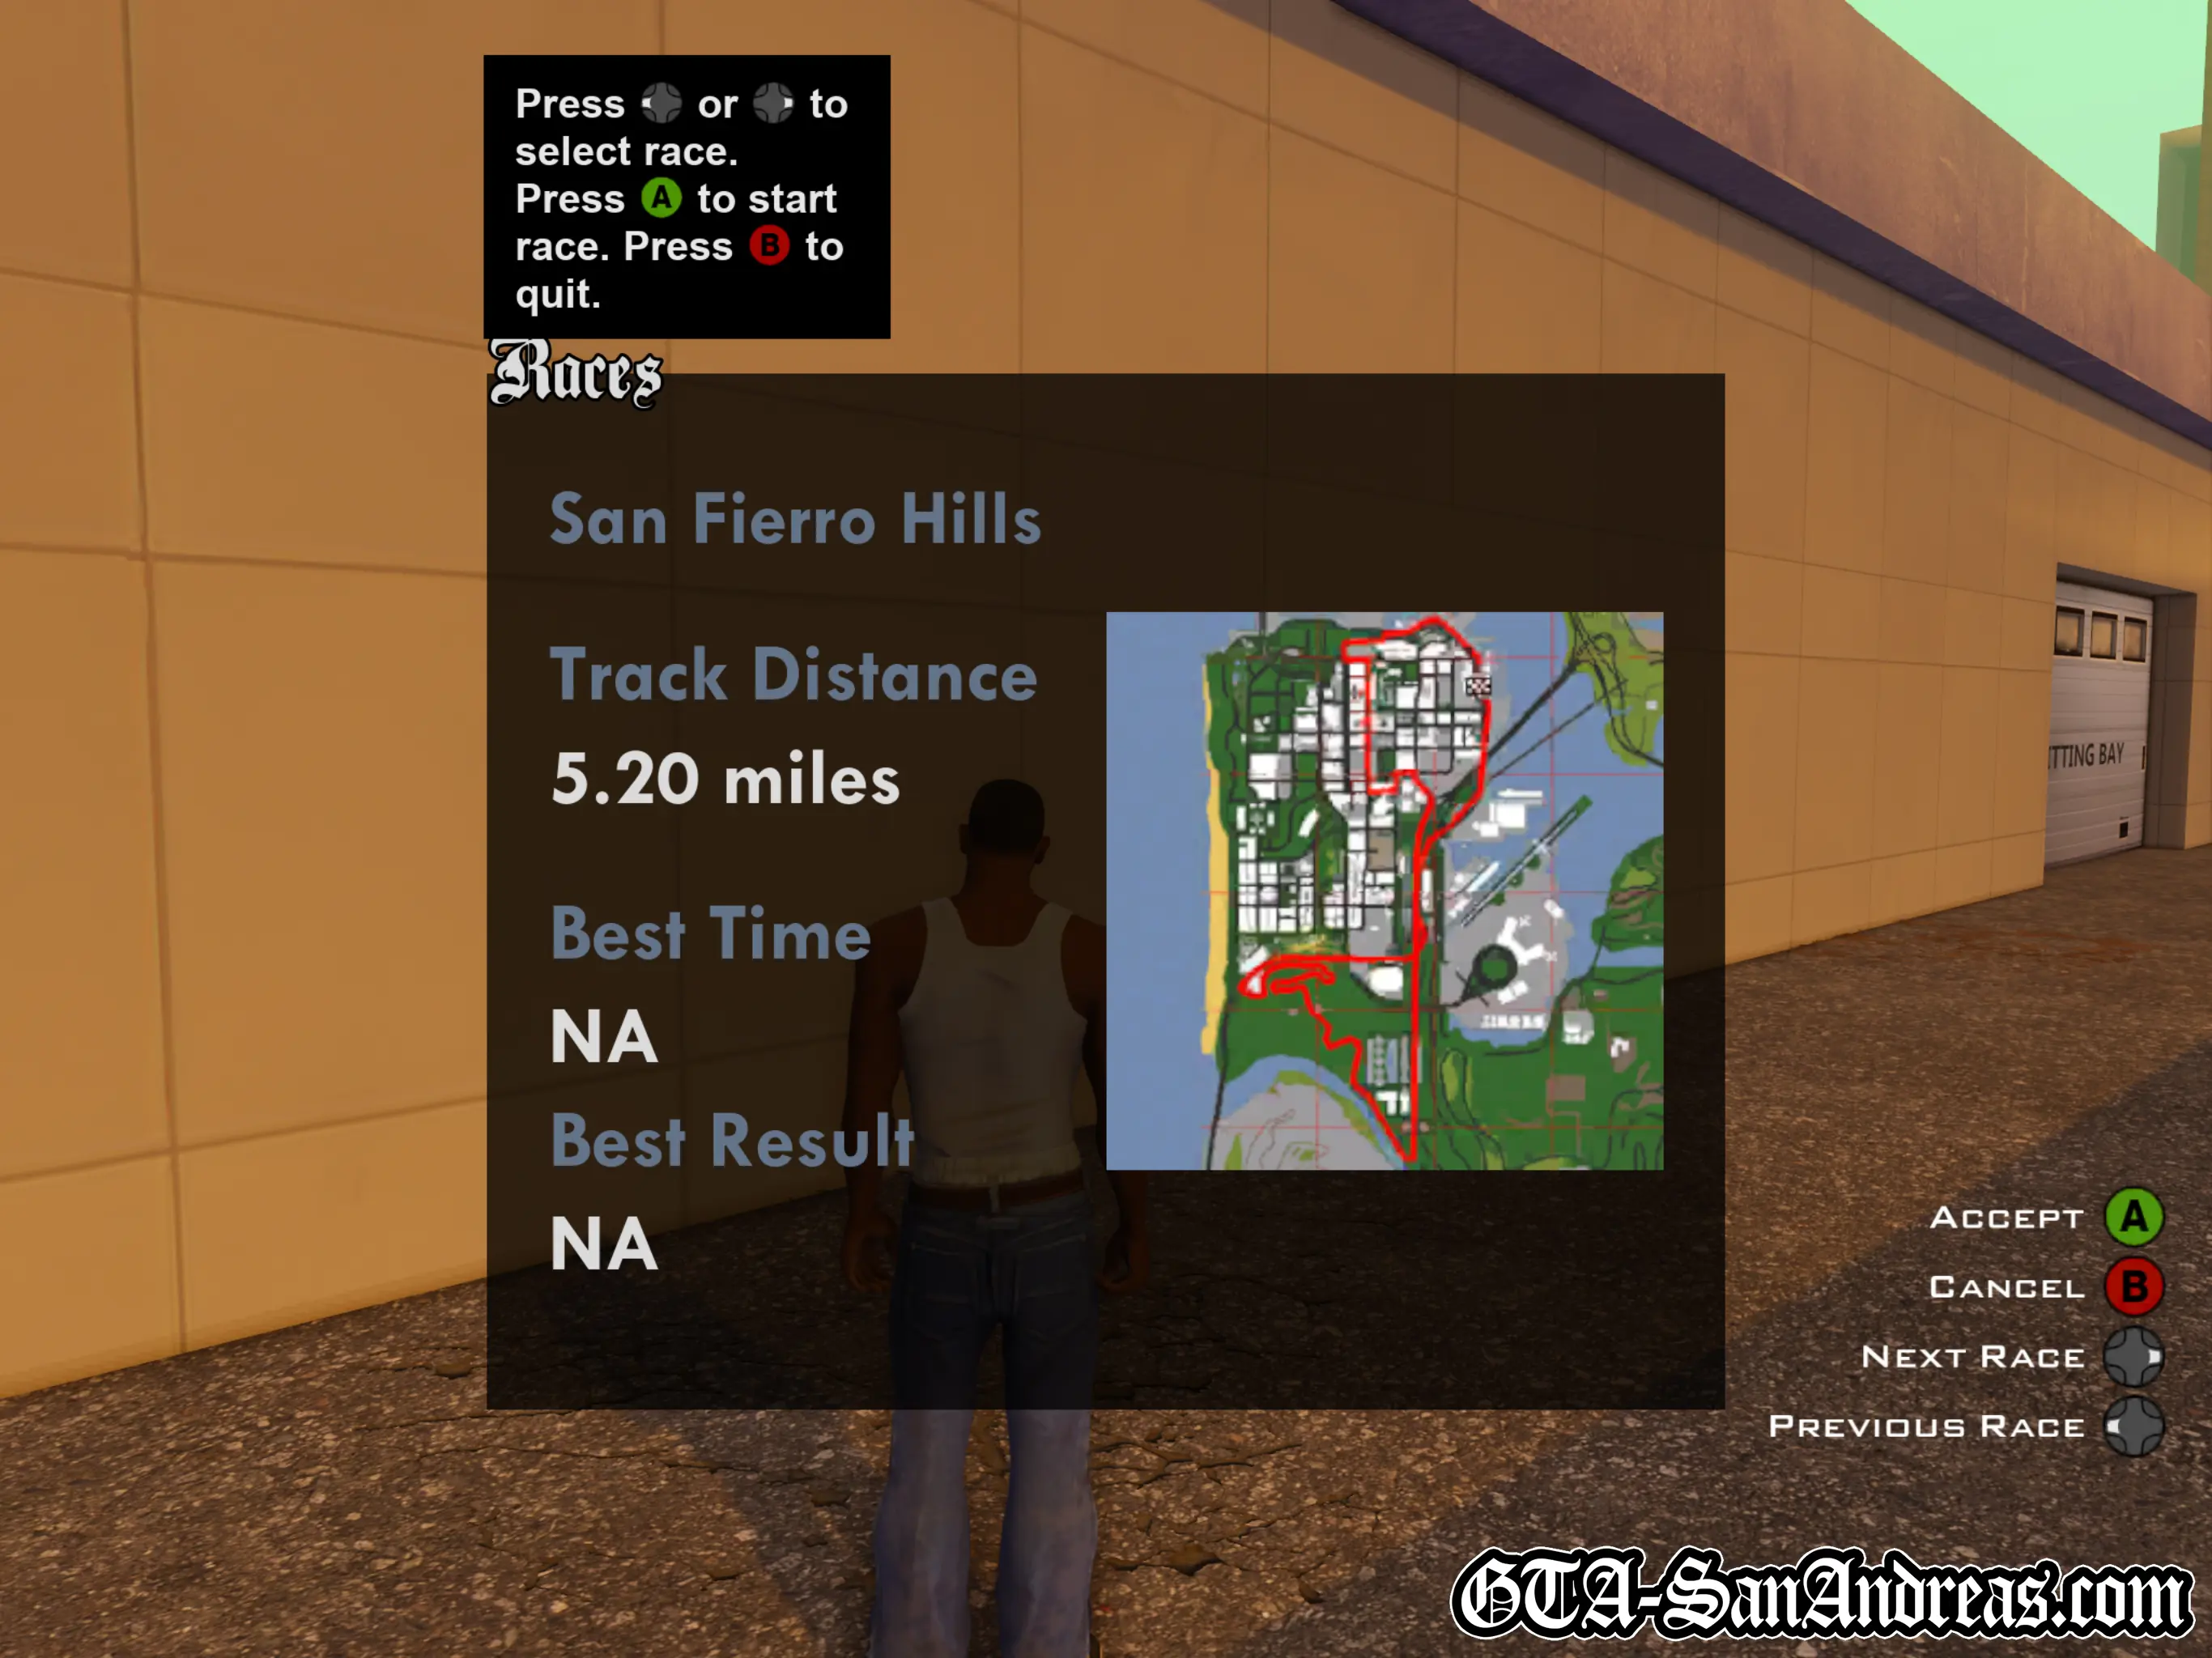
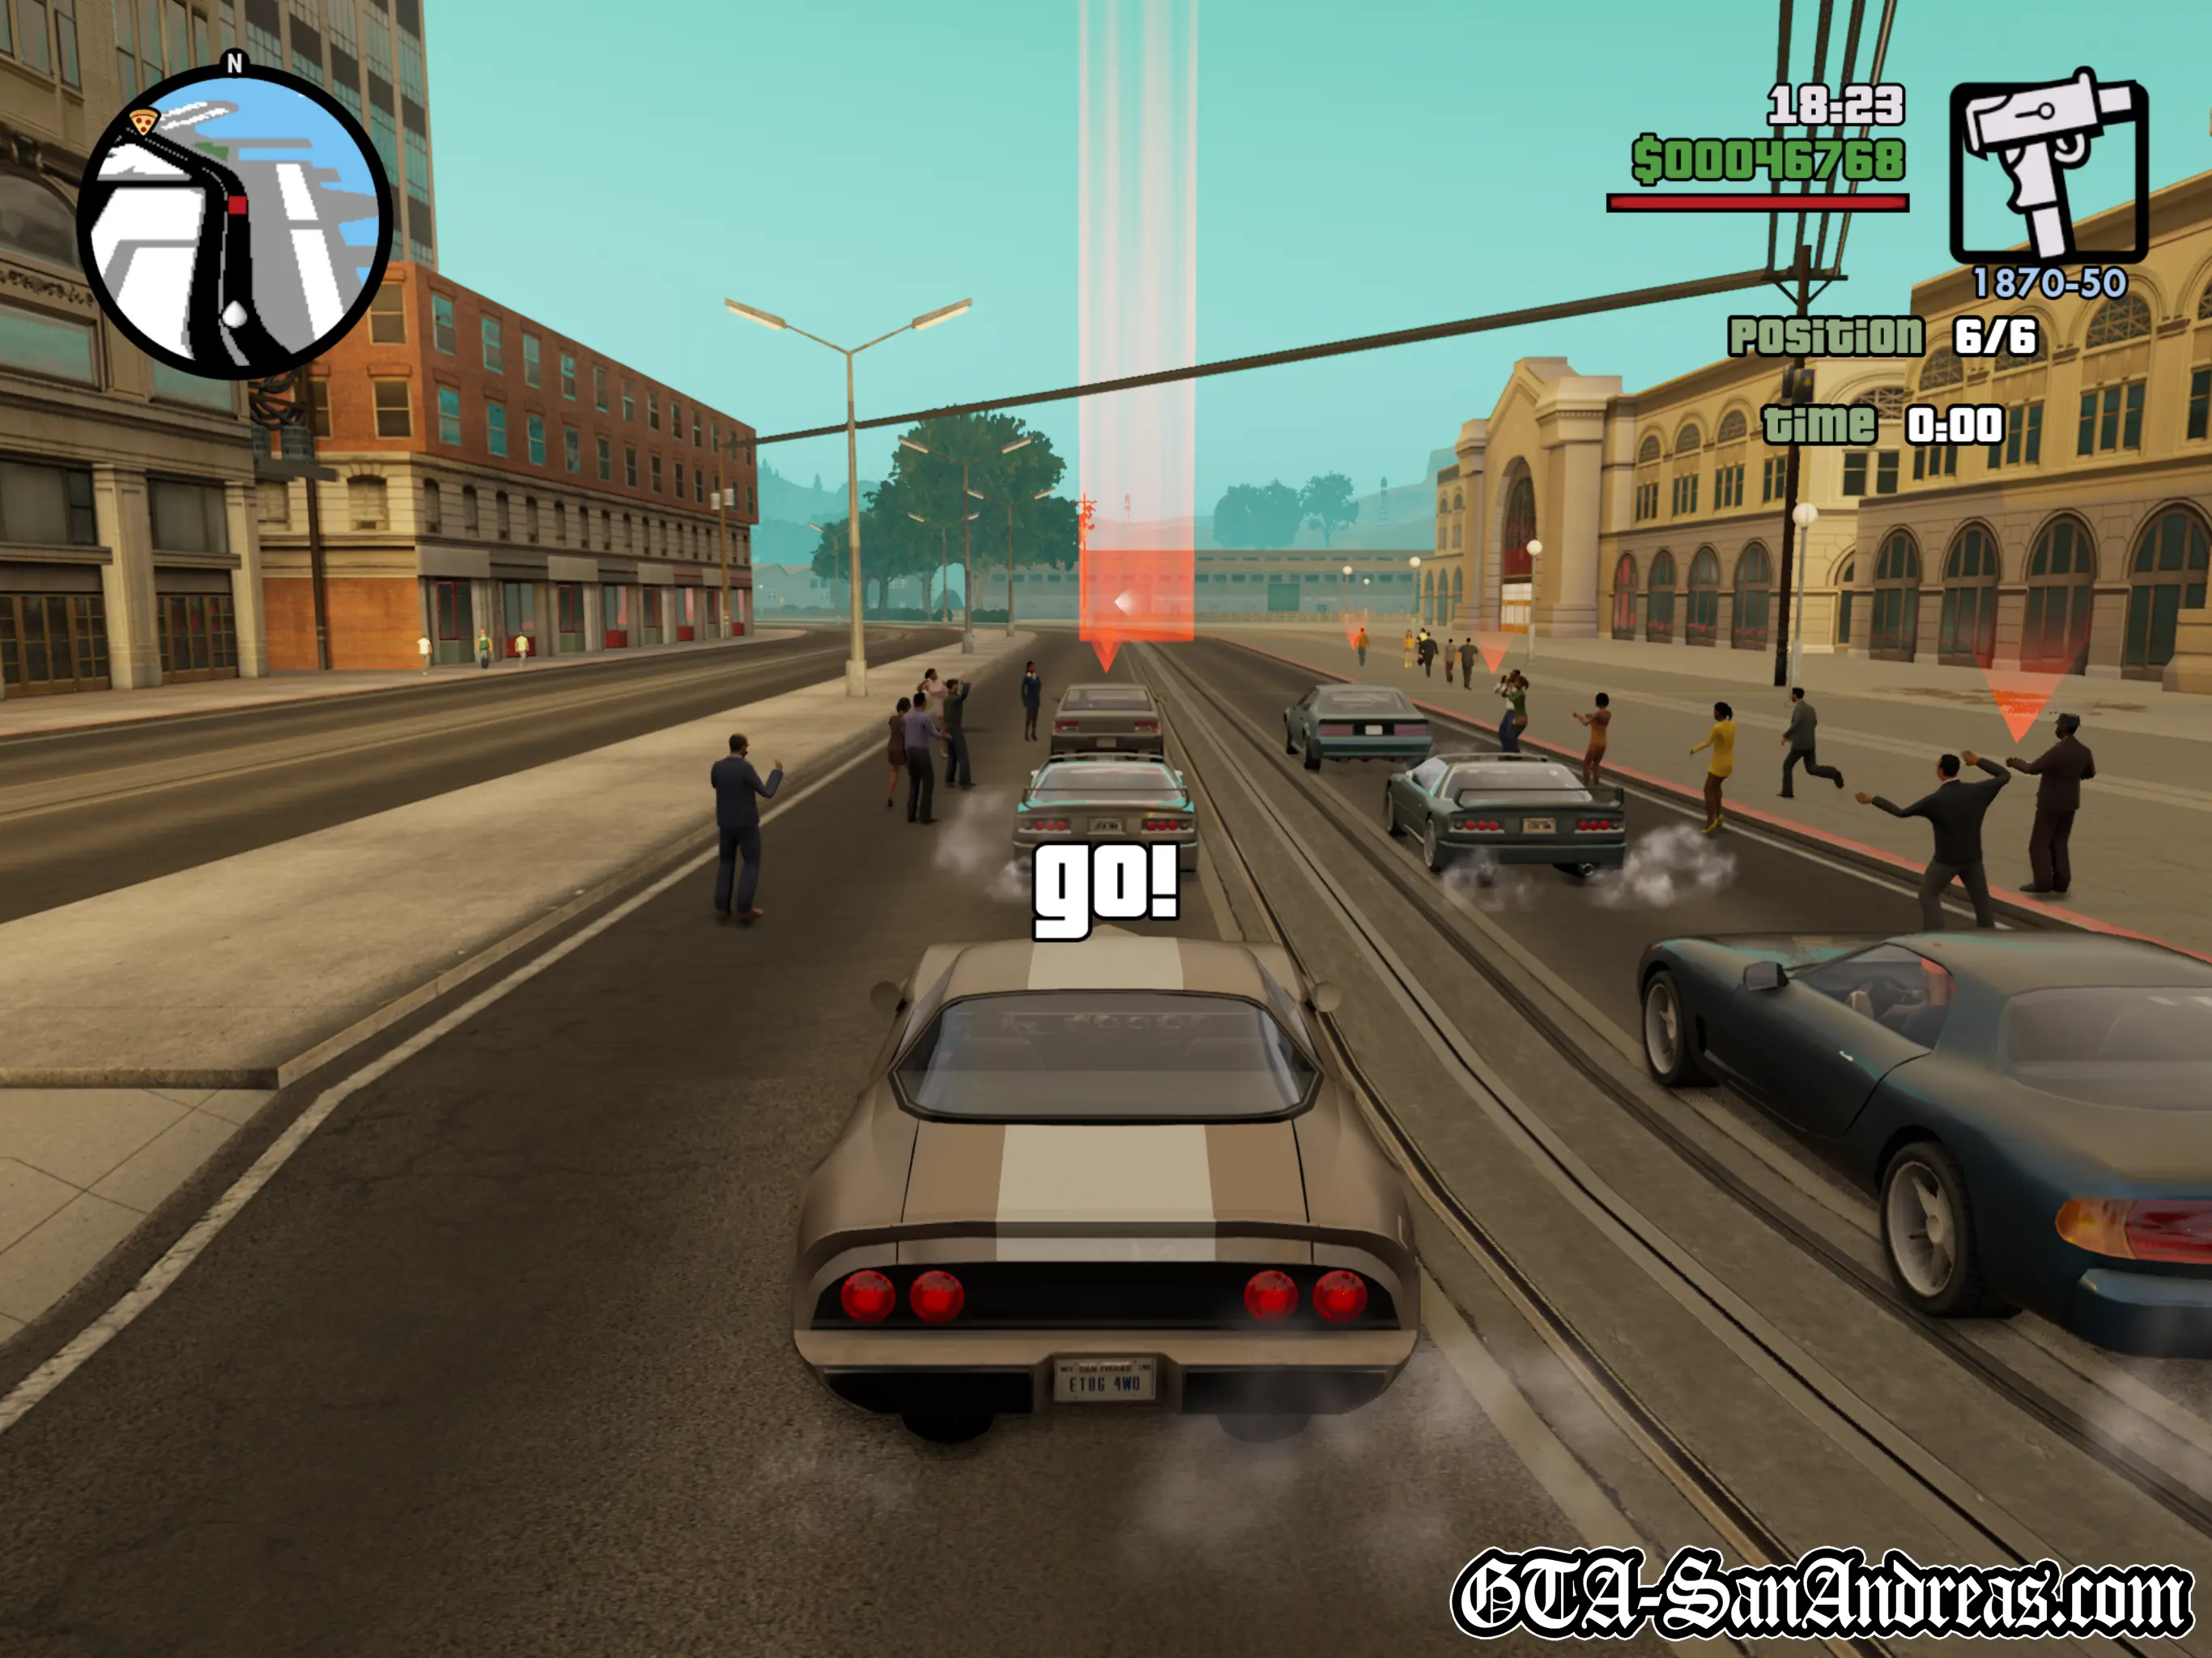
San Fierro Hills
| Vehicle Provided | Track Distance |
|---|---|
| Phoenix | 8.00 KM |
Tactics
This race is another which isn't too tricky, however the vehicle you're in will blow up very easily.
Make sure you don't have any wanted stars before attempting it, because you'll probably need complete at least half of the course without taking any damage to be sure of finishing in one piece.
The opponents don't pose much of a threat, the track isn't complicated if you brake correctly, but the engine is pretty weak and will start smoking after one or two medium collisions.
It's more of a race against oncoming traffic than the other racers. Make sure you don't smash up the car and you should be able to navigate your way to victory.
Screenshots
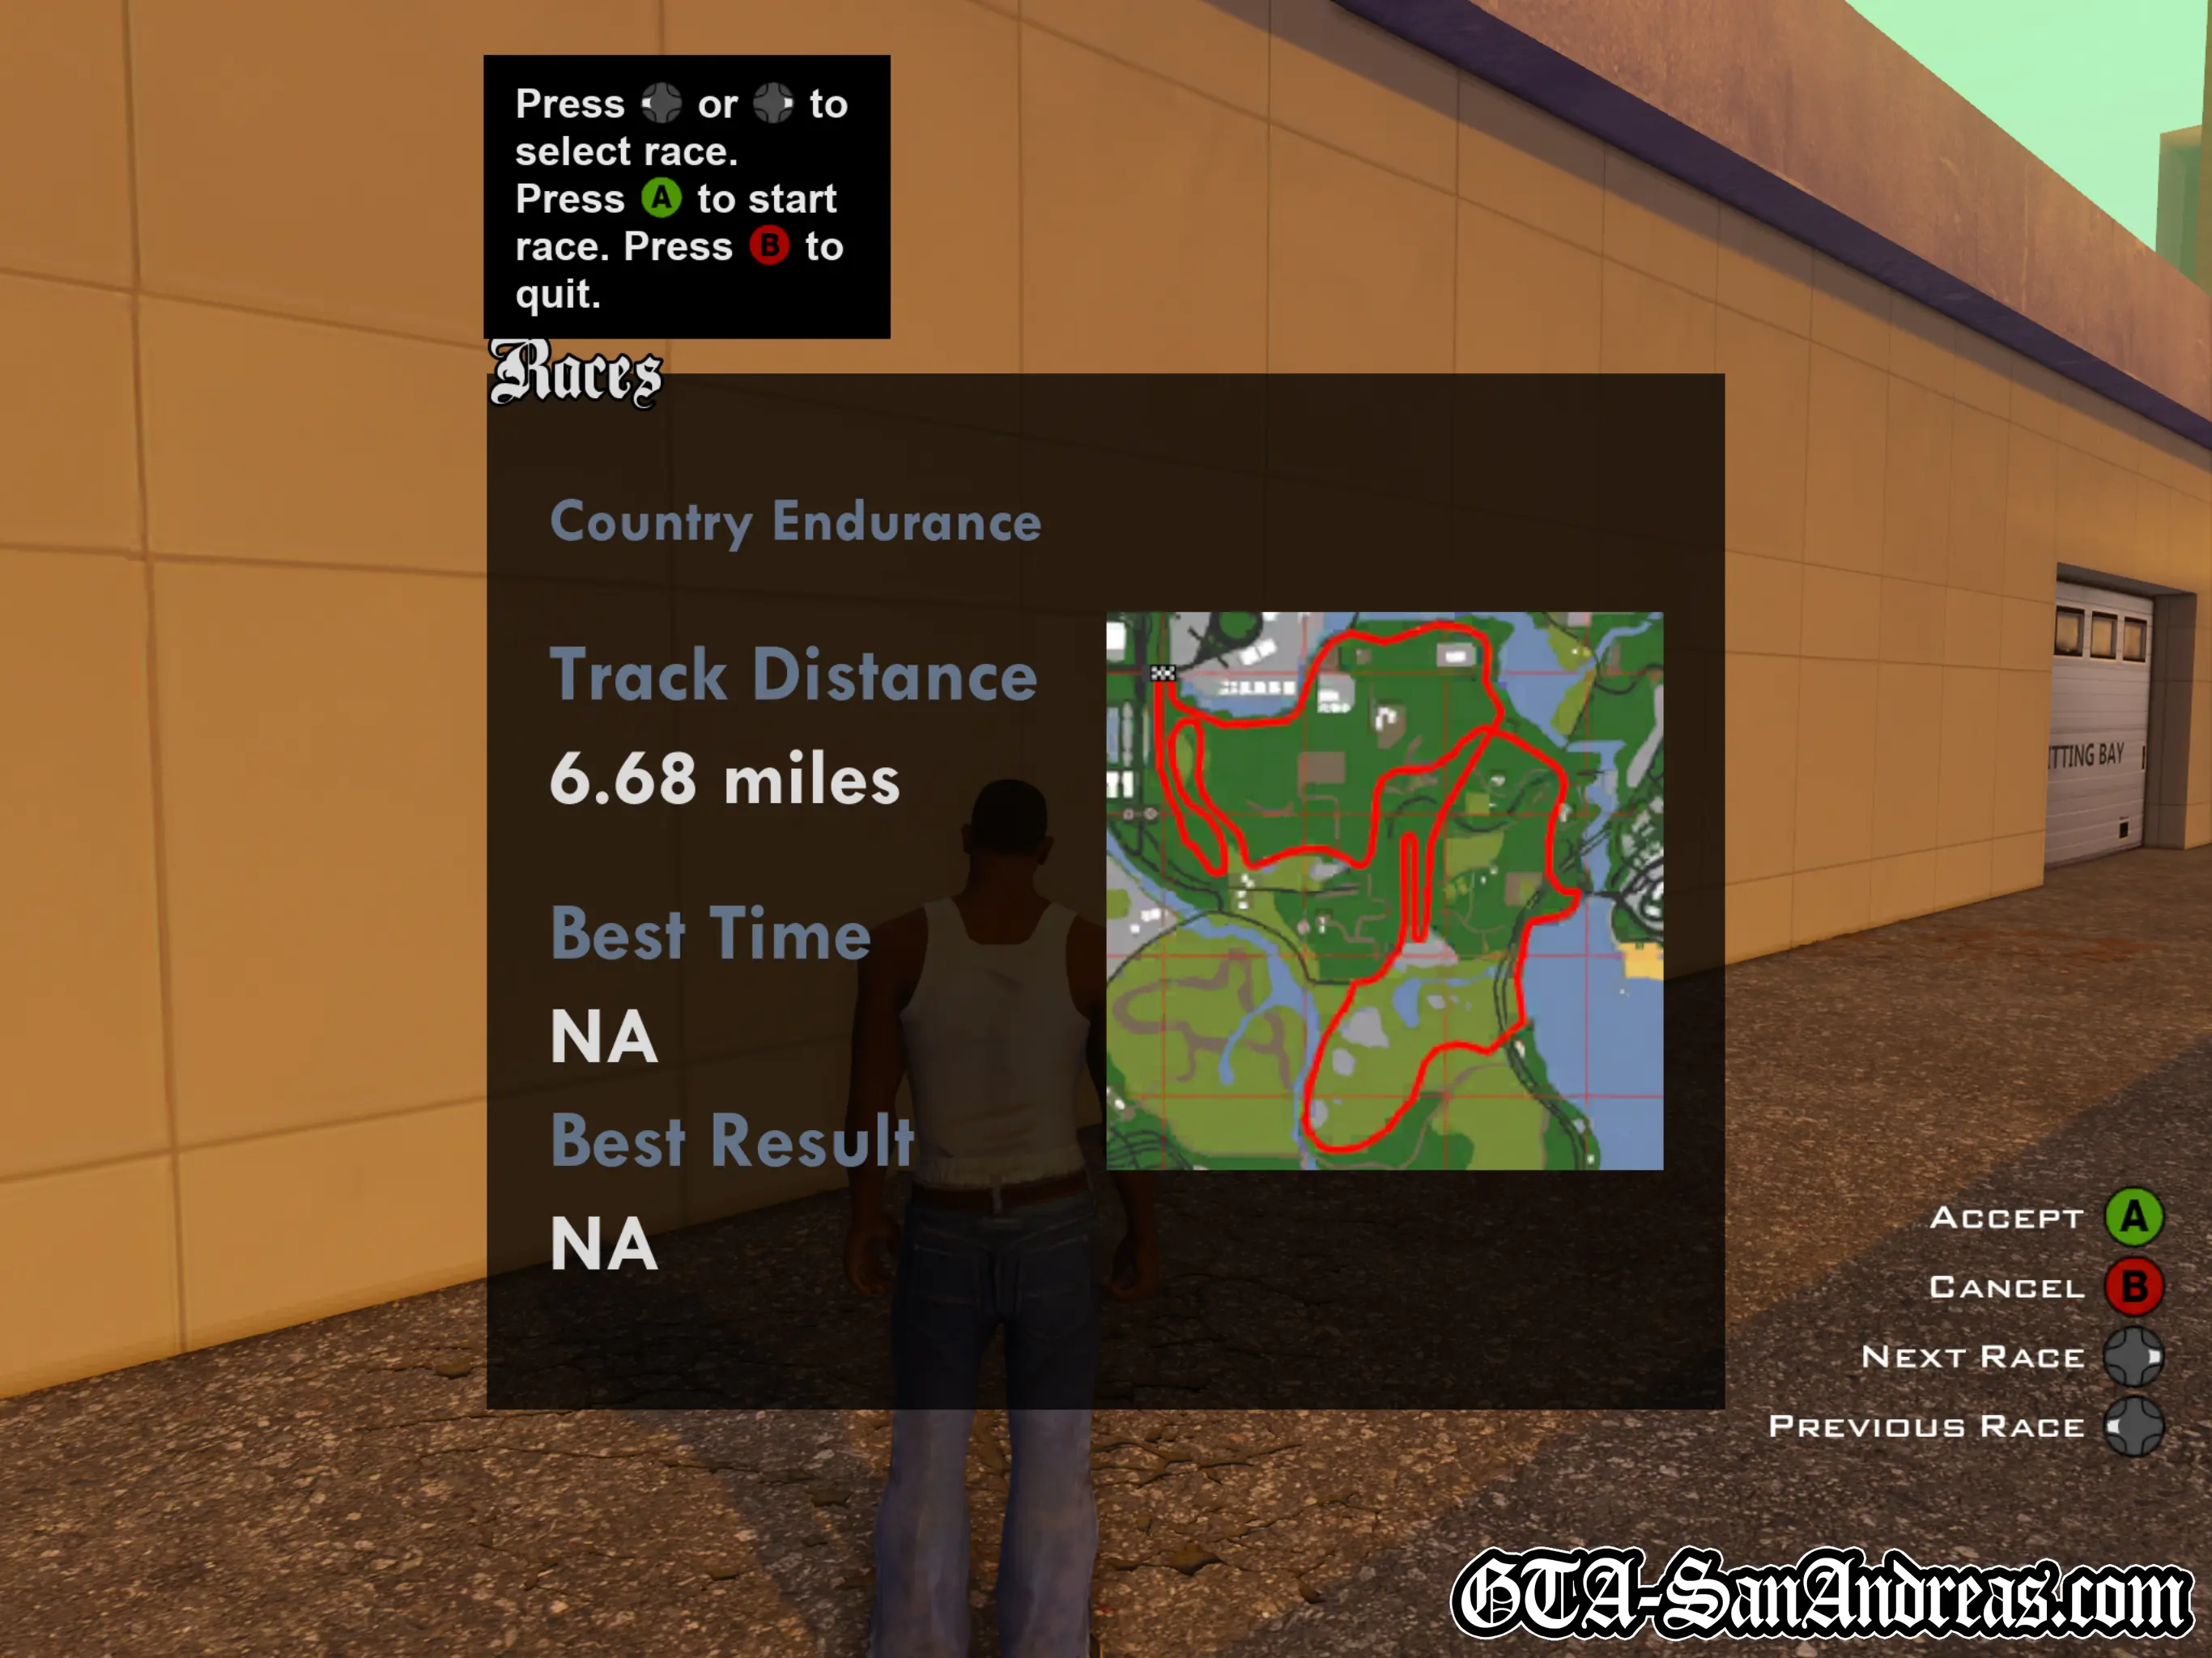
Country Endurance
| Vehicle Provided | Track Distance |
|---|---|
| Bullet | 10.00 KM |
Tactics
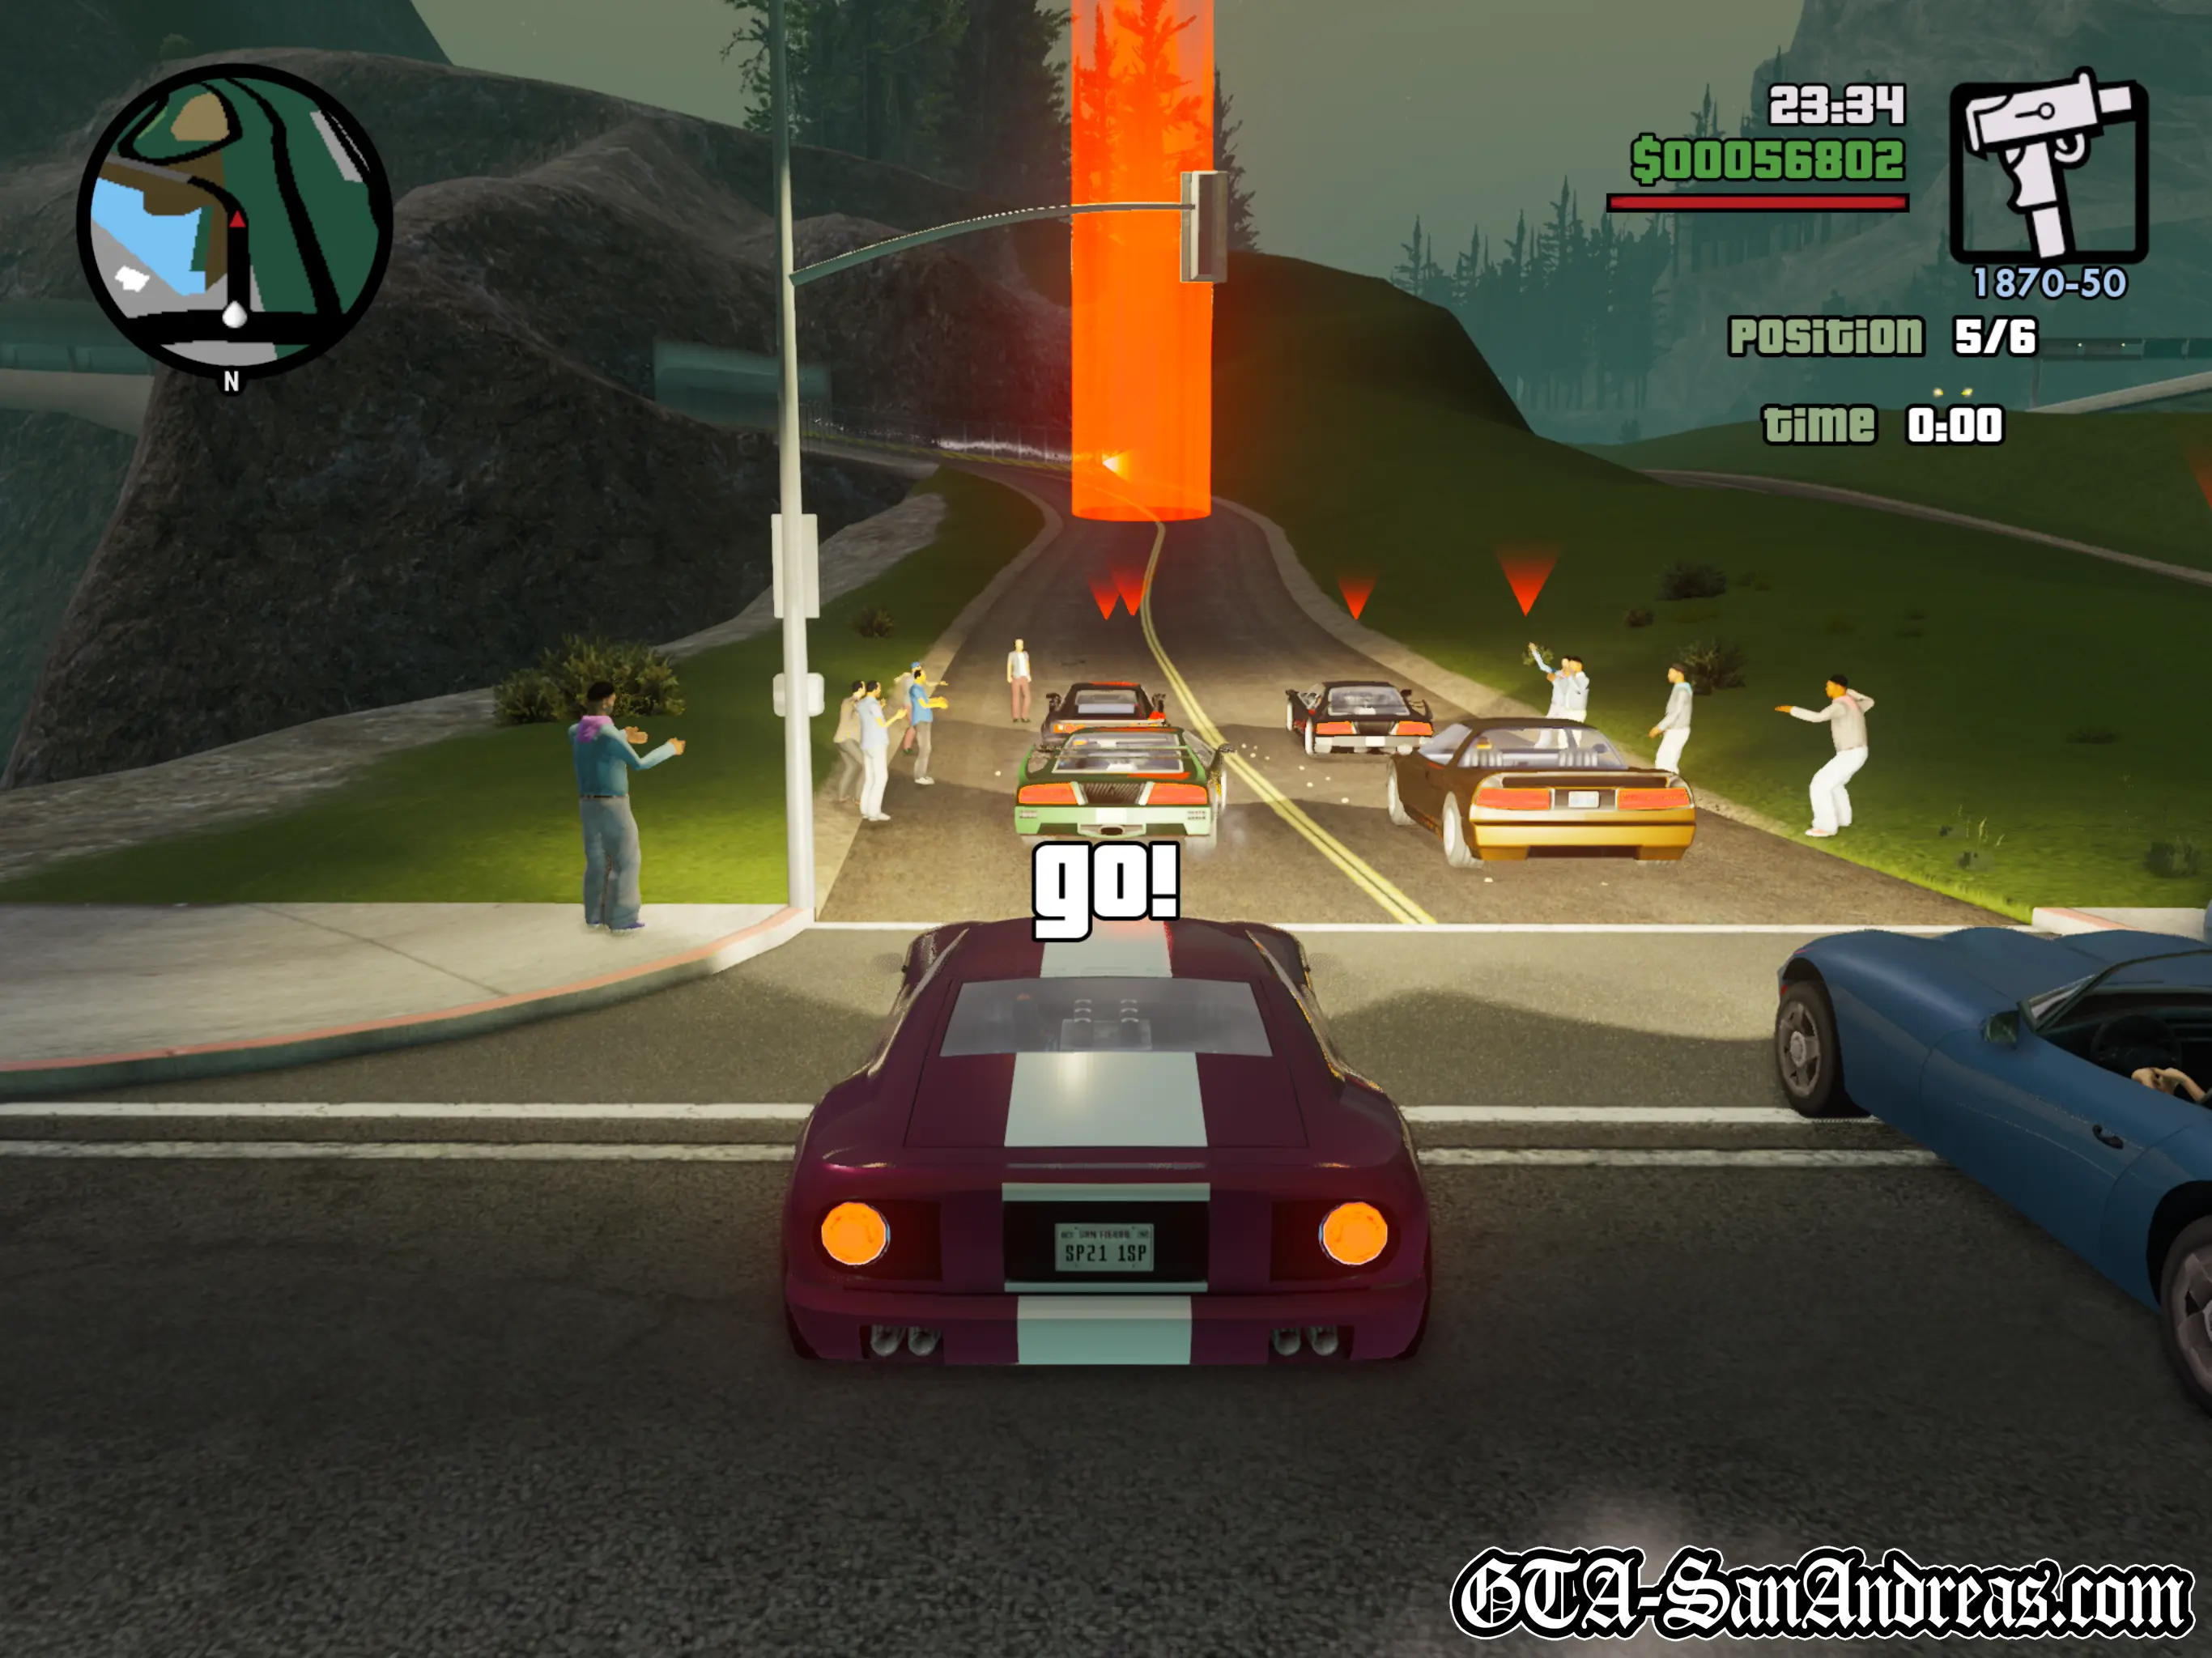
Just looking at the map for this one will give you a good idea how long it's going to take.
The great thing about a long distance race means more time to gain time on the other racers if you need to catch up. If you can drive, and I assume you can for getting this far, this should be no problem at all.
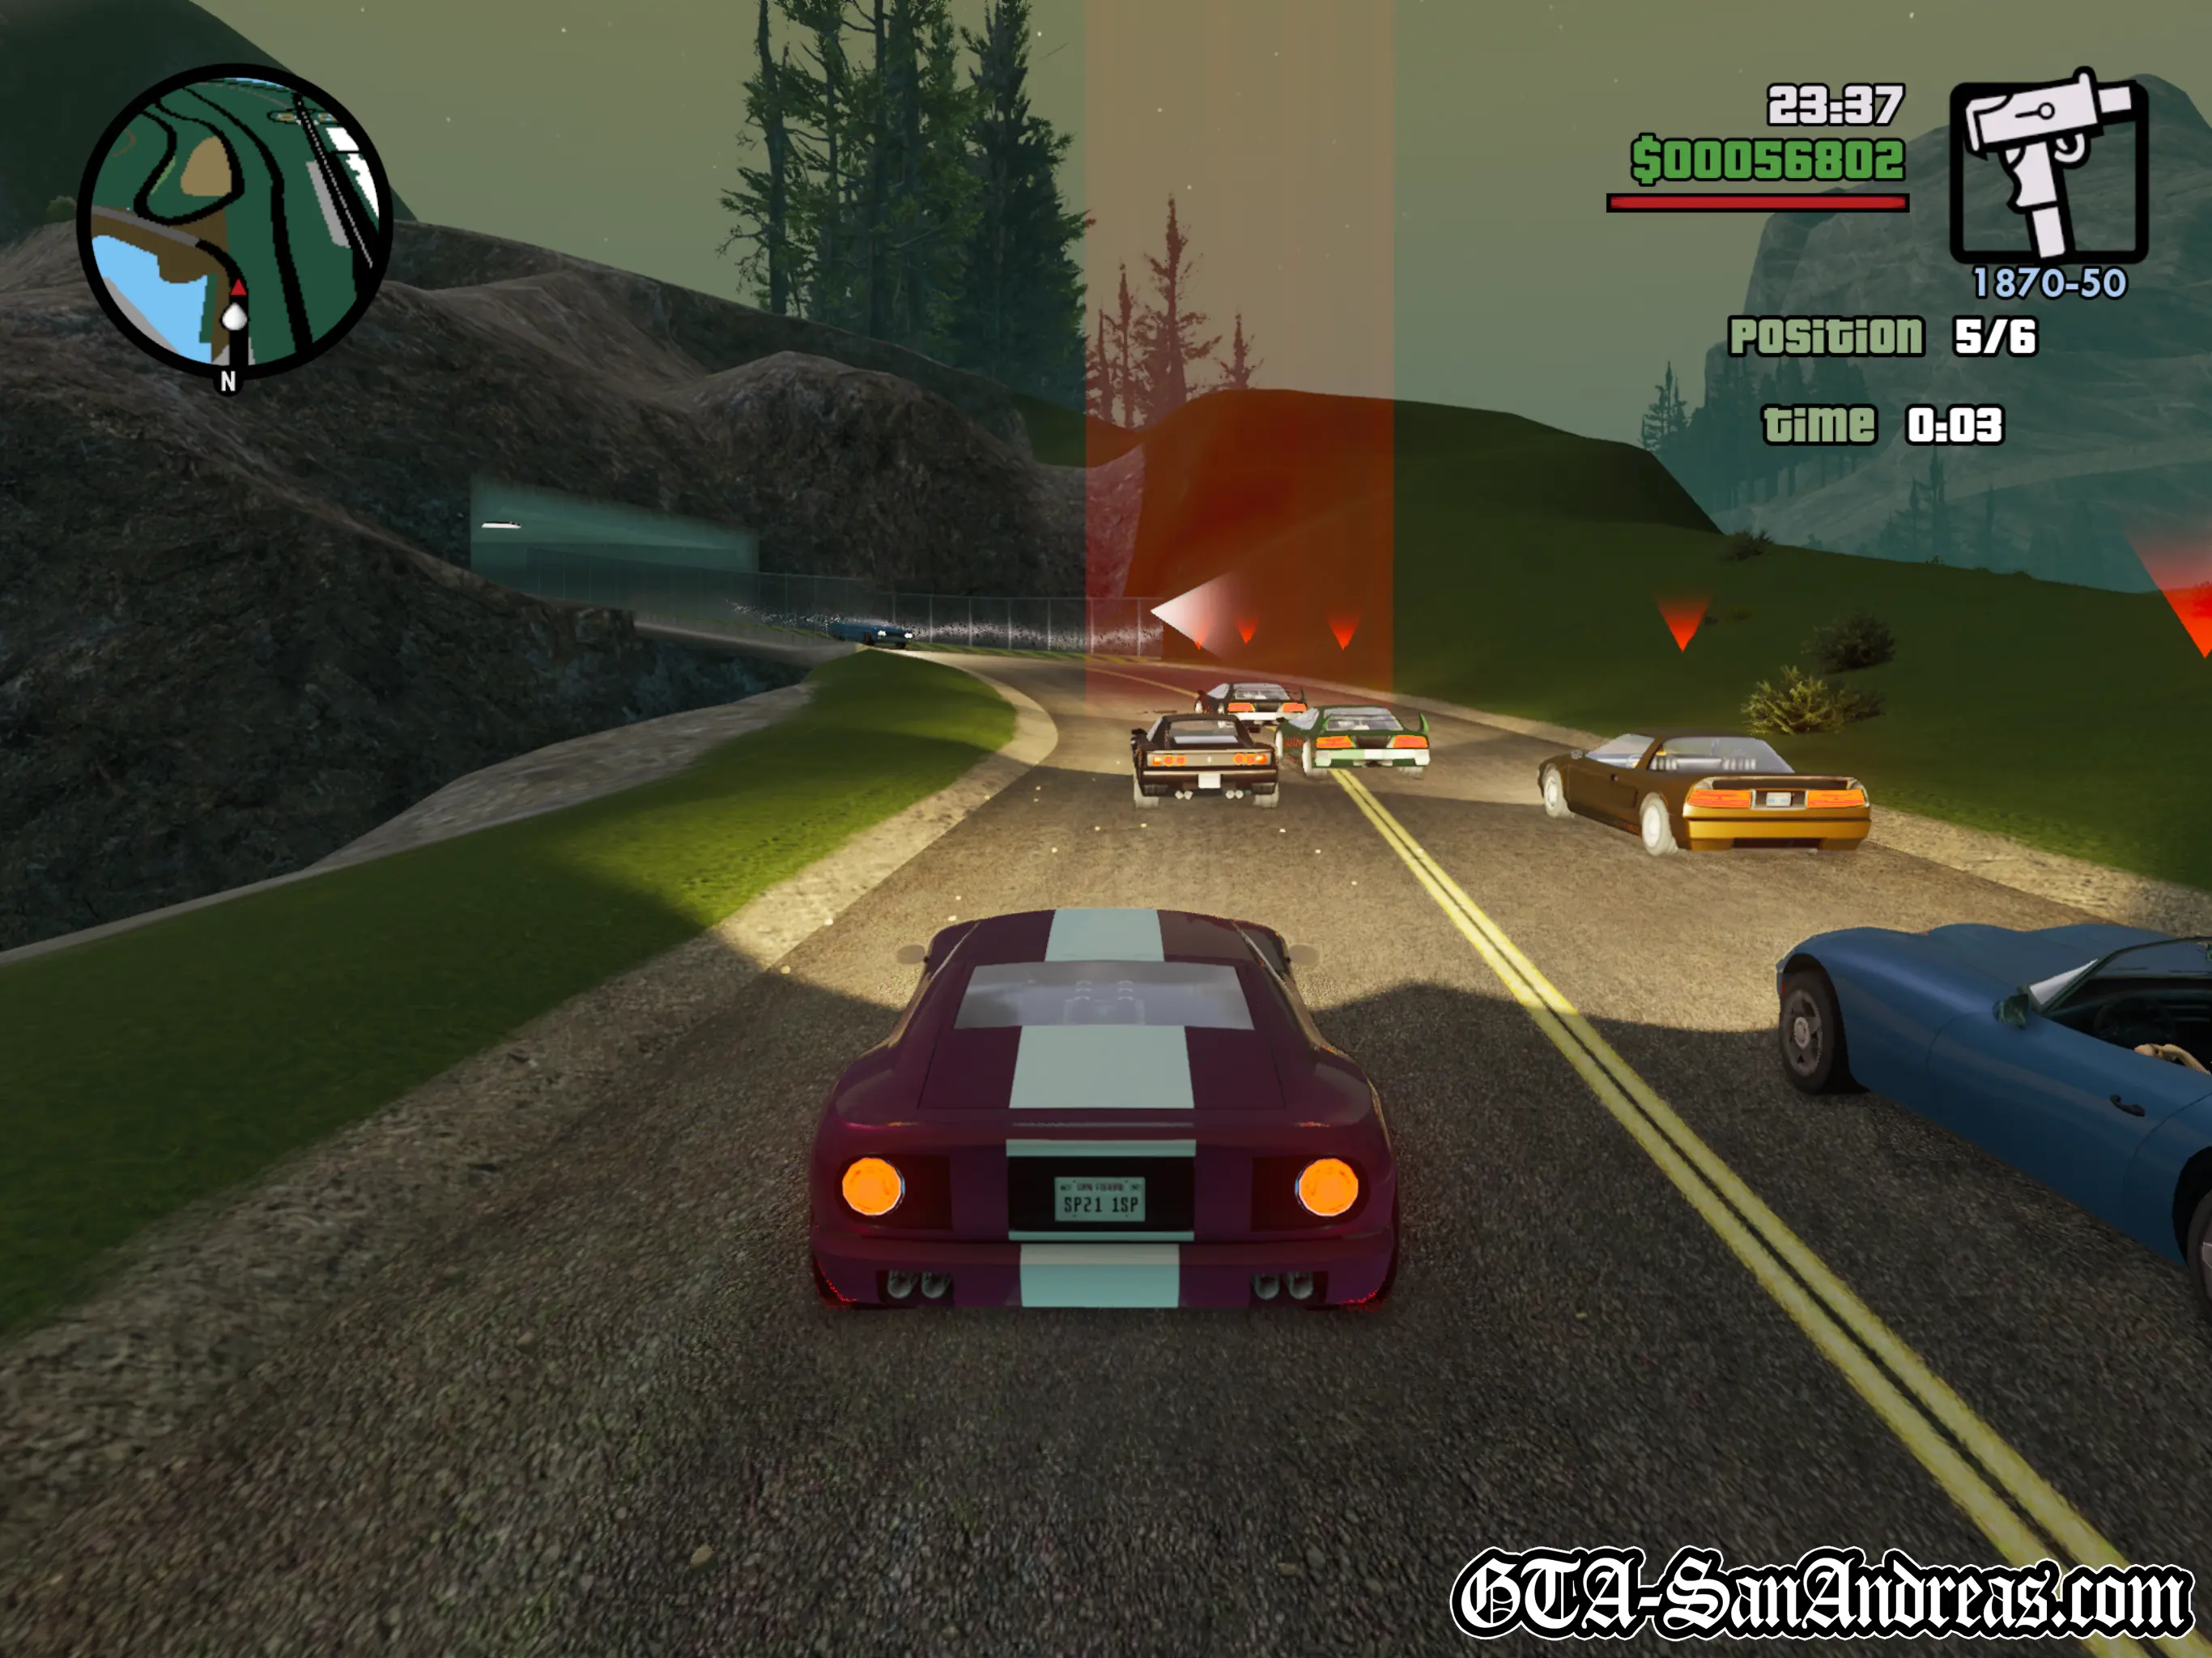
You'll hardly notice how fast the time passes by as you fly across the country and you'll be half way before you know it.
From there, providing you're in first, you can pretty much go as slow as you like and you'll still win.
You need to be careful not to smash up your car to much because remember, it's an endurance race, and you need to reach the finish line in one piece.
You should actually be able to make it around the track in just over 5 minutes.
Screenshots
Las Venturas LVA Freight Depot
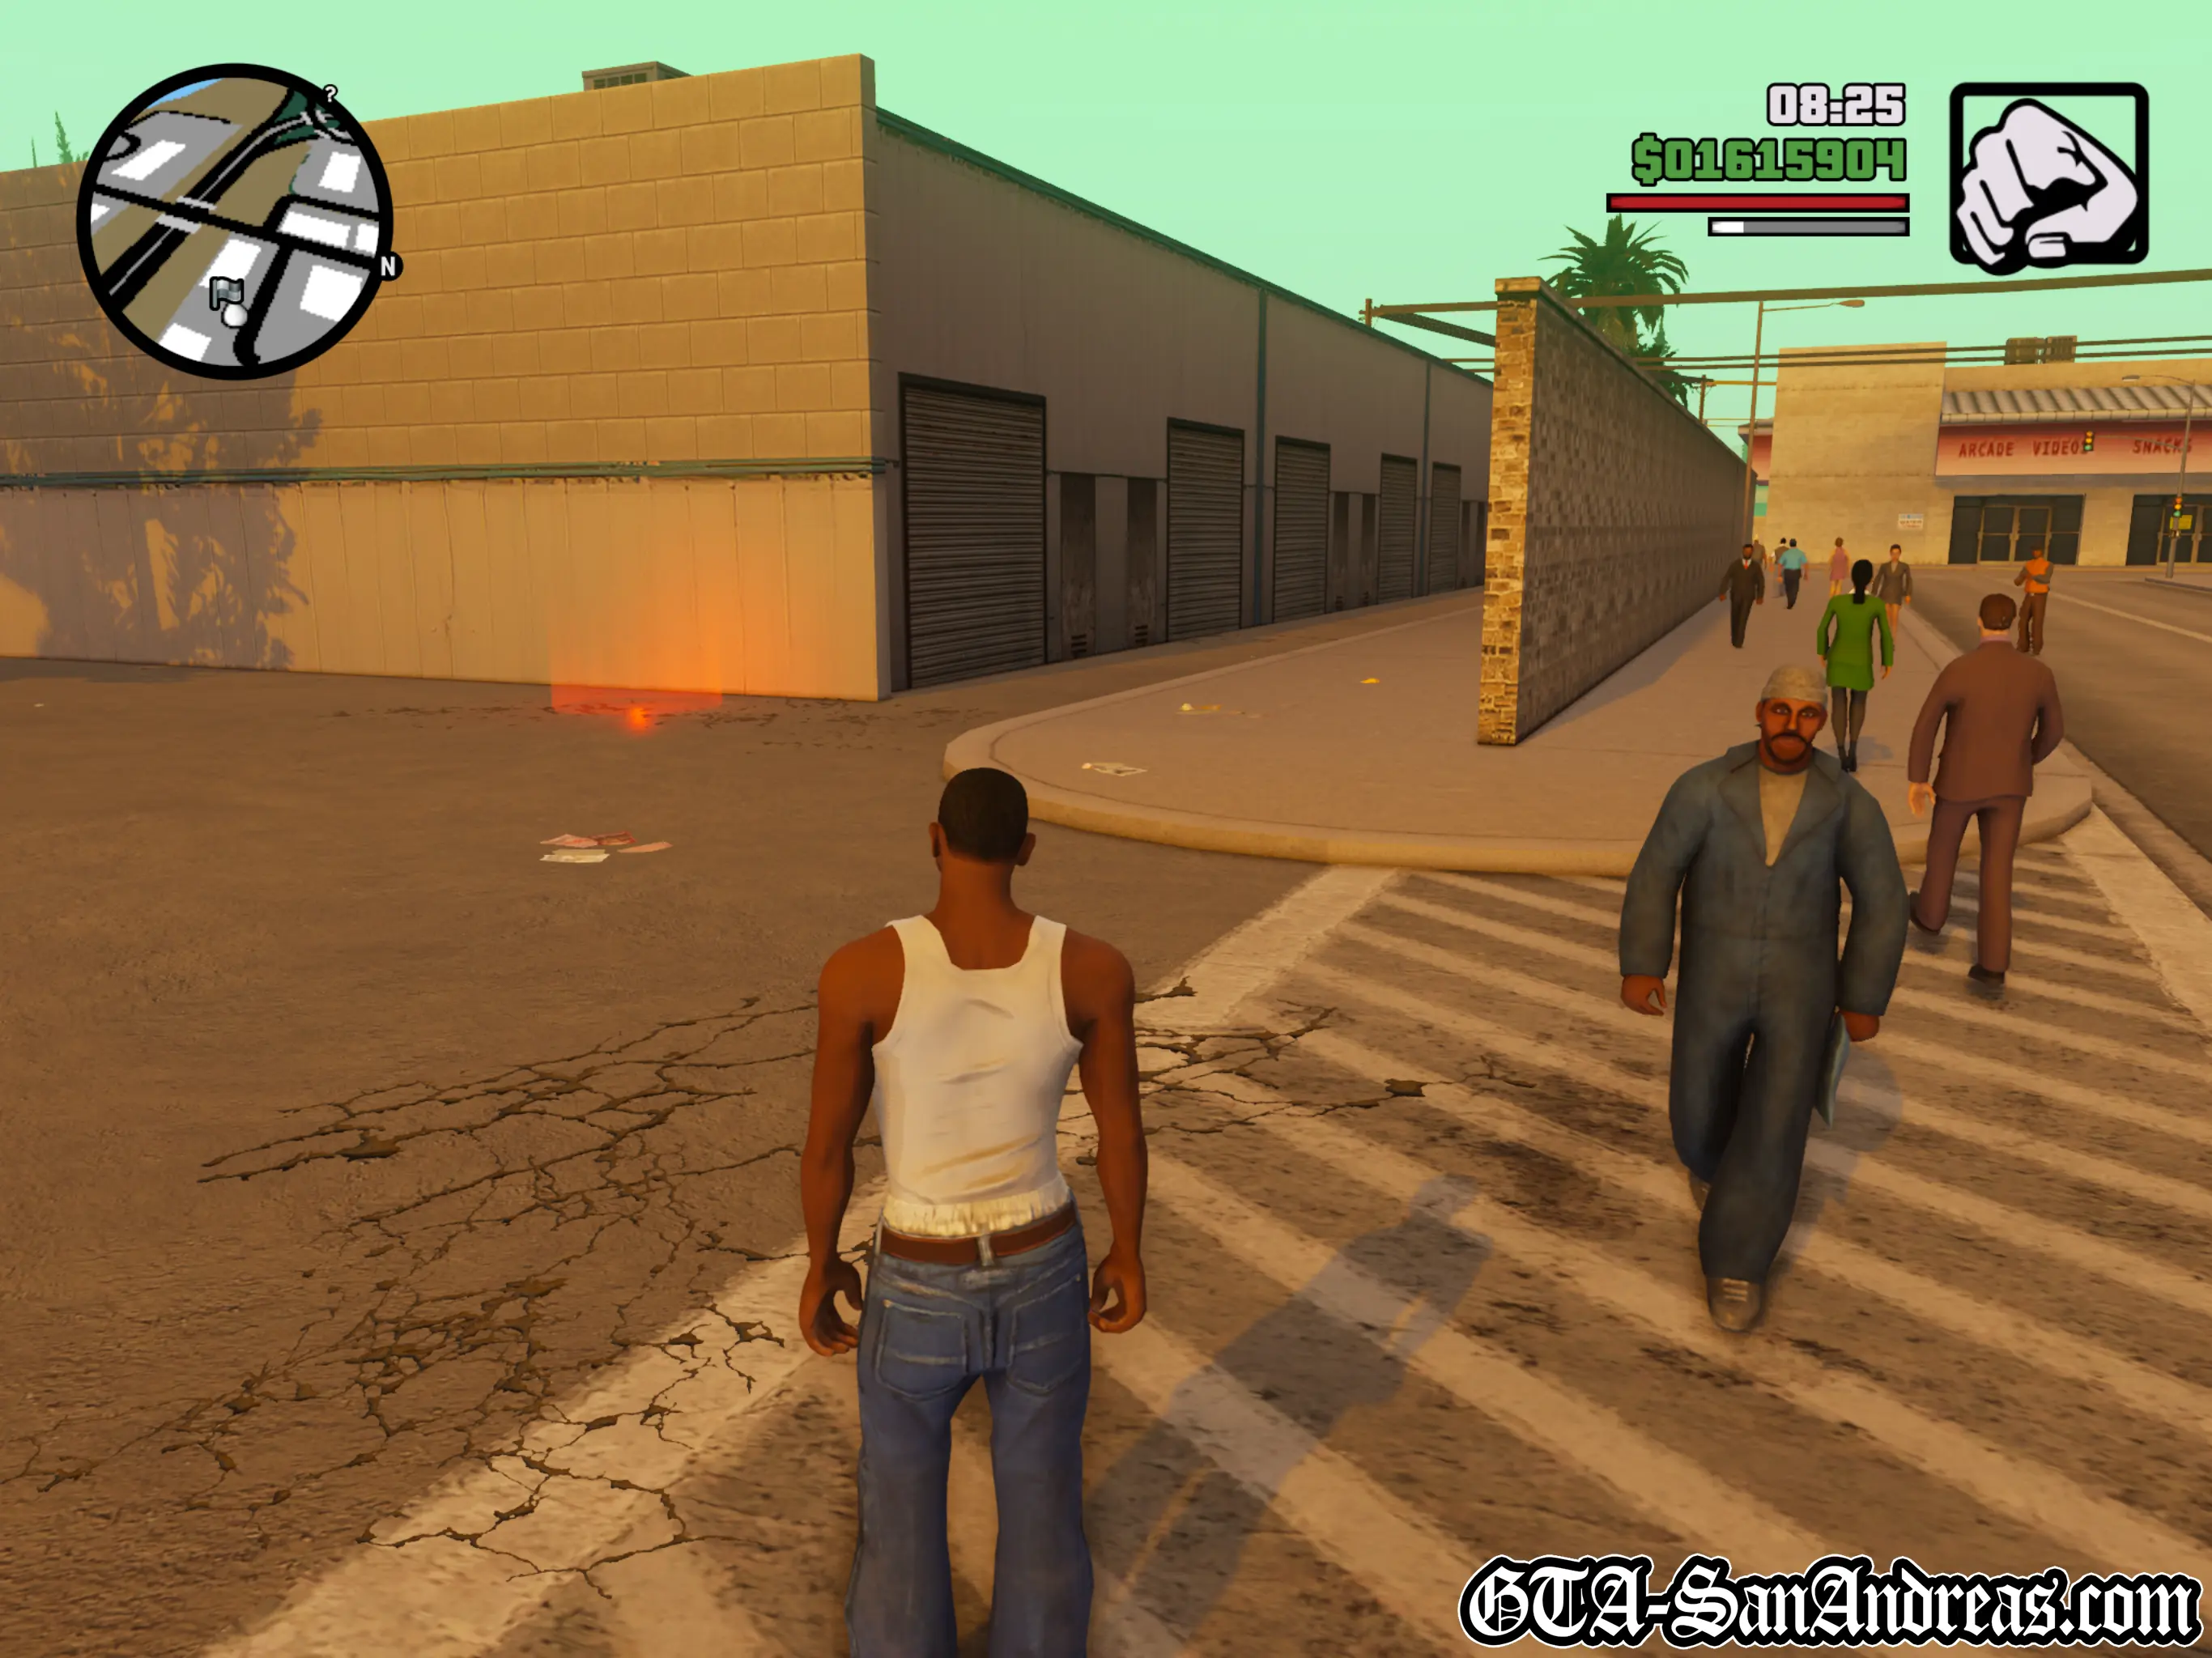
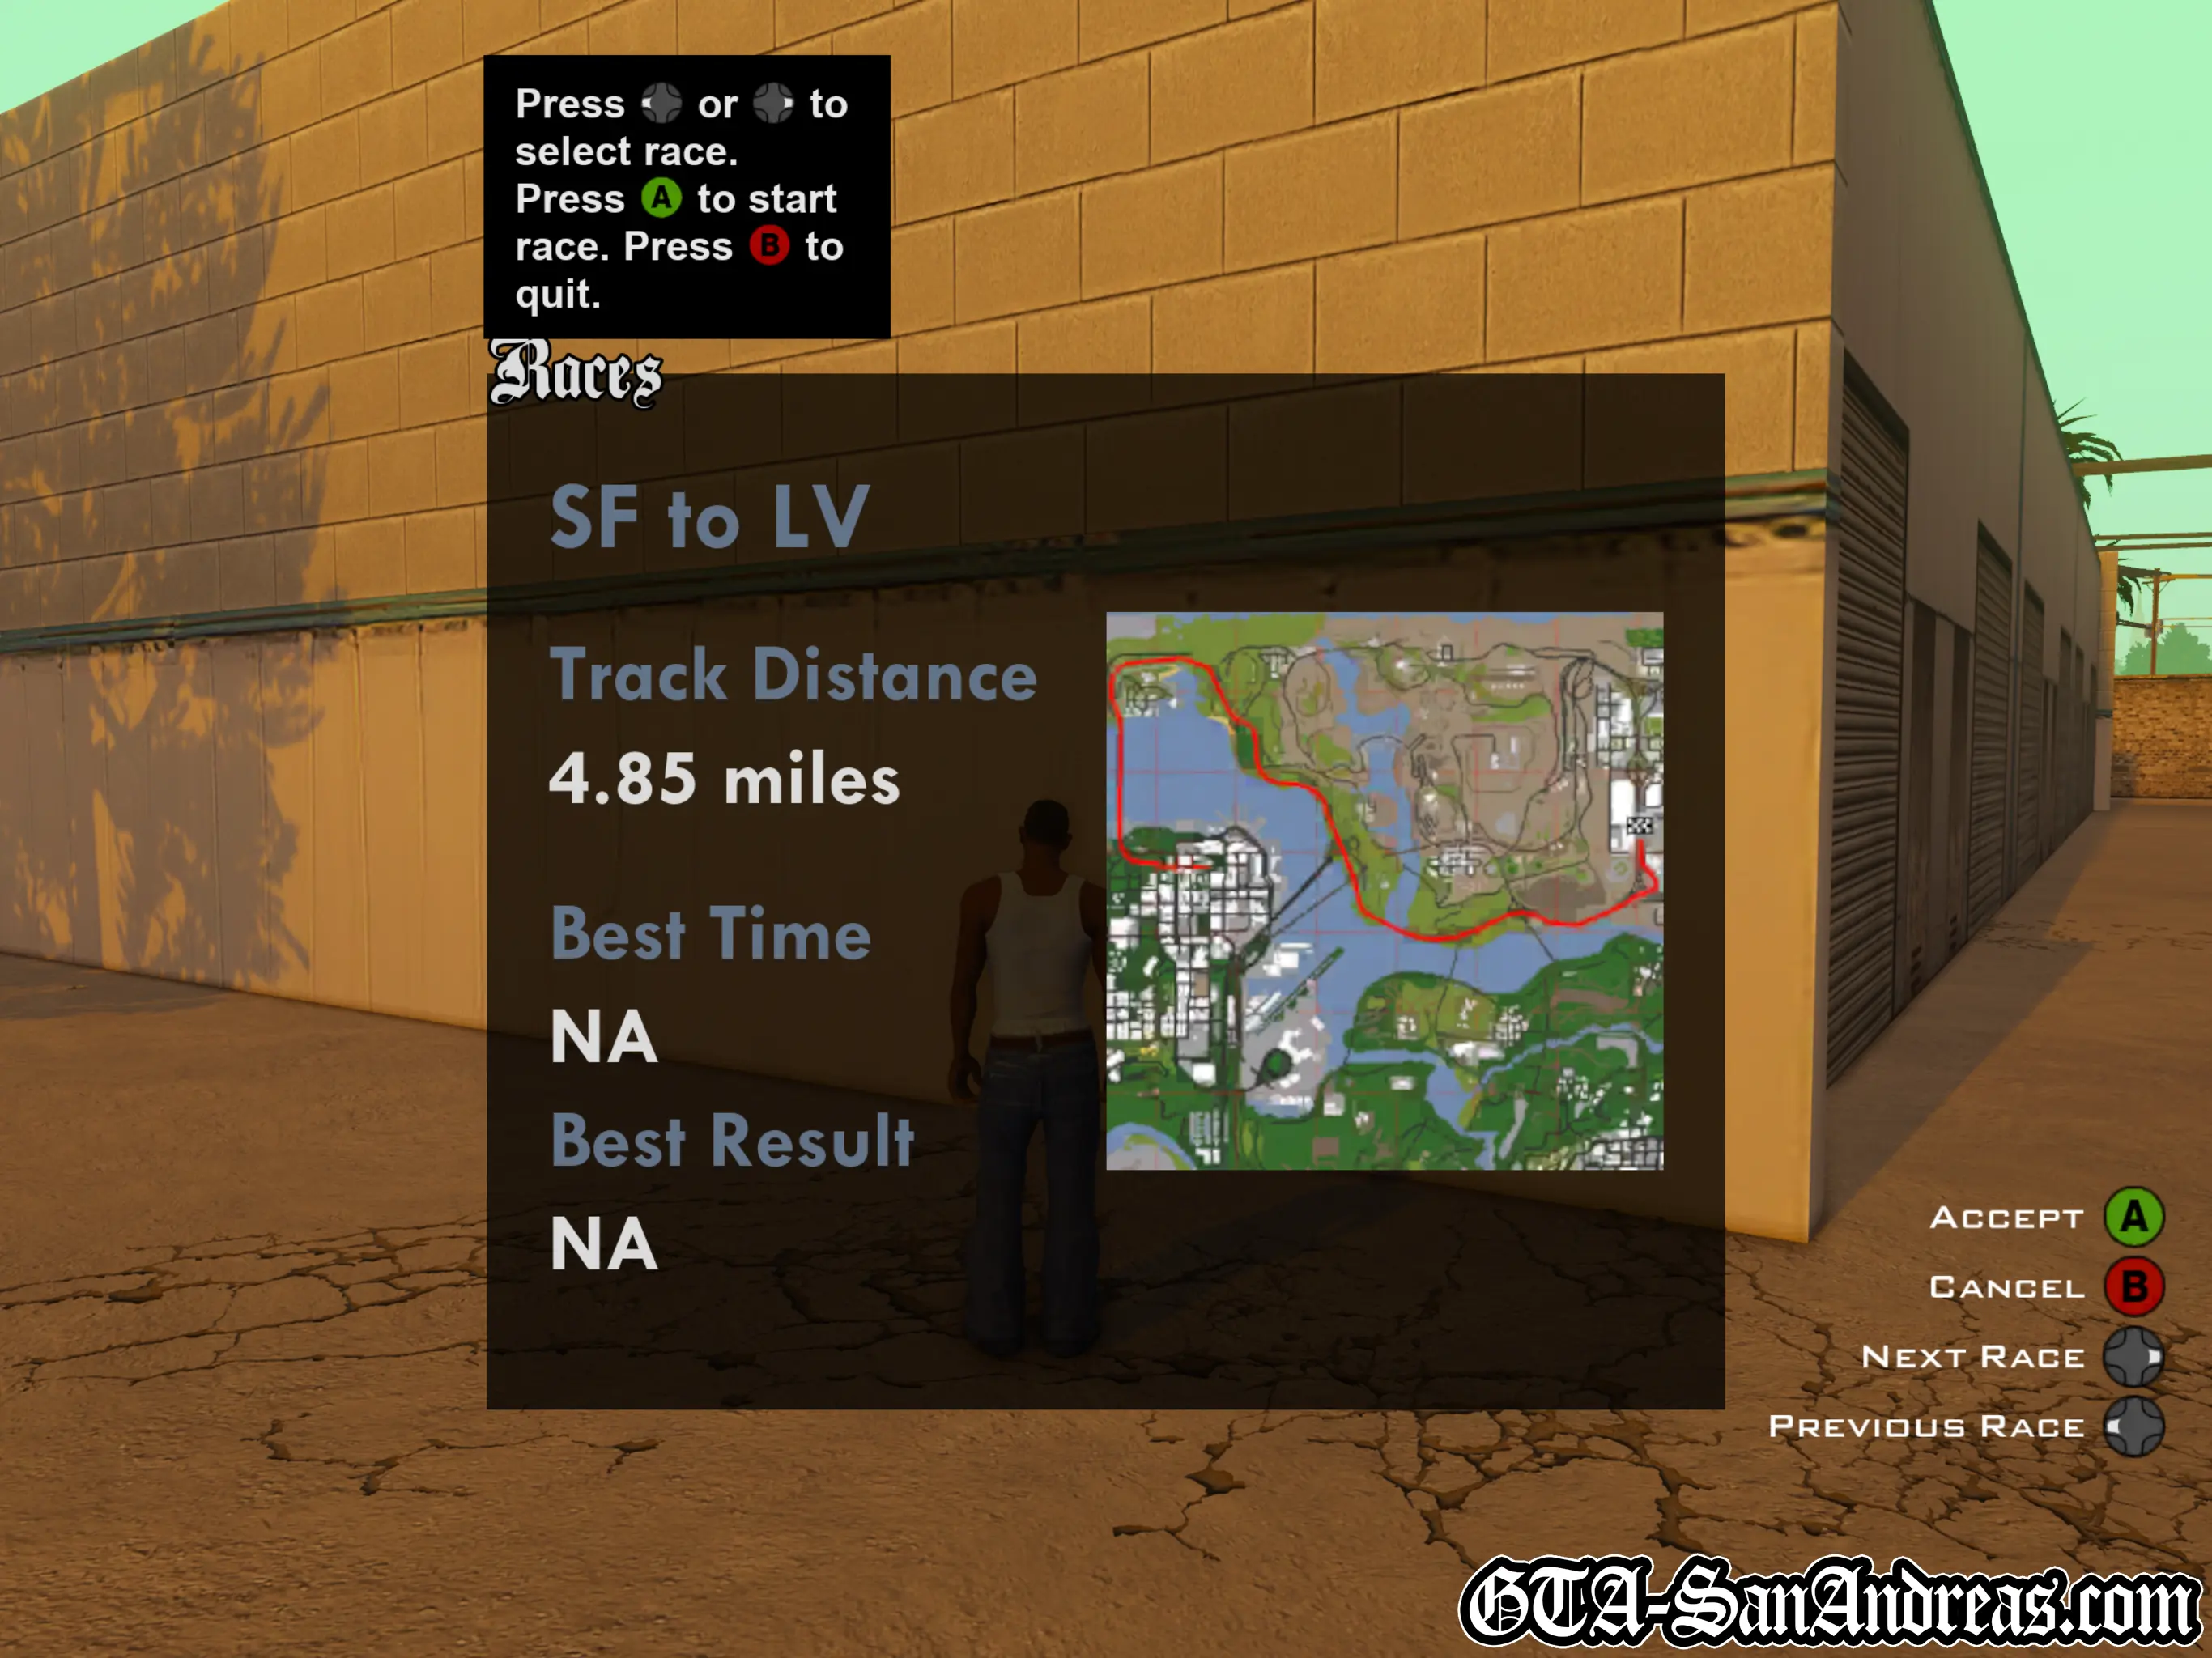
SF To LV
| Vehicle Provided | Track Distance |
|---|---|
| Banshee | 7.00 KM |
Tactics
This is a fun race which is a sprint to the finish from San Fierro to Las Venturas.
It's completely straight forward and your only worries will be avoiding traffic and making sure you don't fall in the water.
You can go exceptionally fast in the Banshee, but you may wish to slow down any time you get near water or you'll be sinking out of the race.
Keep up speed to the LV Airport and you'll be the winner.
Screenshots

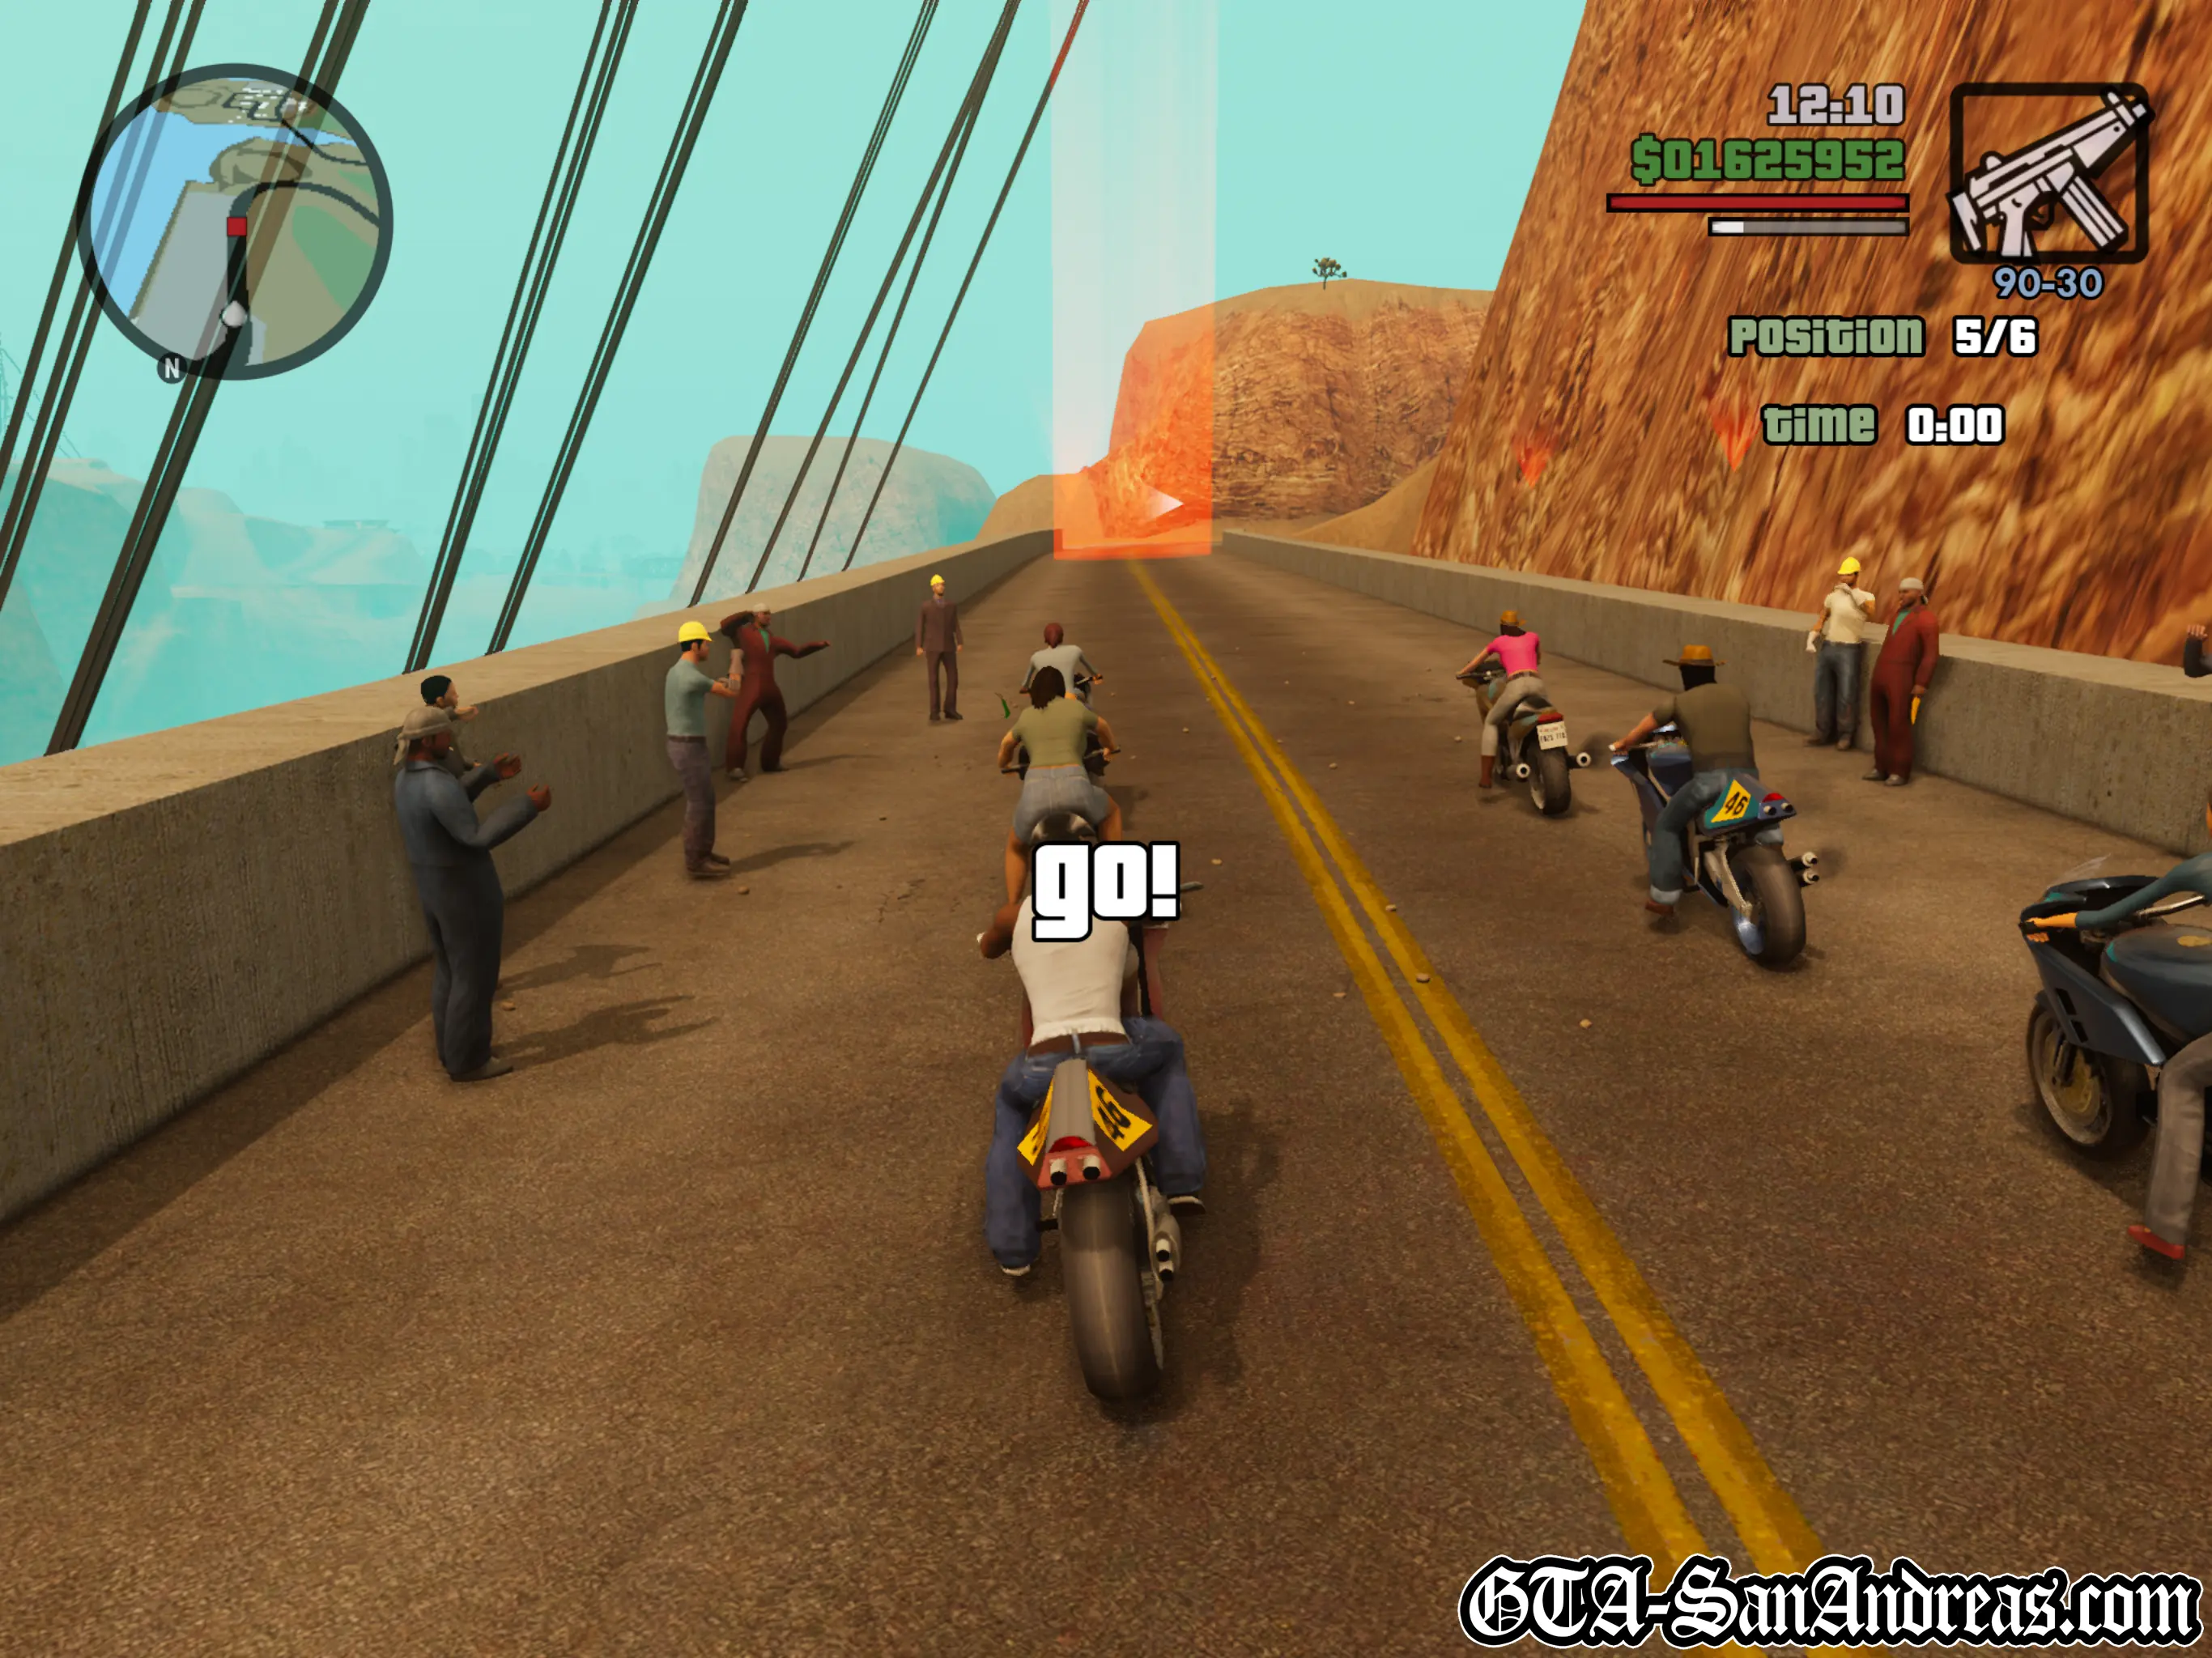
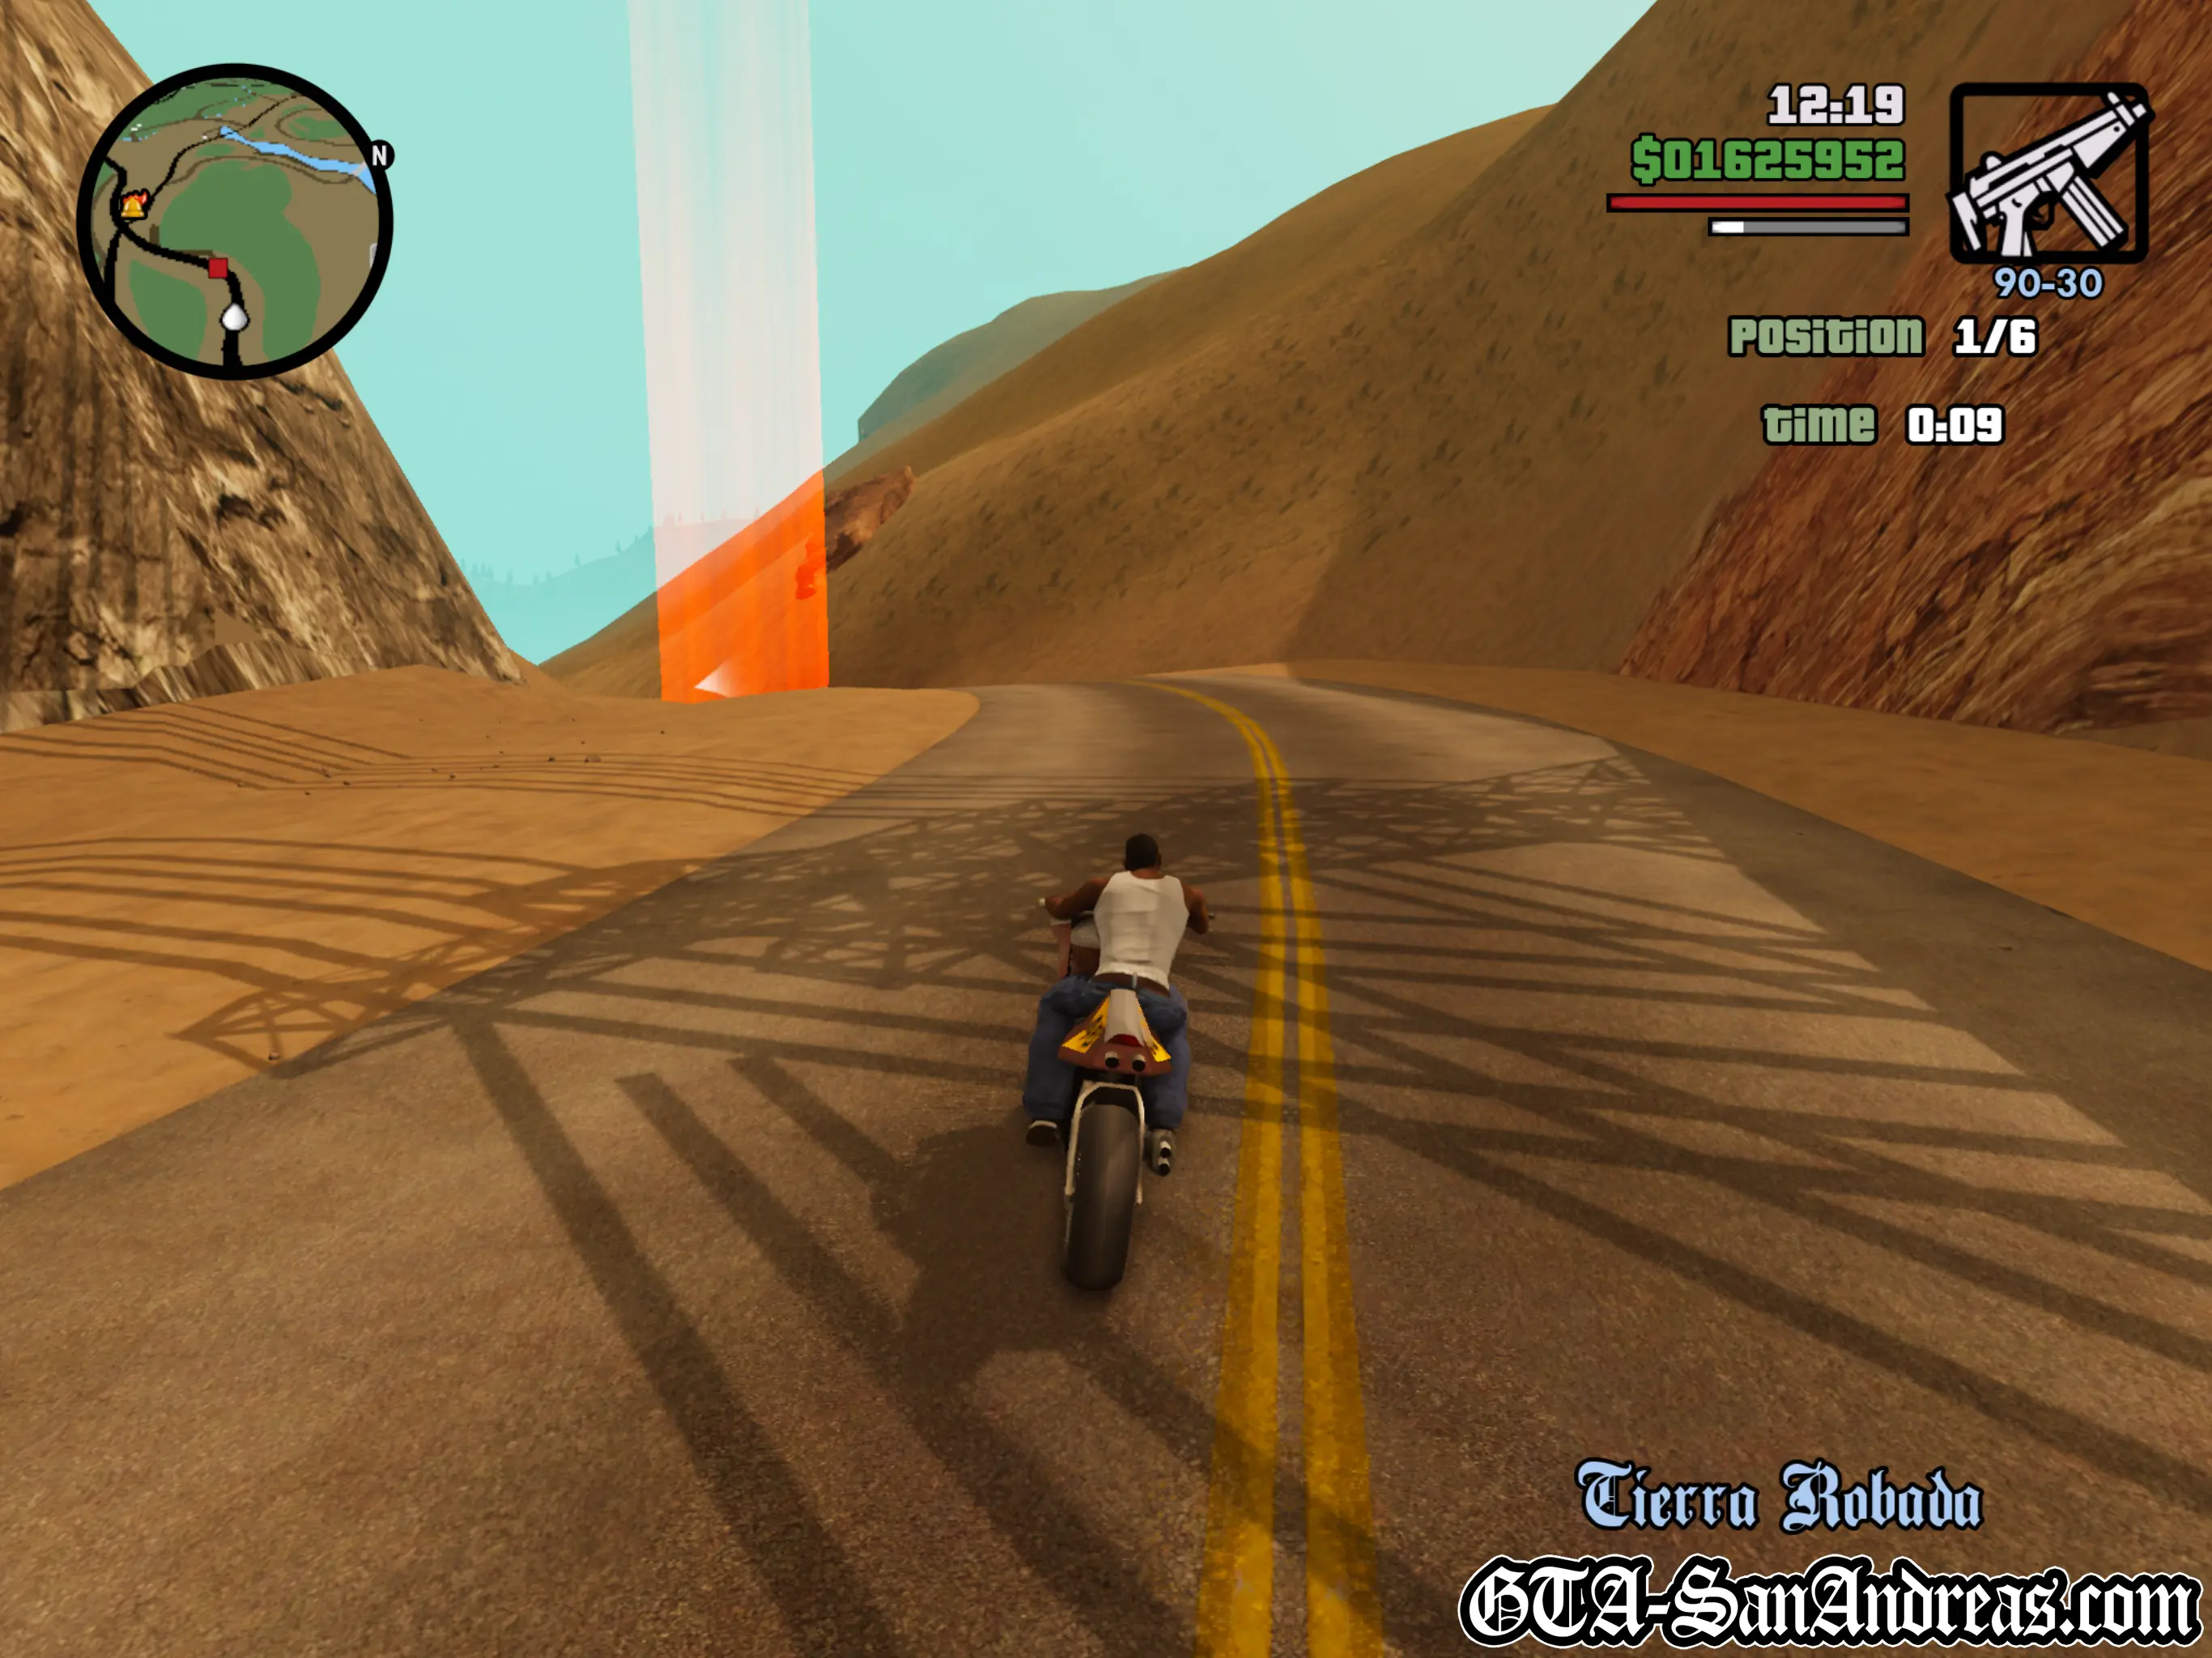
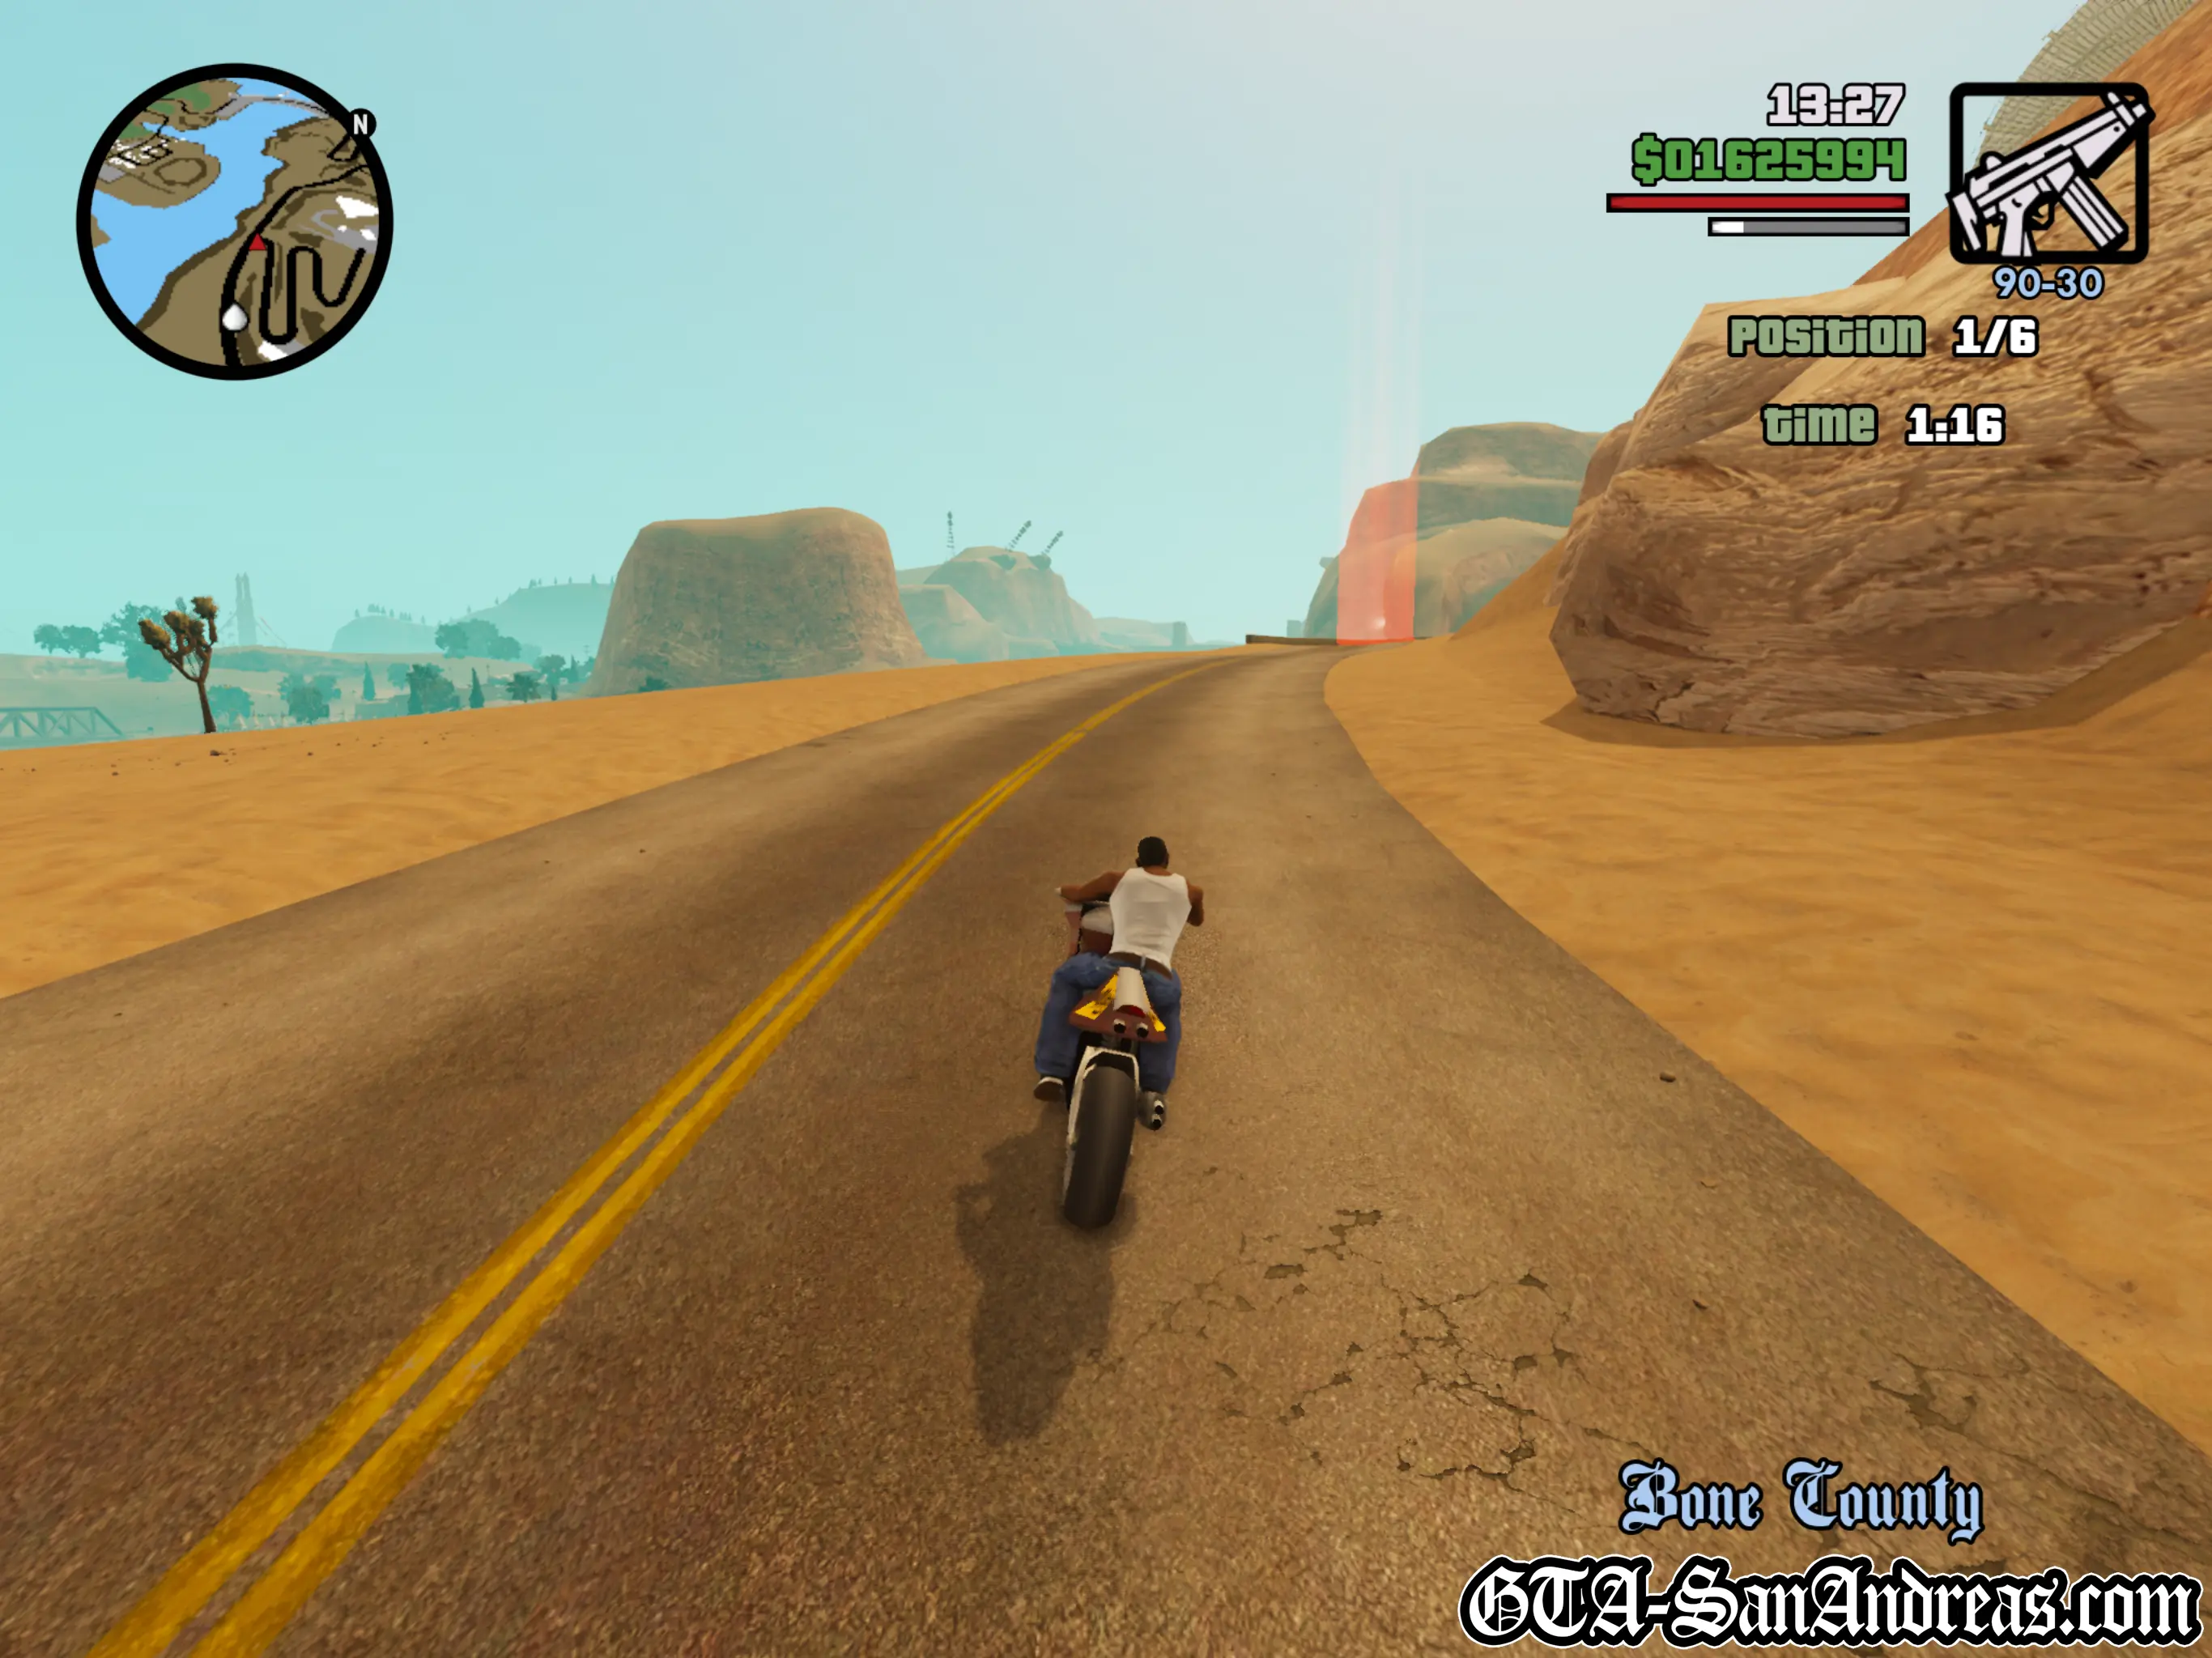
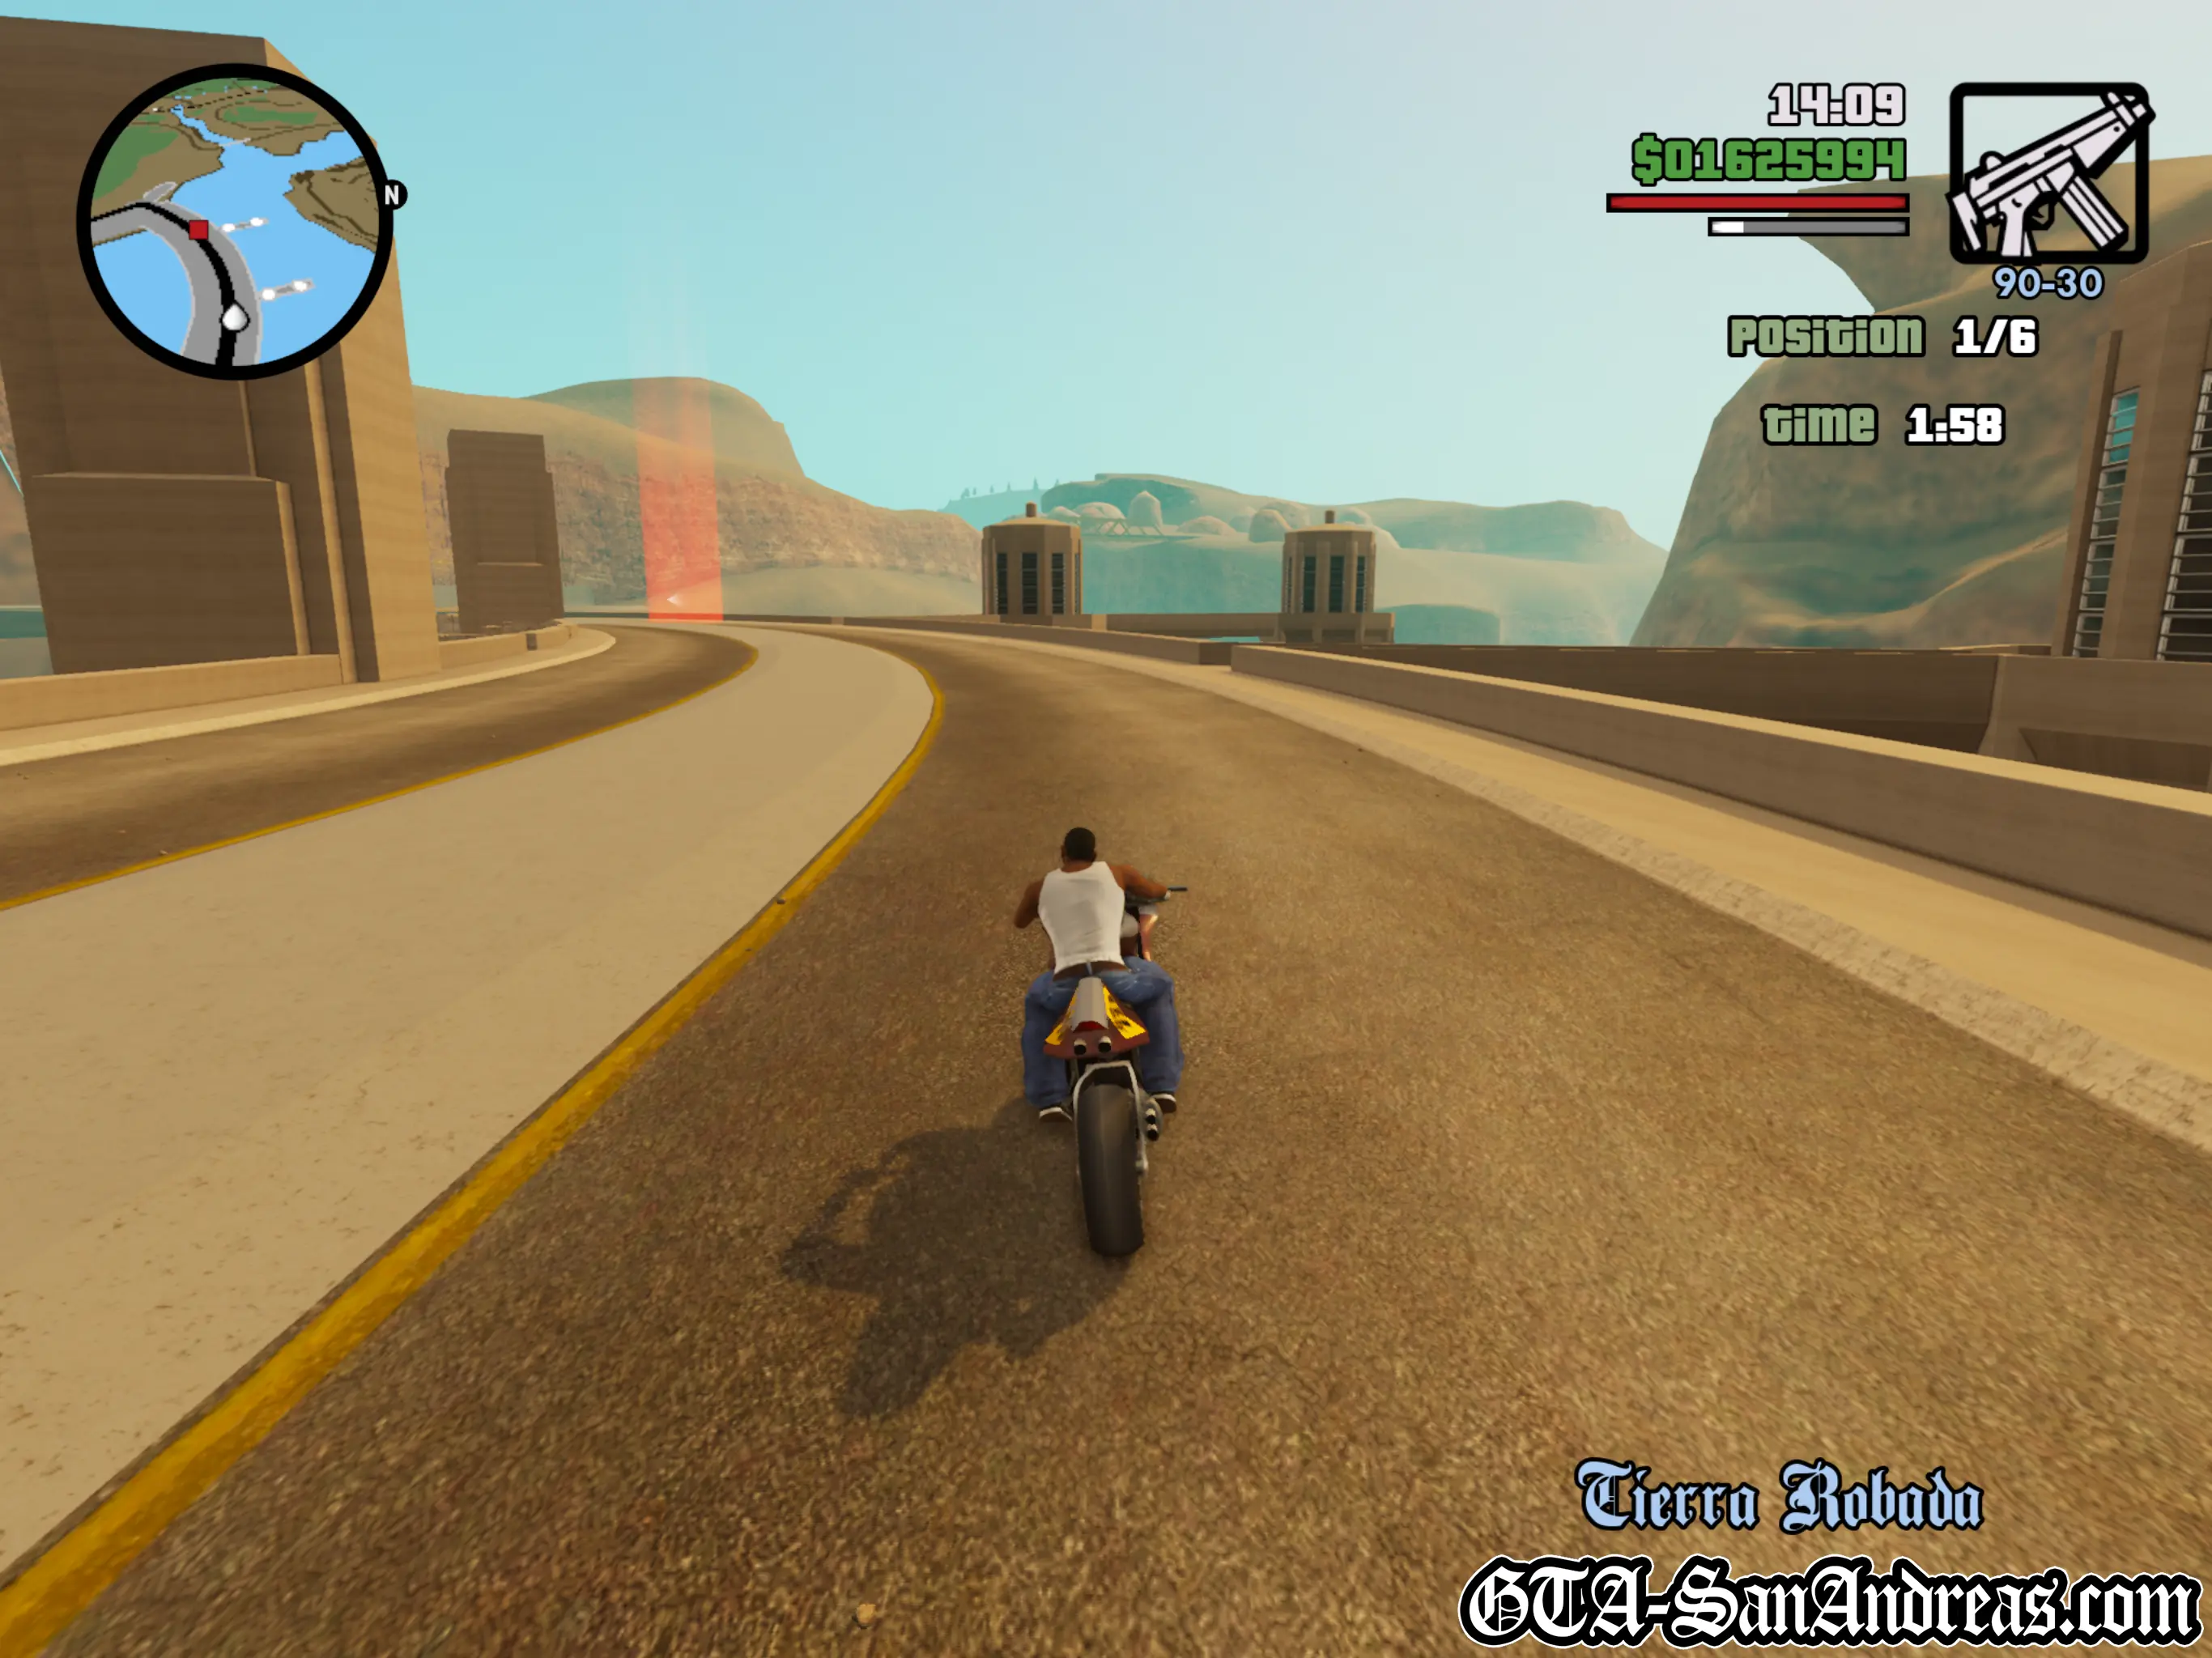
Dam Rider
| Vehicle Provided | Track Distance |
|---|---|
| NRG-500 | 4.00 KM |
Tactics
Once again this race is pretty straight forward, although the sharp turns and water hazards can be a real pain.
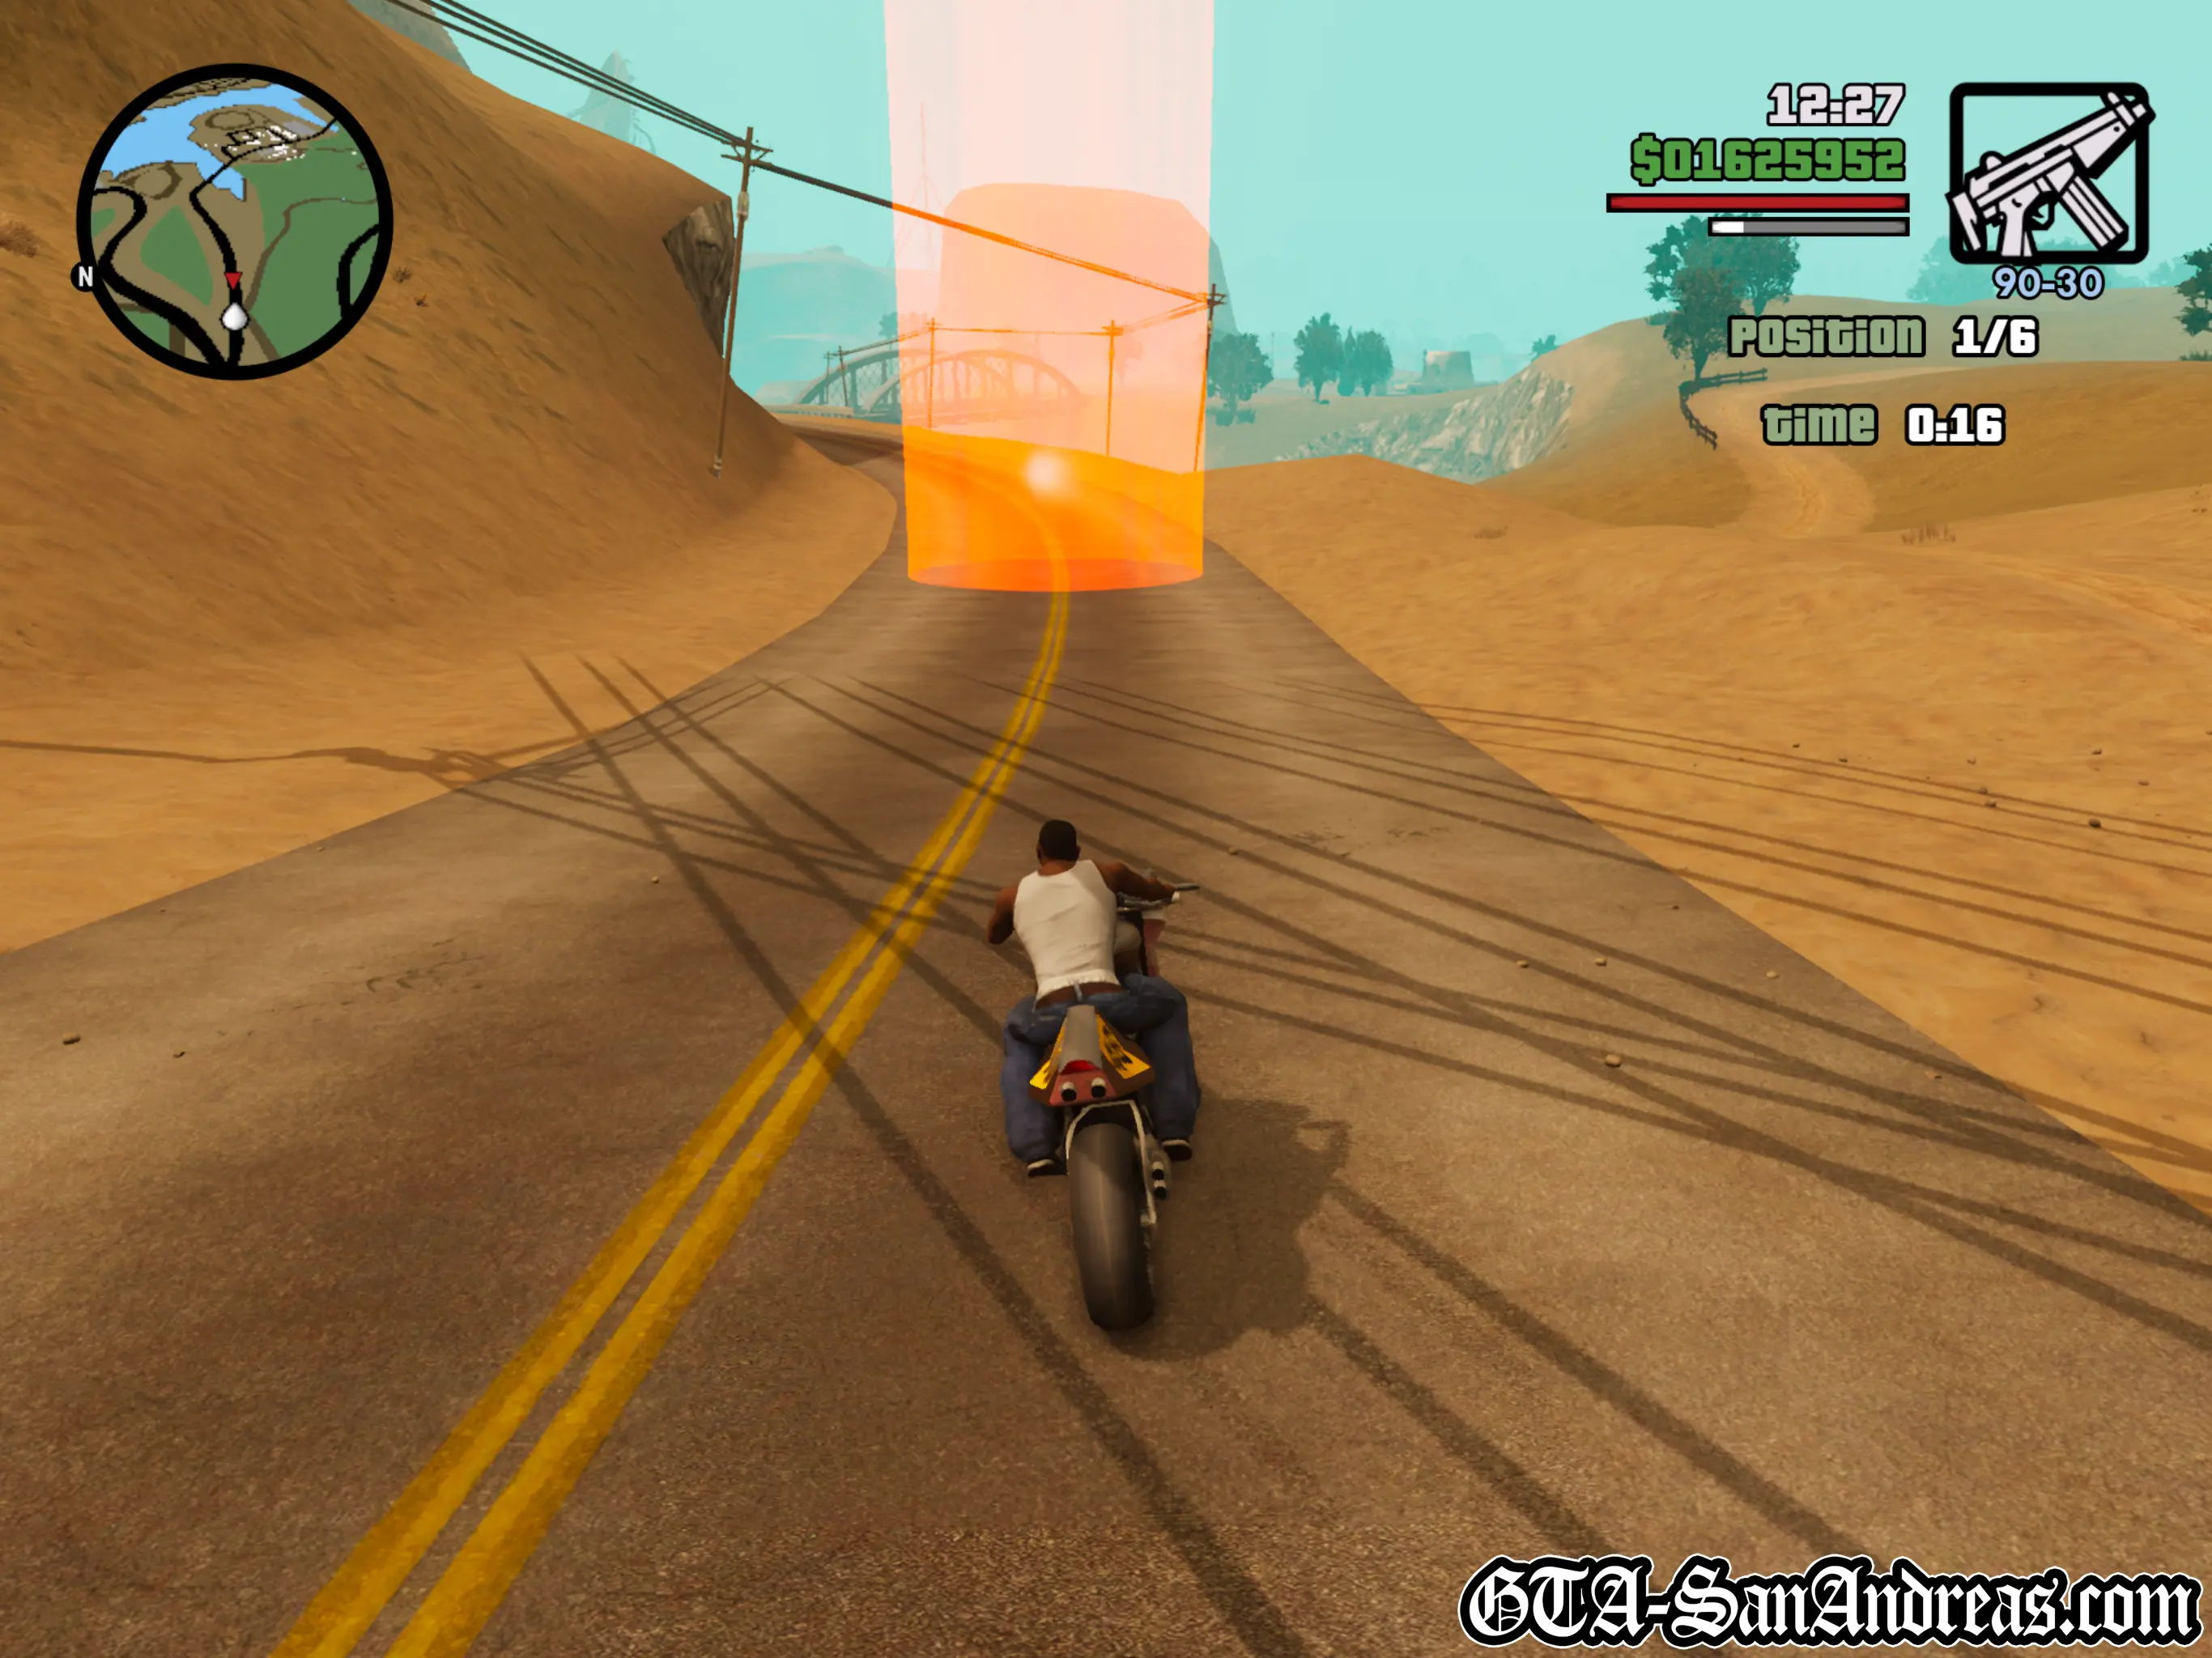
Watch out for those rocks if you're trying to take a shortcut too or it'll likely take longer than sticking to the roads.
You can take quite a few good shortcuts at the end of the race if you need then, but by then you should be far enough in front to win.
Screenshots

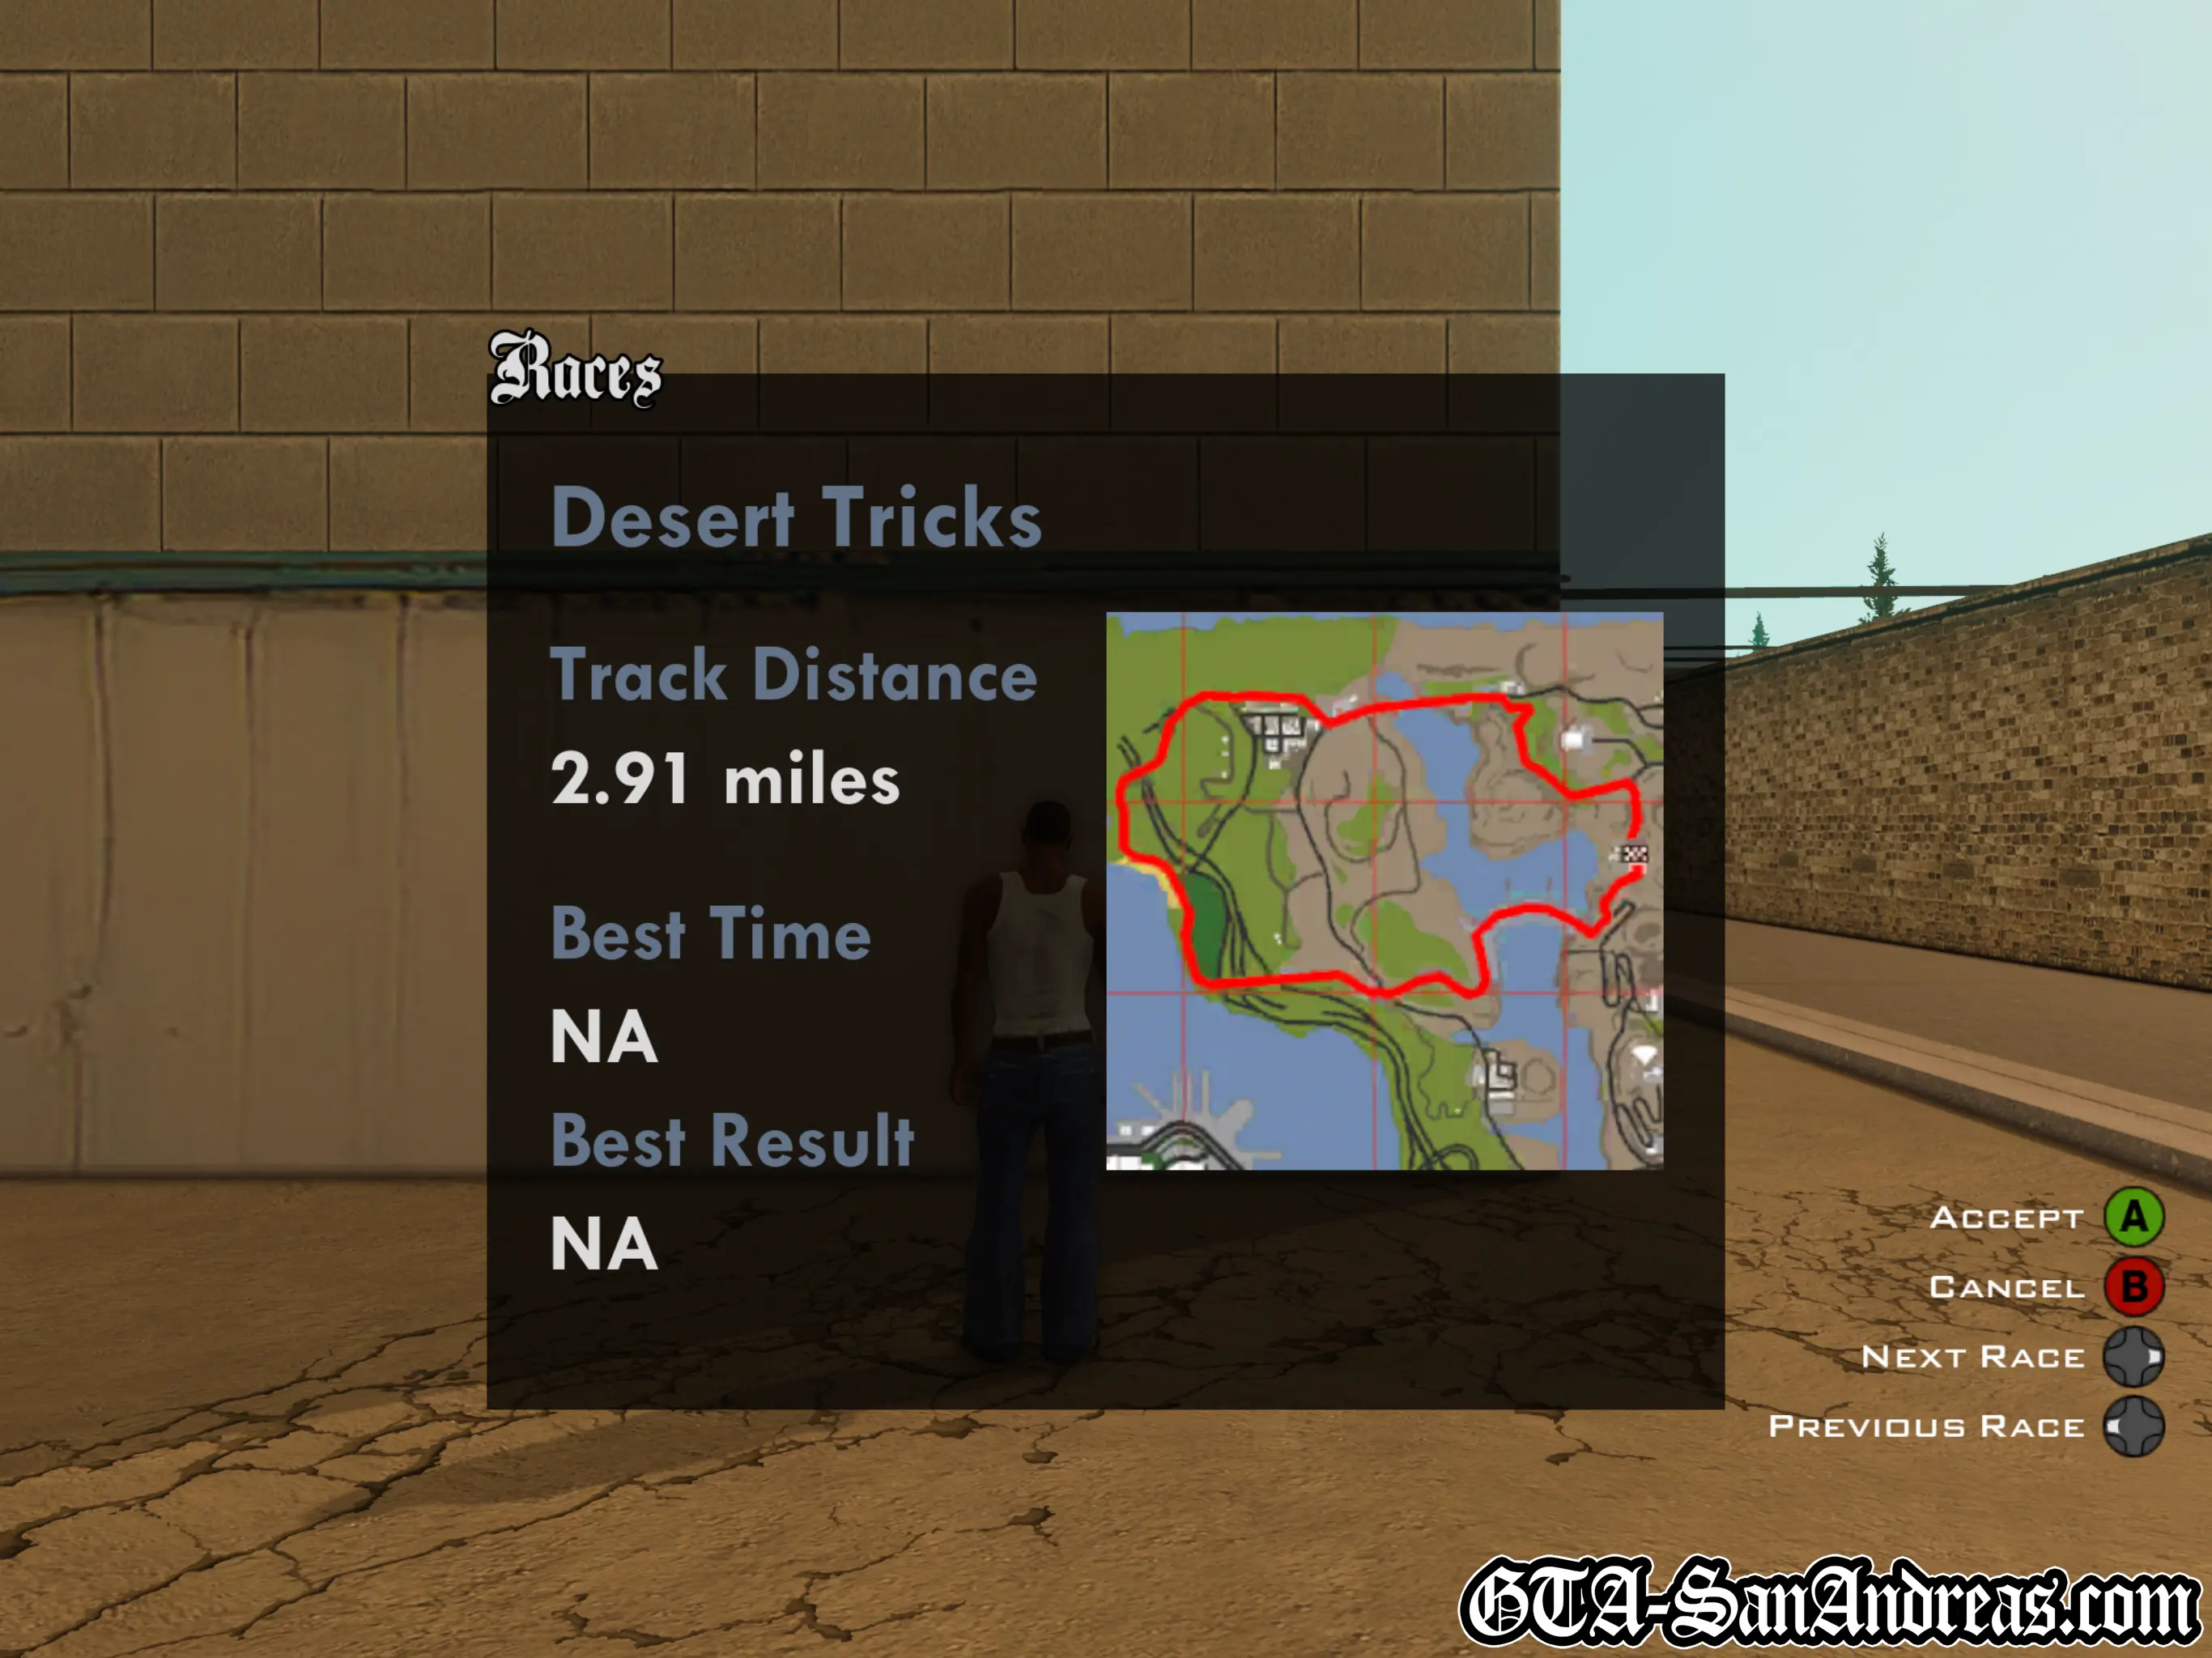
Desert Tricks
| Vehicle Provided | Track Distance |
|---|---|
| BF-400 | 4.00 KM |
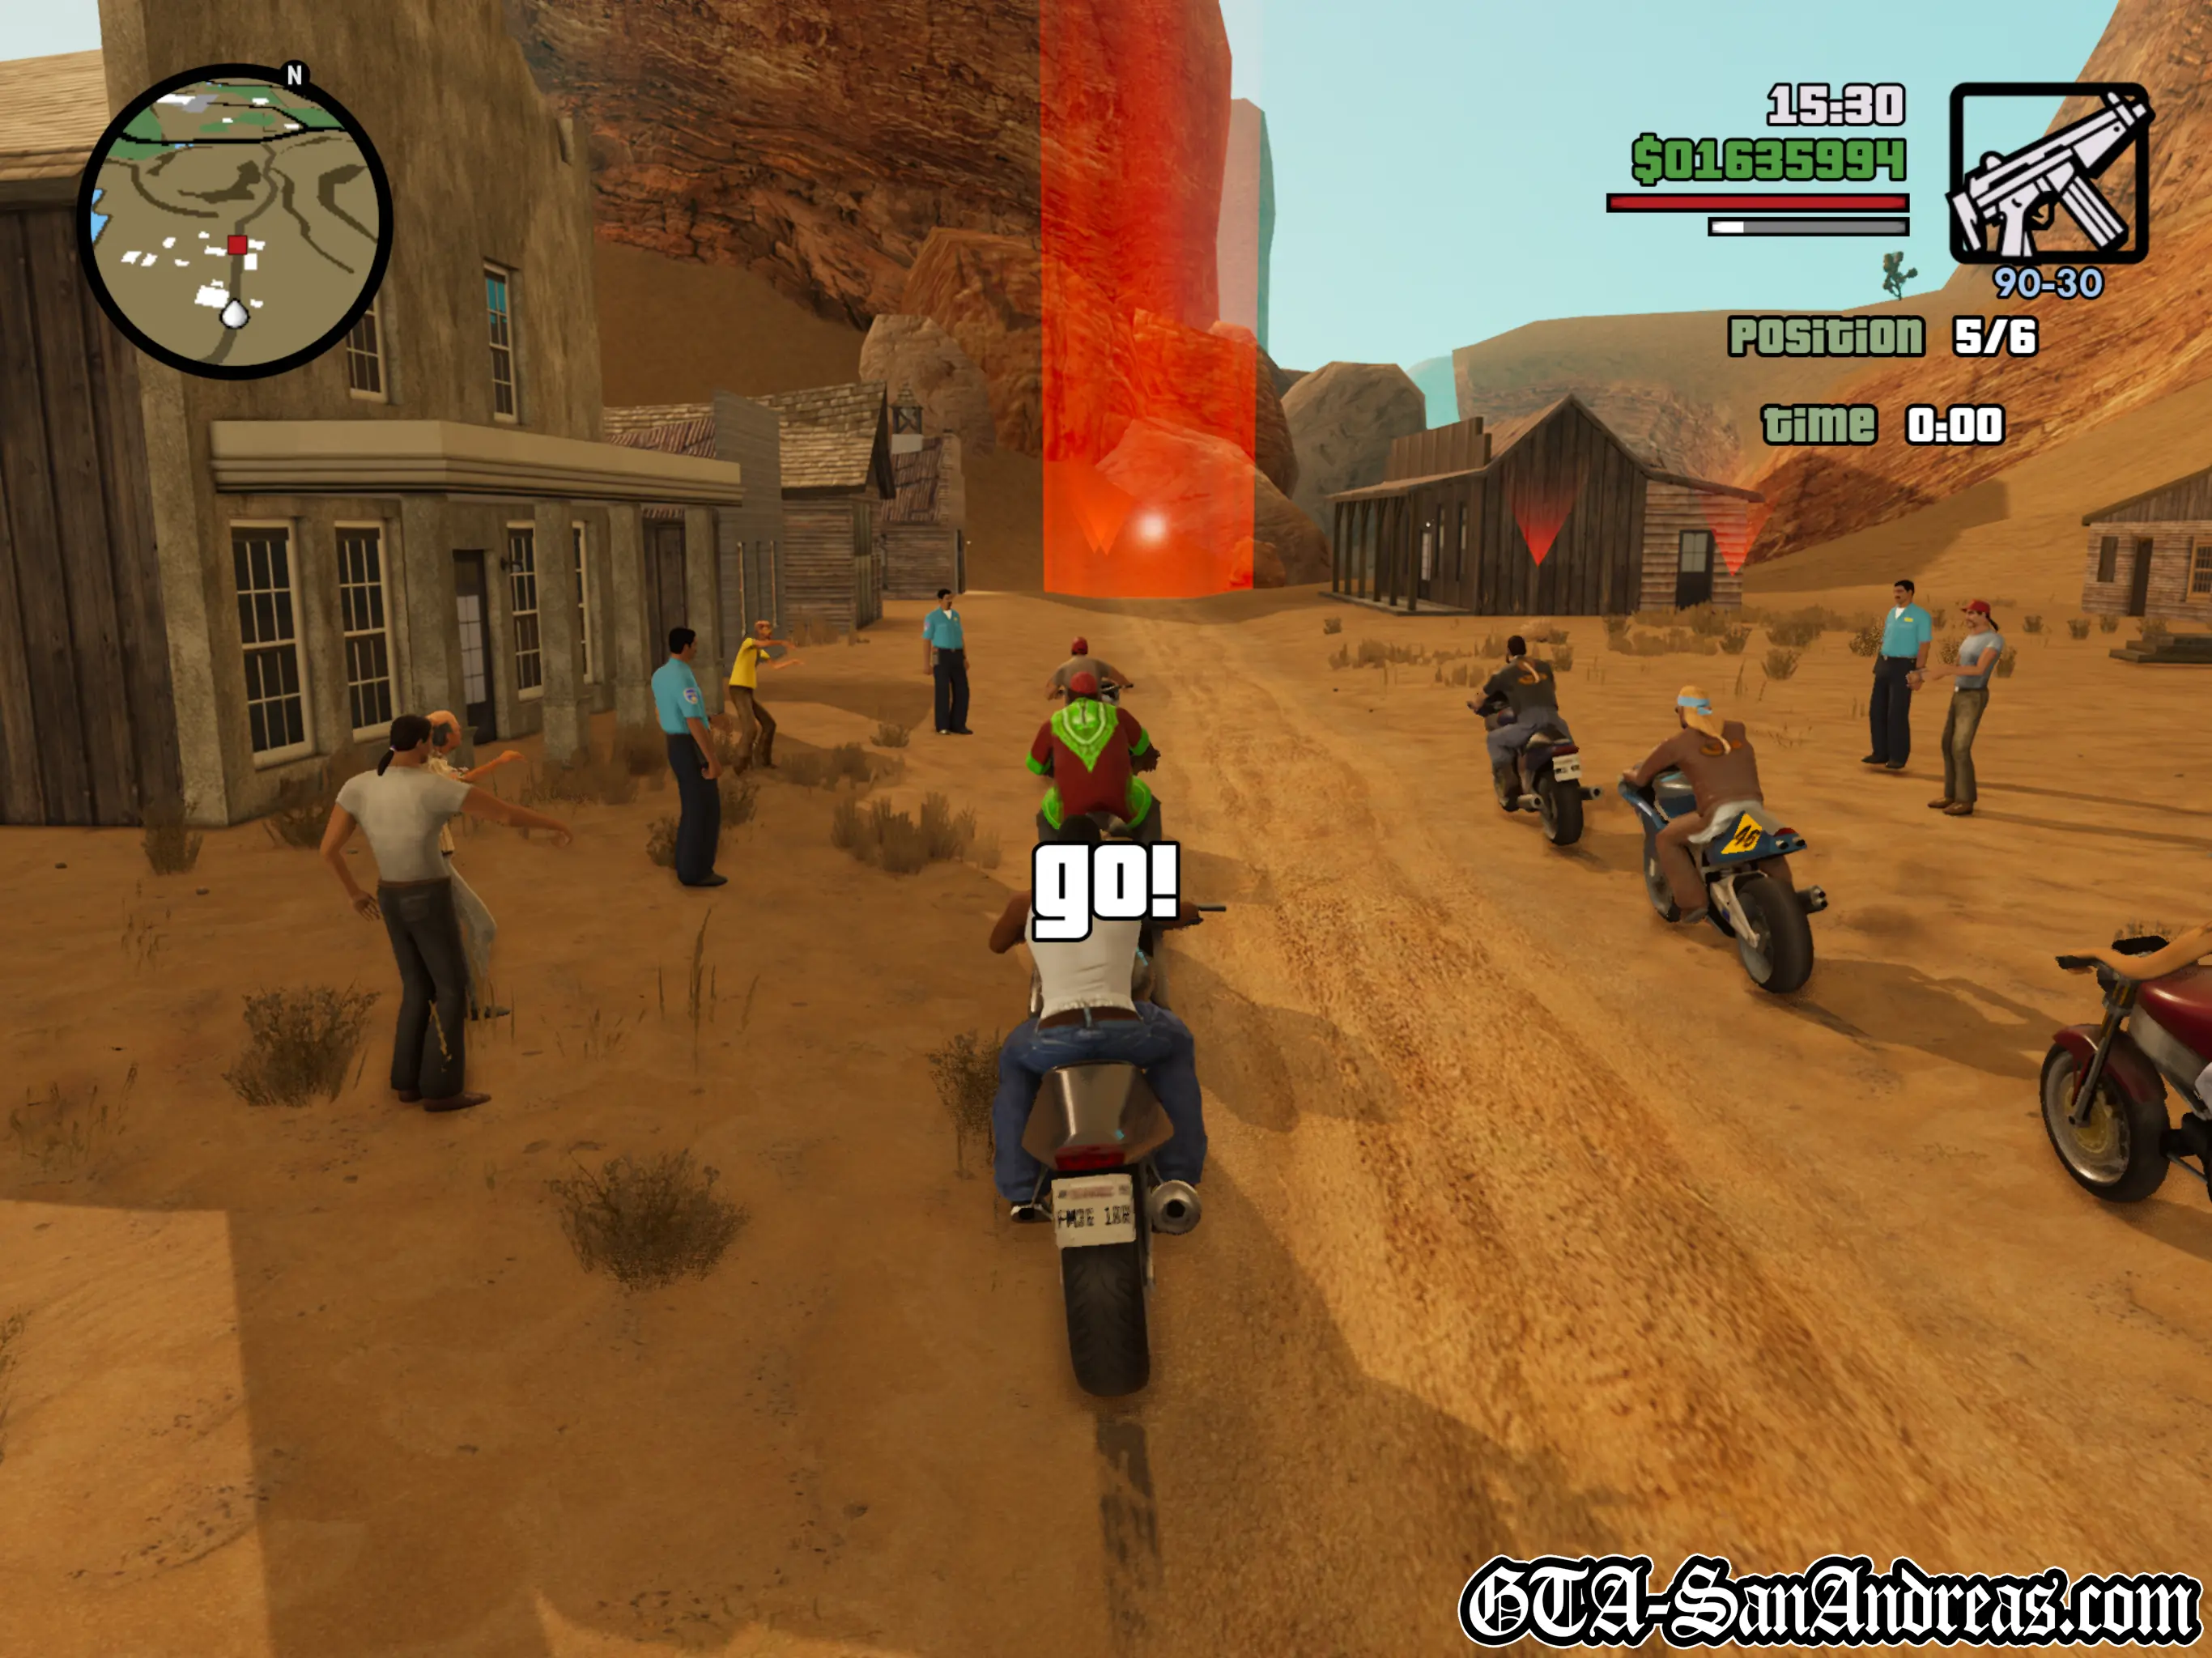
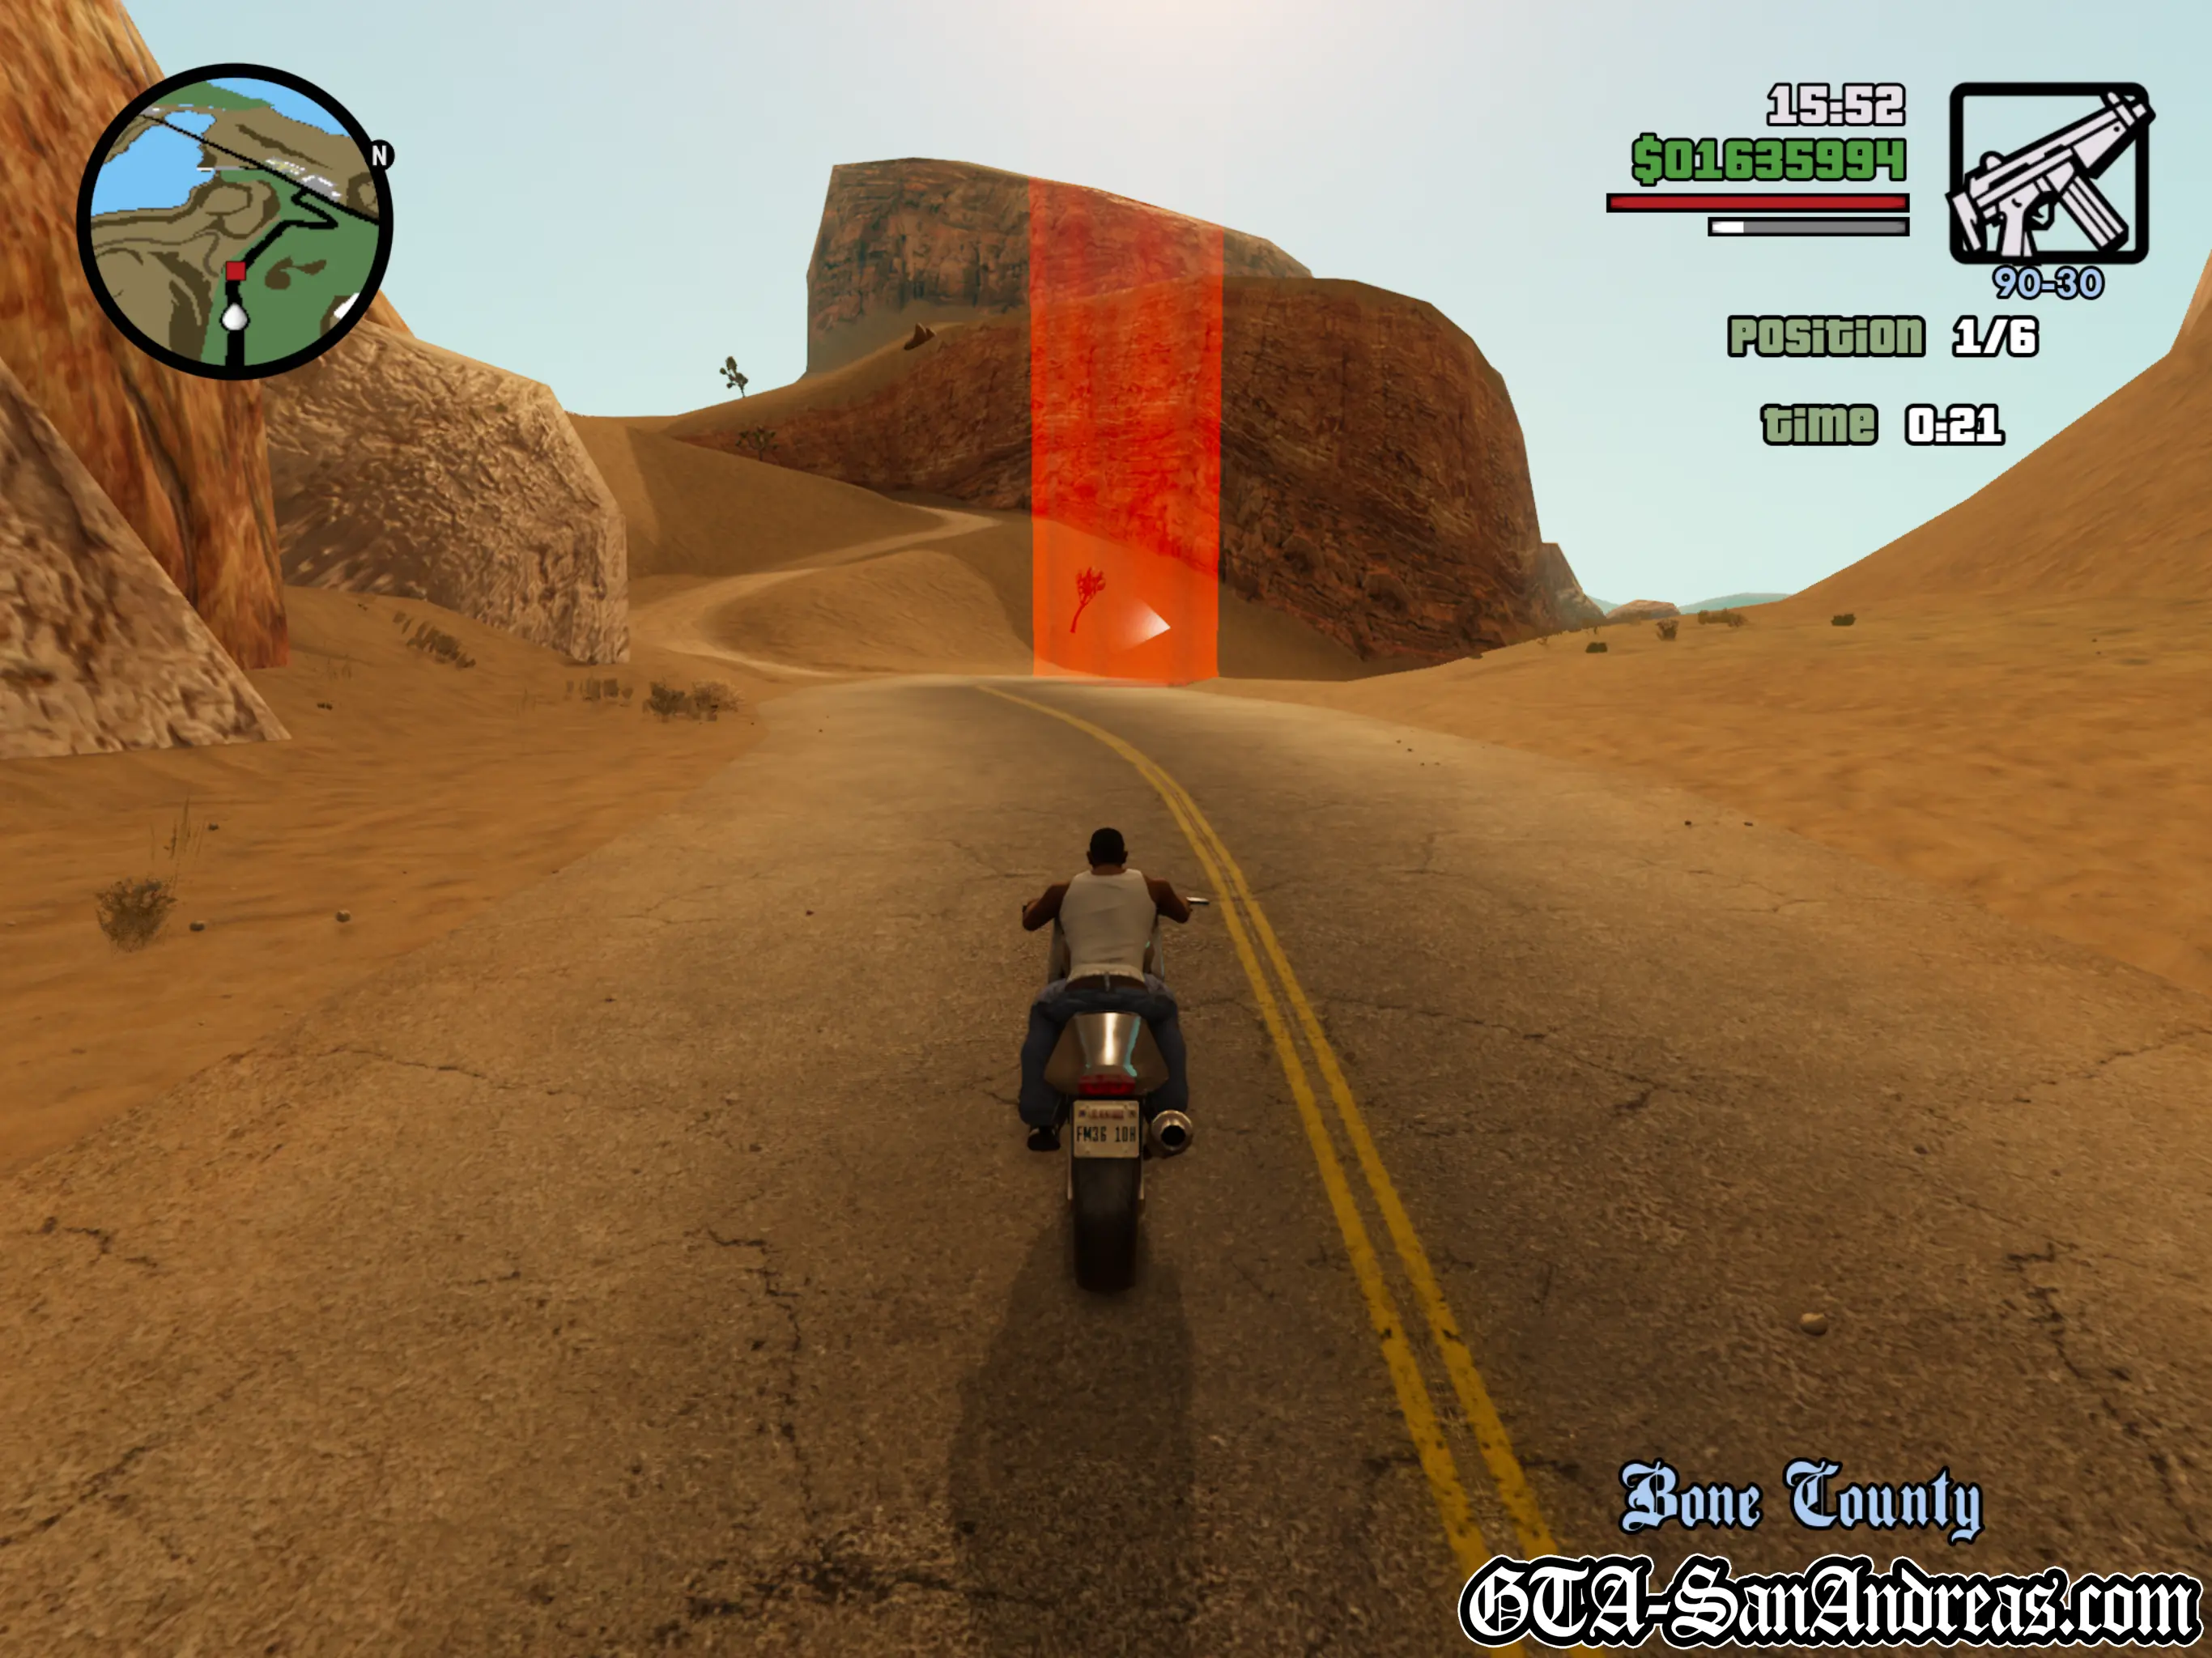
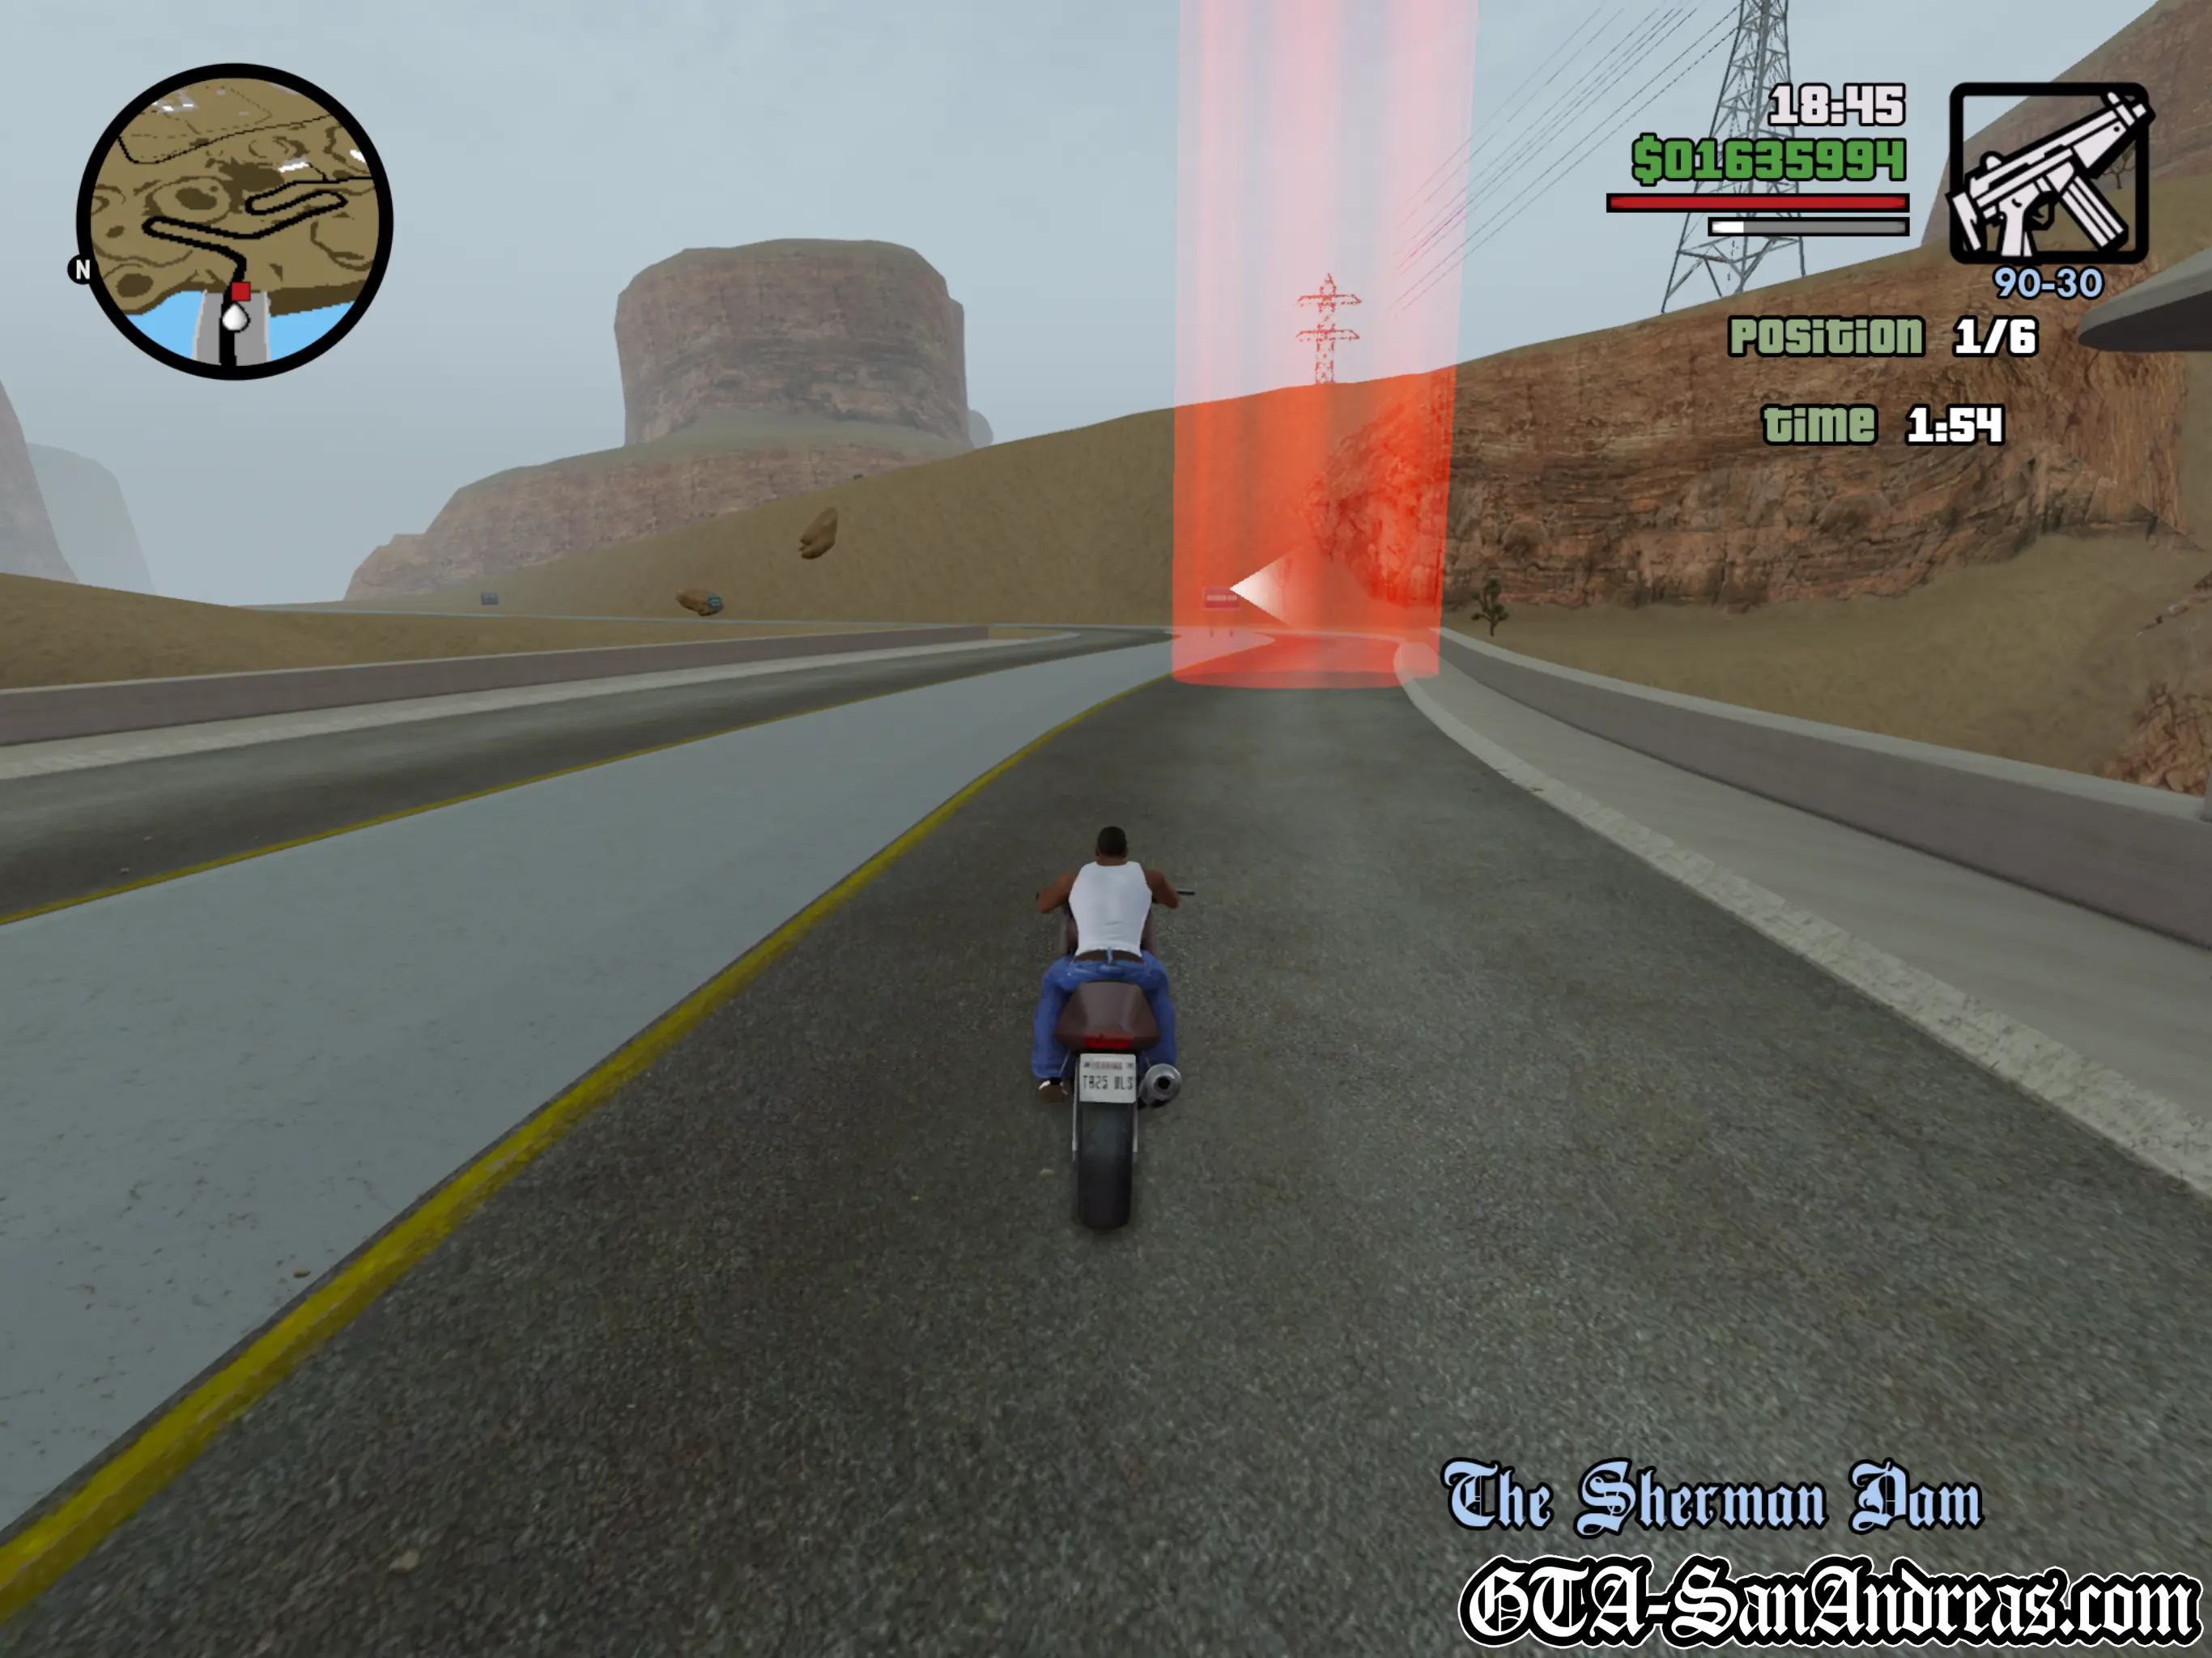
Tactics
This race isn't exactly harder than the previous one, however it's closer in terms of opponents.
You really need to have a pretty much perfect run in order to be way out in front when it finishes.
There aren't any particularly hard sections, but some of the corners can be pretty fast and may need you to slow down. Definitely consider braking for any of the tighter corners.
Screenshots
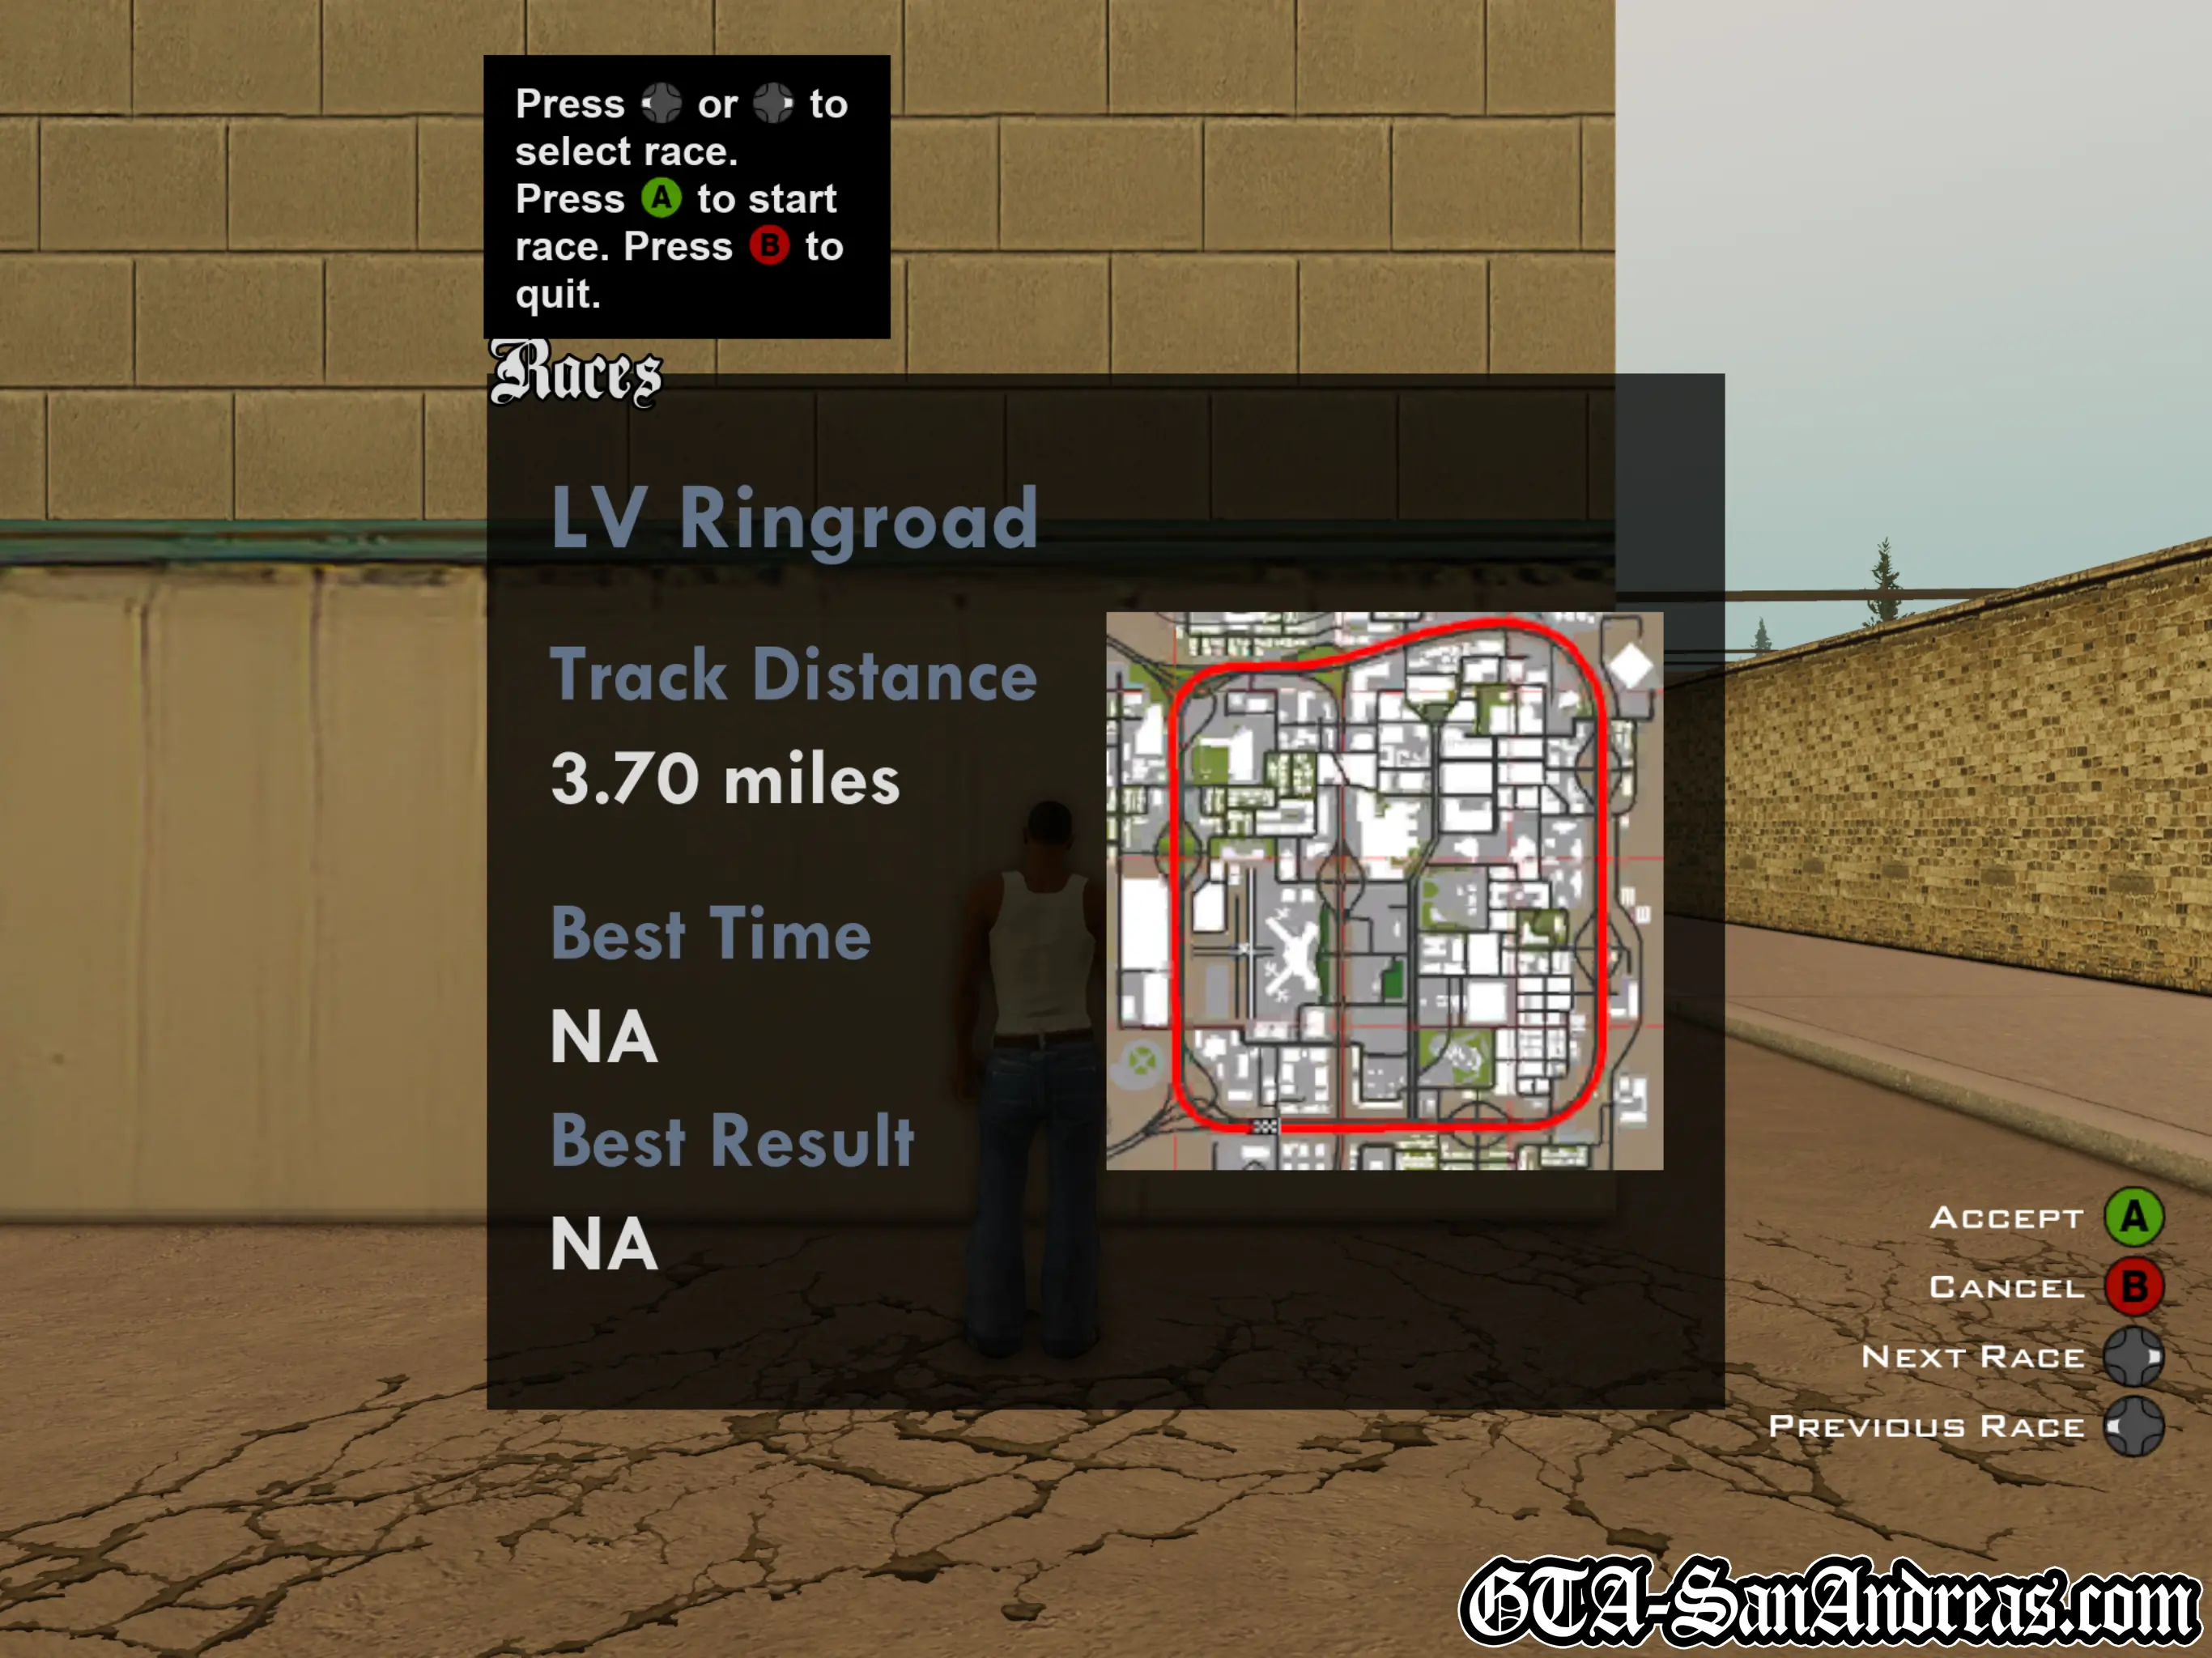
LV Ringroad
| Vehicle Provided | Track Distance |
|---|---|
| Turismo | 5.00 KM |
Tactics
While this may look like the easiest track ever, there is an incredible amount of traffic swerving back and forth across lanes, and it's almost impossible to speed around the track at full speed without hitting at least one of them.
You can still pull the car back under control and stay in first place, but after so many crashes your car will be end up in flames, so be careful.
Stick to the outside of the track, but watch out for the turns.
Screenshots
Las Venturas Airport (Flying Checkpoint Challenges)
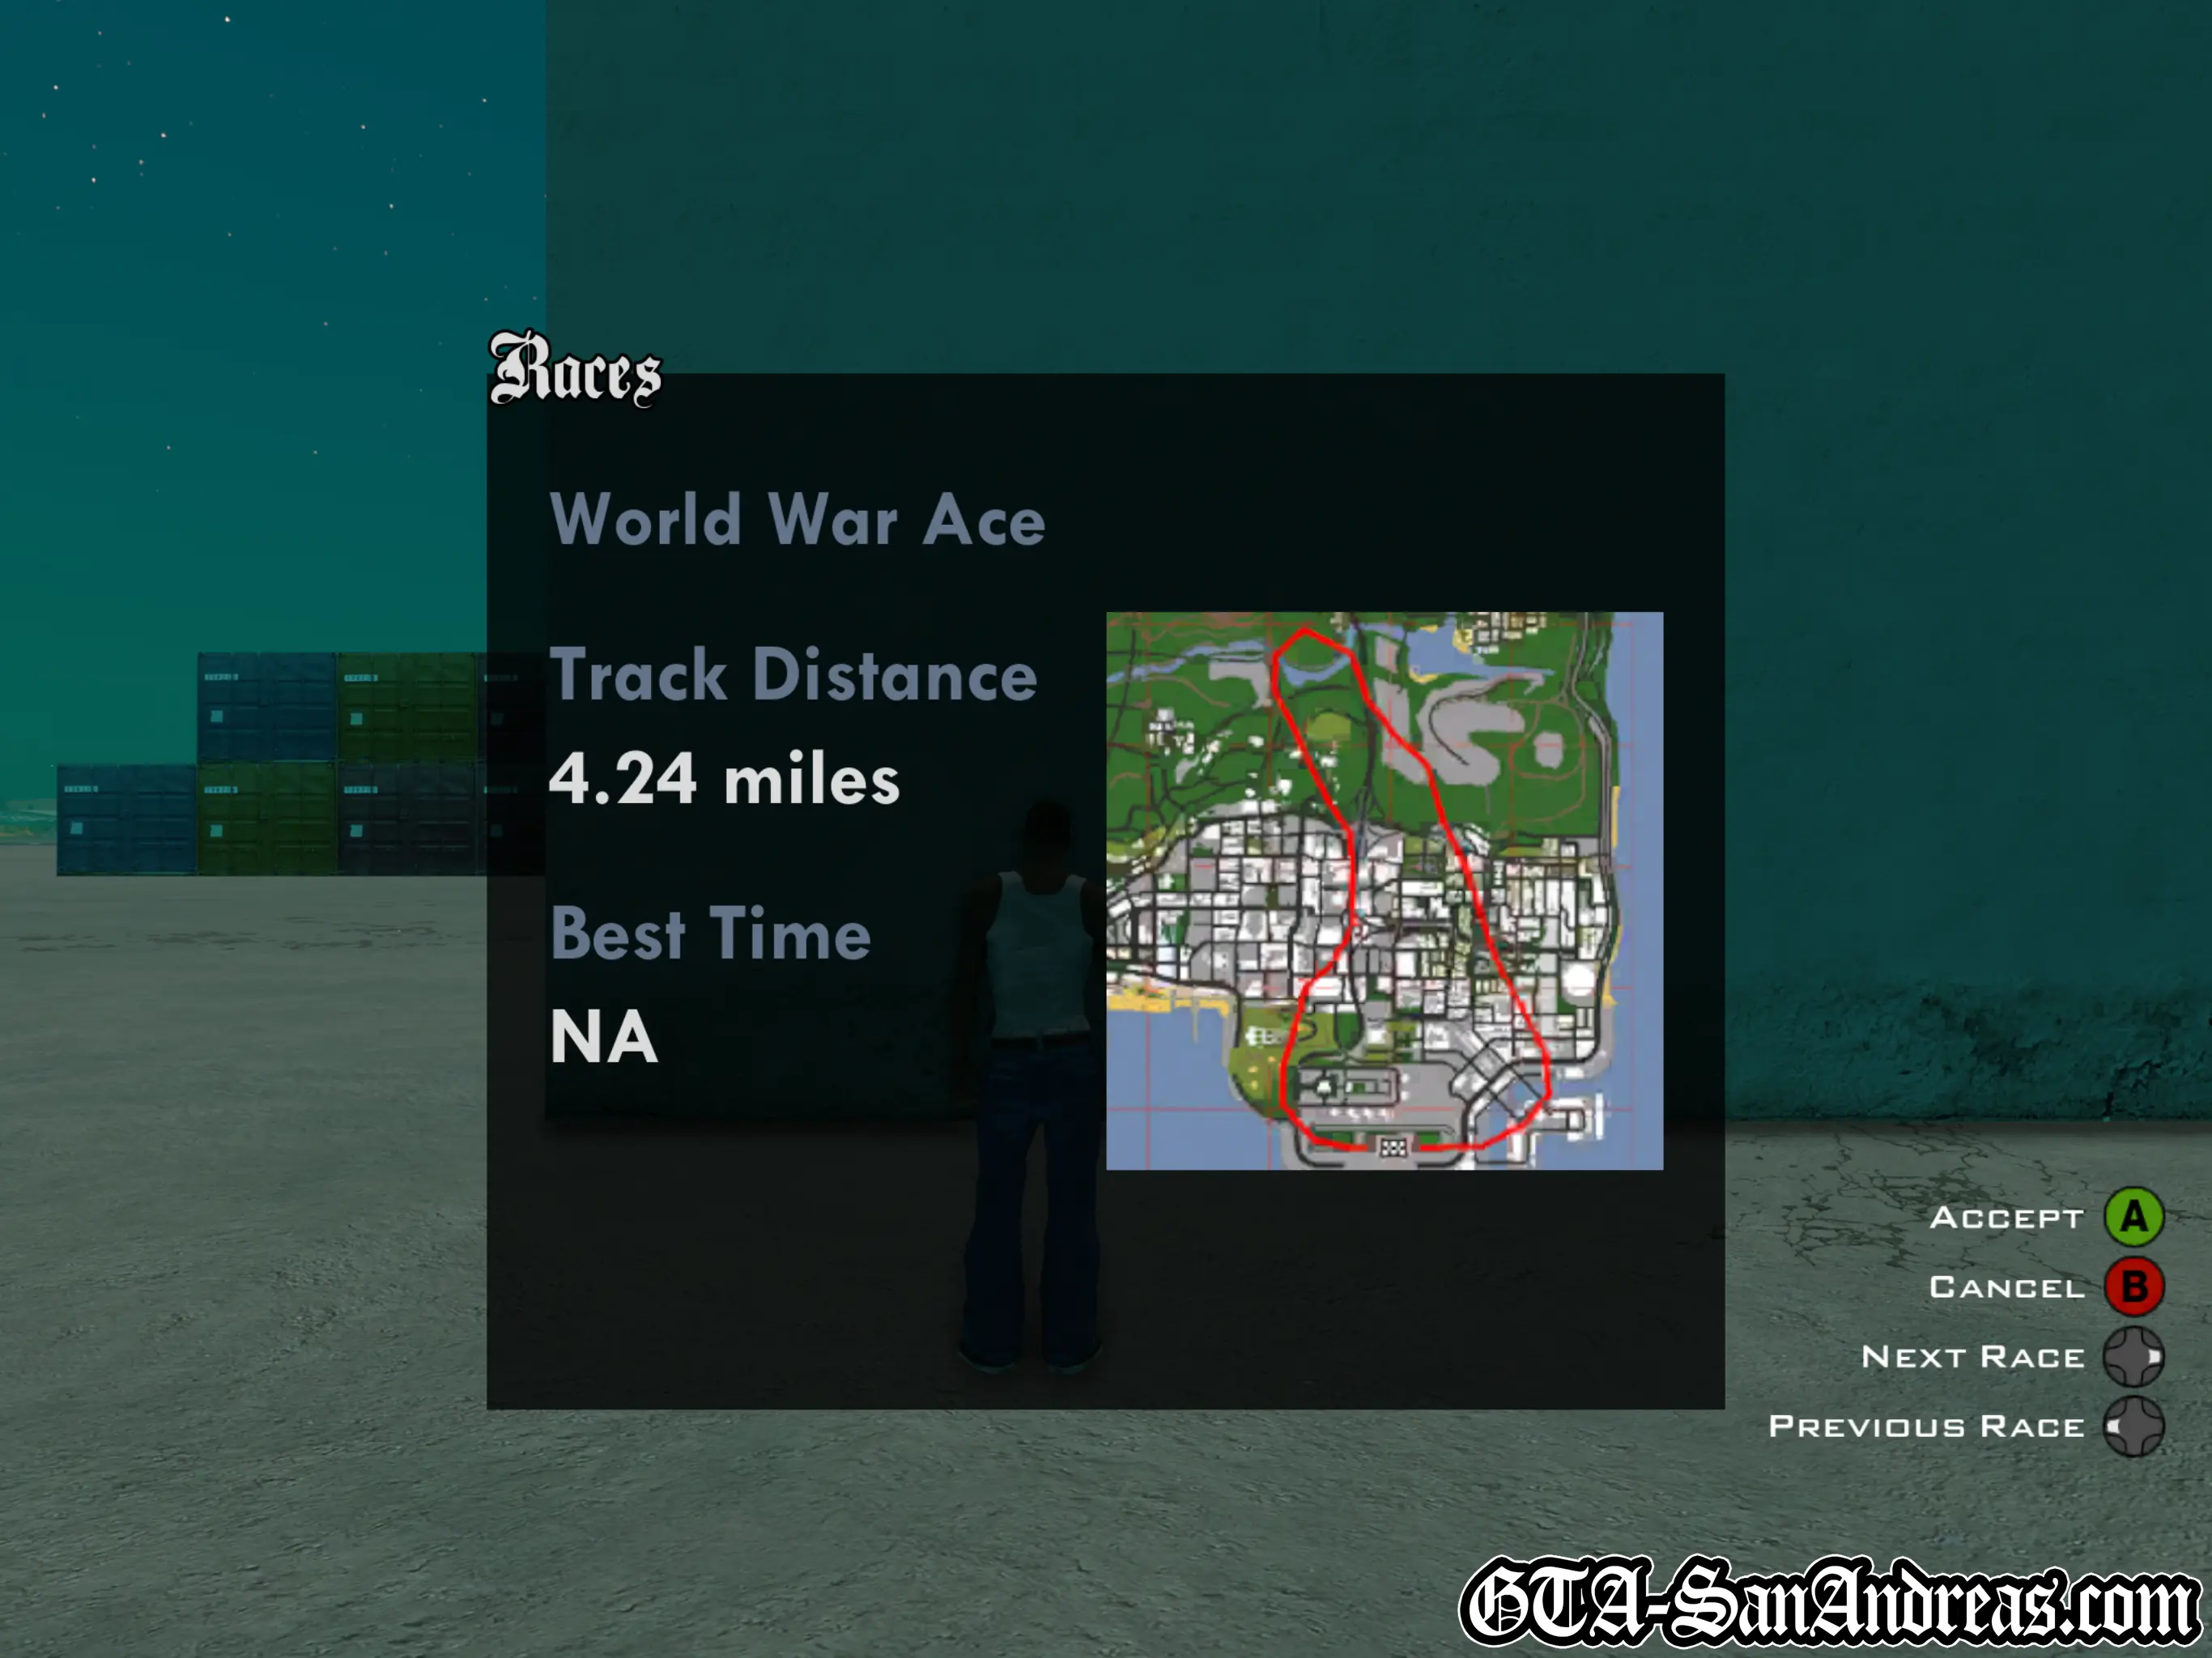
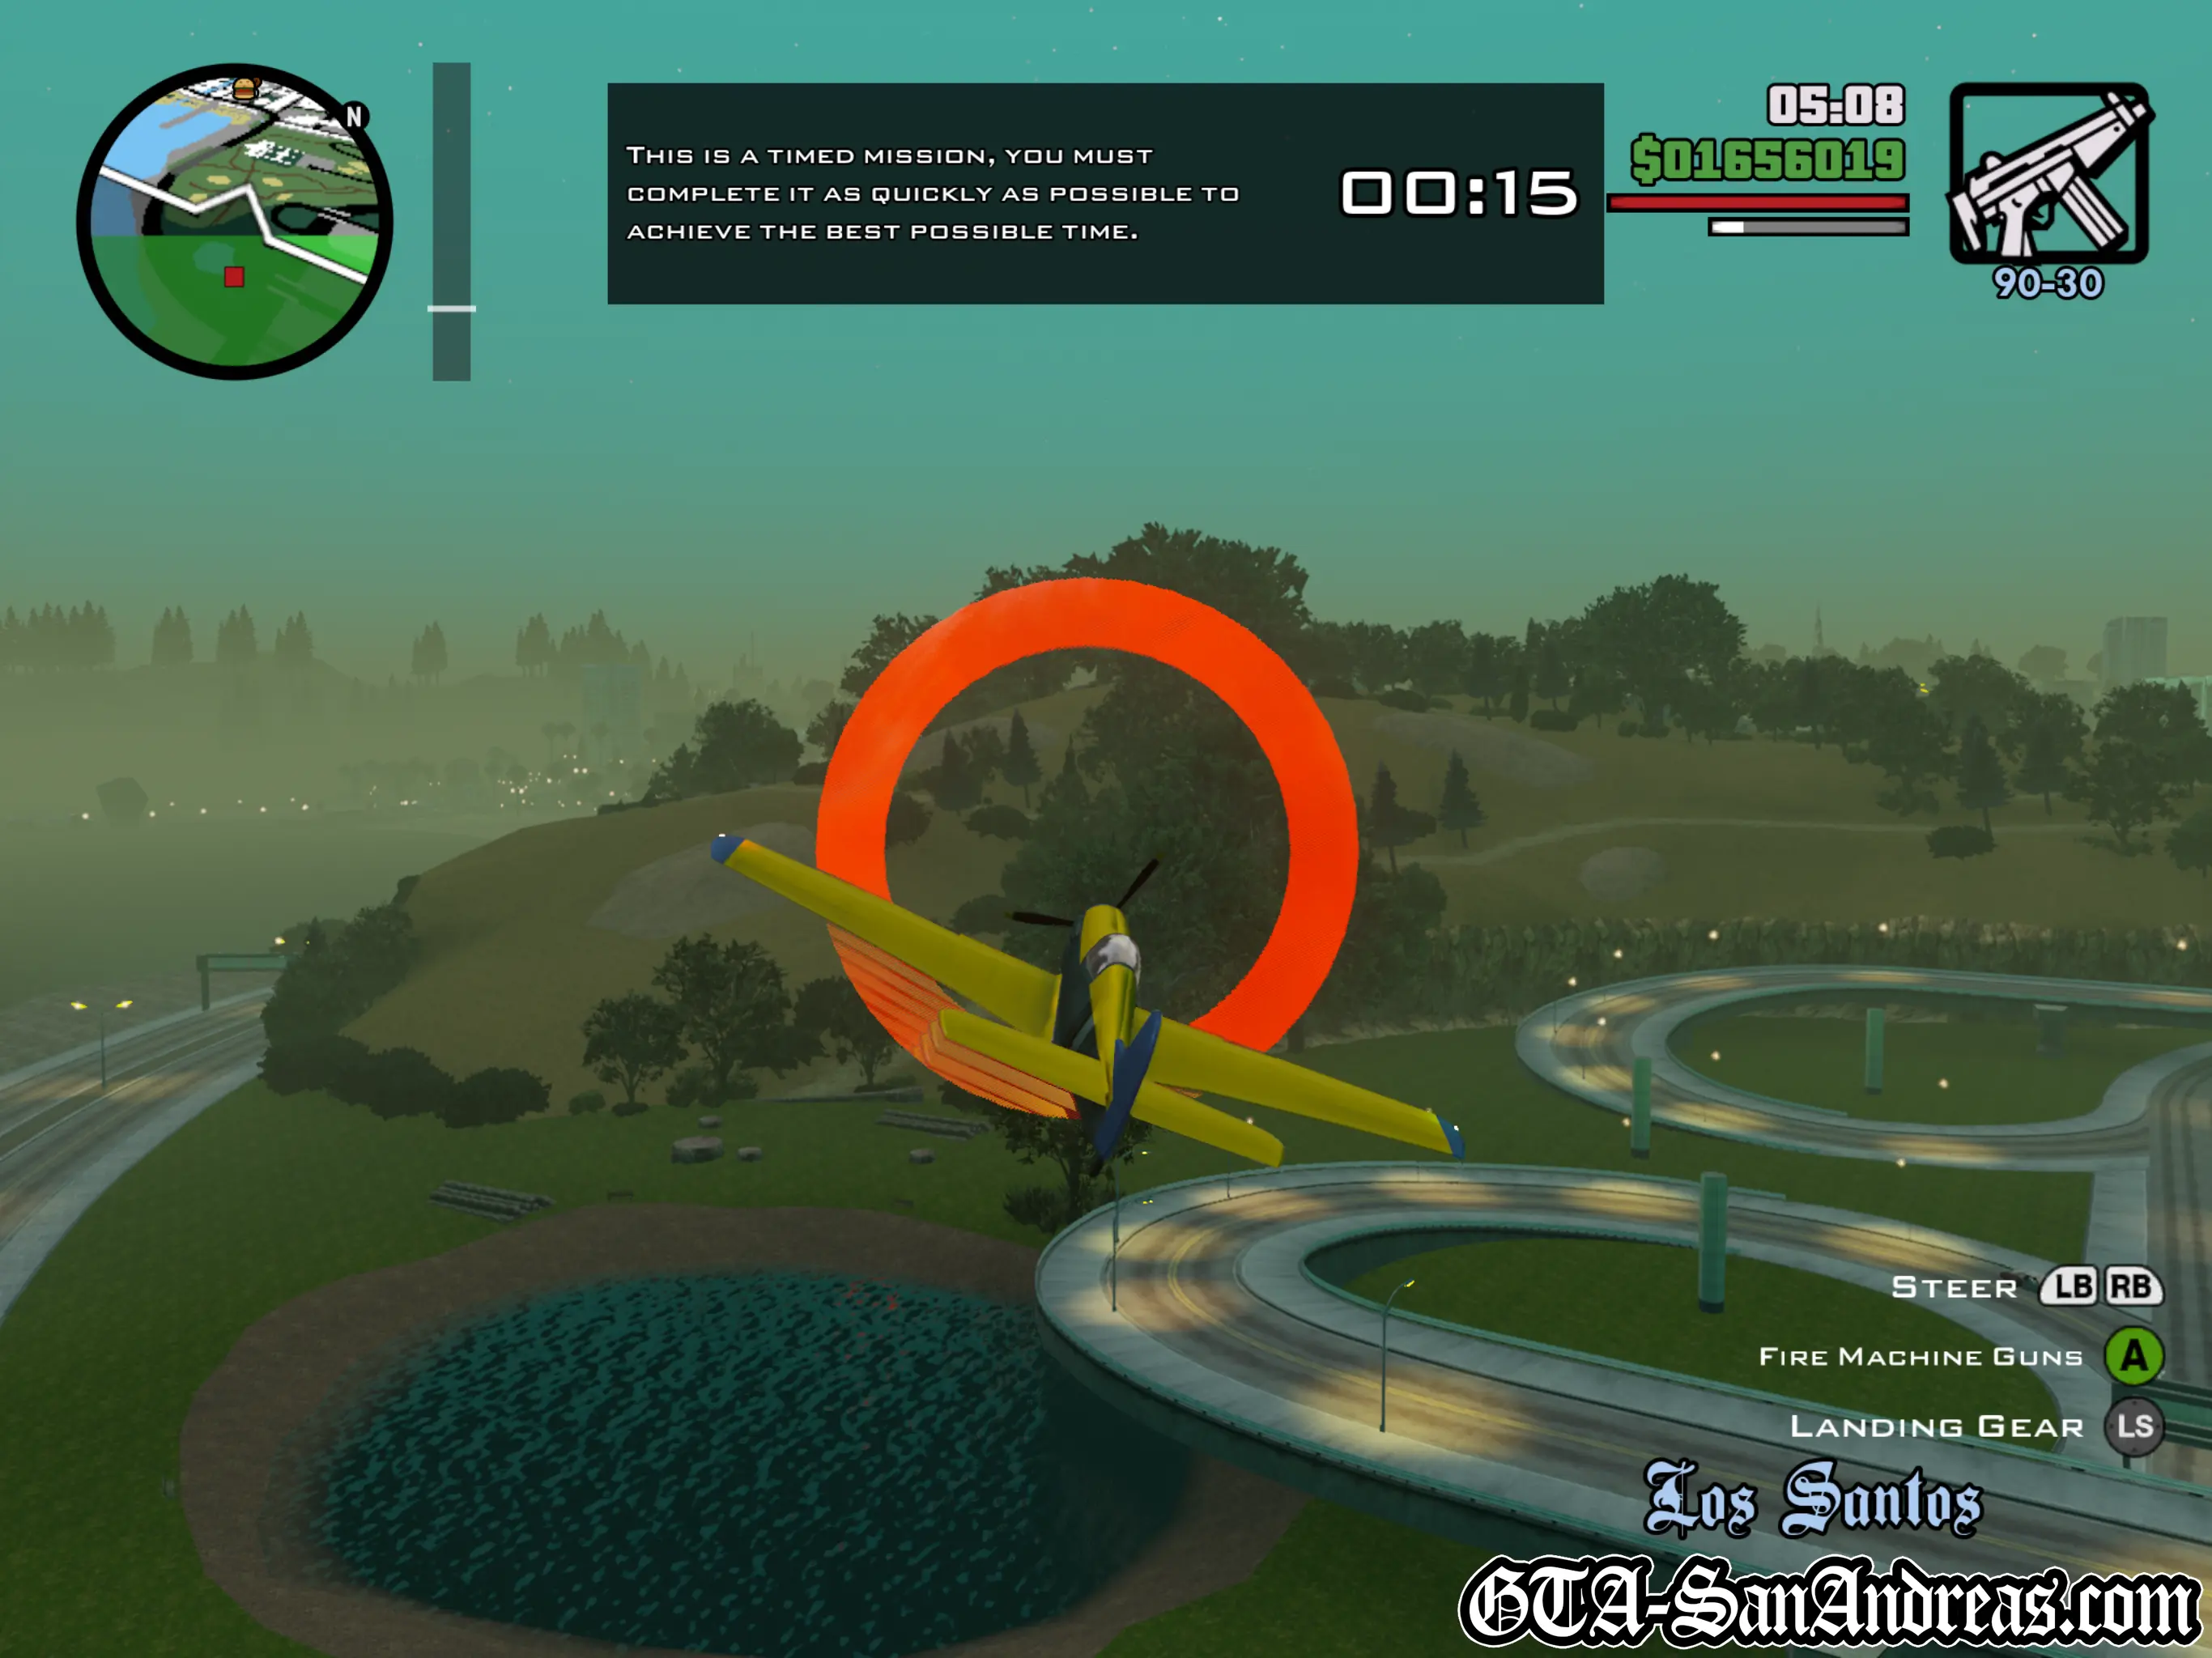
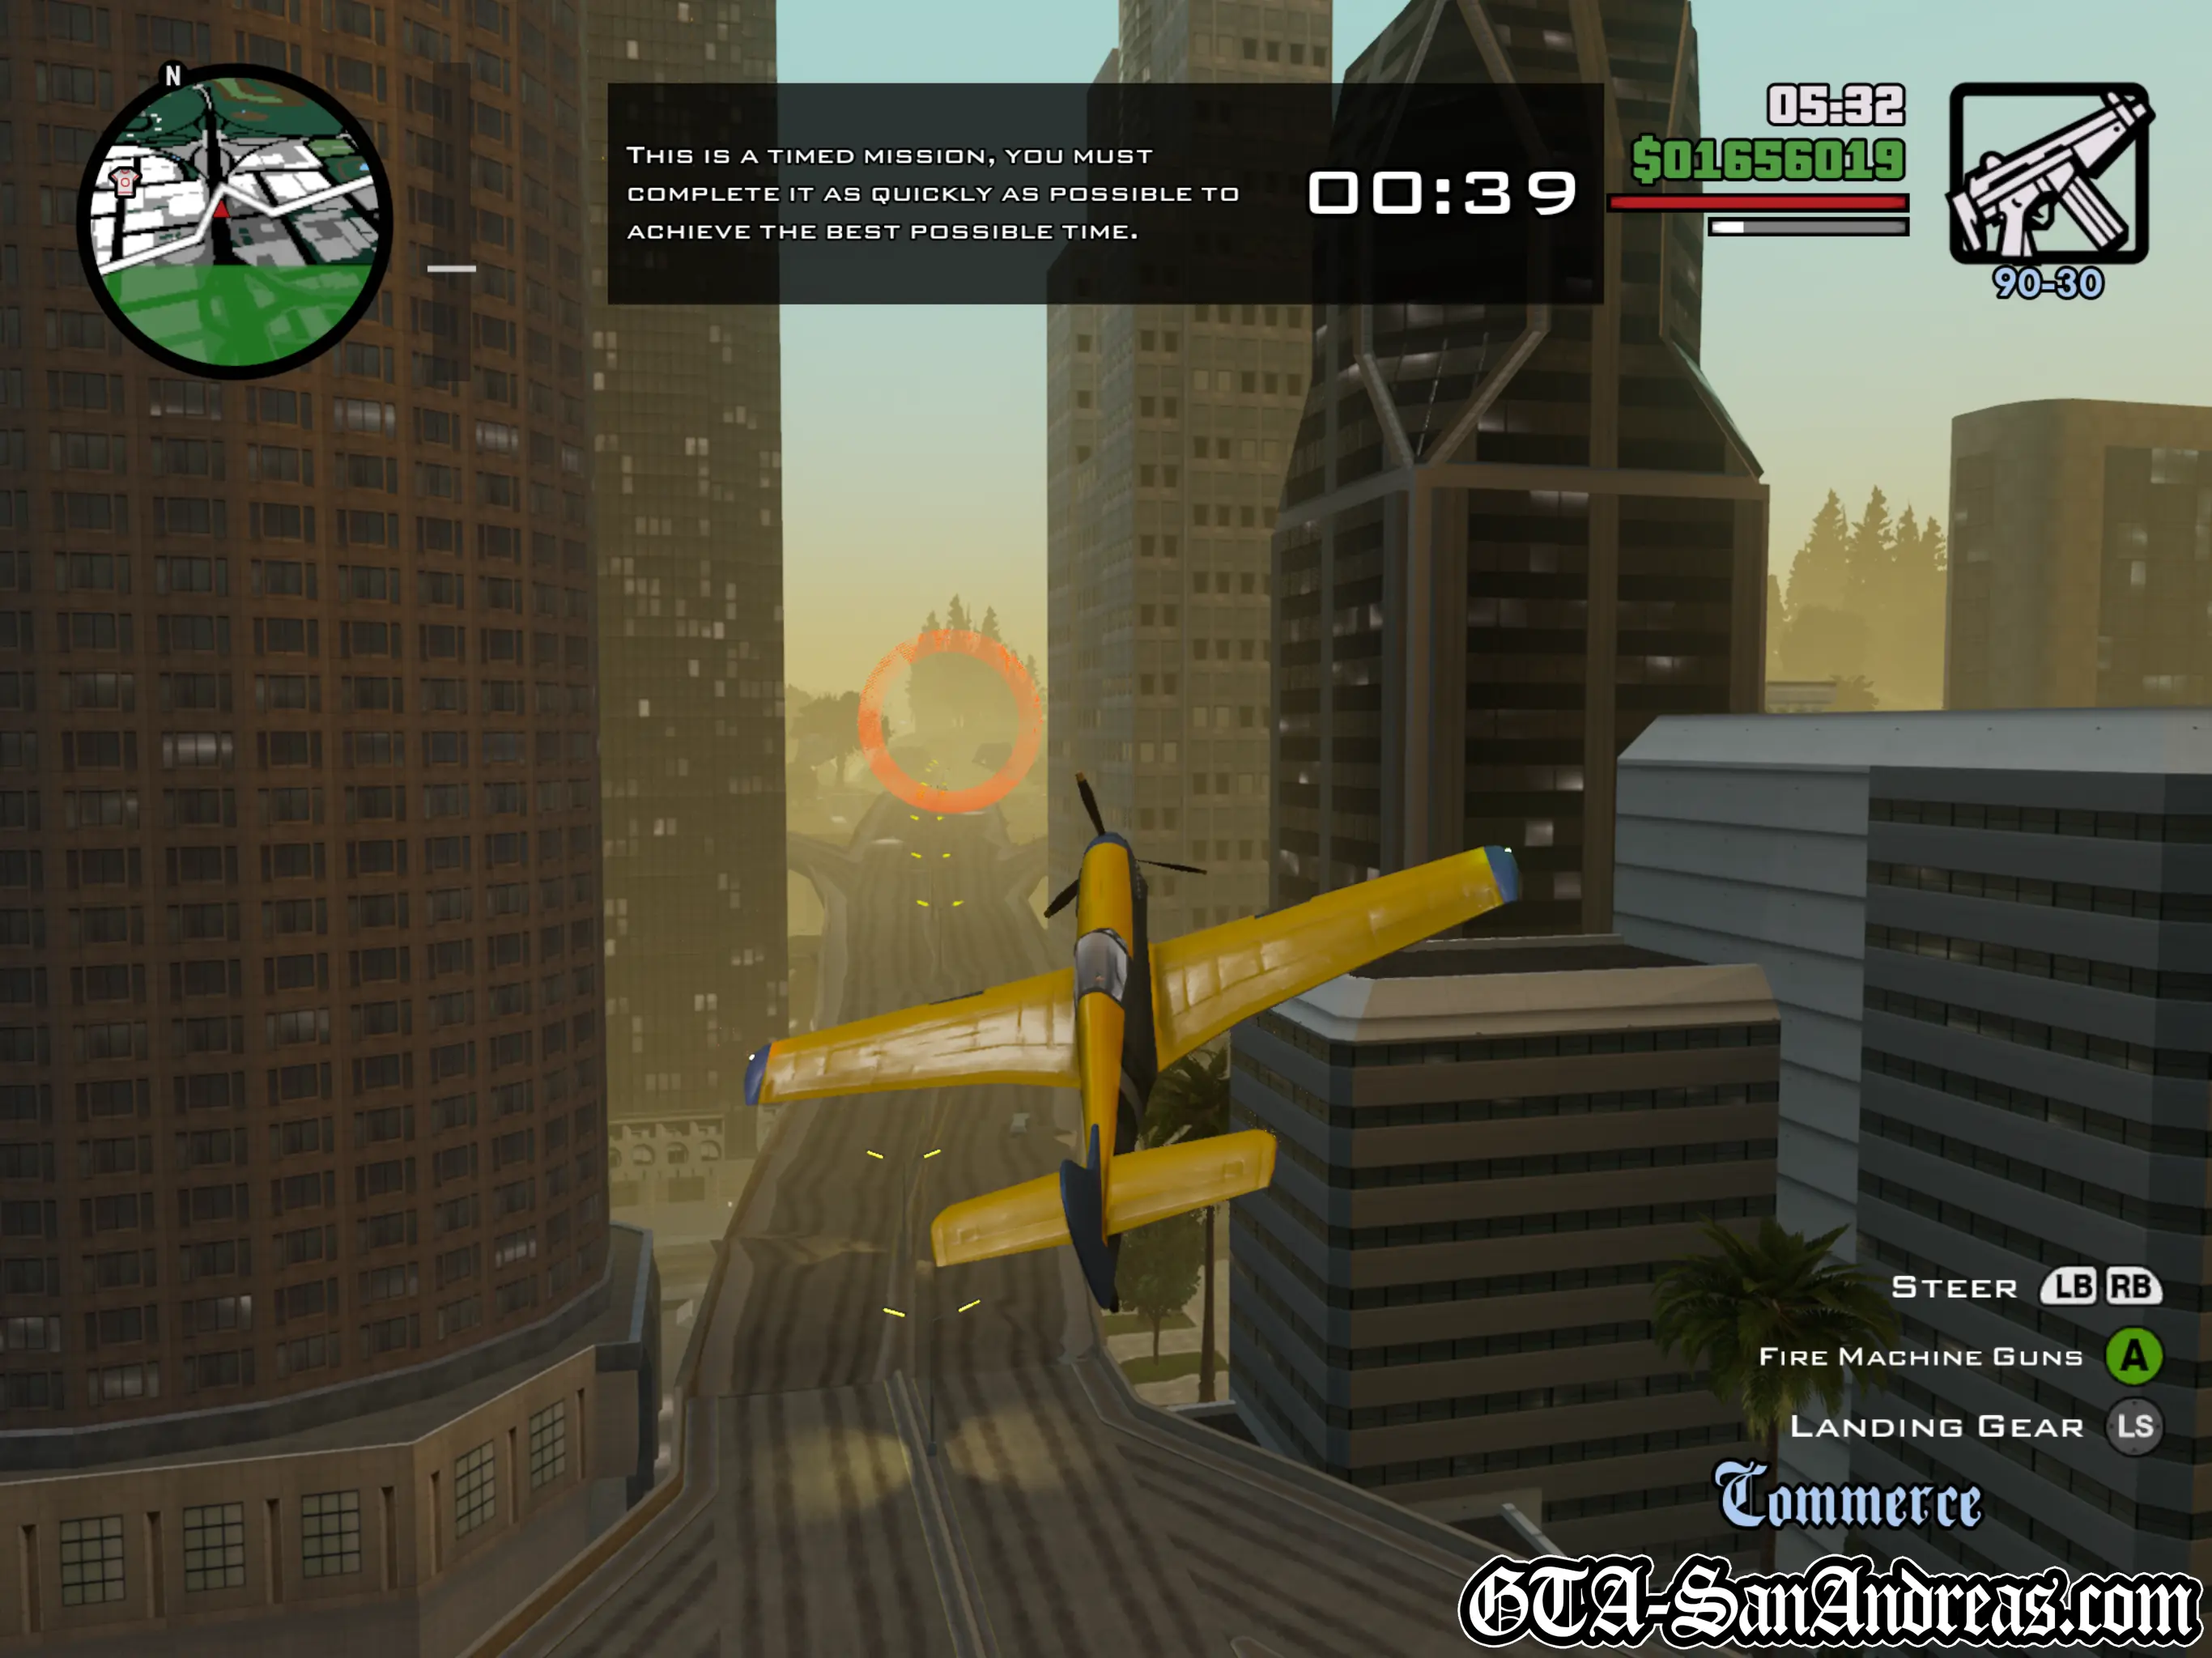
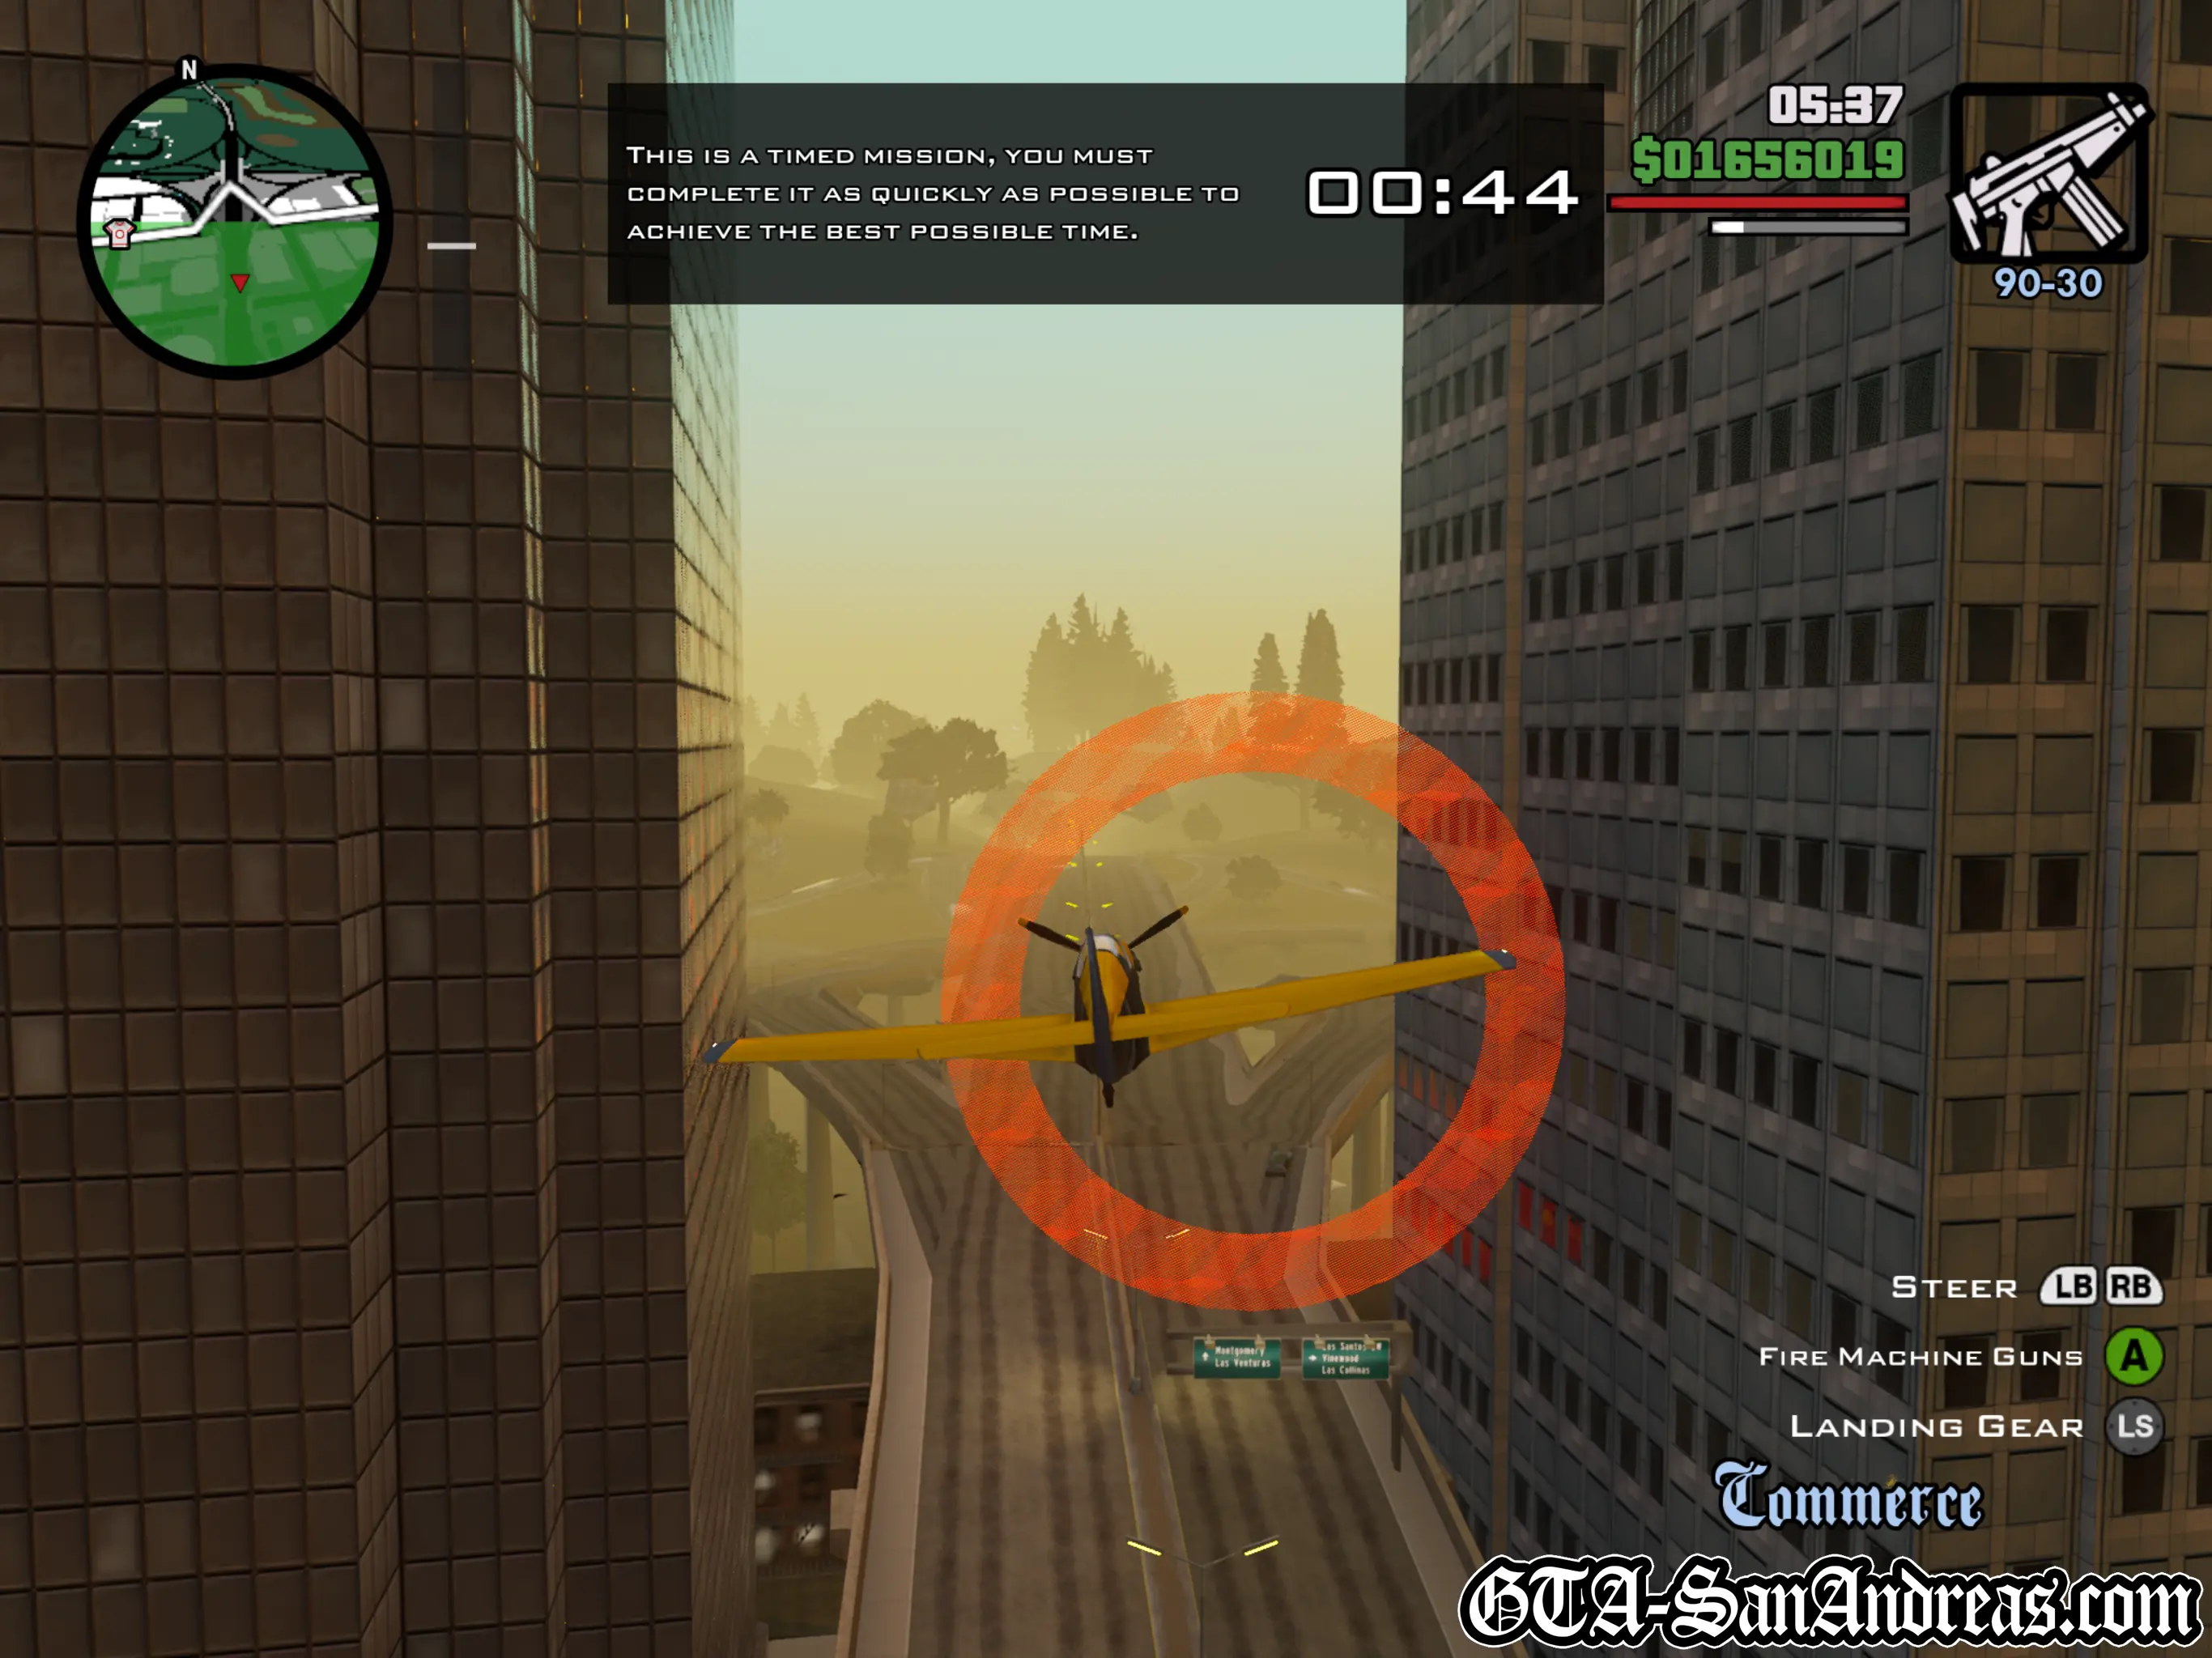
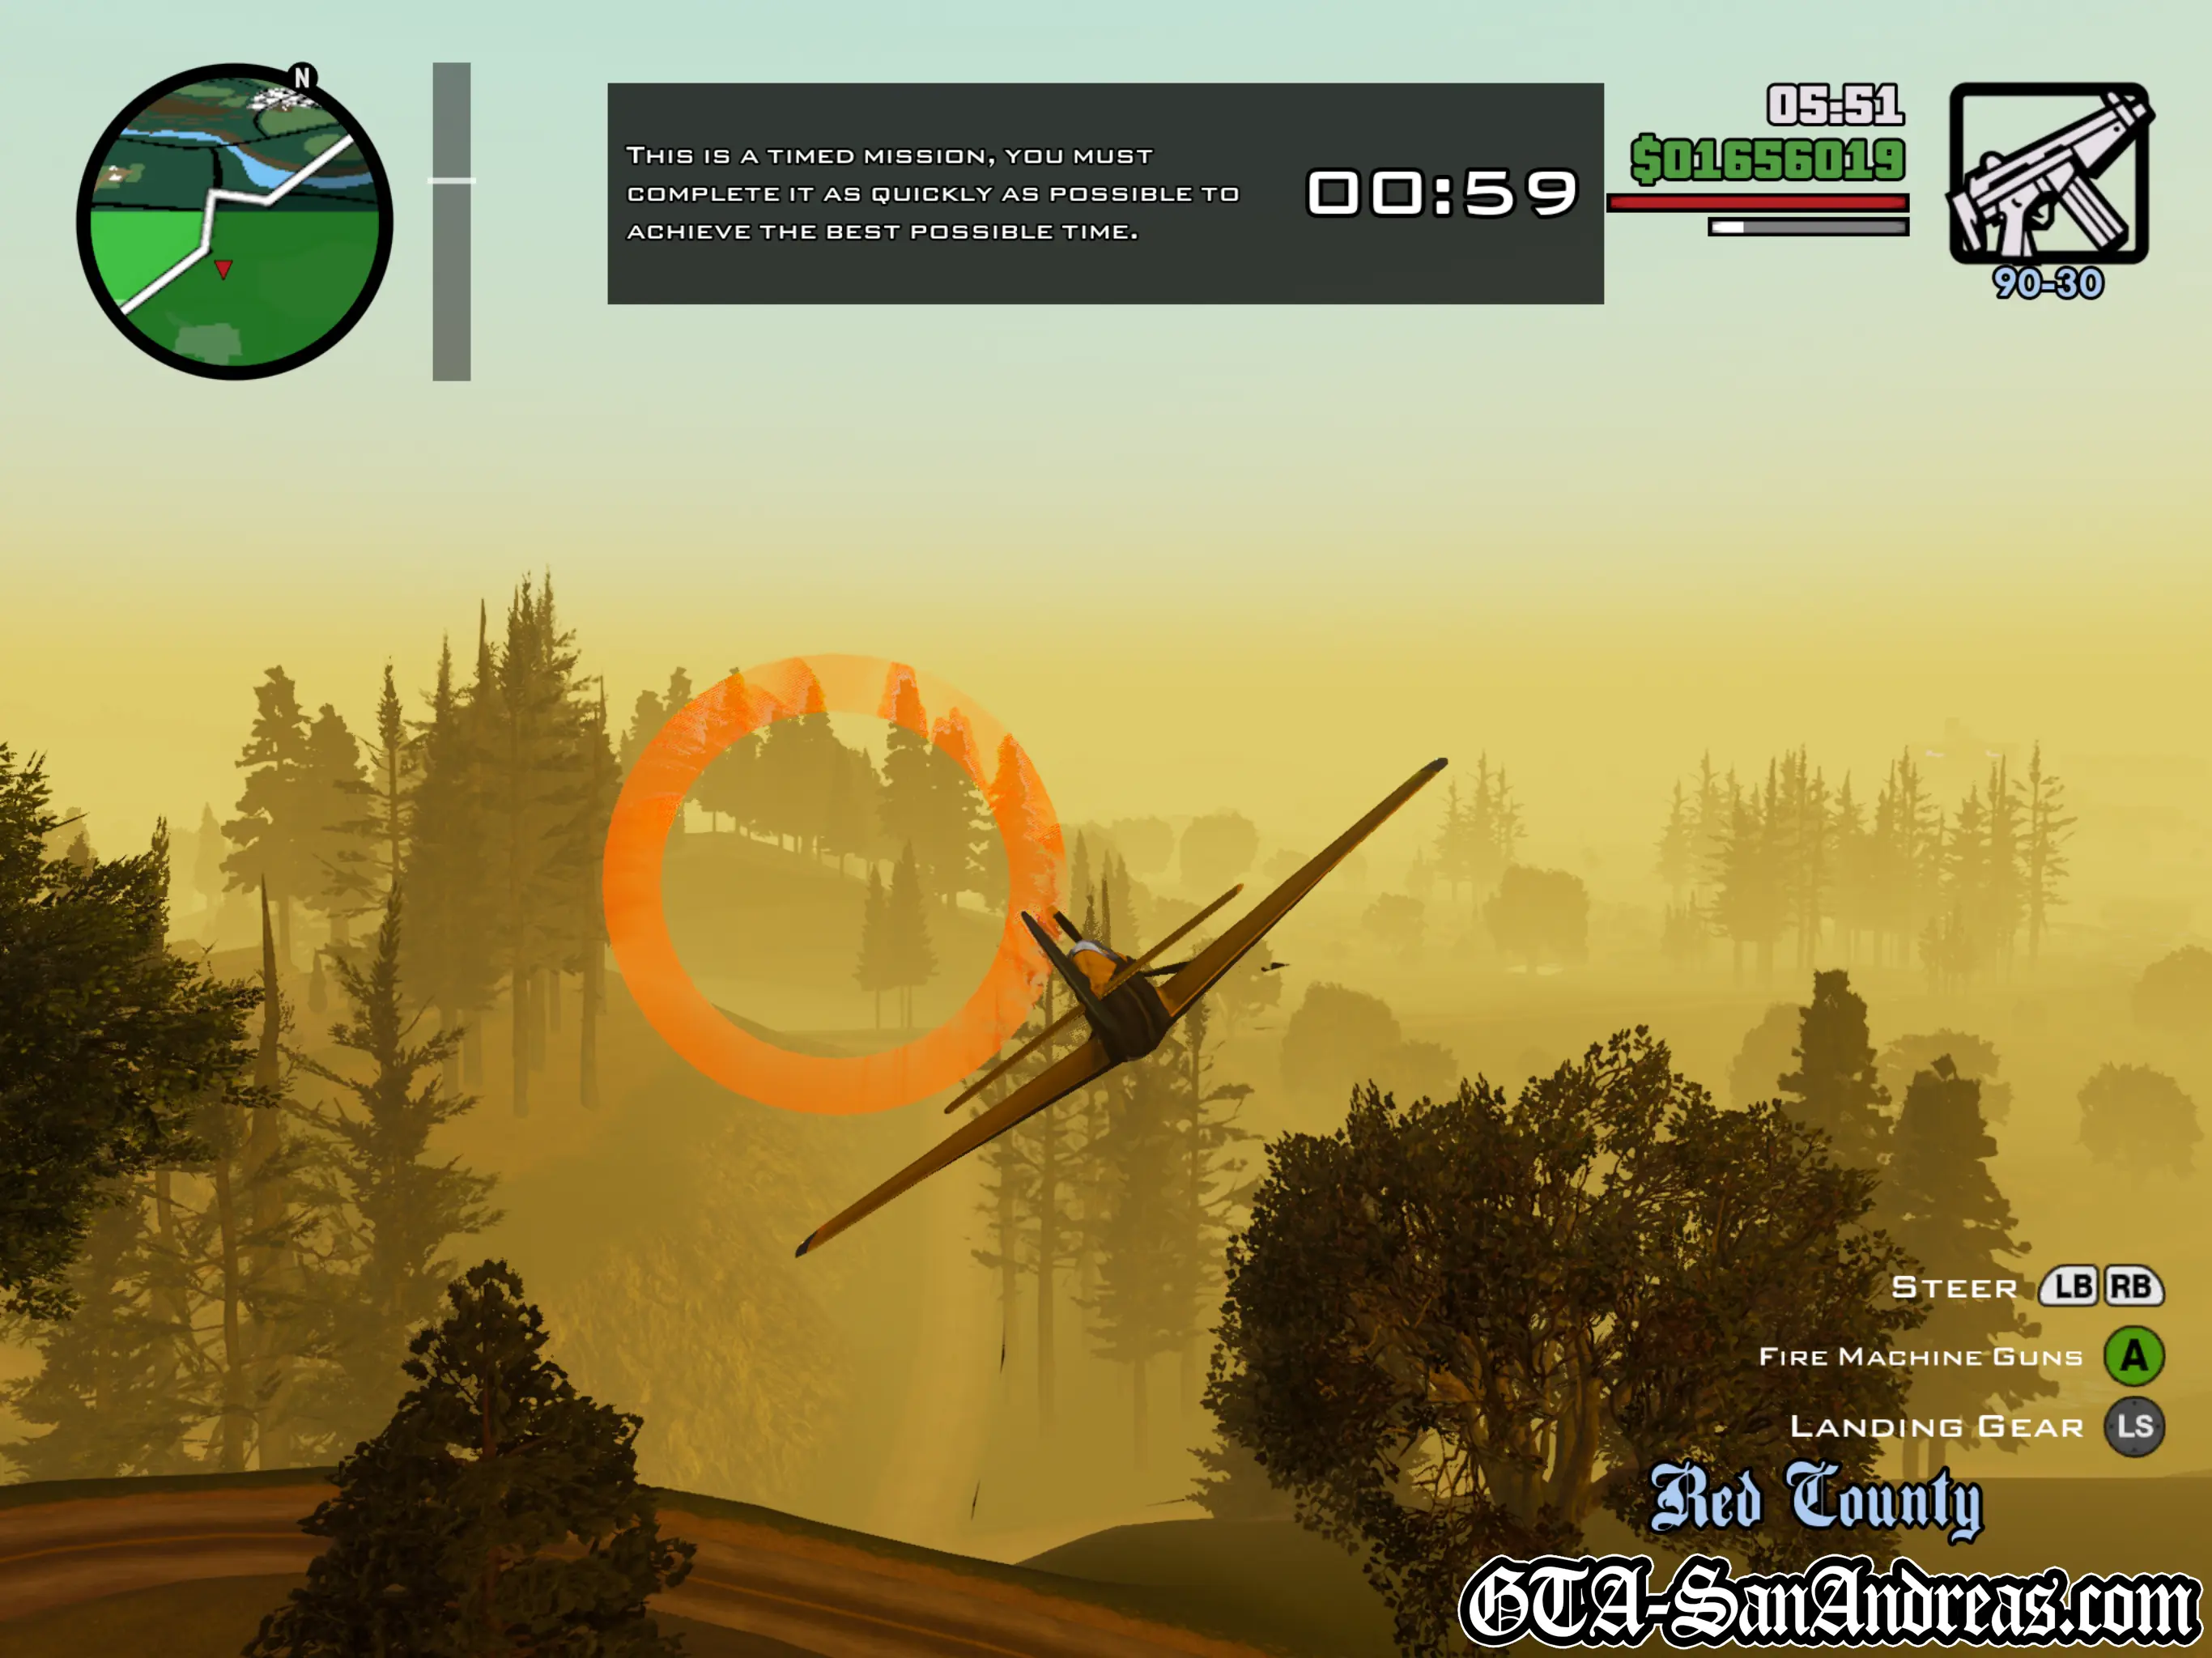
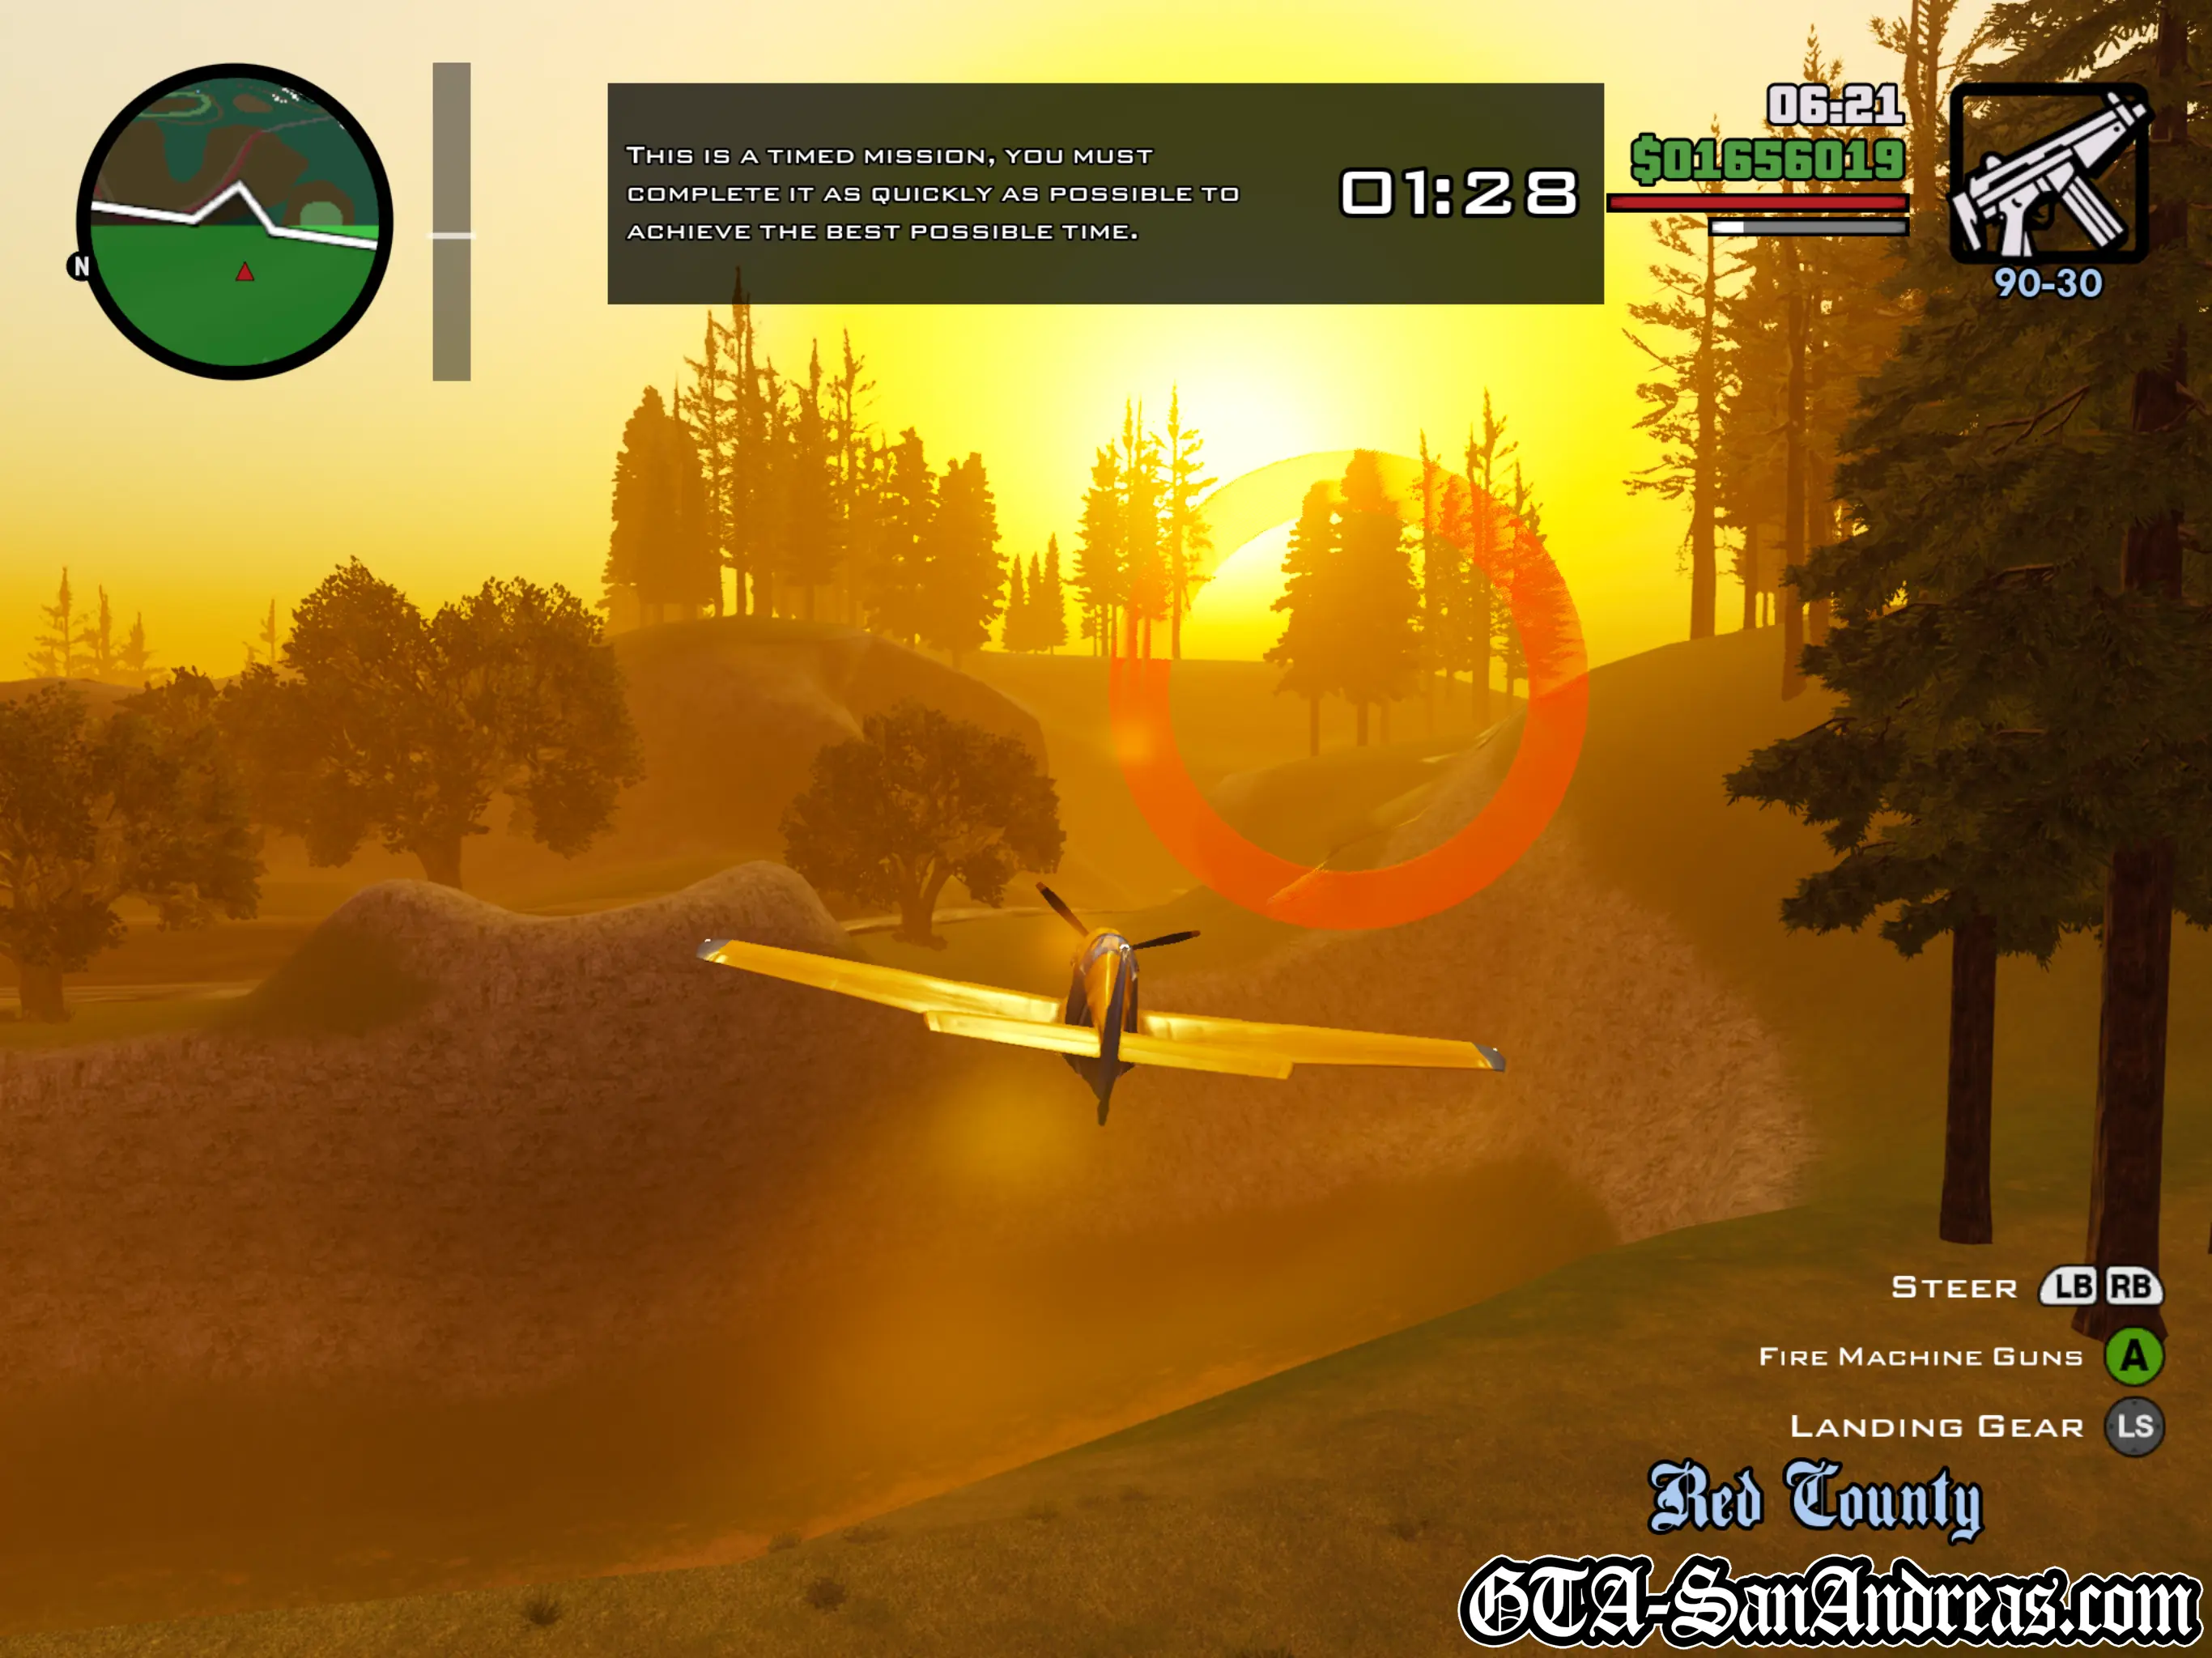
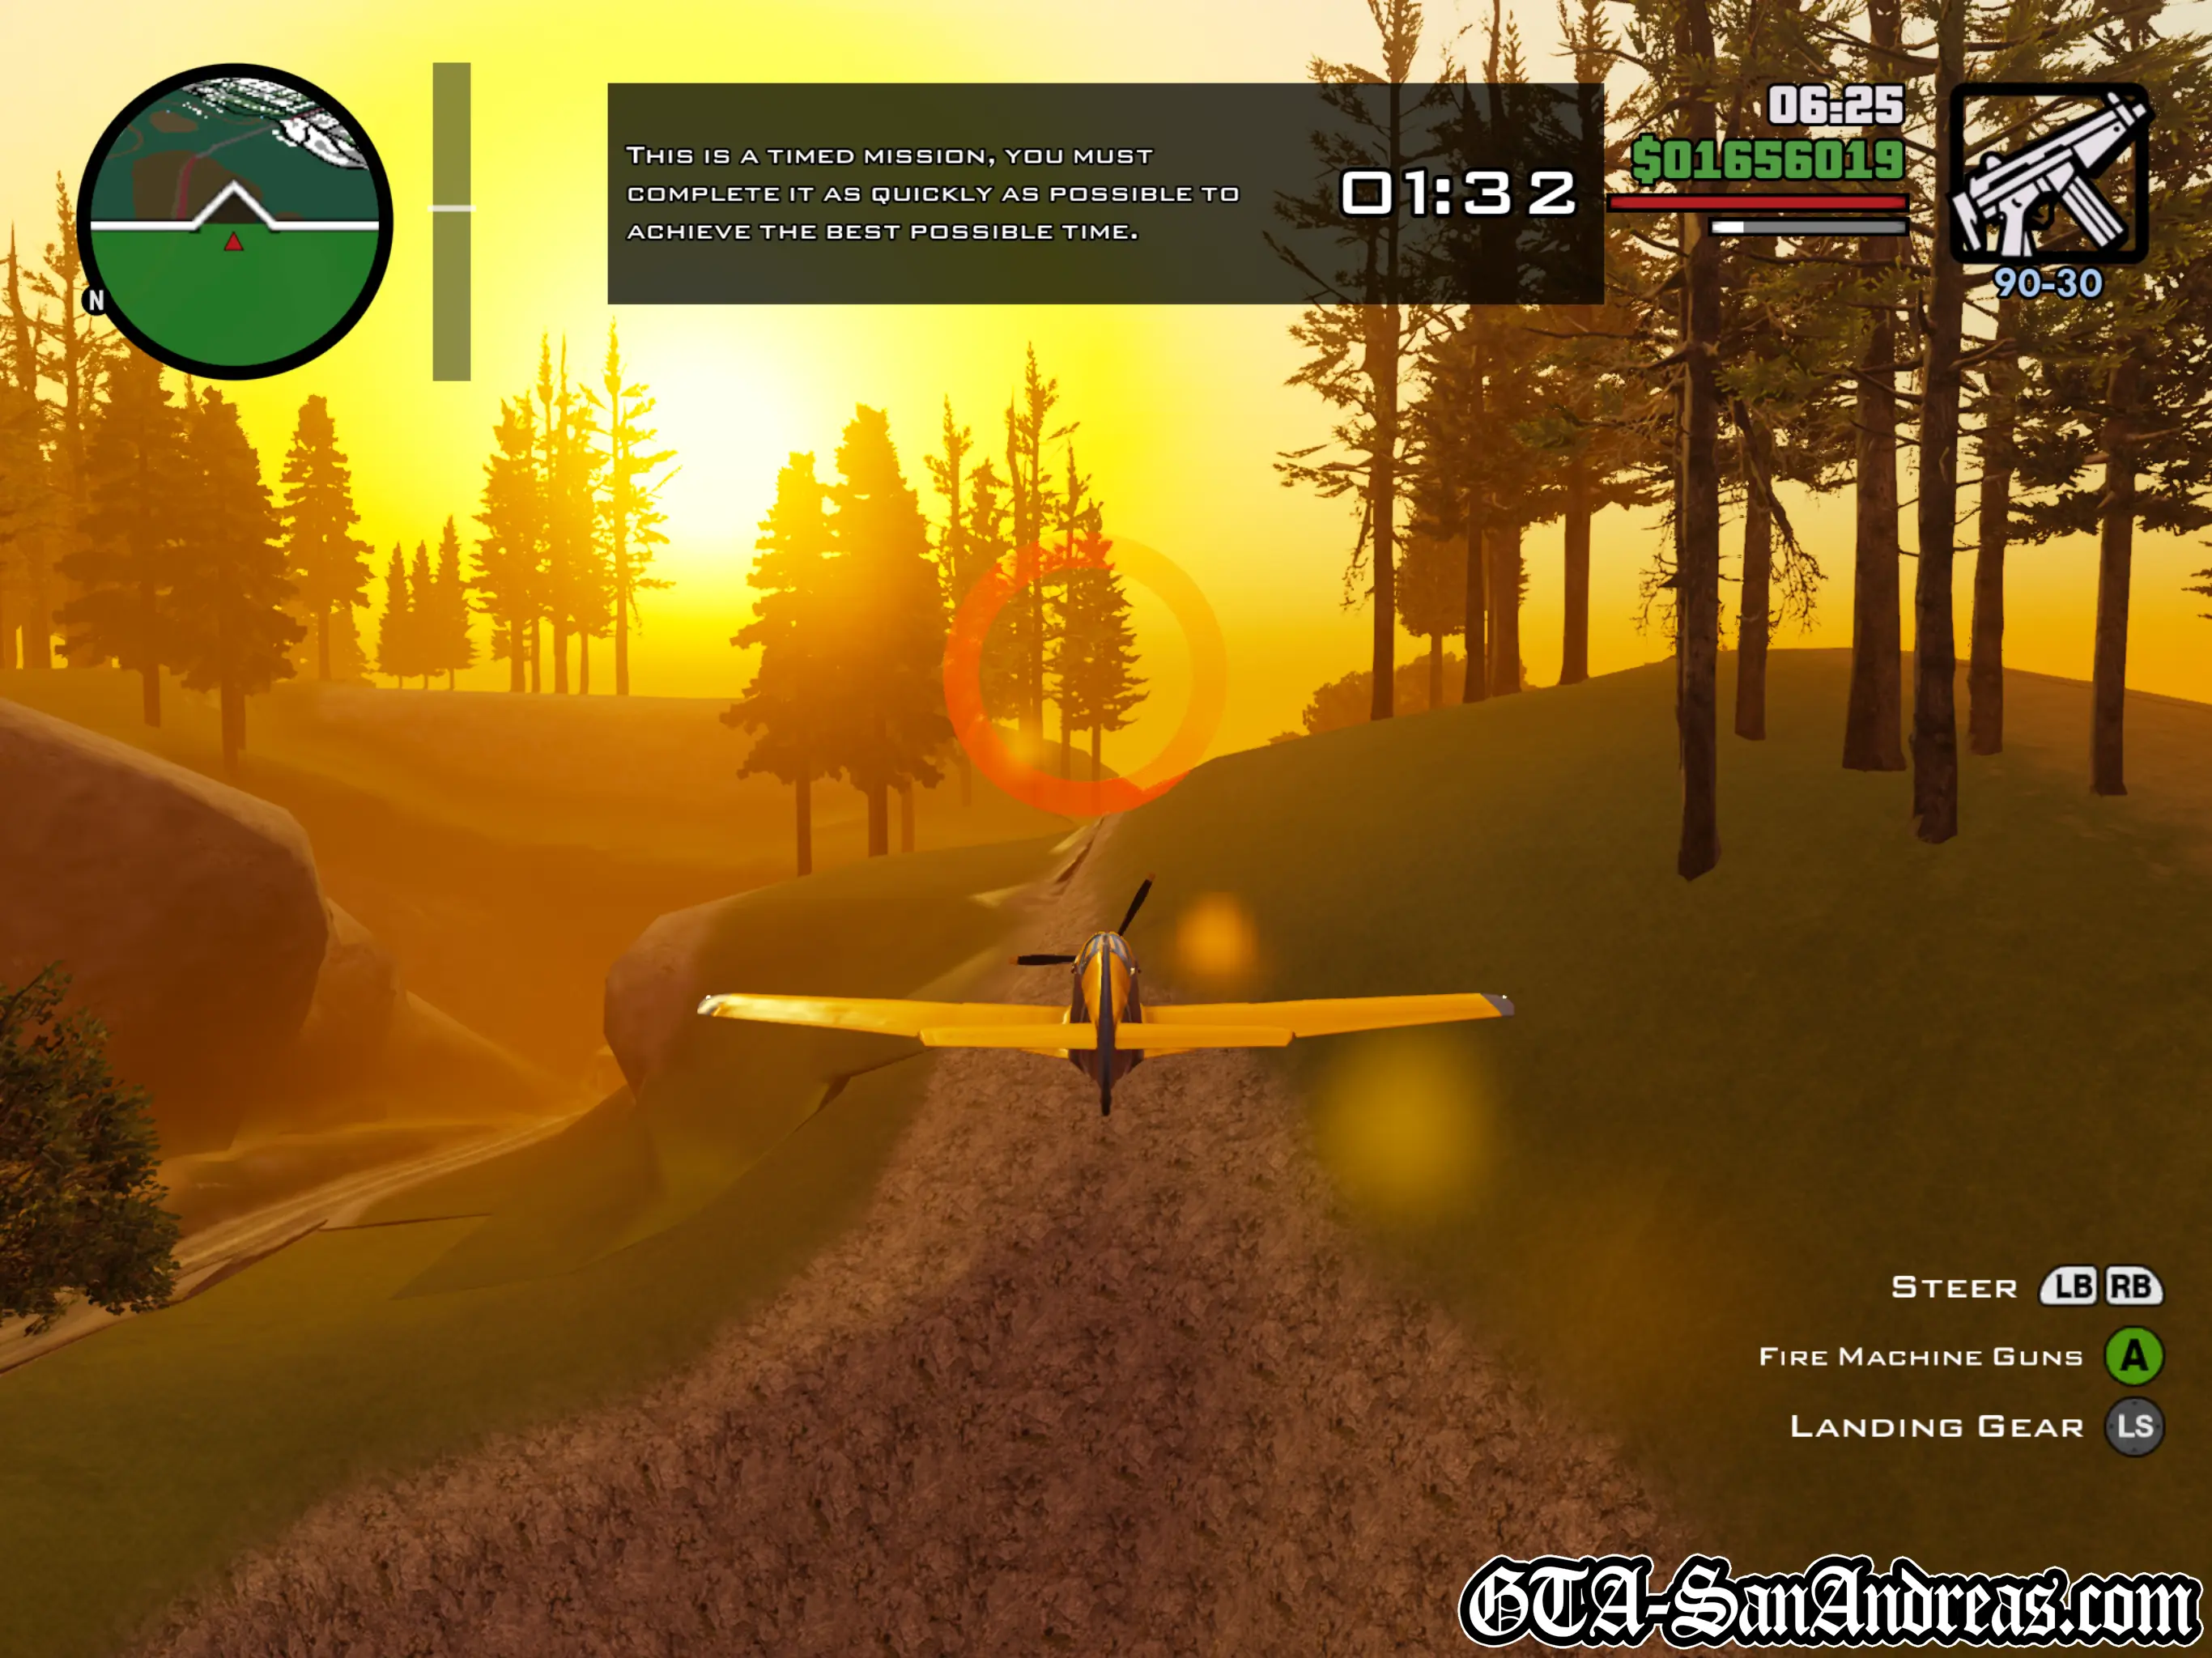
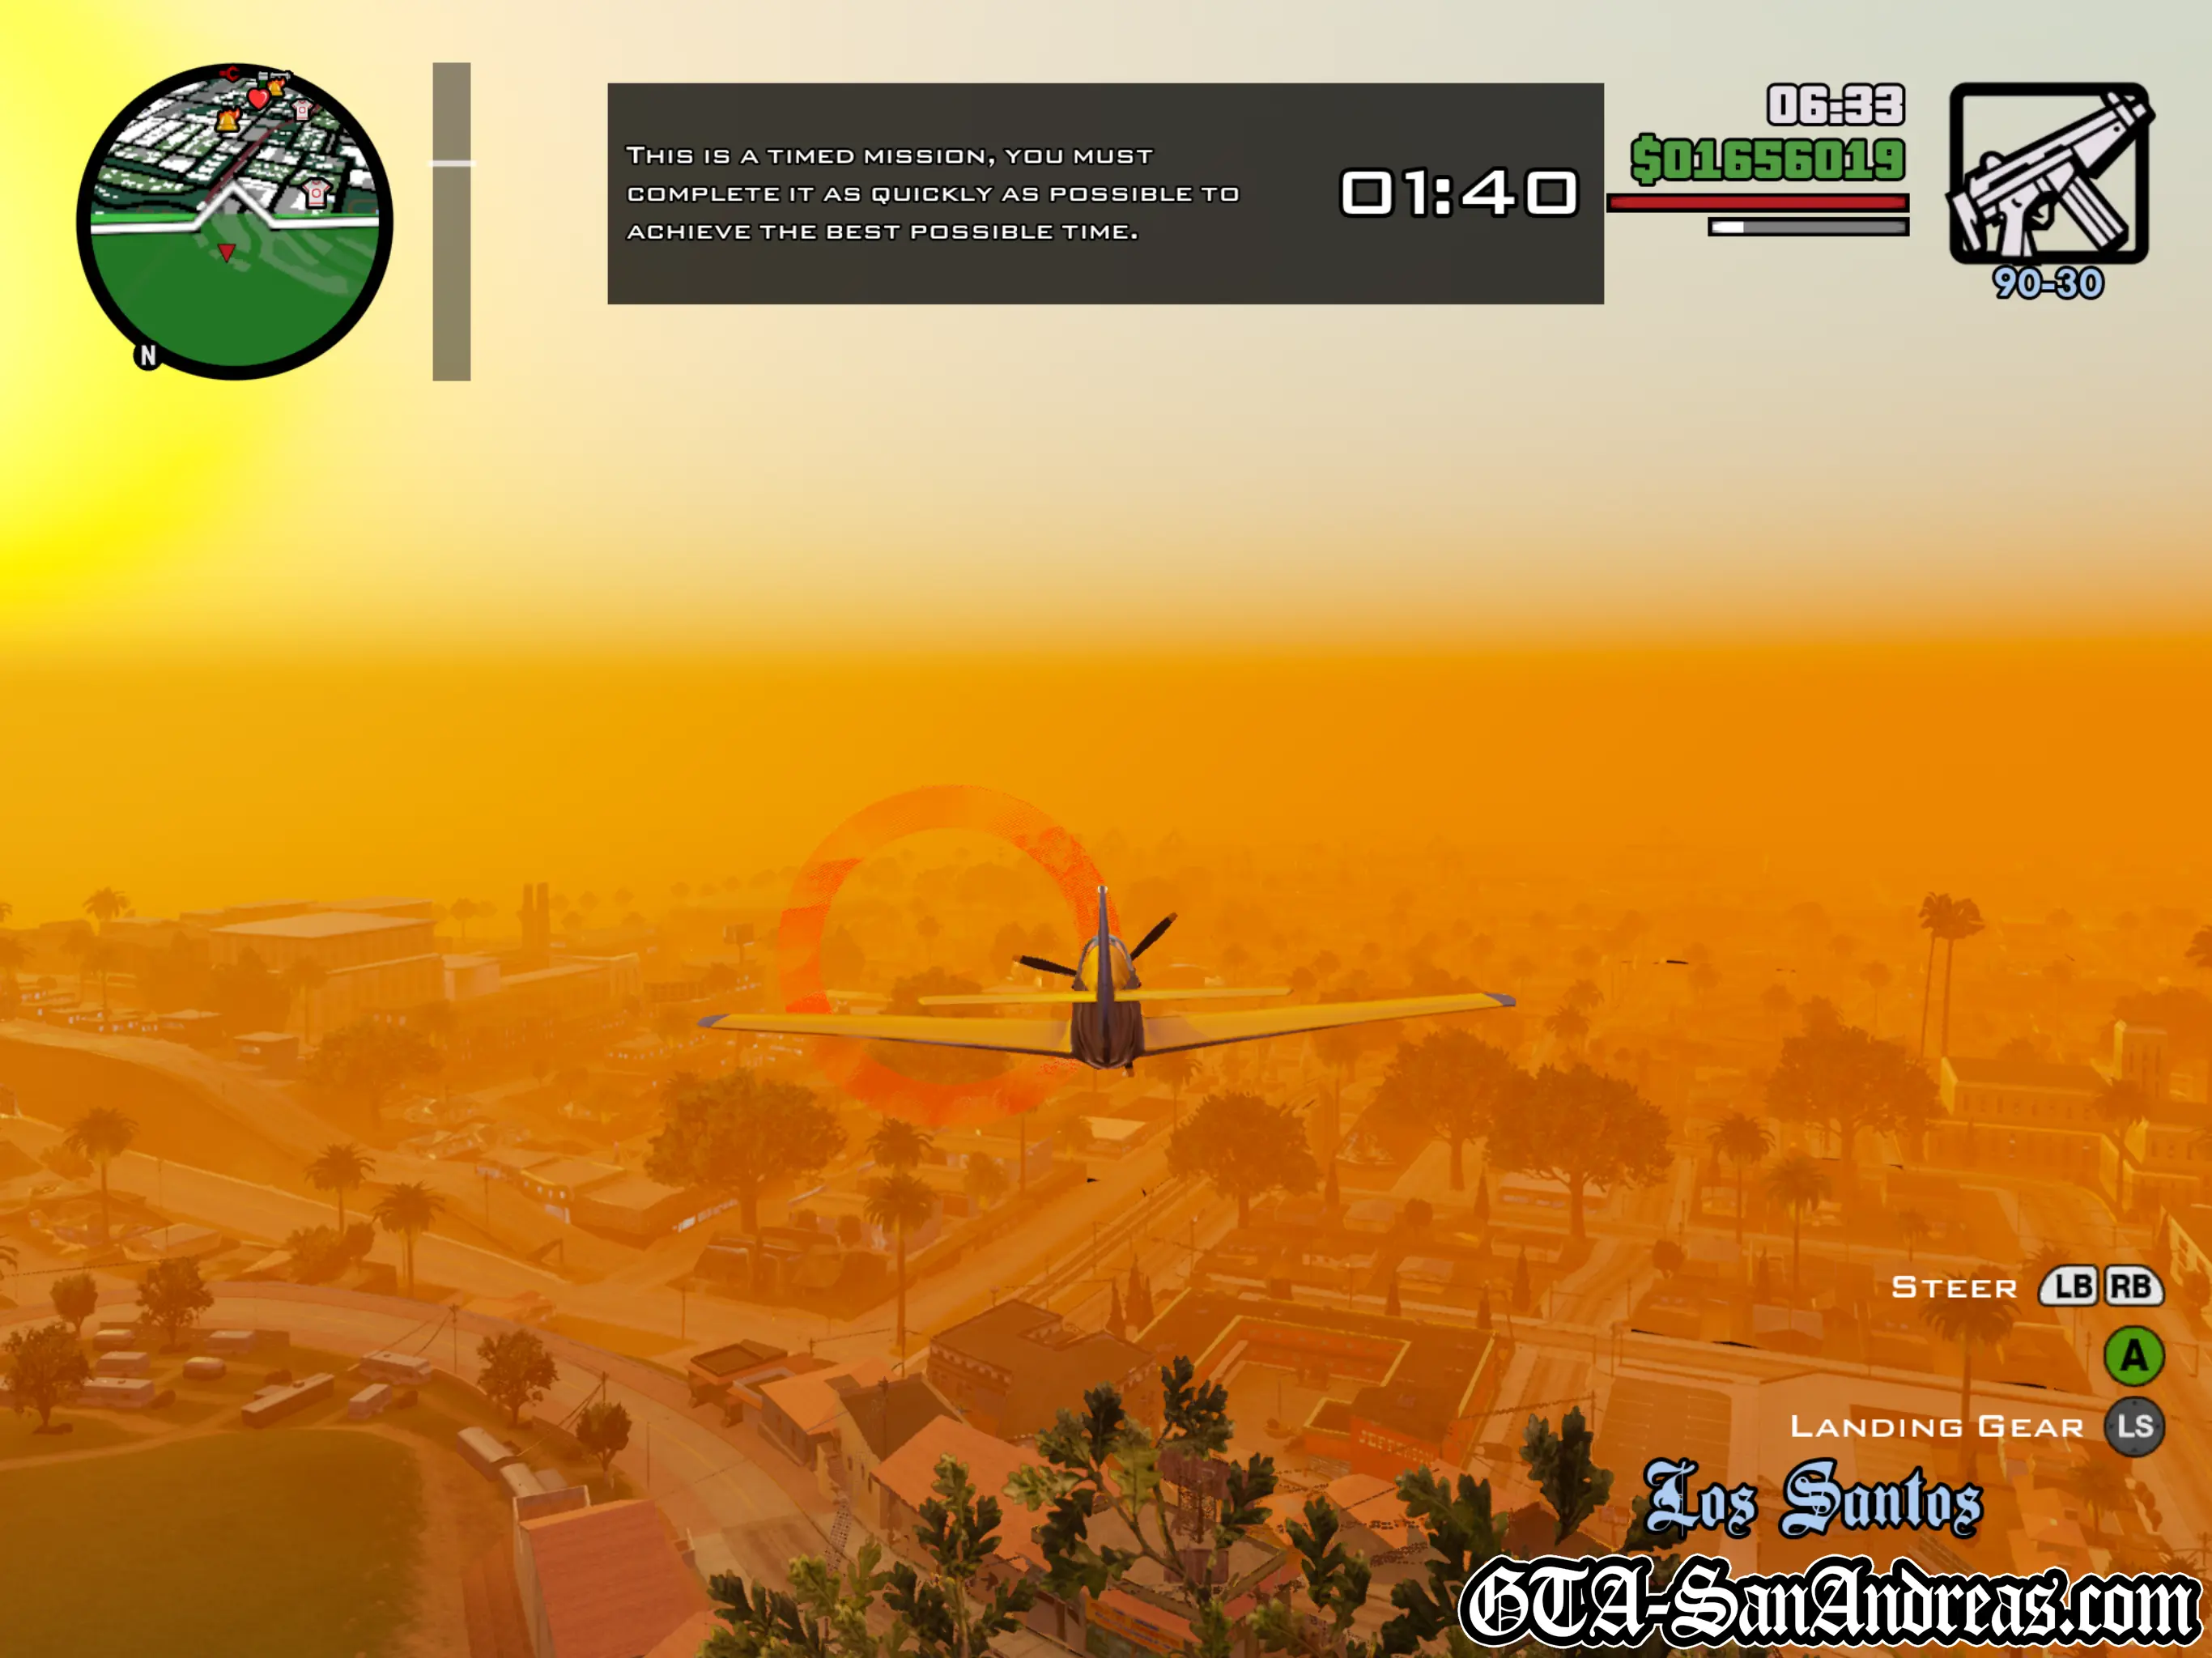
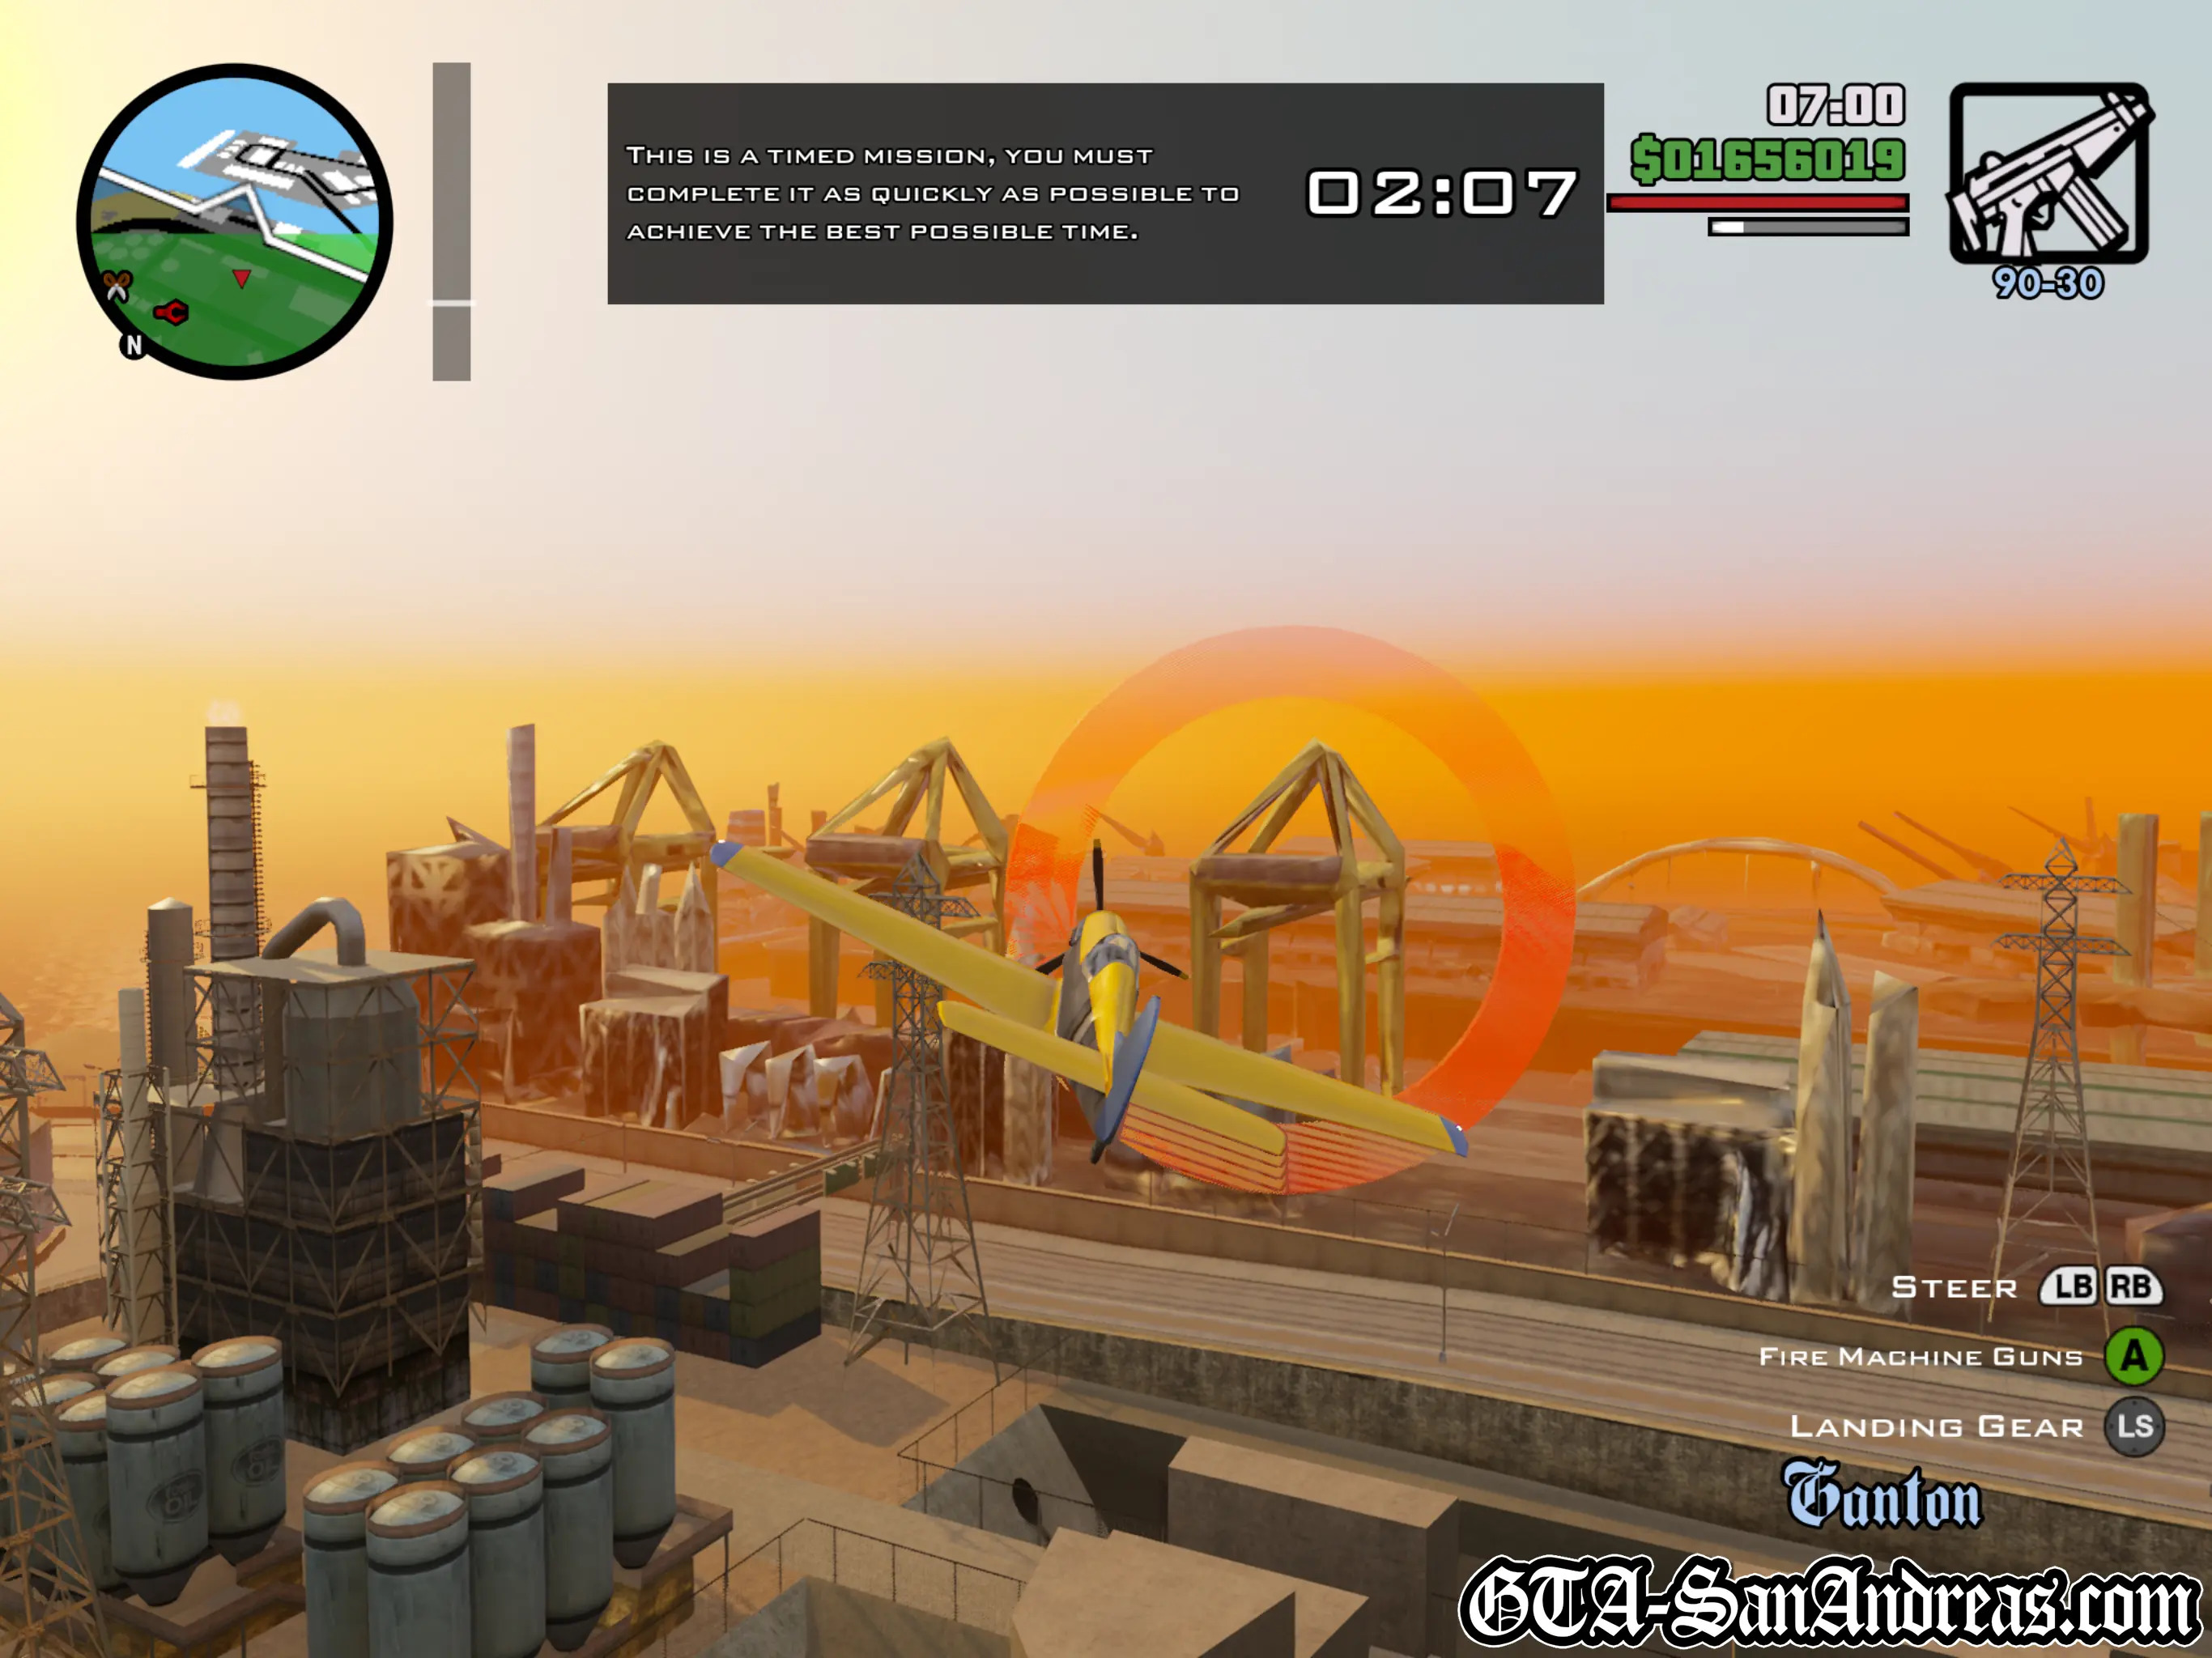
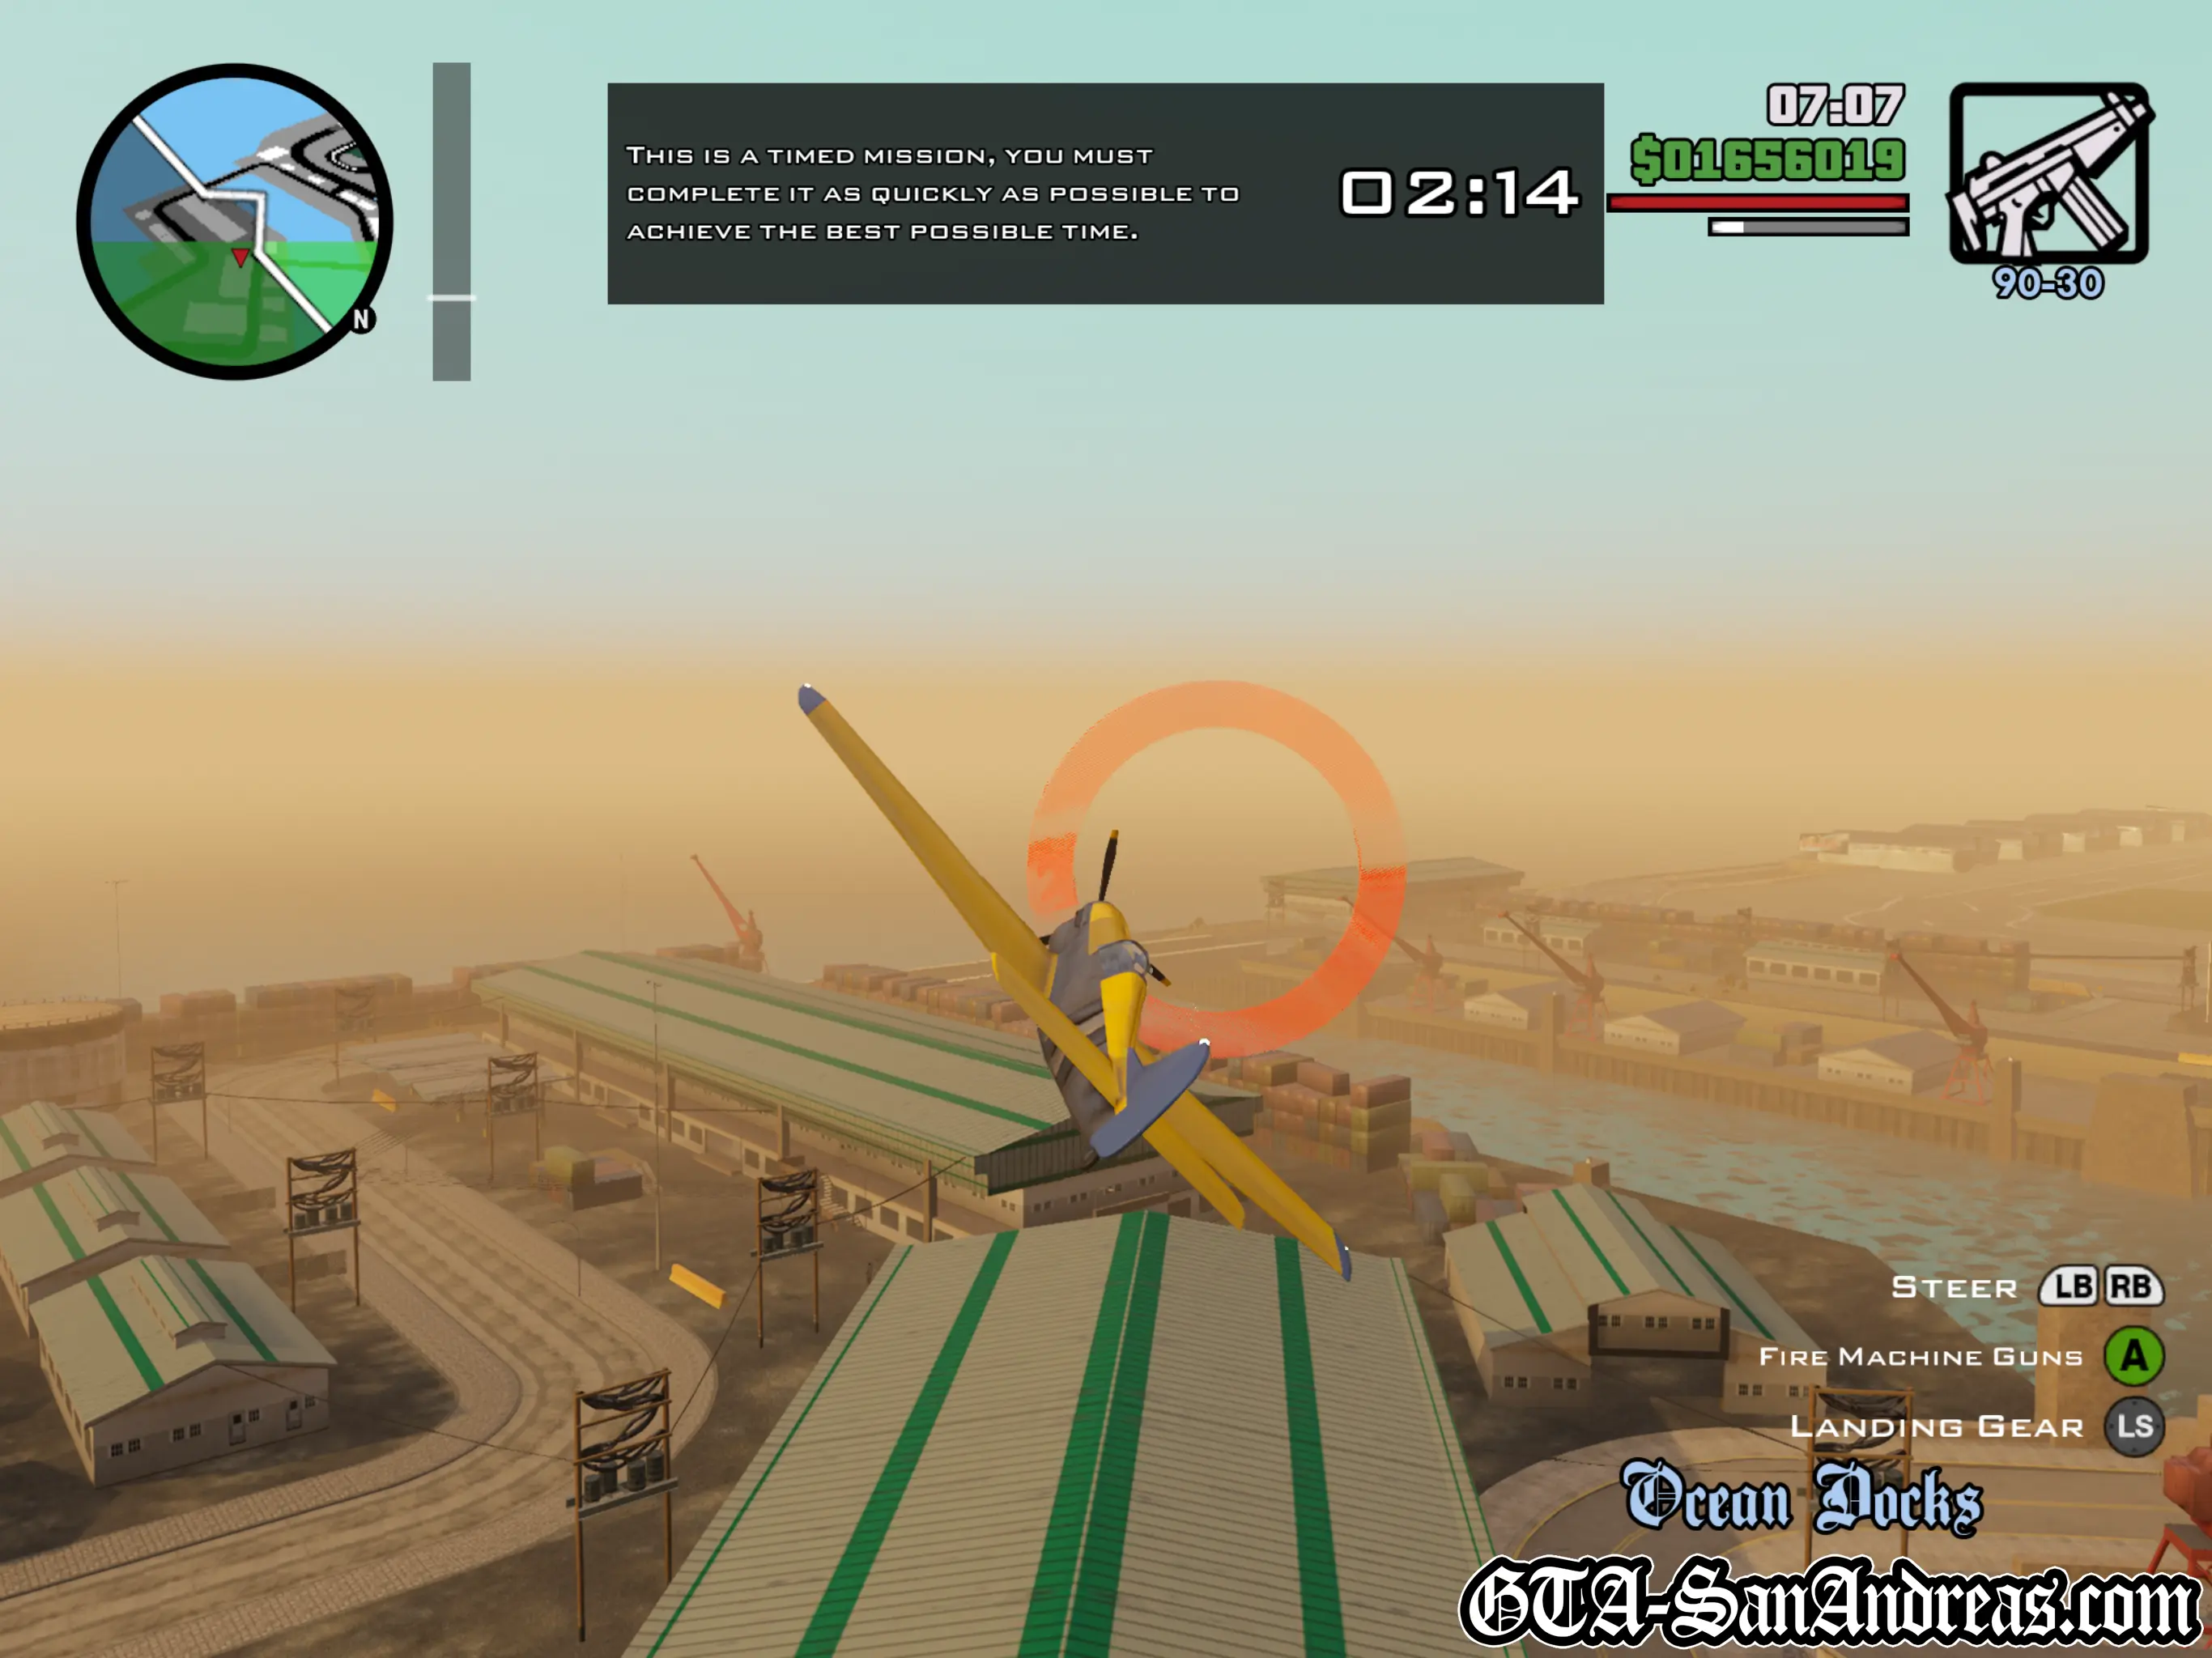
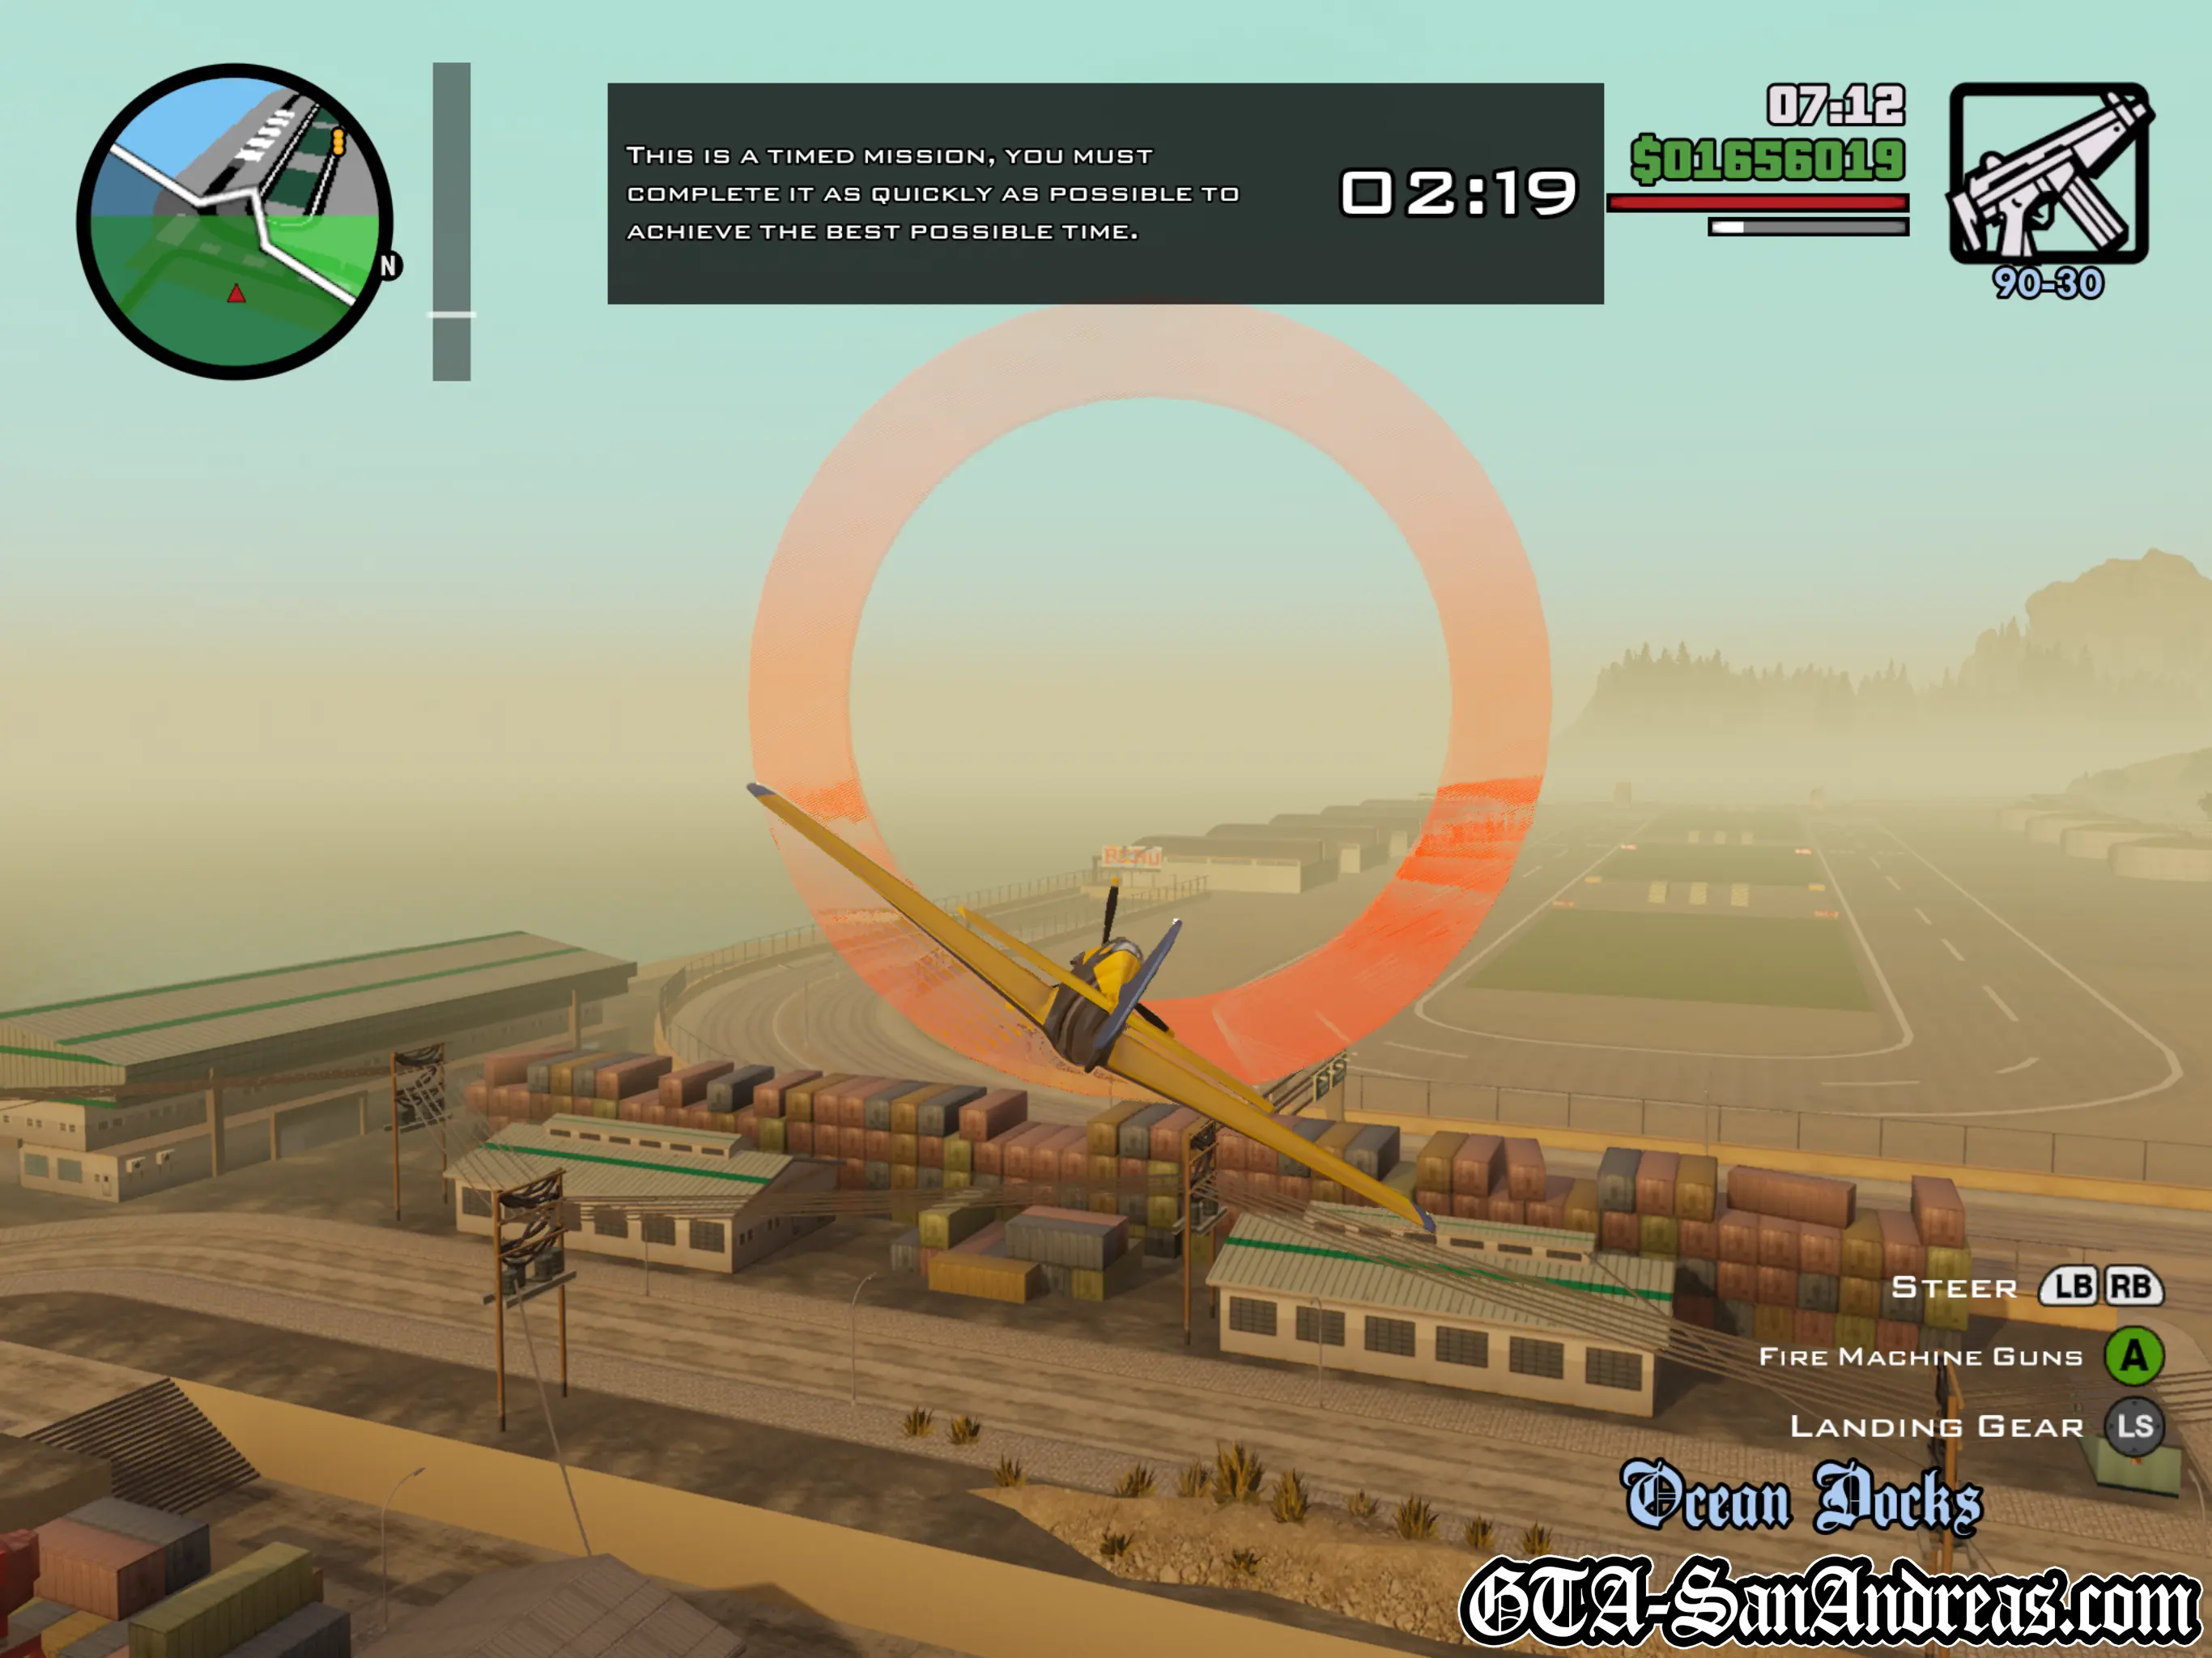
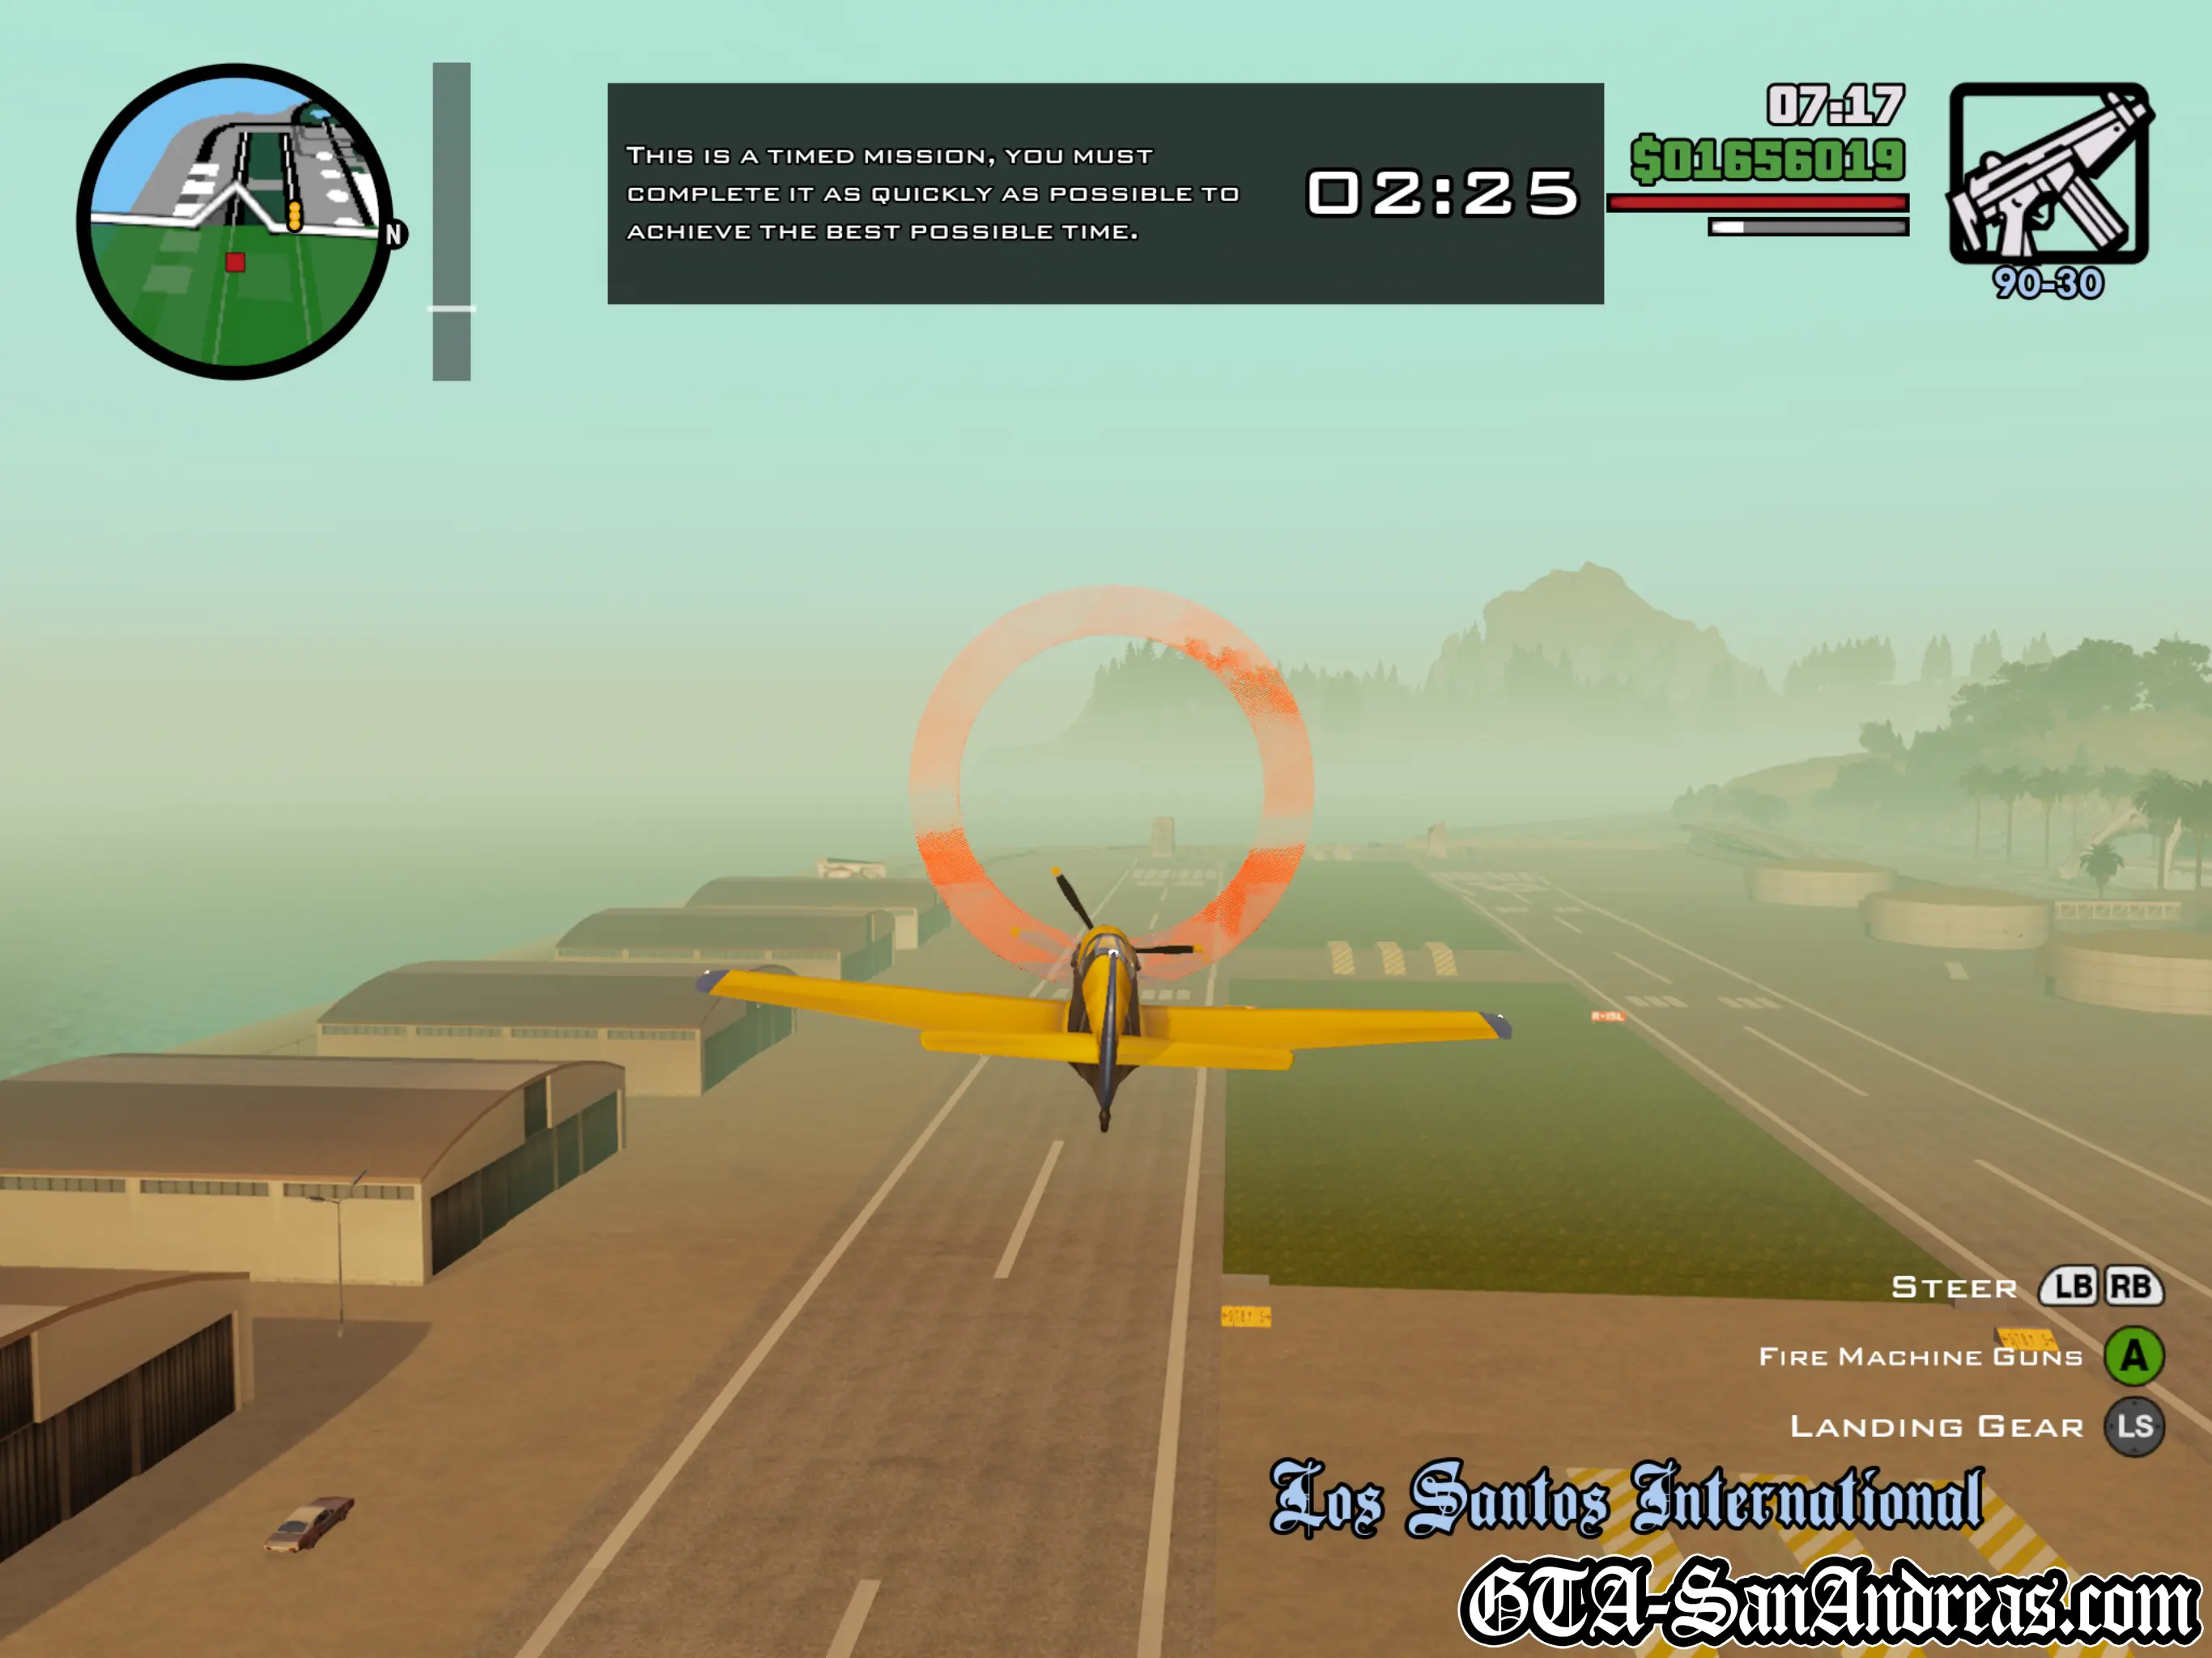
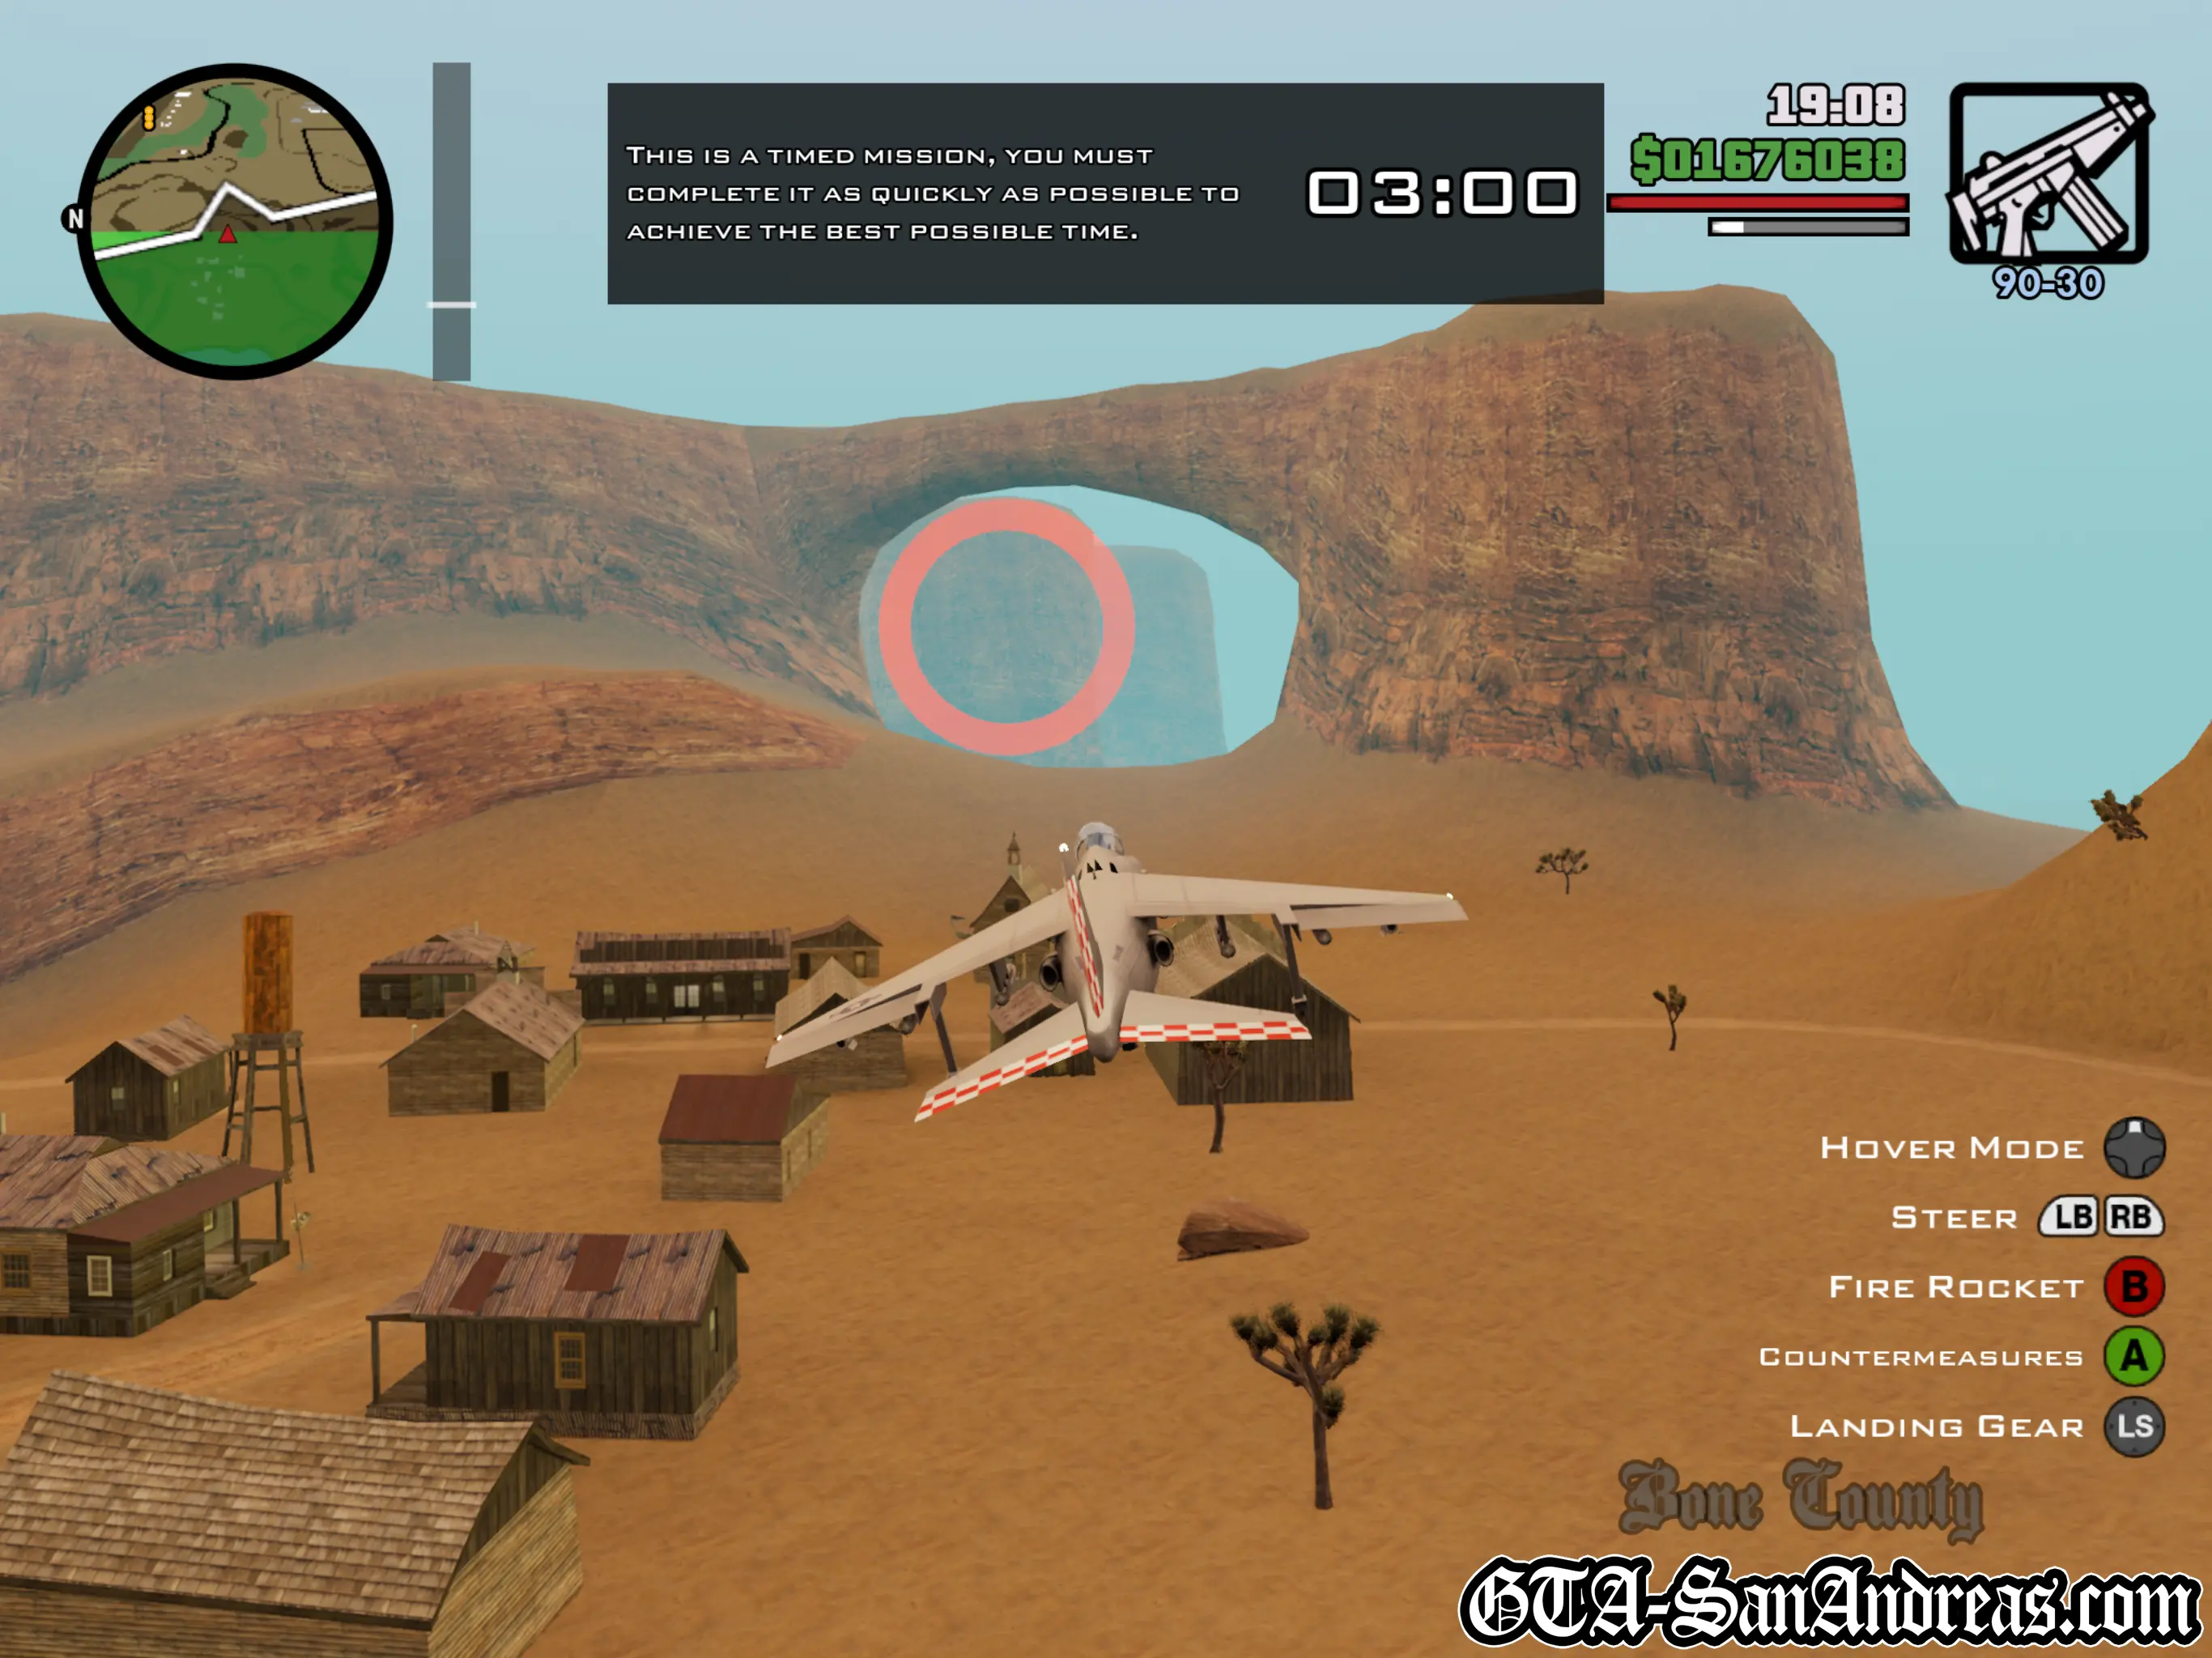
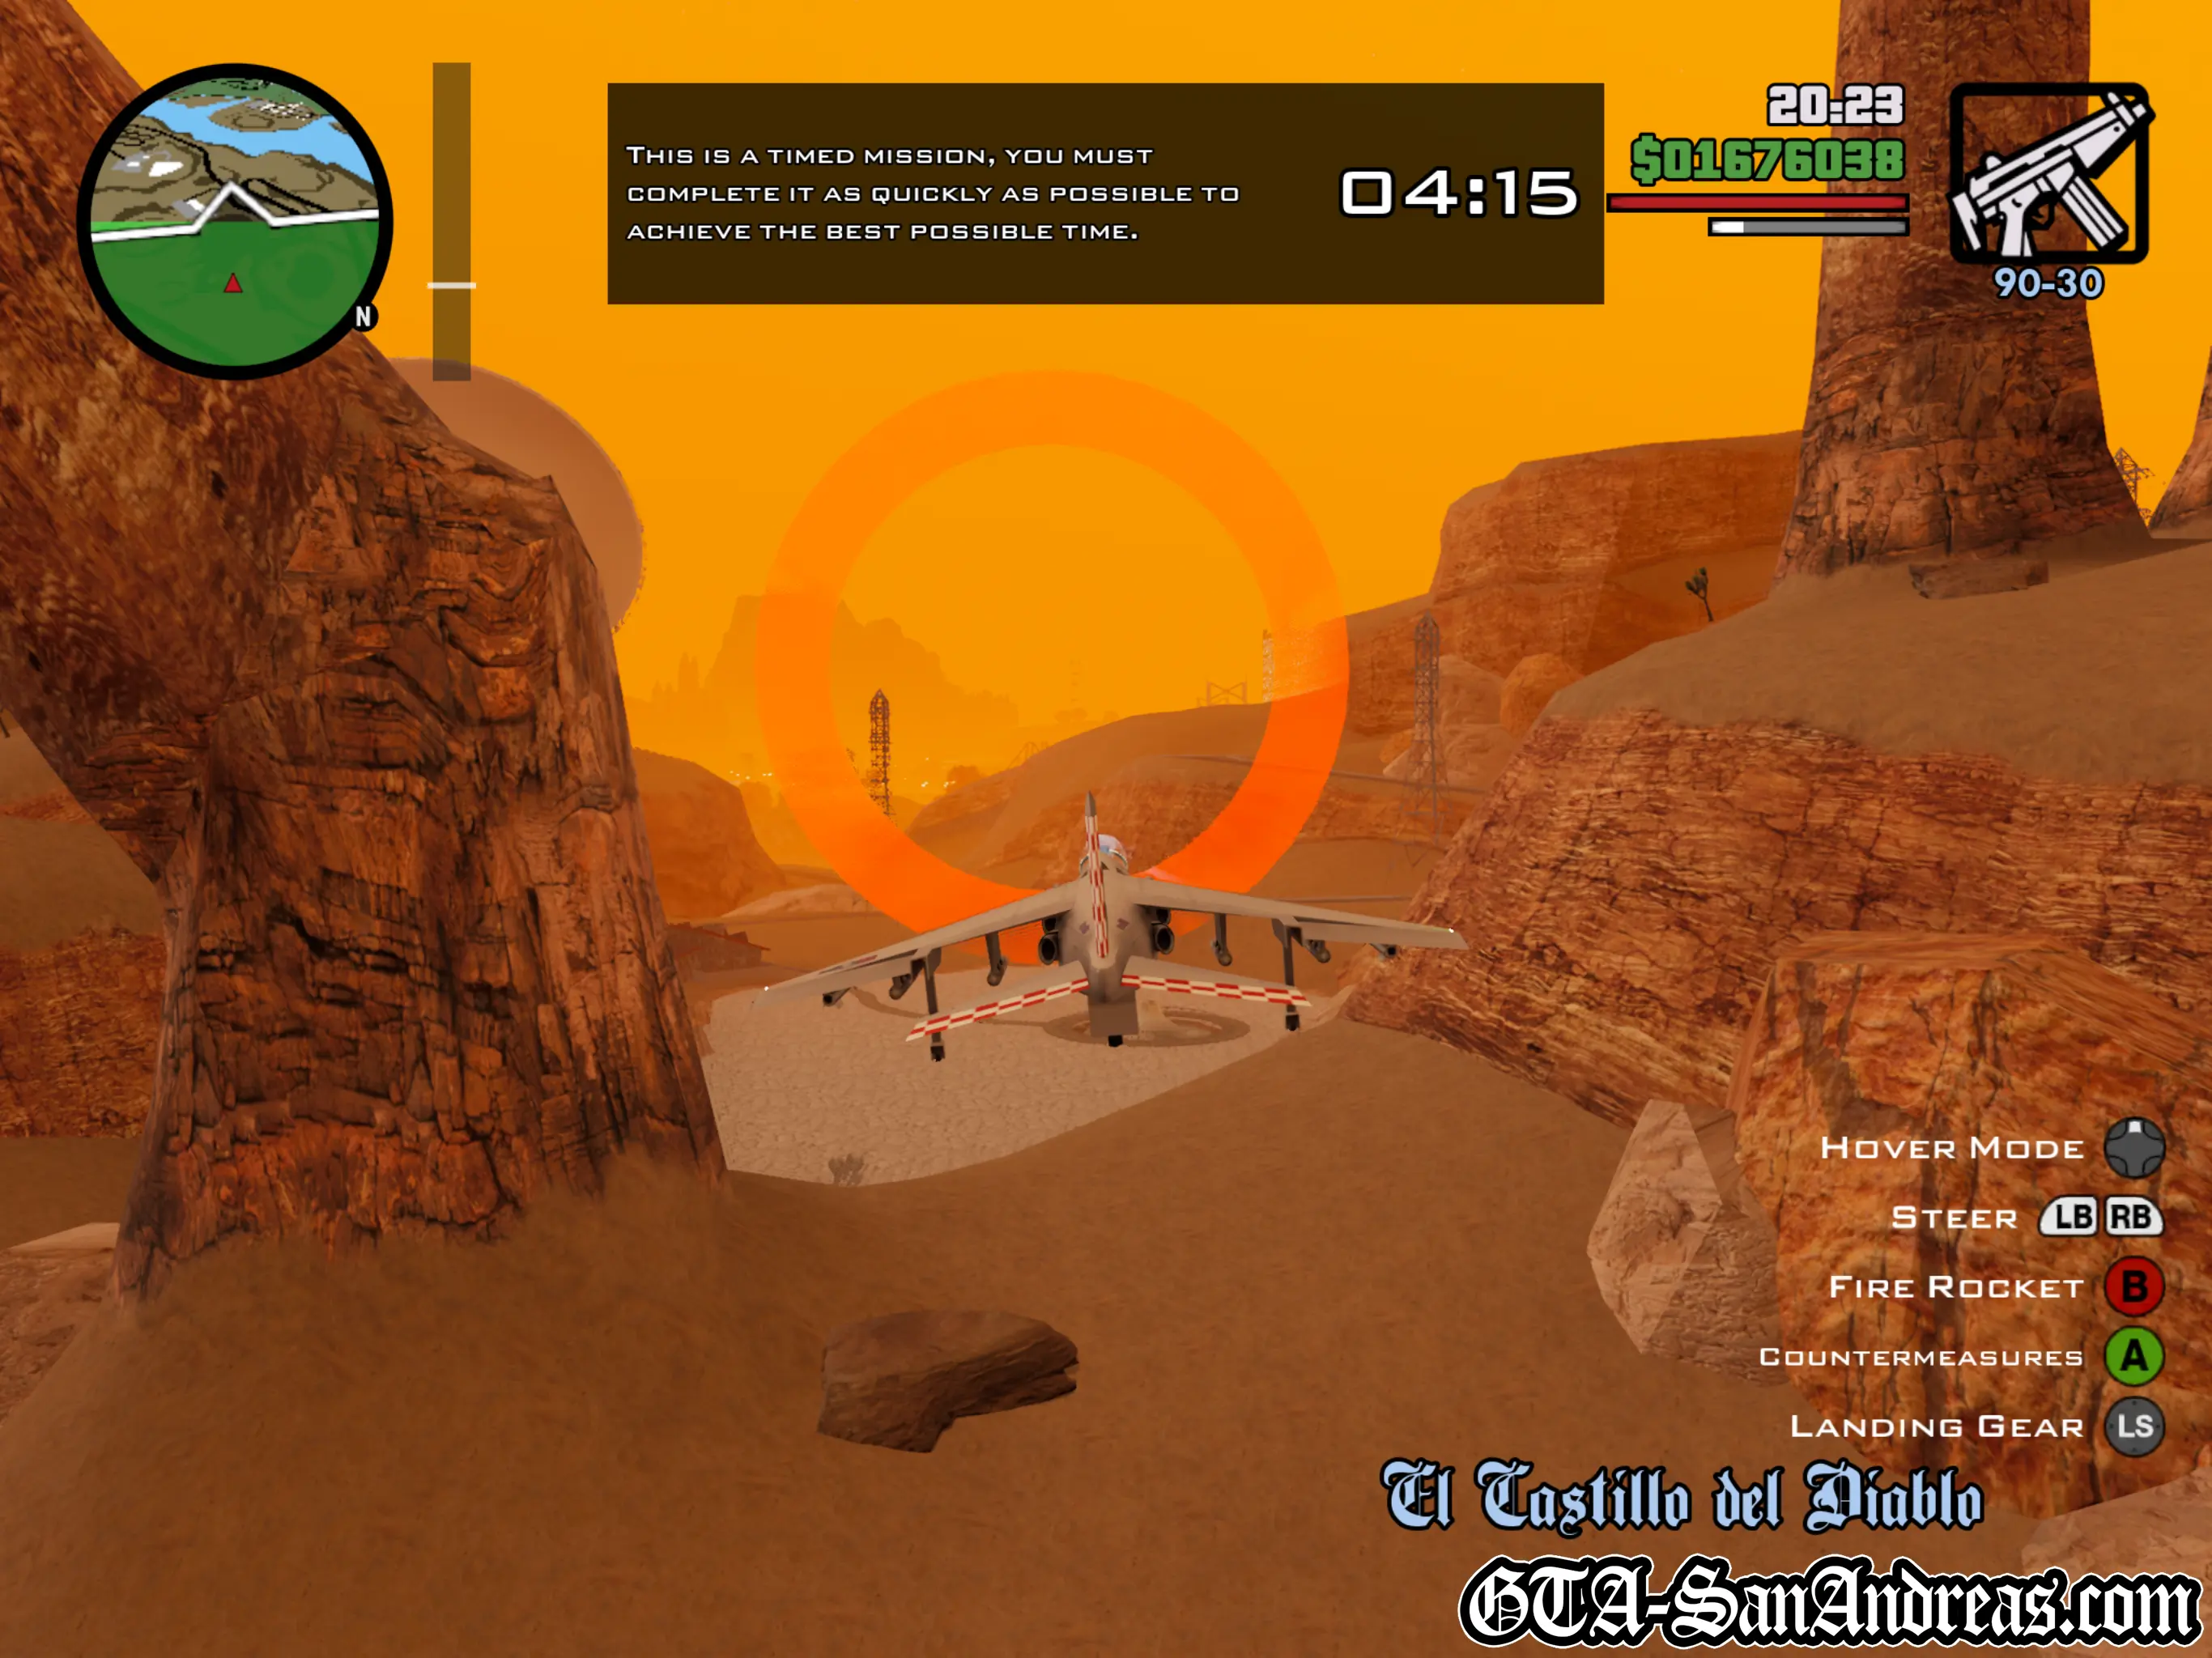
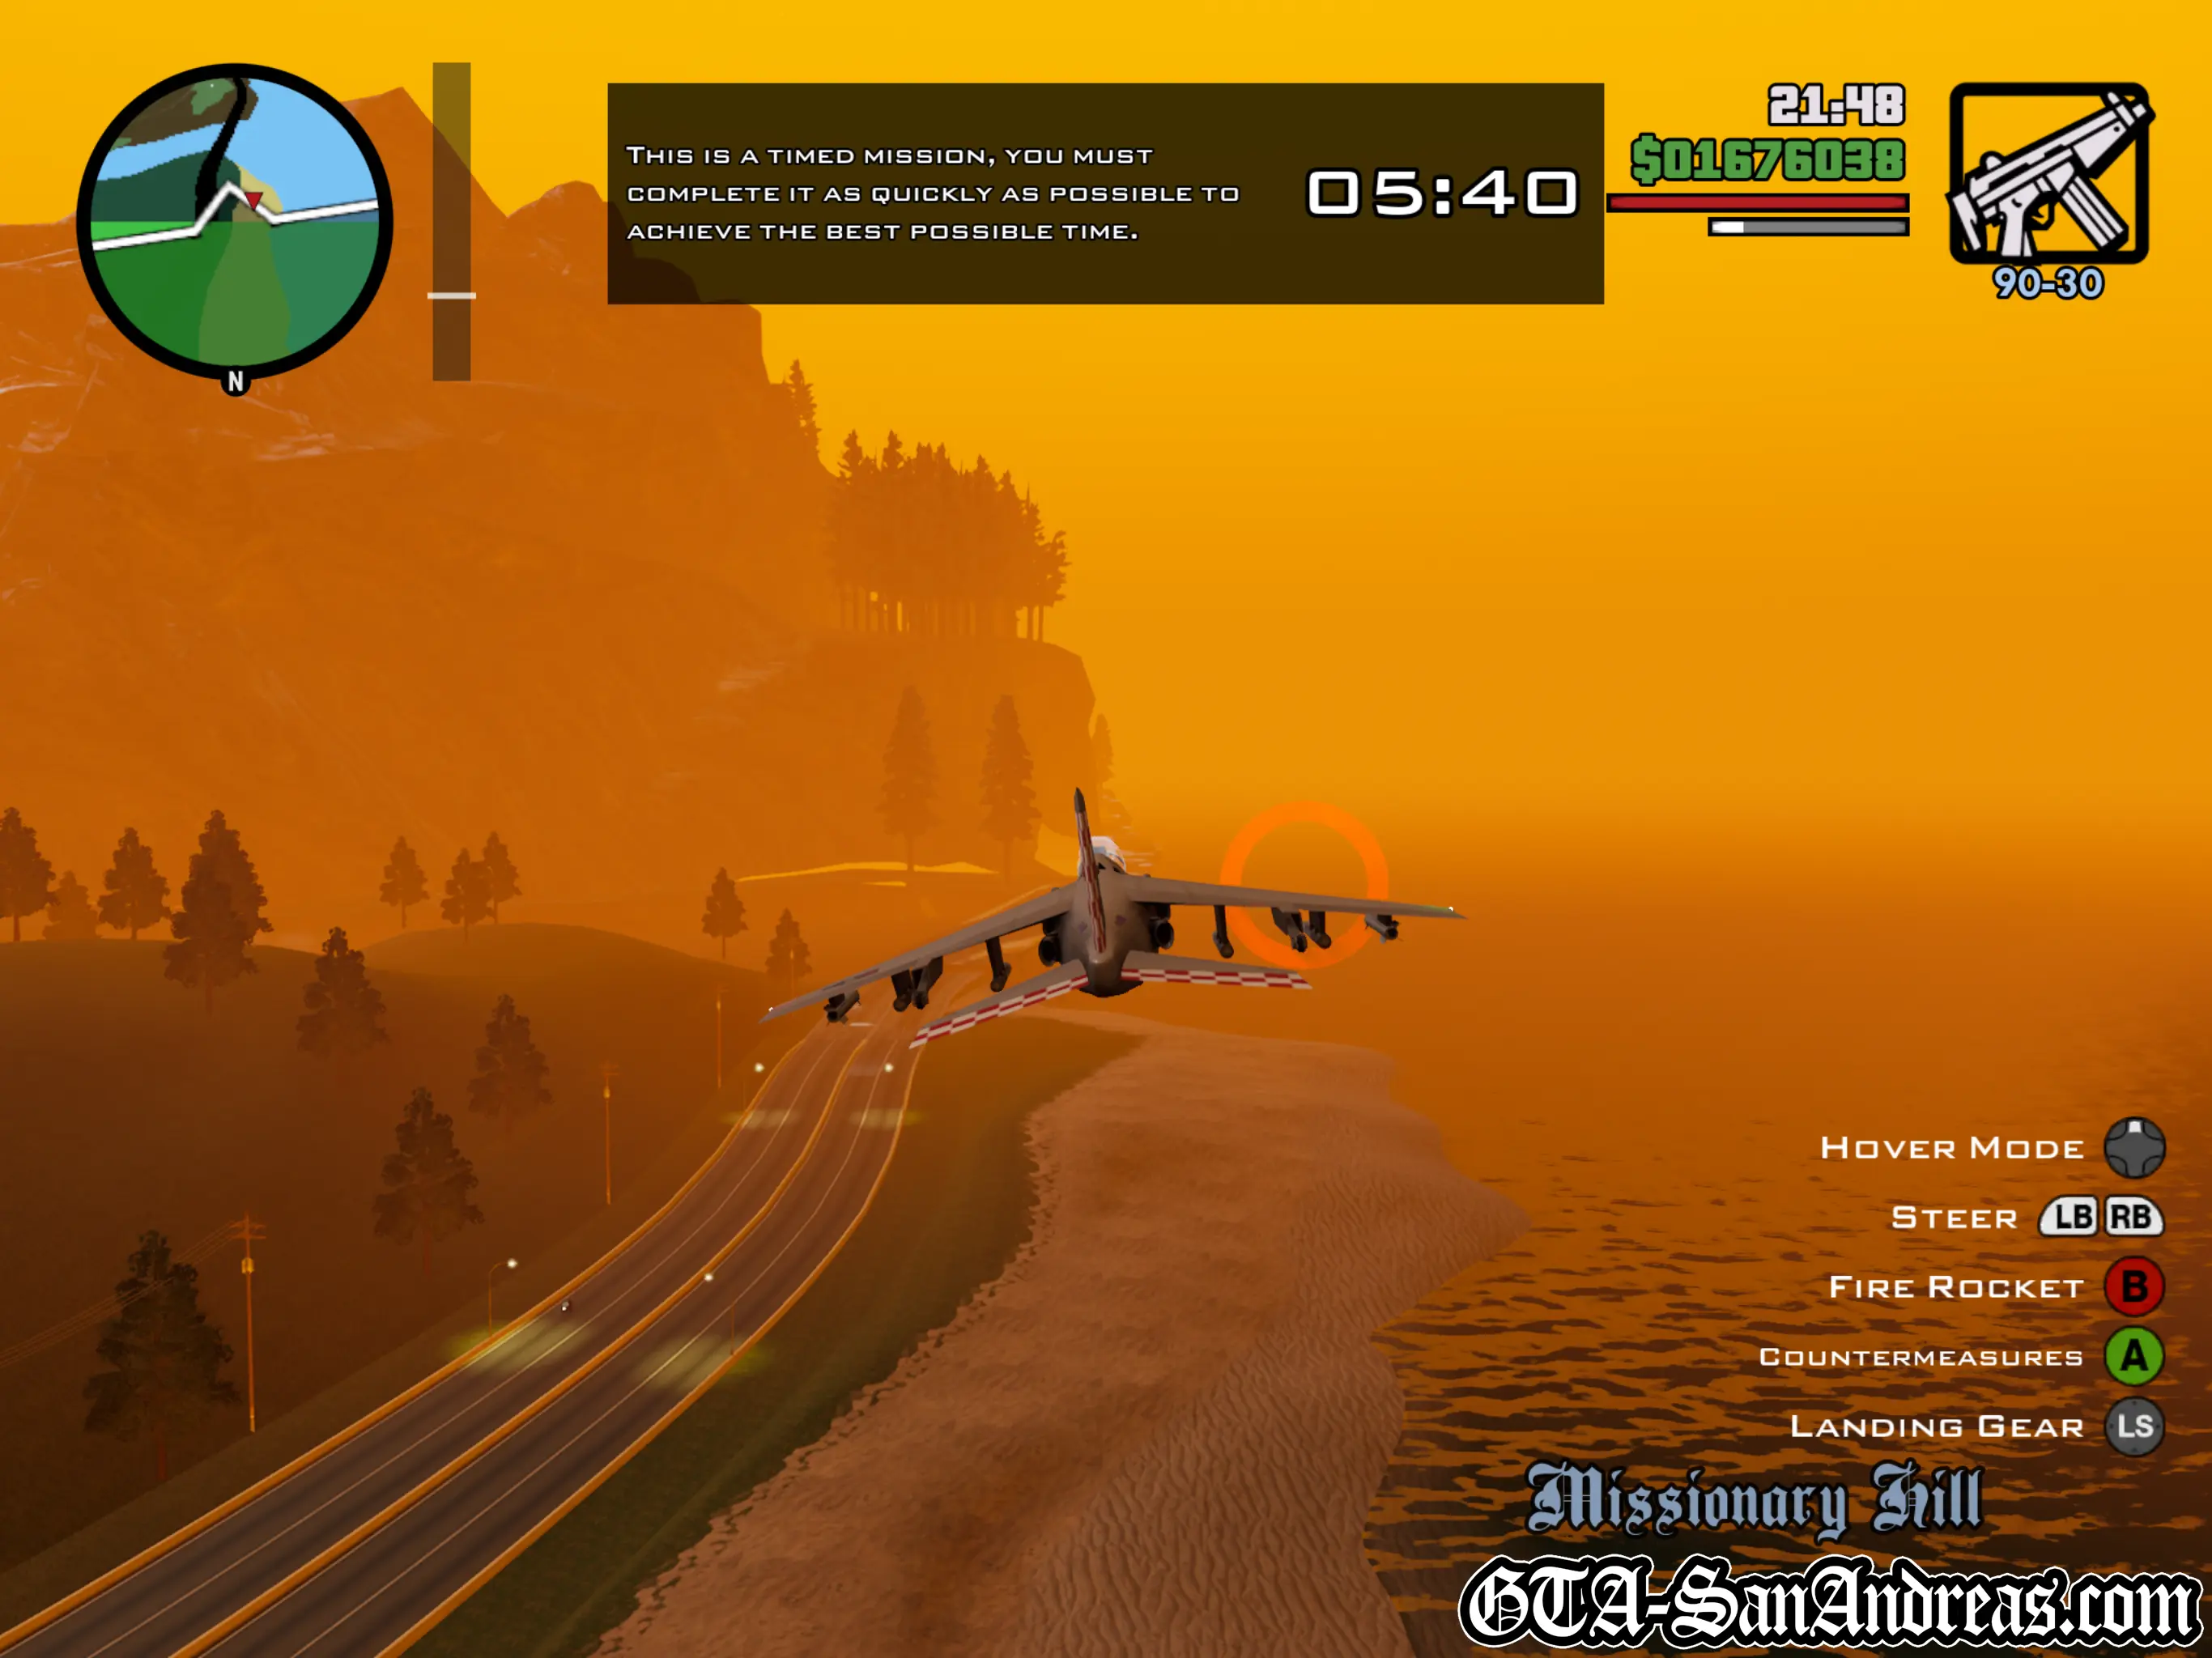
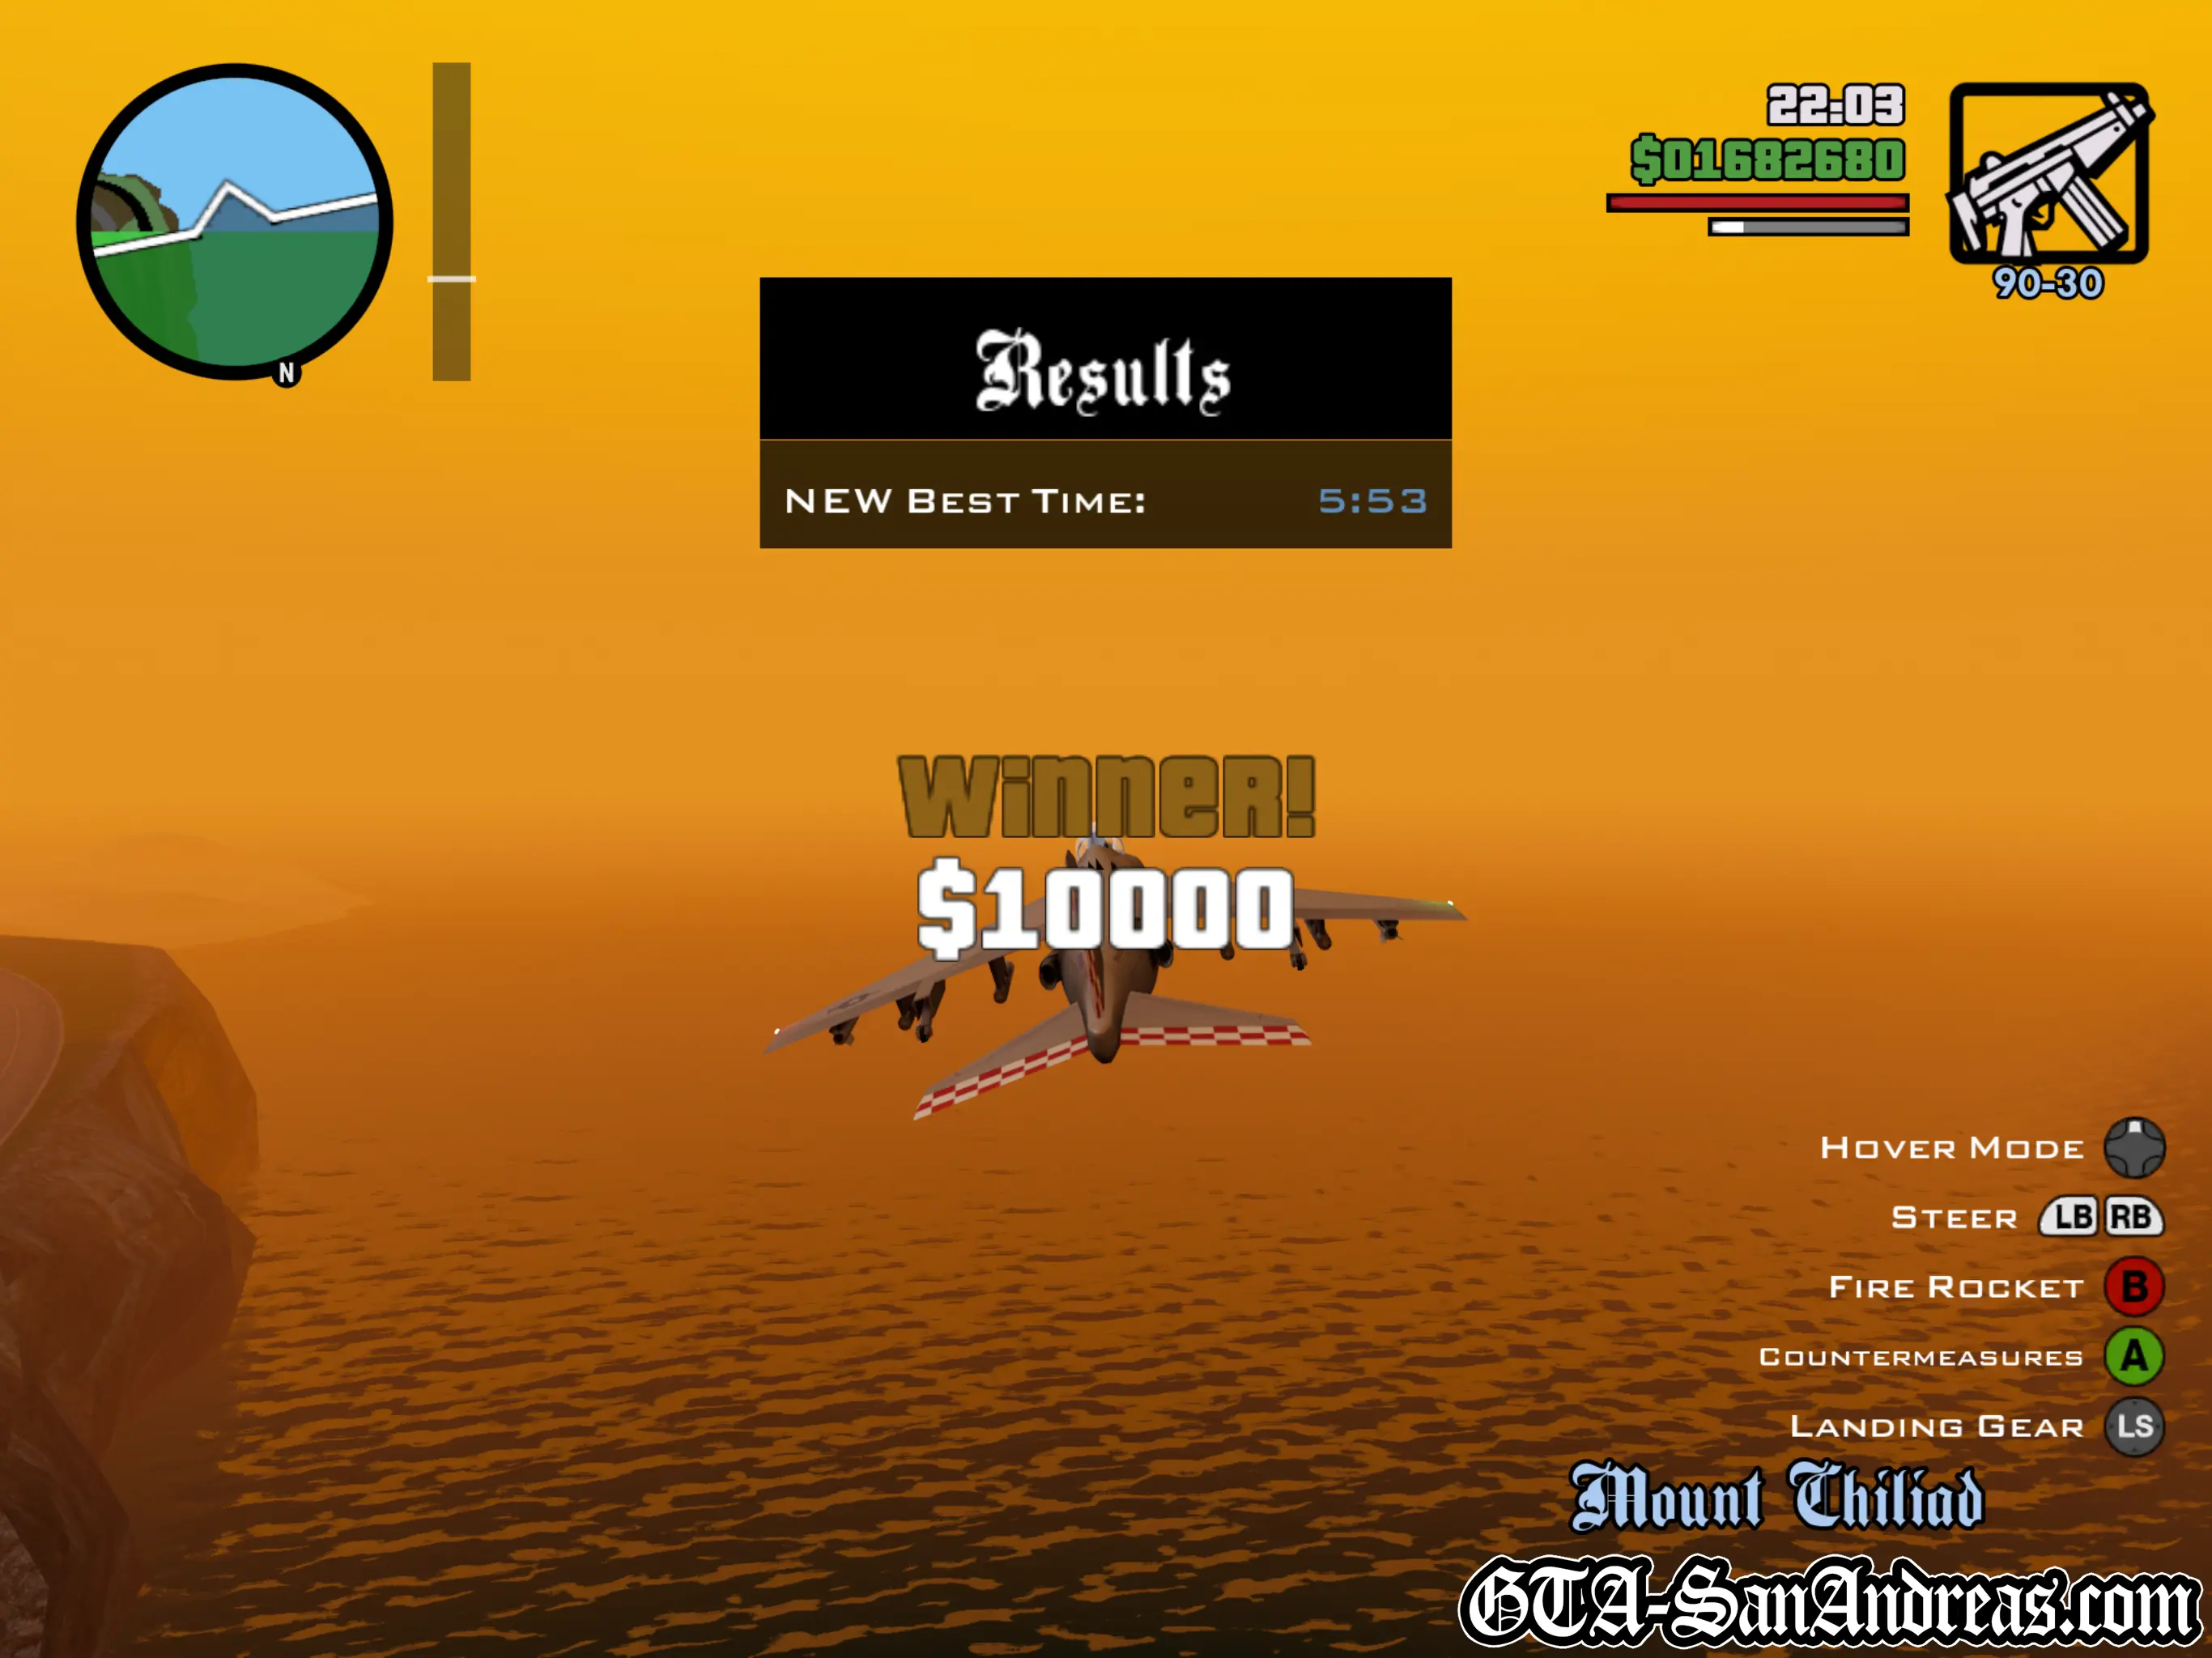
World War Ace
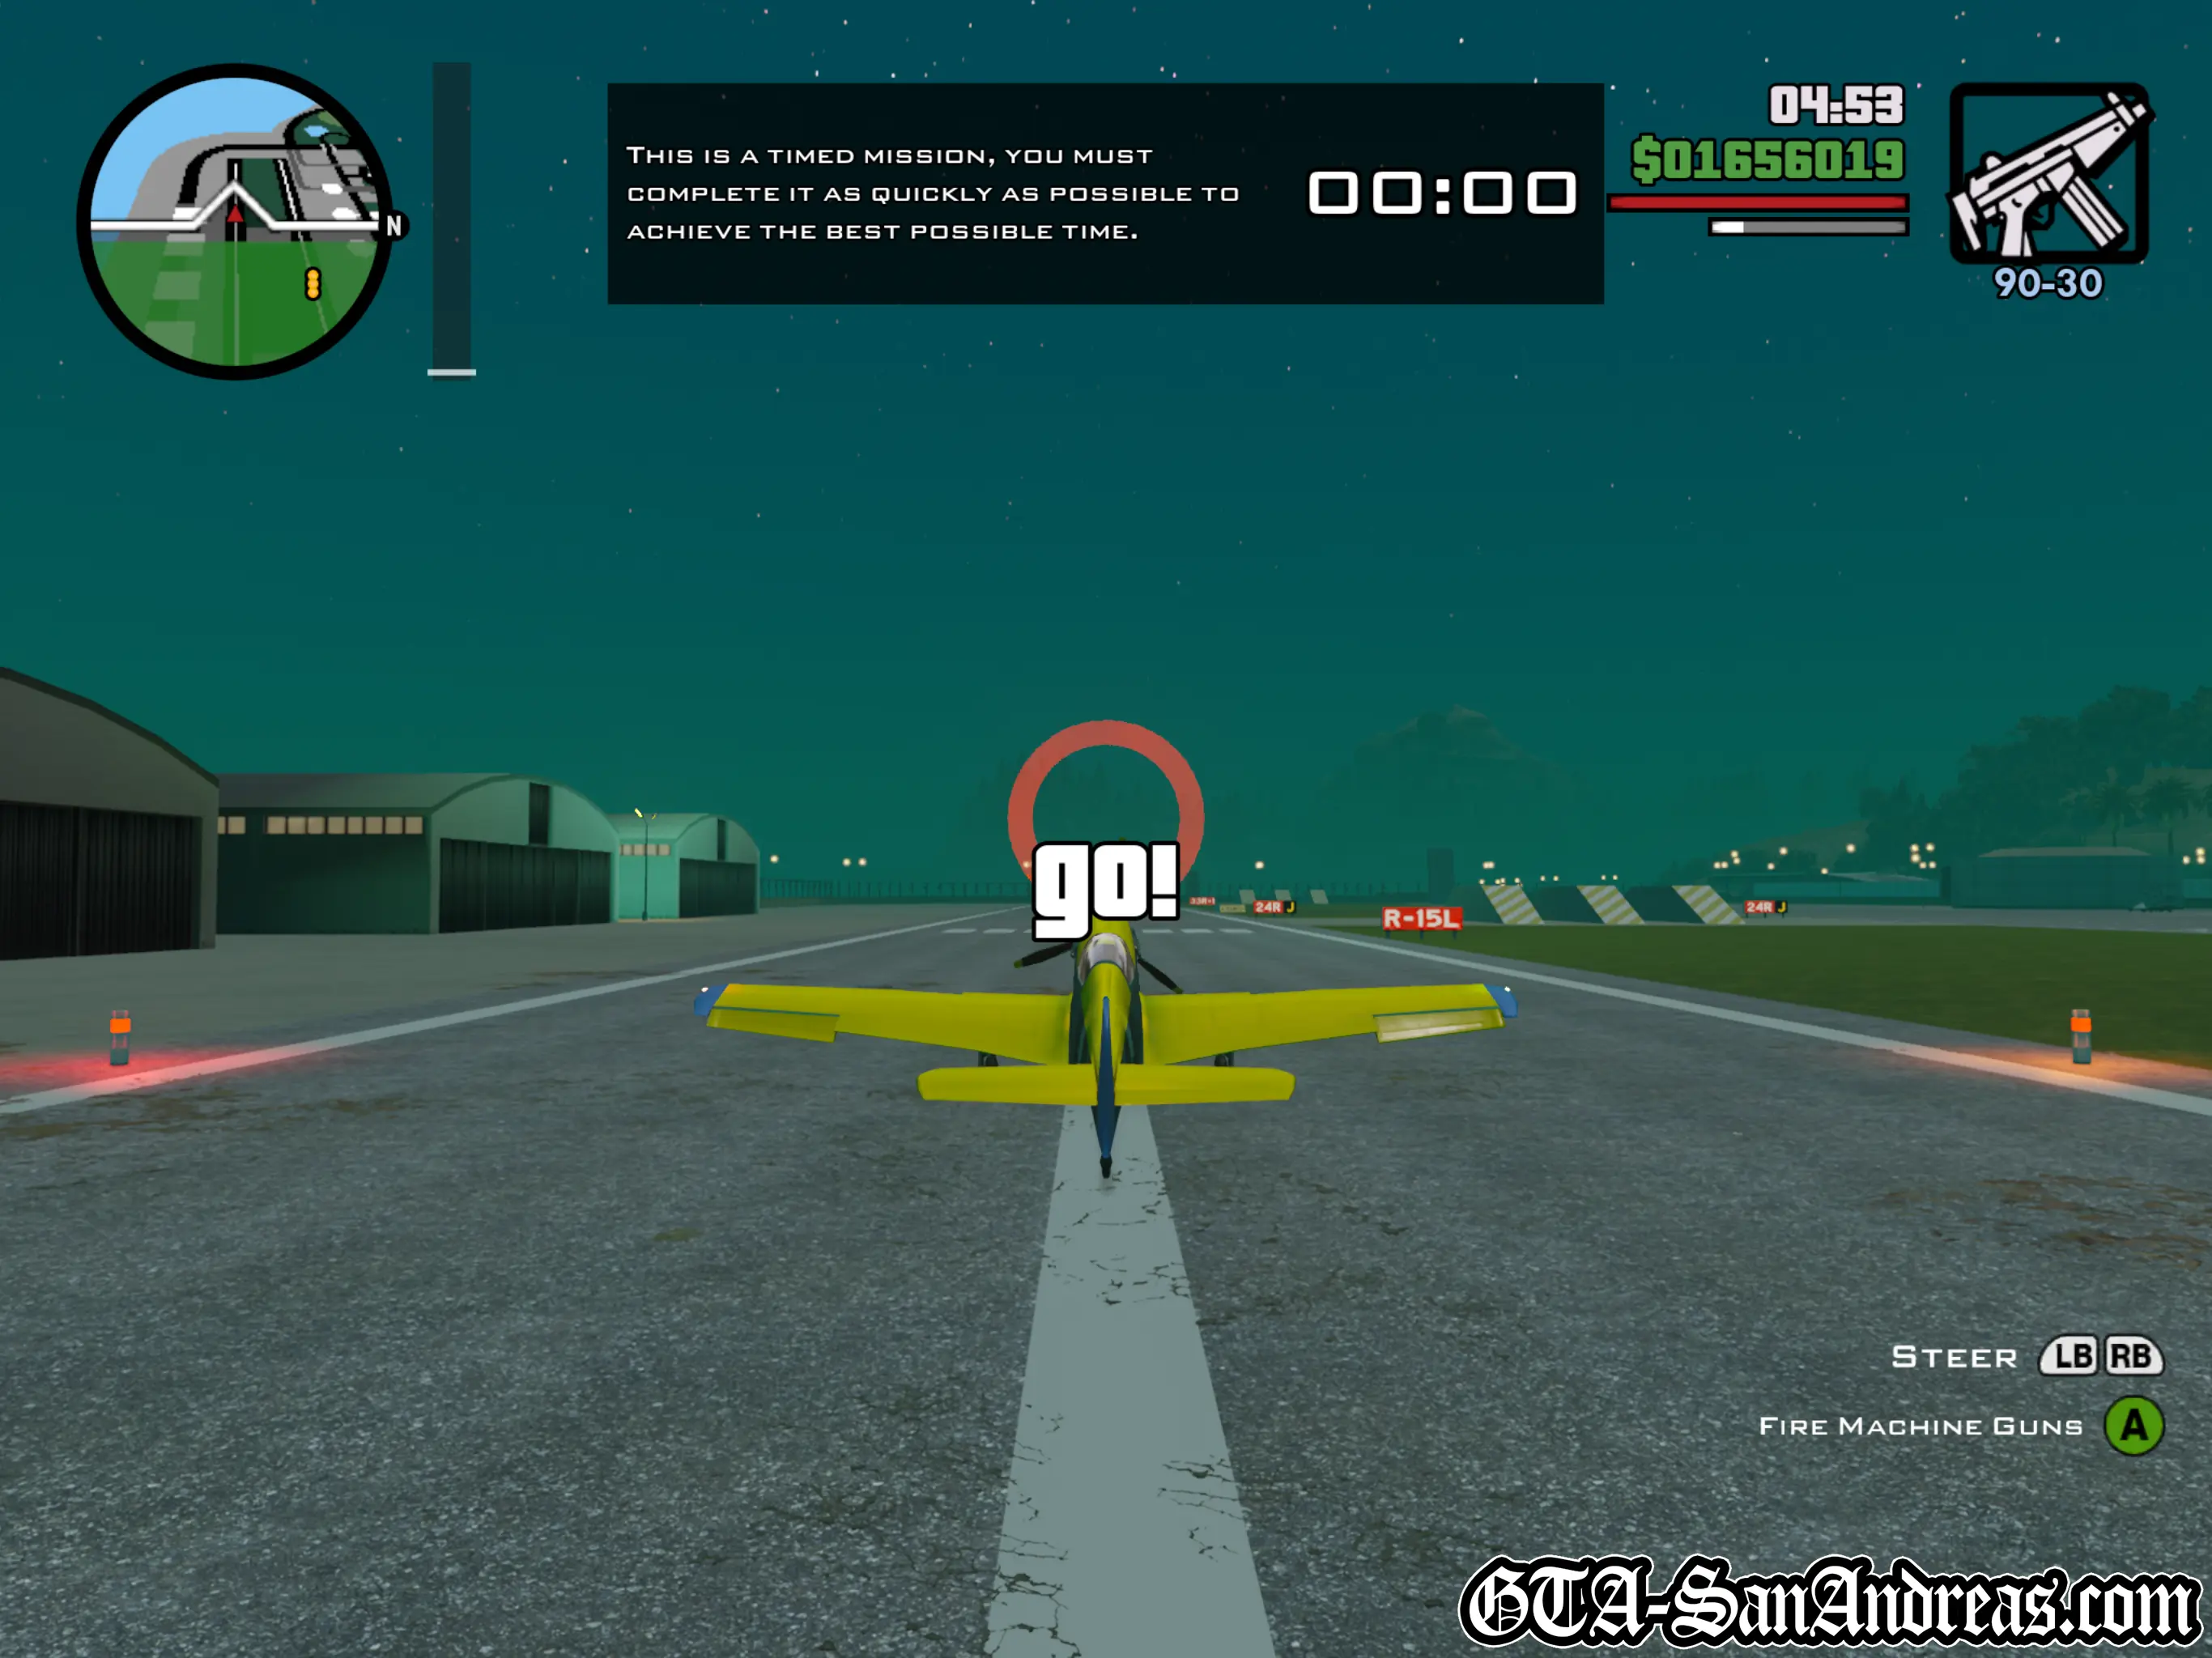
This is not a race, it's a checkpoint collection challenge. You can take as long as you want to complete it.
Be aware that the planes are flying bombs and if you crash, you die.
I suggest you just take it easy and let the plane glide through the coronas, rather than flying with too much speed.
| Vehicle Provided | Route Distance |
|---|---|
| Rustler | 6.00 KM |
Tactics
You'll be flying the Rustler over Los Santos. The plane has fairly good handling, however if you miss a checkpoint, you'll need to fly pretty far in a big circle before turning around to get it again, so pay attention!
Screenshots
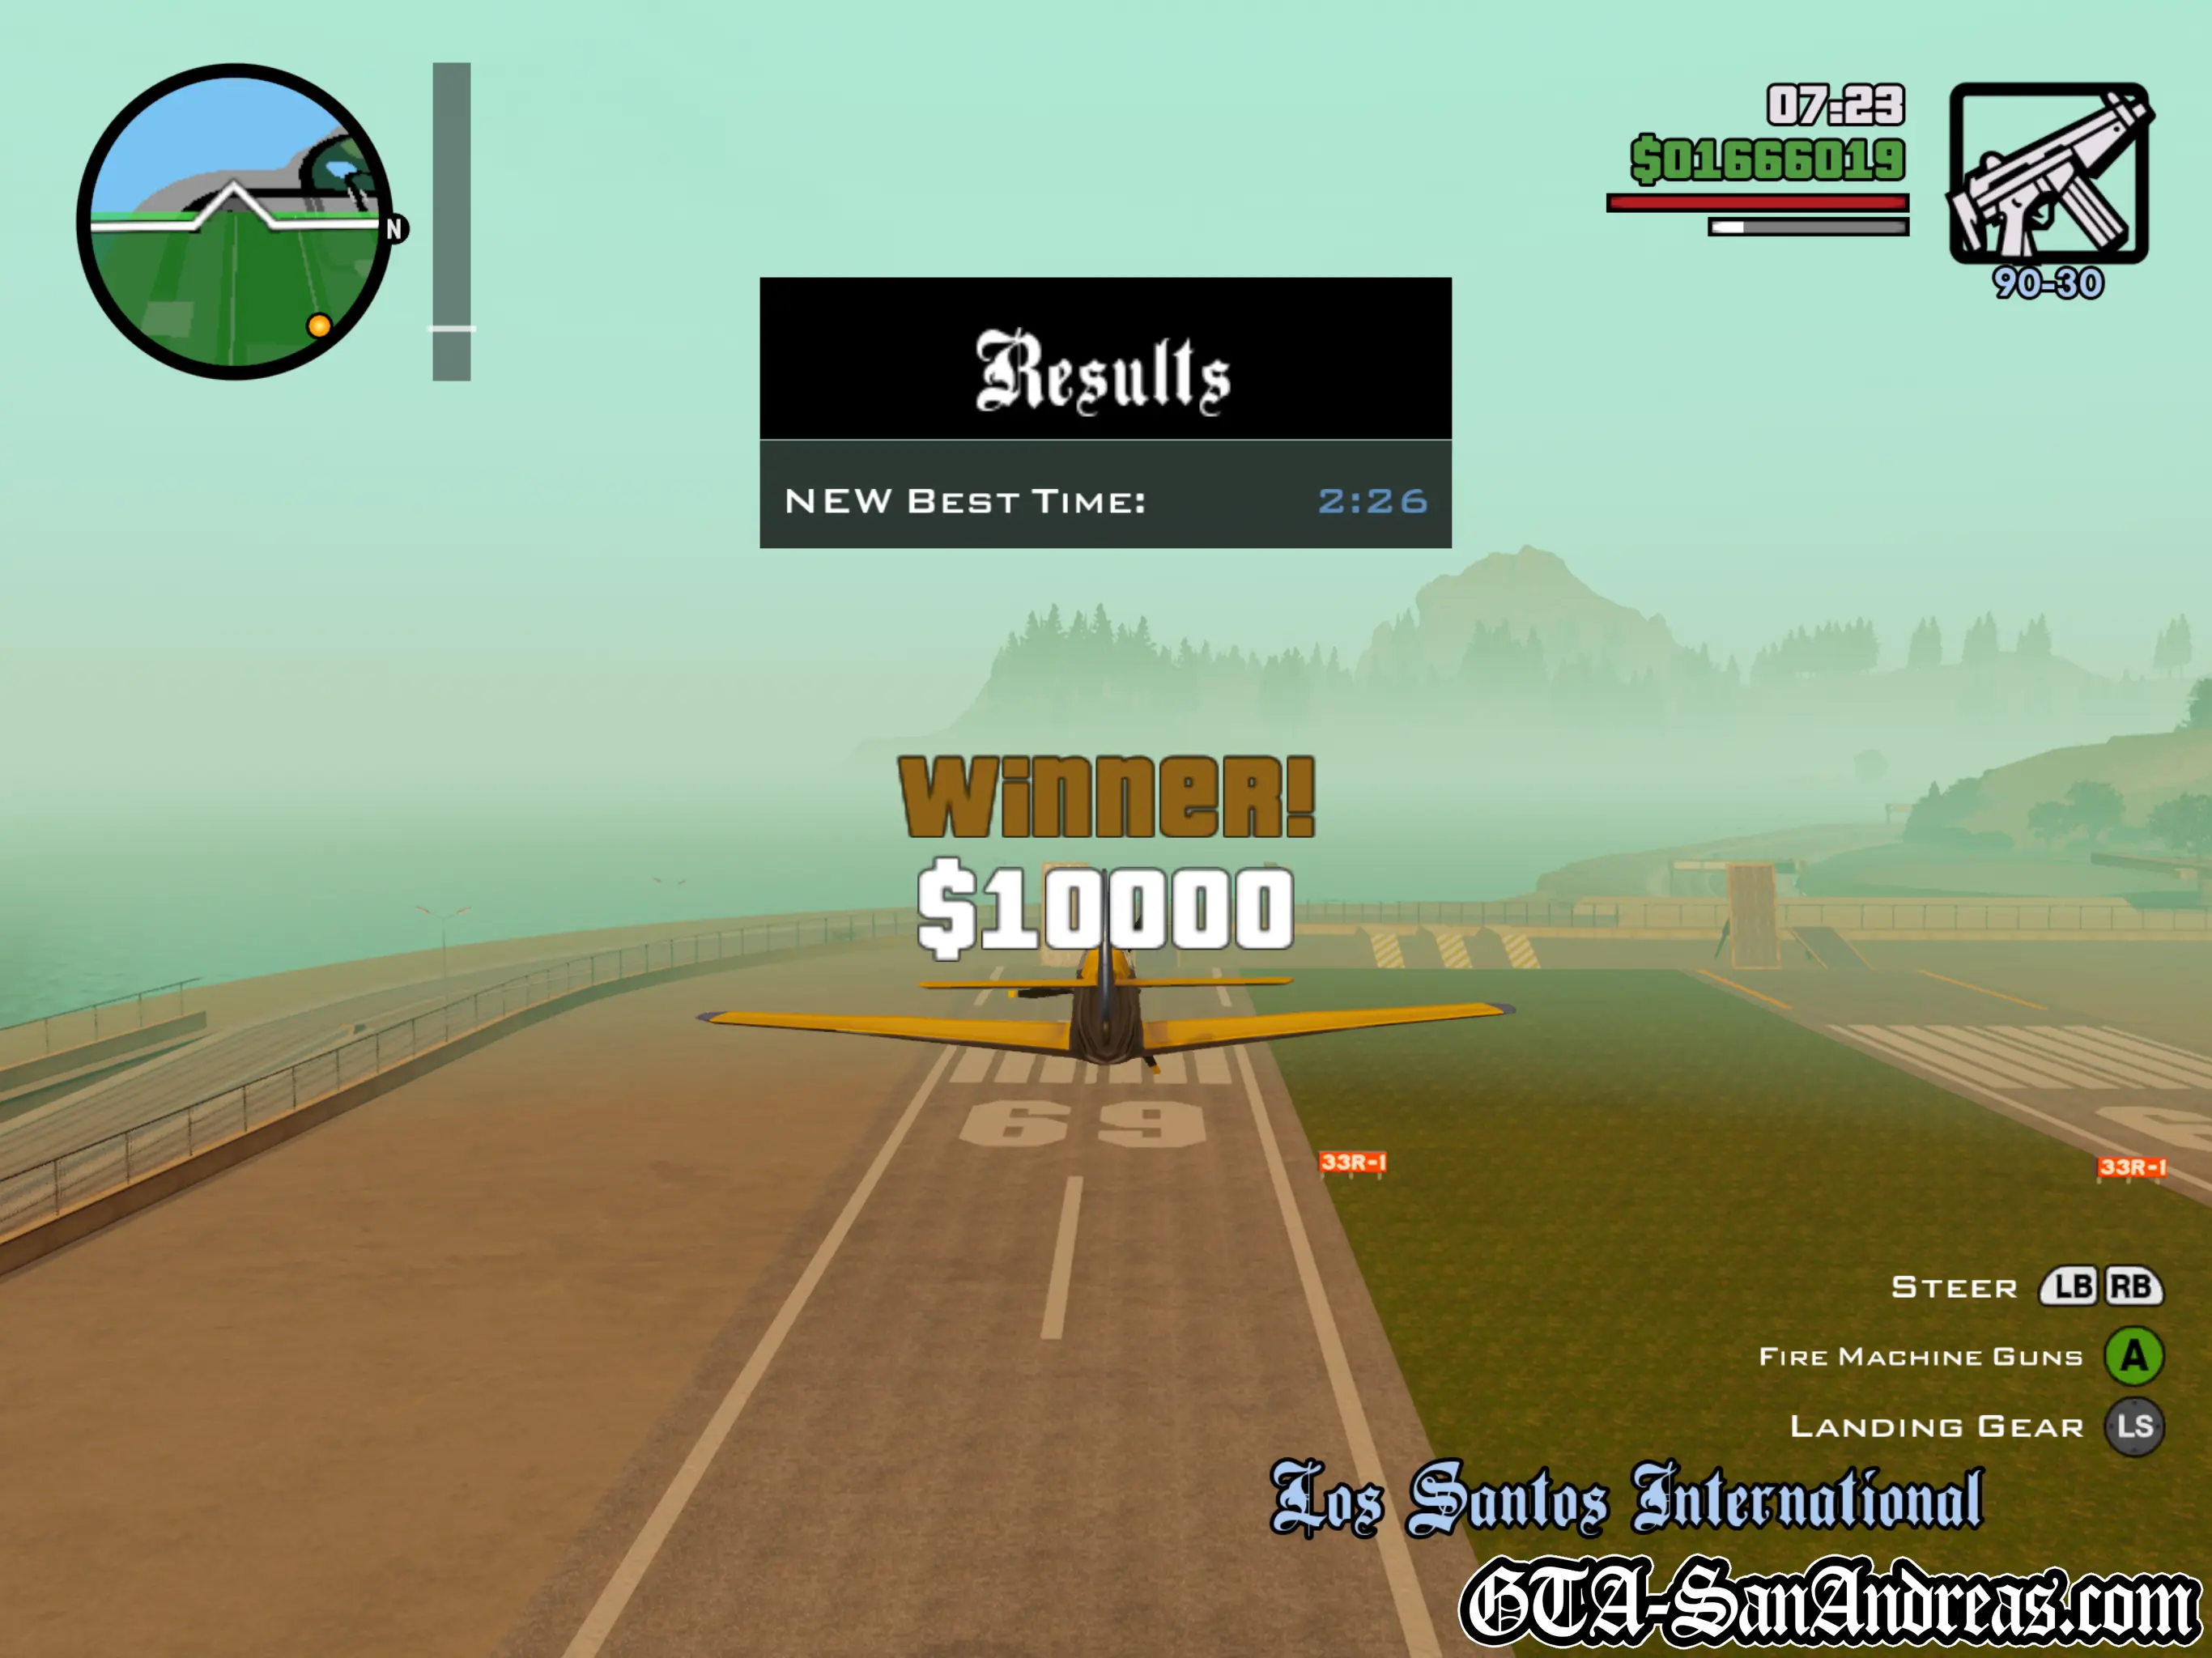
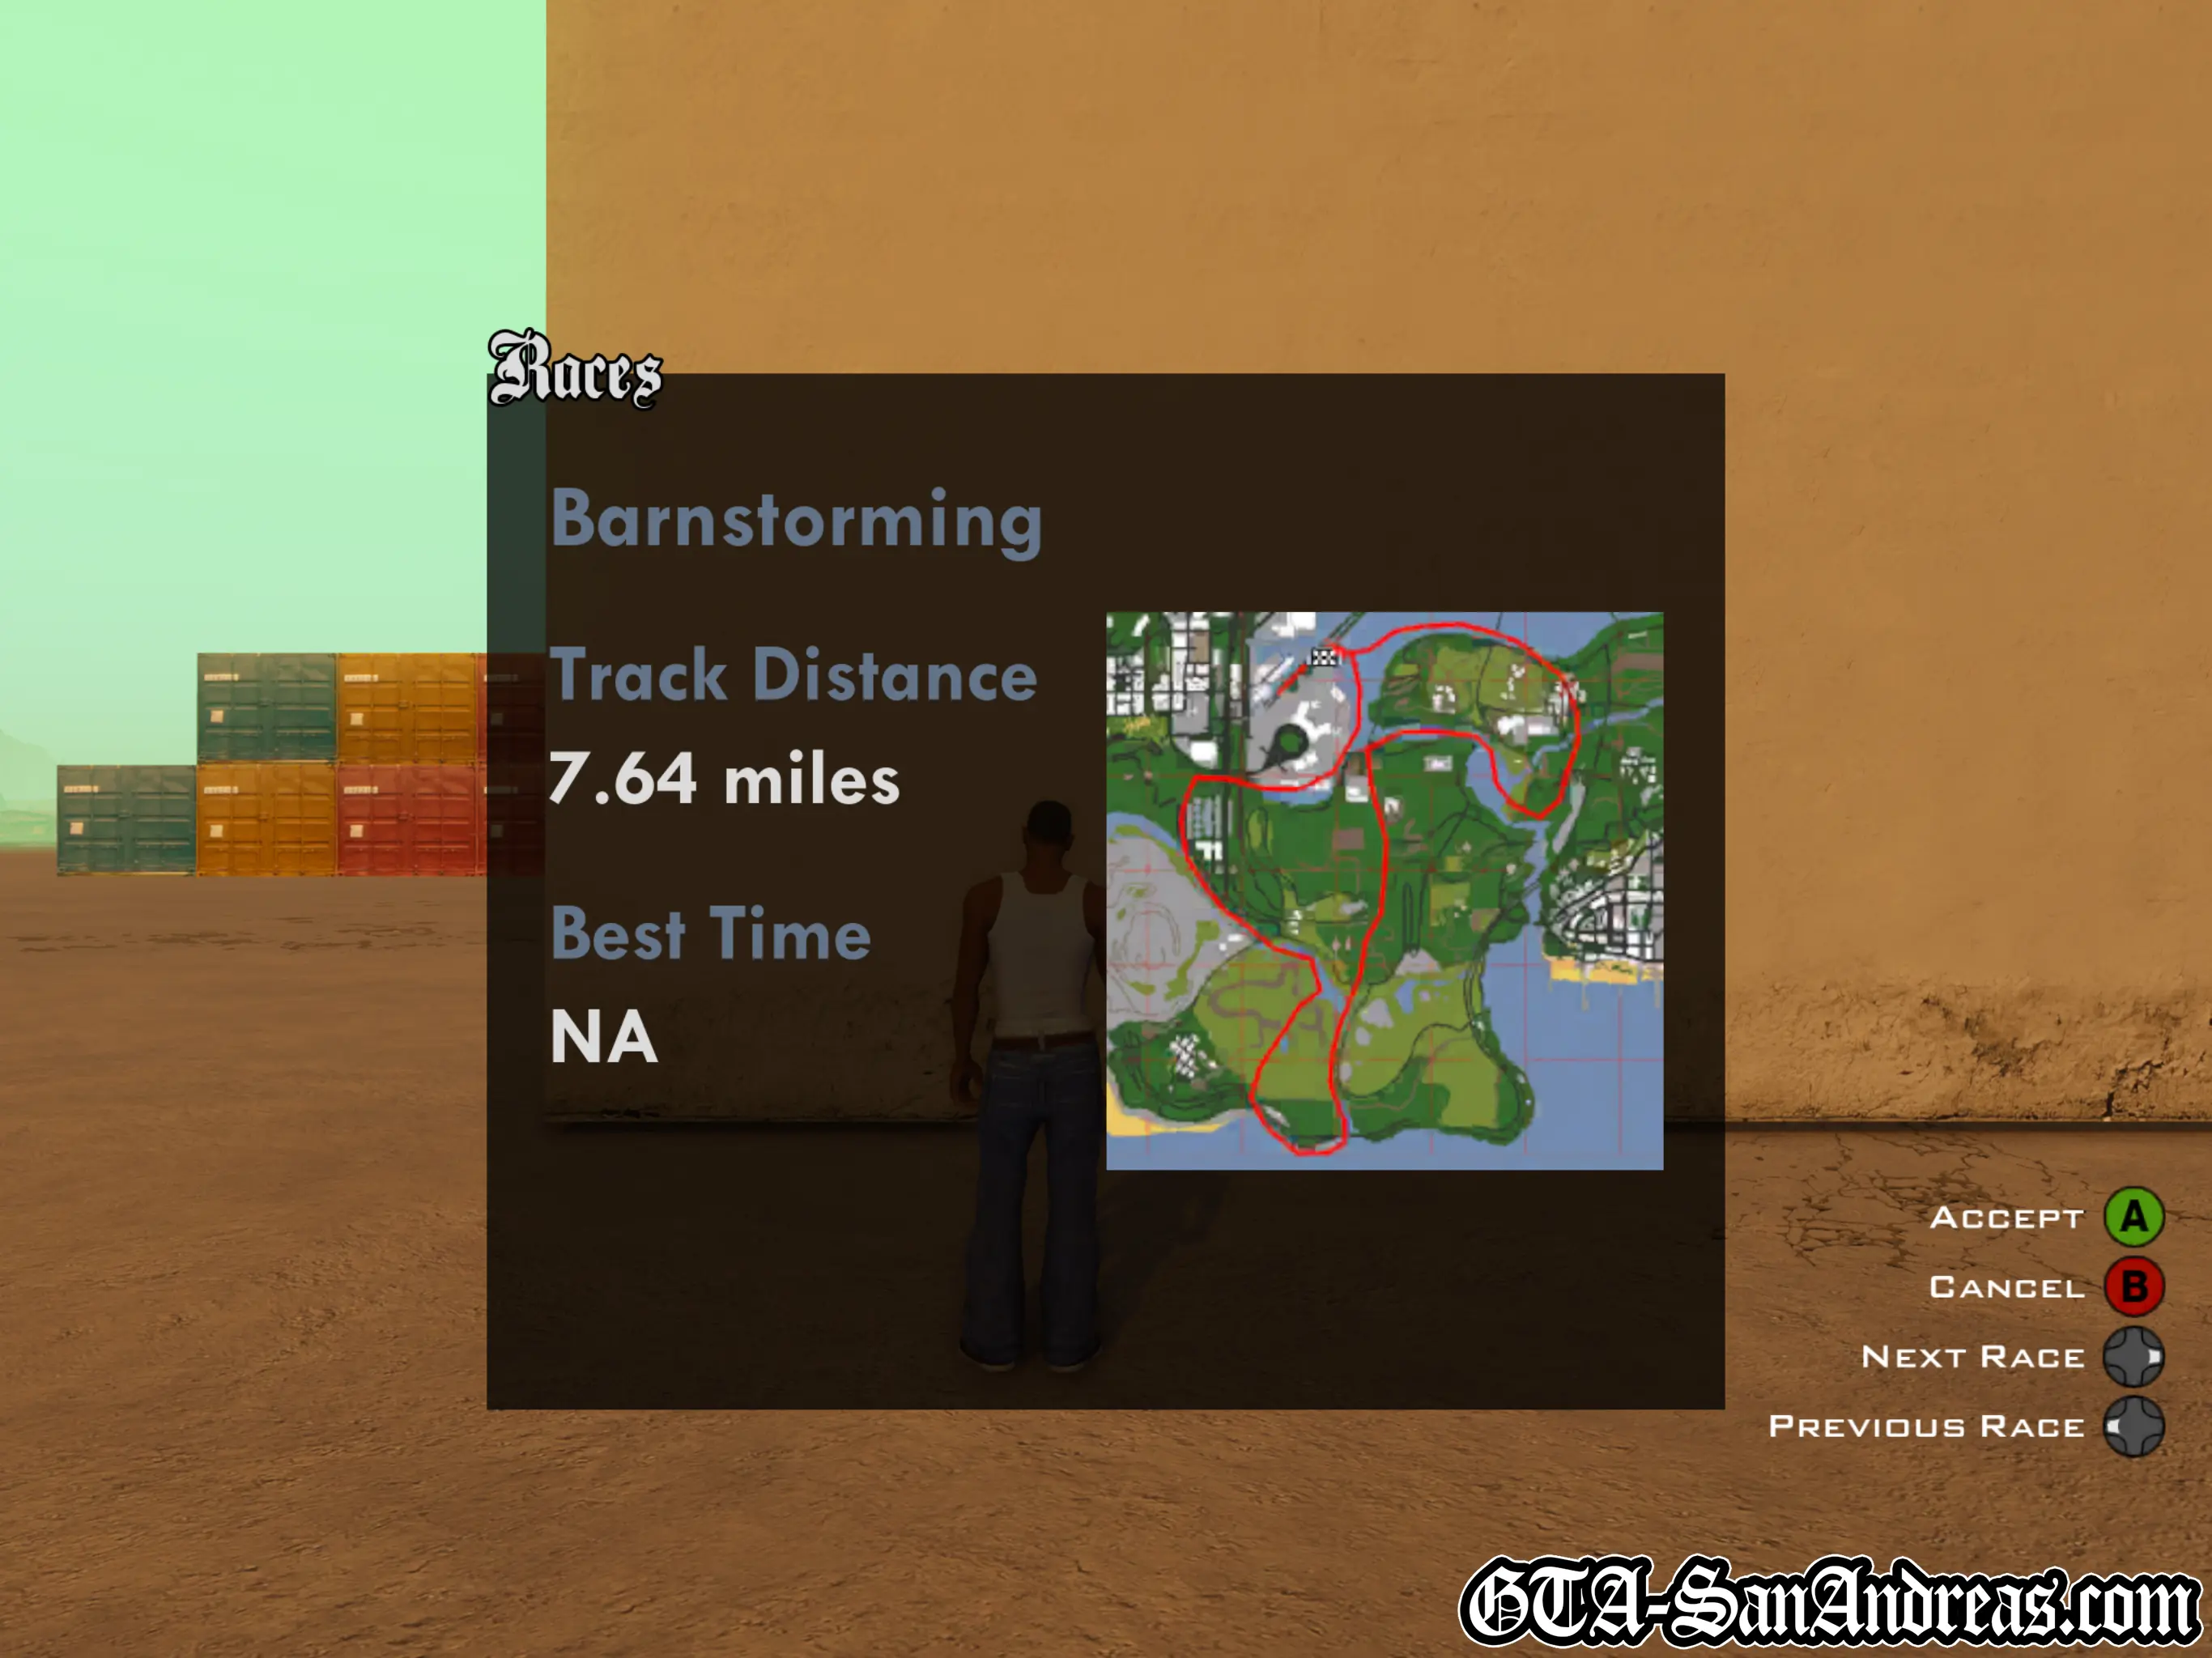
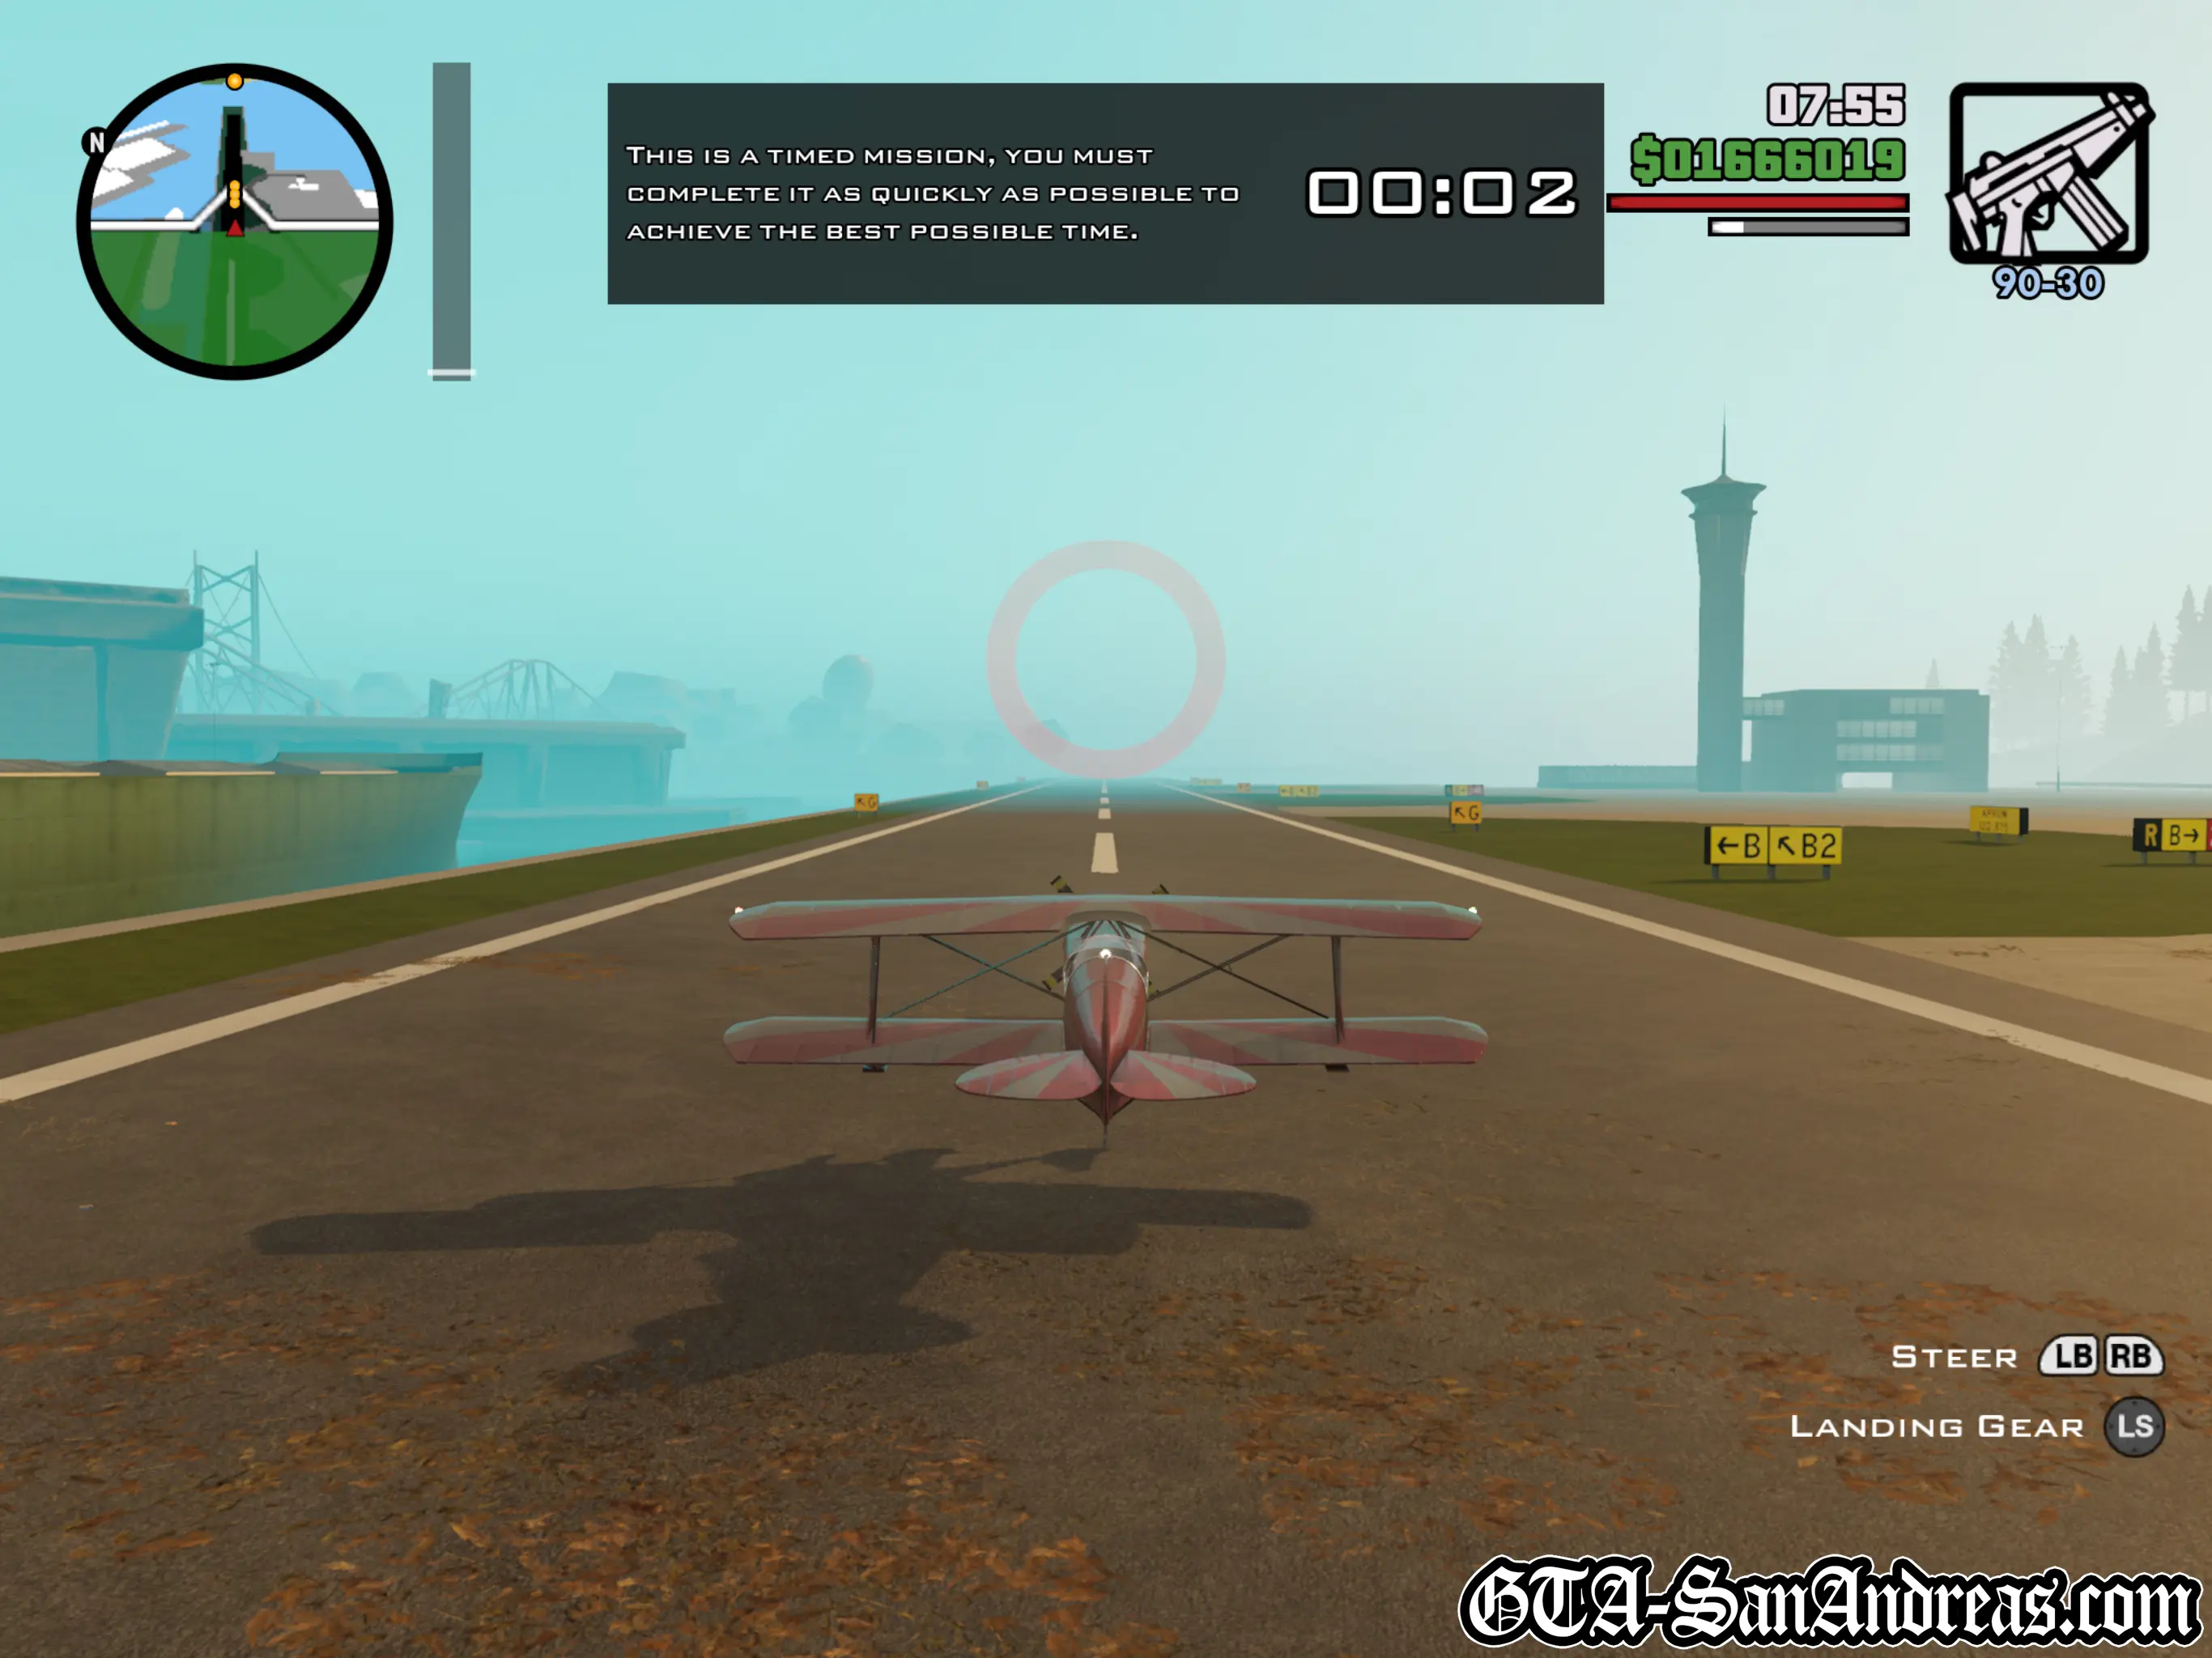
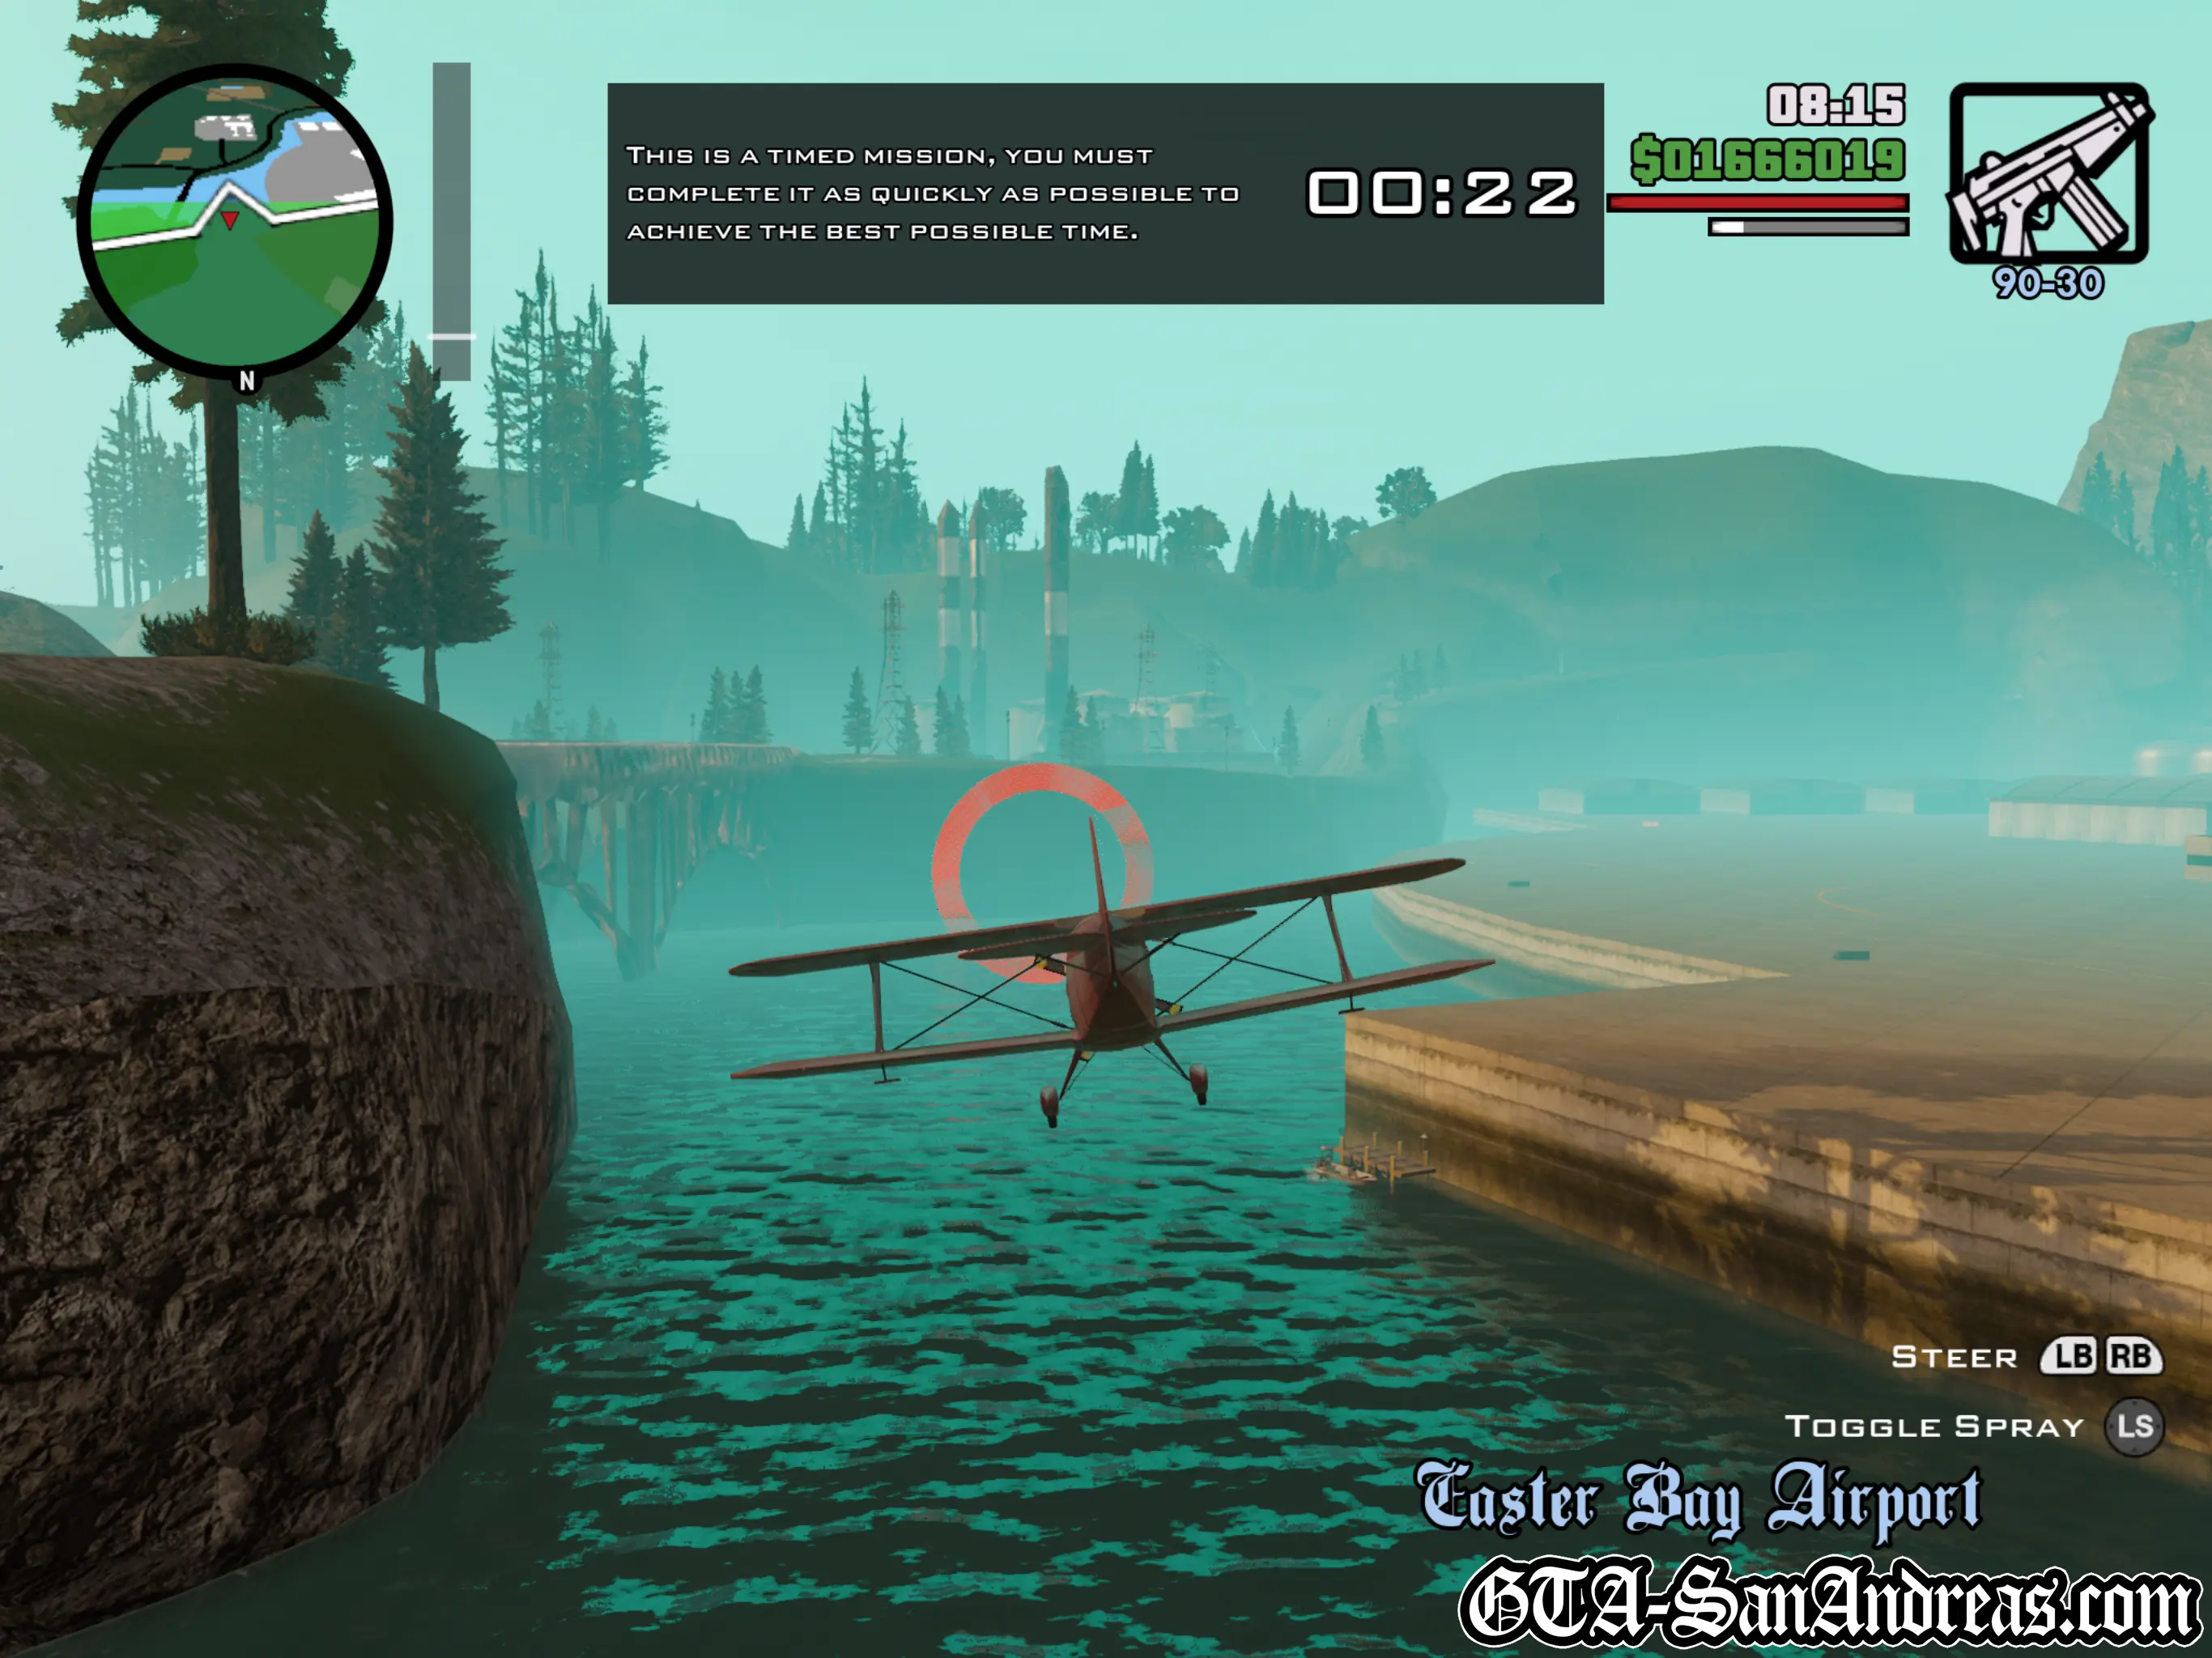
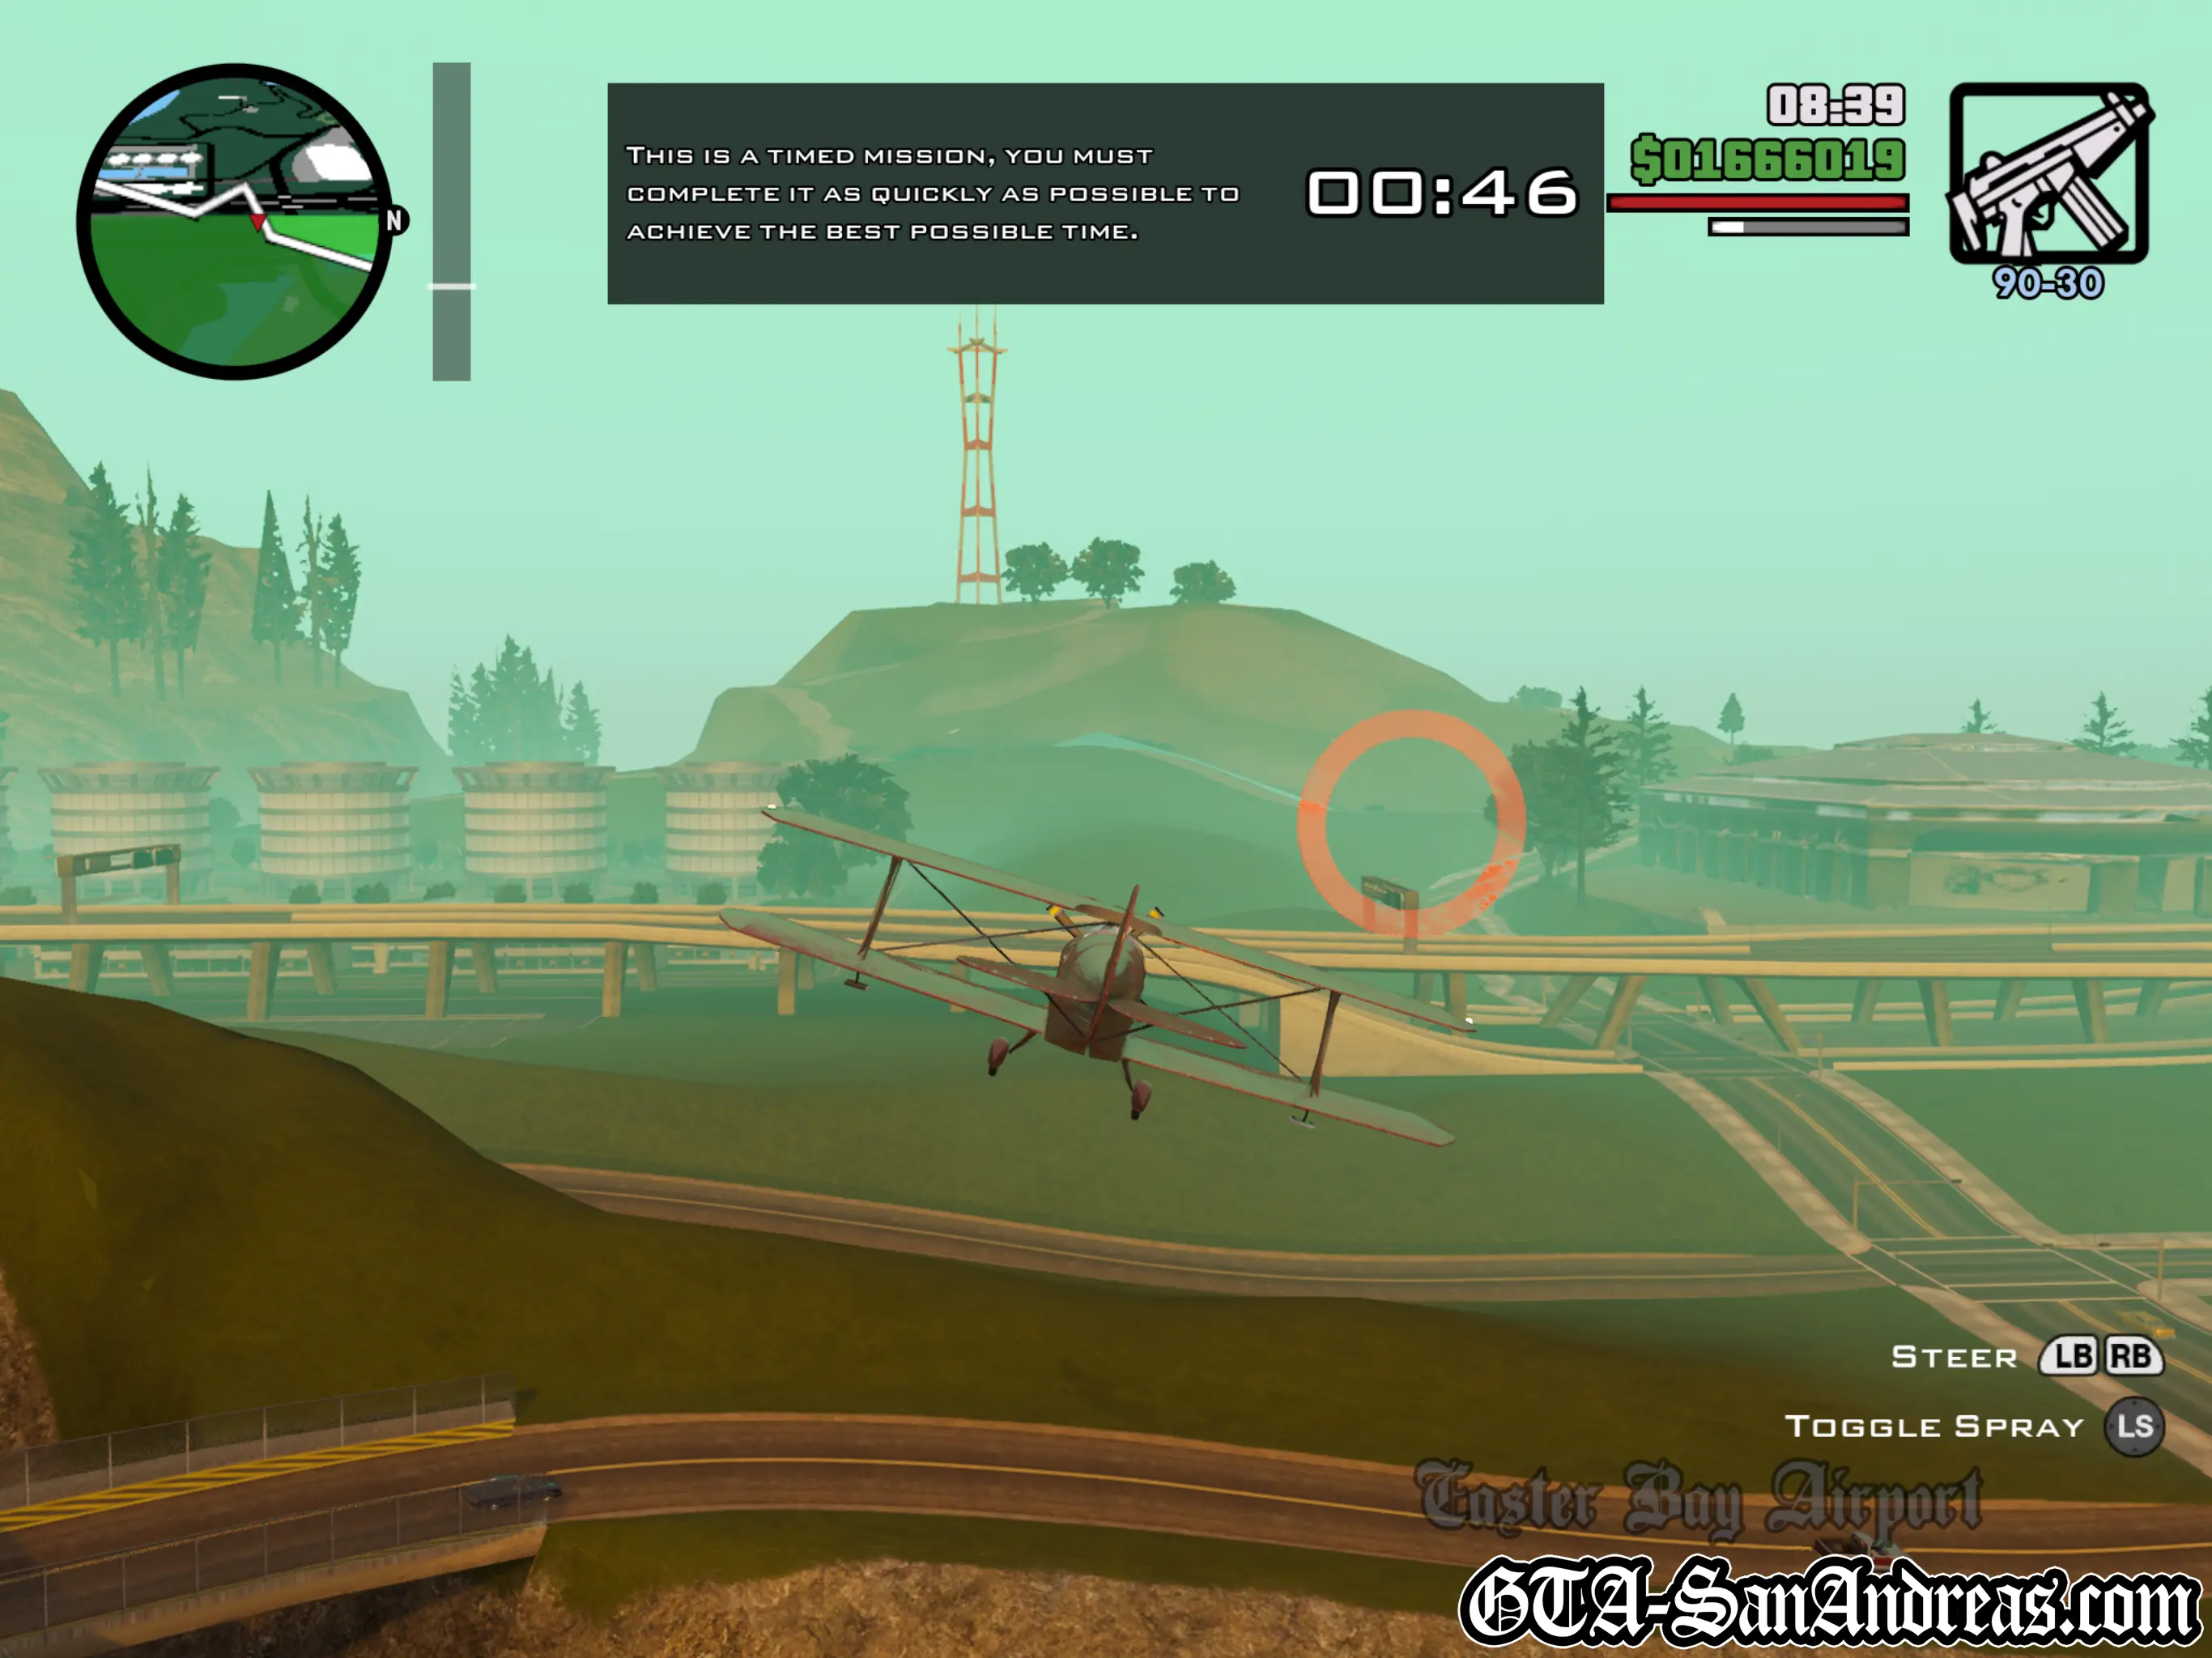
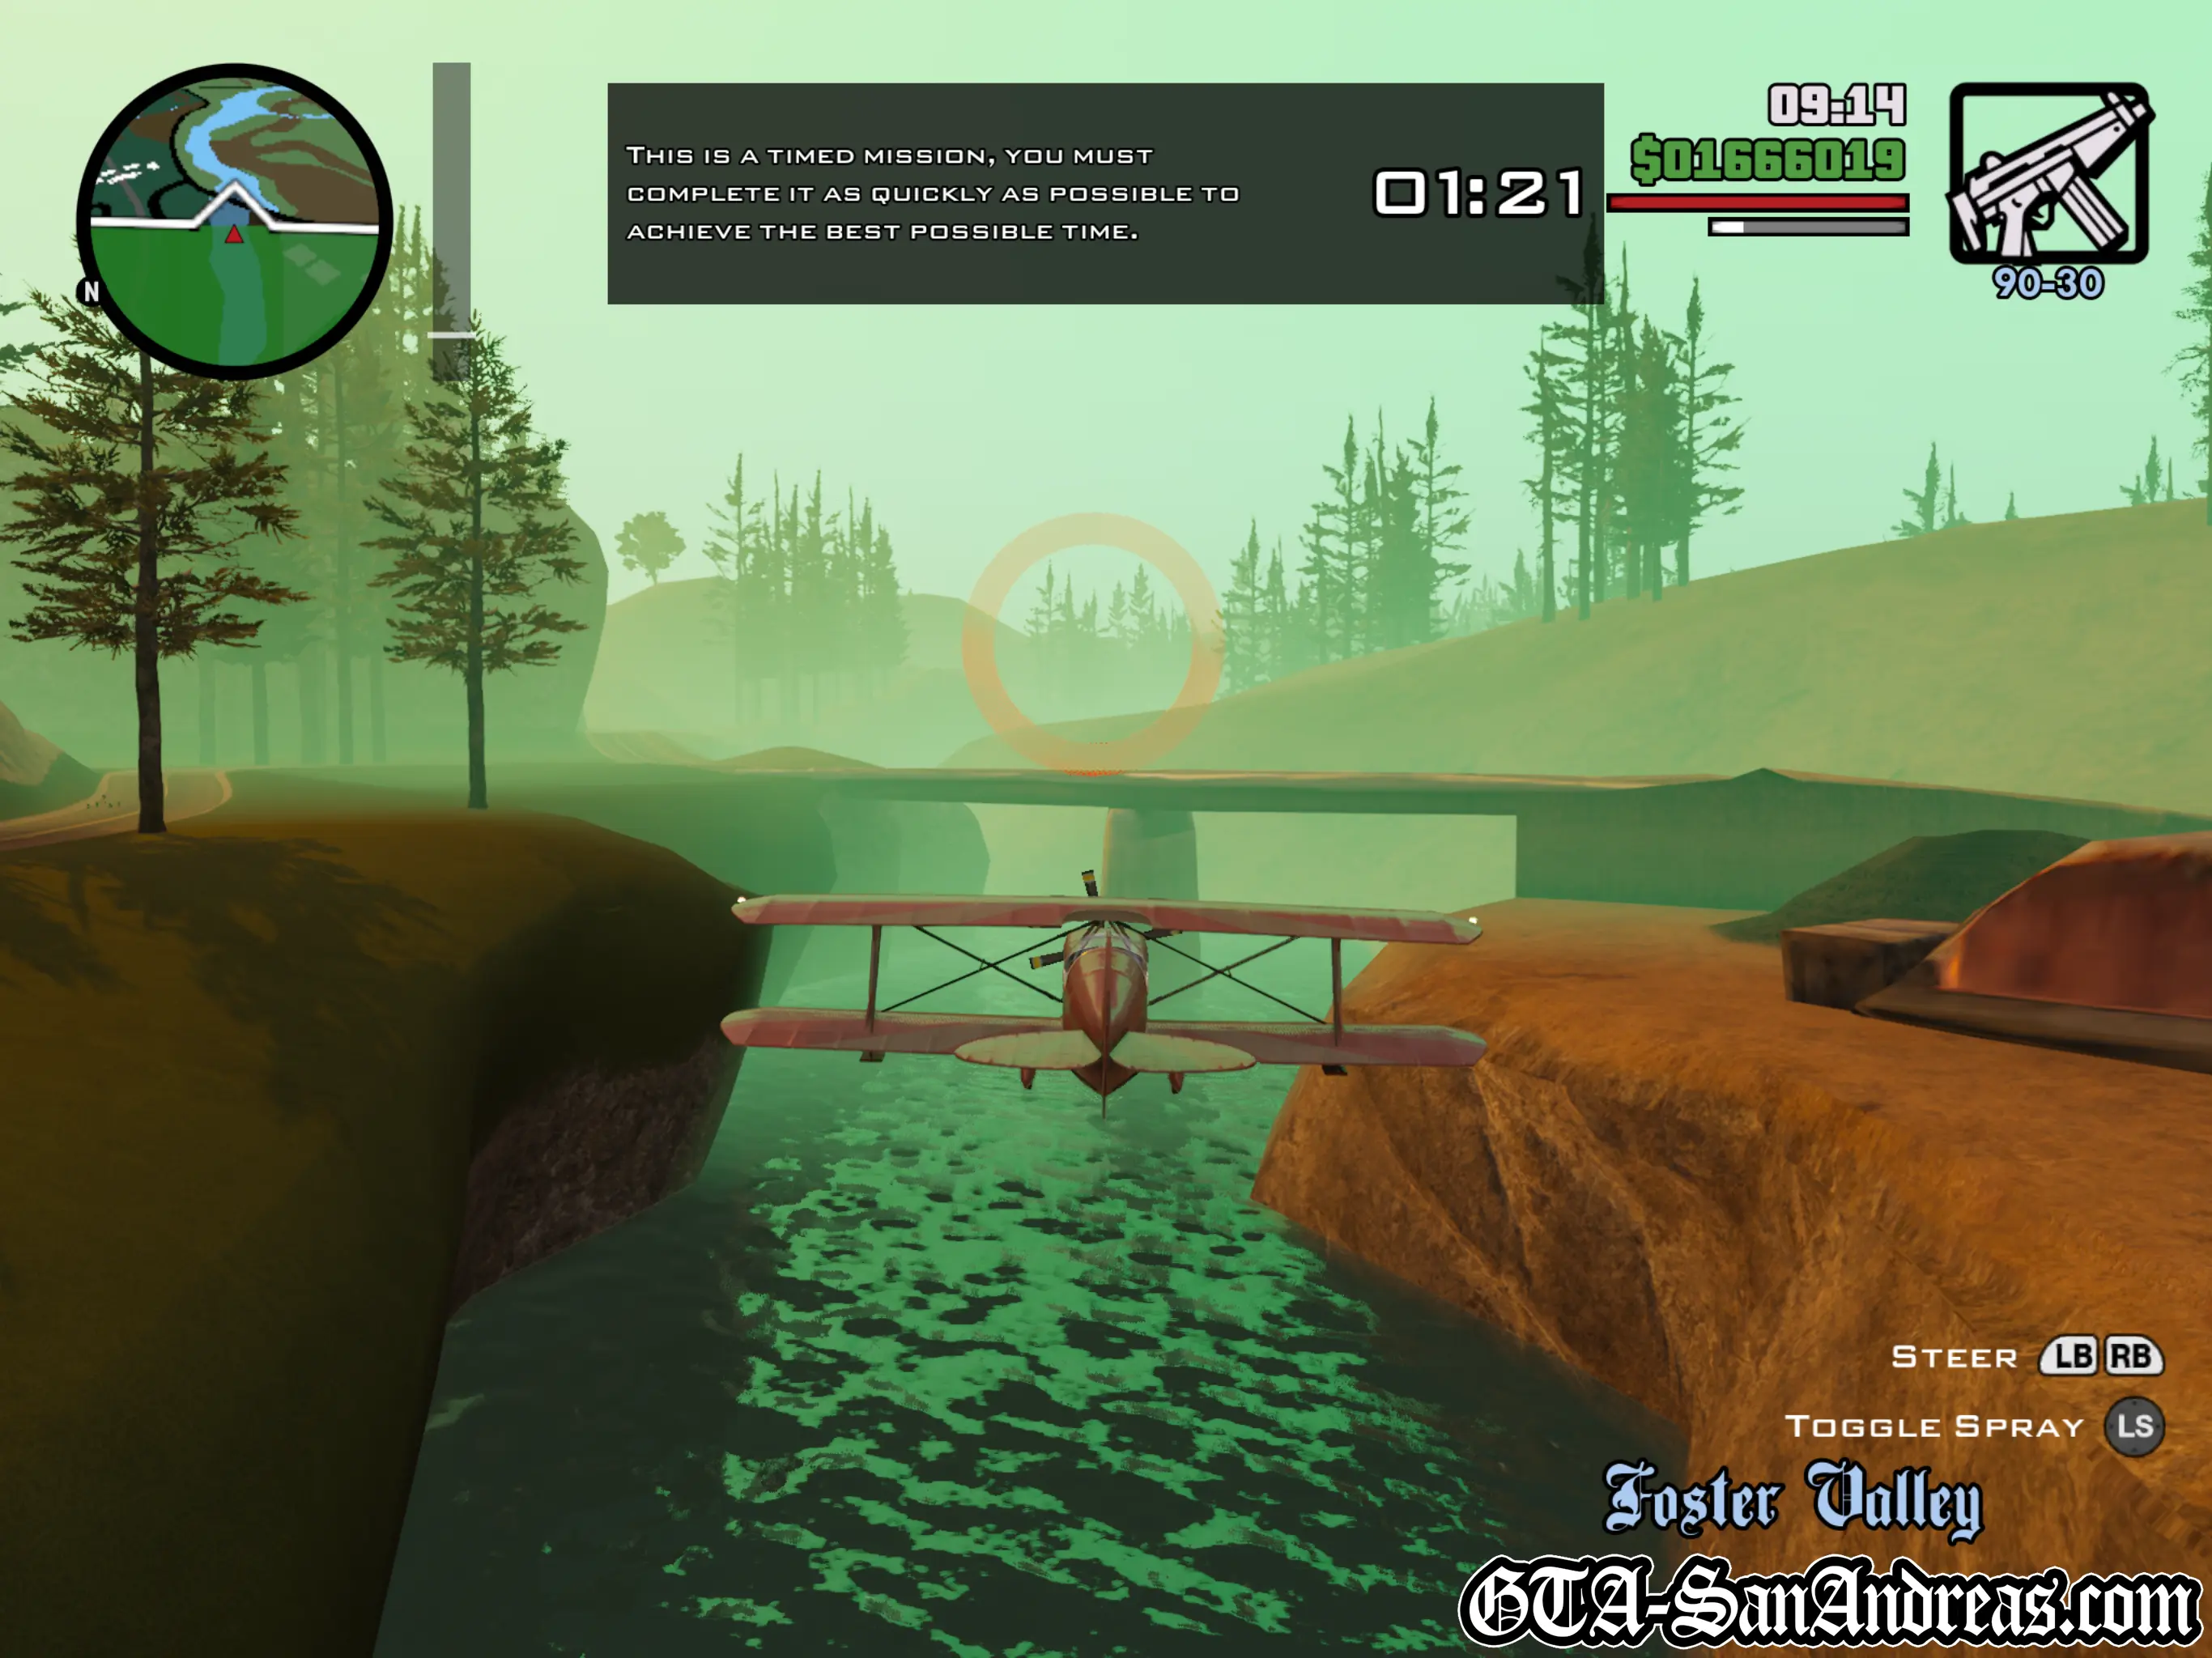
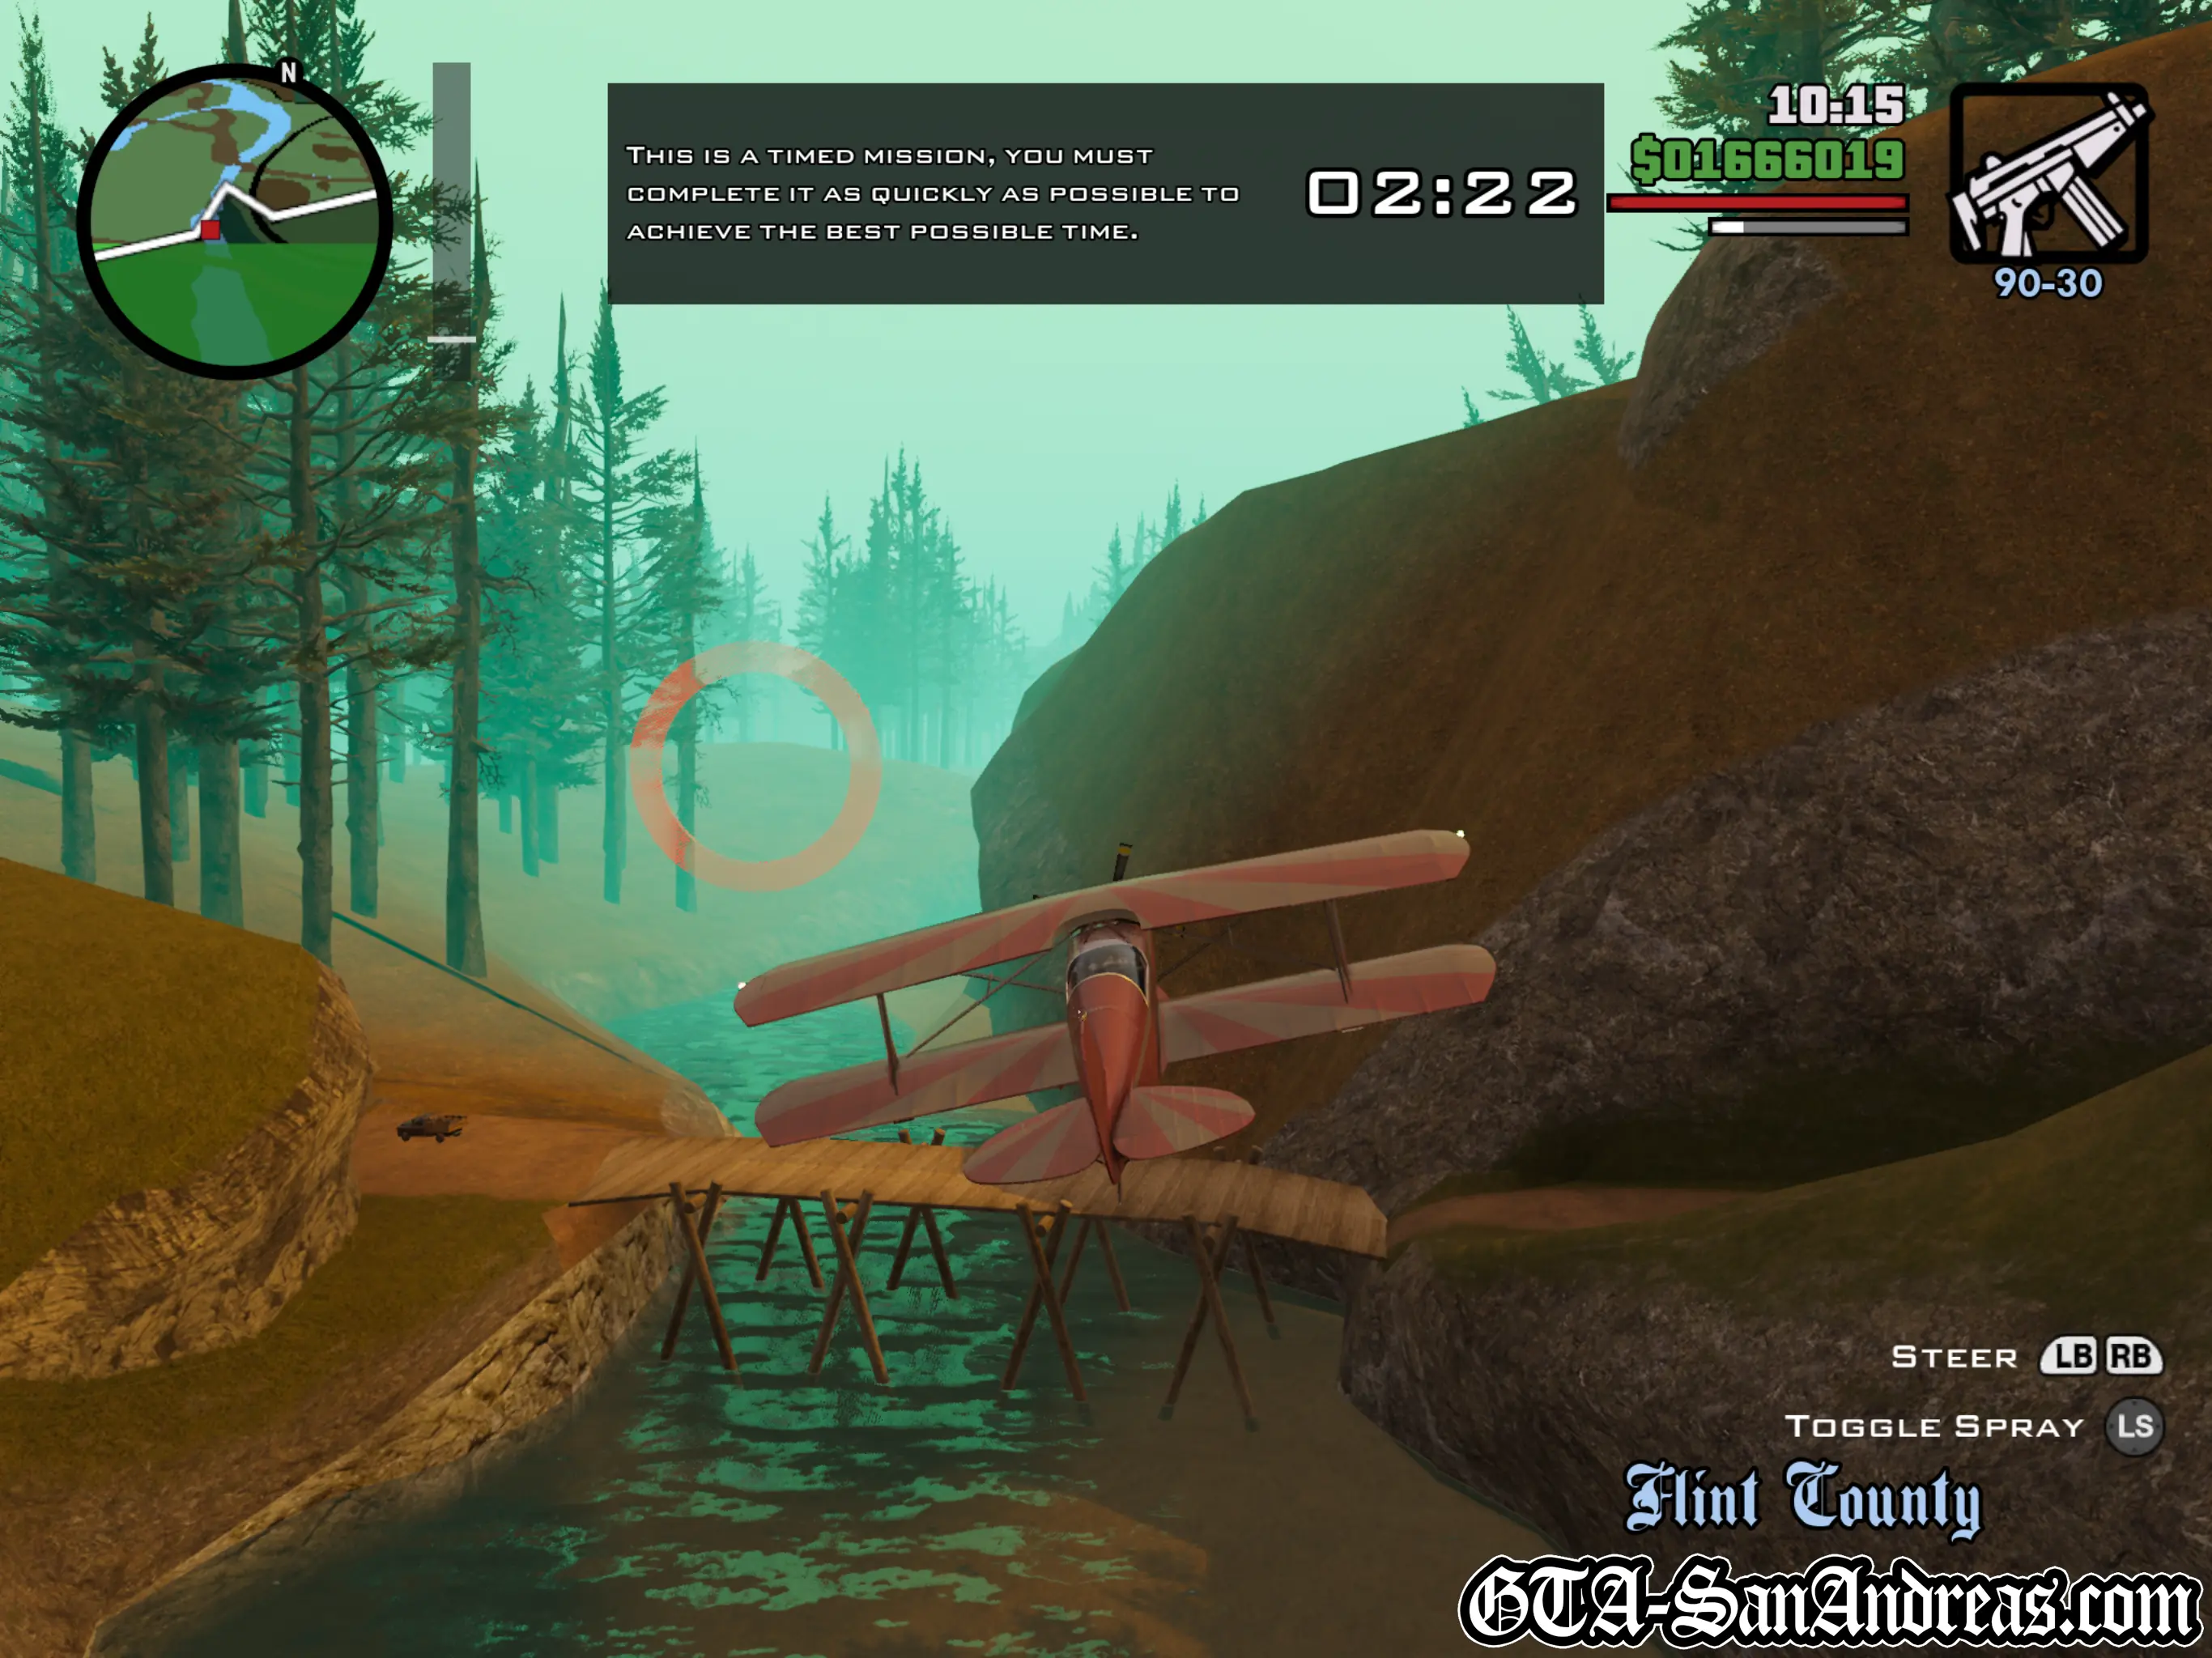
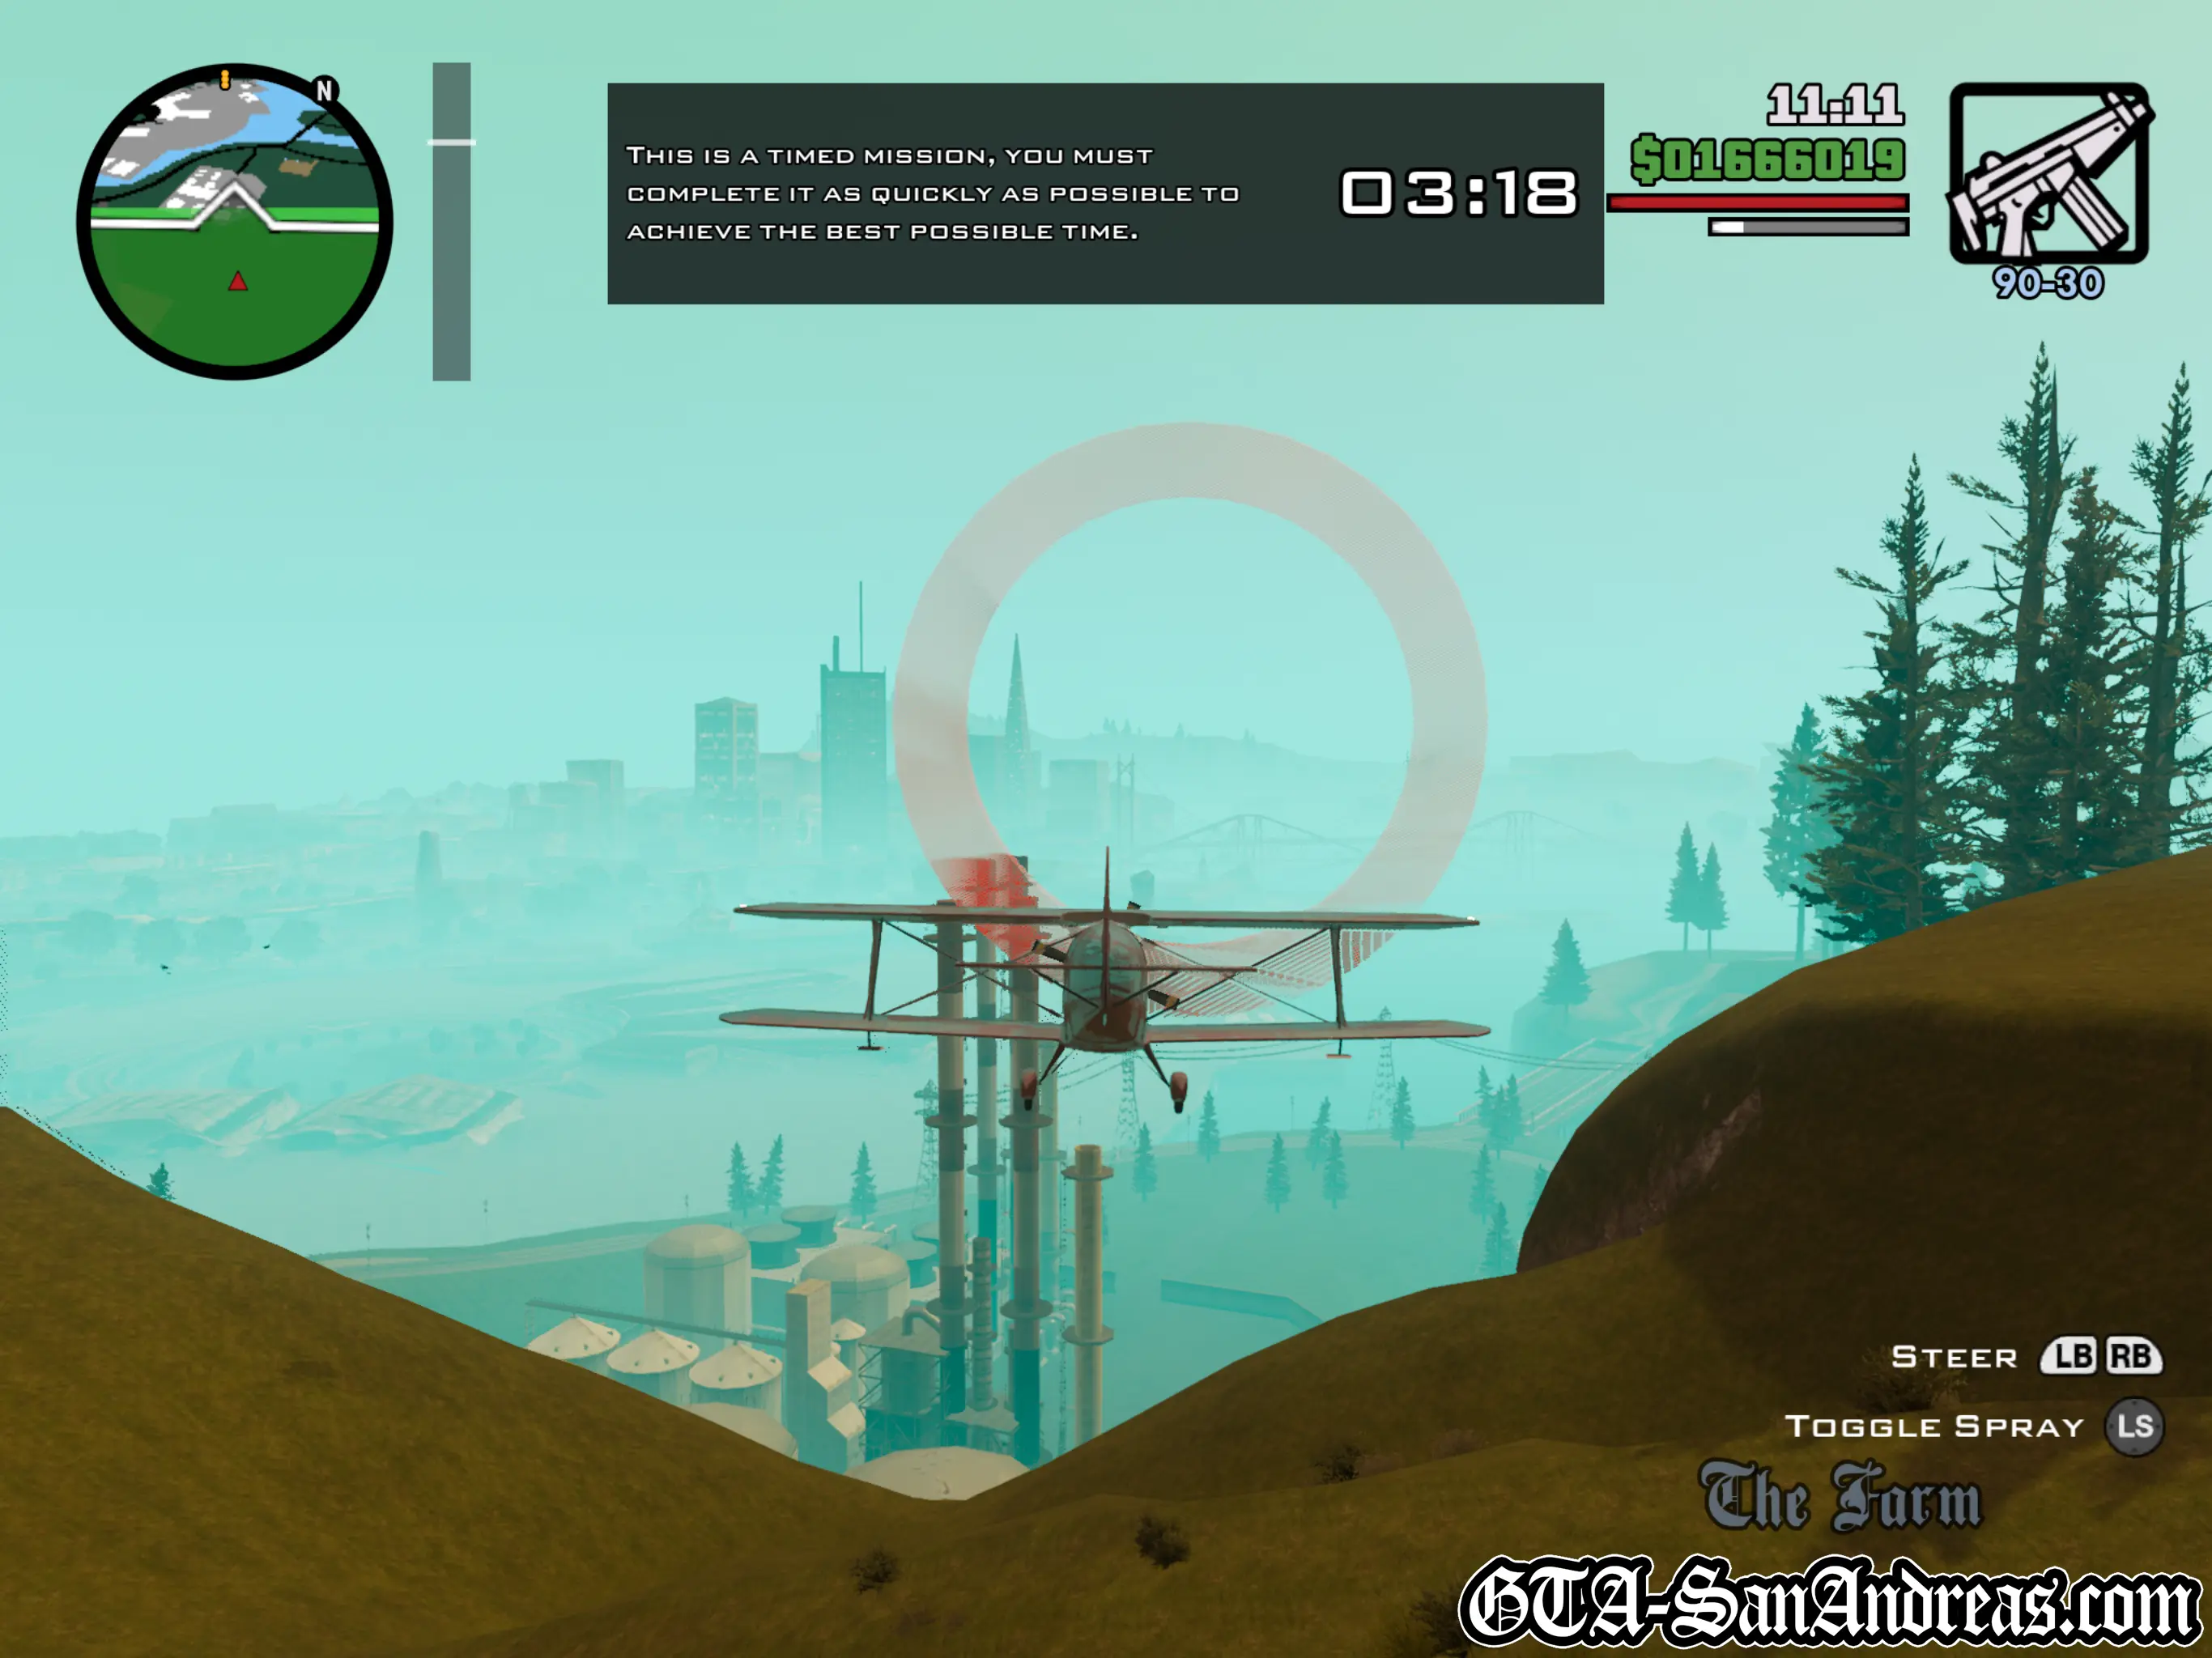
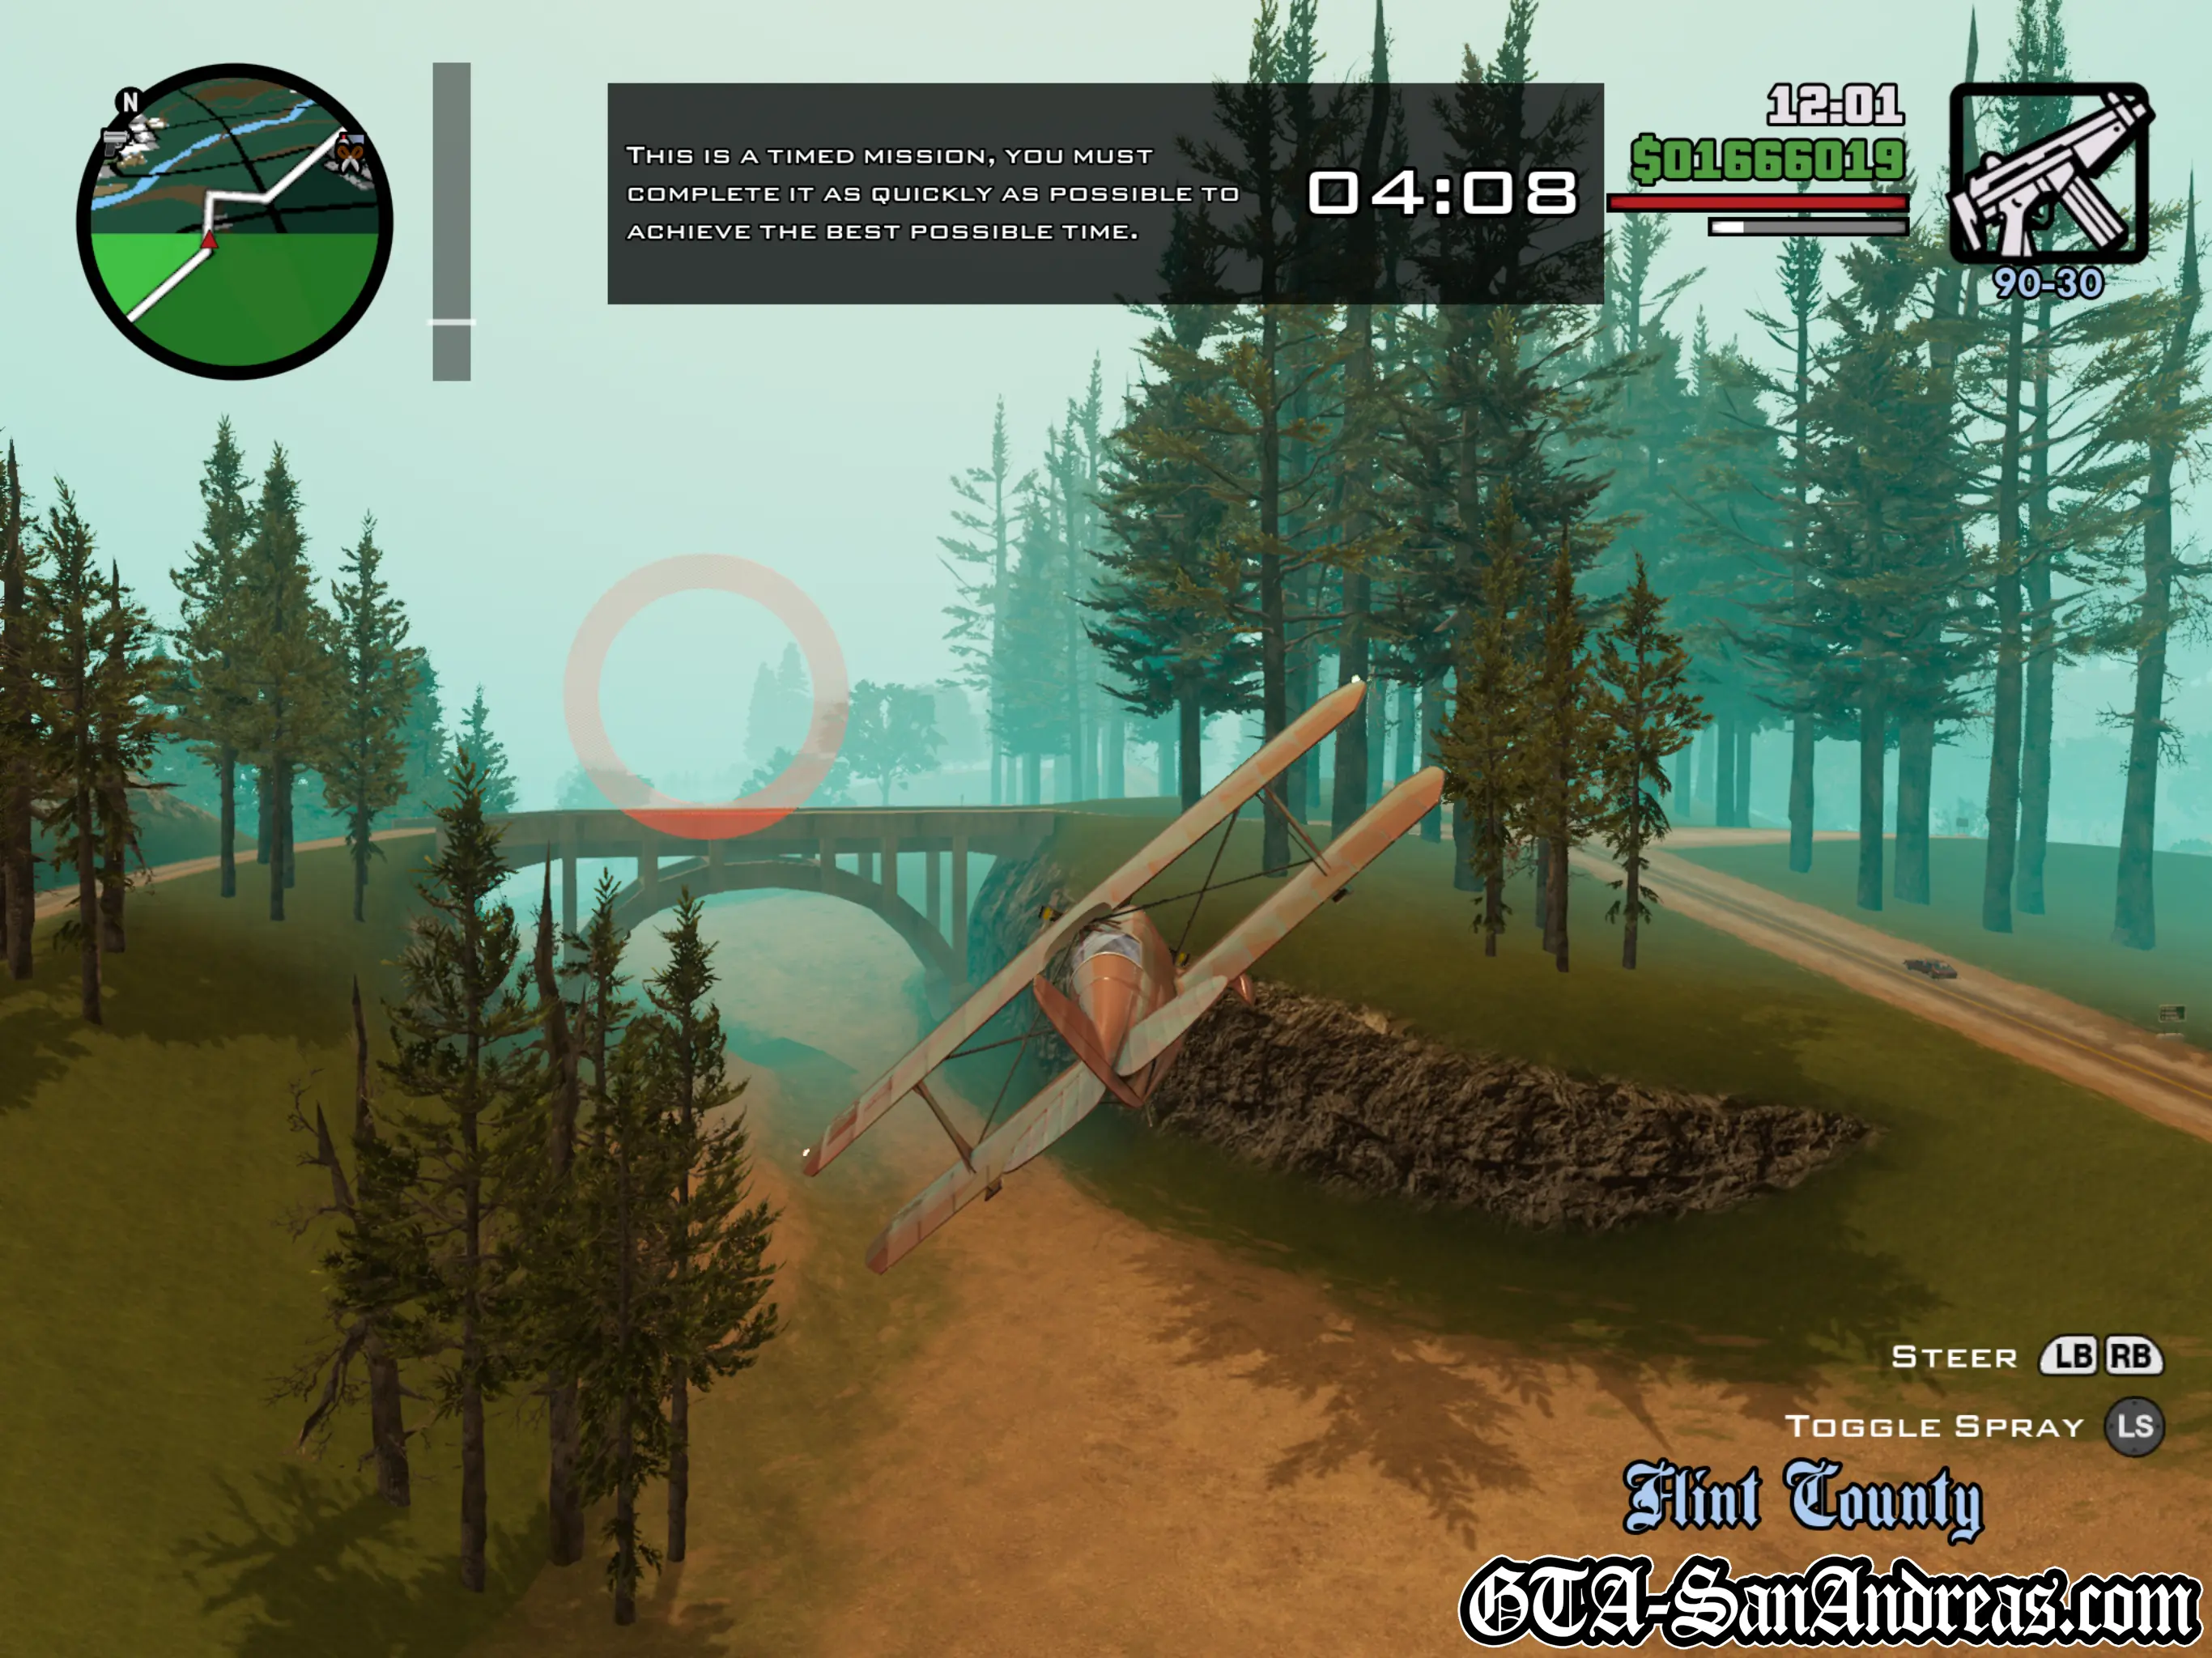
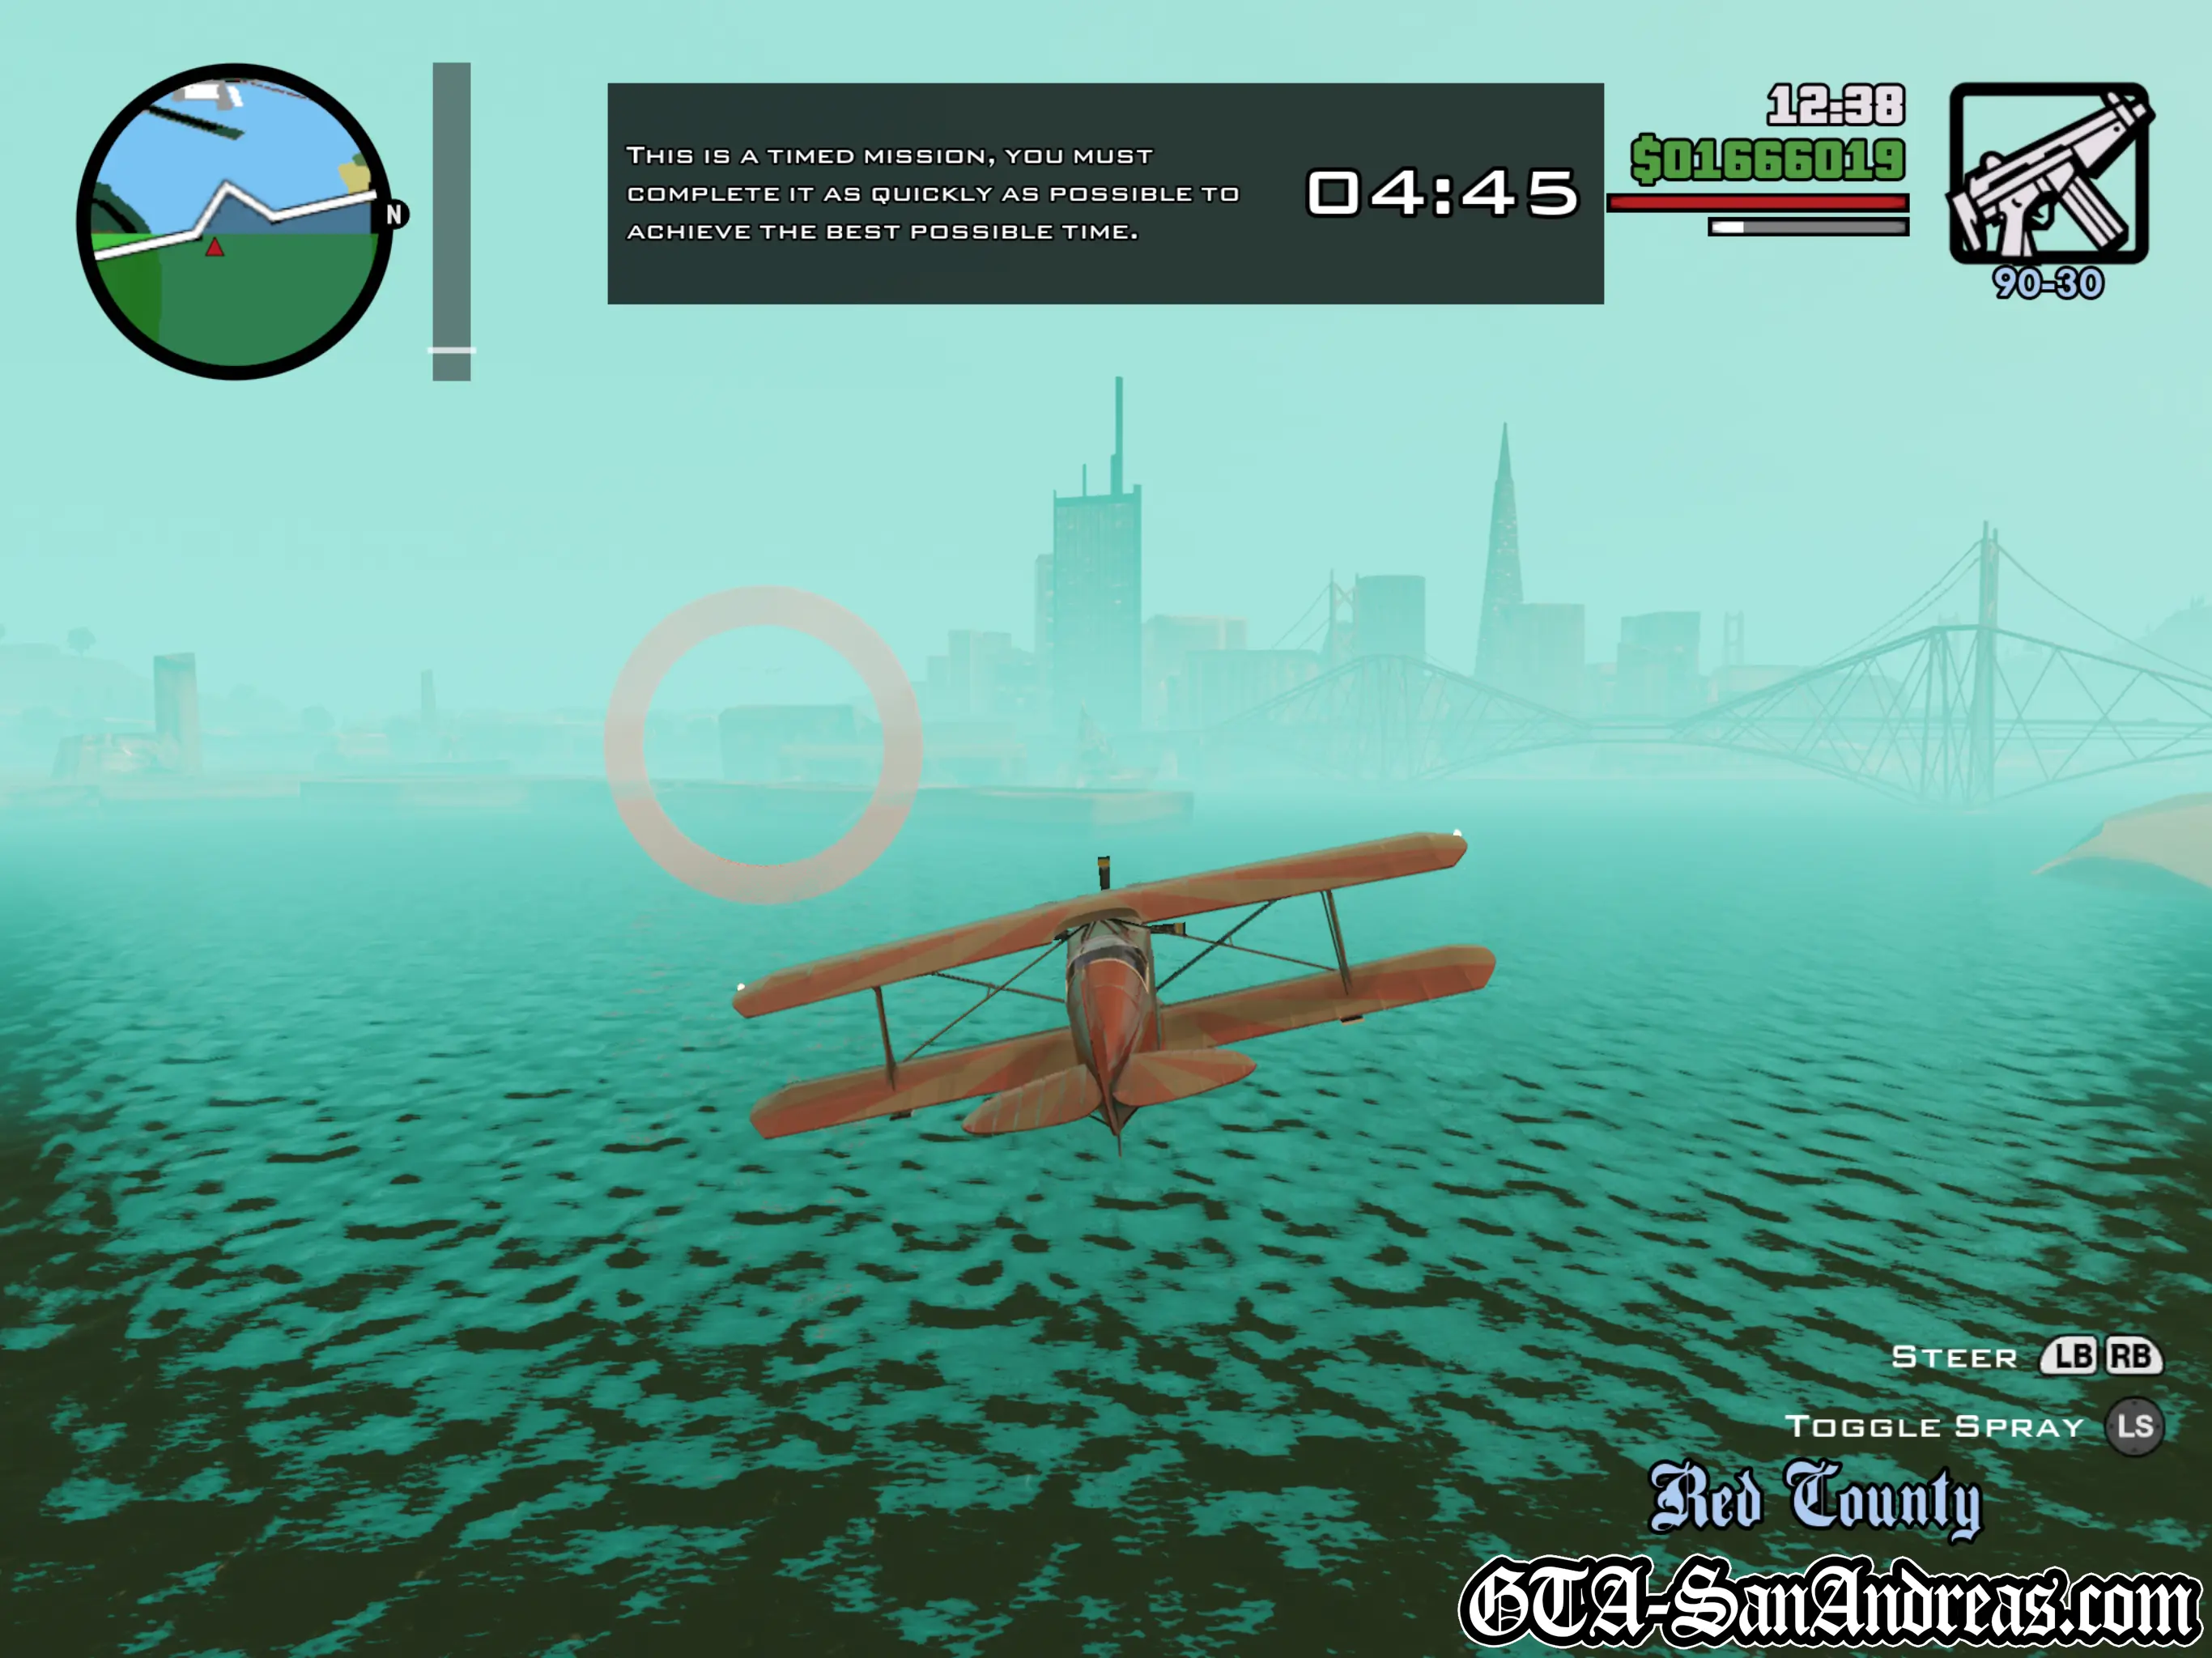
Barnstorming
This is not a race, it's a checkpoint collection challenge. You can take as long as you want to complete it.
Be aware that the planes are flying bombs and if you crash, you die.
I suggest you just take it easy and let the plane glide through the coronas, rather than flying with too much speed.
| Vehicle Provided | Route Distance |
|---|---|
| Stuntplane | 12.00 KM |
Tactics
The Stuntplane is probably the worst plane to fly in the game. Its handing is way over-responsive and you'll find yourself spinning around rather than turning slightly to change direction.
I suggest using the rudders with L2 or R2 and also let the plane glide rather than flying at top speed. Tapping accelerate works well too.
You can take as long as you want, but this track is pretty long, so you'll need to be careful not to crash for a good few minutes before you're done with it.
Trust me, if you can fly this plane, you can fly anything!
Screenshots
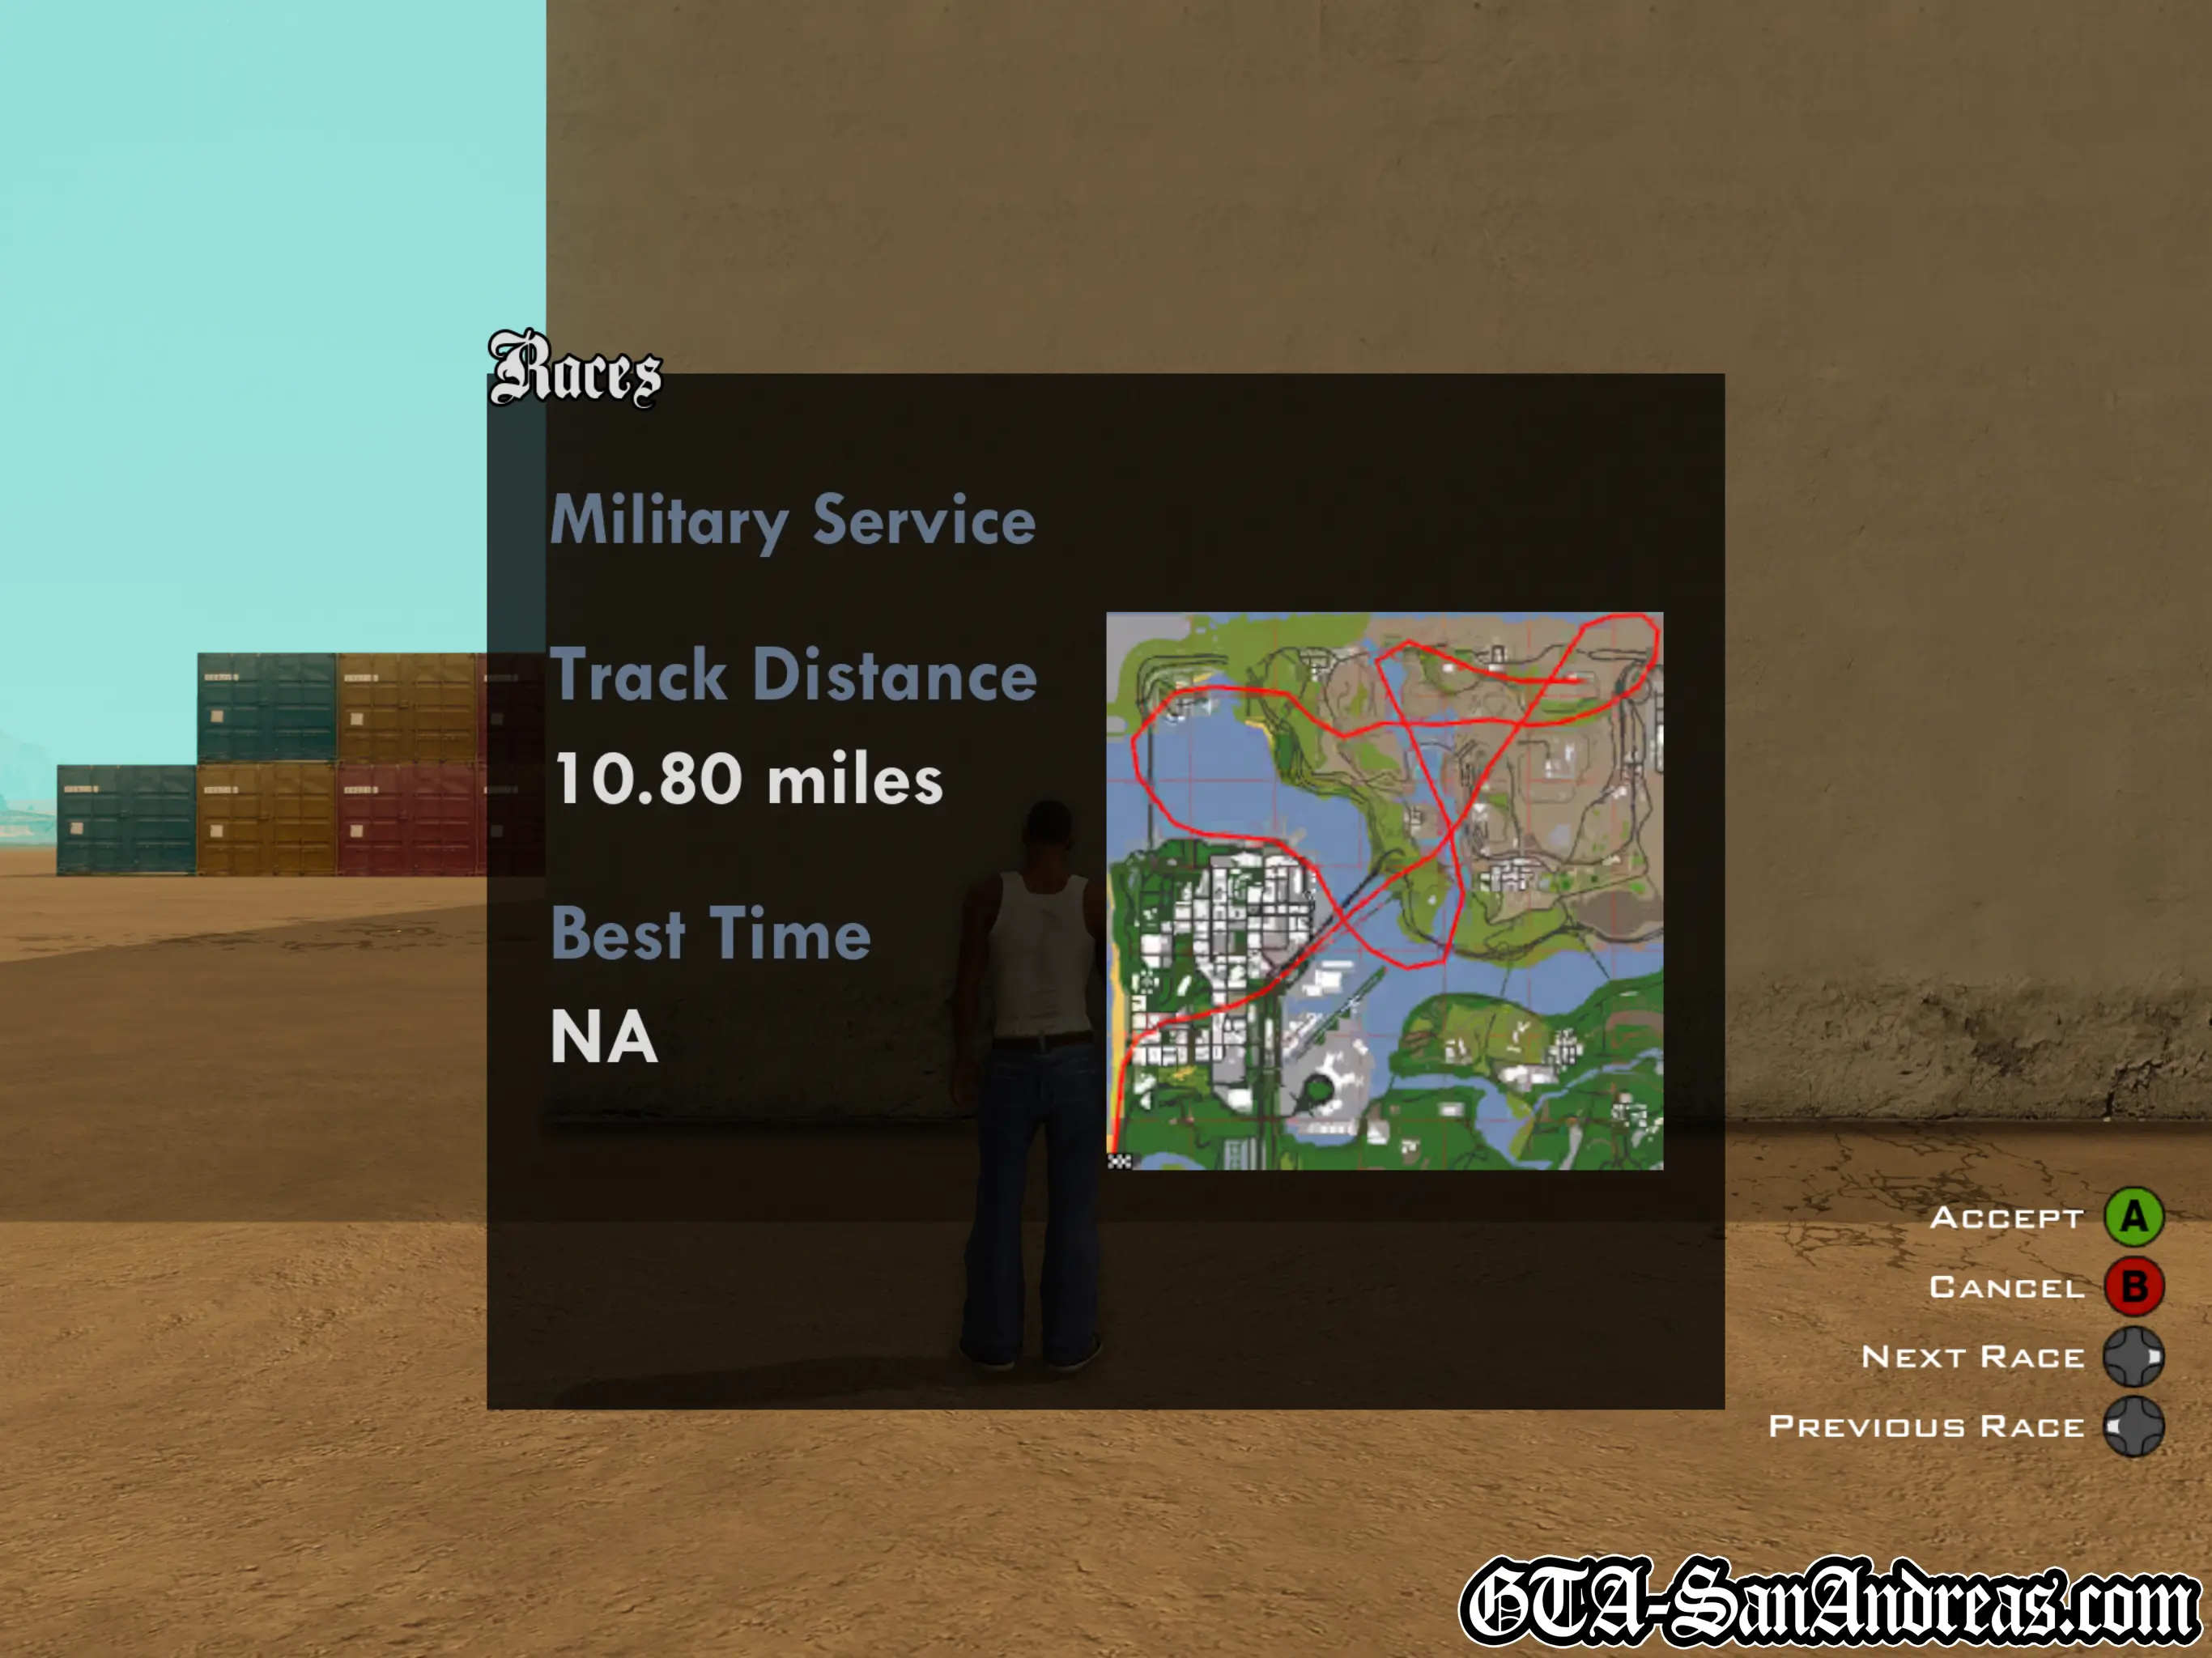
Military Service
This is not a race, it's a checkpoint collection challenge. You can take as long as you want to complete it.
Be aware that the planes are flying bombs and if you crash, you die.
I suggest you just take it easy and let the plane glide through the coronas, rather than flying with too much speed.
| Vehicle Provided | Route Distance |
|---|---|
| Hydra | 17.00 KM |
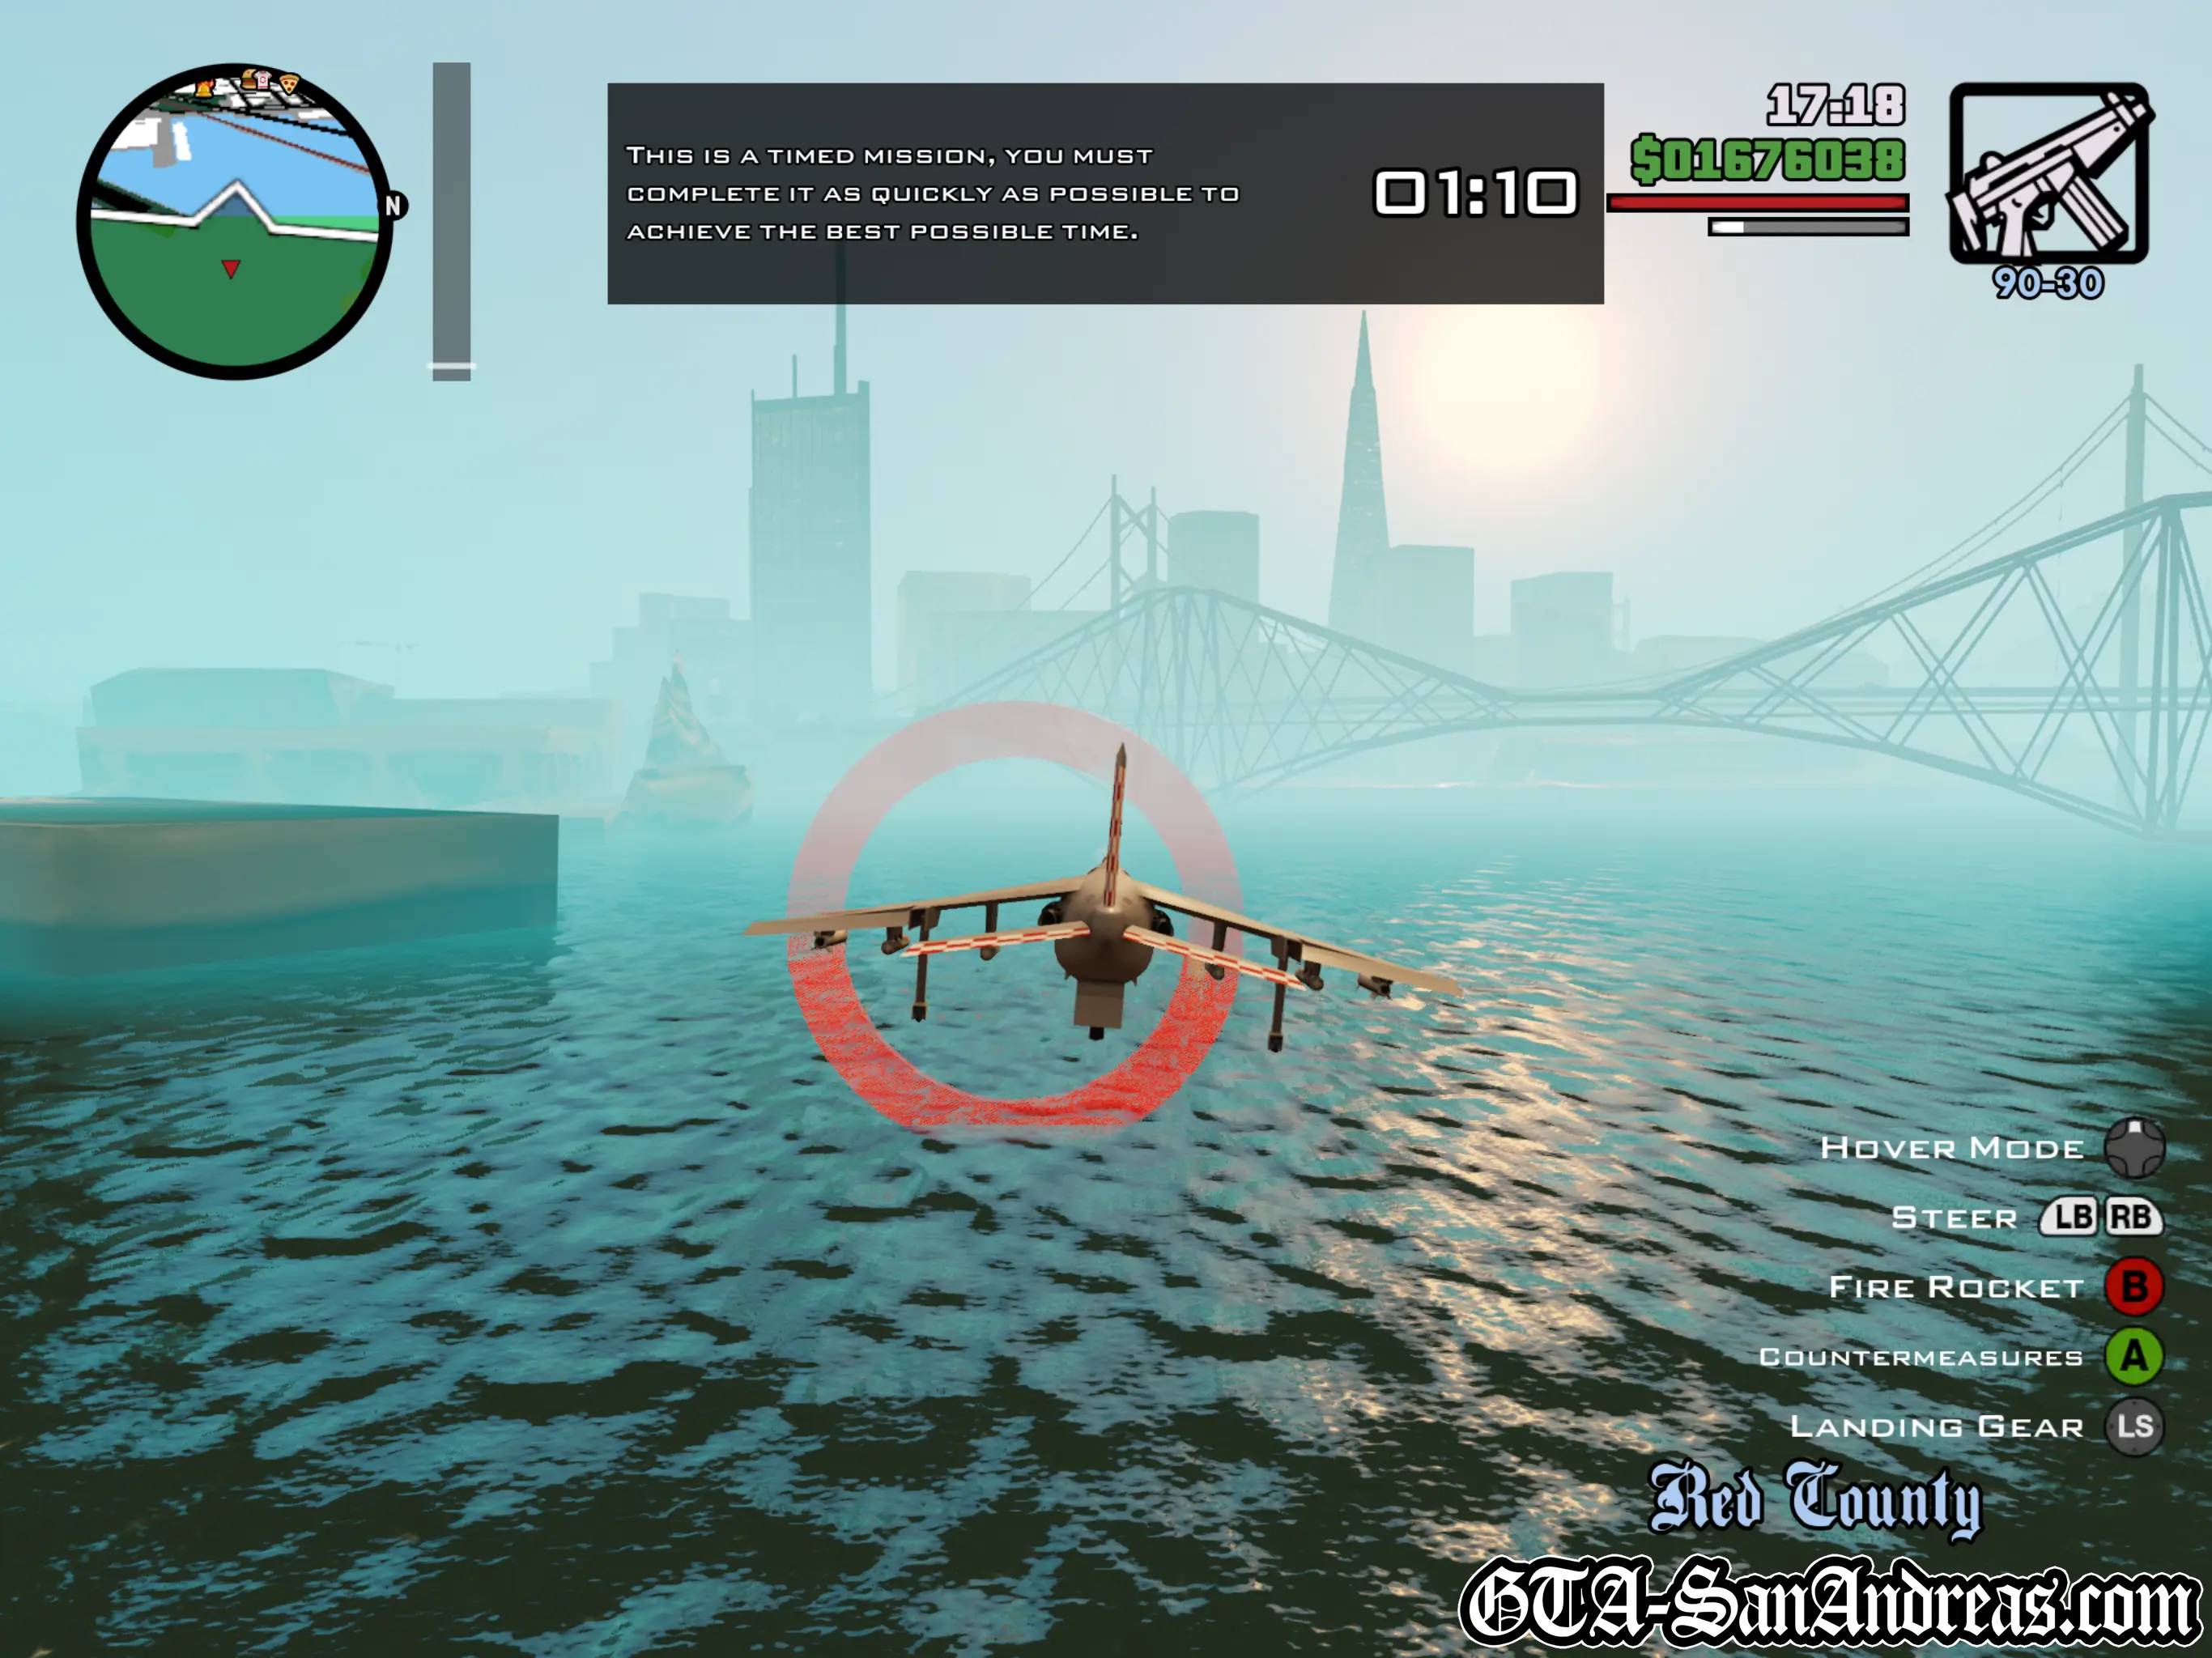
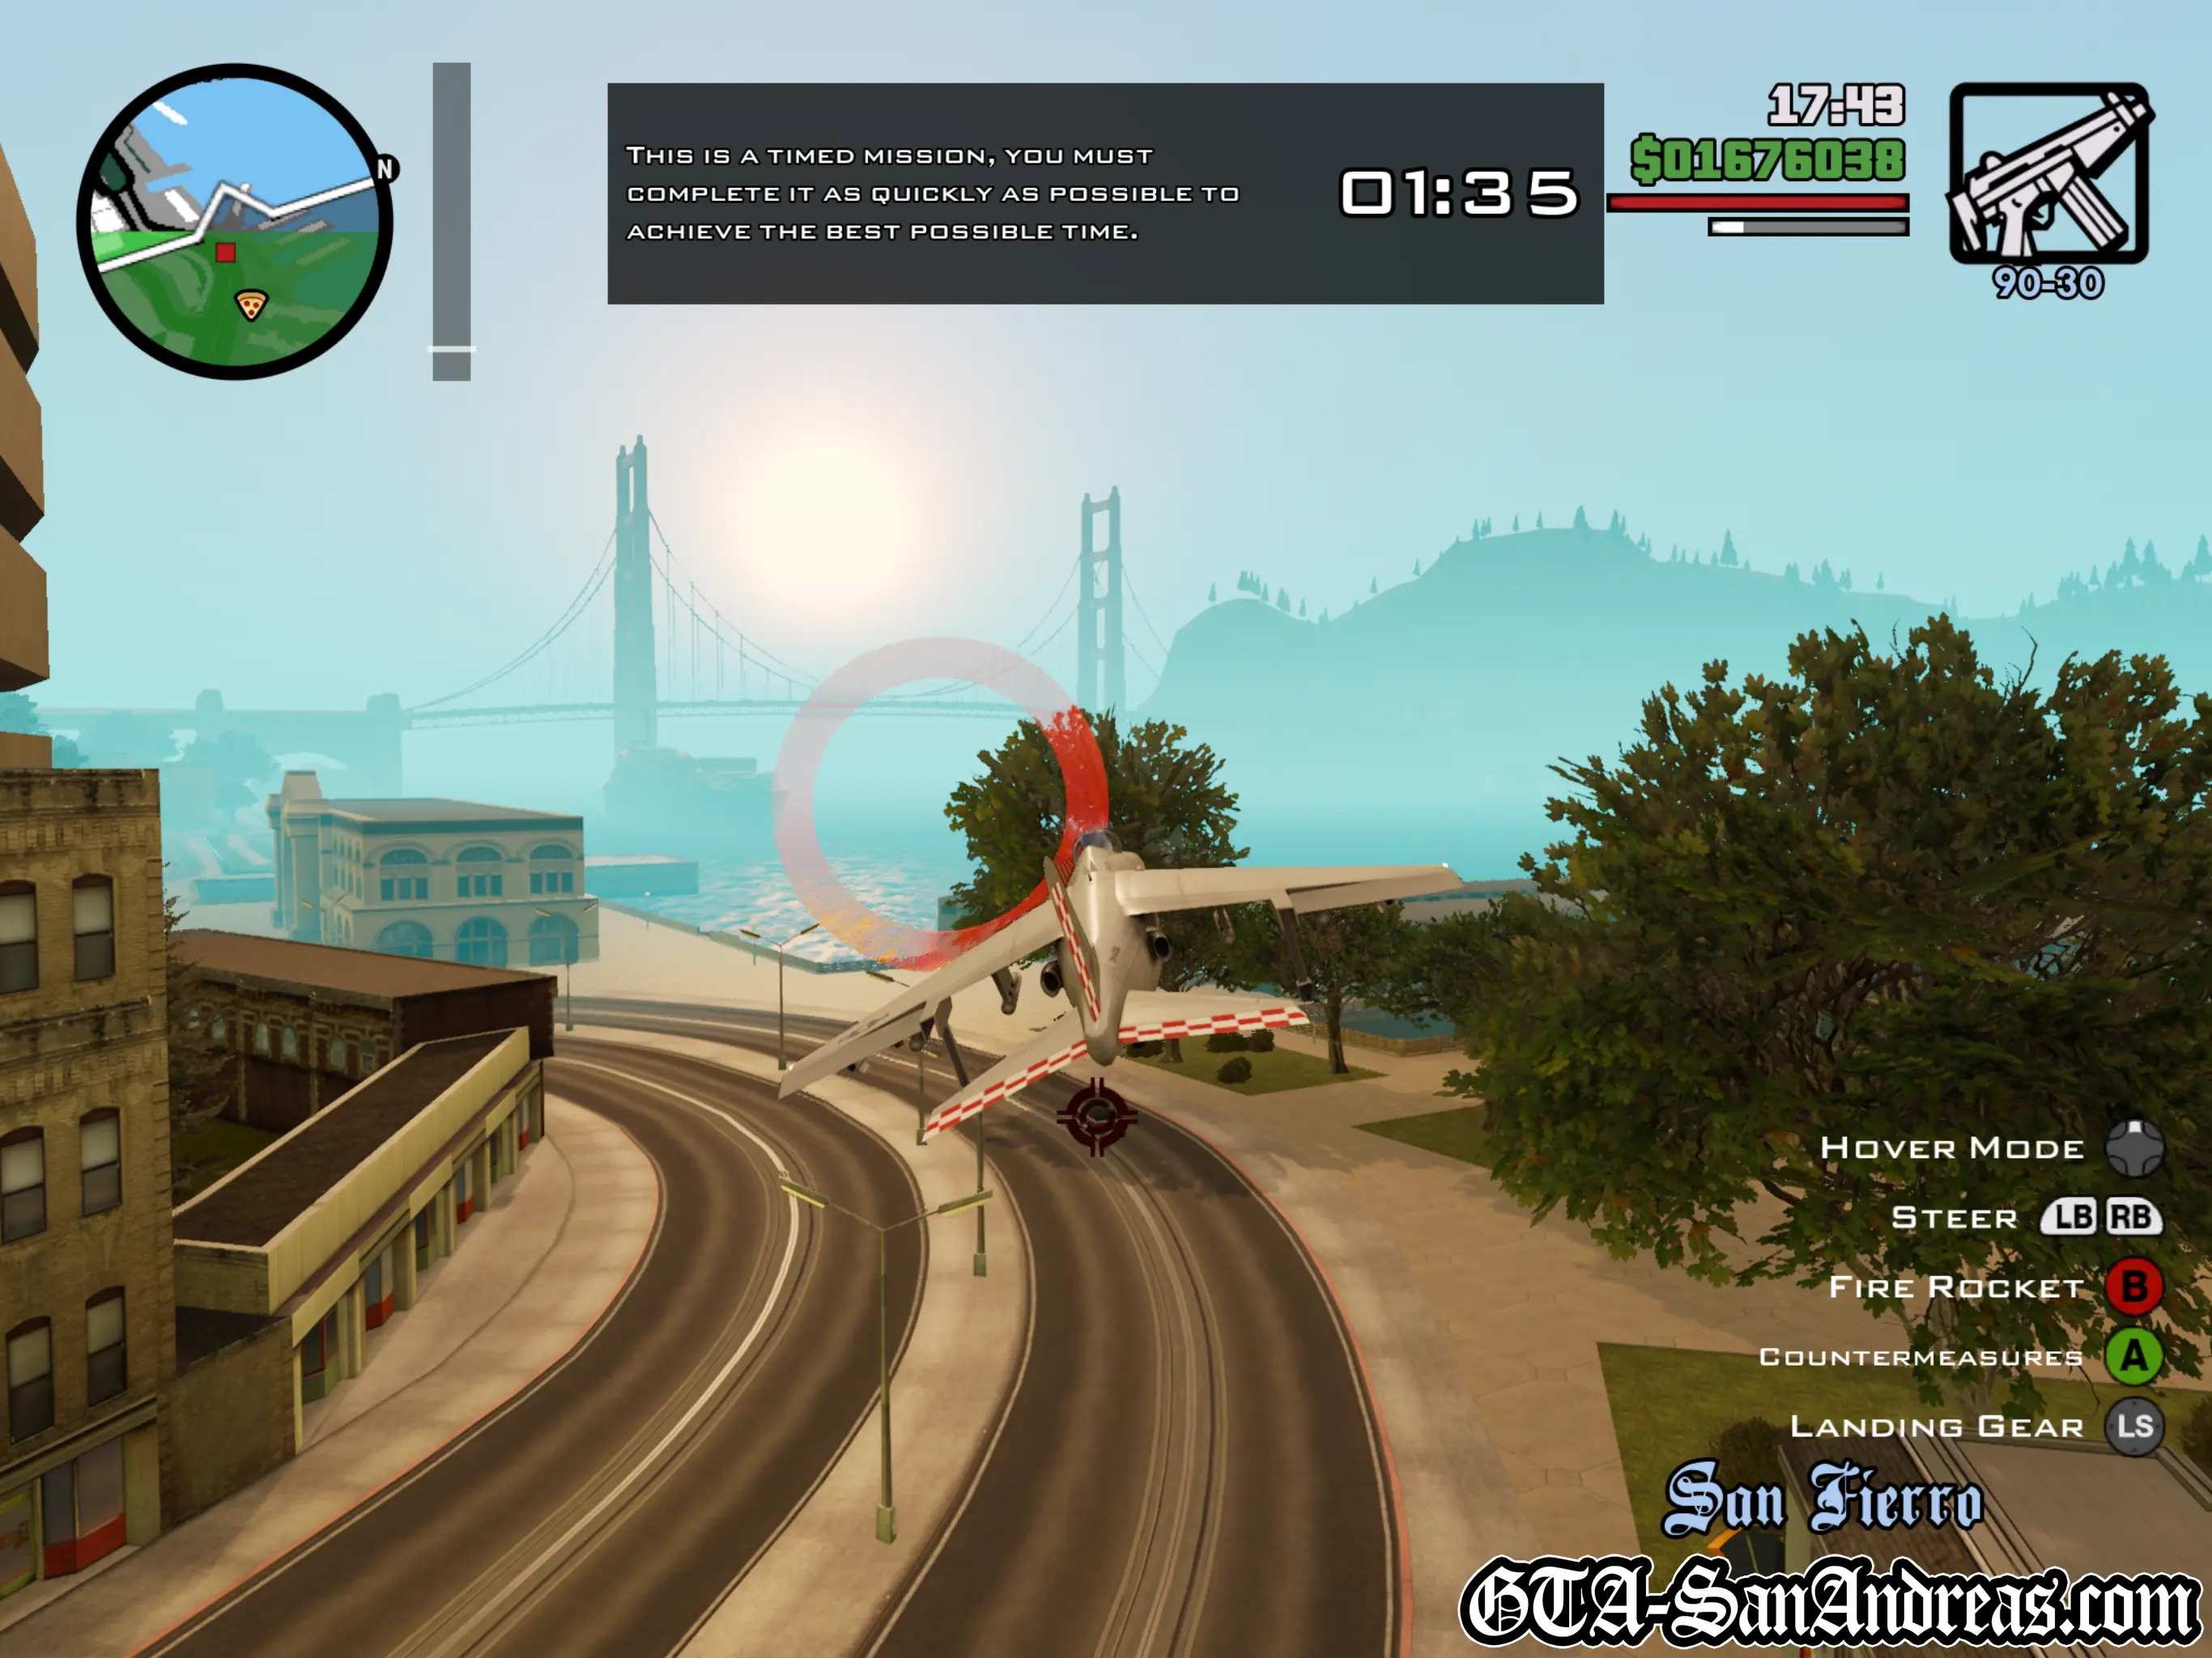
Tactics
This is technically the longest race in the game, yet can be completed in one of the quickest times!
Don't forget that the Hydra is a Jump Jet and can fly in hover mode AND flight mode. Hold forward on the R3 stick for about 2 seconds to switch to full flight mode and you'll notice the incredible speed boost. If you feel like the plane is barely moving you're probably still stuck in hover mode.
It has great handling, but you might miss a few checkpoints because of the speed, so be prepared to go back.
I'd say it's best to go into full flight mode, but glide rather than full throttle to move at a reasonable speed so that you don't miss any checkpoints.
Screenshots

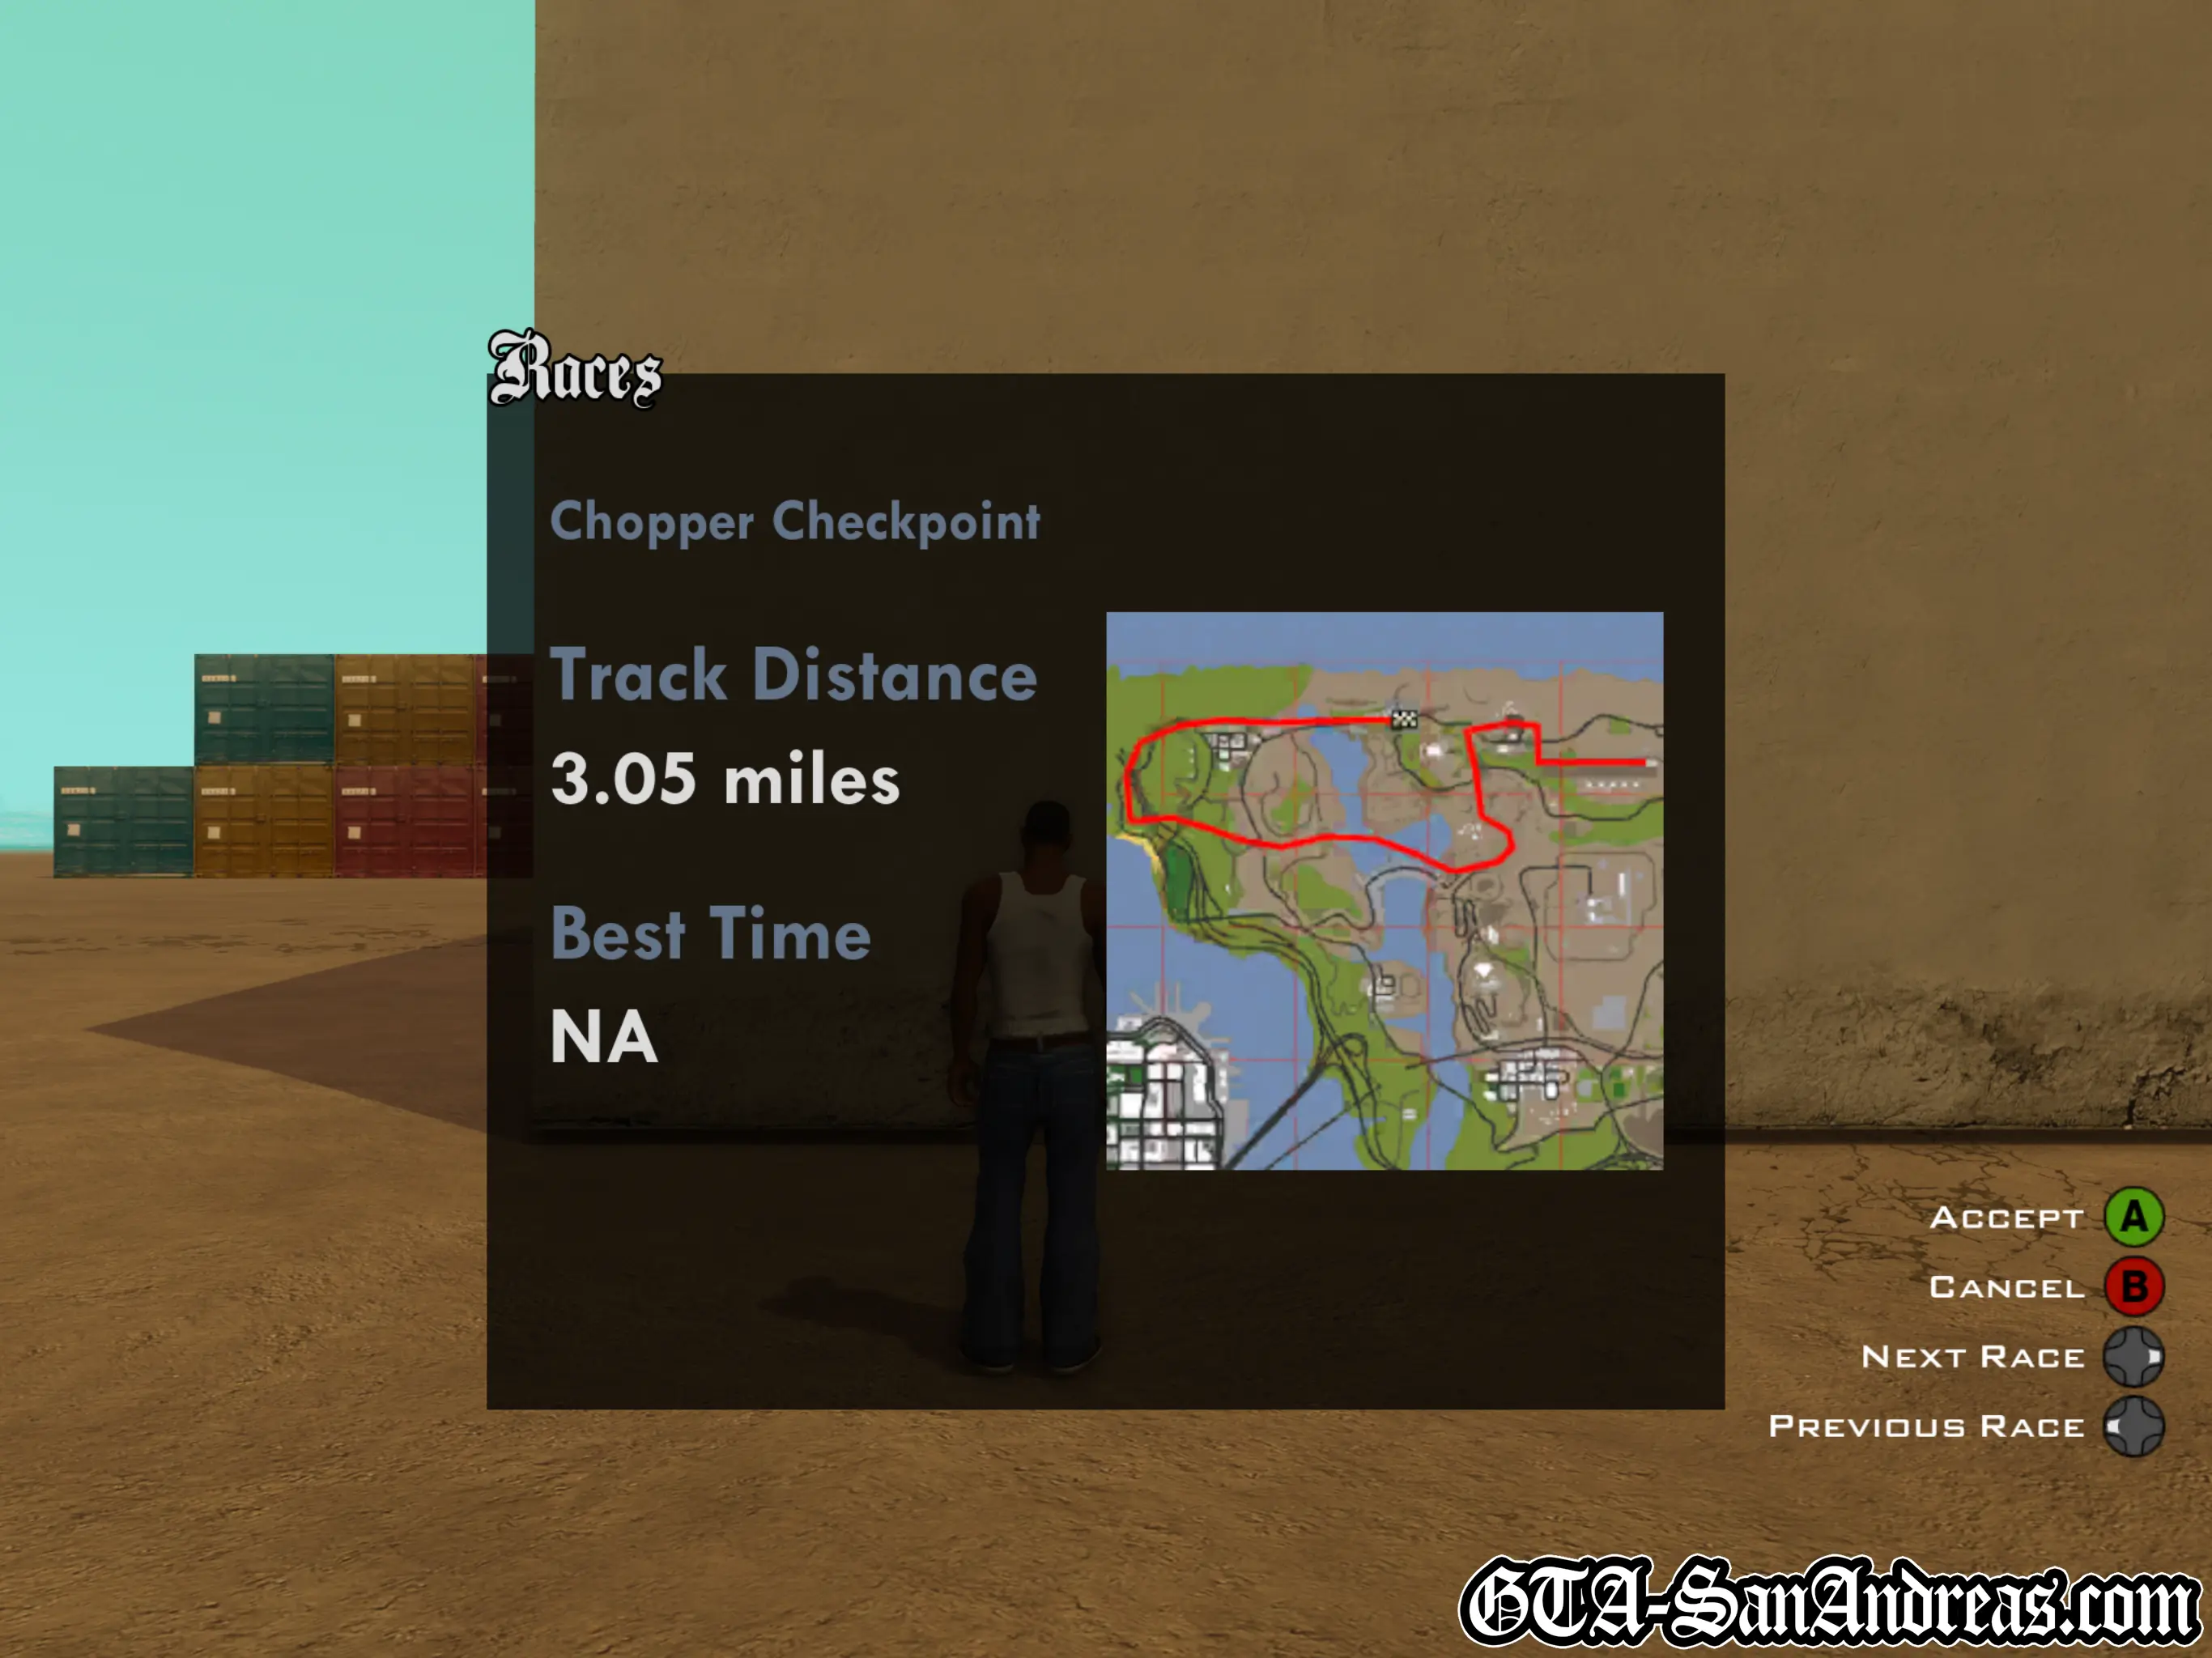
Chopper Checkpoint
This is not a race, it's a checkpoint collection challenge. You can take as long as you want to complete it.
Be aware that the helicopters will explode if they take too much collision damage and you'll die.
| Vehicle Provided | Route Distance |
|---|---|
| Maverick | 4.00 KM |
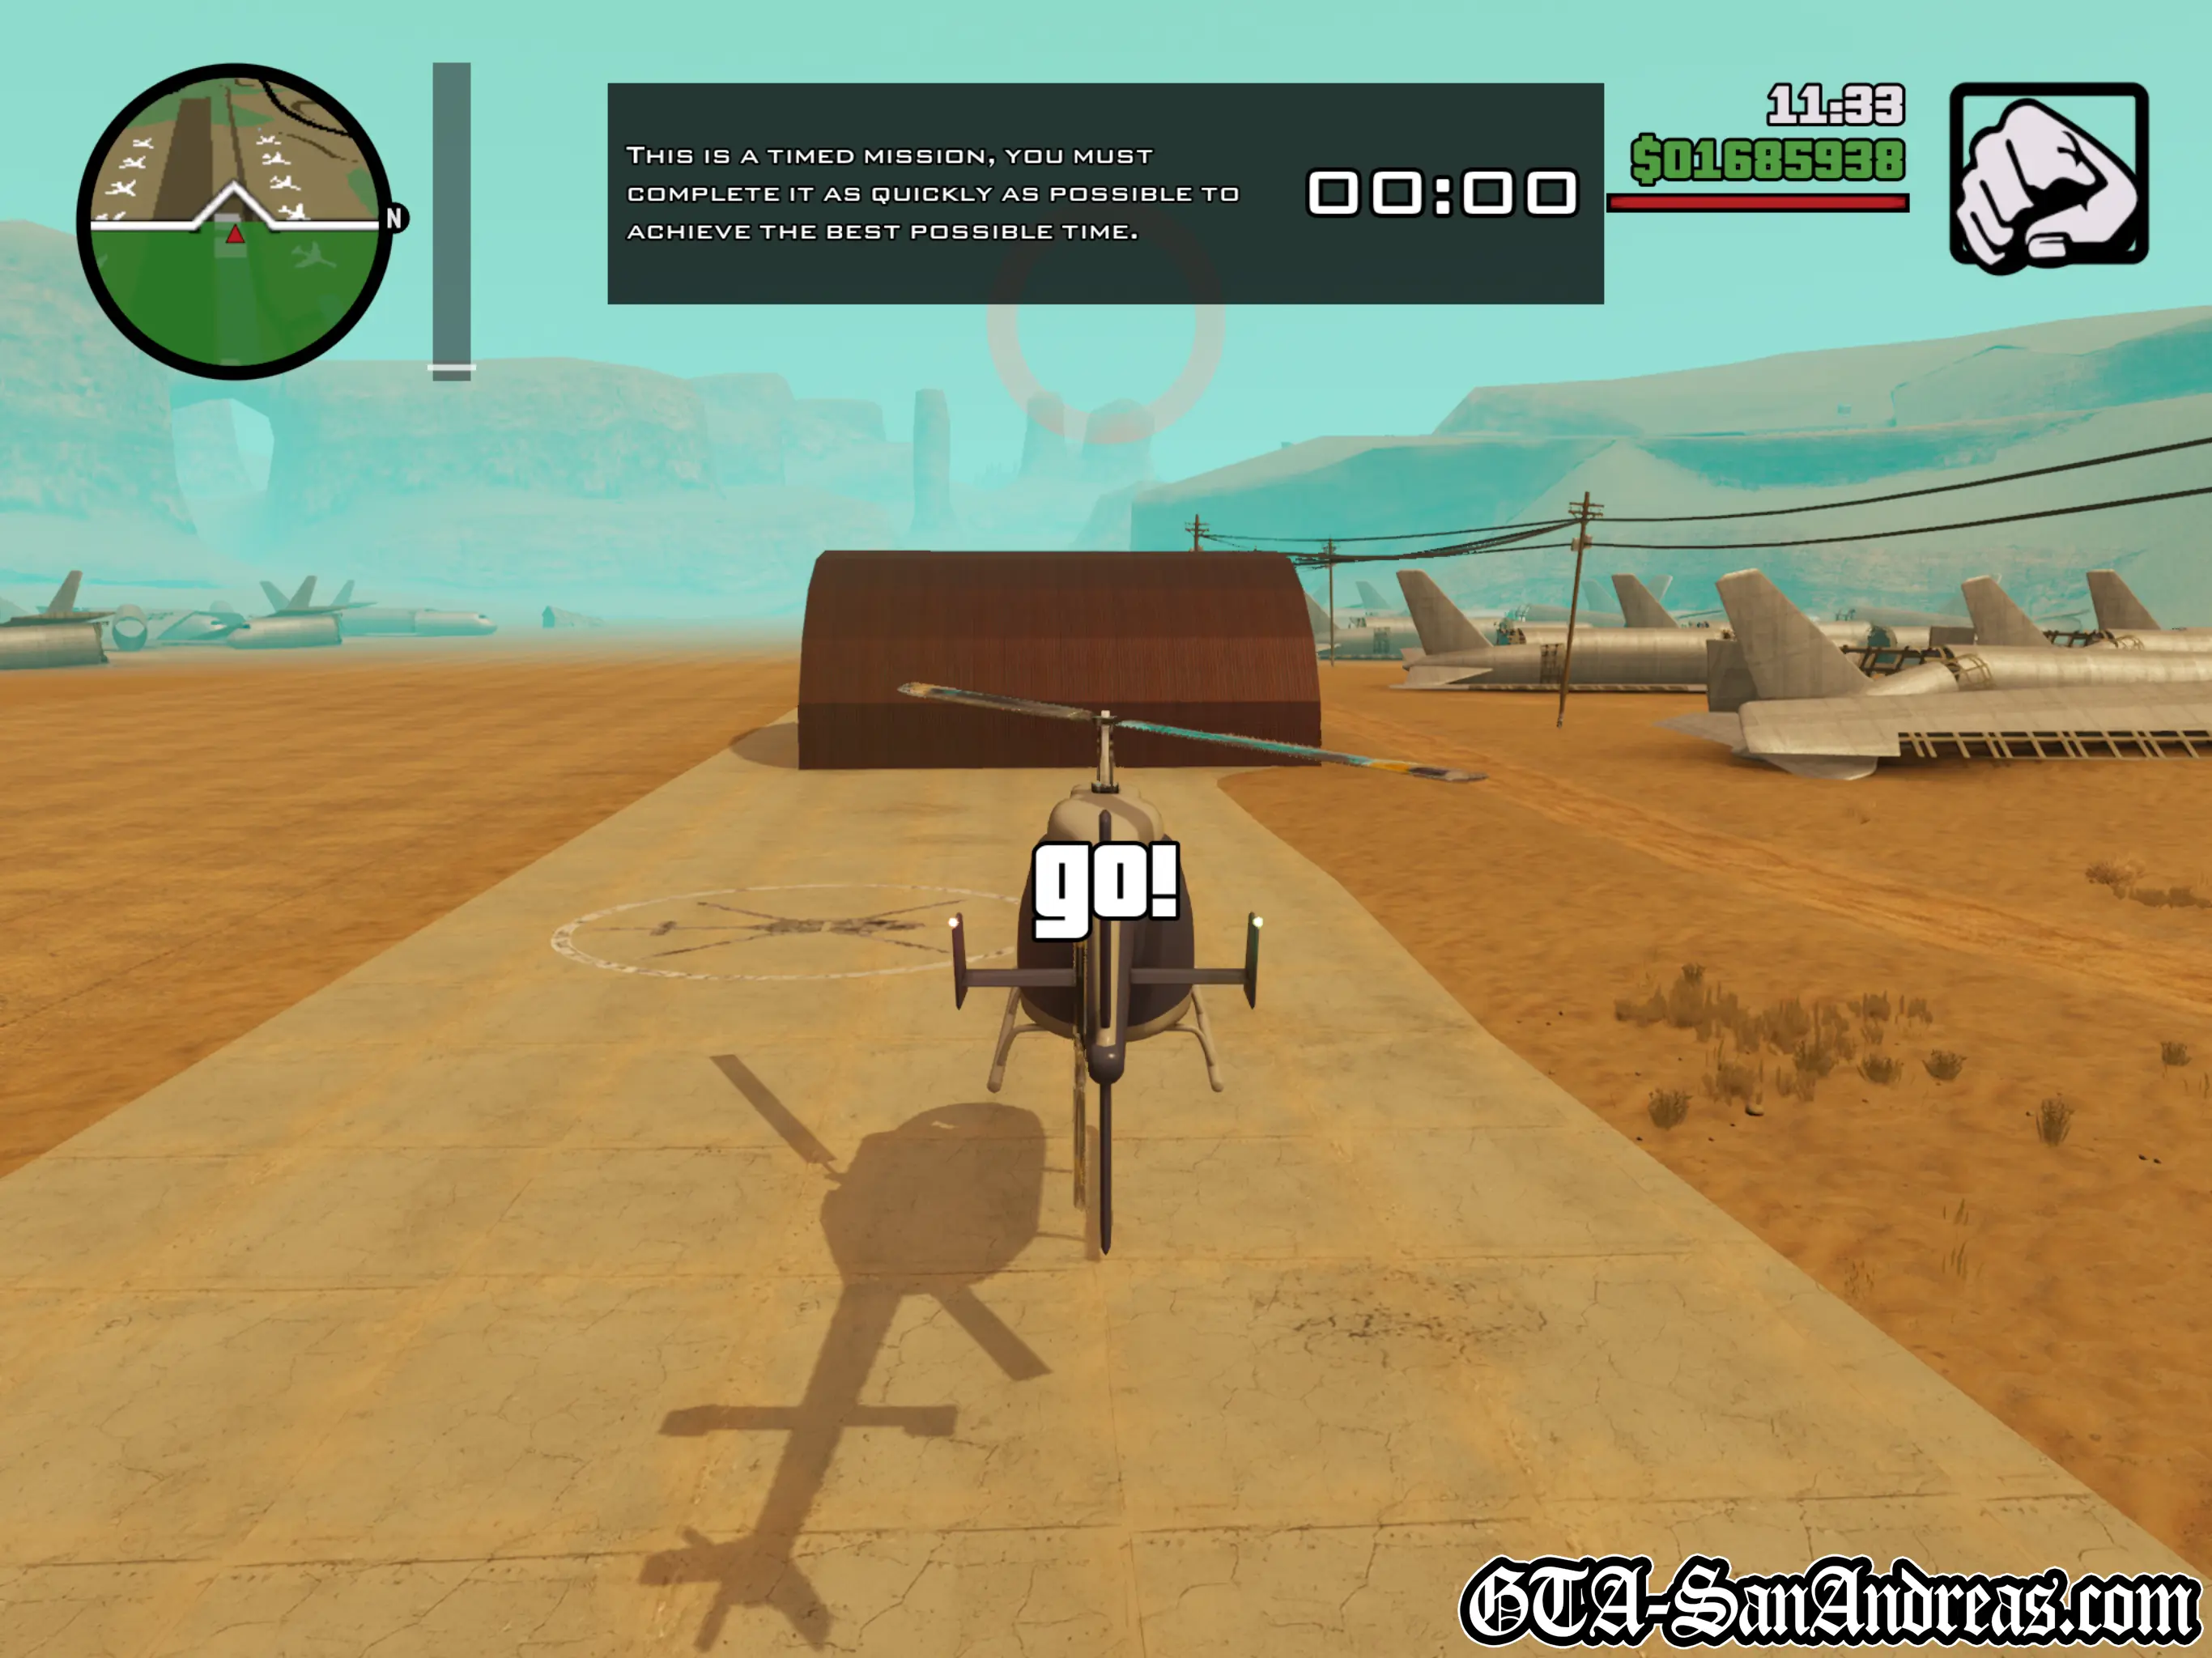
Tactics
I'm assuming you know how to fly a helicopter this far into the game, so I'll just say that this will not be a problem at all.
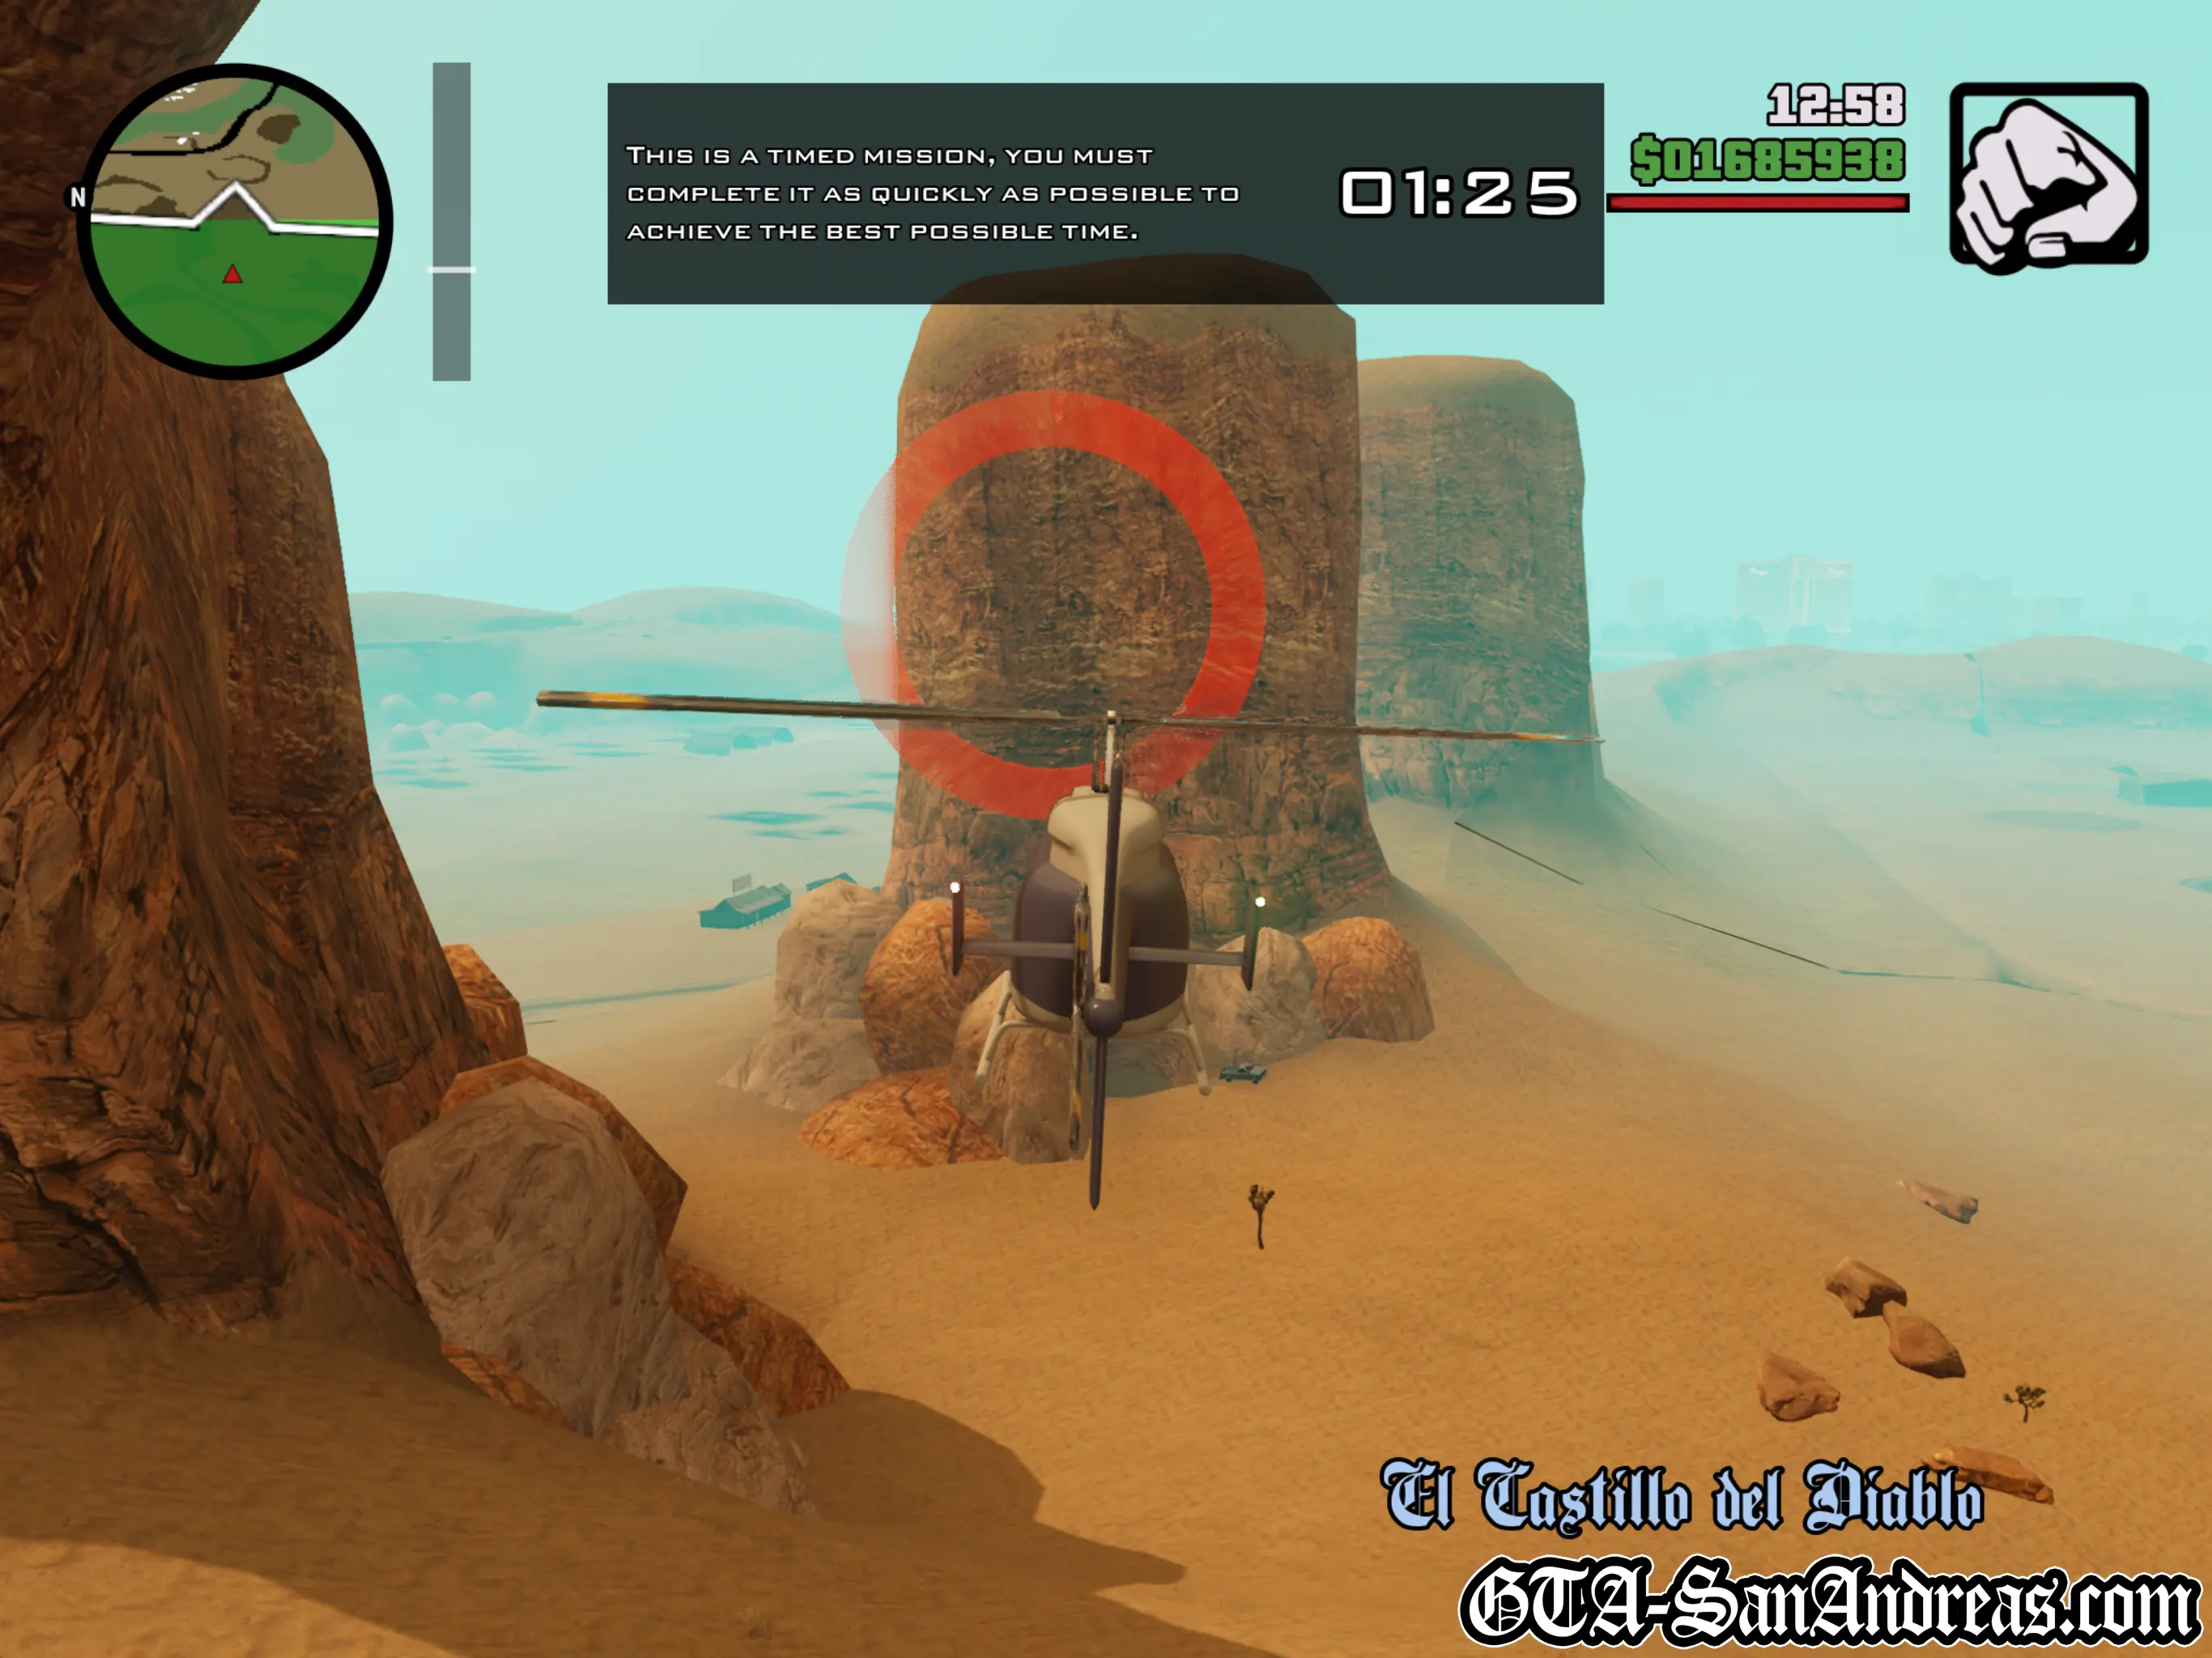
Fly through the checkpoints in one of the best handling air vehicles and make your way around the course at your leisure.
Screenshots
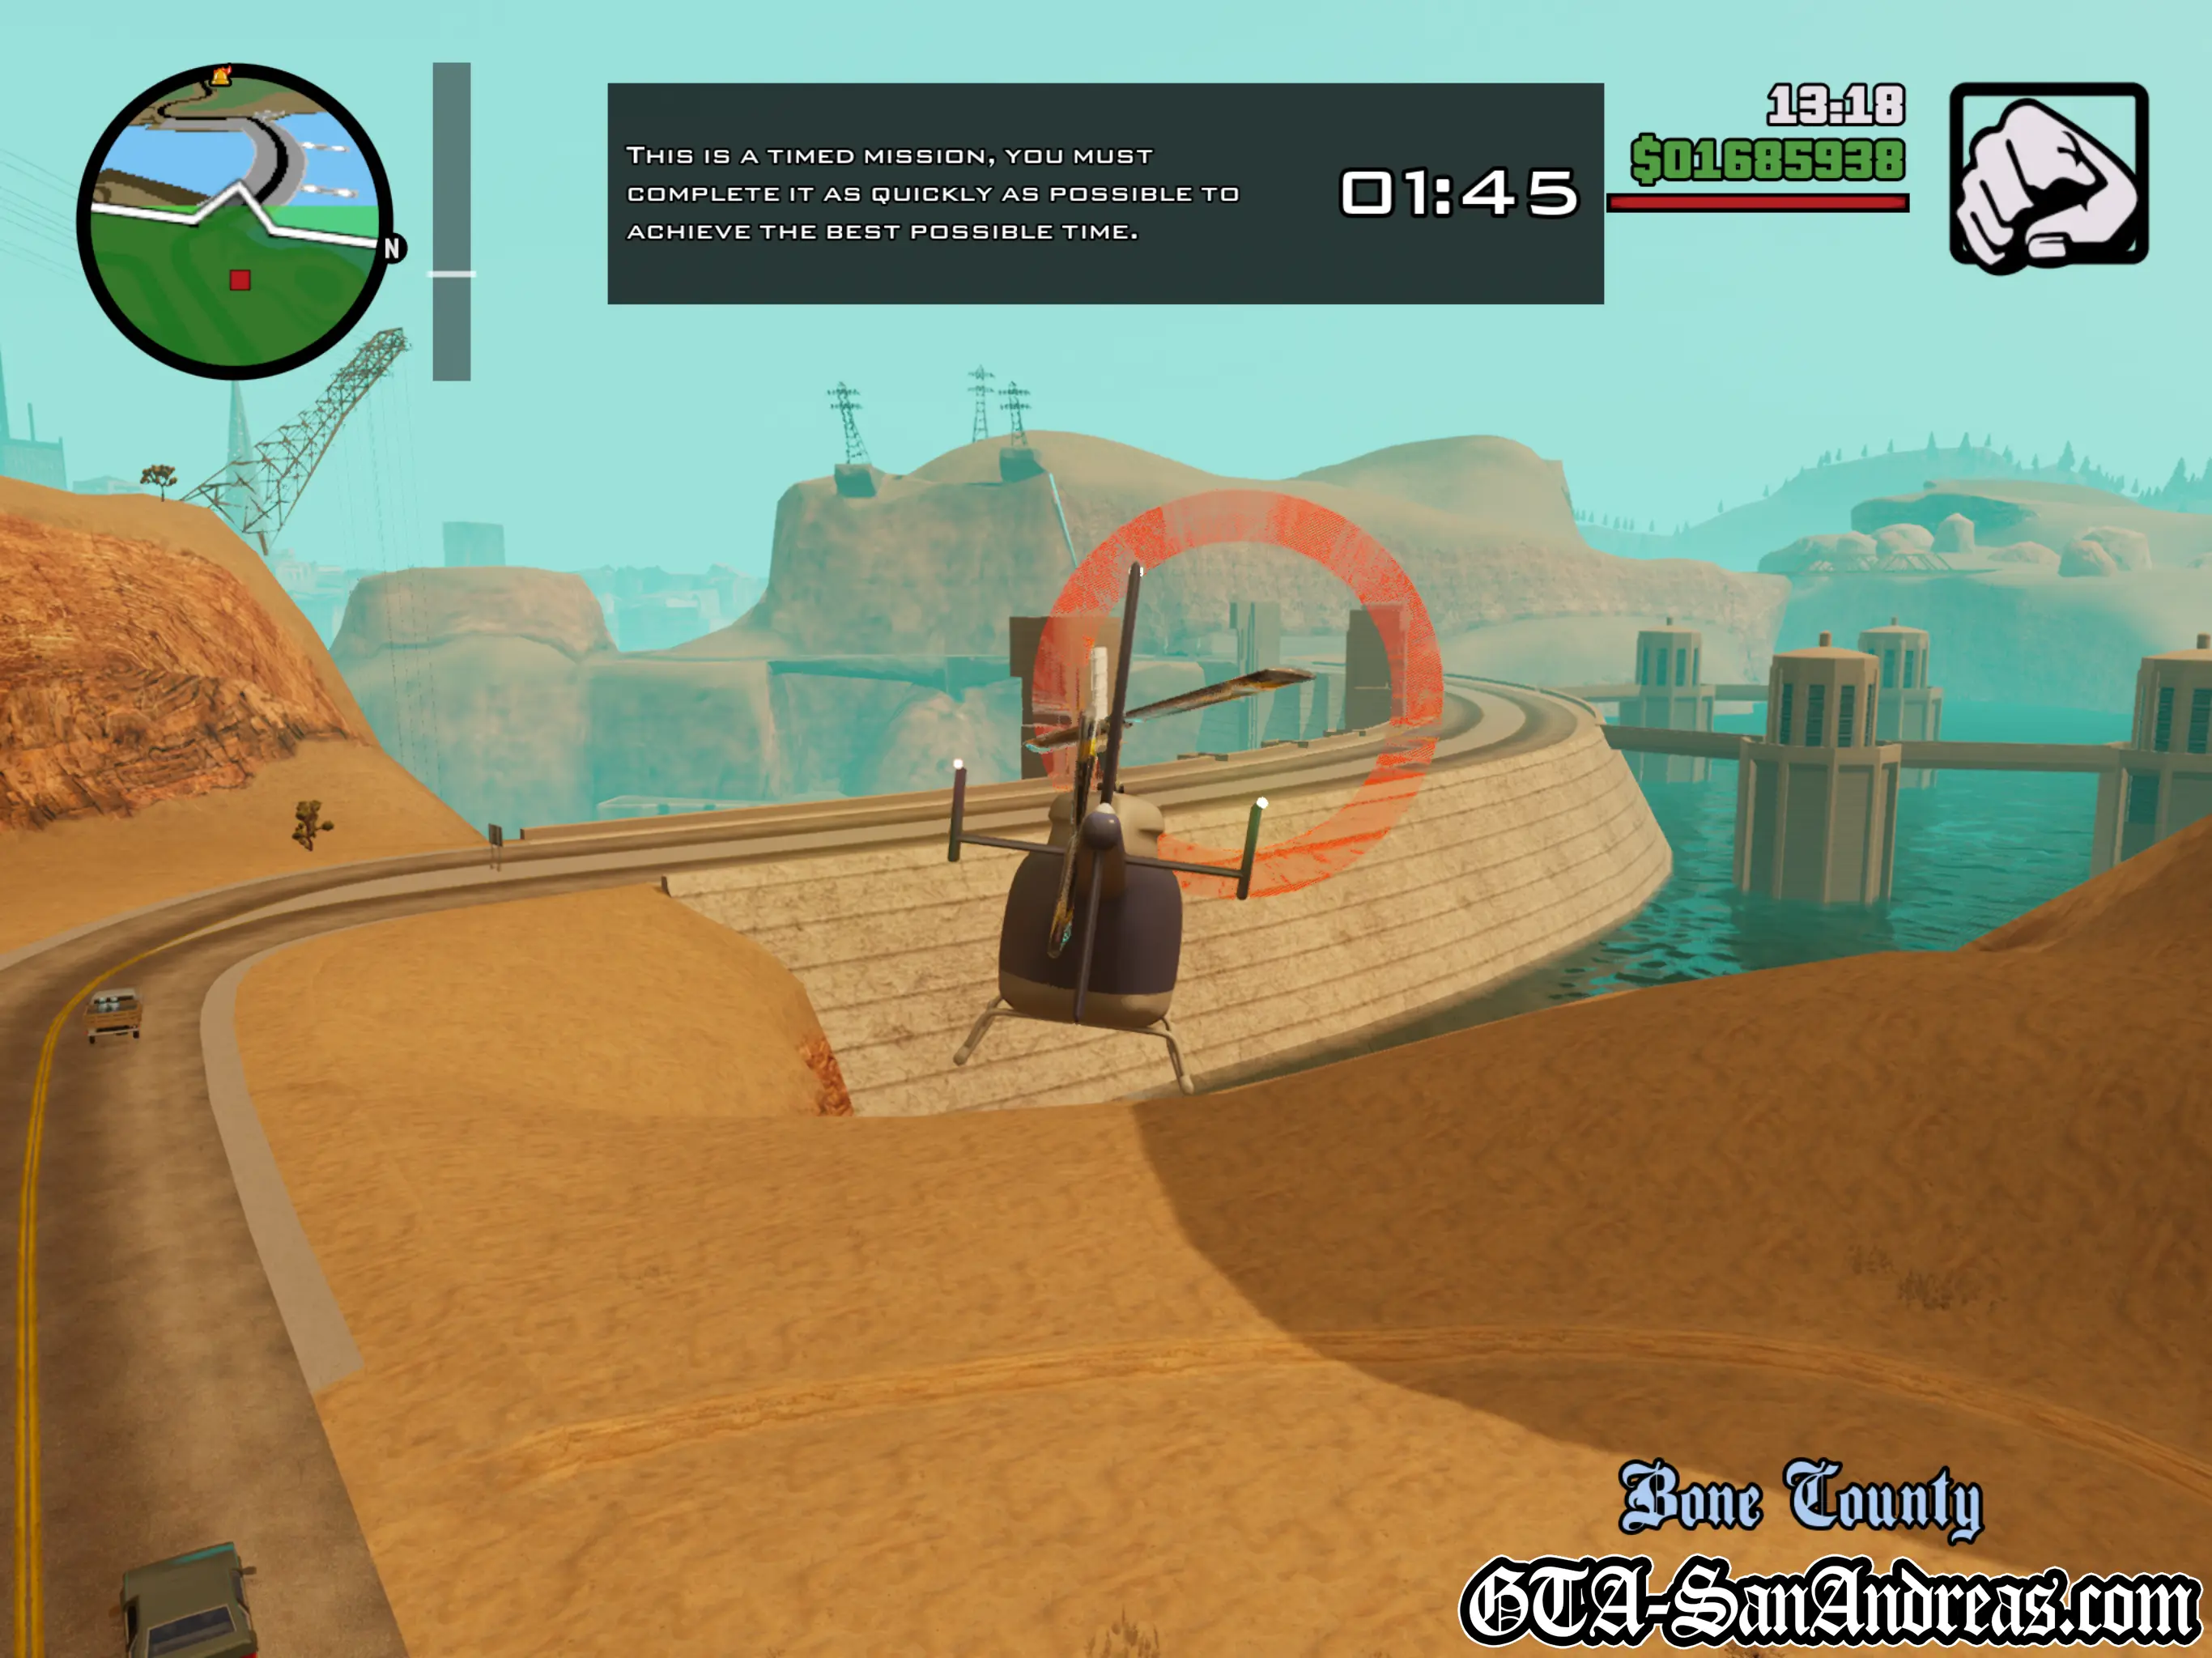
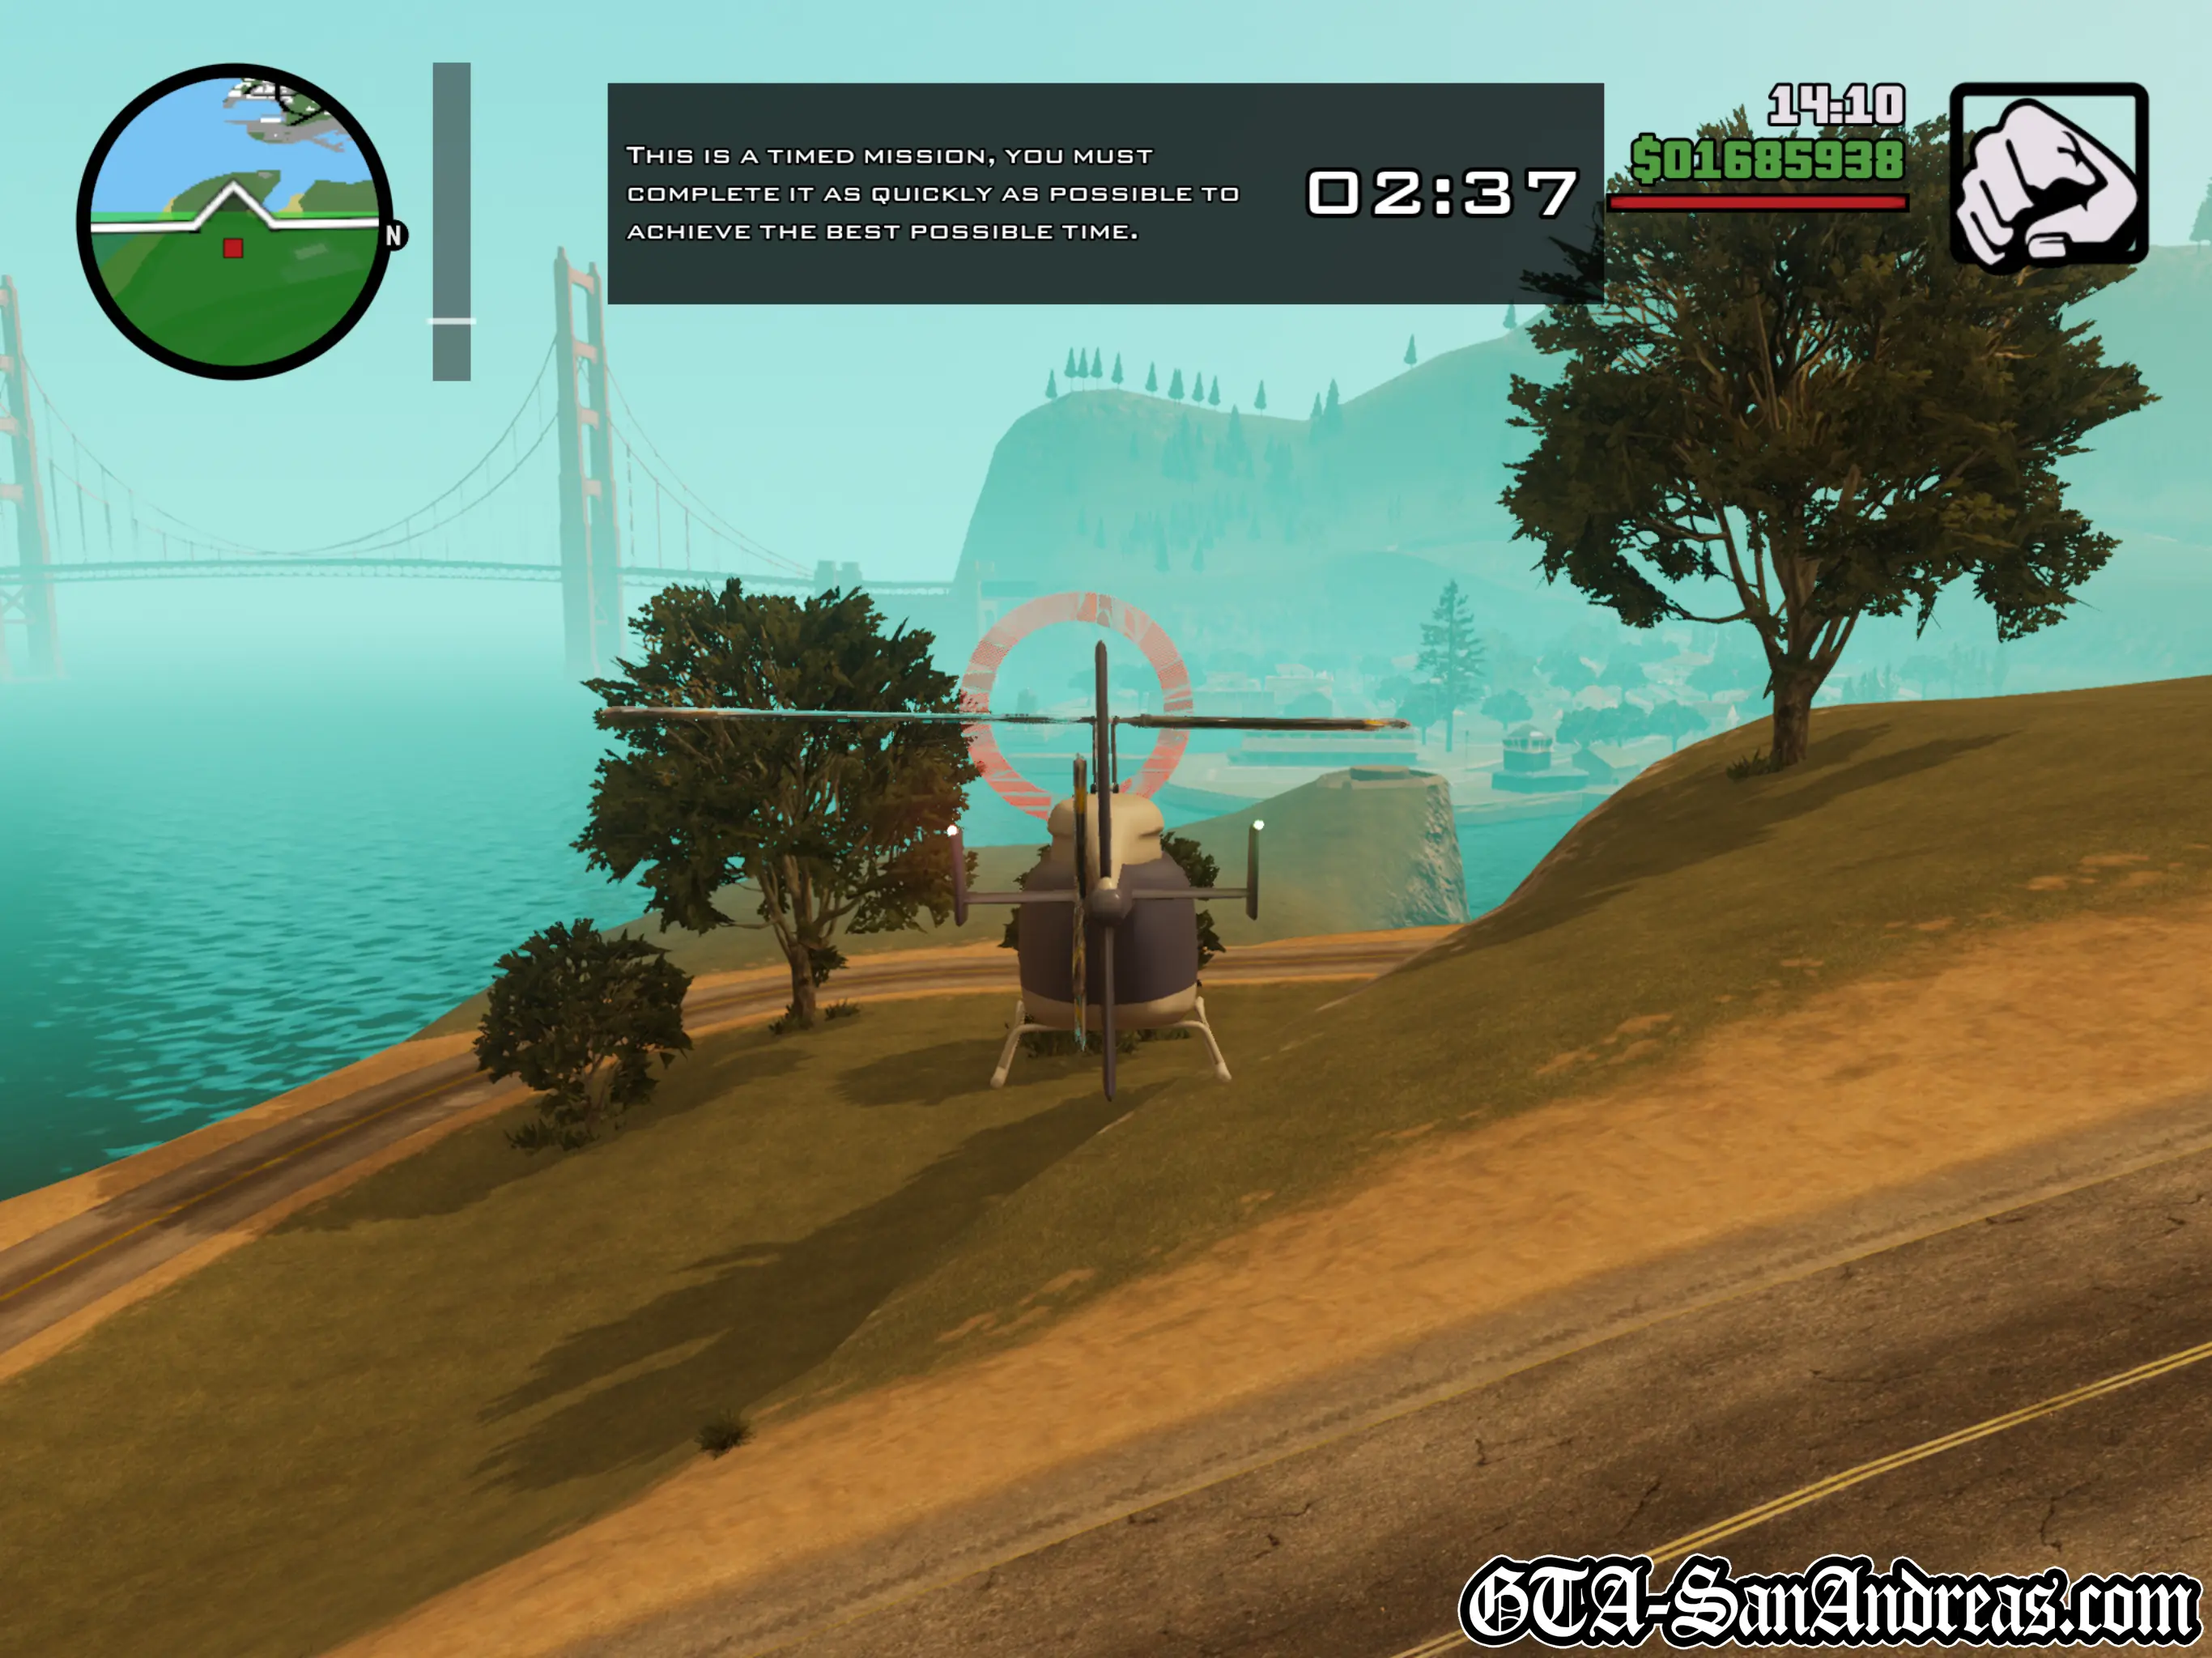
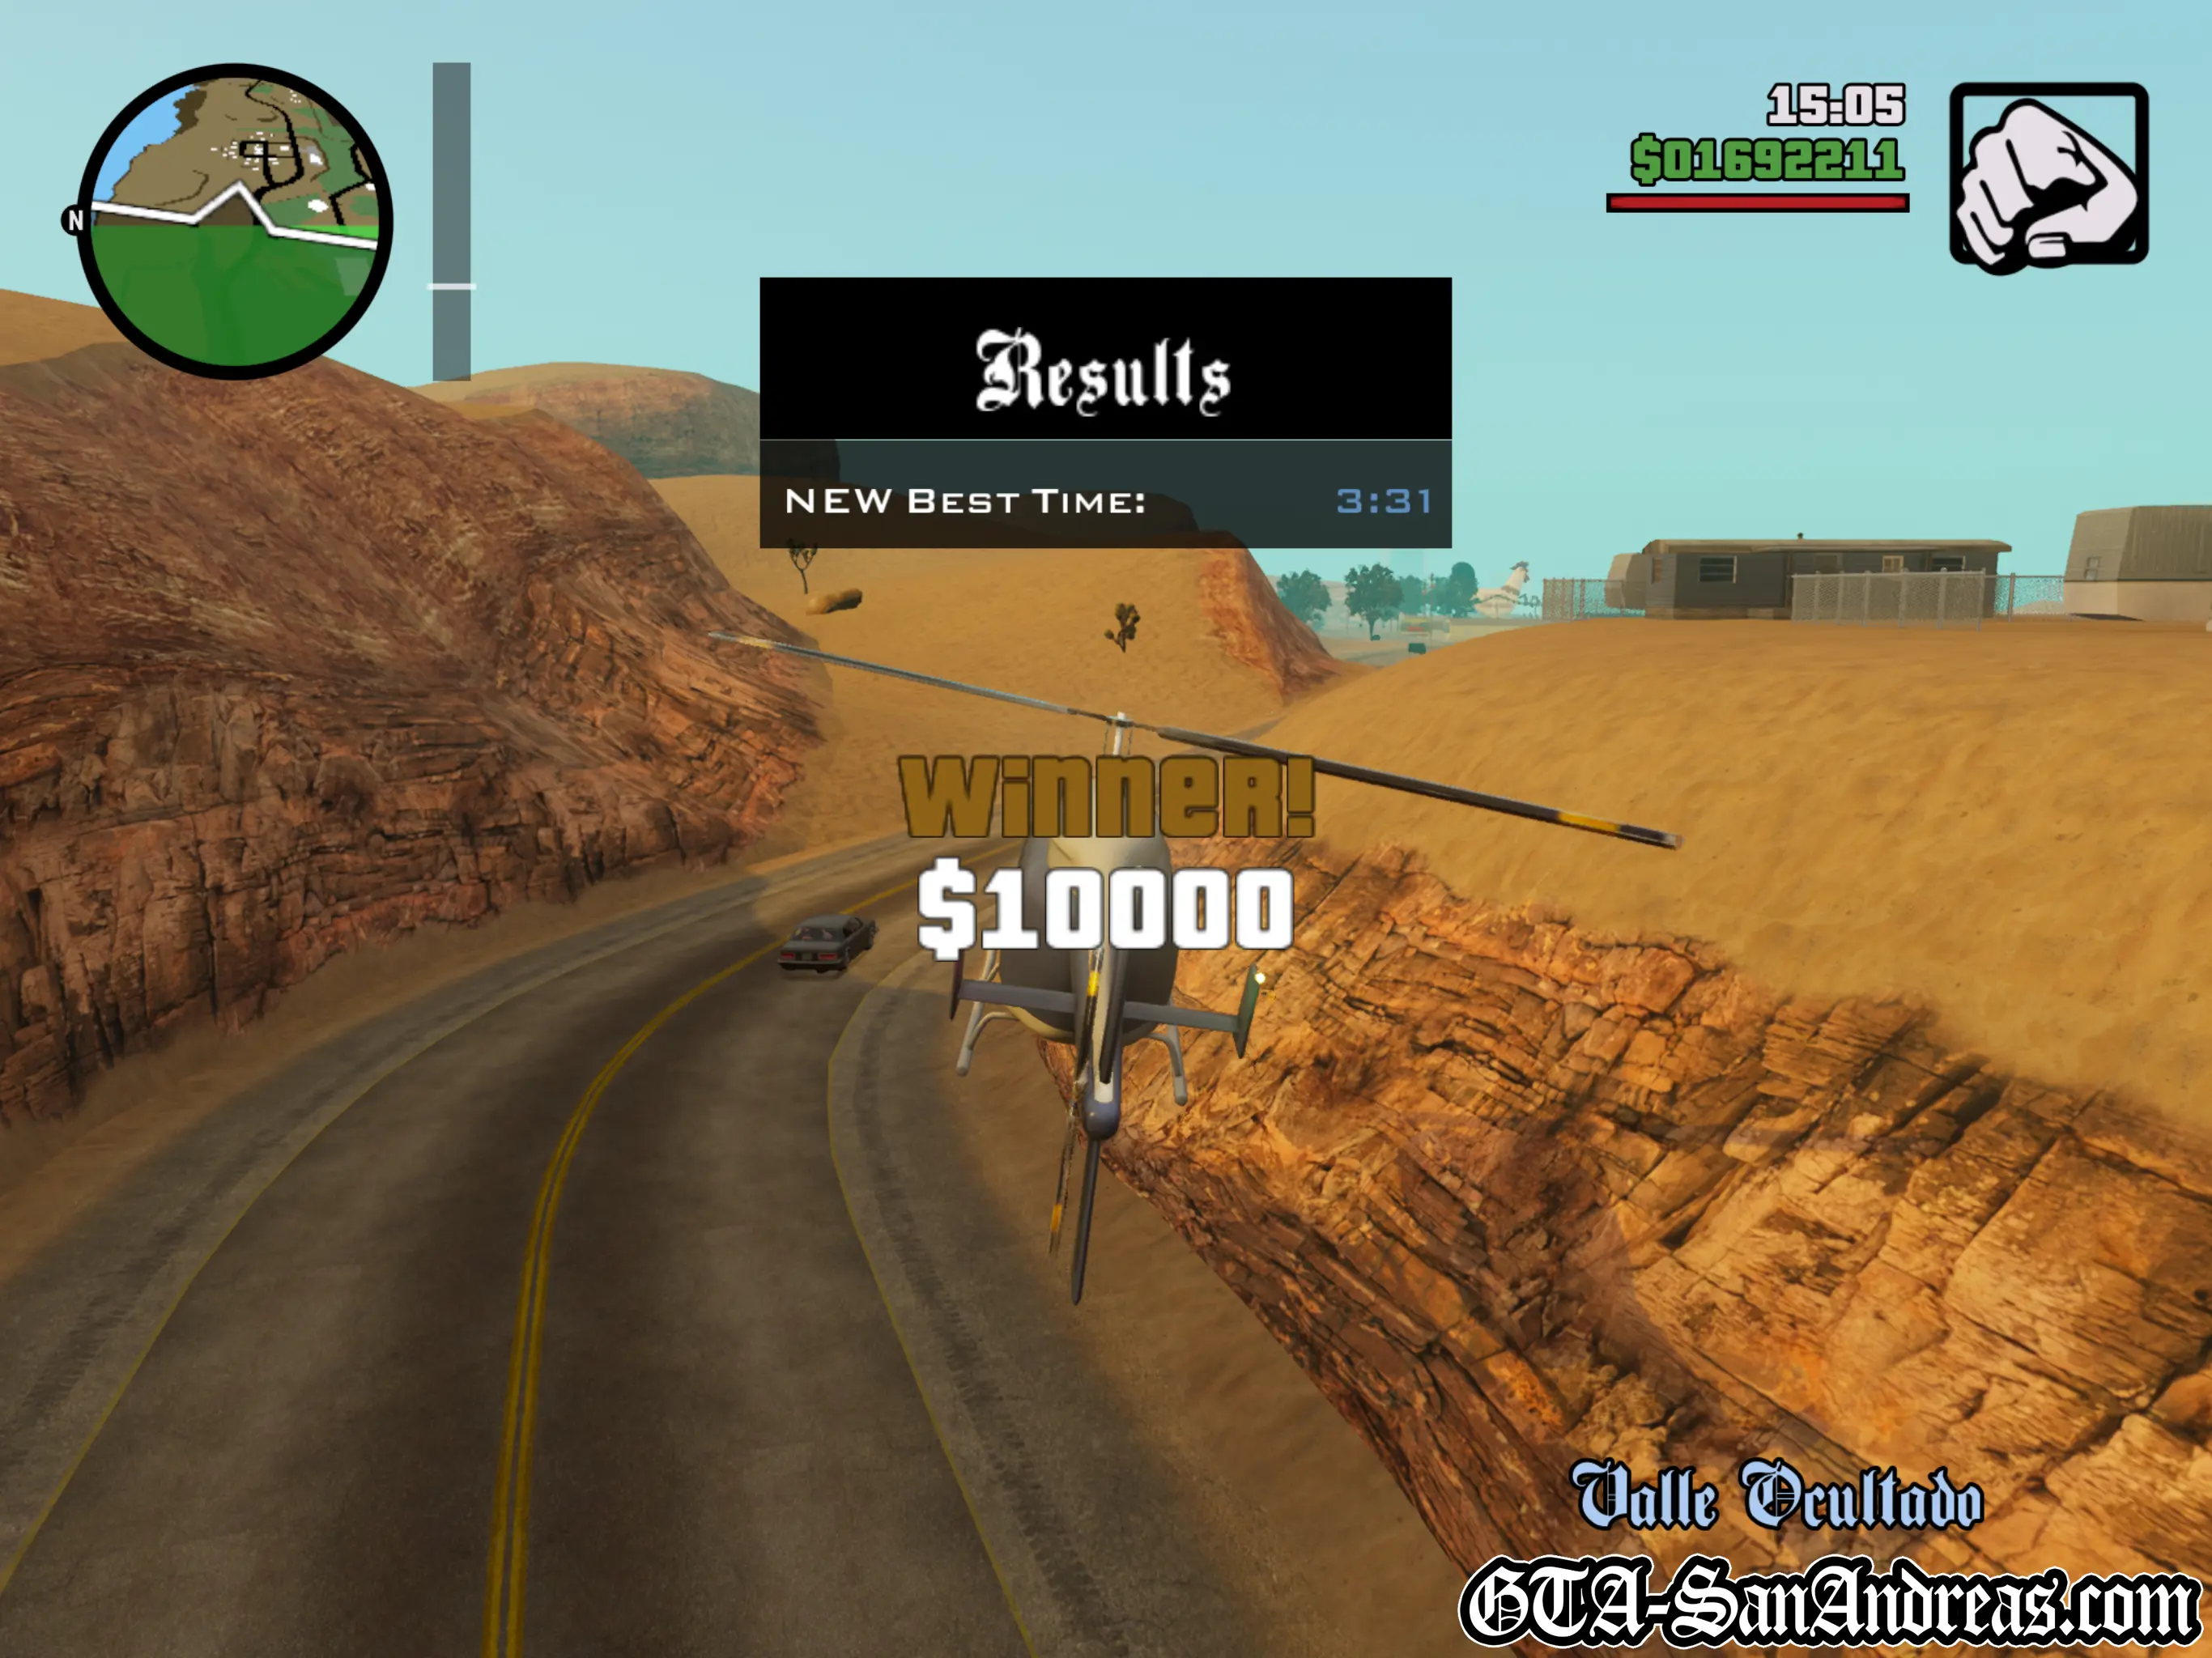
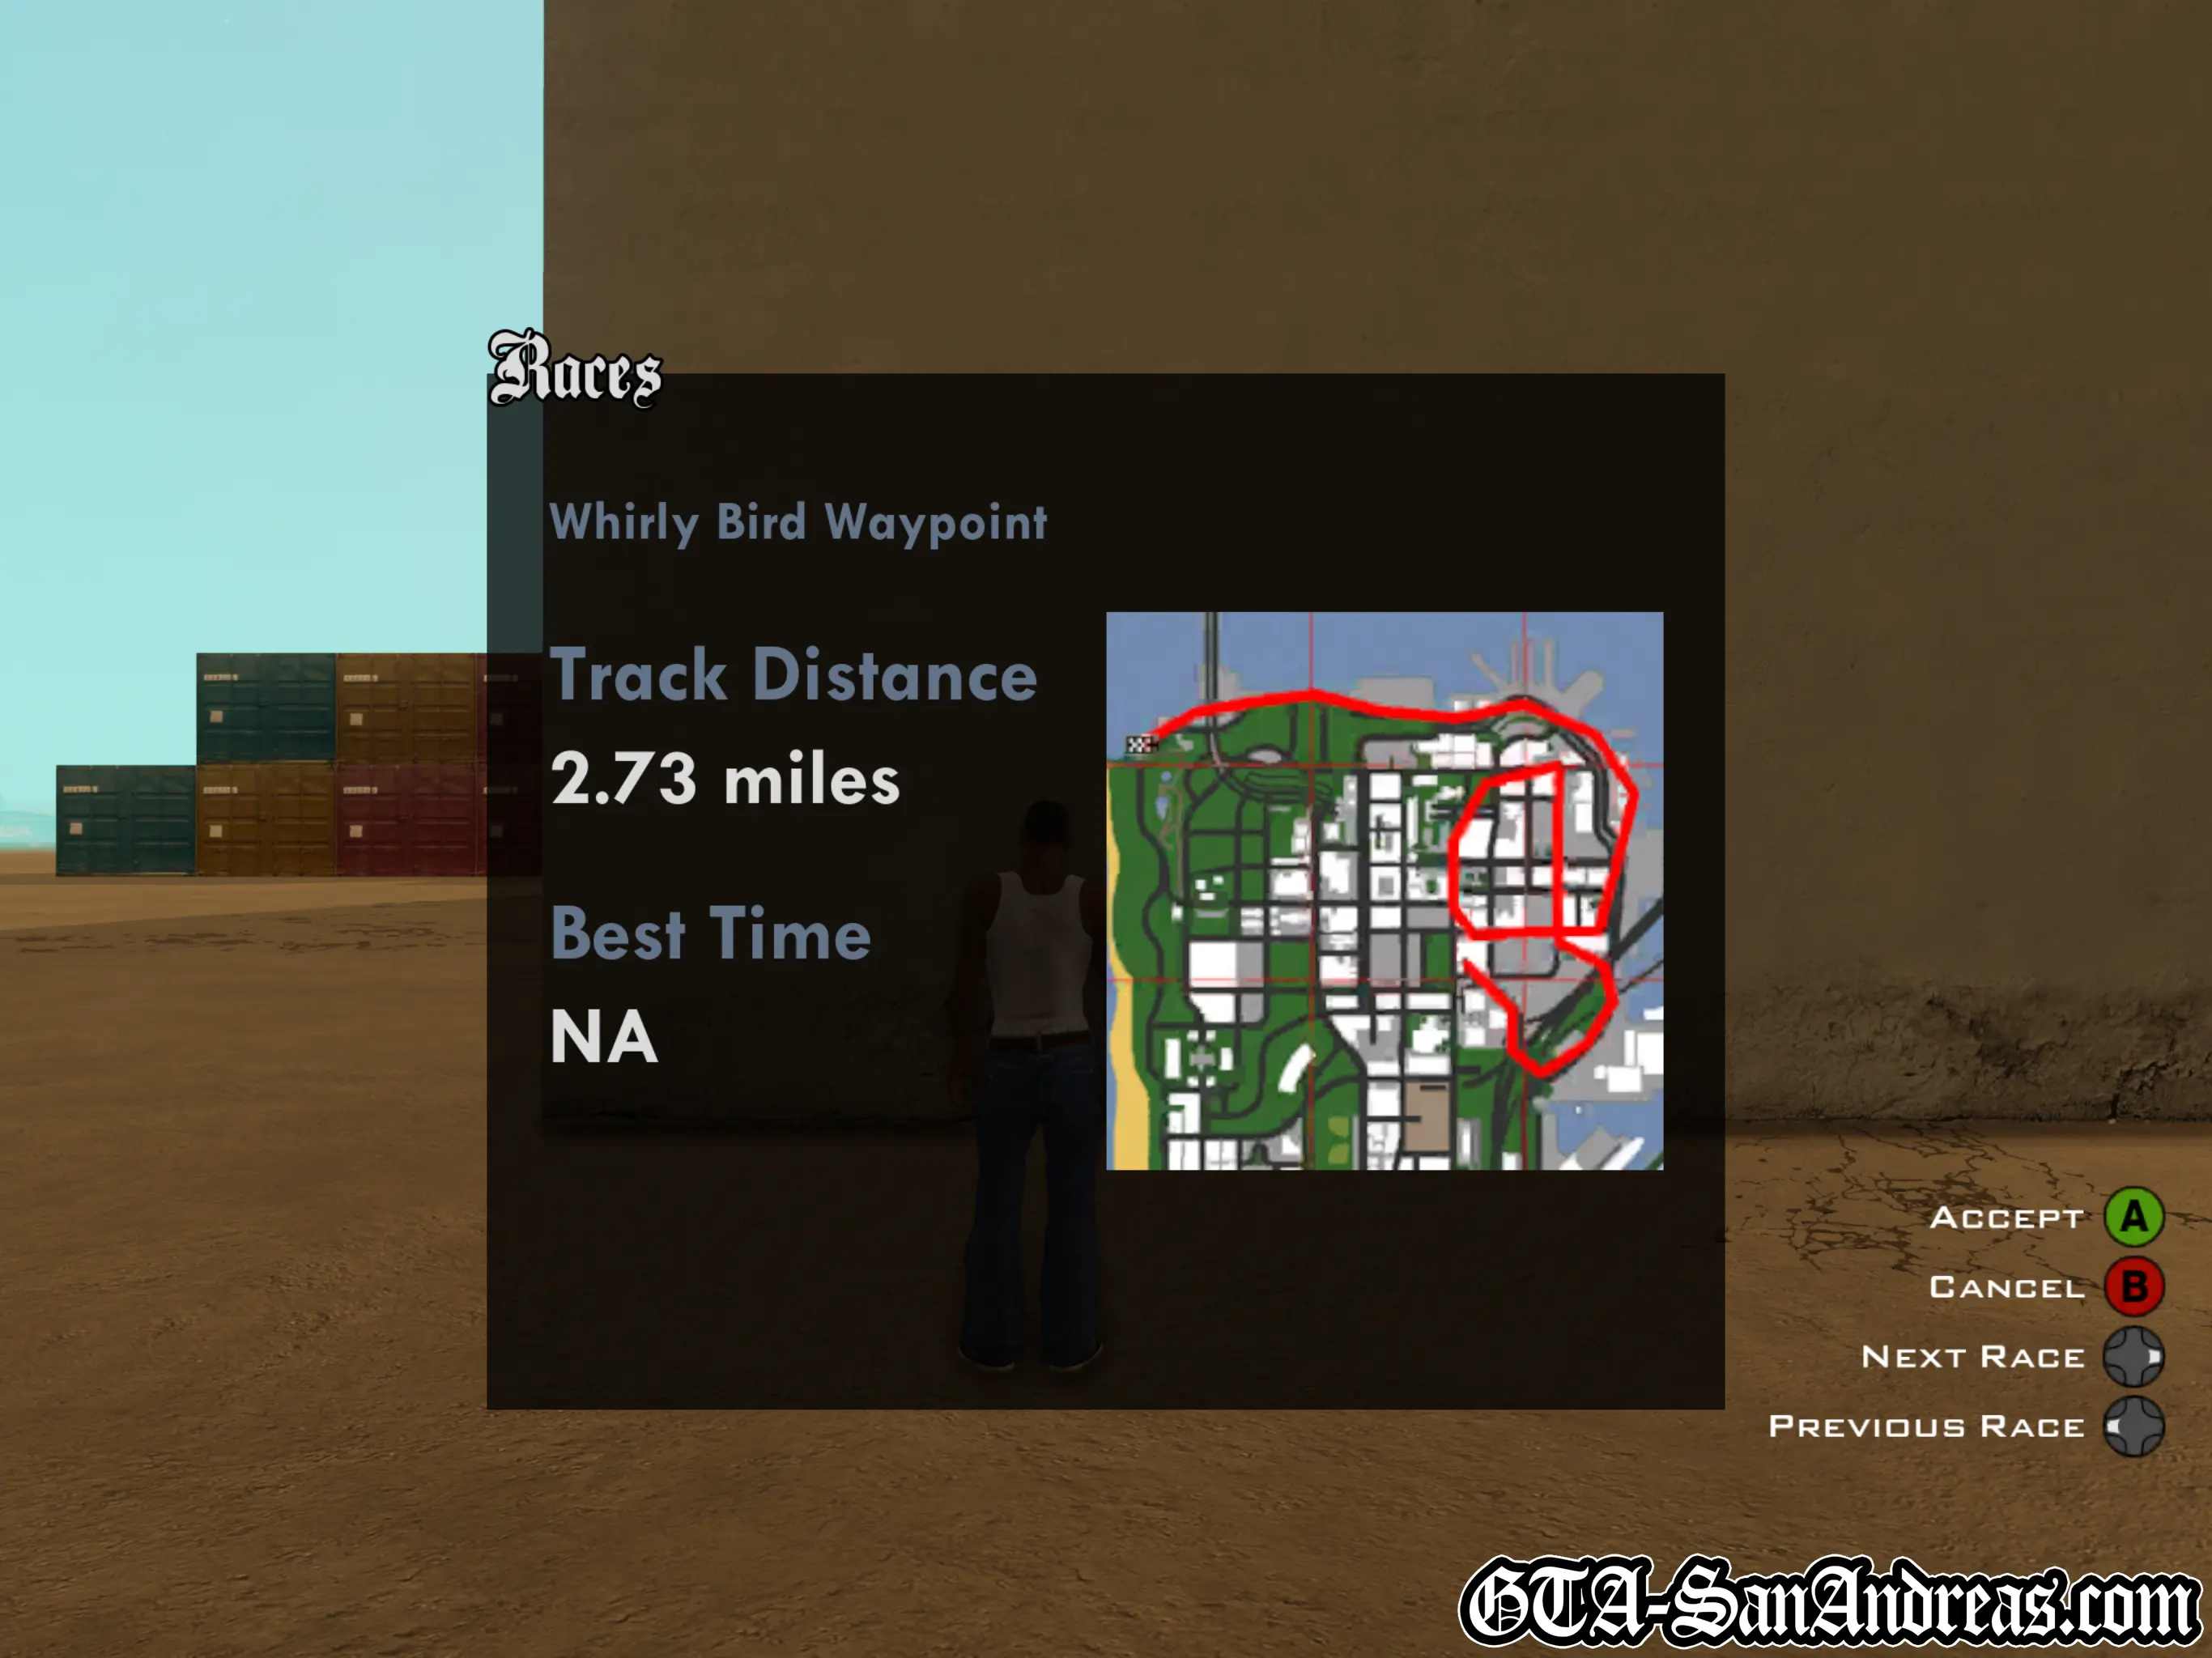
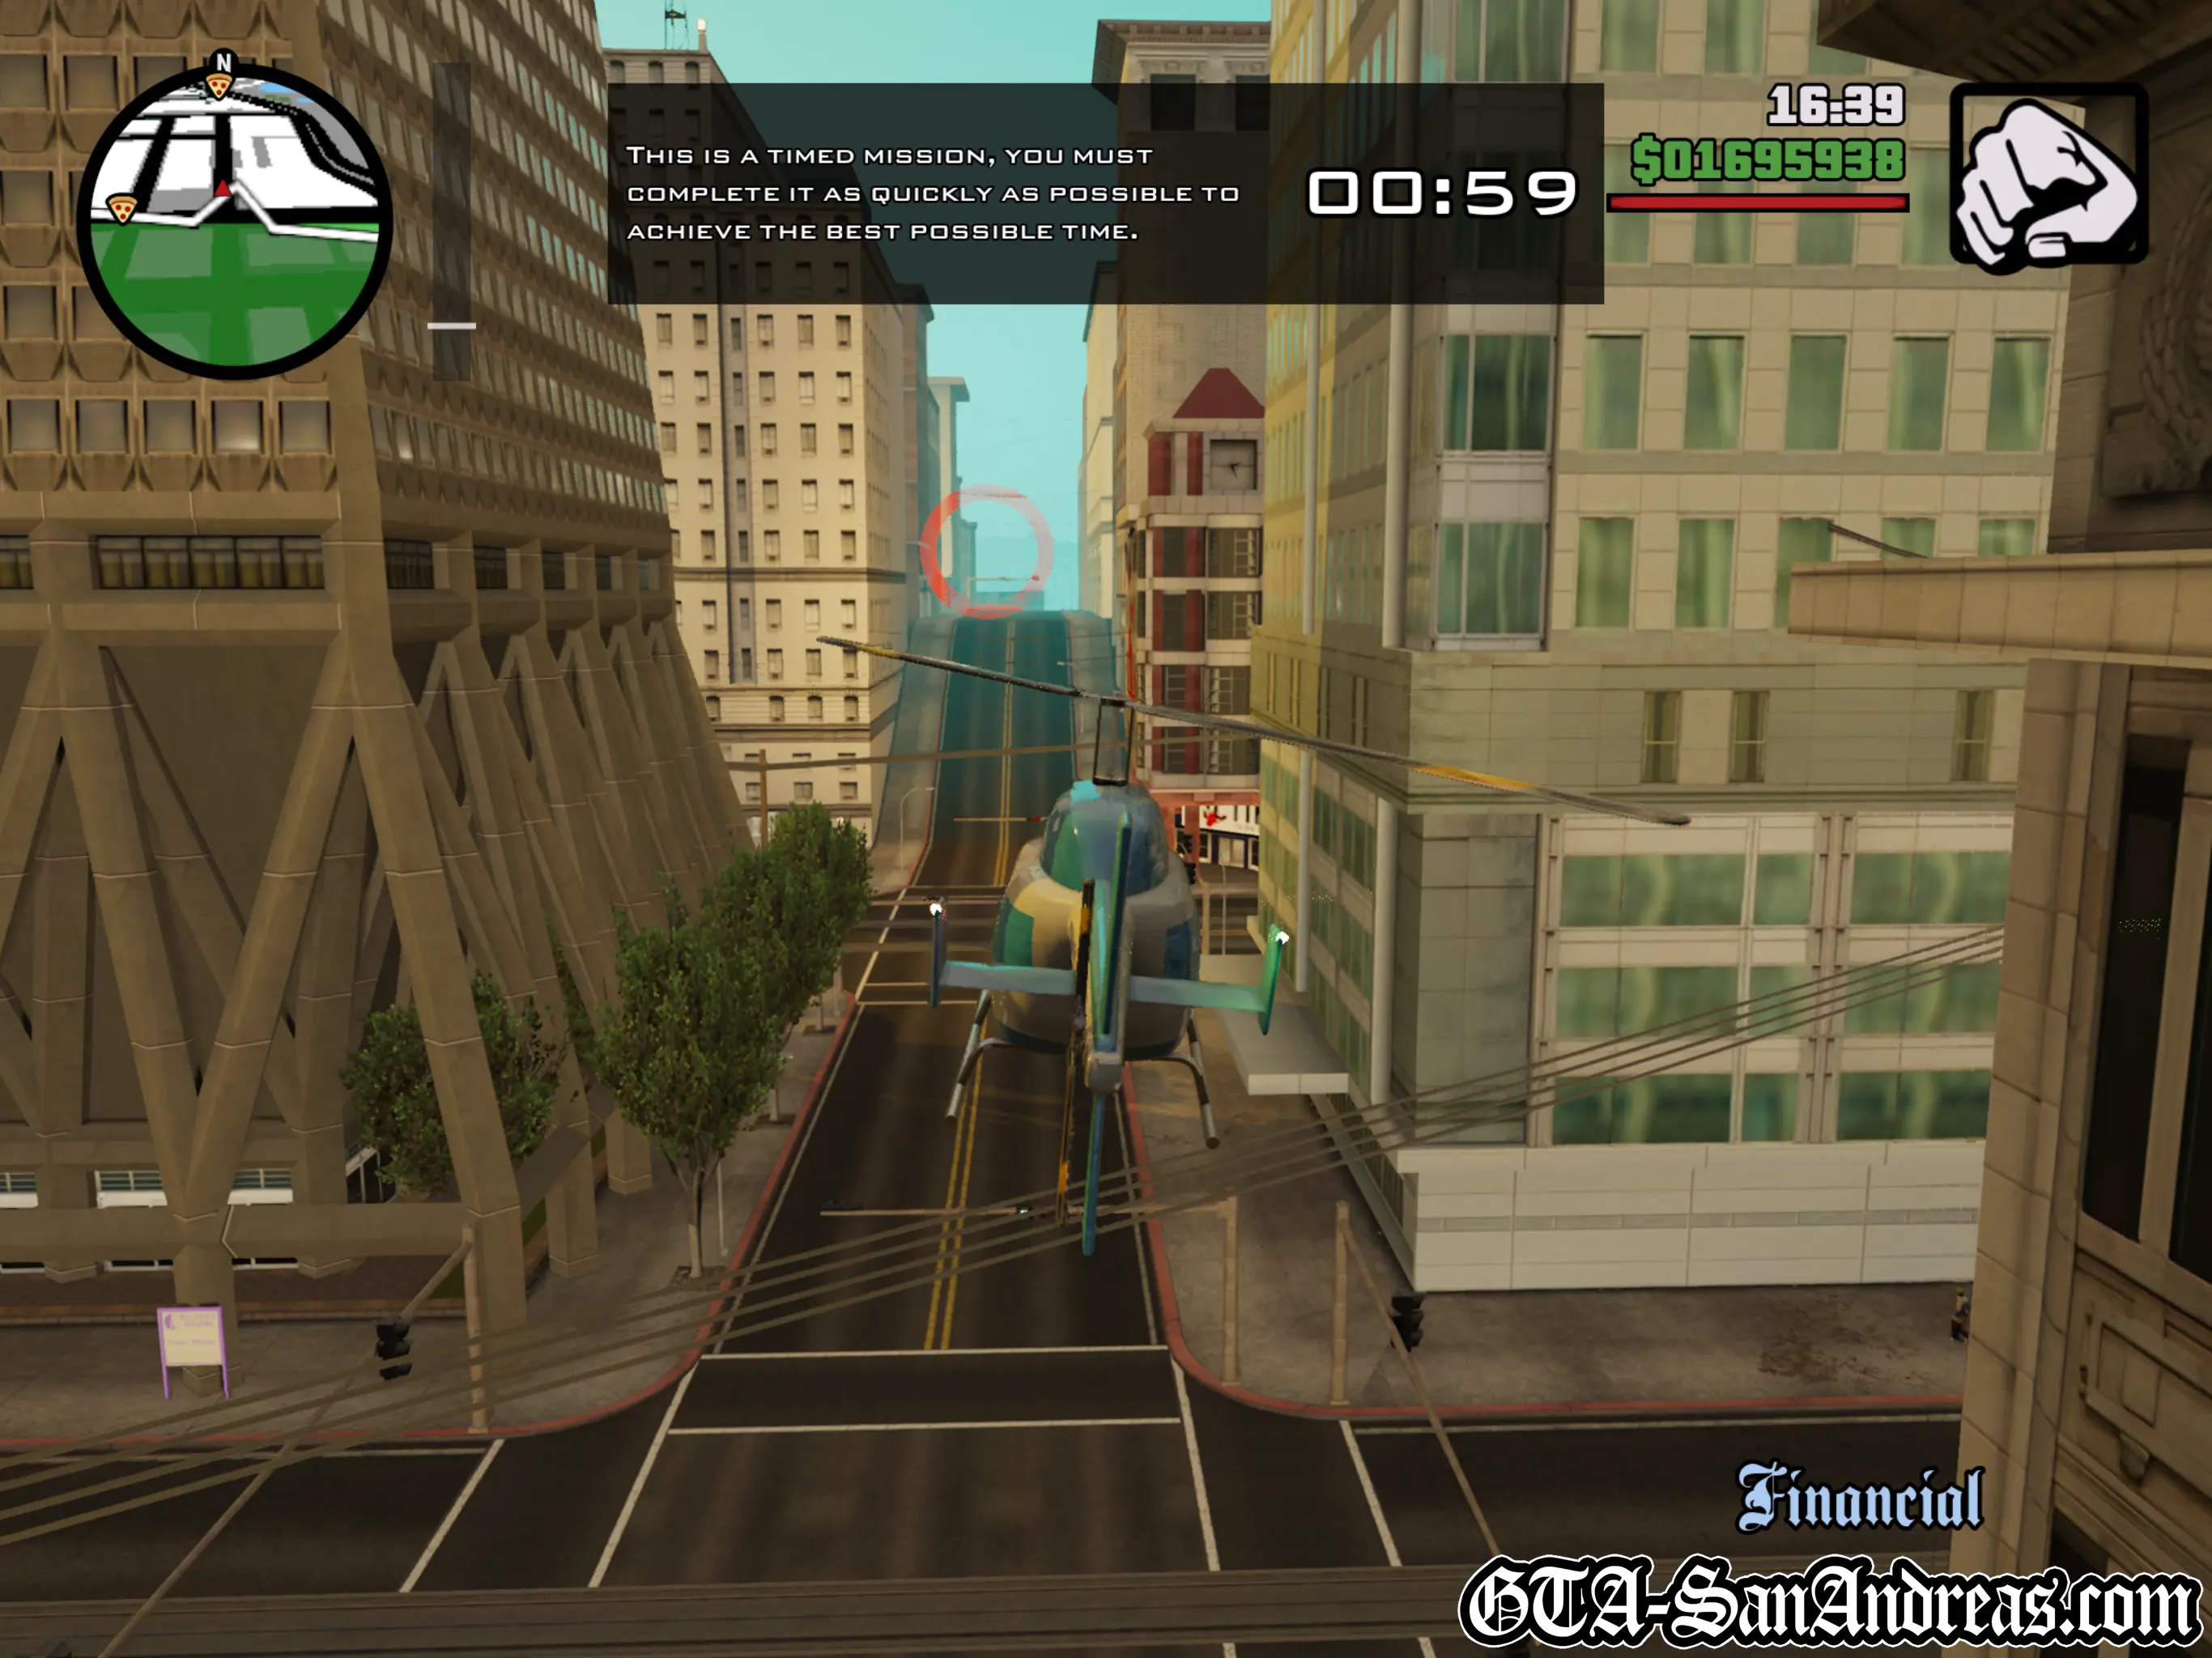
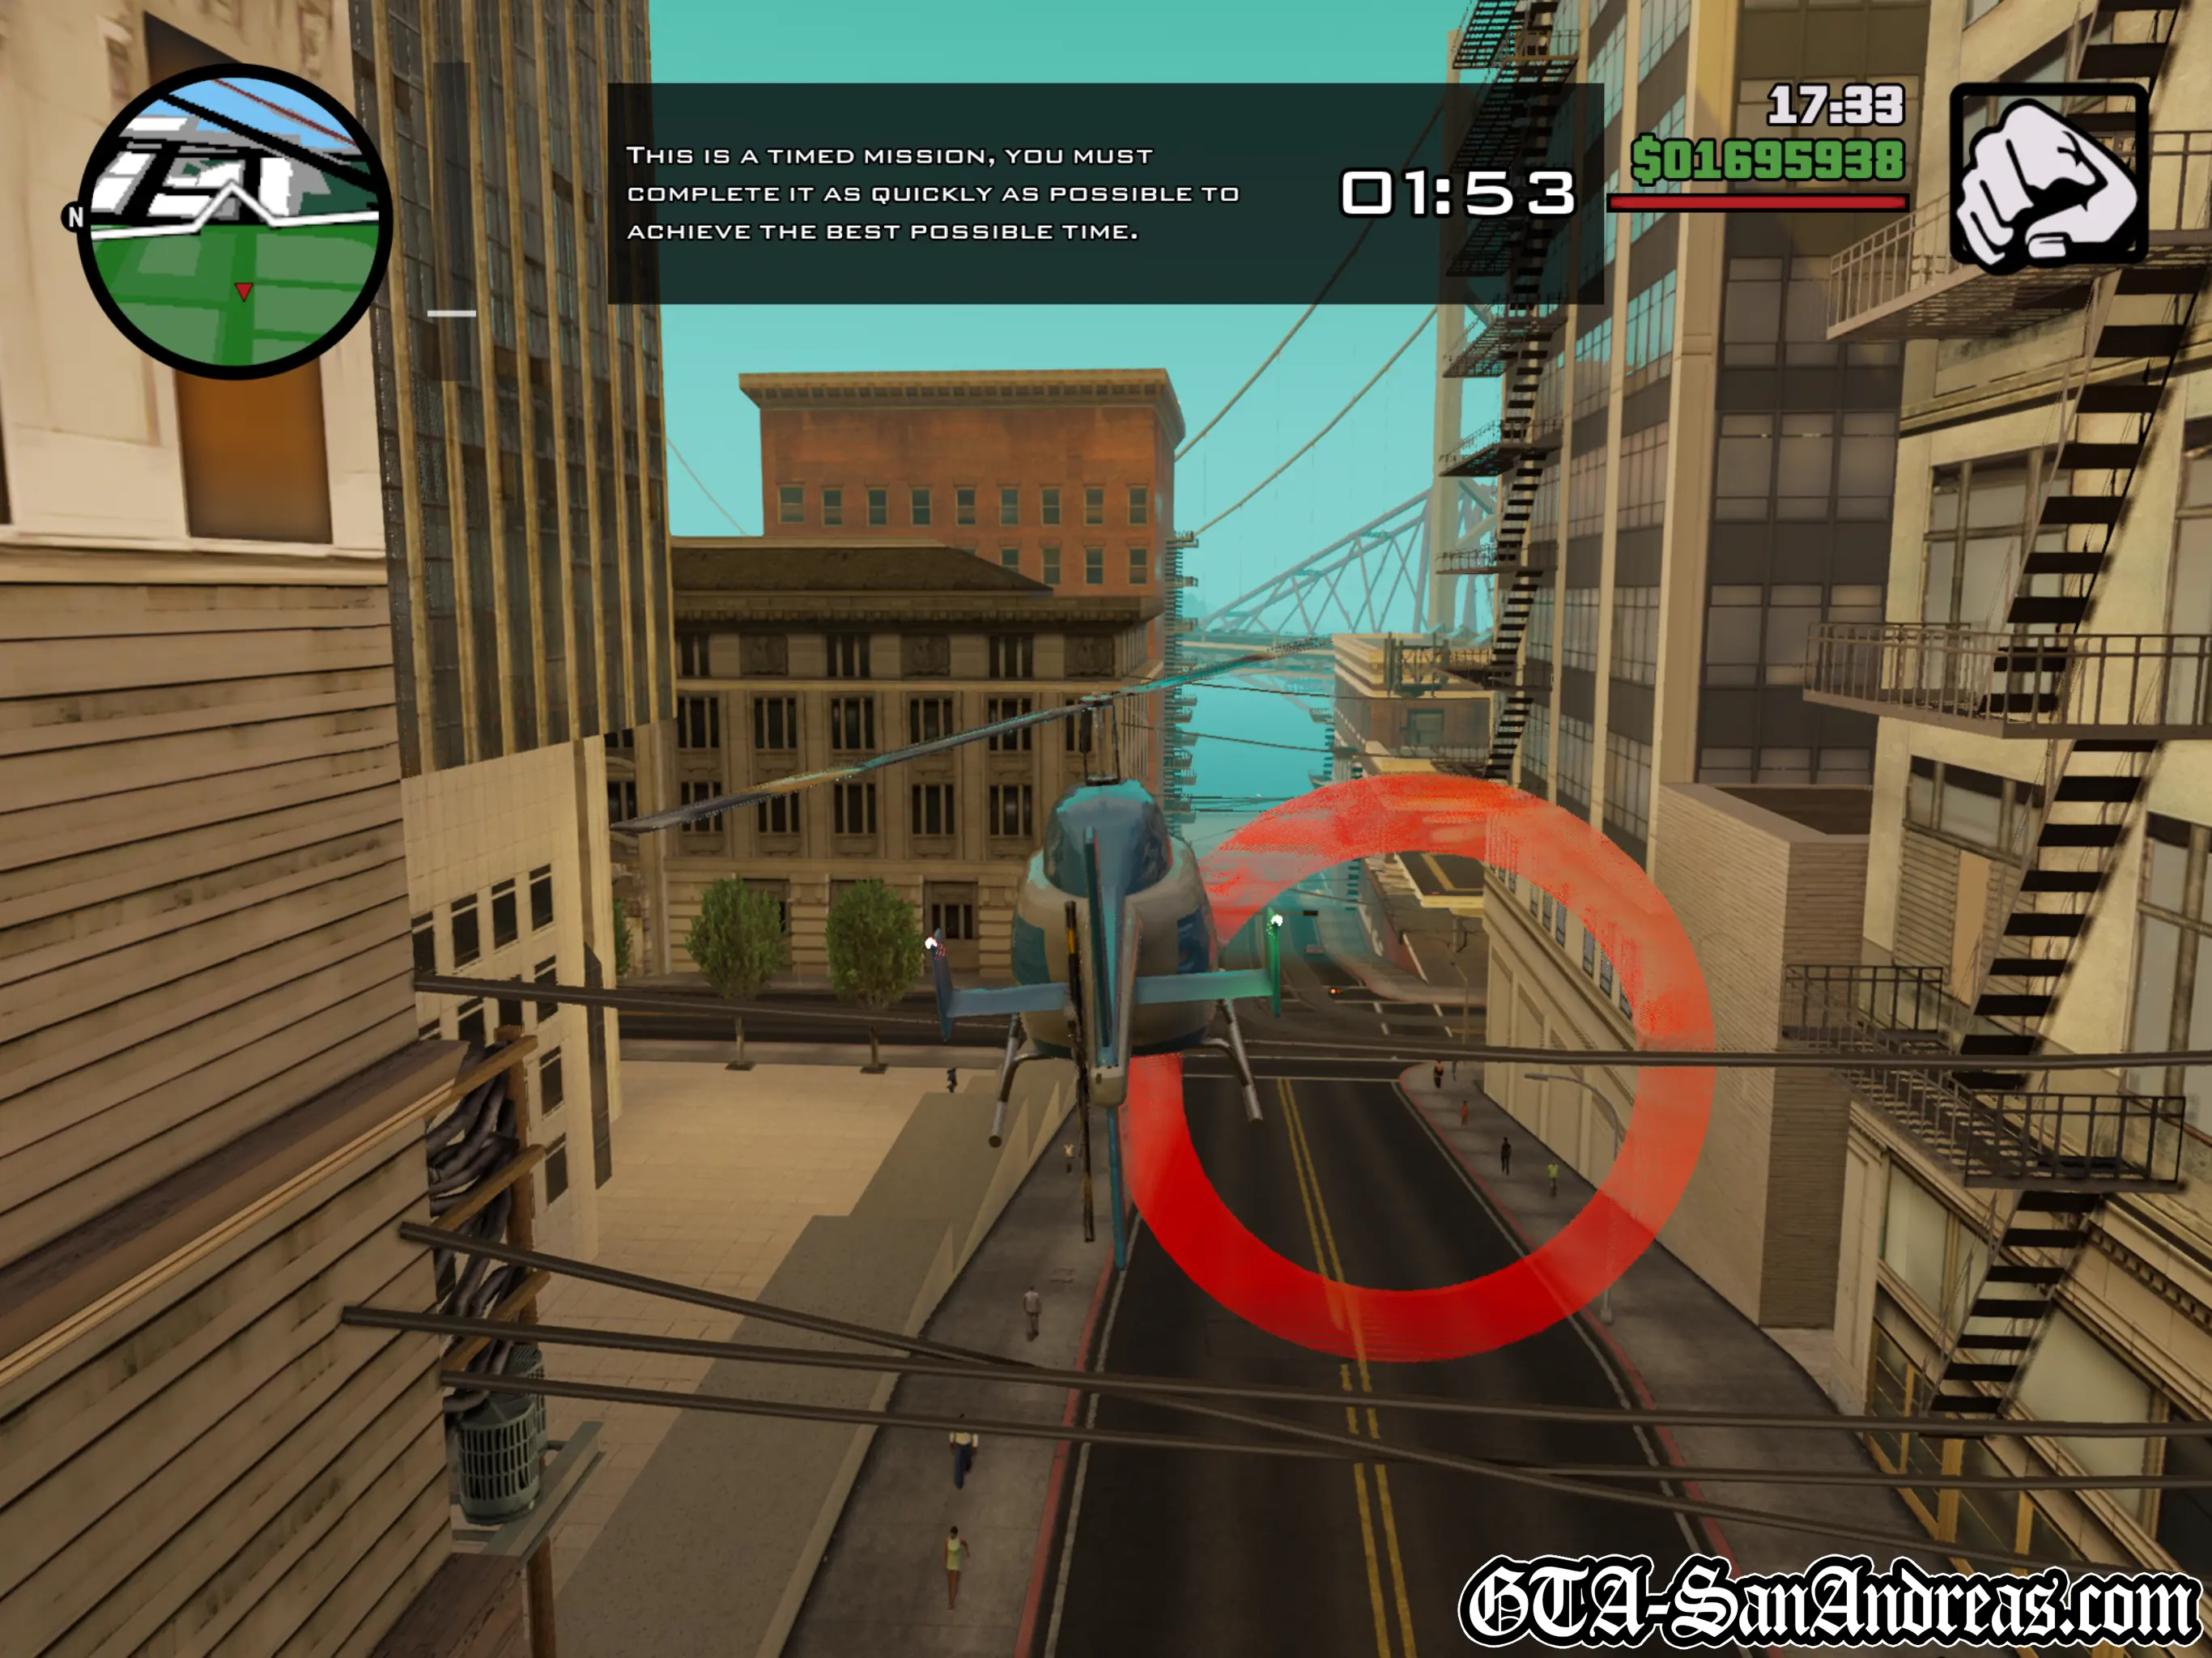
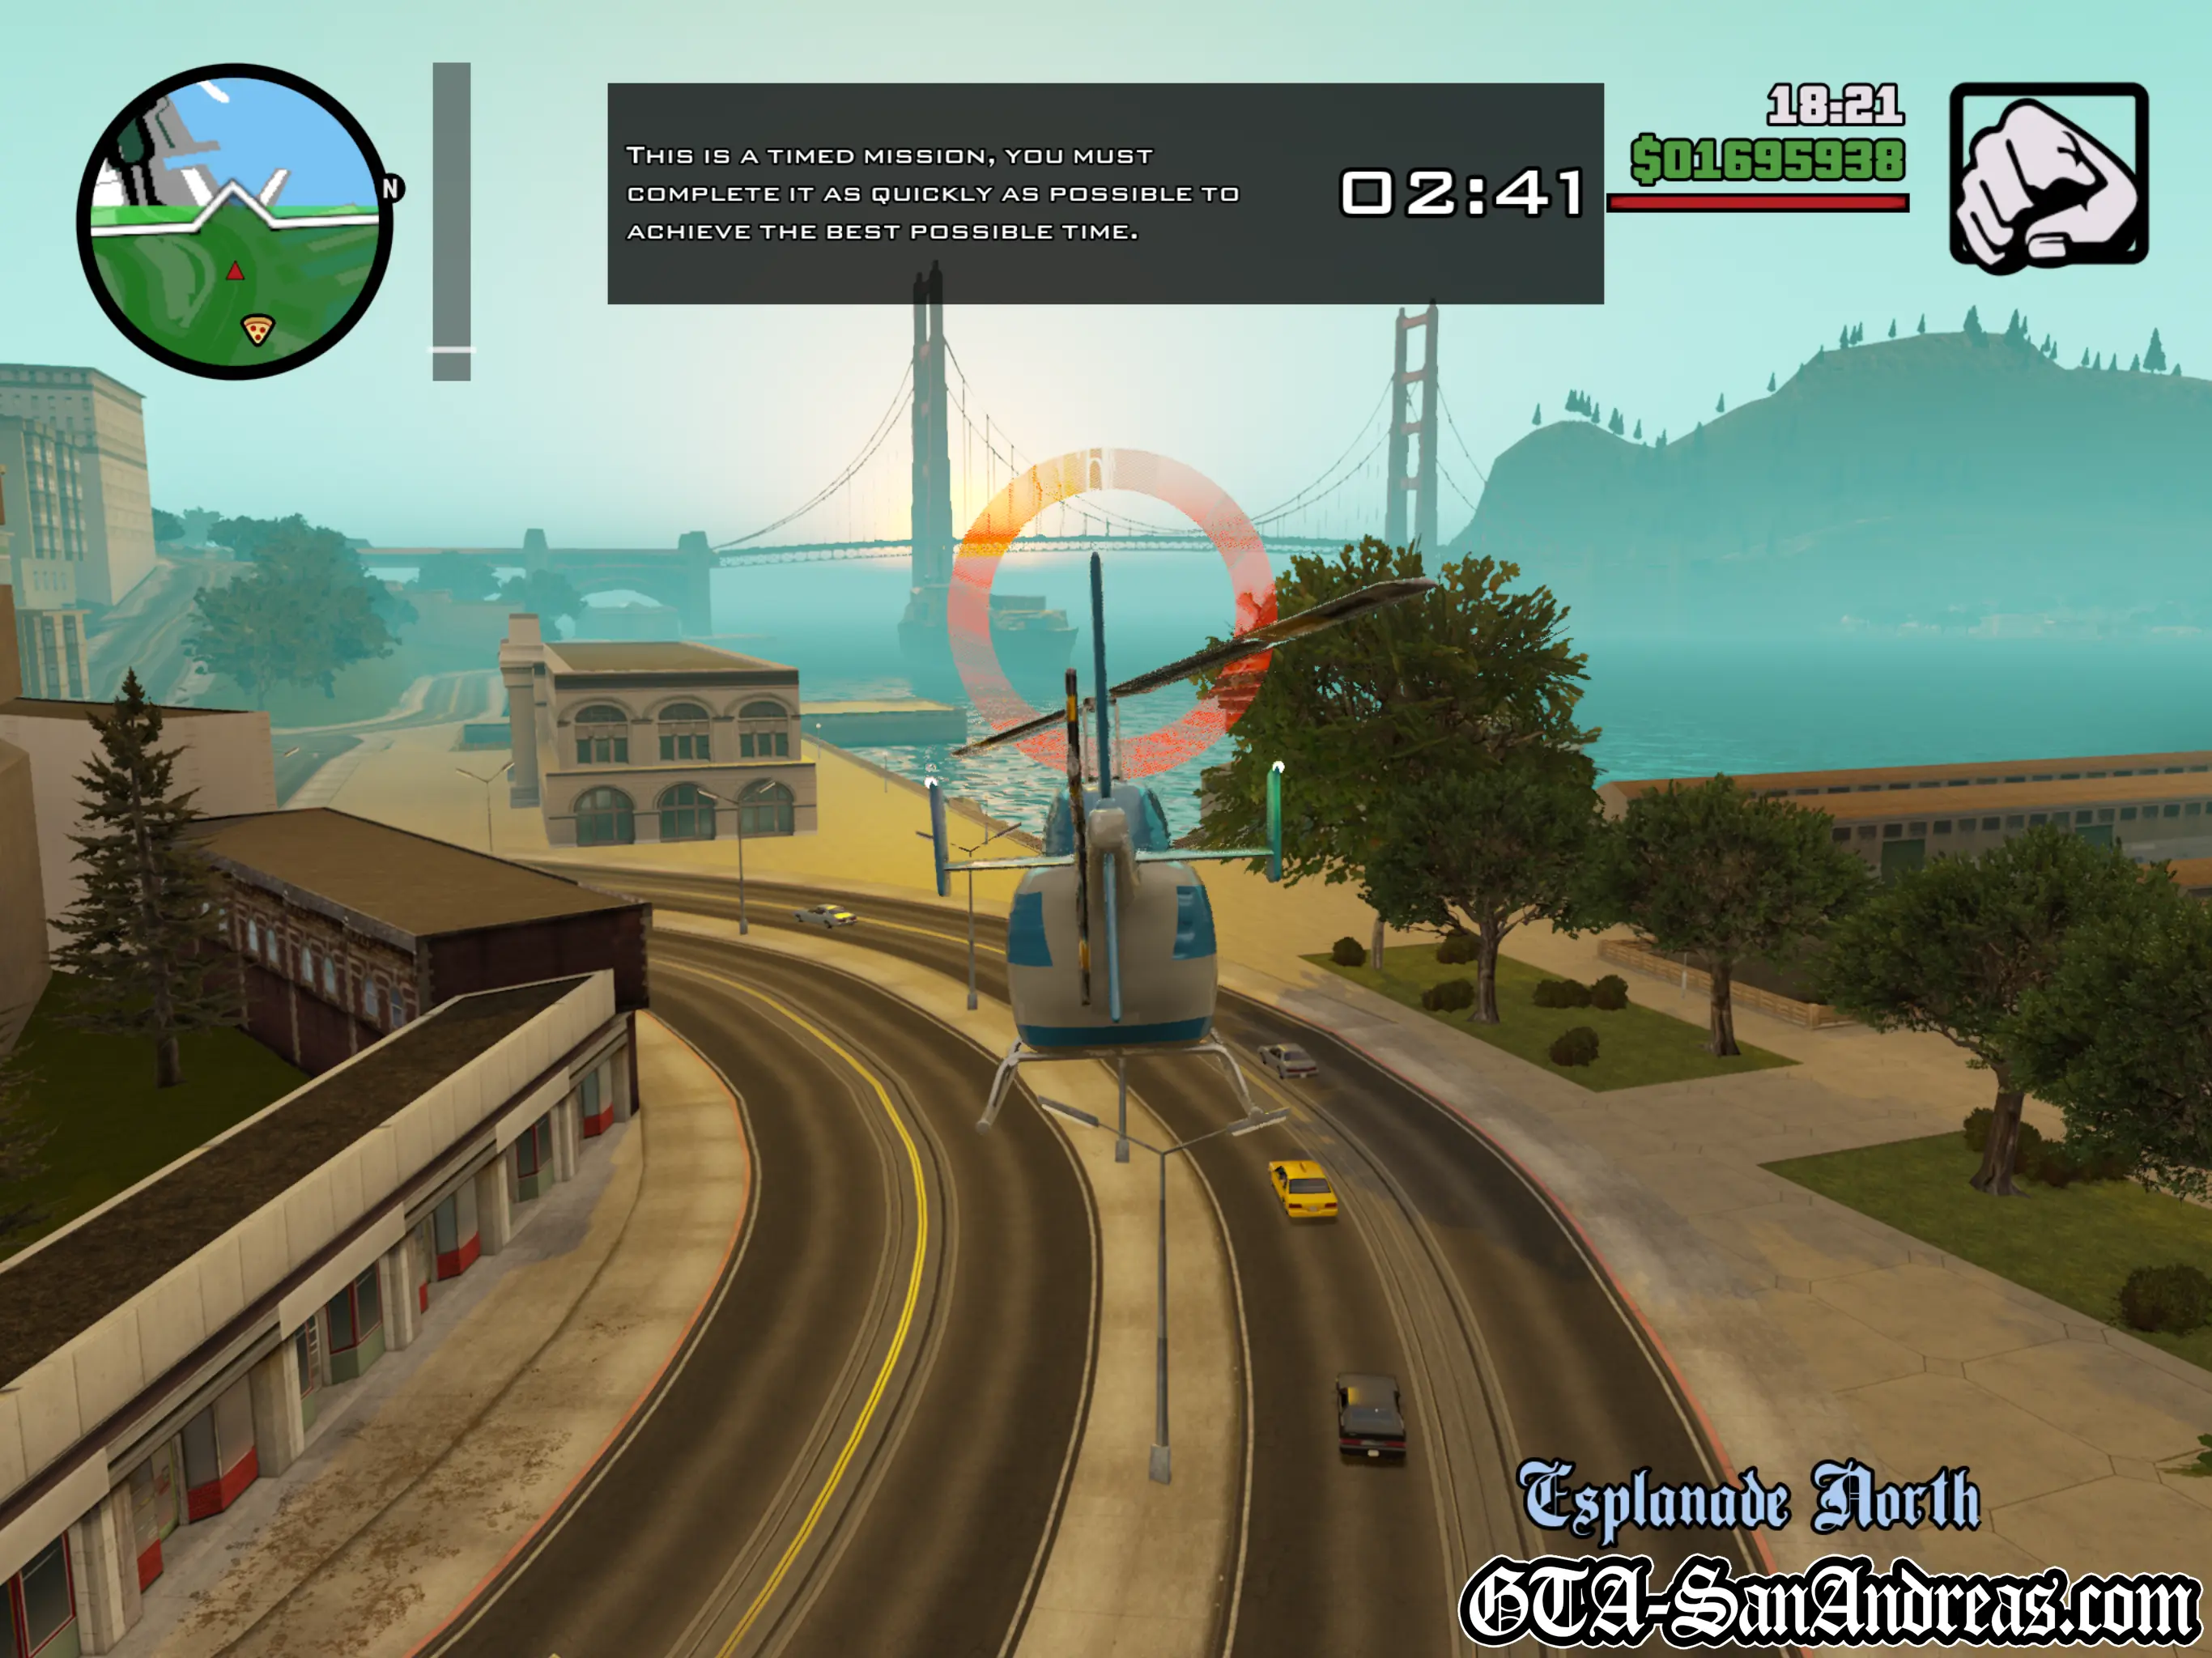
Whirly-Bird Waypoint
This is not a race, it's a checkpoint collection challenge. You can take as long as you want to complete it.
Be aware that the helicopters will explode if they take too much collision damage and you'll die.
| Vehicle Provided | Route Distance |
|---|---|
| News Chopper | 4.00 KM |
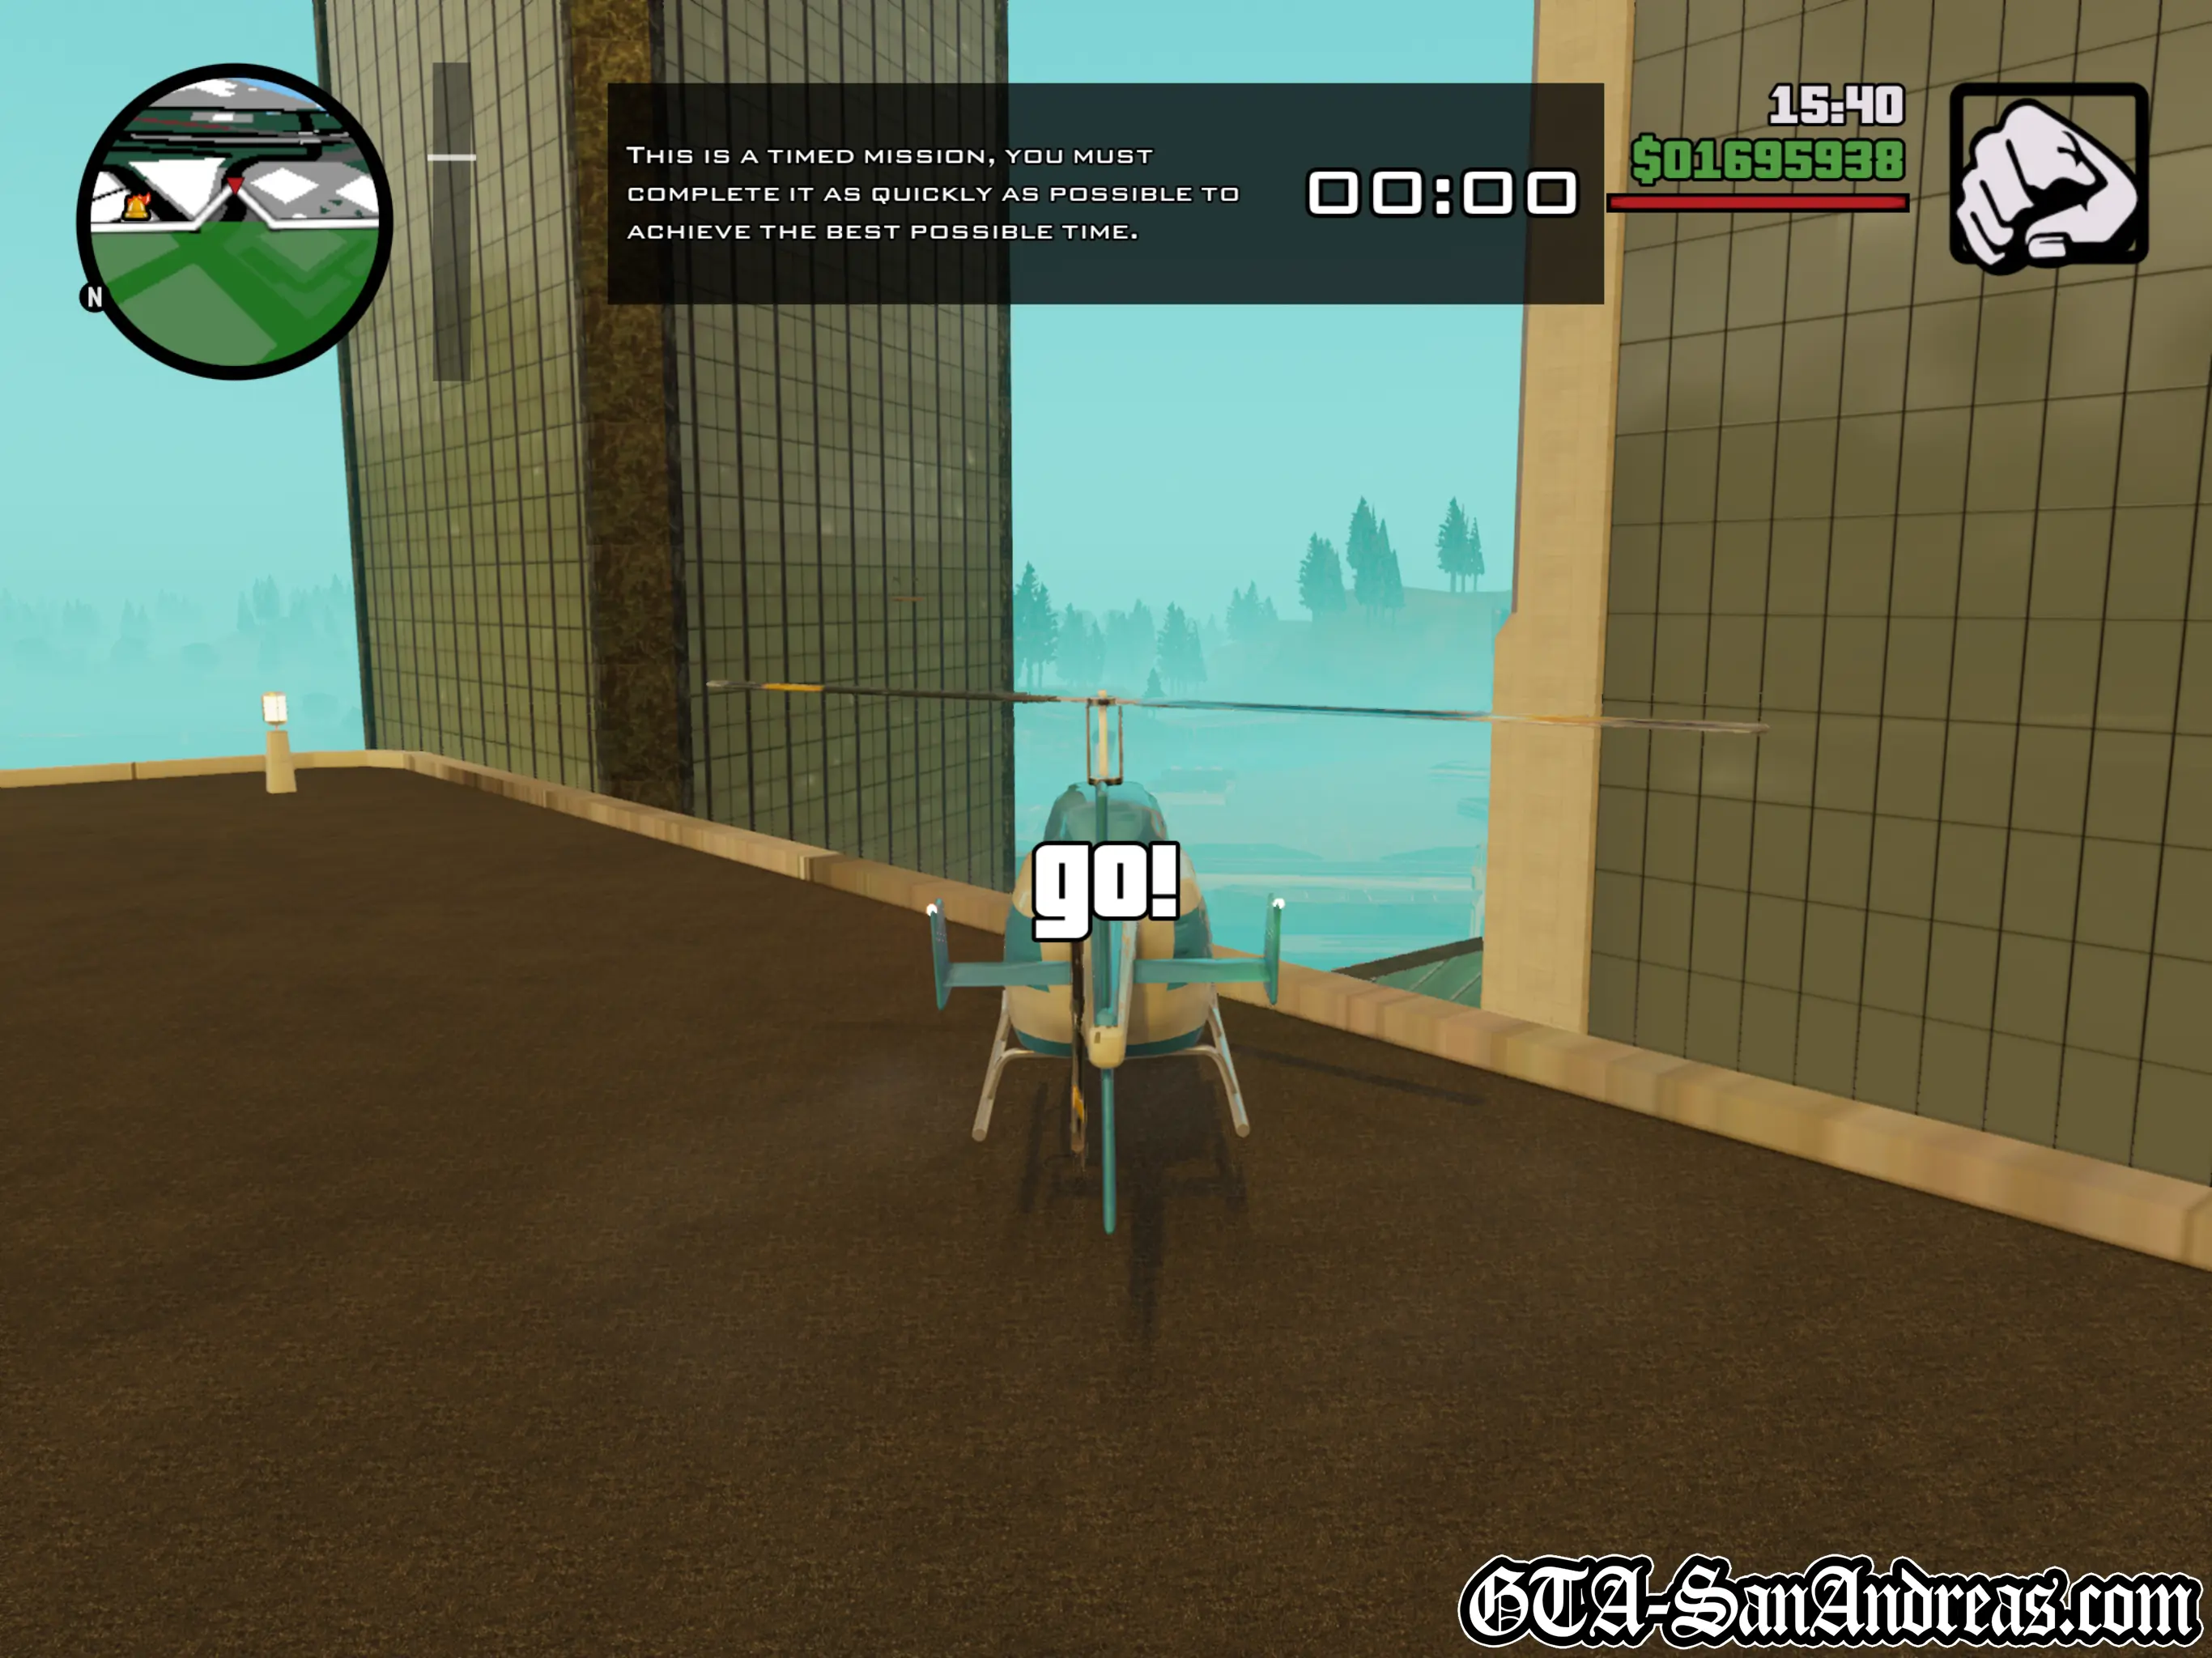
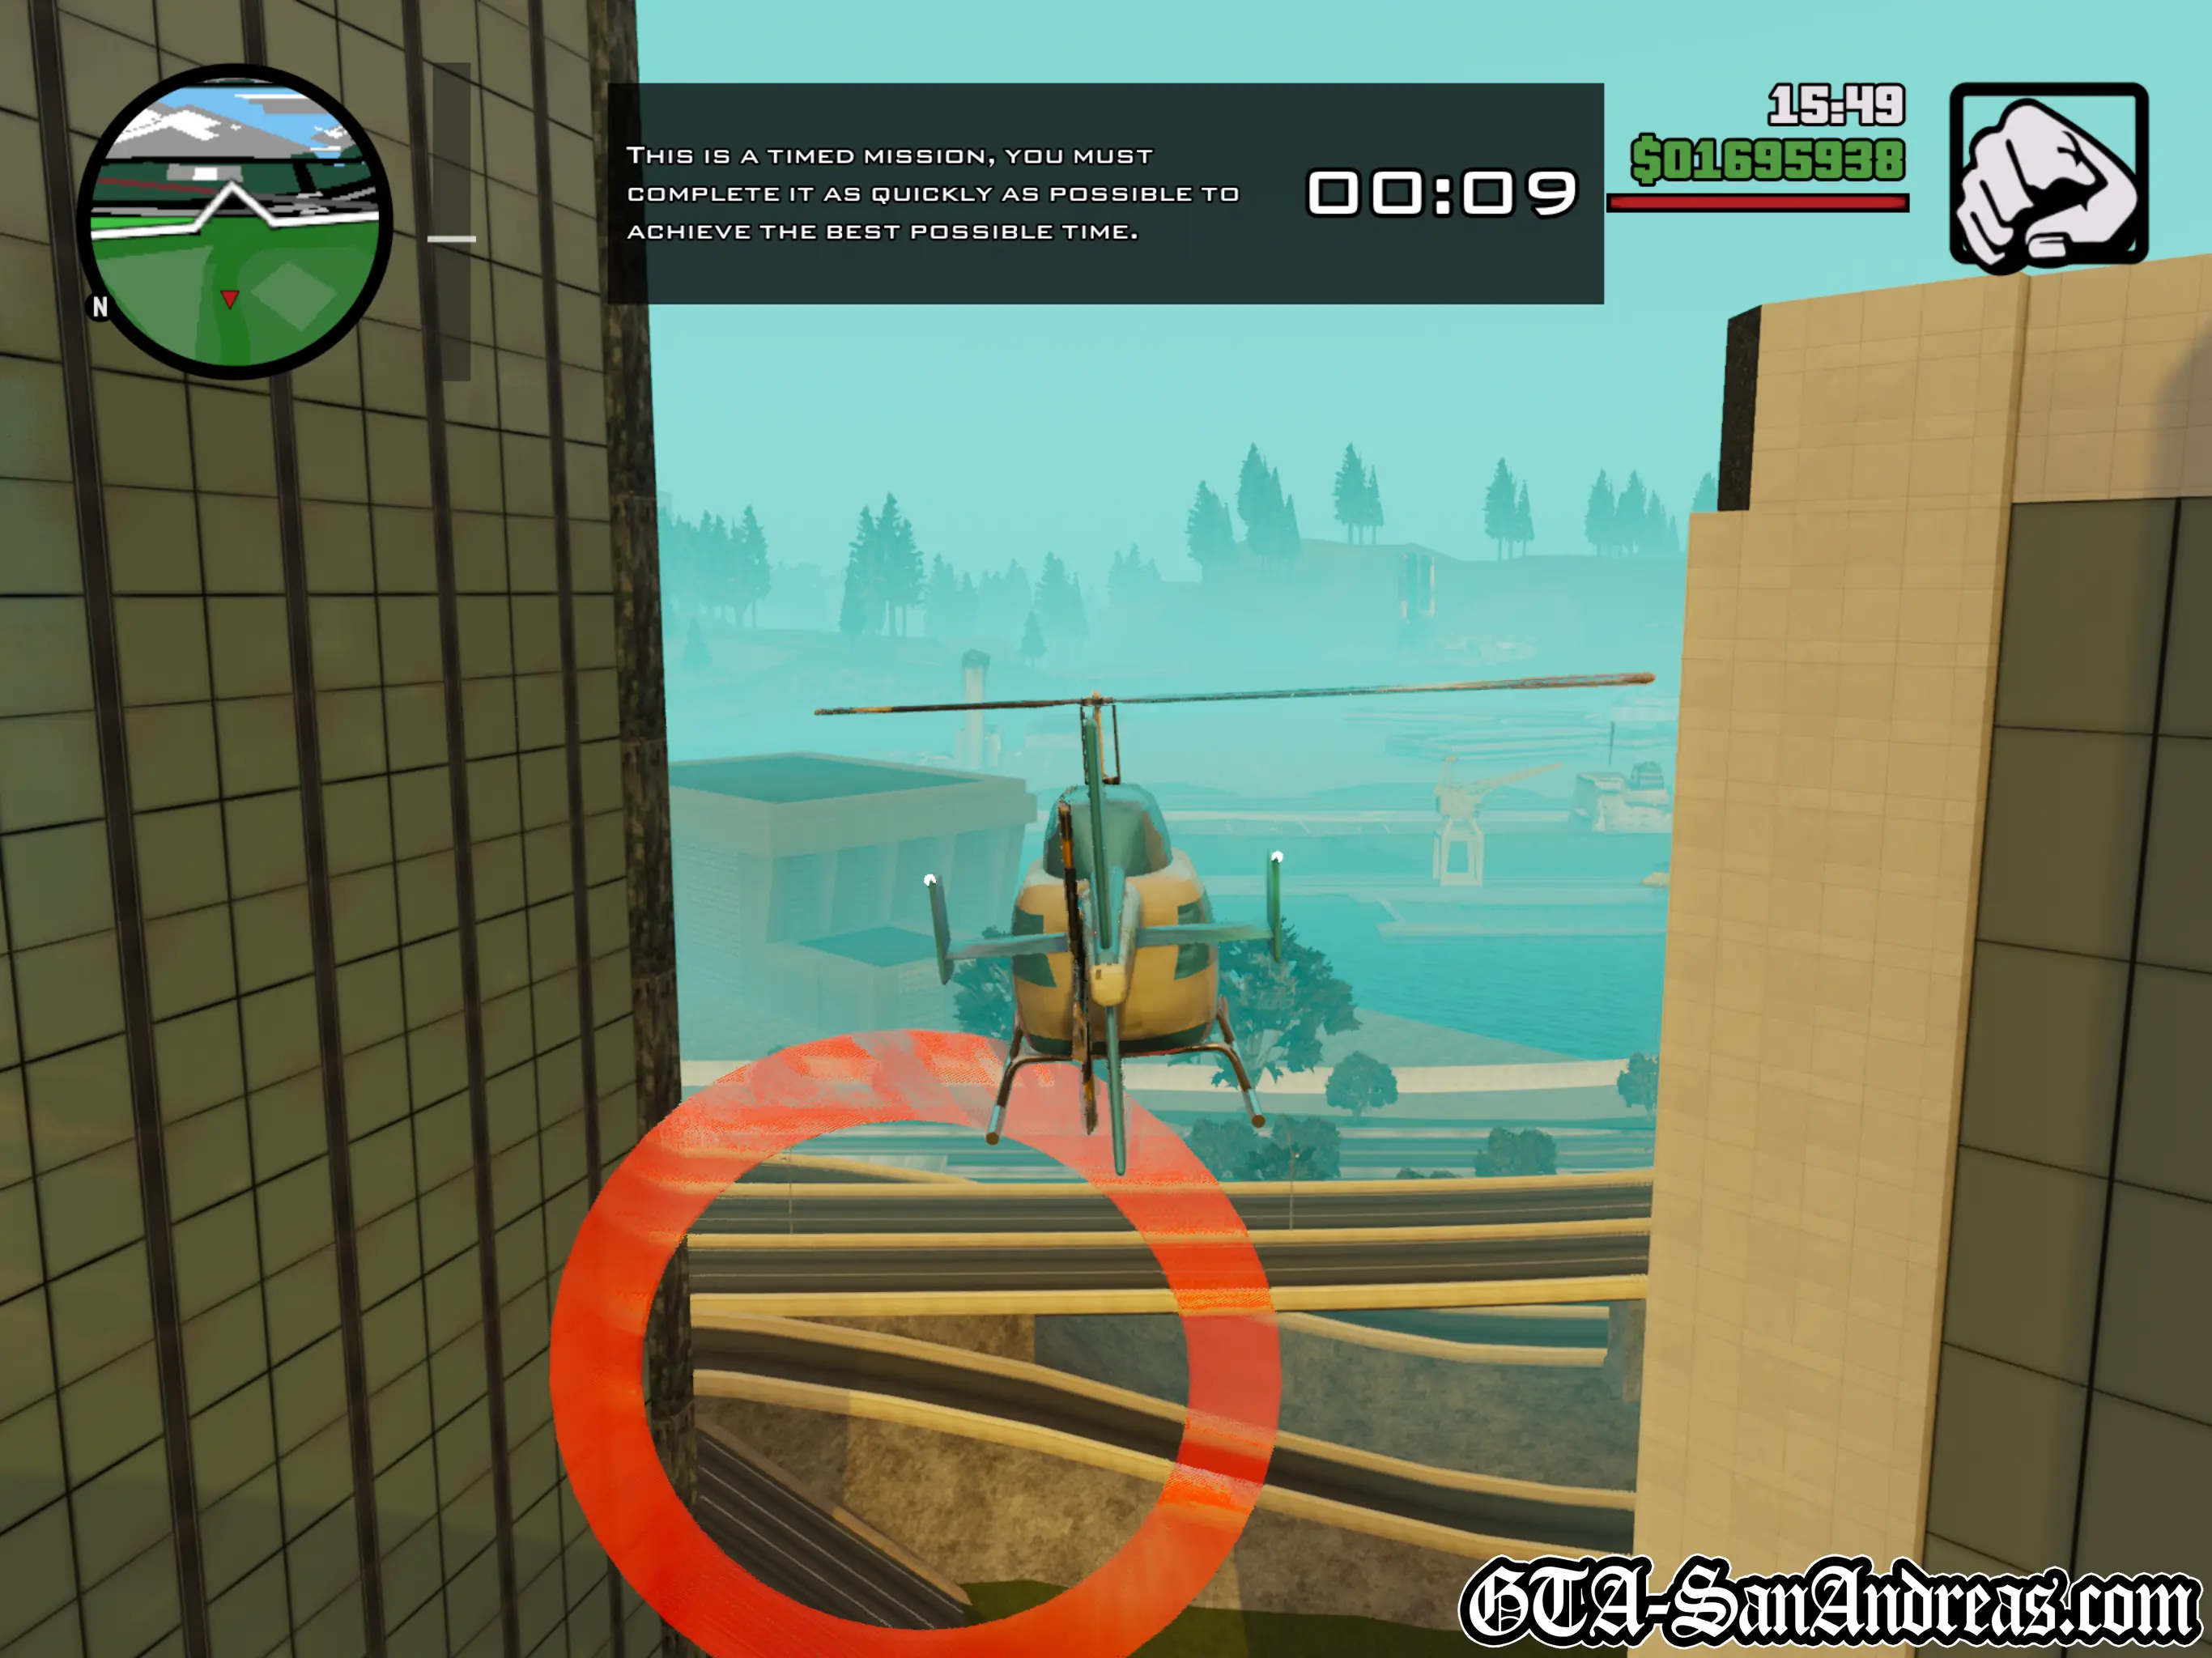
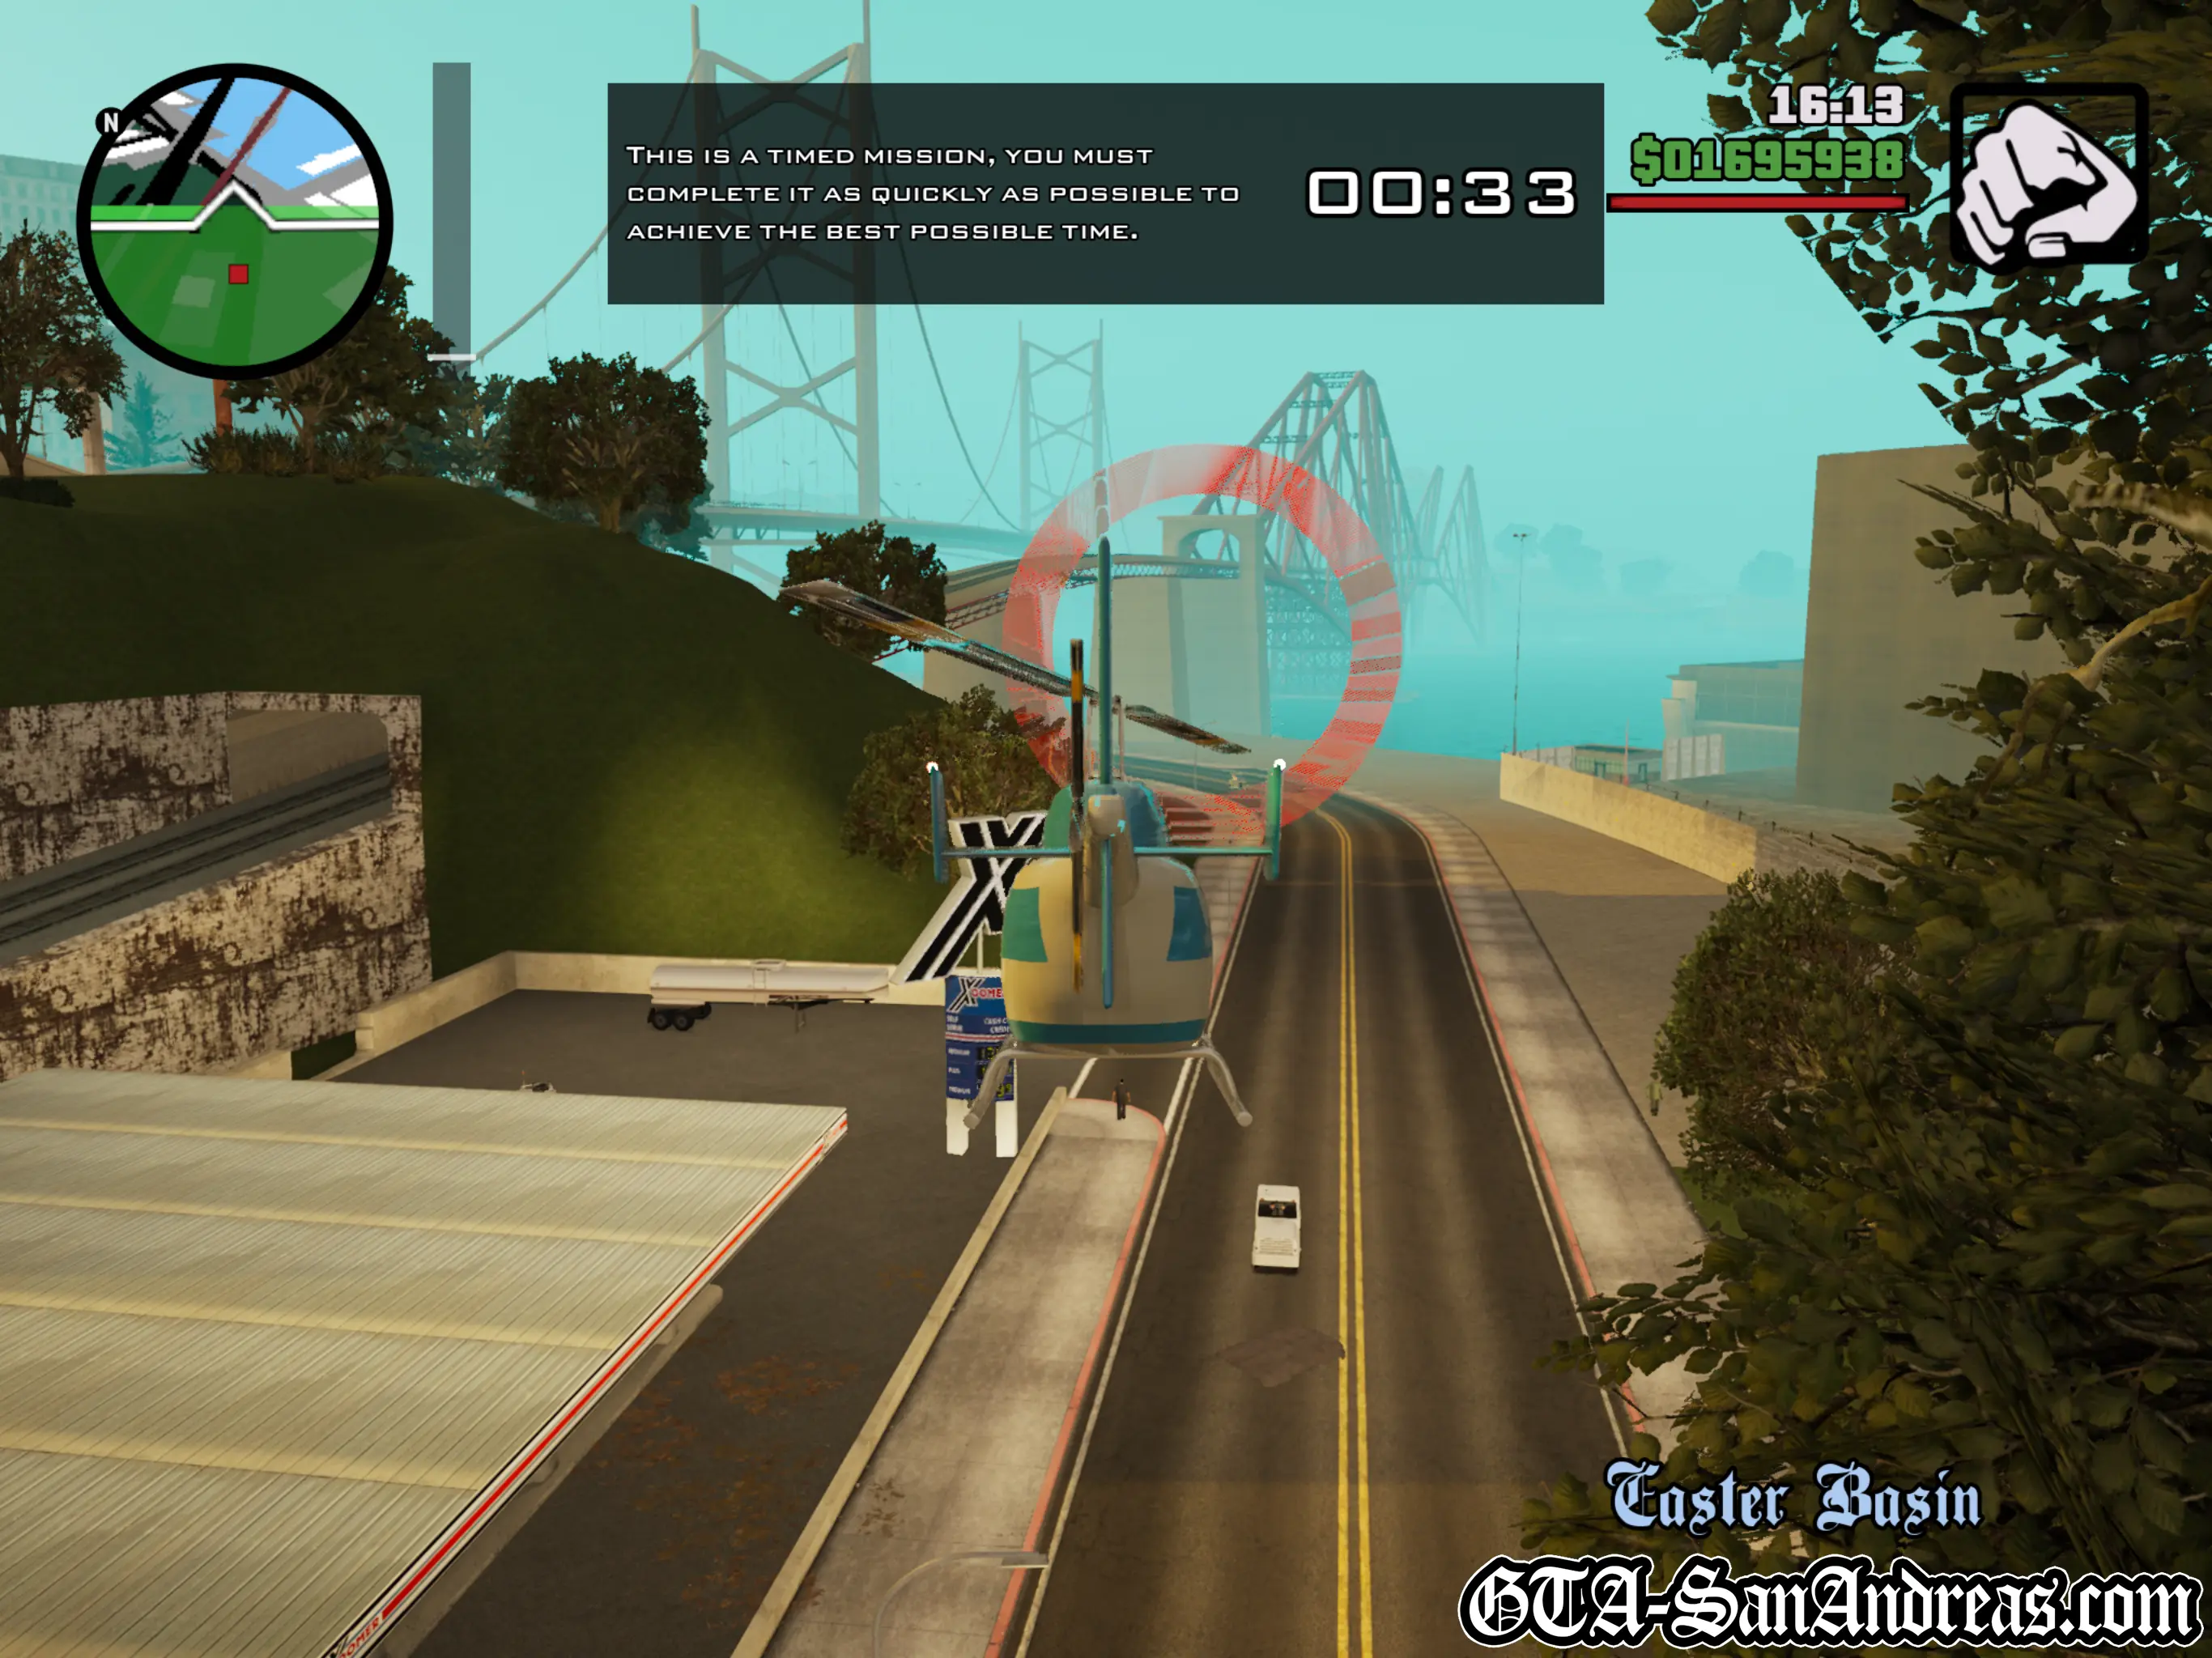
Tactics
Again, another reasonably simple helicopter challenge. Avoid hitting the rotor blades on the buildings and try not to take too much damage and you shouldn't have much of a problem.
Screenshots

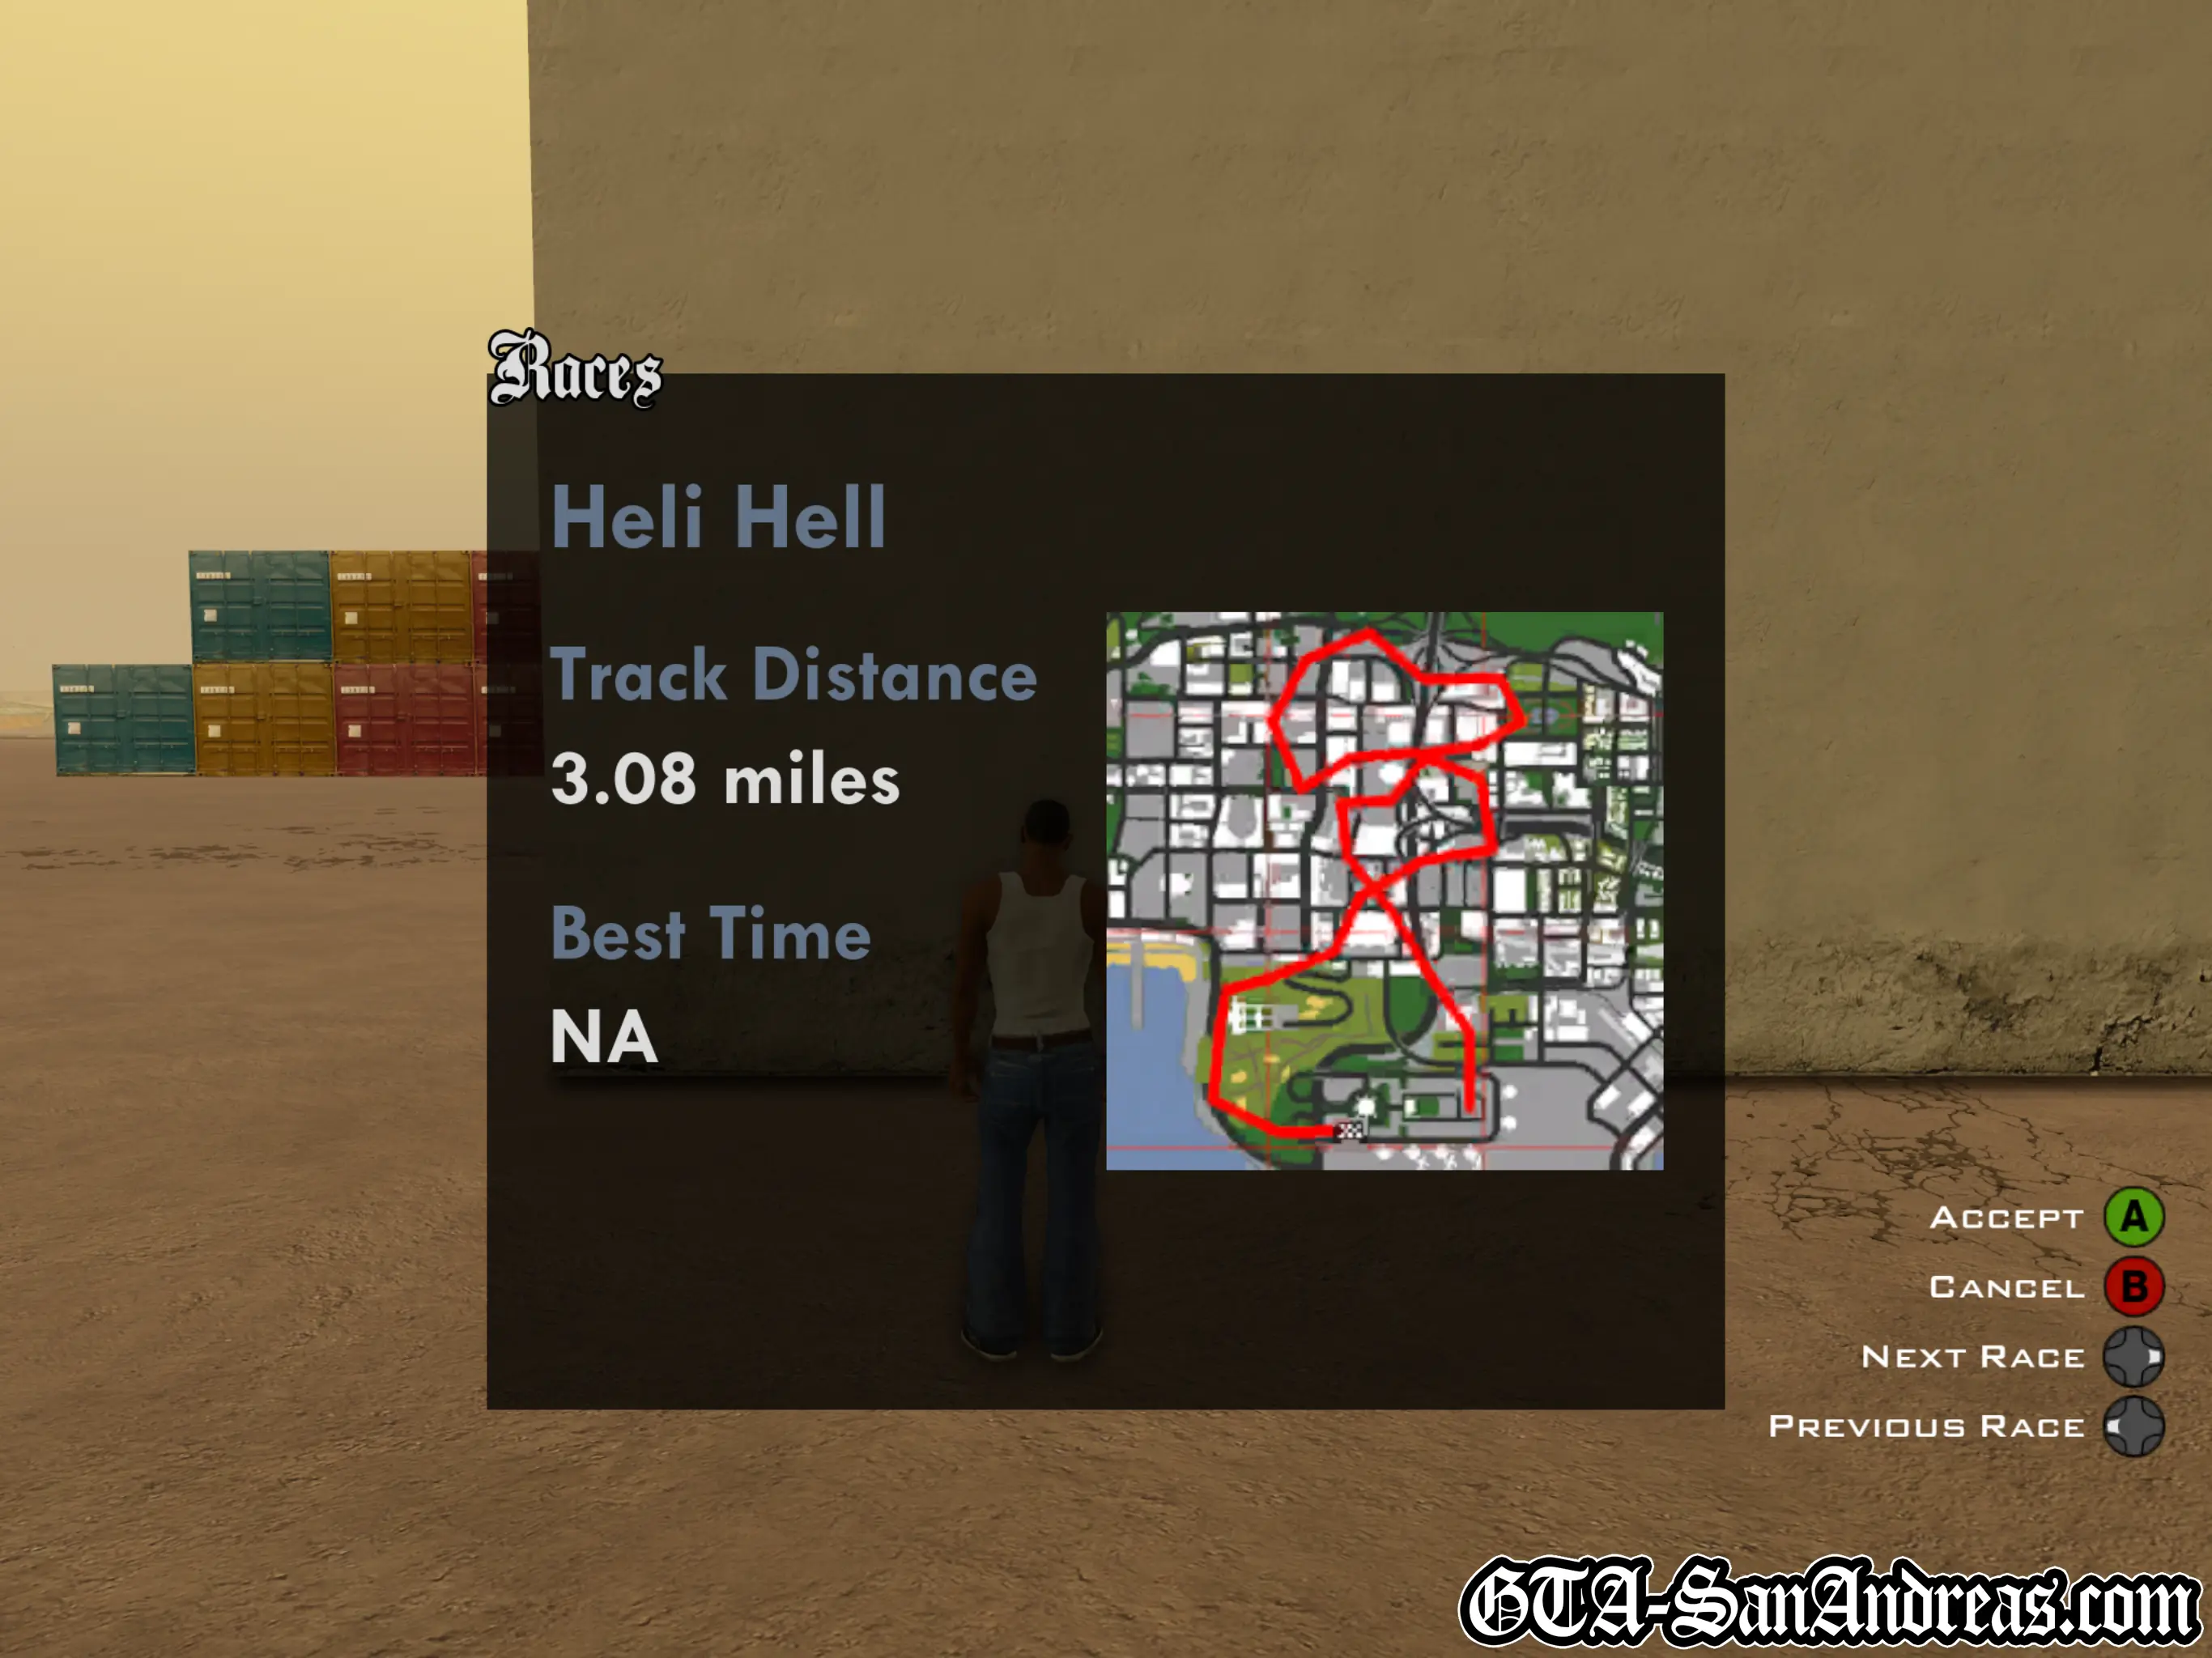
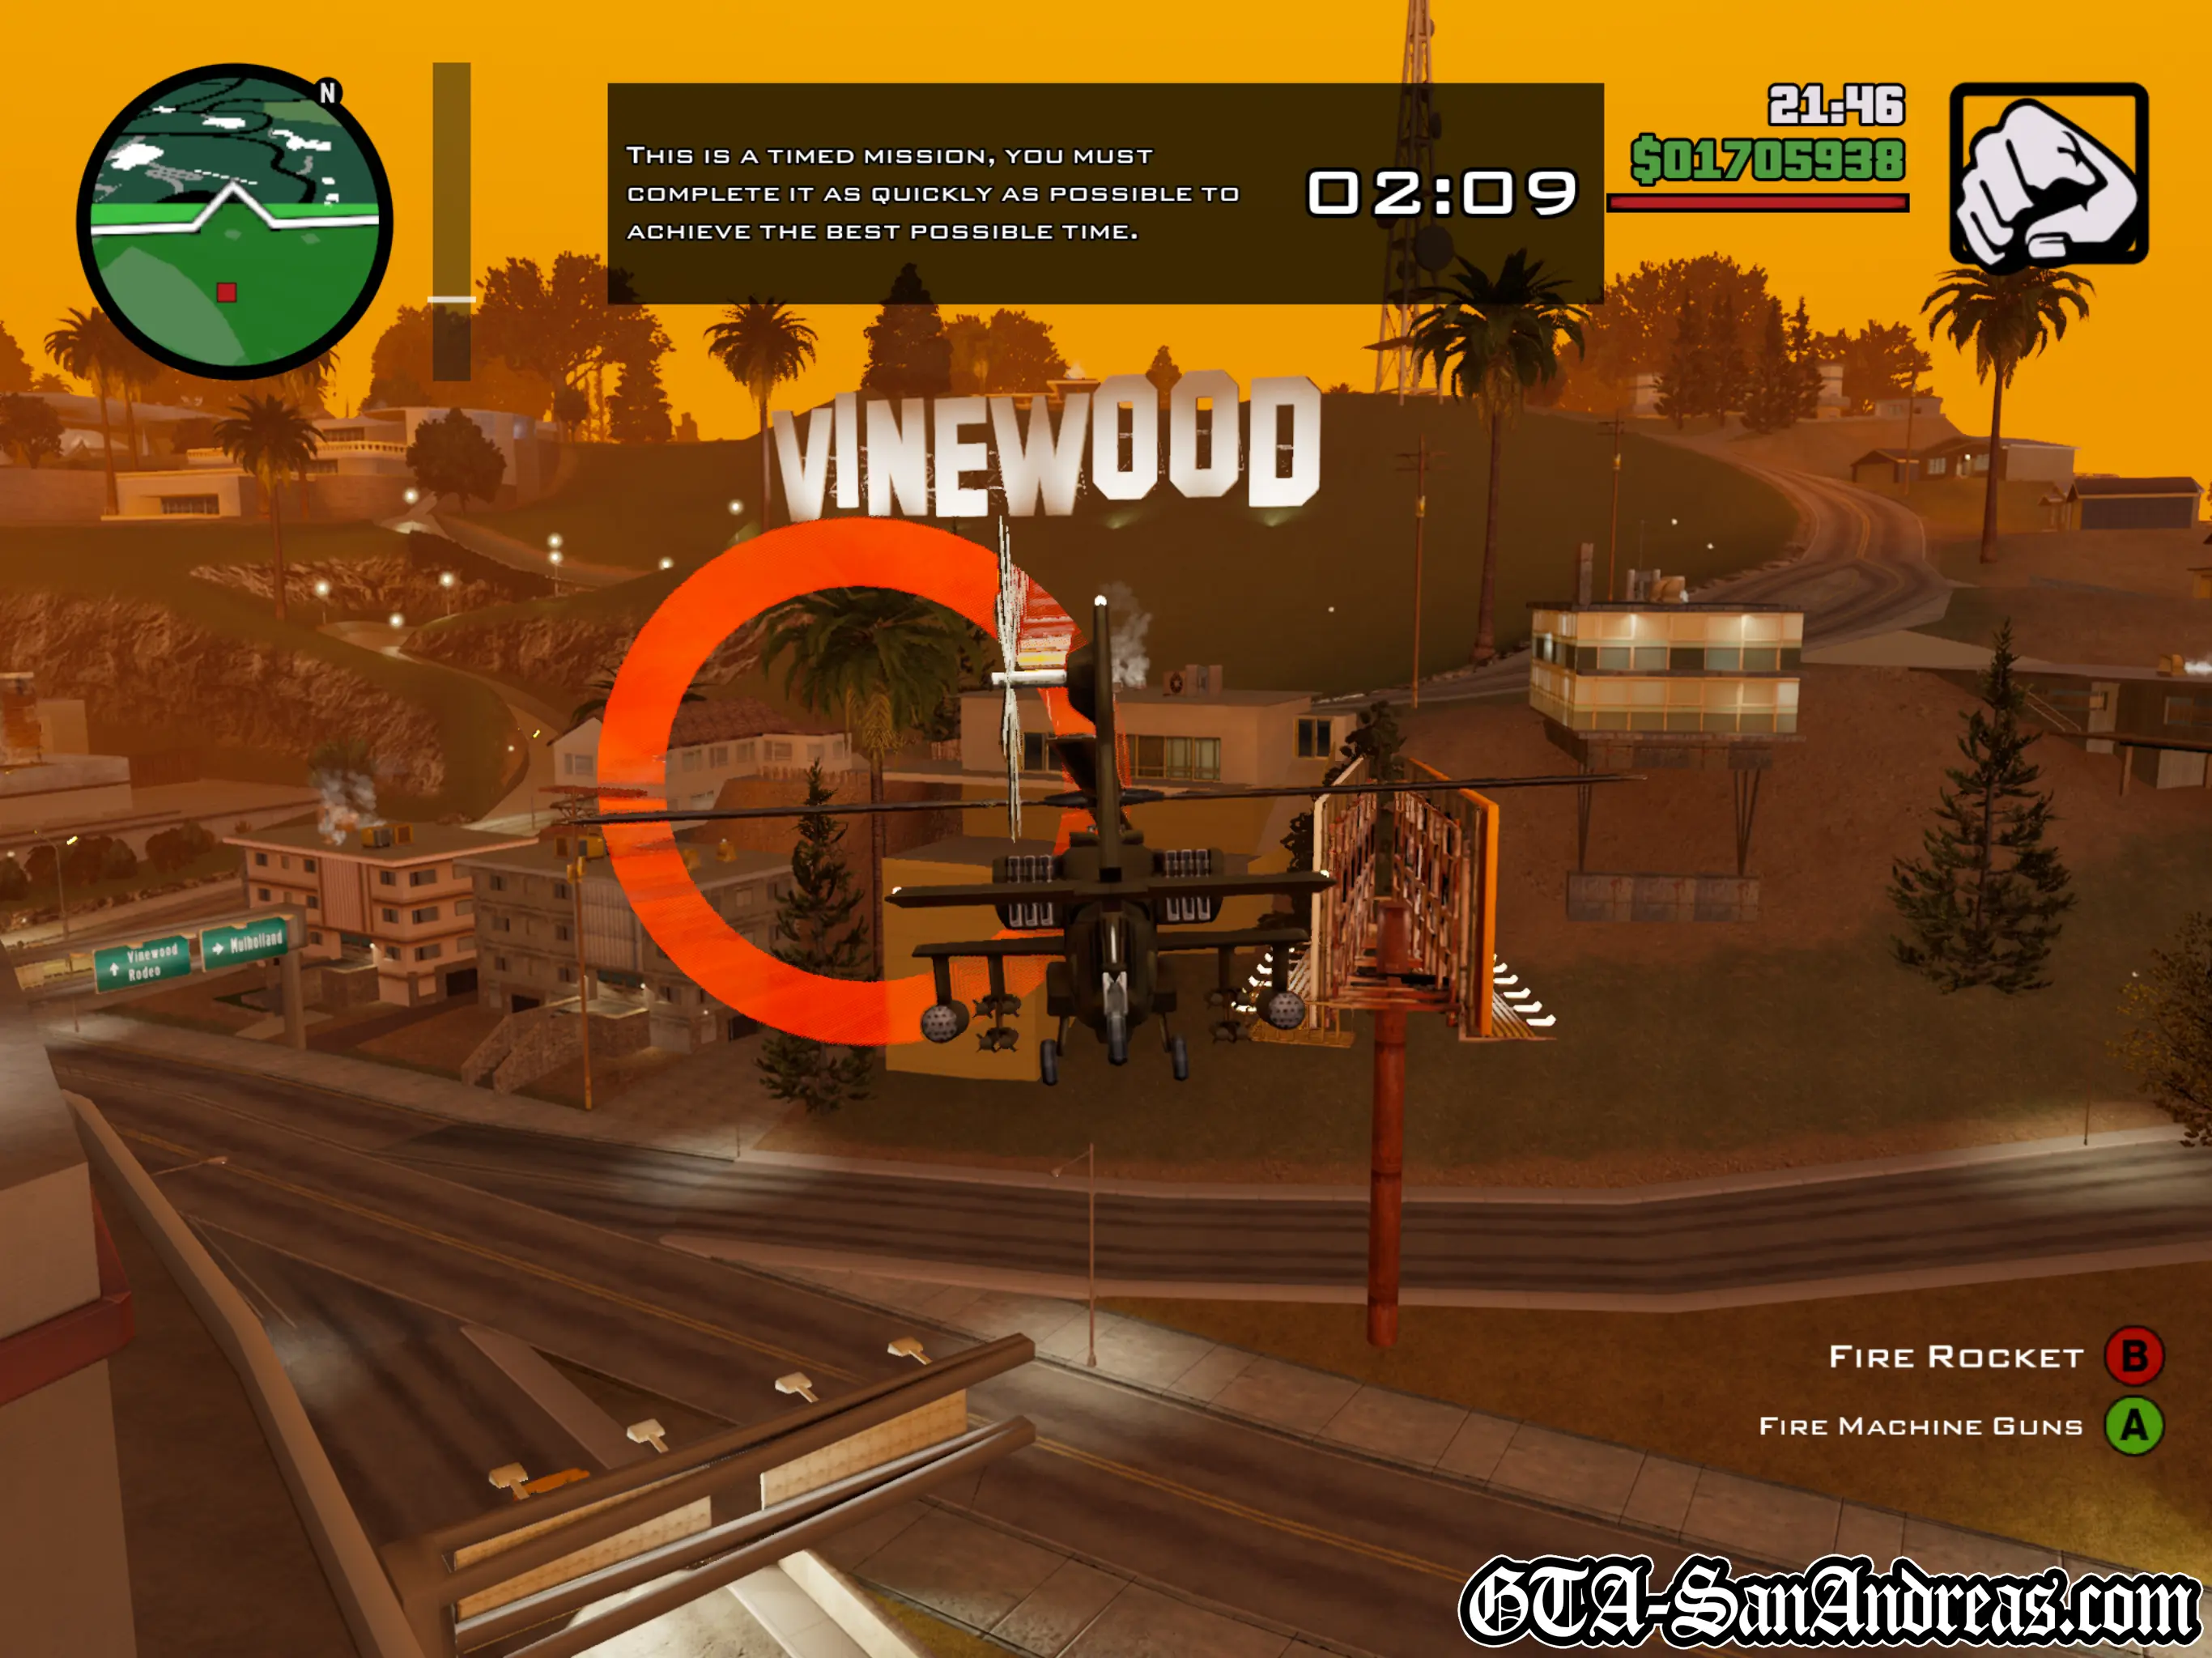
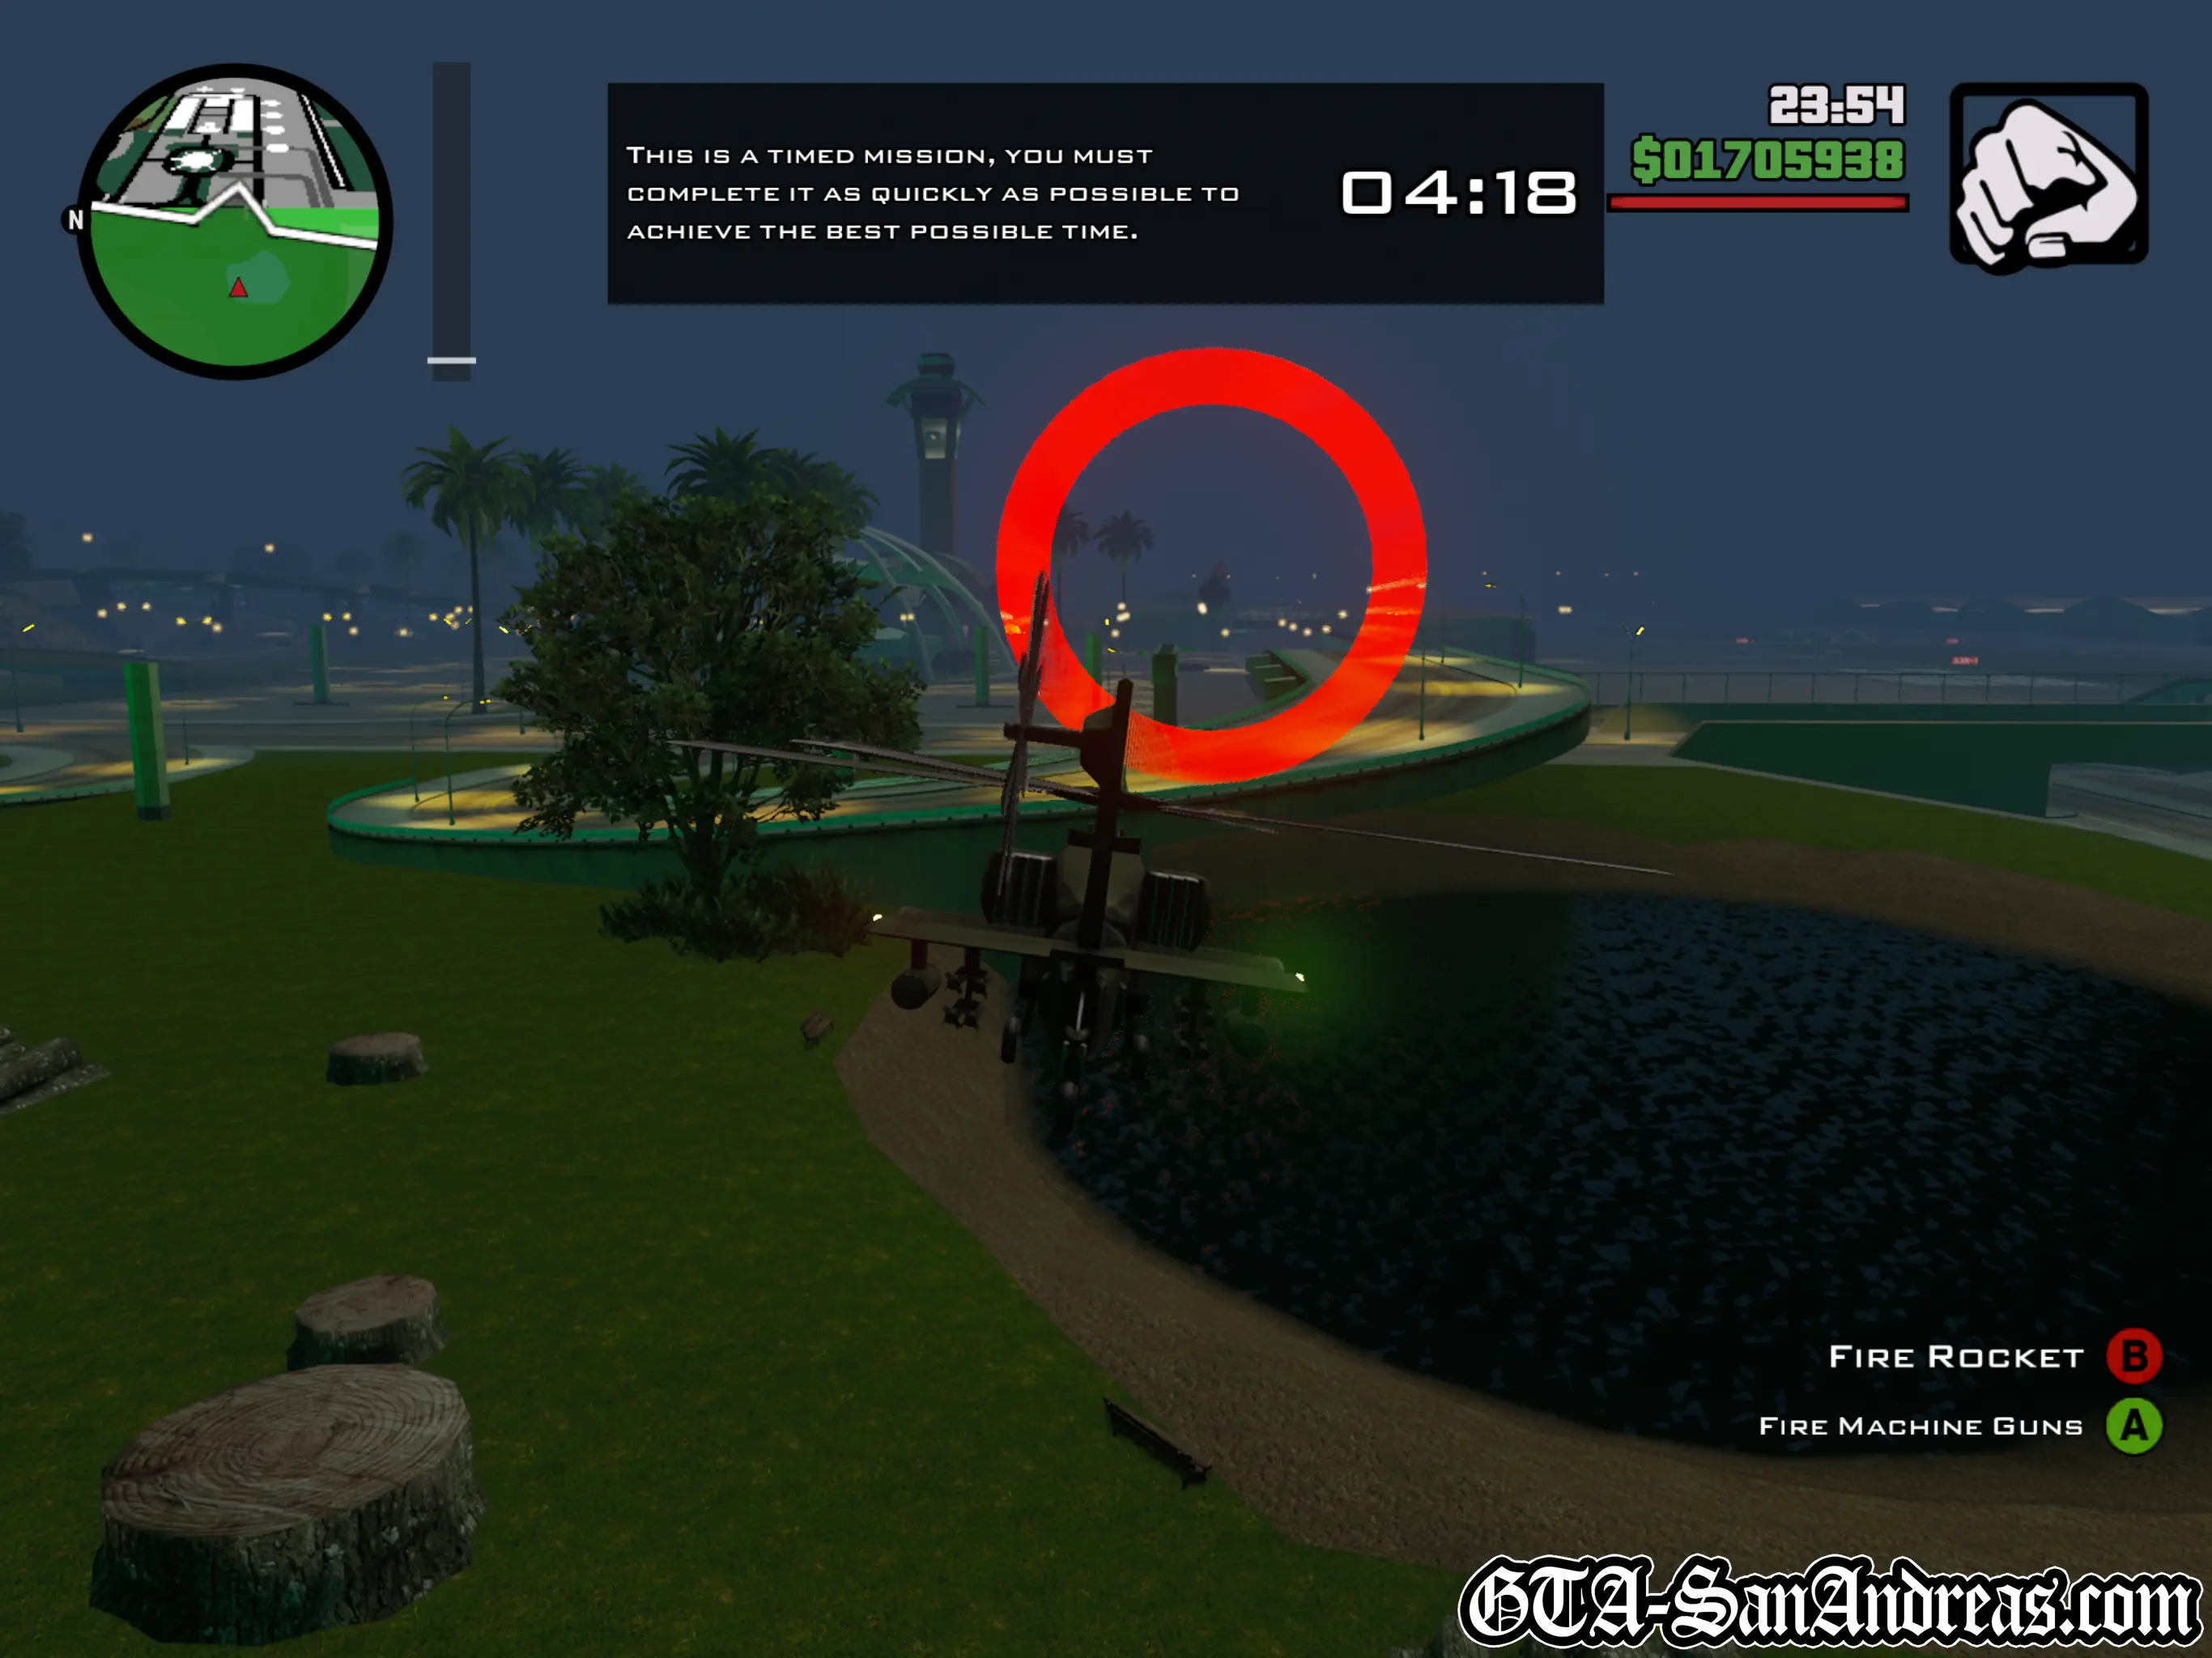
Heli Hell
This is not a race, it's a checkpoint collection challenge. You can take as long as you want to complete it.
Be aware that the helicopters will explode if they take too much collision damage and you'll die.
| Vehicle Provided | Route Distance |
|---|---|
| Hunter | 4.00 KM |
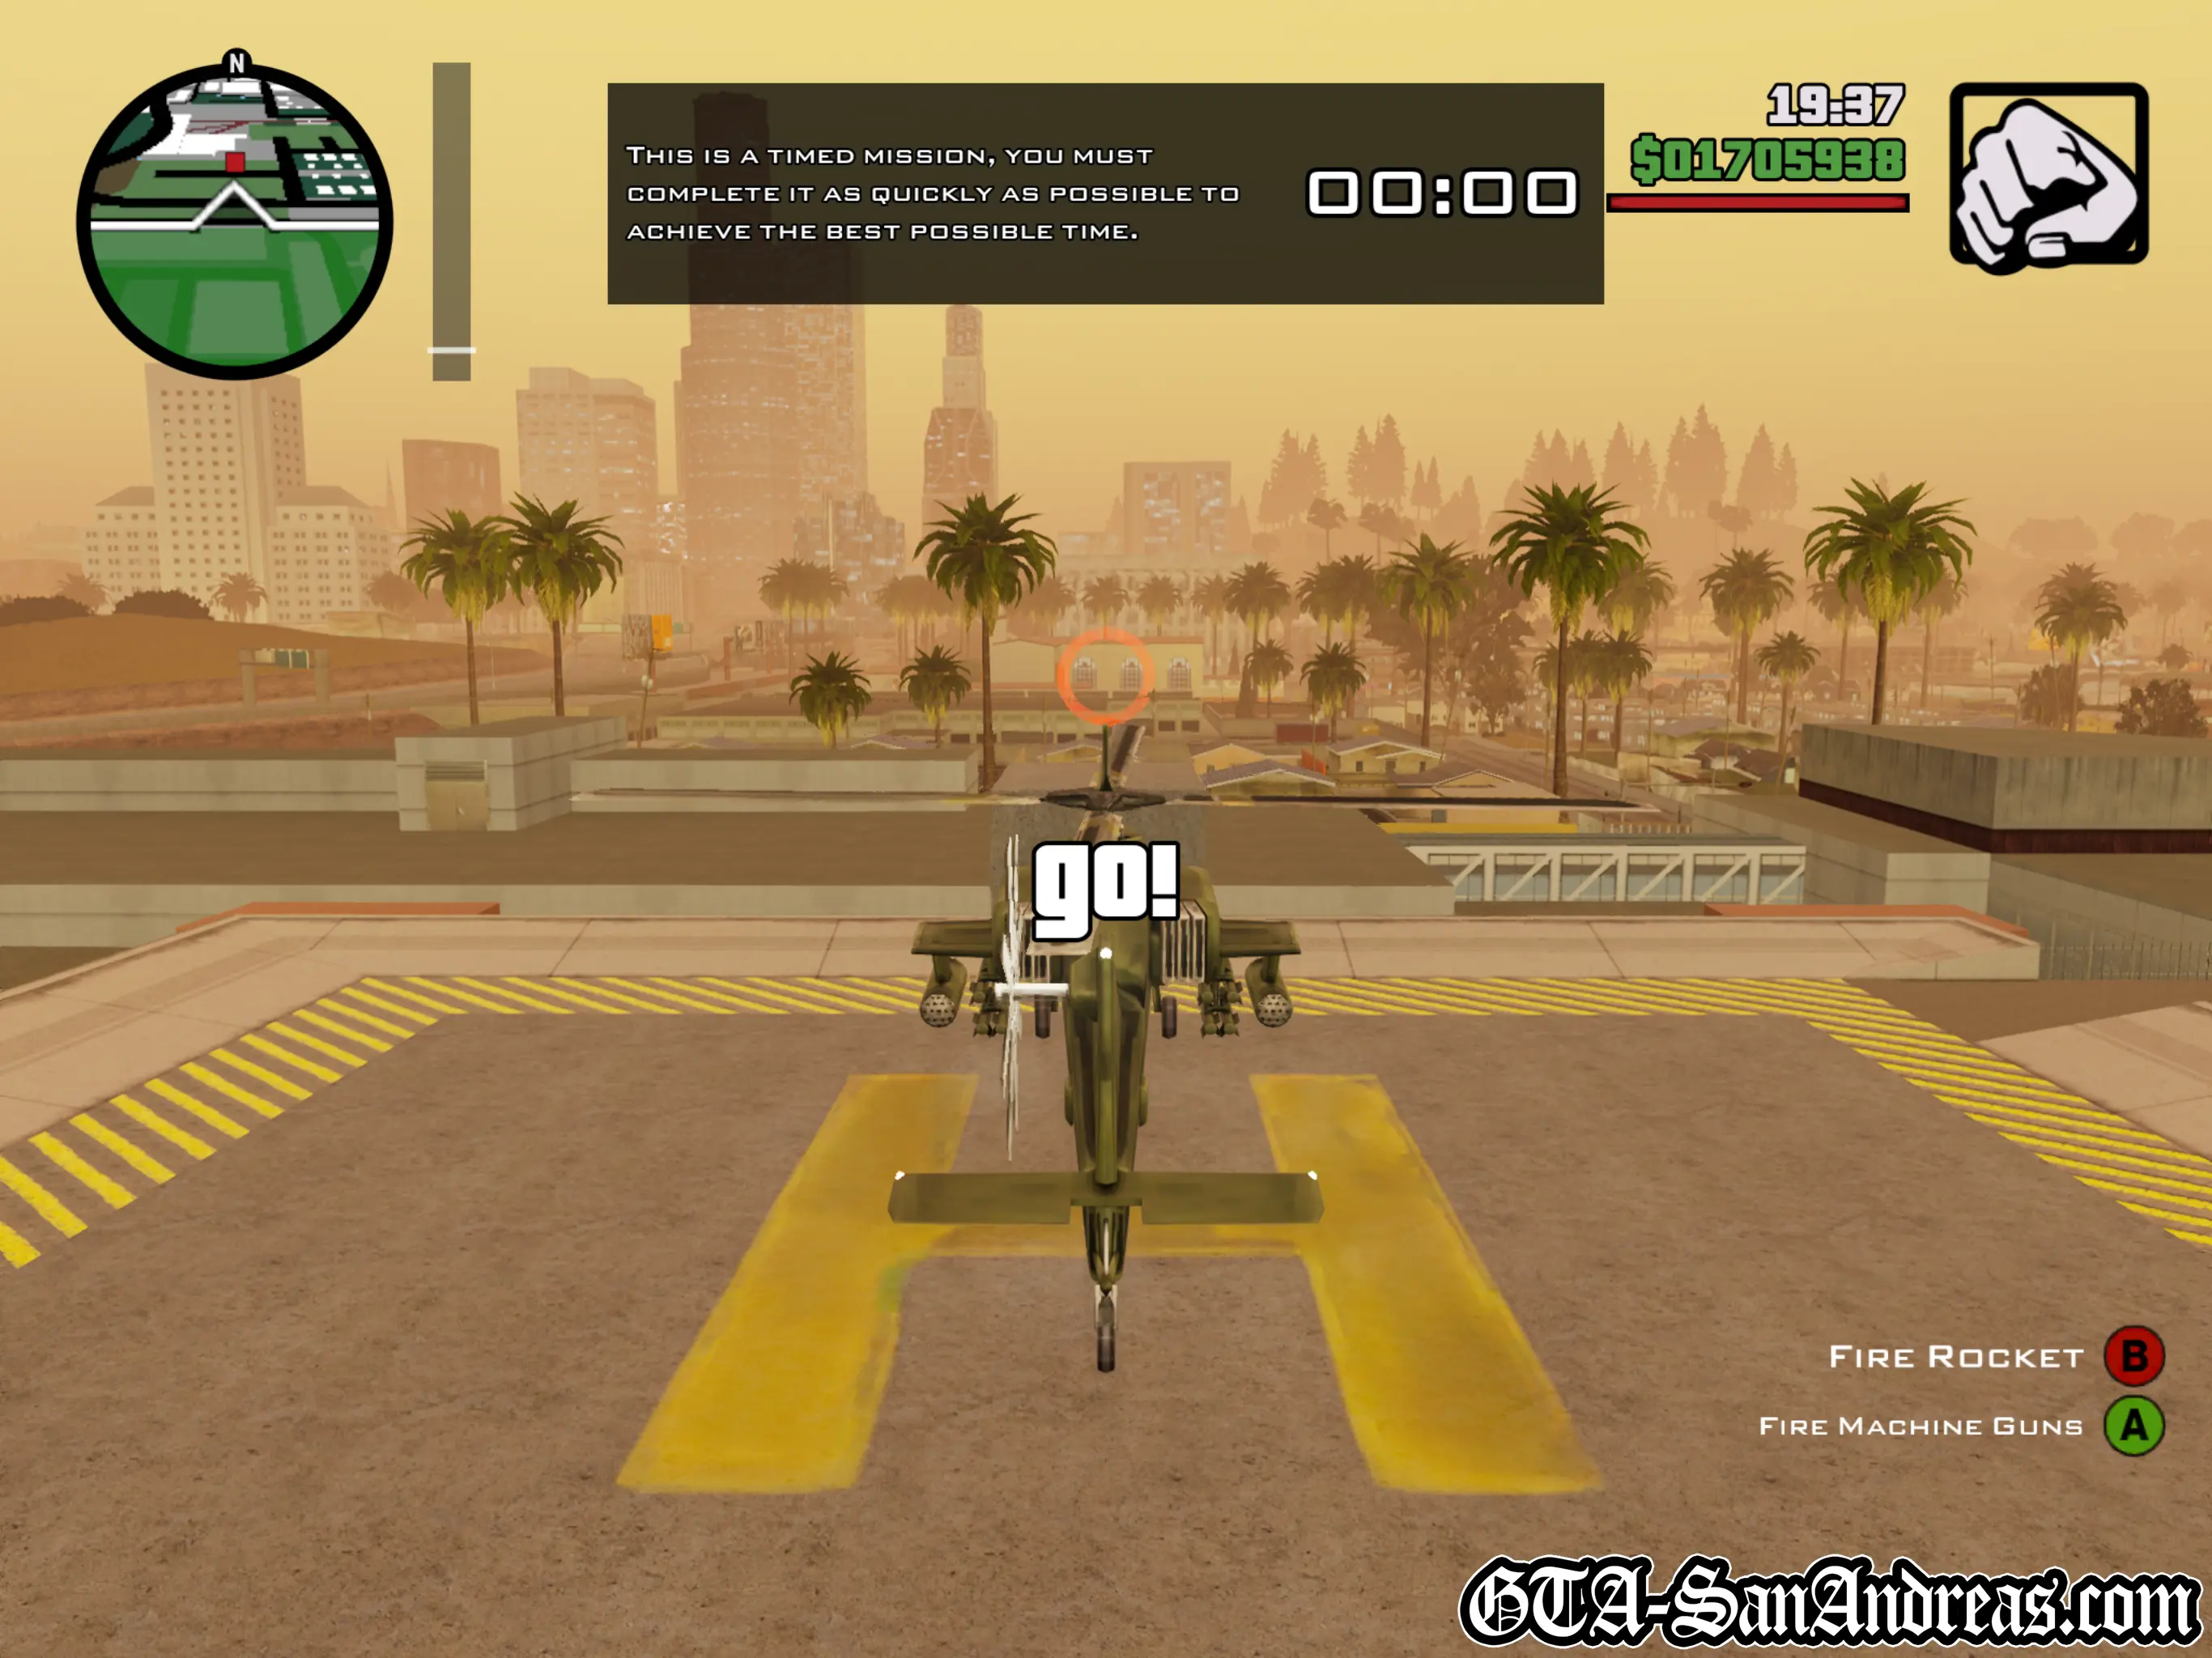
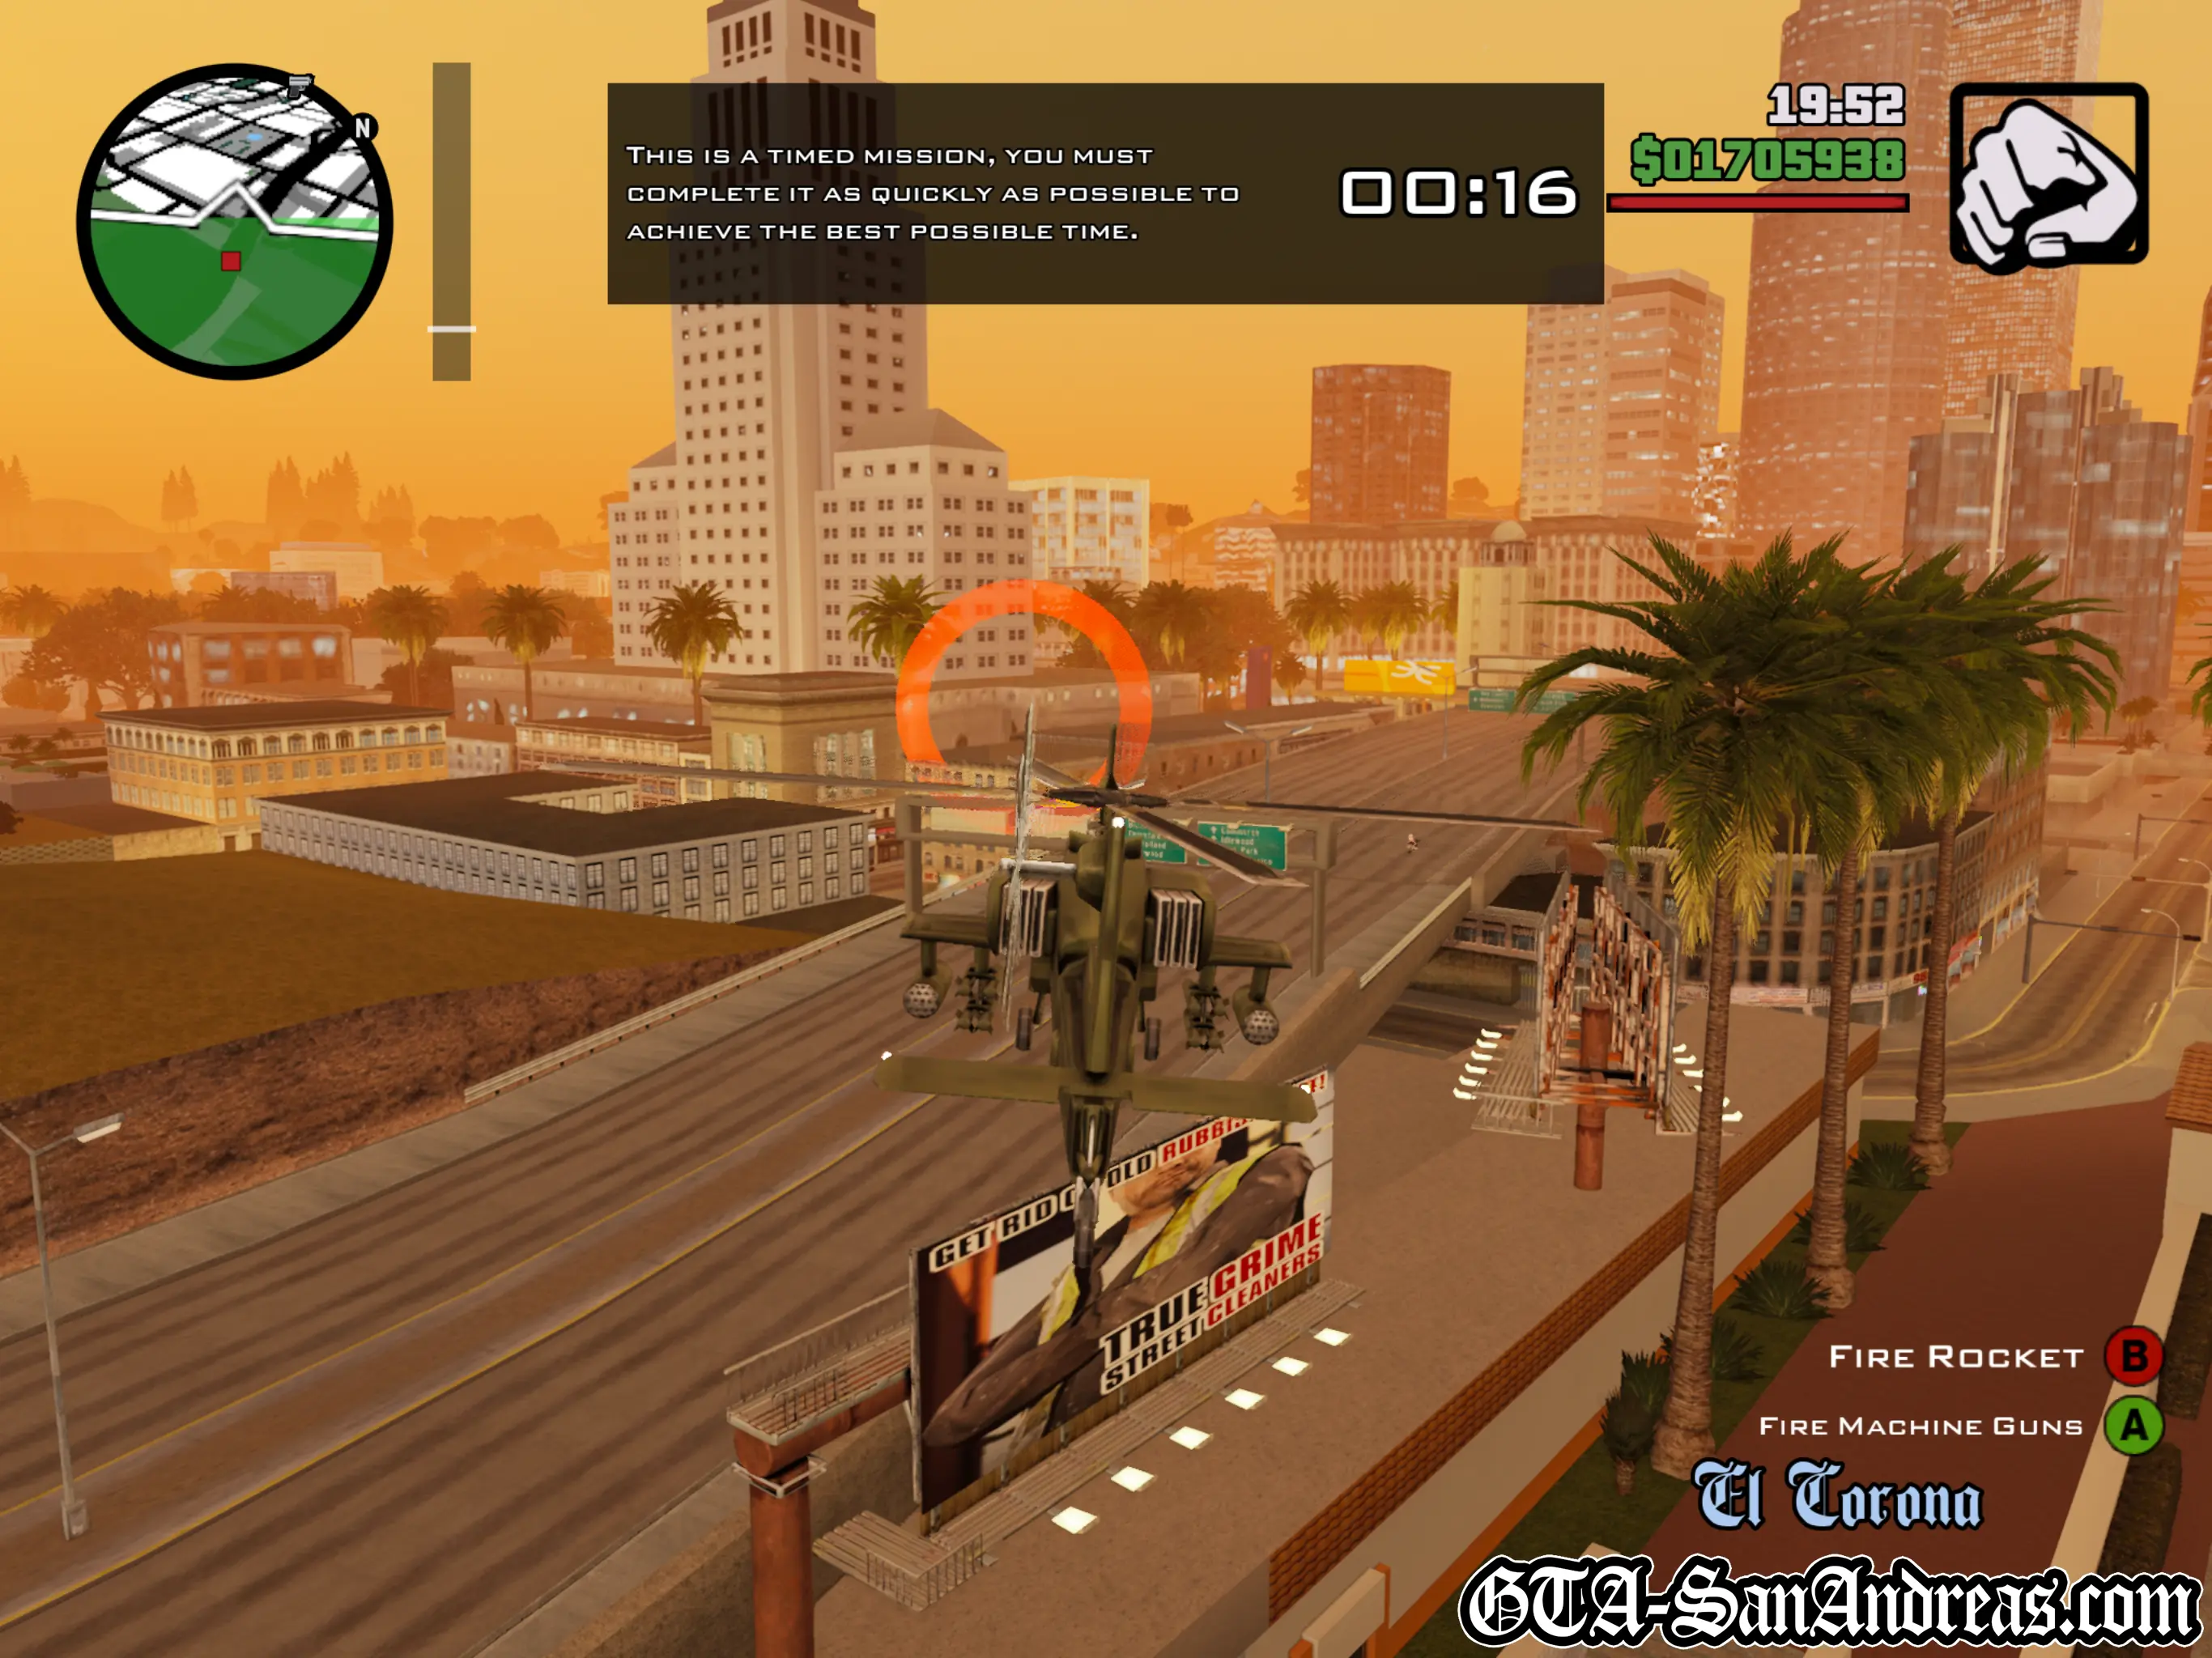
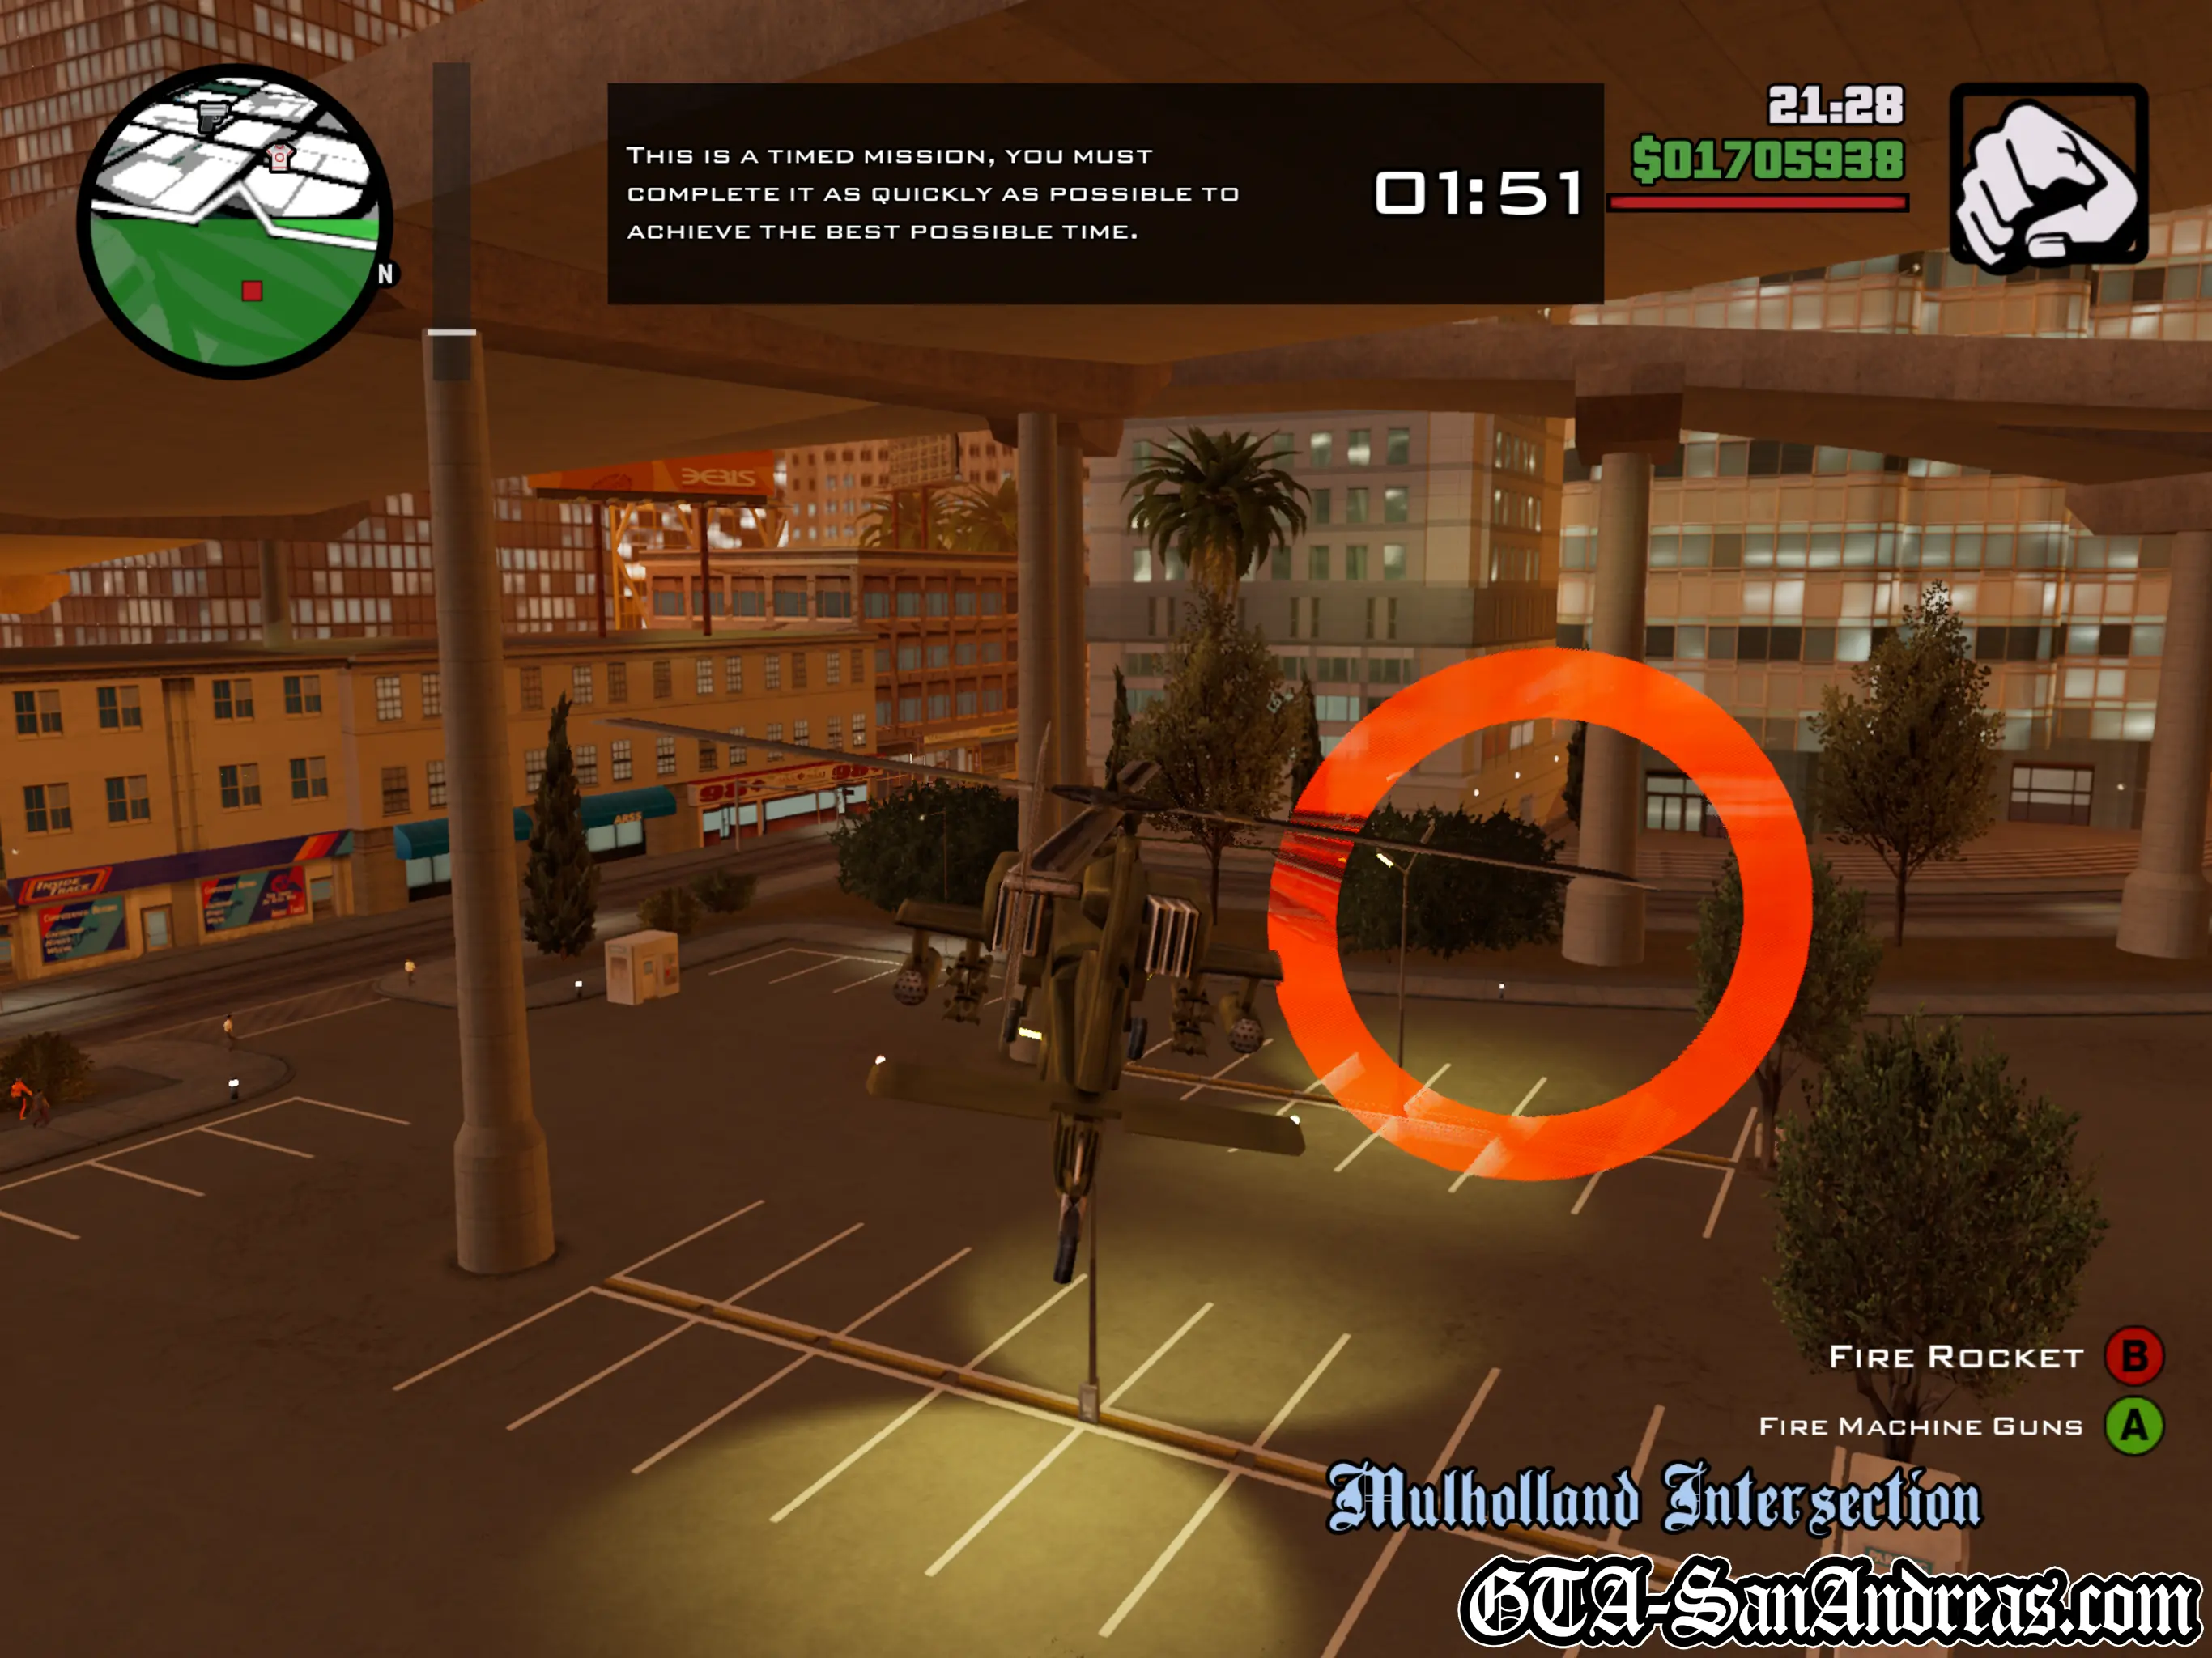
Tactics
This is final checkpoint challenge, if you're doing them in the same order as me.
This one isn't hard either and you're in a Hunter which has great speed and handling. Don't fly into the buildings too many times and you'll finish it pretty quick.
Screenshots