Follow us on X. We're posting regular updates about everything GTA VI!
@iGrandTheftAutoLos Santos Missions
This page contains walkthroughs of all of the Los Santos missions in Grand Theft Auto: San Andreas. There are 29 story missions in total before the next section of the map is unlocked.
Quick Links
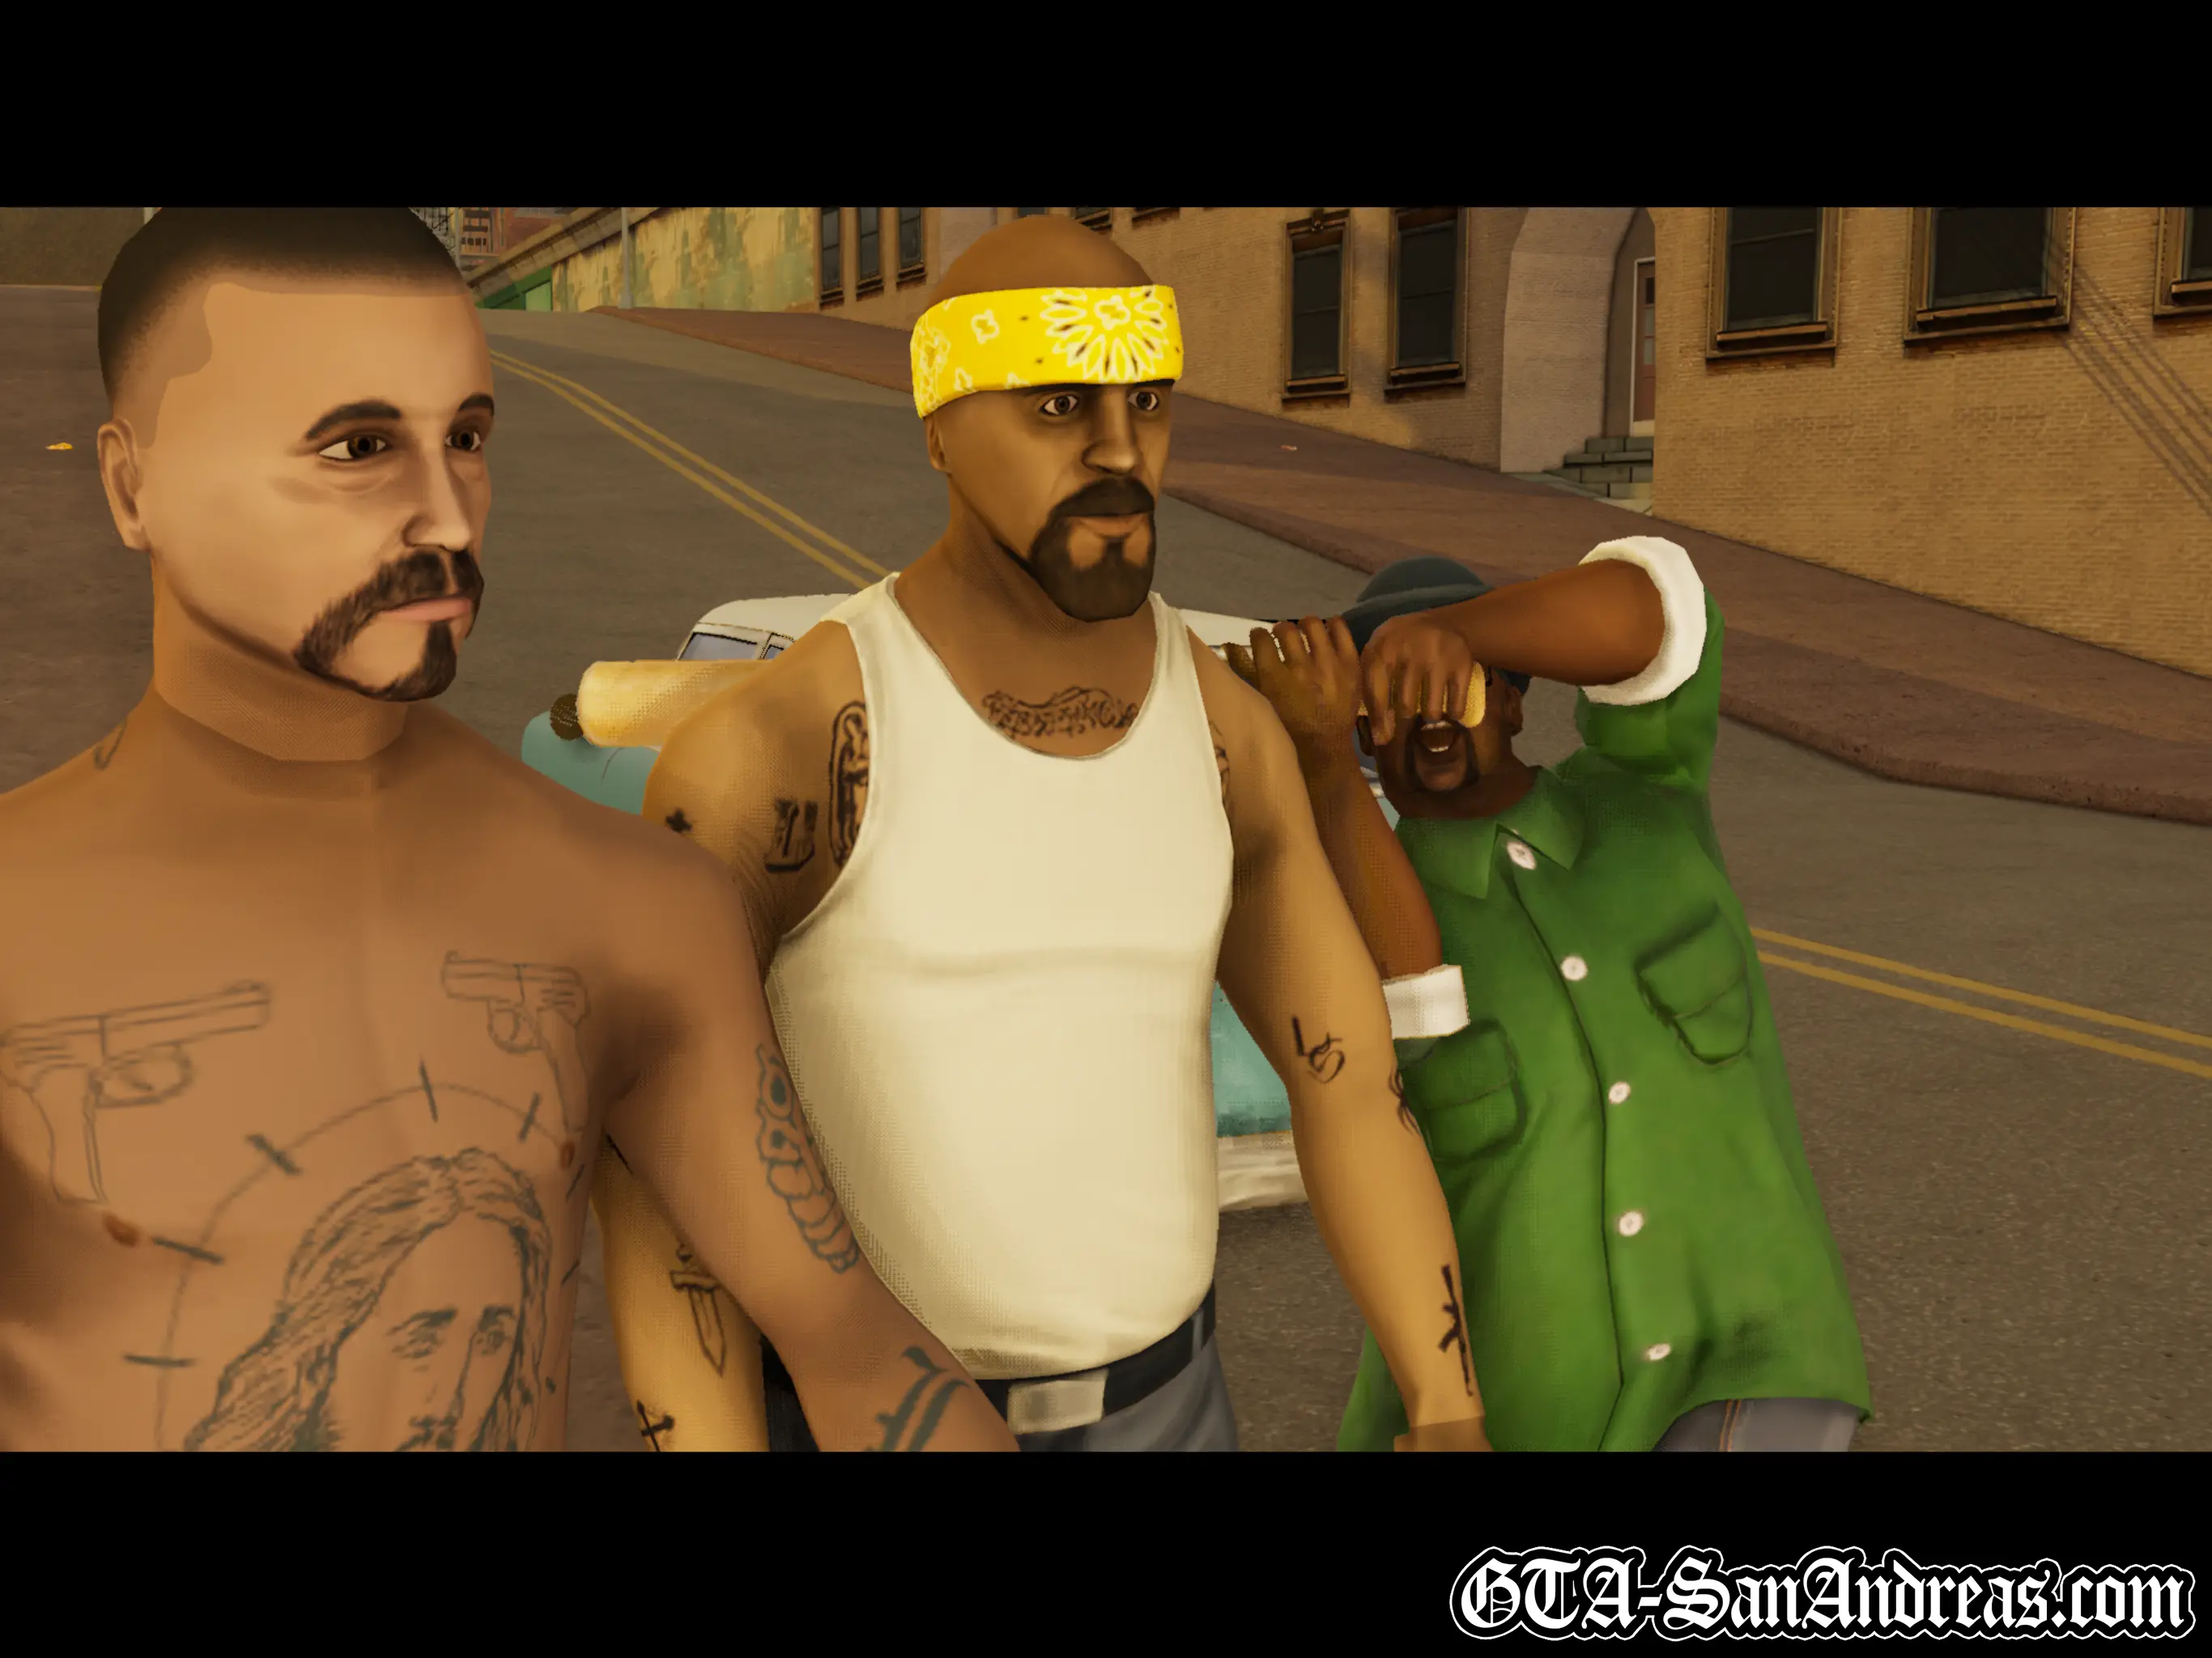
Carl Johnson
 In The Beginning
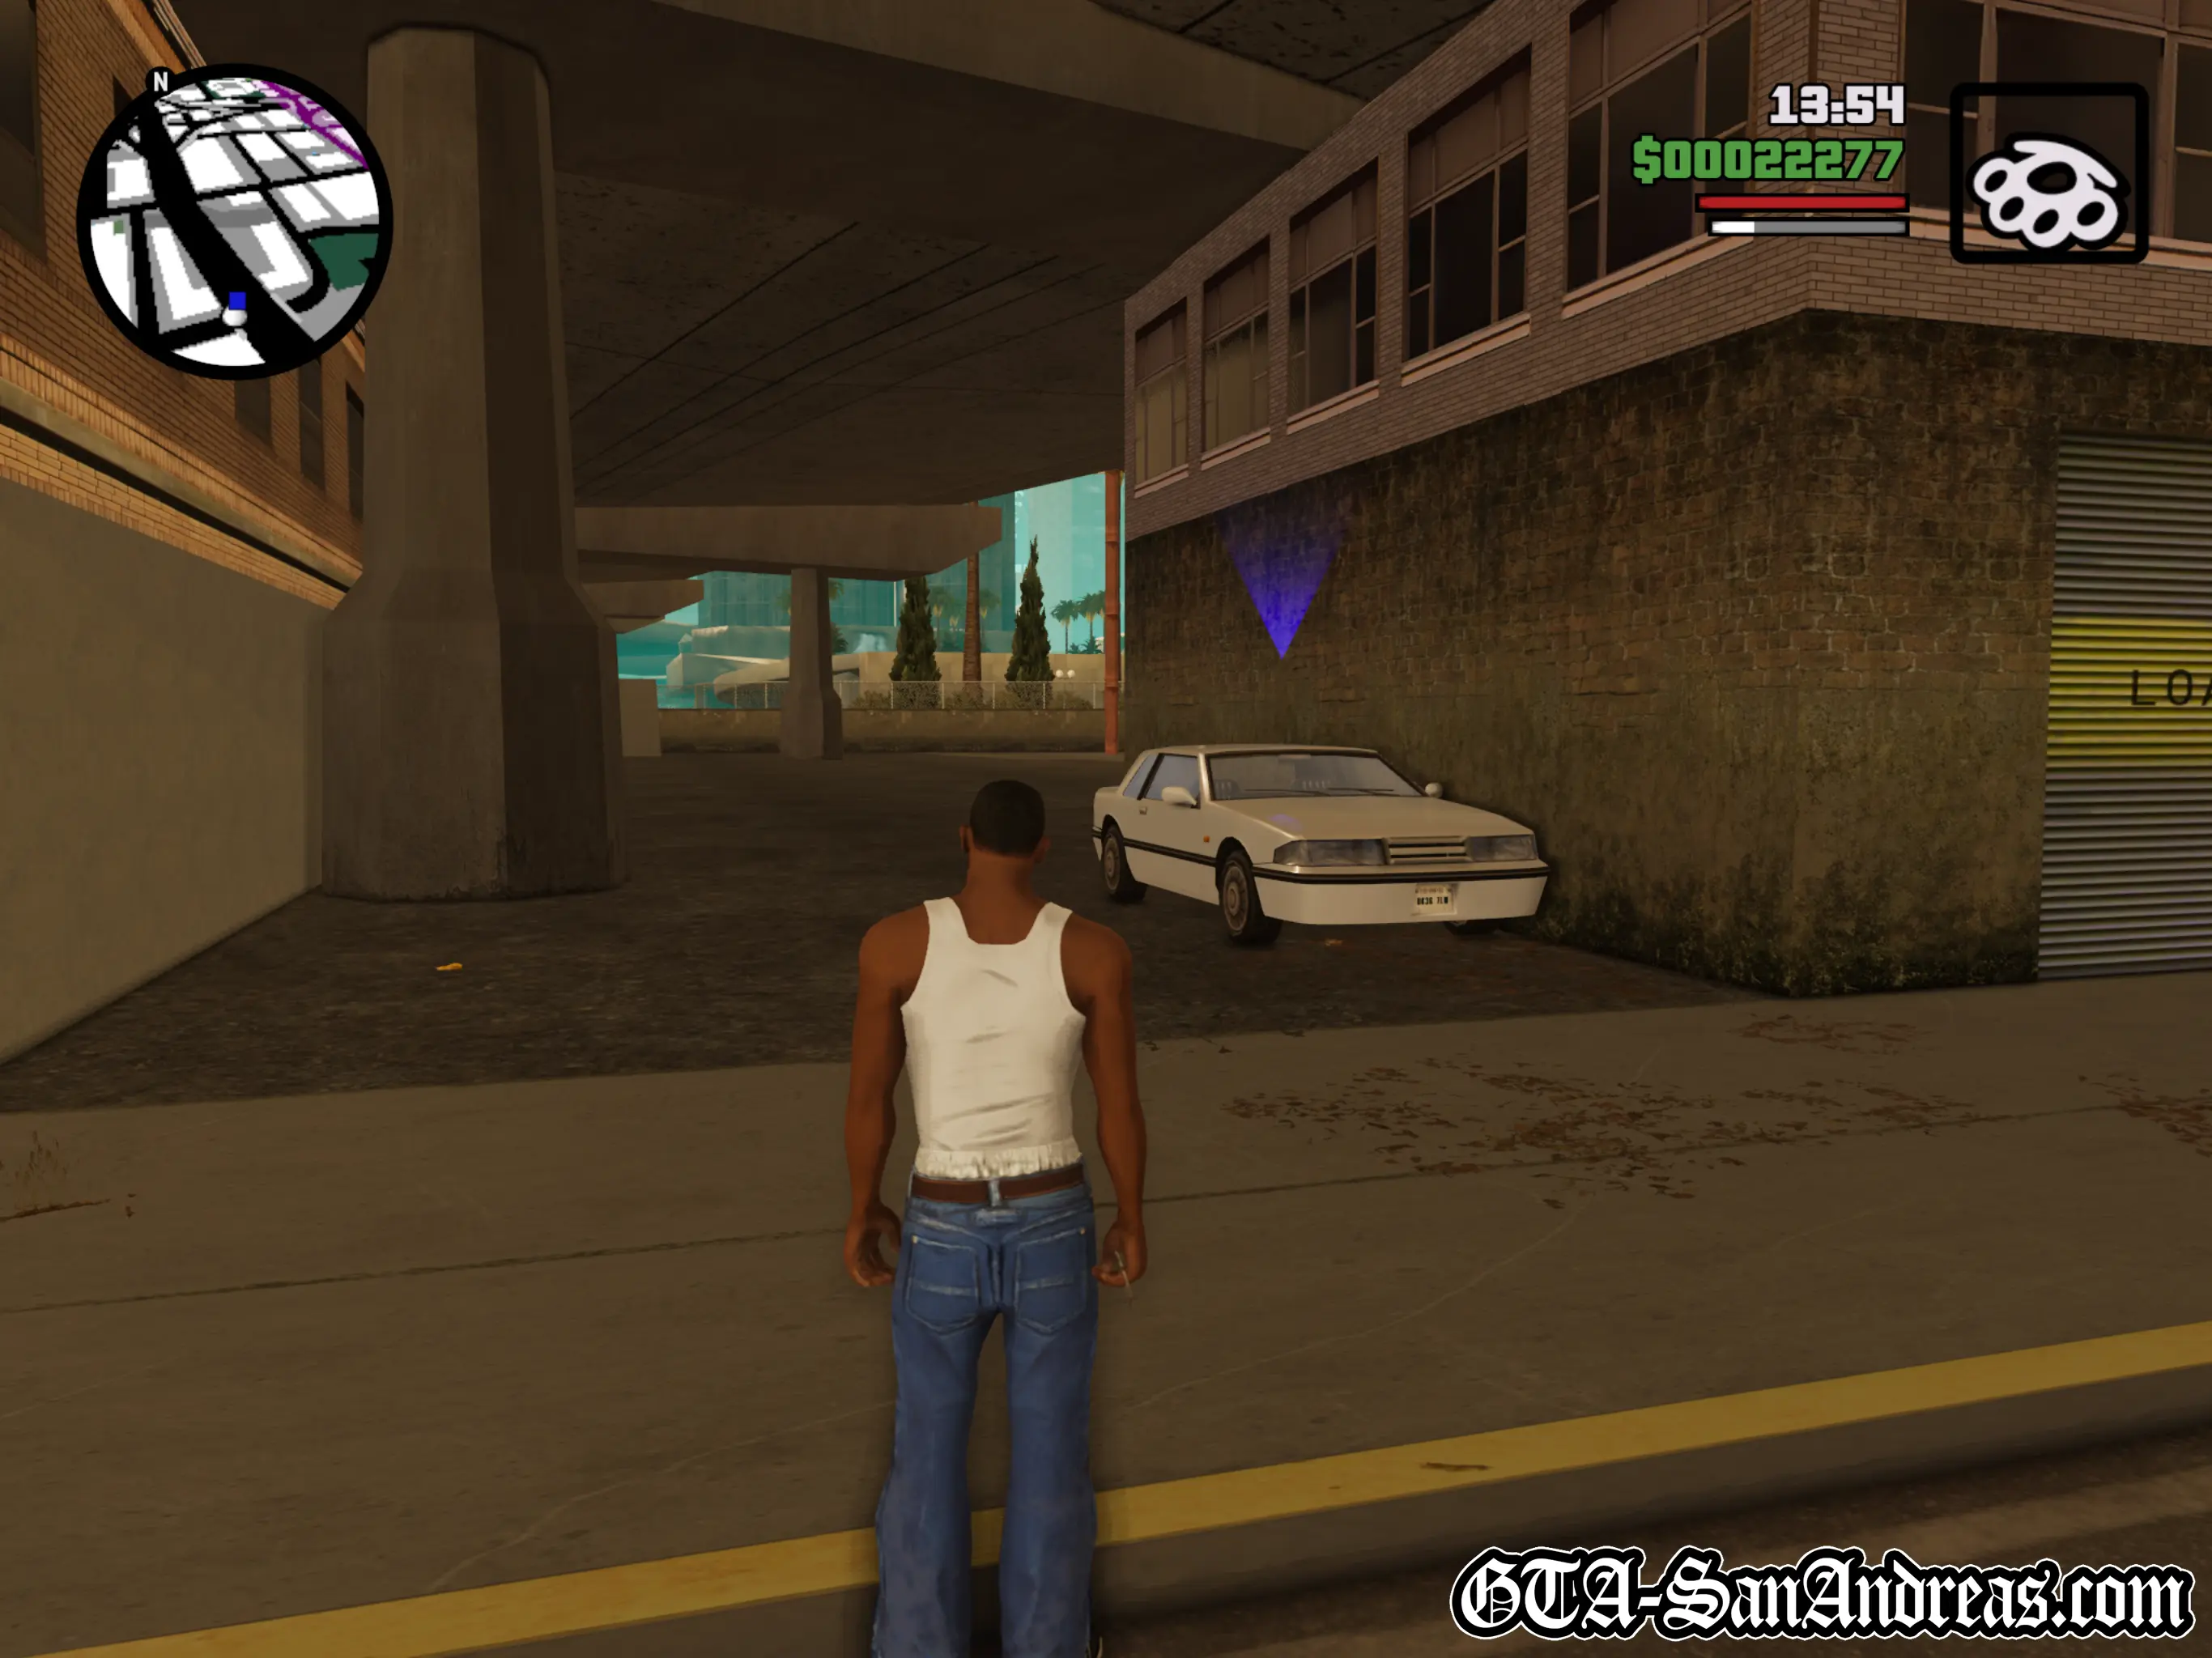
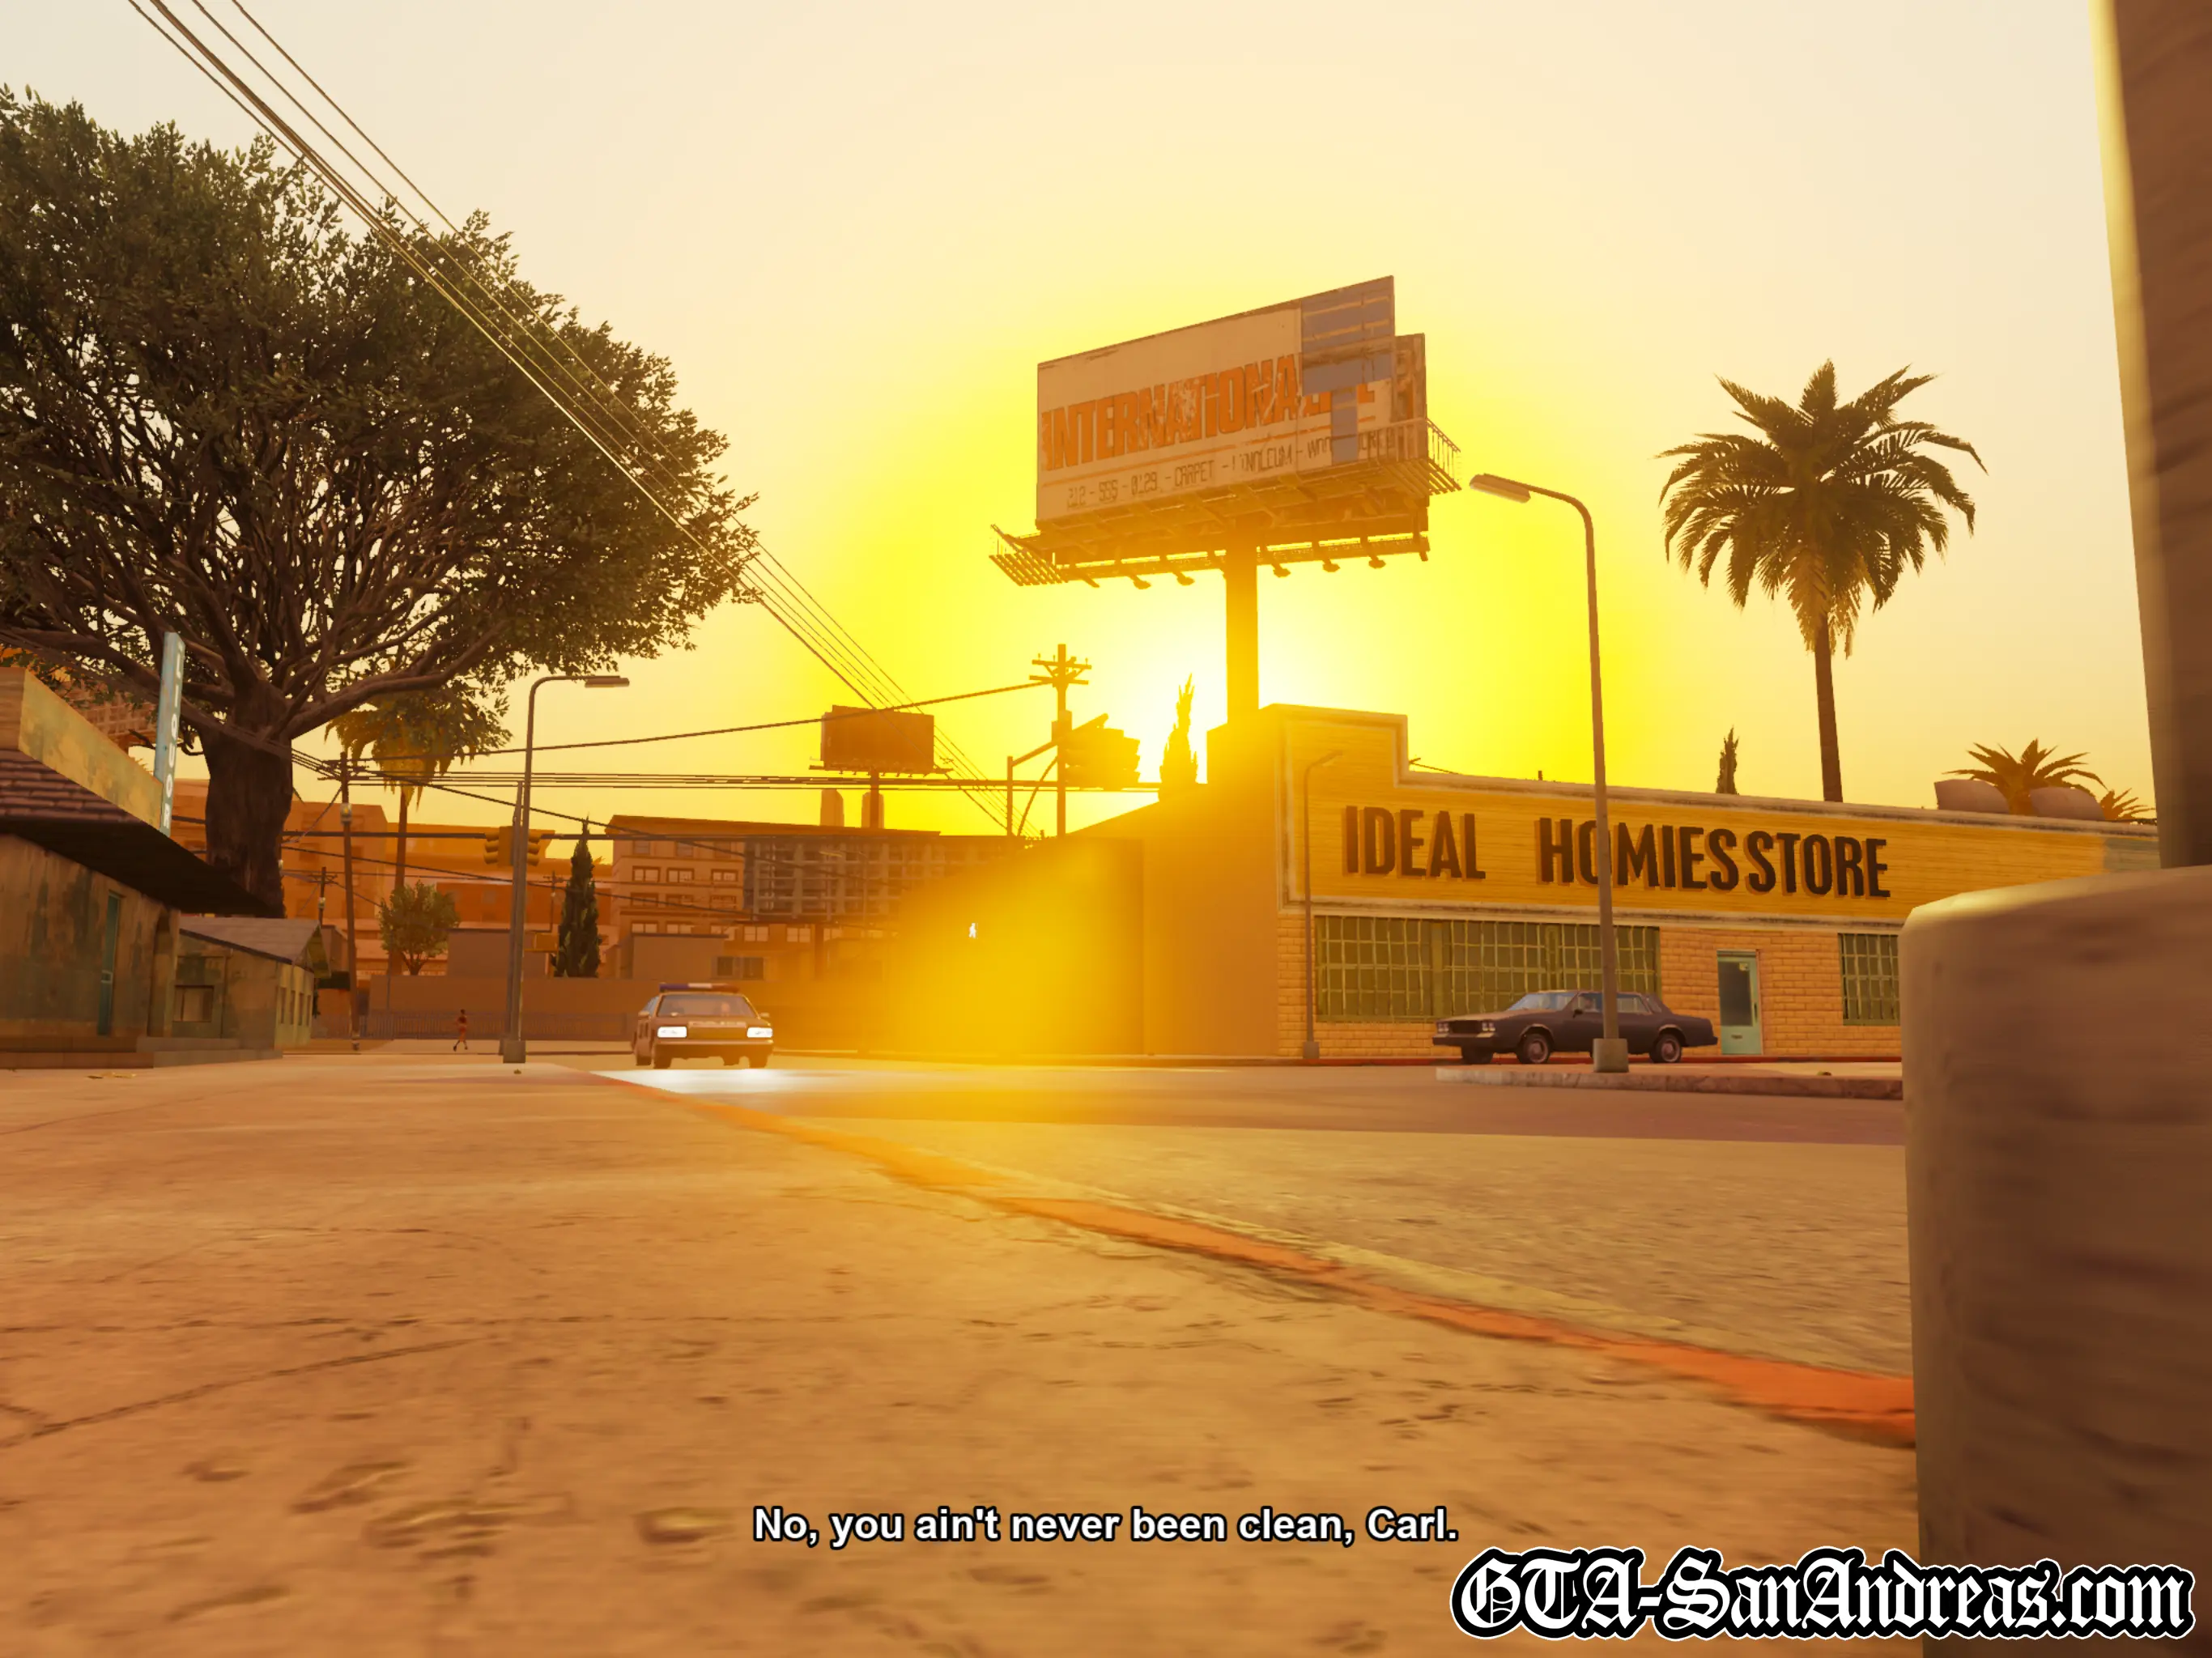
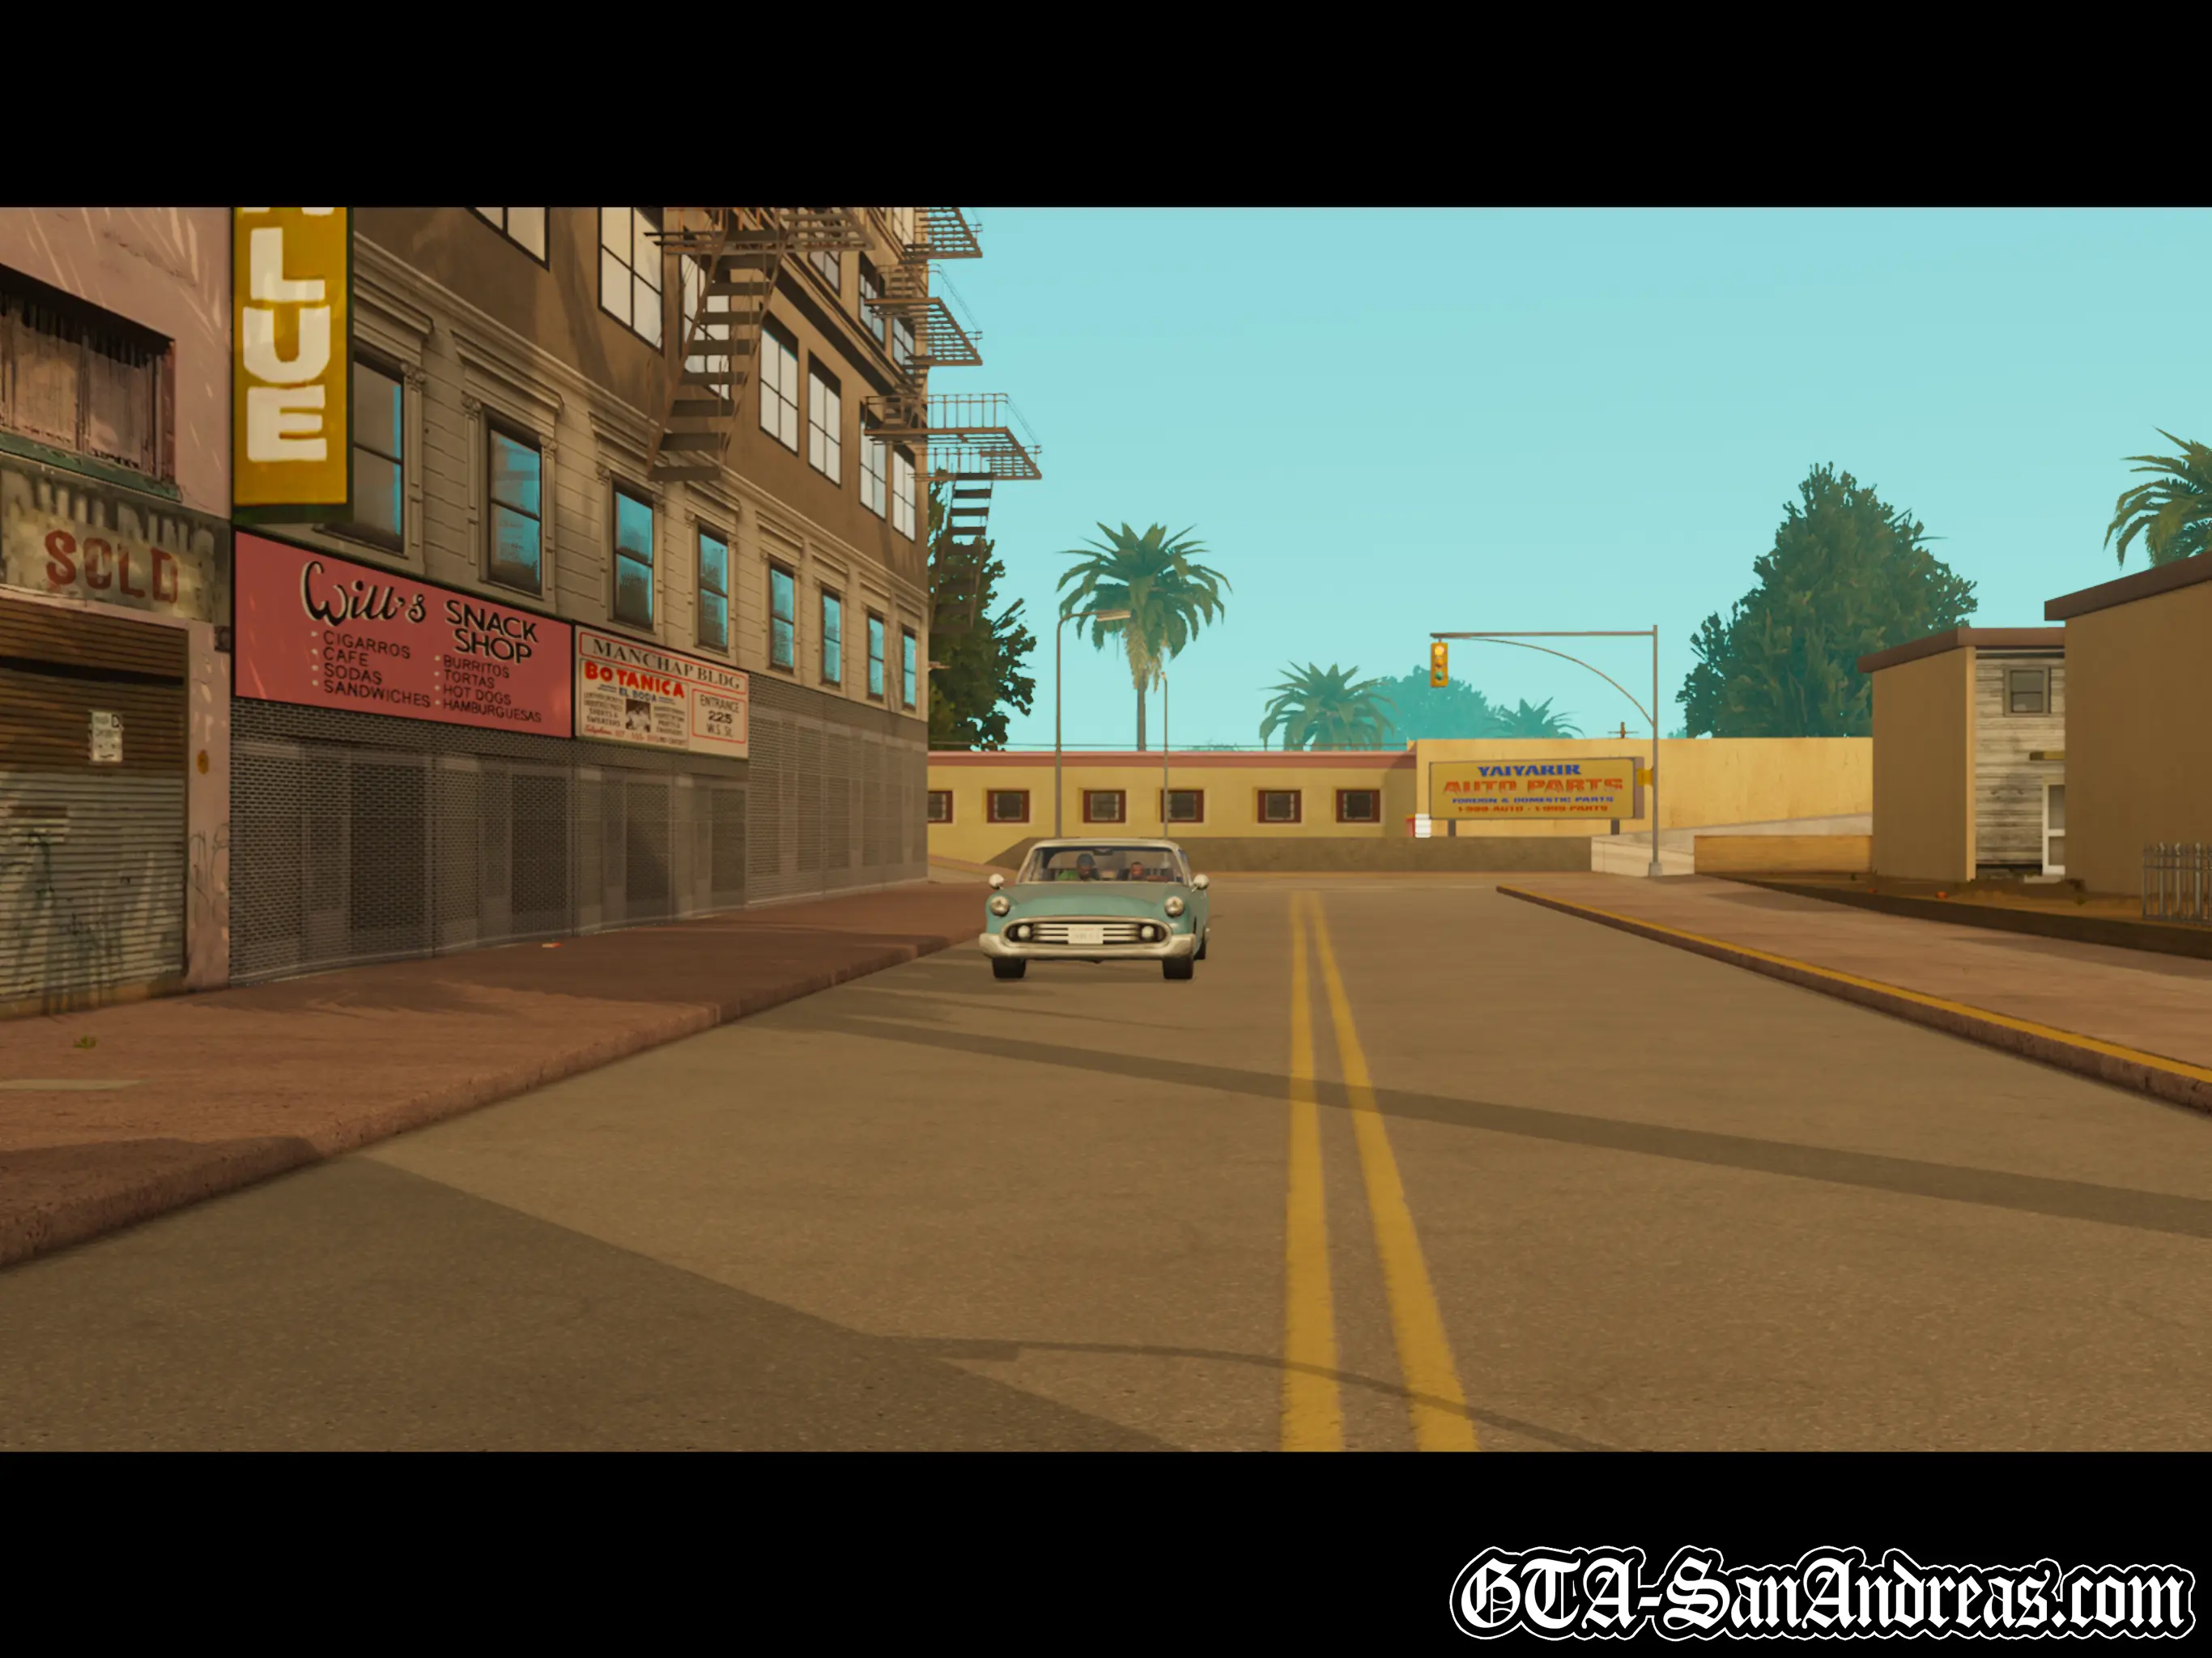
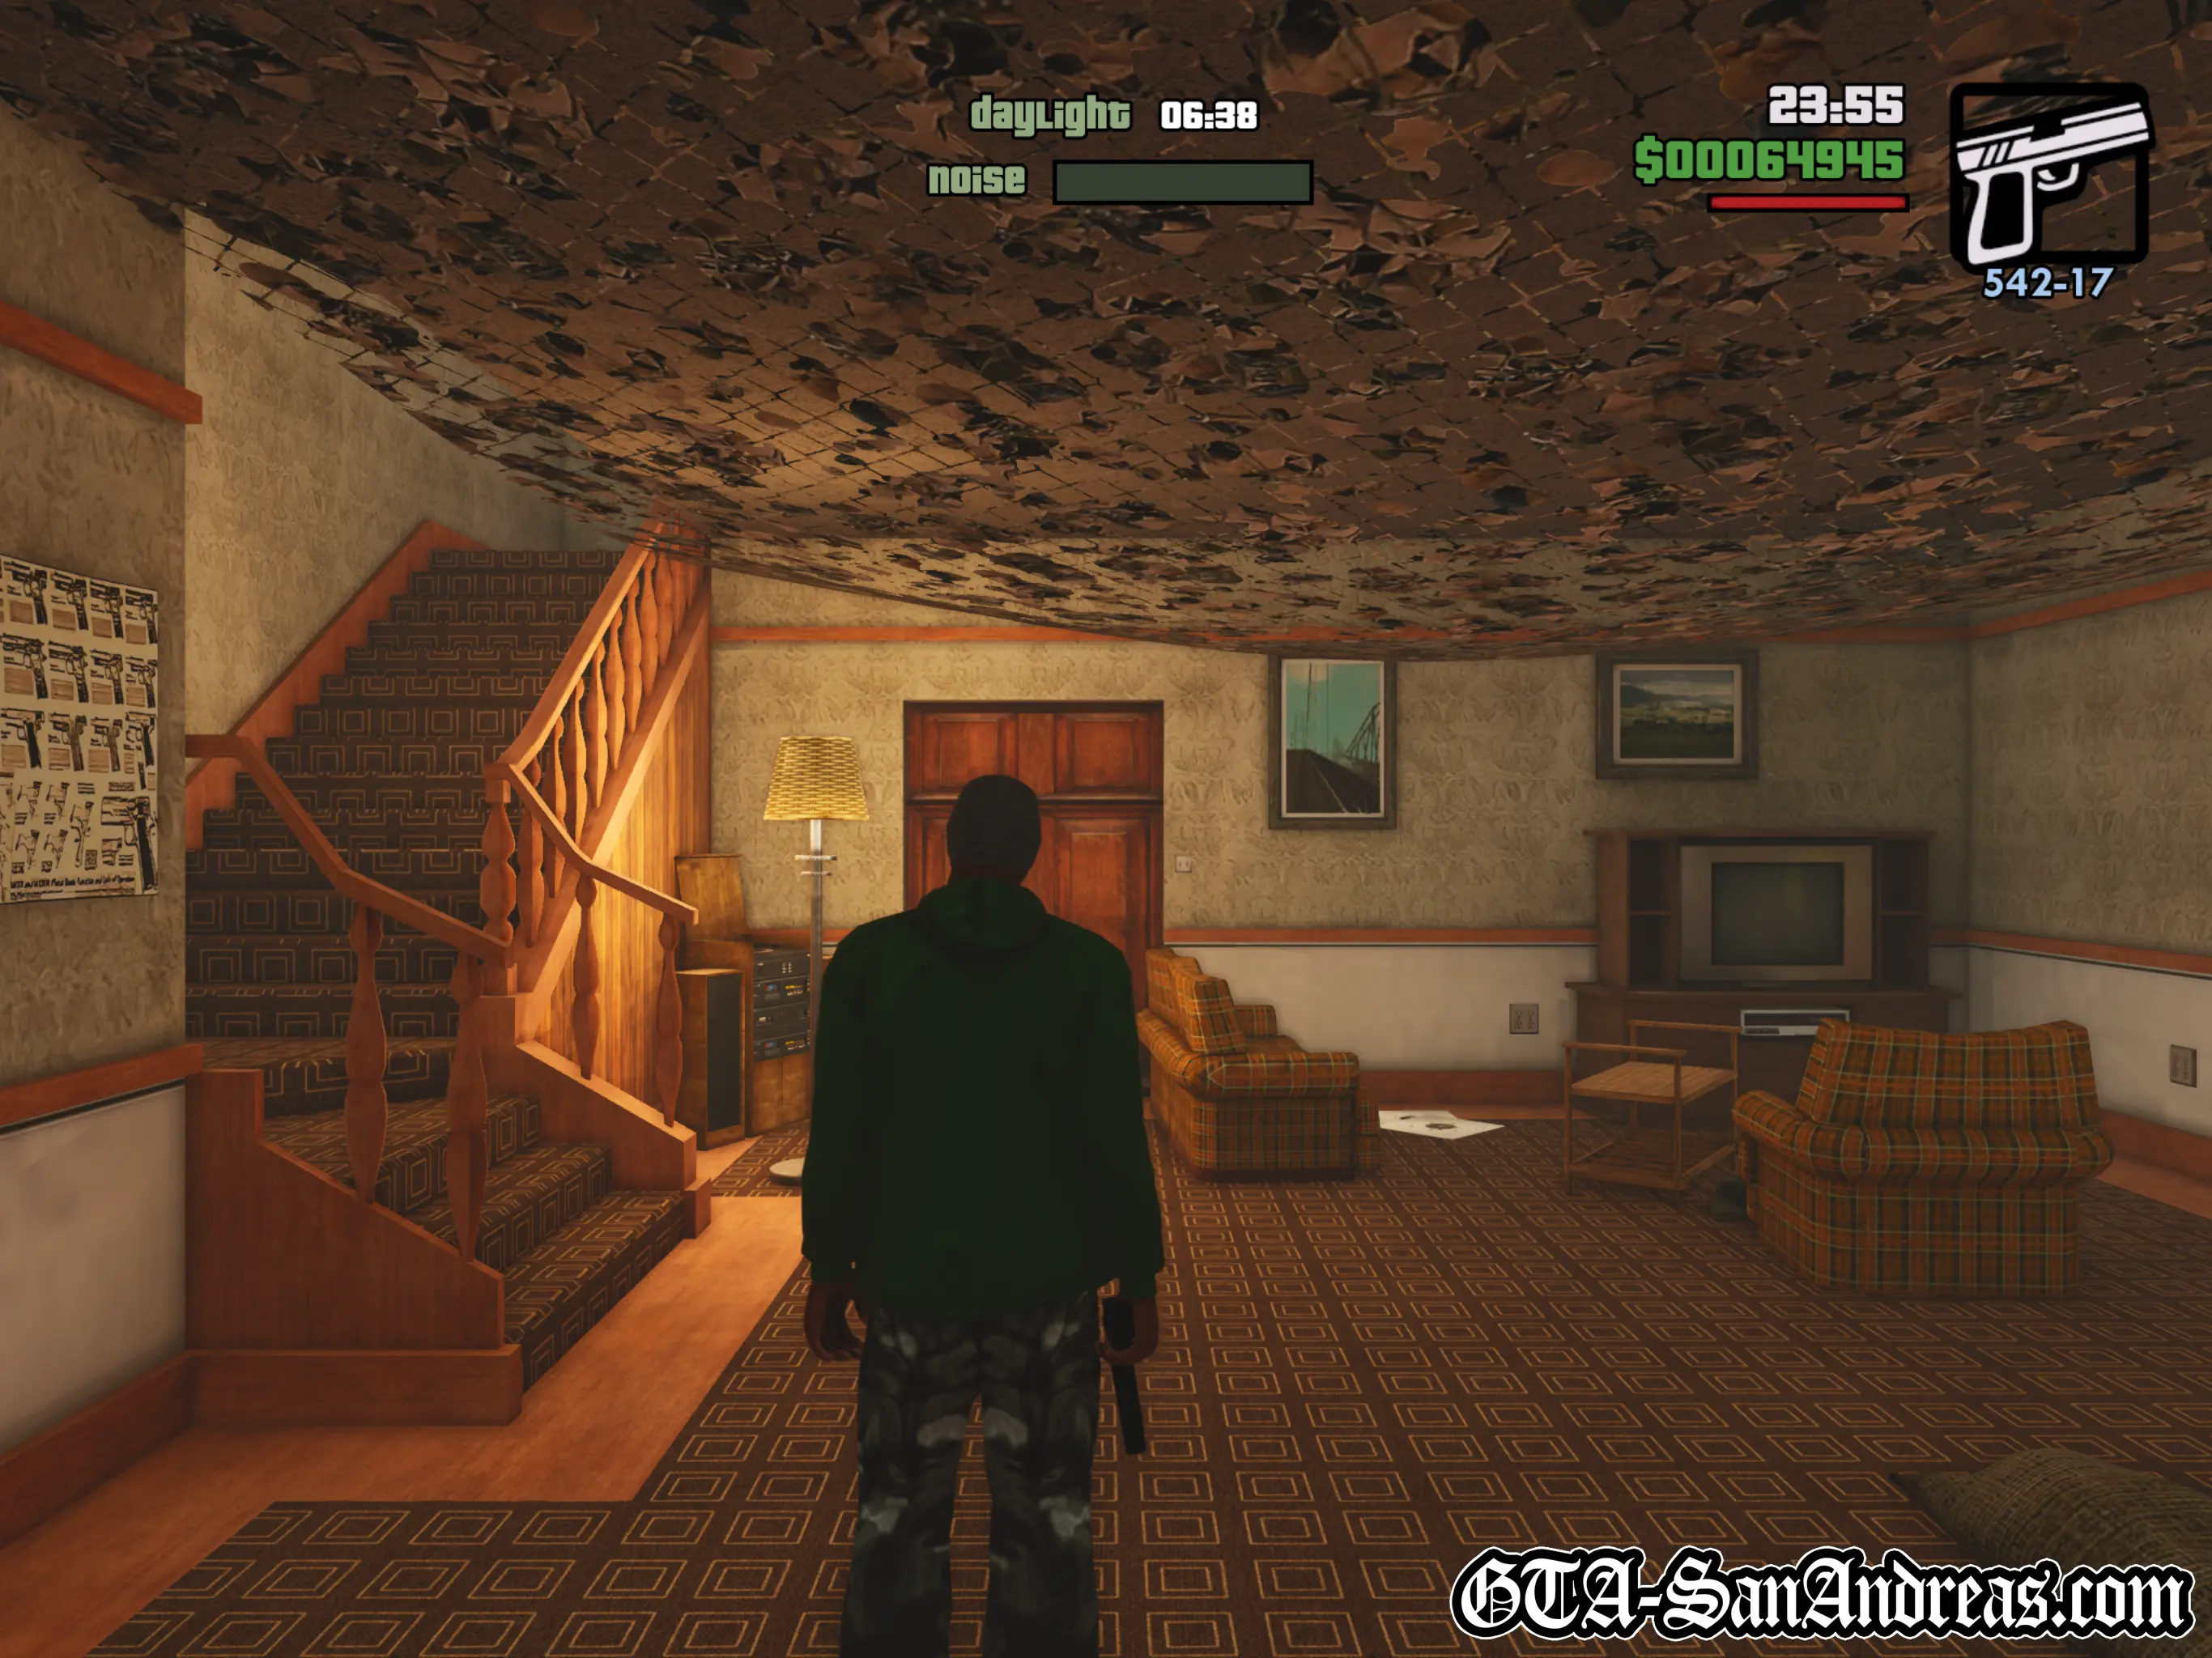
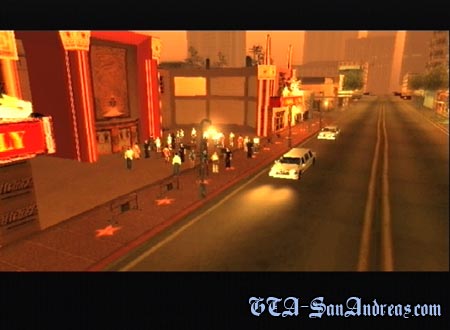
This isn't technically considered a mission. You're actually free to explore Los Santos before visiting Grove Street and starting the first mission "Big Smoke". There are numerous activities you can complete now, although some of these will be easier a little later into the game.
Cutscene
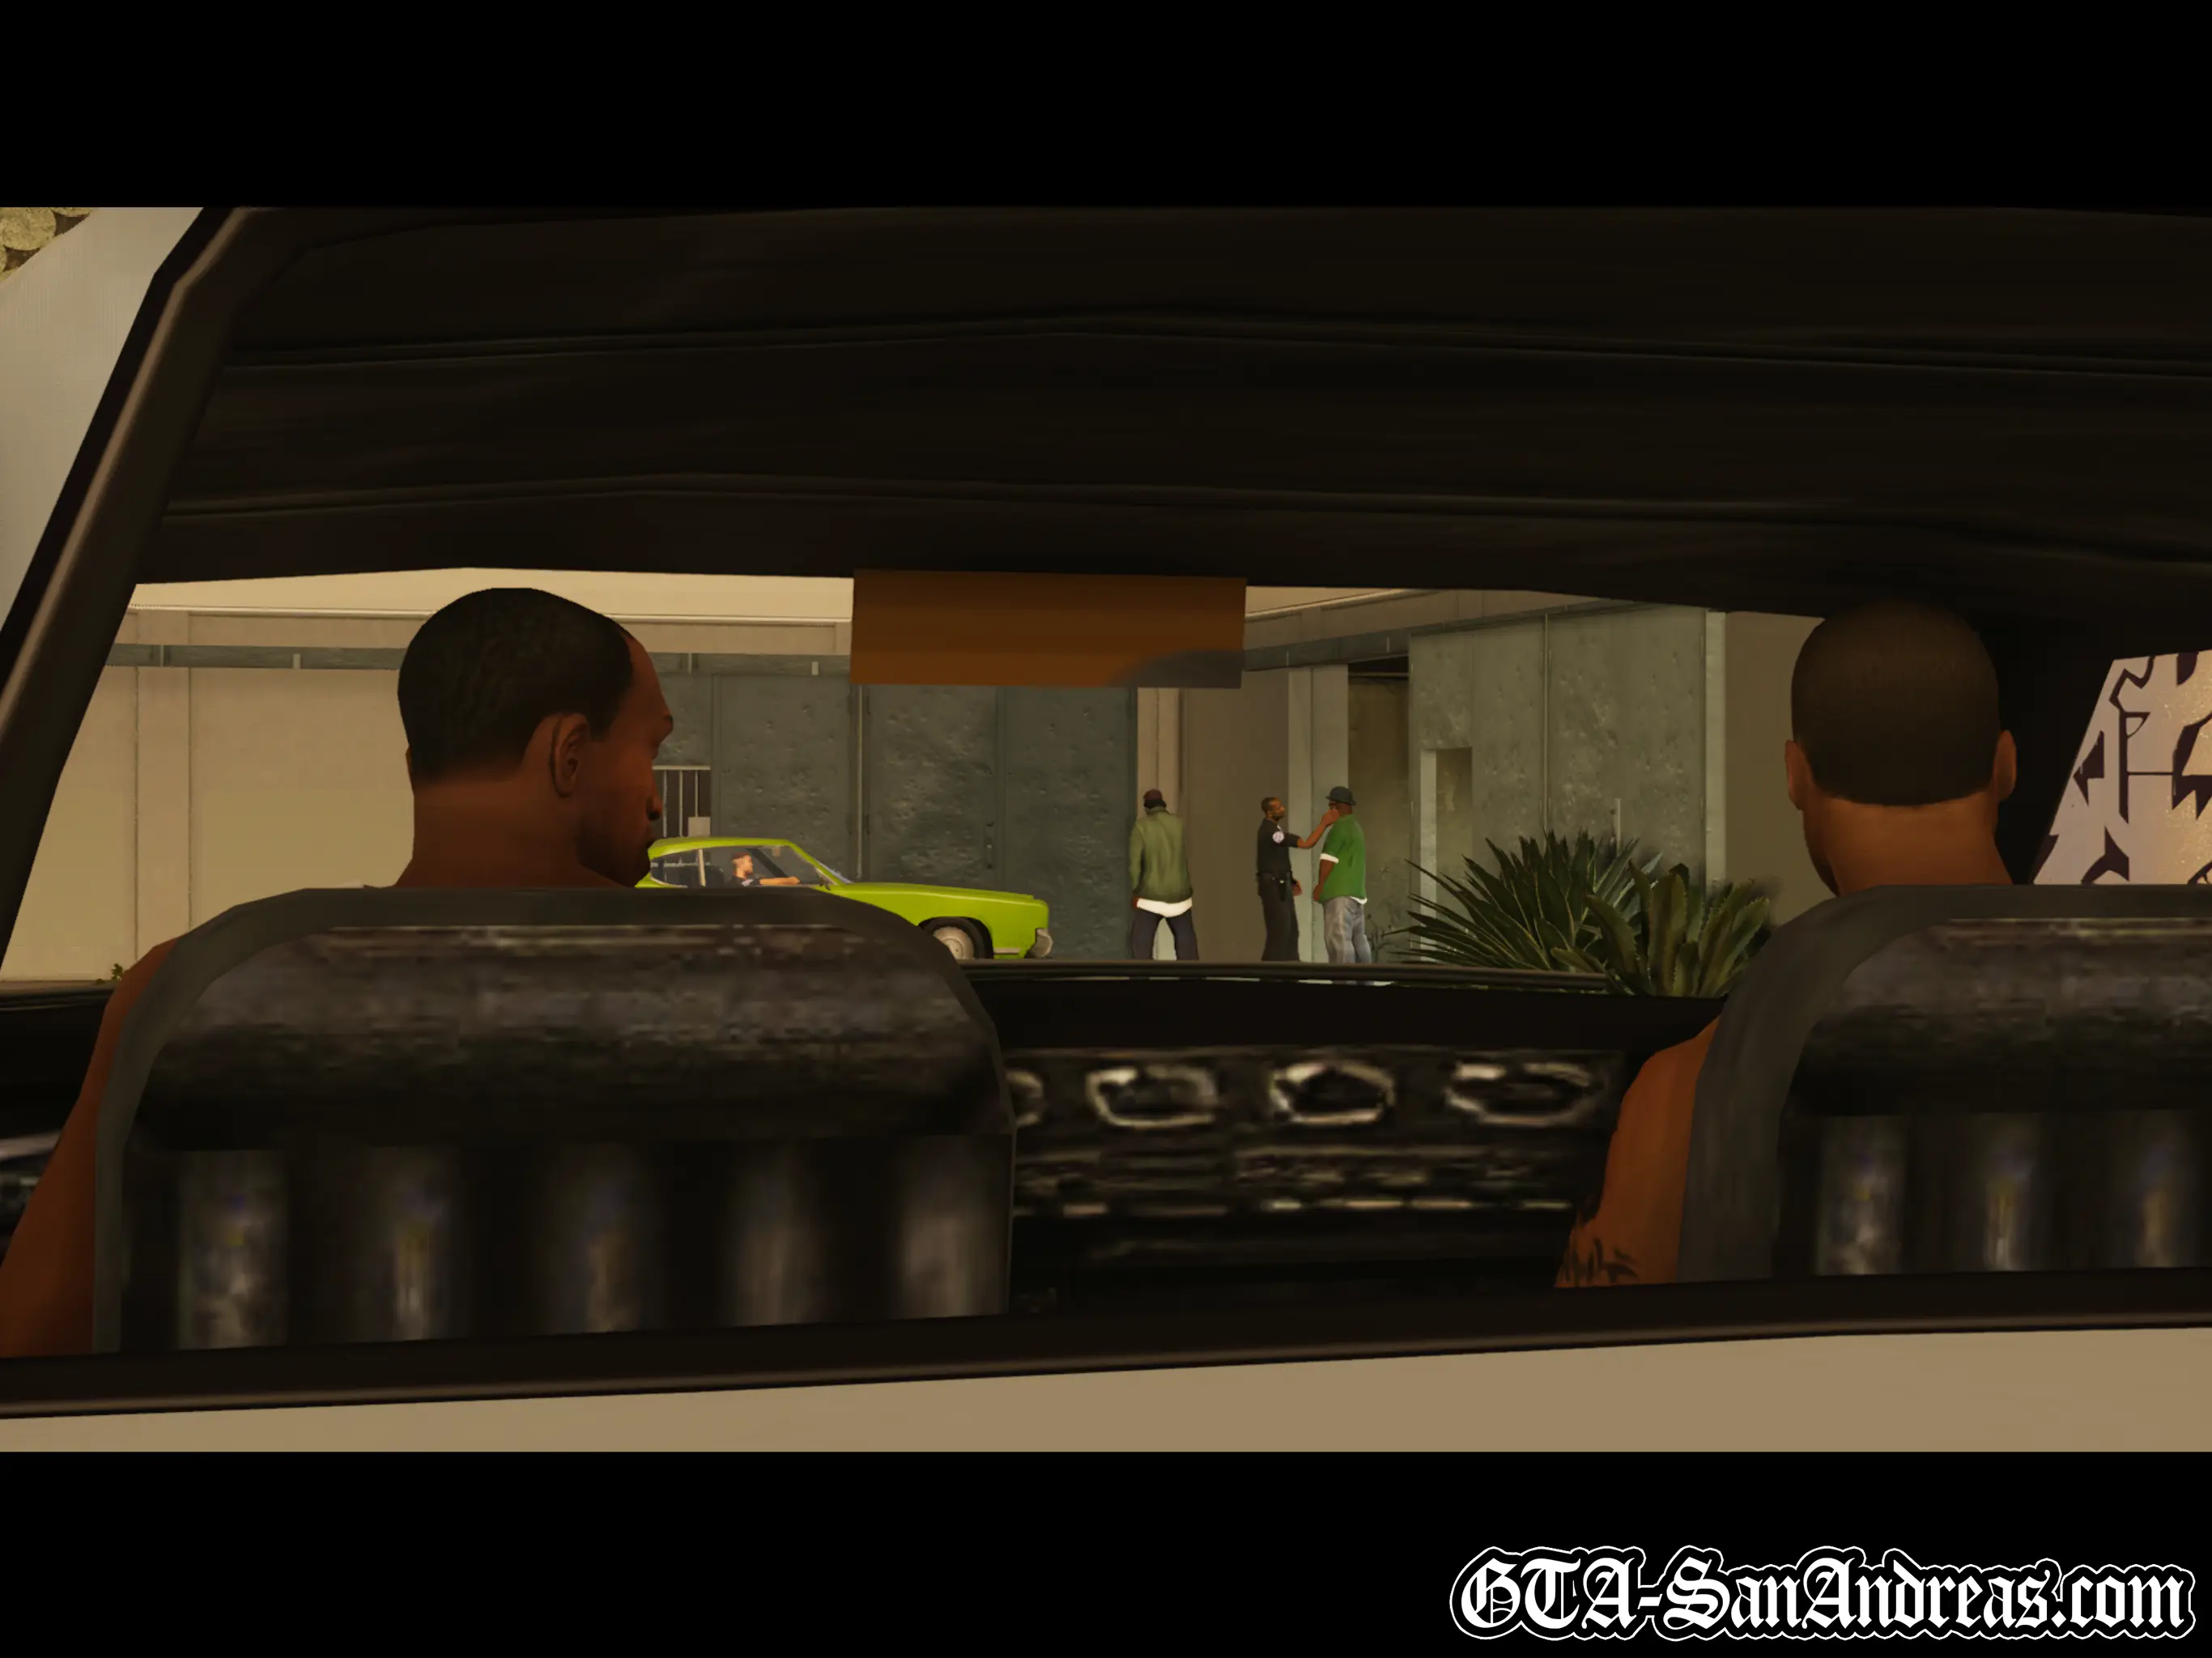
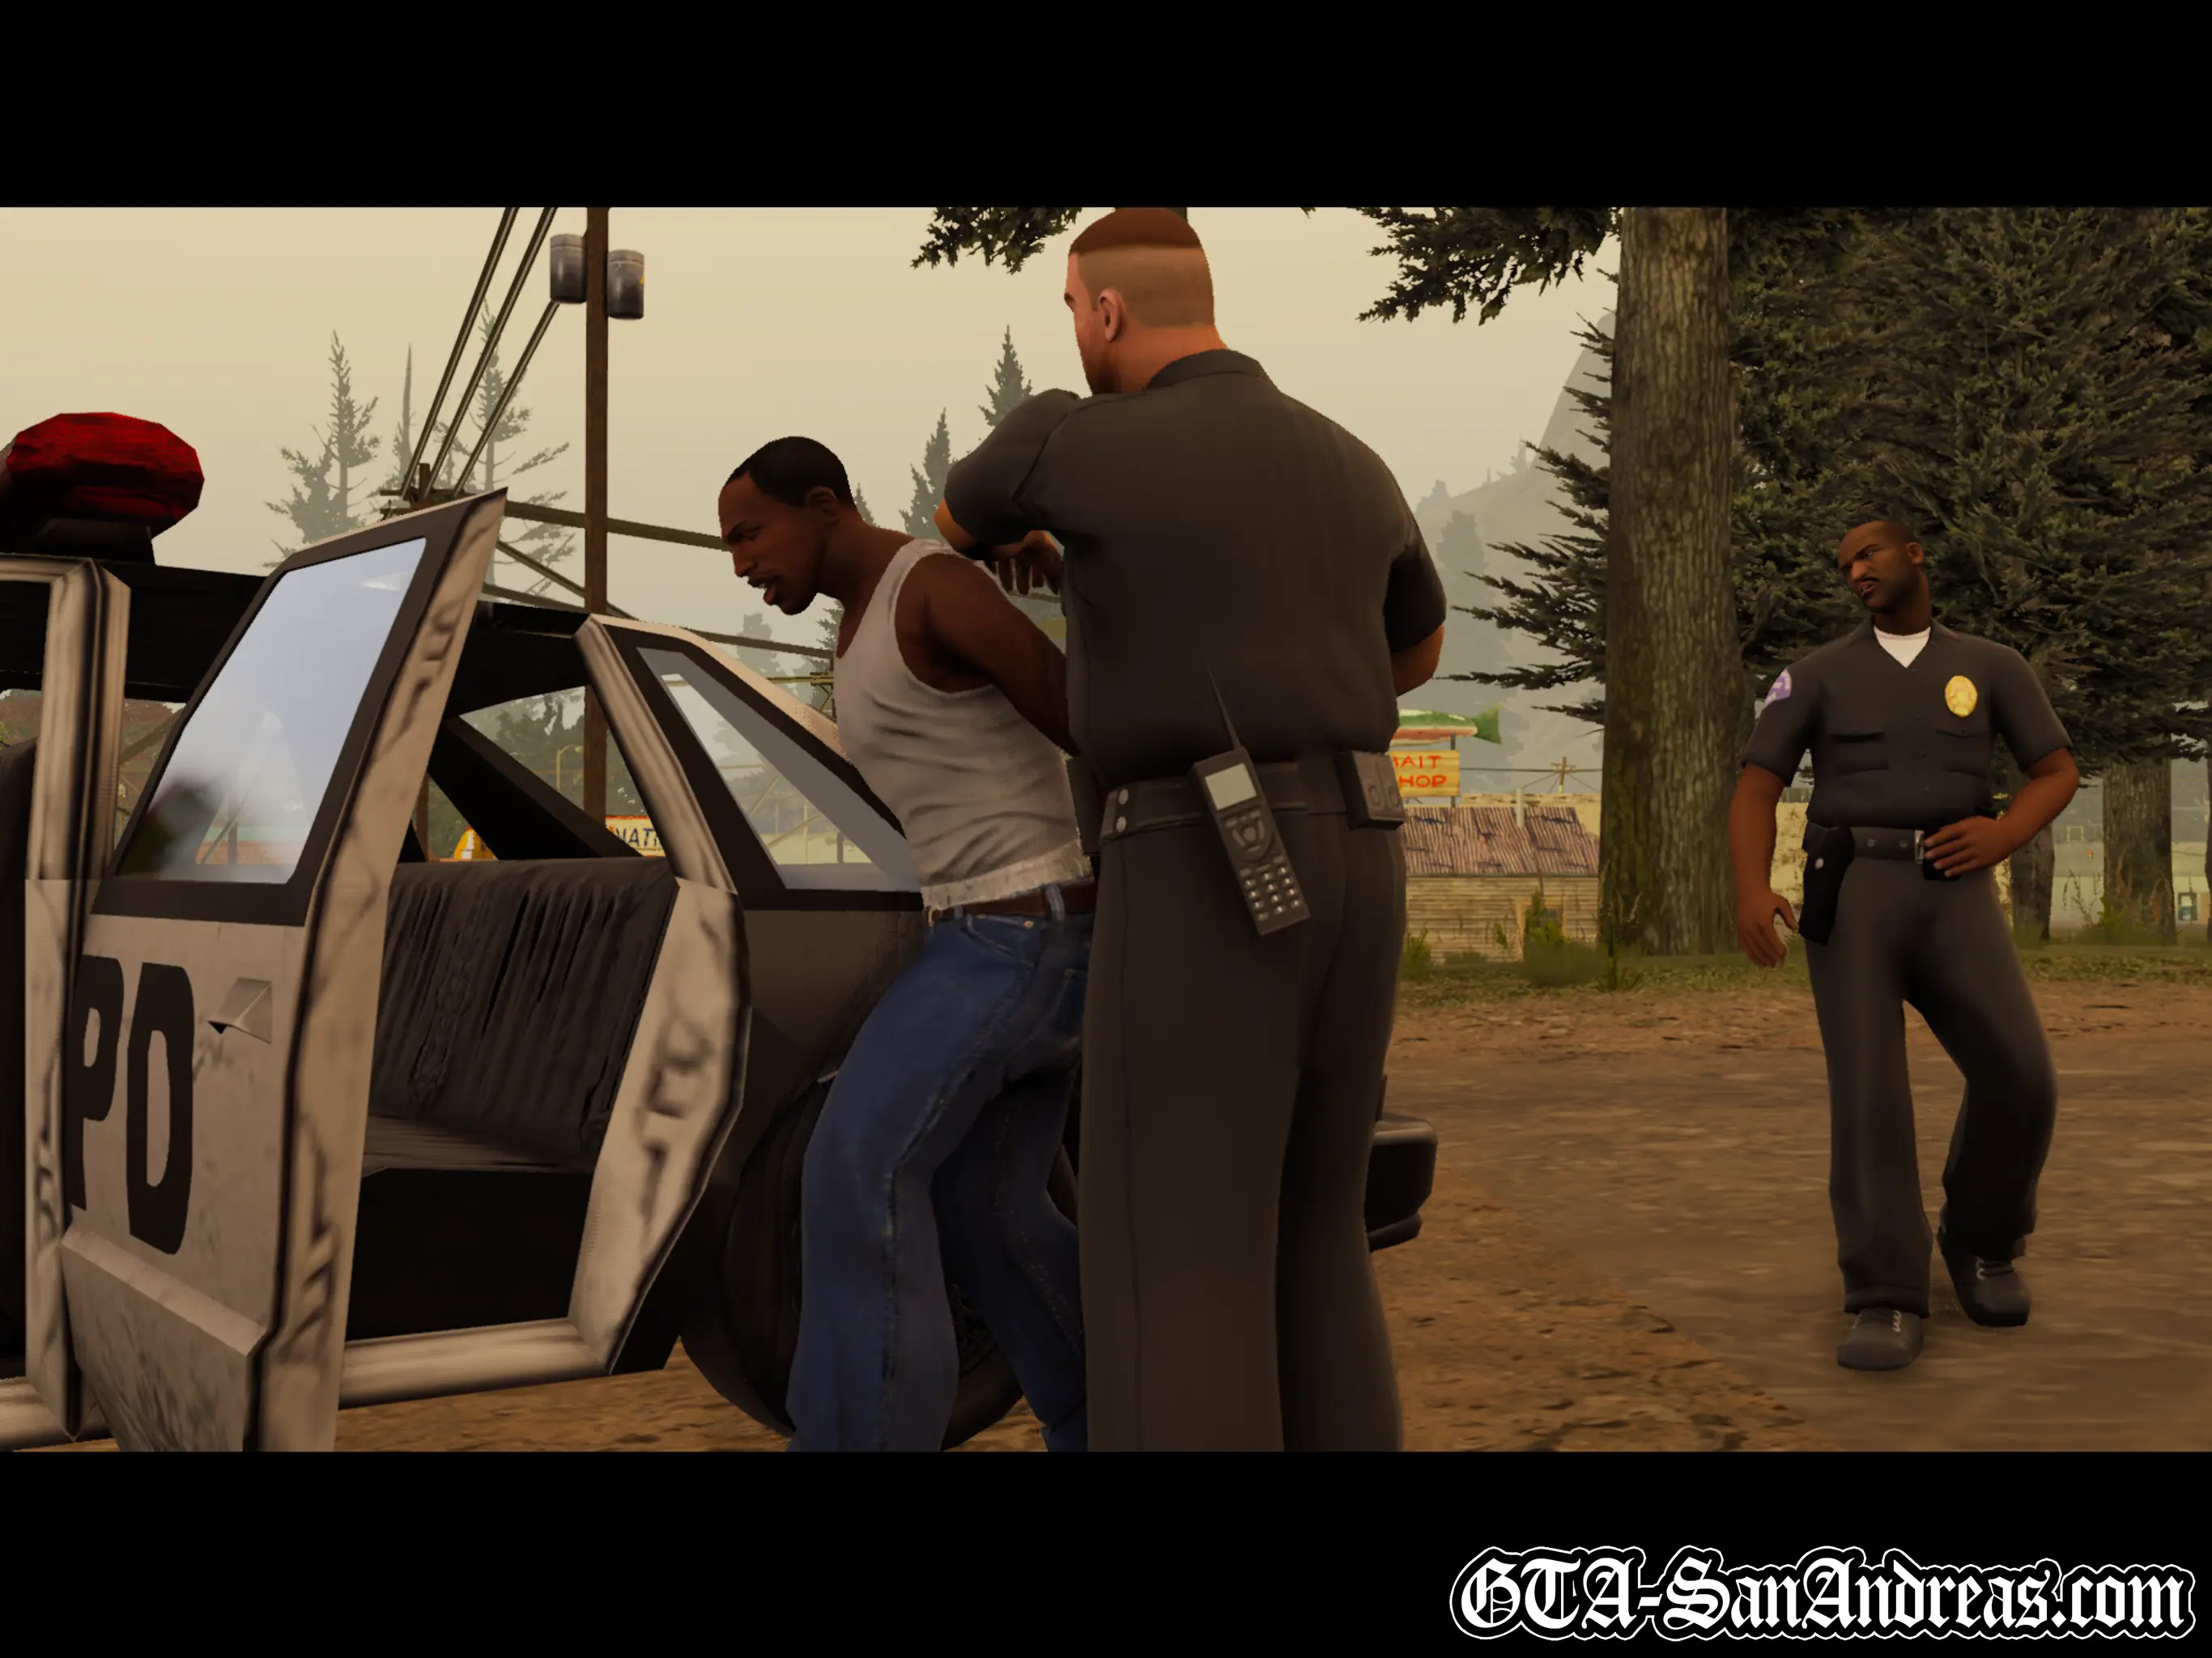
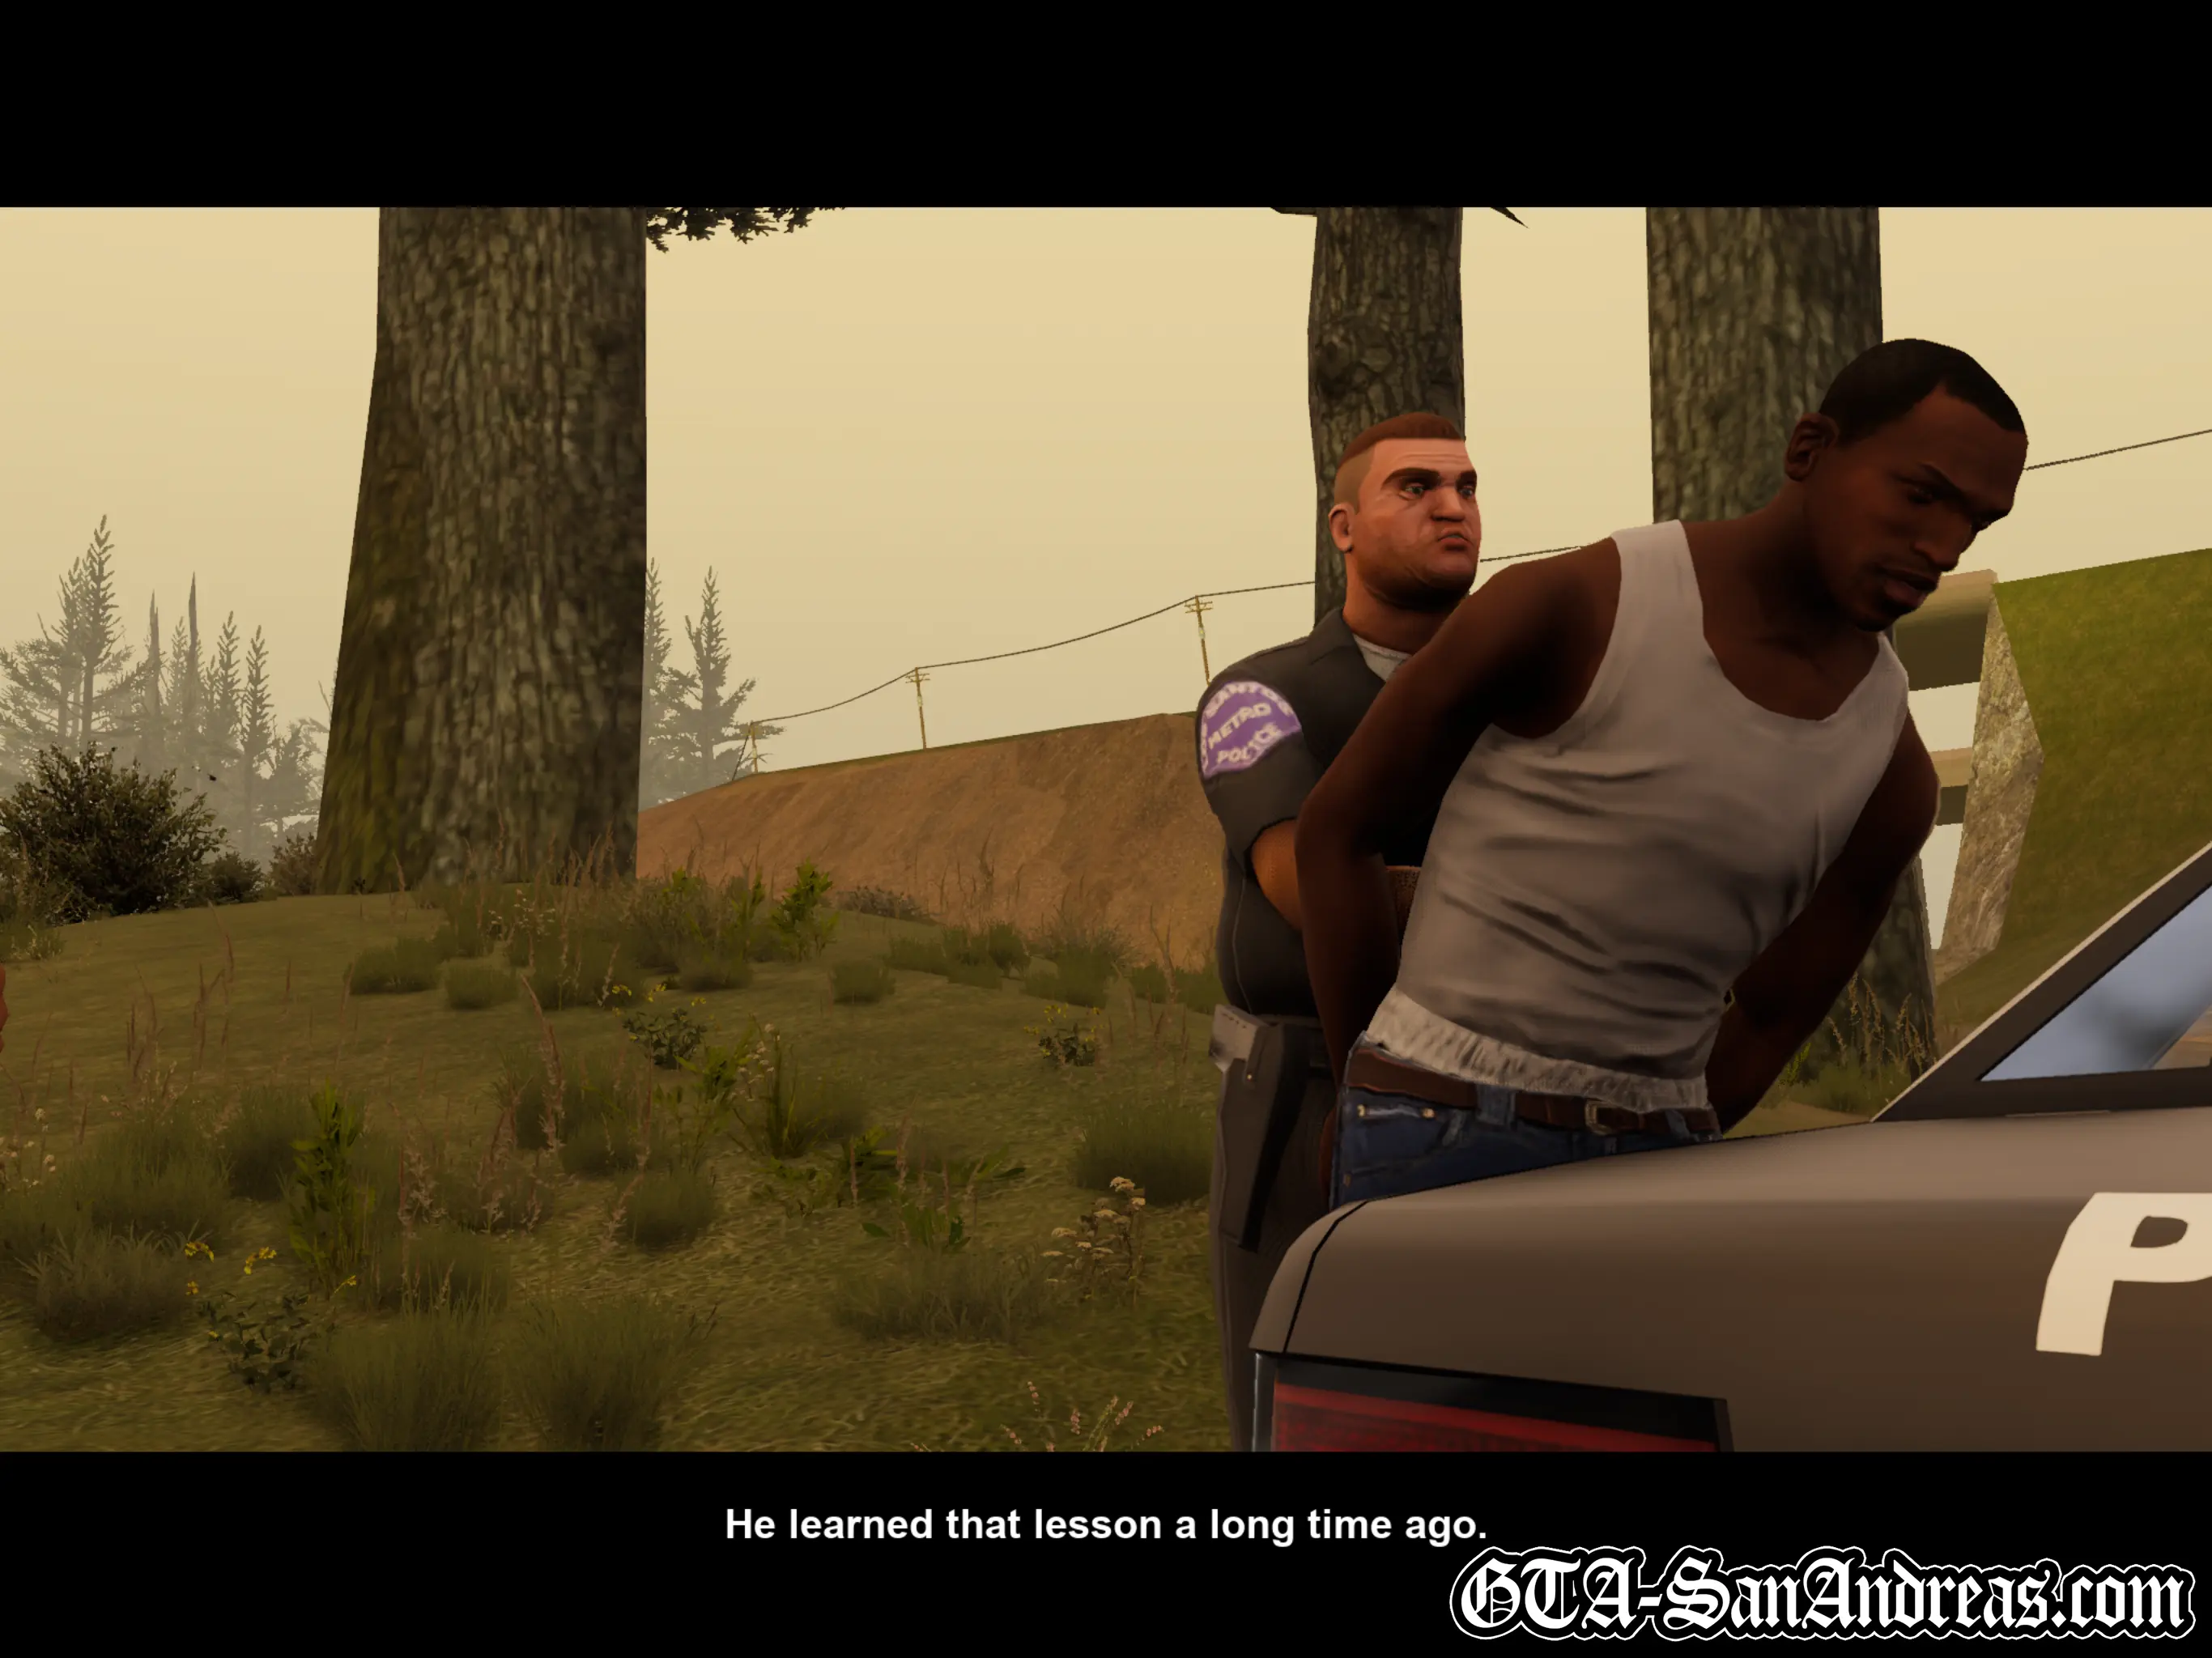
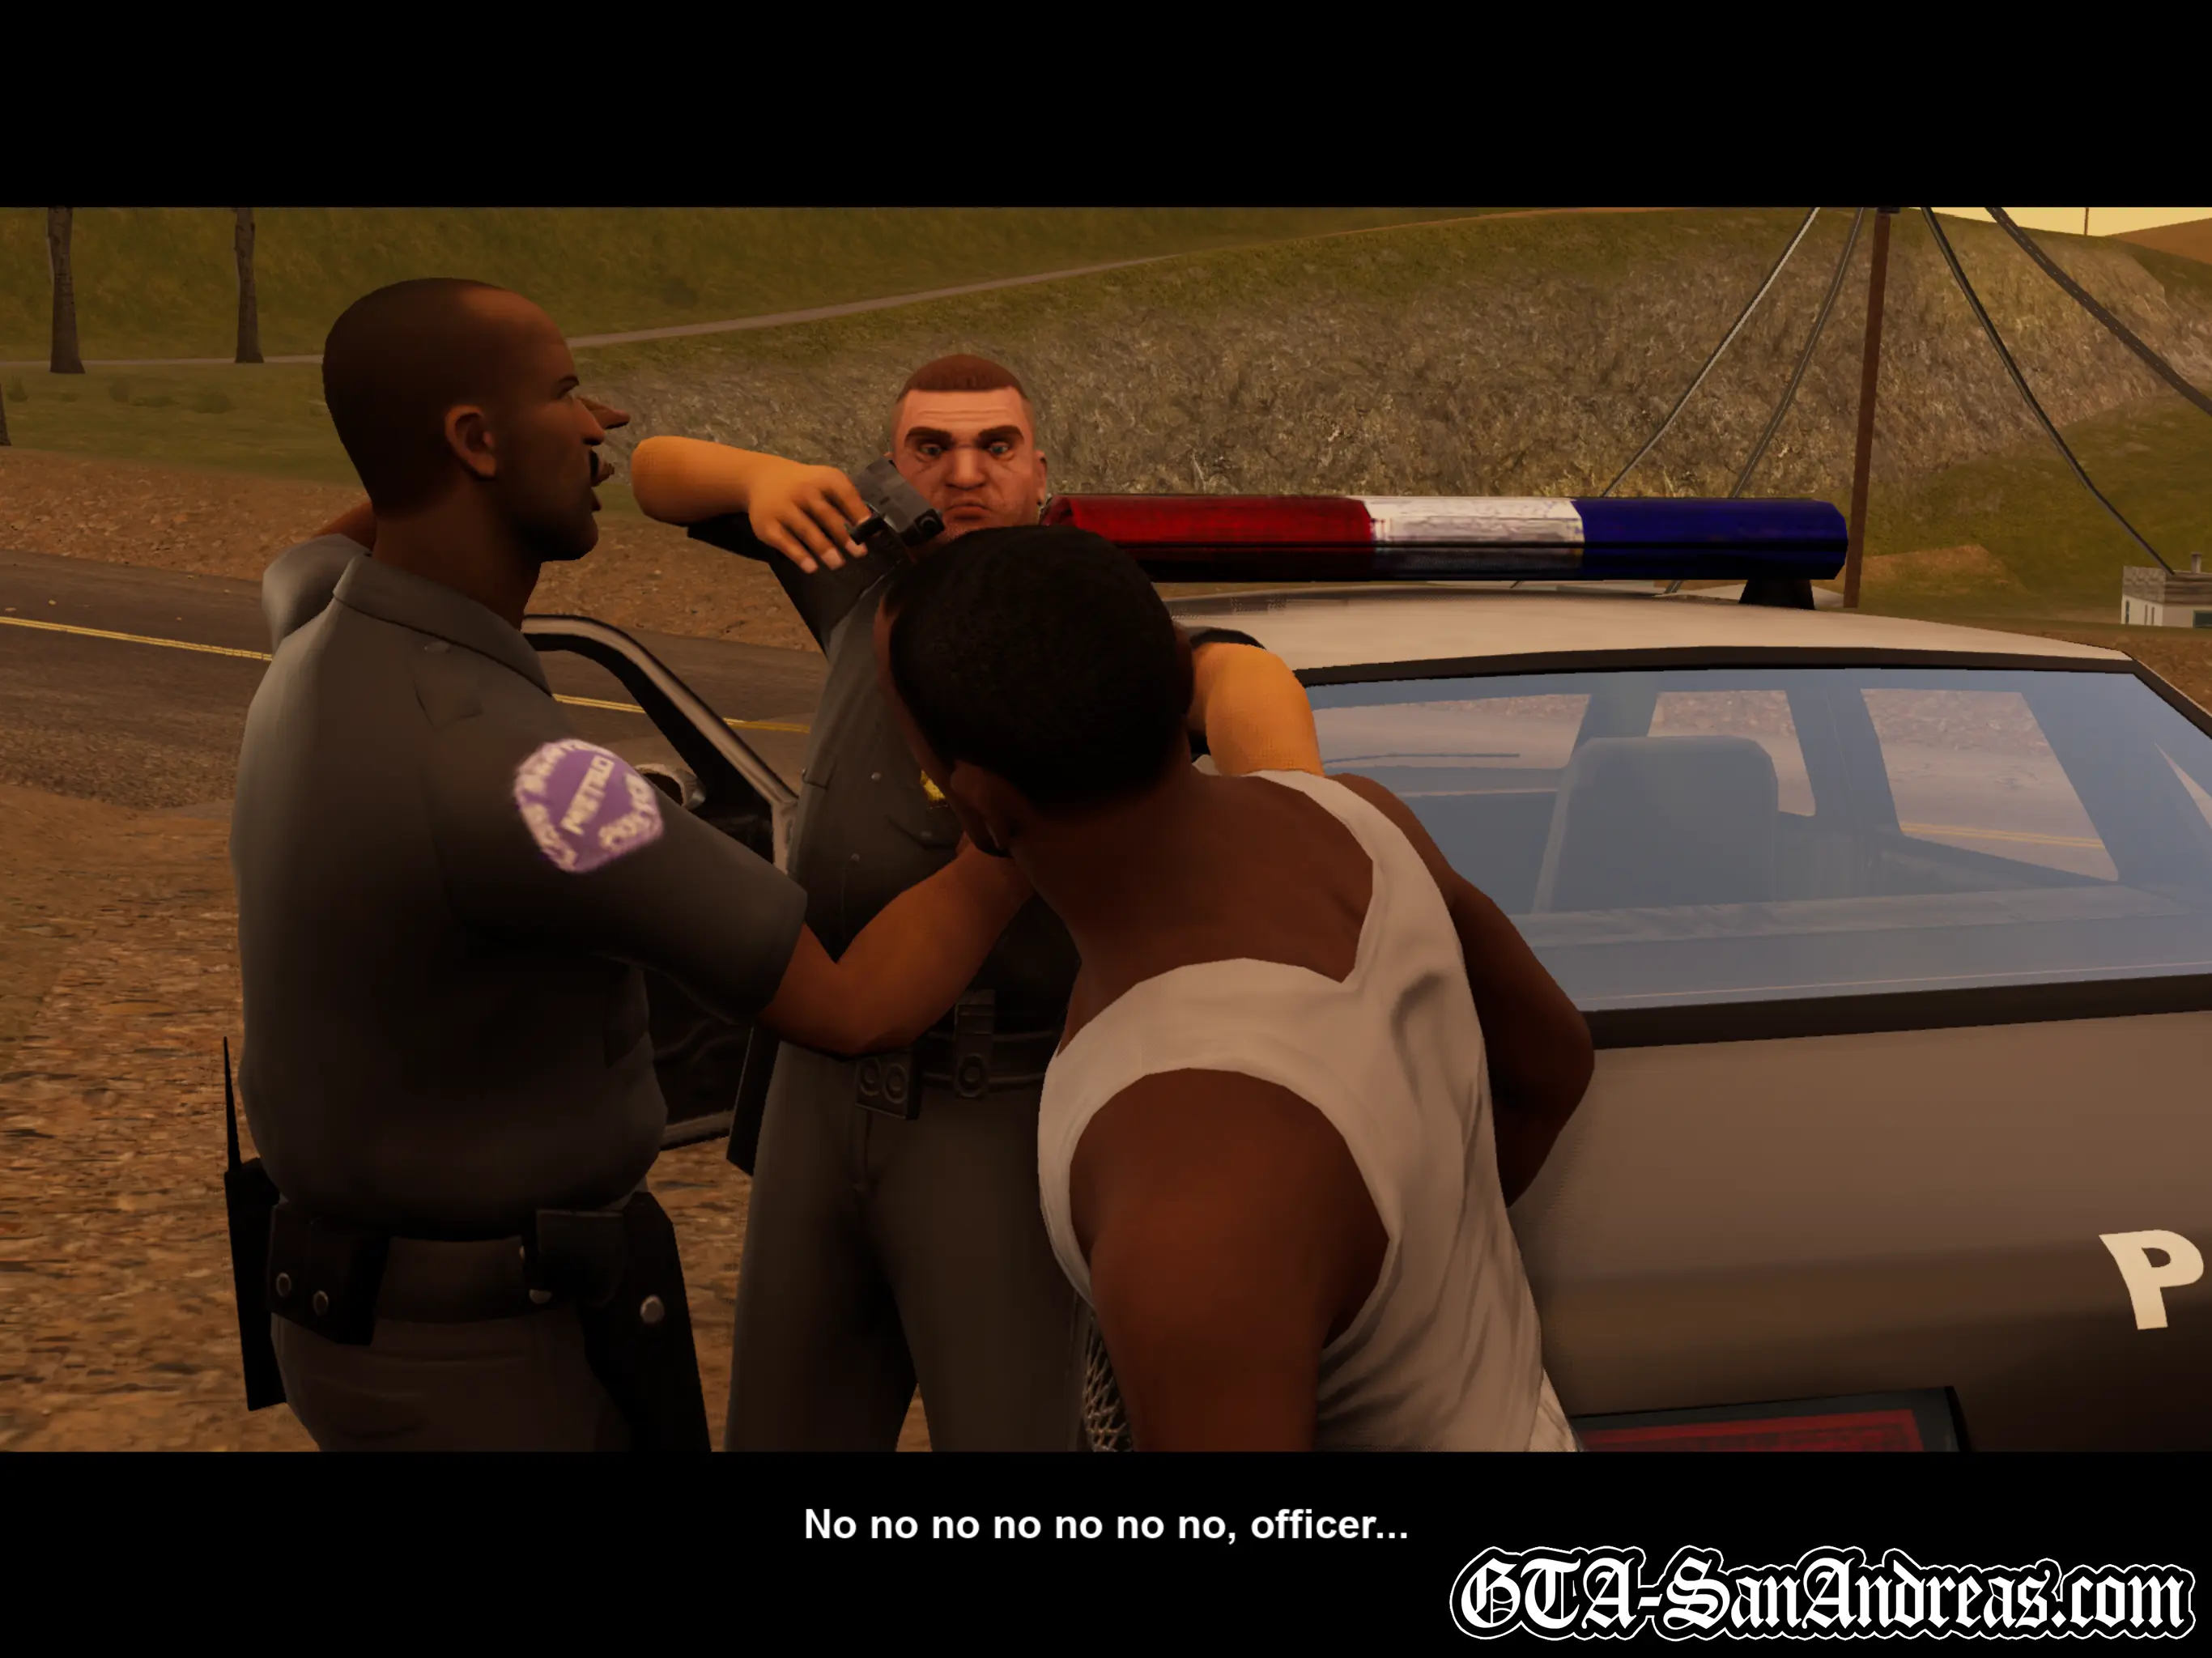
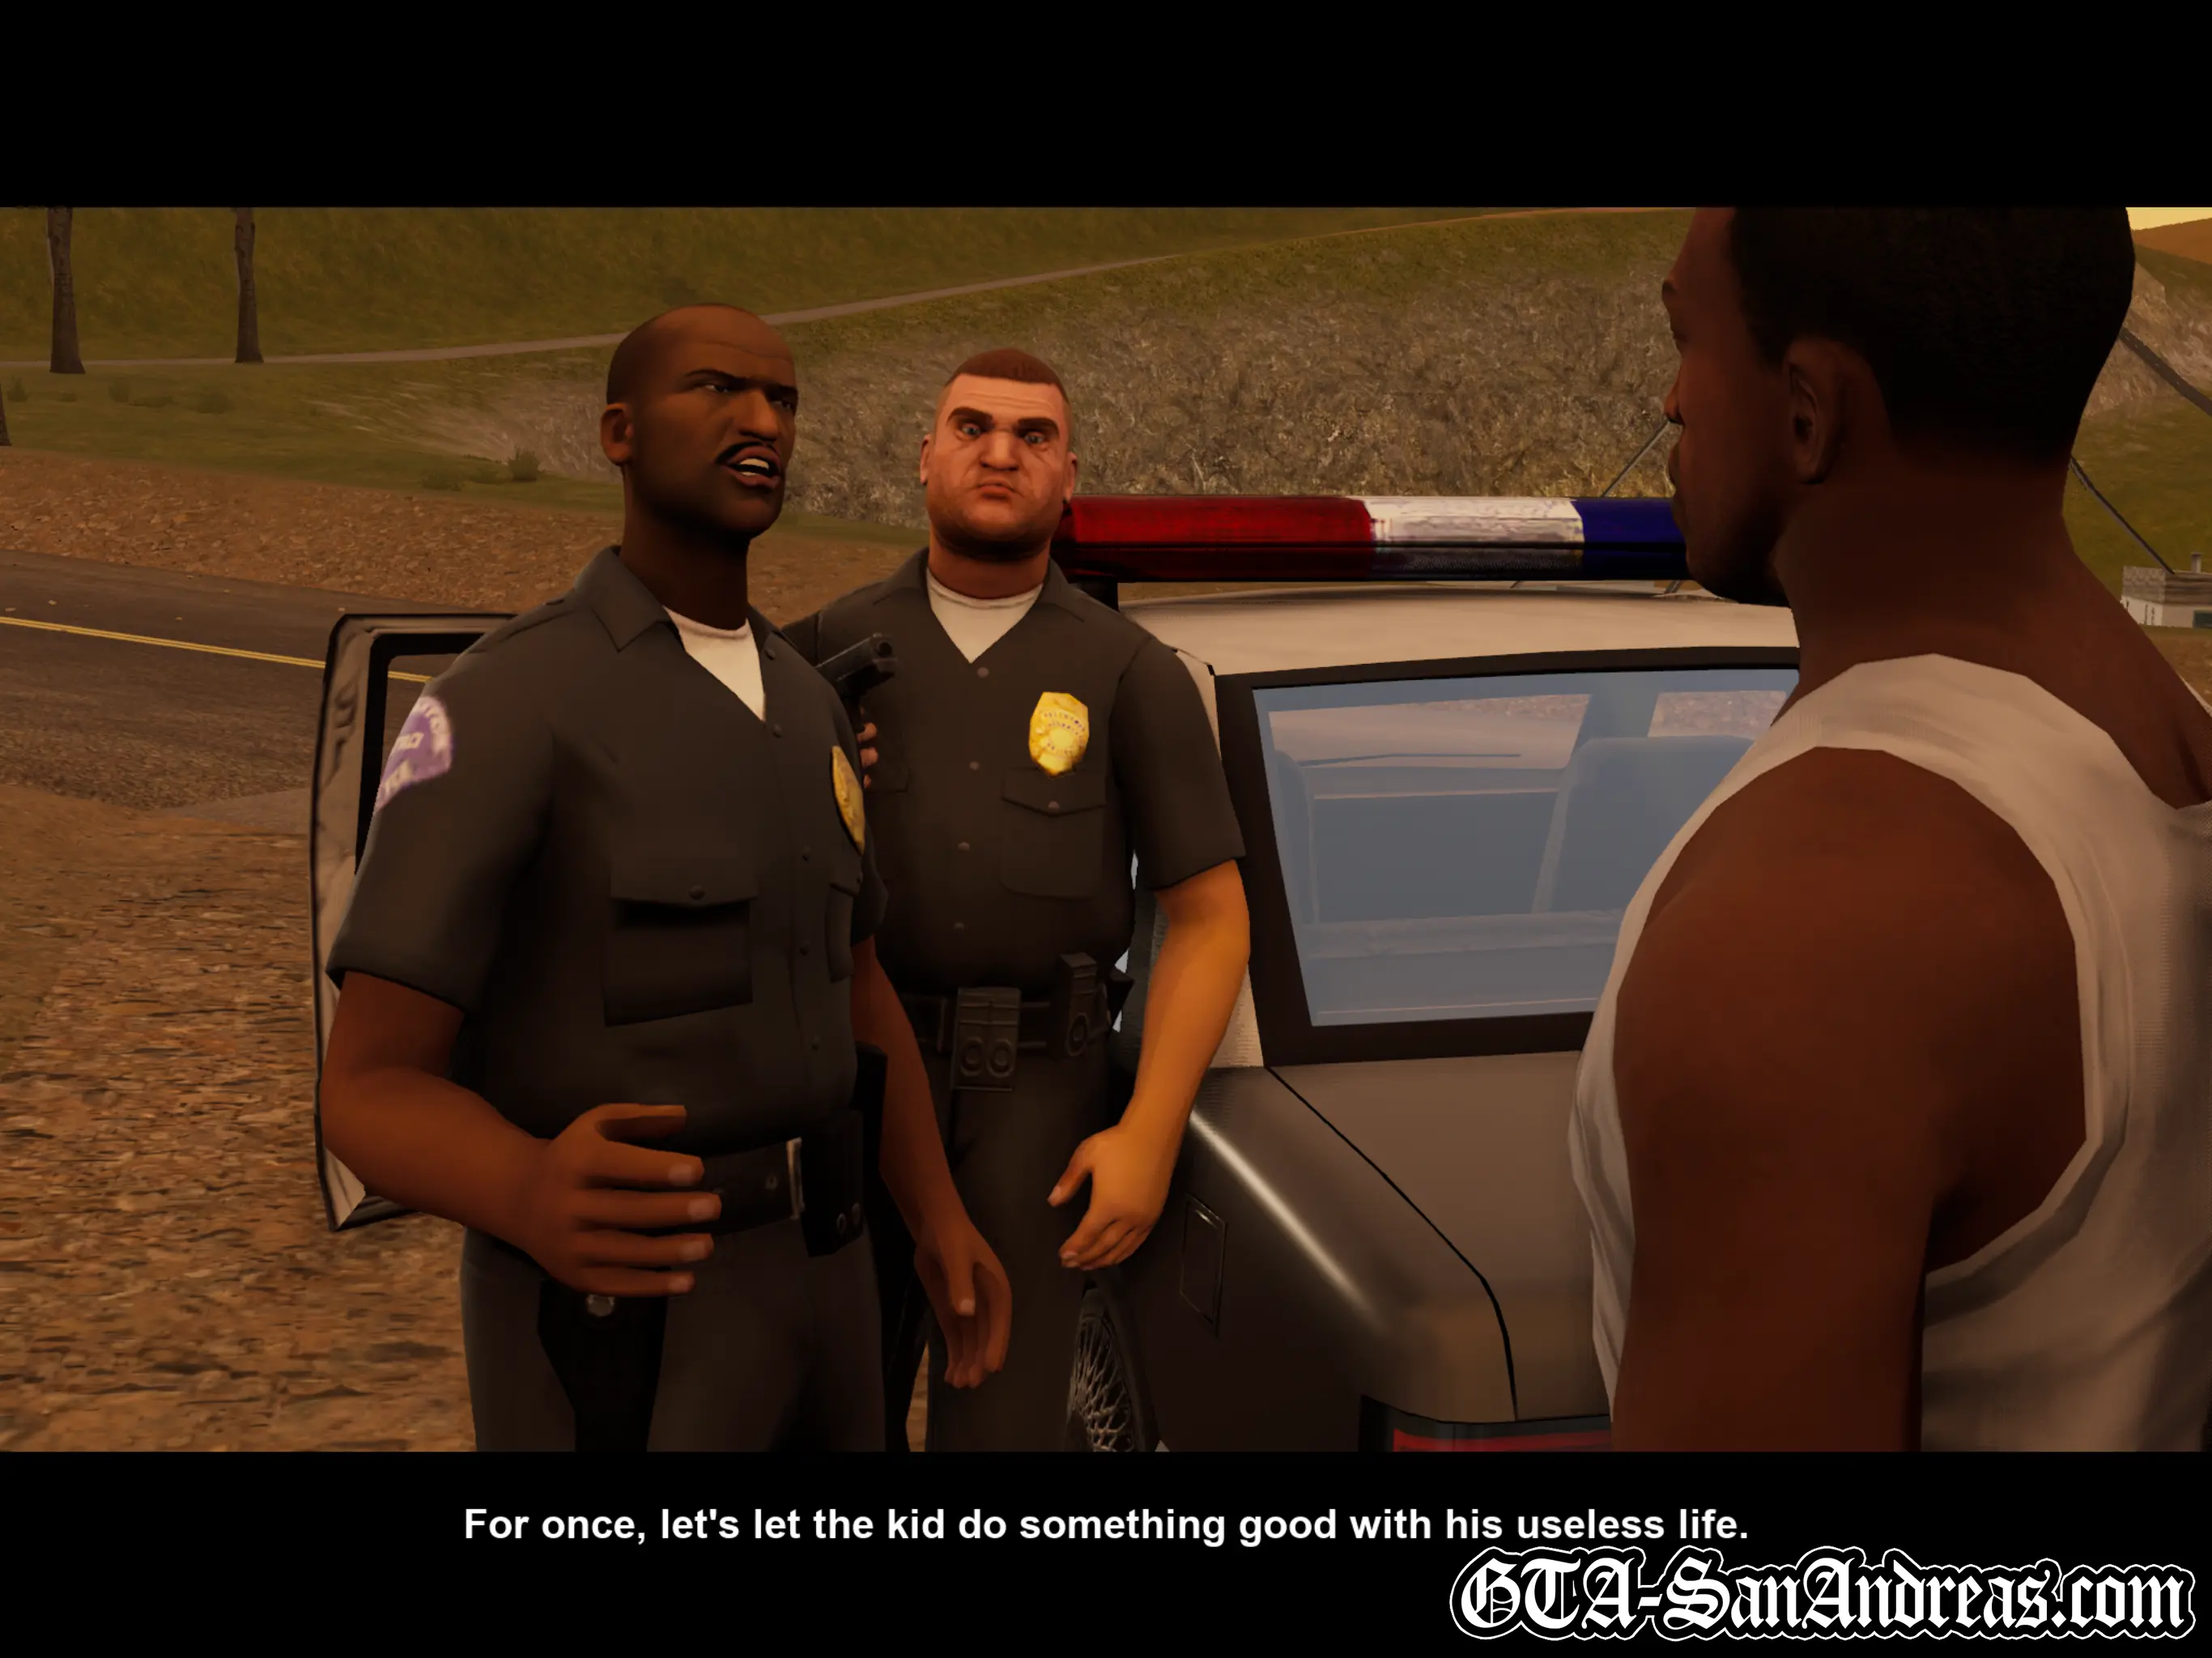
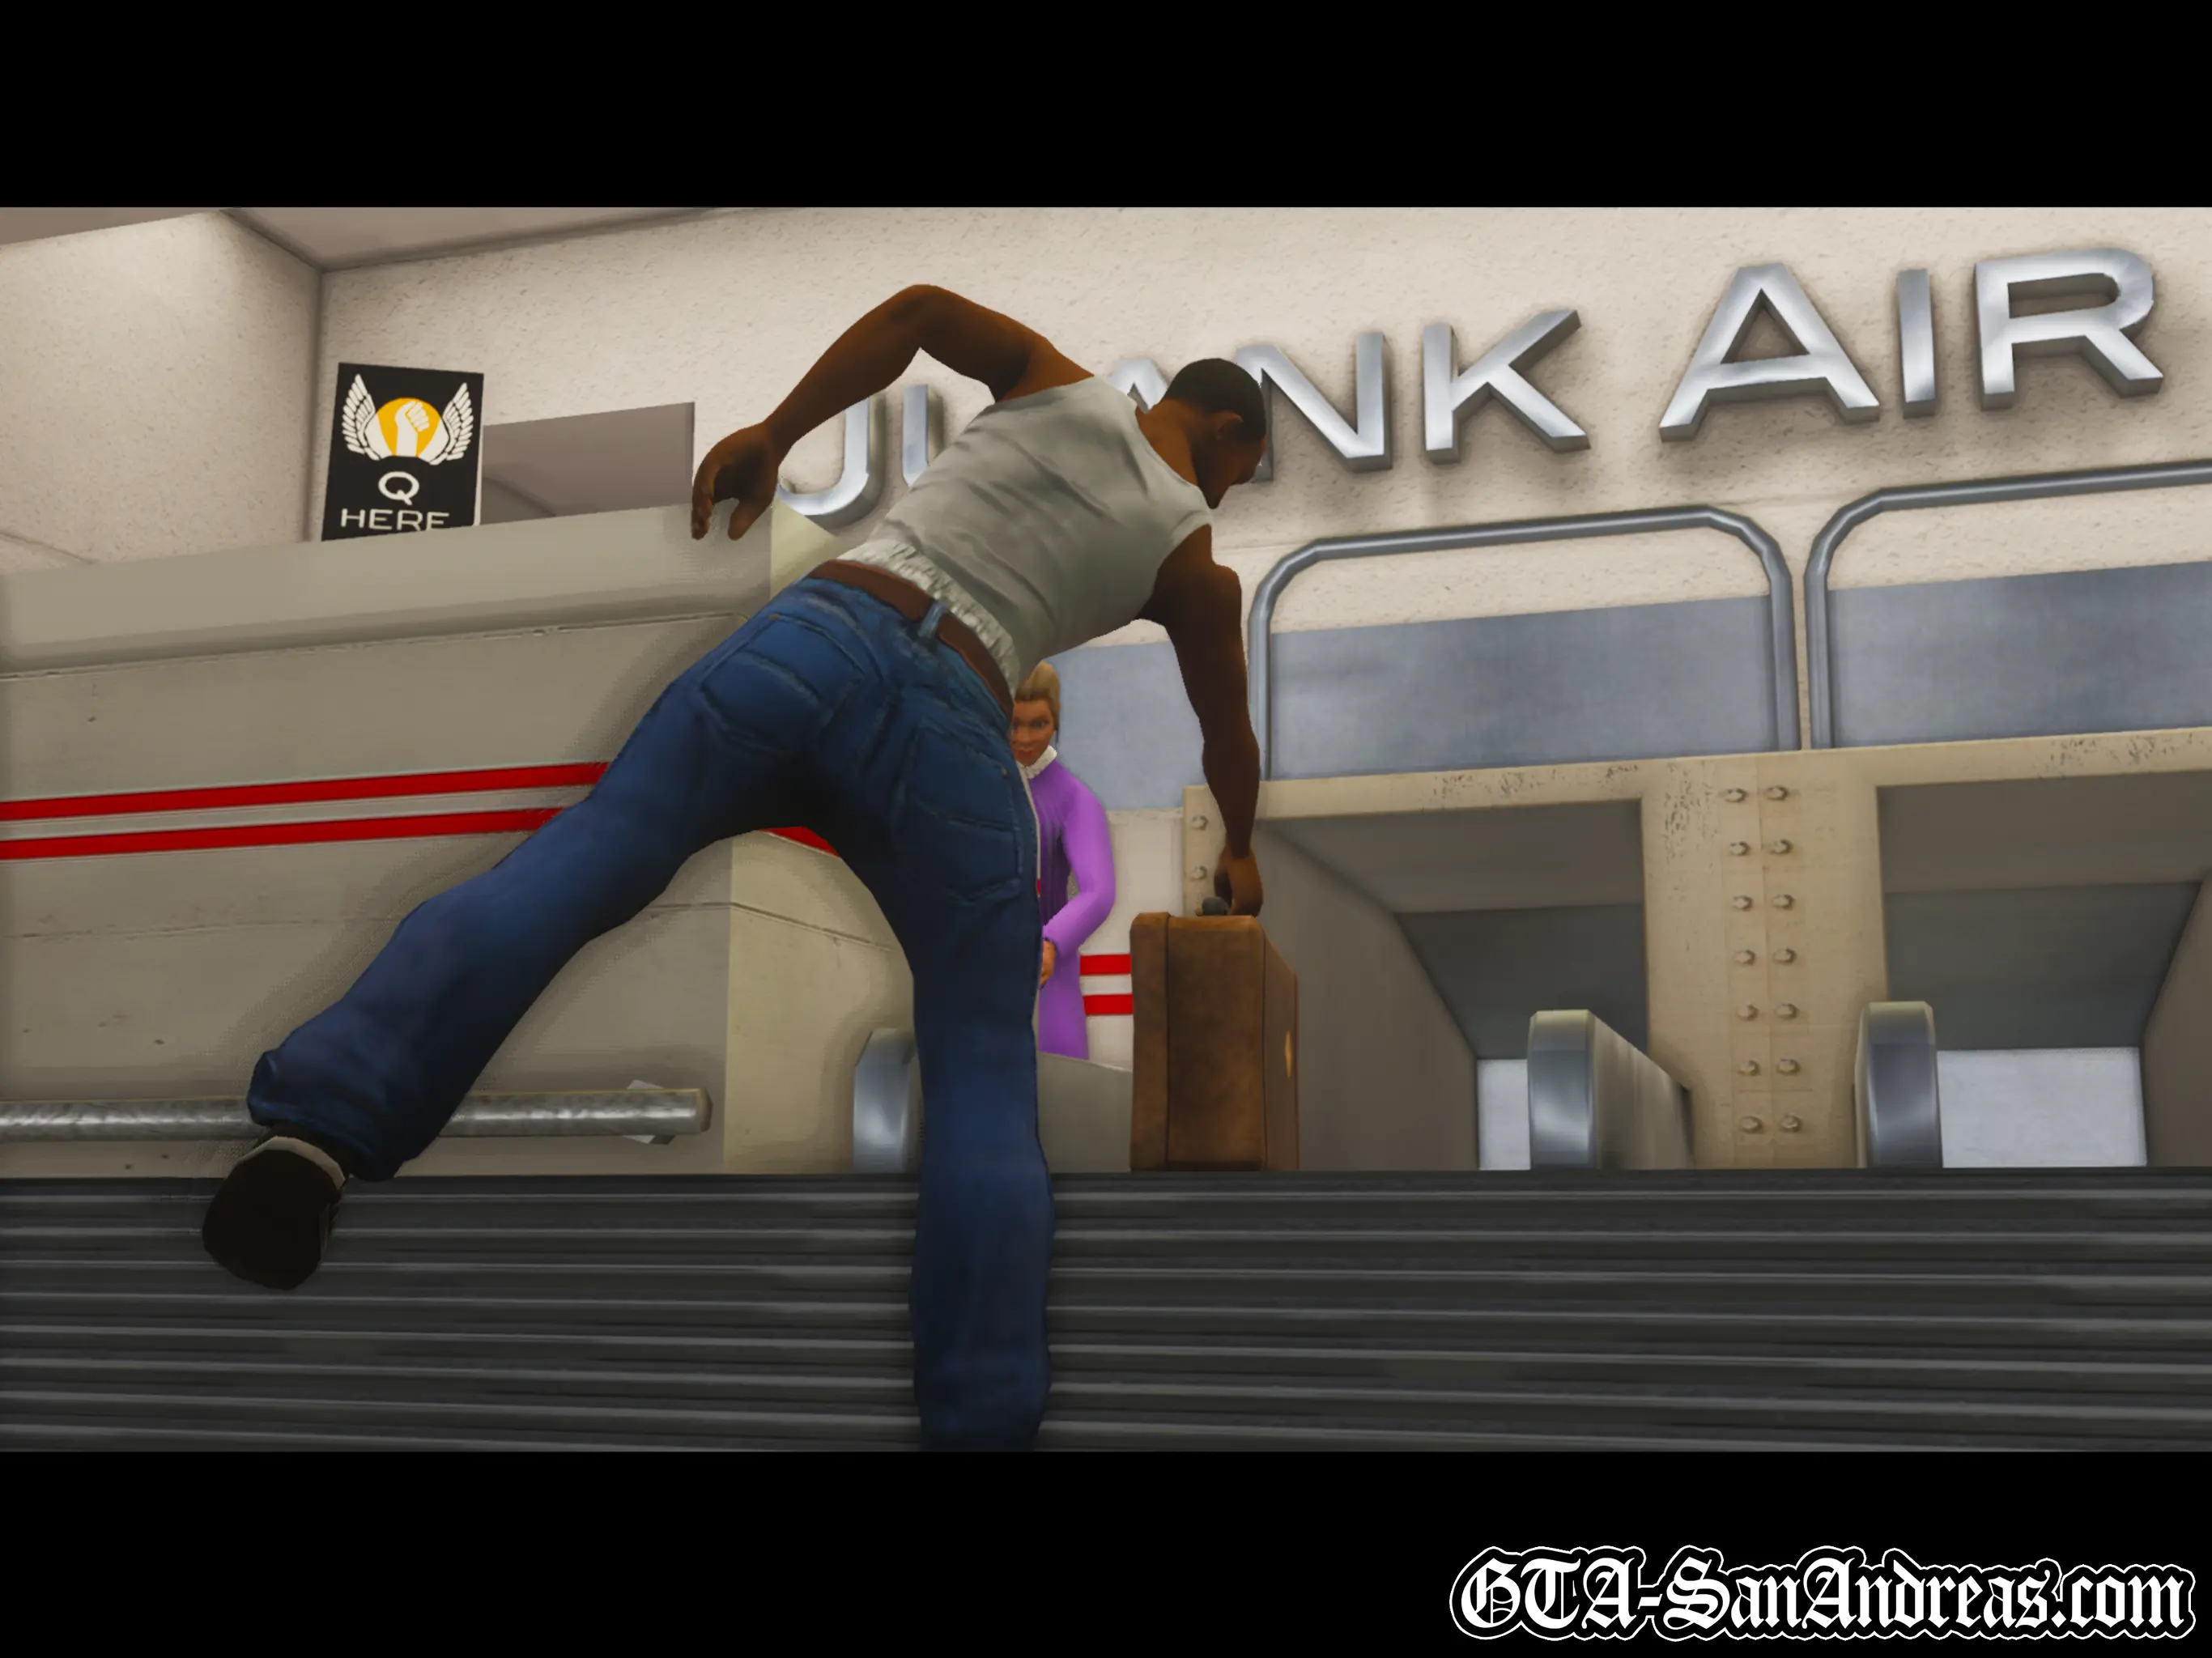
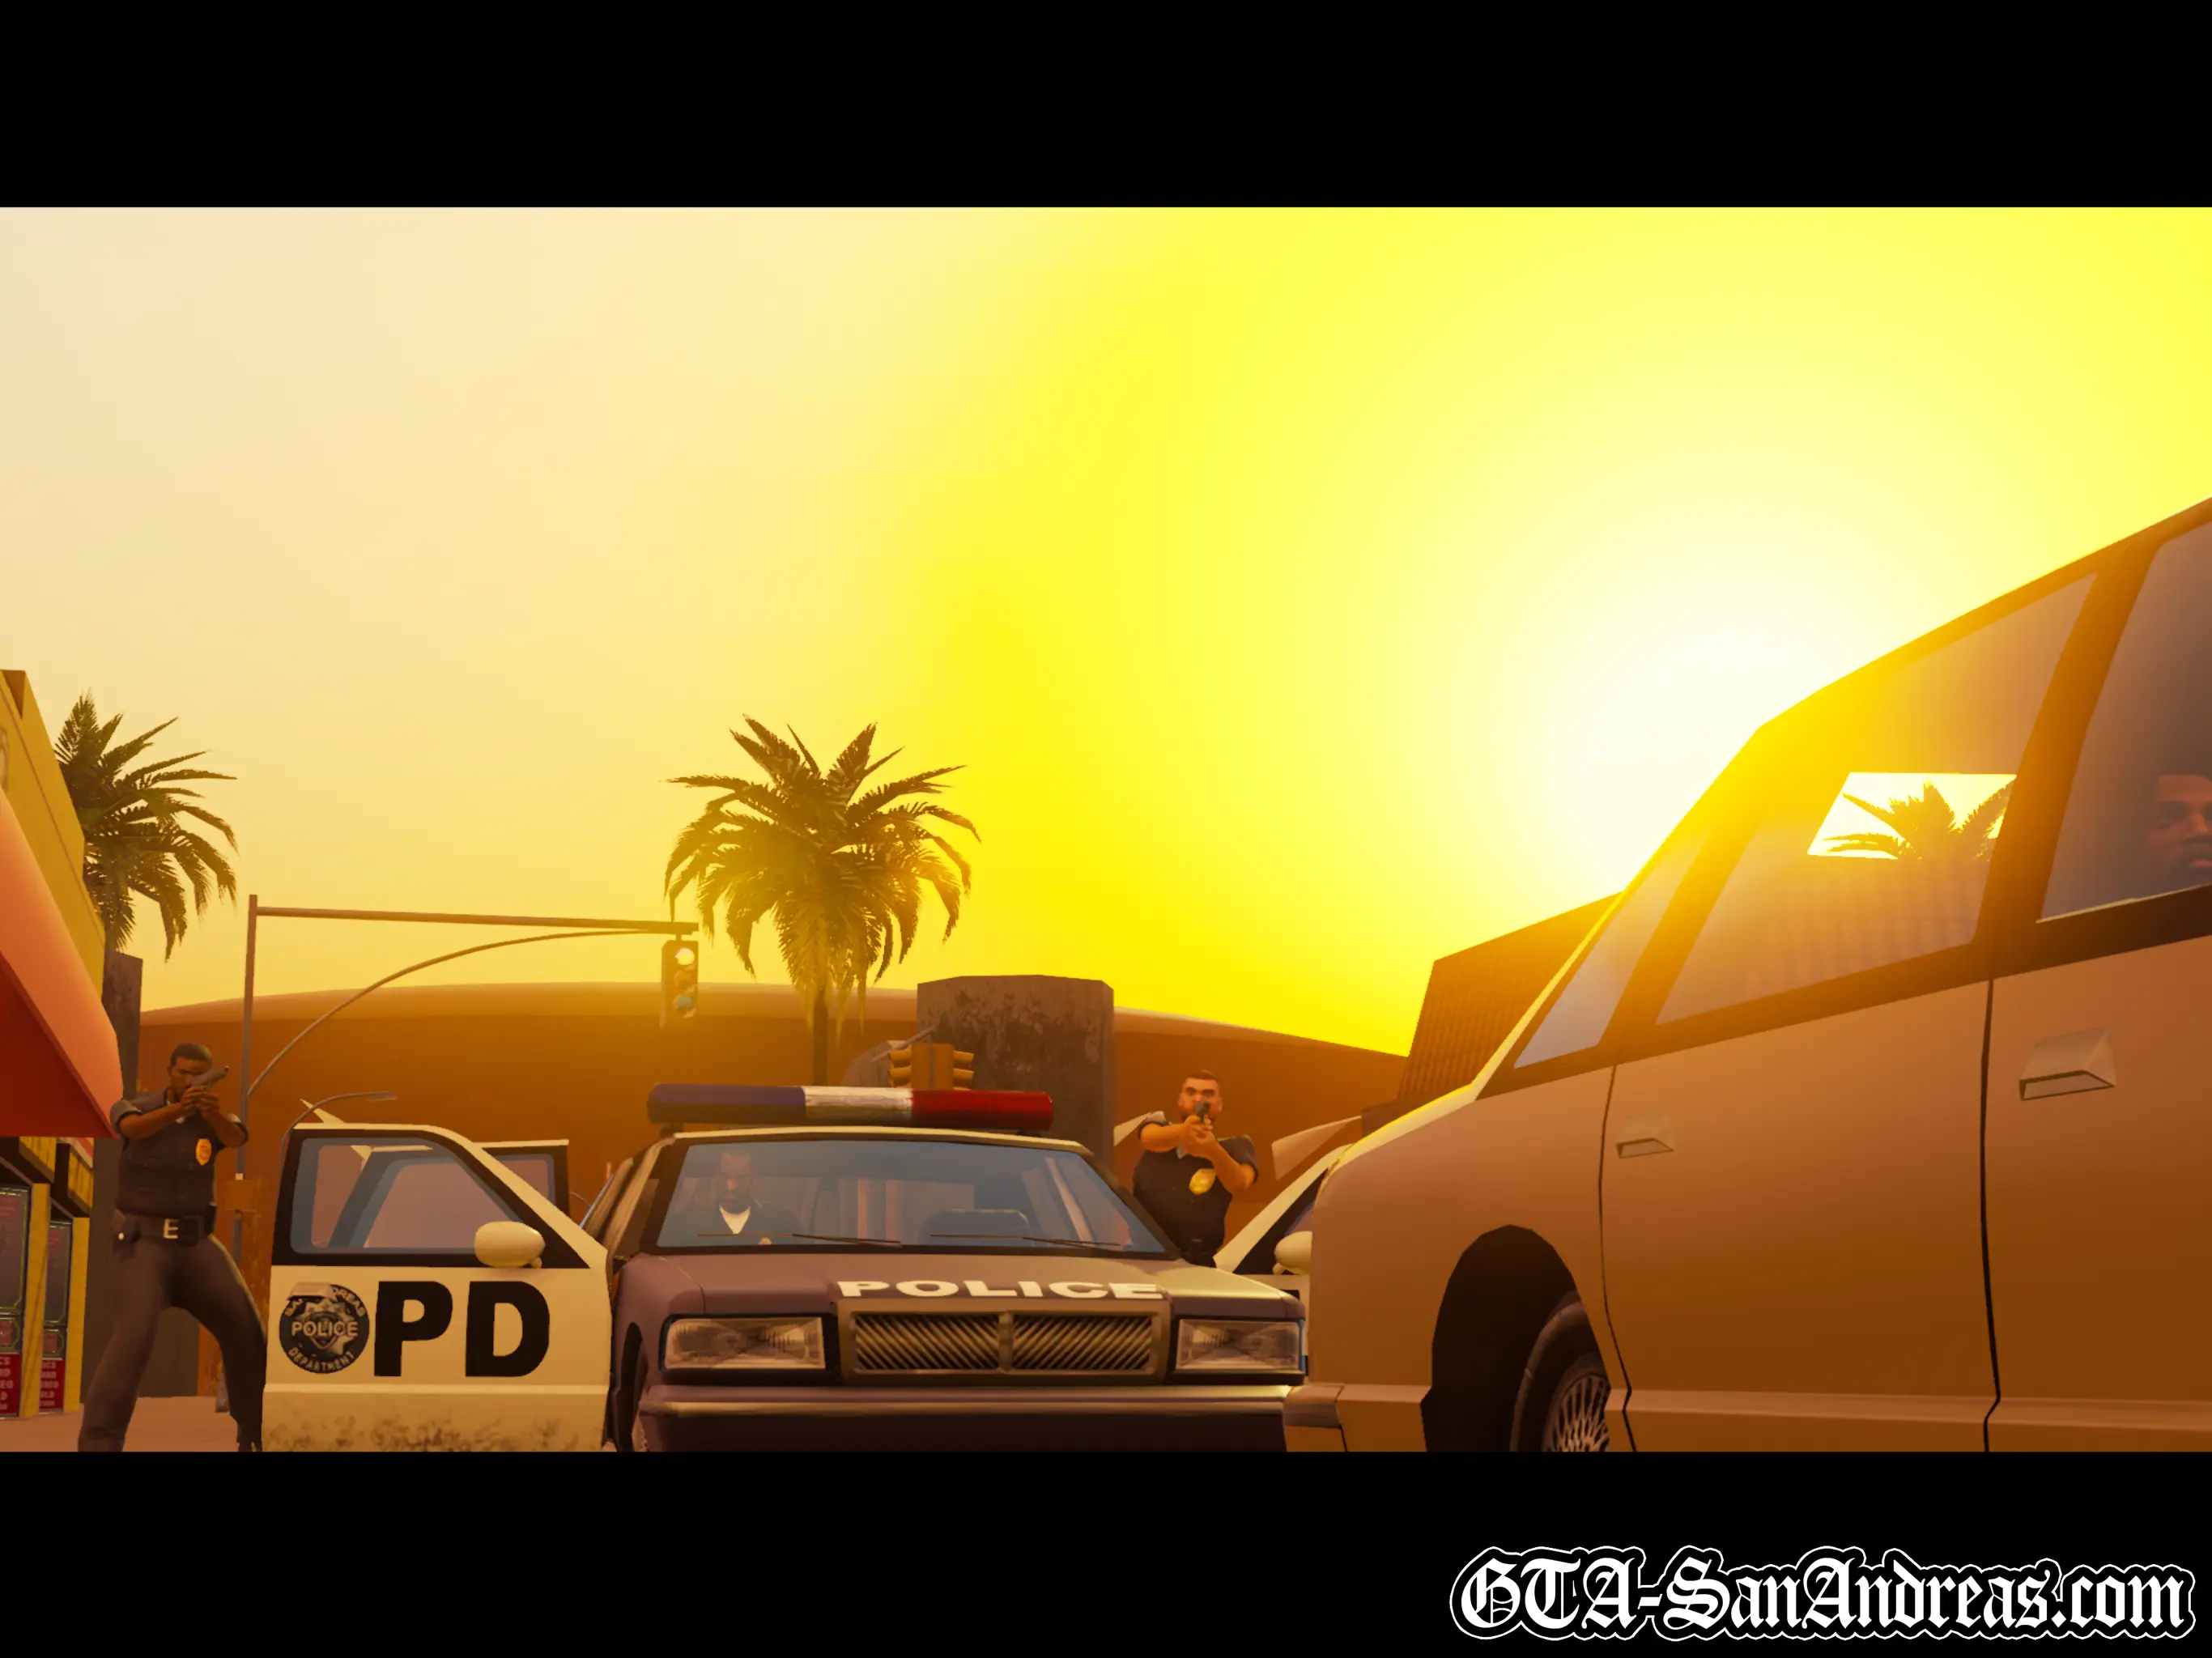
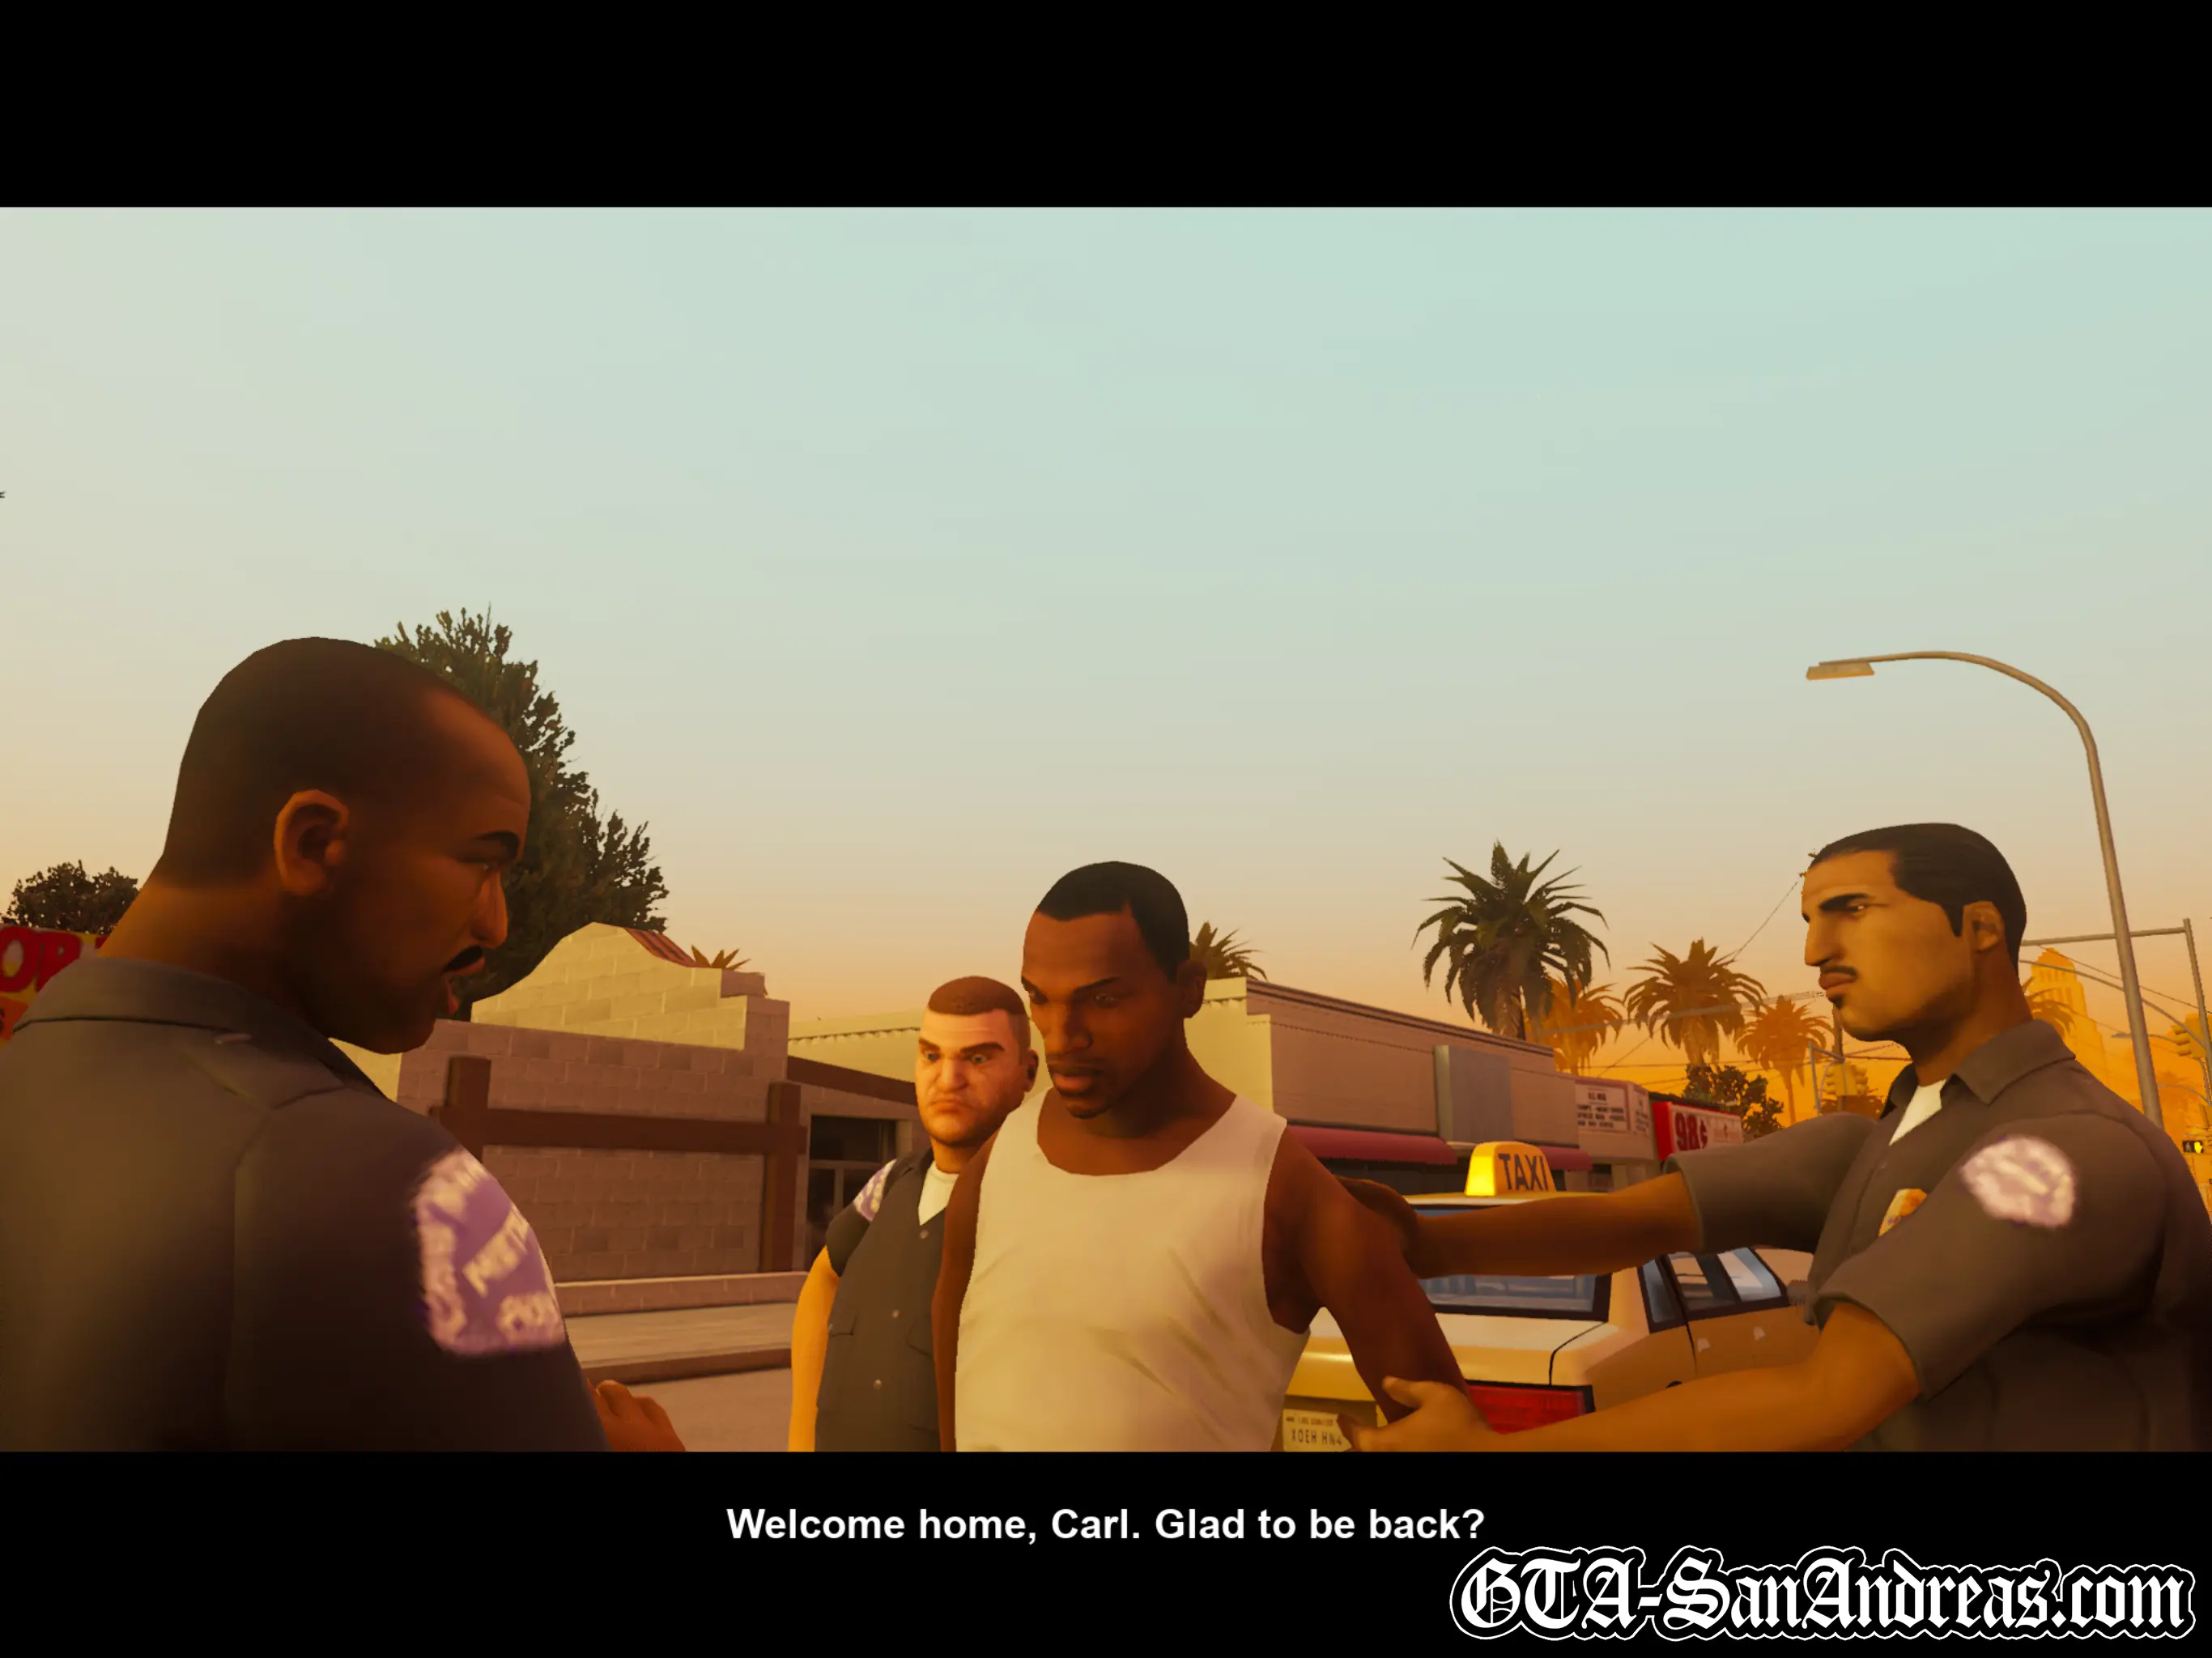
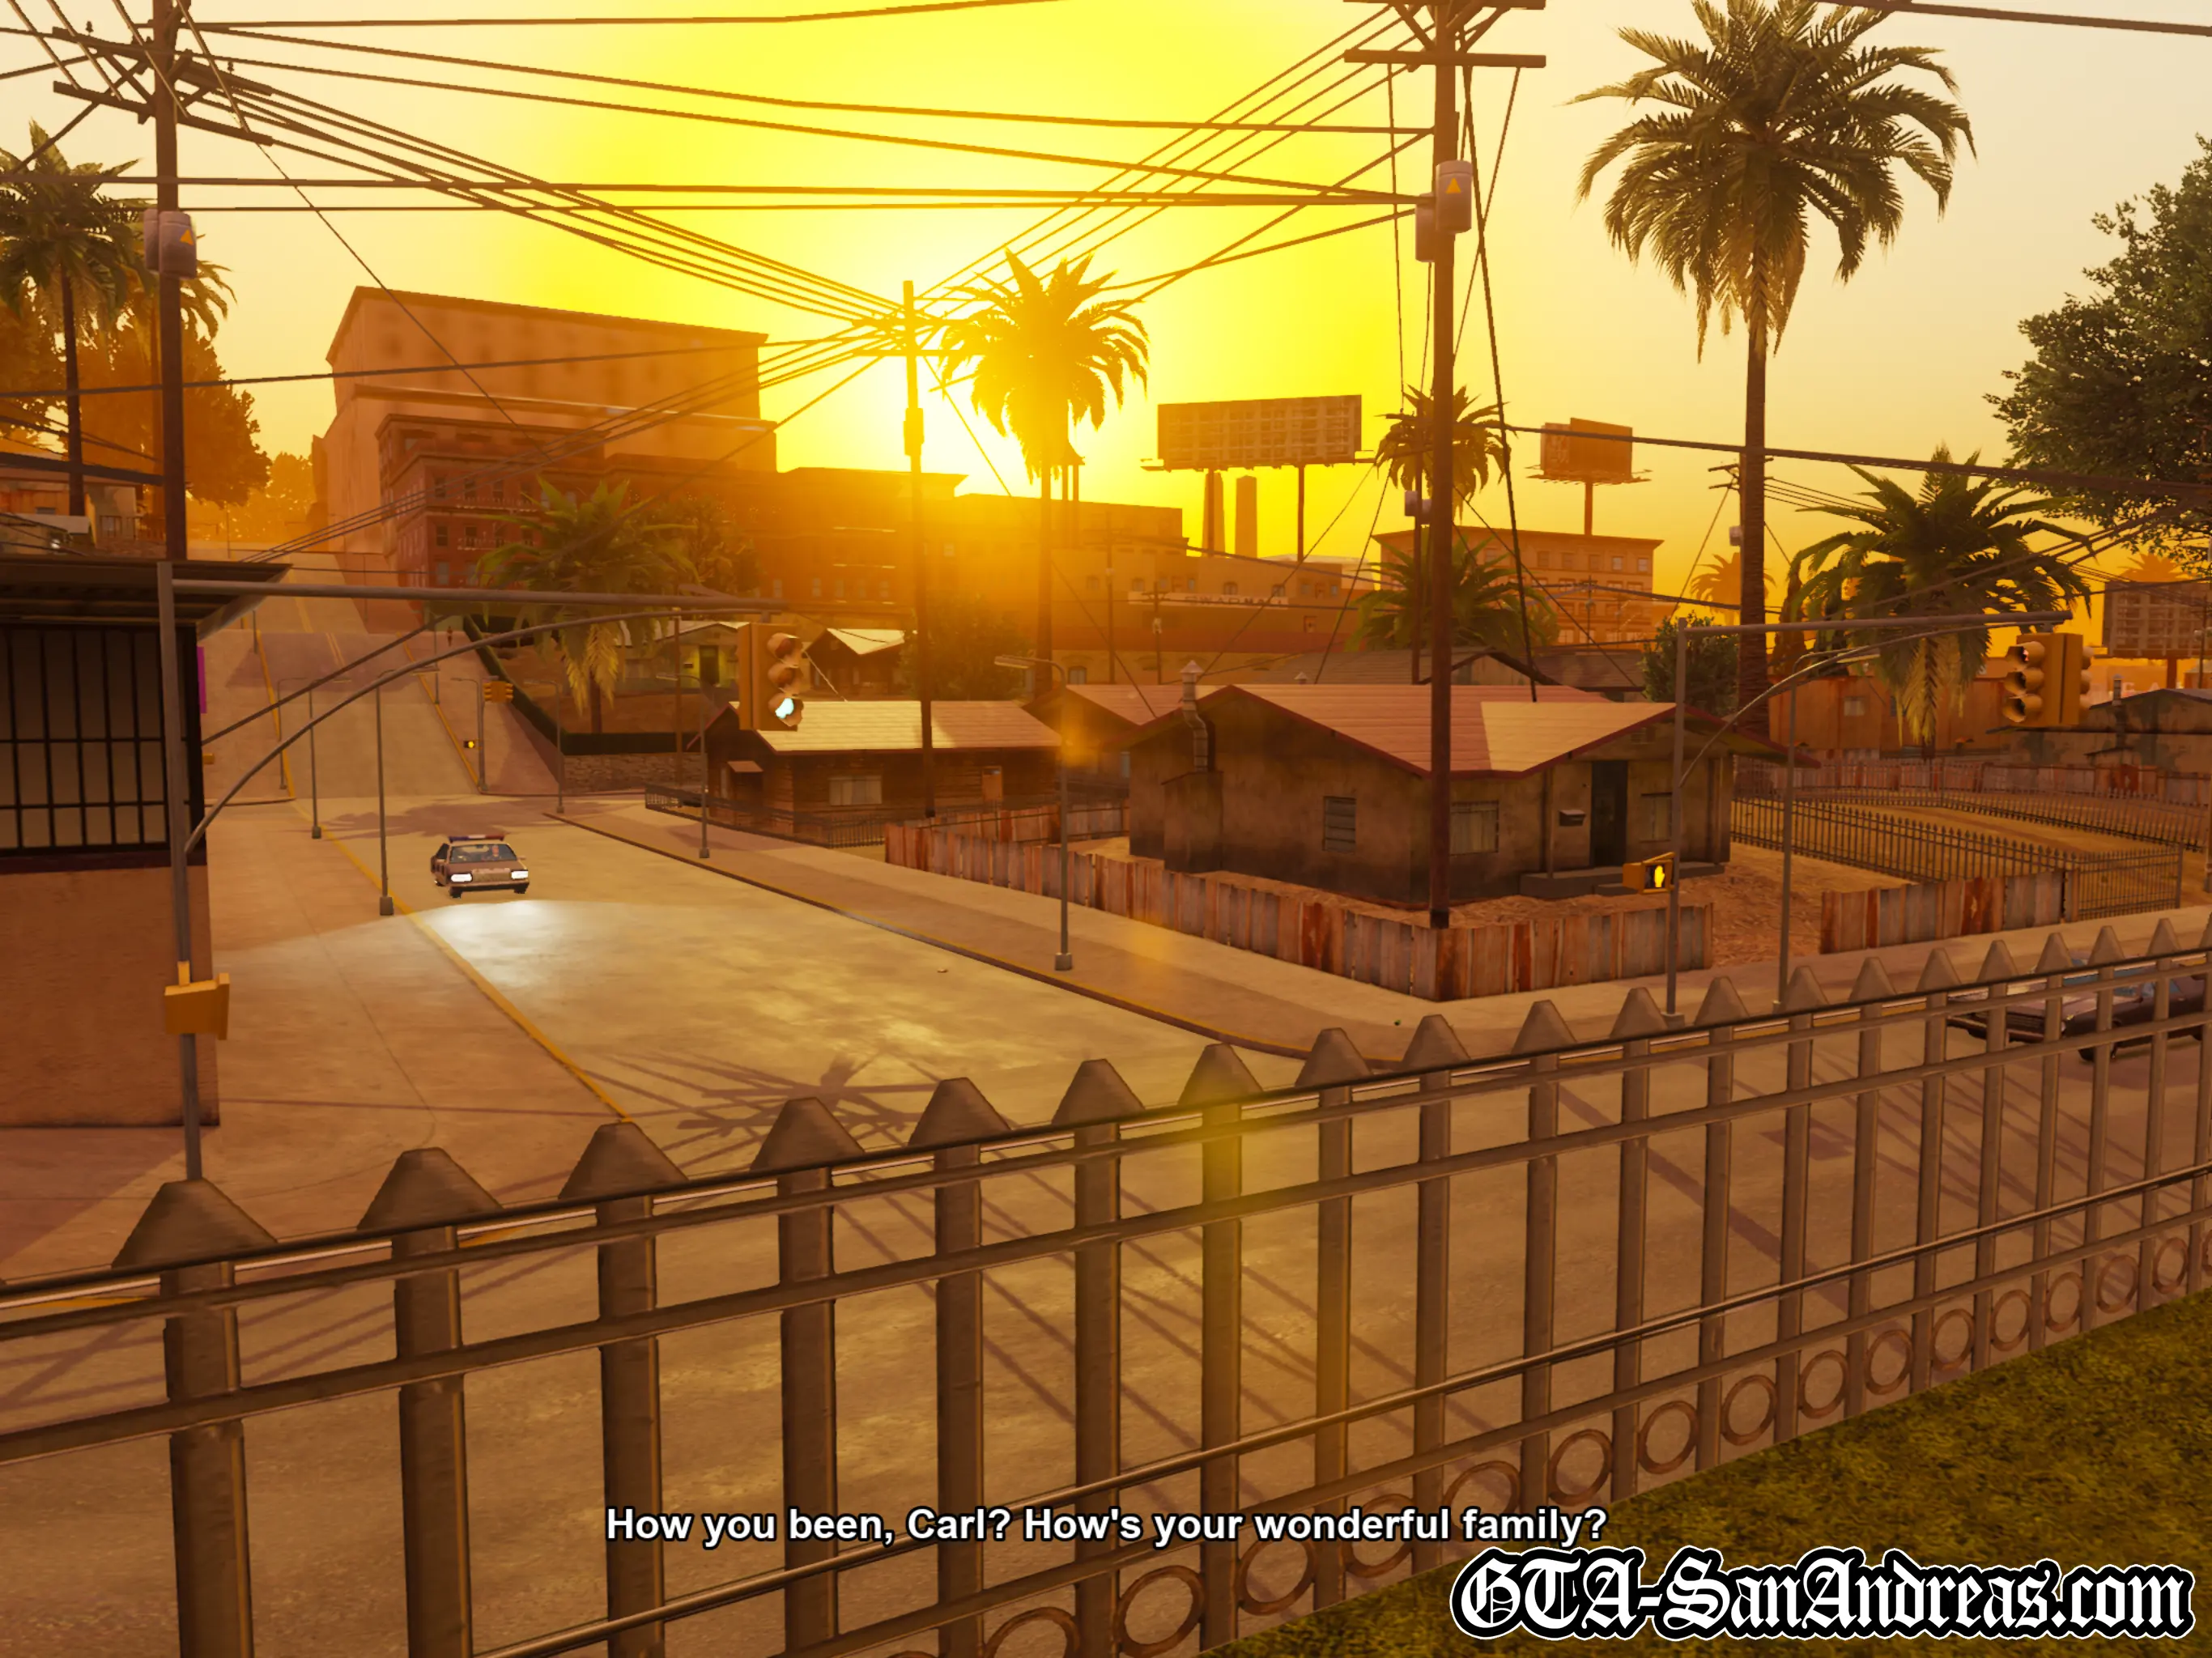
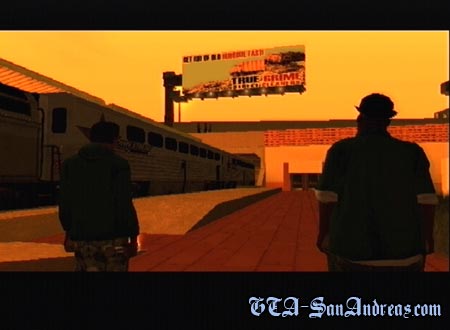
After 5 years in Liberty City, Carl Johnson arrives at Los Santos international airport to attend the funeral of his mother, Beverly.
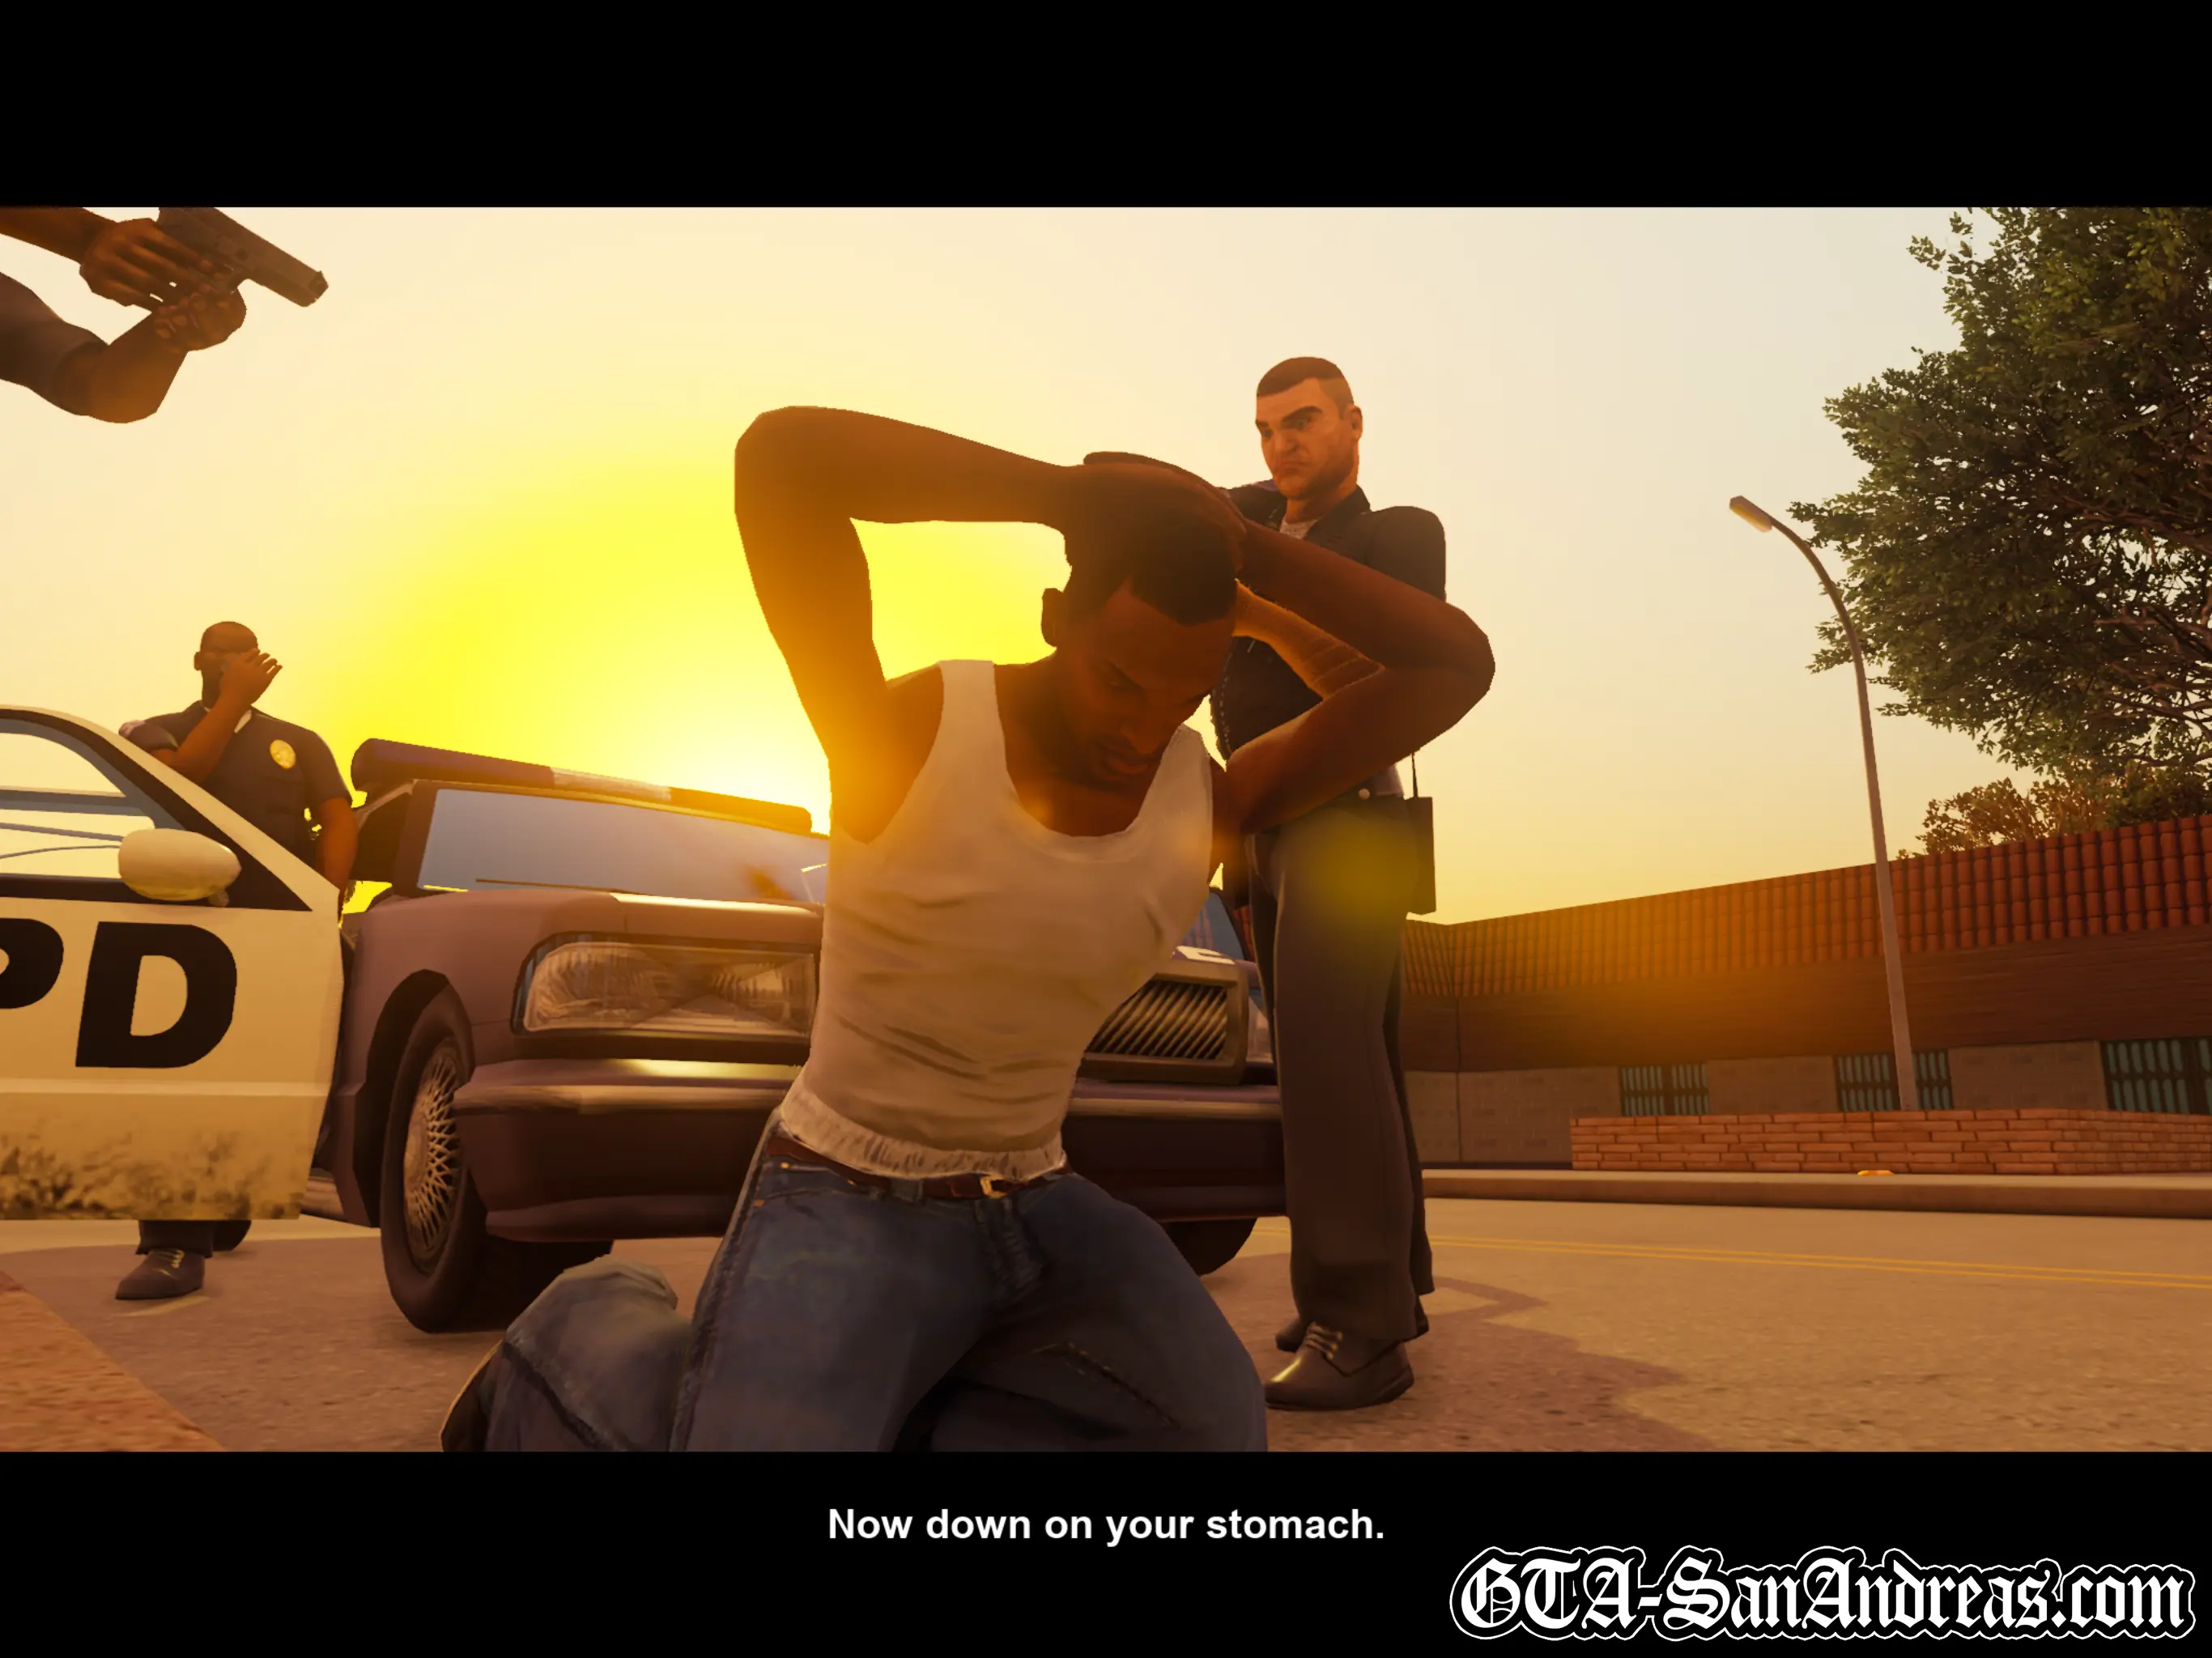
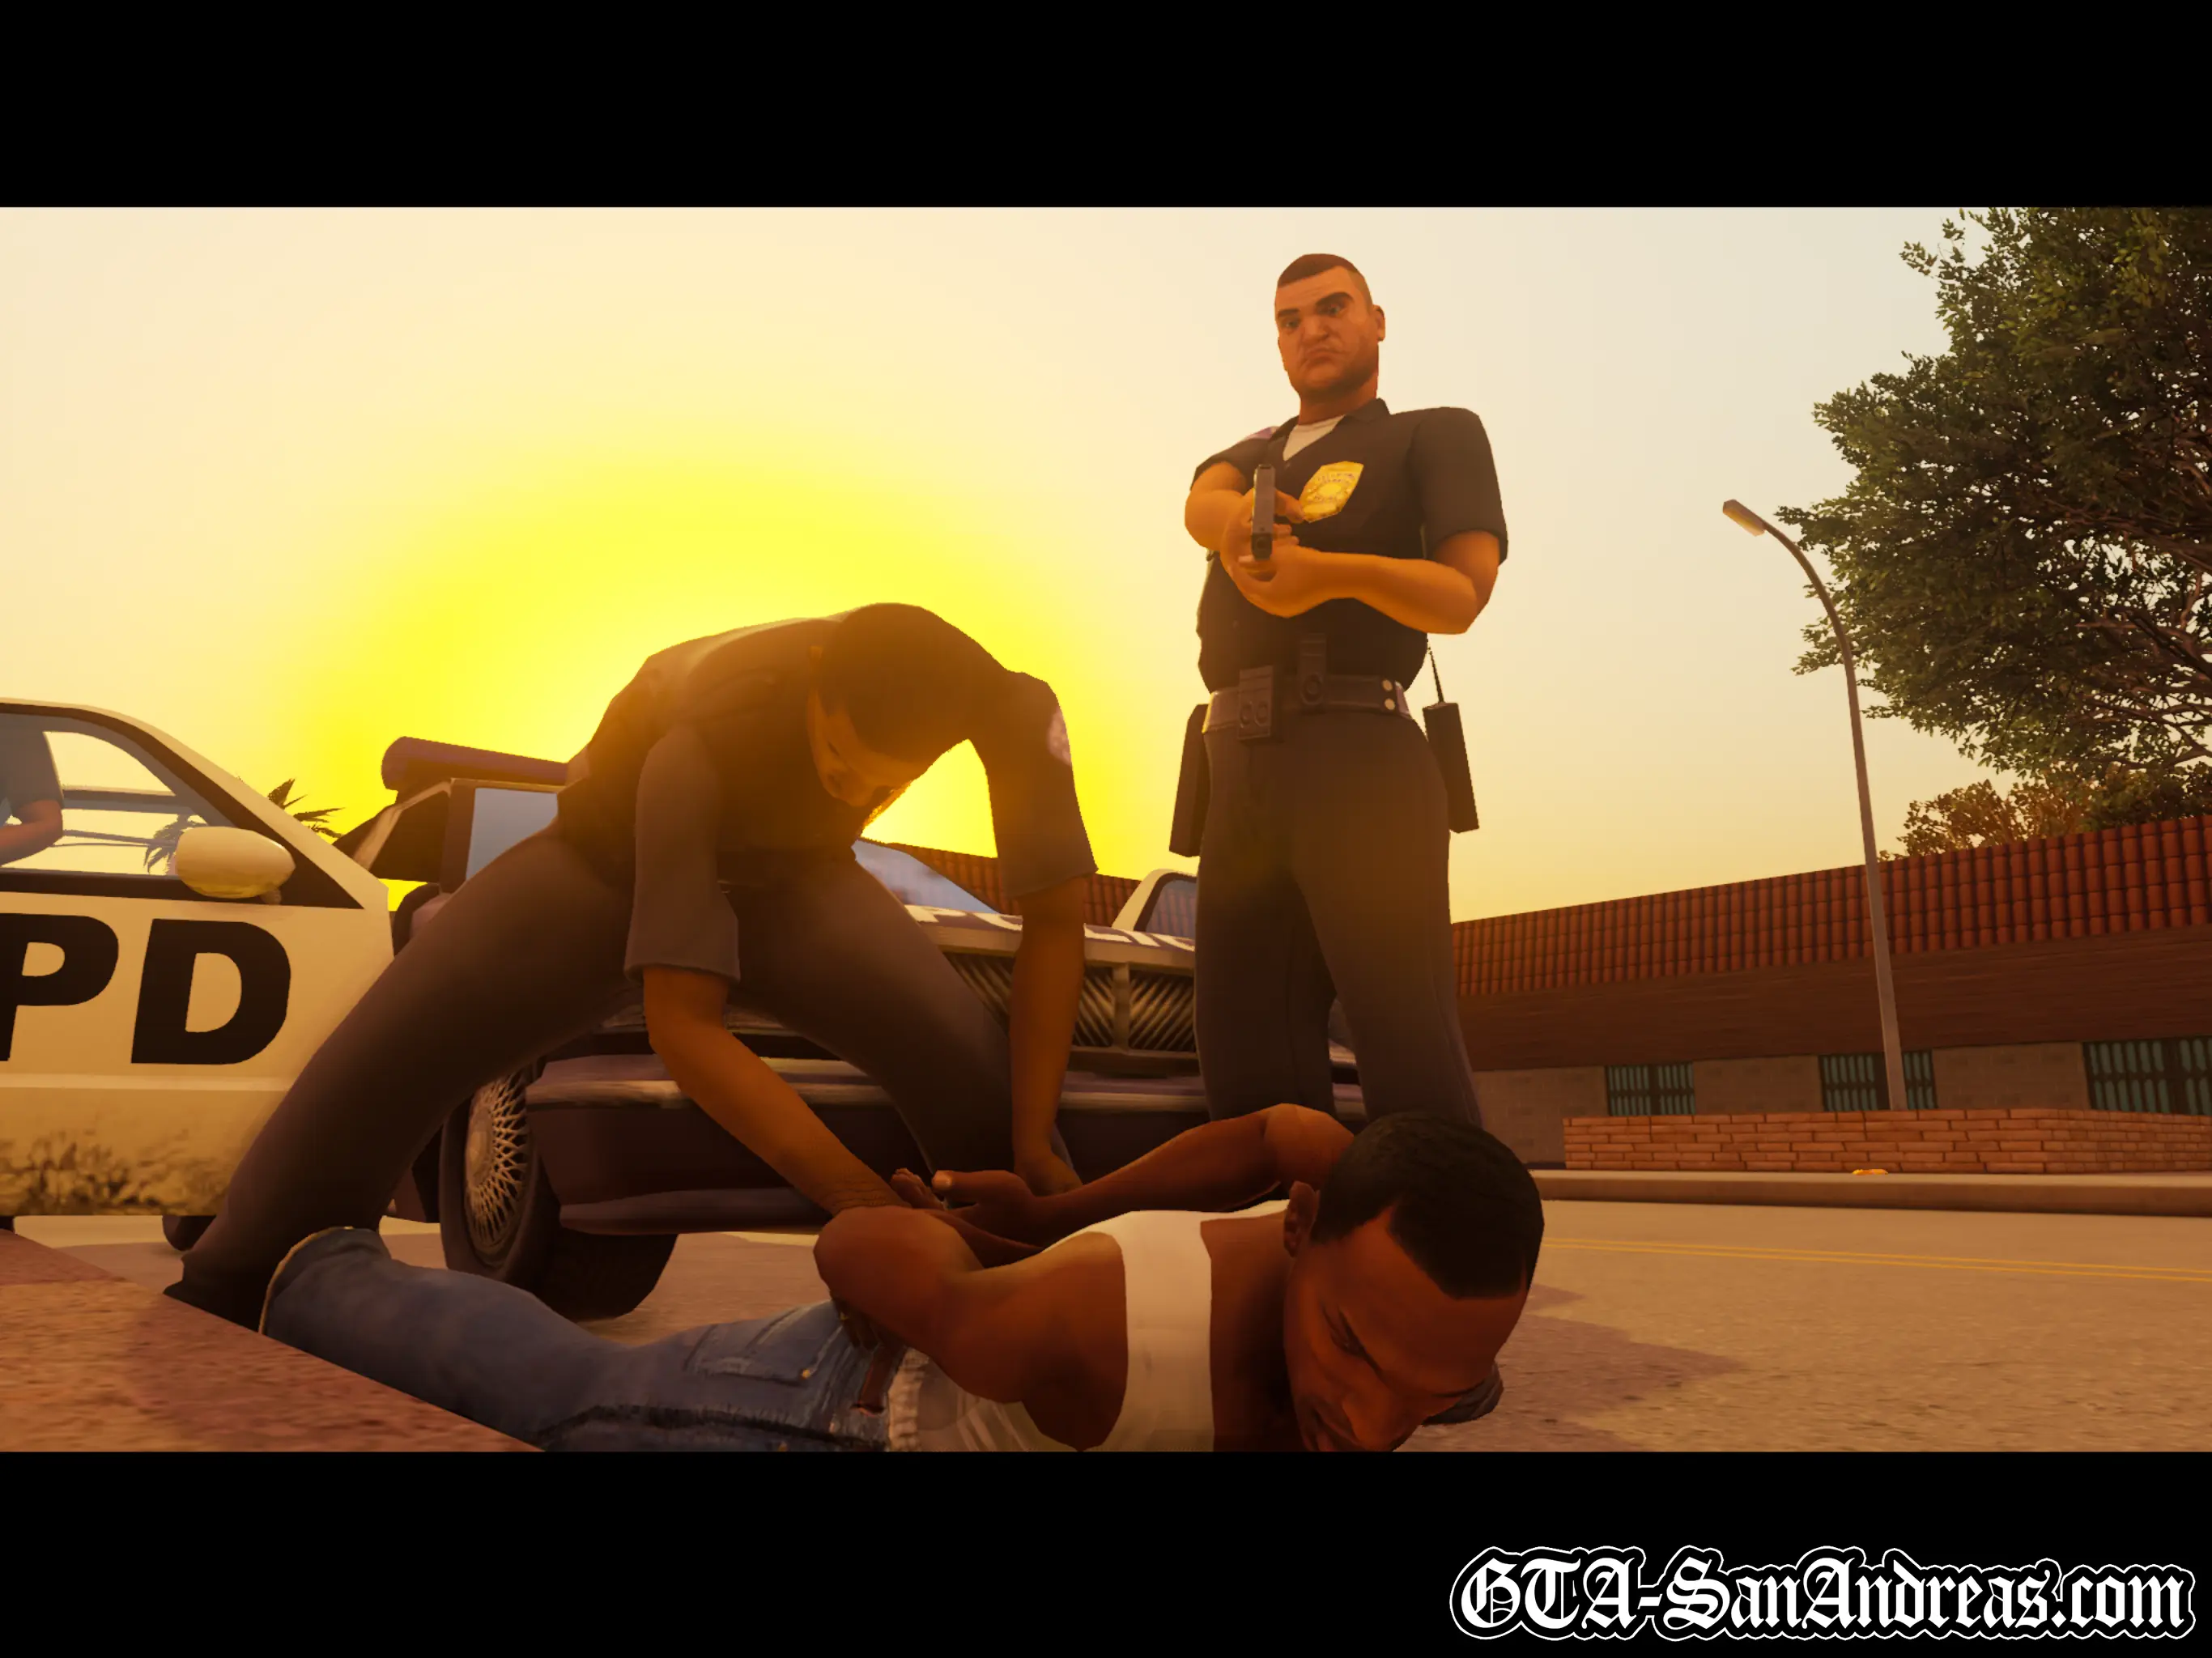
On the way home, his taxi is intercepted by police and he's bundled into a cop car without any of his cash or possessions.
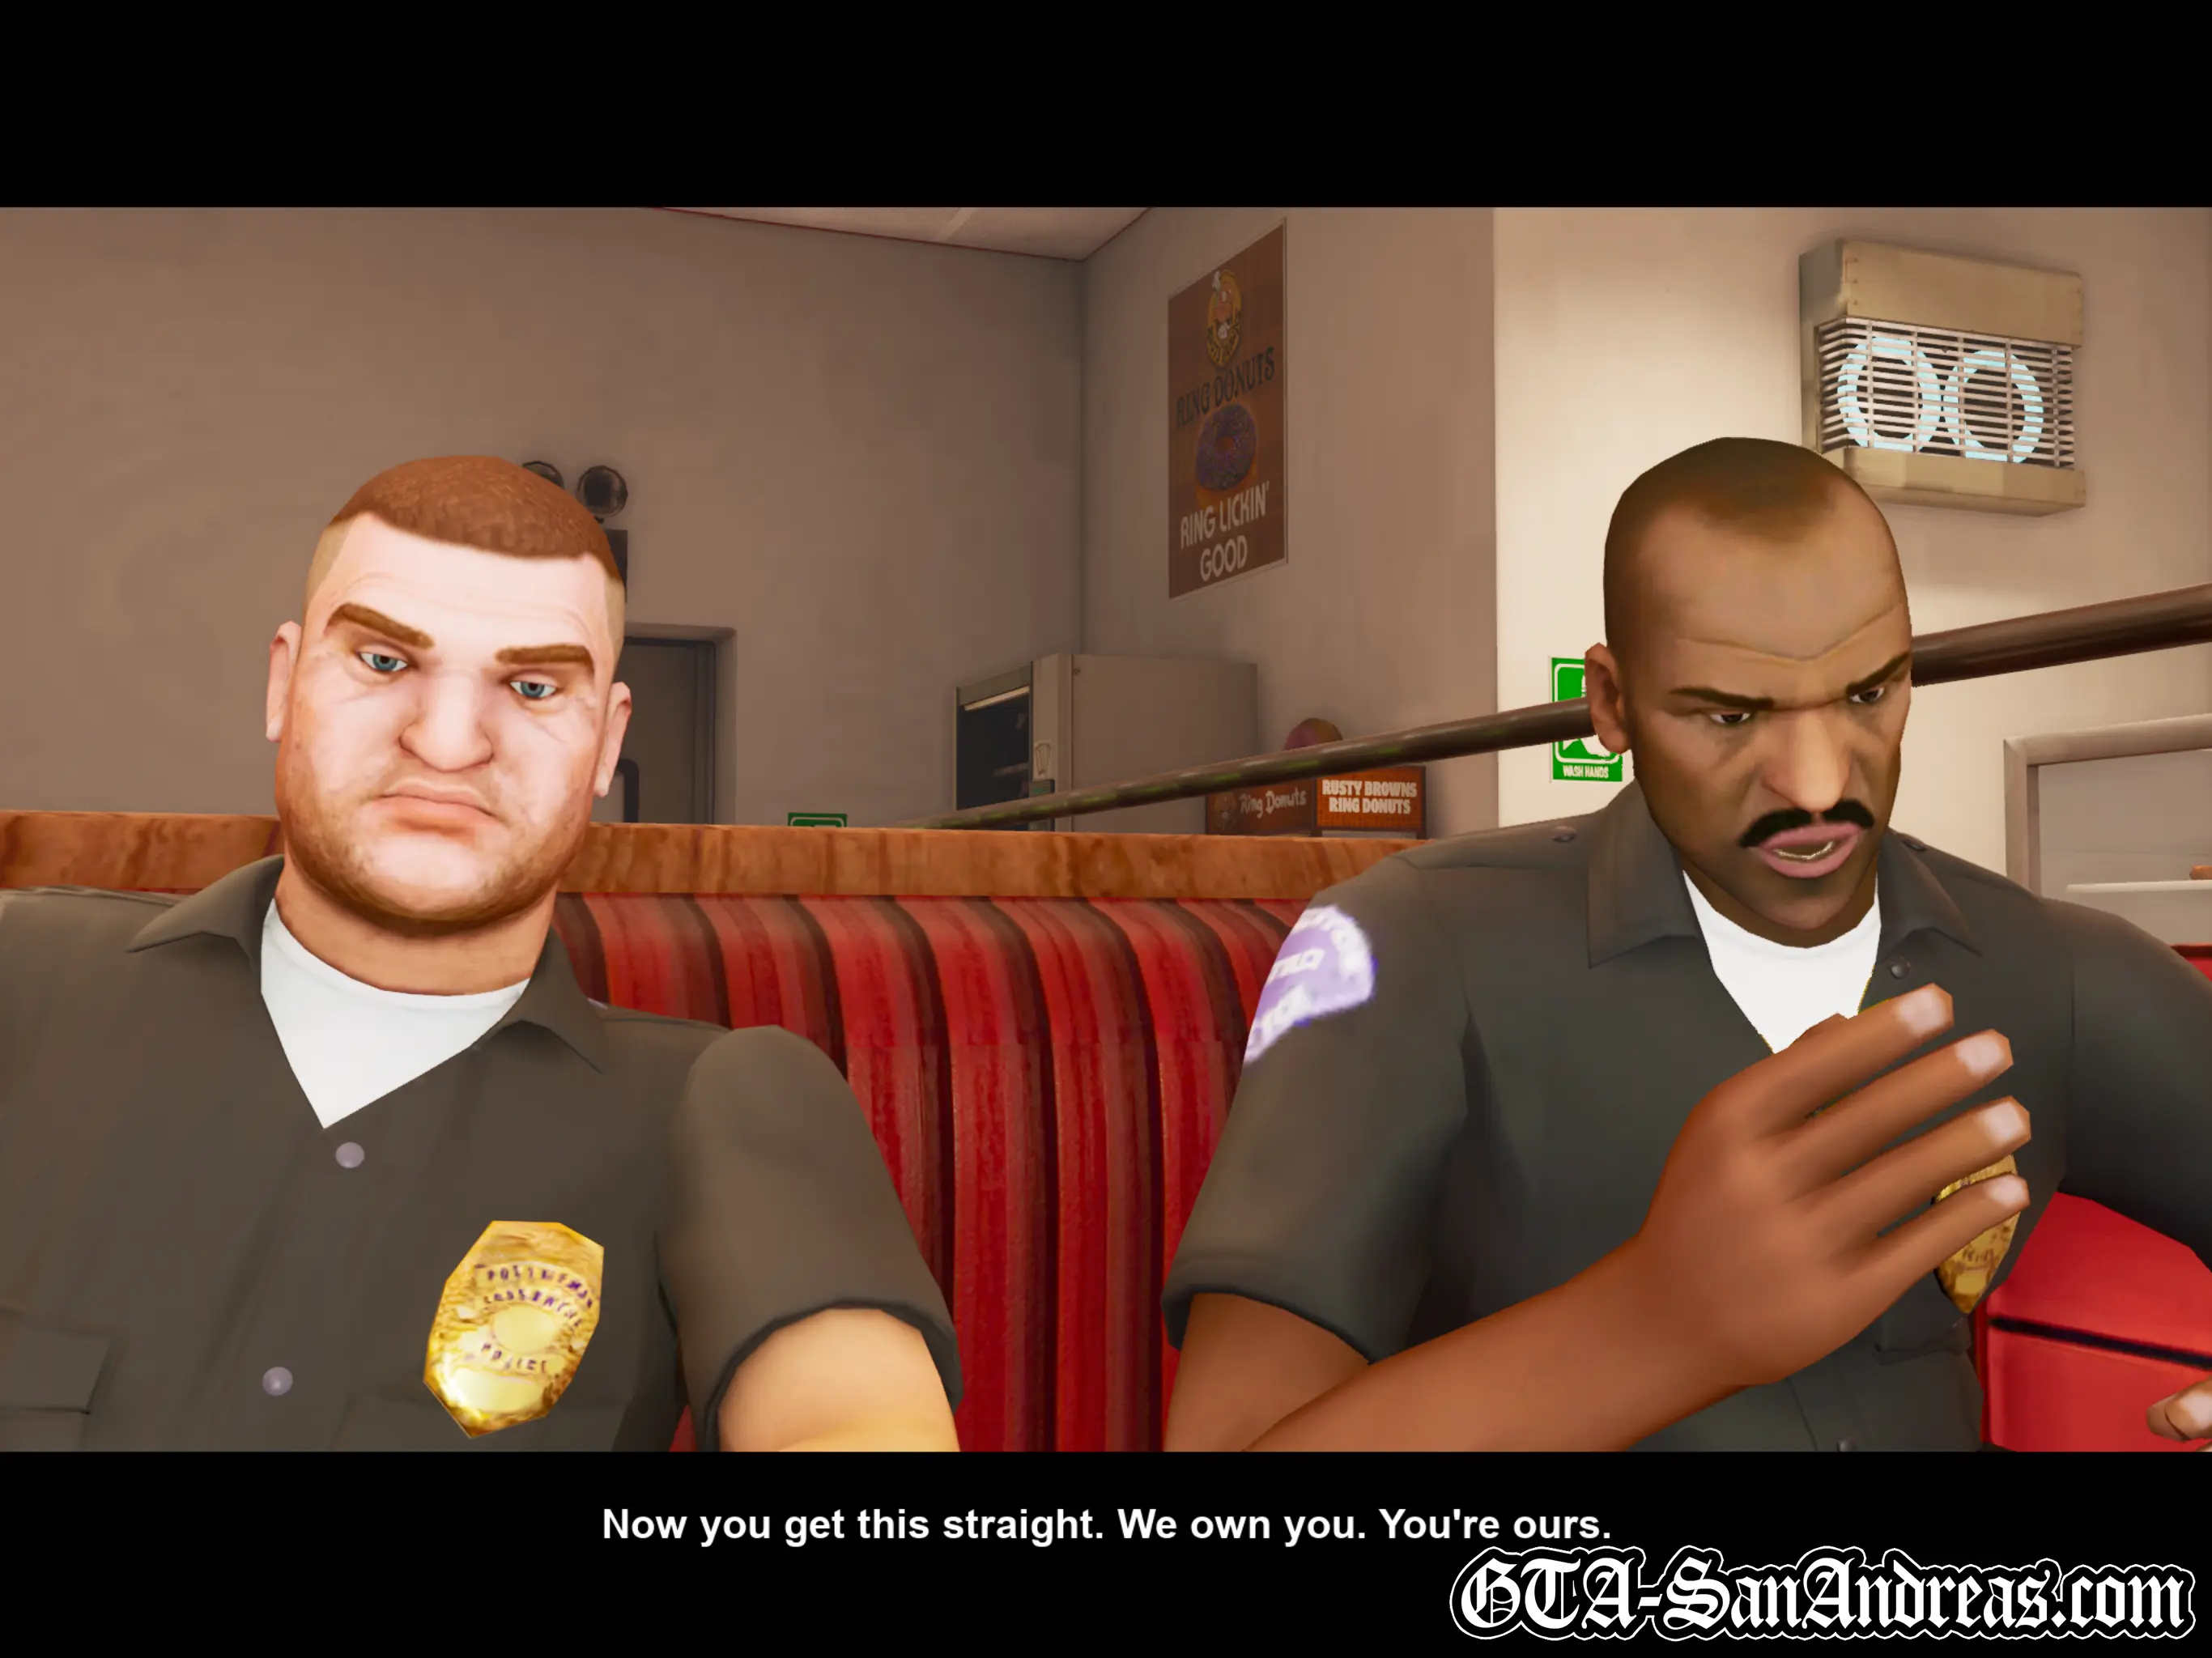
Tenpenny, Pulaski and Hernandez, three corrupt cops collectively known as C.R.A.S.H. (Community Resources Against Street Hoodlums) threaten to pin the recent murder of another officer on Carl.
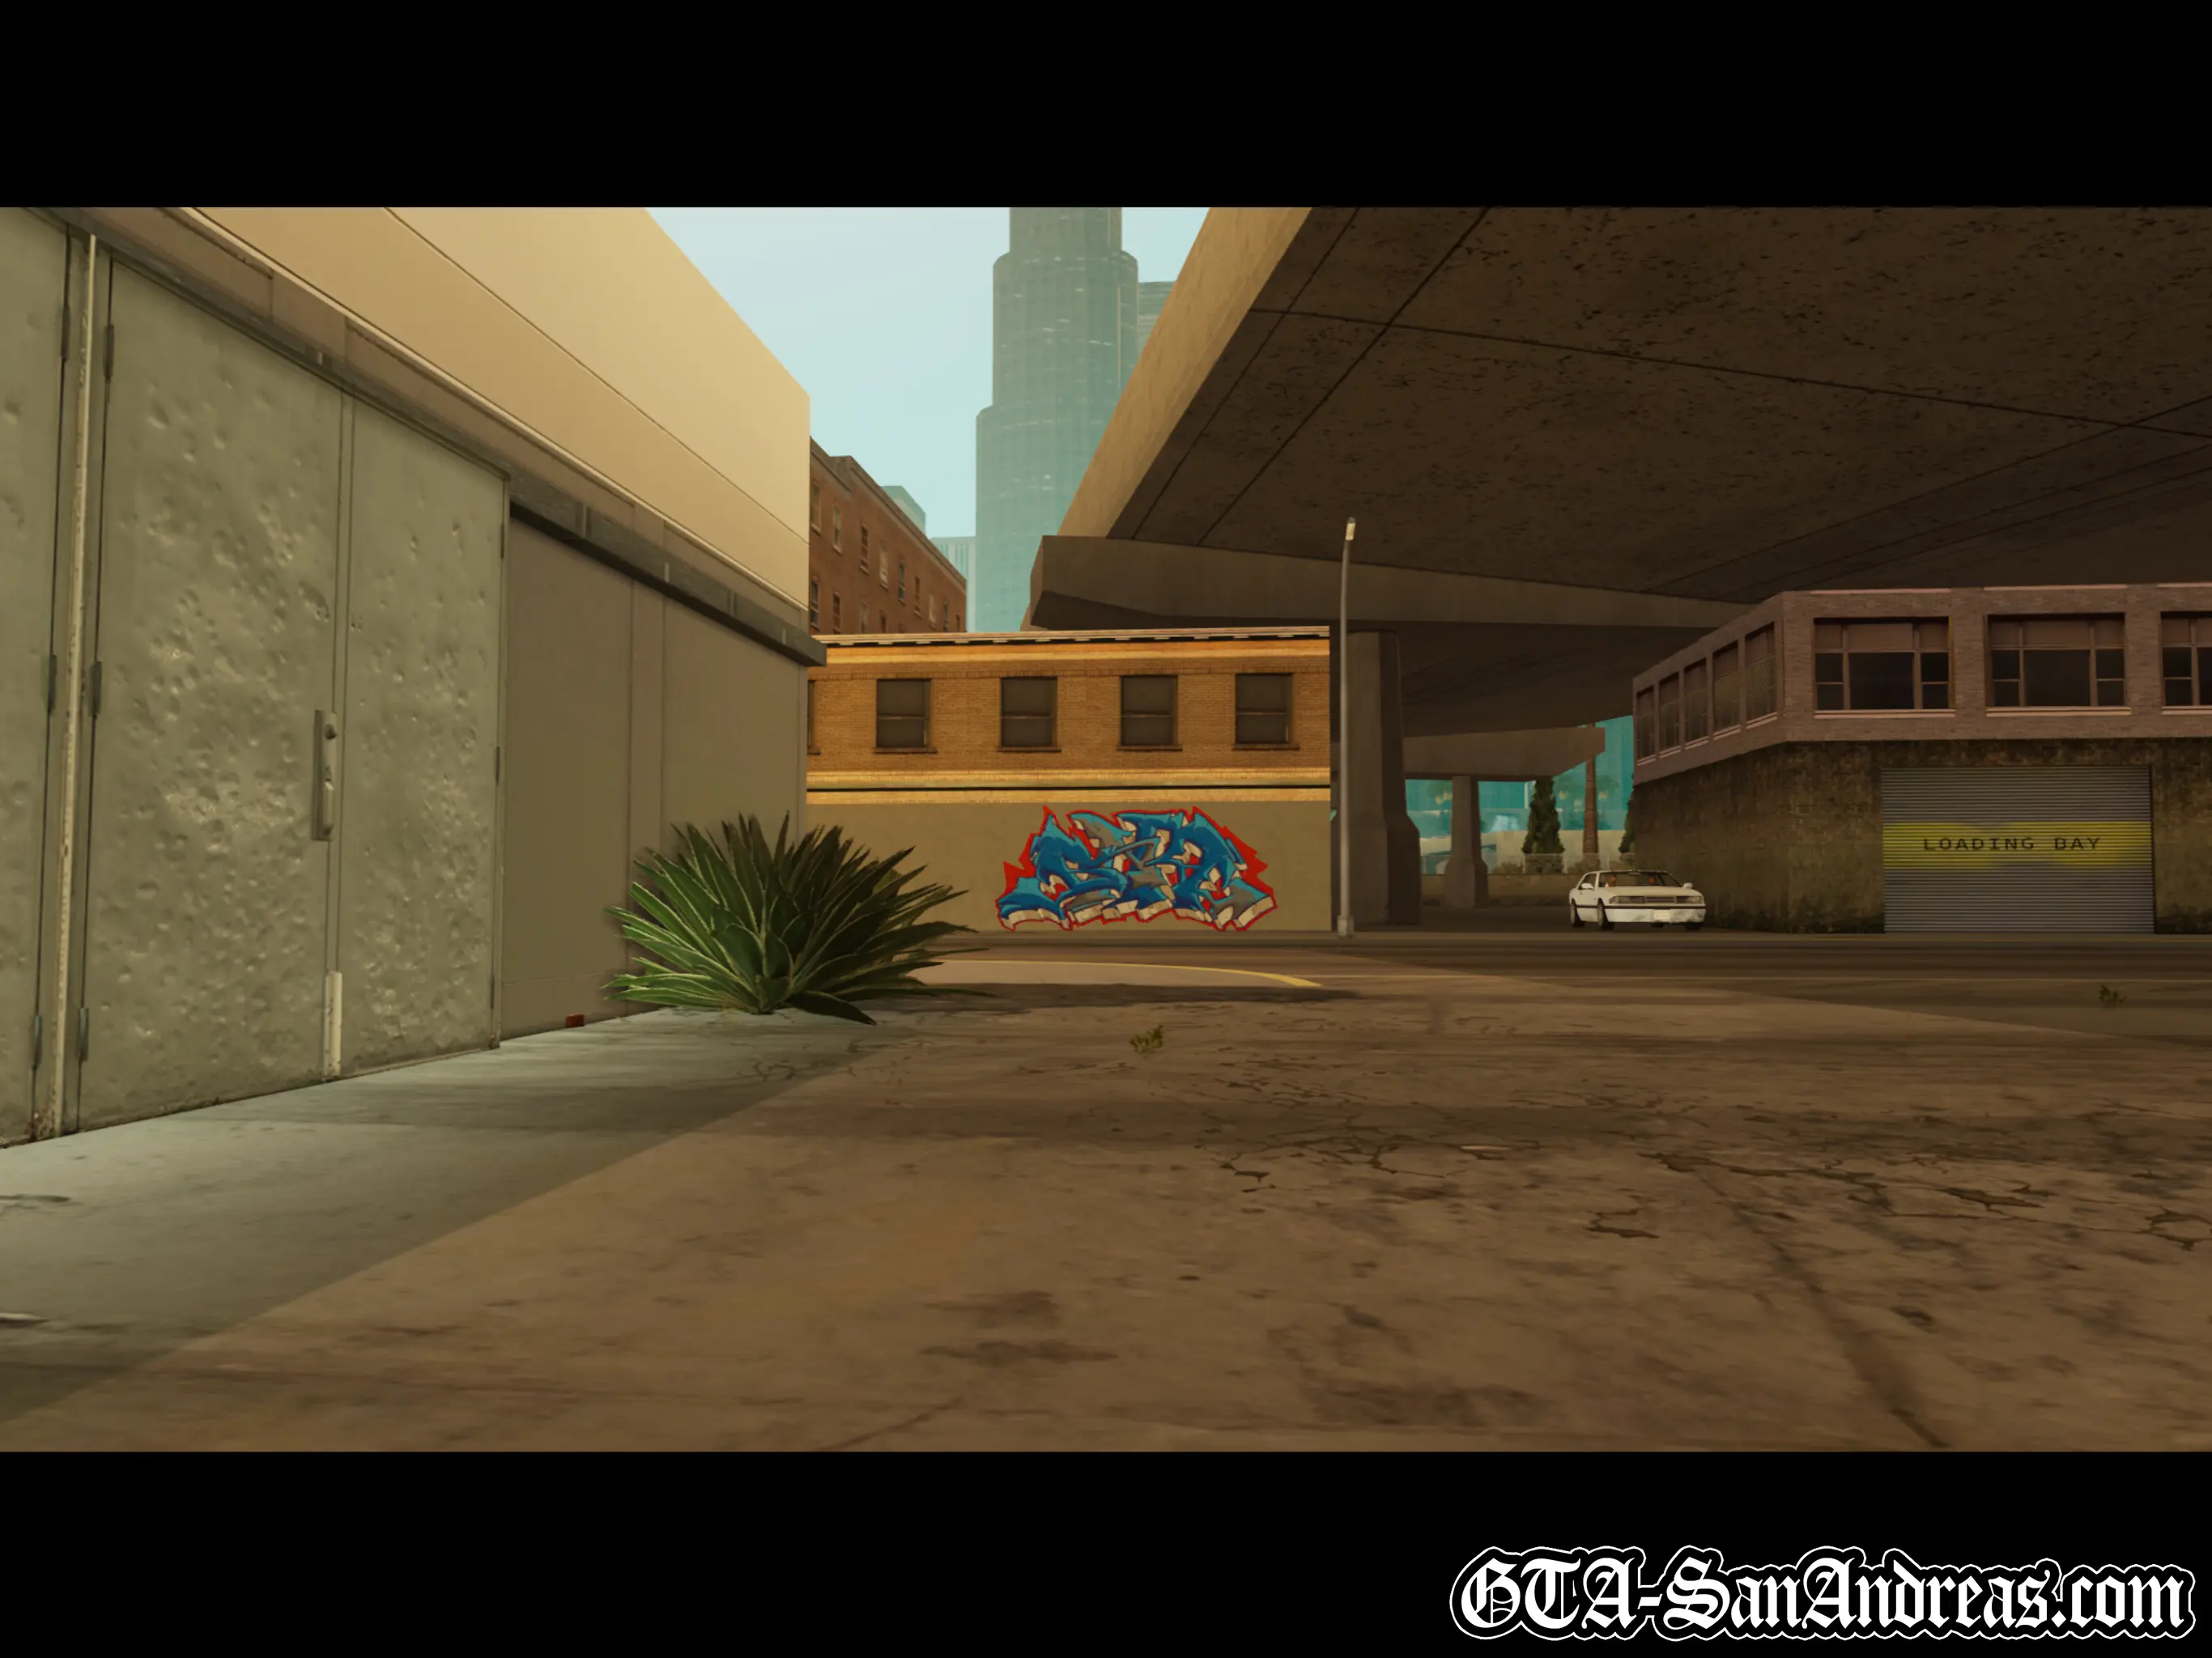
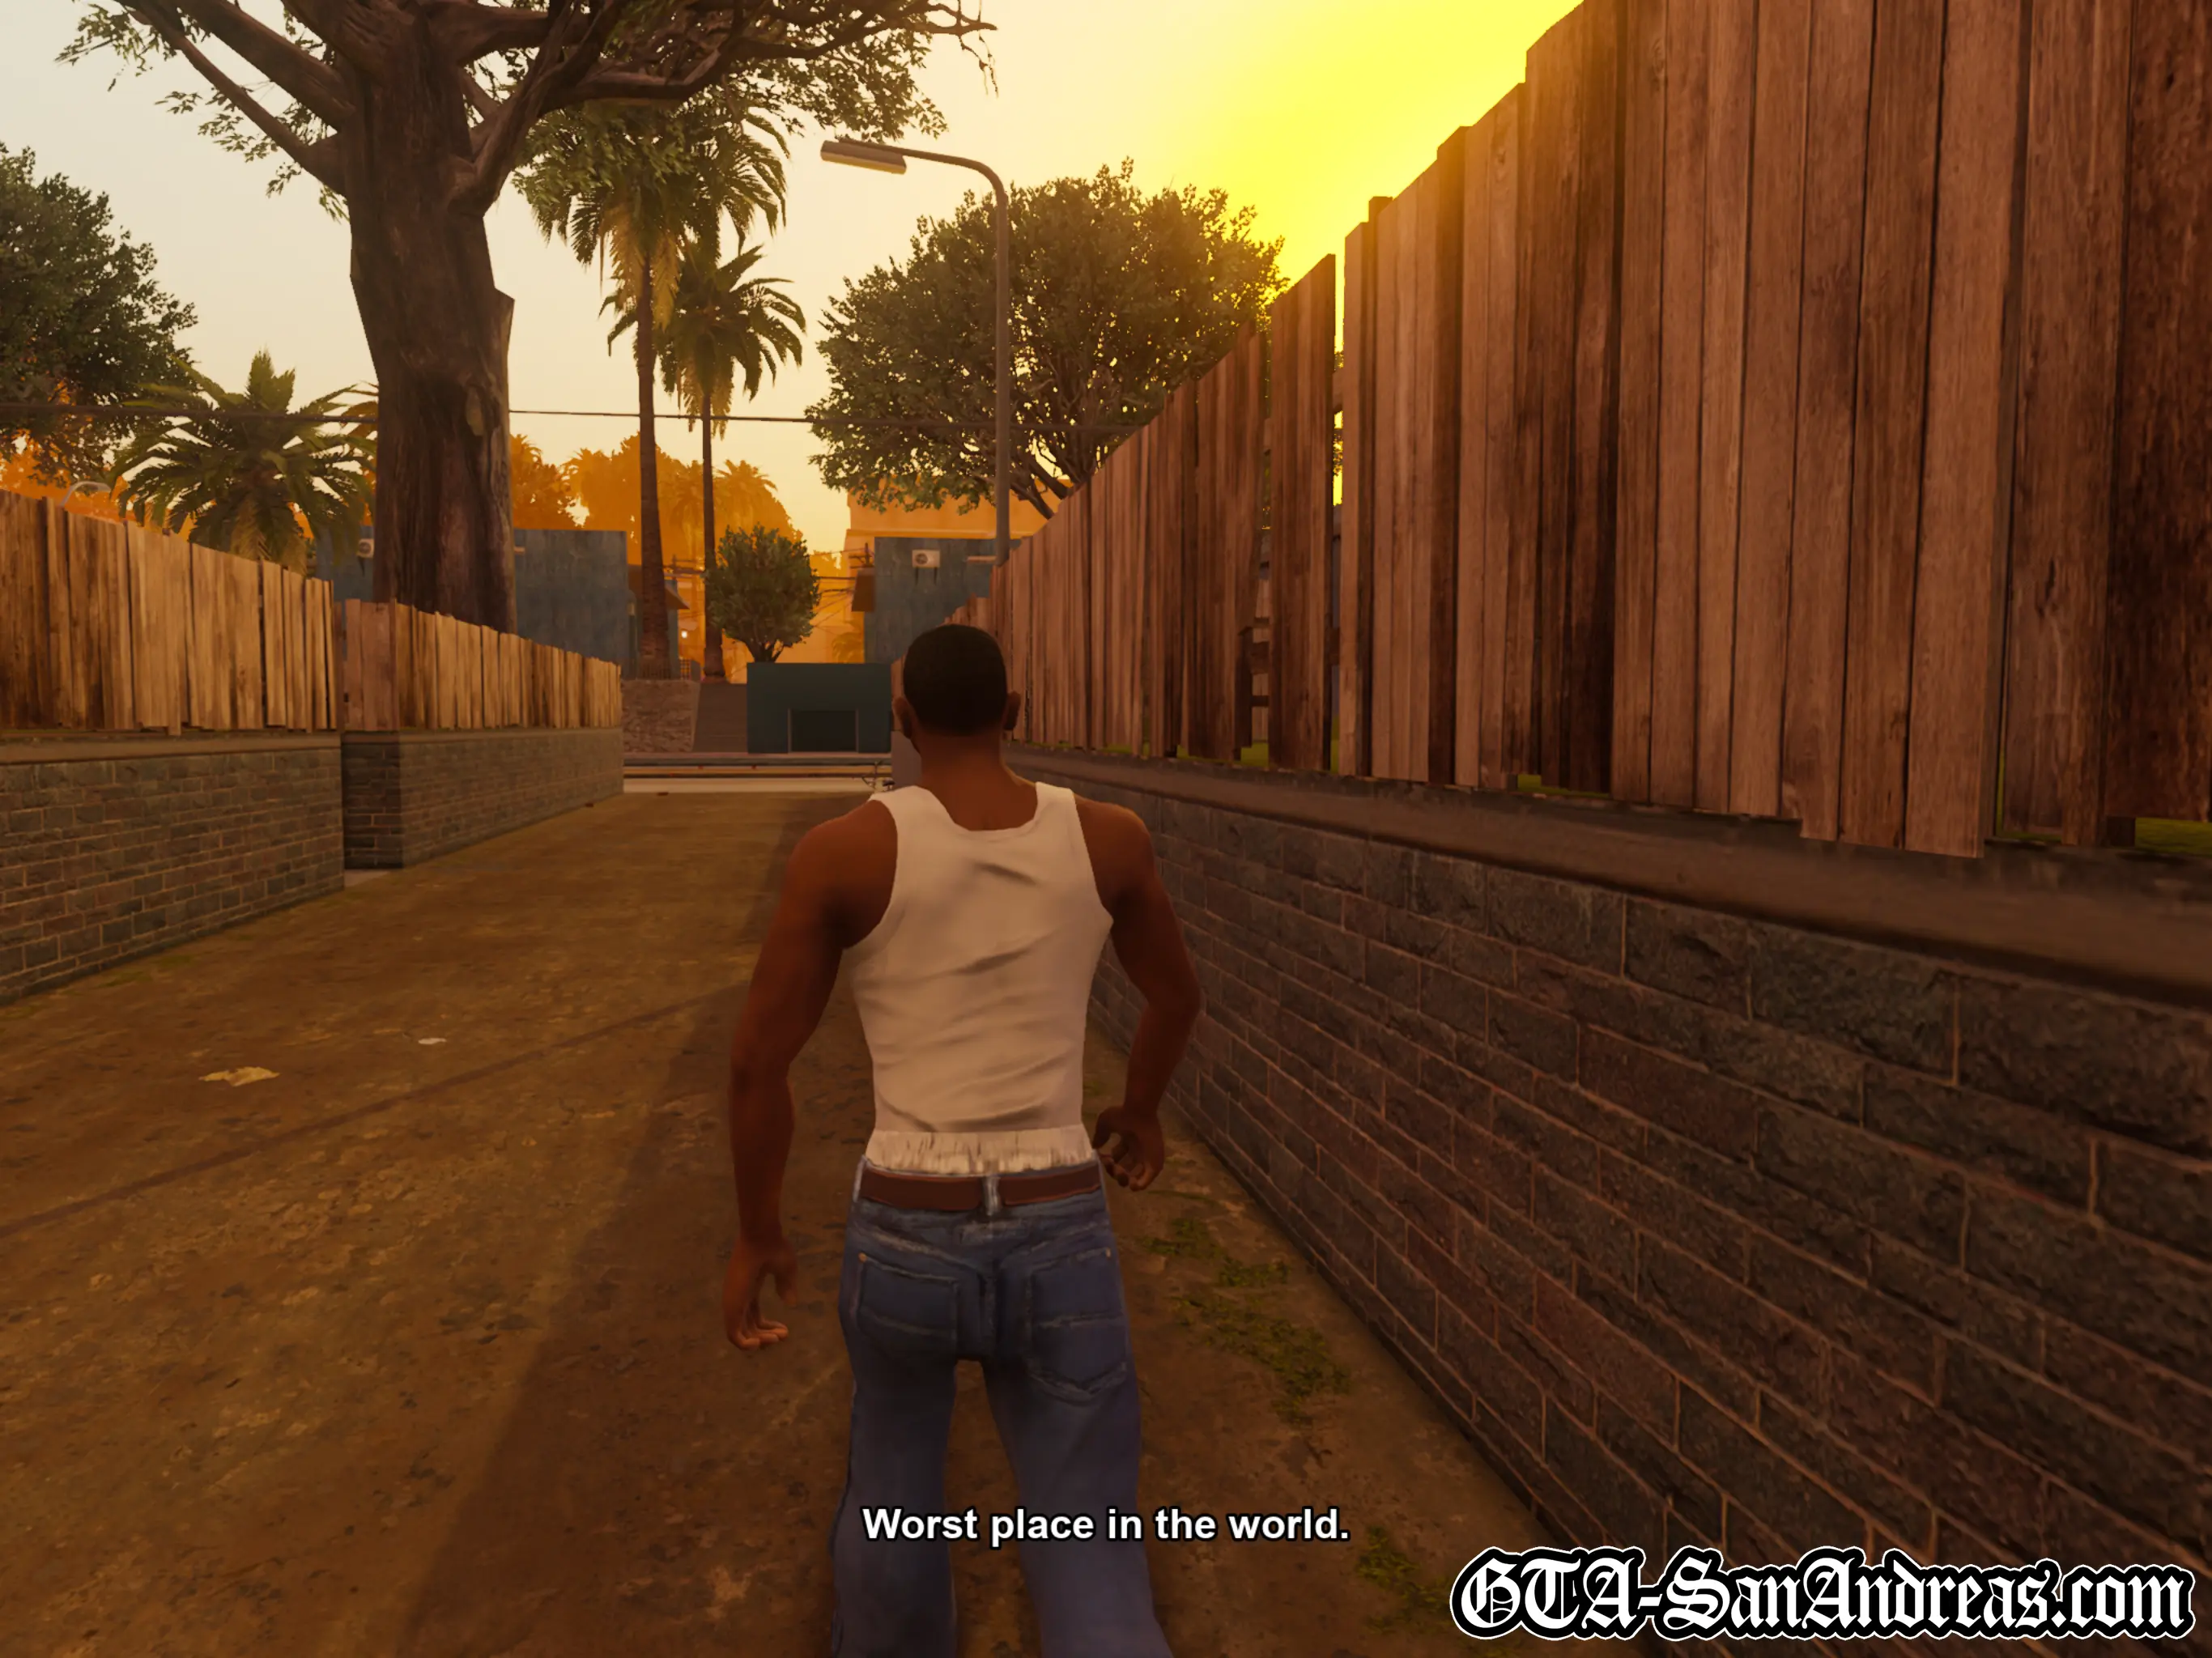
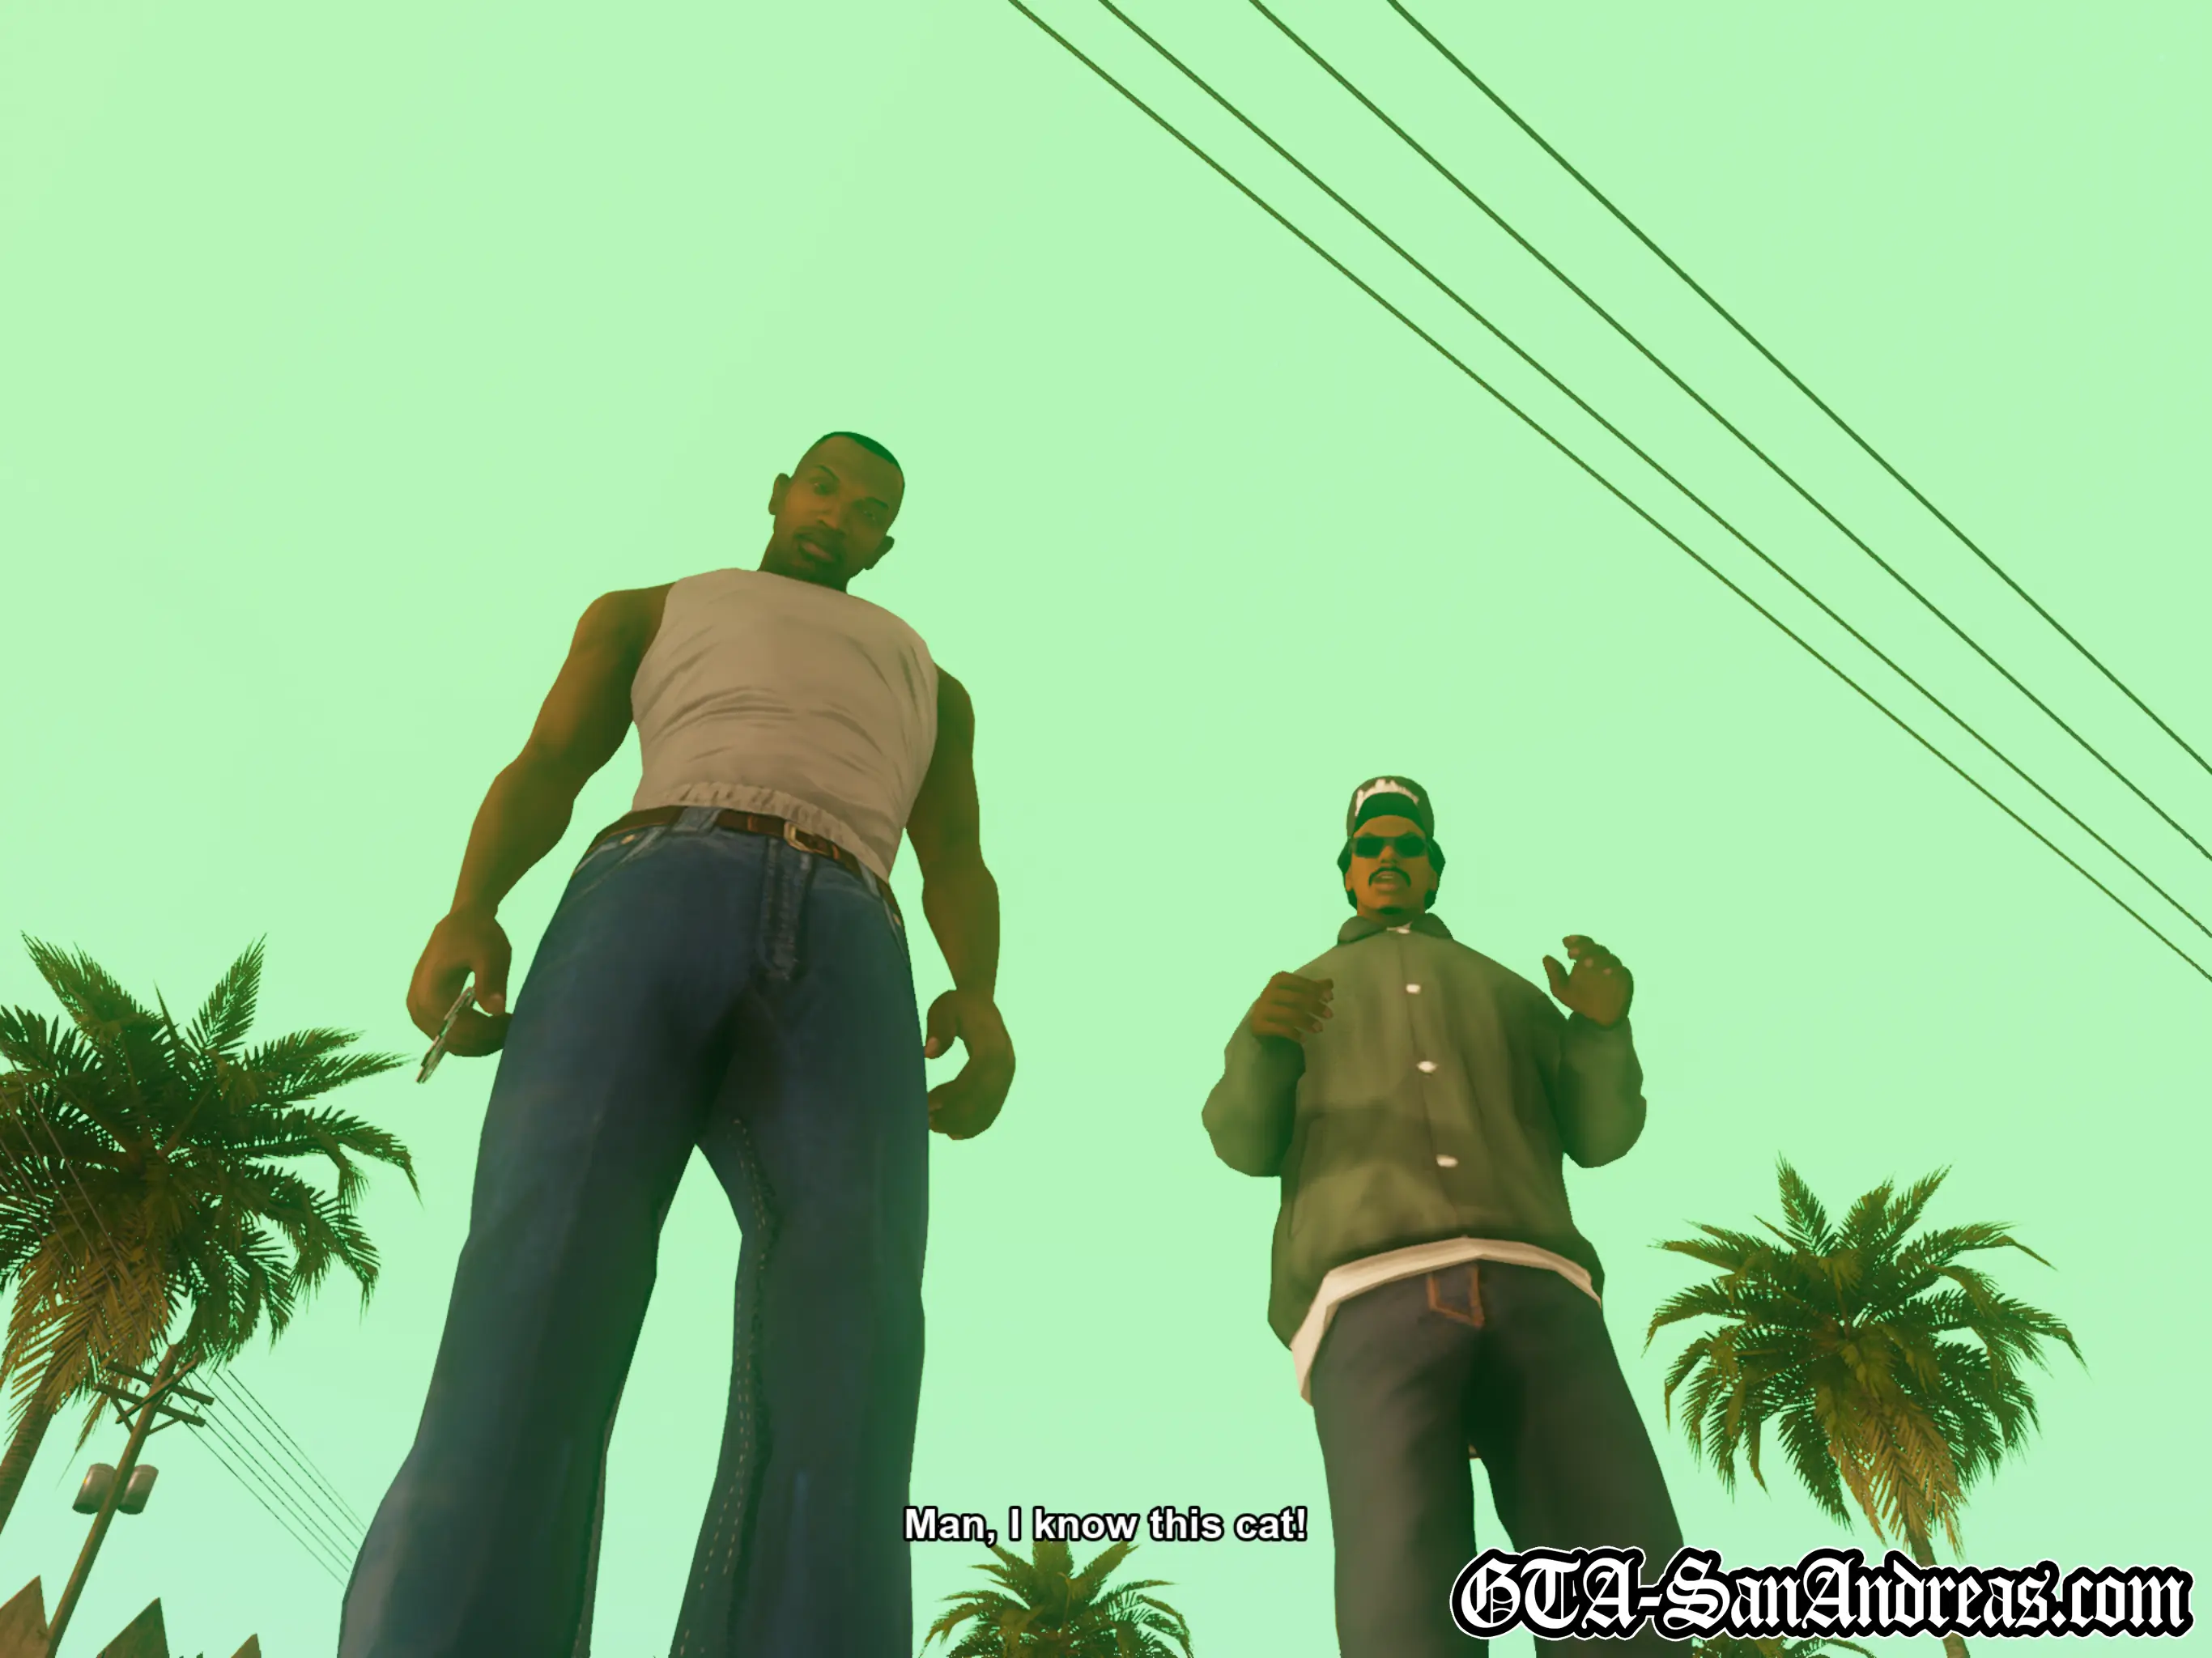
After driving him around the streets of Los Santos, he is thrown out of the car in an alleyway in the territory of a rival gang called the Ballas.
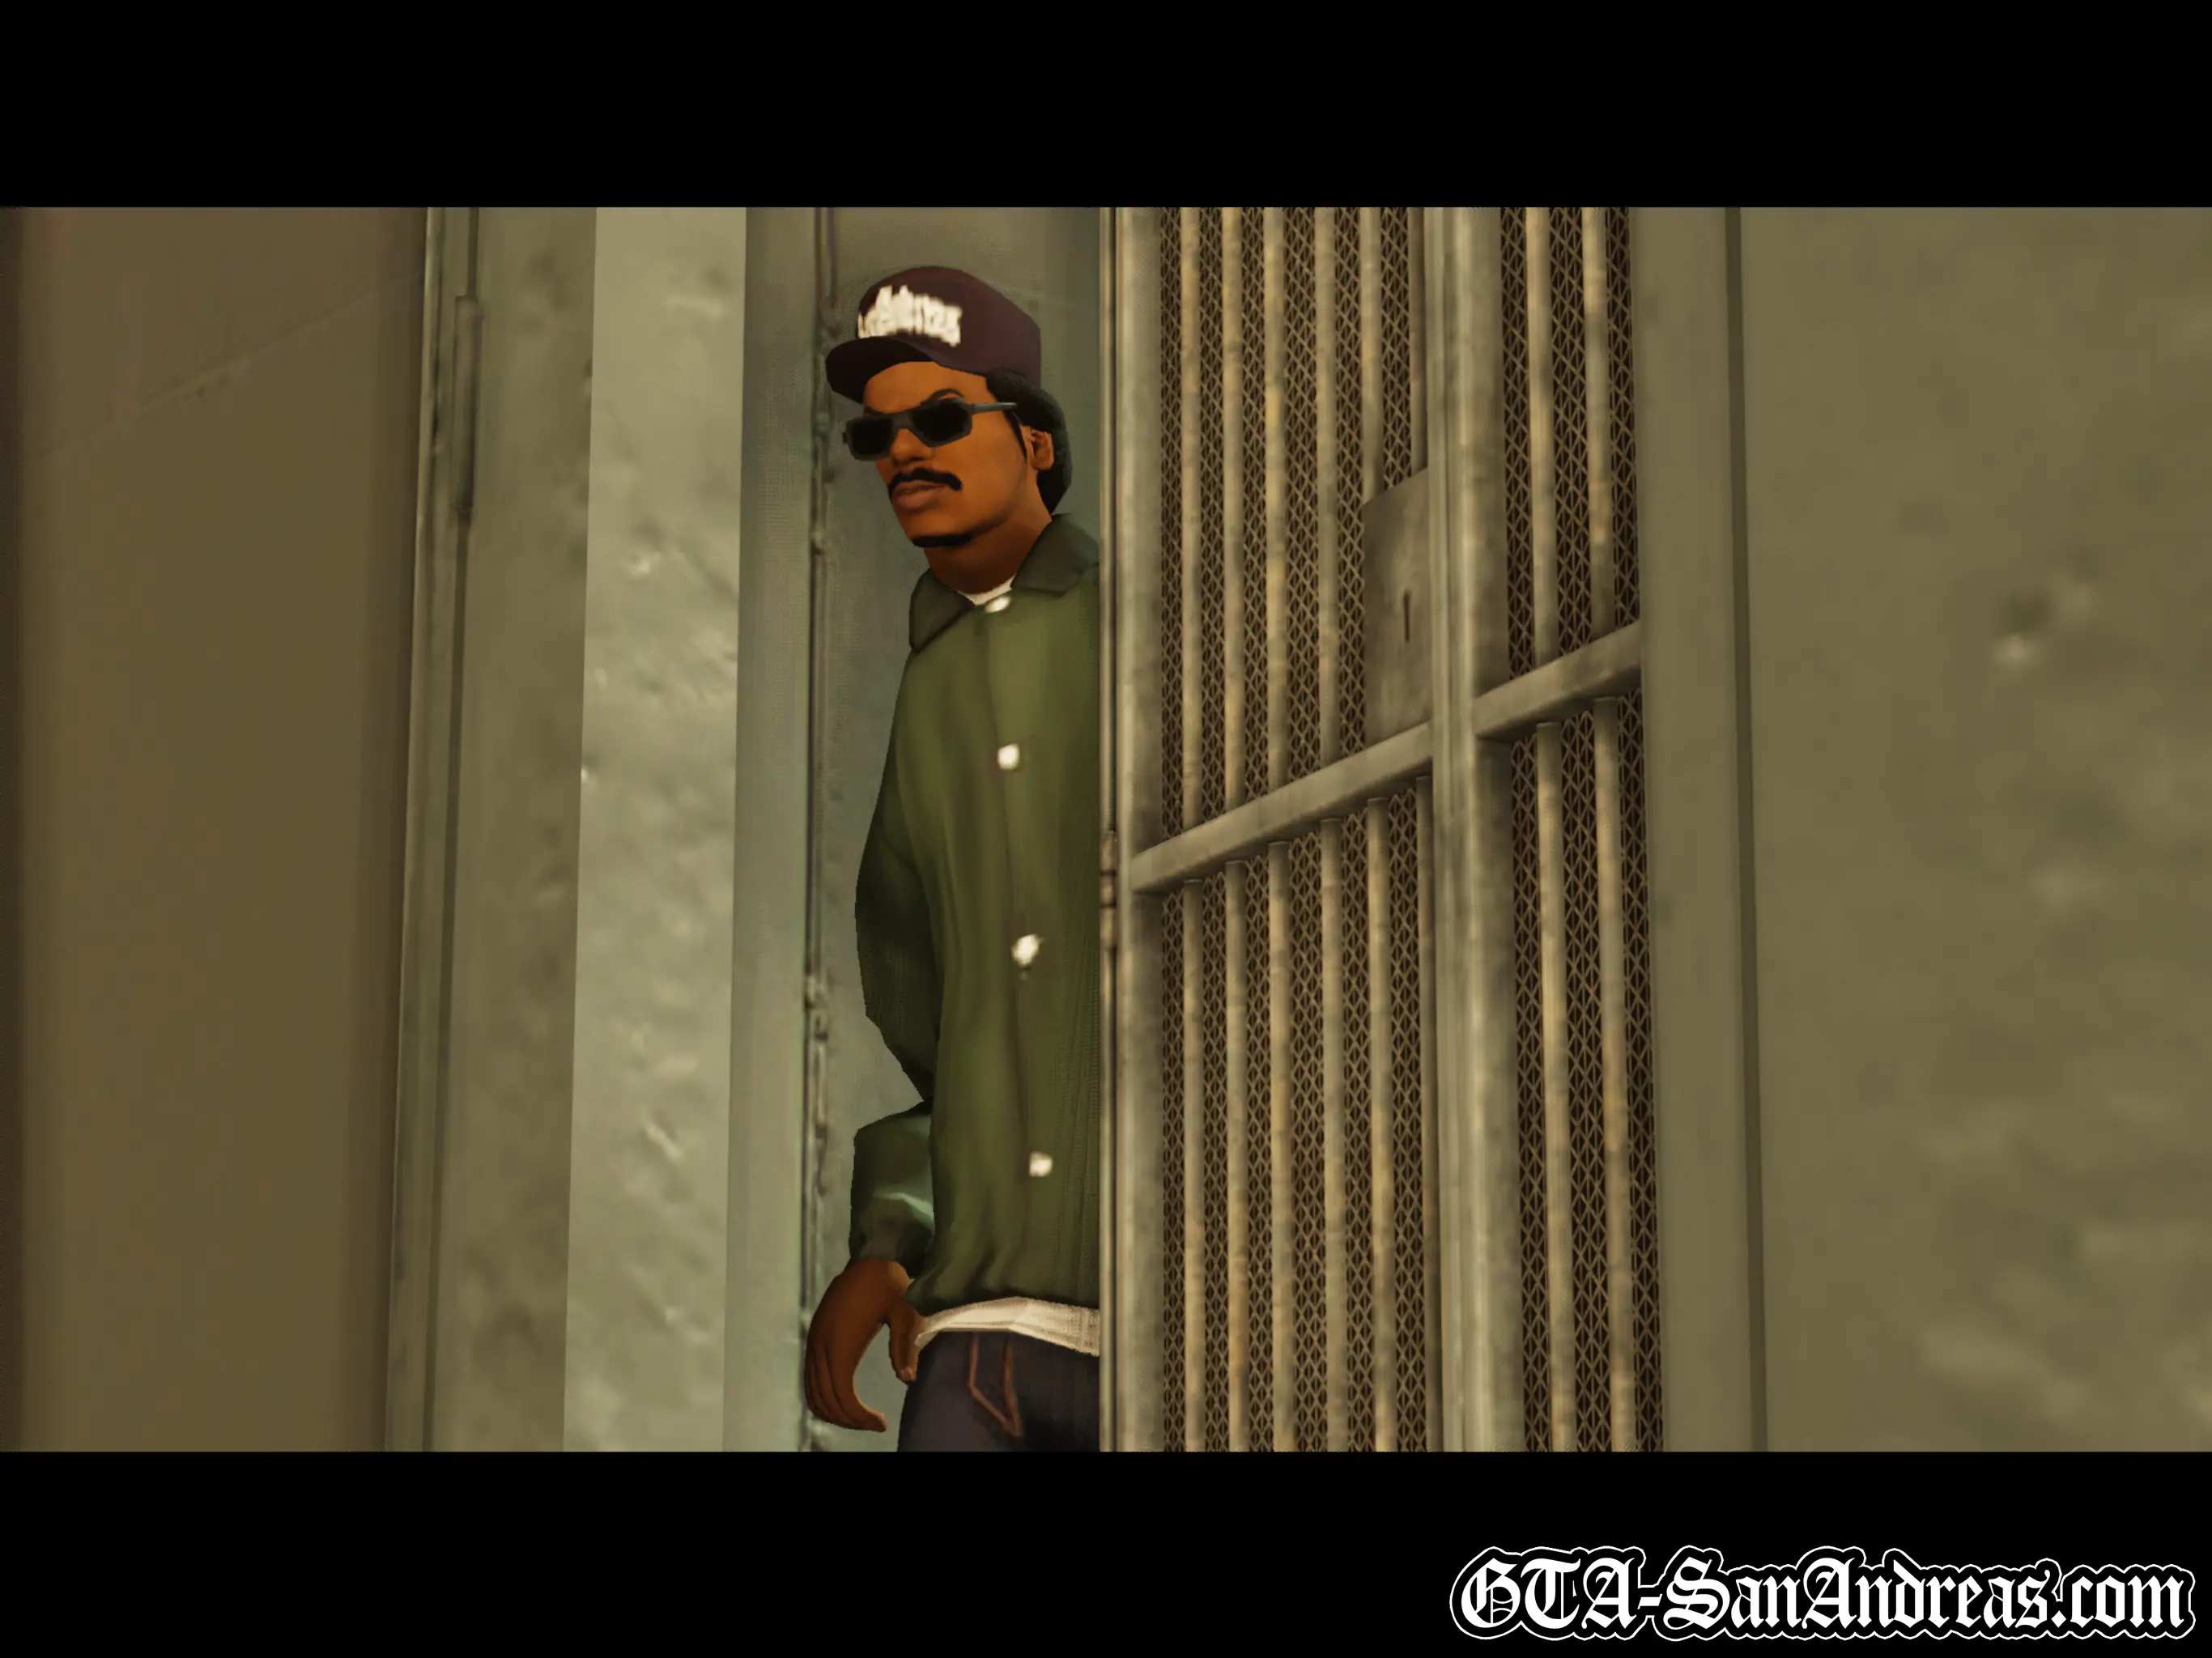
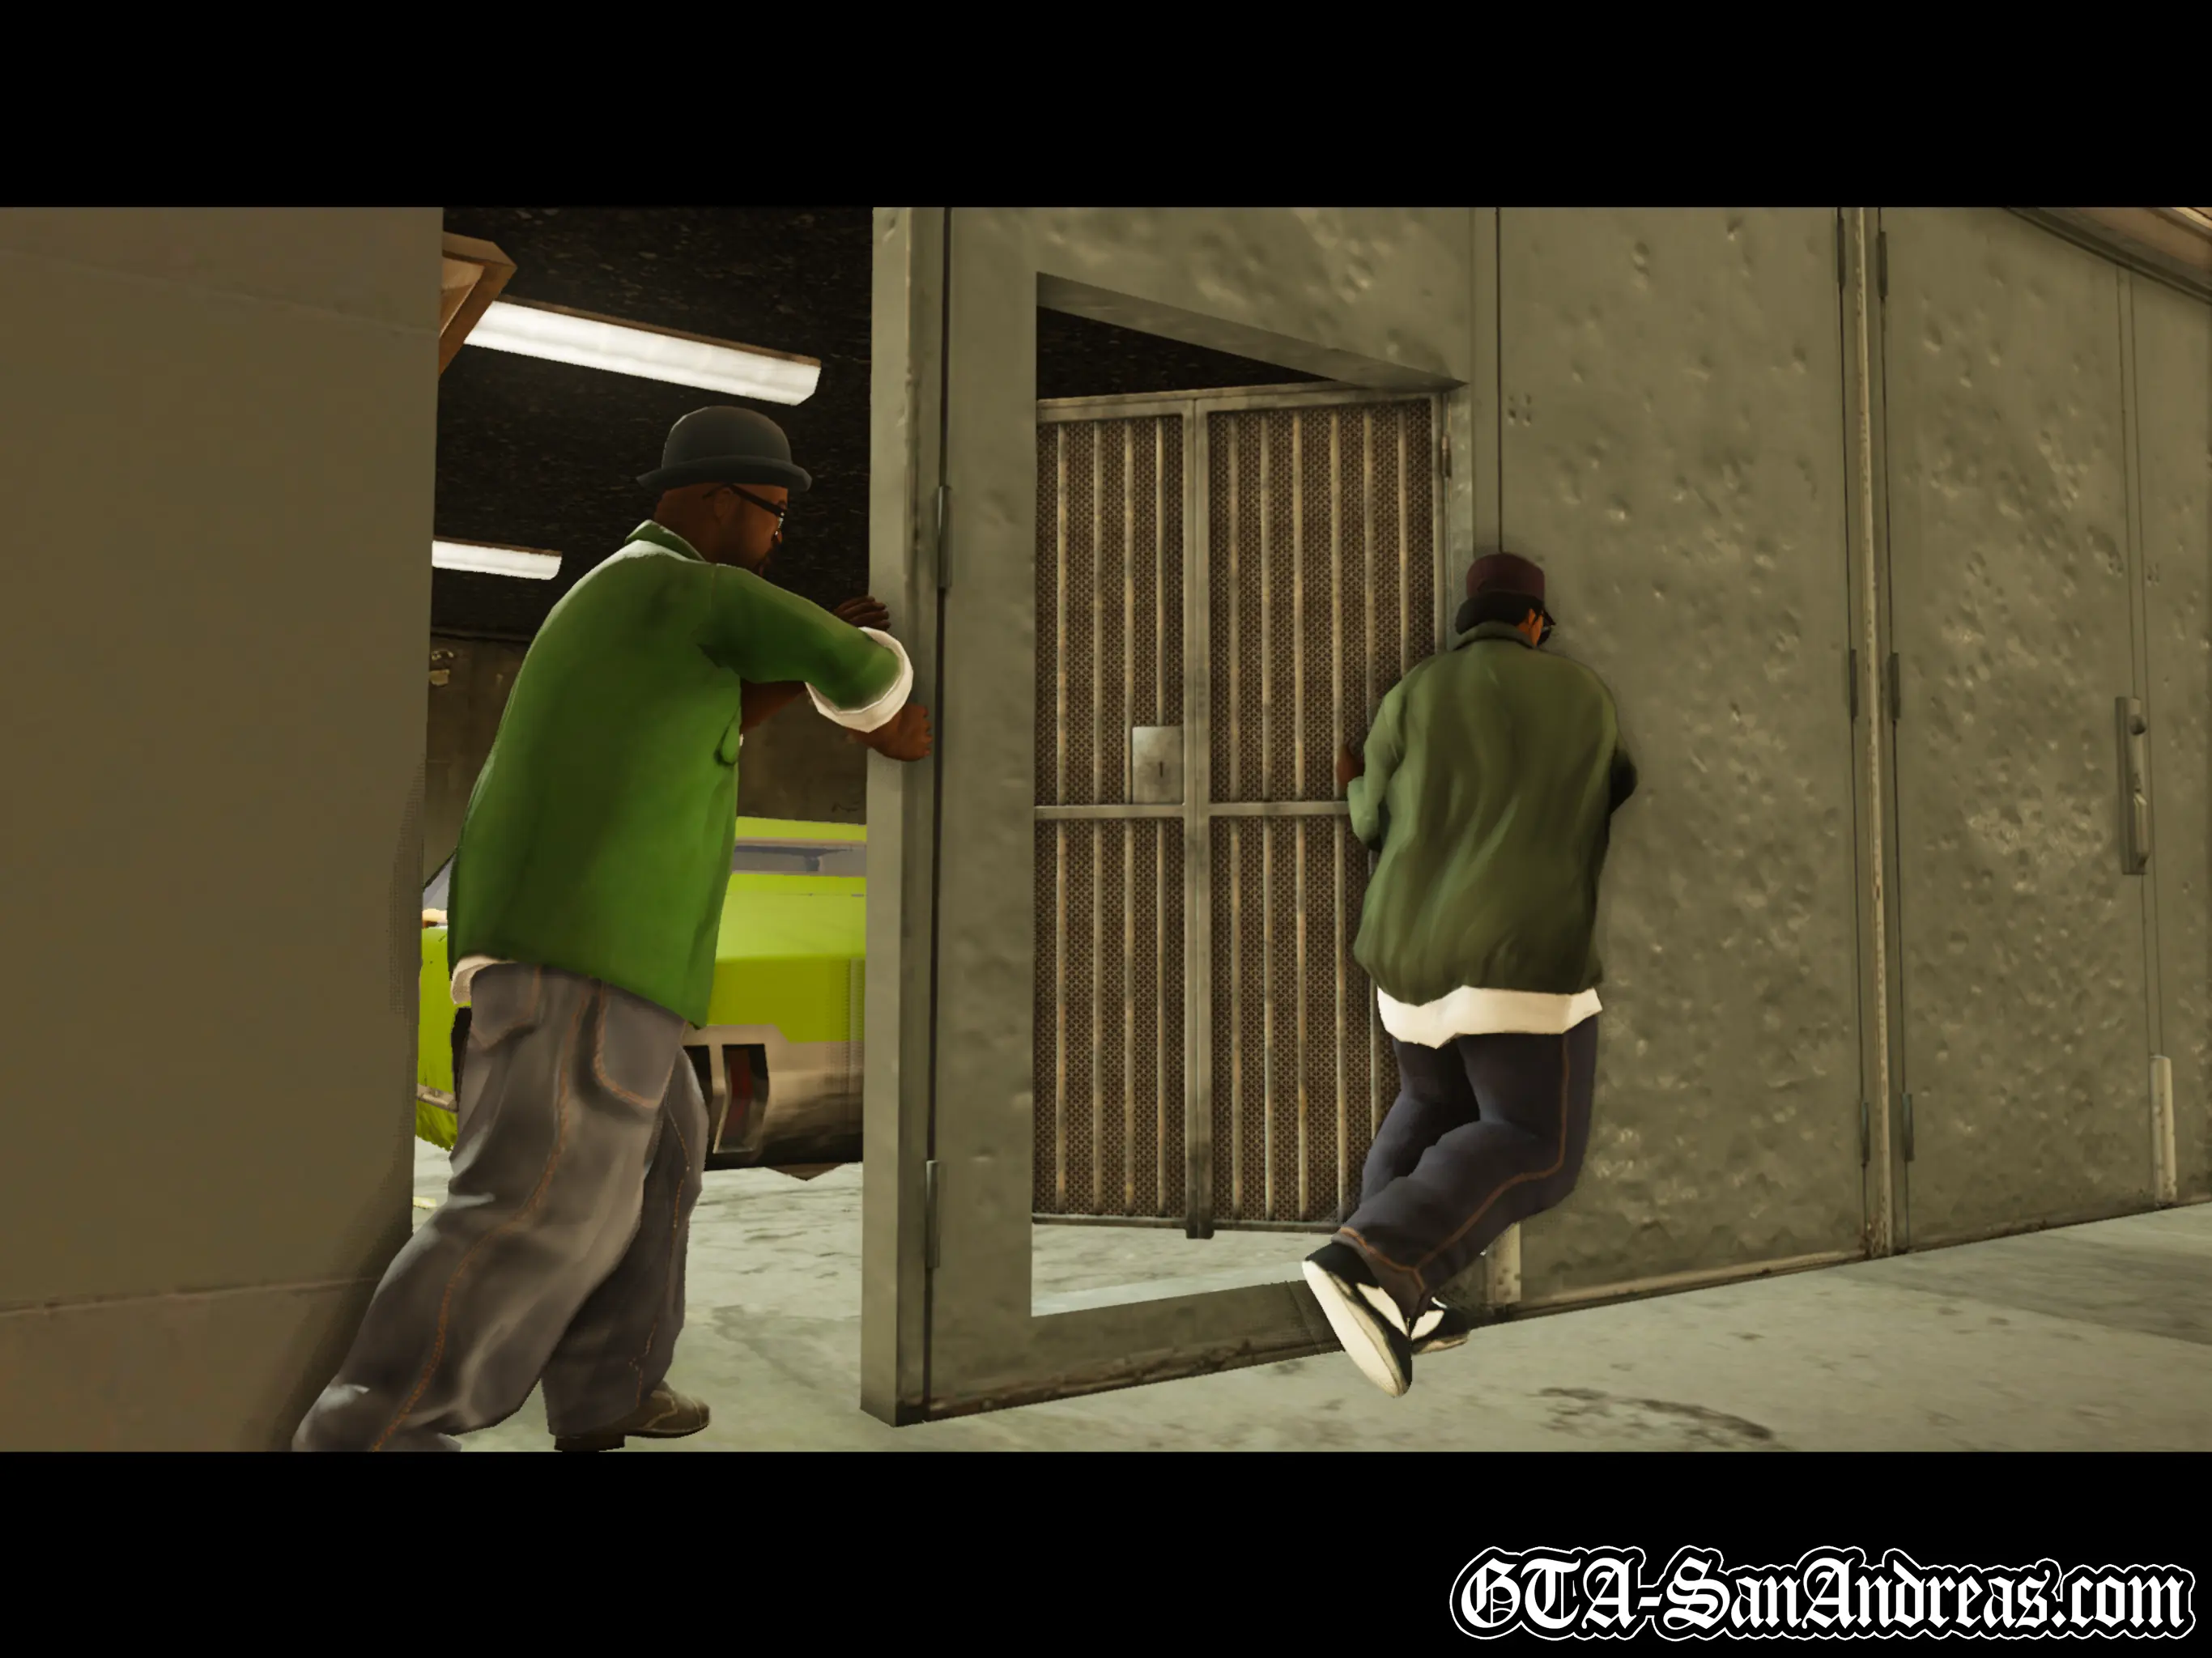
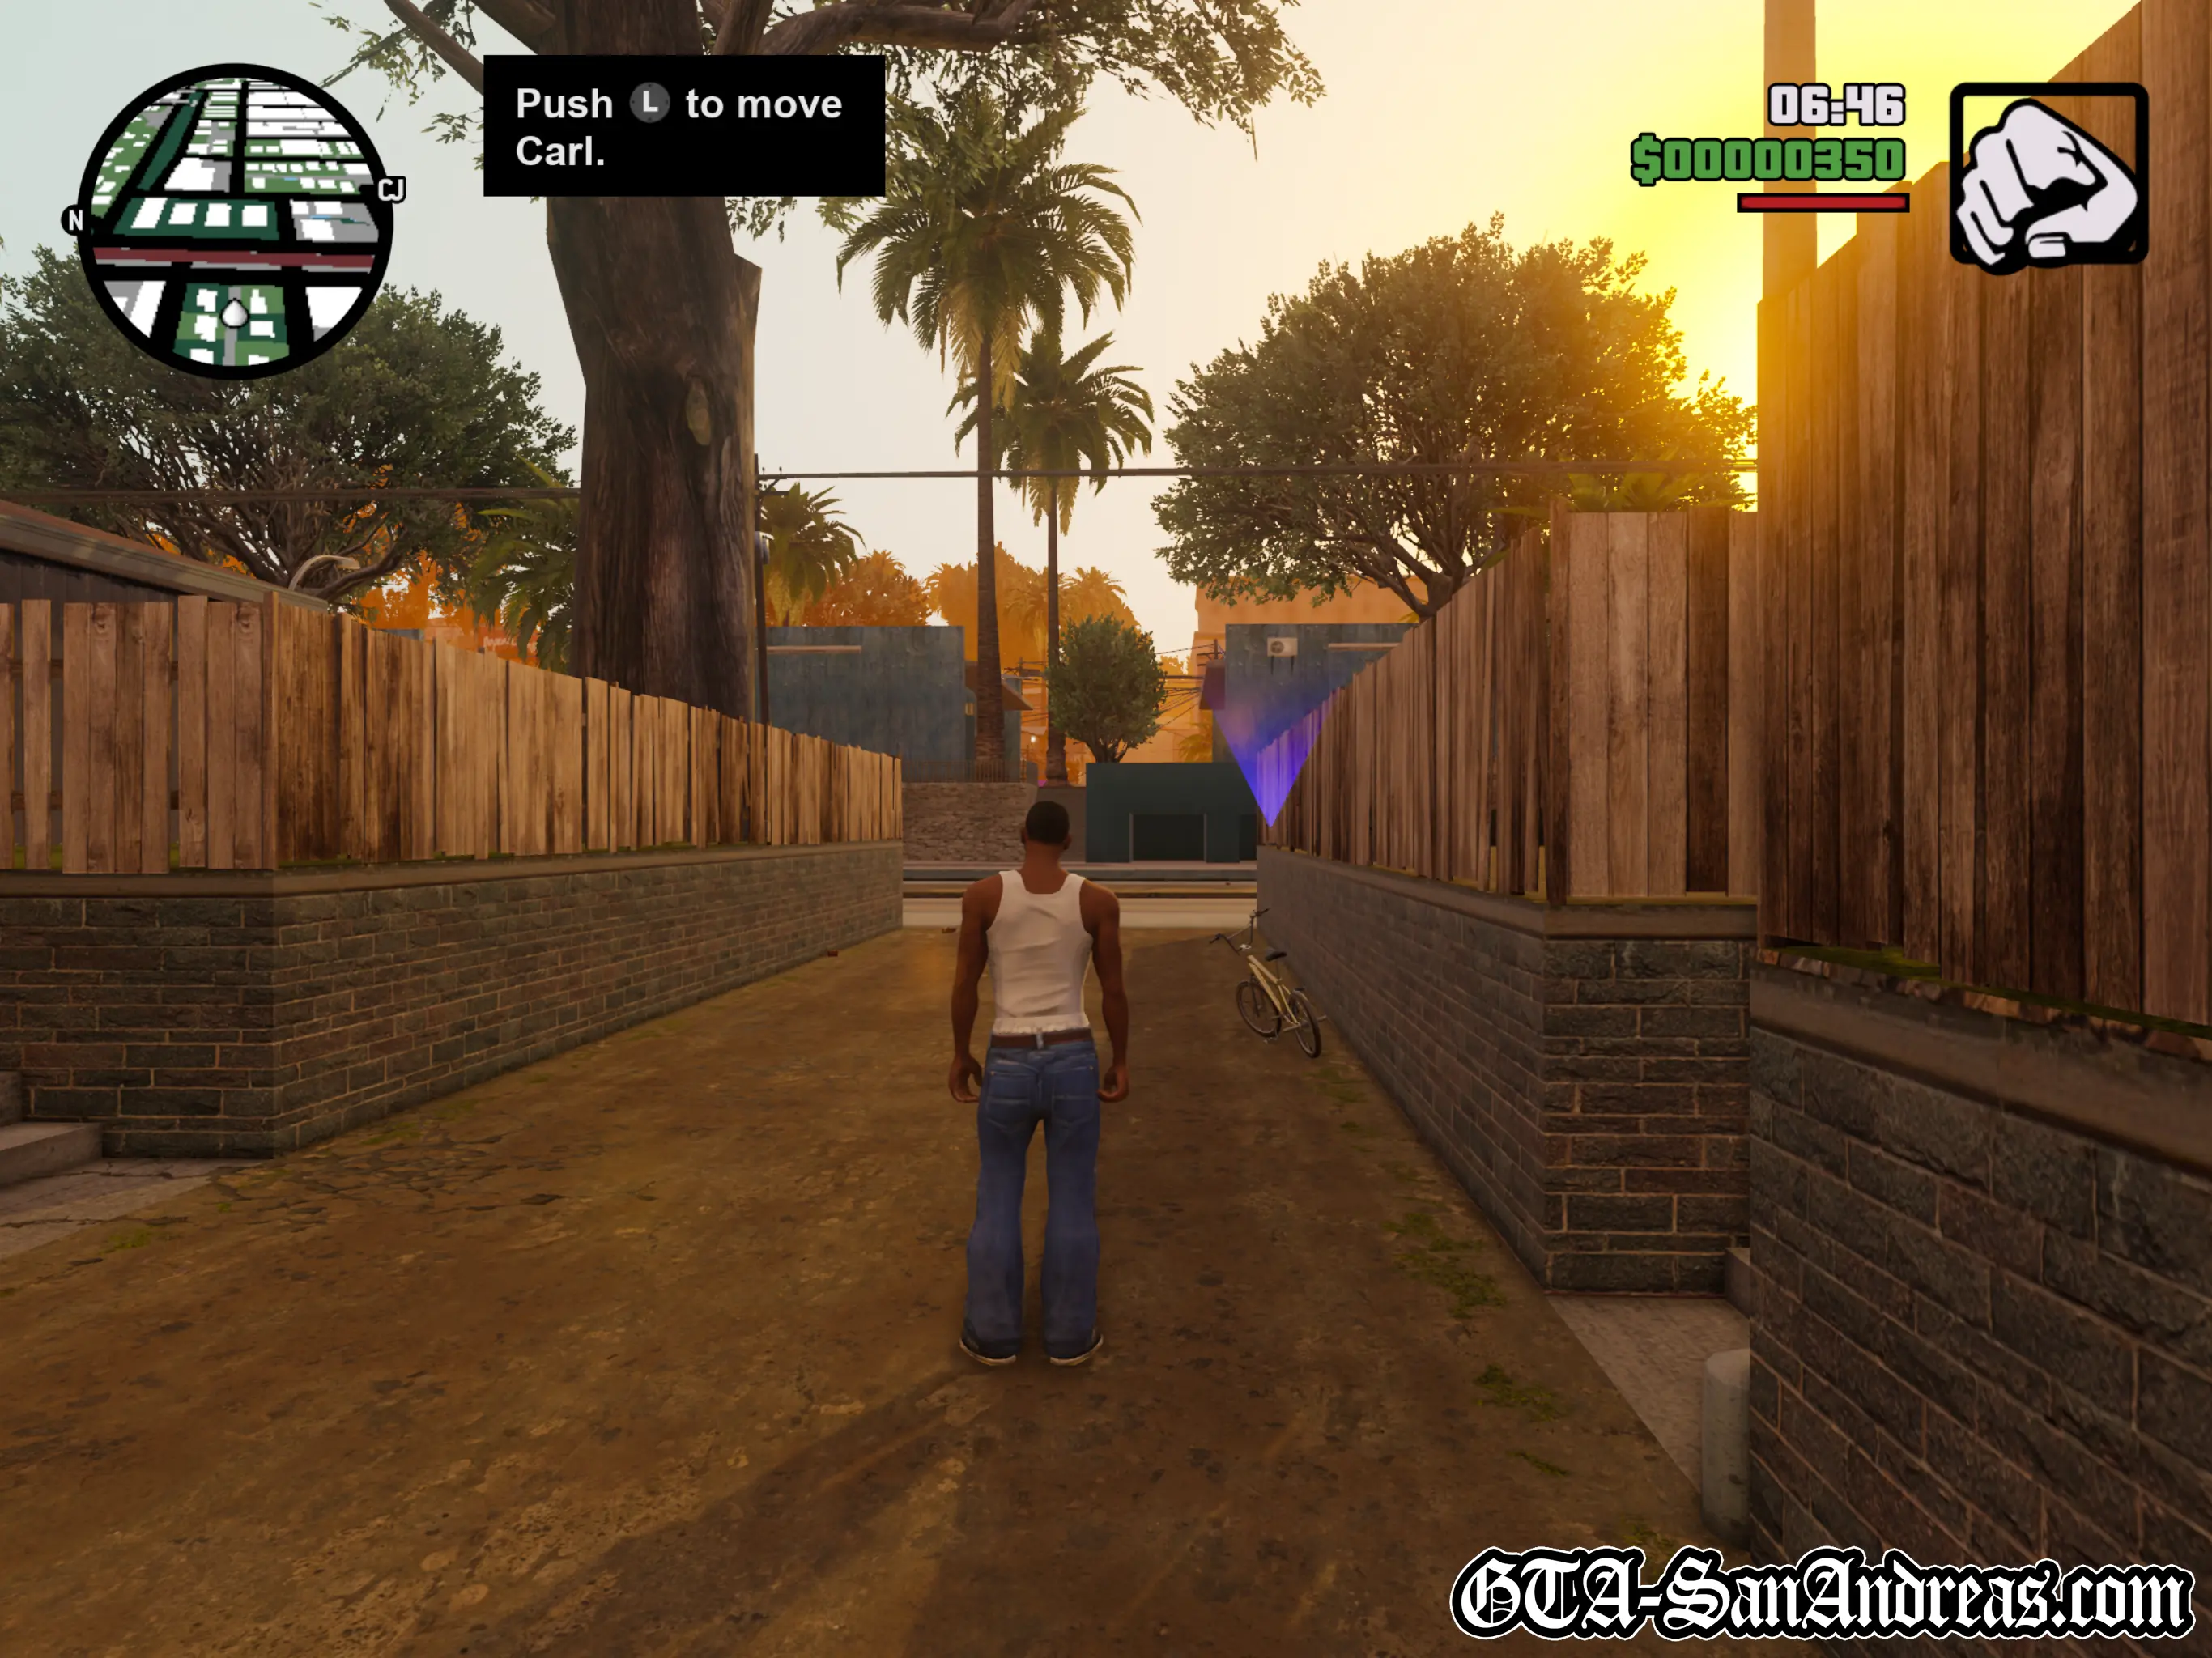
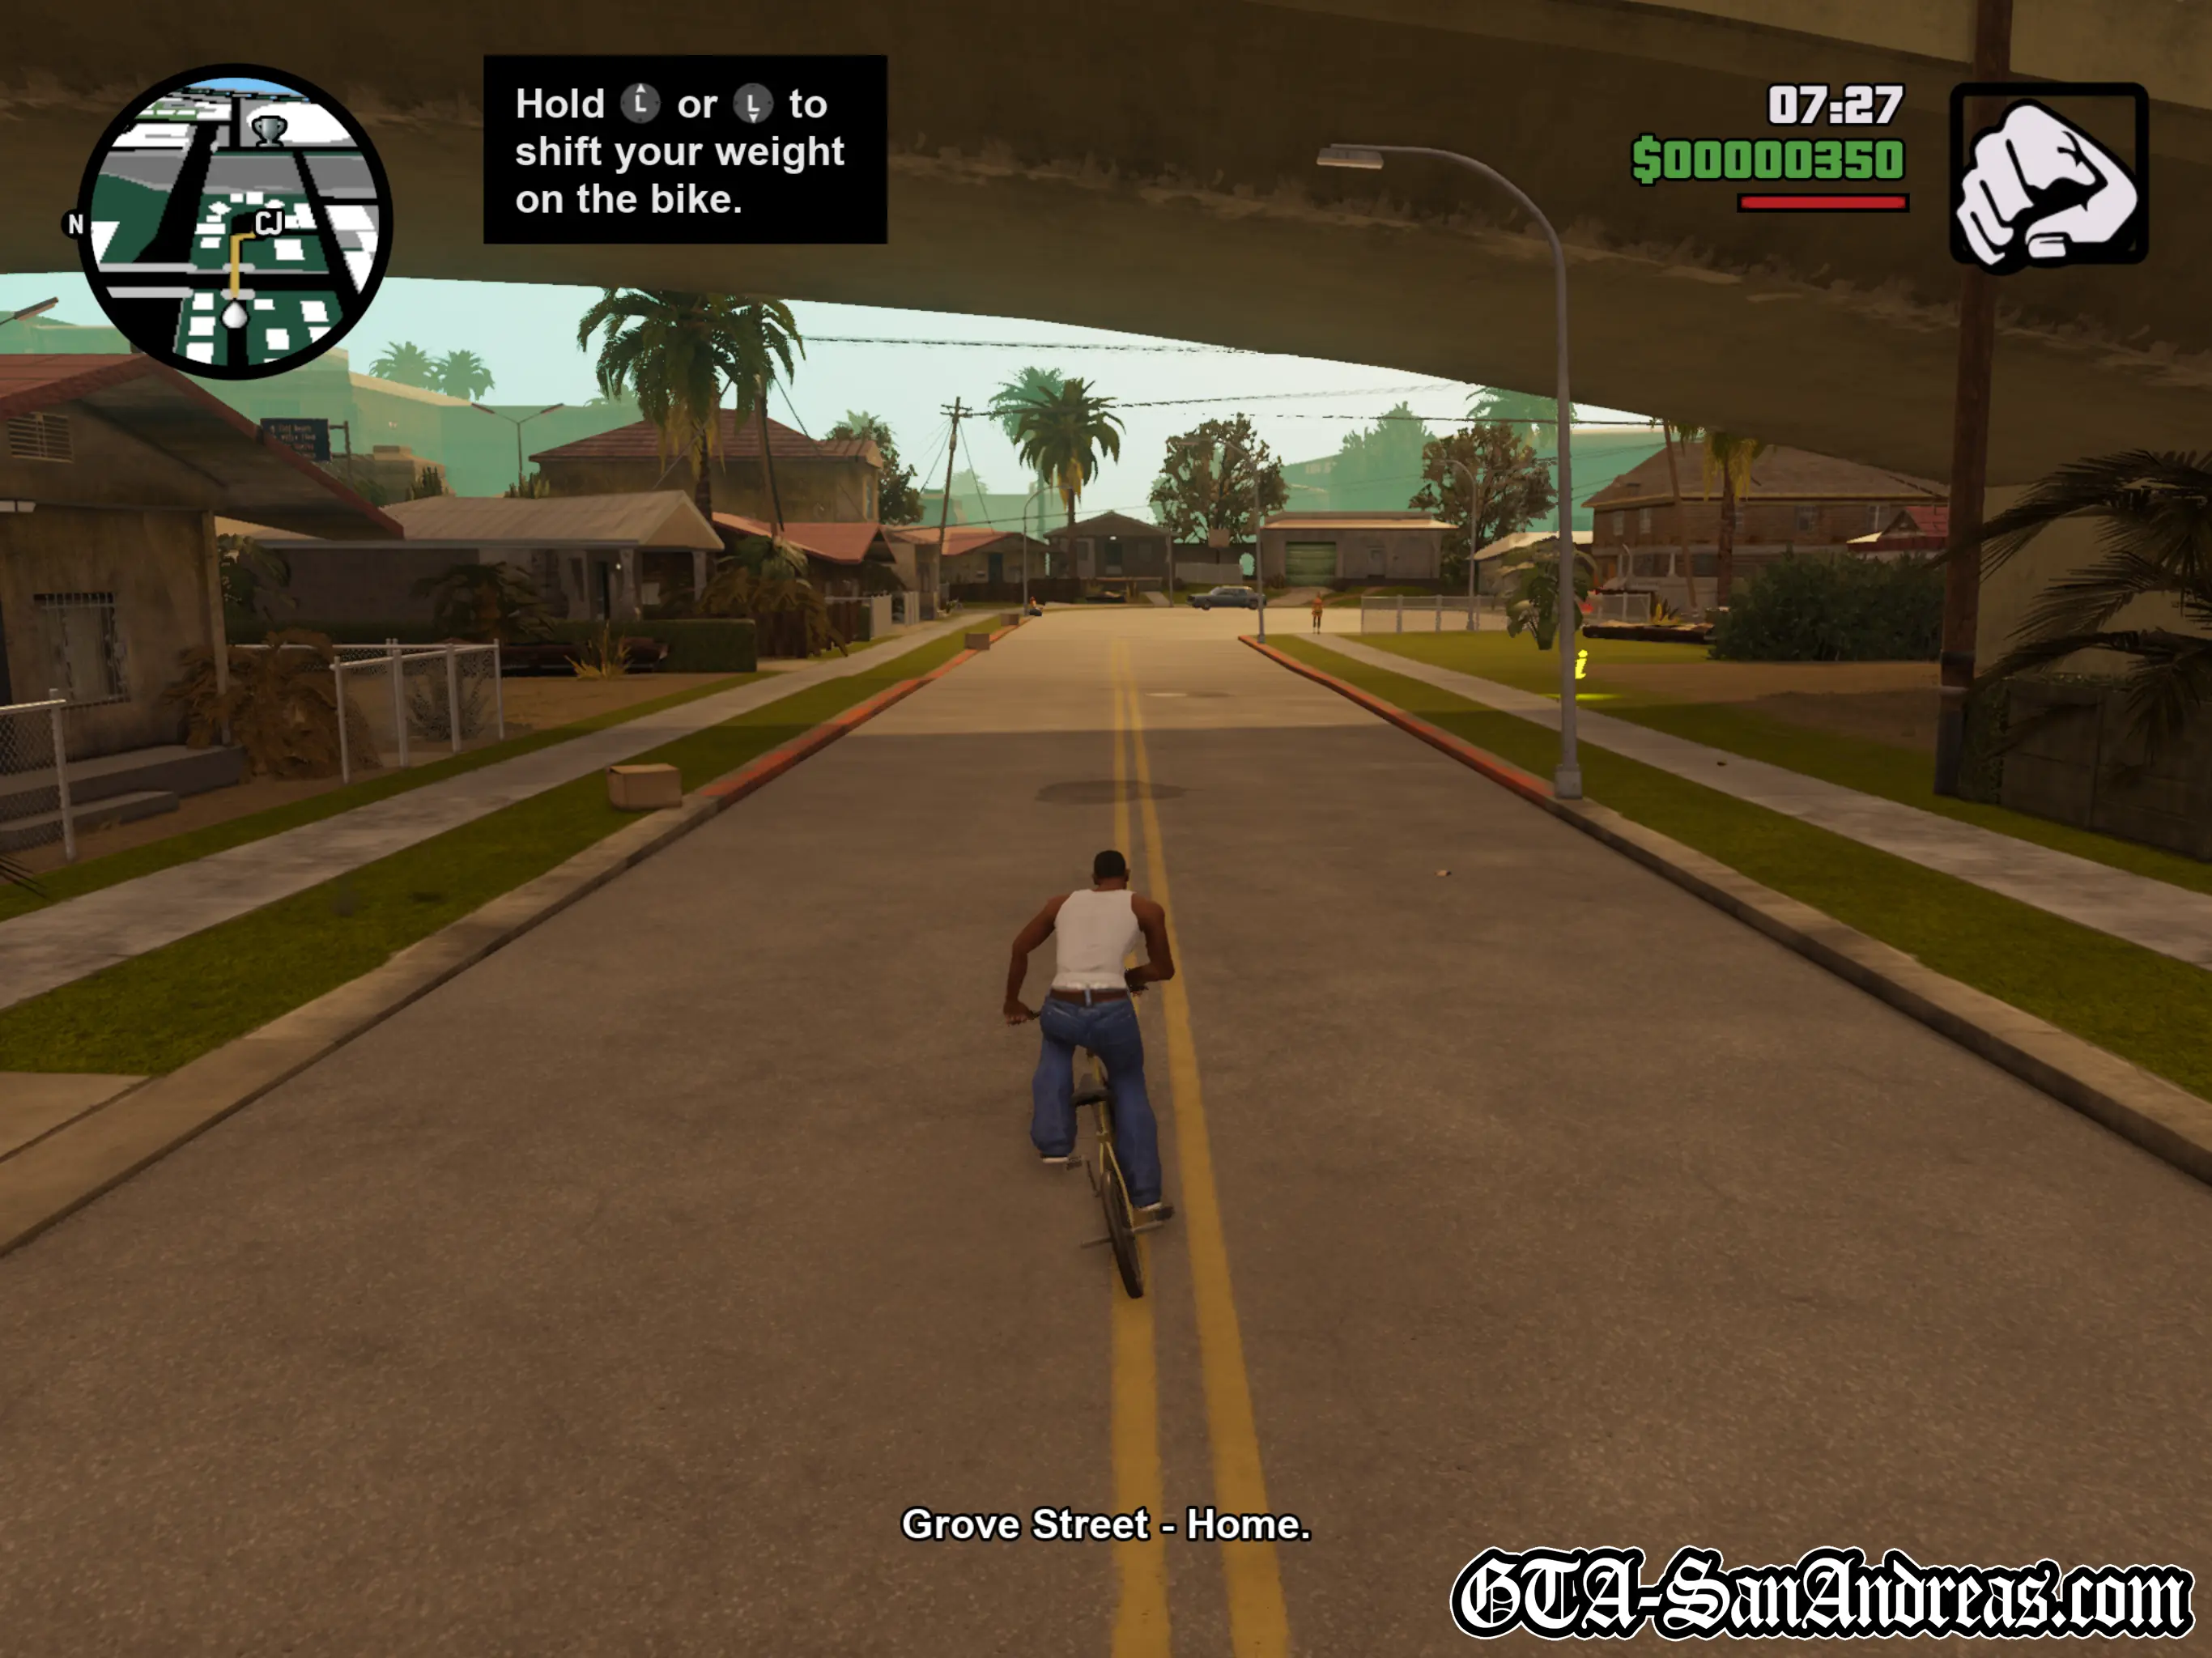
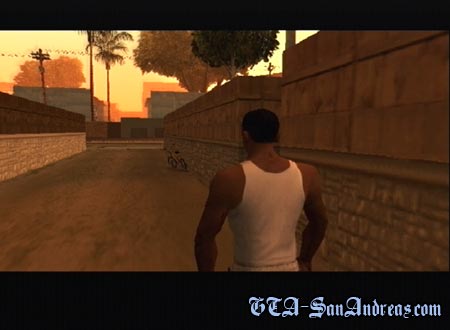
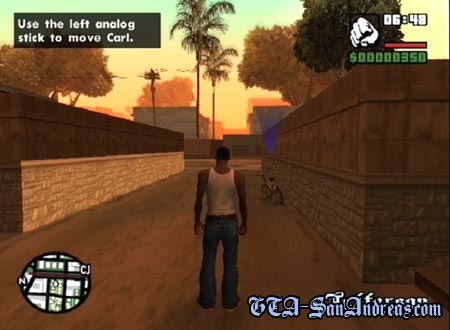
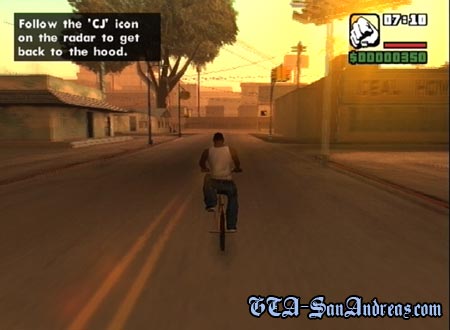
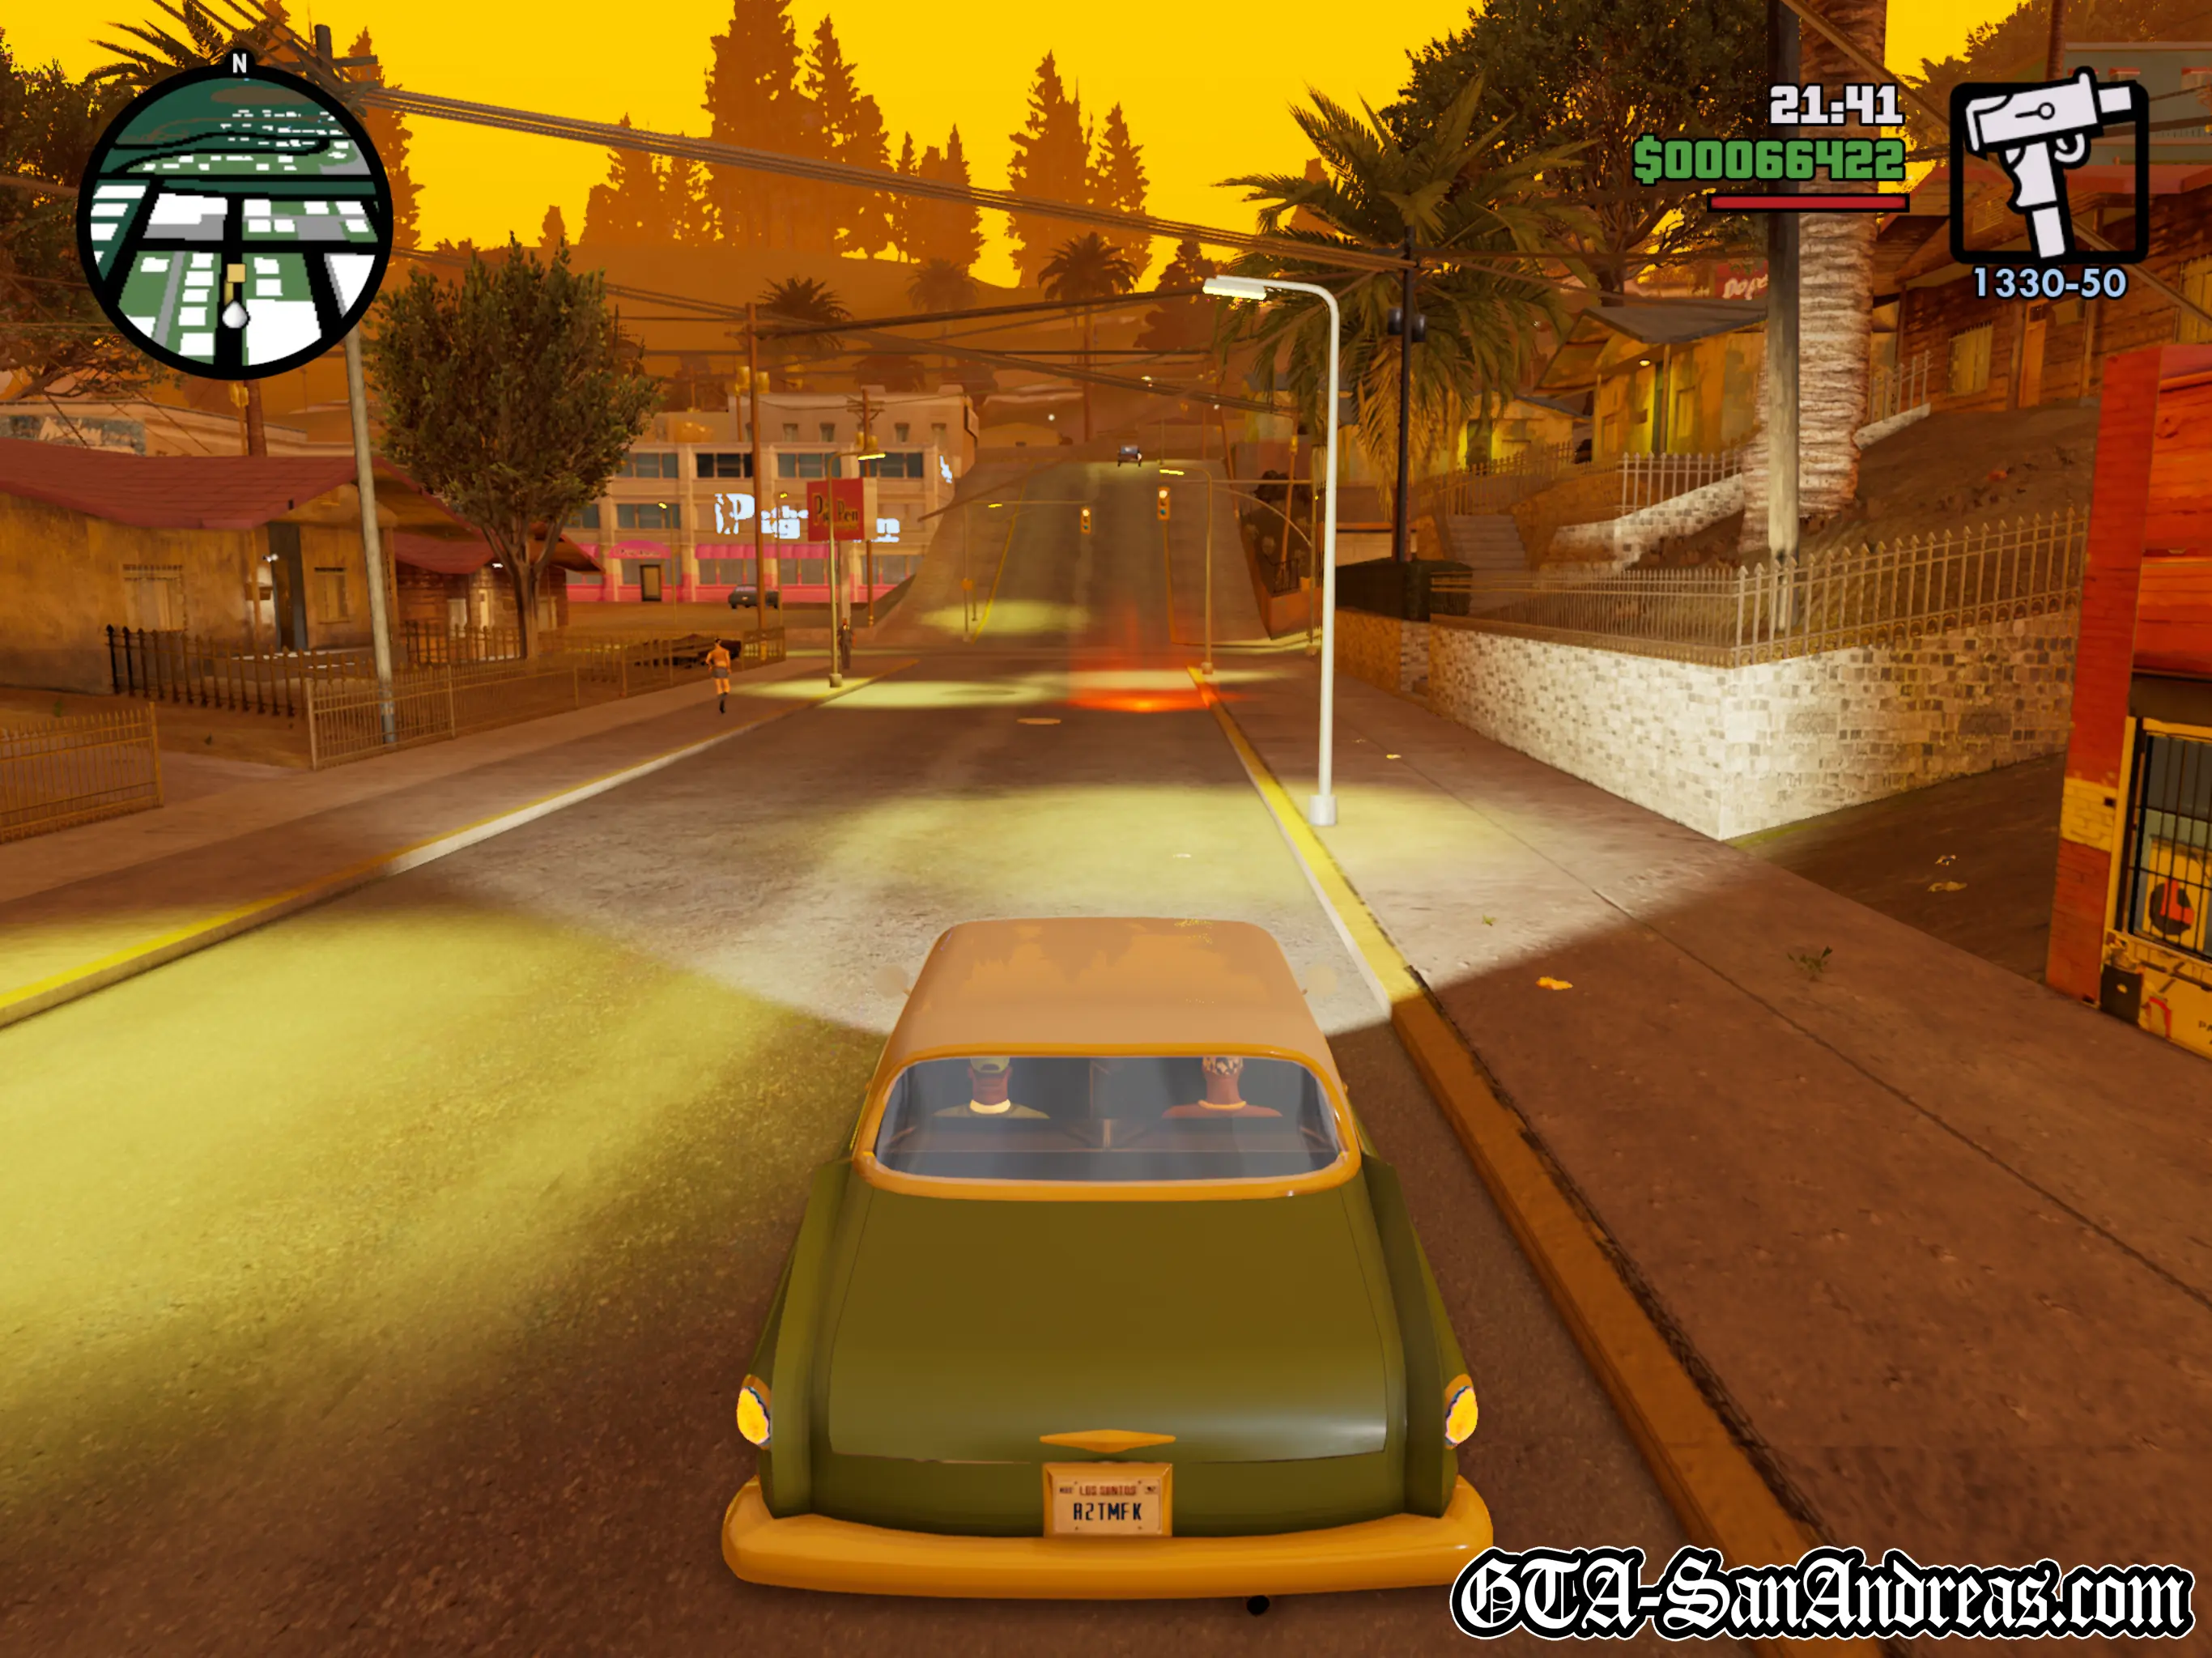
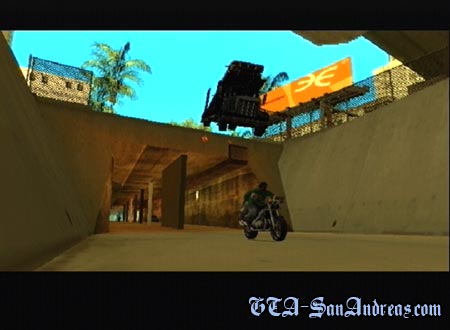
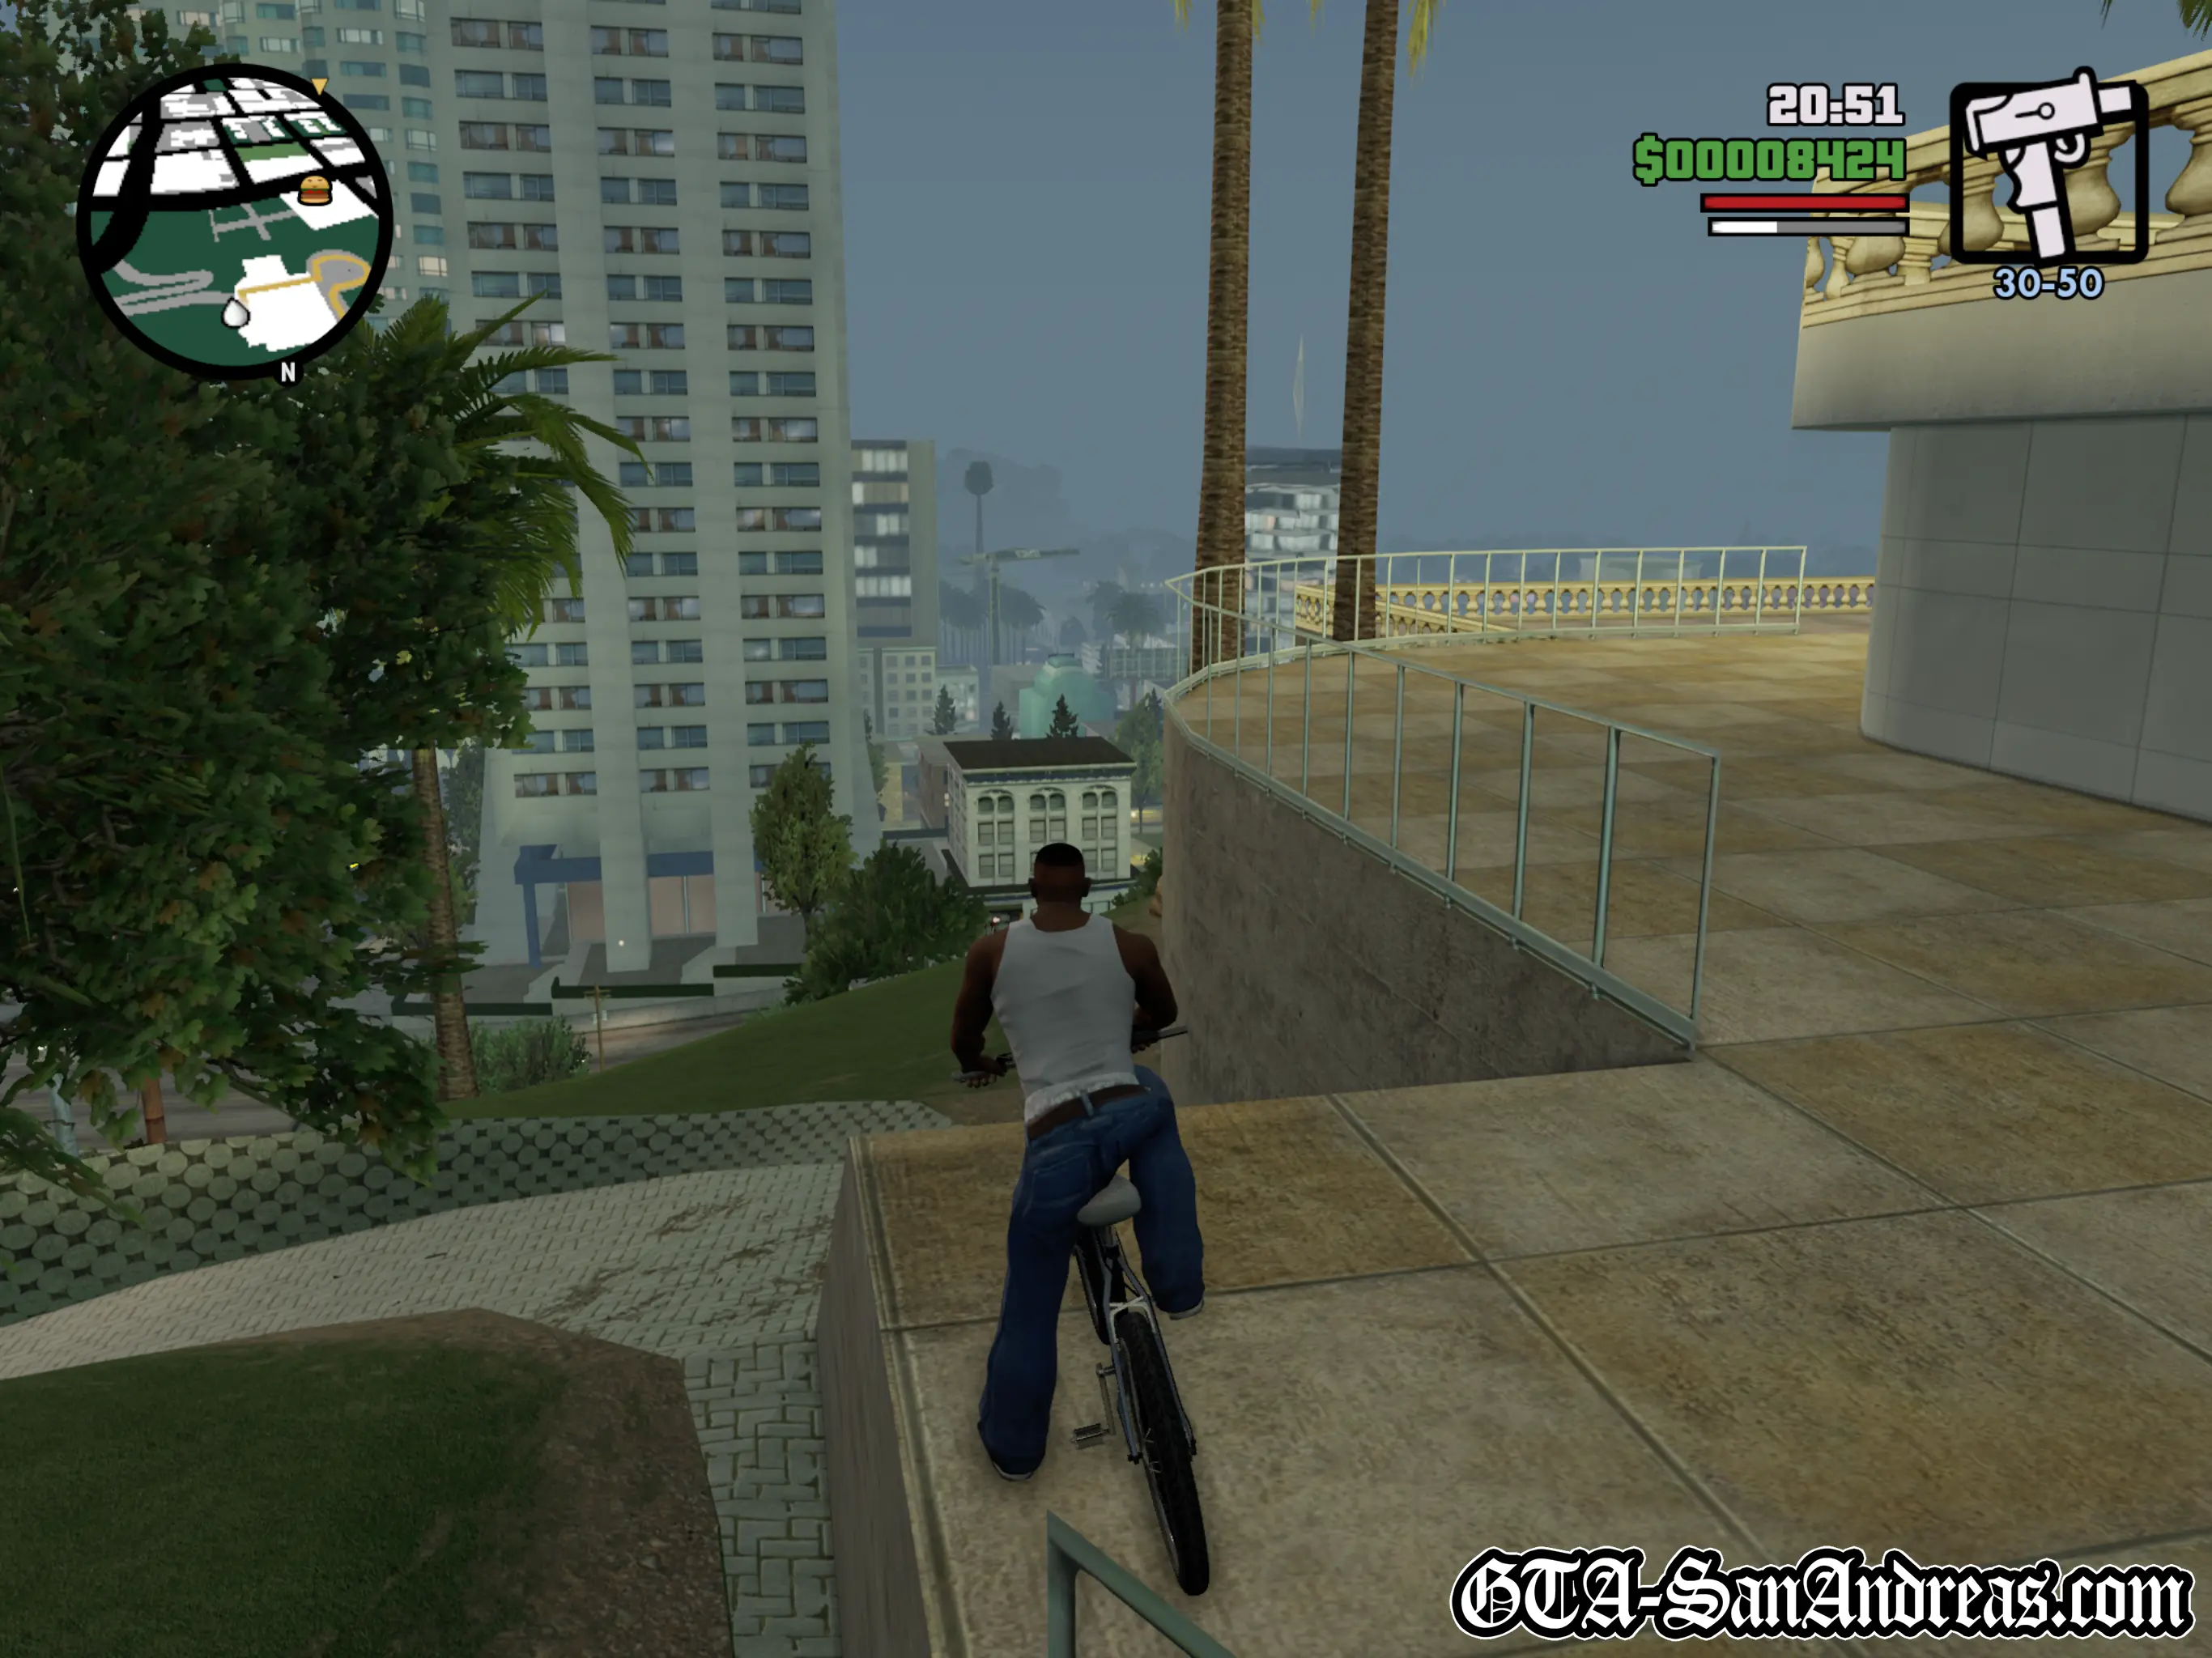
After you take control of CJ, walk down the alleyway and get on the BMX. Glance at the on-screen instructions to learn the basics of cycling, which essentially requires you to tap the sprint button to pedal. Once you're starting to get the hang of it, ride your bike down the alleyway, take a right and use the radar and map to guide you to the CJ icon.
As you approach Grove Street, Carl will give a short speech - "Grove Street, home, at least it was before I fucked everything up", so you'll know you're close.
Once you get to the end of the cul-de-sac, you can enter the red marker to begin the first proper mission "Big Smoke".
Post-Mission
![]() Carl Johnson's Missions Are Now Unlocked.
Carl Johnson's Missions Are Now Unlocked.
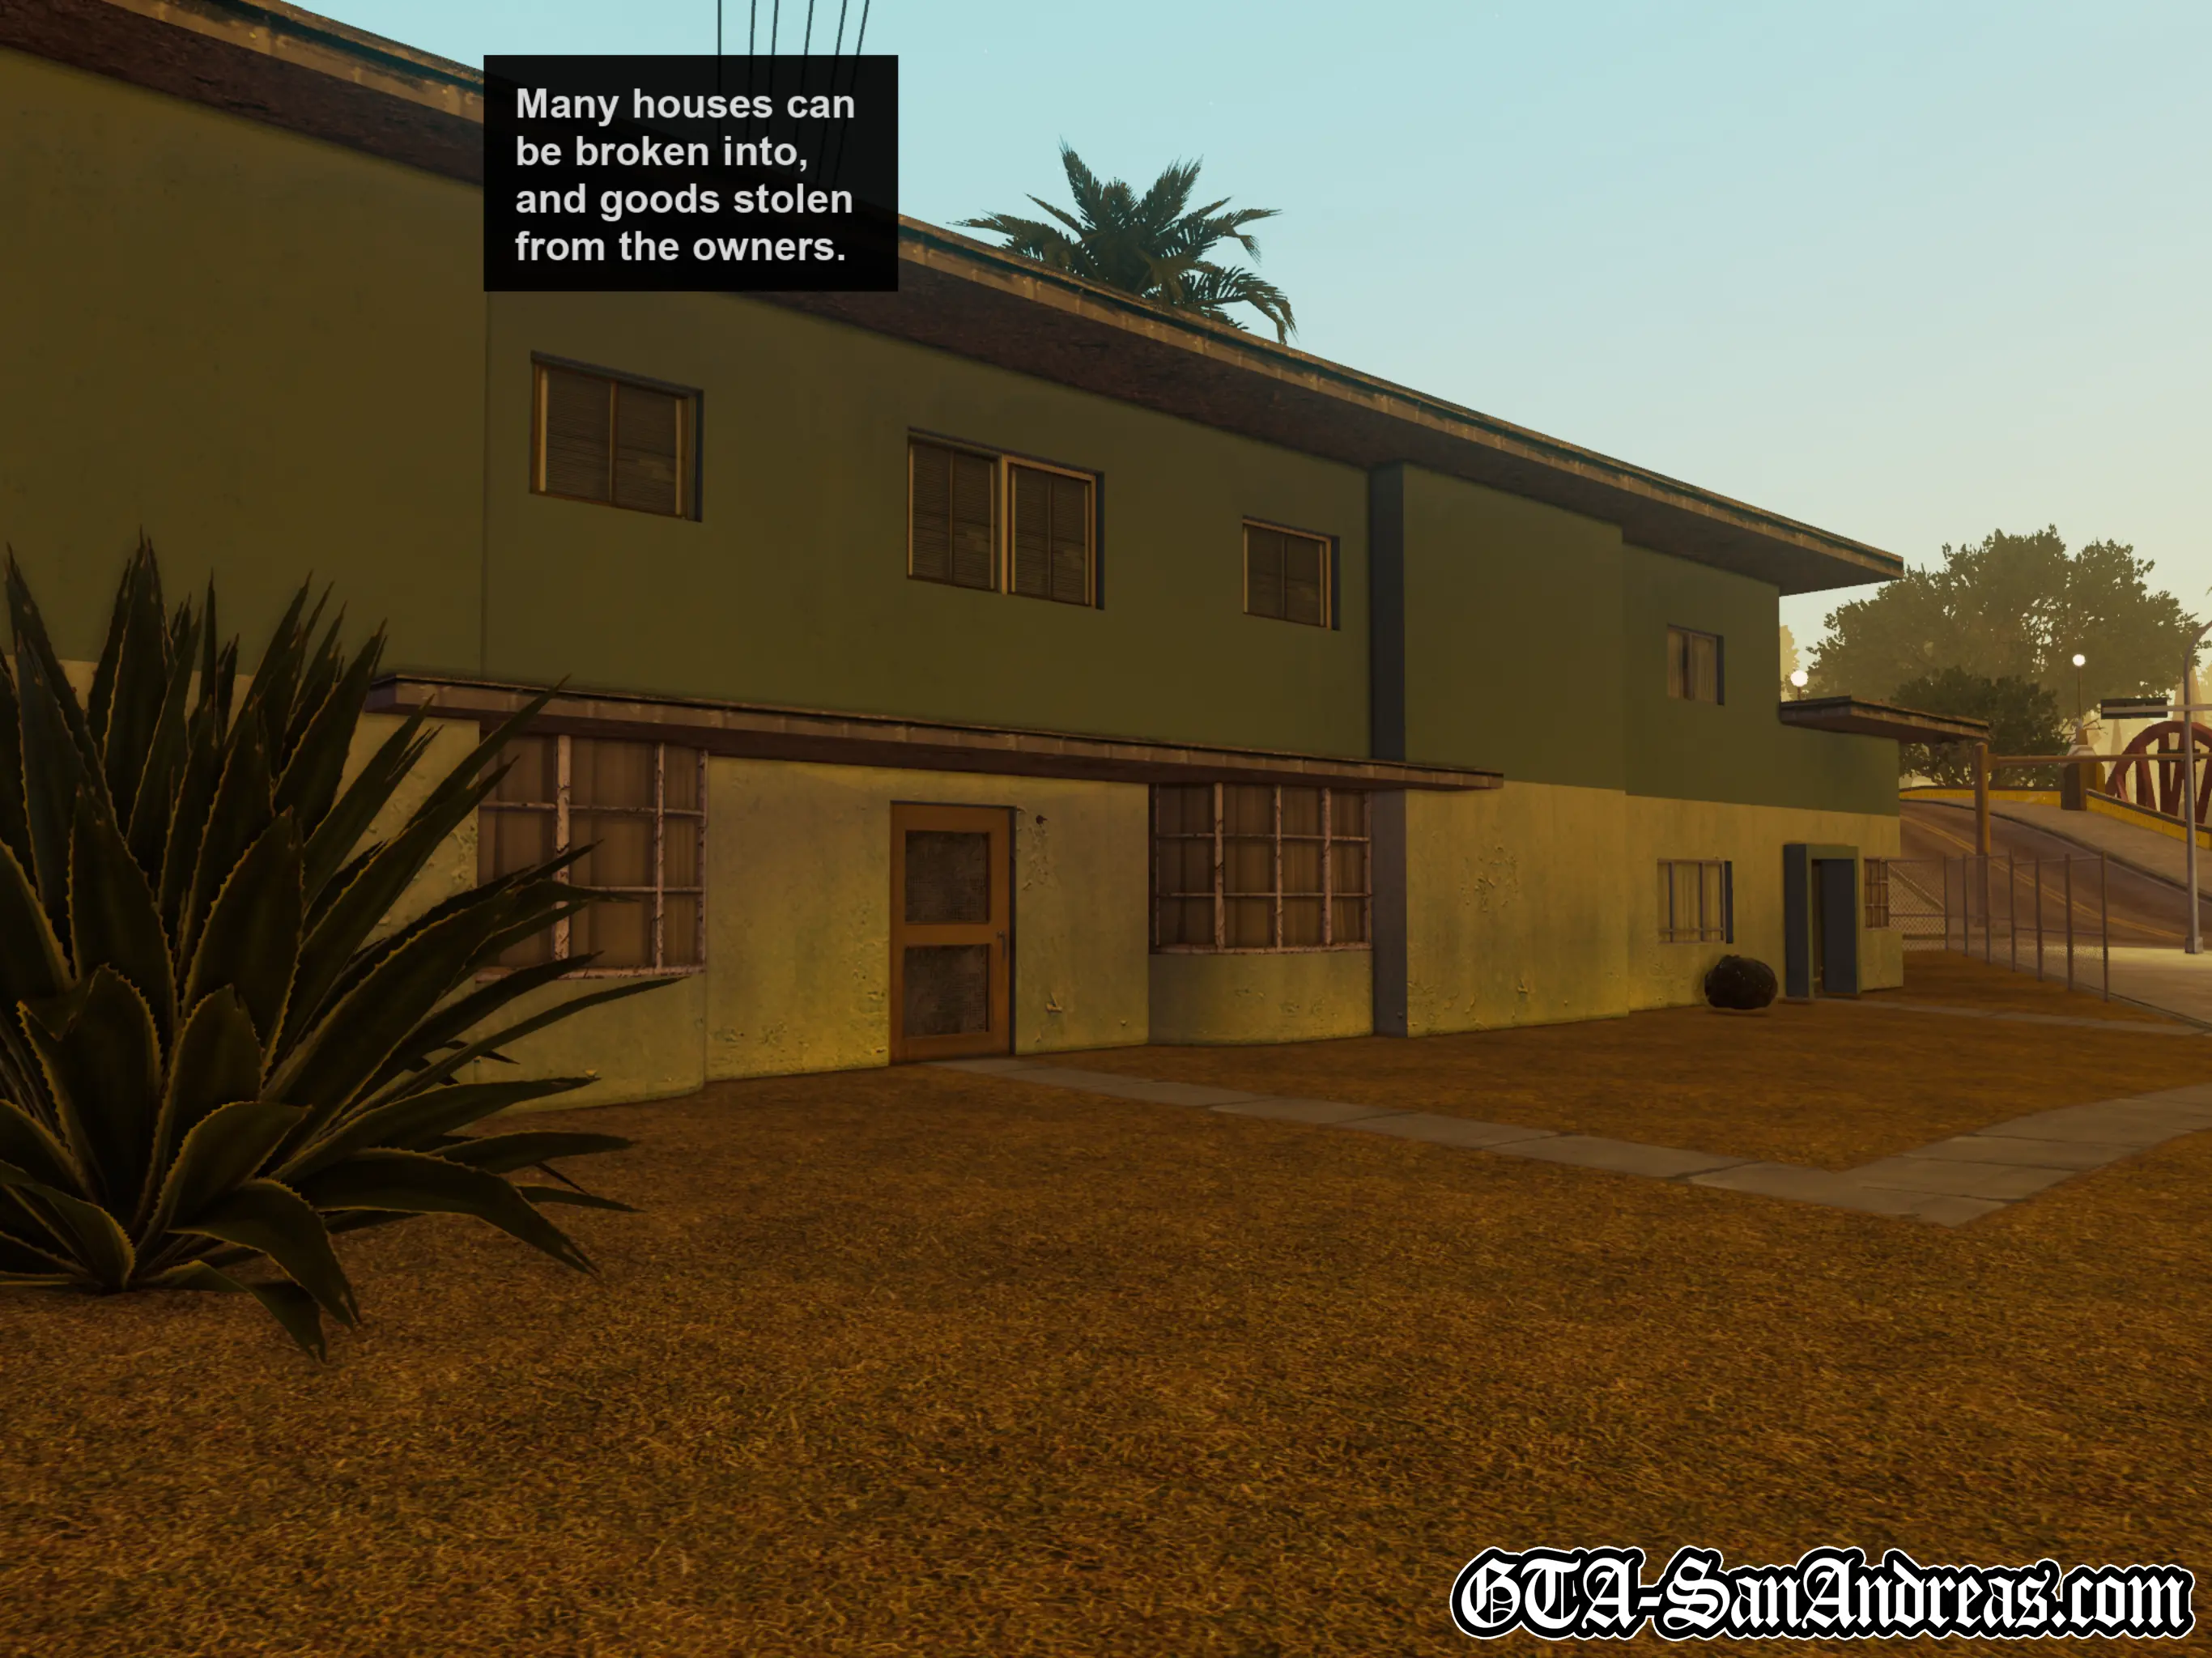
There are a number of available activities in Los Santos you can complete for cash or other gameplay benefits including:
- Courier Mission for Roboi's Food Mart - See Asset Missions Guide
- Acquire the shop as an asset, generating money on a daily basis.
- Pimping Sub-Missions - See Sub-Missions Guide
- Prostitutes will pay you for 'services'.
- Burglary Missions - See Sub-Missions Guide
- Unlock infinite stamina so you can sprint without getting tired.
- Vigilante - See Sub-Missions Guide
- Increase your max armor capacity.
- Paramedic - See Sub-Missions Guide
- Increase your health to the maximum capacity.
- Firefighter - See Sub-Missions Guide
- Become fireproof (on foot) so you'll never be hurt by fire.
- Taxi Driver - See Sub-Missions Guide
- Unlock nitro and hydraulic boost jump on all taxis.
- Hidden BMX challenge at the skate park - See Hidden Challenges Guide
- Spraying over 100 gang tags - See Spray Tags Map & Guide
- Unlock free weapons (Micro SMG, AK-47, Sawn-off Shotgun and Molotovs) at Carl's house.
- Collecting the 20 Oysters around Los Santos - See Oysters Map & Guide
Other miscellaneous activities that may also be beneficial are:
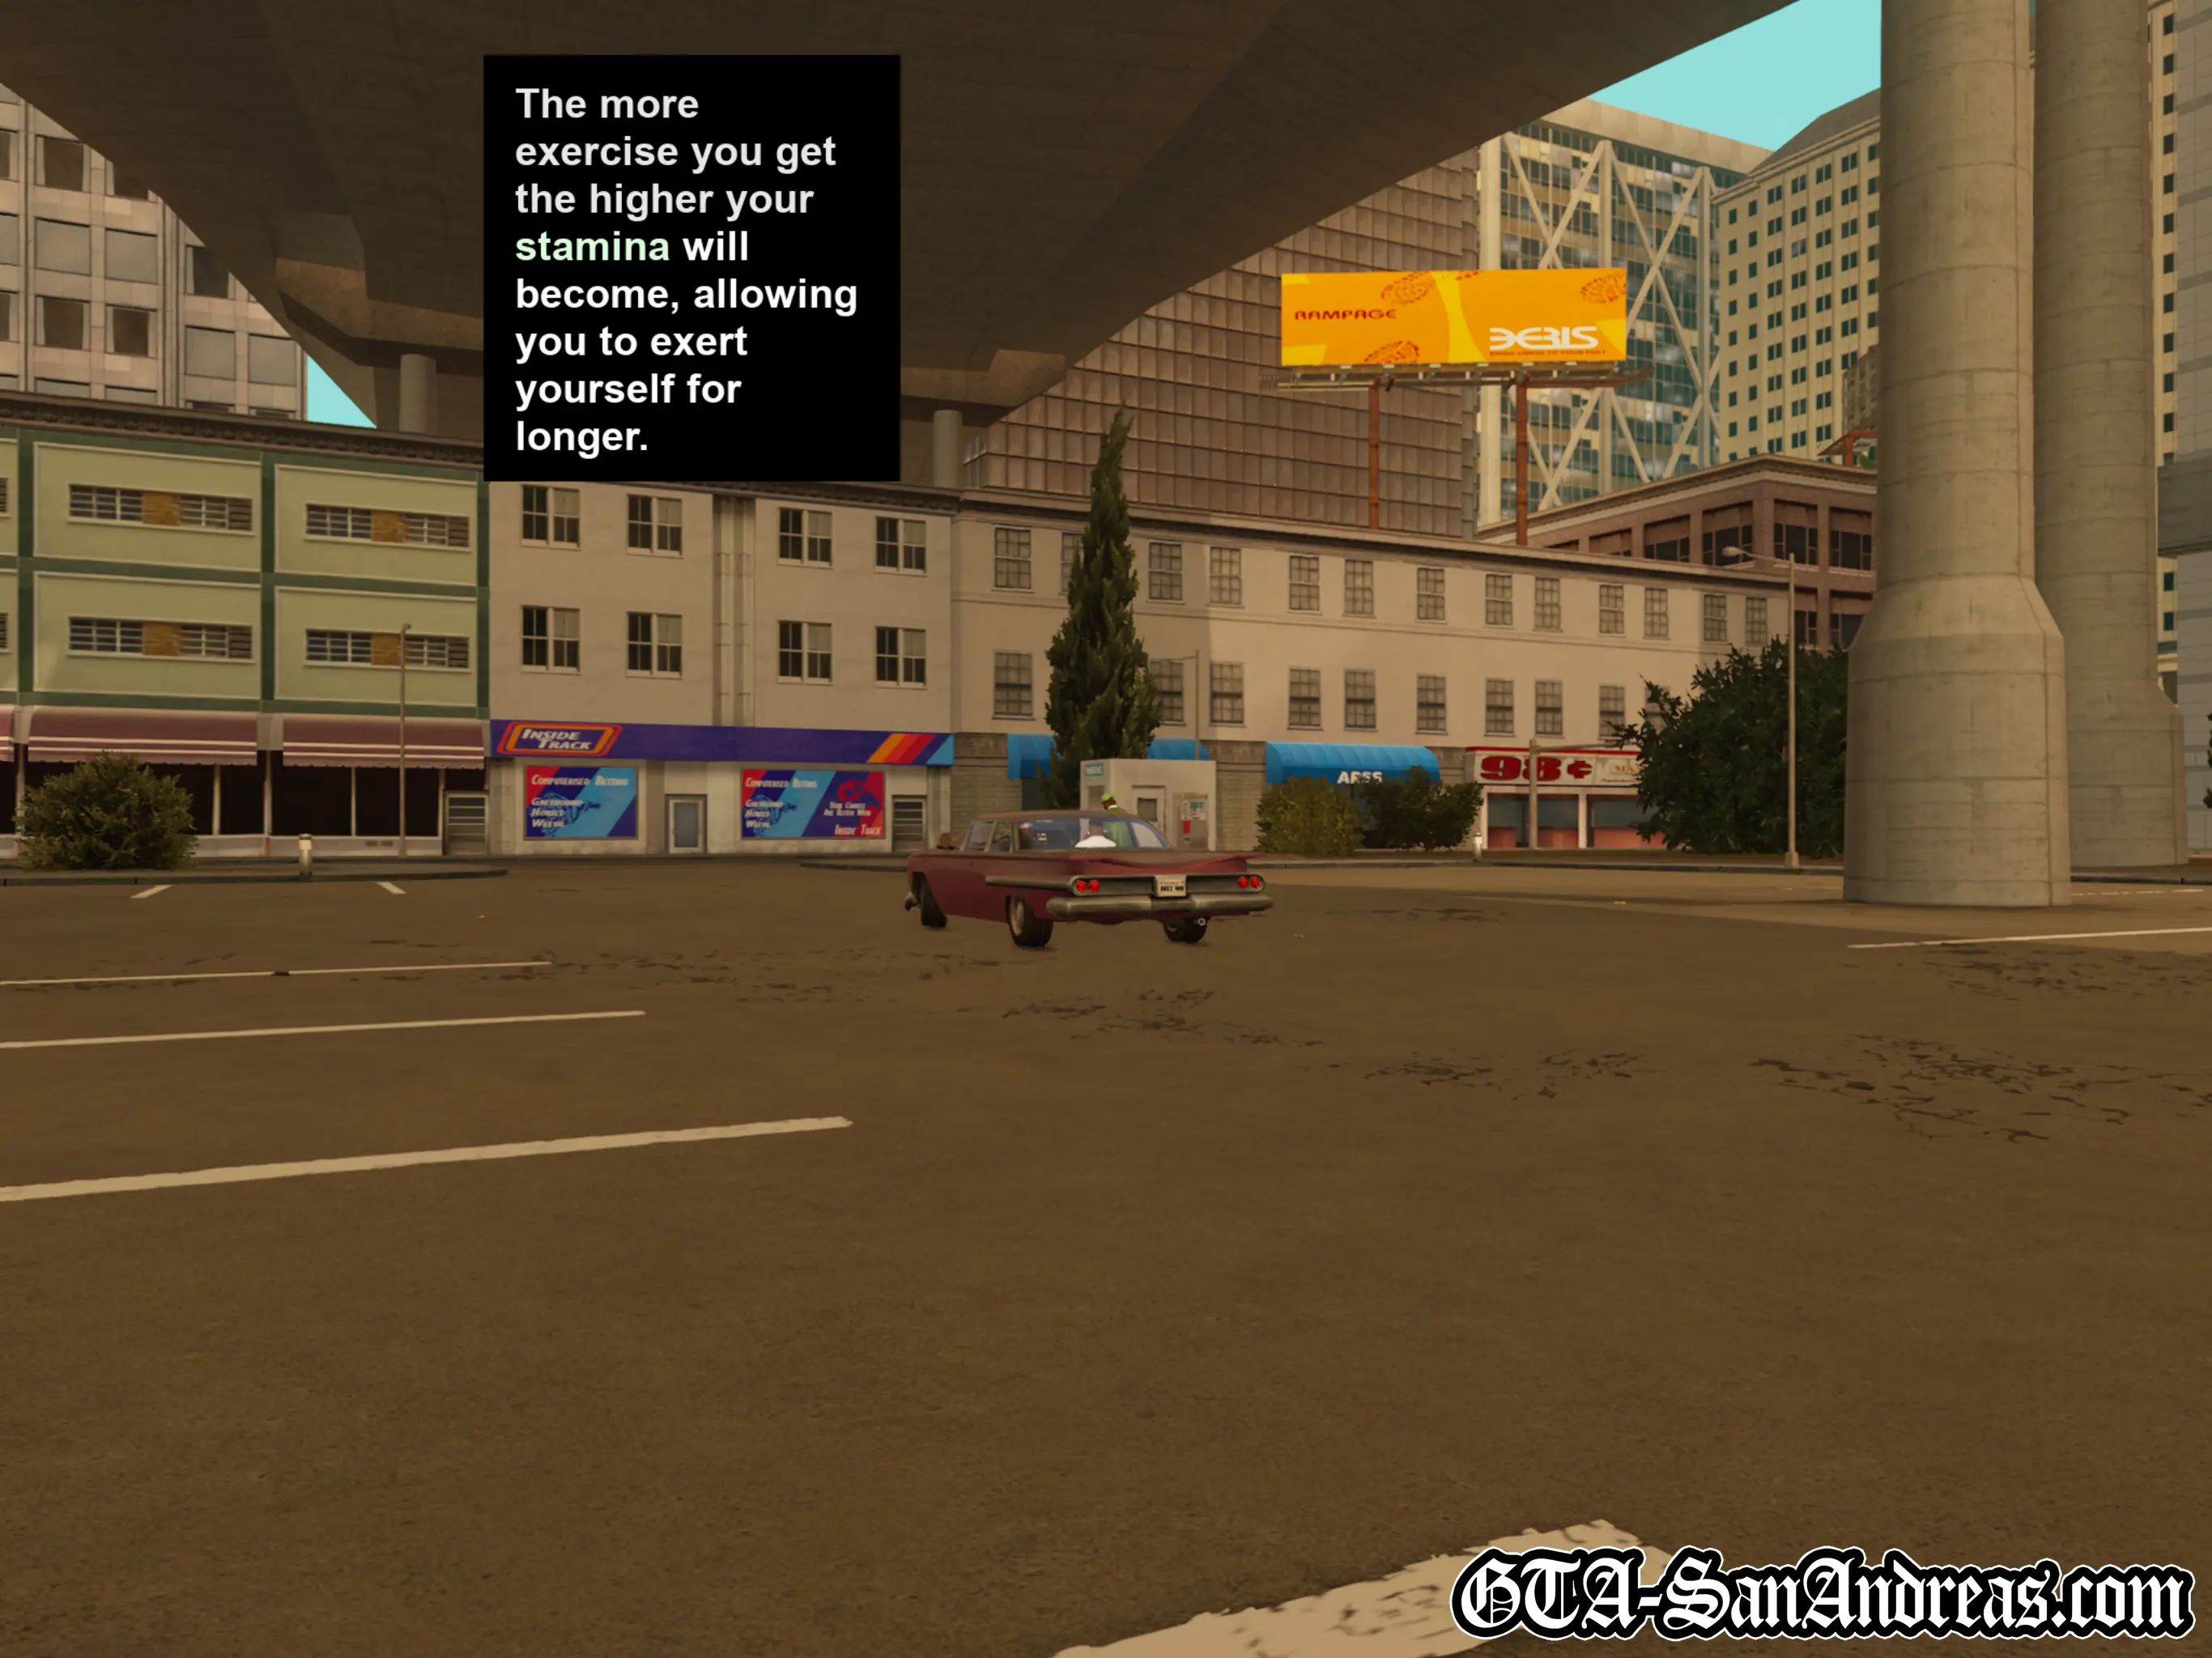
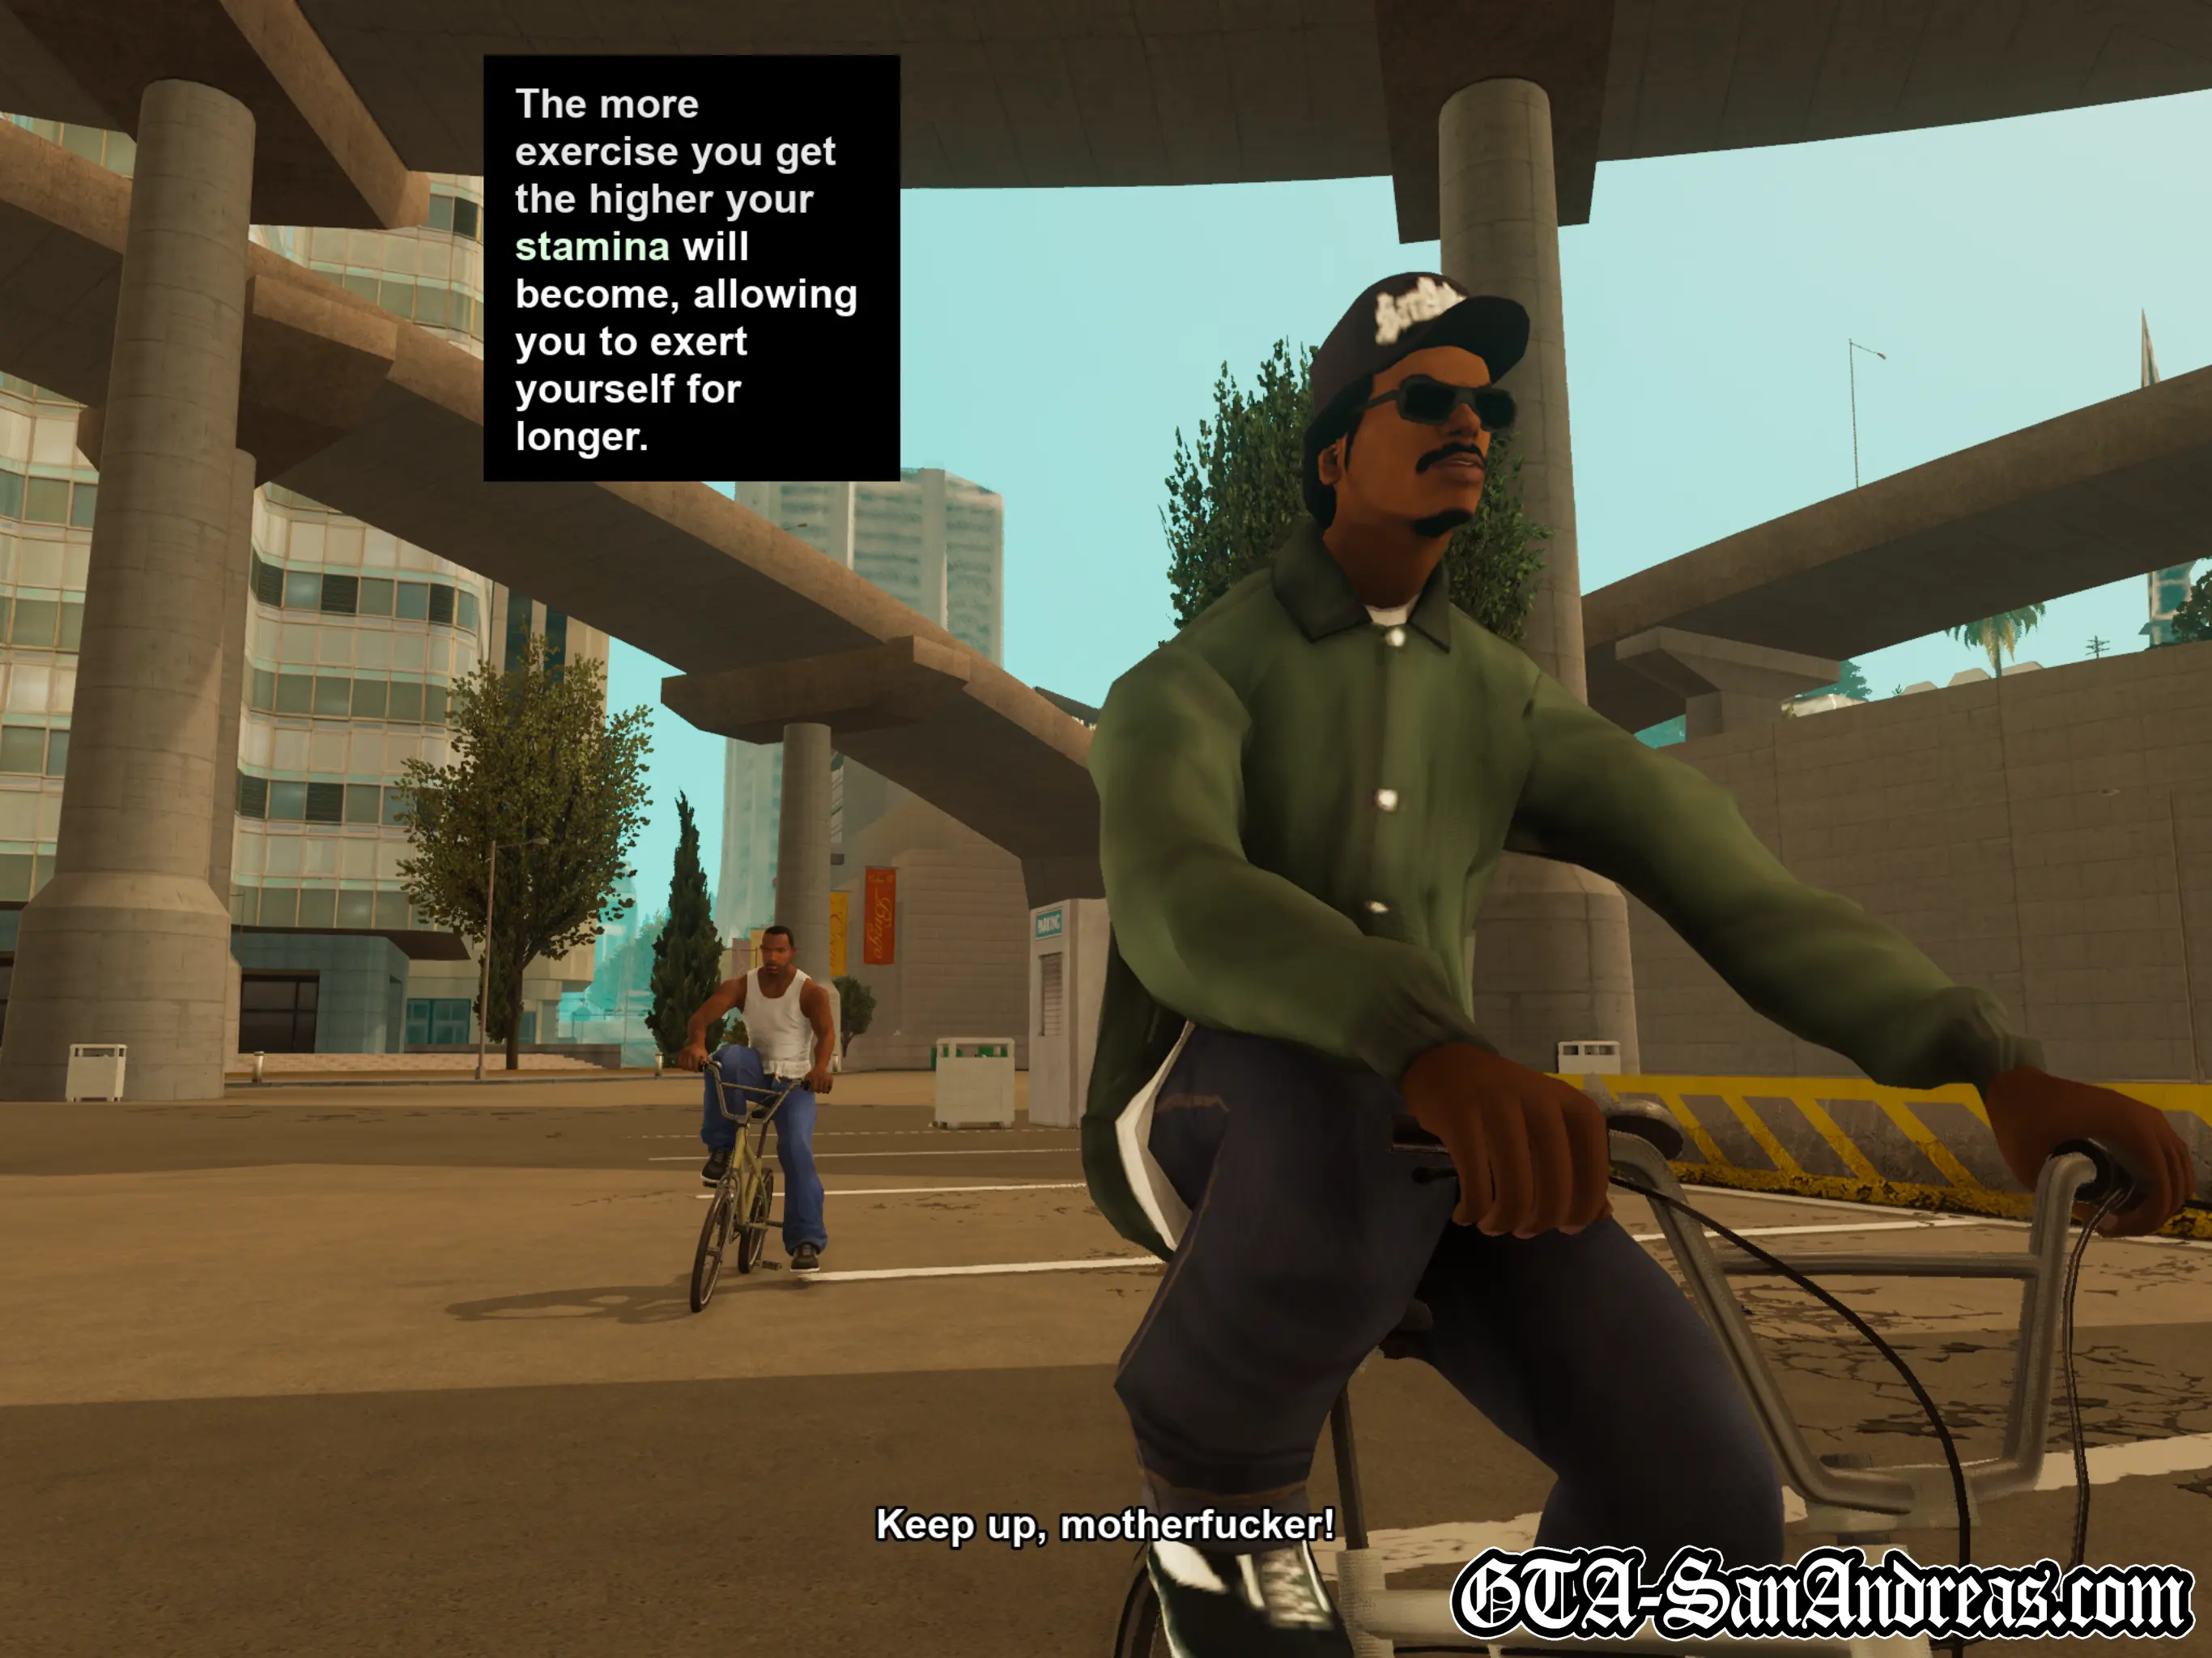
- Increasing your stats and skills by swimming, driving, cycling, shooting, flying etc.
- Visit the betting shop and potentially win a fortune gambling.
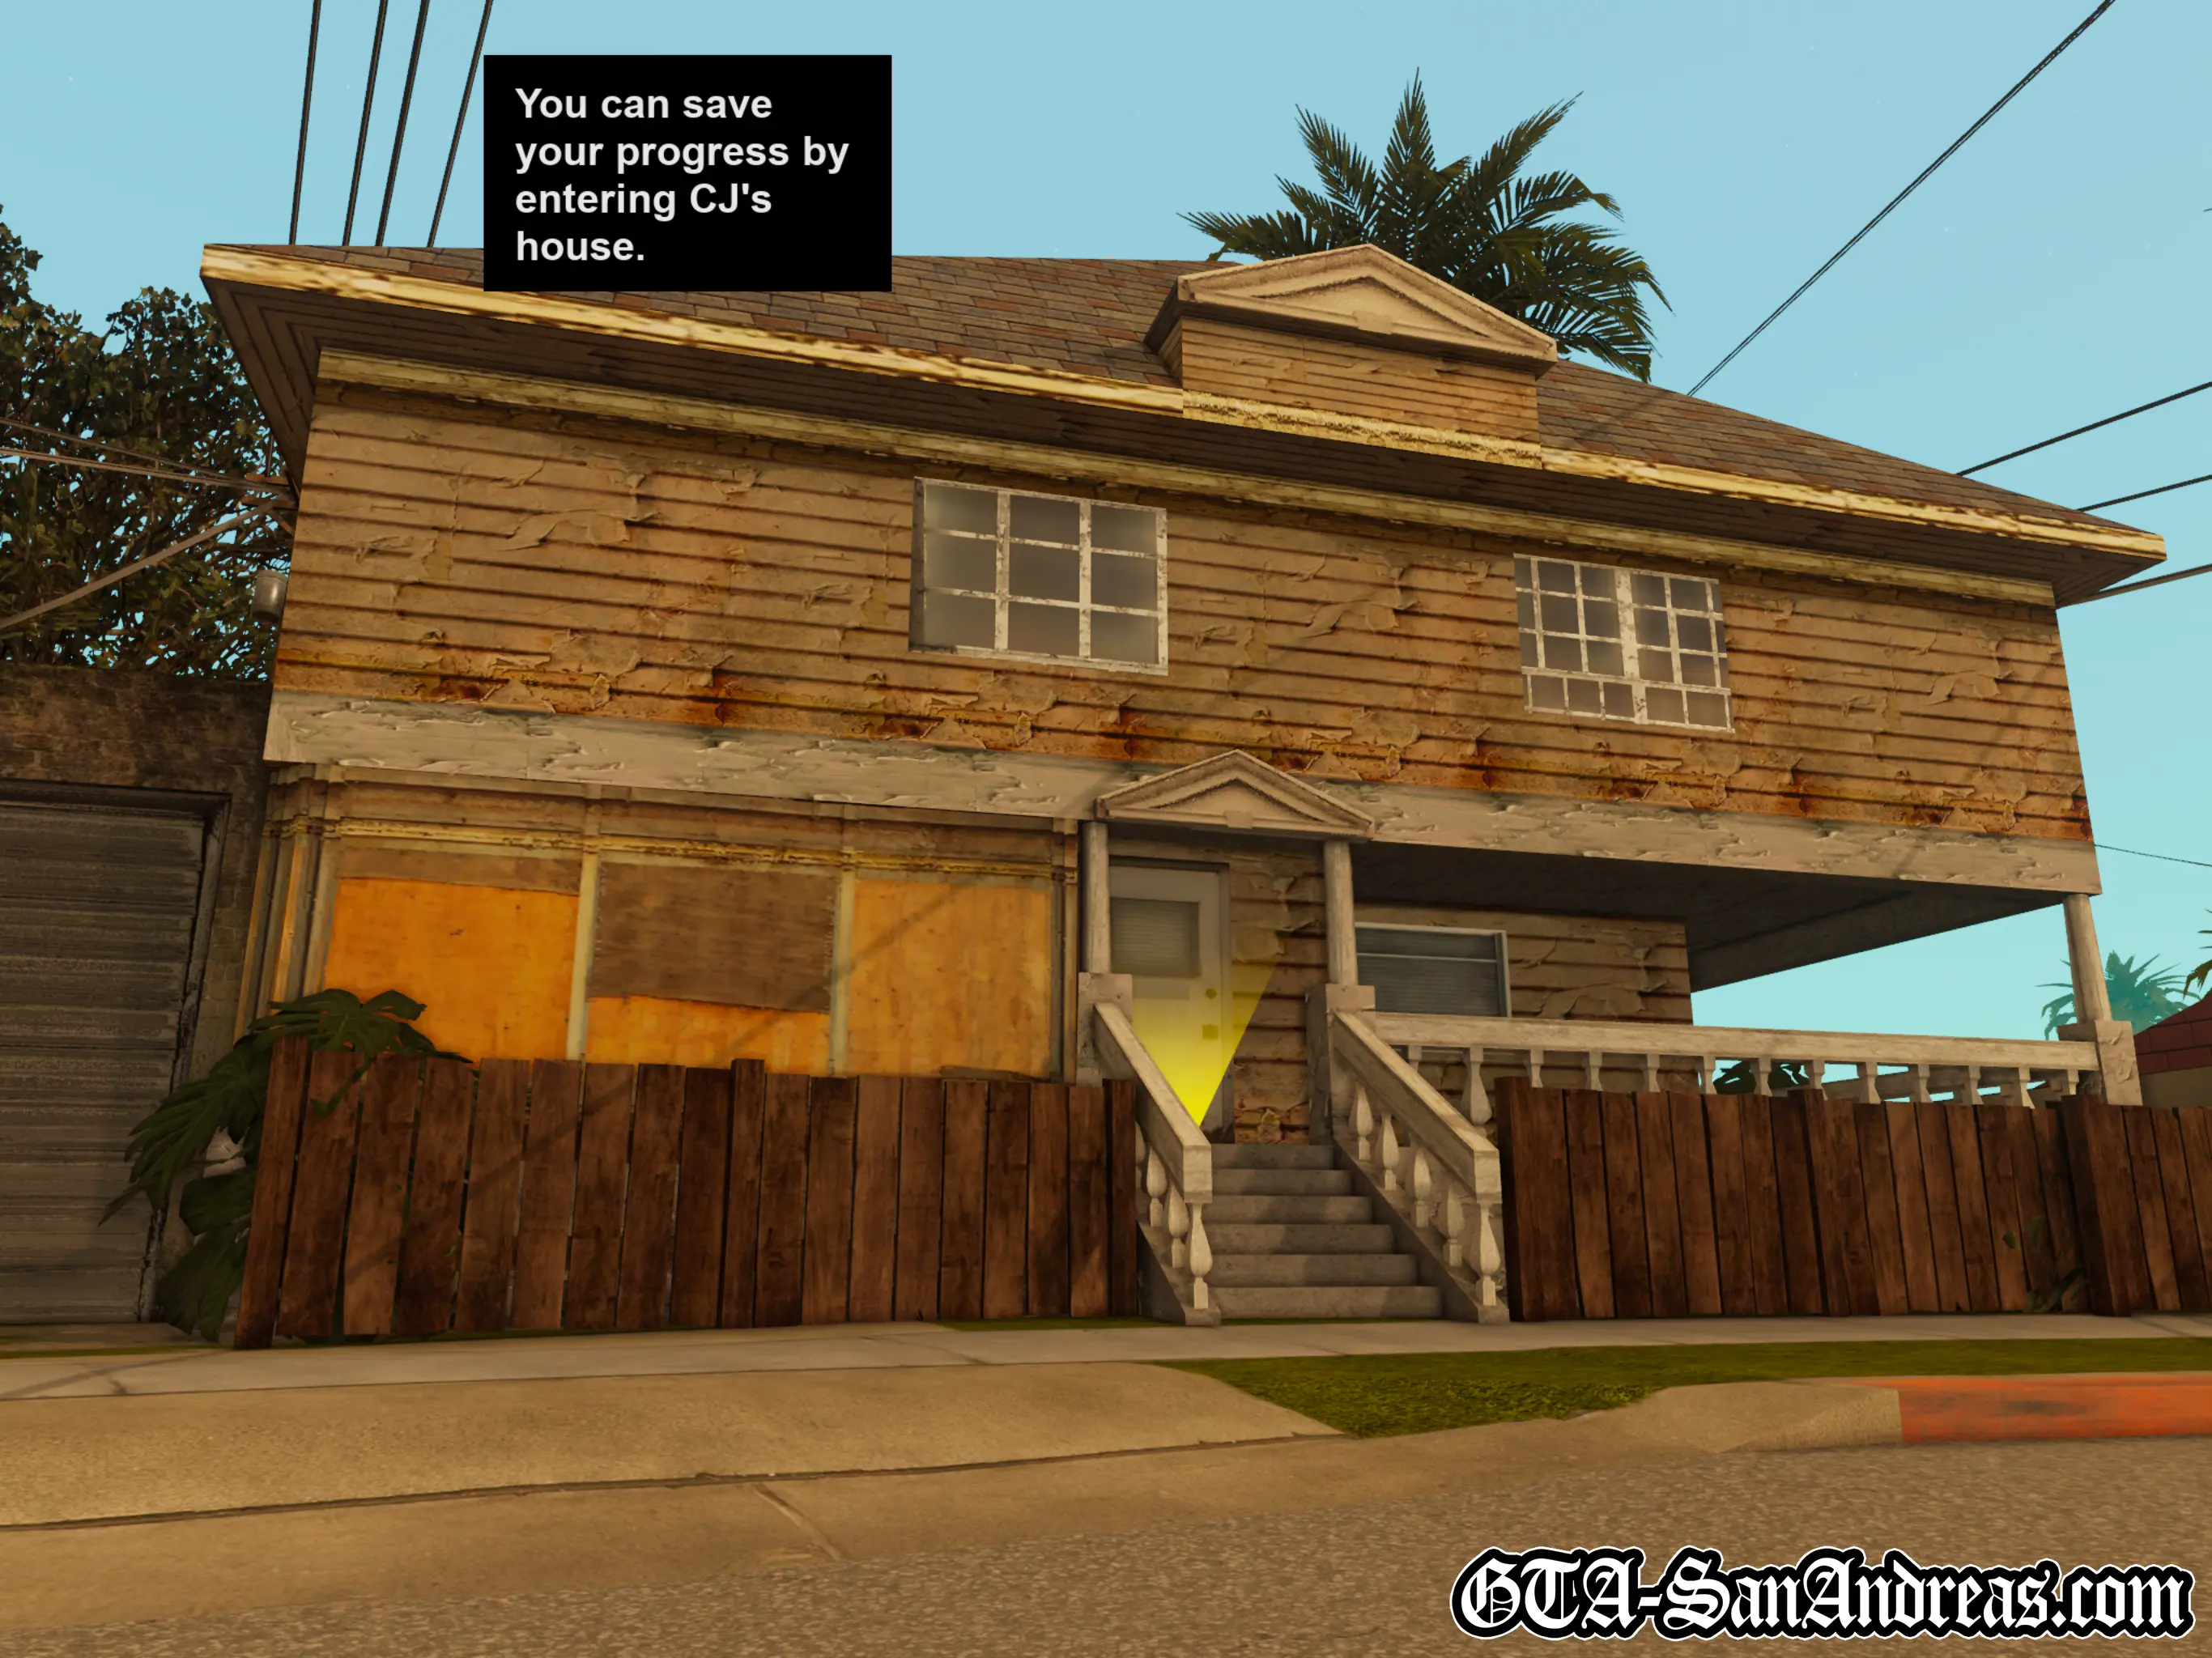
- Purchase the safe houses around Los Santos if you acquire enough cash, allowing you to save your game - See Safe Houses Guide.
Screenshots

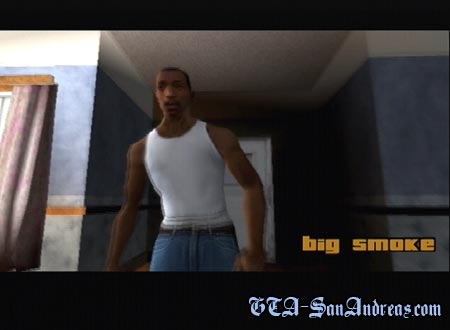
Big Smoke
This mission is a cutscene with no gameplay required, it will automatically lead into the next mission "Sweet & Kendl".
Cutscene
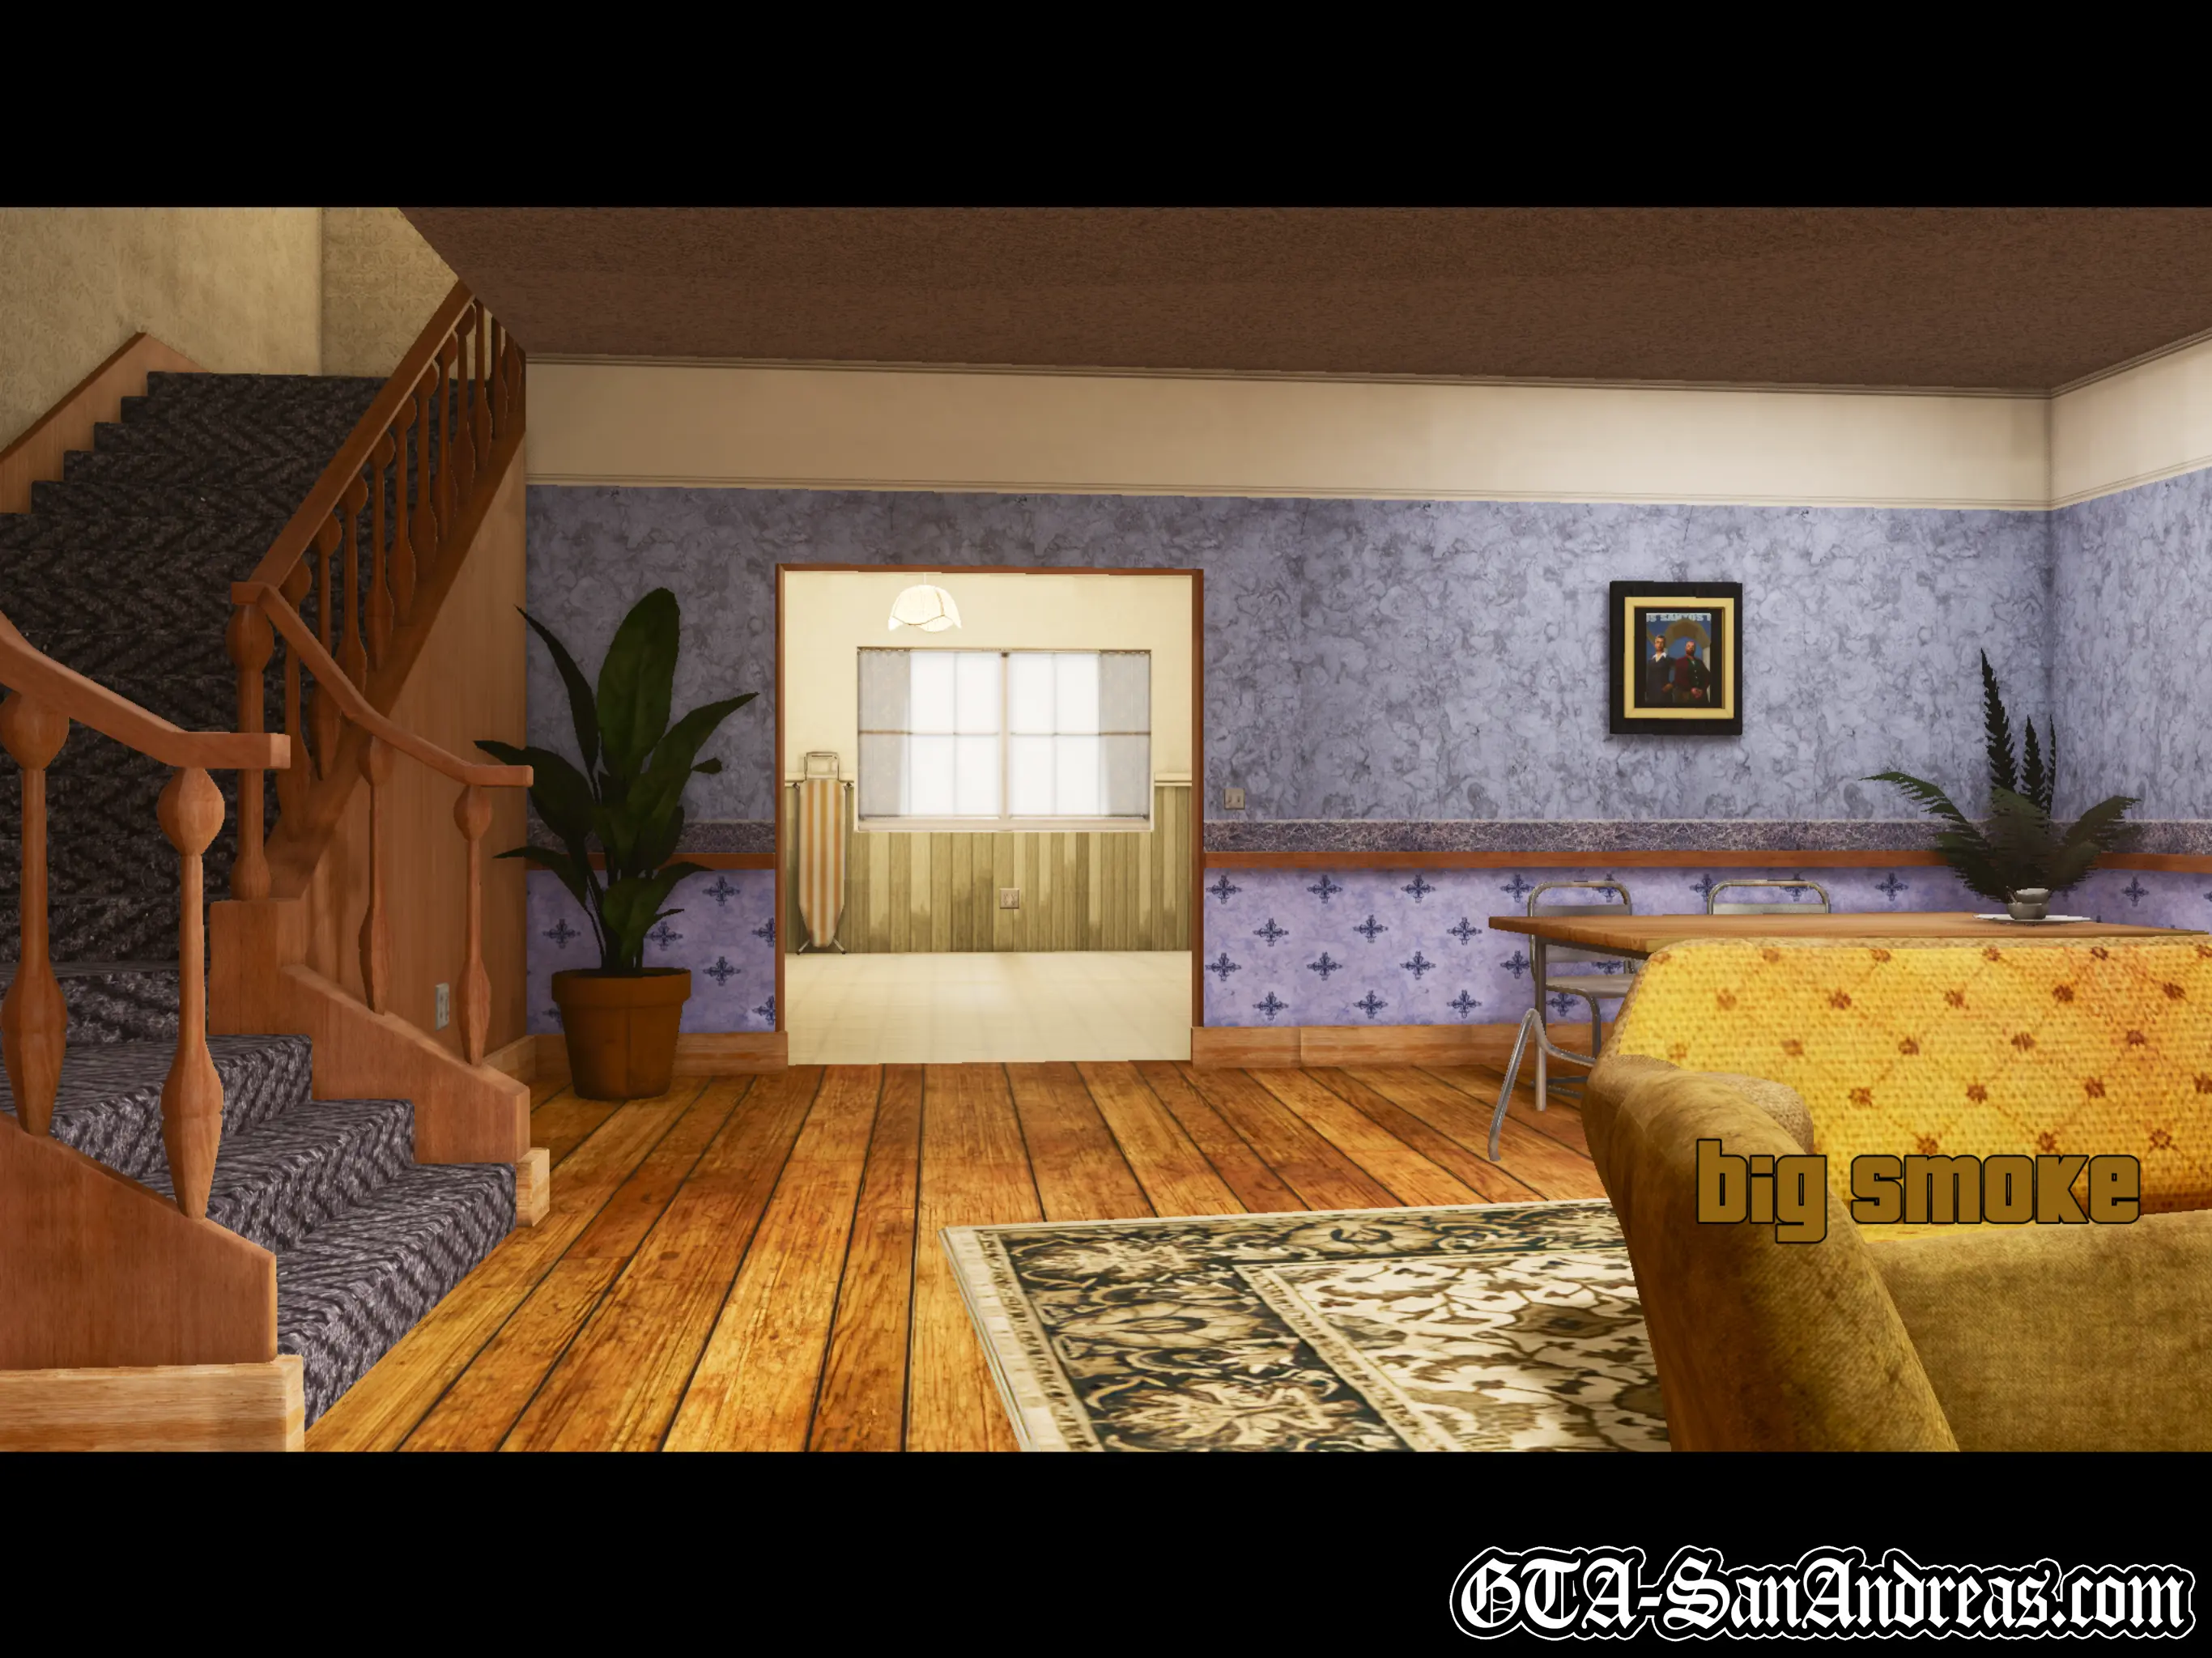
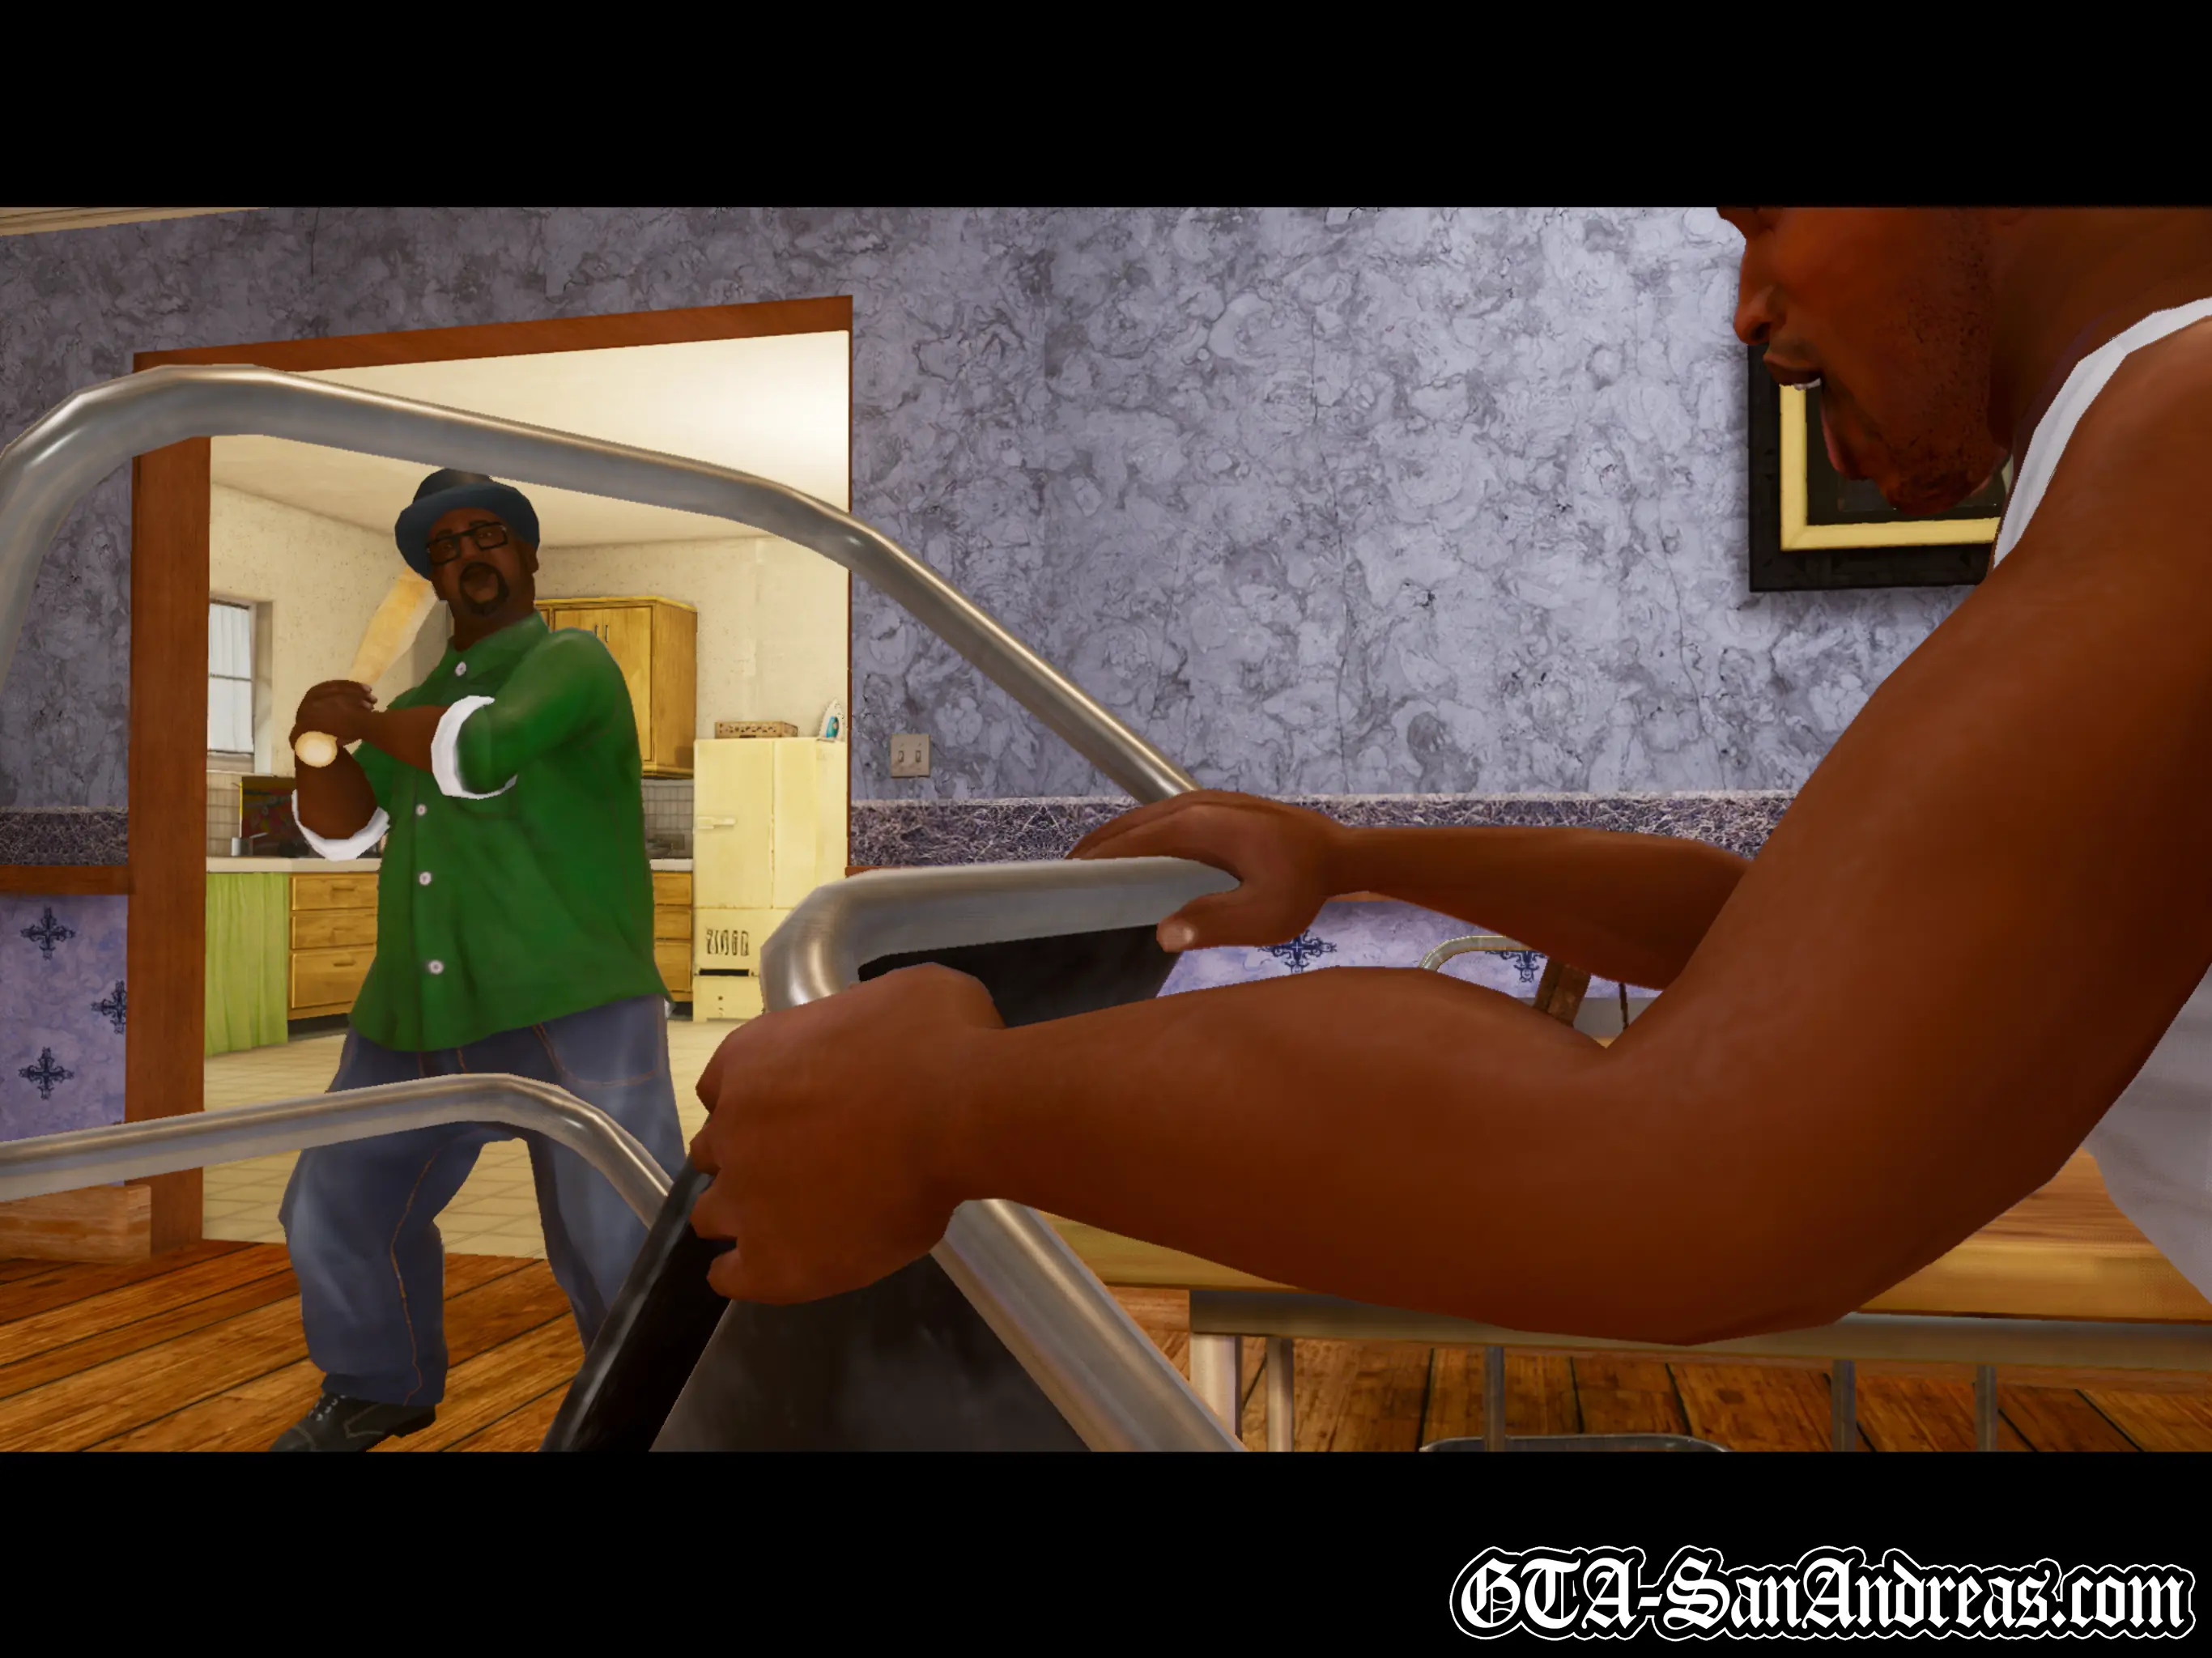
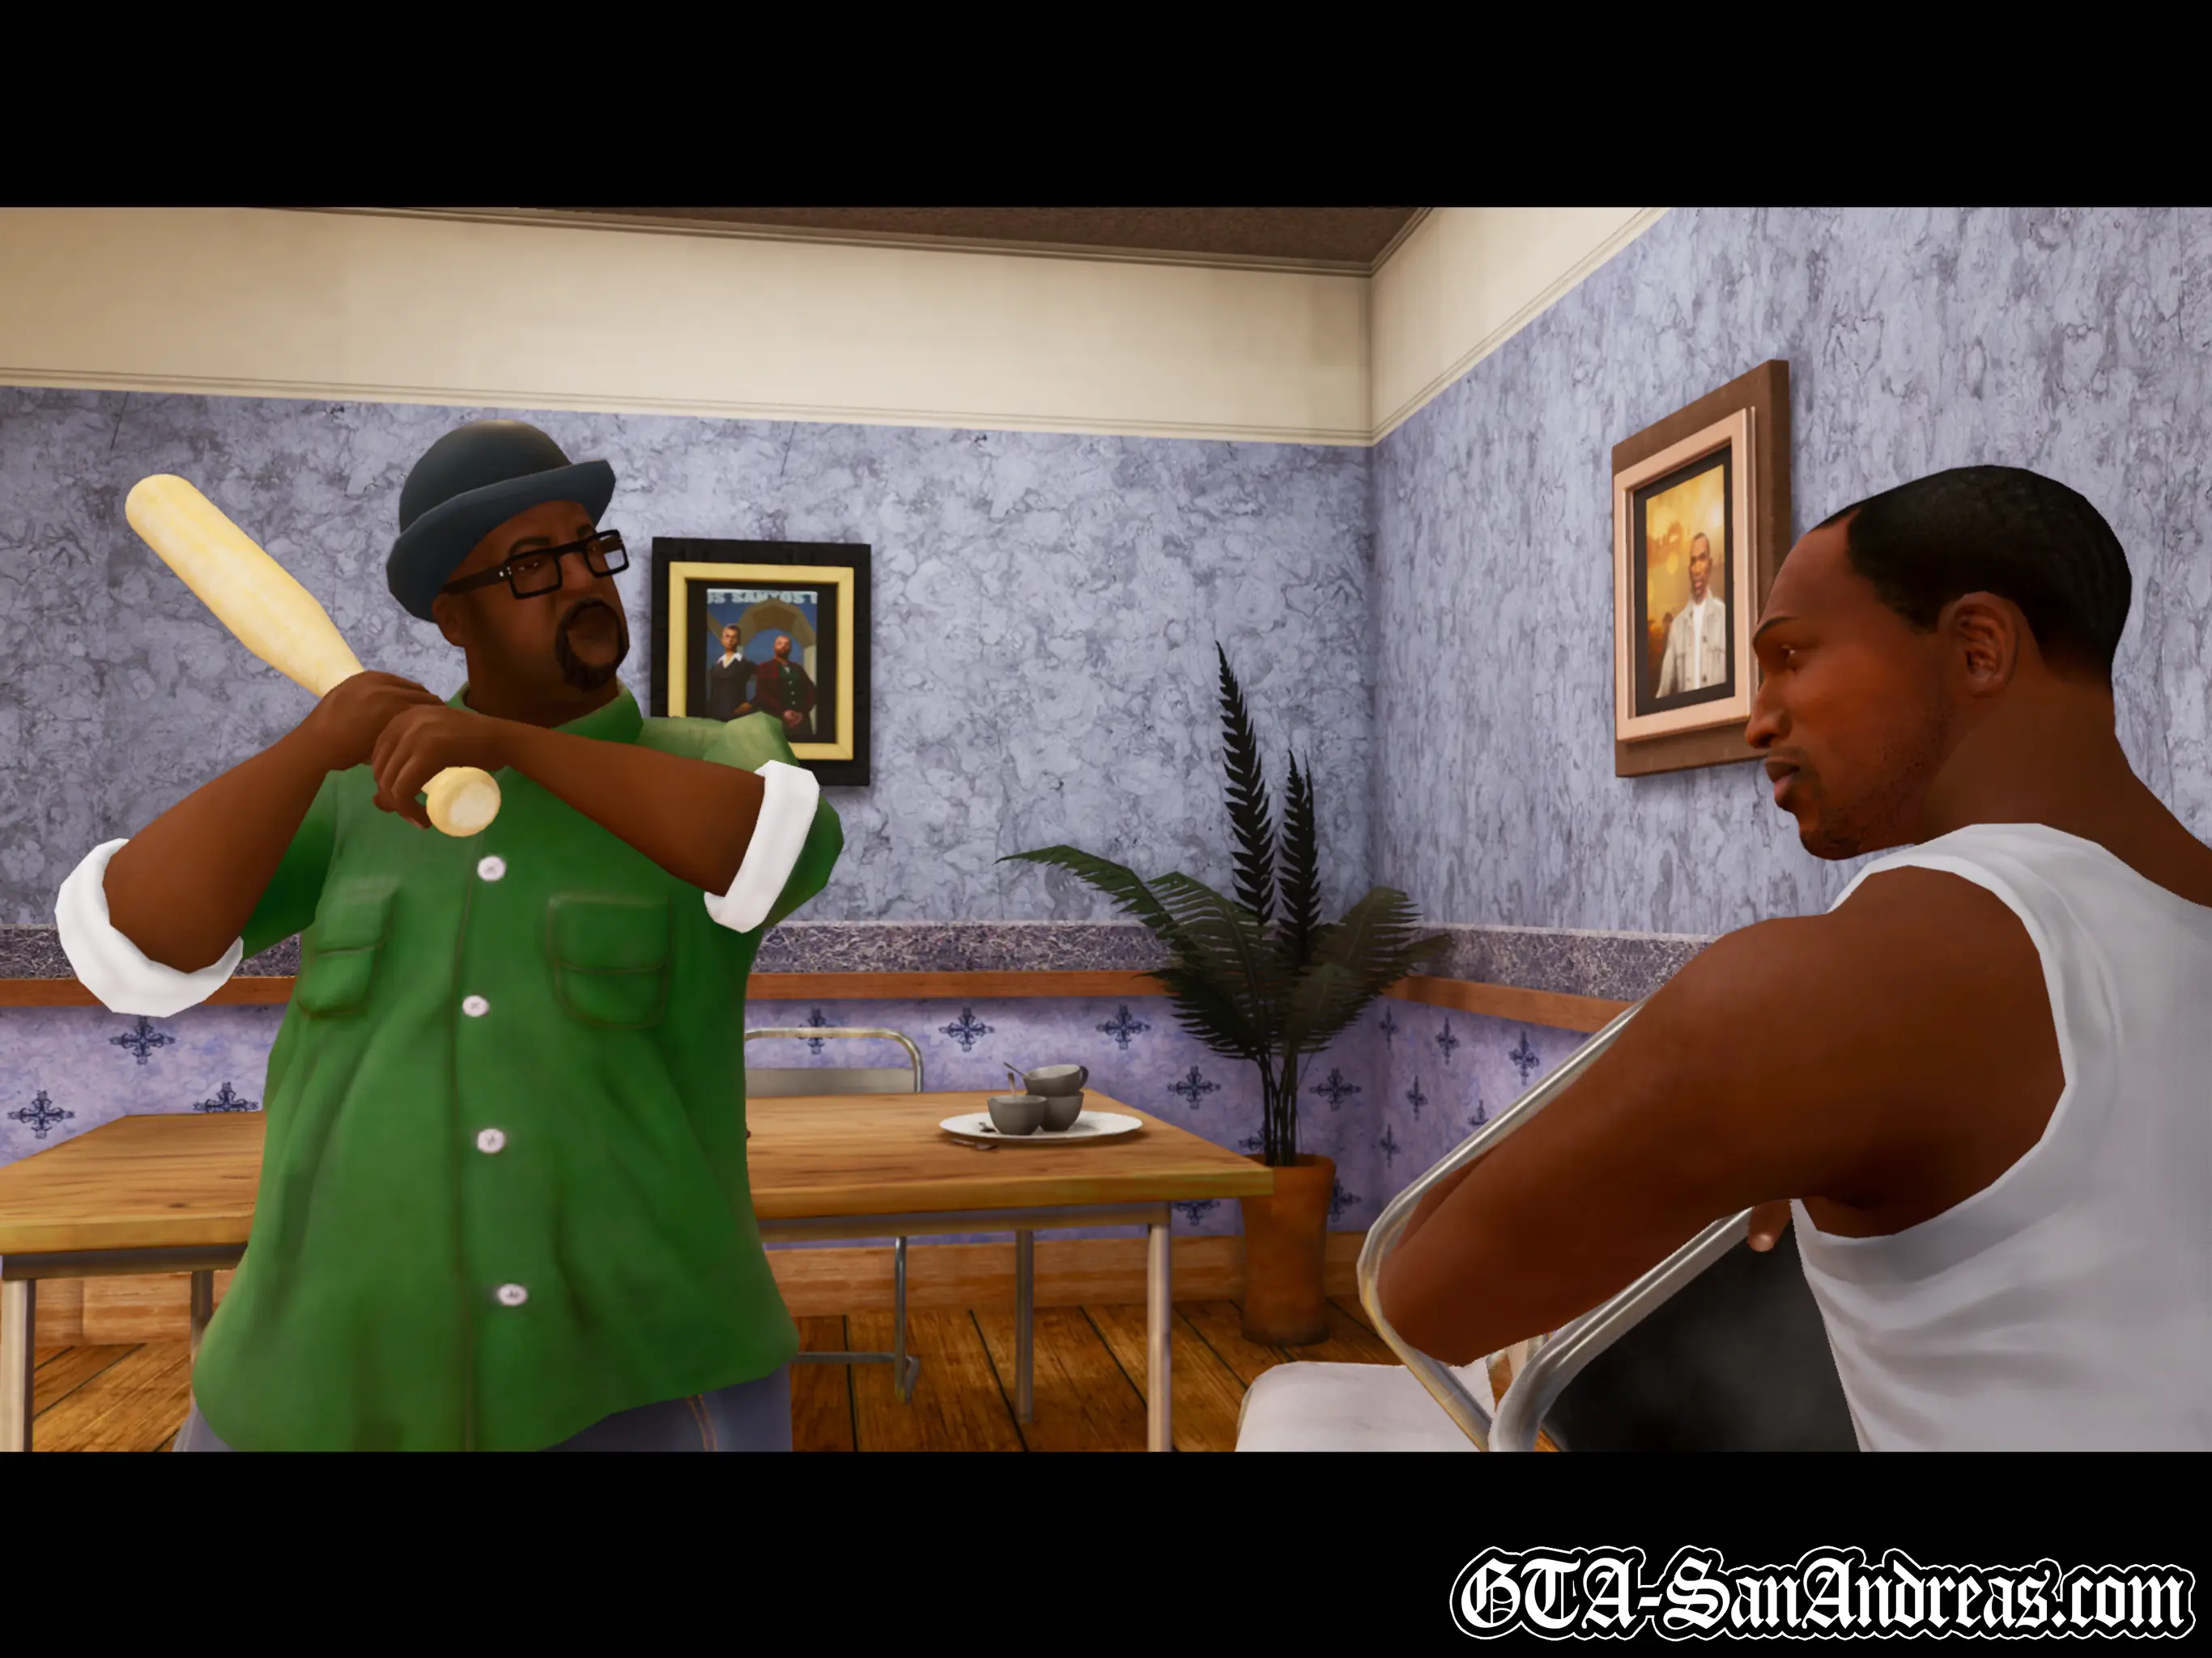
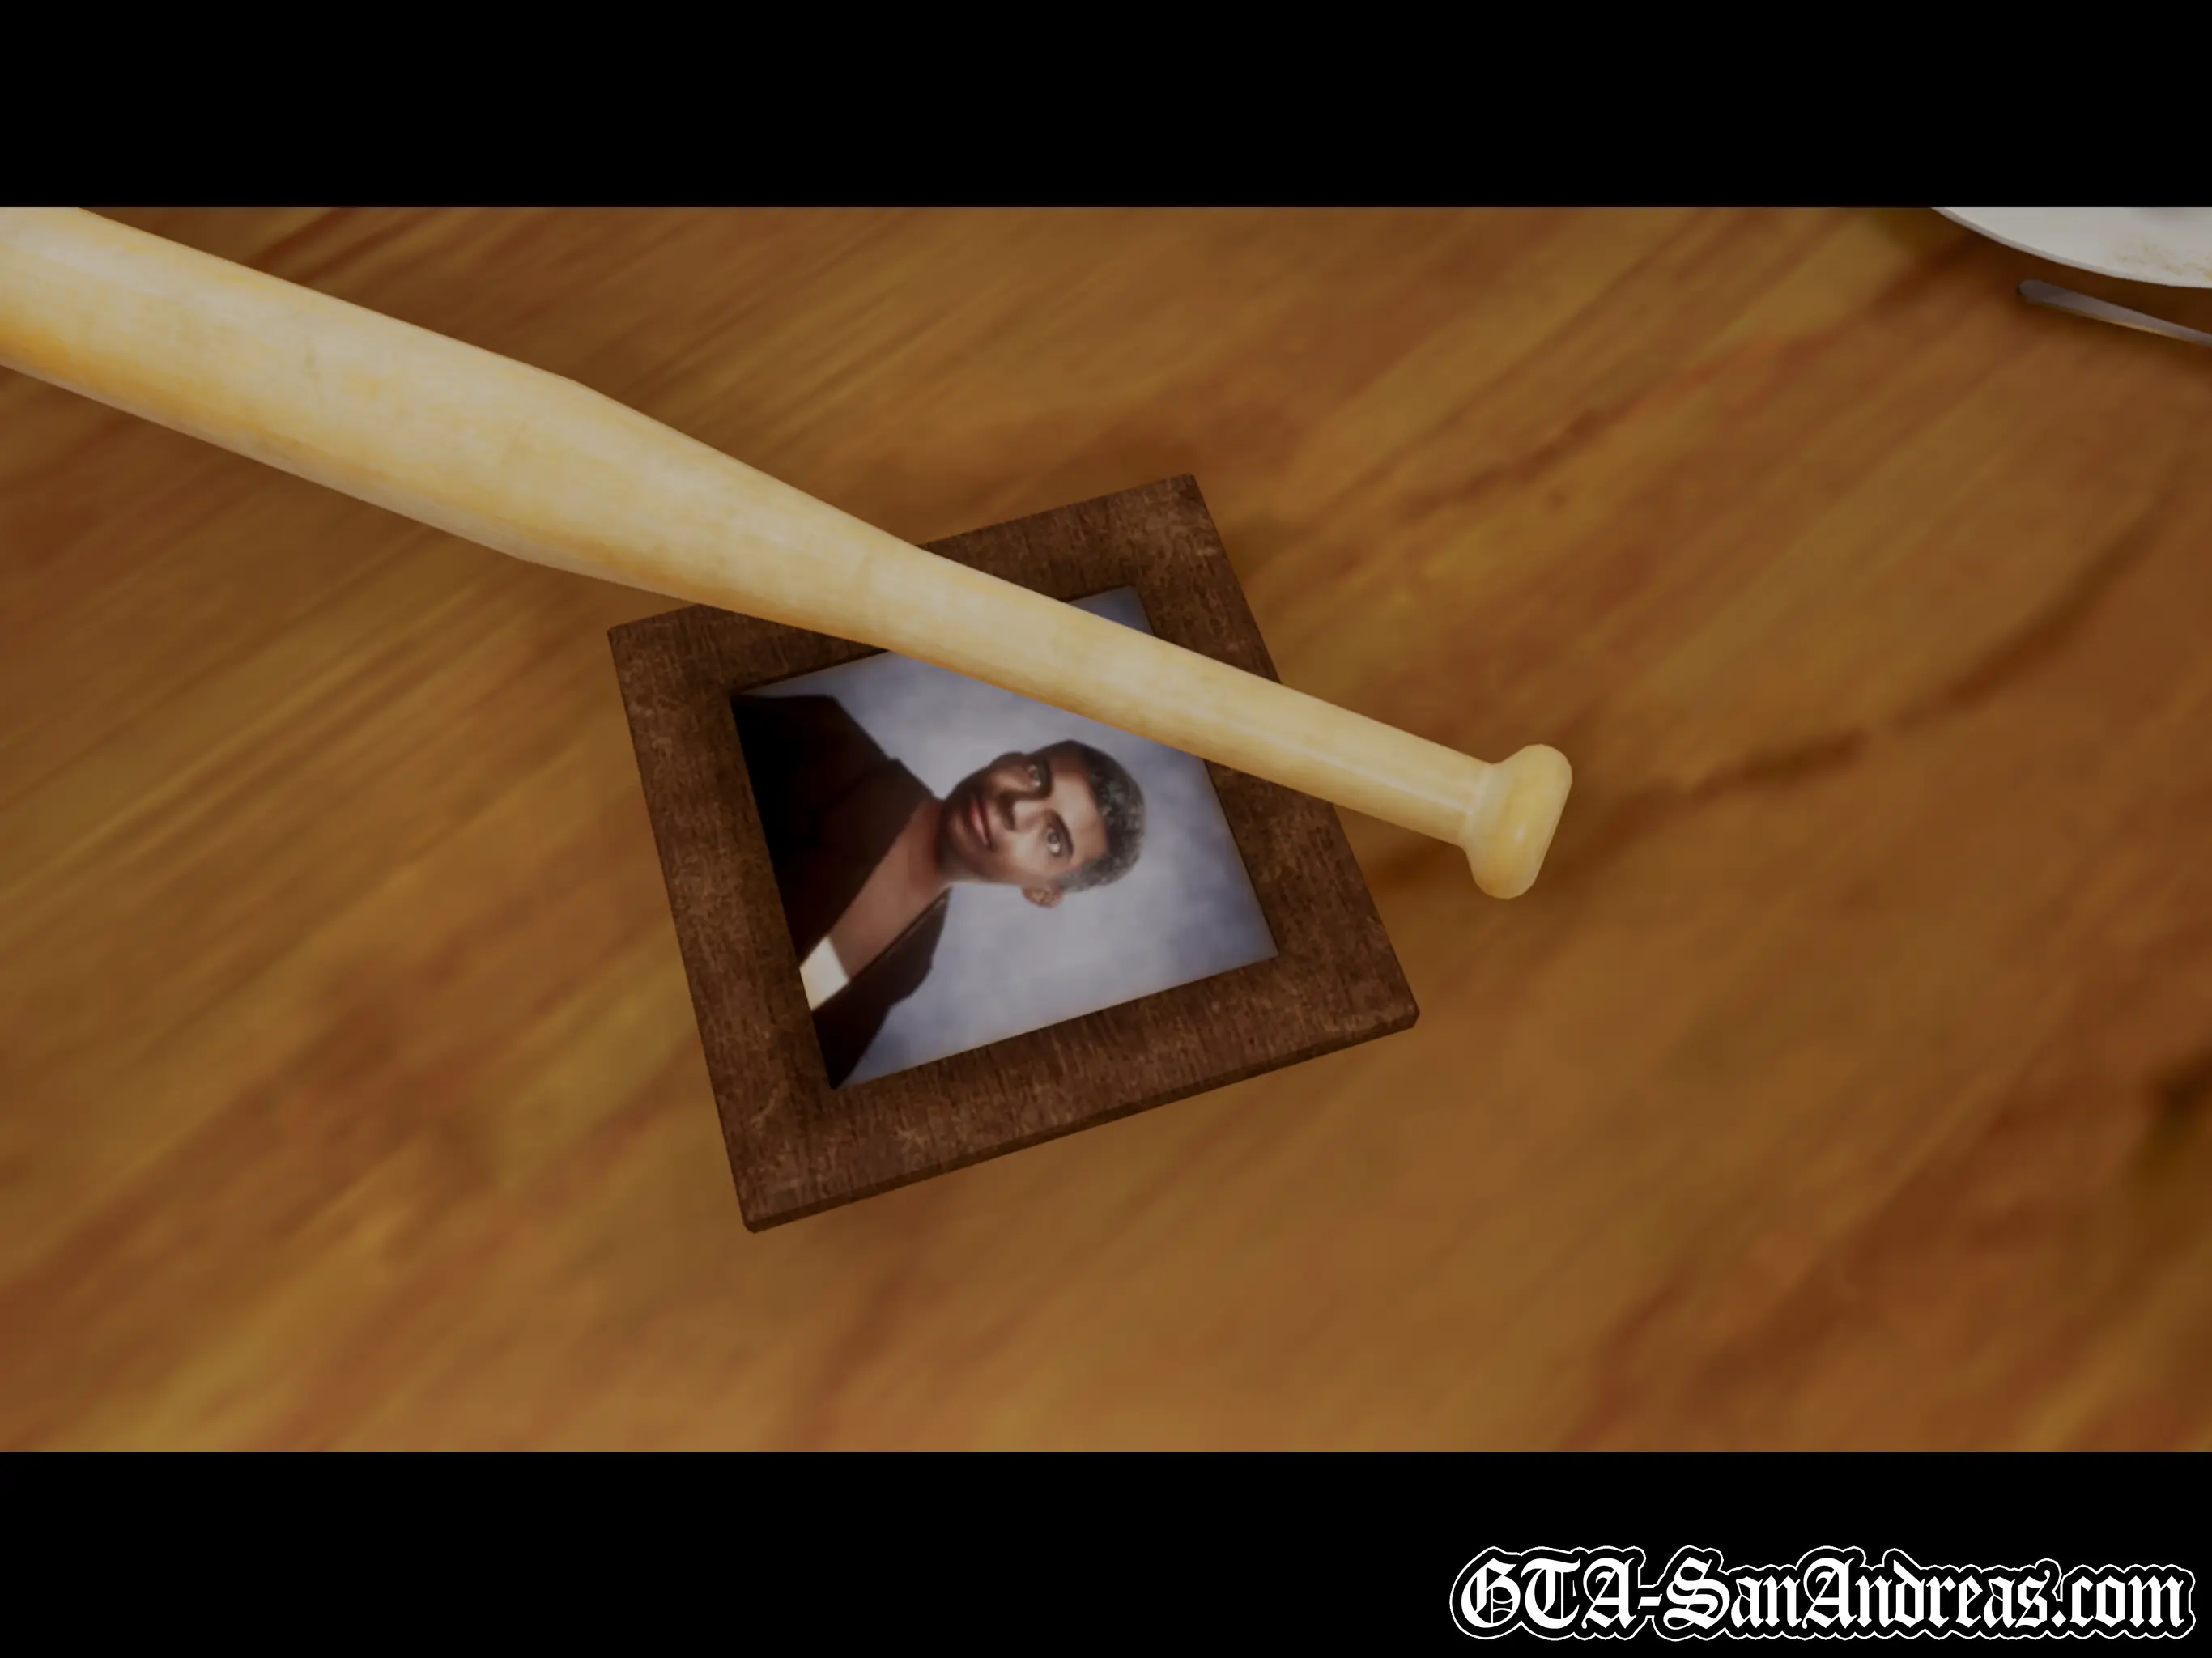
Carl enters the Johnson family house and begins to have flashbacks of when his mom was alive. After picking up and examining a photograph of her, he's rudely interrupted by Big Smoke who storms into the room with a baseball bat thinking CJ is an intruder.
After a brief reunion, Carl and Smoke head outside, climb into Smoke's car, and set off to his mom's funeral.
Screenshots
Sweet & Kendl
Cutscene
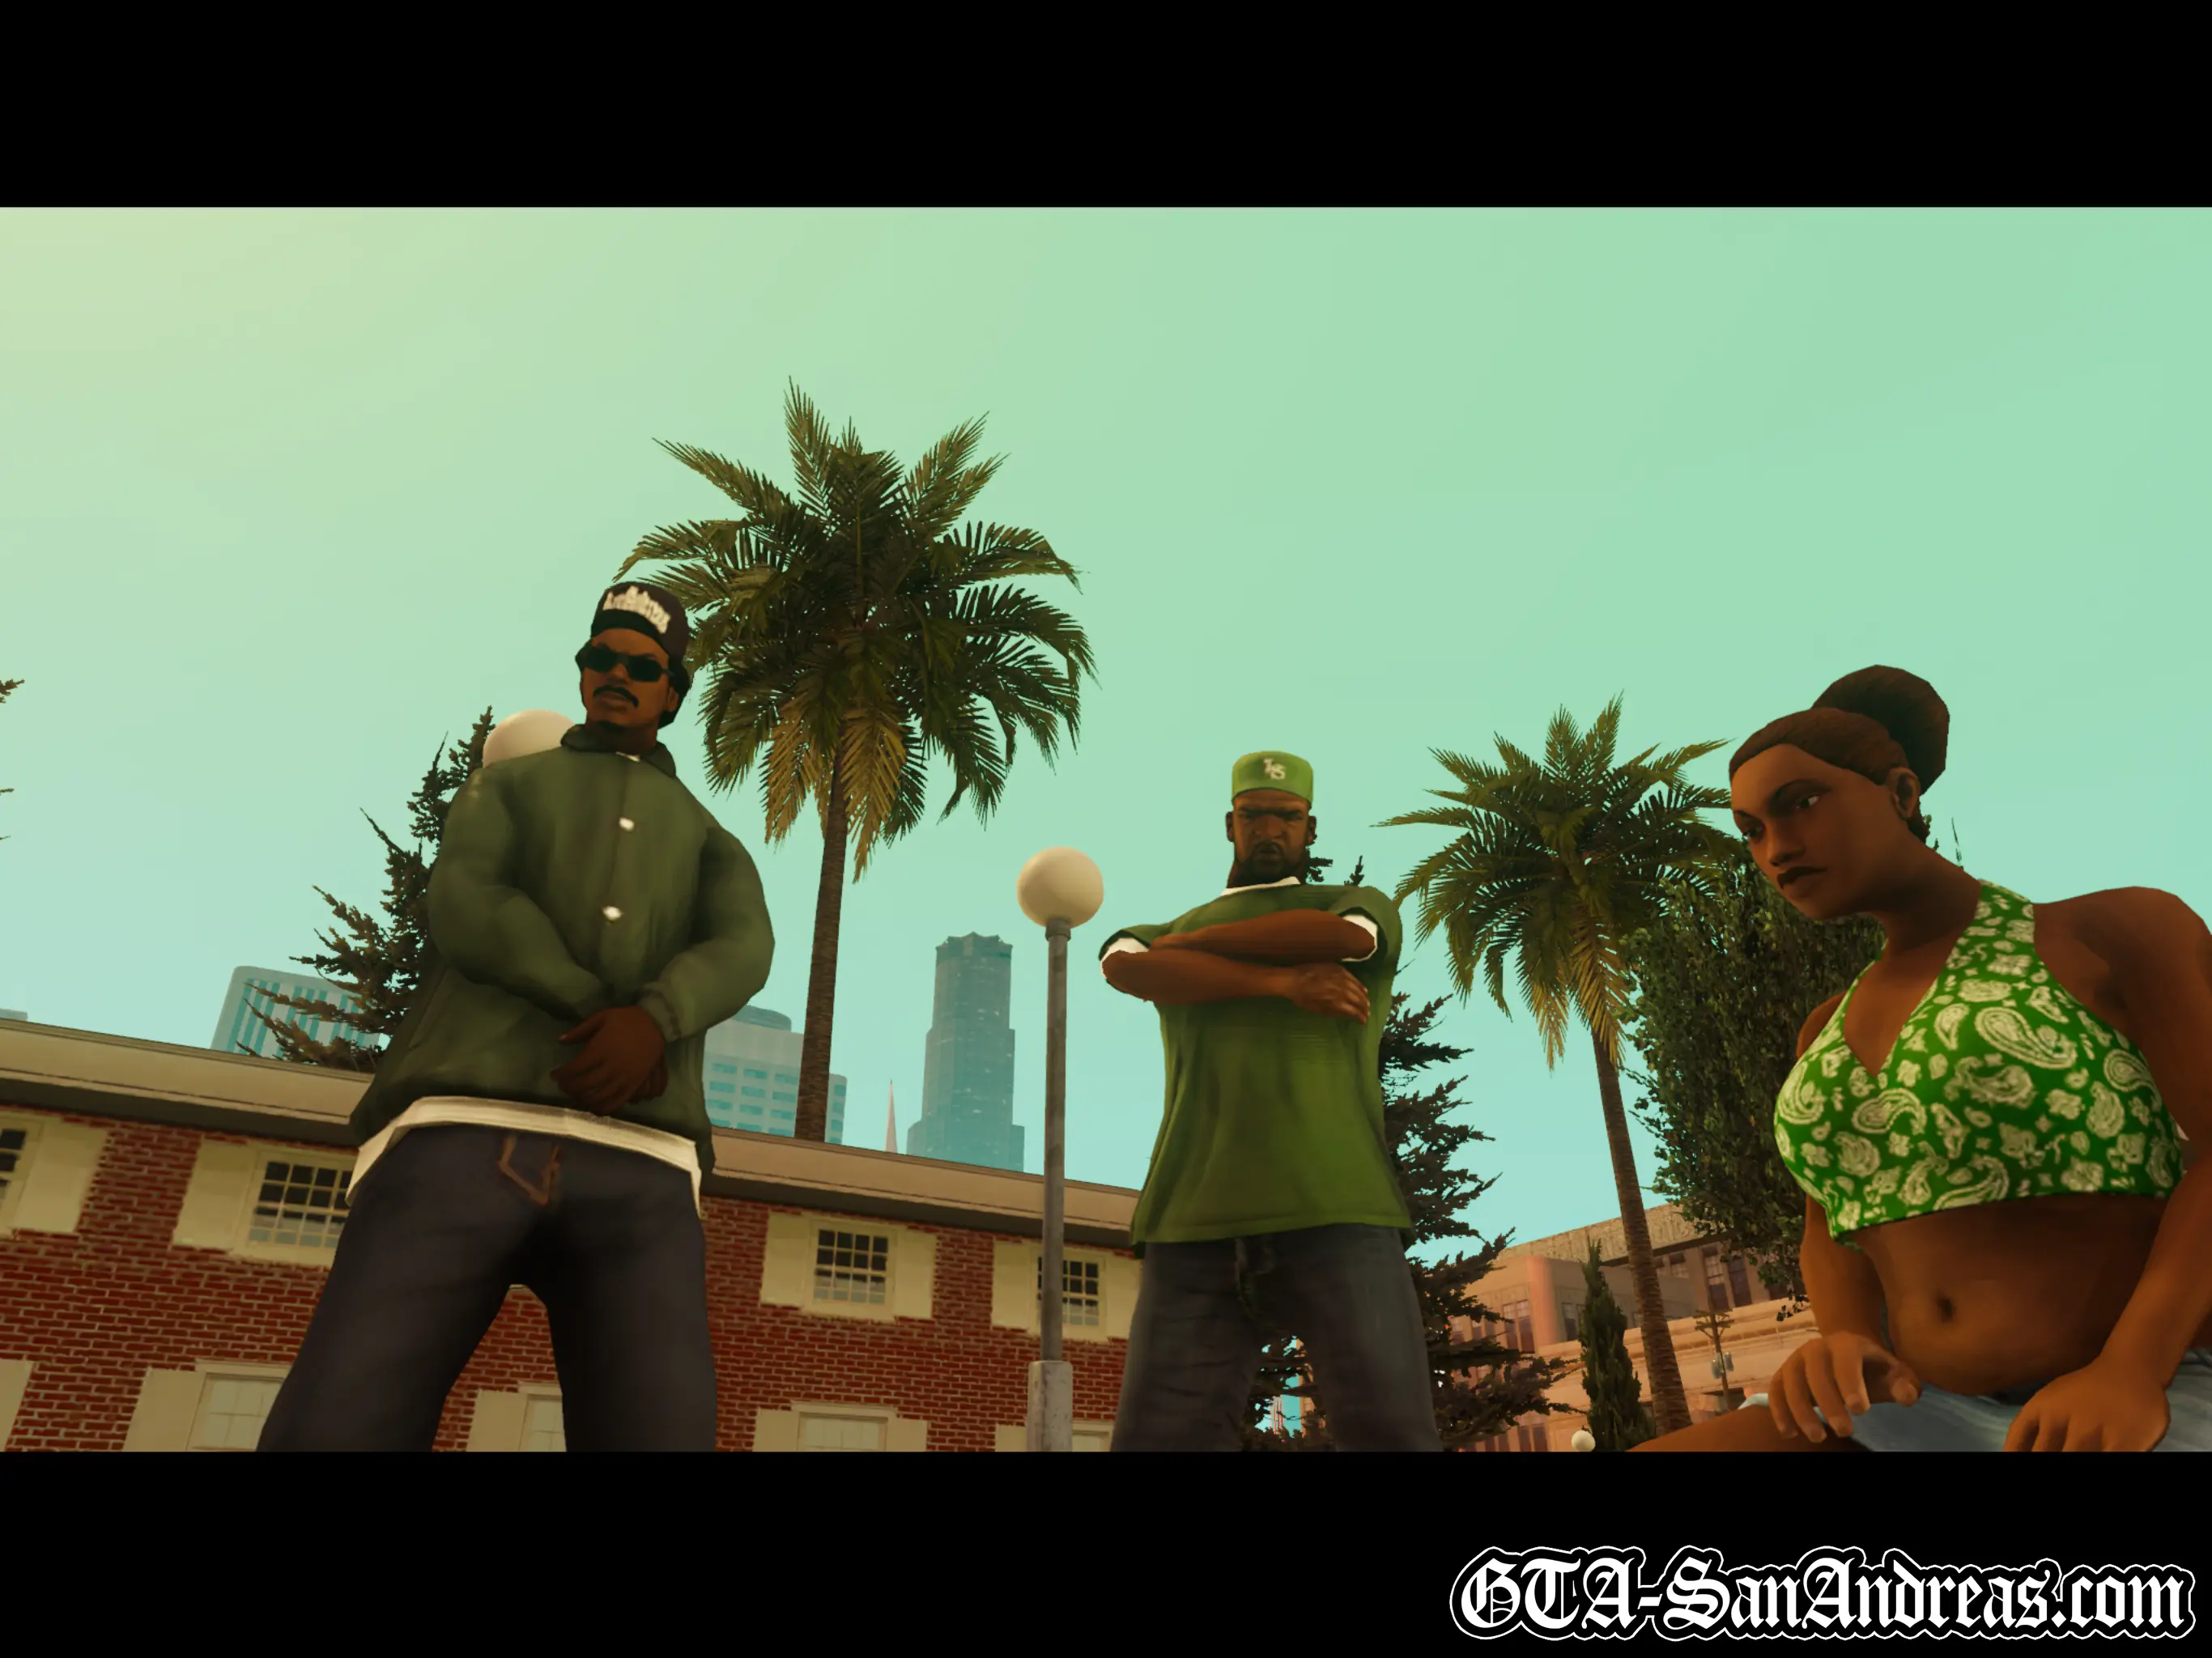
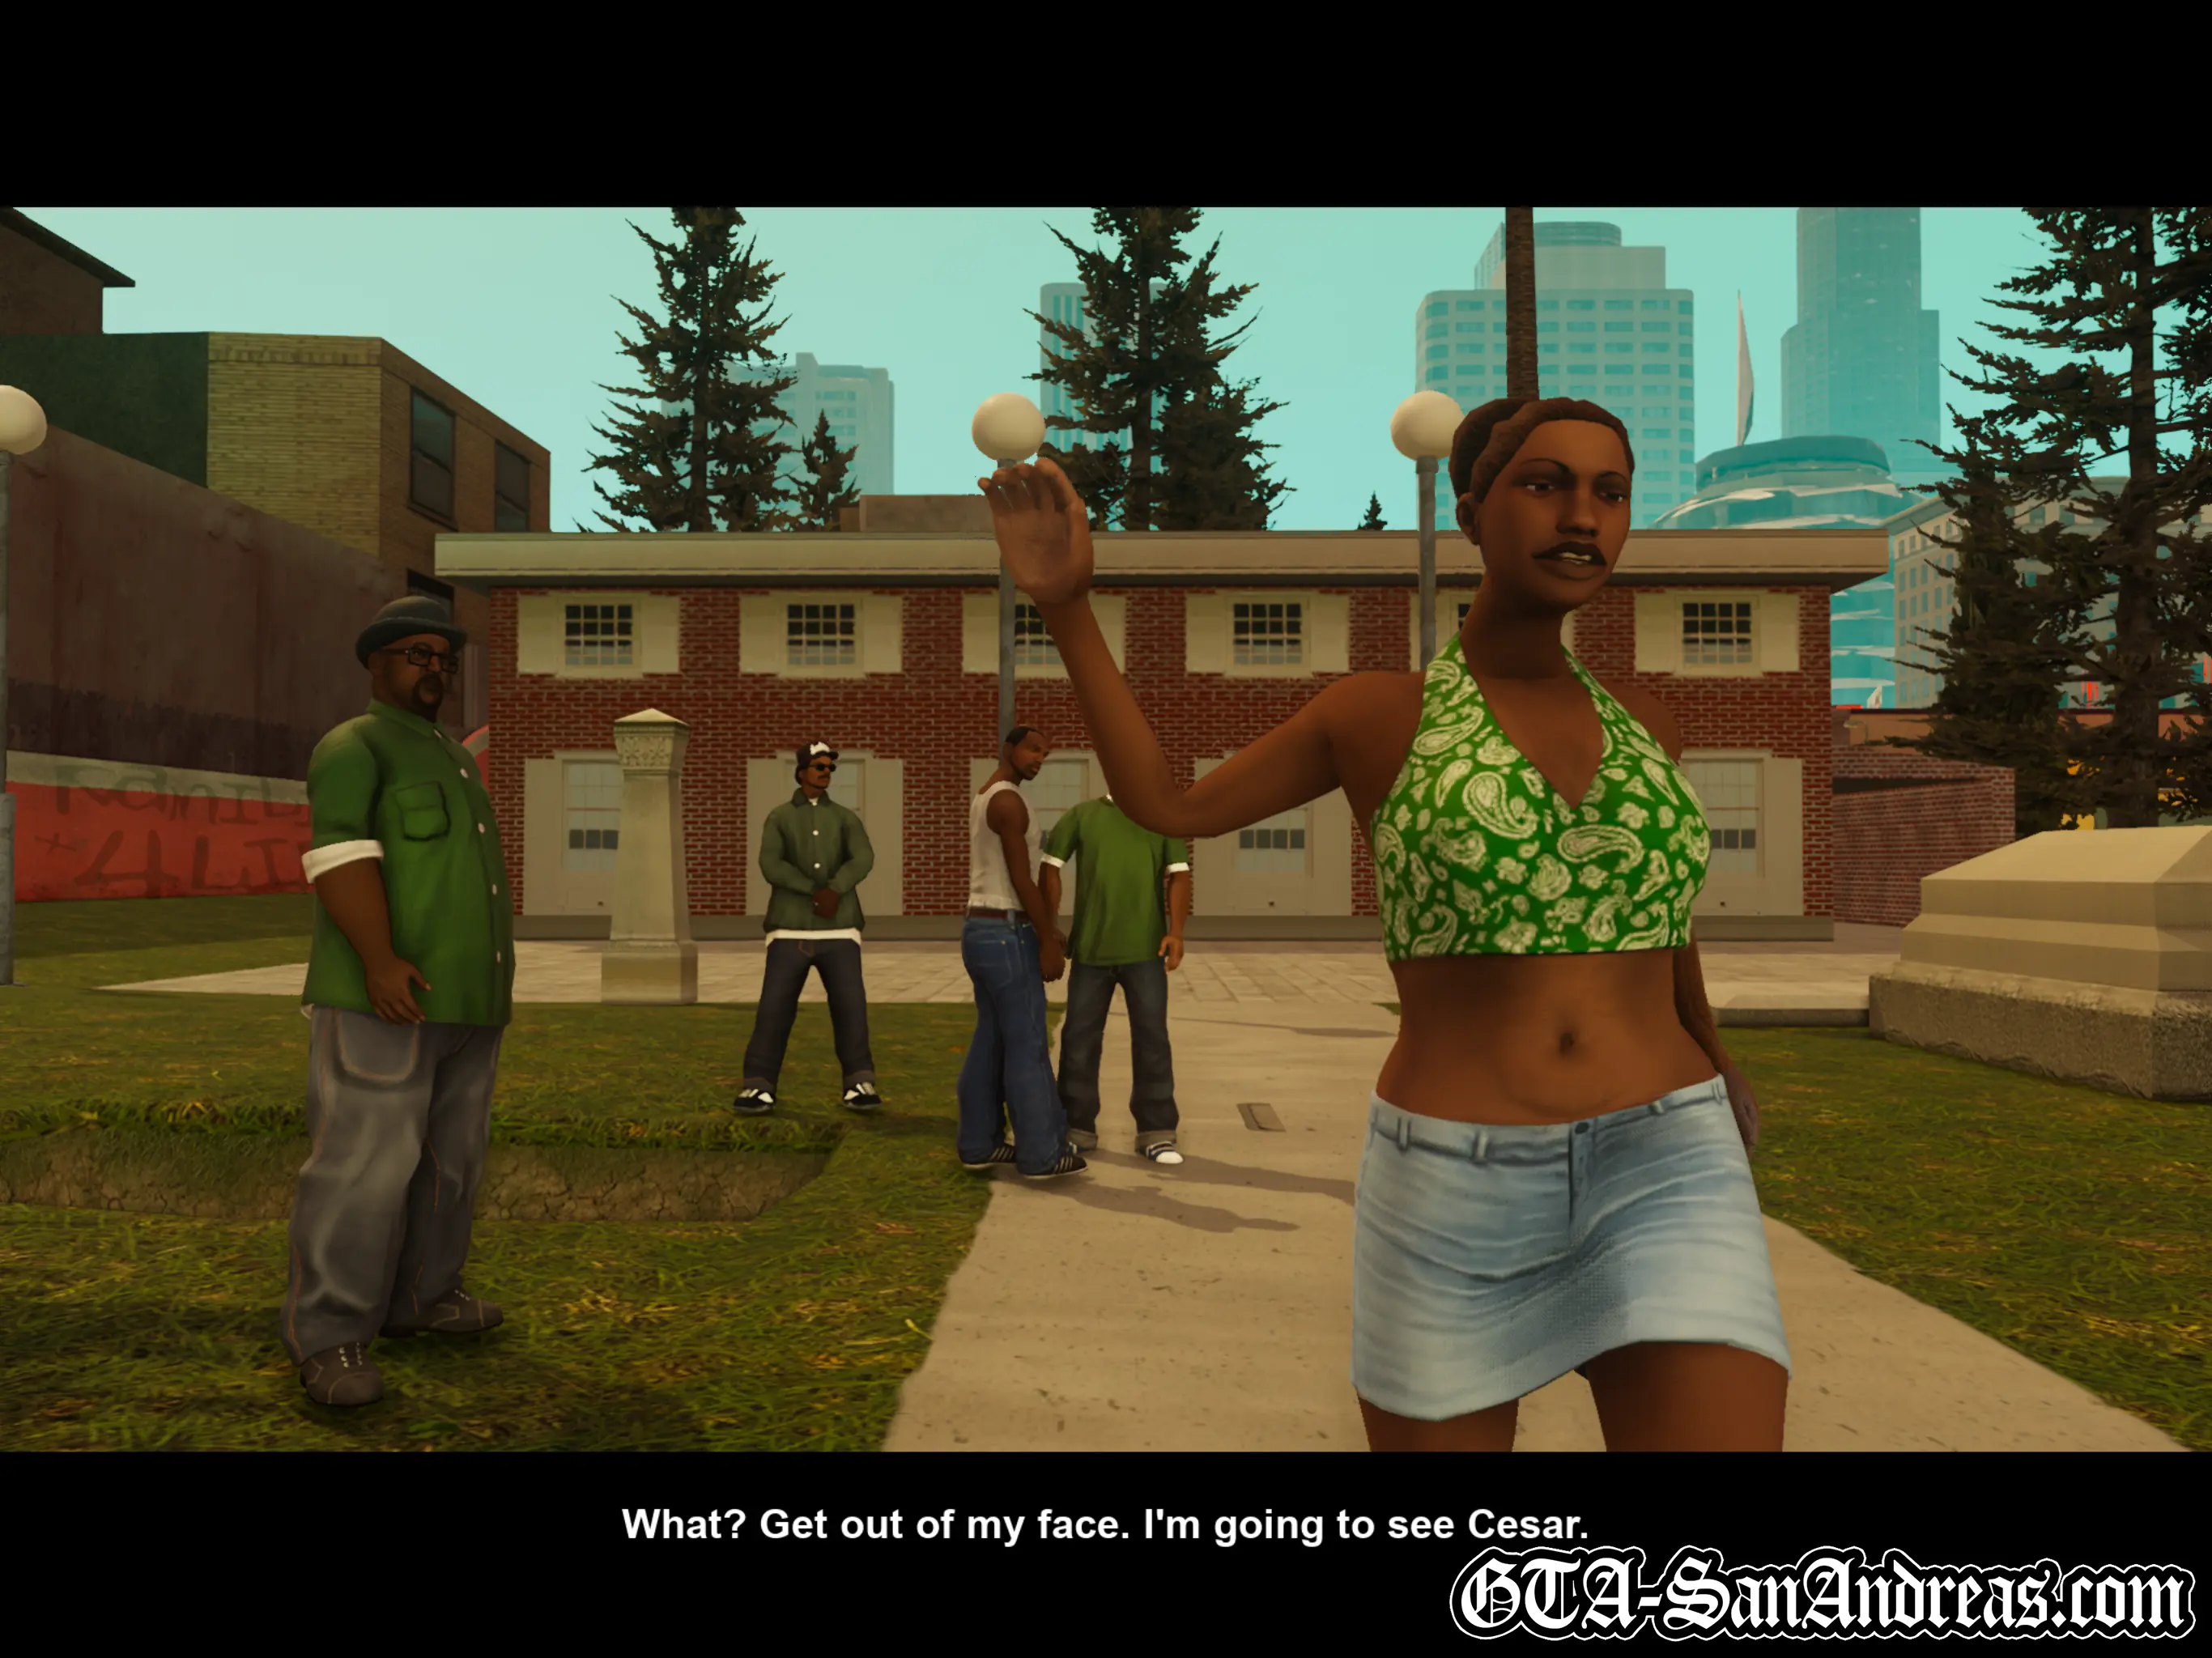
At the cemetery, Carl is reunited with his sister Kendl and brother Sweet. It doesn't take long before a family argument breaks out and Kendl leaves the boys to go see her love interest, Cesar.
Sweet explains to Carl that everything is fucked up. Not only is his momma dead, but numerous members of the Grove Street Families are also buried in the cemetery.
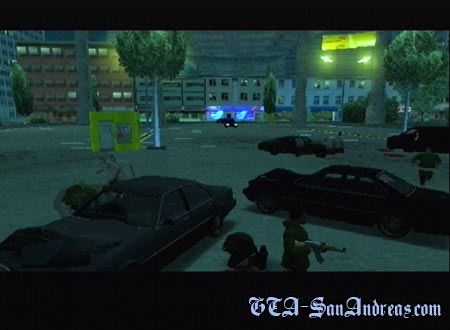
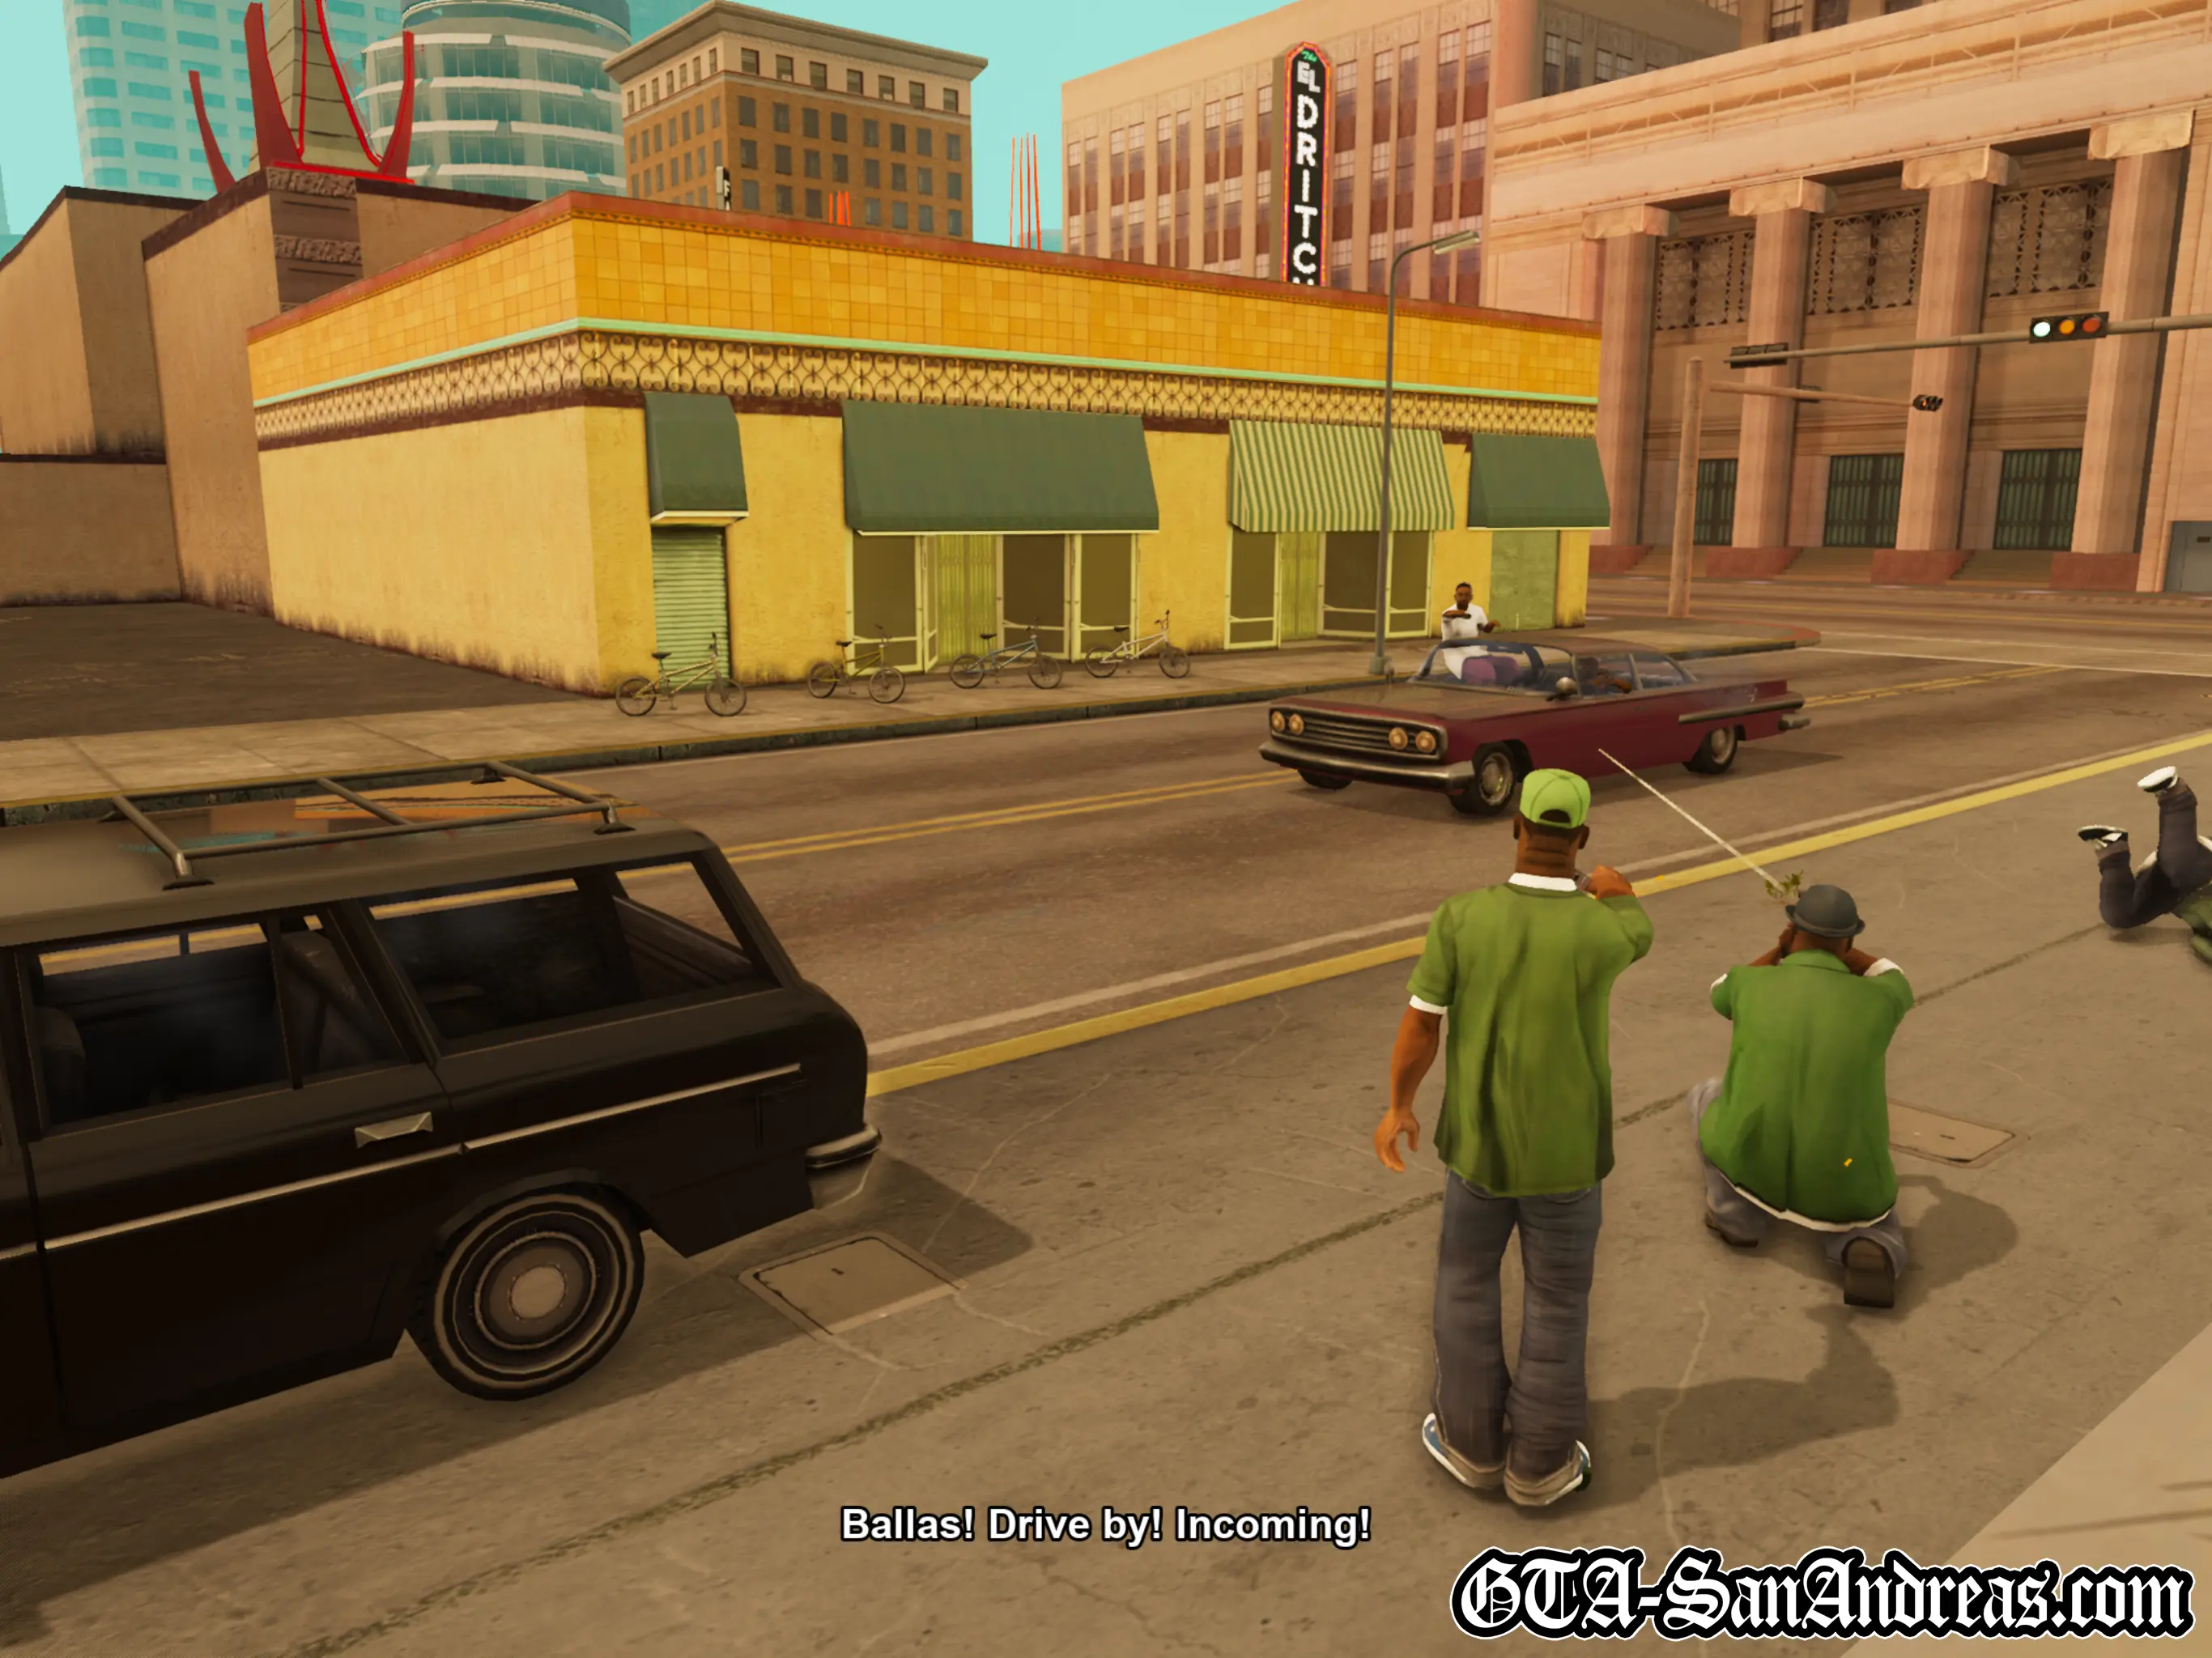
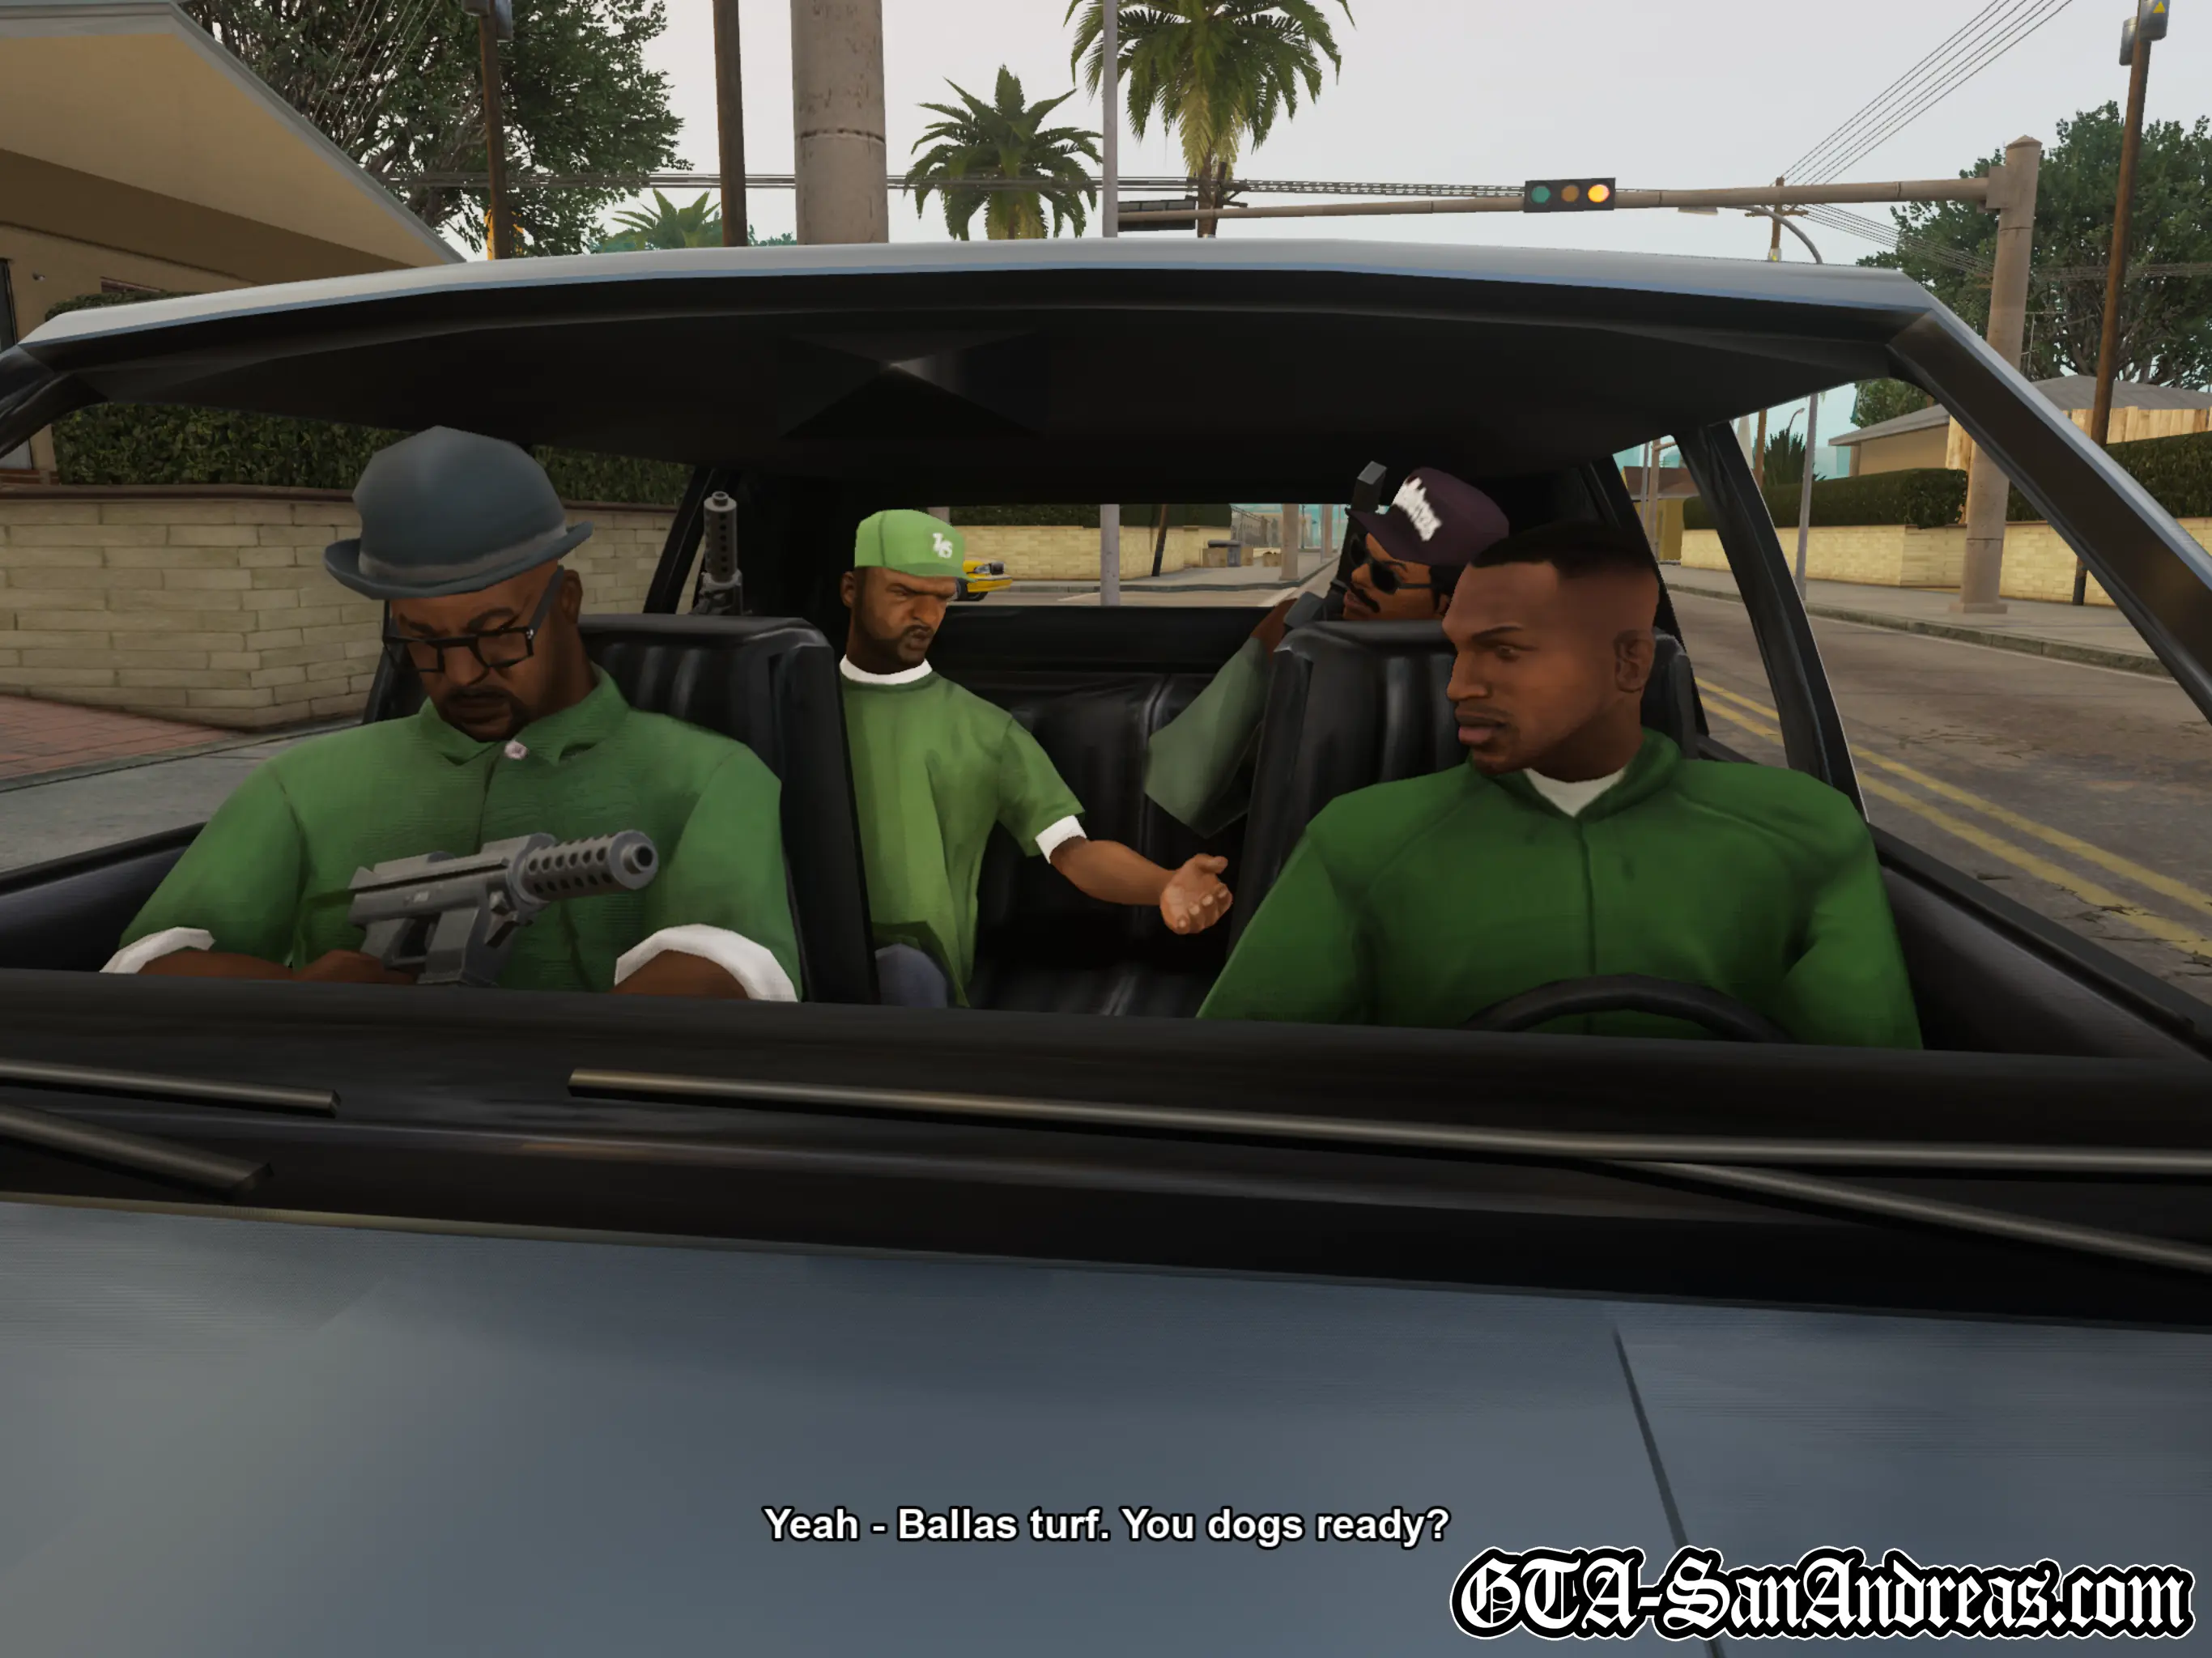
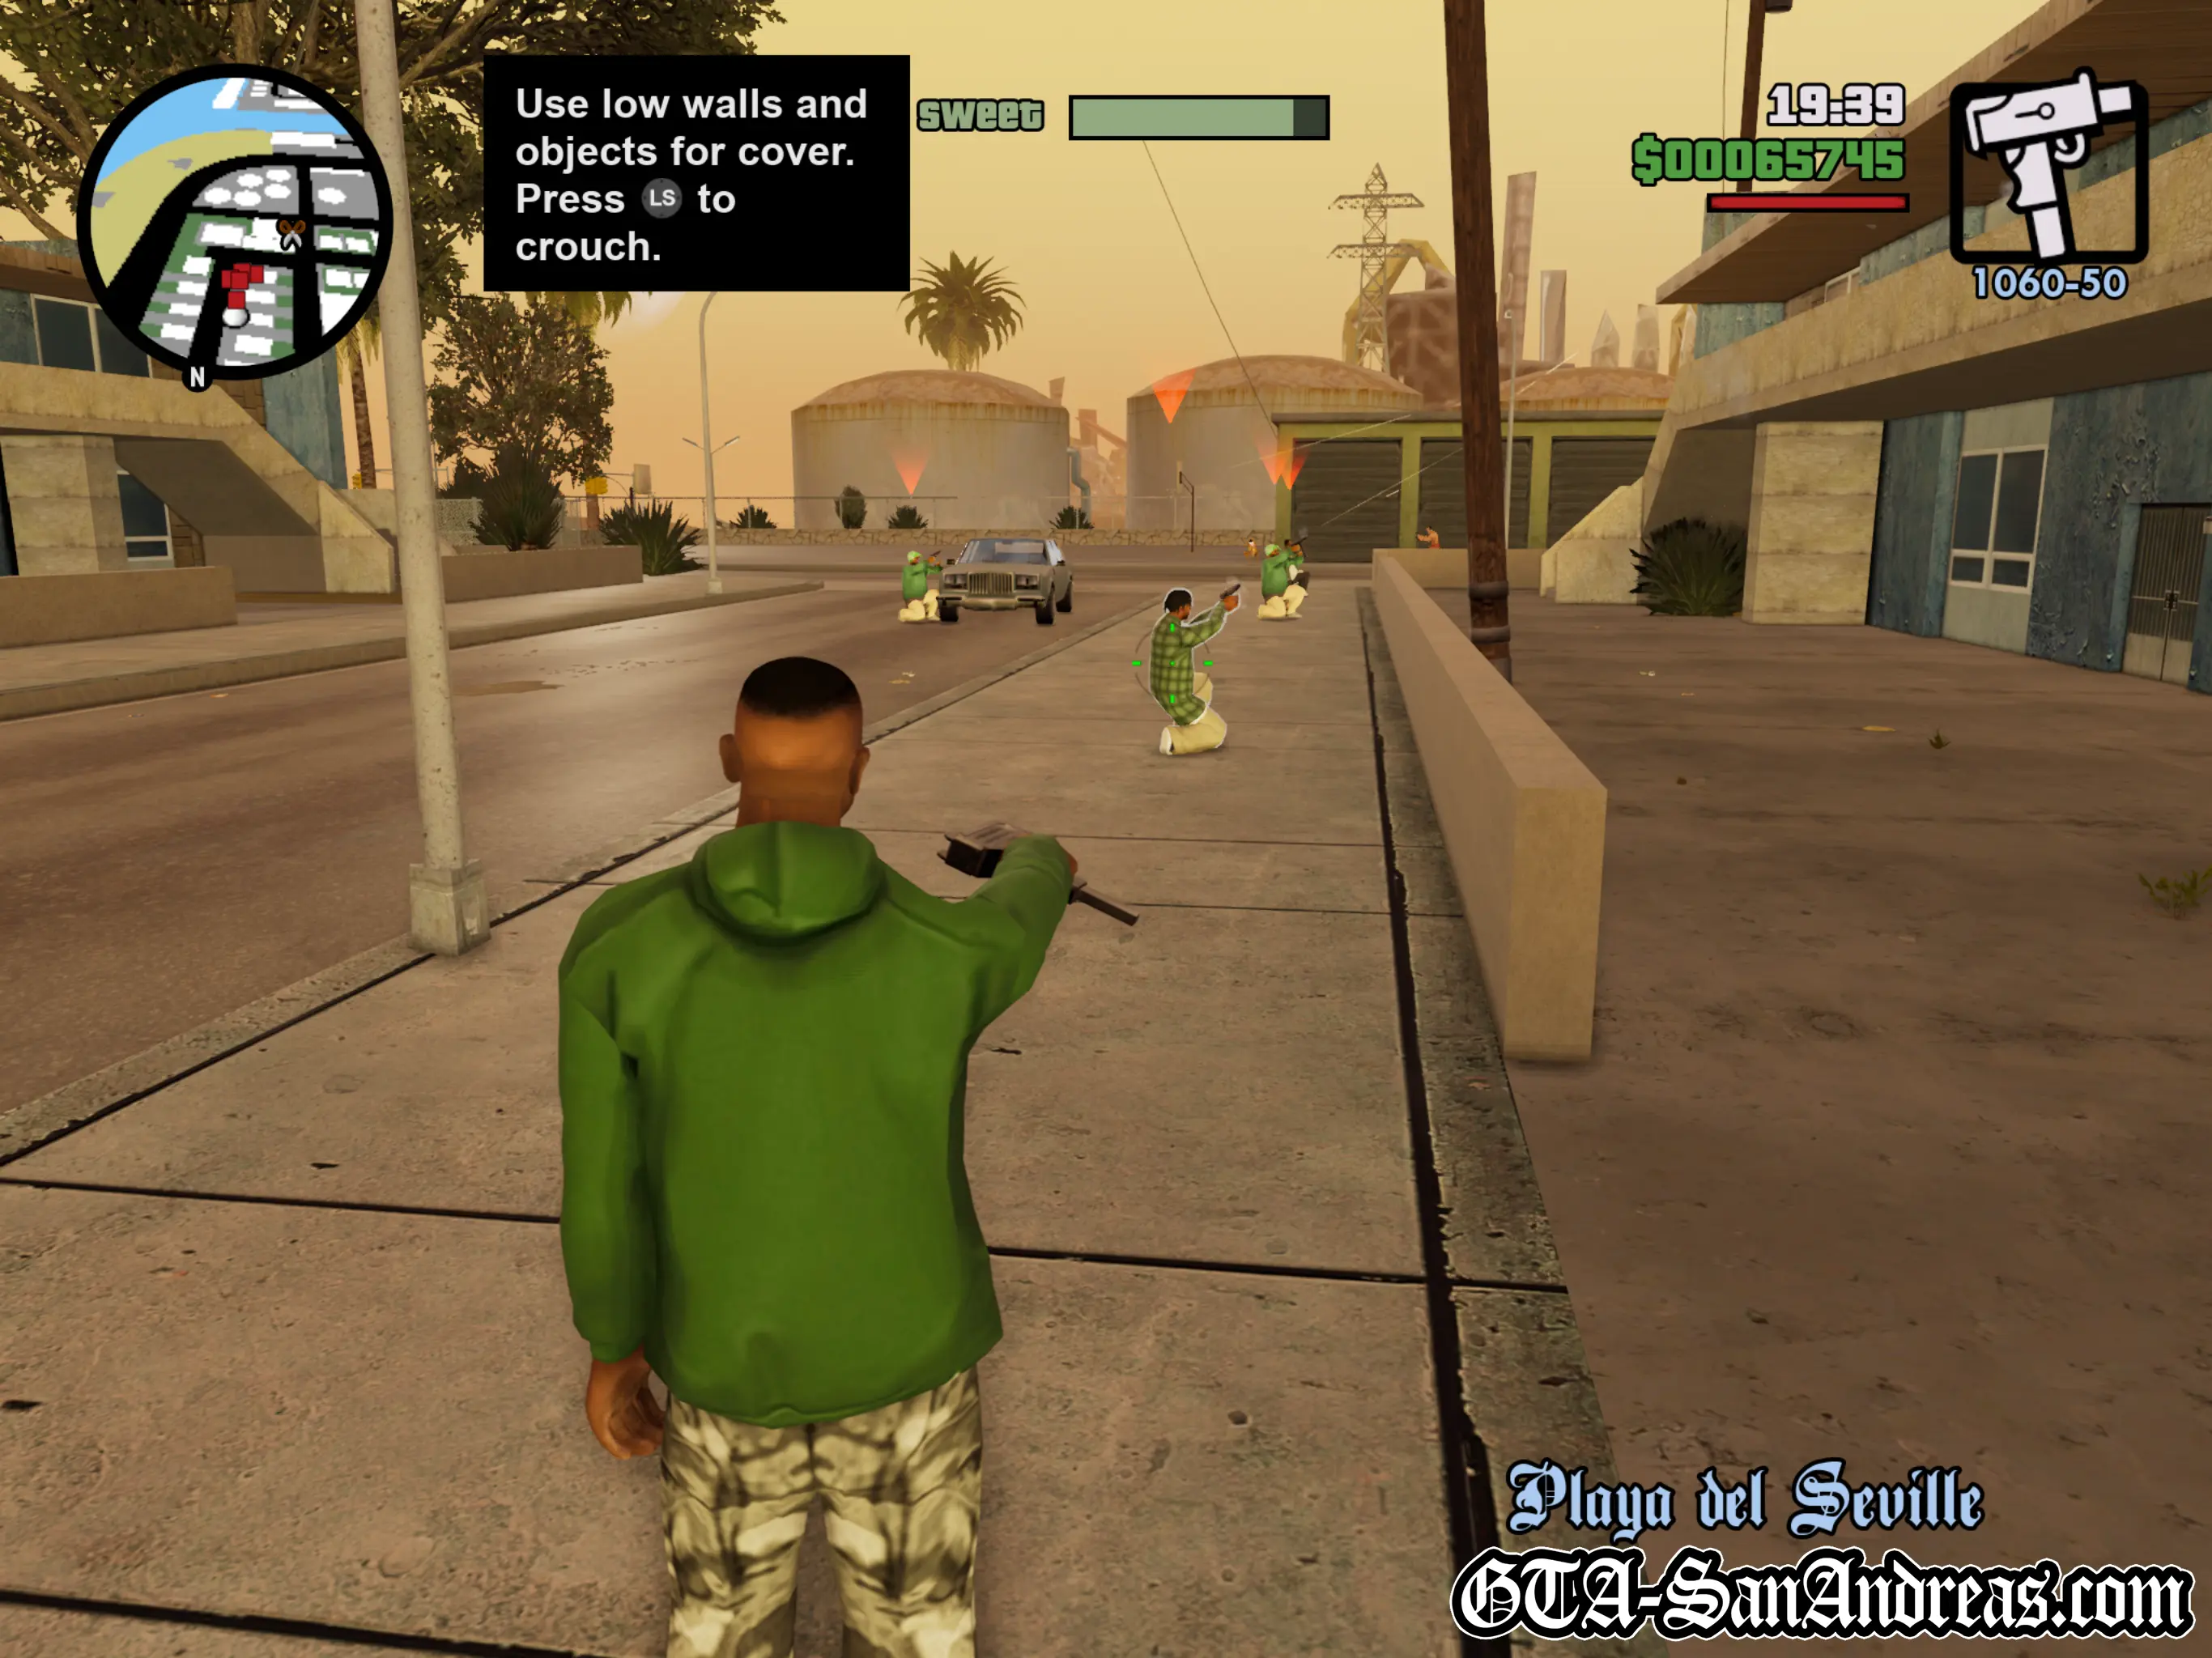
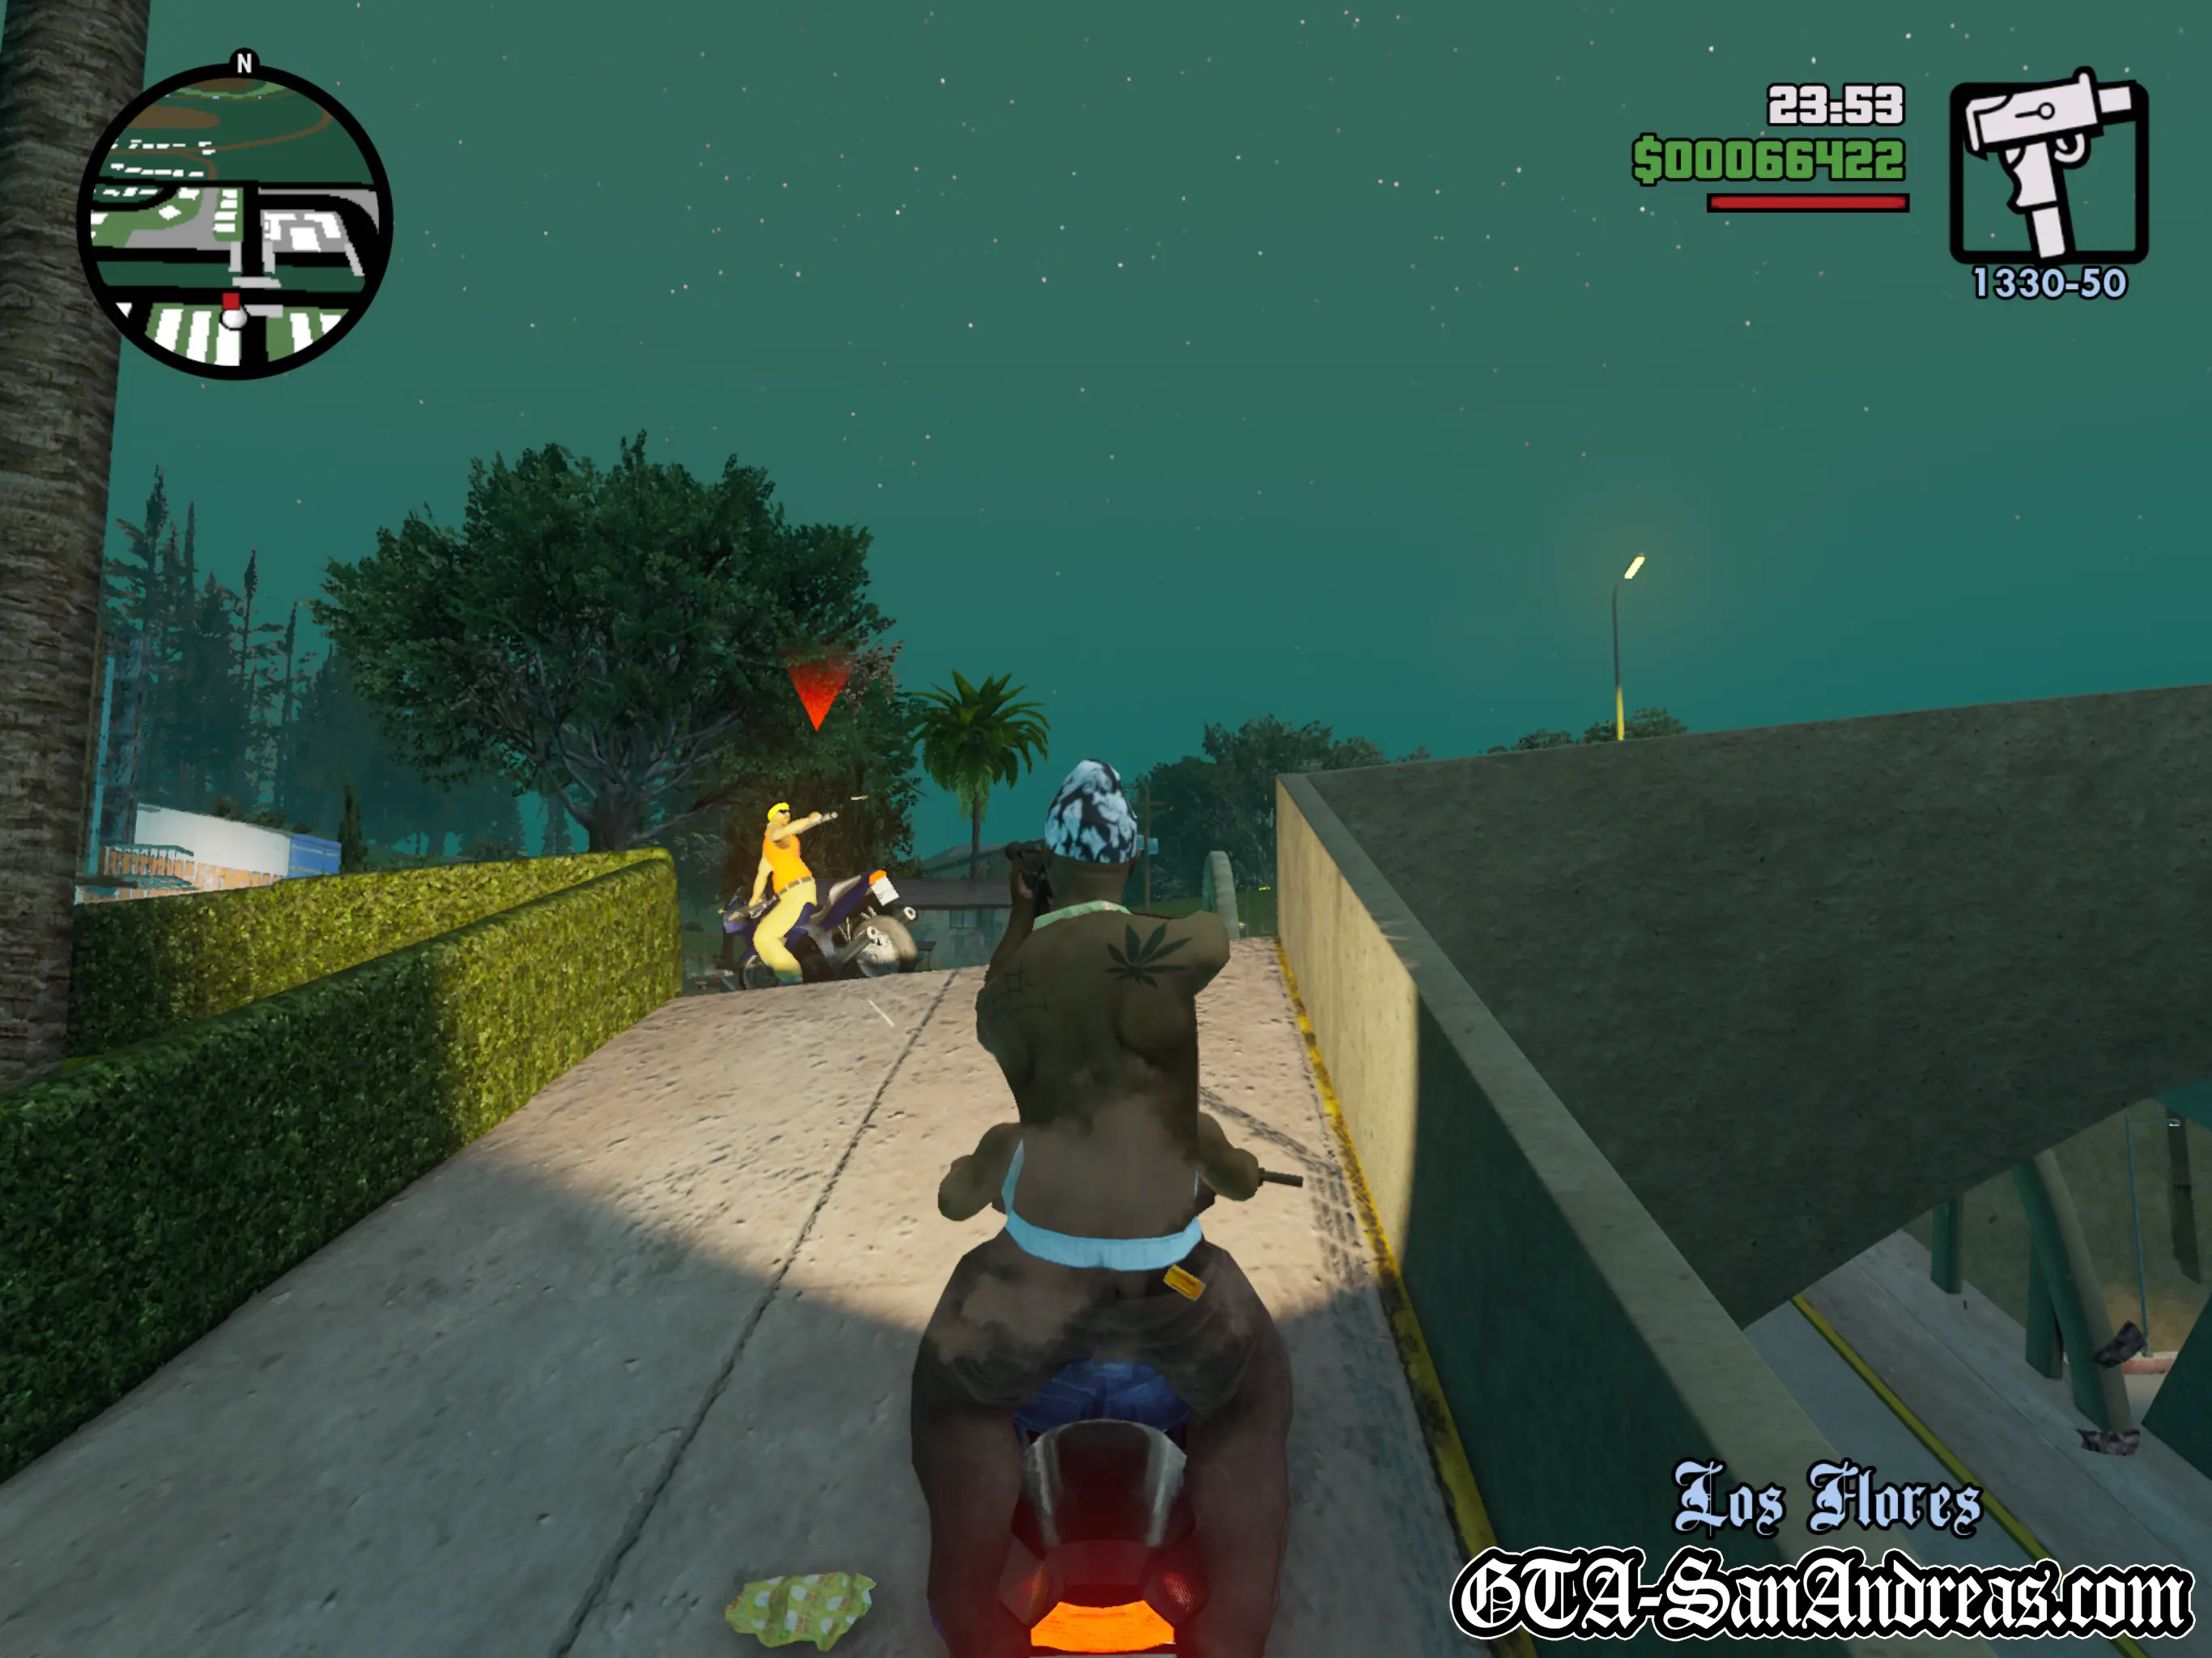
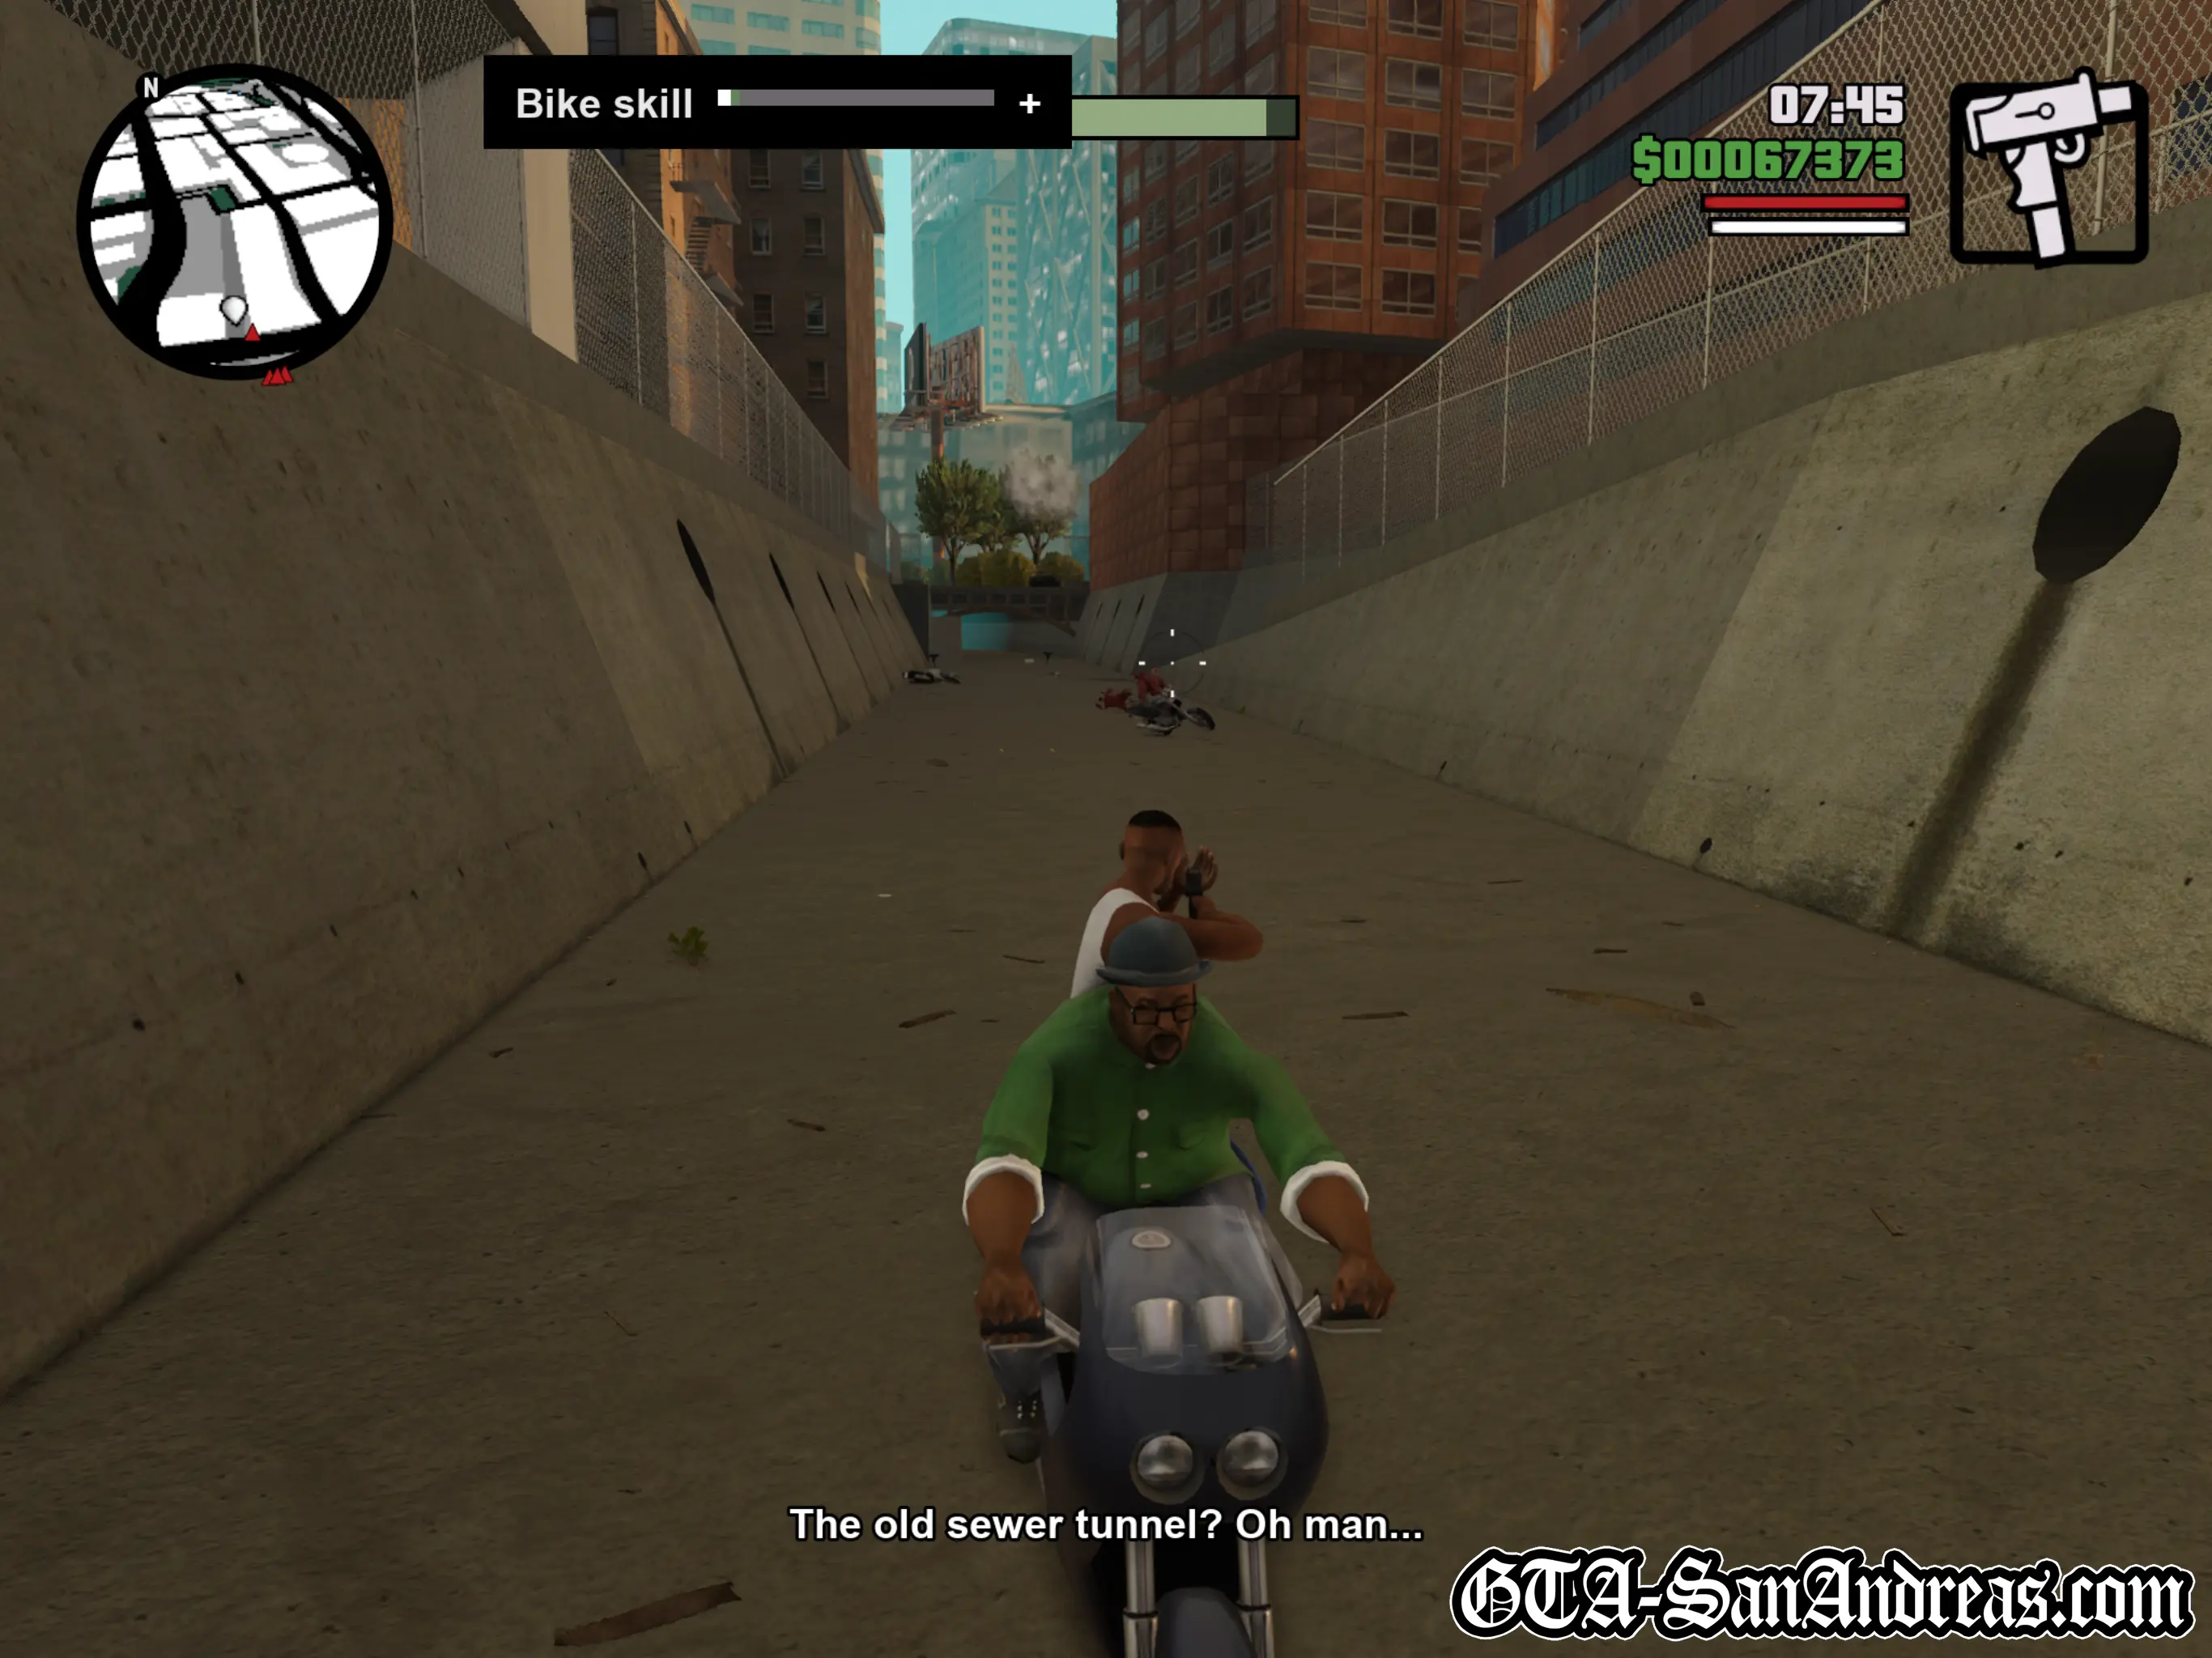
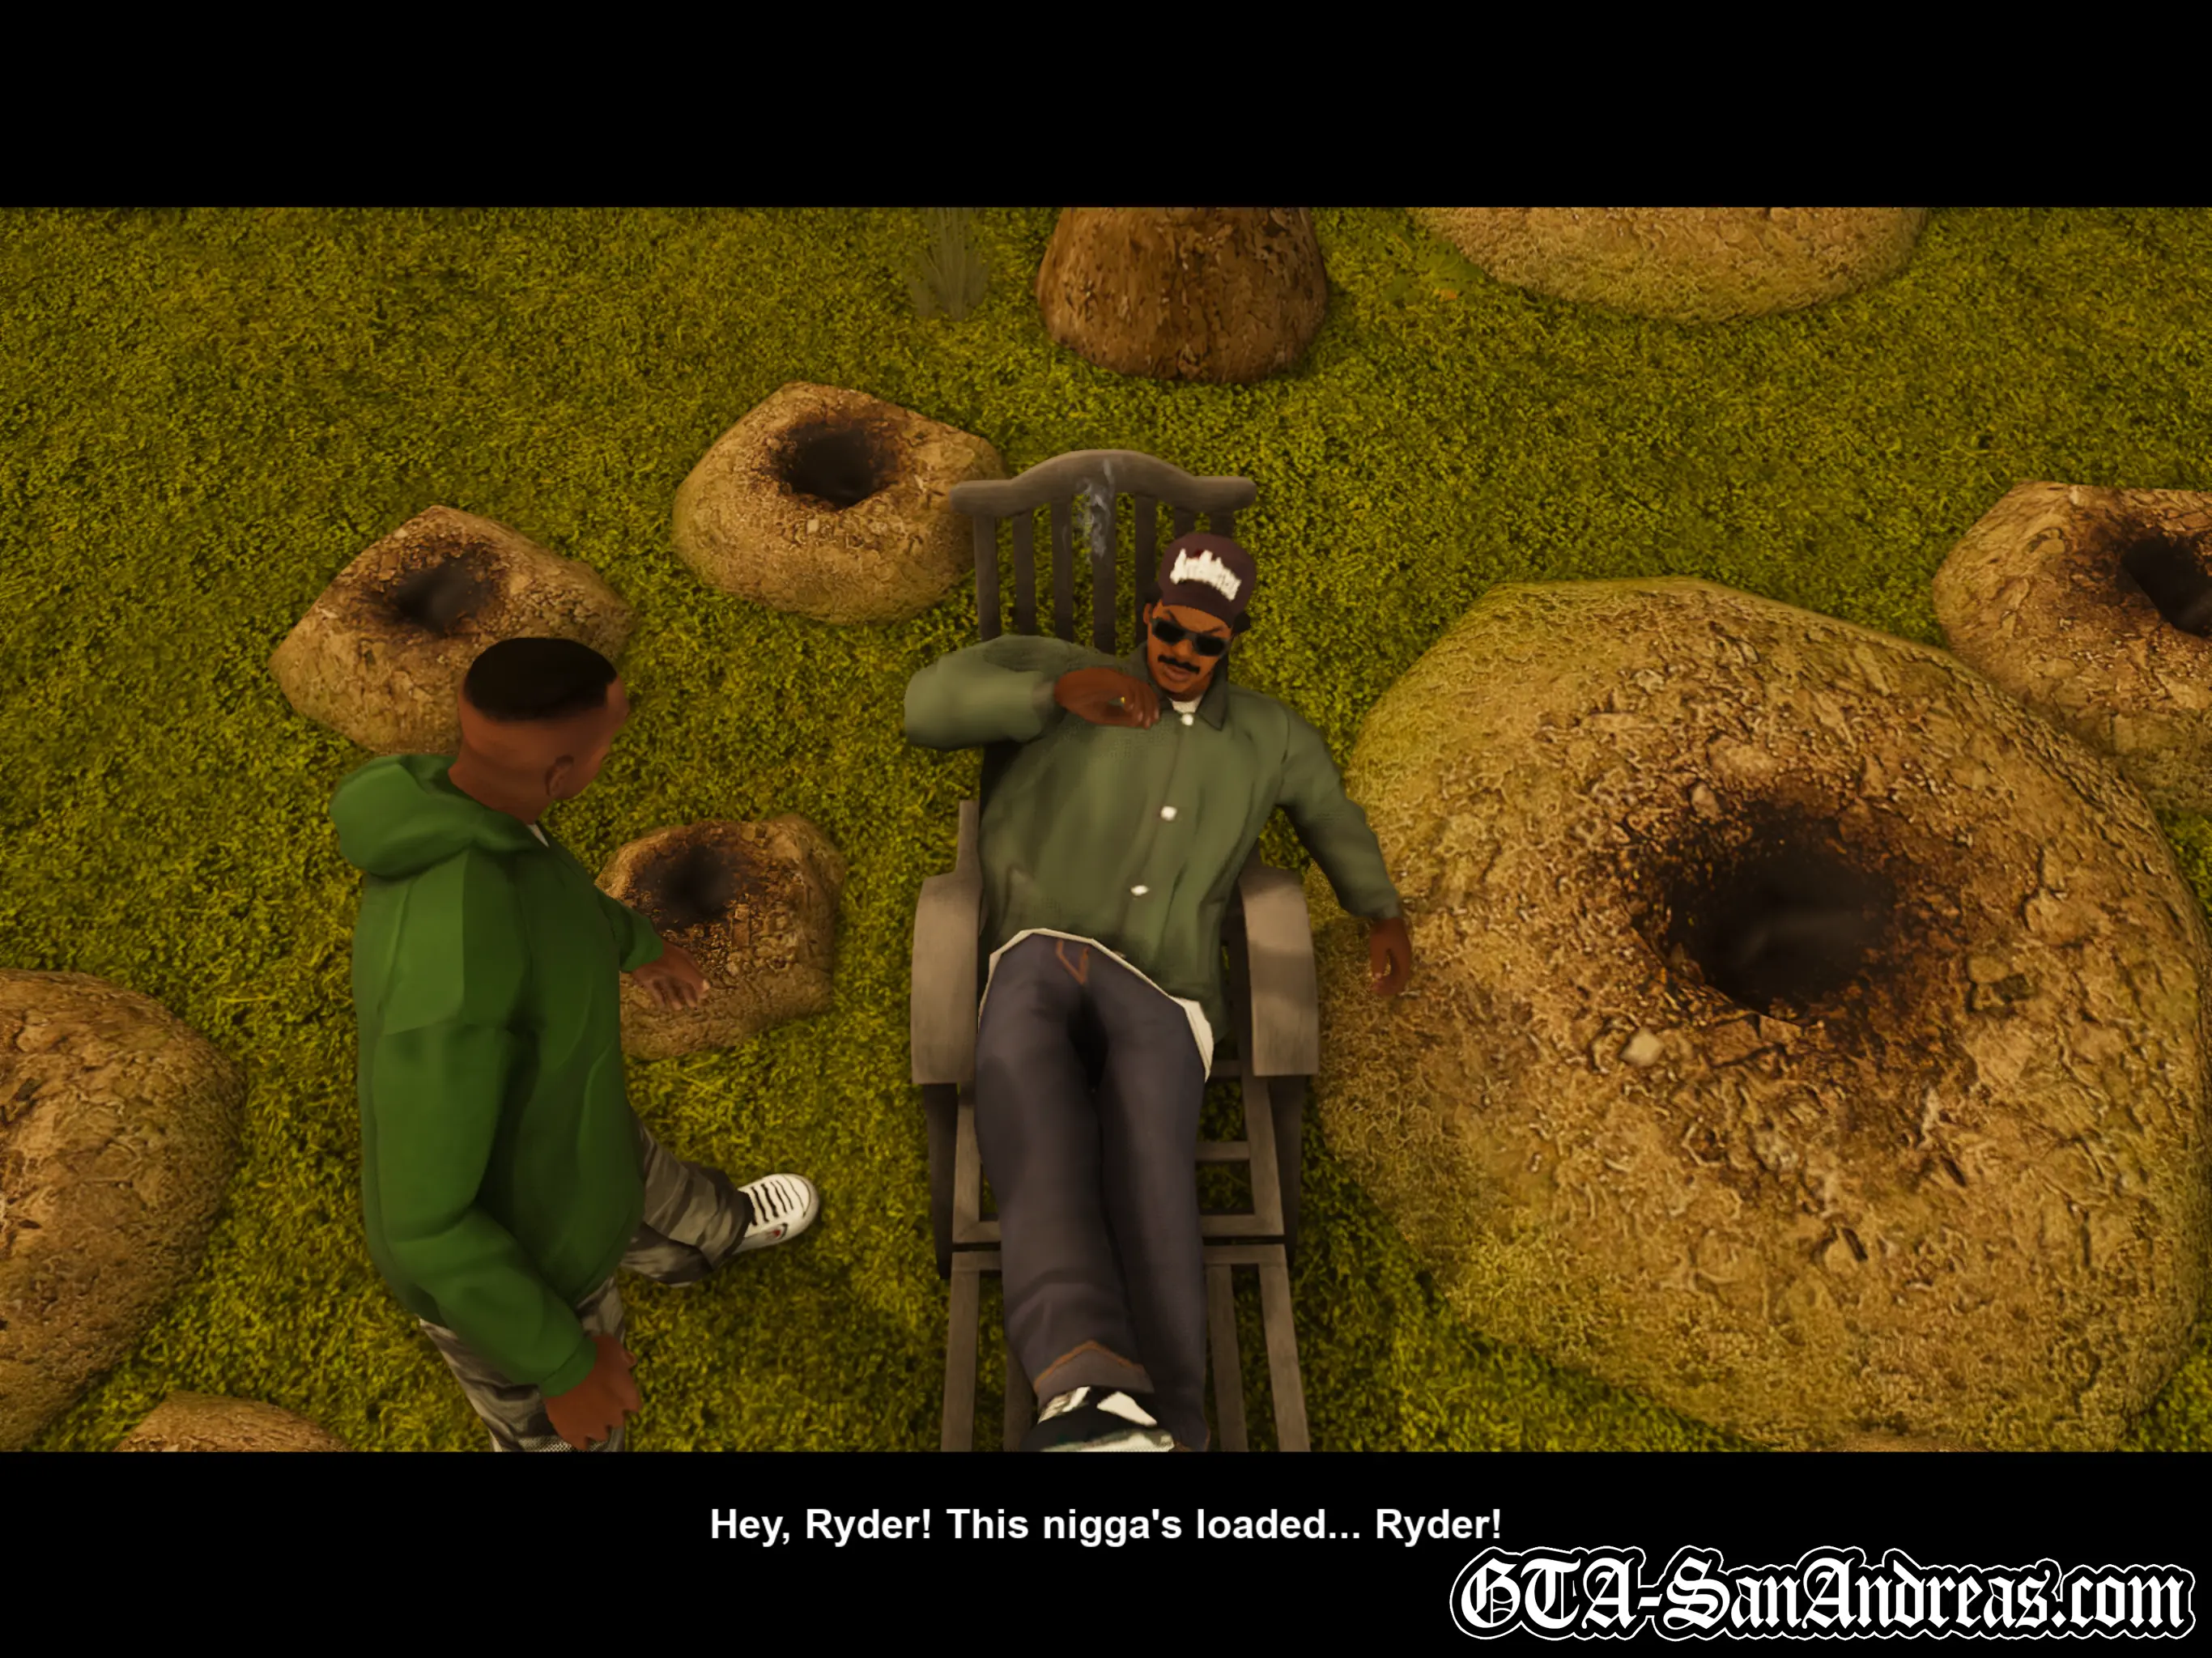
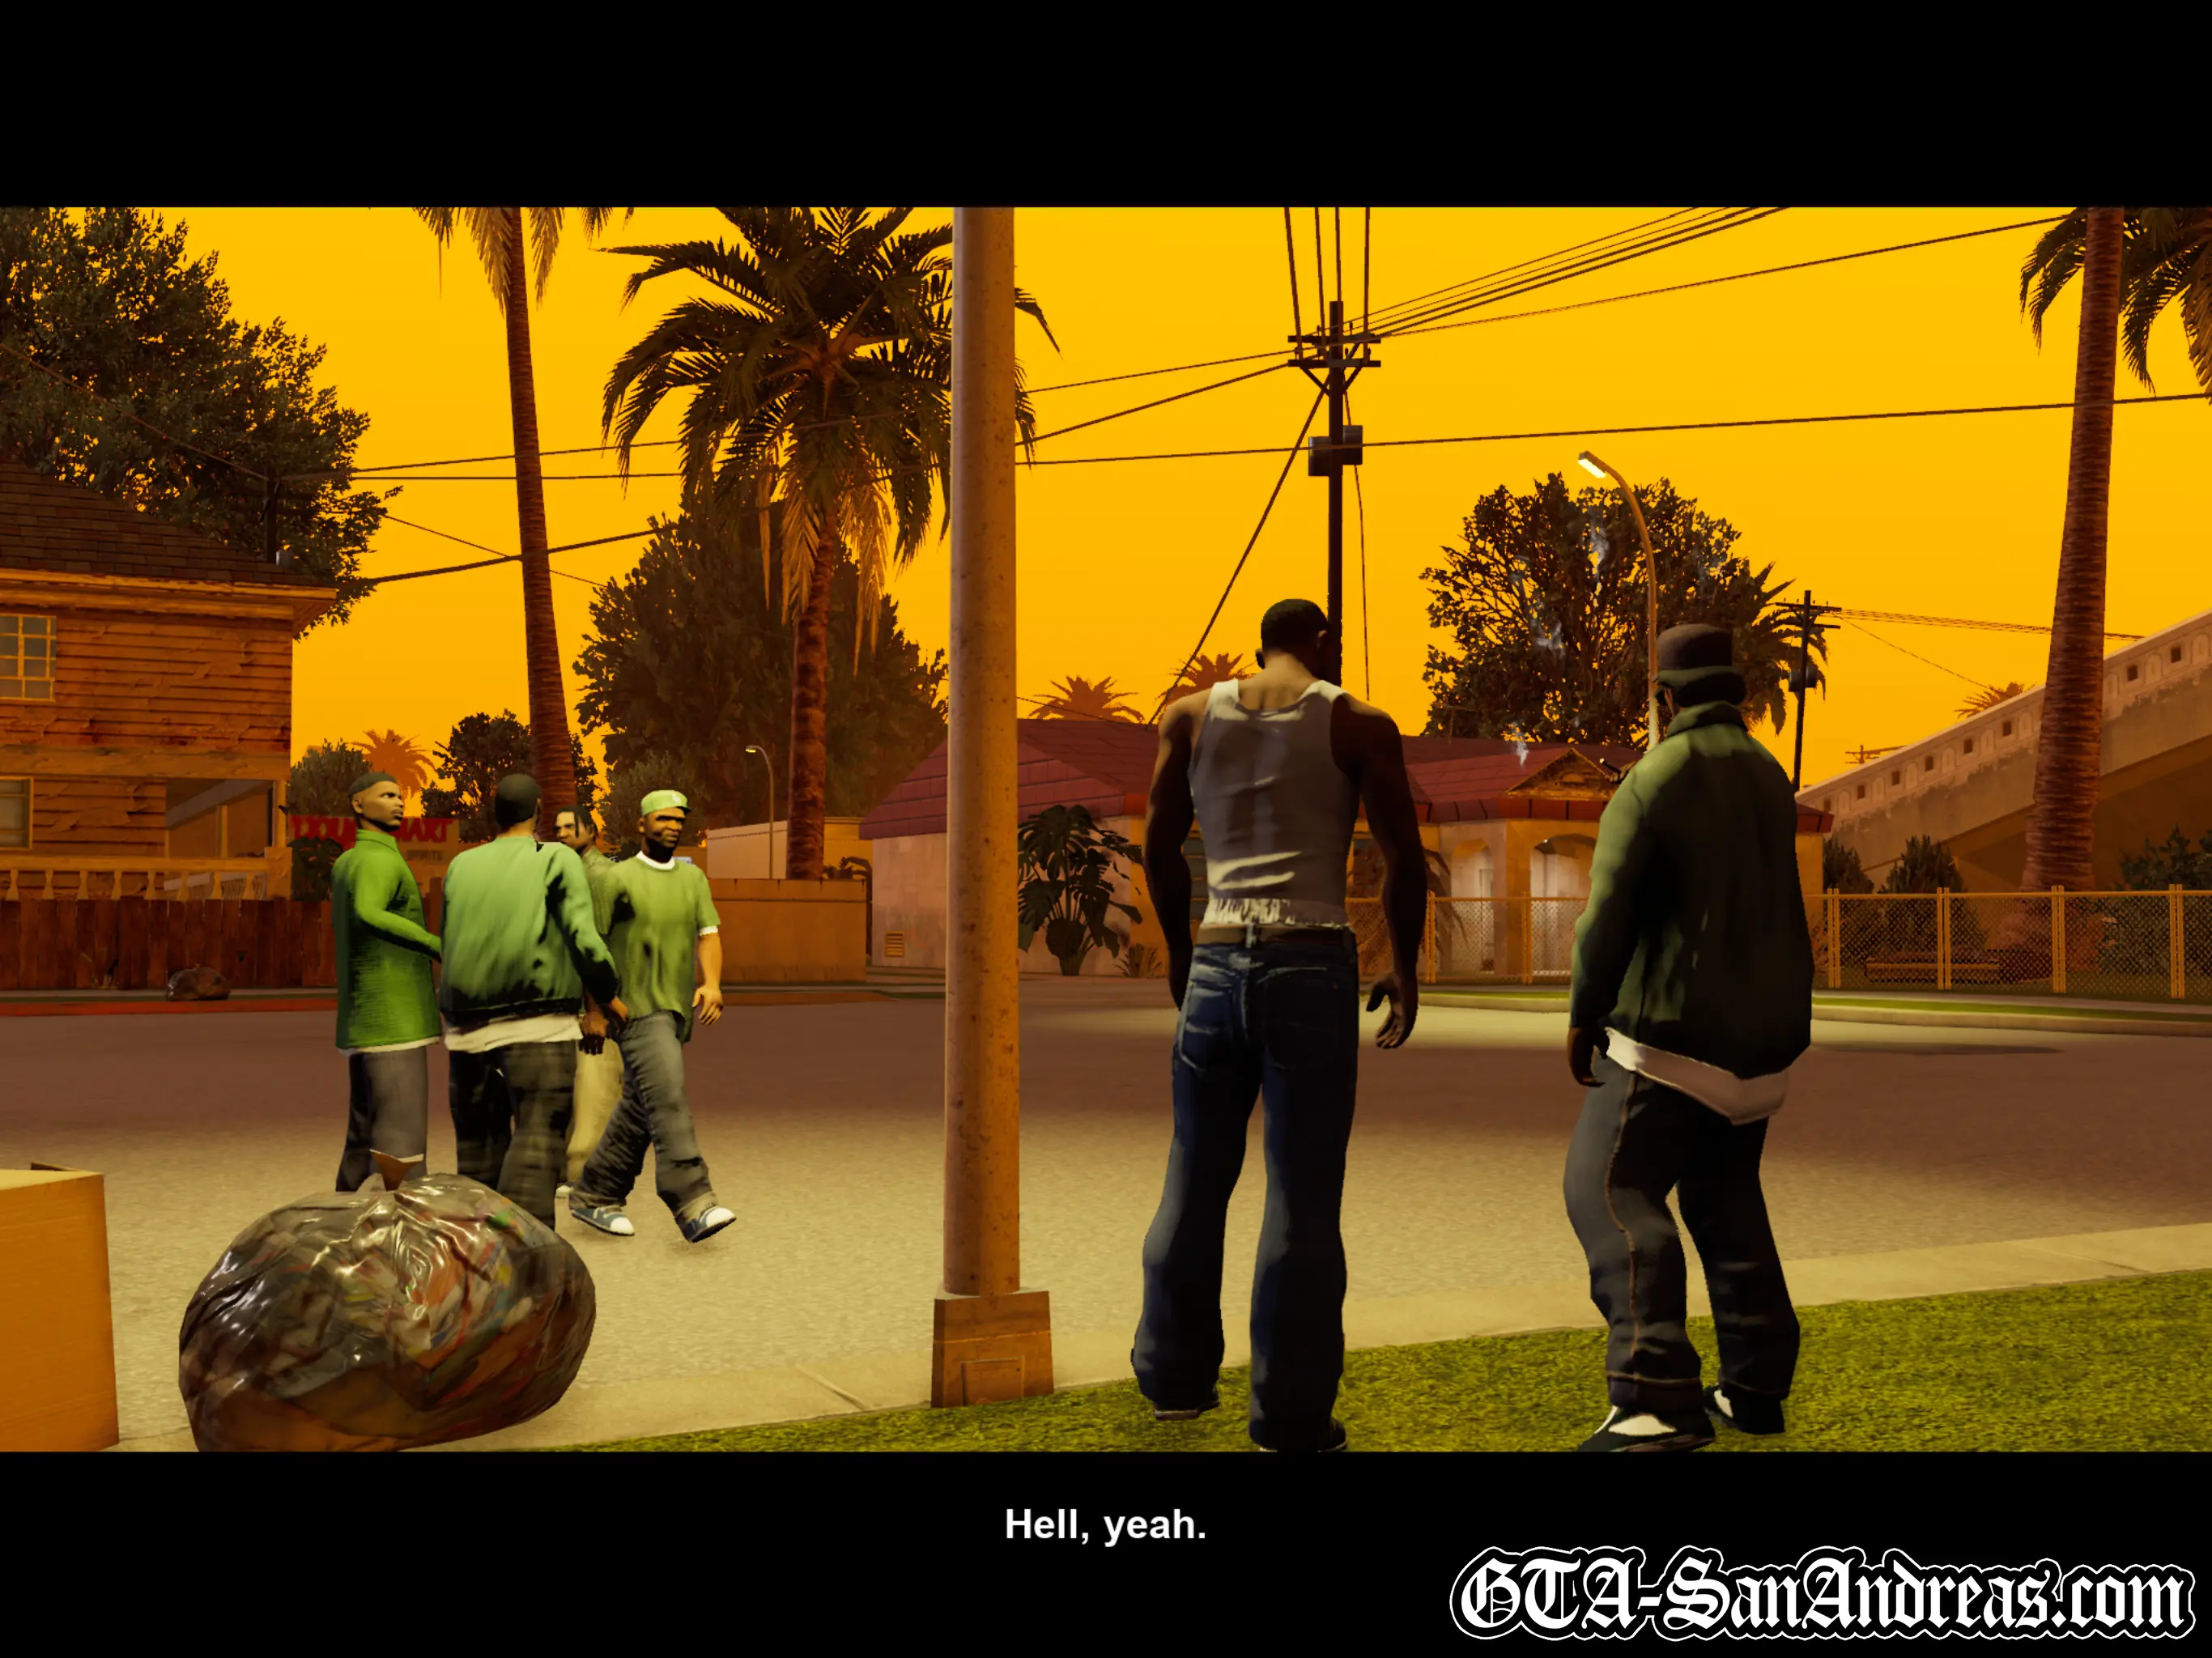
A short while later, CJ, Sweet, Big Smoke and Ryder head out of the cemetery when they are ambushed by a rival gang, the Ballas.
The Ballas car drives past firing bullets which result in Smoke's car being blown up. Luckily there are exactly four bicycles neatly parked across the road.
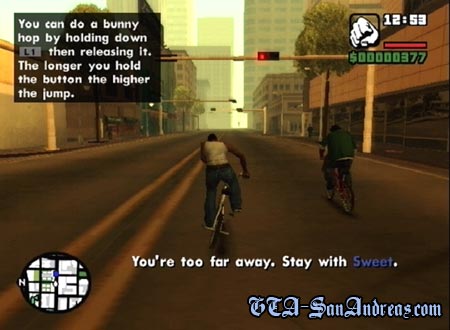
Run to the BMX marked with a blue arrow, get on, then follow Smoke, Ryder and Sweet as they pedal off down the street.
Keep tapping the sprint button to pedal faster and try to put some distance between yourself and the pursuing Ballas car. It will pull alongside you and fire shots which can cause a lot of damage if you're not careful. Whenever it gets too close, consider slowing down and moving behind the car to avoid the gunfire.
Follow Sweet on the radar and if you somehow get lost, pause the game and check the map to see where they're going. Keep following your homies until you reach an area under the intersection.
Cutscene
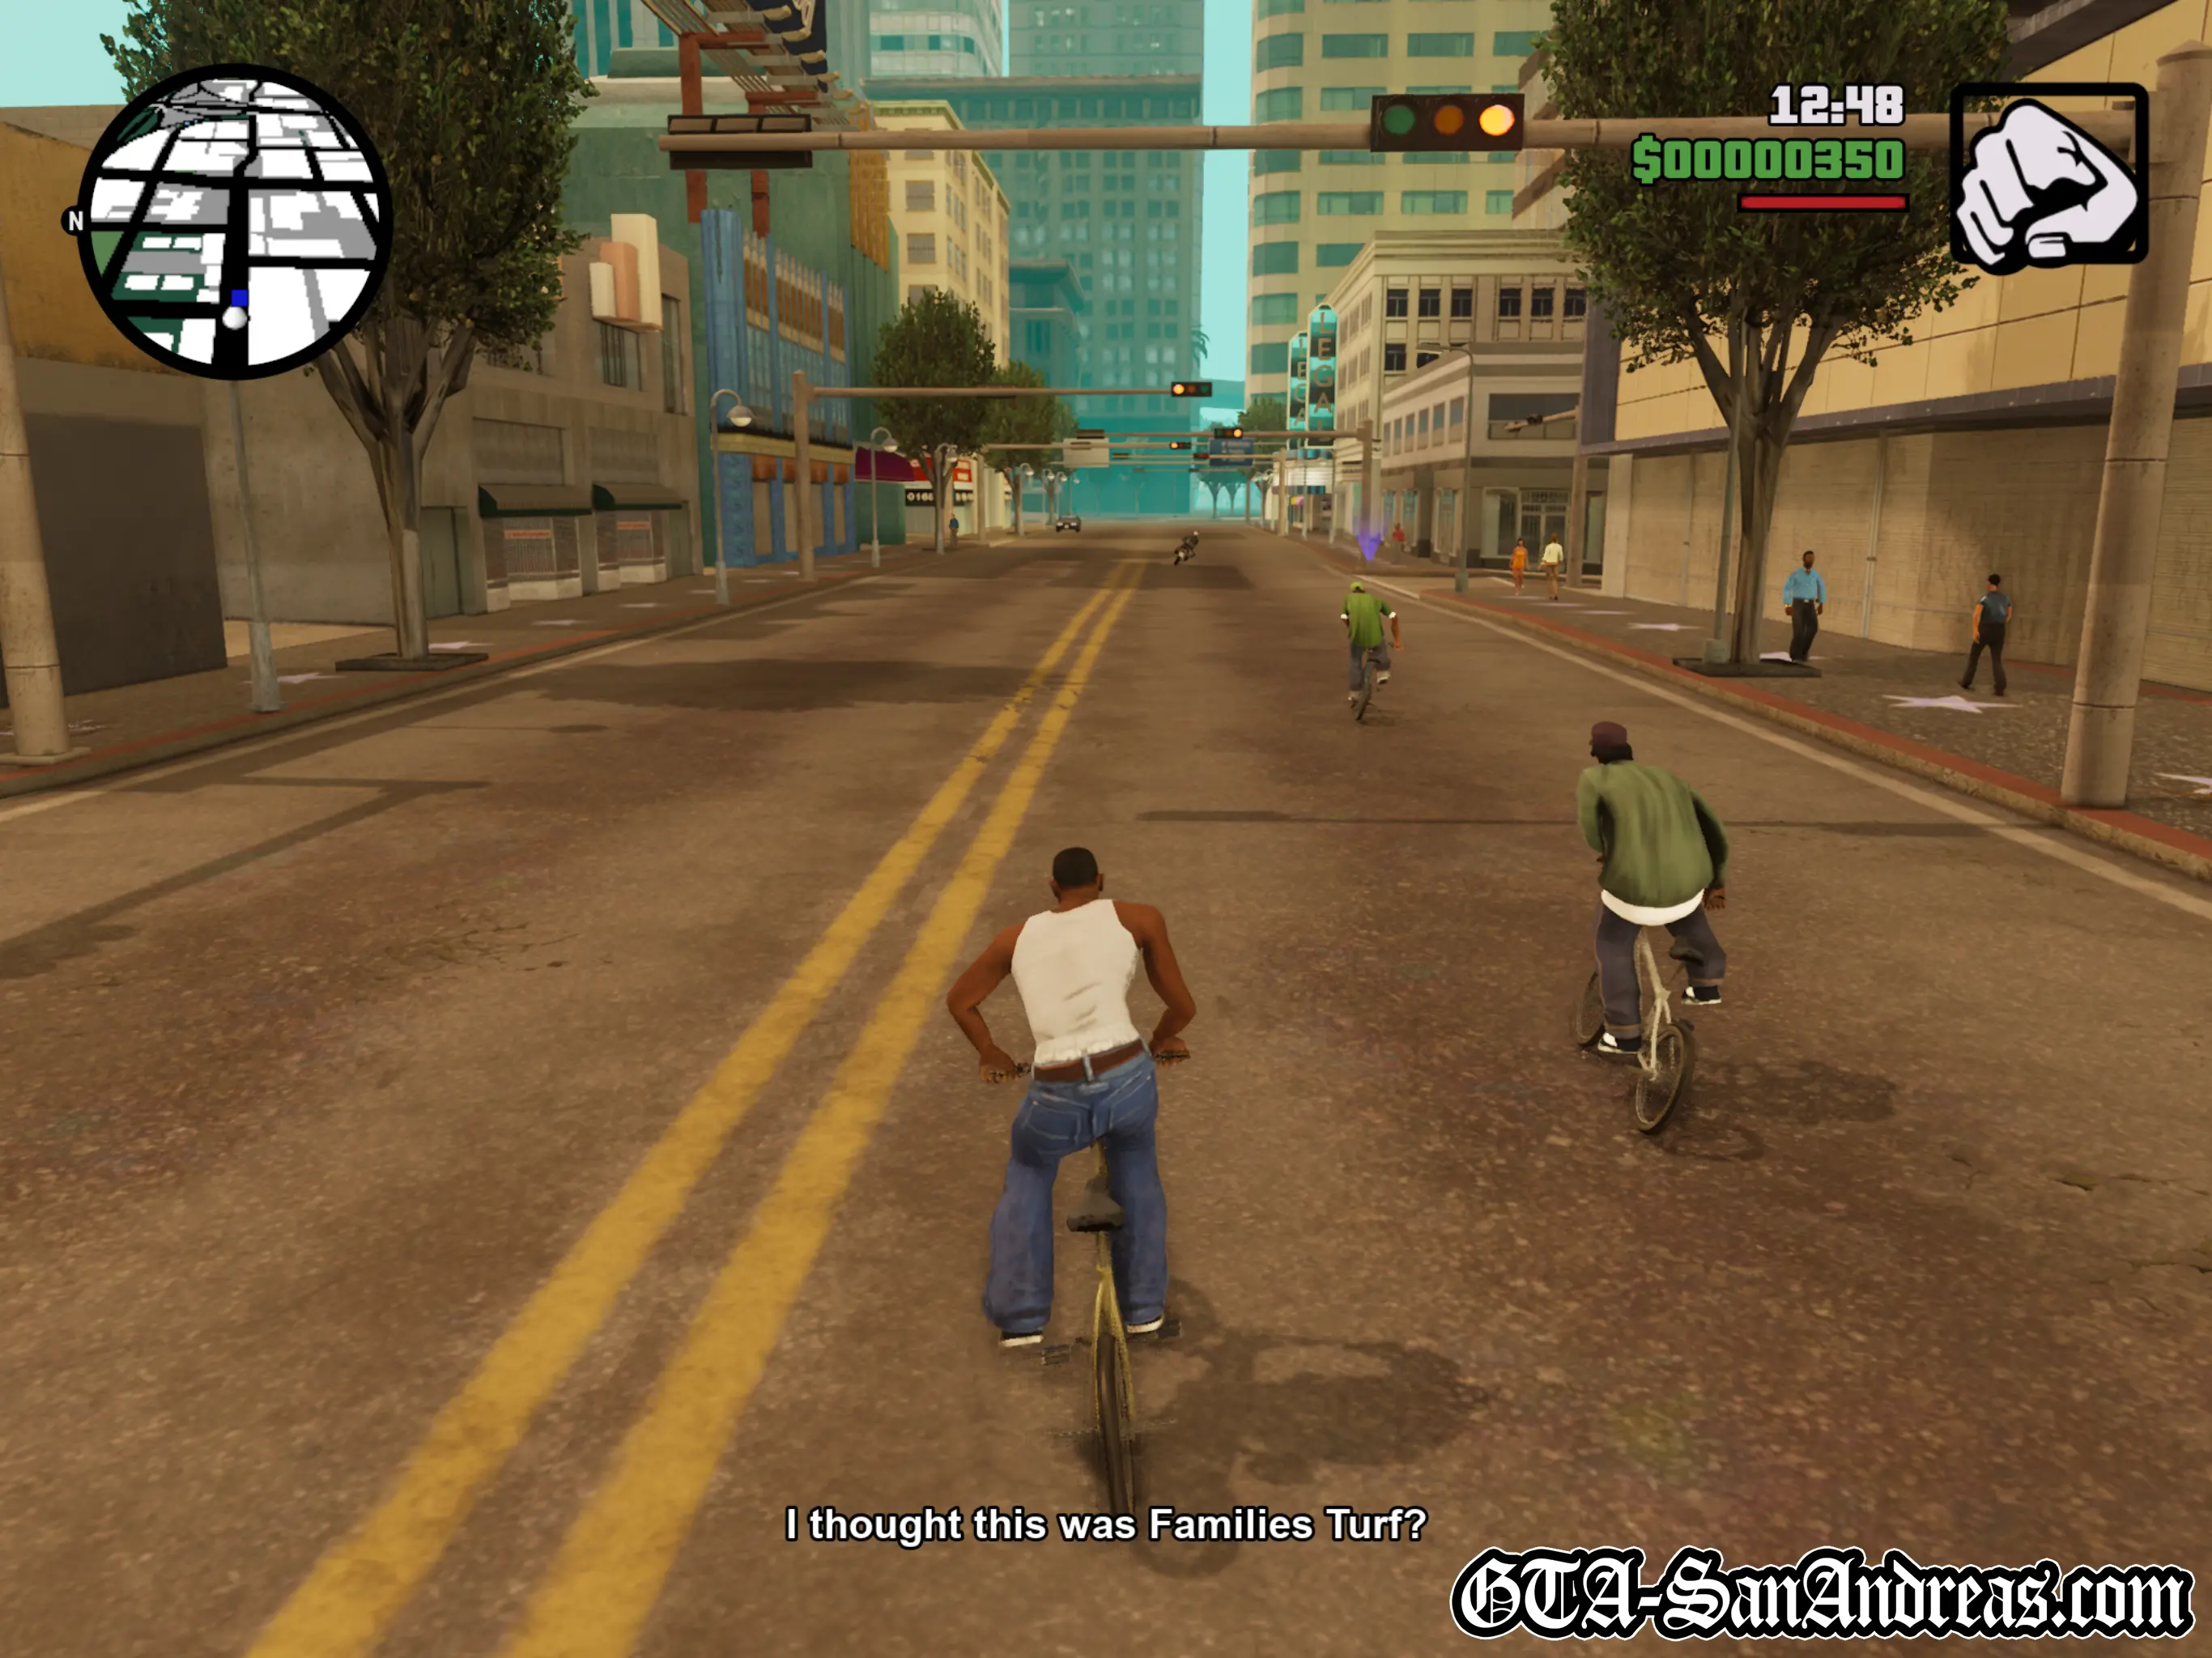
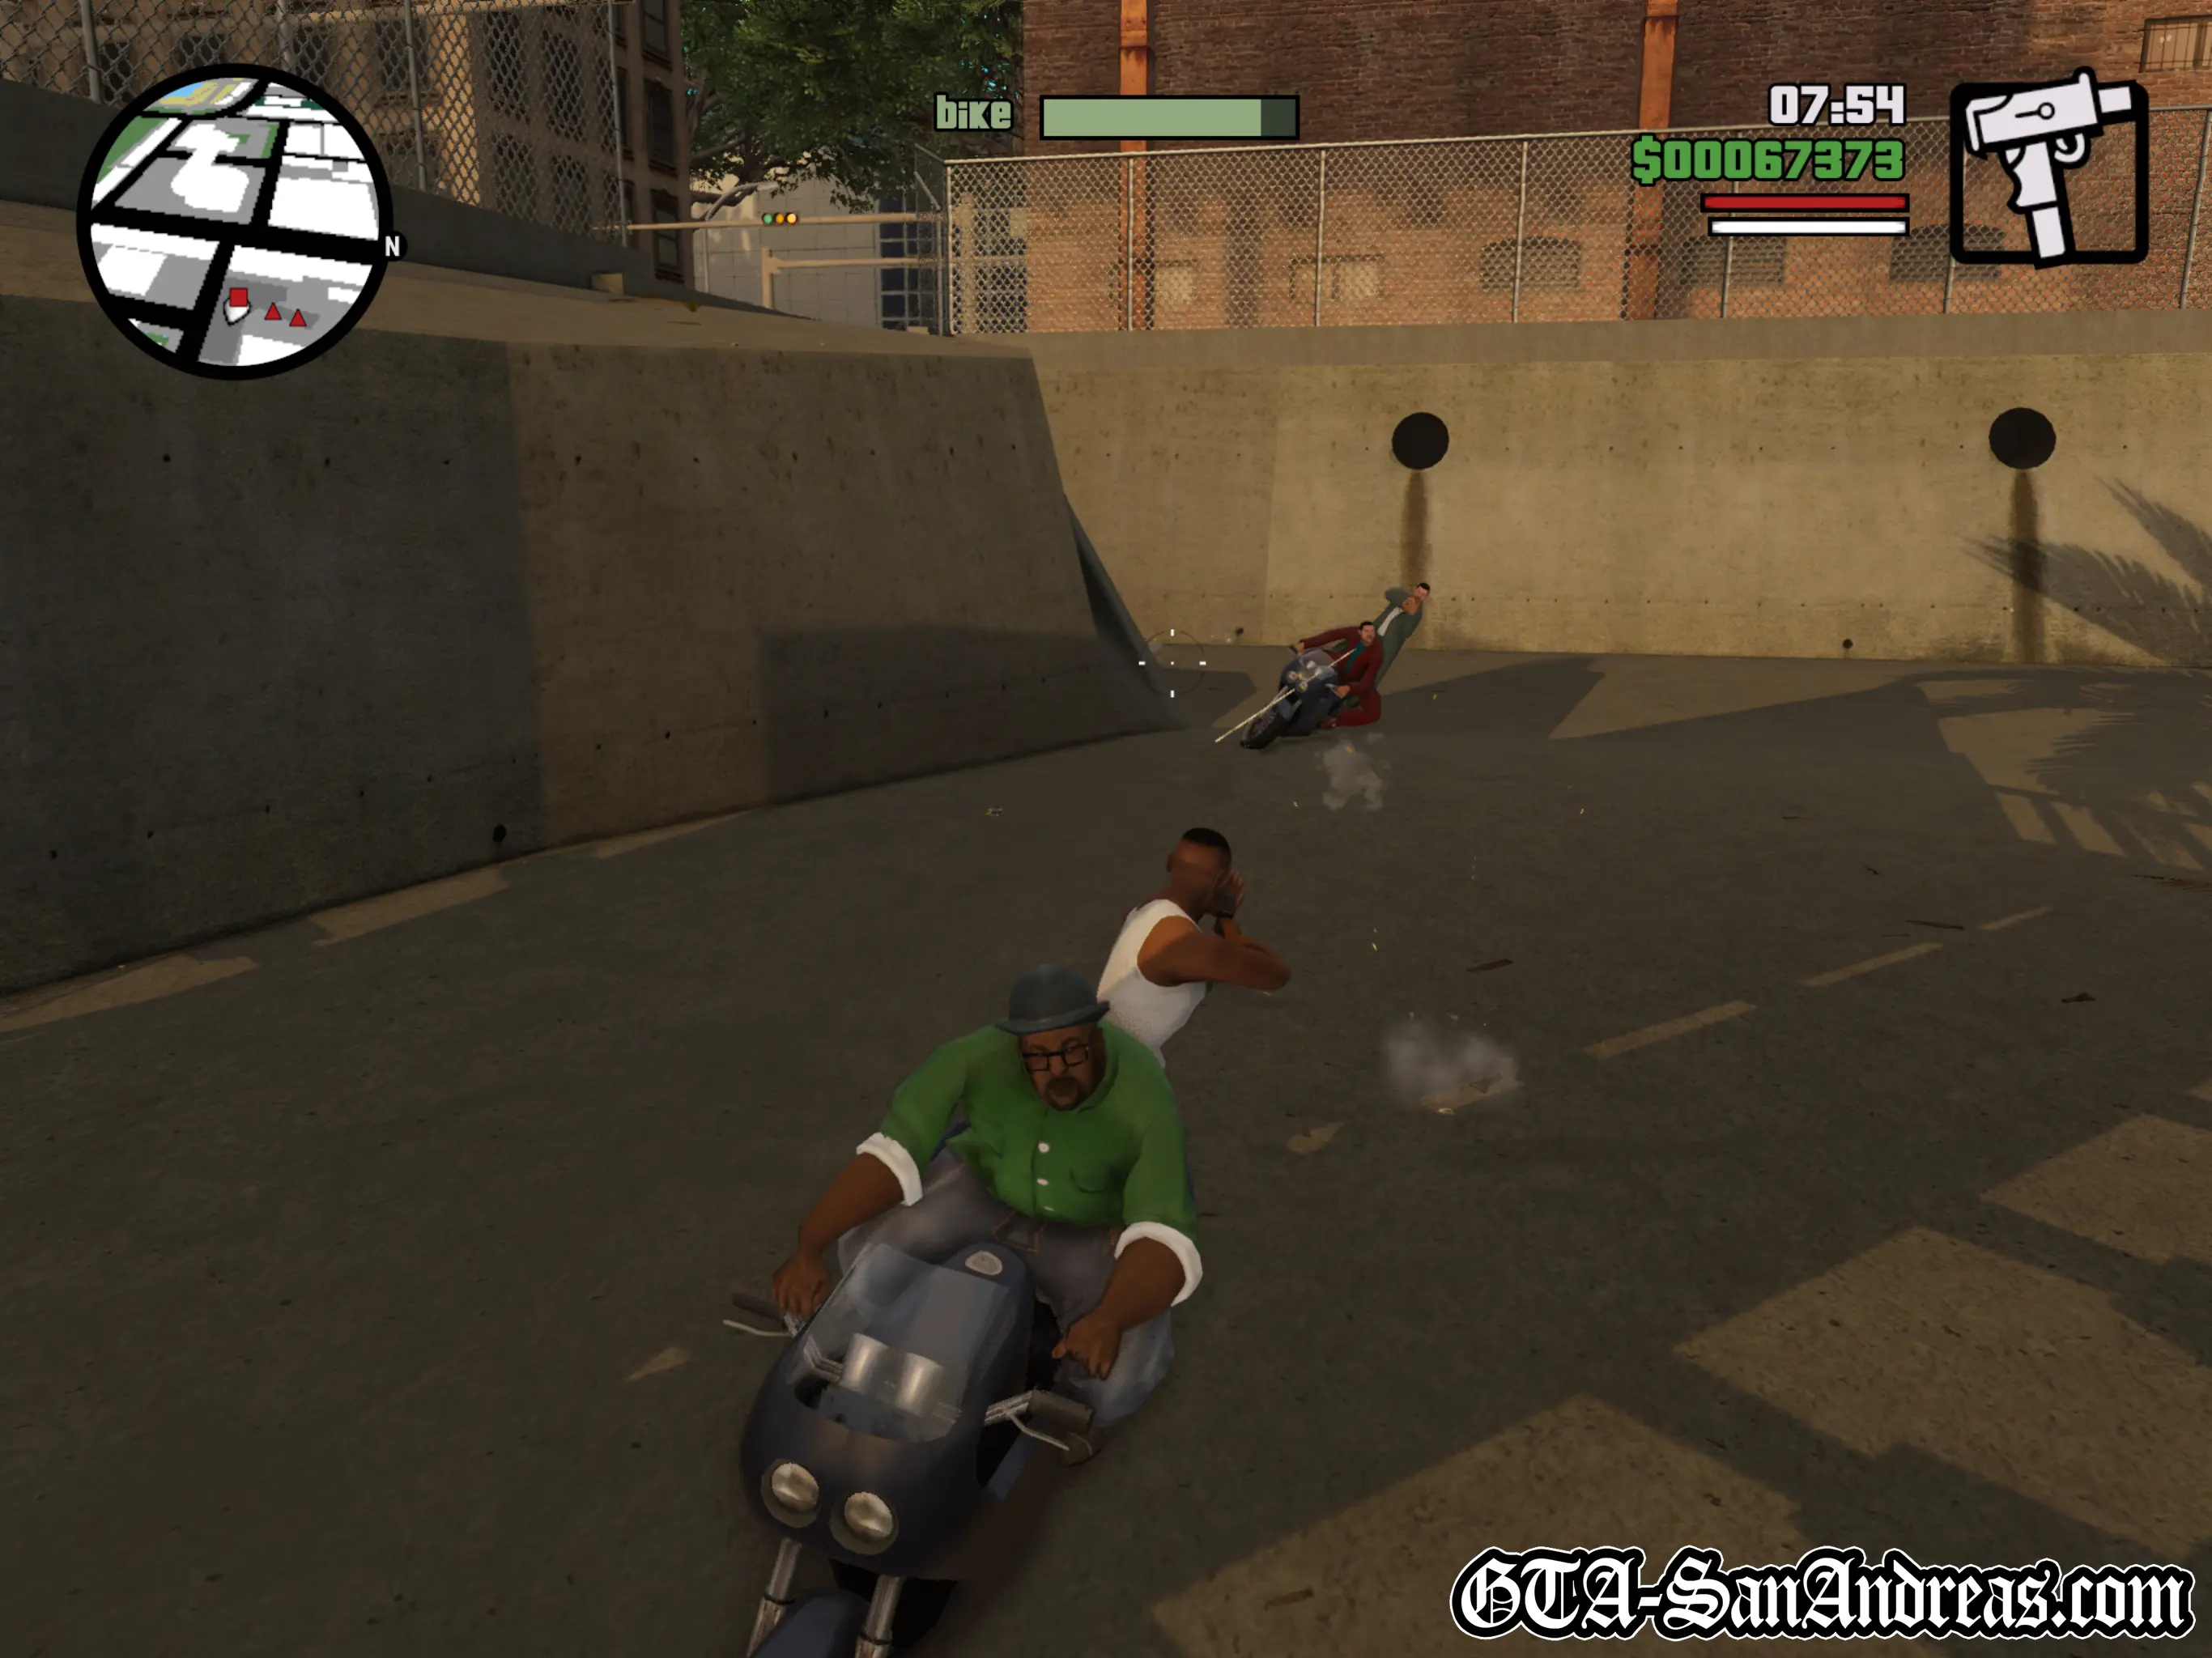
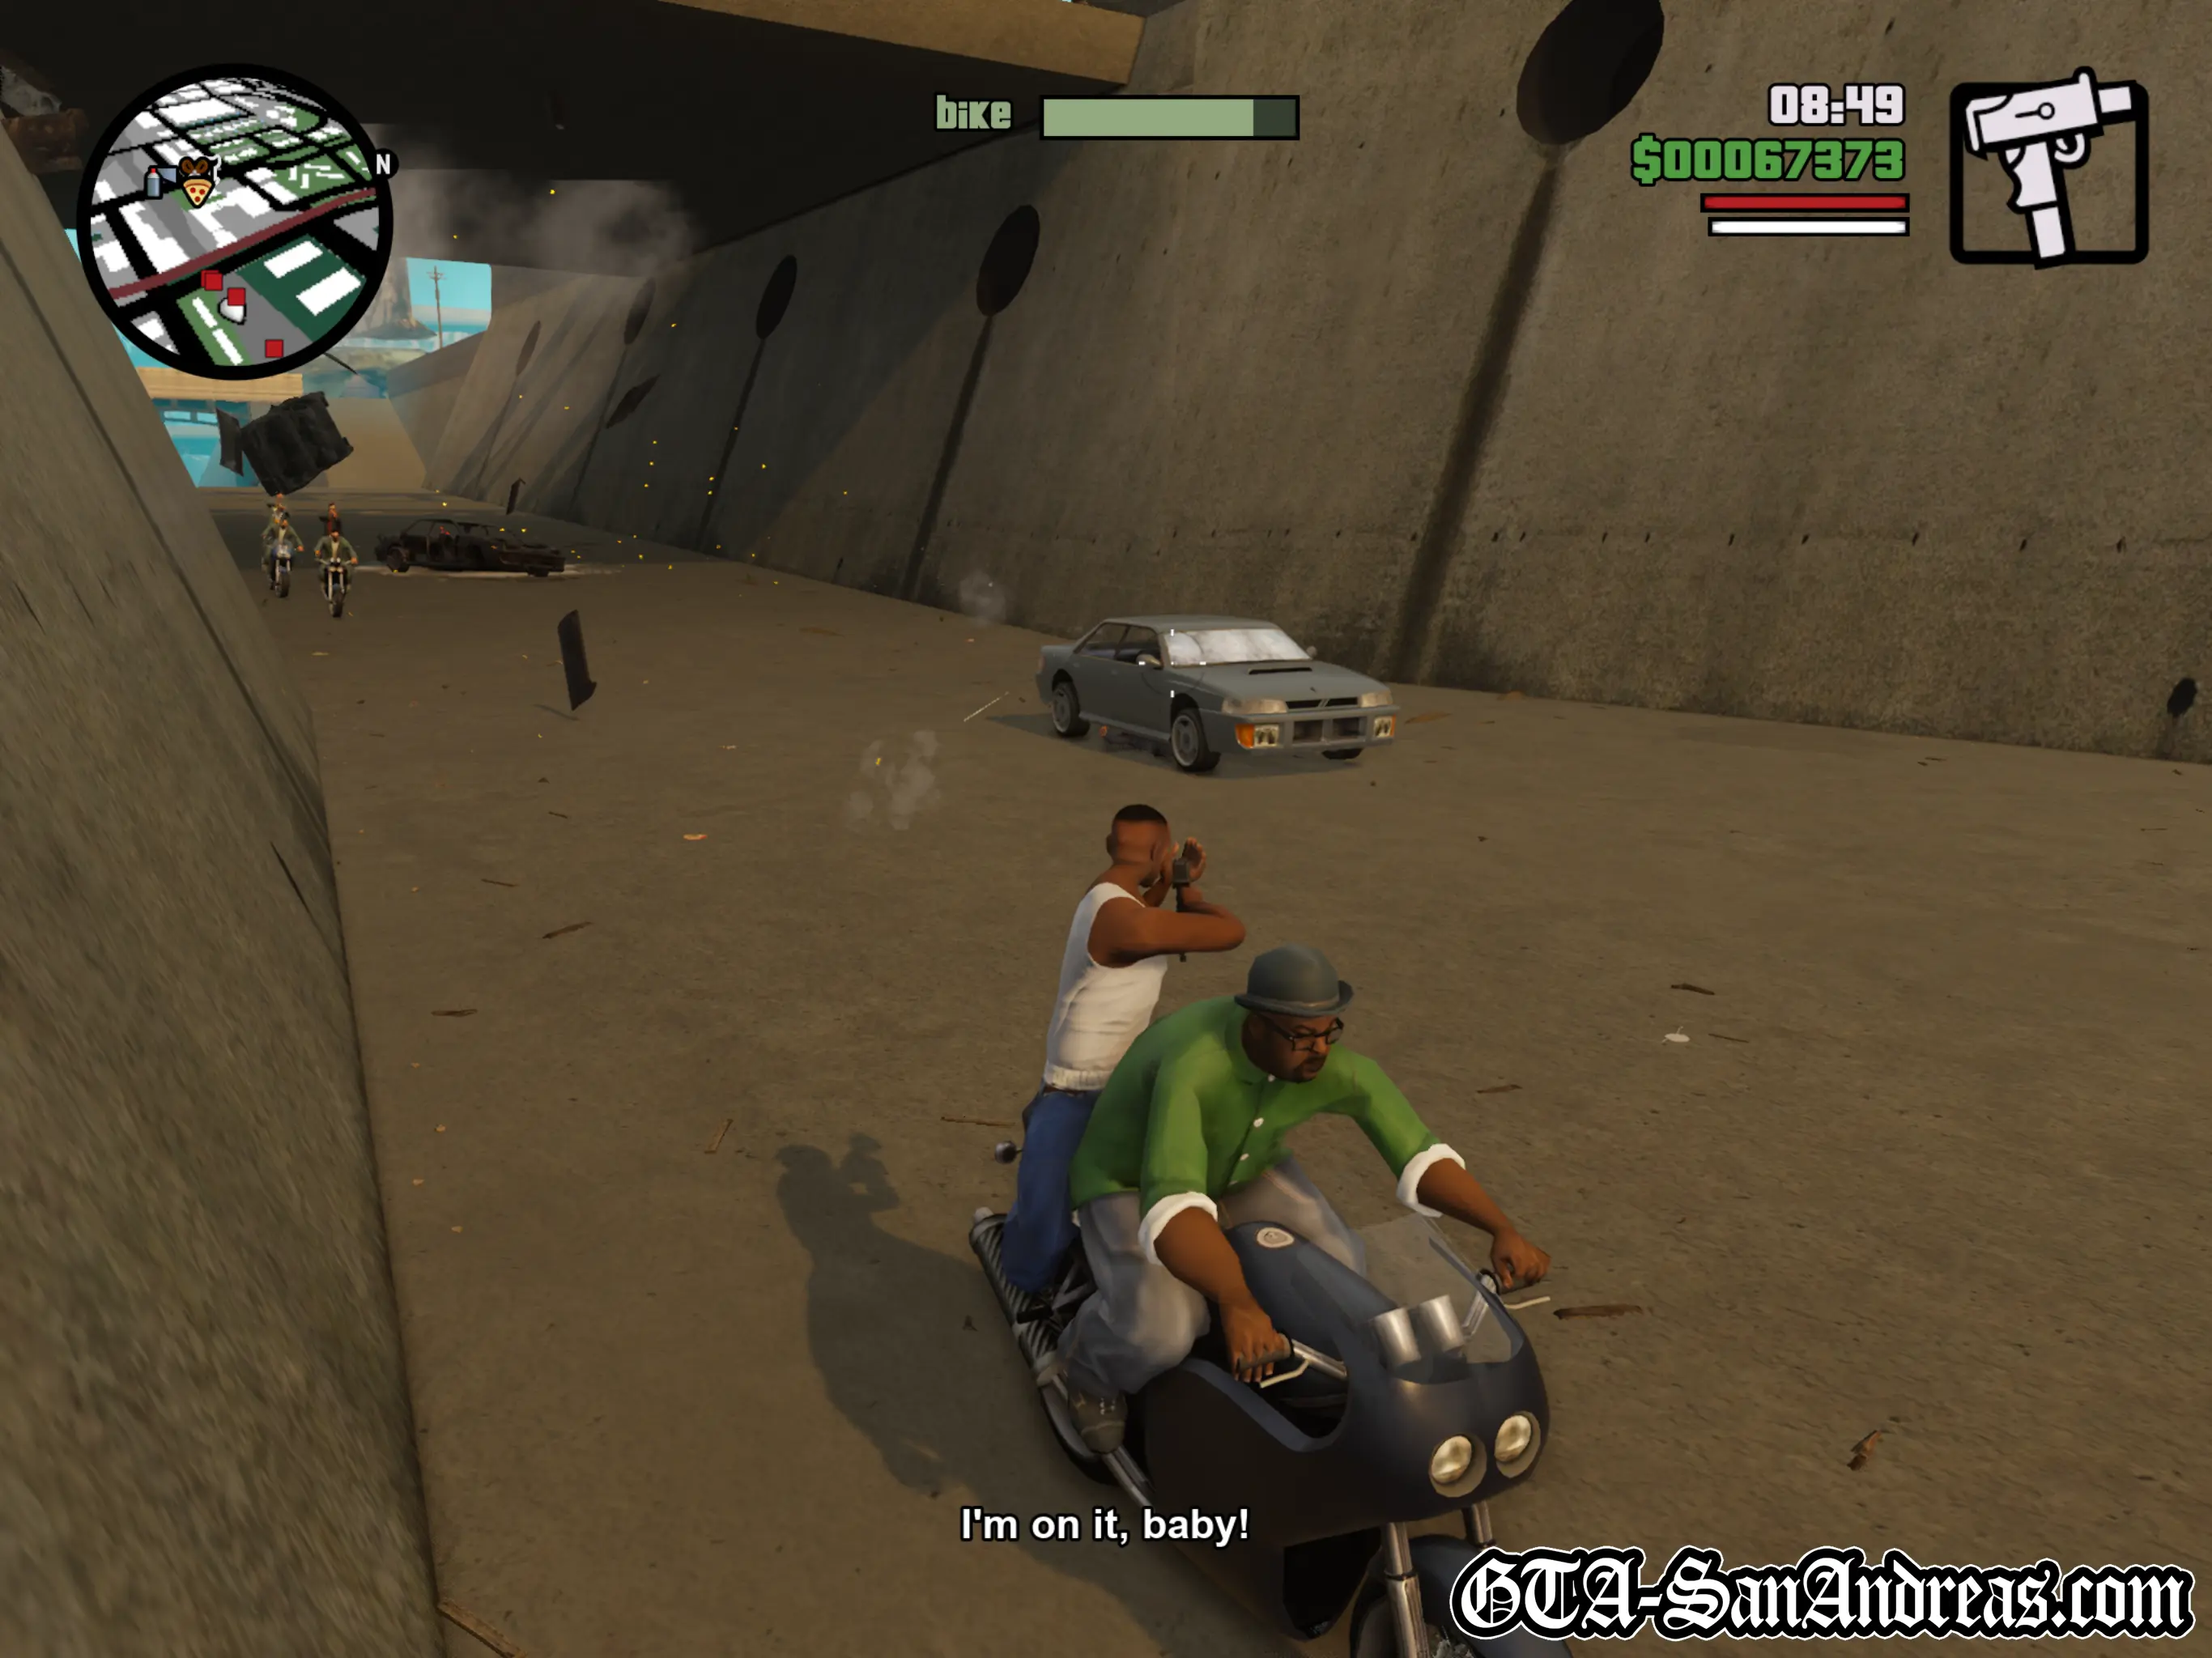
Sweet will cycle off in a different direction in an attempt to lose the chasing Ballas car, leaving you with Ryder and Big Smoke.
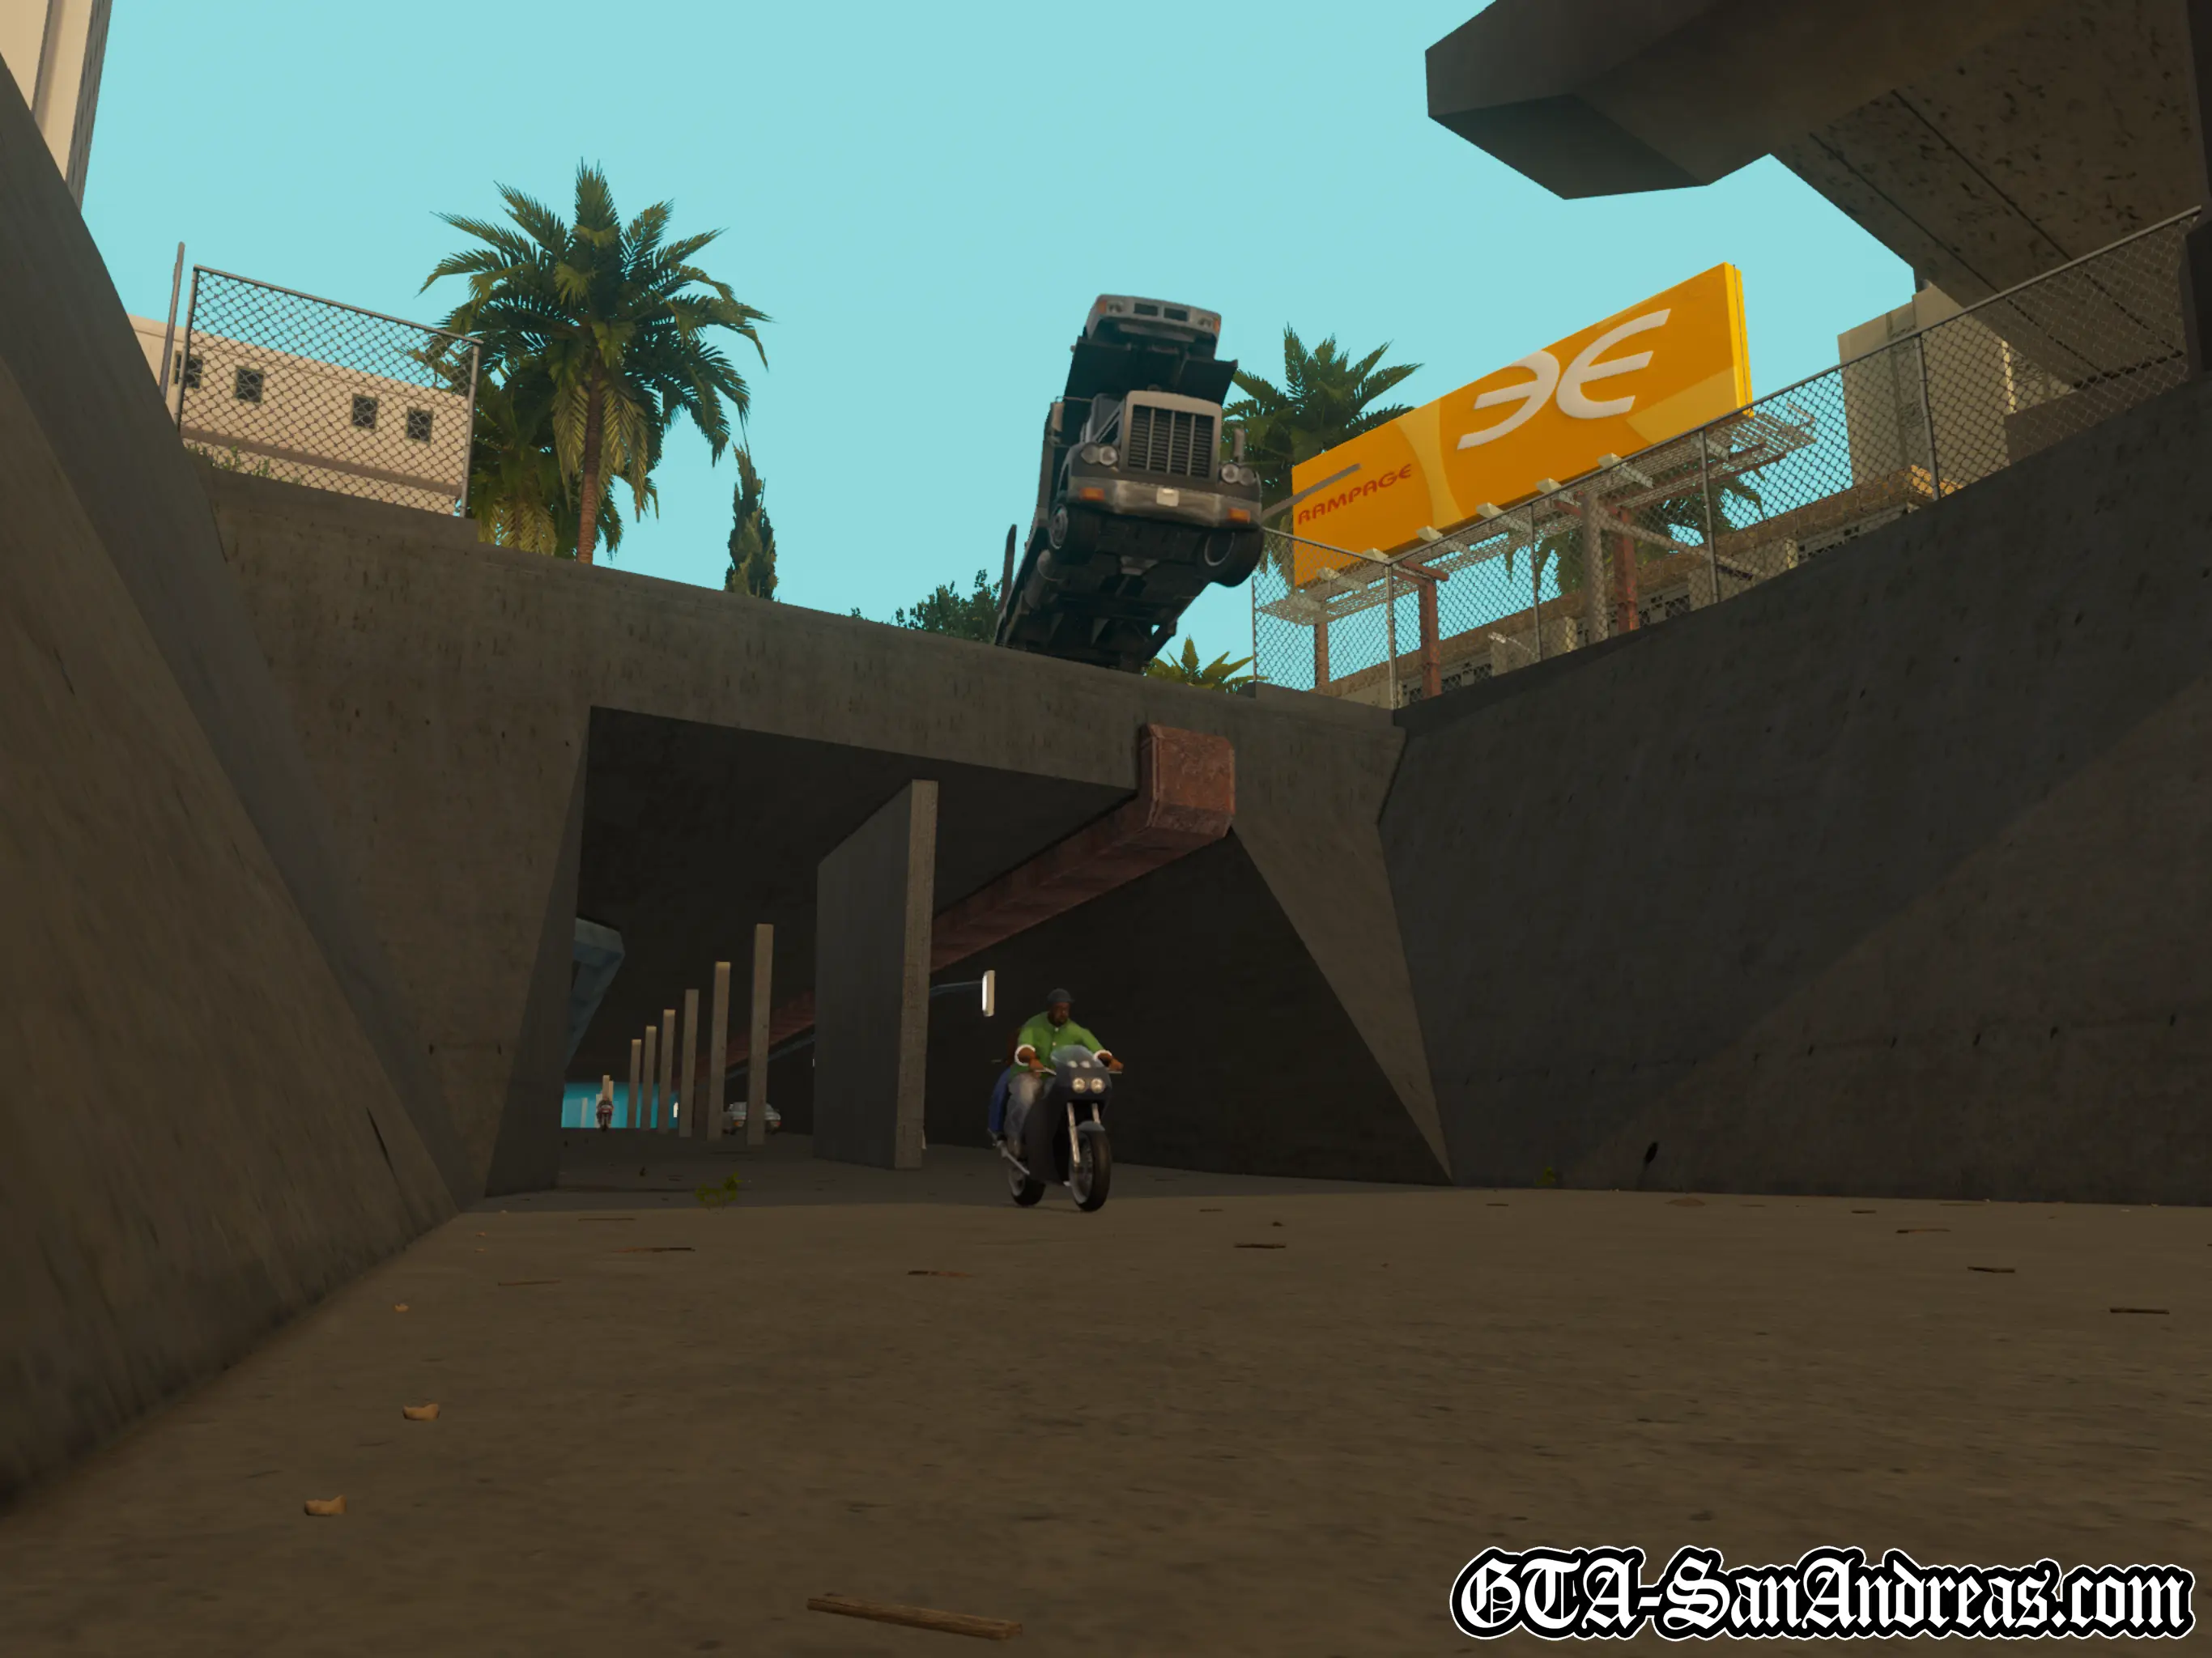
From this point you'll need to follow Ryder and Smoke as they take you back towards Grove Street, all the while listening to Ryder give CJ a hard time for leaving. You'll head down alleyways, through a skate park then across the freeway.
As you reach the final stretch, the Ballas car will reappear, firing off more shots, but at this point you're free to ride as fast as you can into Grove Street before you get shot to pieces. Once you enter the red marker you'll see a short cutscene, completing the first mission.
Cutscene
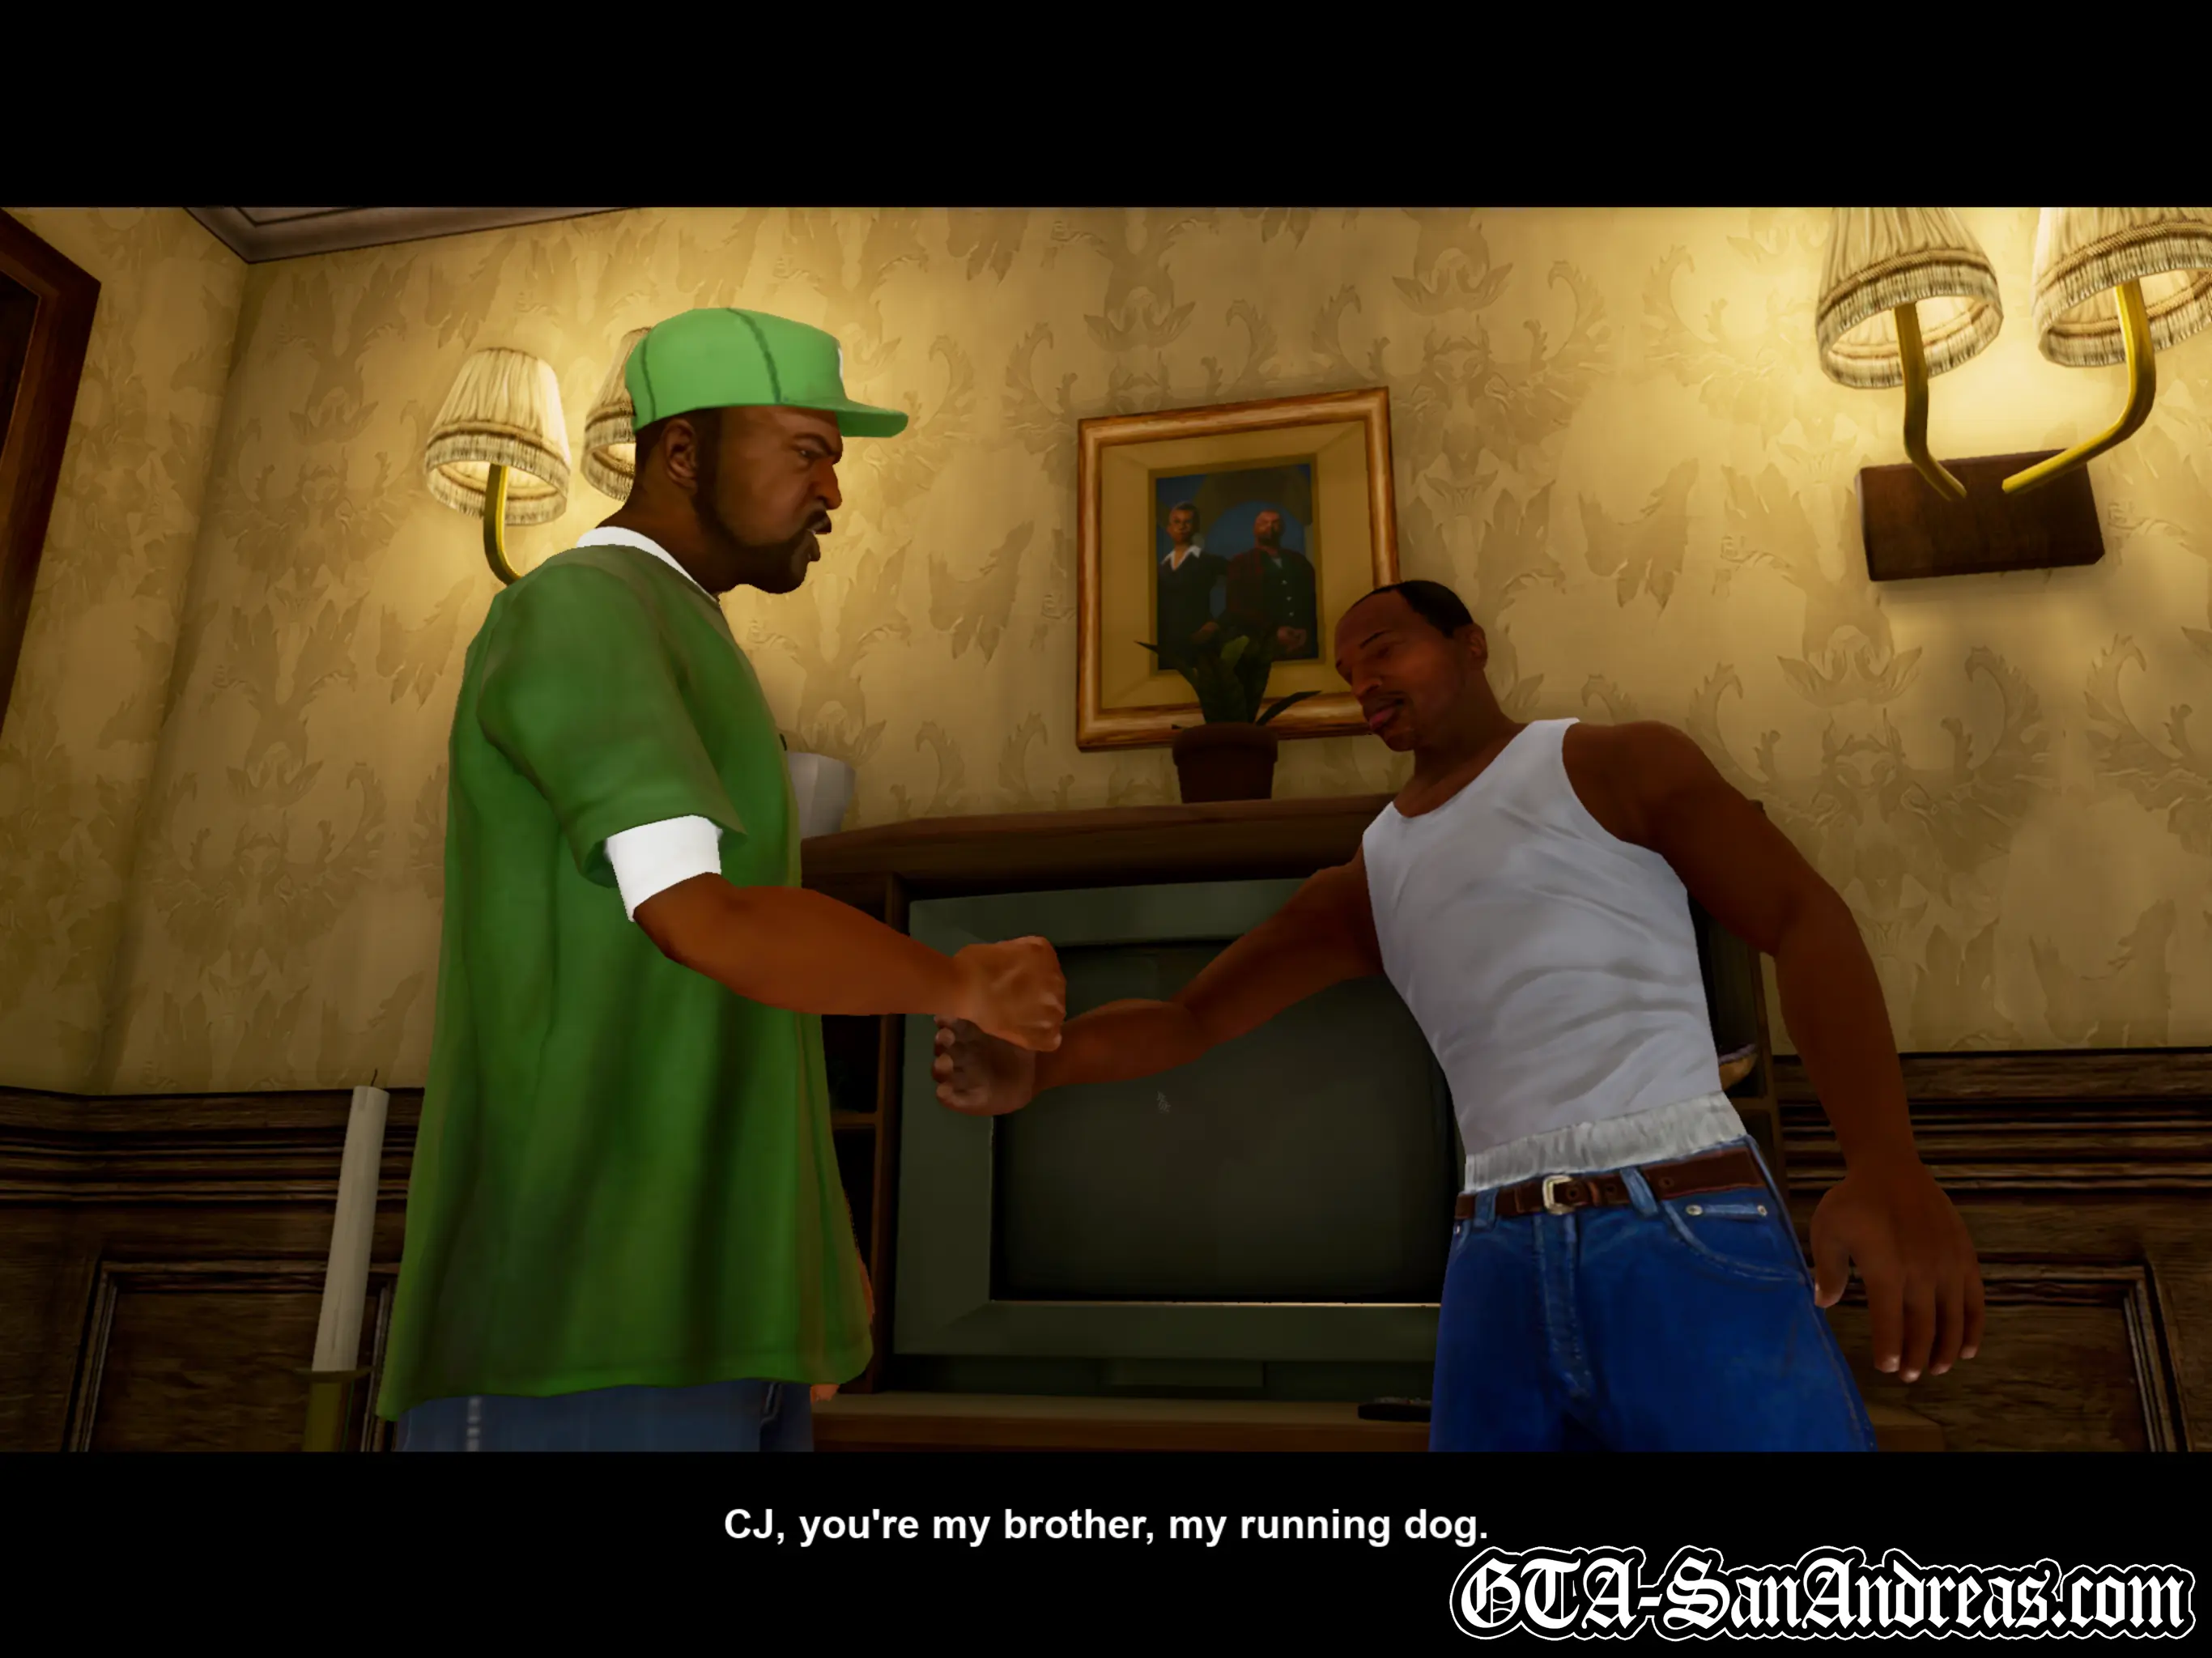
Sweet asks CJ when he's planning on leaving, but CJ's decided he's going to stick around this time because things are all messed up. The rest of the gang make it pretty clear he'll have work to do to prove that he can be relied upon.
Post-Mission
You can now enter Carl's house and save game which will refill your health and advance time by 6 hours. Upstairs you'll find a camera in Carl's bedroom and there's a games console you can play in the living room if you stand next to the TV.
When you go outside the game will point you towards to the R on the radar for a new mission for Ryder.
![]() Ryder's Missions Are Now Unlocked.
Ryder's Missions Are Now Unlocked.
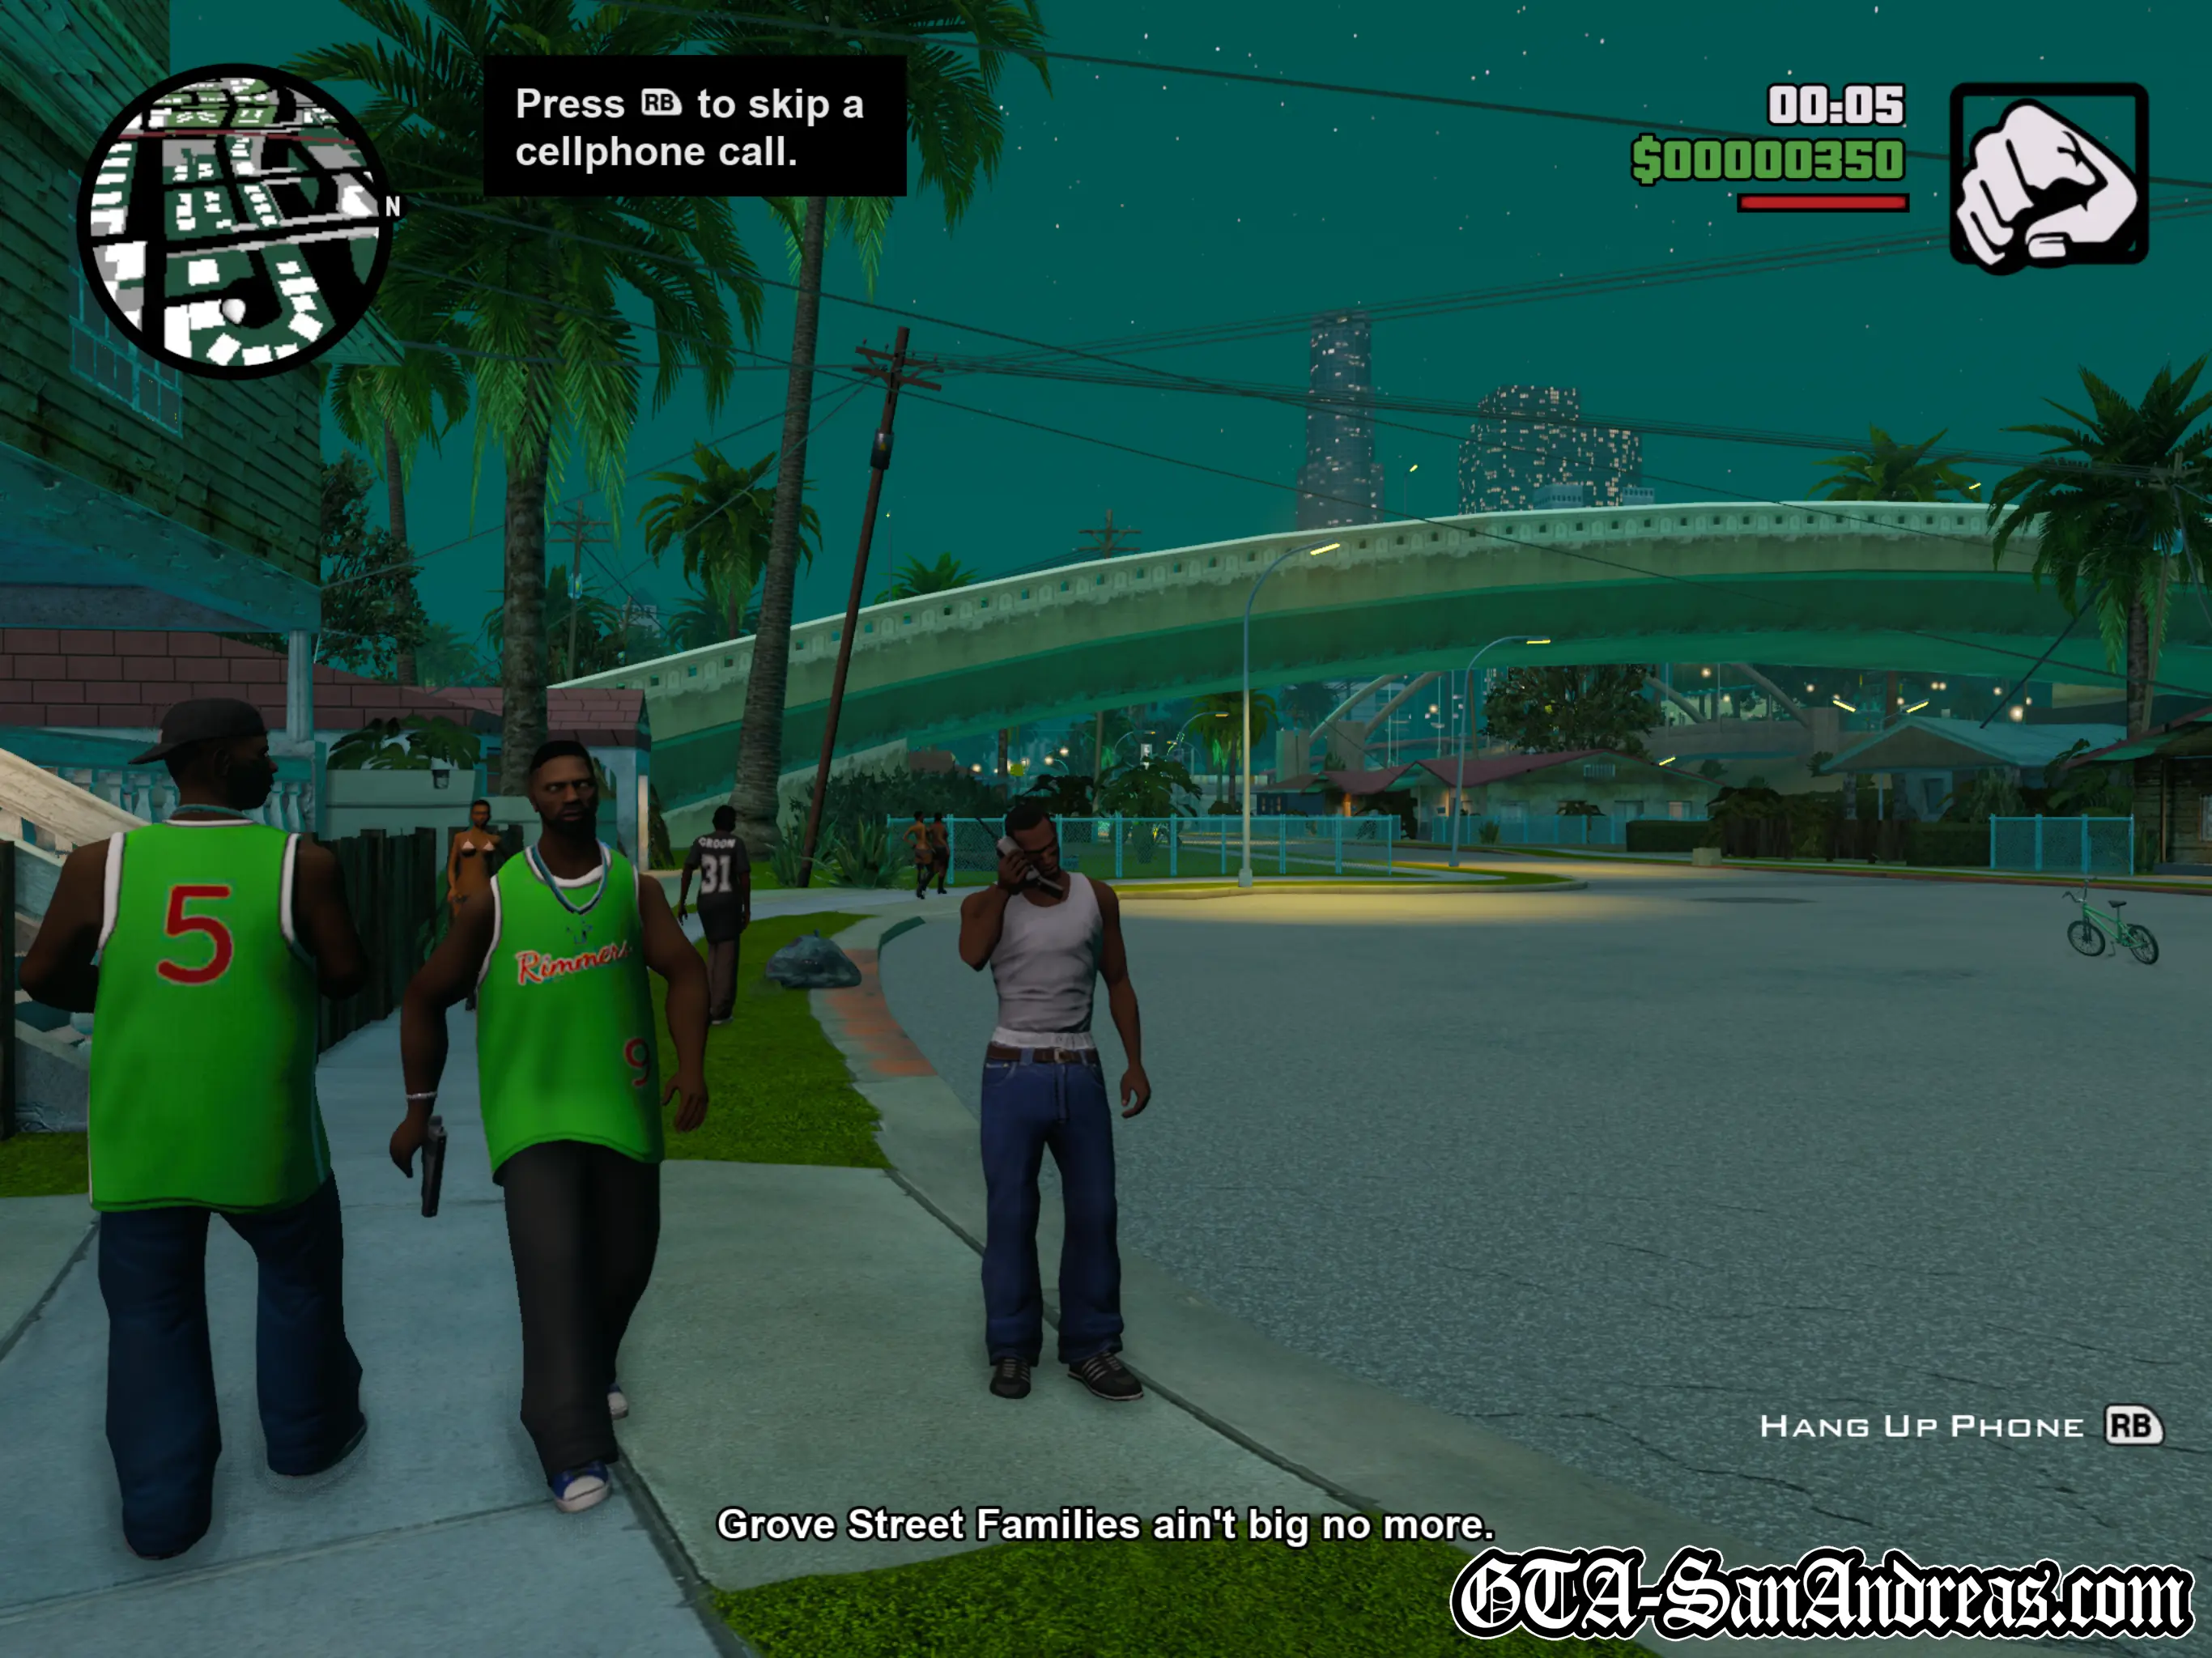
You'll also receive a phone call from Sweet who will tell you that the Grove Street Families aren't big anymore and that it's a dangerous place out there.
With the ability to save your game, you're now completely free to explore the city. There are plenty of activities you can explore to earn a bit of extra cash before continuing the story (see "In The Beginning" above for a list).
Personally, I always prefer to get the side-objectives out of the way as soon as possible because they provide benefits which help greatly with the story and general gameplay.
Tips & Tricks
Kill The Ballas
If you do some exploring before starting this mission, you can find a pistol in the far corner behind the houses opposite CJ's house, a Micro SMG under the bridge near the LS river and a Tec-9 on the roof of Sweet's house.
If you start with a weapon you can use it to shoot and kill the two Ballas in their car. Doing this will stop the car chasing you altogether, and as a result, Sweet won't leave you at the intersection and will follow Smoke and Ryder back to Grove Street.
Where's The Grave?
Before getting on the BMX at the start of the mission, head back into the cemetery and check our Carl's mom's grave. It's nothing but a hole in the ground and if Carl stands on it, he'll appear to be floating in the air.
No Bike Needed!
At the start of the mission, although the game tells you to get on the BMX, you can actually ignore it completely and get a car if you want.
The game will constantly tell you that your next objective is to get on the bike, but if you follow the same route the gang take on their bikes, they'll act like nothing is different, pedaling in front of you and waving you on.
Carl will even appear in his car at the intersection cutscene, however when you reach Grove Street at the end of the mission, he will be placed on foot and your car will disappear.
If you do this, you'll also find it's impossible to knock your homies off their bikes no matter how hard you smash into them with your car.
Screenshots


Ryder
 Ryder
Ryder
Cutscene
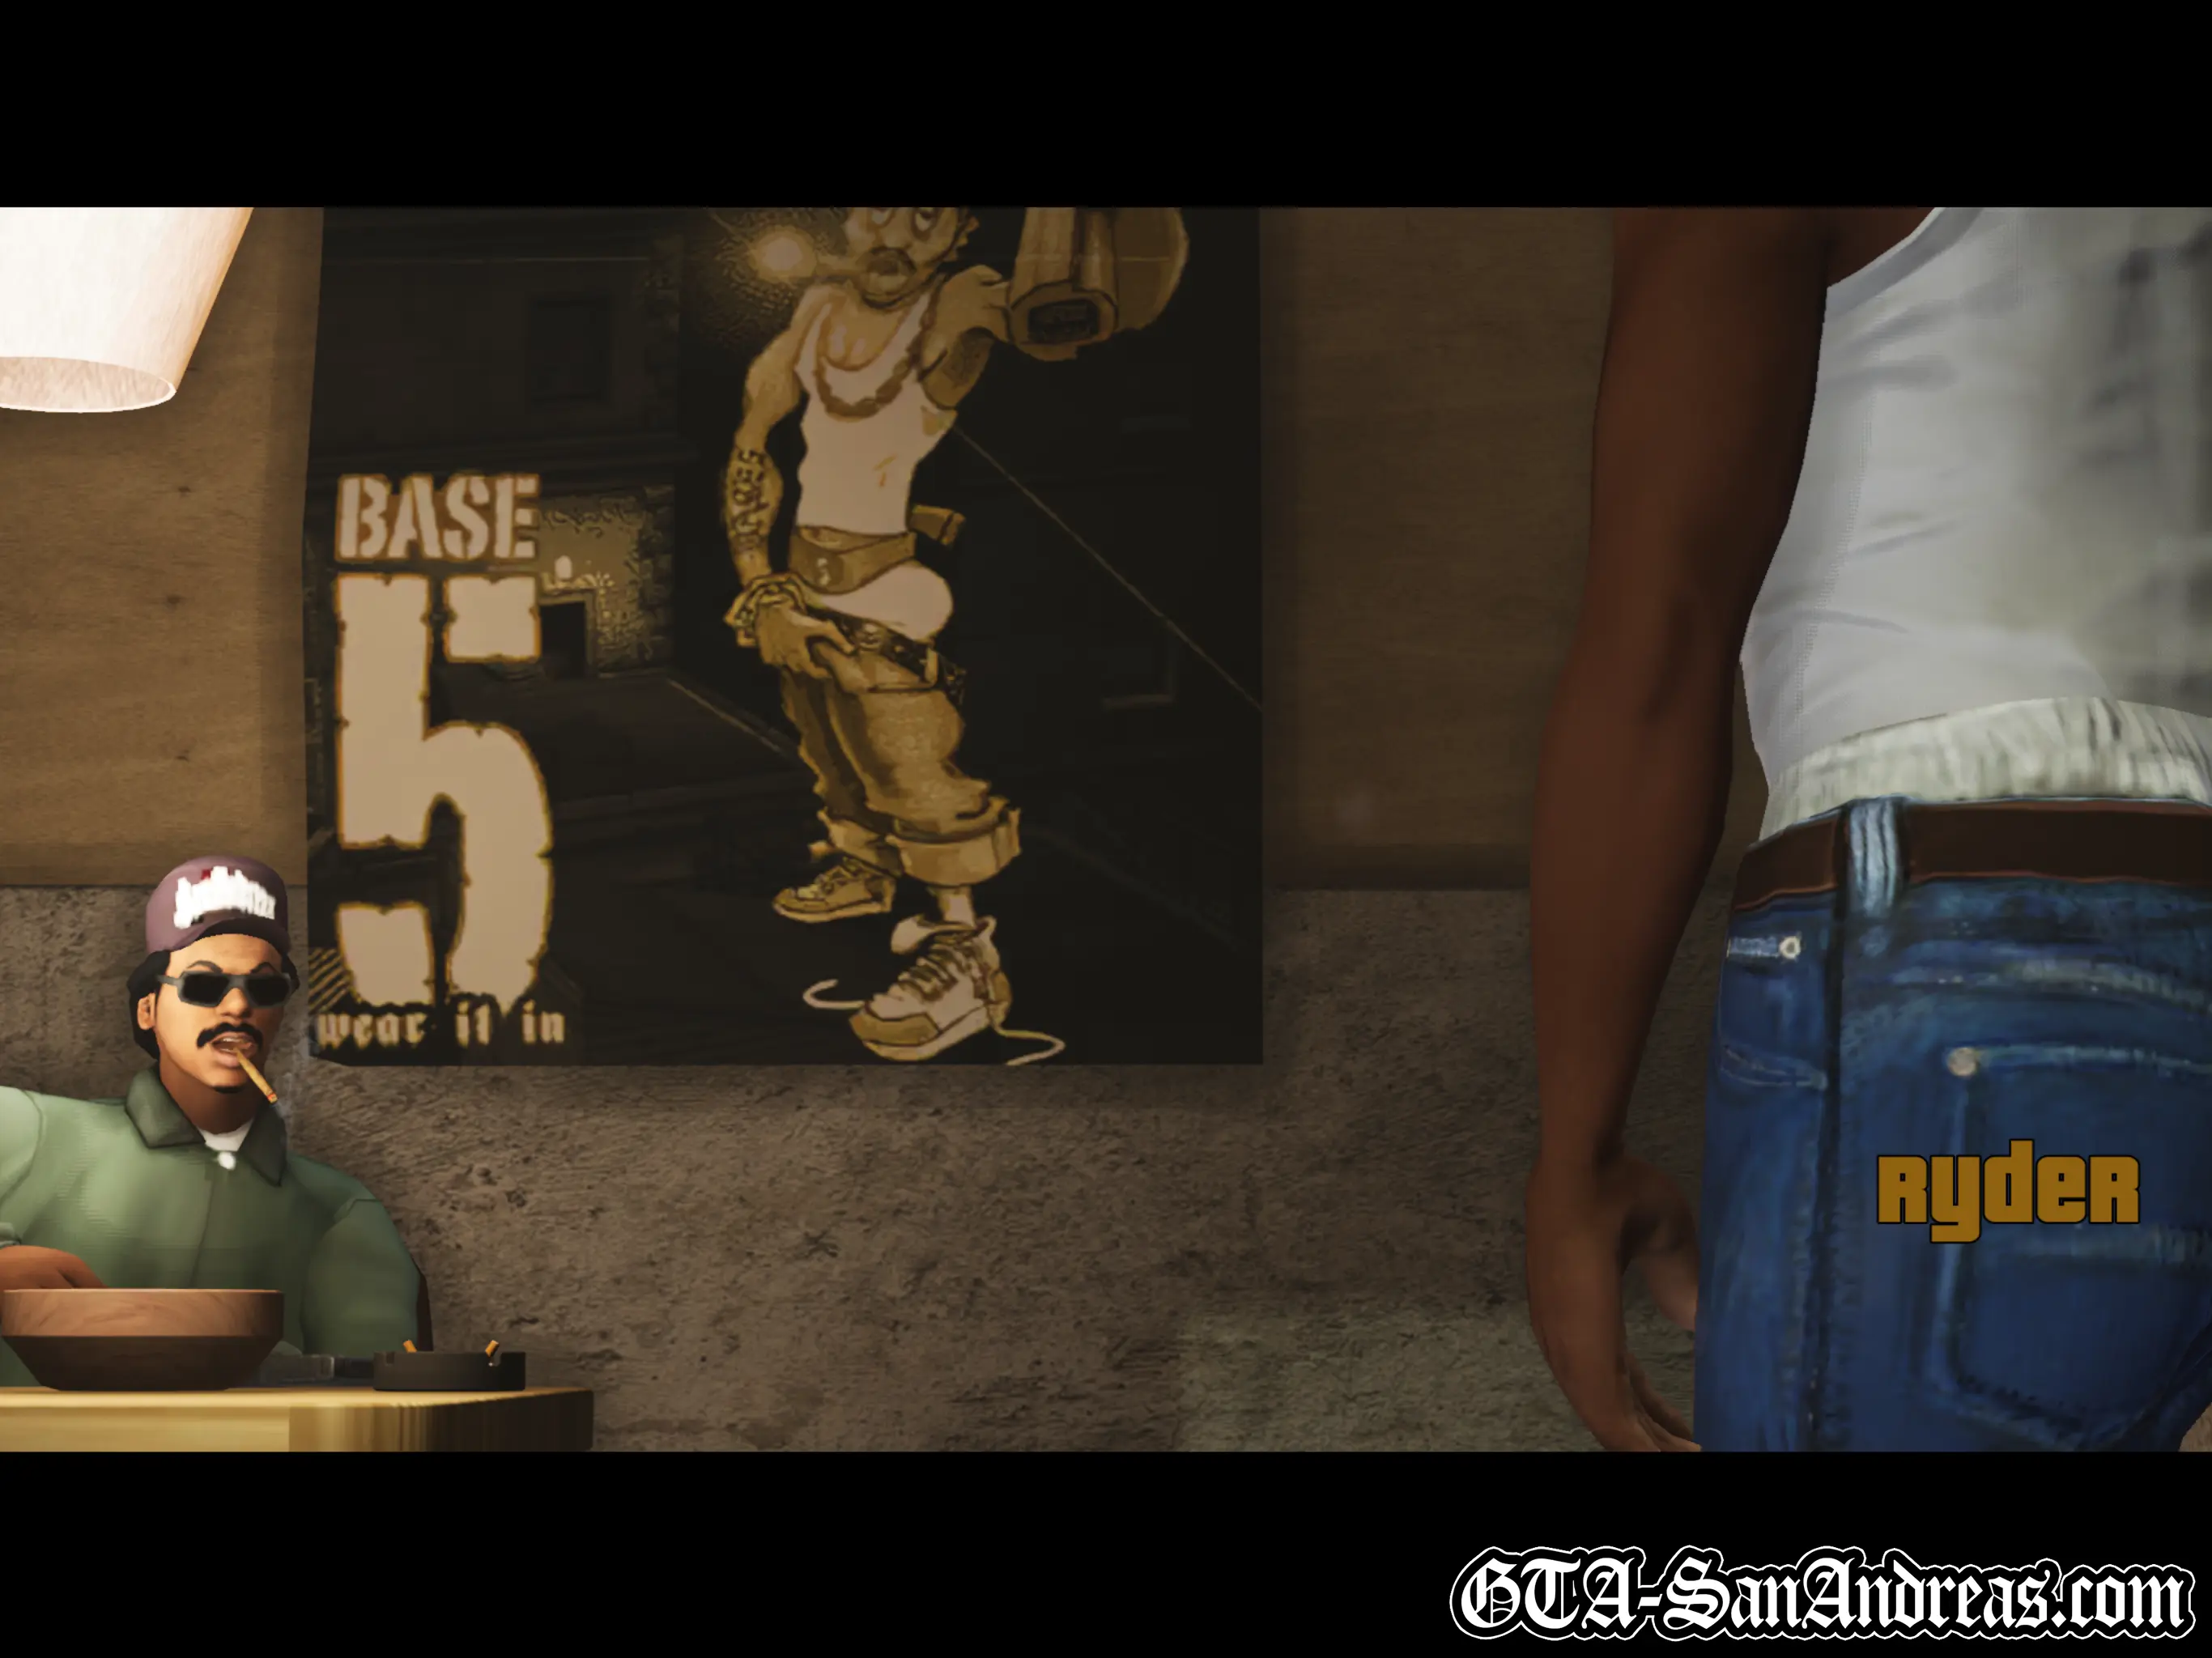
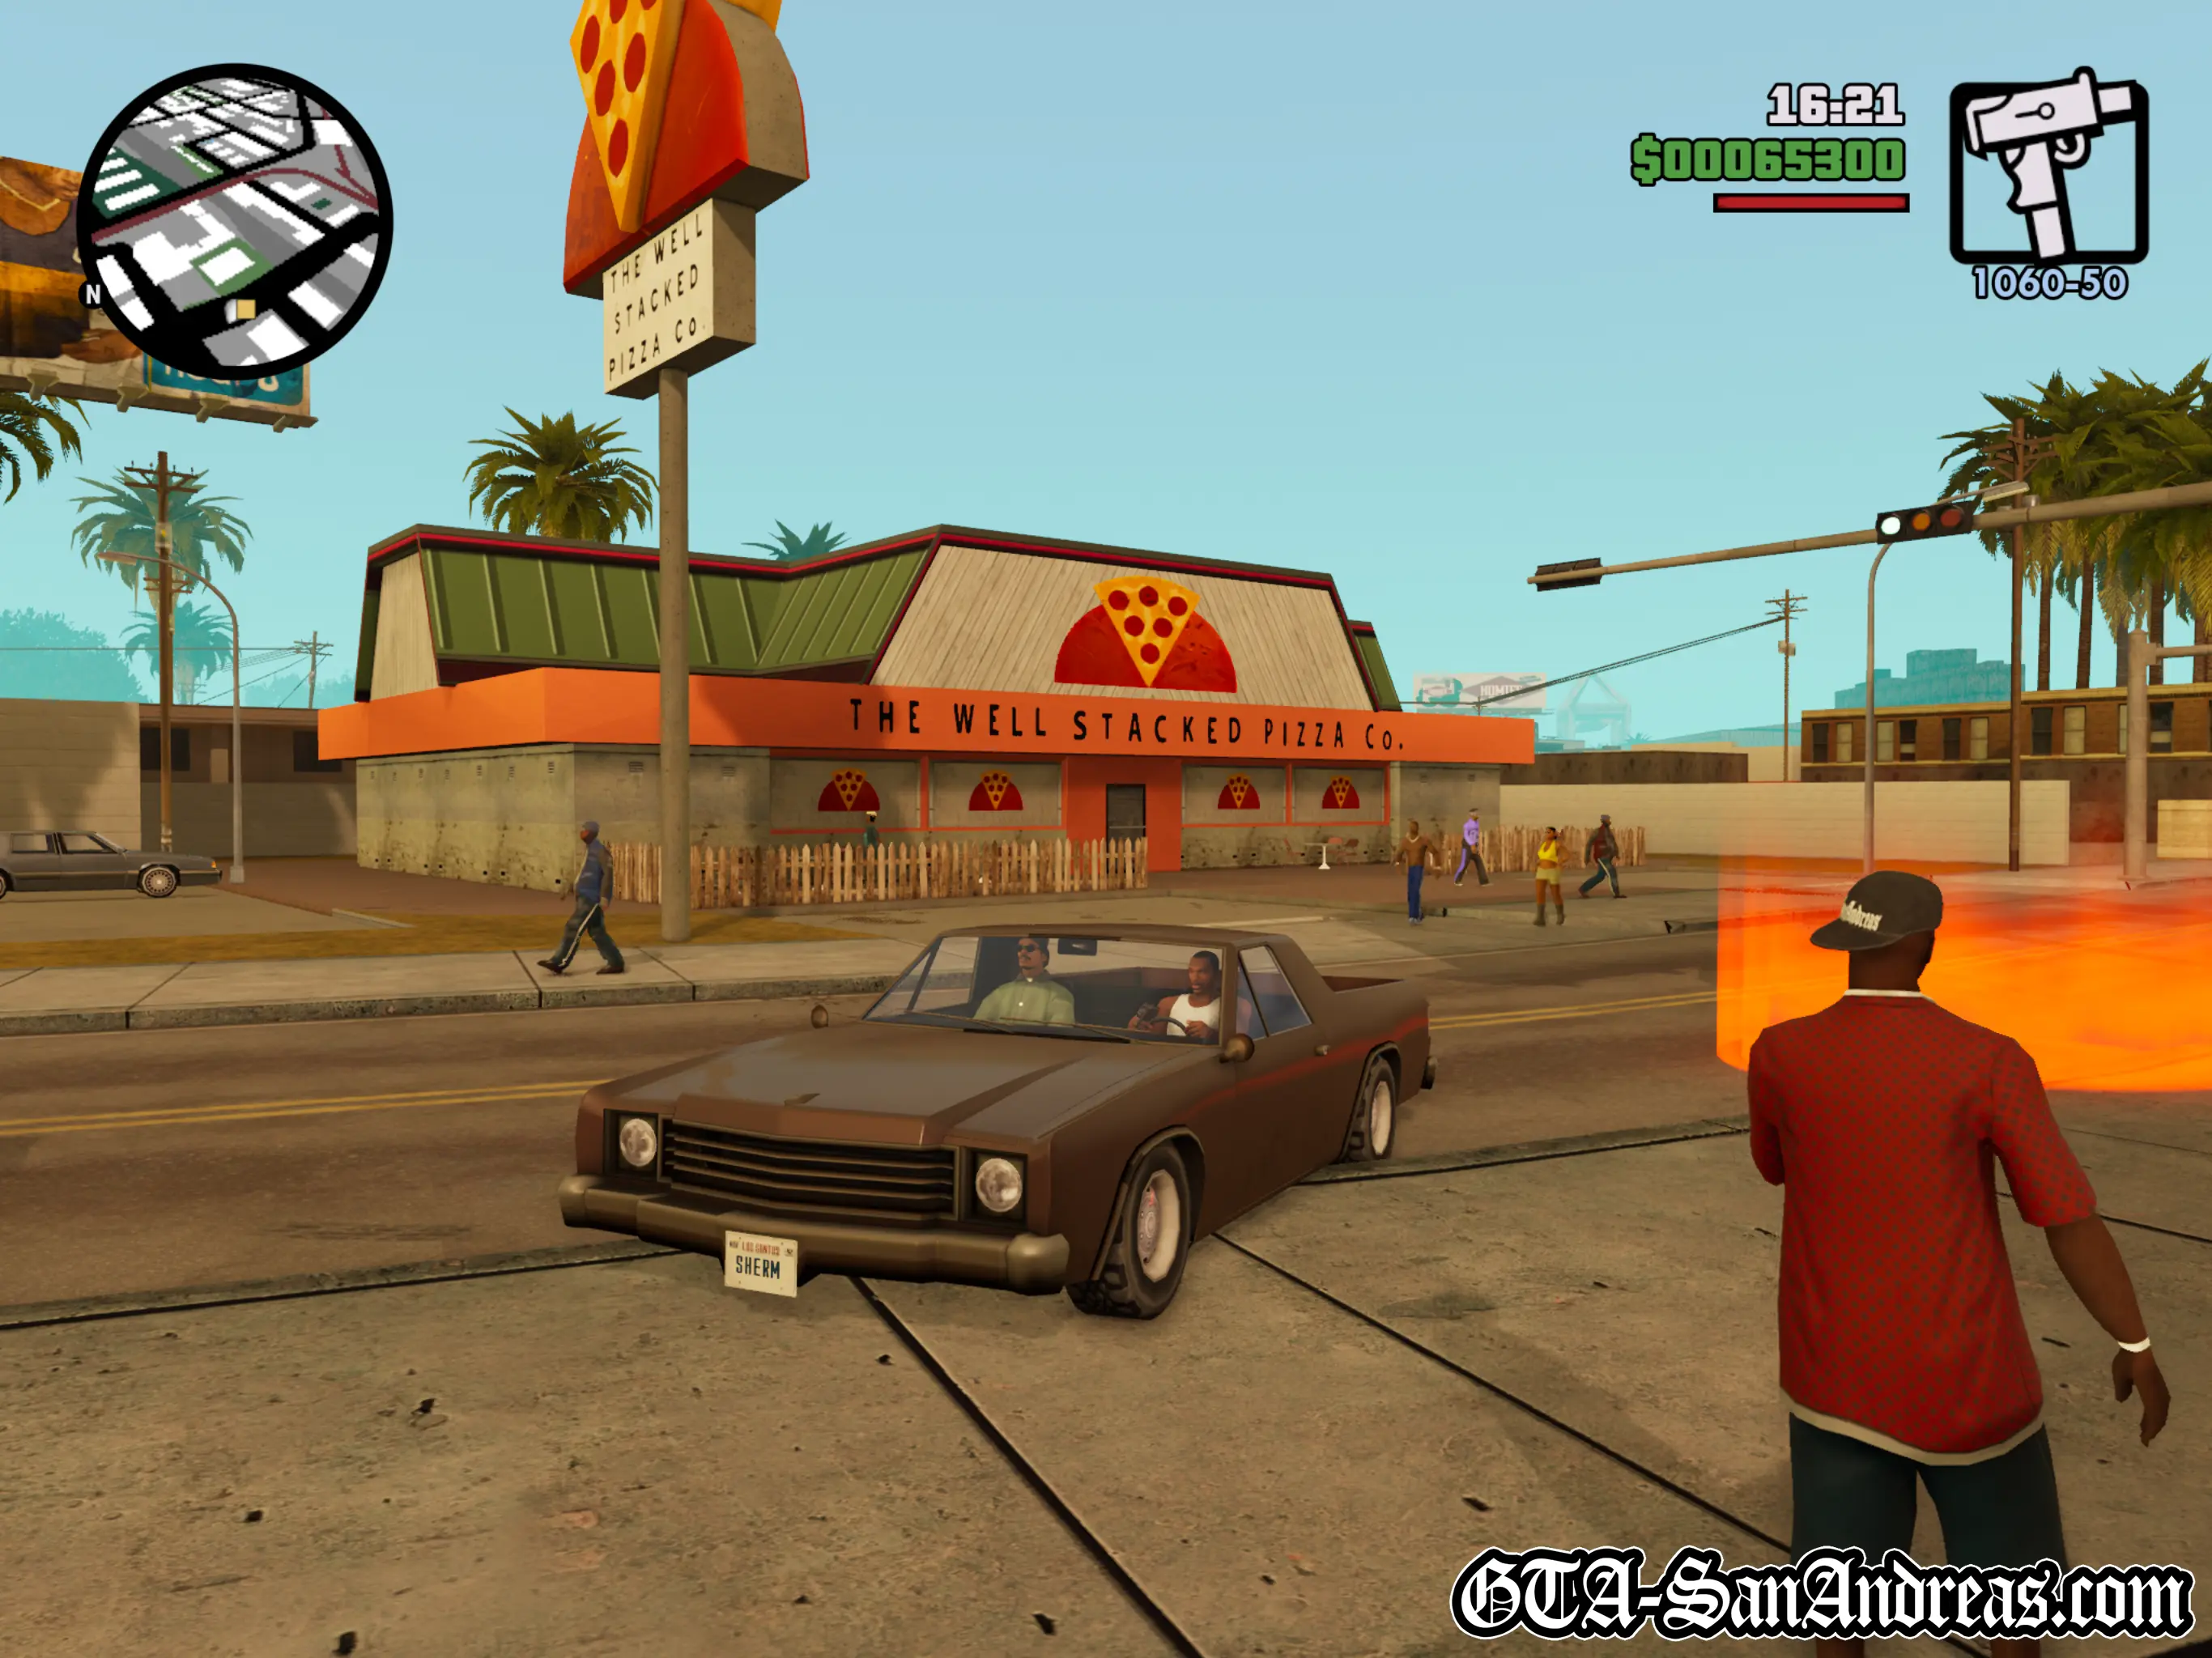
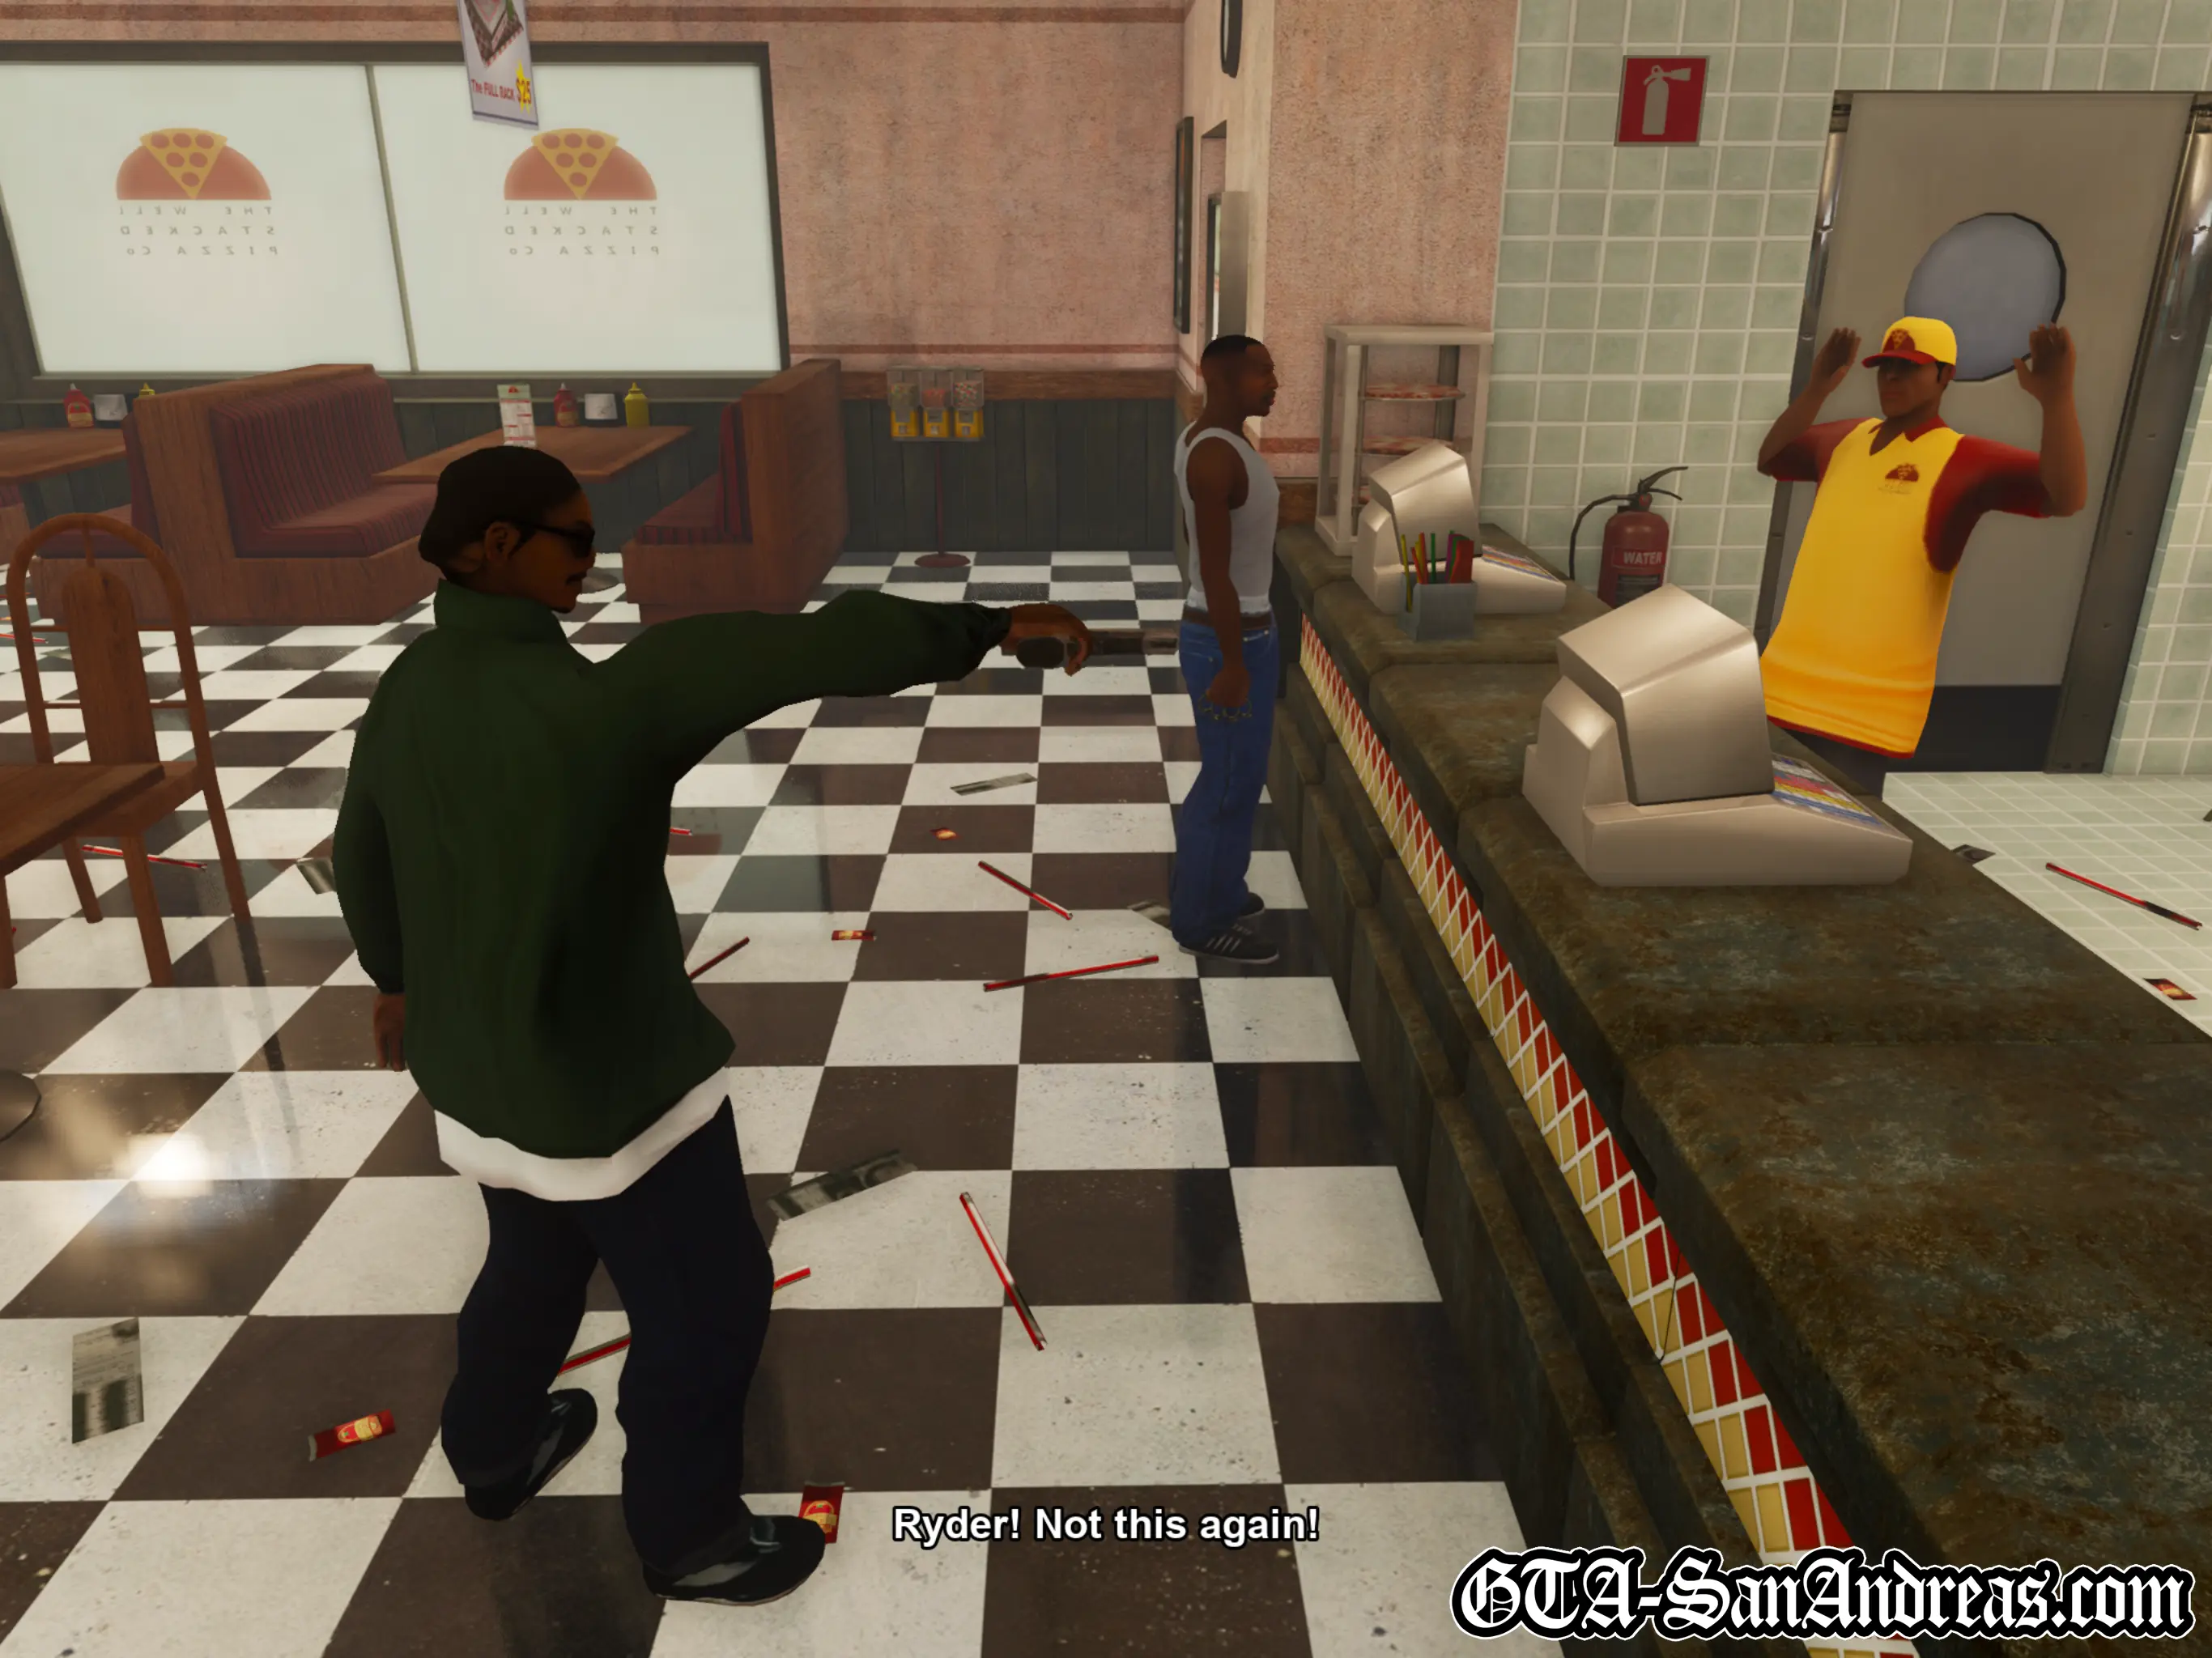
Ryder wants to get revenge on a nearby Pizza place who are always spraying over his "beautiful" graffiti. He's got a gun and wants you to tag along while he teaches the owner a lesson.
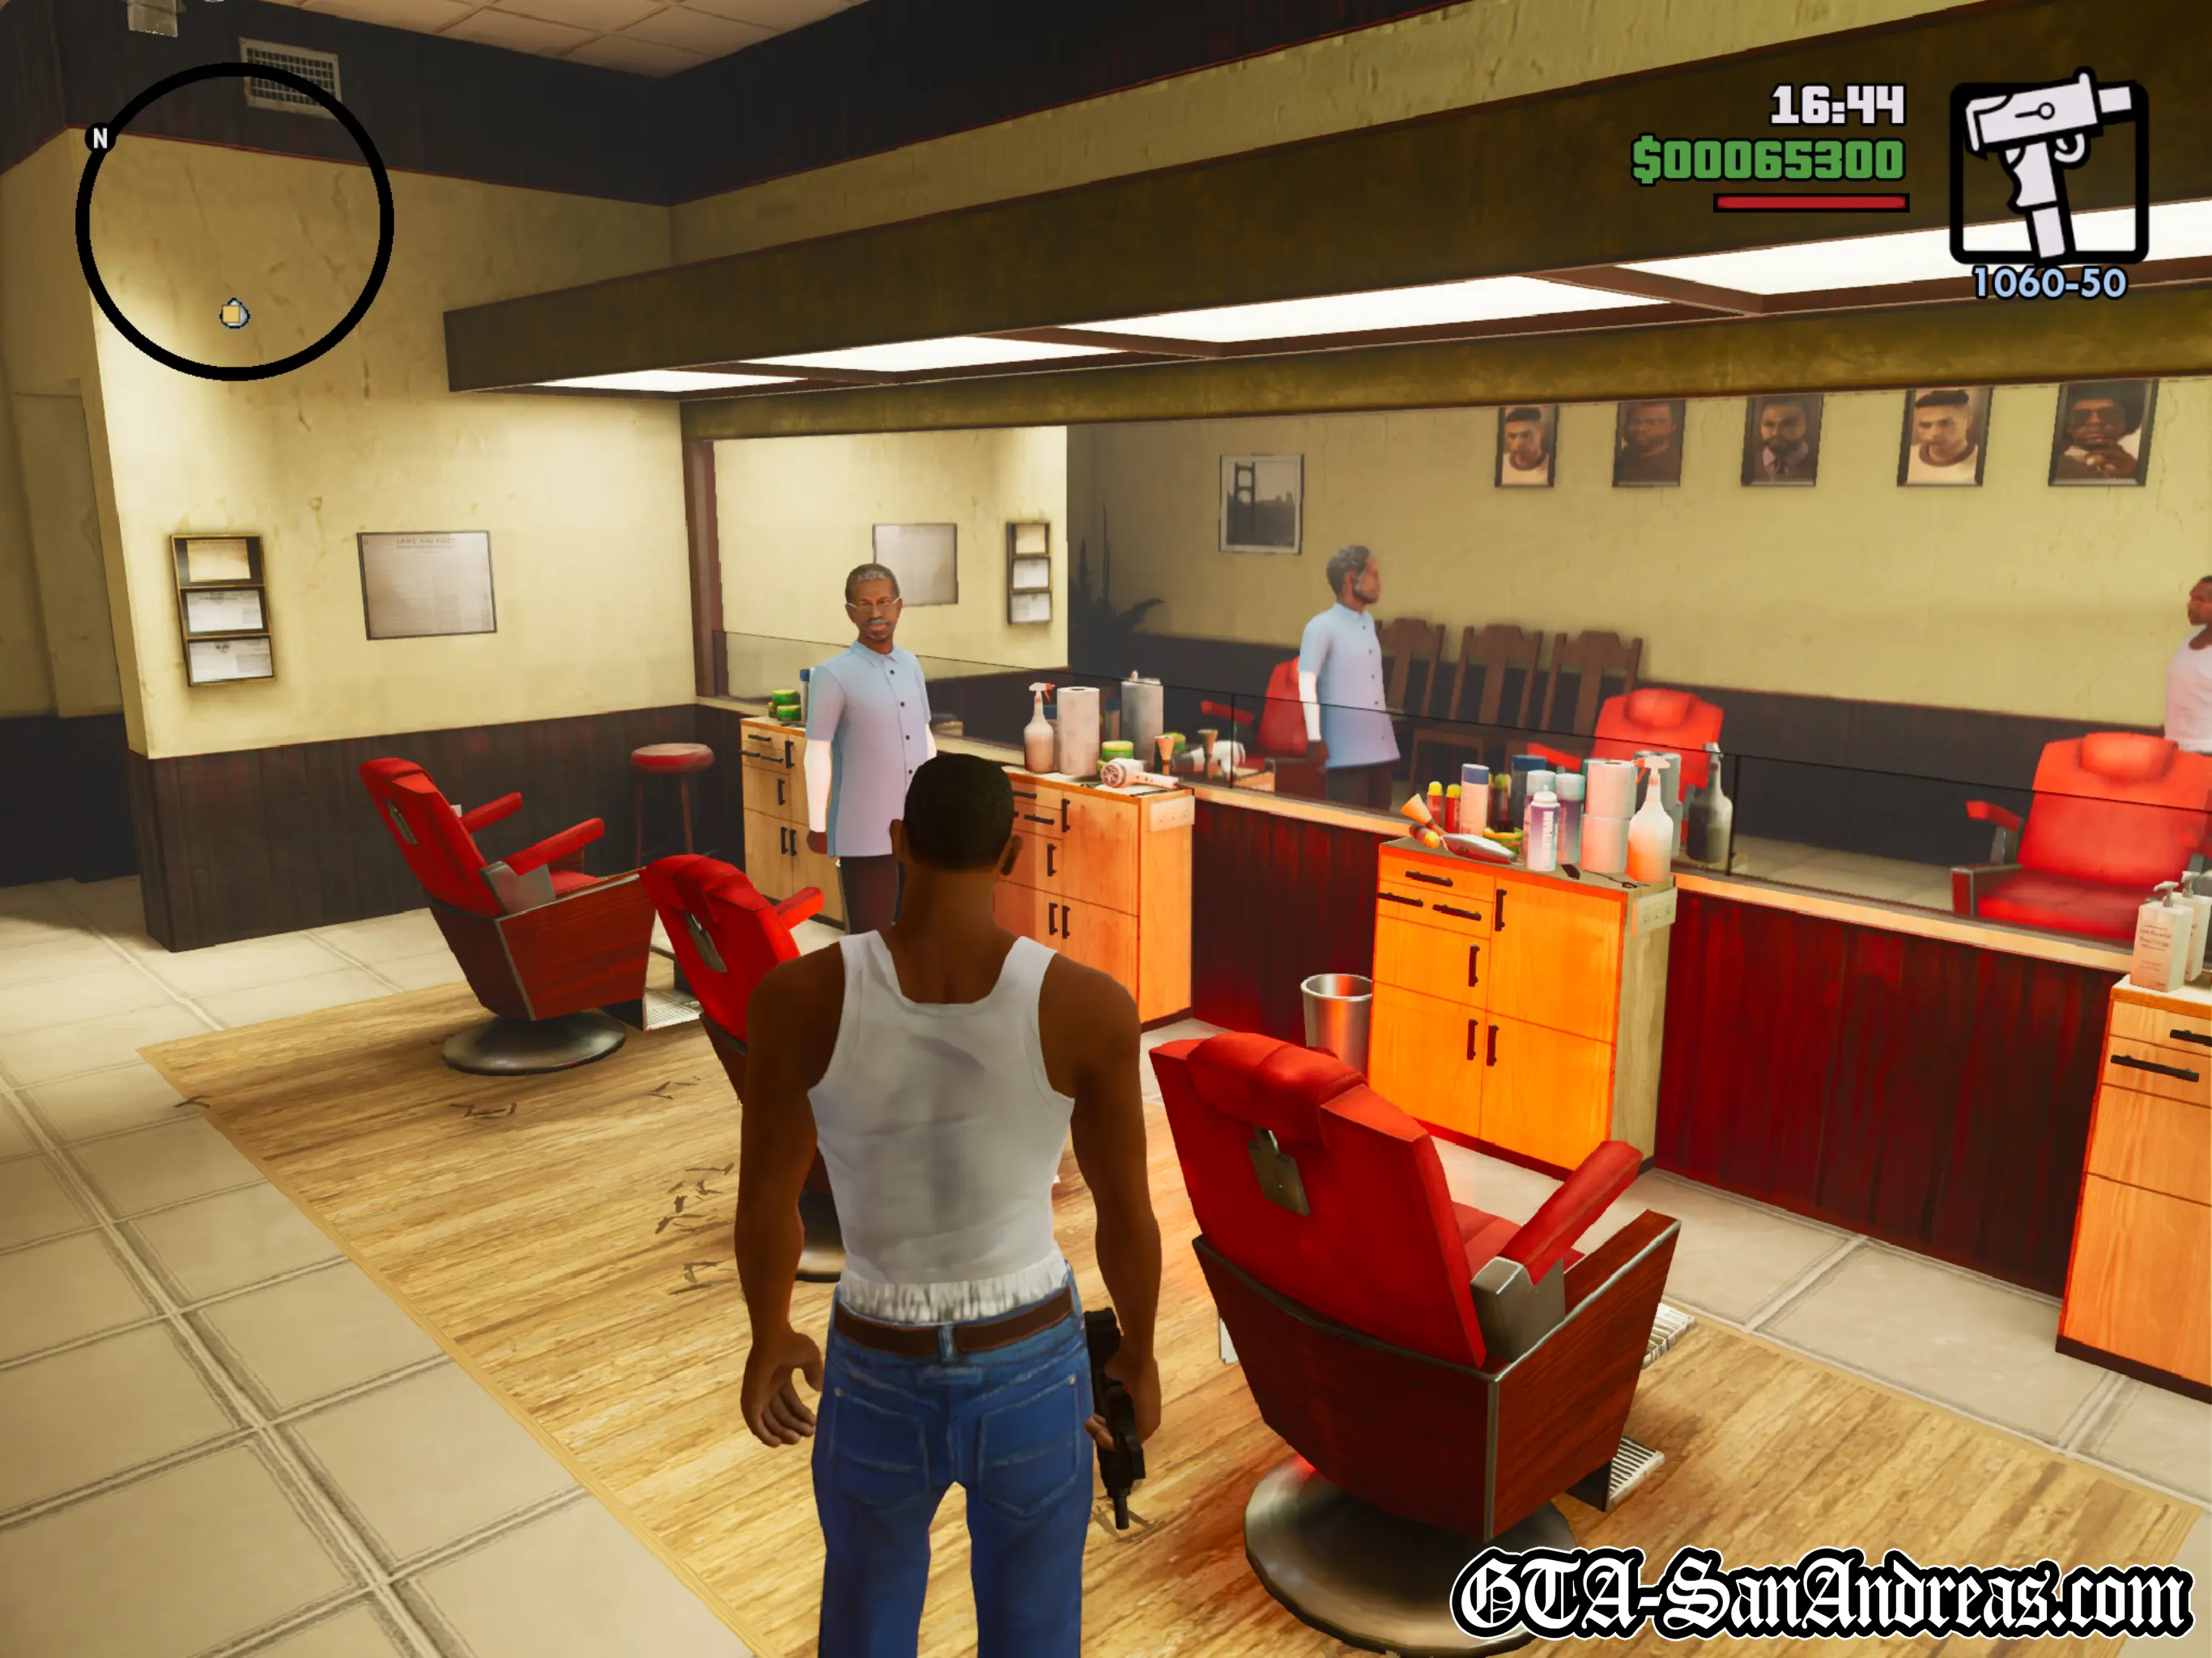
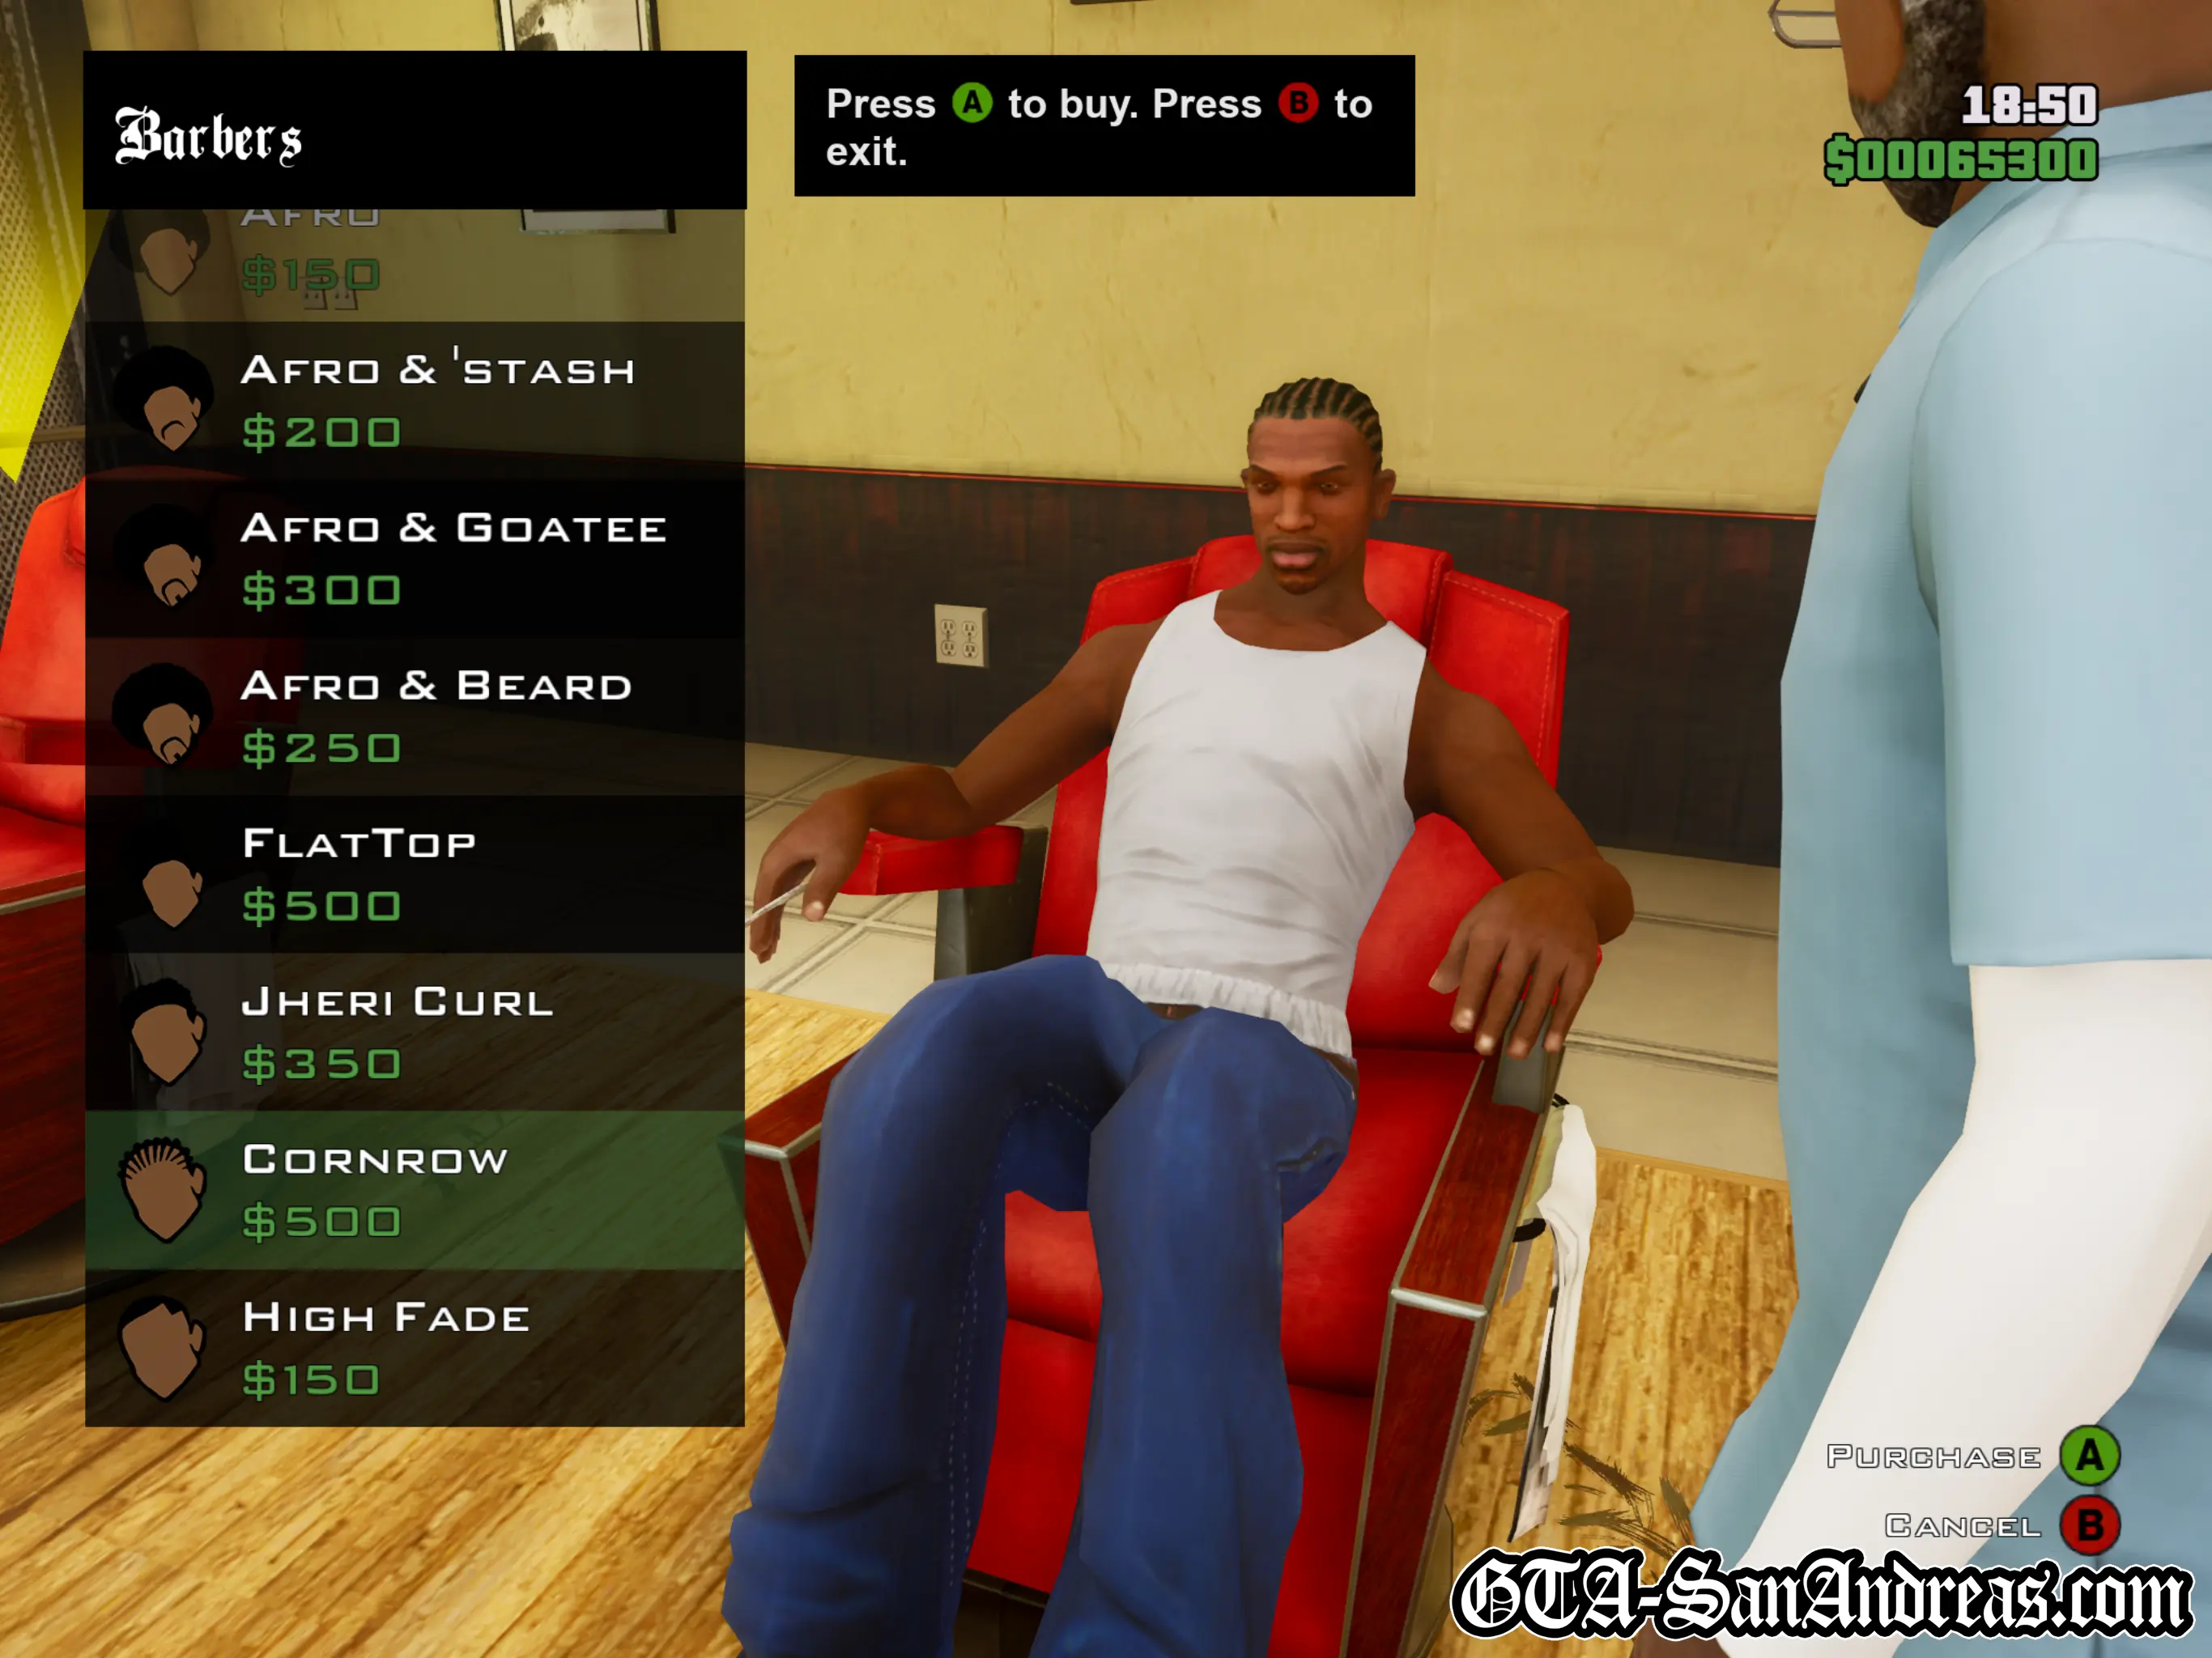
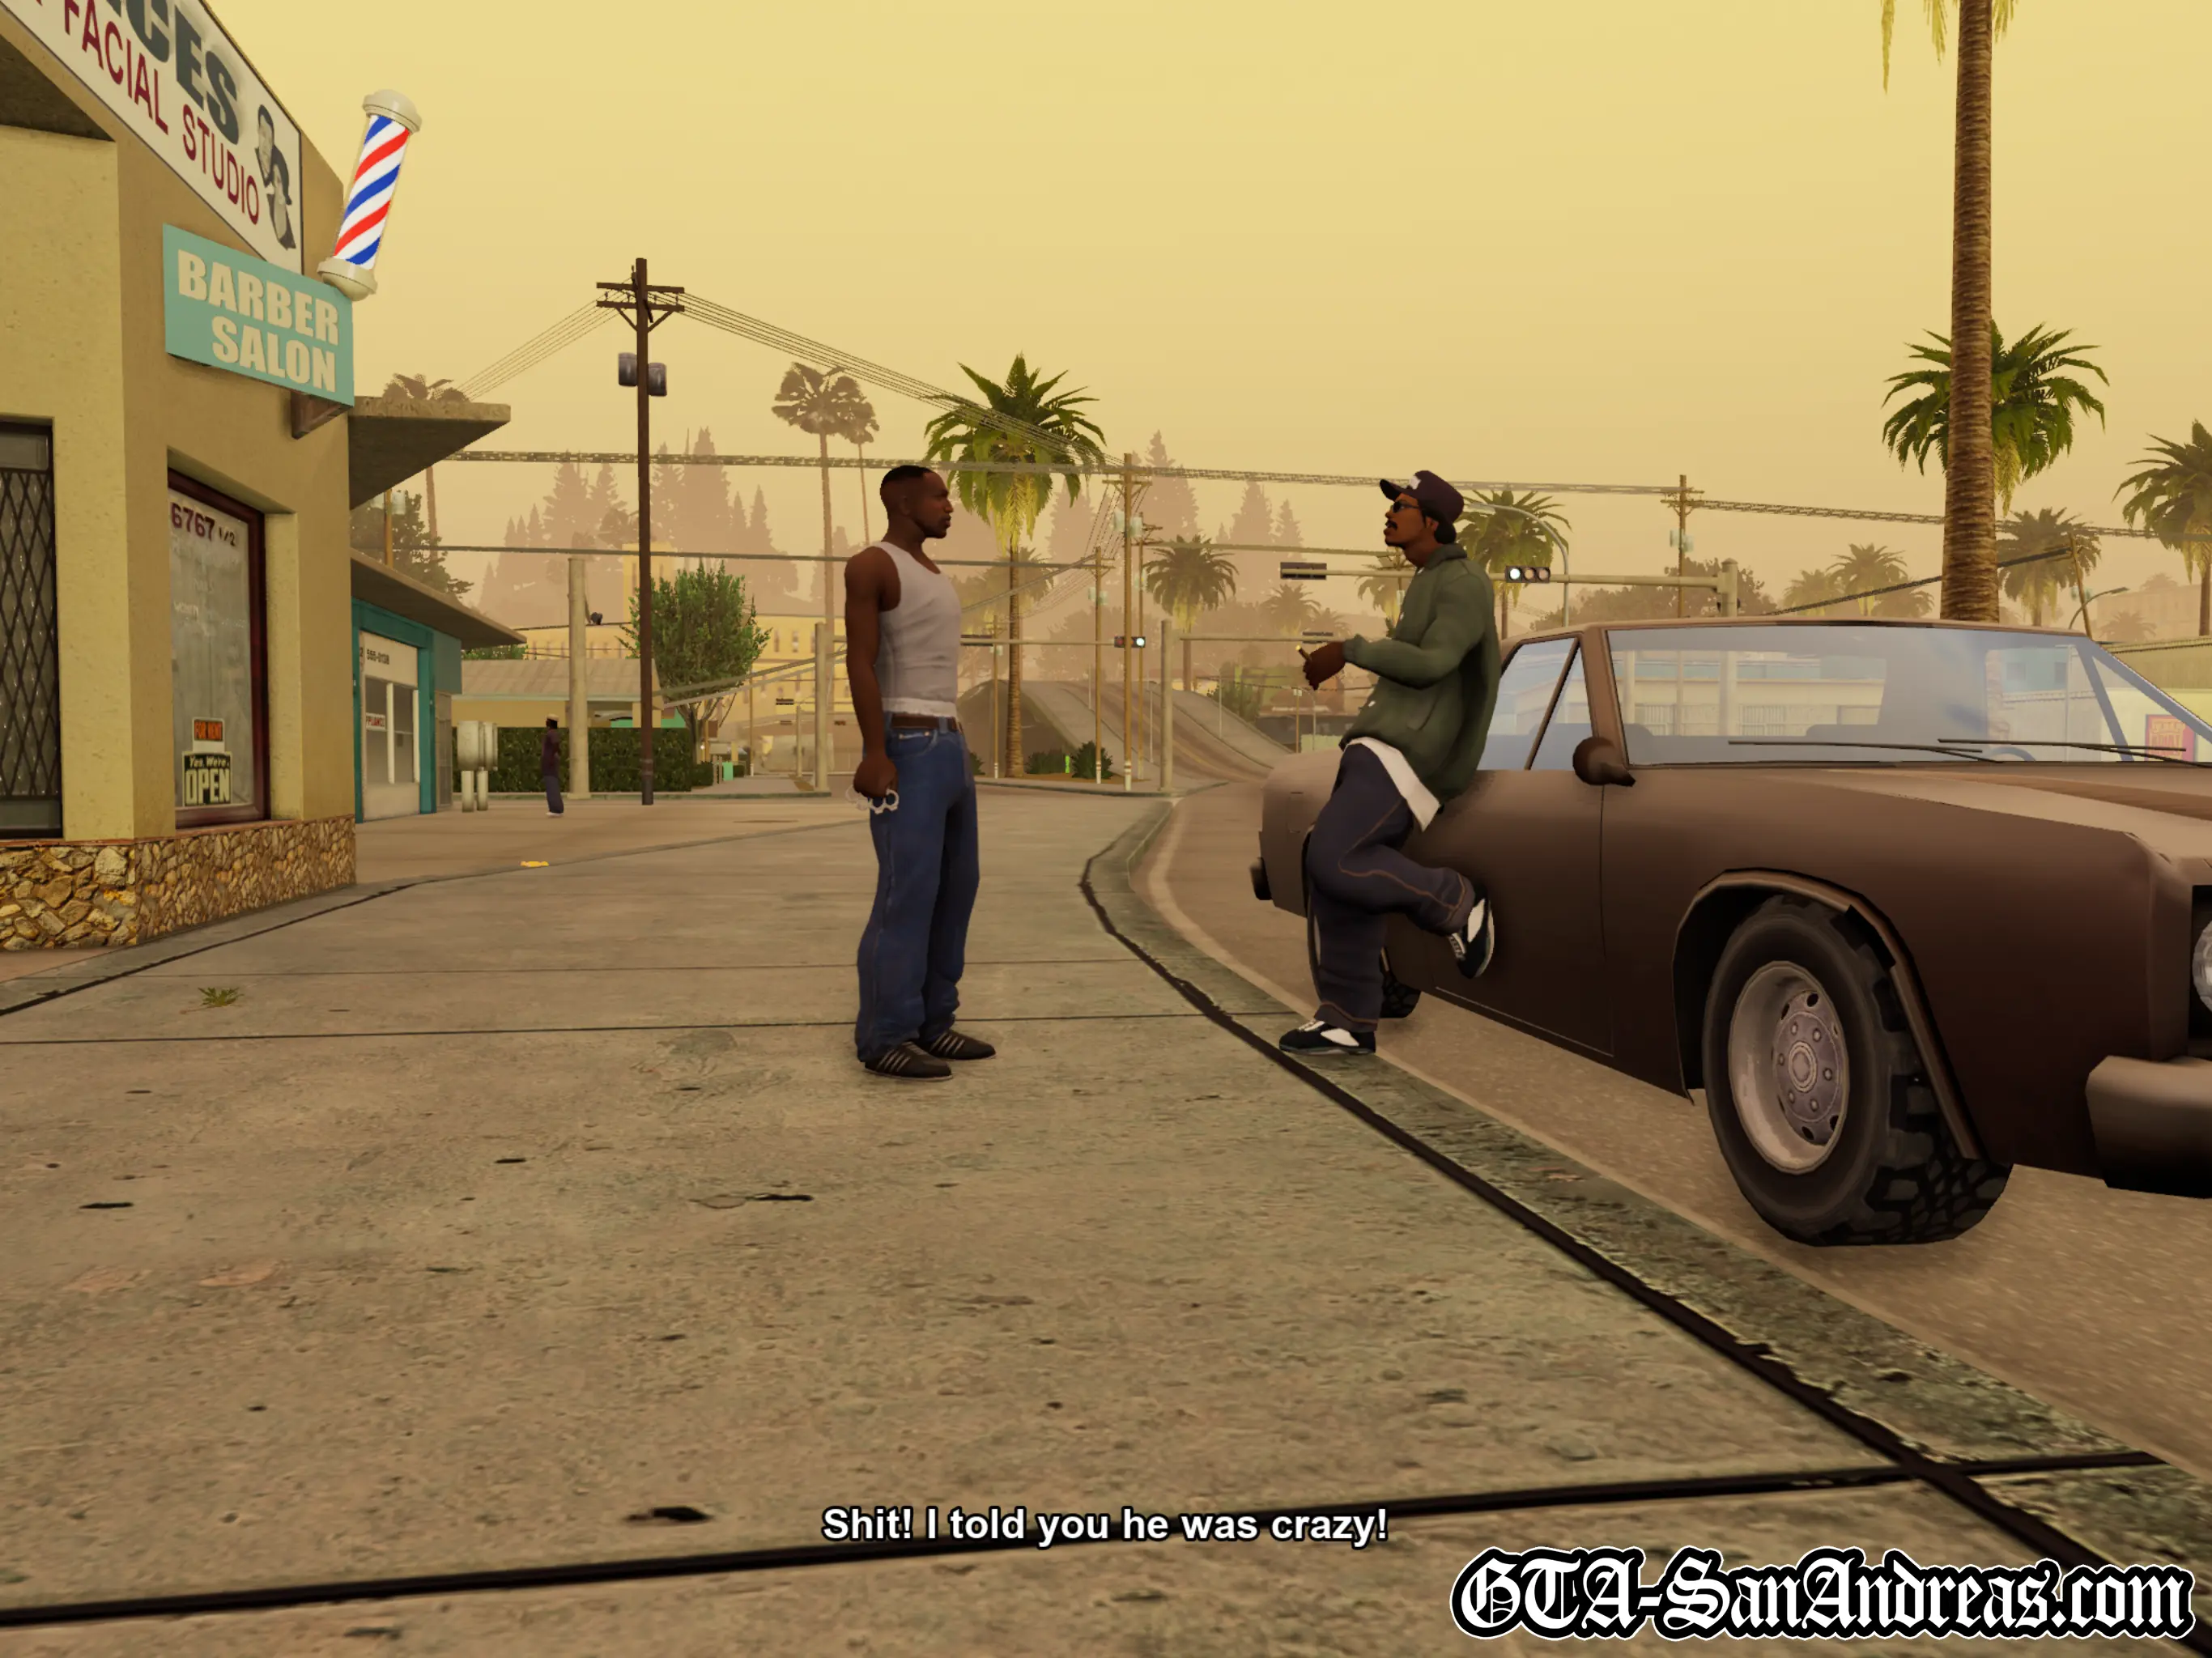
Get in Ryder's car and listen to the conversation between Carl and Ryder about Old Reece, the barber, as you follow the blip on your radar to his barber shop. When you get there, park in the red marker, exit the vehicle and you'll enter the barbers.
Inside the shop, walk into the red marker in front of the chair and Carl will sit down. You'll now be able to choose a hair style using the menu. Buy whichever one you like, I usually go for the Jheri Curl. After that you'll automatically head back outside.
Cutscene
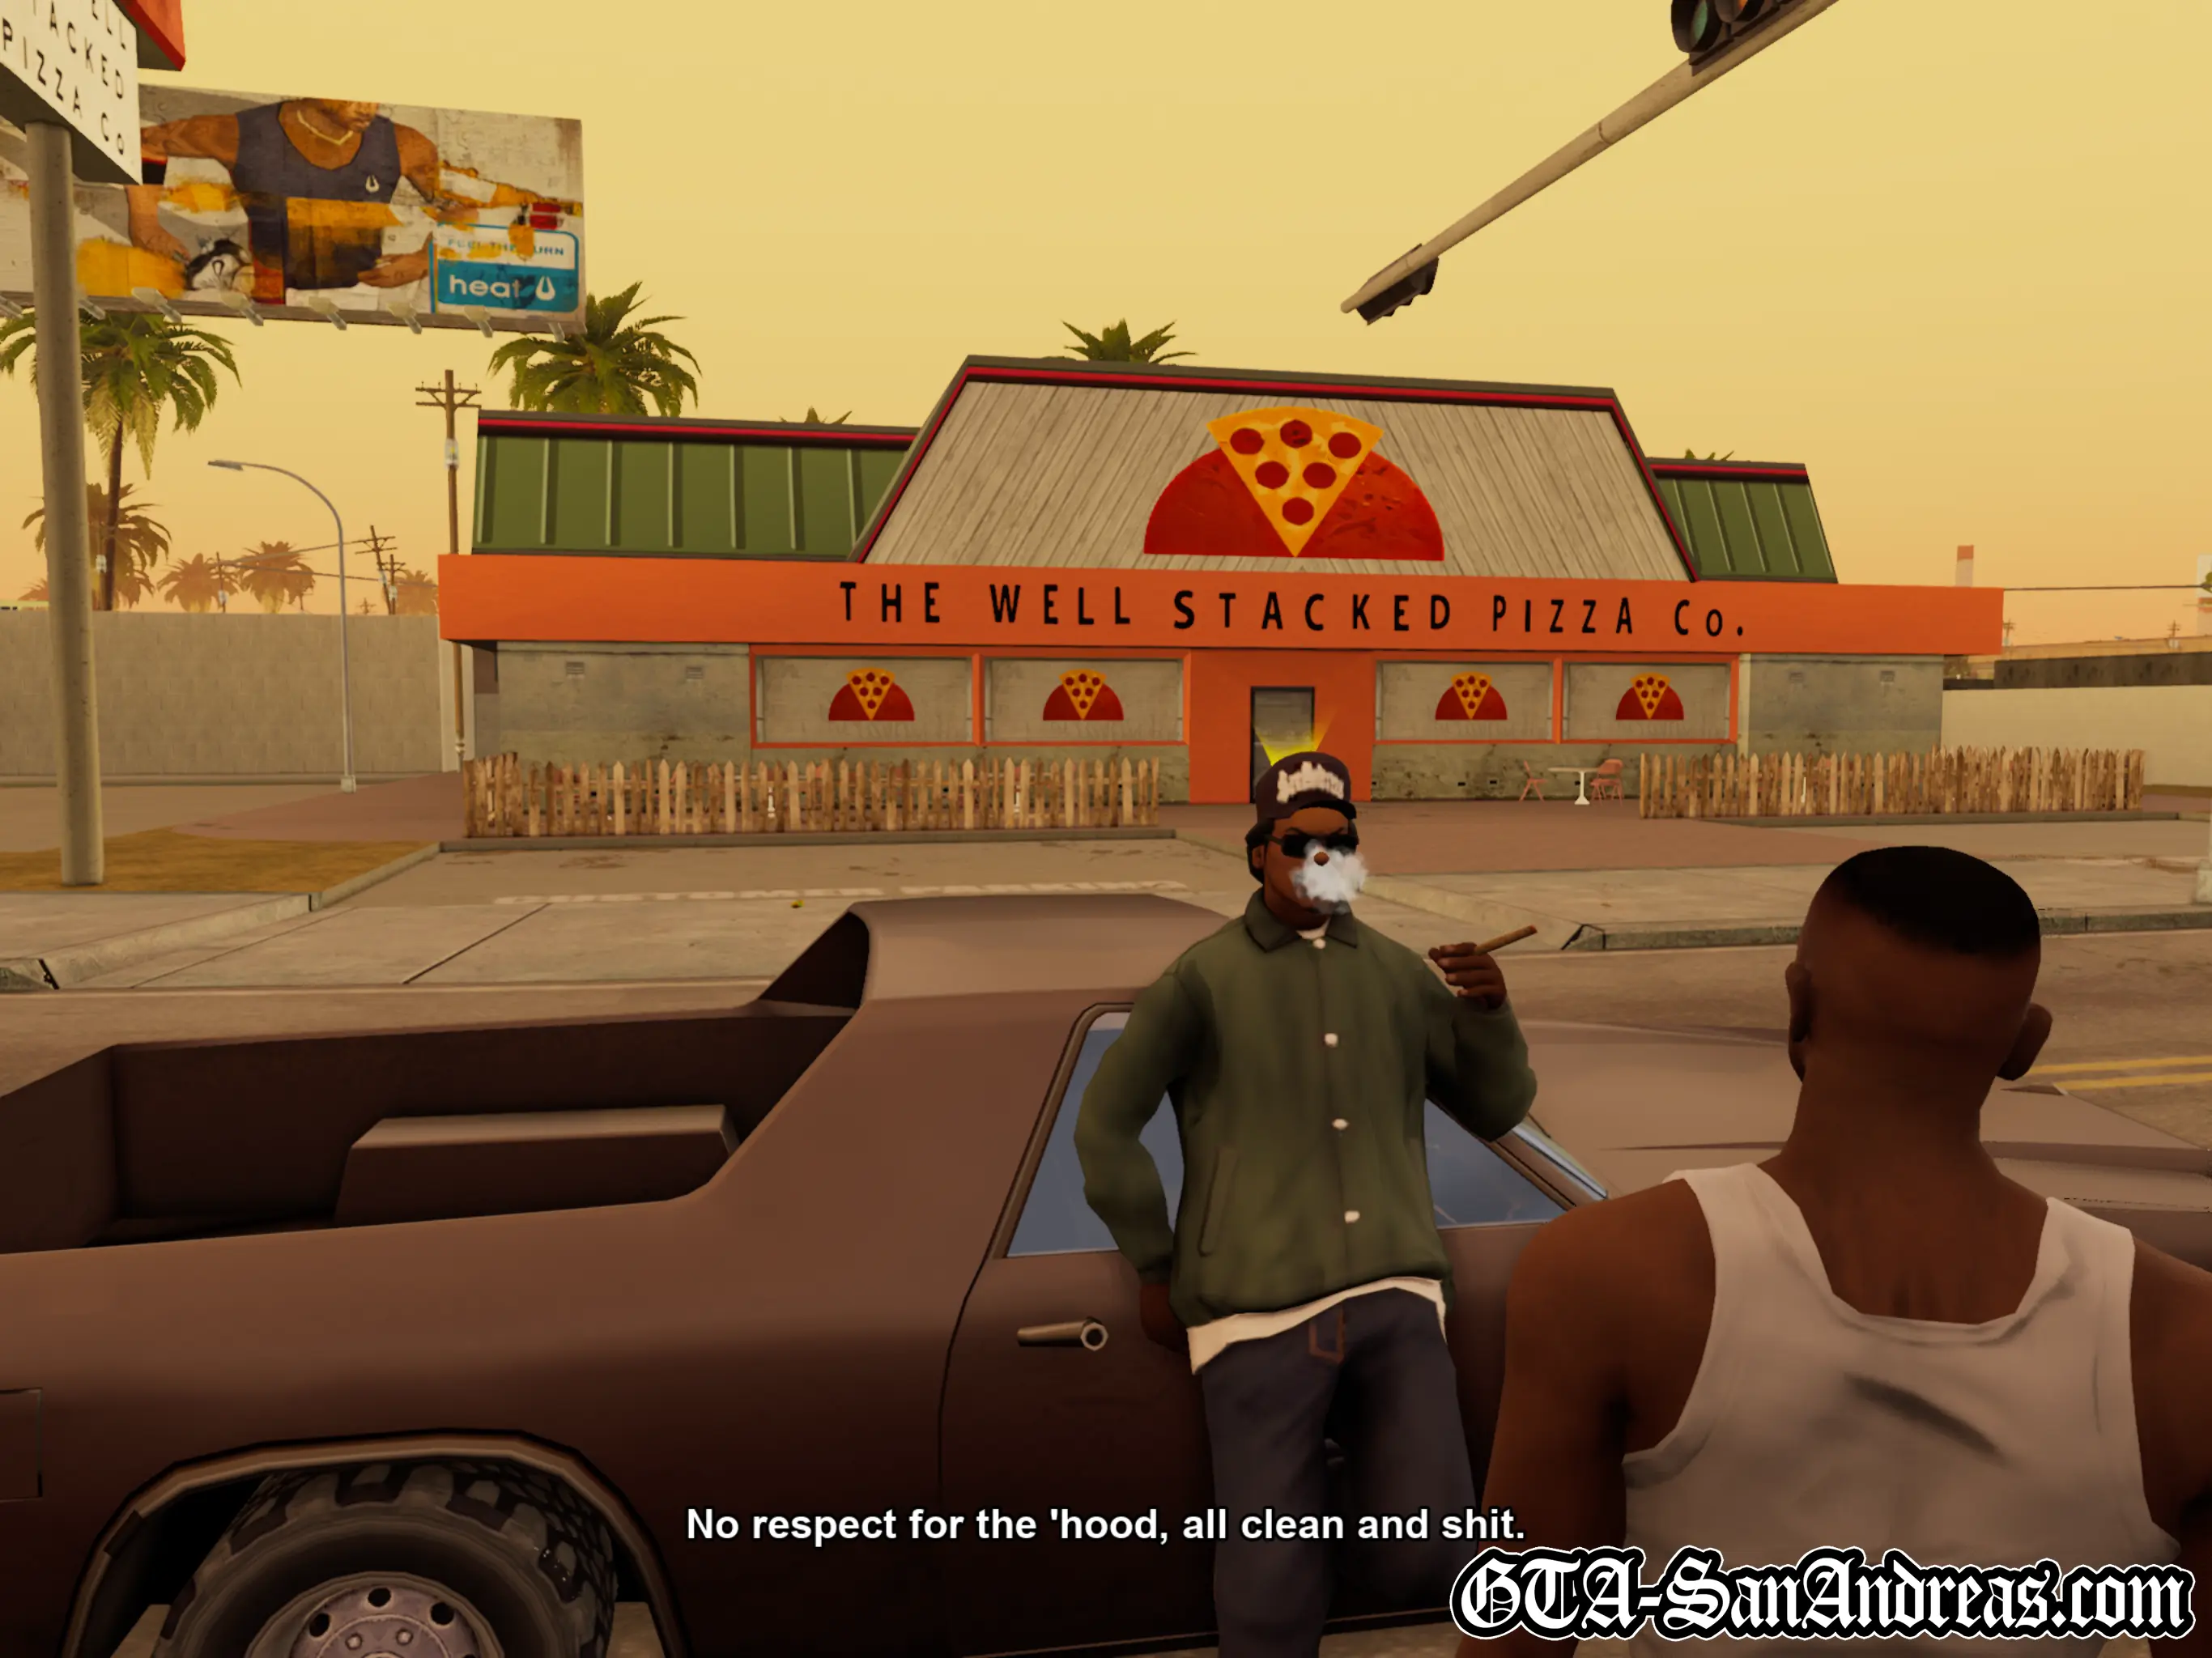
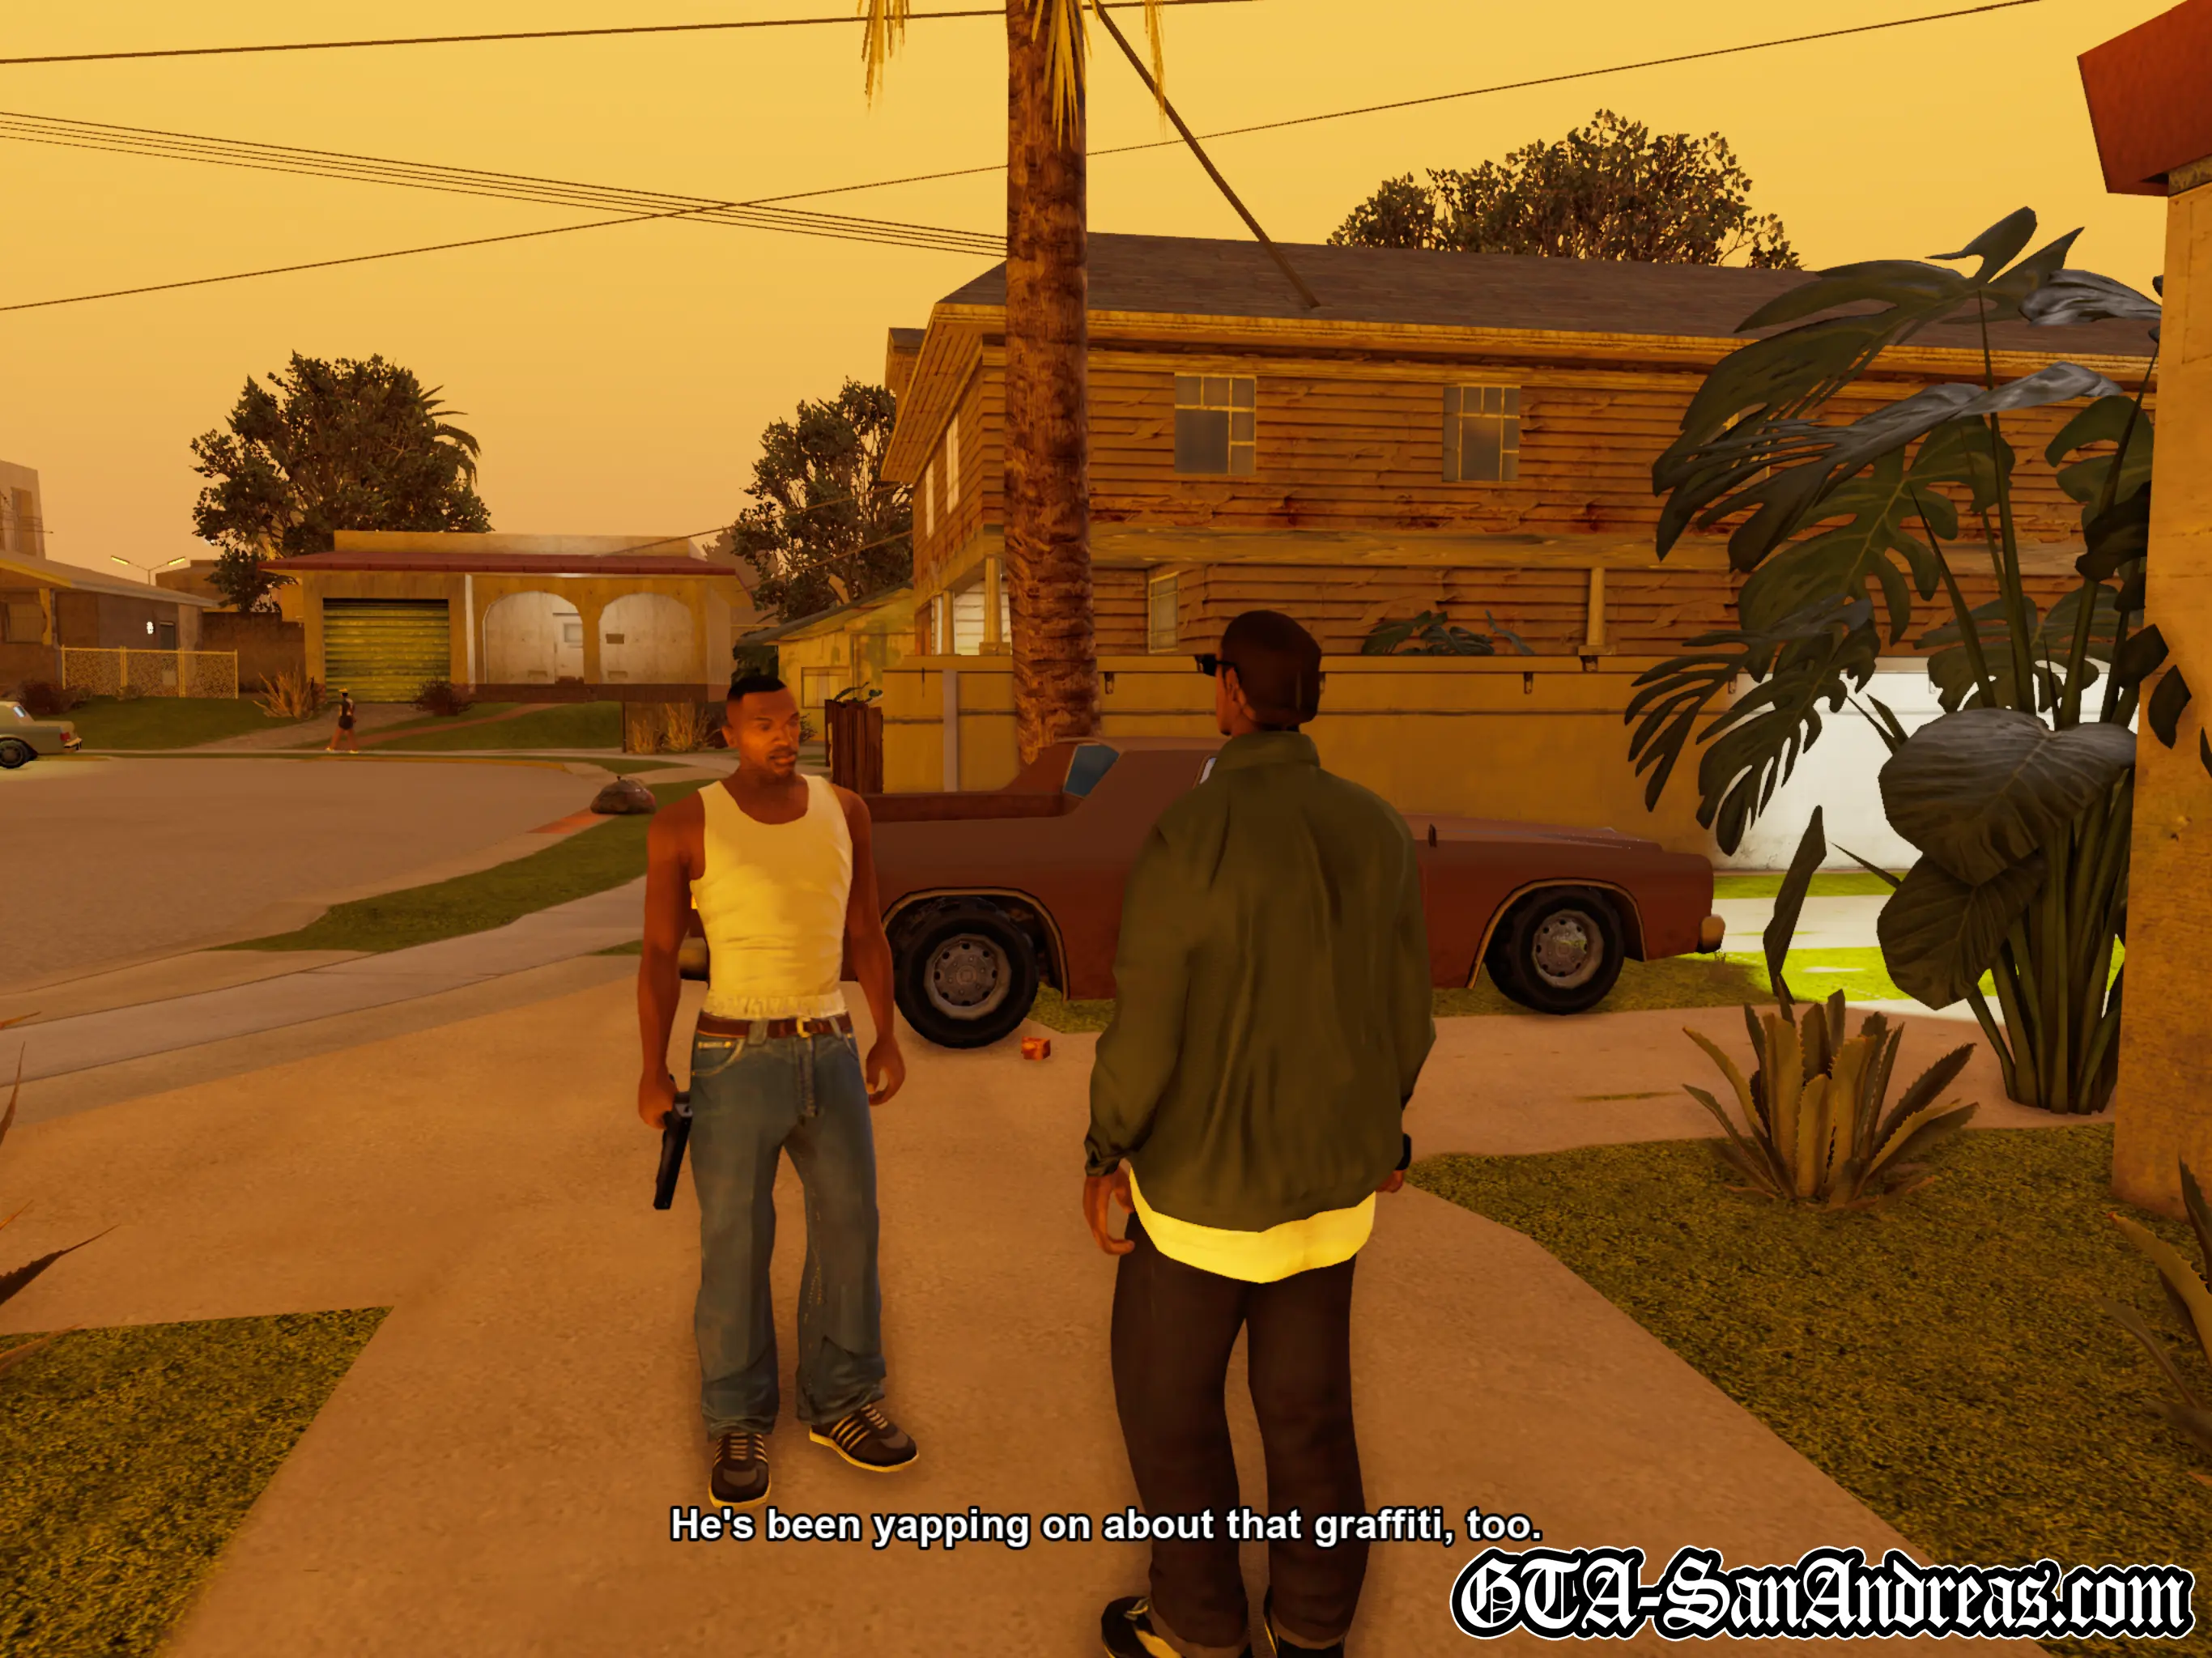
Ryder makes a comment on CJ's hair, then complains about the pizza place having no respect for the 'hood by being 'too clean and shit'. Ryder will also tell CJ he's looking too skinny and that he should get something to eat.
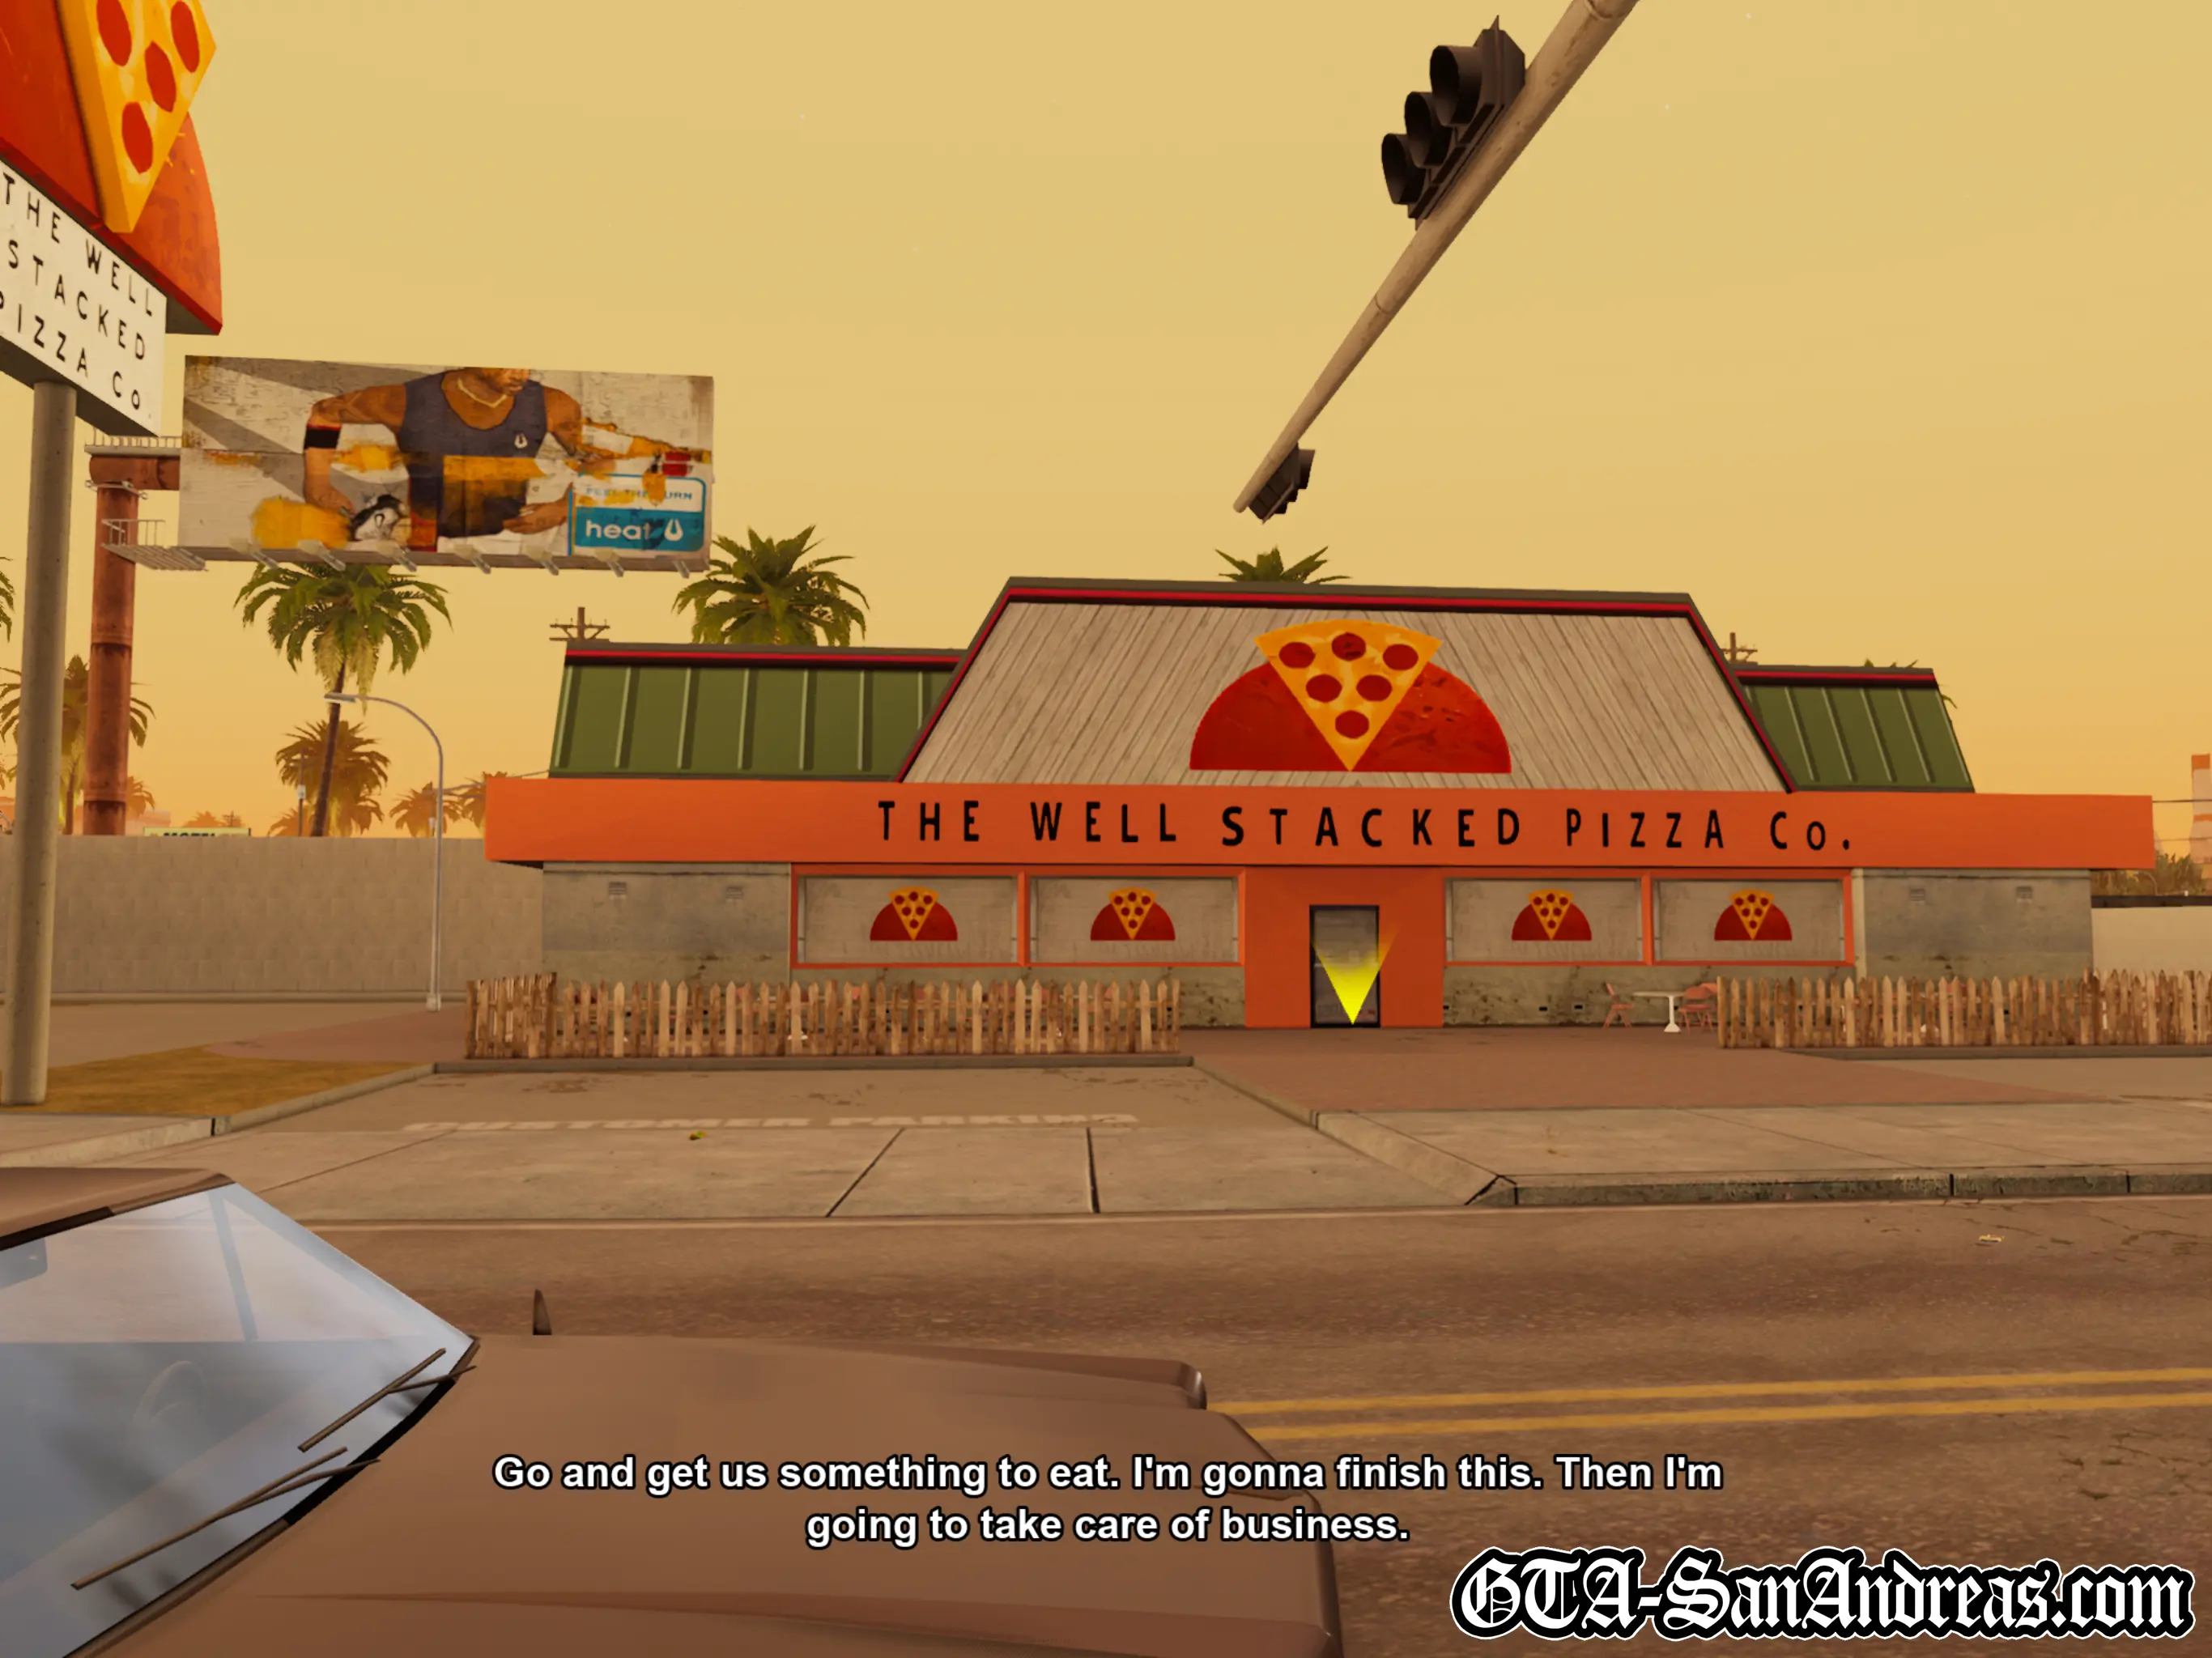
The game will explain how the eating mechanic works. If you don't eat regularly, you'll lose weight, muscle and eventually energy. You need to eat to keep your strength up. If you eat too much you'll get fat though, so much like real life, there's a delicate balance to your health.
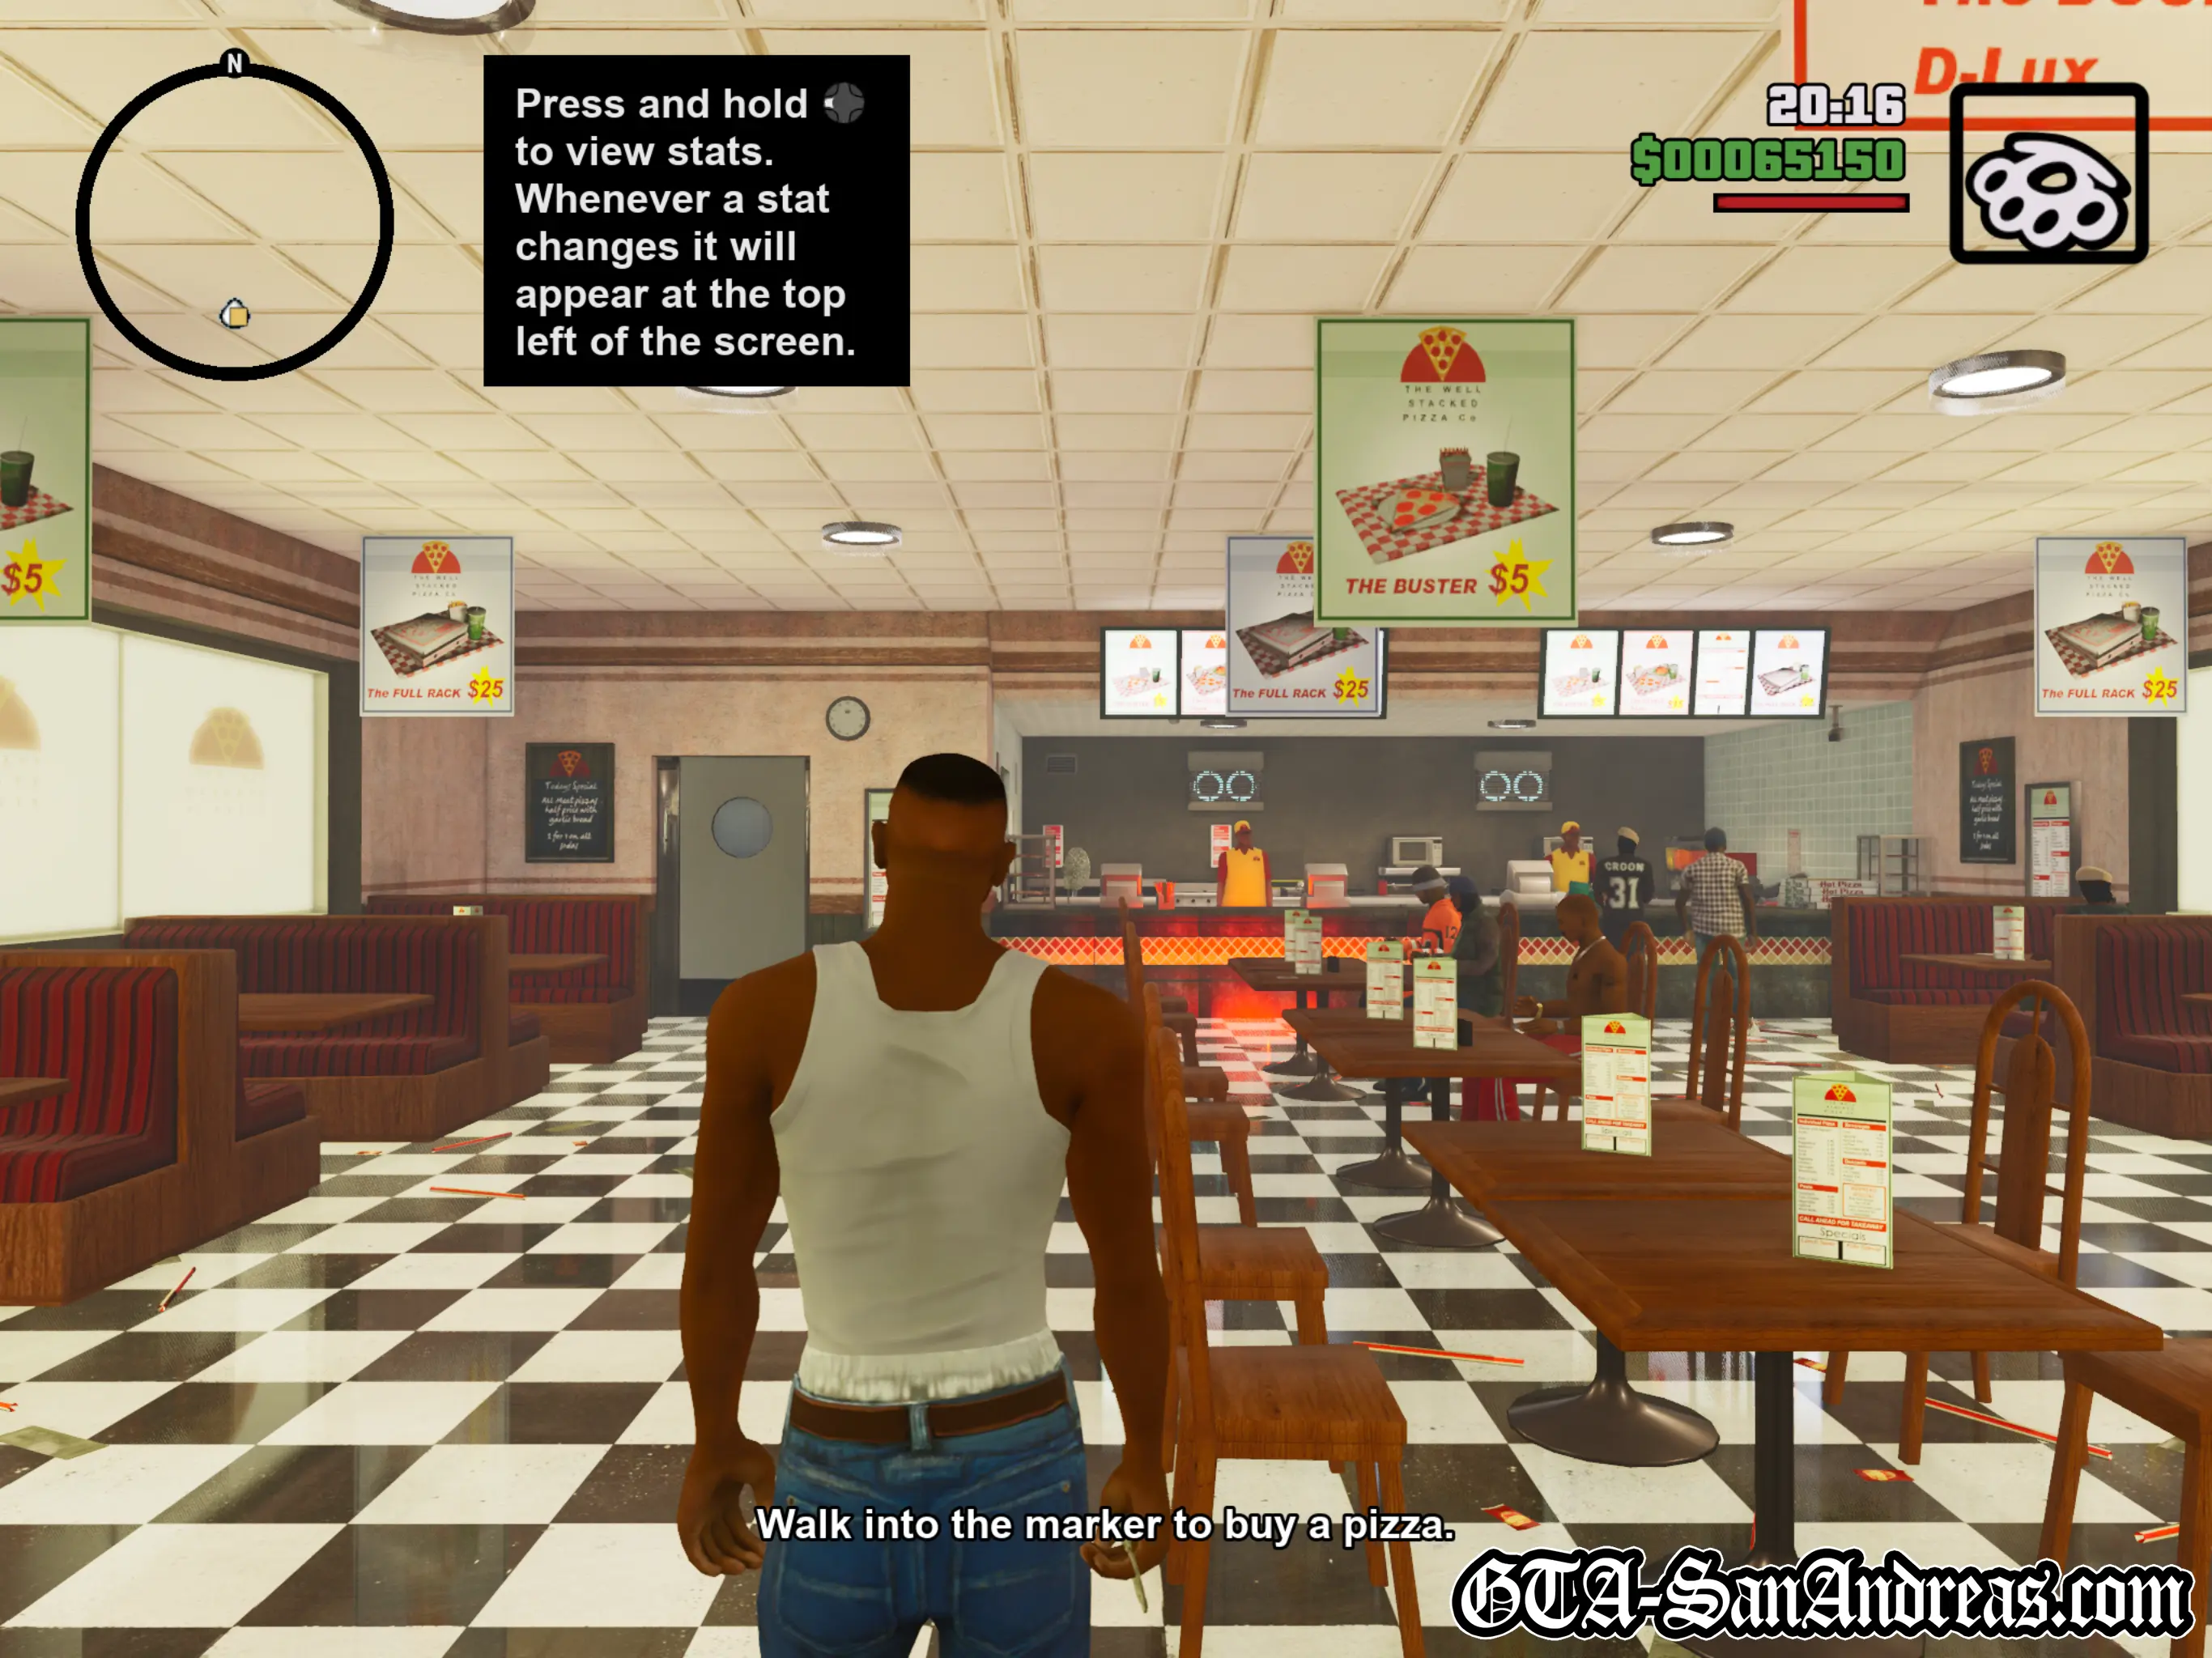
Cross the street and enter The Well Stacked Pizza Co. Once inside, head to the counter and enter the red marker to choose a pizza meal from another menu. If you spent all of your money on a haircut, the game will provide you with $10 here, so you can afford something to eat. Scroll through the options and buy your meal of choice then exit out of the menu.
Cutscene
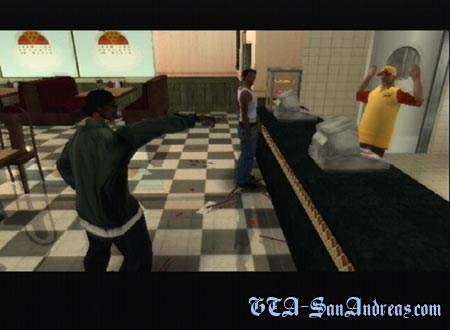
Ryder attempts to hold up the place, but the pizza guy recognises him. Apparently Ryder has pulled this stunt before. While CJ tells Ryder they should get out of there, the pizza employee grabs a shotgun and chases both of them out of the restaurant.
Once outside and back on foot, run across the road and get in Ryder's car. You can then use it to run over the pizza guy chasing you with a shotgun. Once he's dead you can get out and pick up his weapon, or you can just drive away to minimise your risk of death. Either way, Ryder wants you to take him home, so make your way back to Grove Street.
Cutscene
After parking up, Ryder will tell you that Sweet wants to see you about more problems with graffiti.
Post-Mission
![]() Sweet's Missions Are Now Unlocked.
Sweet's Missions Are Now Unlocked.
Screenshots
Sweet
 Tagging Up Turf
Cutscene
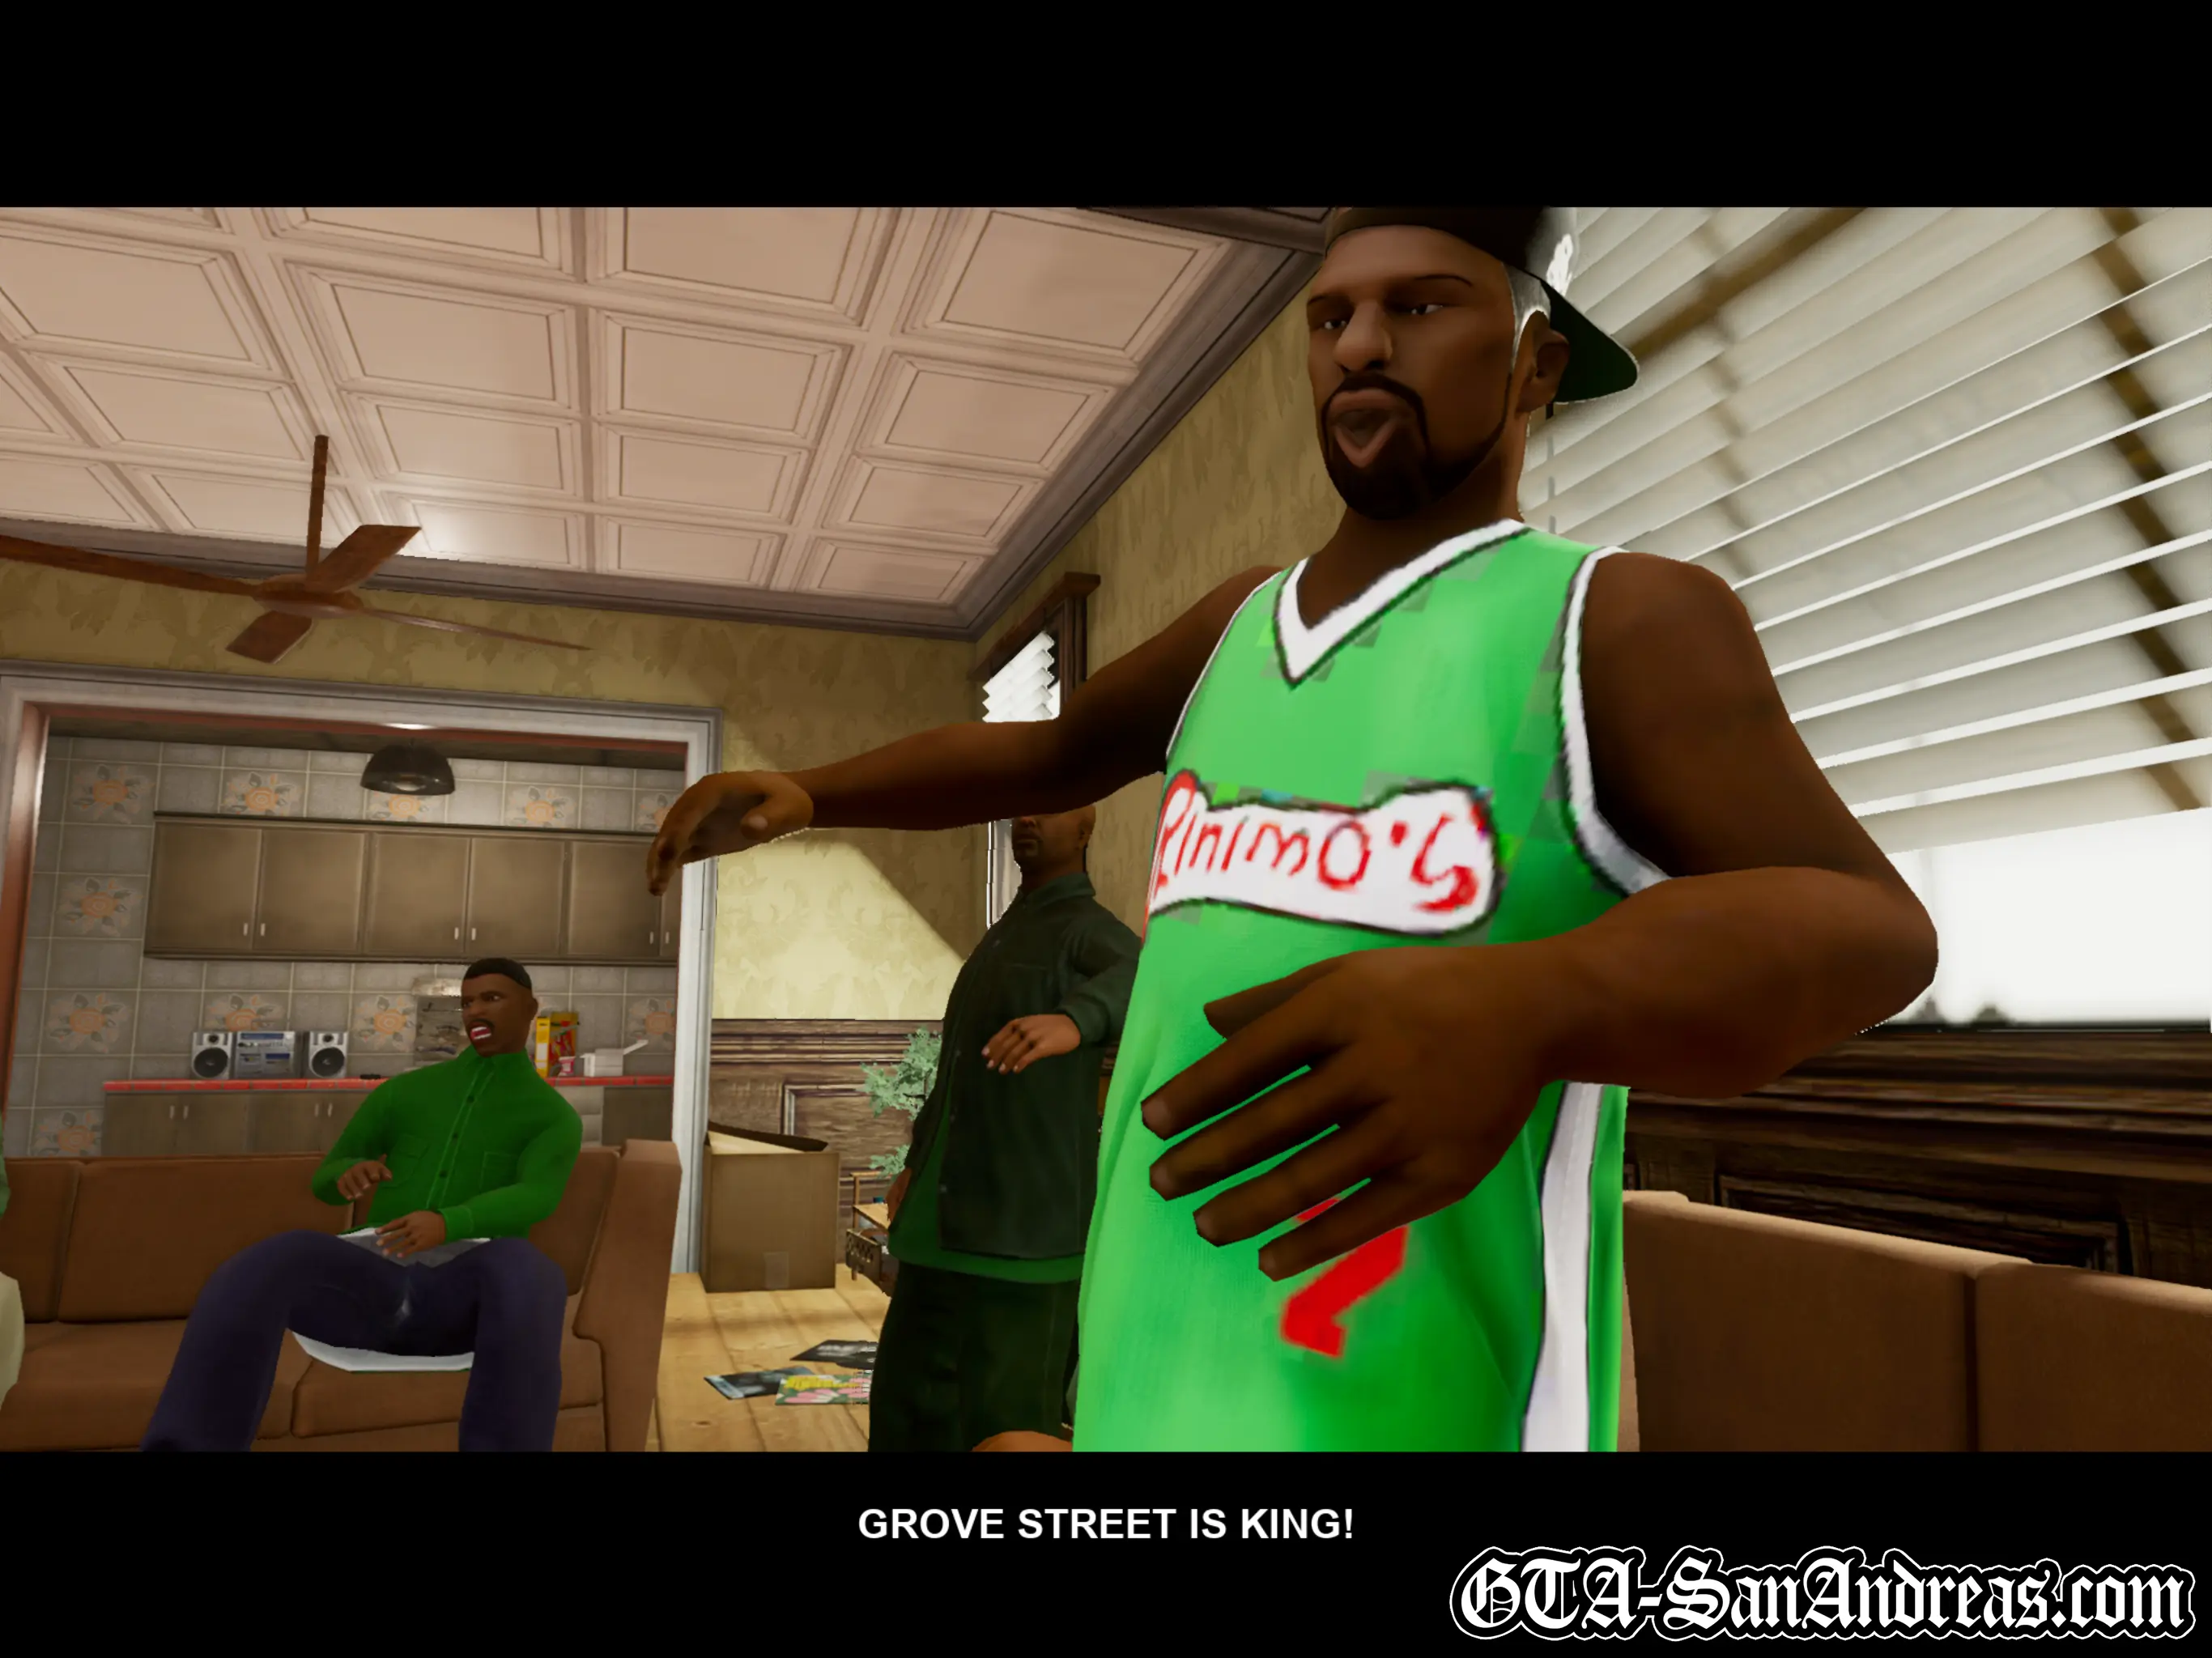
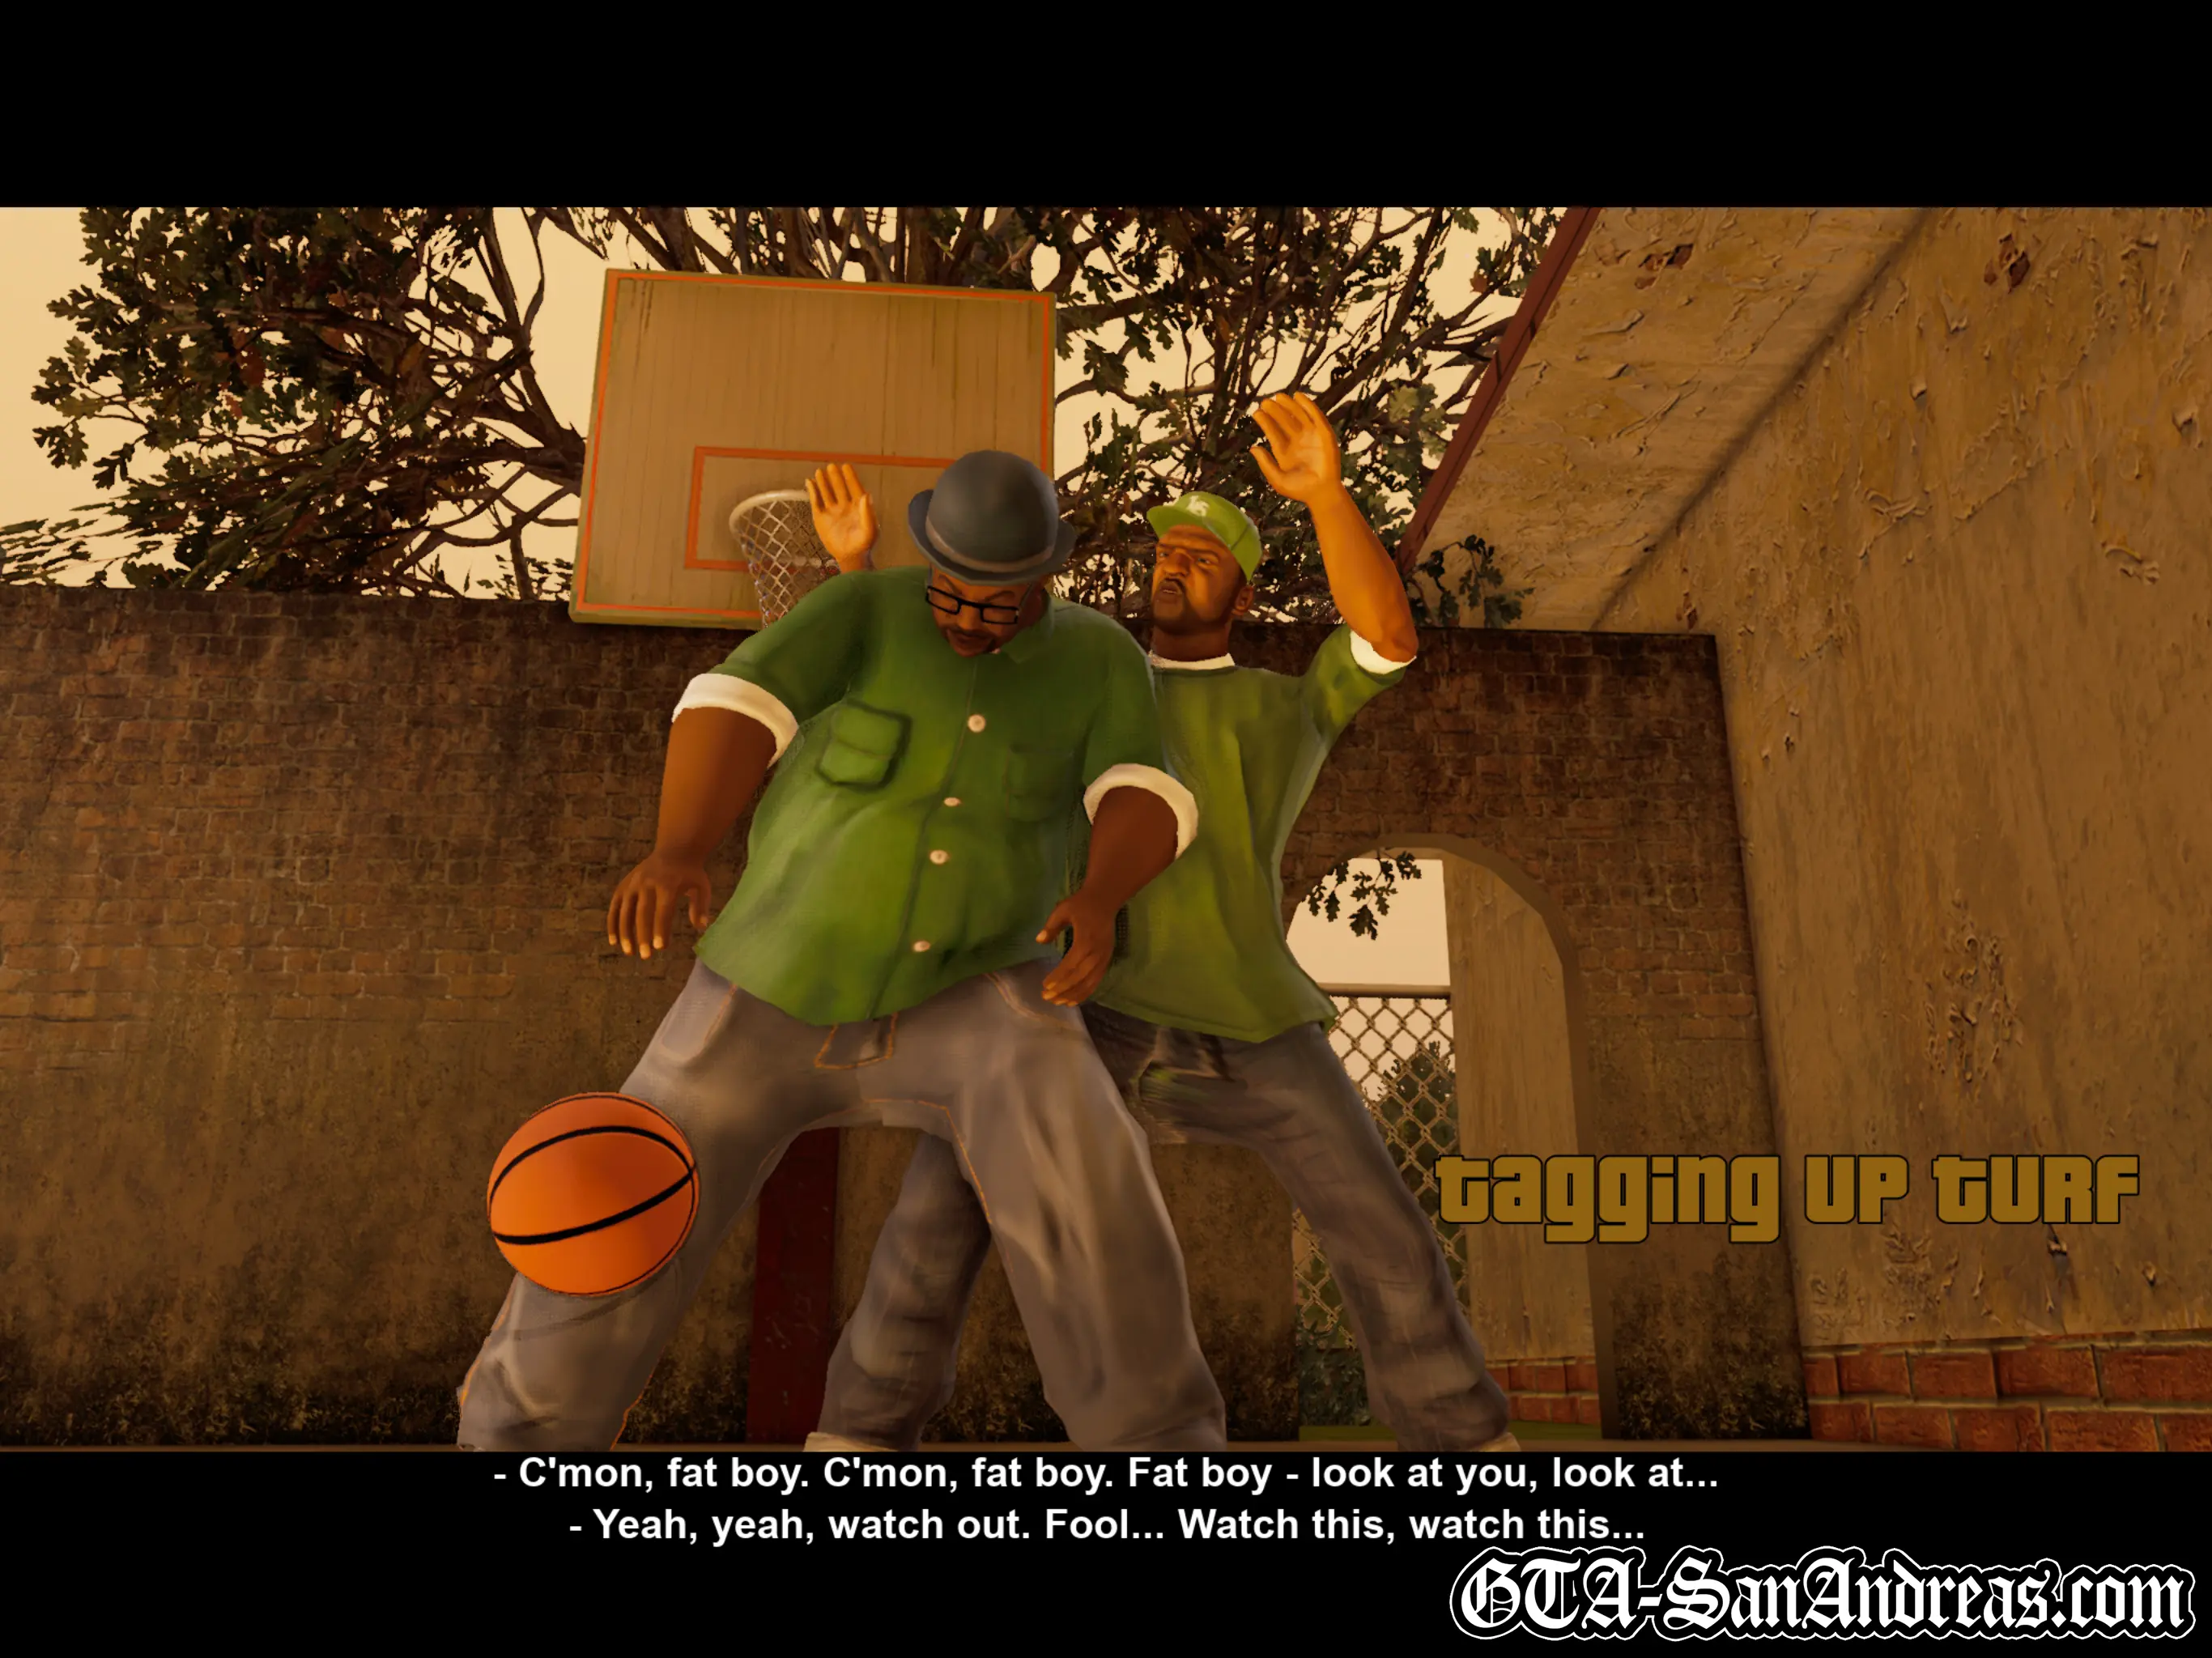
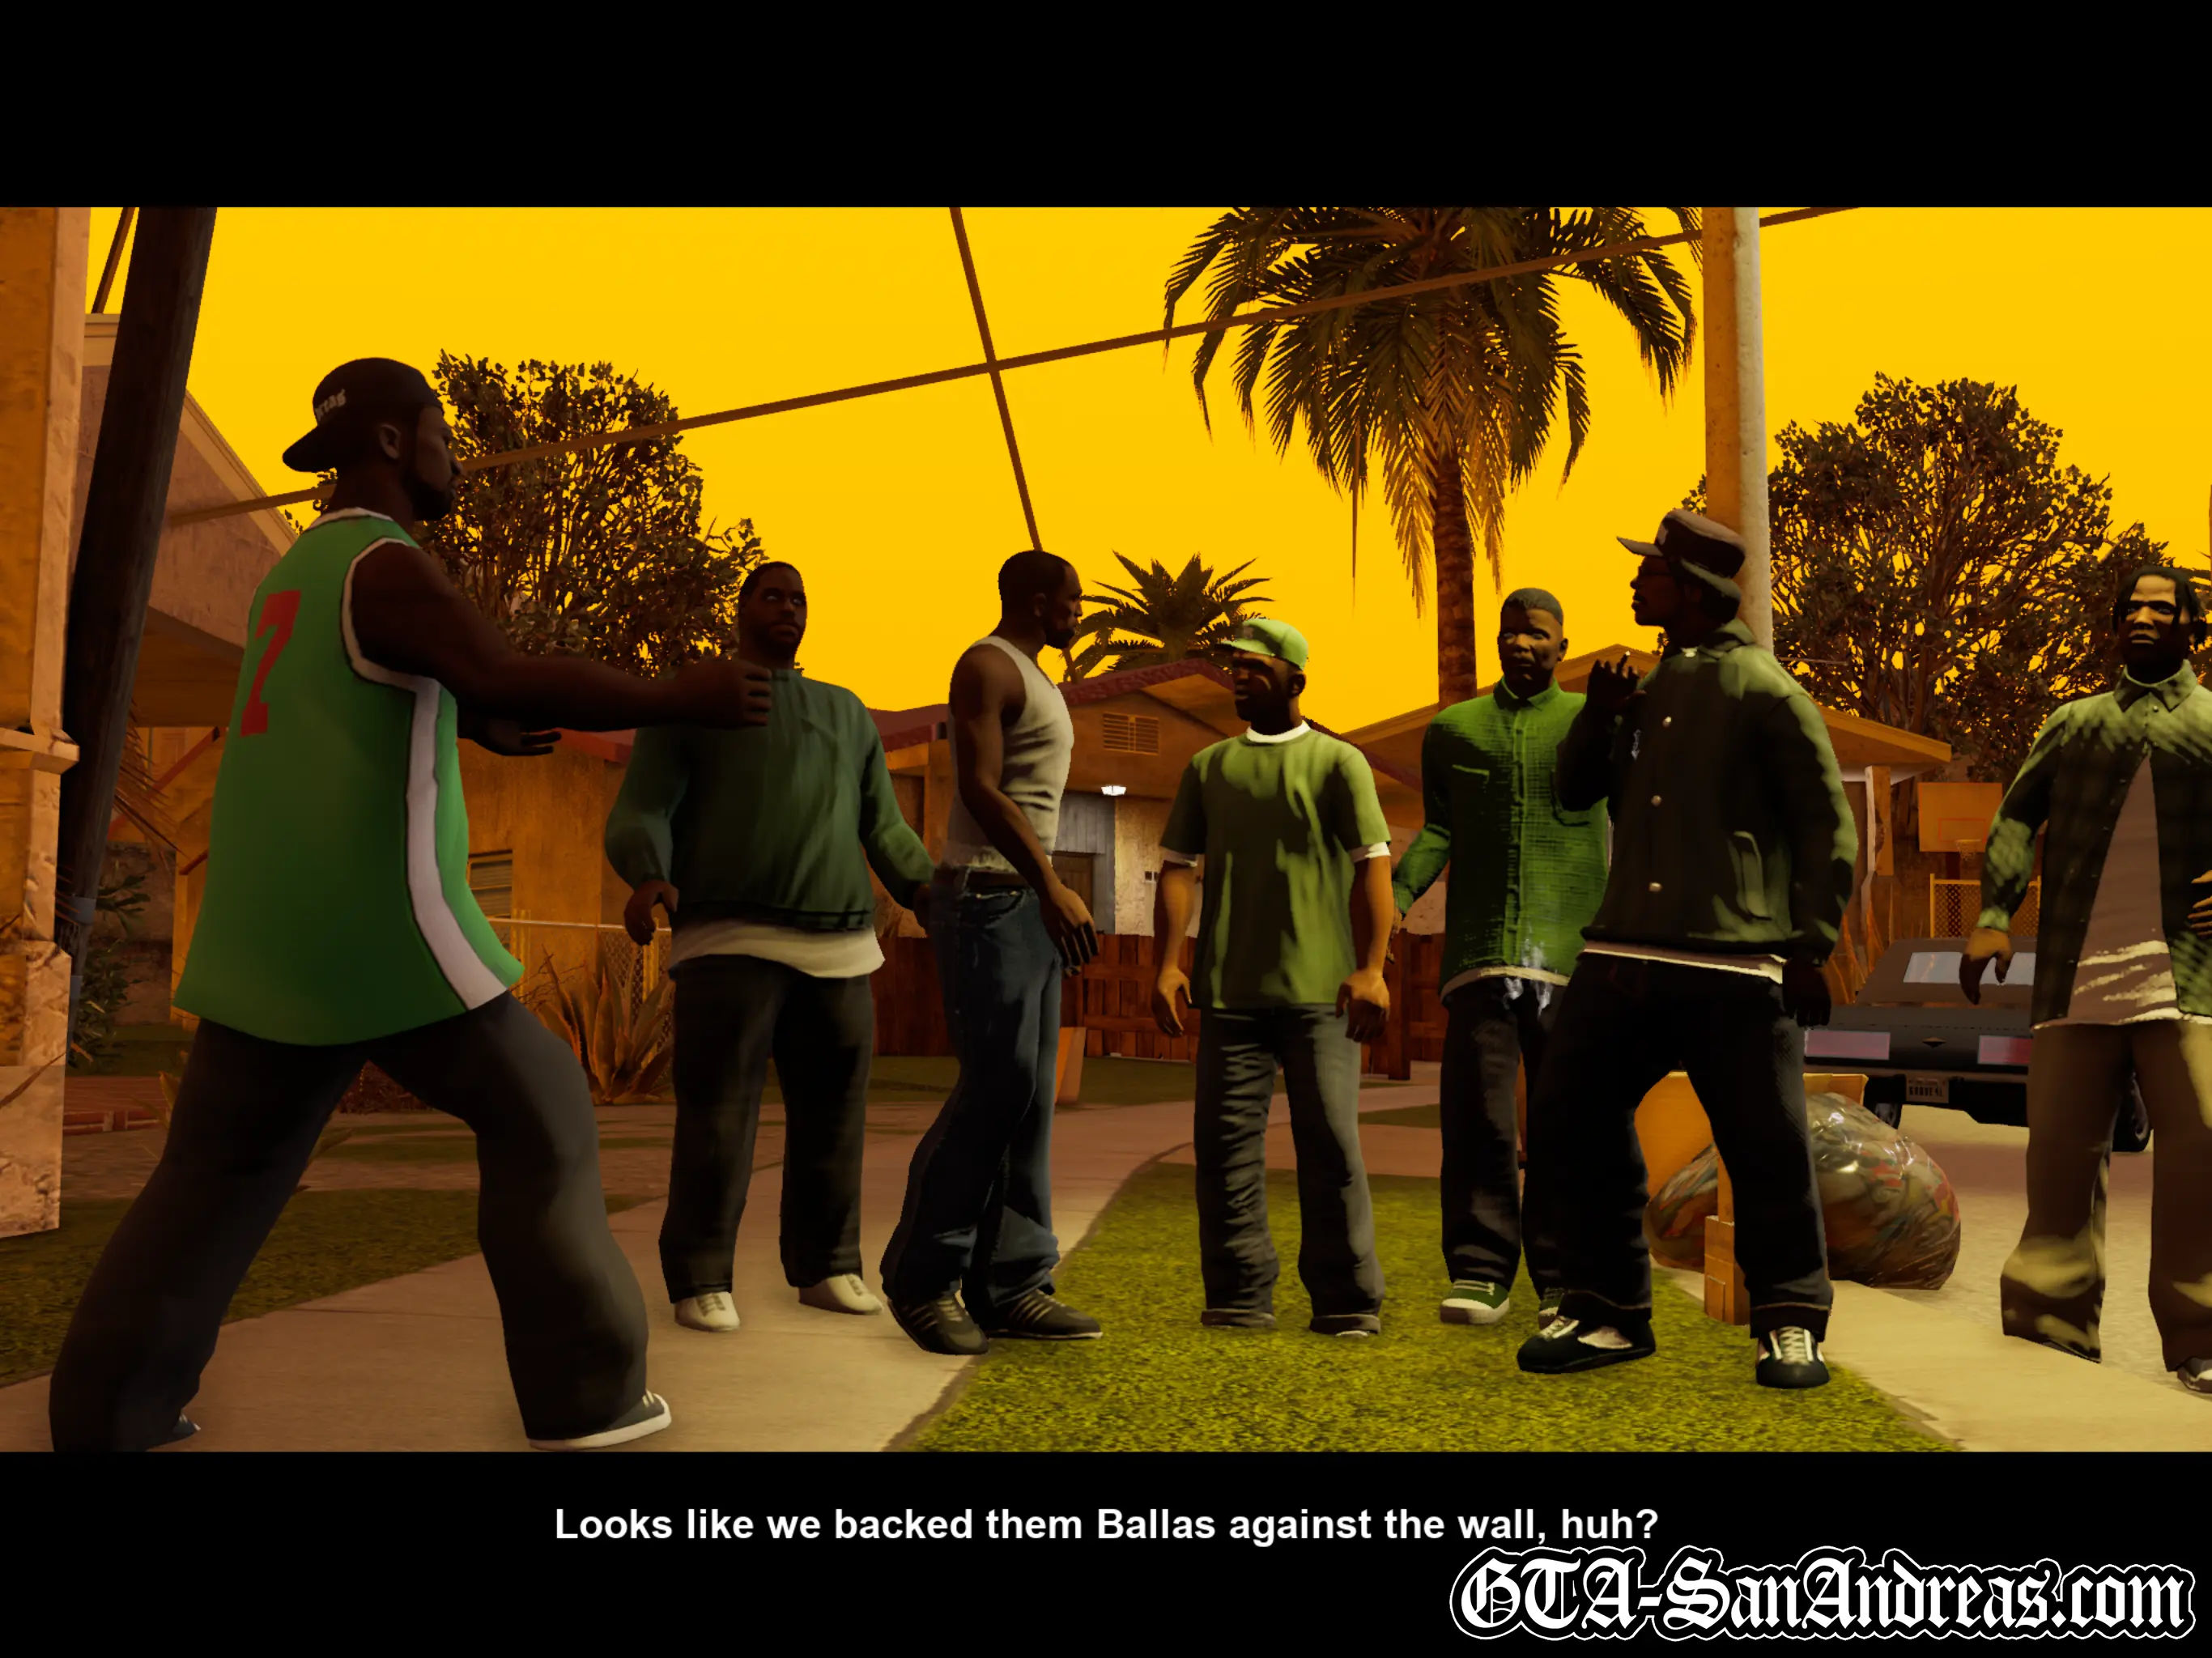
Sweet and Big Smoke are playing basketball in the front yard when Carl shows up. Sweet wants Carl to earn more respect in the gang and says his word doesn't mean shit around here after being gone for so long.
Sweet hands CJ a can of spray paint and tells him it's time to hit up the set, to let people know the Johnson brothers are rolling again.
Carl sets off to leave, but a short while later, Sweet decides to join his brother for the ride.
Get in Sweet's car and drive him into Idlewood. As usual, follow your radar to help you get to the right place. Once you get there park in the red marker.
Cutscene
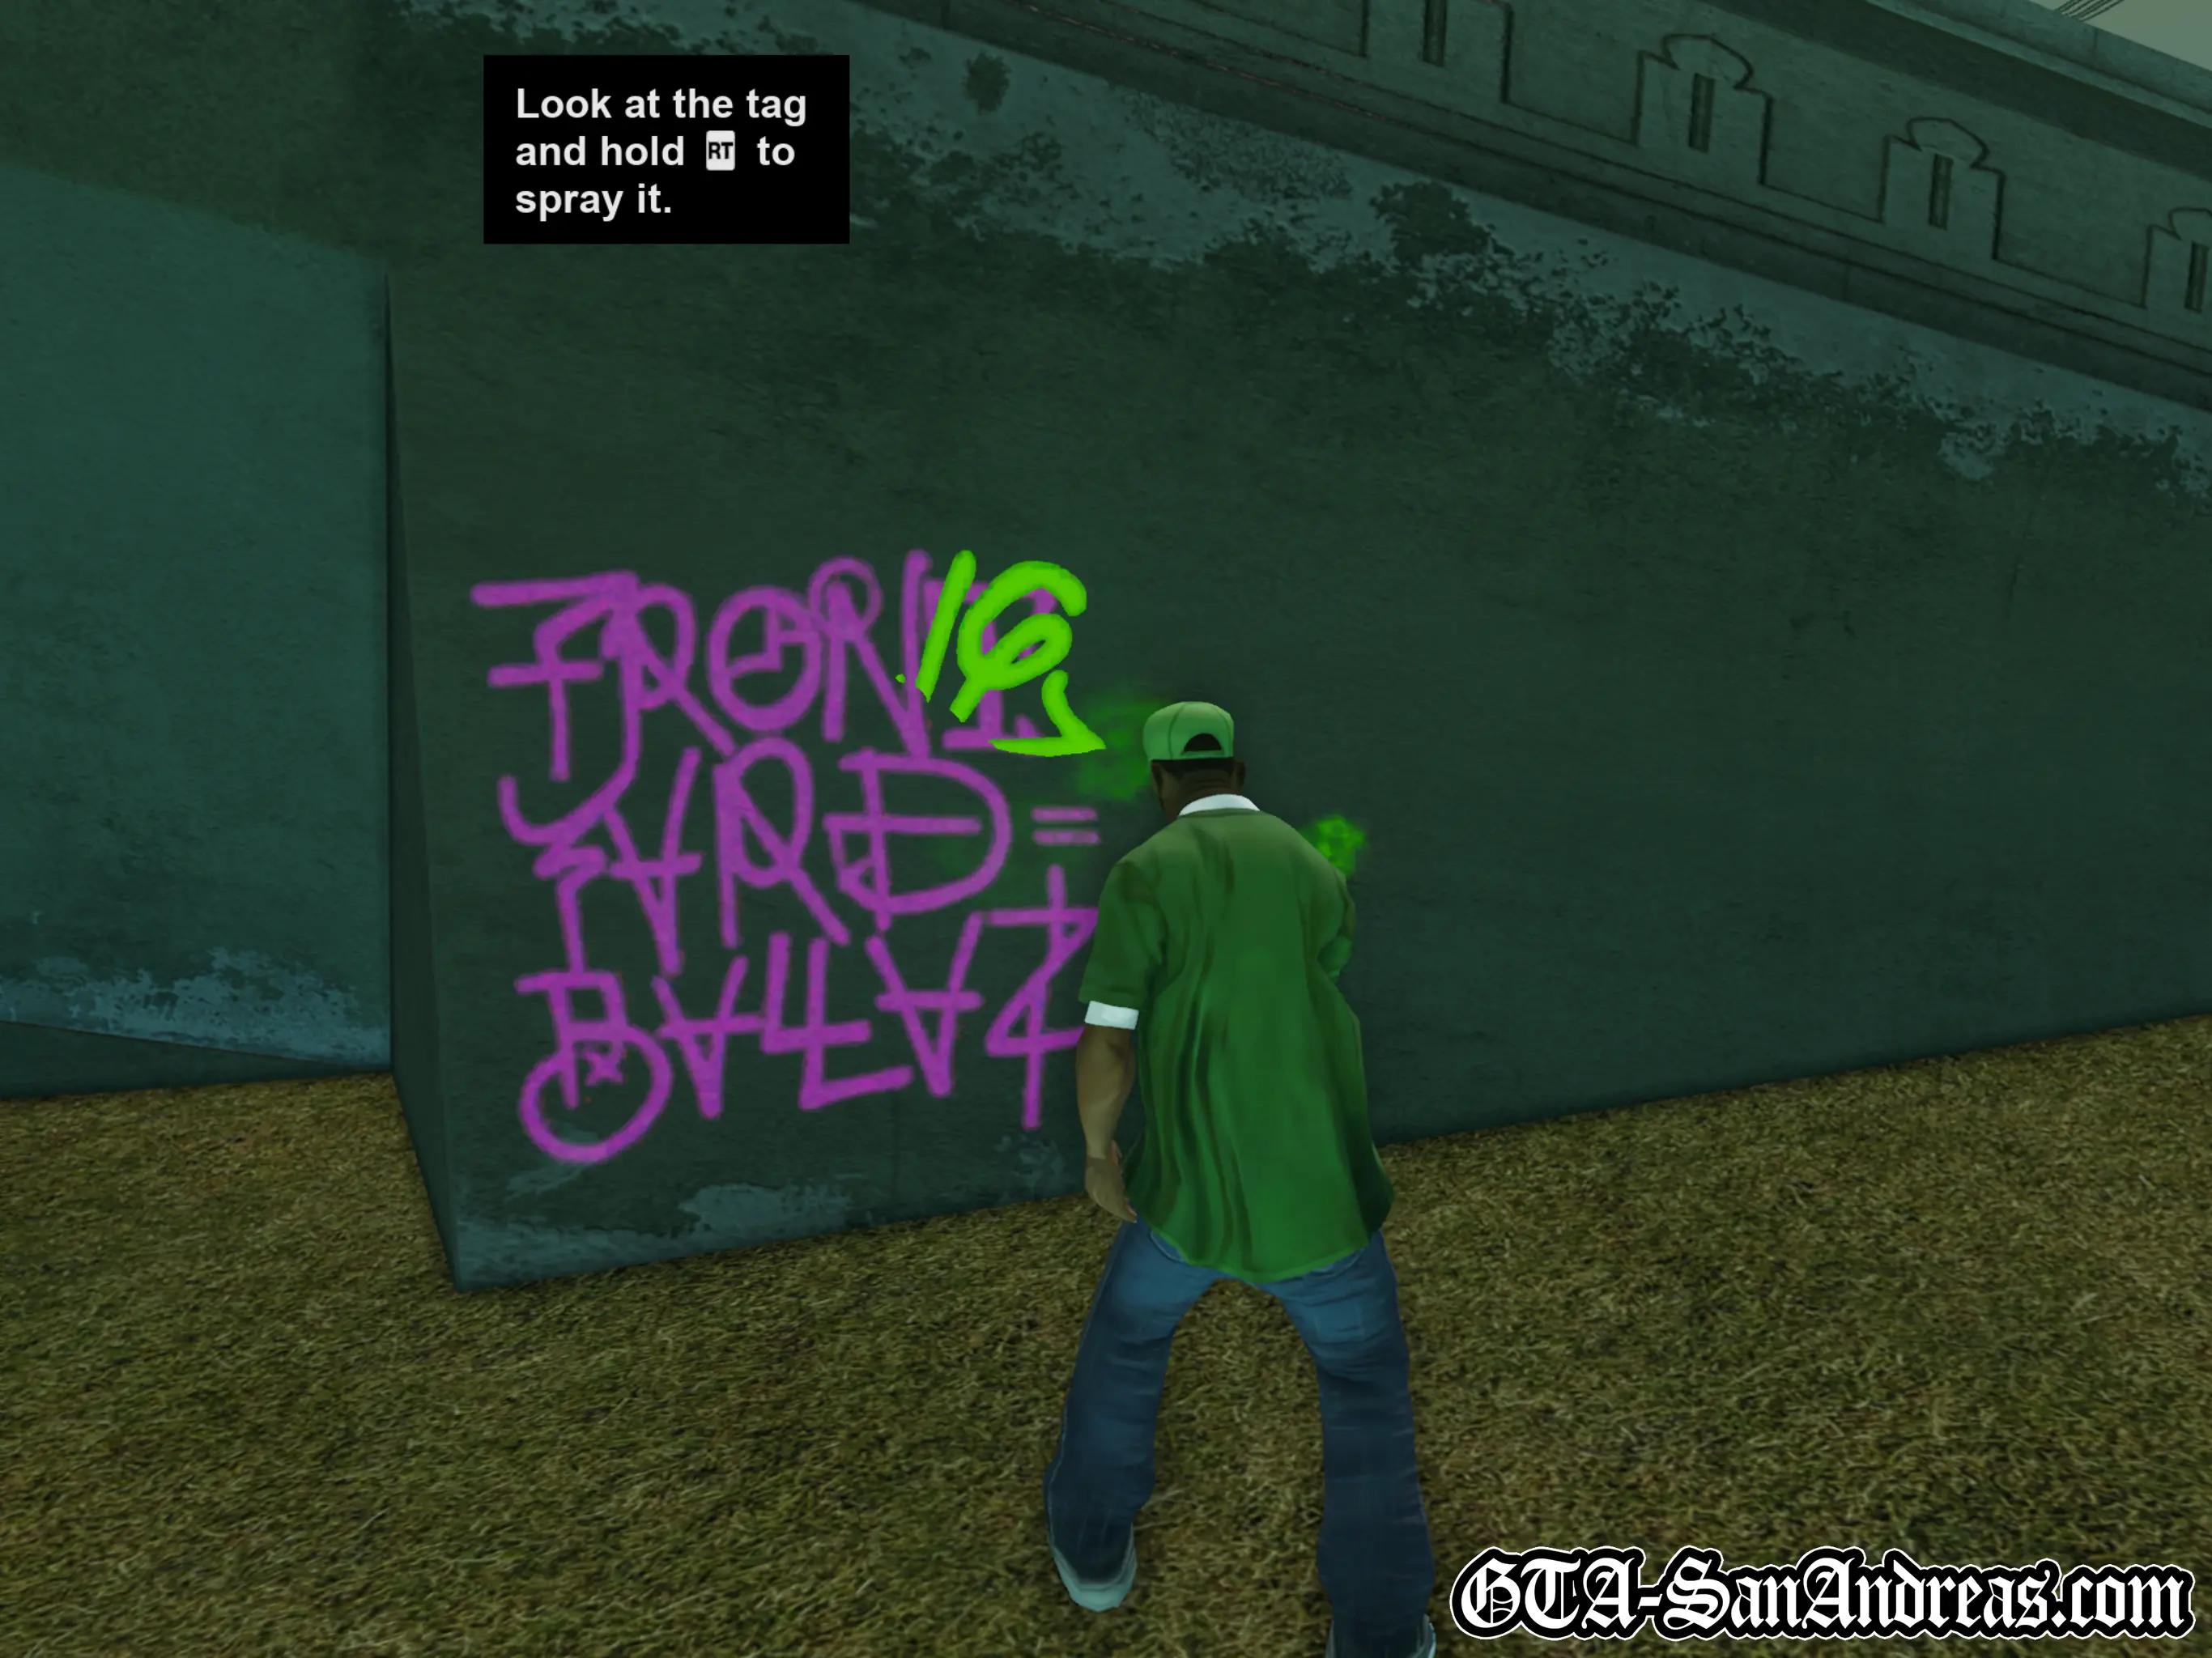
Sweet shows Carl how to spray over tags, replacing a Ballas logo with Grove Street's own green design.
On-screen instructions will give you more information about spraying tags.
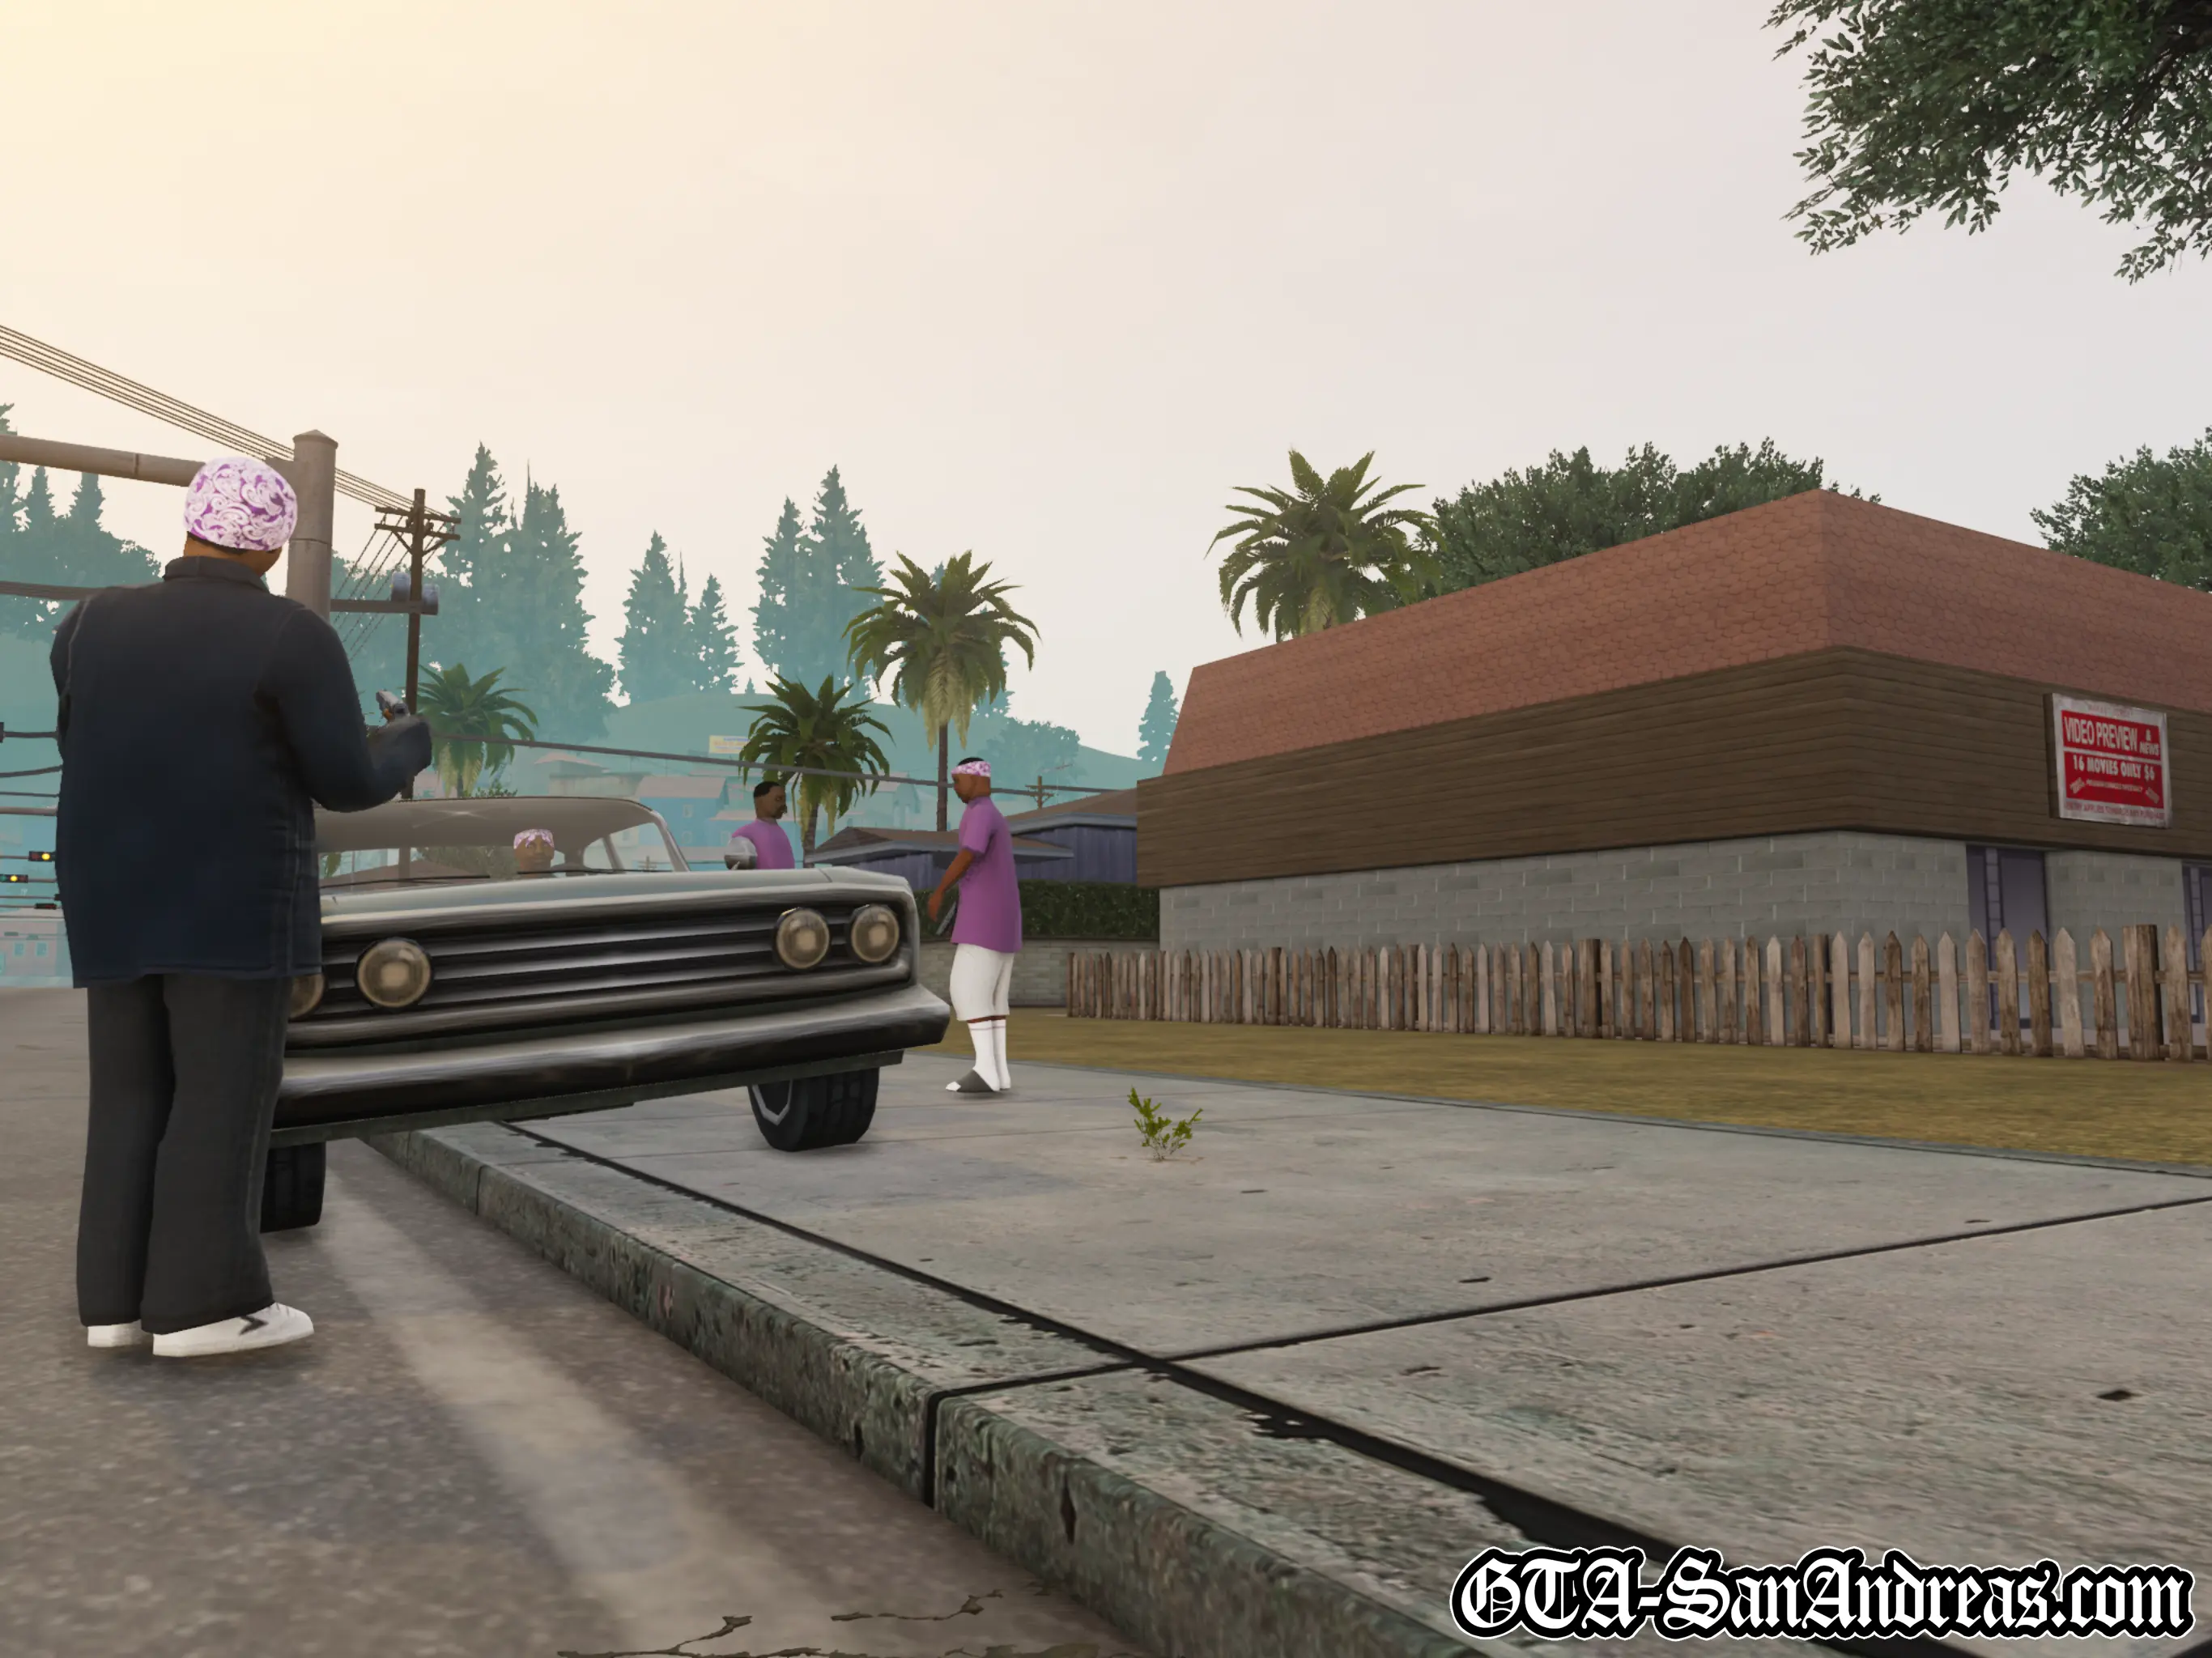
Sweet covers the first tag, leaving it up to CJ to spray over the other two remaining tags in the area.
The first spray tag is just across the road from where you parked, on the front of a blue house. The next is in an alleyway behind the first row of houses. Spray over both tags, then get back in Sweet's car.
Next, drive into East Los Santos where Sweet will point out more tags to spray over. The first one is on the wall just across the road from where you park up, and the other is on the wall of an alleyway near Cluckin' Bell.
Cutscene
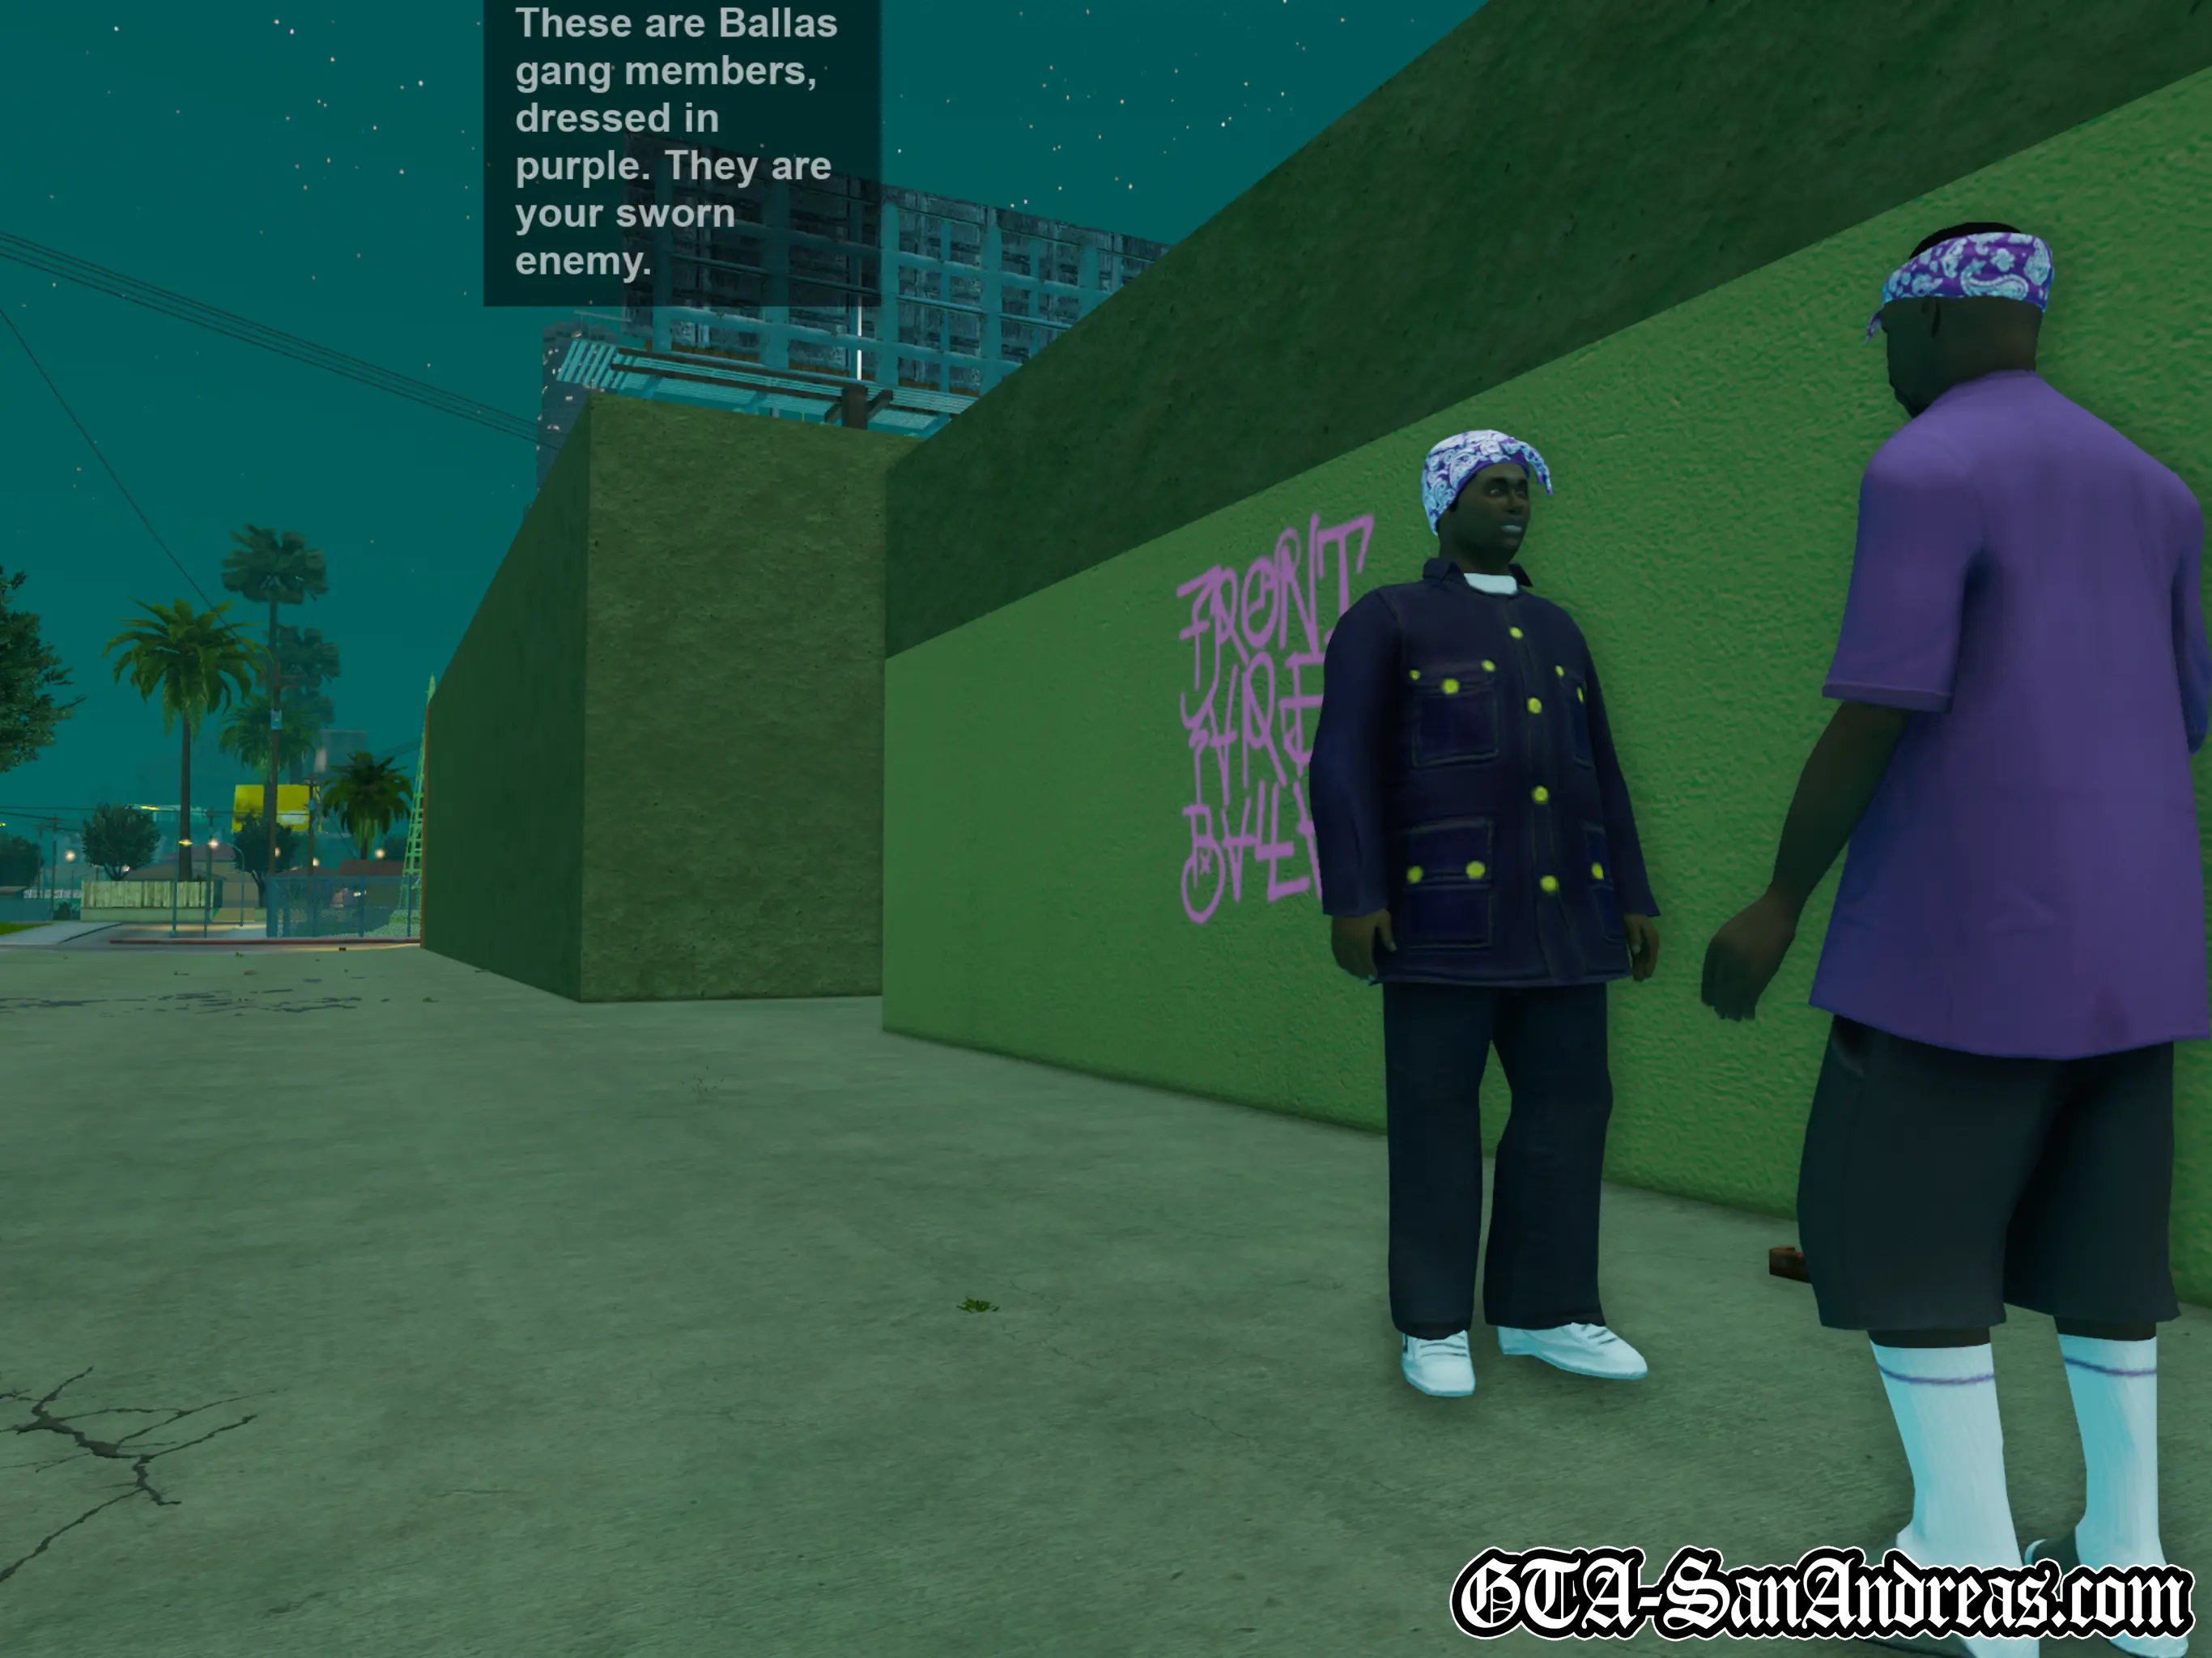
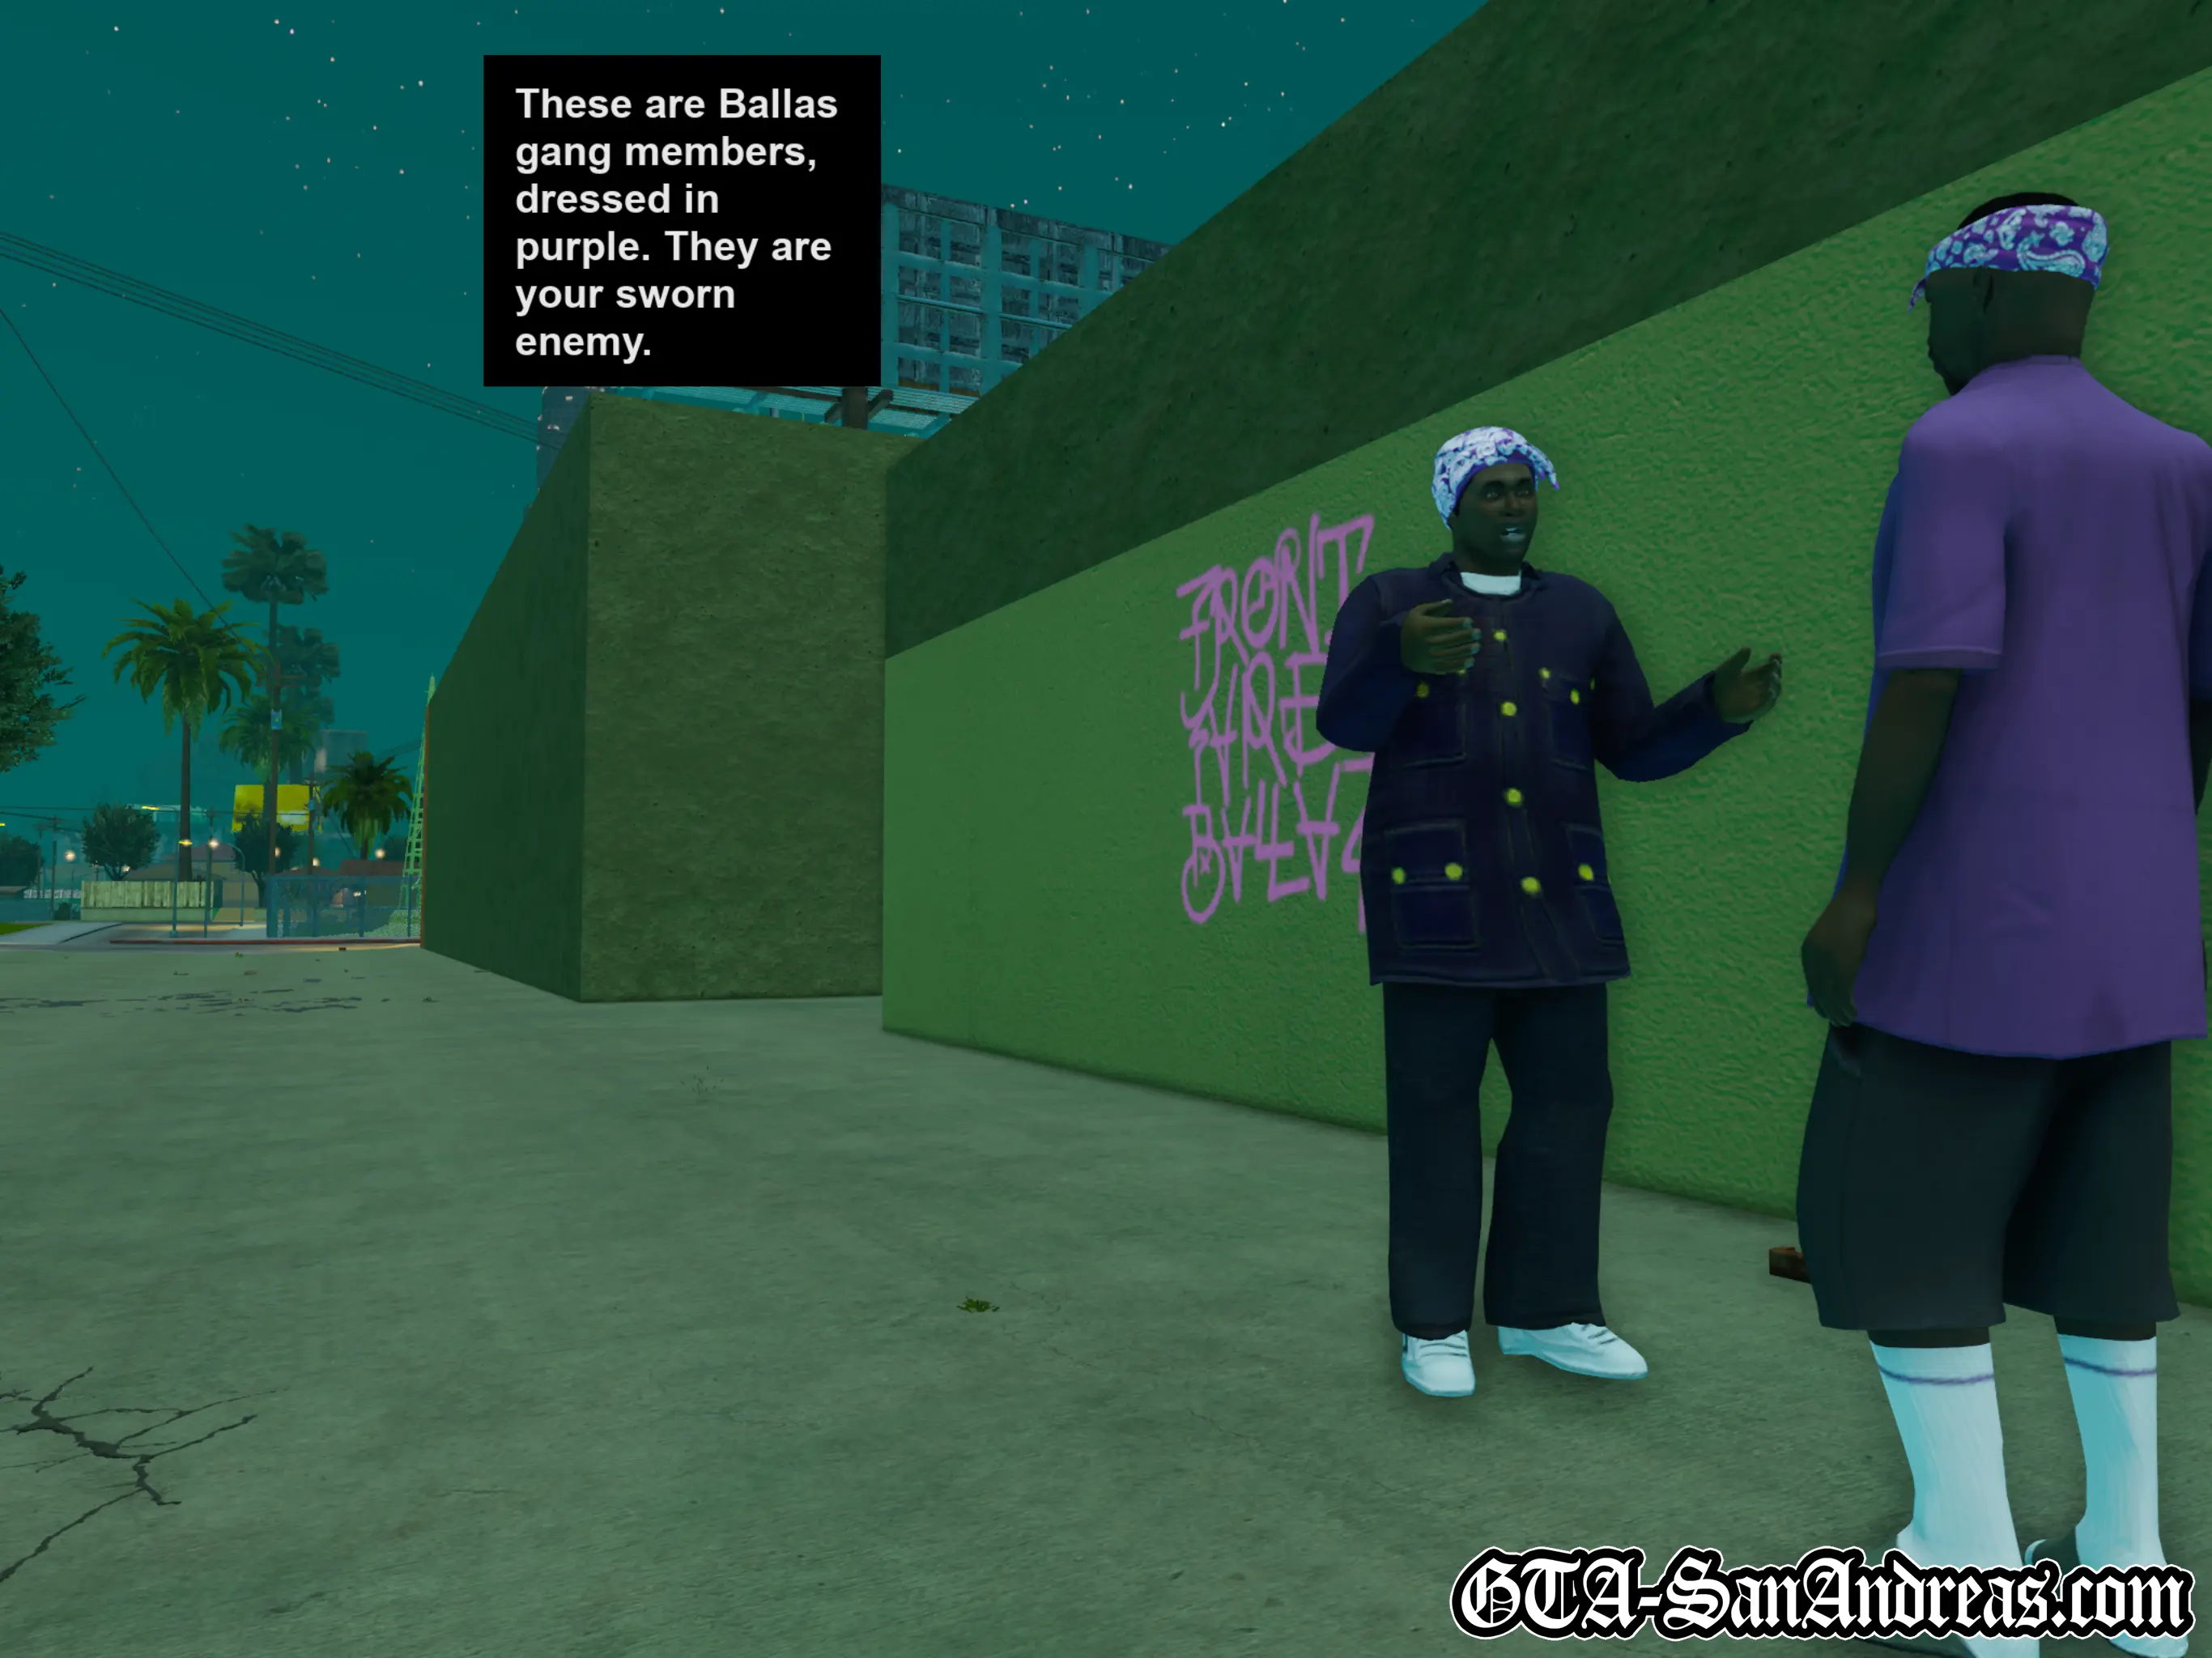
As you approach the second tag, you'll see two Ballas gang members standing next to it. The game will inform you that the Ballas, who are dressed in purple, are your sworn enemy.
When you reach the tag you may want to take care of two Ballas and the hint at the top of the screen will inform you that you can use the spray can as a weapon. Feel free to aim and the Ballas and spray them with paint until they die, or switch to any other weapons you have and just shoot them.
Killing the Ballas is entirely optional. You can just spray over the tag and make a run for it if you prefer.
Once the spray tag has been covered, a new yellow blip will appear nearby on the radar where you'll find the next tag.
When you get there, the game will tell you to climb the fence as the next tag is above you. You can climb walls and other objects by jumping towards them. Carl will grab onto the fence and pull himself up and over. Climb the first two fences, then use the low wall at the back of the building to climb up onto the roof. You'll find the tag on the side of a wall up there.
Cutscene
Once you've sprayed over the tag on the rooftop, Sweet will speed around the block park his car nearby, shouting to Carl to get in, quick.
Unless you've got a wanted level from killing the Ballas, there's actually no urgency required here. Sweet is getting excited over nothing! Jump in his car and drive him back to Grove Street, parking in the red marker to end the mission.
Cutscene
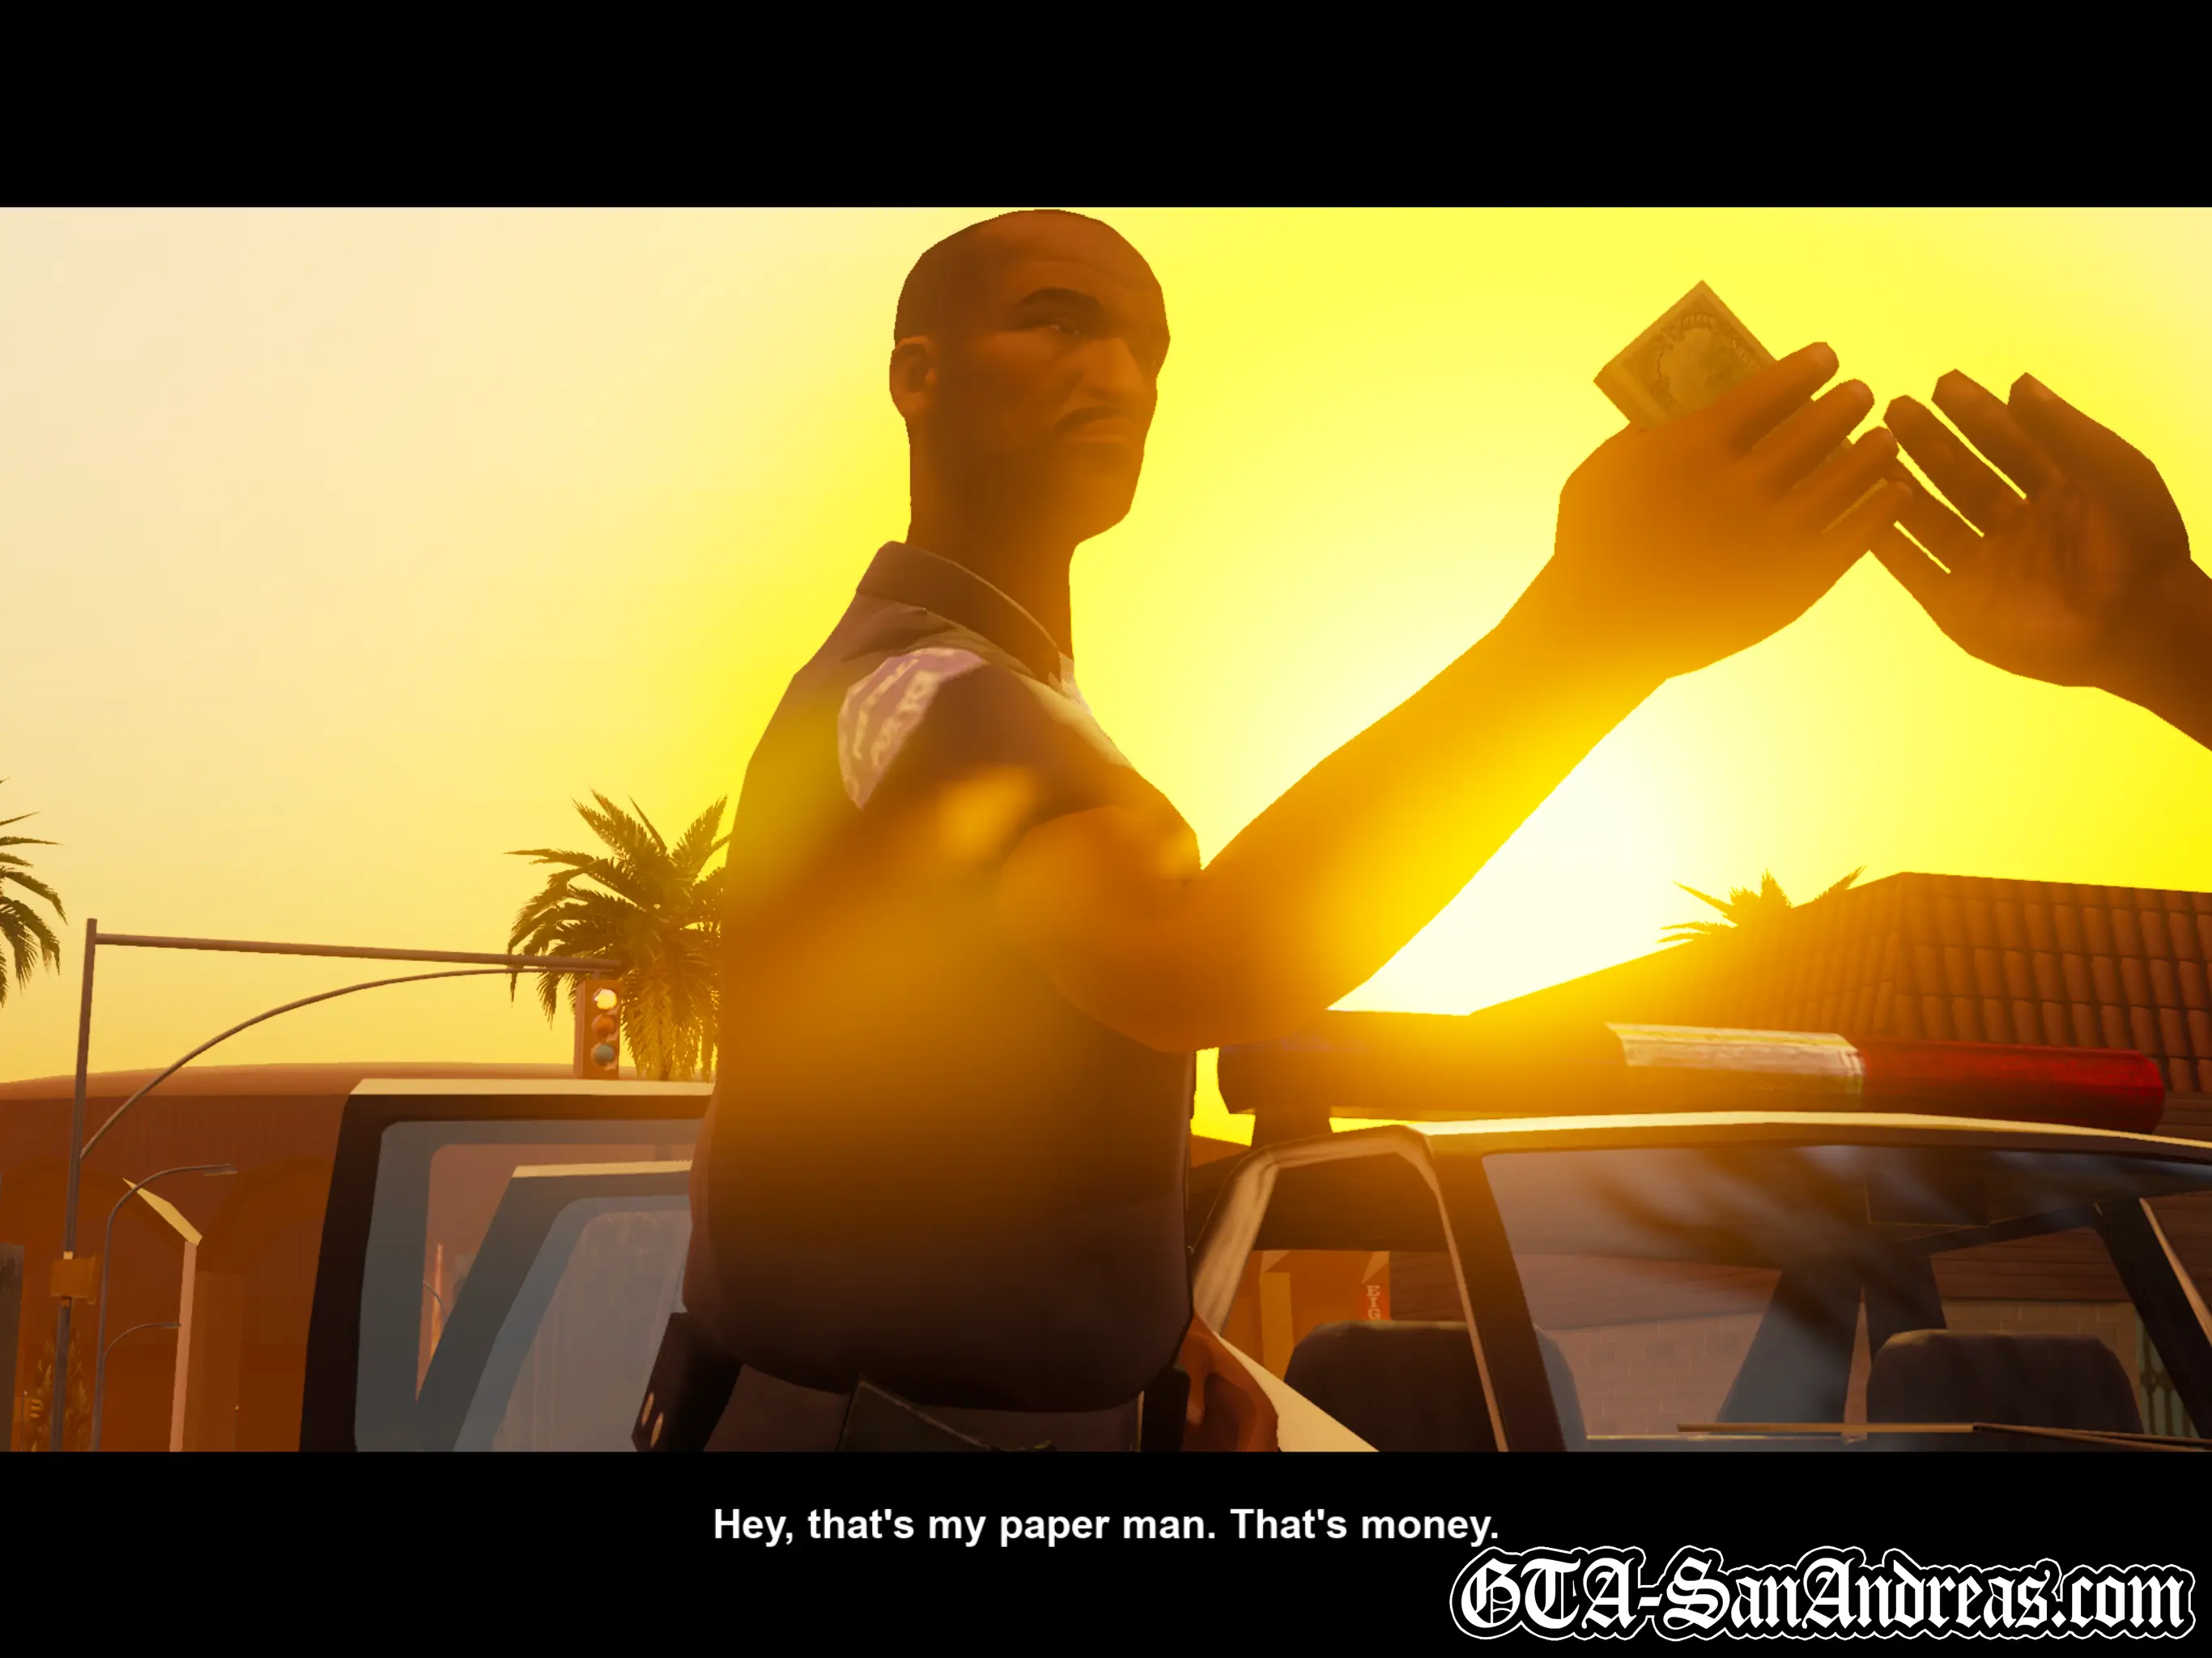
Carl and Sweet celebrate a job well done. Carl tells Sweet he's short on cash because C.R.A.S.H. took all of his paper, so Sweet hands over some money for Carl to get a beer then heads into his house.
Post-Mission
A Spray Can is now permanently available at CJ's mom's house in Grove Street. You'll find it upstairs in his bedroom.
Once you exit the house you'll receive a phone call from Officer Hernandez telling you that leaving town would be a bad idea. He's right too, because if you try to leave Los Santos you'll receive a permanent four star wanted level!
After the mission you can enter CJ's house and pick up extra ammo for the spray can if you wish. There's also a spray can on the roof behind CJ's house which you can grab from the start of the game.
Enter Sweet's red marker for another mission, or go hunting for tags to spray over. There's 100 to find throughout Los Santos and getting them all will unlock free weapons at Carl's mom's house. You've already got 6.
Tips & Tricks
Spray Tags Early
It's possible to spray over all 100 gang tags before starting this mission. You can acquire the spray can from the roof behind CJ's house. When you start this mission, only the first 6 tags will be reset so you'll end up on 100 again by the end of the mission.
Spray Can Ammo
While you're on this mission, you'll have a spray can with a huge amount of ammo. It's not unlimited, despite the lack of an ammo counter, but there's more than you'd ever need to use.
Rather than driving straight to the end of the mission, you could follow our Spray Tag Locations Map & Guide and take Sweet with you while you spray over the rest of the 100 gang tags. Just make sure you don't die or get busted or you'll fail the mission and need to do them all again! It'll probably take around two hours to spray over all tags with our map.
All Tags Sprayed x4!
If you've already sprayed over 100 tags before starting the mission, the 6 from this mission will be reset as soon as you start it. Before you get in Sweets' car, go and spray over the 6 again and the game will display 'All Tags Sprayed'.
Head back to Grove Street and get in the car with Sweet then drive to the first red marker where Sweet will spray the first tag for you. The other 2 tags in this area will be reset again bringing your total to 98. Once you spray over them you'll hit 100 and receive your 2nd 'All Tags Sprayed' alert of the mission.
Driving to the next destination will see the next 2 tags reset, bring your total back down to 98, so spraying over them will hit 100 again and display 'All Tags Sprayed' for the 3rd time.
The final tag is now reset again, bringing your total down to 99. Spraying it on the roof will hit 100, so you'll see 'All Tags Sprayed' for the 4th and final time in the mission!
Screenshots

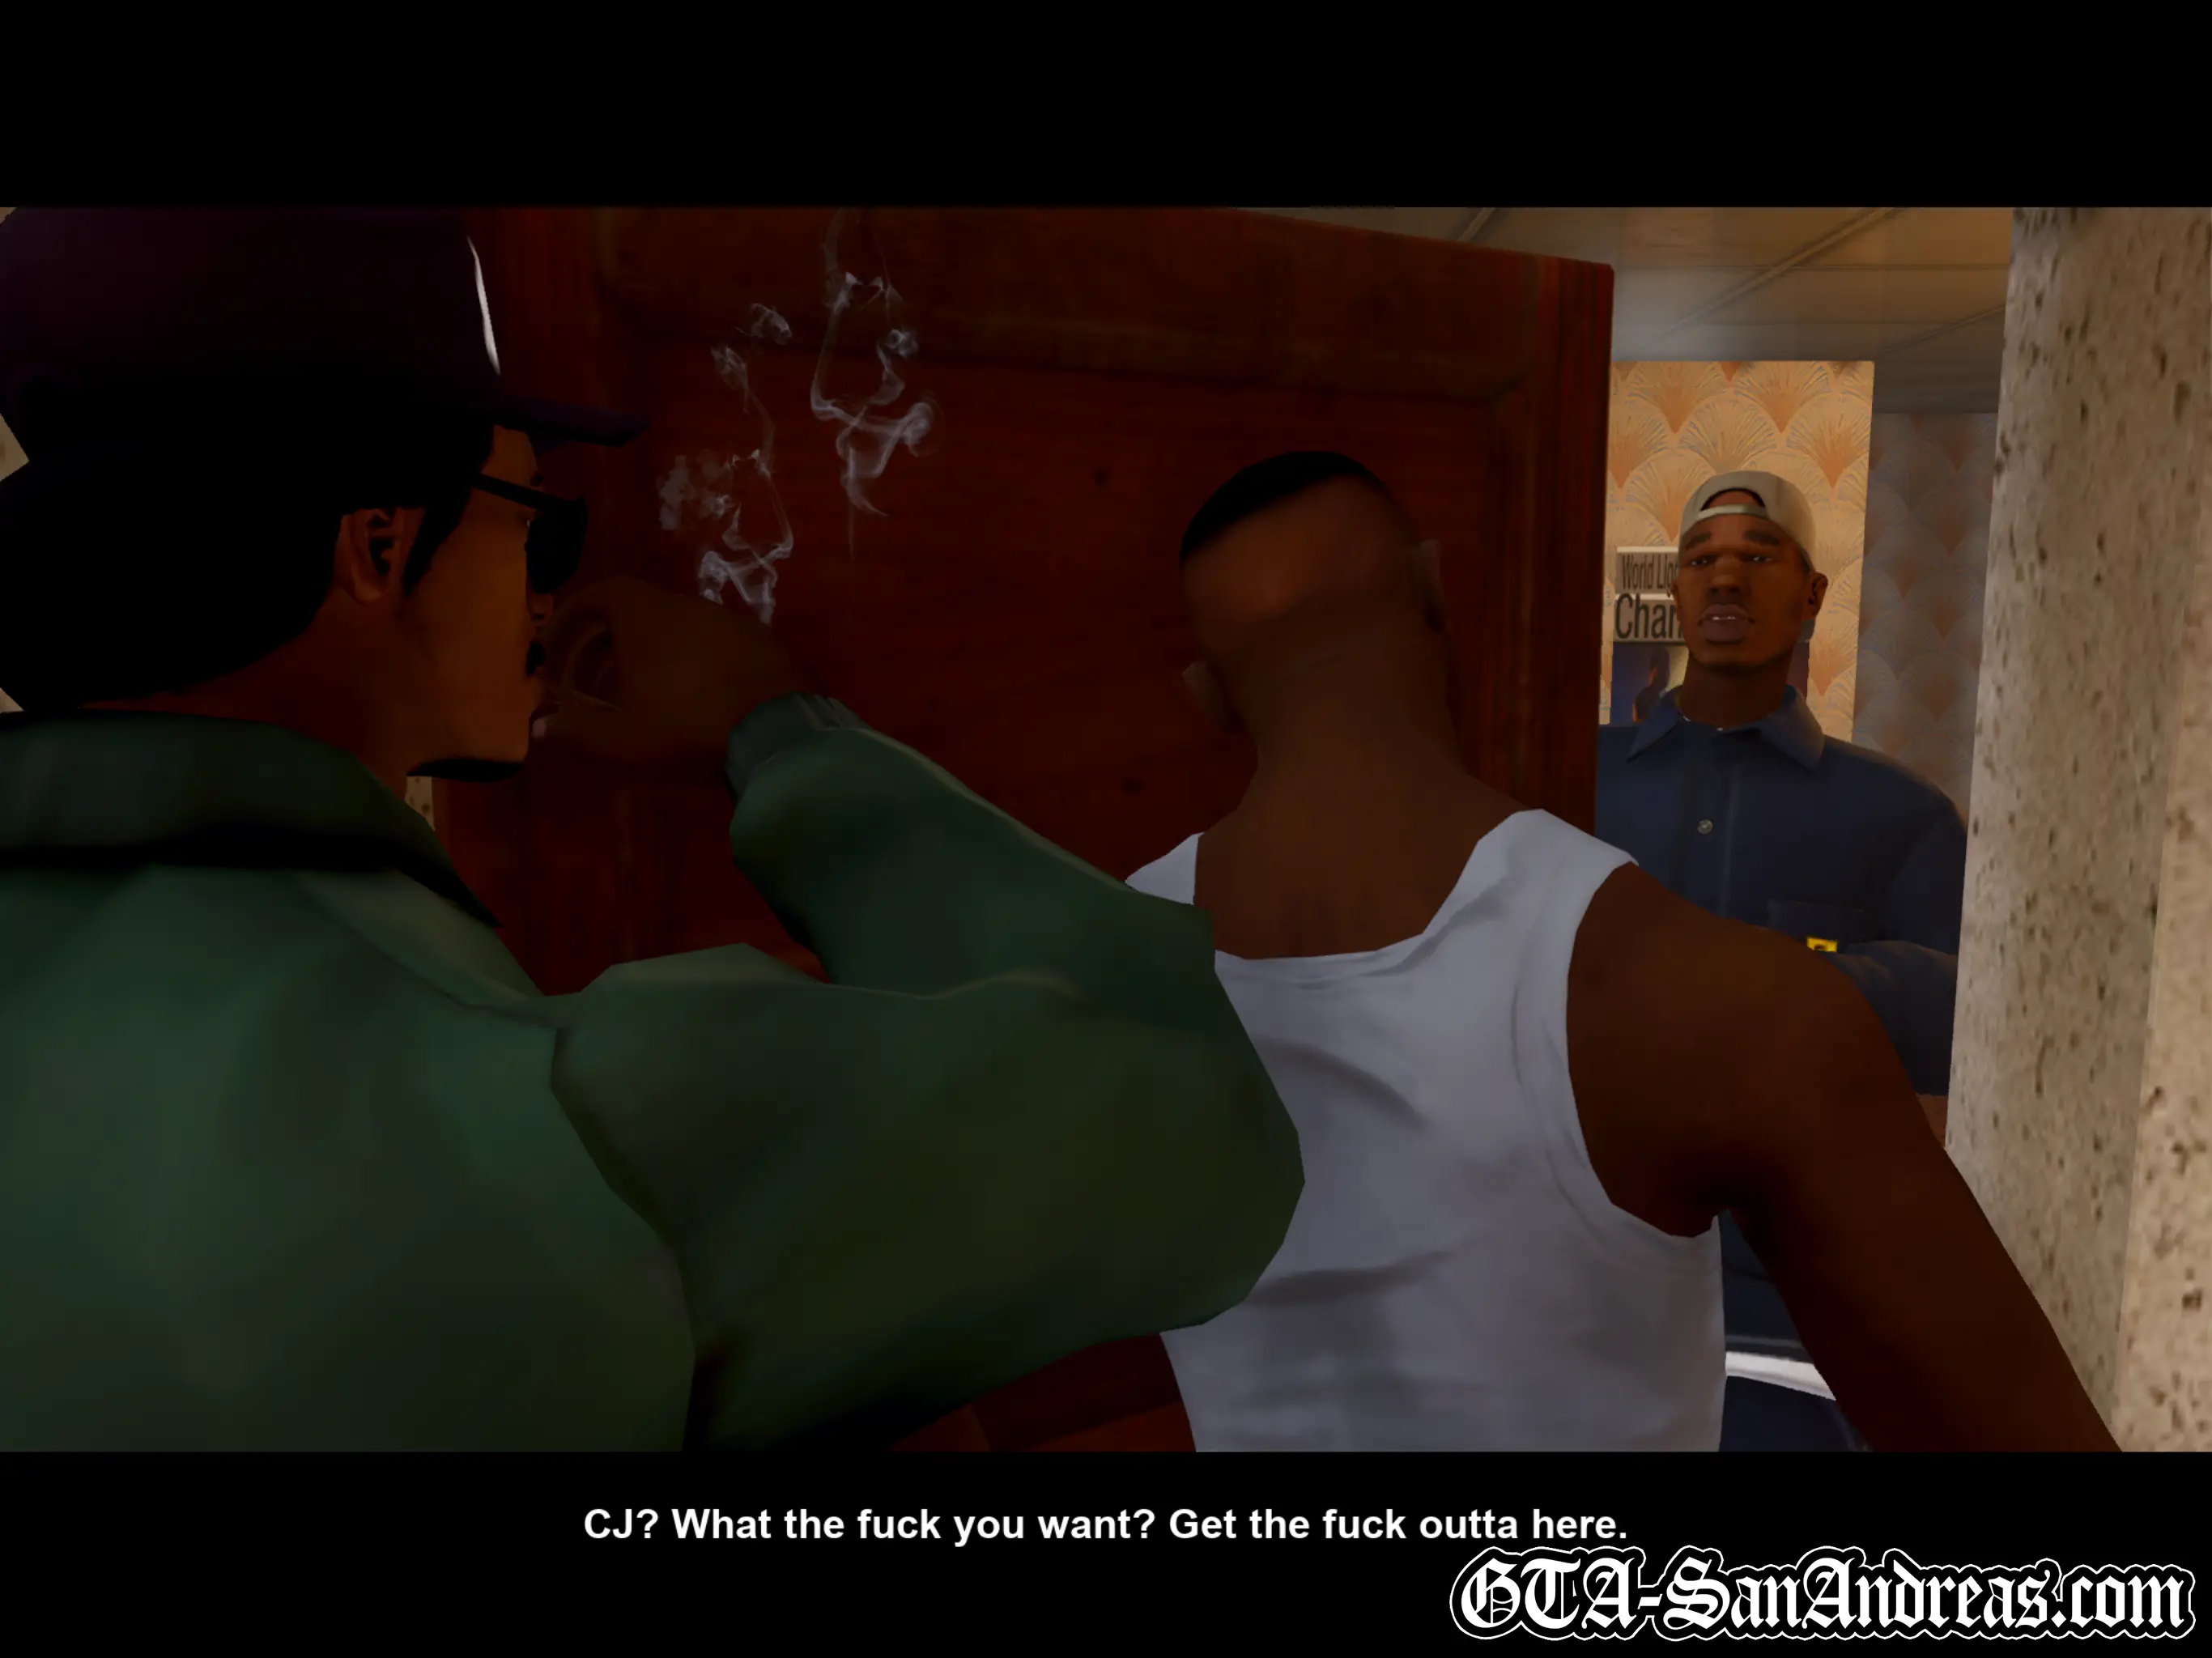
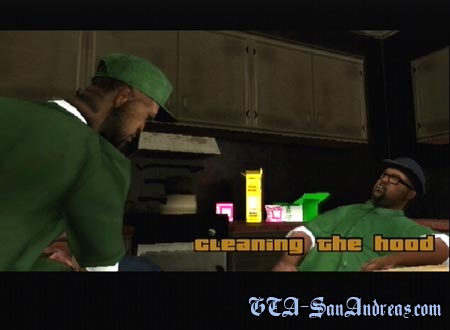
Cleaning The Hood
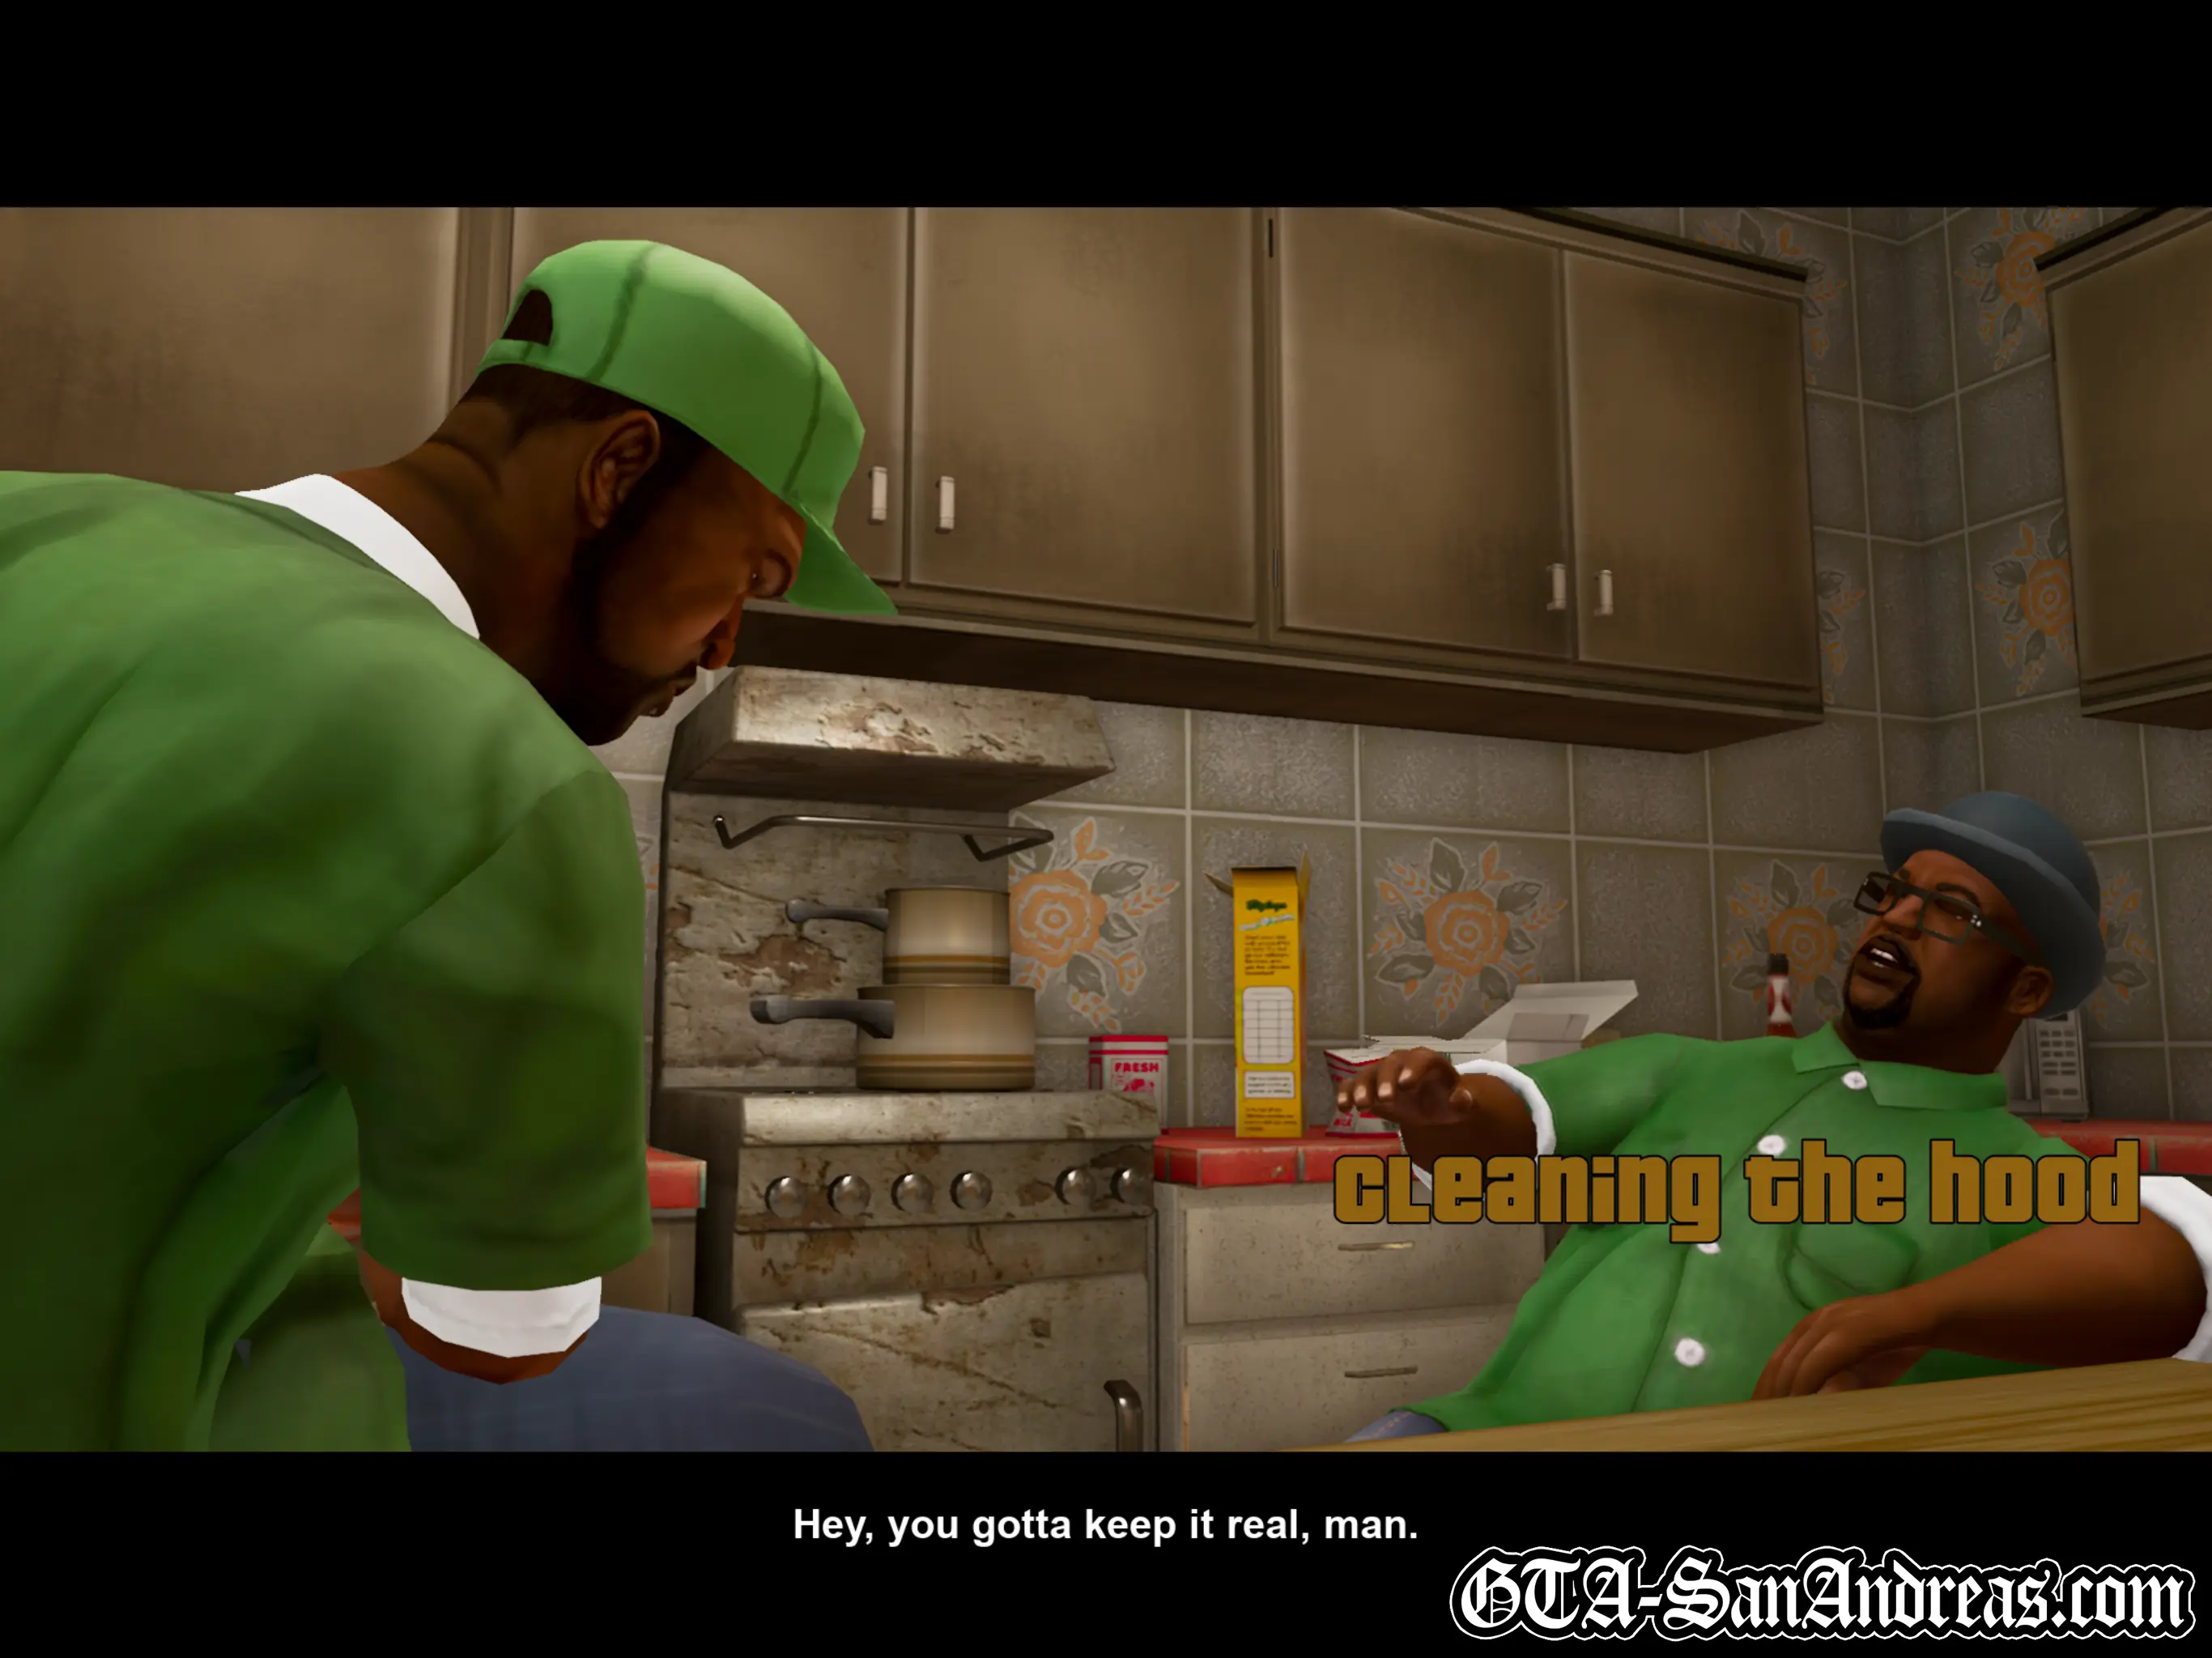
Cutscene
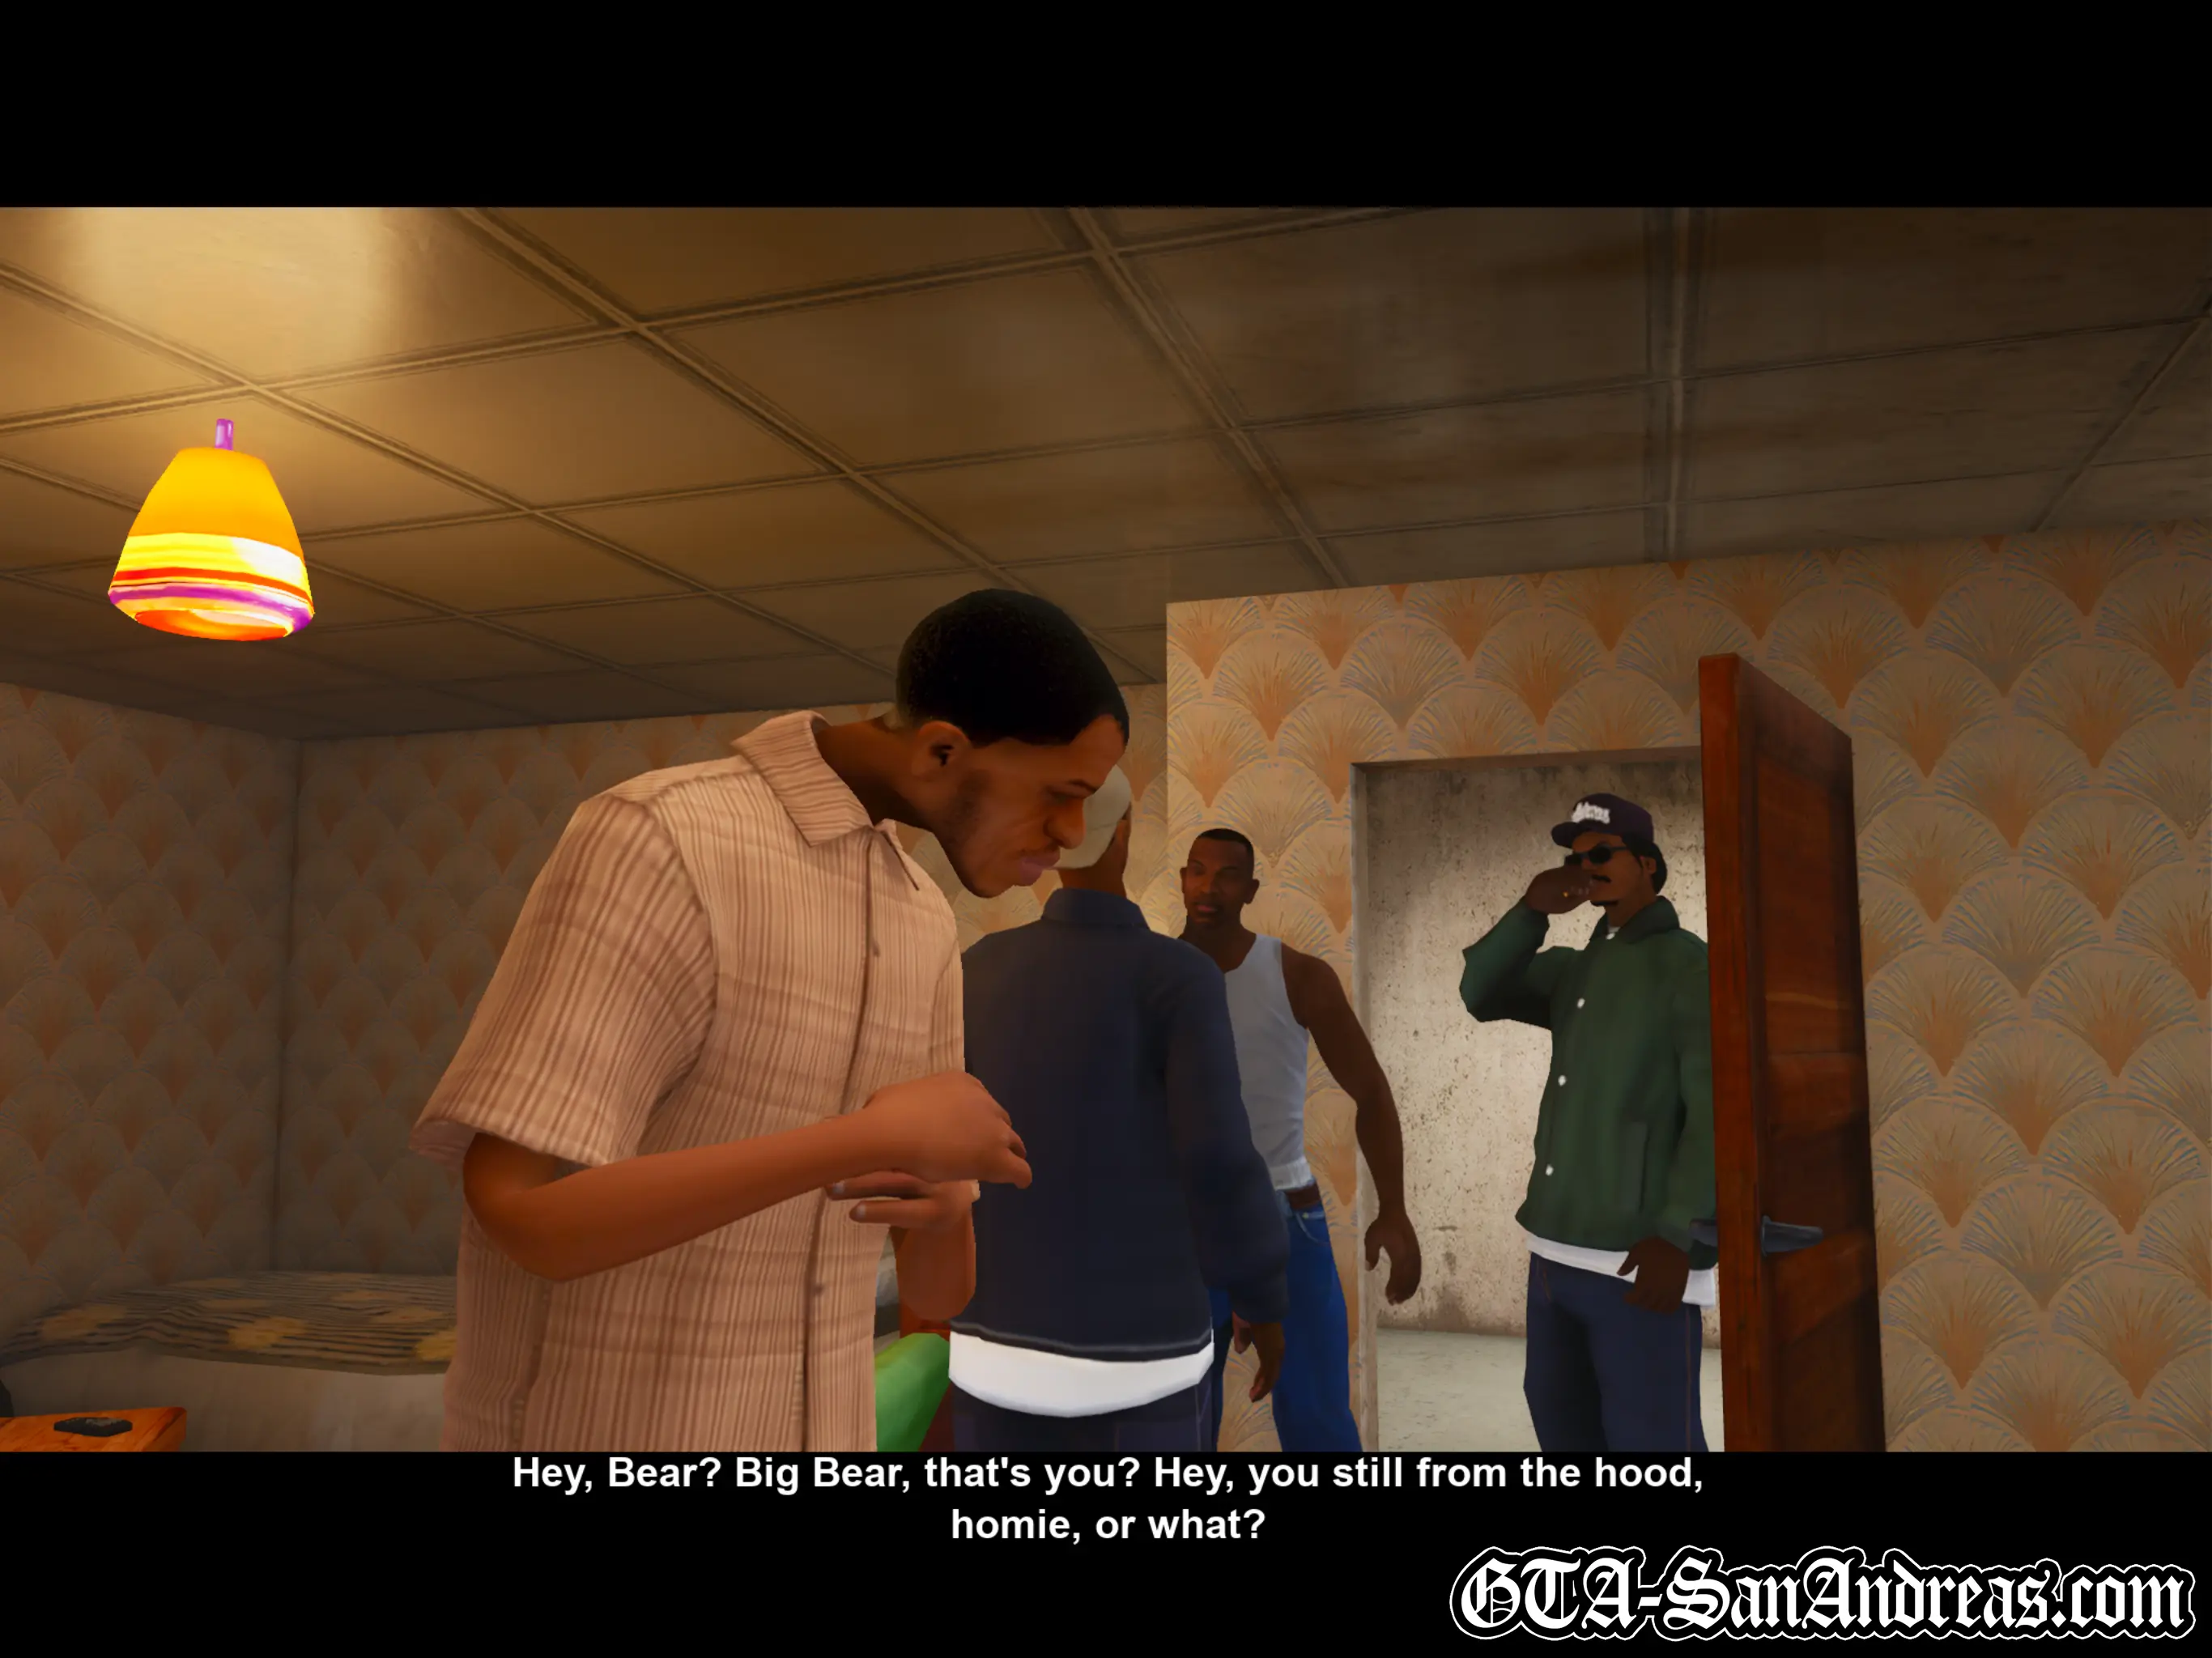
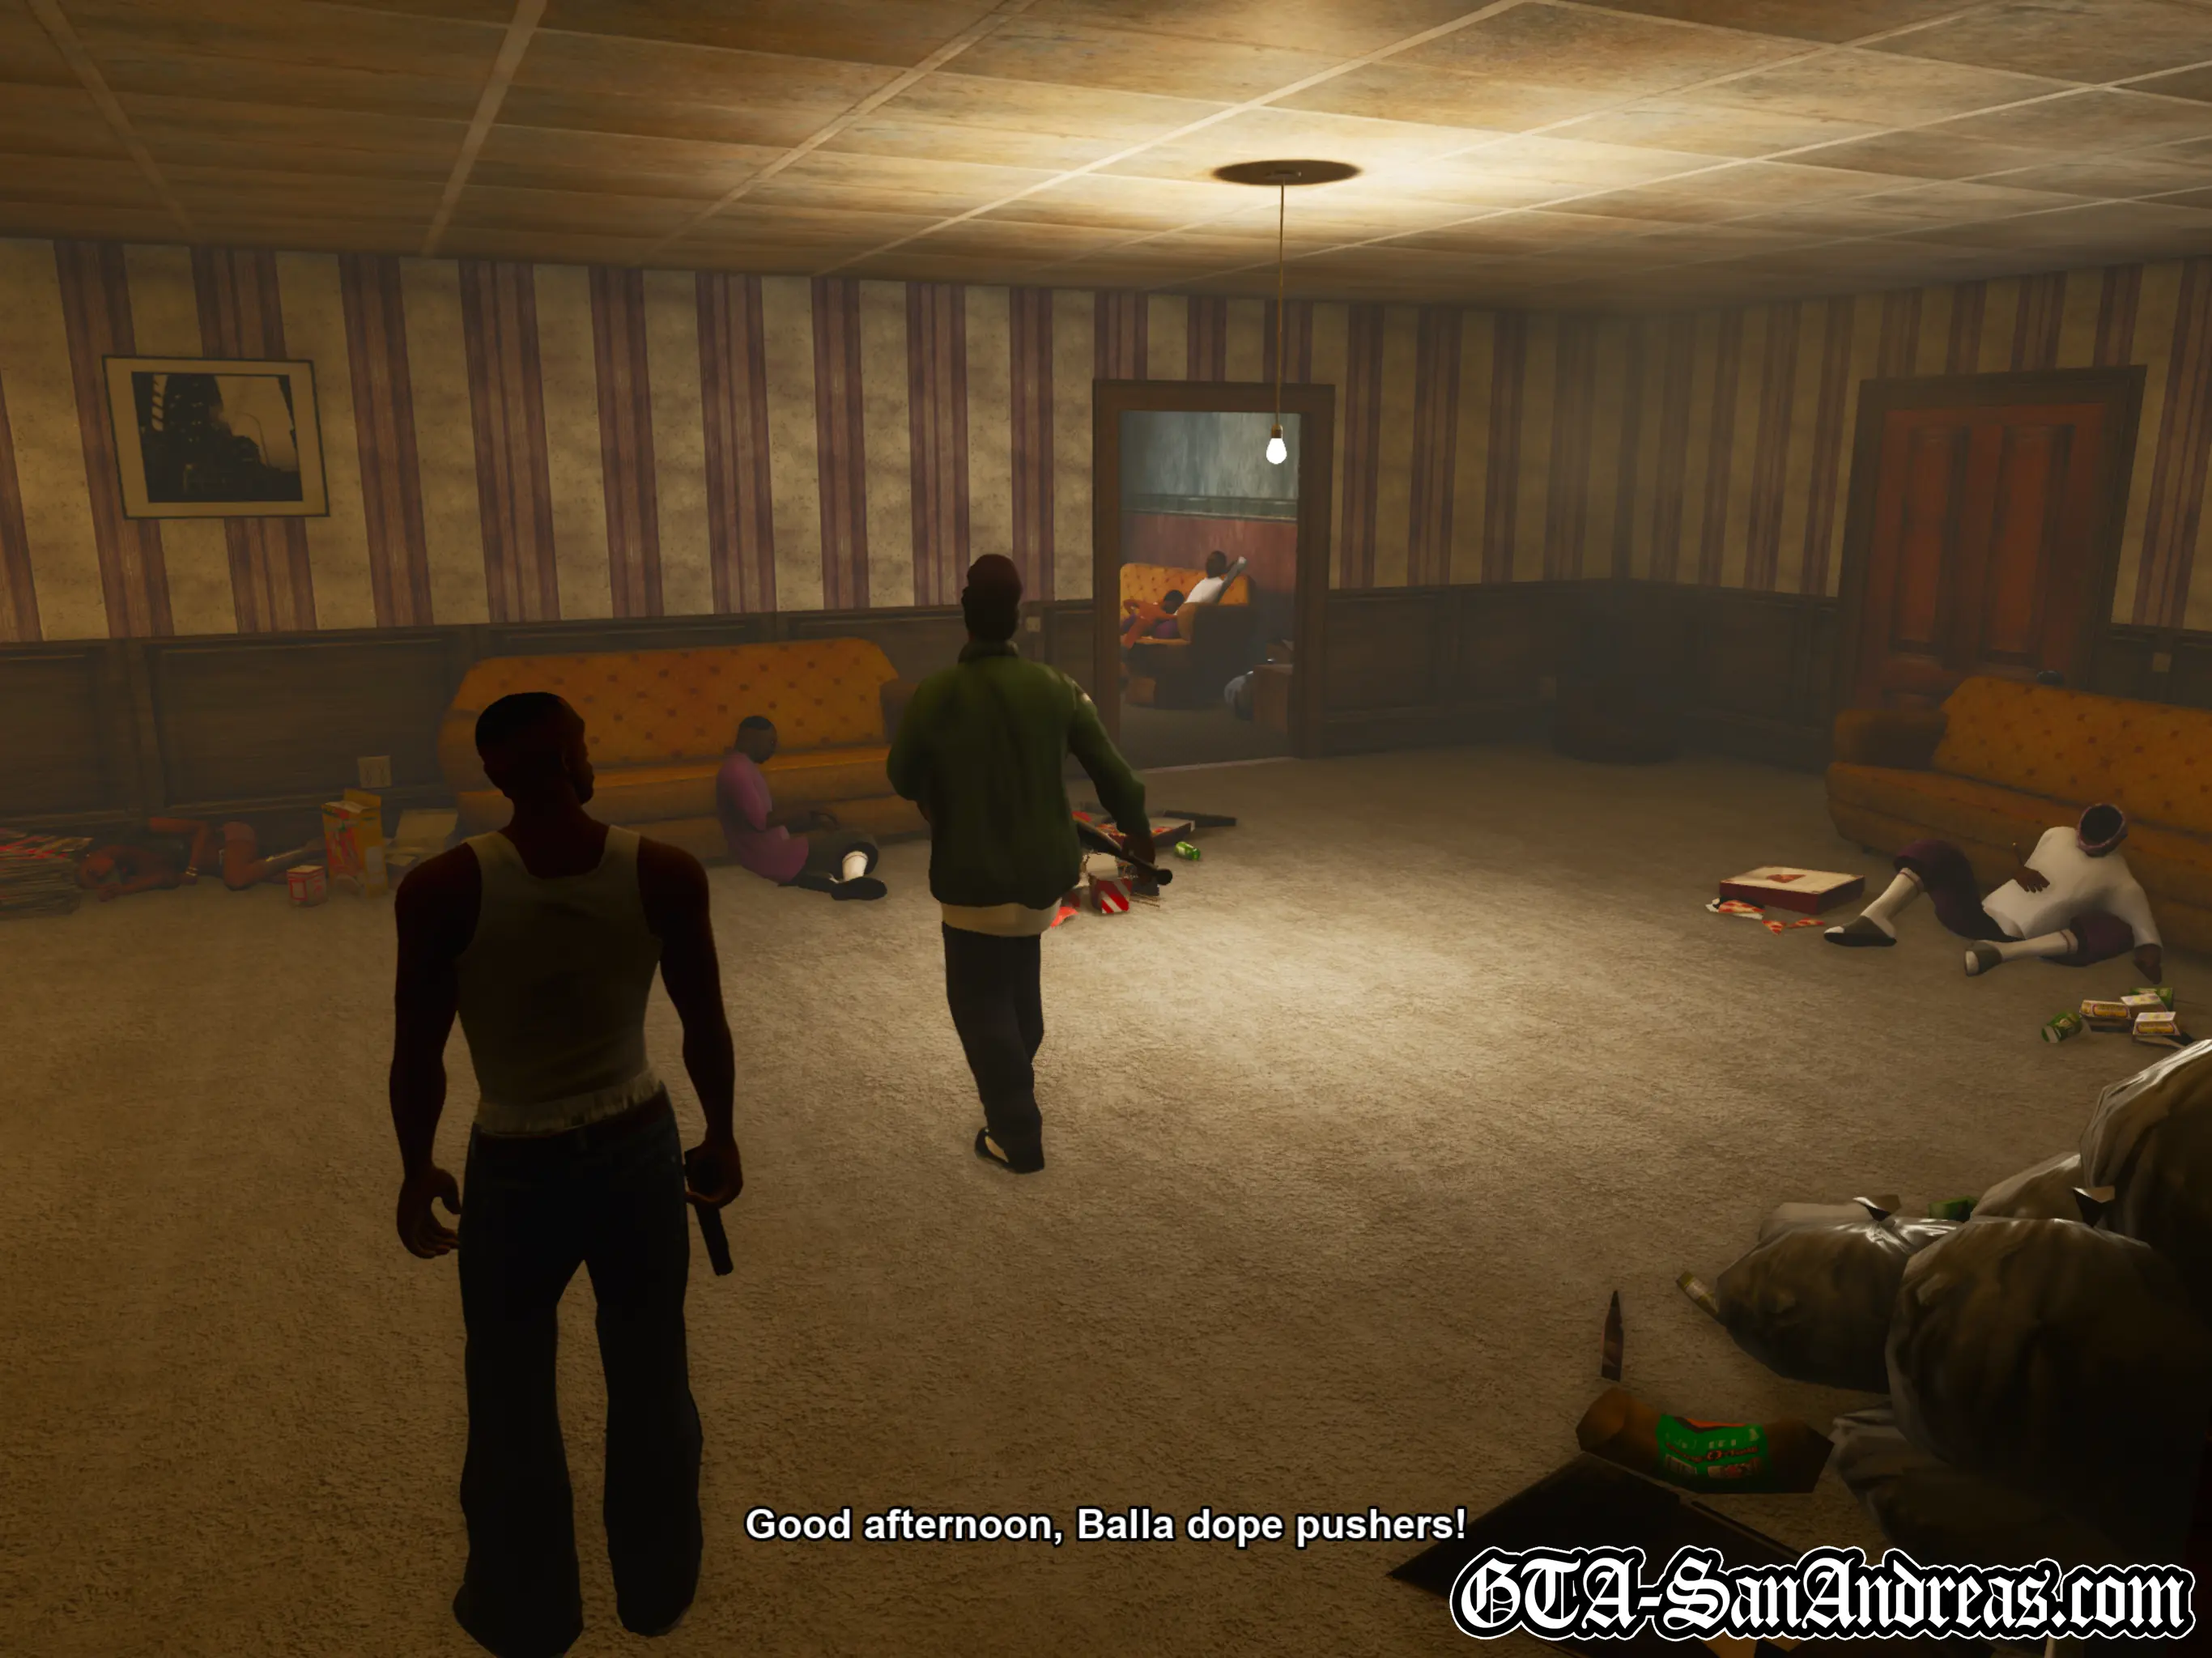
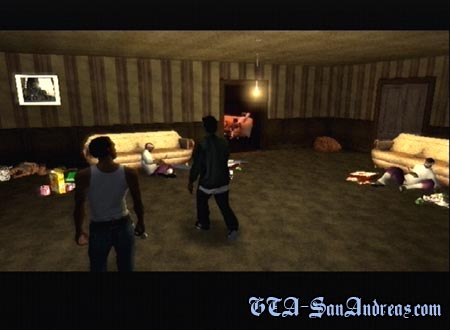
Carl and Ryder head into a run-down building looking for B Dup. Carl knocks on the door but B Dup isn't interested in what he's got to say. He's making good money from dealing drugs and that's his priority now.
Carl forces his way inside where they discover Big Bear has become B Dup's slave and like most of the Grove Street Families, he's living life for his next hit.
Carl and Ryder leave and decide it's up to them to start cleaning the place up.
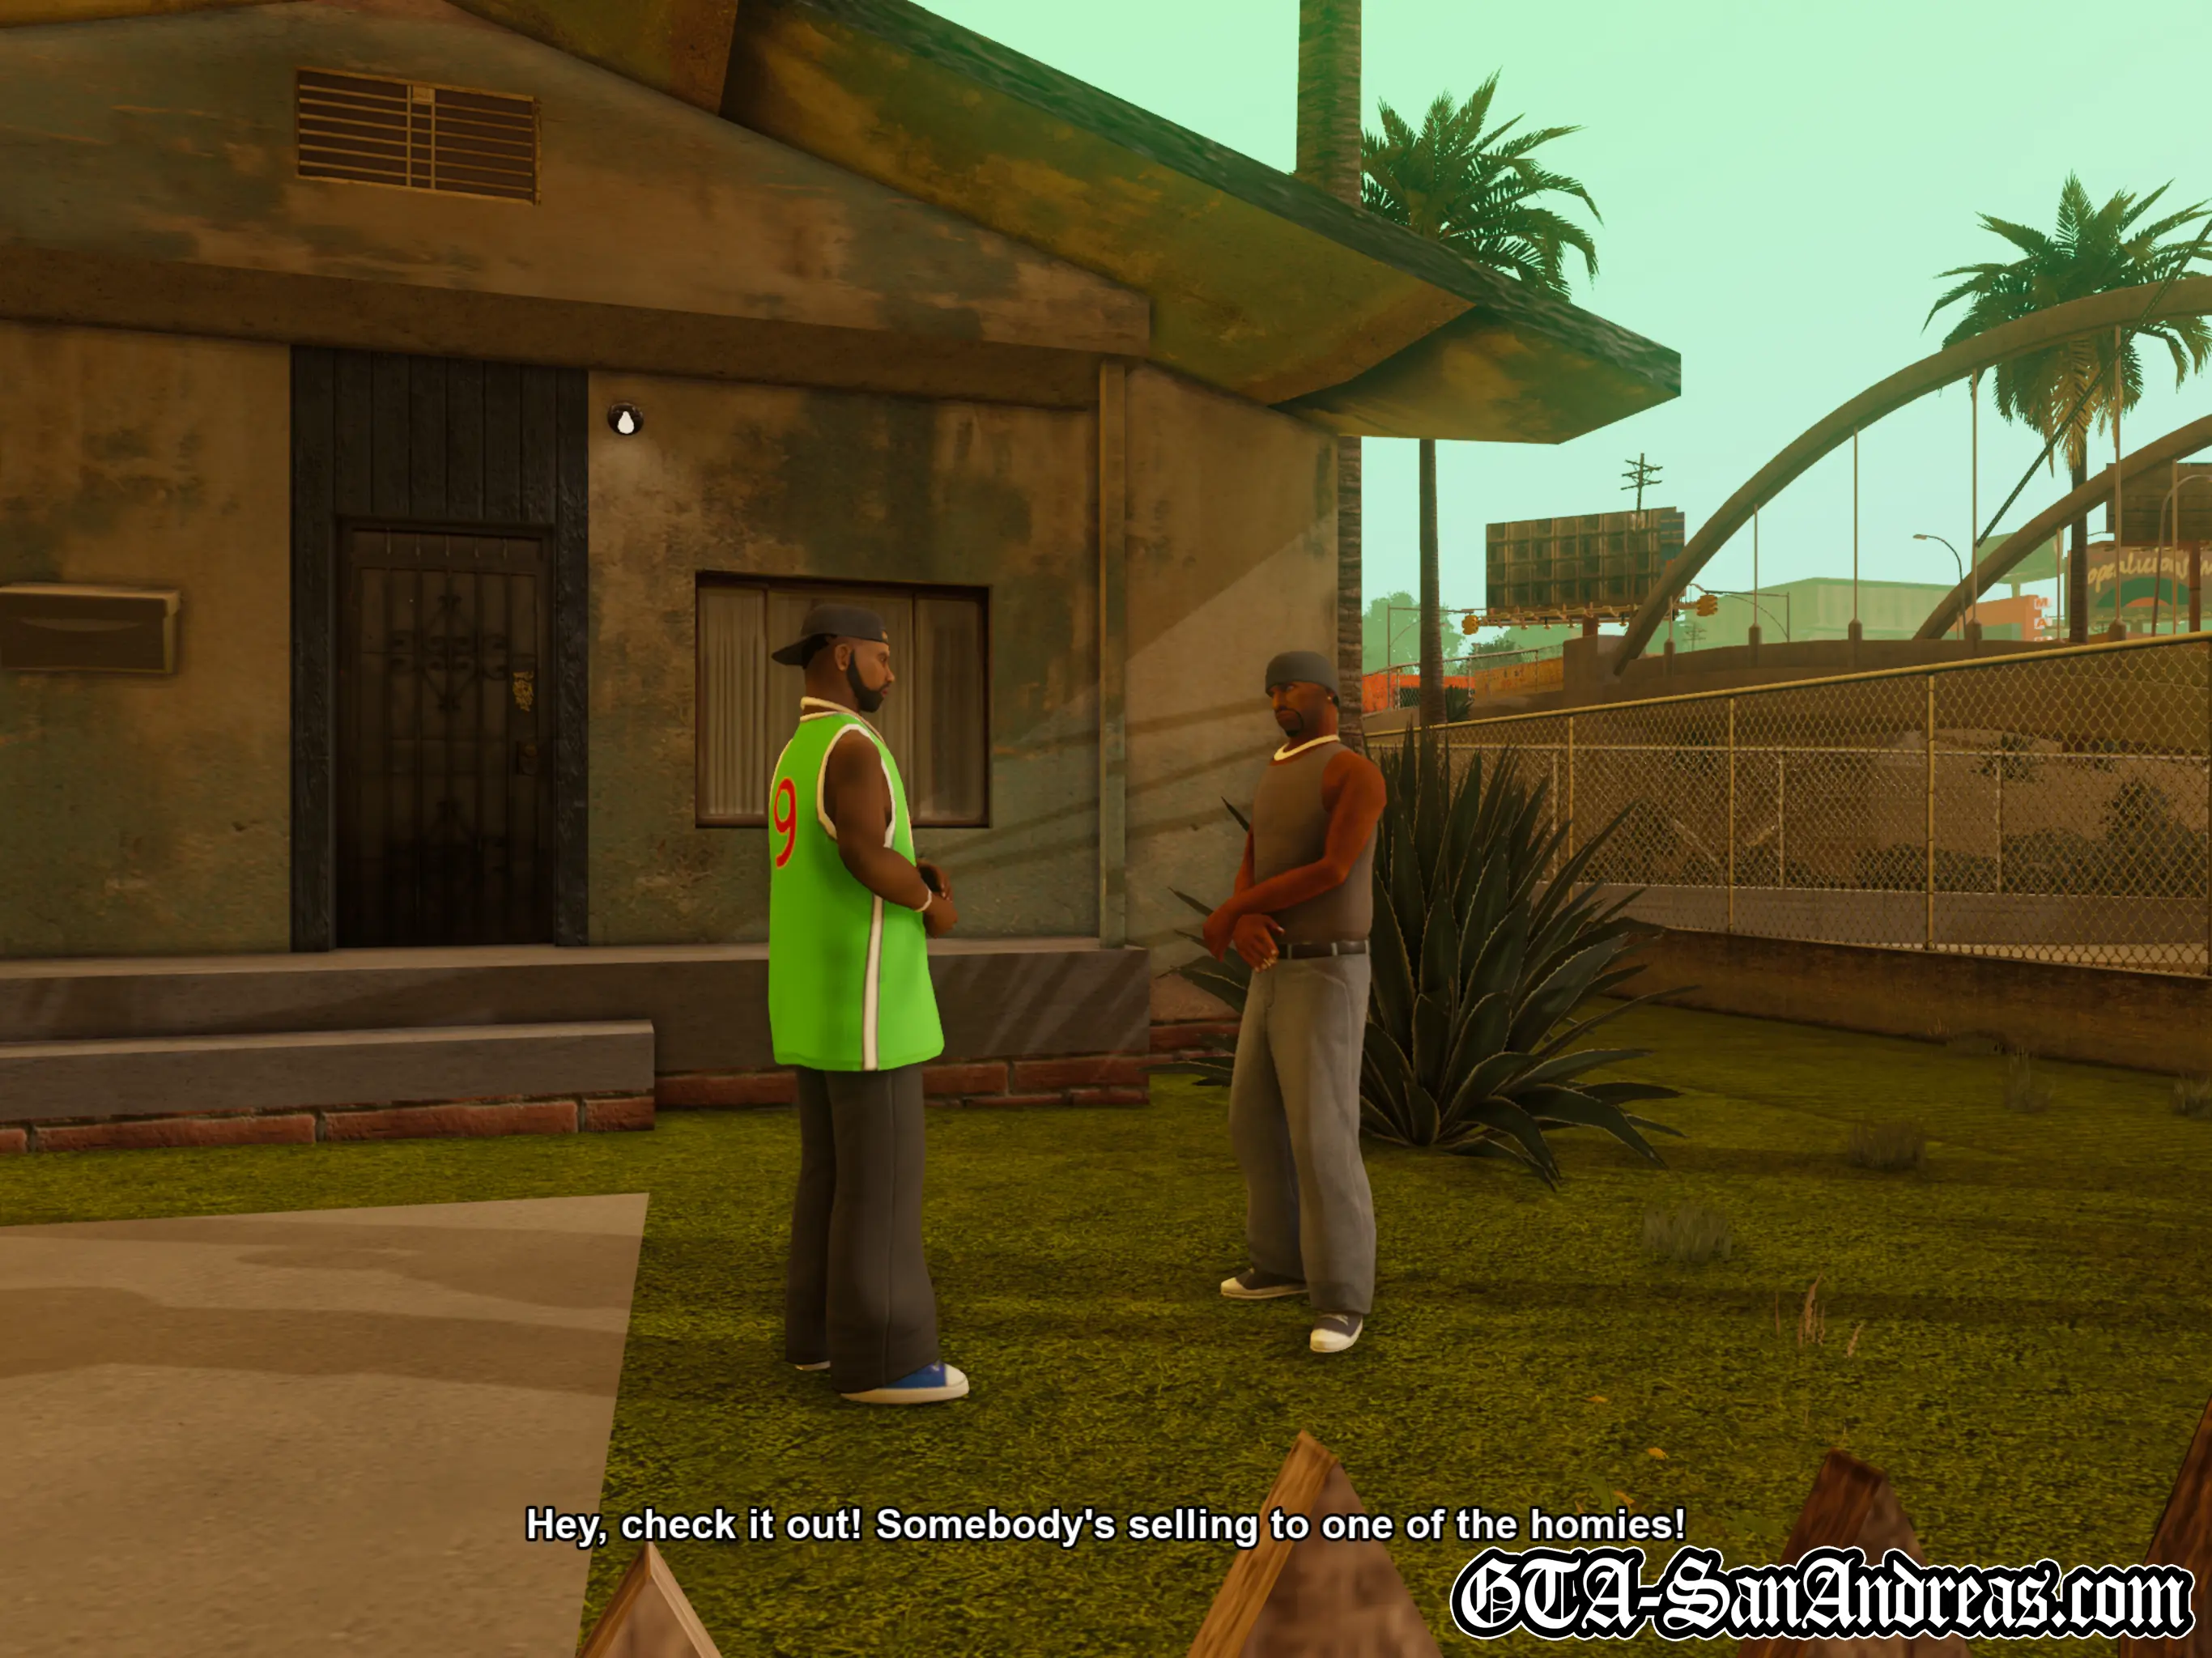
When you're outside, get in the car and make your way to B Dup's crib and park in the red marker.
Cutscene
When you arrive, you'll see a close up of a dealer selling to one of the homies.
The two of you will get out of the car, and now you'll need to kill the drug dealer. You can attack him with your fists if you don't have a weapon, just be aware that he'll pull out a baseball bat if you give him a chance.
Cutscene
Ryder recognises the drug dealer and knows he used to roll with a Ballas OG. His place isn't far away, so he wants you to go there with him and check it out. Before heading off, Carl stomps on the dealer one last time, just to make sure he's dead.
The dealer you just killed has dropped a baseball bat, so pick it up because it'll come in useful soon.
Get back into the vehicle and make your way to the yellow blip on the radar. You can head there on foot if you want to, but I'd recommend taking a car.
Cutscene
Once you arrive, Ryder comments on the stench of the crack den you're about to enter, saying you can smell it from a mile away.
Head inside the building by walking into the yellow arrow at the door.
Cutscene
Inside, Ryder attacks a Balla gangster with his bat, then a bunch of others Ballas come running out of different rooms to join the fight.
Hints & Tips
You'll avoid a wanted level if you kill the Ballas with your baseball bat or fists. Using guns can draw police attention which you'll have to lose before the next part of the mission.
You need to kill all of the Balla dealers who are clearly marked with an arrow above their heads. You can use any of the weapons you've collected so far to take them out, but they don't pose much threat so the baseball bat should do the job nicely. Once they're all dead, the game will tell you to go back outside.
Get in your vehicle and drive Ryder back to Grove Street. If you picked up a wanted level you might need to head to the Pay N' Spray first. Park in the red marker outside Sweet's house when you get back to Grove Street.
Cutscene
Ryder says the homies will be able to think clearly now that base isn't getting pushed up in their faces. Carl agrees and thinks this could be the start of the Grove getting back on its feet. They part ways and Ryder heads into Sweet's house.
Screenshots


Drive-Thru

Cutscene
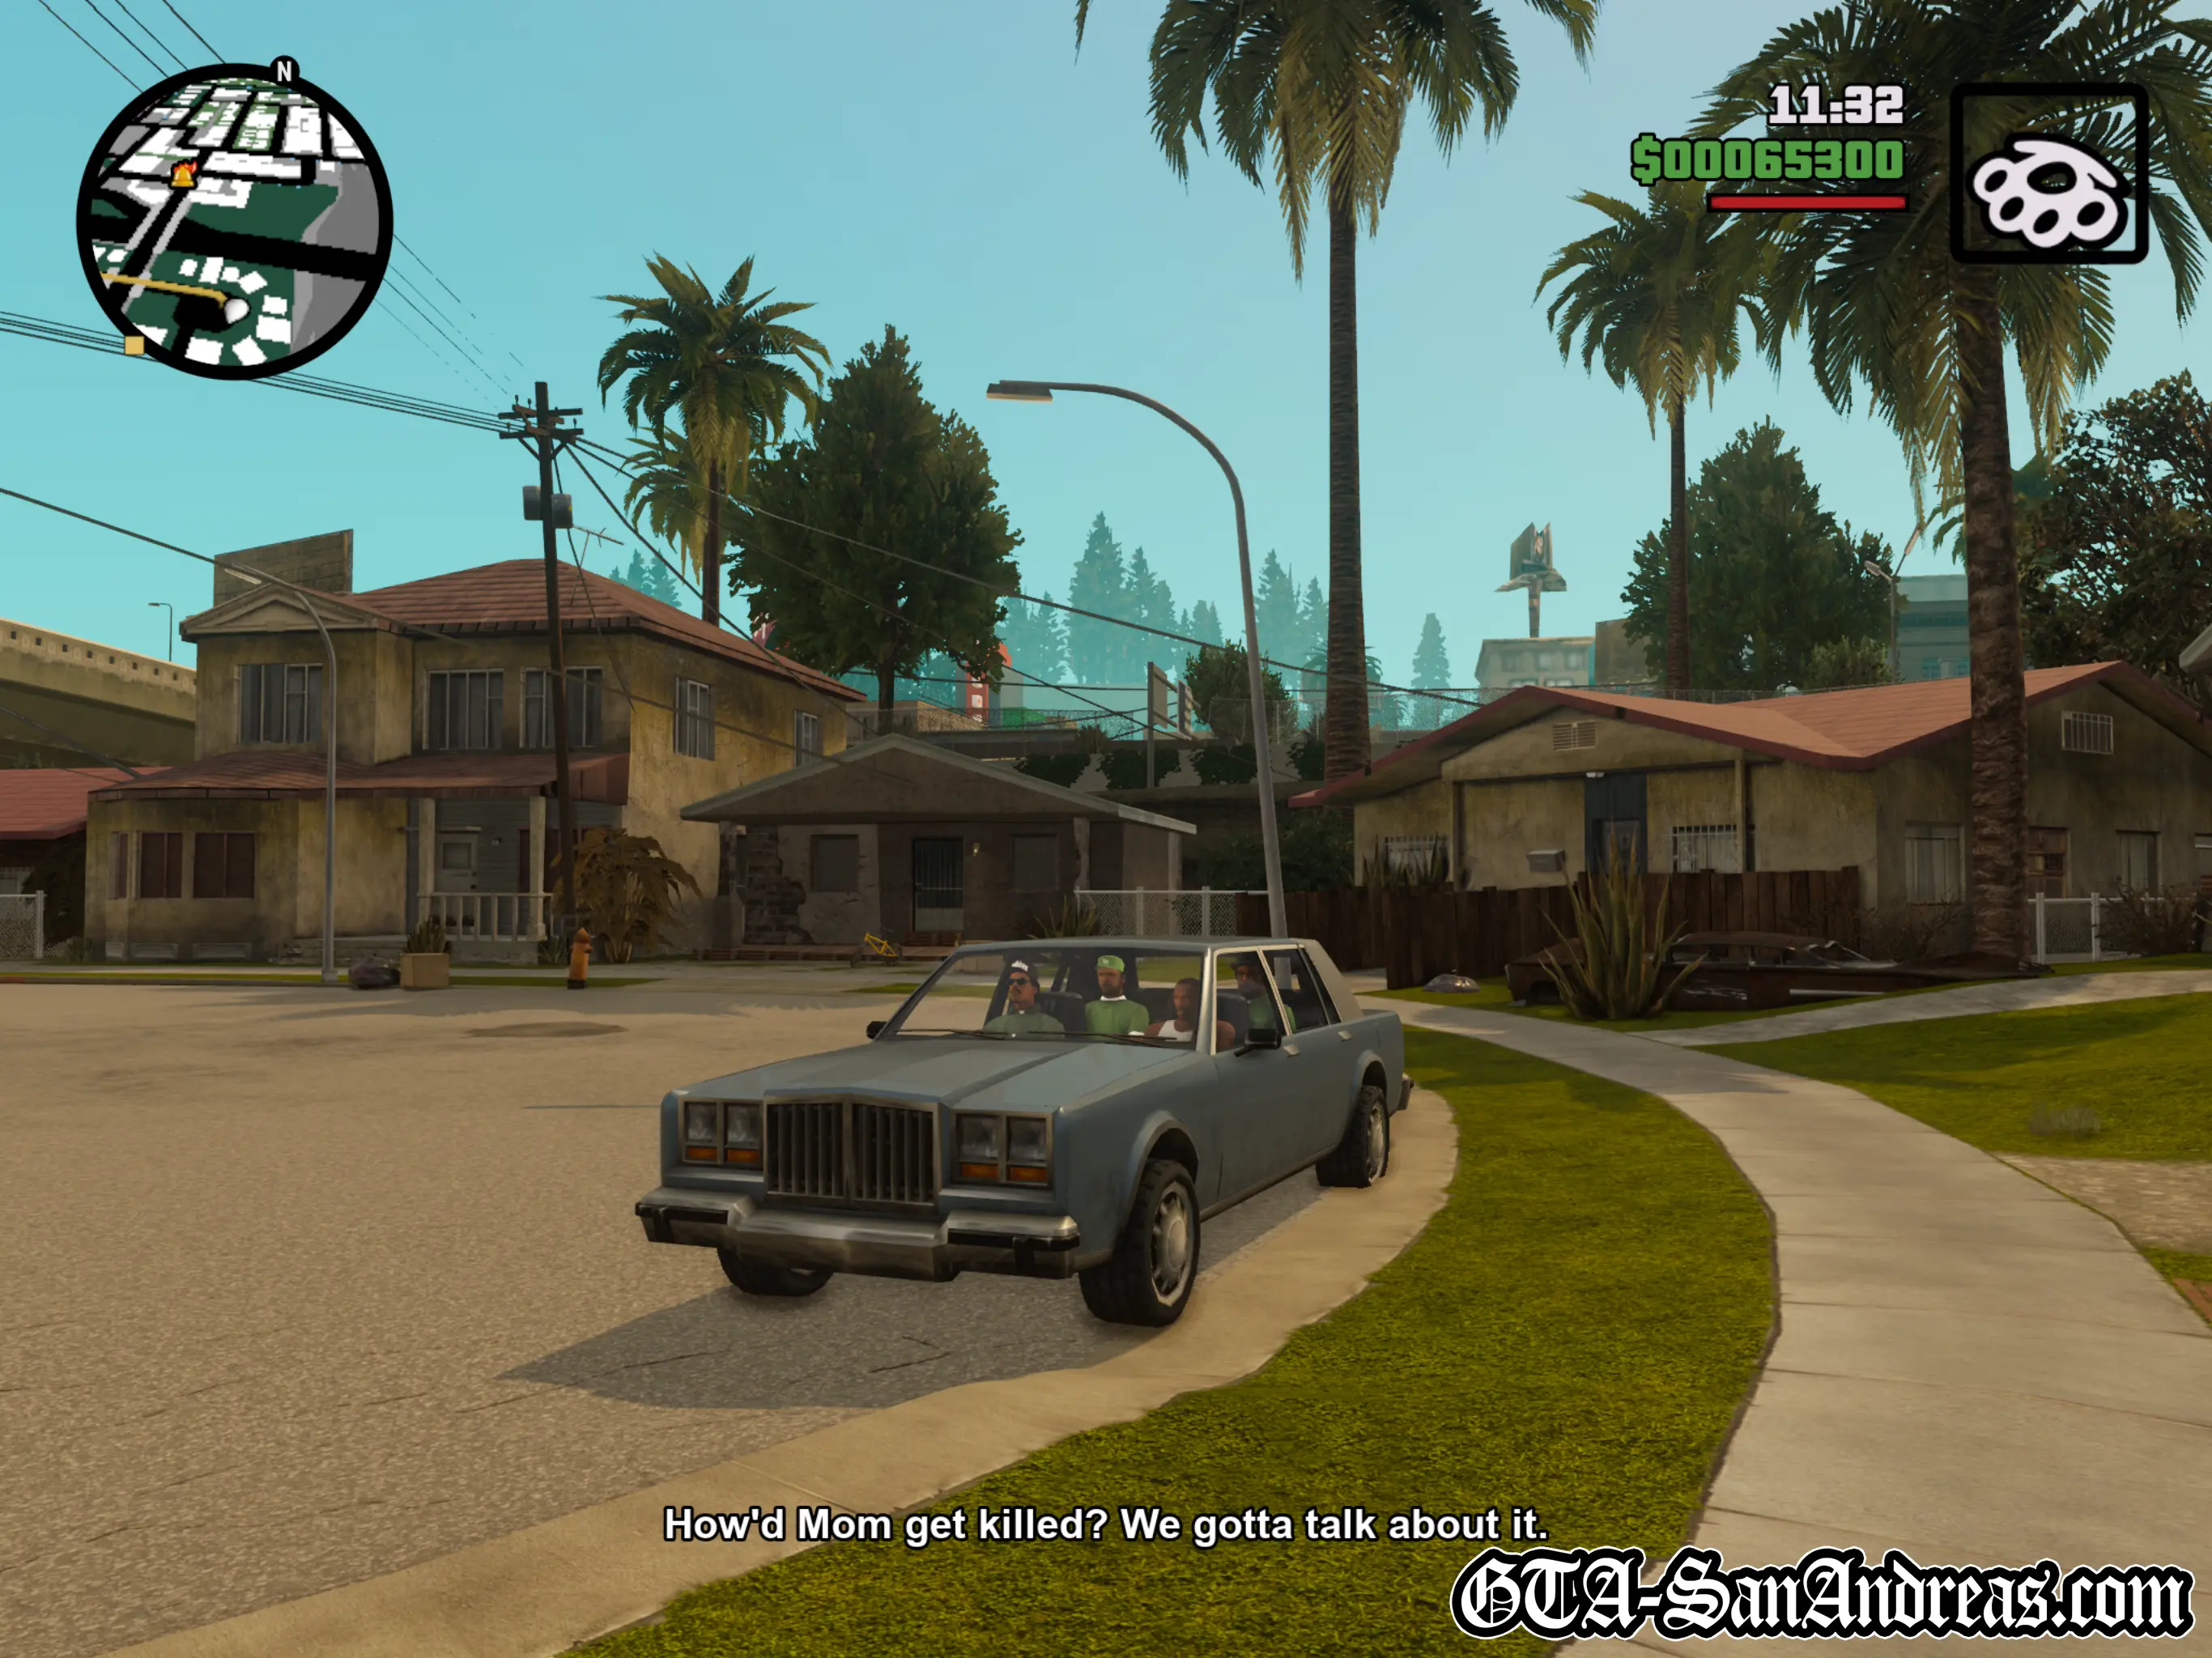
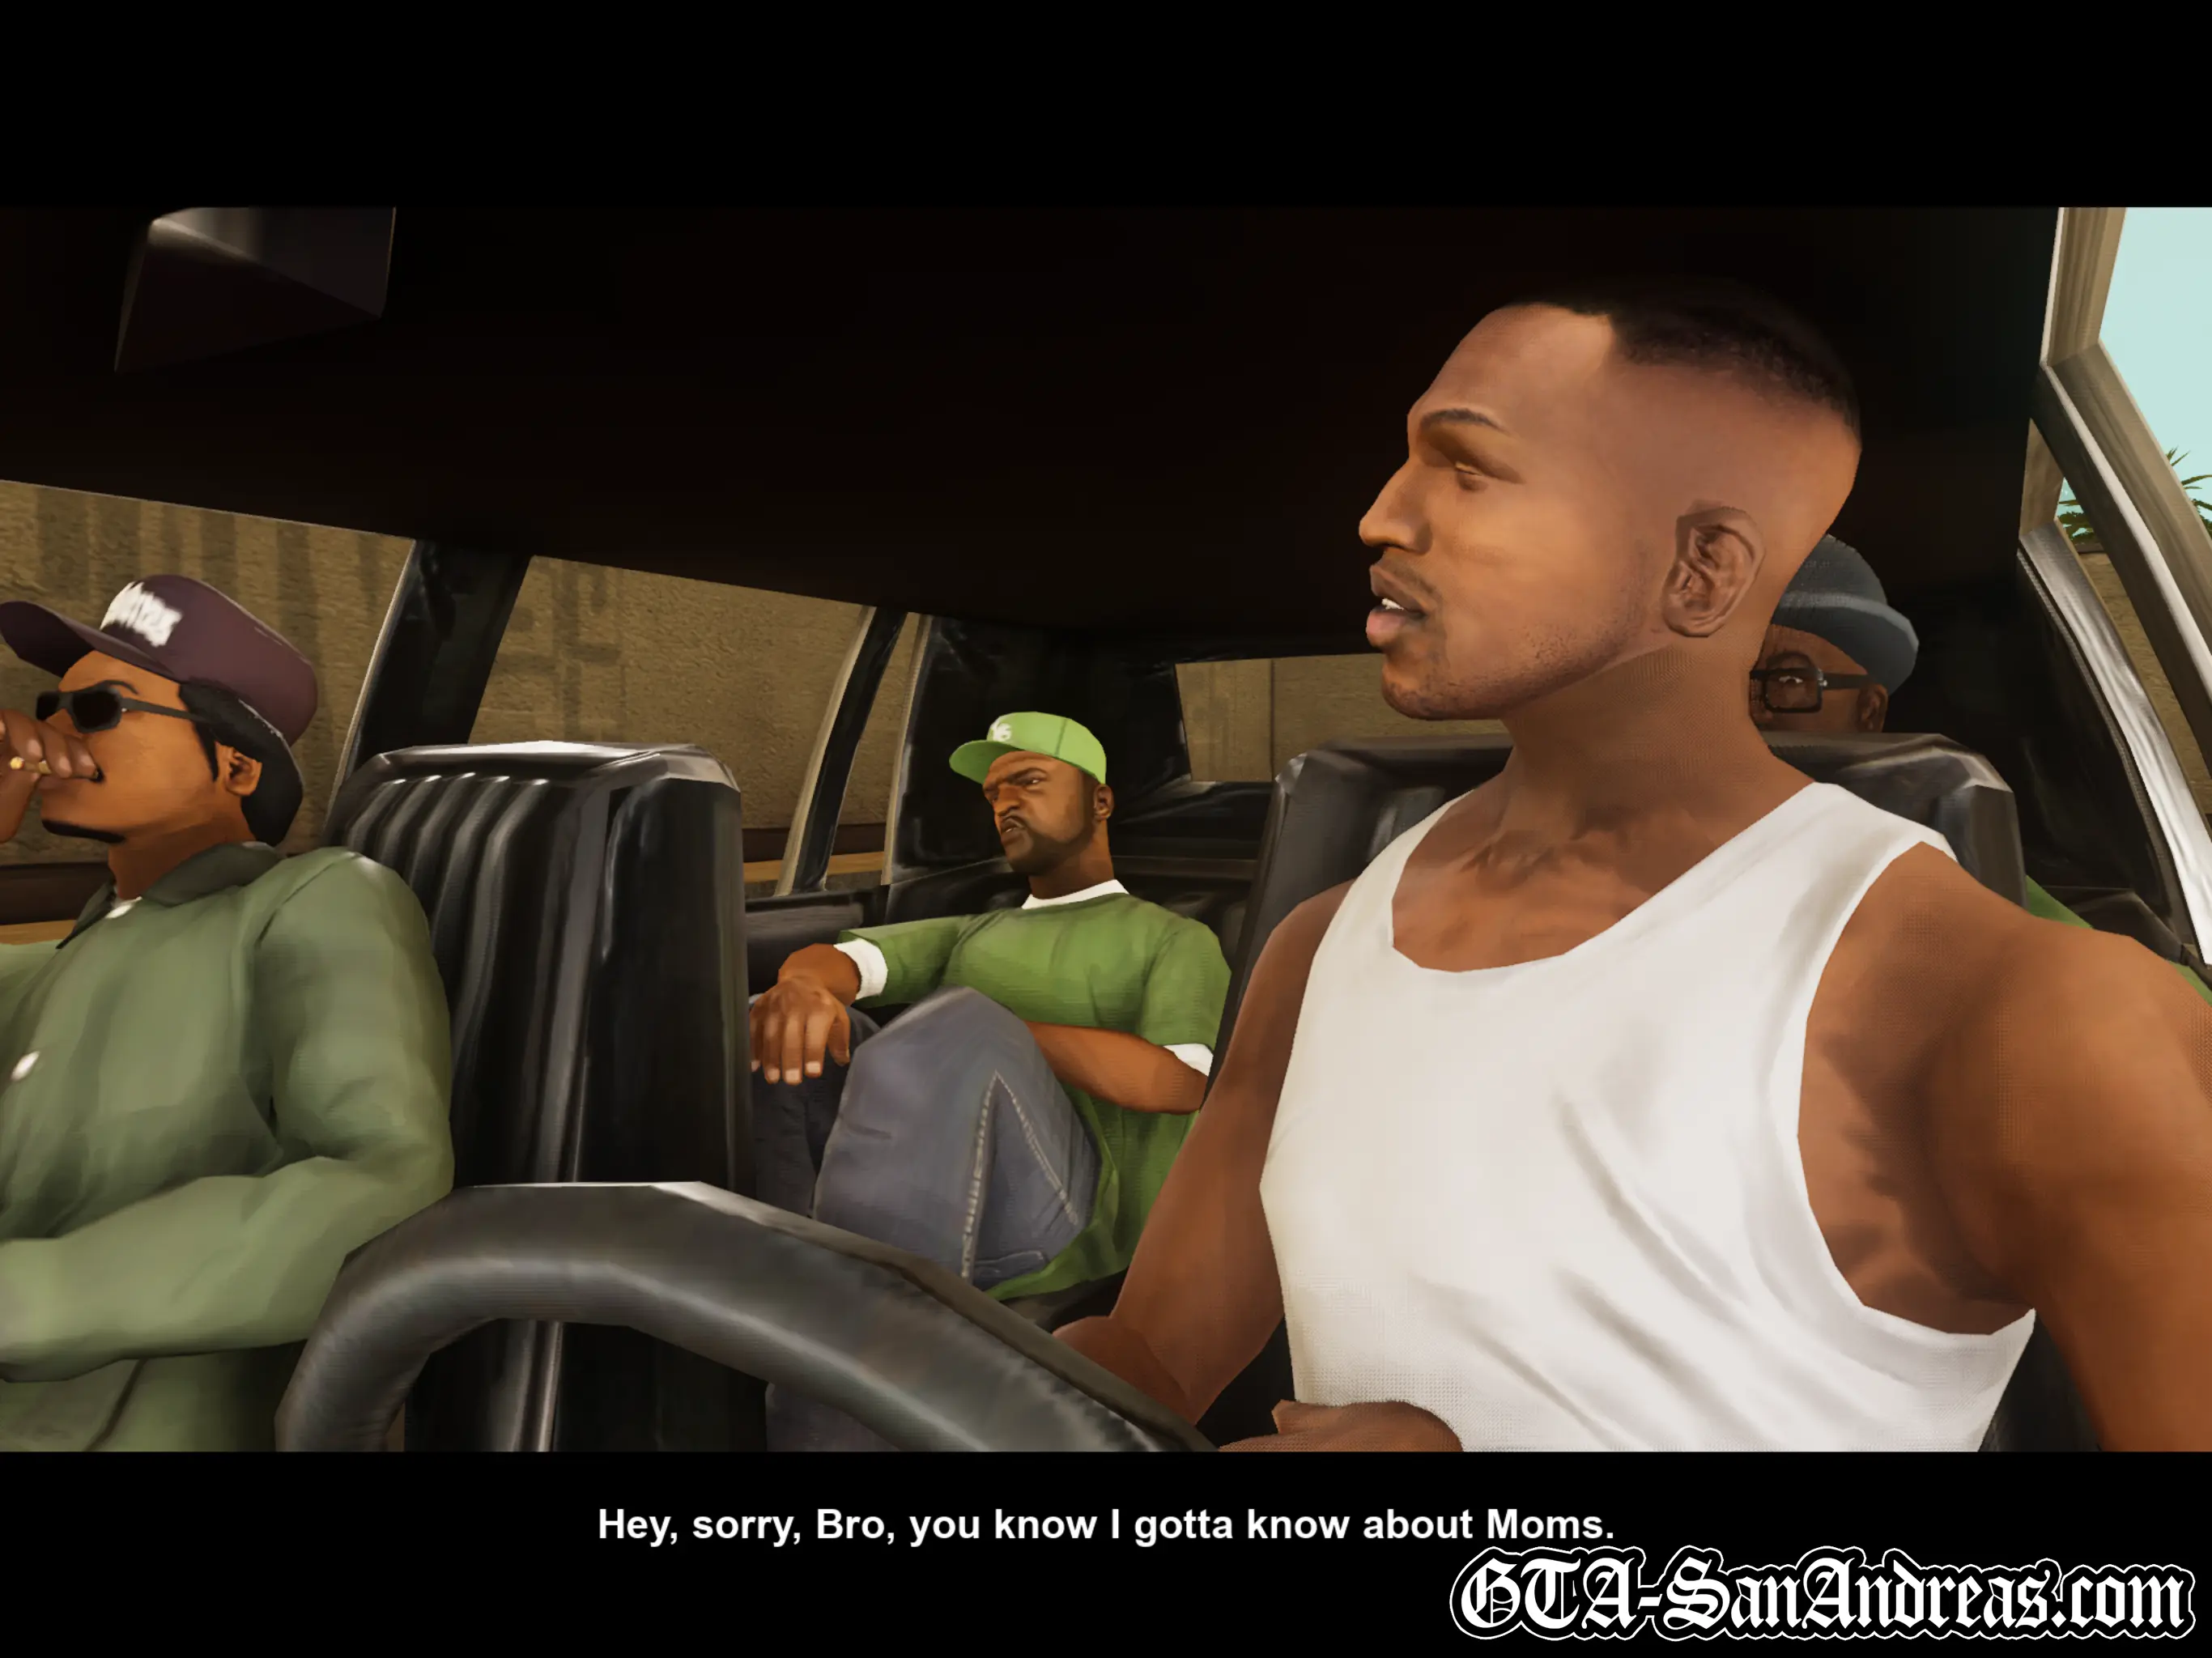
Big Smoke is explaining to Sweet that respect has to be earned, just like money. "So what you sayin'? You don't respect me?" asks Sweet. "What I'm saying is... I'm hungry!" replies Smoke.
Ryder wants Tacos but Smoke has decided it's chicken, and it's not up for discussion.
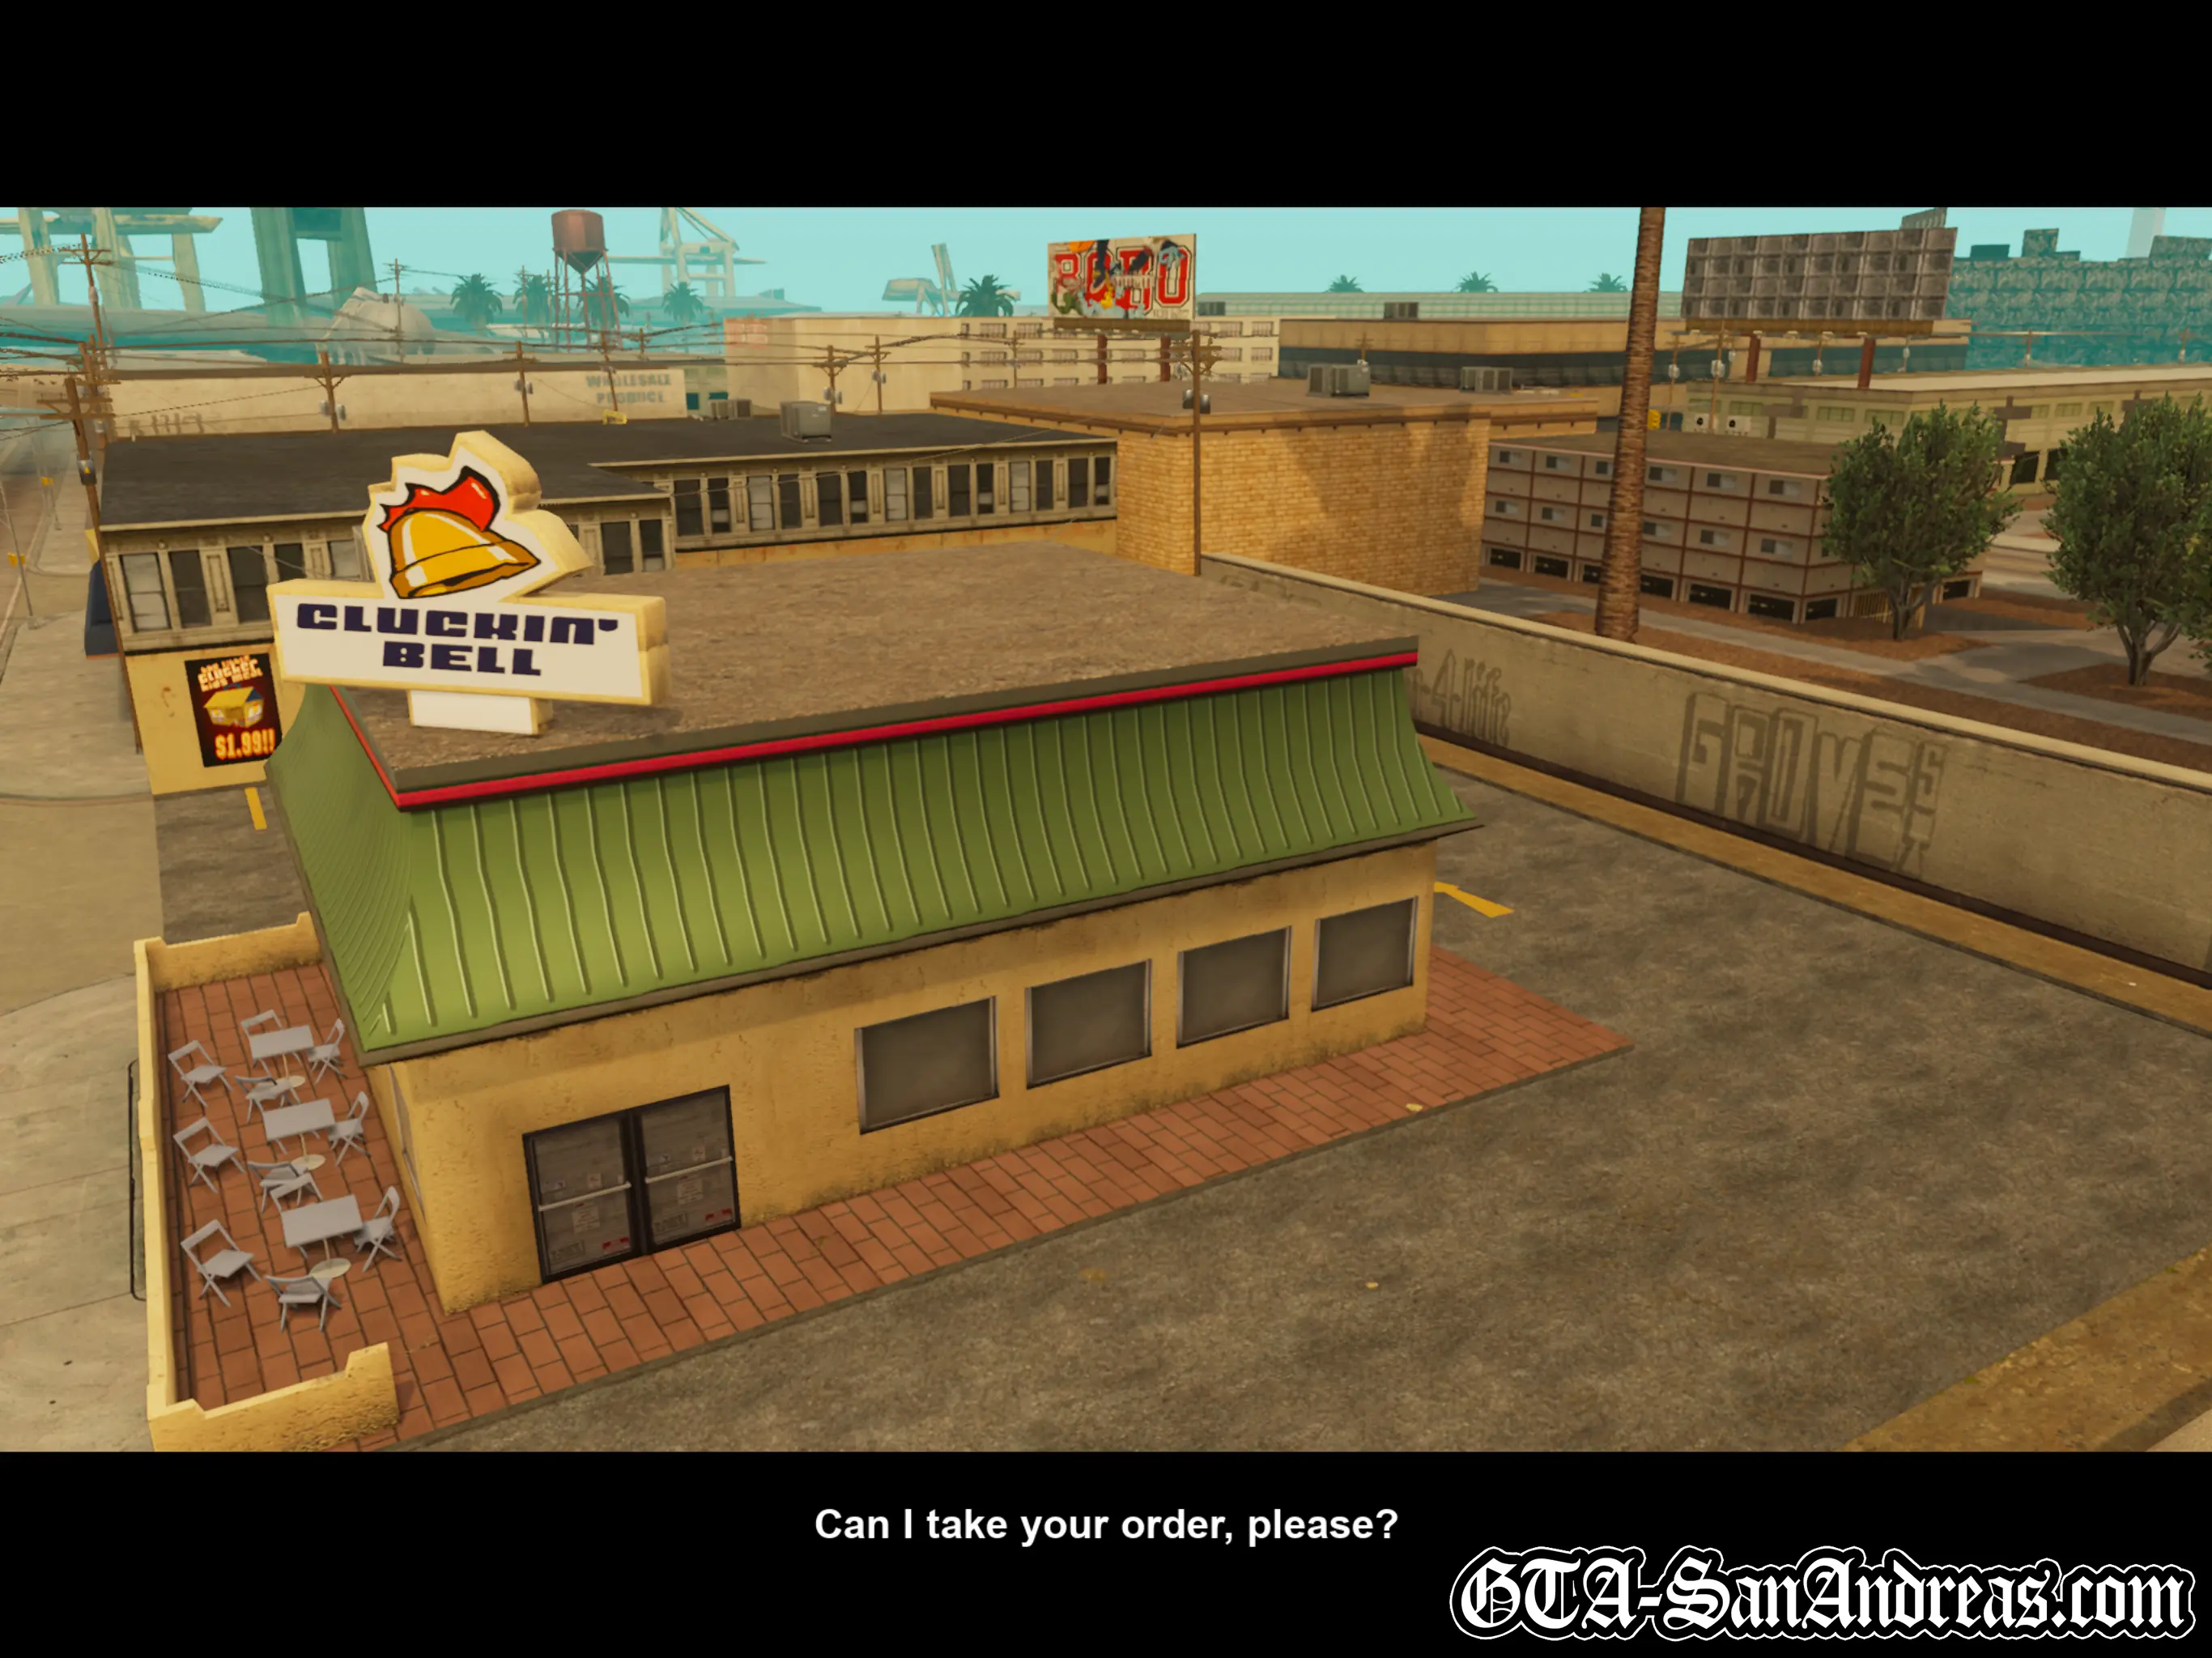
Sweet will ask Carl to drive, so get in his car and make your way to Cluckin' Bell and park in the red marker outside the drive thru.
Cutscene
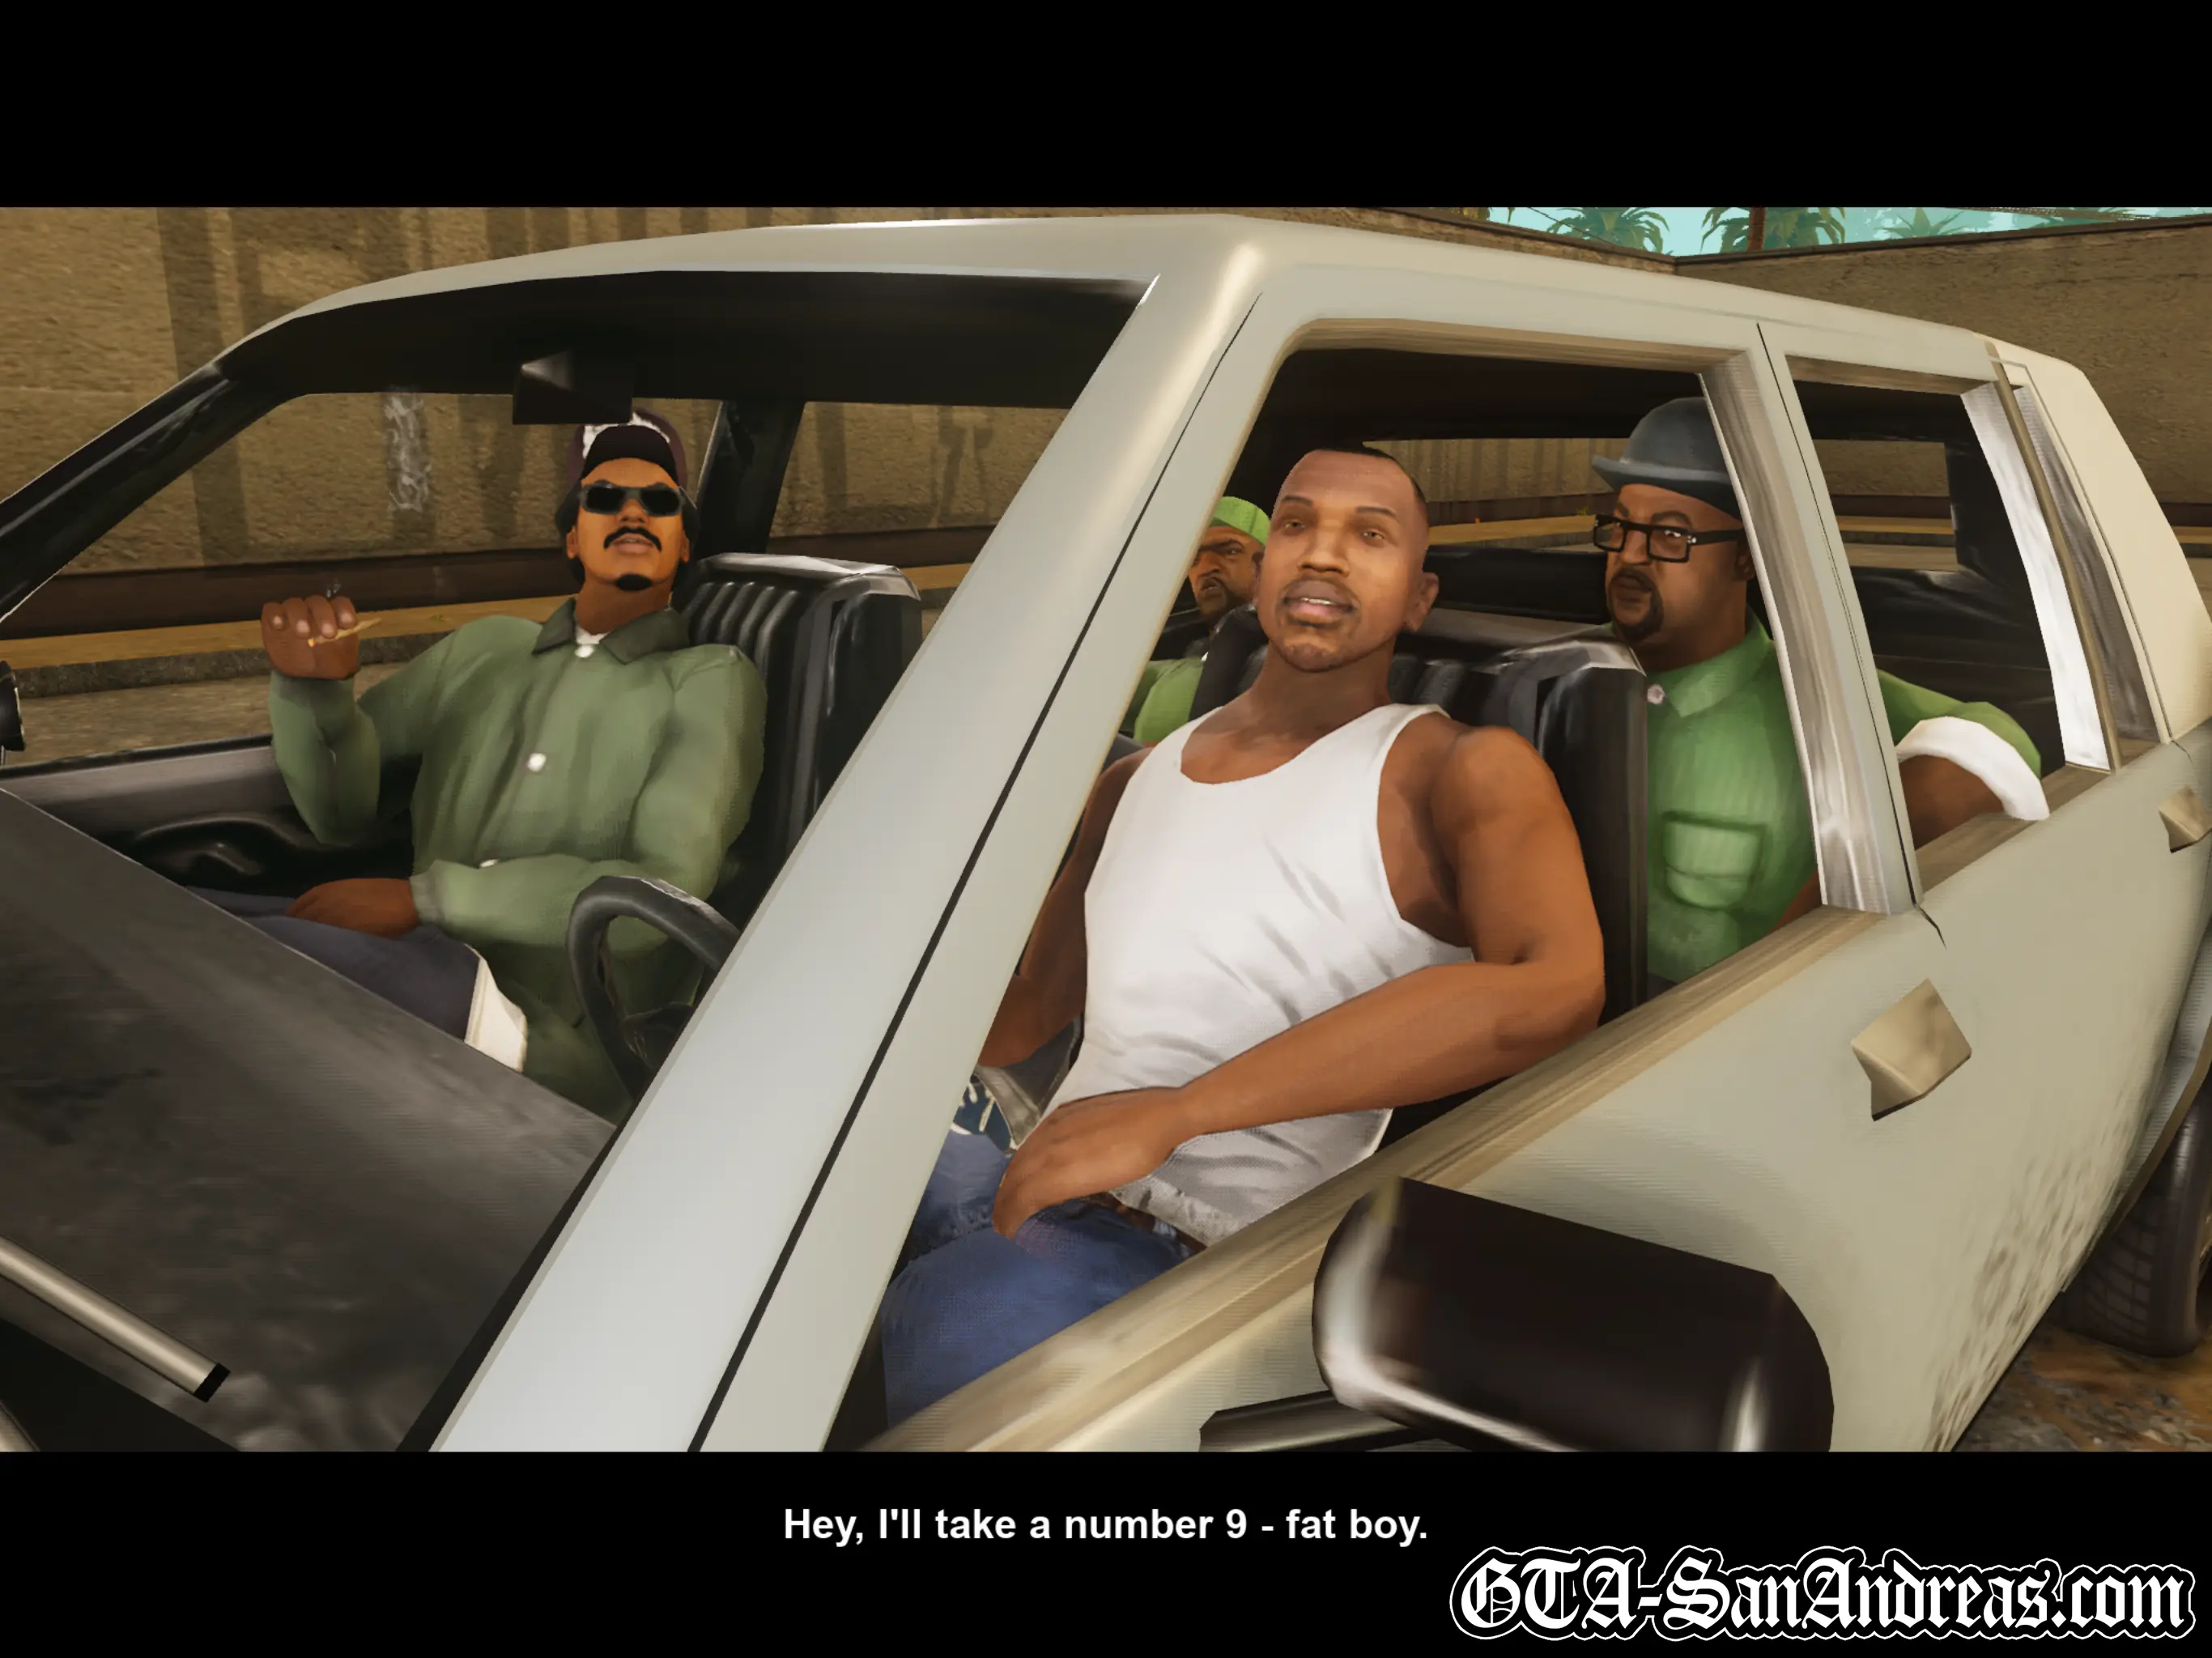
Big Smoke places his order for pretty much everything on the menu. "I'll have two number 9s, a number 9 large, a number 6 with extra dip, a number 7, two number 45s, one with cheese, and a large soda".
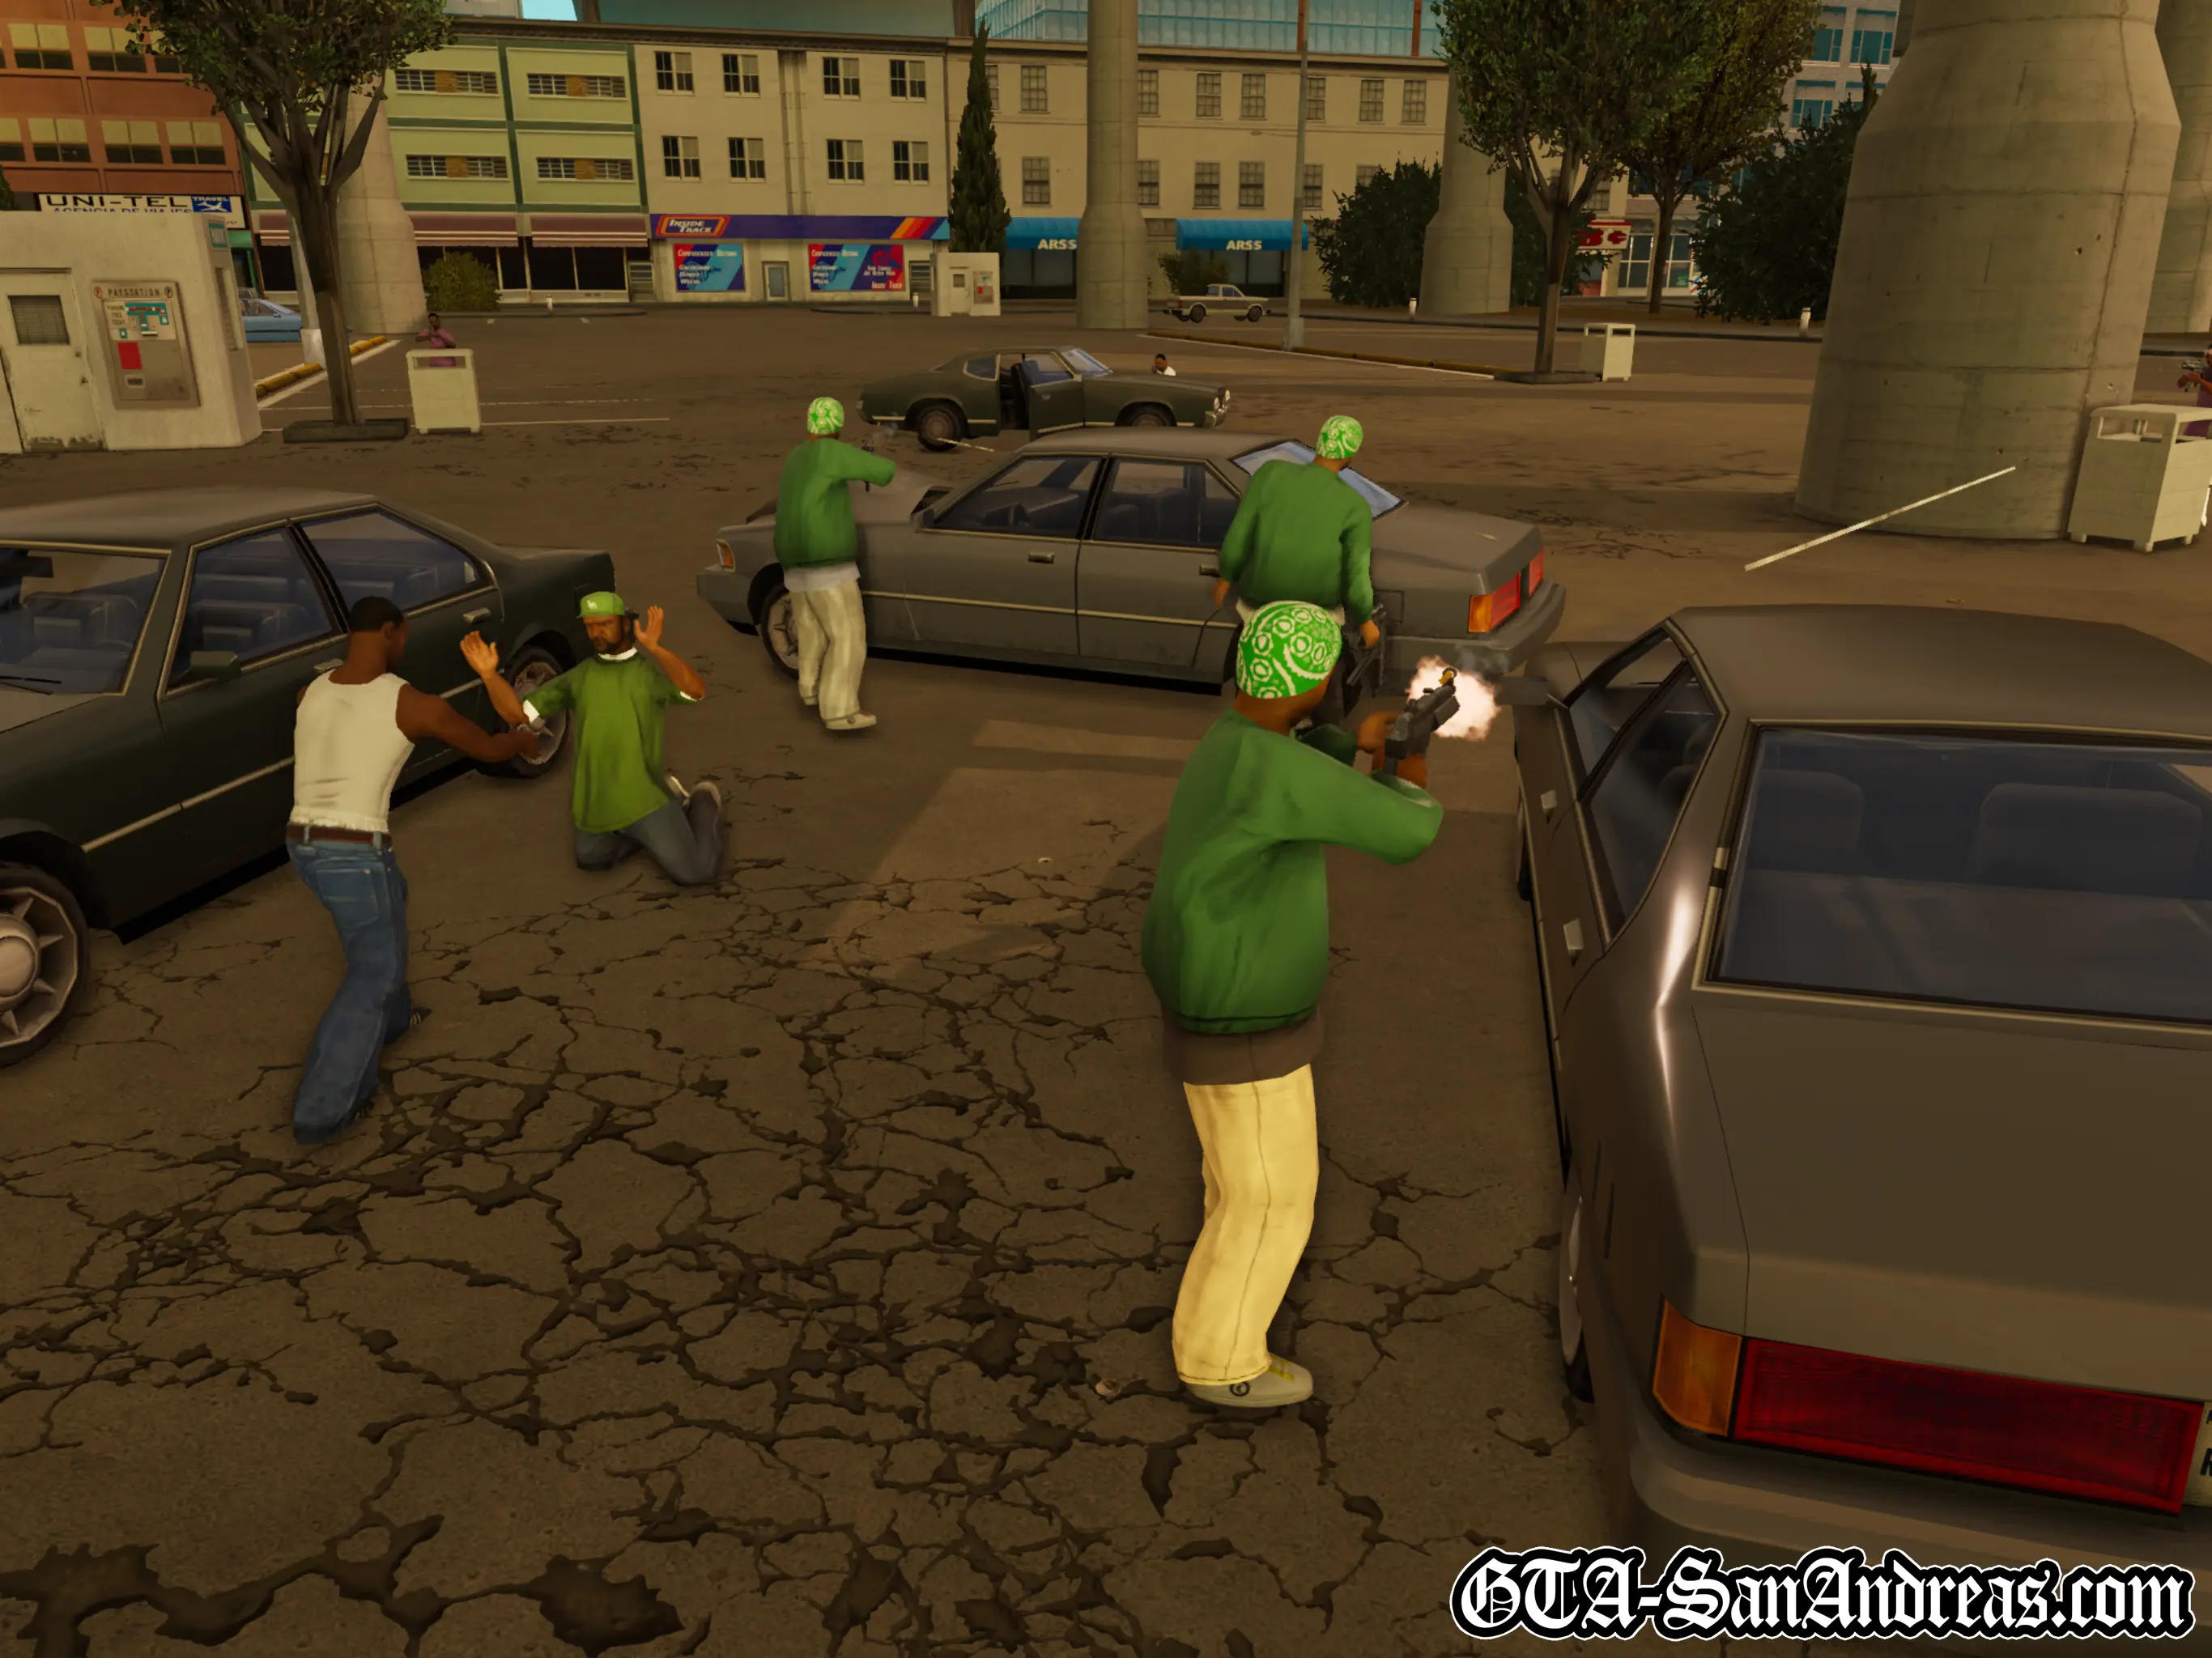
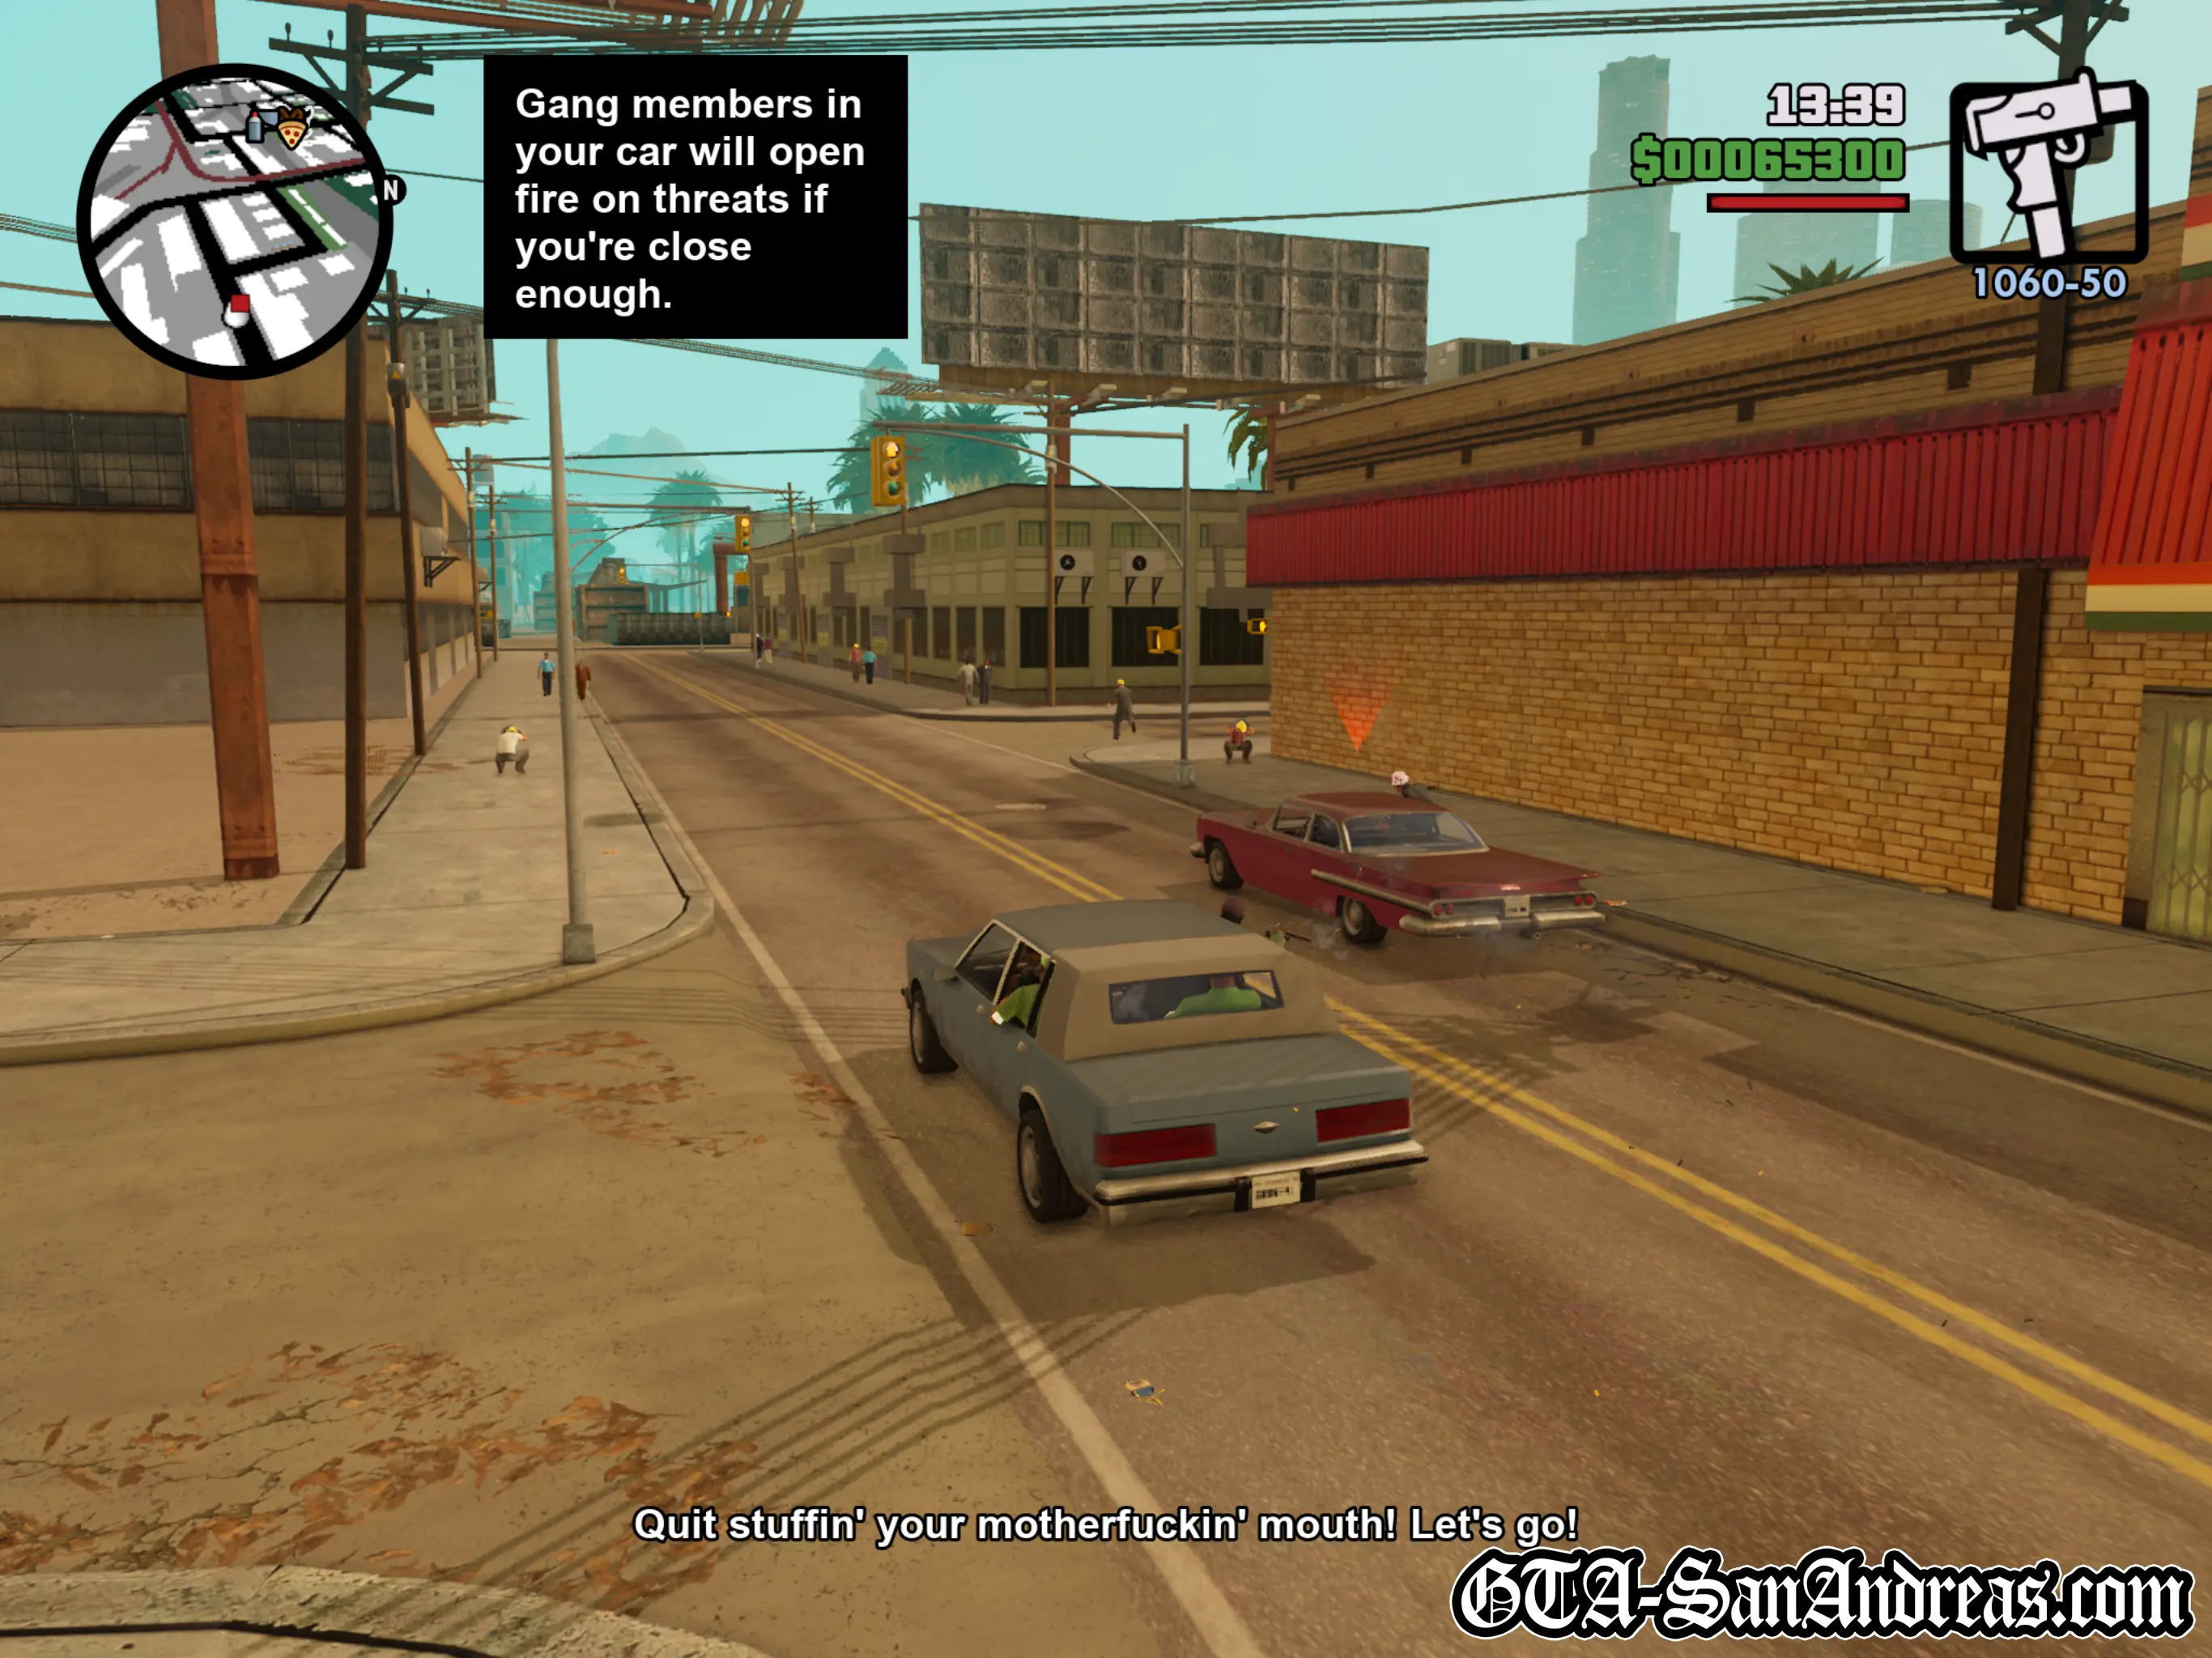
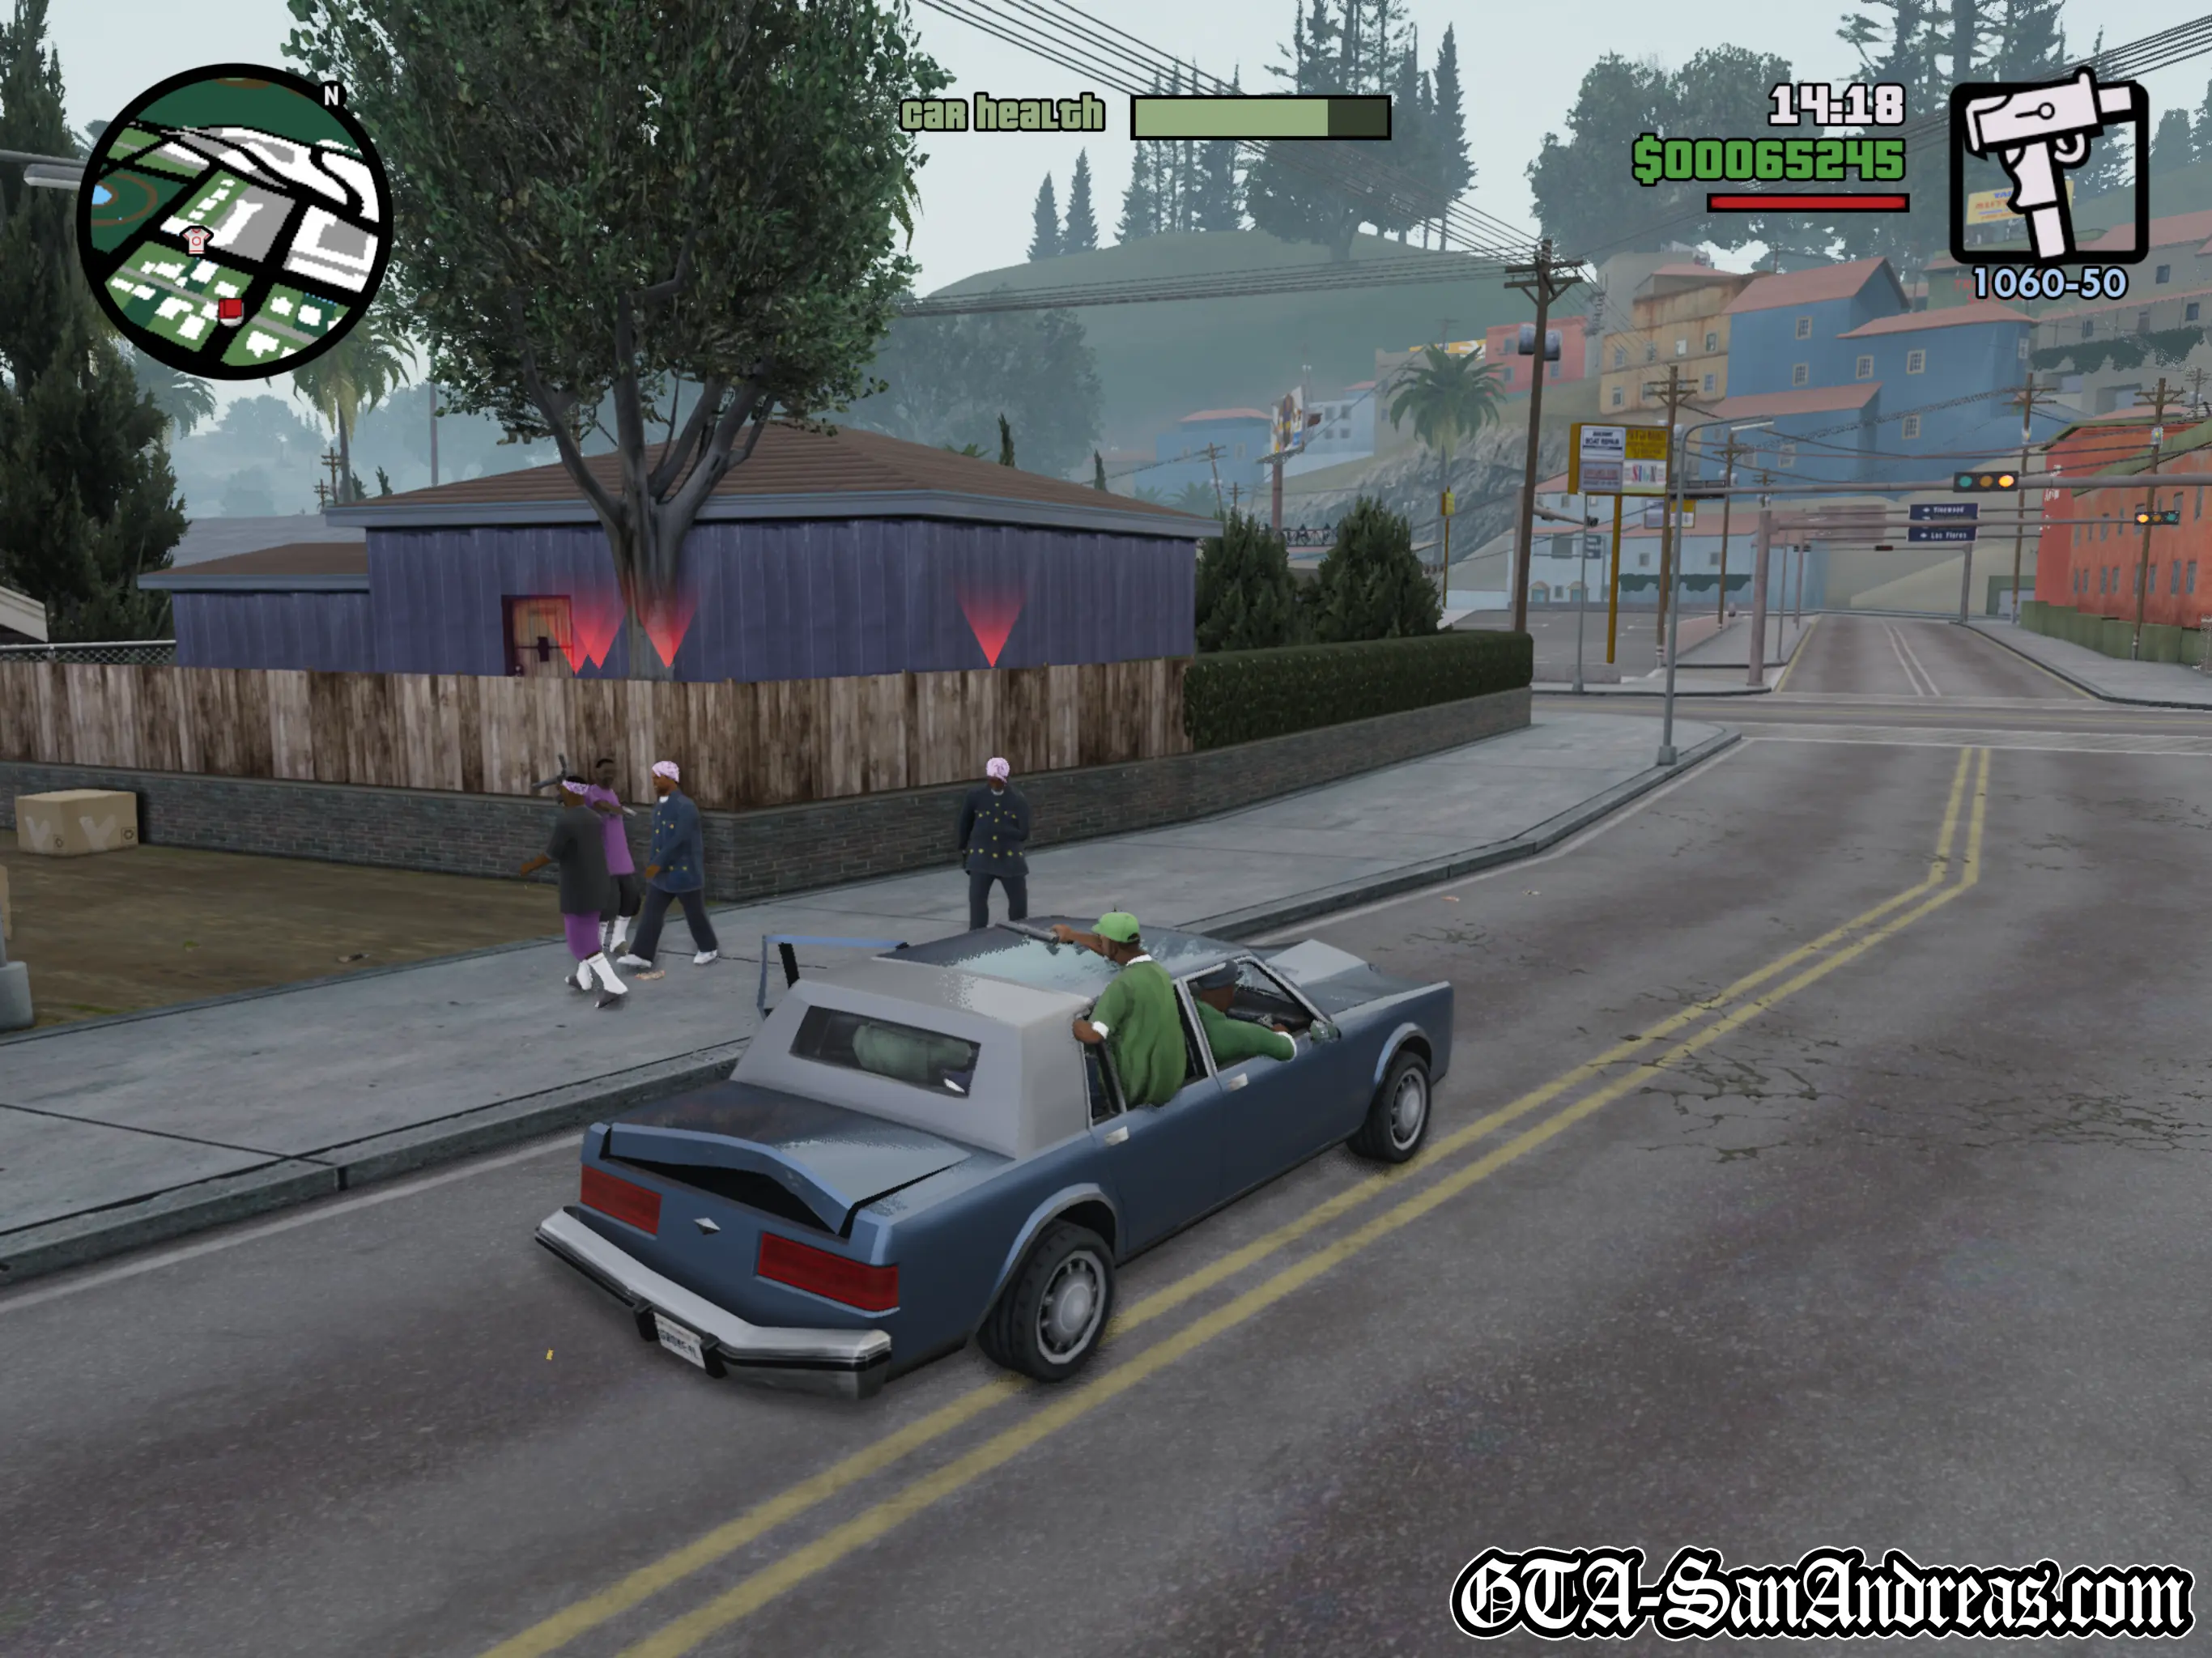
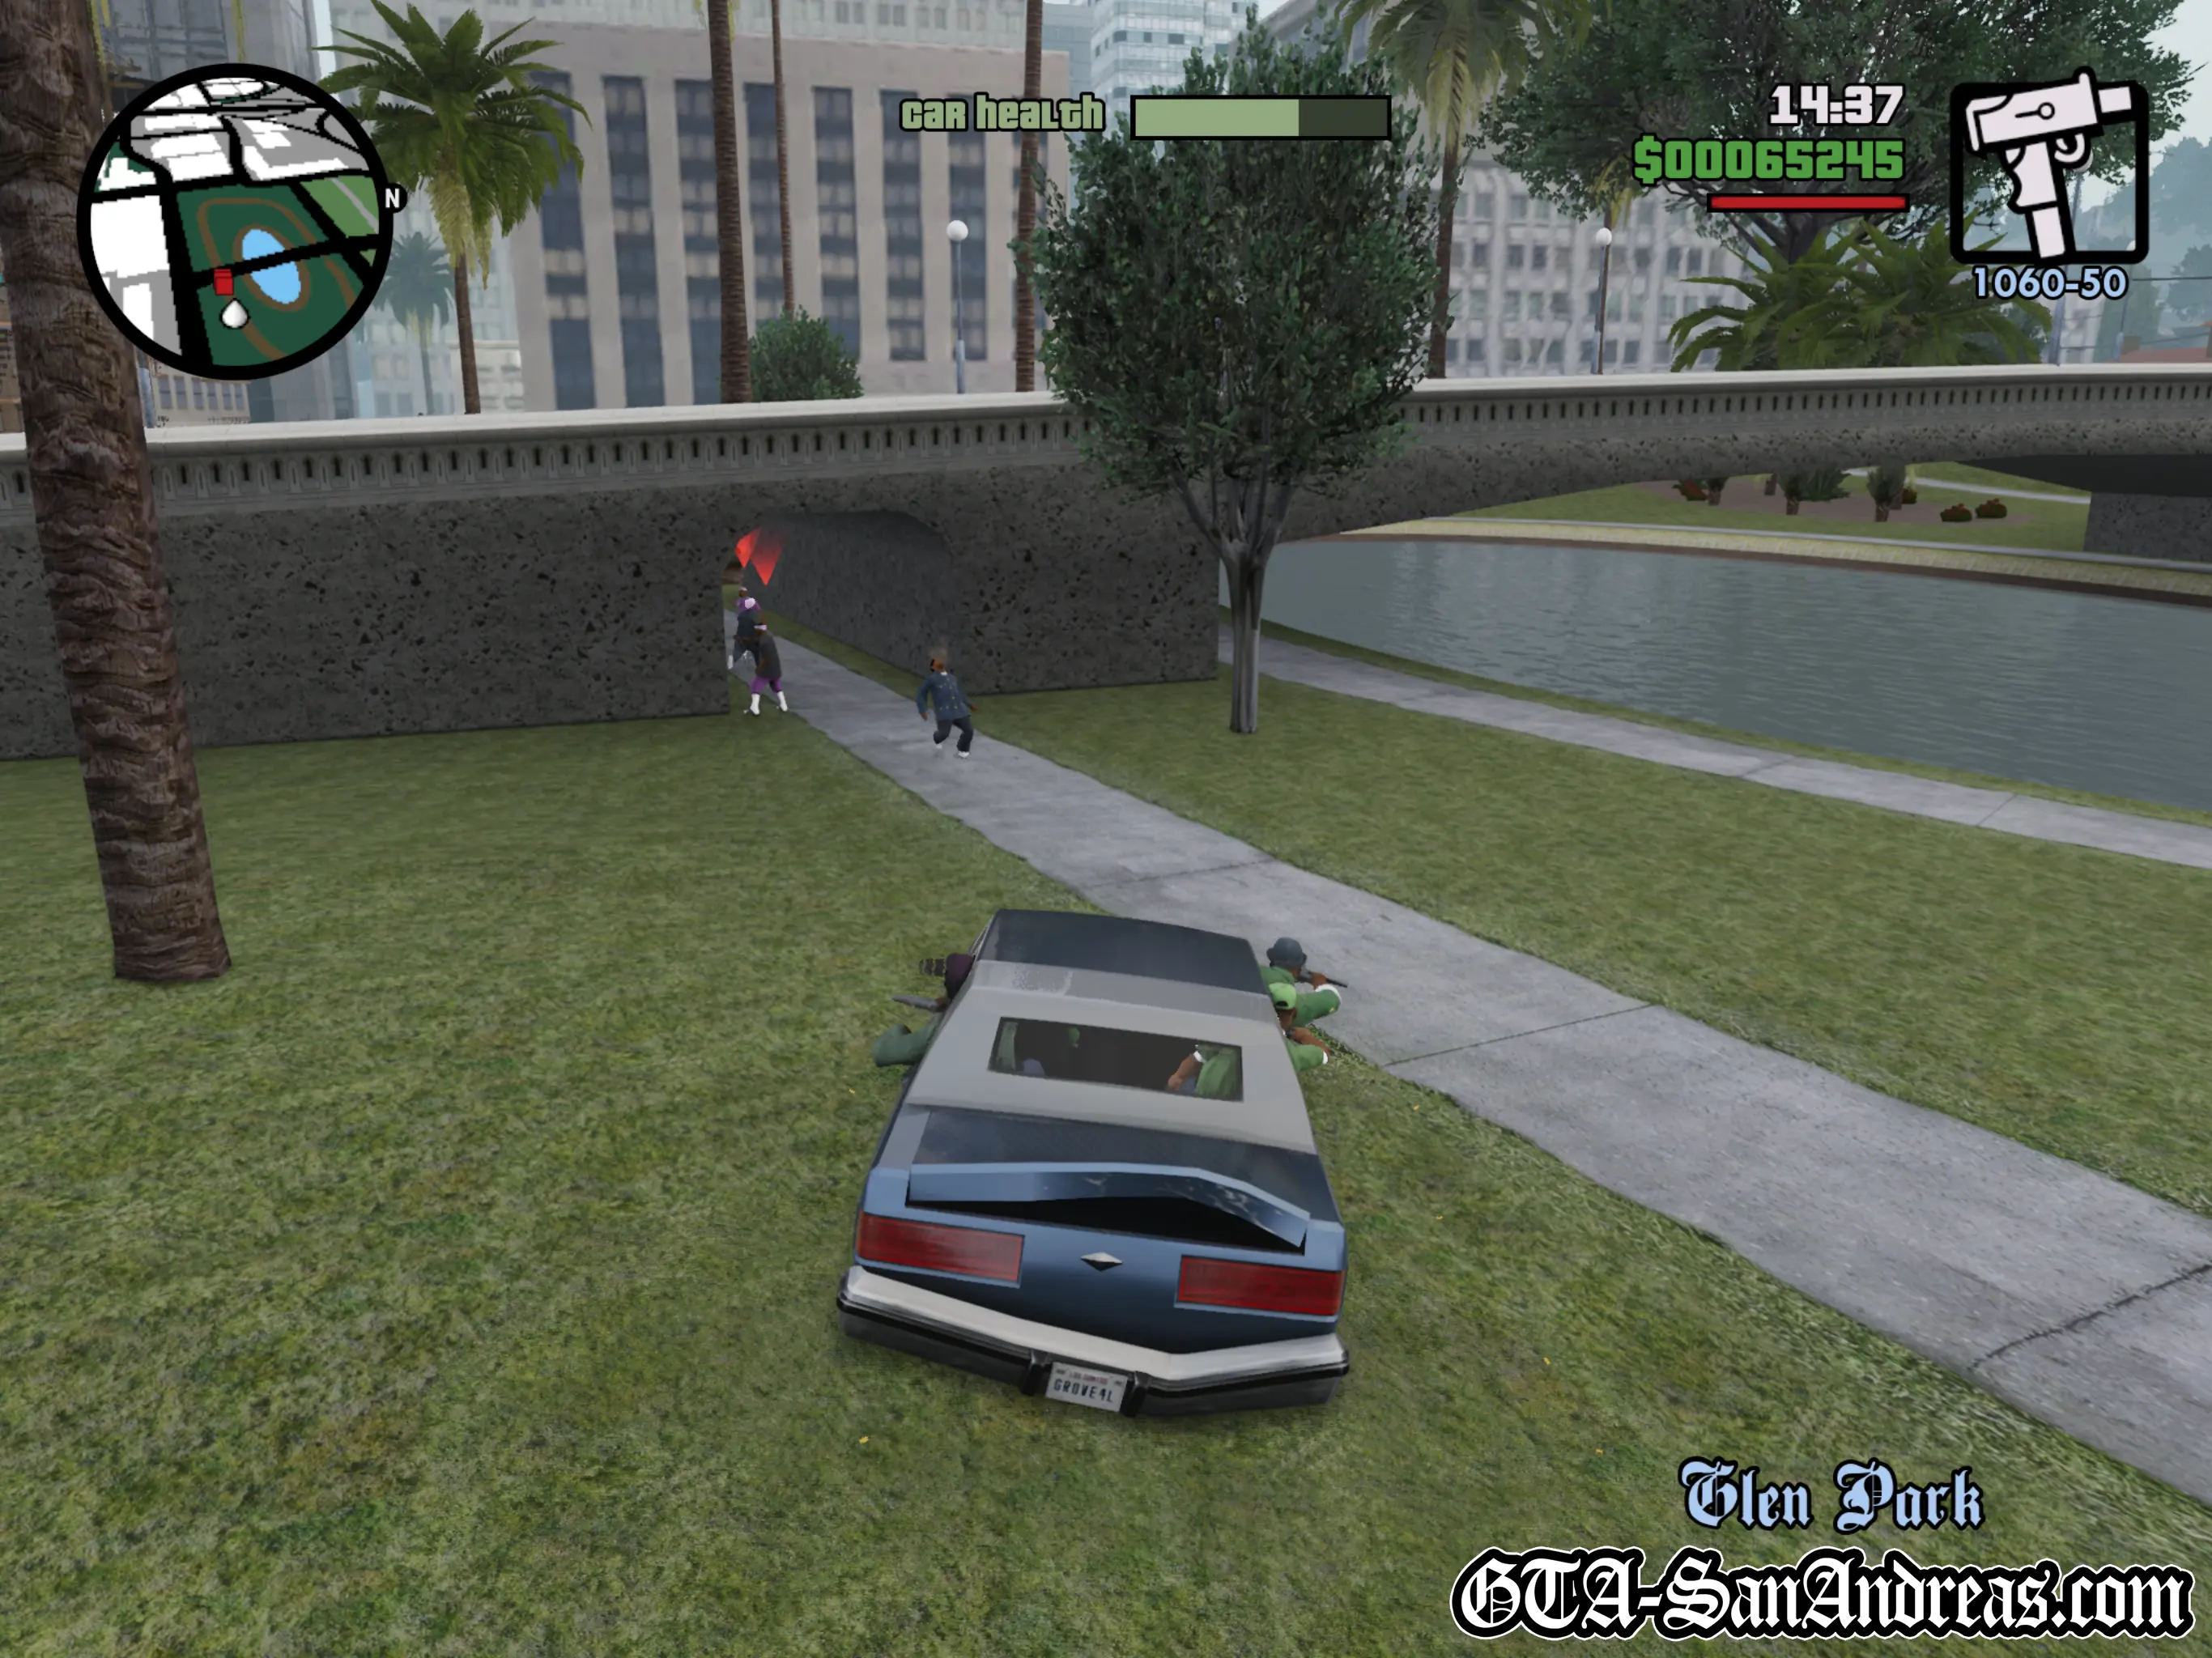
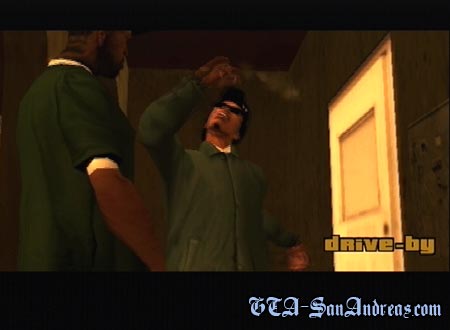
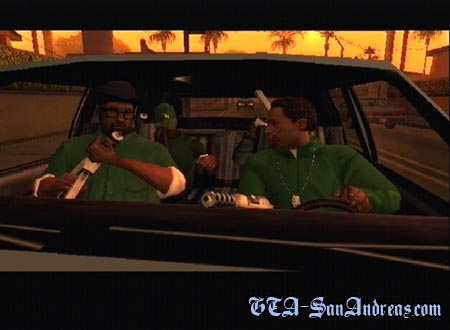
Ryder questions whether they have beef with the gangs operating in the area and sure enough, the Kilo Trey Ballas drive past on their way to the hood. As the car performs a quick 180 the guys expect a drive by and open fire.
The mission really begins again here. You need to chase after the Ballas car while Ryder and Sweet hang out of your car popping off rounds.
Keep up with the Ballas and stay close so the guys can get decent shots at the car, and eventually it'll catch fire and blow up.
Two Ballas will usually bail from the flaming vehicle and try to run, so help dispose of the enemies with a drive-by of your own, or just chase them down and mash them into the sidewalk with your car.
Once they're all dead, head back to the grove while enjoying the humorous ranting going on in the back of the car.
Cutscene
Ryder is angry at Smoke for not helping with the shooting, but Smoke's excuse is that he had to eat the food before it got cold. Ryder and Sweet will exit the vehicle, but Smoke wants Carl to take him home.
Turn around and drive Smoke to his place on the radar. Park in the red marker to end the mission.
Cutscene
Smoke thanks Carl for driving him home and tells him he's missed having him around. He gives Carl some cash for a little 'smokey smoke on smoke' then exits the vehicle.
Post-Mission
After the mission you'll receive a phone call from Sweet telling you to go to the gym and put on some muscle. It's just down the street, so you can head there now or enter Sweet's red marker for another mission.
![]() The Gym Is Now Unlocked.
The Gym Is Now Unlocked.
Screenshots
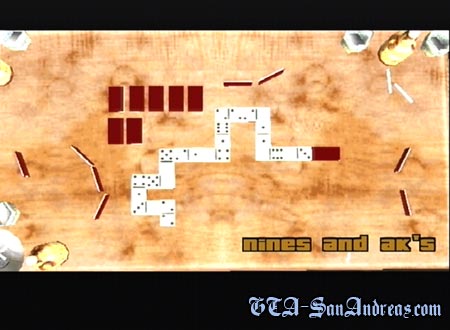
Nines And AK's
Cutscene
Smoke and Ryder are playing dominoes when Carl asks what kind of guns they're working with now. Ryder explains the police raided the place, so they ain't got shit.
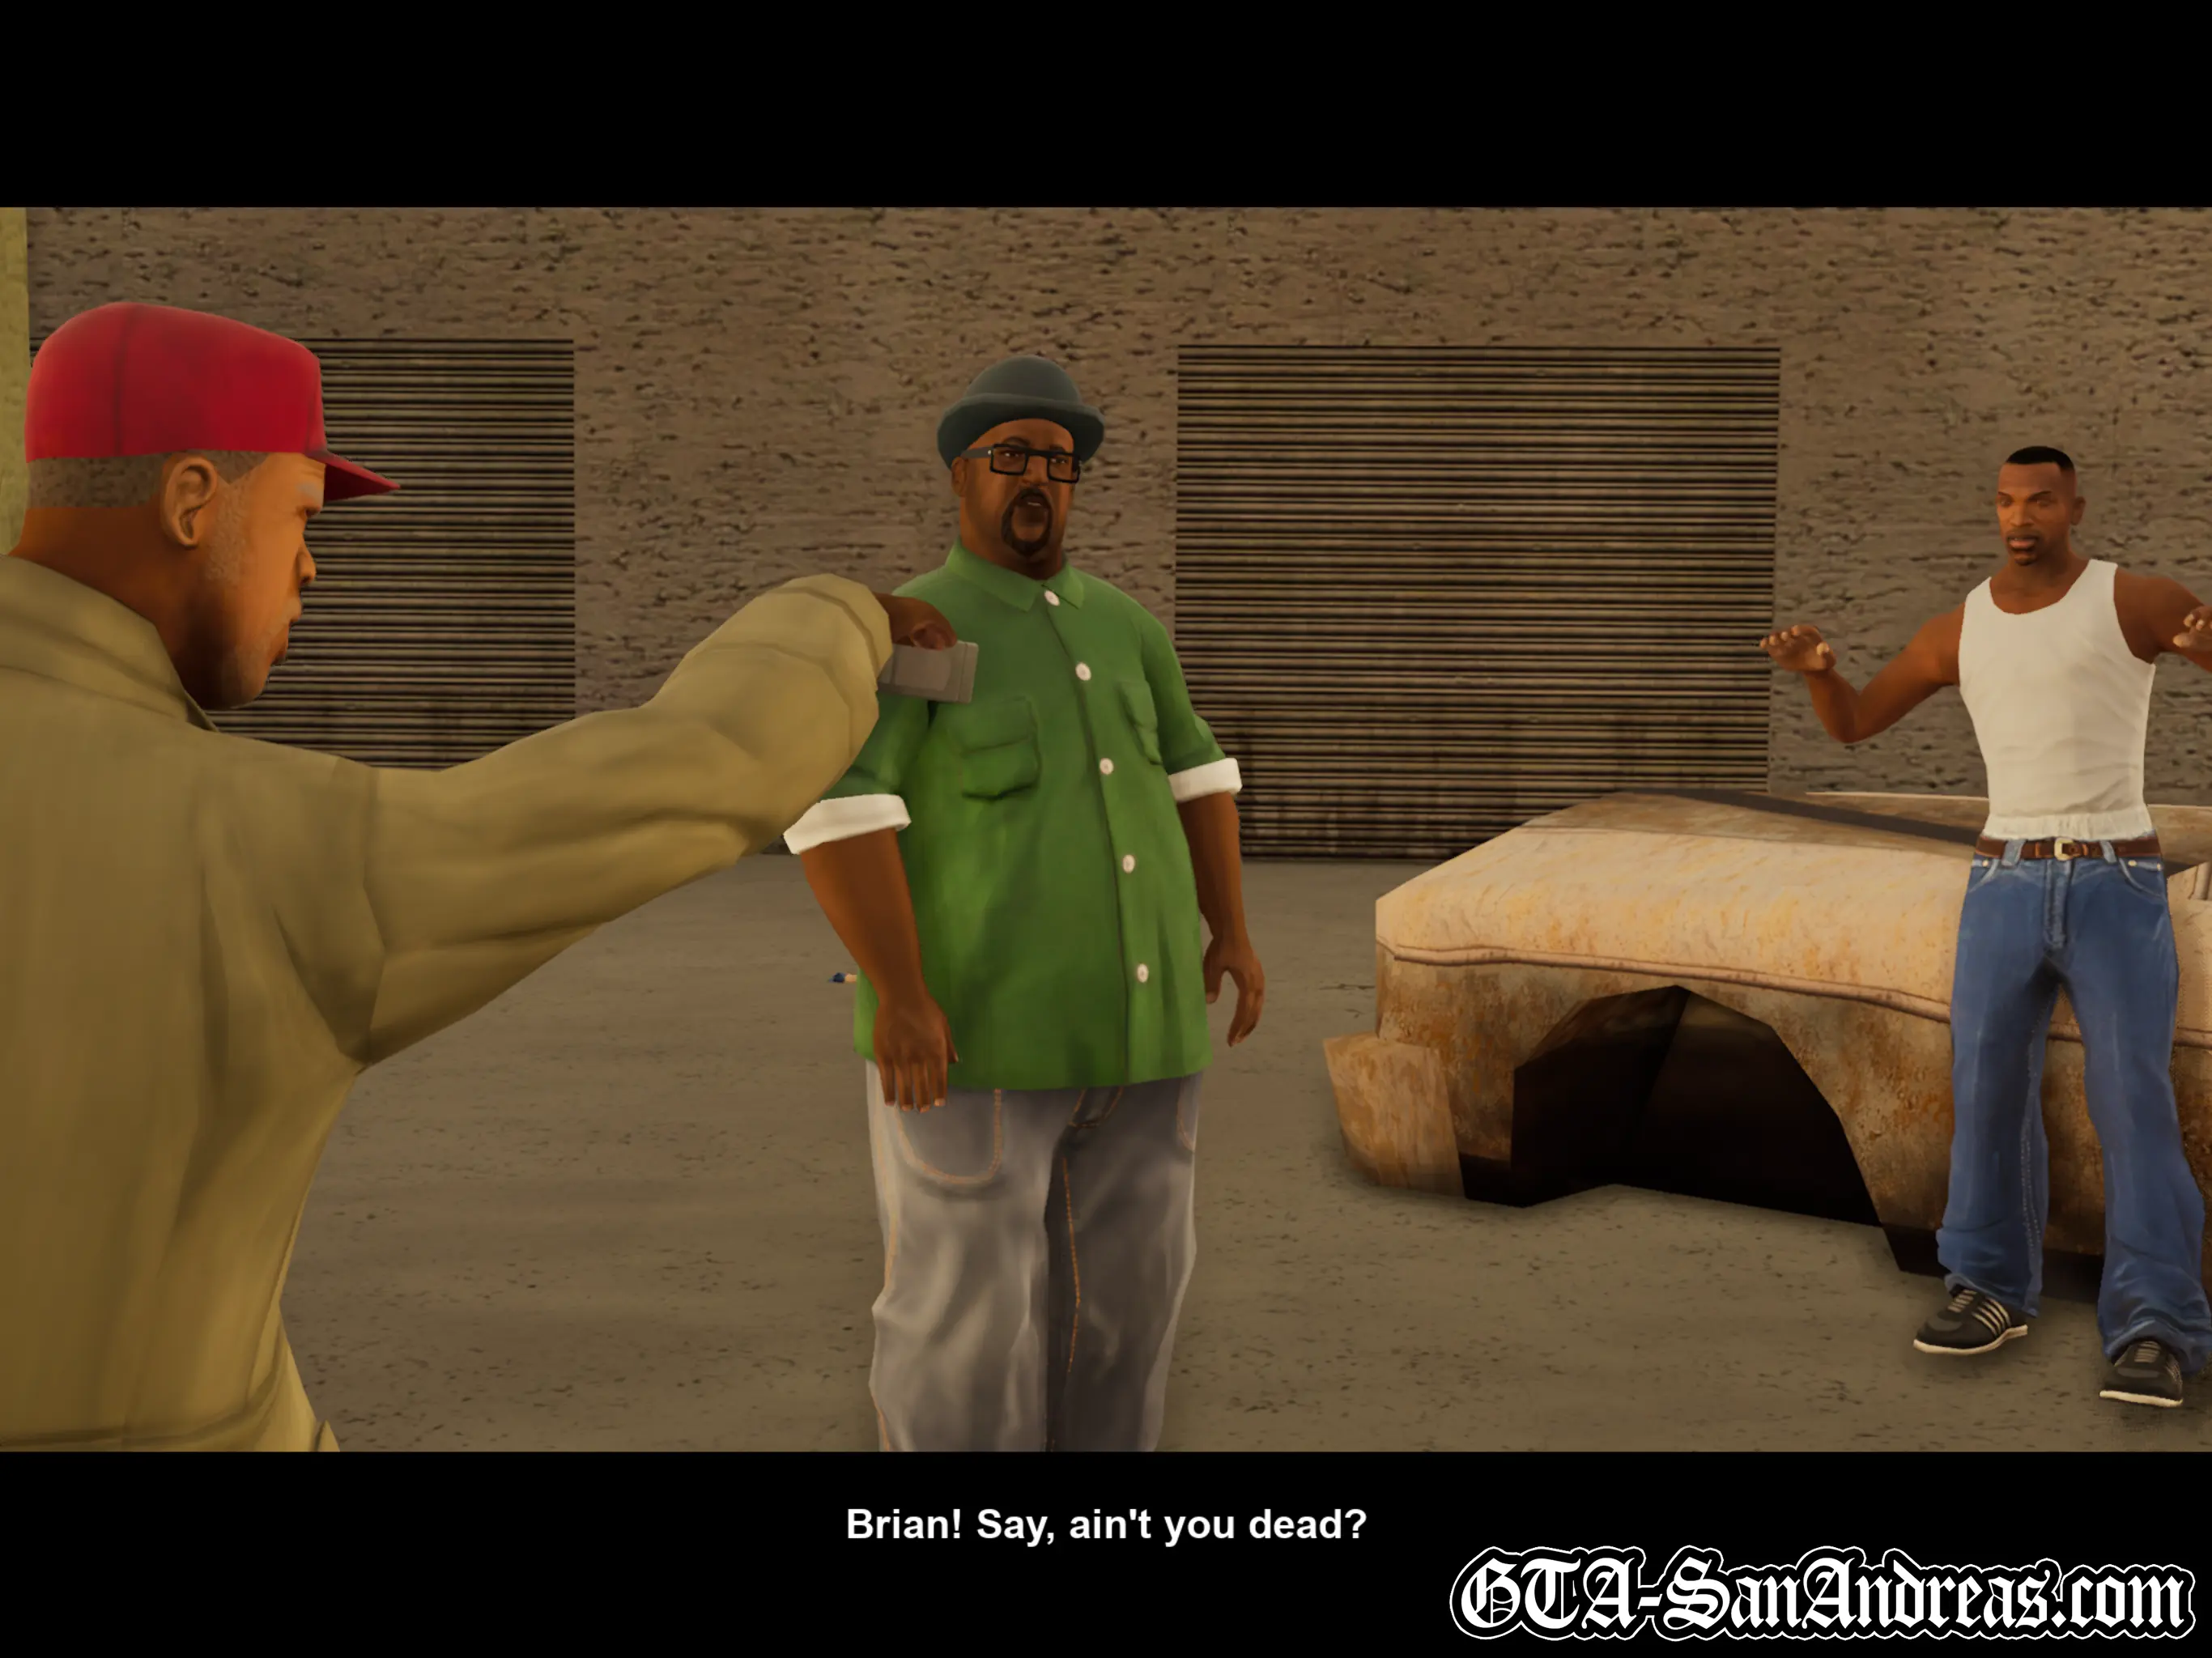
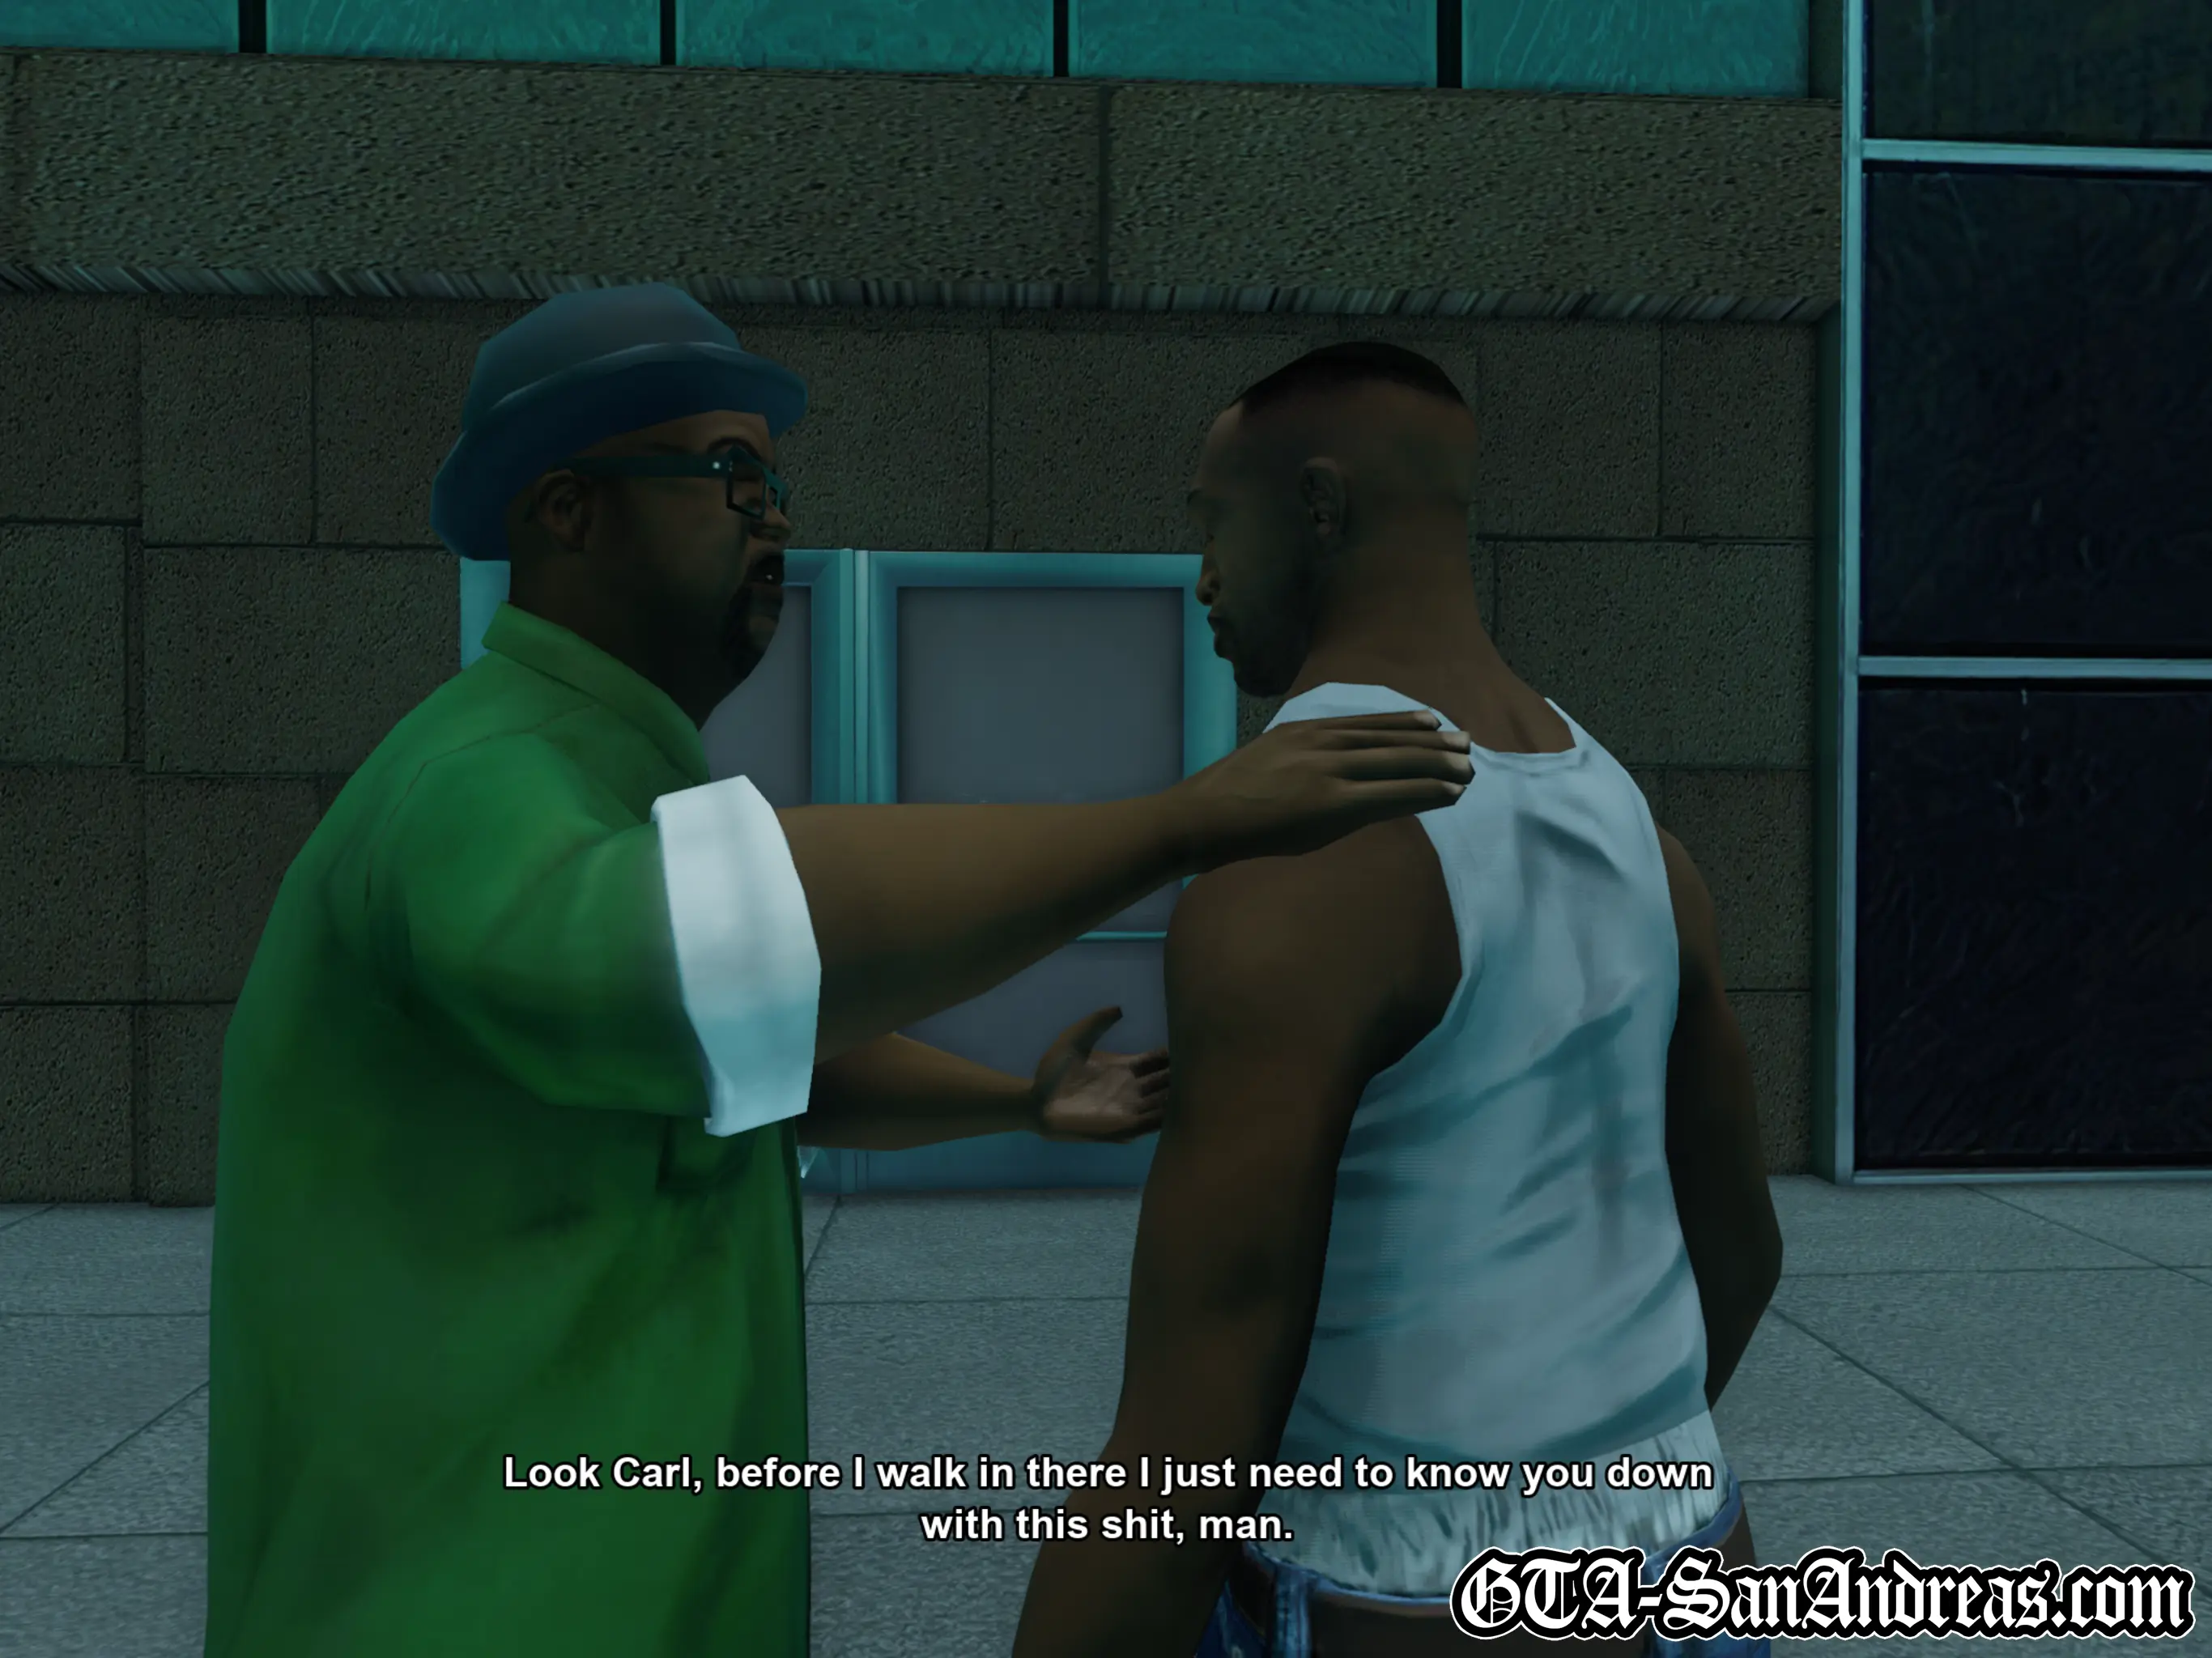
Carl asks about Emmet, the gangs' old weapons dealer, but it sounds like he's got even less than they have, however Big Smoke is willing to take Carl to see him.
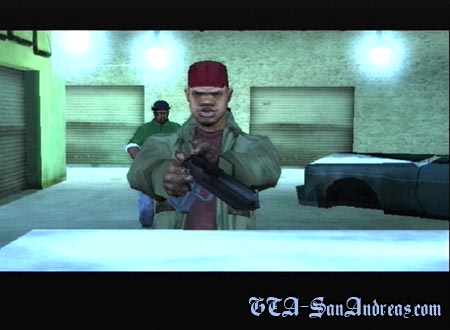
When the mission starts get in the car with Smoke and make your way to Emmet's. Park in the red marker when you get there and watch the short cutscene.
Cutscene
Emmet accidentally fires his pistol and thinks he's being shot at, then points his gun at Carl and Smoke. After talking him down, Emmet recognises Carl but mistakes him for his dead brother Brian and says he's sorry about his mom. Smoke explains that the reason they've come to see him is for a weapon to take down those responsible for her death.
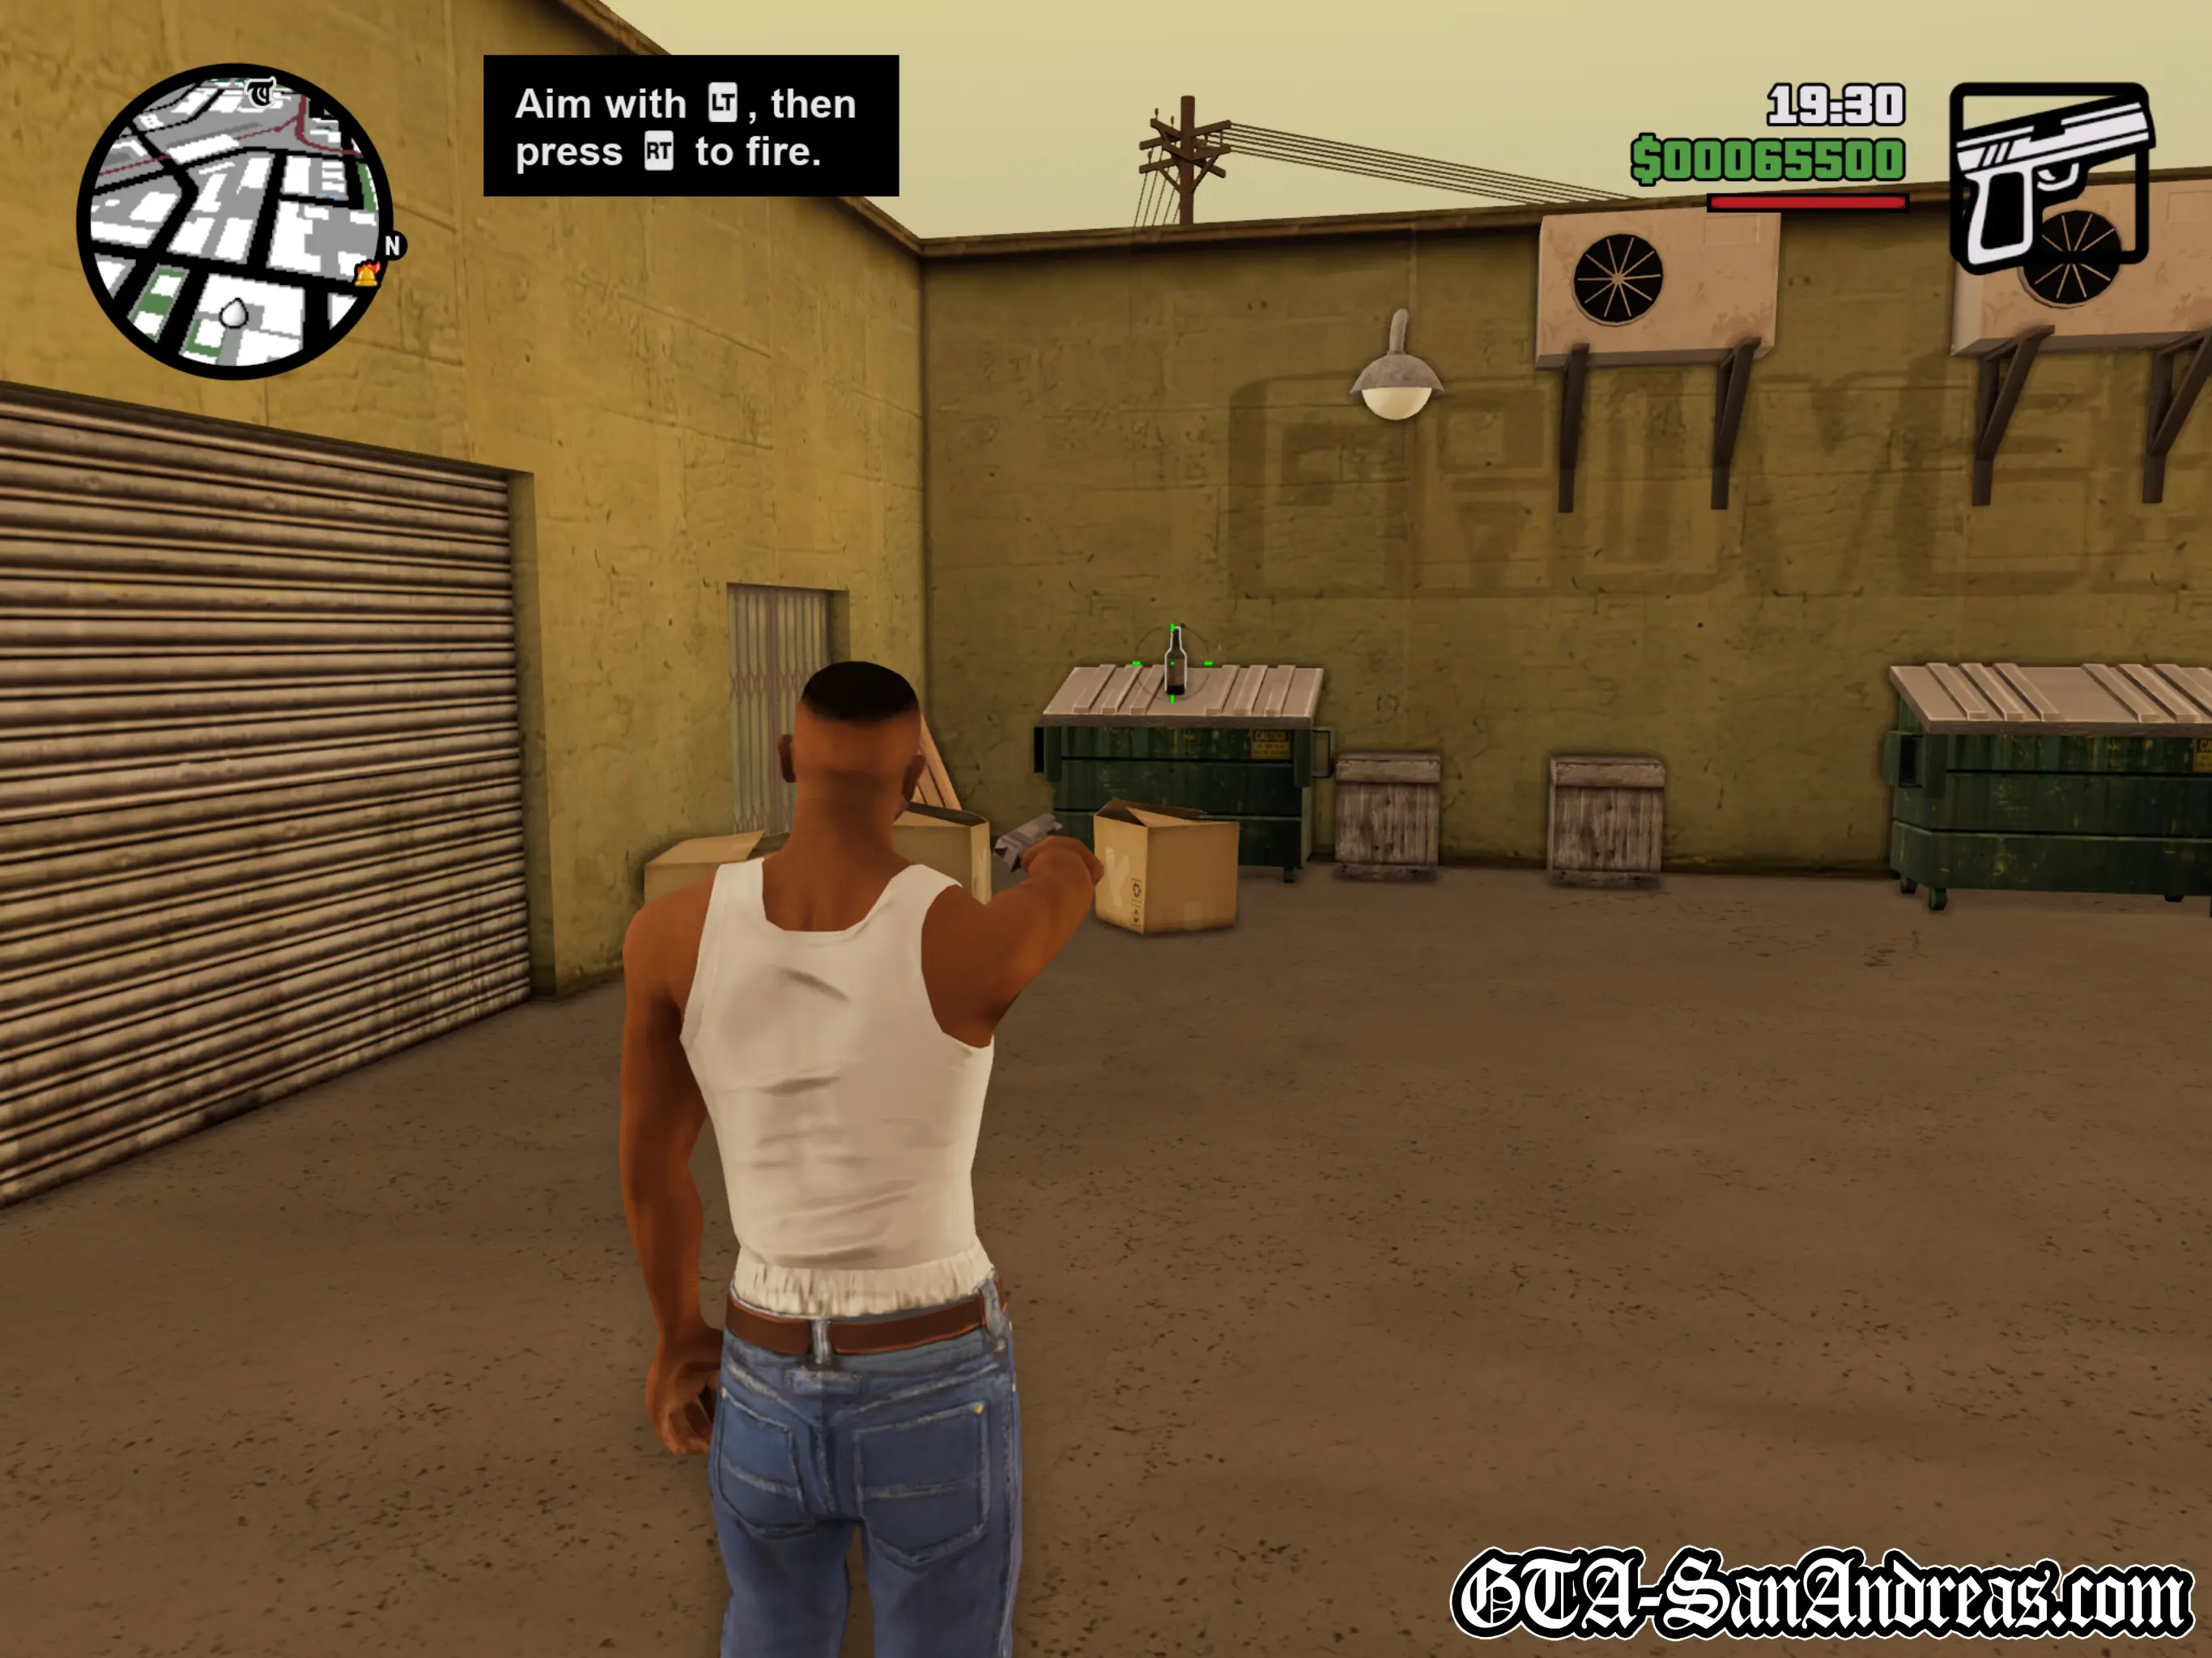
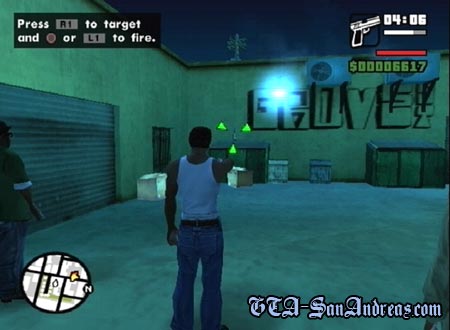
Carl and Smoke look inside a dumpster at his weapons but aren't impressed. A short while later, Smoke shoots a glass bottle to show you how to fire your weapon.
Now it's your turn, so aim at the bottle and fire. The bottle should go up in one.
Cutscene
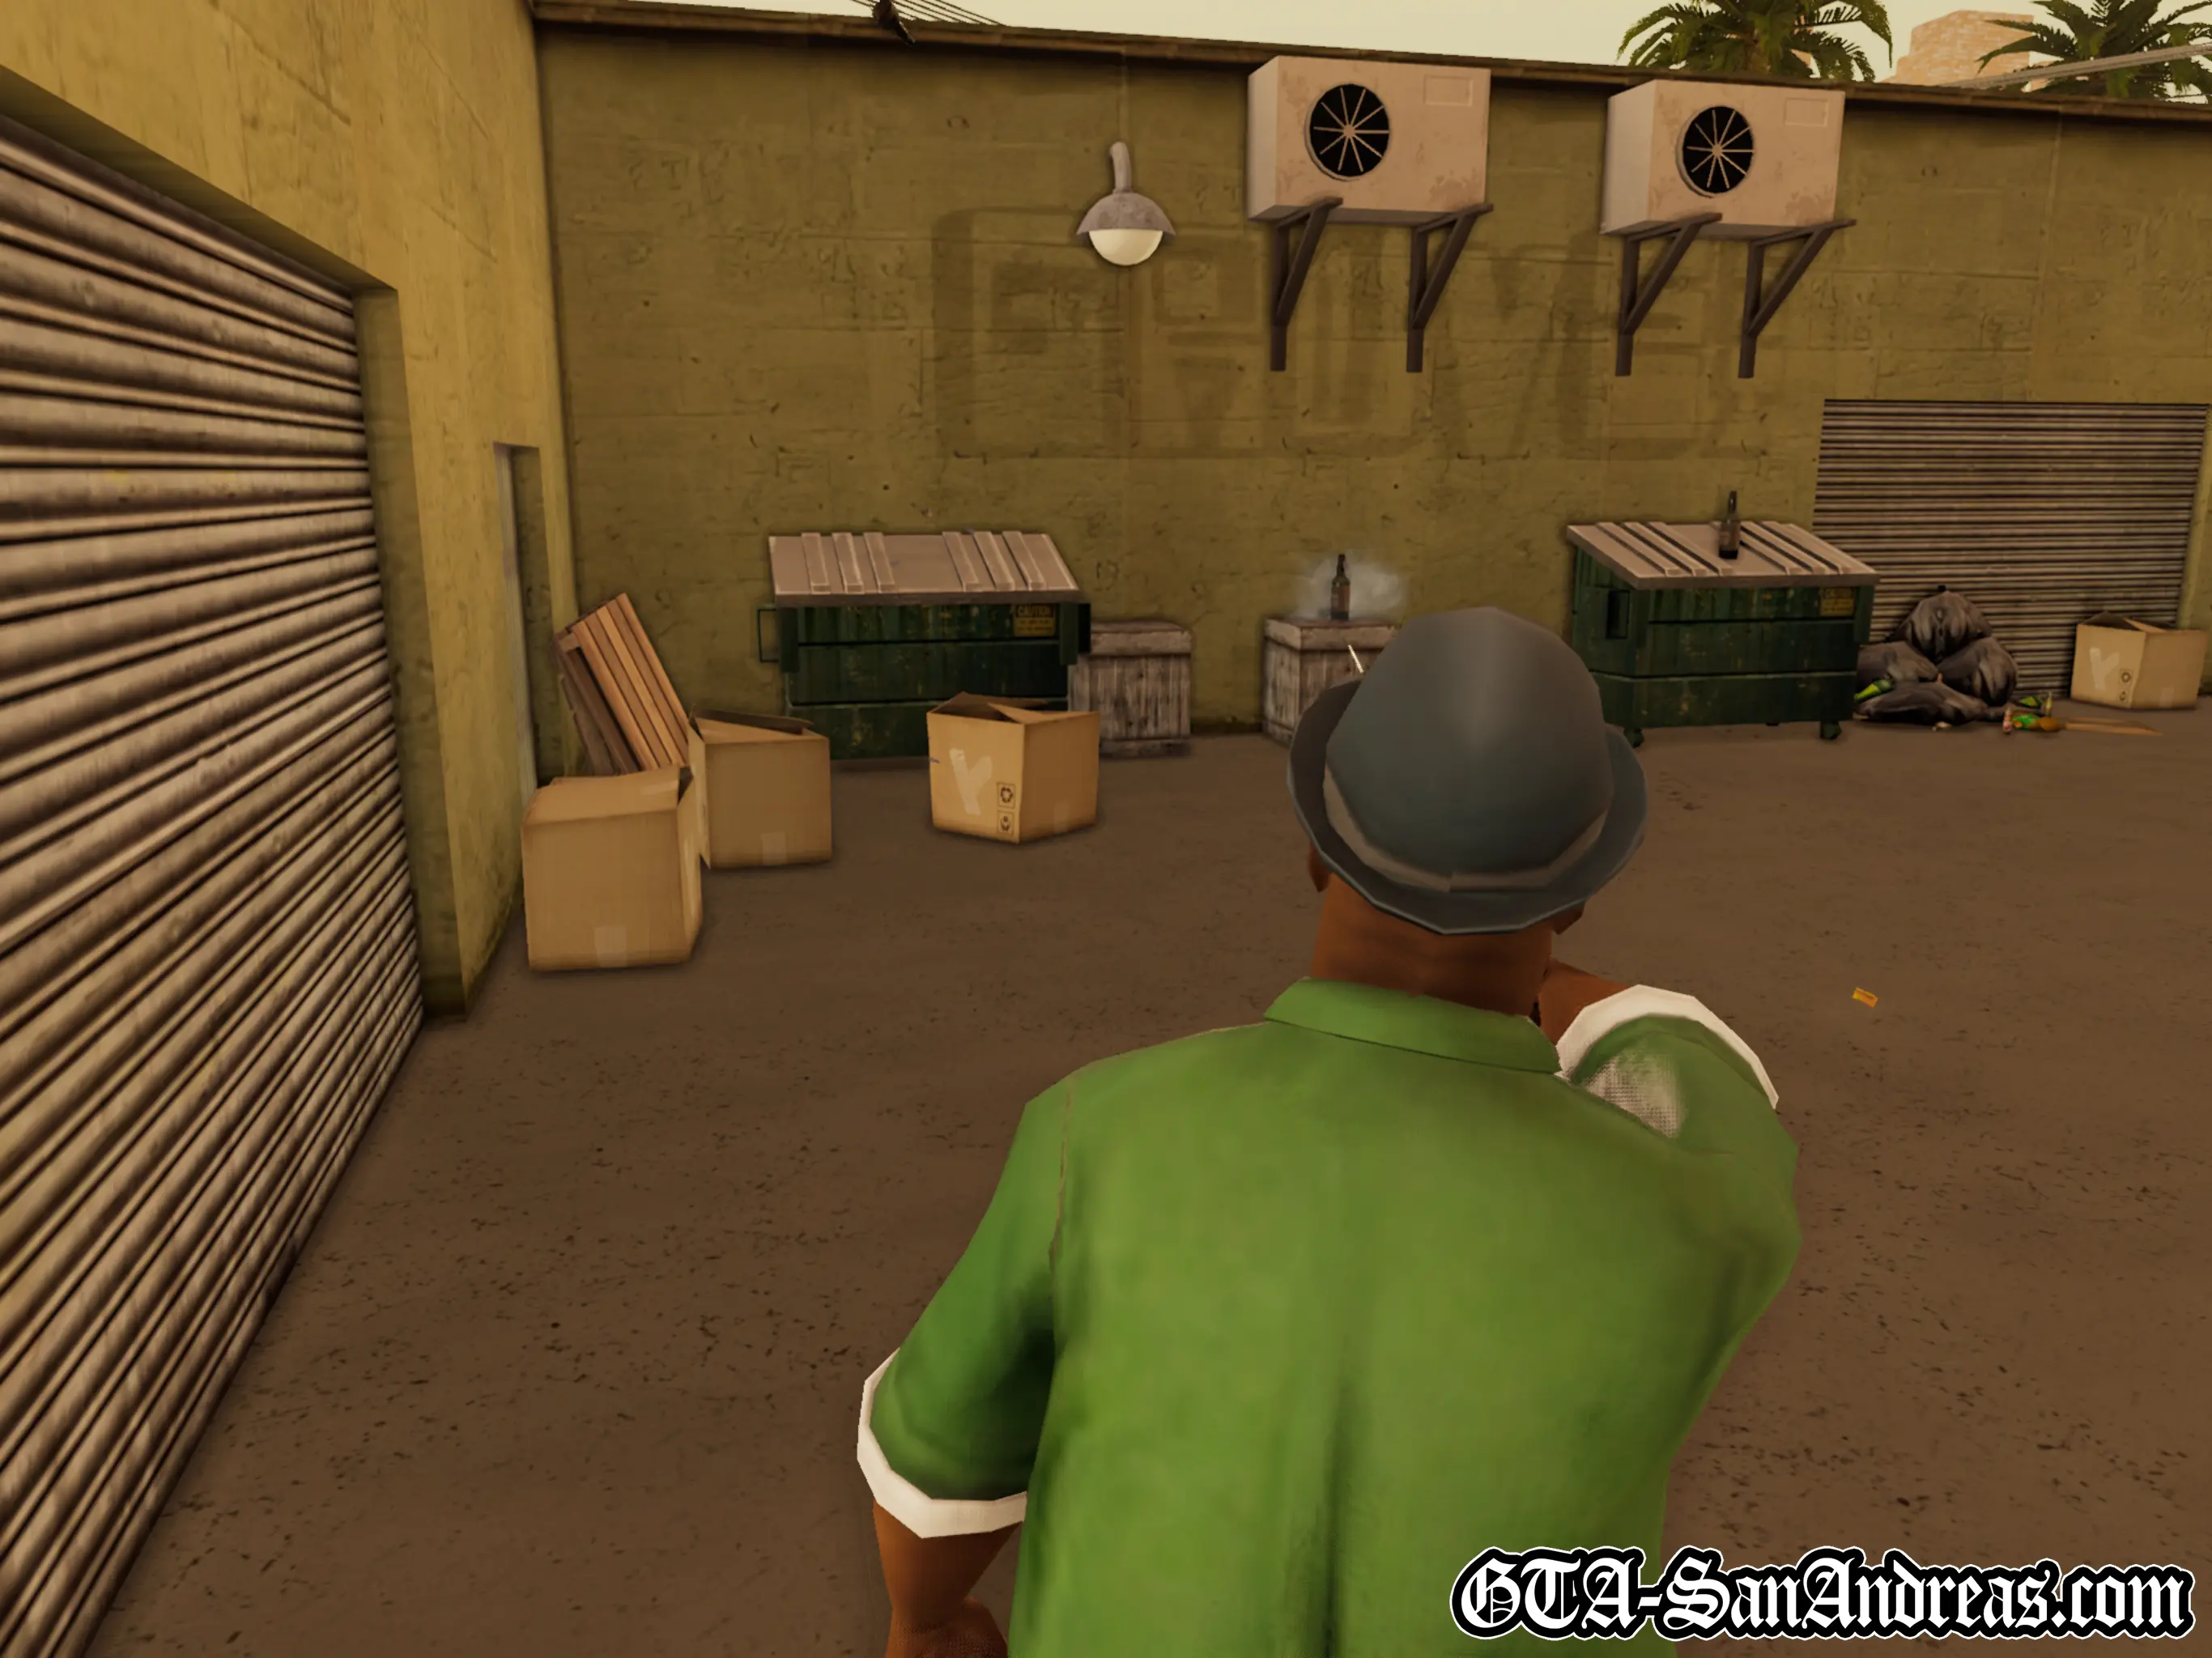
Smoke shoots at three bottles this time, two on top of green dumpsters and one on a wooden box.
Over to CJ to copy Smoke's technique, so aim at the first bottle, shoot it, then move onto the second and third. There's no time limit so aim carefully and you should be able to hit 3 out of 3.
Cutscene
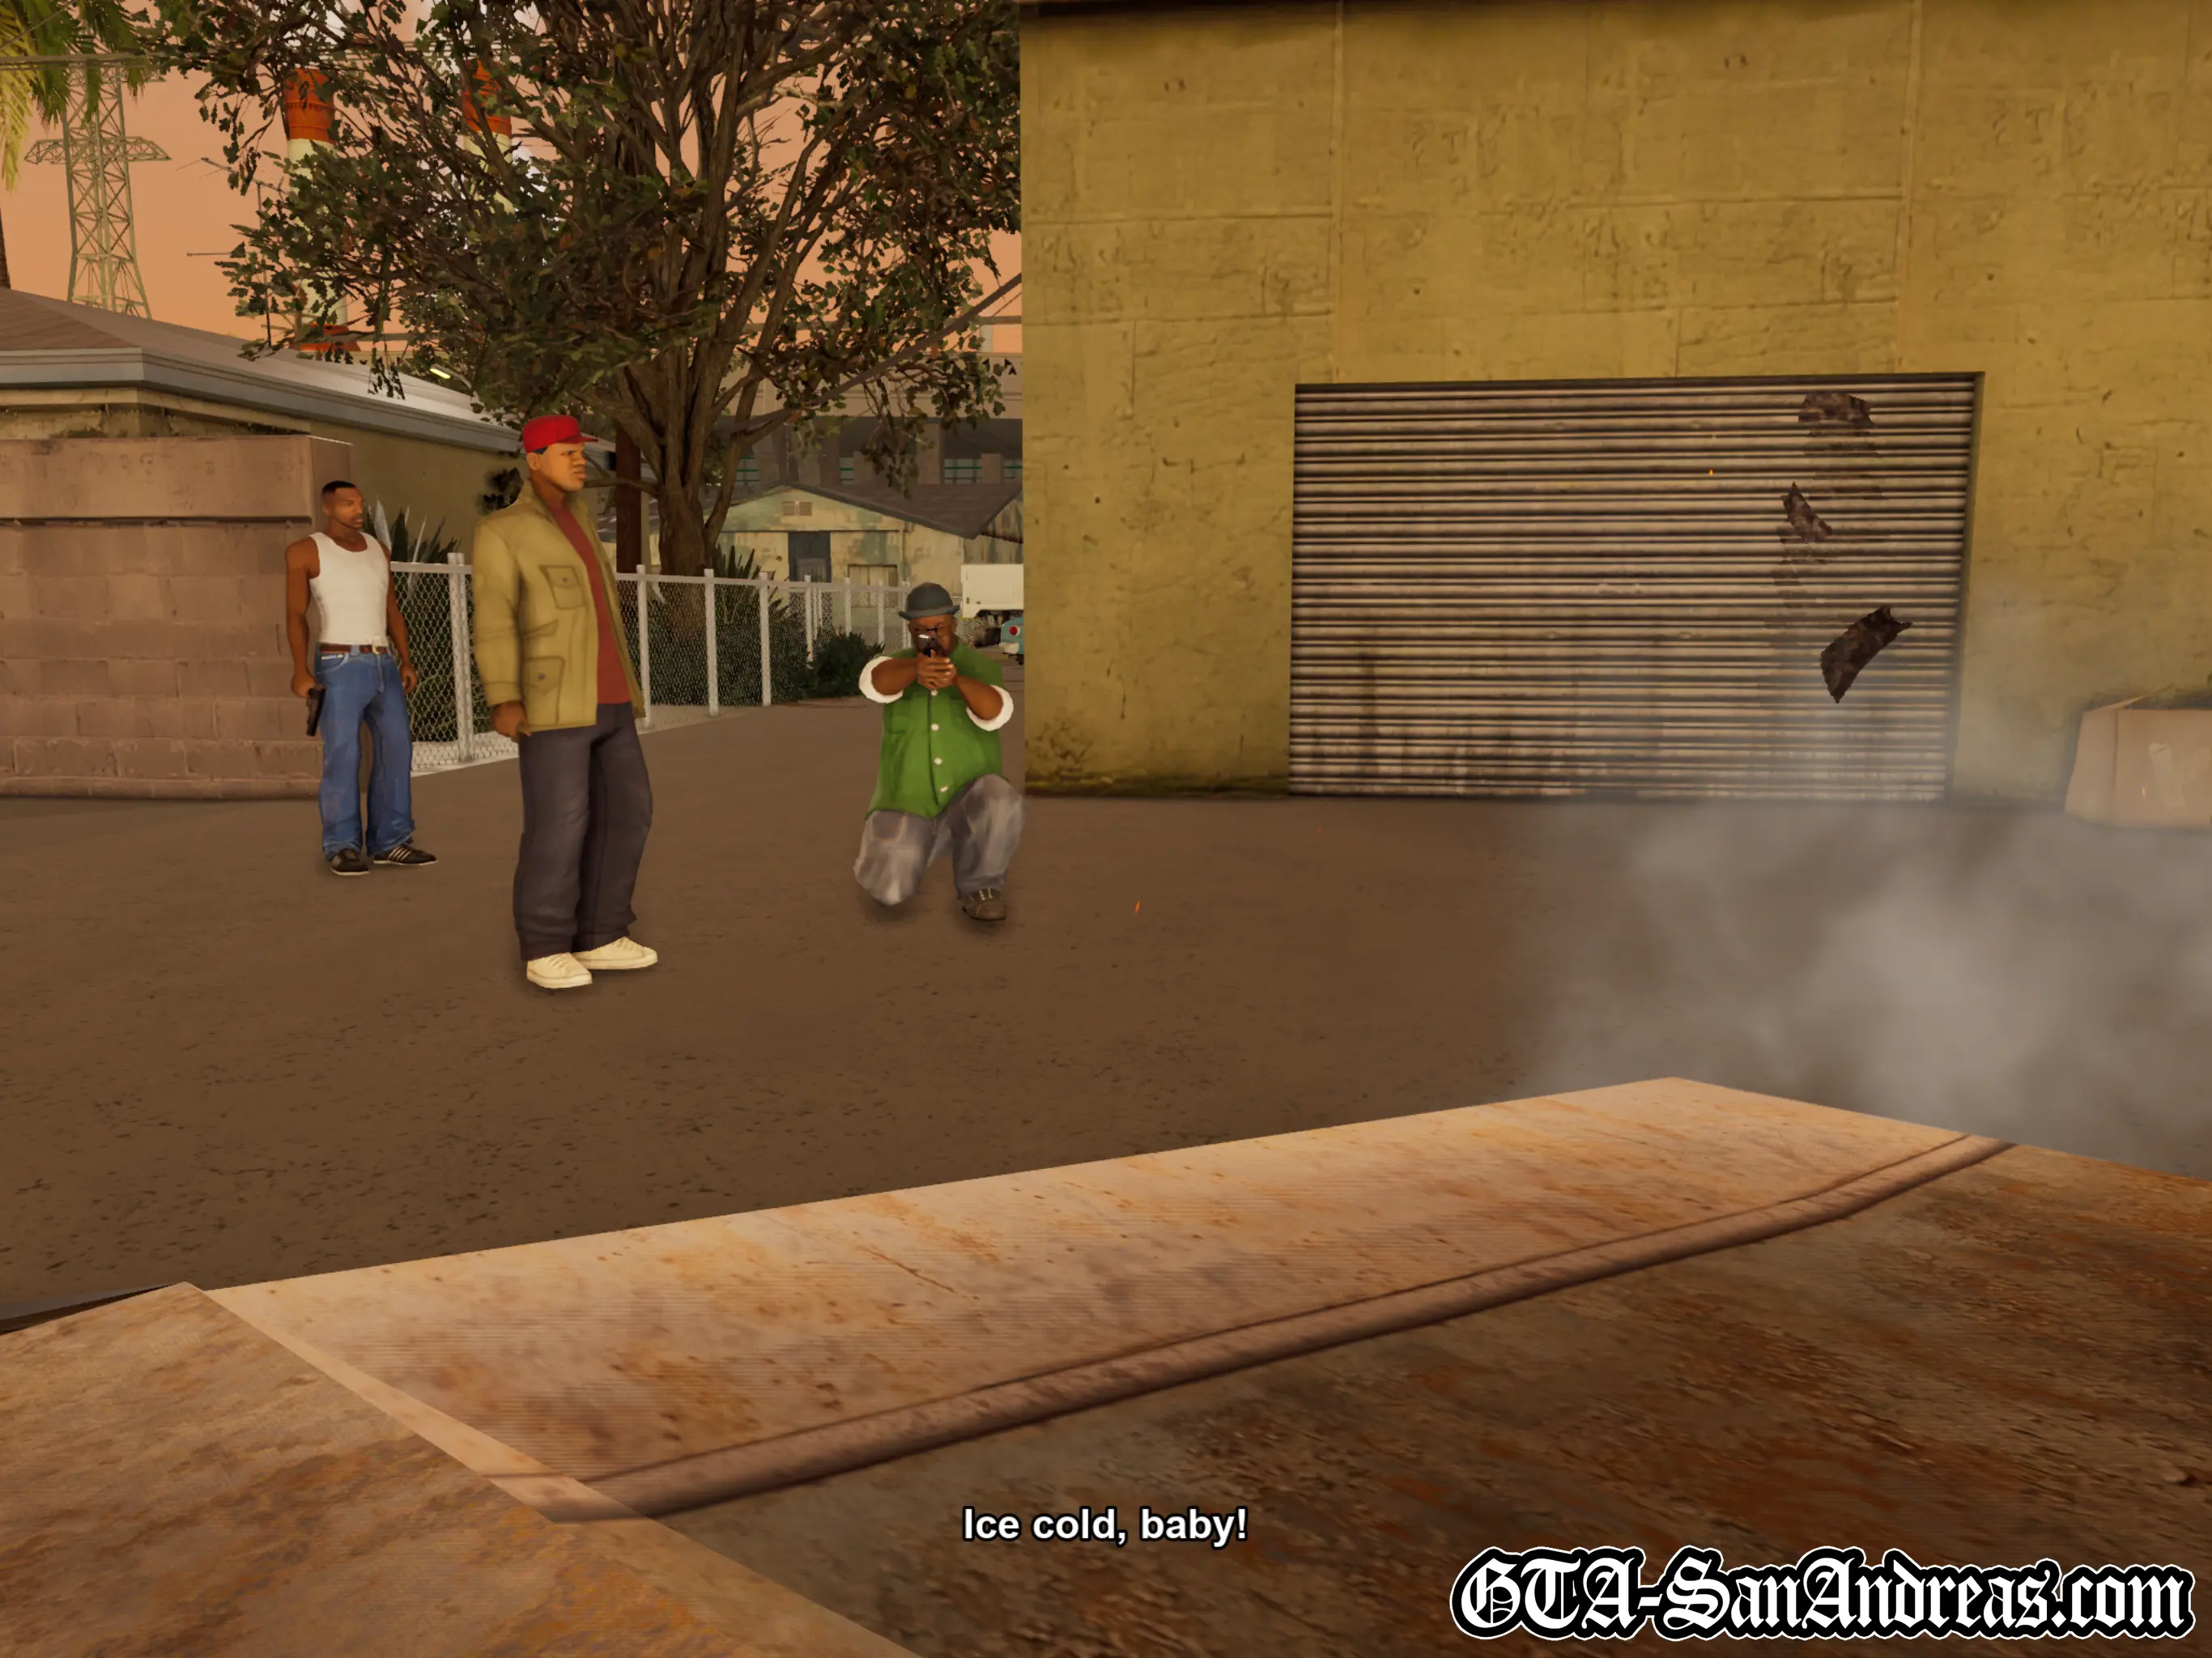
Special Agent Big Smoke does a few rolls, then crouches down to shoot at 5 bottles this time.
The game will tell you that crouching improves your accuracy, so crouch down and work your way through the five glass bottles you just saw Smoke destroy.
Cutscene
A new feature in the game is now explained to you. Shooting a cars gas tank will cause the vehicle to explode.
Aim at the circular gas tank cap on the side of the vehicle and fire a shot, then enjoy the fireworks as the vehicle goes boom.
Cutscene
Big Smoke tells Carl he's an ice-cold killer and how proud he is. Emmet reminds them they didn't get their guns from him before also reminding them Emmet's is the place for guns. Smoke asks Carl to take him home as they climb into his car.
Follow the radar to Smoke's place which isn't too far away then park in the red marker. On the way, the game will inform you that you can get a gun from Emmet's at any time.
Cutscene
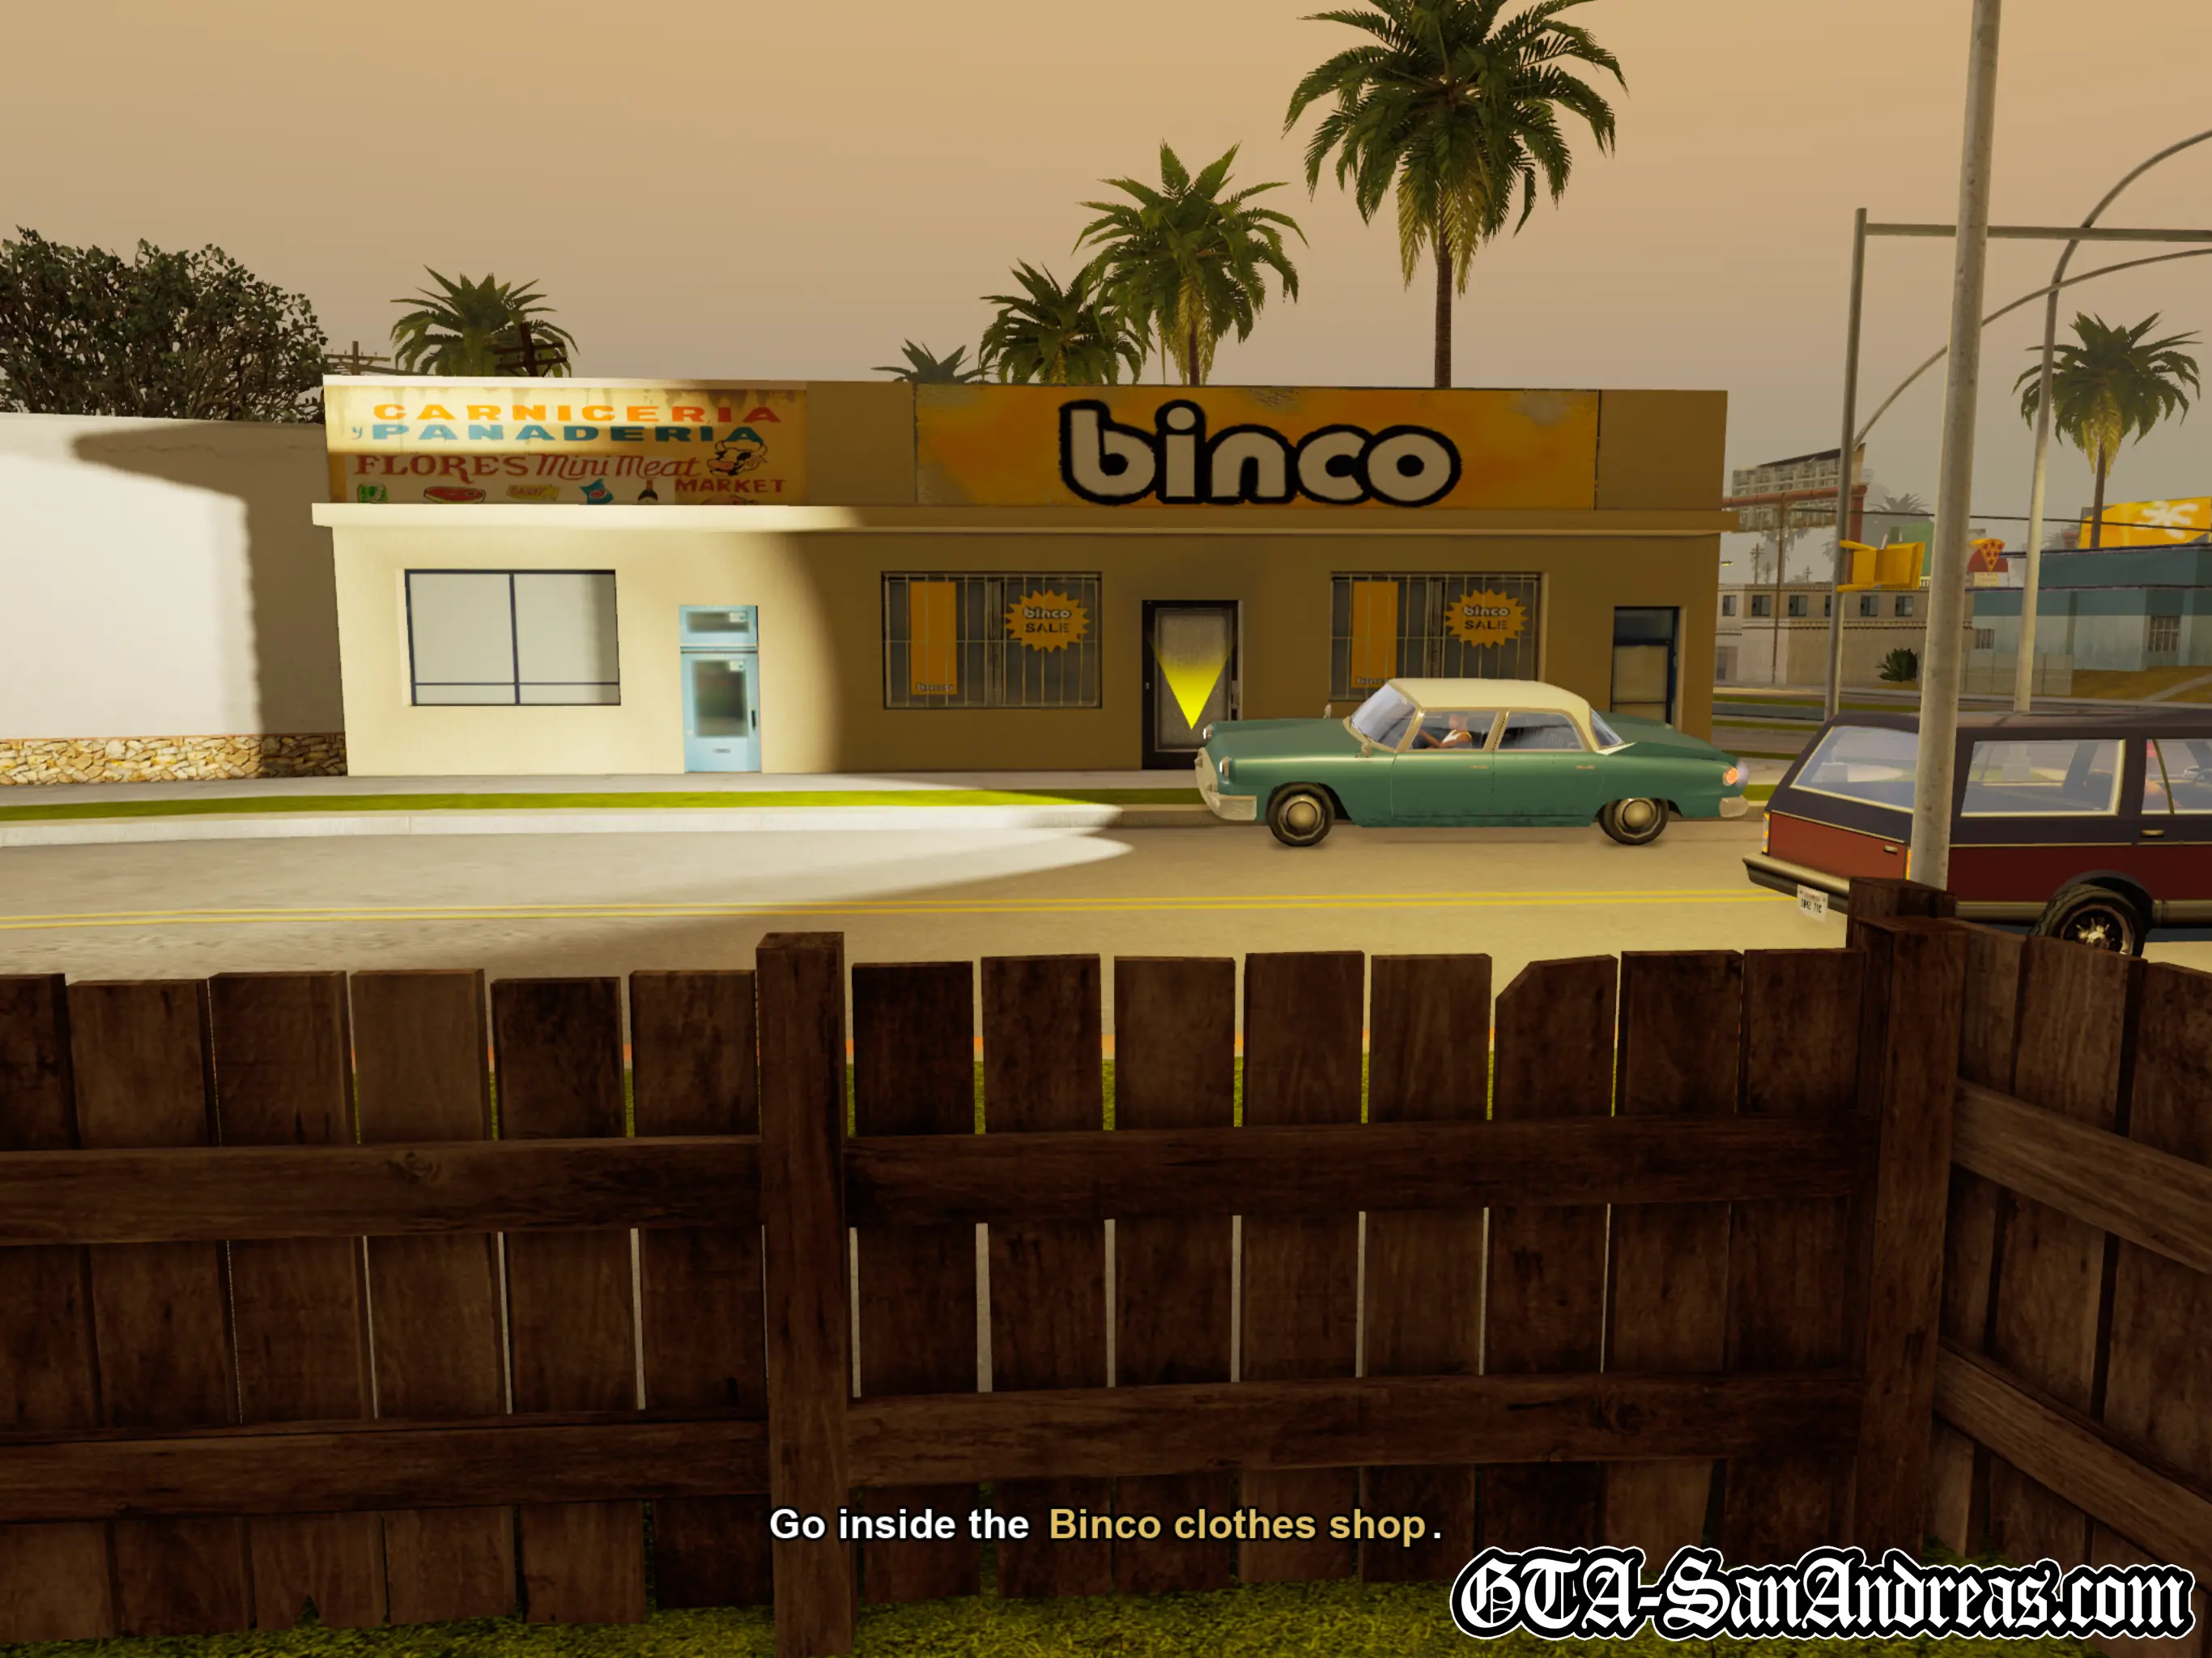
Big Smoke says goodbye when you drop him off and heads into his house. Seconds later Carl received a phone call from Sweet asking him why he's not representing Grove Street by wearing their green colors.
Sweet tells CJ to head to the Binco store nearby to pick up some colors.
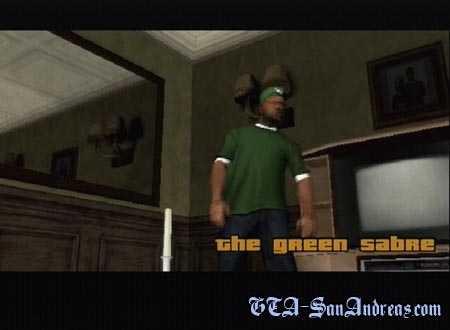
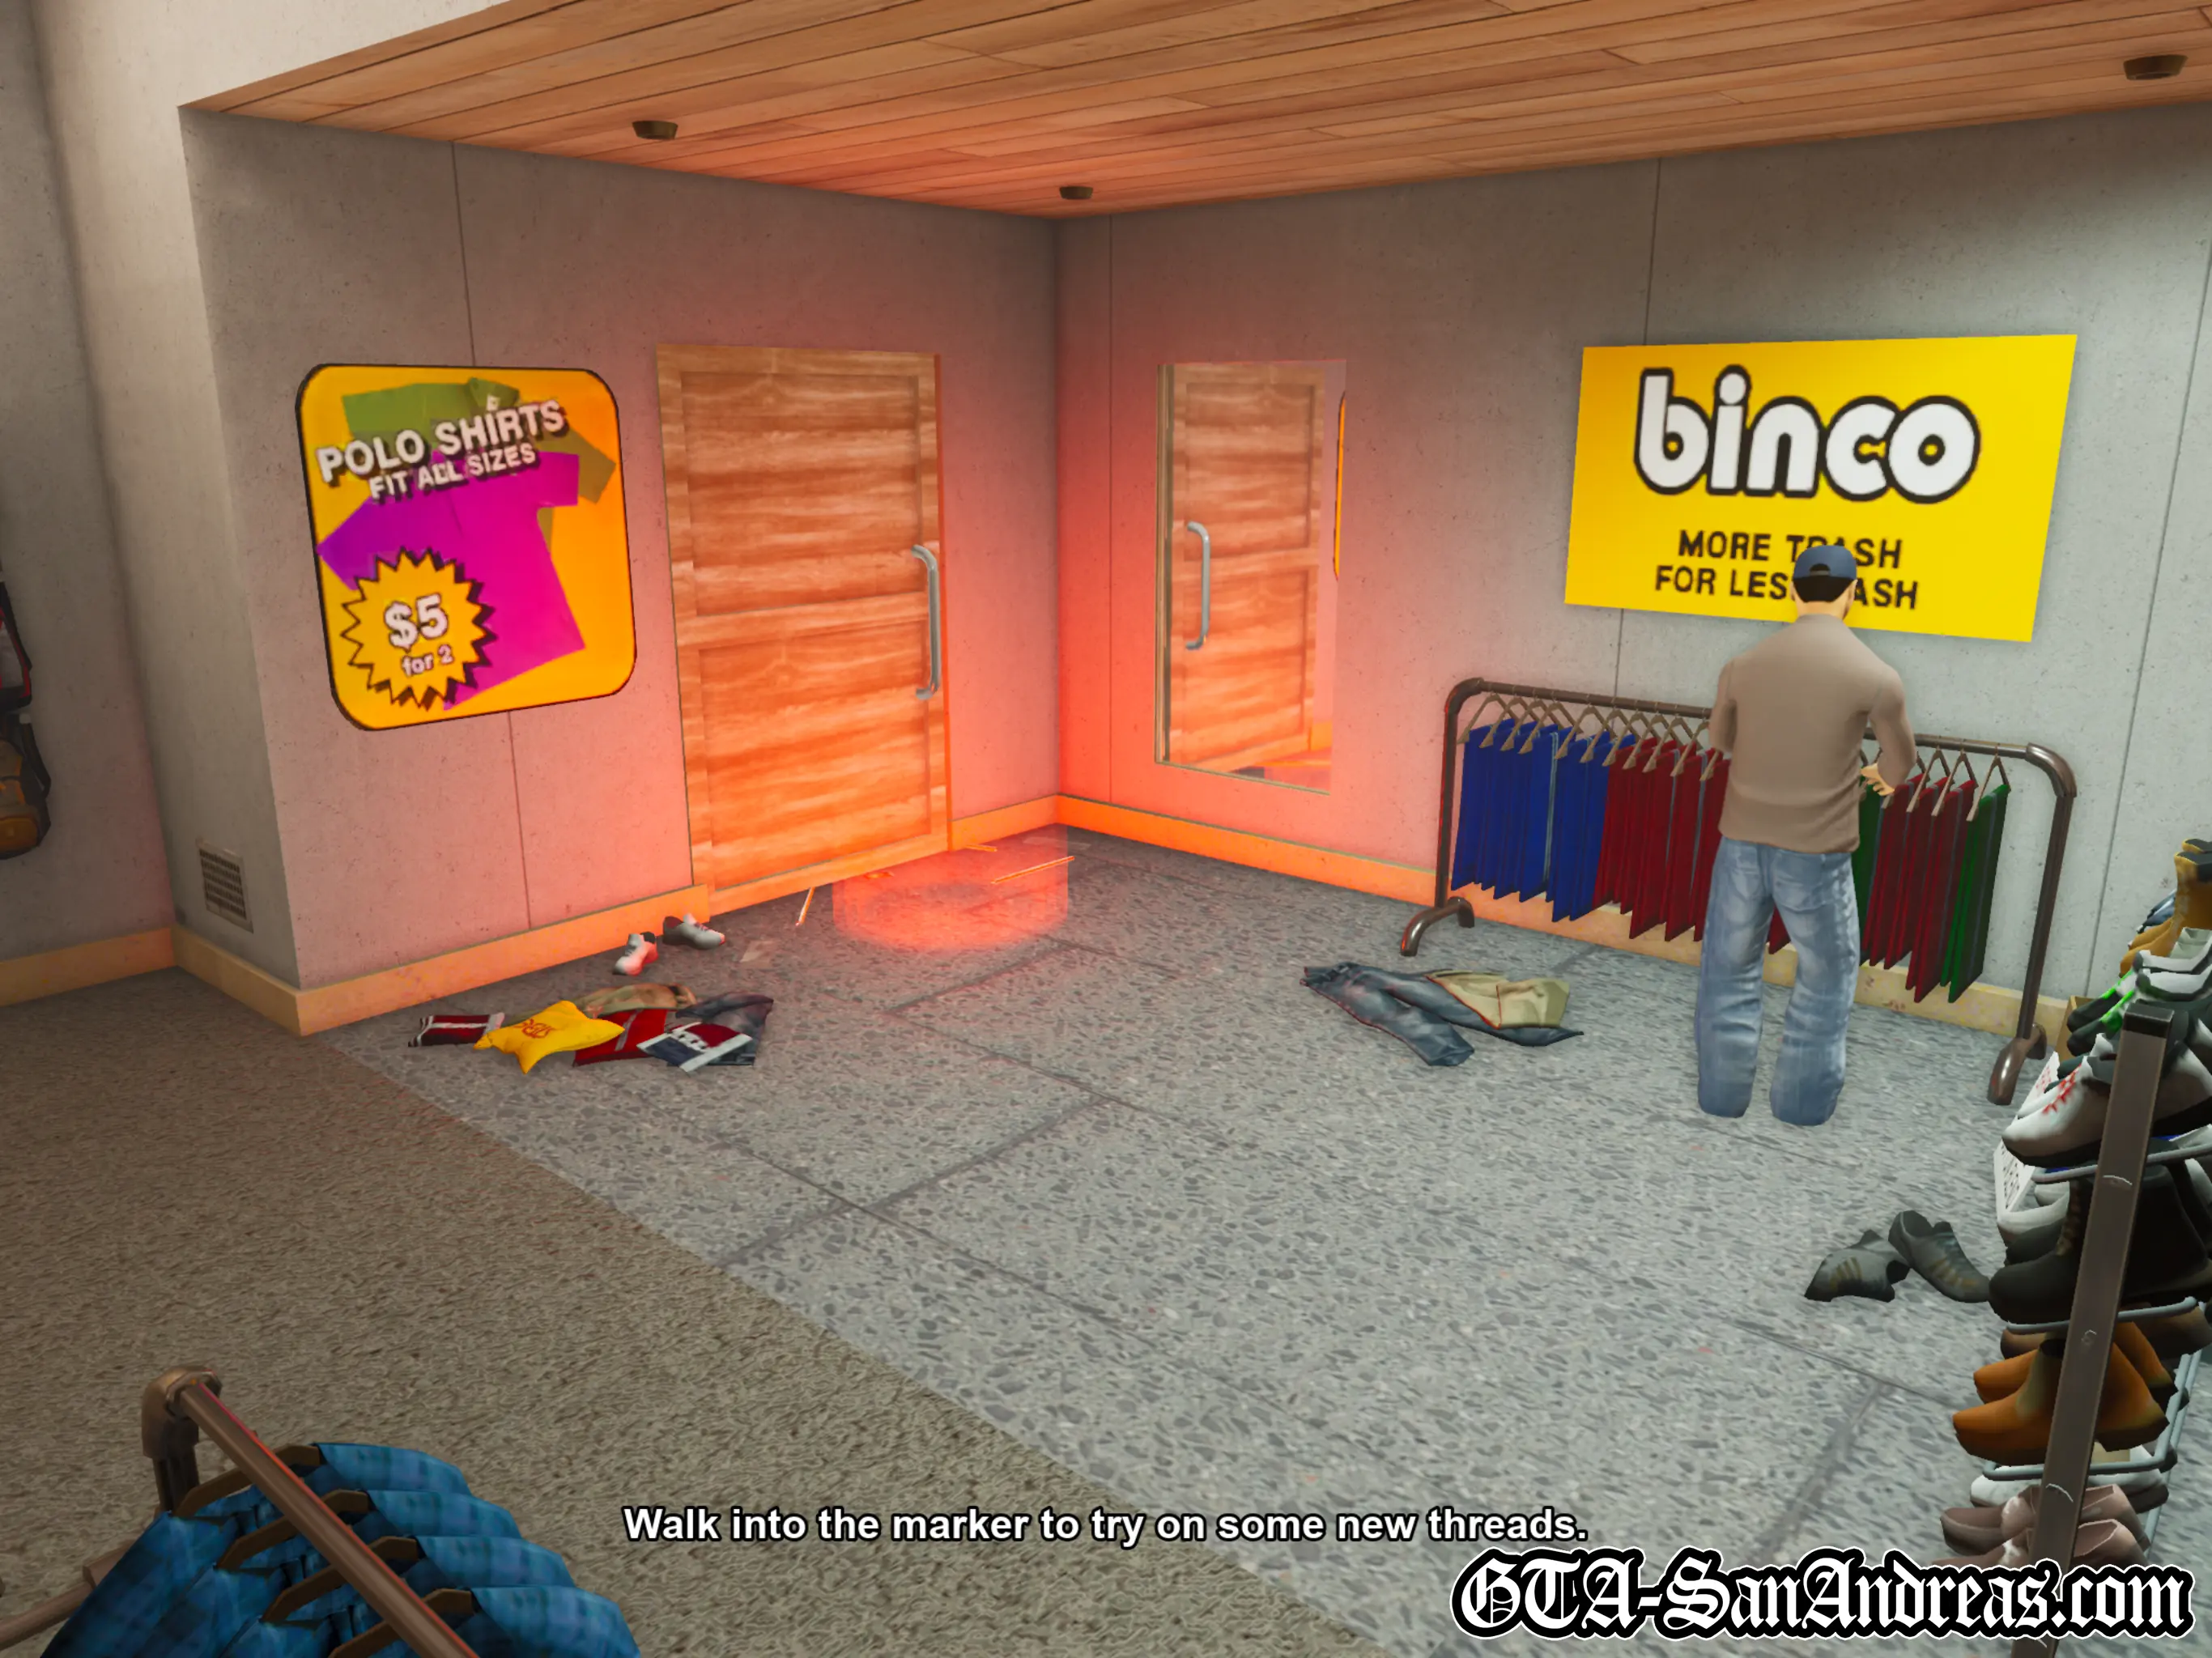
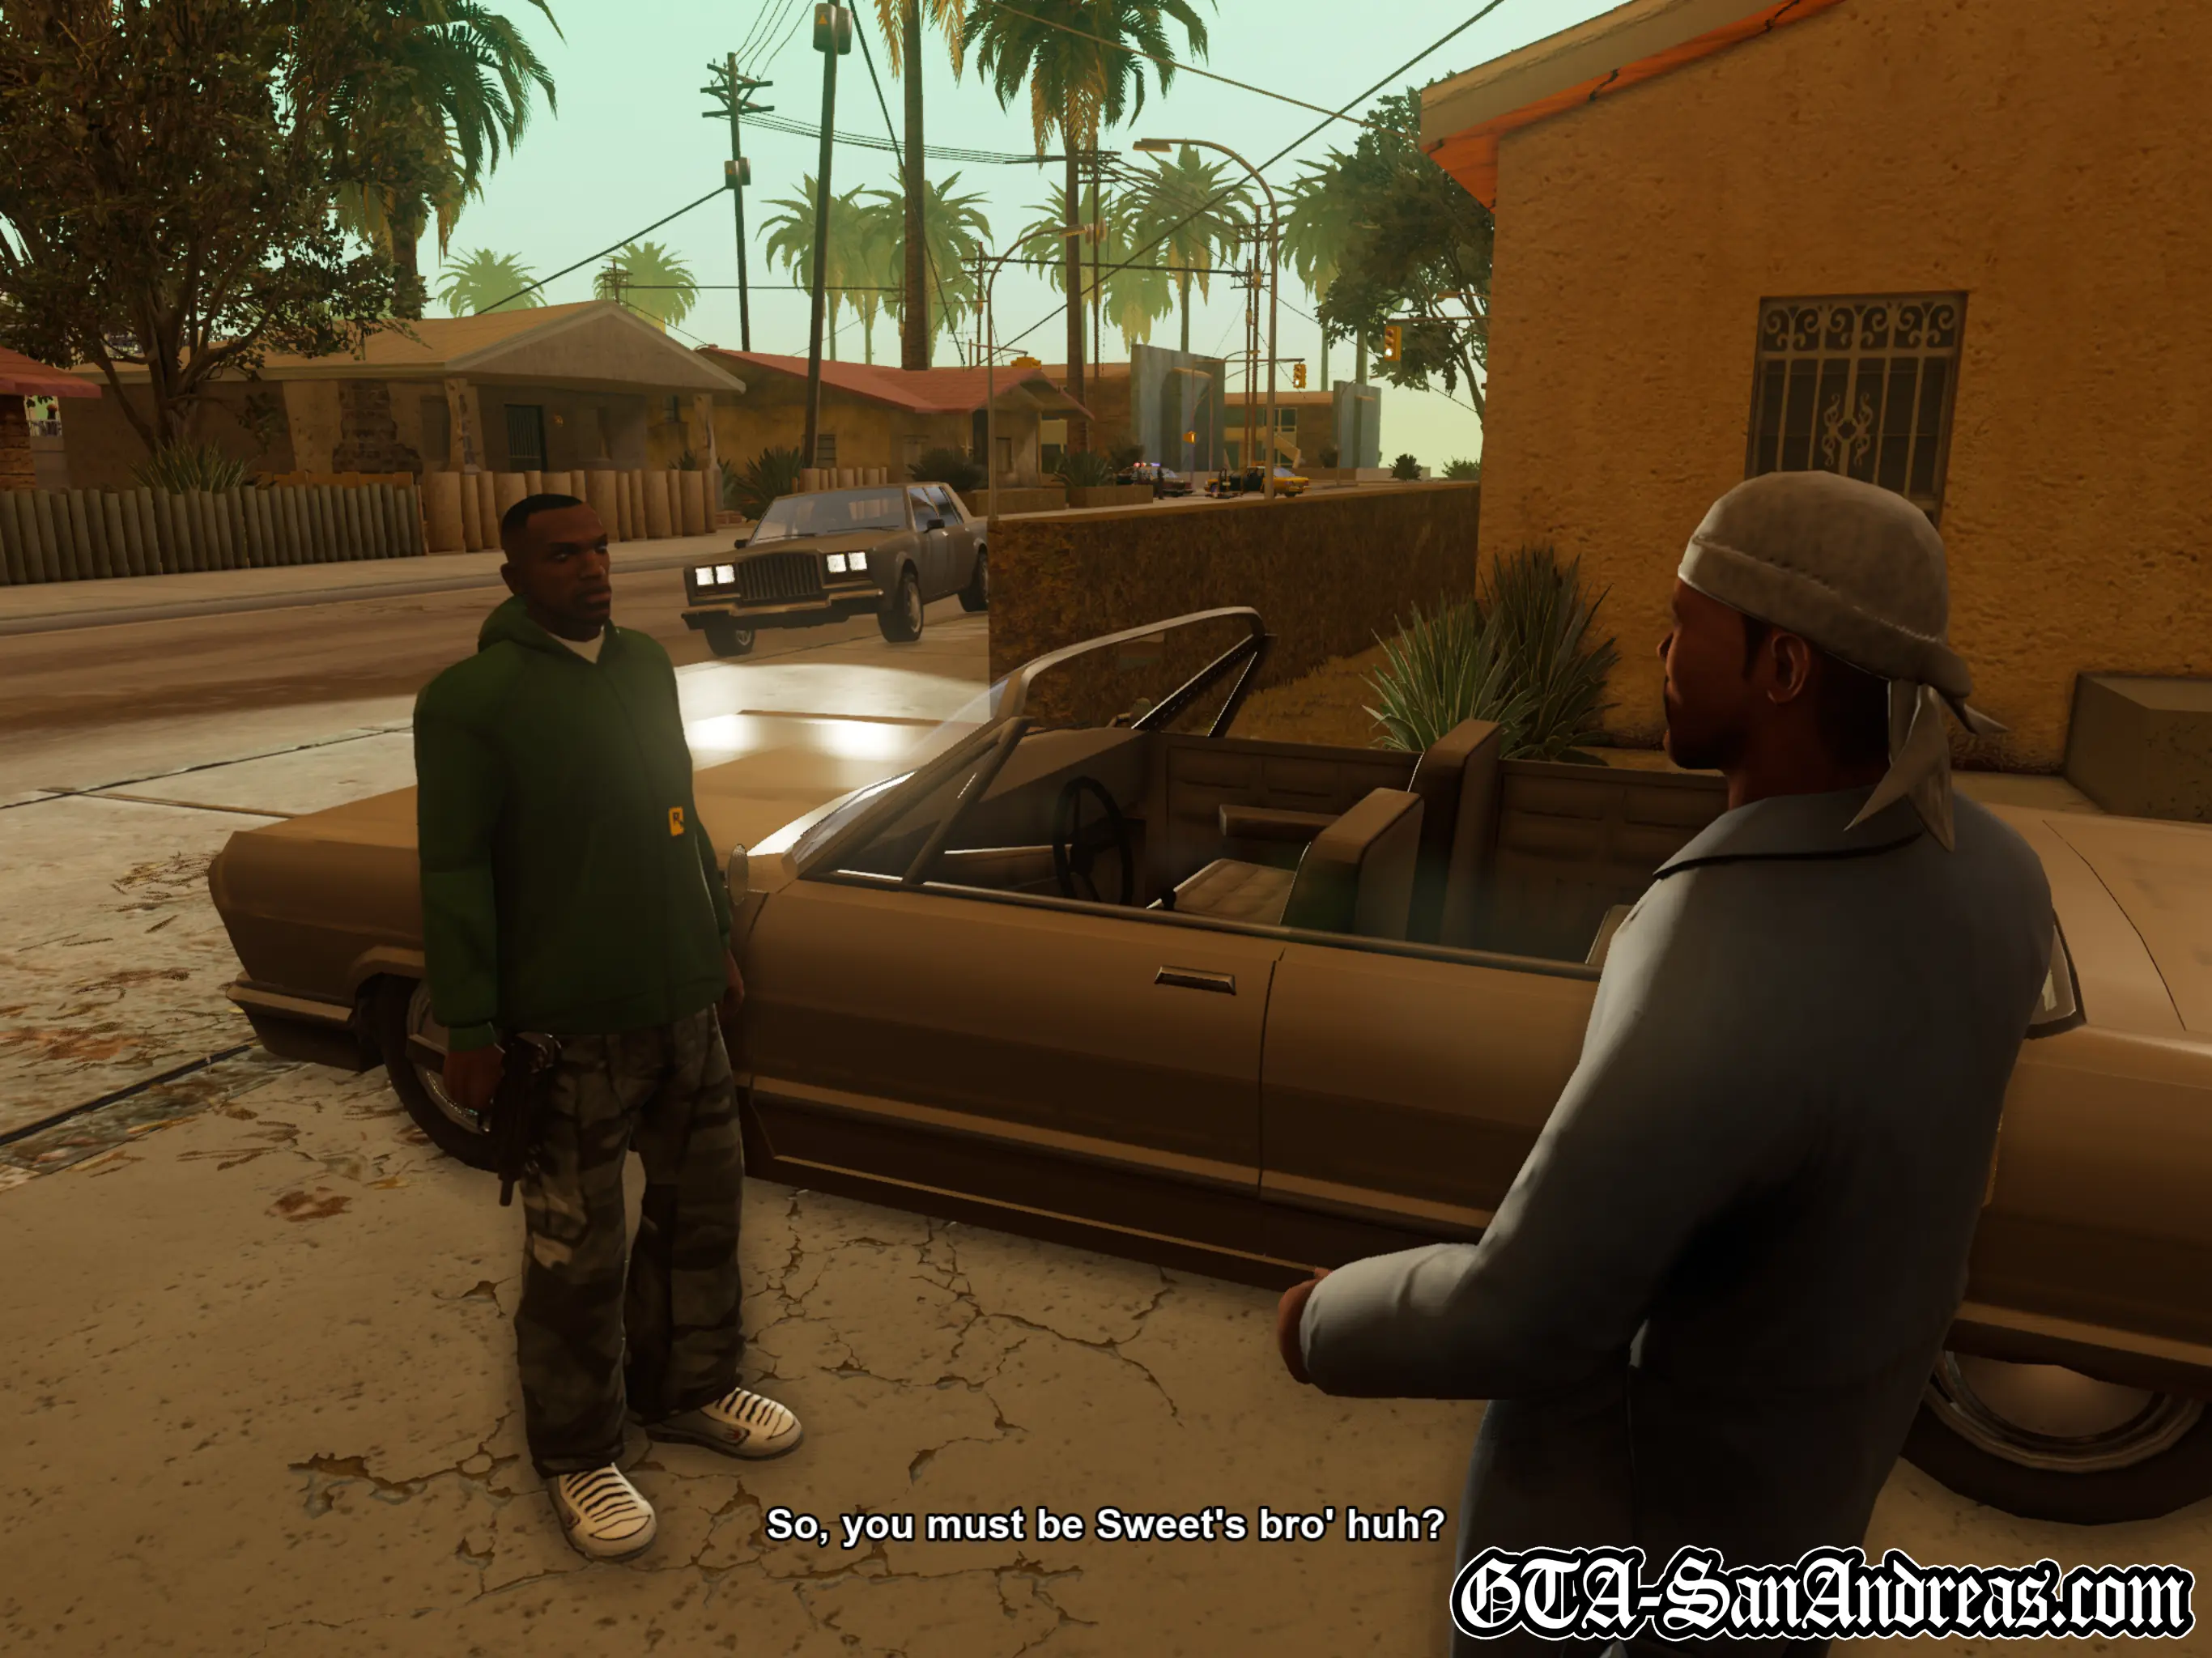
Head over to Binco, marked by a yellow blip on the radar and enter the store. The game will tell you to go into the changing room to the back-right of the store and pick something suitable to wear. I usually go for the Green Hoody and Urban Camo pants, but if you have the money, you can customise your CJ whichever way you like.
In the game, it doesn't really matter which clothes or colors you wear. You don't have to wear green, but it does make you feel like a proper part of the gang. Head outside when you're done shopping to end the mission.
Post-Mission
![]() Big Smoke's Missions Are Now Unlocked.
Big Smoke's Missions Are Now Unlocked.
A pistol is always available from Emmet's place.
Binco is now open to purchase new clothing and accessories.
Tips & Tricks
Save Your Money
When you're at Binco at the end of the mission, you don't actually need to buy any clothes at all. You can exit the shop as soon as you go inside to end the mission. None of the gang will ever mention Carl wearing colors again so it doesn't really matter.
Screenshots

Drive-By
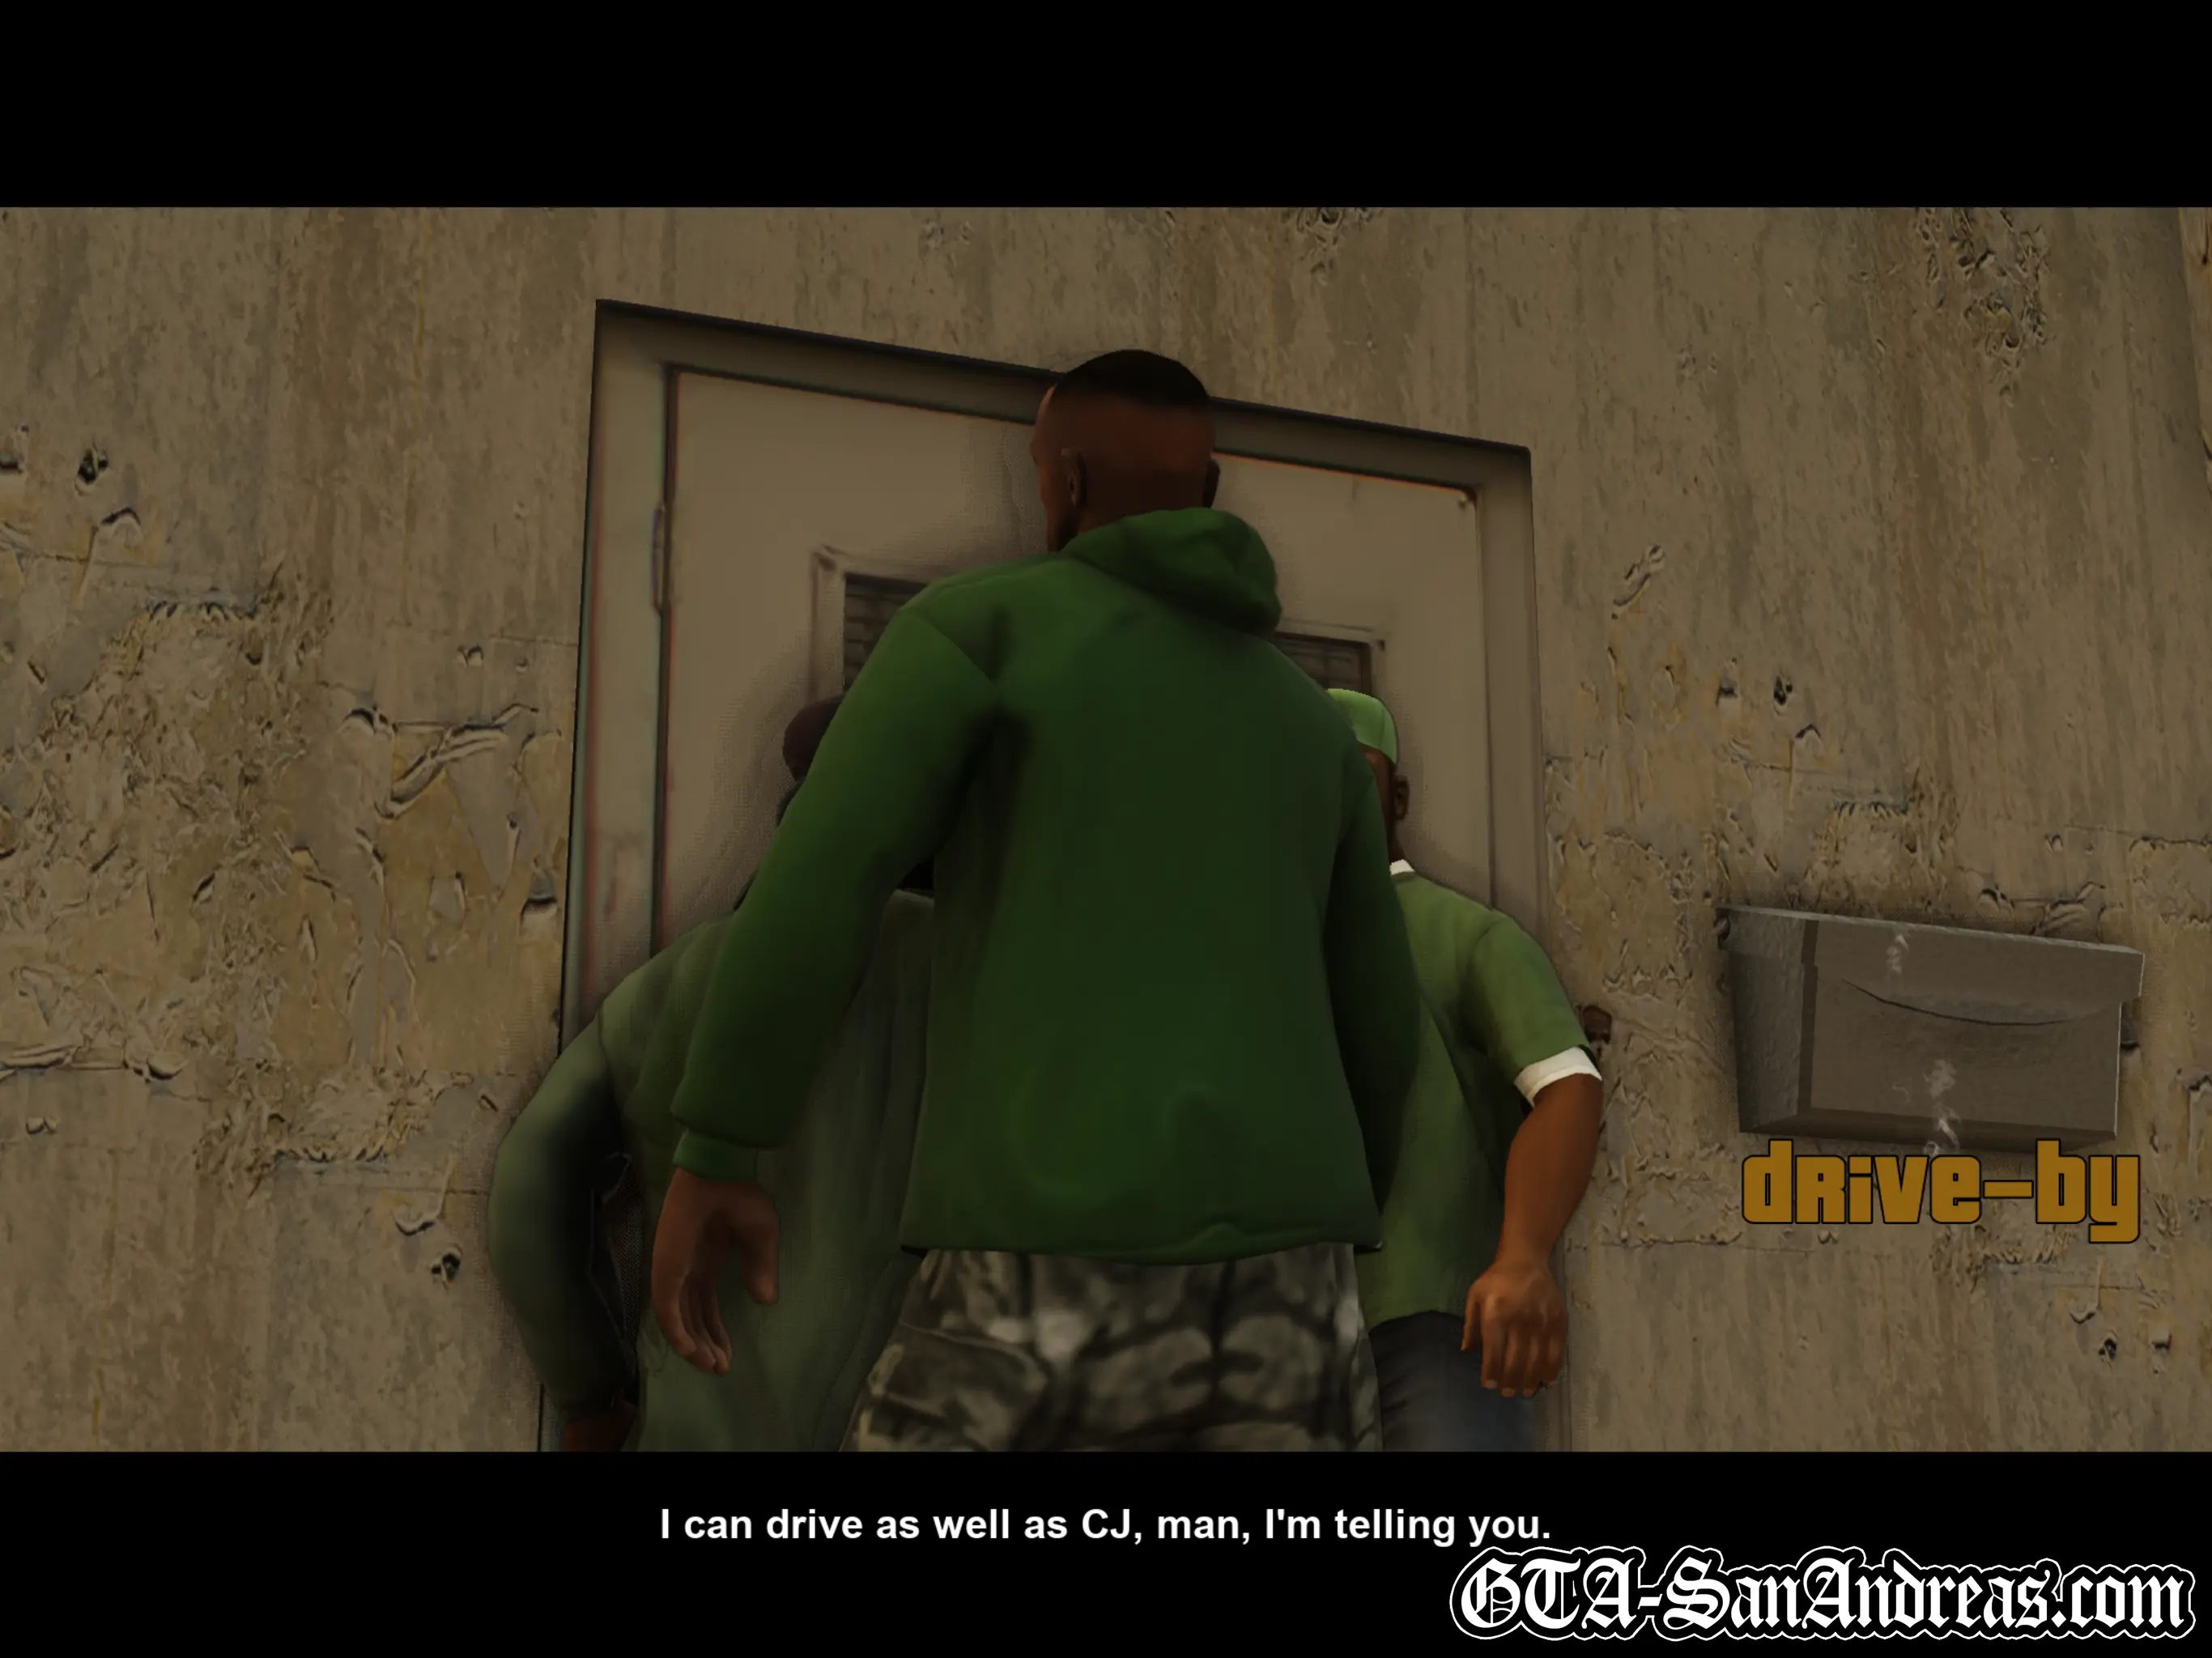
Cutscene
Ryder is ranting about how he can drive better than CJ, without realising Carl is right behind him. Nevertheless, he stands by his opinion and tells Carl the East Coast made him drive like an idiot, he's always crashing cars and for some reason he's still always the designated driver.
Sweet steps in and calms things down telling Ryder he's such a good gunman, he needs to ride shotgun, and thankfully Ryder agrees and allows Carl to drive after all.
Once the mission starts, get in the car with the rest of your gang and drive into Ballas territory. When you reach the area marked with a yellow blip on the radar, park in the red marker.
Cutscene
The guys get their weapons ready and Carl is told to drive while they take care of the shooting. If the car stops, you're dead. The camera then pans over to some Ballas hanging out on the sidewalk just around the corner.
You'll now be in charge of driving the car back and forth past the Ballas in order for the Grove Street Families to wipe them out with a drive-by.
You'll need to pass a few times in order for the gang to kill them all, but if you stay still, the car will get shot to pieces, so ensure you keep moving.
Hints & Tips
If you have a sub-machine gun, you can get involved with the shooting and perform your own drive-by to help out the homies. They don't actually have a problem with you killing everyone.
You can also use the car as a weapon and run over the Ballas, but be aware it can't take too much damage before it starts smoking, so try not to crash it too much.
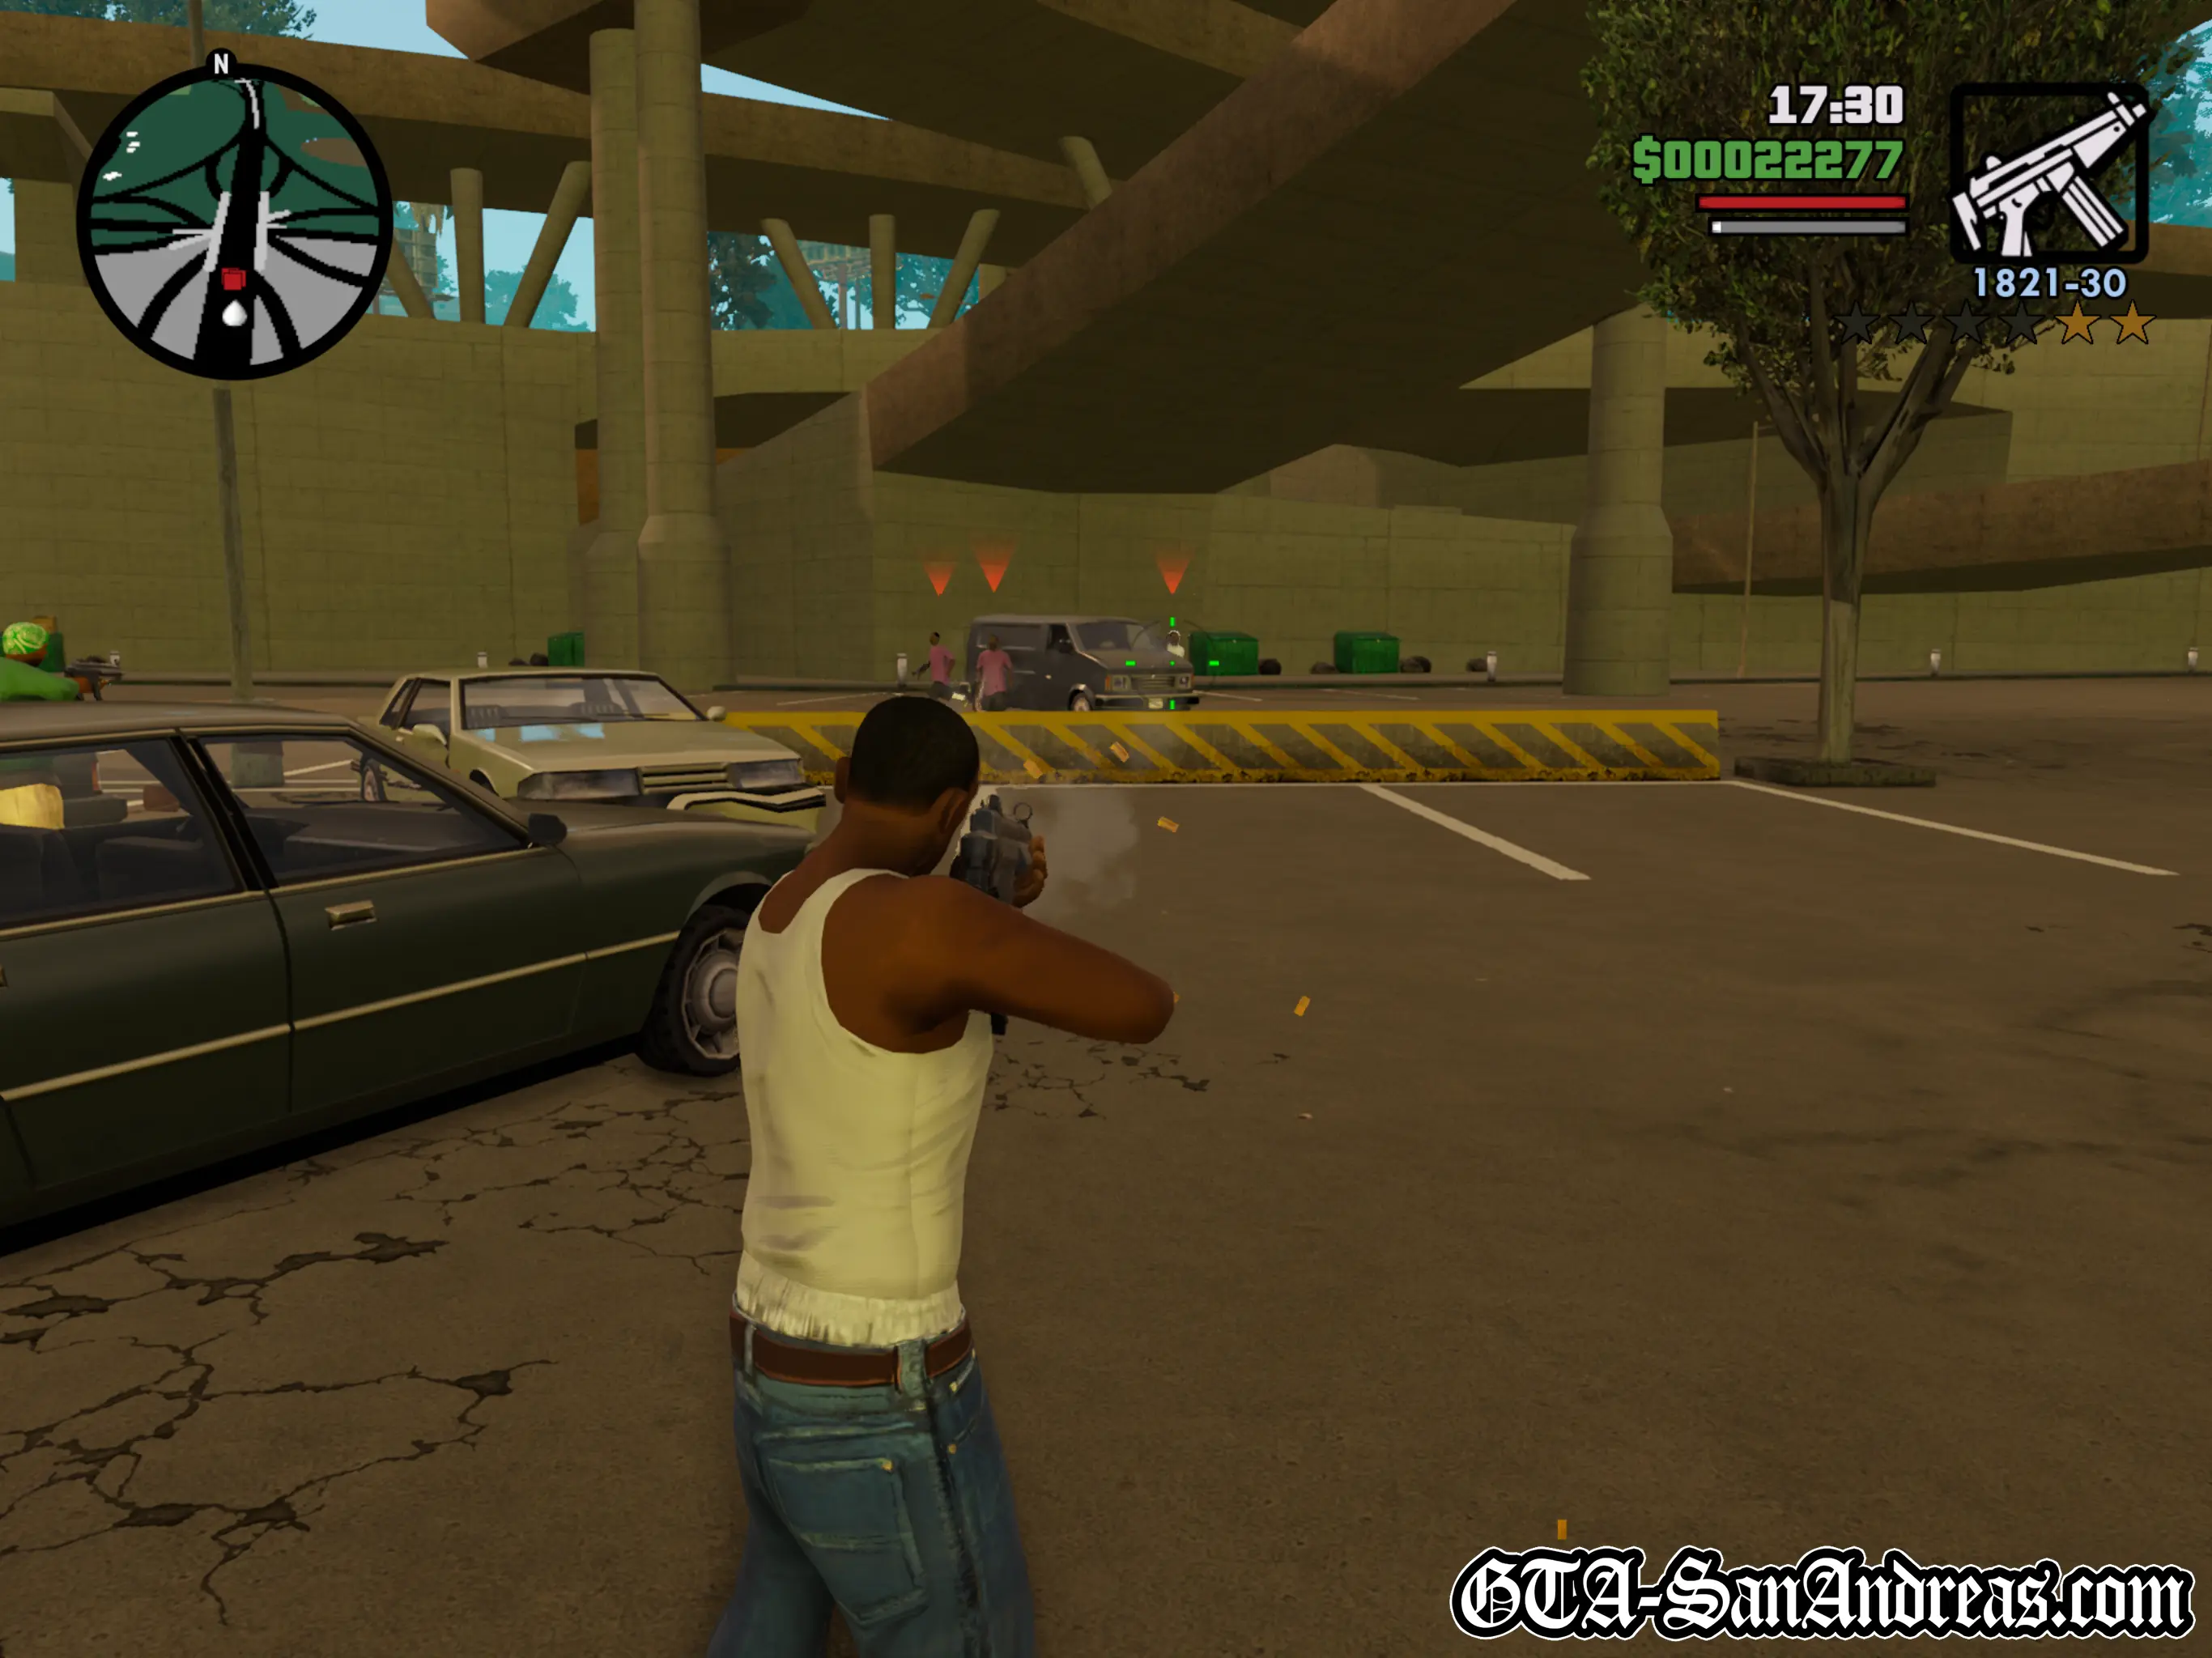
Once the first group of Ballas are dead, feel free to get out and pick up their cash and weapons, then head around the corner and do the same to the next group of Ballas who are hanging around on a driveway.
You'll find another bunch of Ballas on the sidewalk around the block. This time you can use your car to run them down if you like.
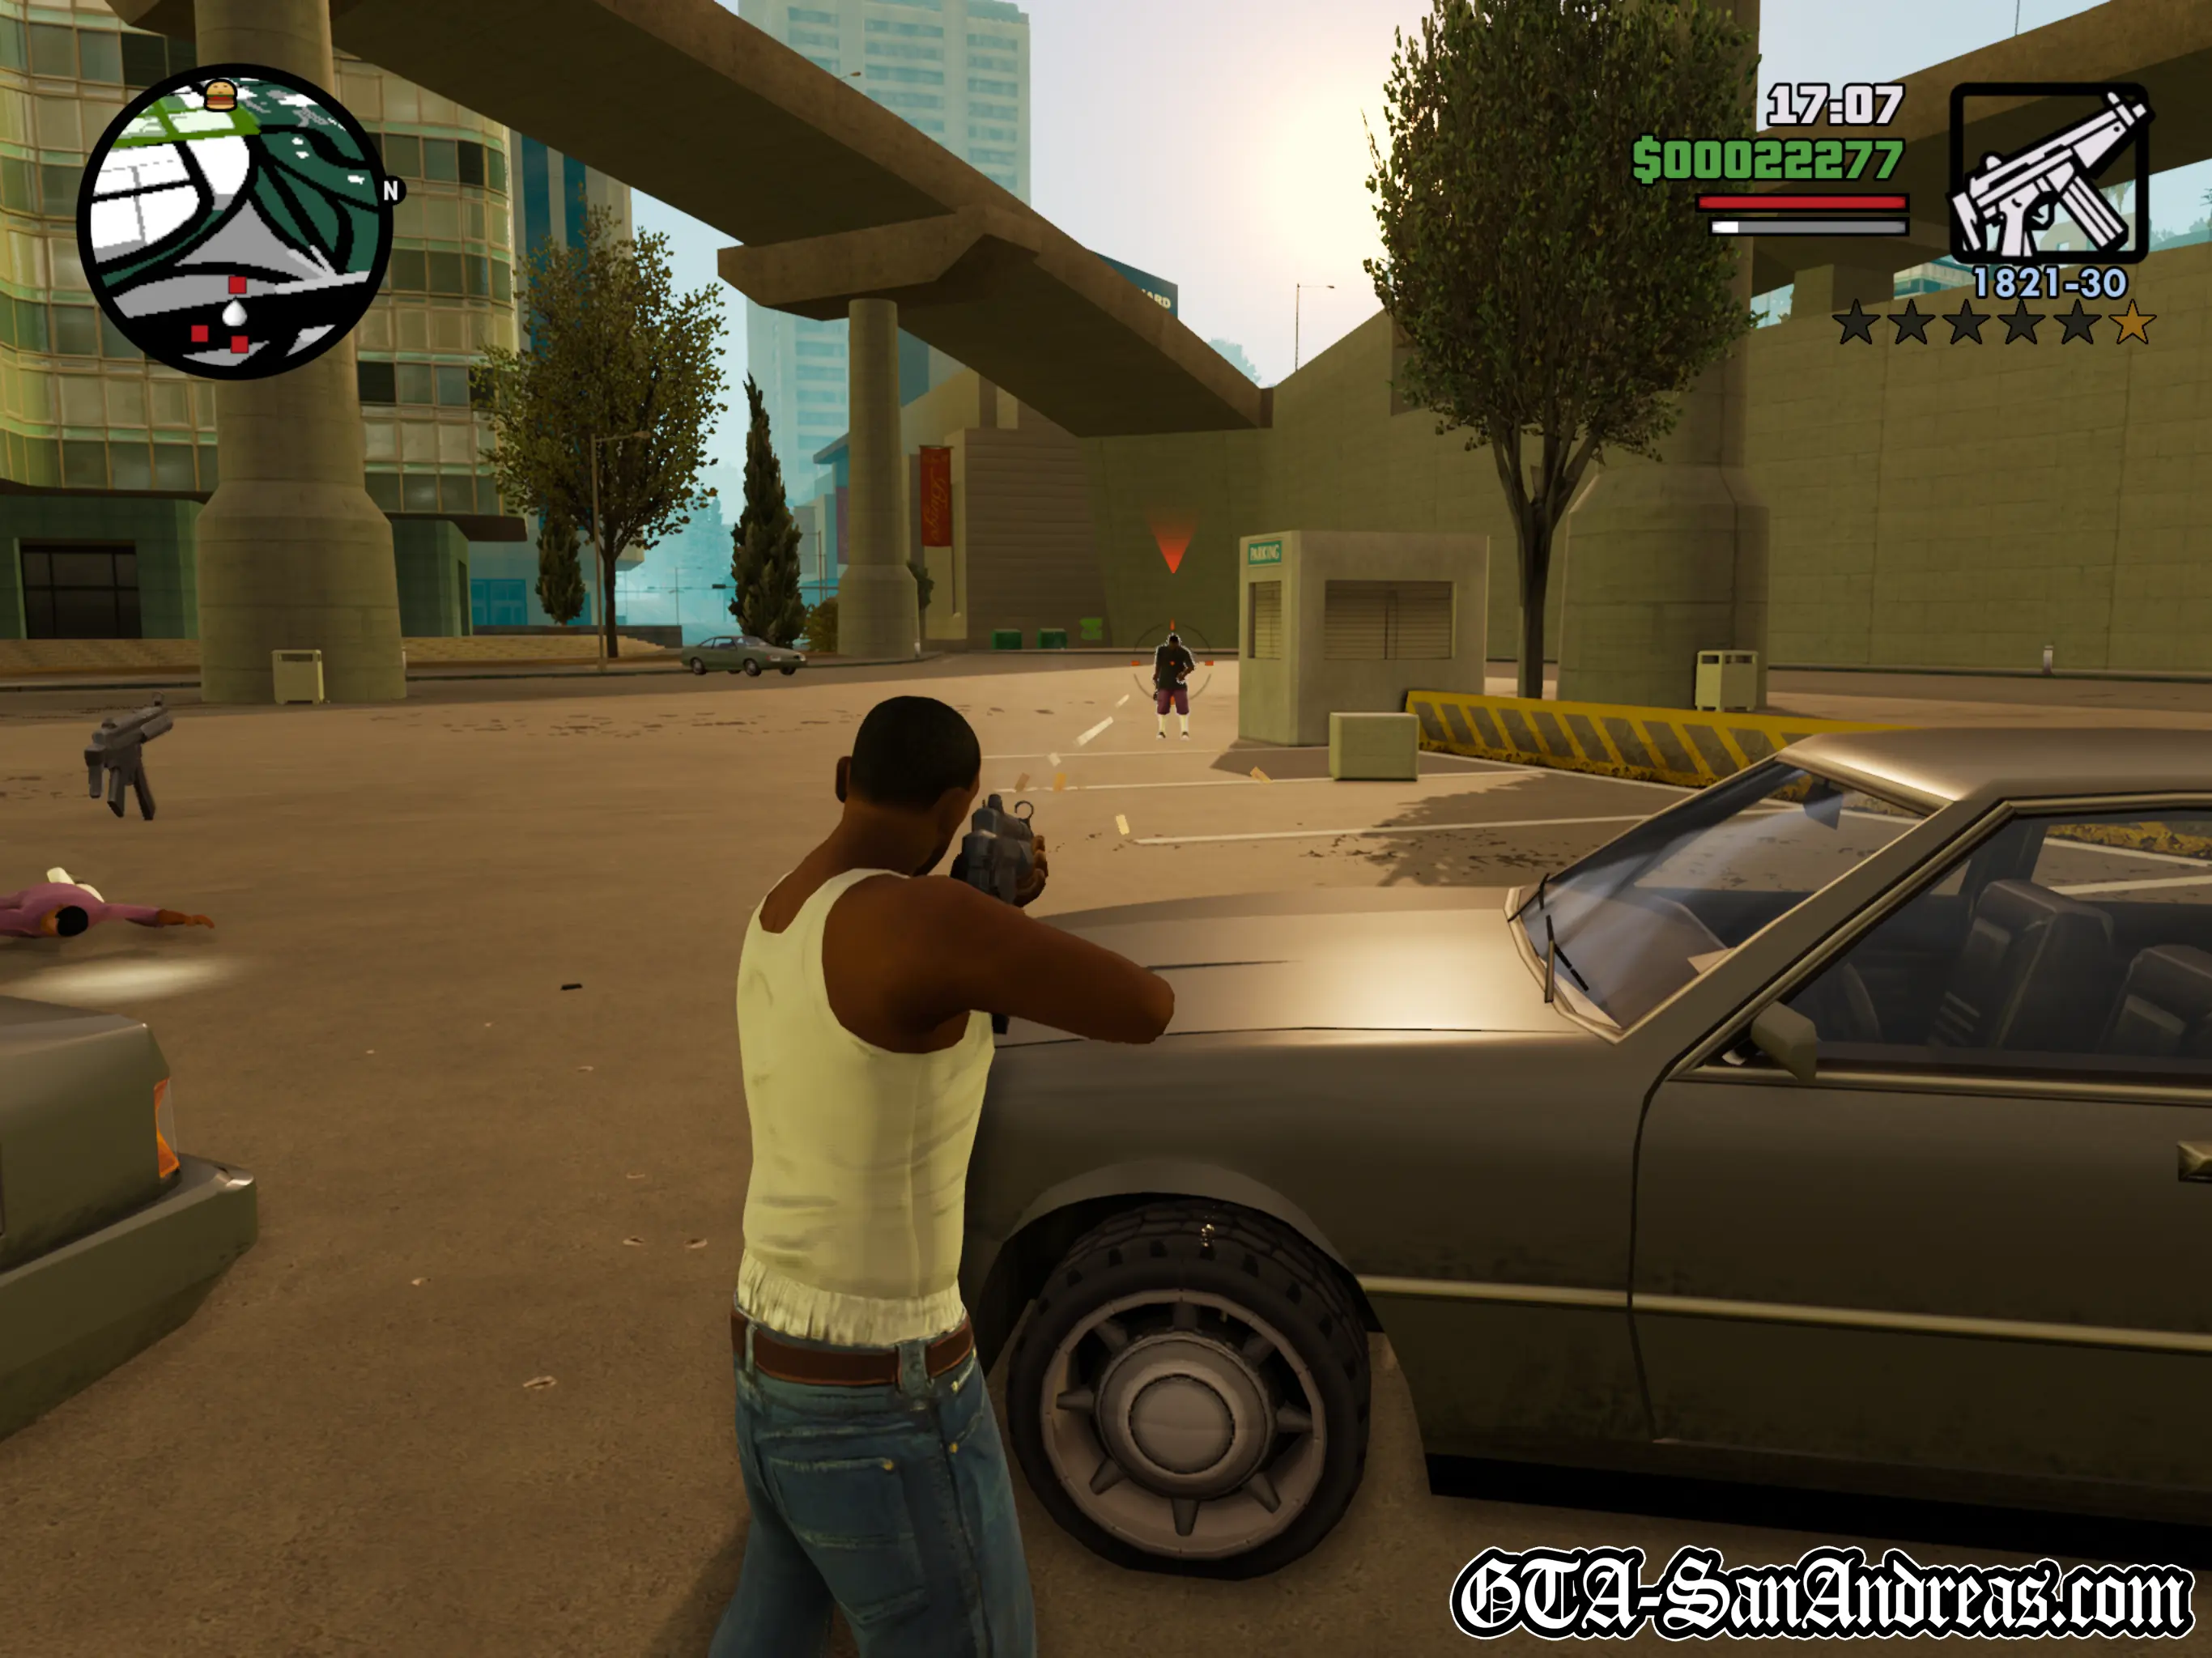
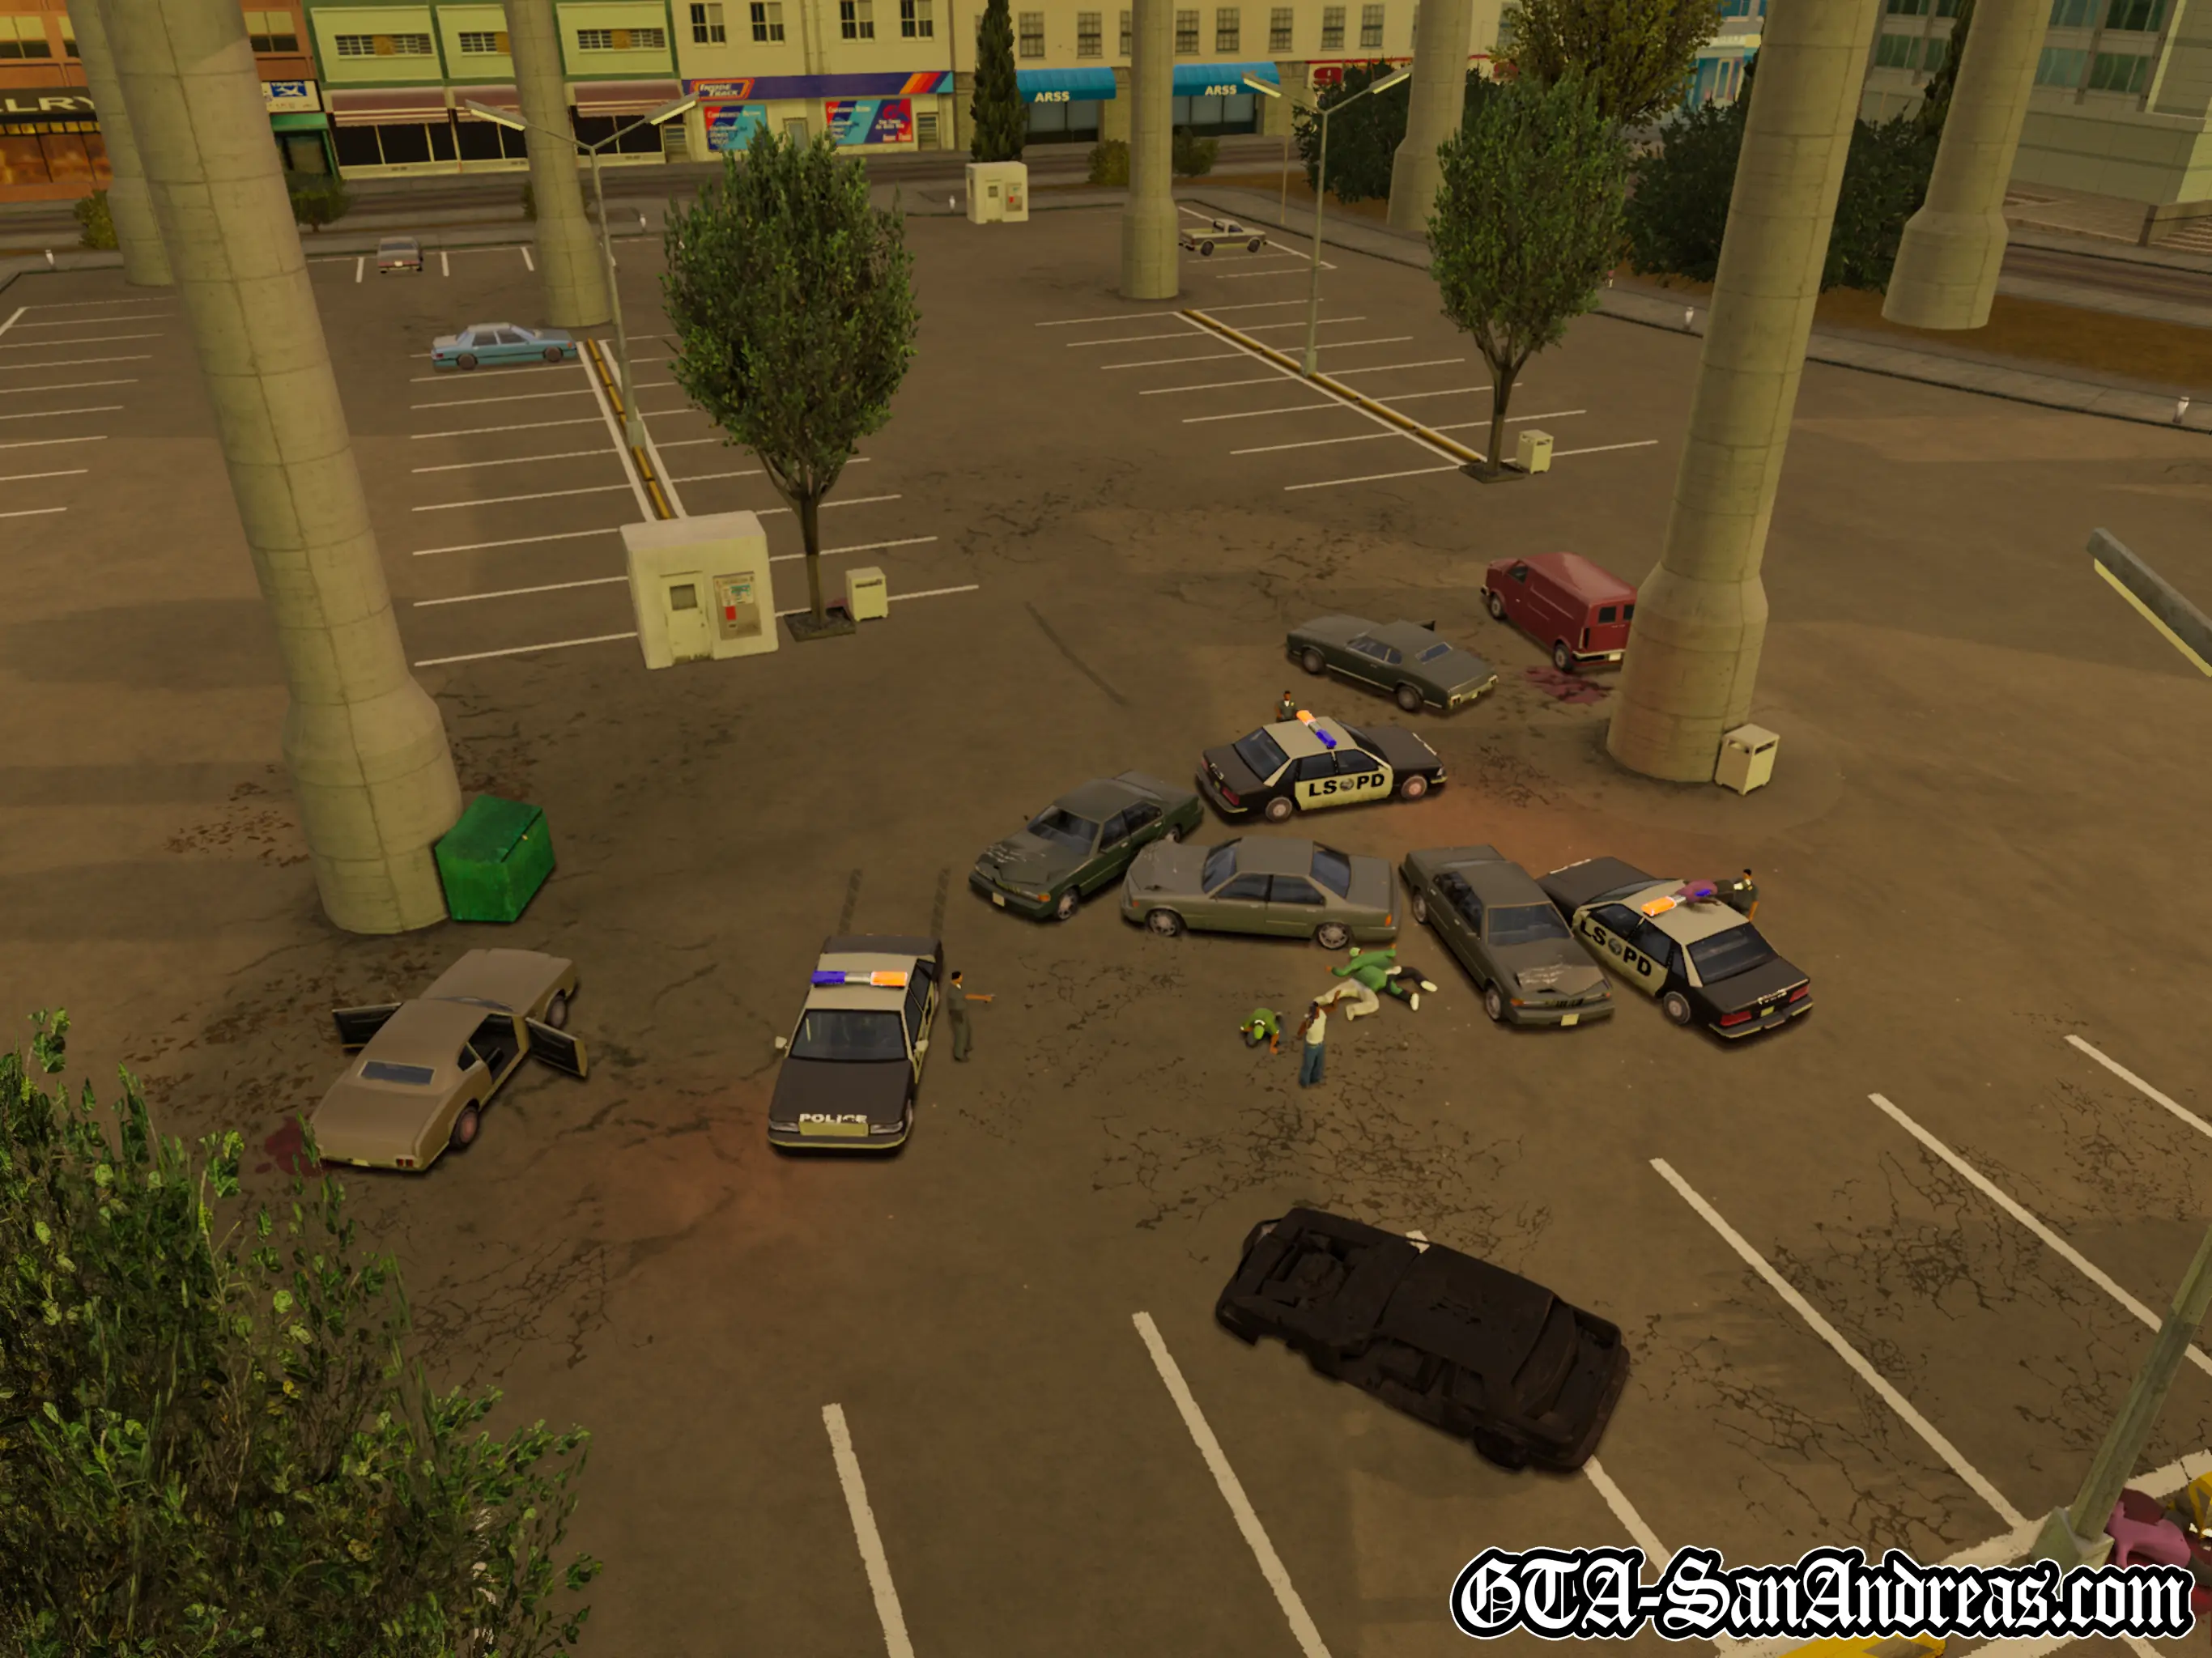
The final Ballas are found inside the nearby park, so plough into them and let the rest of the gang fire at the ones you missed. As soon as they're dead, you'll receive a 2 star wanted level and a number of police cars will give chase, so get out of there quickly.
The map will automatically direct you to the Pay N' Spray in Idlewood, so follow the route, then pull into the garage to lose your wanted level. Usually this will cost $100 but this time it's free.
It's actually impossible to lose your wanted level without visiting this exact Pay N' Spray. Even if you collect police bribes or use another Pay N 'Spray, your wanted level will continually be reset back to 2 stars.
After spraying your car, your wanted level has been suspended and the 2 stars are now flashing. If you stay out of trouble, the police will leave you alone and the stars will disappear, but if the police see you doing anything illegal, the 2 stars will be restored and they'll give chase again.
Once the police are gone, drive the homies back to the hood by following the yellow blip on the map, then park in the red marker.
Cutscene
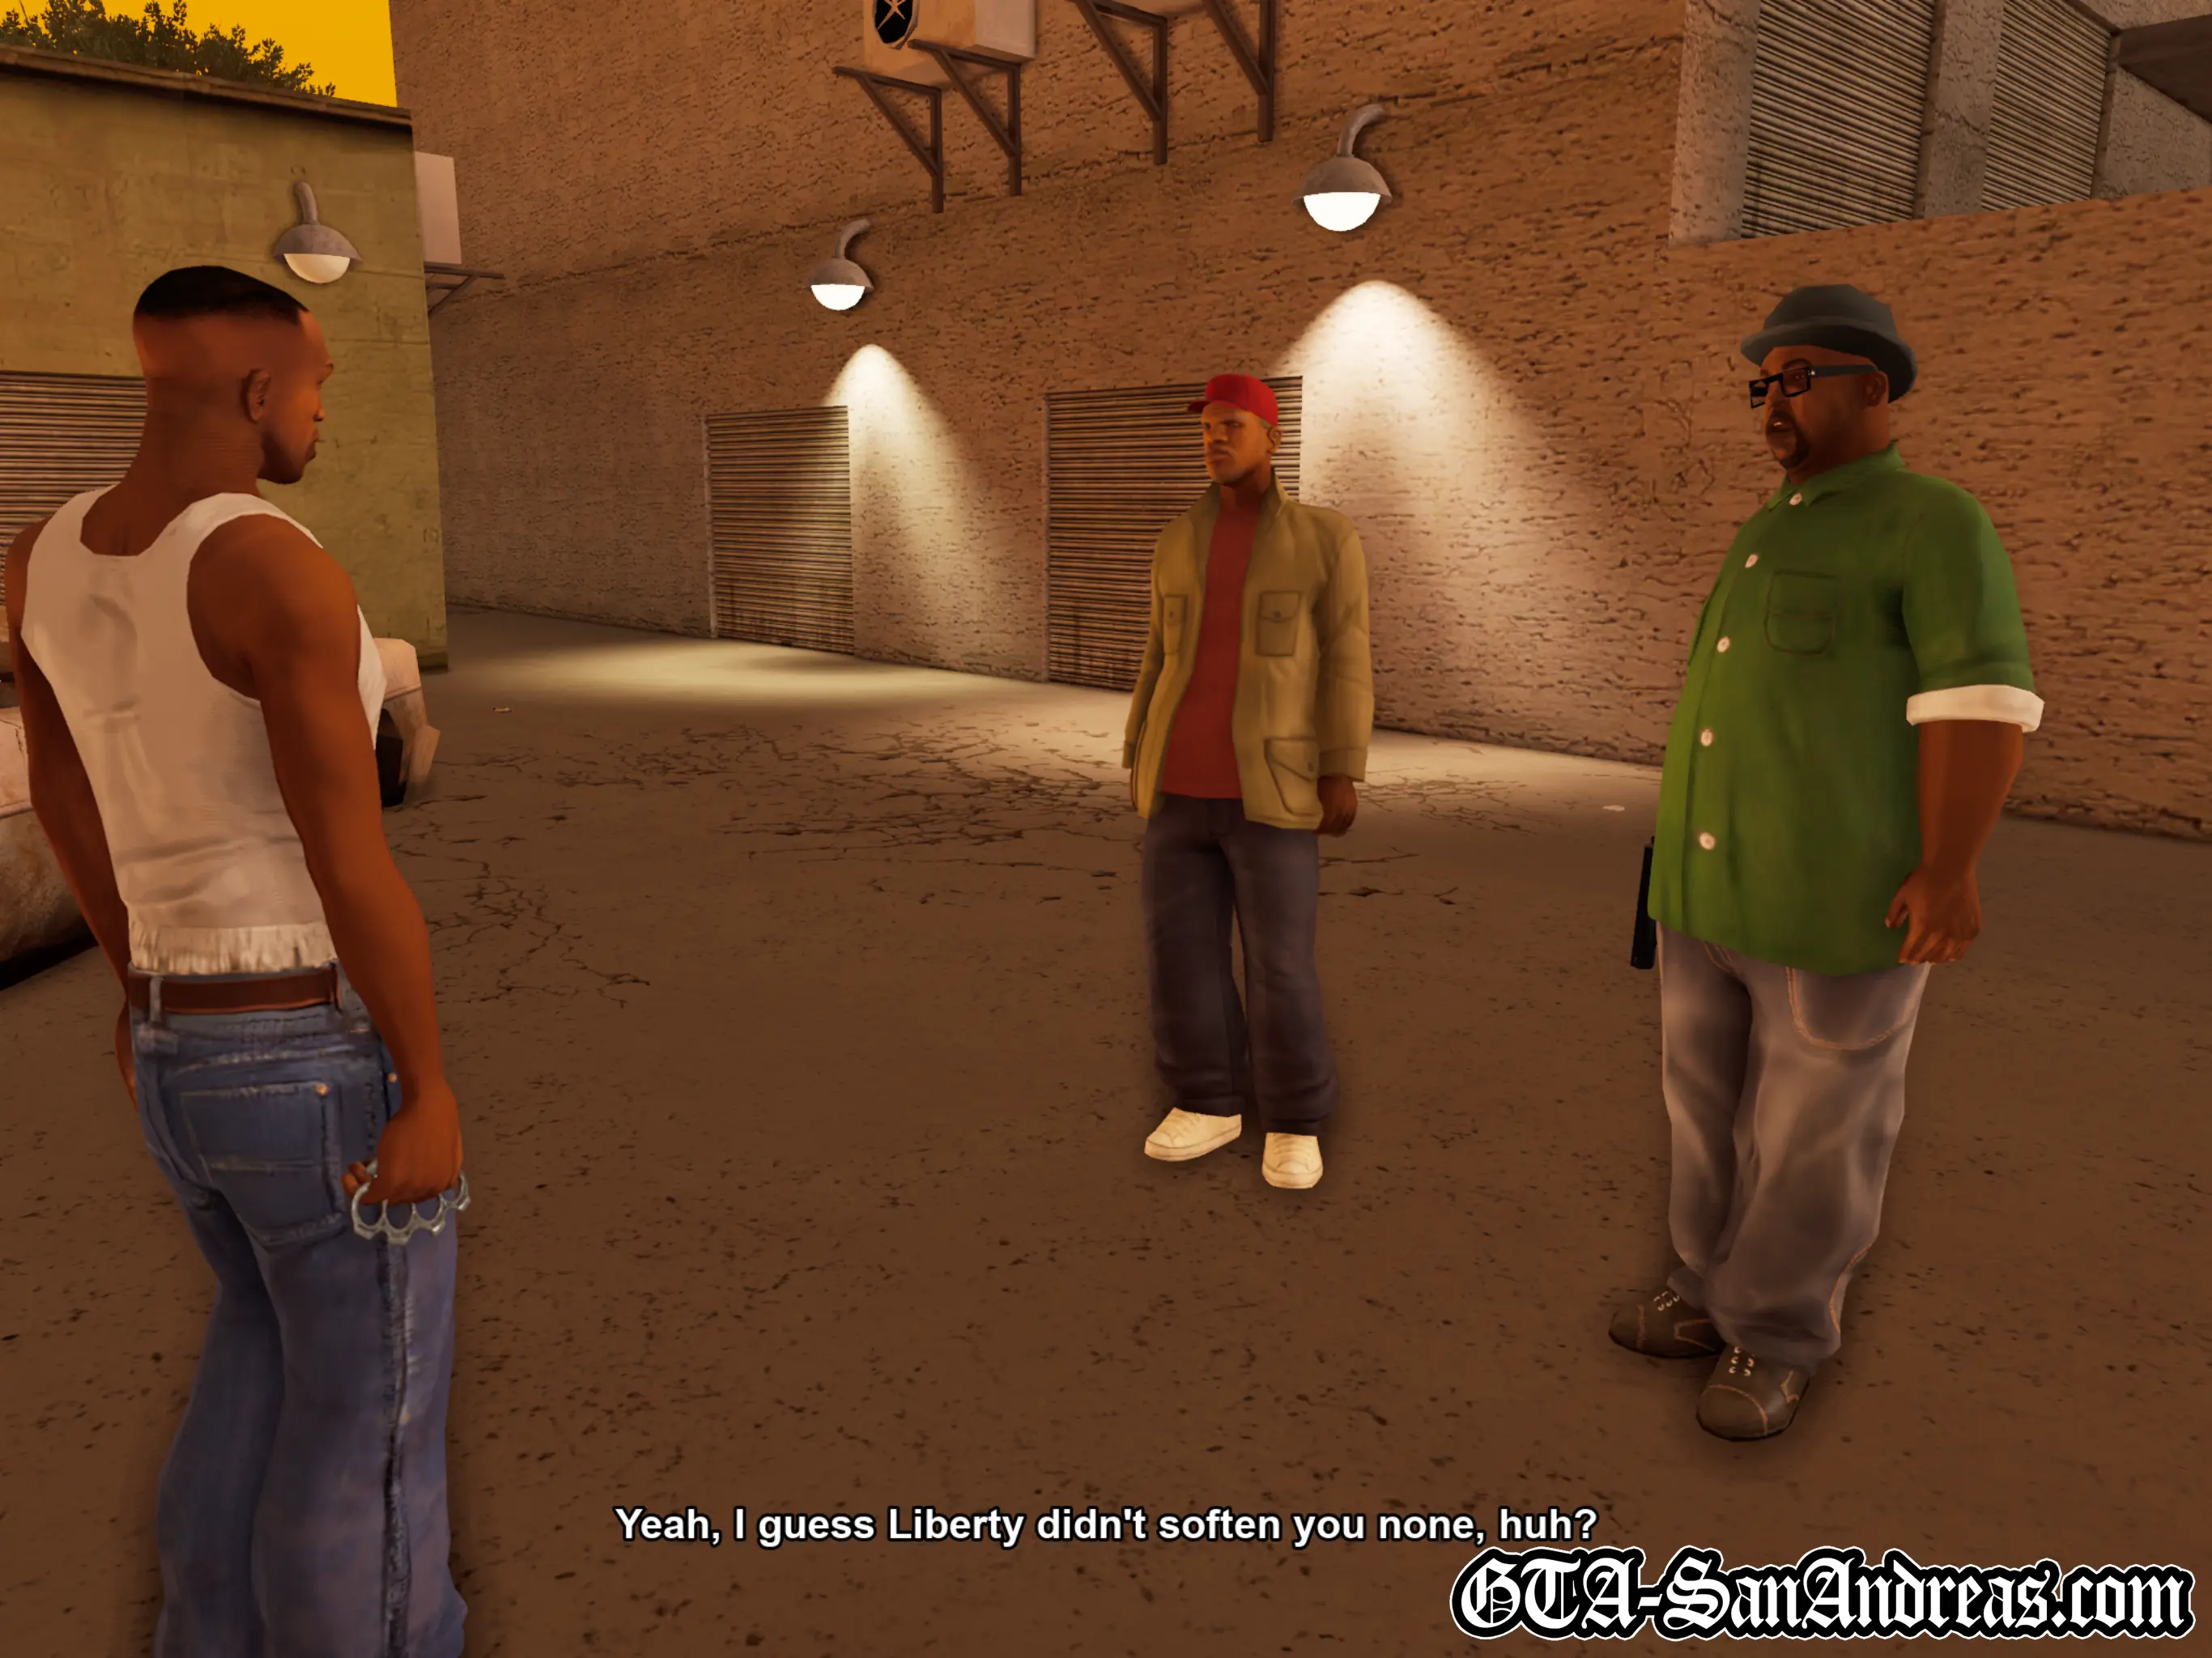
Everyone gets out of the car and thanks Carl for a job well done. Sweet tells CJ to be careful out there because the Ballas definitely know he's back on the set. Smoke gives Carl some cash to get some beers.
Post-Mission
![]() Ryder's Missions Are Now Unlocked.
Ryder's Missions Are Now Unlocked.
You can now do missions for Big Smoke, Ryder and Sweet. This is one of the only parts in the game where you'll have a choice of that many, however I'll keep going with Sweet so stand in the nearby red marker for the next one.
Tips & Tricks
No Wanted Level Exploit!
Before getting in the car with your gang at the start of the mission, it's impossible for Carl to get a wanted level. You can kill people, shoot cops (if you can find them), blow up cars and even travel to the other cities without getting a single wanted star.
You can't do any side missions because you're on a mission, but you can take this opportunity to grab the Snapshot, Horseshoe and Oyster collectables. Just try not to die or they'll be reset if you continue from the checkpoint.
If you plan on abusing this exploit, I would recommend you track down Katie Zhan in San Fierro and Barbara Schternvart in the desert. Make them your girlfriends and you'll keep your weapons when you die or get arrested which is a very useful feature to have this early in the game.
Screenshots

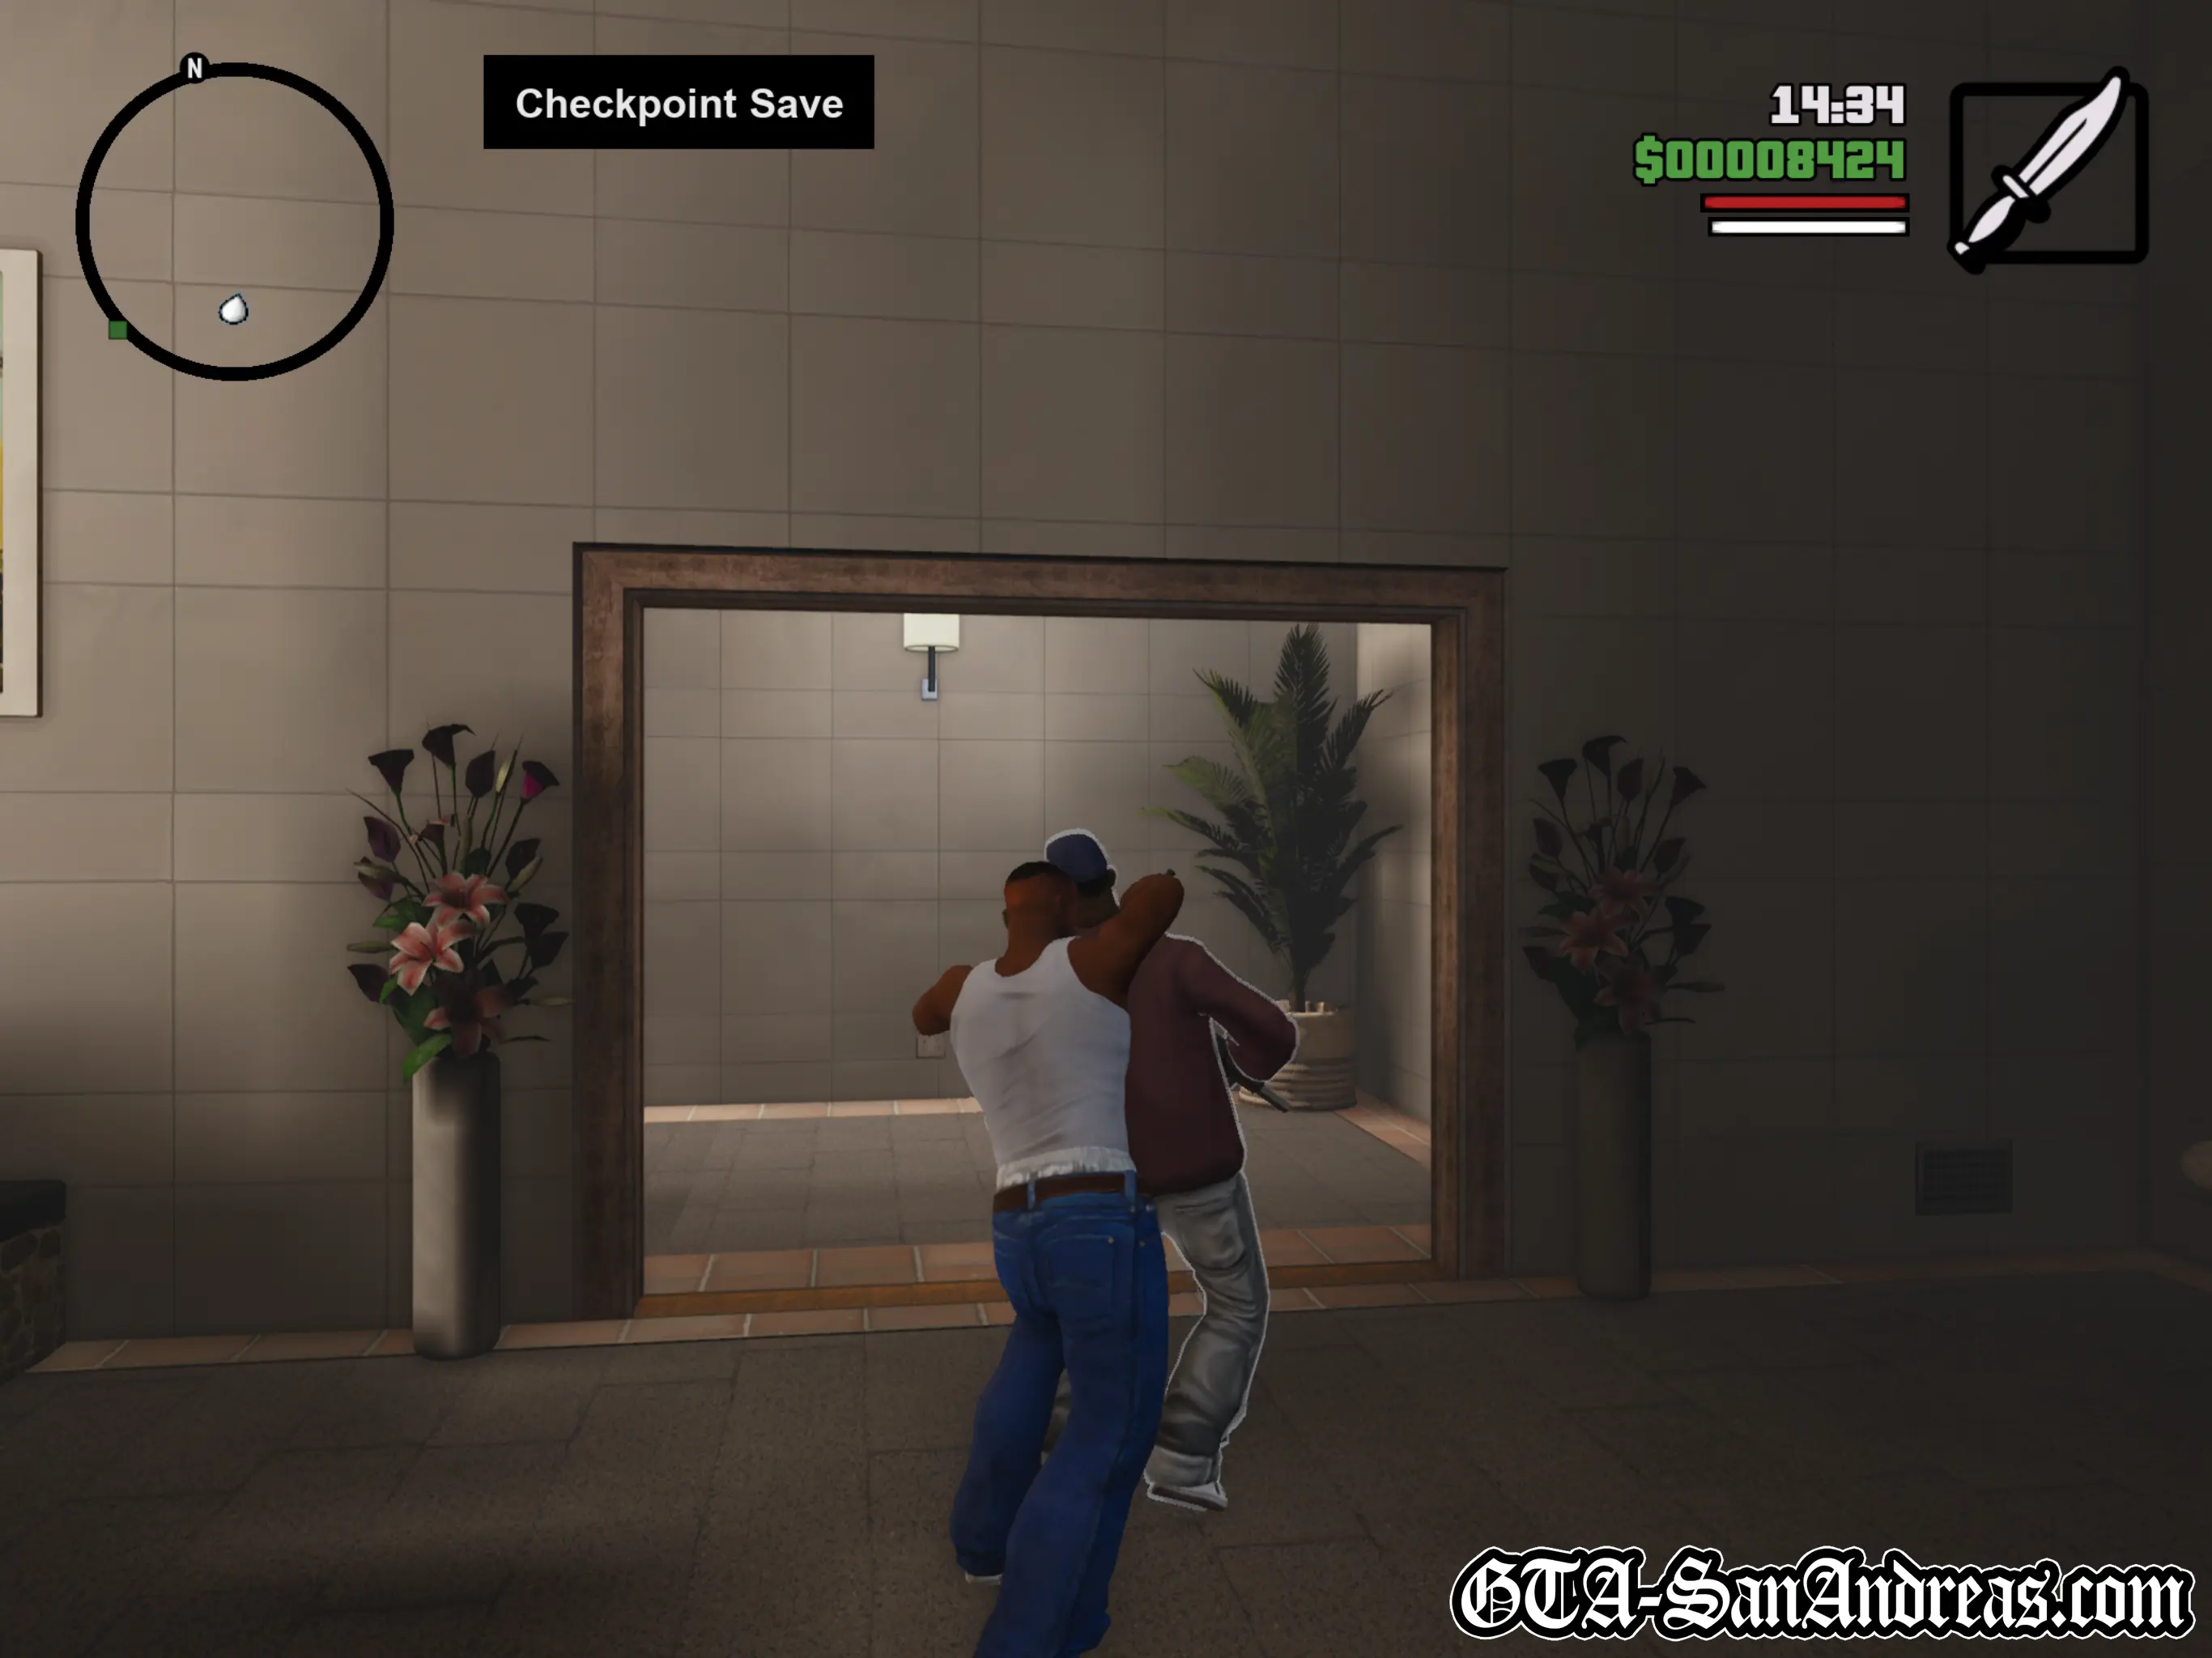
Sweet's Girl

Cutscene
Carl enters Sweet's house to find no one home. After checking the whole house and finding none of the homies, he leaves.
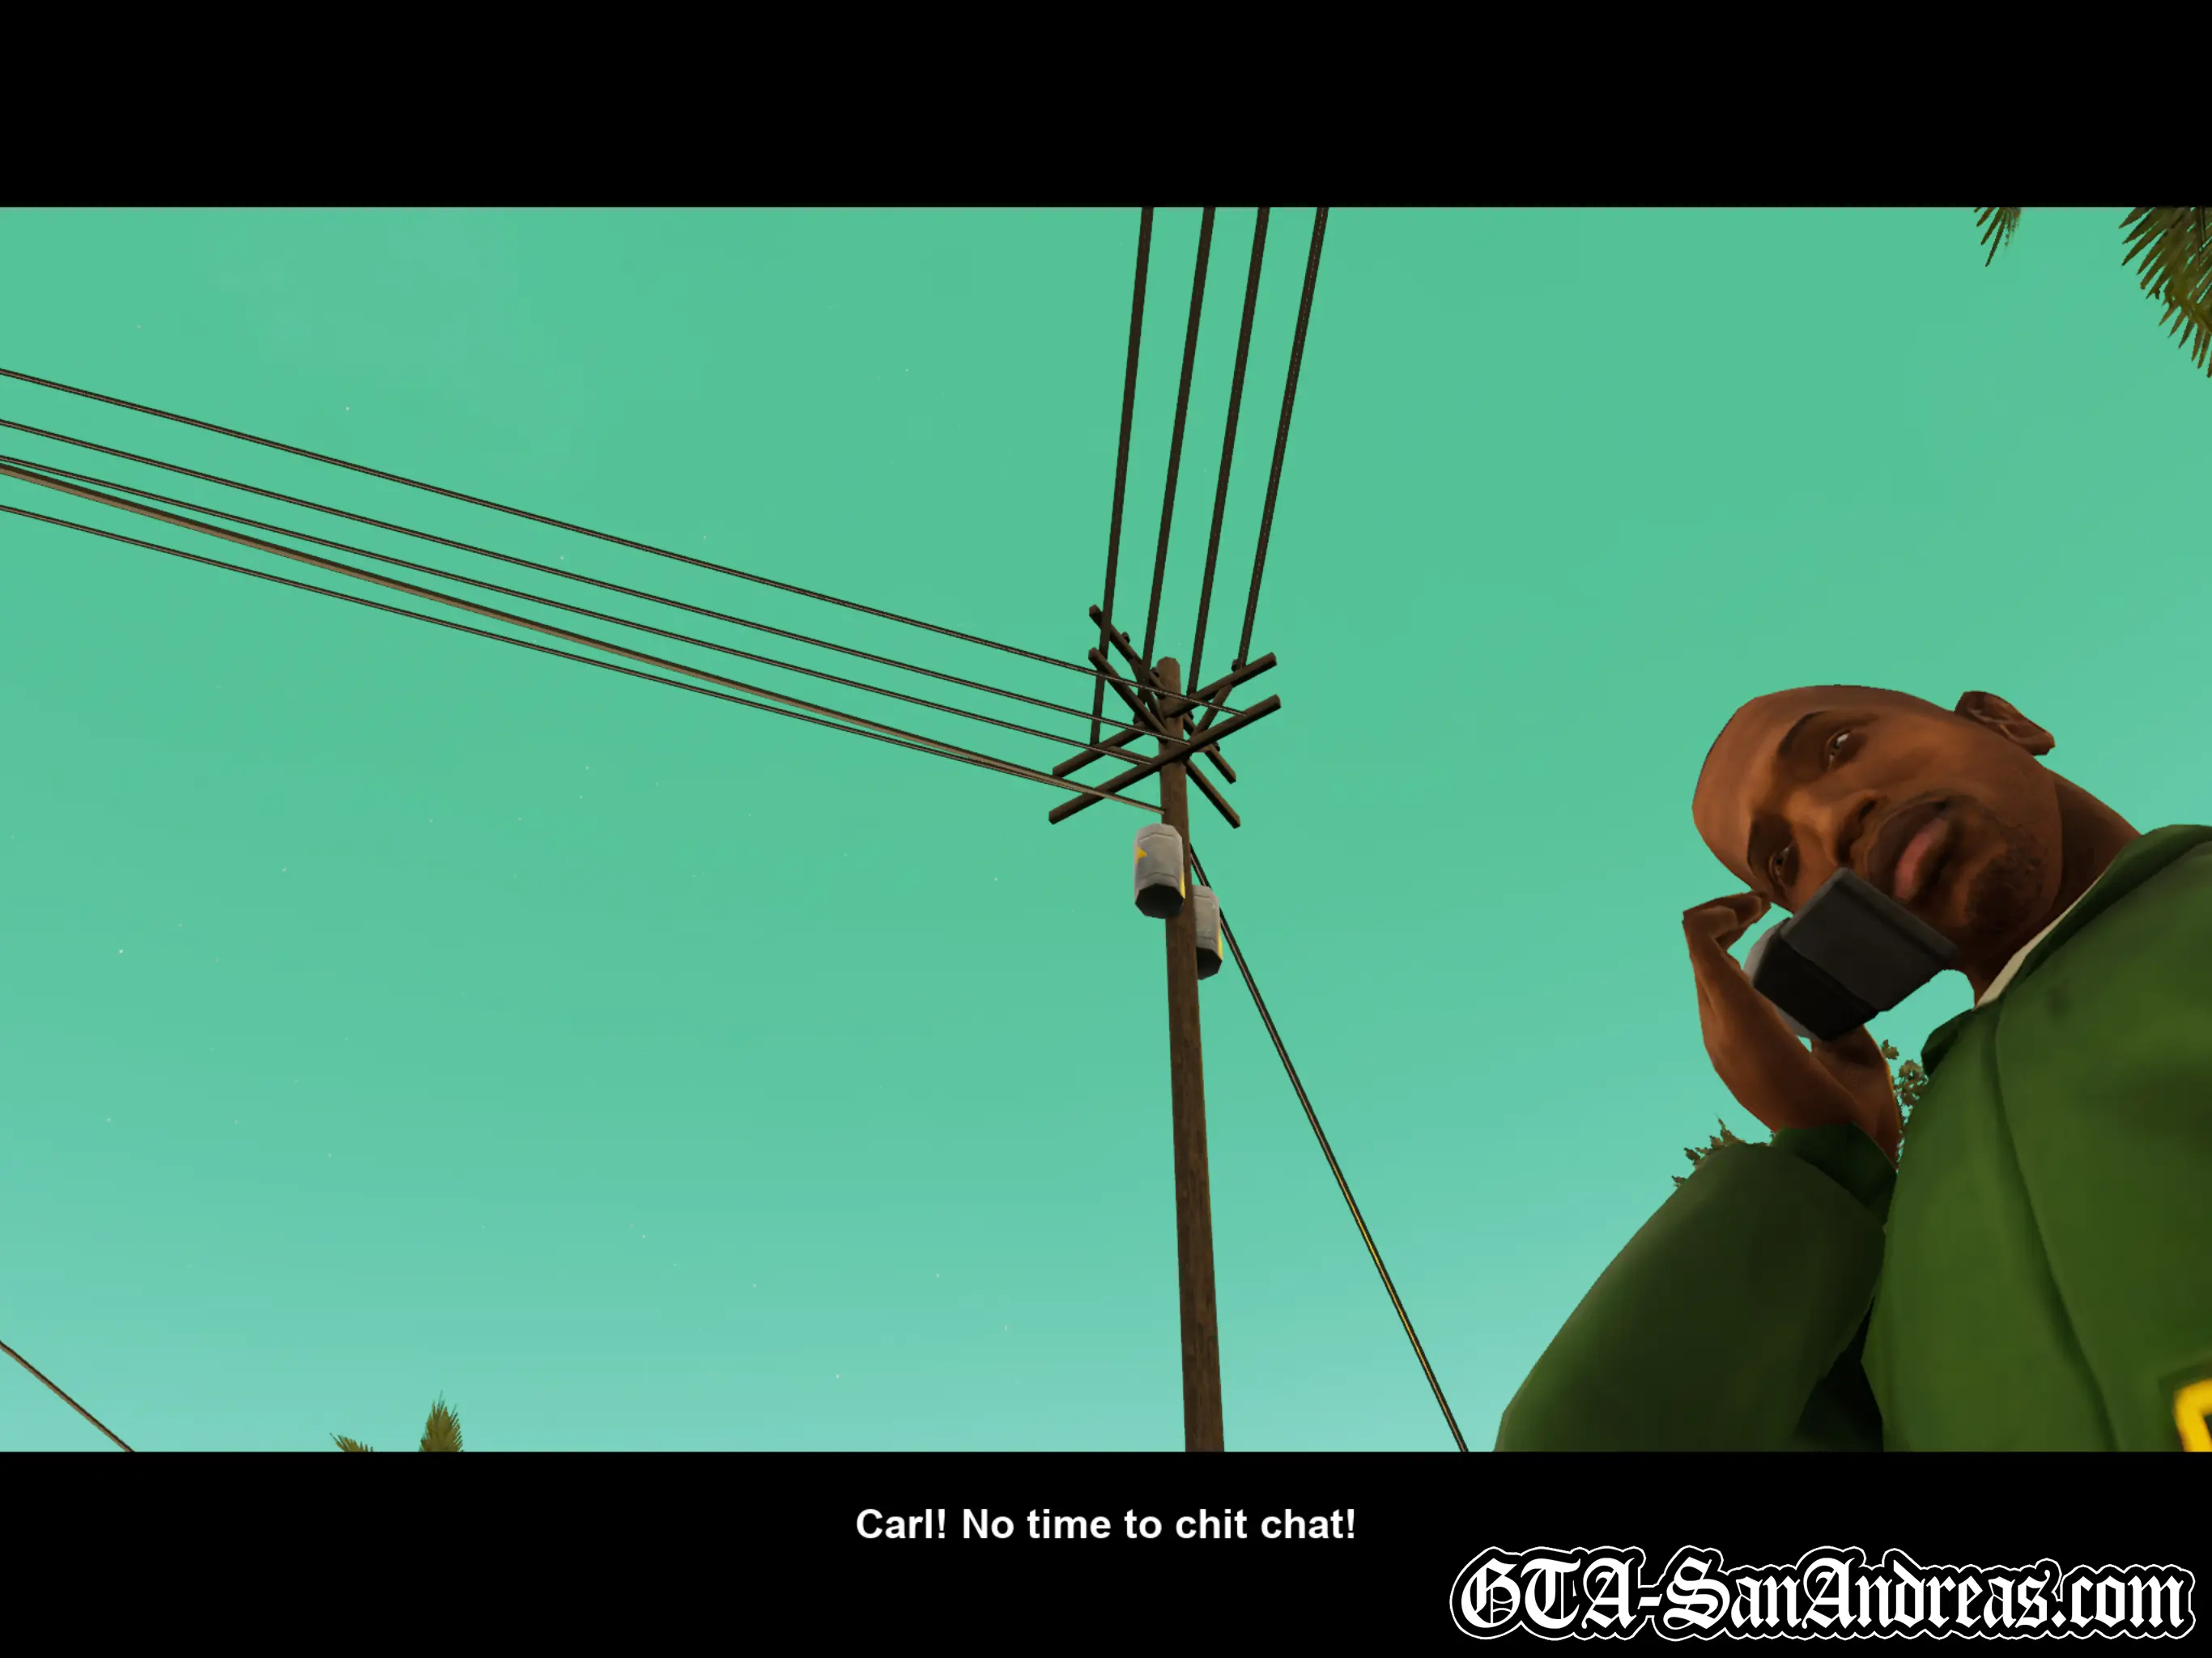
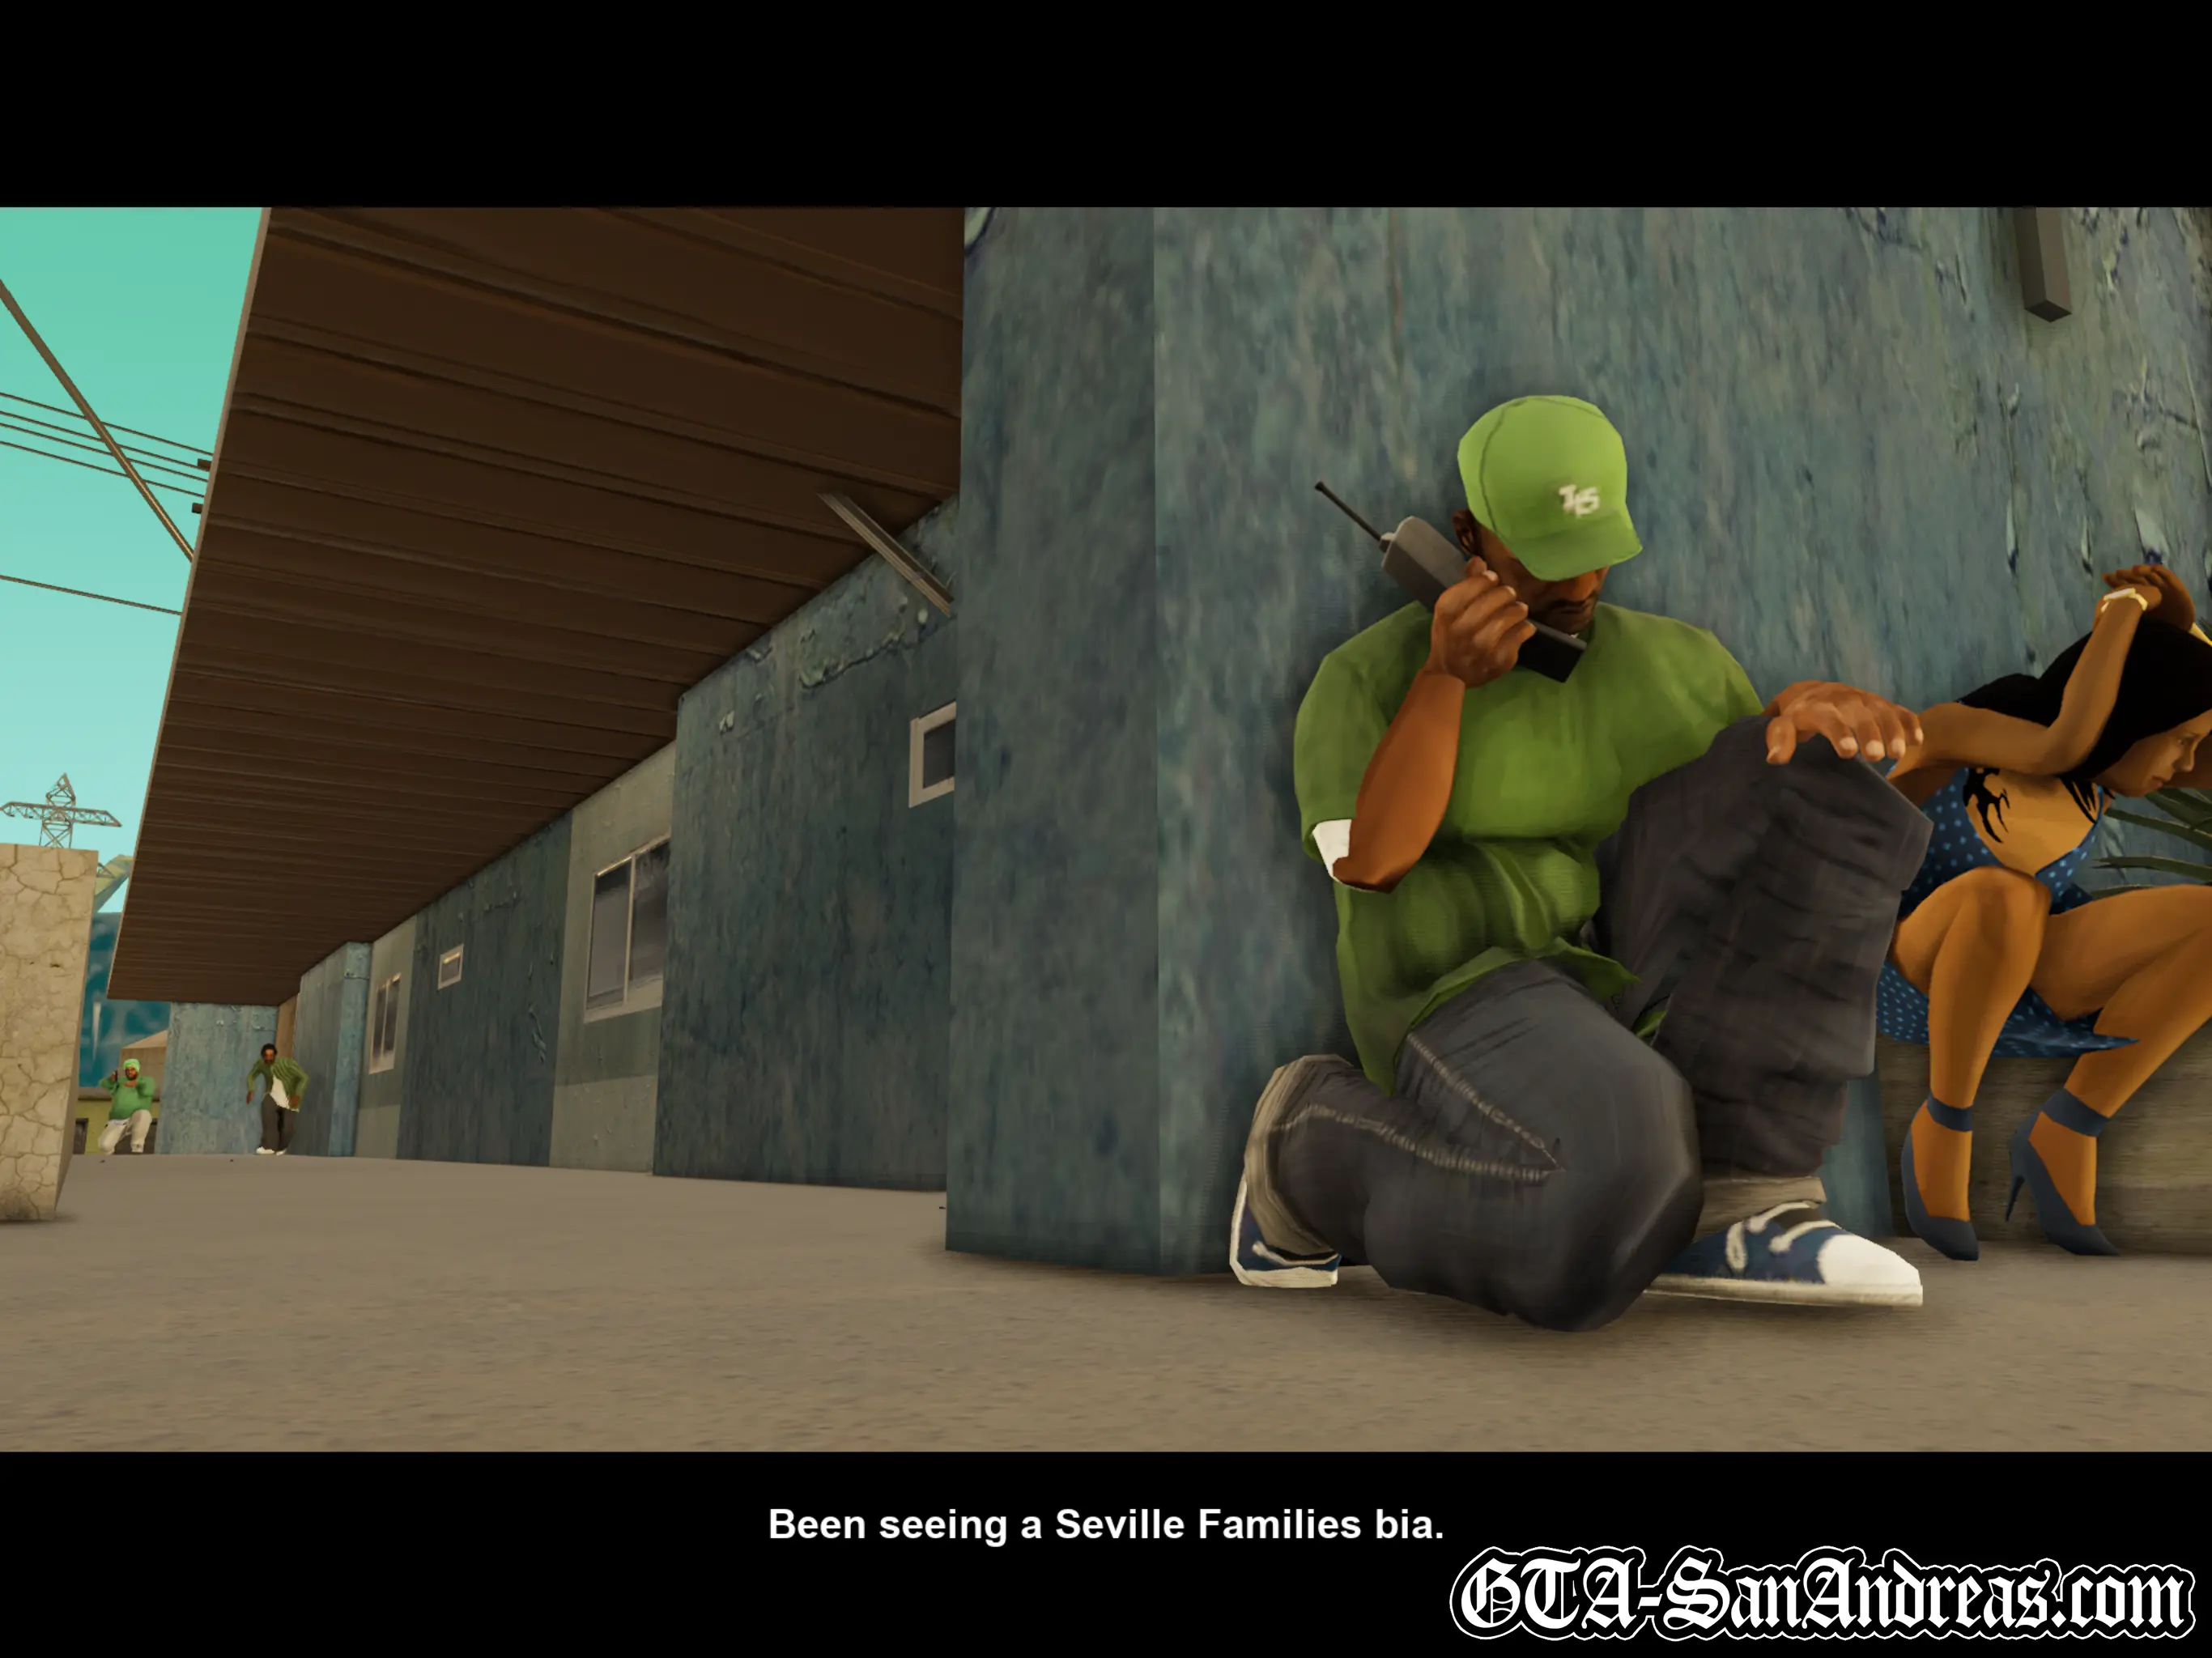
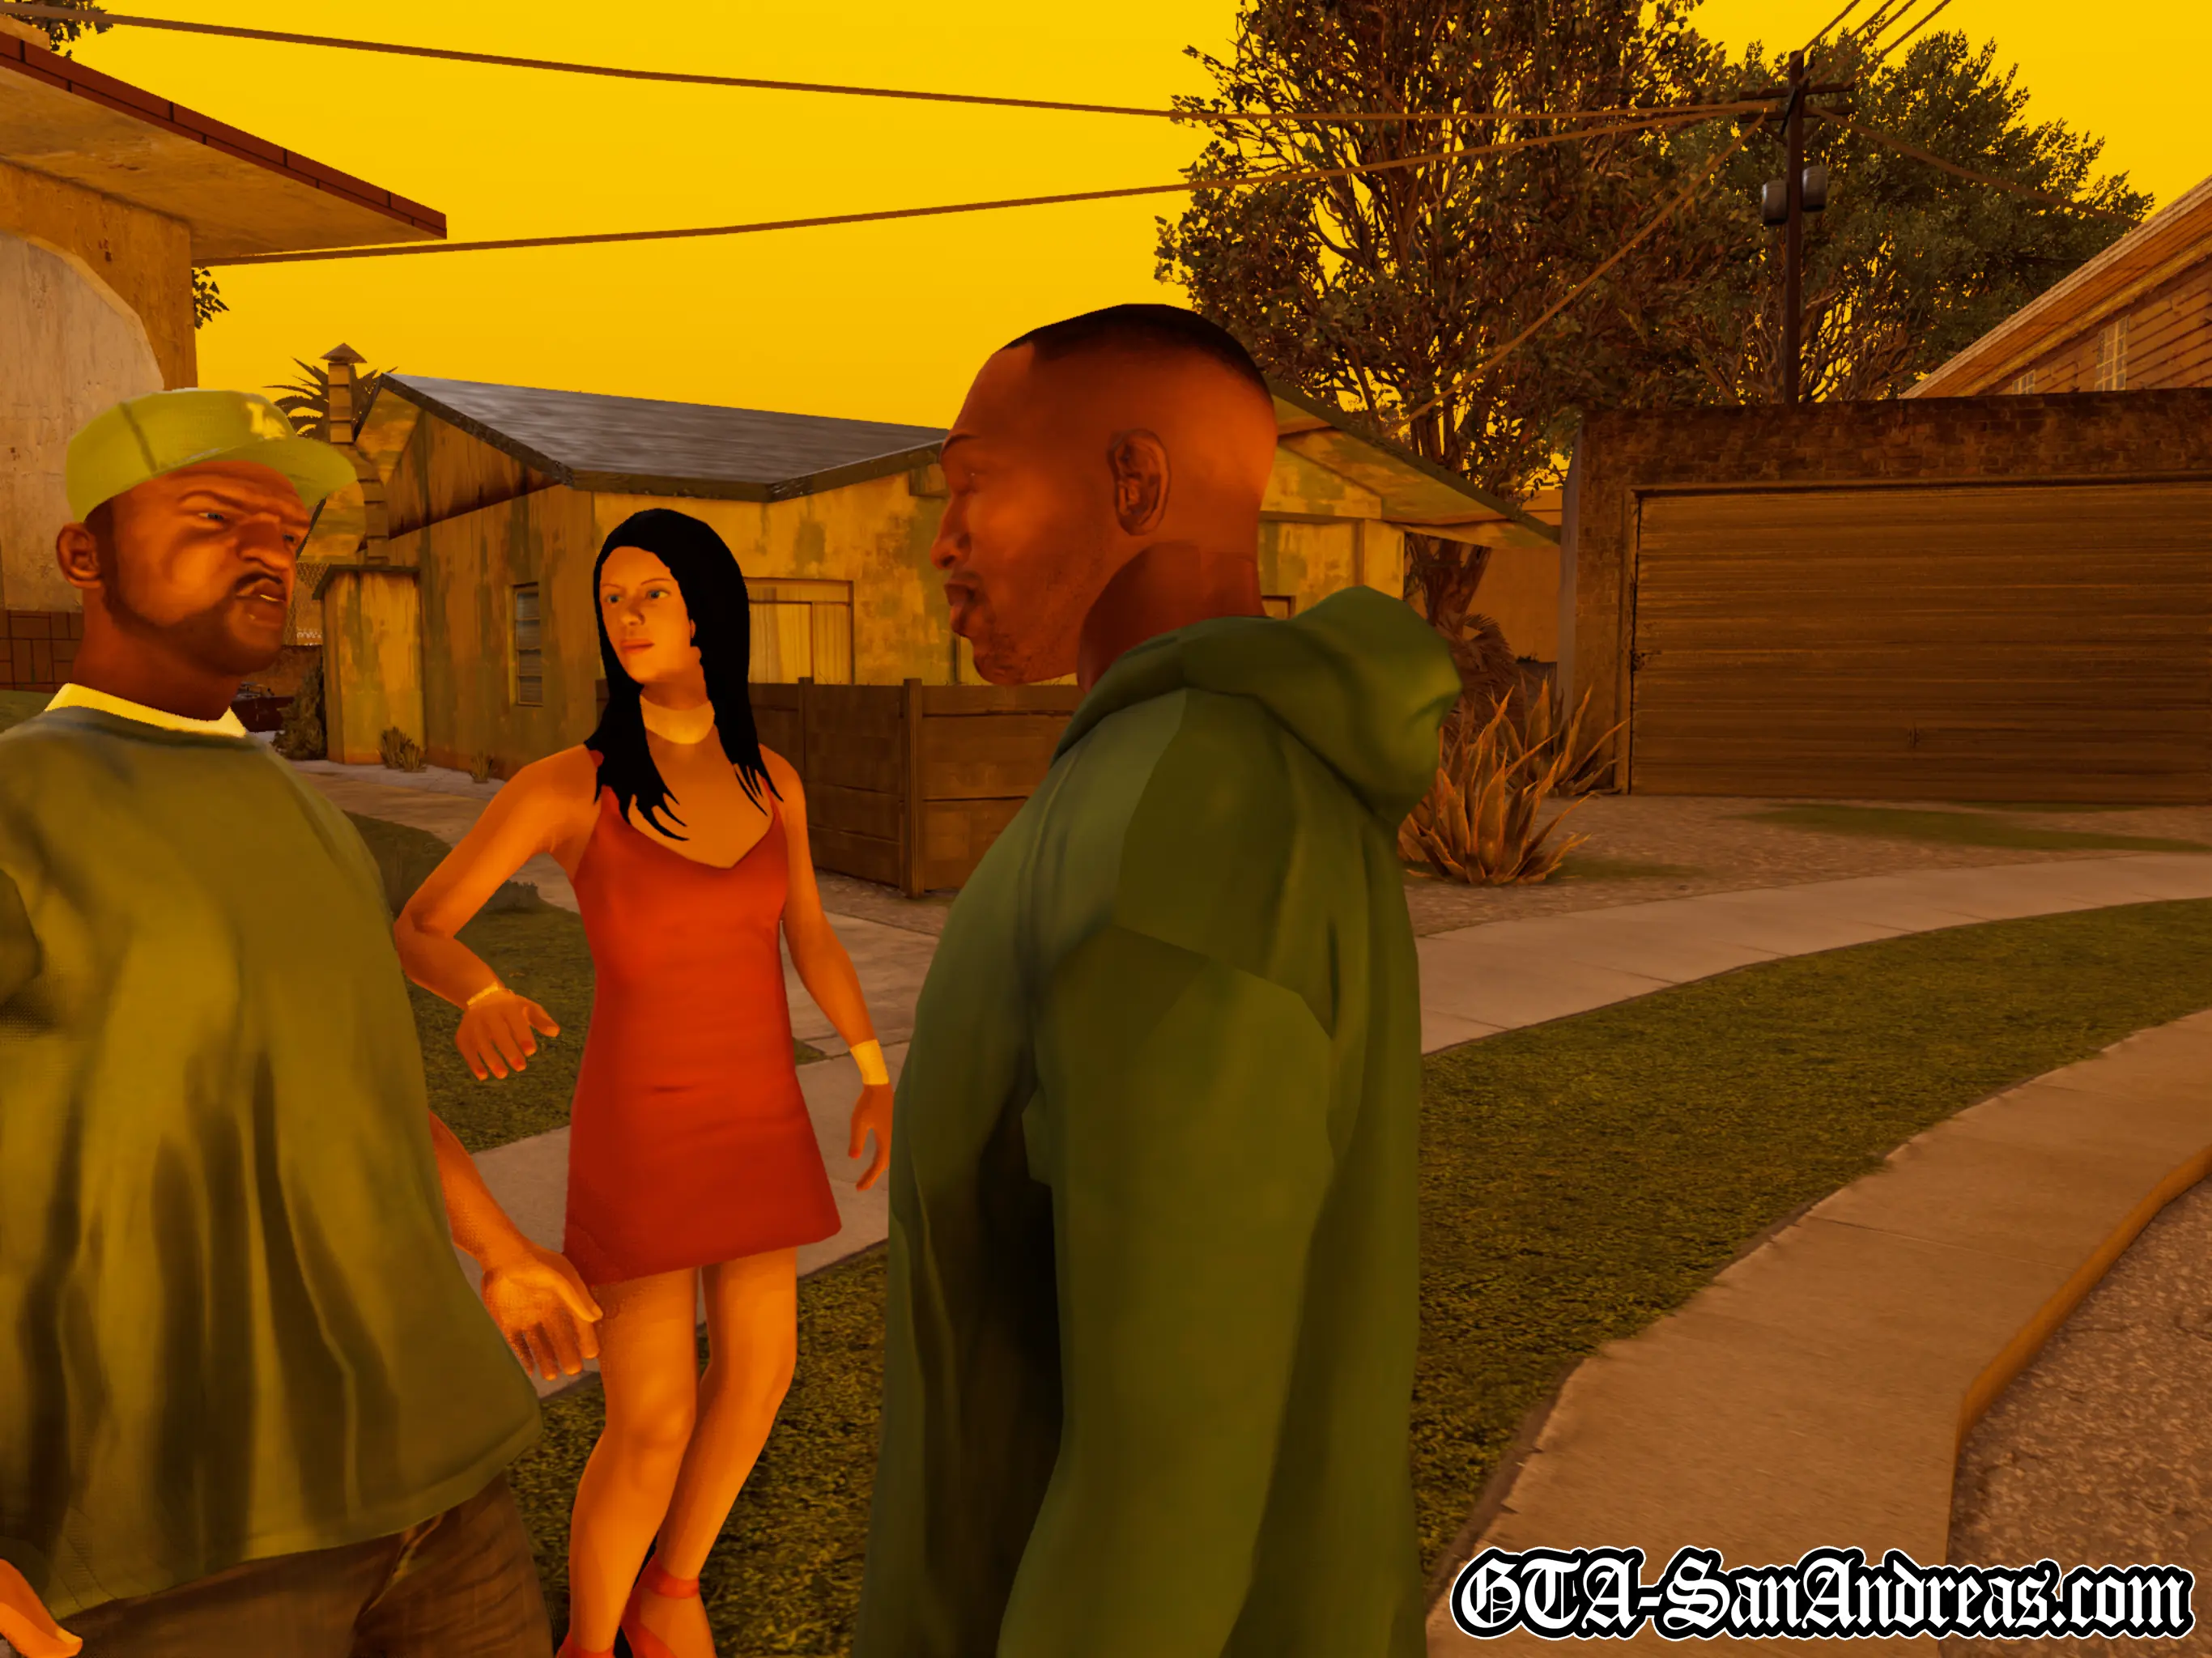
Outside, CJ receives a phone call from Sweet, who tells him he's been seeing a girl from the Seville Families and they're not happy about it. He's pinned down and needs Carl to get them out of there. Sweet reminds Carl to drop by Emmet's if he needs to get heated.
Grab a vehicle and quickly make your way over to the apartment block where Sweet is holed up. You'll most likely already have a weapon from previous missions, but if not, drop by Emmet's to grab one on the way.
When you arrive at the apartment block, you'll need to exit the vehicle and move in on-foot.
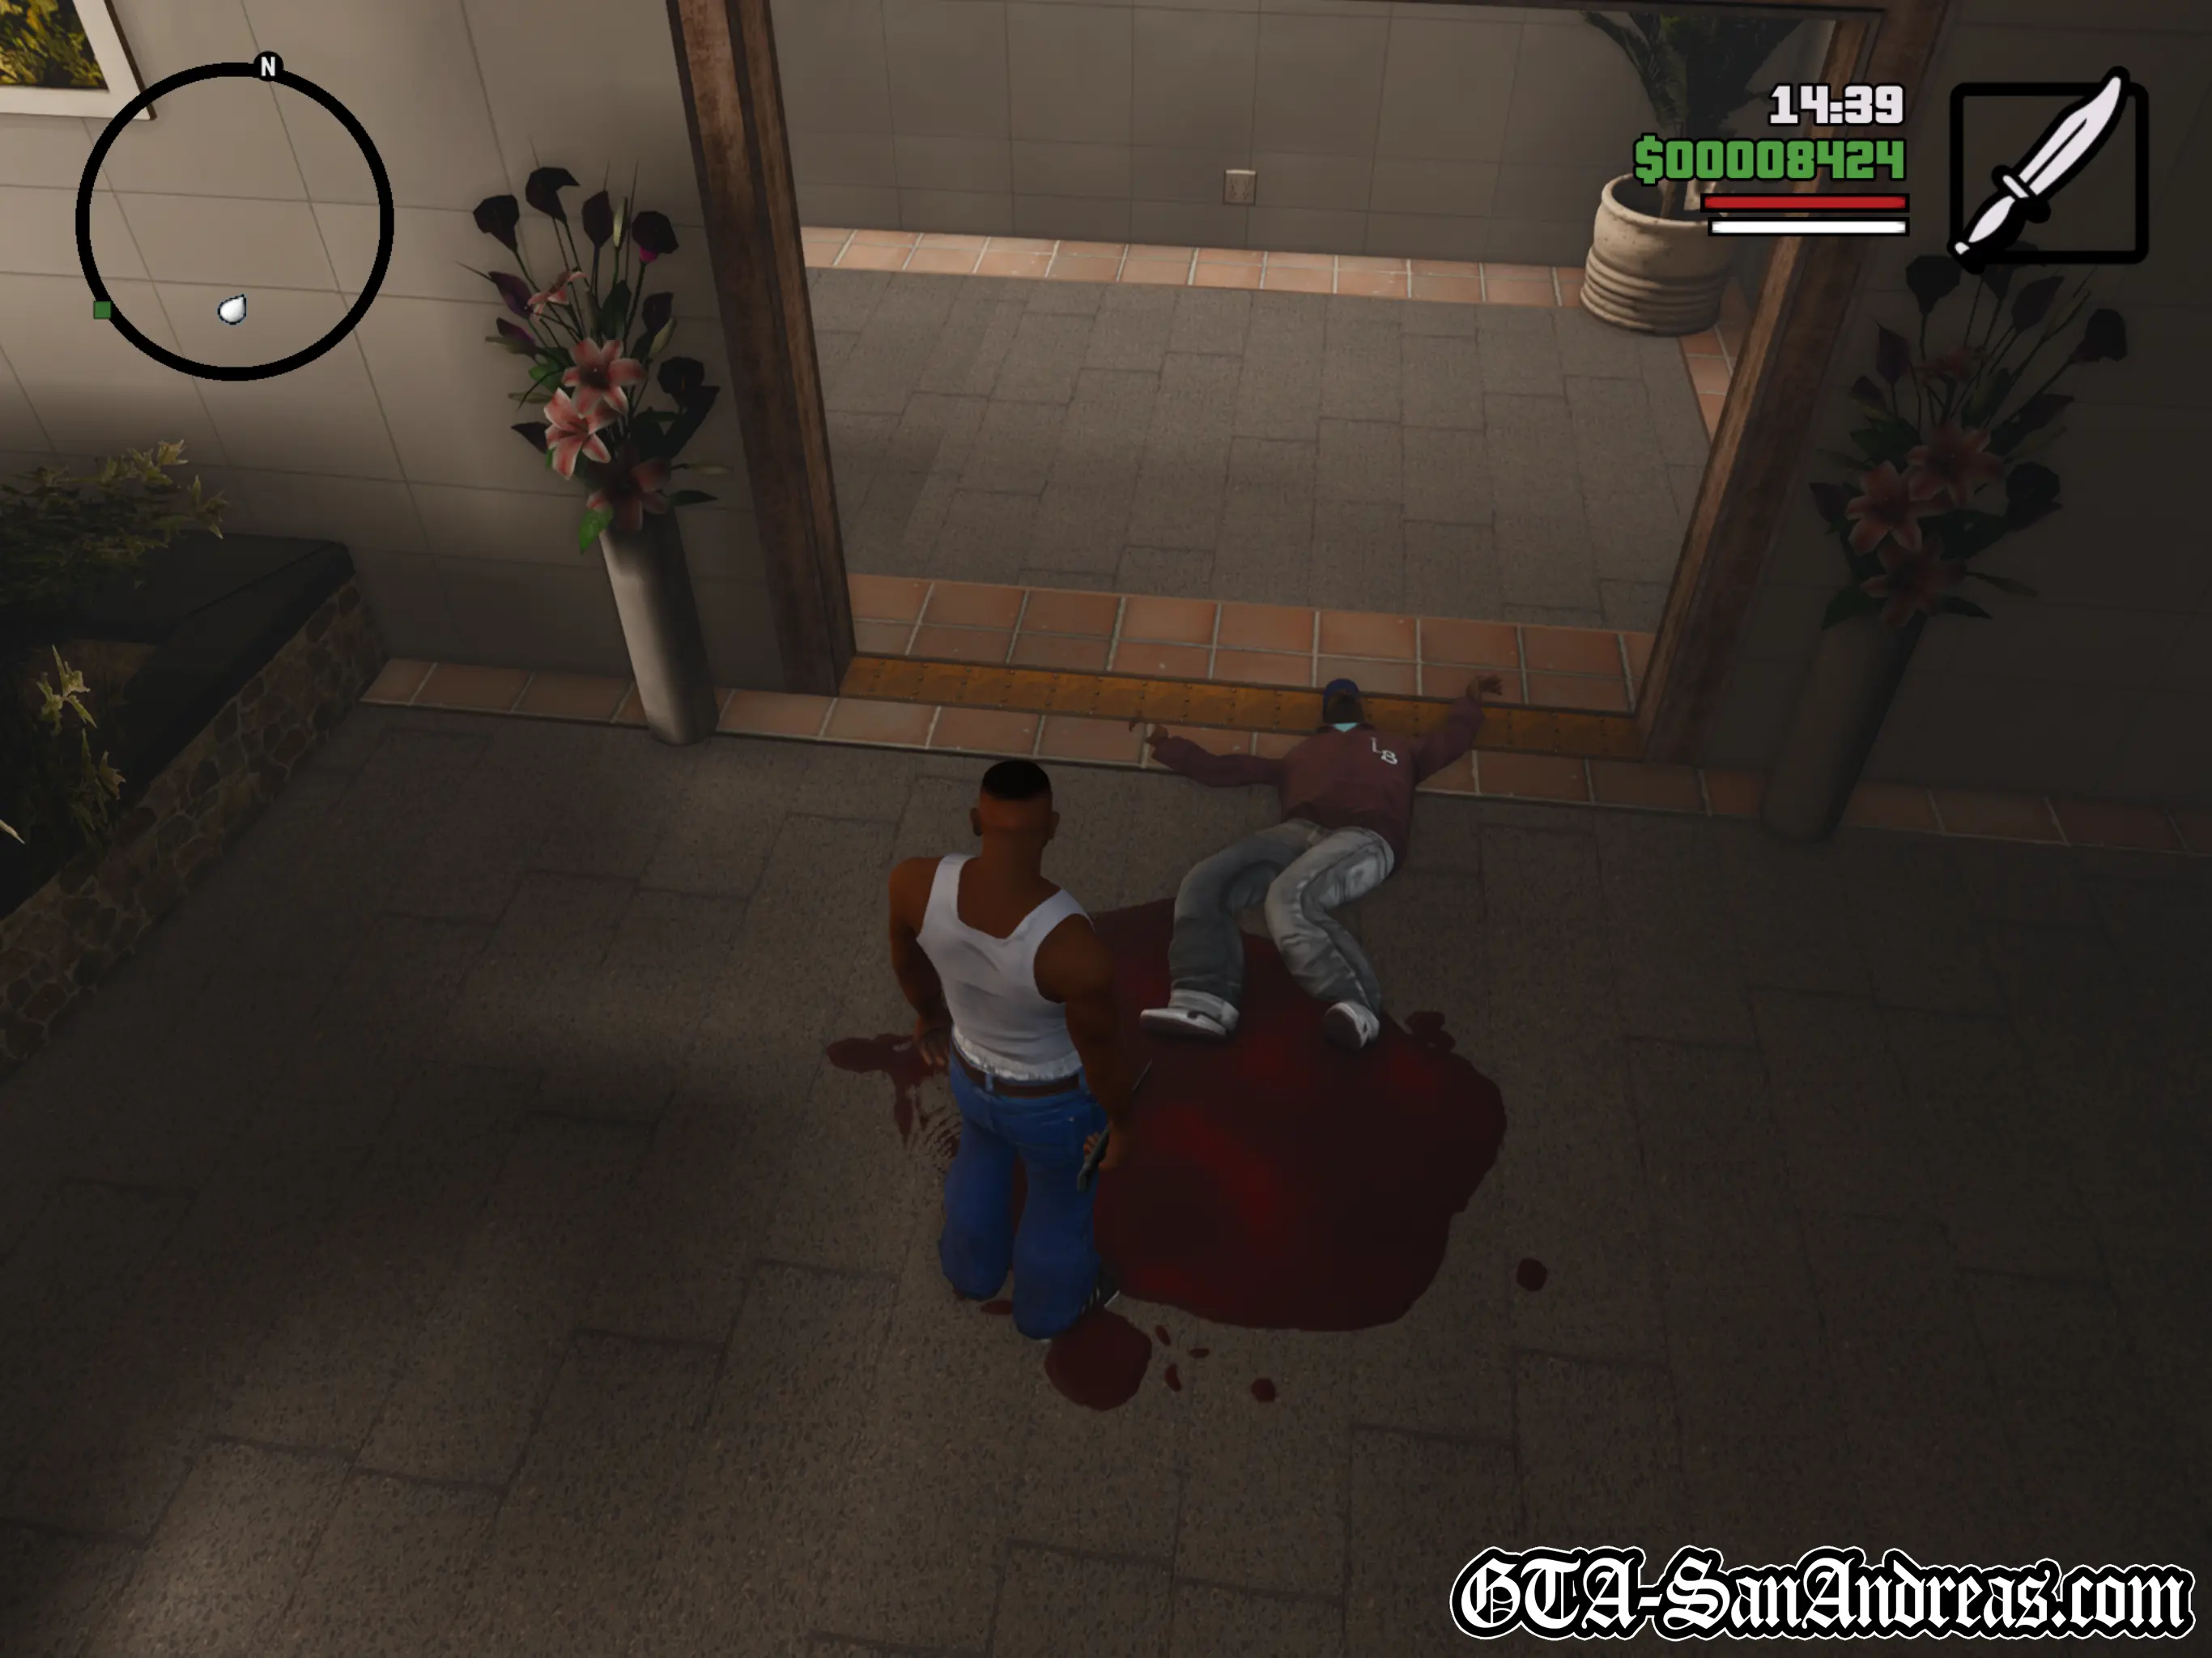
Take out the Seville Boulevard Families on the road in front of the apartments. They're marked with arrows over their heads. There'll also be a couple on the stairs and at the other end of the building.
Remember everything Big Smoke taught you at Emmet's and crouch to improve your aim, switching targets when they're dead.
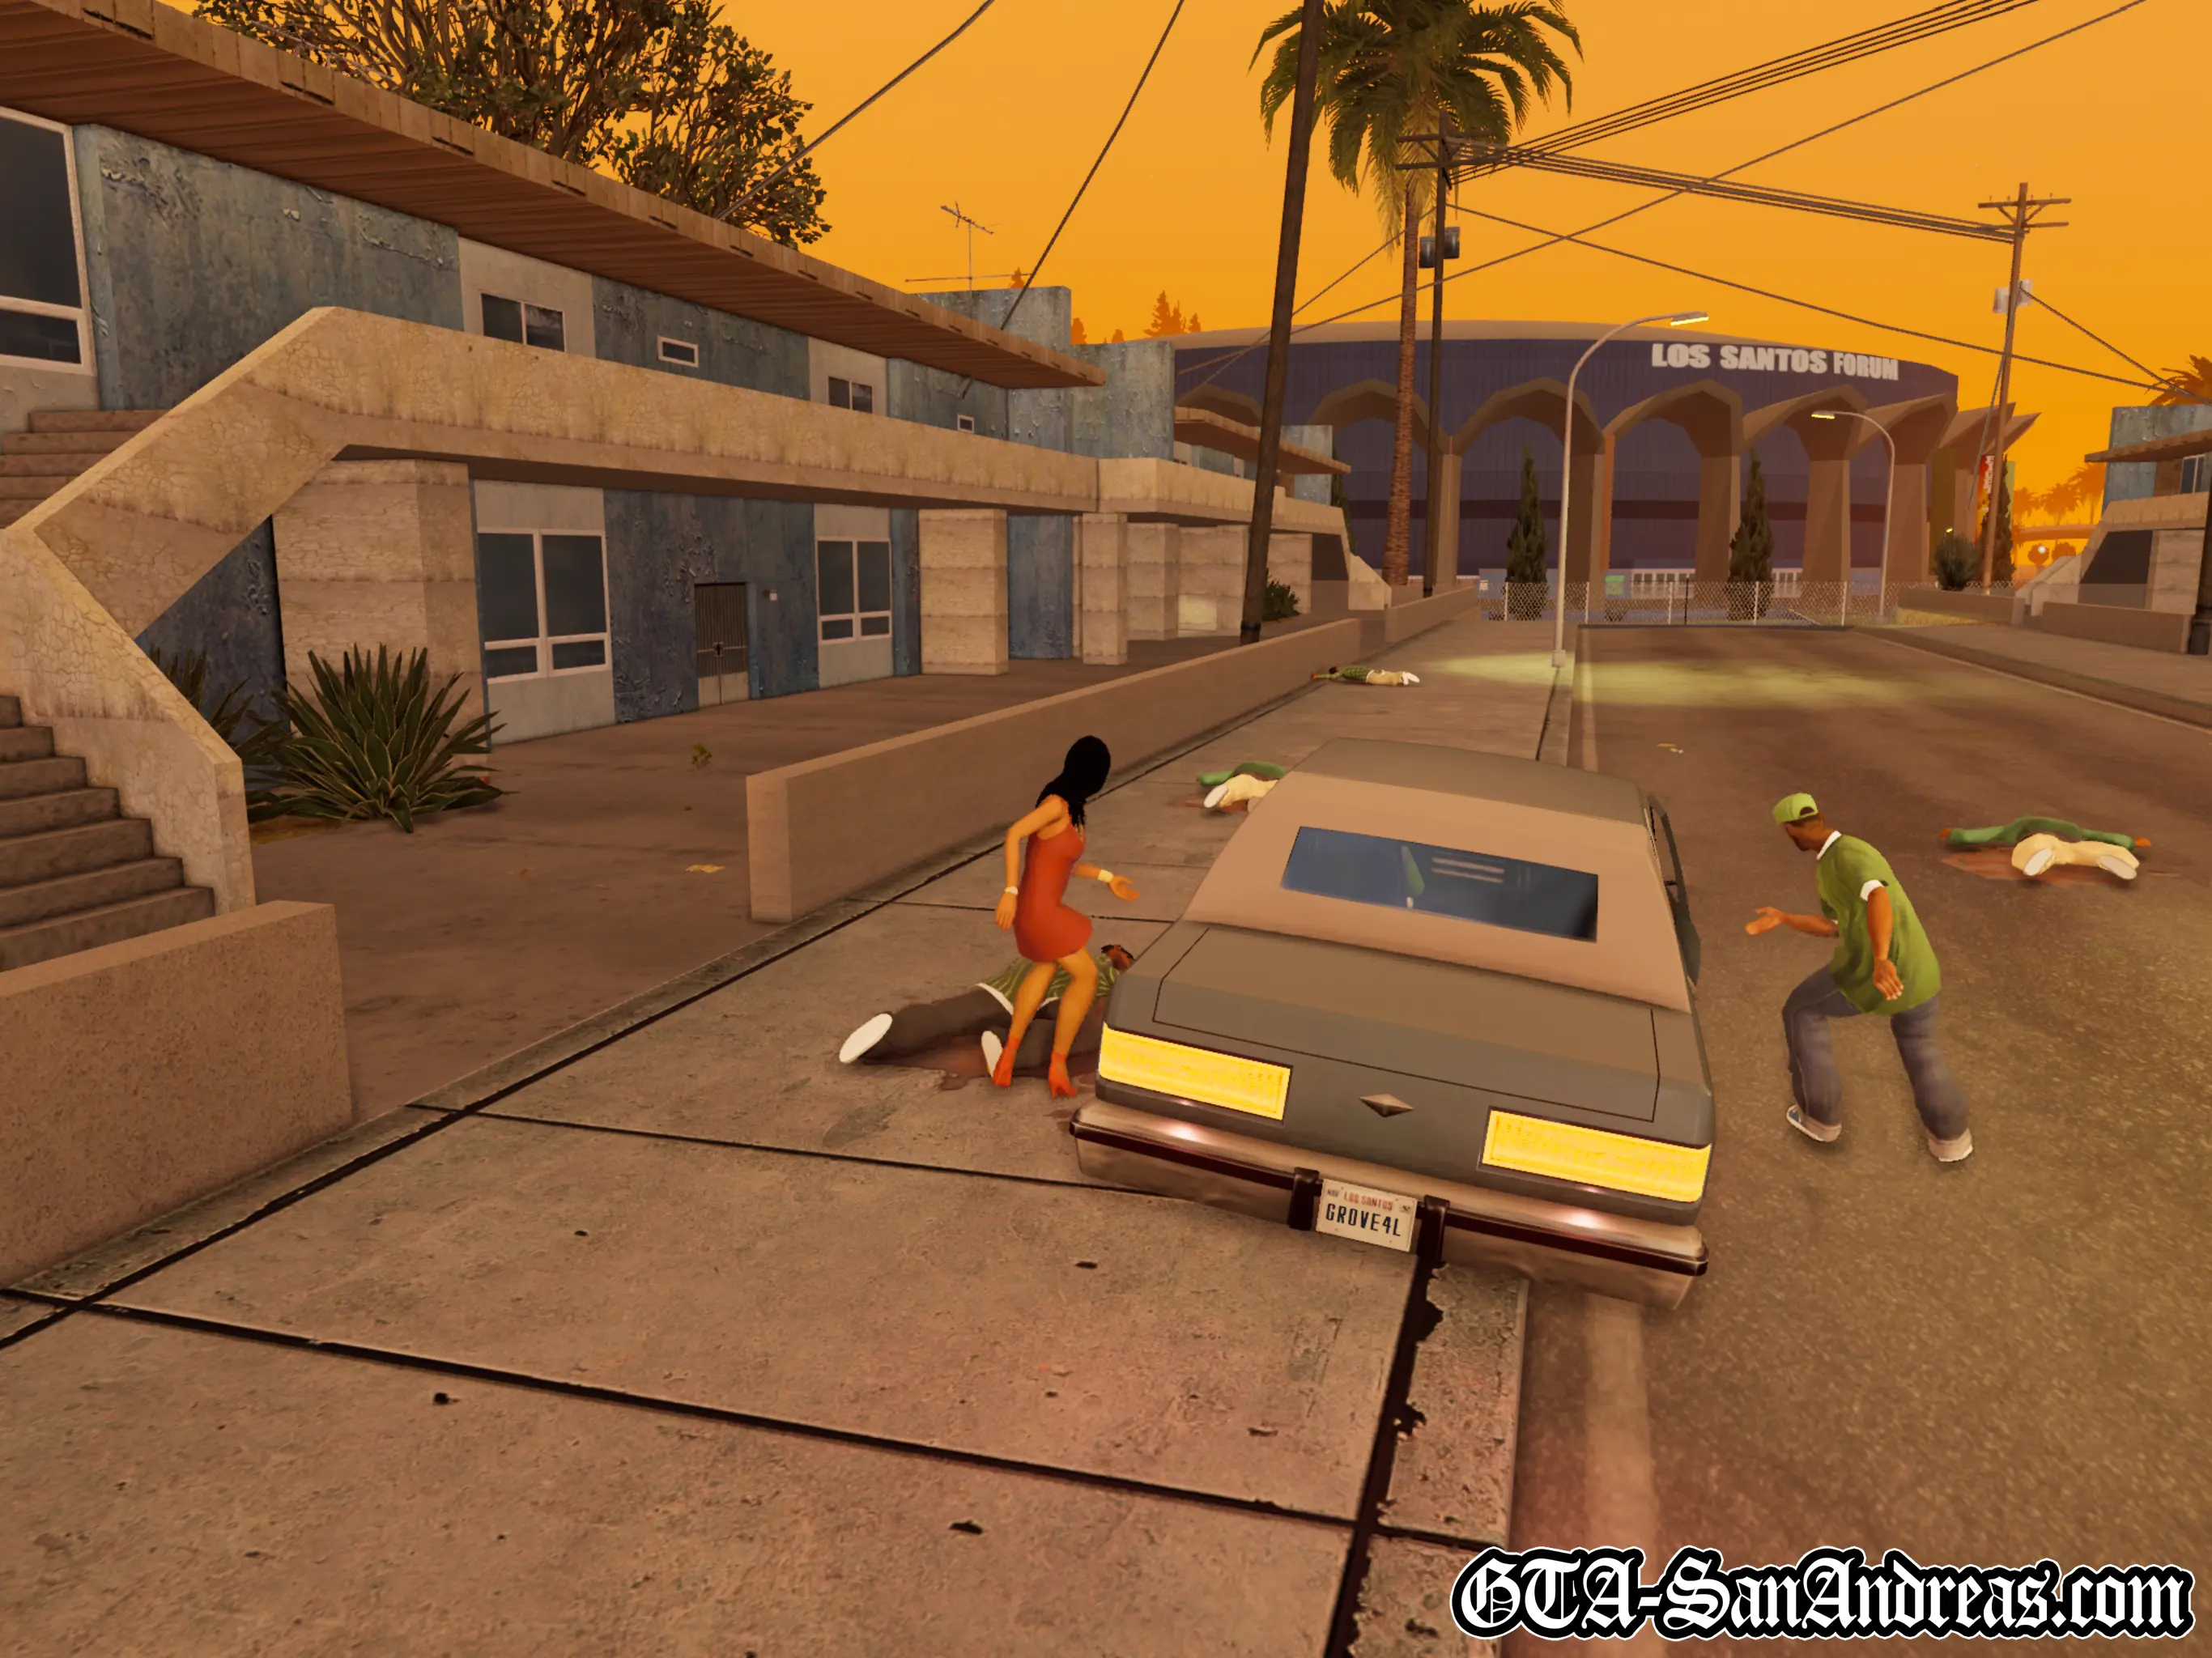
Once all the enemies are dead, Sweet calls CJ and tells him to get a four-door car and park it out front. Thankfully, there's a Greenwood parked on the street, so grab that and park it in the red marker.
Cutscene
Sweet and his girl run from the apartment block and get into the vehicle. As they do, two cars appear down the street and give chase.
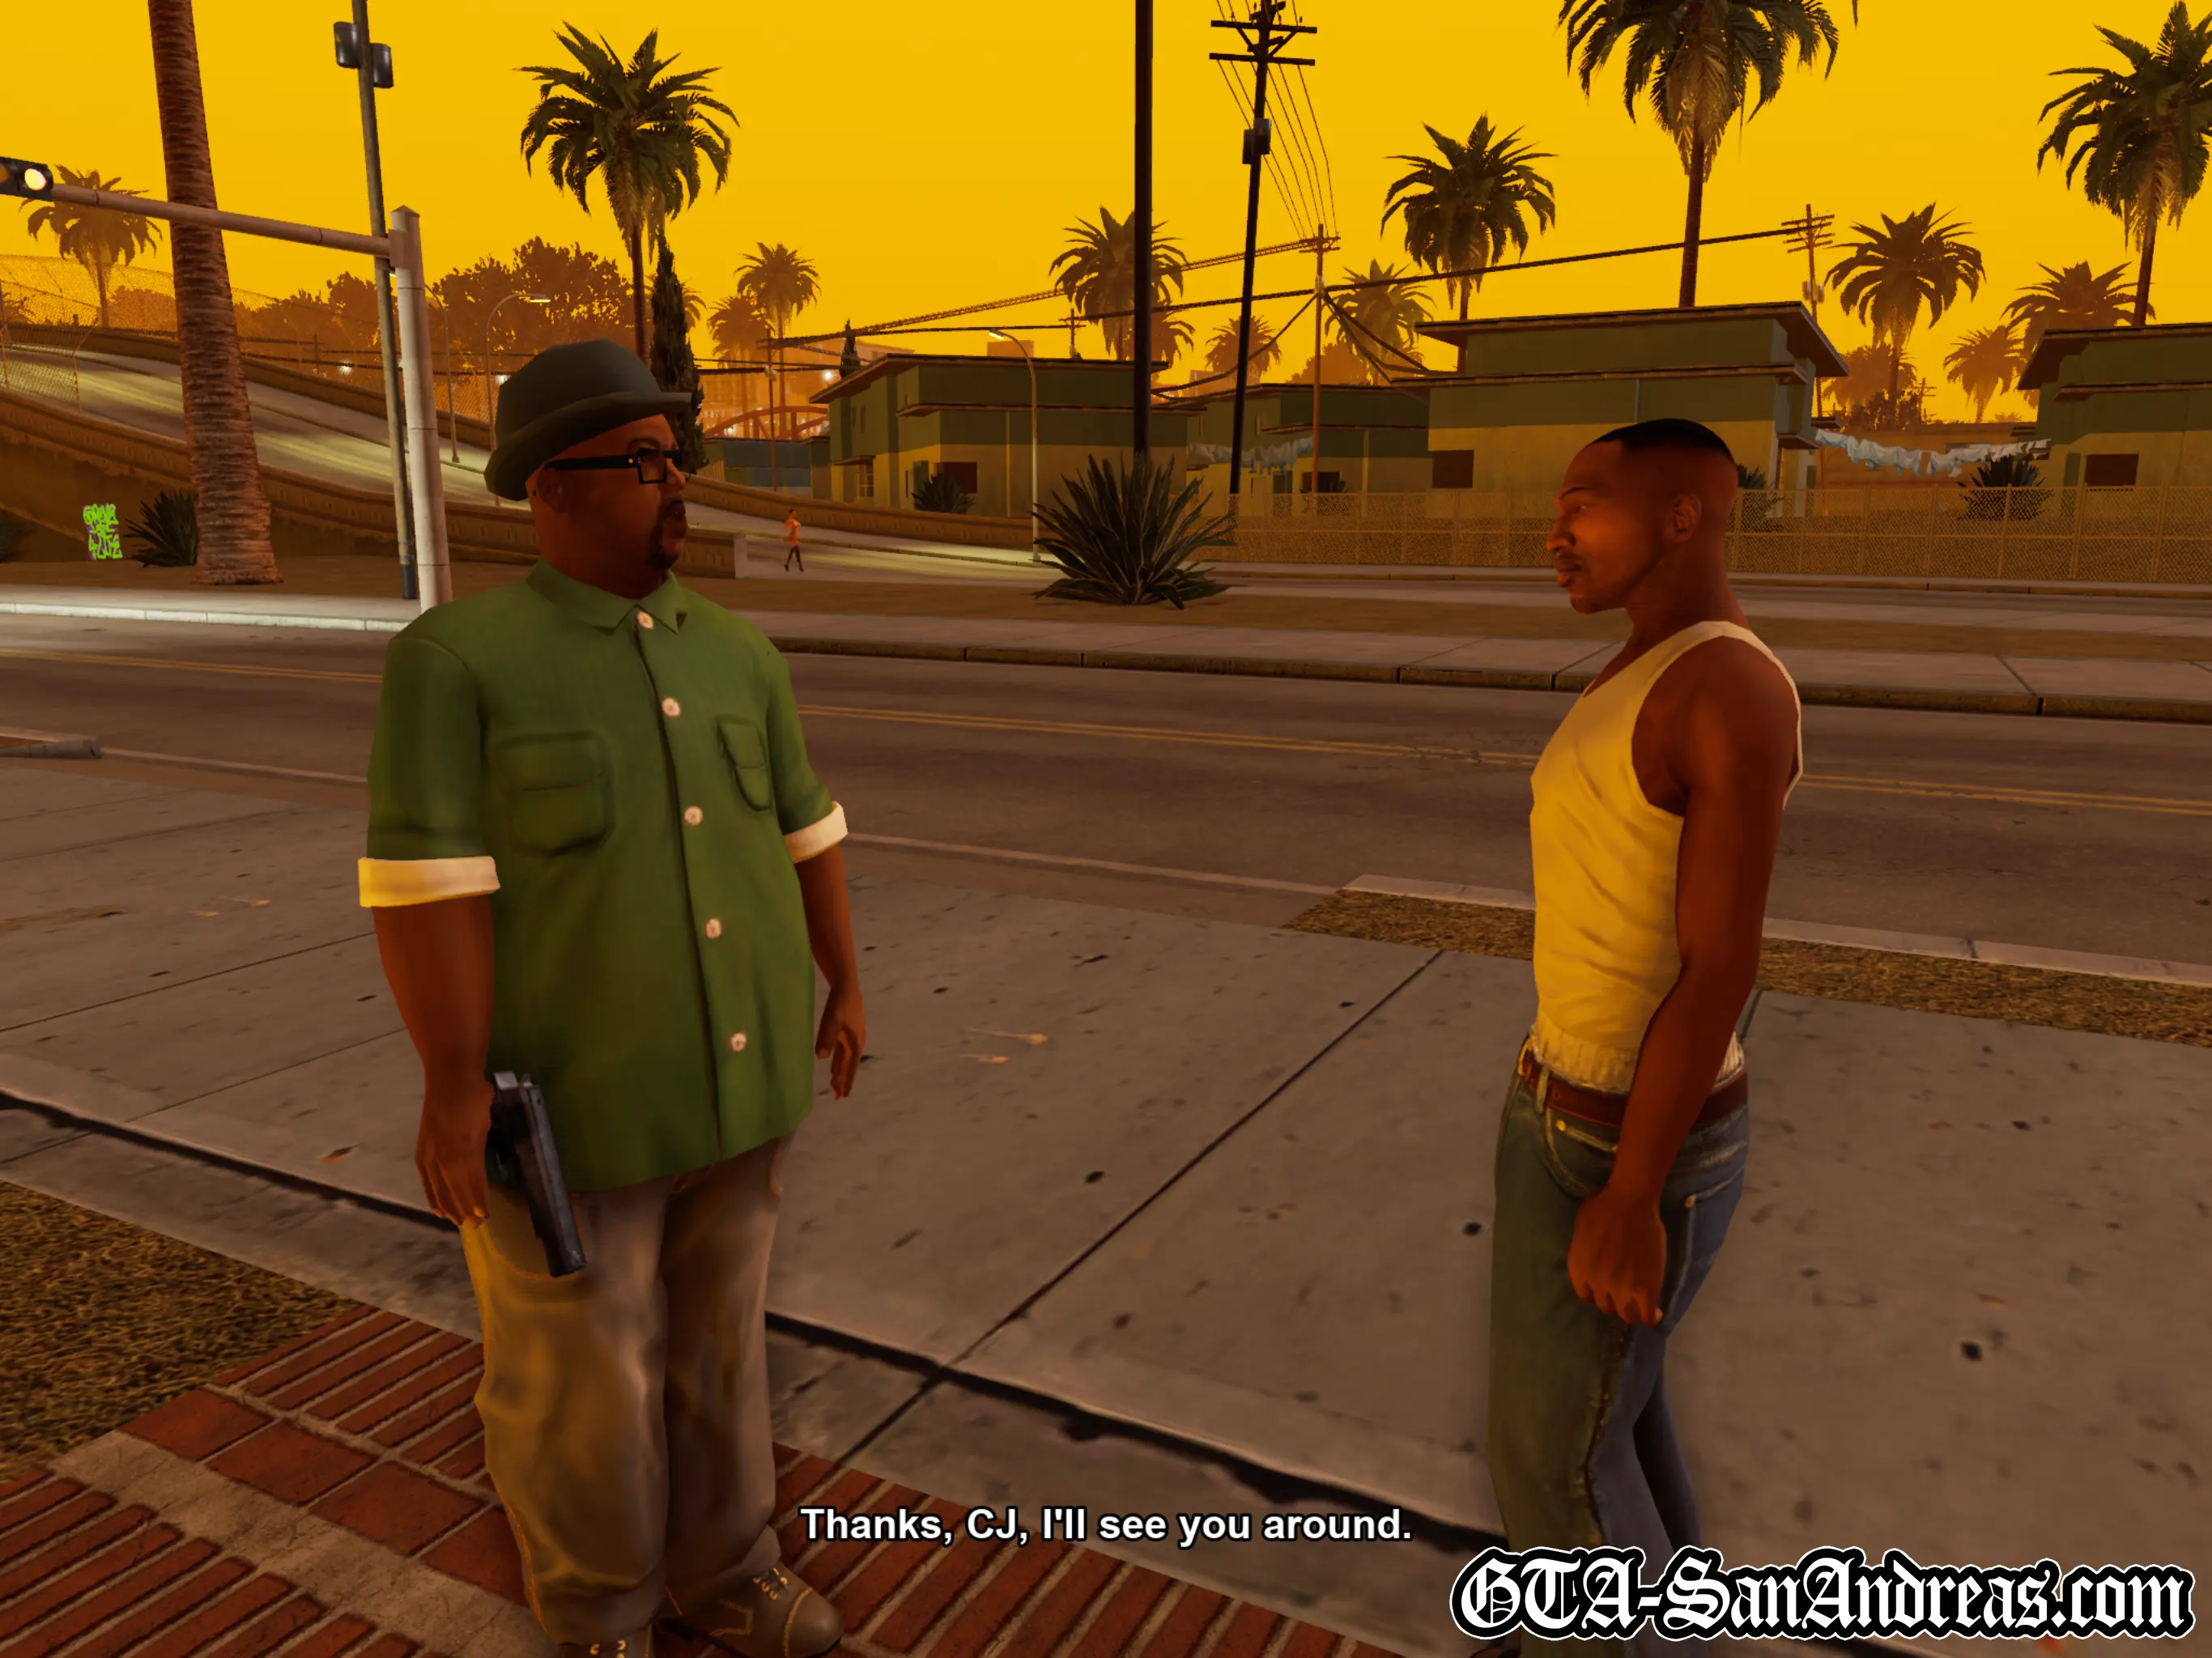
You now need to get back to Grove Street while avoiding the two cars in pursuit of you. Sweet will fire at the chasing vehicles, but they'll most likely keep up with you until you get back to Grove Street. Don't worry too much about losing them and just drive back to the Grove as quickly as you can, then park in the red marker.
Cutscene
Sweet thanks Carl for his help, then heads home with his girl to take care of unfinished business.
Screenshots
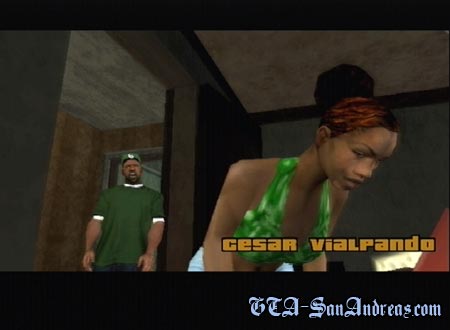
Cesar Vialpando
Cutscene
Sweet and Kendl are still arguing about who she can date. She says she'll date whoever she wants because Sweet is in no position to take the moral high-ground after all the senseless killing he does.
Kendl leaves the house and Sweet wants you to follow her to a cholo car club to keep an eye on her.
The game will tell you to get to a garage in Willowfield, so grab a vehicle and make your way to the yellow blip on the map. When you arrive, park in the red marker.
Cutscene
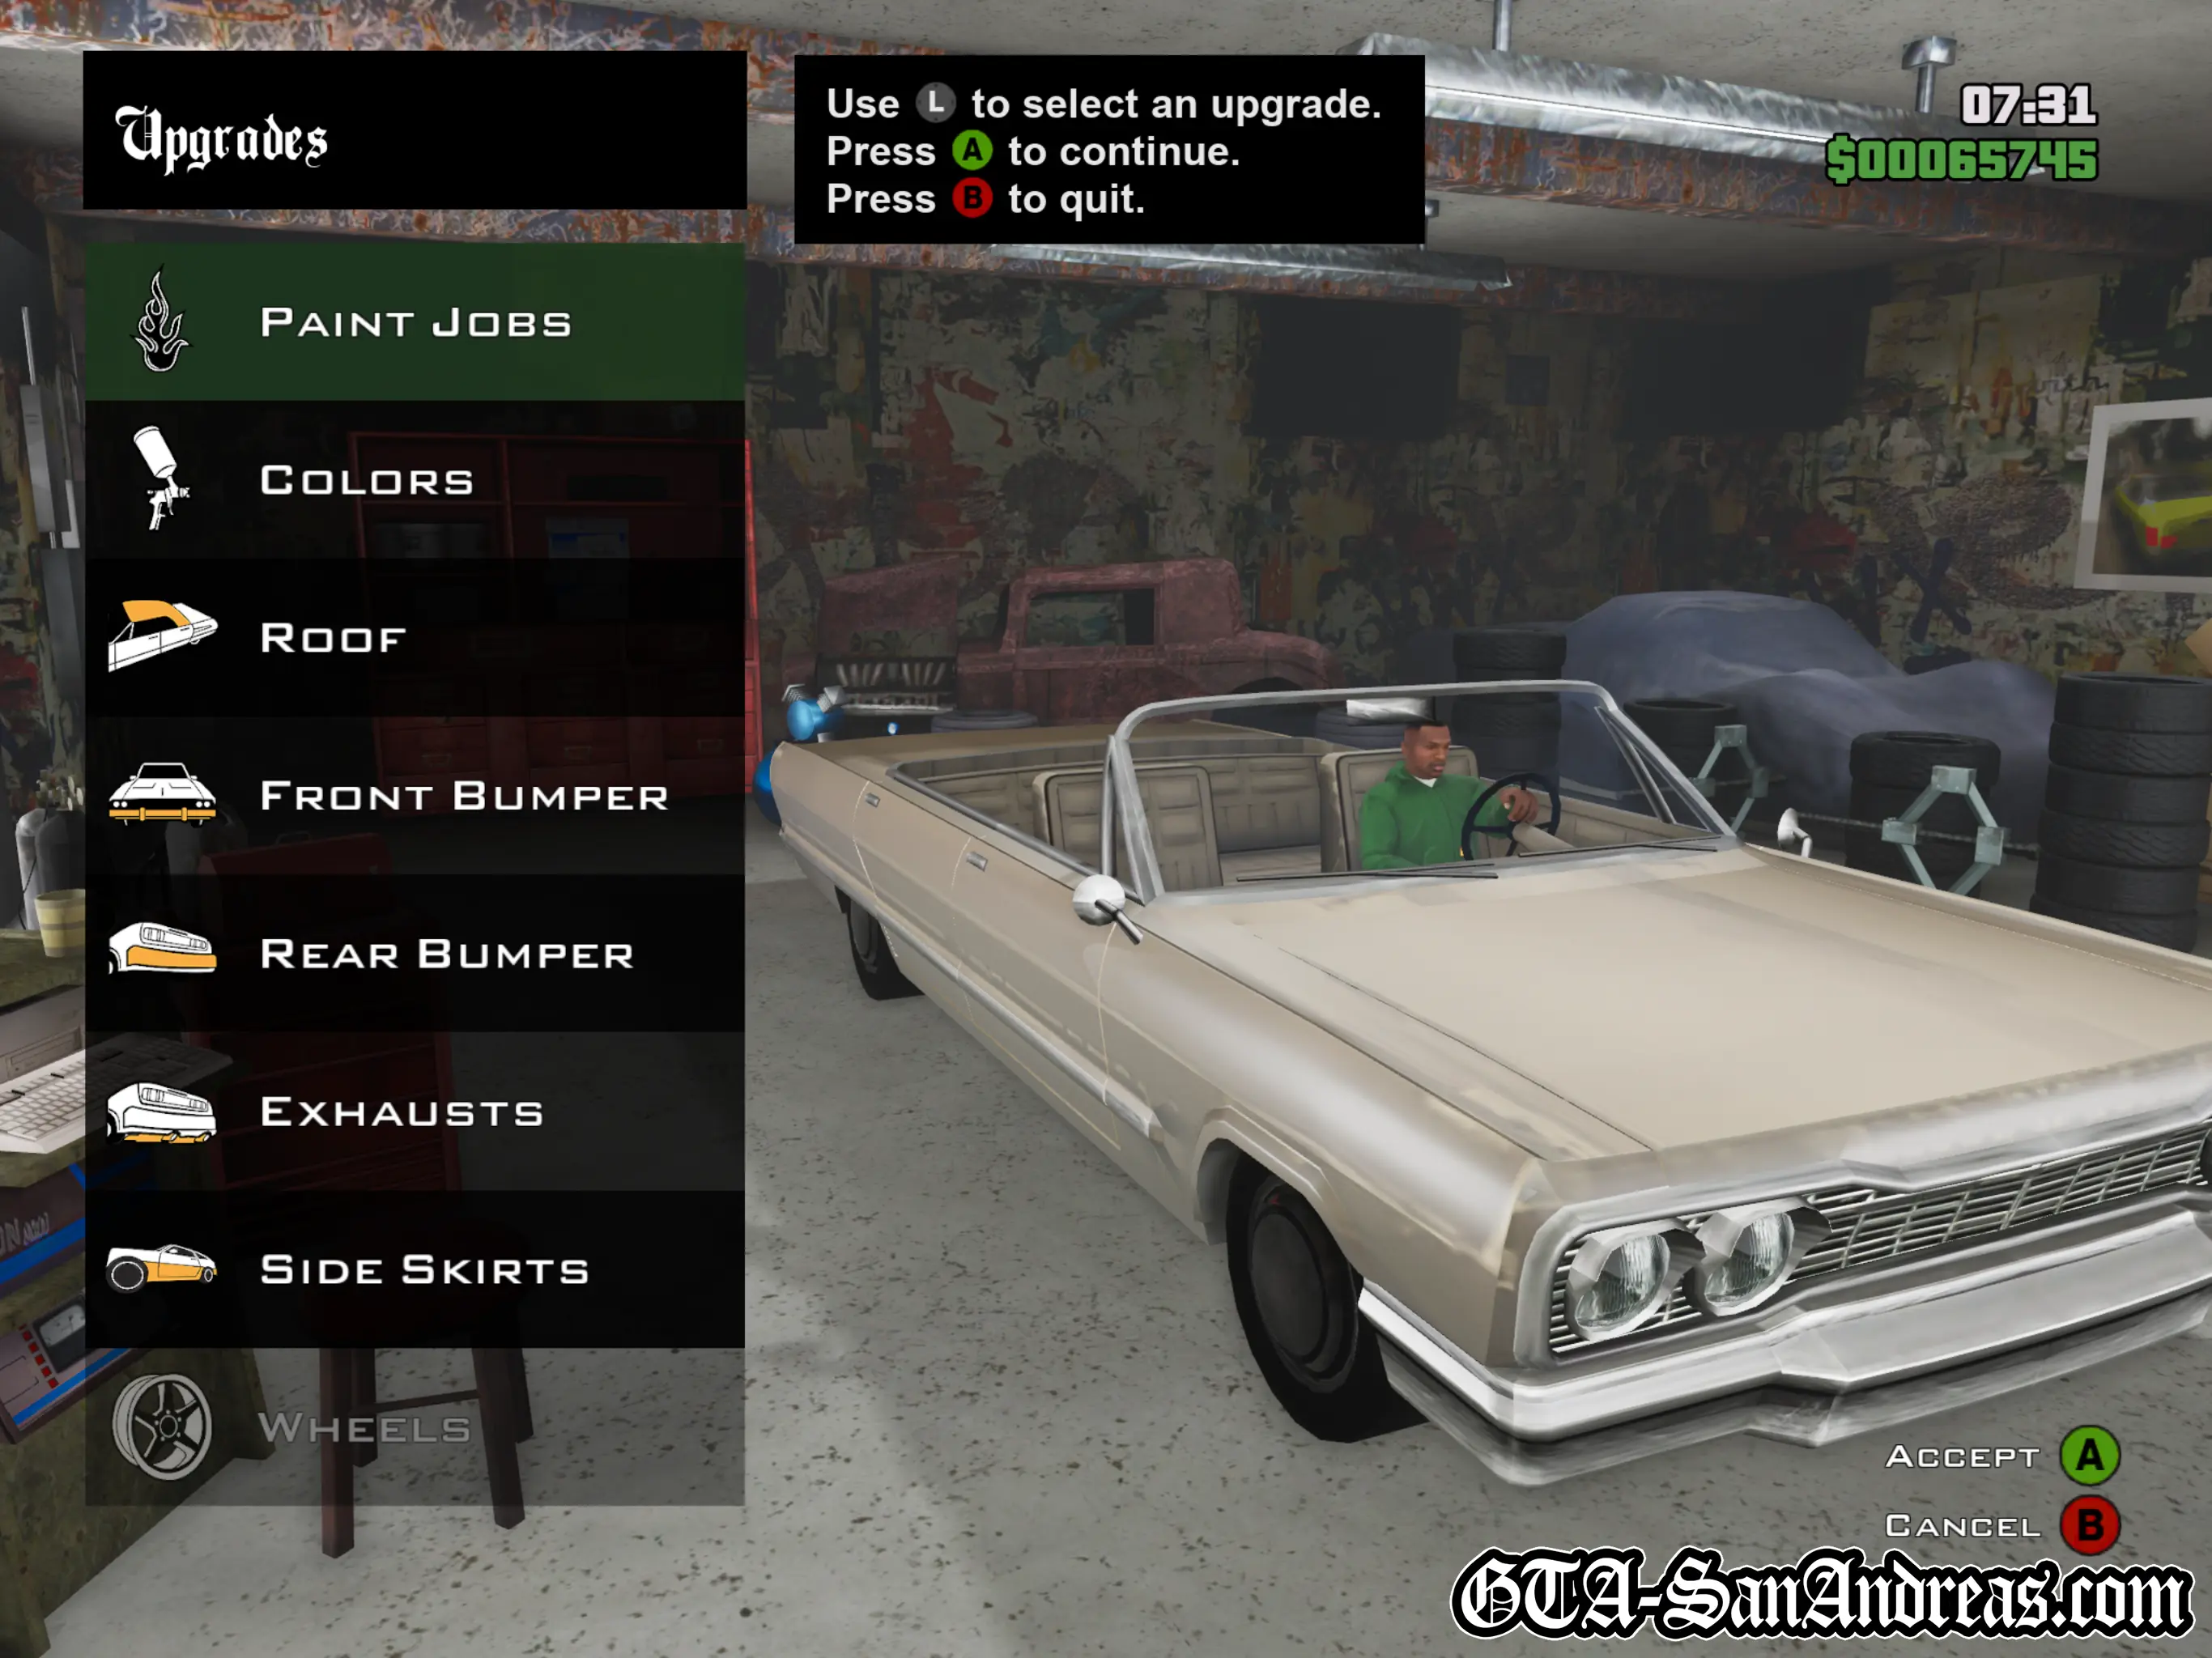
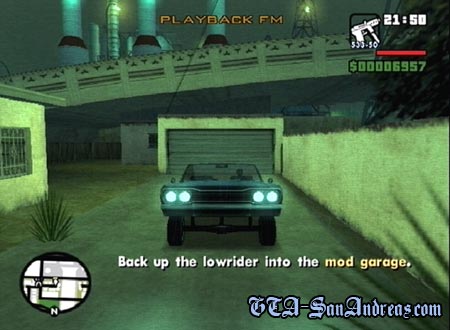
The guy who runs the mod shop comes out of the garage in a nice pimped out lowrider, bouncing on its hydraulics. He says he owes Sweet a favor from way back, so Carl can have the car!
You'll need to back up the car into the lowrider mod garage. Once inside, you can browse a variety of options to modify your car. This garage only accepts lowriders.
Choose anything extra you want to add to your car, then when you're done, exit the menus and you'll leave the garage.
Hints & Tips
As you're probably short on funds at this point in the story, it's useful to know you don't actually have to modify your car at all. You can immediately exit the garage and save yourself some cash.
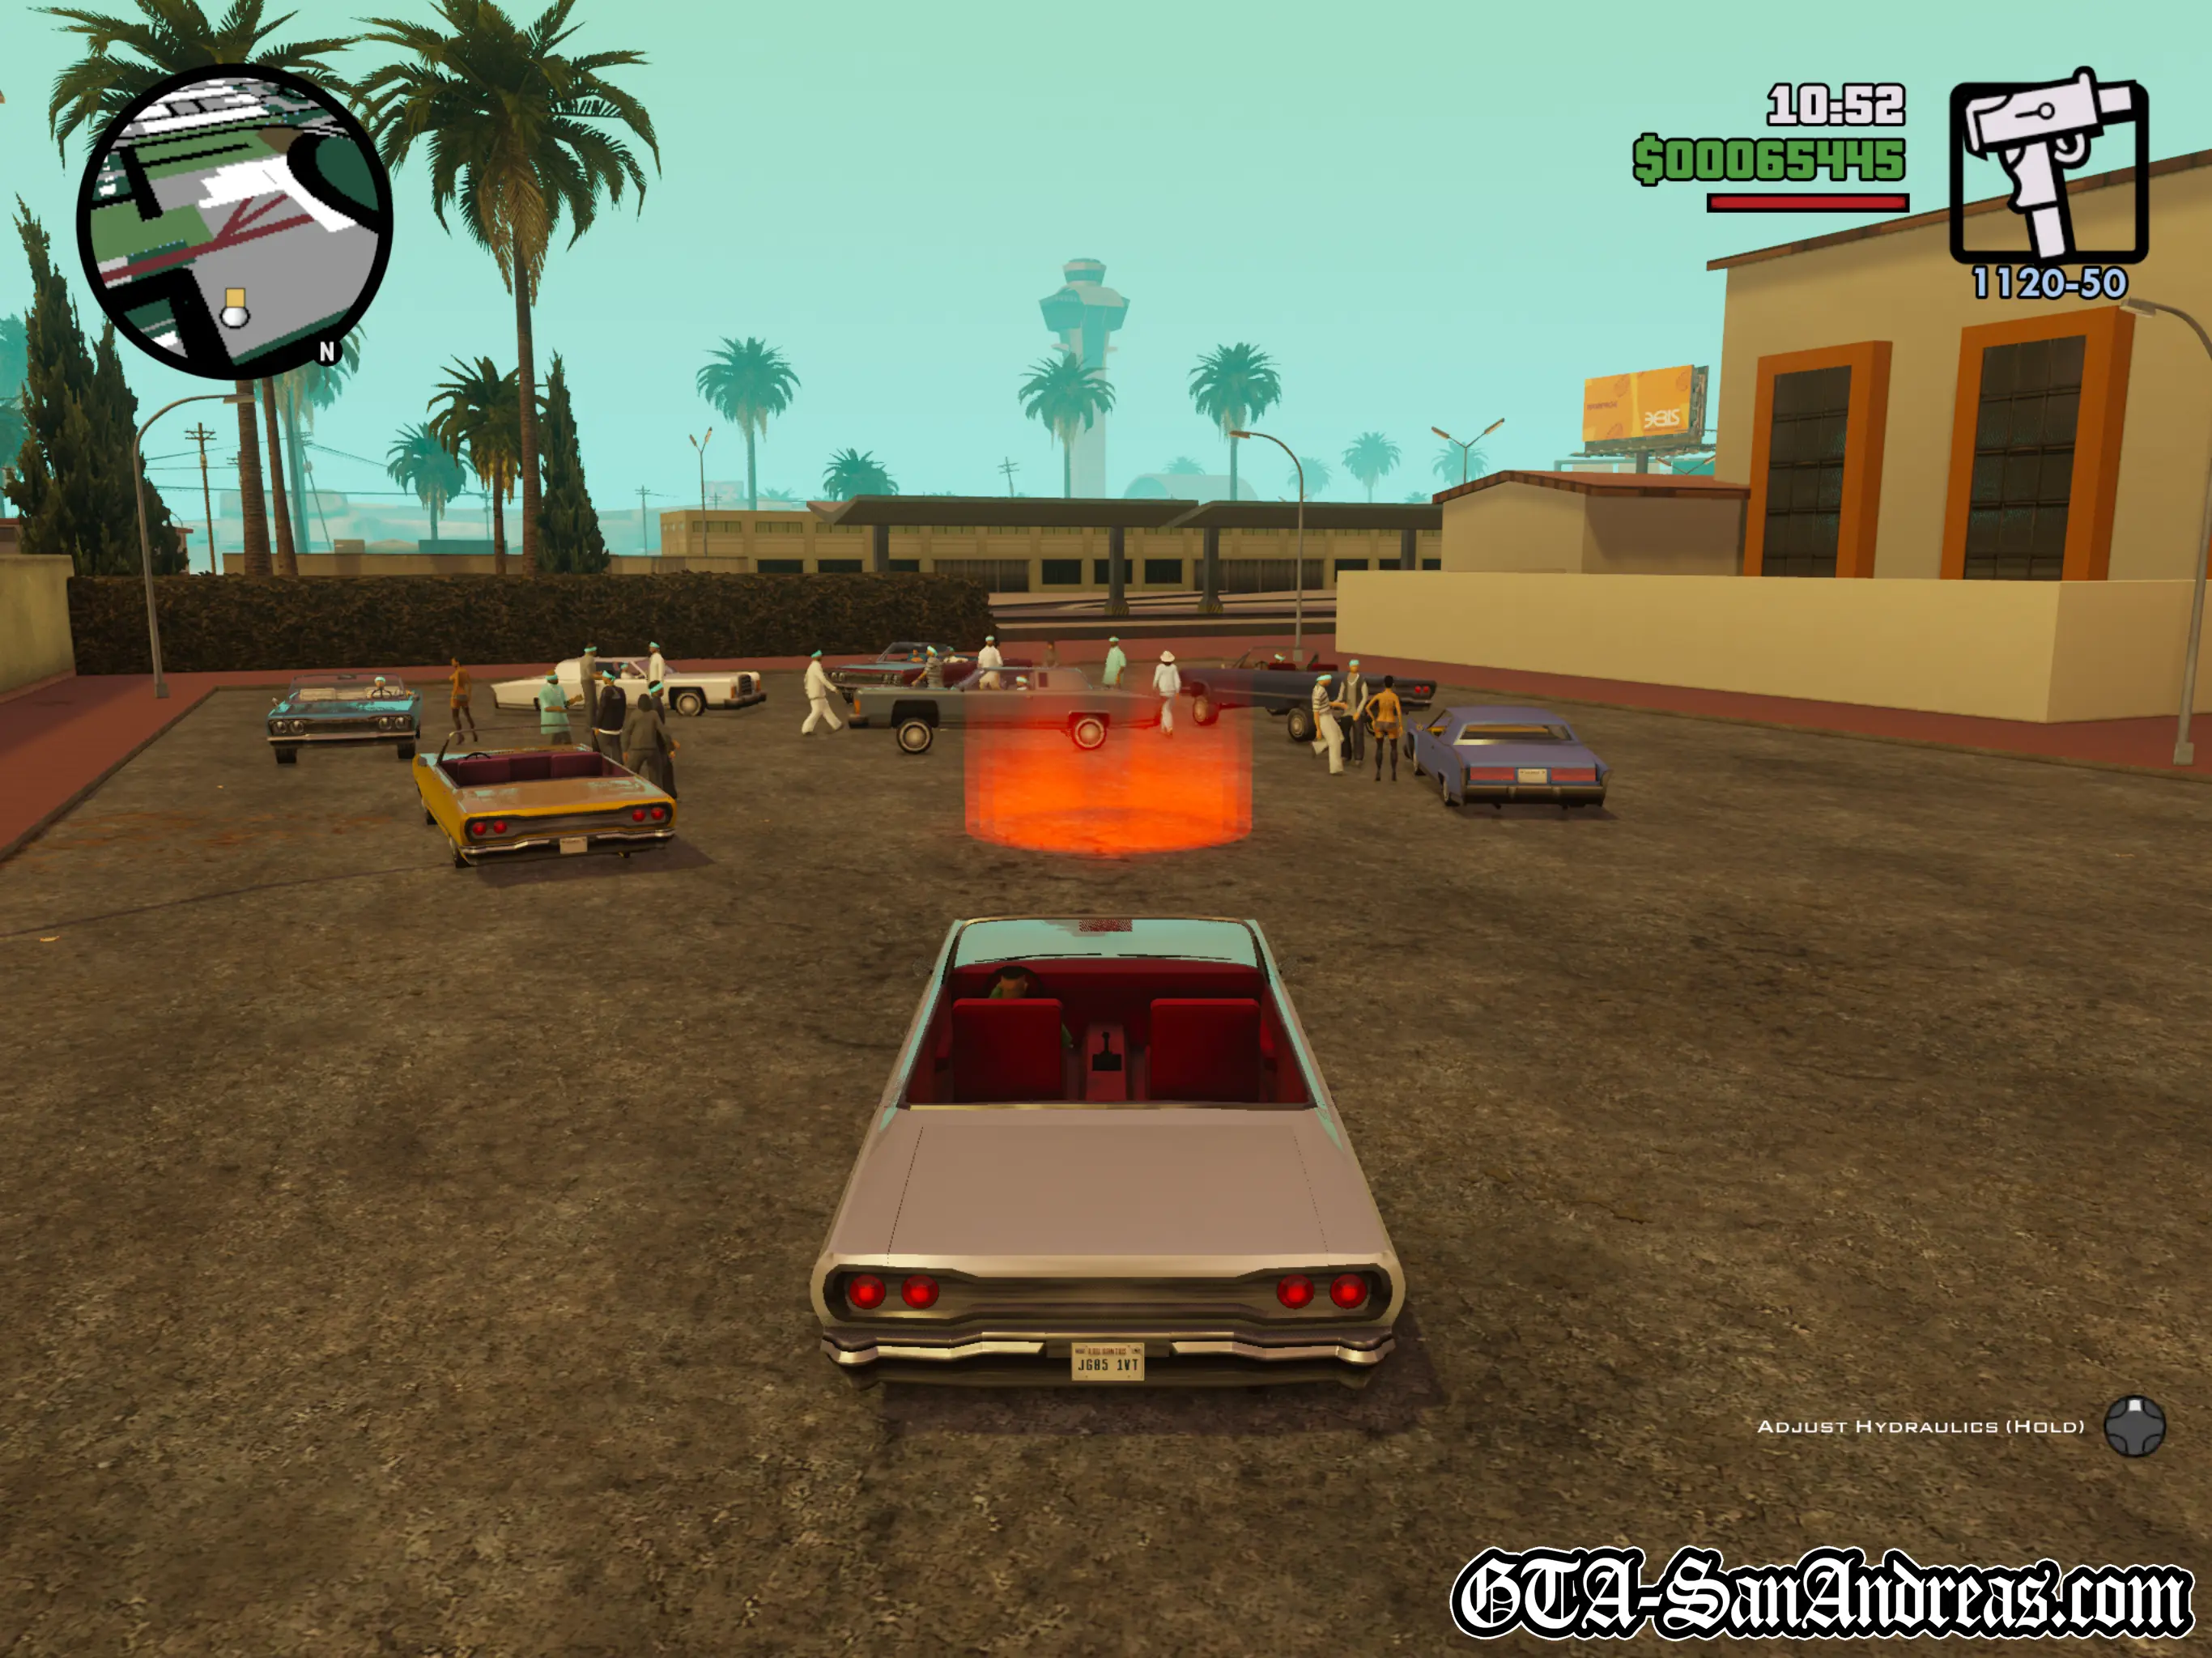
You'll appear back outside in your new car and now need to make your way to the lowrider meet at Unity Station. Once you arrive, park in the red marker.
Cutscene
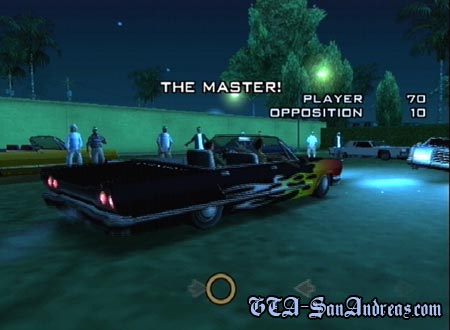
A guy climbs out of his car and asks CJ how much he's willing to gamble on the lowrider dancing competition.
Choose your wager. The more you gamble, the more you'll win as a mission reward, so I'd go all in with the maximum $1,000 wager if I was you. The competition isn't too difficult.
Cutscene
A girl enters Carl's vehicle to go along for the ride.
Once the contest starts, you need to push the correct button at the same time the icon passes through the circle at the bottom of the screen. The closer to the middle, the more points you'll get.
You need to try and read the prompts coming from the left side of the screen as soon as possible and get ready to press the correct directional button as they pass through the middle. Keep it up throughout the competition and if you get more points than the other guy, which is pretty easy, you'll win.
If you exit the competition or get less points than your opponent, you'll fail the mission and a cutscene will show your opponent suggesting you play golf or something.
Cutscene
CJ's competitor will exit his vehicle and give him credit for winning, telling Carl he's seen worse, but he did alright.
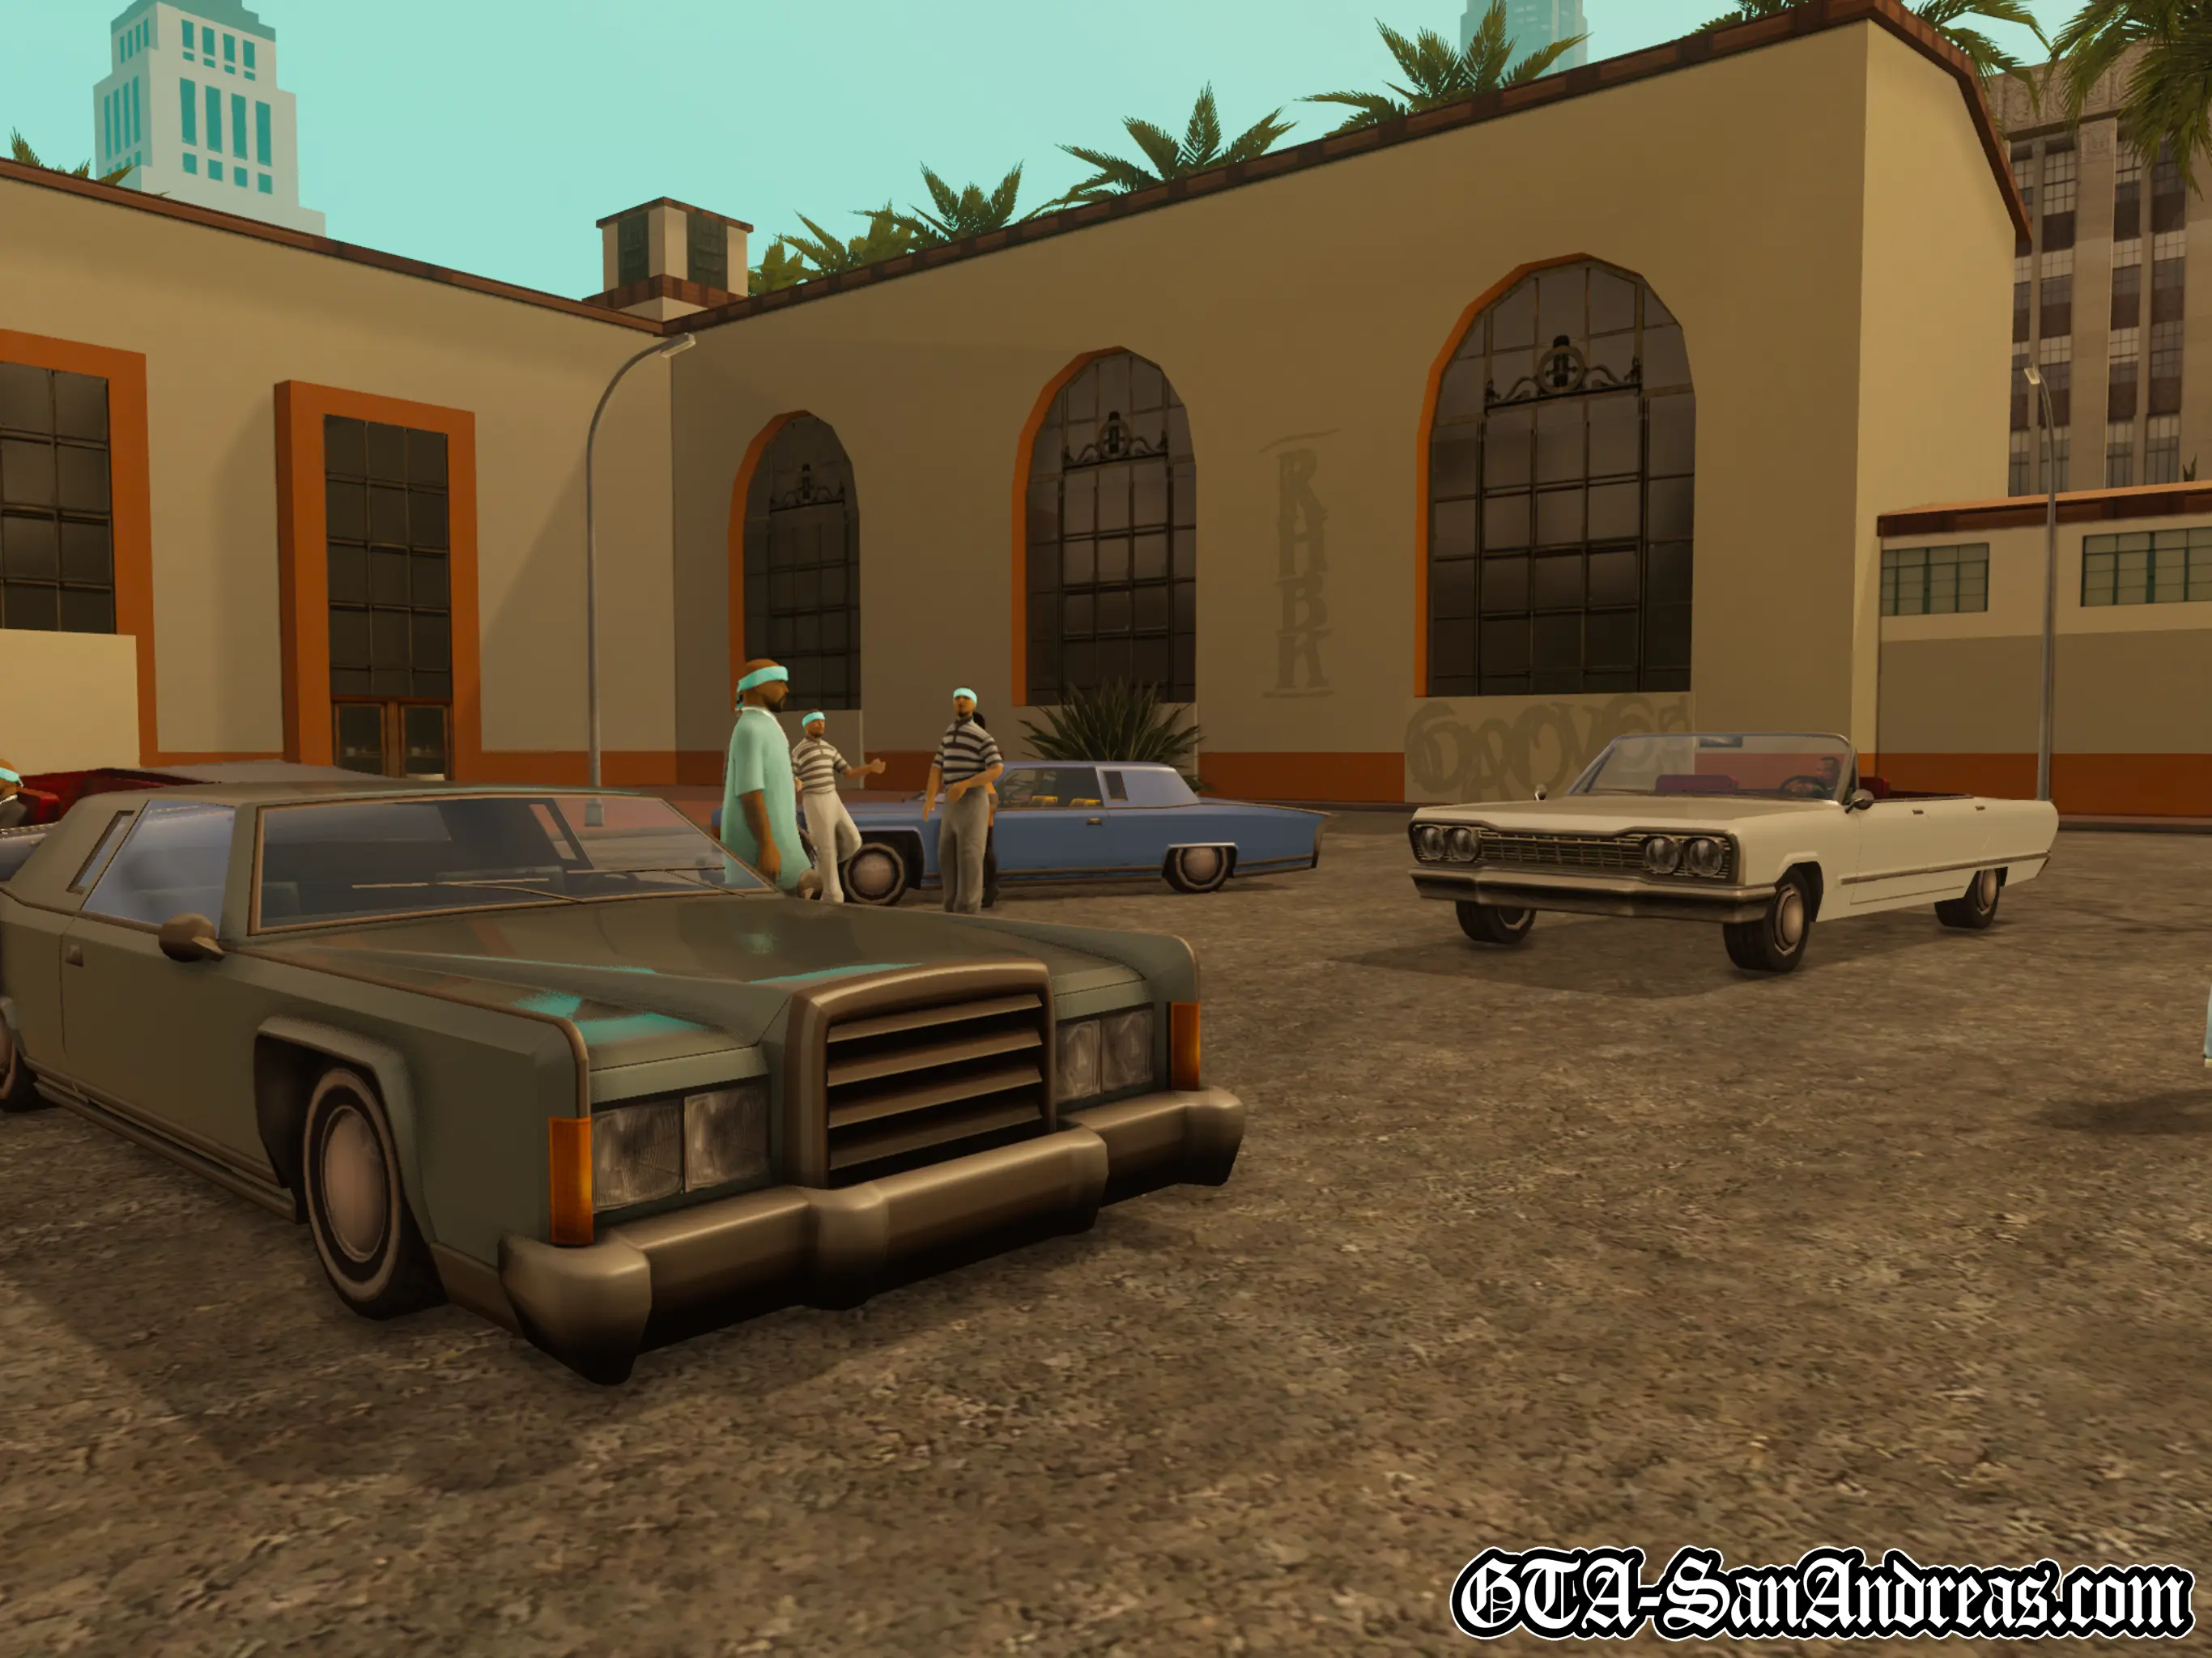
Kendl then gives Carl a hug and asks since when has her brother been a lowrider. Carl tells her he's doing it because Sweet asked him to keep an eye on her.
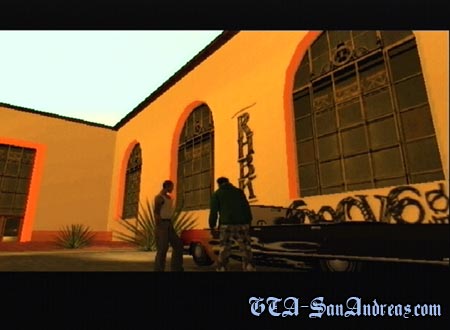
A Latino man in a white vest approaches and shakes hands with Carl, congratulating him on his nice hopping. Kendl points out that Carl has just shaken hands with her man.
Carl pushes Cesar away and tells him to keep his dirty hands off his sister, but Kendl calms down the situation. Cesar's gang get involved and don't take too kindly to CJ, but Cesar talks them down, and they leave to go drink beer.
Carl and Cesar talk and introduce themselves properly then Cesar shows his appreciation for CJ's car and suggests they might get to see it again soon.
* The cash reward is 2x your wager. Max bet $1,000. Max reward $2,000.
Post-Mission
Sweet's missions are now complete.
When you get out of your vehicle you'll receive a phone call from Cesar inviting you to a Lowrider-only street race.
![]() Cesar Vialpando's Missions Are Now Unlocked.
Cesar Vialpando's Missions Are Now Unlocked.
The next mission we opened up was via Big Smoke, so let's do his missions next.
Tips & Tricks
Ghost Town!
Once you receive the lowrider outside the mod garage and the game tells you to "back up into the lowrider garage", instead, drive away. For some reason the game stops spawning pedestrians or traffic at this point of the mission, so you can drive all over Los Santos and won't bump into anyone besides a few parked vehicles.
Screenshots
Big Smoke
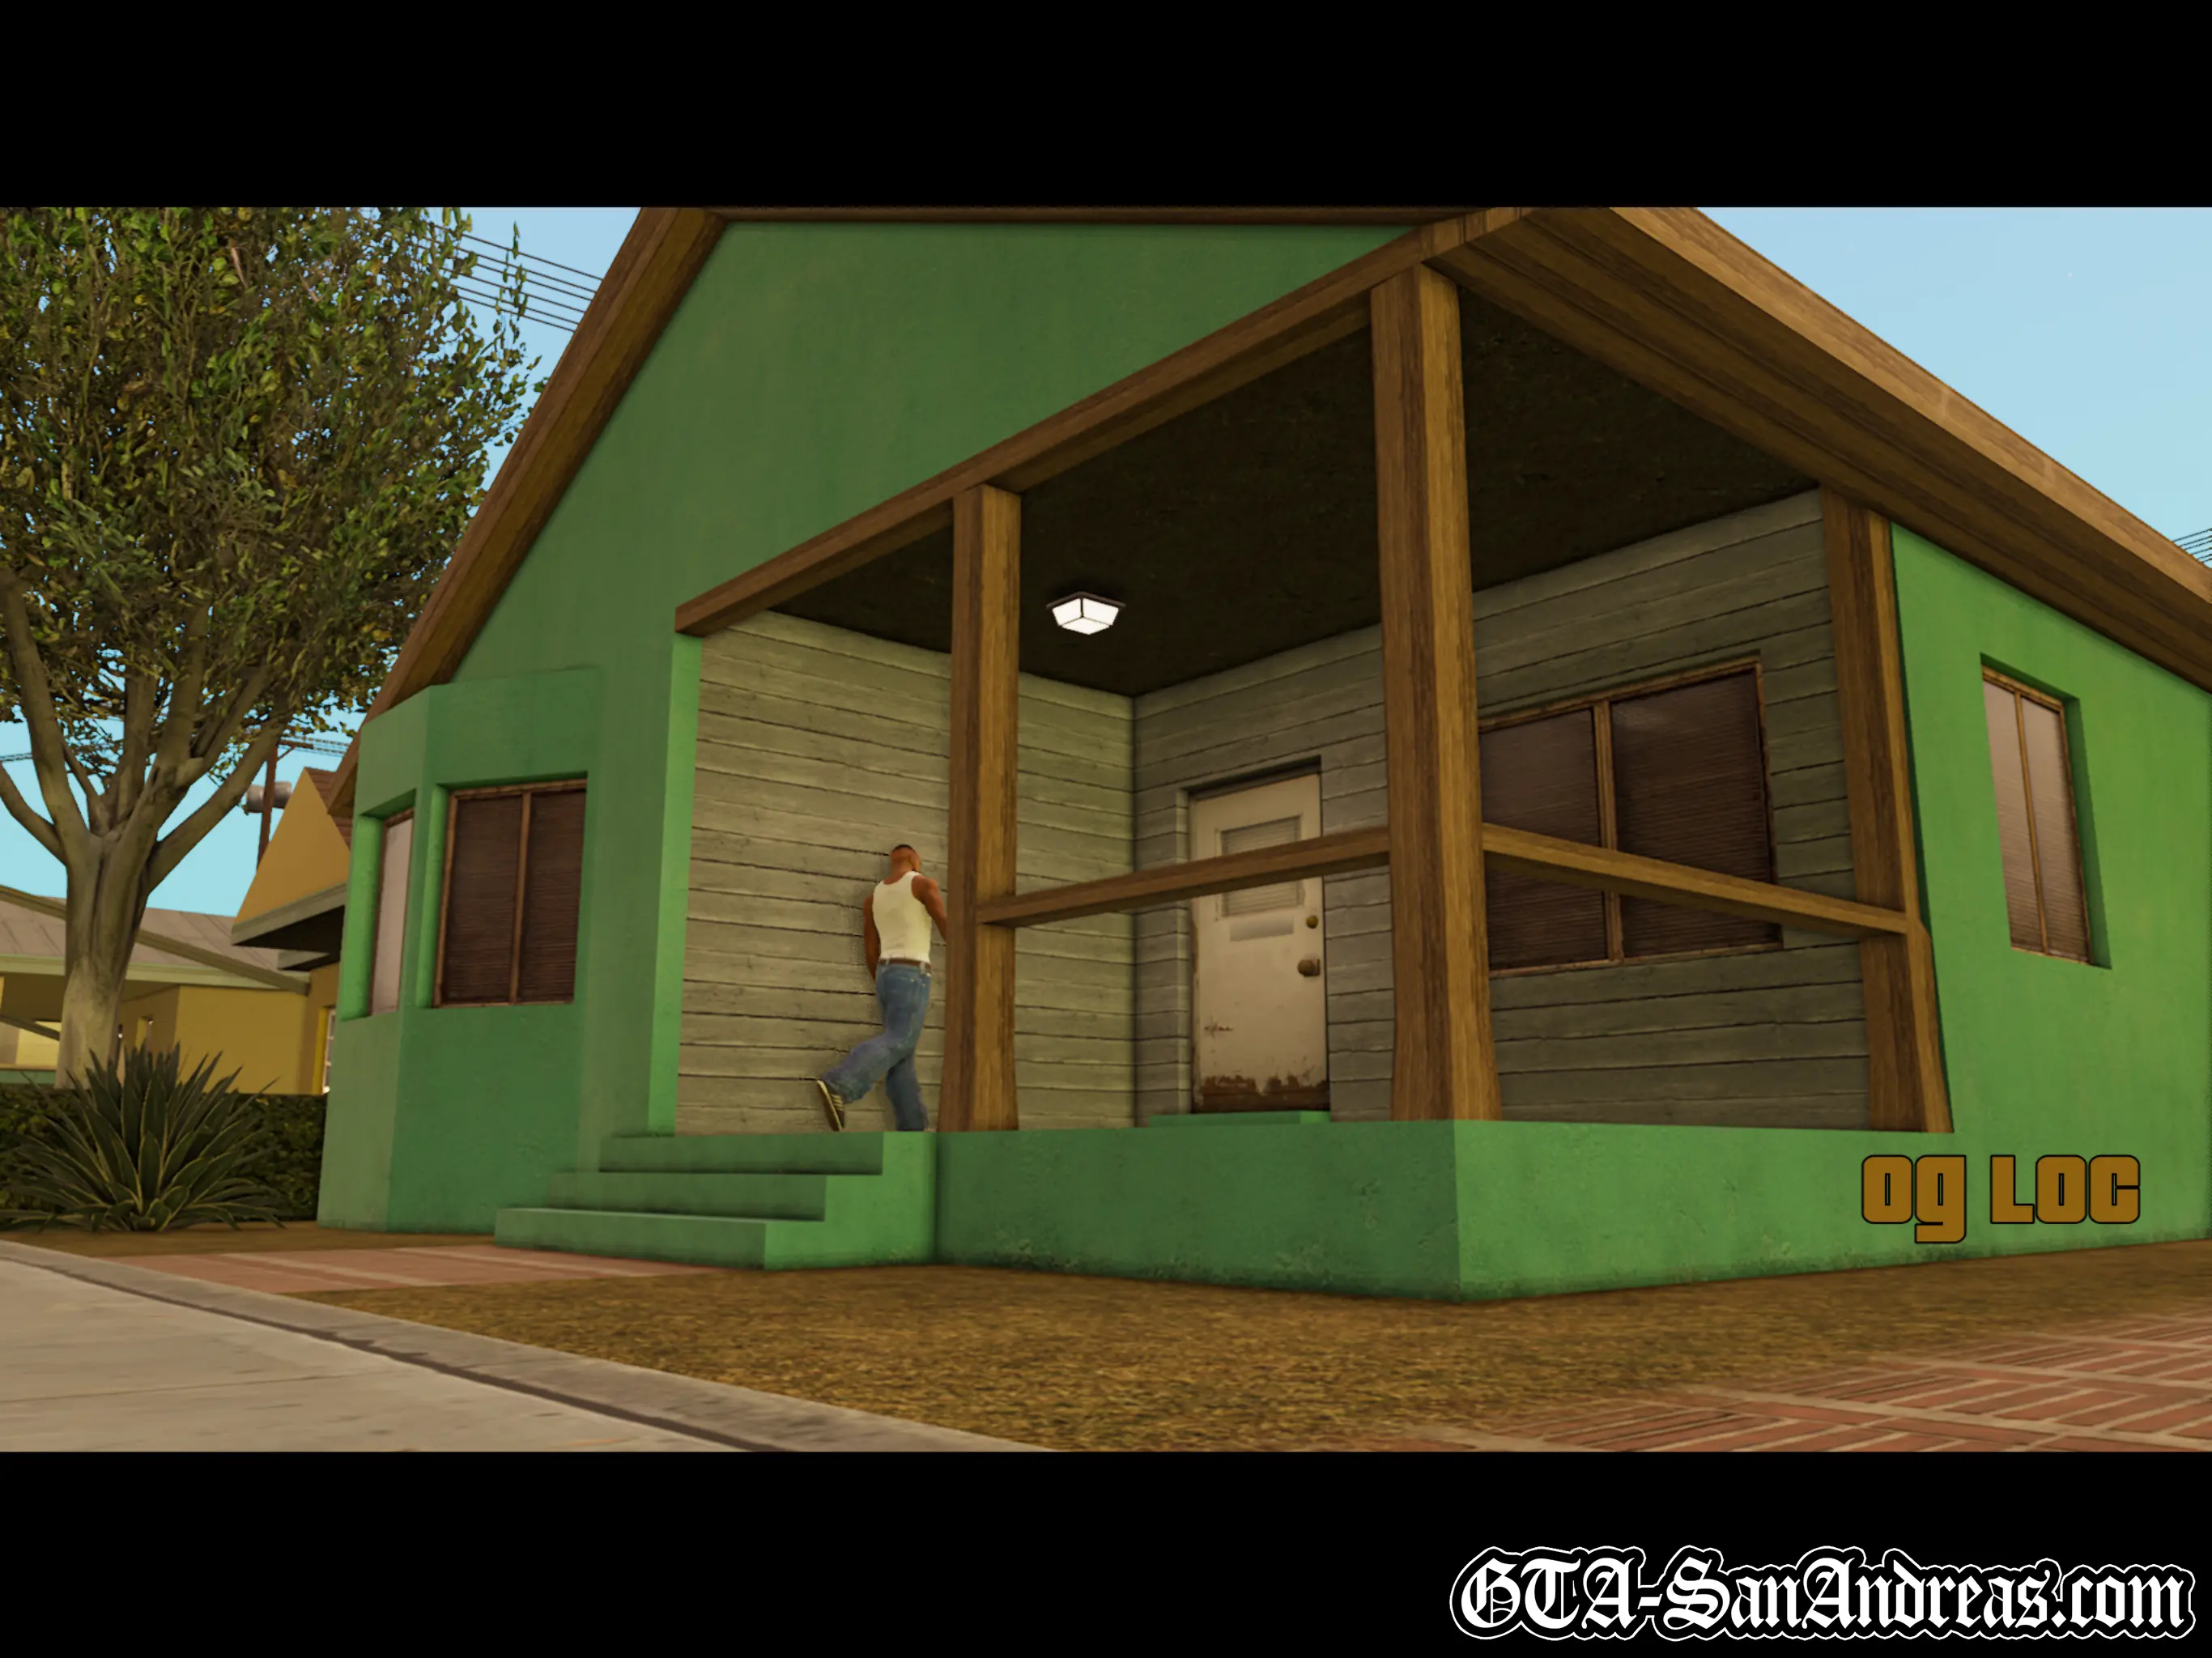
 OG Loc
Cutscene
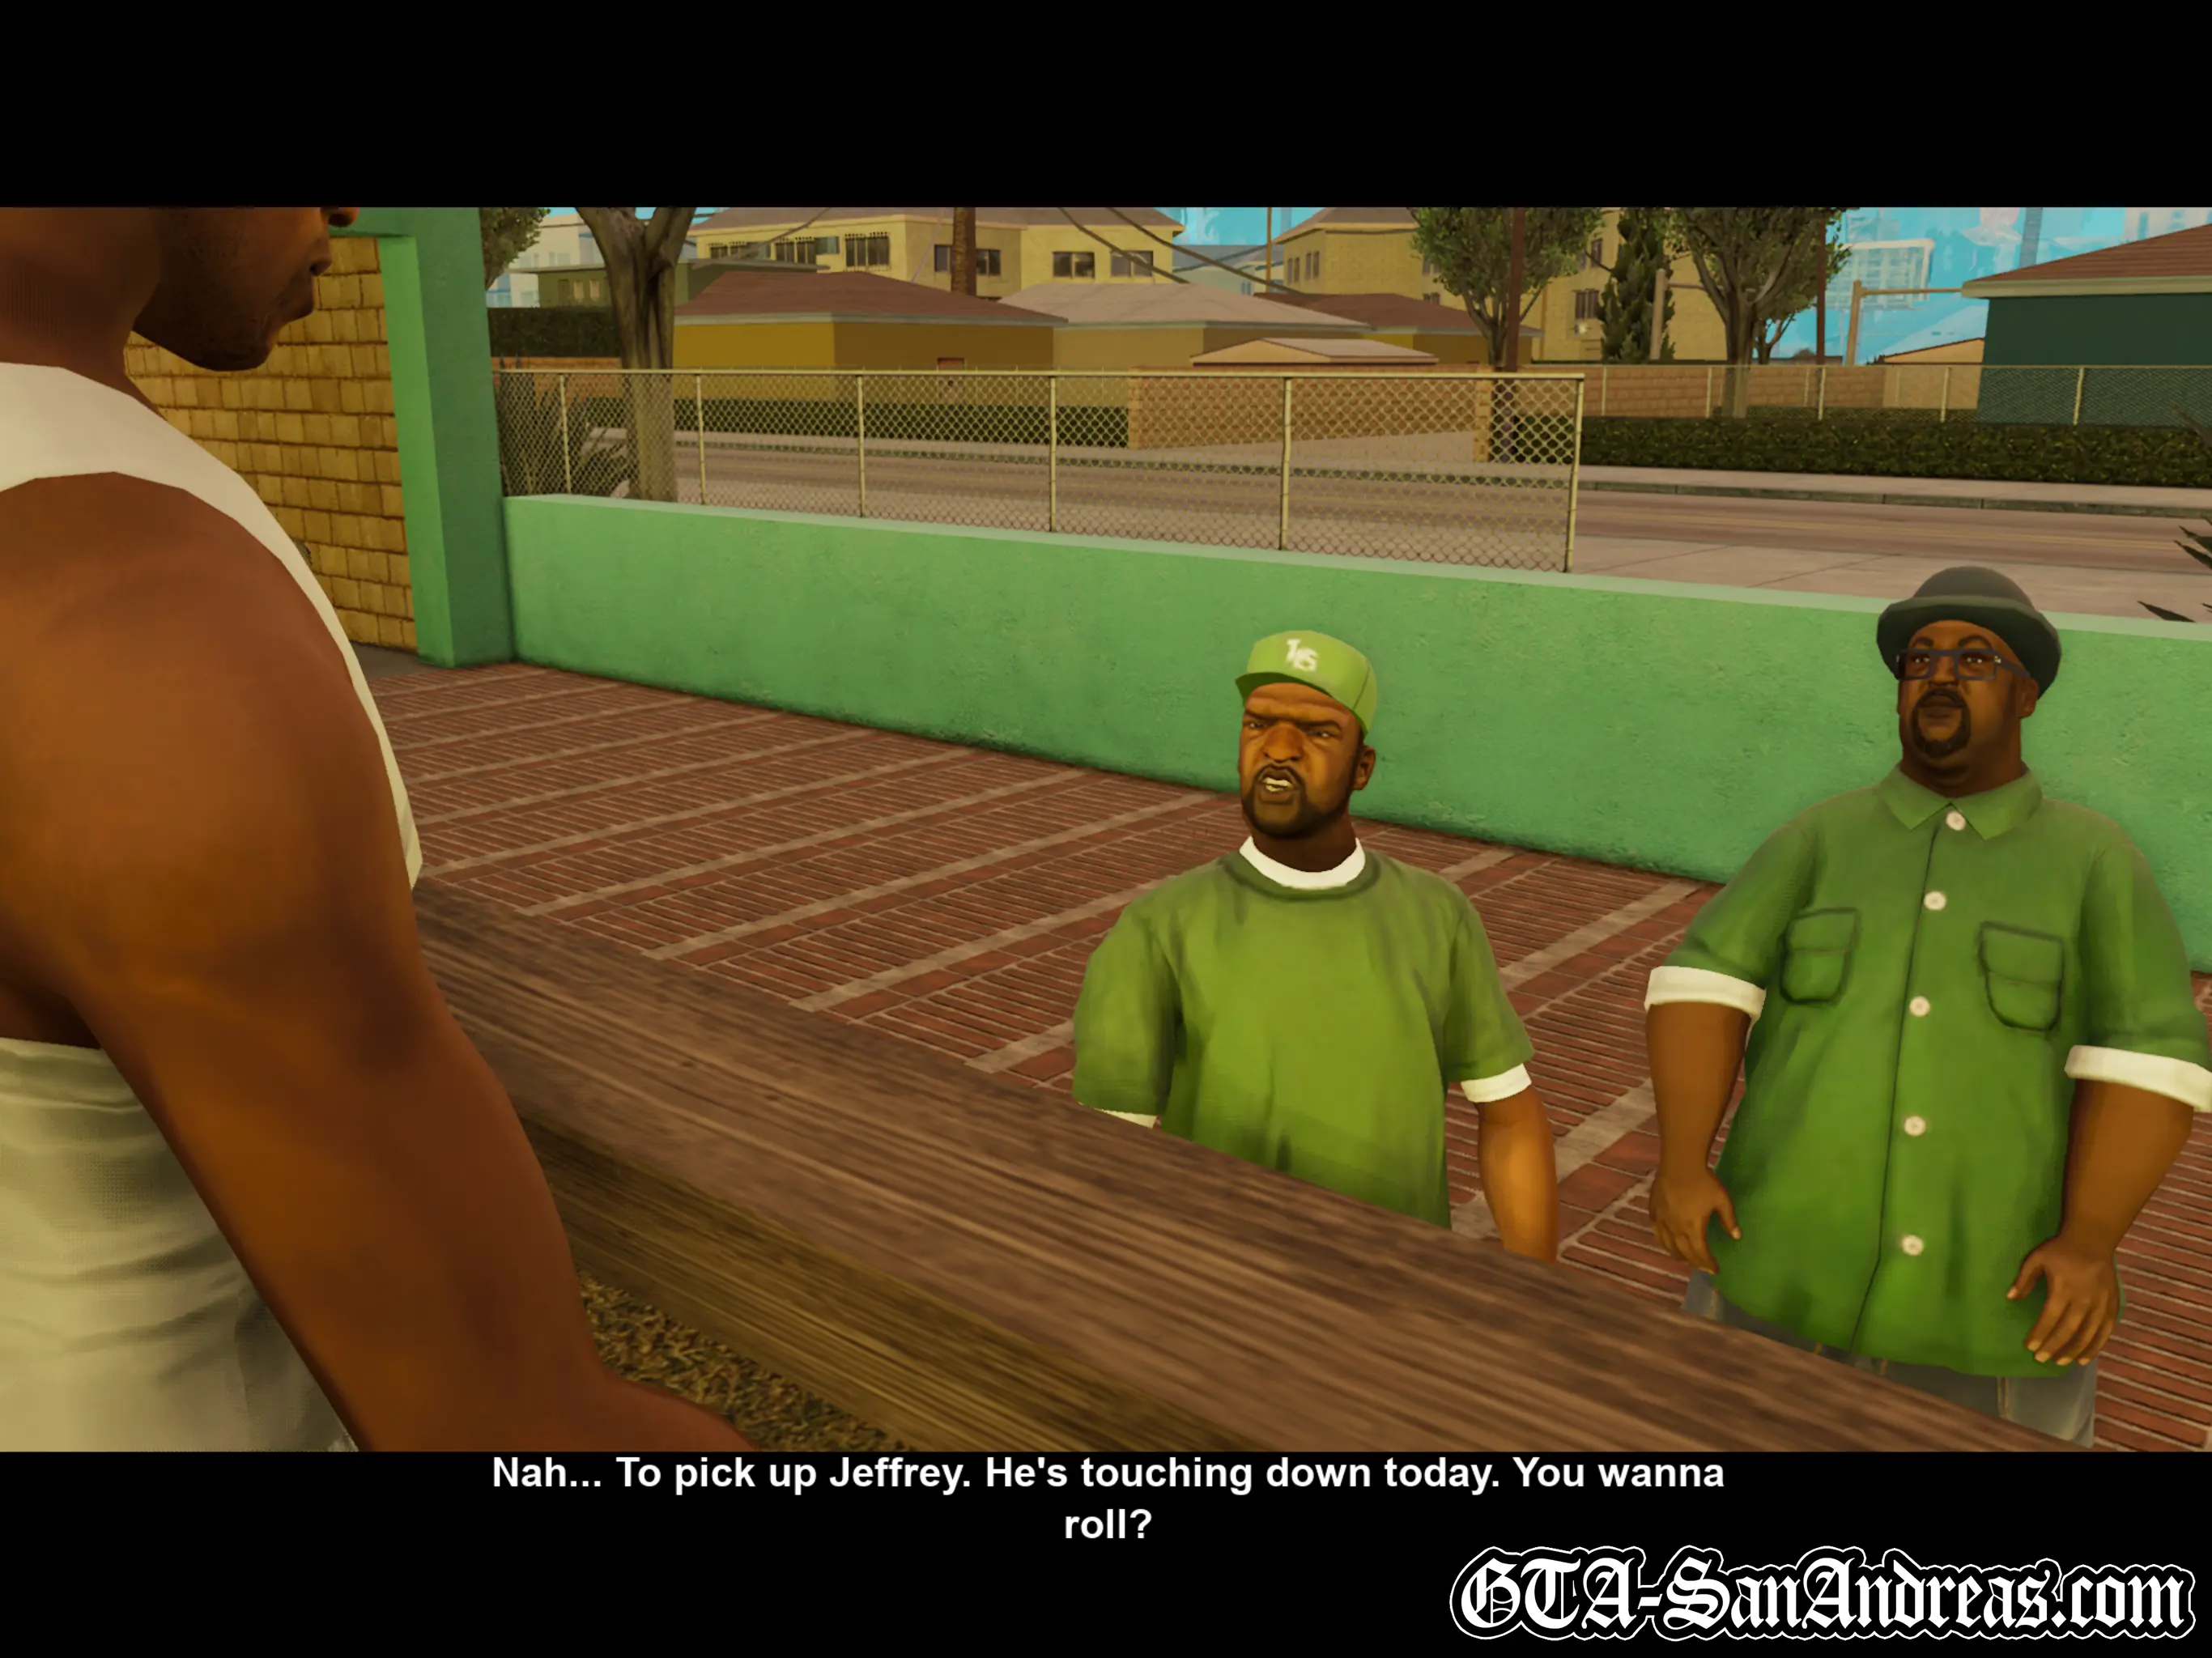
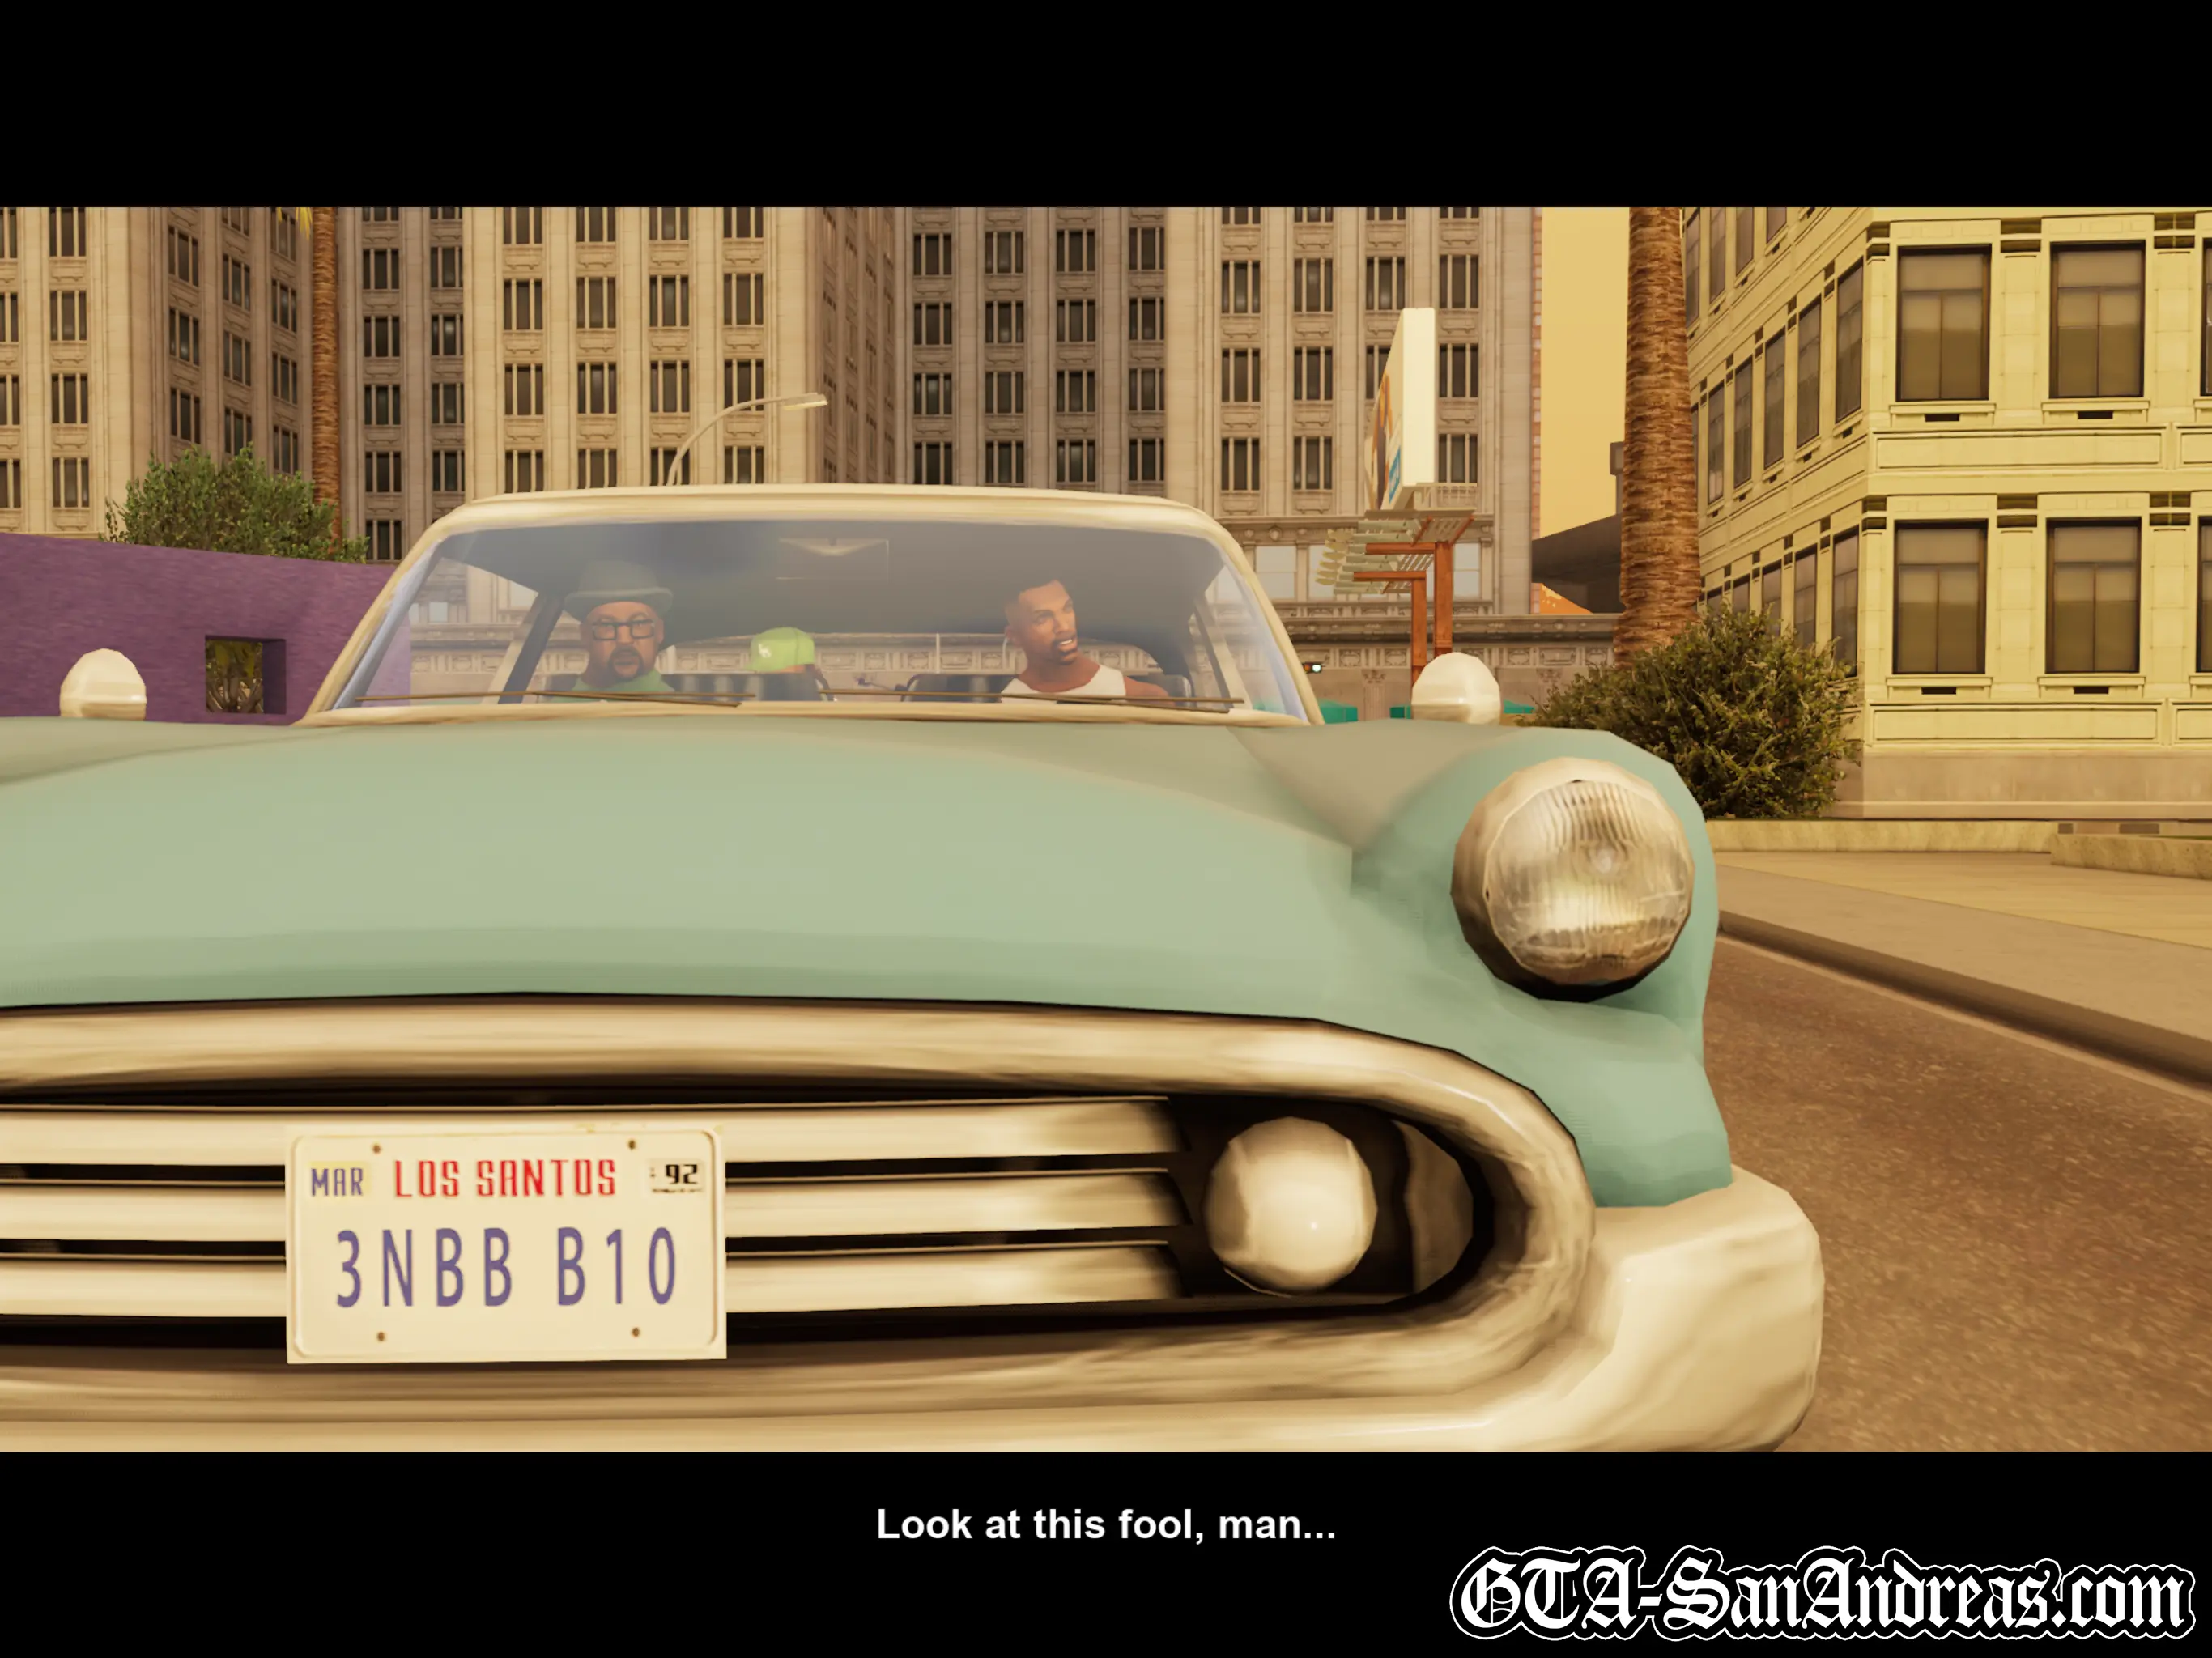
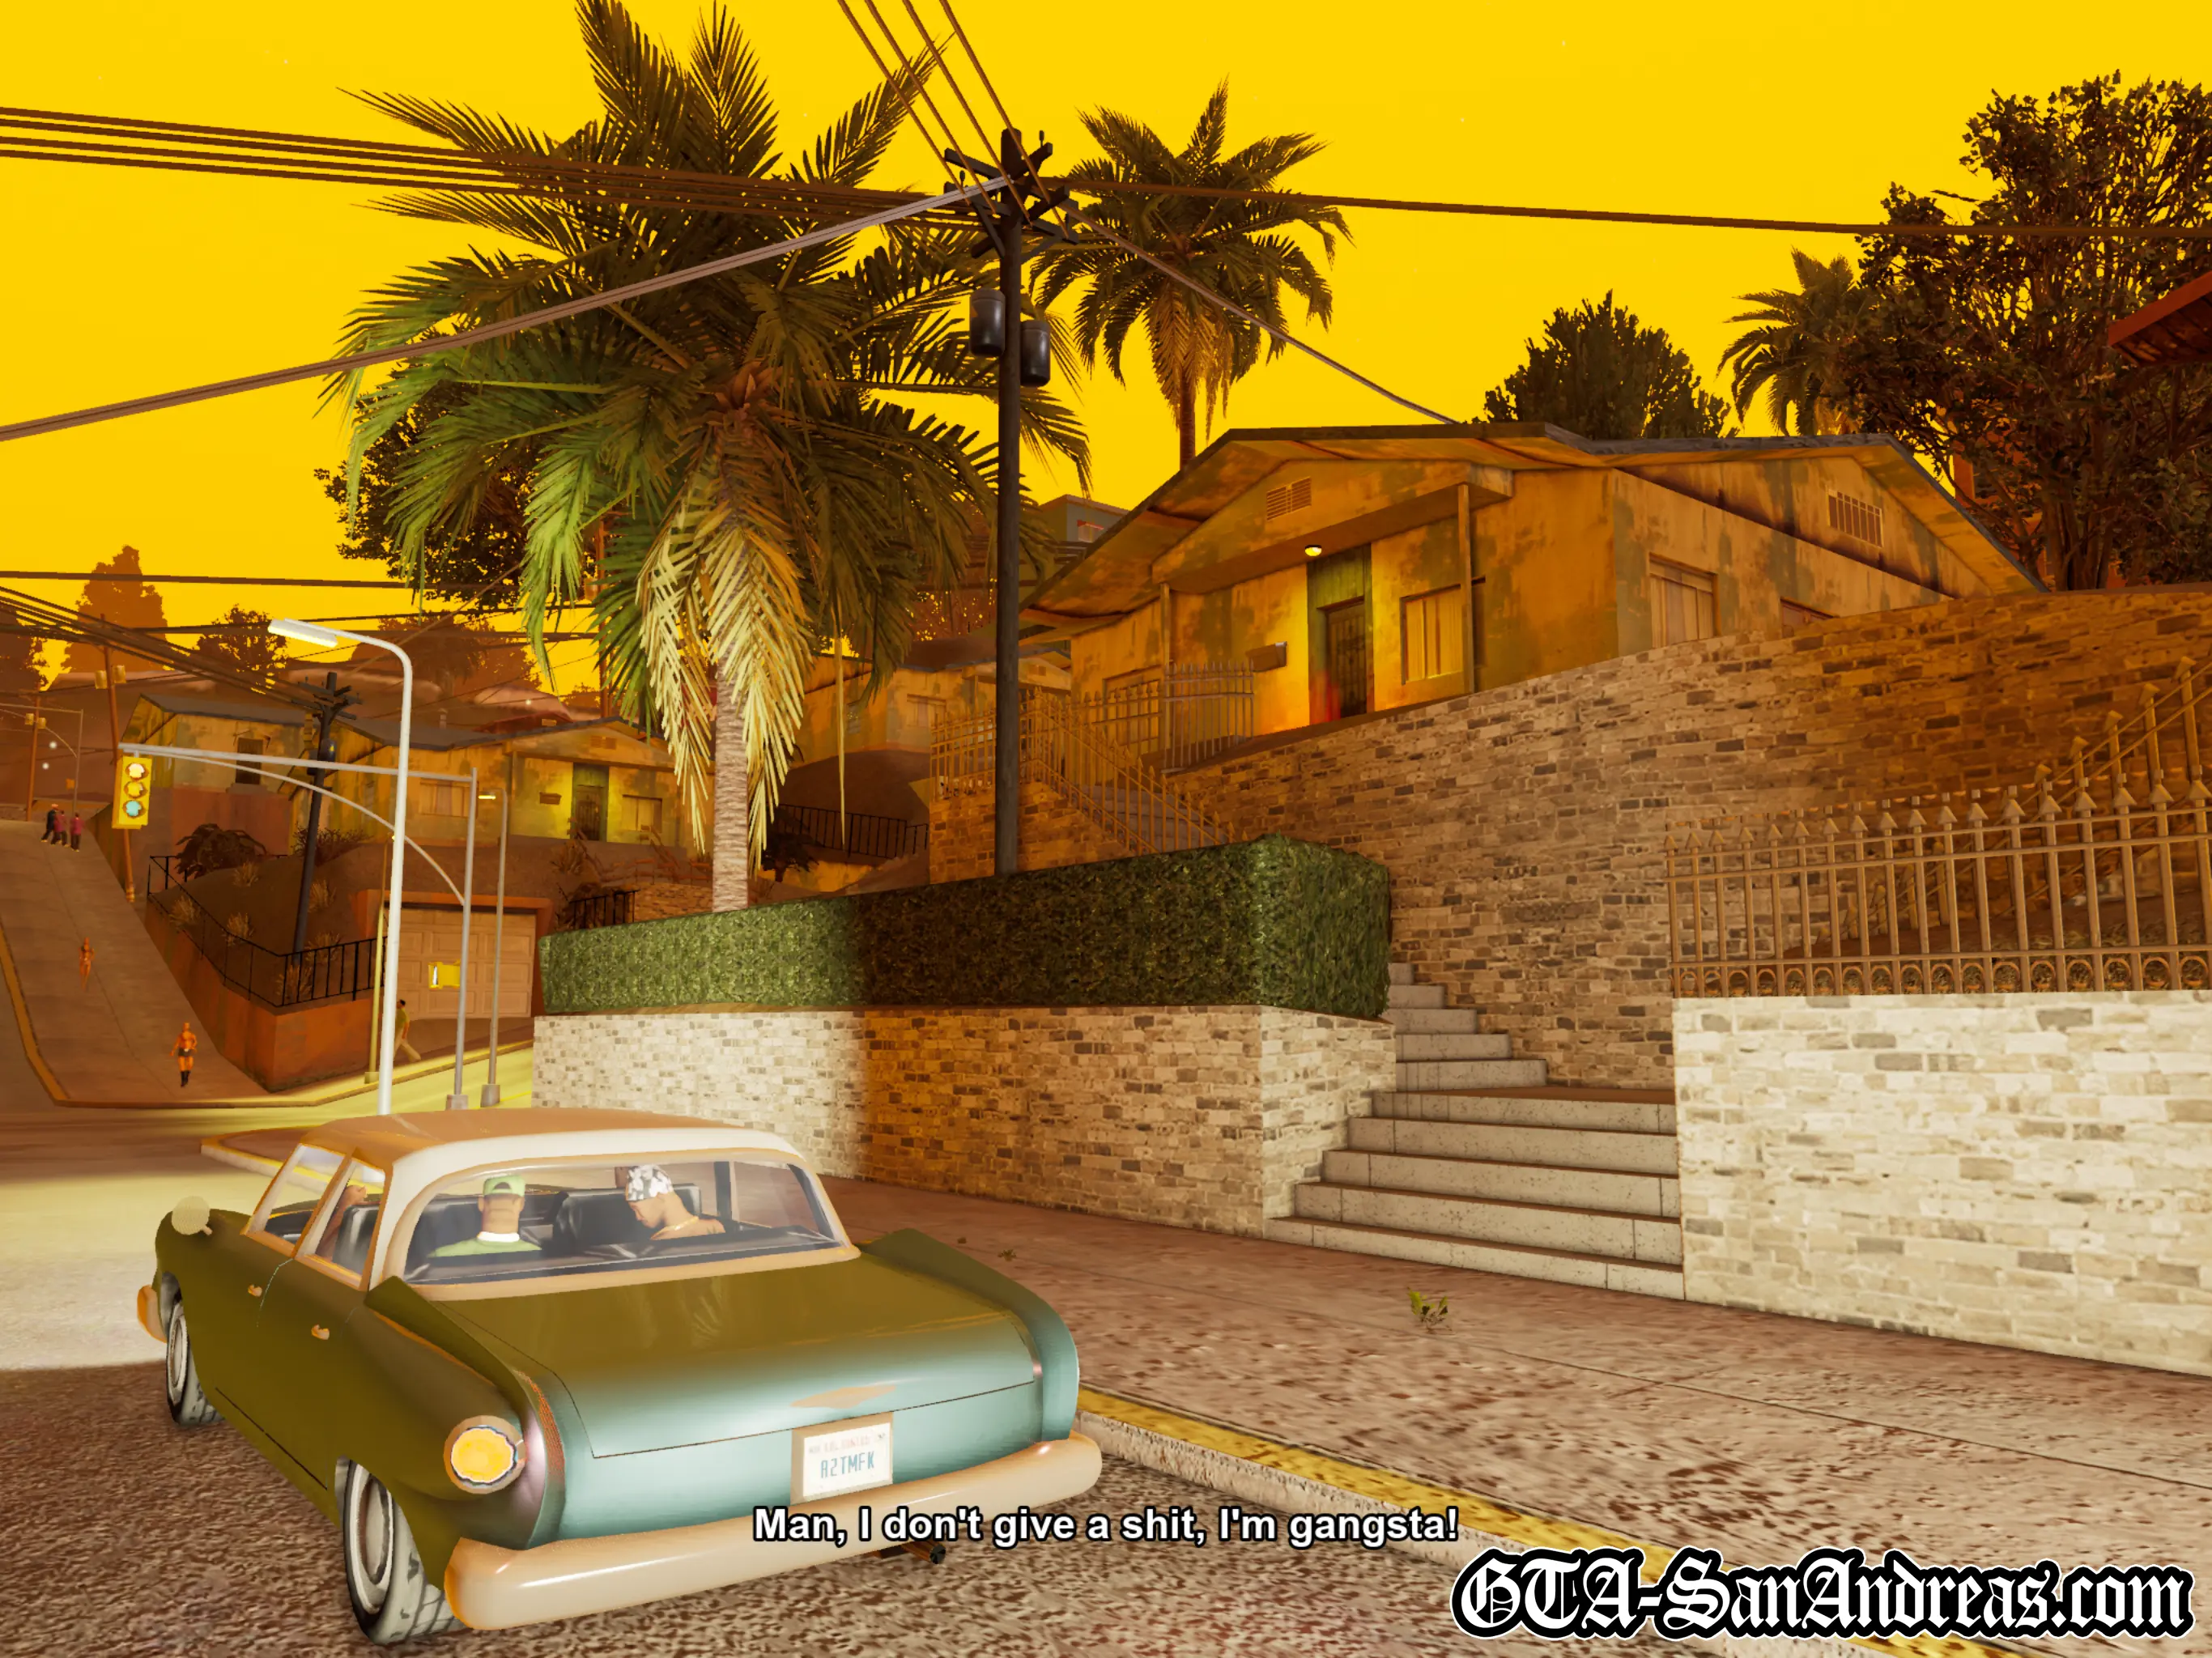
Carl knocks on the door of Smoke's house but gets no answer. A short while later, Sweet and Smoke appear from the back of the property and meet Carl. Smoke asks CJ if he wants to go to prison... To pick up Jeffrey who is getting out today. Carl agrees to tag along and everyone climbs into Smoke's car.
When the mission starts you'll be in the car, so follow the map which will direct you to the police station.
On the way, you'll hear all about how Jeffrey, or rather OG Loc as he prefers to be known, has done anything possible to get locked up because he thinks doing time will make him seem more gangsta.
When you reach the police station, park in the red marker.
Cutscene
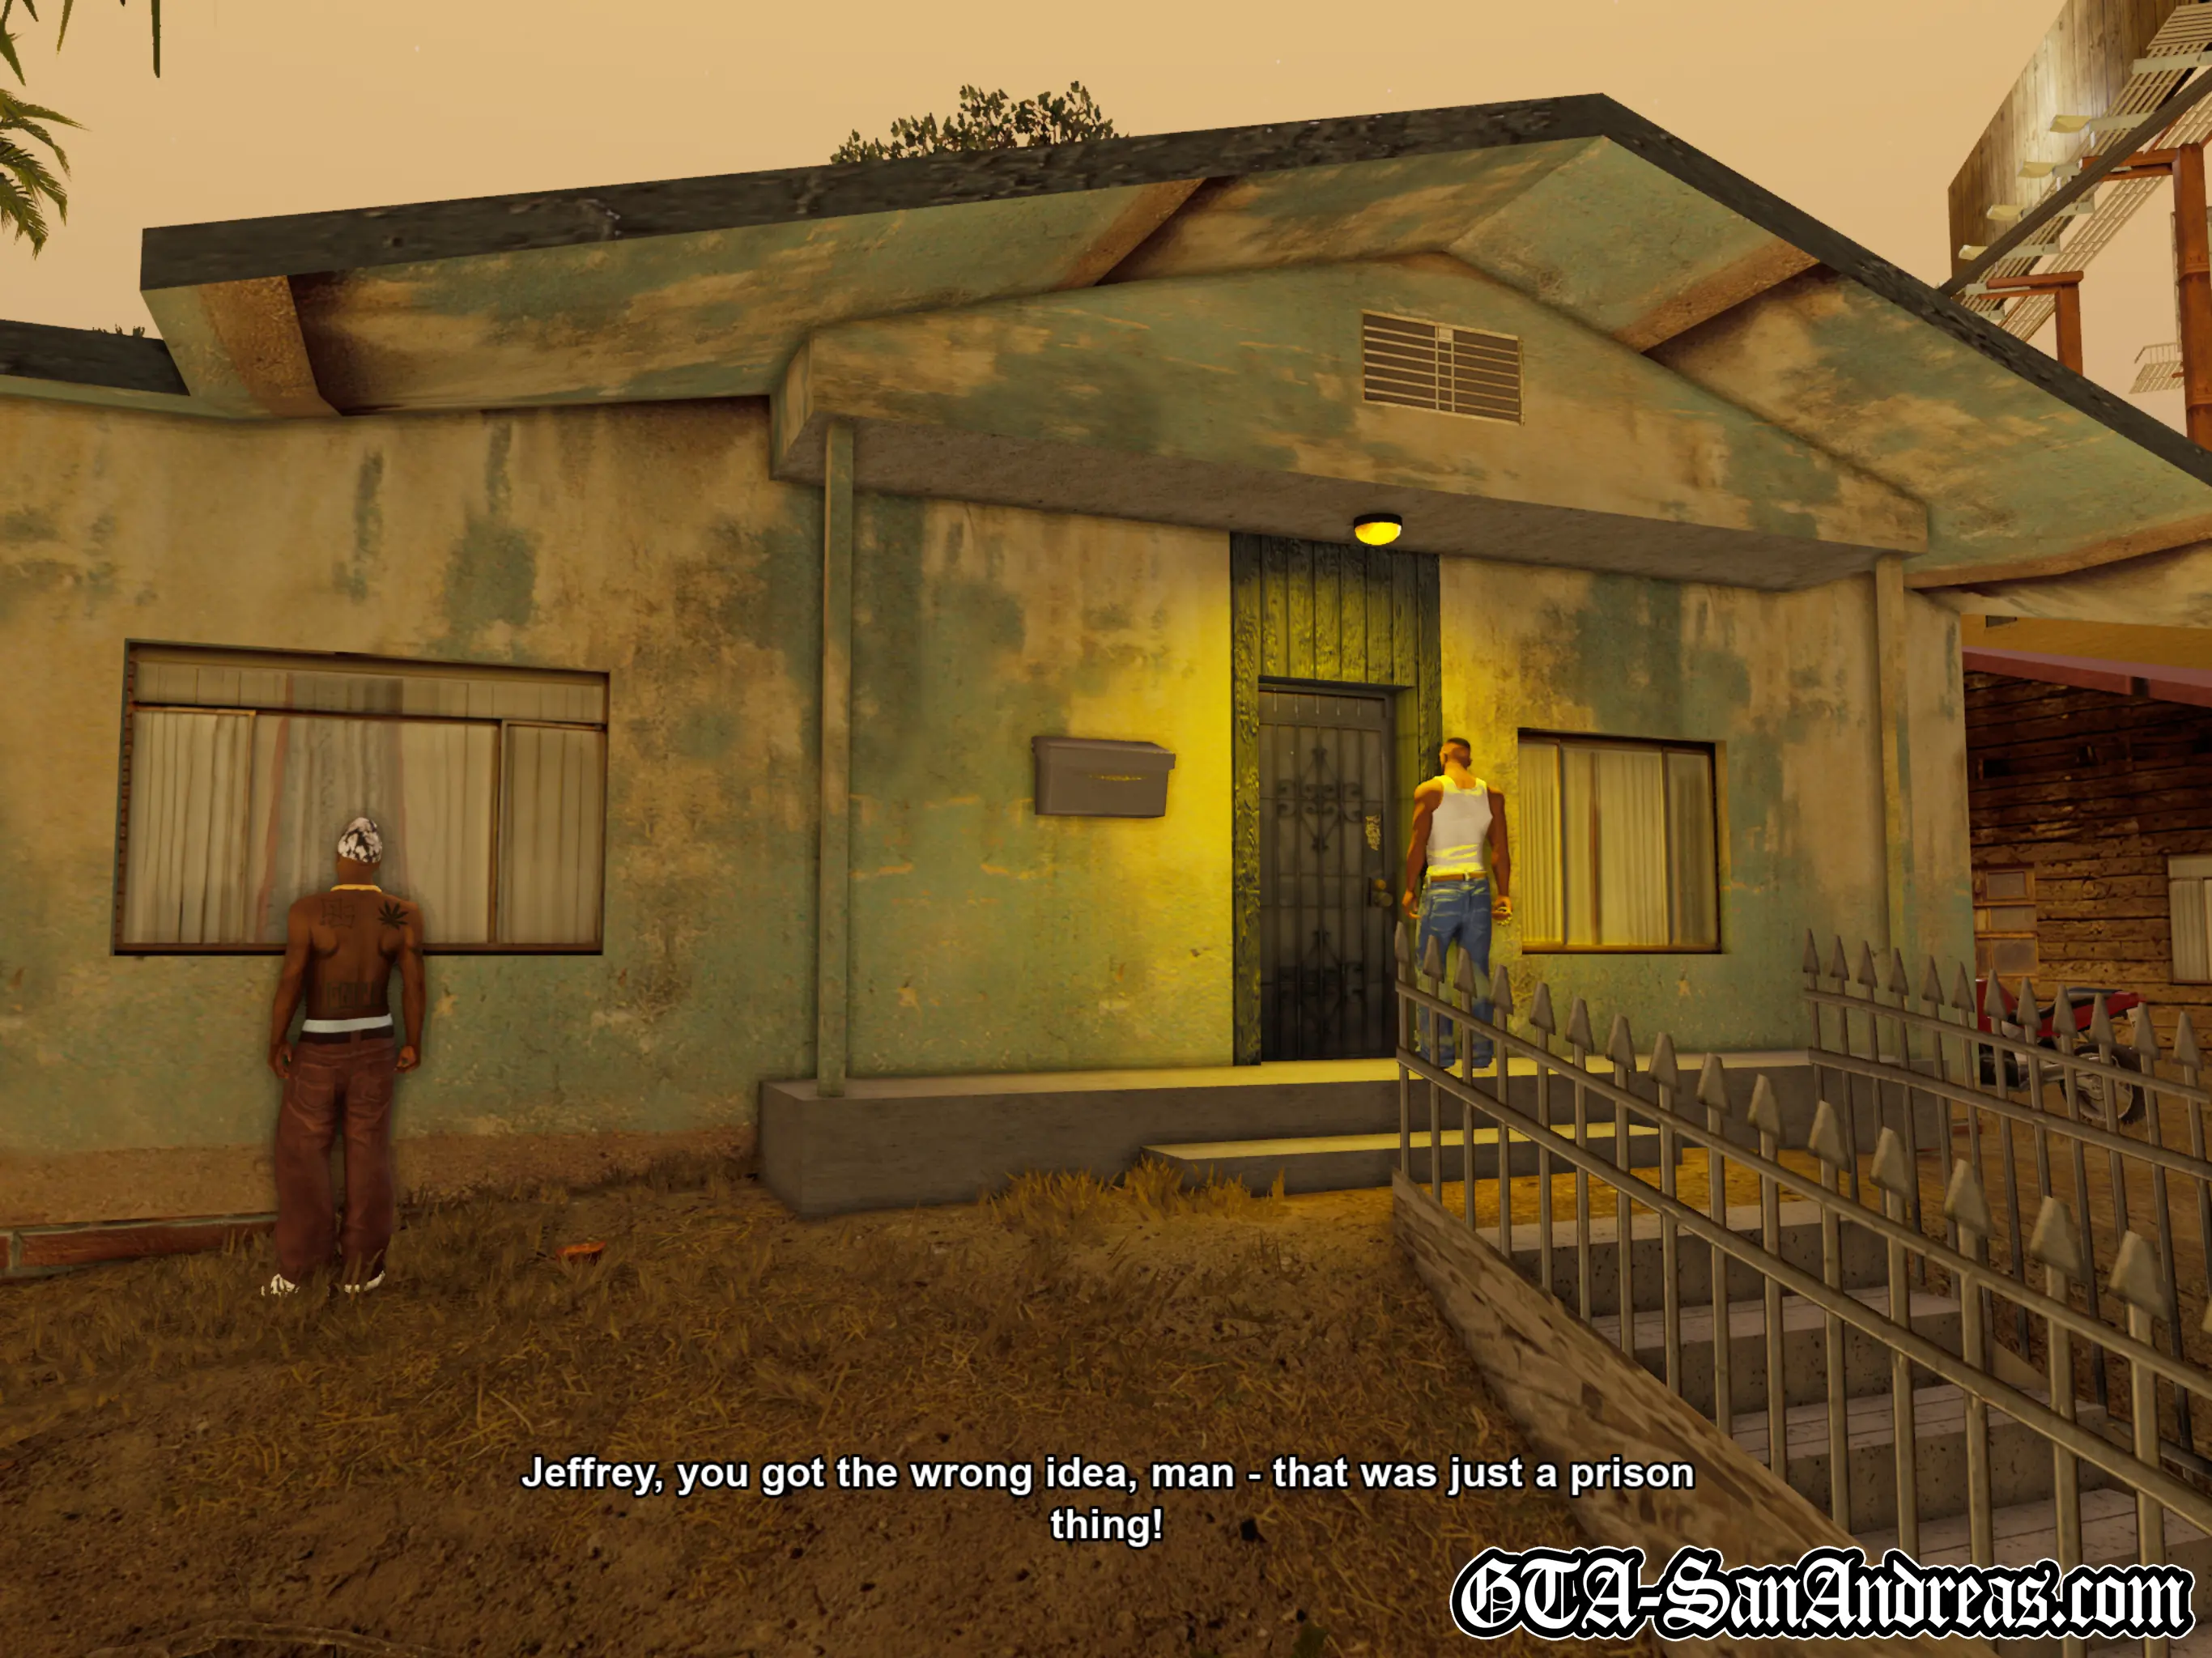
OG Loc is reunited with the guys but tells them he's got beef with a guy called Freddy who's been dissing him and stole his rhymes. OG Loc knows where he lives in East Flores, wants a gun and wants to pay him a visit.
You'll already be in the car with everyone, so drive to your new destination in East Flores. As always, park in the red marker when you arrive.
Cutscene
Carl and OG Loc will head up the steps to confront Freddy. When they ring his doorbell, Freddy refuses to answer but tells OG Loc he's got the wrong idea and 'that was just a prison thing' and he doesn't need his scrawny ass on the outside. OG Loc tells CJ he doesn't know what he's talking about.
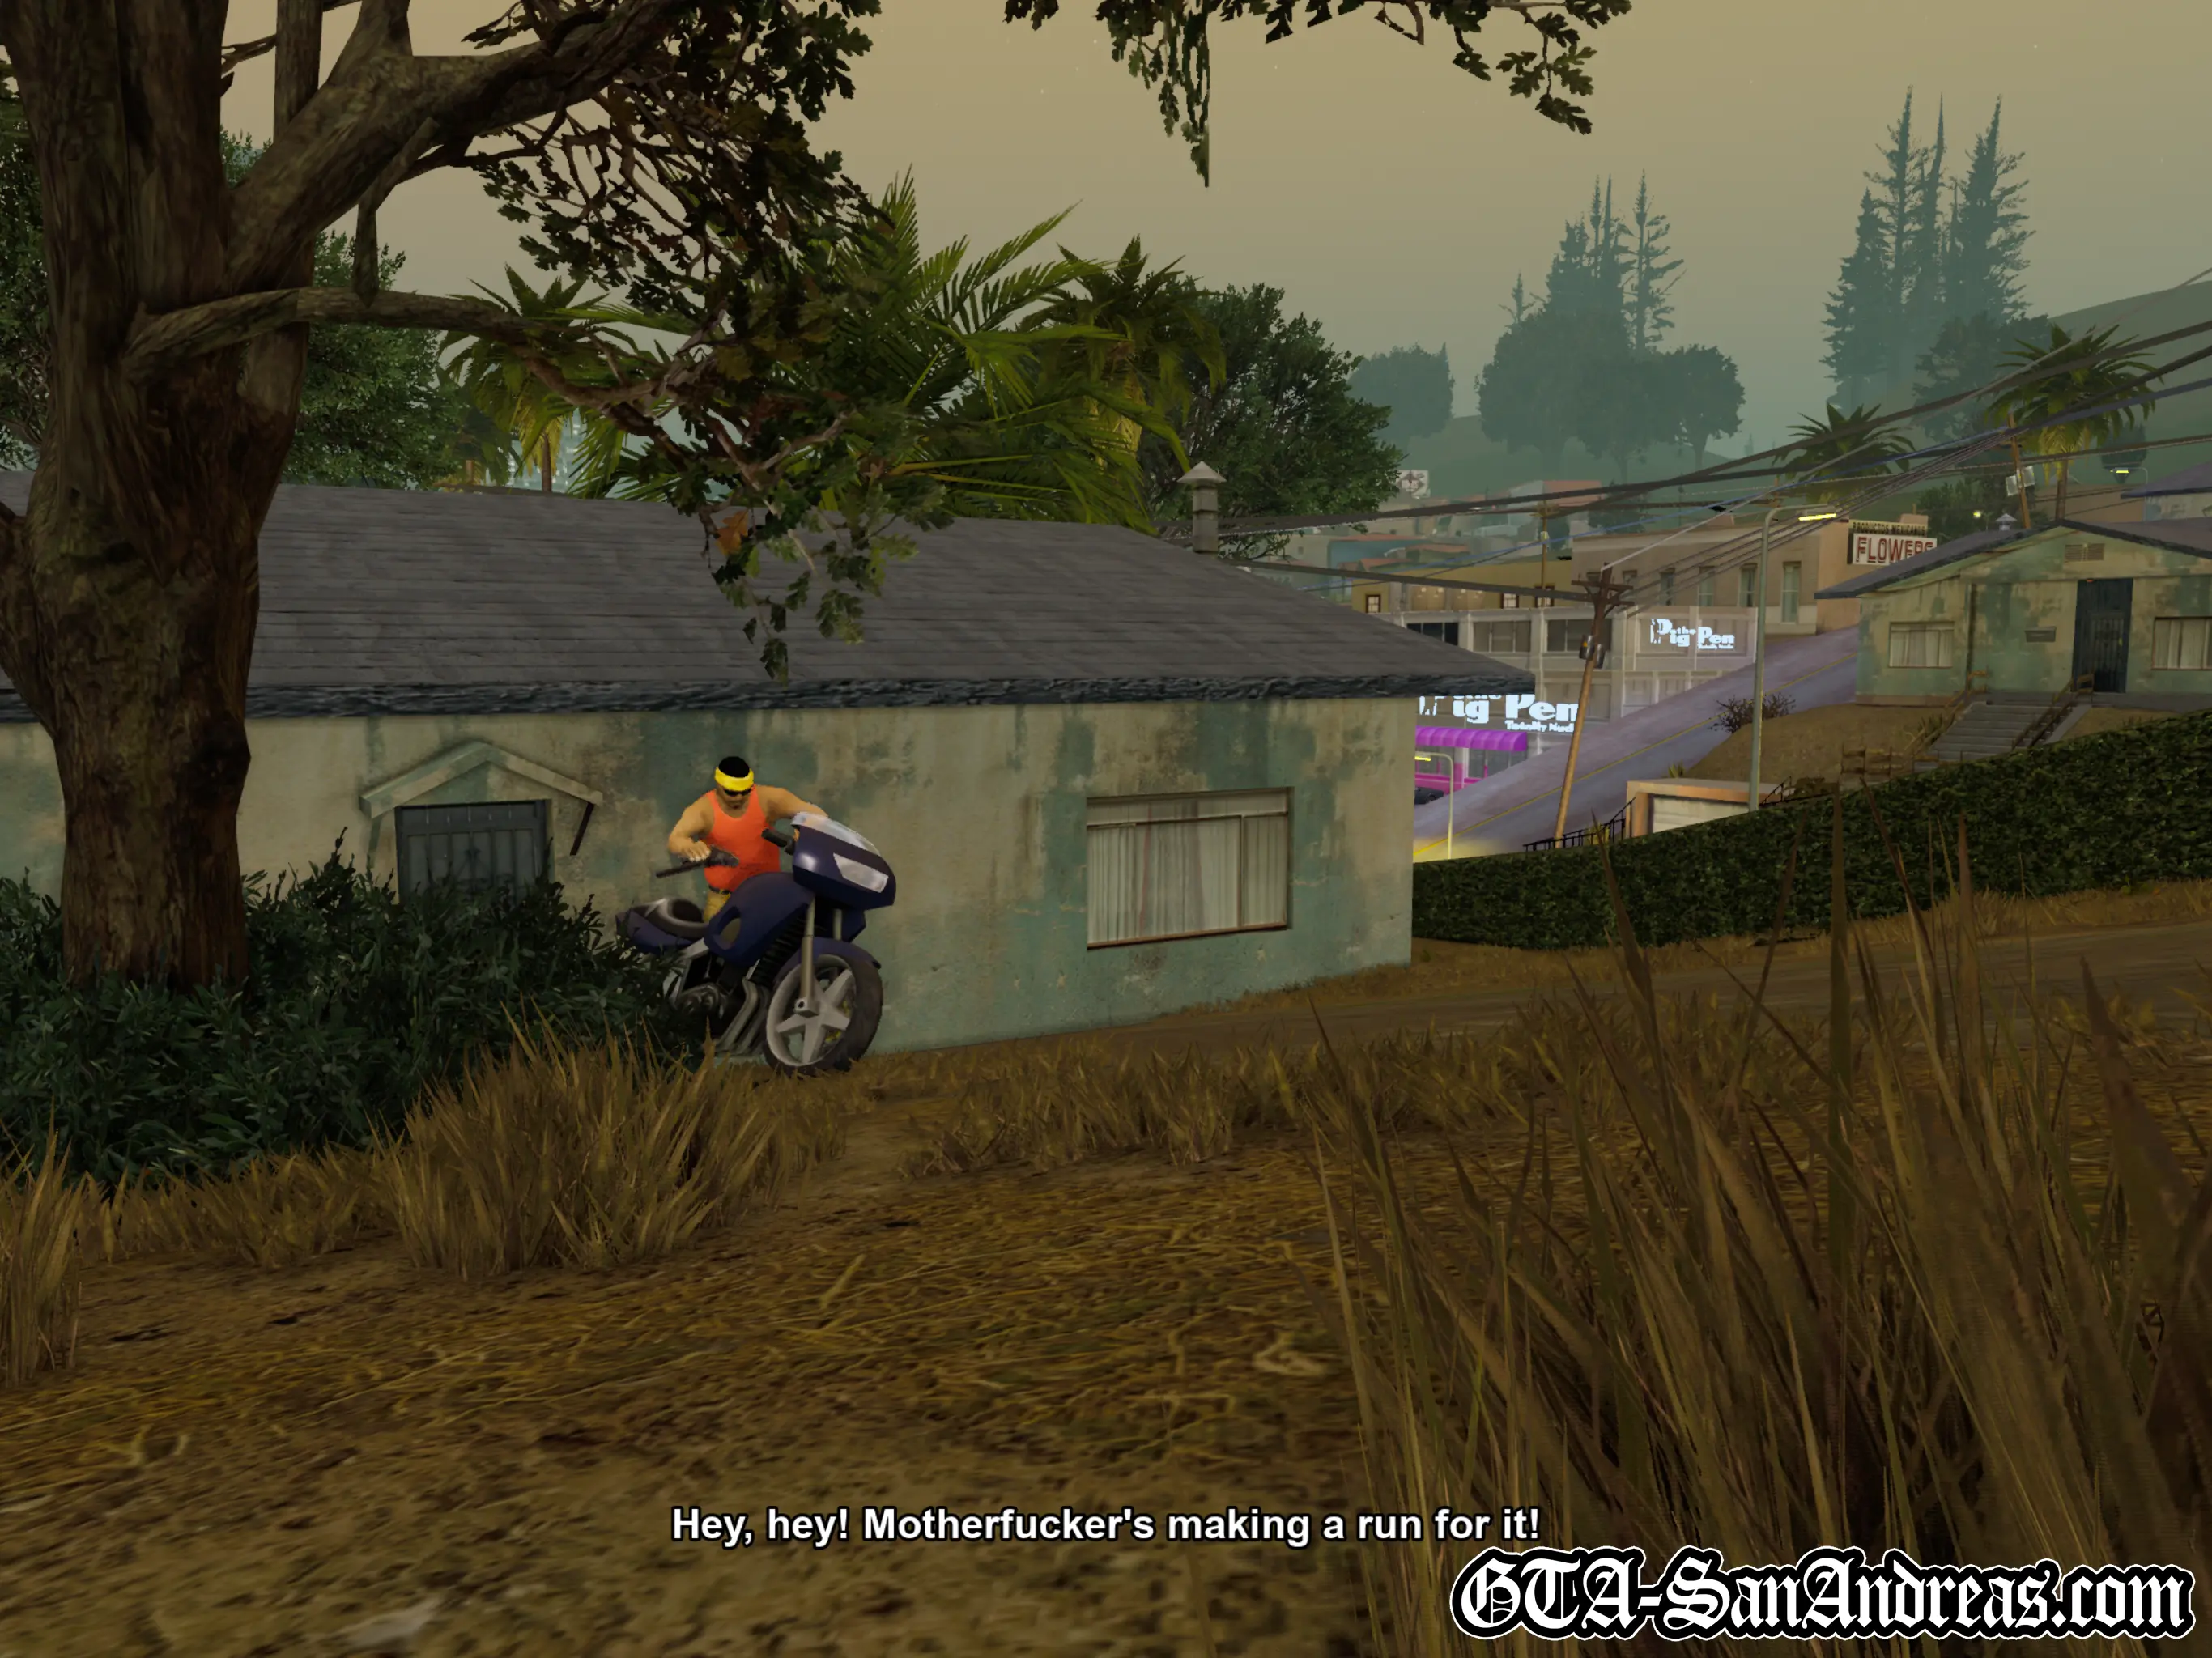
Shortly after, Freddy is spotted trying to escape on a motorbike parked behind the house. Luckily there's another one for you to give chase.
Follow Freddy on the bike, with OG Loc hanging on behind you. Freddy is marked with a red blip on the radar, so keep an eye on the radar to check where to go next.
Luckily he's in the mood for playing around and he'll stop and wait for you if you get too far behind so there's no need to speed too fast and risk crashing. OG Loc will try to shoot him from the back of your bike but it's best to ignore him and just follow Freddy because the chase will usually only end when he reaches his final destination.
You'll chase him all across Los Santos, then he'll pass by his house again. Eventually he'll come to a stop near some basketball courts alongside some of his Los Santos Vagos friends, so you'll need to take them out.
Jump off the bike and shoot the enemies. They don't take too many shots to take down but try to stay in cover to avoid damage.
Cutscene
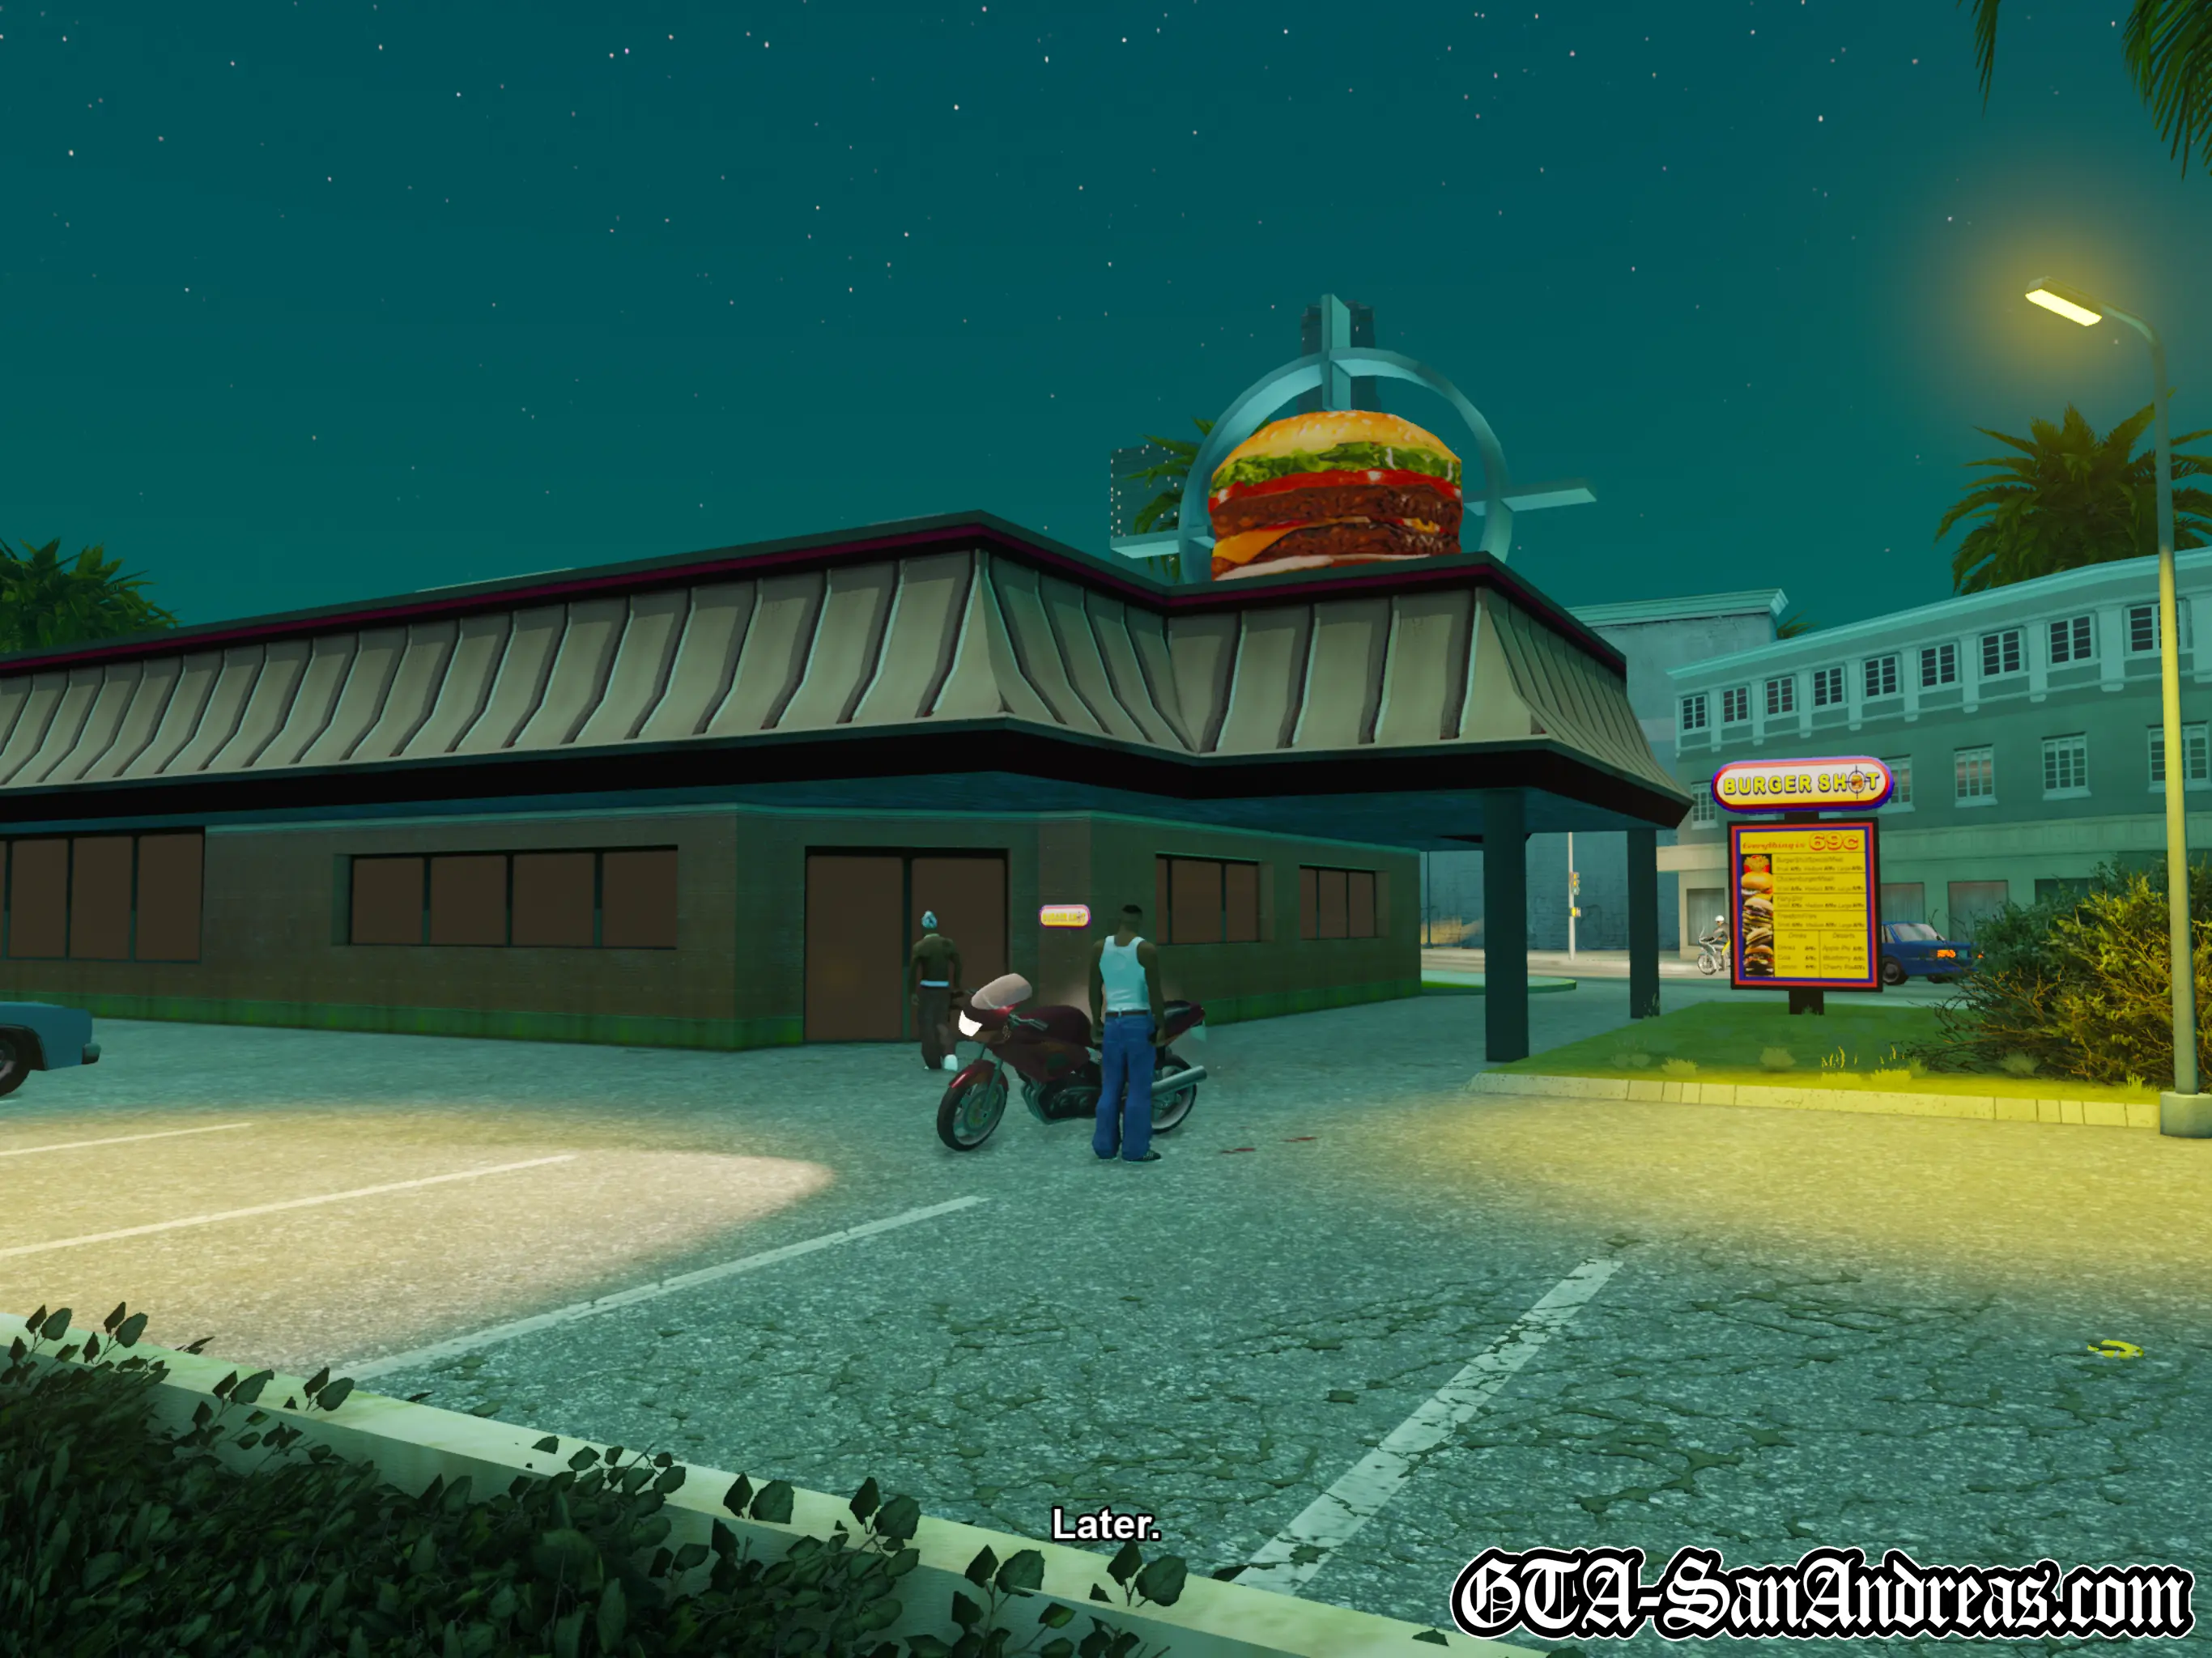
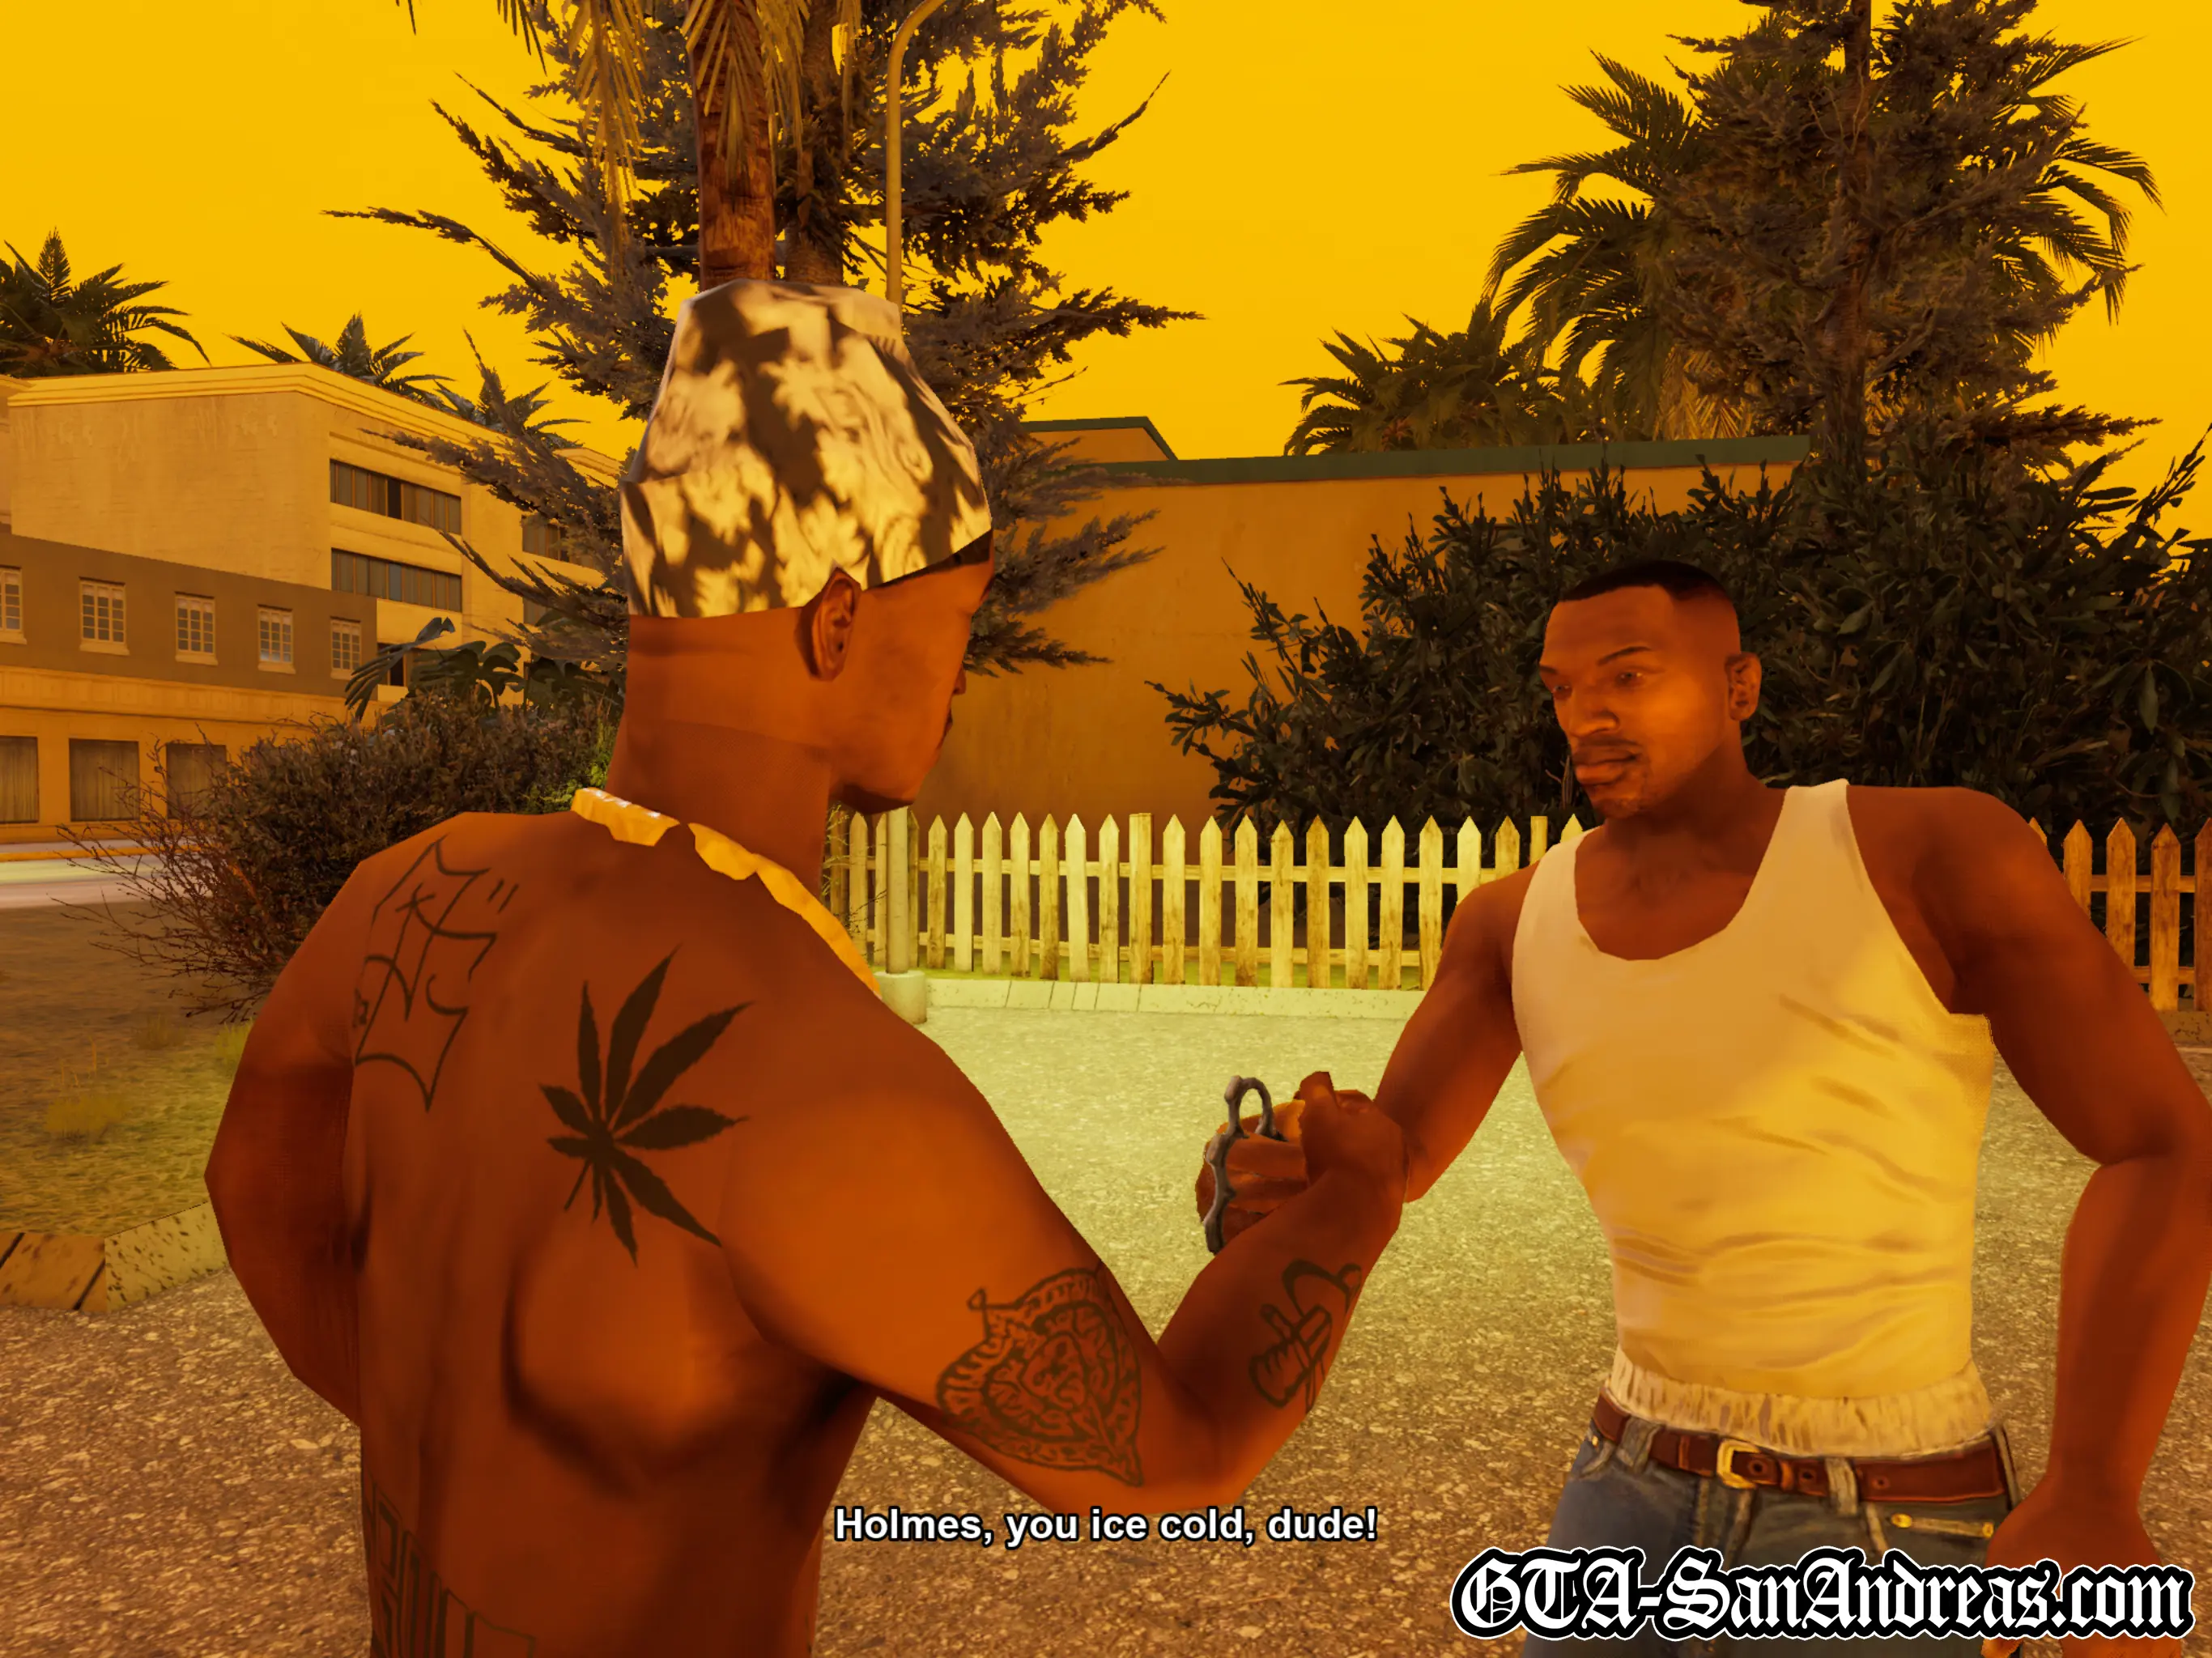
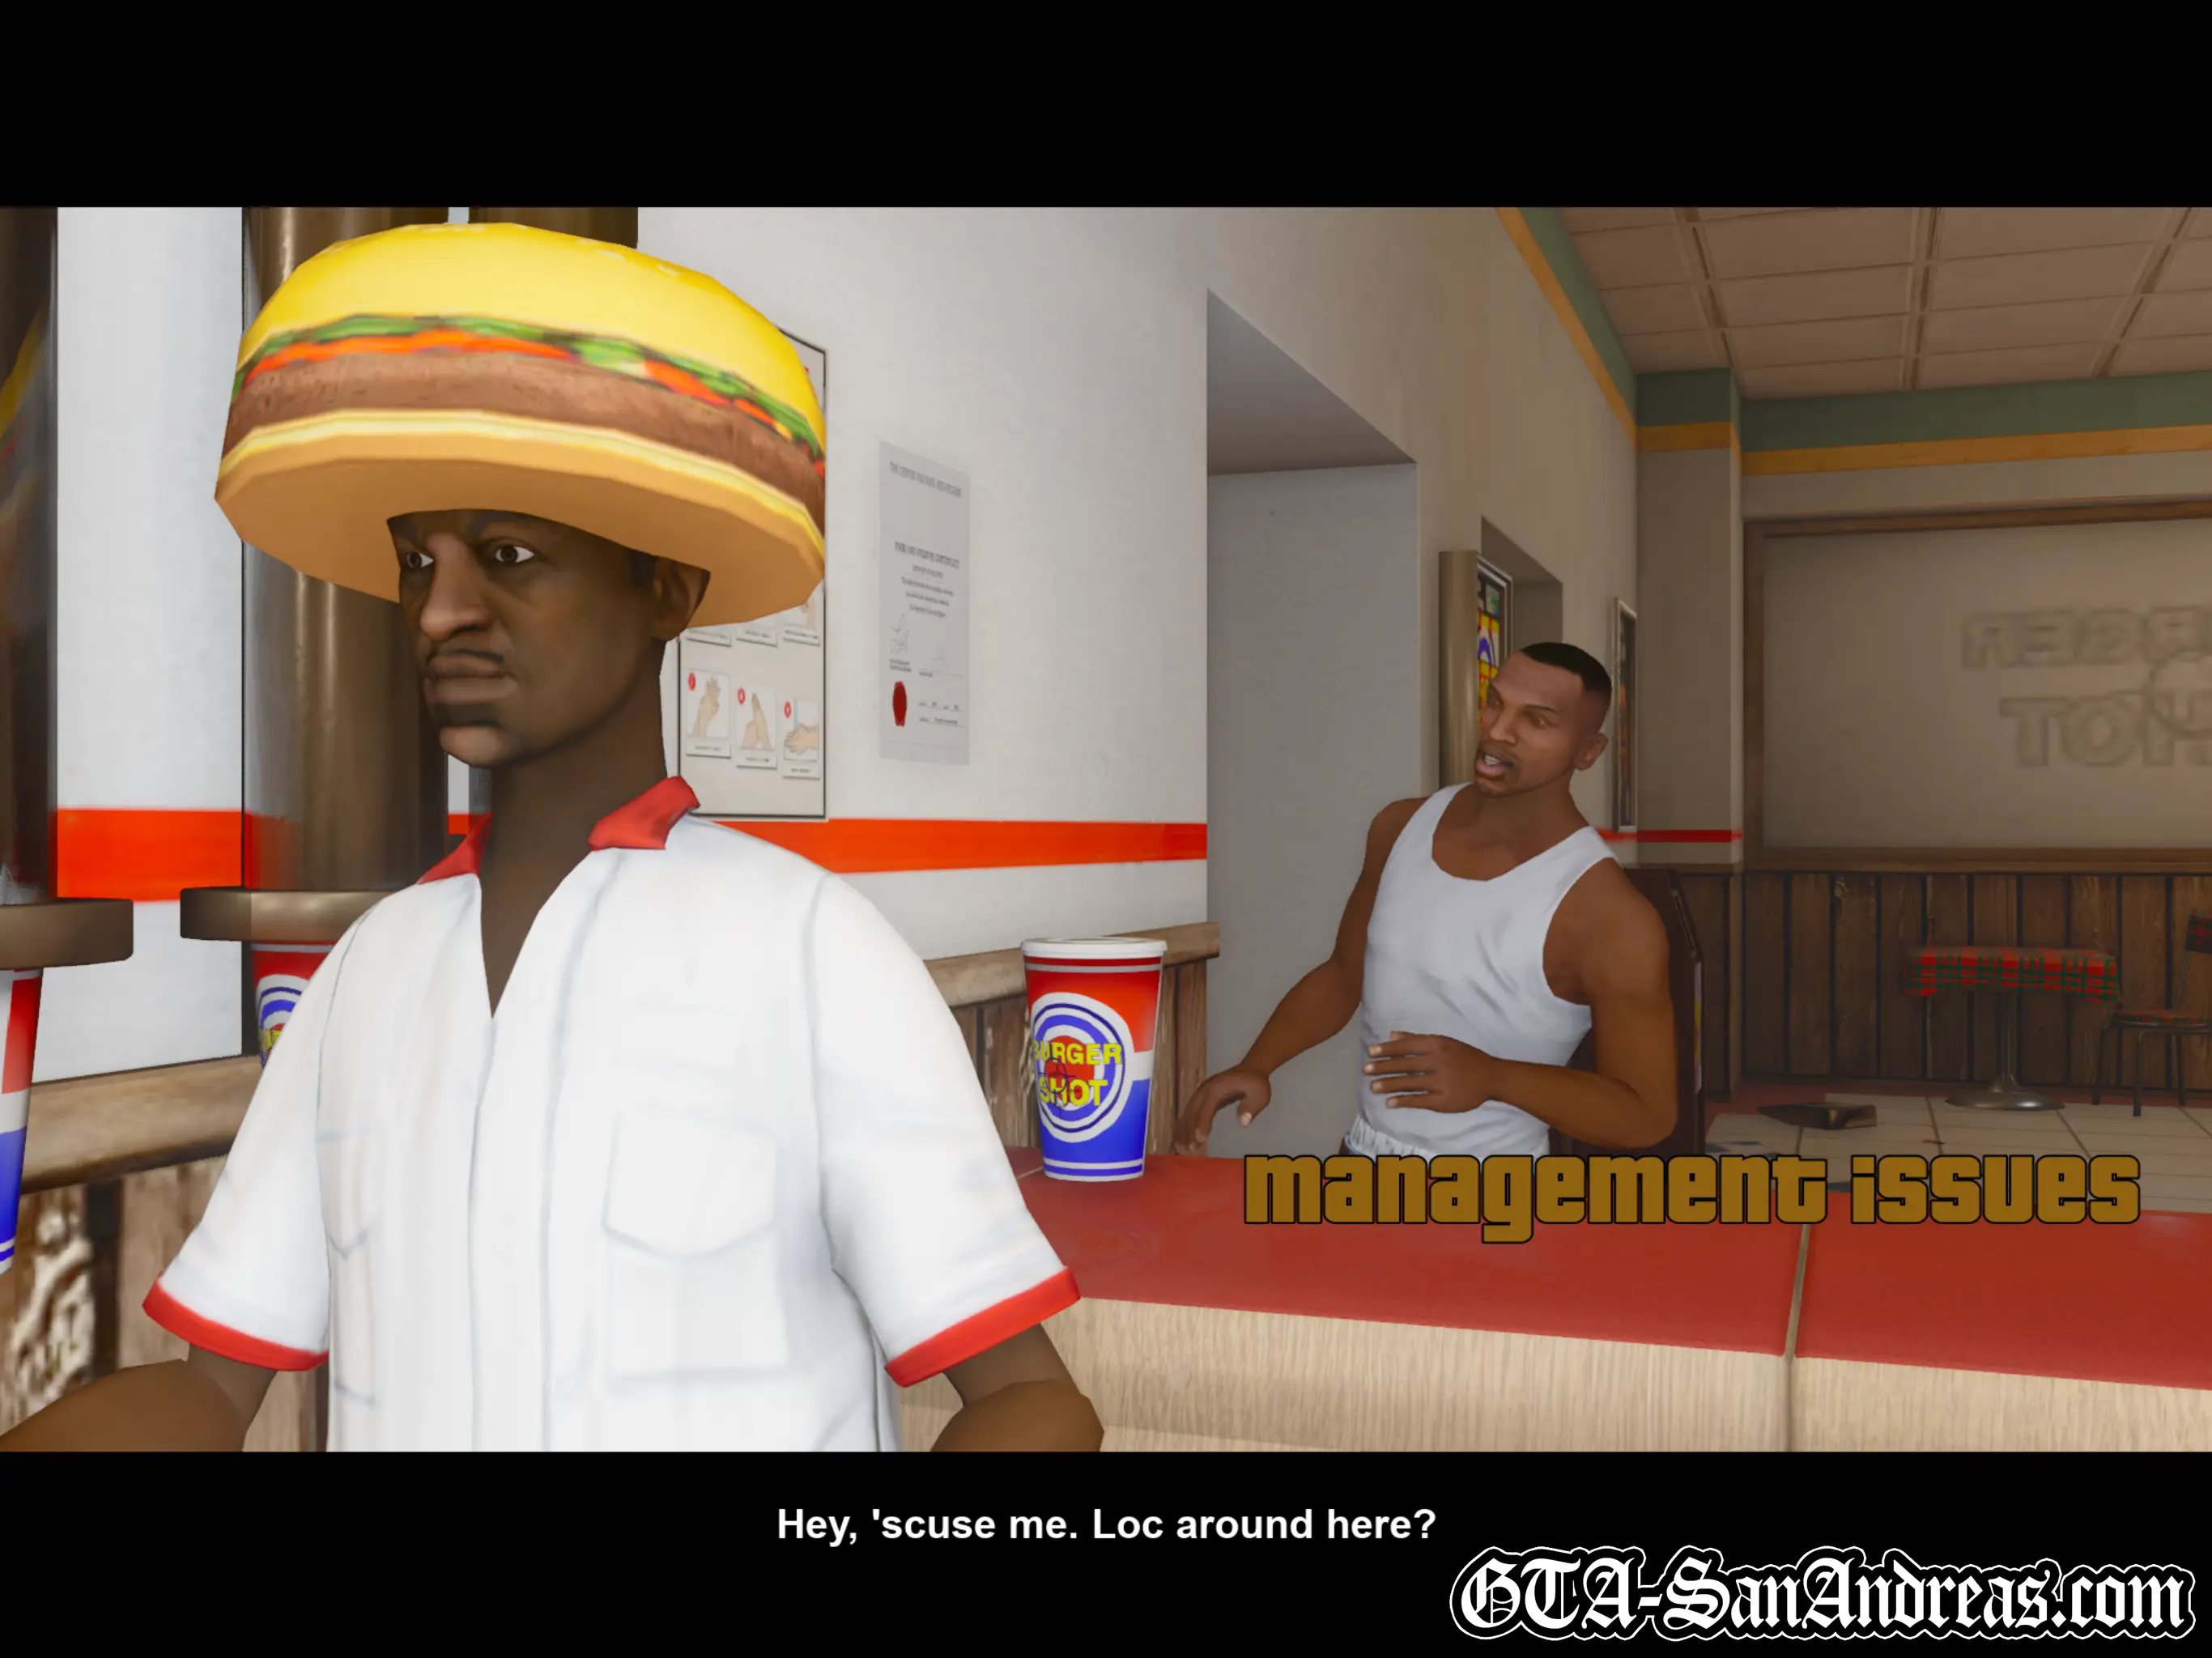
Carl and OG Loc inspect the bodies while Carl jokes about OG Loc being lonely in prison. CJ offers to take OG Loc back to the Grove but Loc needs to sign on for a new job as a 'Hygiene Technician', so he wants Carl to take him to Burger Shot instead.
Grab a vehicle of your choice and make your way over to the new destination in the Burger Shot parking lot. Park in the red marker to end the mission.
Cutscene
OG Loc thanks Carl and heads into the restaurant to start his new job.
Post-Mission
![]() OG Loc's Missions Are Now Unlocked.
OG Loc's Missions Are Now Unlocked.
As you might know by now, I always like to do things in order and we started Big Smoke, so I'm going back to work for him again, no matter how many inches we may be away from OG Loc's mission marker.
Screenshots
Running Dog

Cutscene
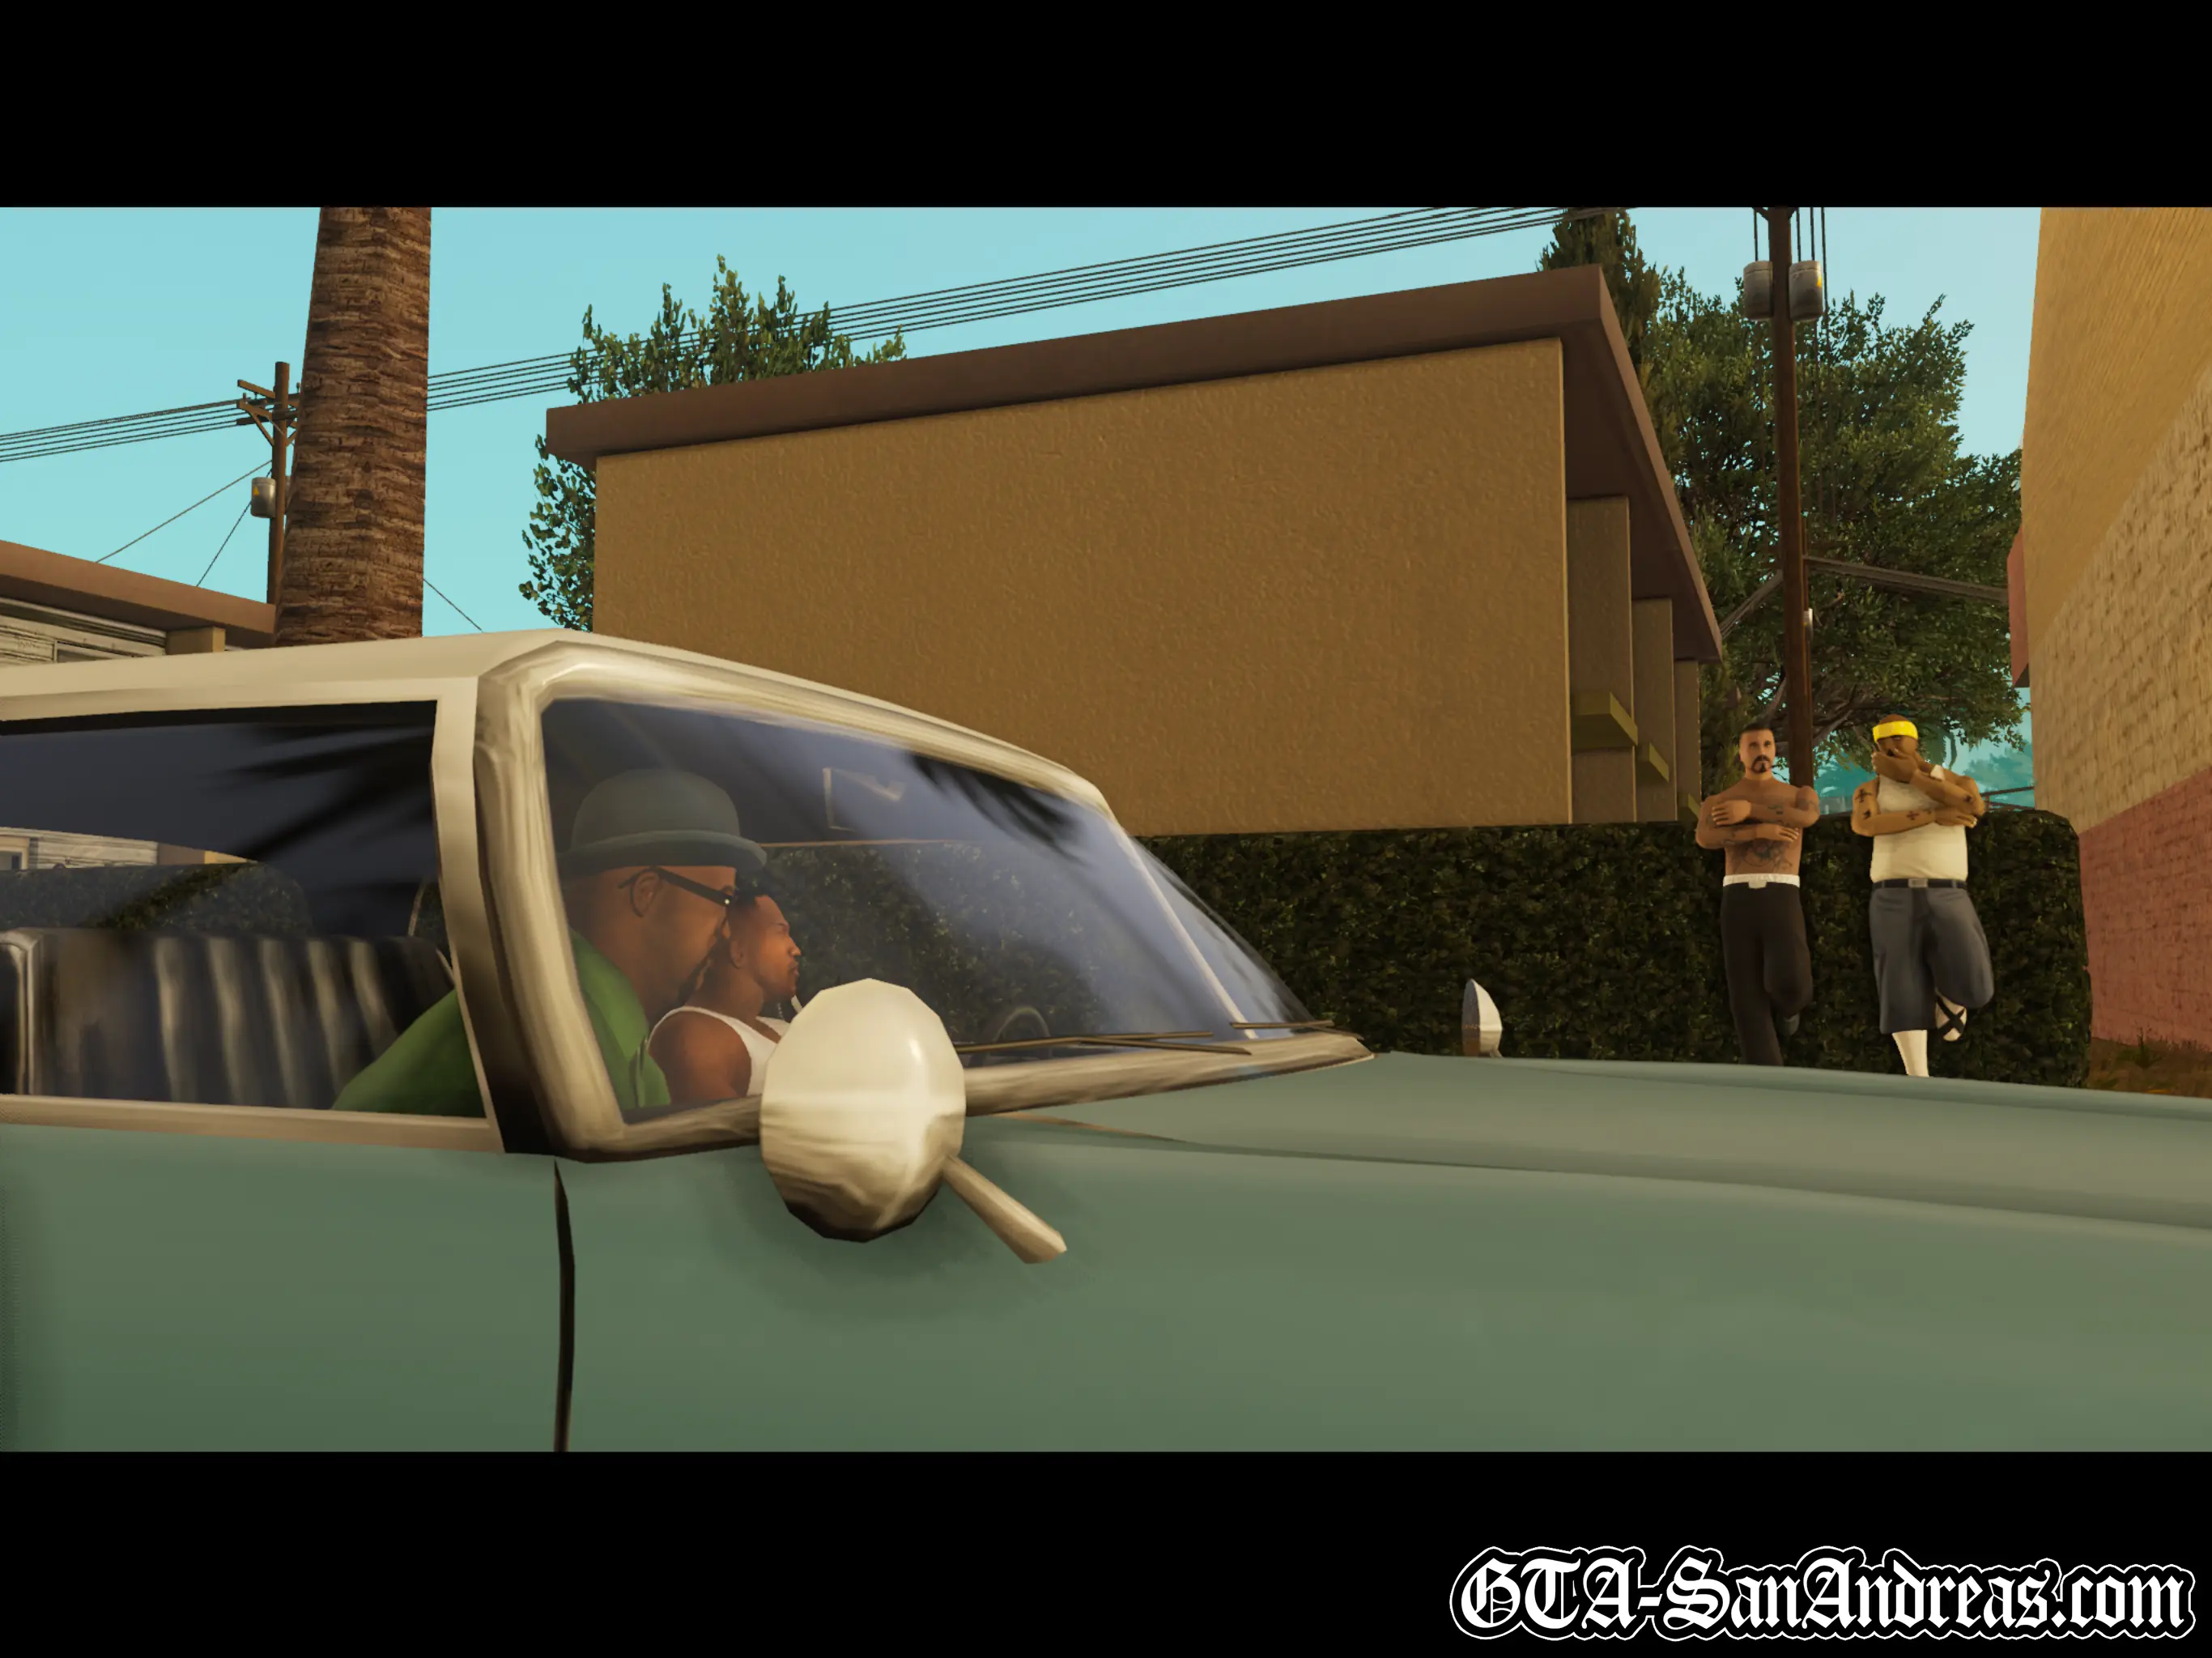
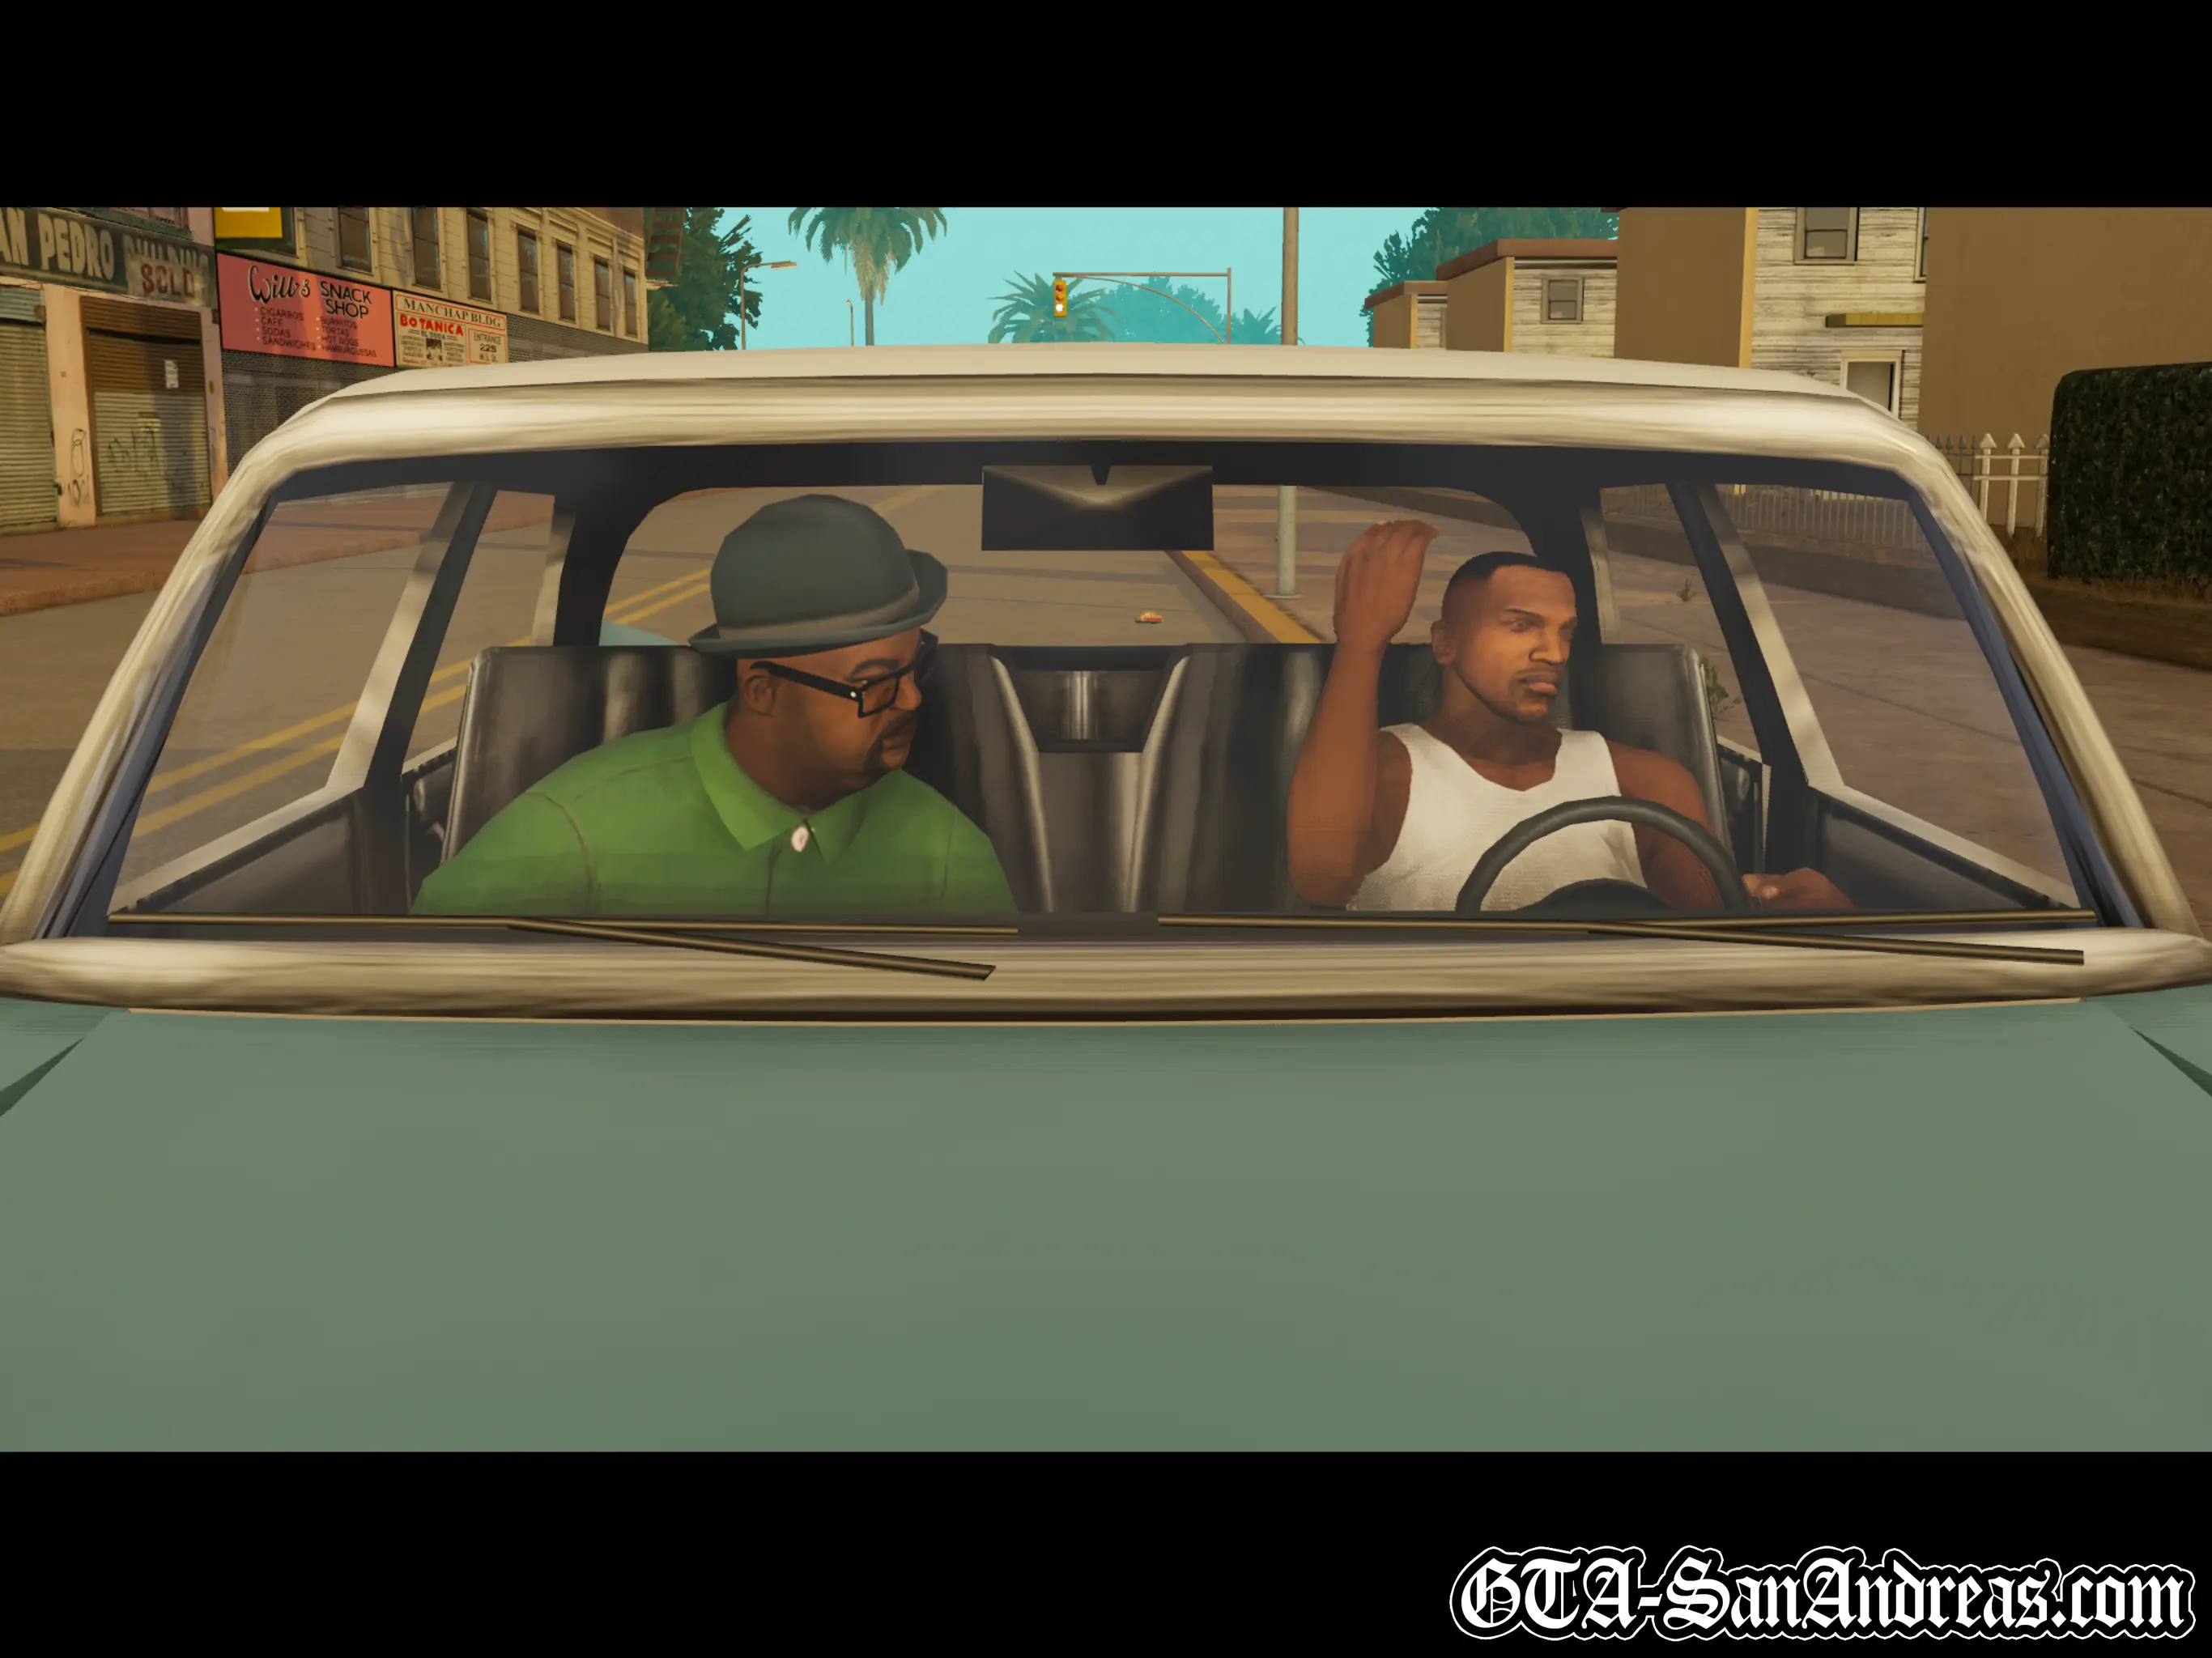
Carl is surprised to see Officer Tenpenny and Eddie Pulaski coming out of Big Smoke's house. Smoke says he doesn't tell them shit and it's all about his homeboy Carl and the gang. He tells CJ is cousin is coming into town from Mexico and he needs to scoop her up.
Get in Smoke's car and drive him to the meet. The game will suggest you pay Emmet a visit if you need a weapon.
Follow the map to the destination and when you get there, park in the red marker.
Cutscene
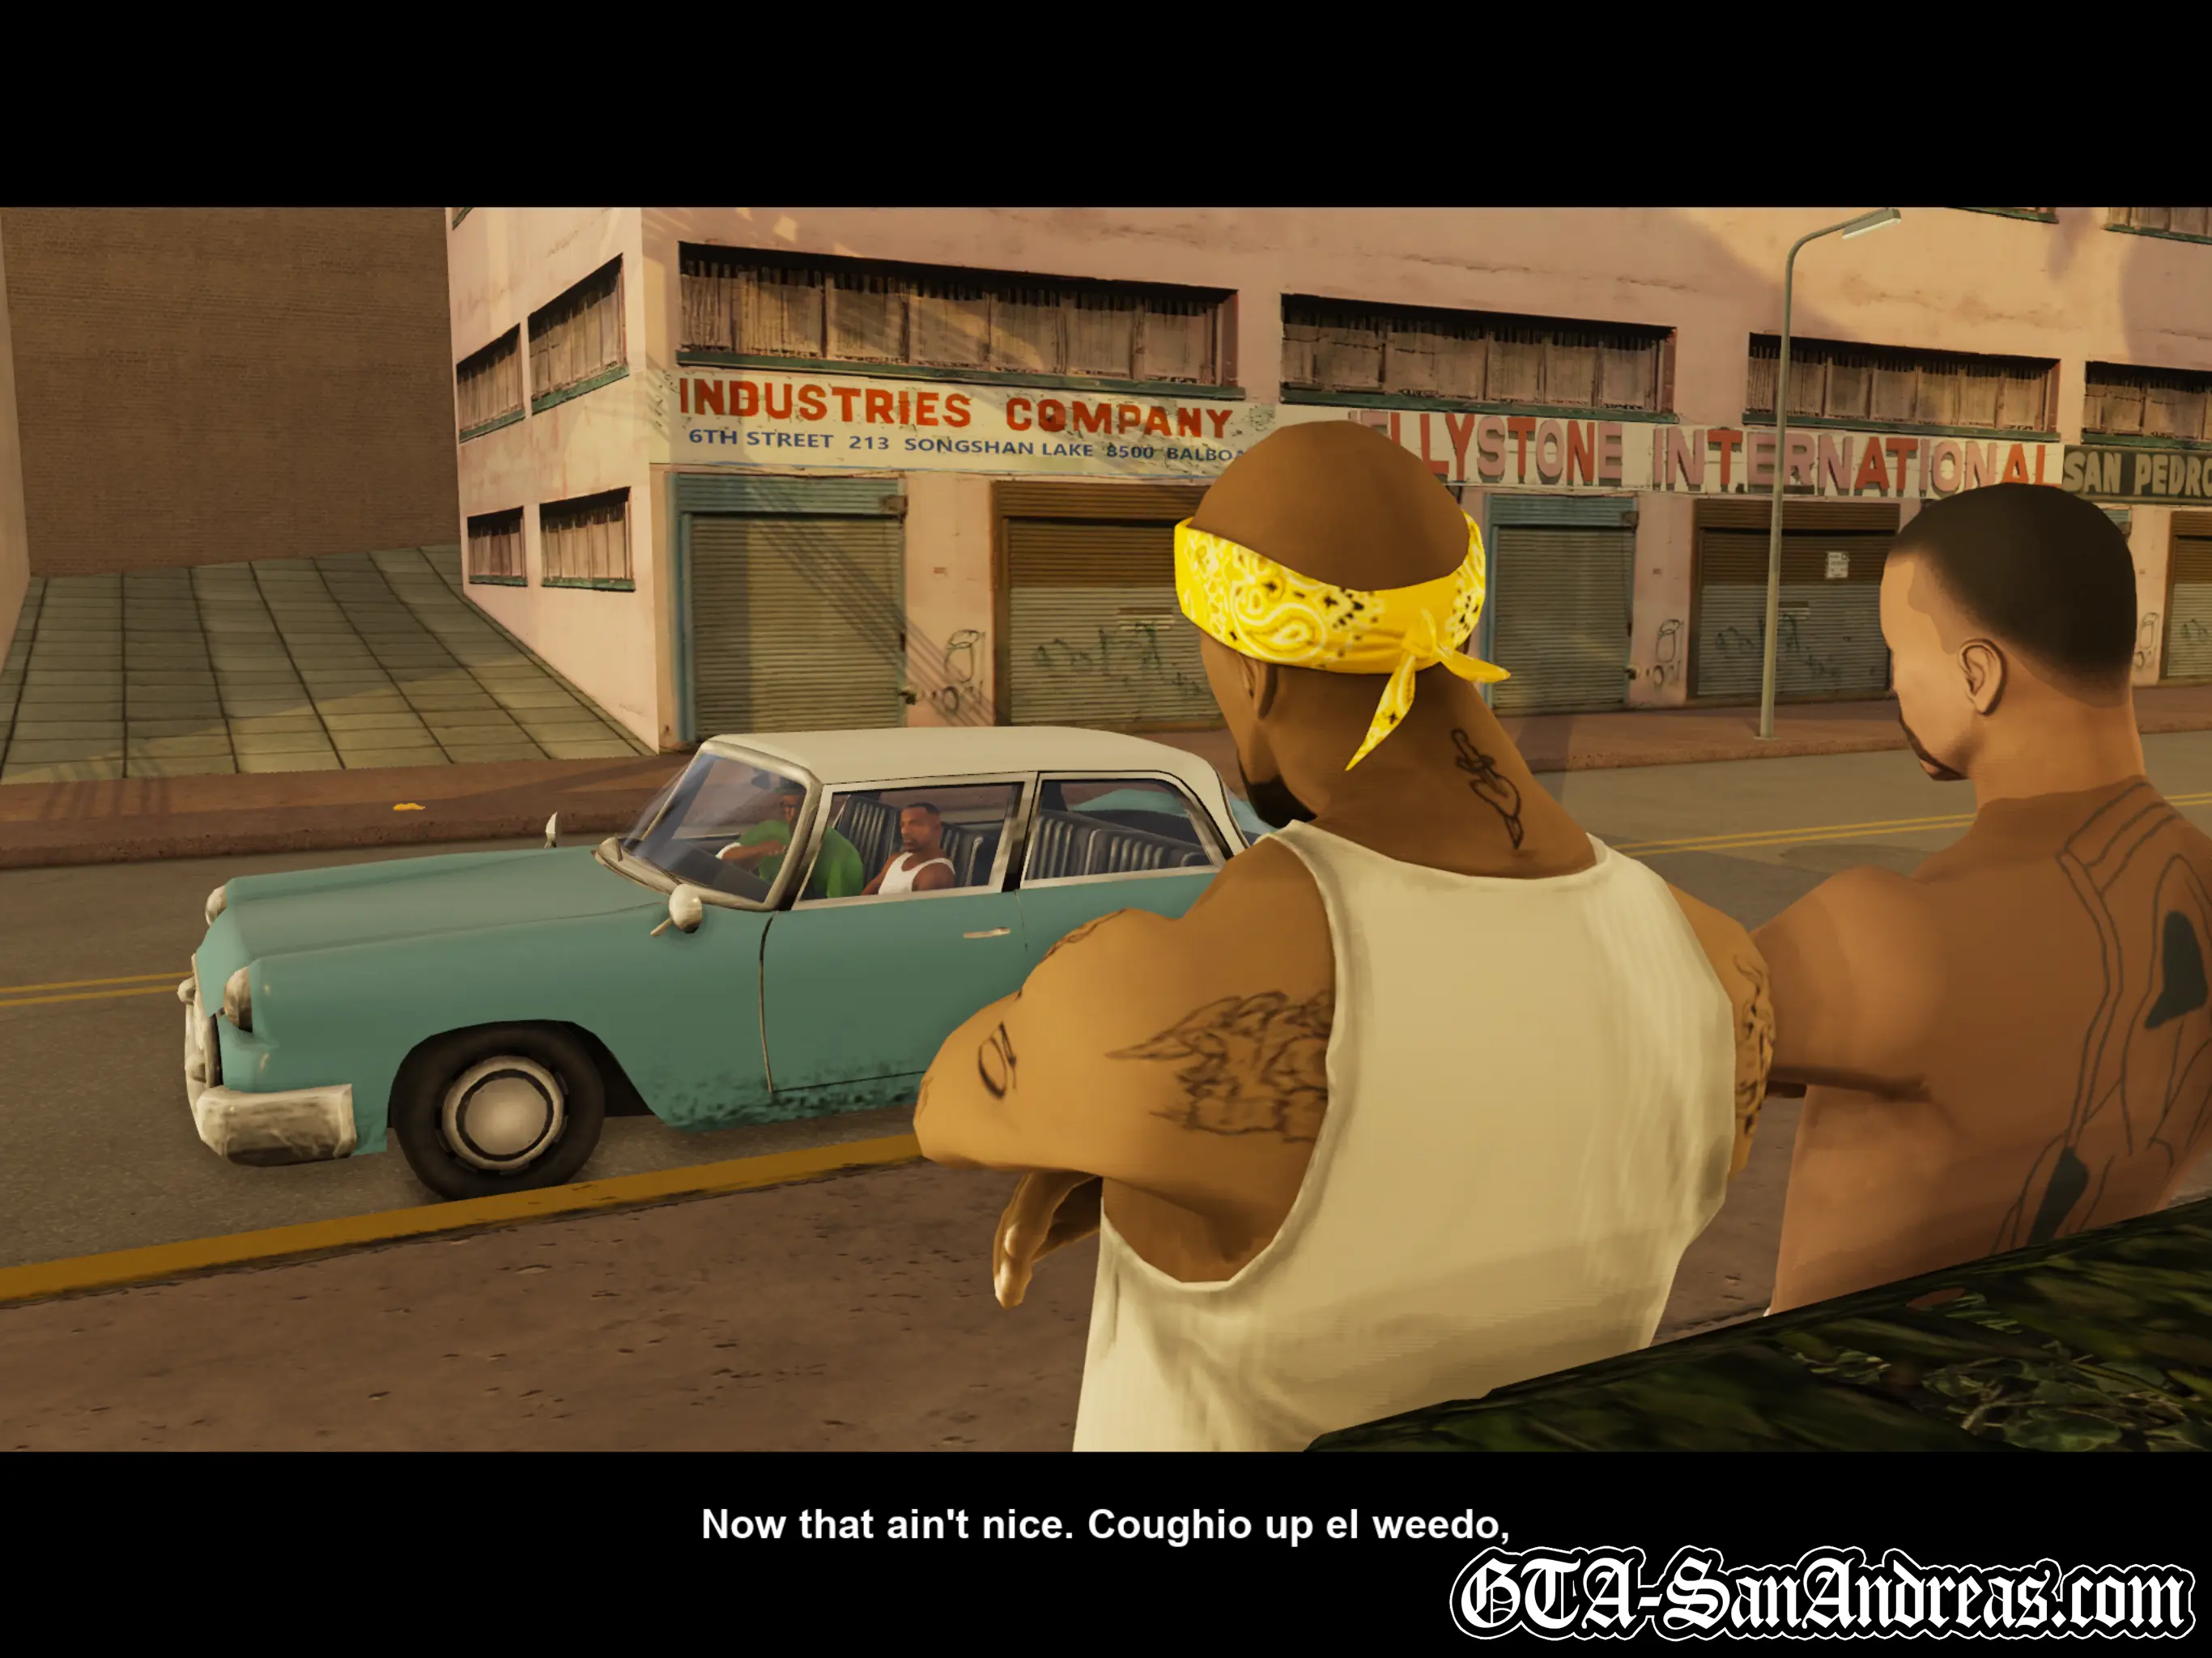
It turns out Smoke's cousin Mary is actually just the weed he's hoping to buy from some Vagos. After asking nicely, "coughio up el weedo, before I blow your brains out all over the patio", it seems the Vagos aren't selling.
More words are exchanged and as the Vagos start to walk away, Smoke attacks one of them with a baseball bat. The other Vagos gangster makes a run for it, chased by Carl and Big Smoke before Smoke realises he doesn't have the stamina to keep up.
The Vagos member jumps over a few fences and runs past some houses while Carl is in hot pursuit.
You'll re-take control of Carl at the end of an alleyway. Follow it forward and past the fence then you'll start to catch up the gangster. He'll run down an alley past a Sprunk machine where two fellow Vagos are waiting for you, so take them out and continue chasing your enemy who is marked with a red blip on the radar.
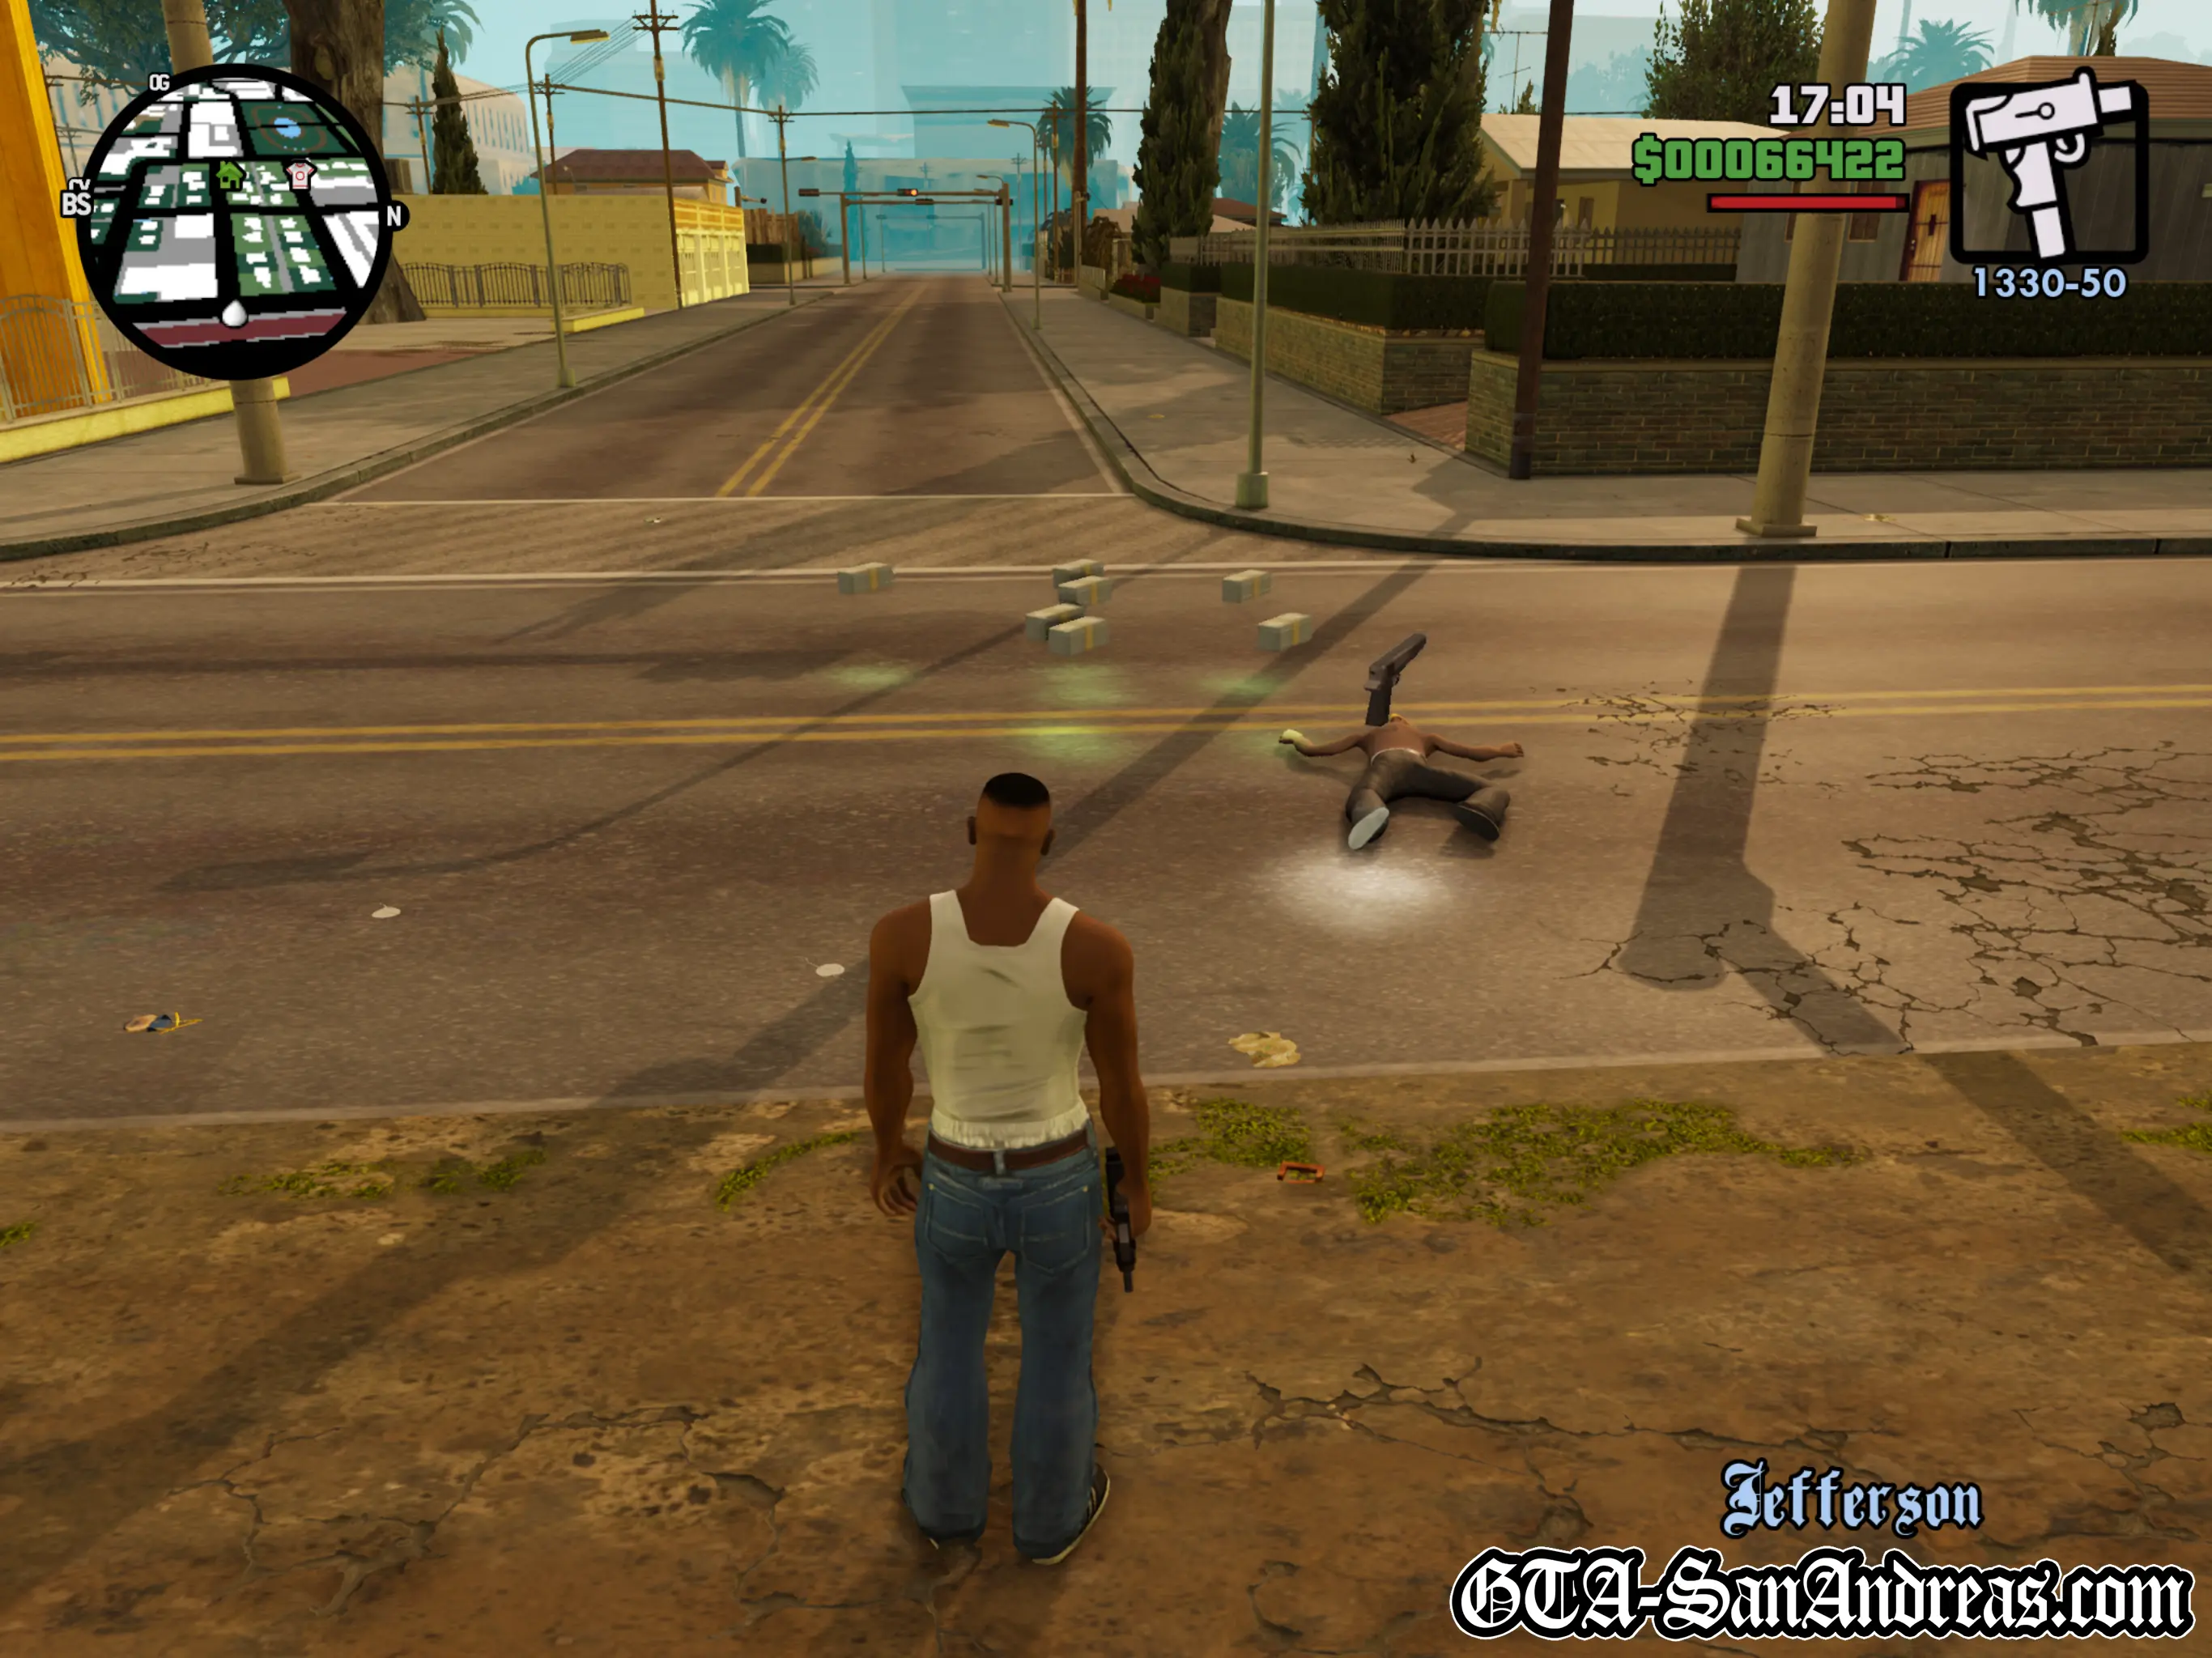
Make a right after running past the Sprunk machine and you'll catch up to the Vagos drug dealer as he attempts to run around the corner towards the train tracks. Once you get close enough just open fire on him and he'll go down easy, usually dropping a bunch of cash. He has the same health as a regular pedestrian so it doesn't take much to drop him.
Screenshots
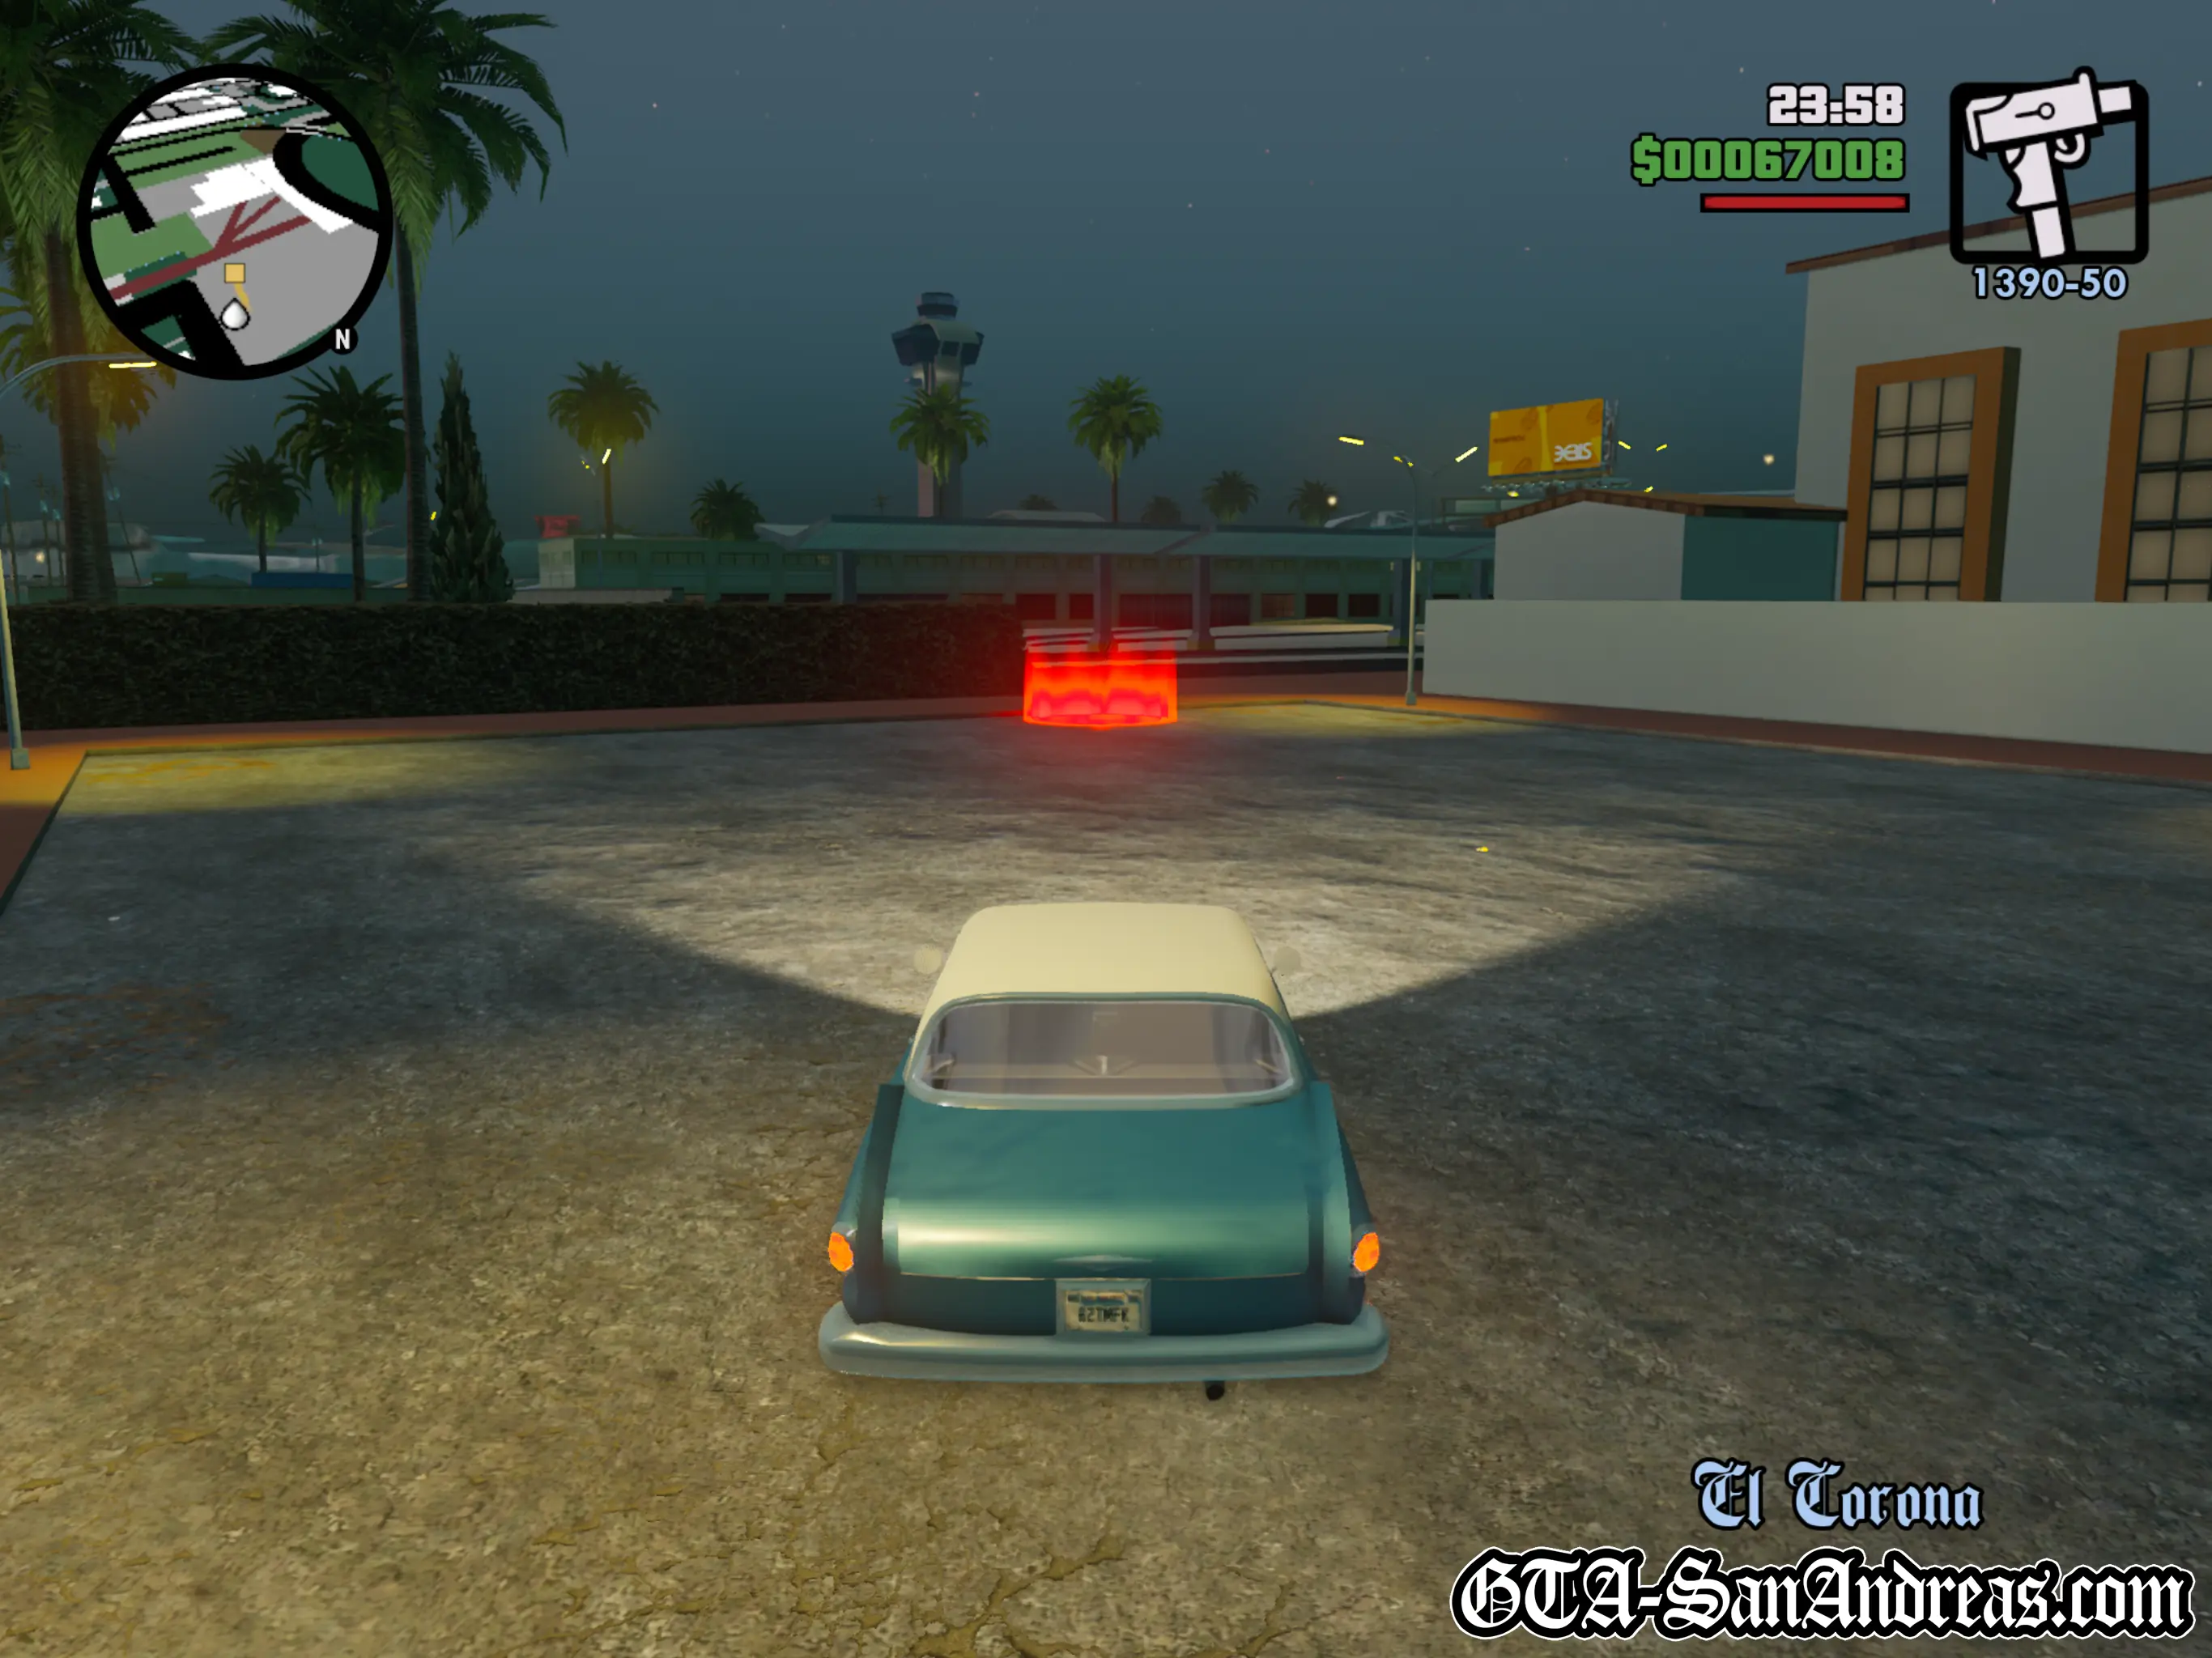
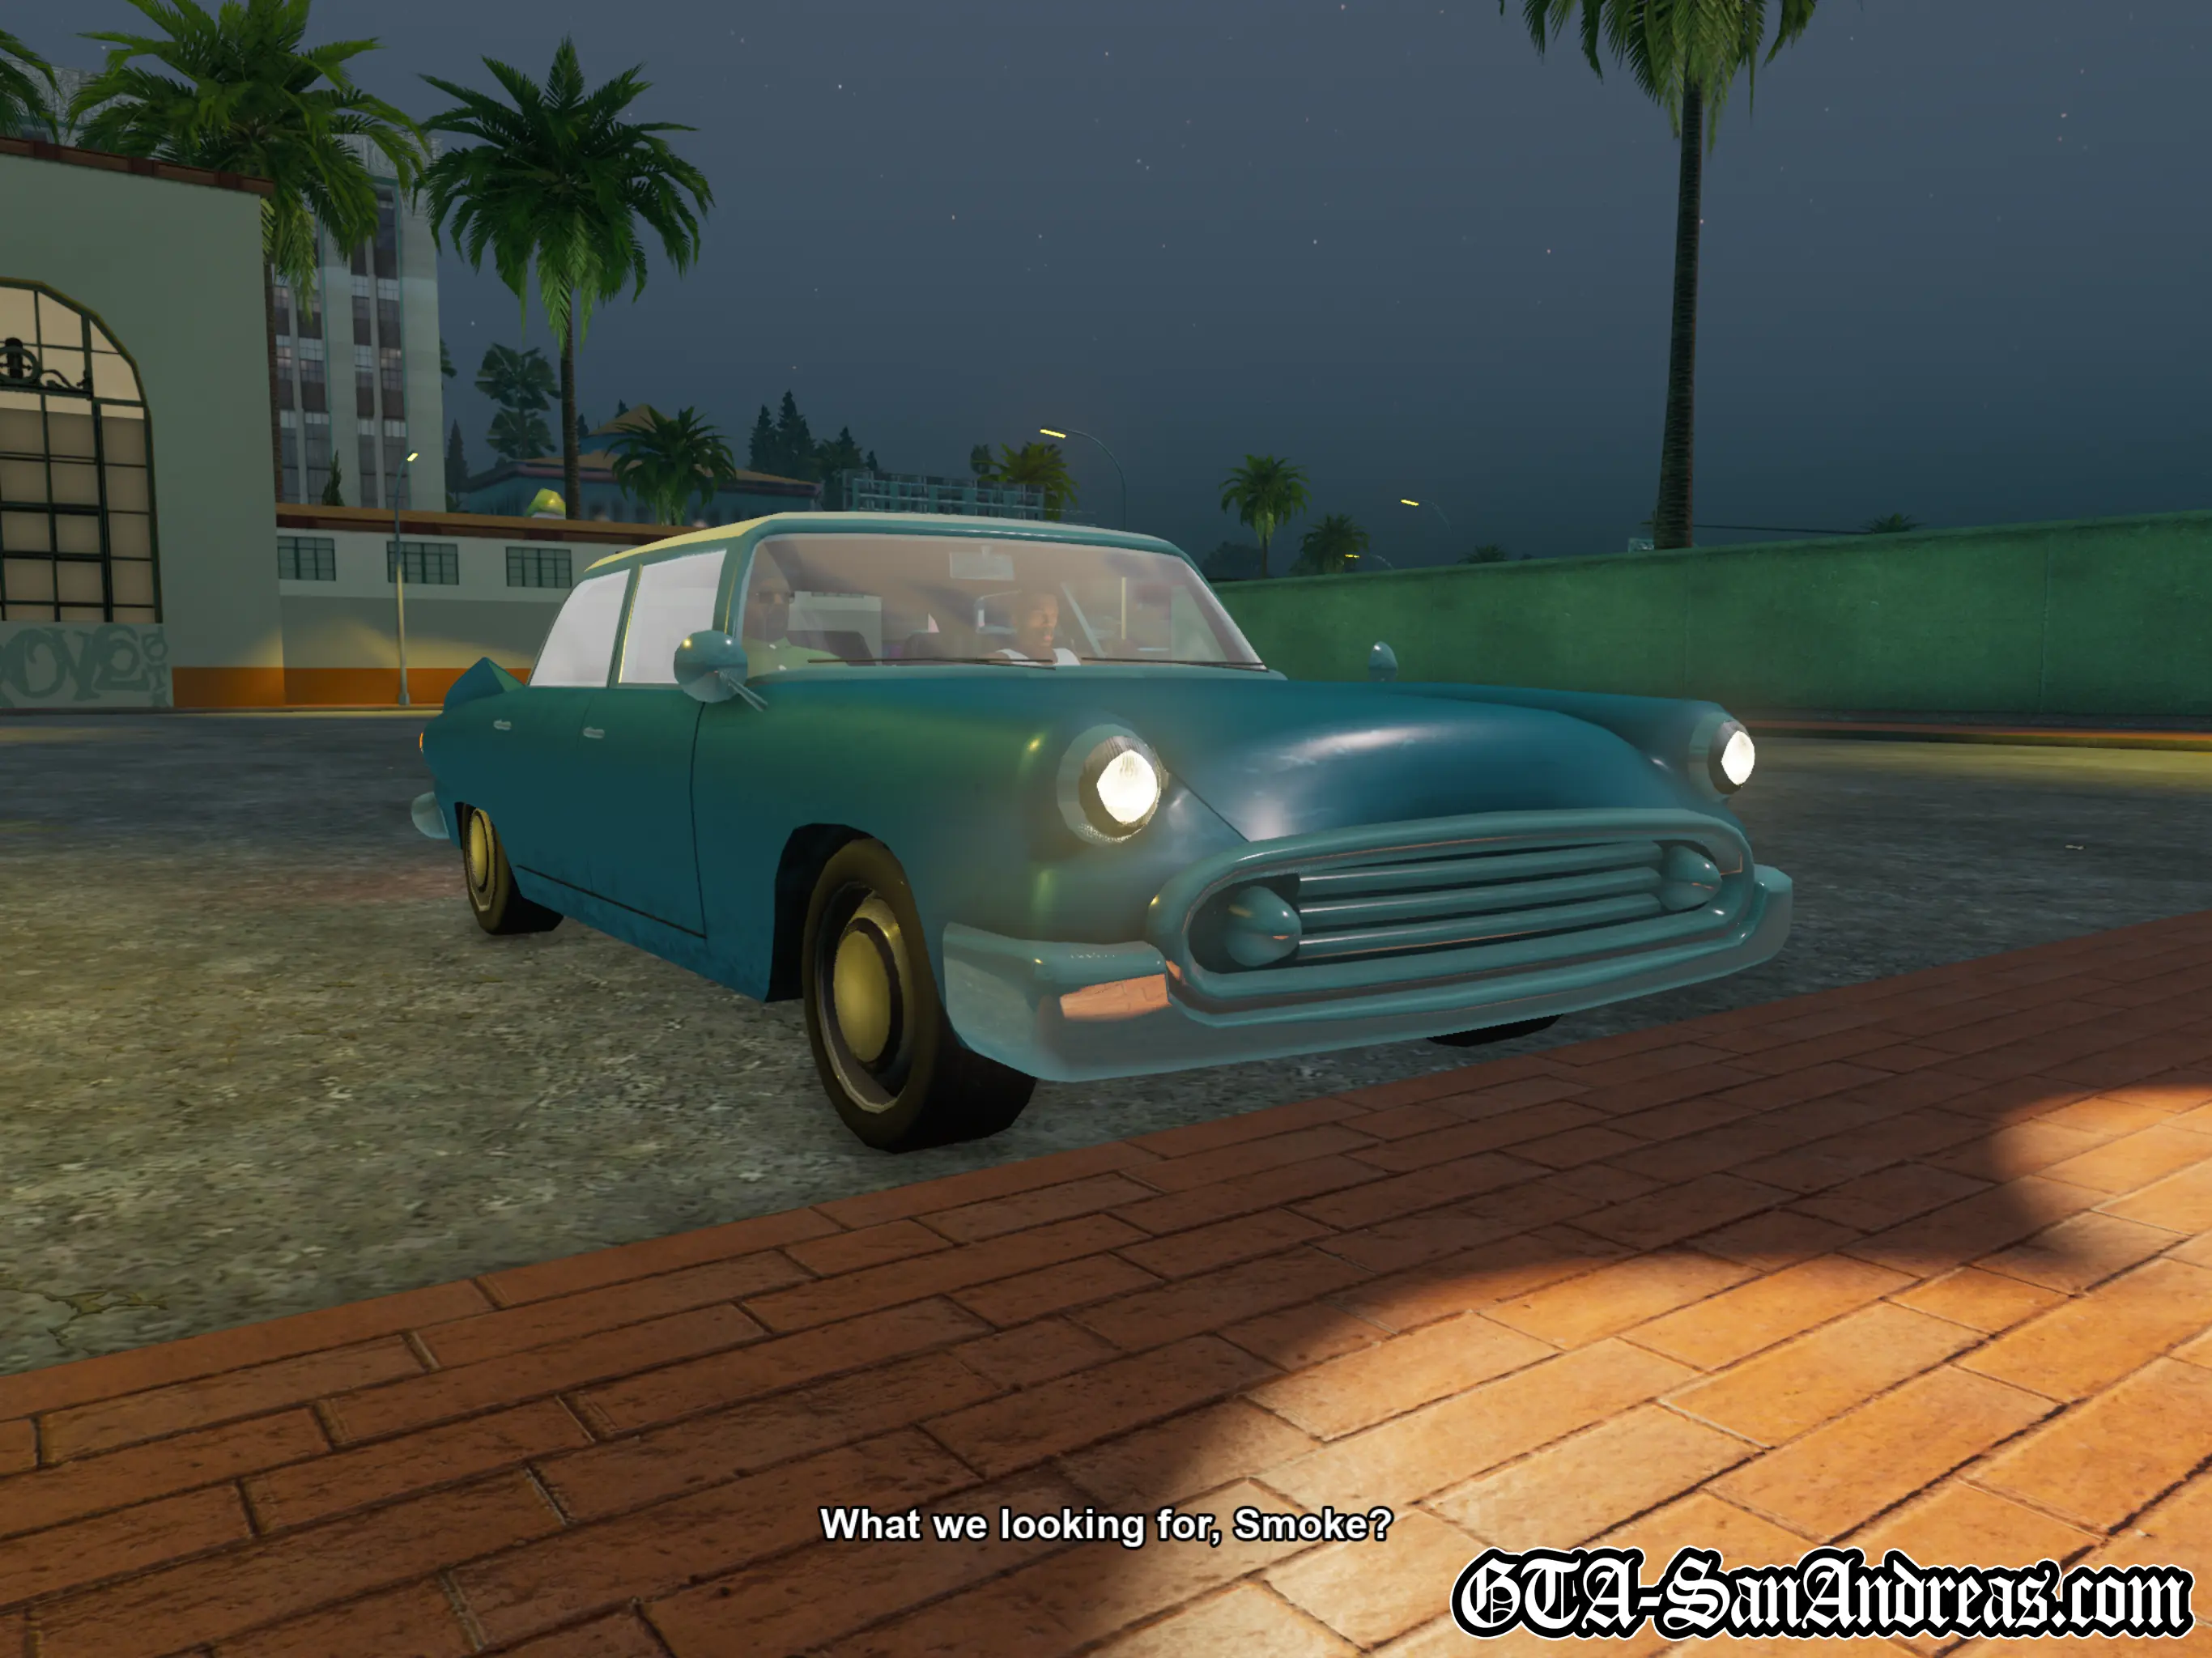
Wrong Side Of The Tracks
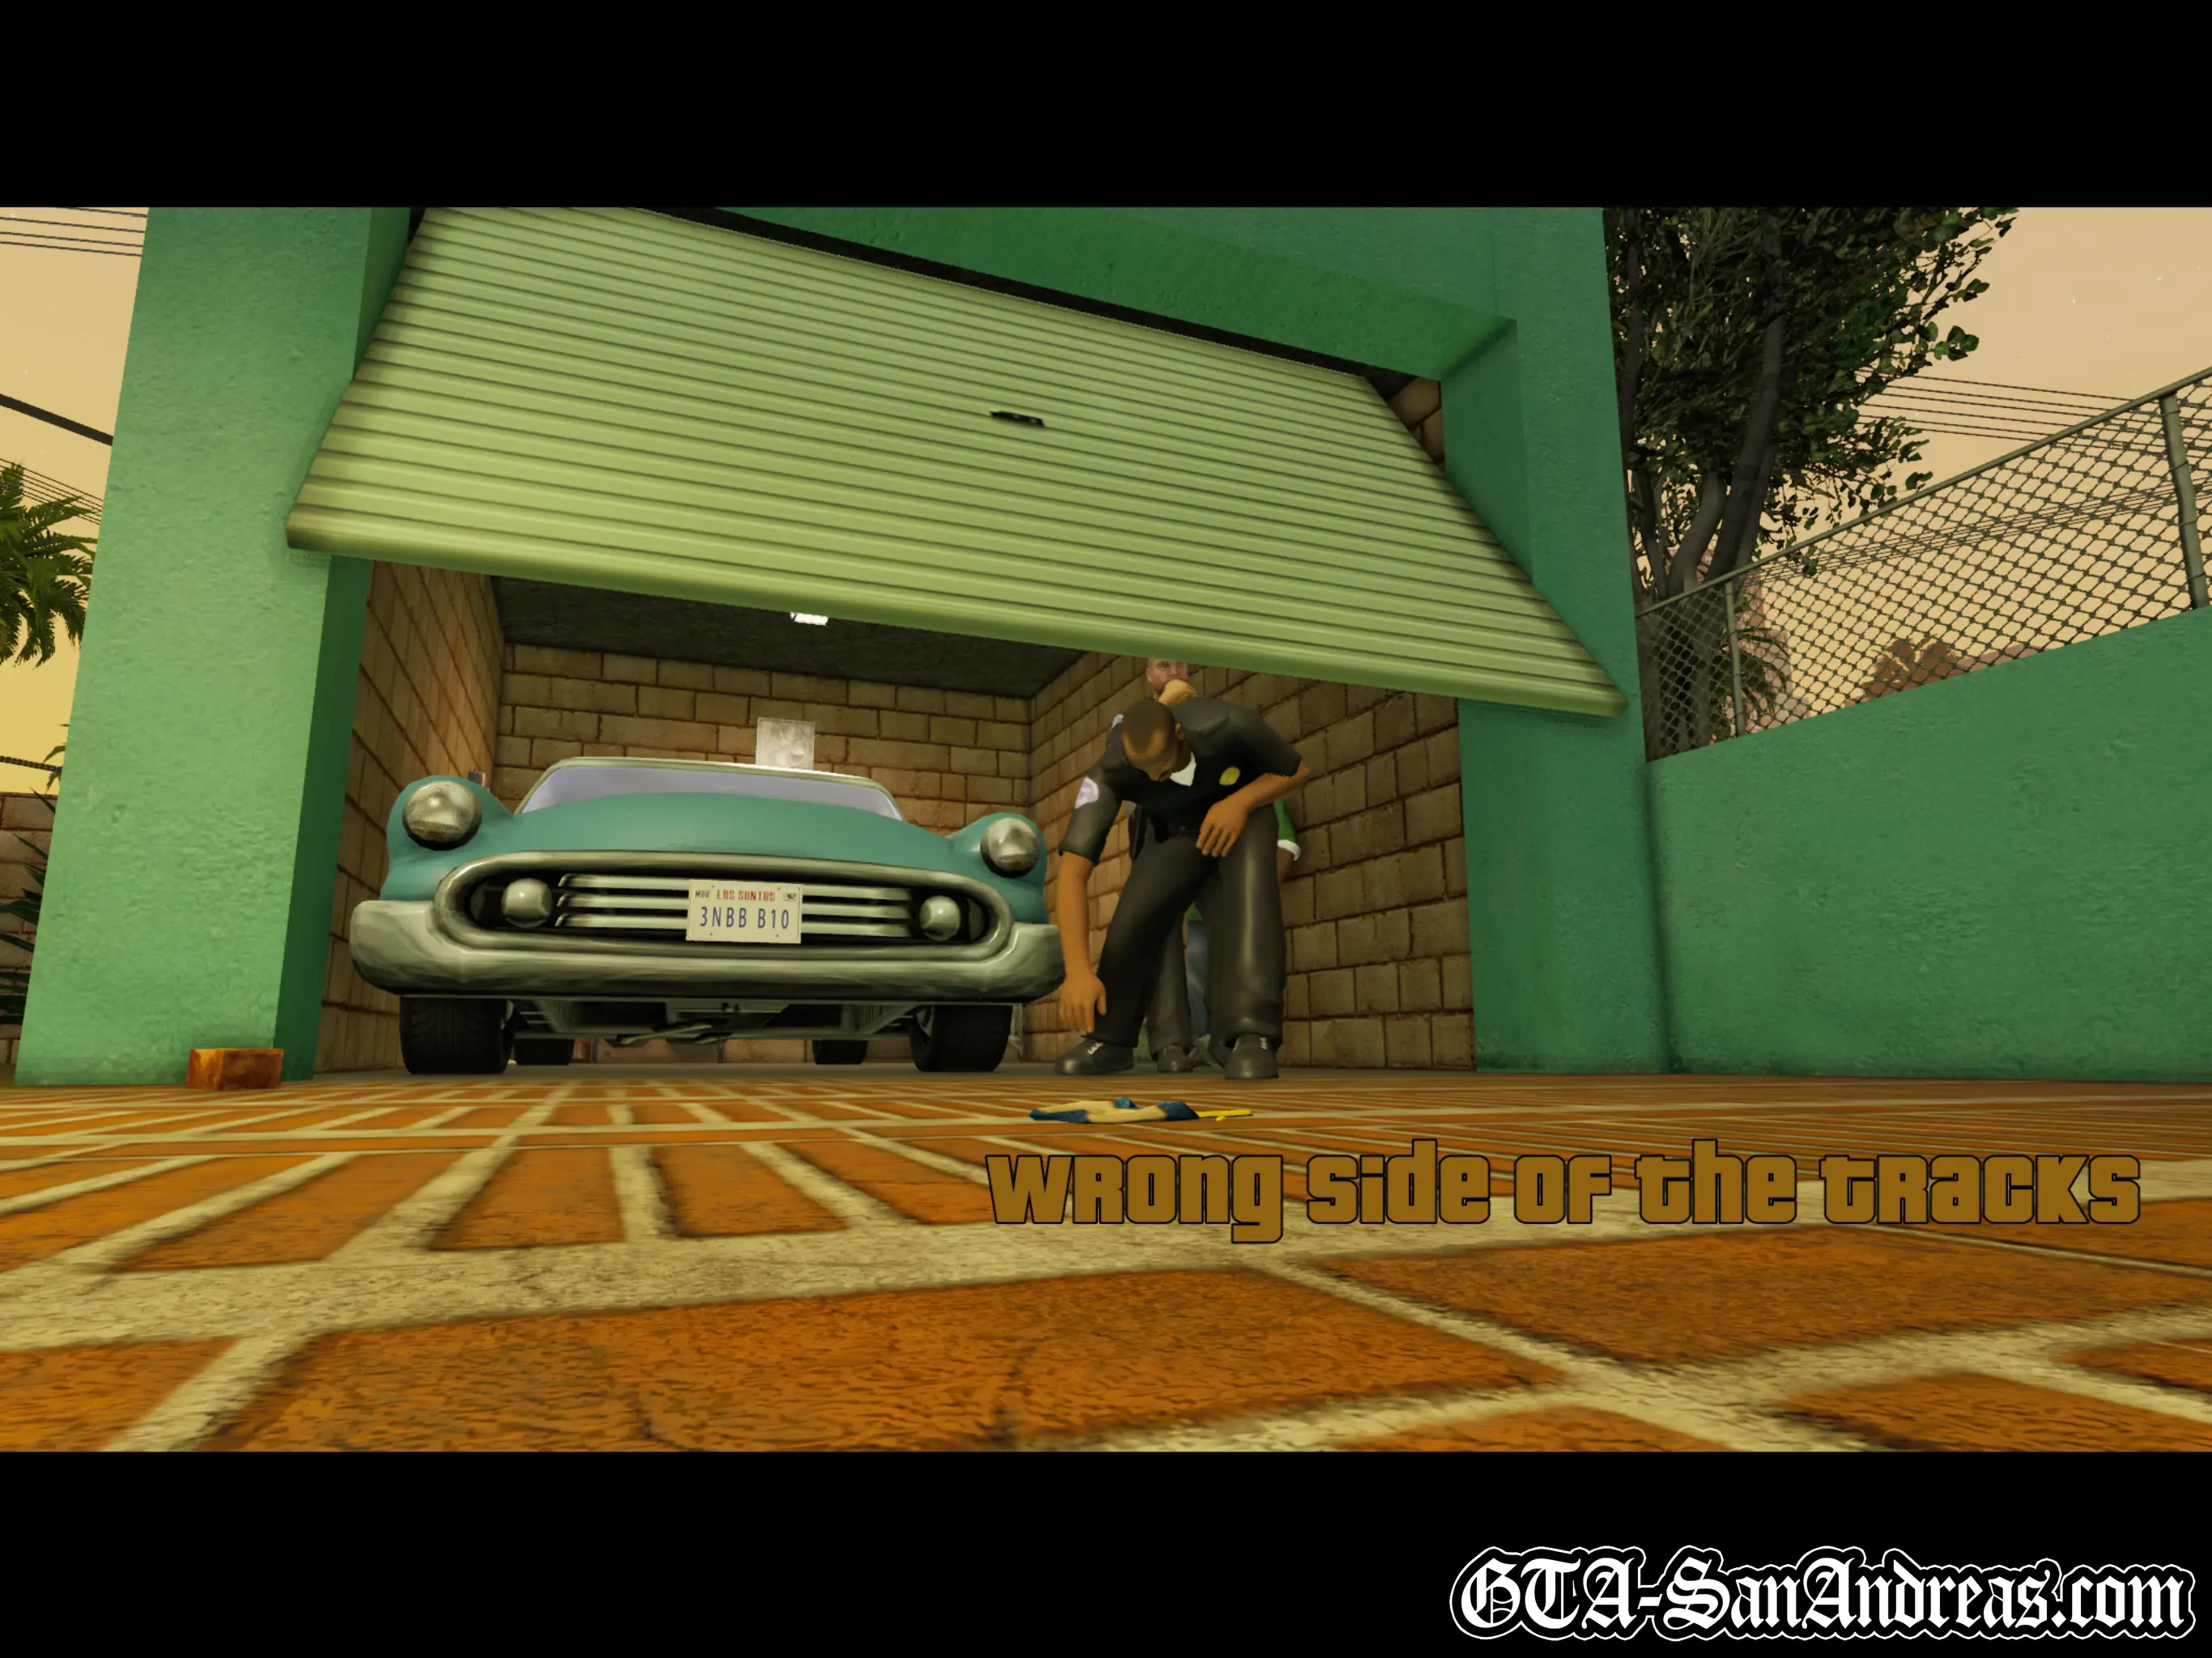
Cutscene
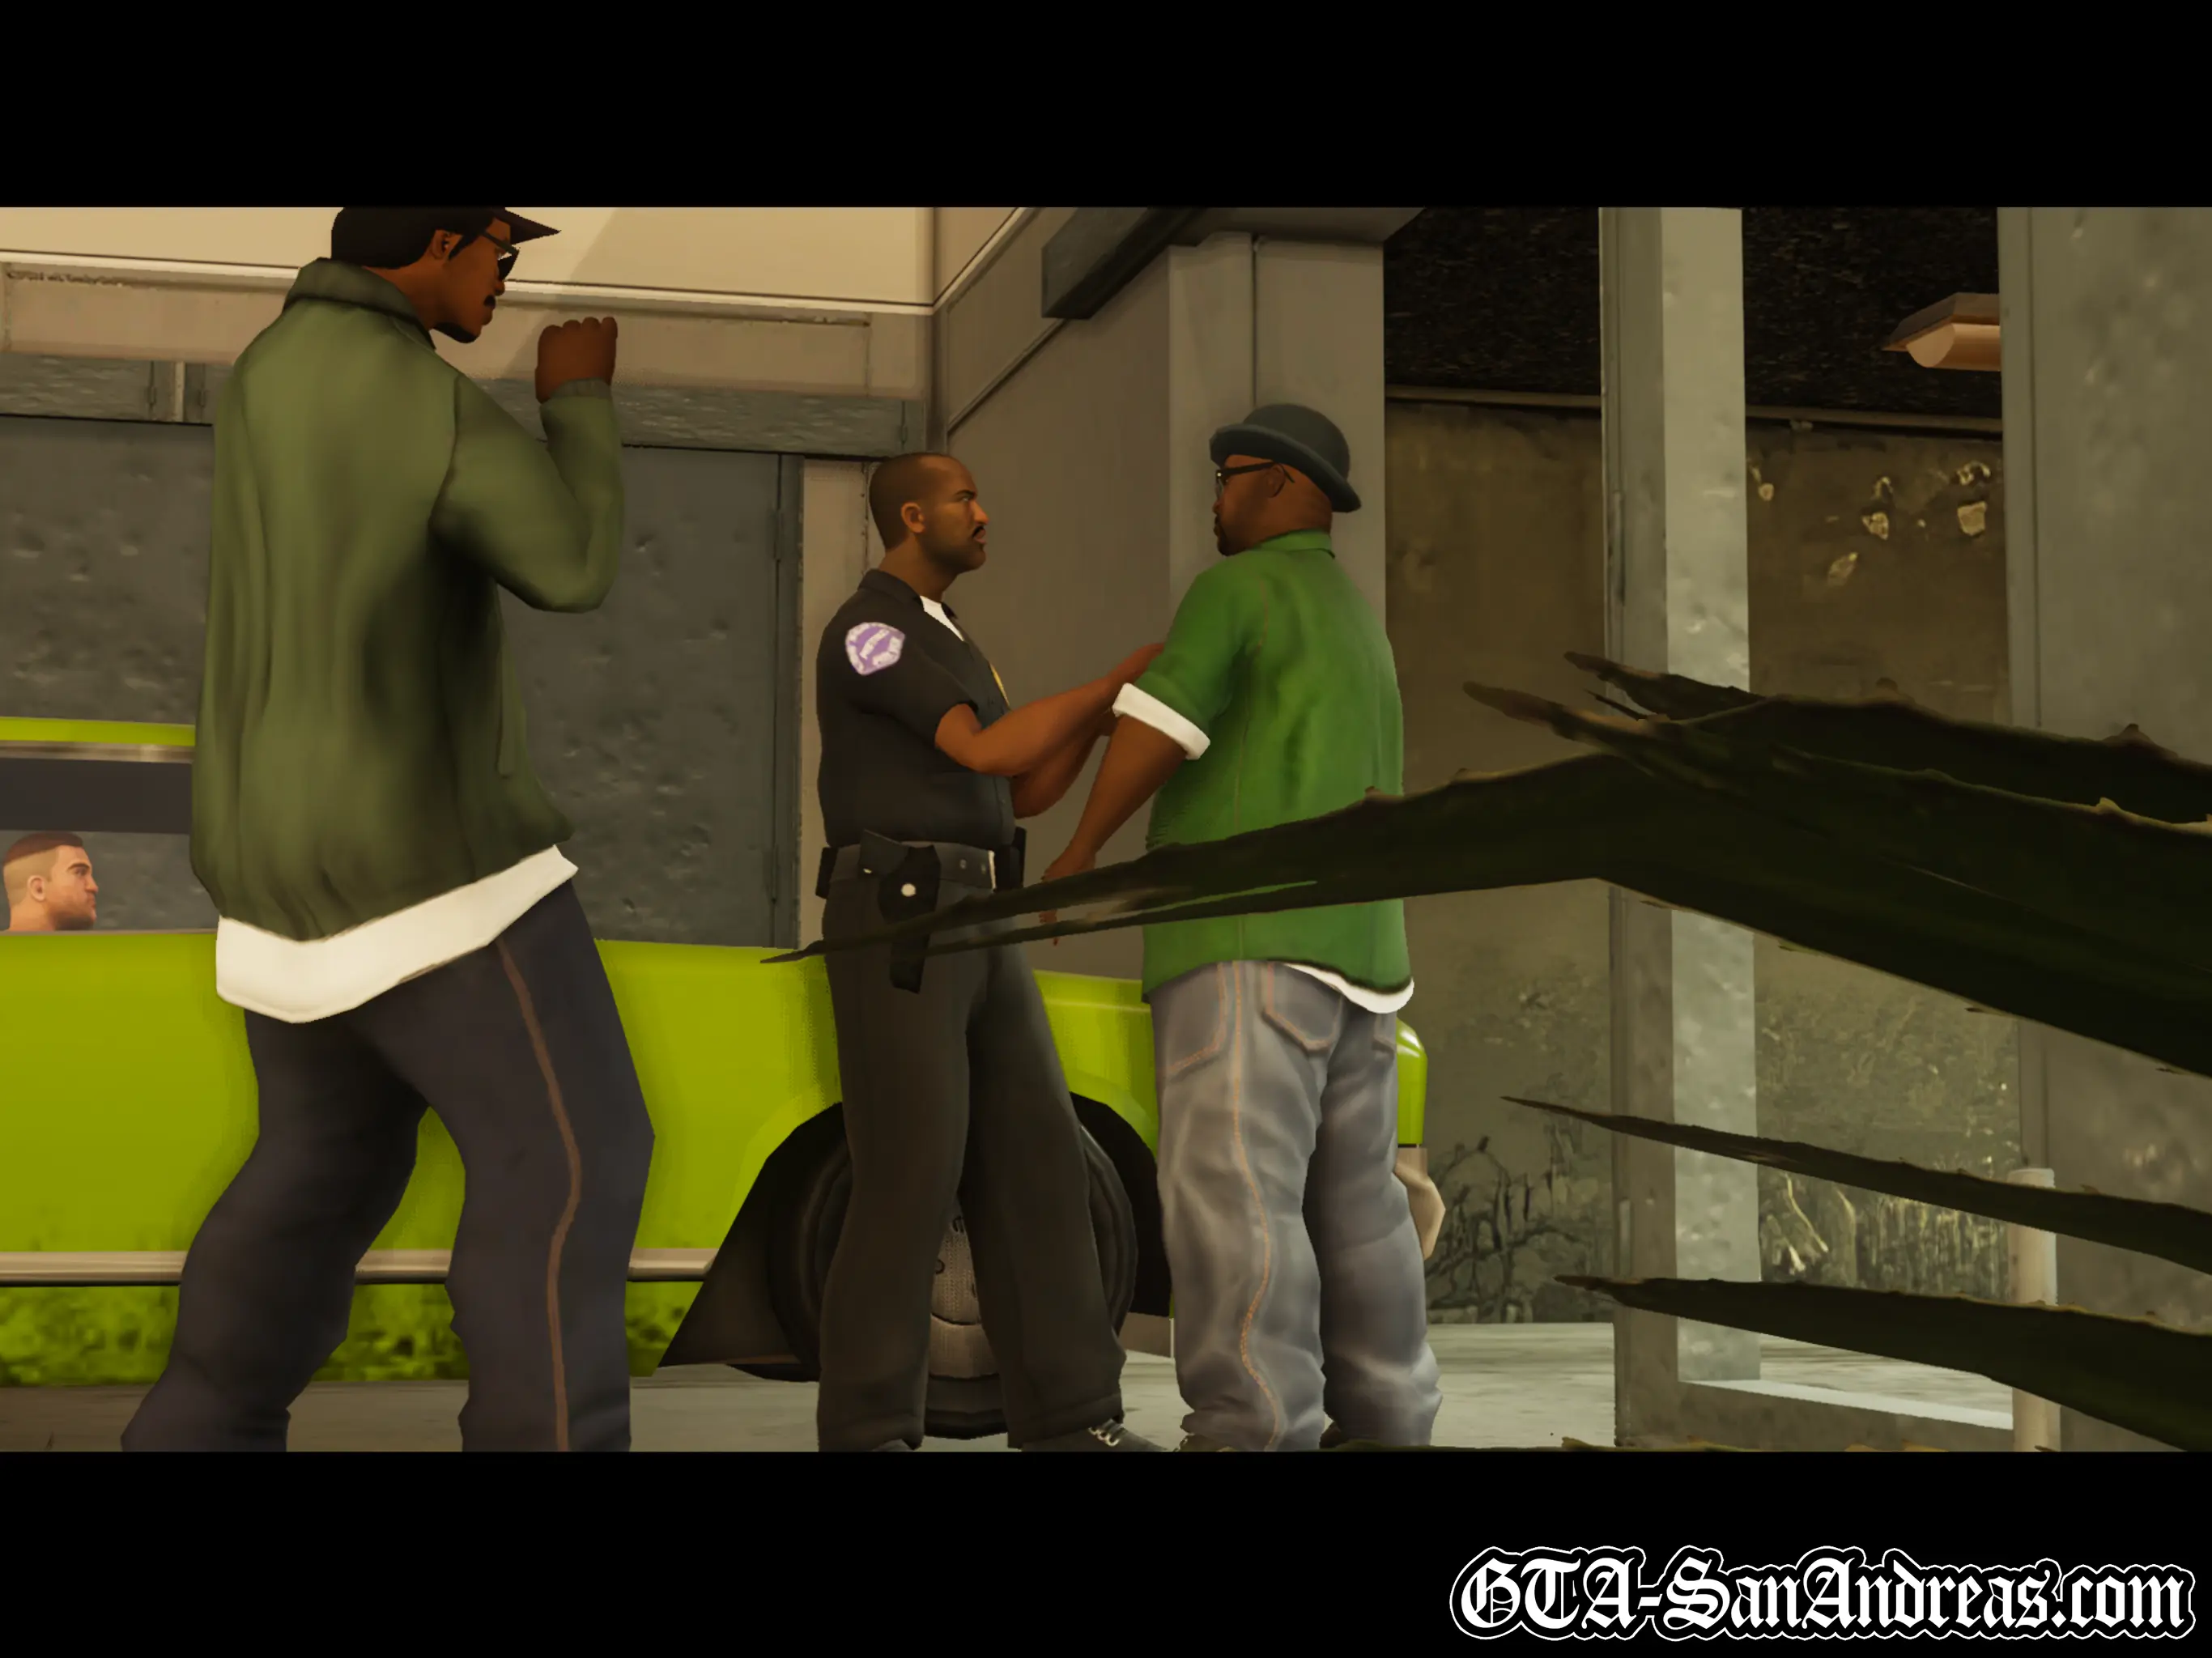
Once again, Officer Tenpenny and Pulaski can be found snooping around at Big Smoke's house and give Carl a hard time as they leave. Smoke says they've got their nose in everything and you can't take a shit without Tenpenny taking an interest.
Smoke's got some business that might put the gang a bit deeper in the game, so he wants you to take him to Unity Station.
You'll start the mission in Smoke's car, so make your way over to the station which is marked with a yellow blip on the map. Park in the red marker when you arrive.
Cutscene
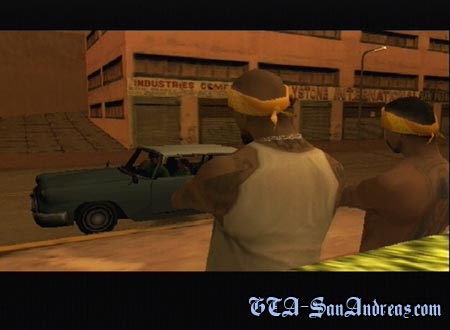
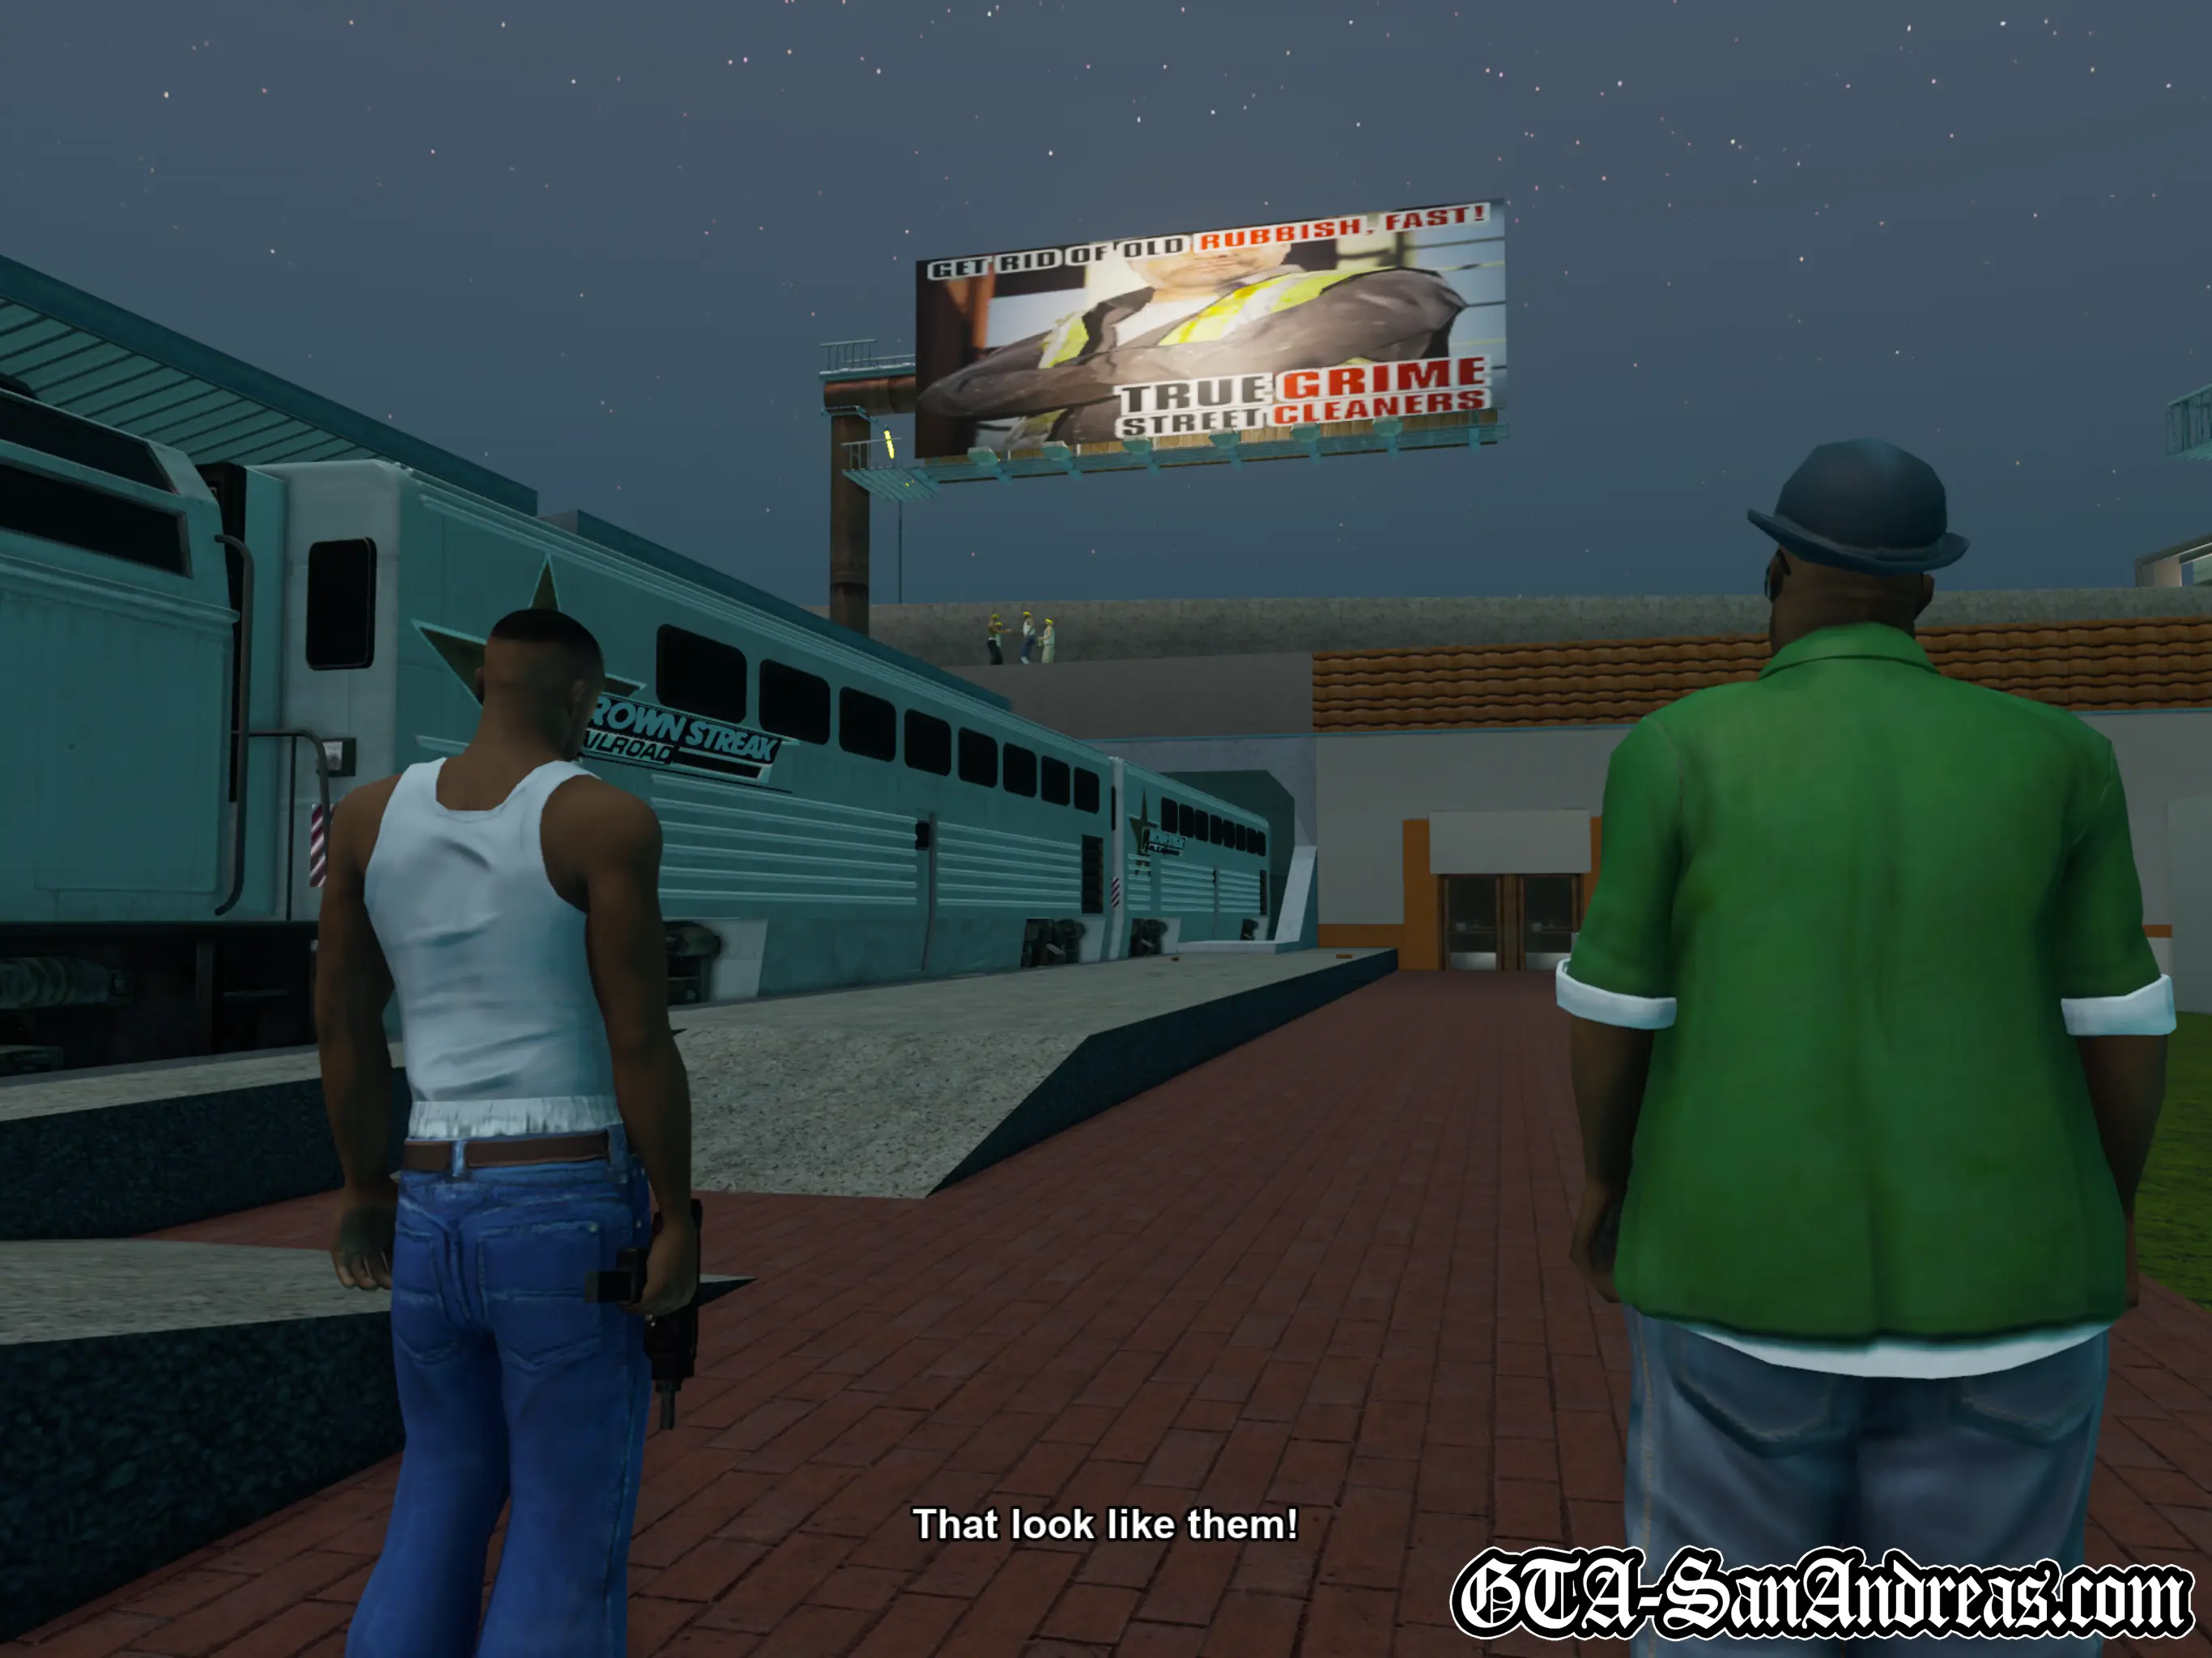
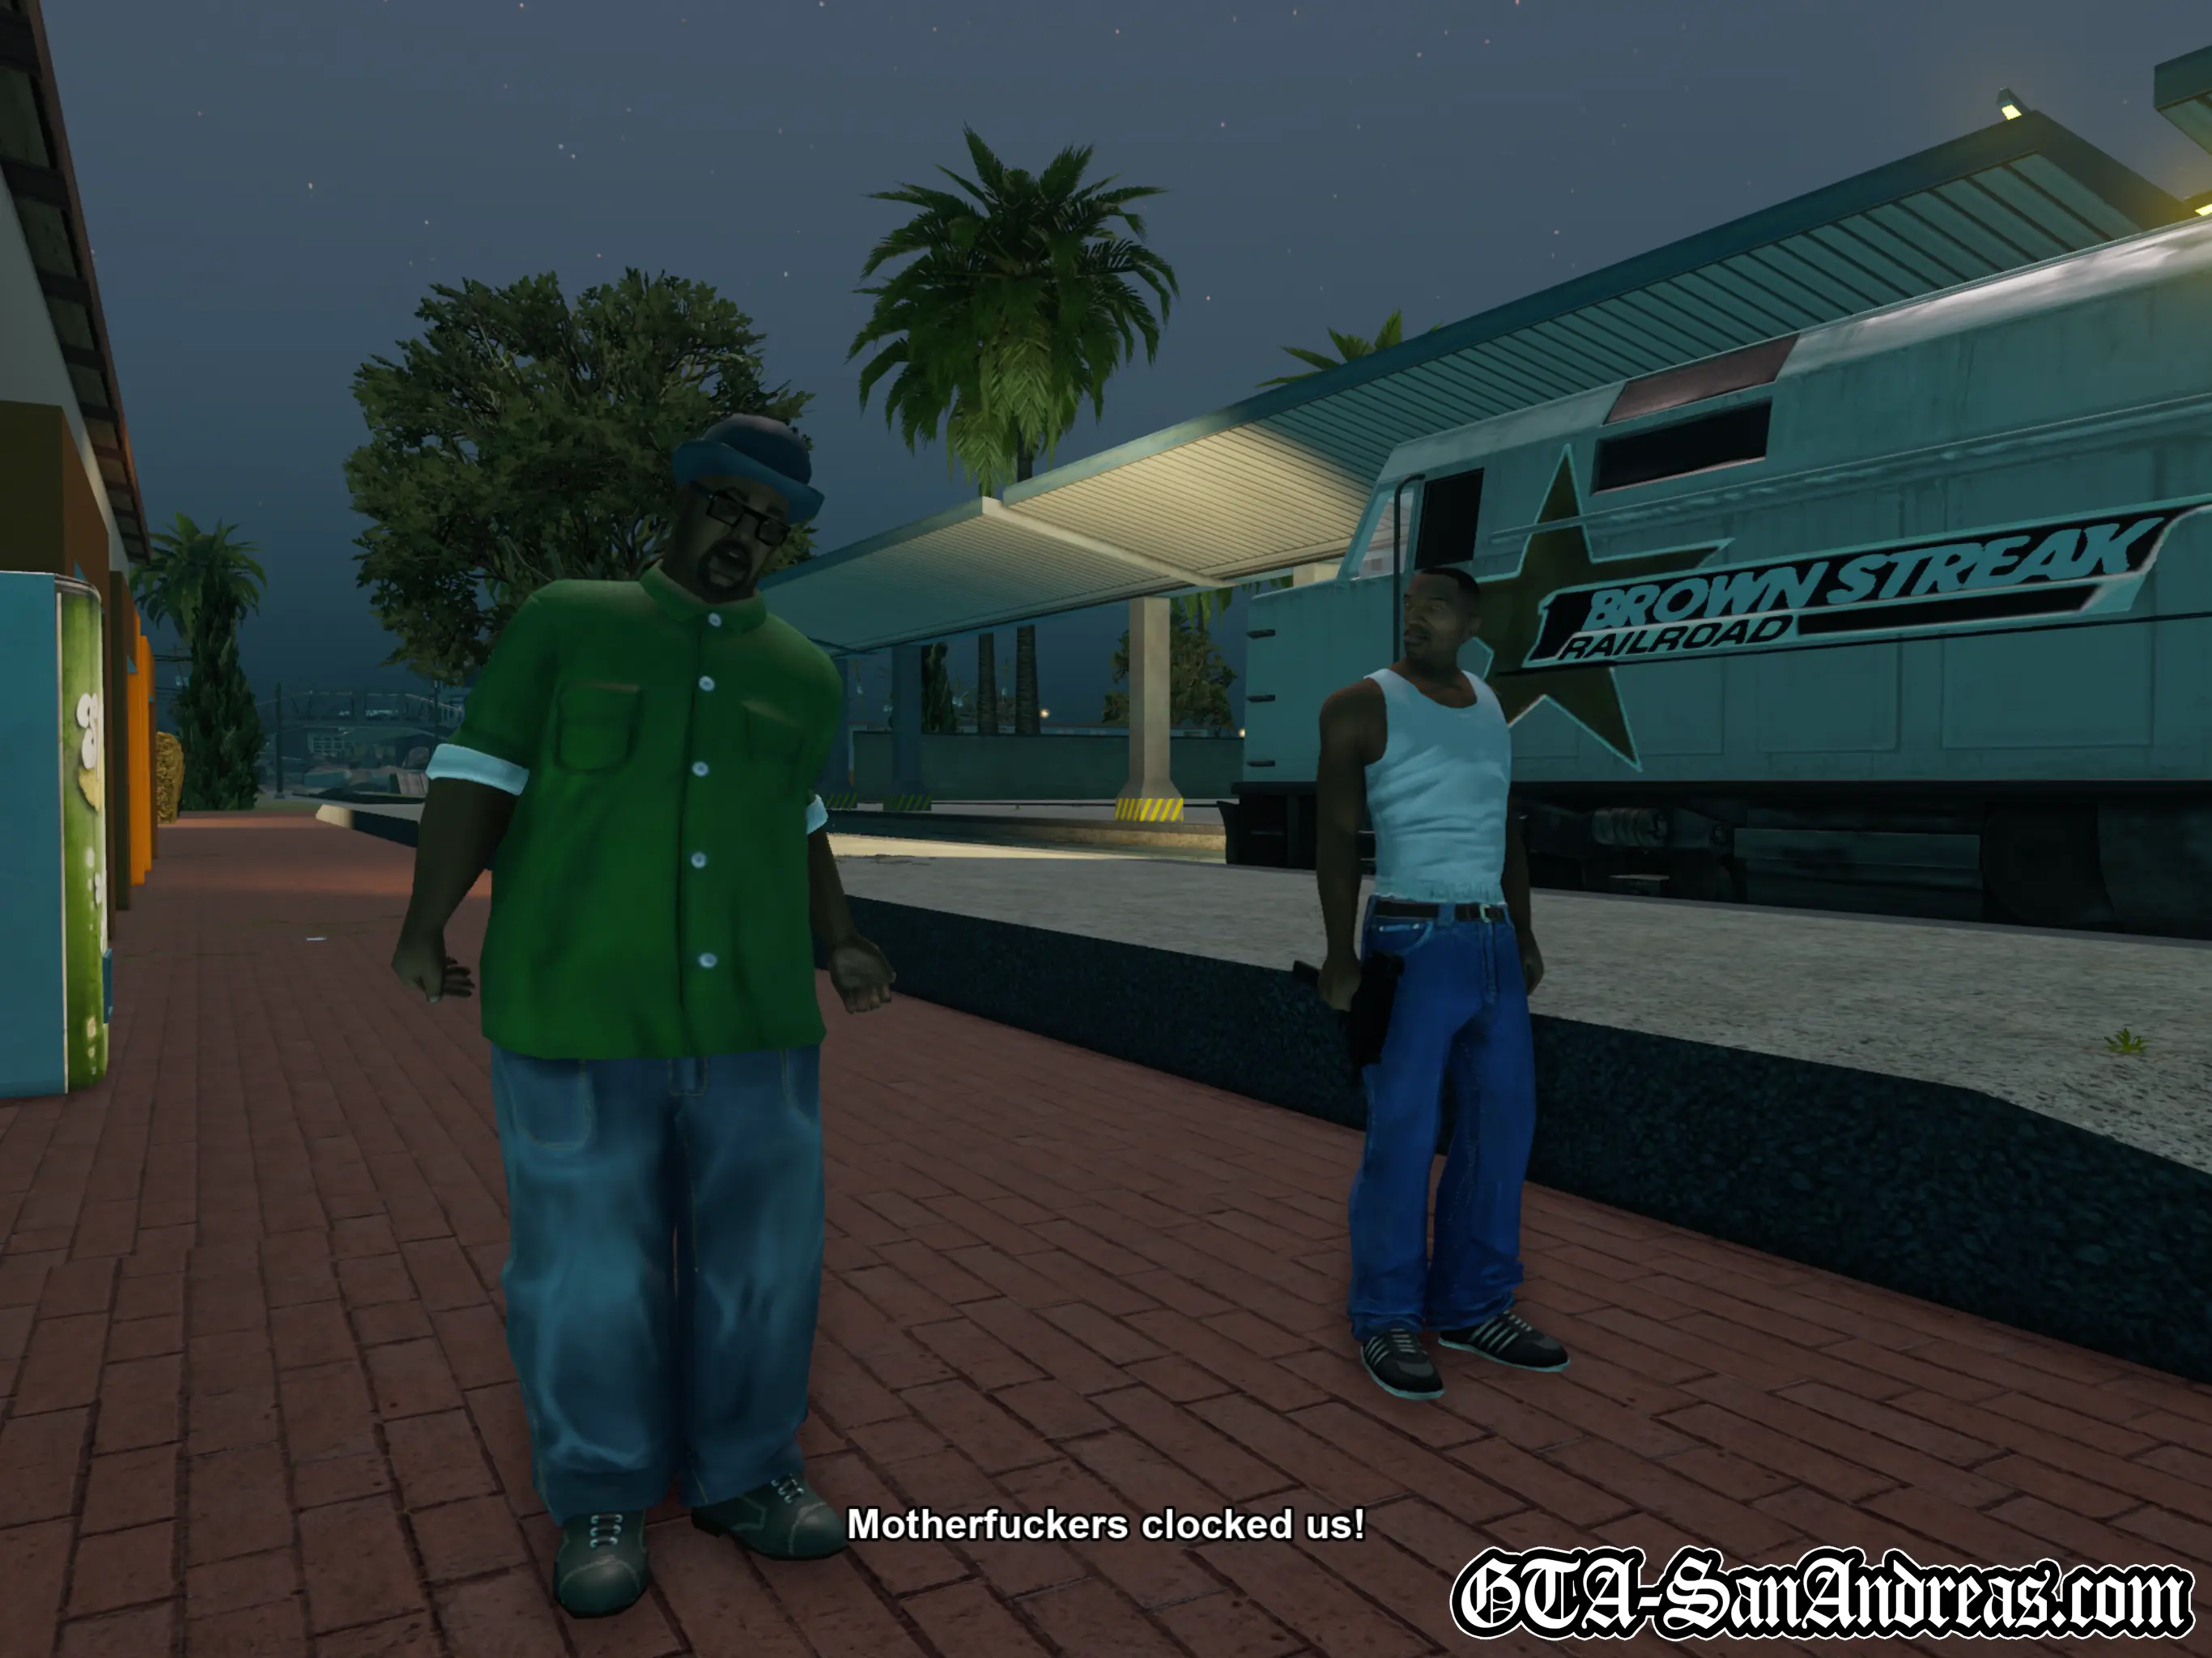
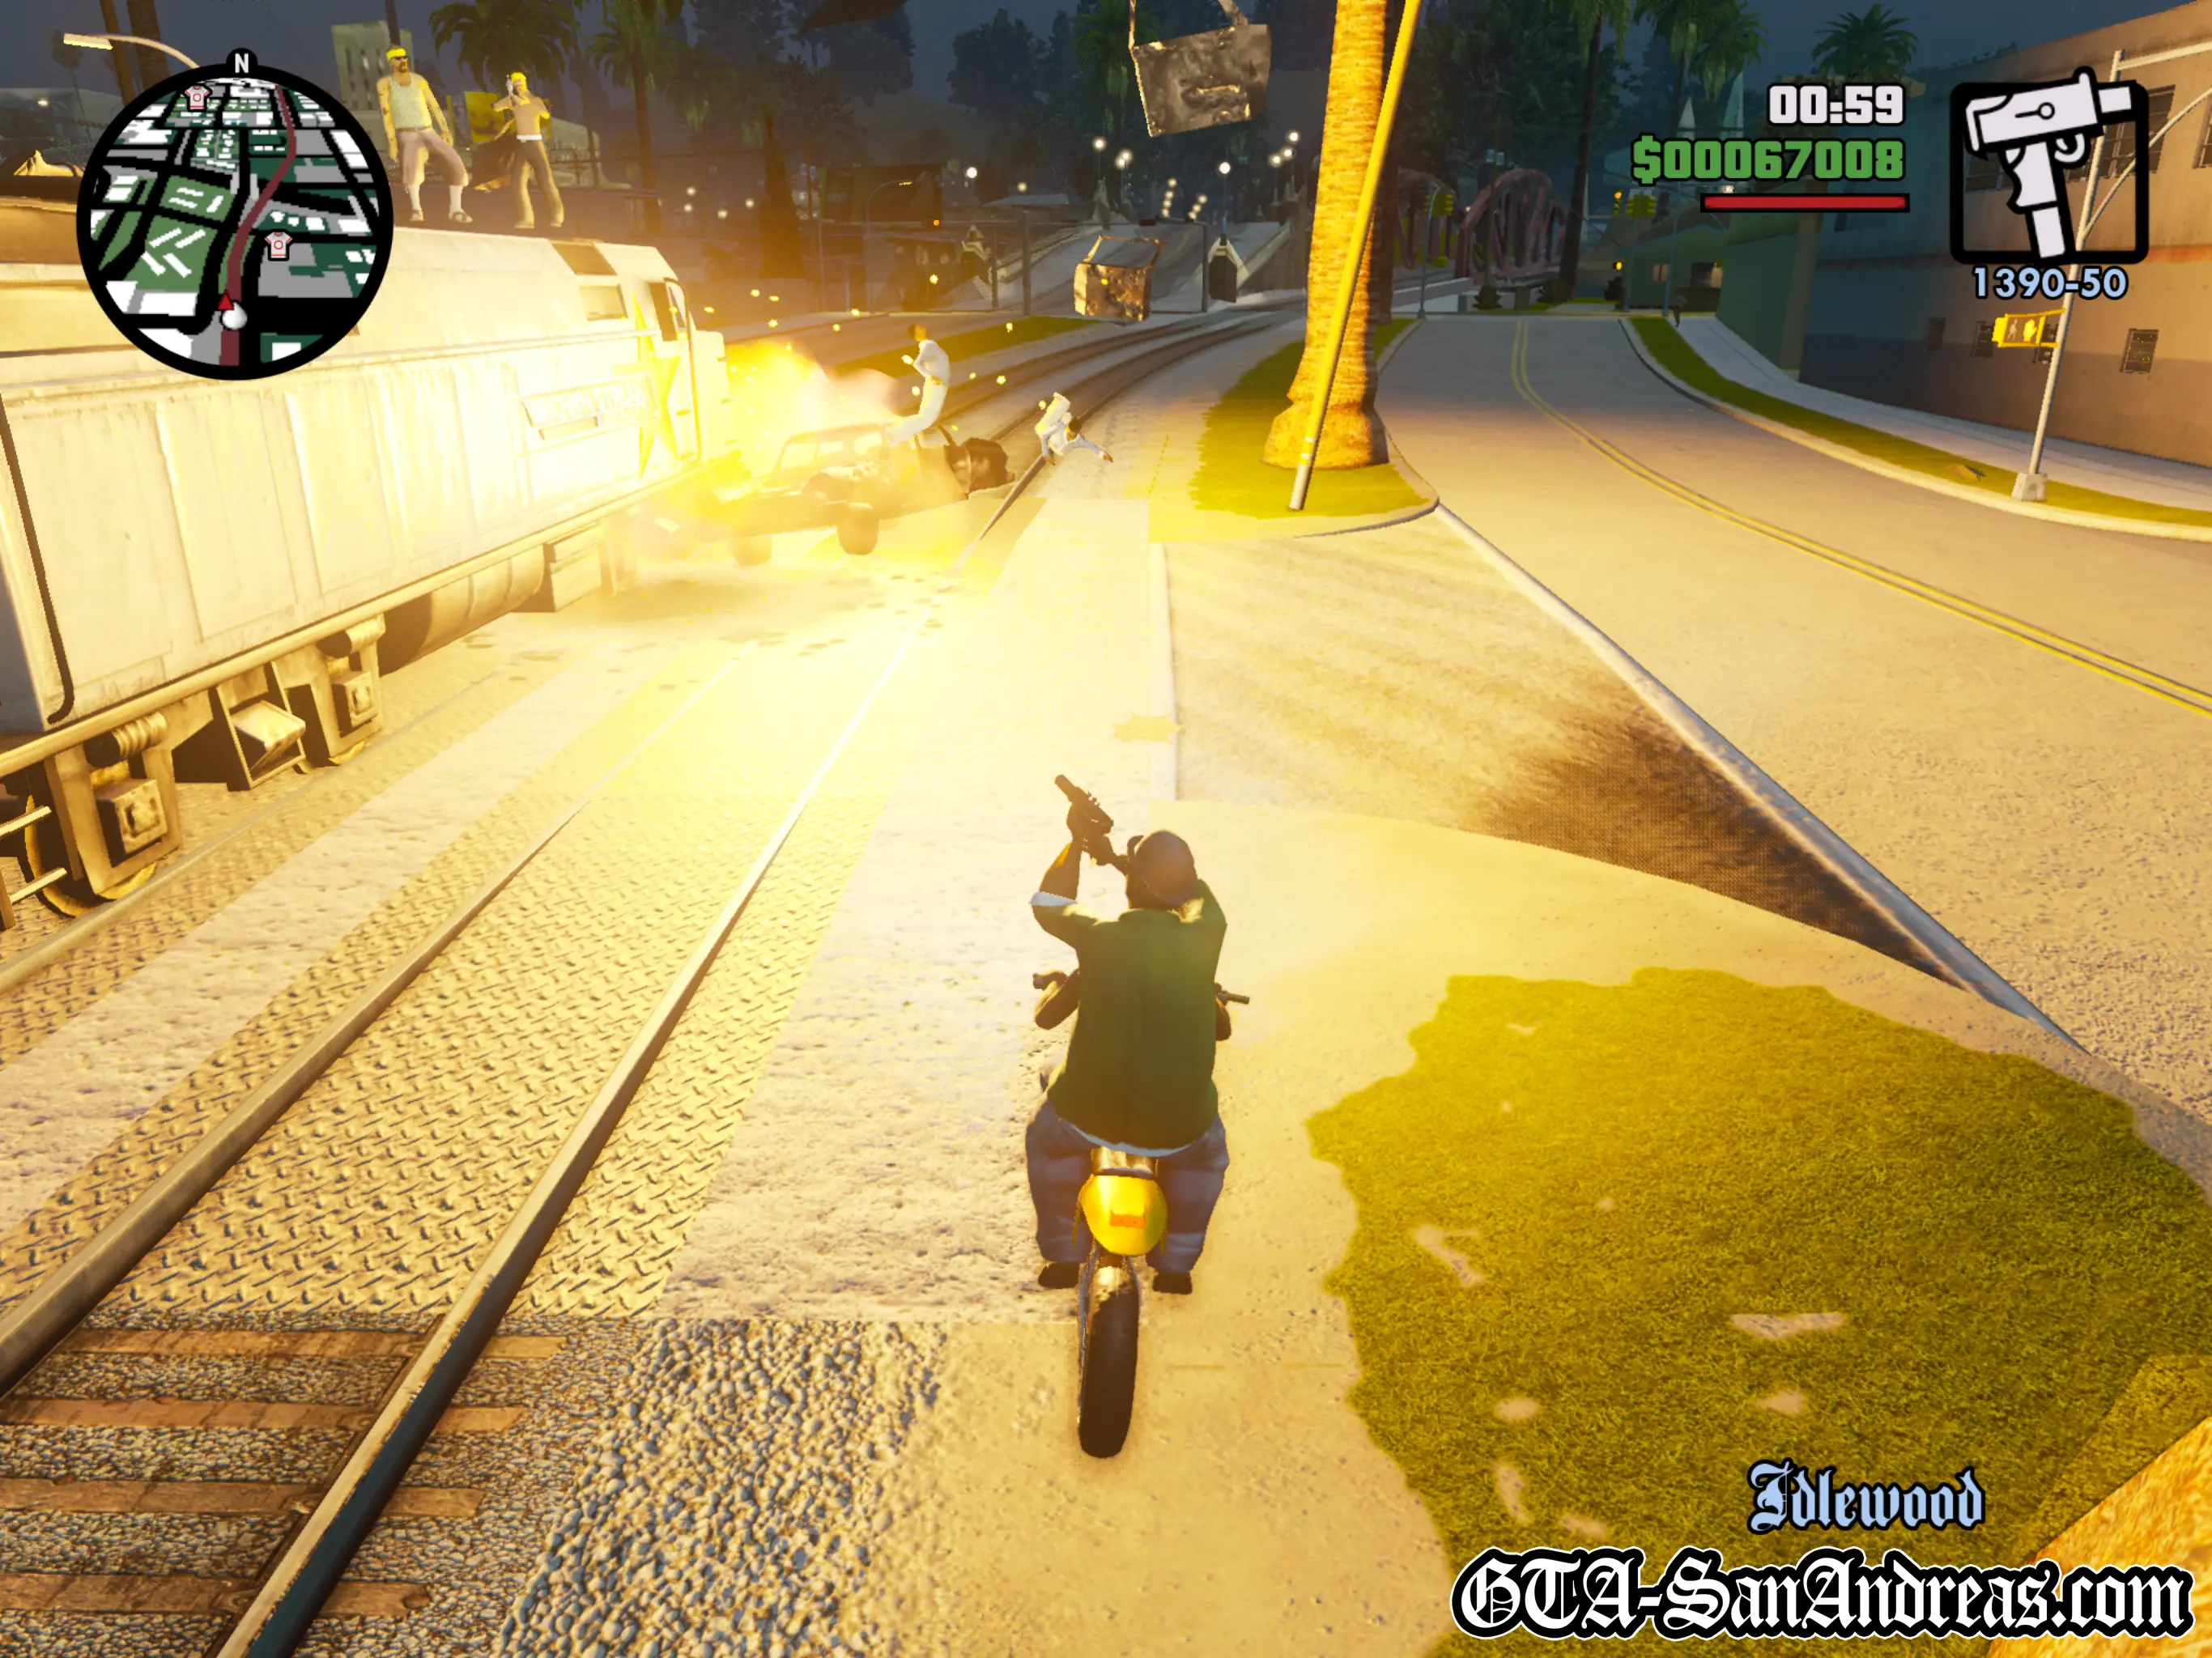
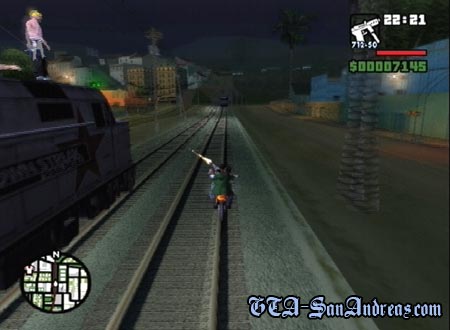
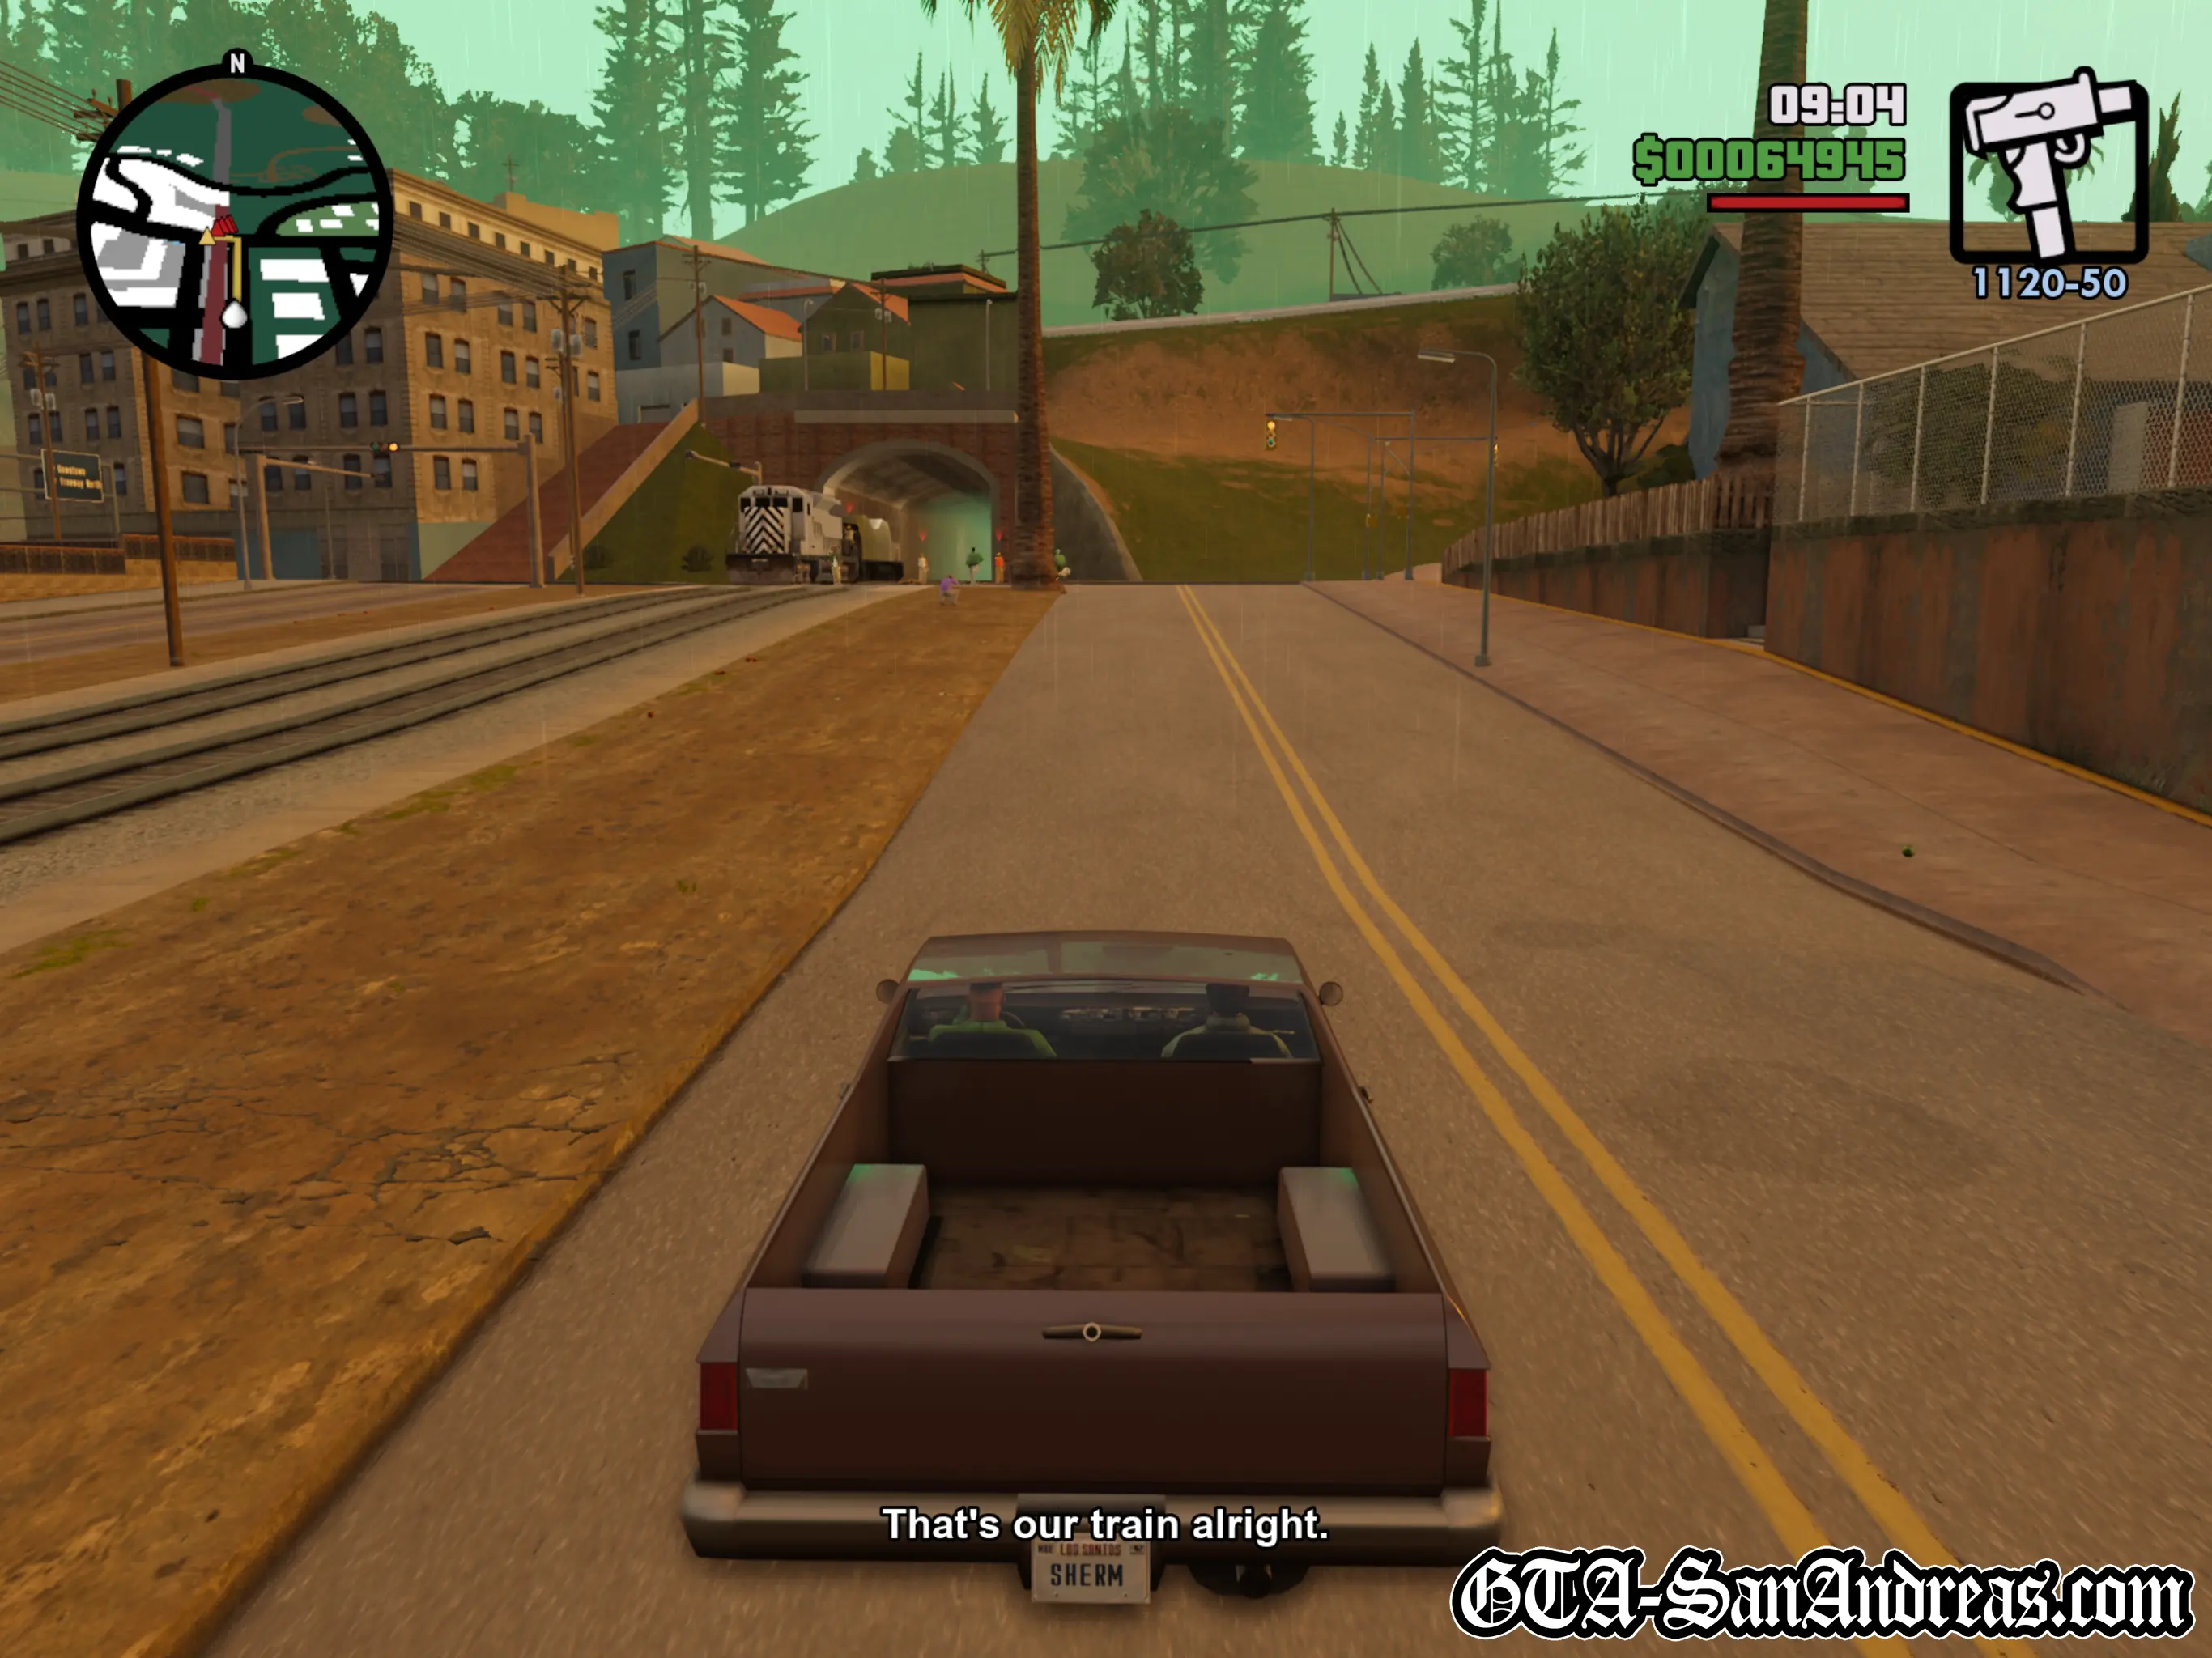
A train passes through the station and a bunch of Vagos gang members jump on top of it. They spot Carl and Smoke and the train begins to pull away.
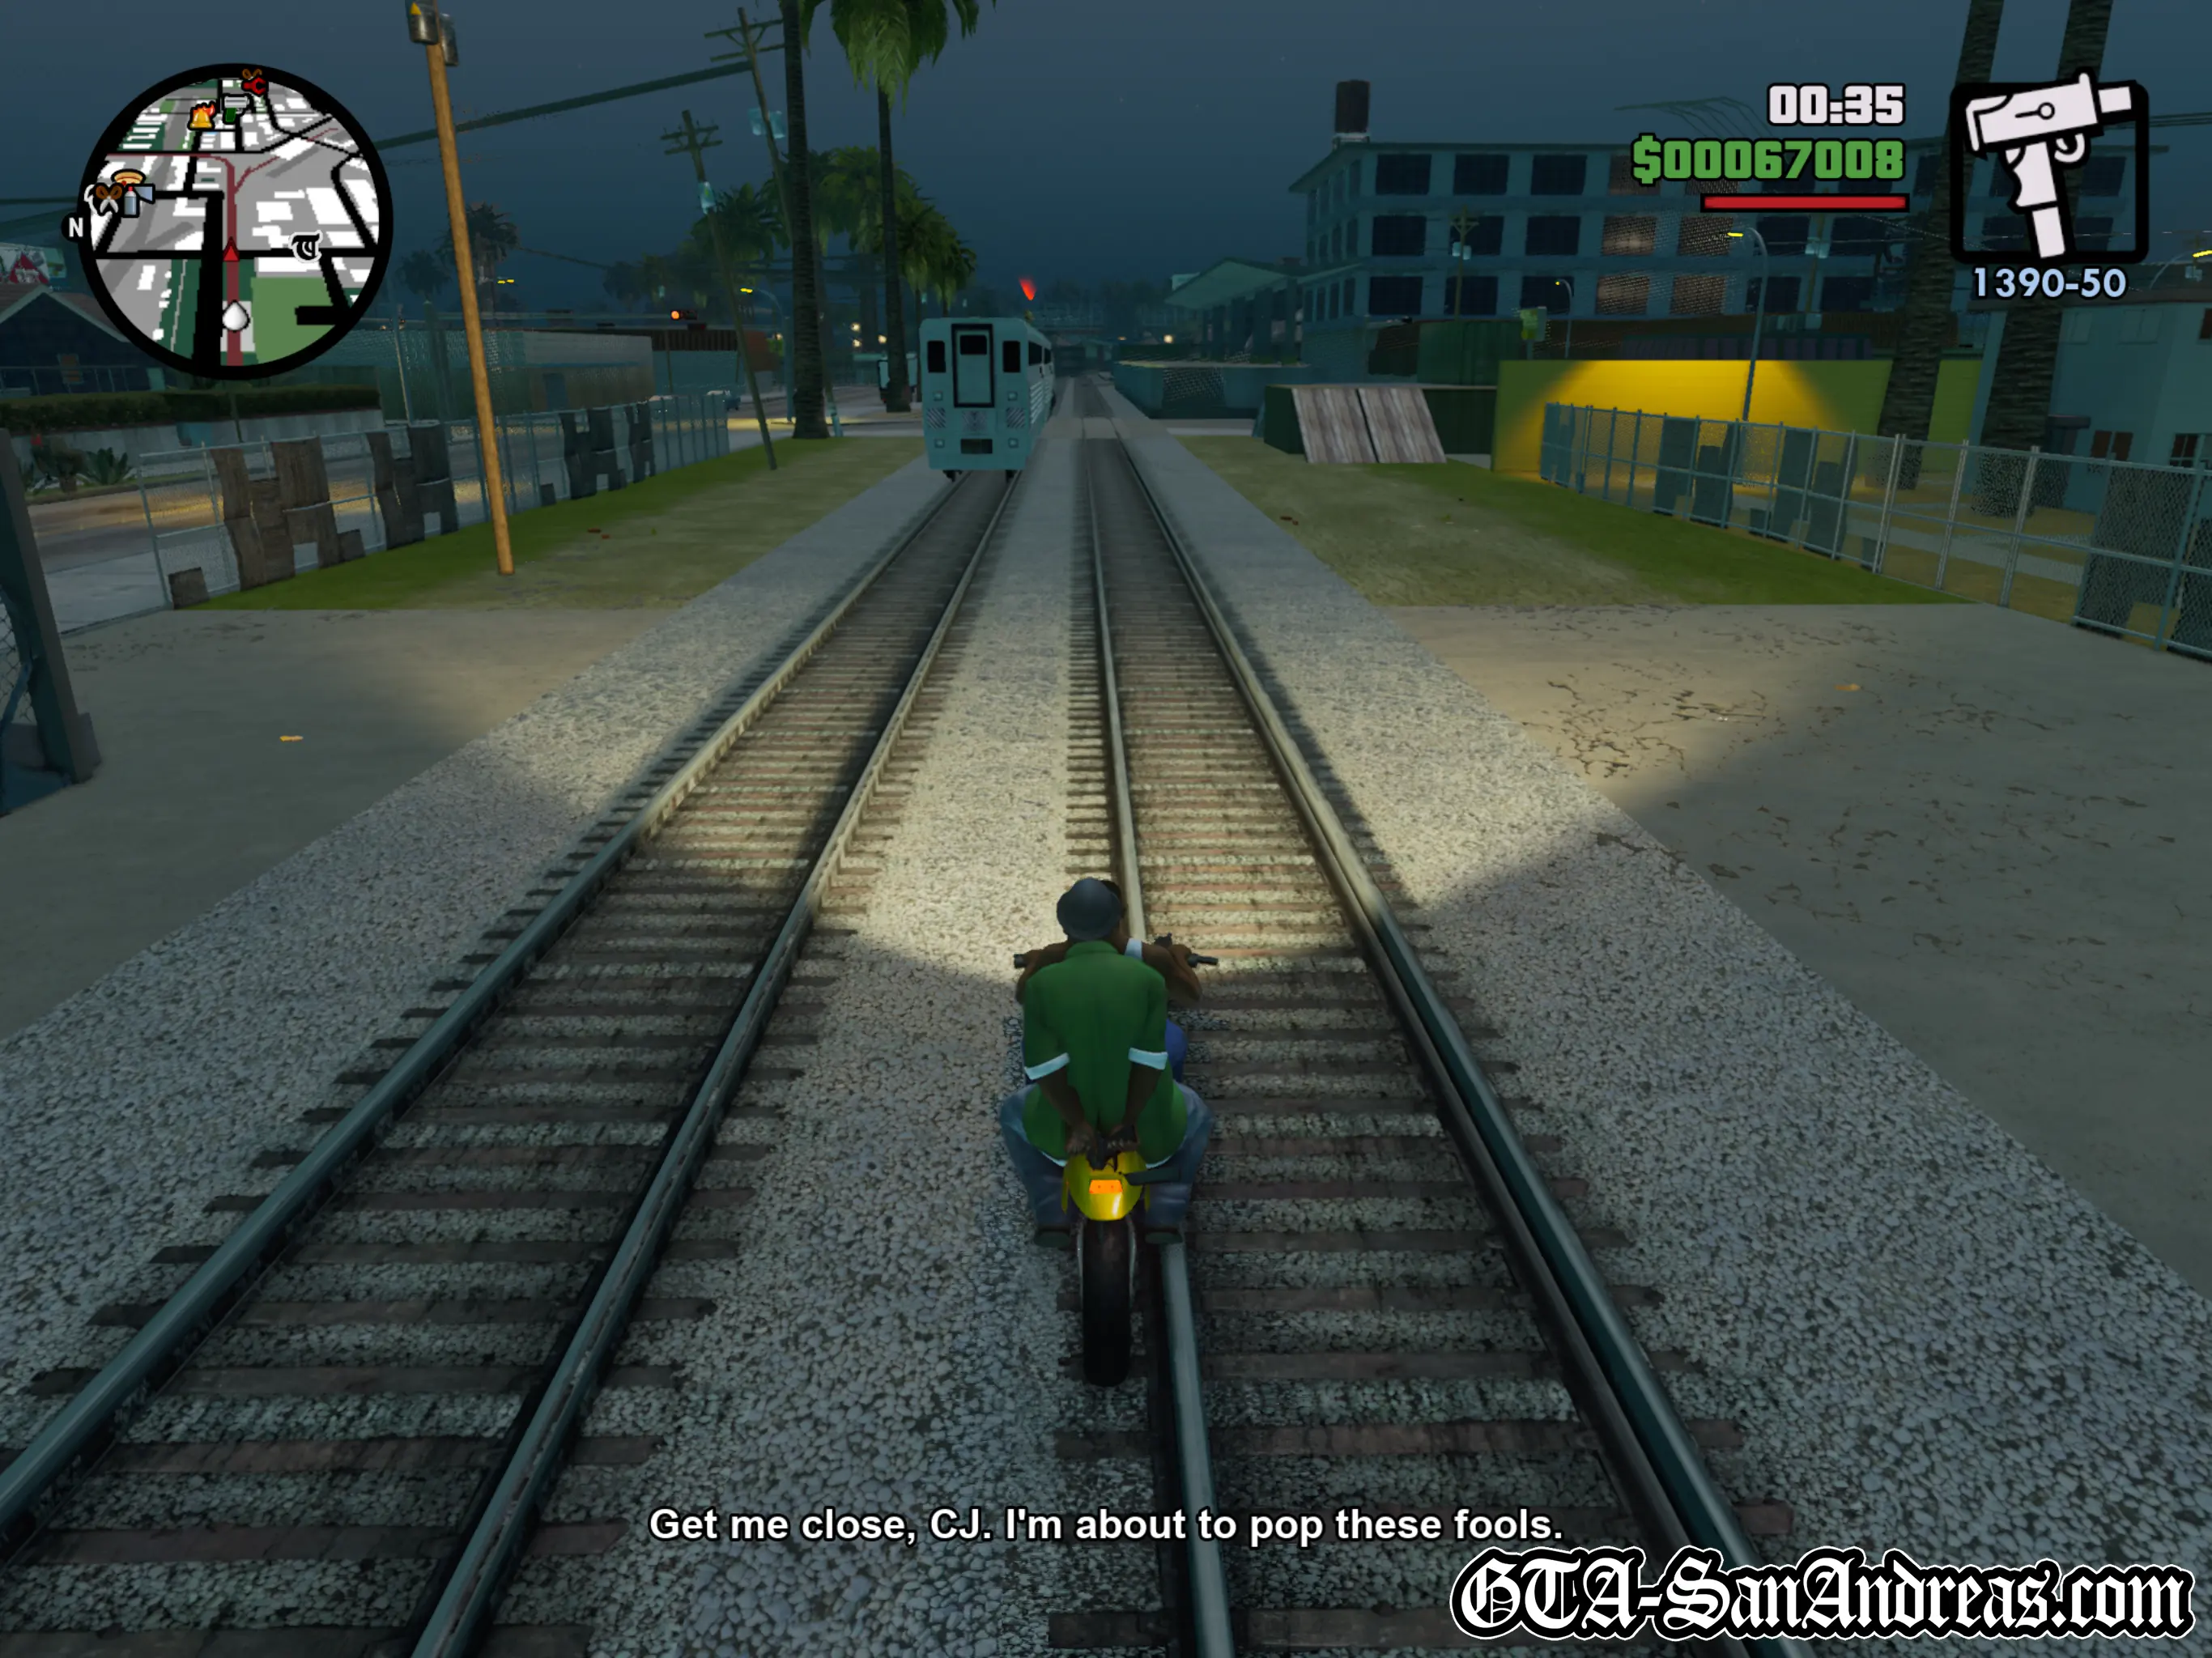
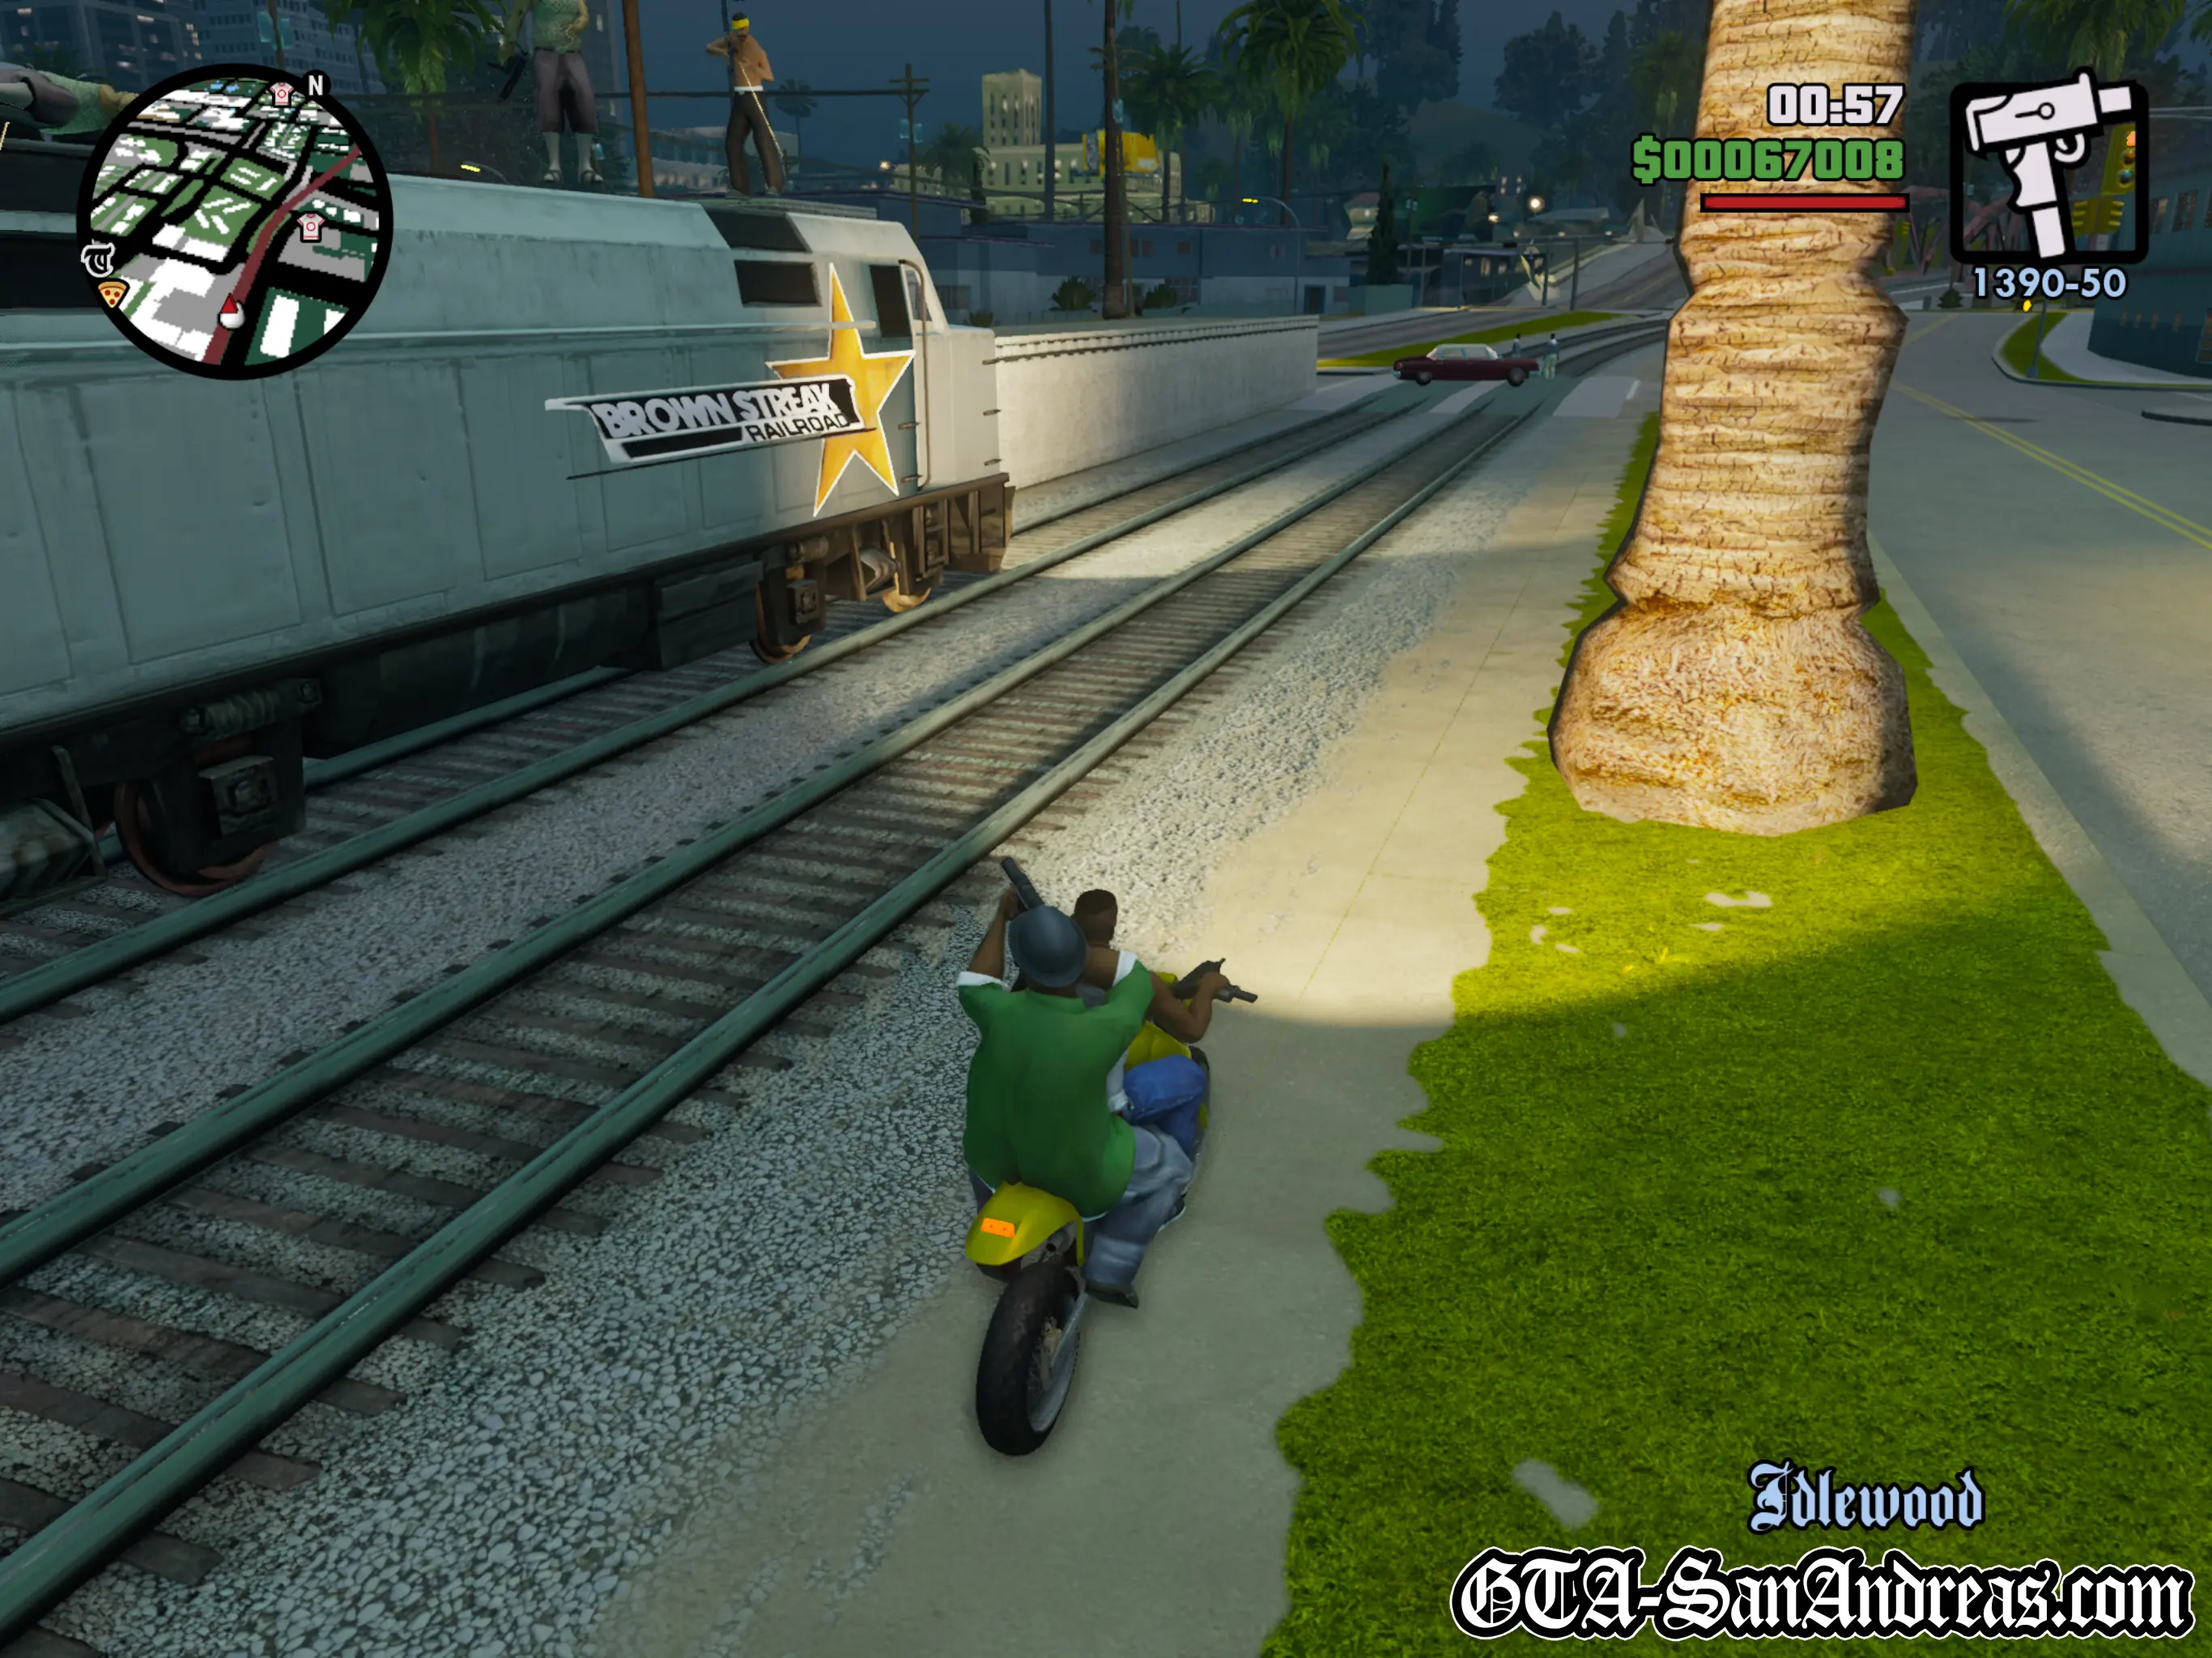
Smoke wants them dead, so jump on the Sanchez dirtbike which is conveniently parked nearby, wait for Smoke to jump on the back then give chase after the train.
Smoke will open fire on them while you follow the train. You're unable to hurt the Vagos on the train while driving the bike, so it's very important to give Smoke a big enough angle to hit them. If you're too close to the train he won't be able to see them and therefore won't hit them either.
This mission is notoriously difficult, particularly in the original version of the game. The best technique is to try and stay slightly ahead of whichever enemy you need Big Smoke to kill.
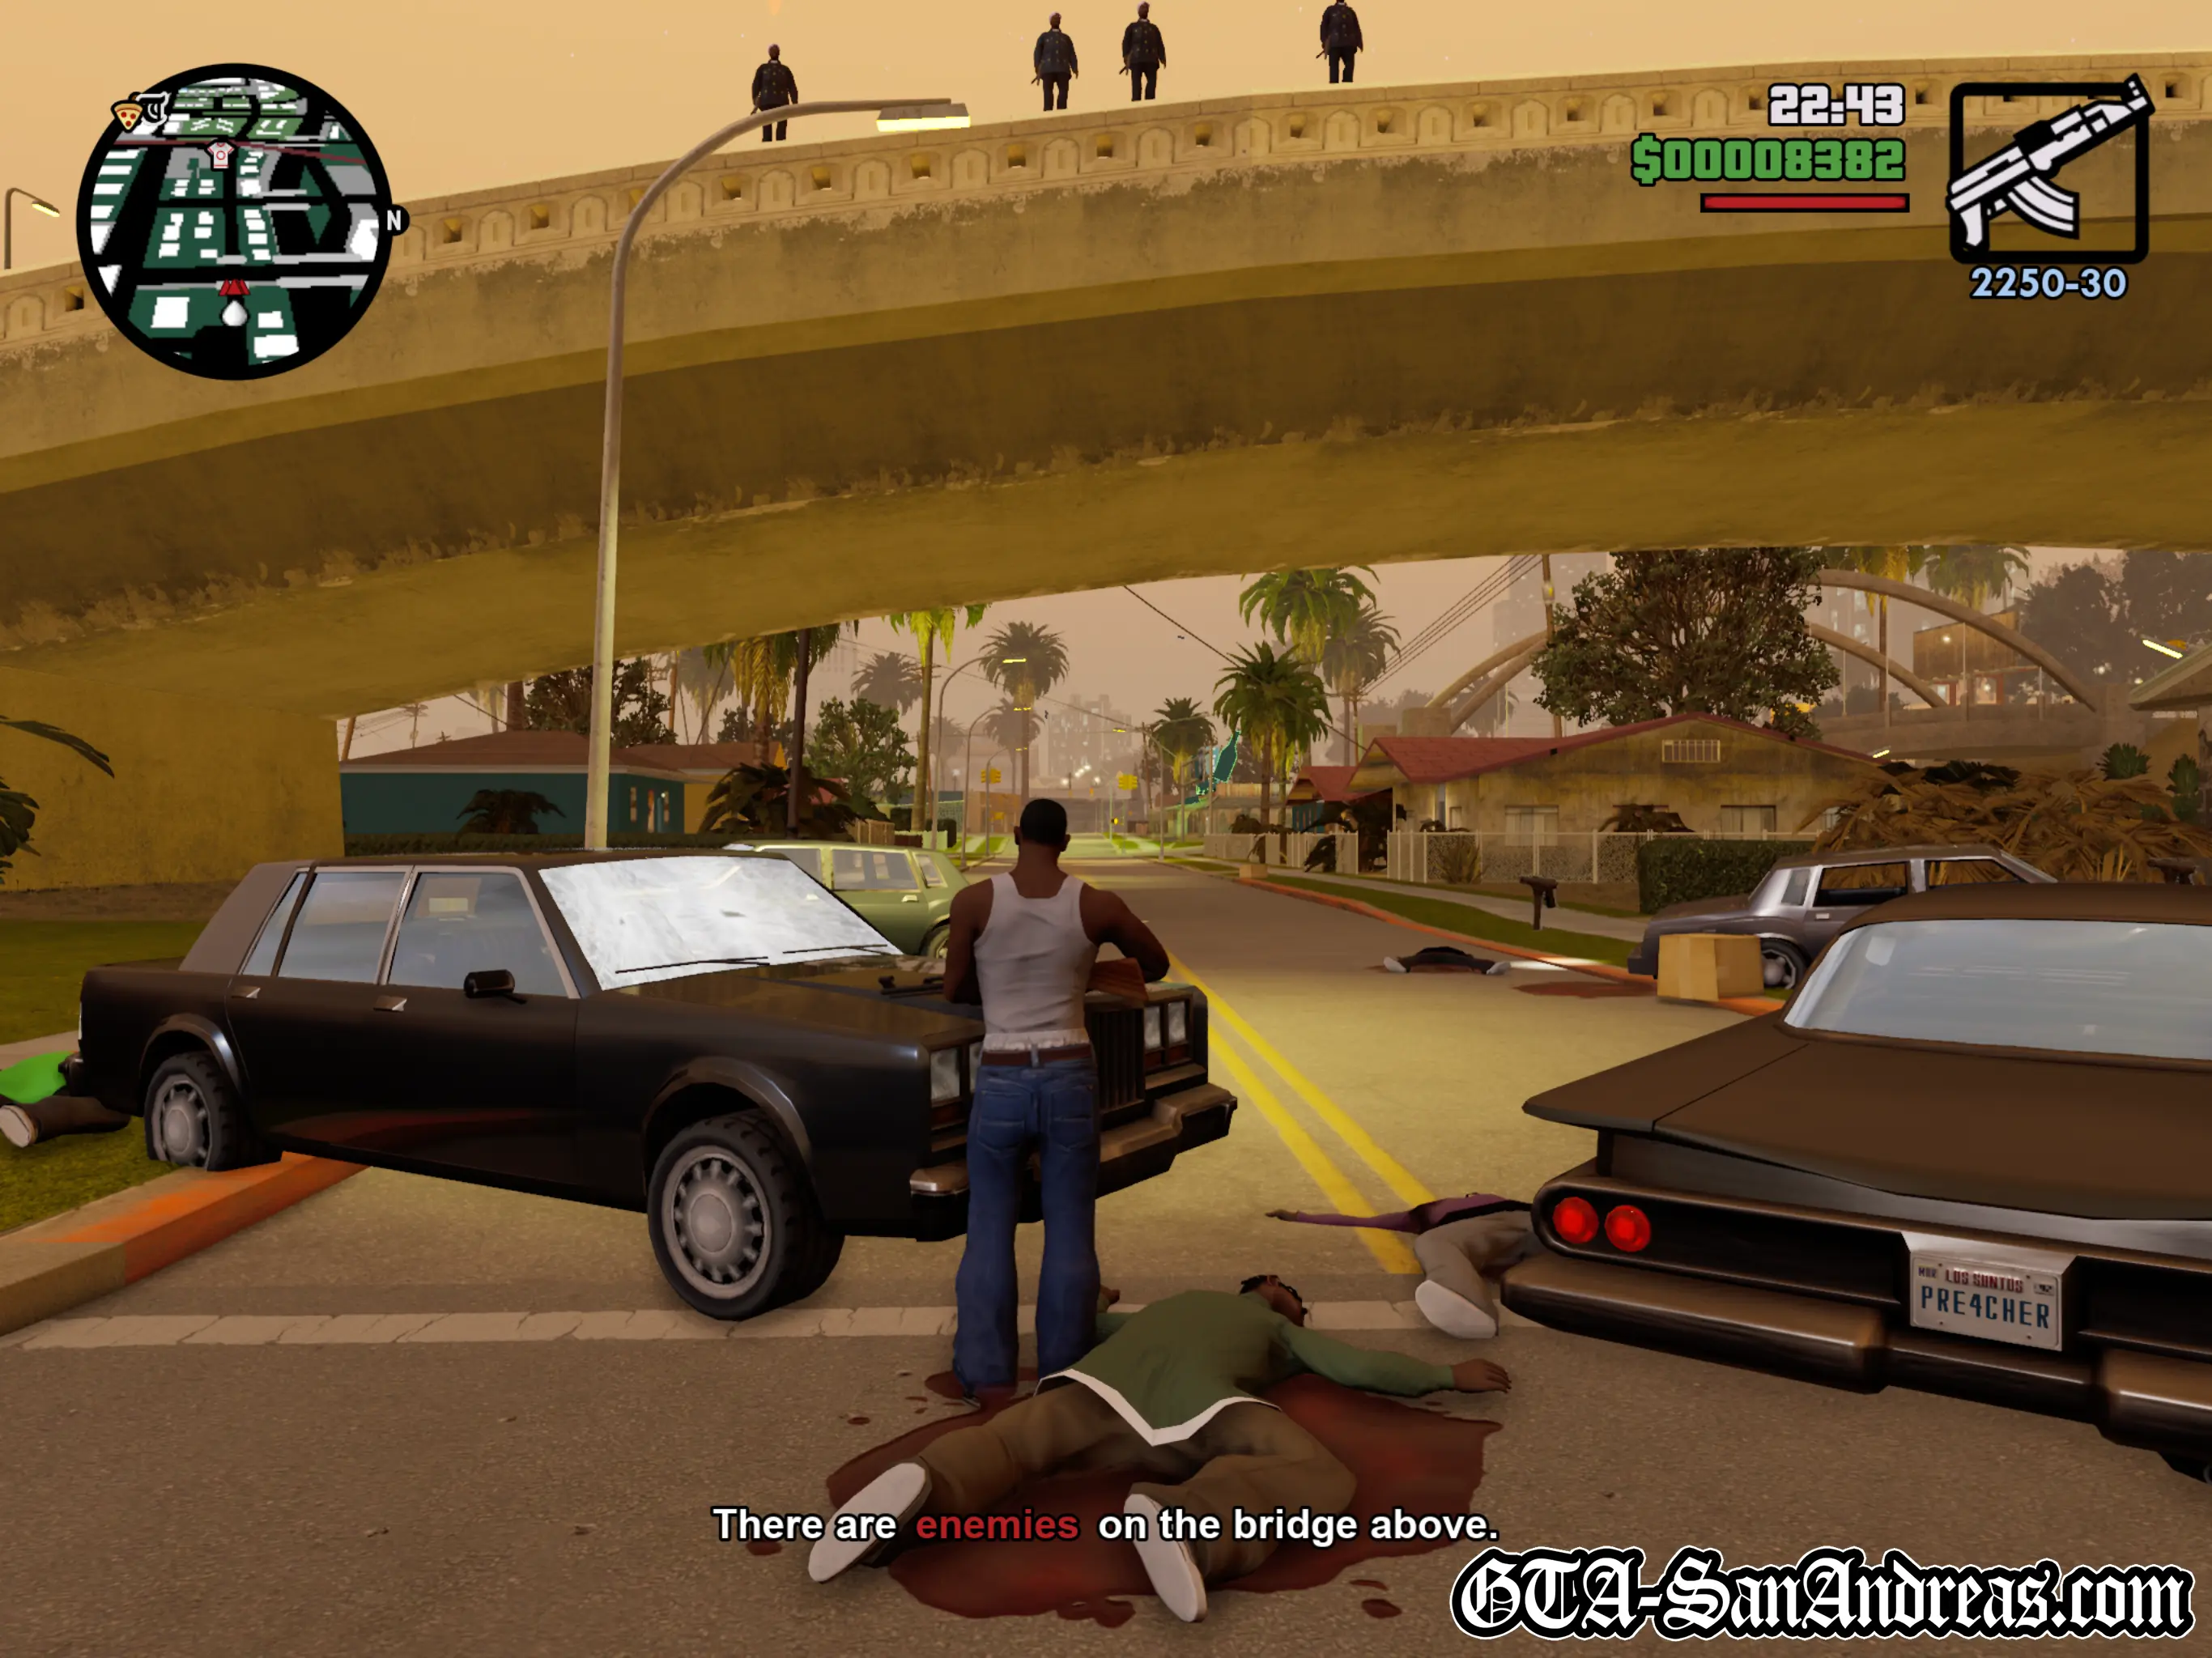
It's easily possible to have all enemies dead before the train reaches the tunnel. If you struggle to kill the enemies before you reach the countryside, it's much more difficult to find a place alongside the train and the mission will be failed as the train approaches a bridge to the North.
When following the train, keep as far to the right as you can and try to stay at least level or slightly in front of the enemy you want Smoke to shoot.
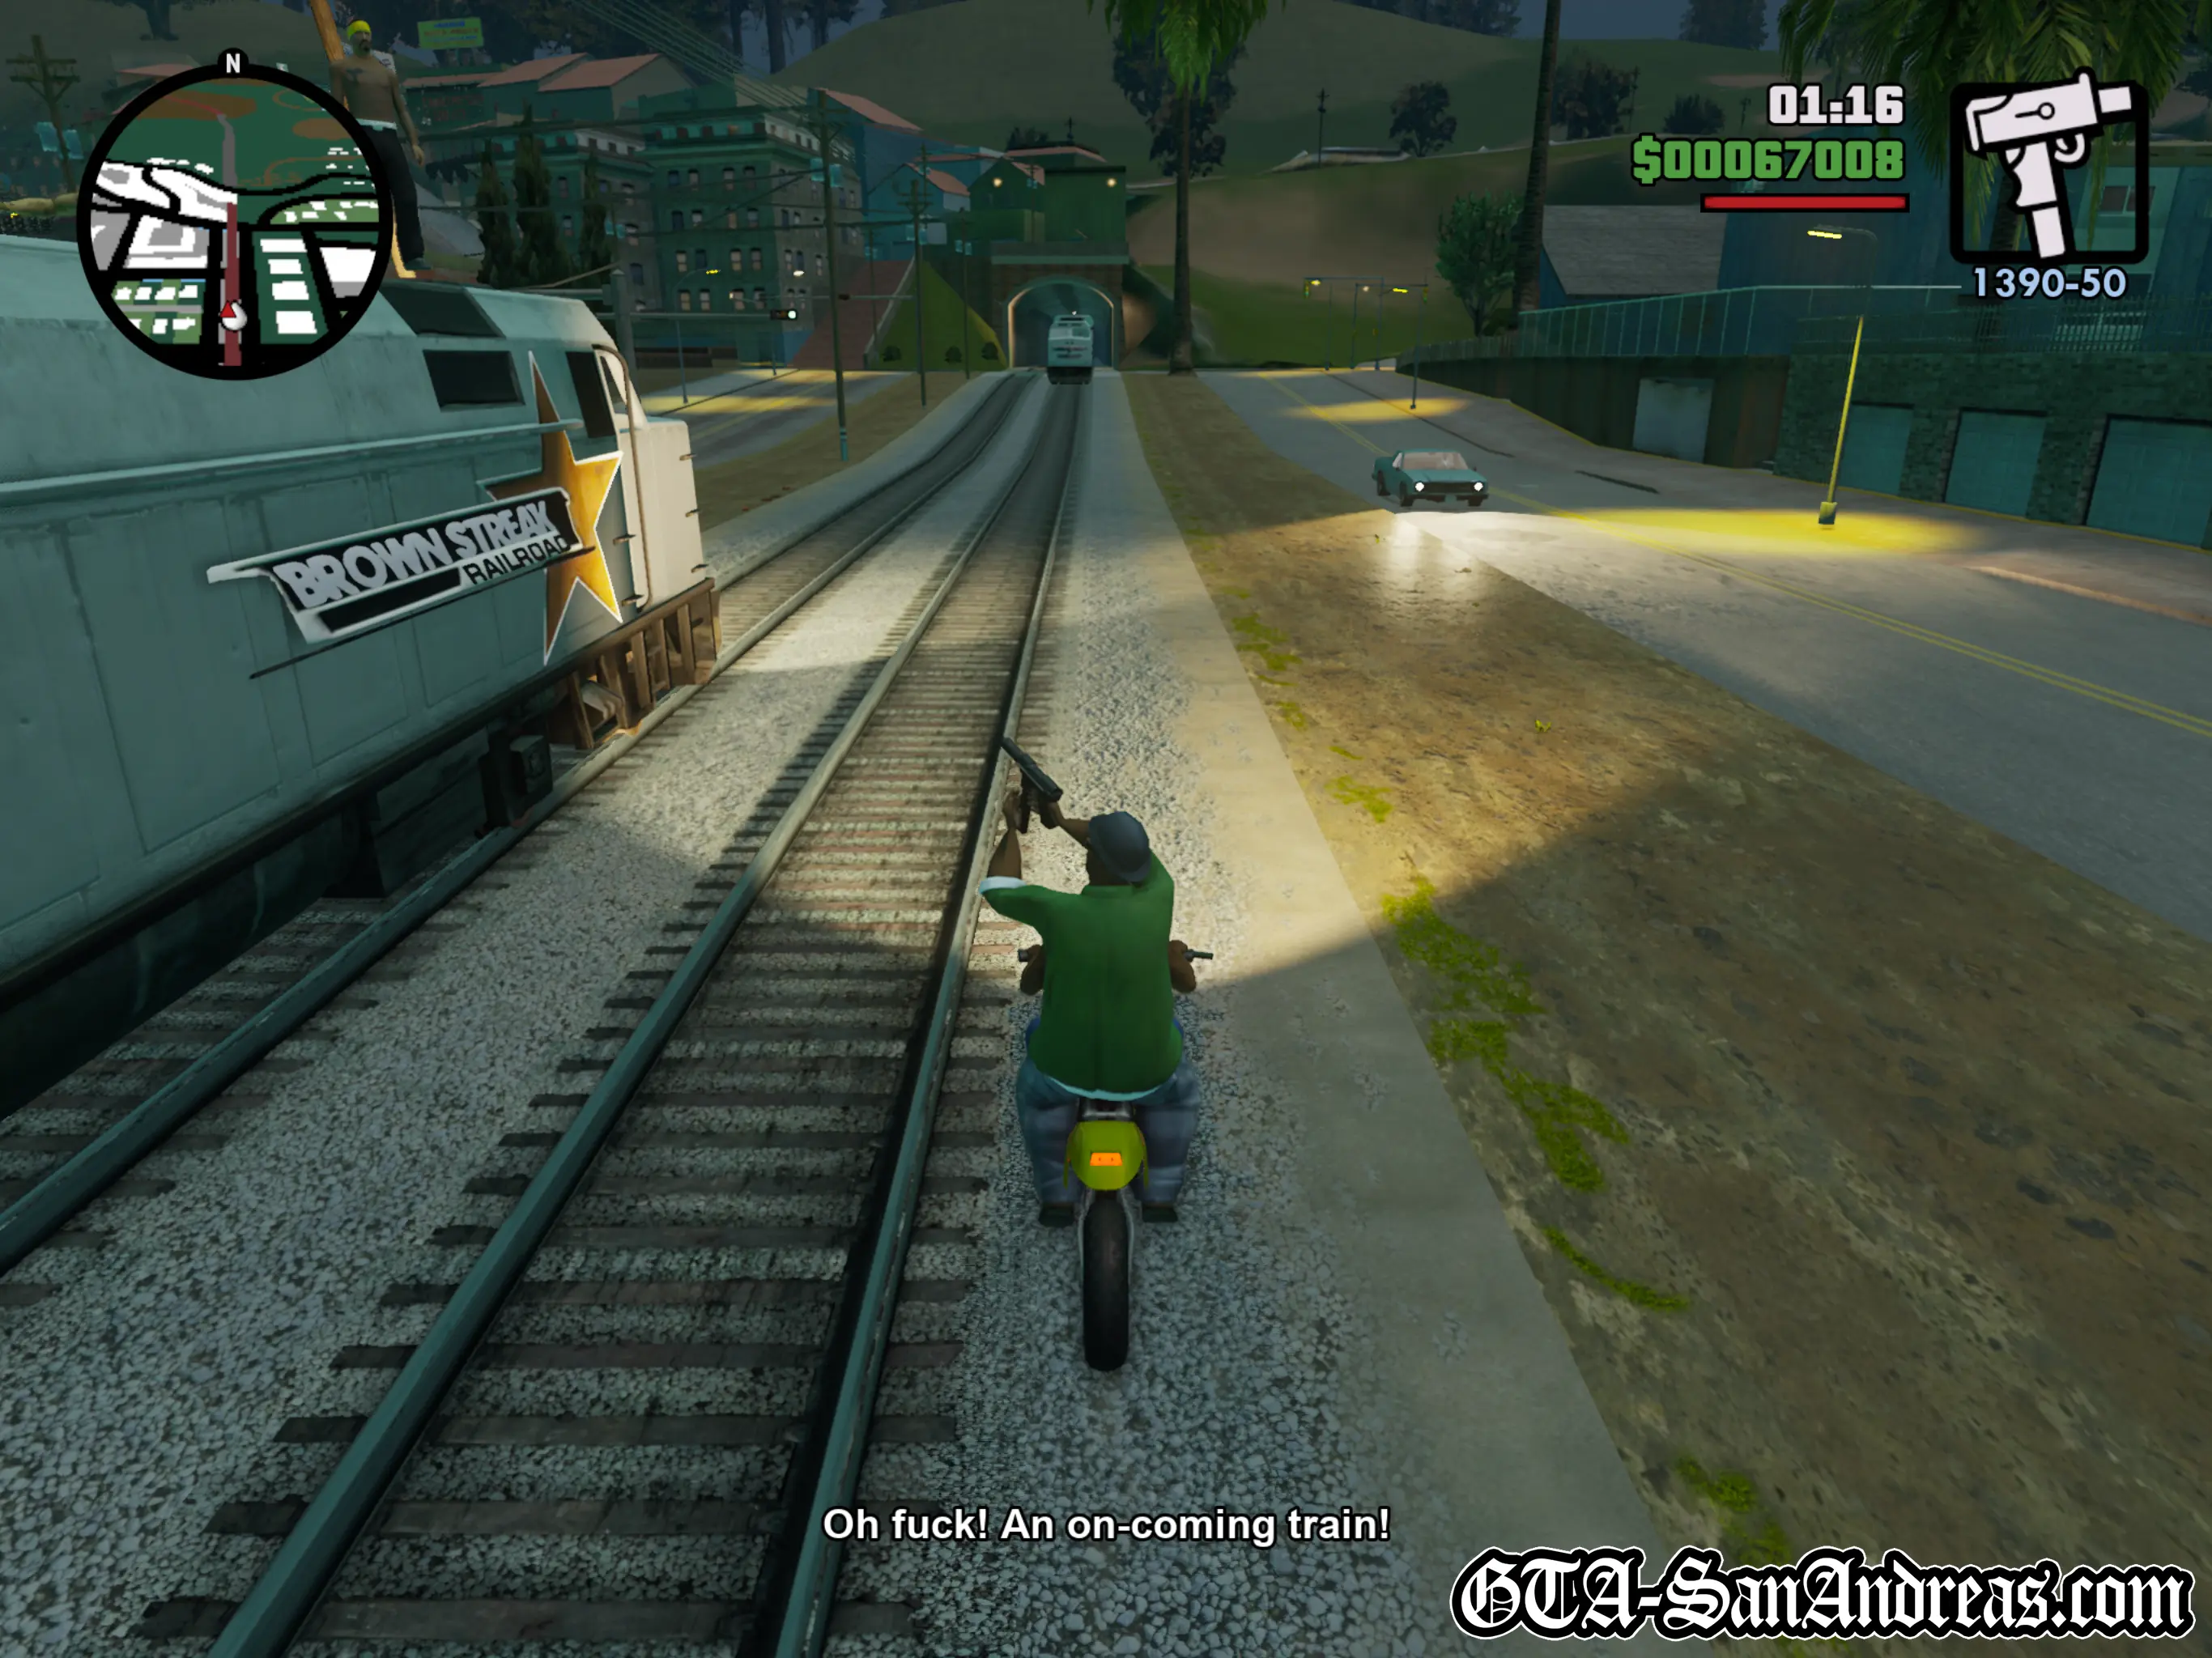
After the train turns a corner, you'll eventually come to a tunnel and another train approaches you head-on, so move out of the way and continue chasing the train.
Hints & Tips
There is a way to get the bike on top of the train, allowing you to help Smoke take out the Vagos.
As soon as the chase begins, speed past the train and follow the track around the corner.
Just after you get around the corner and cross a road, you'll notice a small, grey, concrete ramp on the left side of the train tracks. Drive up the ramp then carefully up a curved metal barrier slightly further down the tracks.
From there you can drive up another short ramp to a dark colored rooftop giving you a good view of the train.
Wait for the train to pull alongside, then drive the bike straight onto the top of the carriage where Smoke will easily be able to hit the enemies. Doing this, they should all be dead long before you reach the tunnel. Depending on your positioning, you can use your own weapons to shoot them from the bike too.
Once the last Vagos member is dead, Smoke wants you to get him home before the cops show, so head to the yellow dot on the radar and drop him off.
Cutscene
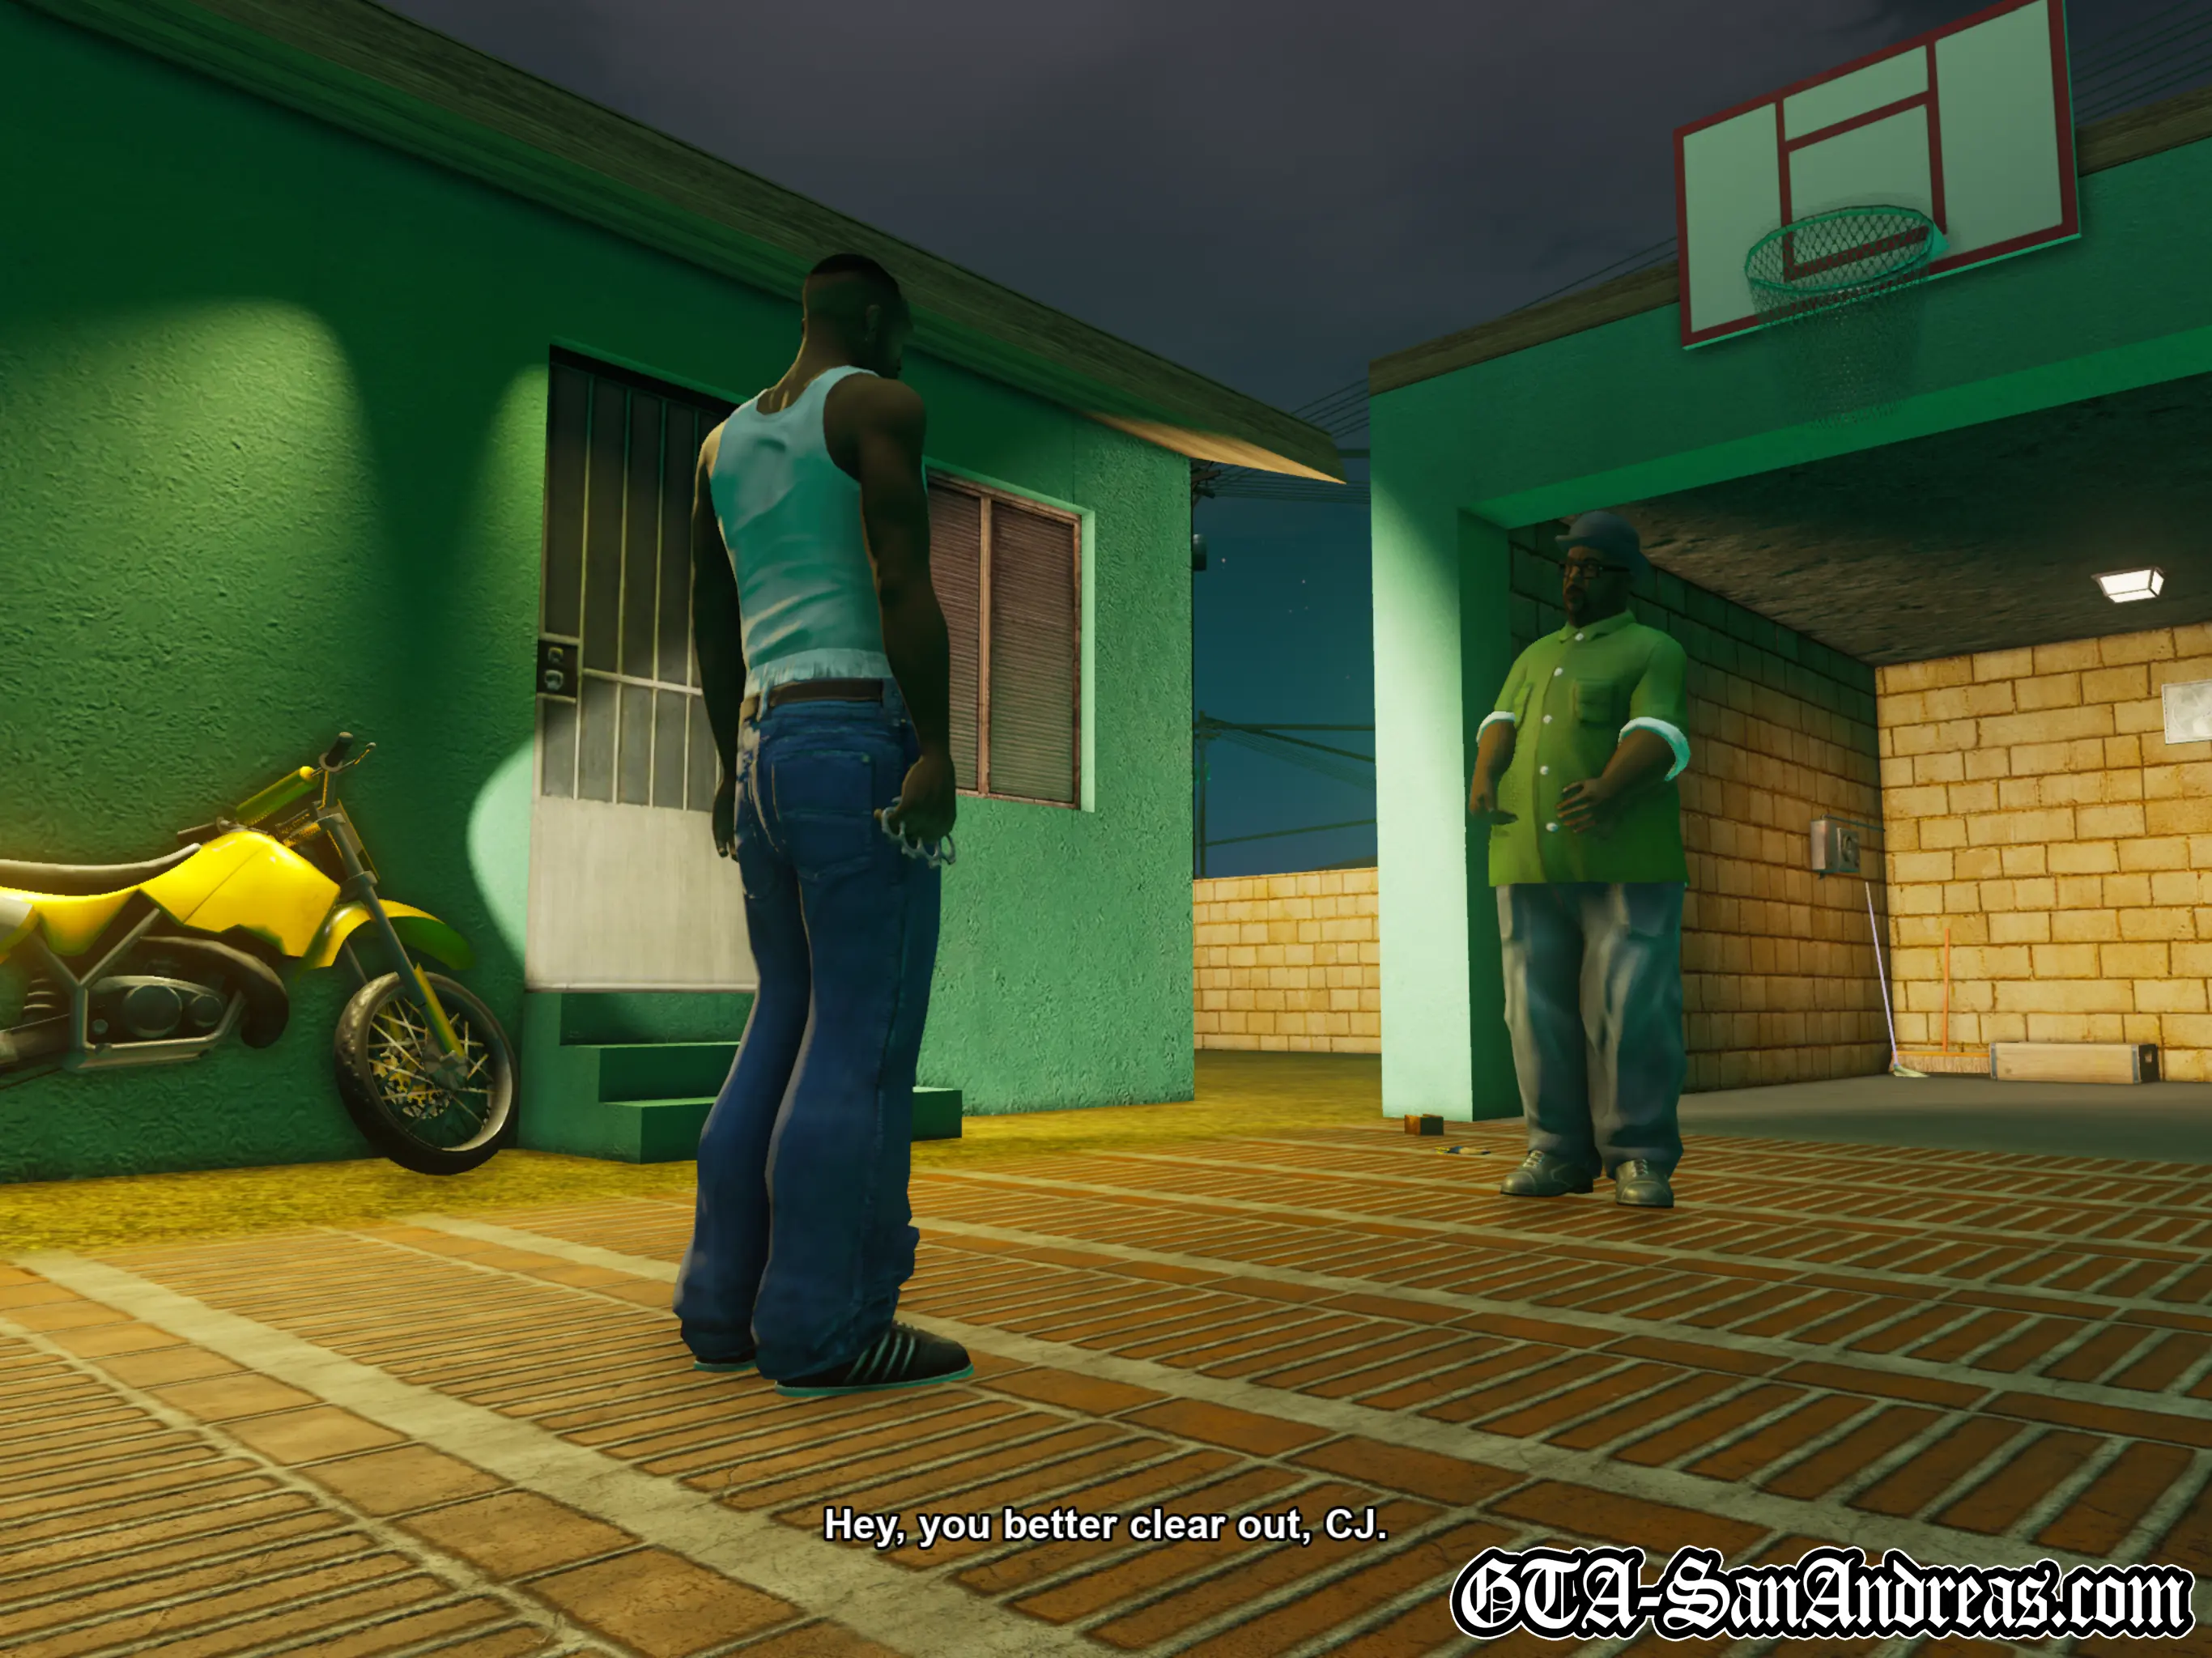
CJ drops Smoke back at home, who tells him to clear out and avoid getting involved with C.R.A.S.H.
Screenshots
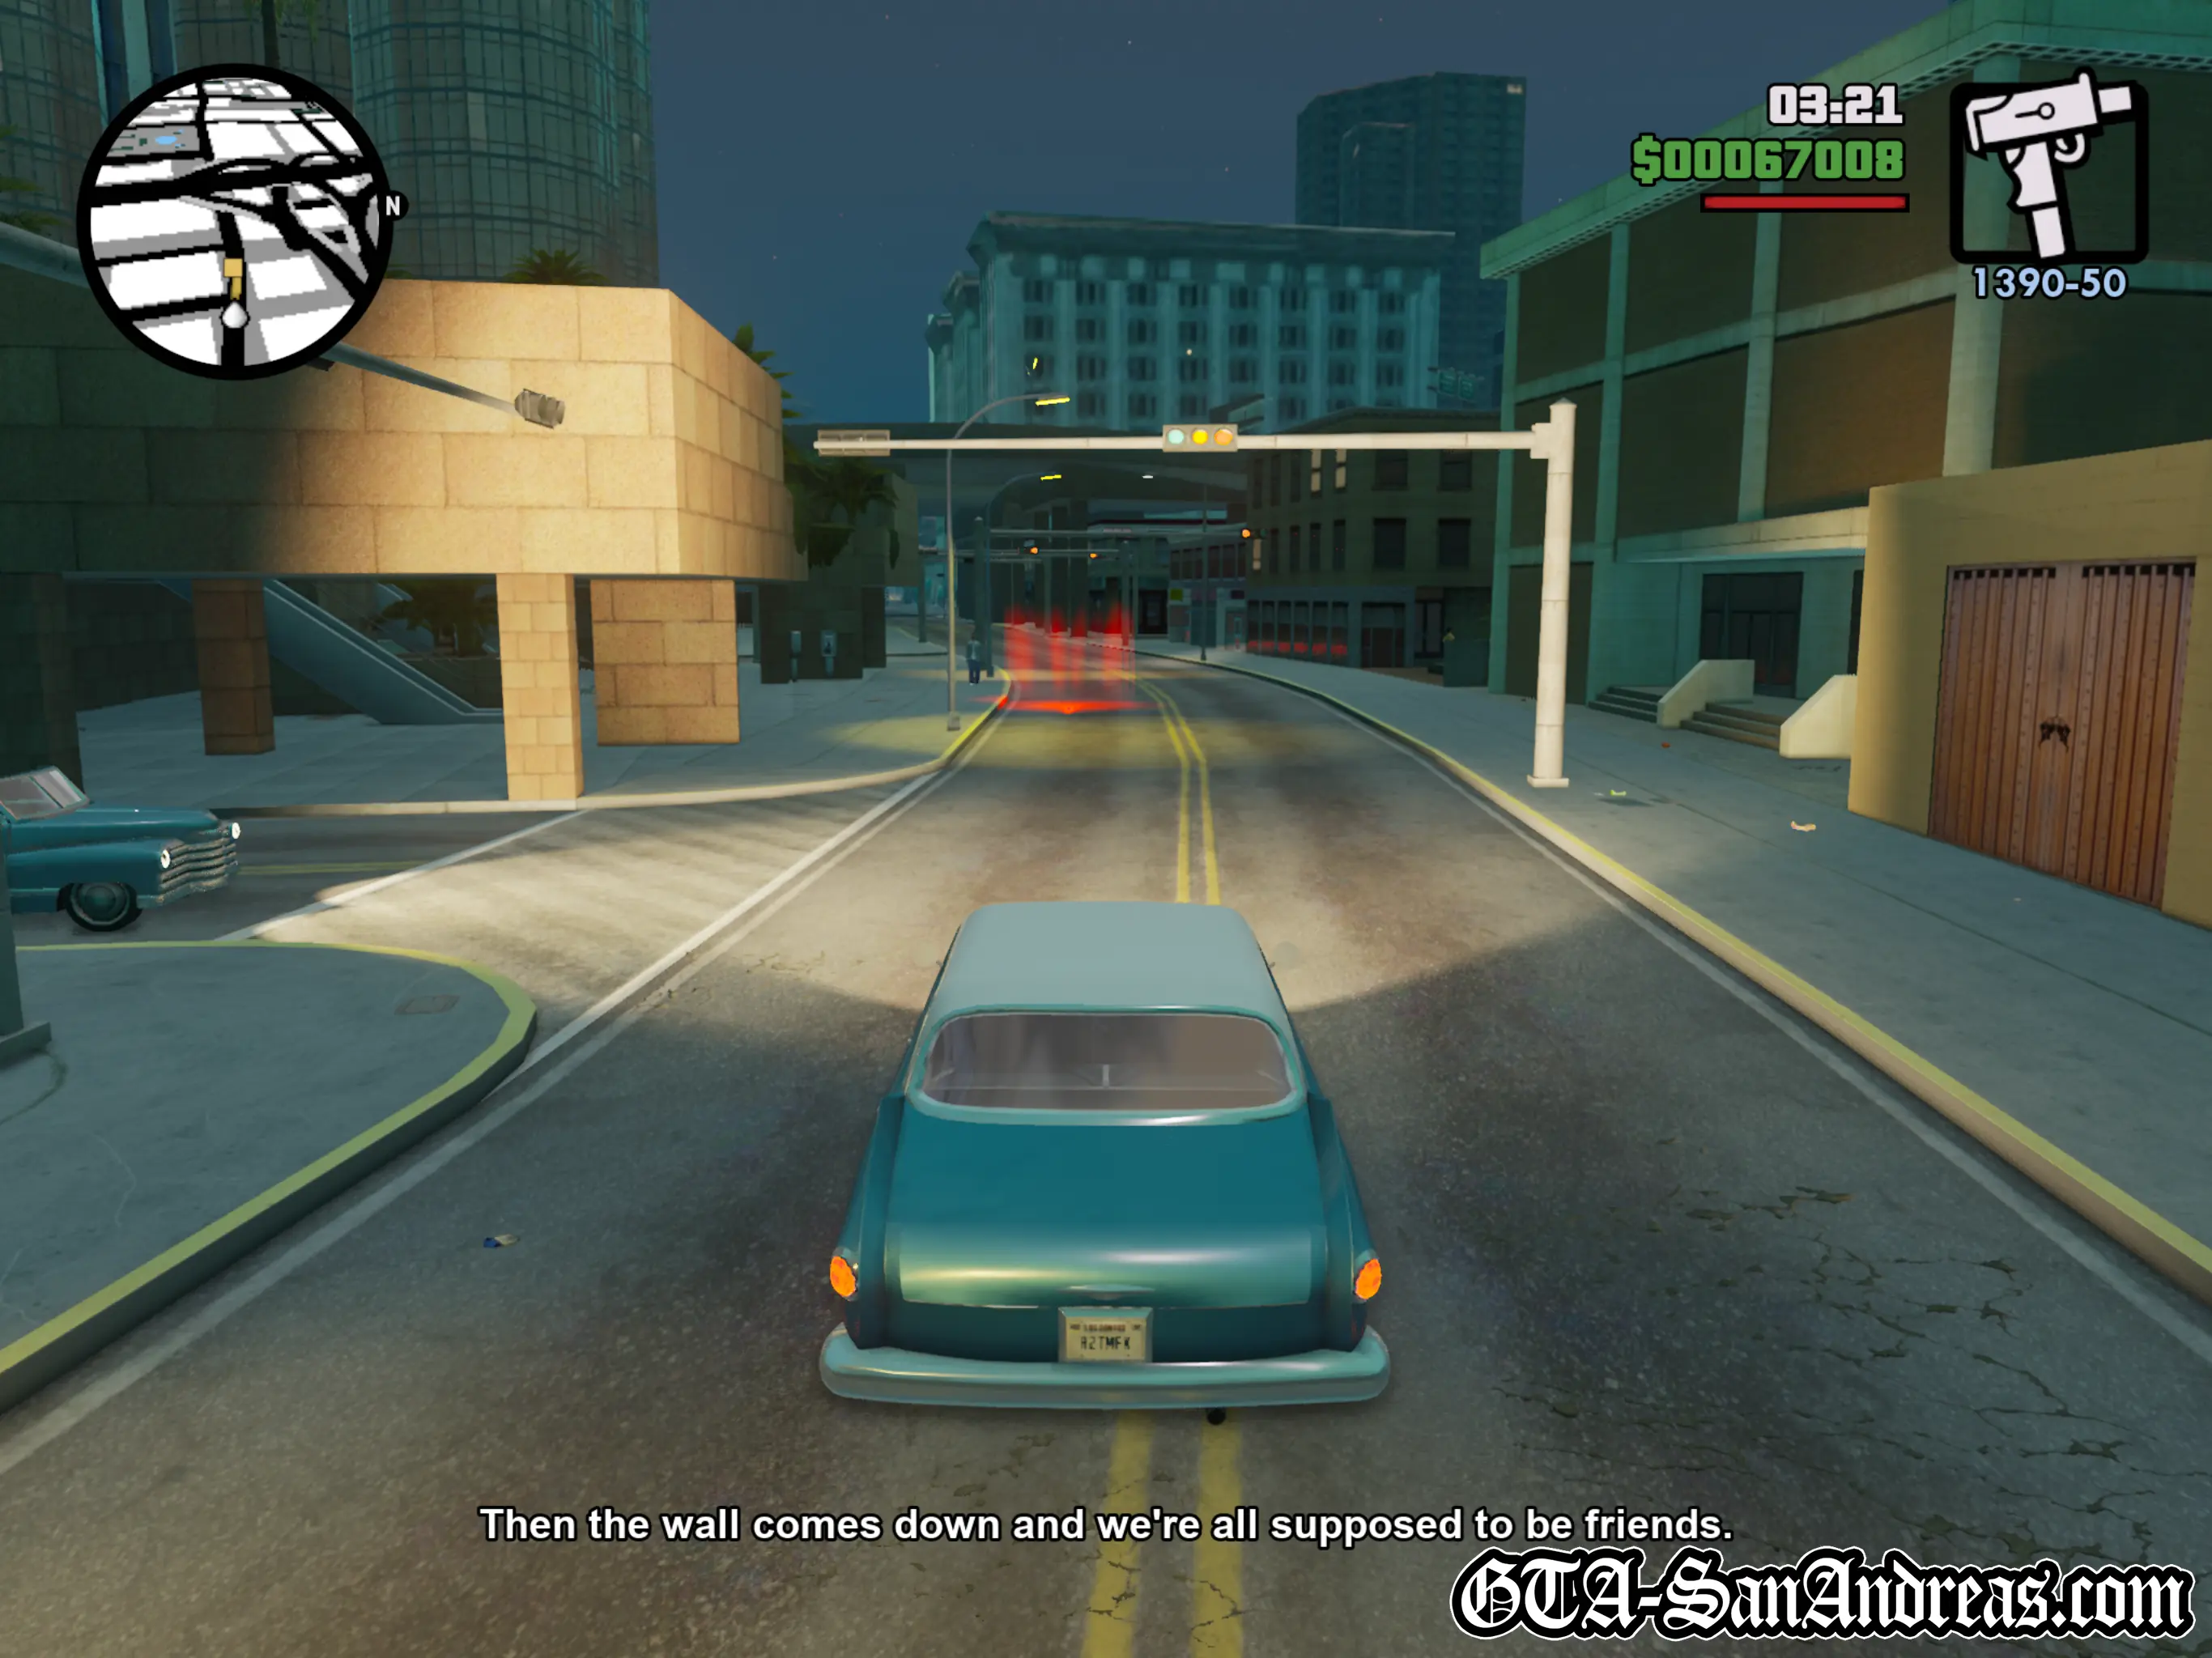
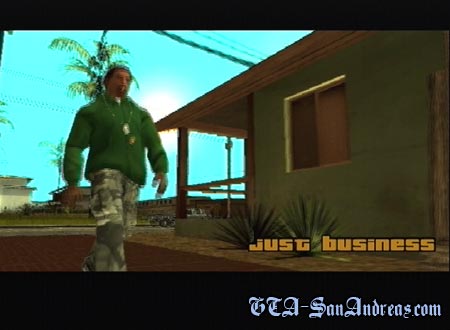
Just Business
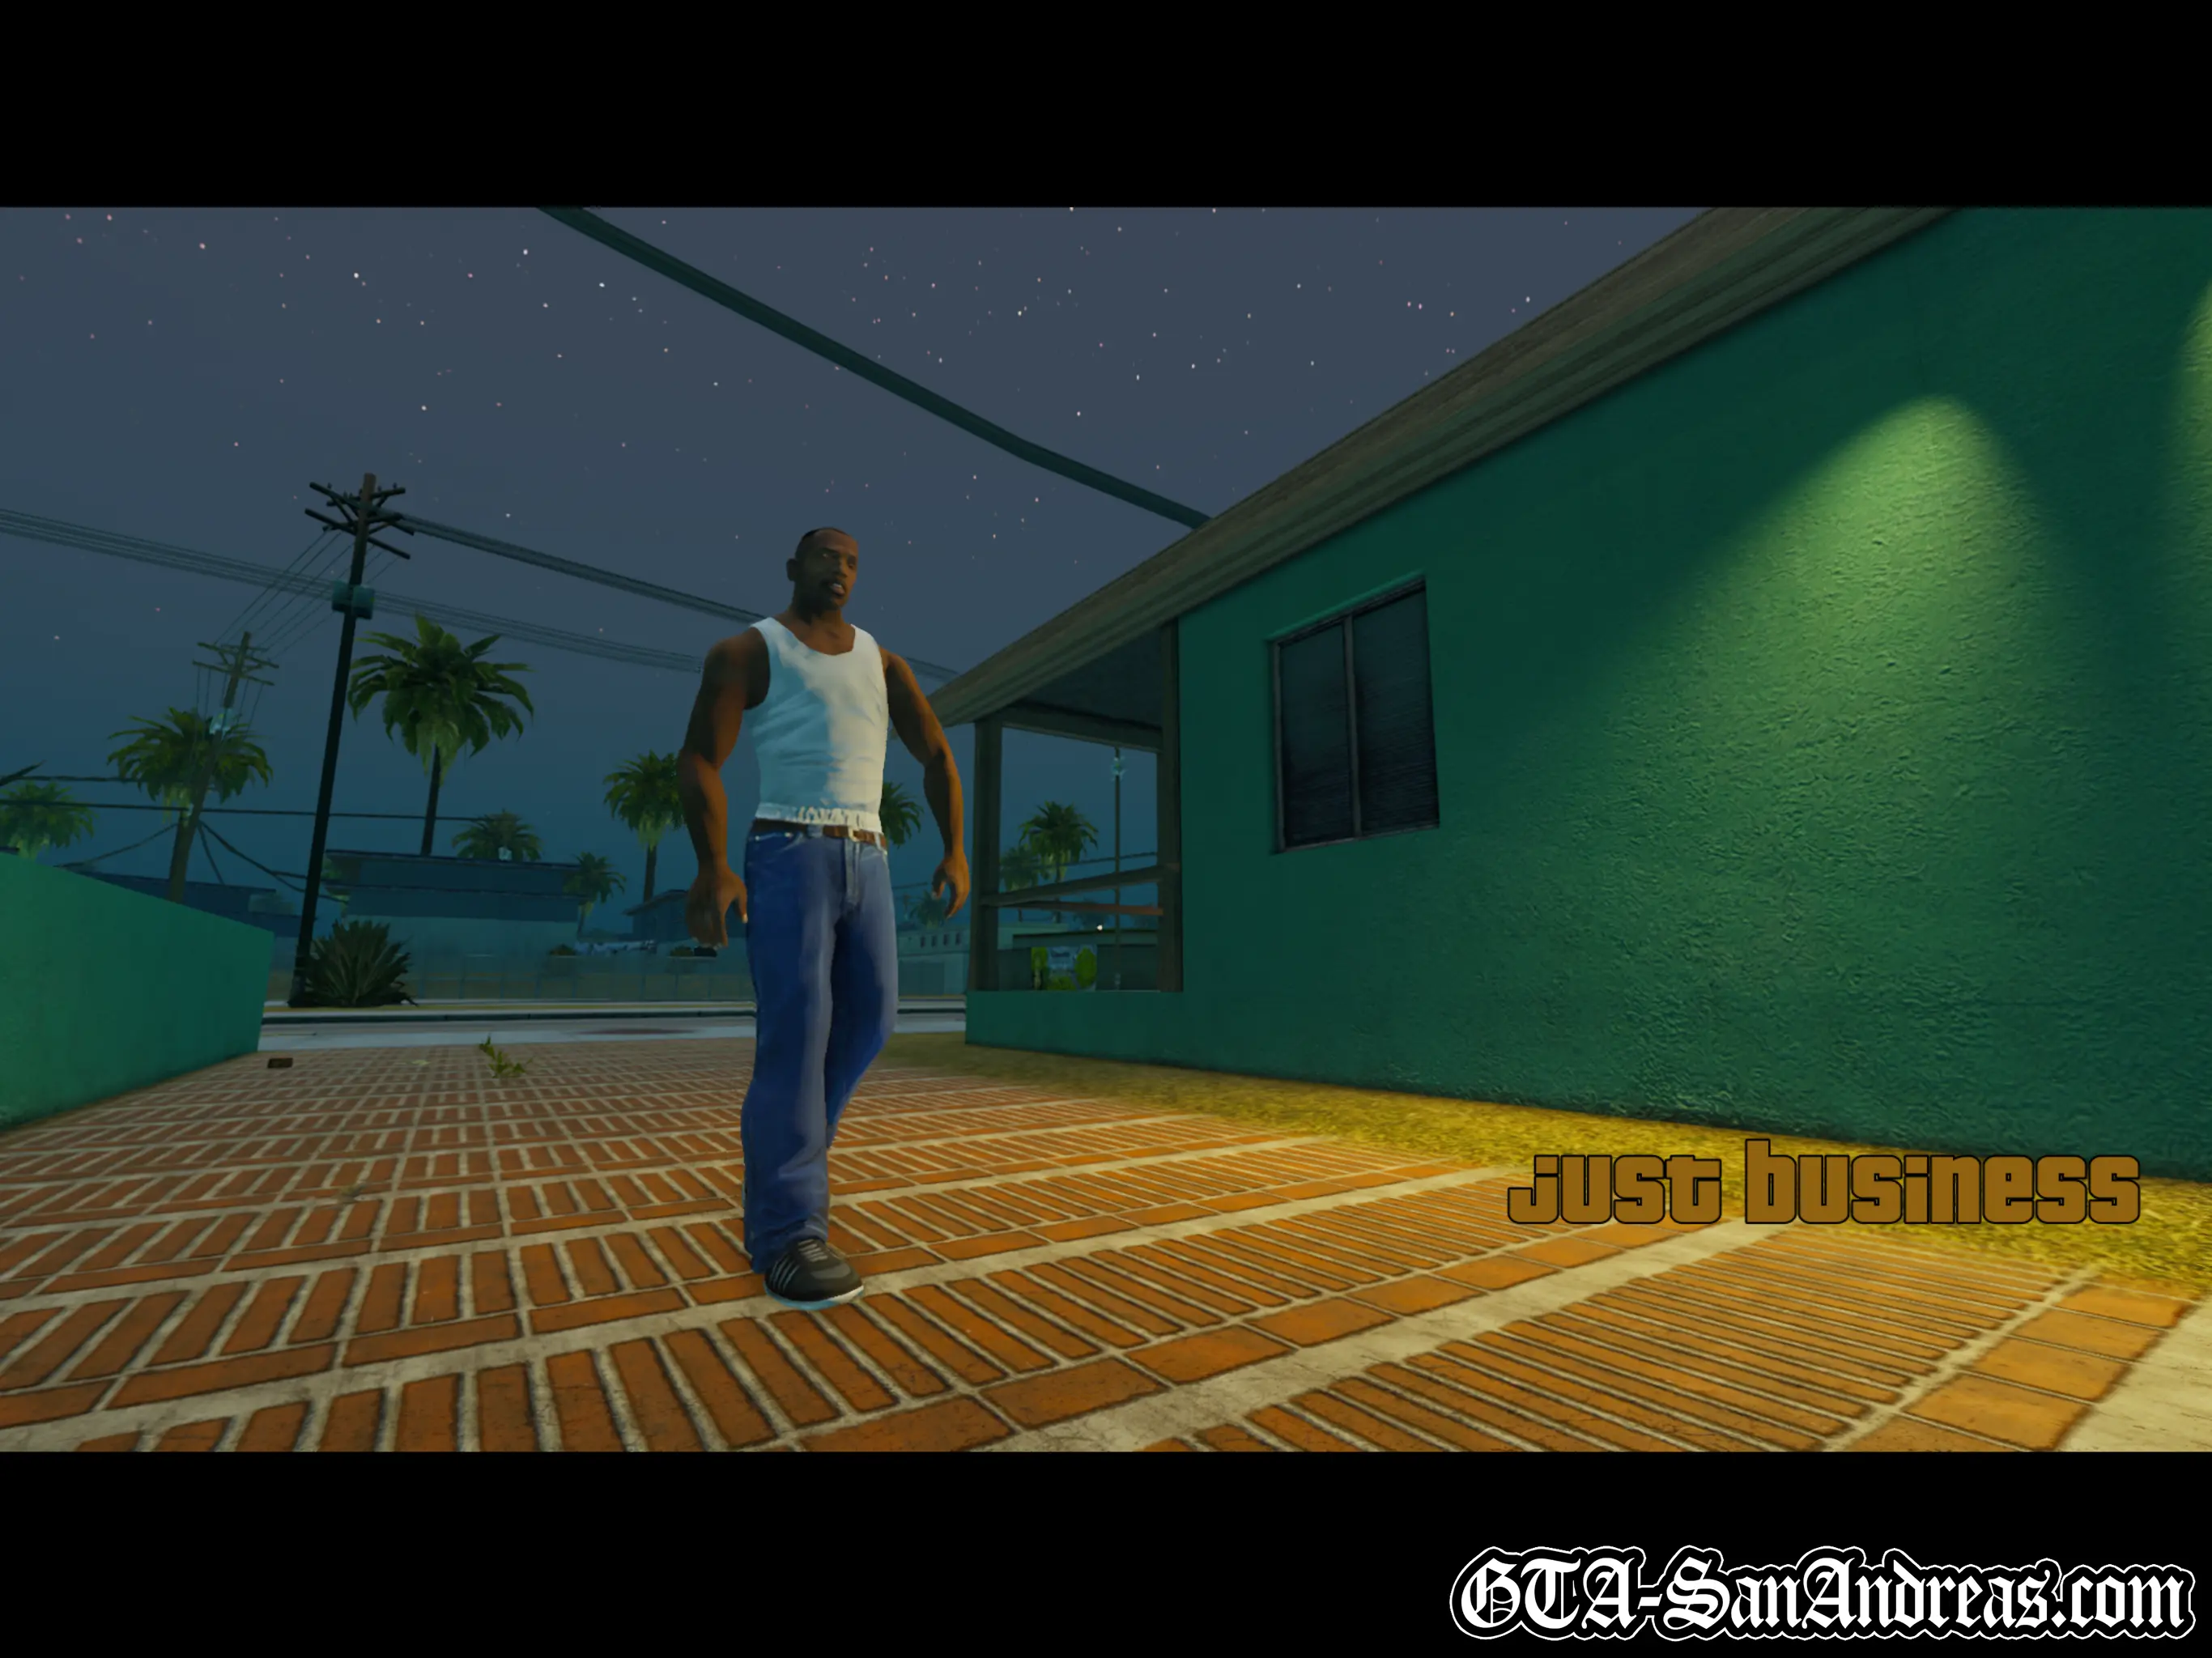
Cutscene
CJ knocks on the door to Big Smoke's house but there's no answer. Smoke is crouched behind the car in his garage. He calls out to CJ and asks him if he wants to go for a ride, downtown.
You'll start the mission in Big Smoke's car, so make your way to the yellow blip on the radar then park in the red marker.
Cutscene
Smoke checks with CJ that he's definitely up for whatever is about to go down. CJ tells Smoke they're Groves' so of course he's down.
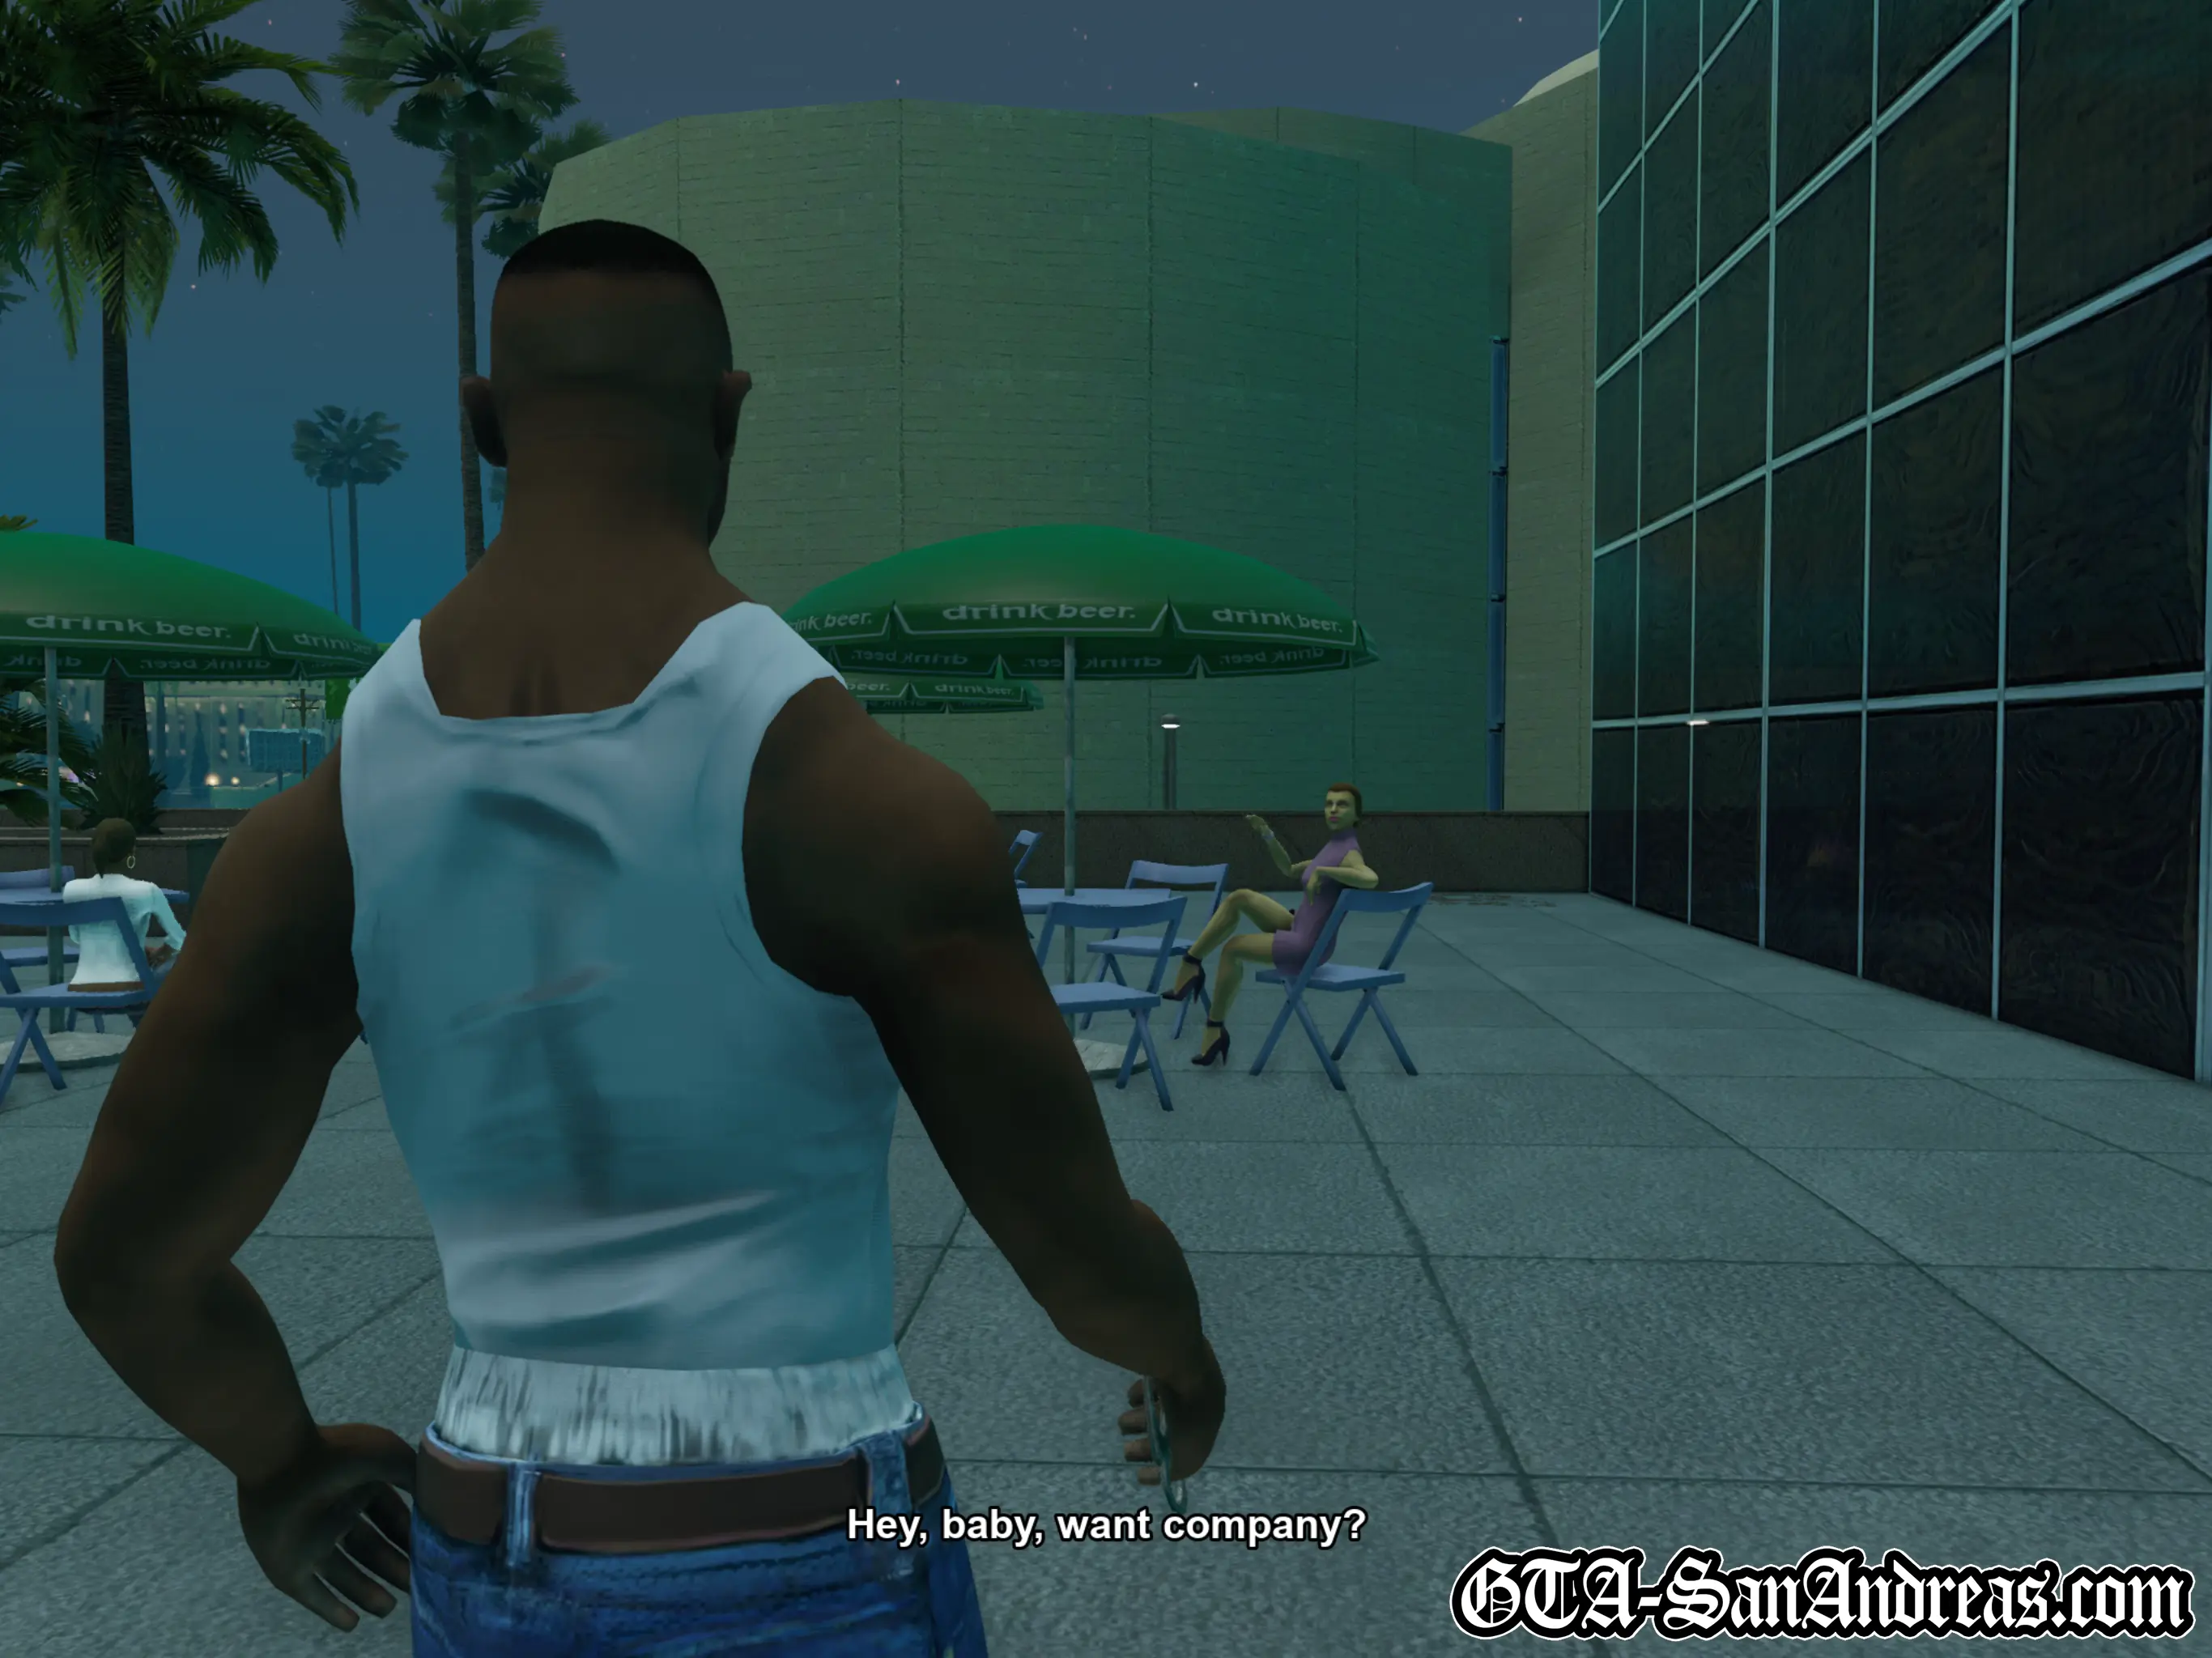
Smoke heads inside and CJ is immediately distracted by a girl sat at a table. He asks if she wants company but Smoke immediately calls out for help so Carl rushes into the building.
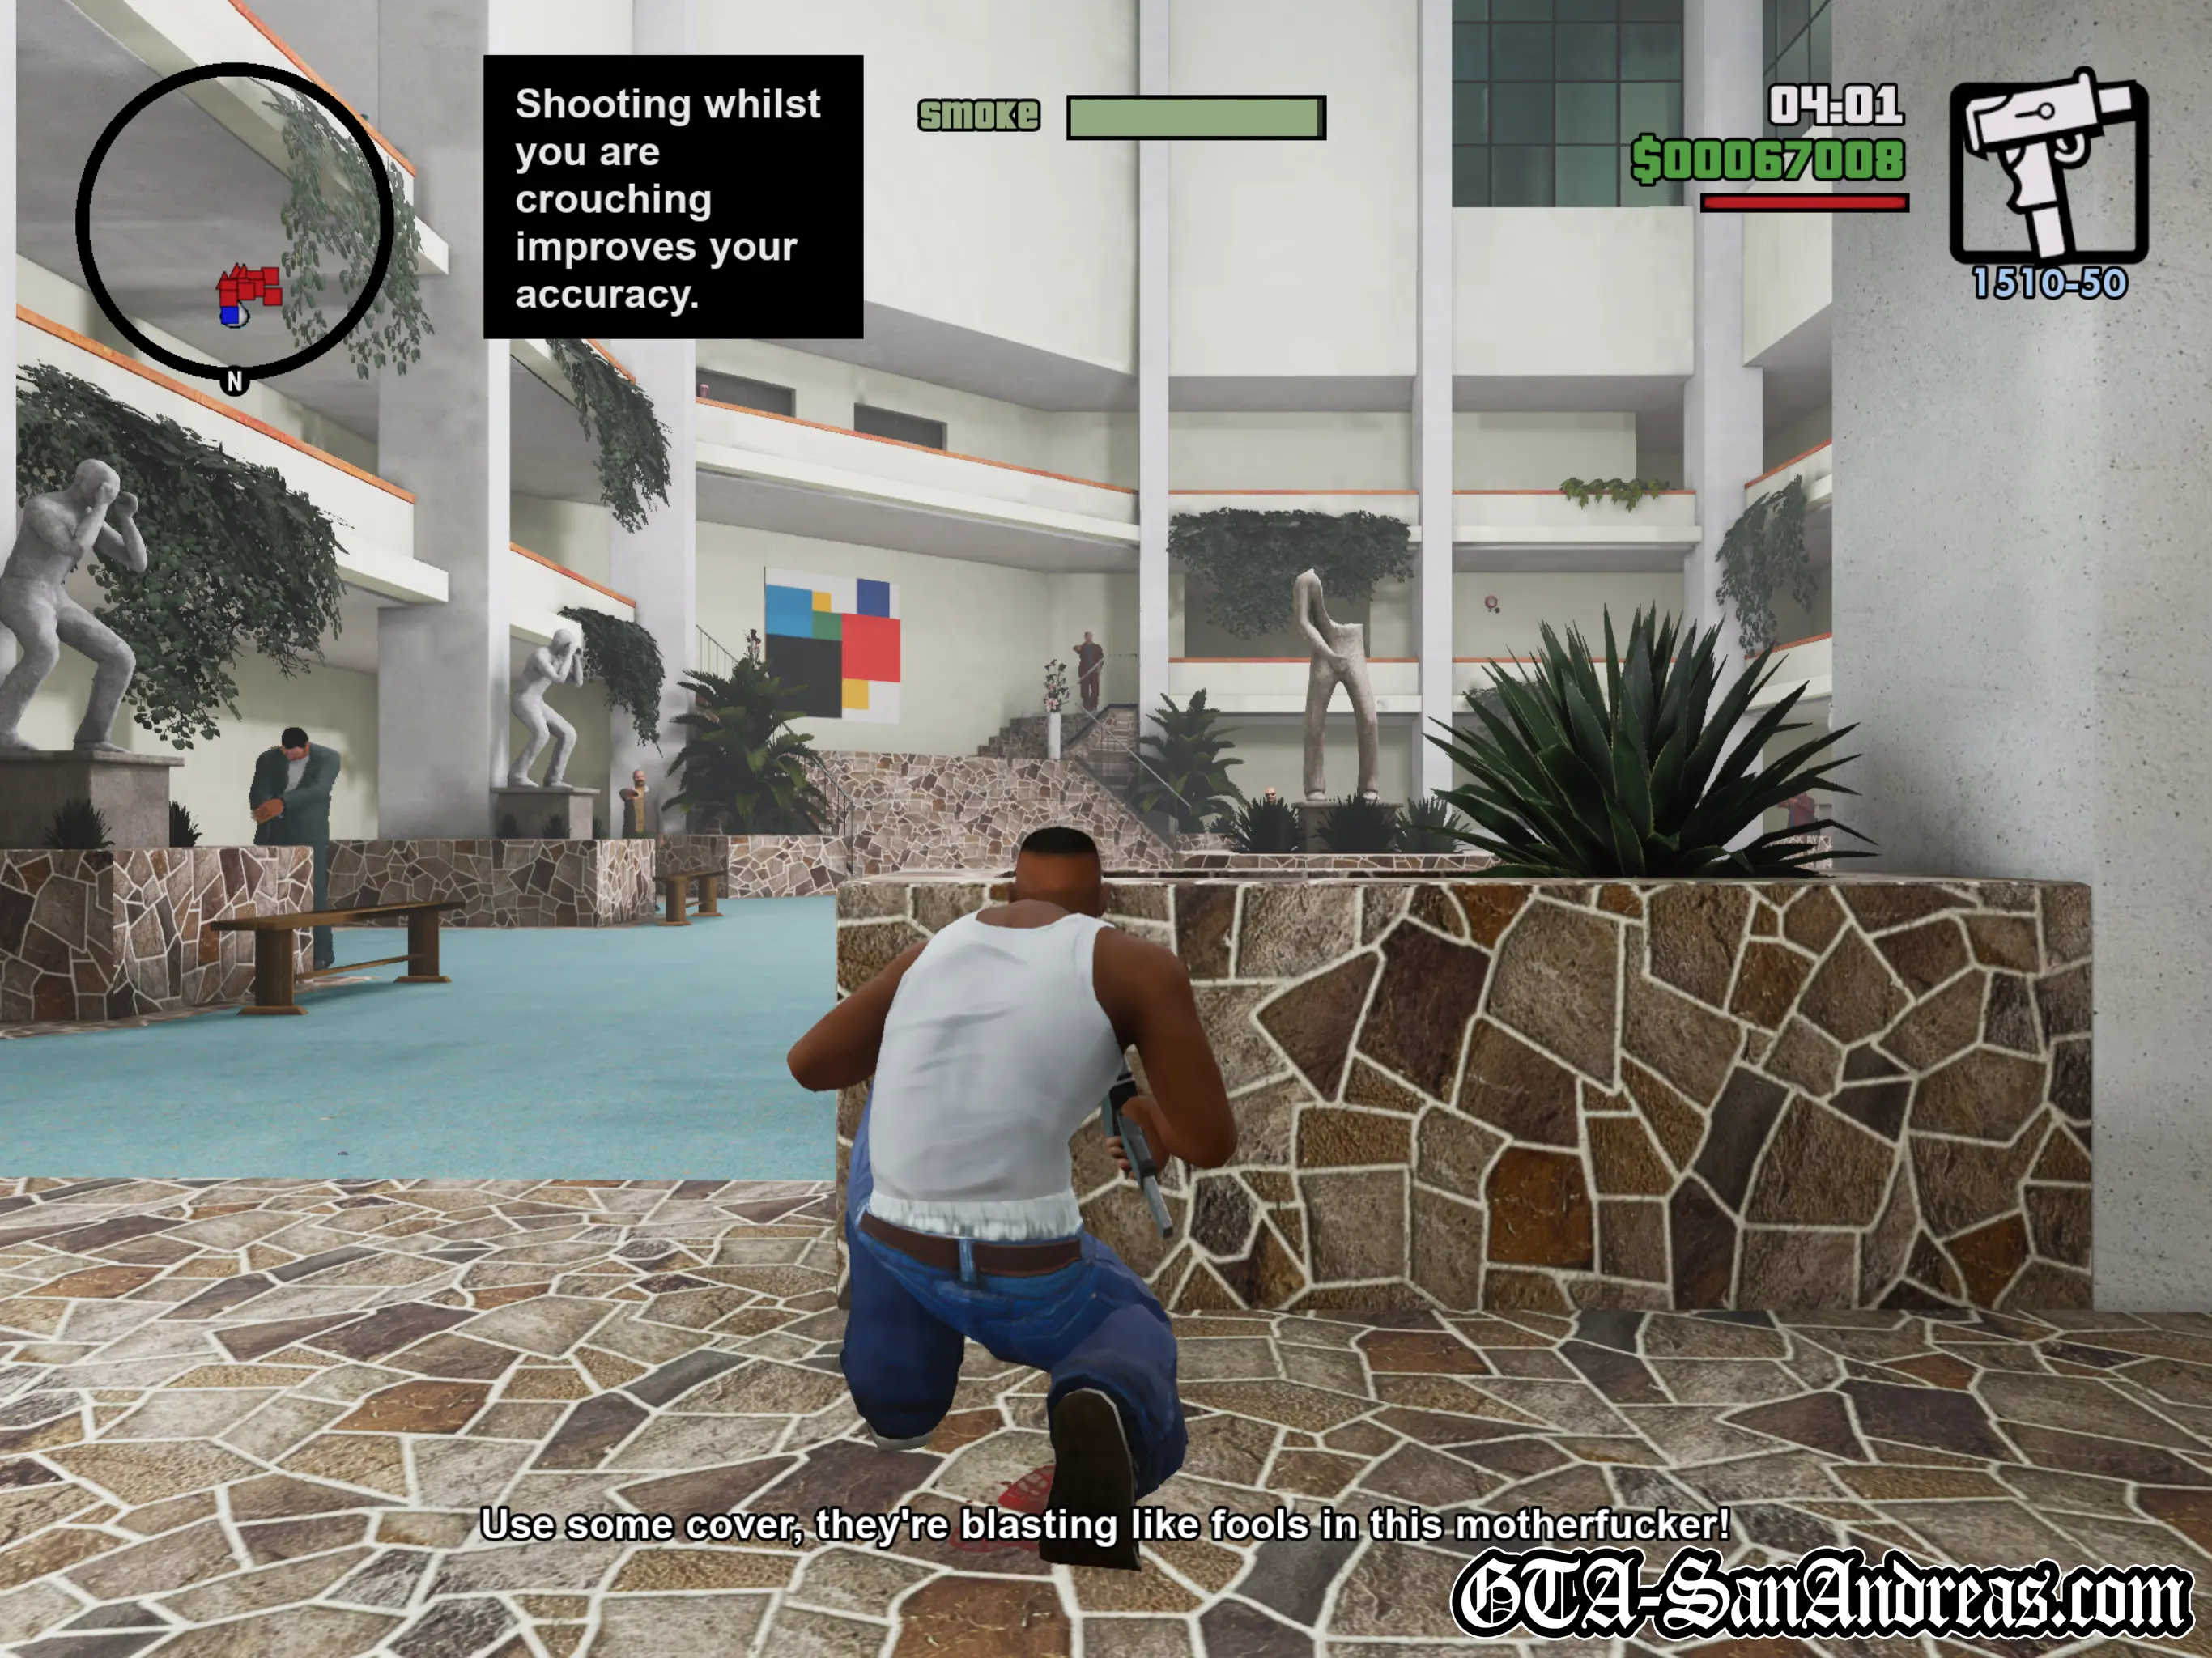
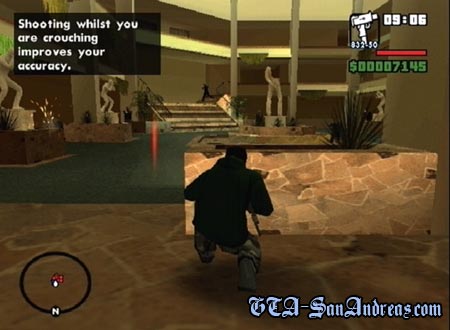
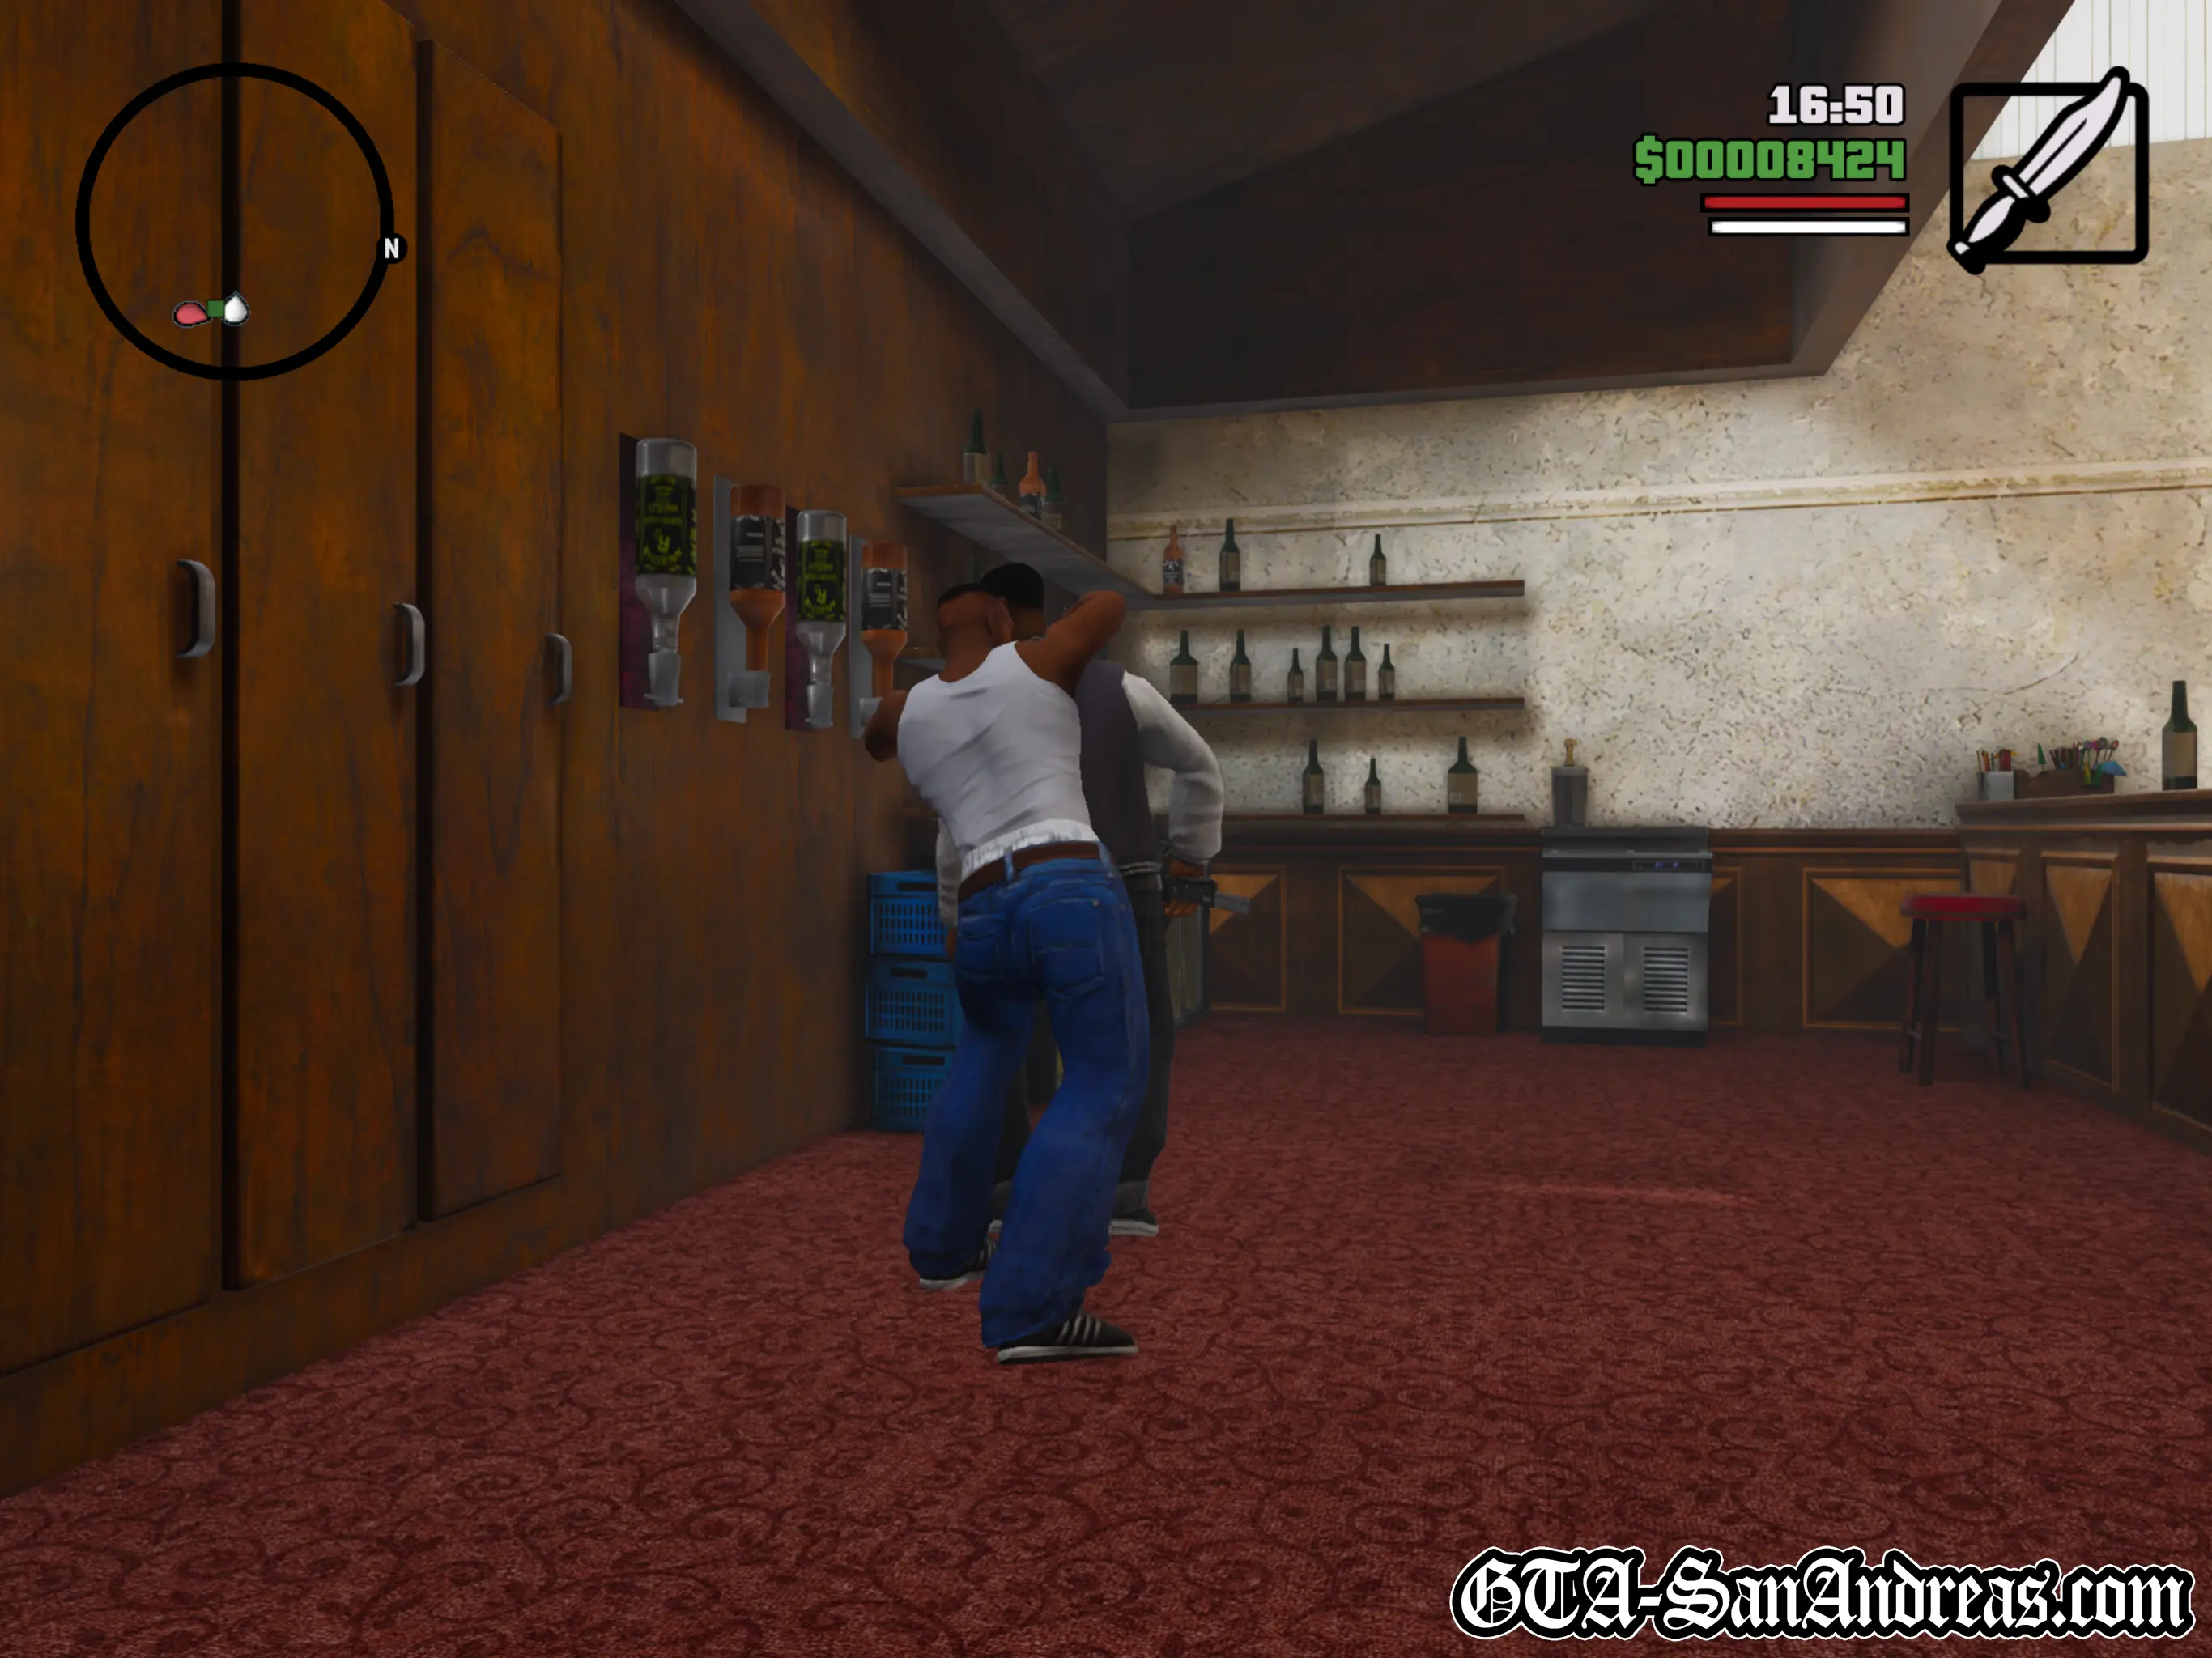
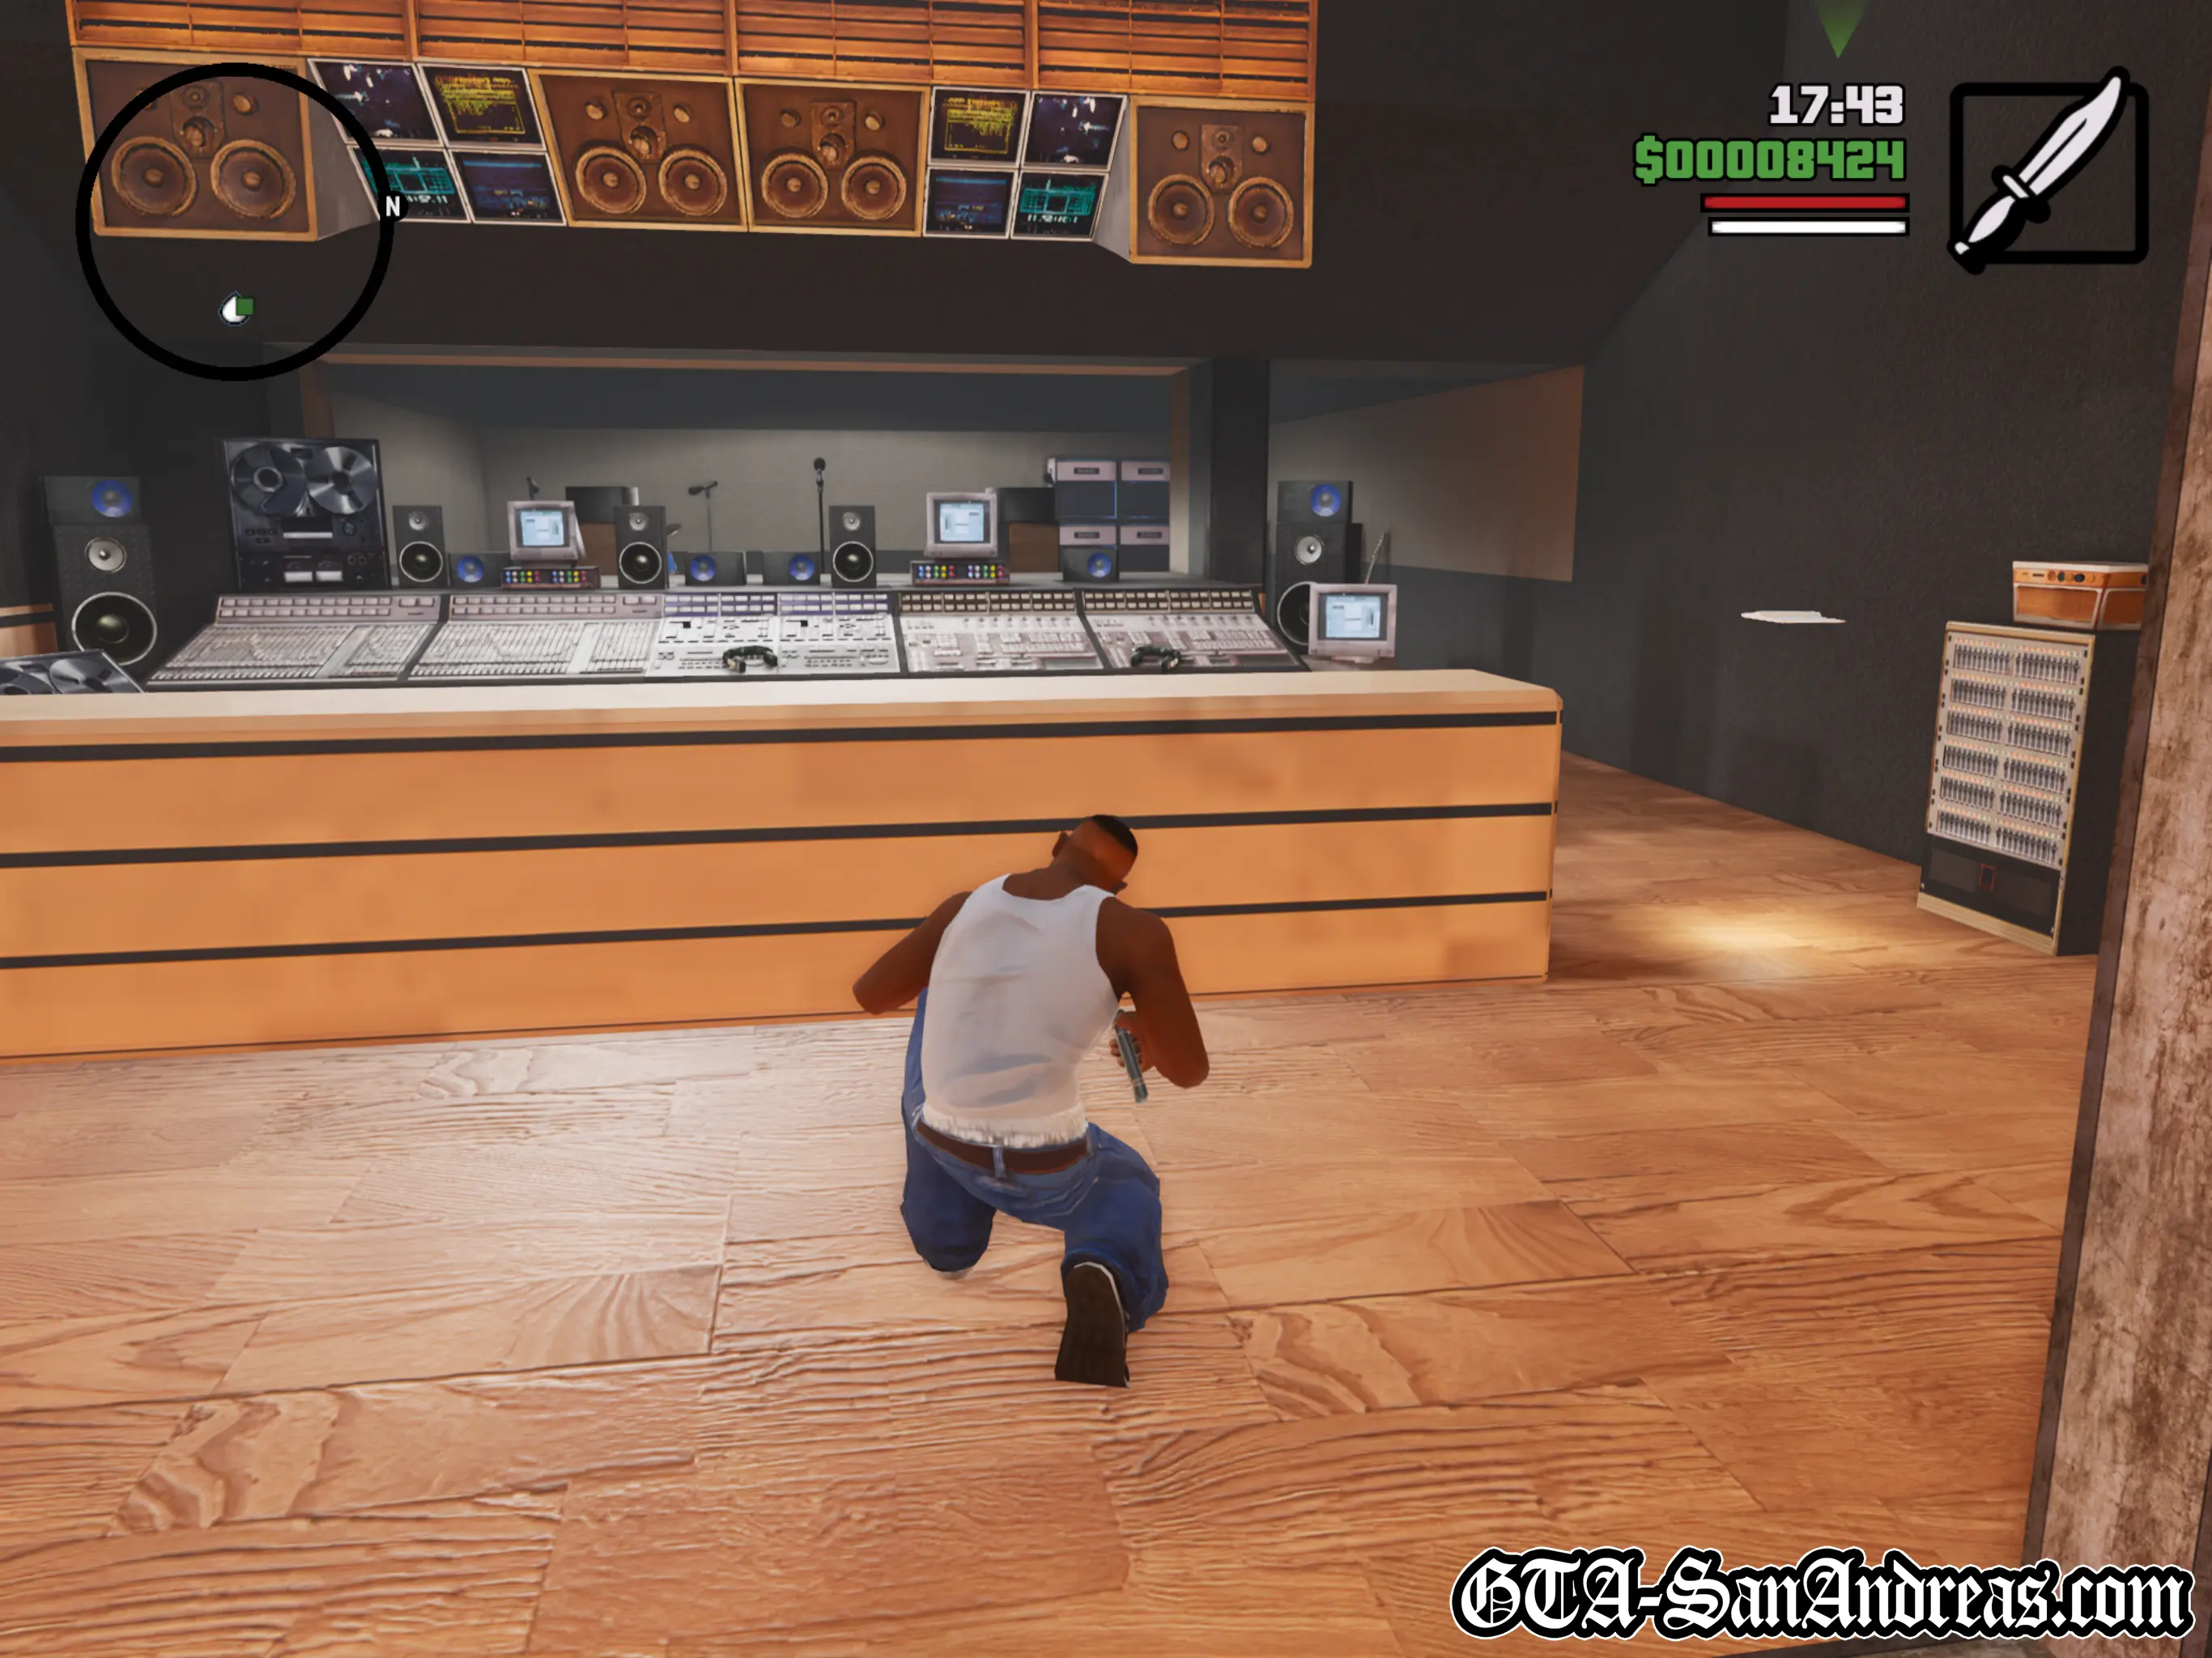
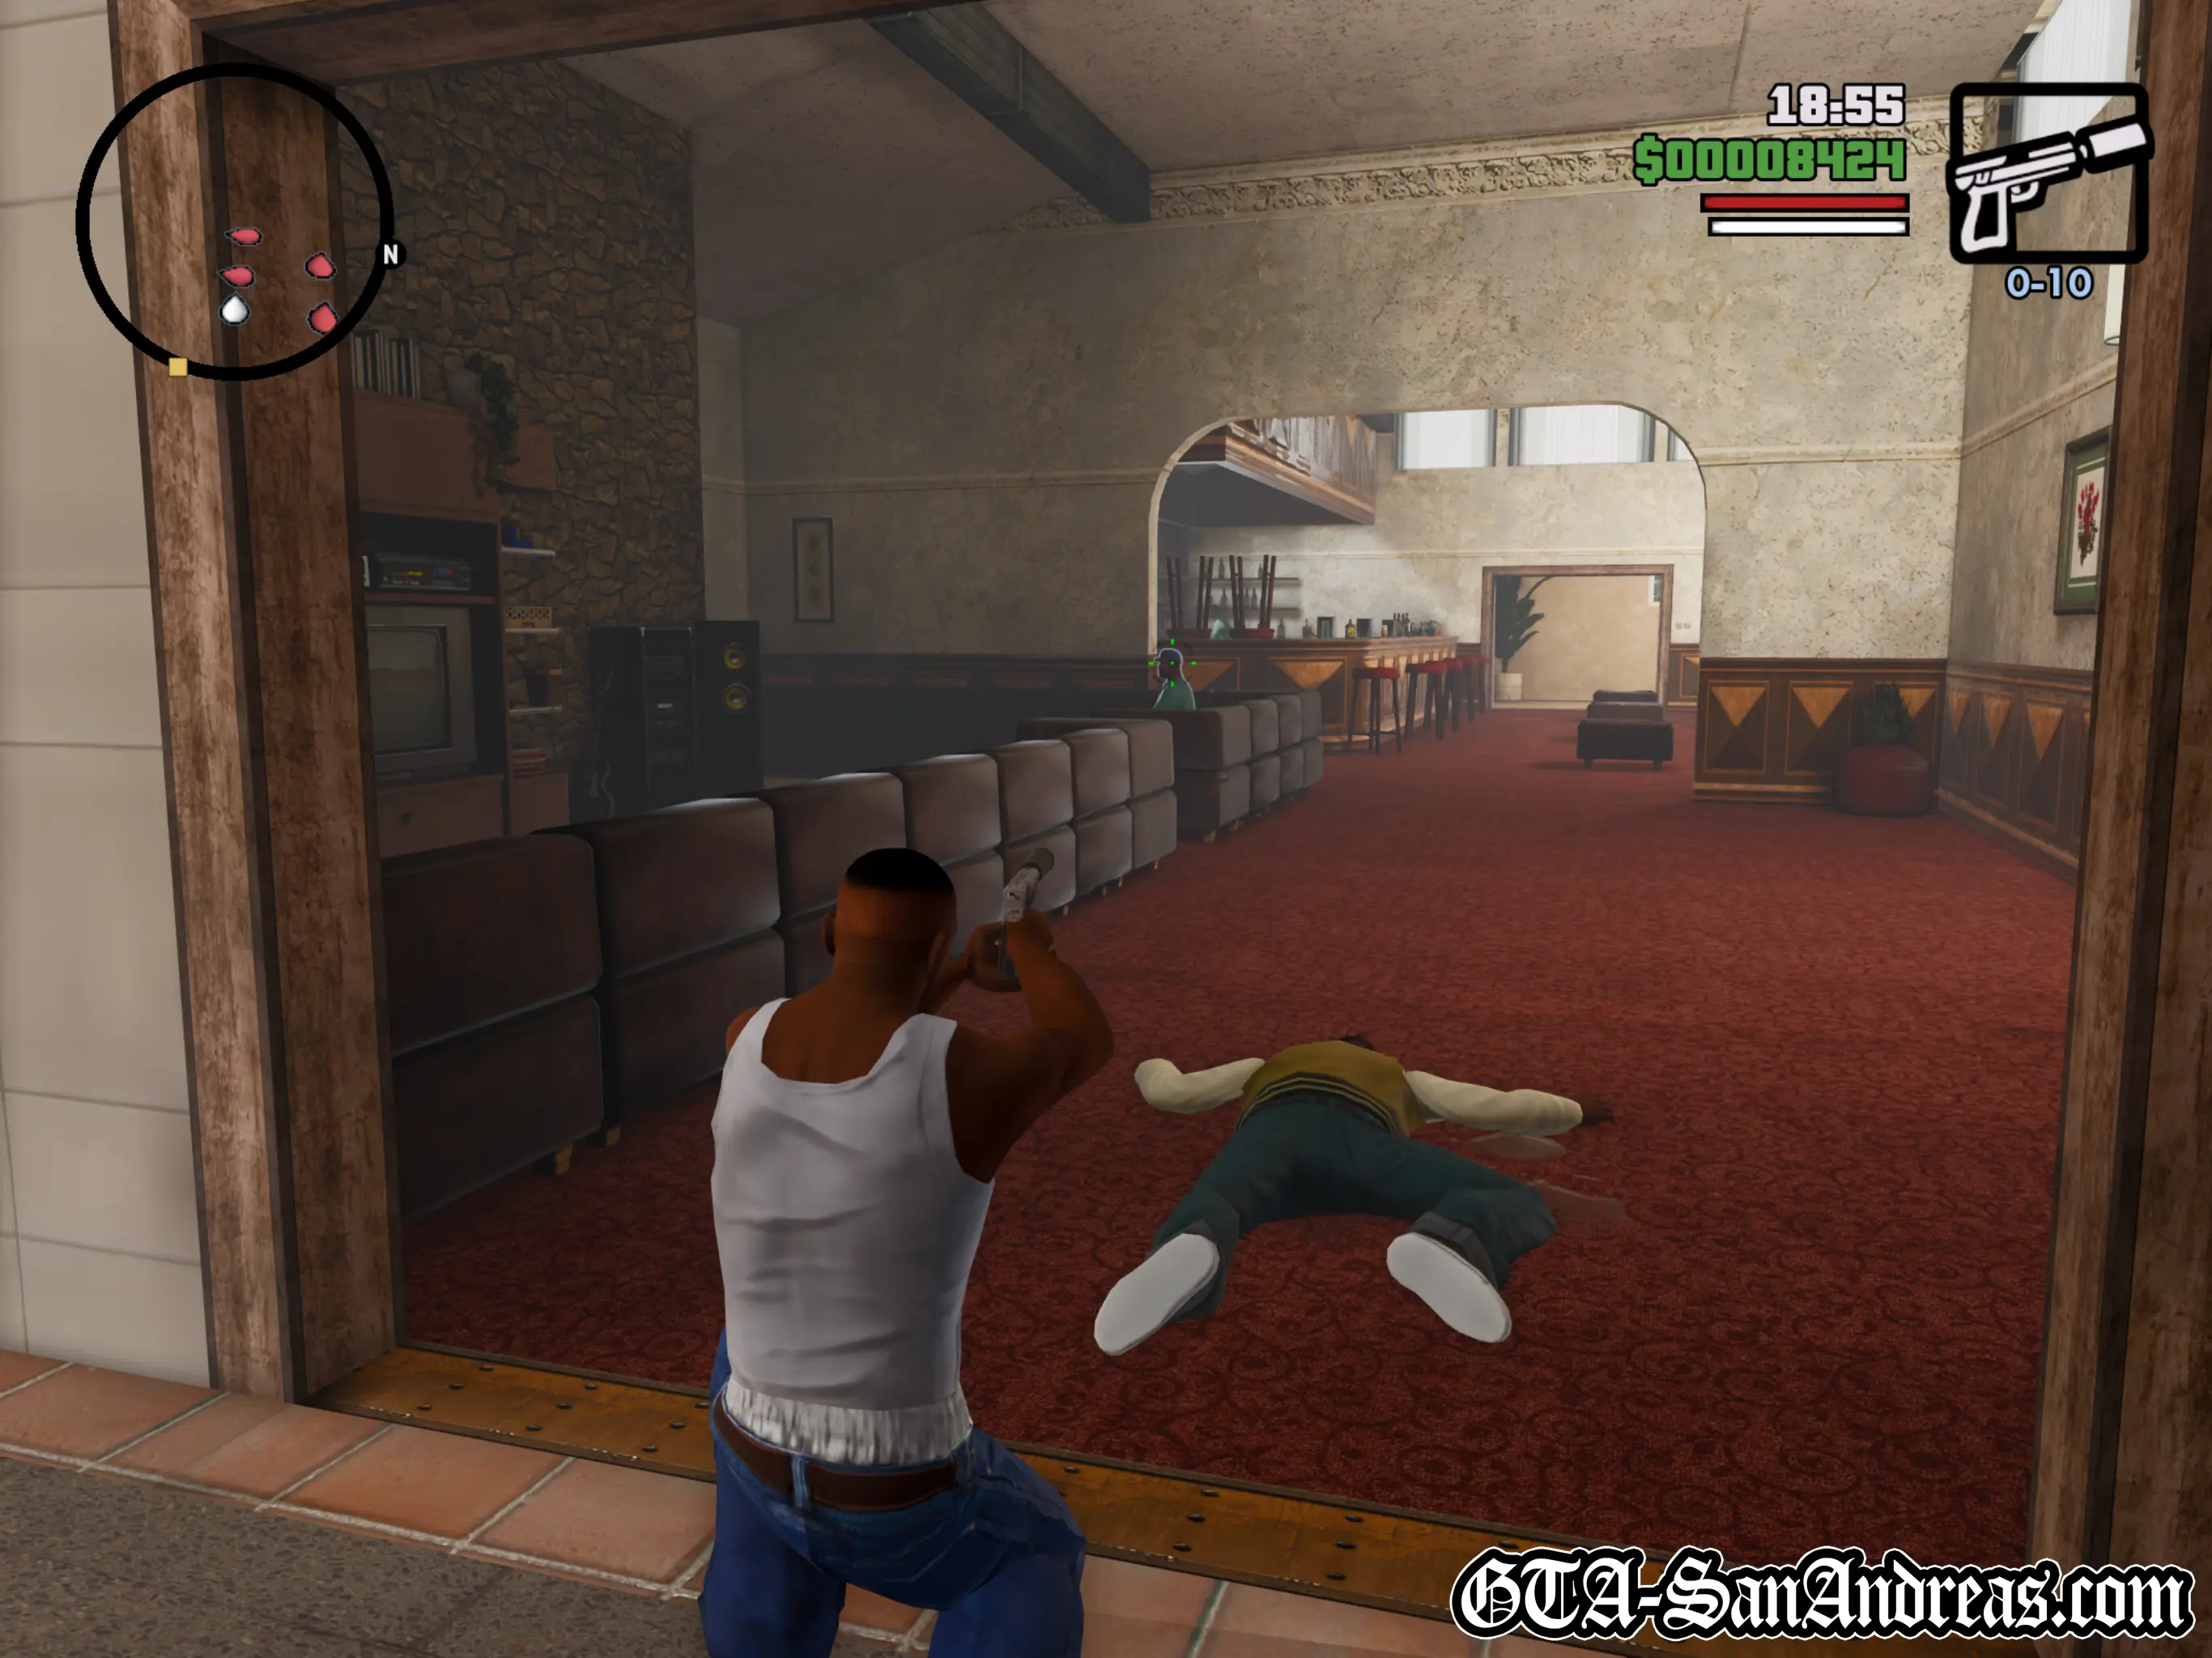
You'll automatically go inside and crouch down behind cover, but bullets are flying everywhere so be prepared to shoot back. There are around 6-10 Russian gangsters scattered around inside the lobby and you need to take them out before they cause serious harm to Big Smoke.
Smoke will provide a sub-machine gun, but use whatever weapons you want, just make sure you shoot everyone.
The Russian's will drop more powerful weapons when they're dead so head over and pick them up when the coast is clear.
Stay crouched, in cover, and you shouldn't take too much damage.
You will need to move around a bit to see all of the enemies, but remember to pick up their ammo and cash when they're dead.
Hints & Tips
There's some body armor stashed behind the counter directly ahead of where you entered the room.
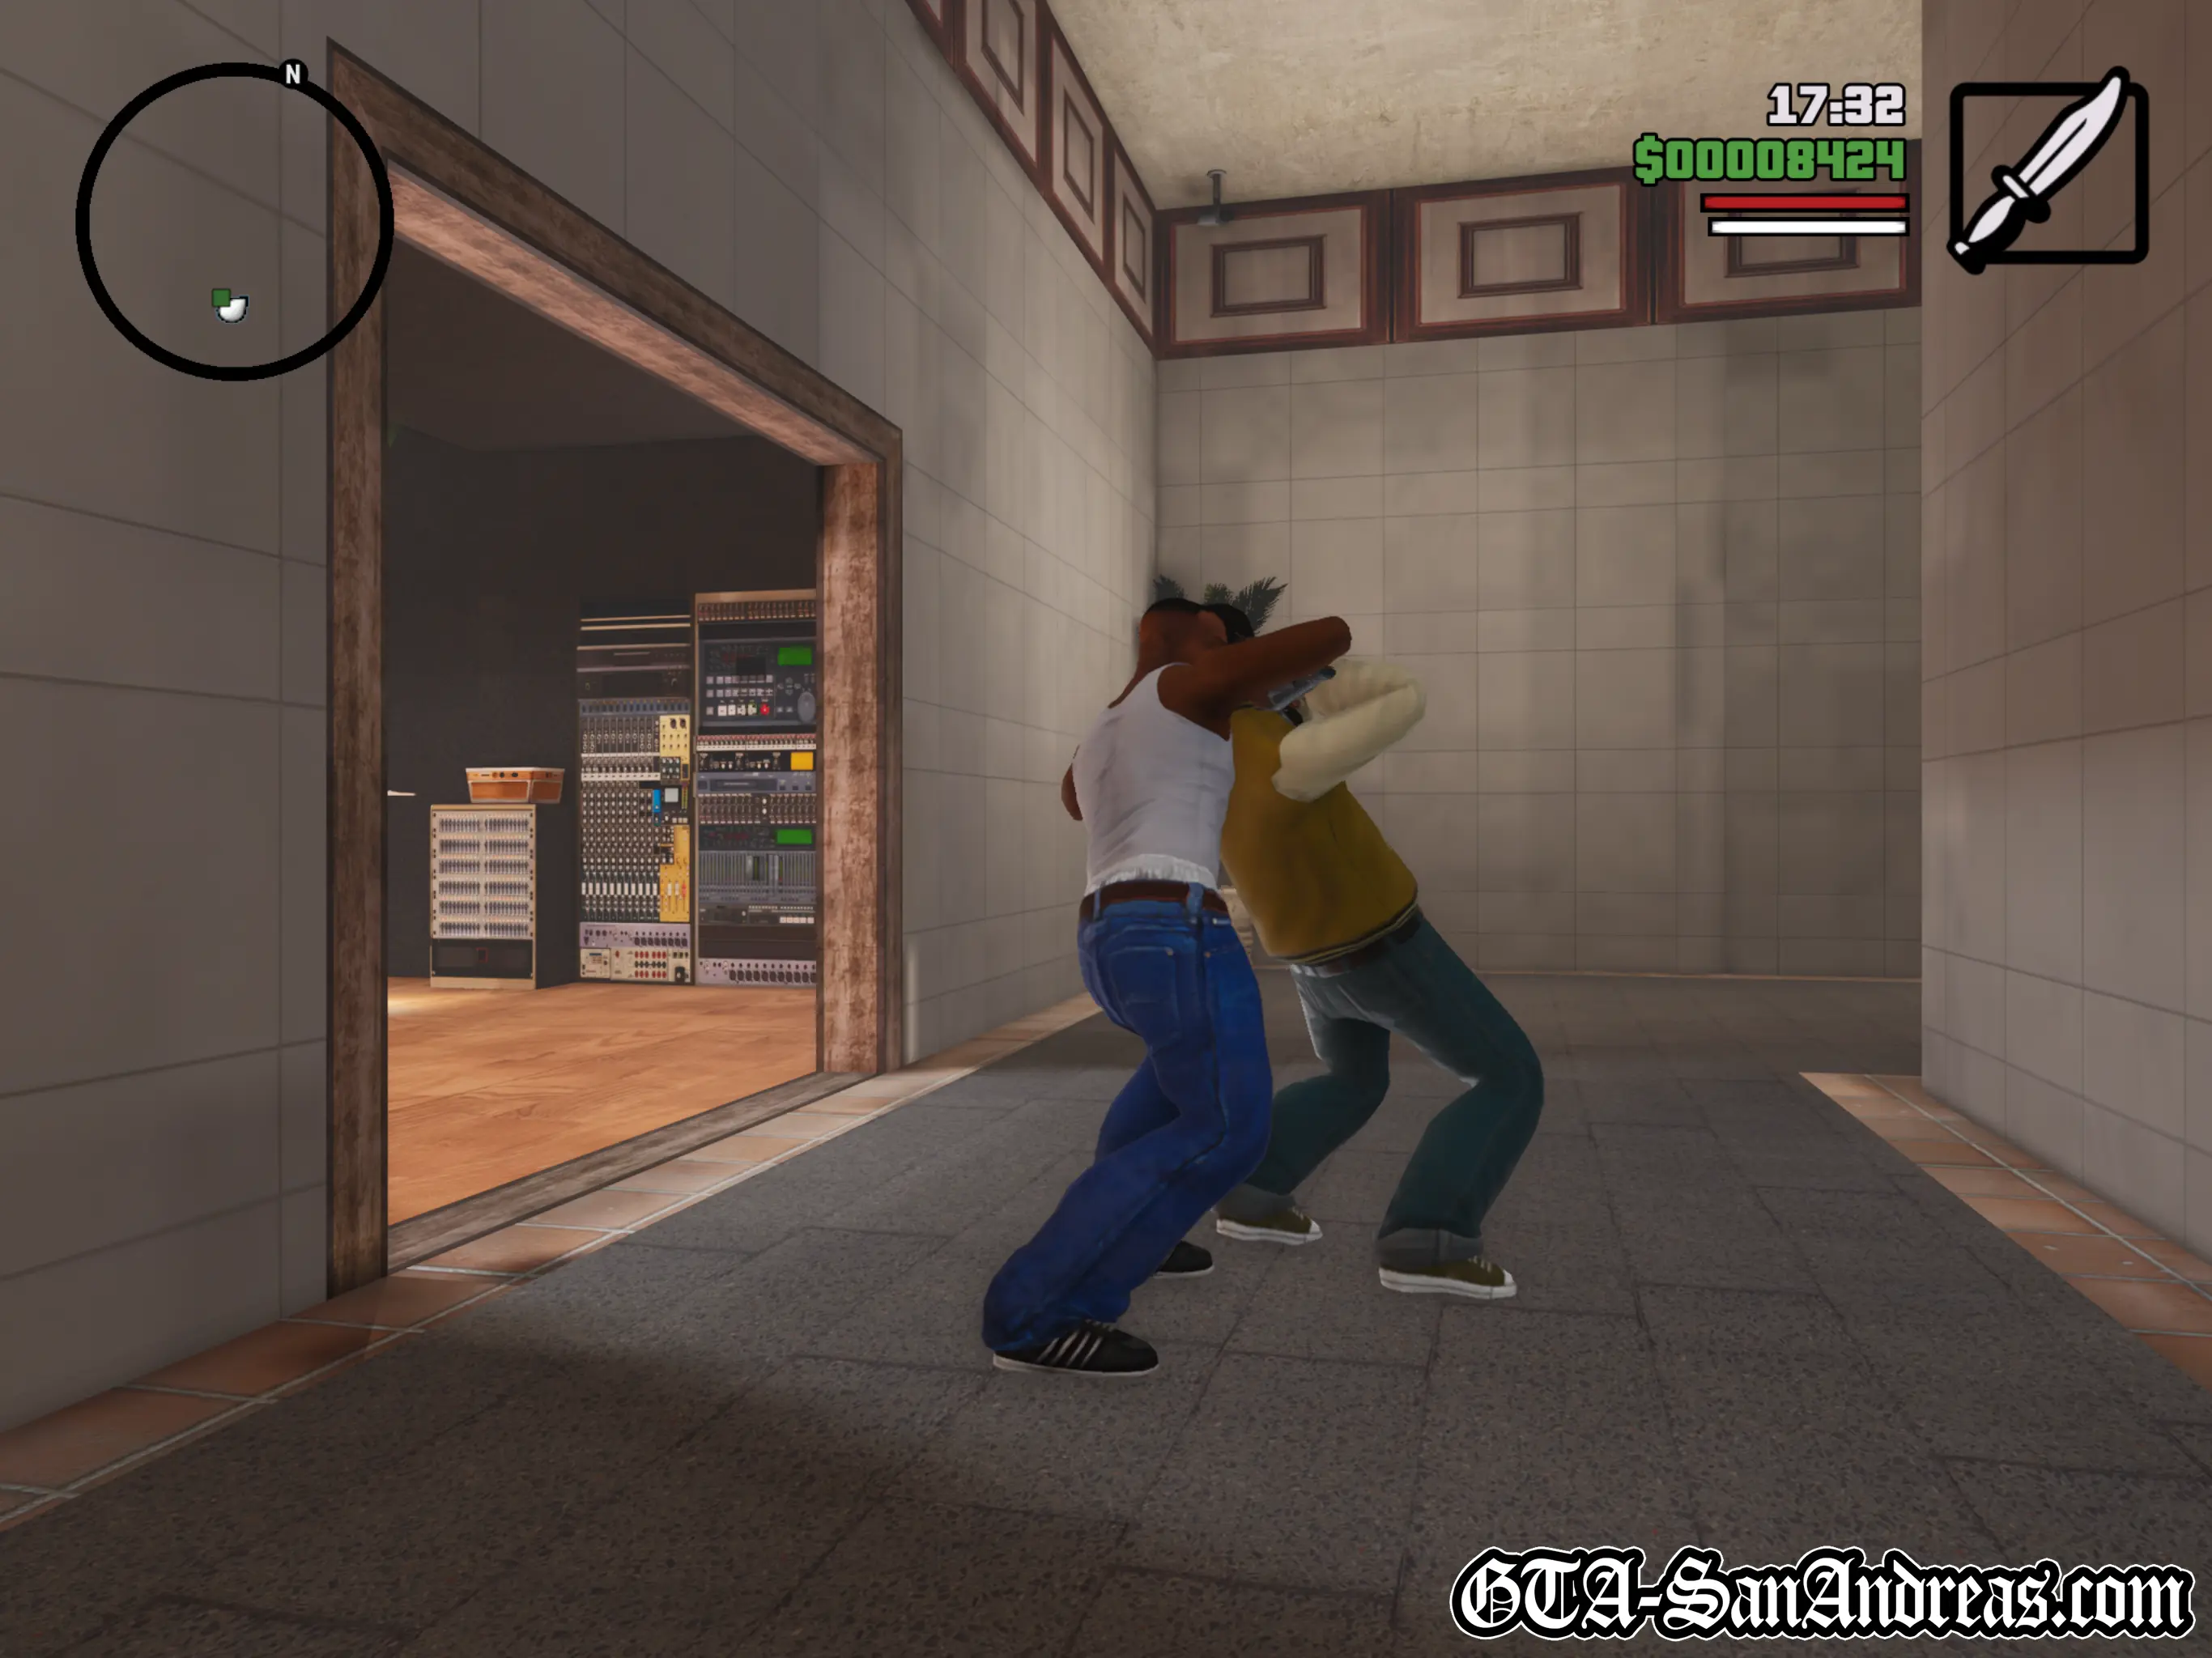
Once everything has calmed down, move out through the next door with Smoke.
You'll start outside crouched down again, but there are another six or seven Russian gangsters out here. Thankfully their aim isn't great so you should be able to pick them off fairly quickly, then follow Smoke and head up the steps in front of you.
Cutscene
Smoke returns the favor and jumps on a bike to drive Carl to safety. CJ is on the back and is responsible for shooting the pursuing Russian's on their own motorbikes.
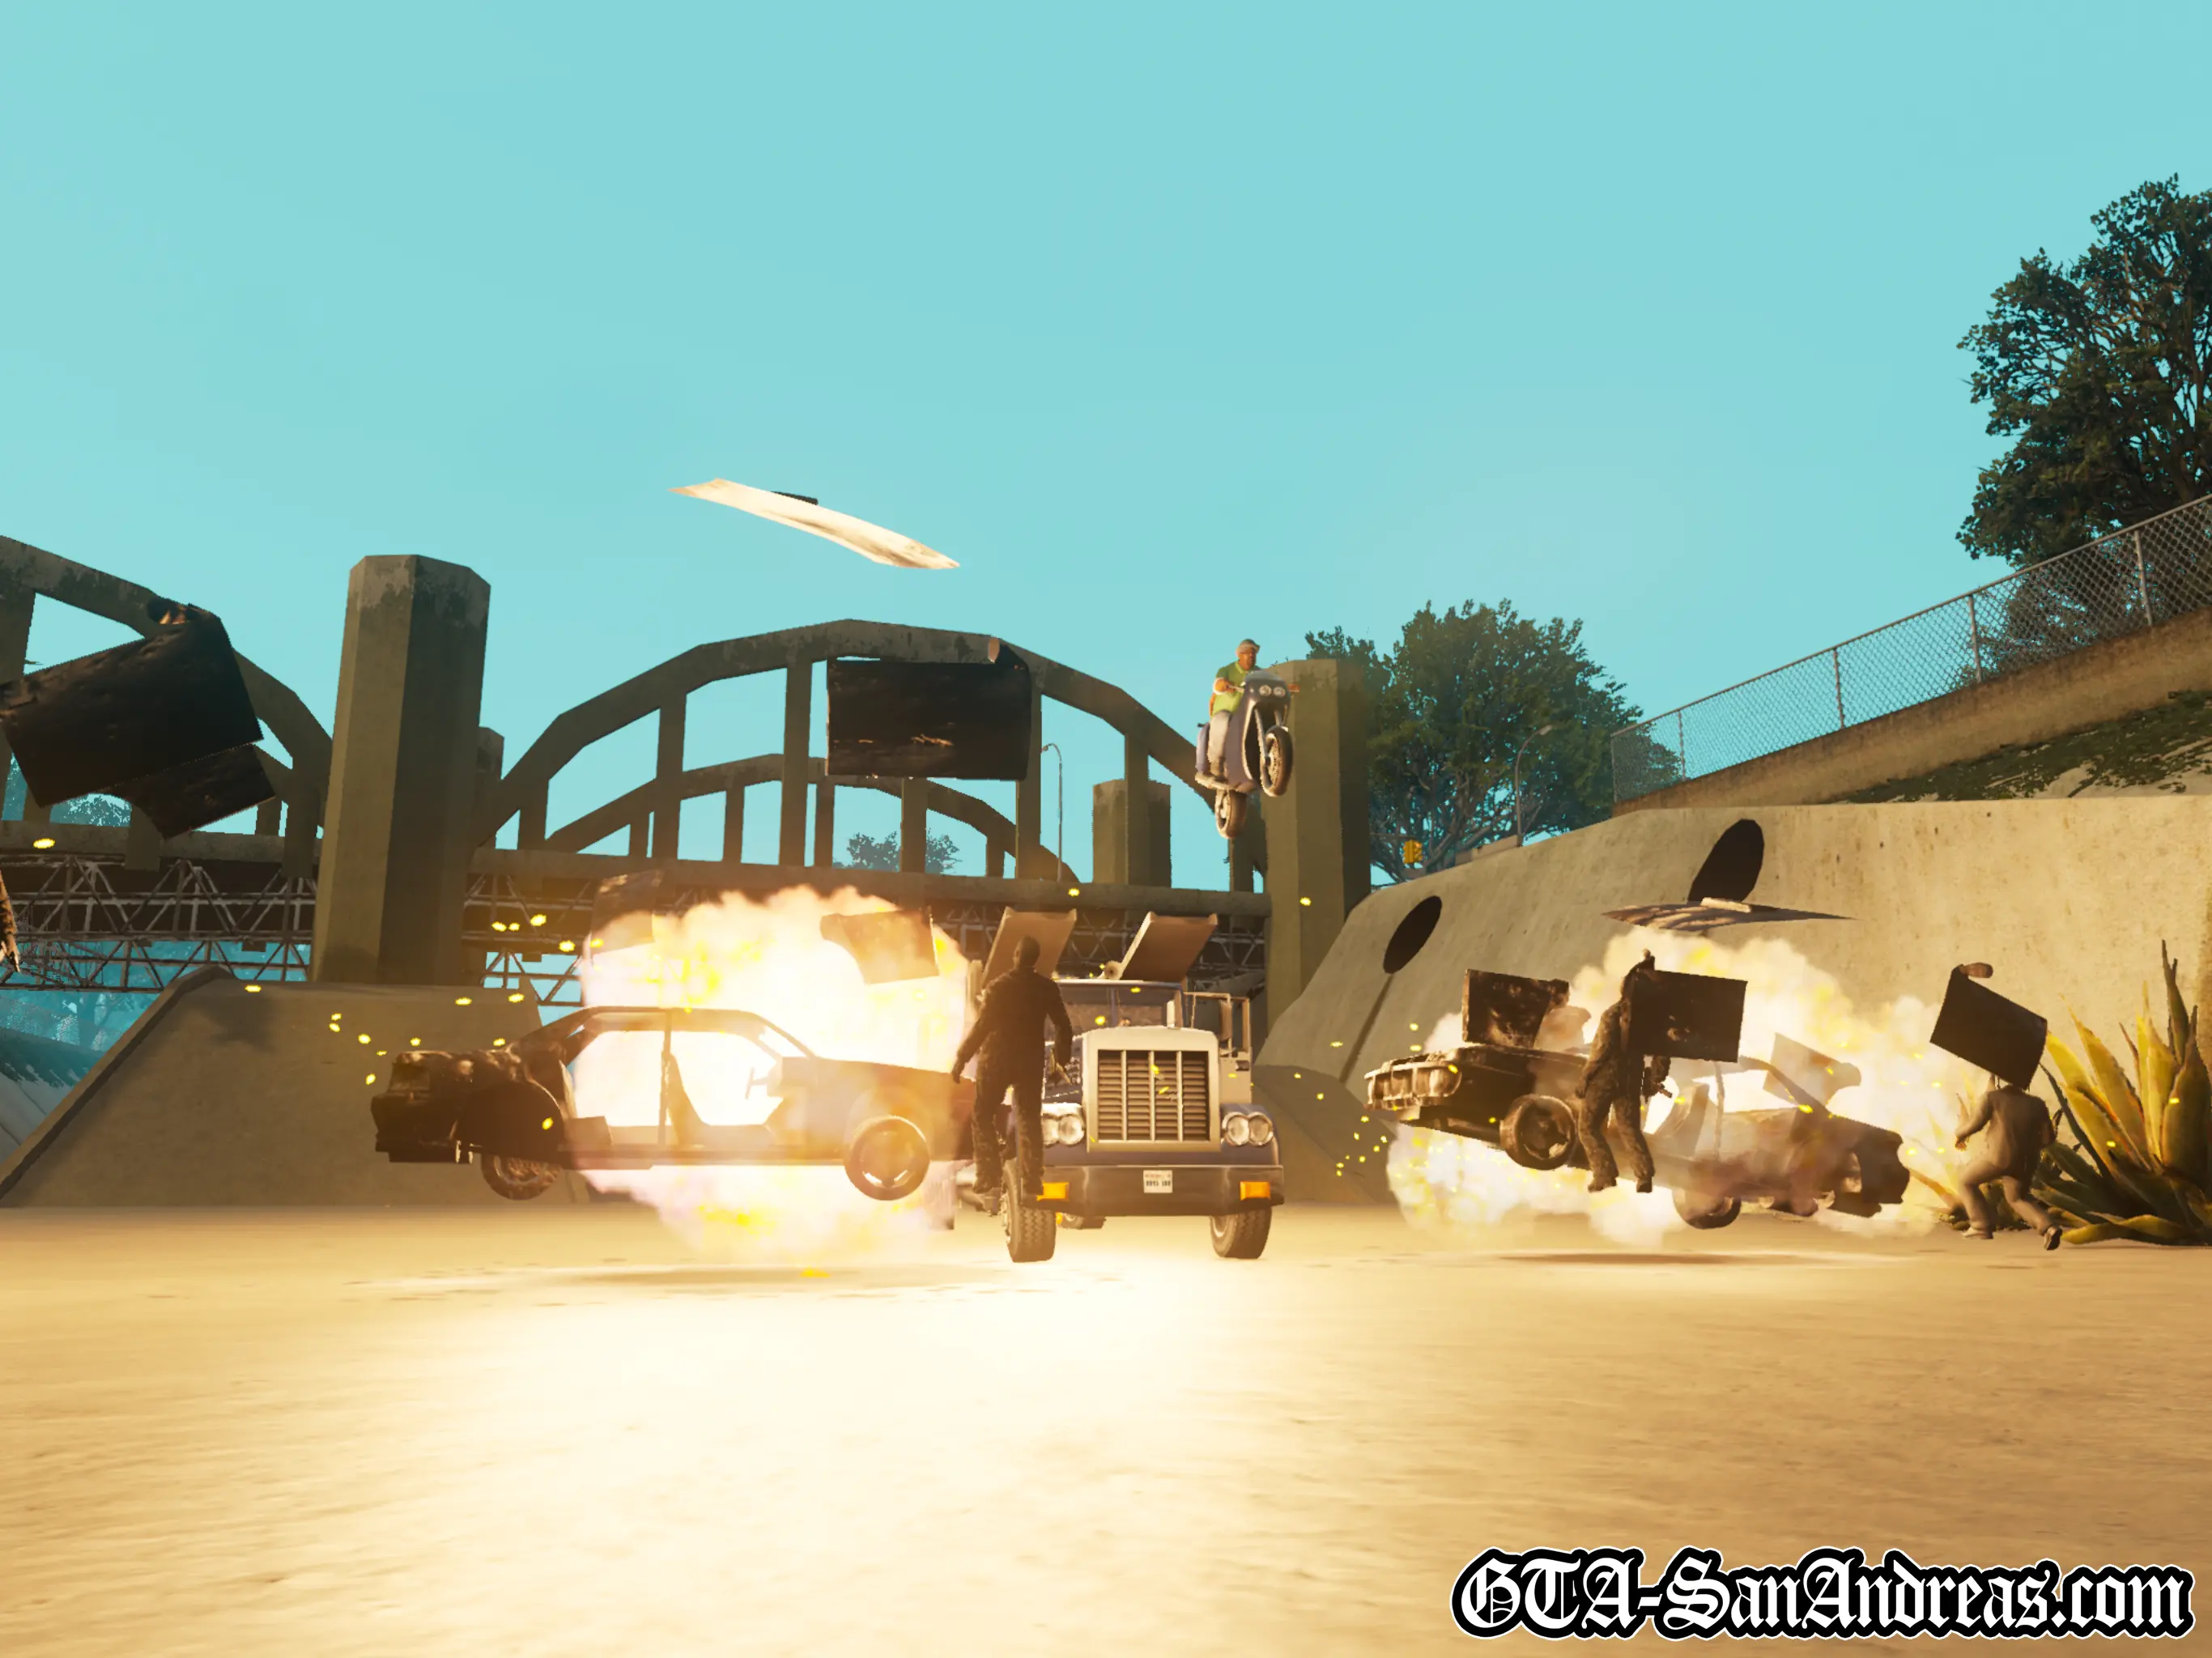
The remainder of the mission is 'on-rails'. Smoke will control all the driving, and you're given infinite ammo and a sub-machine gun to keep the Russians off you.
Aim behind the bike and shoot at the Russian bikers chasing you. You need to take out both the driver and the passenger, and it's much more efficient to take out the enemies directly rather than shoot the bike until it blows up.
A large Packer (vehicle transportation truck) will appear and get involved in the chase. There's not much point wasting any ammo on it because you can't damage it, so just prepare for the next bunch of bikers who will appear from a street to the right.
Smoke will drive up a ramp and over the top of two buses while the Packer continues to gain on you, but a quick maneuver in front of another bus causes a crash which takes the truck out of action.
There are a number of parked cars in this next area with Russian gangsters standing around on foot. Shoot at the middle car until it blows and the explosion will usually set the other two cars on fire too.
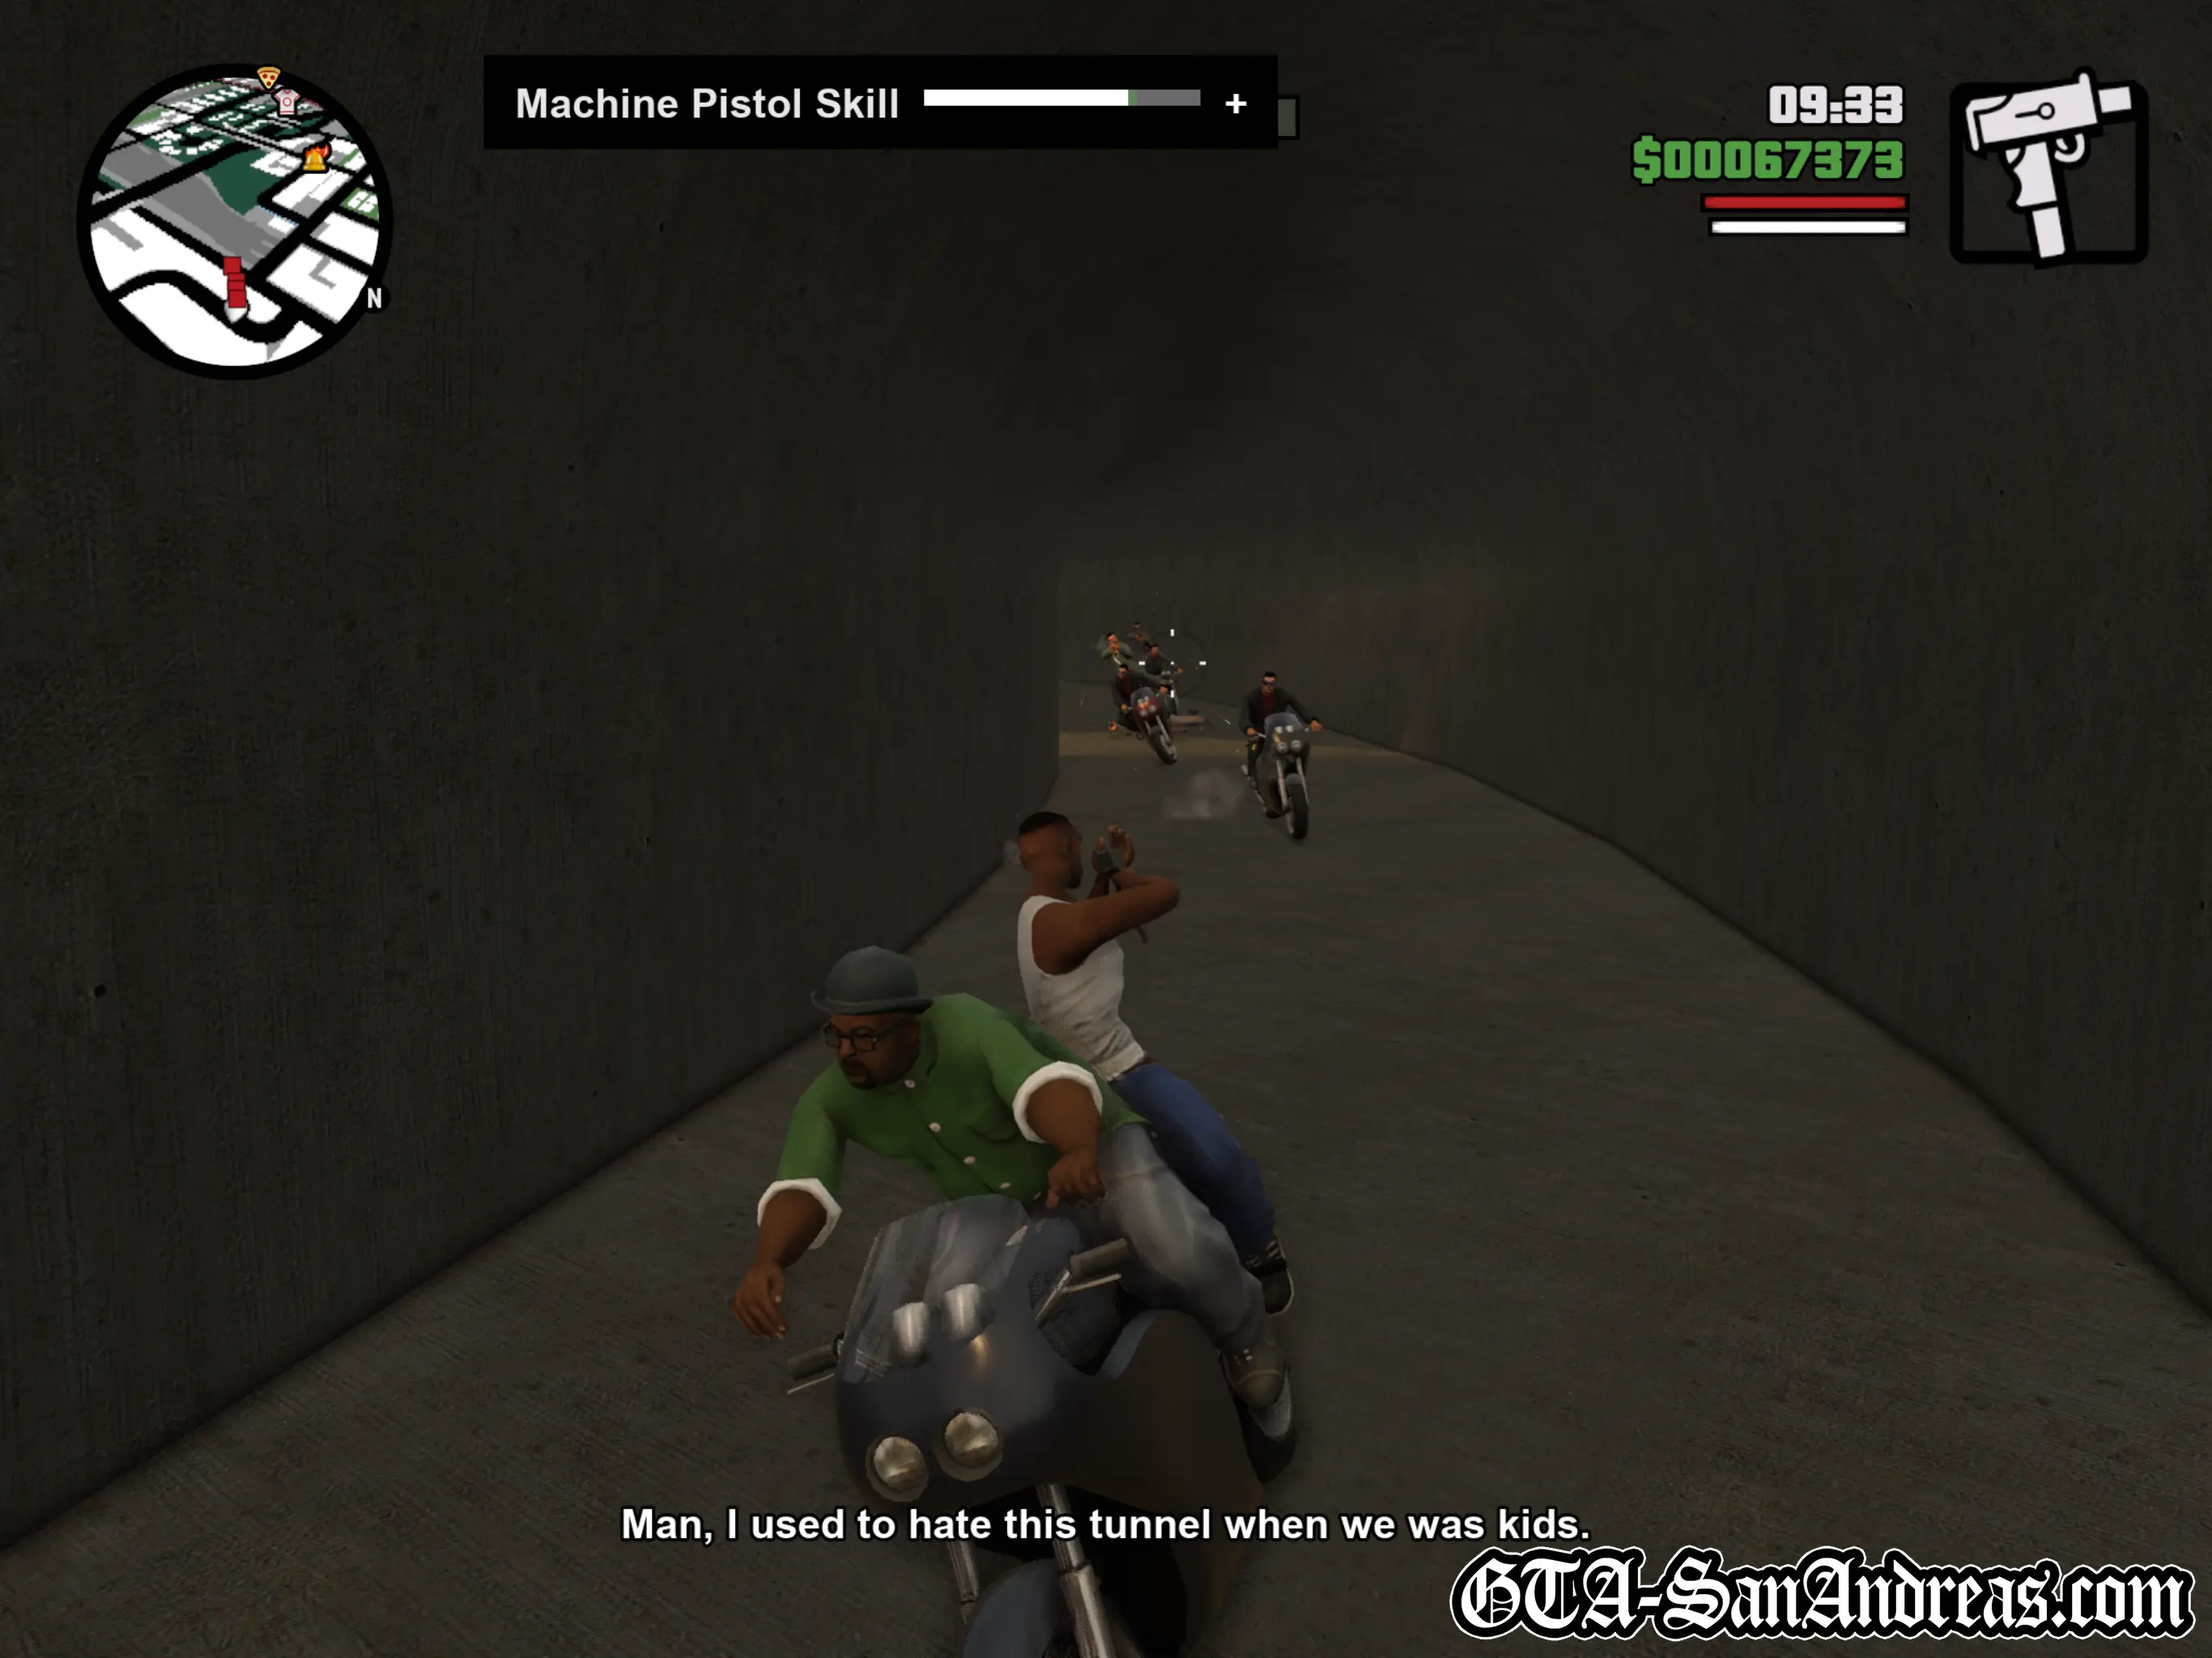
Smoke decides the best way to lose them is in the old flood control tunnels, but Carl says it's a dead end. Smoke knows what he's doing though and jumps into the storm drain.
Immediately, another three or four bikes give chase, so take out their riders, then some cars will join the action too. Spray bullets in their direction and aim through the windshield at the driver where possible.
Cutscene
As the bike exits a tunnel, the Packer is back and launches through the air from the road above into the storm drain to continue its pursuit.
Behind the truck are more bikes and cars full of Russian gangsters, so don't let up on the shooting.
After a short while, Smoke mentions something has gone wrong with the bike, and he can't get no speed. The truck will overtake you as more vehicles appear from behind and join the chase.
Keep firing away at the pursuing vehicles and Smoke will avoid cars that are falling from the Packer in front. As he dodges them, they often end up smashing into the chasing vehicles causing a satisfying explosion.
Smoke will take the high road to the side of the storm drain and more bikes will jump down from the bridge as you go under it, so take them out as quickly as you can.
Eventually the truck will come to the end of the road and take a left. An enemy car will appear from your right so fire at it.
Cutscene
A slow motion cutscene kicks in as the Russians create a roadblock and fire at the bike. Thankfully the Packer has parked right in between the cars and Smoke takes his opportunity to jump it, clearing the road block and somehow causing everything to explode.
Once you land, there'll be a few more parked cars to take out up ahead, then Smoke will tell you to shoot out the gate to the front right. There's two Russians standing in front of it, so kill them and make sure you shoot the metal gate so Smoke can get into the tunnel.
More bikes will follow you into the tunnel system, so face behind the bike and keep popping off rounds. Shoot them, or shoot the red explosive barrels when they're nearby to take them out.
Finally, you'll come to the end of the tunnel and Smoke will pull up in a car park.
Cutscene
Smoke will tell CJ he's going to take the bike around the block to dump it and disappears.
Big Smoke's missions have now been completed, so head over to the next lot of missions we unlocked - Ryder. That is, providing it's between 12:00 and 20:00 as that's the only time you can accept Ryder's next mission. If you aren't on time and don't want to sit and wait, just save the game a few times. Remember the time advances 6 hours each time you save.
Screenshots


Ryder
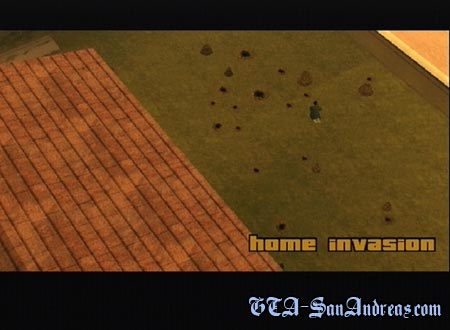
Home Invasion
Cutscene
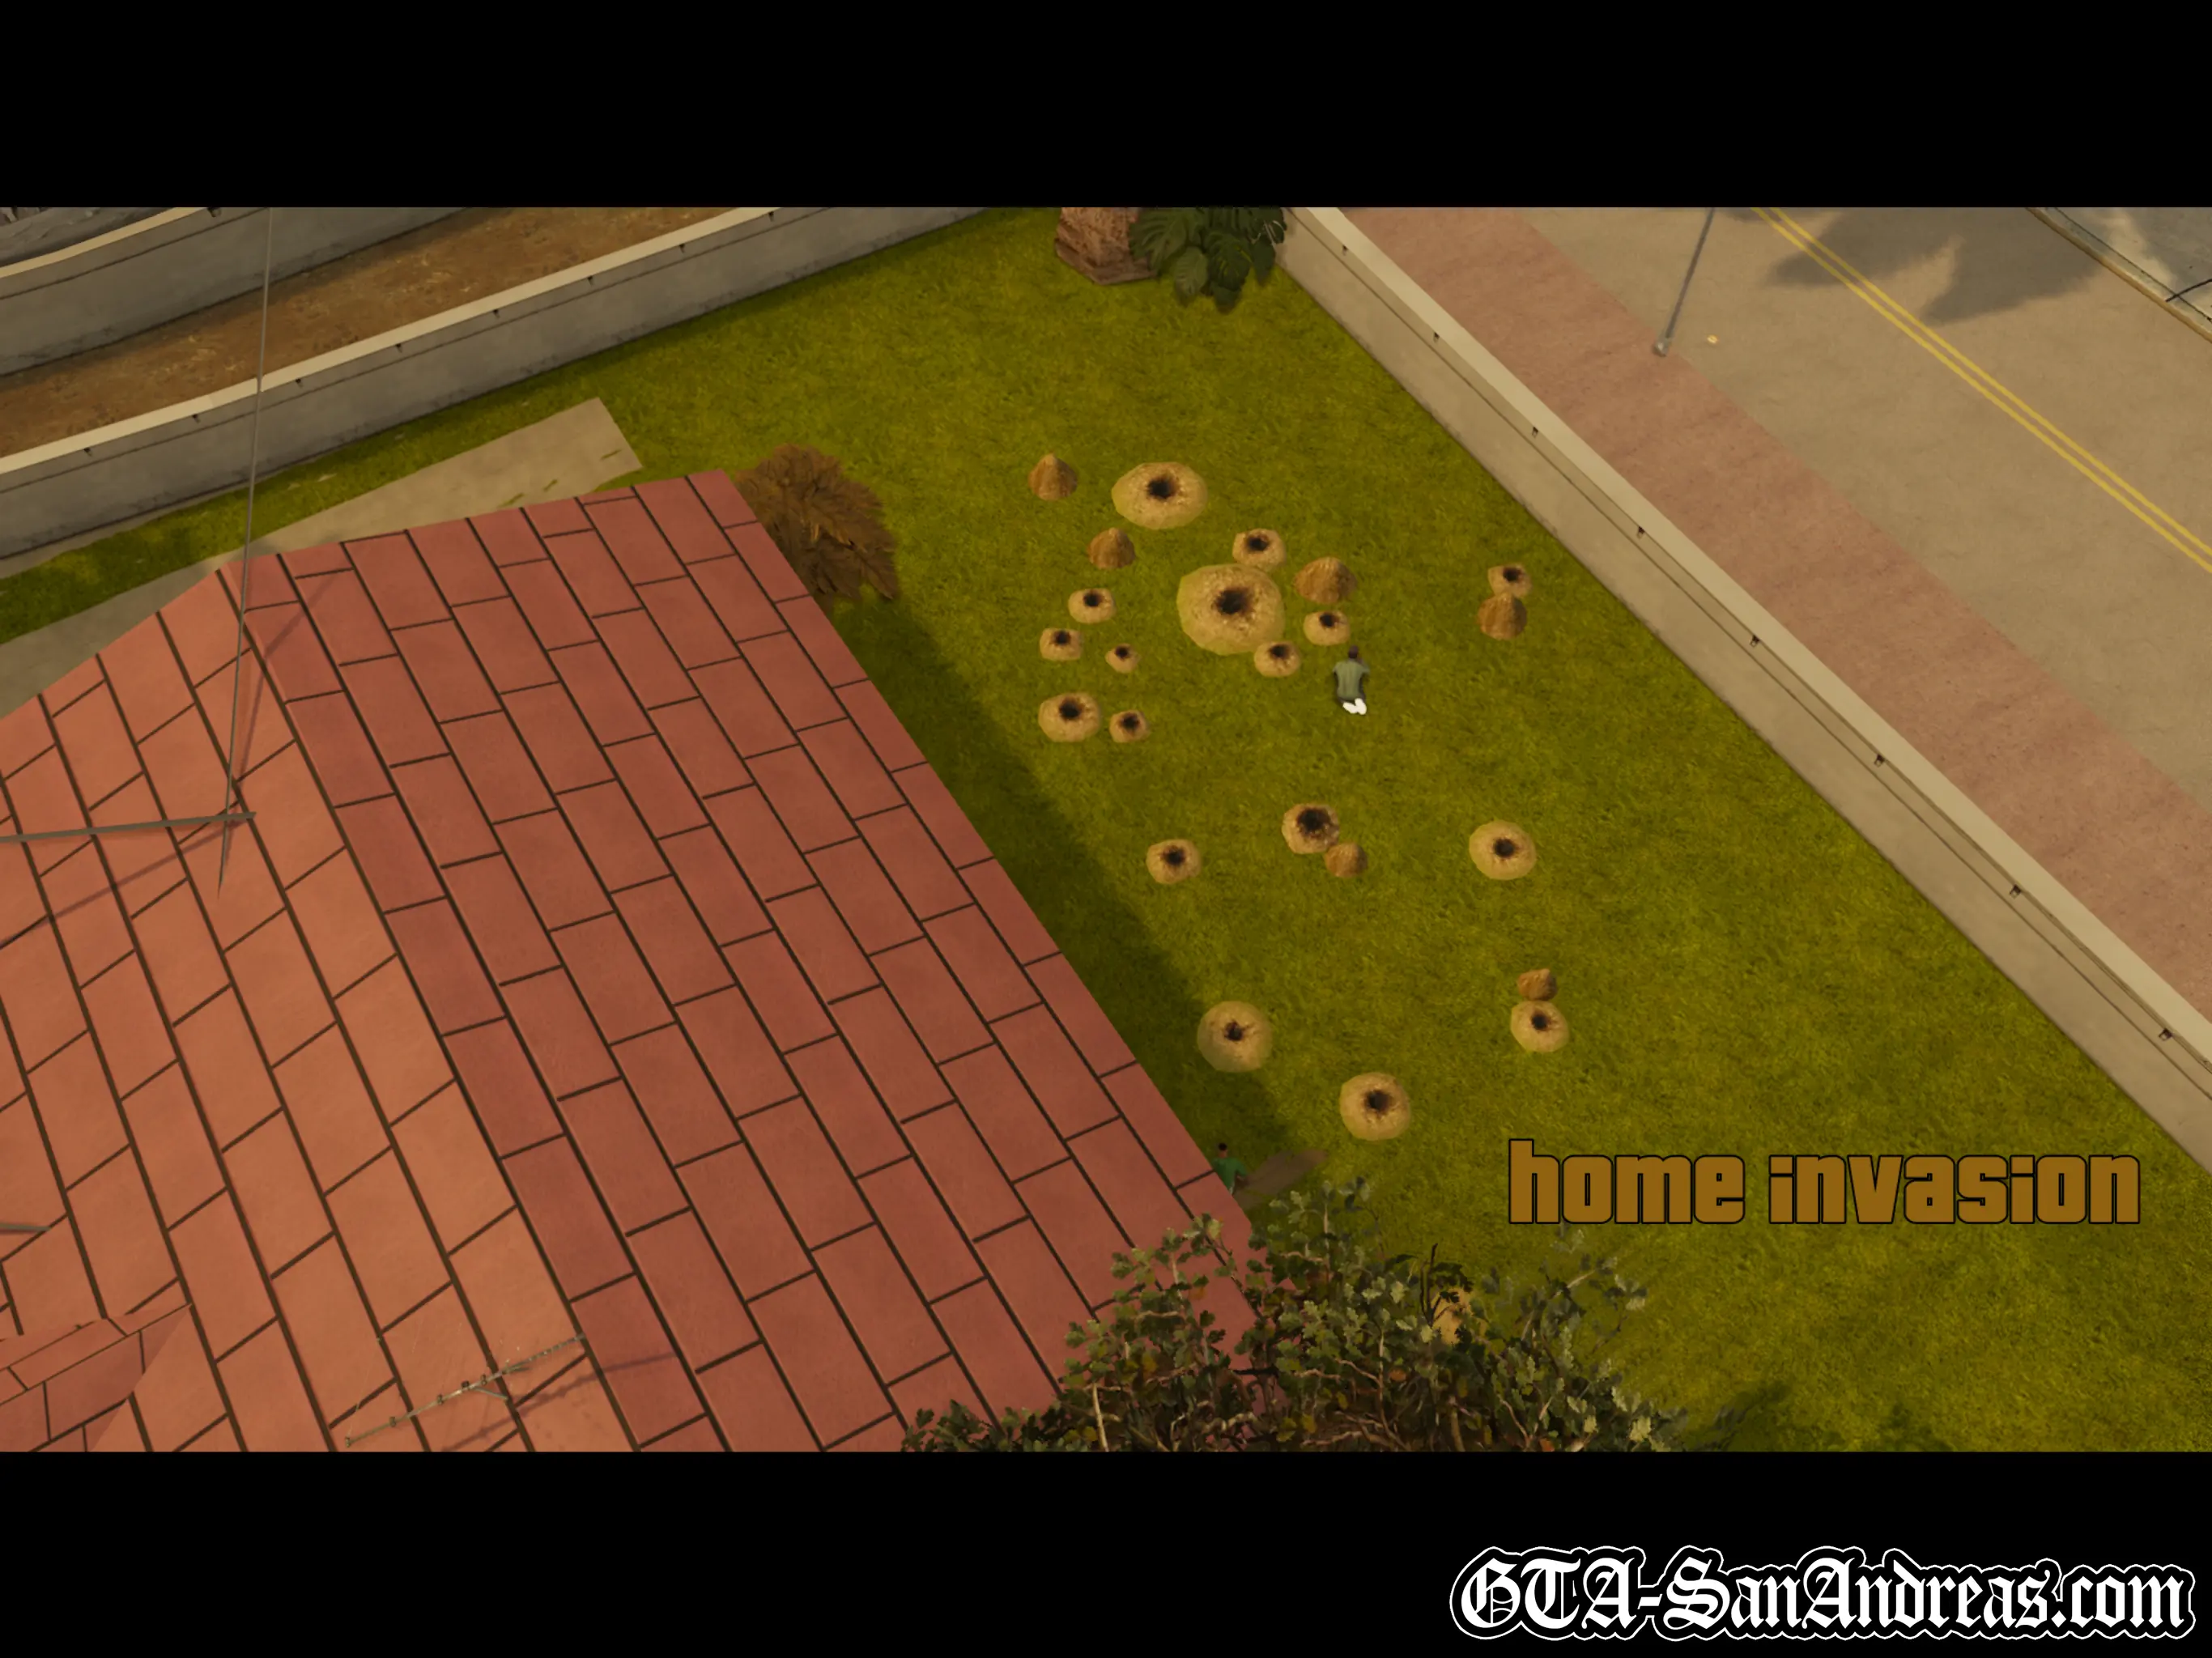
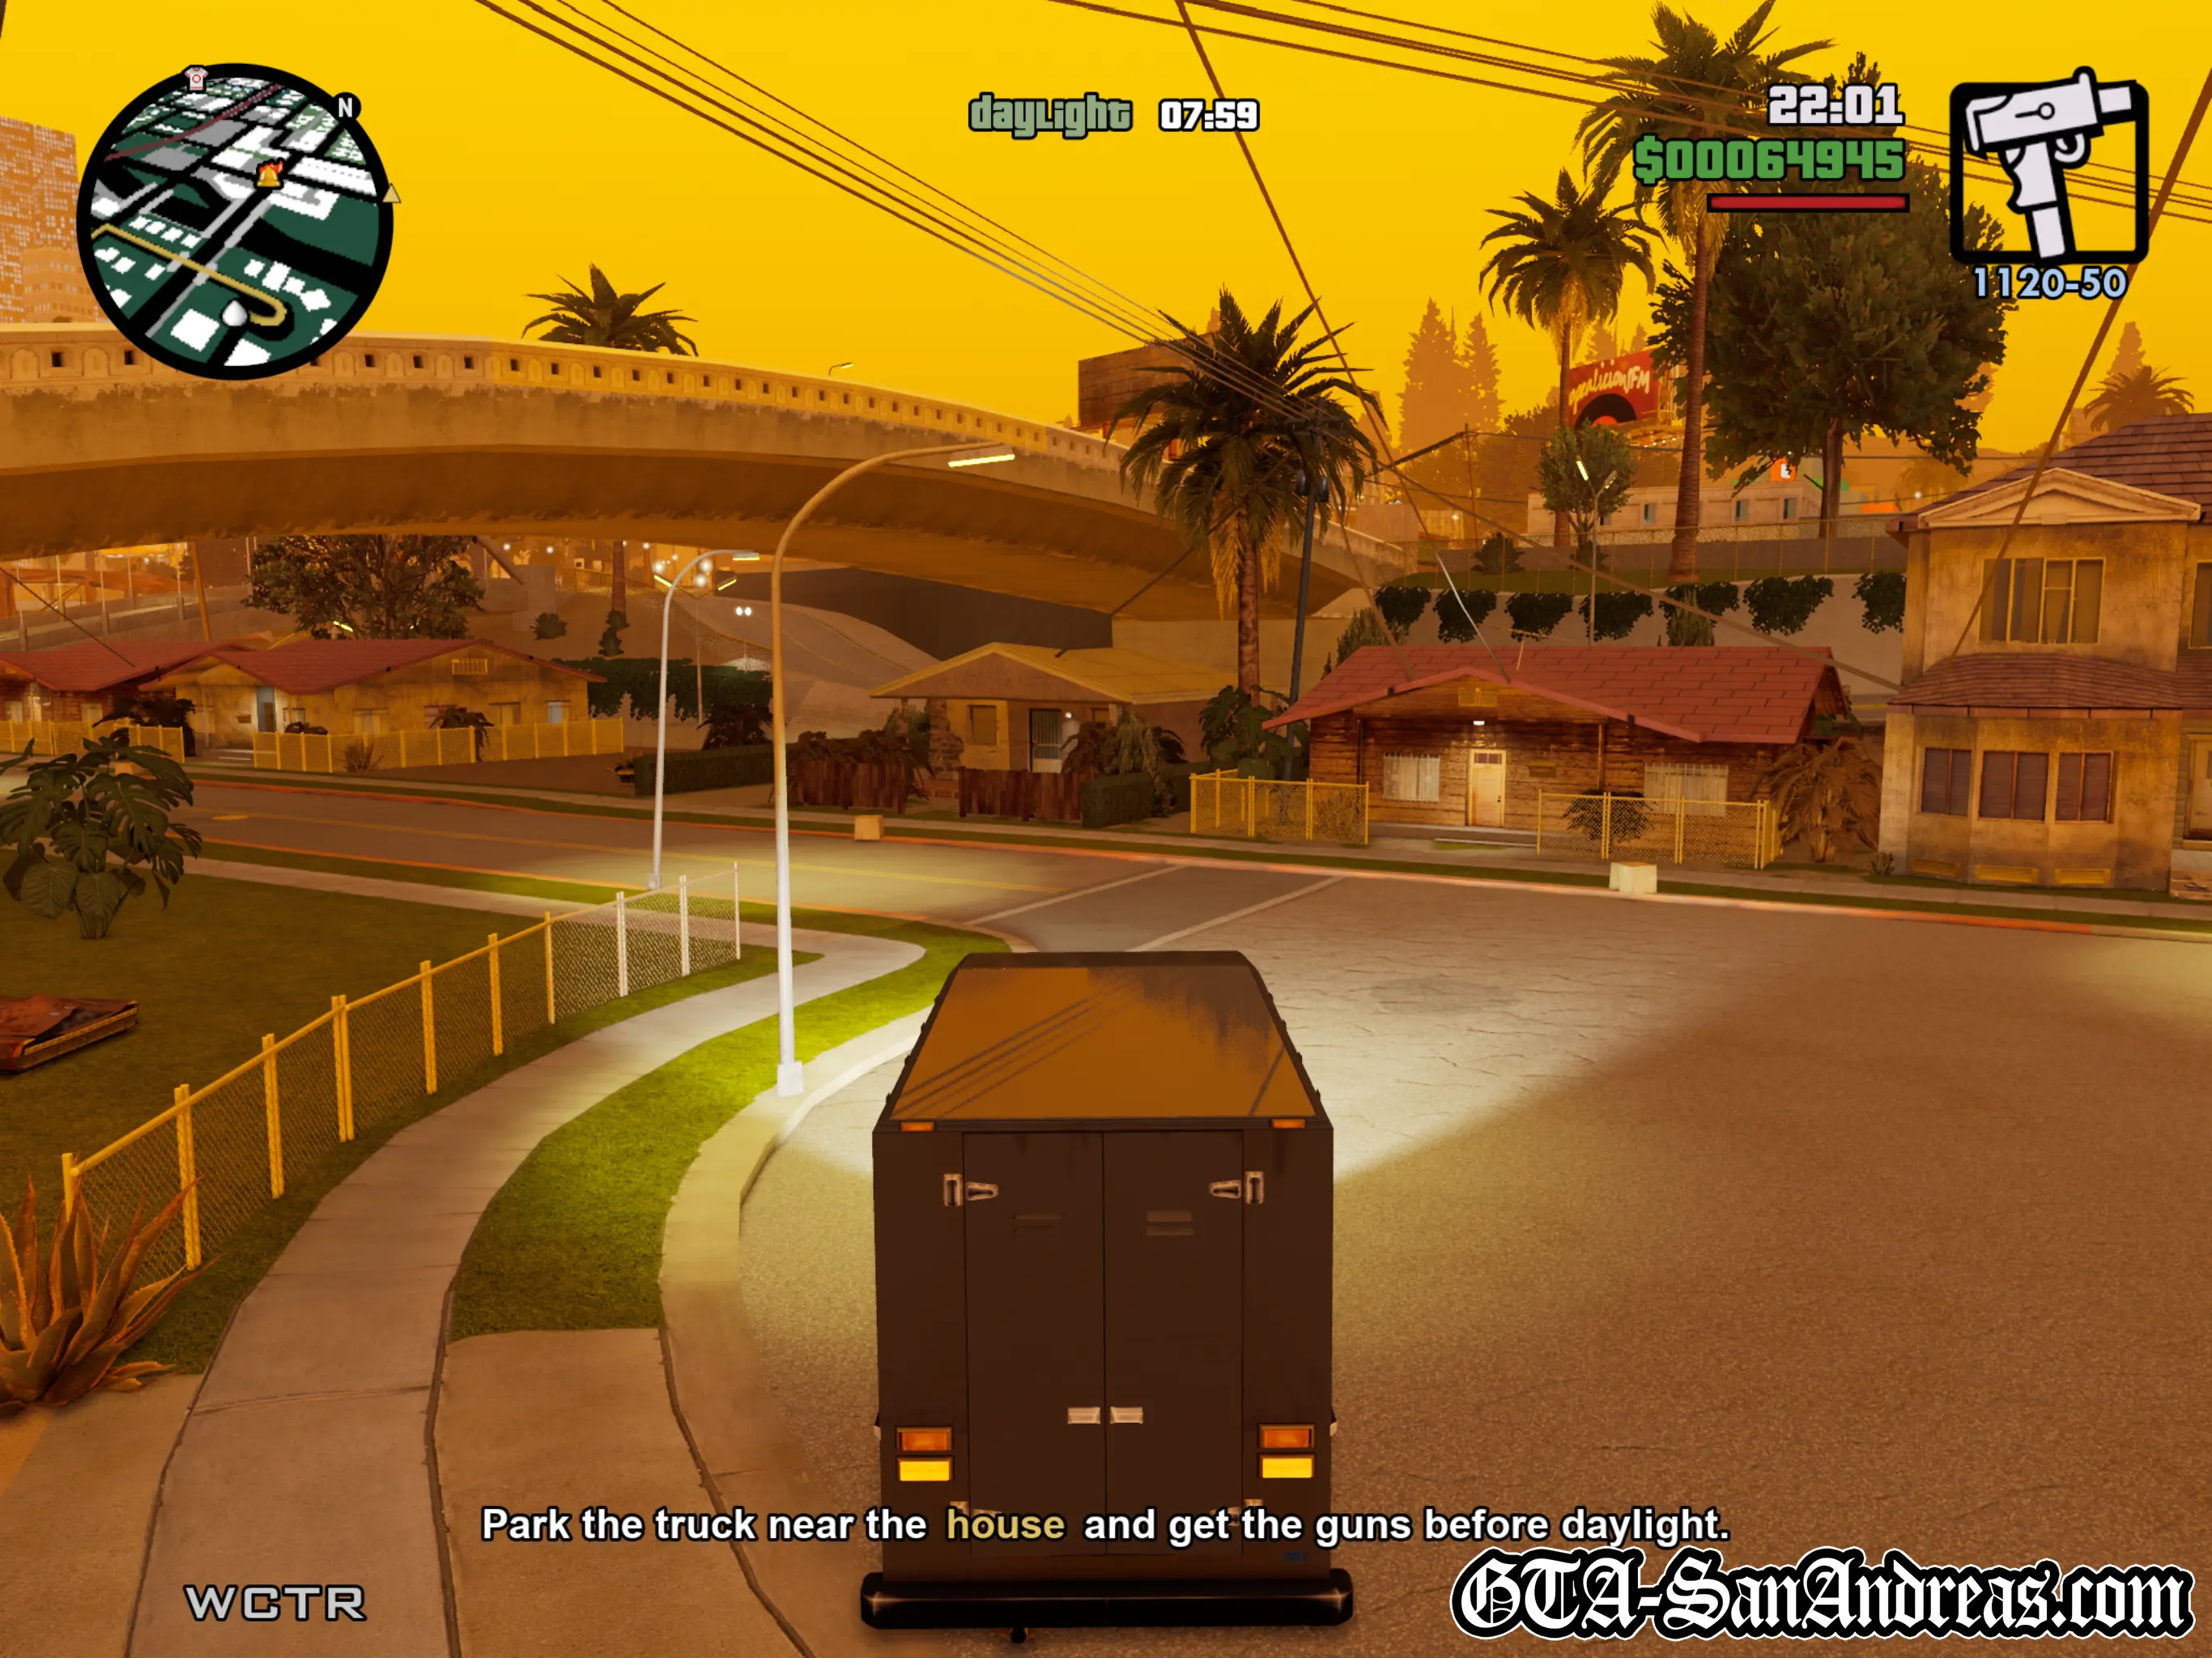
Ryder is digging around in his garden looking for some 'water' he buried, when CJ turns up. Ryder explains his homie LB told him about an army guy who's got all of the guns they need and he wants to rob him. Ryder thinks it's best to wait until it gets dark and catch him while he's in bed.
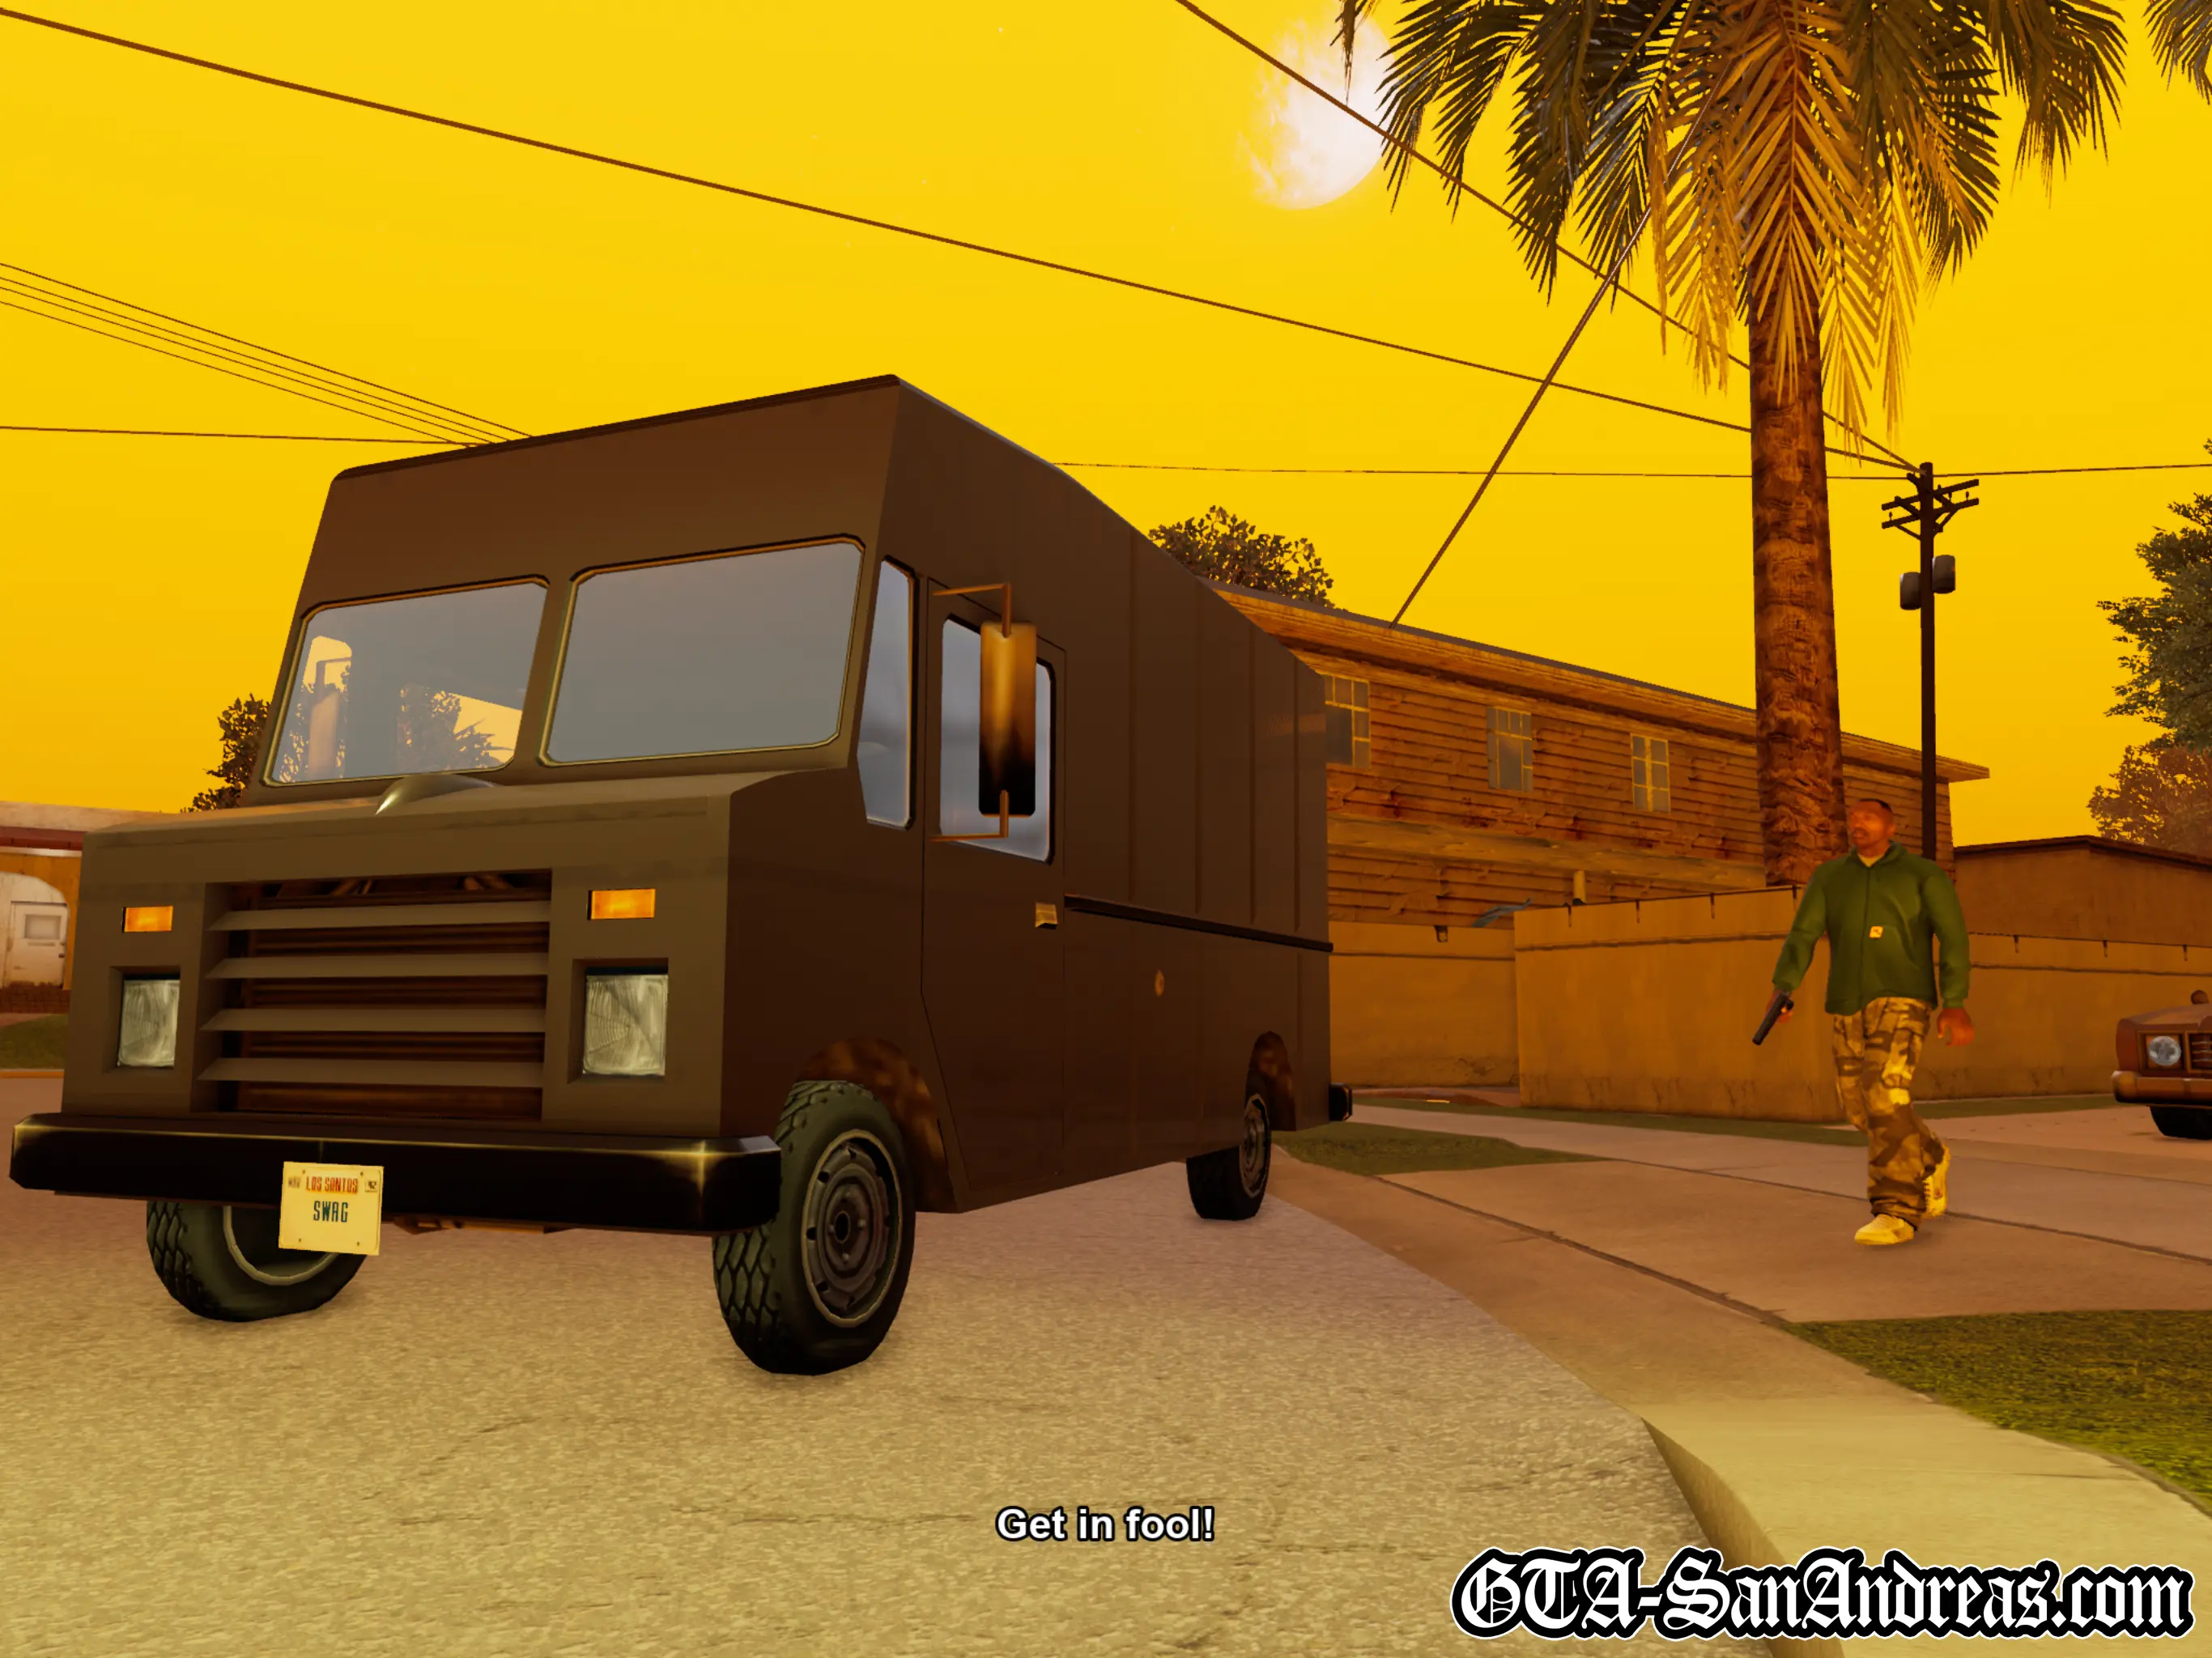
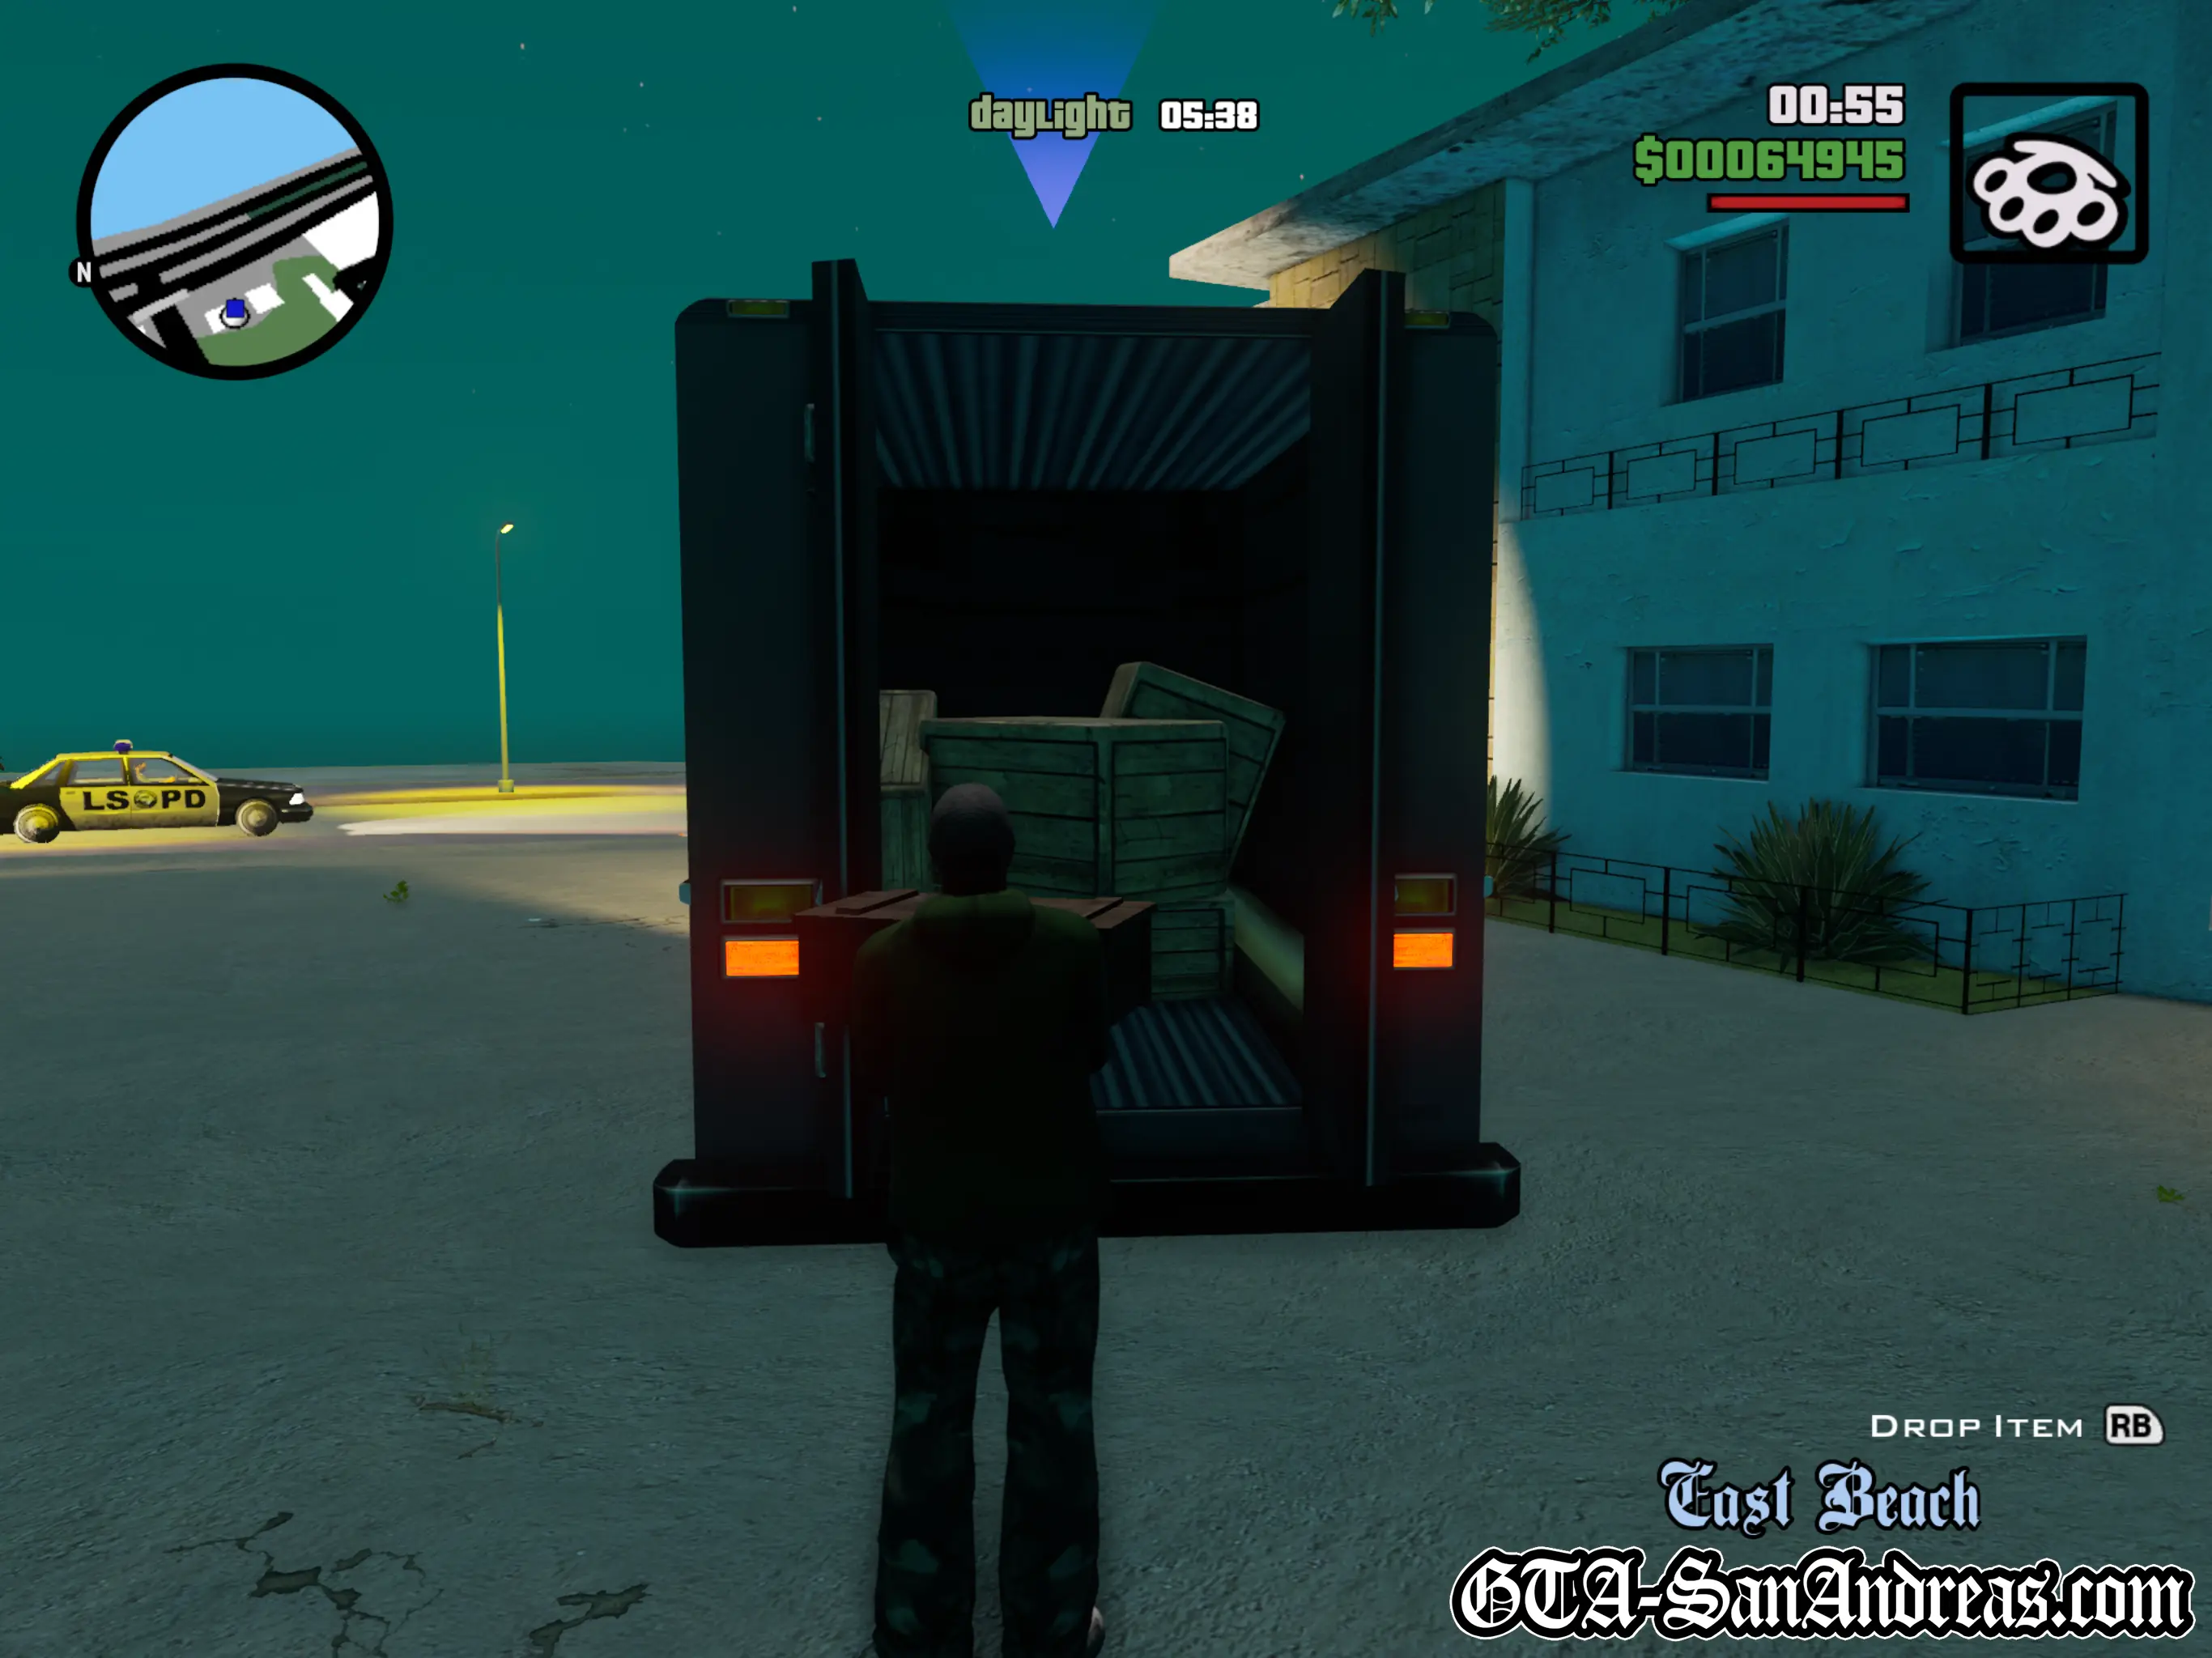
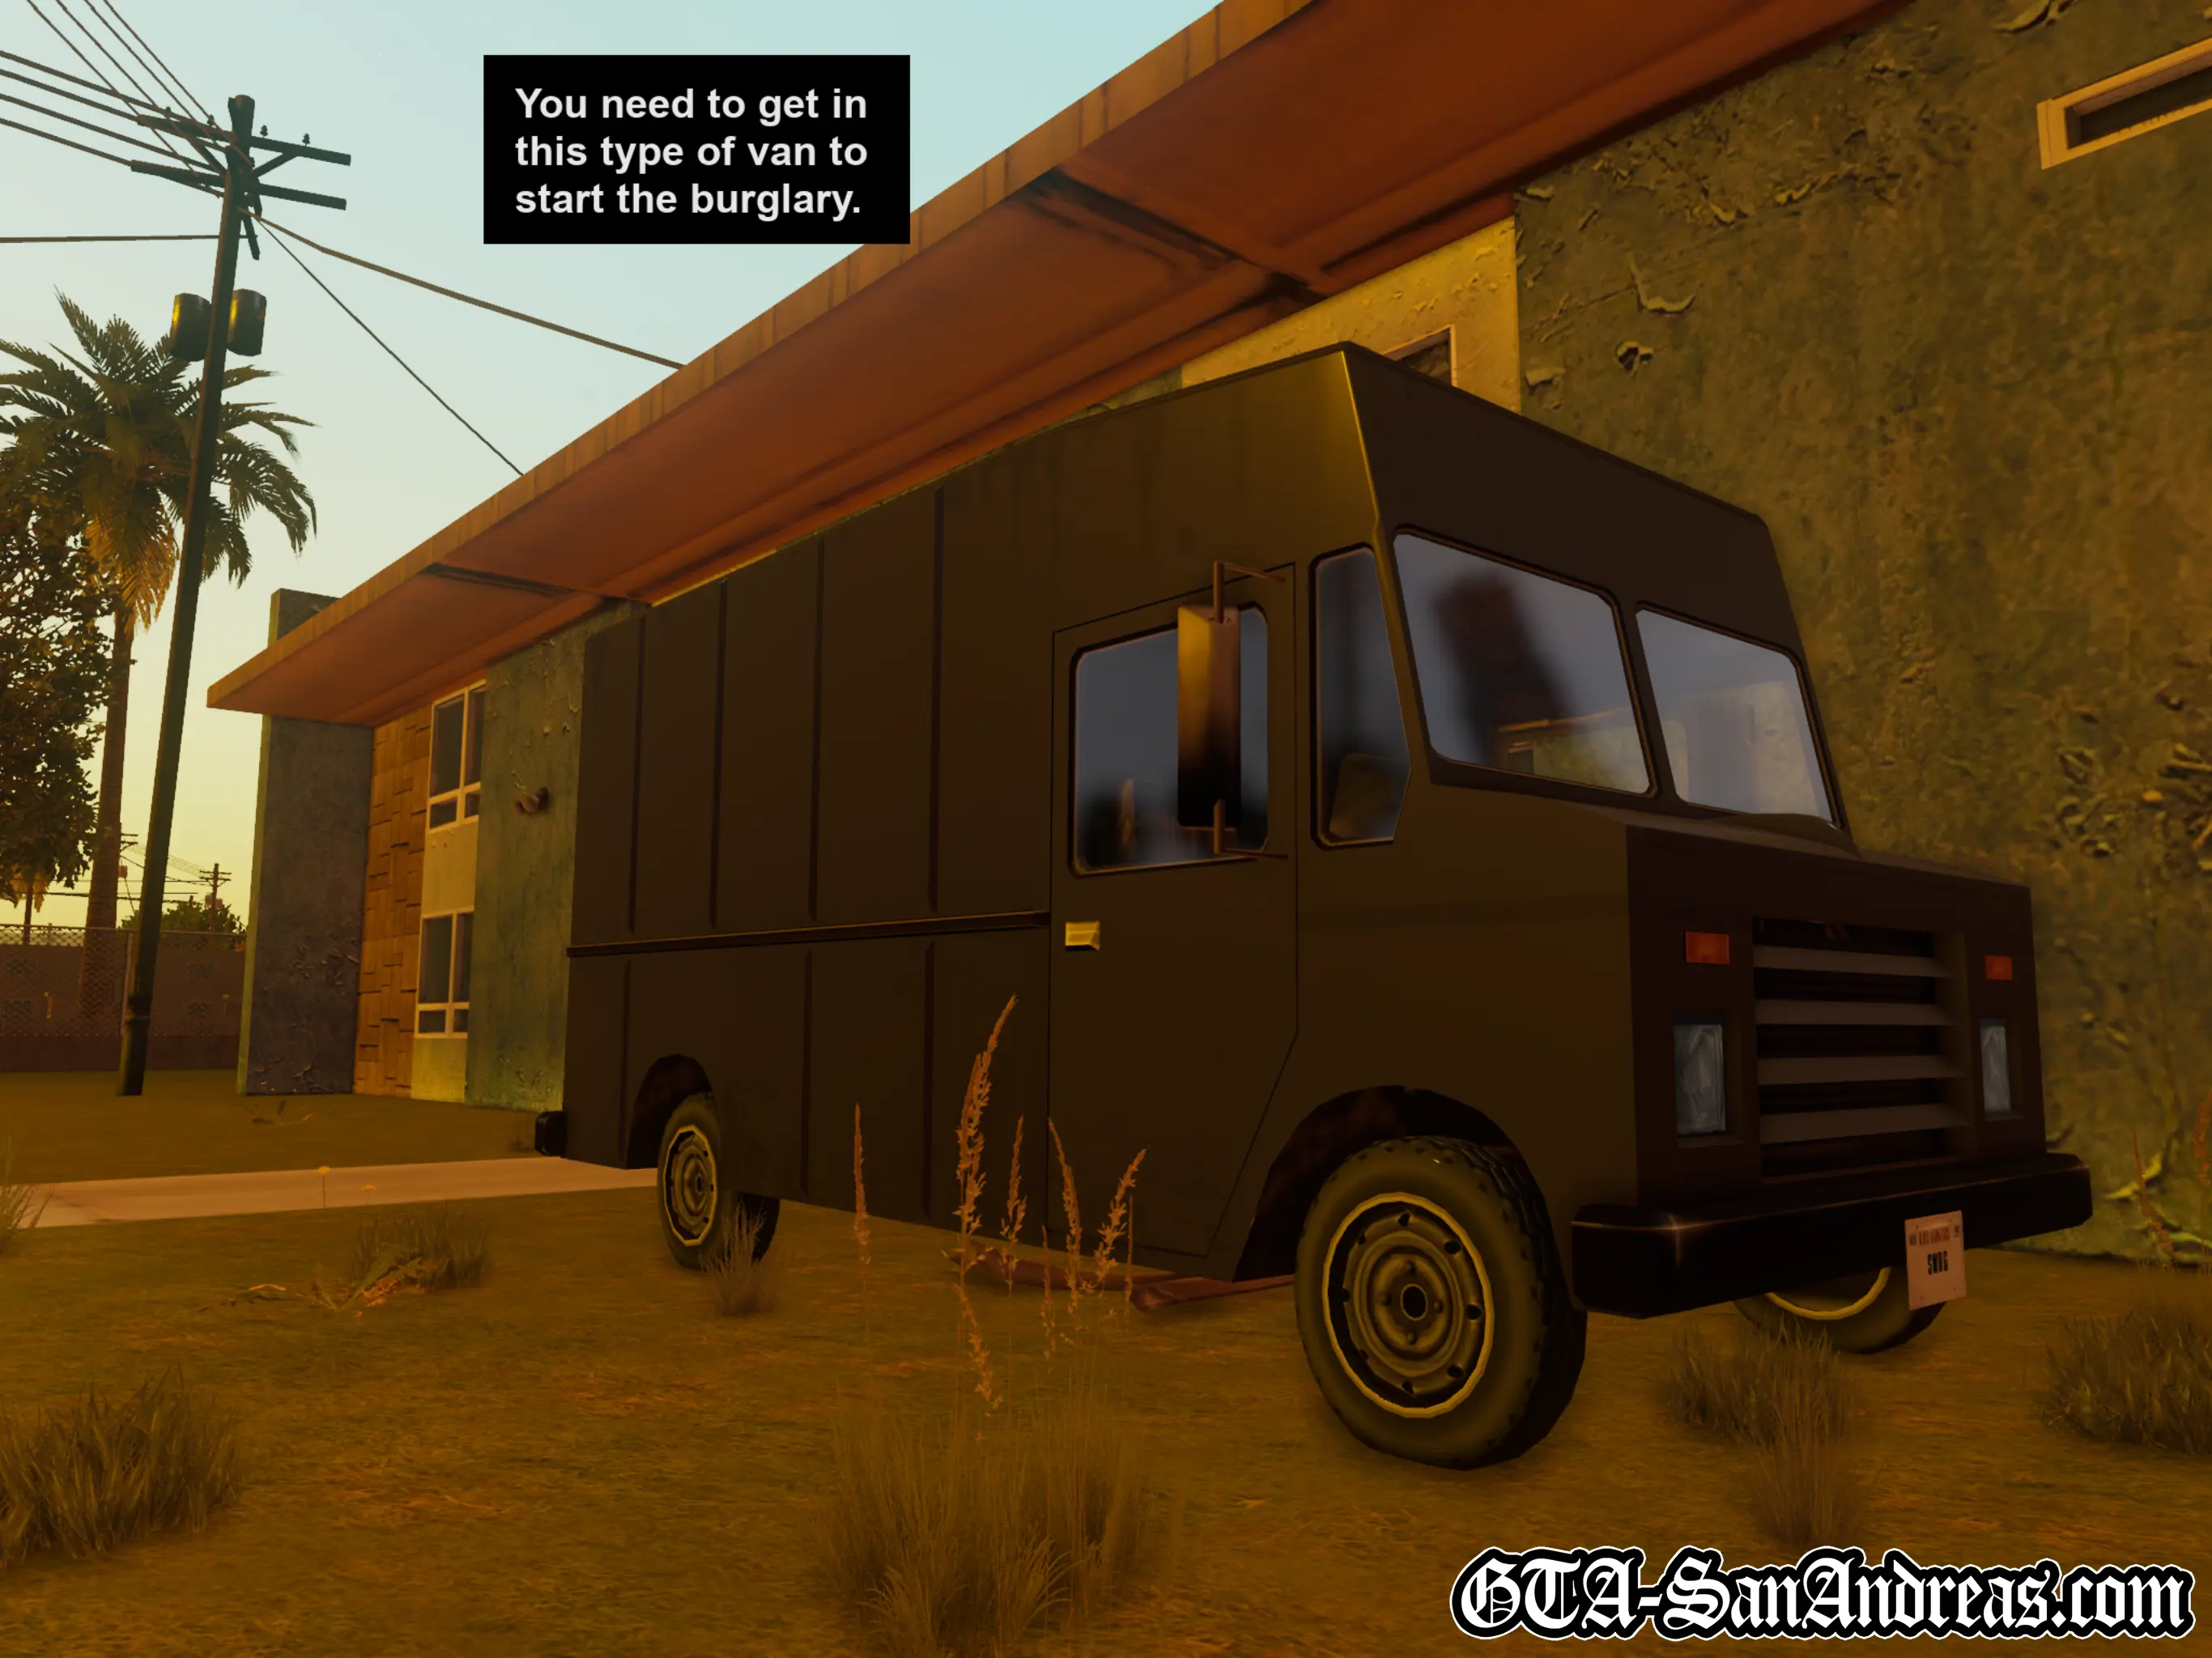
A few hours later when it's getting dark, CJ and Ryder get into a Boxville truck which has been parked out front.
You'll start the mission in the Boxville, so make your way to Colonel Fuhrbergers house down by the East beach. Park in the red marker when you arrive. The mission is timed in the sense that you must complete the robbery before morning so get there as quickly as you can.
Usually when you're robbing houses, such as in the burglary sub-mission, I'd recommend parking the truck with the back facing the door of the house so you can quickly leave the house and deposit items into the truck, but on this mission, it doesn't matter how you park as the truck will automatically be reverse parked when you go back outside.
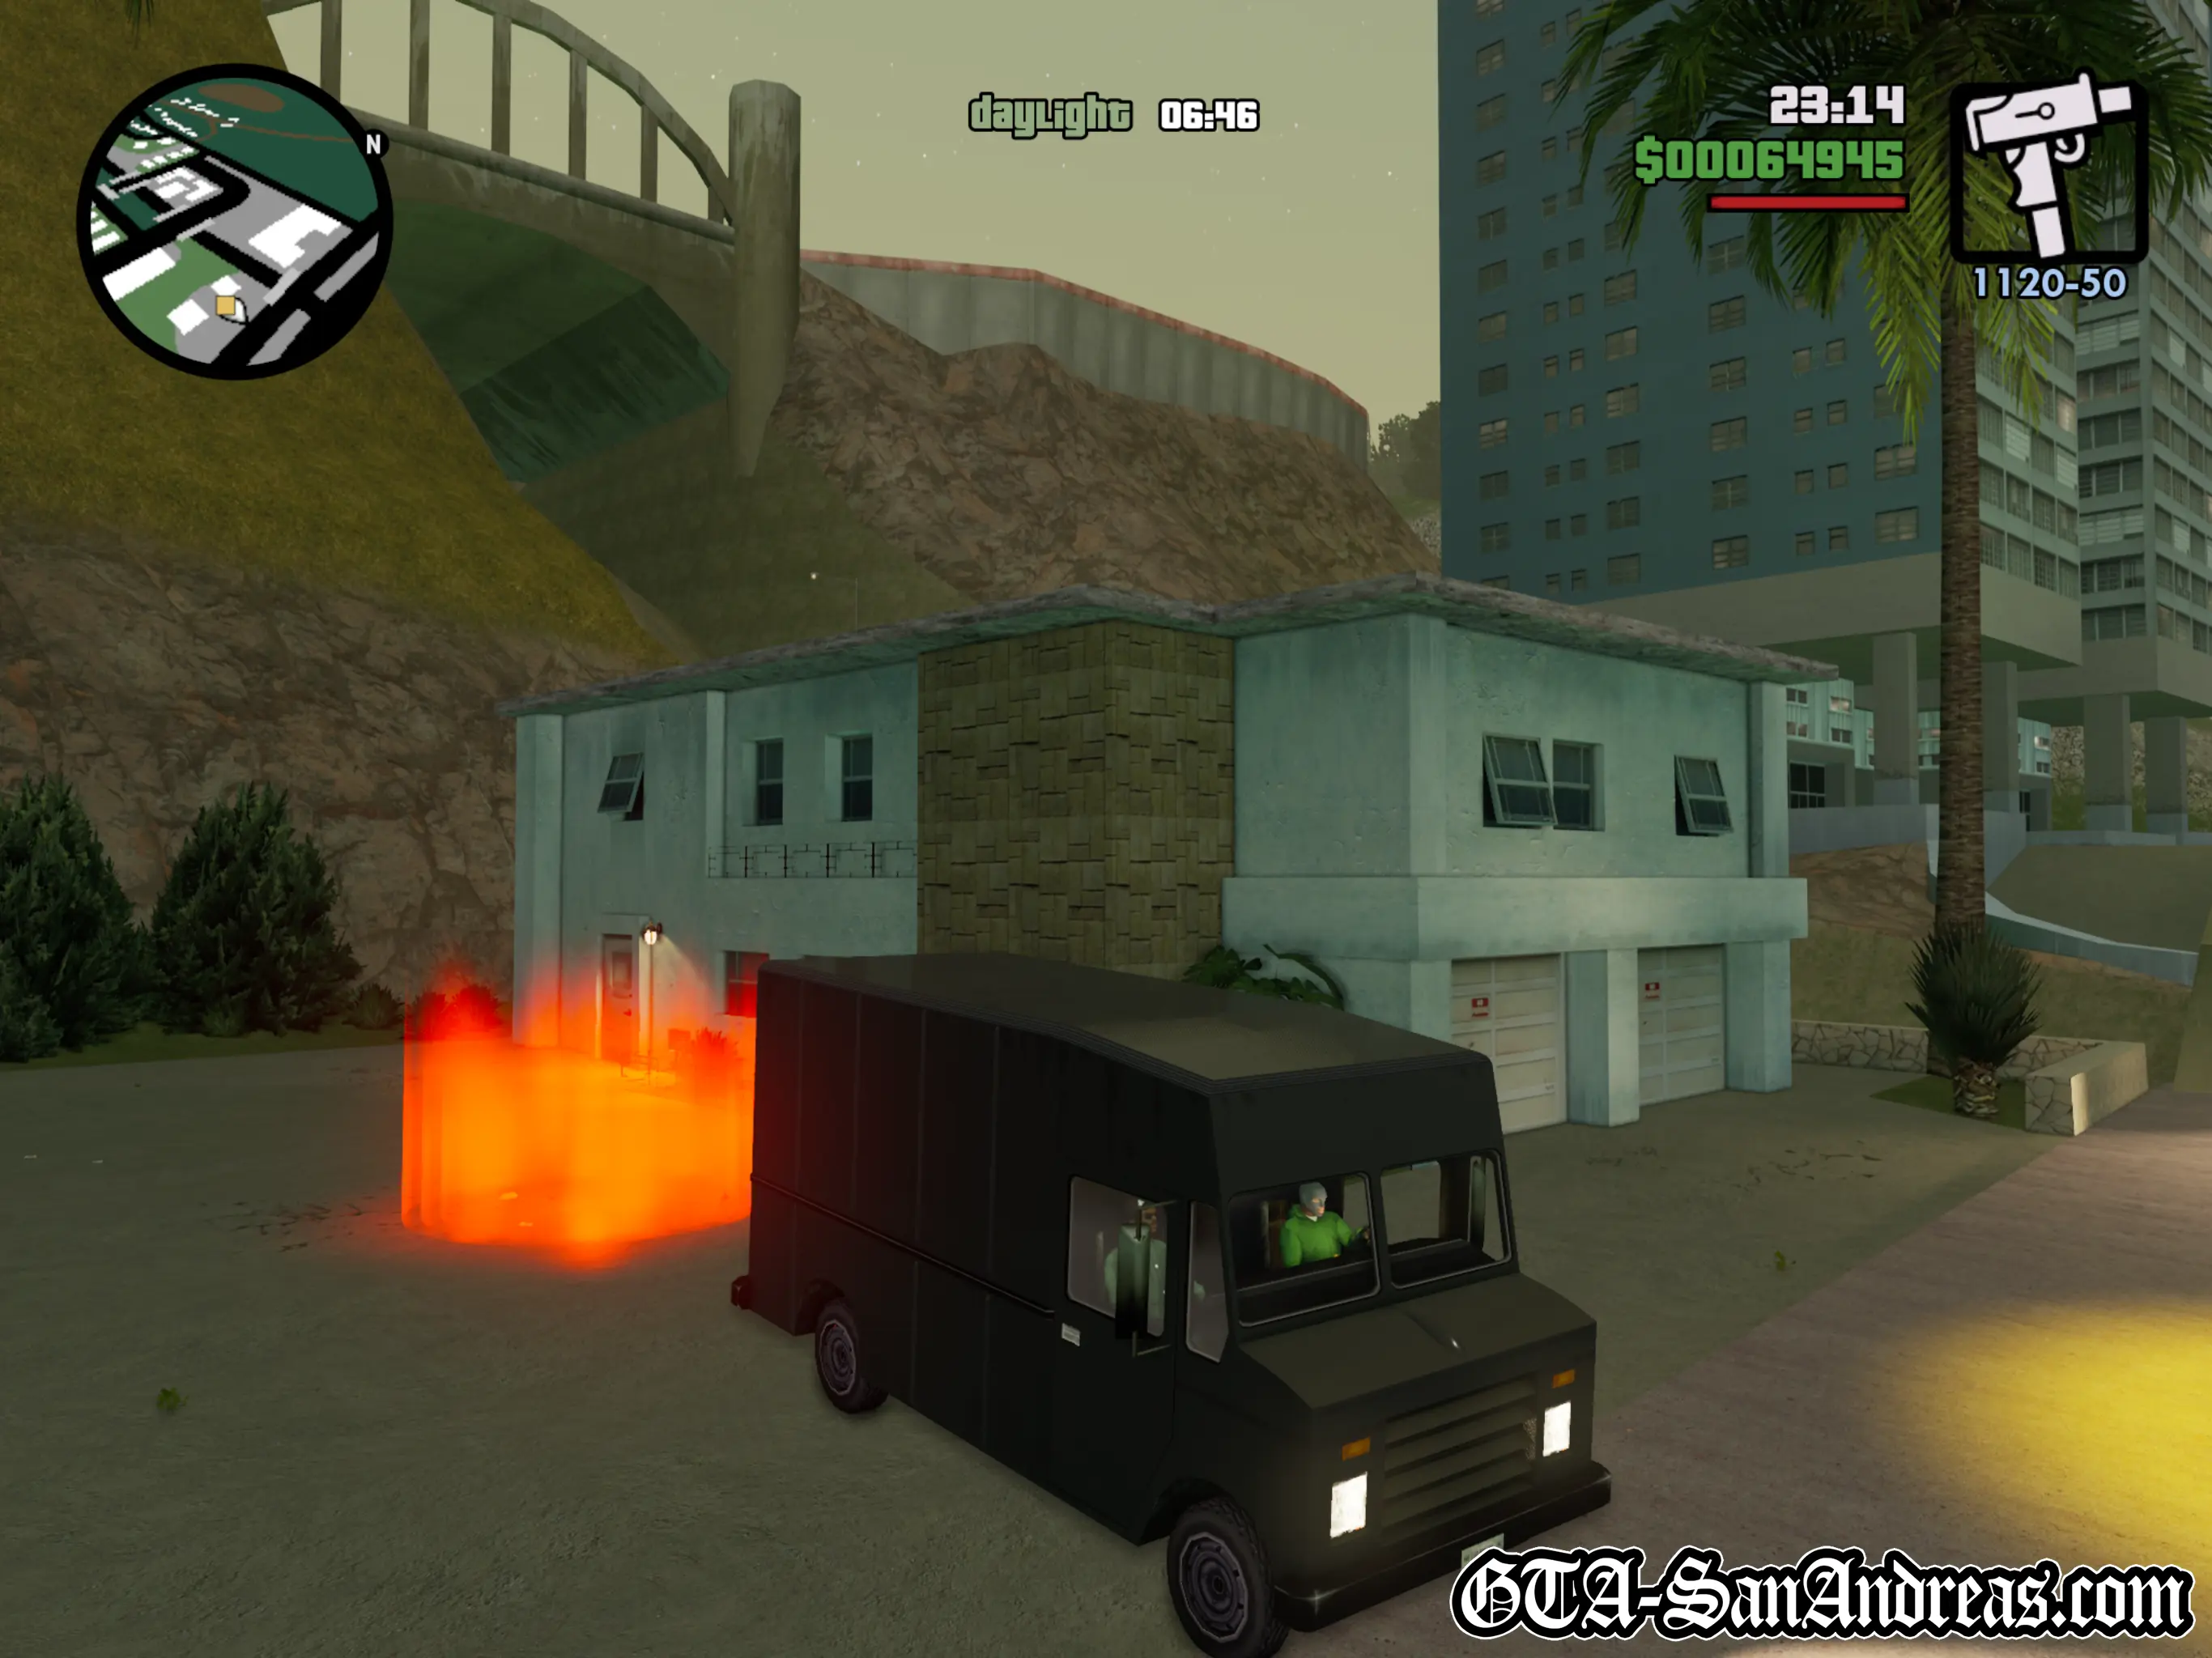
Cutscene
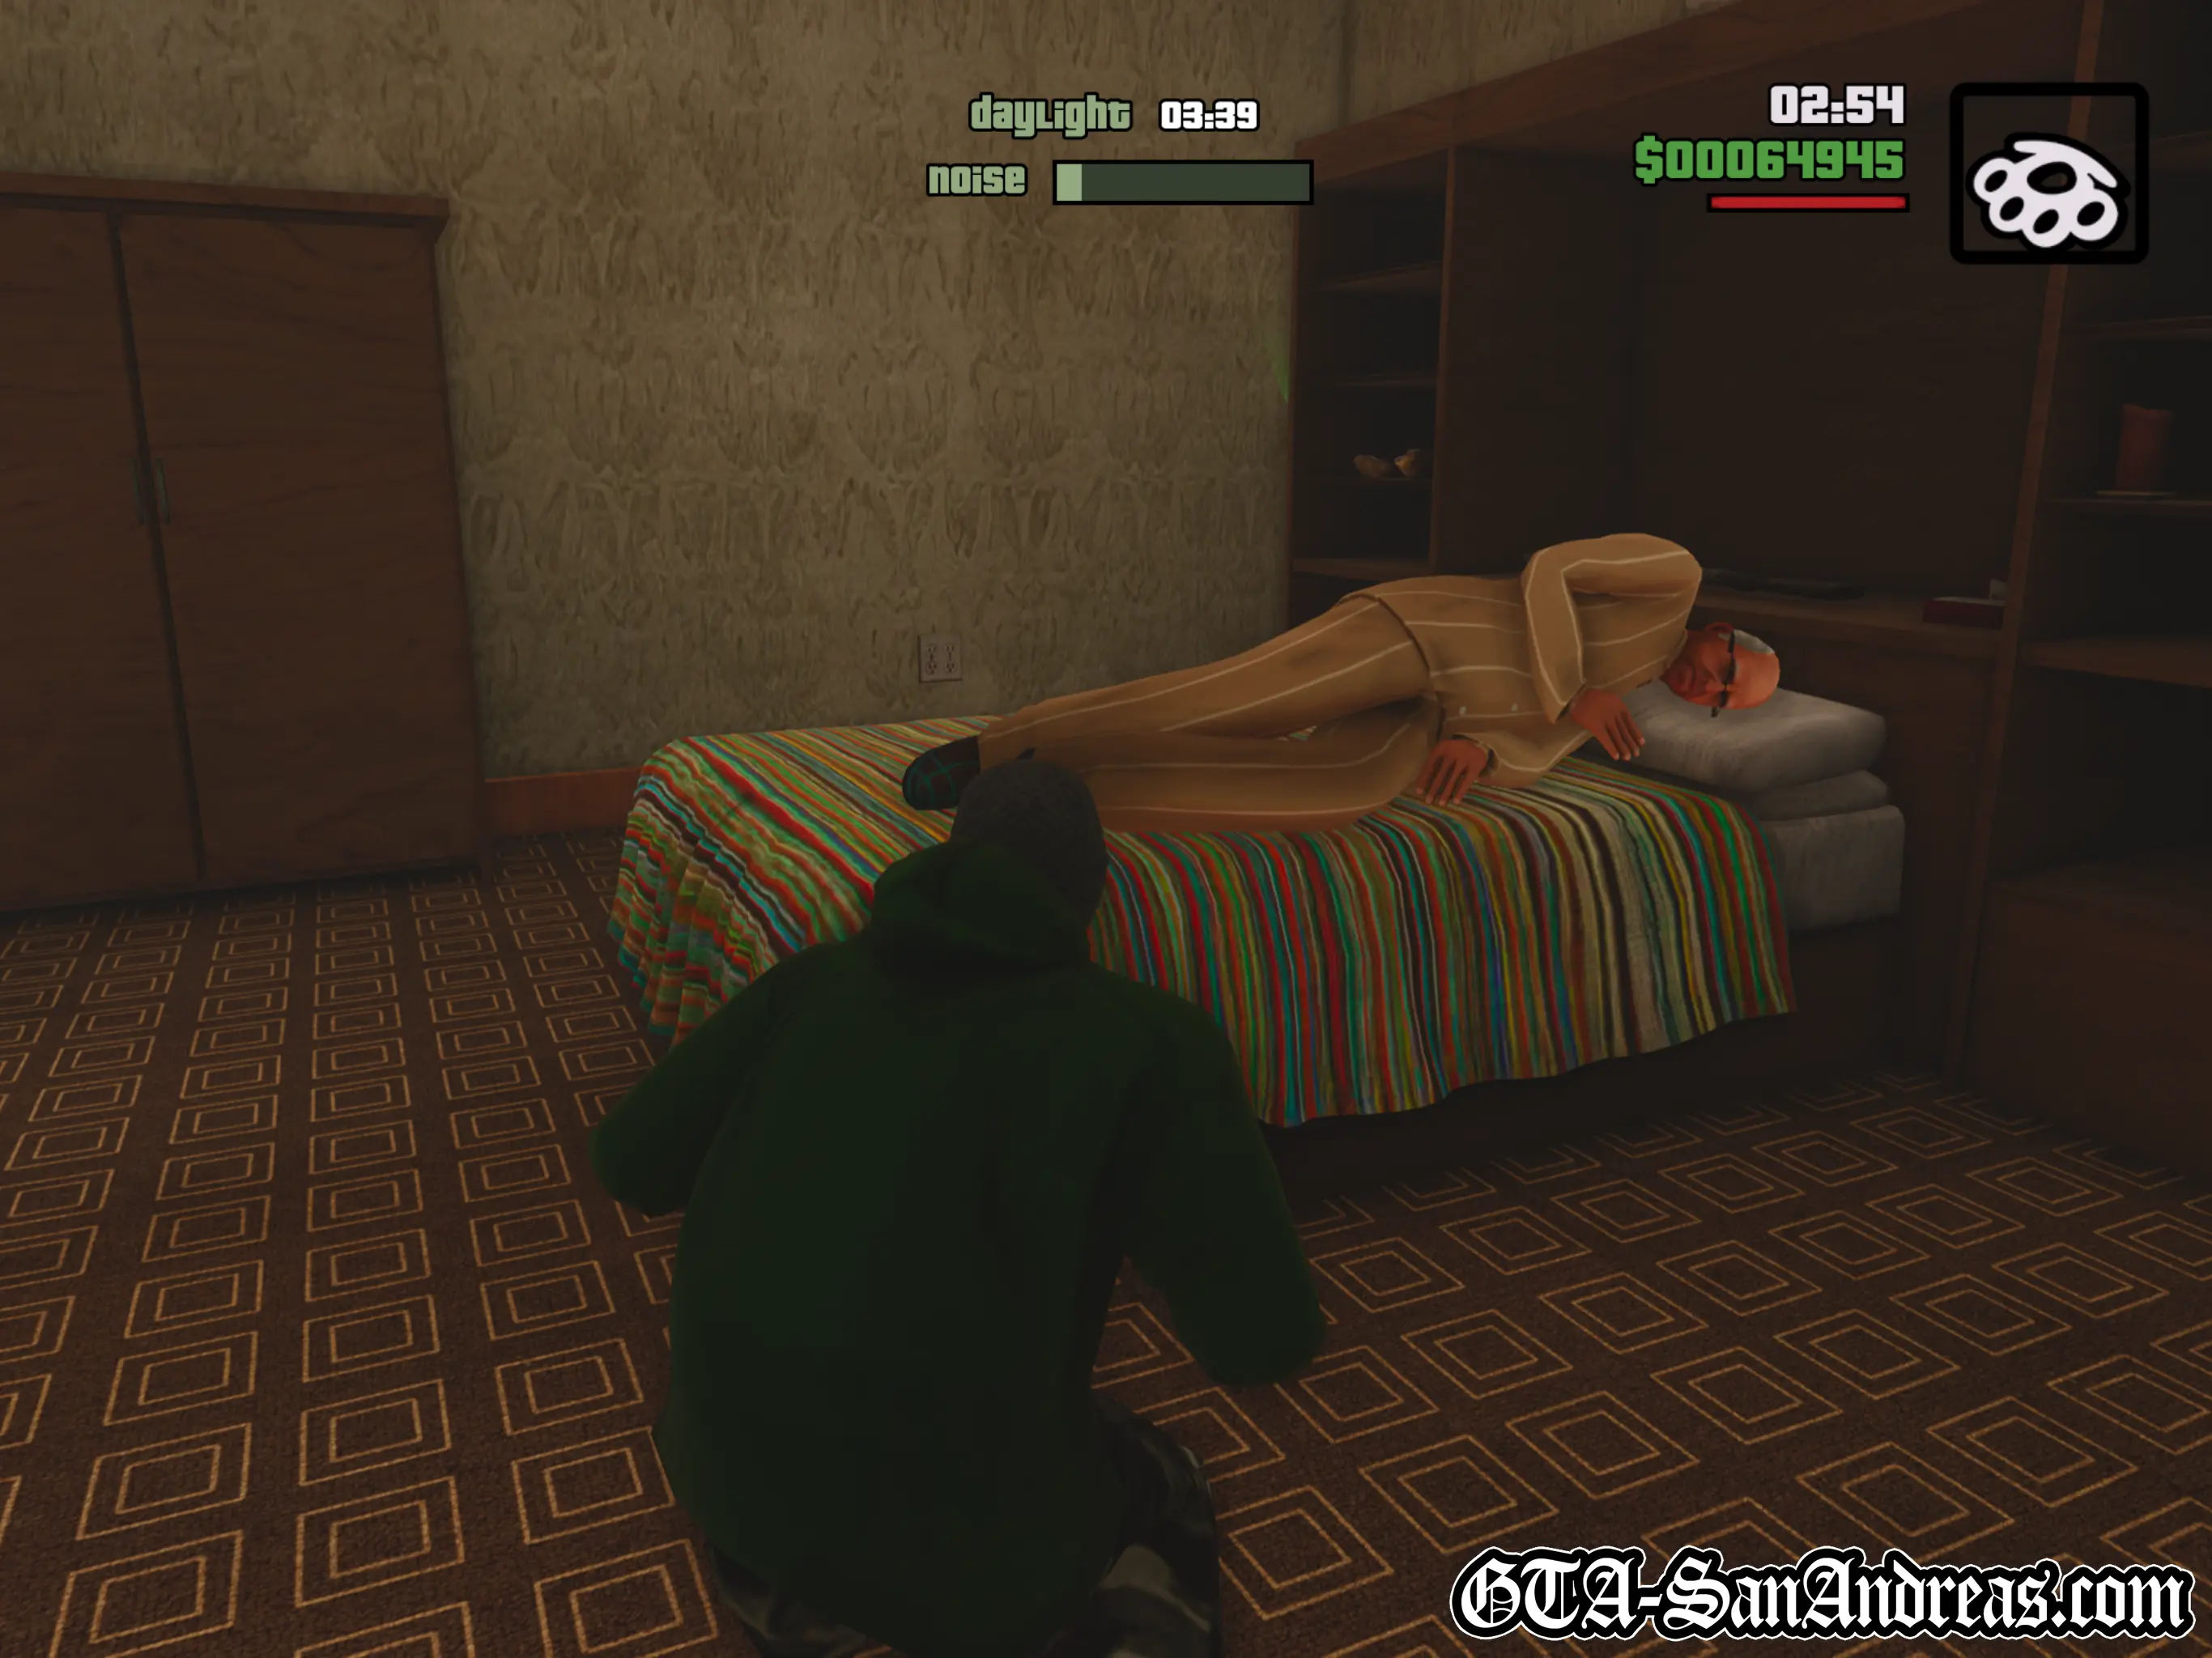
After parking up, CJ says he'll sneak in and grab the weapons ninja style, but Ryder decides to make a scene and starts shouting at the army veteran, trying to wake him up. Thankfully, he eventually agrees to shut up and keep watch while Carl goes in to rob the place.
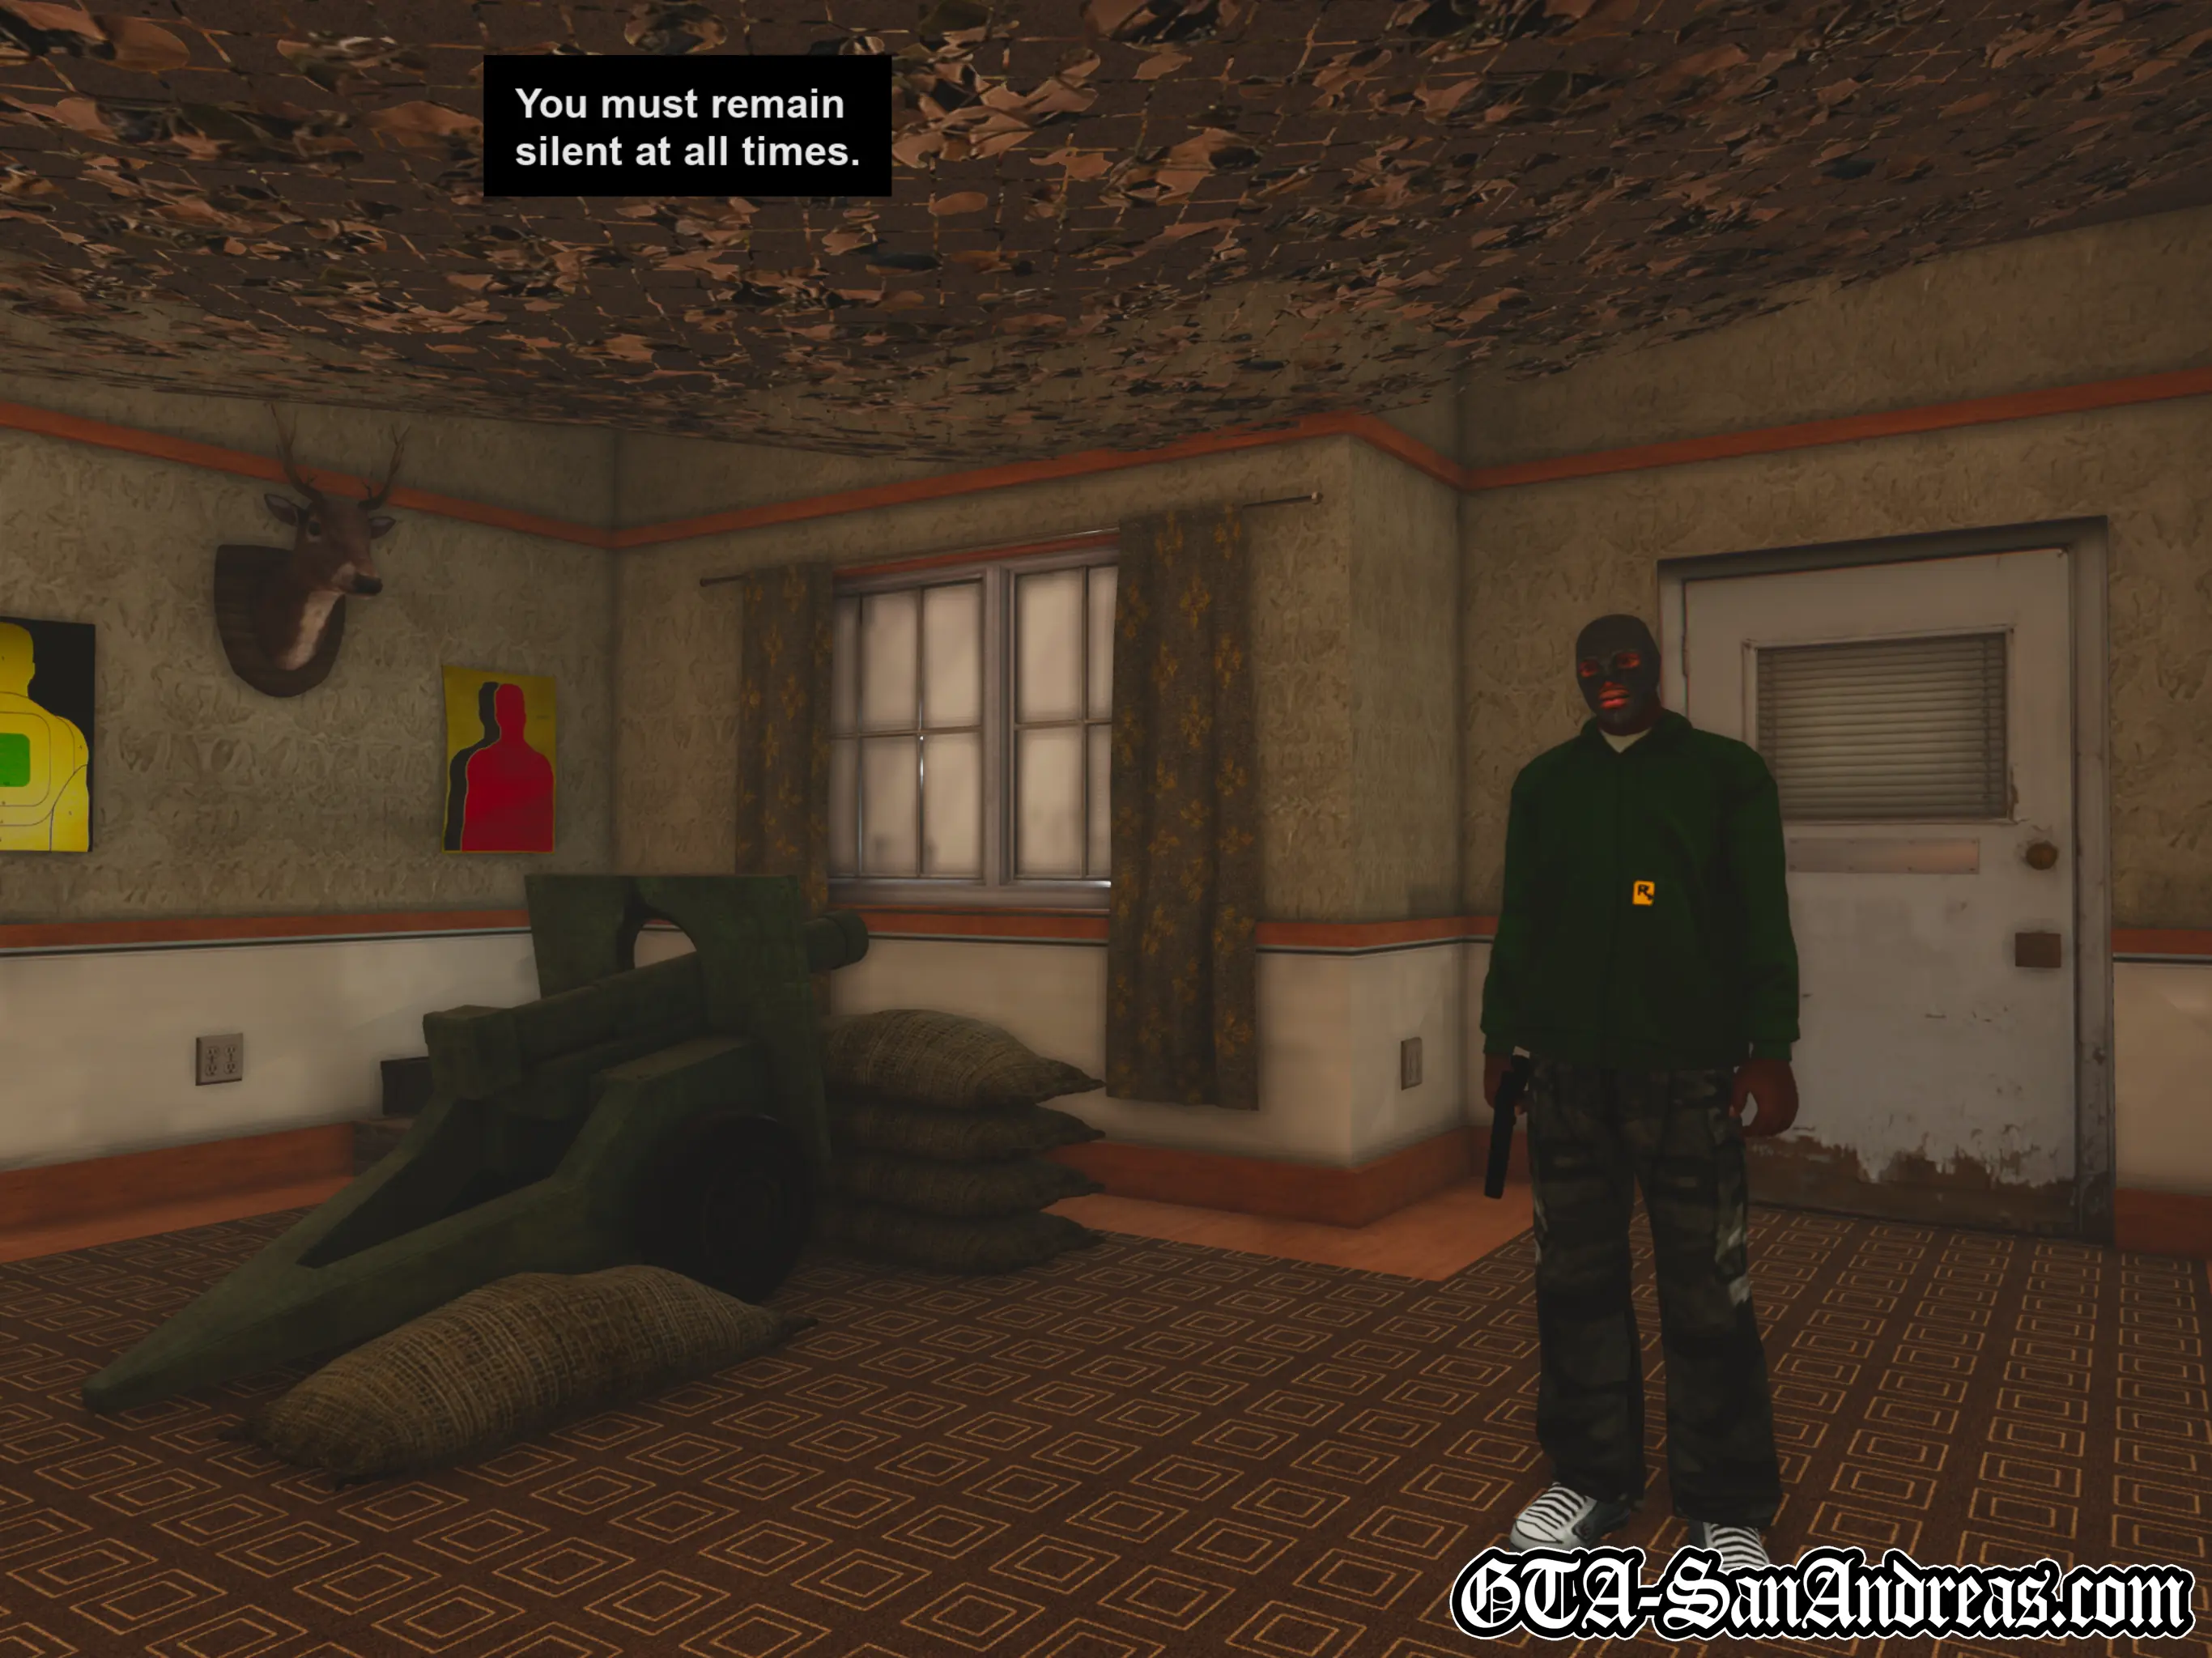
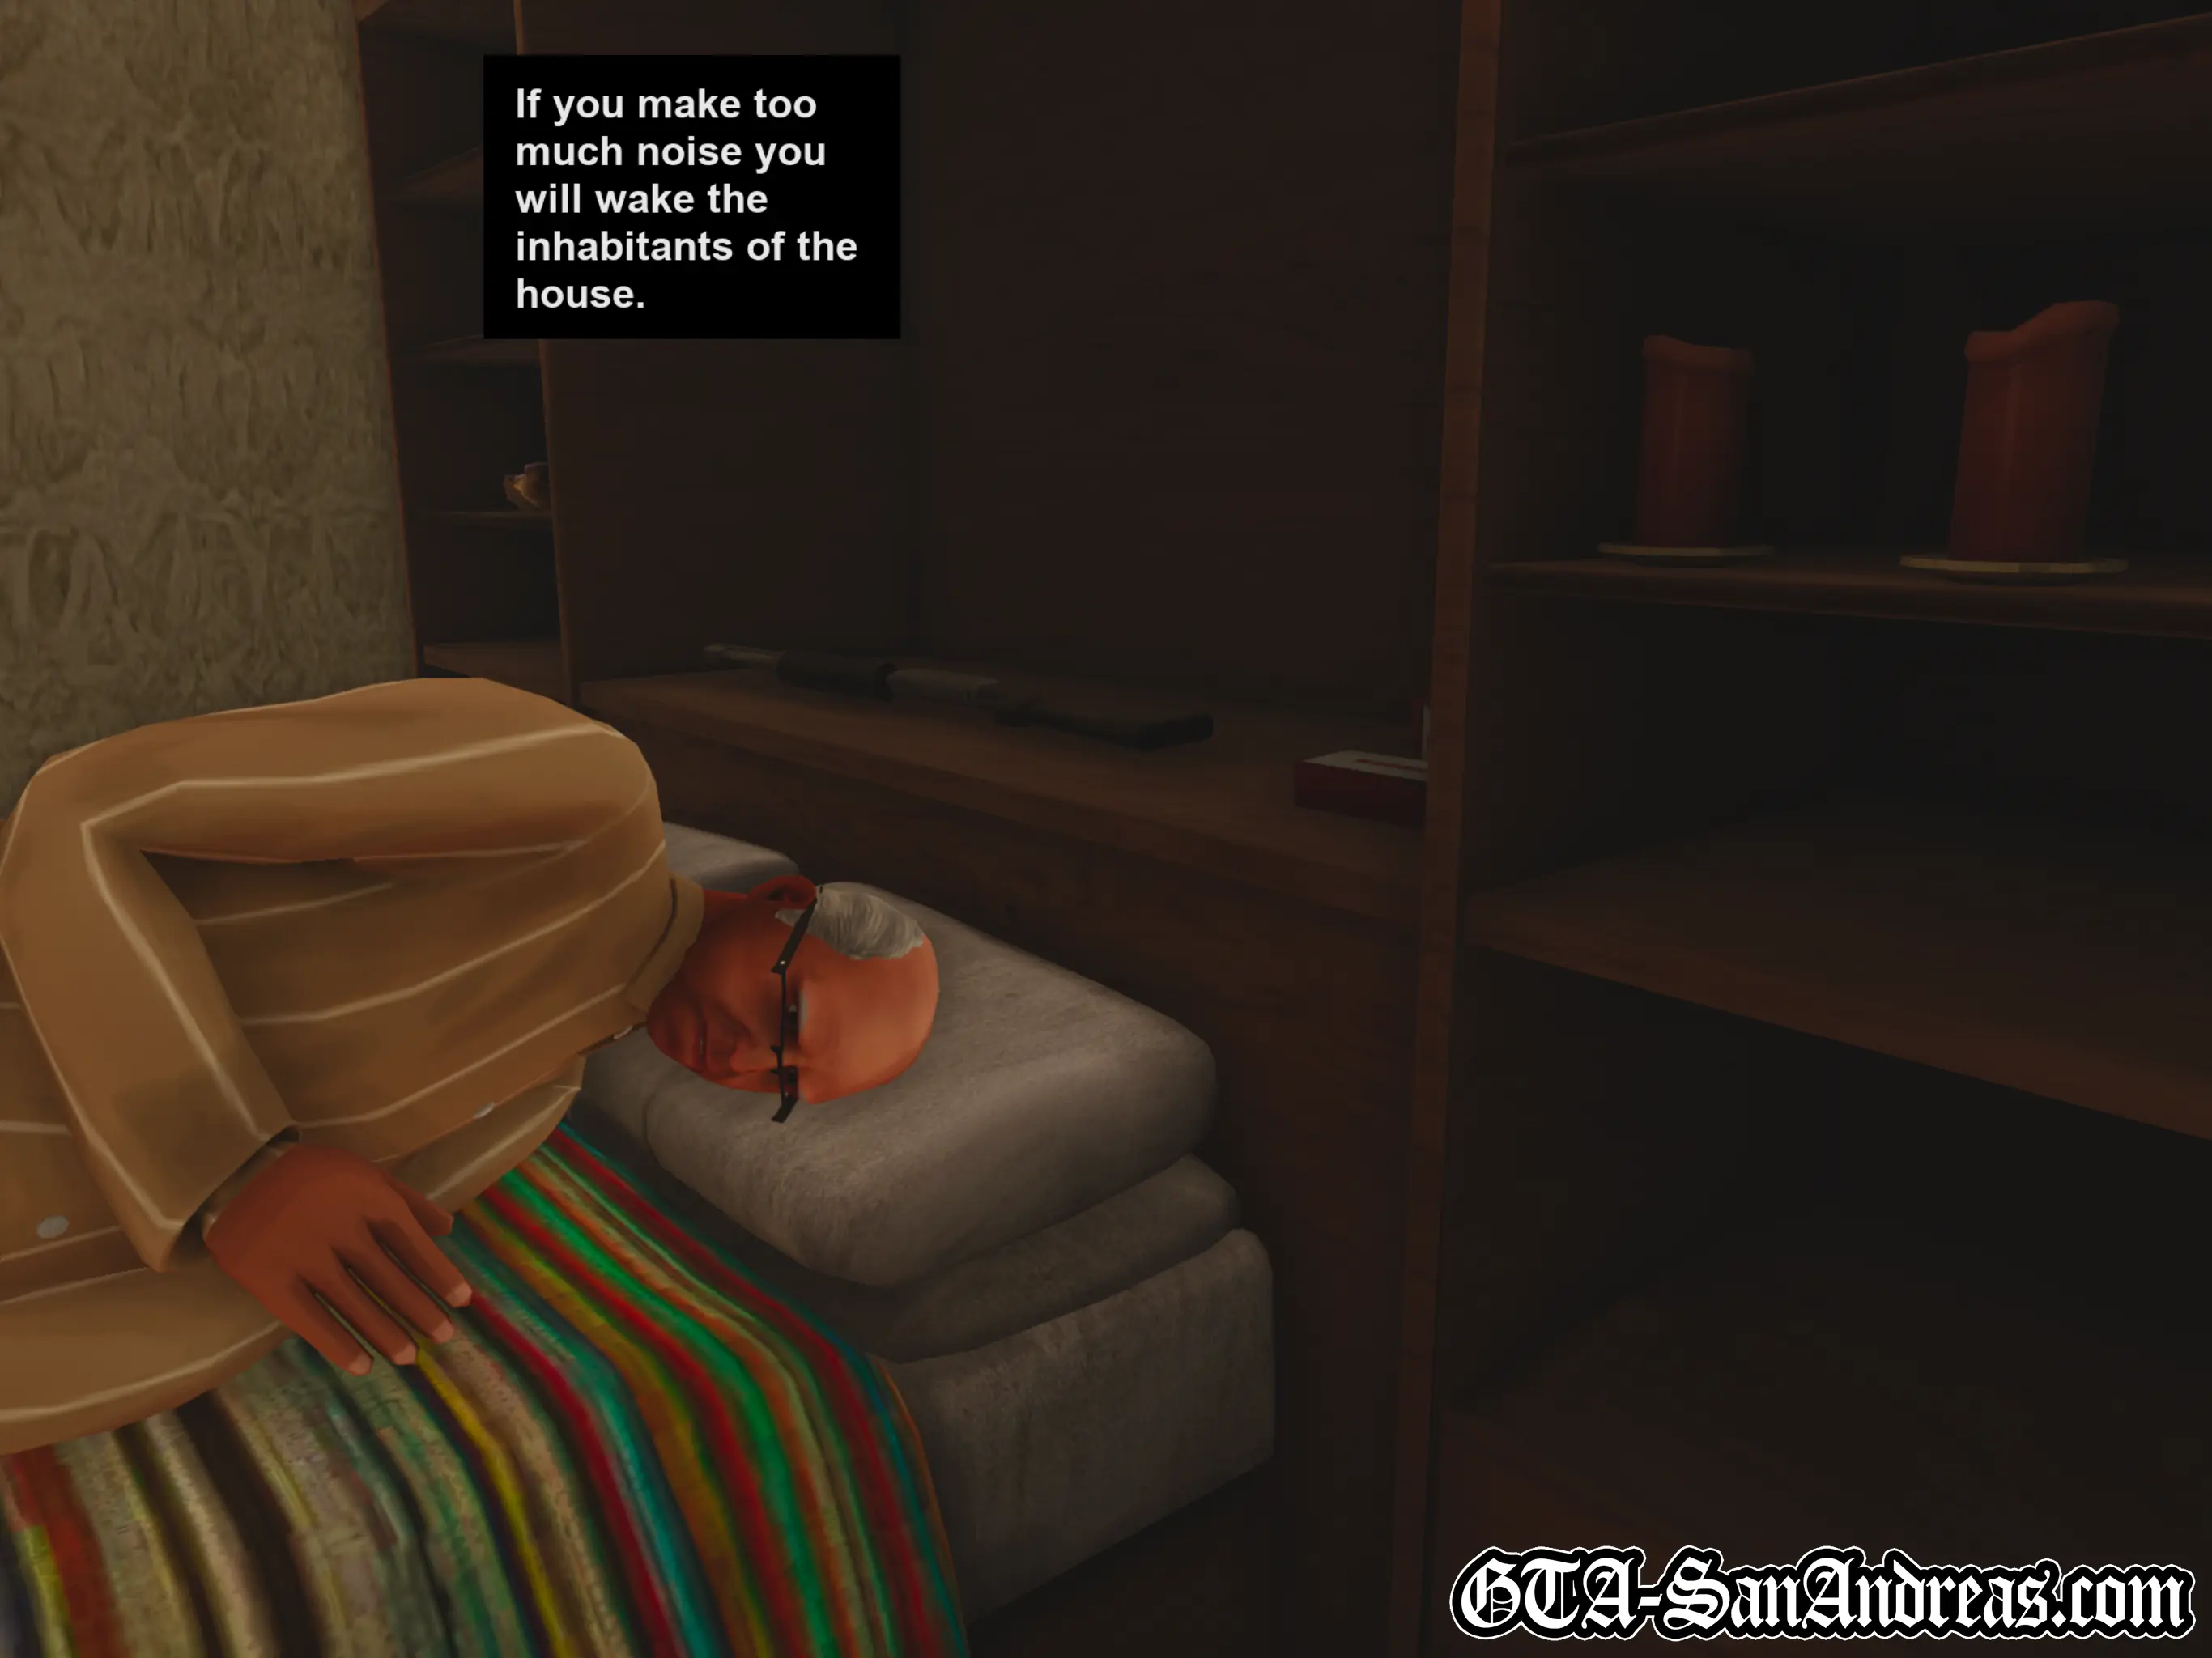
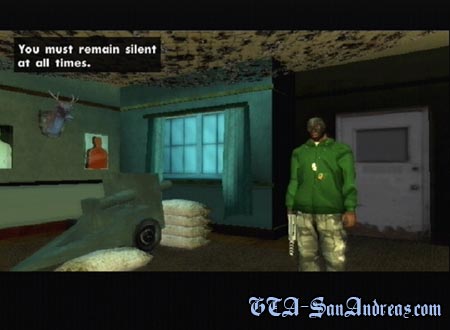
Enter the house by walking into the yellow arrow on the door. Once inside, the game will instruct you on how to rob houses. The most important thing is remaining silent at all times, which you can do by crouching and walking slowly. If you make too much noise, you'll wake the inhabitants of the house. The game will display a noise bar to indicate how quiet you're being.
Moving the left analog stick very gently forward will allow you to sneak and make almost no noise, however this only works when the ski mask is being worn.
You need to pick up three boxes and take them outside to the truck. The first crate can be found to the right of where you start, in the corner of the living room. Walk up to it and follow the button prompt to pick it up. In later versions of the game Carl will automatically pick up objects when you stand next to them, but in the original game you must press a button. Once you've got a box, walk out of the house and put it in the truck.
Once back inside, the second crate can be found through the door on the right of the living room, in the kitchen. Take it outside and put it in the truck.
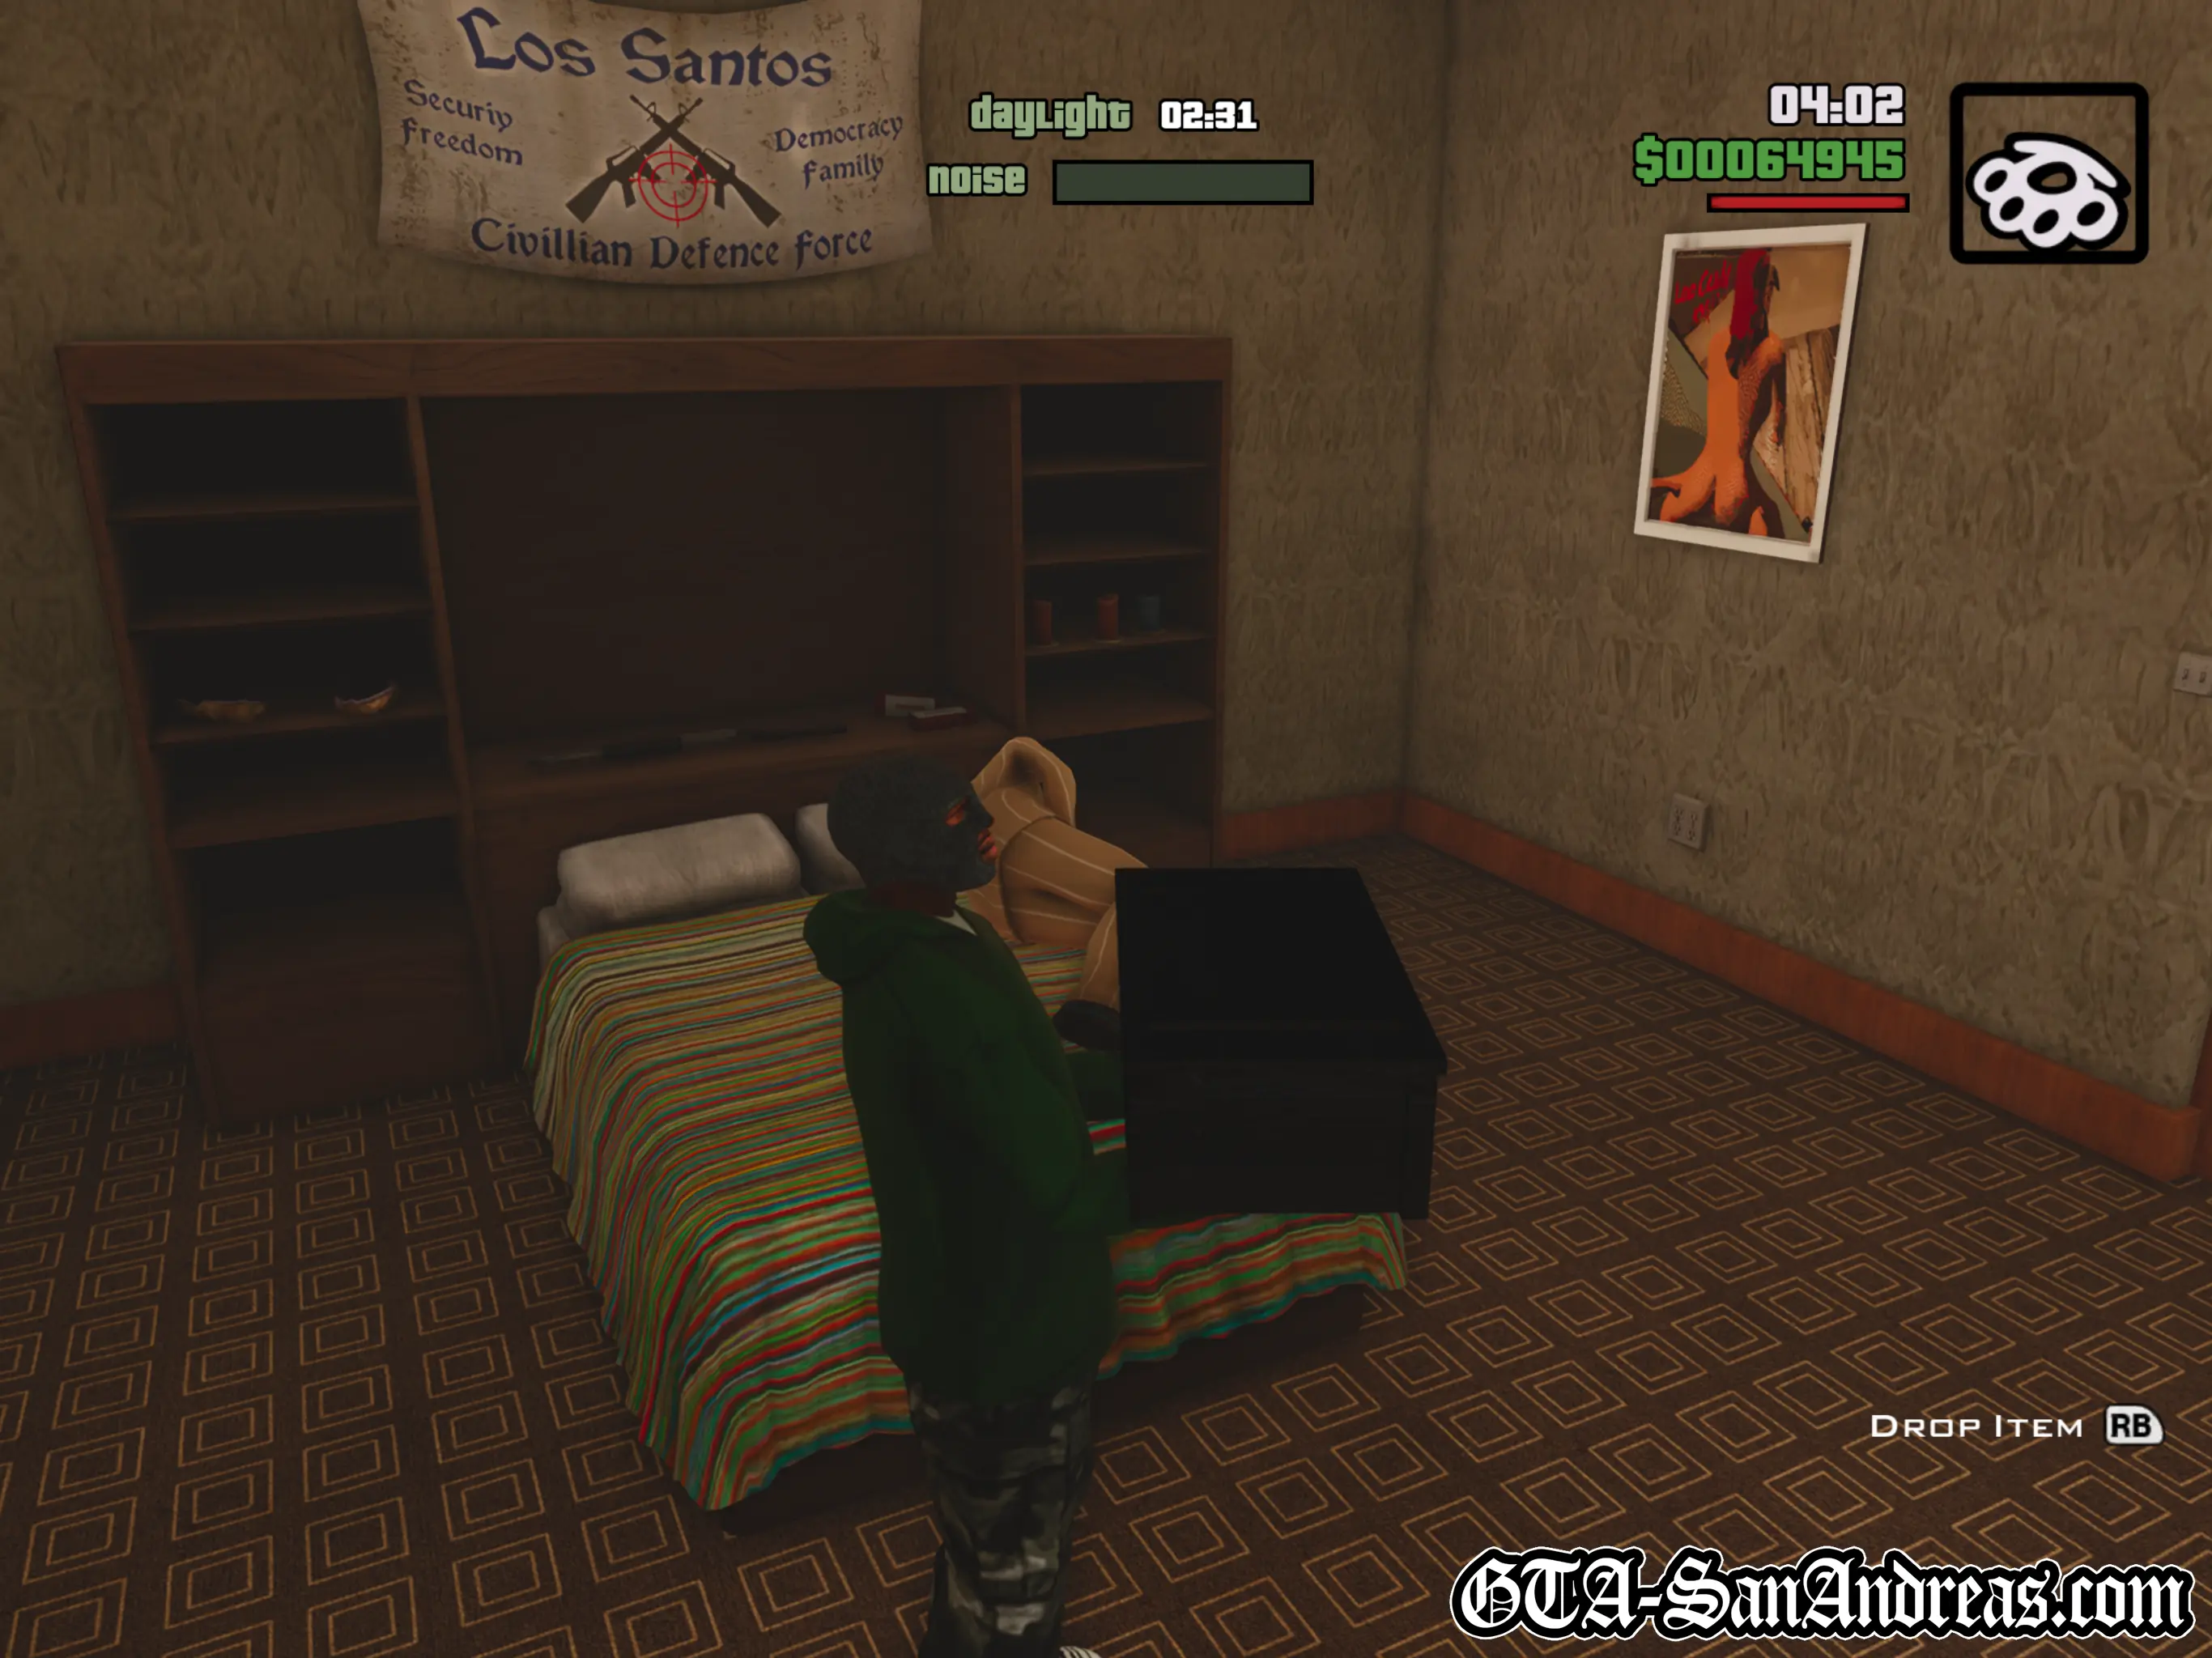
The remaining crates are upstairs, and the first of them can be found at the top of the stairs so grab it and sneak back outside.
Once you've successfully stored three of them in the truck, you can either take everything to the lockup, or go back into the house and up the stairs to steal the rest of the crates.
If you suck at this burglary thing then just go now, but if not, you can keep going if you have time. There is an additional crate outside the Colonel's bedroom, and two more inside his room.
You can keep robbing literally until the timer reaches zero, providing you're outside when it does, but successfully stealing all six crates will automatically put you back in the truck and remove the timer.
Cutscene
CJ and Ryder get back in the truck.
You now need to head to the lock up, so make your way to the yellow blip on the radar.
When you arrive, drive through the garage doors and into the lockup to end the mission.
Cutscene
Ryder says it was simple, just like he told CJ it would be. You are then shown information about the burglary sub-mission before Ryder and CJ part ways.
Post-Mission
The game tells you that you can perform robbery missions between the hours of 20:00 and 05:00 in a Boxville van (although you've actually been able to do this since the start of the game).
Head back to Ryder for another mission.
Screenshots


Catalyst
Cutscene
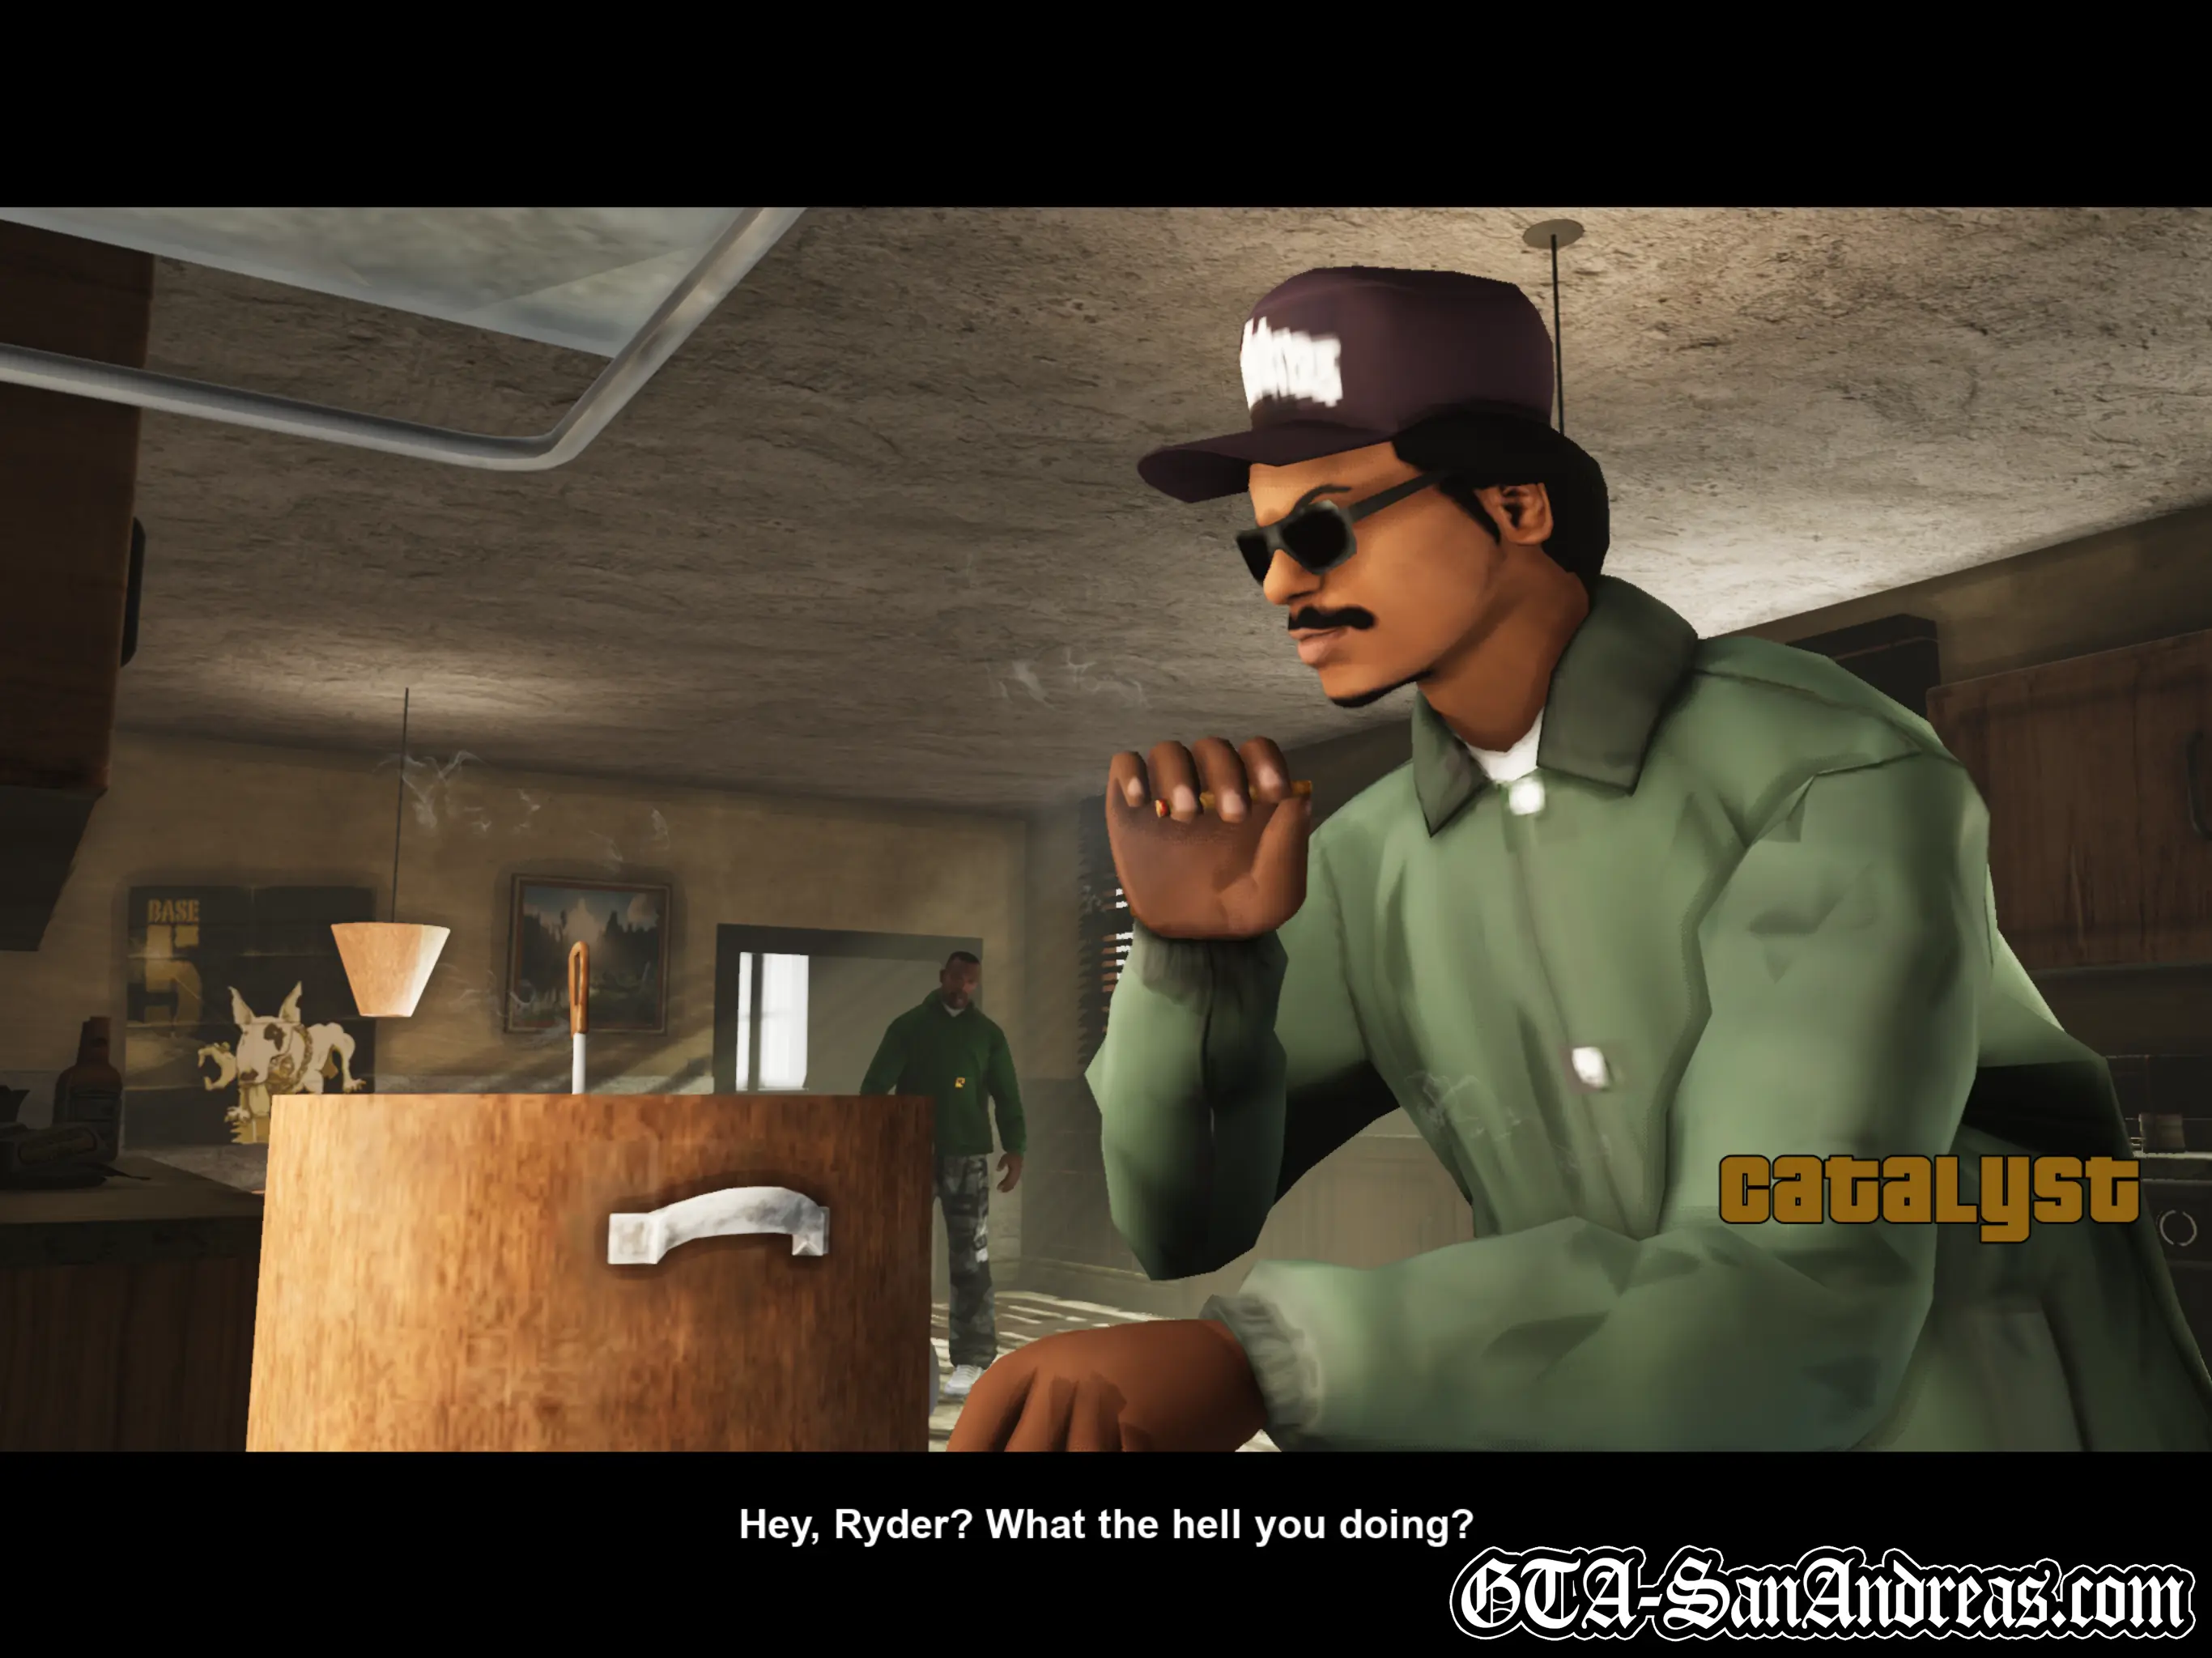
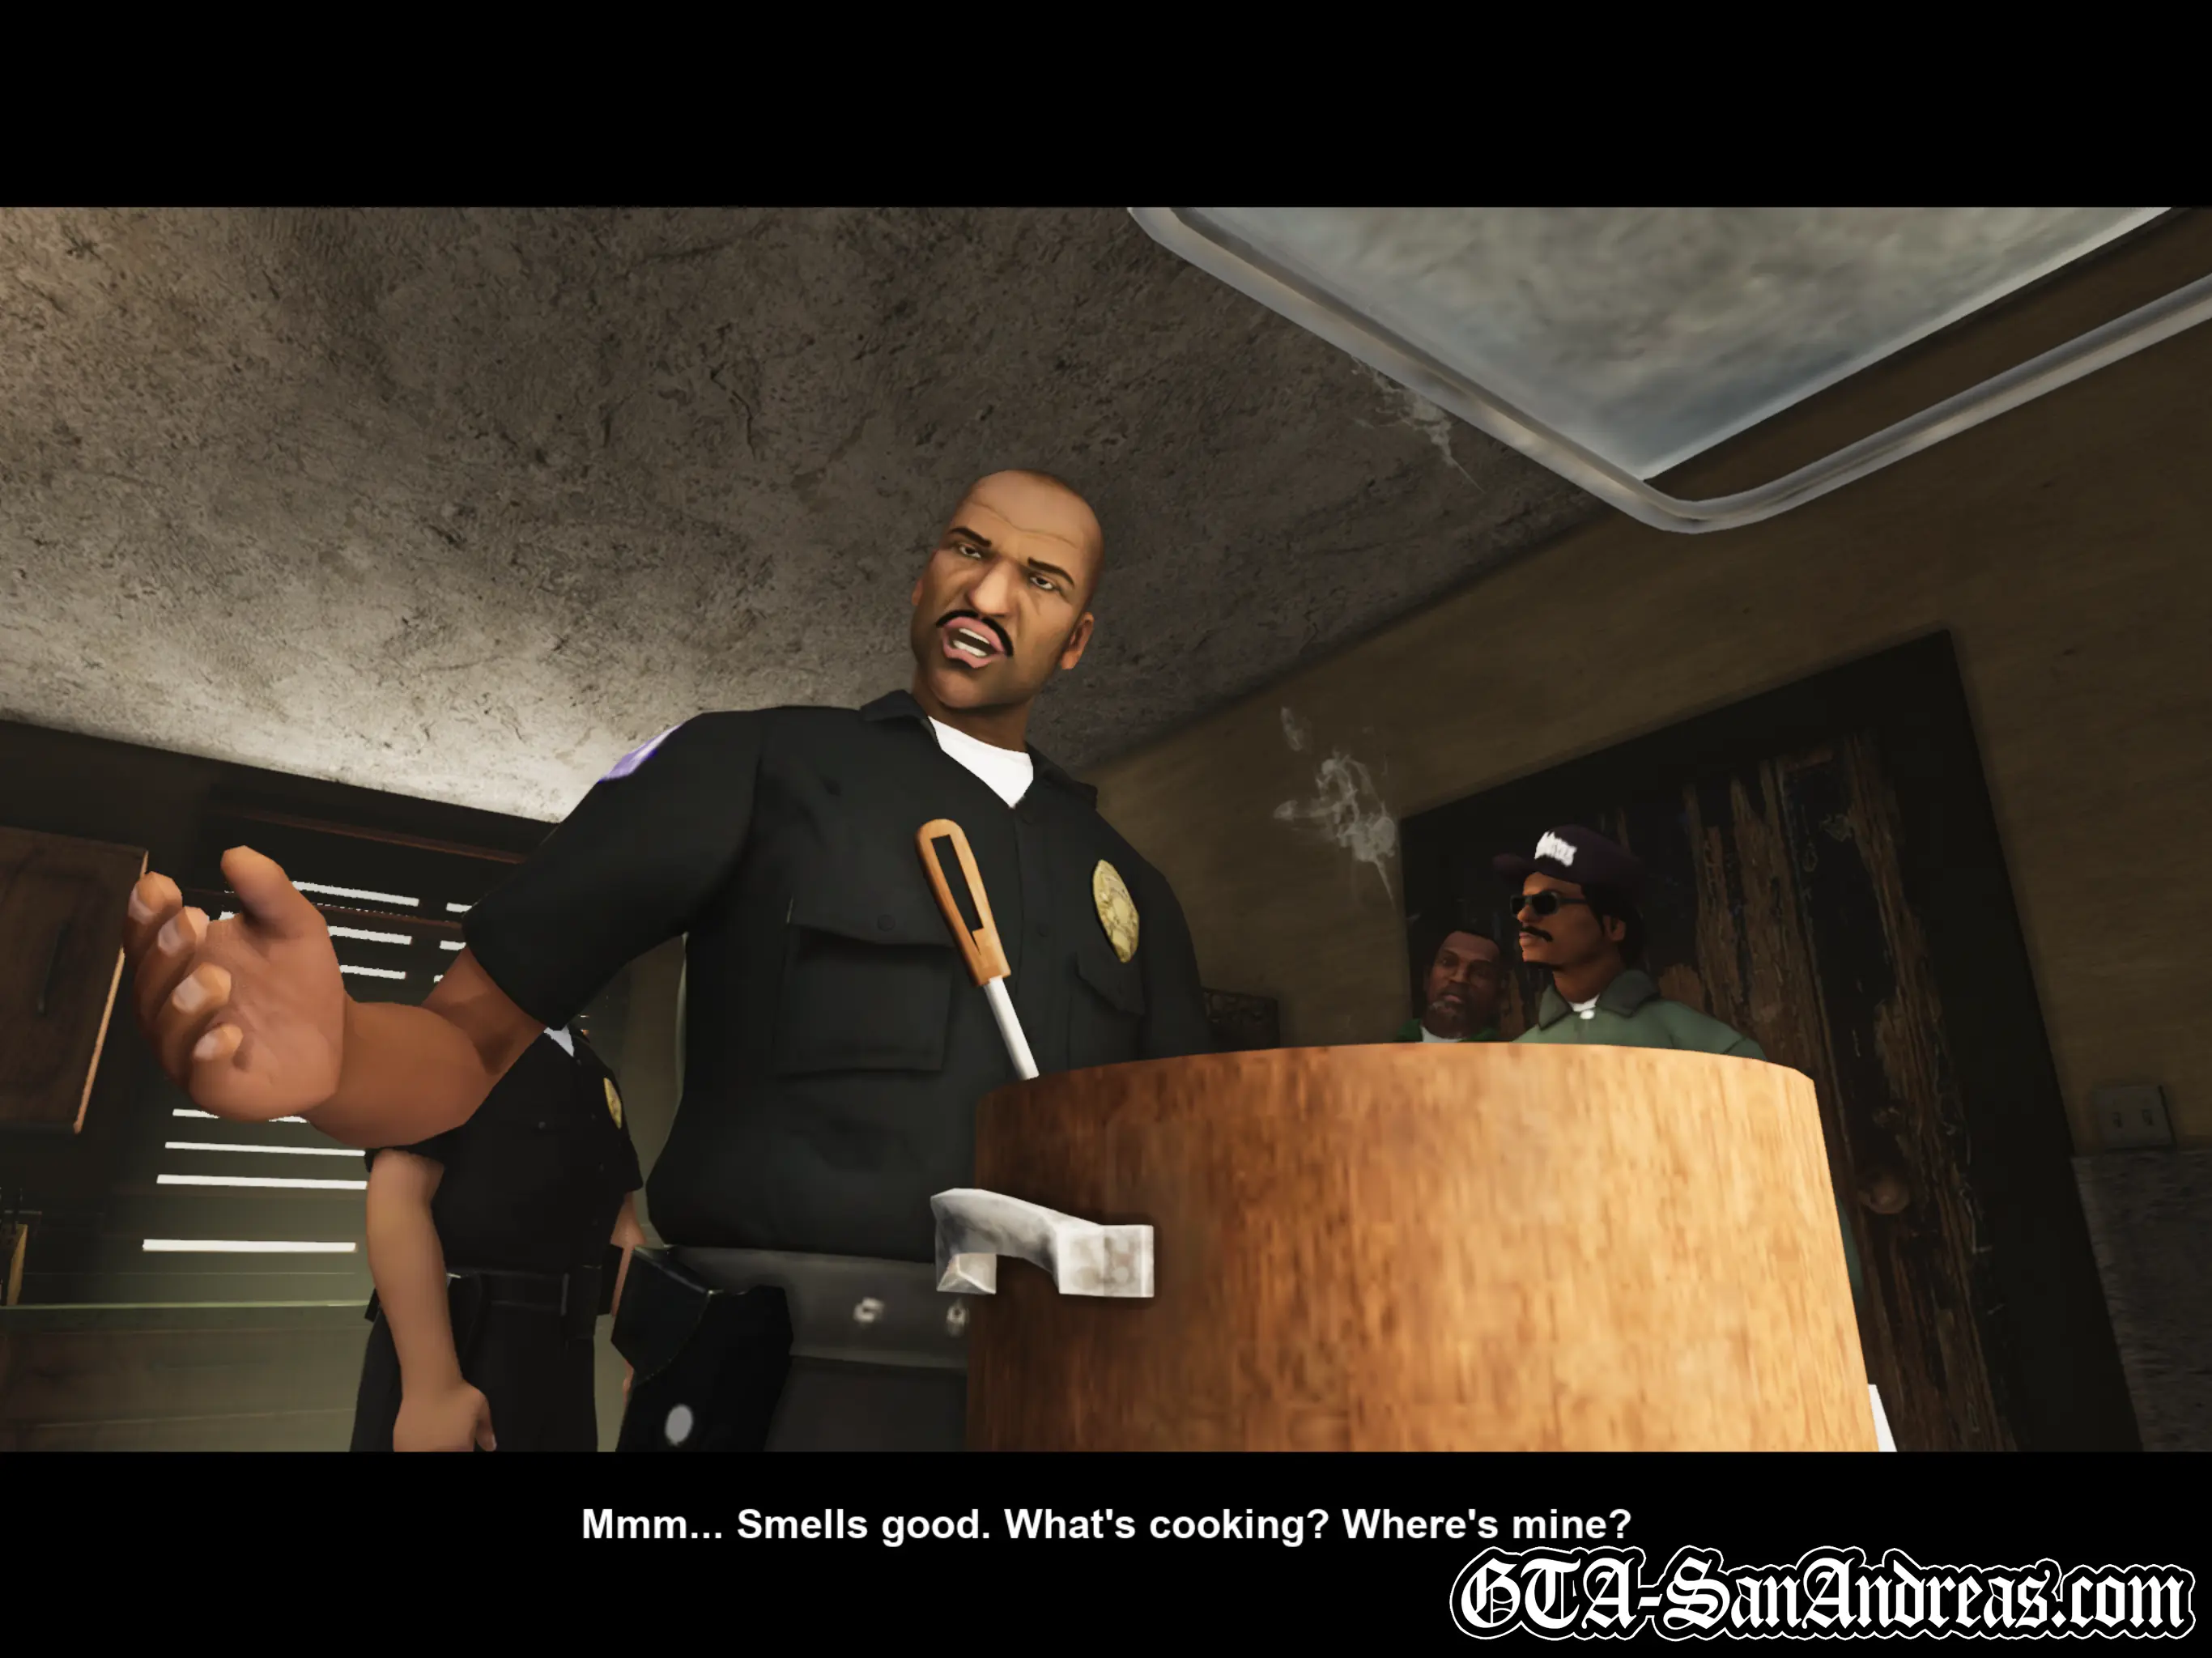
Ryder is busy cooking up a new batch of 'wet' because he couldn't find the stuff he buried.
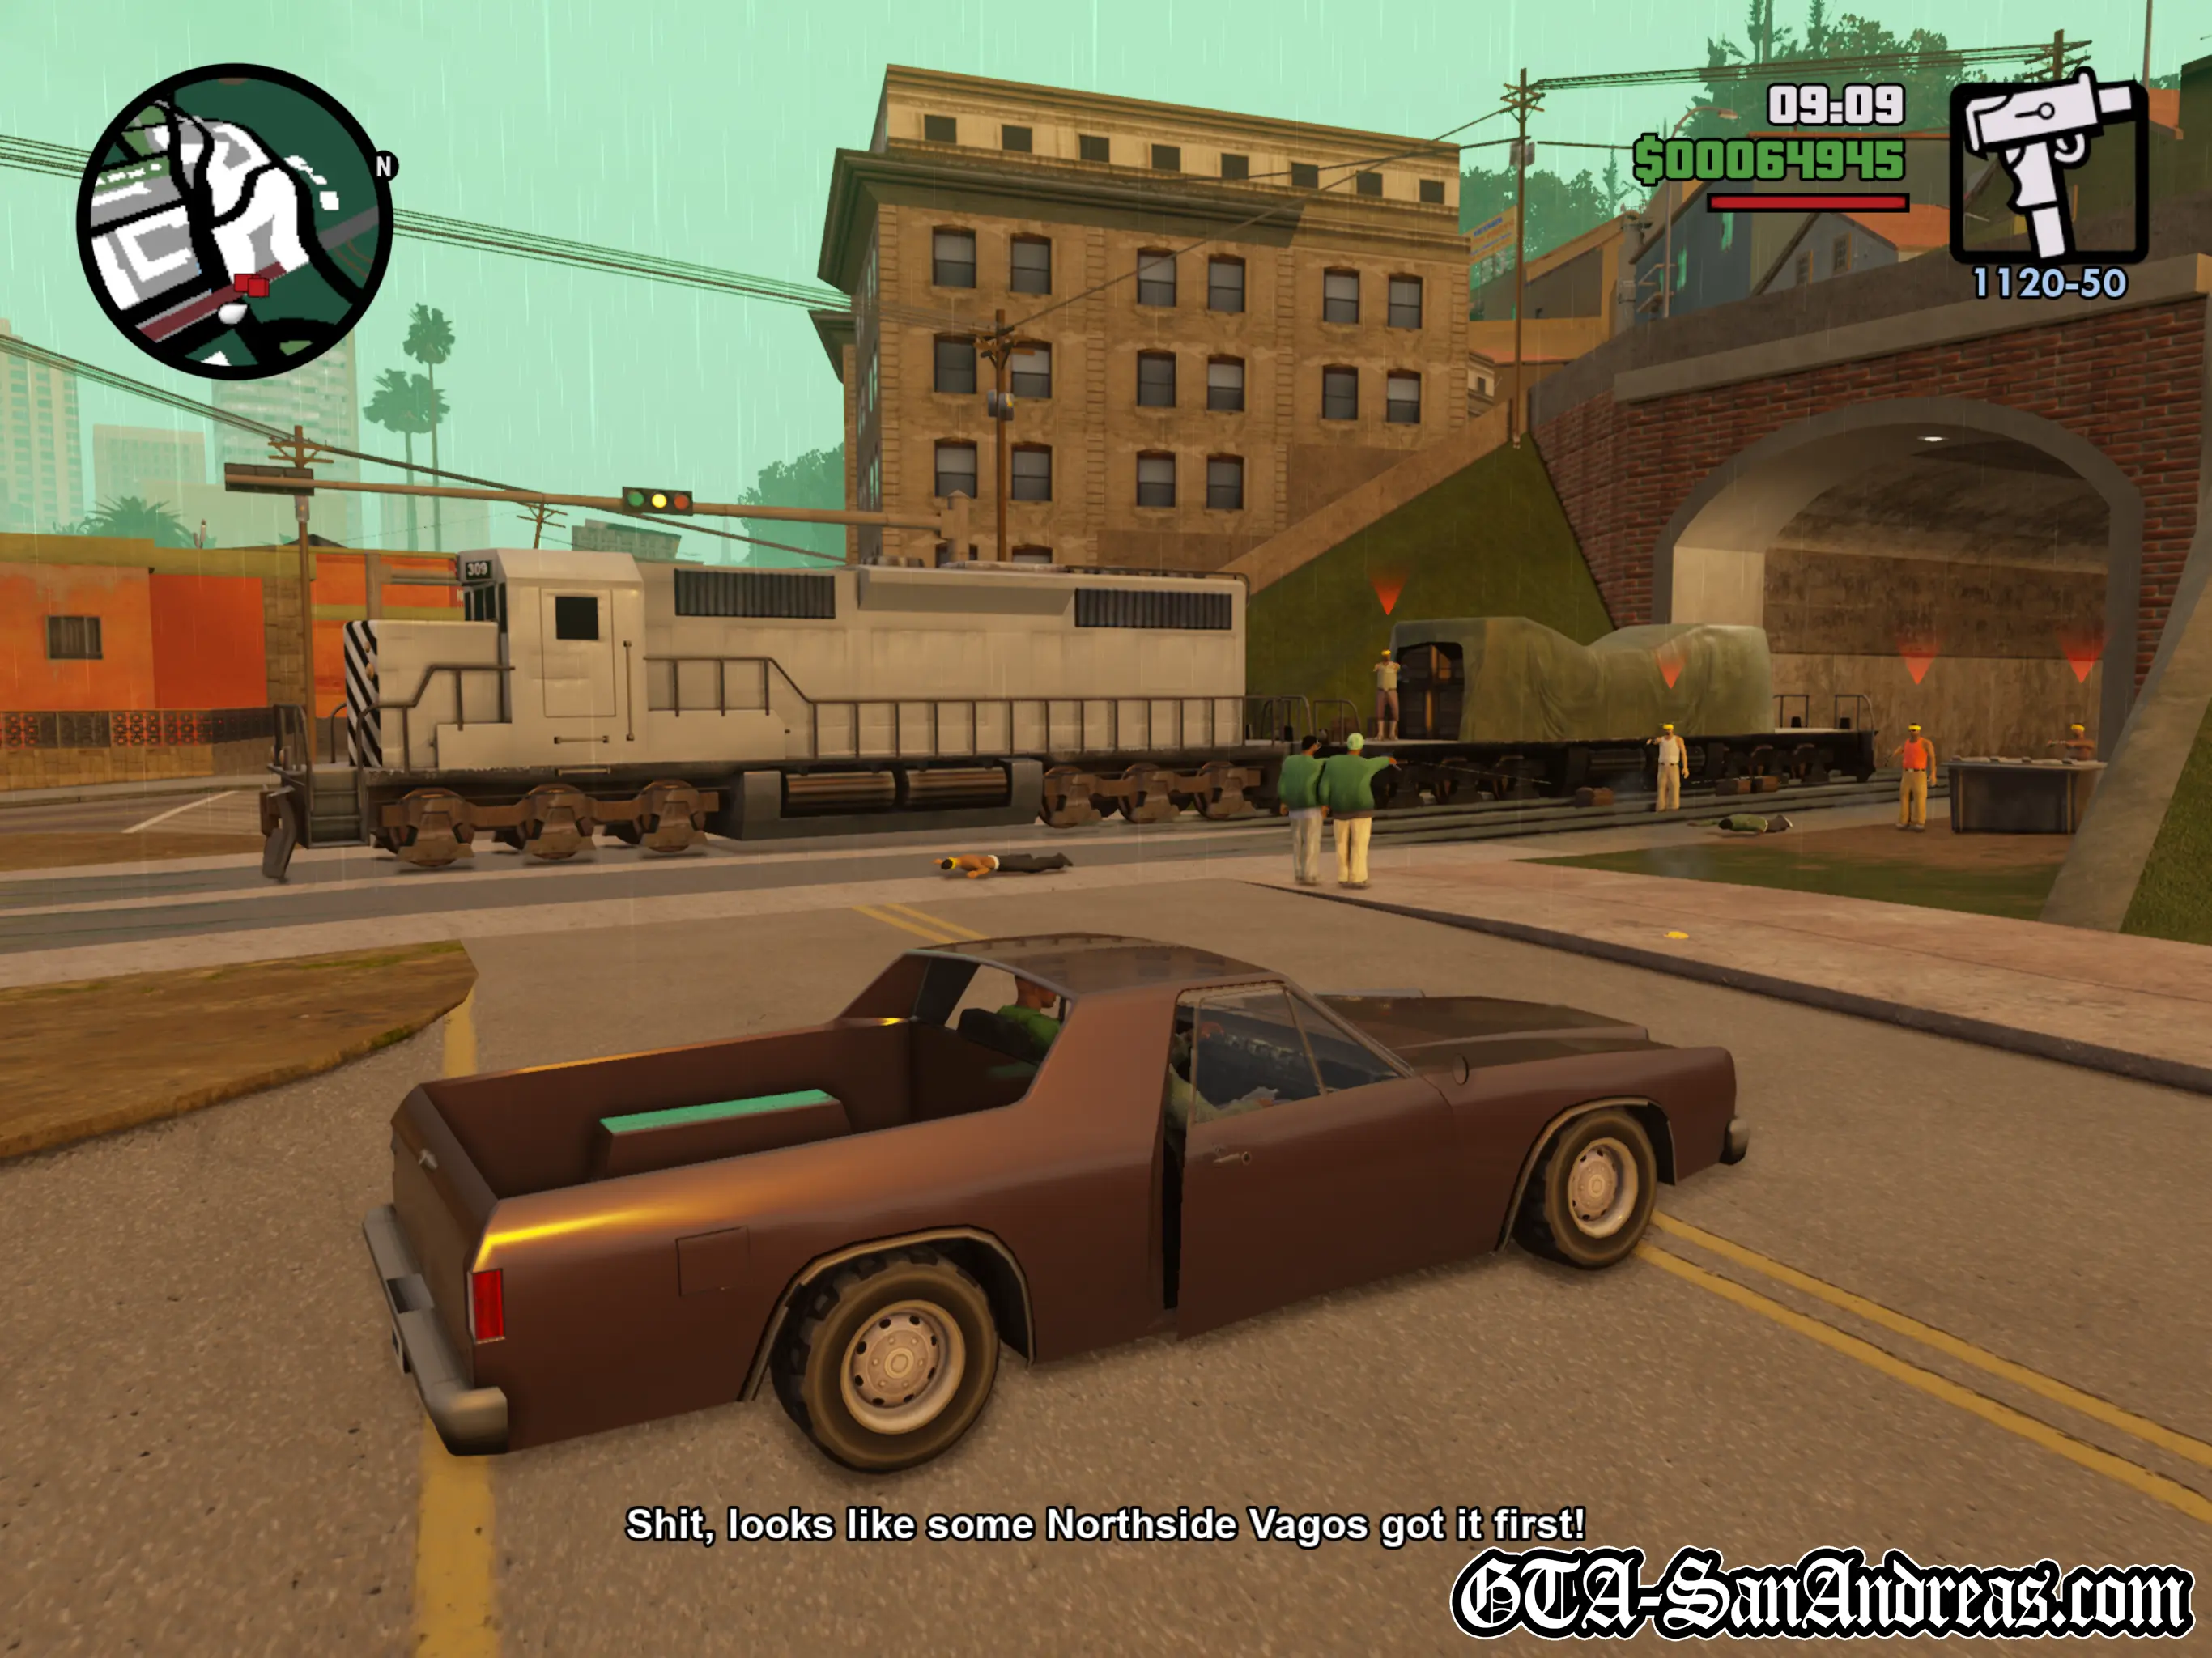
His cooking session is rudely interrupted by Tenpenny and Pulaski who barge in and take some for themselves, before telling Carl and Ryder that a train is making an unscheduled stop down the way with some cargo which may be of interest.
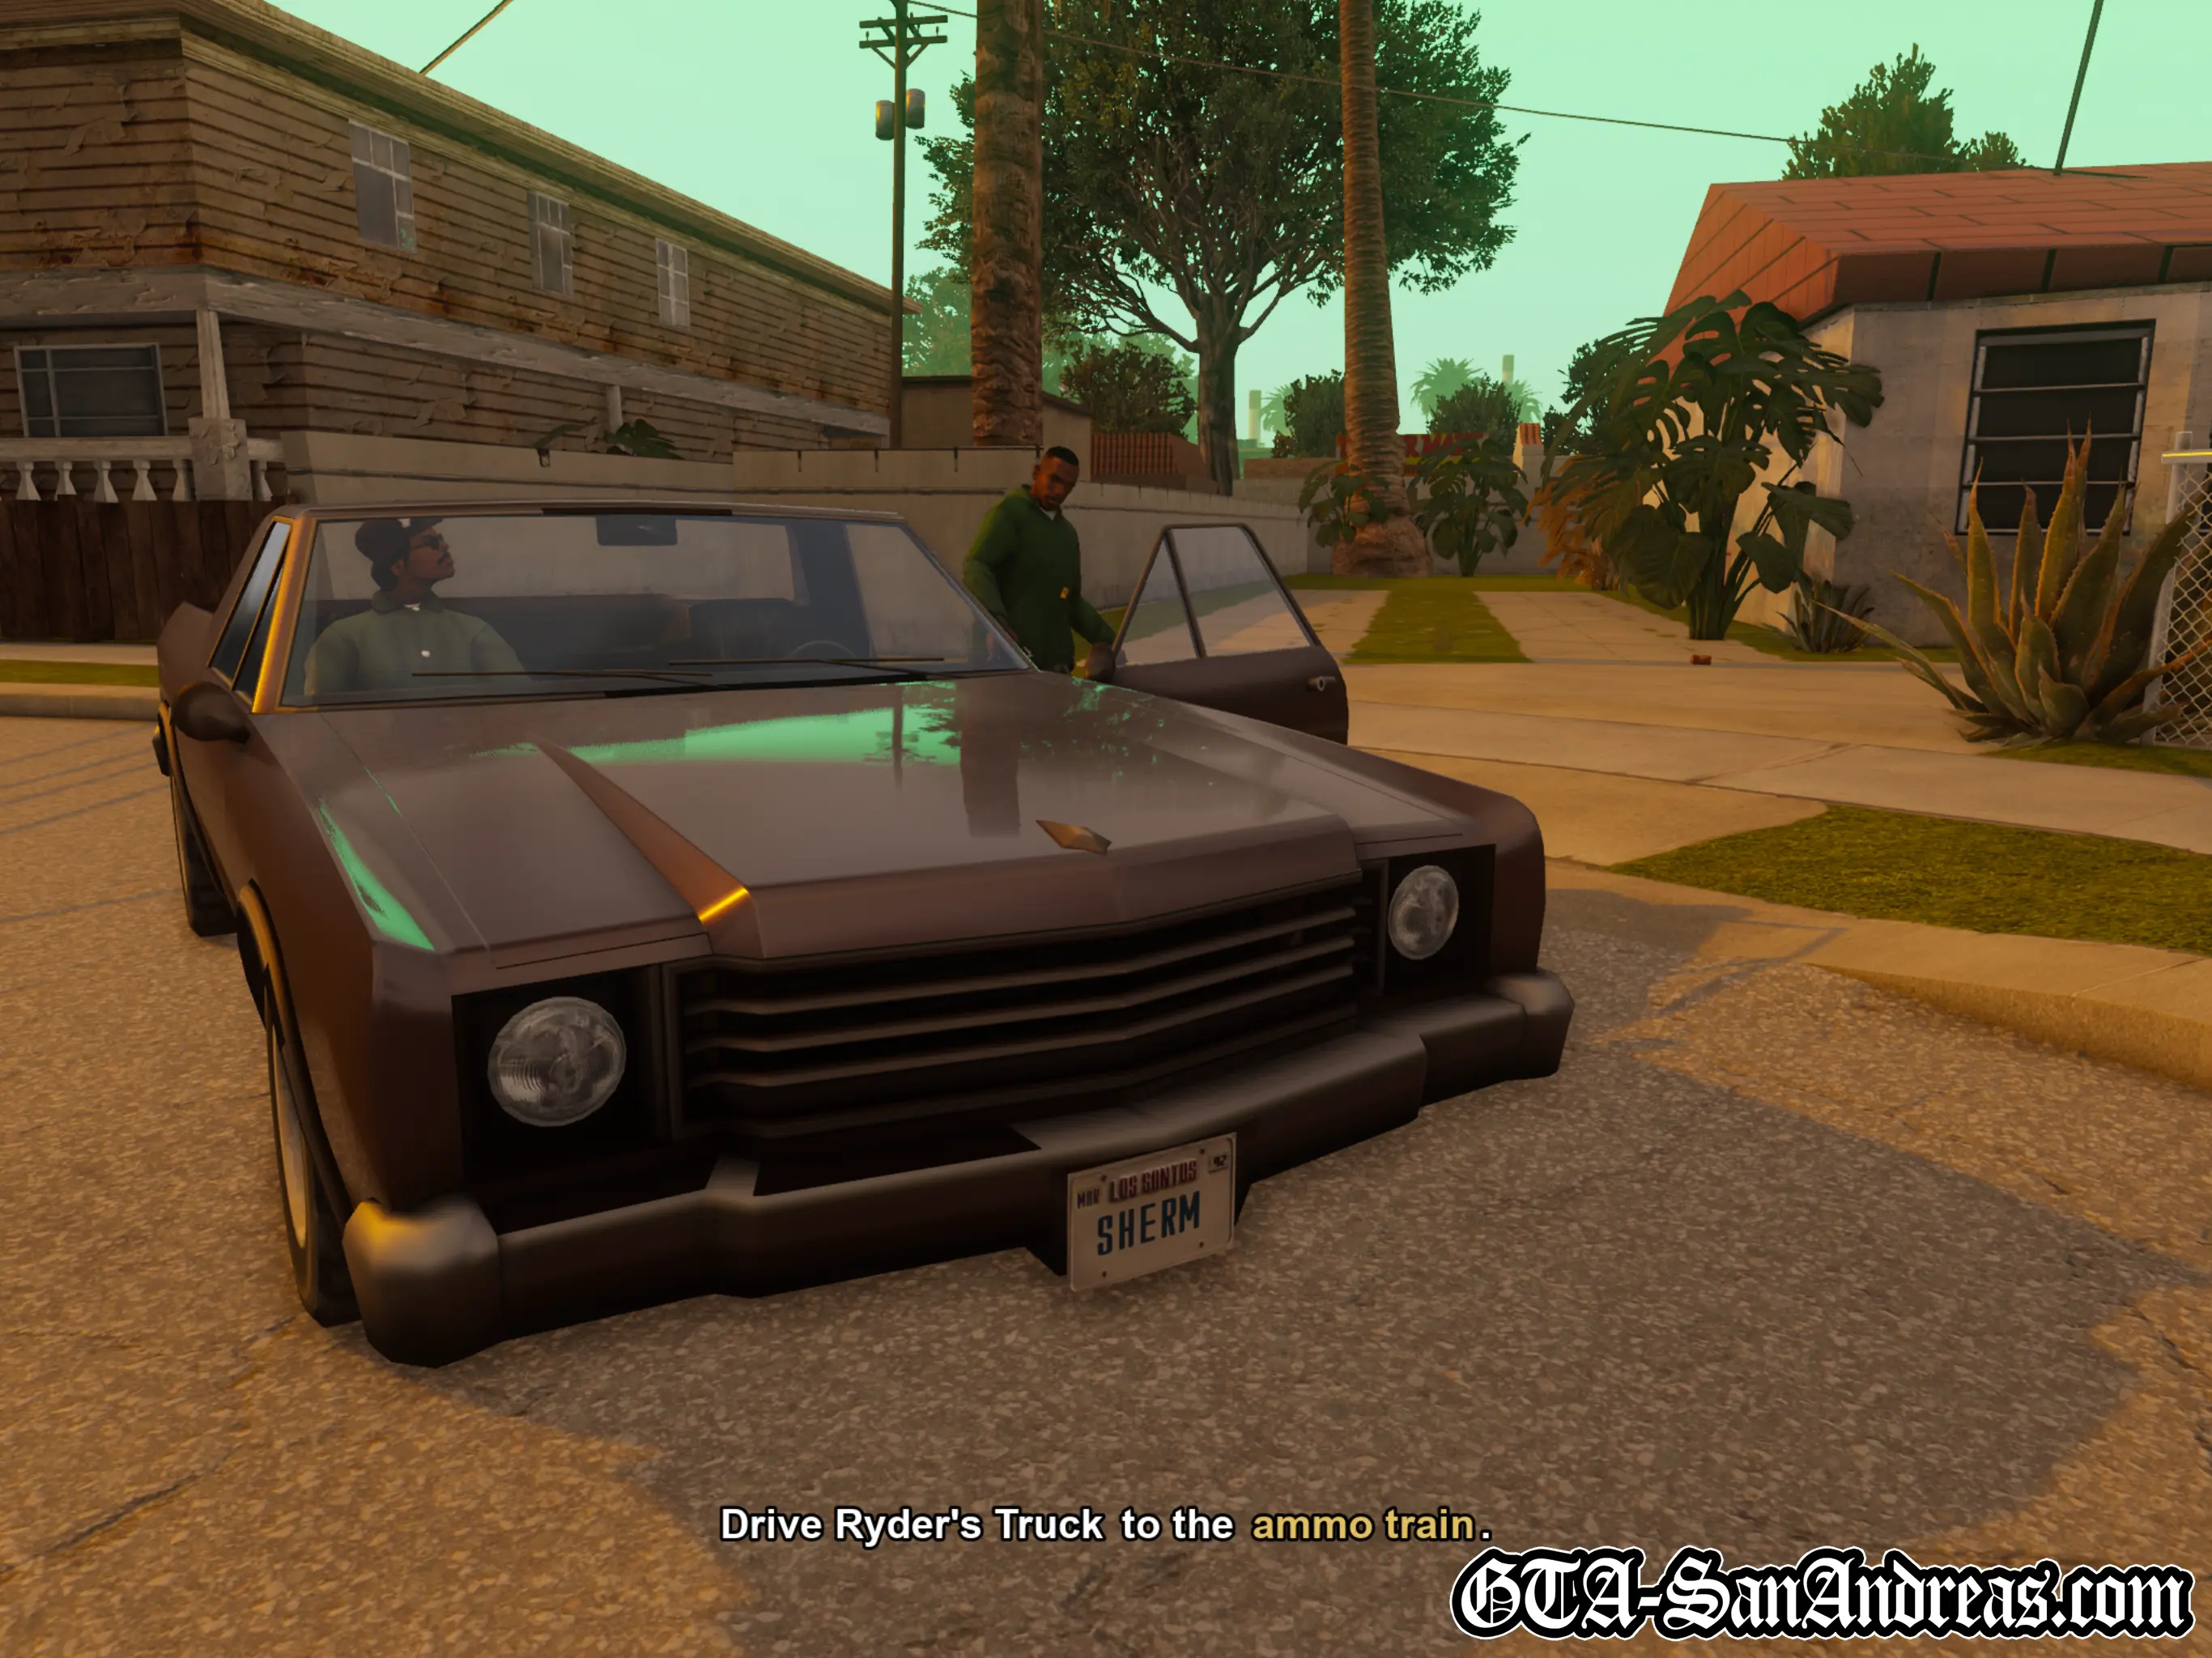
After Pulaski and Tenpenny leave, Carl and Ryder run out and get into his car.
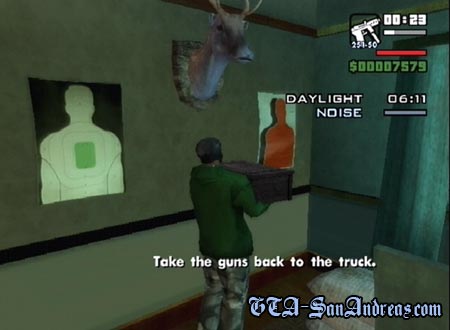
You'll start in Ryder's car, so drive to the ammo train which is parked up at the entrance to the train tunnel, marked by a yellow blip on the radar. Once there, you'll meet up with some fellow Grove Street Members.
My advice is to drive past the commotion and into the tunnel, then turn around. Park up close to the train, then get out of the car and take care of the five or so Vagos who got to the train before you.
Because they're distracted by the other gang members outside the tunnel, they usually won't notice you making it easier to kill them safely.
Cutscene
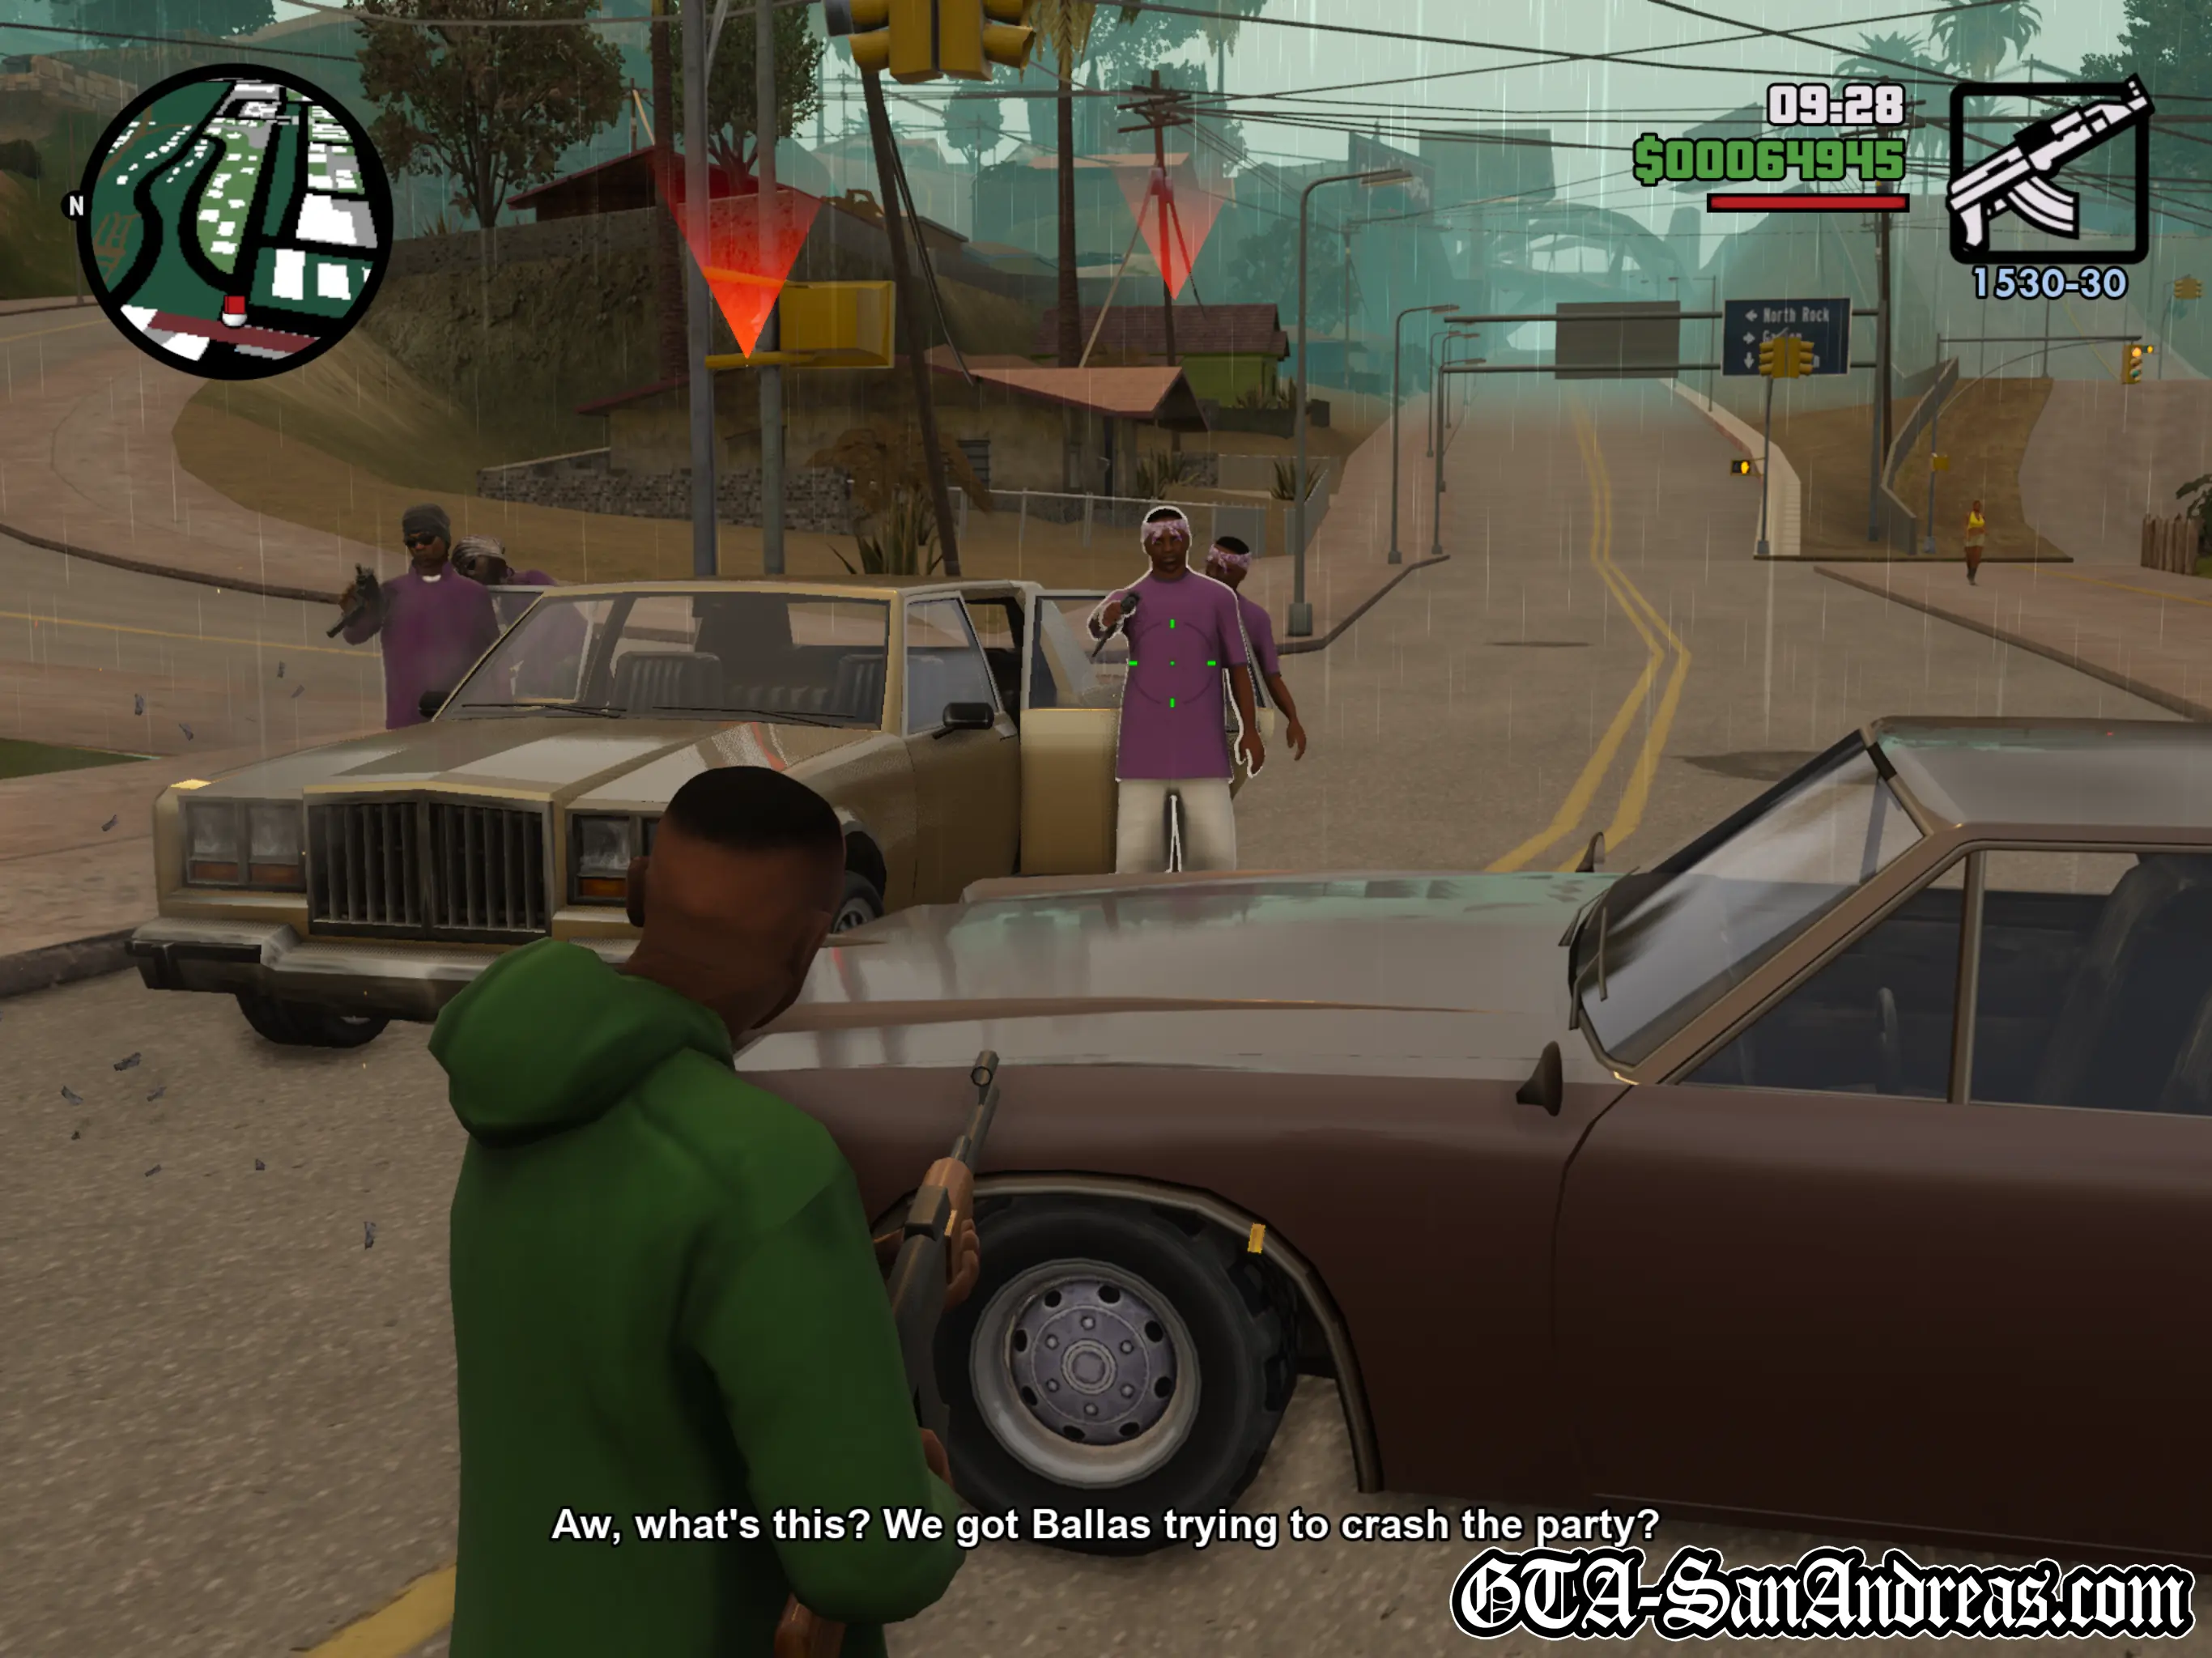
A car full of Ballas will roll up and you'll be told to protect the train. Looks like Tenpenny told every gang in South Central!
Stay in cover and take out the Ballas, which shouldn't take too much effort, then Ryder will tell you to check the train. Stand in the red marker at the back of the train and Carl will climb on board.
Cutscene
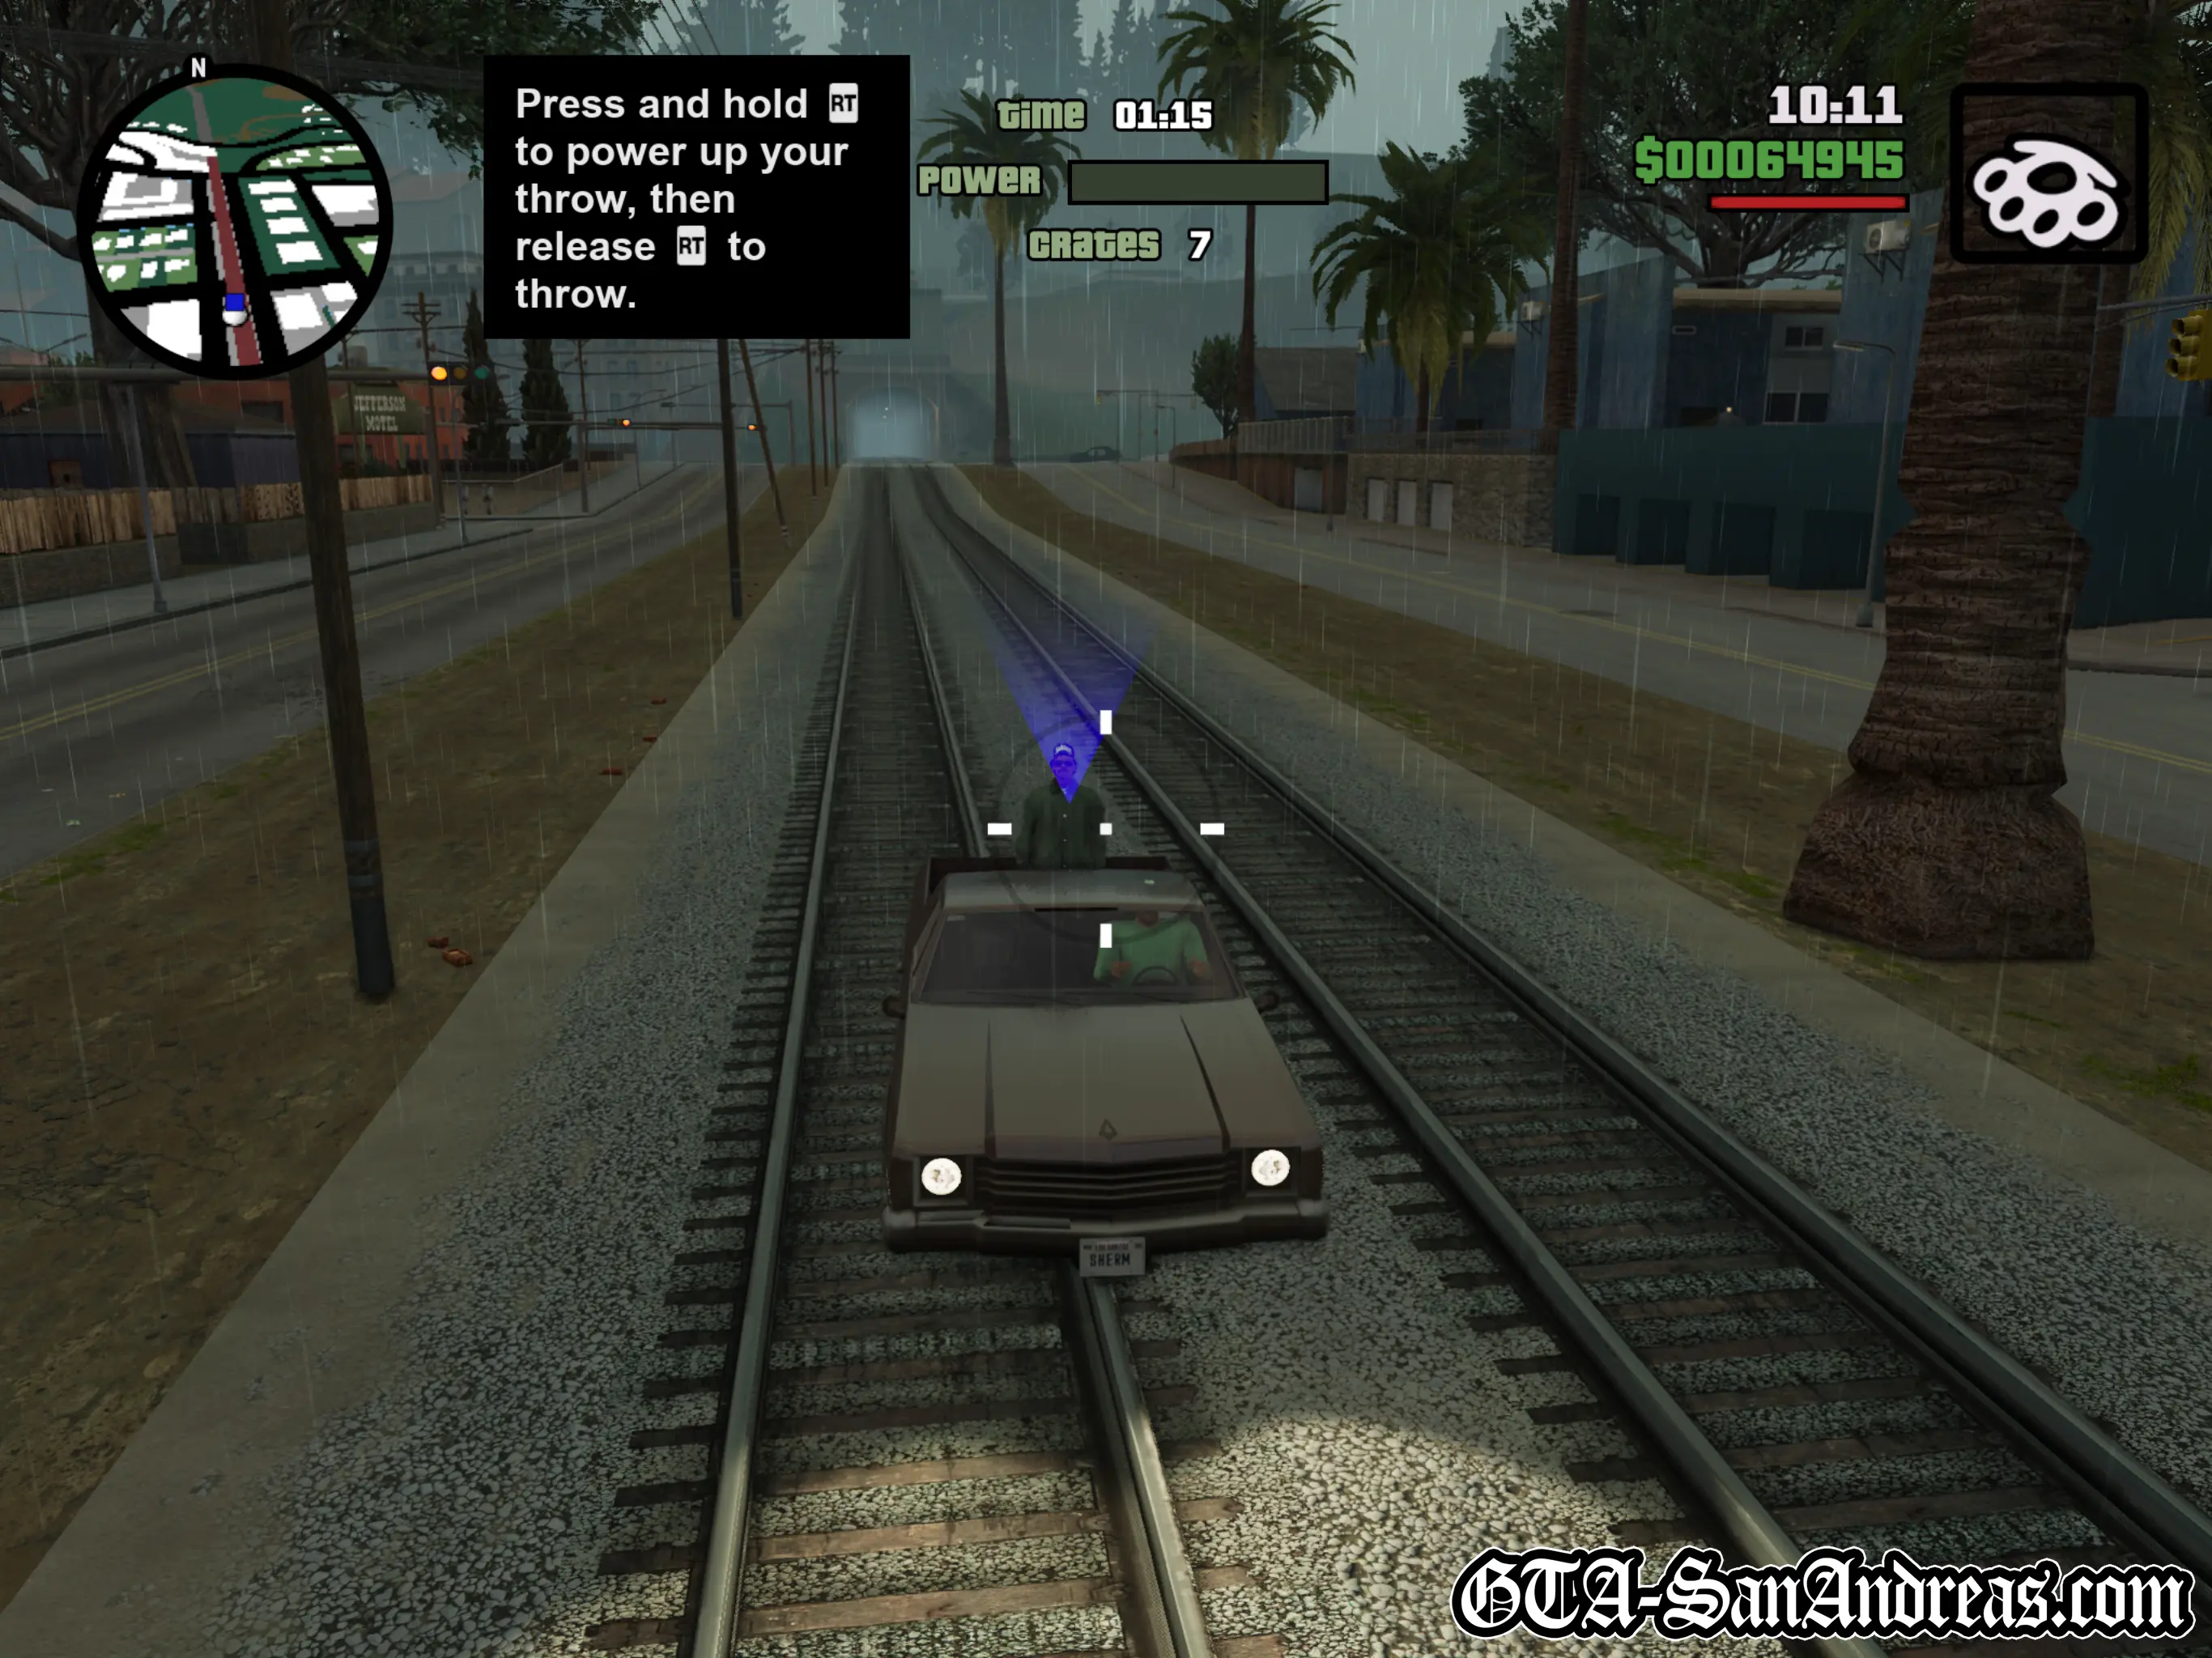
Immediately after Carl gets on the train, it will begin to pull away.
You're now locked in first-person view on the back of the train. Ryder is standing in the back of his truck while another Grove Street member follows the train.
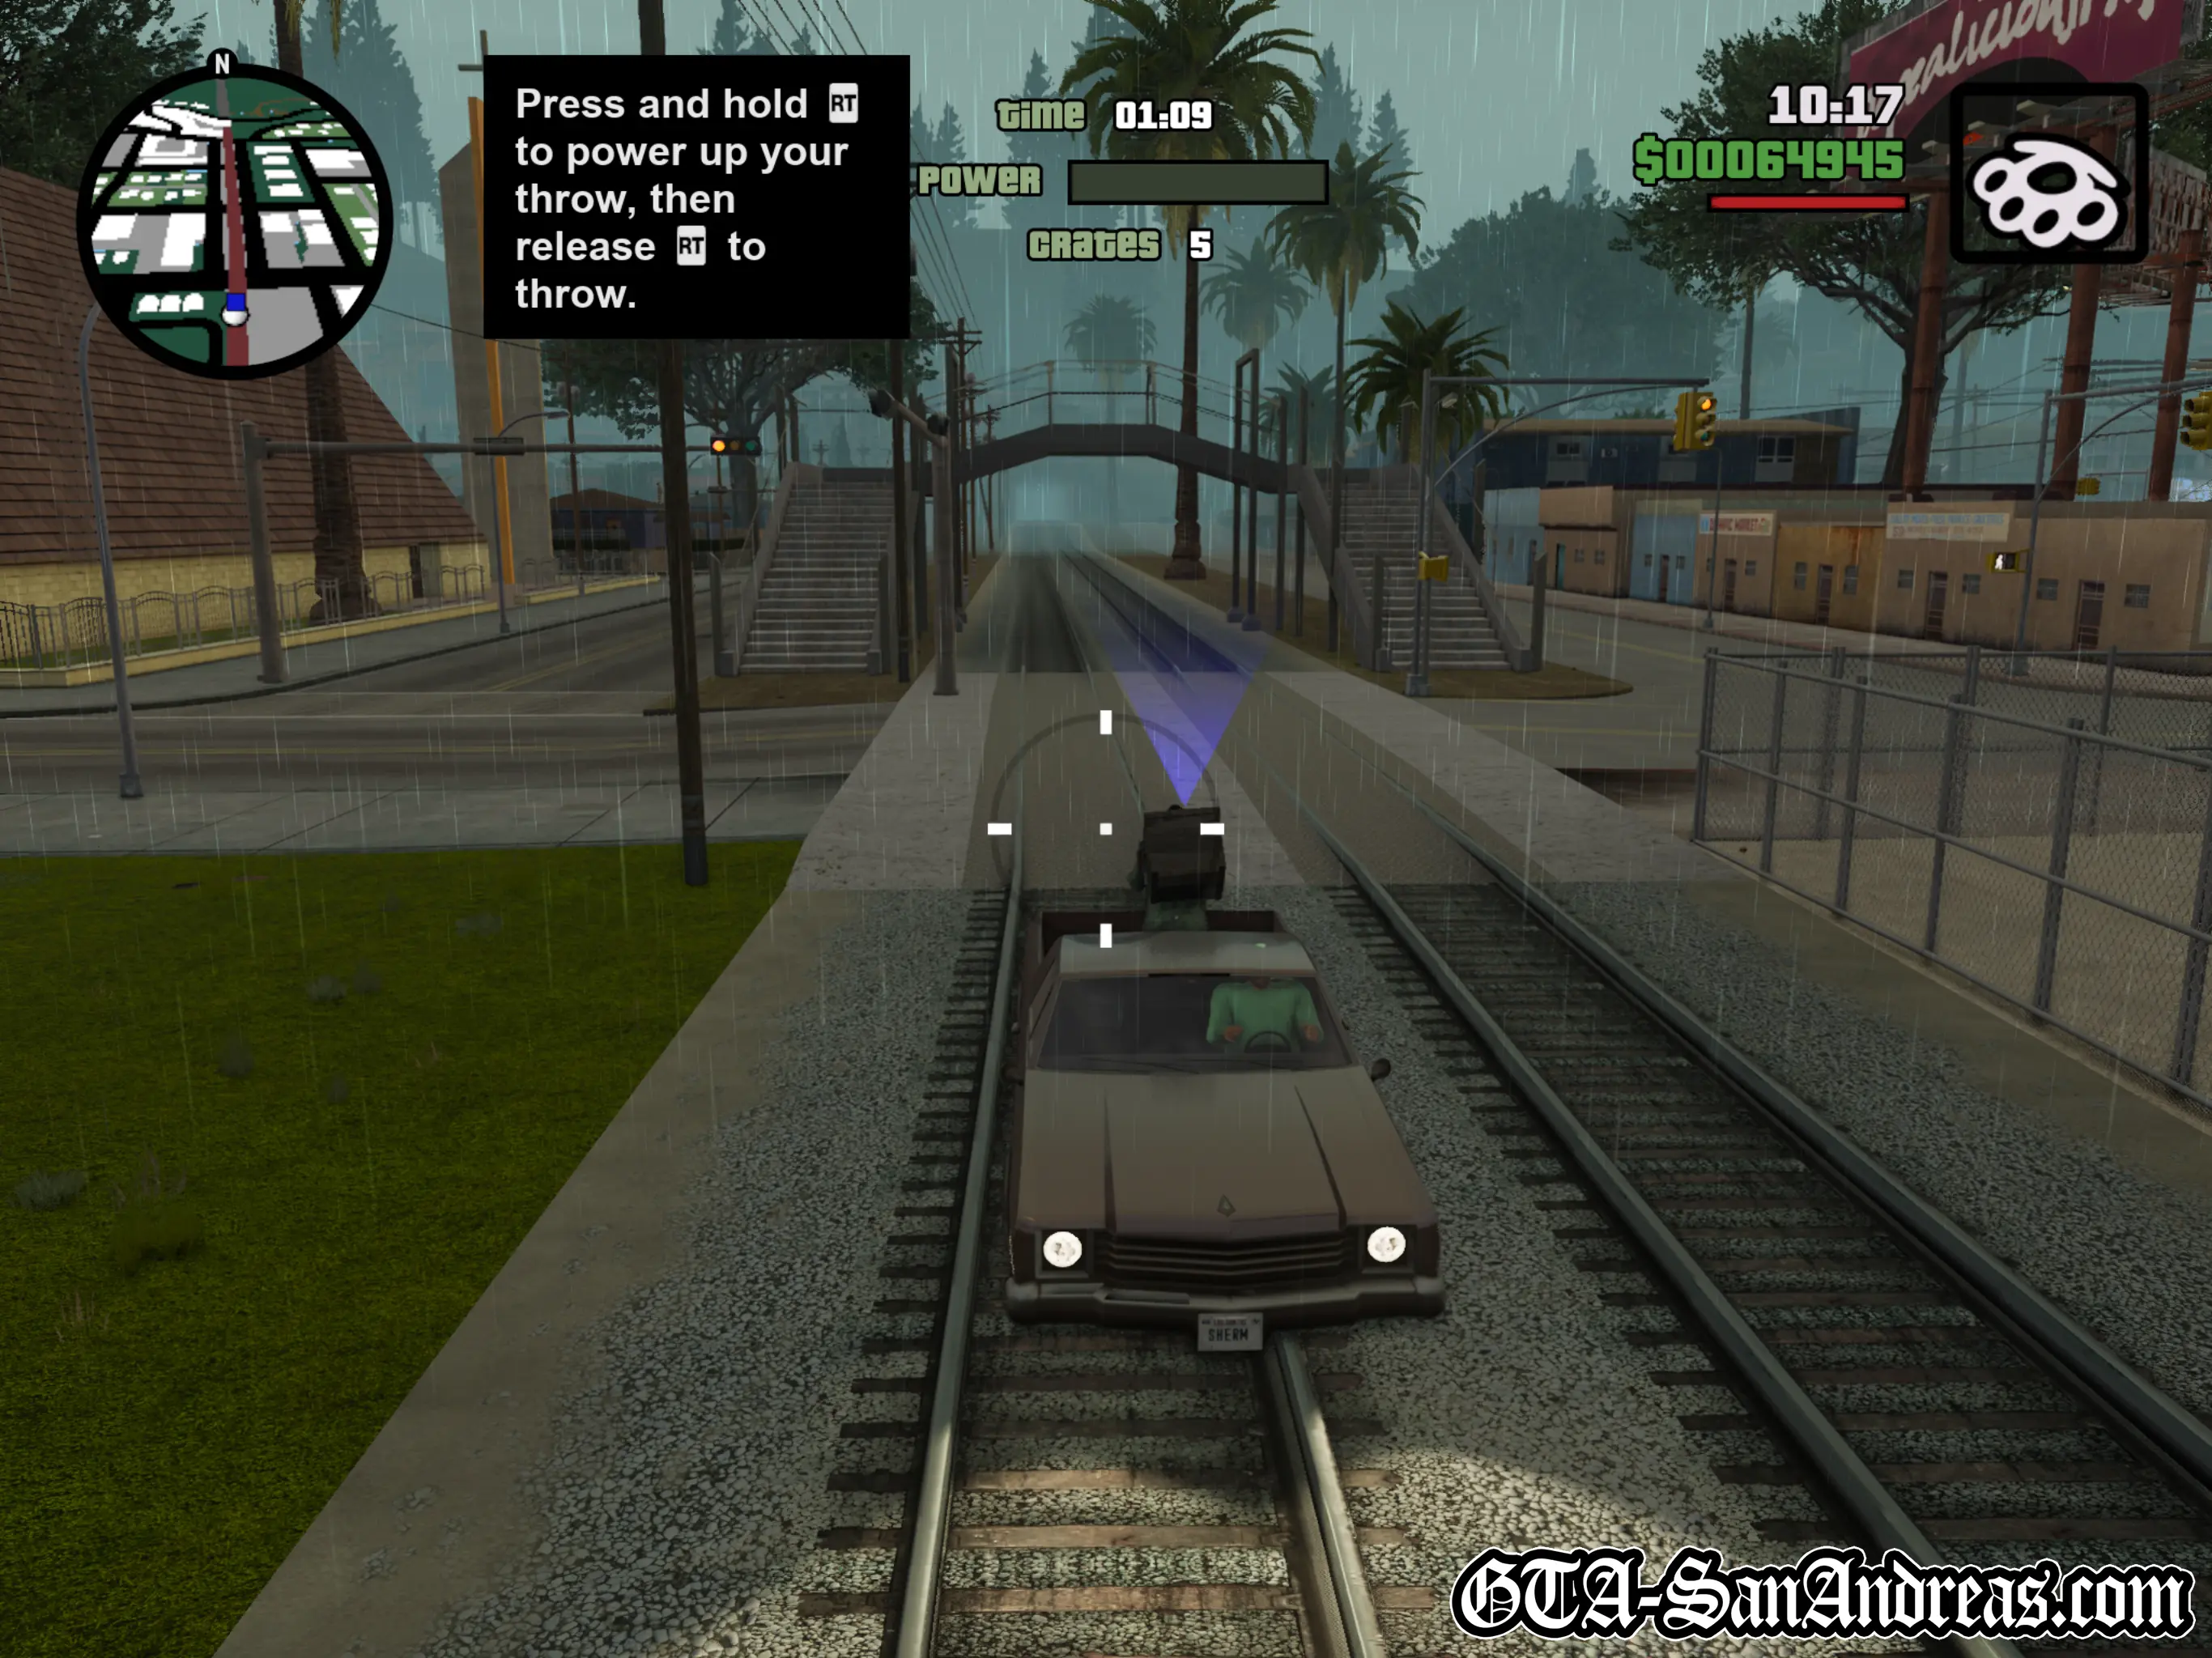
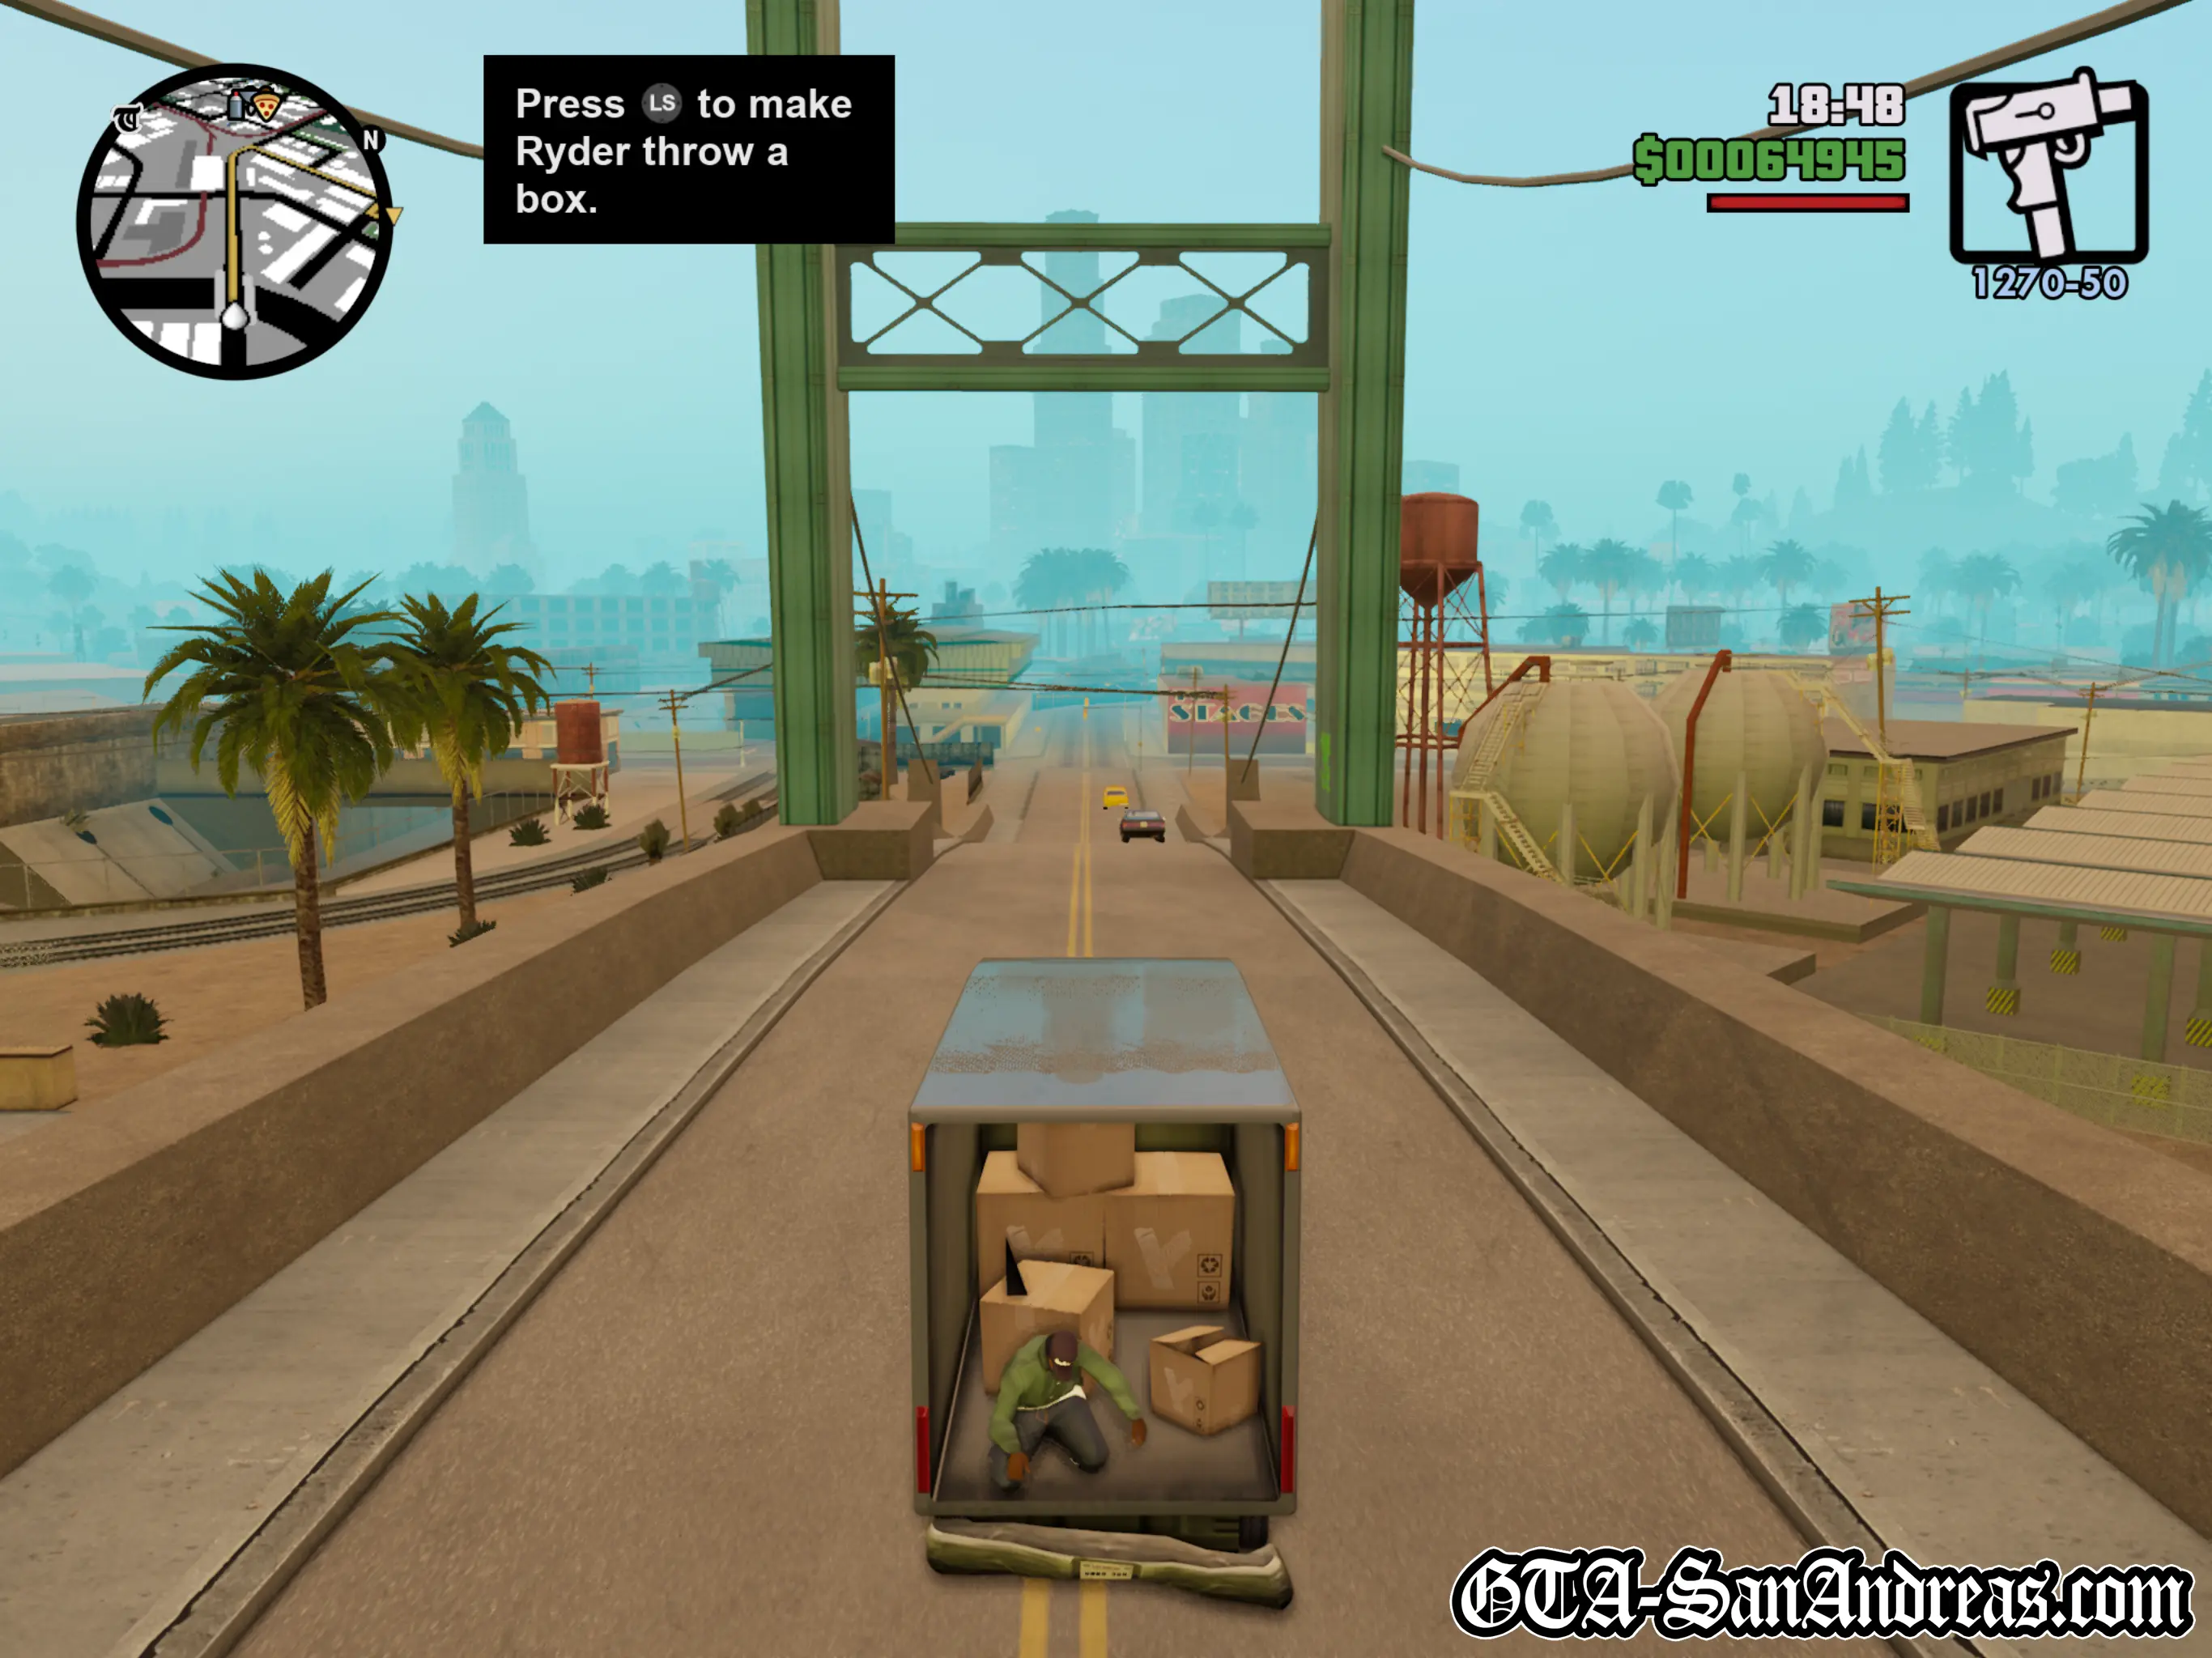
Your objective is to throw crates to Ryder from the train. Hold down the 'shoot' button to boost your throwing power, then let go to throw a crate. The longer you hold shoot, the further you'll throw, but don't use too much power or you'll launch the crate past Ryder.
You'll also need to aim your throws with the left analog stick, so make sure you're aiming directly at Ryder or the crate will bounce off the front of the car and be lost.
You need to throw ten crates to Ryder before the time runs out, which isn't really a hard task when you get used to it. You can get him to catch all ten crates in about fifteen seconds if you're good.
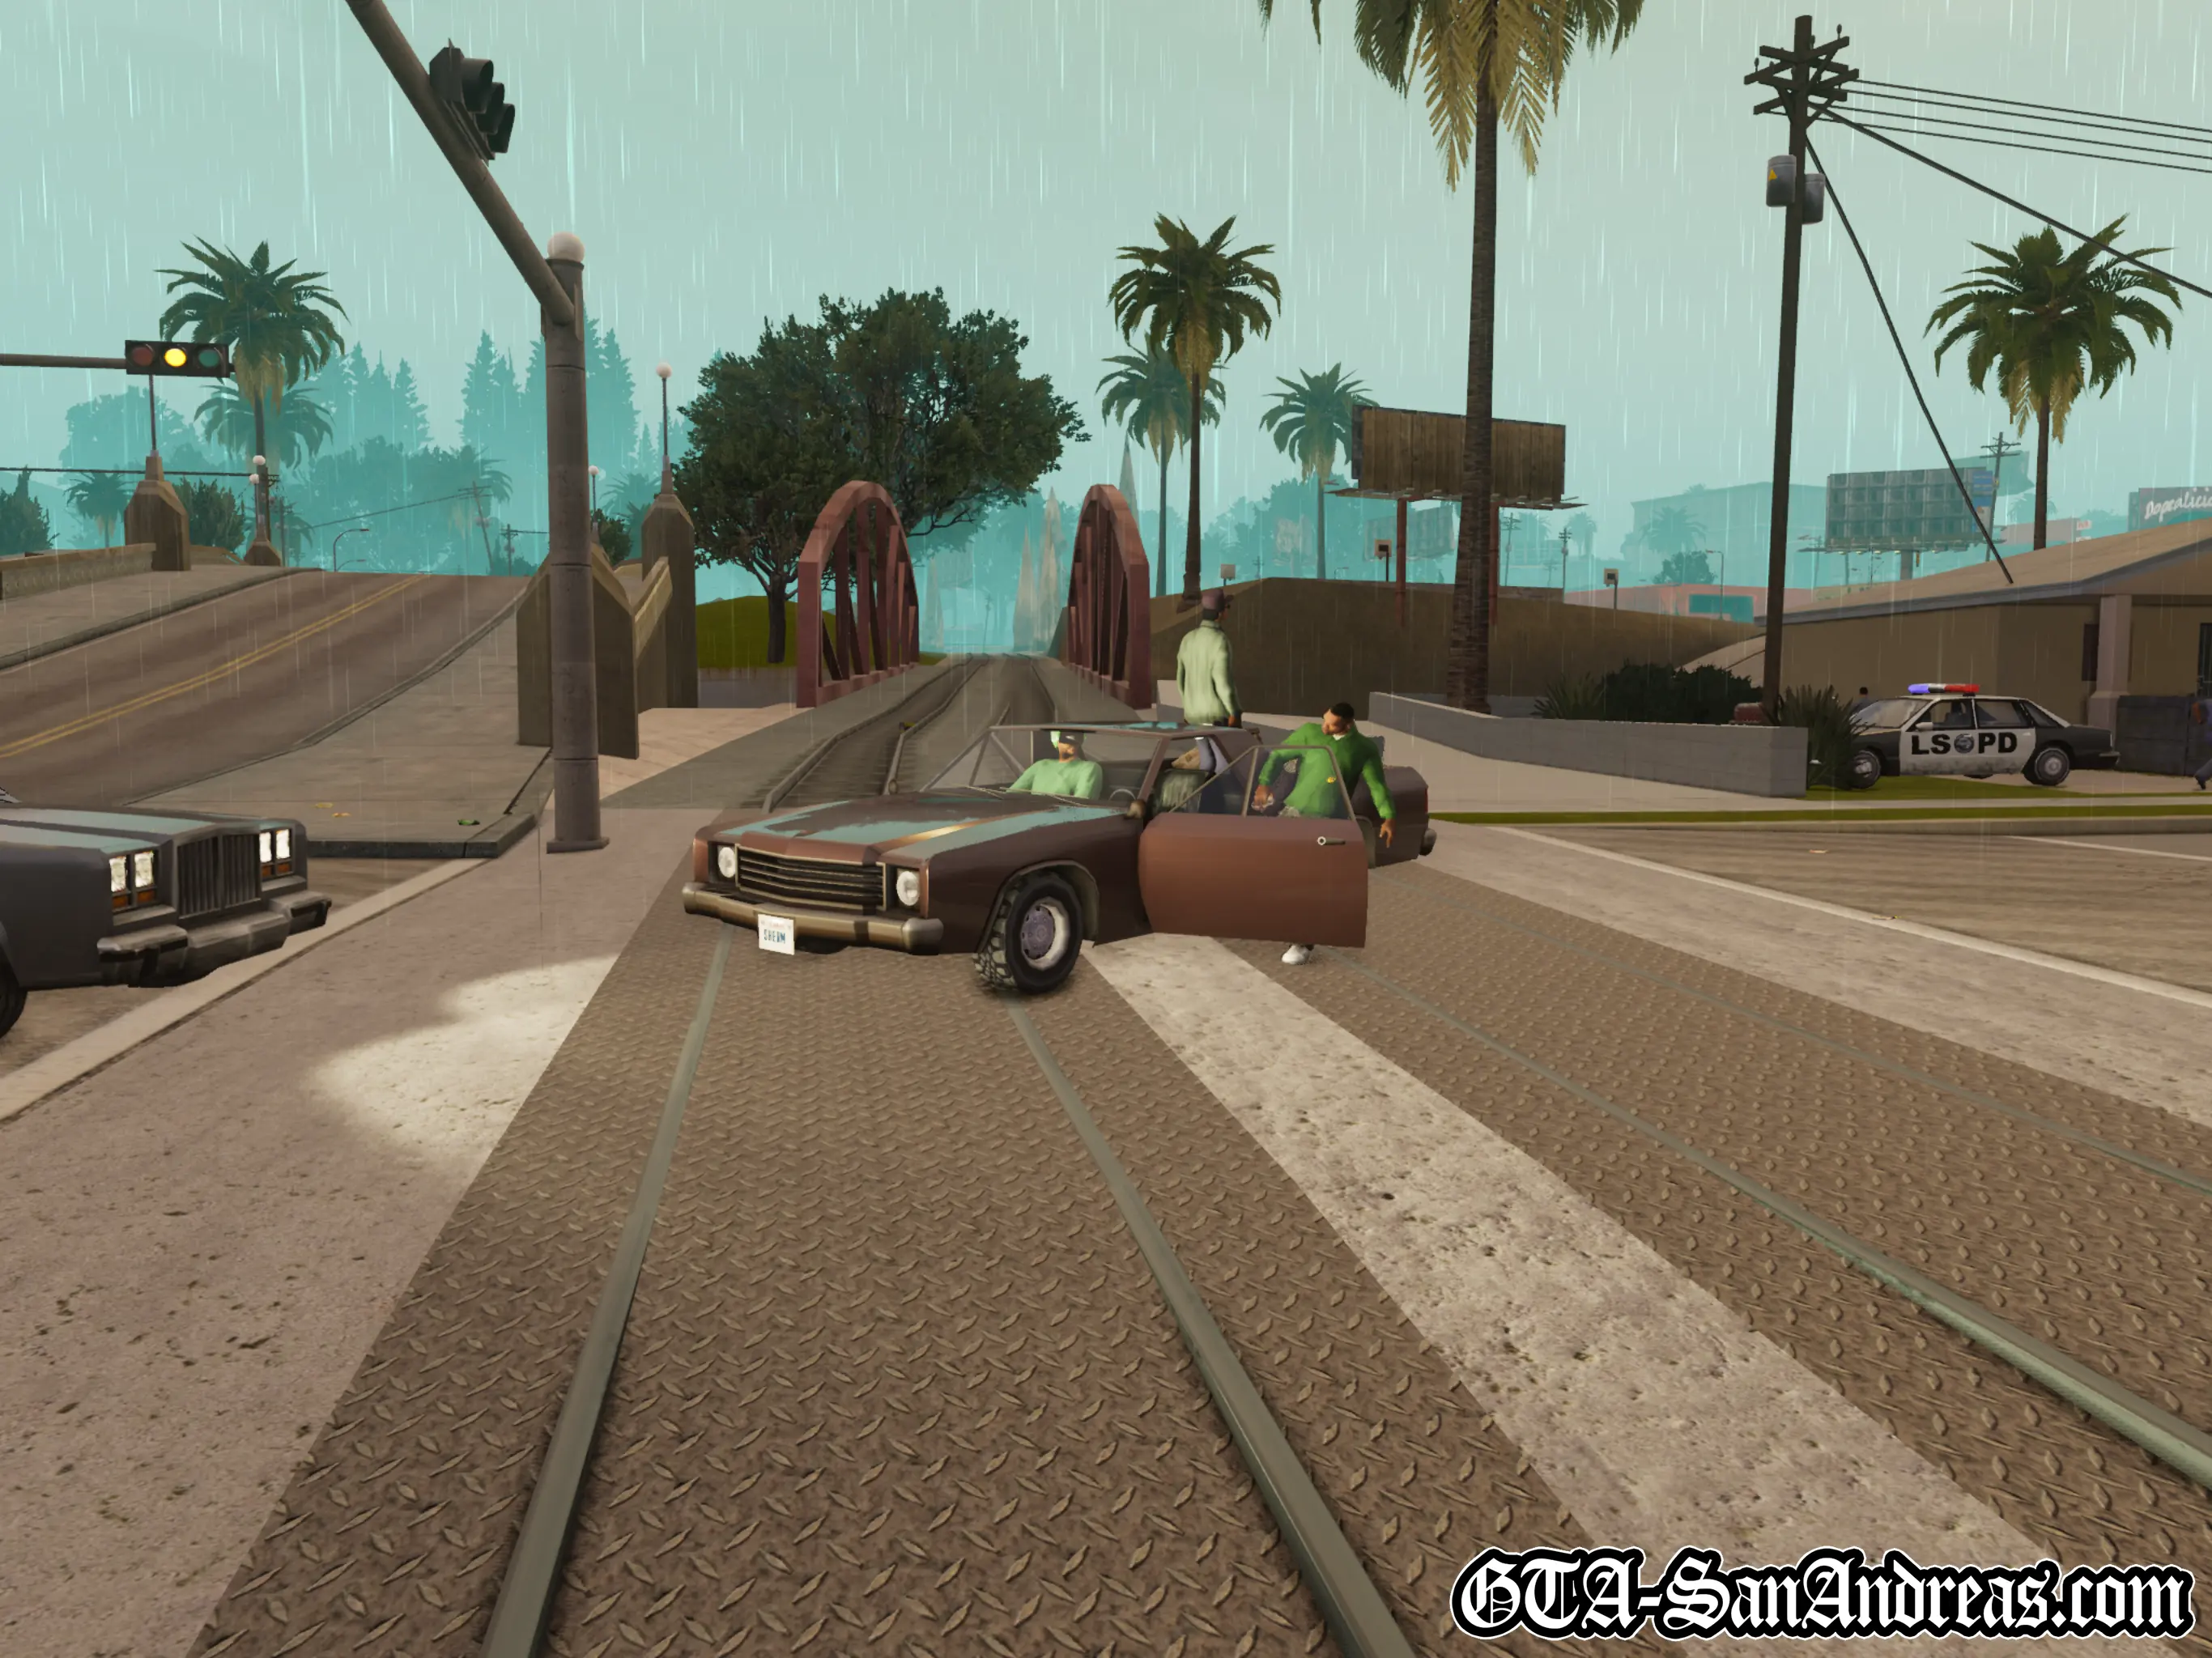
Cutscene
Once they've all been caught, Ryder's truck is parked on the tracks and CJ, who is now off the train, takes over the driving again.
You've now got a three star wanted level, so you need to drive to the near-by Pay N' Spray to lose the heat. The game will mark it on the radar with a yellow blip.
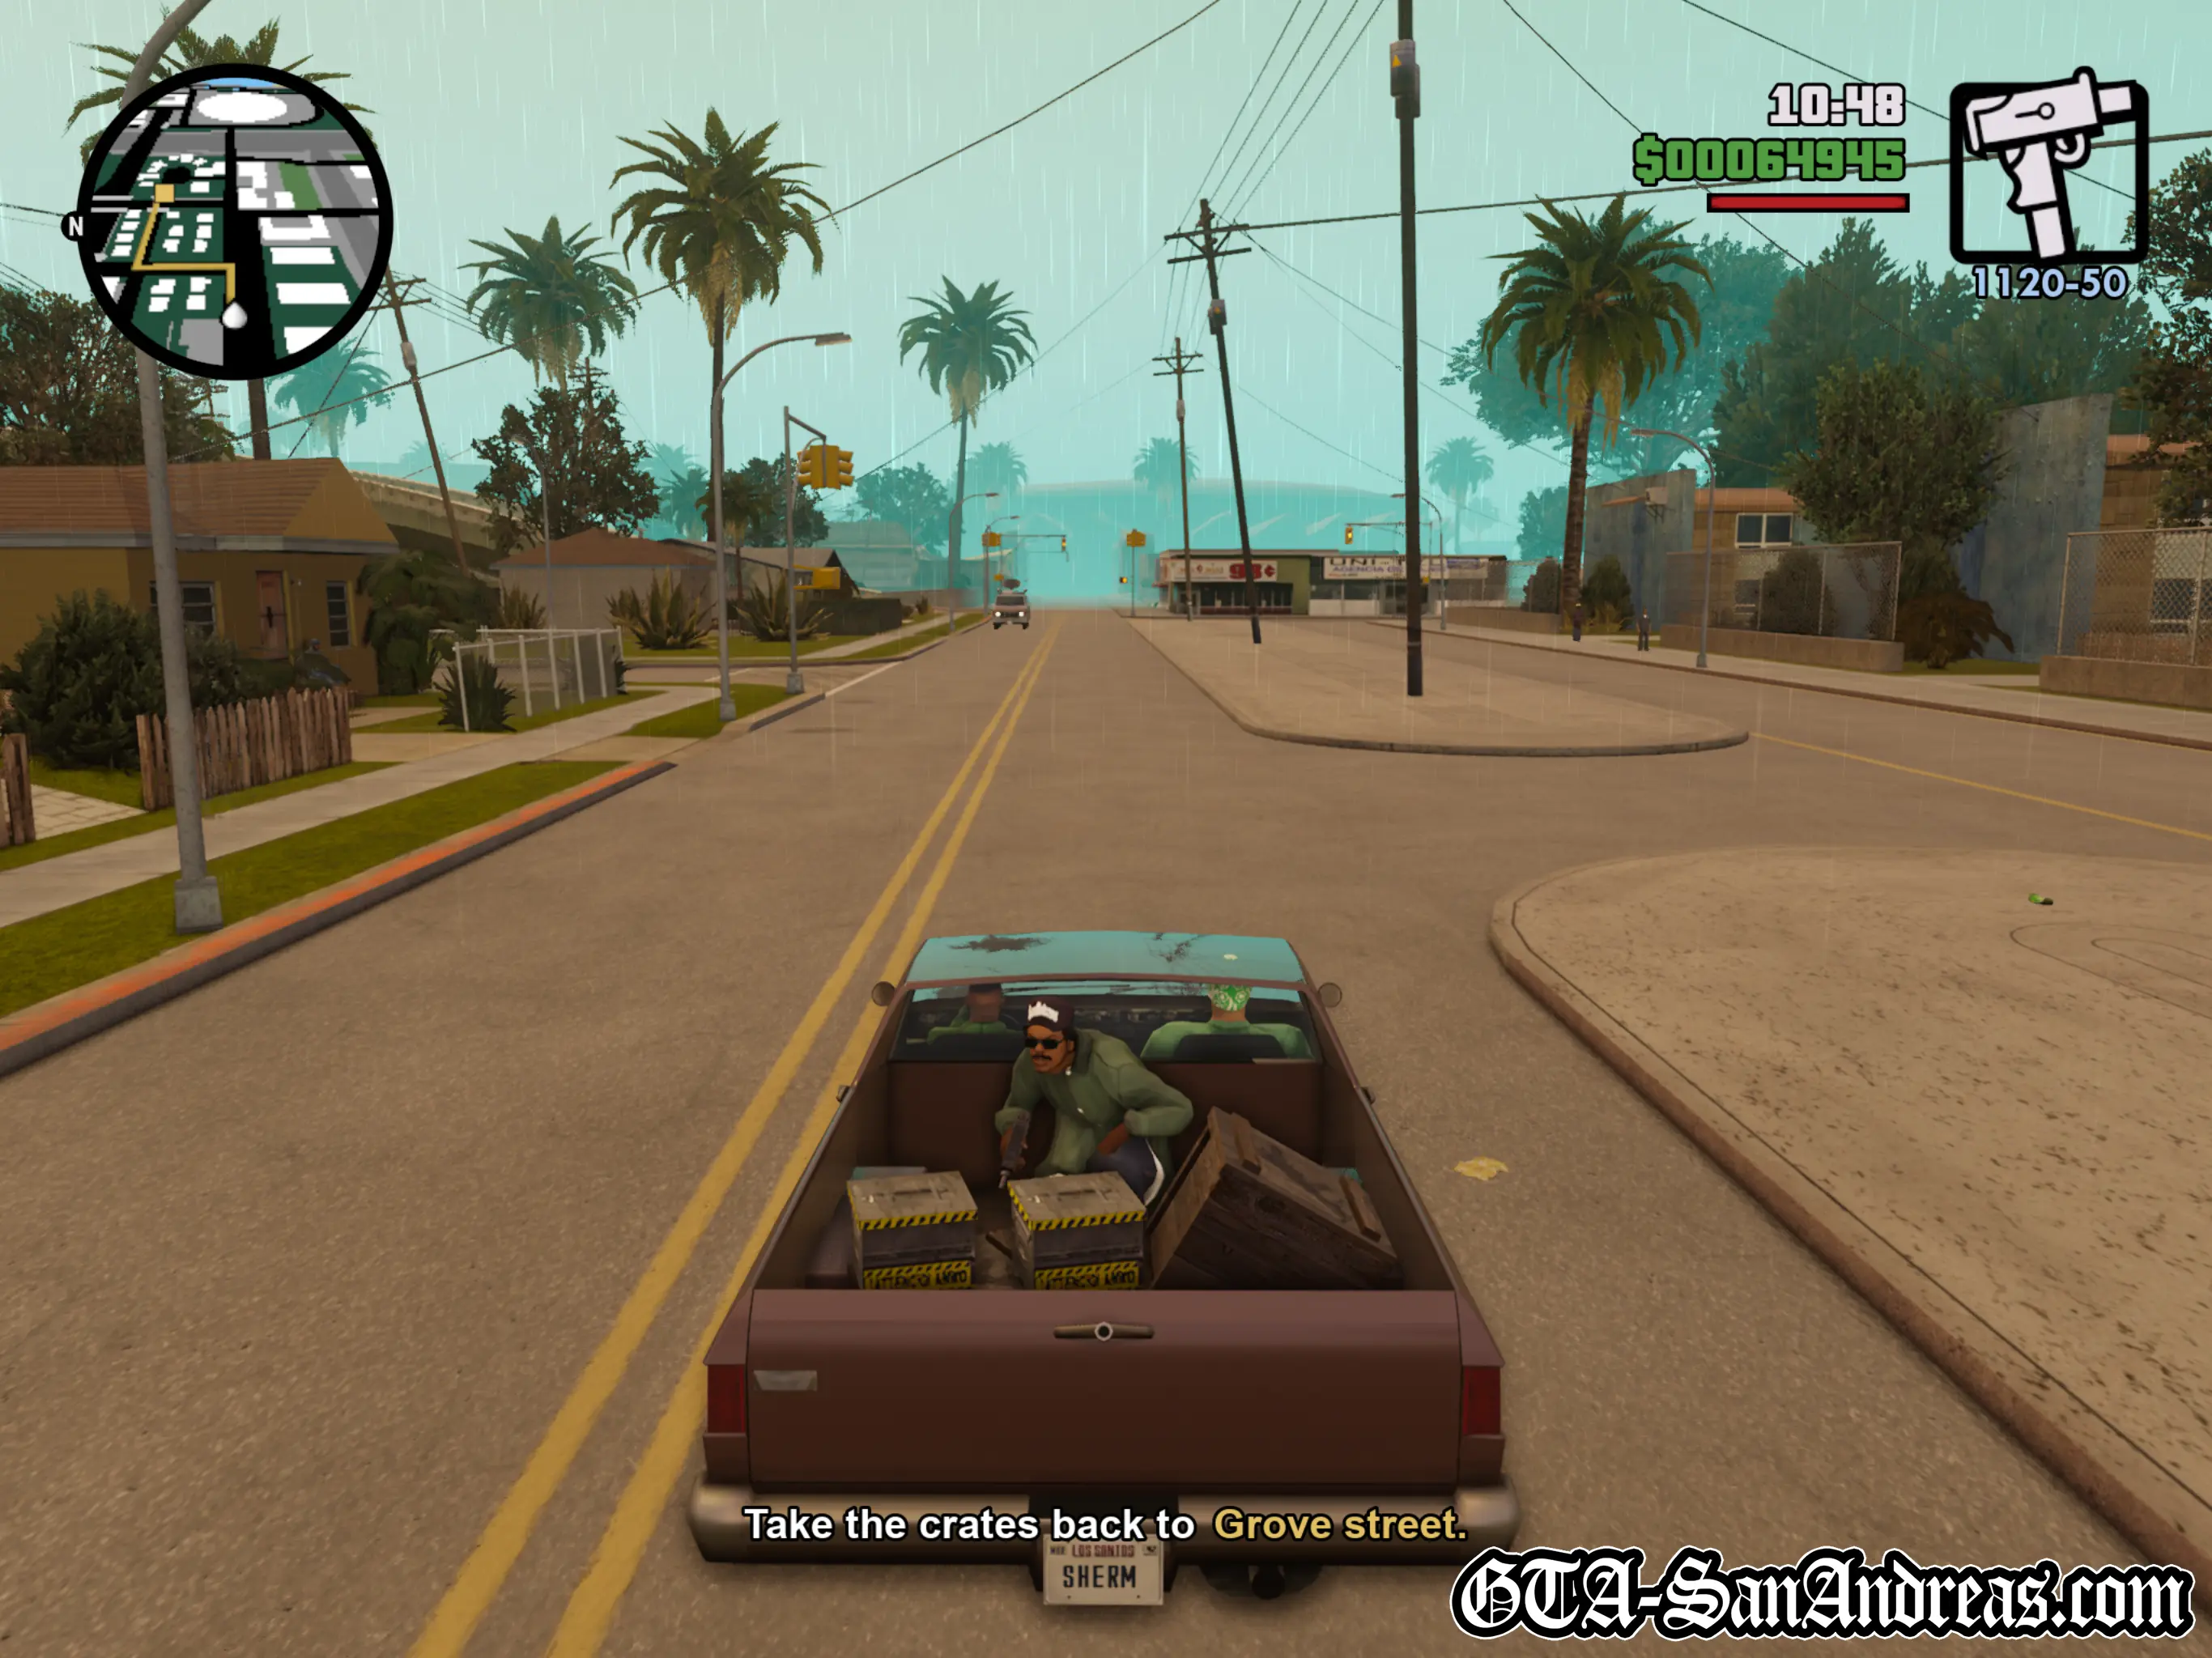
Once the police are no longer interested, drive back to Grove Street with the crates and pass through the red marker at the entrance to the cul-de-sac.
Cutscene
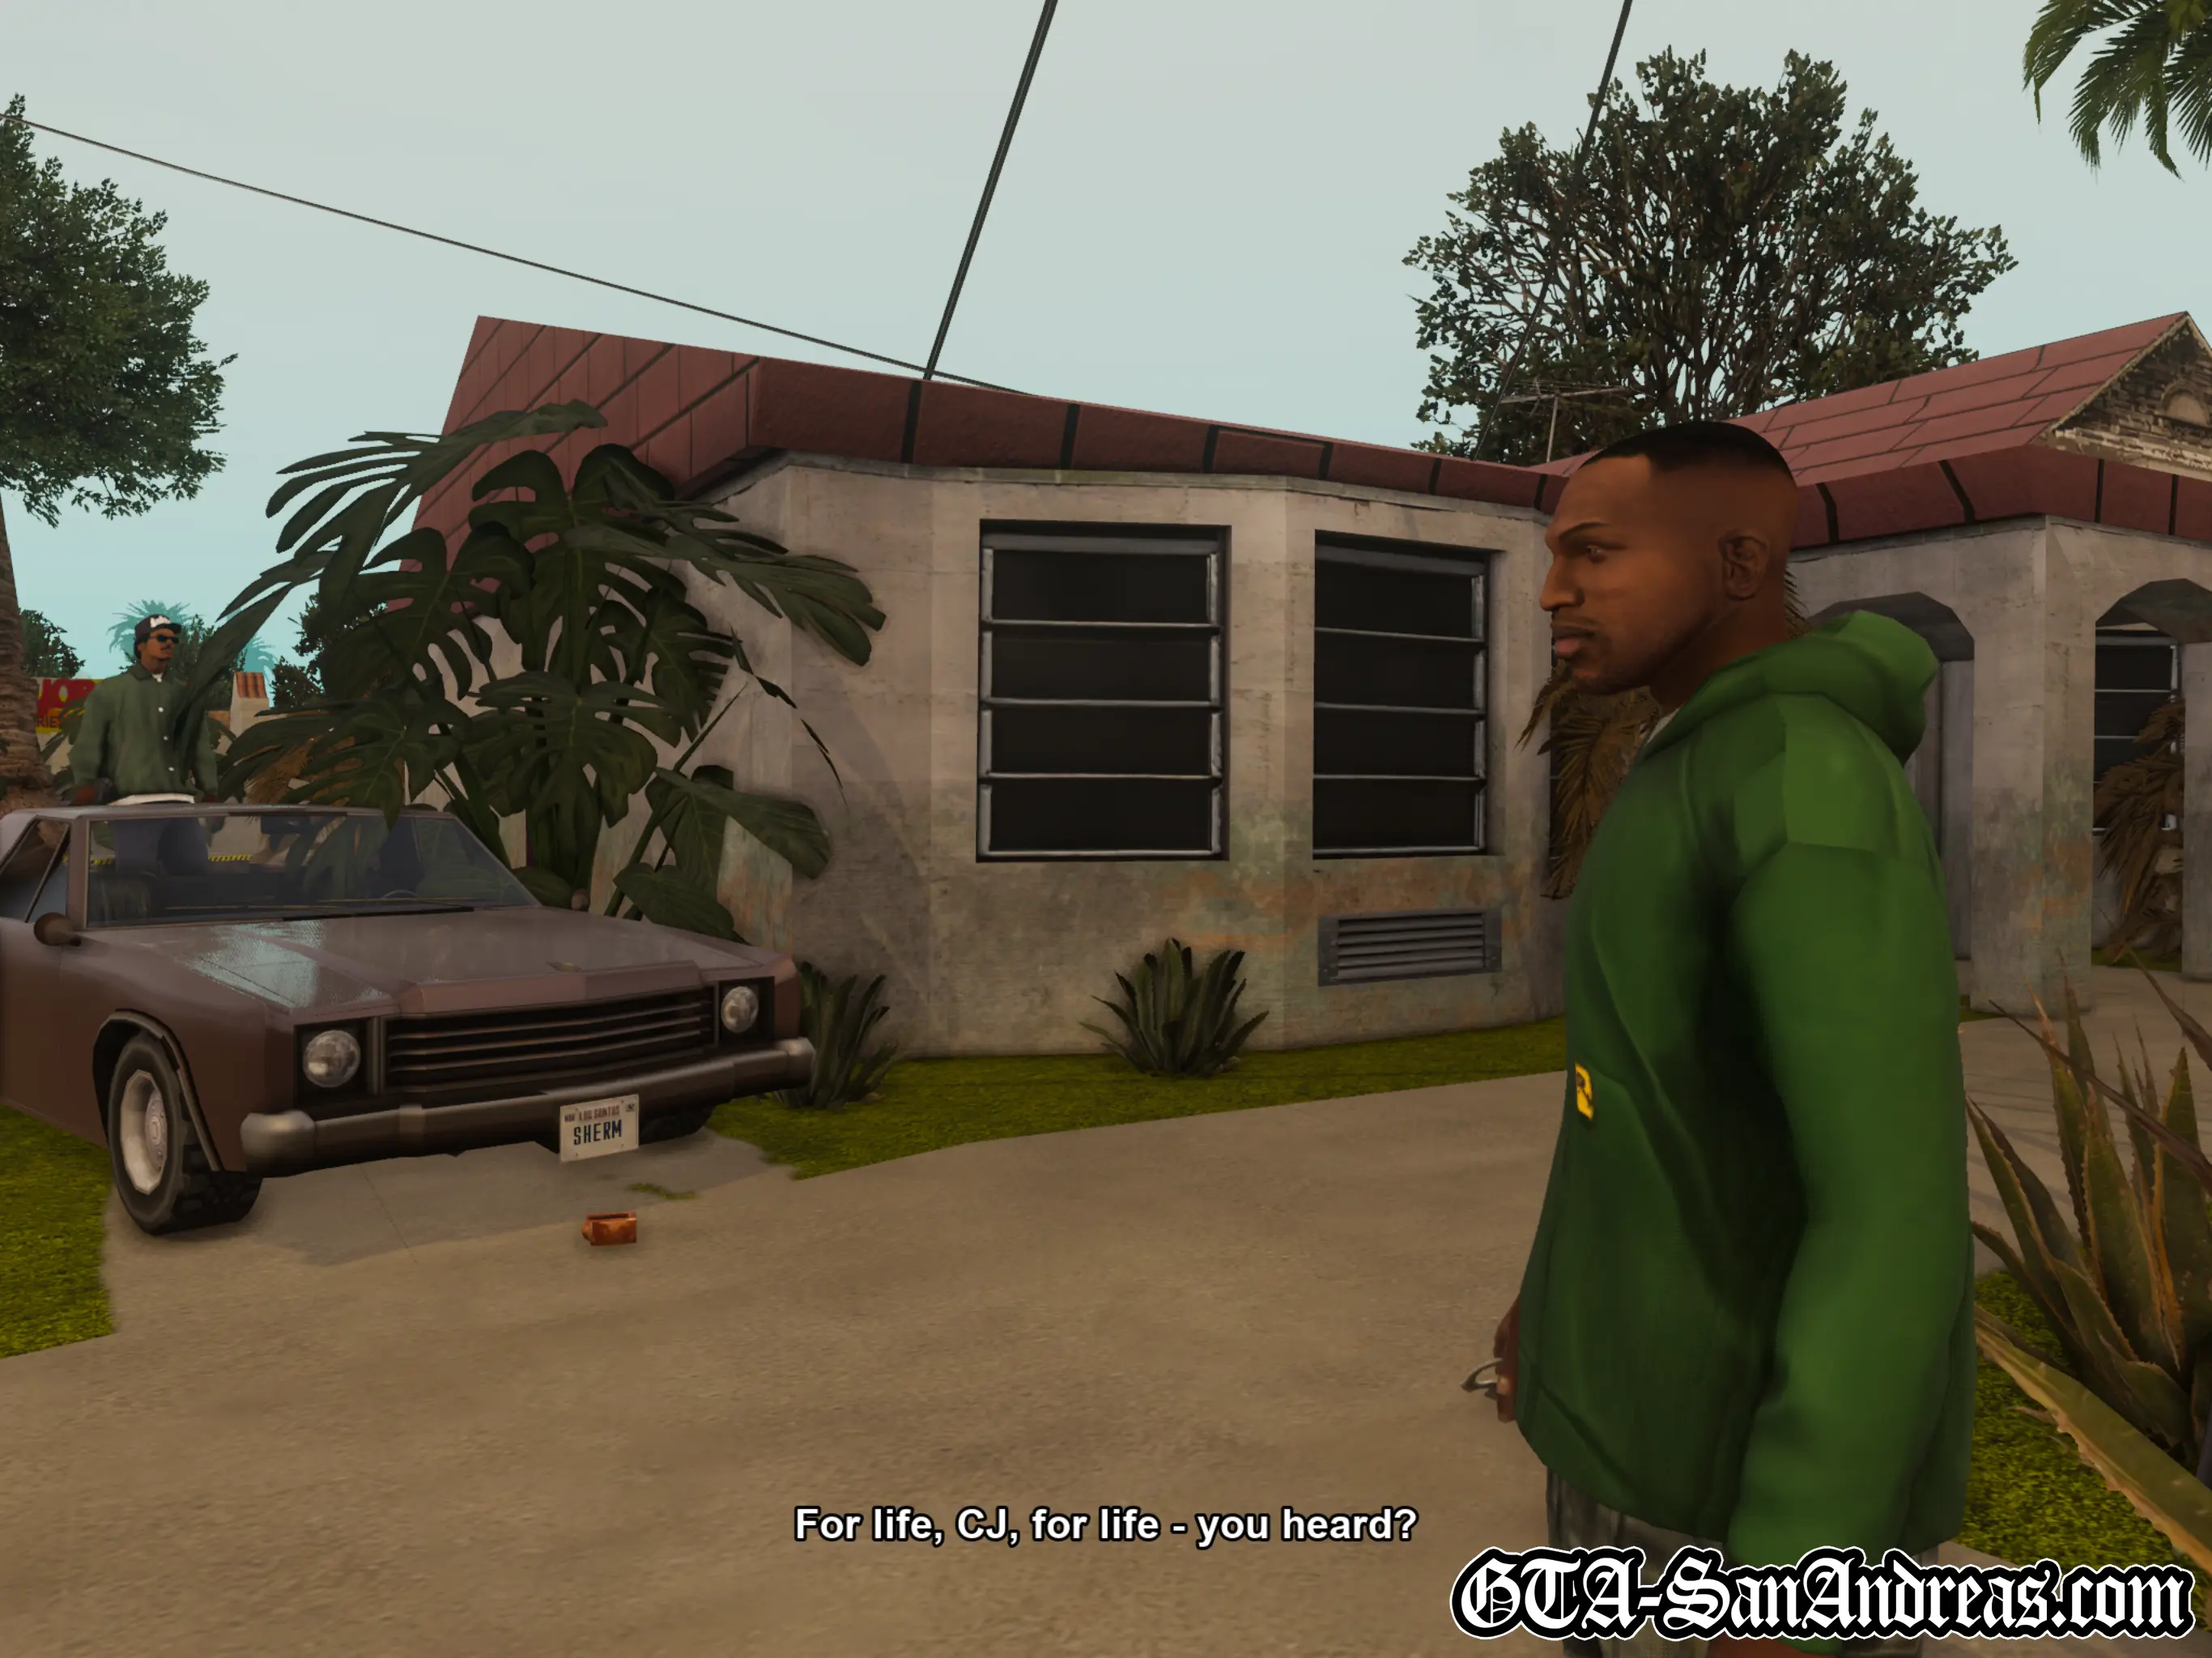
Carl parks the car at Ryder's place and they both congratulate each other on a job well done. For the first time, Ryder is actually happy with CJ. "For life, CJ, for life - you heard?".
Post-Mission
Depending on what else you've been doing in the game, completing this mission may raise your respect to such a level where the game will inform you that you can now run a three-man gang. If you aim a weapon at a green-wearing Grove Street gang member, you'll have the option to recruit them and they'll follow you and shoot any enemies you get into conflict with.
Screenshots
Robbing Uncle Sam
Cutscene
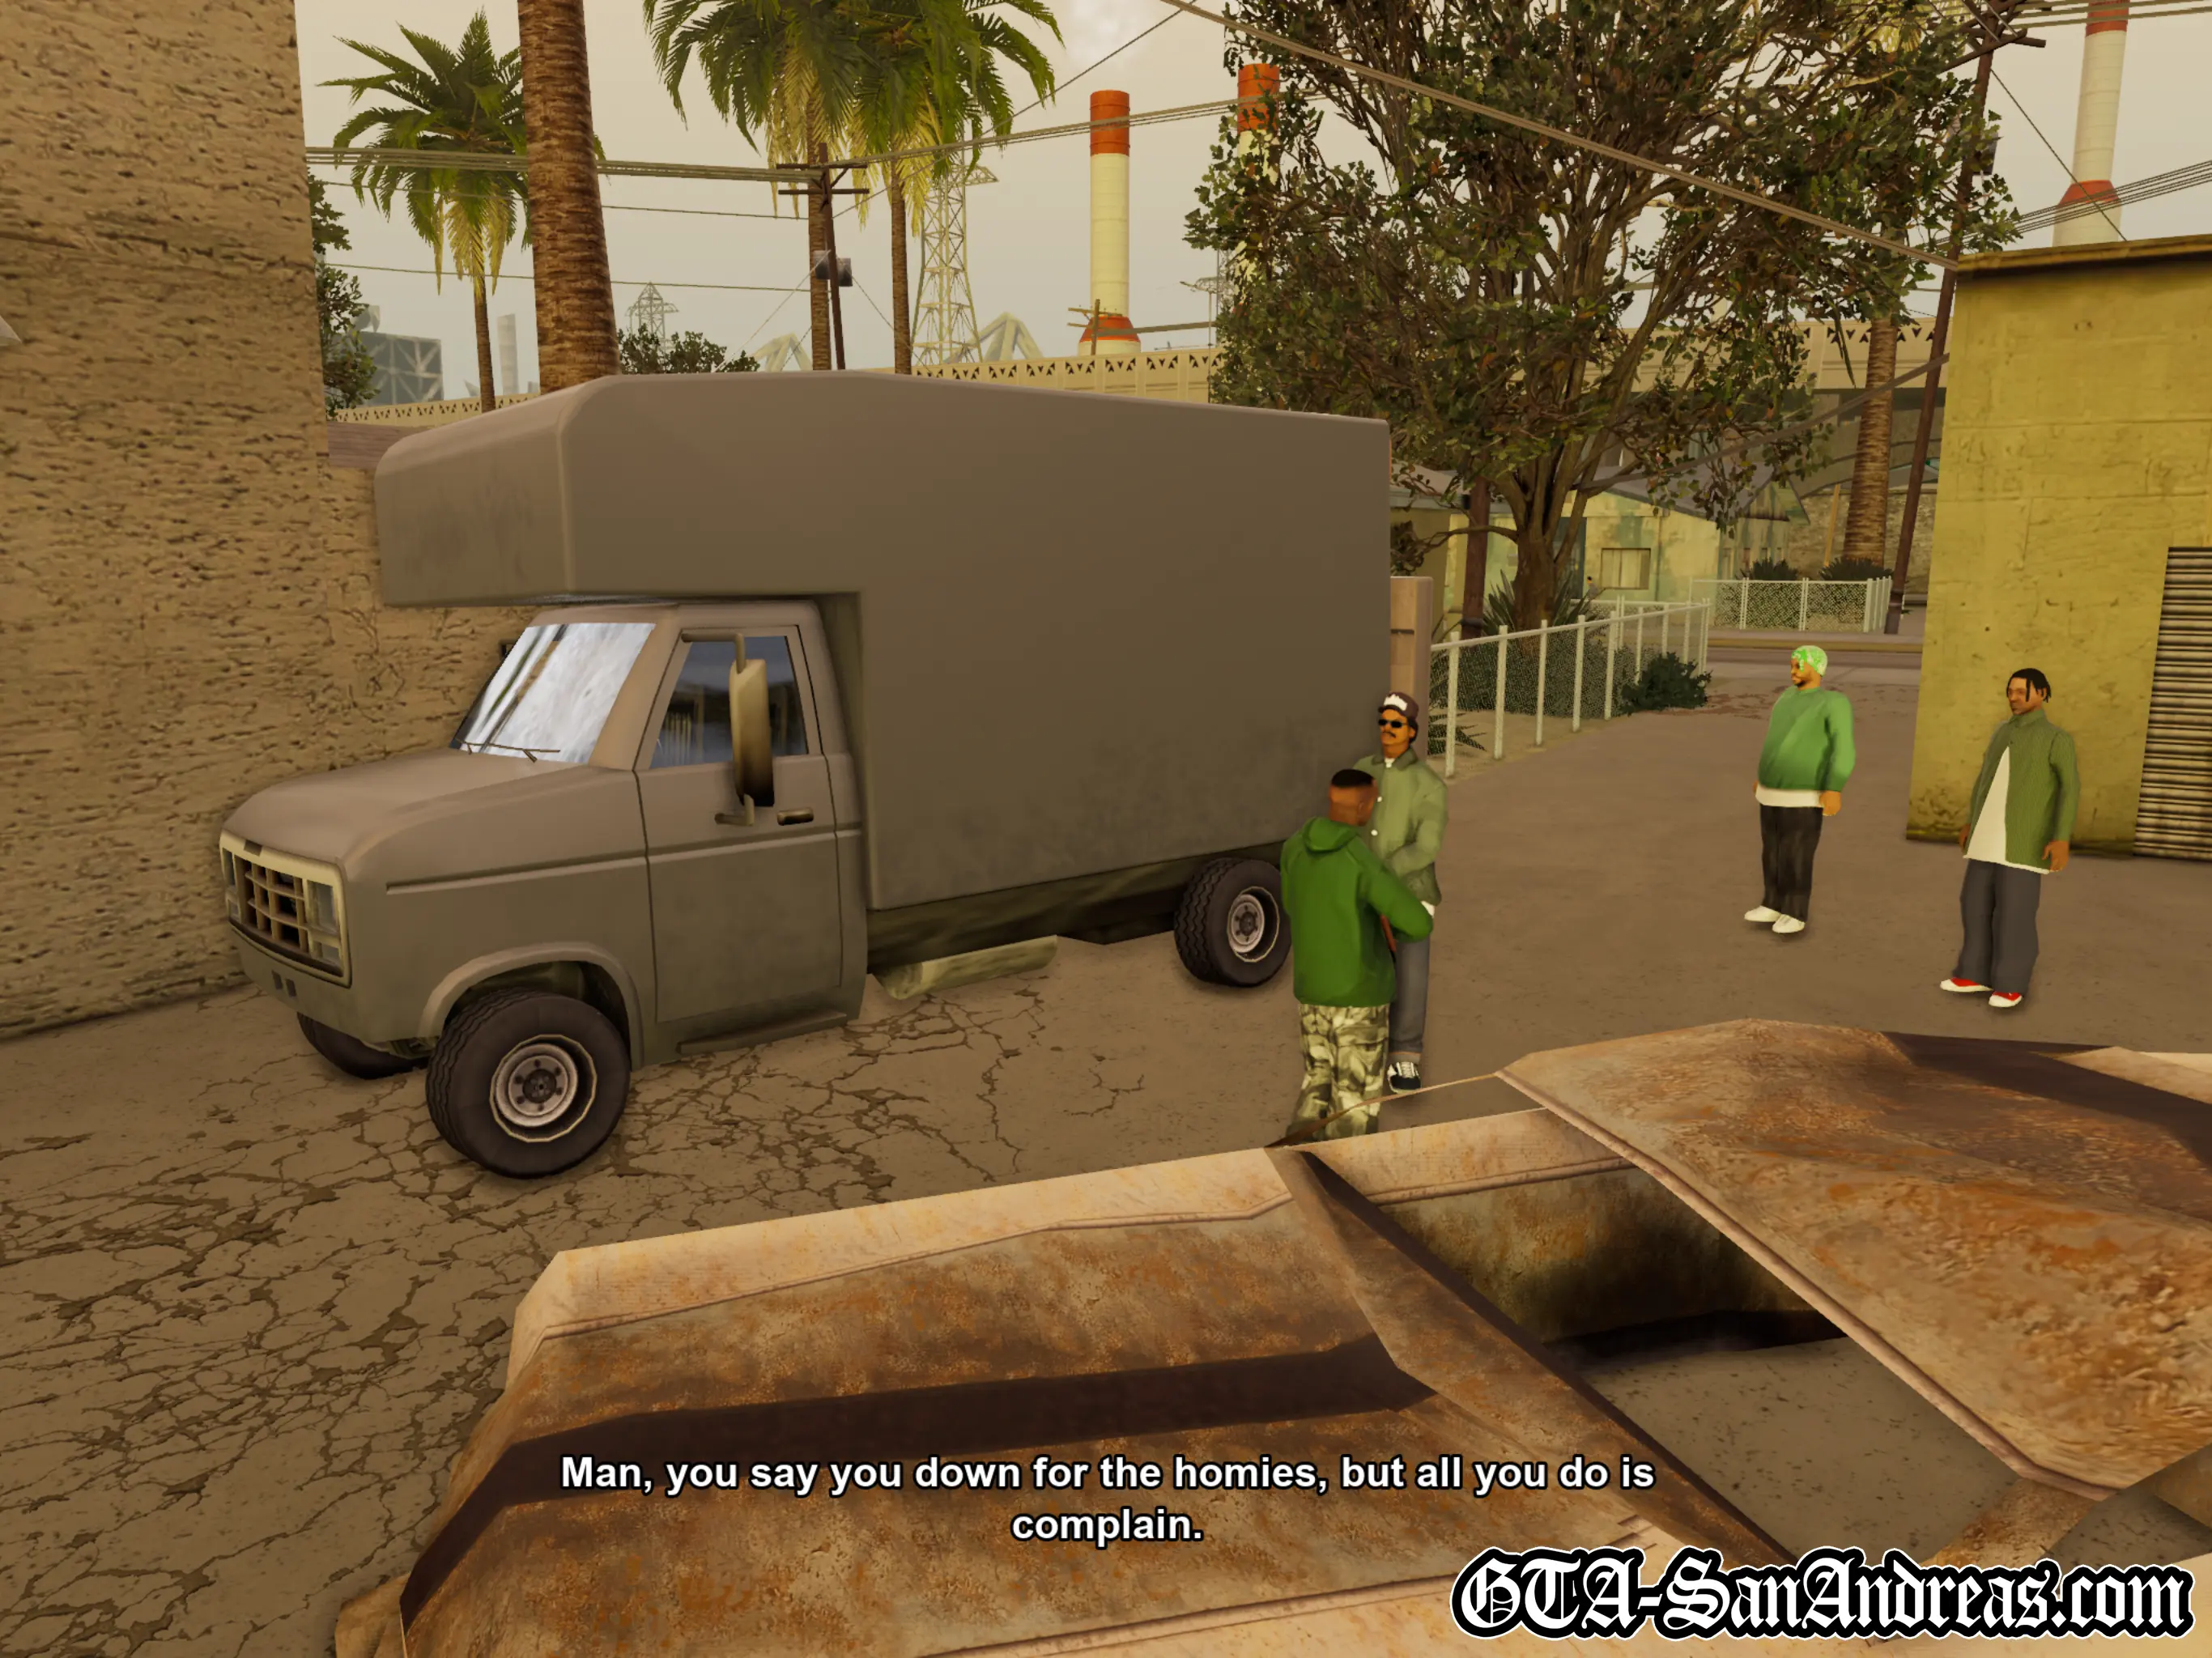
Ryder, in the process of getting baked, asks CJ why he didn't finish high school. After denying it's because he's been dealing drugs since the age of 10 and put hands on a teacher for wearing Ballas colors, it turns out it's because he's "too intelligent for this shit, man".
Who has more straps than anybody? Who has all the straps? The army, of course! Ryder wants CJ to tag along while he steals weapons from the army.
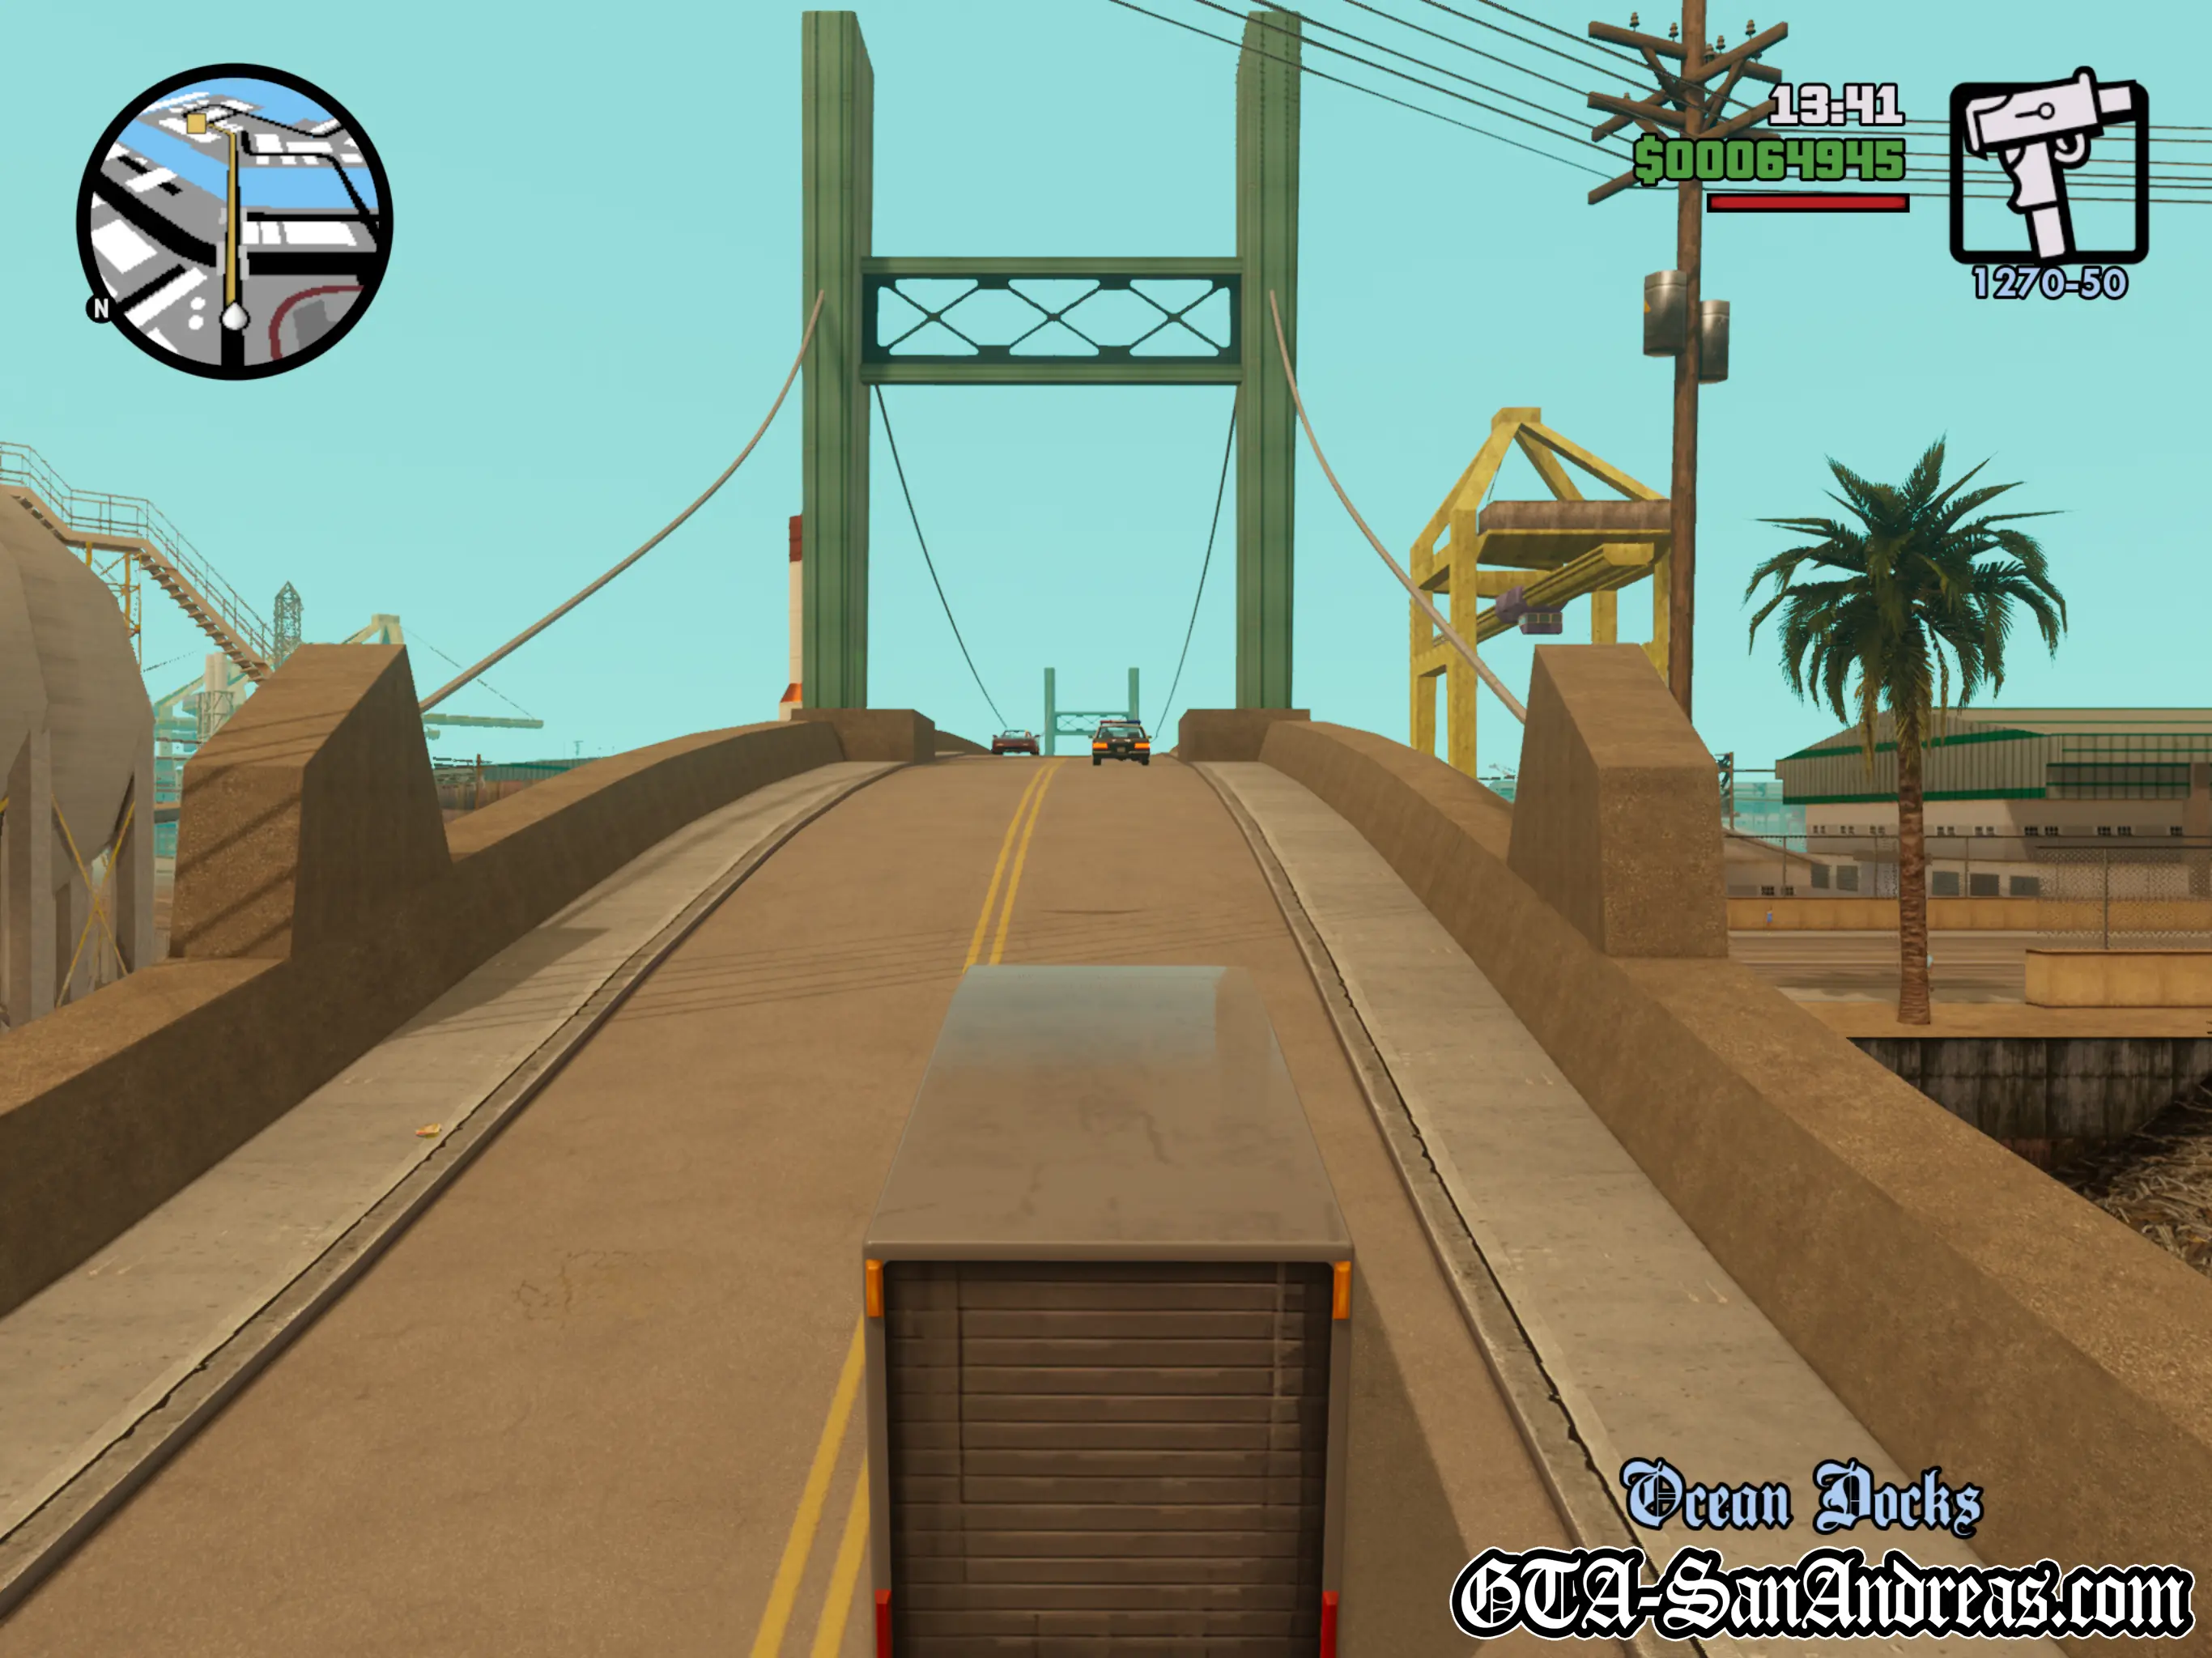
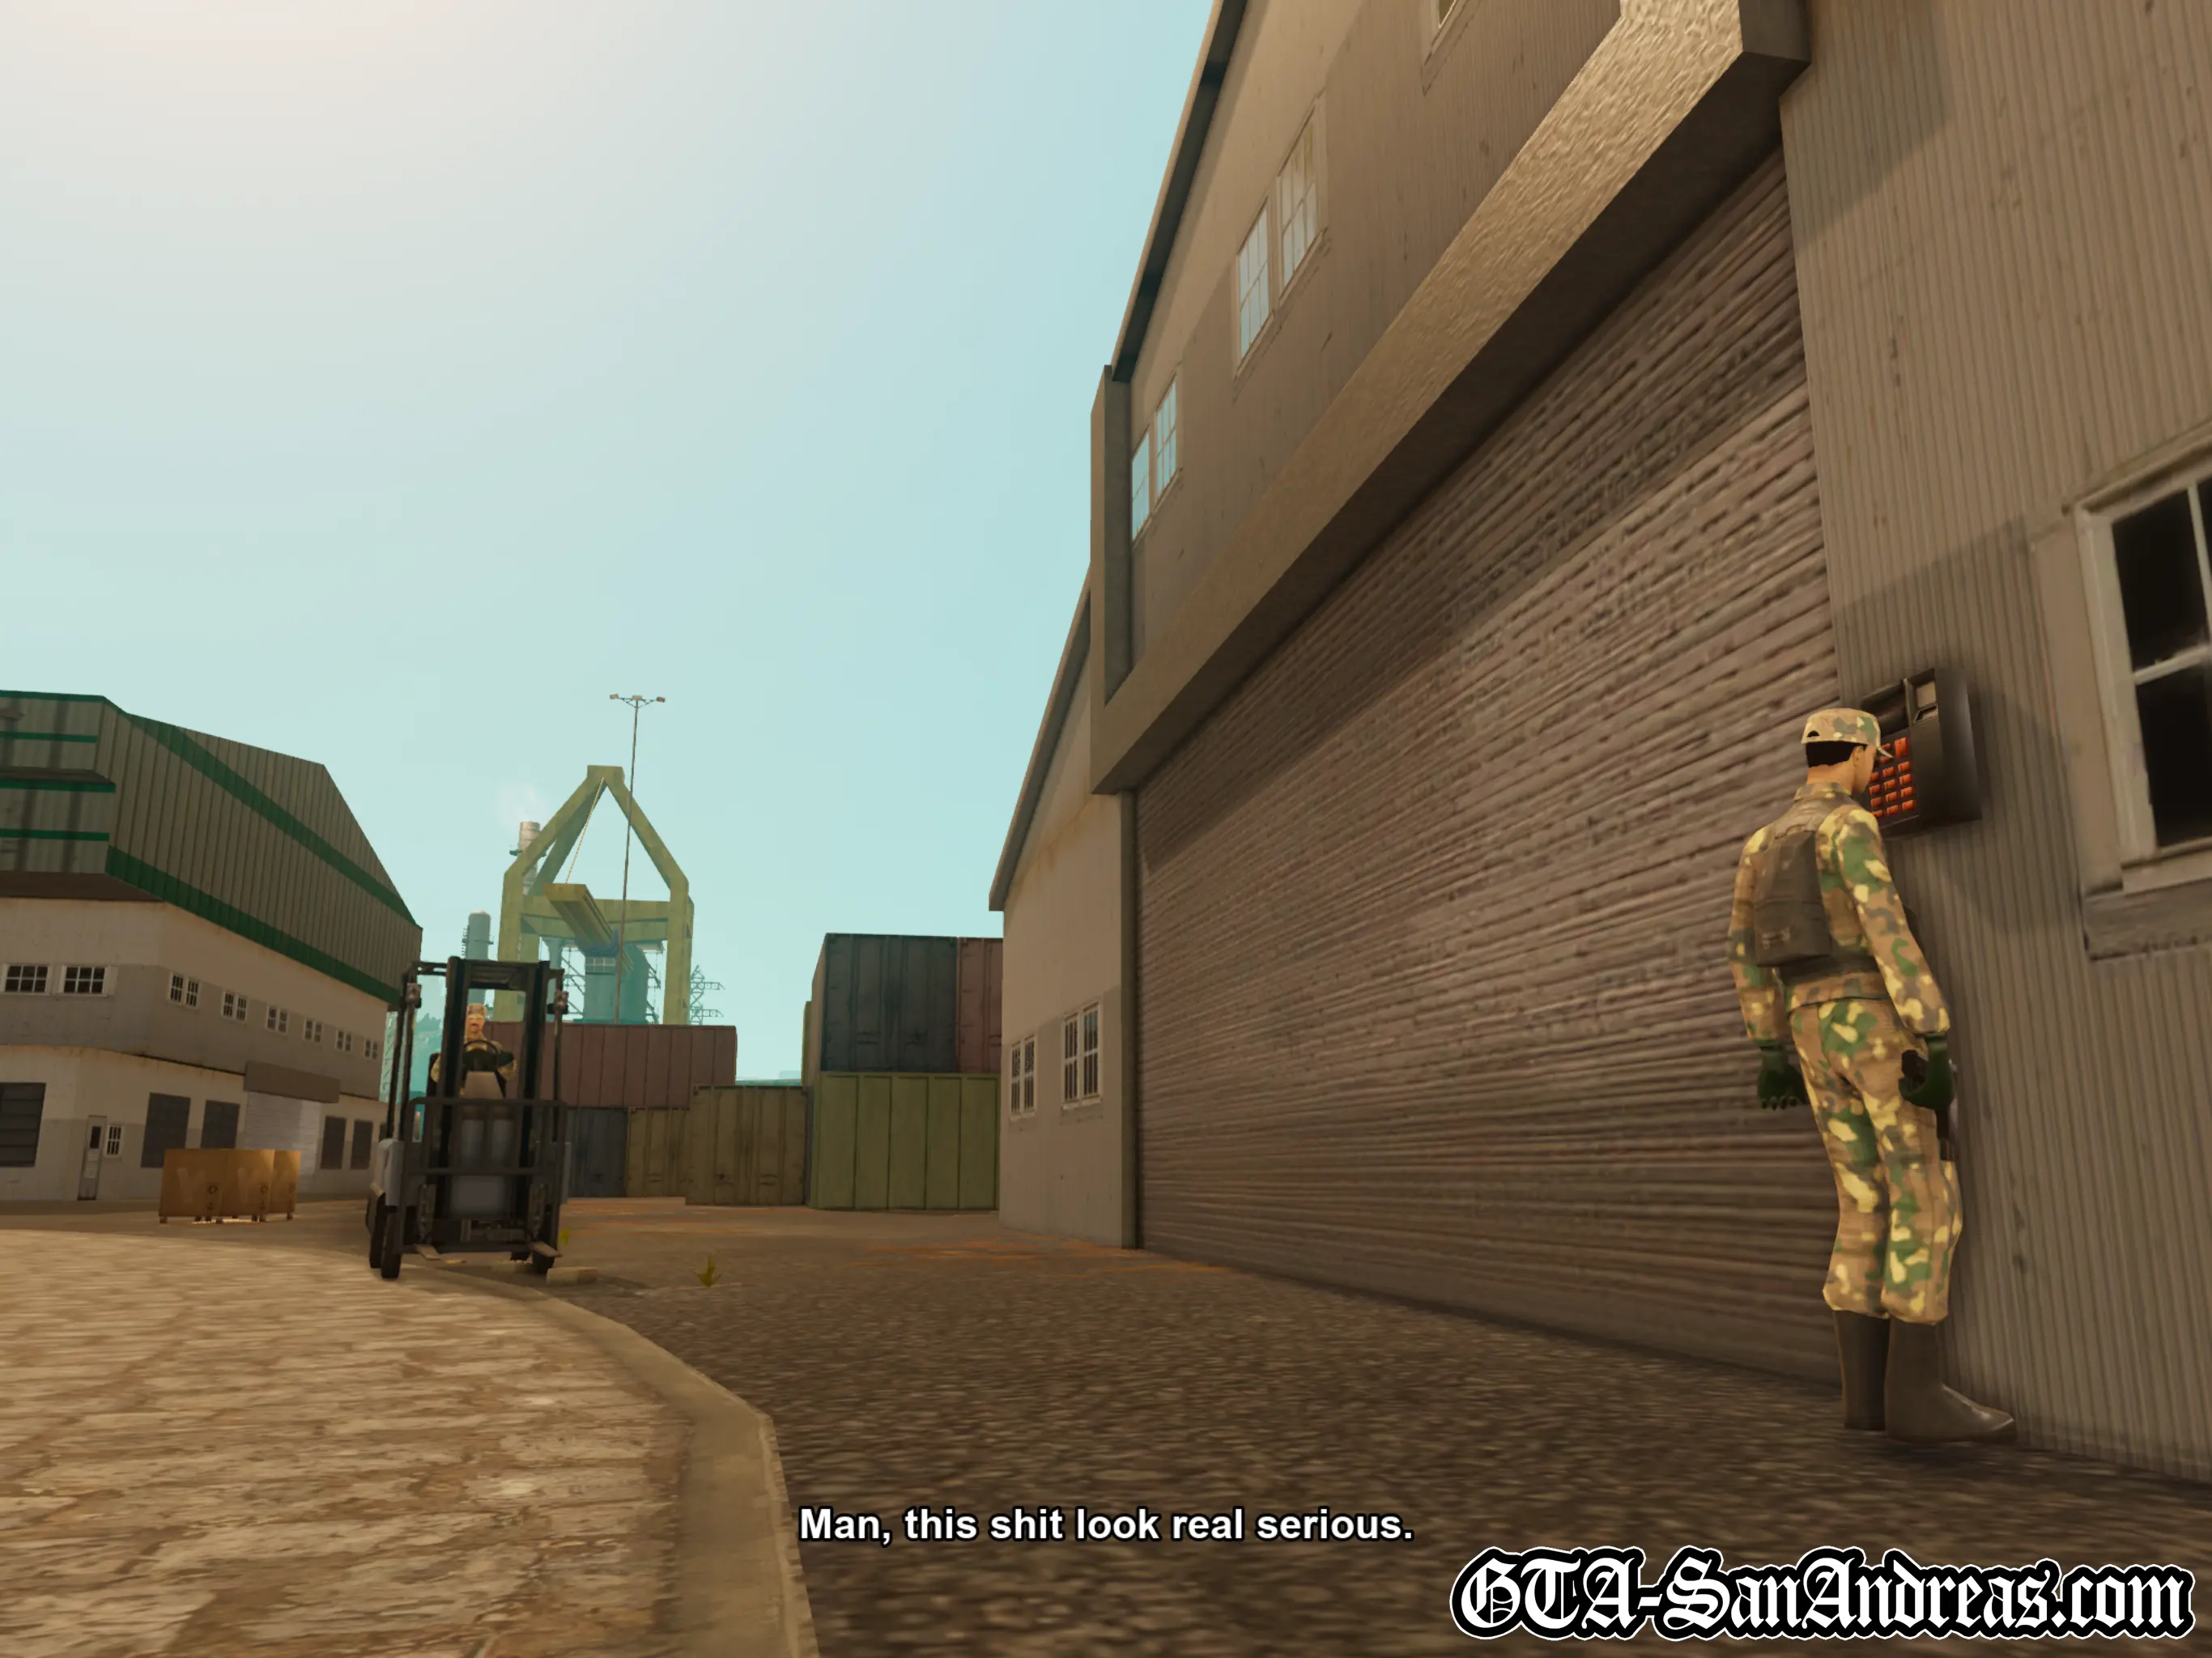
Another van has been parked outside Ryder's place, so get in and make your way to the destination at Ocean Docks while Ryder bugs CJ about being a buster all the way there.
Cutscene
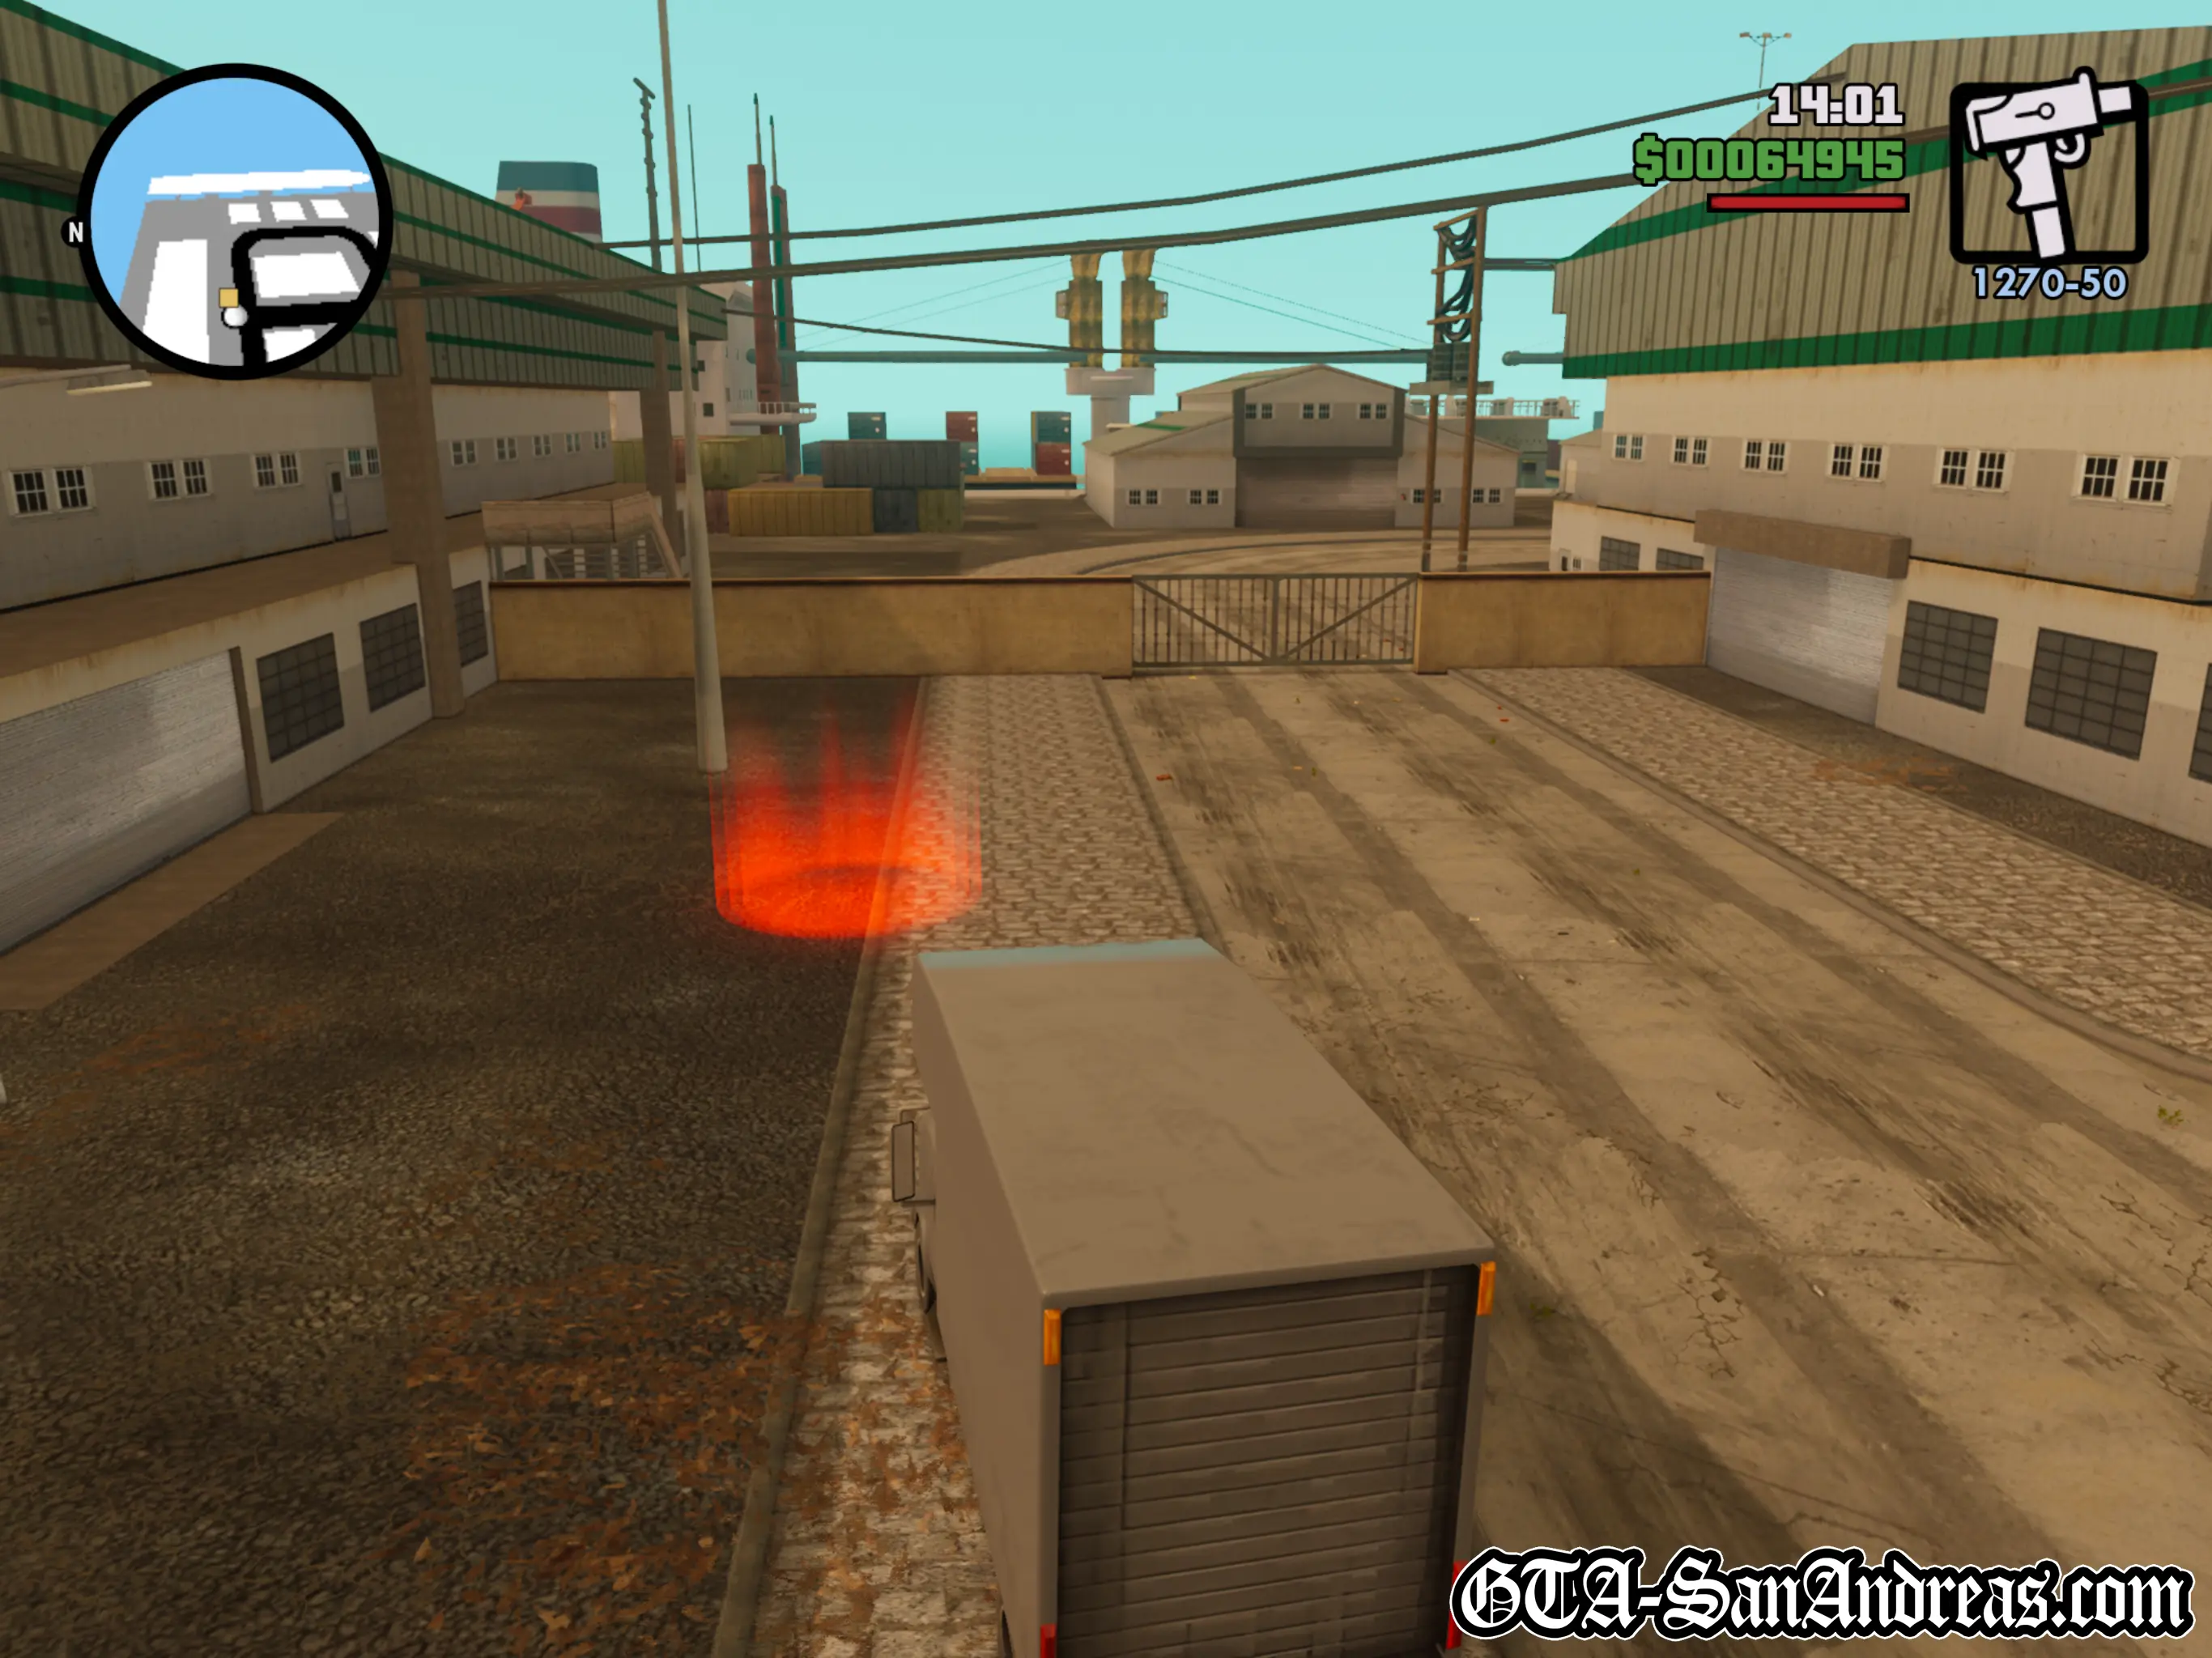
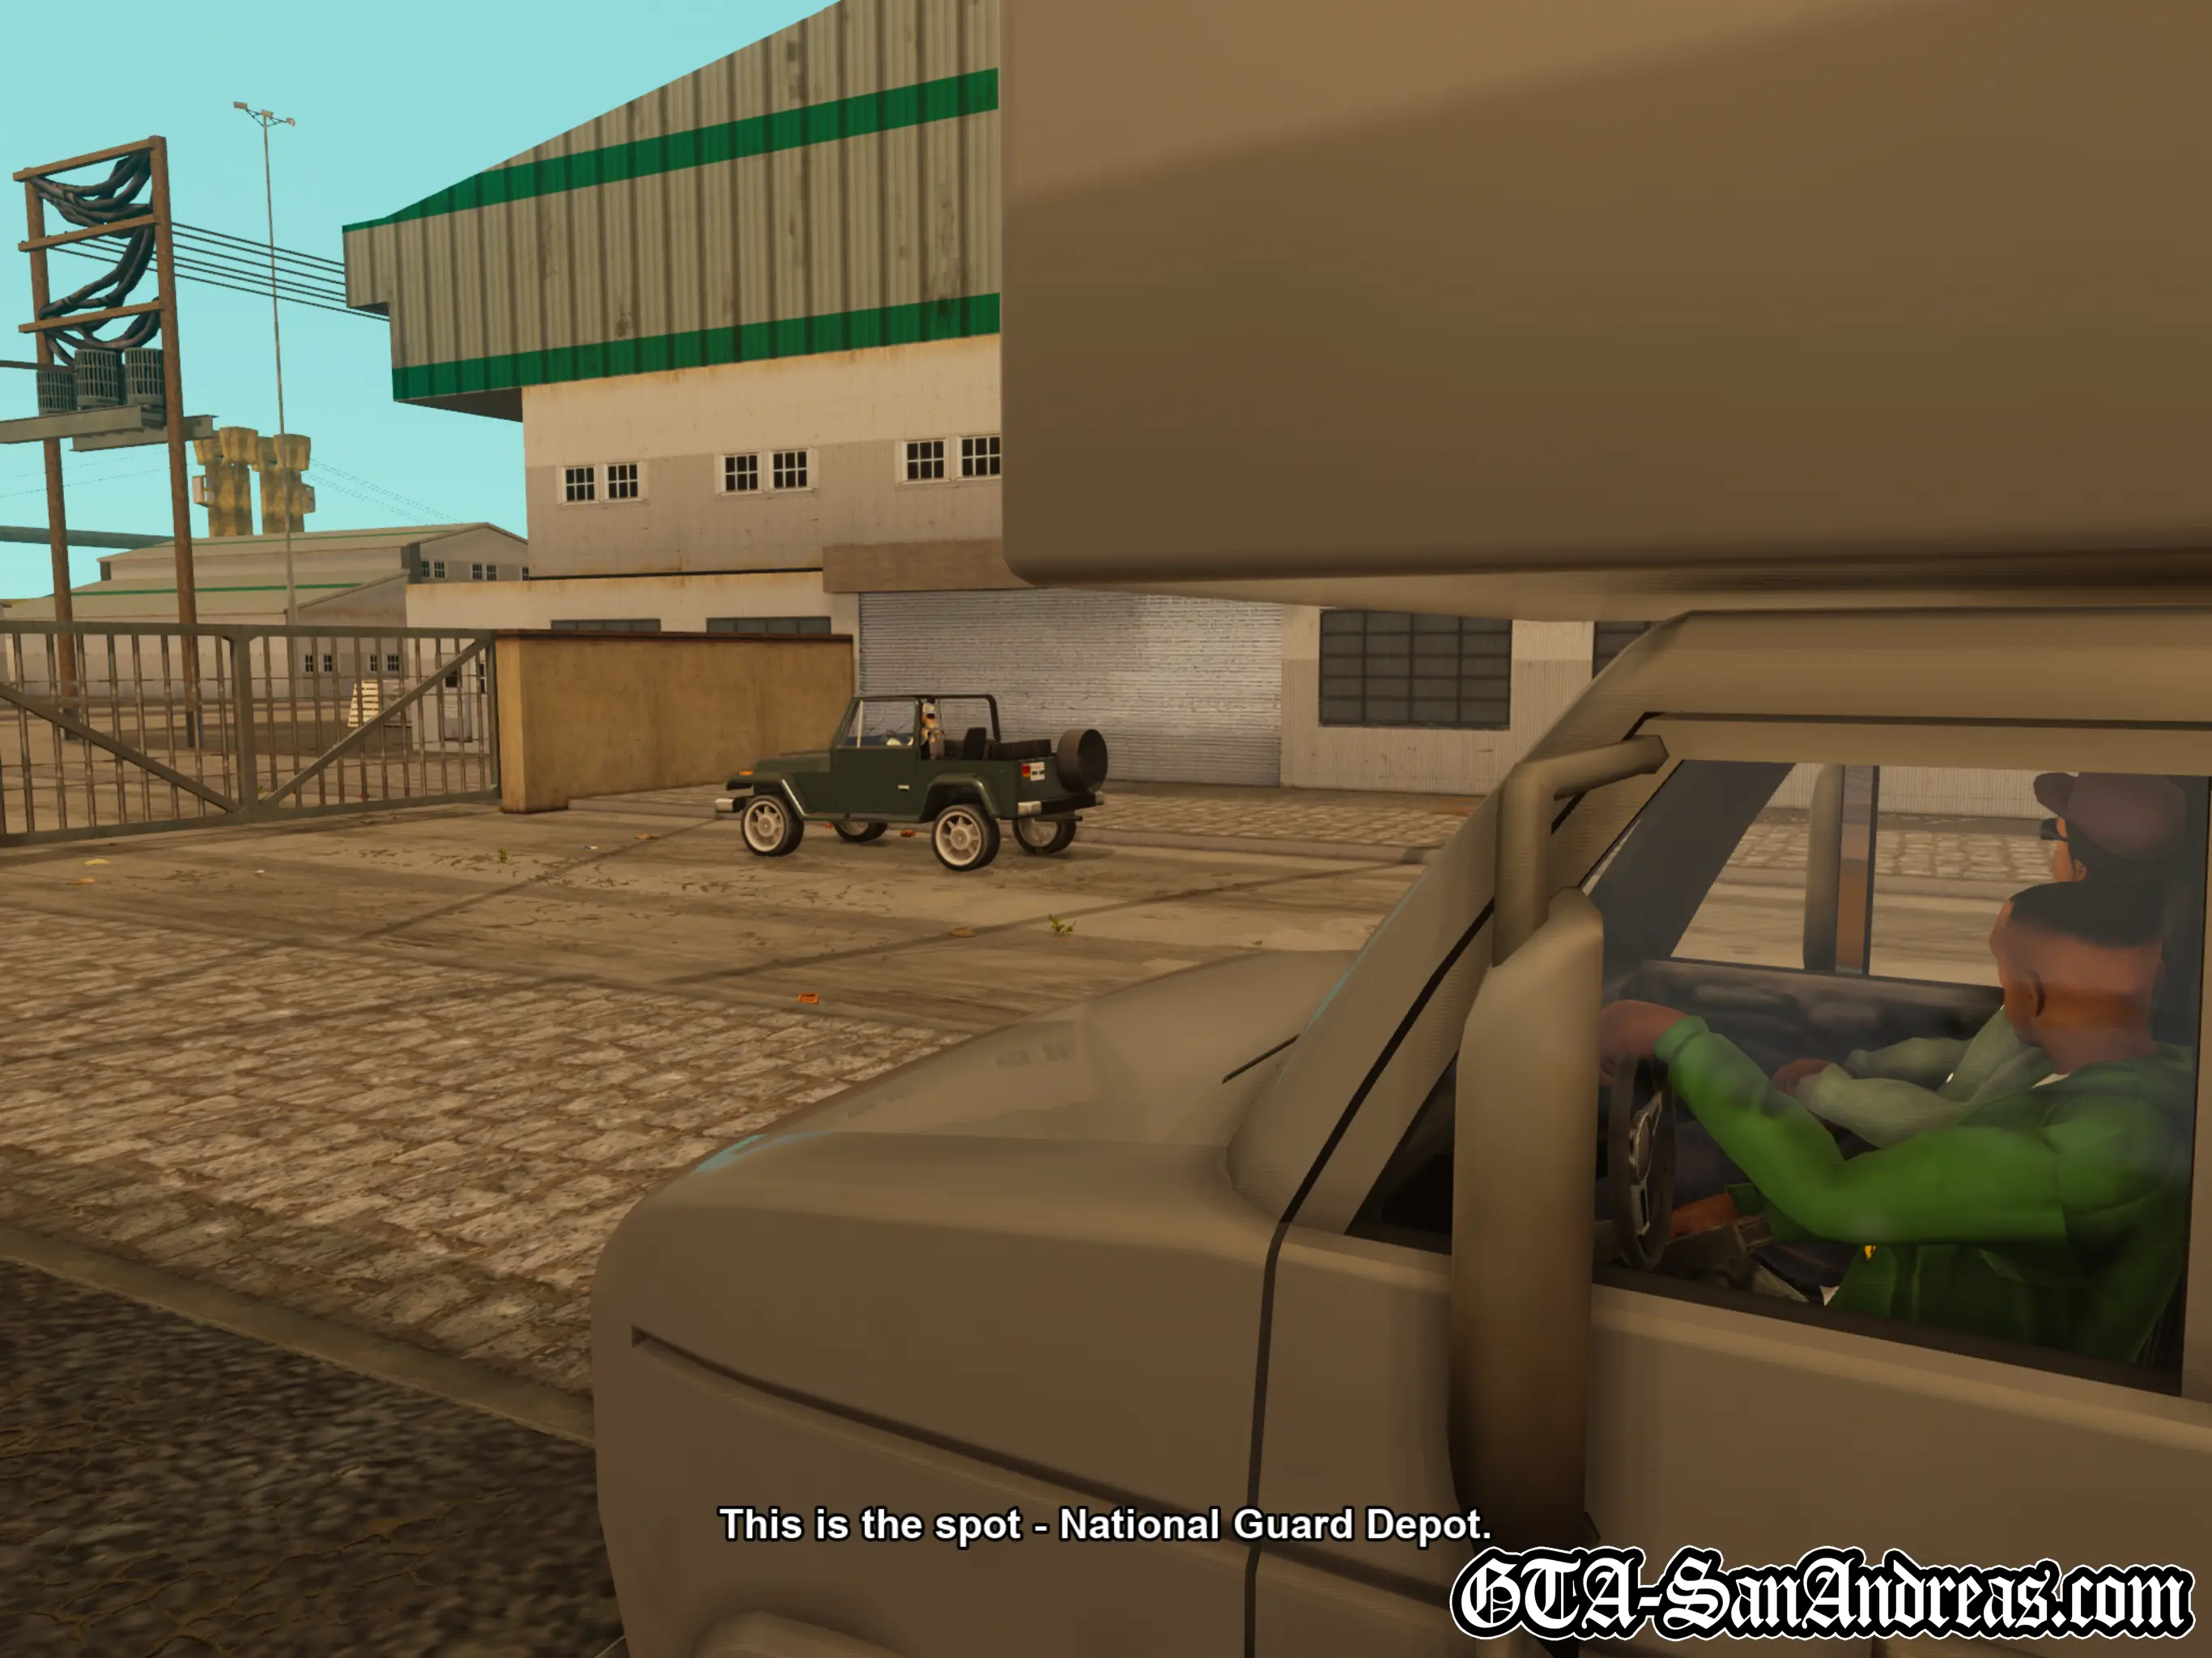
As you park up, an army vehicle will pull up to a gate and be let in by National Guard security. CJ thinks this looks pretty serious, but Ryder says they're only weekend soldiers who are no match for Grove Street OG's.
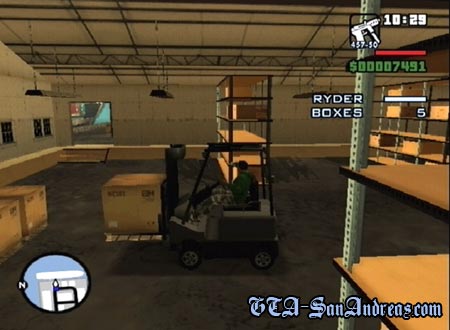
When in control of Carl again, run over to the gate and climb over the wall. You'll need to kill the two soldiers over there and grab their ammo.
Hints & Tips
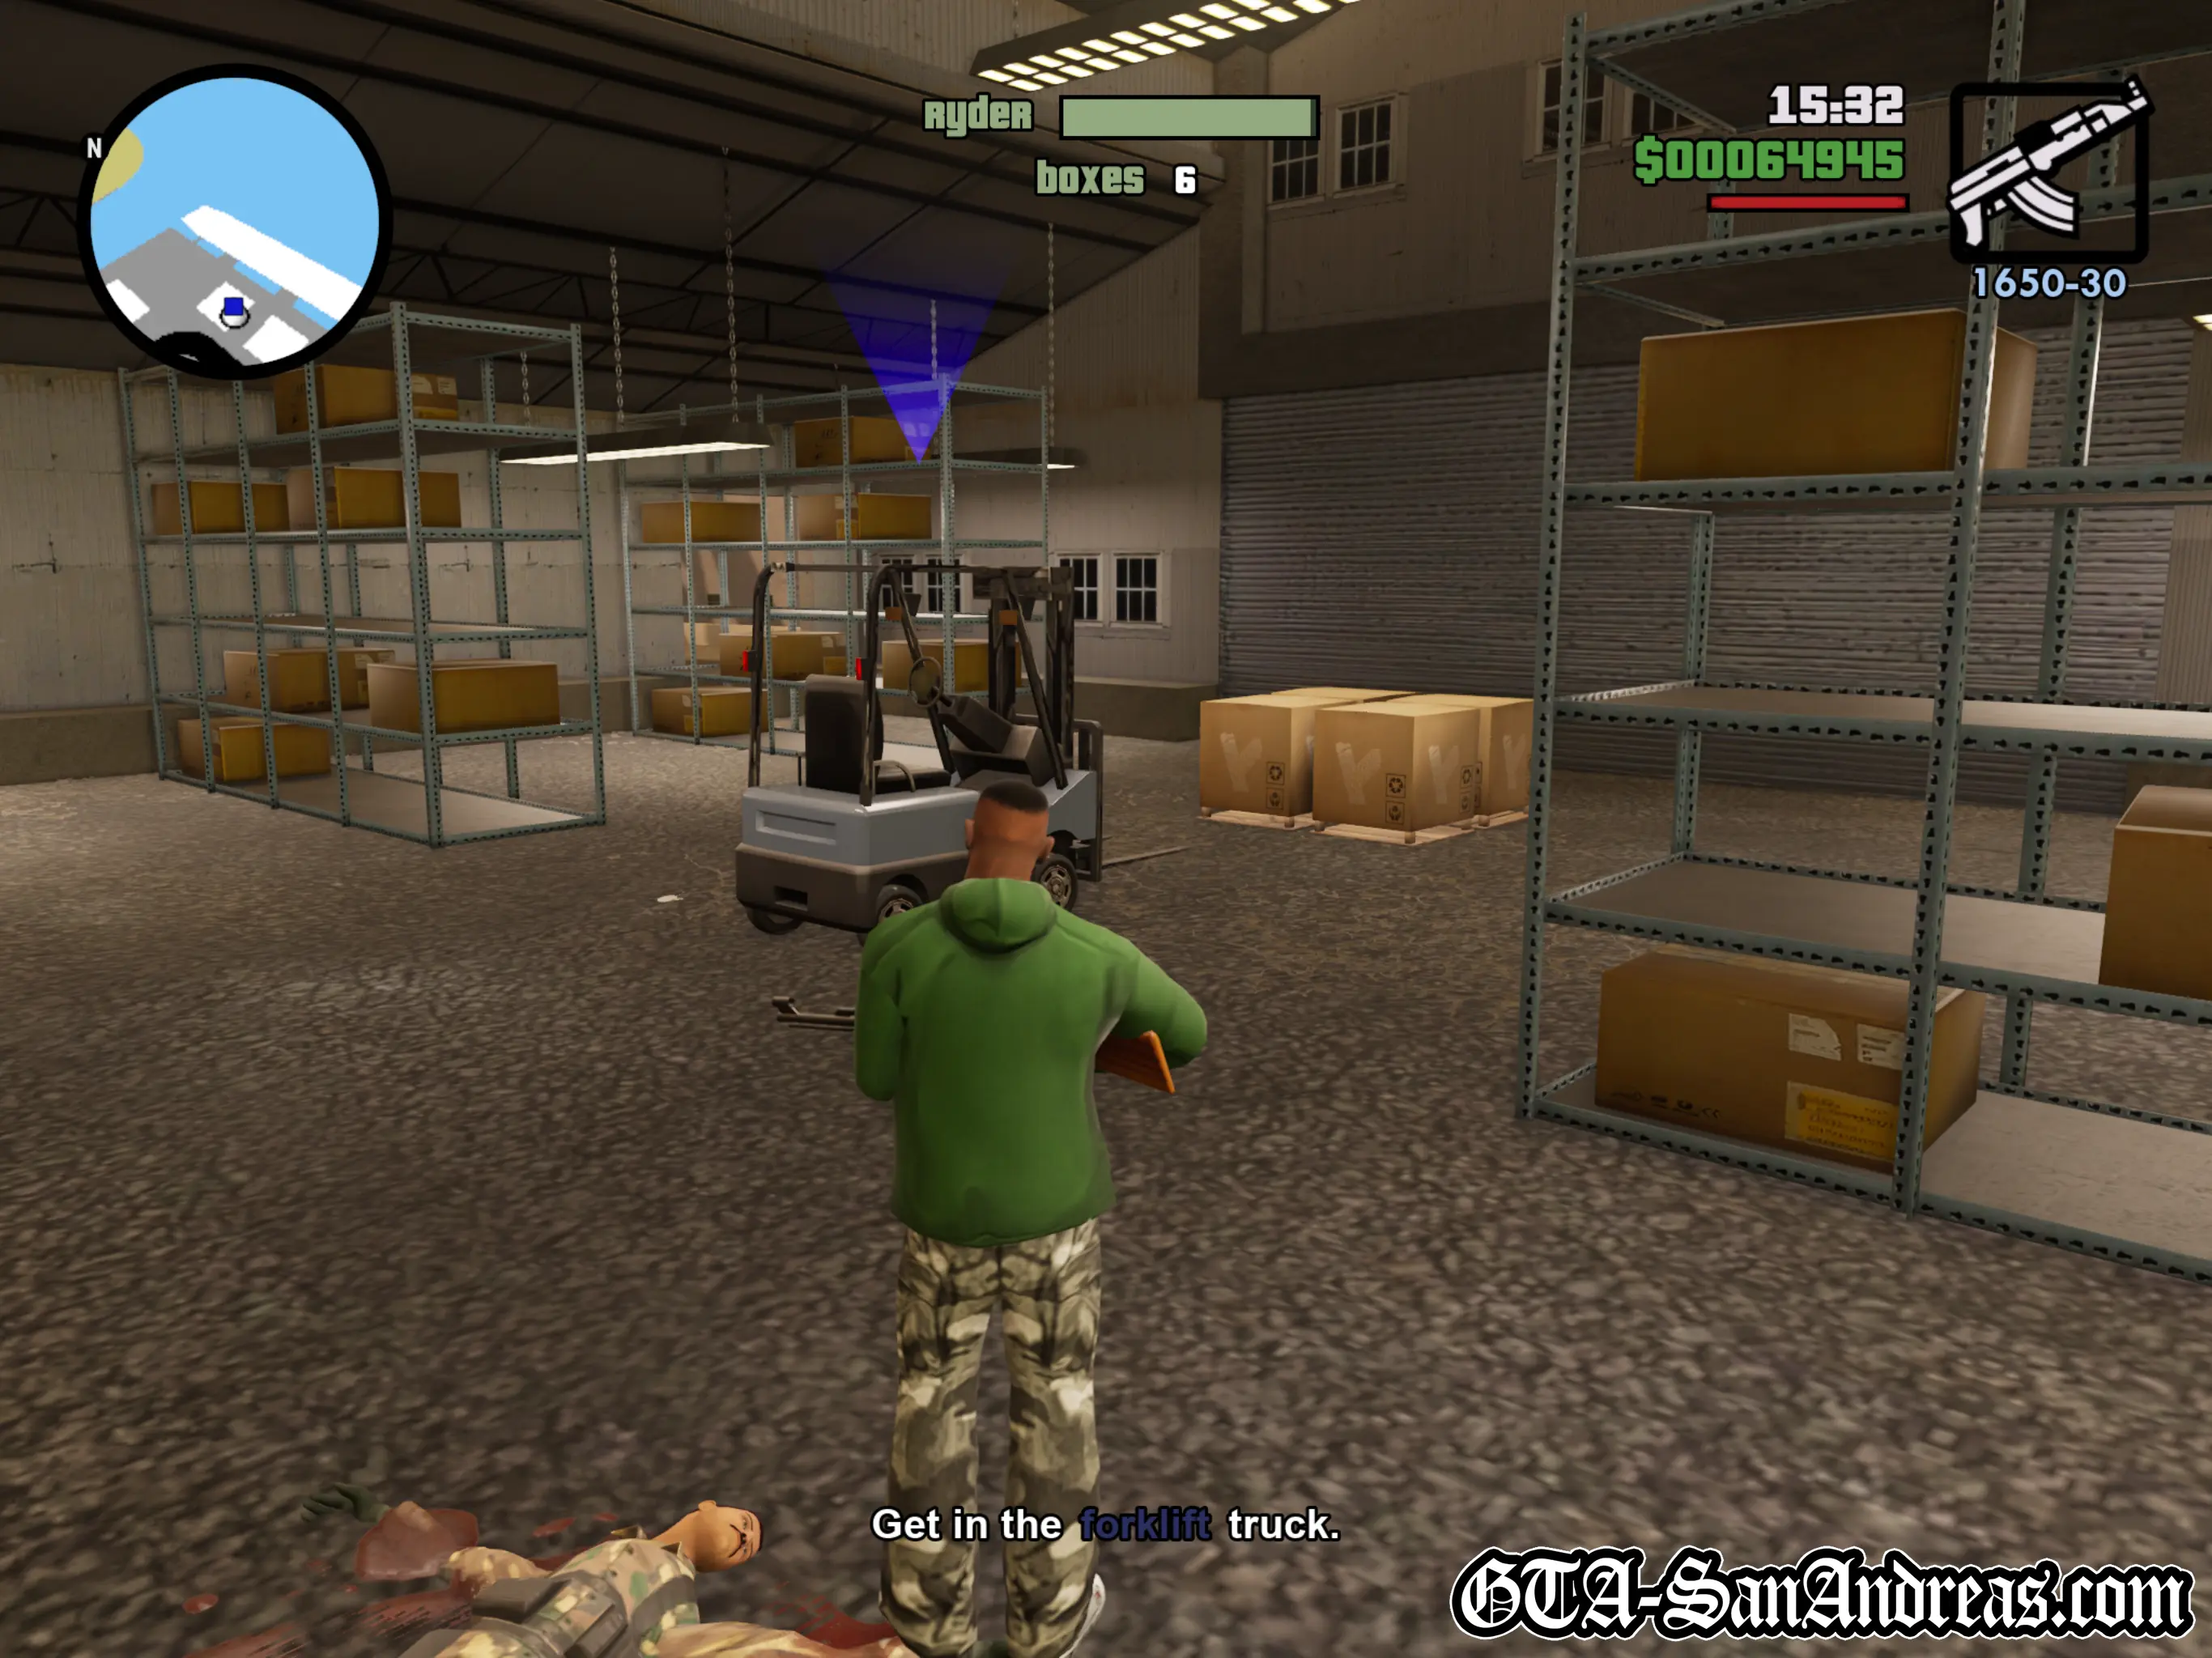
Although it's slightly ahead of what you're told to do at this point, if you continue running ahead from the gate you jumped over, you'll come to a warehouse with a keypad on the wall next to it. If you shoot it, the garage door will open and there are two more soldiers to kill inside.
Once they're dead, get in the forklift truck and drive towards the stack of boxes in front of it, in such a way that you're directly in the middle of two crates. If you raise the forklift's arms, you should pick up both crates at once.
Keep the arms raised and park the forklift at the open end of the warehouse, just inside the warehouse, and leave it there.
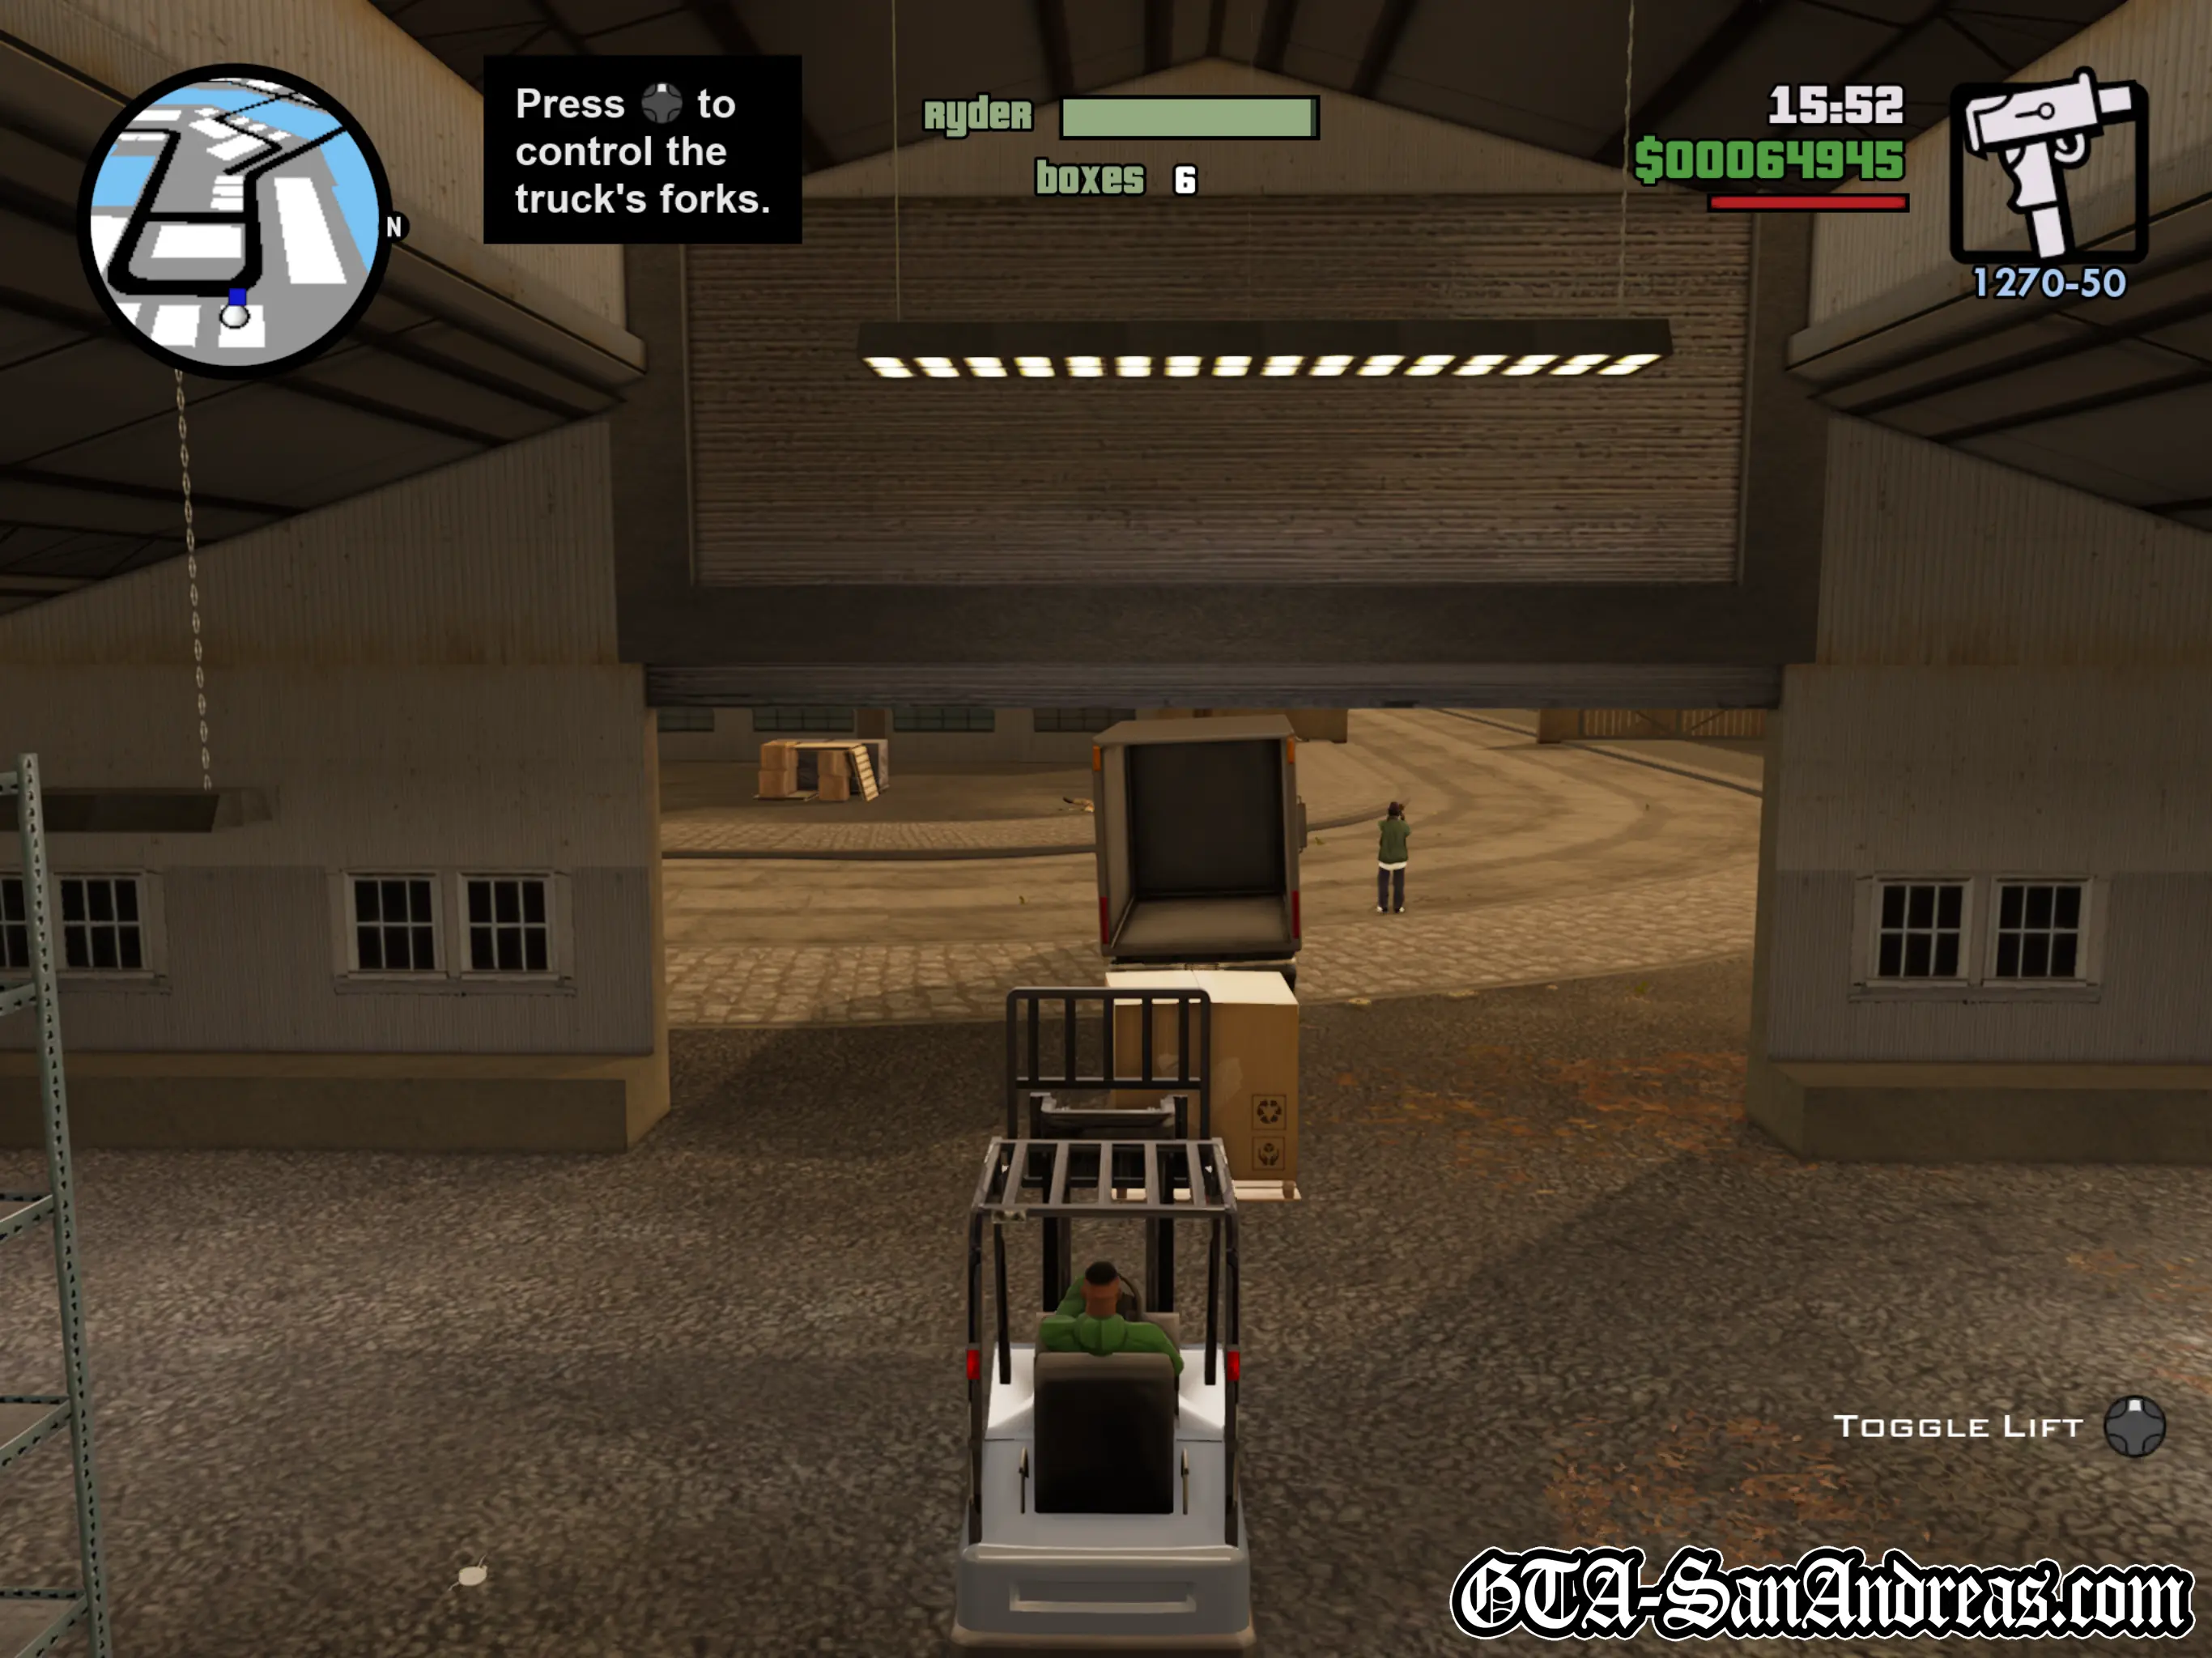
Head back to where you climbed over the gate and shoot the keypad on the wall which will open the gate and allow Ryder to drive in. Usually you'd then need to shoot open the warehouse, but because you already did that, Ryder will back up the van outside the warehouse.
Get in the forklift and one-by-one place the boxes in the van. You'll need to separate the two so one goes into the van while the other goes down the side.
Once both boxes are in the van, you'll need to get two more. You can either head outside the warehouse and grab the two slightly to the right, or the two at the back of the warehouse. Either way, use the same technique to pick them both up at once and put them in the van.
Be aware, you may need to repeatedly get out of the forklift to rid the area of soldiers whenever you hear some gun fire or Ryder will take damage.
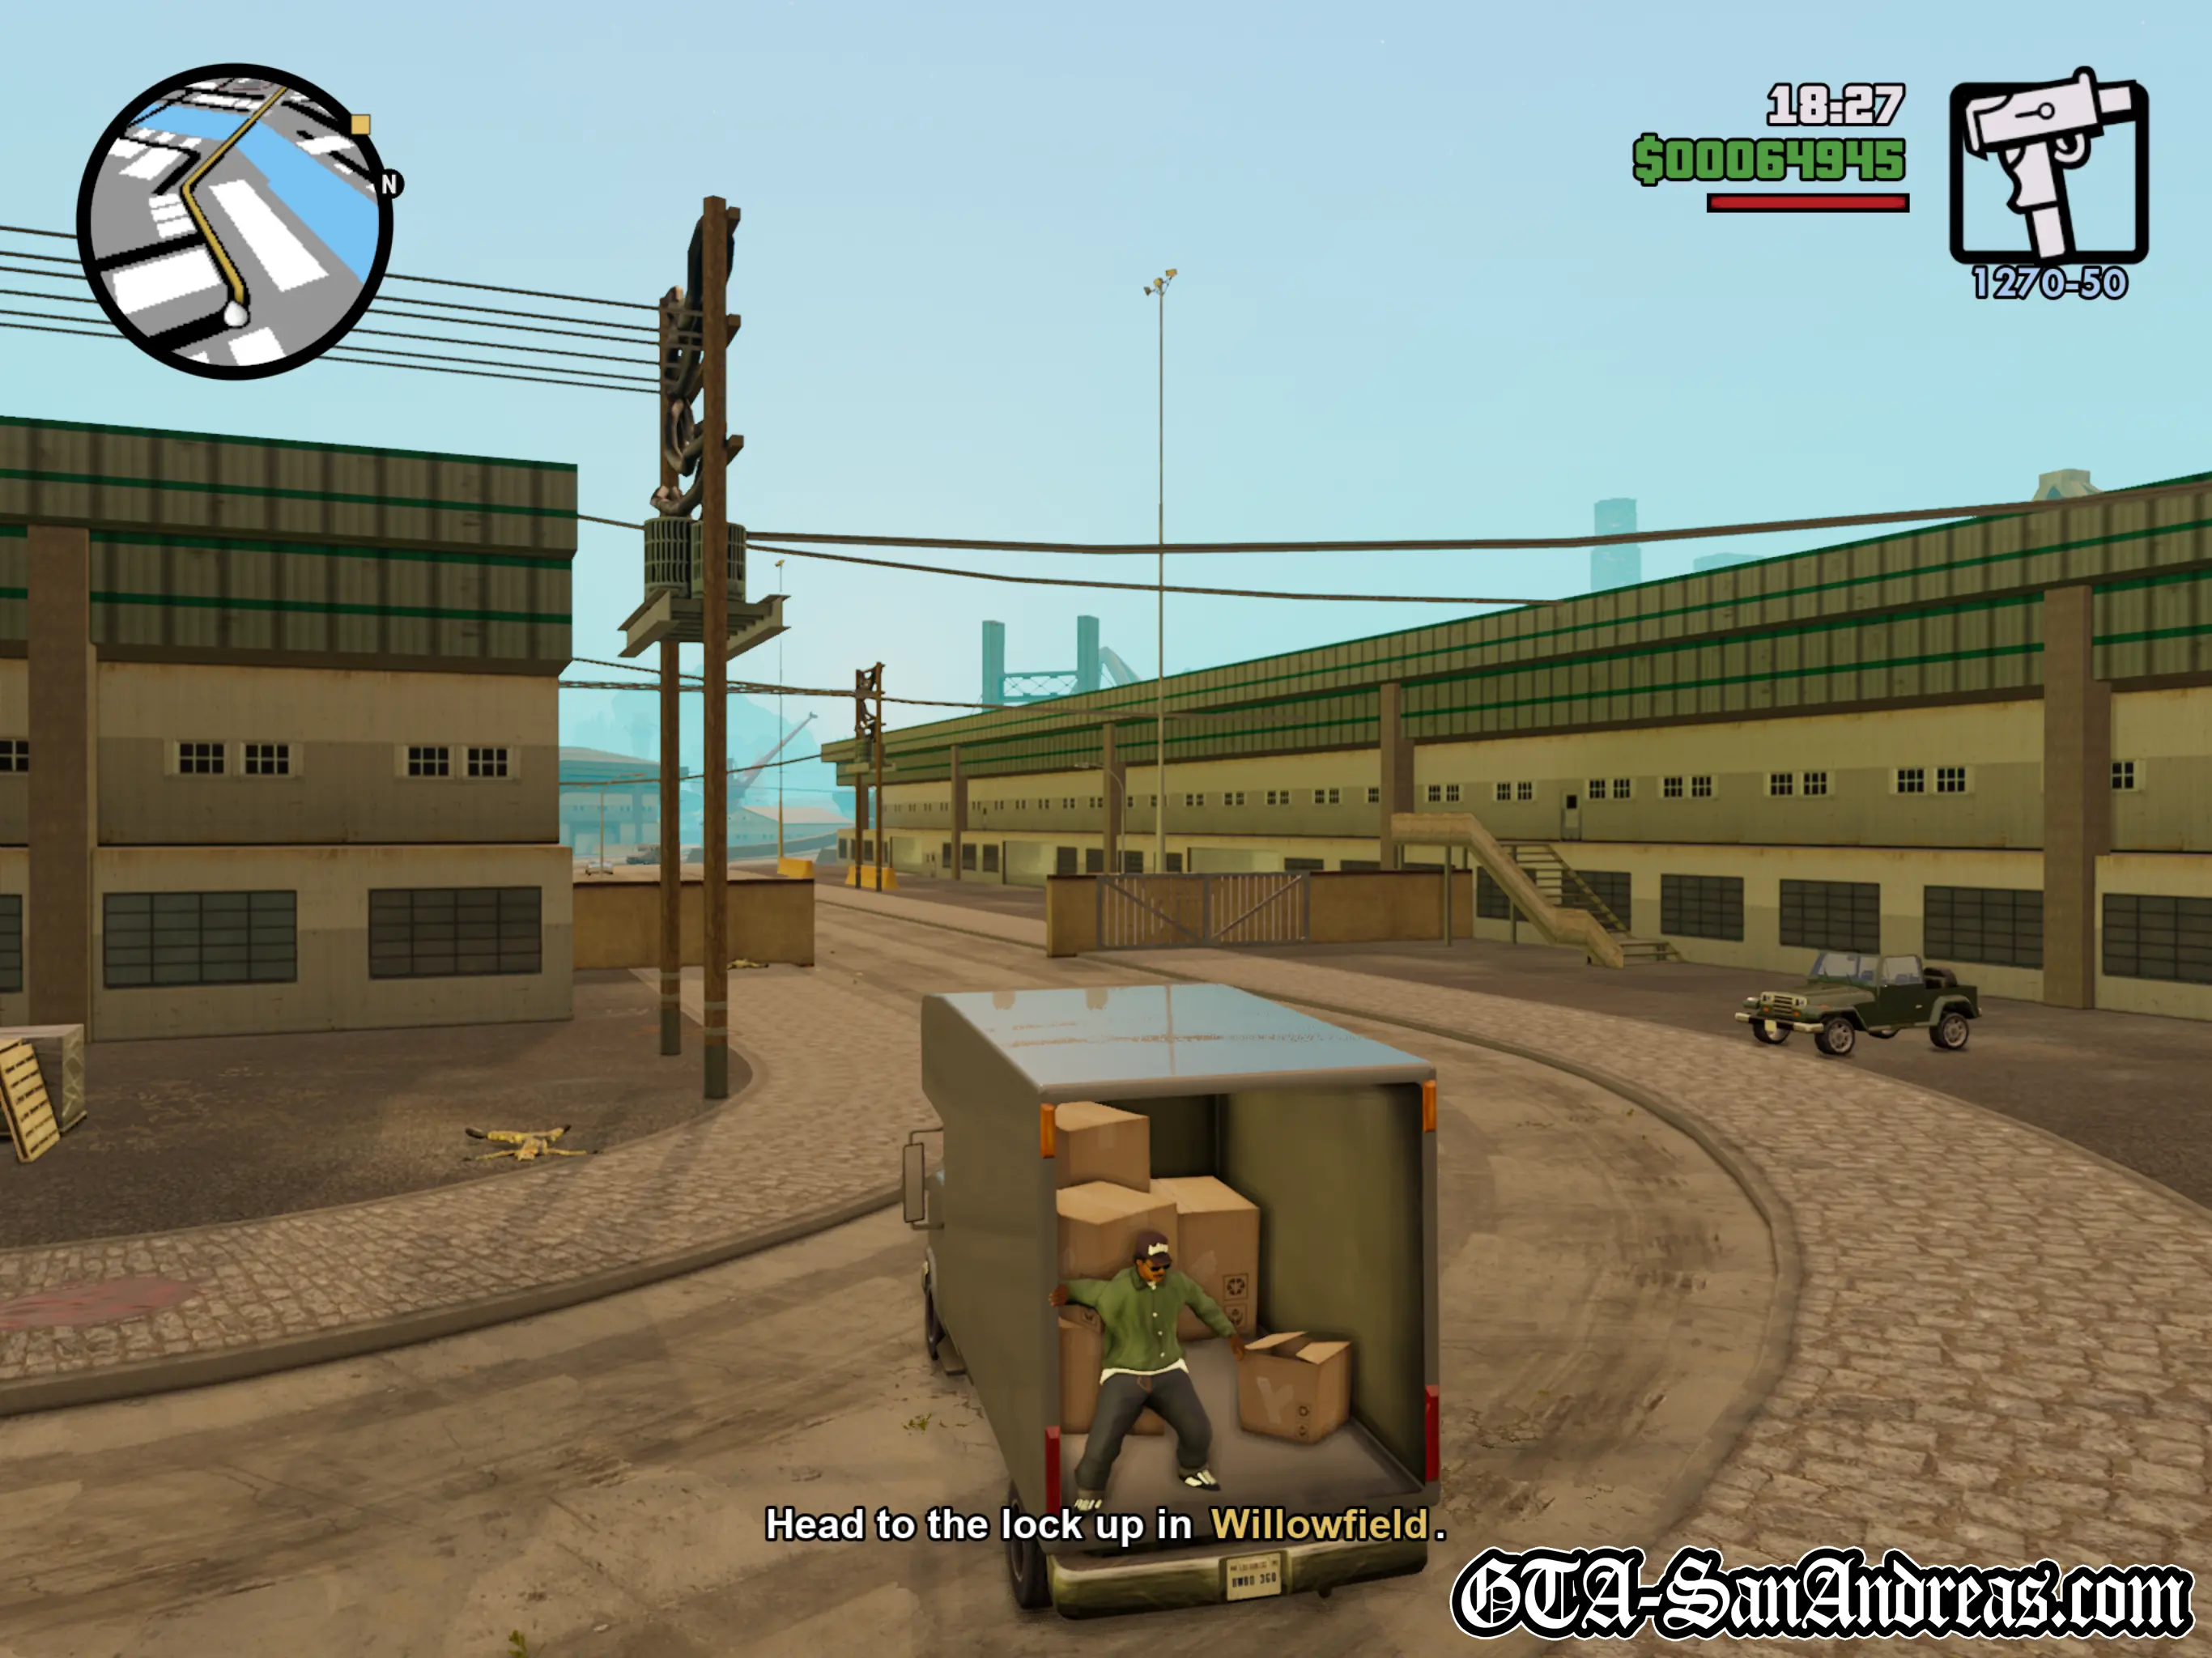
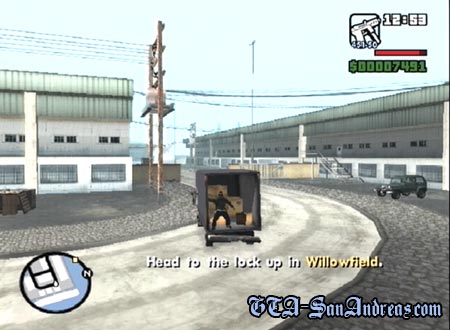
Pick up the two remaining boxes and deposit them into the van. Once you've grabbed all six boxes, Ryder will jump in the back of the truck, and it's up to you to drive to the lockup in Willowfield, while being chased by some angry army dudes.
As you approach the bridge Ryder will tell you to use the horn when you want him to throw a crate. Wait for an enemy vehicle to be right behind you then hit the horn and Ryder will drop a crate, hopefully blowing up the car.
Make your way to Emmet's gun place and park the truck in the red marker to pass the mission.
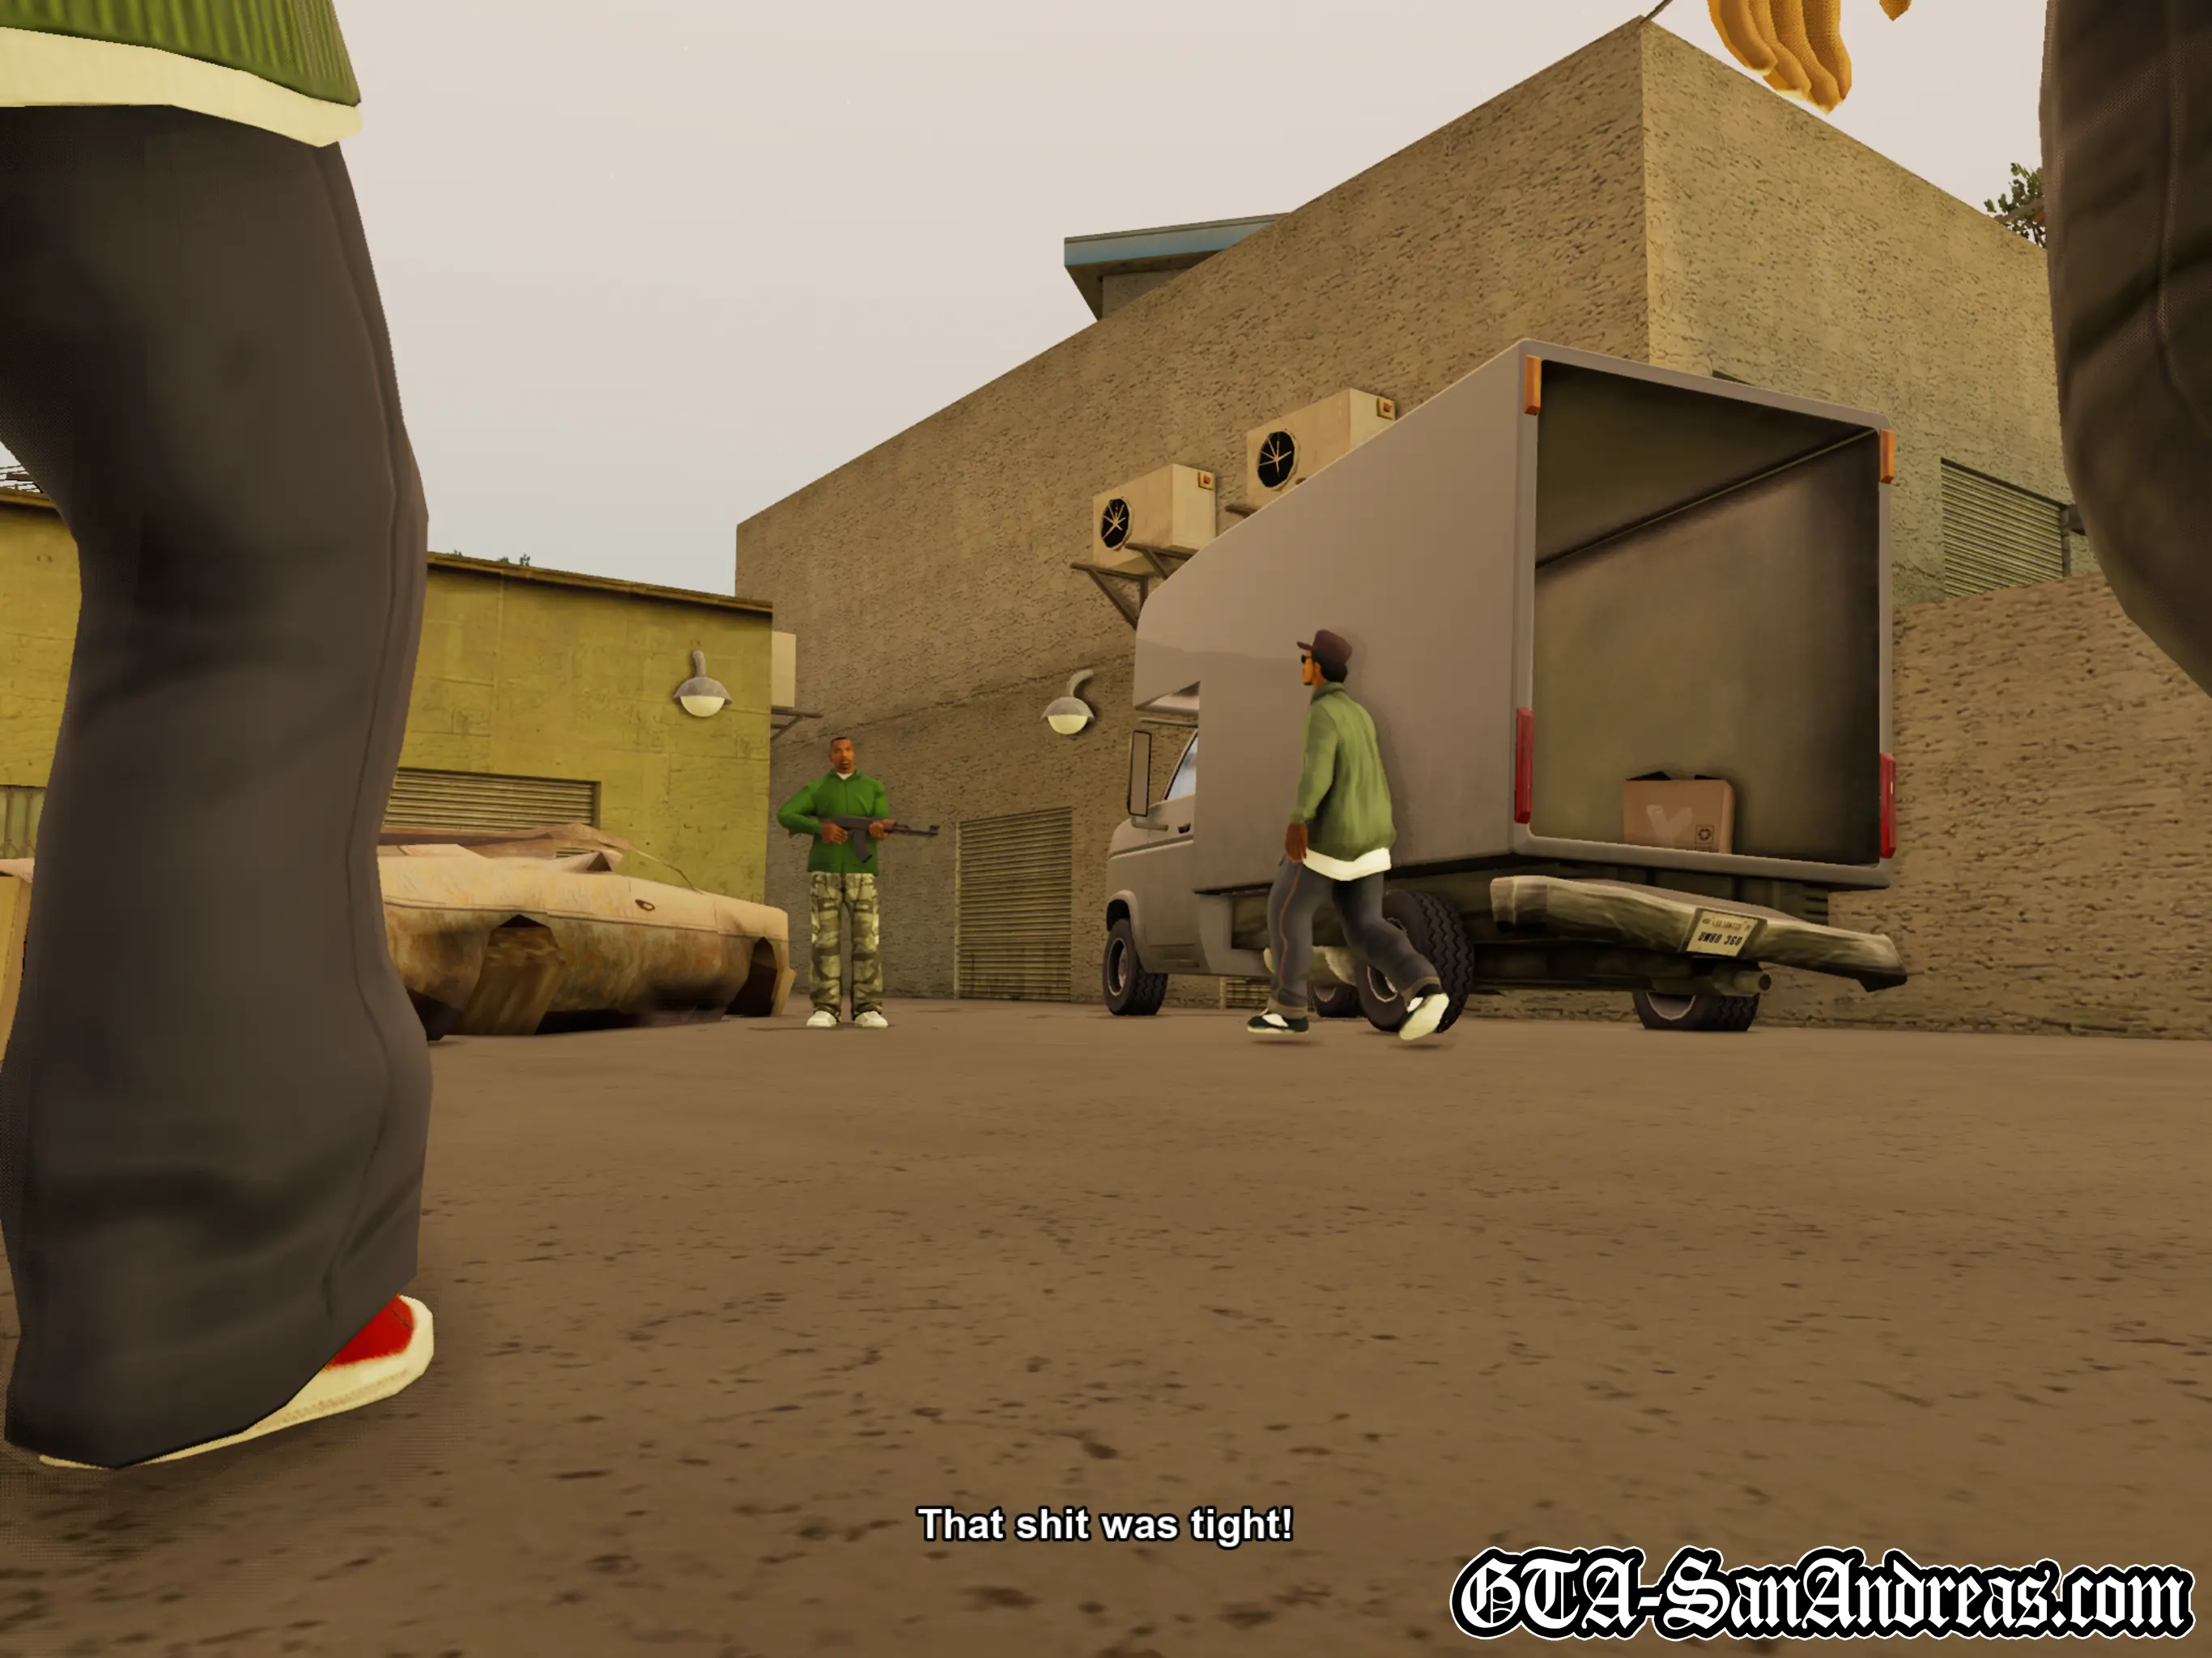
Cutscene
After parking up the van, Ryder is proud of the great job they did, but CJ isn't convinced it was worth the effort, and they part ways.
All of Ryder's missions have been completed. Next up is OG Loc.
Tips & Tricks
Free Weapons
During the forklift section of the mission you'll find there are about 15 or 16 crates scattered around the warehouse and docks. You only need to pick up 6 of them so the others can actually be destroyed. Inside each one you'll find random weapons or power-ups including the Pistol, Micro-SMG, Shotgun, Grenades, Body Armor and Health pickups. As long as you don't smash more than 10 or 11 crates you should still be able to complete the mission.
Screenshots

OG Loc
 Life's A Beach
Cutscene
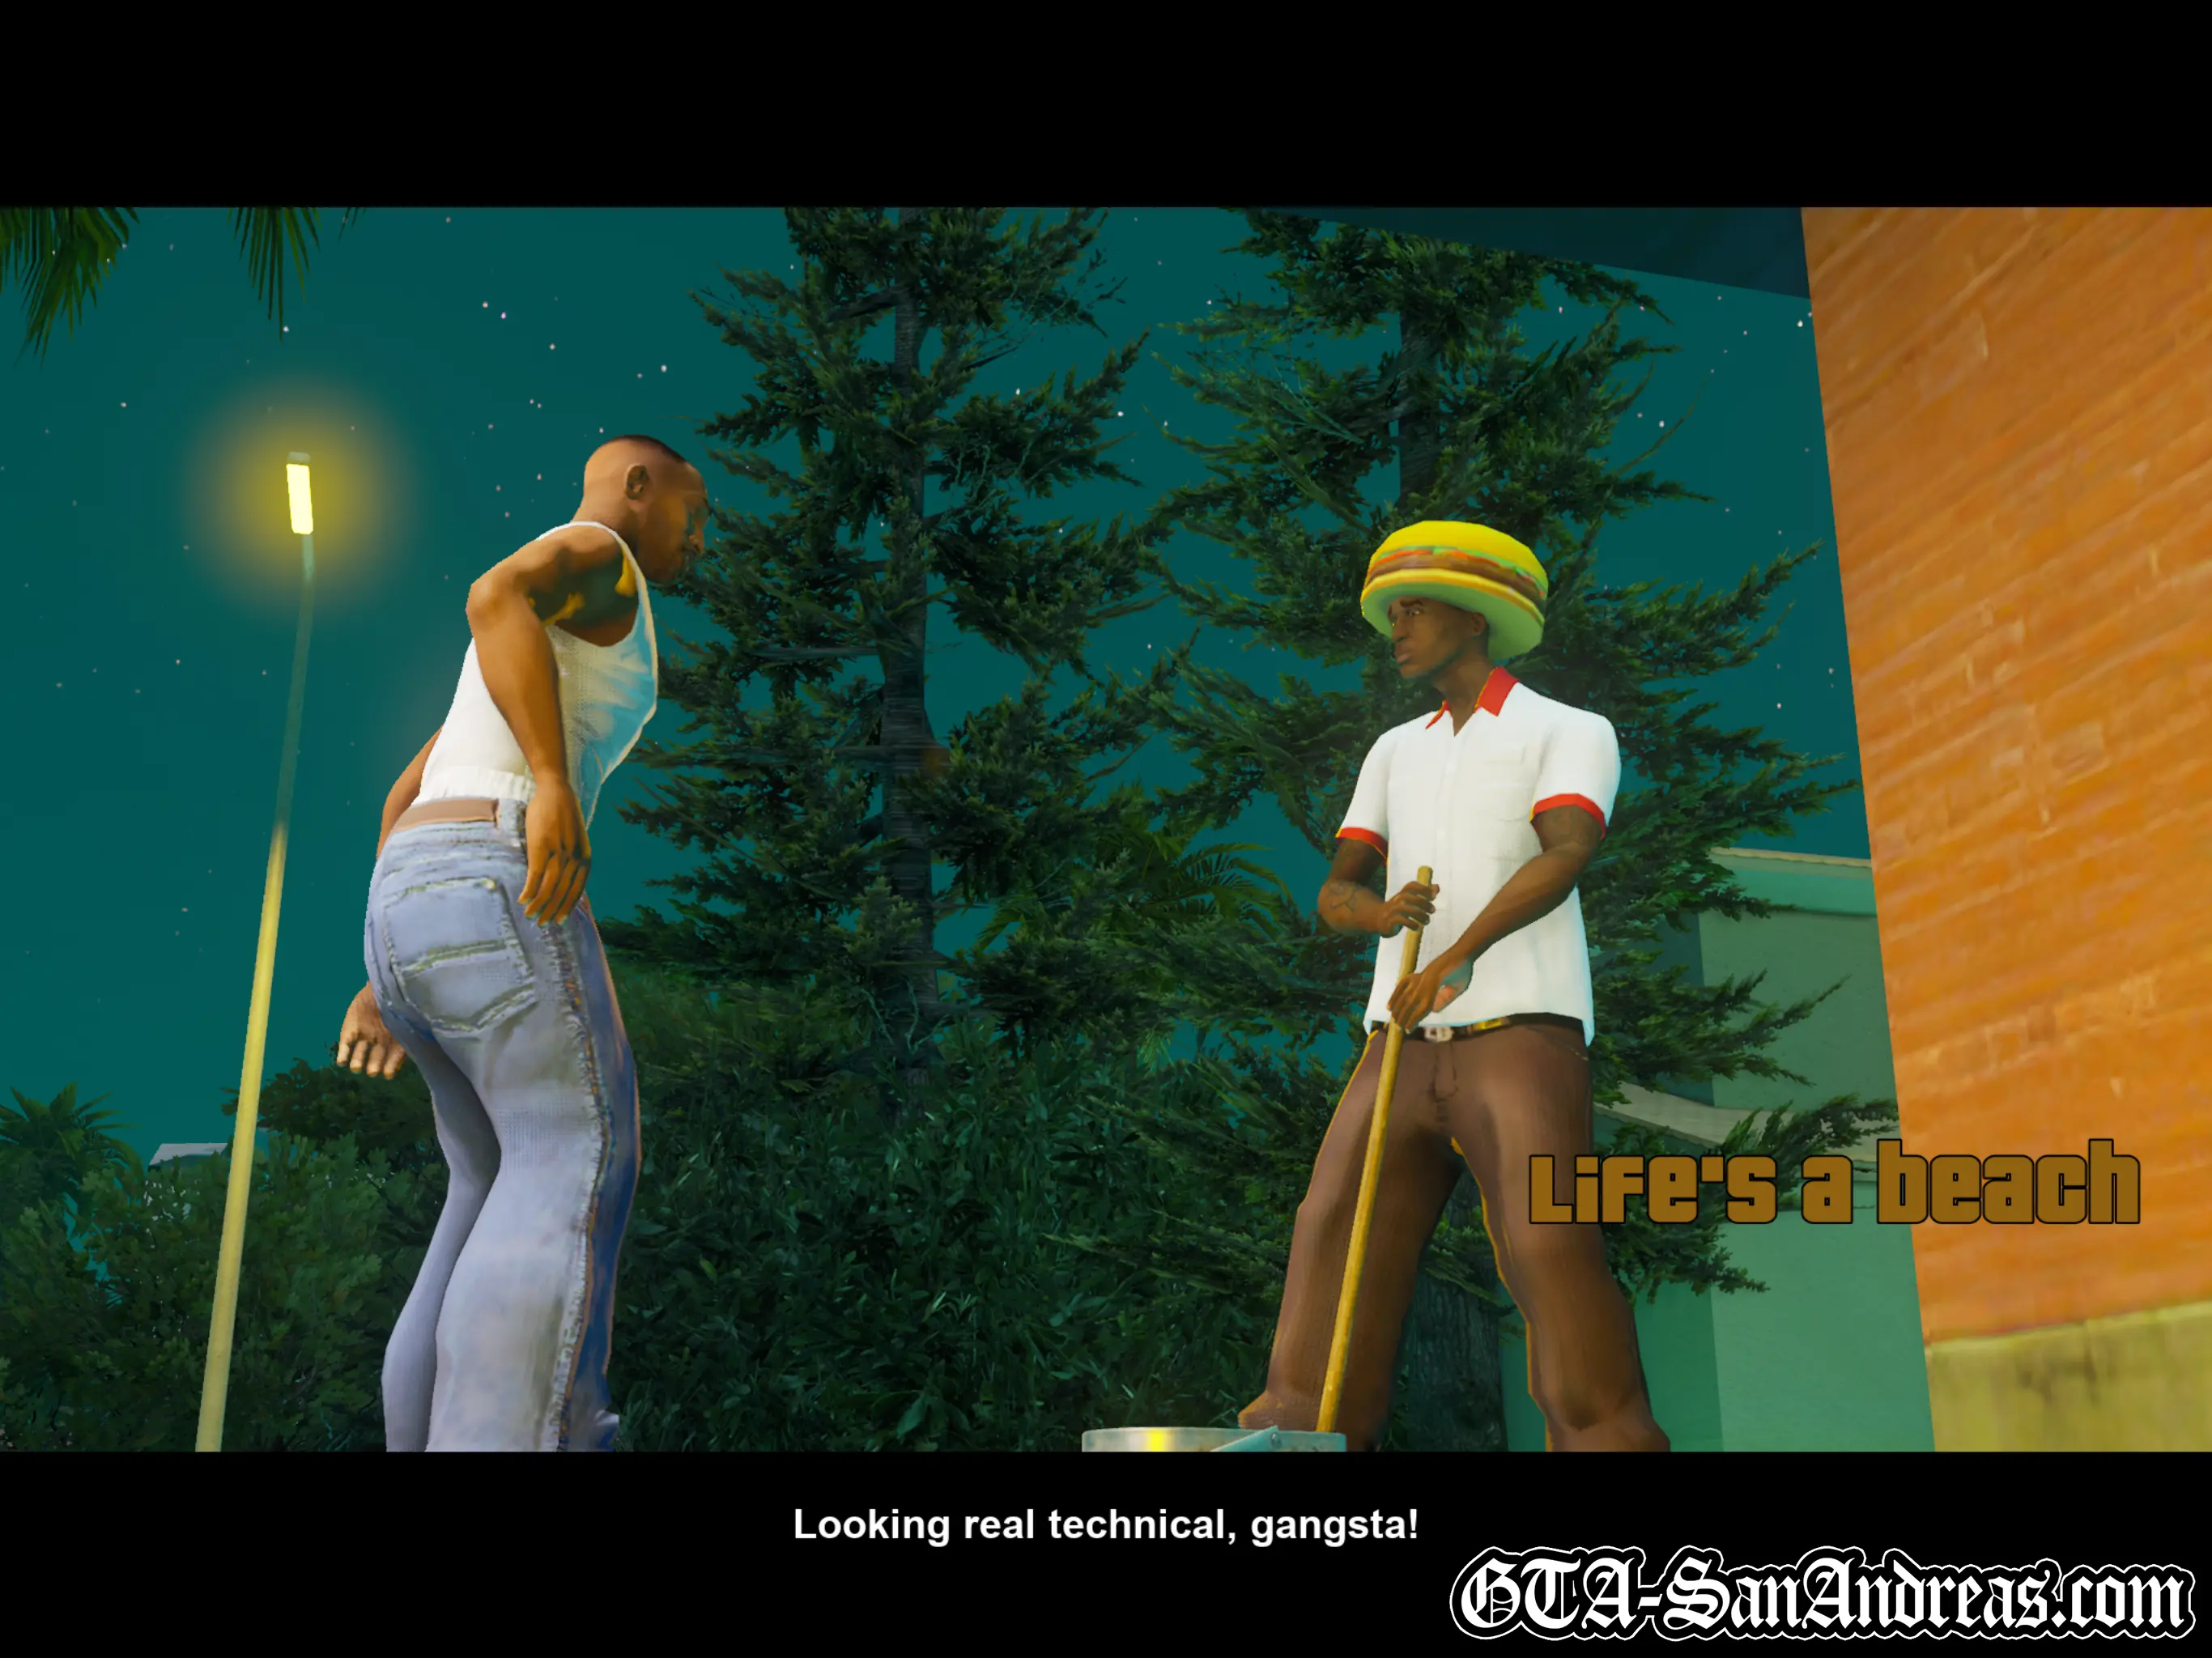
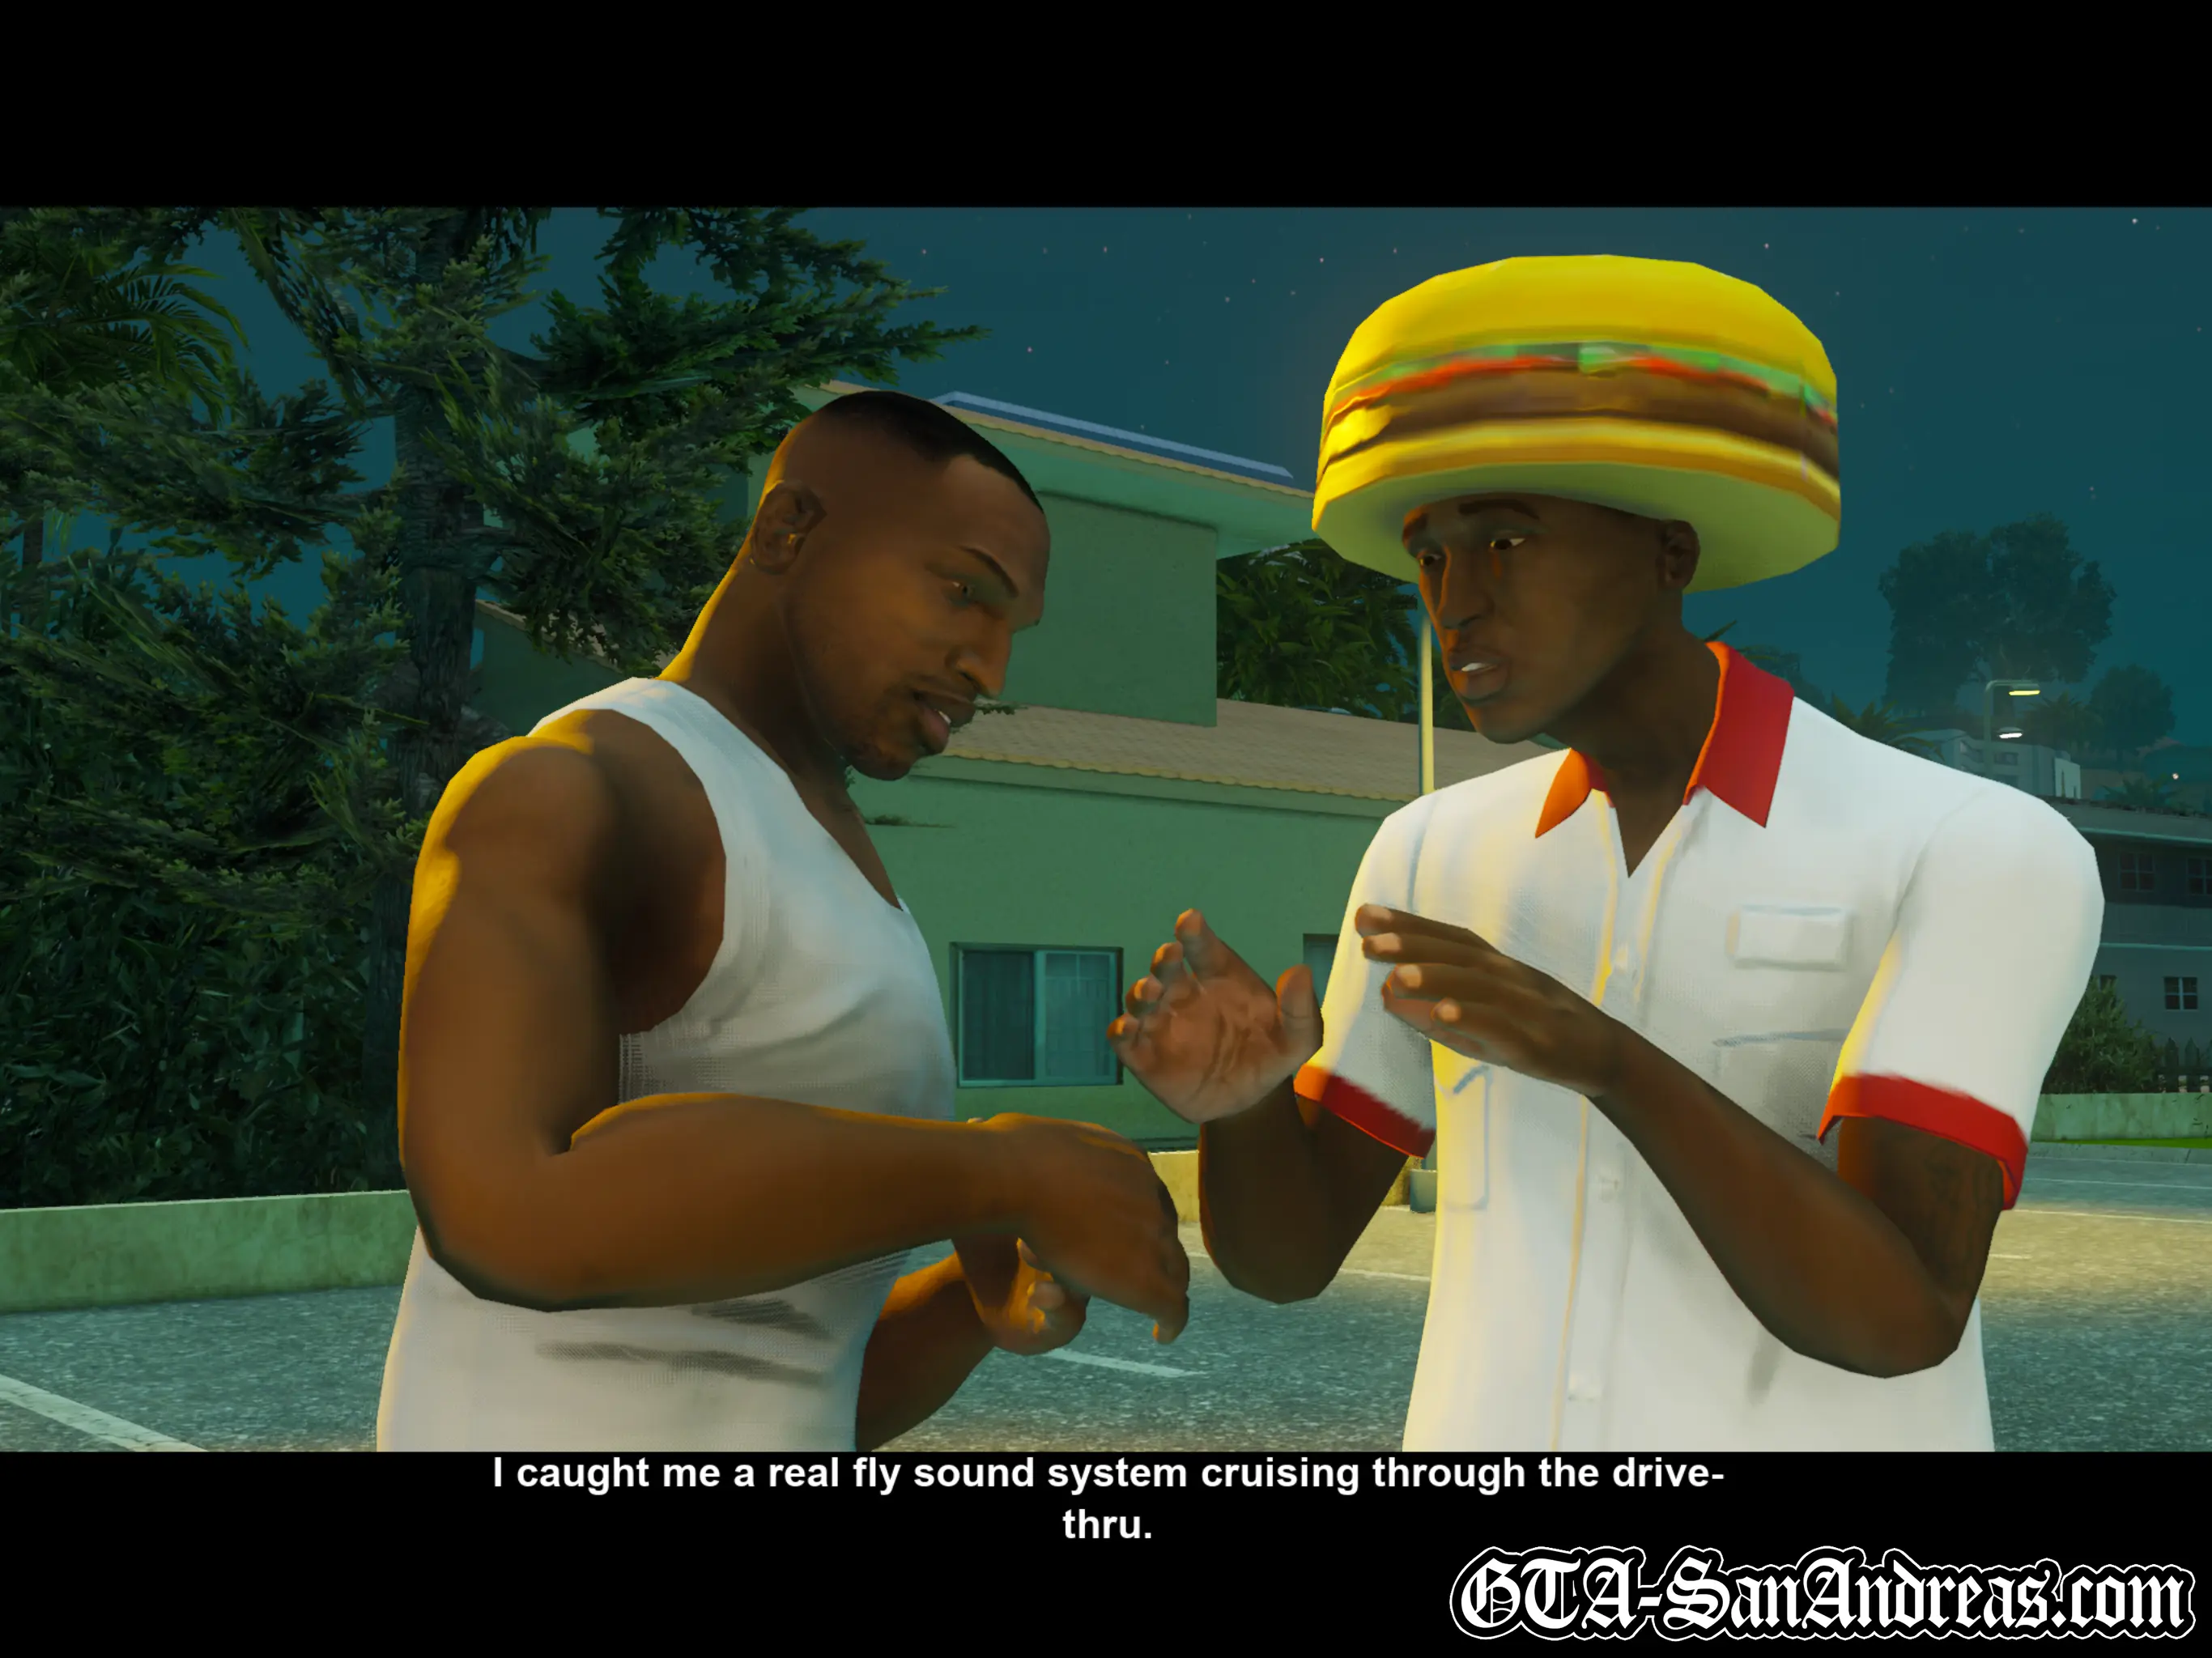
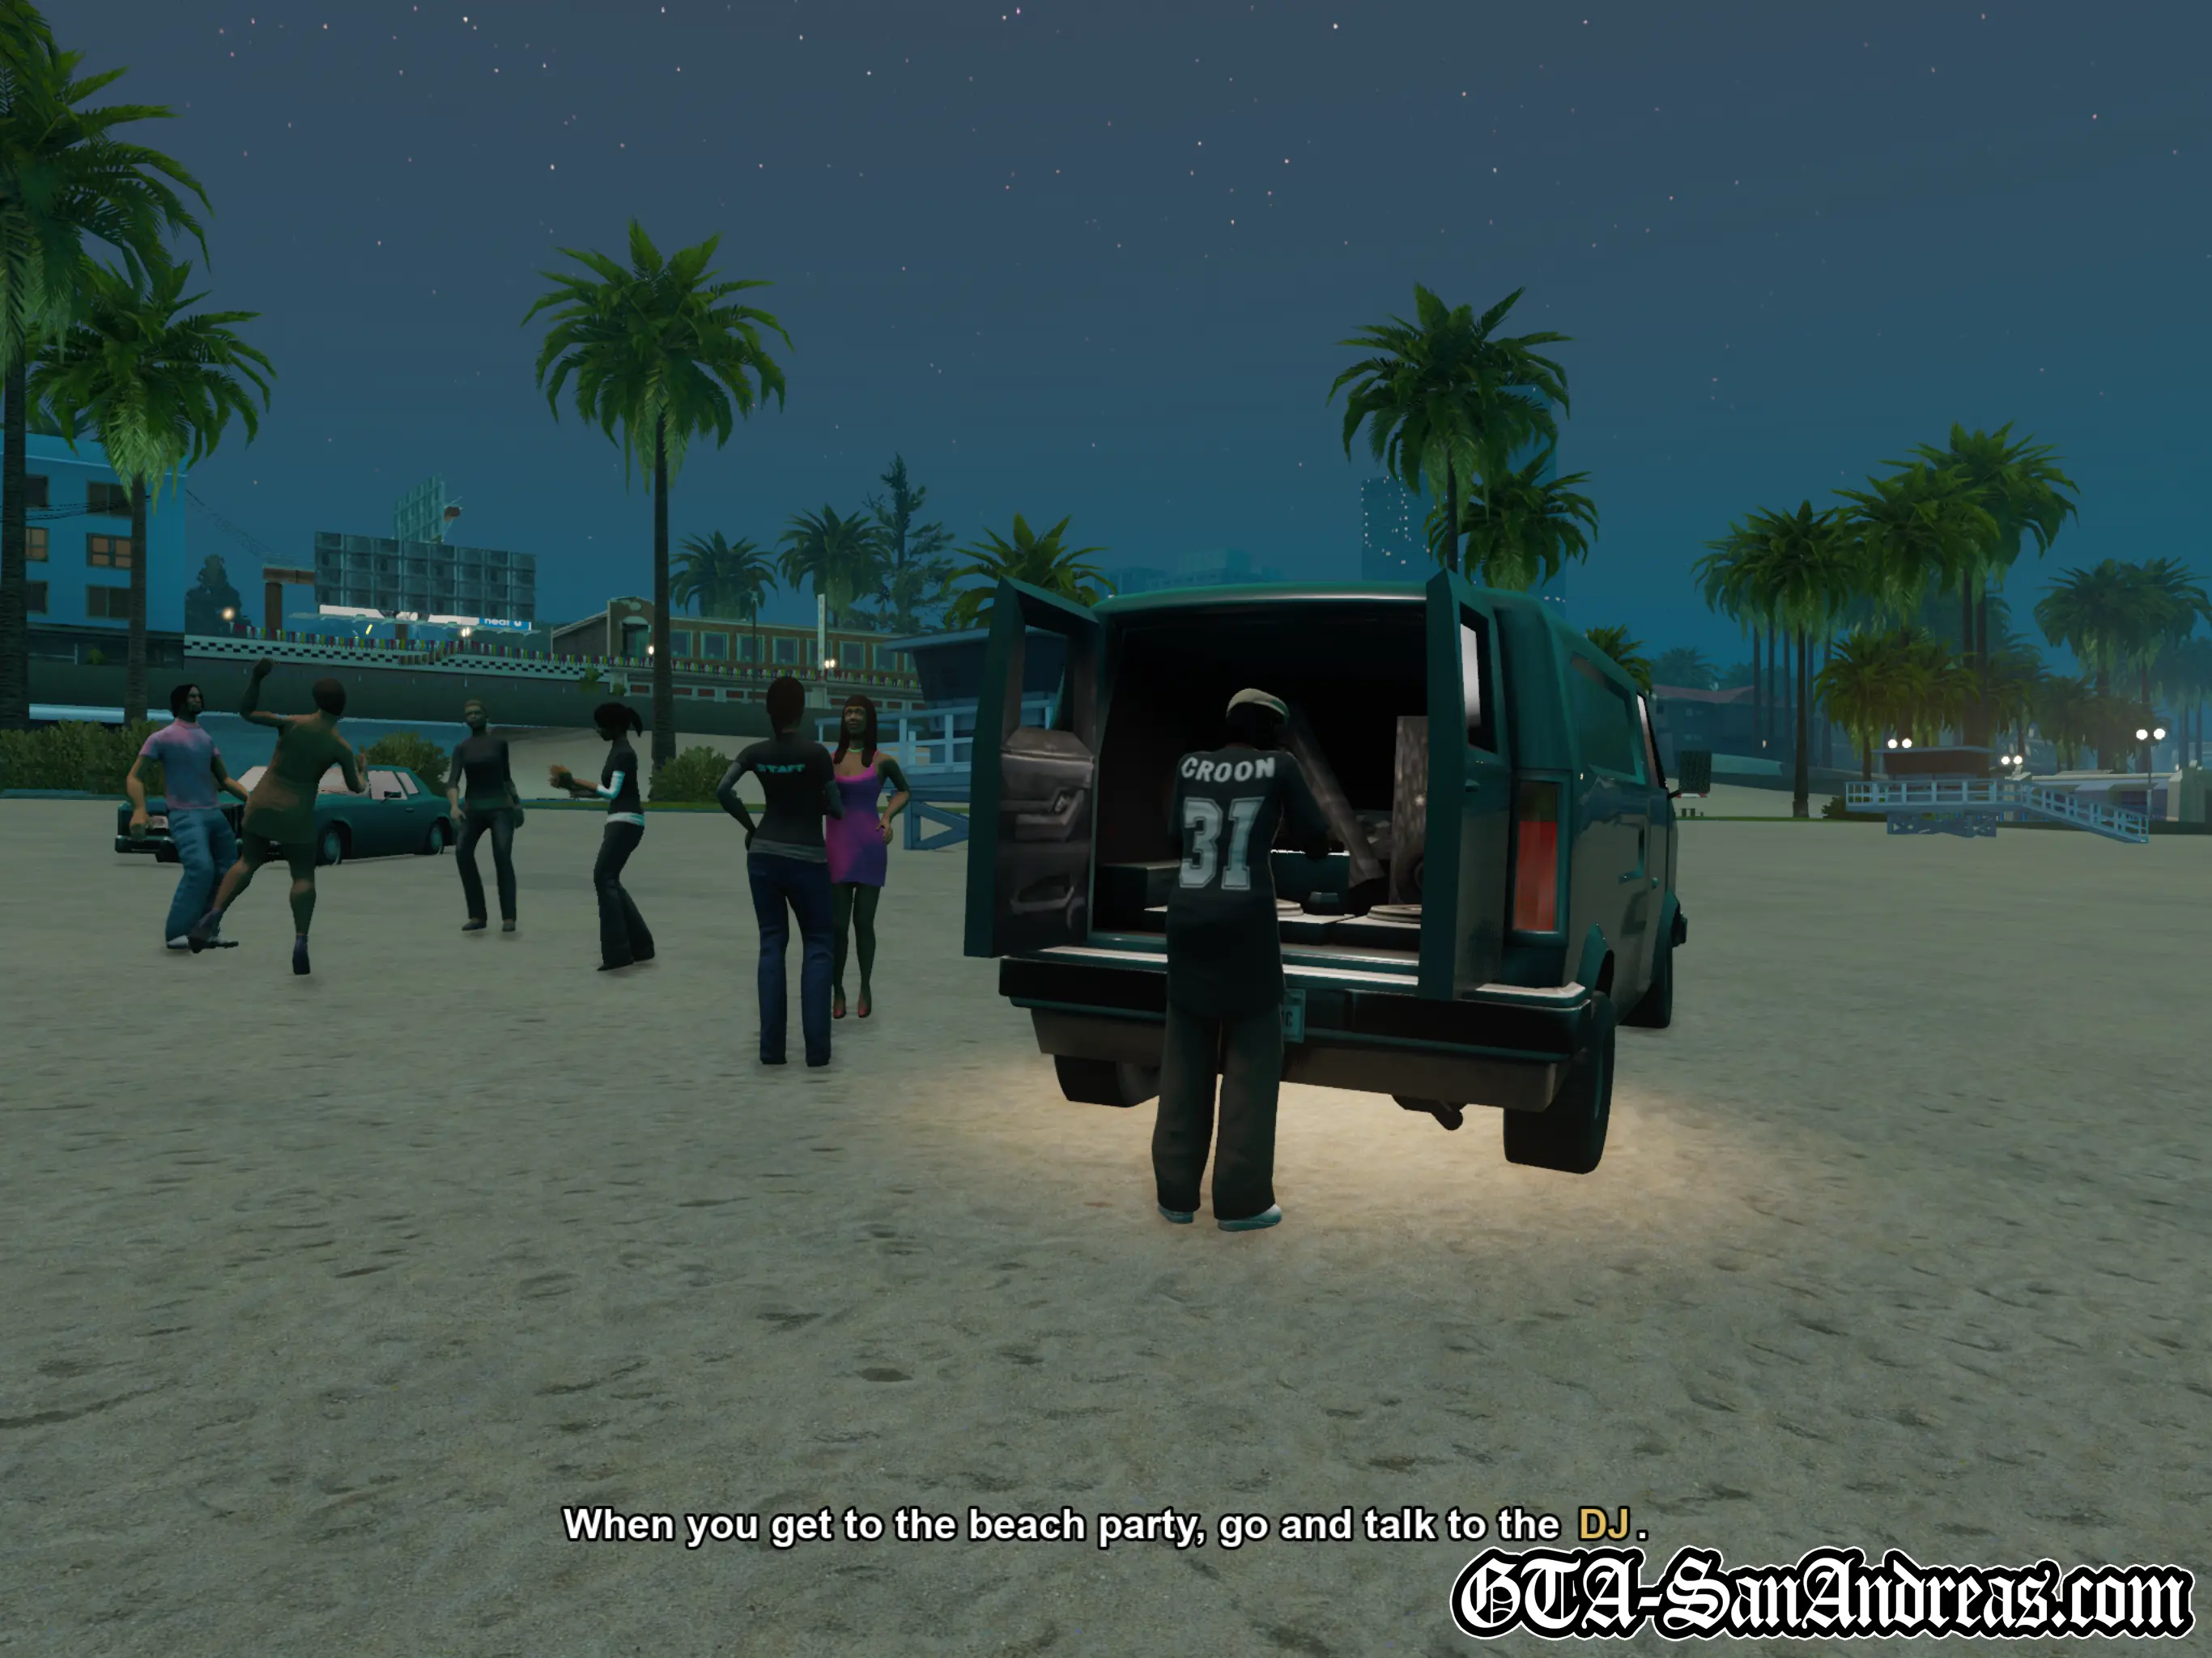
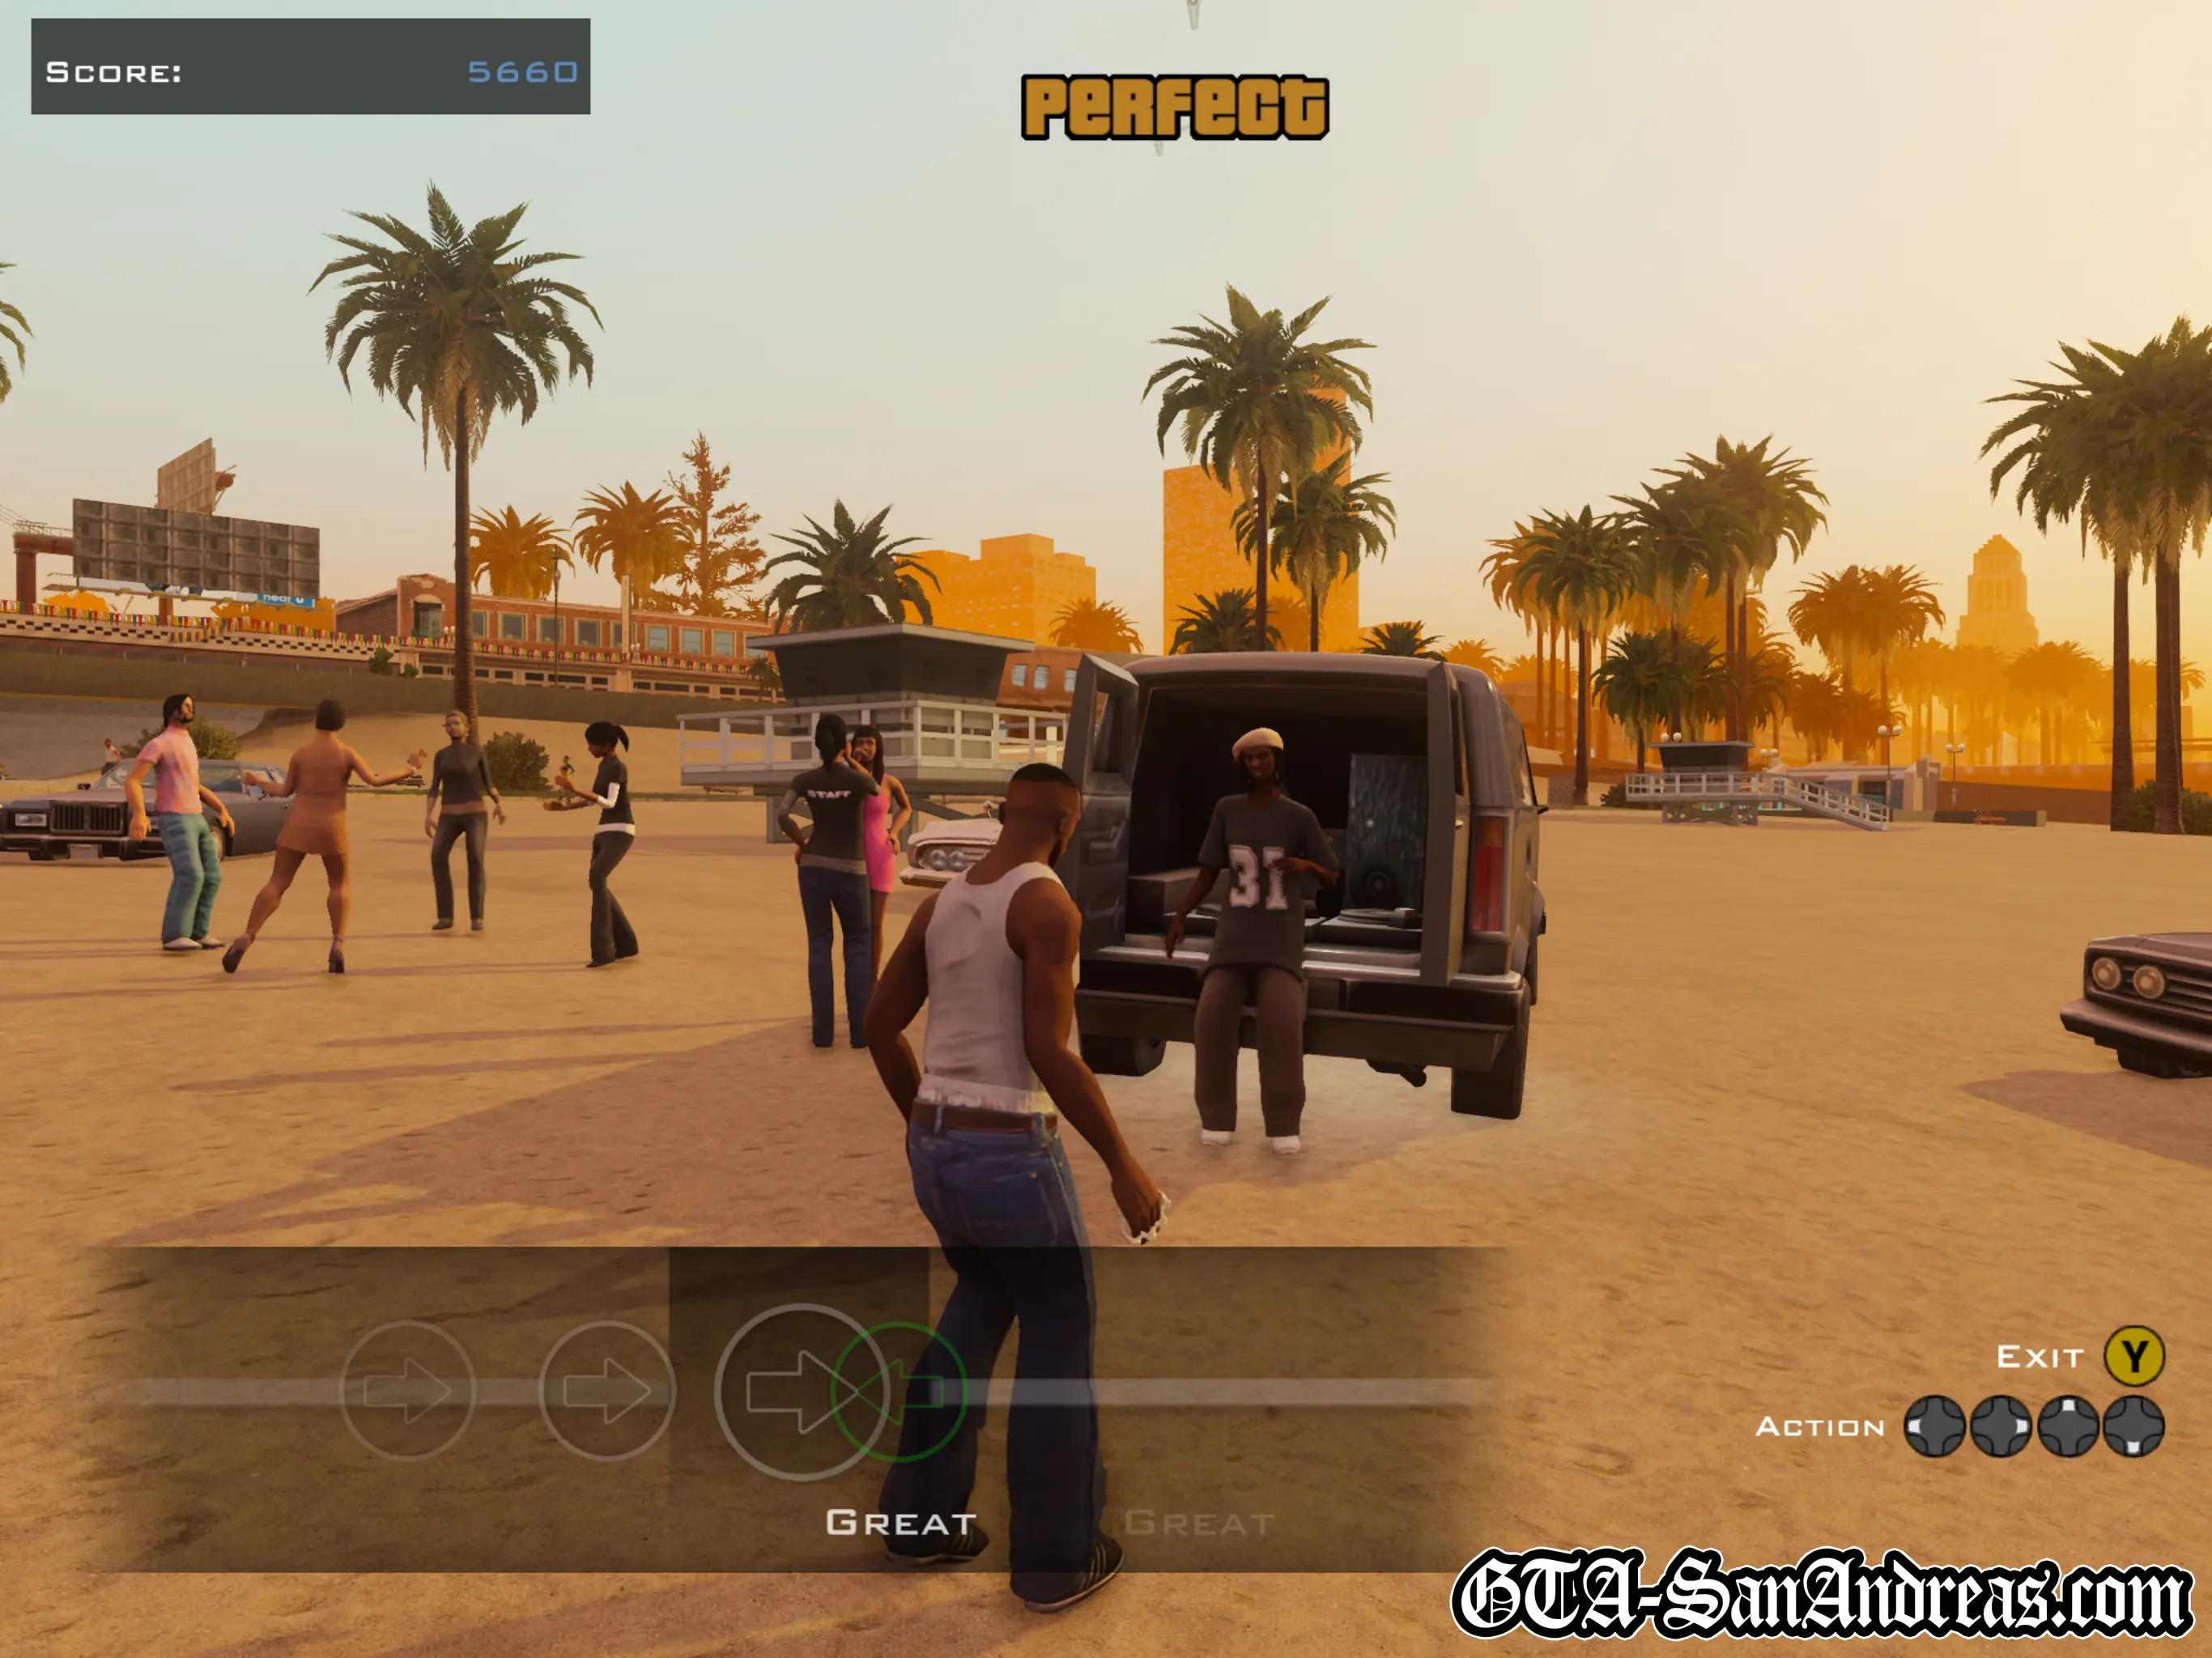
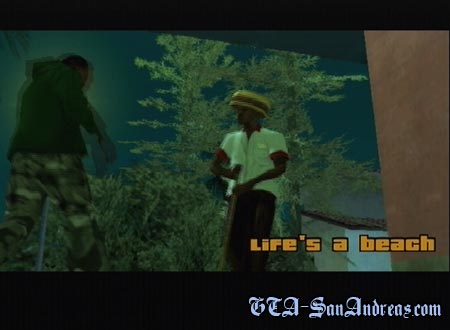
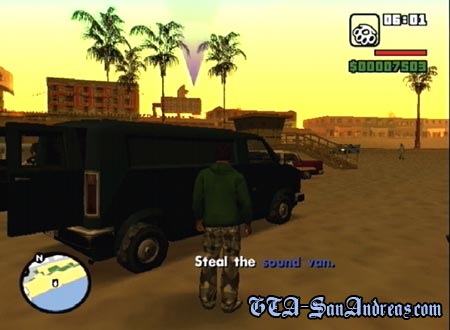
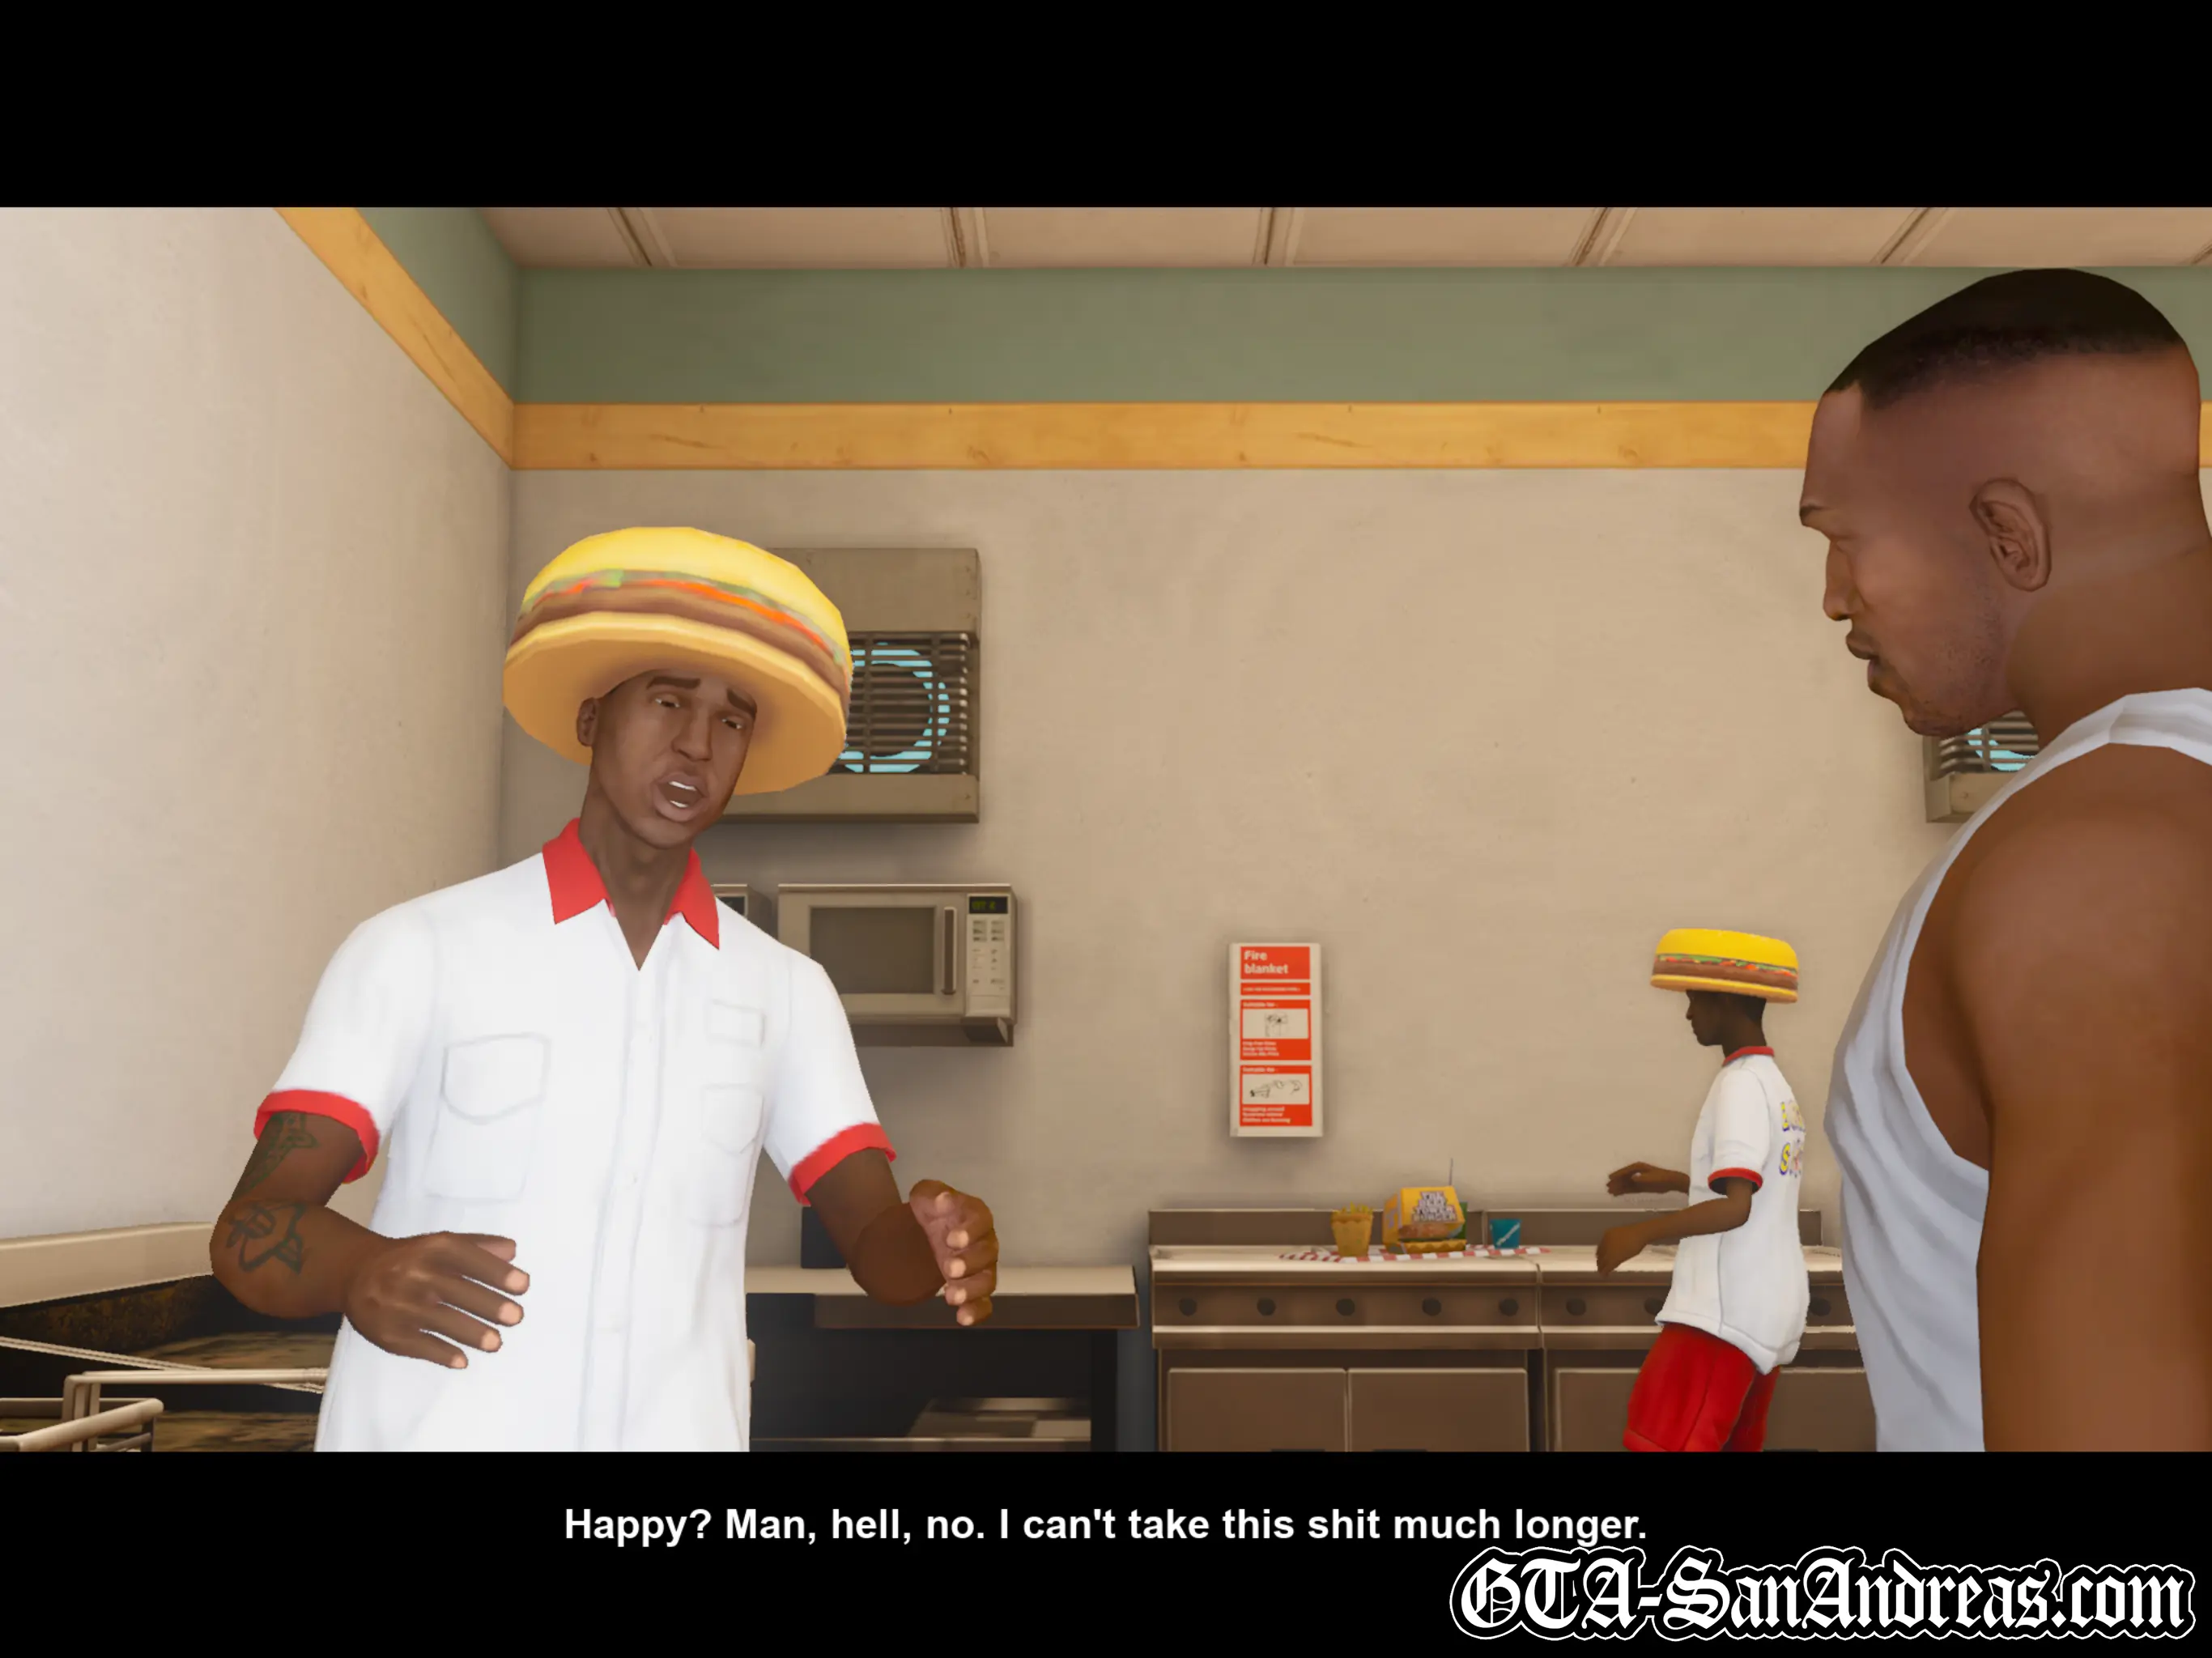
CJ appears while OG Loc is cleaning up outside Burger Shot in his new role as a hygiene technician. Loc says he's looking for a sound system for his album launch party. Carl thinks he can get out of going to the party by telling OG Loc he's not into rap anymore, only hardcore gangster shit, but Loc thinks that sums him up perfectly. He saw a real fly sound system going through the drive-thru, heading to a party at the beach, so he wants Carl to go and steal it.
Loc tells CJ he'll cruise with him and treat him to some freestyles, but Carl has heard enough already and decides he should just do it alone.
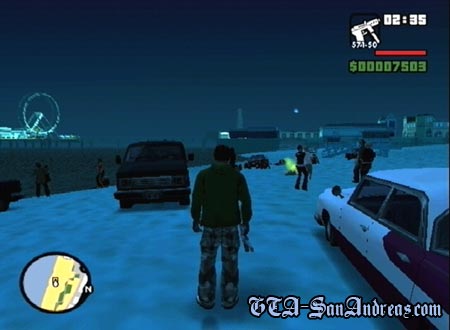
When the mission starts you'll be on foot outside Burger Shot, so grab a car - there are usually some in the parking lot - then head to the beach party area, marked with a yellow blip on your radar.
Cutscene
As you approach the beach party scene, the game shows the sound van and tells you to speak to the DJ.
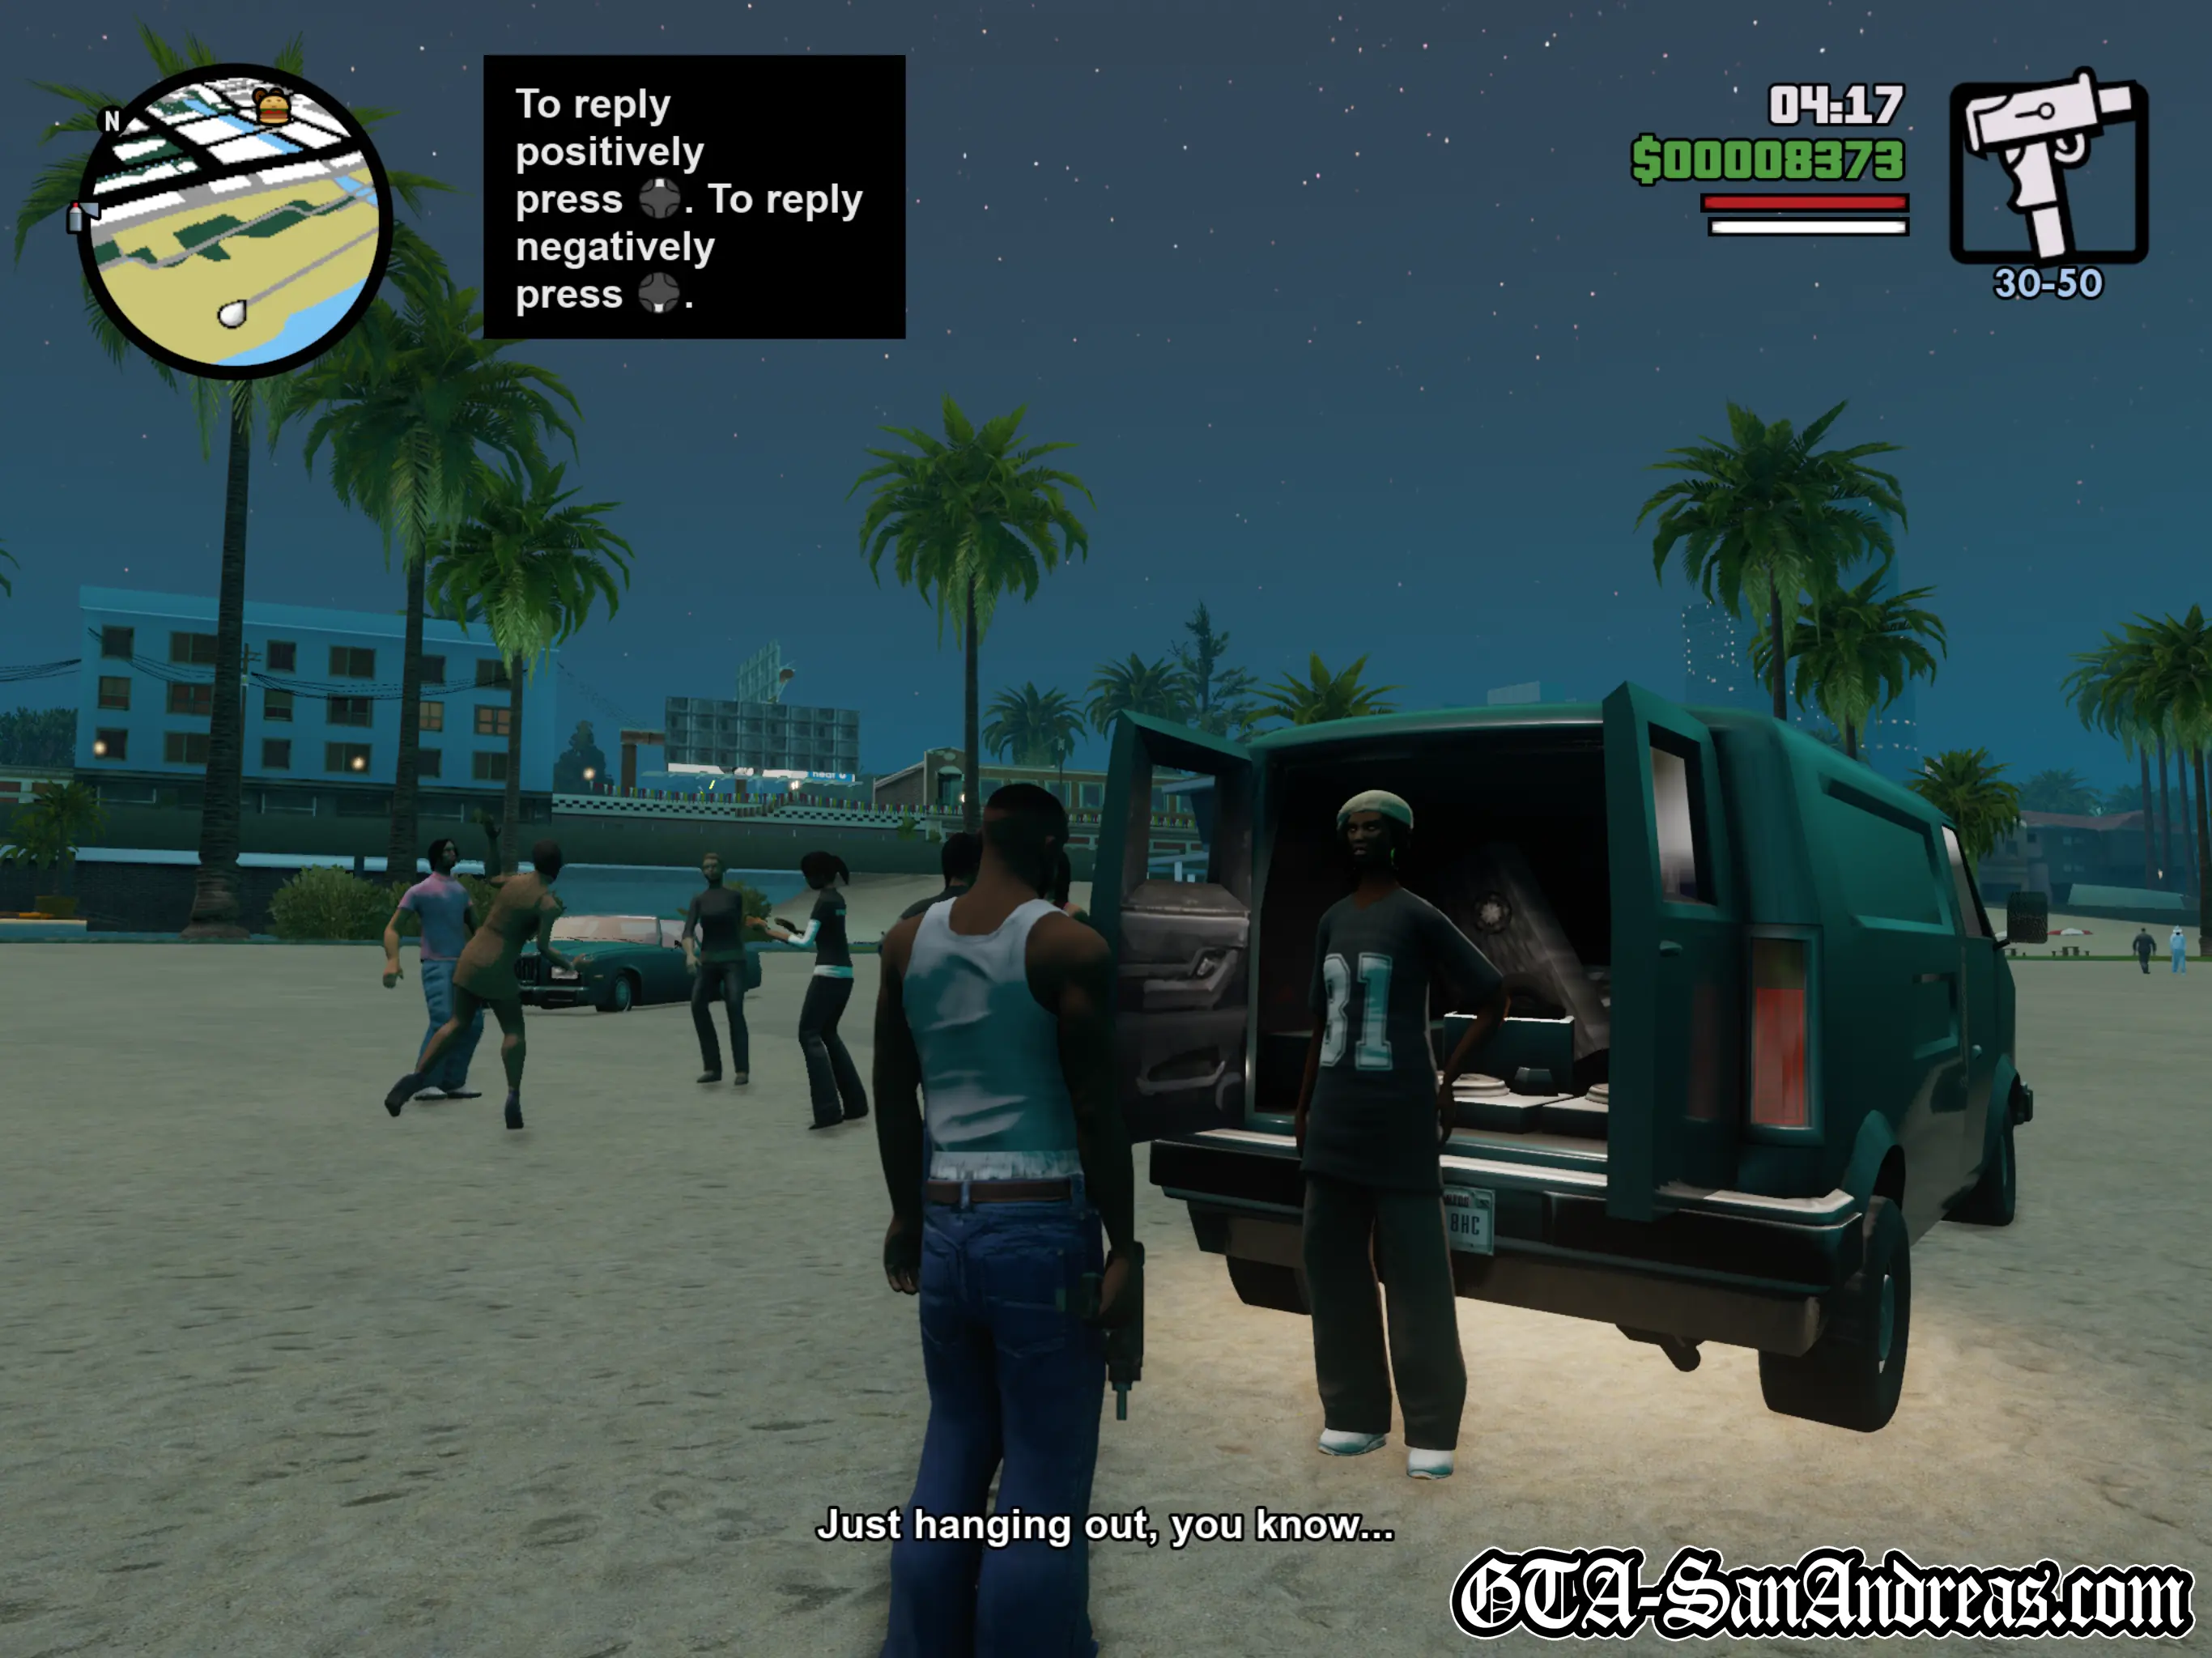
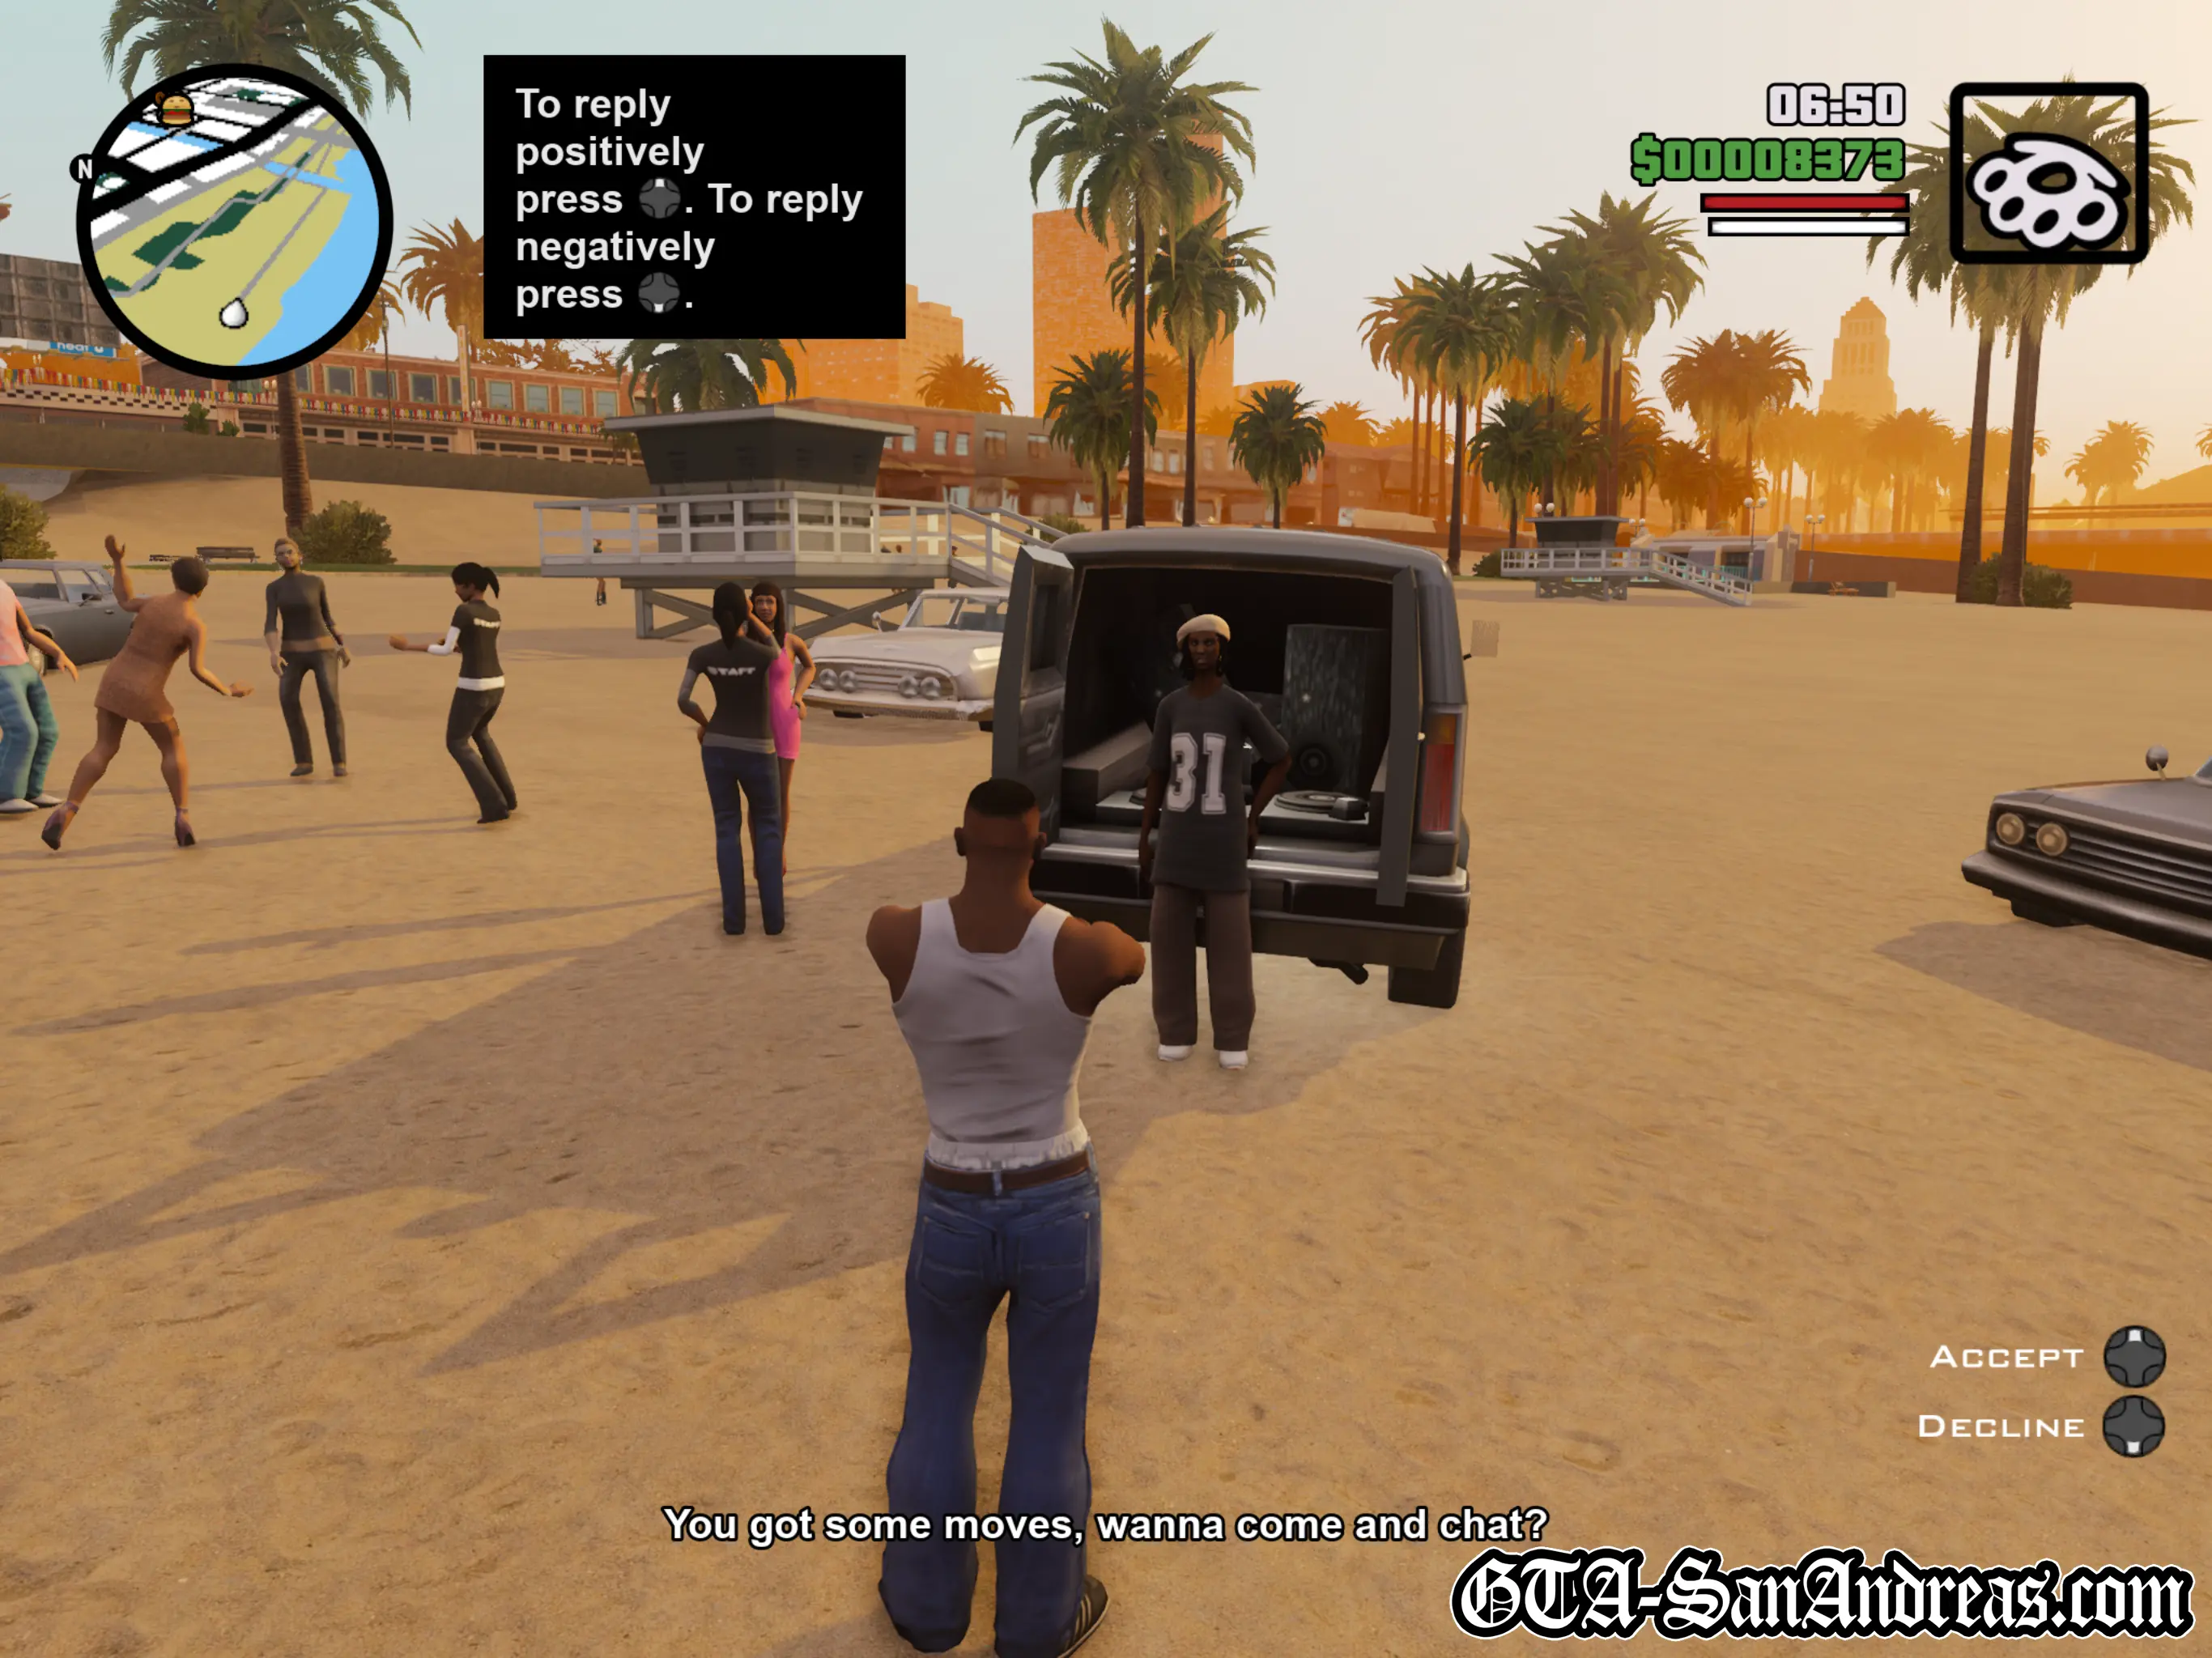
Walk up to the DJ and stand in the red marker nearby and you'll be presented with a dialogue choice.
You can choose a negative or positive response. To be on the safe side I'd suggest being nice this time.
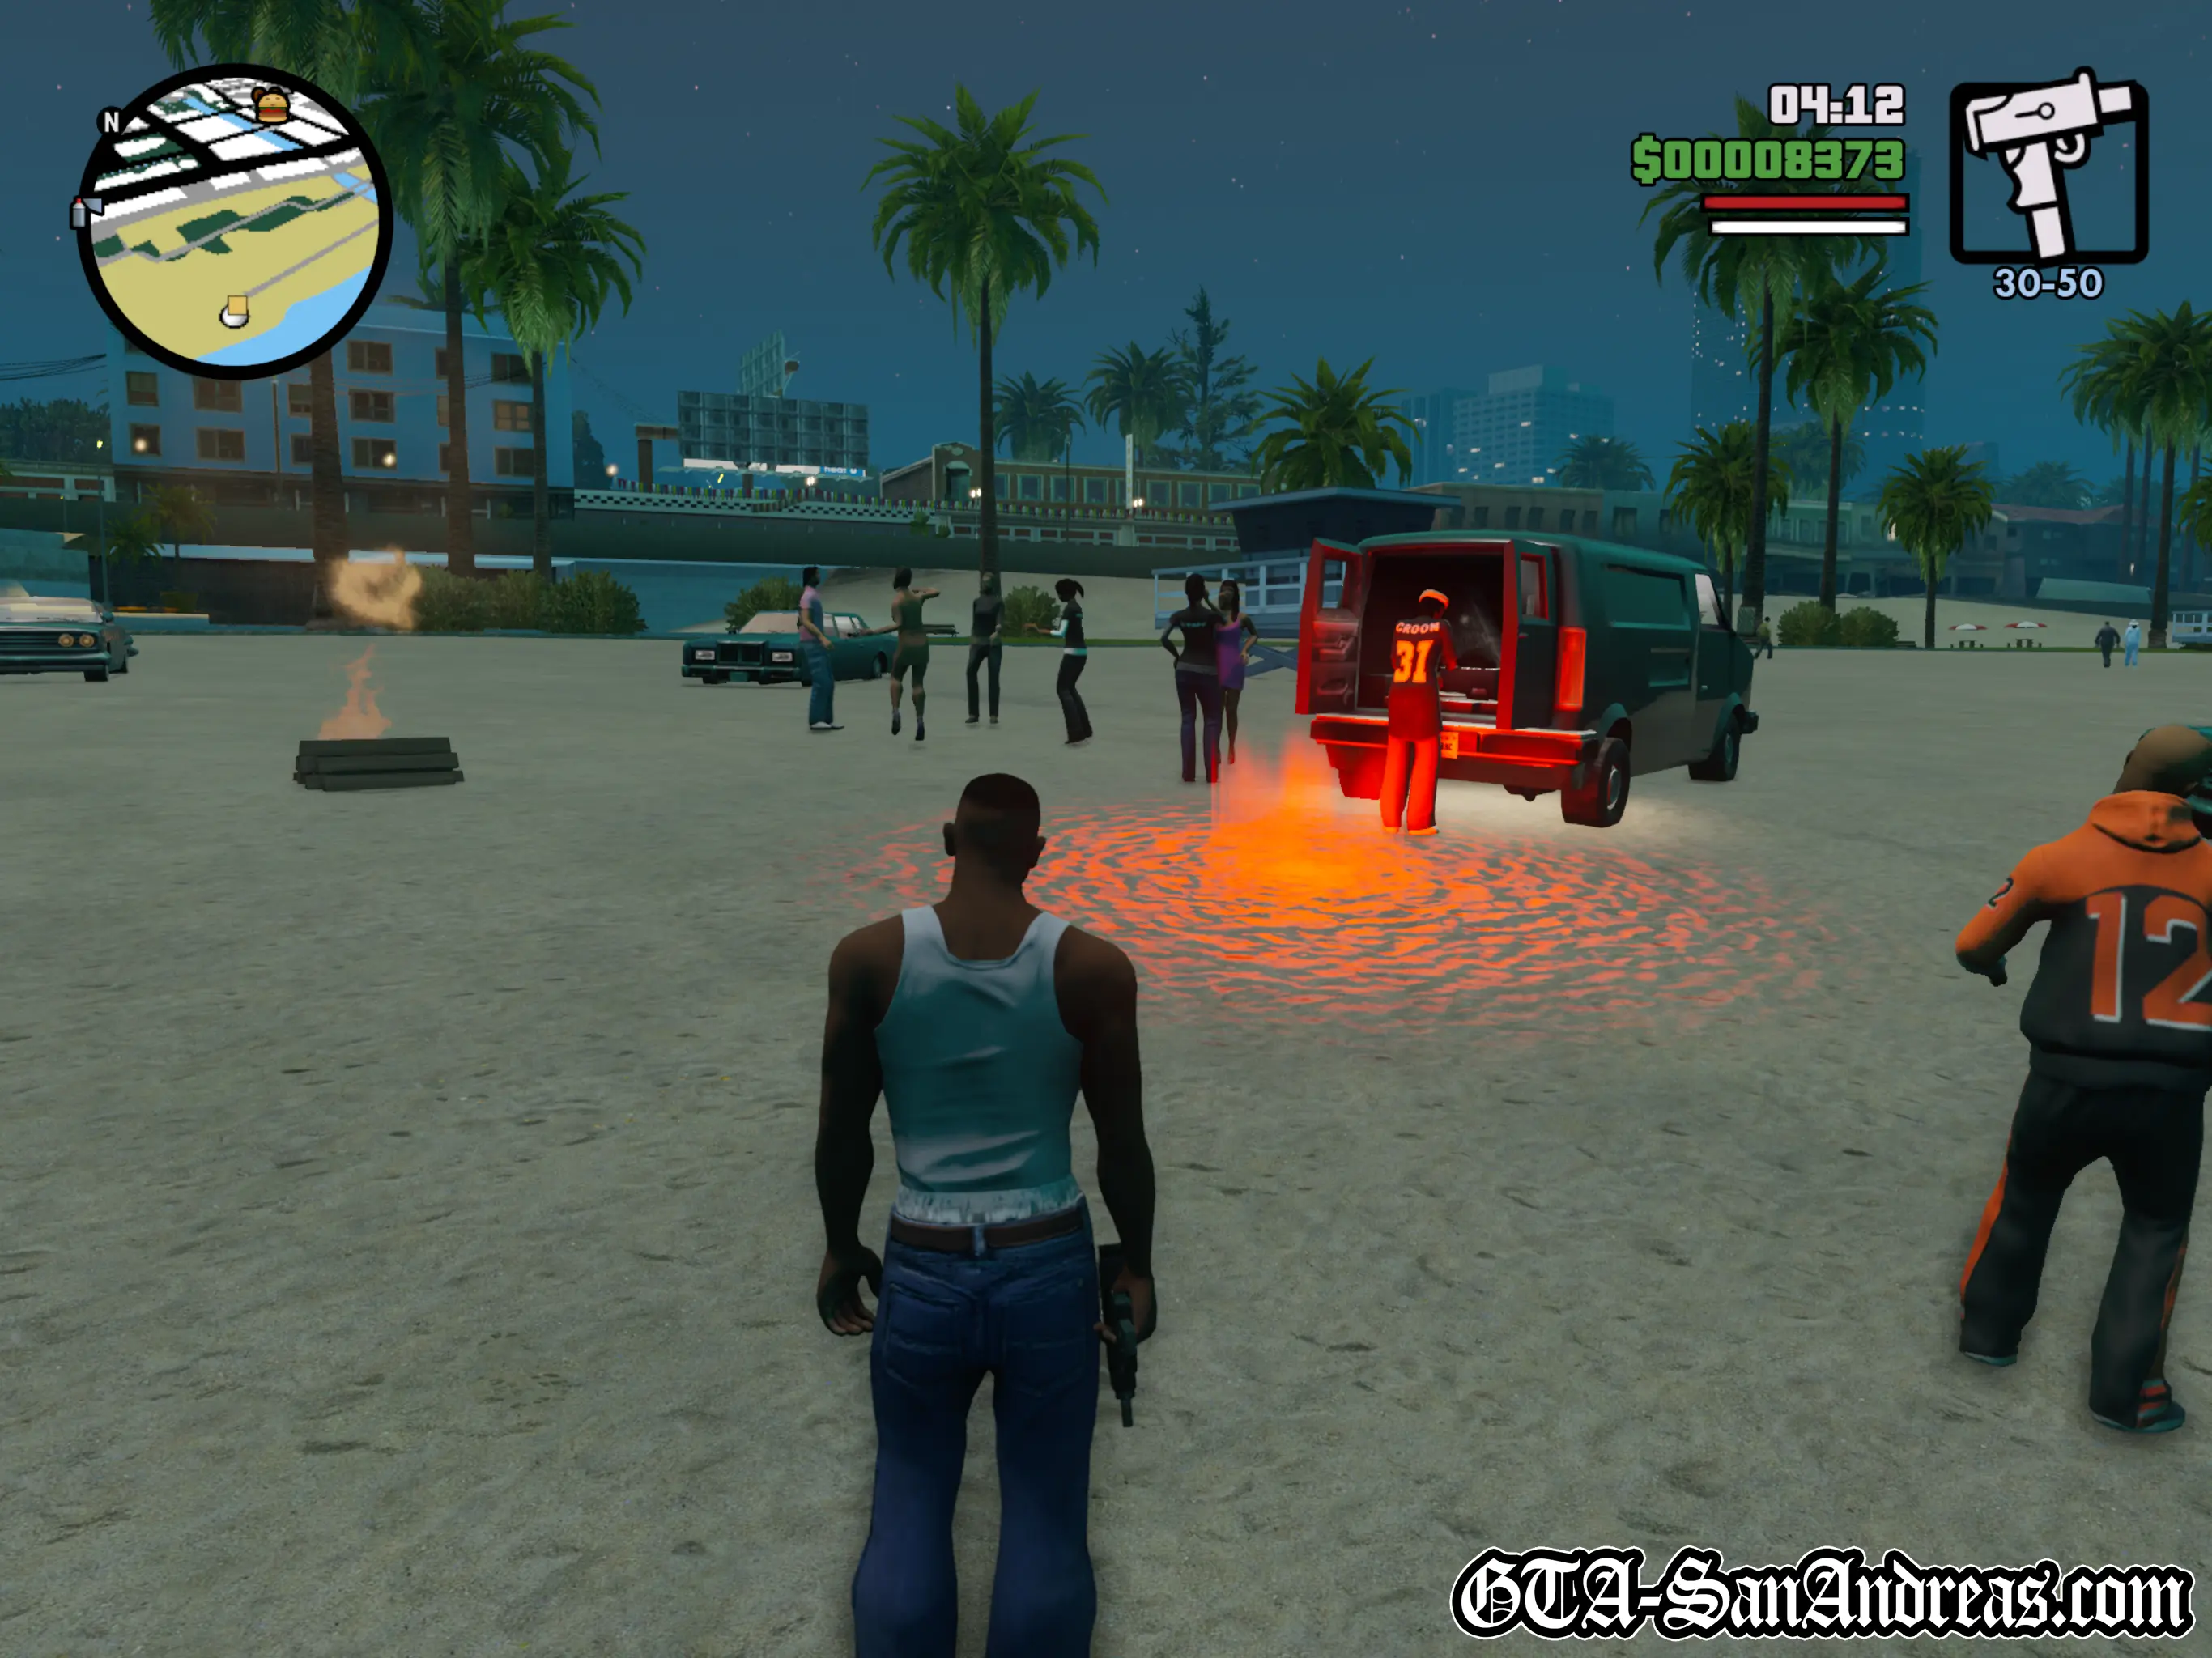
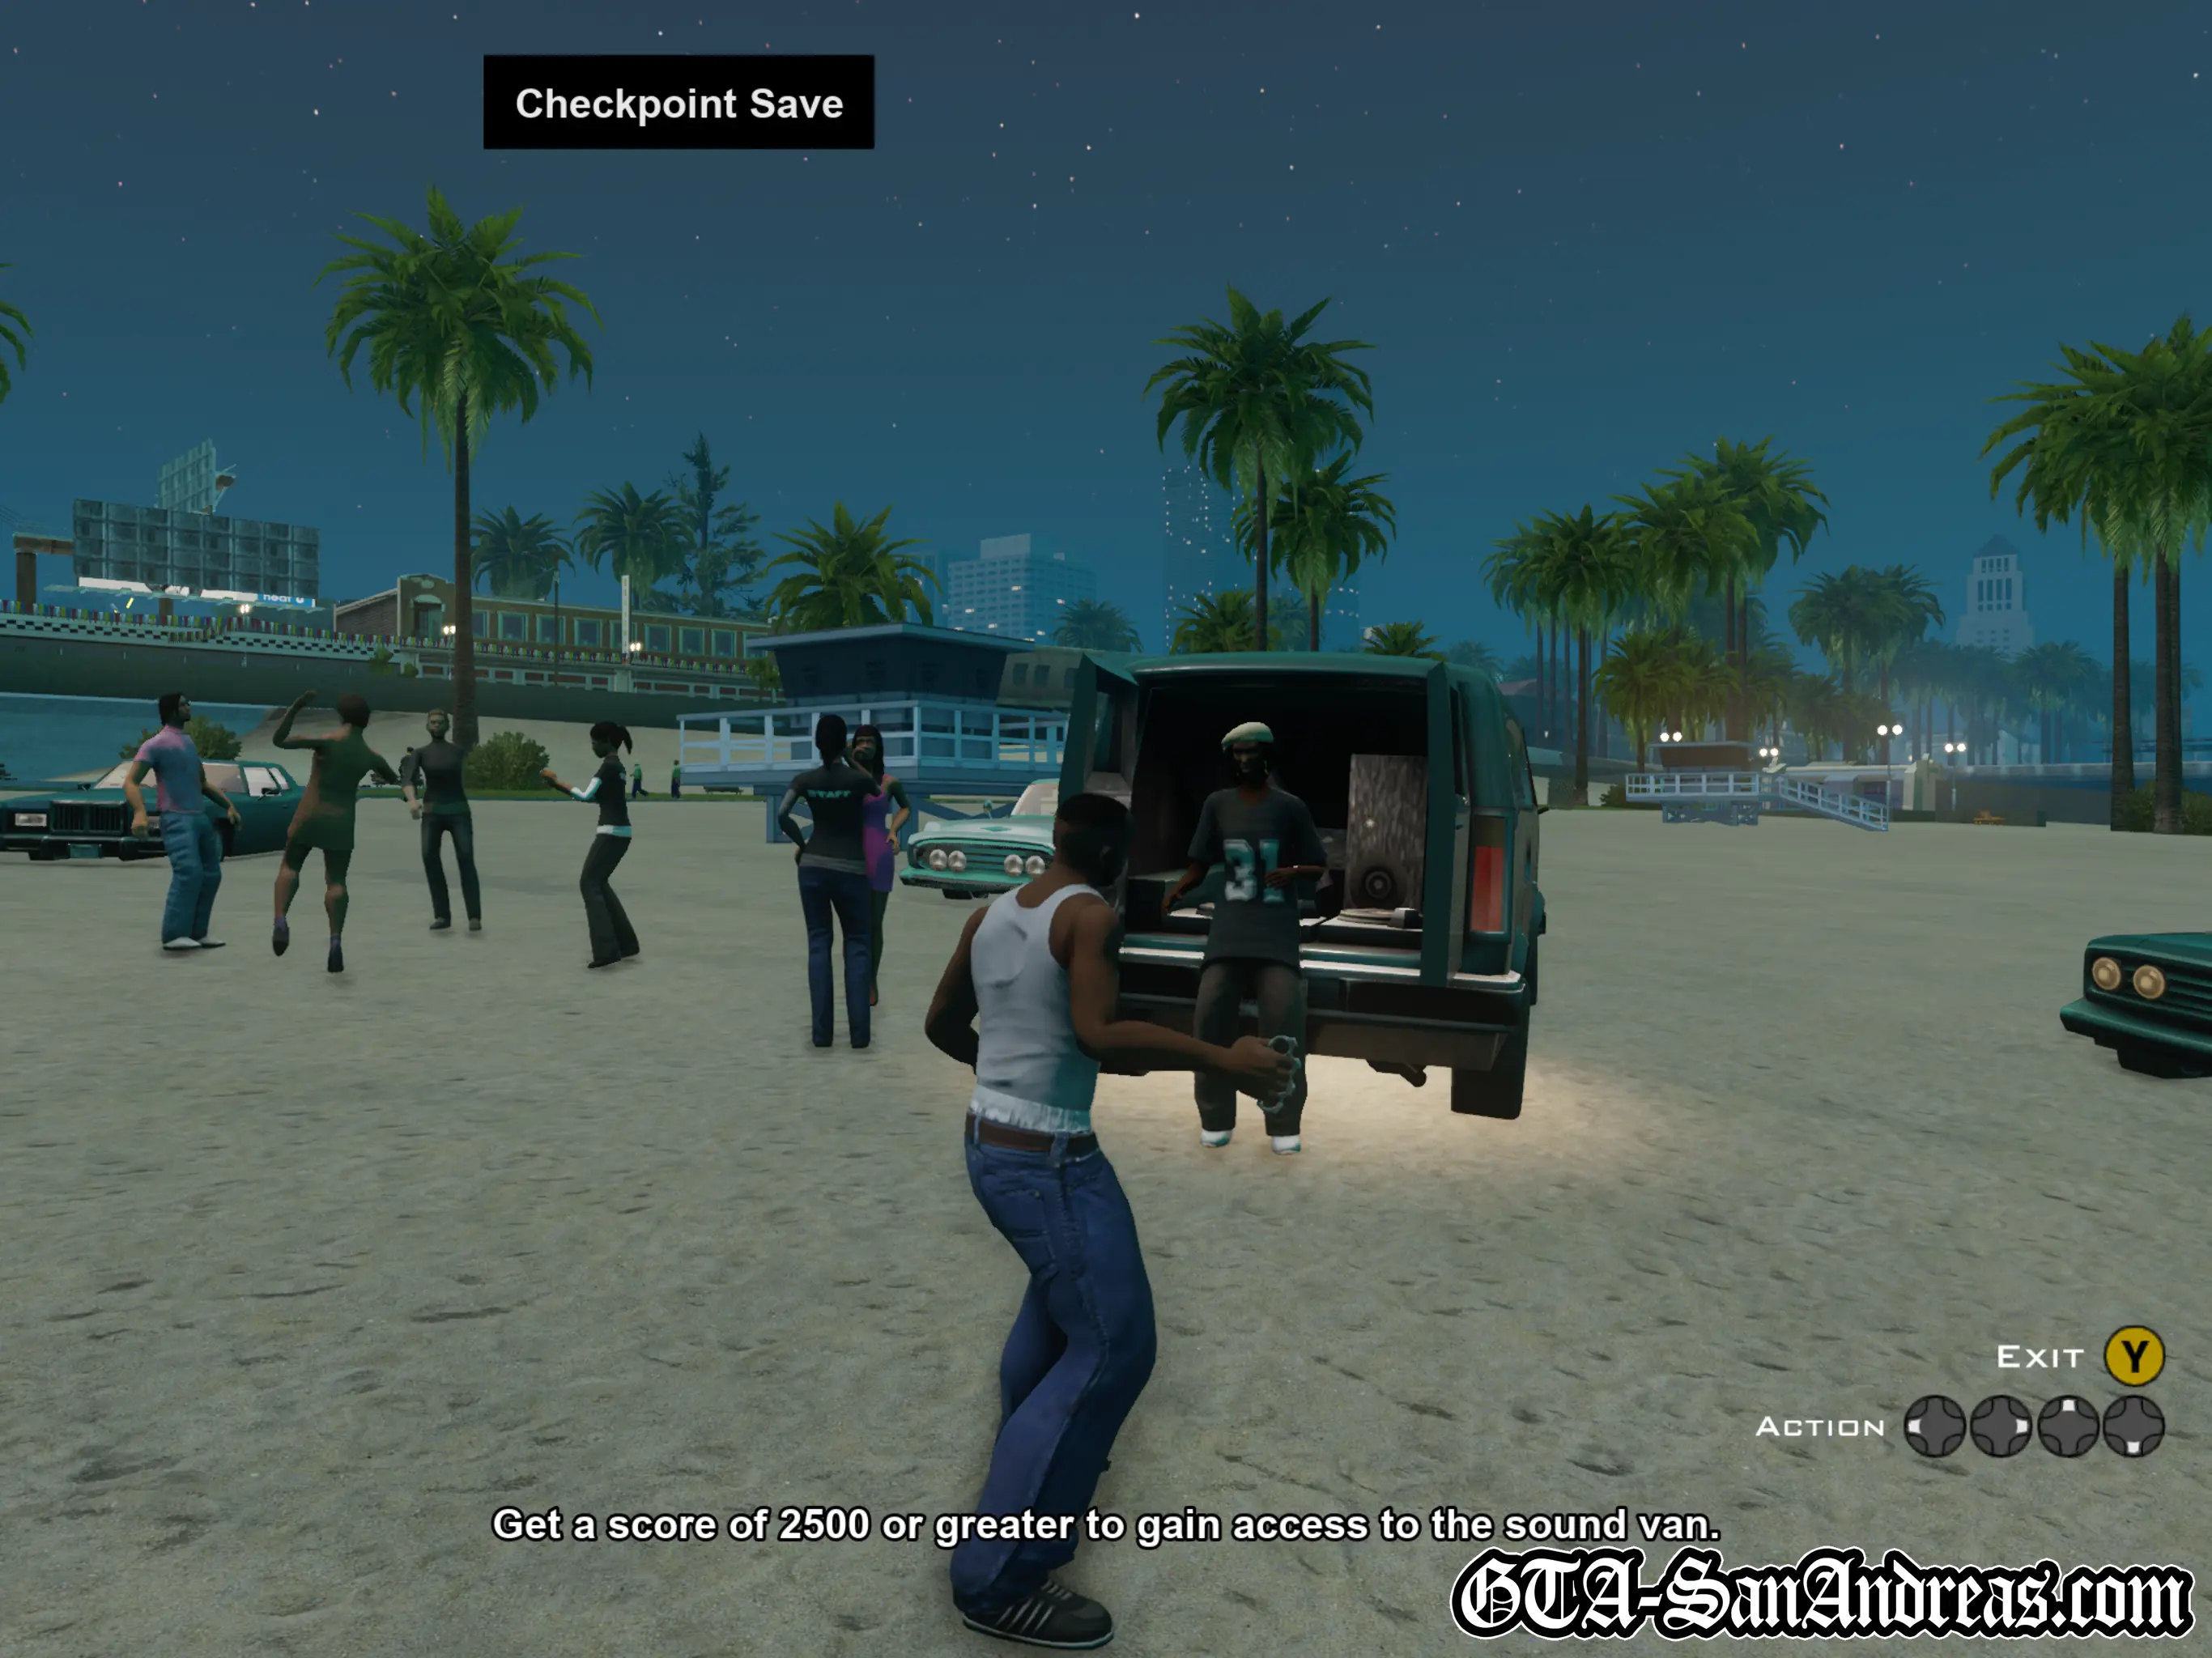
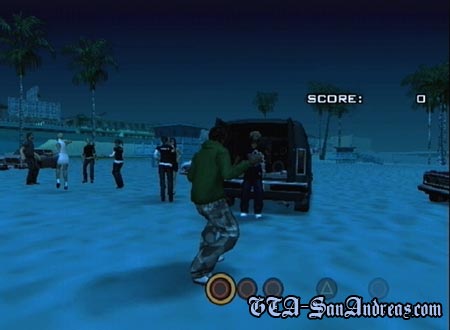
Eventually she'll invite you to dance. If you score enough points you'll get access to the sound van.
Dancing is very similar to the lowrider contest you experienced in an earlier mission, you need to push the right buttons in time as they scroll through the circle. The closer to perfect, the more points you'll get.
Keep dancing through the song and if you don't make too many mistakes you should come out with more than enough points. The DJ will ask you if you want to chat, so respond positively to the dialogue choice and she'll allow you to enter the van.
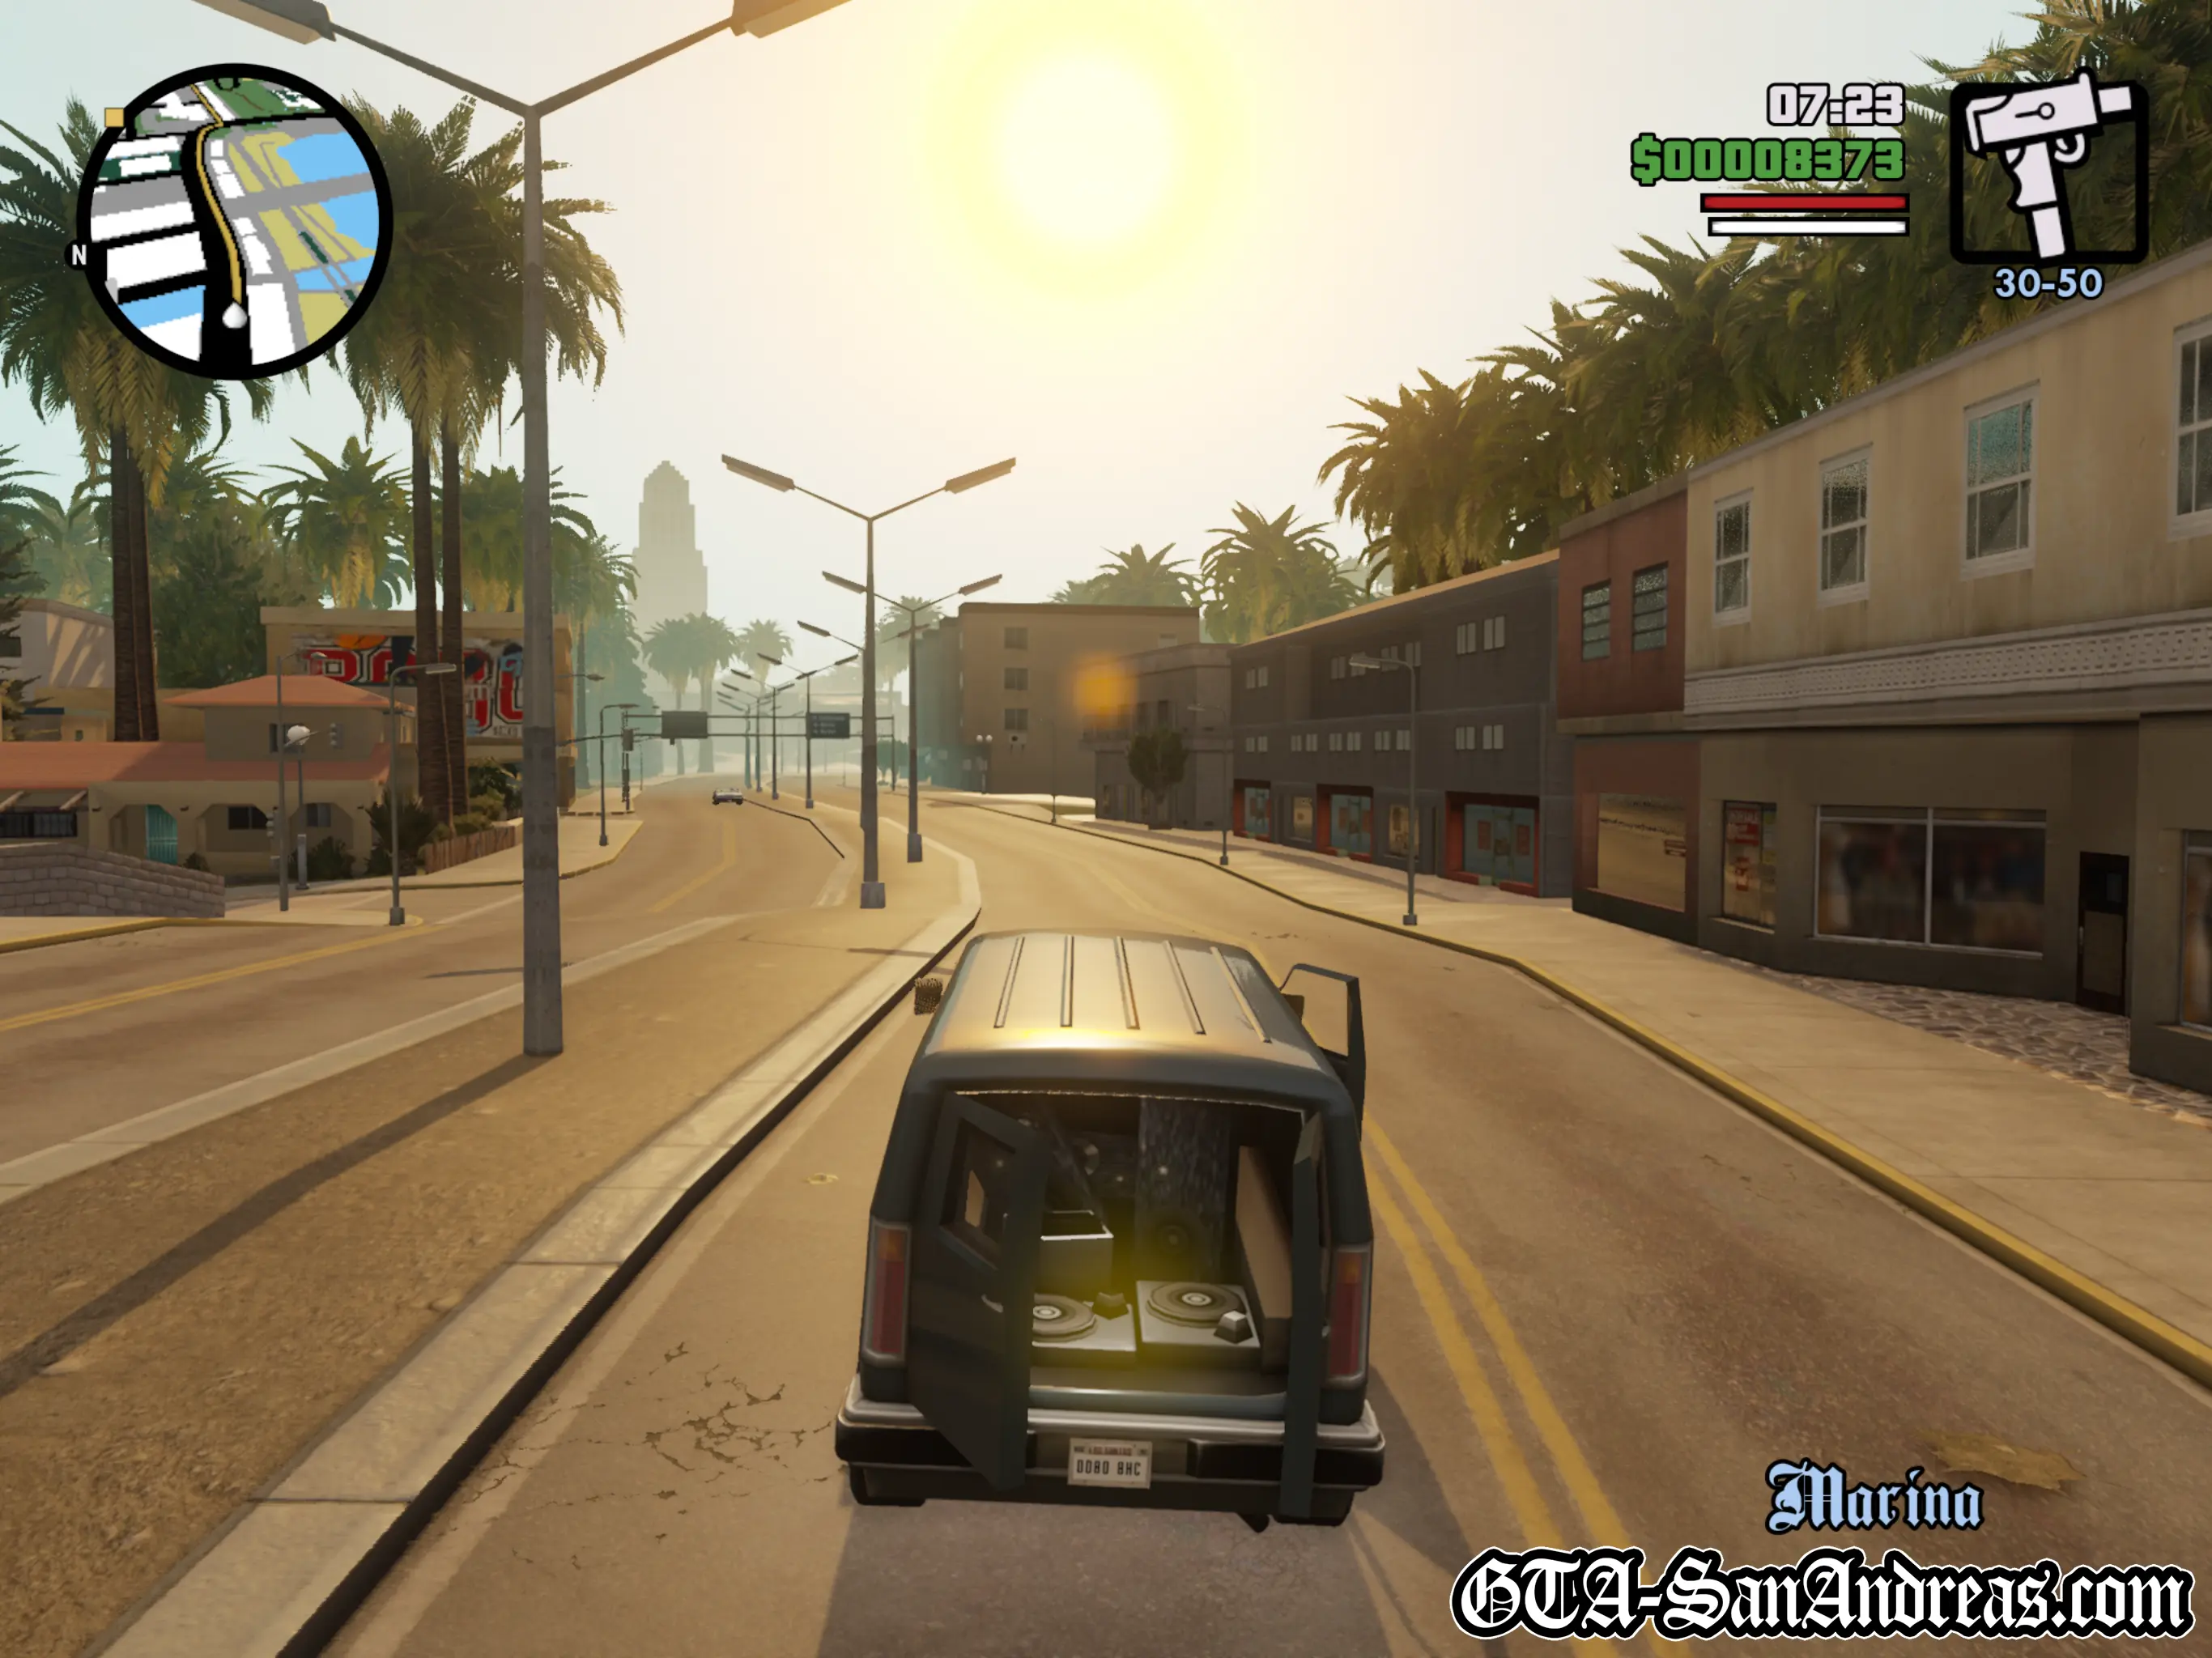
Get into the drivers seat and steal the van by driving away. The DJ will be thrown out and you'll be chased by some other crazy fools, however by the time you're off the beach you should be in the clear.
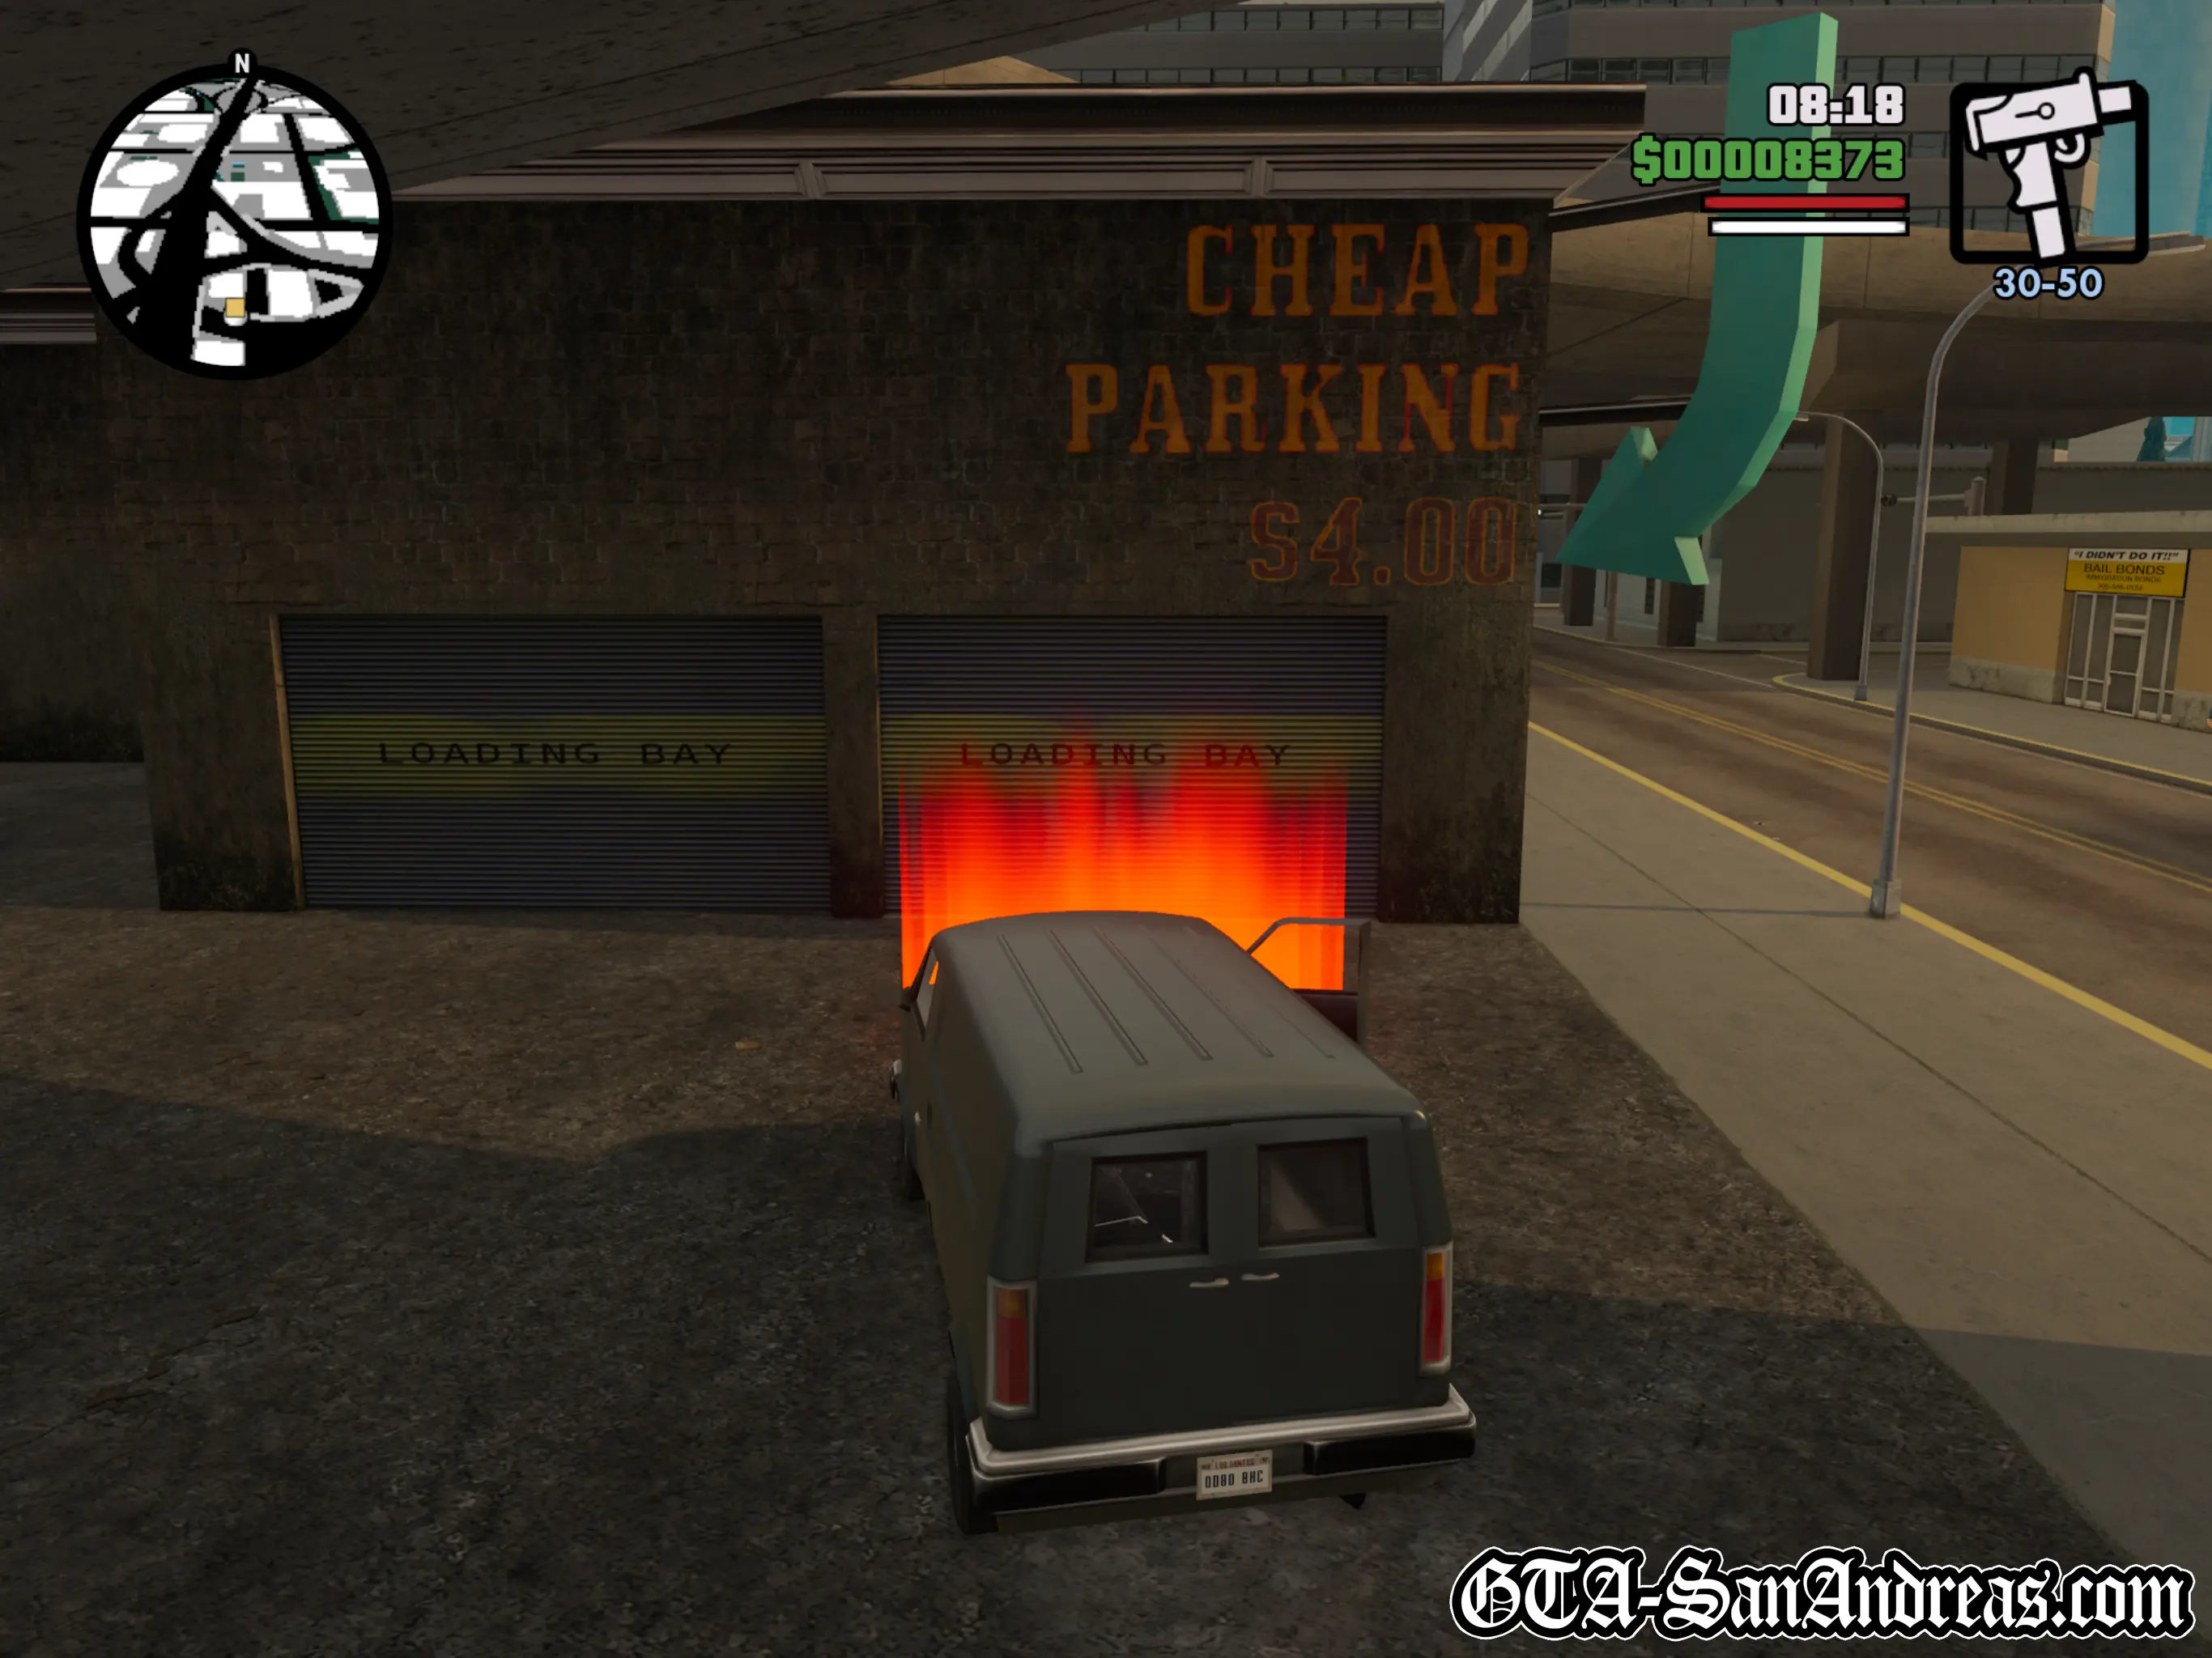
Follow the radar to the yellow blip then park in the red marker outside a garage to deliver the van for OG Loc.
Cutscene
The van is shown driving into the garage before Carl gets out and walks outside.
Tips & Tricks
Save Time Dancing
As soon as you hit the 2500 point mark you can press the button to quit the dance mini-game and you'll still get access to the sound van.
Get An SMG + Ammo
Once you steal the van and drive far enough away, everyone at the beach party will start shooting you with SMG's. If you turn around and run them over or get out of the van and shoot them, this is a great opportunity to get some ammo for the most powerful sub-machine gun in the game.
Screenshots

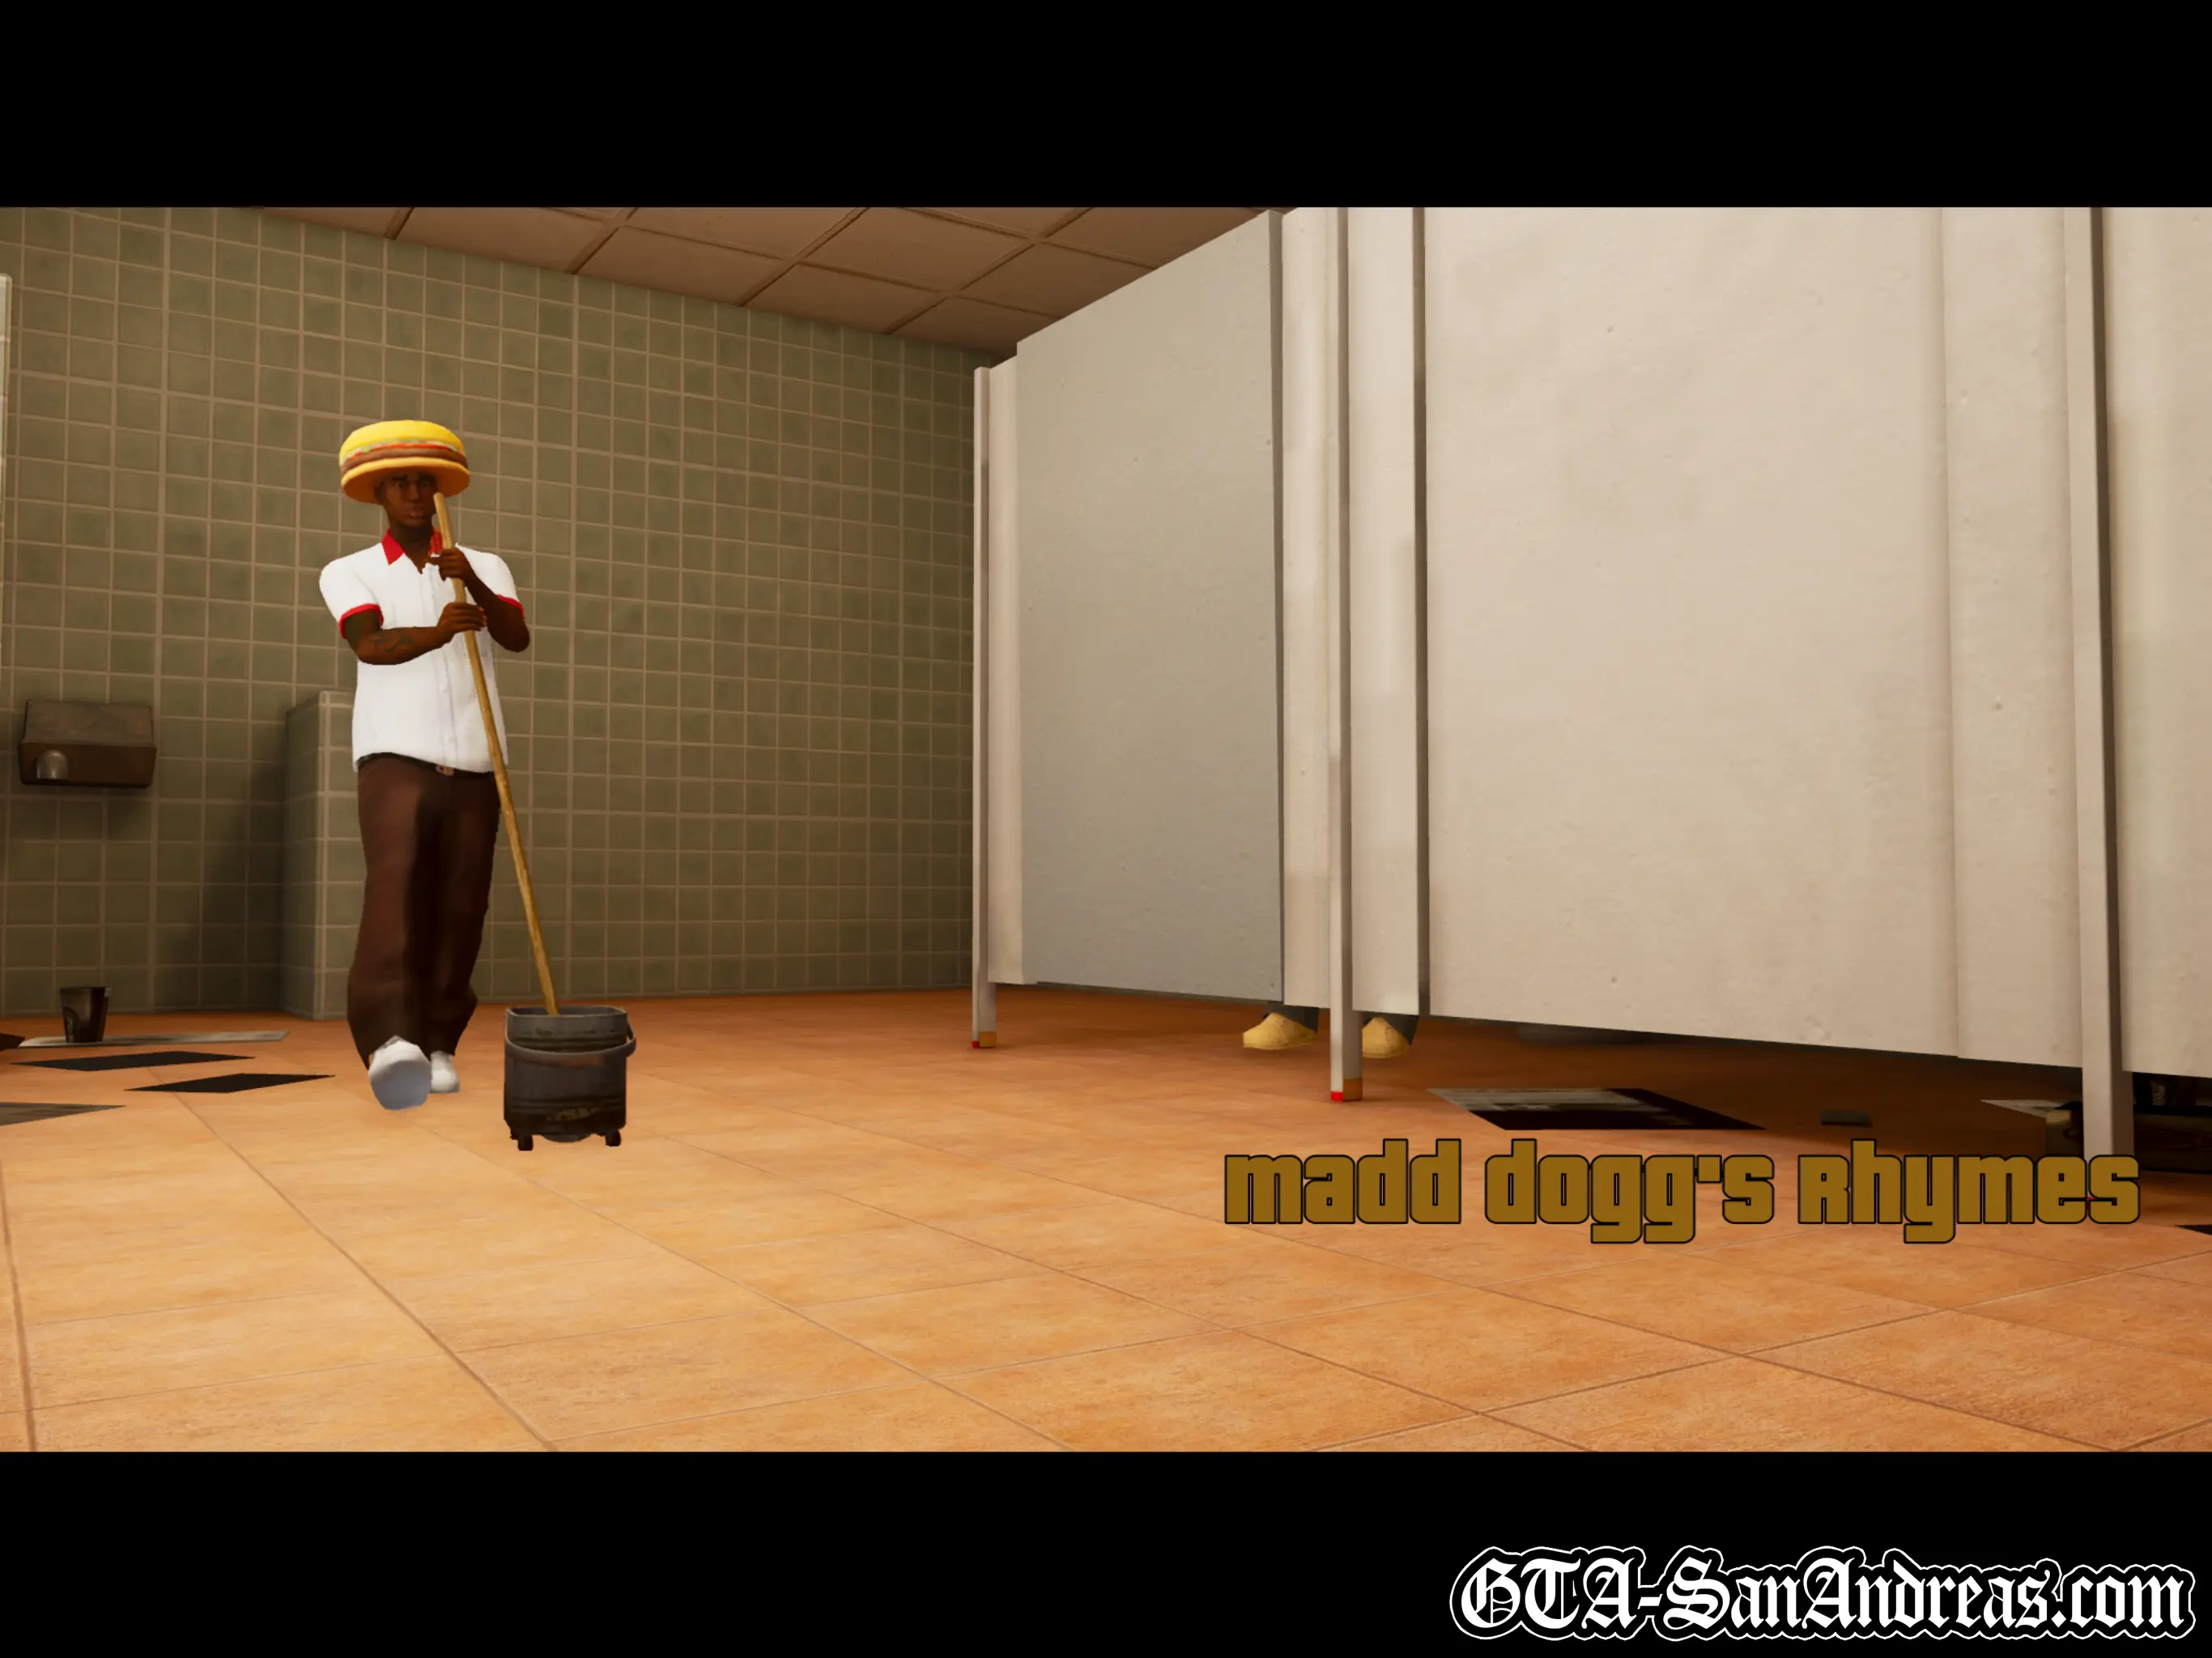
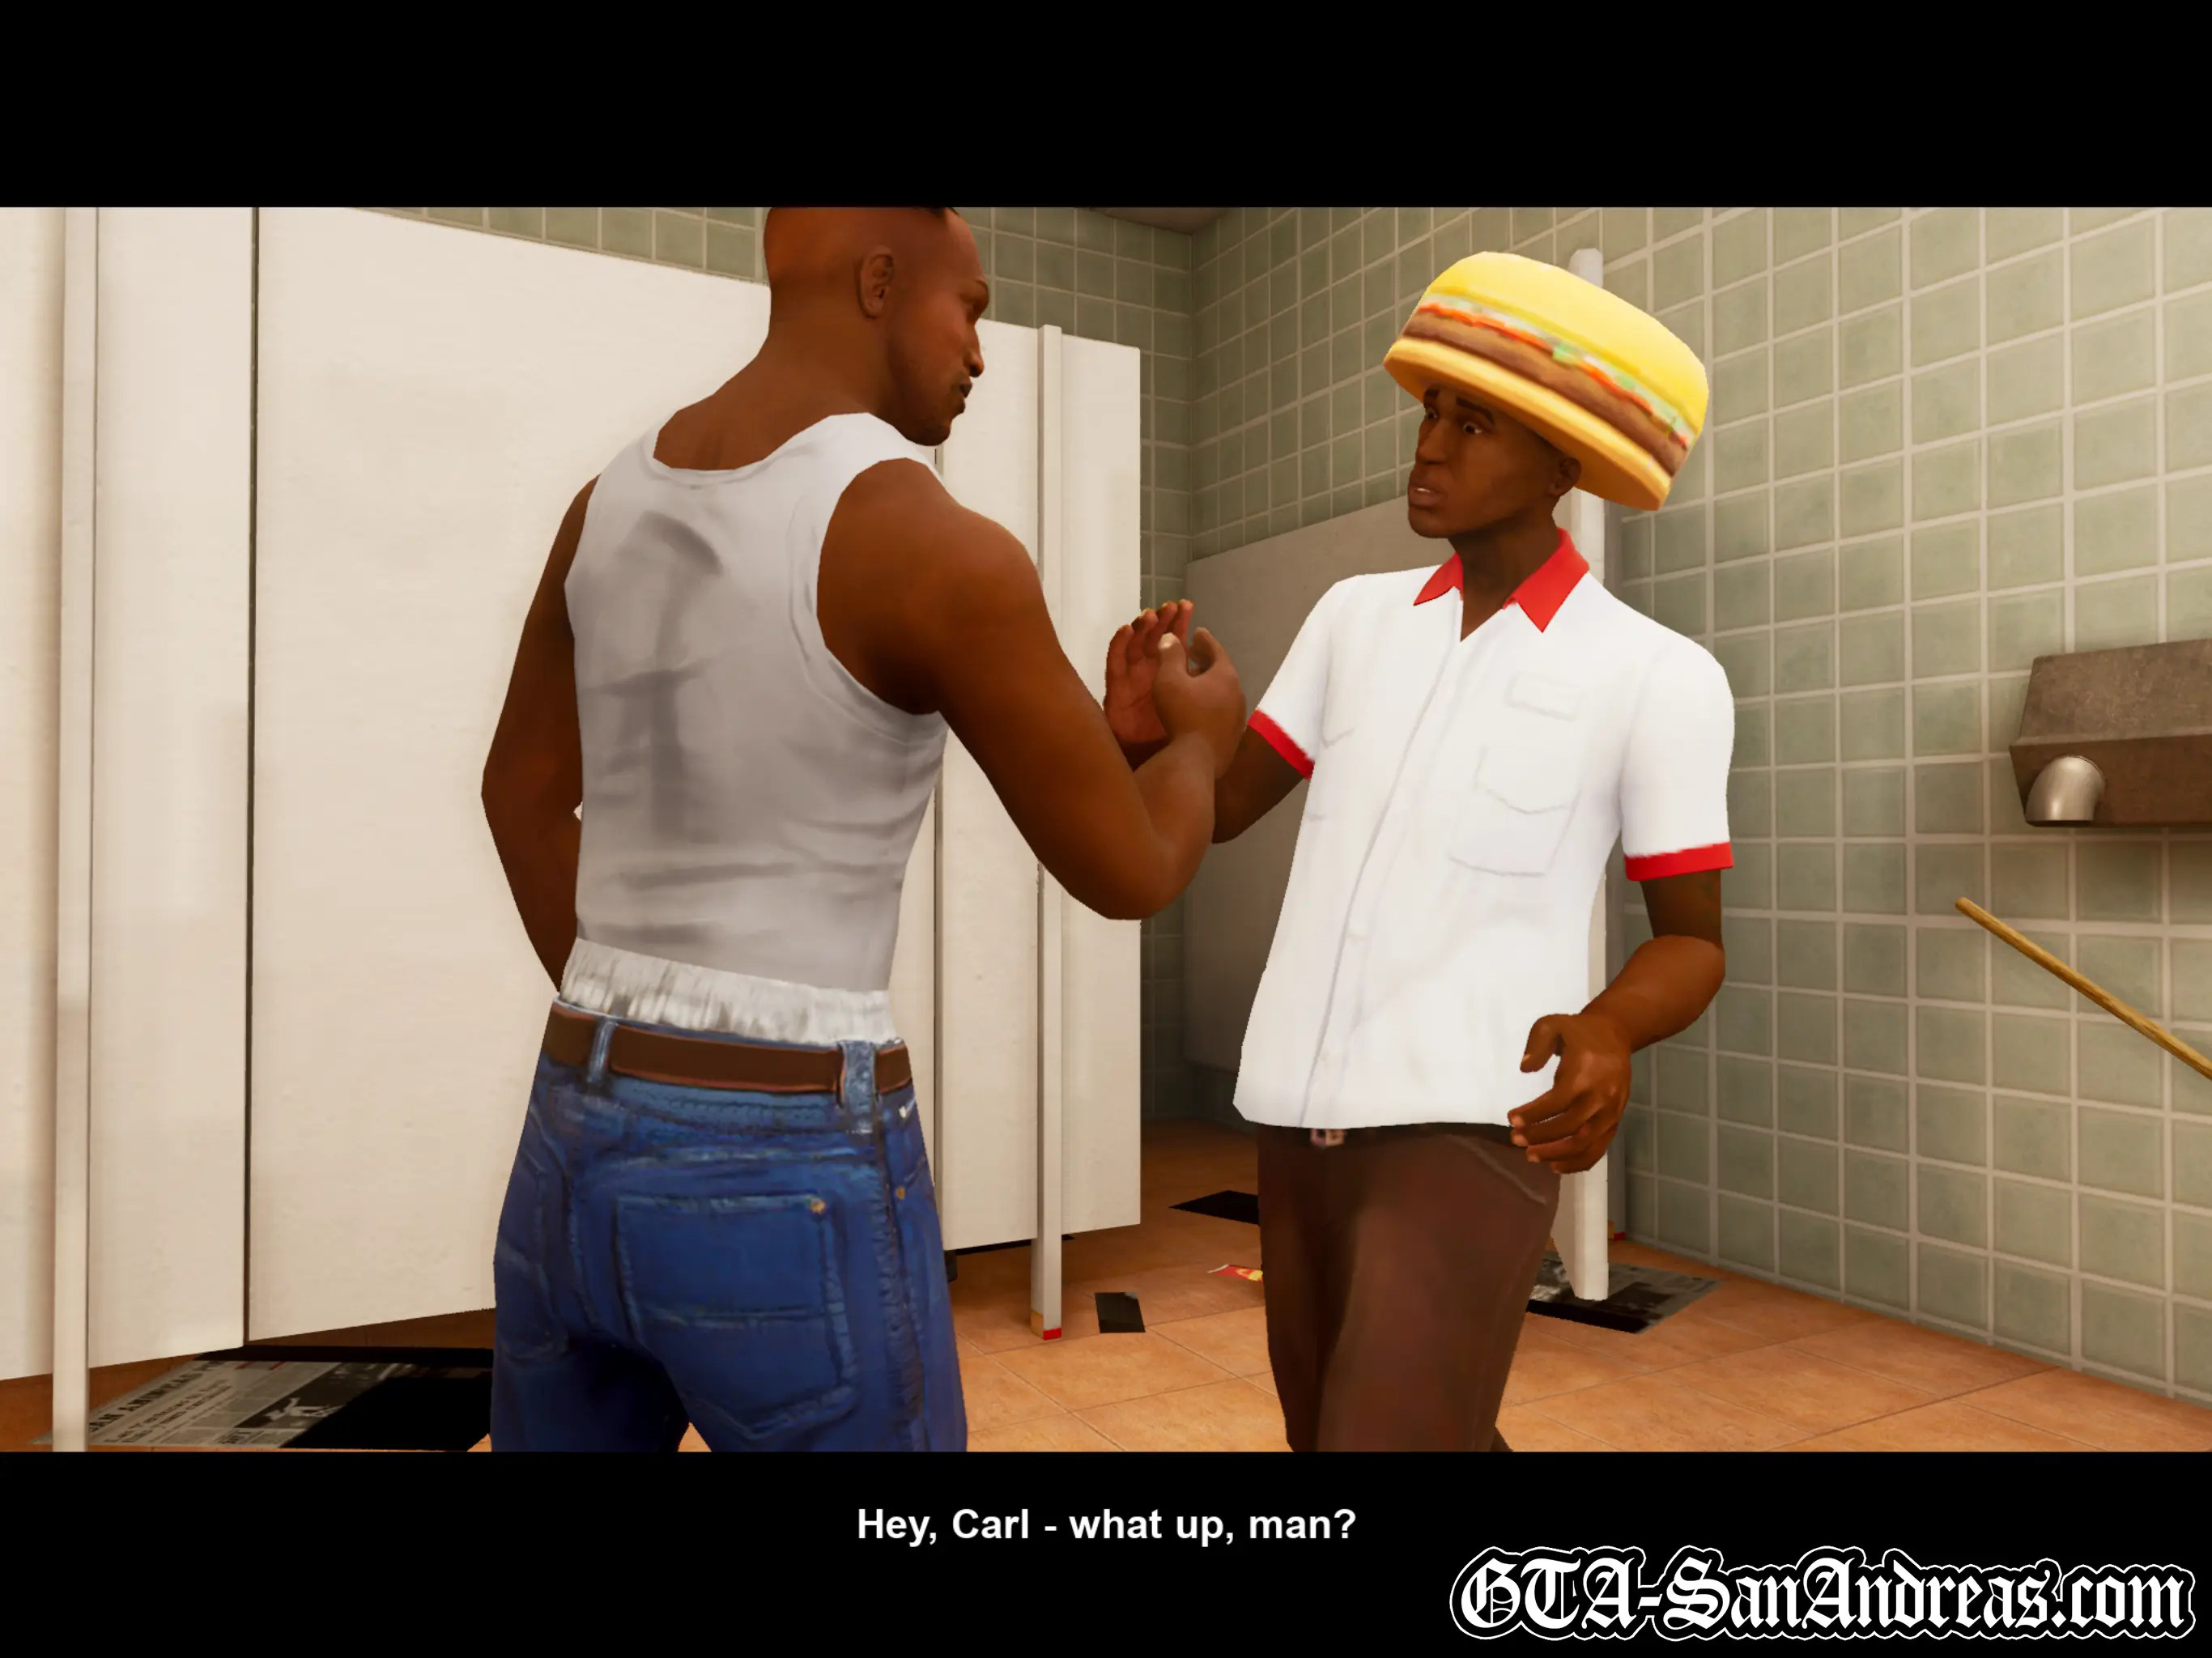
Madd Dogg's Rhymes
Cutscene
OG Loc is rapping in the mirror of the Burger Shot bathroom when a man comes out of the toilet and tells him he sucks. CJ turns up and asks if Loc has ever thought about getting someone to help him write his lyrics. Loc is thinking he could have someone write for him without knowing it... By stealing Madd Dogg's rhyme book.
CJ thinks he's crazy, but when OG Loc starts rapping again, Carl realises it's a job that's got to be done.
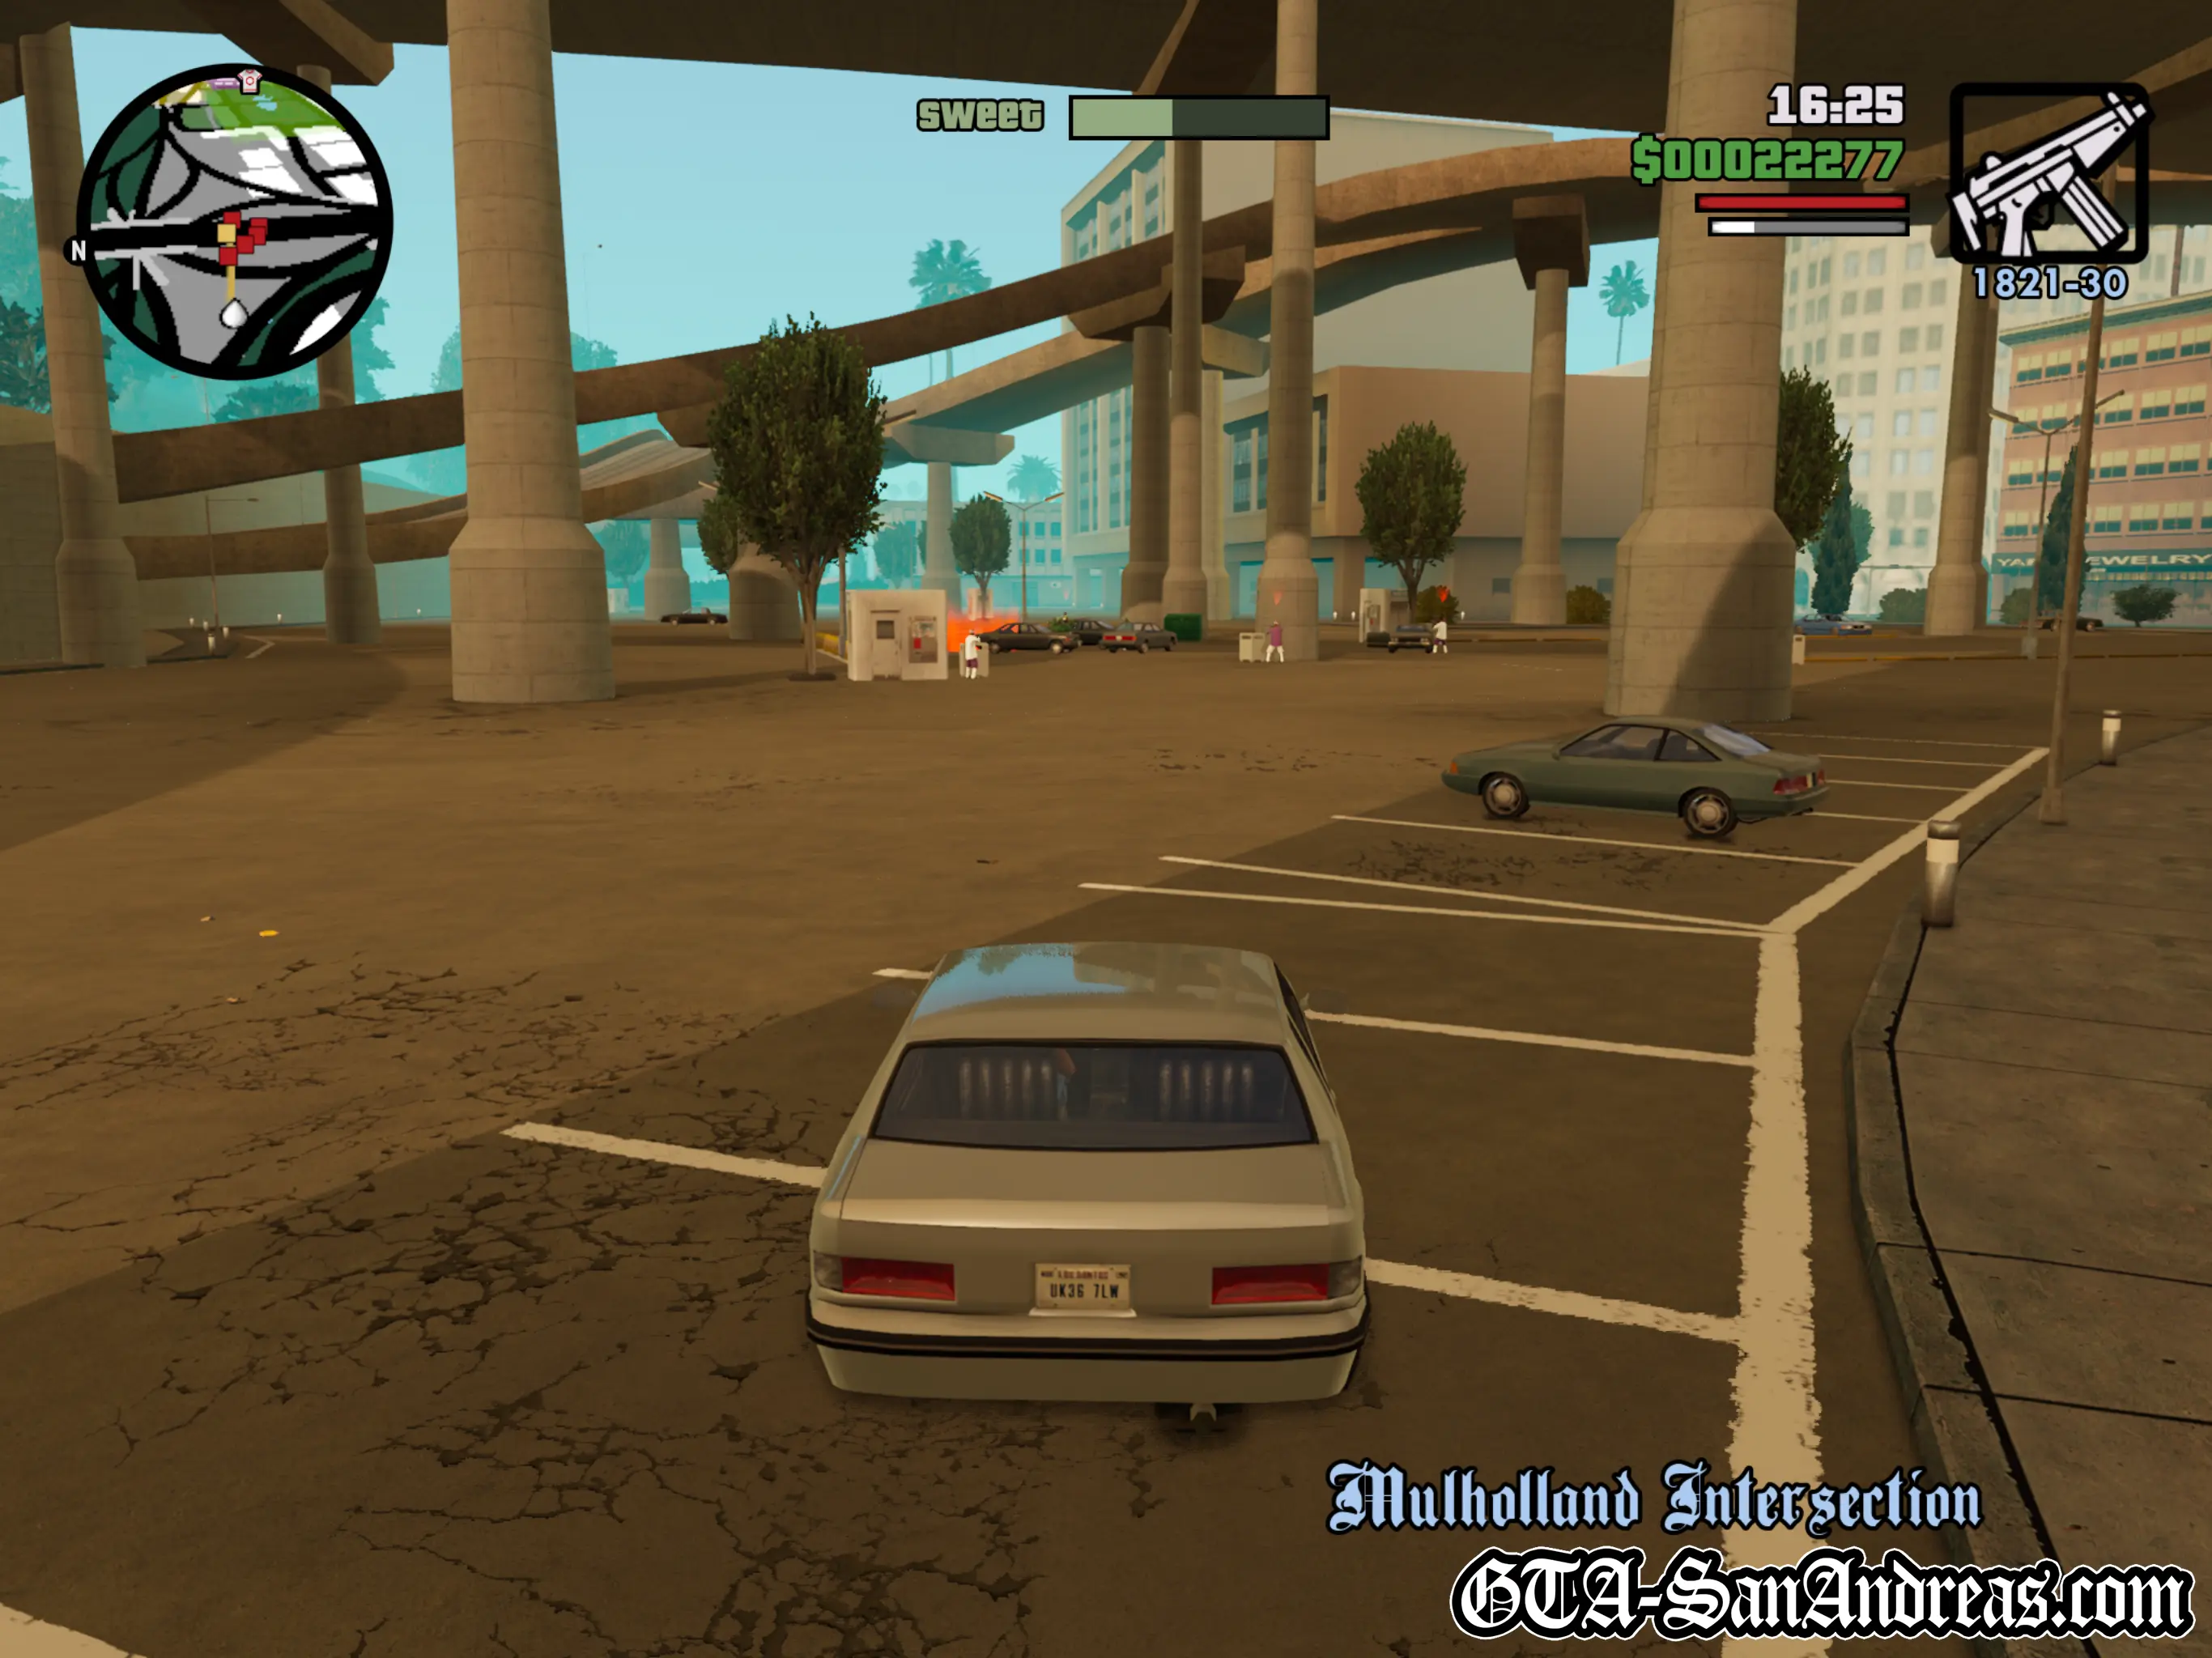
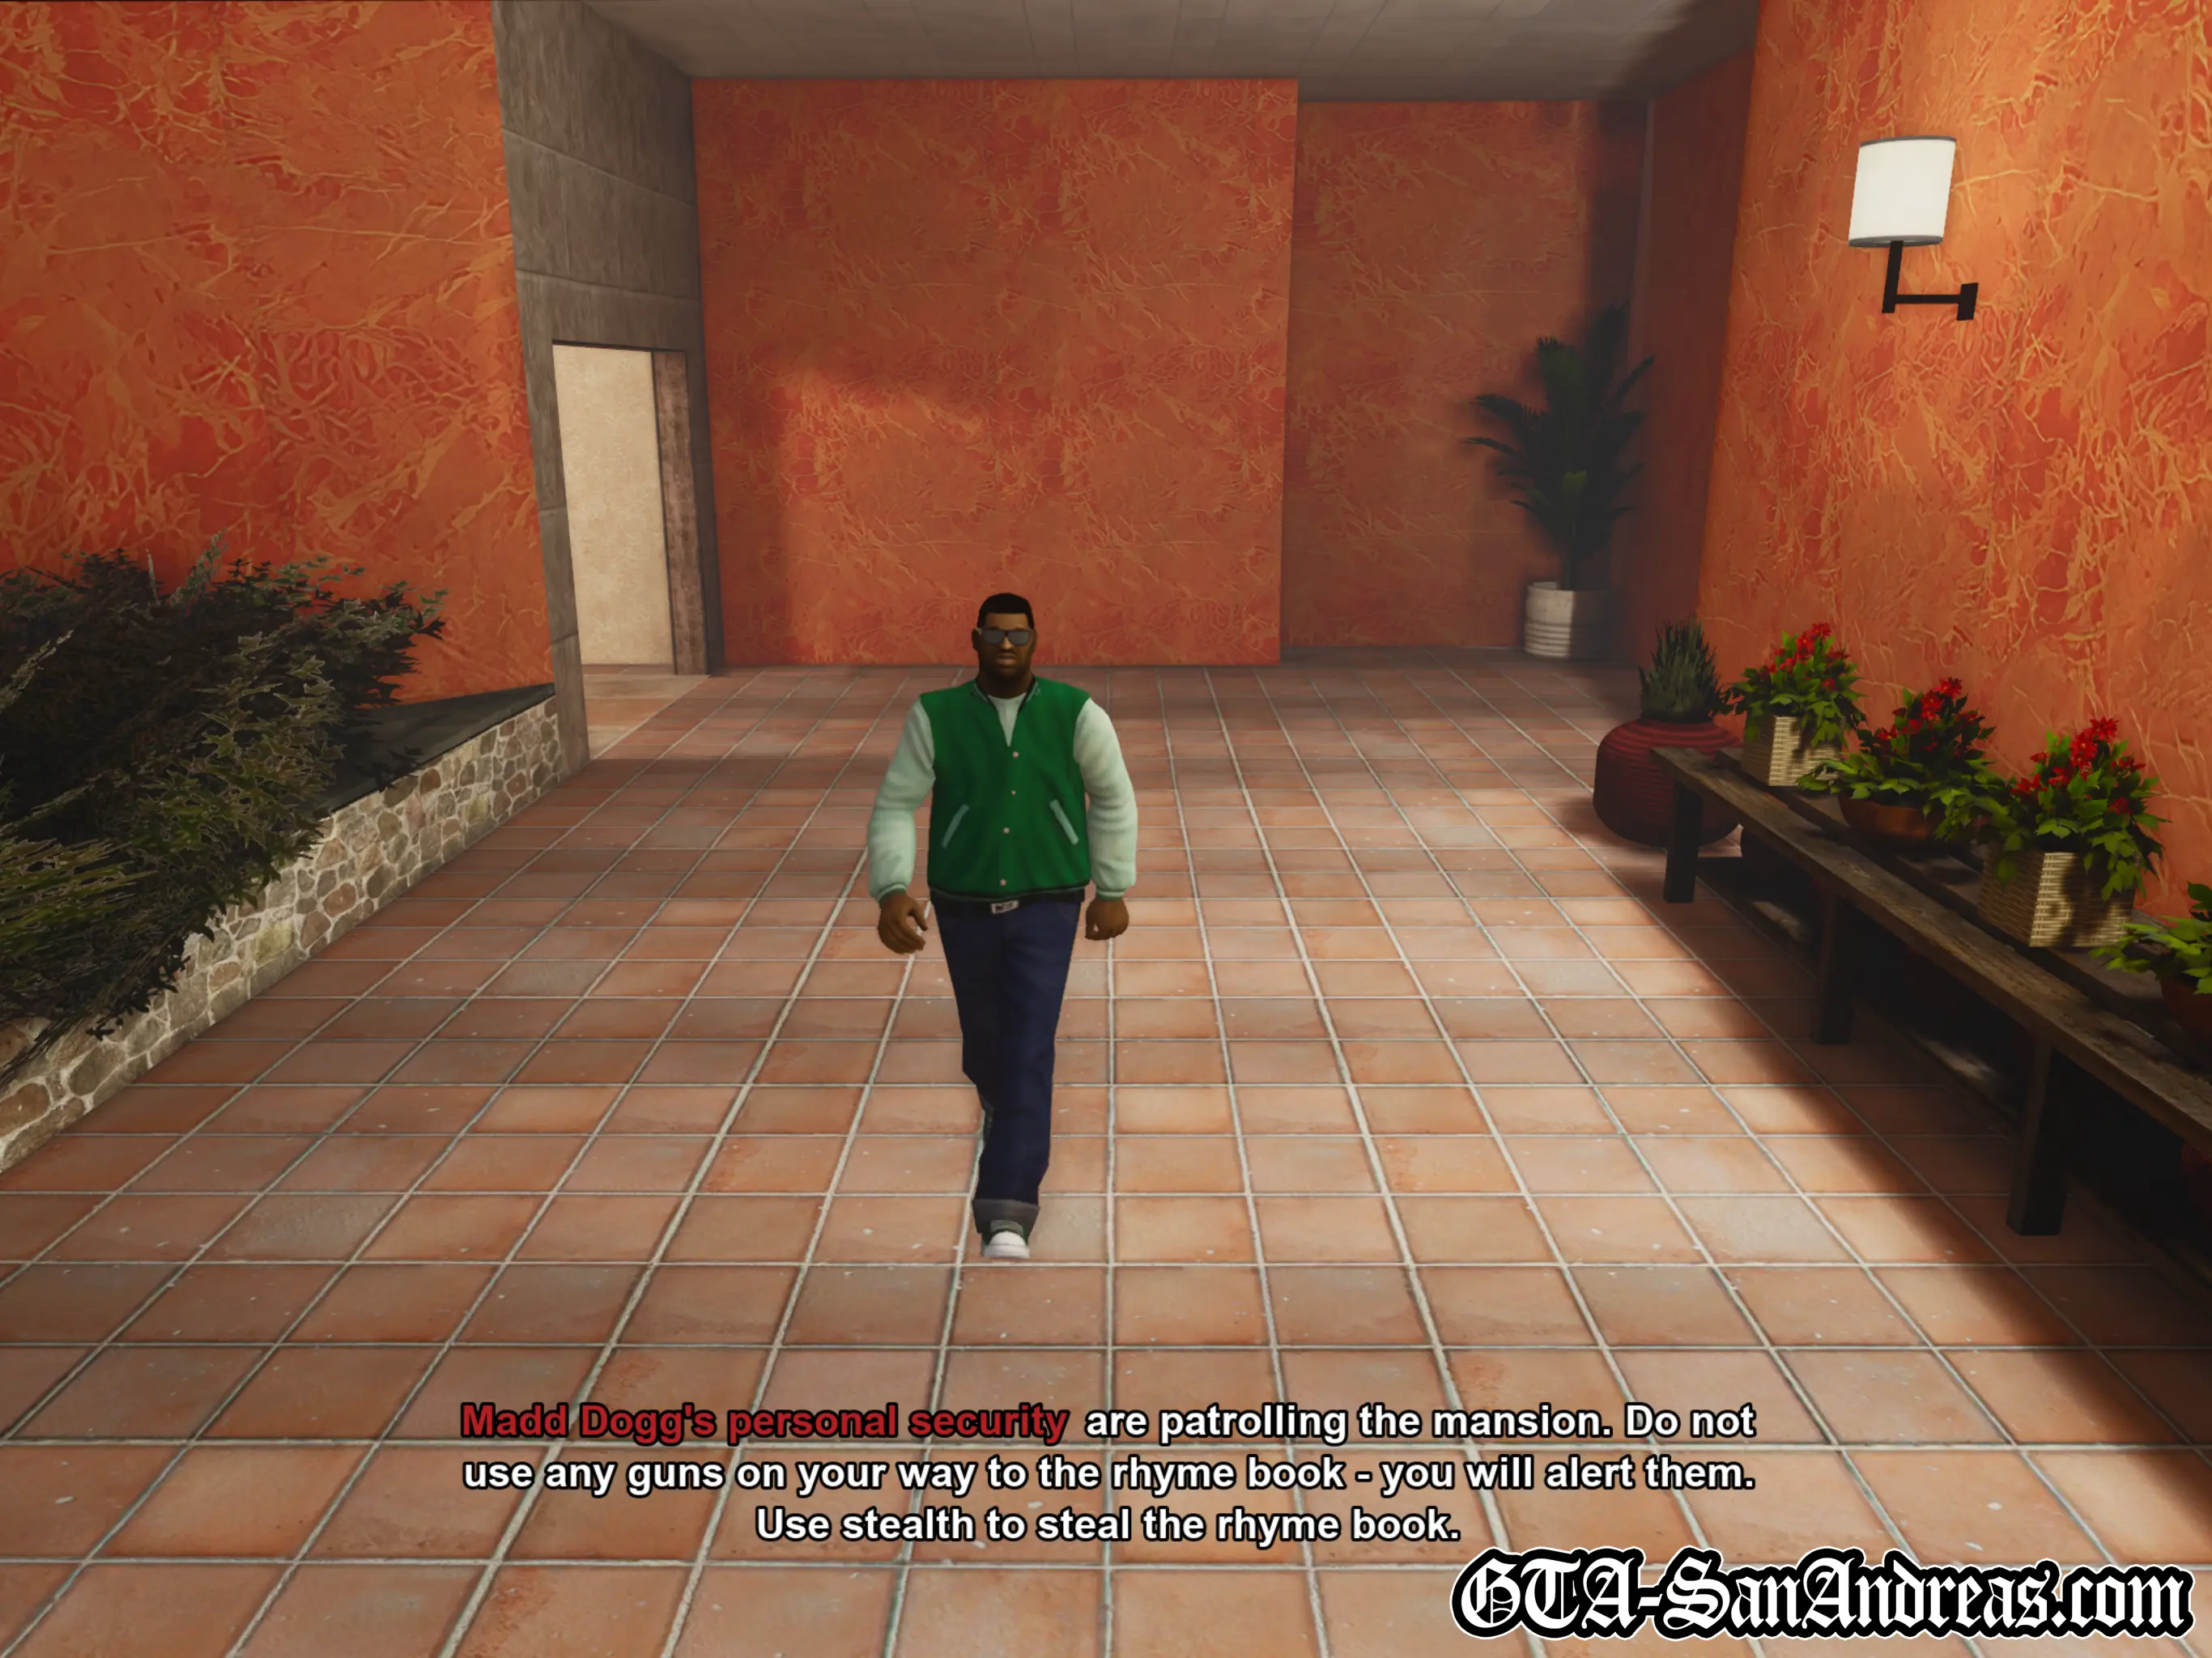
Find a vehicle and make your way into Mulholland, behind the Vinewood sign and towards Madd Dogg's mansion.
It turns out Madd Dogg isn't particularly security-conscious because you can drive right down into his garage area and around the corner to find the main door. Walk into the yellow arrow to enter Madd Dogg's crib.
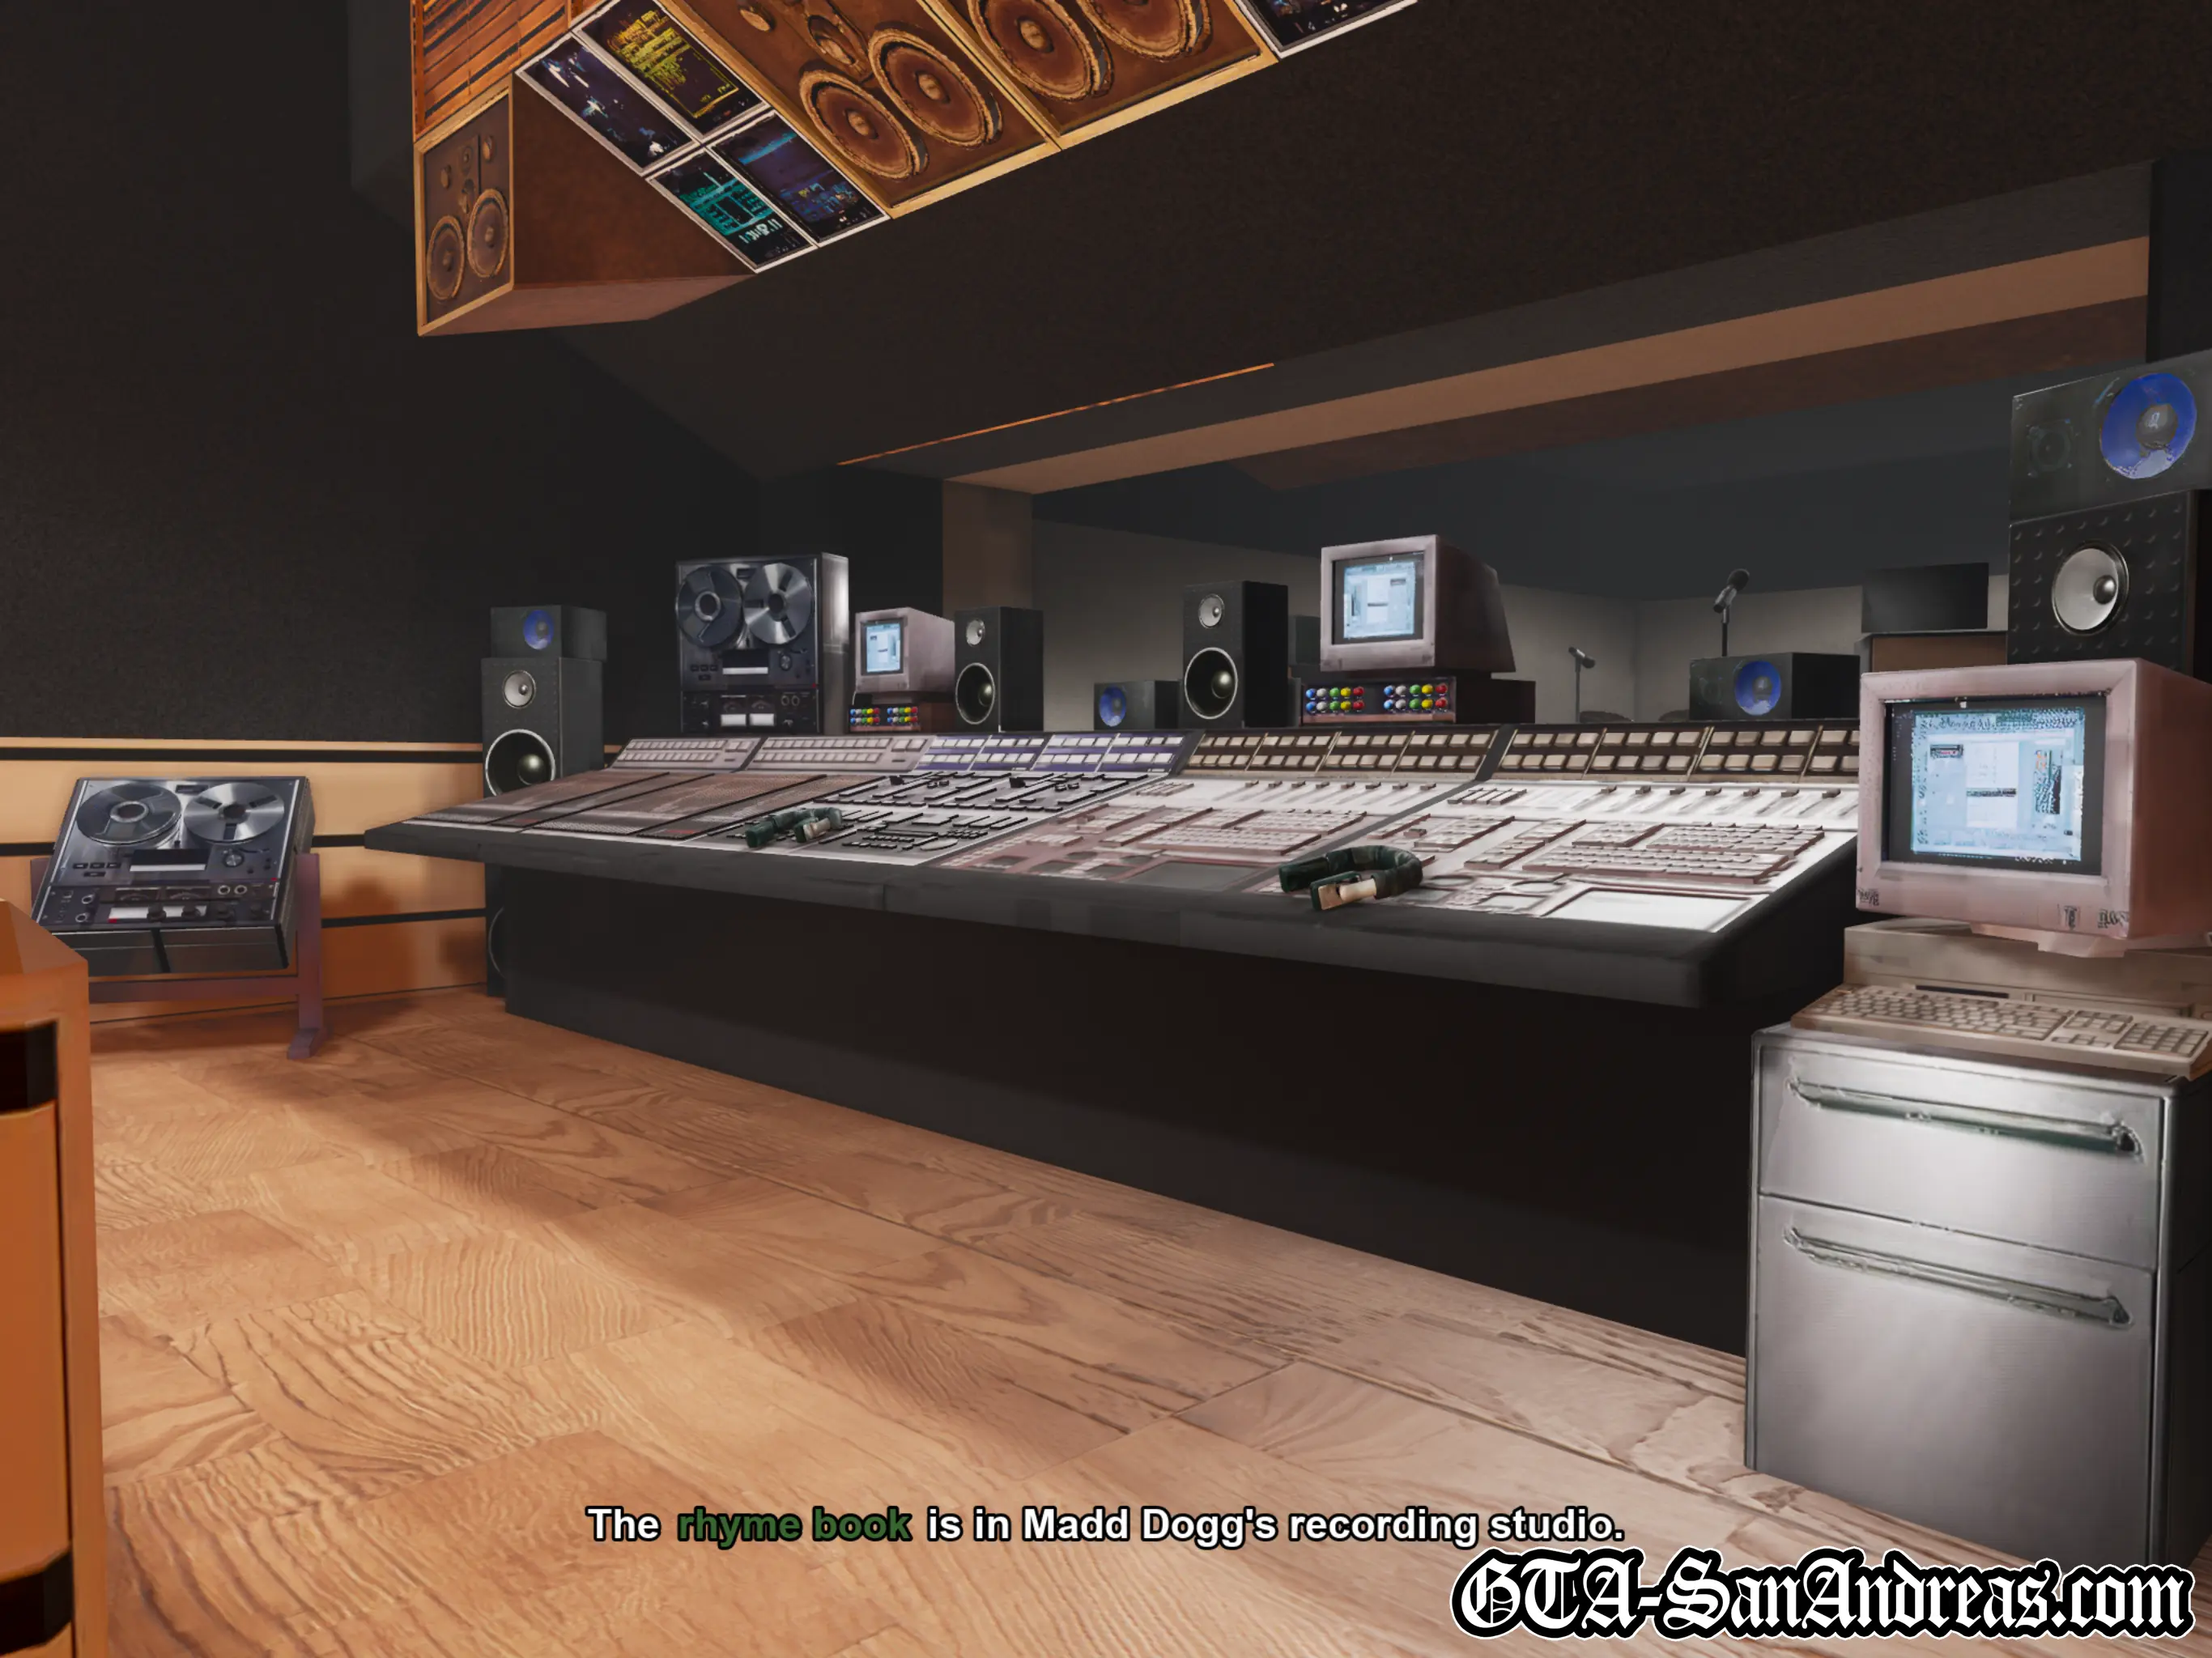
Cutscene
You are shown some scenes inside the mansion. The rhyme book is in Madd Dogg's recording studio and there are security personnel patrolling the corridors. You will have to use stealth to steal the rhyme book.
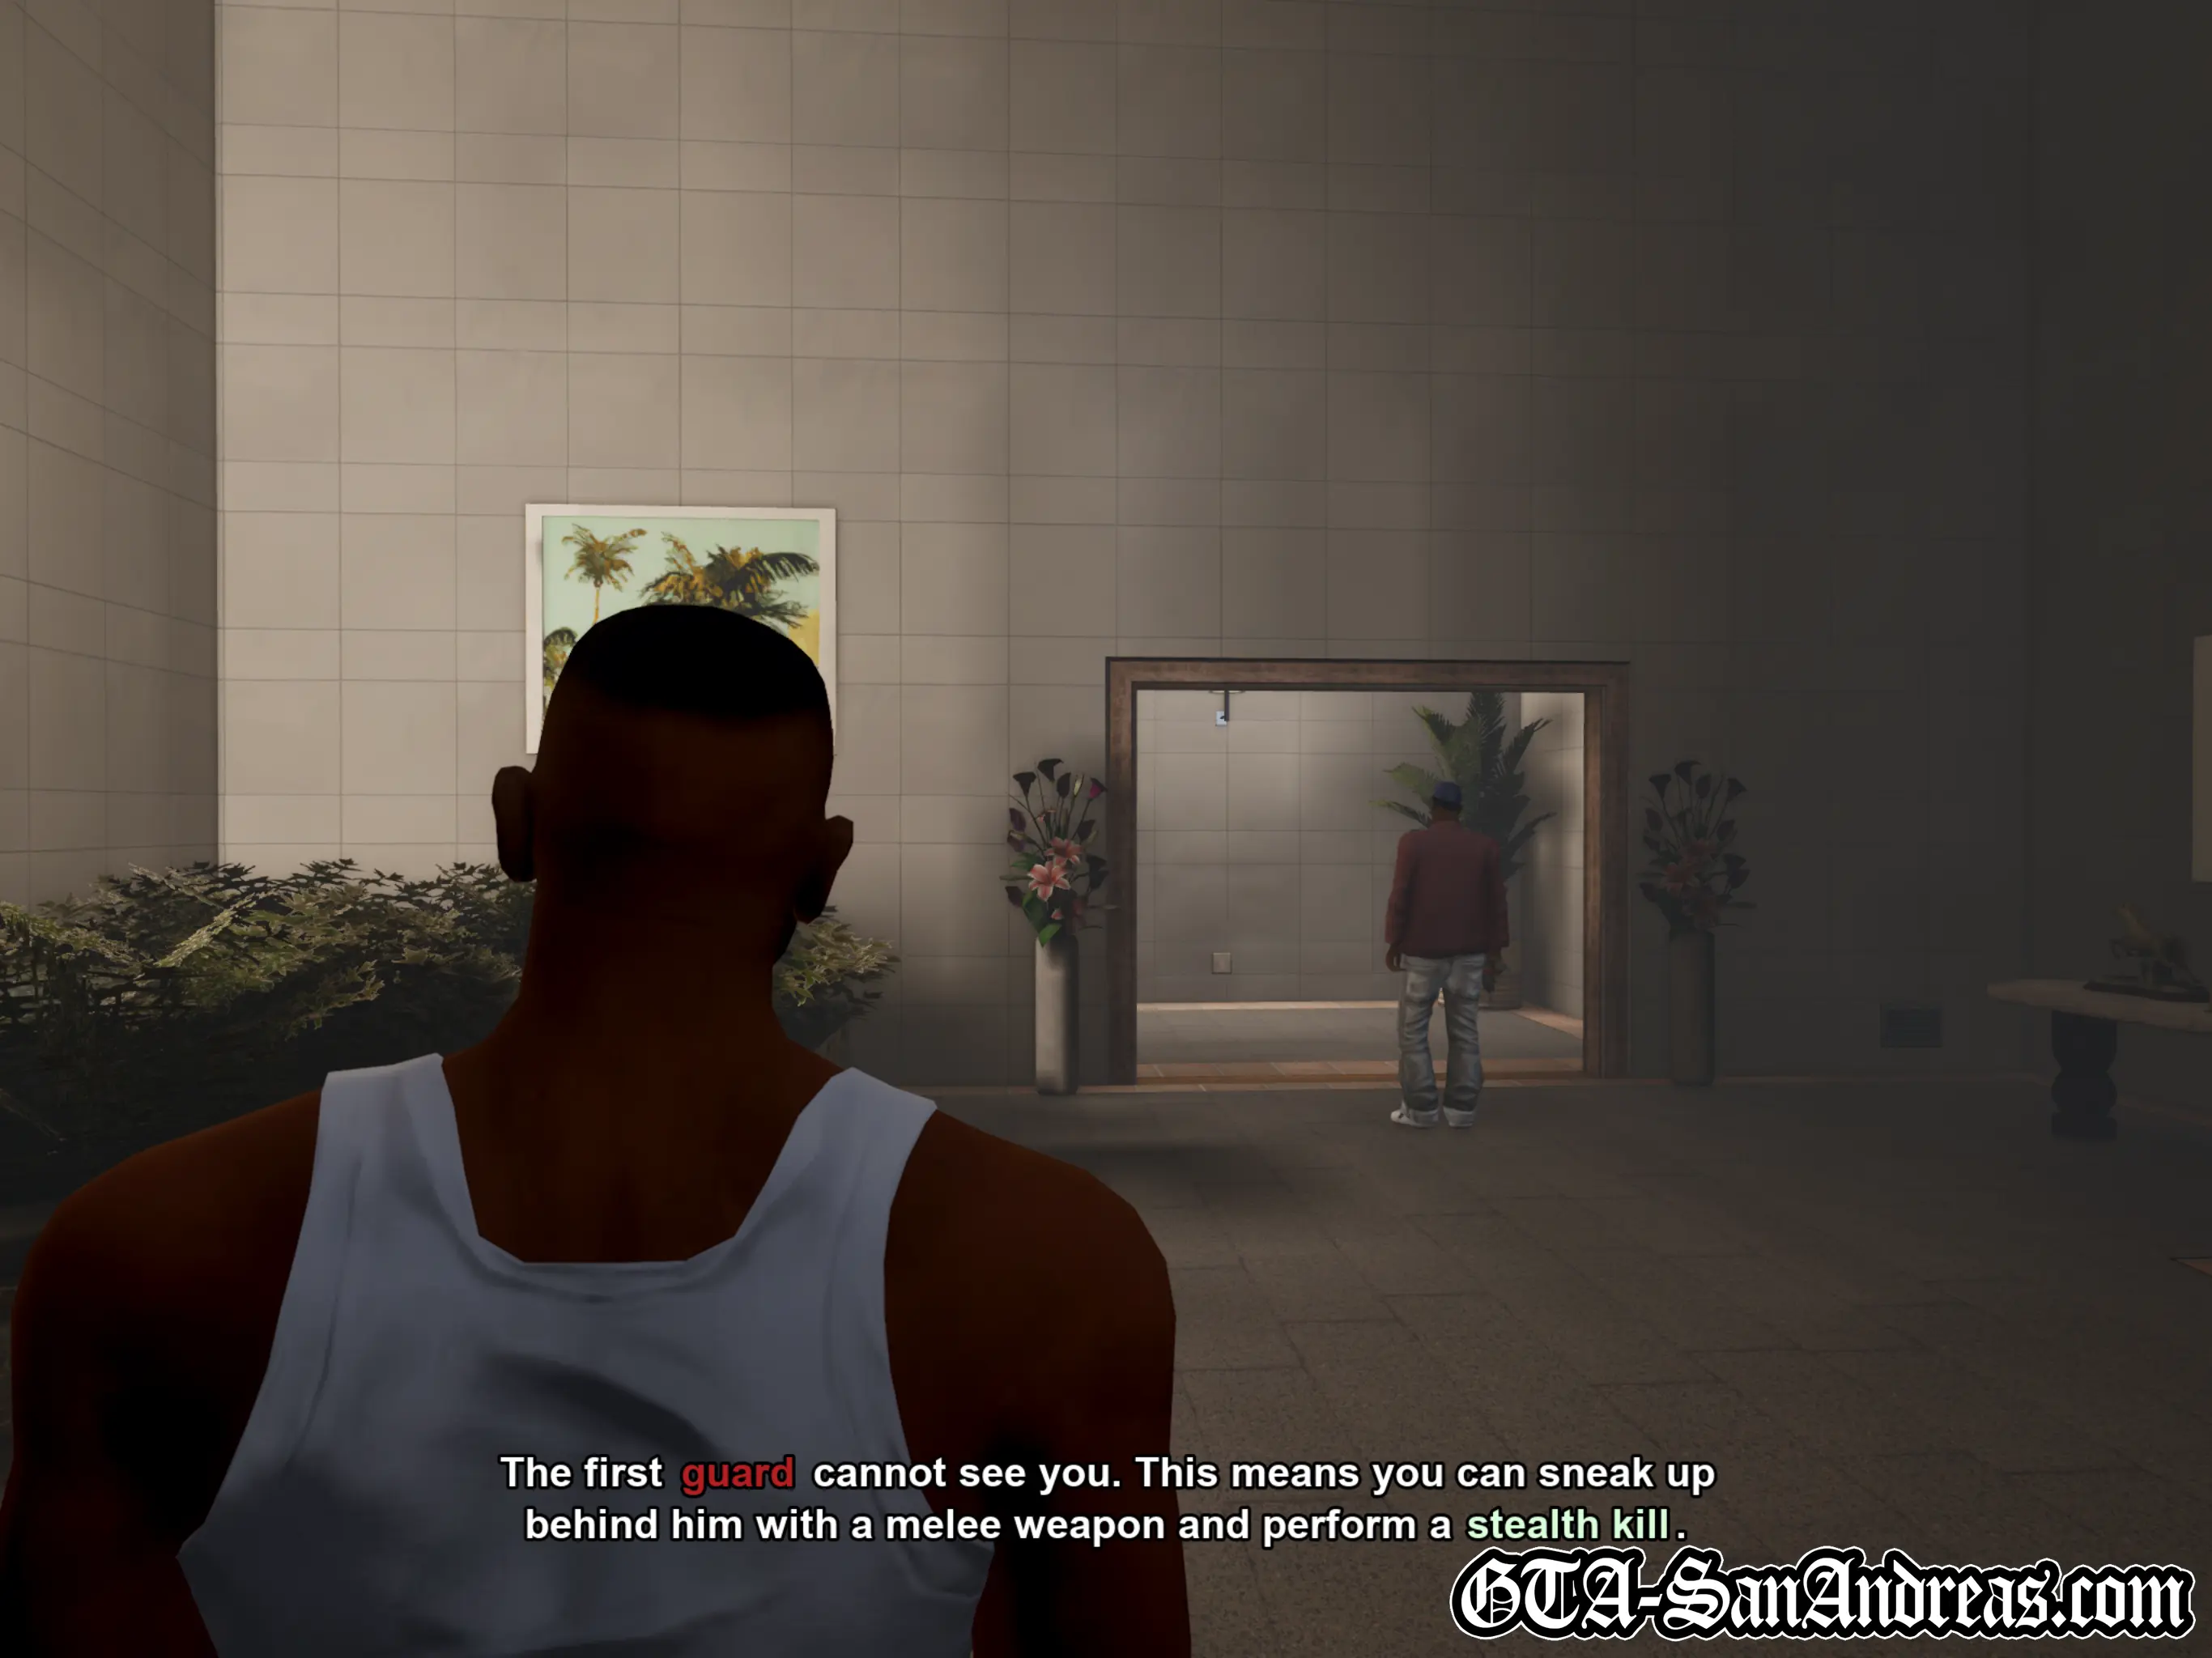
The game then provides a tutorial, explaining how to perform stealth kills.
Crouch down, then slowly sneak up on the guard. Hold the aim button to target the enemy while holding the knife and stand behind him. When you're close enough to perform a stealth takedown, Carl will hold the knife up towards his shoulder, then you can press the attack button to perform a stealth kill where you'll stab him in the neck.
Cutscene
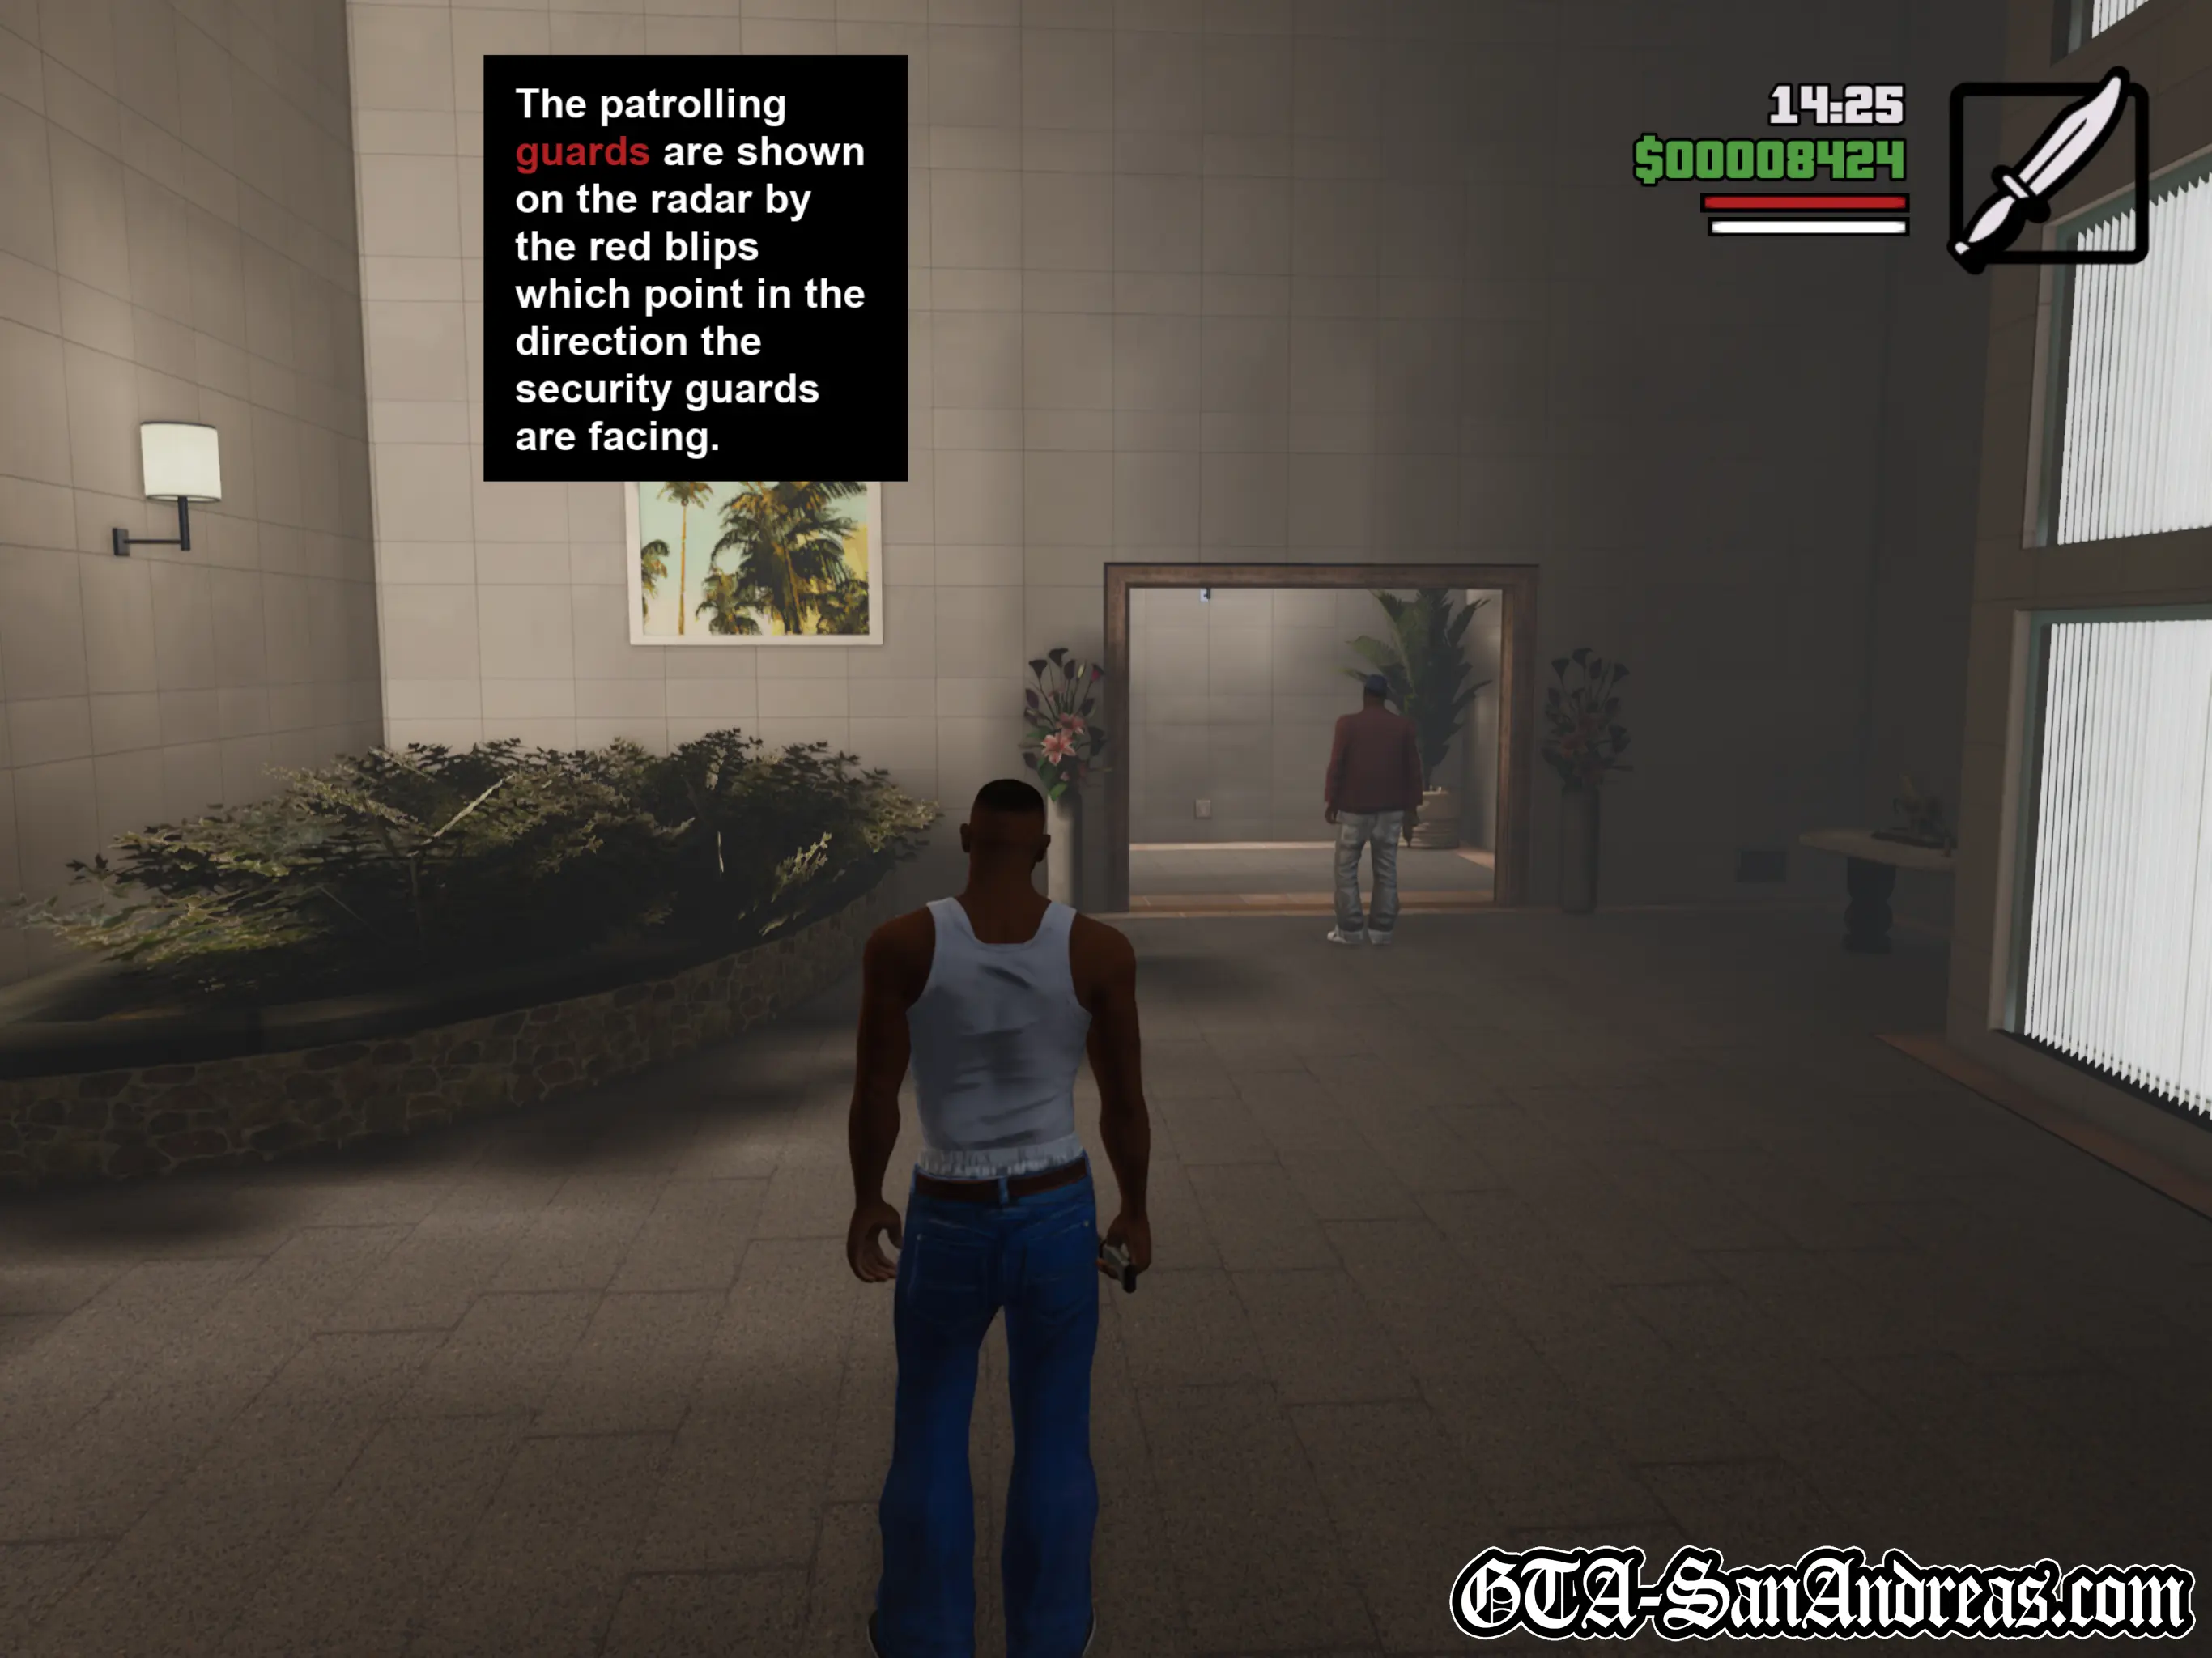
You'll see the guard patrolling the swimming pool area has a set route which he follows. The game informs you that observing his route will allow you to work out how to get past him undetected.
Move into the next area with the large swimming pool and hide in a shadow on the left, waiting for the next guard to come past. Aim at him and lock on as he gets close, then the second he moves past you, attack him from behind for another stealth kill.
Cutscene
As Carl reaches the next doorway, you'll see another guard is coming. This time you're told to find somewhere in the shade to hide, as the camera pans over to some dark changing rooms.
When you're crouched down and are fully covered by a shadow, the ![]() white arrow marking CJ's position on the radar will go darker and turn blue. You'll also hear CJ take a deep breath. This is how you'll know that you're hidden and in cover.
white arrow marking CJ's position on the radar will go darker and turn blue. You'll also hear CJ take a deep breath. This is how you'll know that you're hidden and in cover.
Wait in the shadowy room until the guard walks past the doorway and stops to look at the swimming pool, then sneak up behind him and take him out with the knife. Continue along the corridor and follow it to the left until you reach a bar area.
Cutscene
You'll see the bar tender looking out over the bar and the game will warn you that walking straight past him will get you spotted, so you need to stay crouched to remain out of his line of sight.
Make sure you're crouched down, then walk through the door. You don't need to be too close to the bar itself, in fact being too close can get you seen, so just enter the door normally and sneak to the end of the bar, then double-back and stealth kill the bar tender who is busy doing something with his back to you.
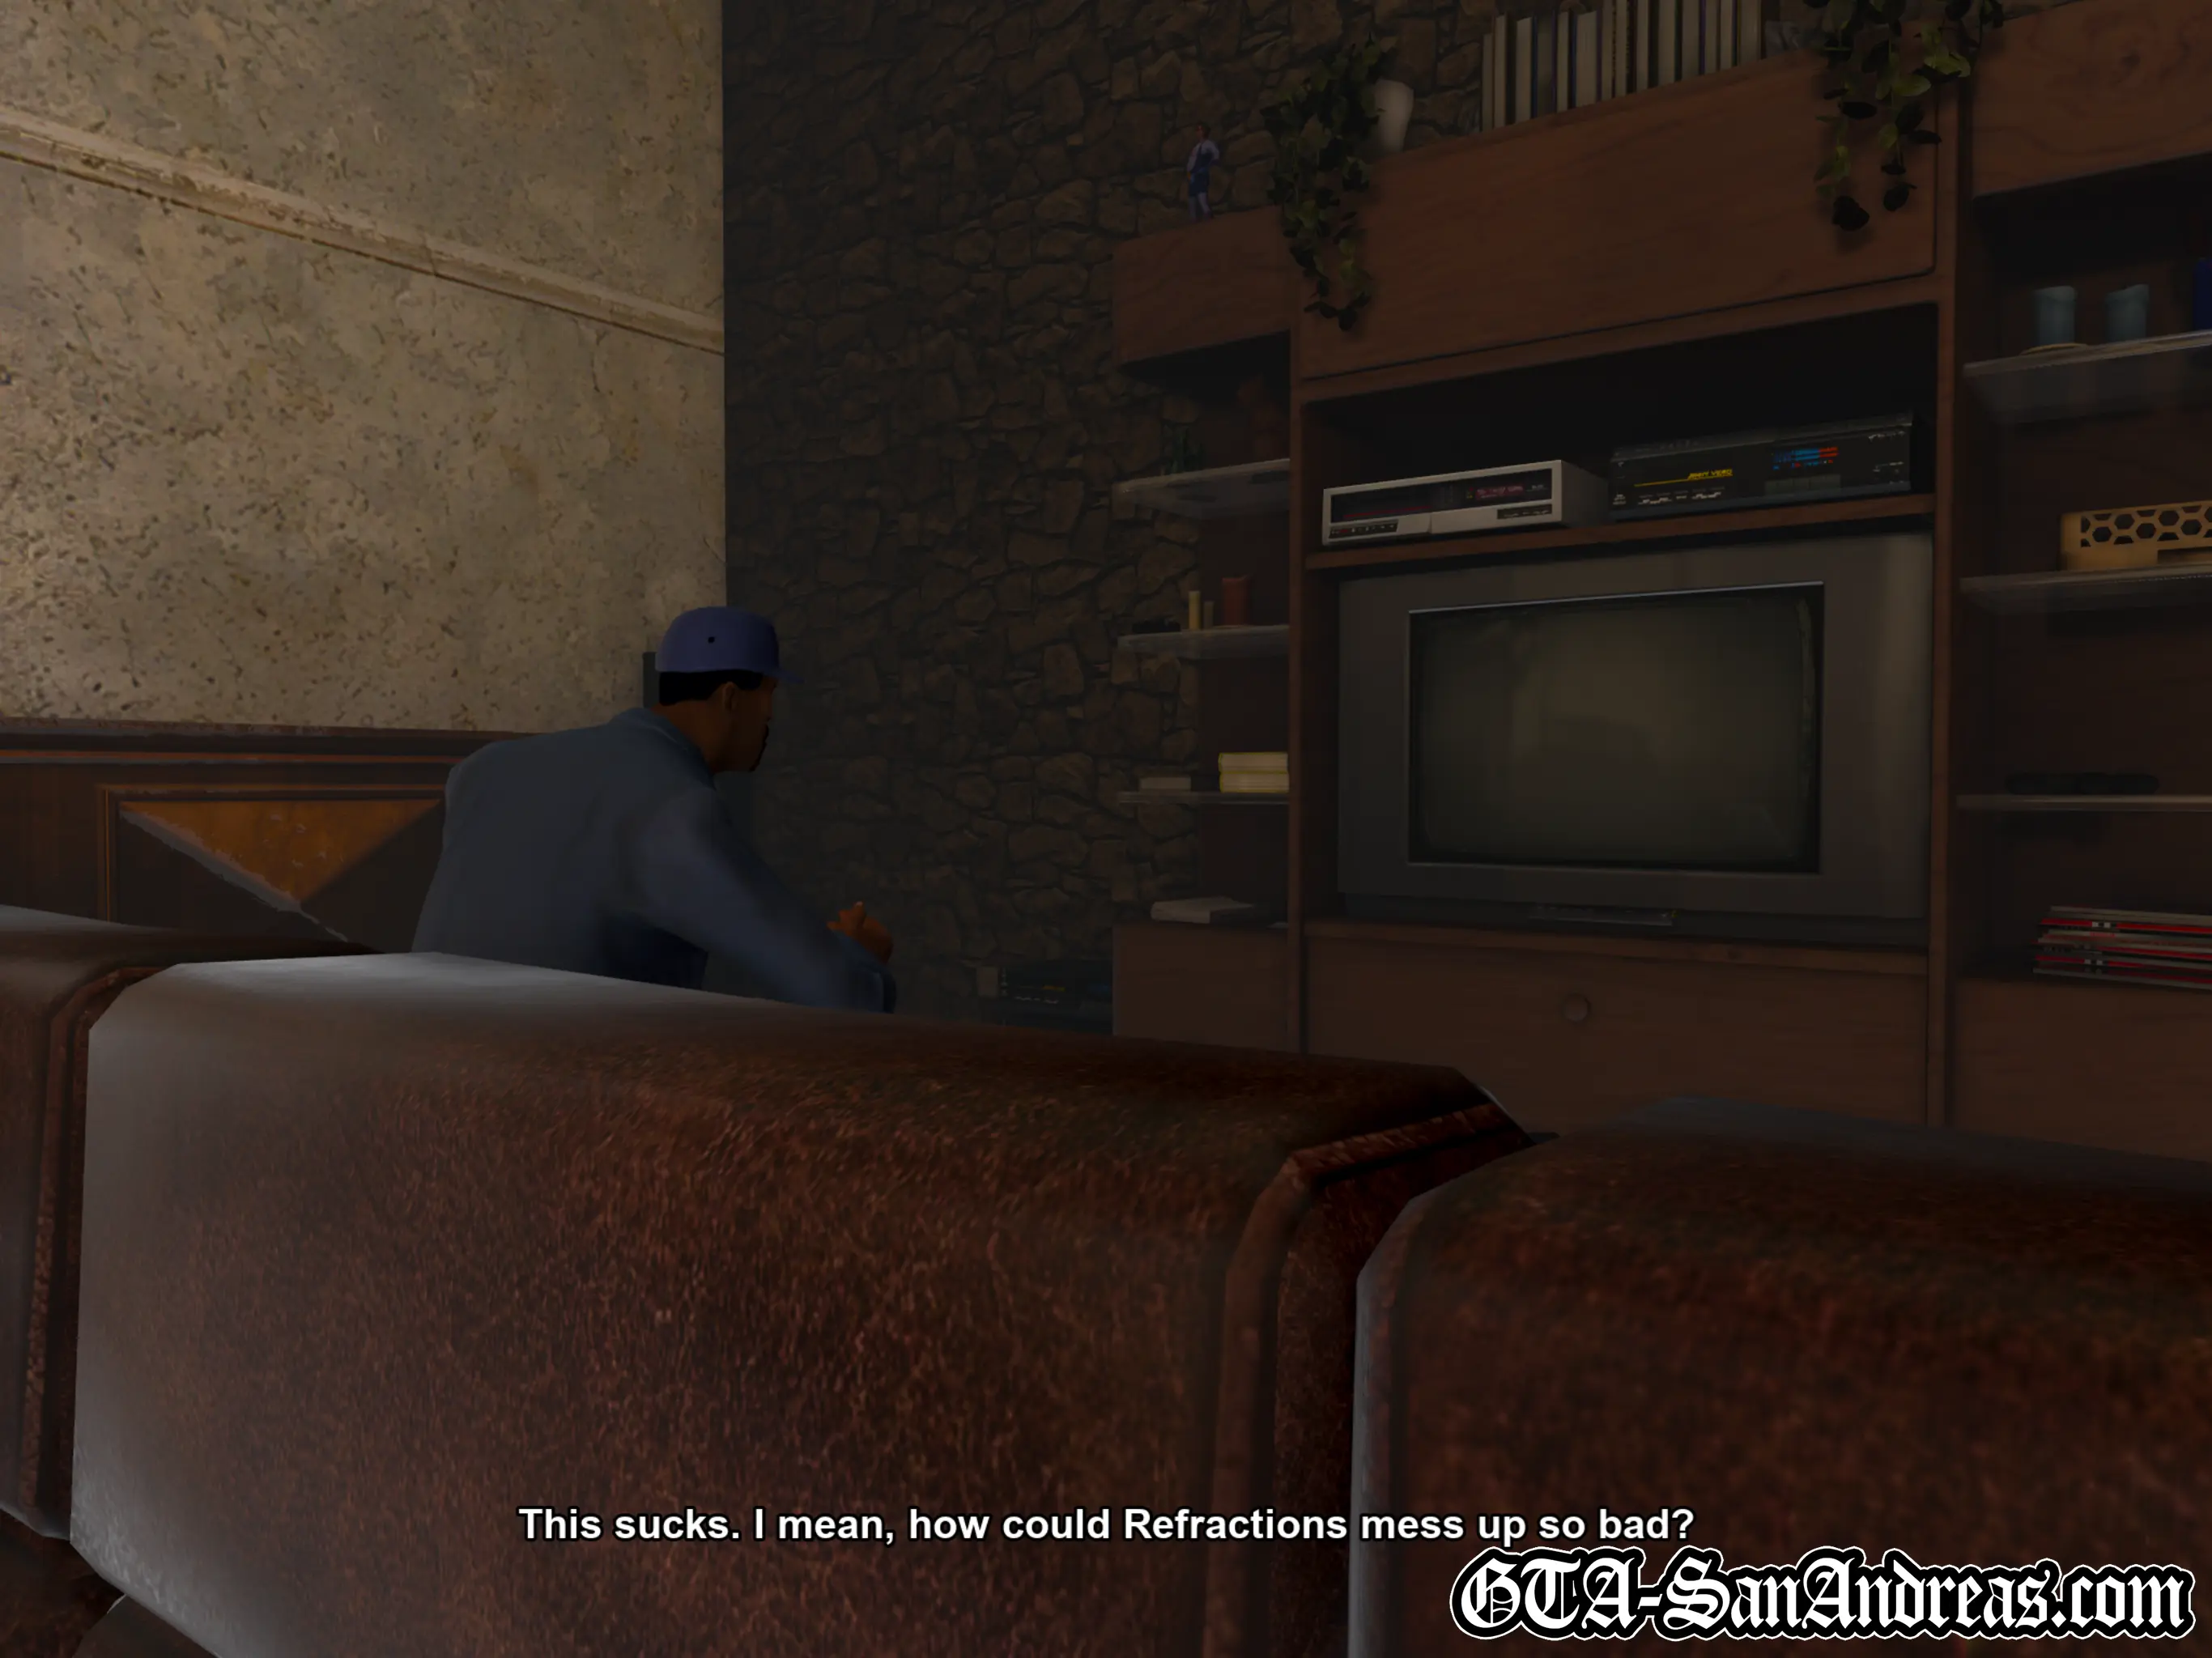
Continue through the lounge and on your right, you'll see and hear a guard playing a computer game which is definitely a parody of Reflections Interactive's "Driver" - a 'rival' of the genre at the time of launch. You can stealth kill him from behind the sofa while he plays his game, then move on through into the next hallway.
There is a guard watching the right, so go through the shadowy room on the left and follow it around to sneak up behind him.
Stealth kill the final guard and then grab the rhyme book from inside the recording studio.
A bunch more guards will turn up now, so you'll need to be especially careful as you make your way back to the exit.
Go through the shadowy room again and kill the guard standing there with your knife. He'll drop a silenced pistol which you can grab for the first time in the game. Using this allows you to make stealth kills from a distance.
Next move into the doorway for the bar room and kill the guard by shooting him in the head with the silenced pistol, then kill the guard sitting on the chair near the TV and the guard who has reappeared at the bar, then continue through the house.
Stay in the shadows straight through the door and wait for the next guard to walk past, then execute him, and move towards the swimming pool area. Watch him follow the pool around, then sneak behind him and cut him up or just pop him in the head from distance. Head out the door and jump on the conveniently parked mountain bike to get back to Burger Shot.
Post-Mission
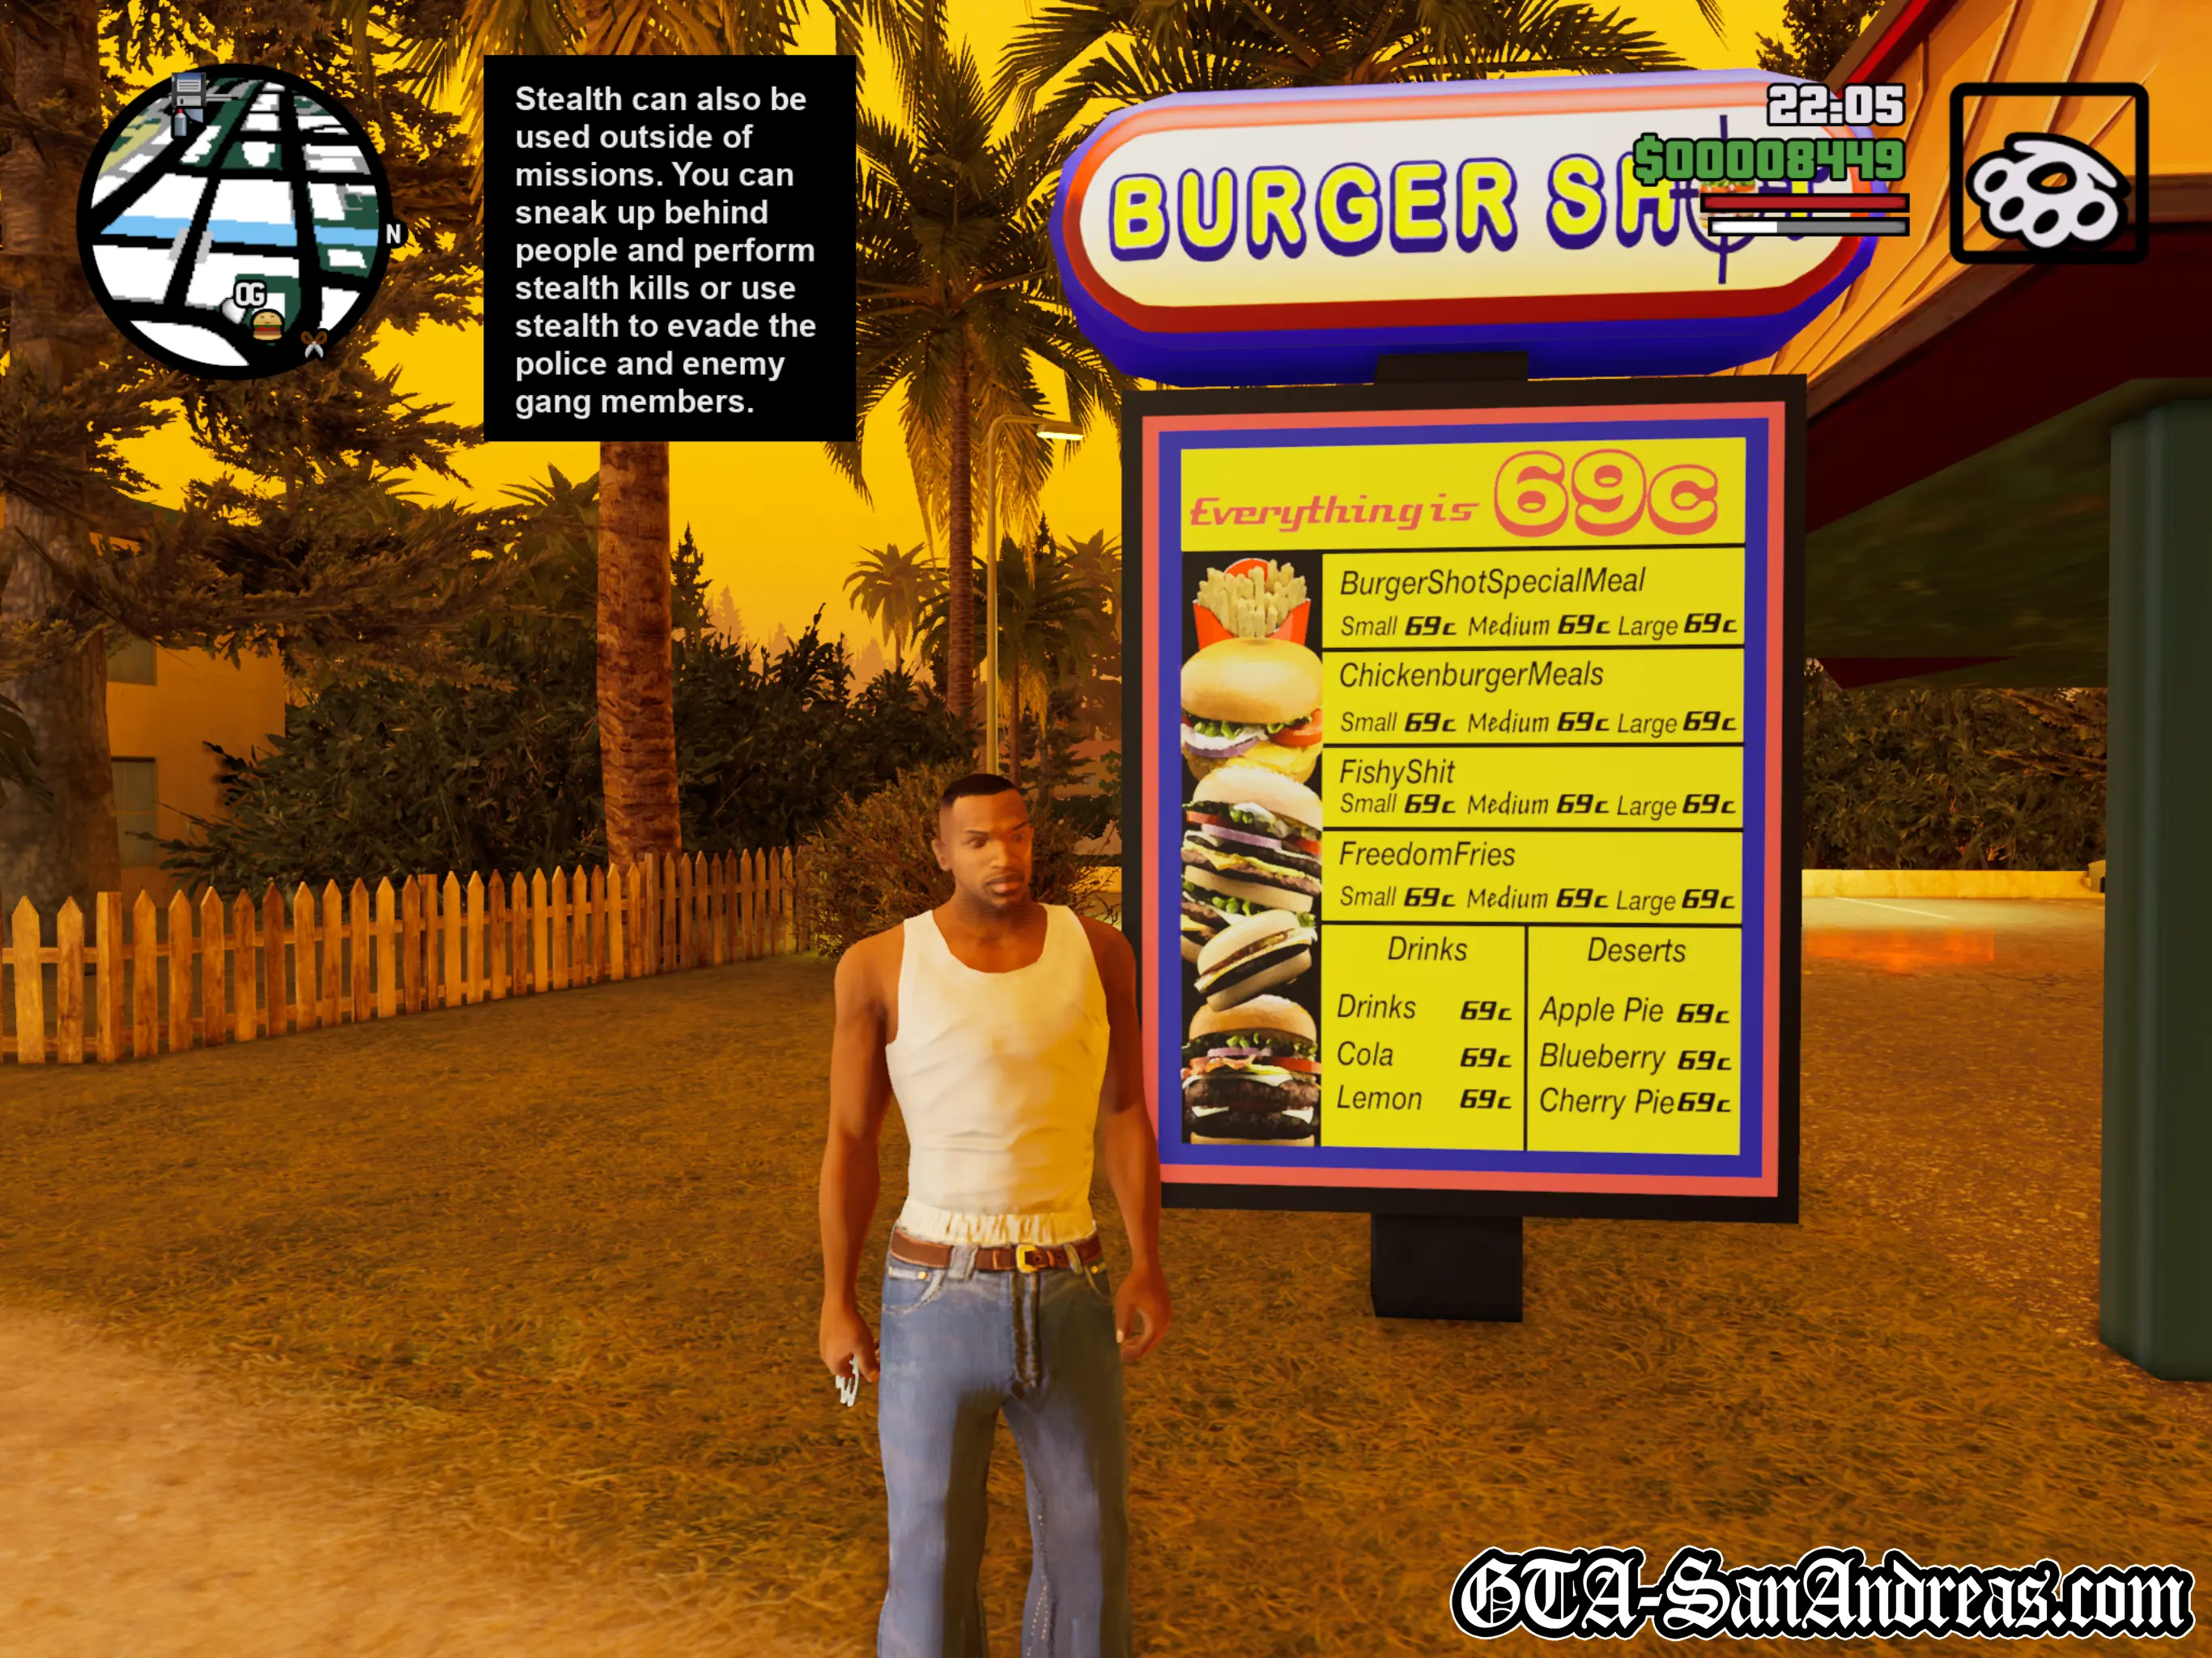
You'll see a message saying stealth can be used outside of missions after completion of this mission.
You'll receive a phone call from Tenpenny telling you to meet him at the donut place near Market.
![]() Frank Tenpenny's Missions Are Now Unlocked.
Frank Tenpenny's Missions Are Now Unlocked.
We're going to finish up with OG Loc.
Screenshots
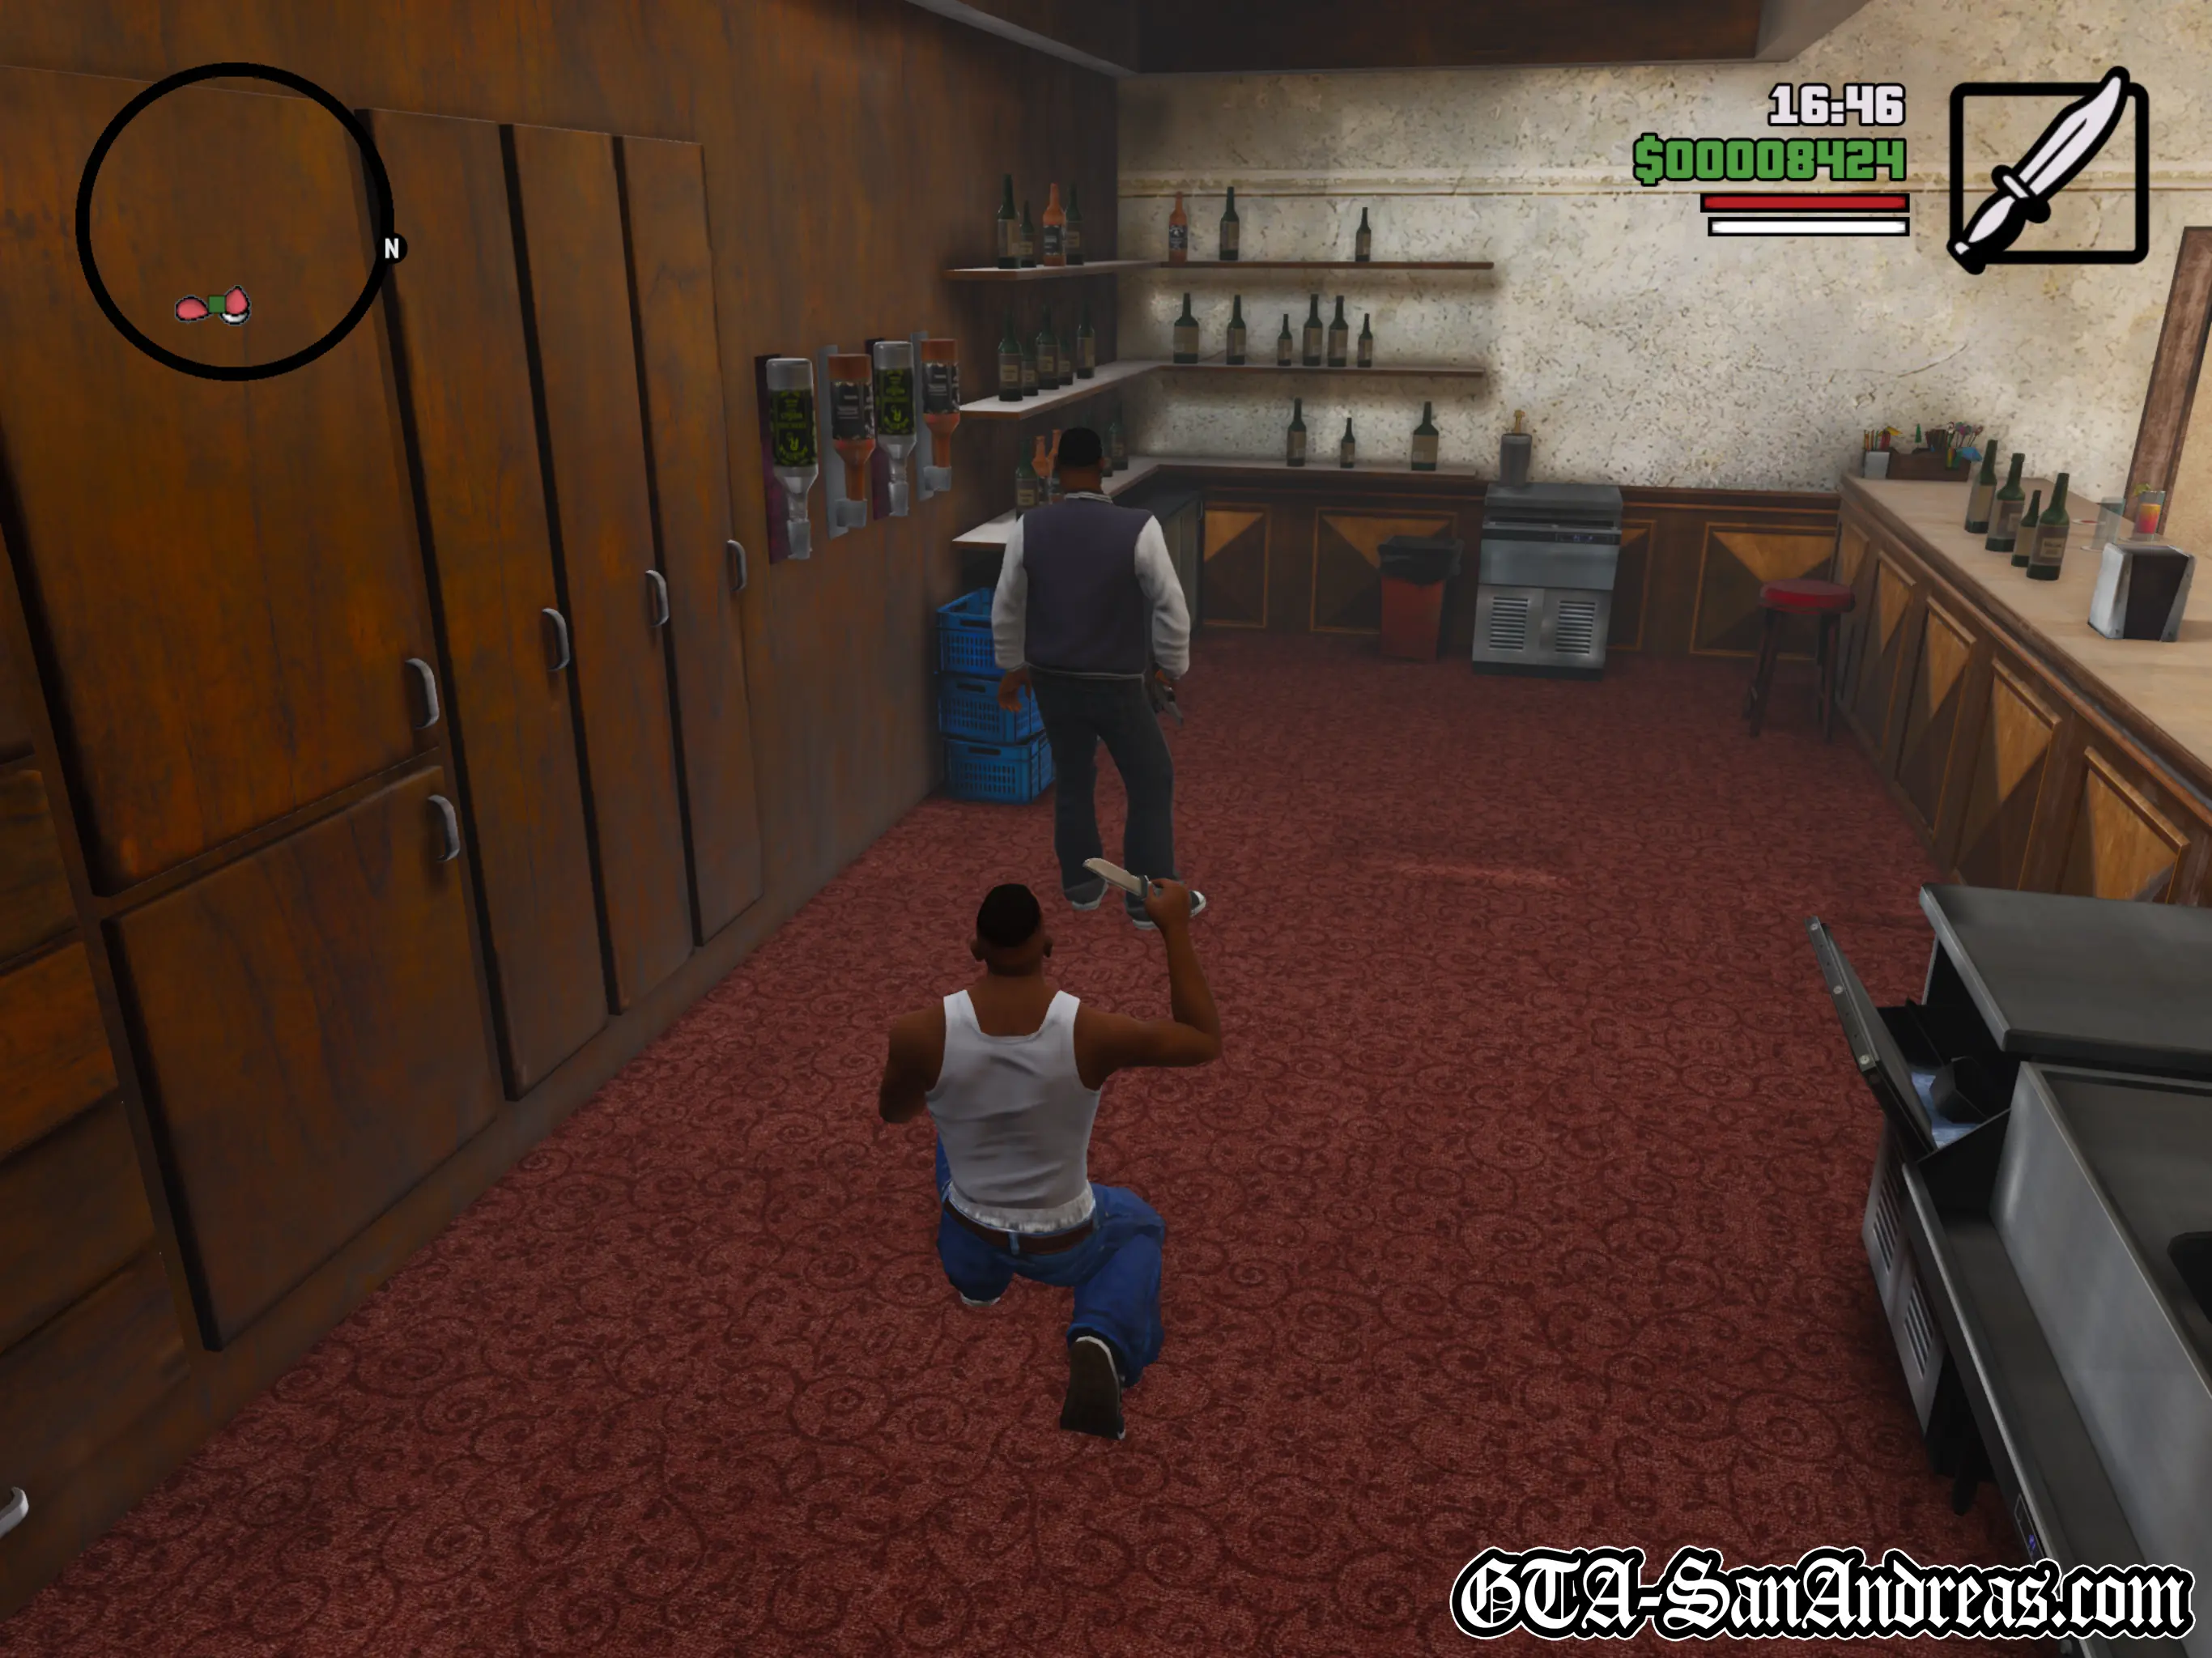


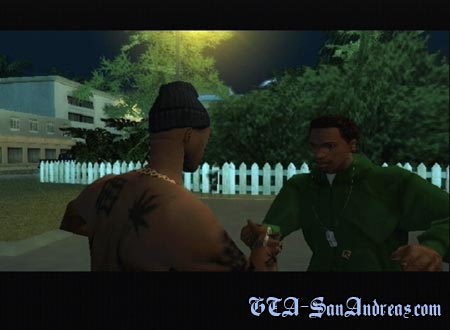
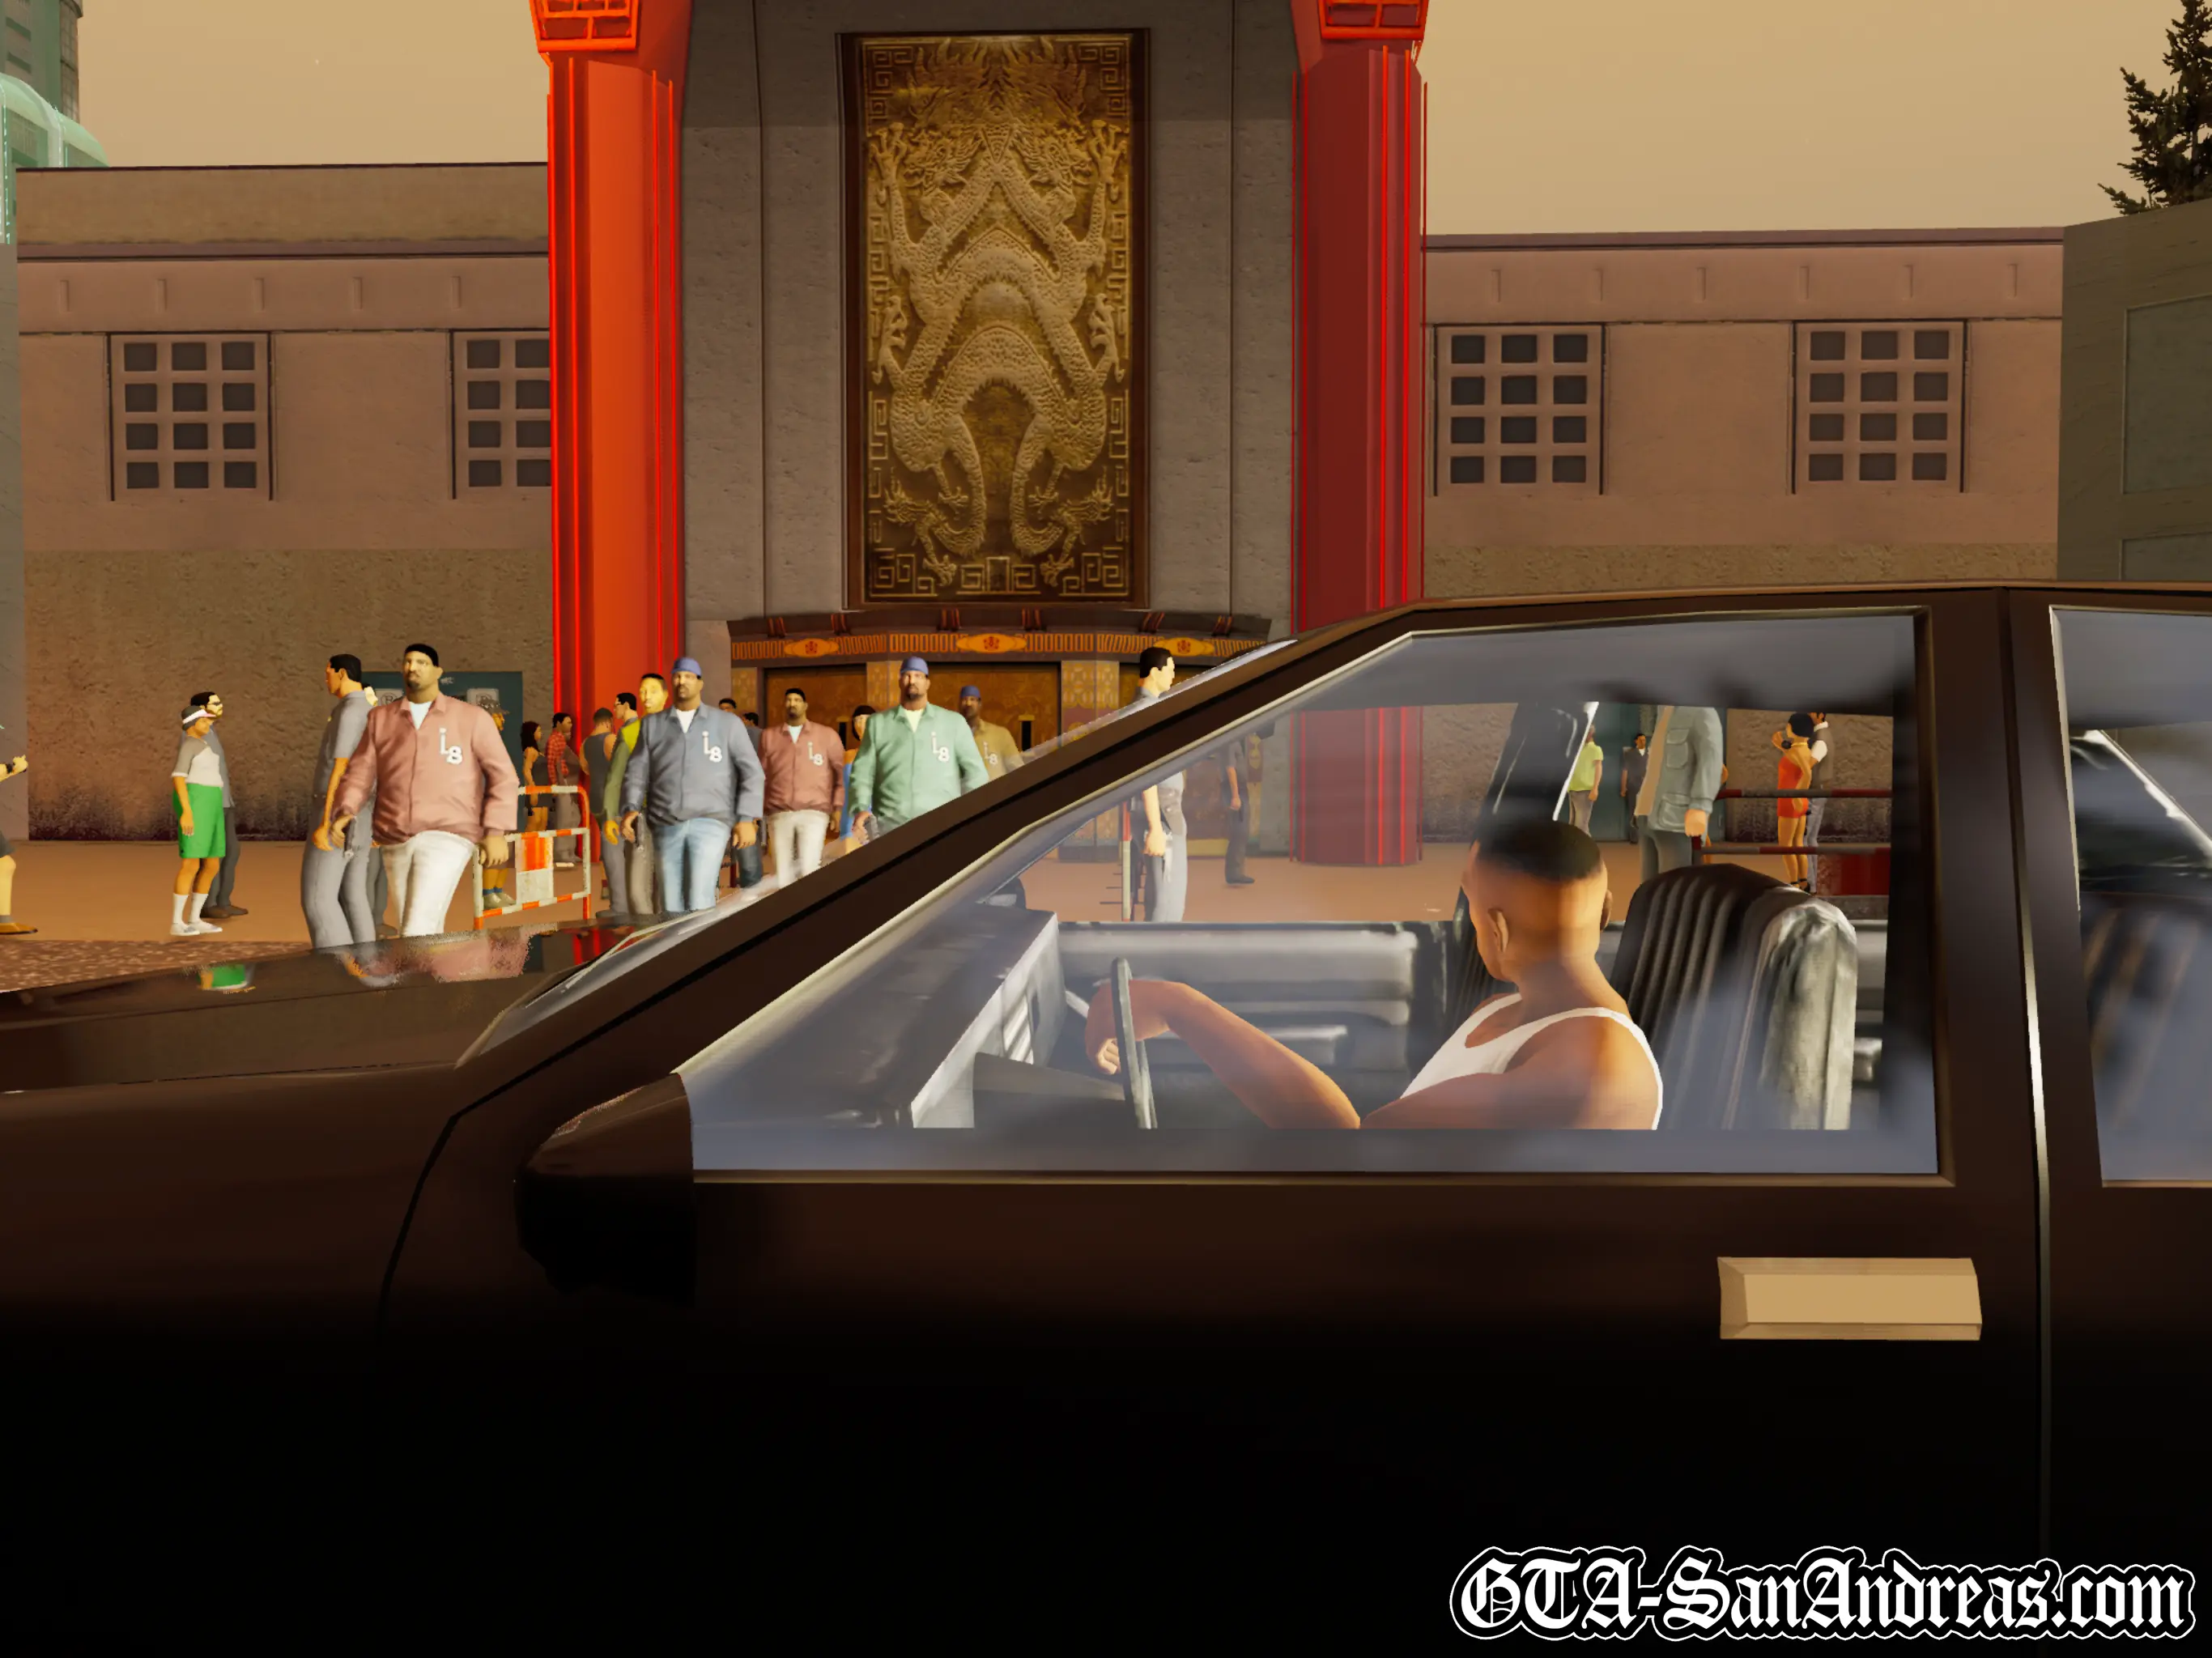
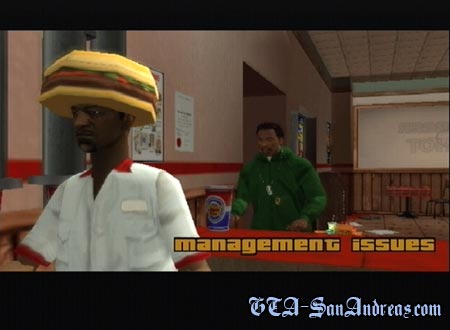
Management Issues
OG Loc is frustrated at the fact he can't get a record deal and is blaming it on Madd Dogg's manager. He wants you to go and pick him up, then kill him.
One of Madd Dogg's managers drivers is eating at a burger shot across town. Drive over to there and steal his car before 10 PM.
When you find the car, drive into it so the driver gets out, then kill him and get in the car.
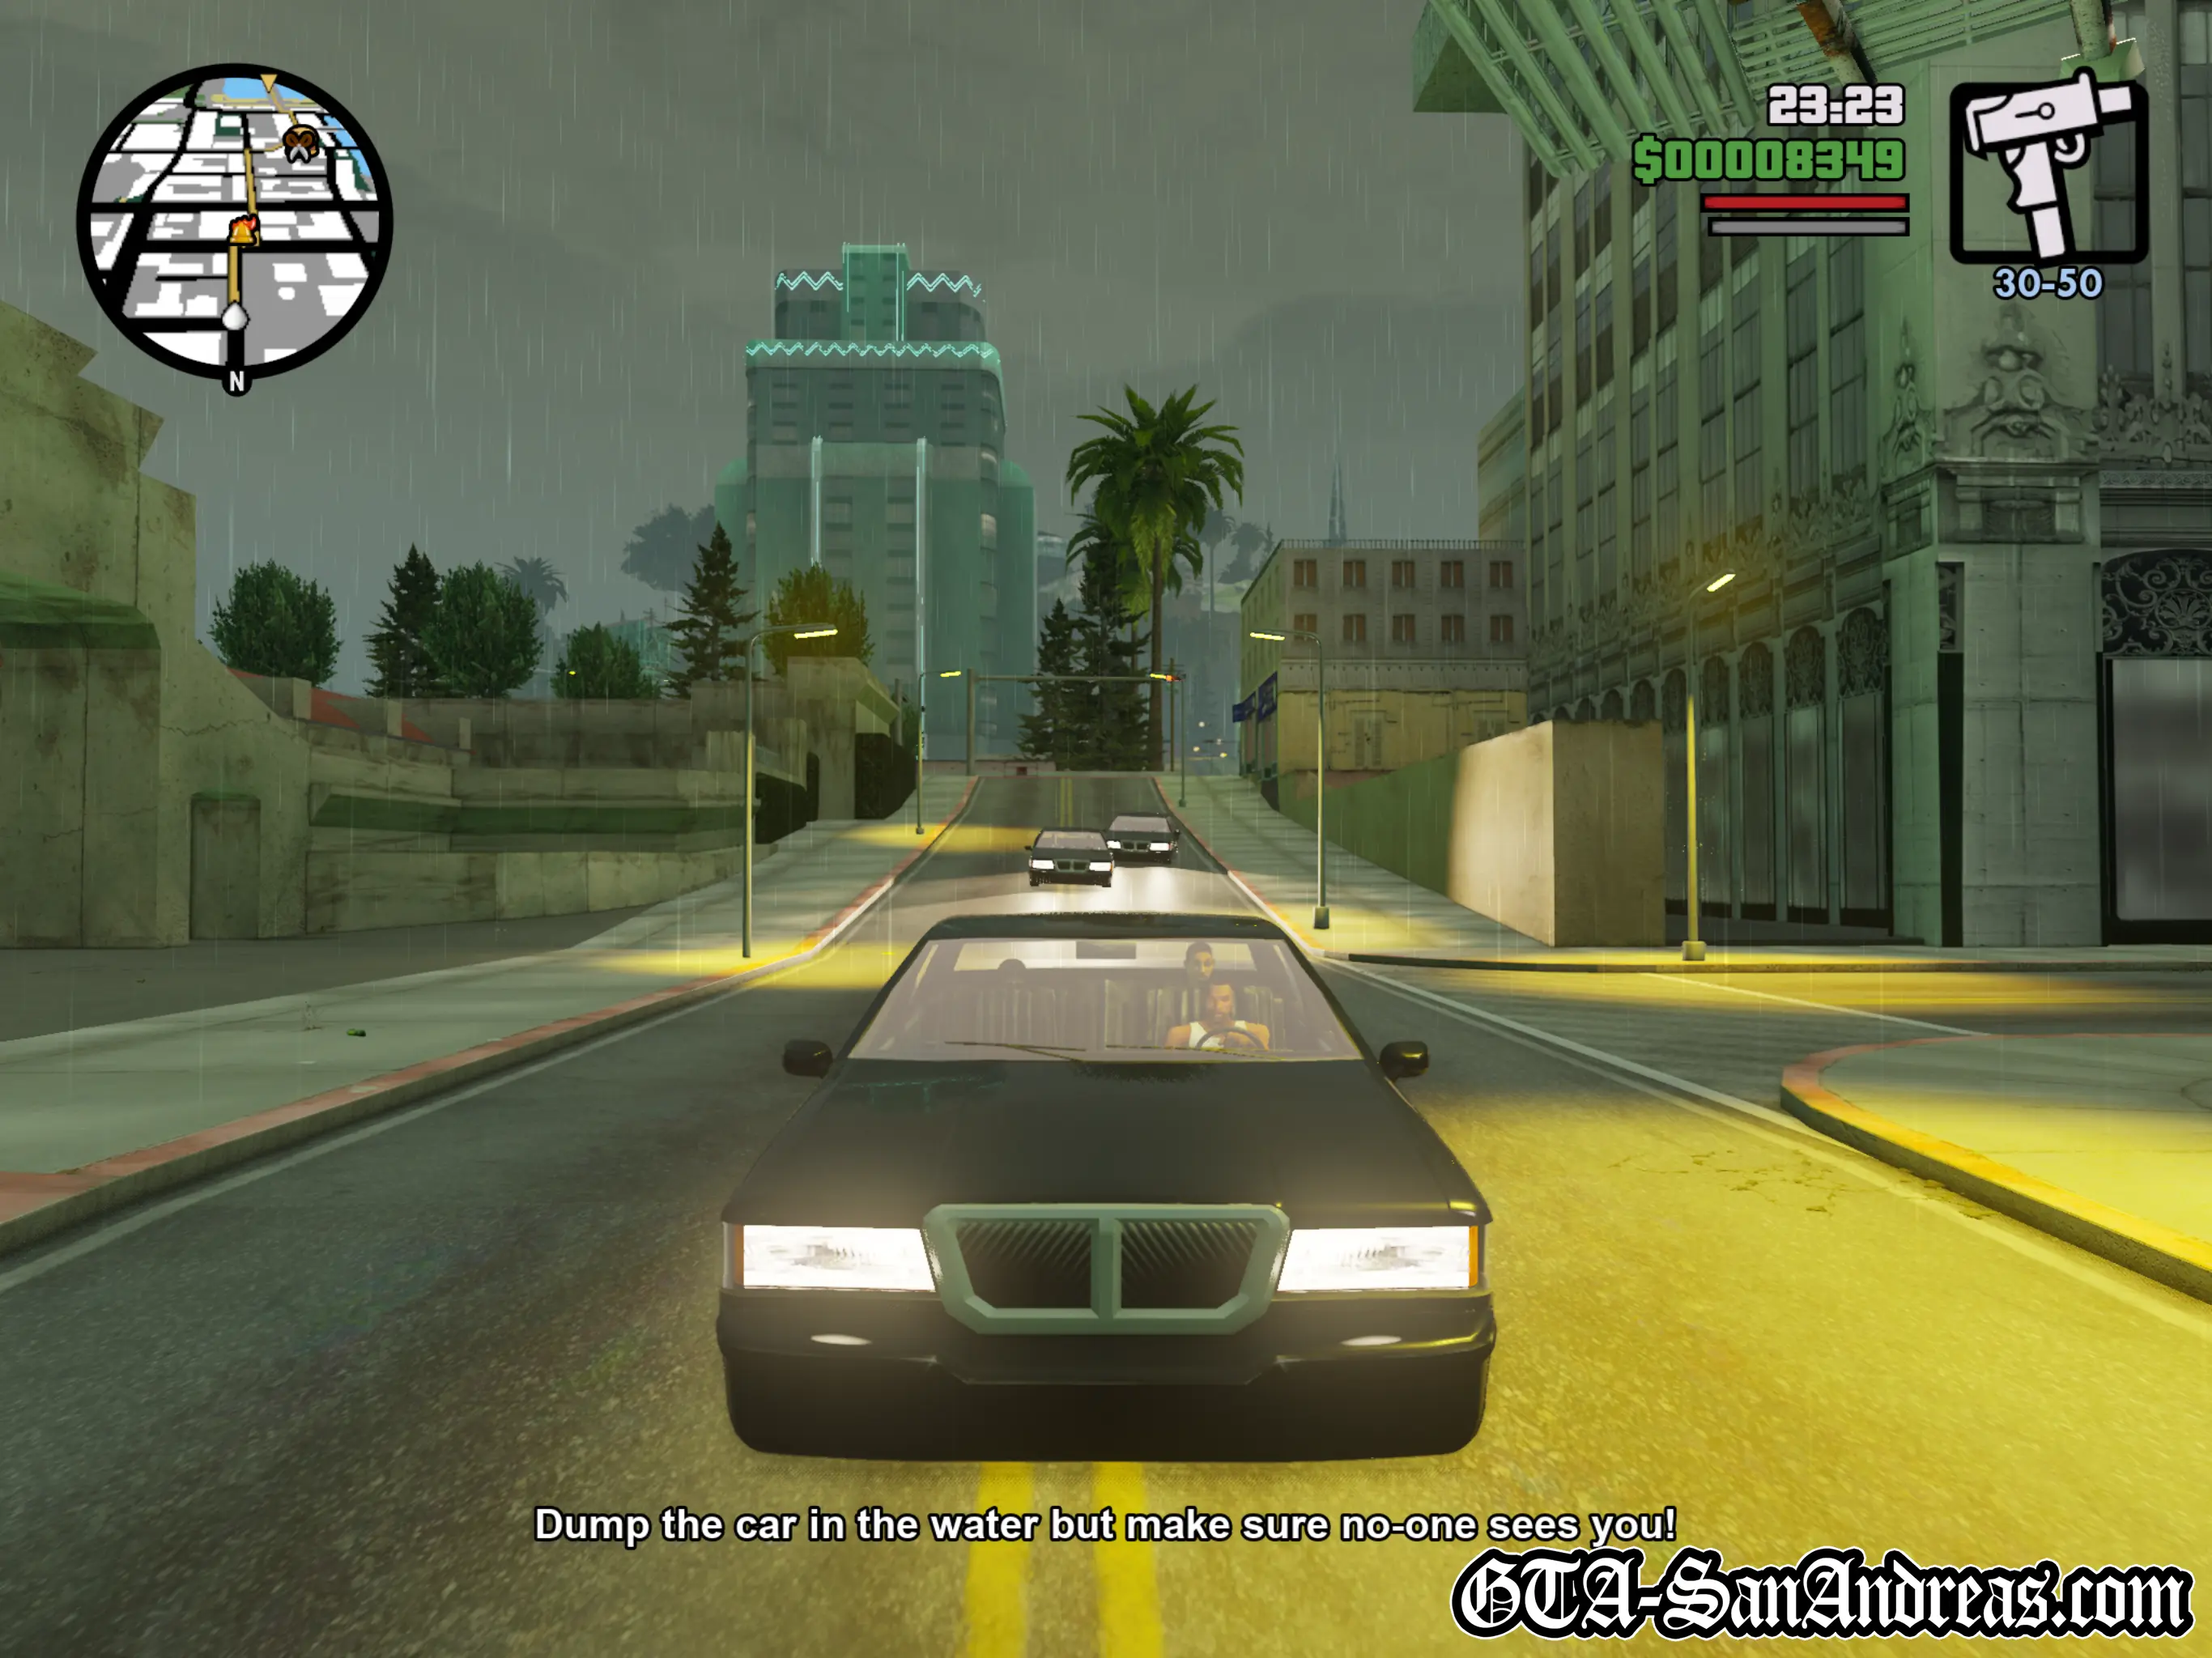
It's damaged, so you'll need to take it to the Pay N' Spray to get it repaired. Once it's sprayed, drive to the yellow blip and park in the middle of the other cars.
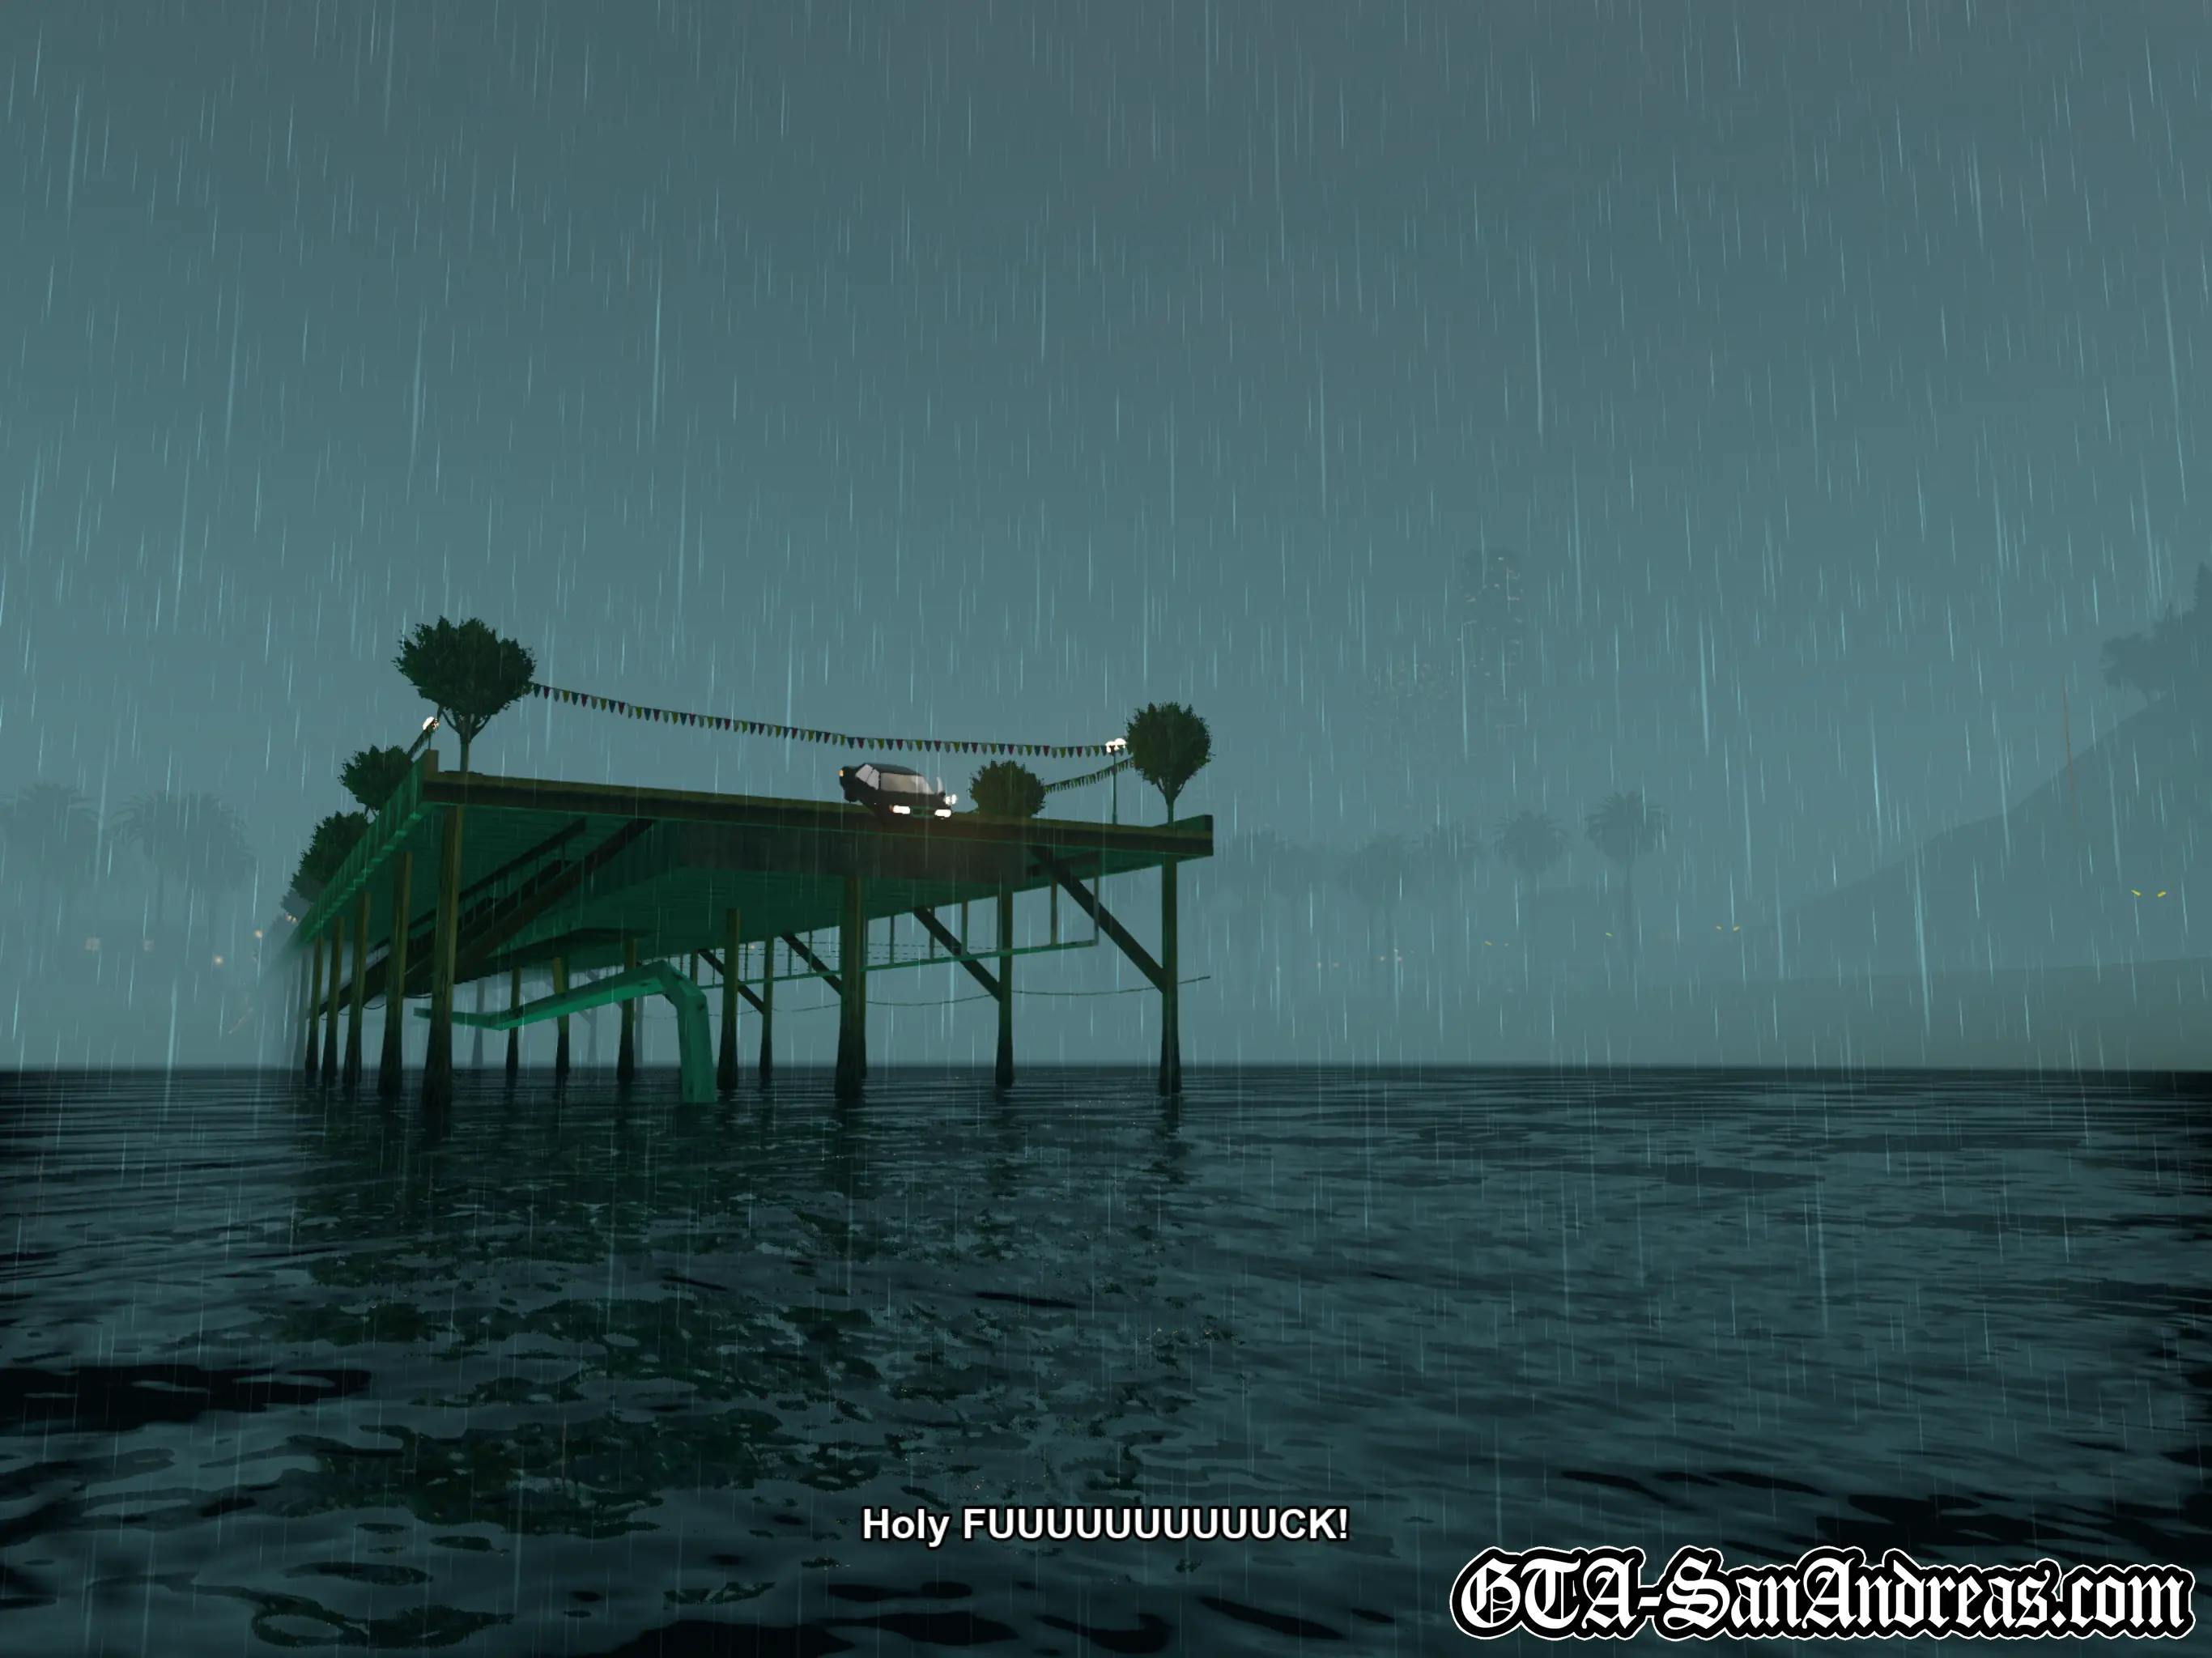
When the signal is given, stay in the middle of the two other cars and drive to the award ceremony. Pick up the manager and then immediately follow the map and speed to the pier so you can dump the car in the water.
Try to lose the security chasing you by taking routes through alley ways and going off-road where possible.
Speed down the pier then bail from the car. It'll sail into the water and you'll remain on dry land, passing the mission.
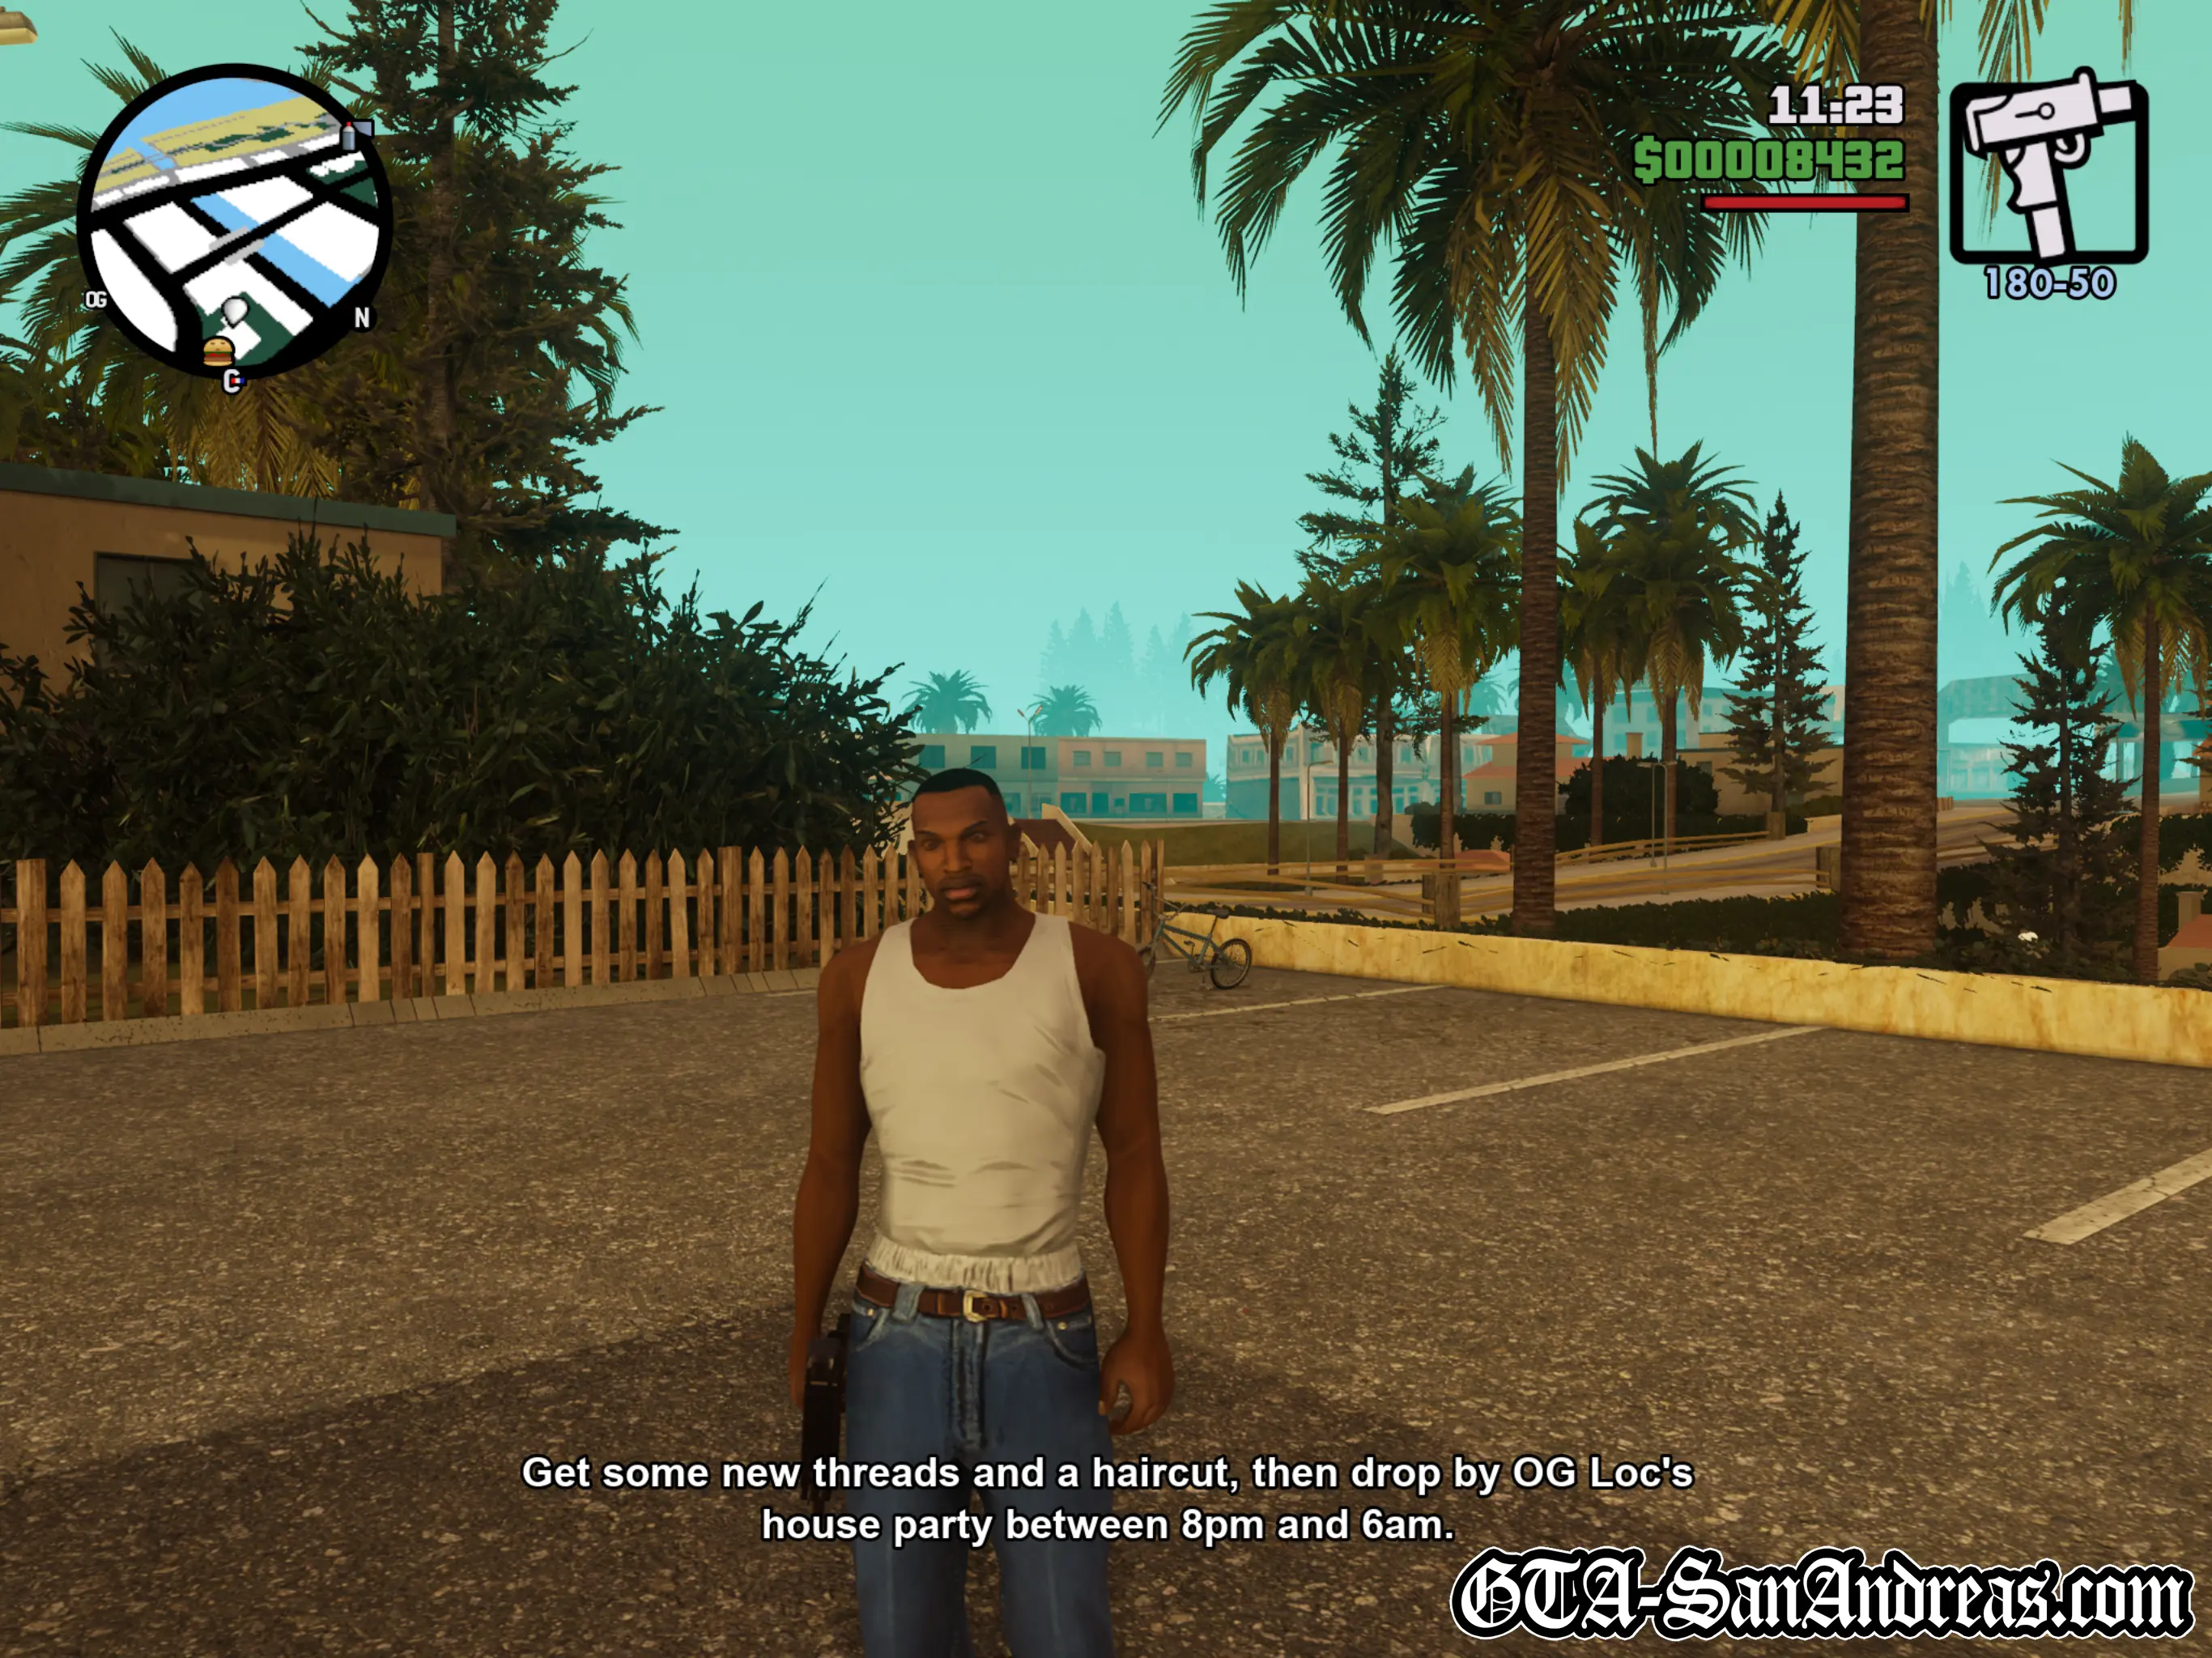
Head back to OG for another mission. This one won't actually be a mission though, just a cutscene with some instructions. OG Loc quits his job as a hygiene technician and wants to throw a house party so he can be heard. He wants you to get some stuff ready for the party, then meet him at his house in Grove Street between 8 PM and 5 AM.
The game will tell you to get a haircut and some new threads, but if you're low on cash you don't need to worry about that. Head back to Grove Street and walk in the red marker to accept the mission. A good suggestion is to grab some weapons, ammo and body armor before accepting the next mission.
Tips & Tricks
Stand Out
After stealing the drivers' vehicle and being told to head to the Pay N' Spray, you can visit the TransFender Mod Shop right next door instead. If you've got the money to waste, why not paint the car bright pink and add nitro and hydraulics? The other two security staff won't bat an eyelid which is quite funny during the cutscene. Be aware you'll be launching the car into the ocean so the money you spend is ultimately wasted.
Screenshots
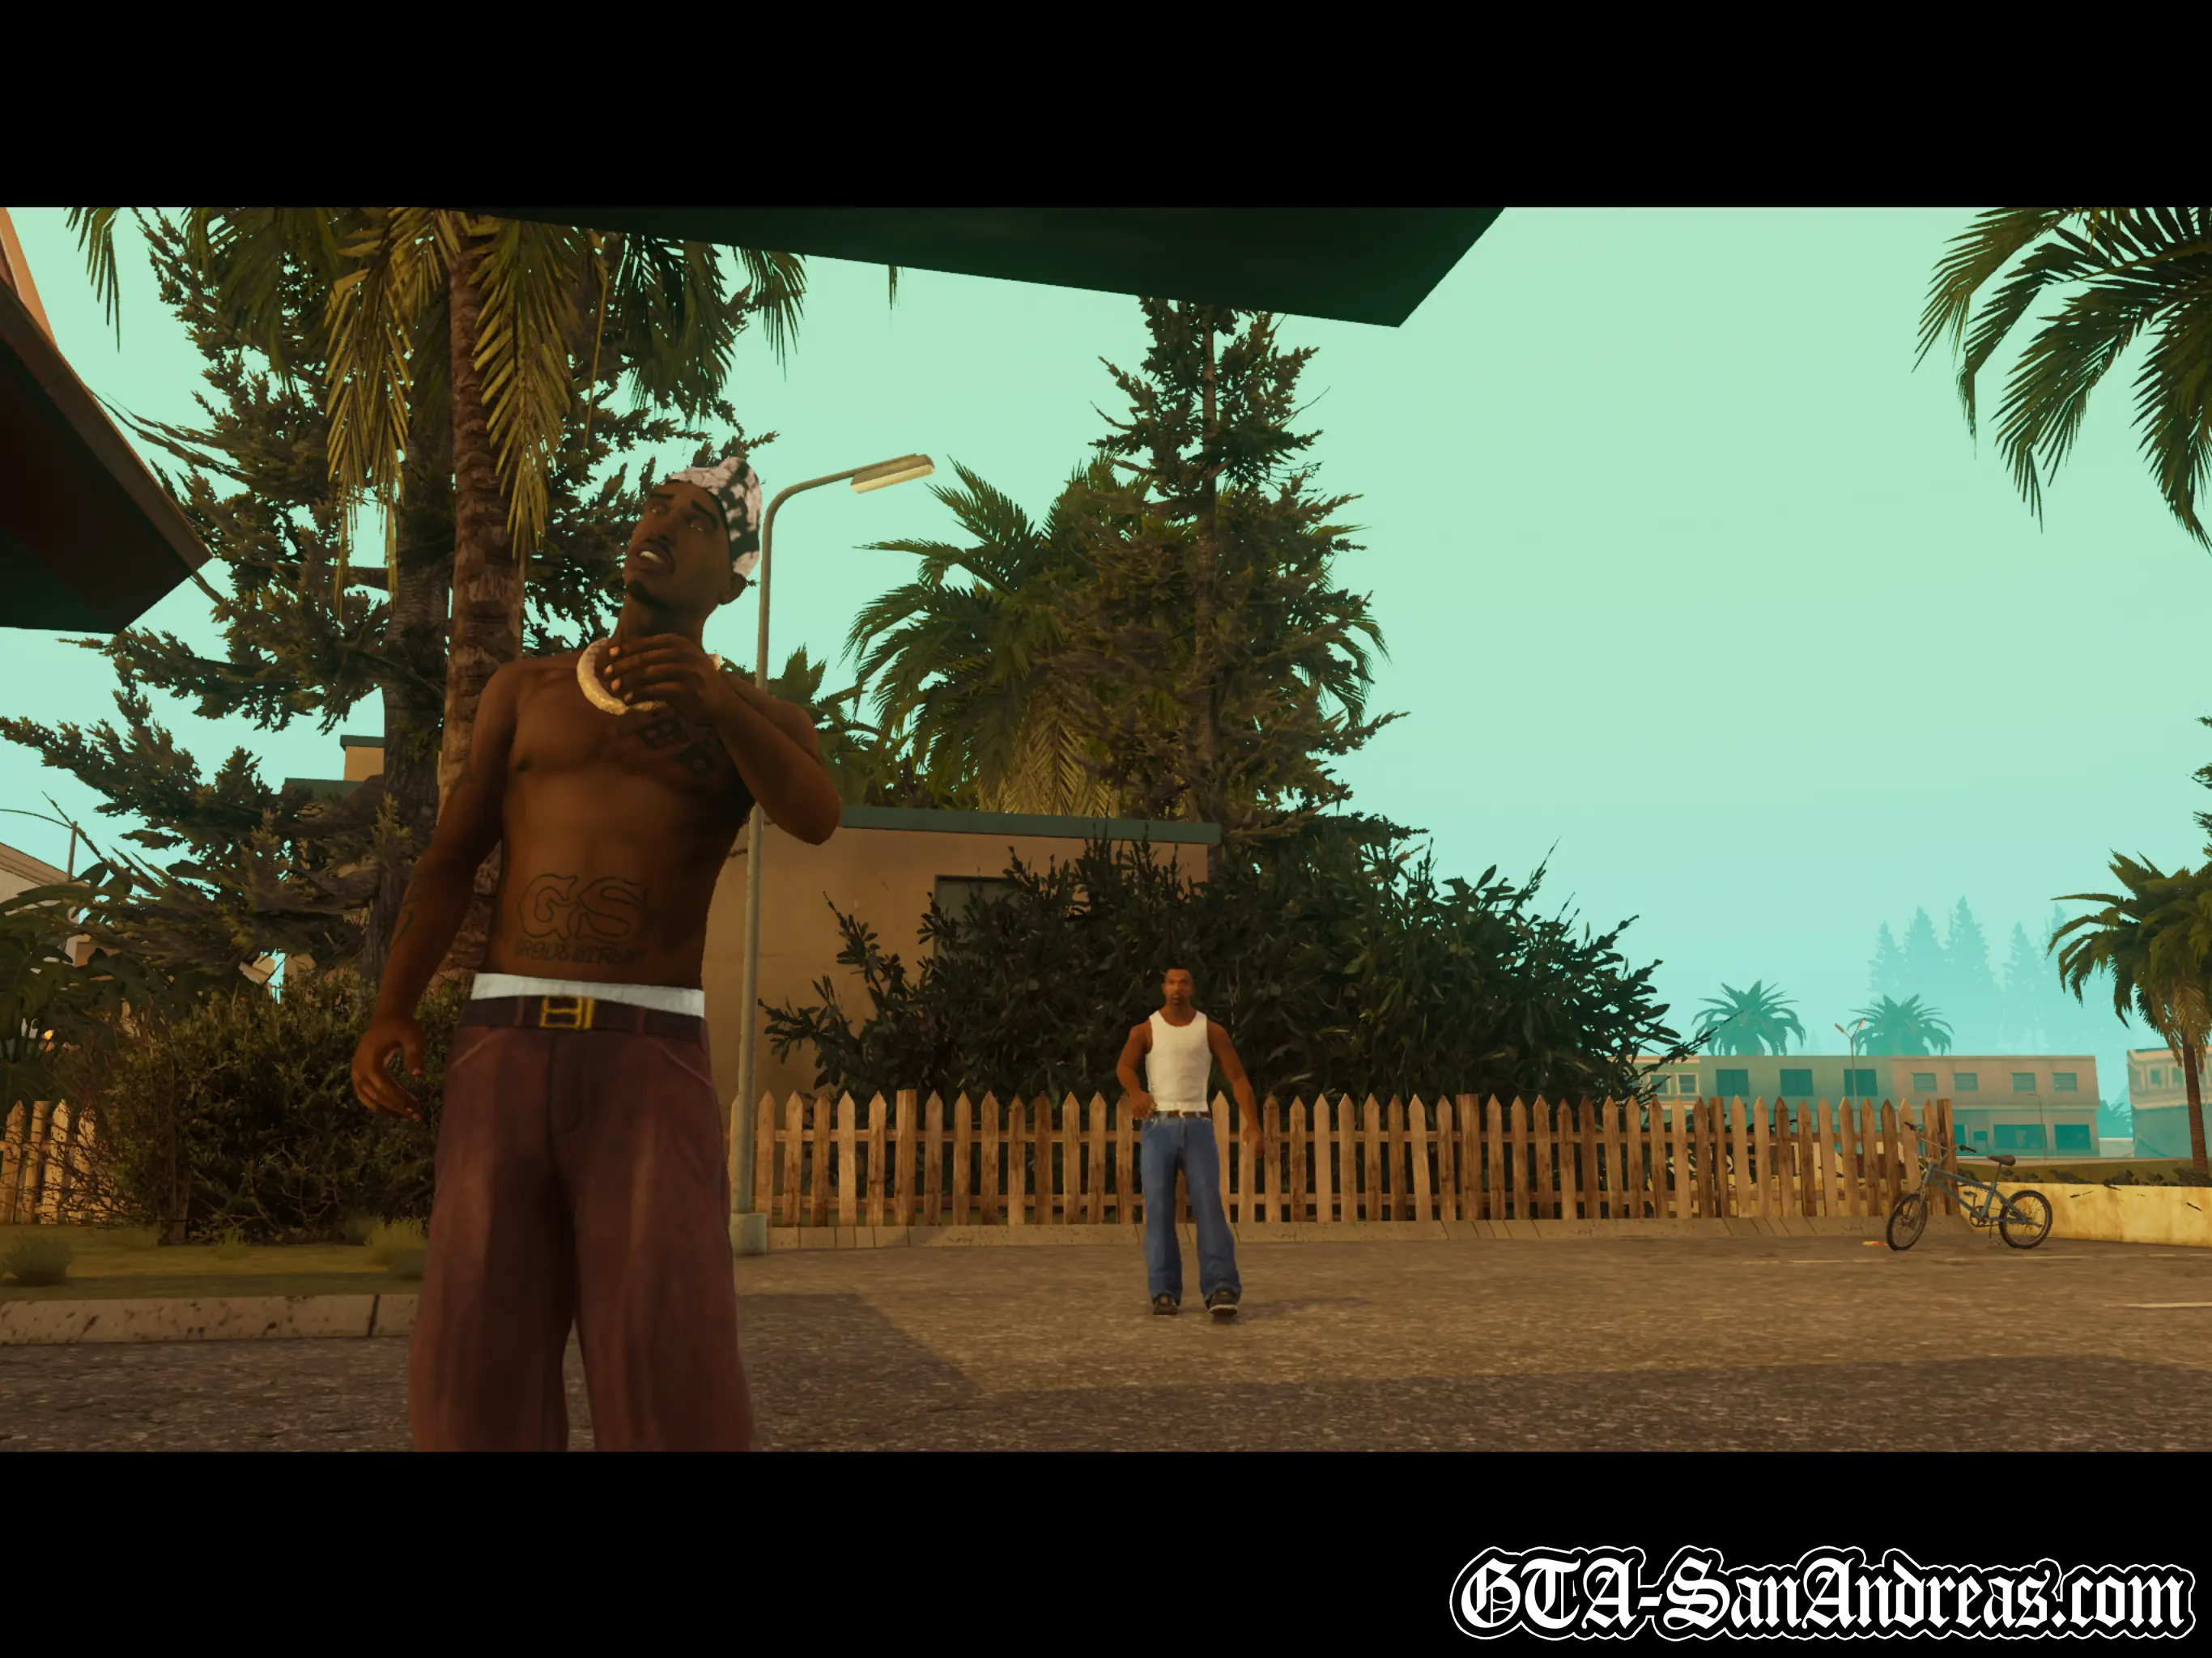
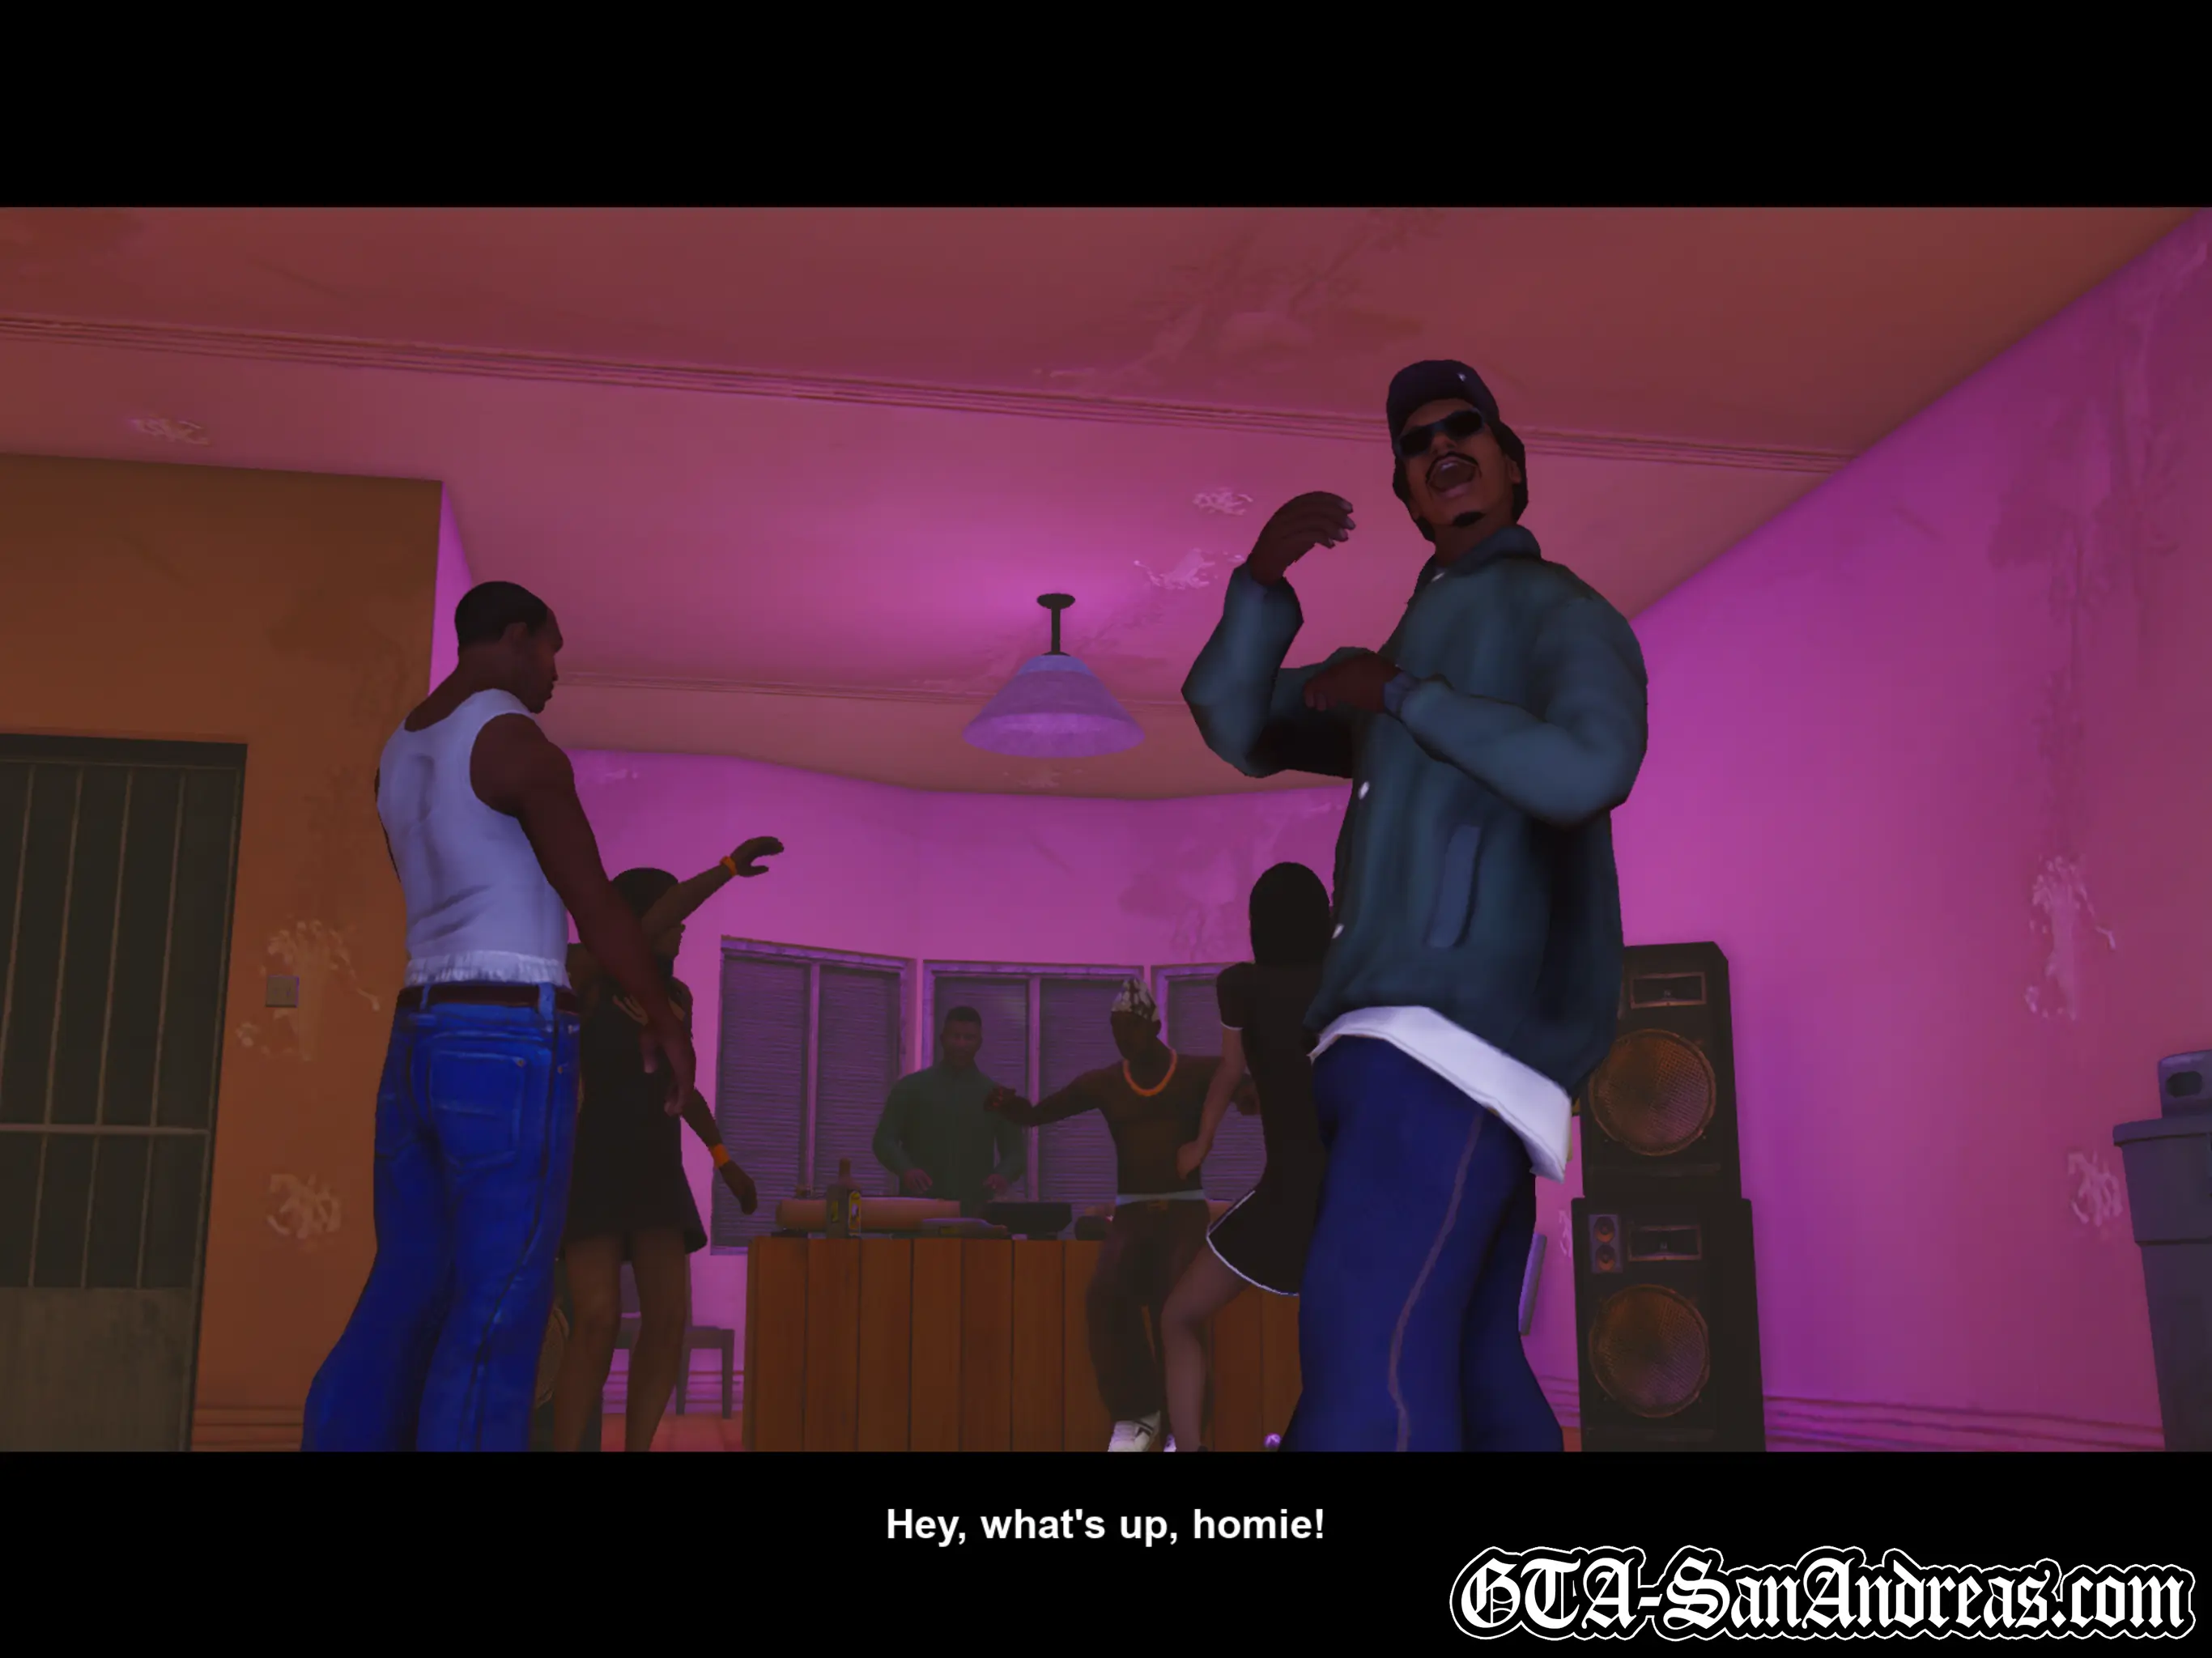
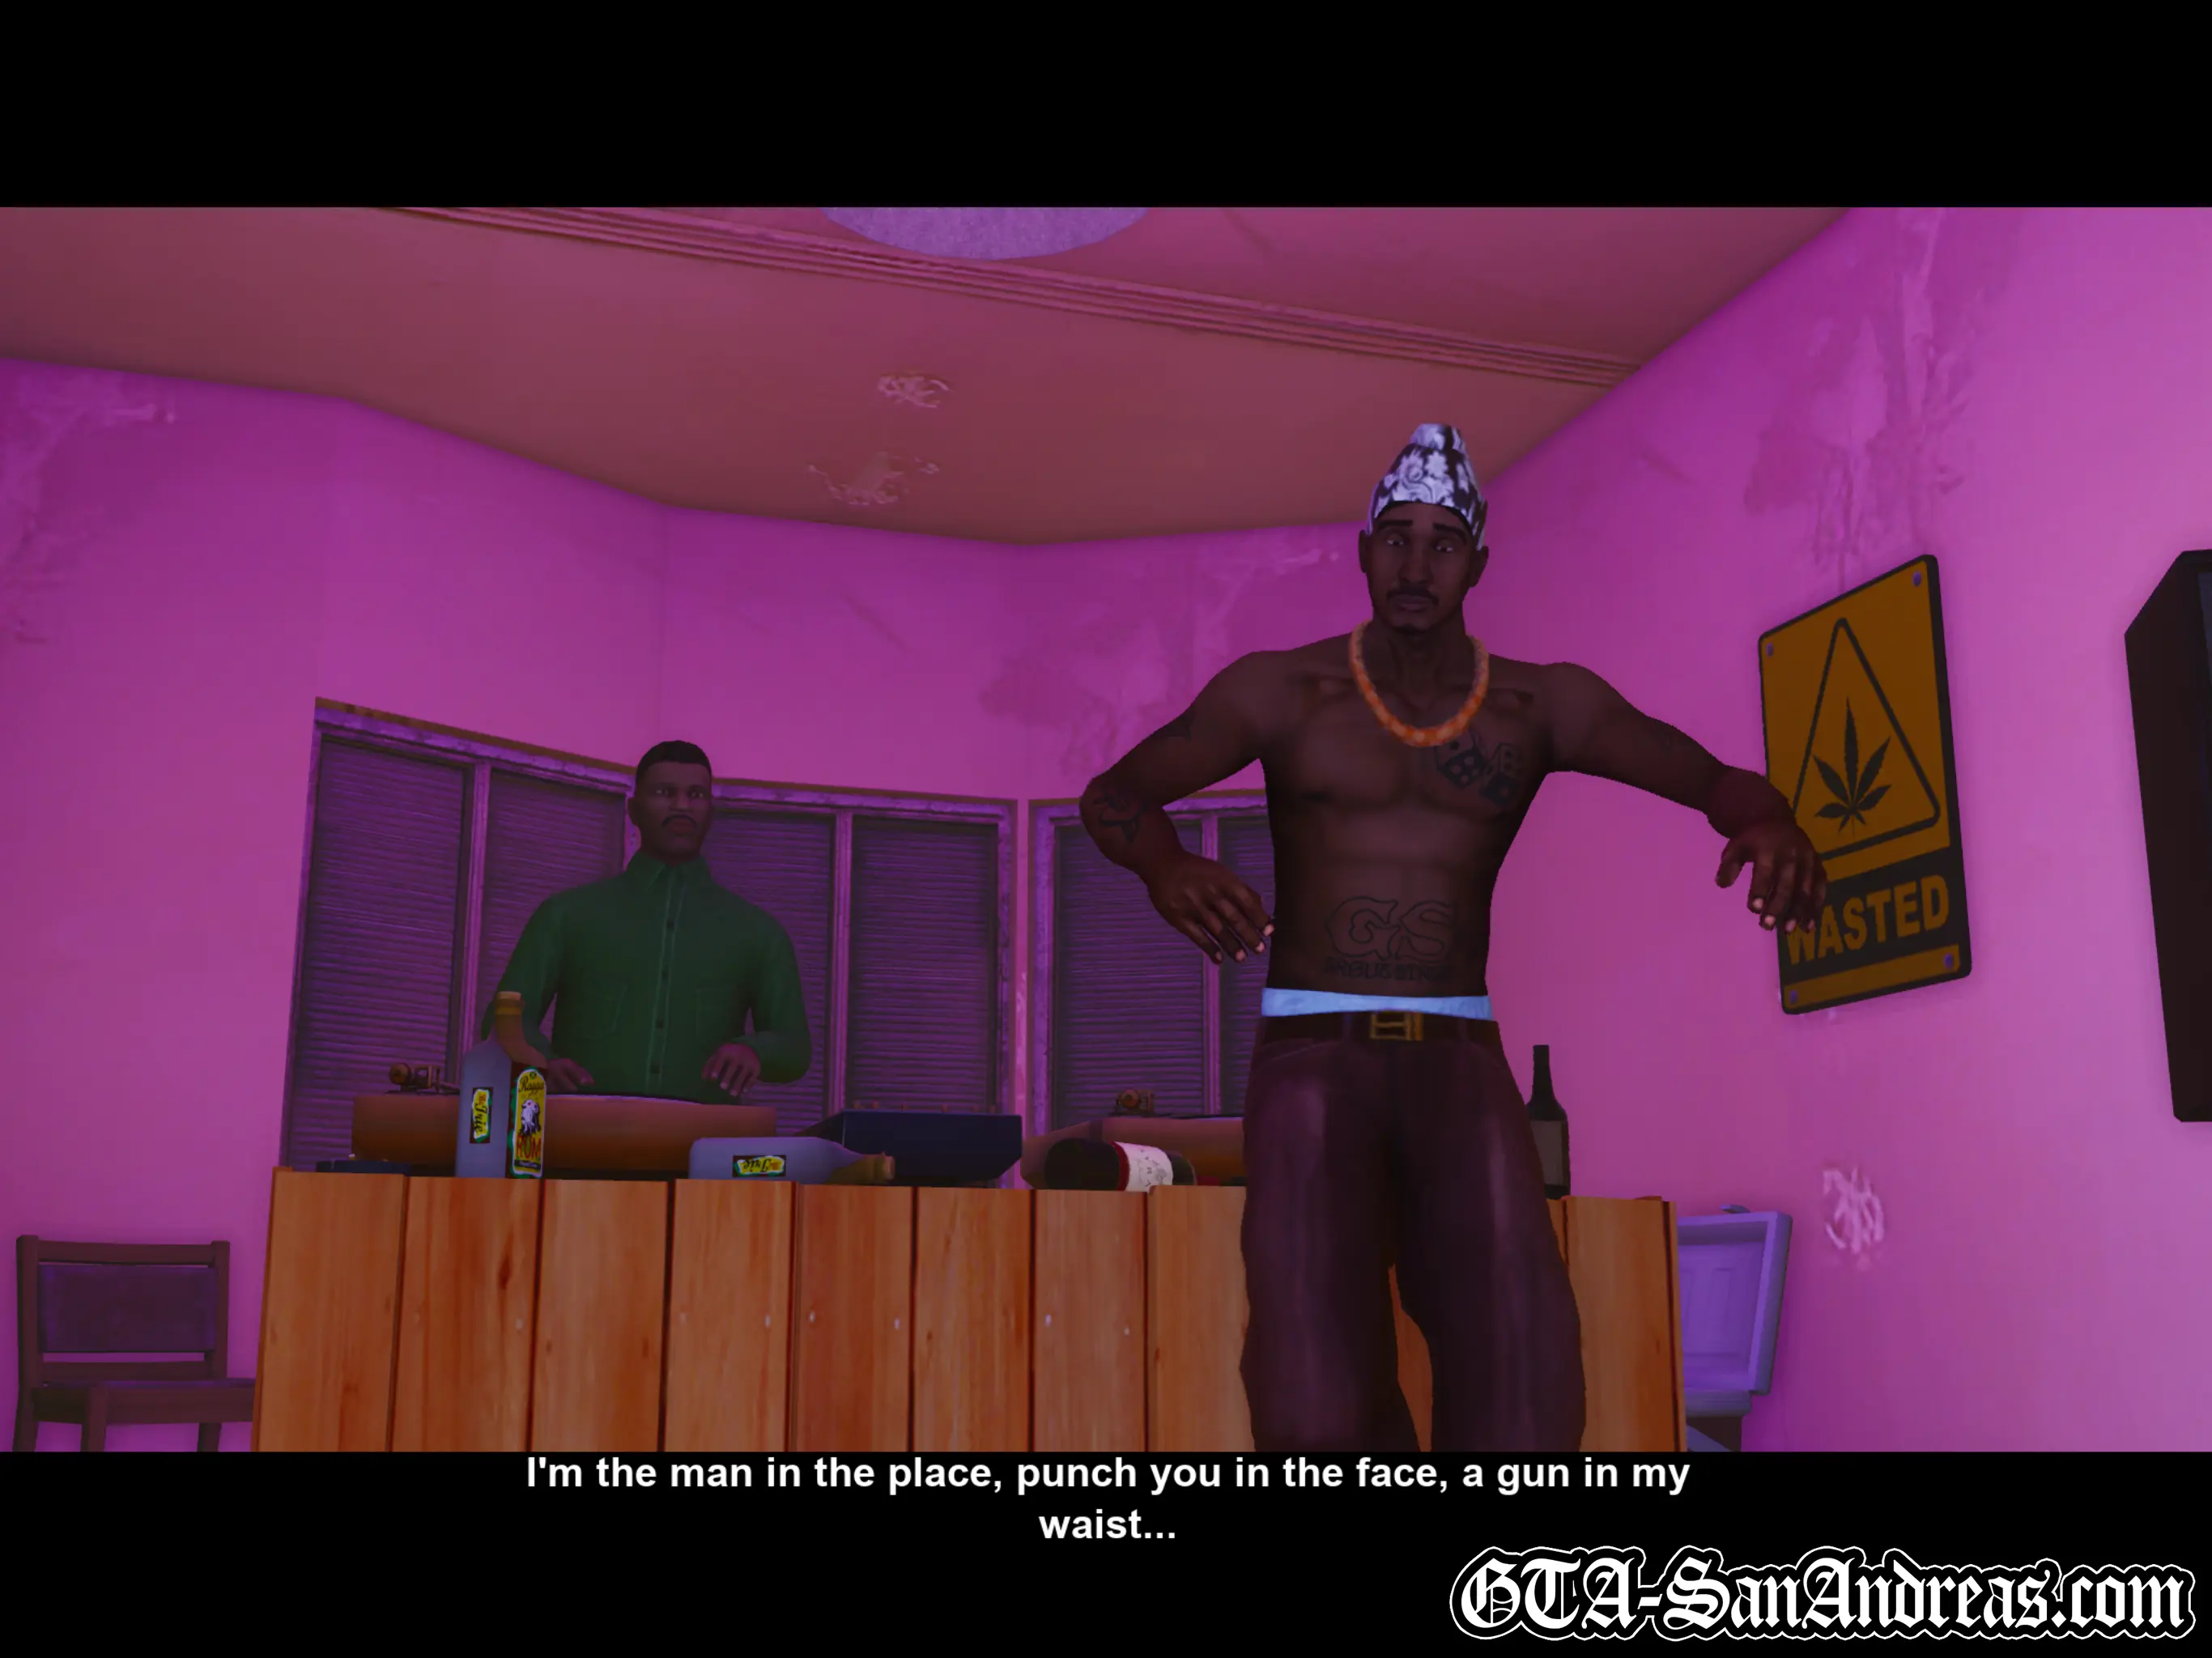
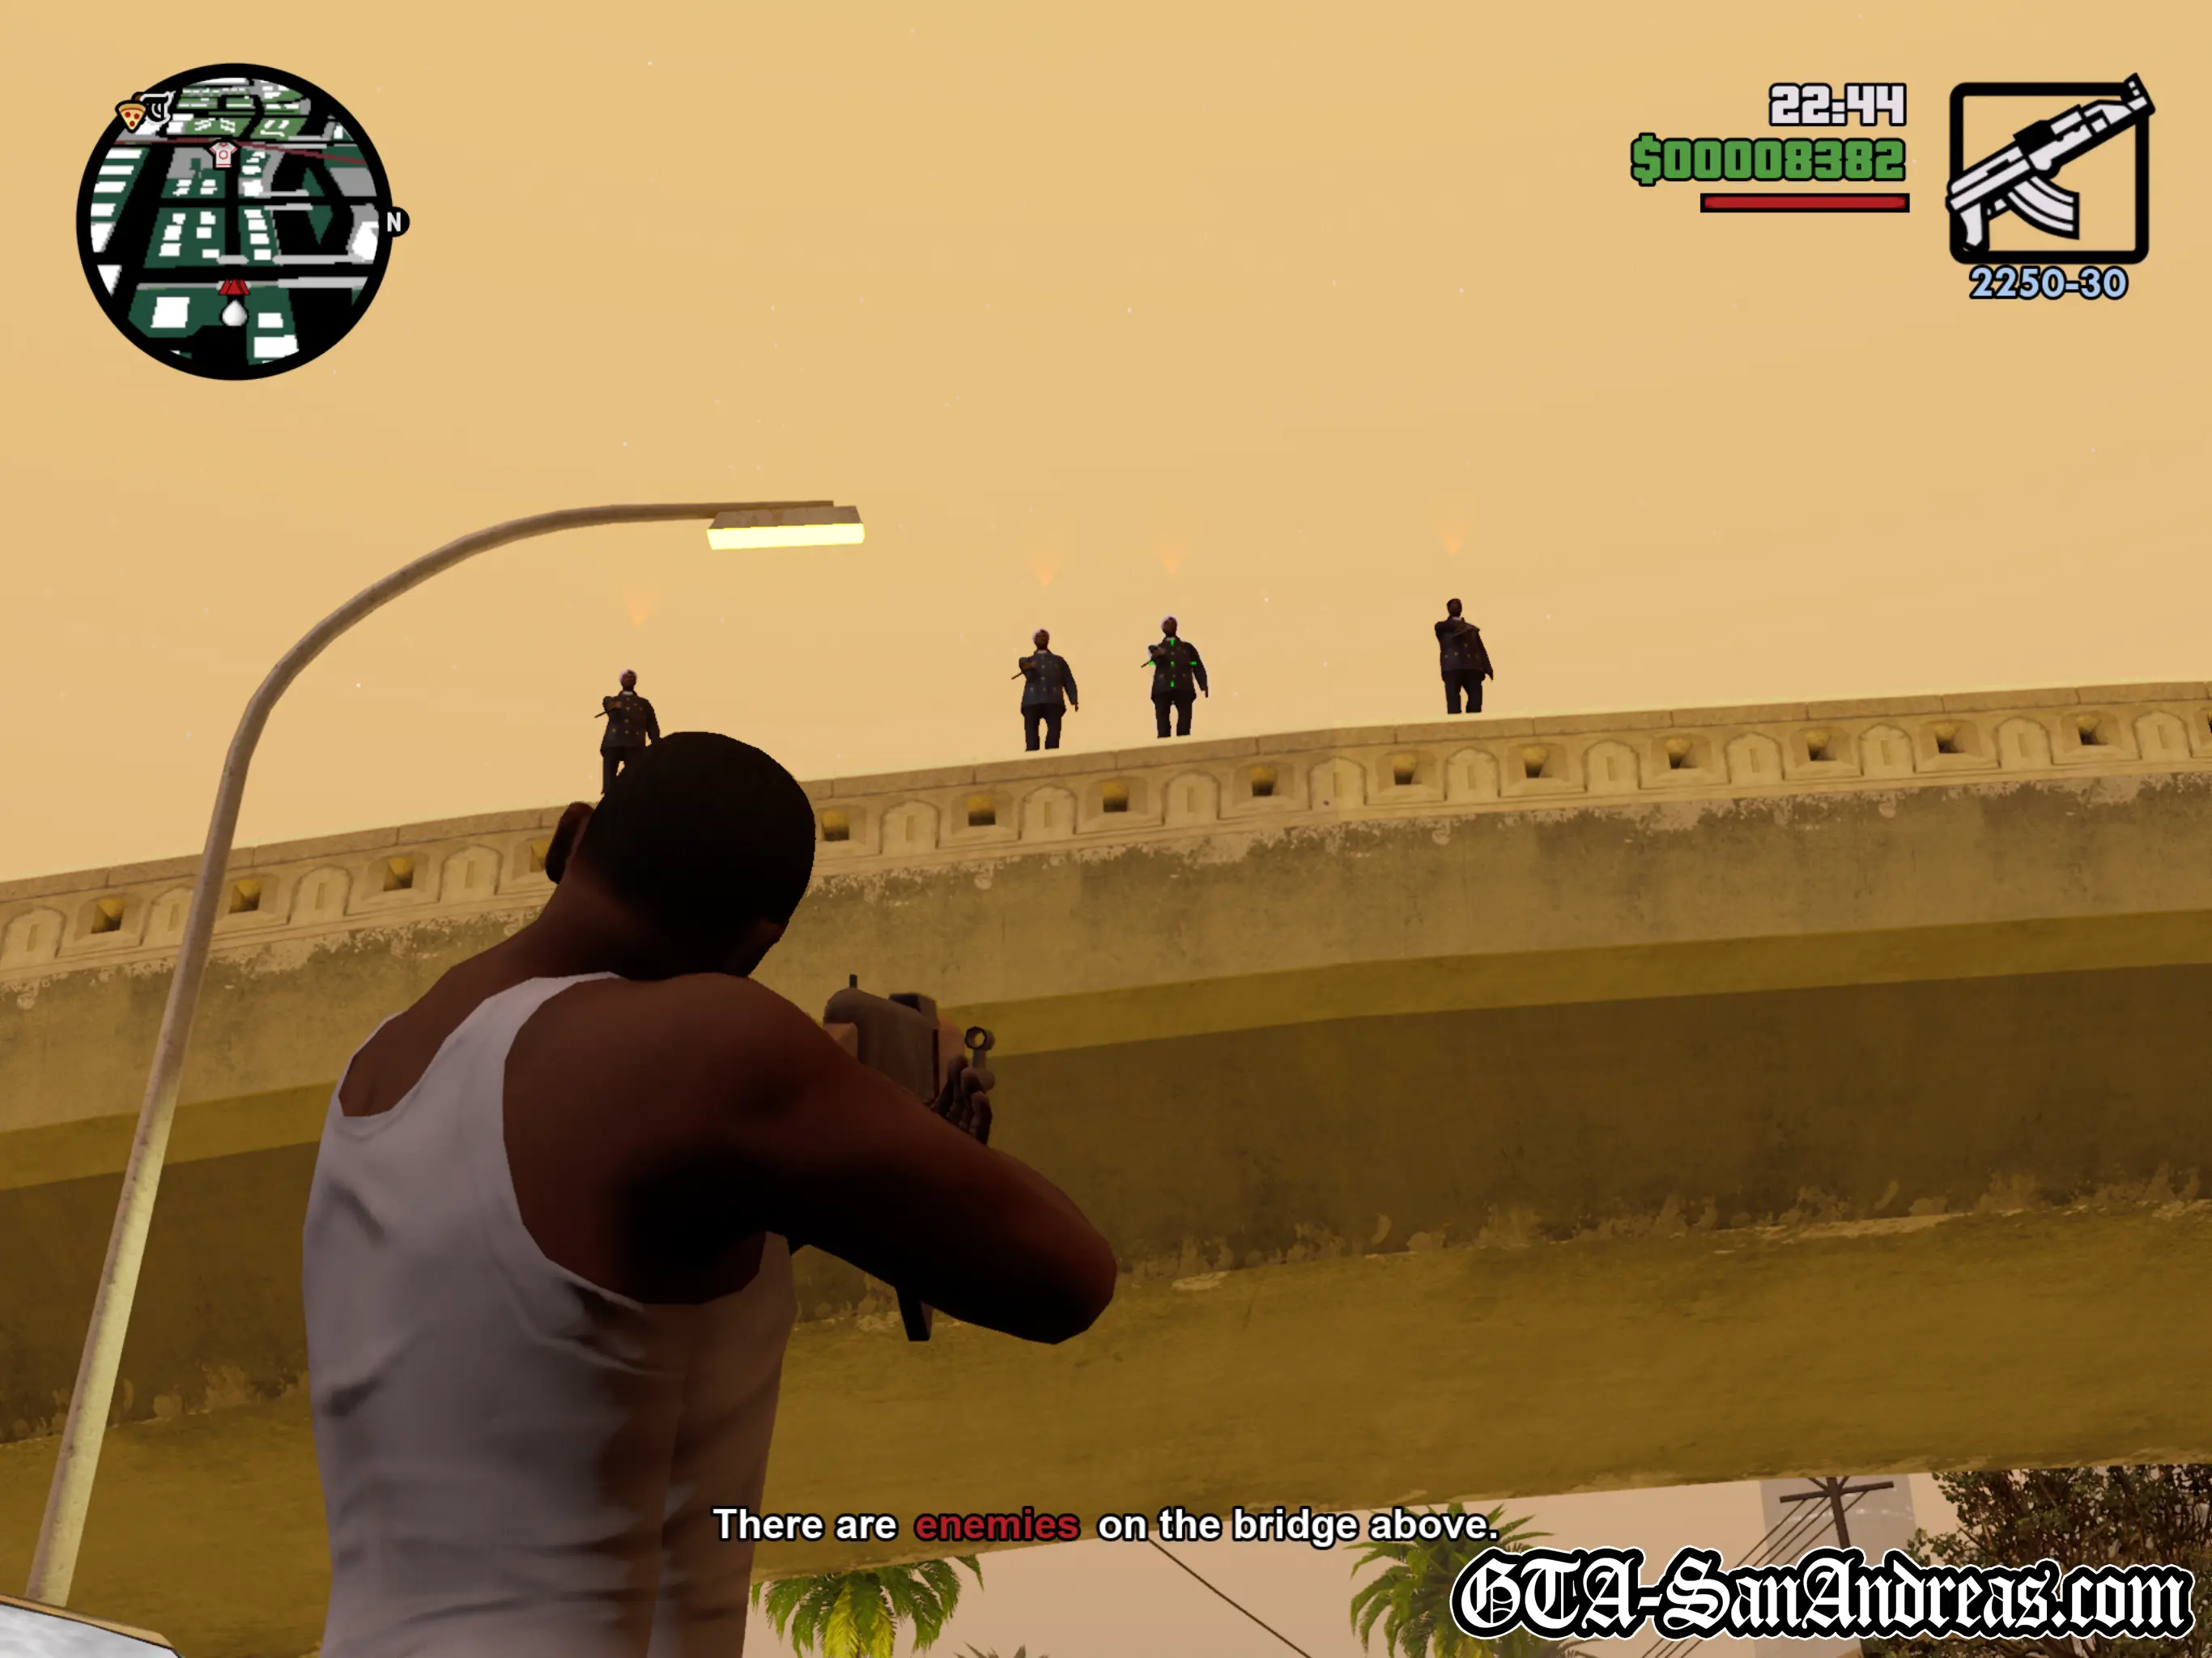
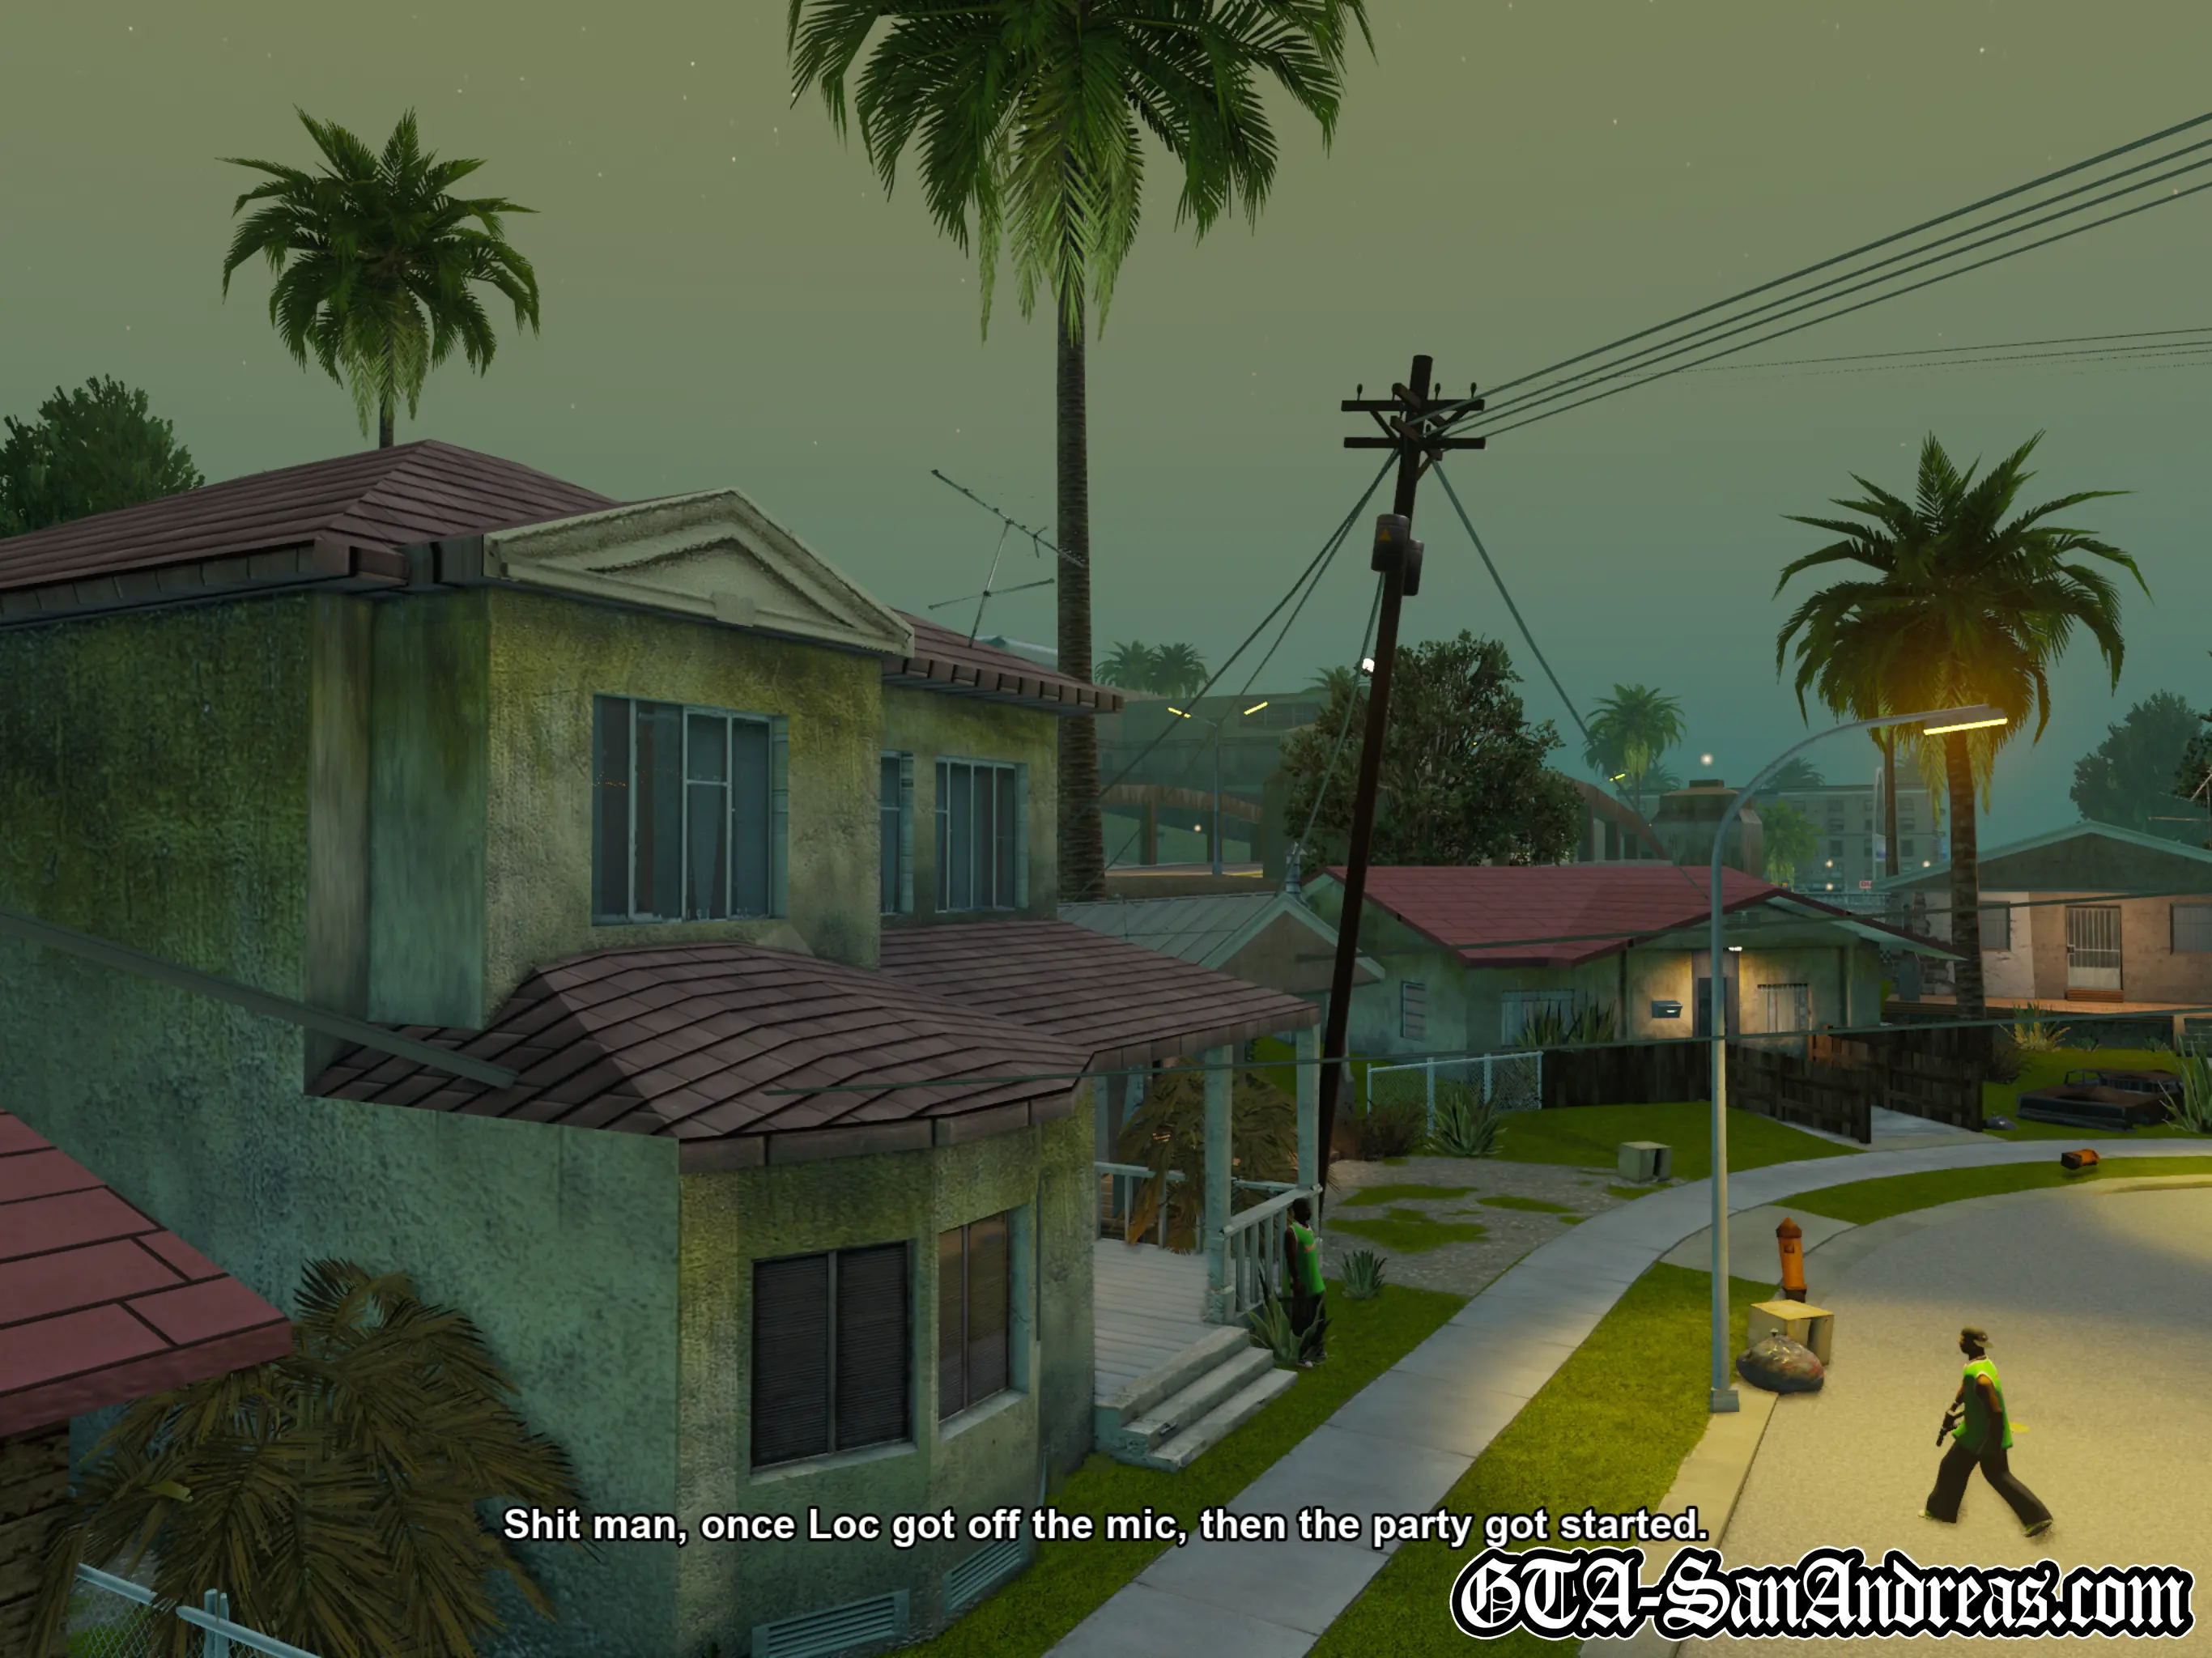
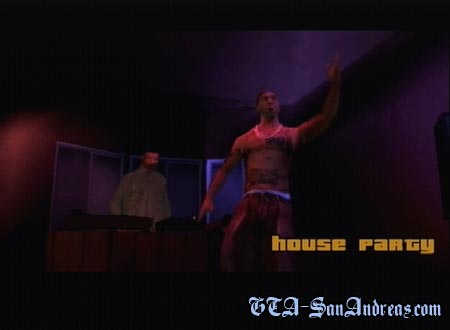
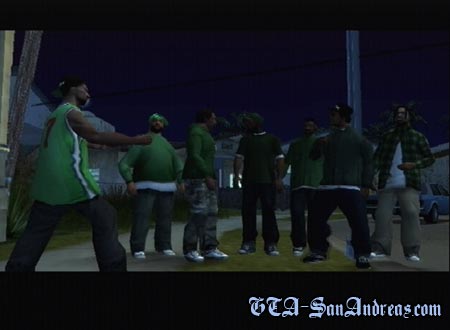
House Party
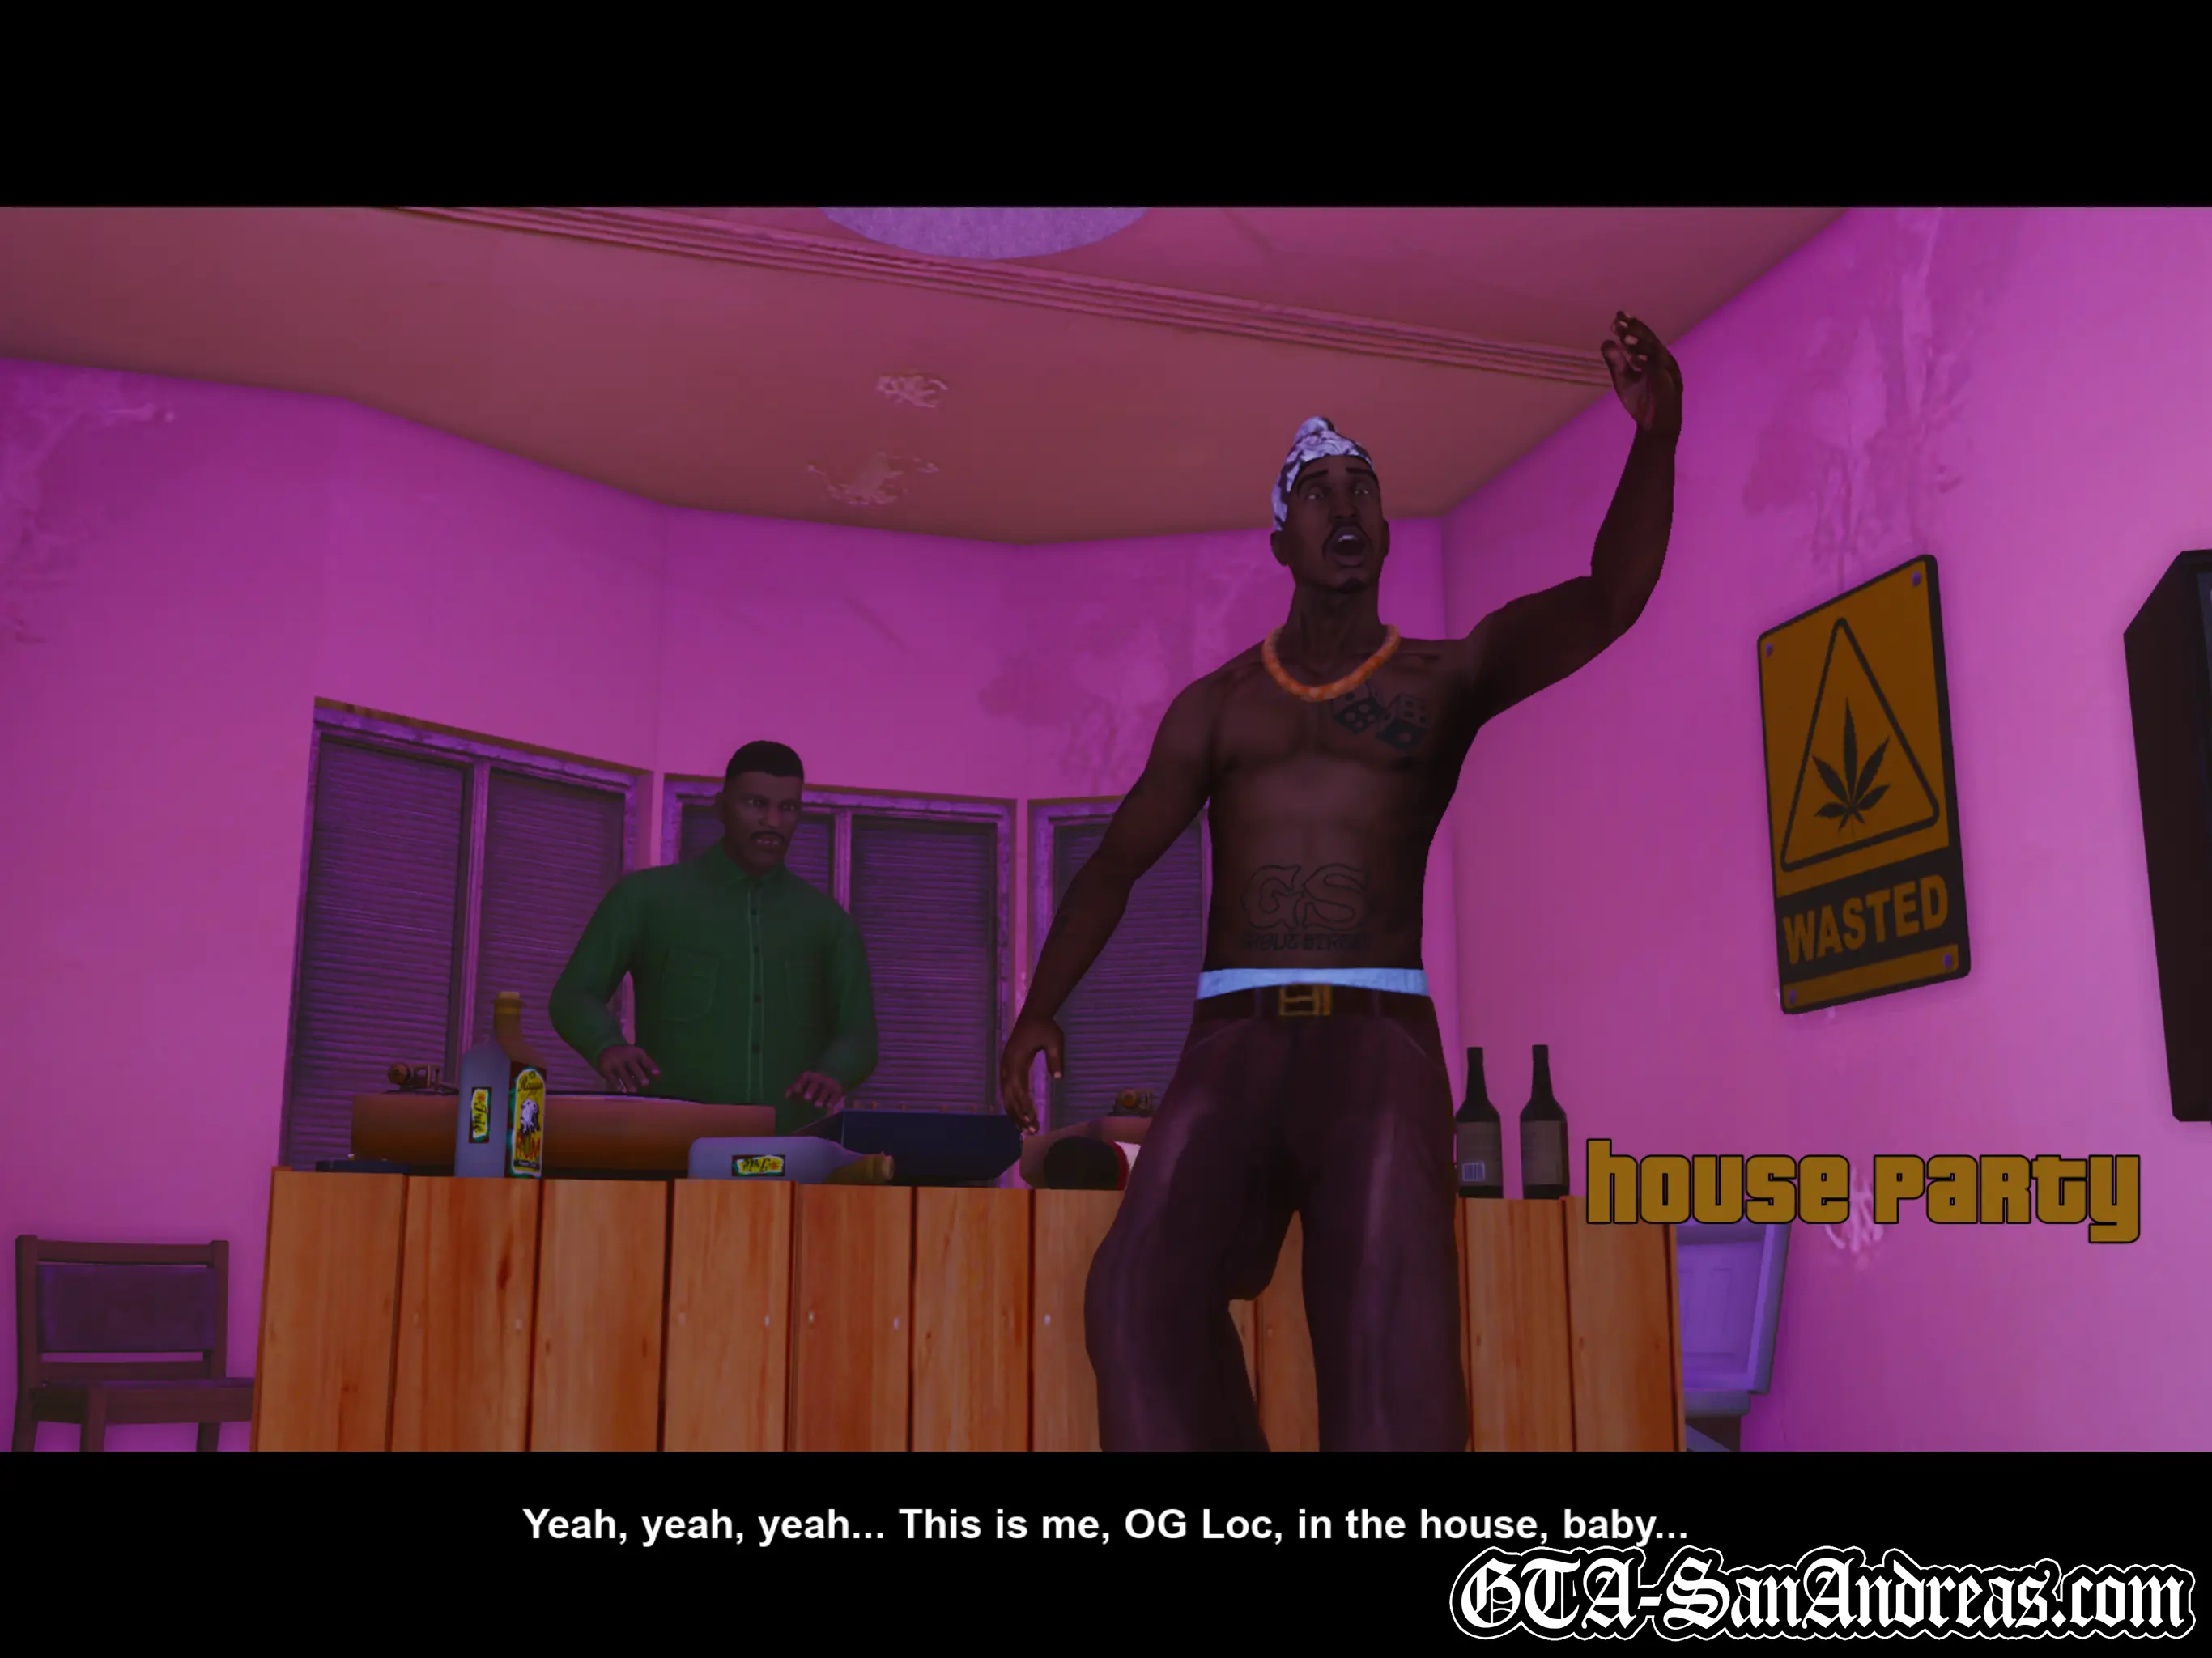
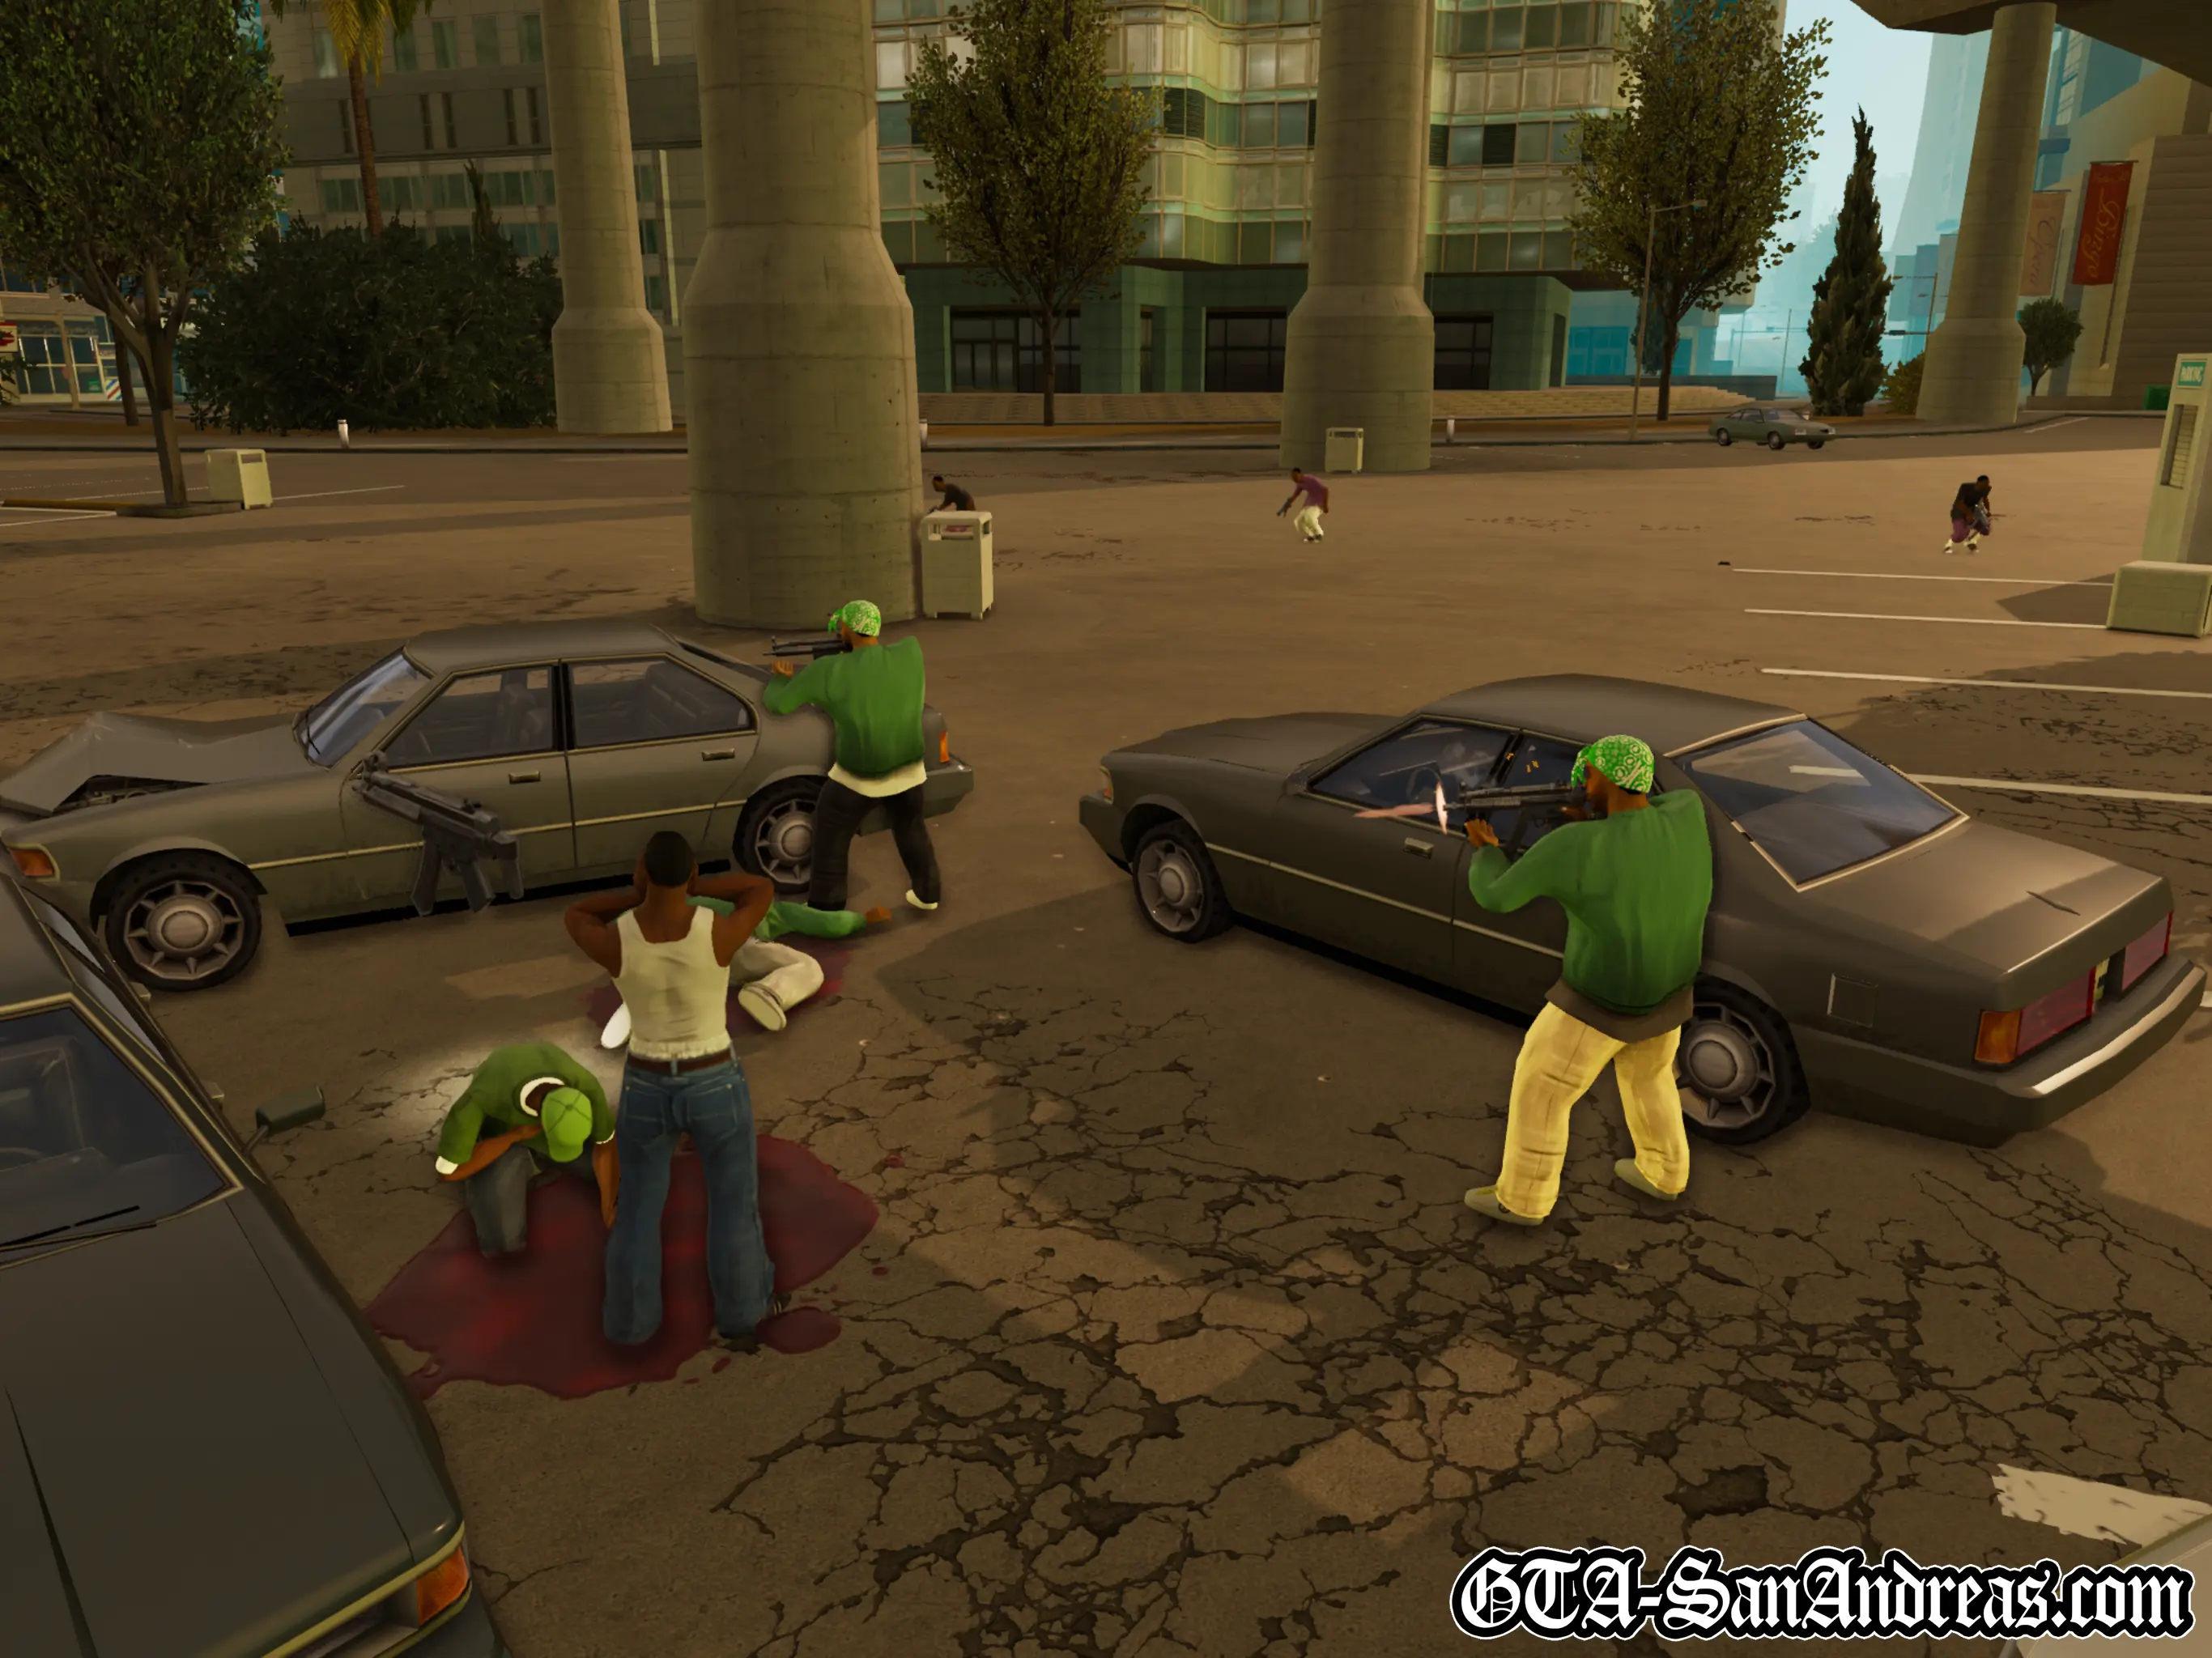
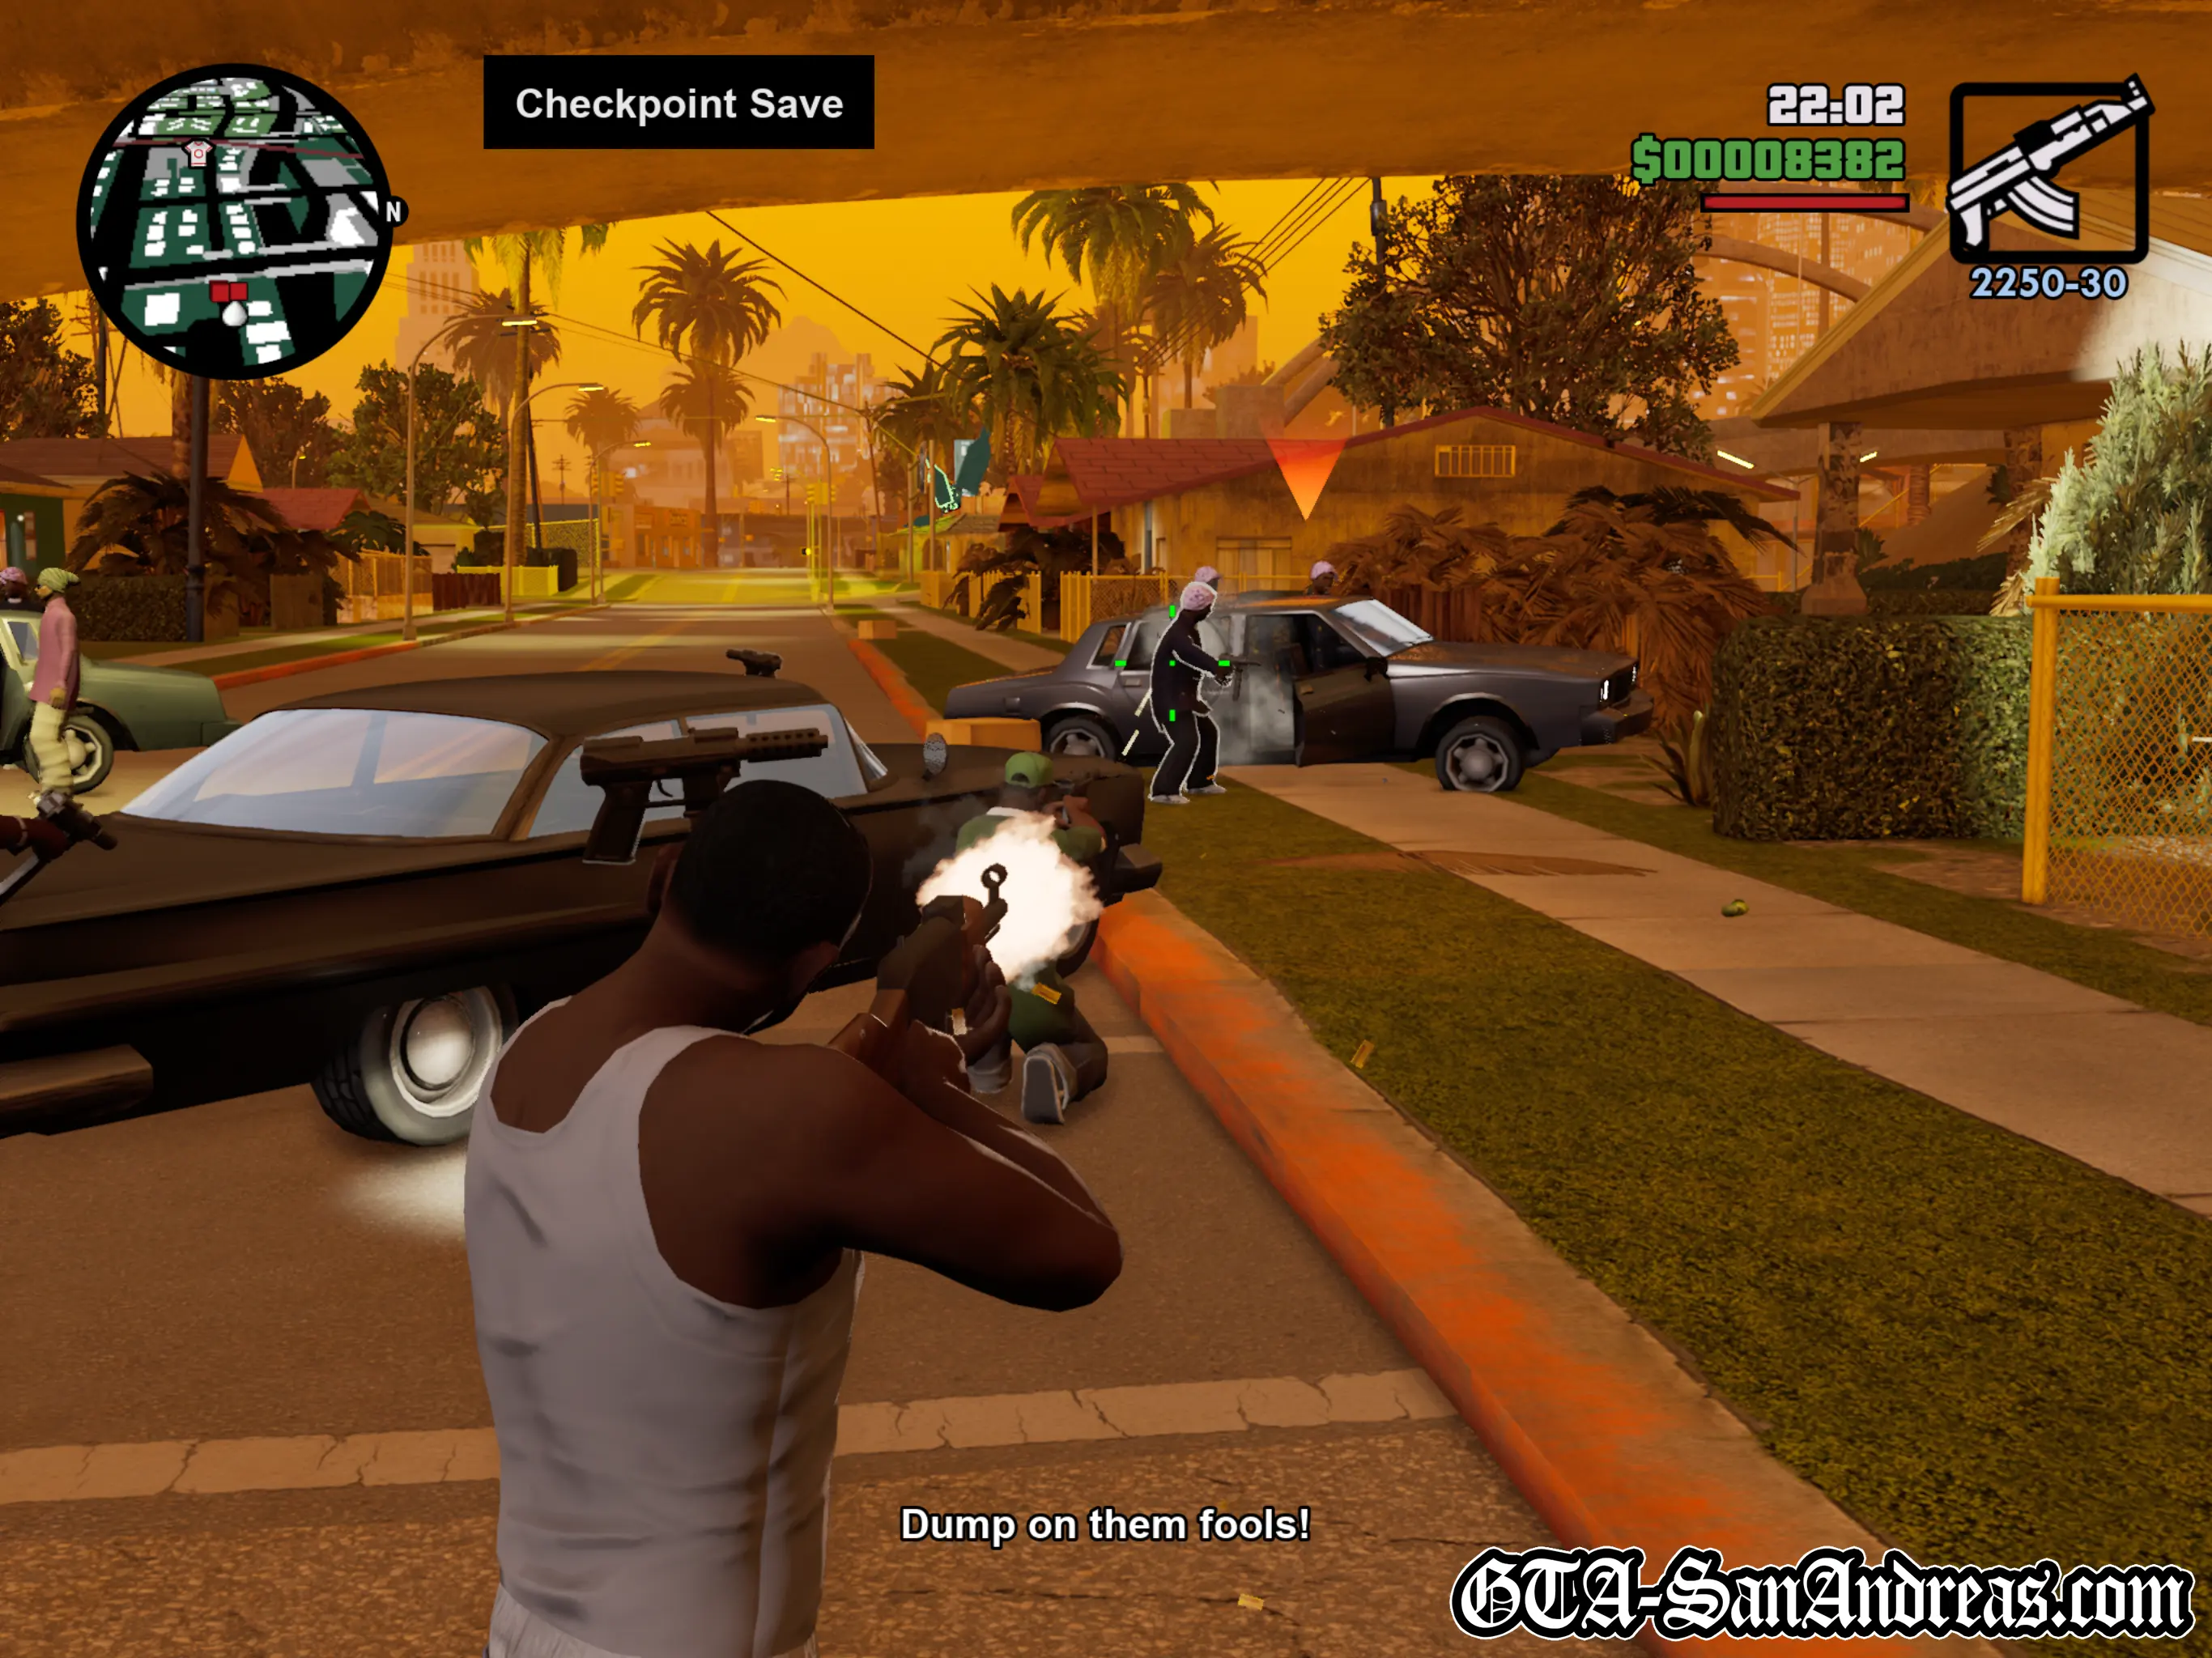
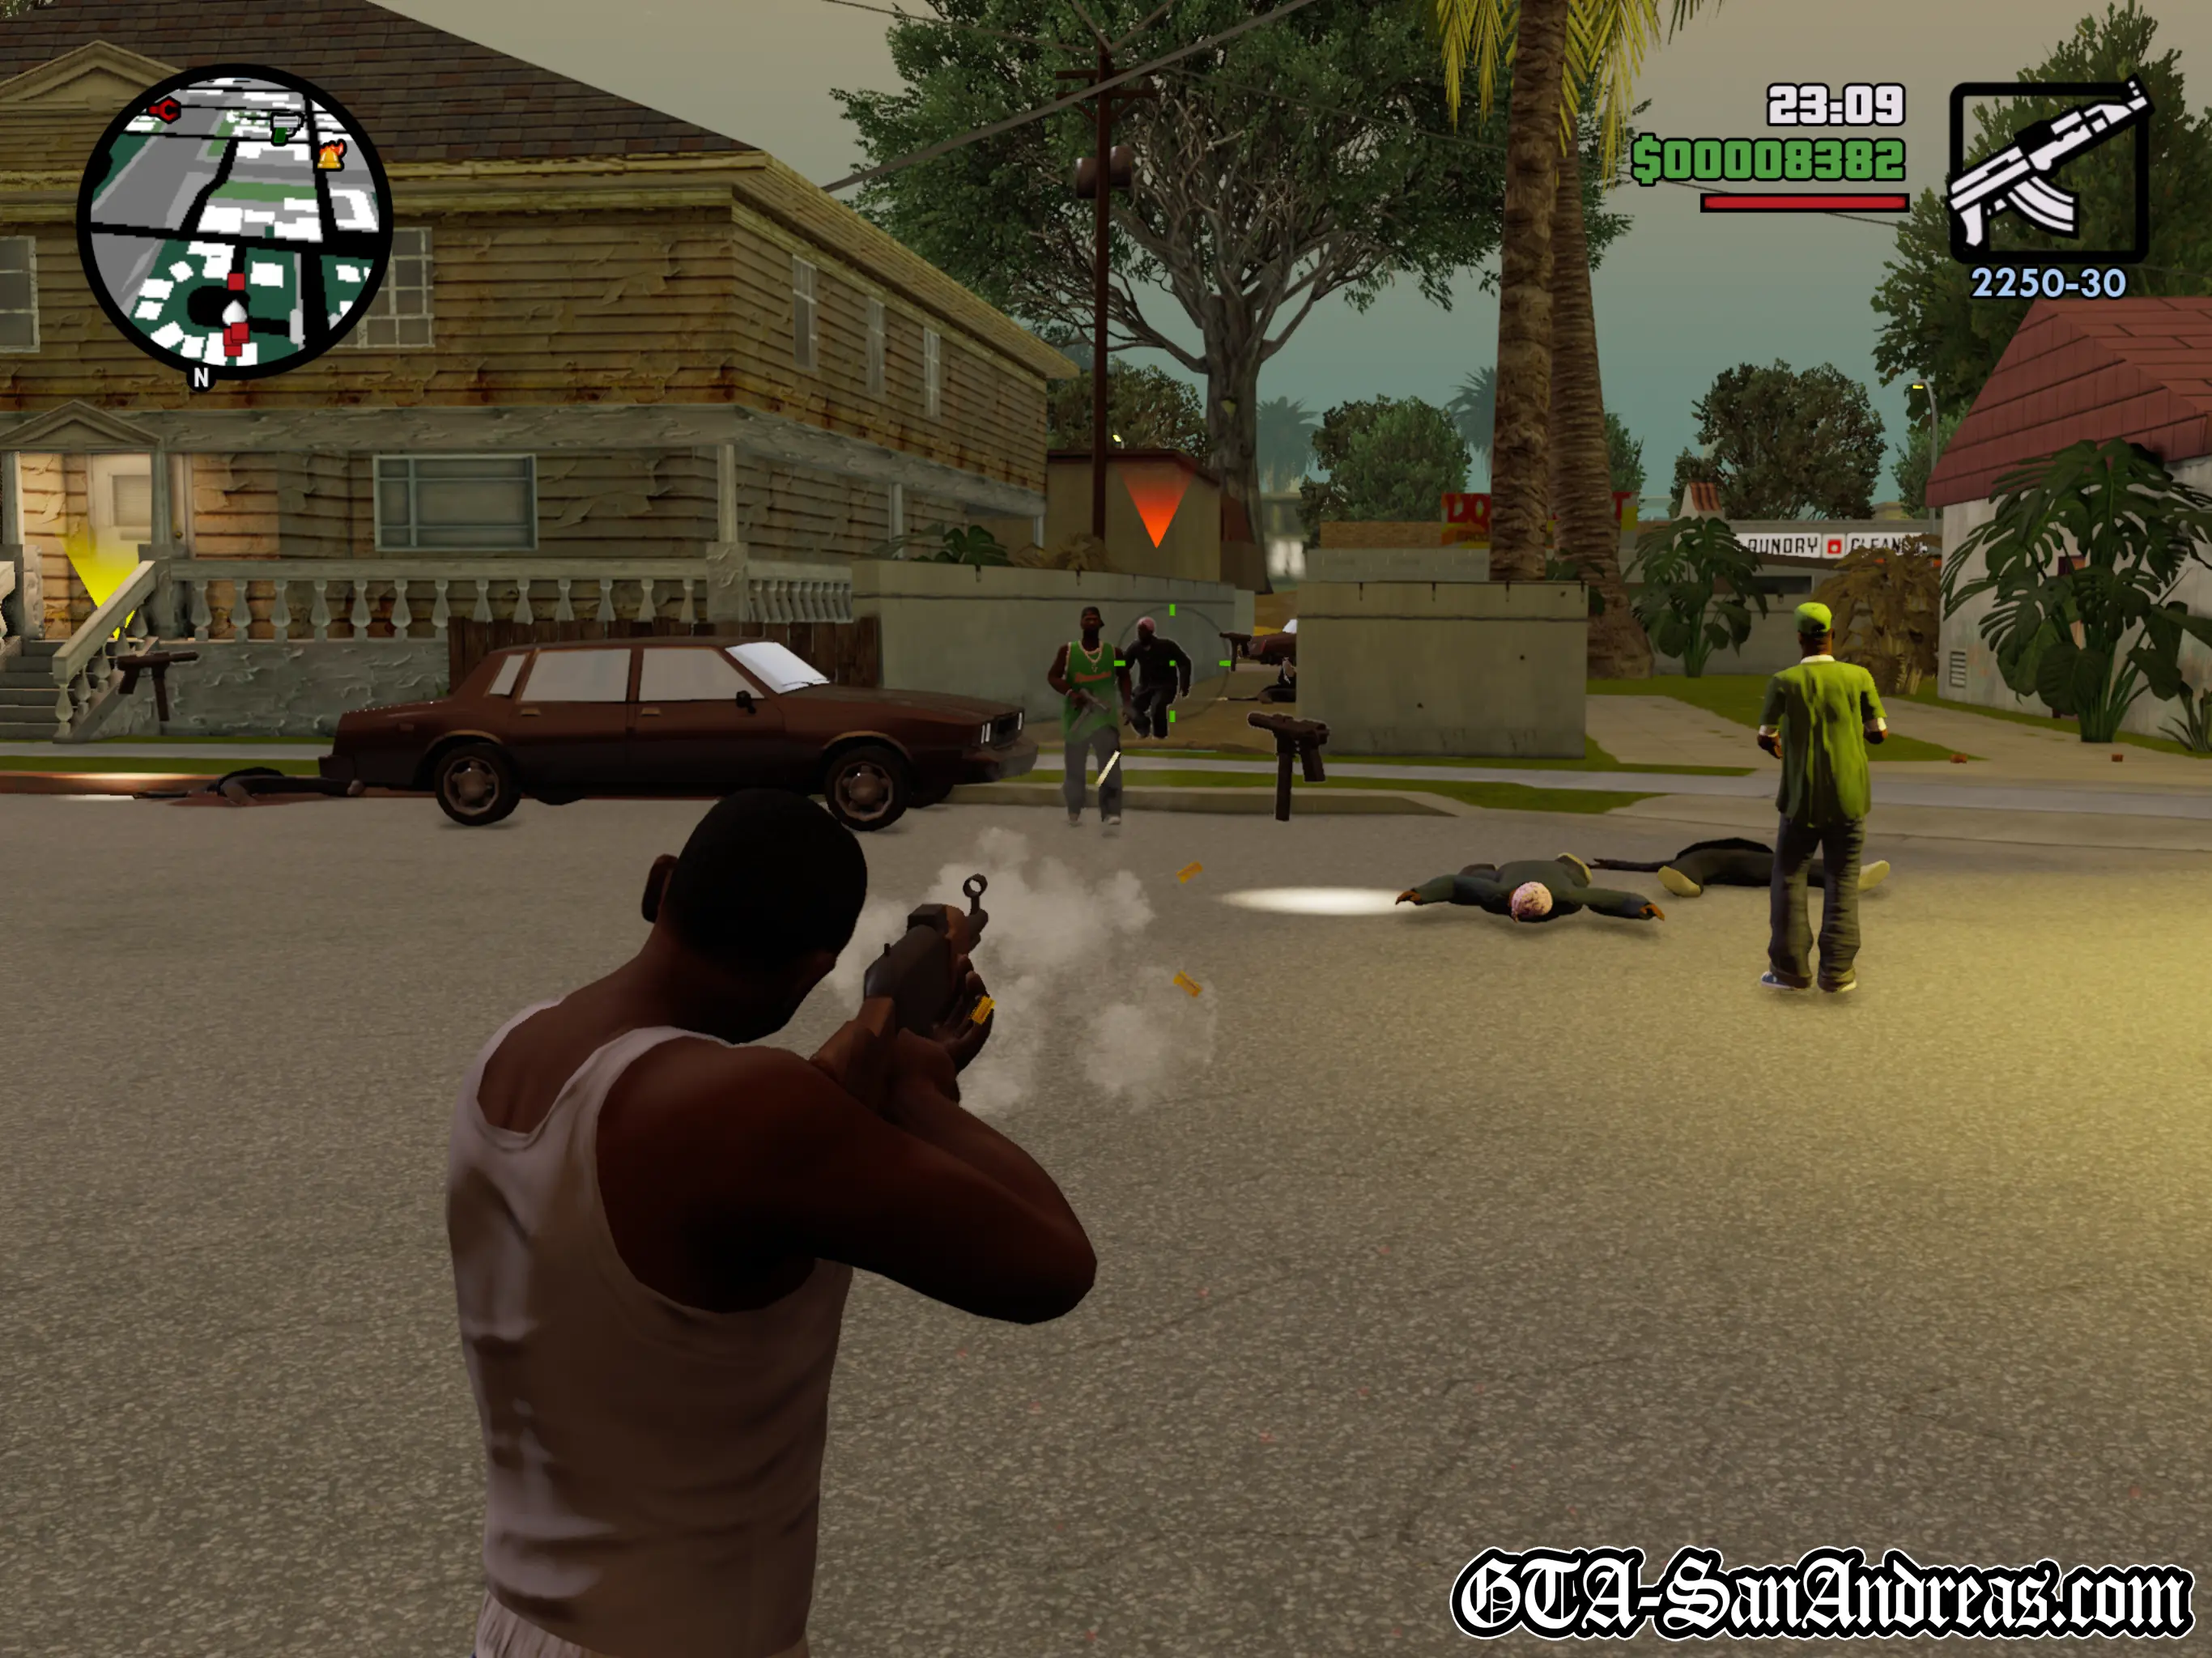
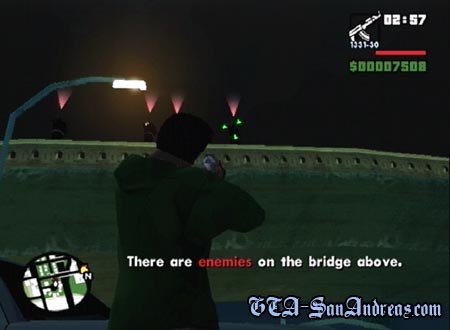
During the cutscene OG Loc will start rapping and Ryder will take Carl to get away from the noise. They'll go outside and a Grove Street member will tell everyone some Ballas are coming to take them out. Sweet and another guy will get some cars to block the road, then it's up to you to take out the Ballas.
The first lot of Ballas can be found straight ahead of the road block. You'll need to move around their cars to be able to kill them all.
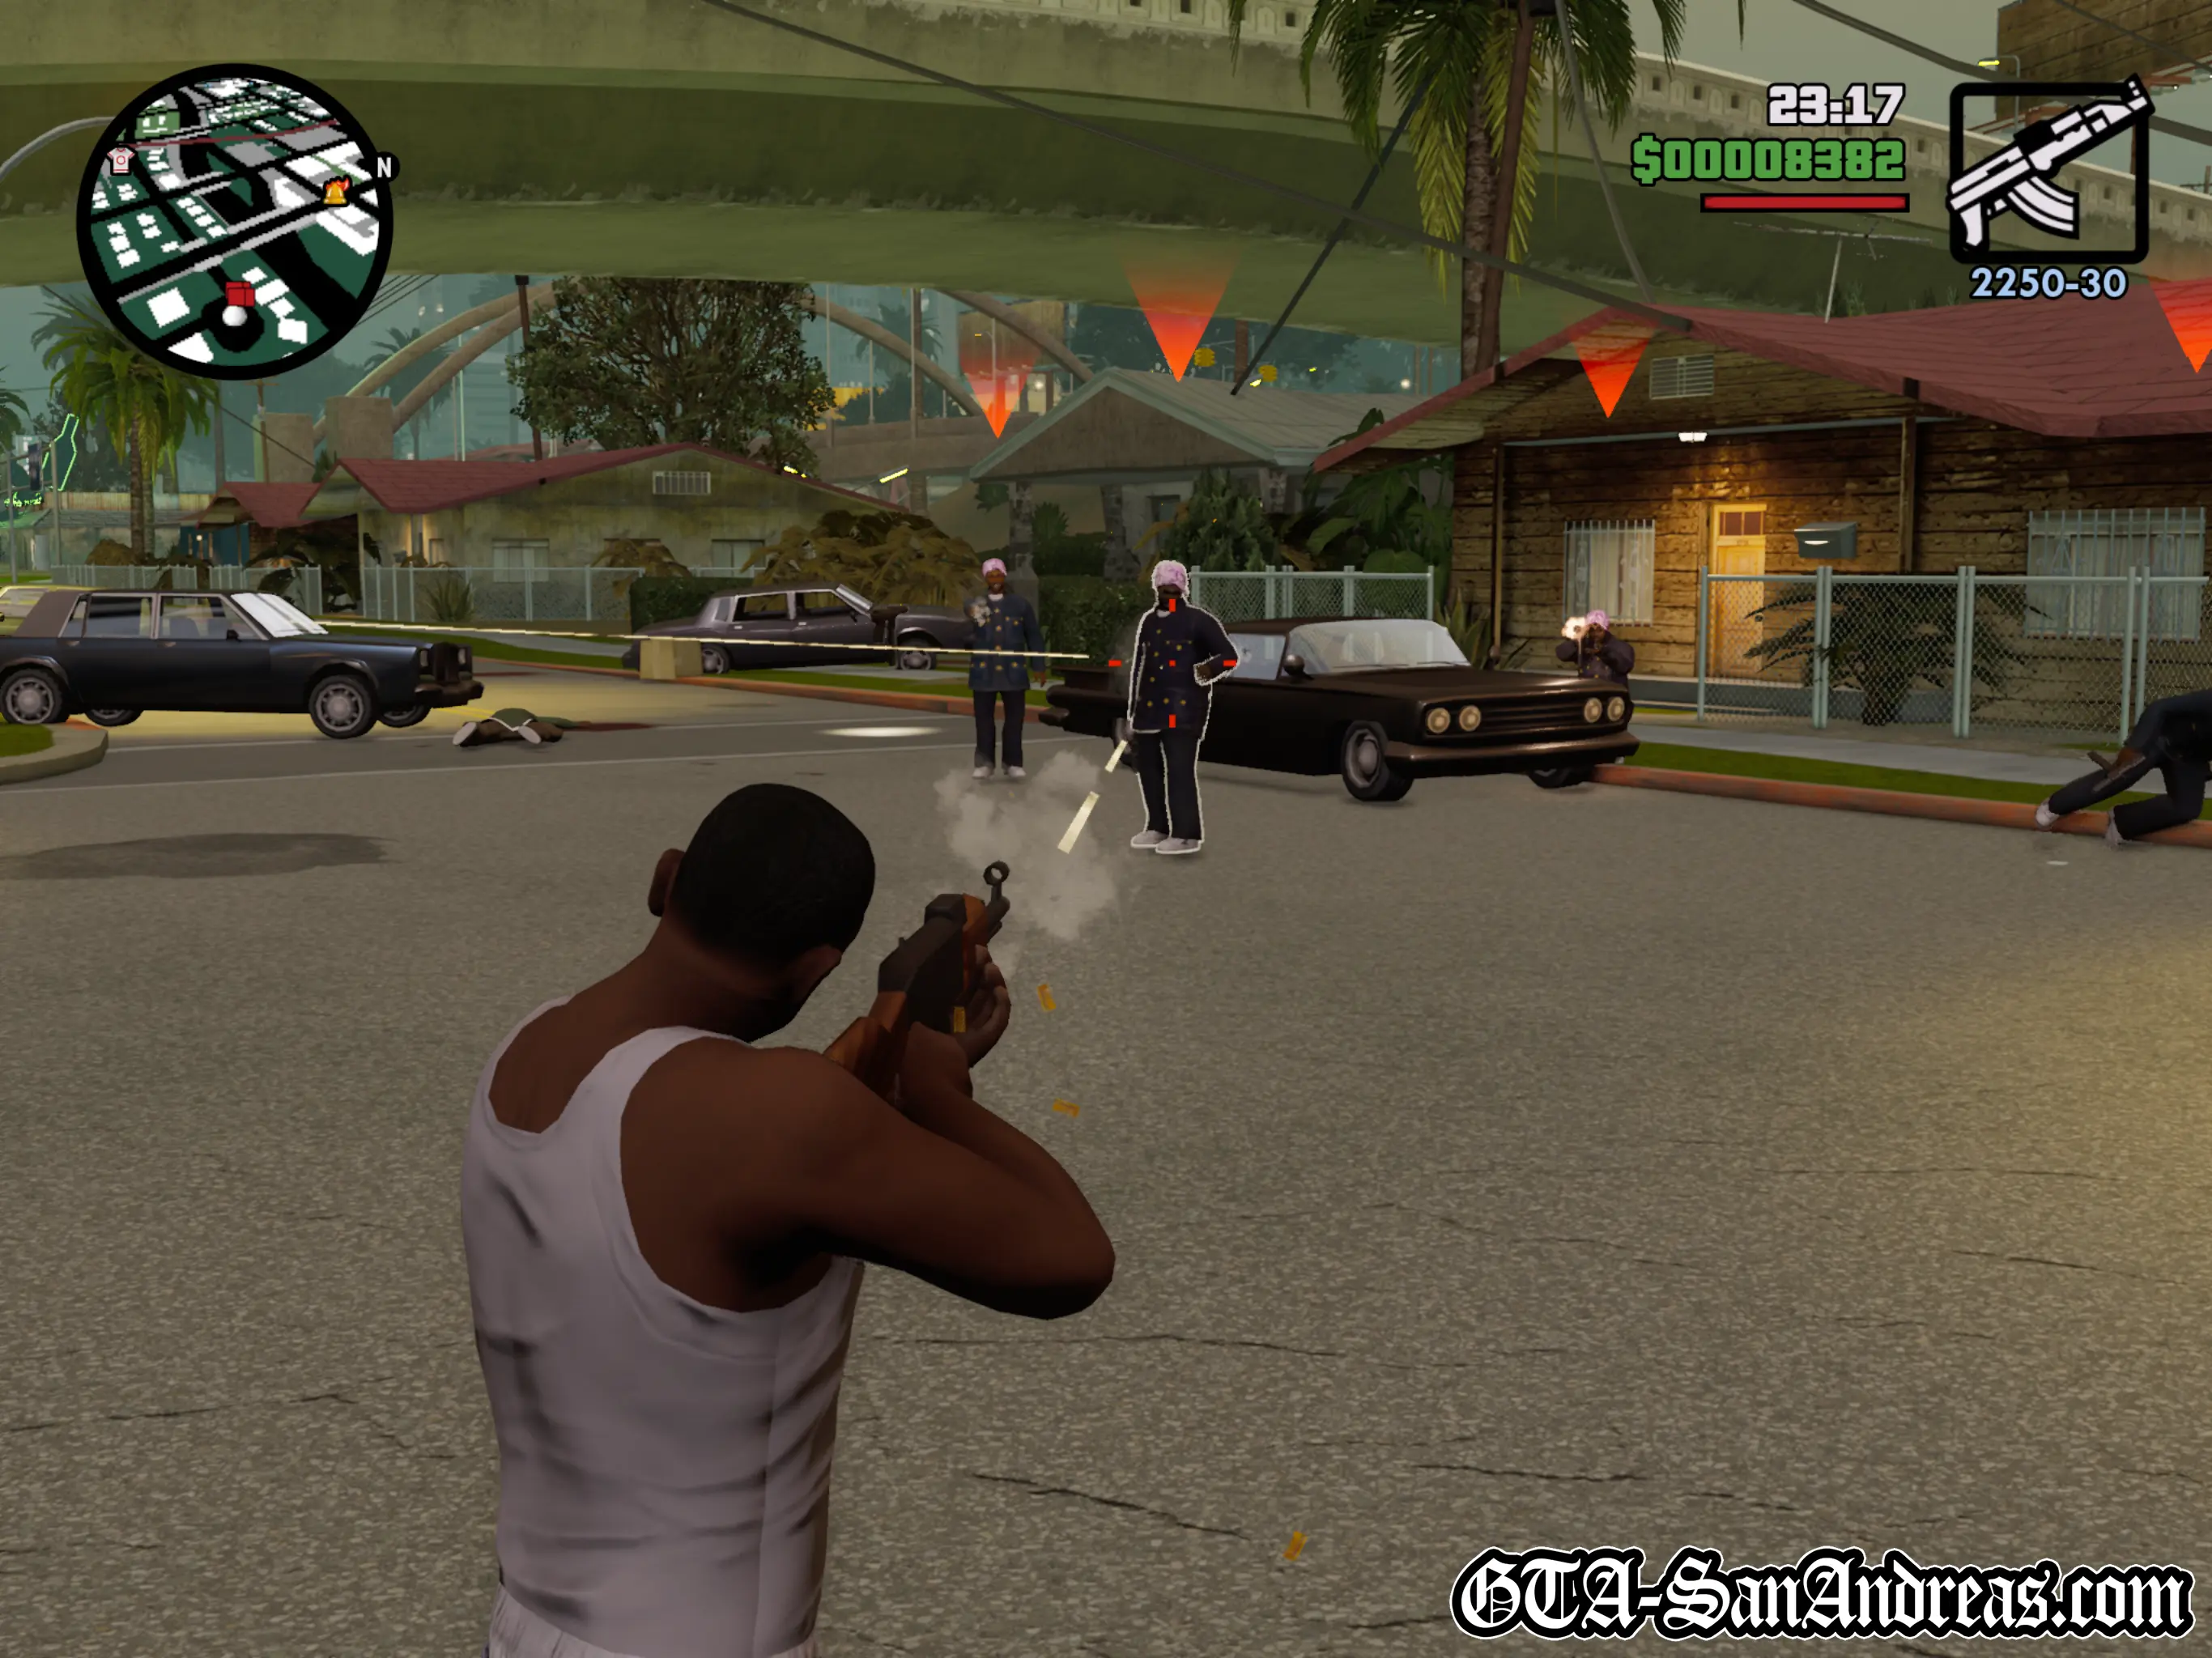
Grab some ammo, and once they're all dead you'll see a cutscene where the Ballas are on the bridge above you. Shoot all of them, then grab some more ammo before another cutscene kicks in.
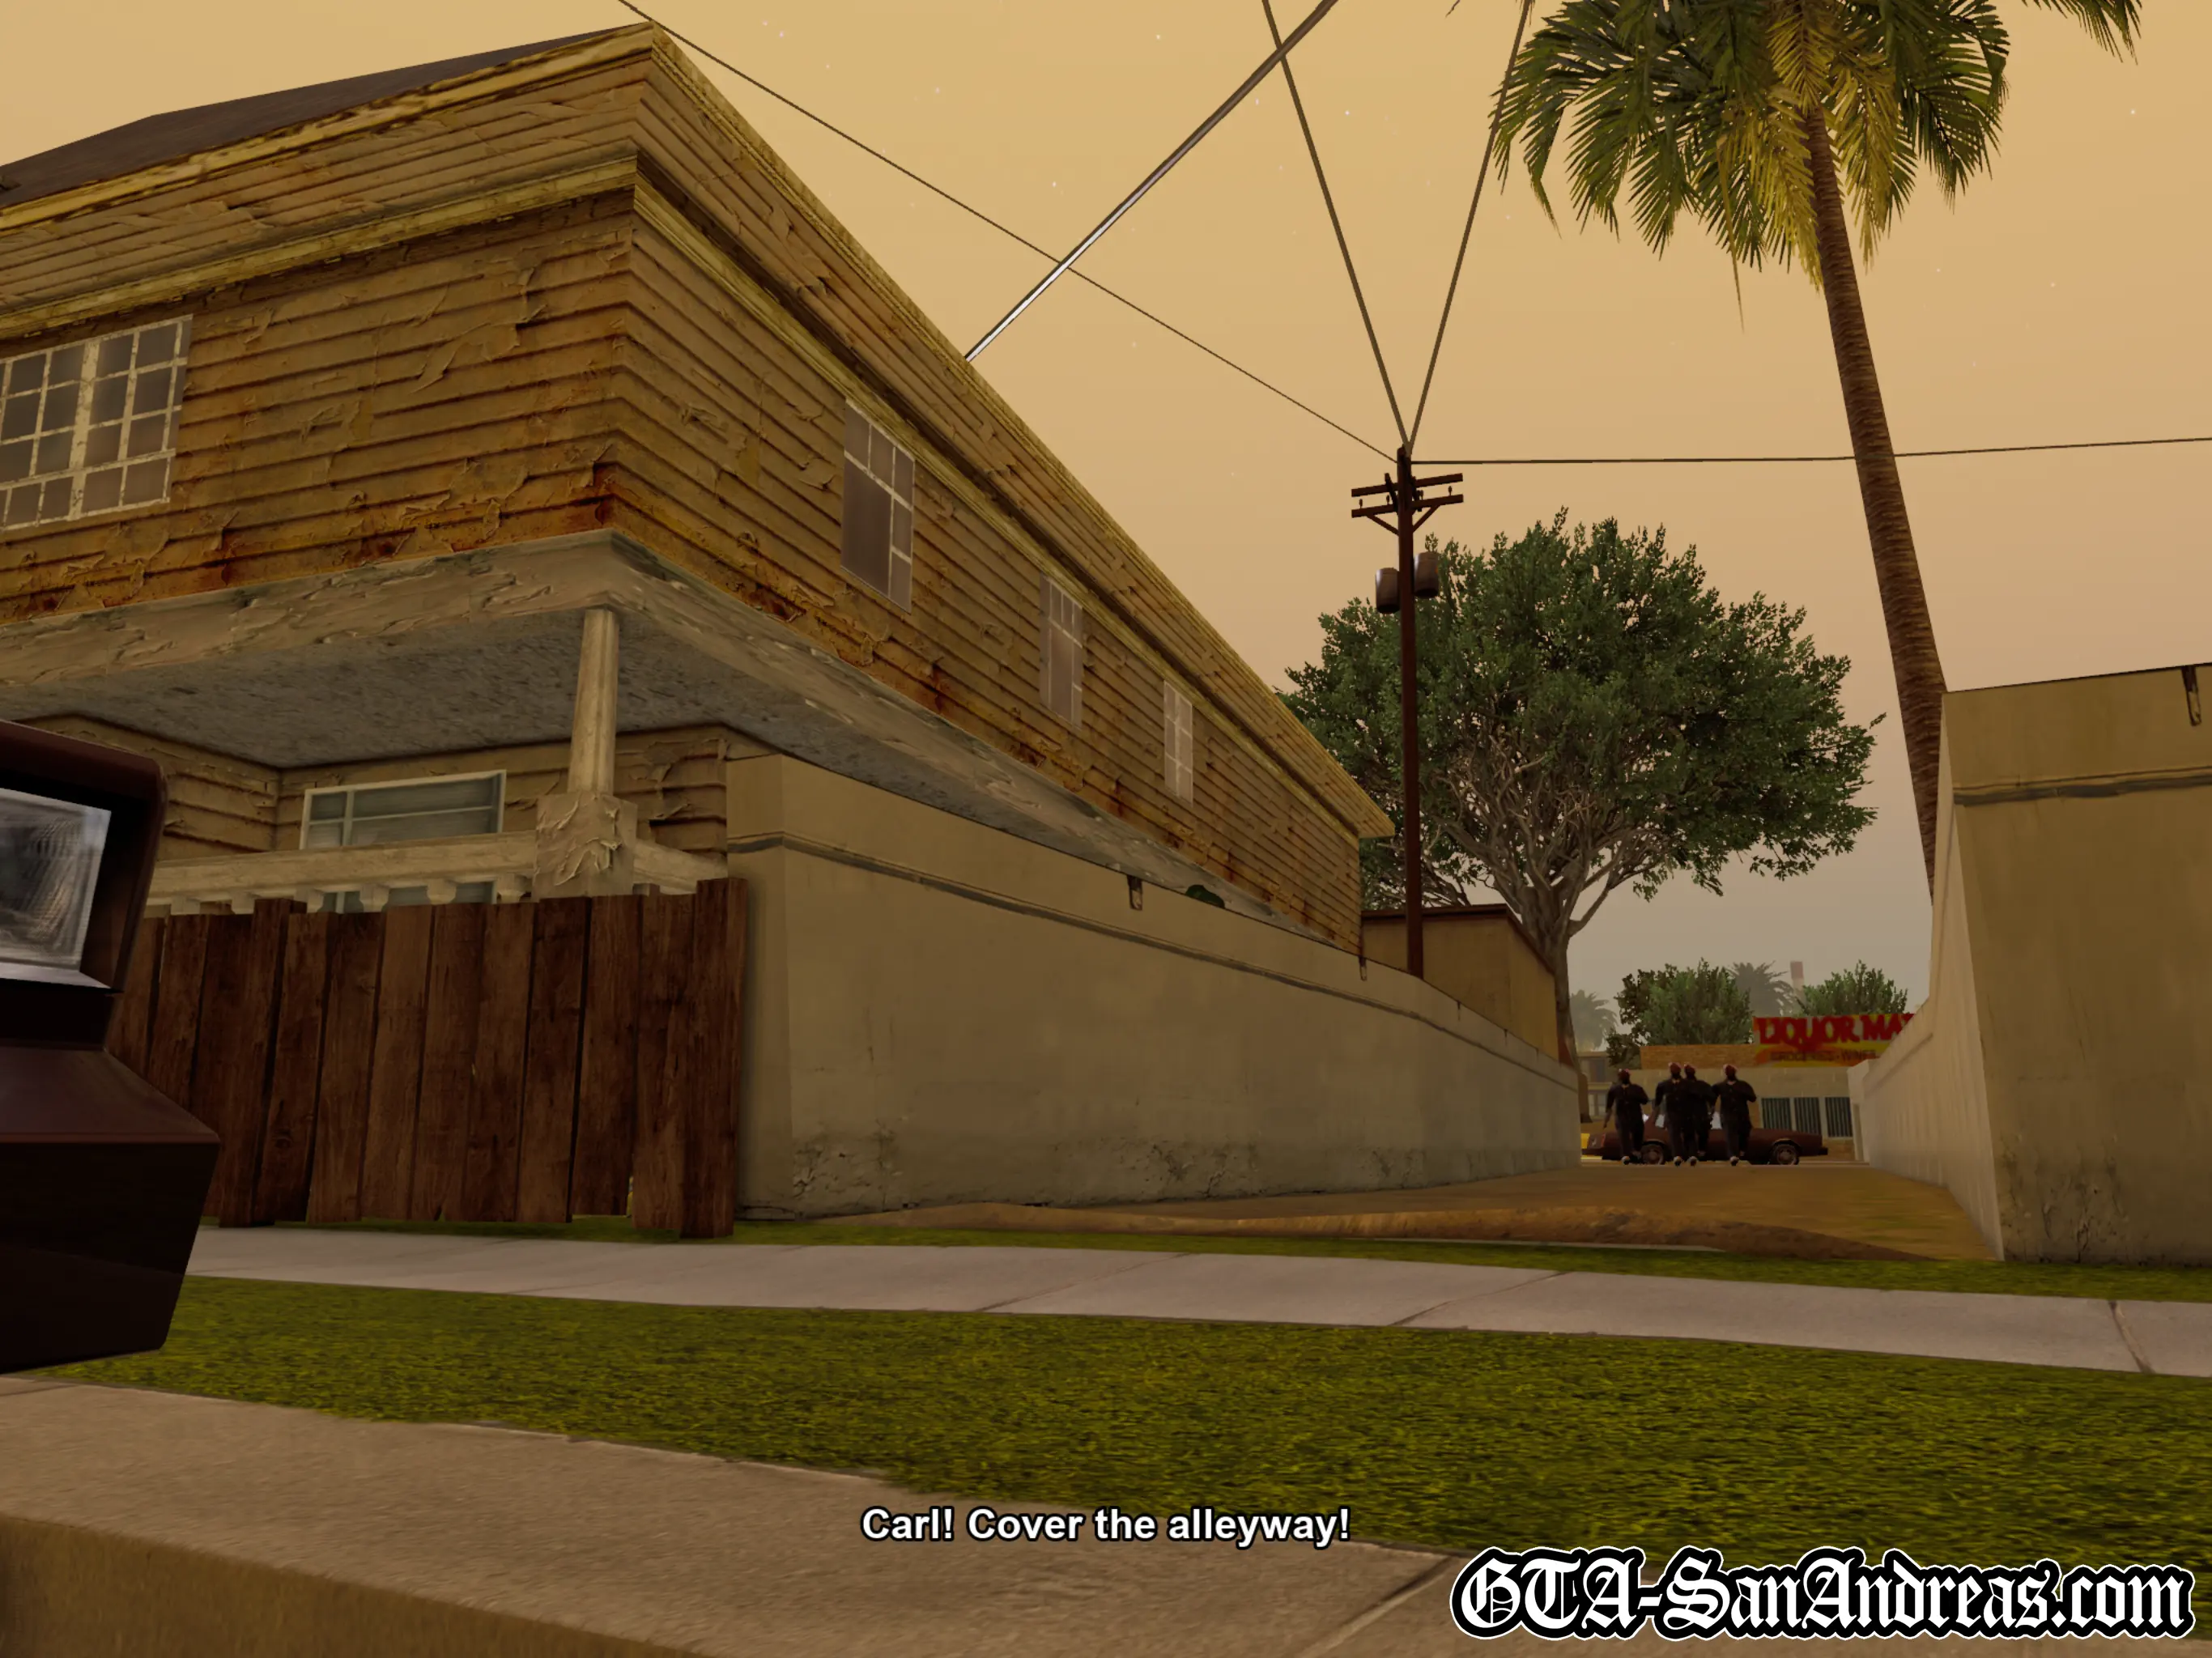
This time the Ballas are coming from behind you, so turn around and head towards the alley way next to CJ's house. There'll be some Ballas coming from behind the house, a few from the alley way and some across the other side of the street.
Keep moving and switching between targets and you should be able to take care of them no problem as their shots aren't very accurate.
After the mission you'll see a parked Tahoma in front of your house. This is sometimes pimped out with hydraulics if you wish to grab it for your garage. After this we're going to complete Cesar Vialpando's missions since OG Loc's are now finished. Remember you'll need a lowrider for Cesar's street race race, but there's no rules against equipping it with nitro! Take a lowrider to the mod shop and get it fitted with some nitro, then head to CV on the radar to start the mission.
Screenshots
Cesar Vialpando
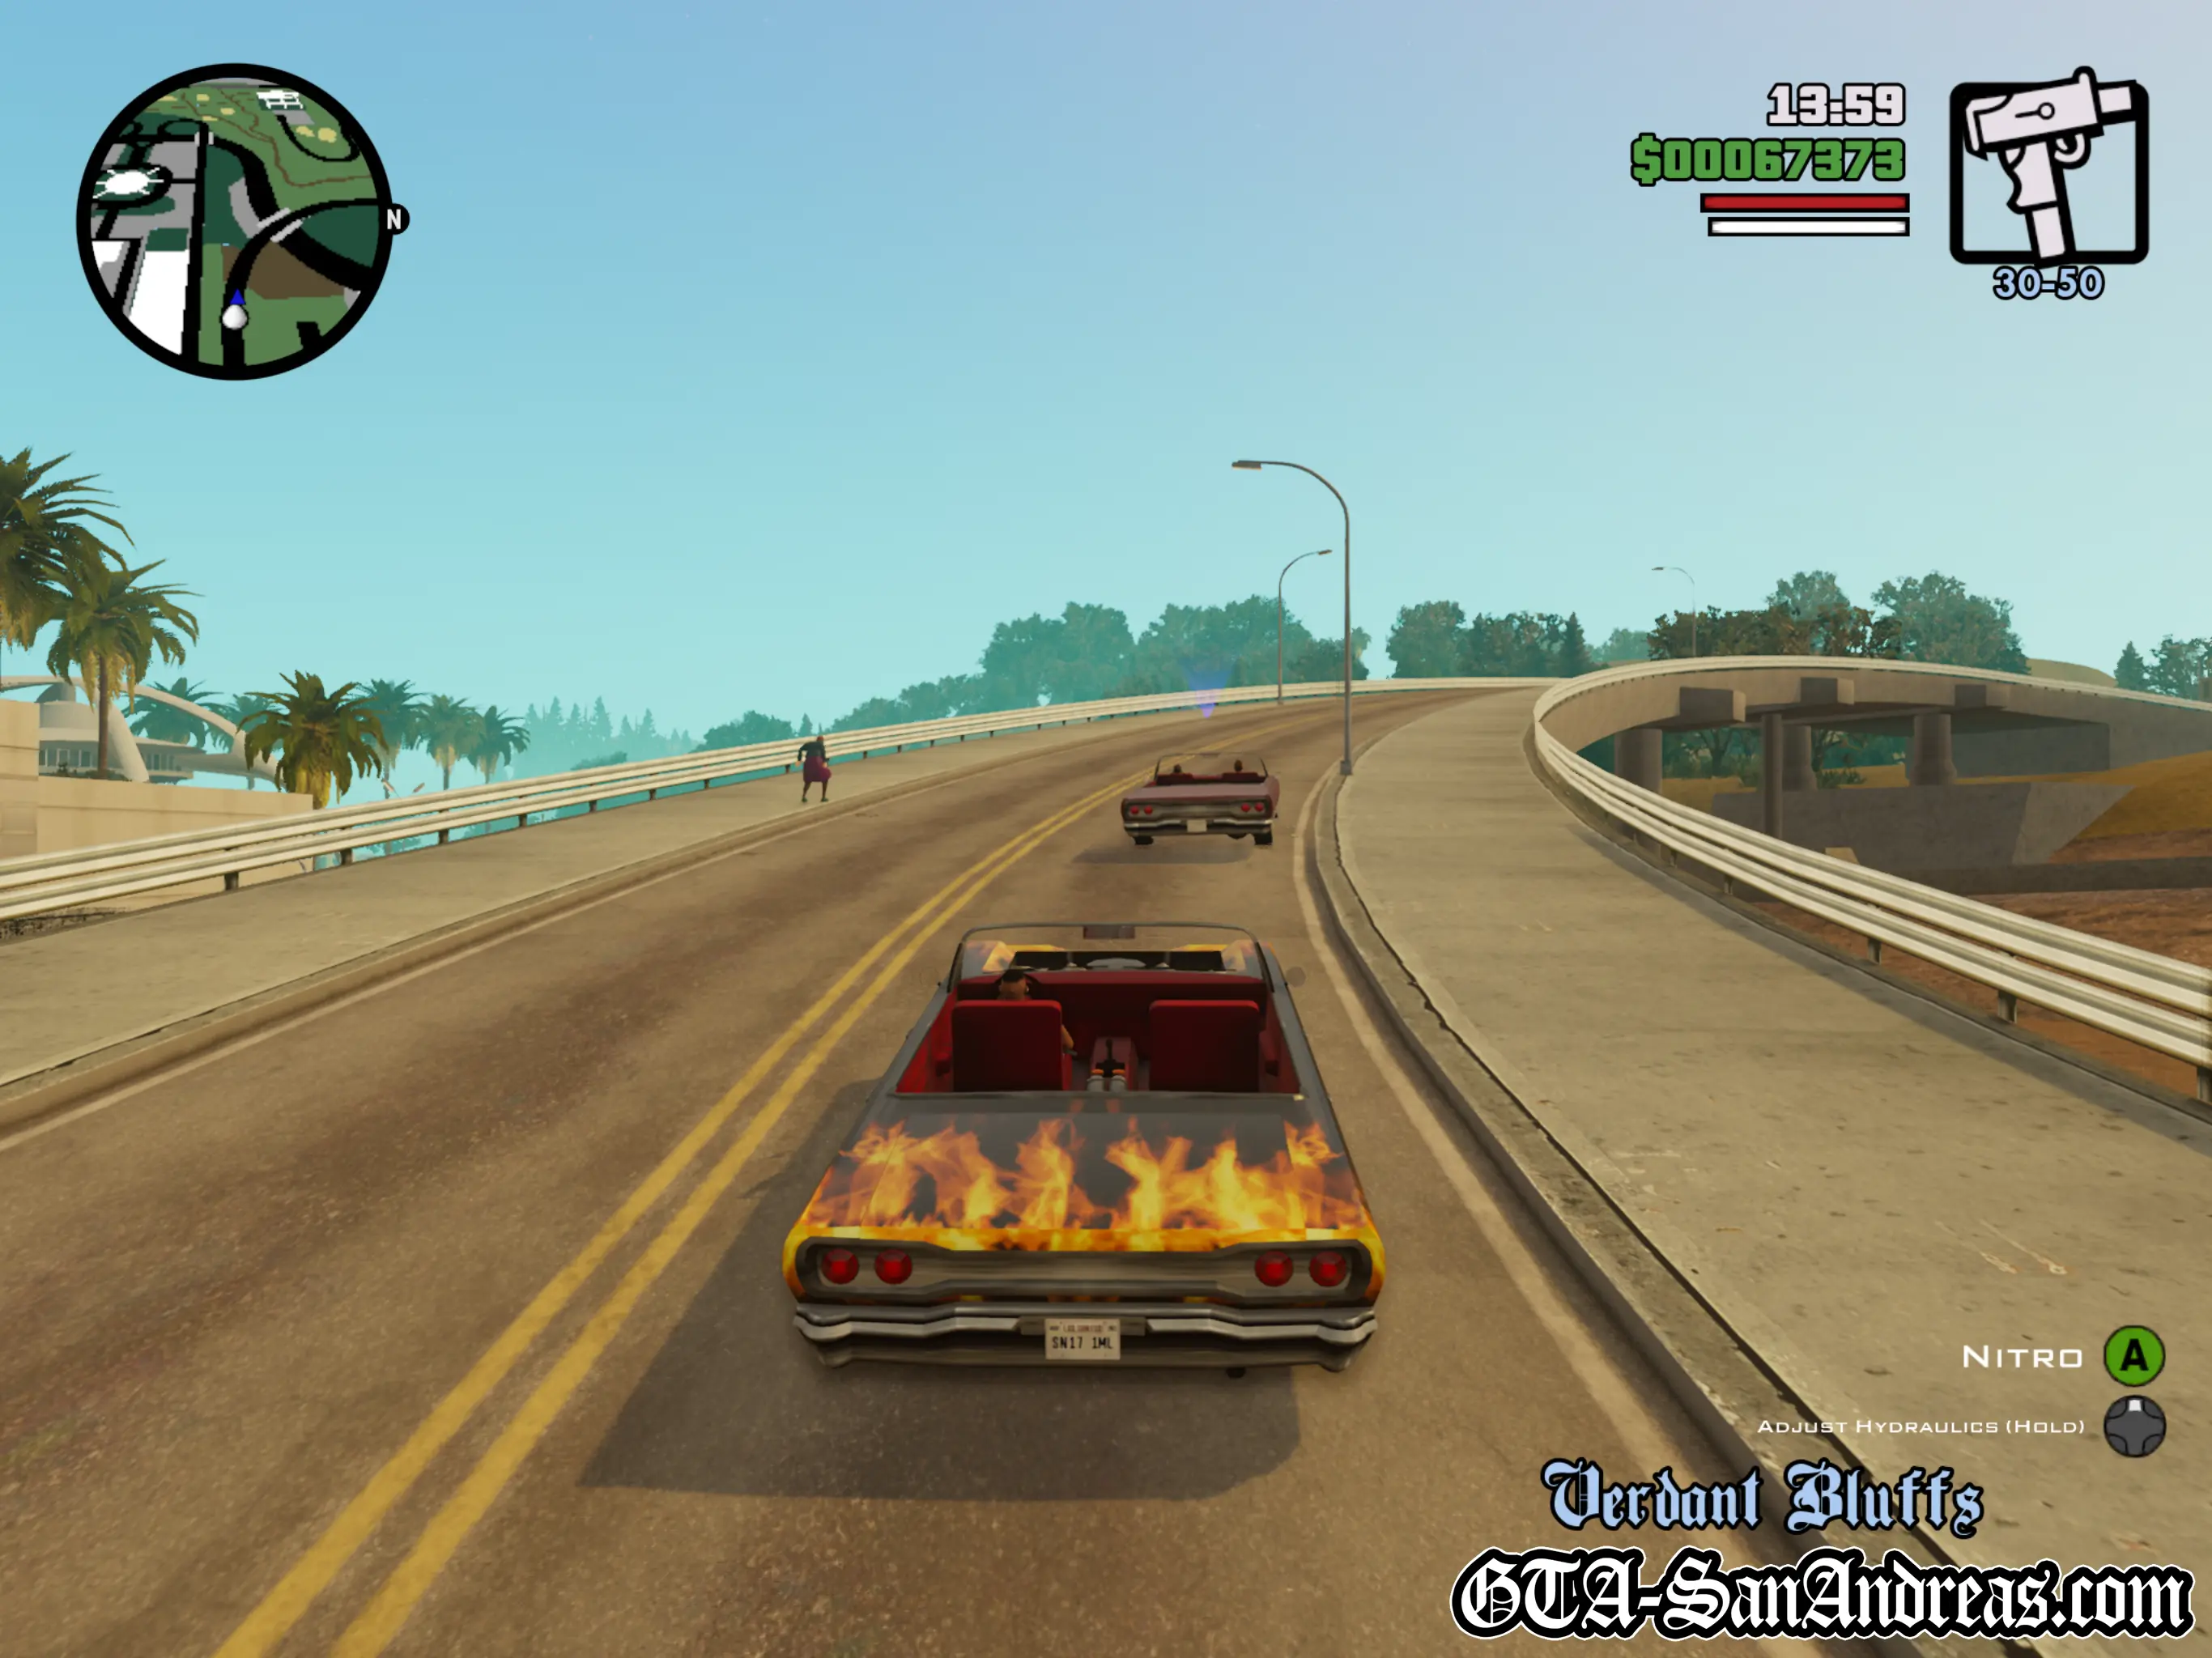
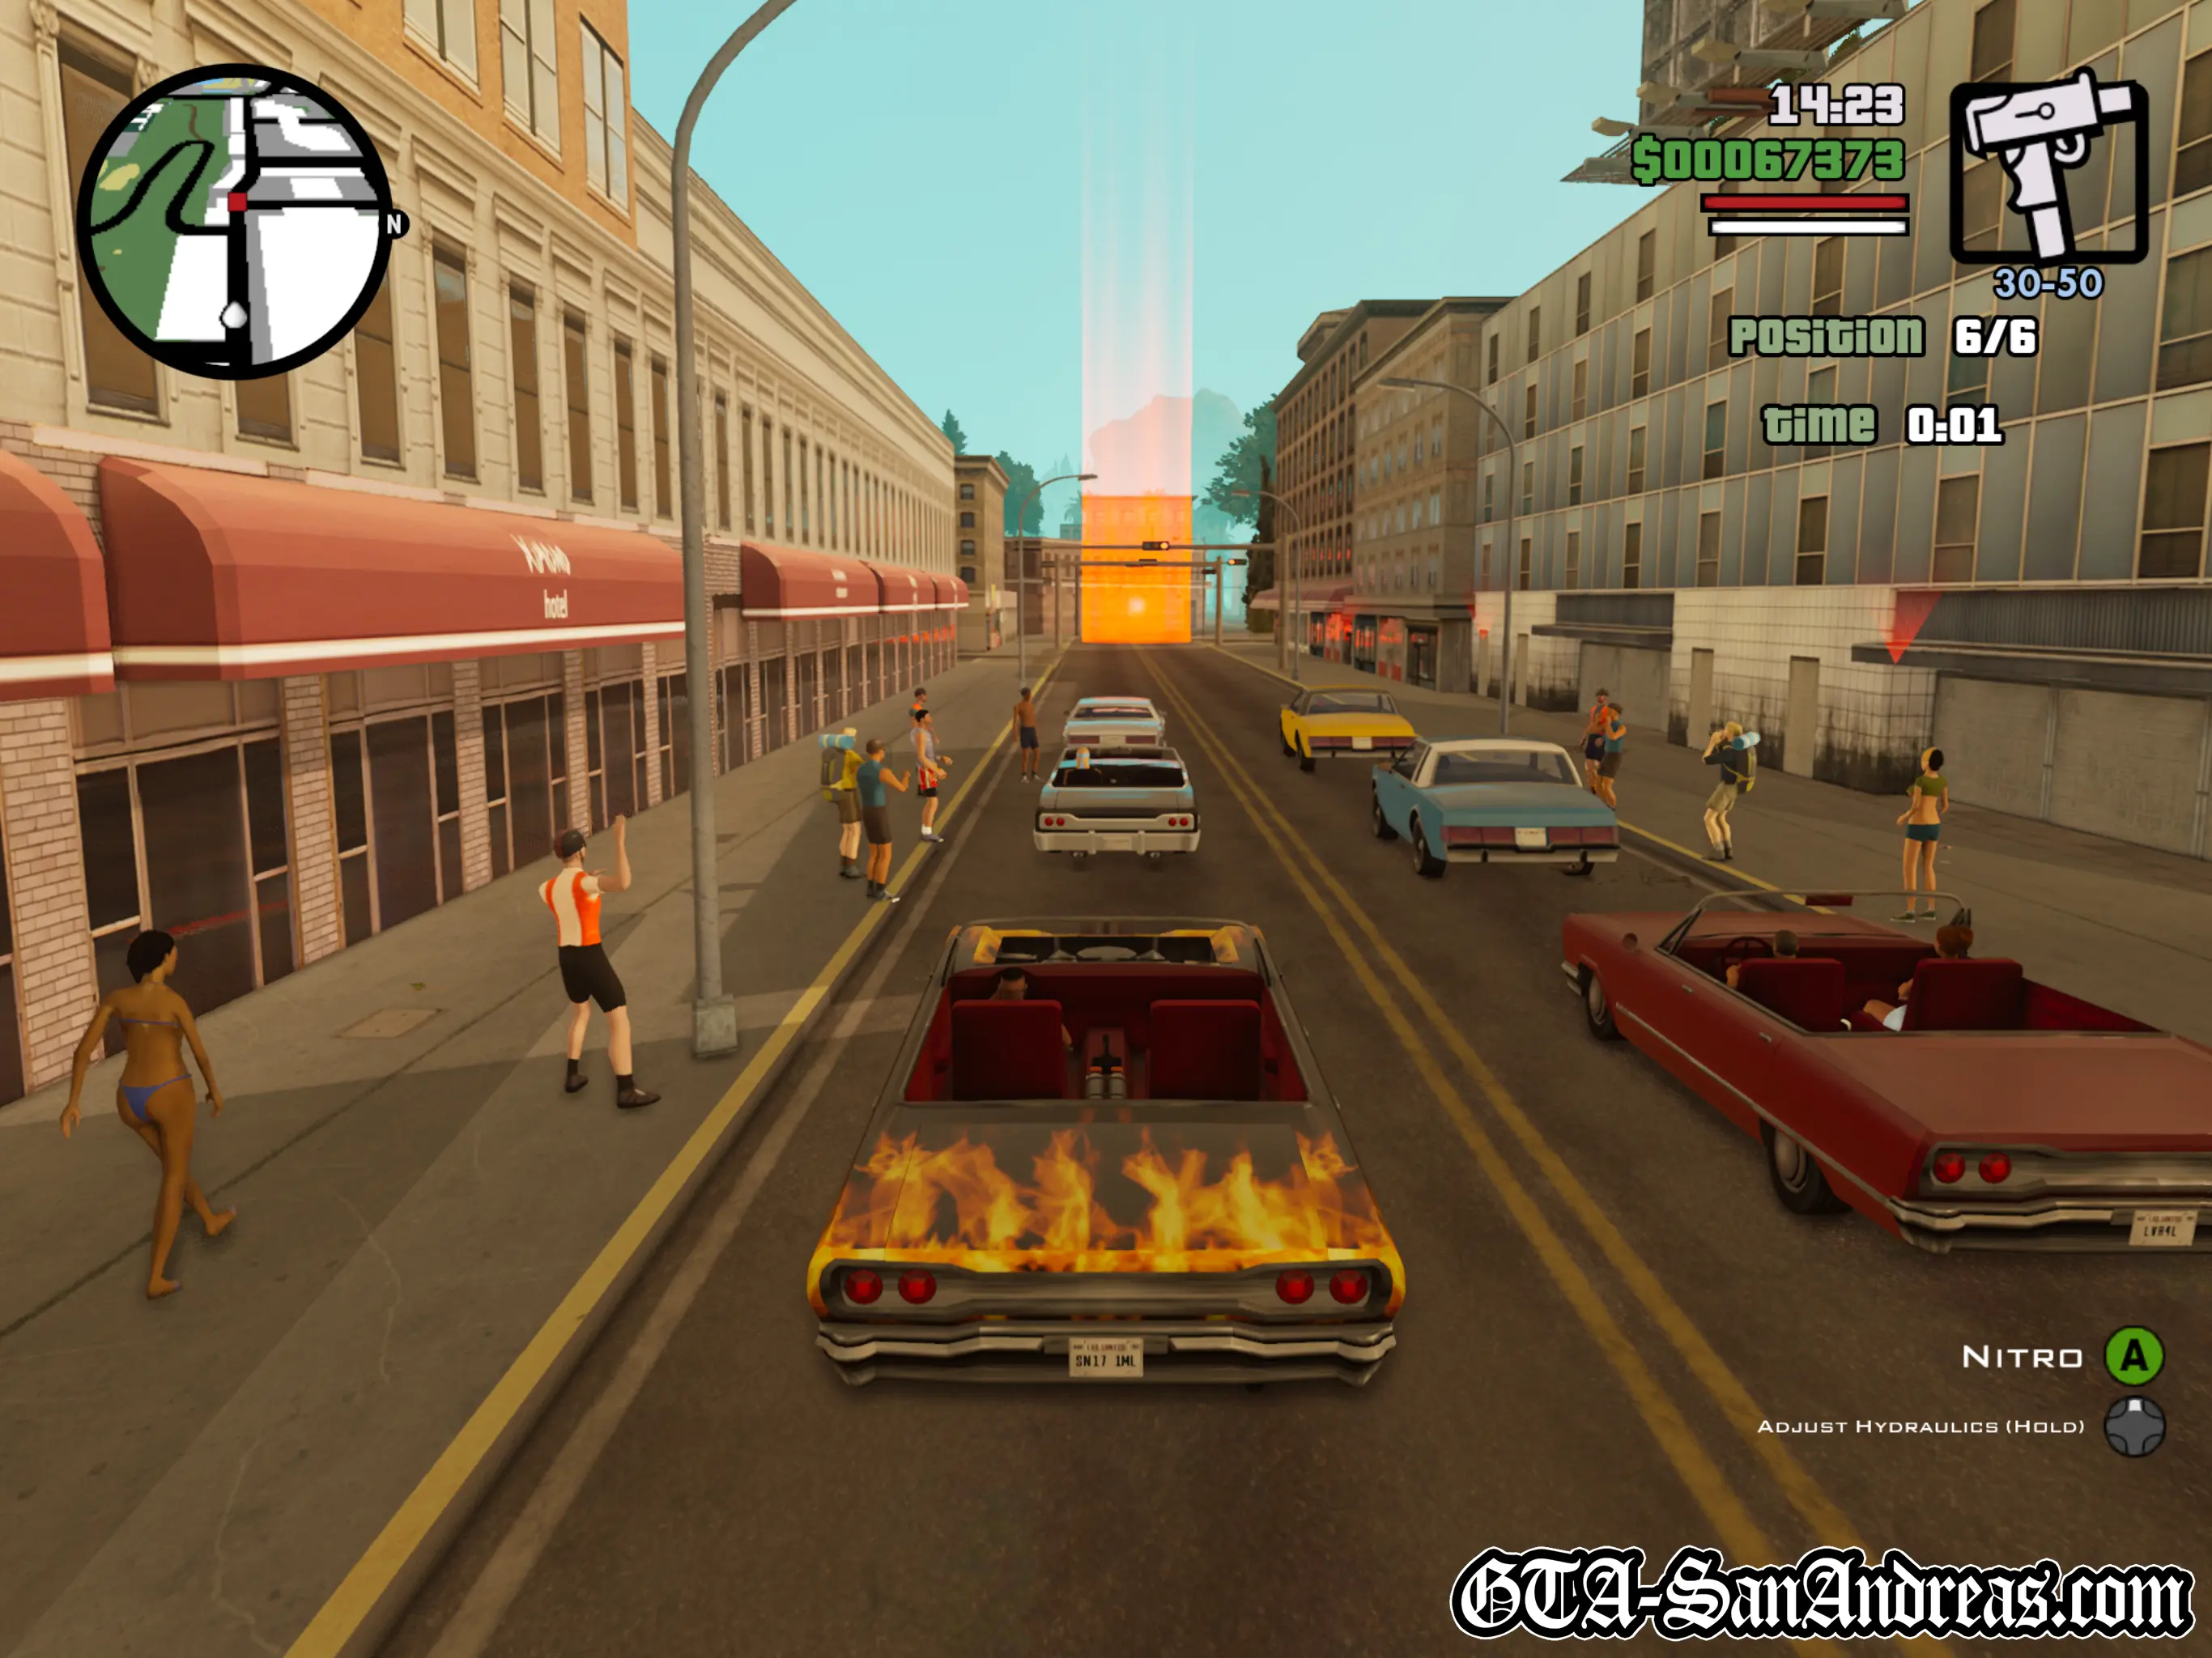
 High Stakes, Low Rider
After the cutscene, Cesar will tell you to follow him as he leads you to the race so follow him and try to not damage your vehicle.
Park in the red marker when you reach the race start point and countdown to the start.
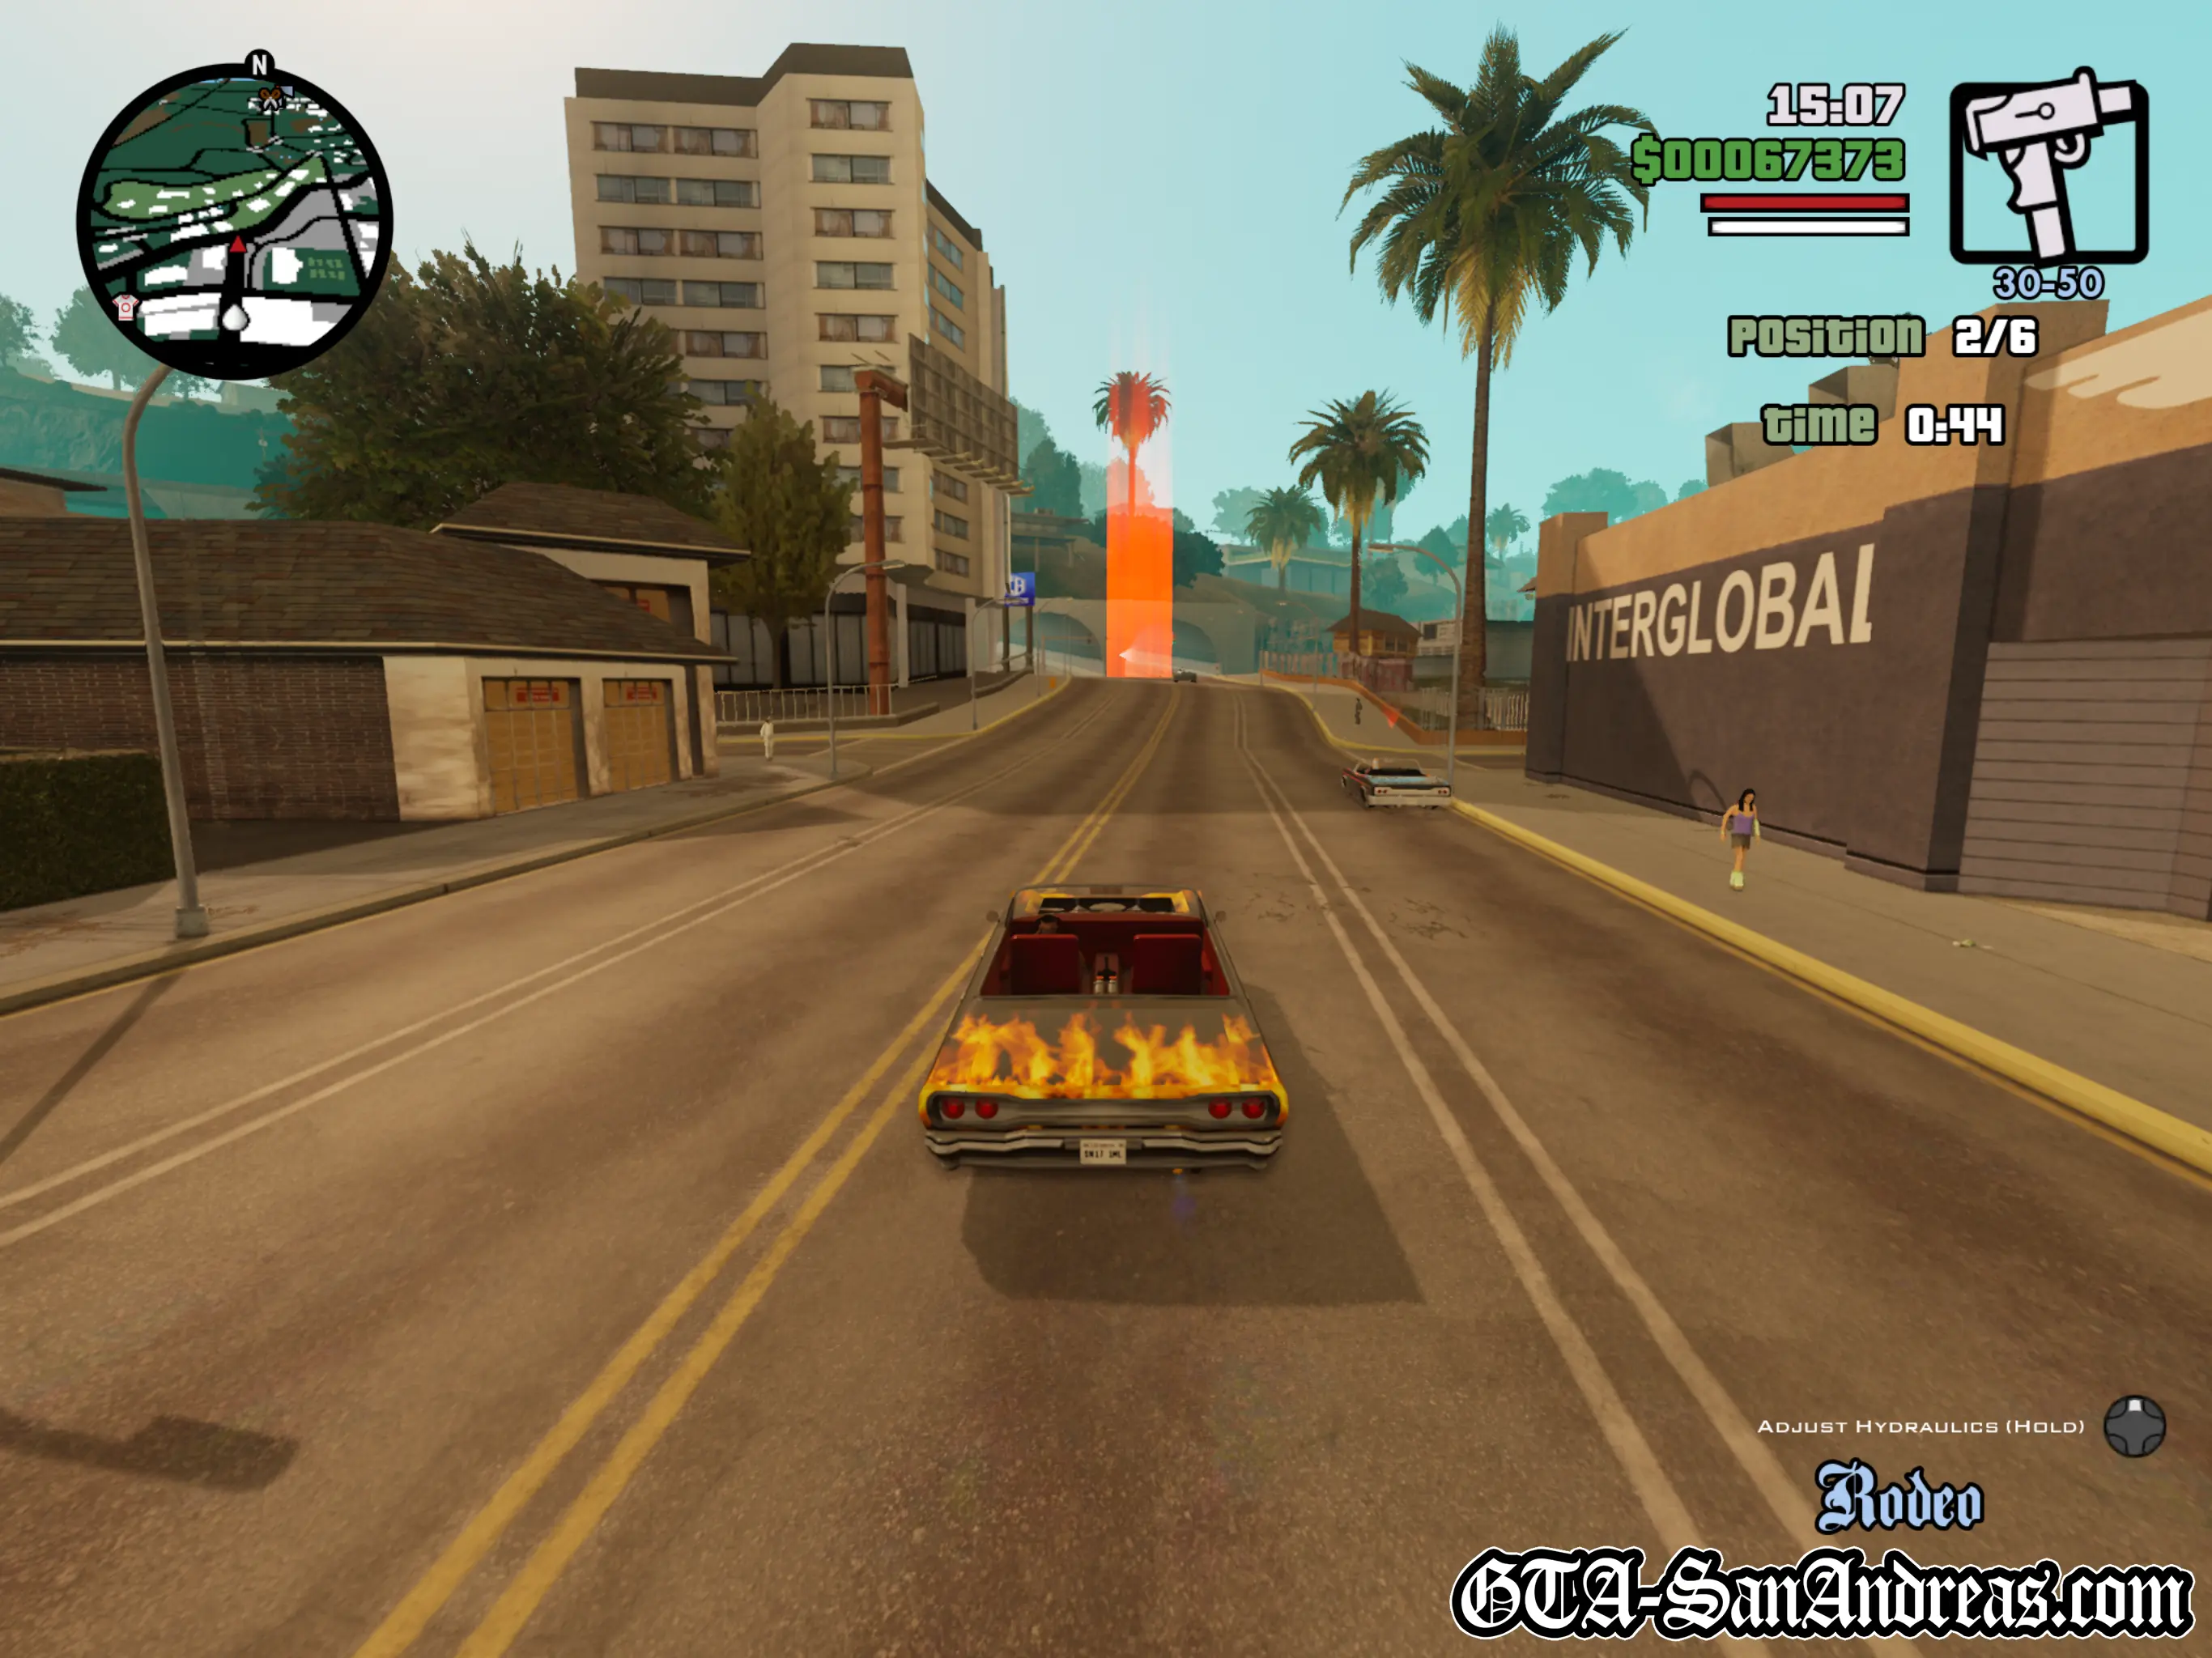
Speed through the streets following the other cars. When you go through a checkpoint a little arrow will be above or inside it pointing in the direction of the next checkpoint. Take note of this and speed around the circuit.
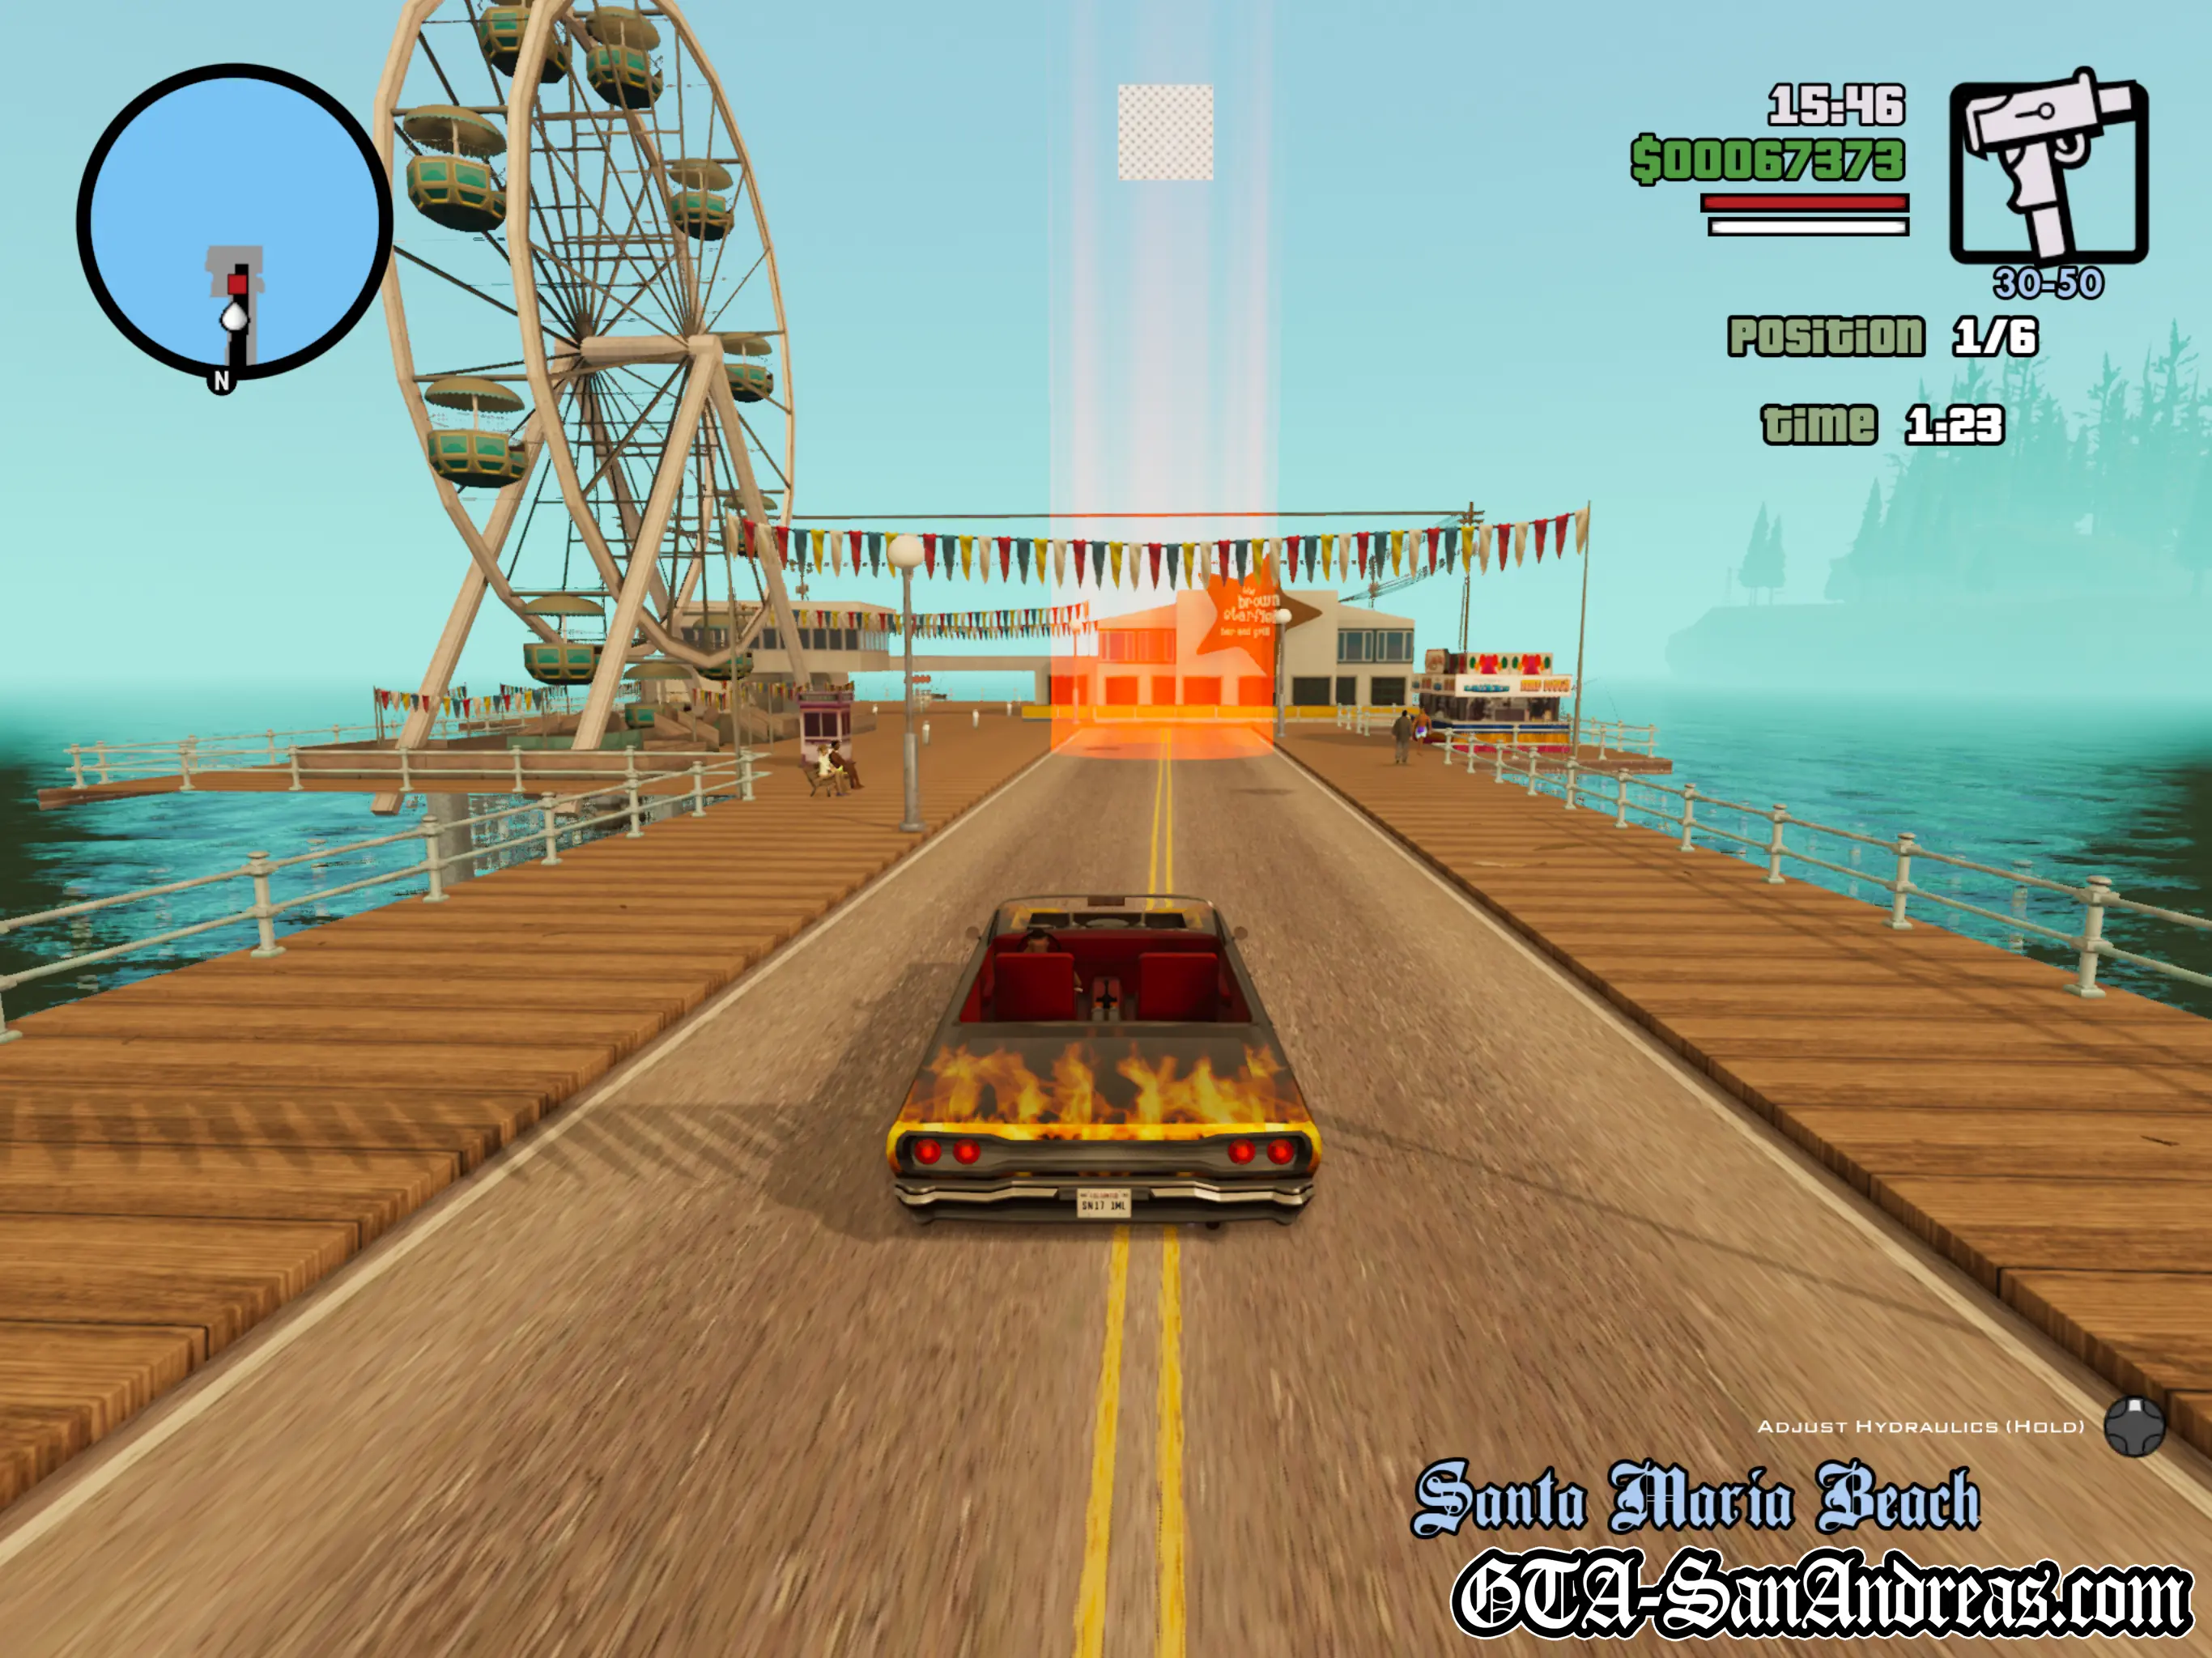
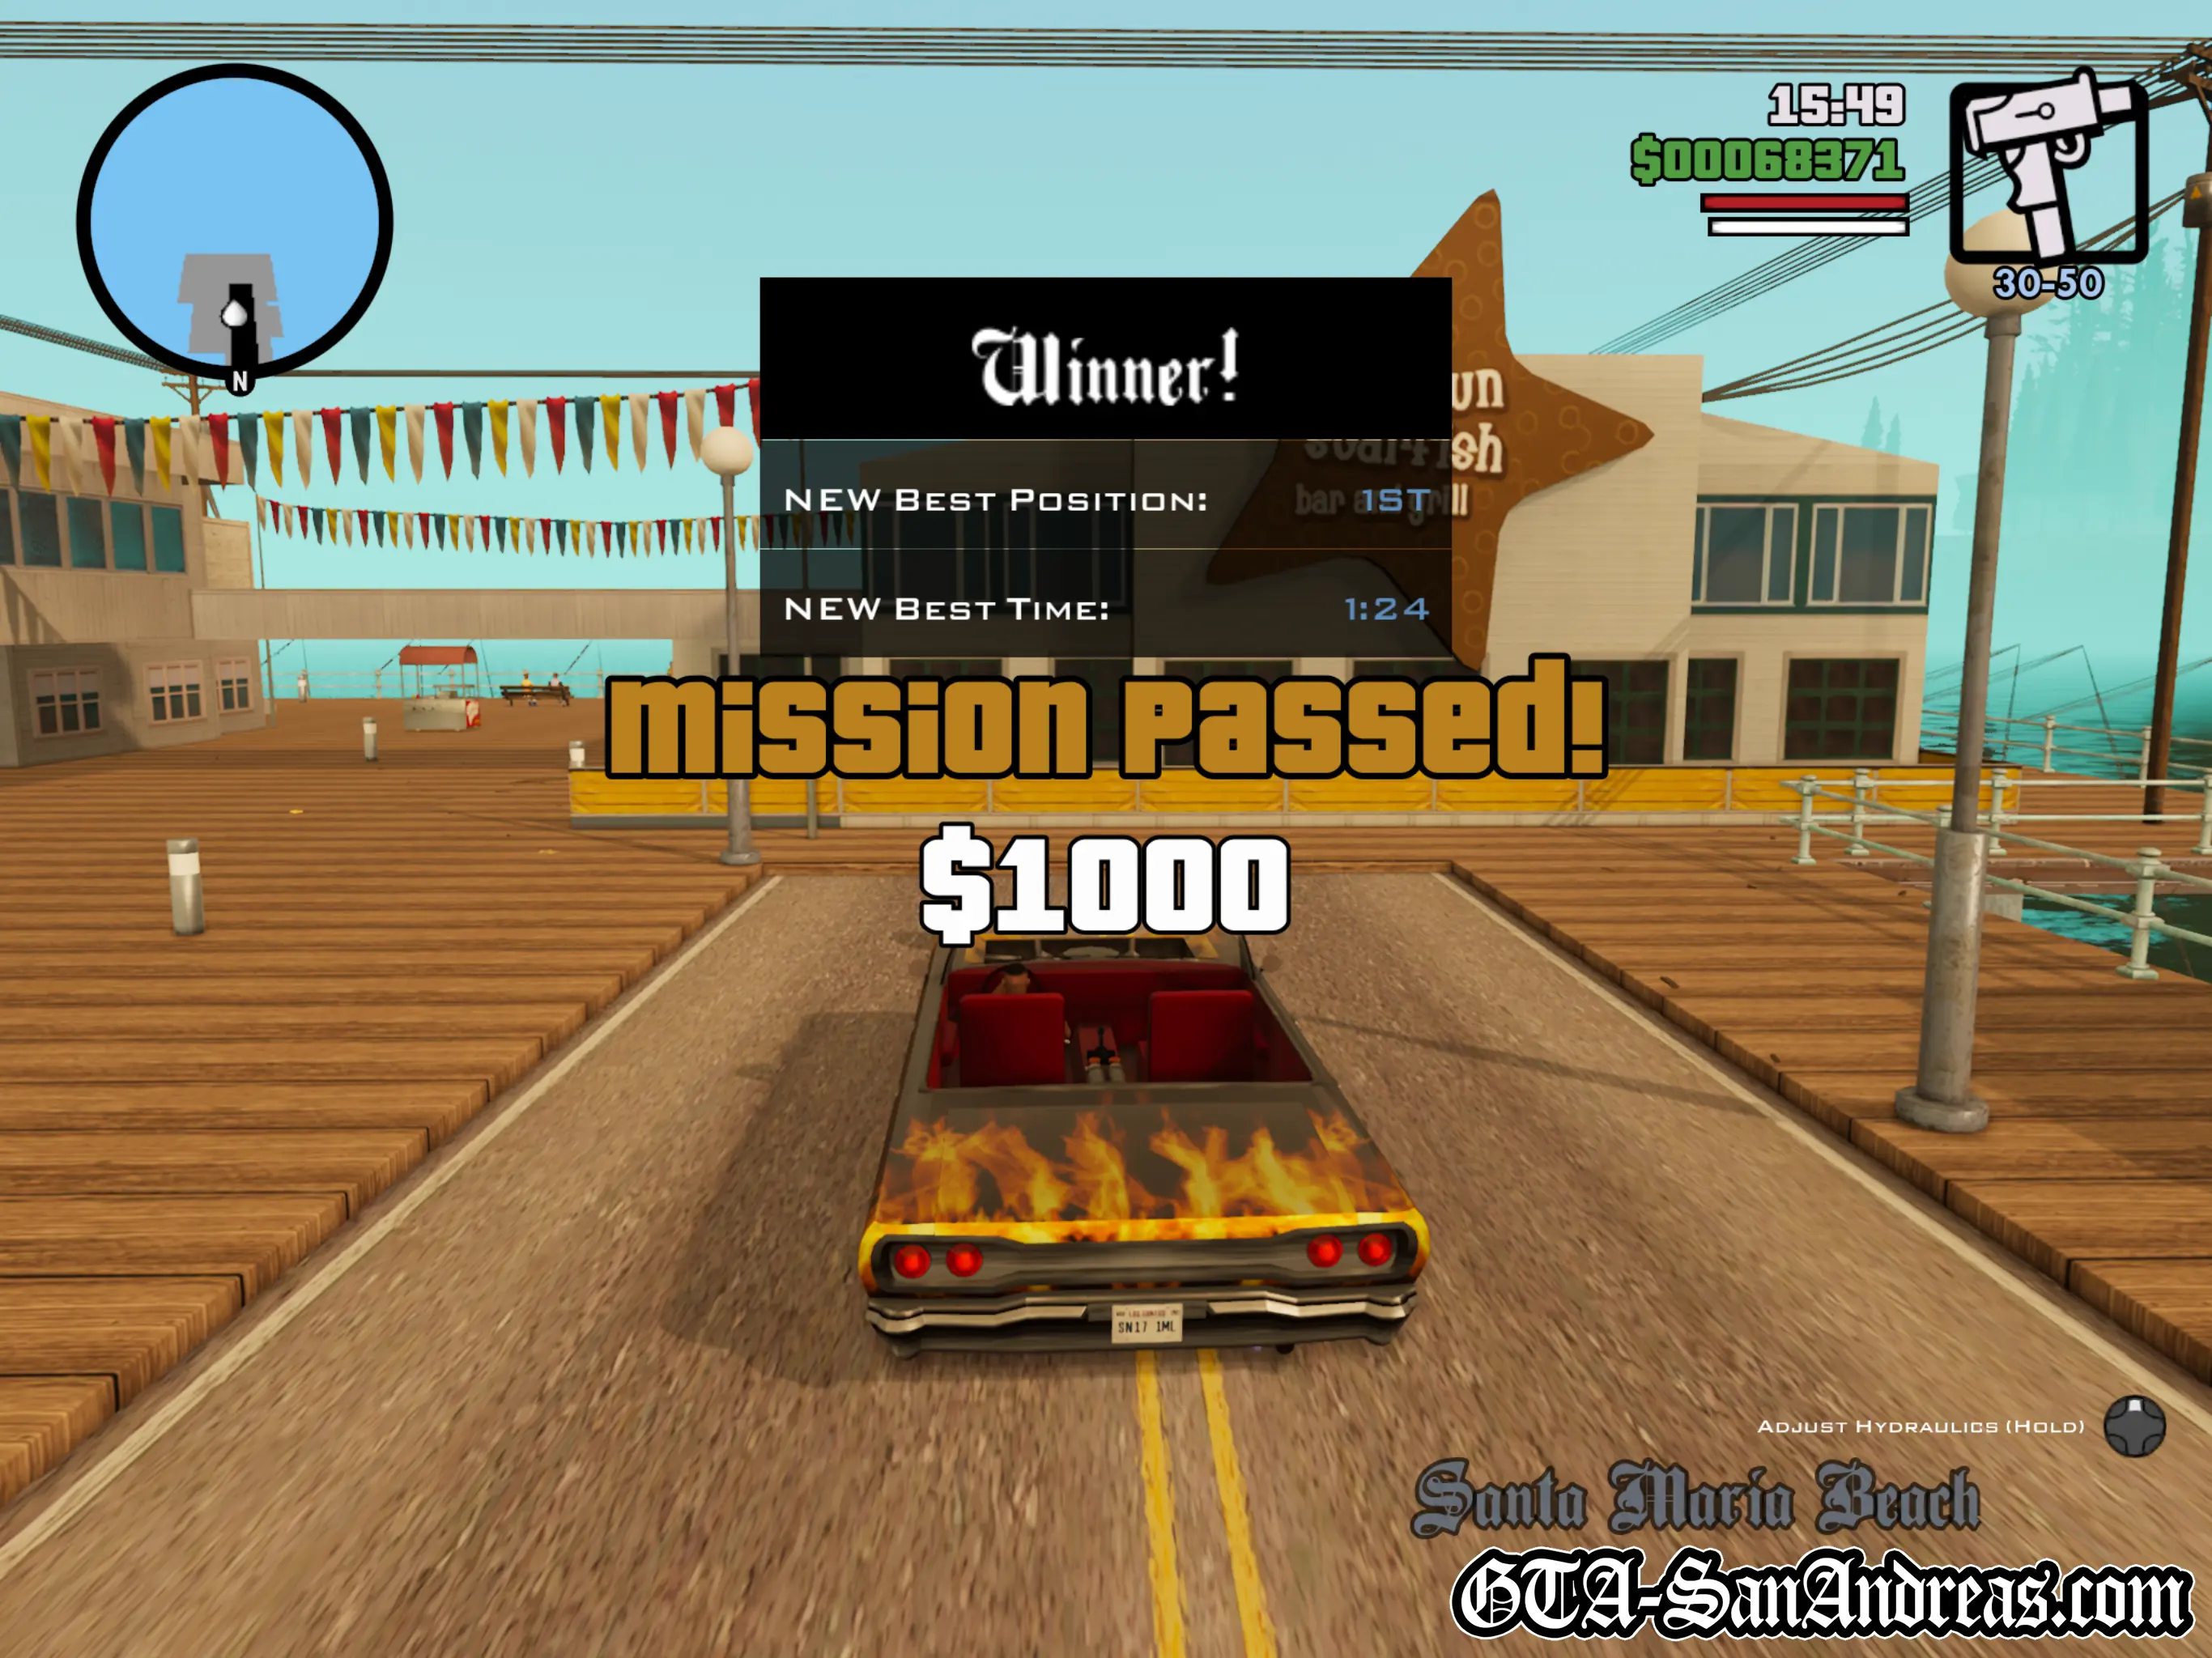
About 10 seconds into the race, you'll be heading alongside the beach on a long stretch of road. I'd suggest using your nitro now. You'll boost past the cars in front of you, but be prepared to slow down and make a right turn. Speed up this street and your nitro should wear off. From here you should be in first place with quite a considerable lead so just carefully drive through the remaining checkpoints which finally results in you finishing up at the end of the pier.
That's all of Cesar's missions complete for now, and if you're going the same way as me, the only thing you have left at this point in time is Tenpenny's mission. Head to the donut place.
Tips & Tricks
It's Not Cheating, It's Modding
Before you start the mission, take your lowrider to the mod shop and get it fitted with Nitro. You can use it during the race to give you a huge speed boost on the straights making it much easier to win.
Screenshots

Frank Tenpenny (C.R.A.S.H.)
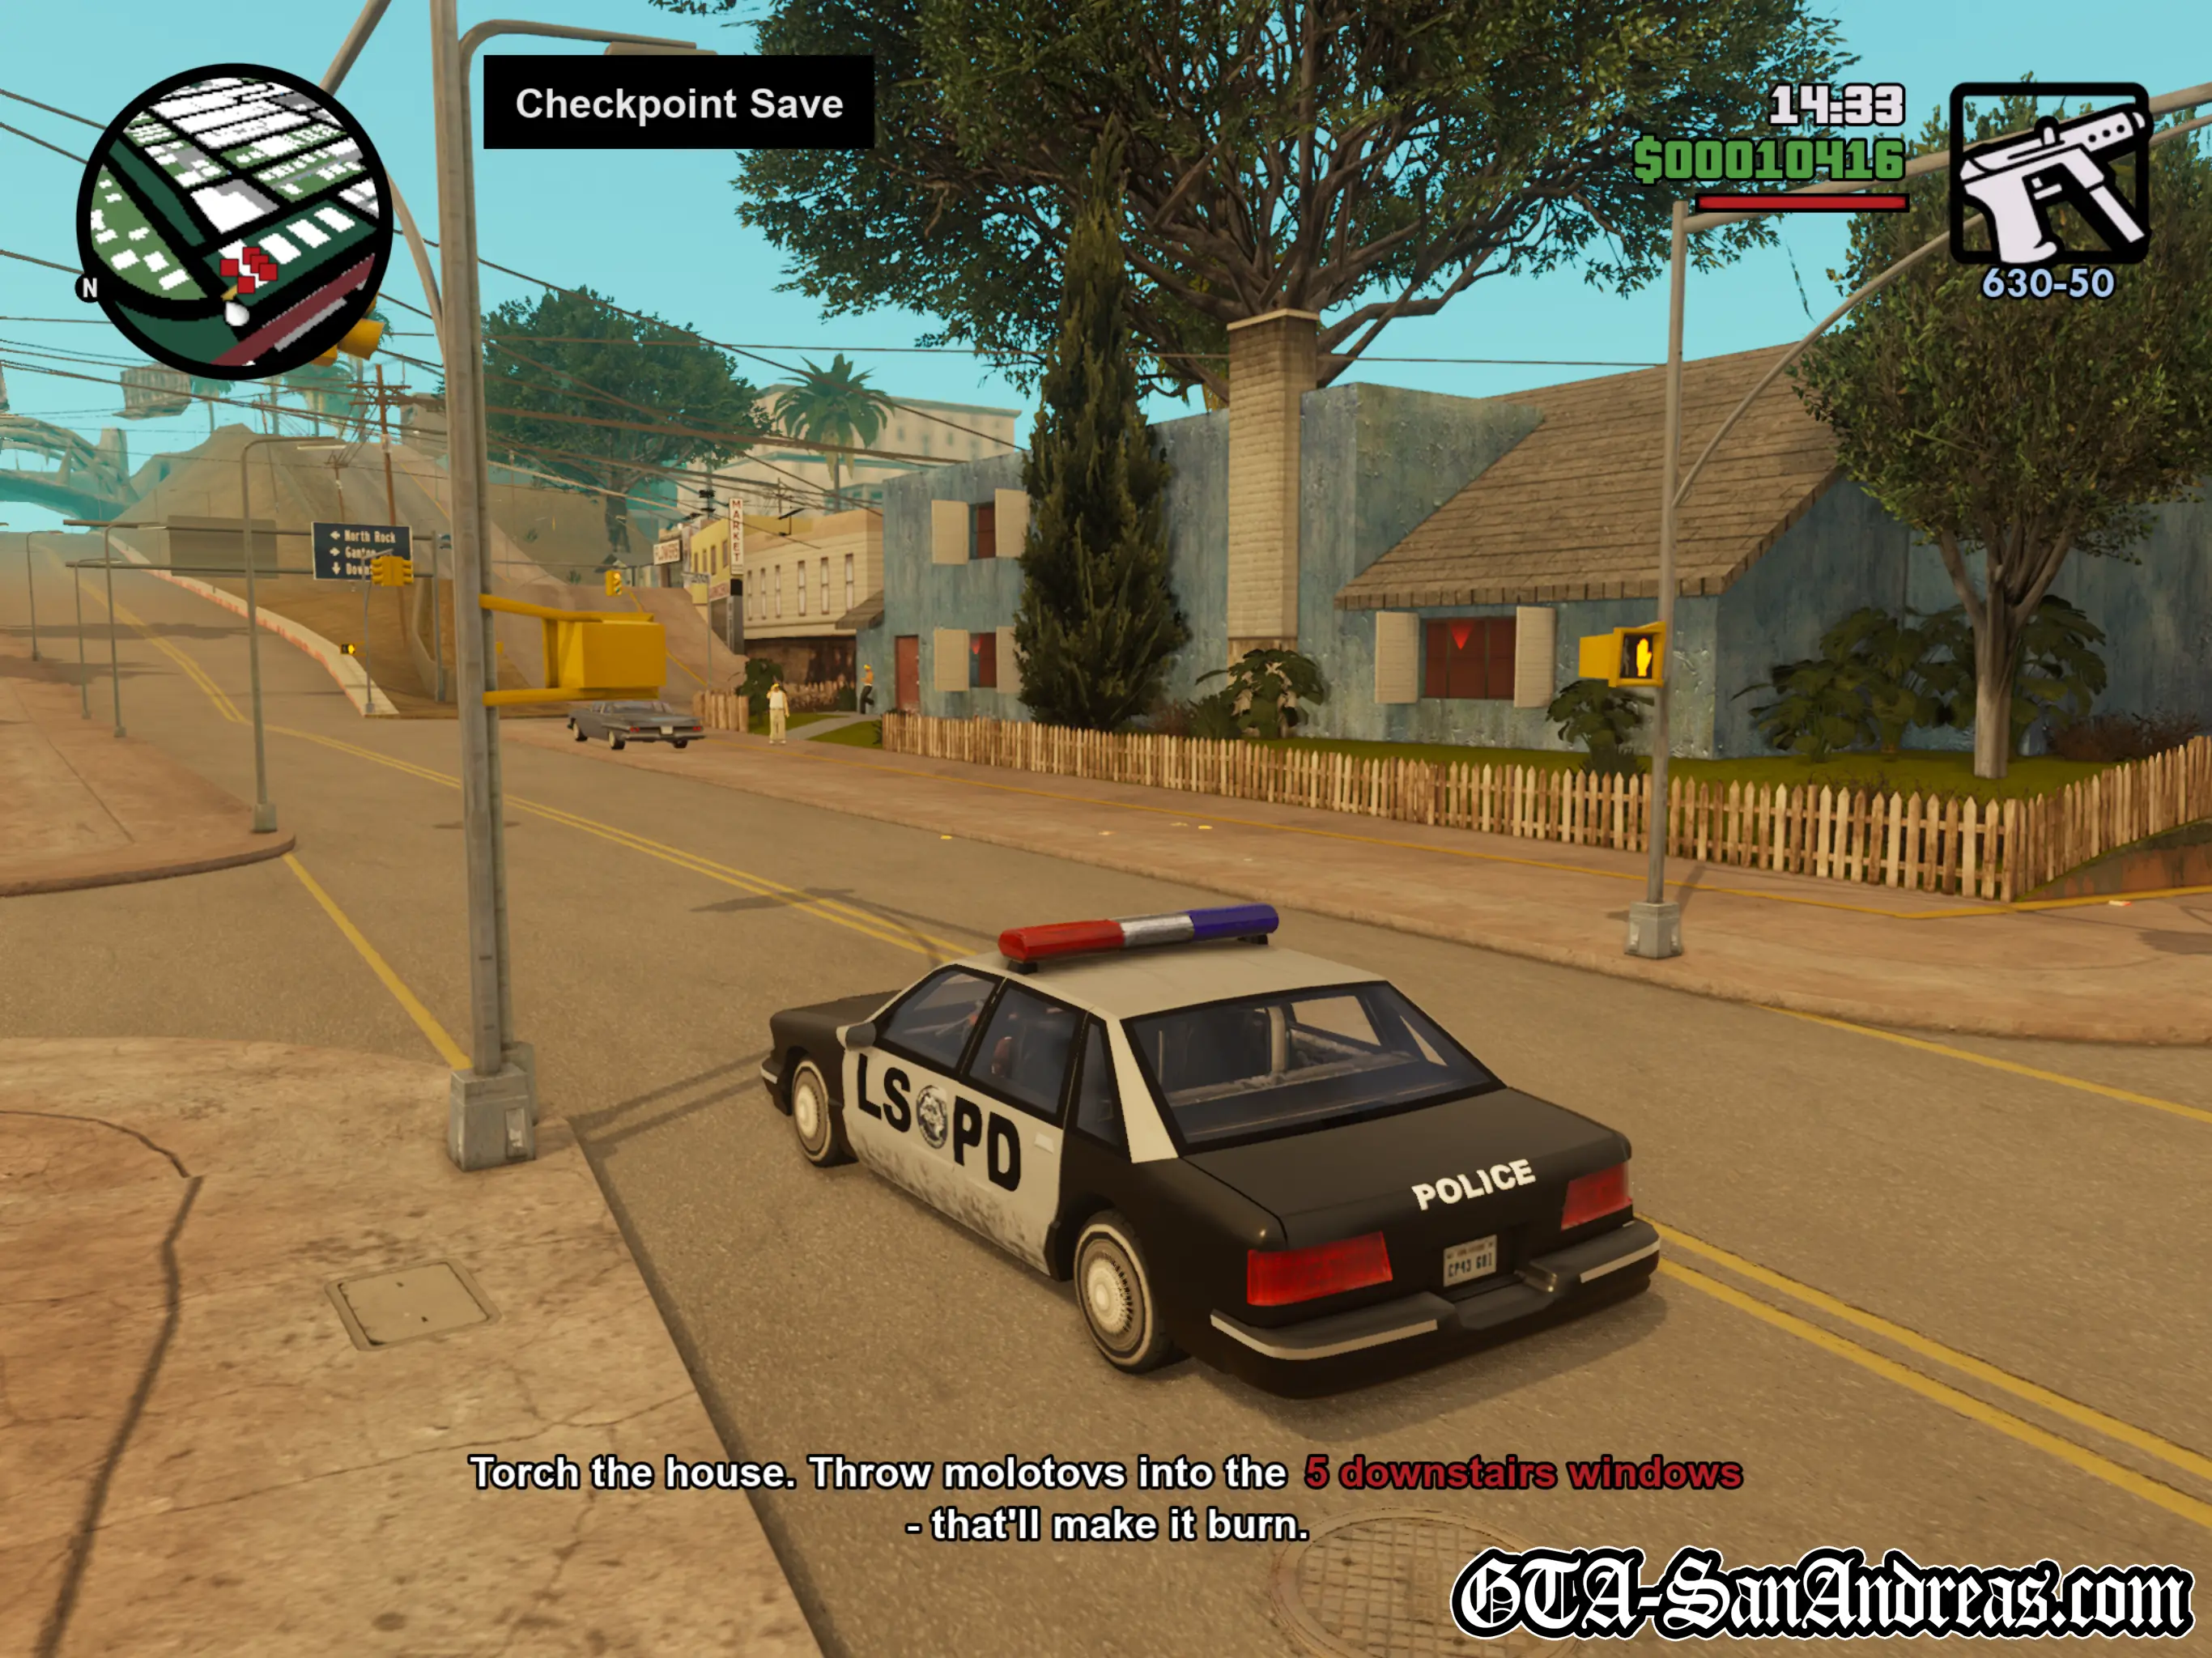
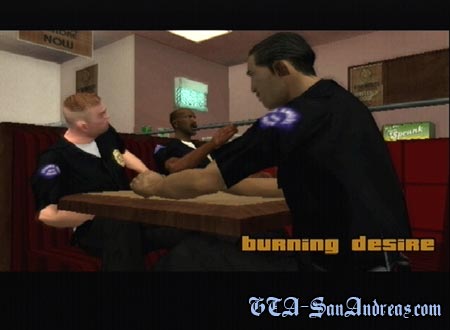
 Burning Desire
Tenpenny wants you to kill a gang banger 'just like you' so you can earn your freedom.
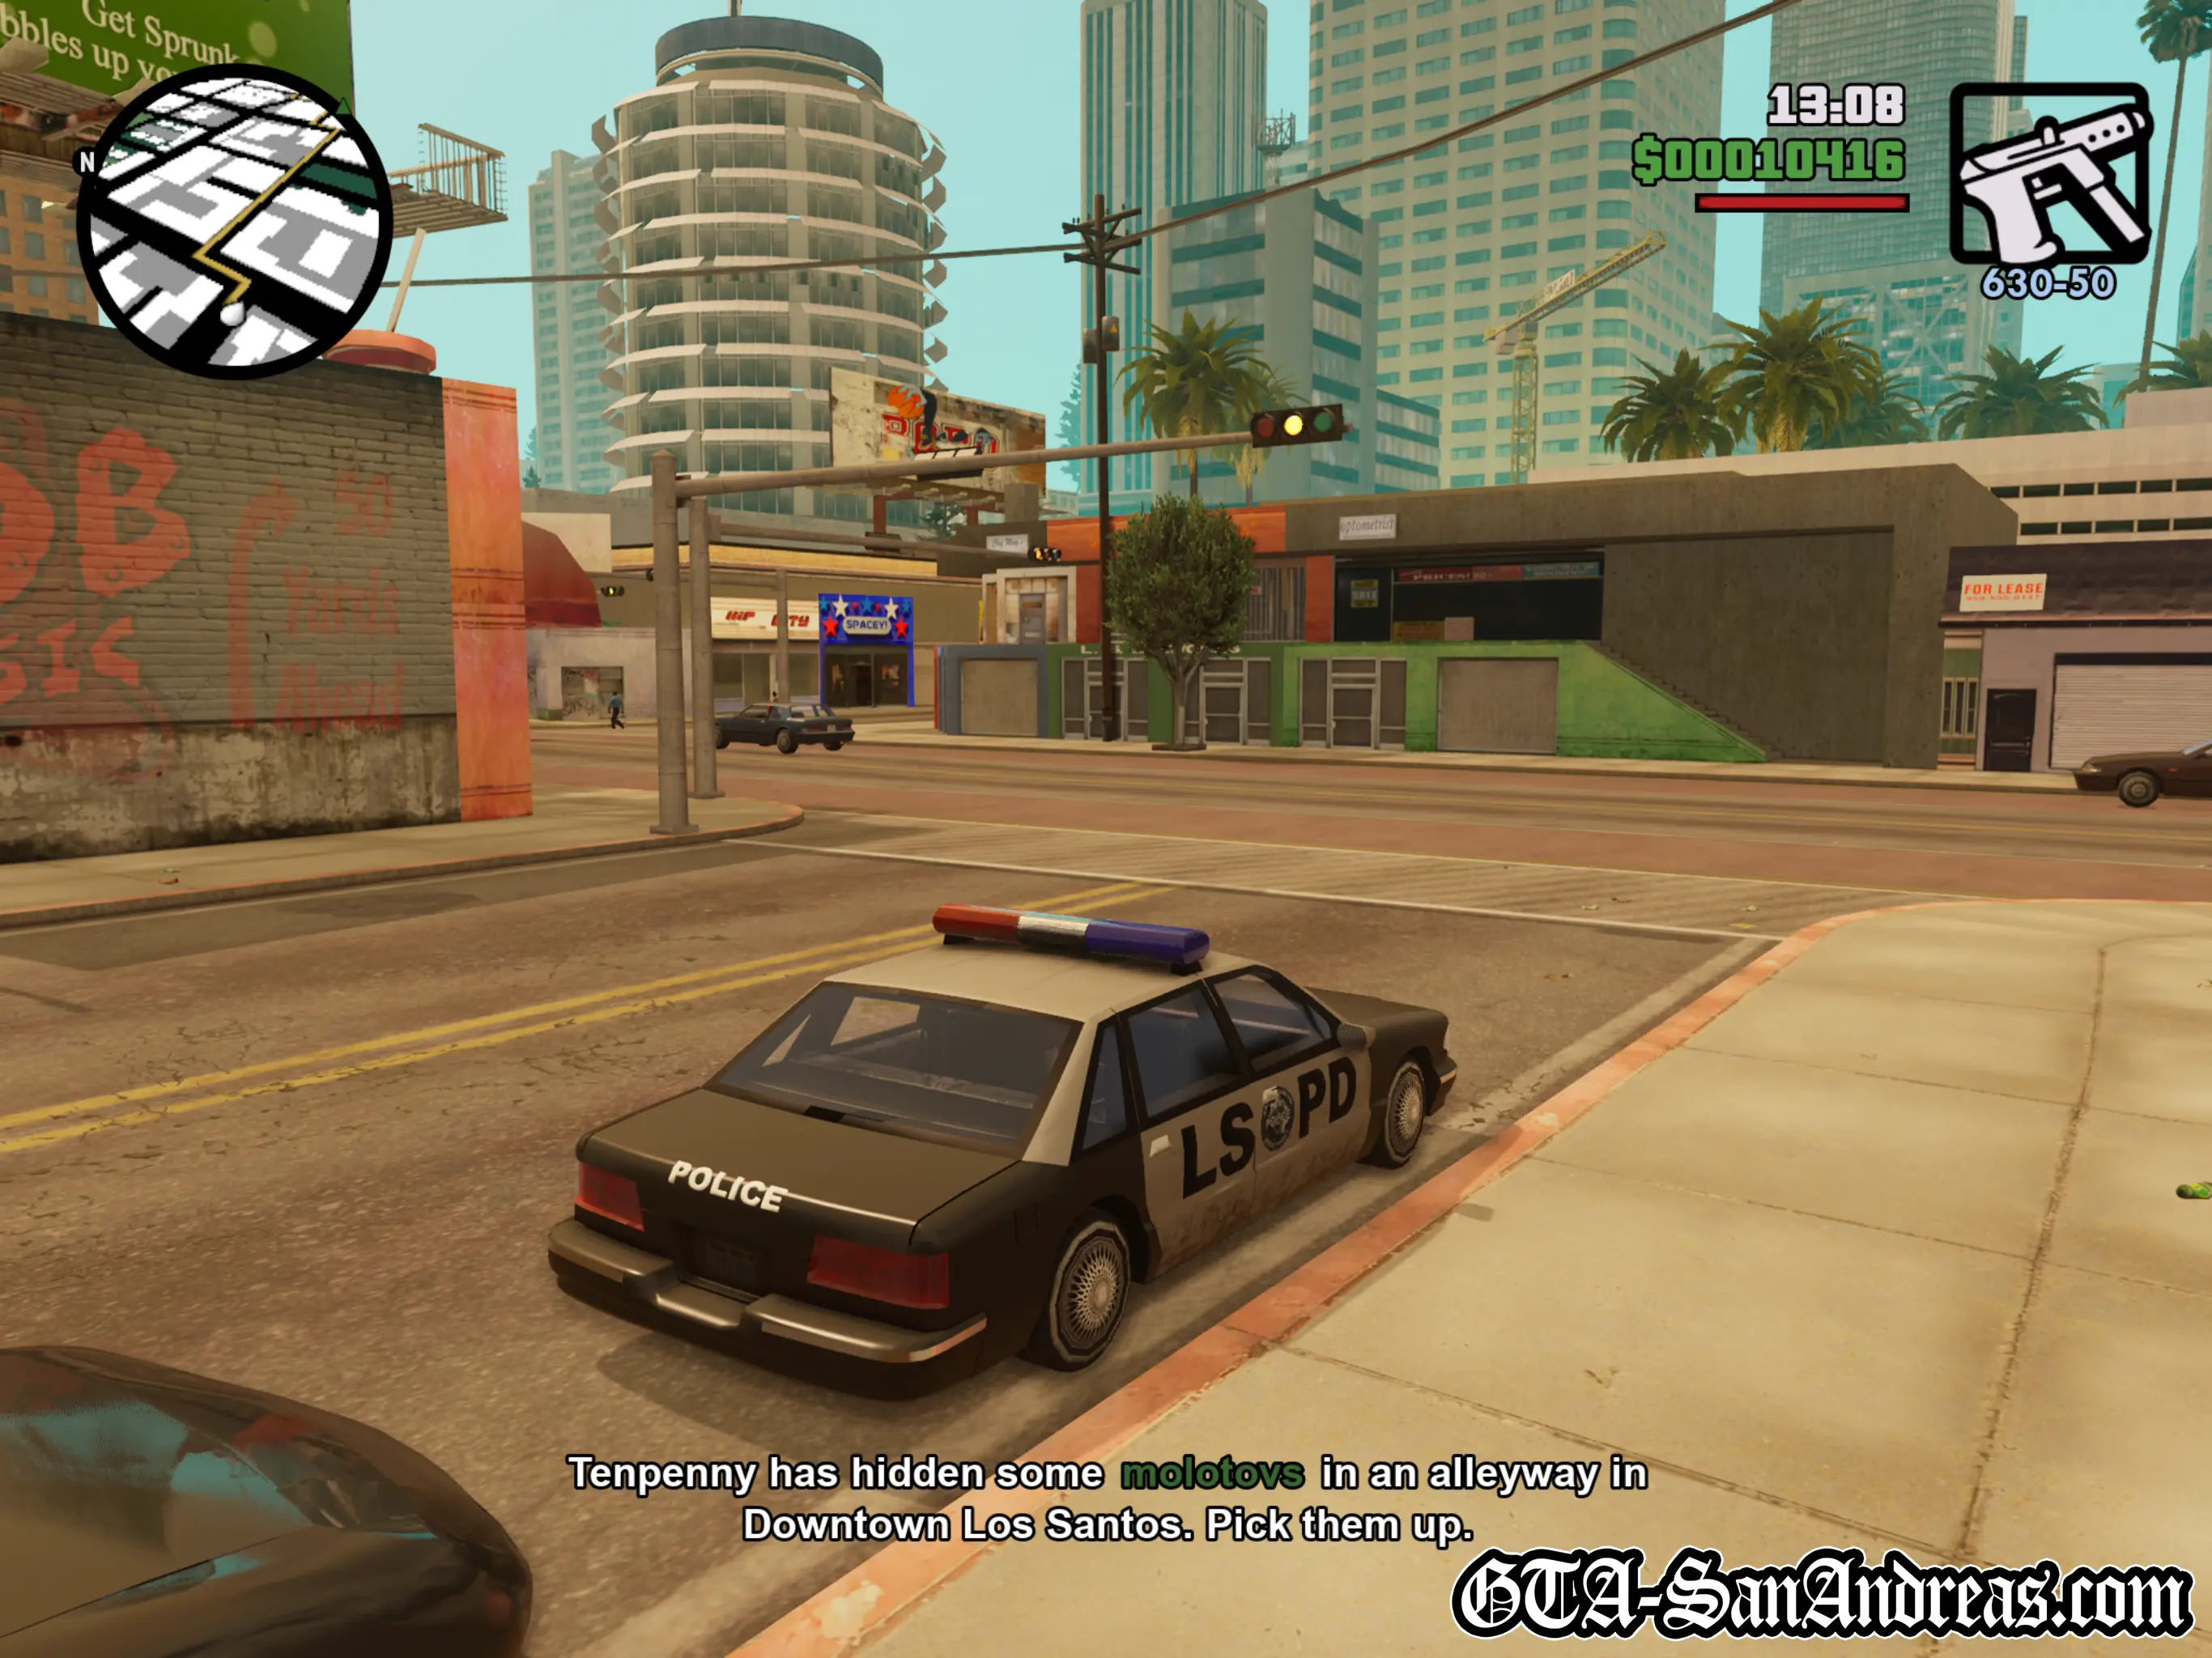
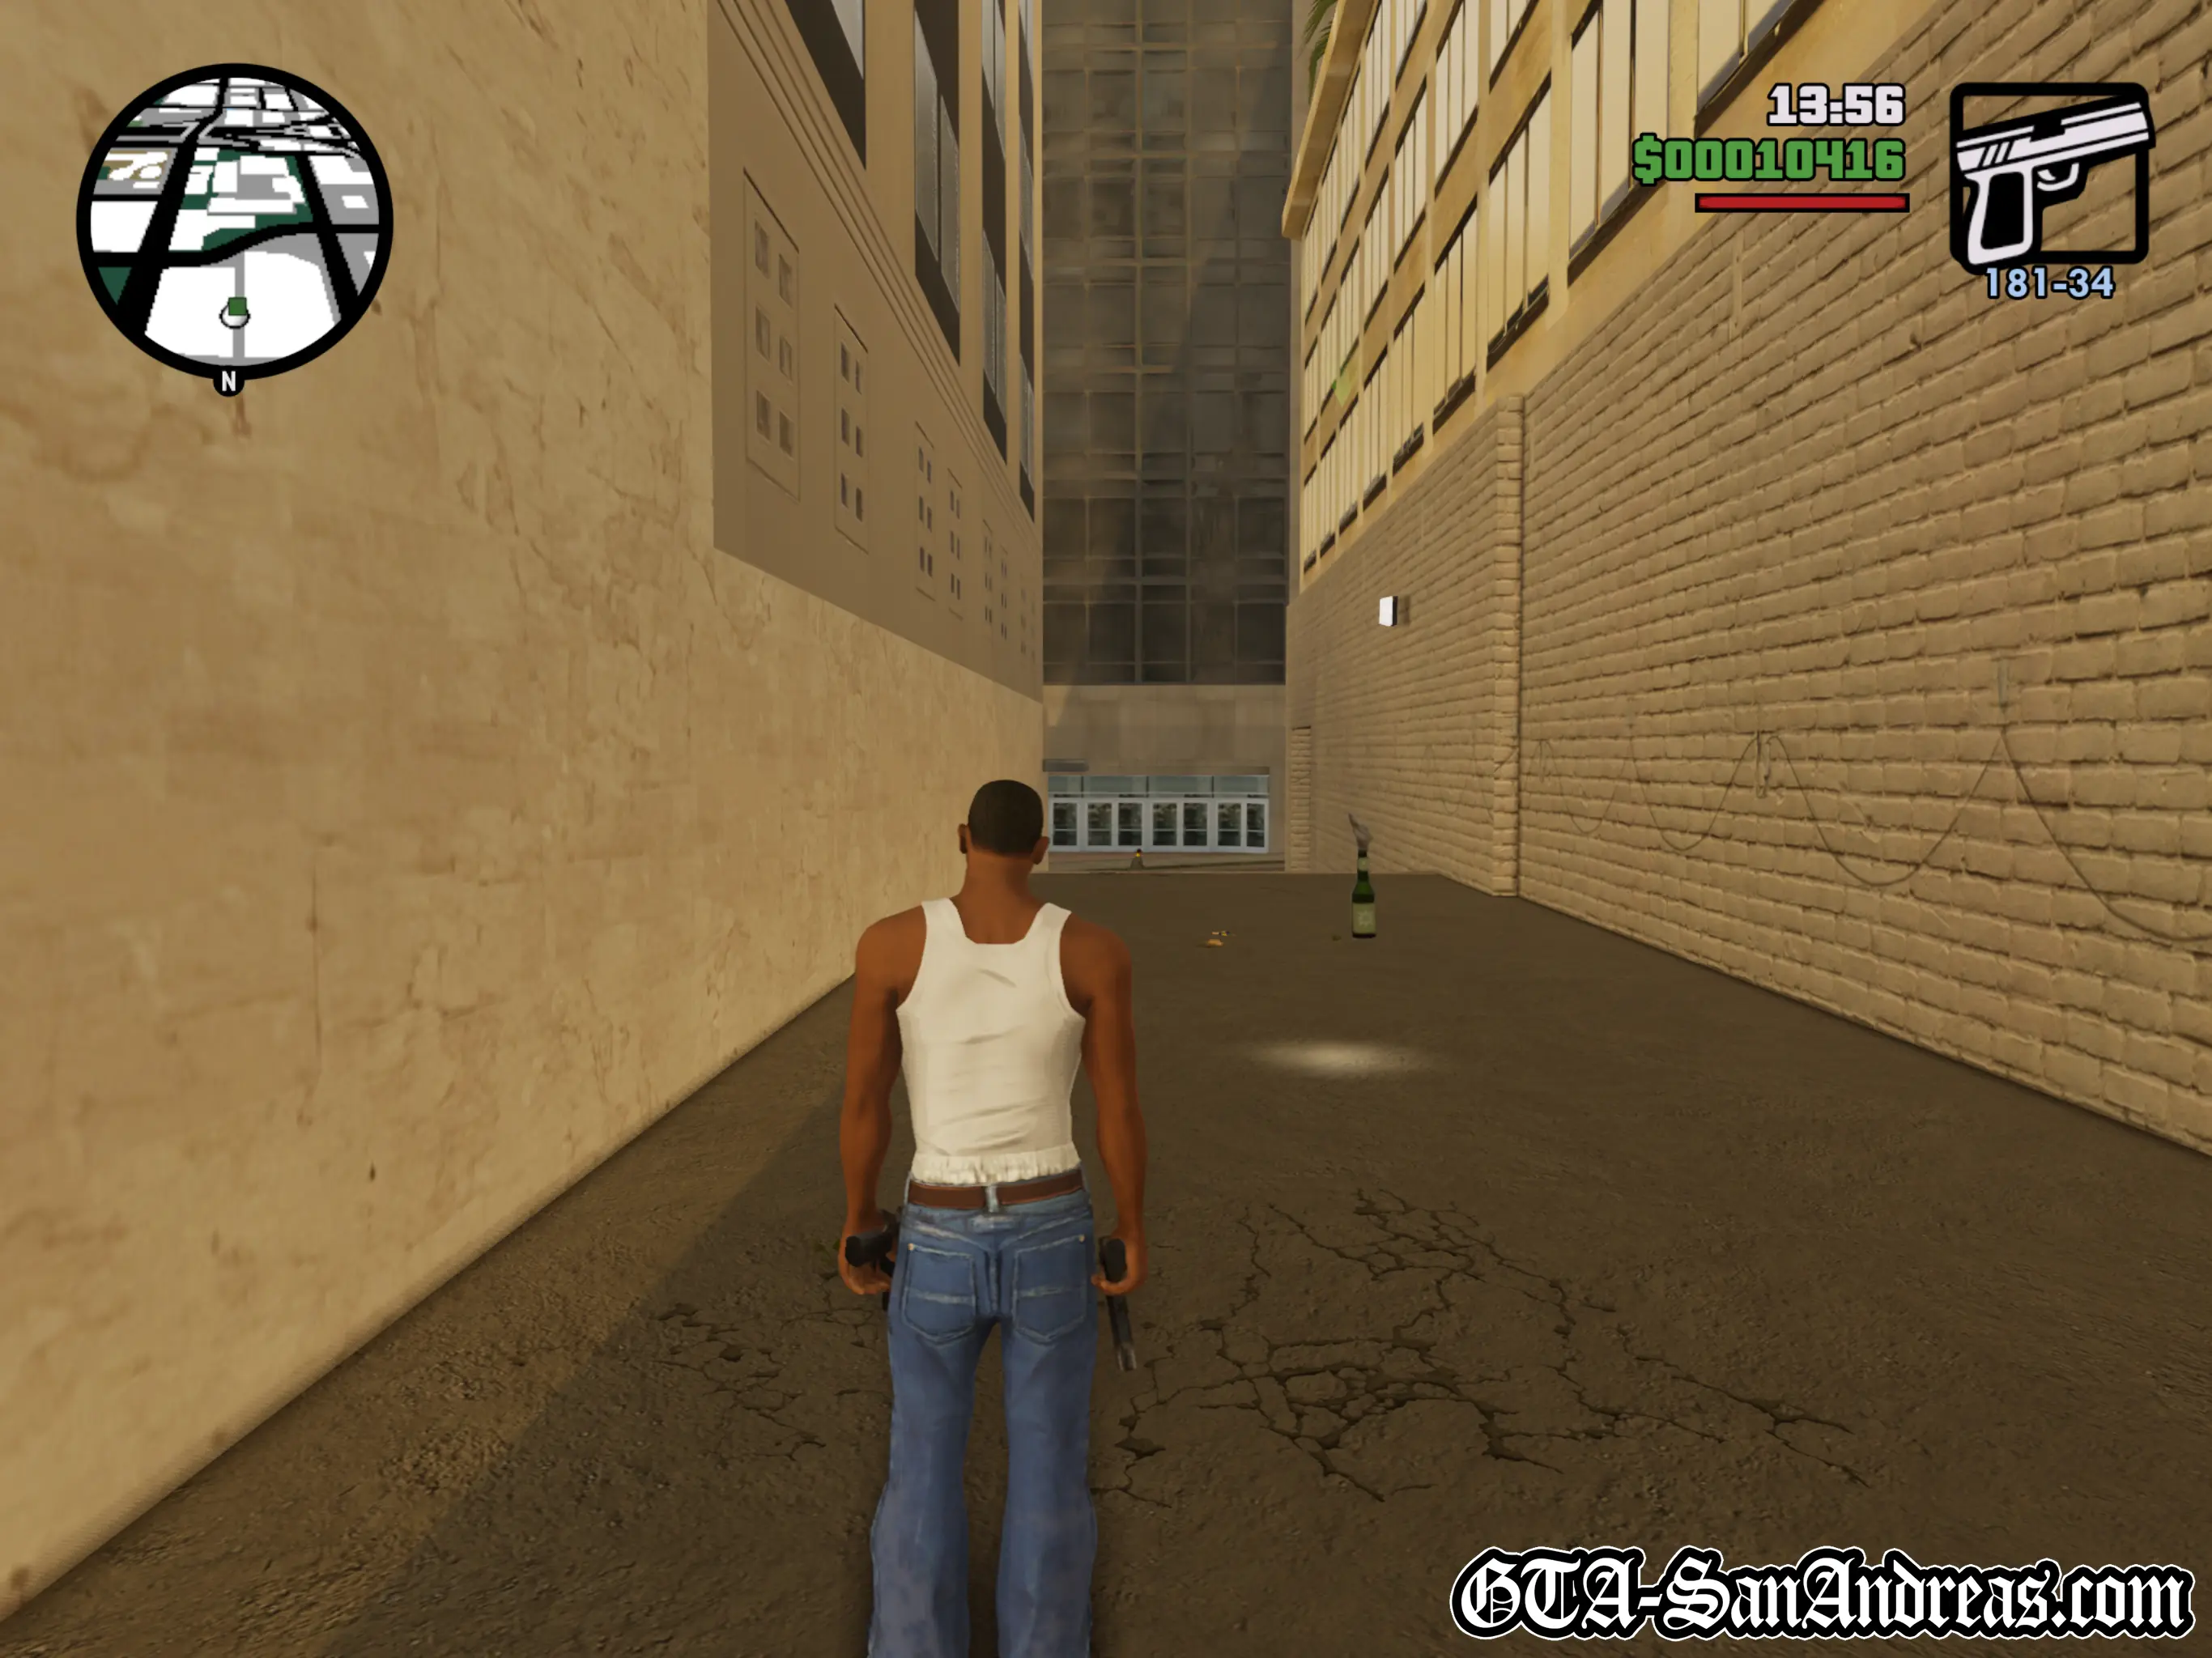
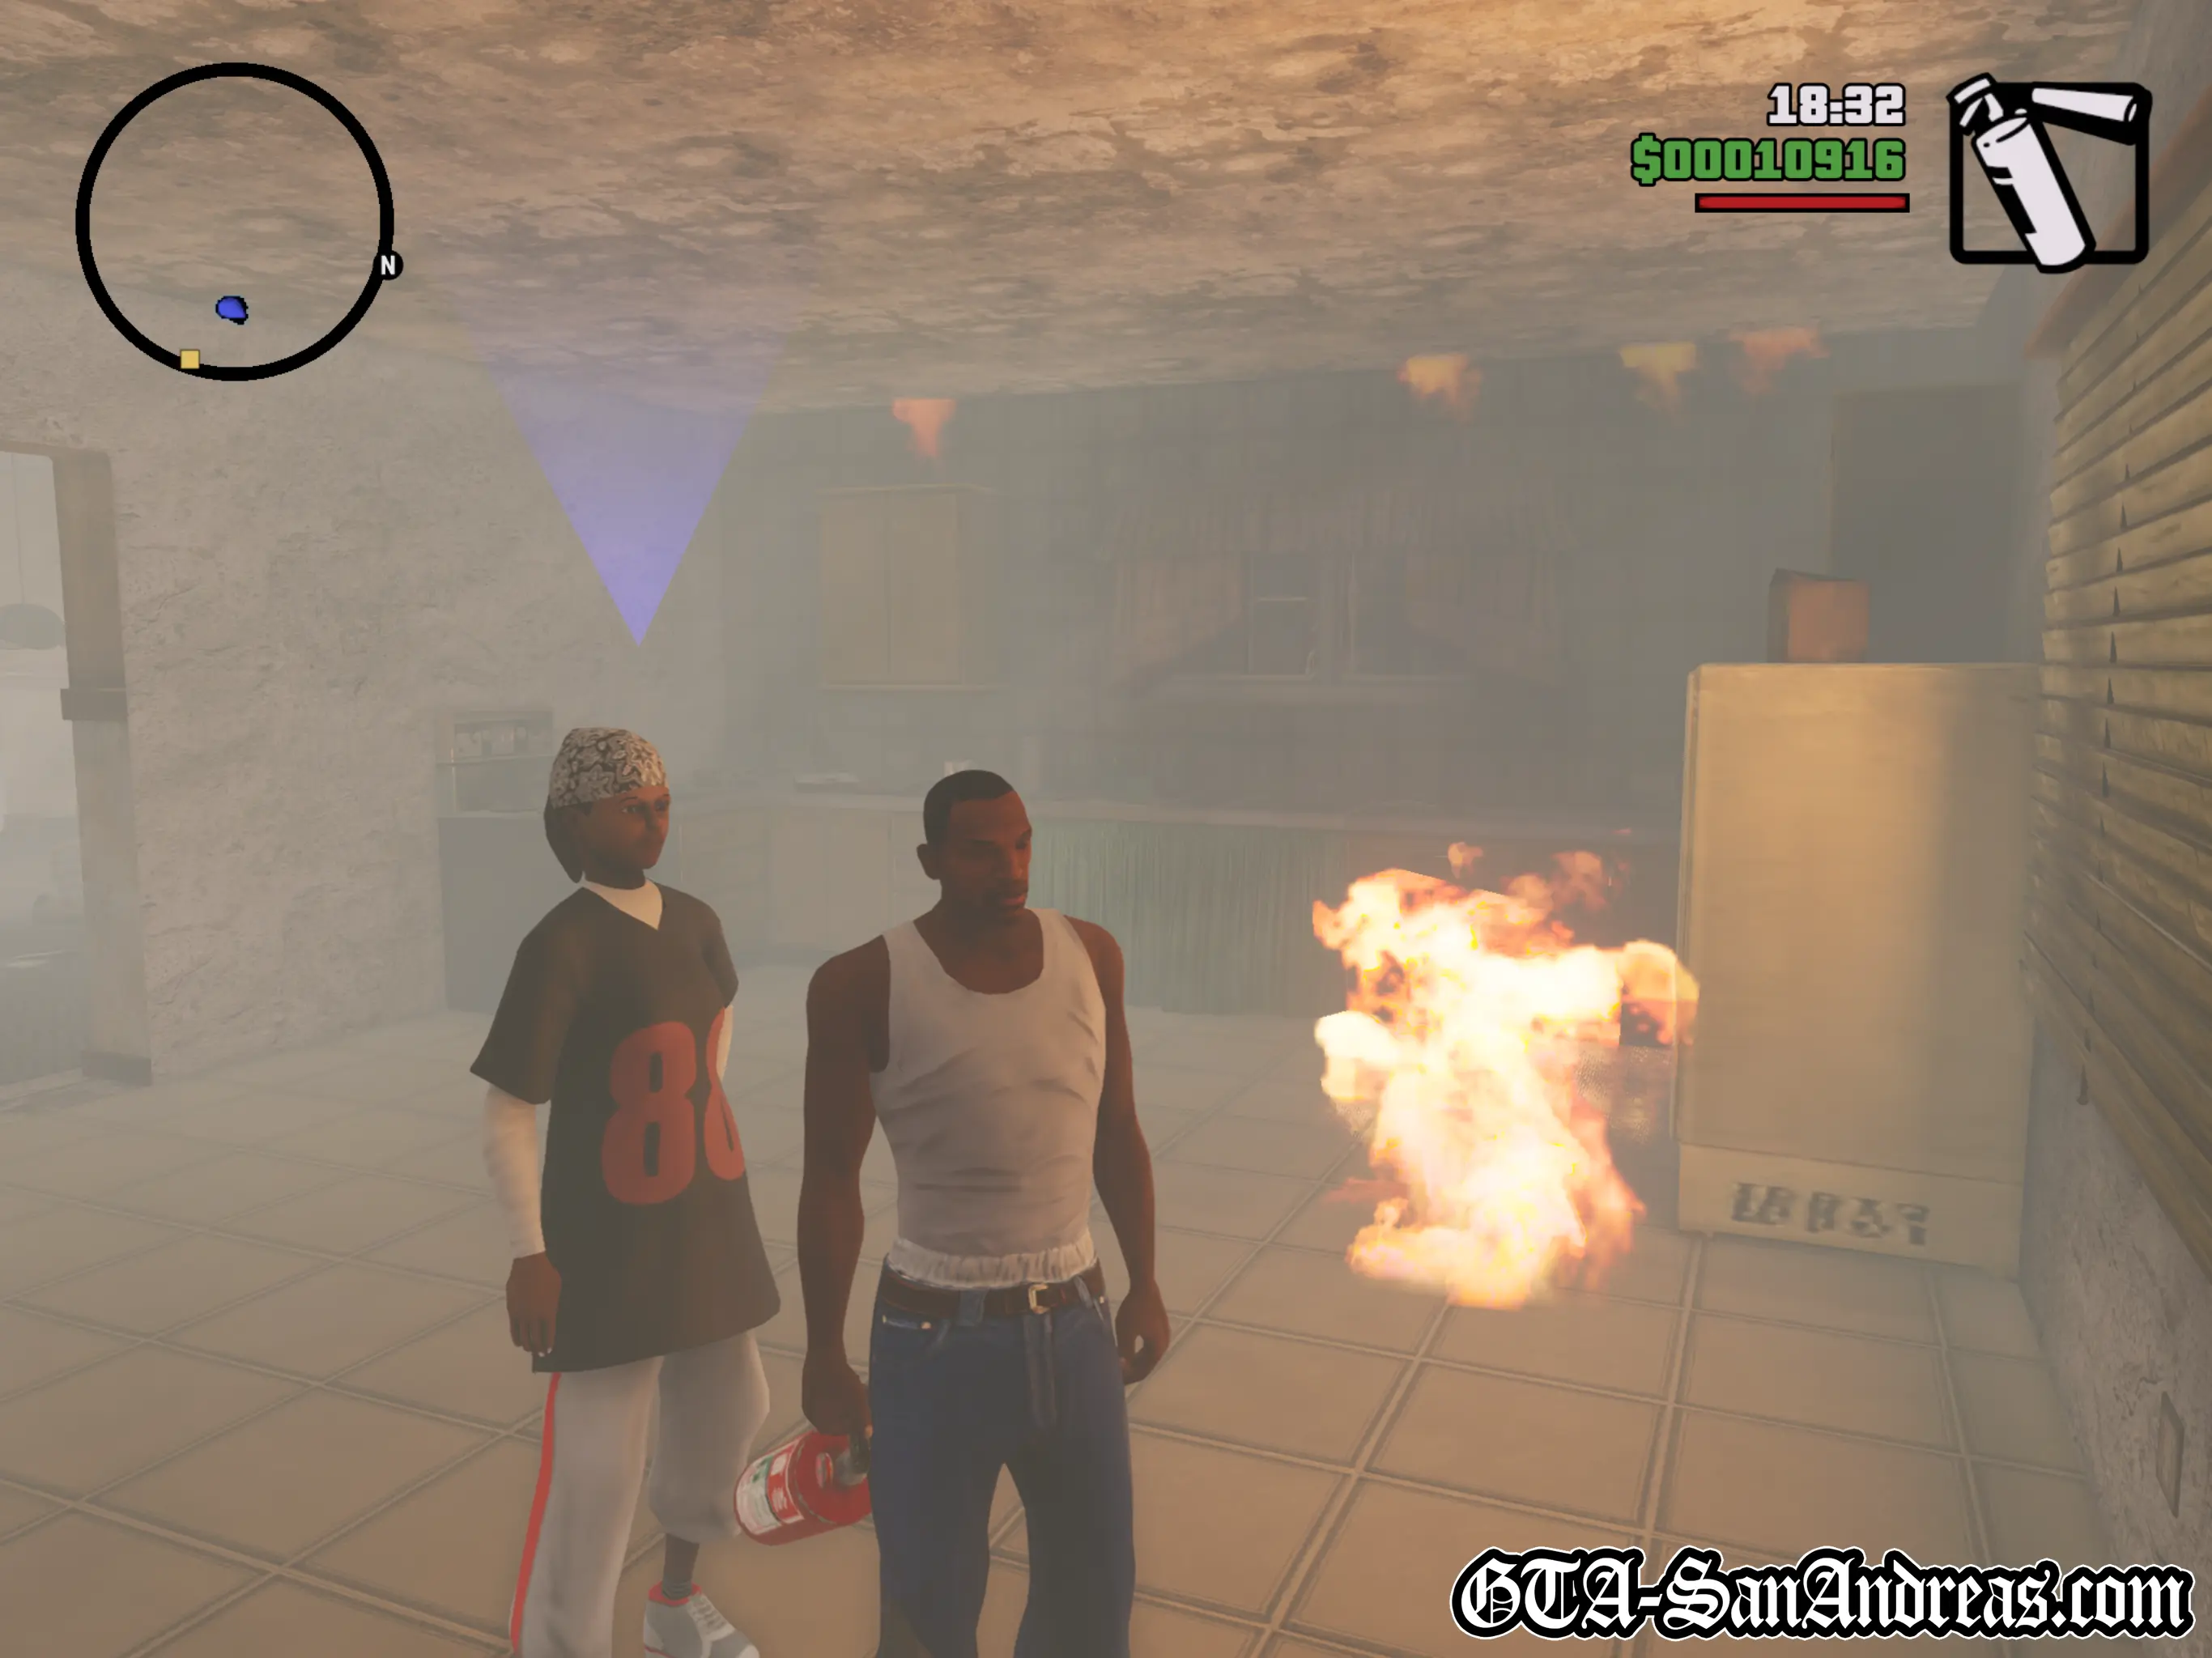
After the cutscene you'll be outside and a message will inform you Tenpenny has hidden some Molotov Cocktails in an alleyway in Downtown Los Santos.
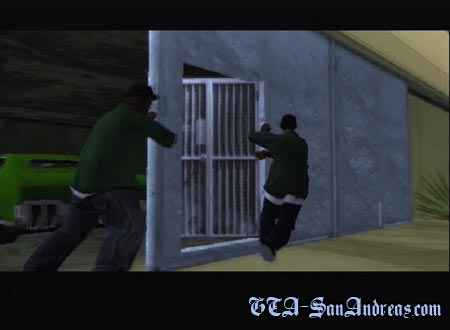
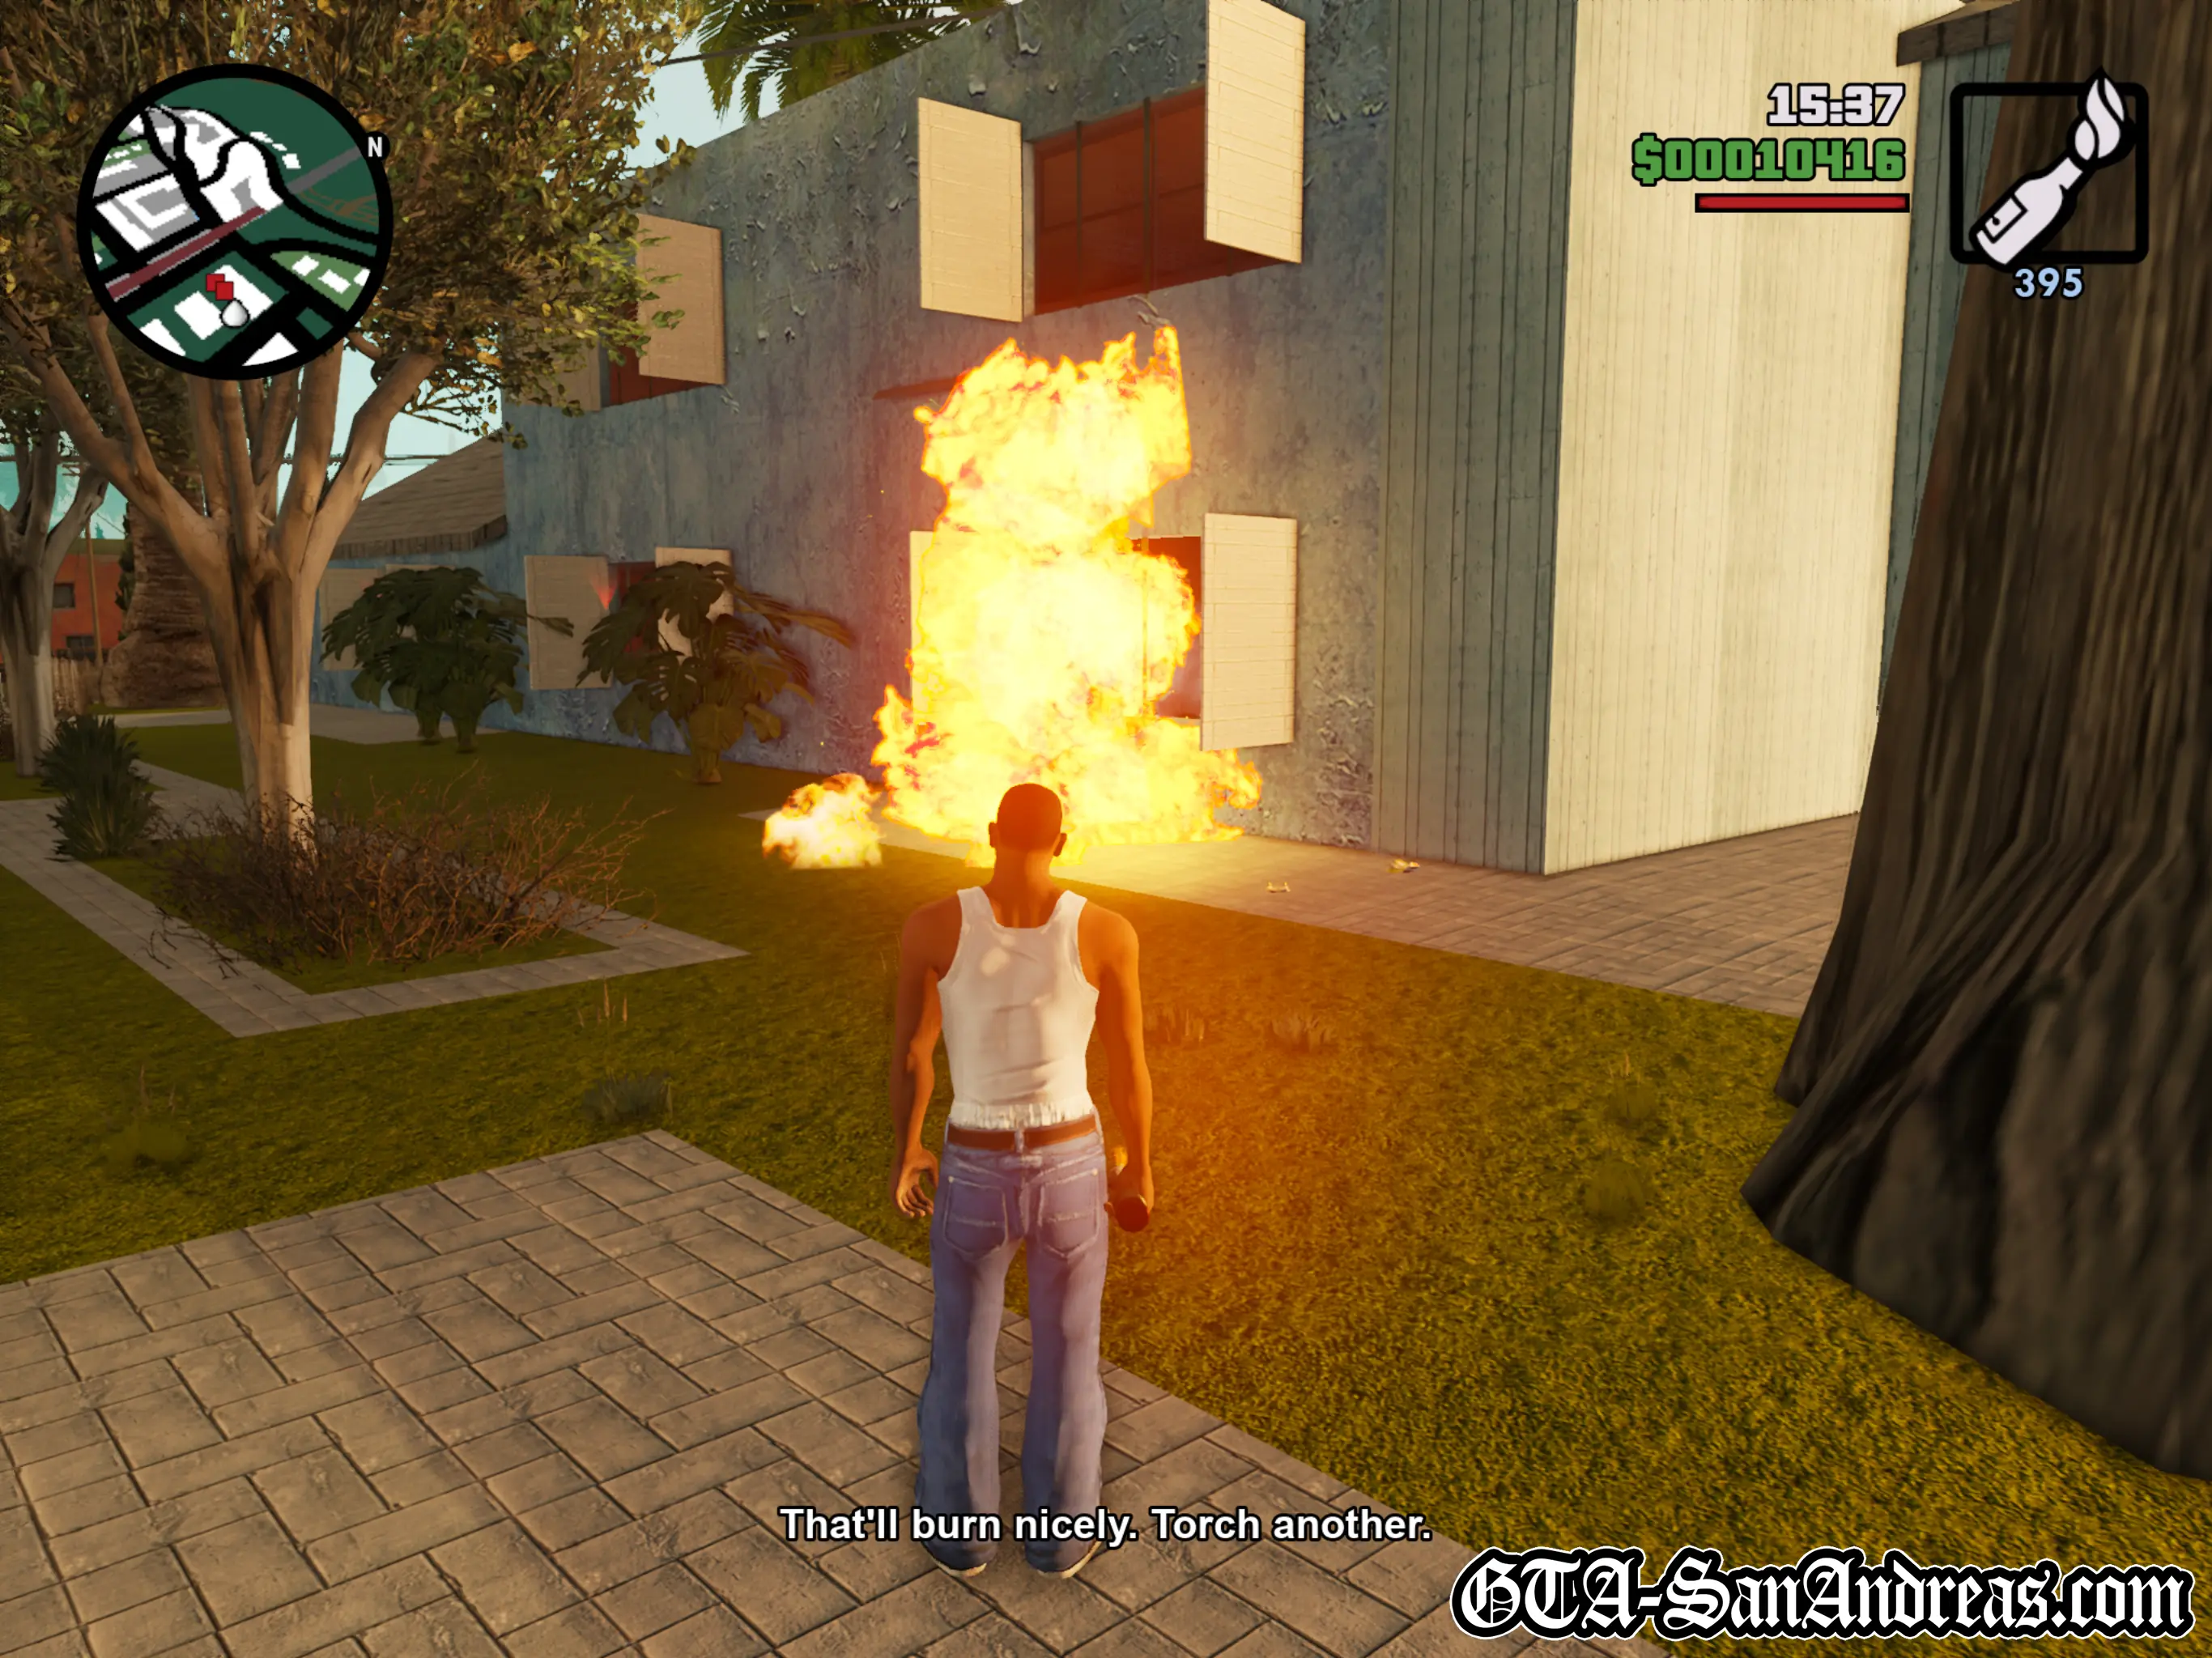
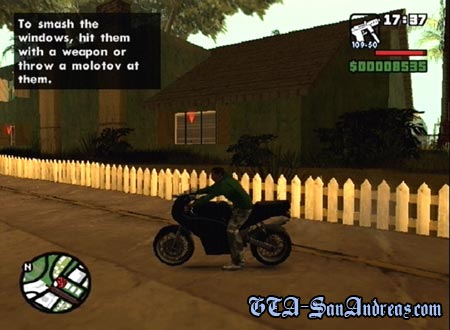
Head over to the alley and pick up the molotovs. Once you've got them you'll be told to go to the gang house and torch it. So make your way over to the yellow blip on the radar.
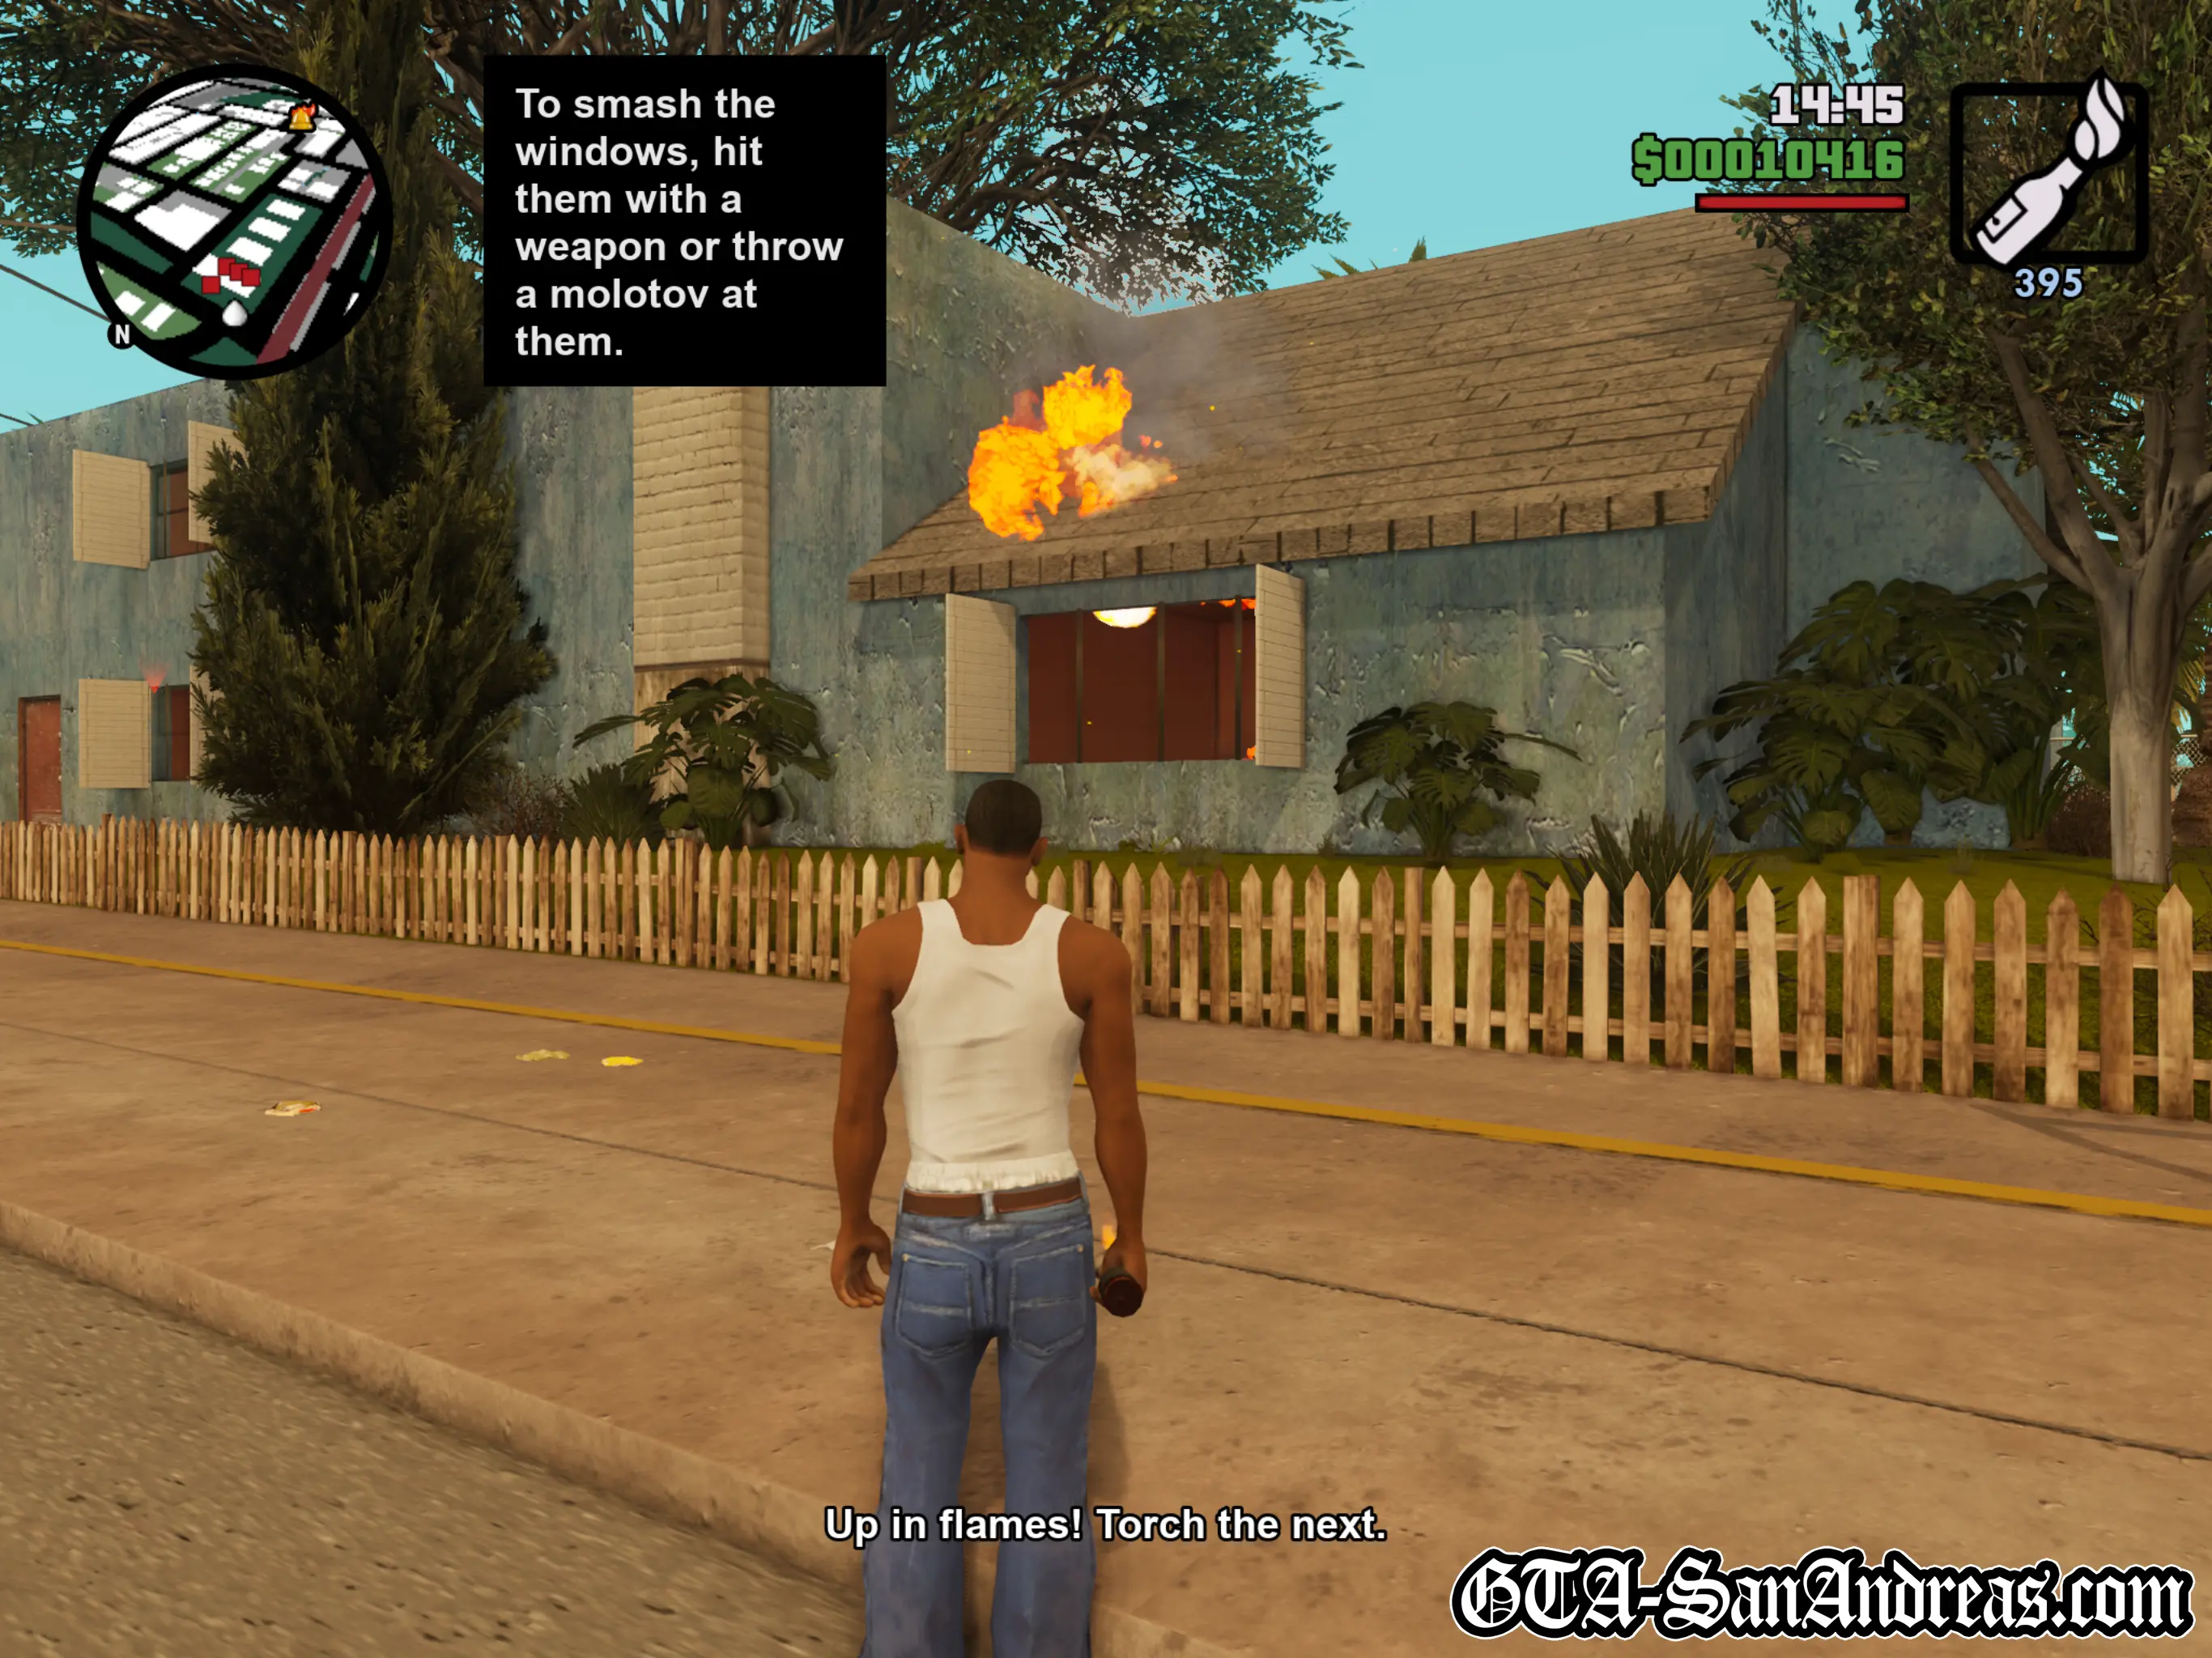
When you get there you'll be told to smash all of the windows, which you can do by throwing molotov cocktails through them, so work your way around the building and optionally shoot each of the arrowed windows out.
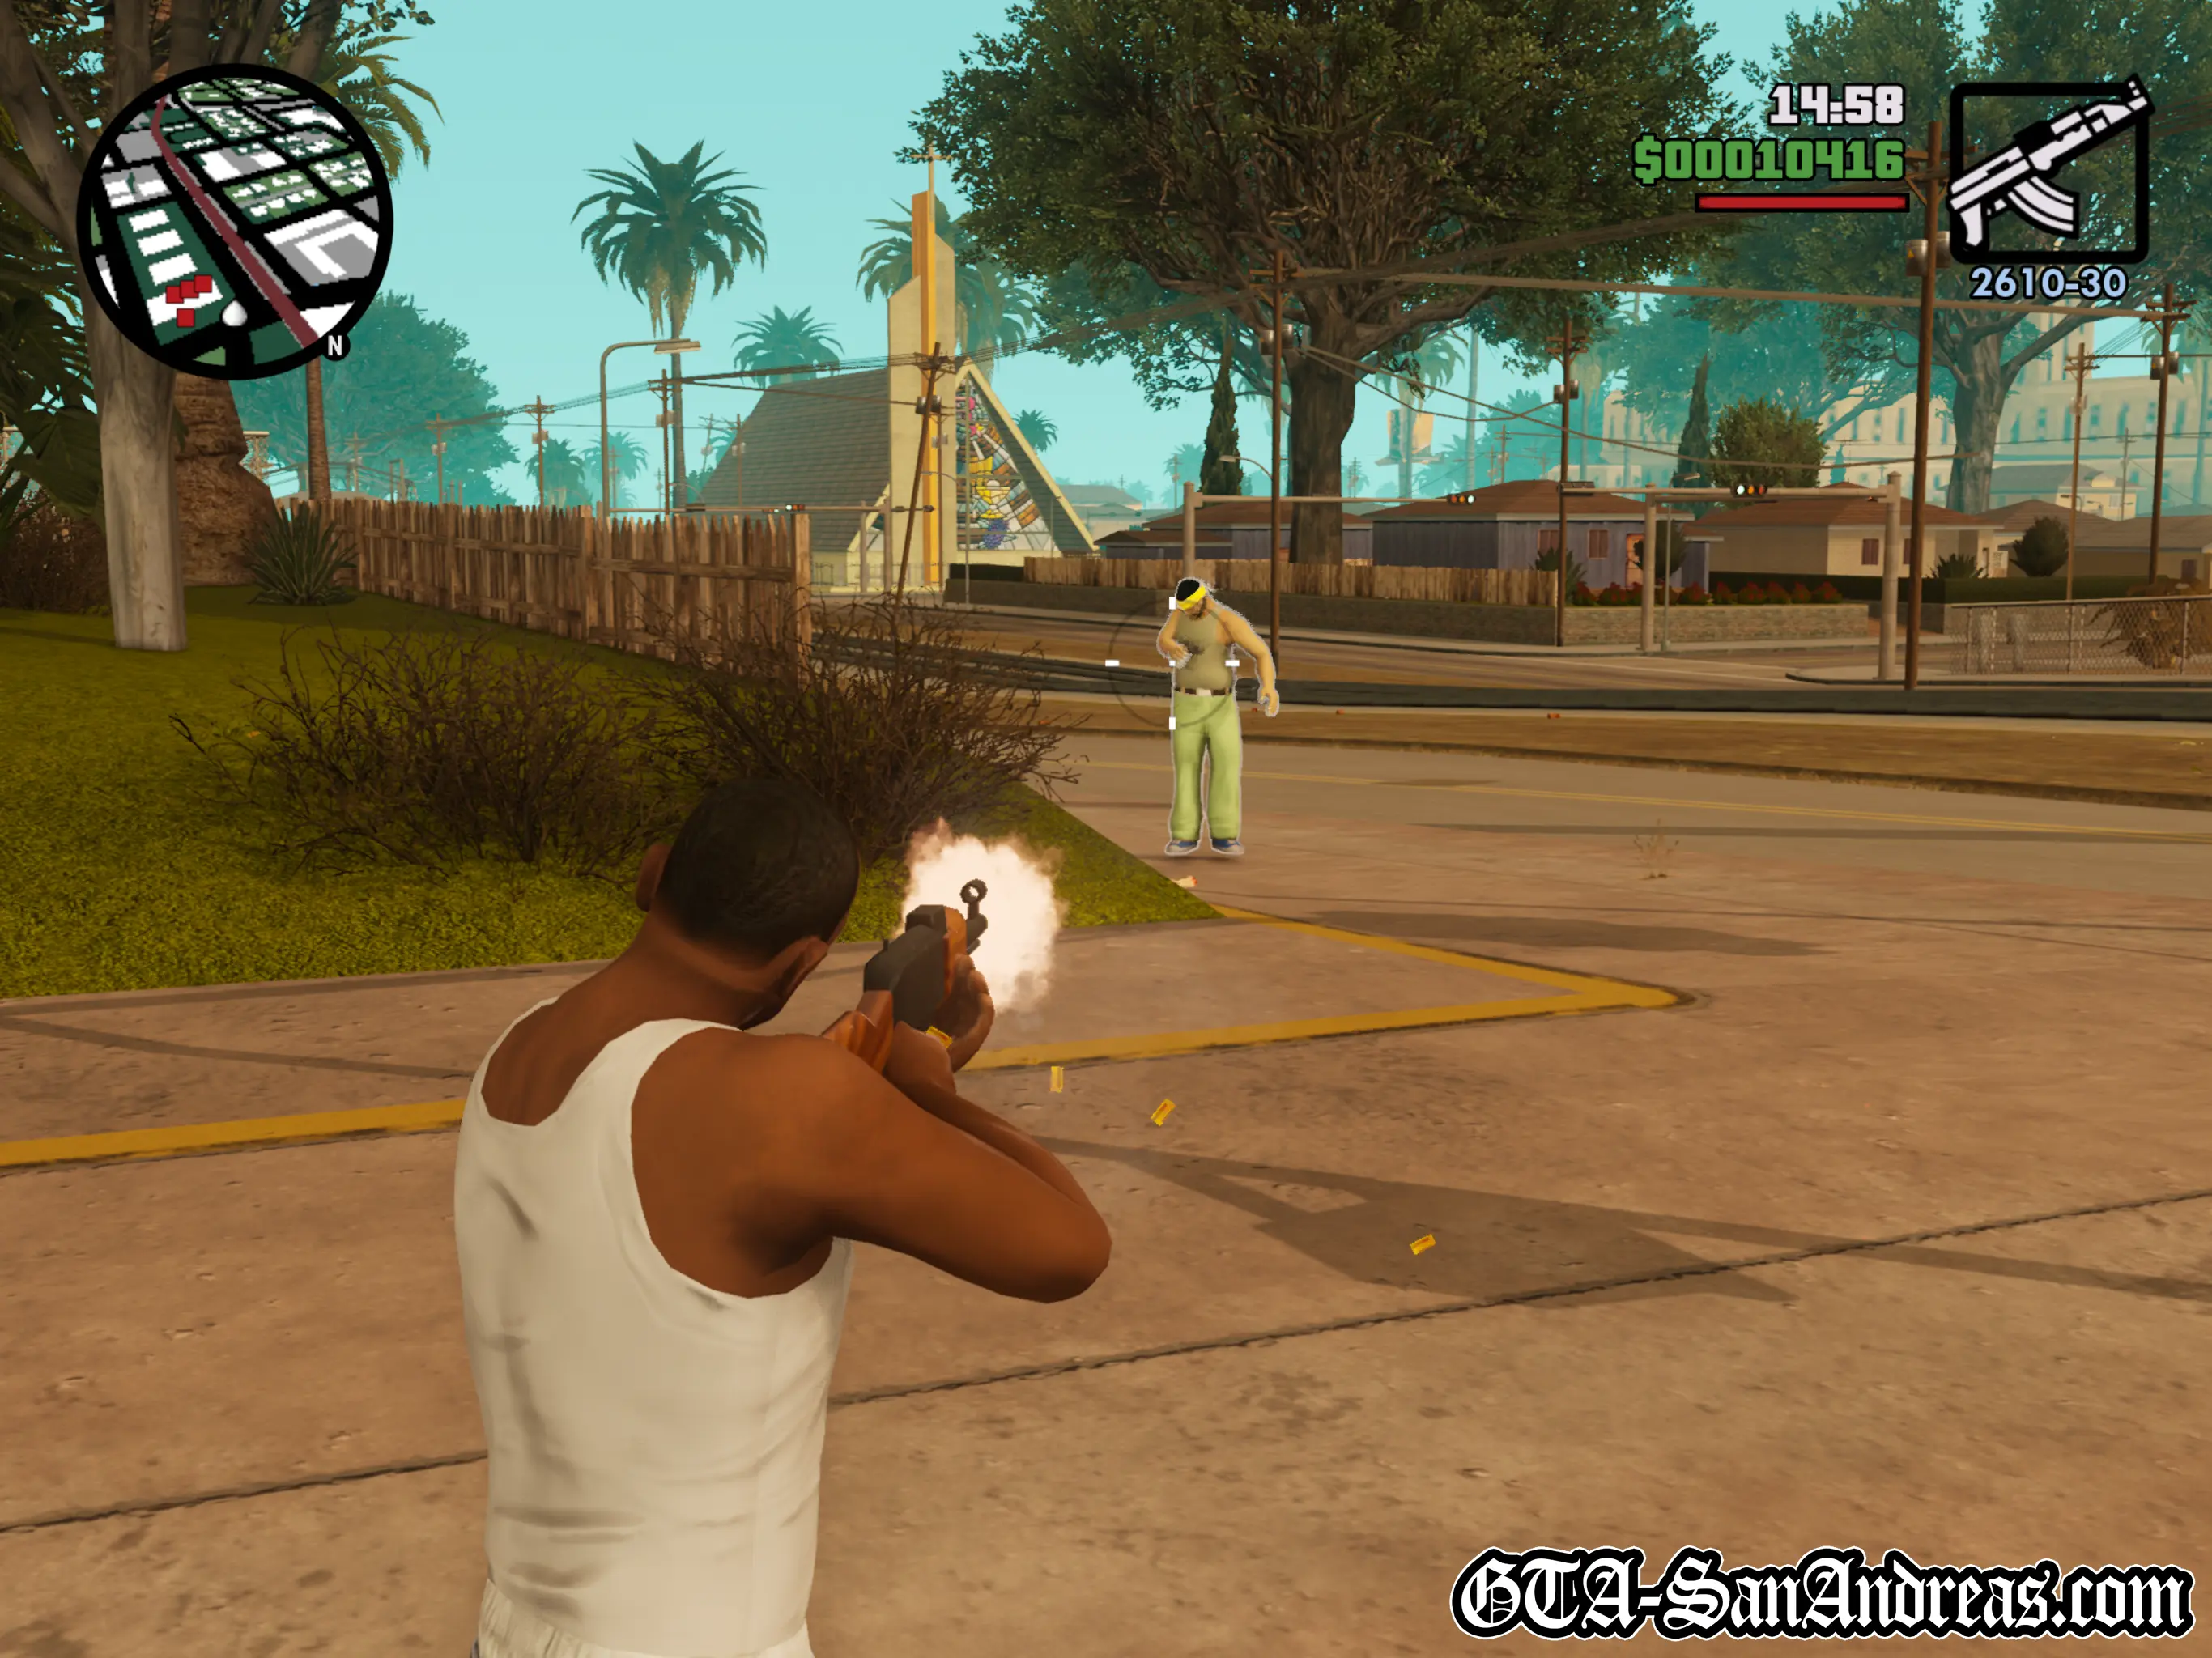
You'll need to take care of the five or so Vagos gang members hanging around there first though.
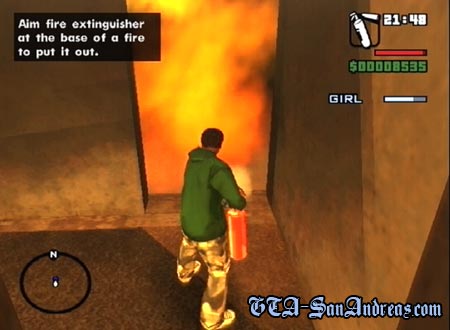
Throw a Molotov cocktail into each window. Be careful not to get caught in the blast though, or you'll slowly burn to death (unless you've completed the fightfighter missions, in which case the flames will do you no harm and you can play around in them).
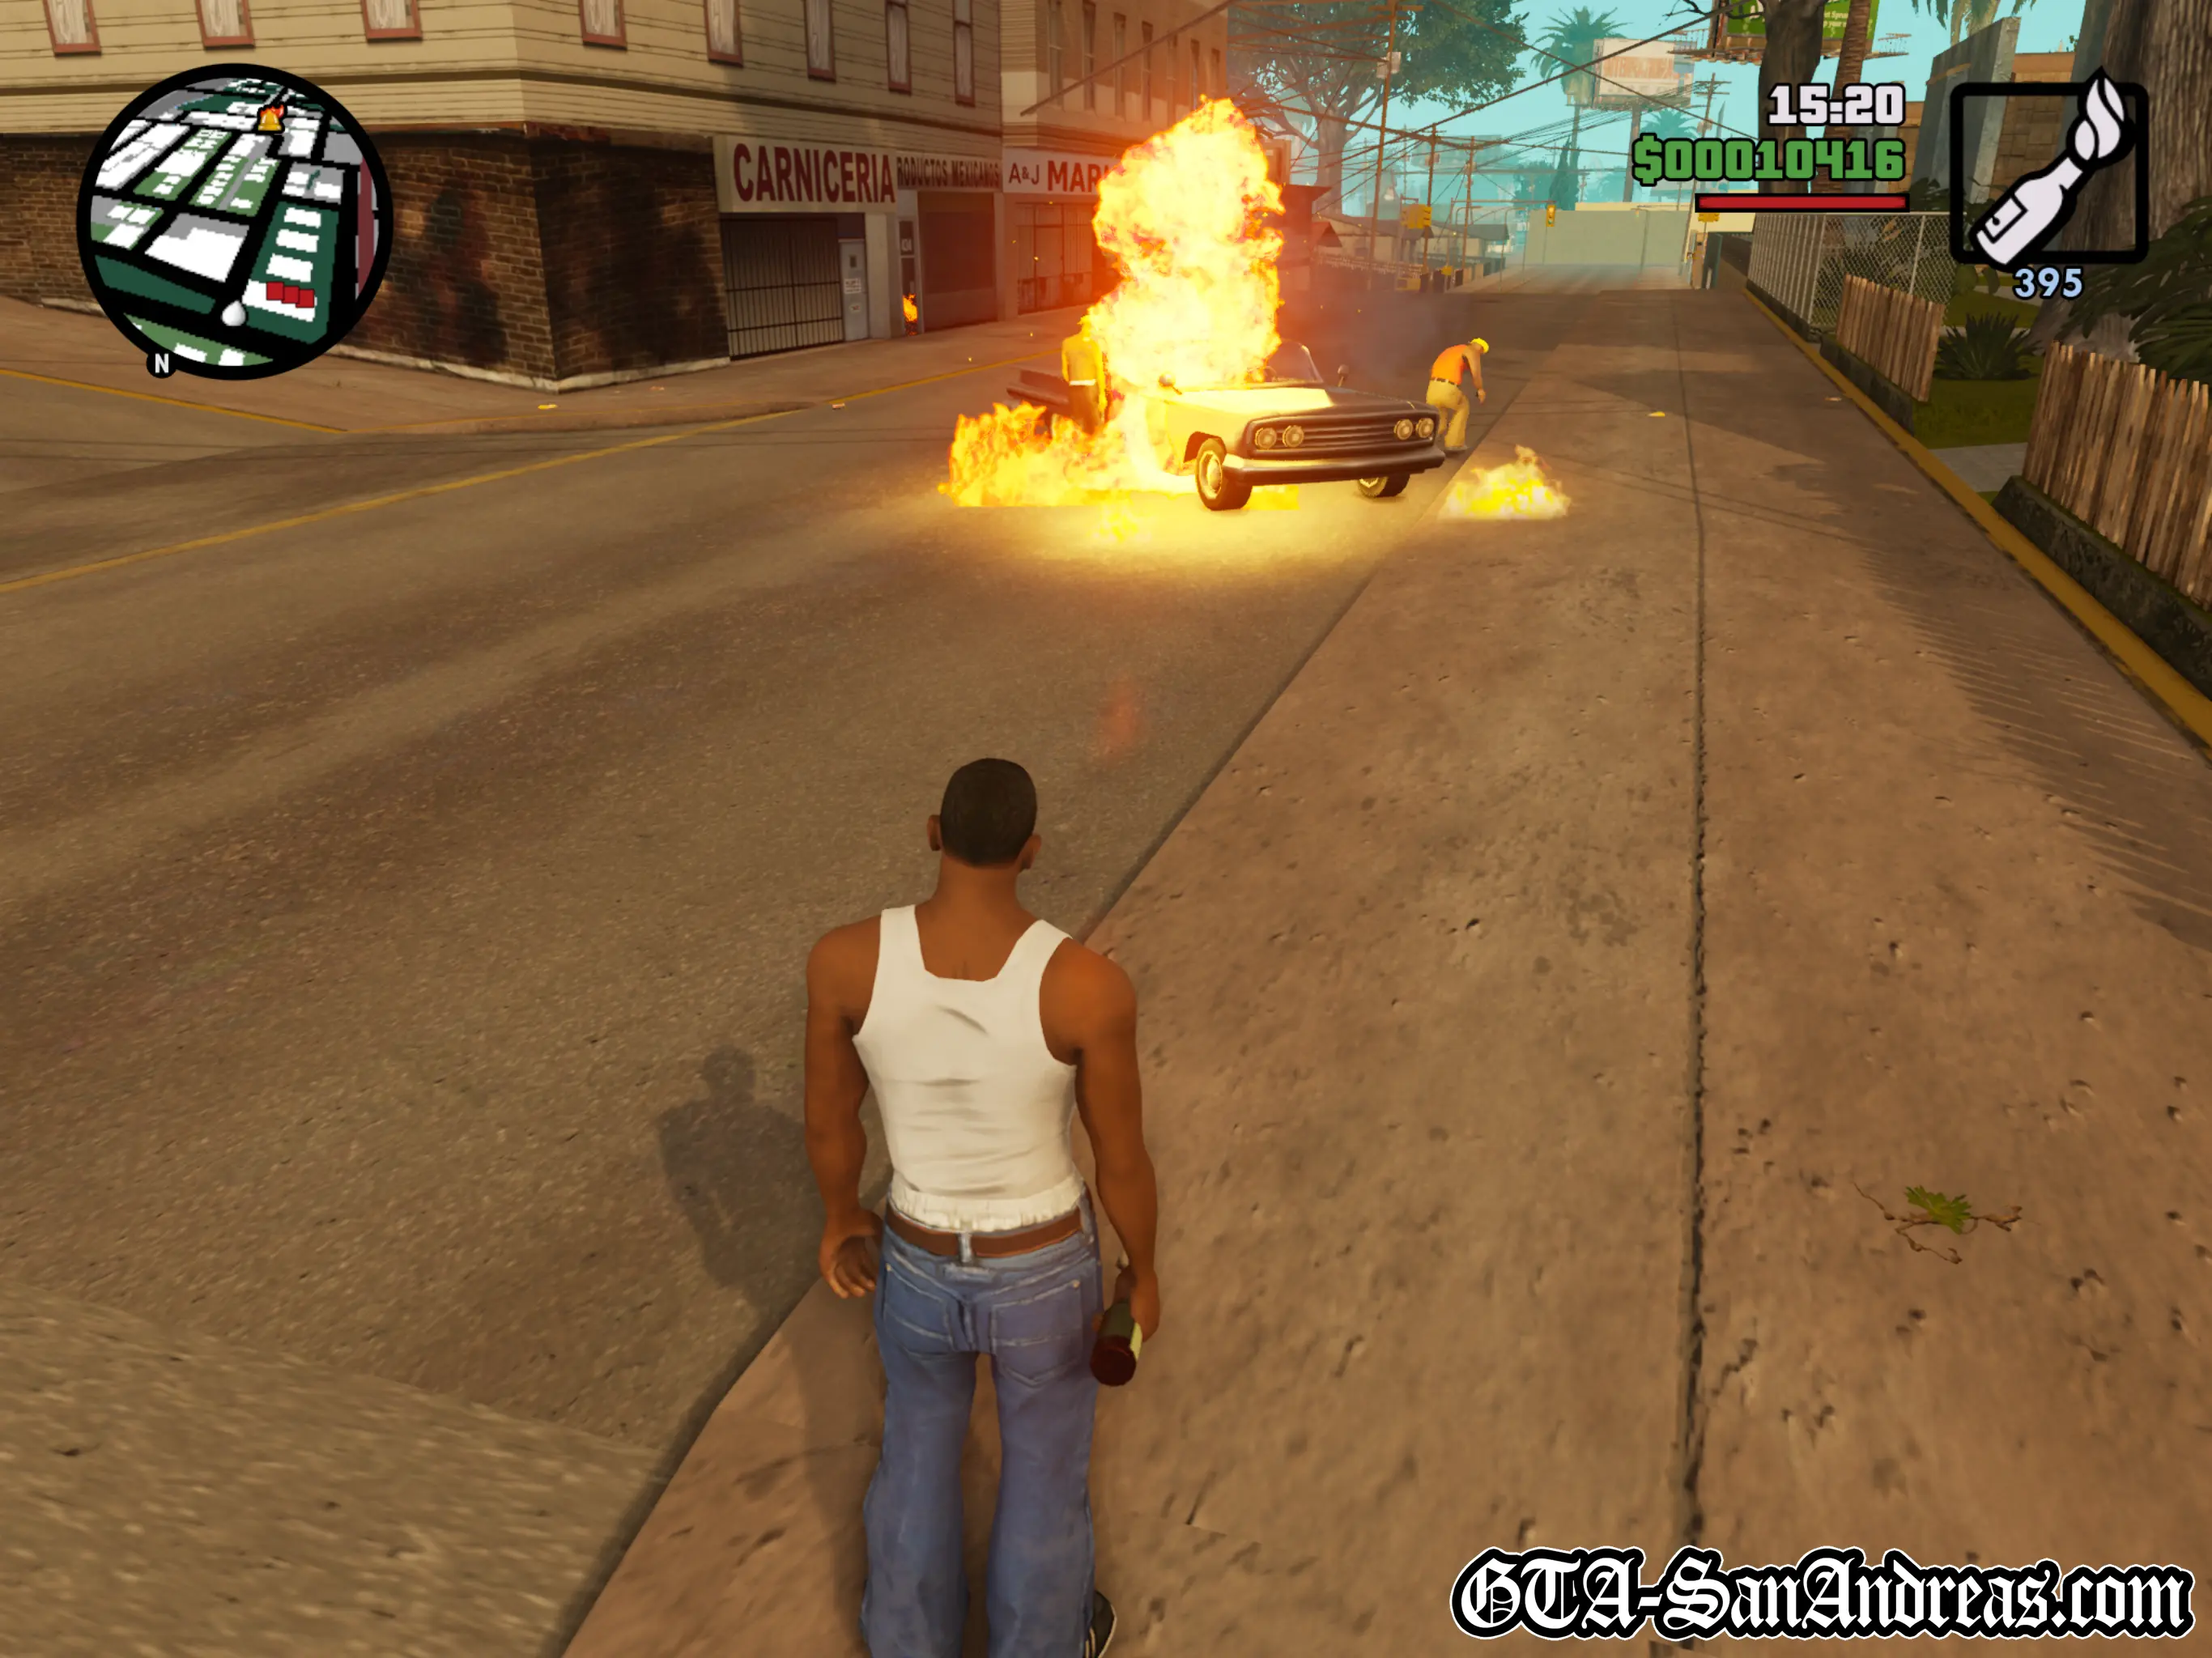
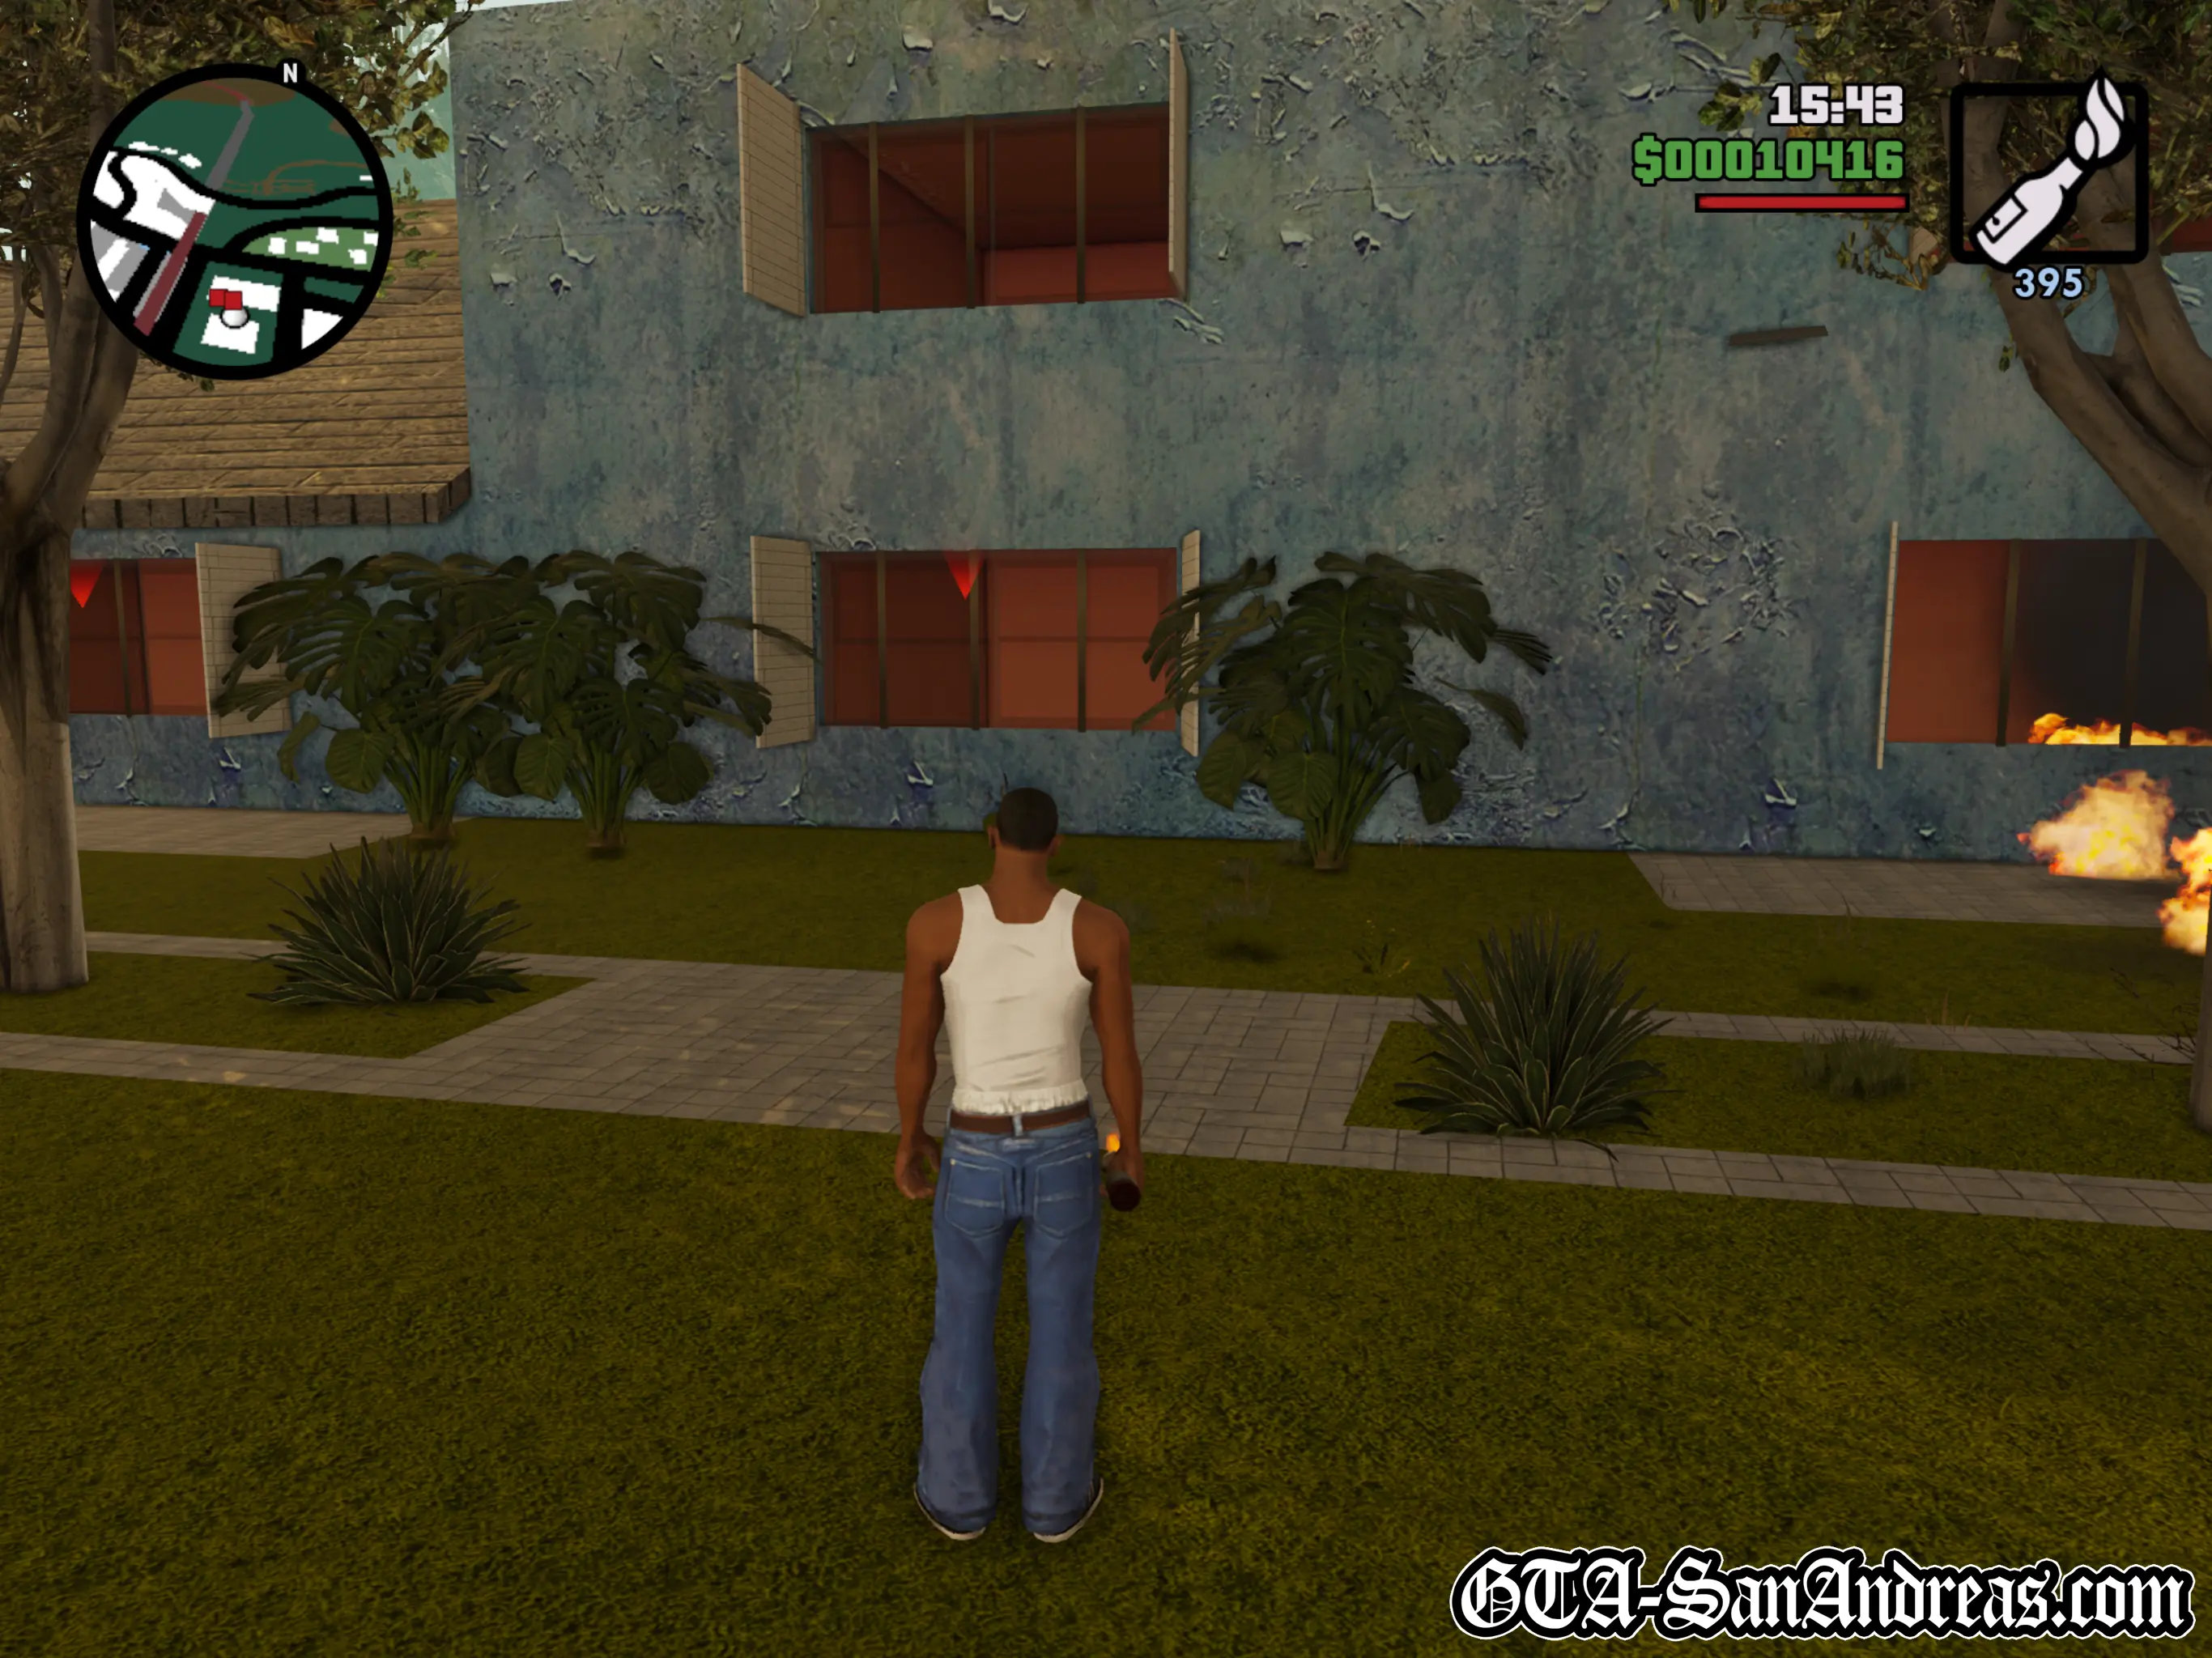
I'd suggest starting at the back of the house and taking out those three windows. After that a Vagos car will appear at the front so head around and kill them, then set fire to the other two windows.
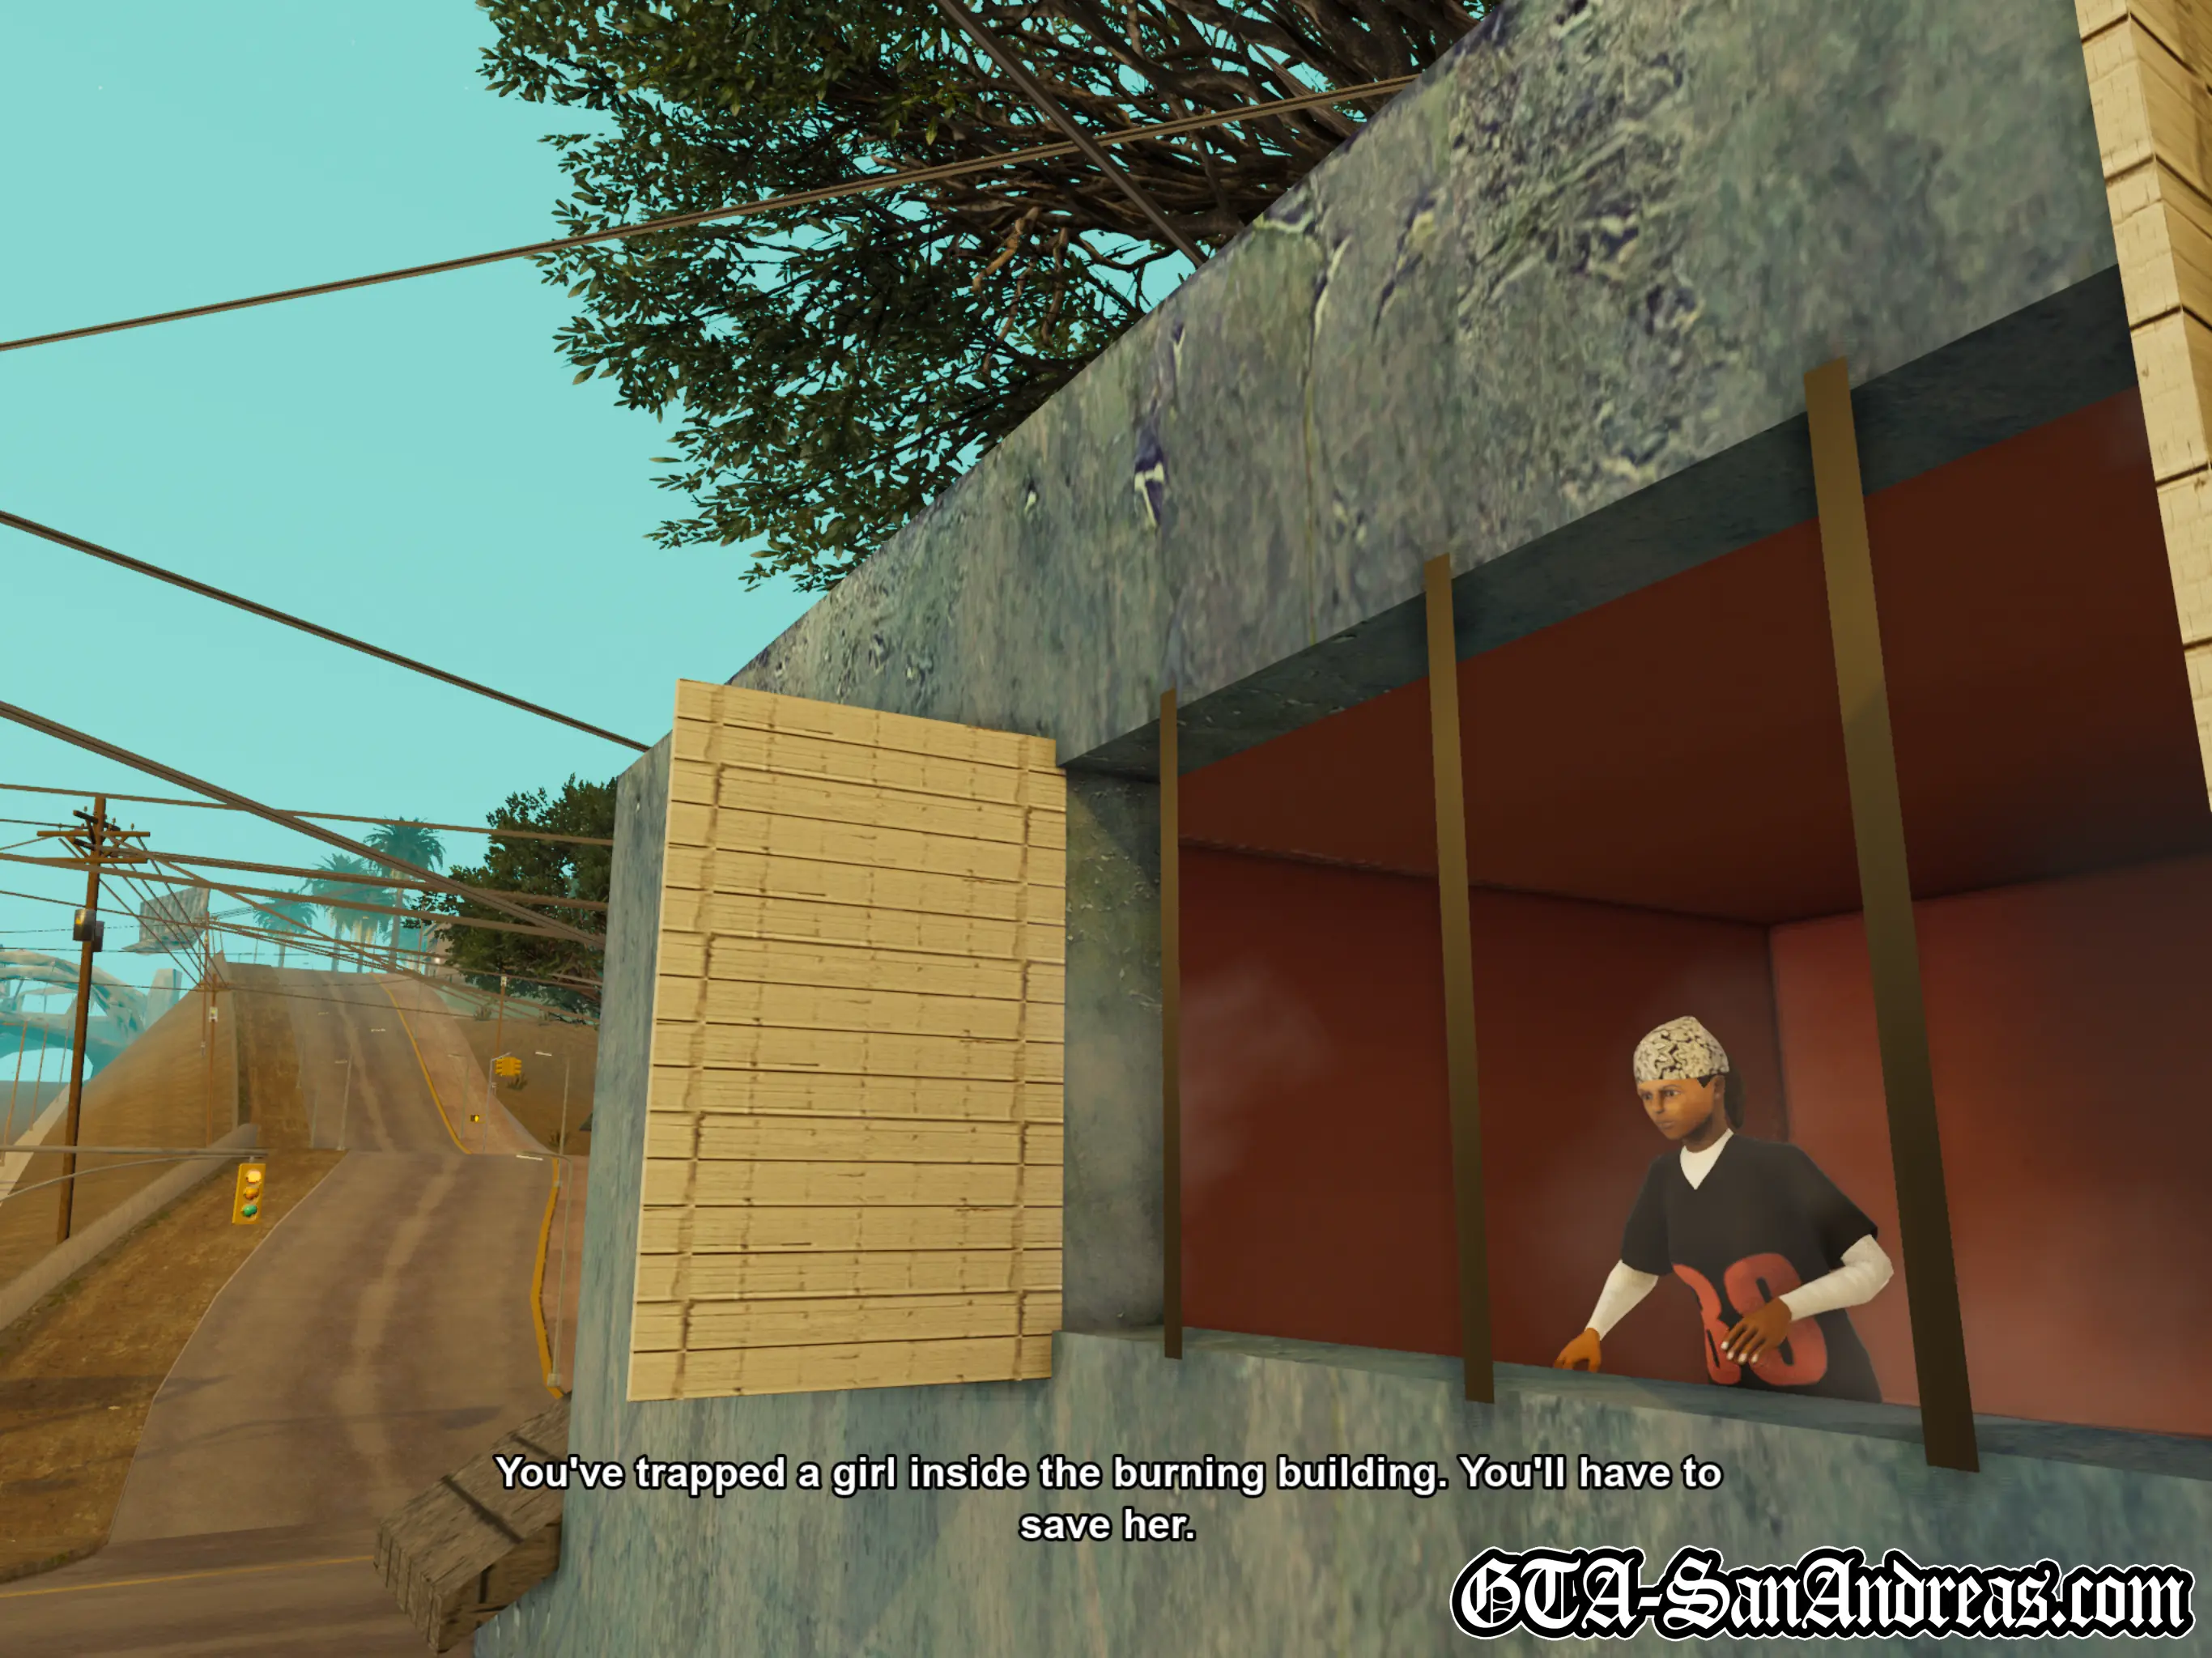
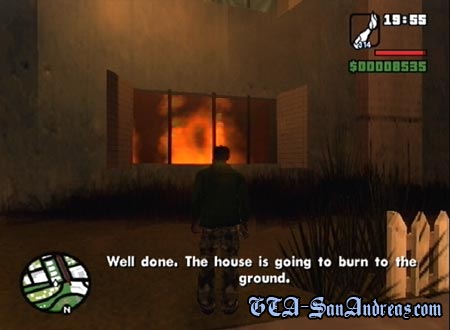
Now the house is burning to the ground, but wait! You've trapped a girl, and now you need to save her!
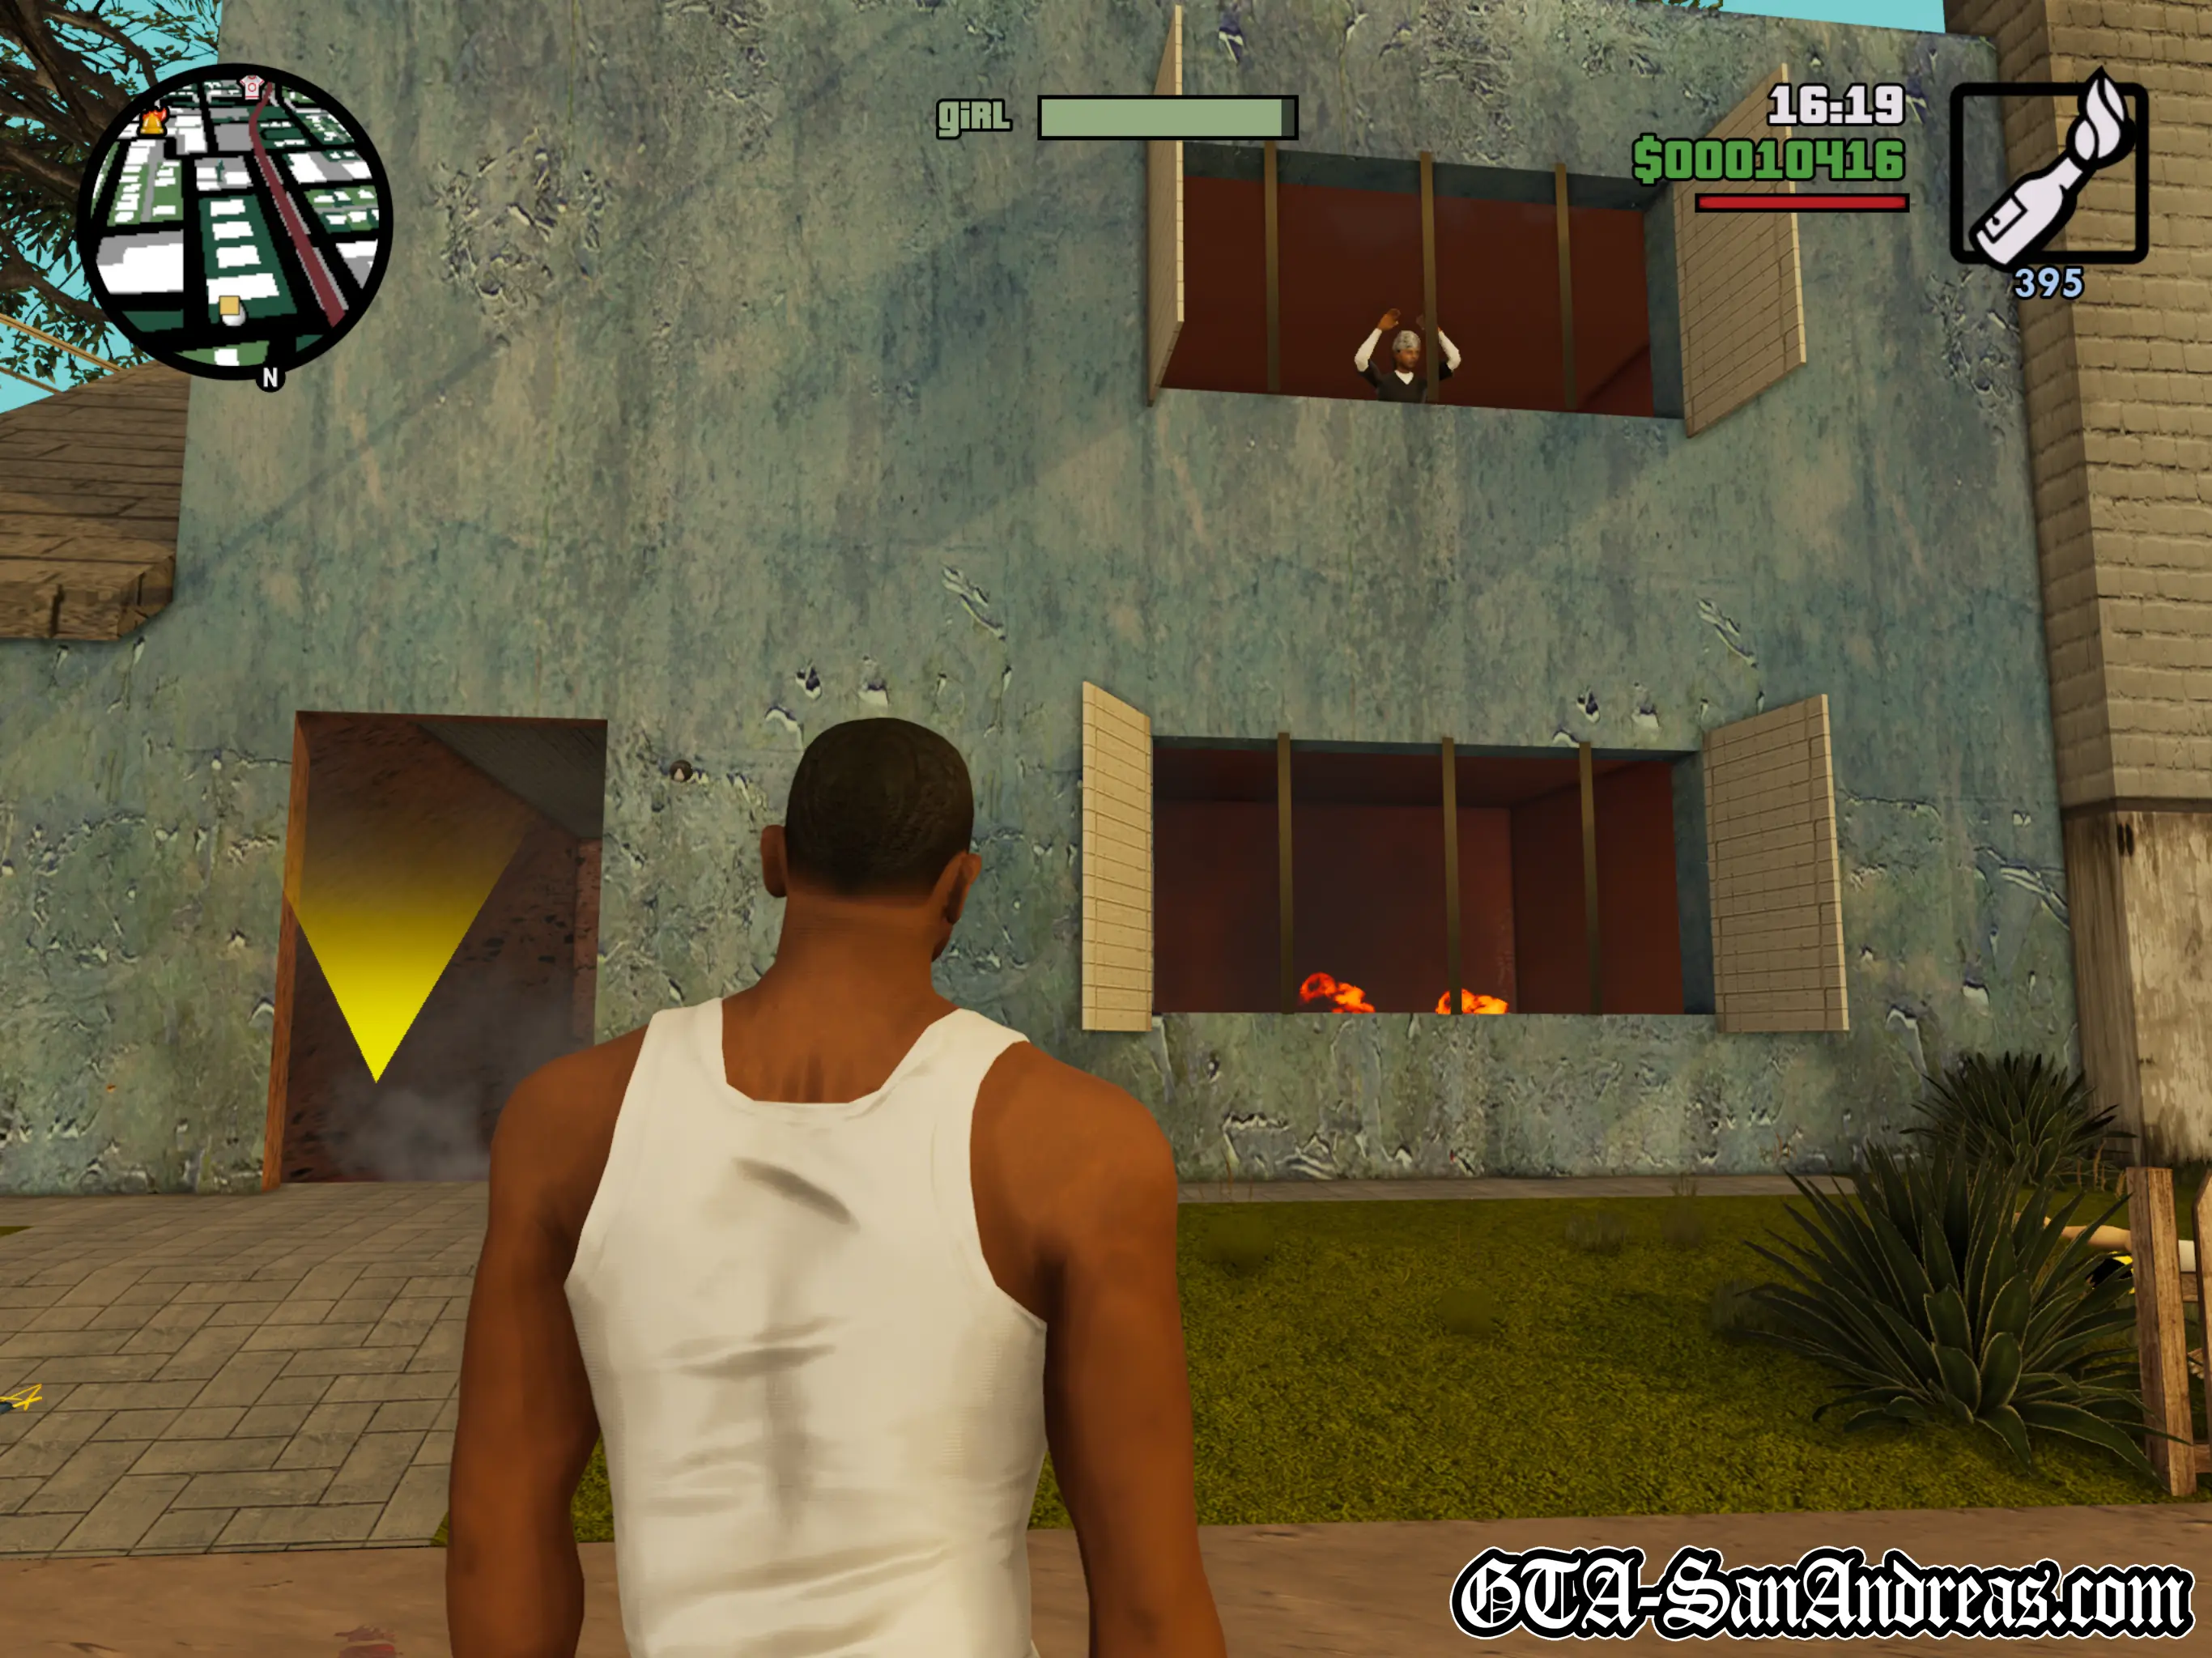
Battle your way through the flaming building while the girl slowly starts to cook. Enter the house and go through the door on the left a small way down. Work your way through the doors which aren't on fire, and grab the fire extinguisher from the kitchen.
From there you need to head upstairs and put out the fires leading to the girl using the fire extinguisher. Put out the fire outside her door, then go inside and meet up with her.
After a short cutscene the building will start to collapse, but thankfully there's no time limit on getting back outside so you can take your time.
From her bedroom, head straight forward and to the right where you can put out another fire. Head through the door on the right and put out another fire, then head down the stairs with the girl.
Work your way towards the front door and put out any more fires in the way so you can make a clean escape.
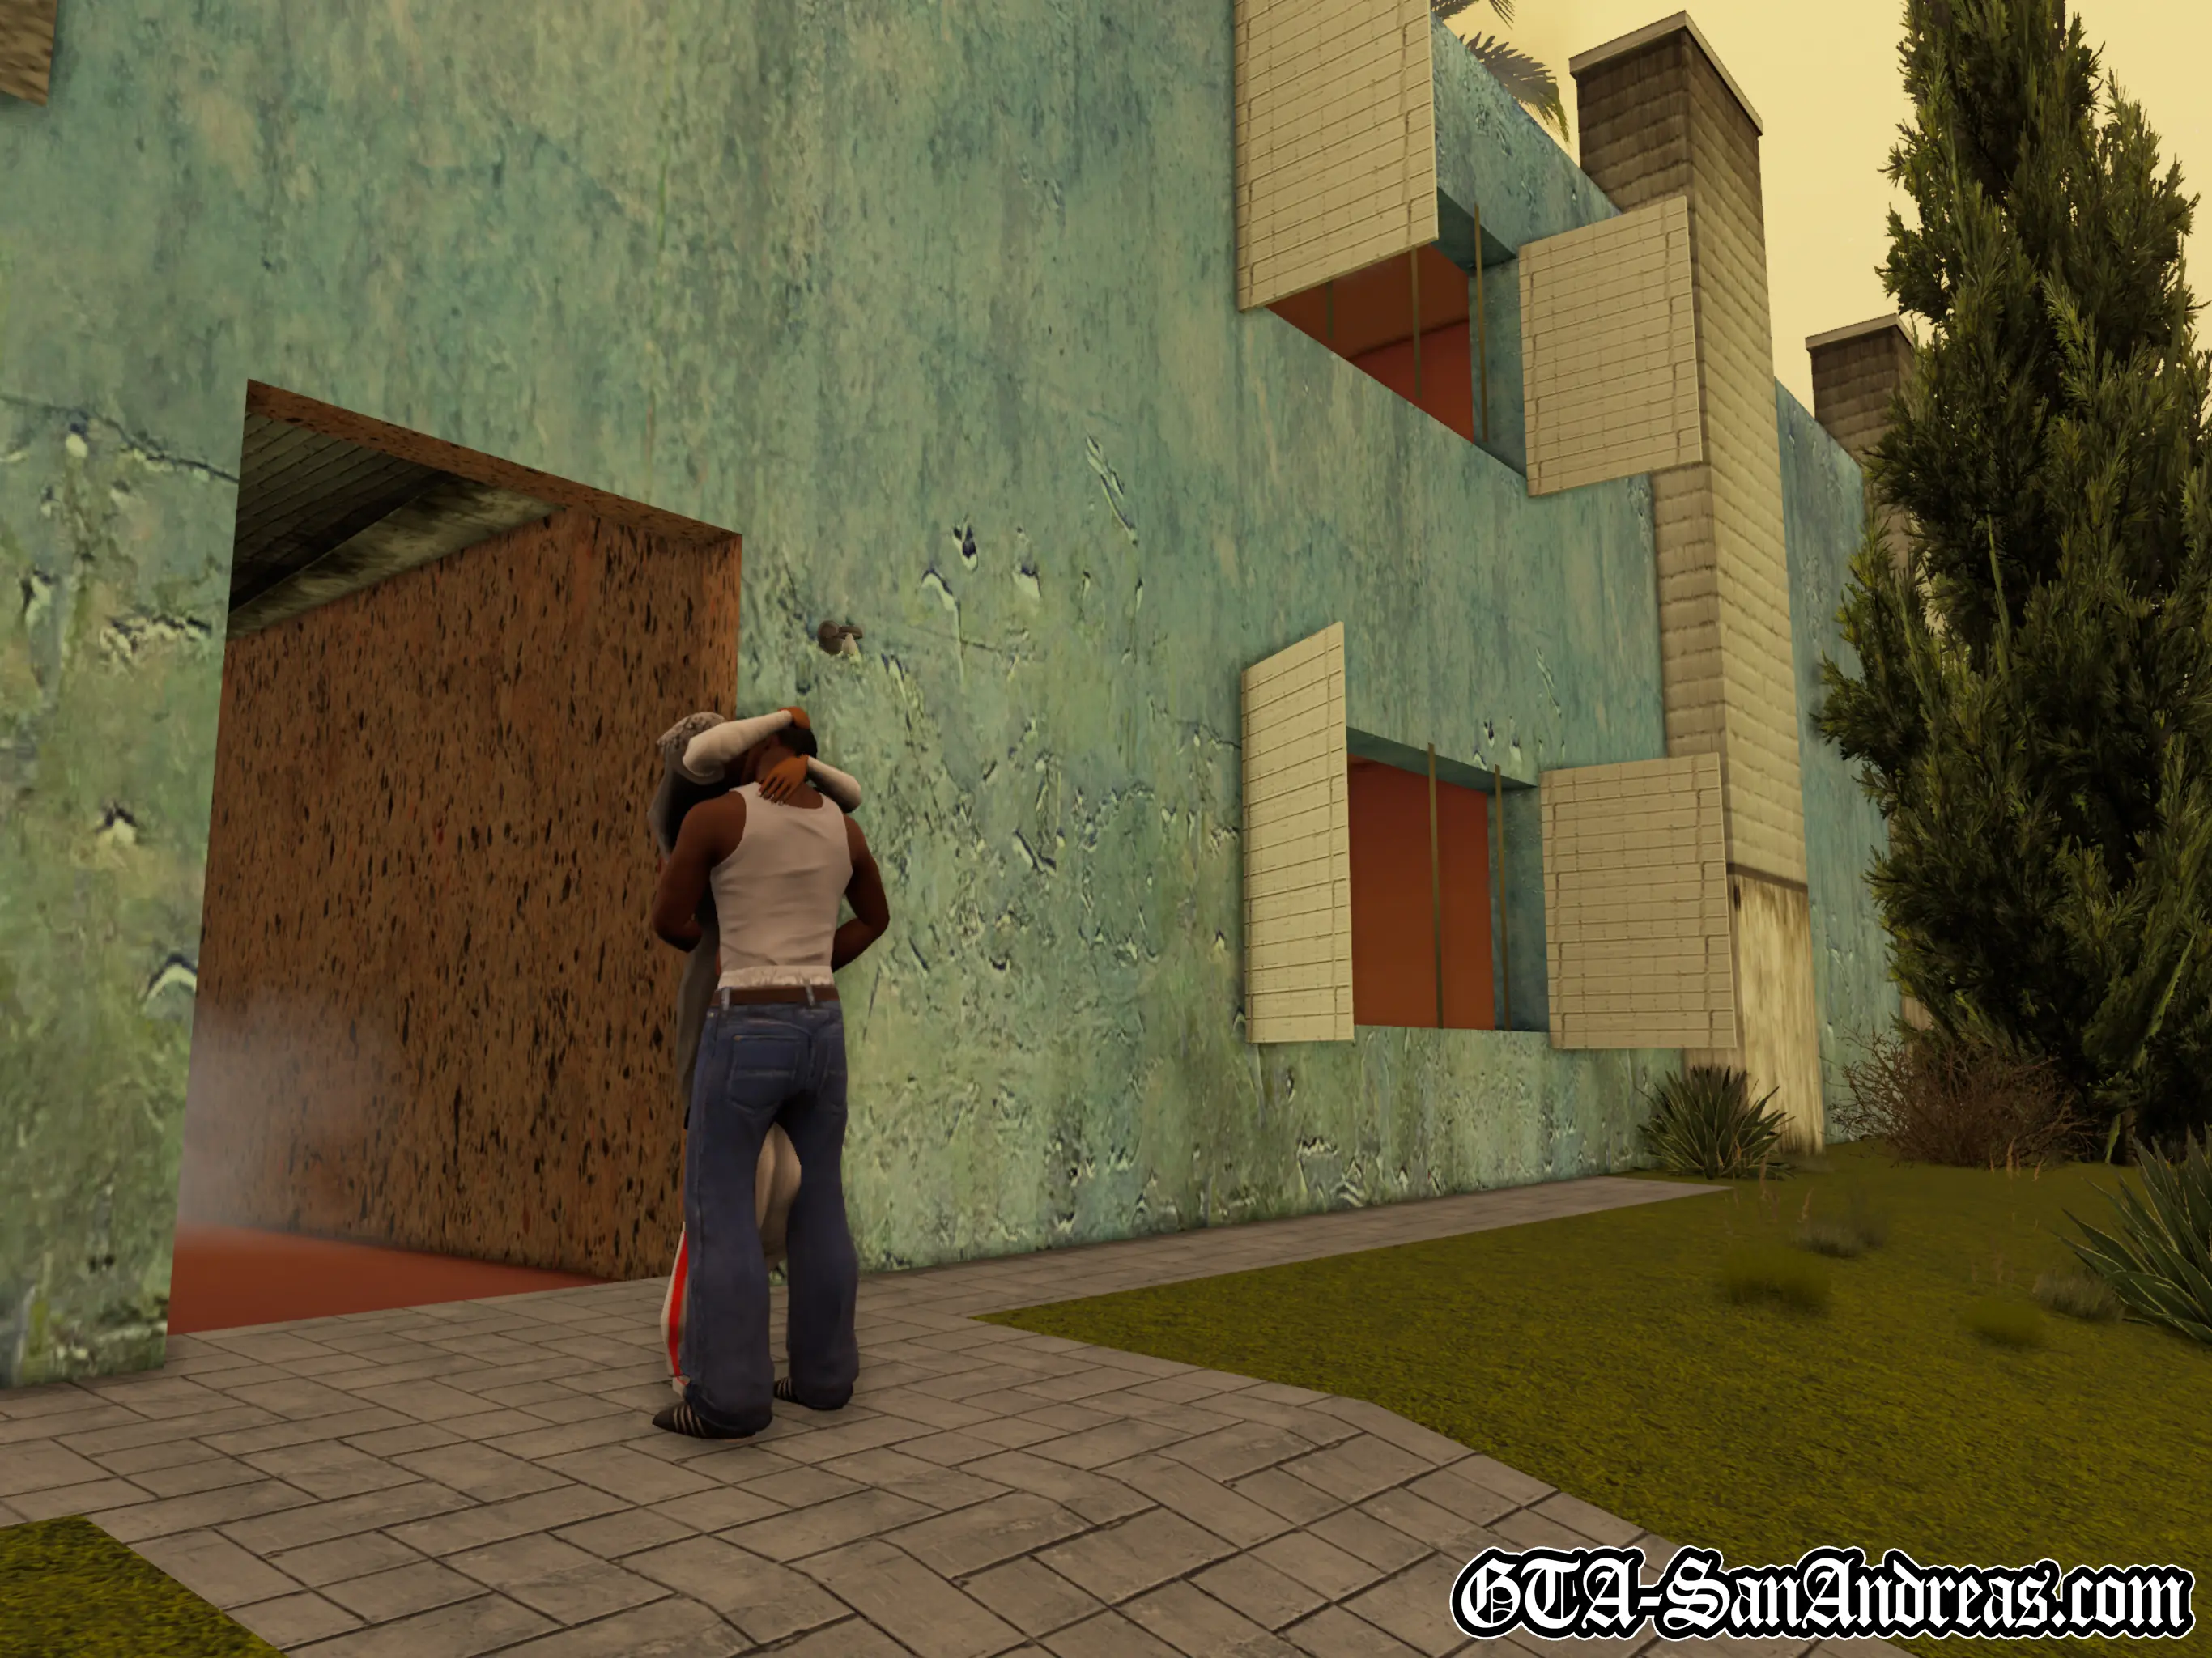
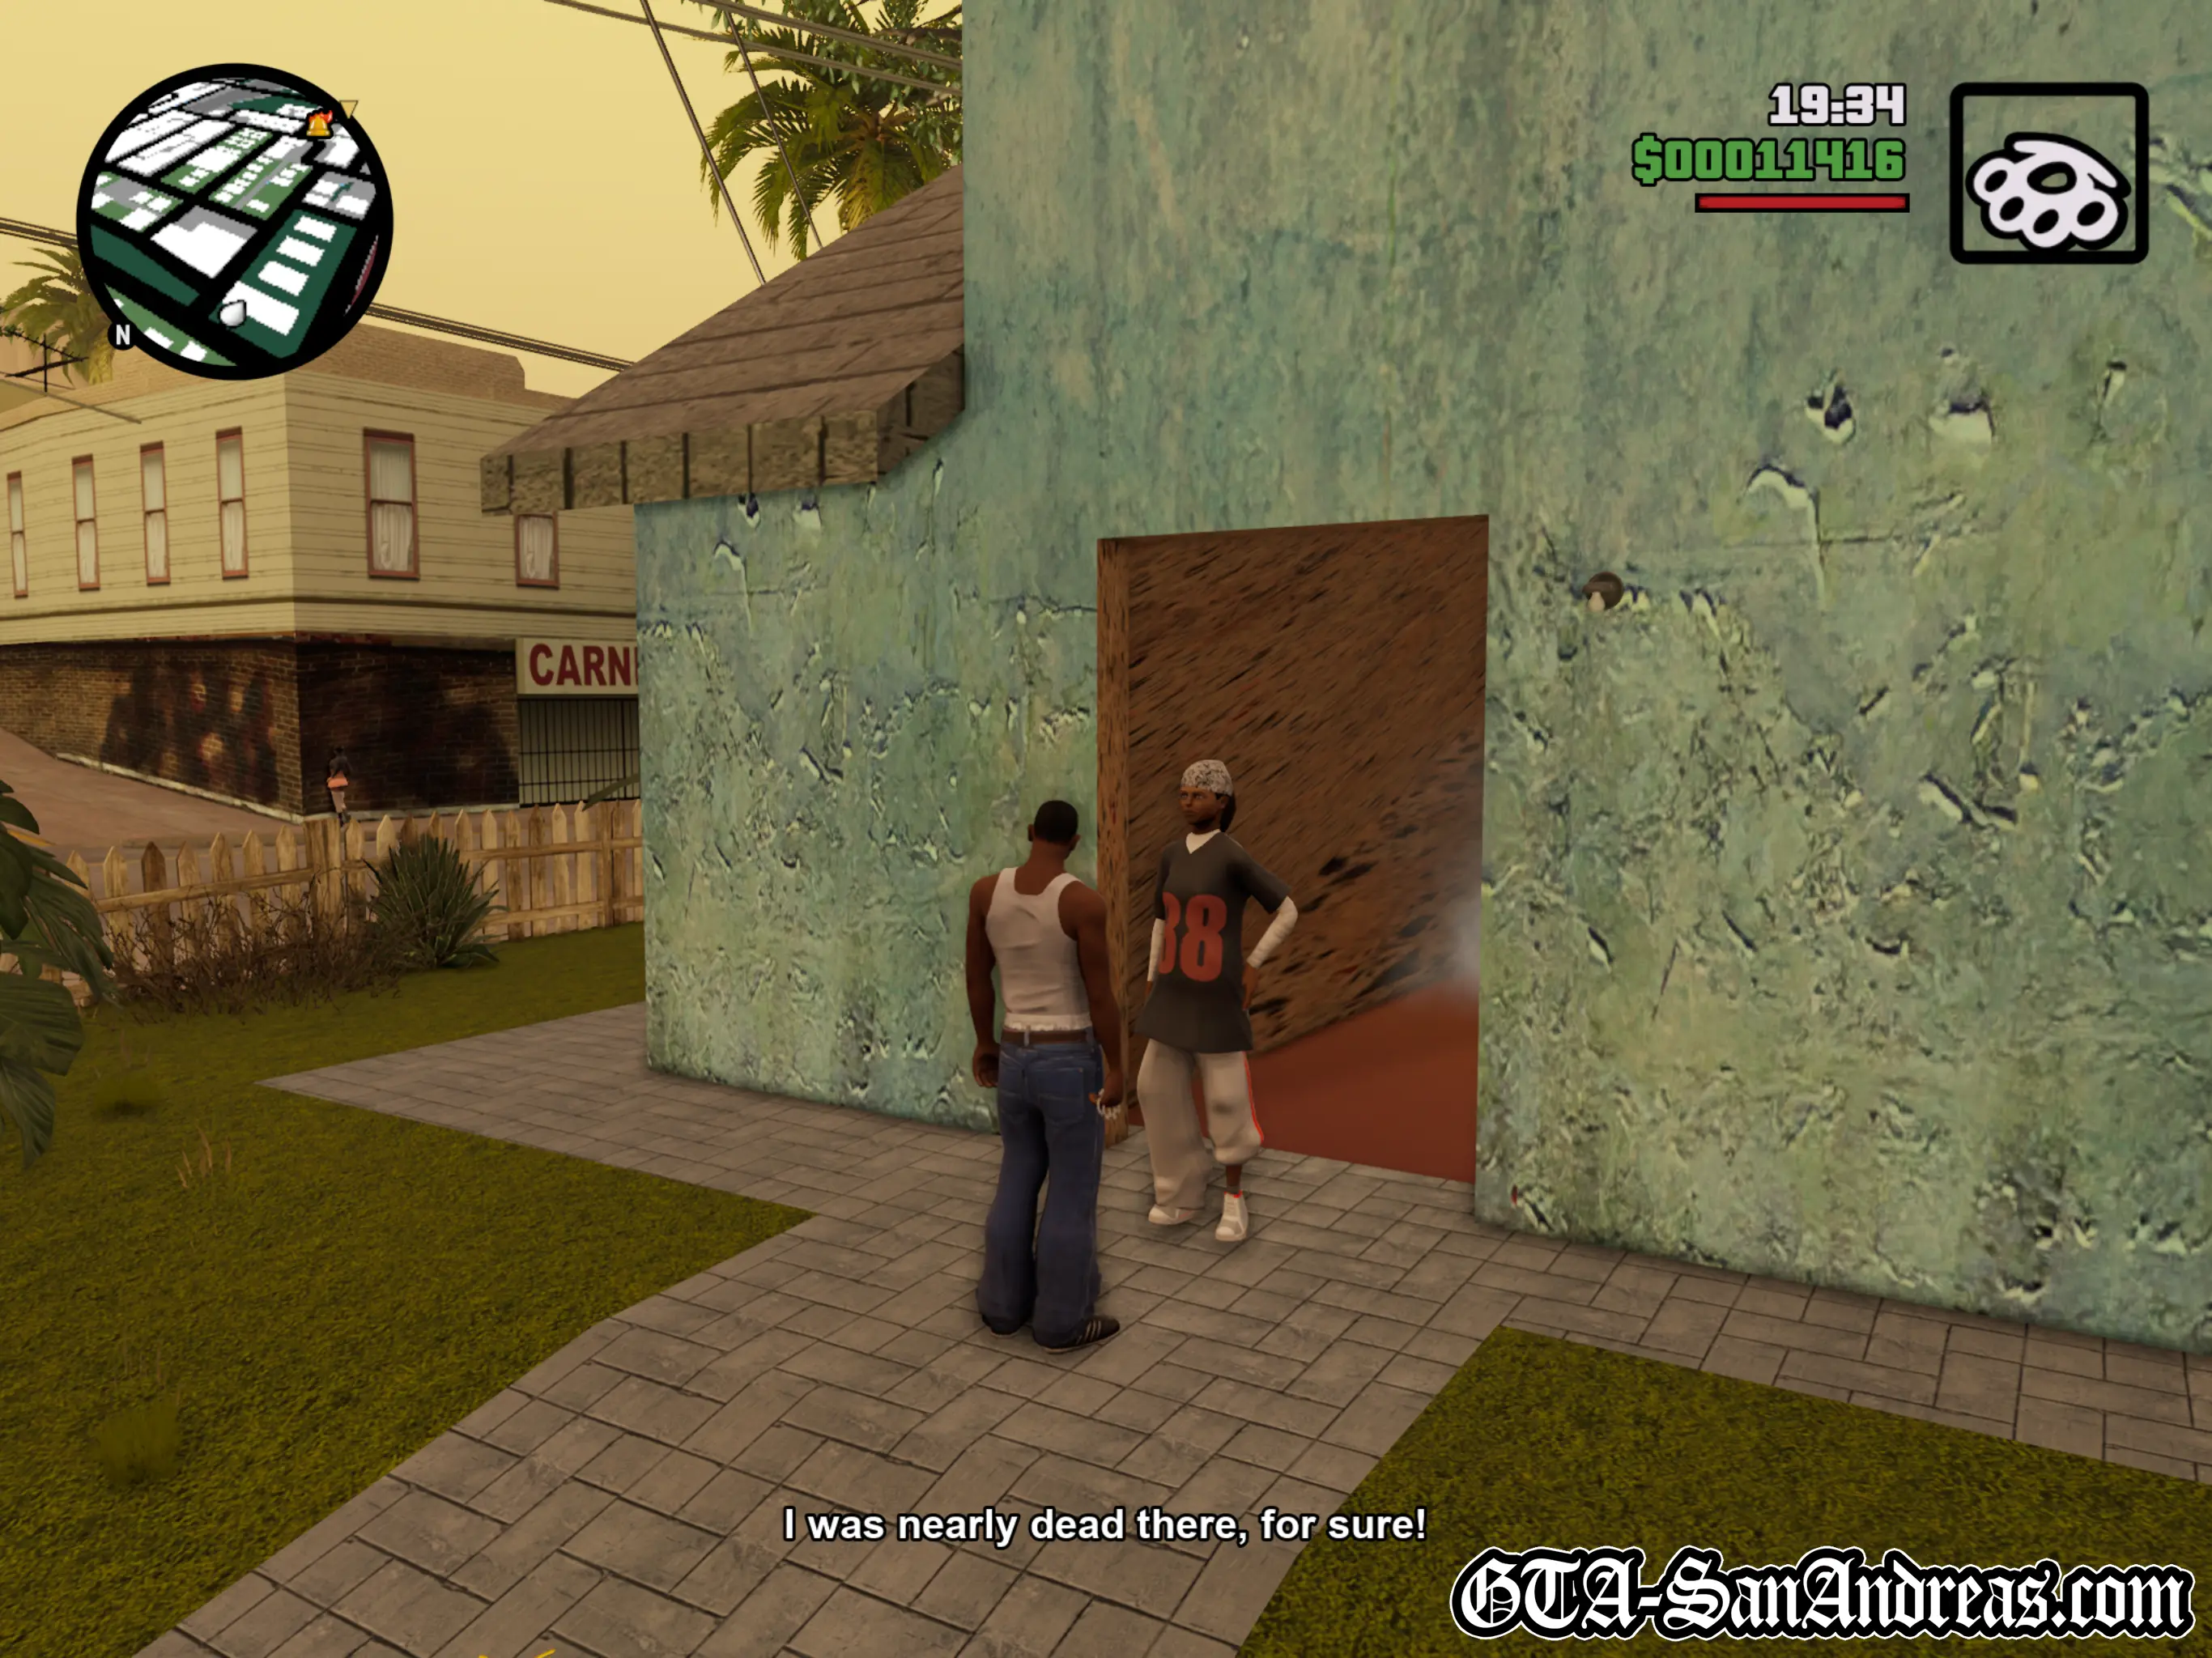
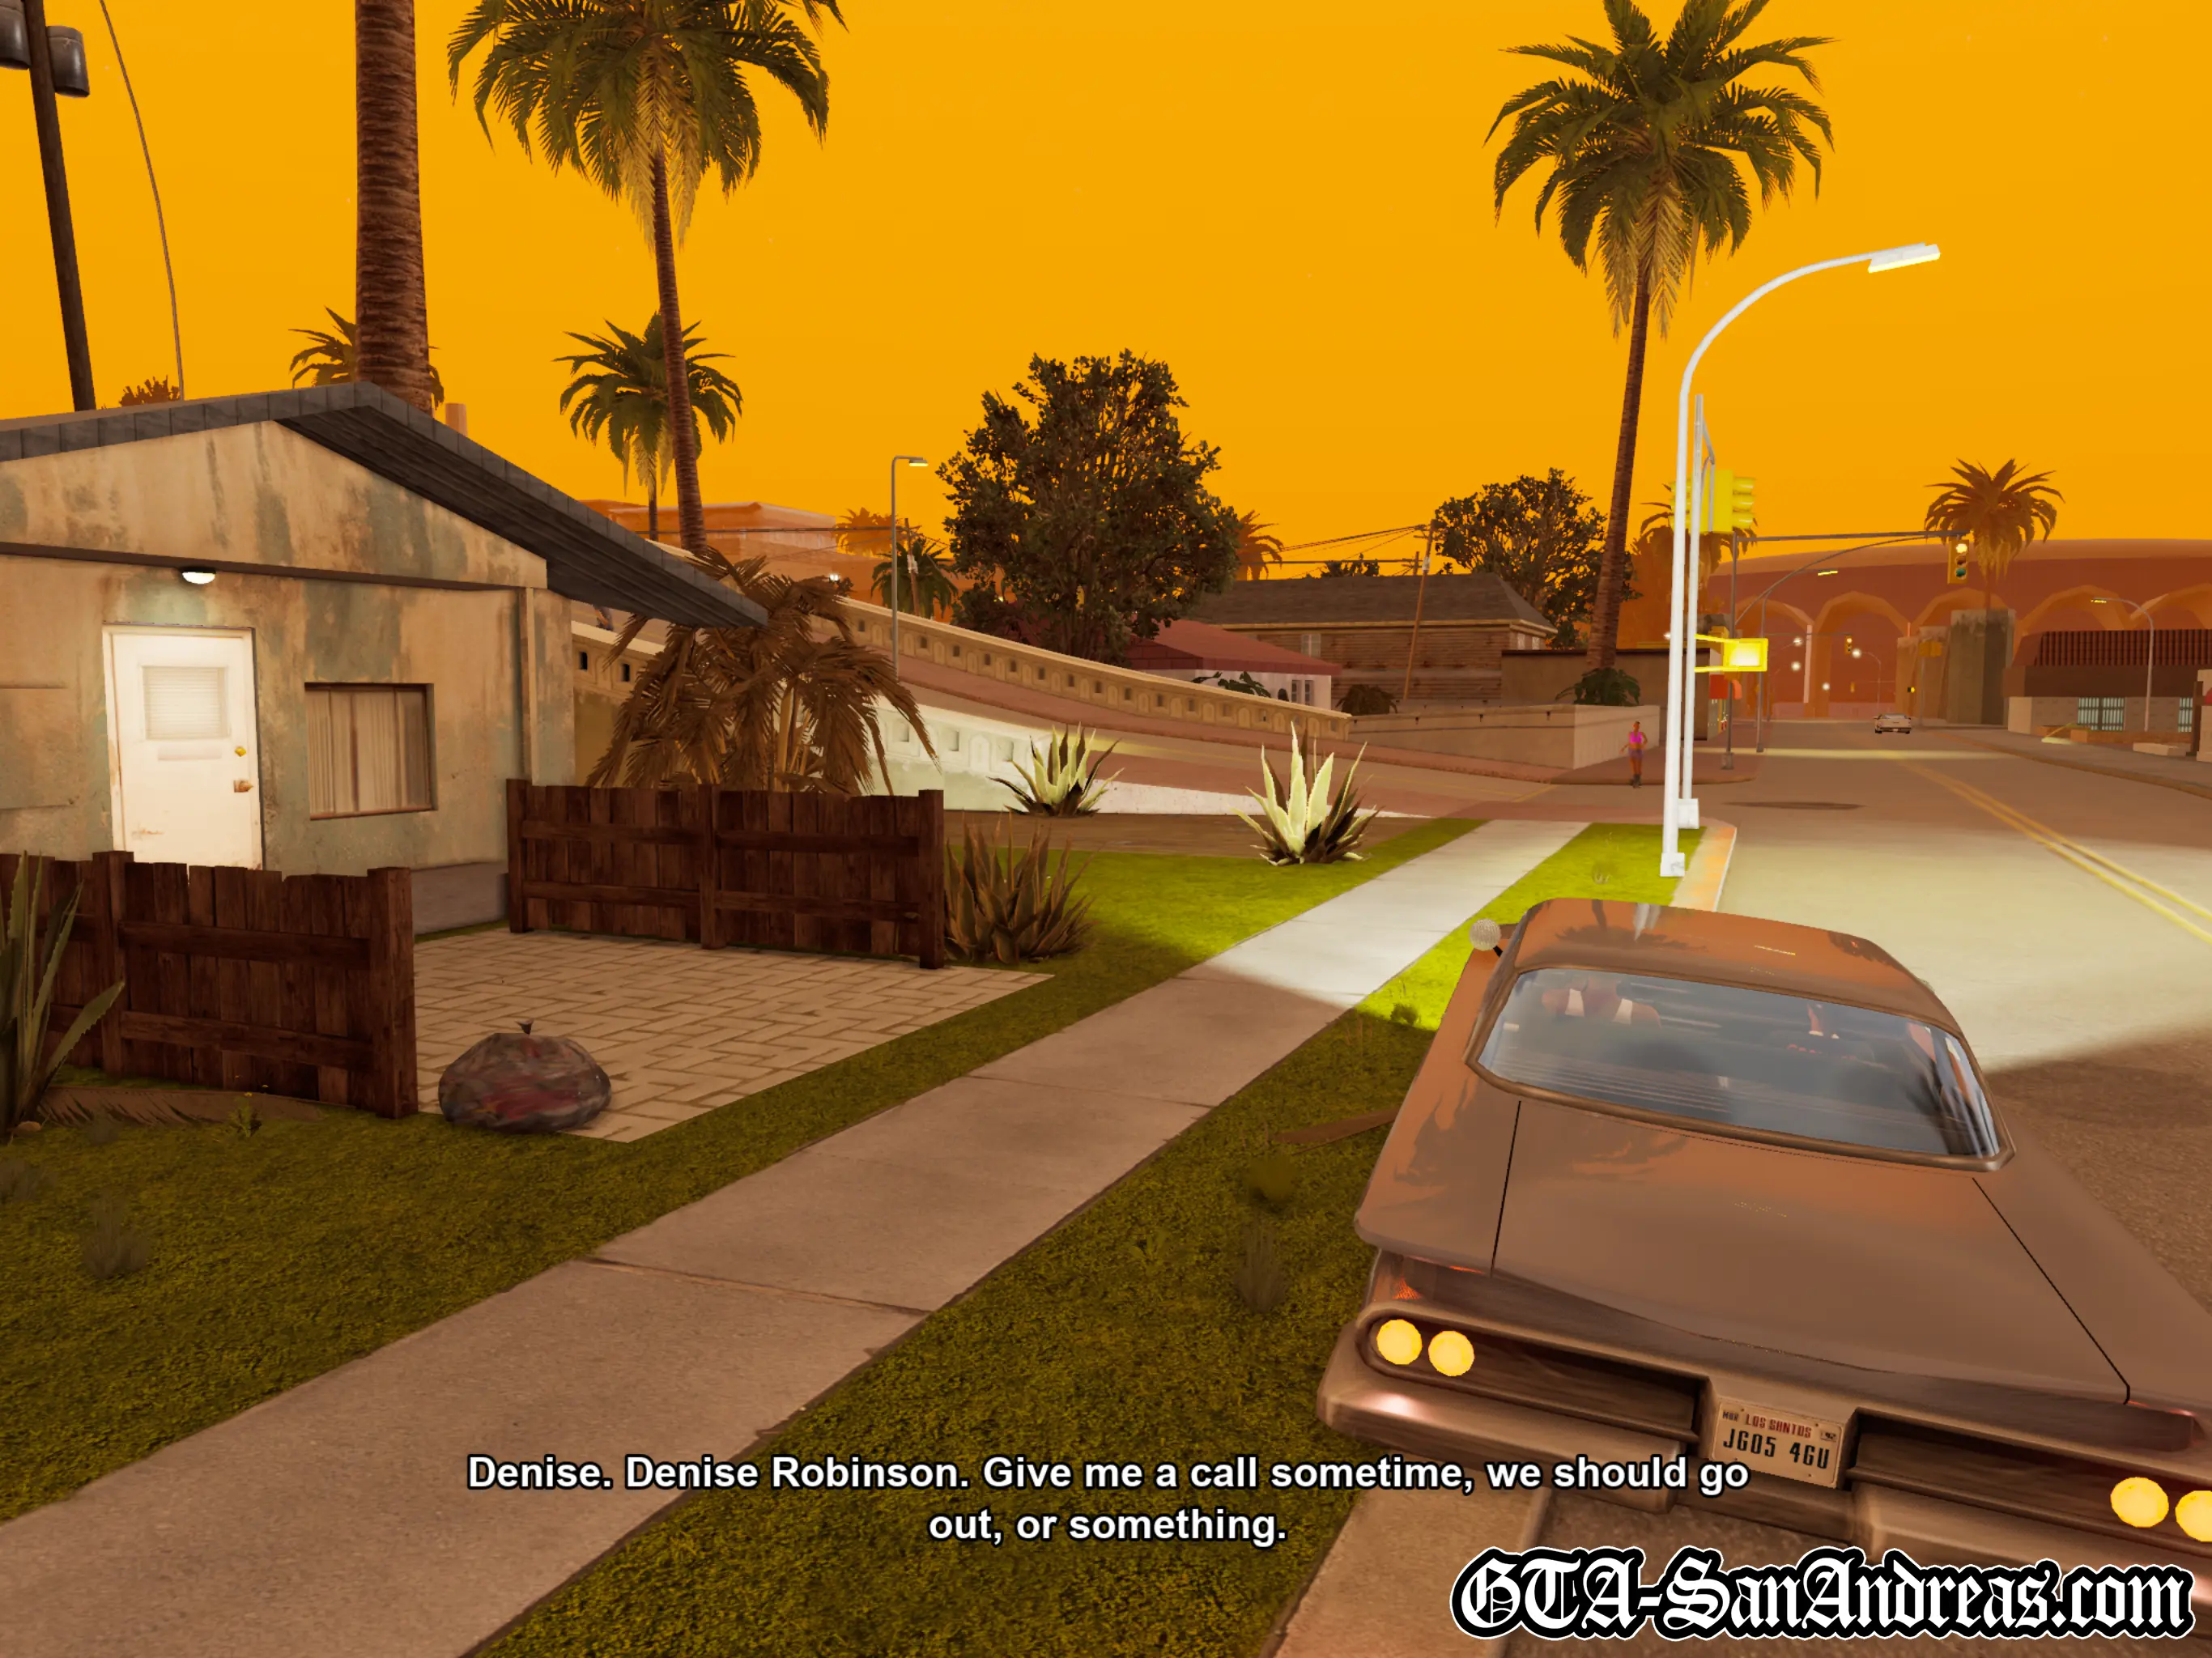
As you exit the building the girl will give Carl a kiss and thank him for saving her life. She now wants you to take her home, and it turns out she lives nearby, so make your way to her house near Grove Street.
After you drop her off she'll become your girlfriend and you can drop by her place whenever she's in to go on a date.
Post-Mission
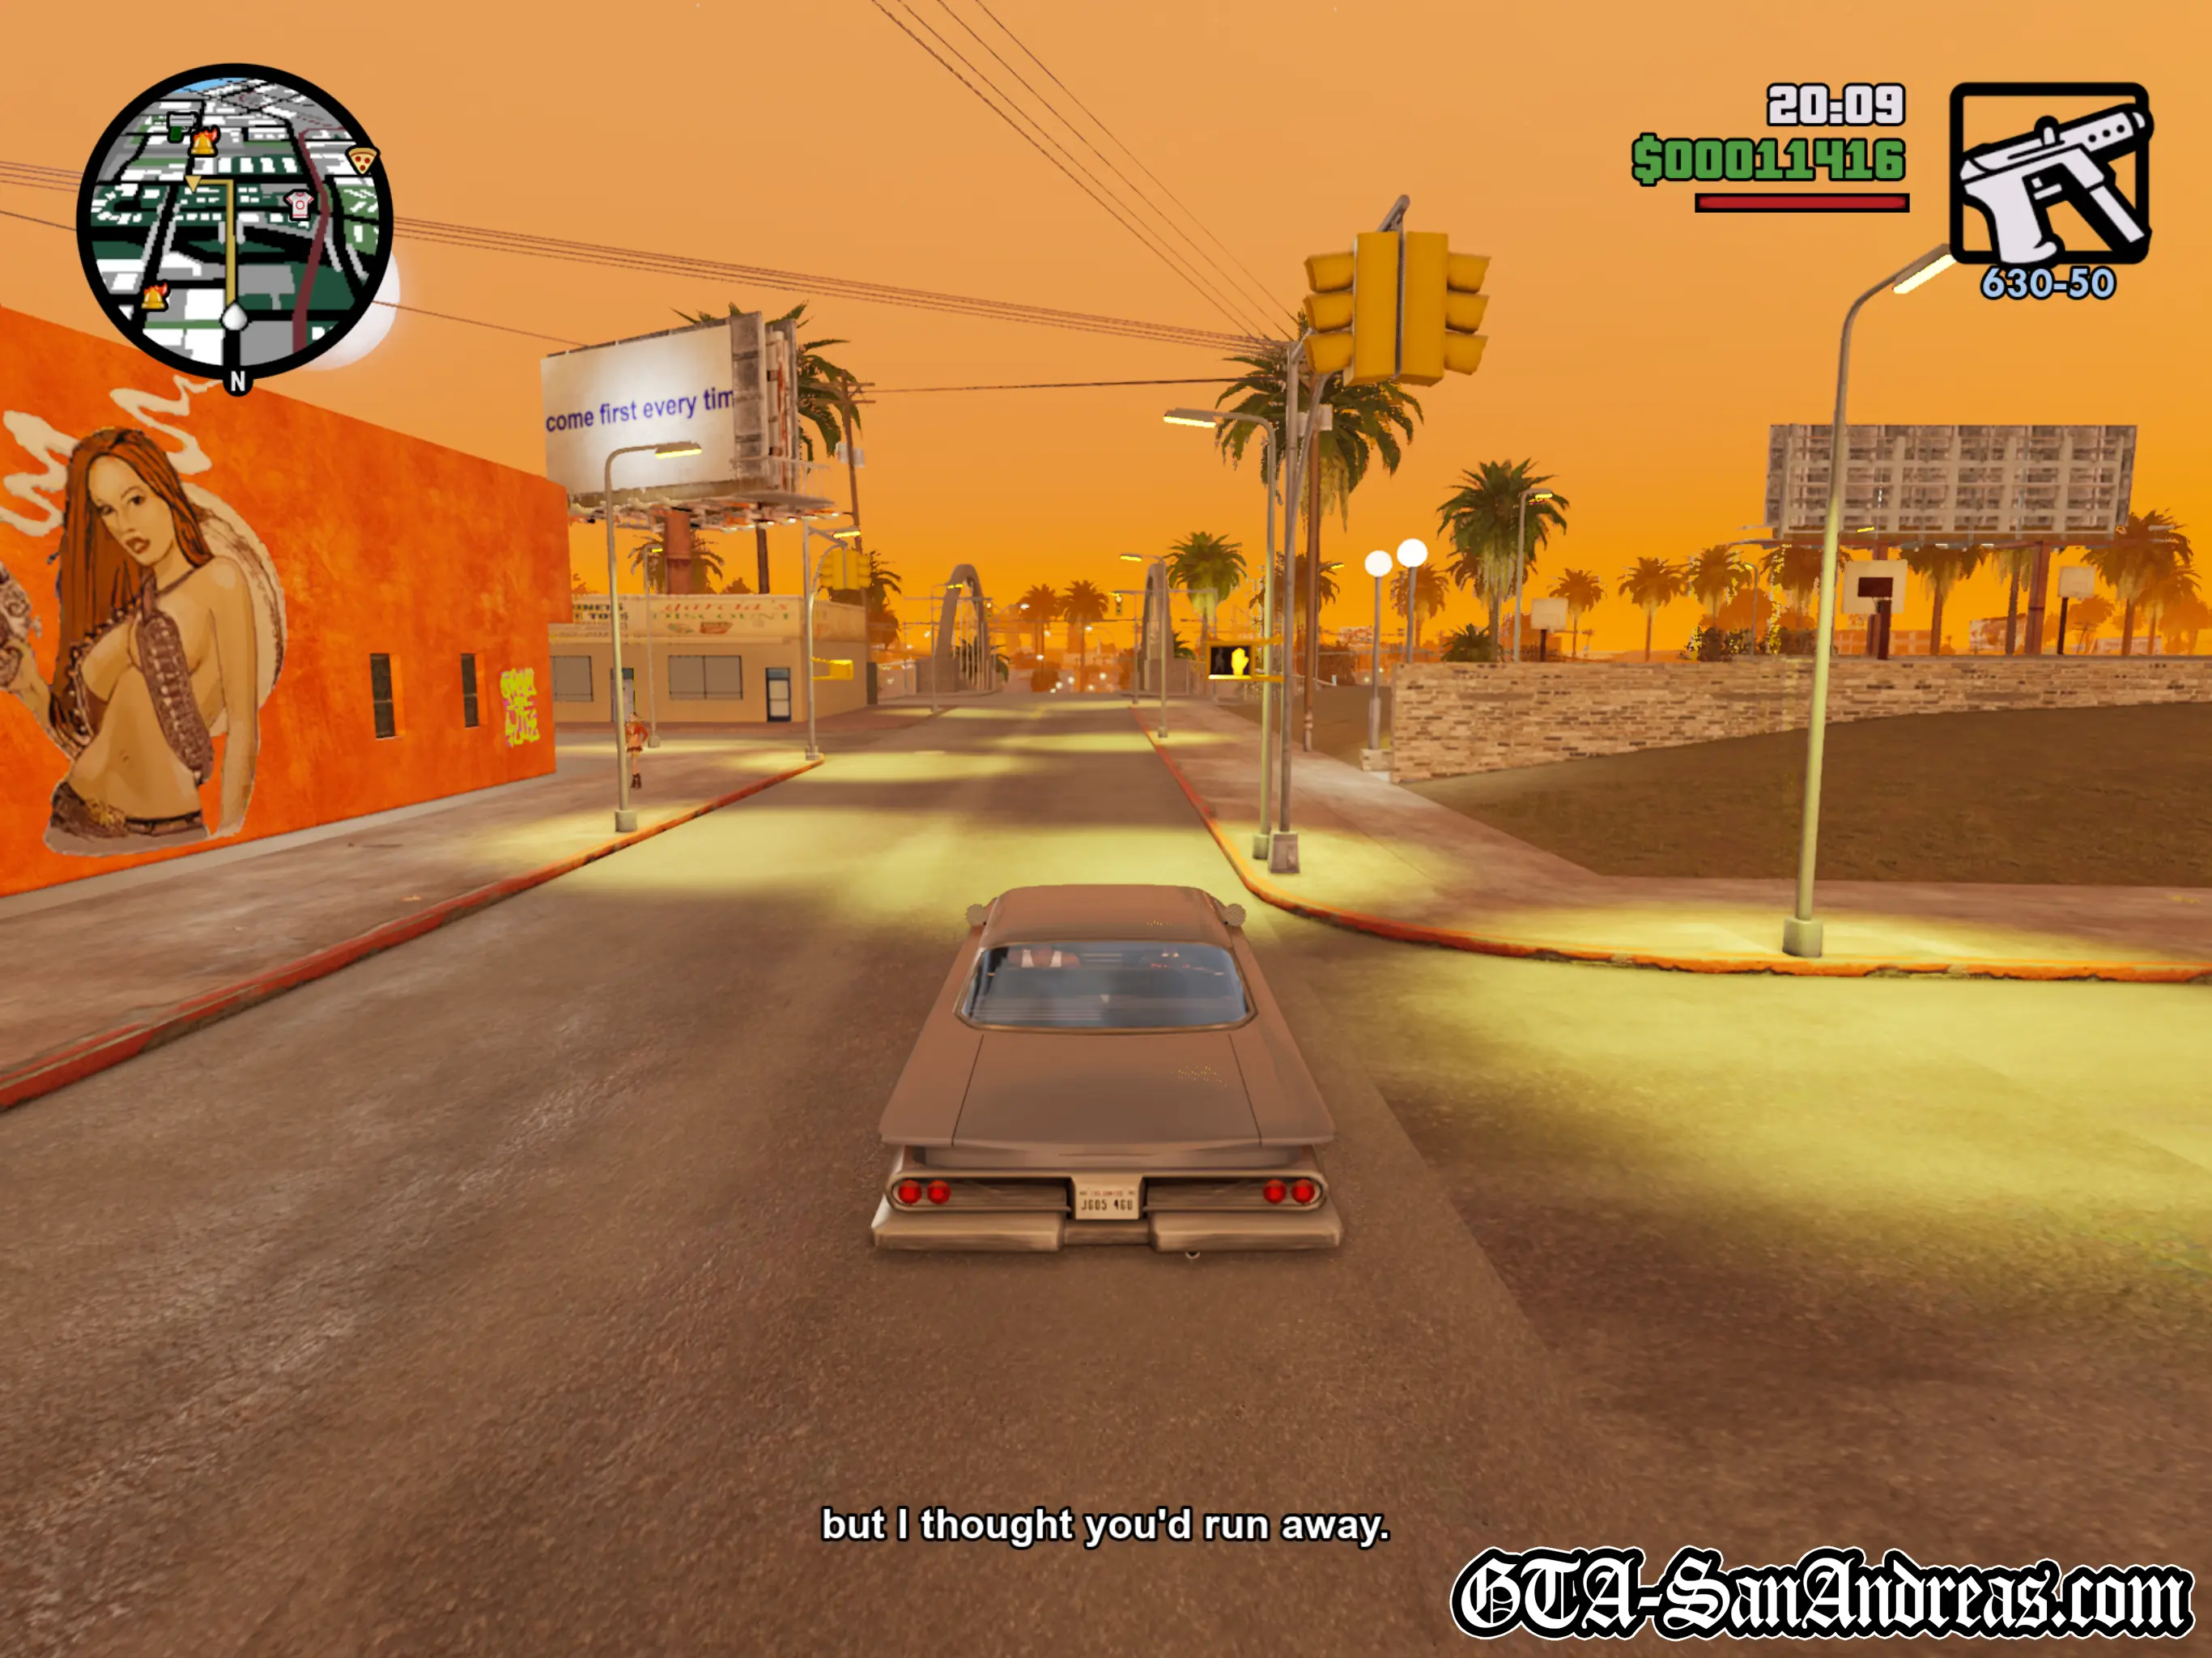
![]() Denise Robinson is now your girlfriend.
Denise Robinson is now your girlfriend.
After you exit your vehicle, Sweet will call CJ and tell him there's a dude at Glen Park who is disrespecting the Grove Street Families.
![]() Sweet's missions have been unlocked.
Sweet's missions have been unlocked.
It's back to Tenpenny to finish off his missions.
Tips & Tricks
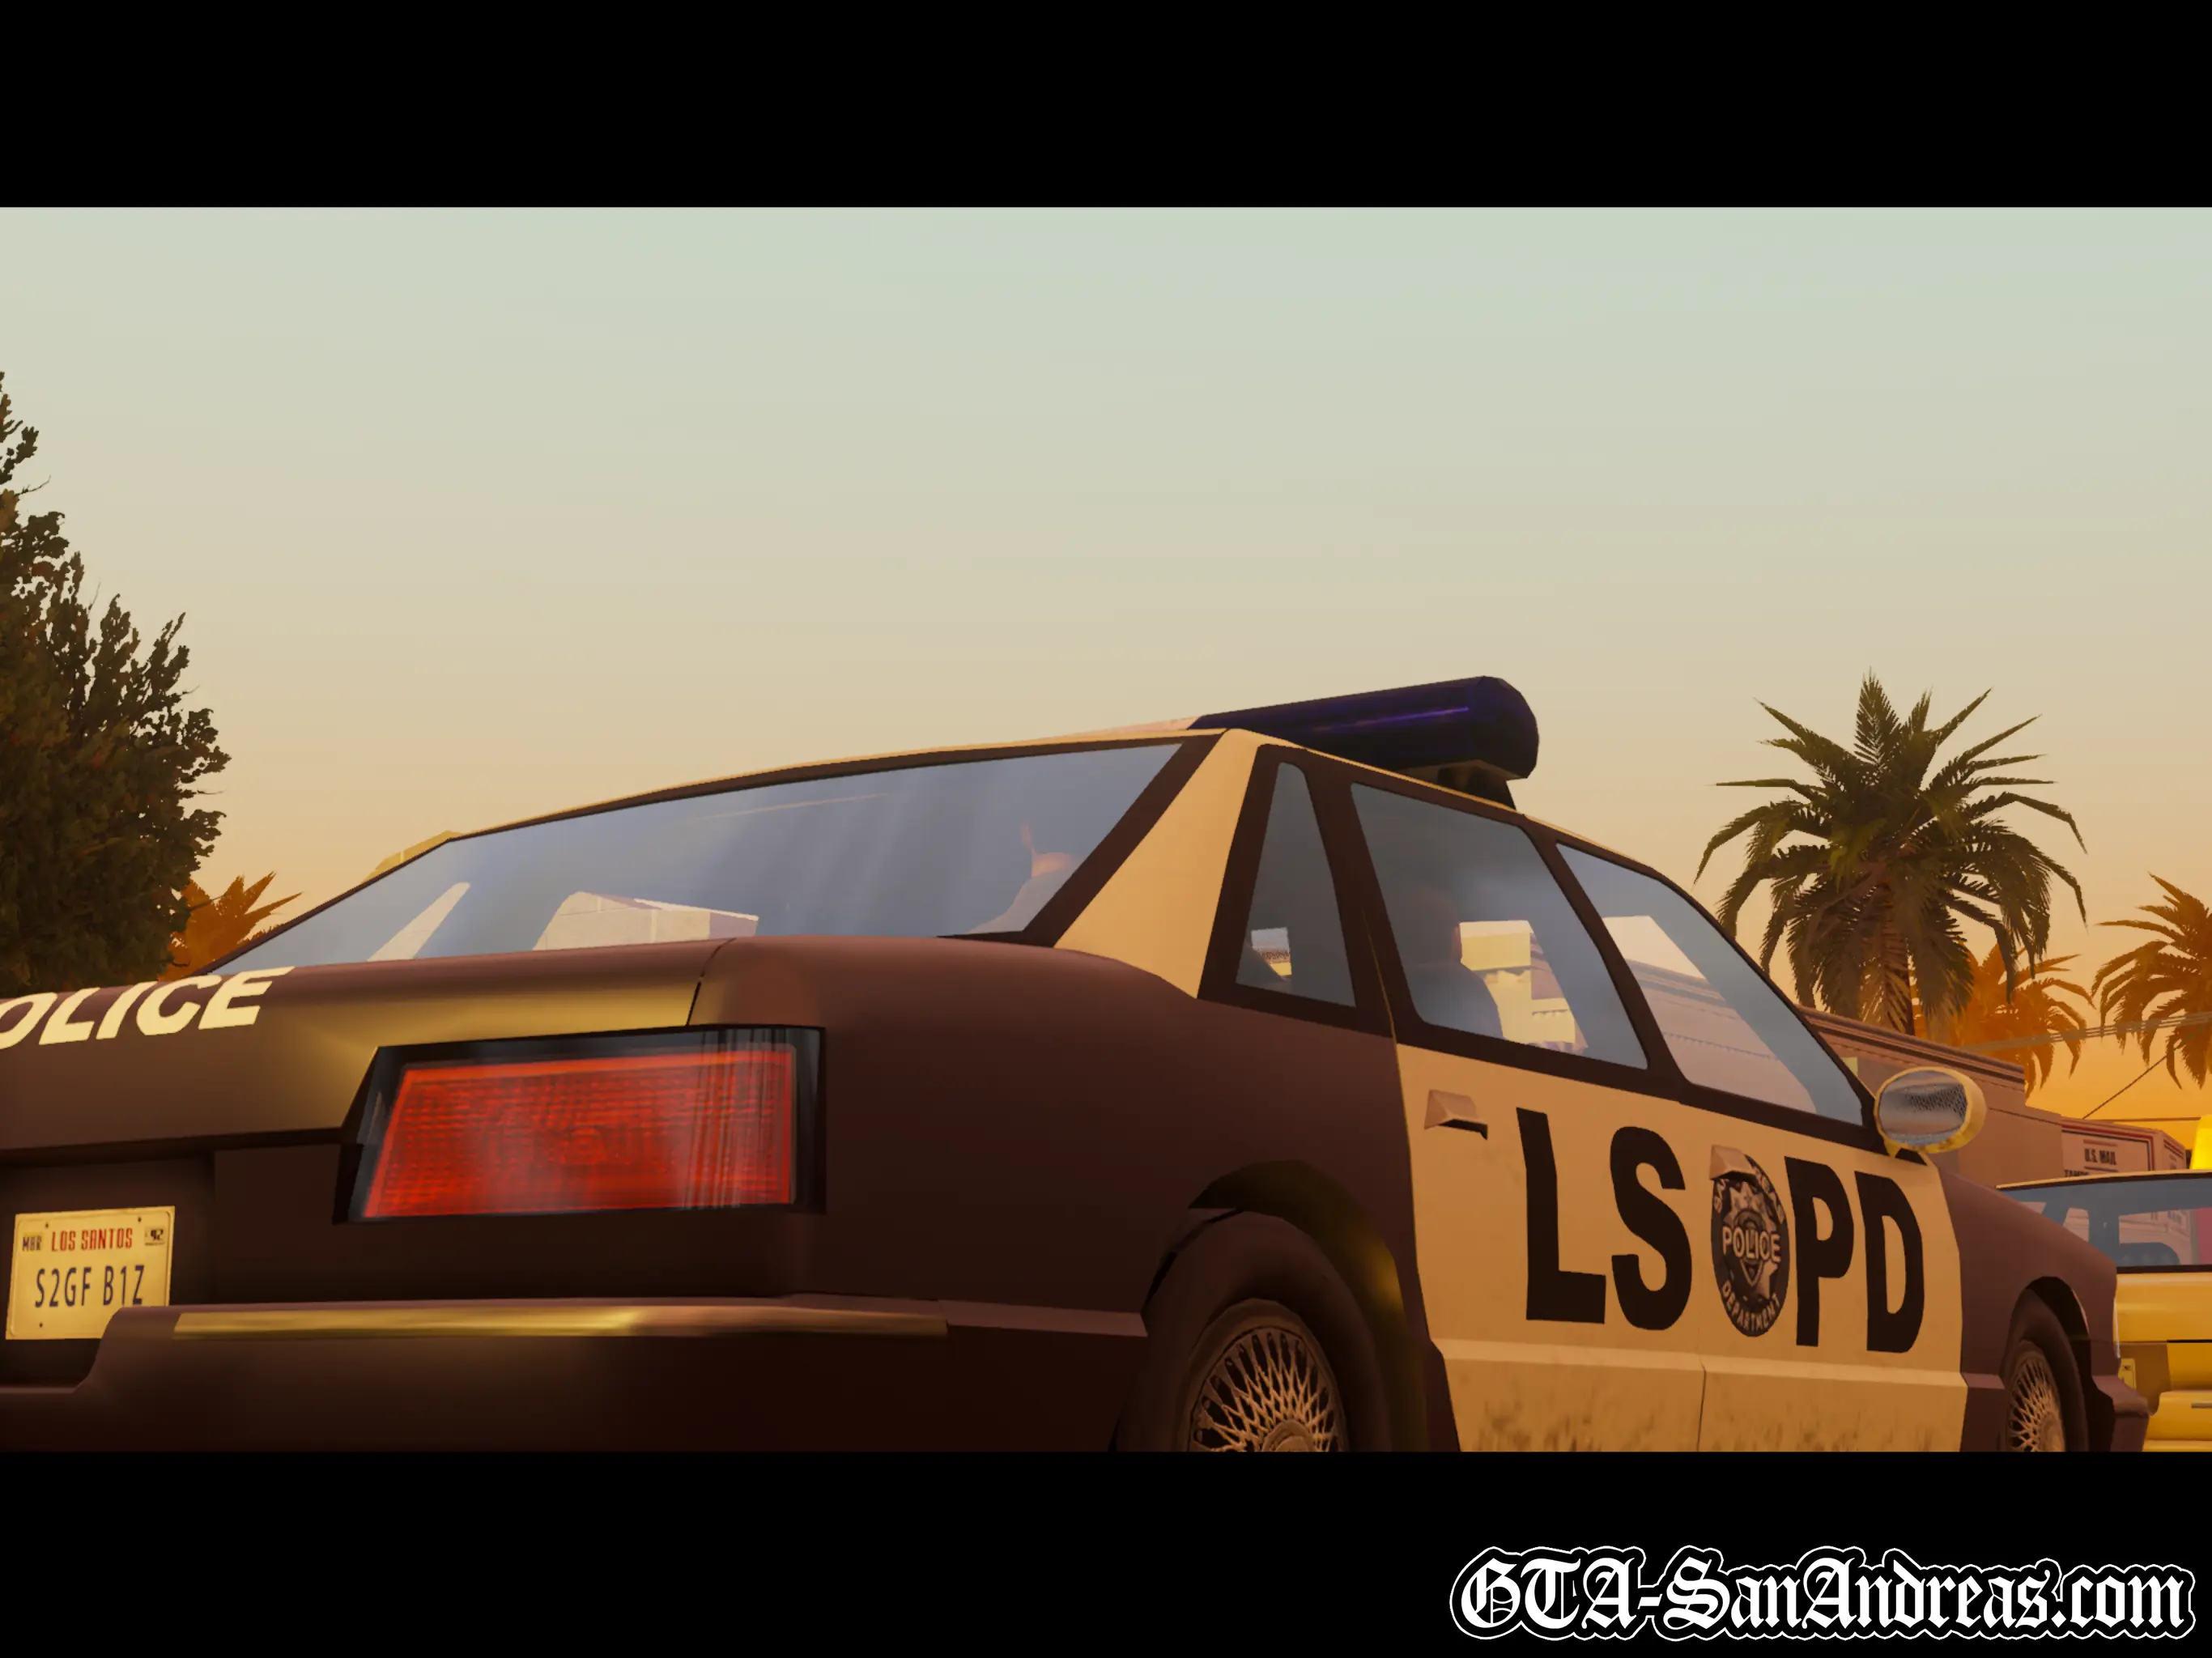
Free Cop Car!
The police car parked outside the doughnut shop is unlocked and won't give a wanted level if you take it, even with cops right next to you. I guess it's a gift from Tenpenny for doing his dirty work.
$1,000 Cash Reward
Although there's no actual reward from Tenpenny for beating this mission, you can find 2 separate stacks of $500 while inside the house. One on the ground floor and another in the room where you rescue Denise. Make sure to pick it up!
Screenshots


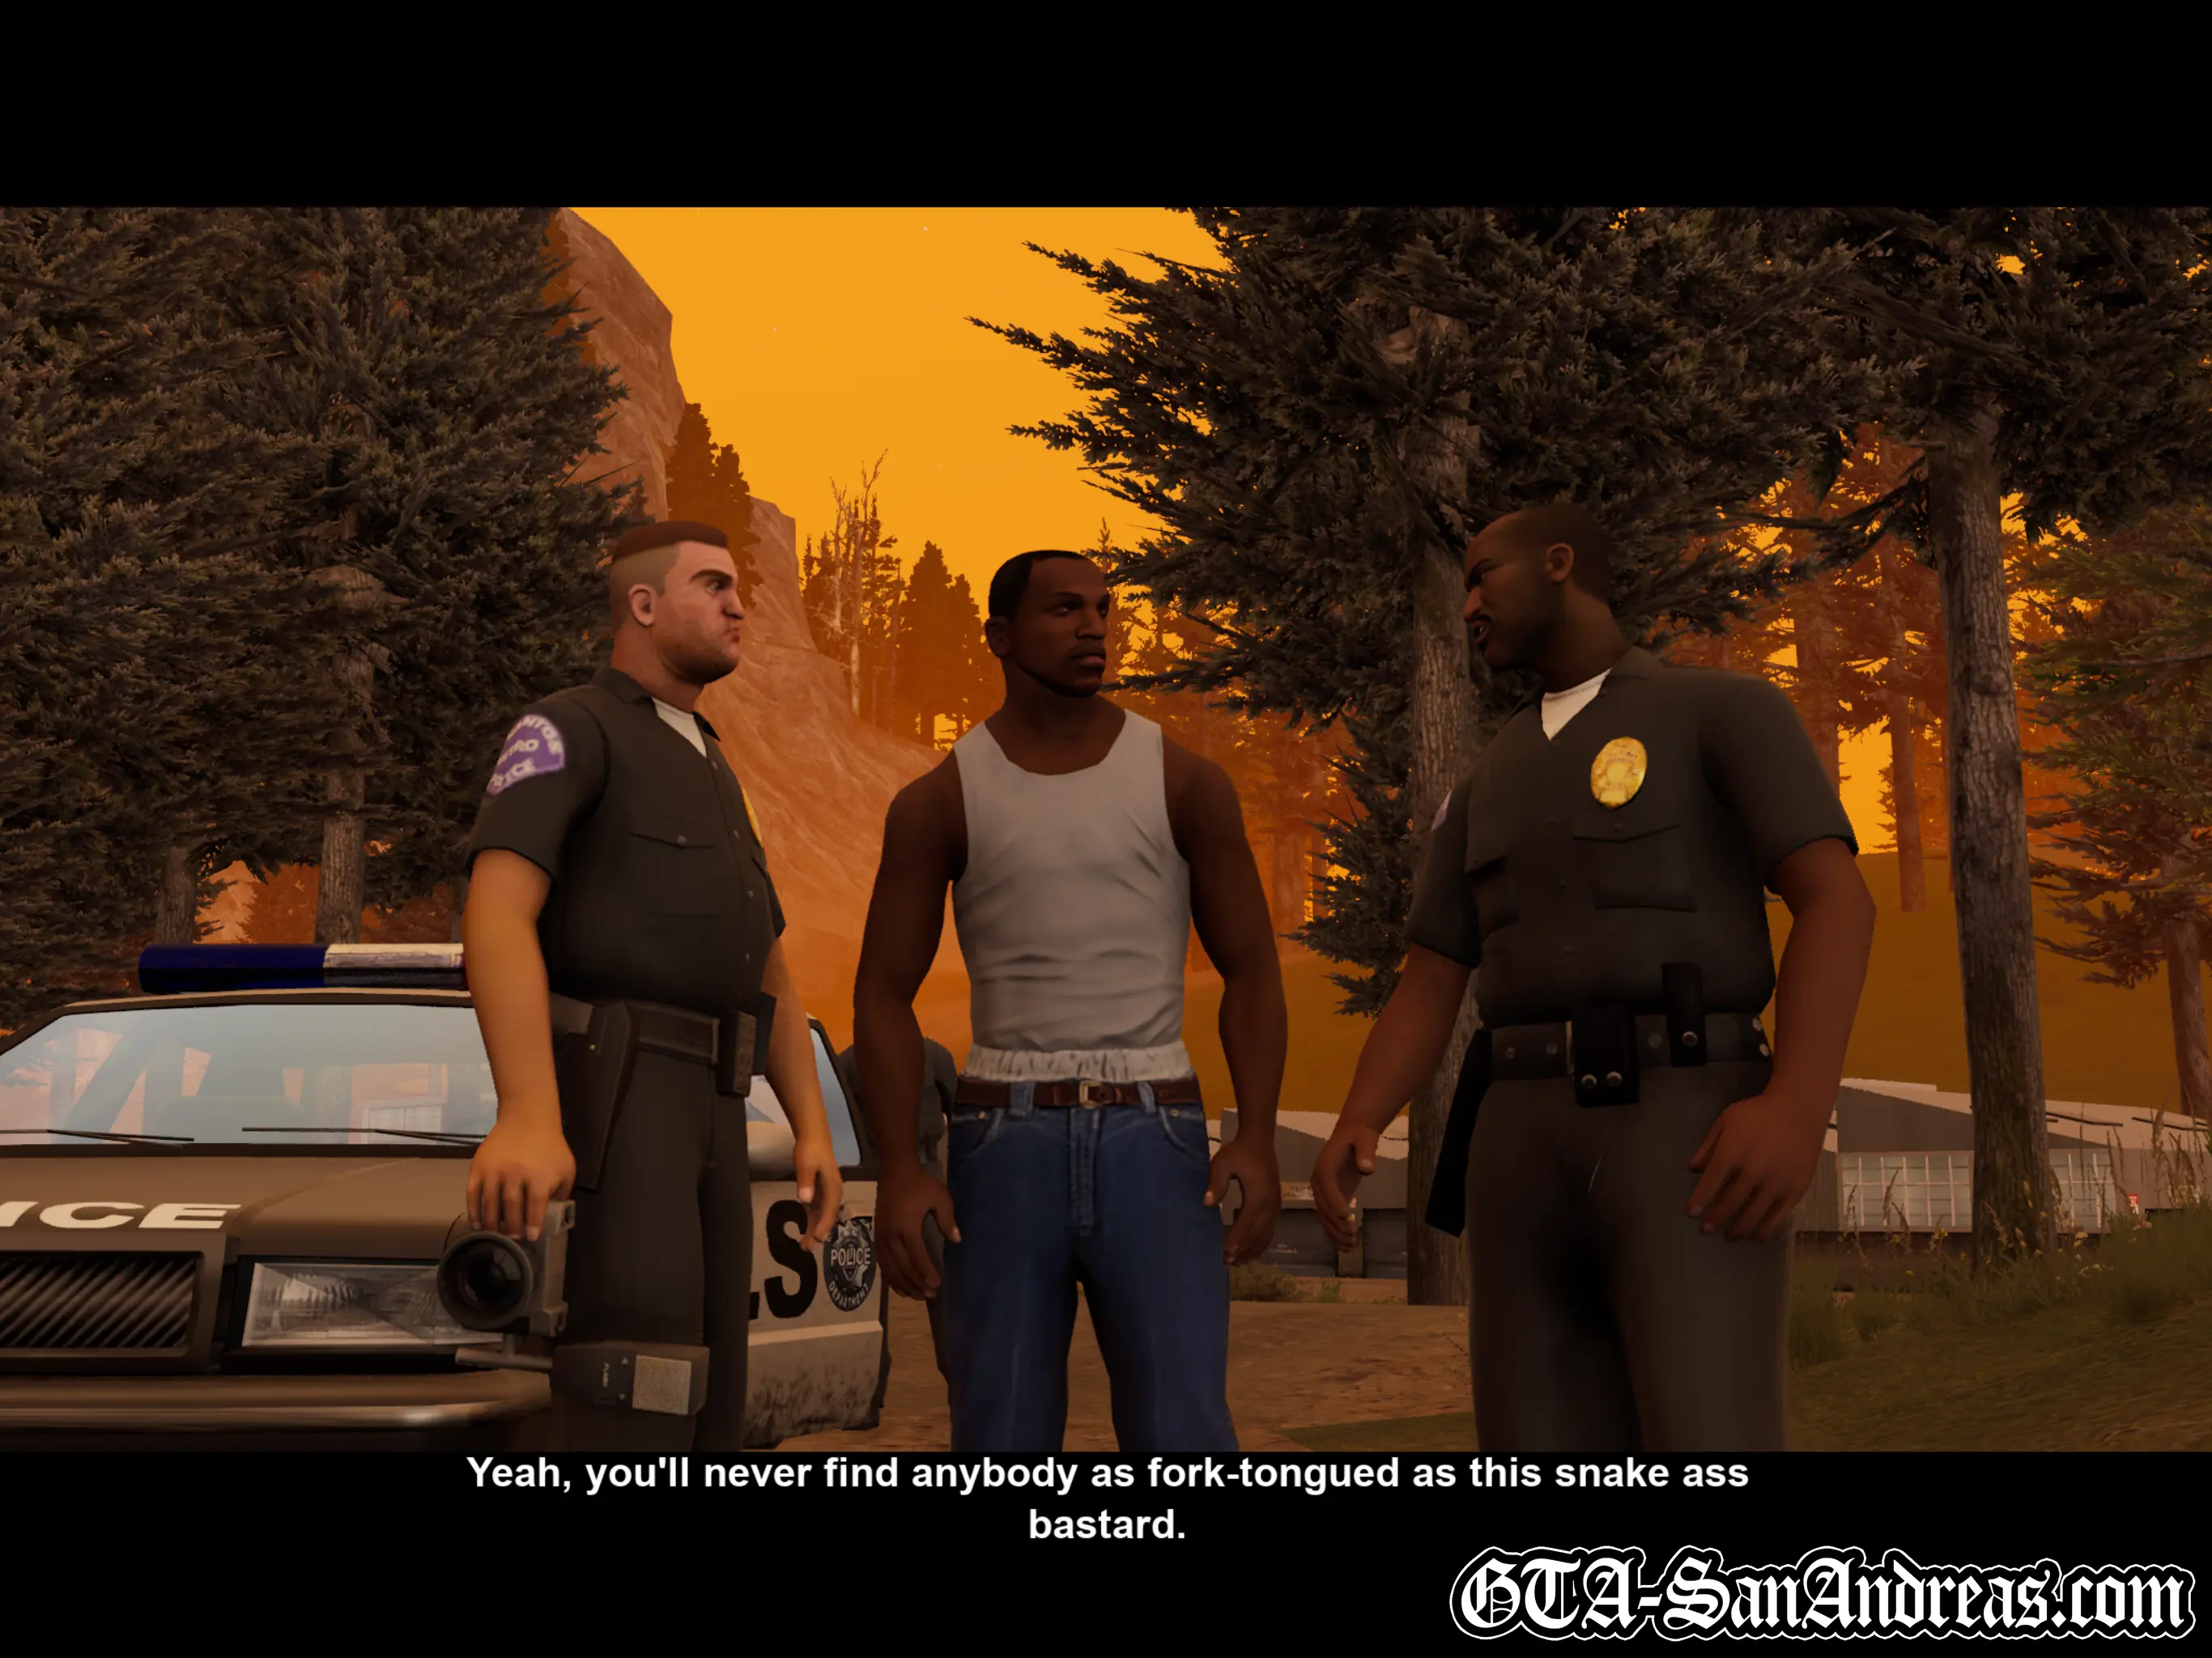
Gray Imports
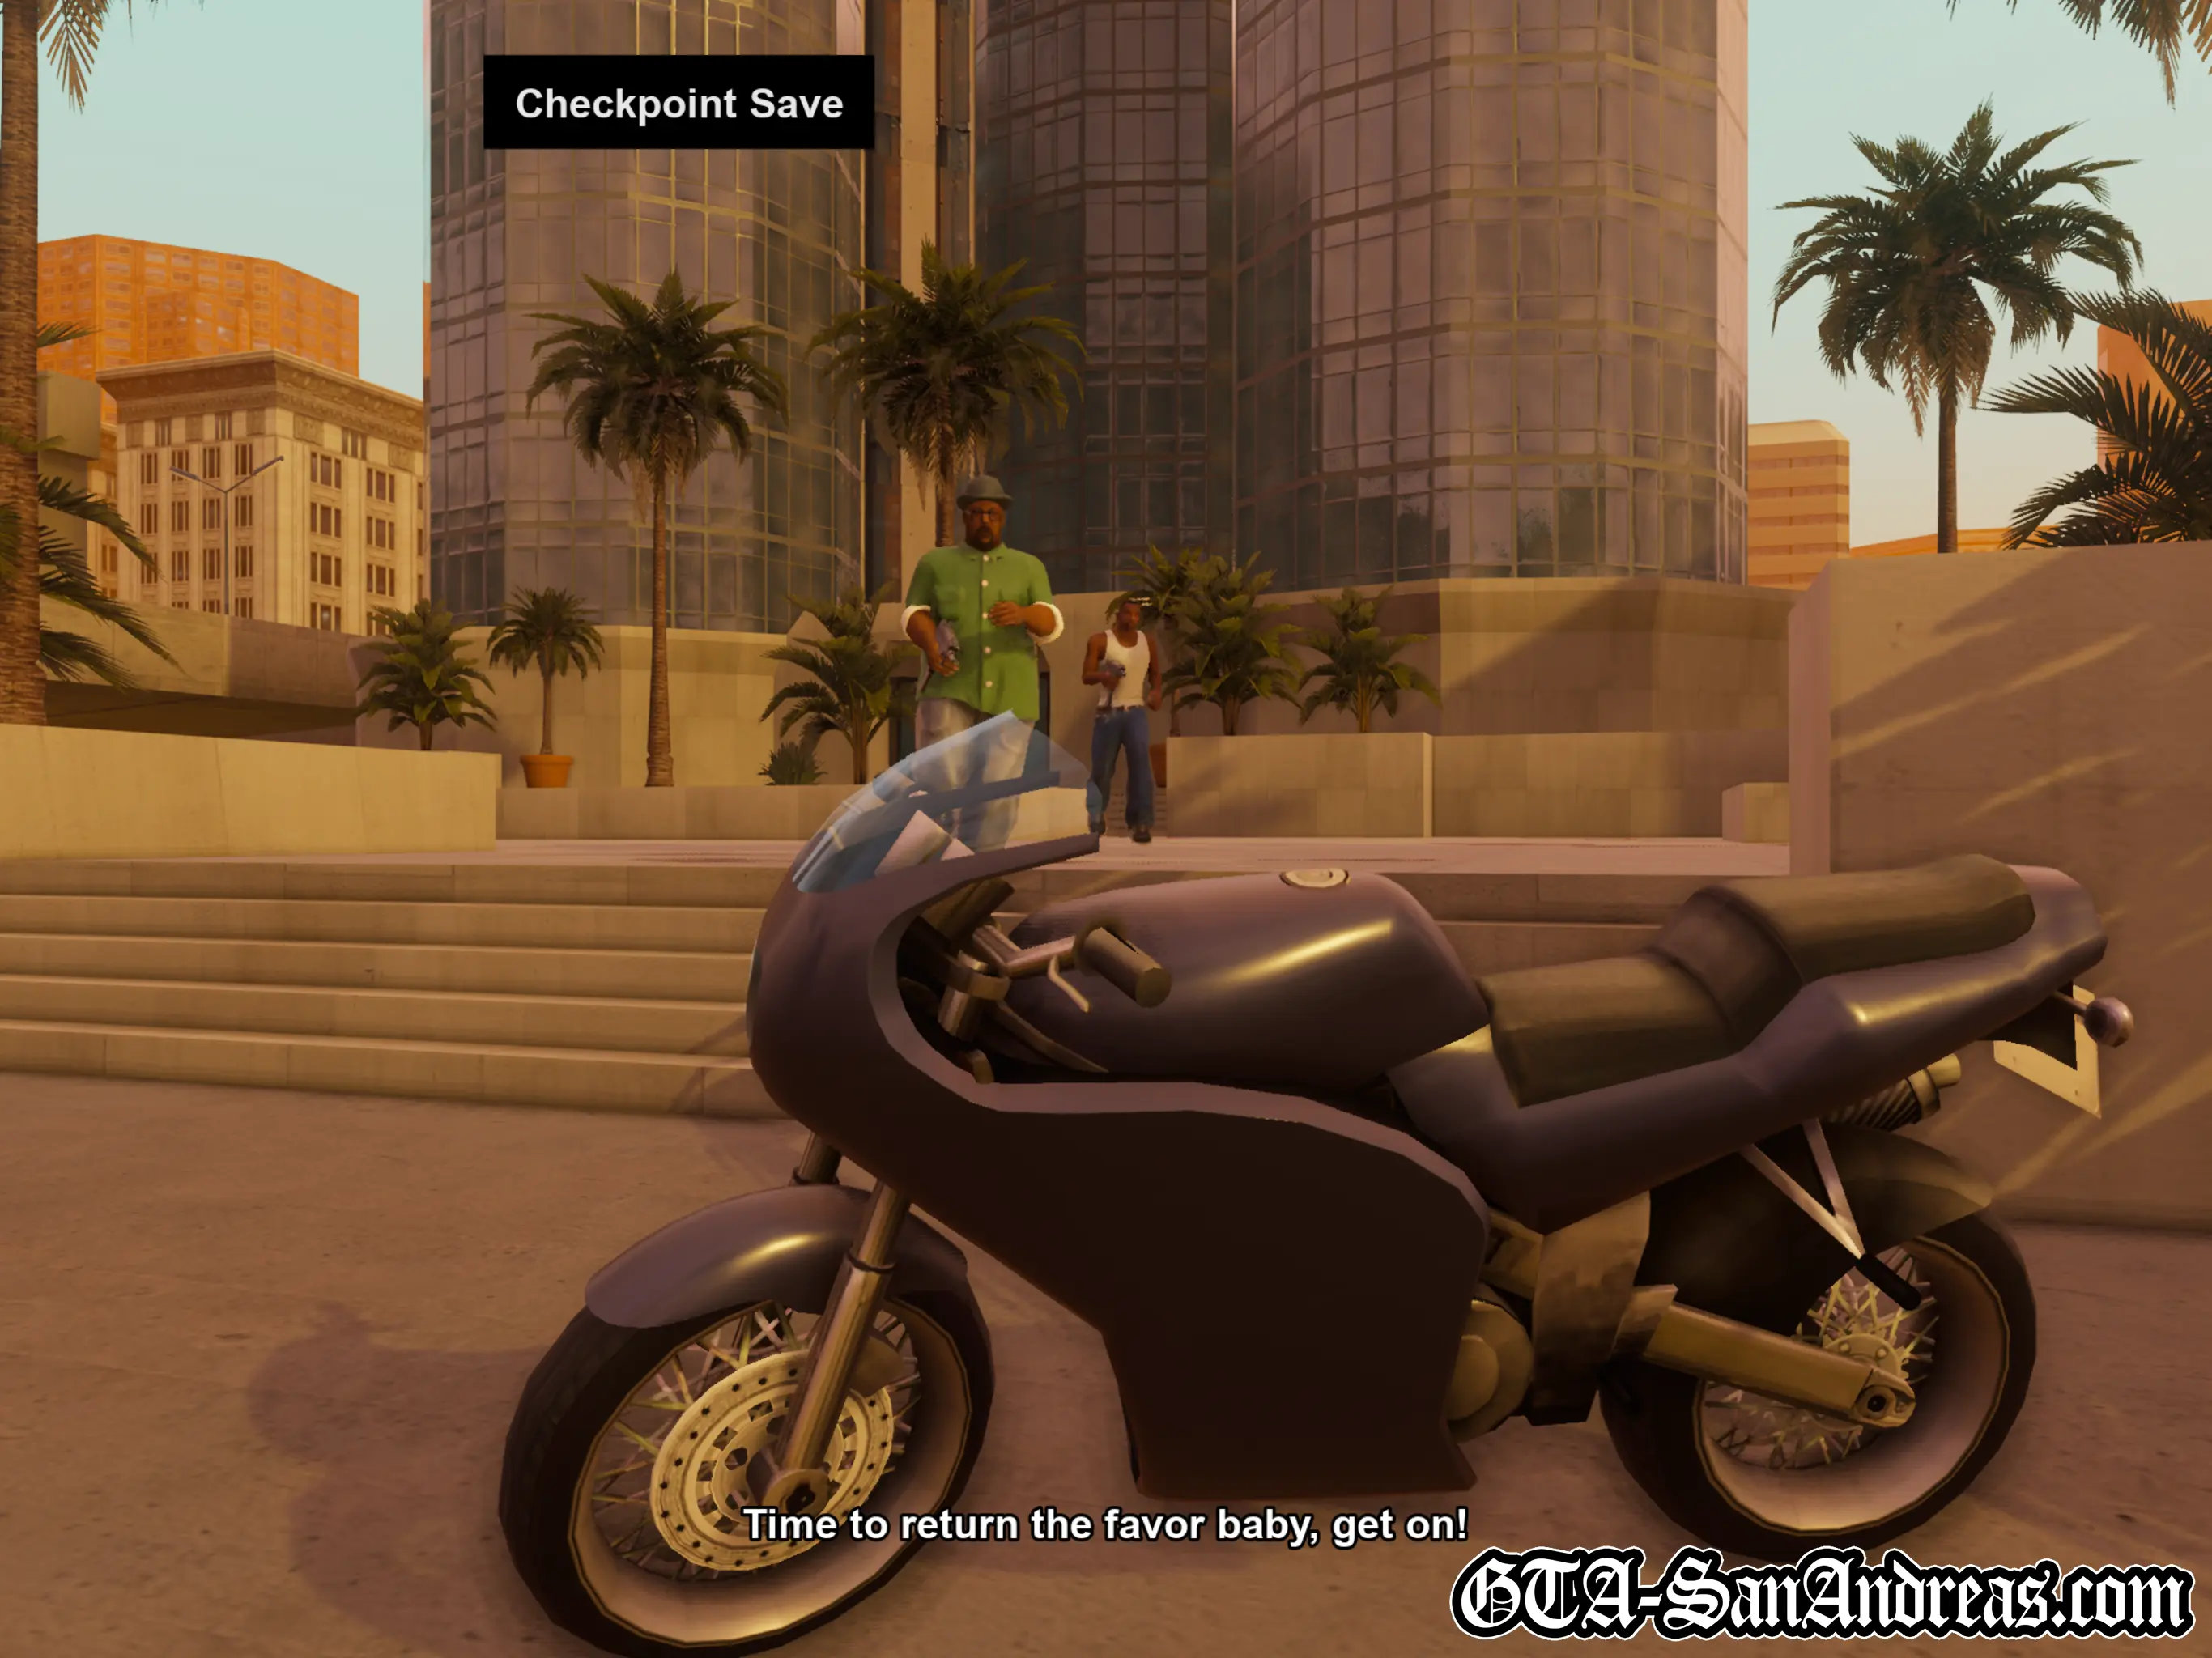
Tenpenny tells you that he likes watching gangs blow the shit out of each other, but dislikes it when one gang has an advantage over another. The Ballas are getting a lot of weapons imported down by the docks and he wants you to check it out in the interest of fairness.
Grab a vehicle and head to the docks. When you get there, park in the red marker. You'll be told to find a way into the area, however I wouldn't advise just walking through the door.
You can park your car next to the wall to the right and jump on it, then jump over the wall. Head around the back of the building and you should be able to take out the four or five guards without too much trouble.
Shoot the switch on the wall to open the warehouse, then make your way in. Work your way through the rows or crates slowly, taking out the five or so guards hidden in there, then you'll get to some stairs leading to an upper office.
Shoot the five enemies here and go up the stairs to the office where you'll need to kill two Ballas and a Russian crime-lord.
The Russian will likely escape, so chase after him and keep shooting. If you picked up any armor on the way through just ignore the few enemies shooting you and sprint after the Russian. Keep shooting him and he'll eventually get in a car. He'll get straight back out if you're close enough and you can just fire a few rounds into him to kill him, otherwise jump on the nearby bike and chase after him, shooting his car with a forward drive-by until it goes boom.
All of Tenpenny's C.R.A.S.H. missions have now been completed. We're going to see Sweet again.
Tips & Tricks
Mission Shortcut
If you carefully move through the warehouse, killing all of the enemies from a distance and shooting between the barrels and crates blocking your view, particularly those by the stairs heading up to the office, it's possible to climb the boxes onto the walkway and take out the Ballas and Russians inside the office without triggering the escape sequence.
You'll need to jump around near the conveyor belt in the warehouse and grab onto the crates then carefully jump across them until you can climb onto the platform above. Once you're up here you can slowly edge your way to the left where you'll get a view inside the office and after a lot of bullets in the head, the Russian boss will die, and you'll pass the mission. The back door won't even be open at this point so you'll have to exit the warehouse from the main door you came in.
This probably ends up taking longer than doing the mission properly, but it cuts out the foot chase and eventual car chase parts of the mission.
Screenshots
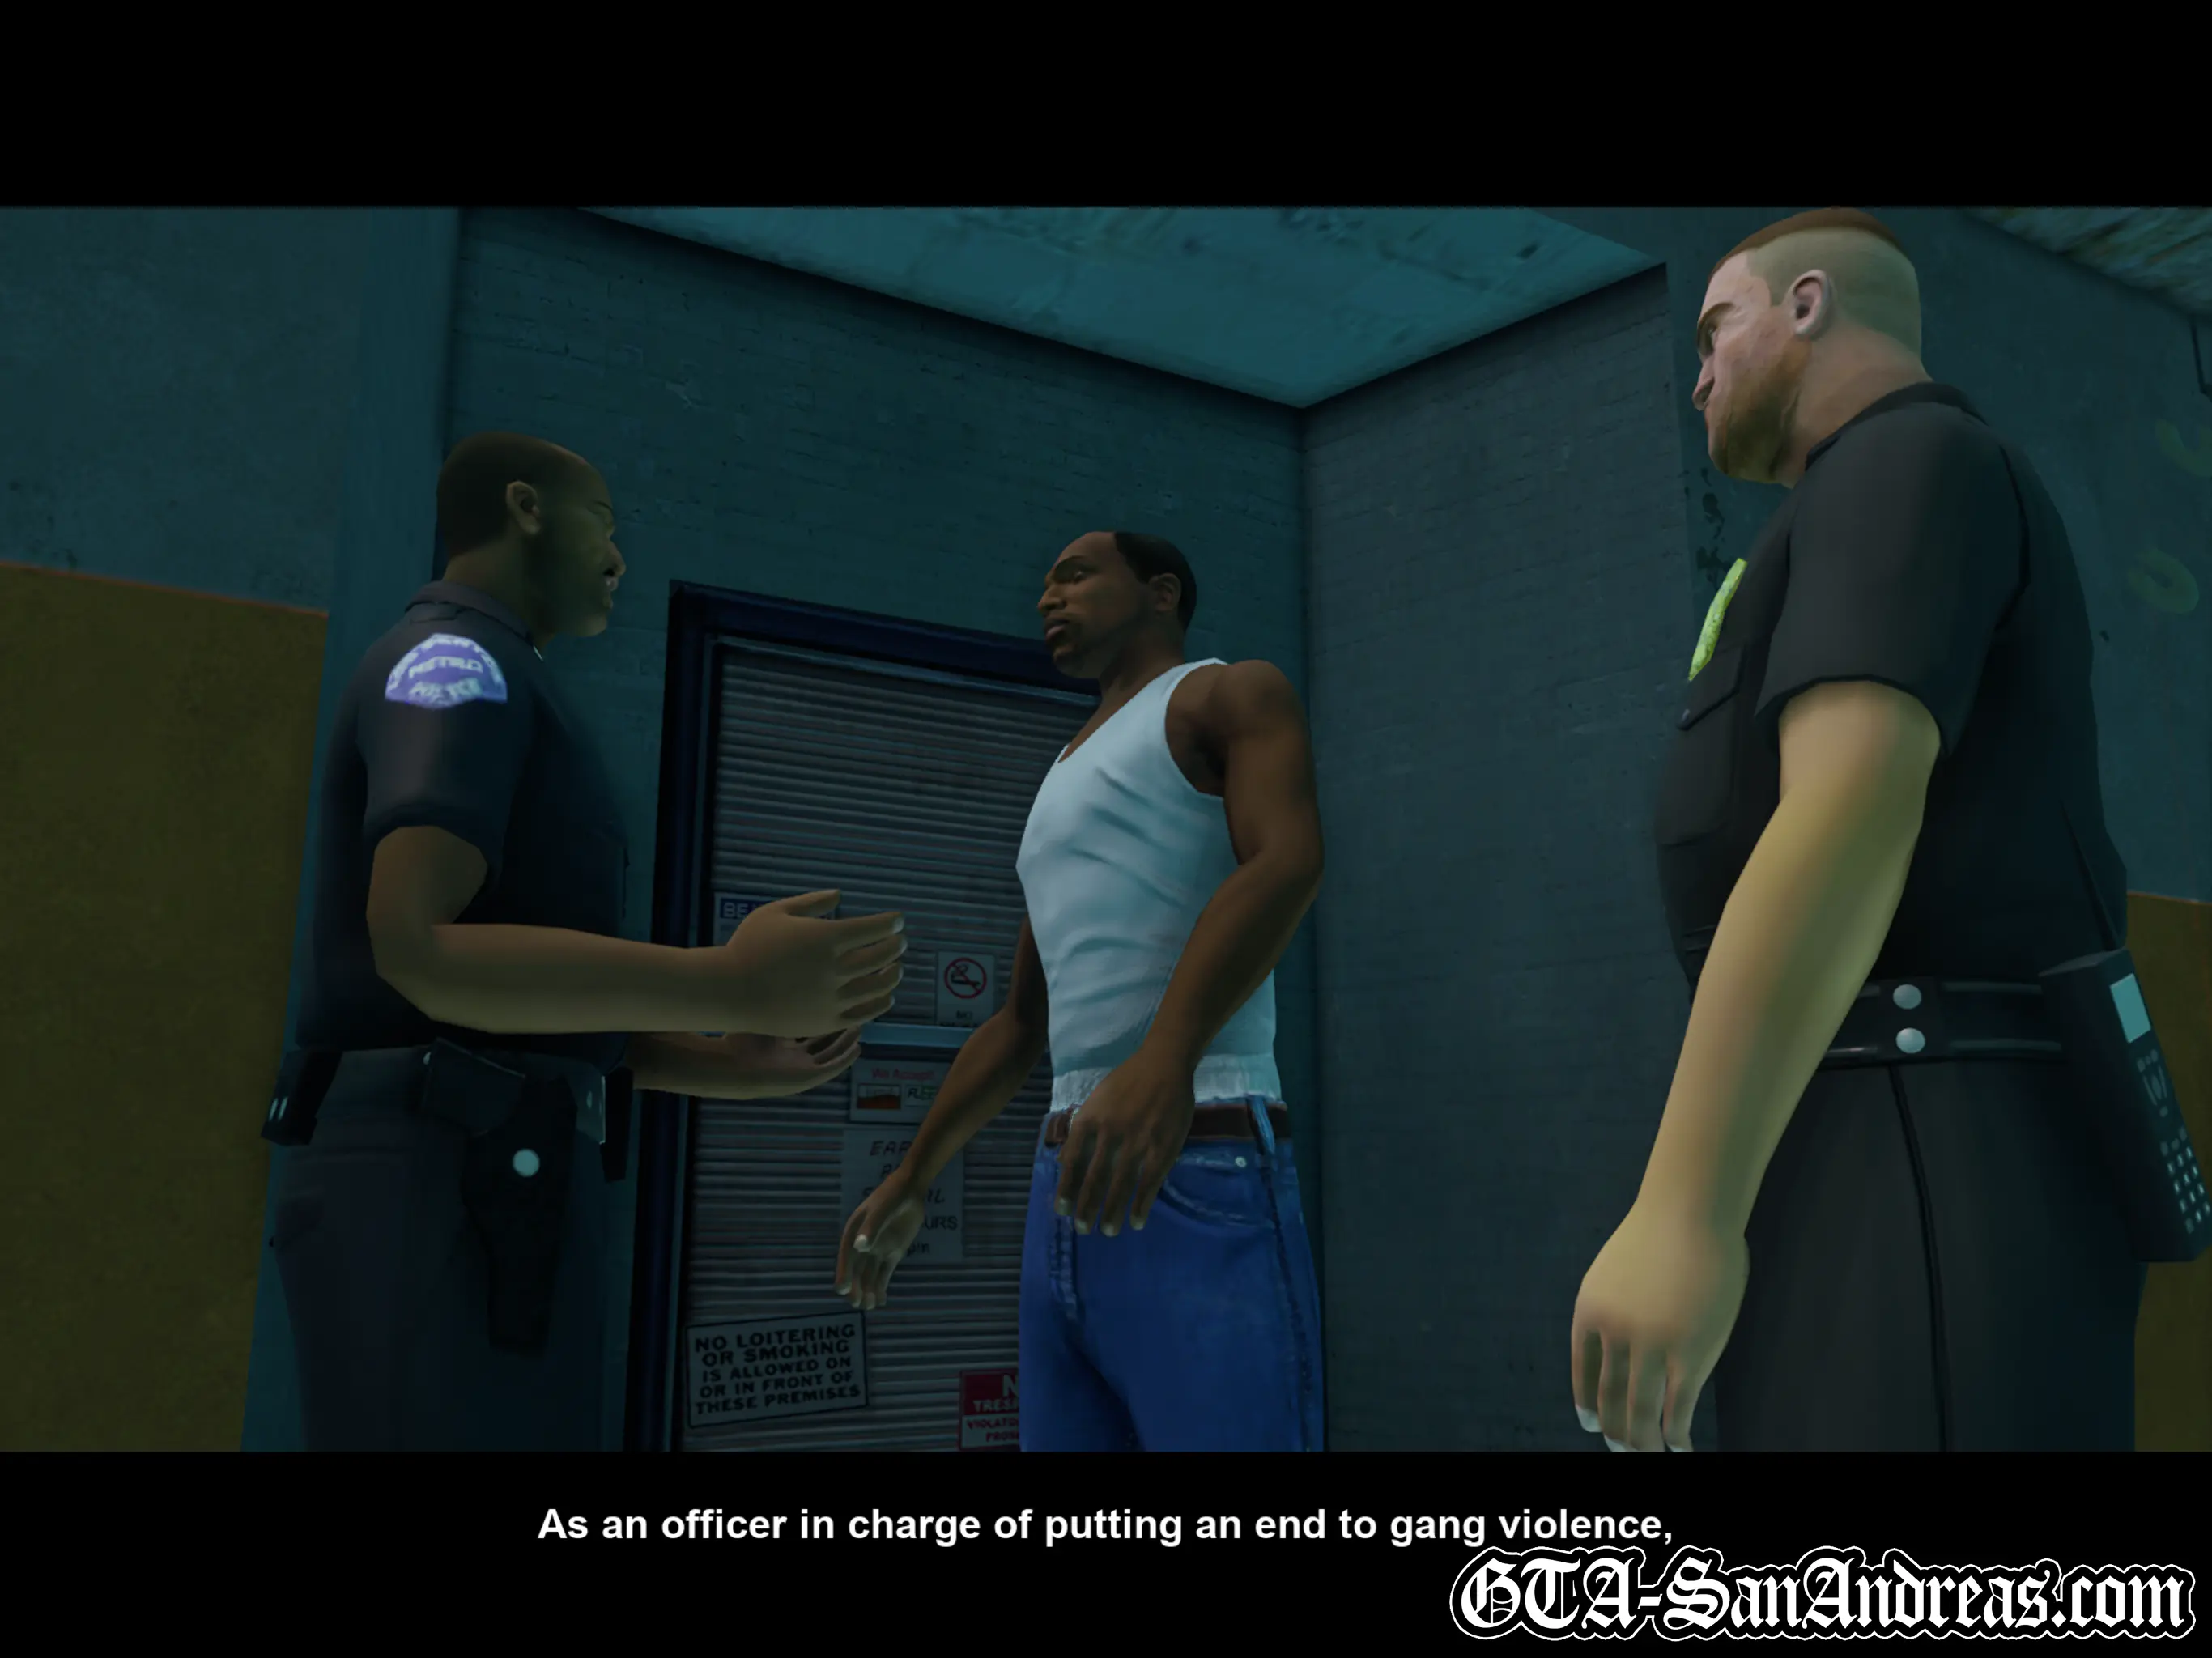

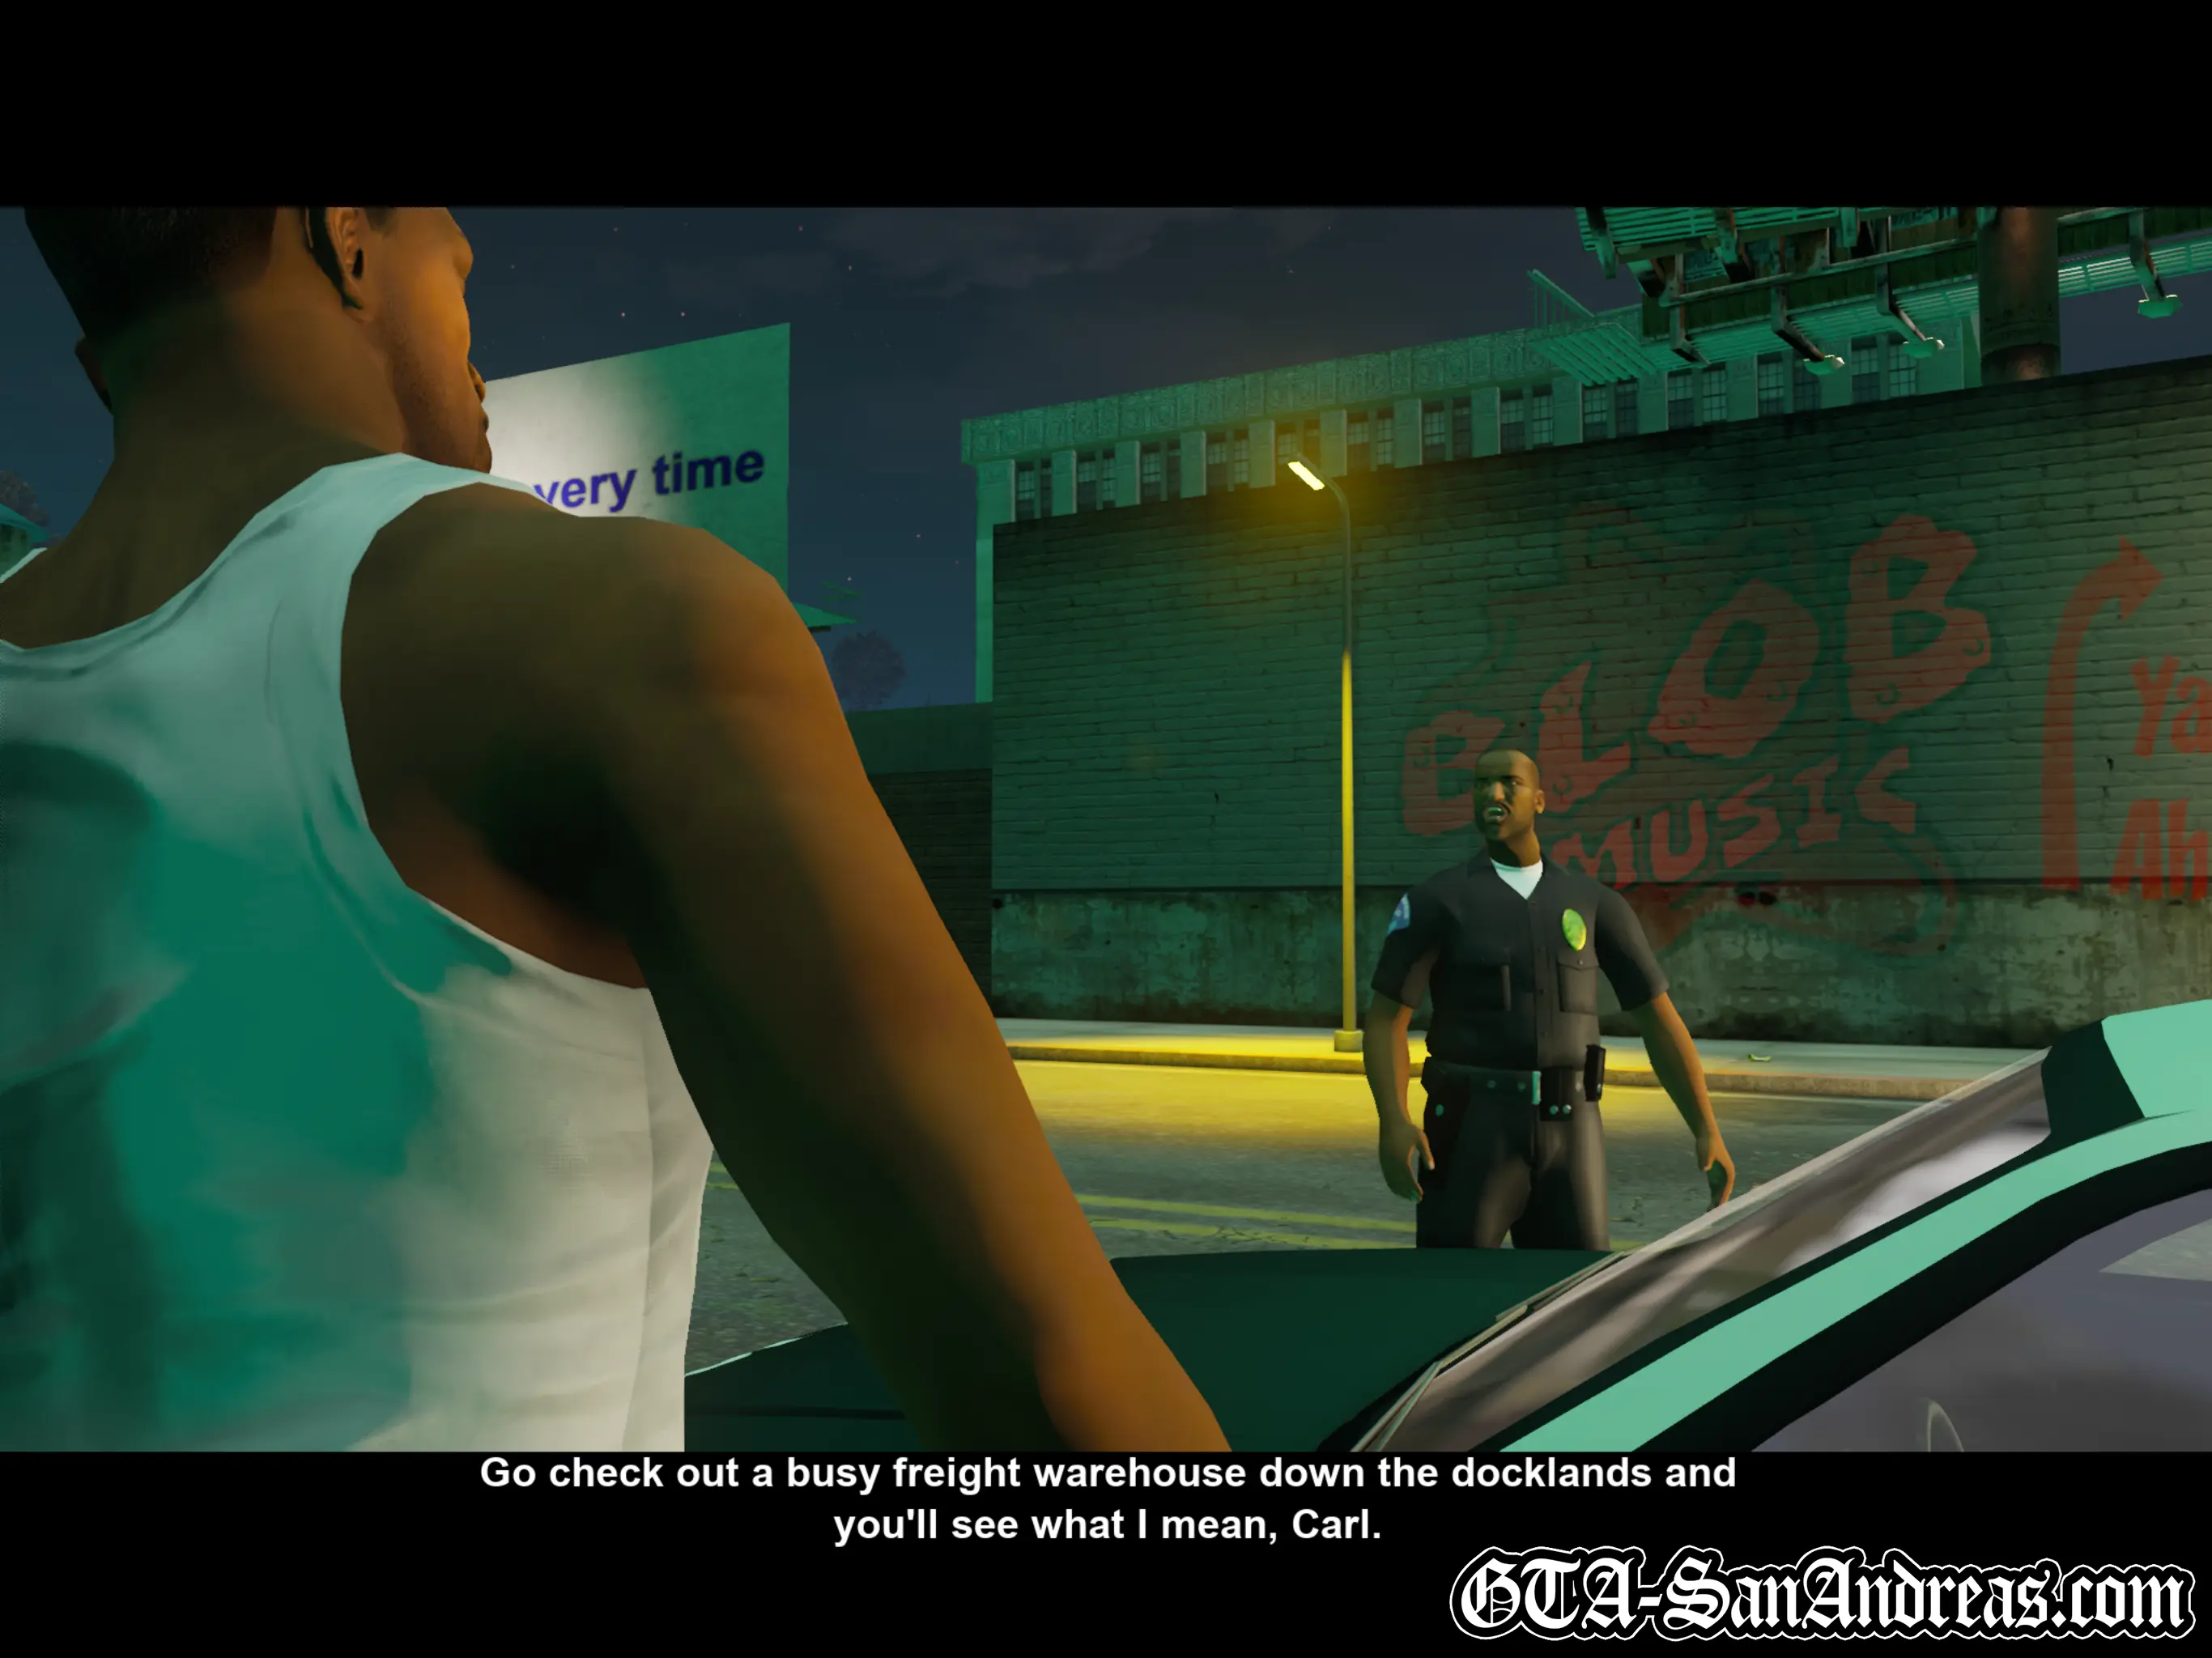
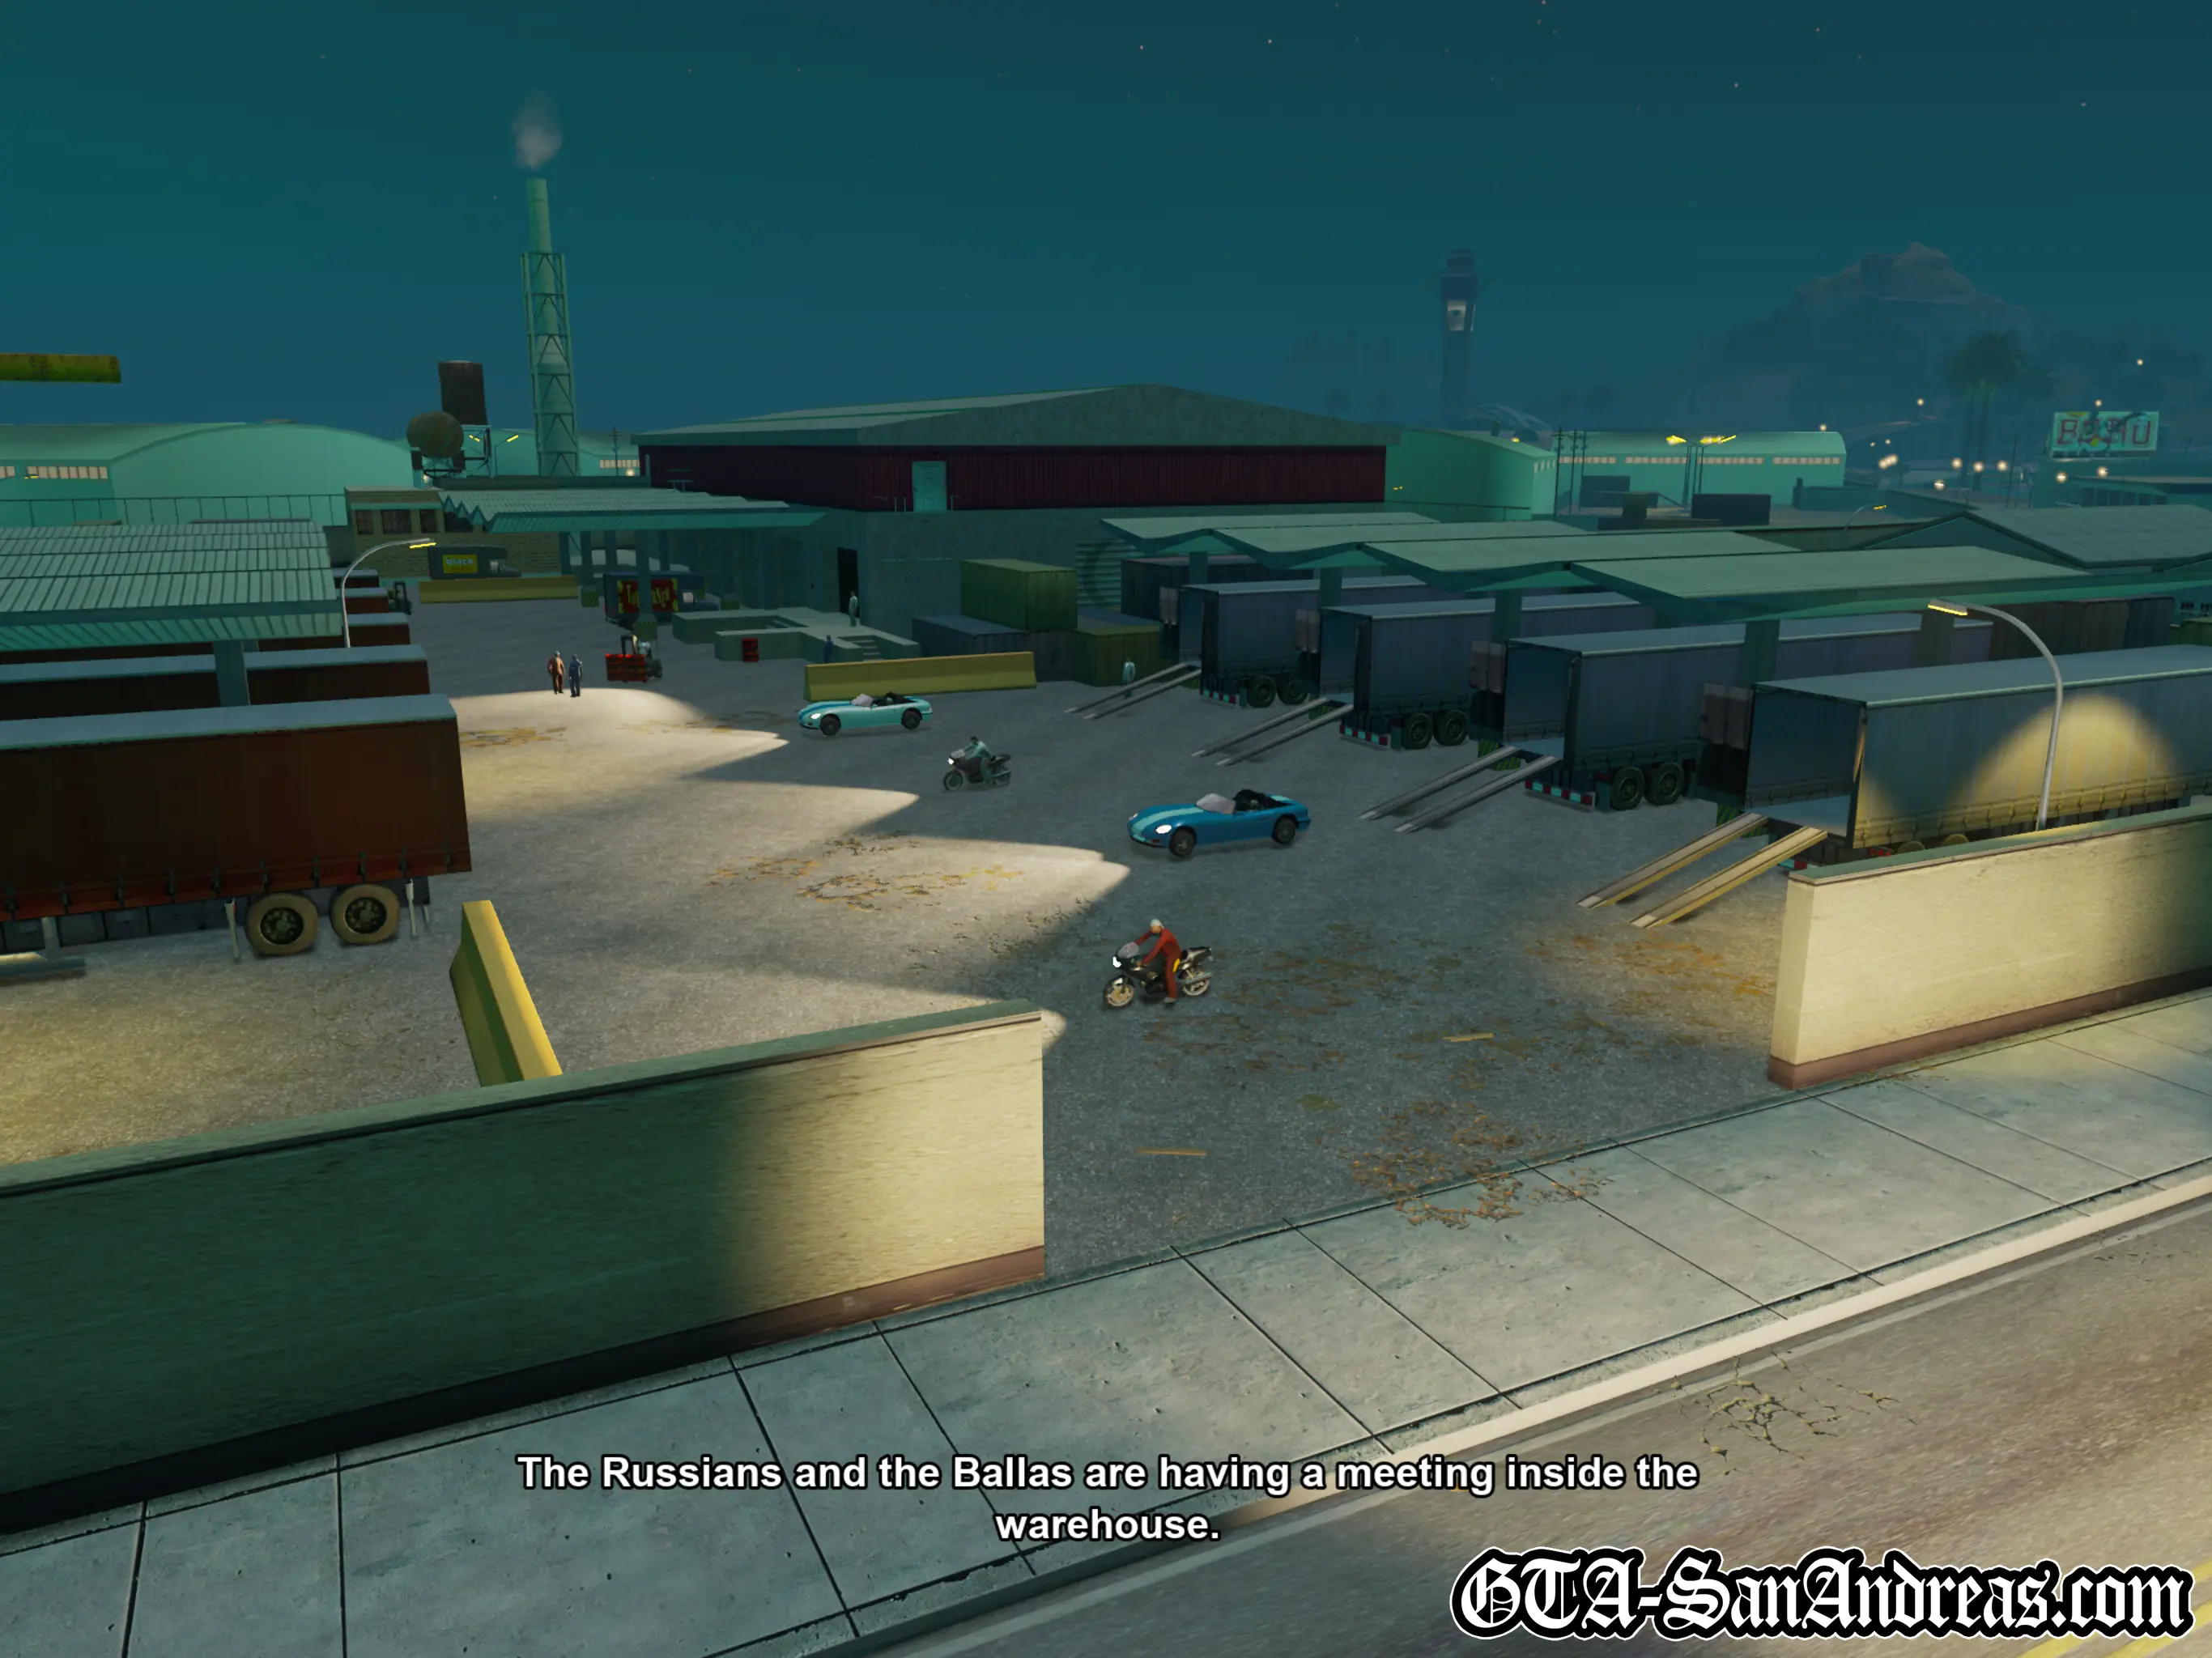
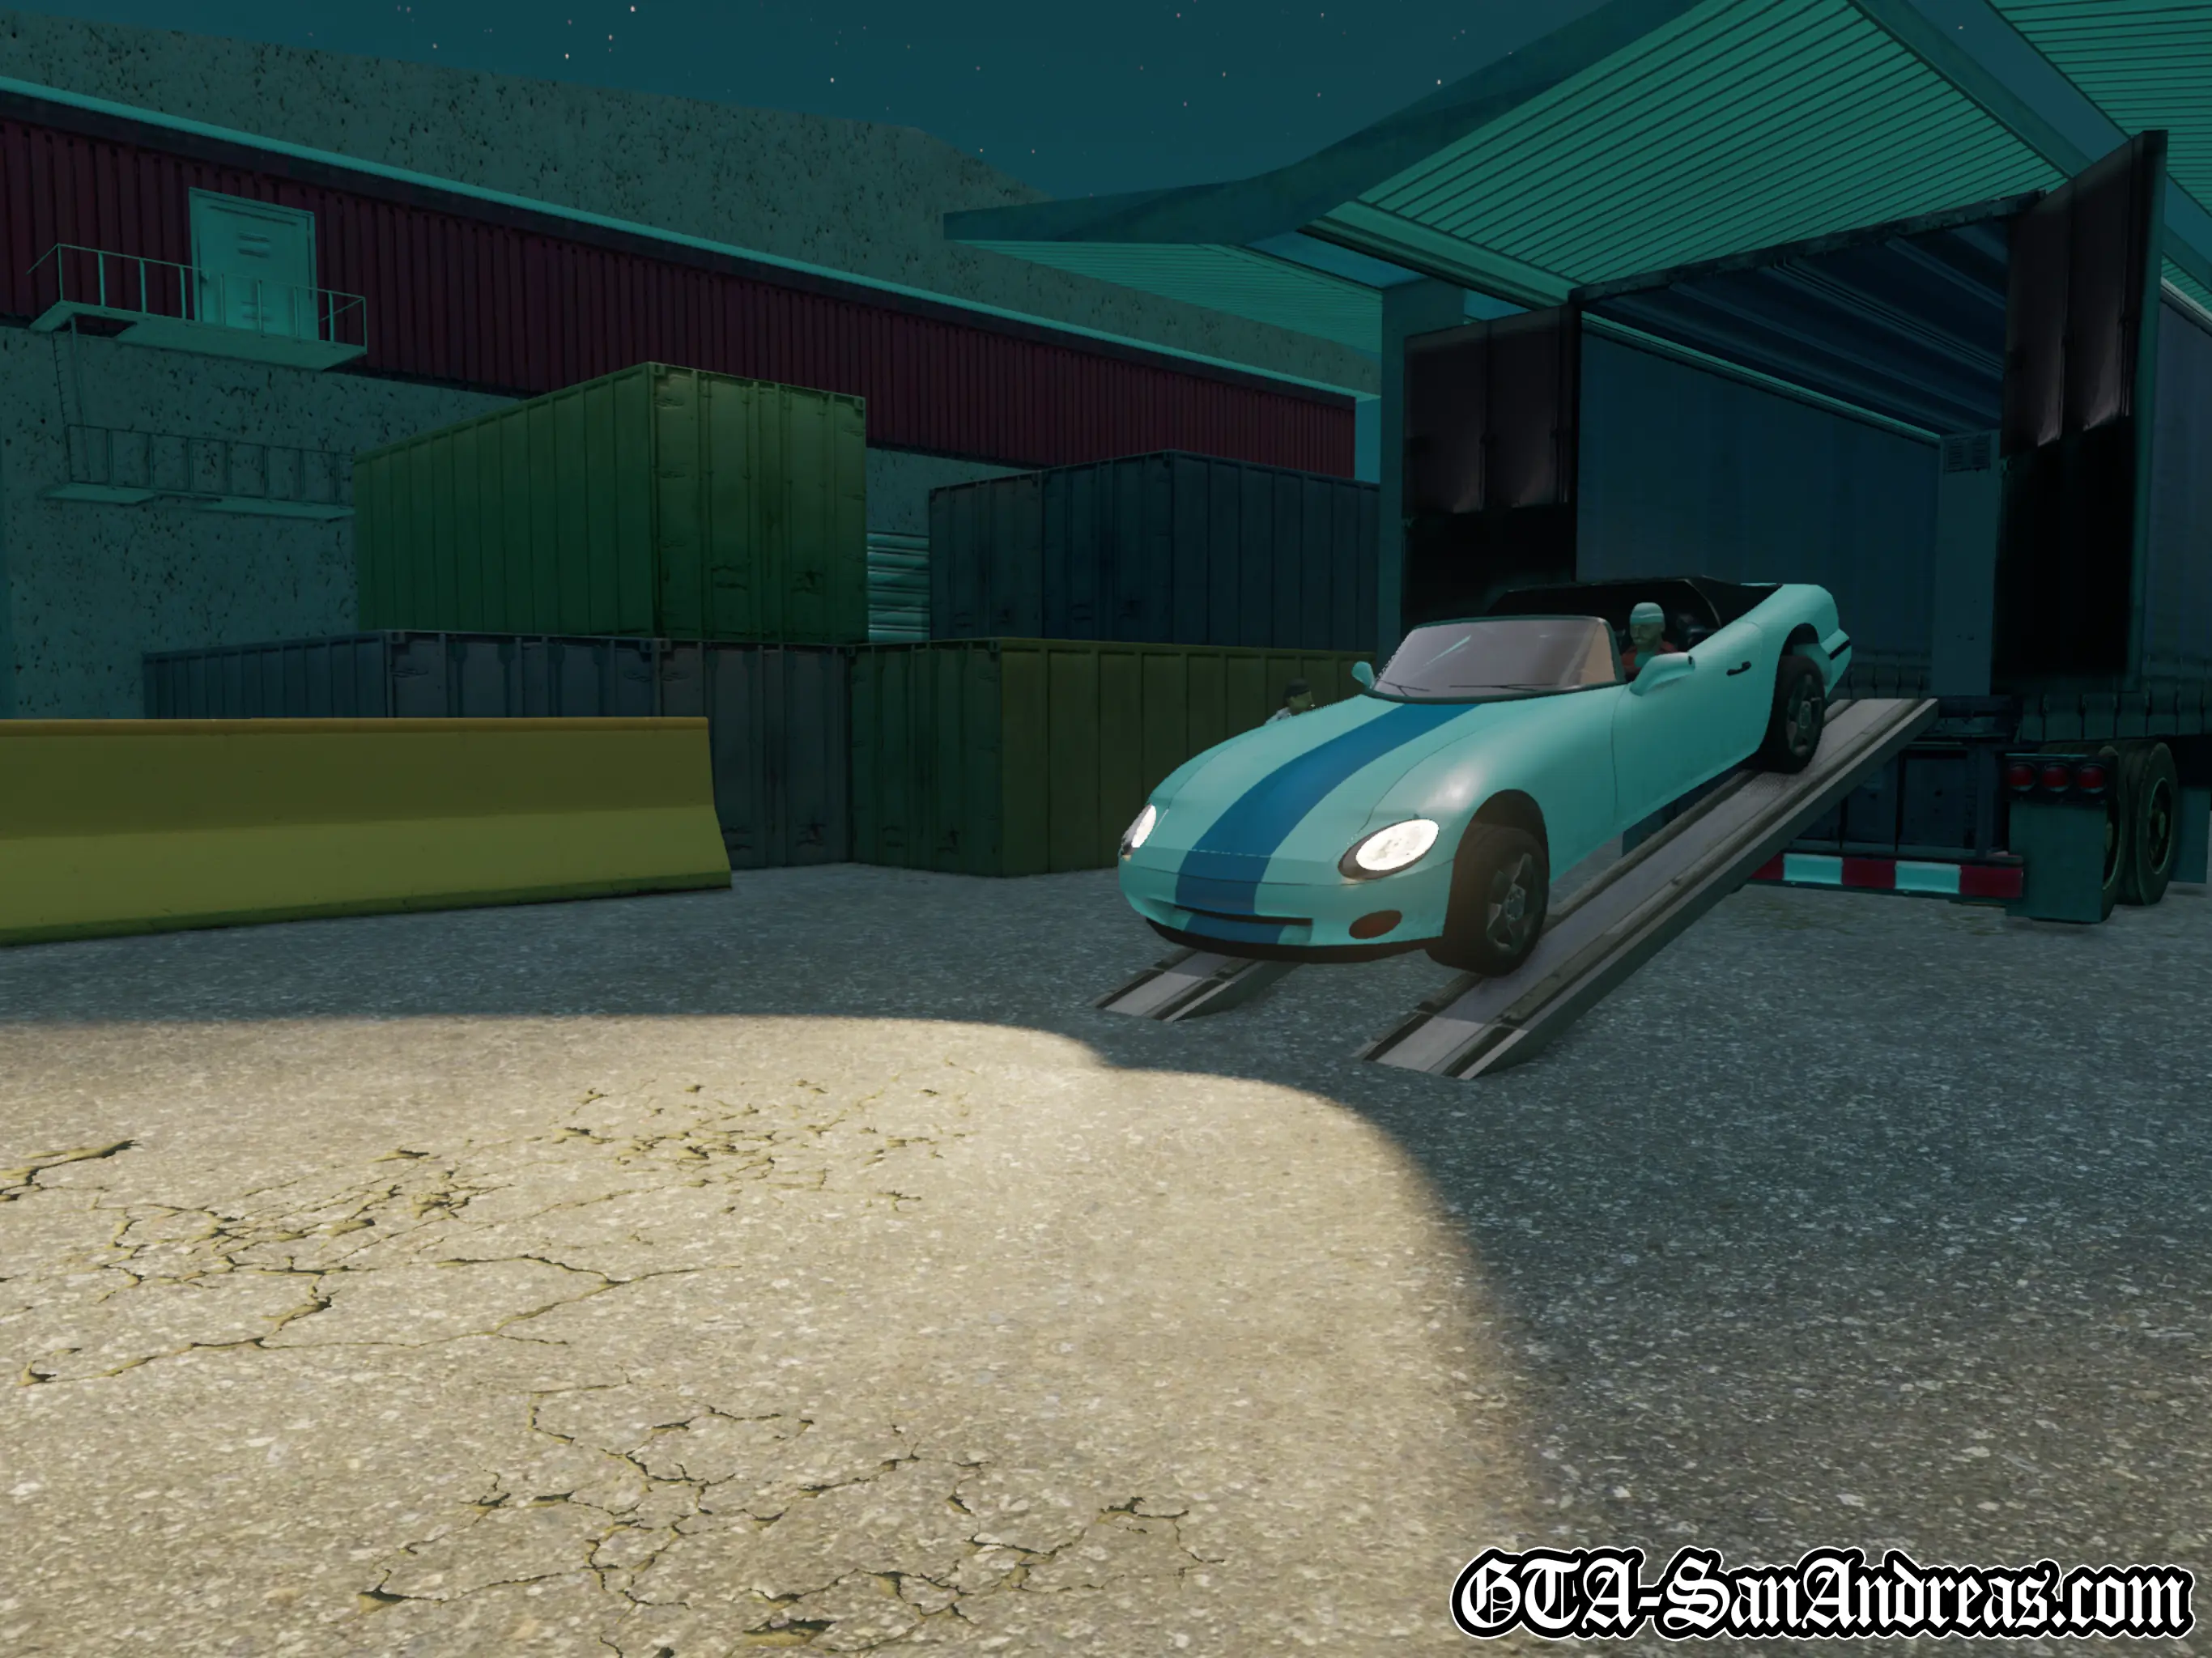

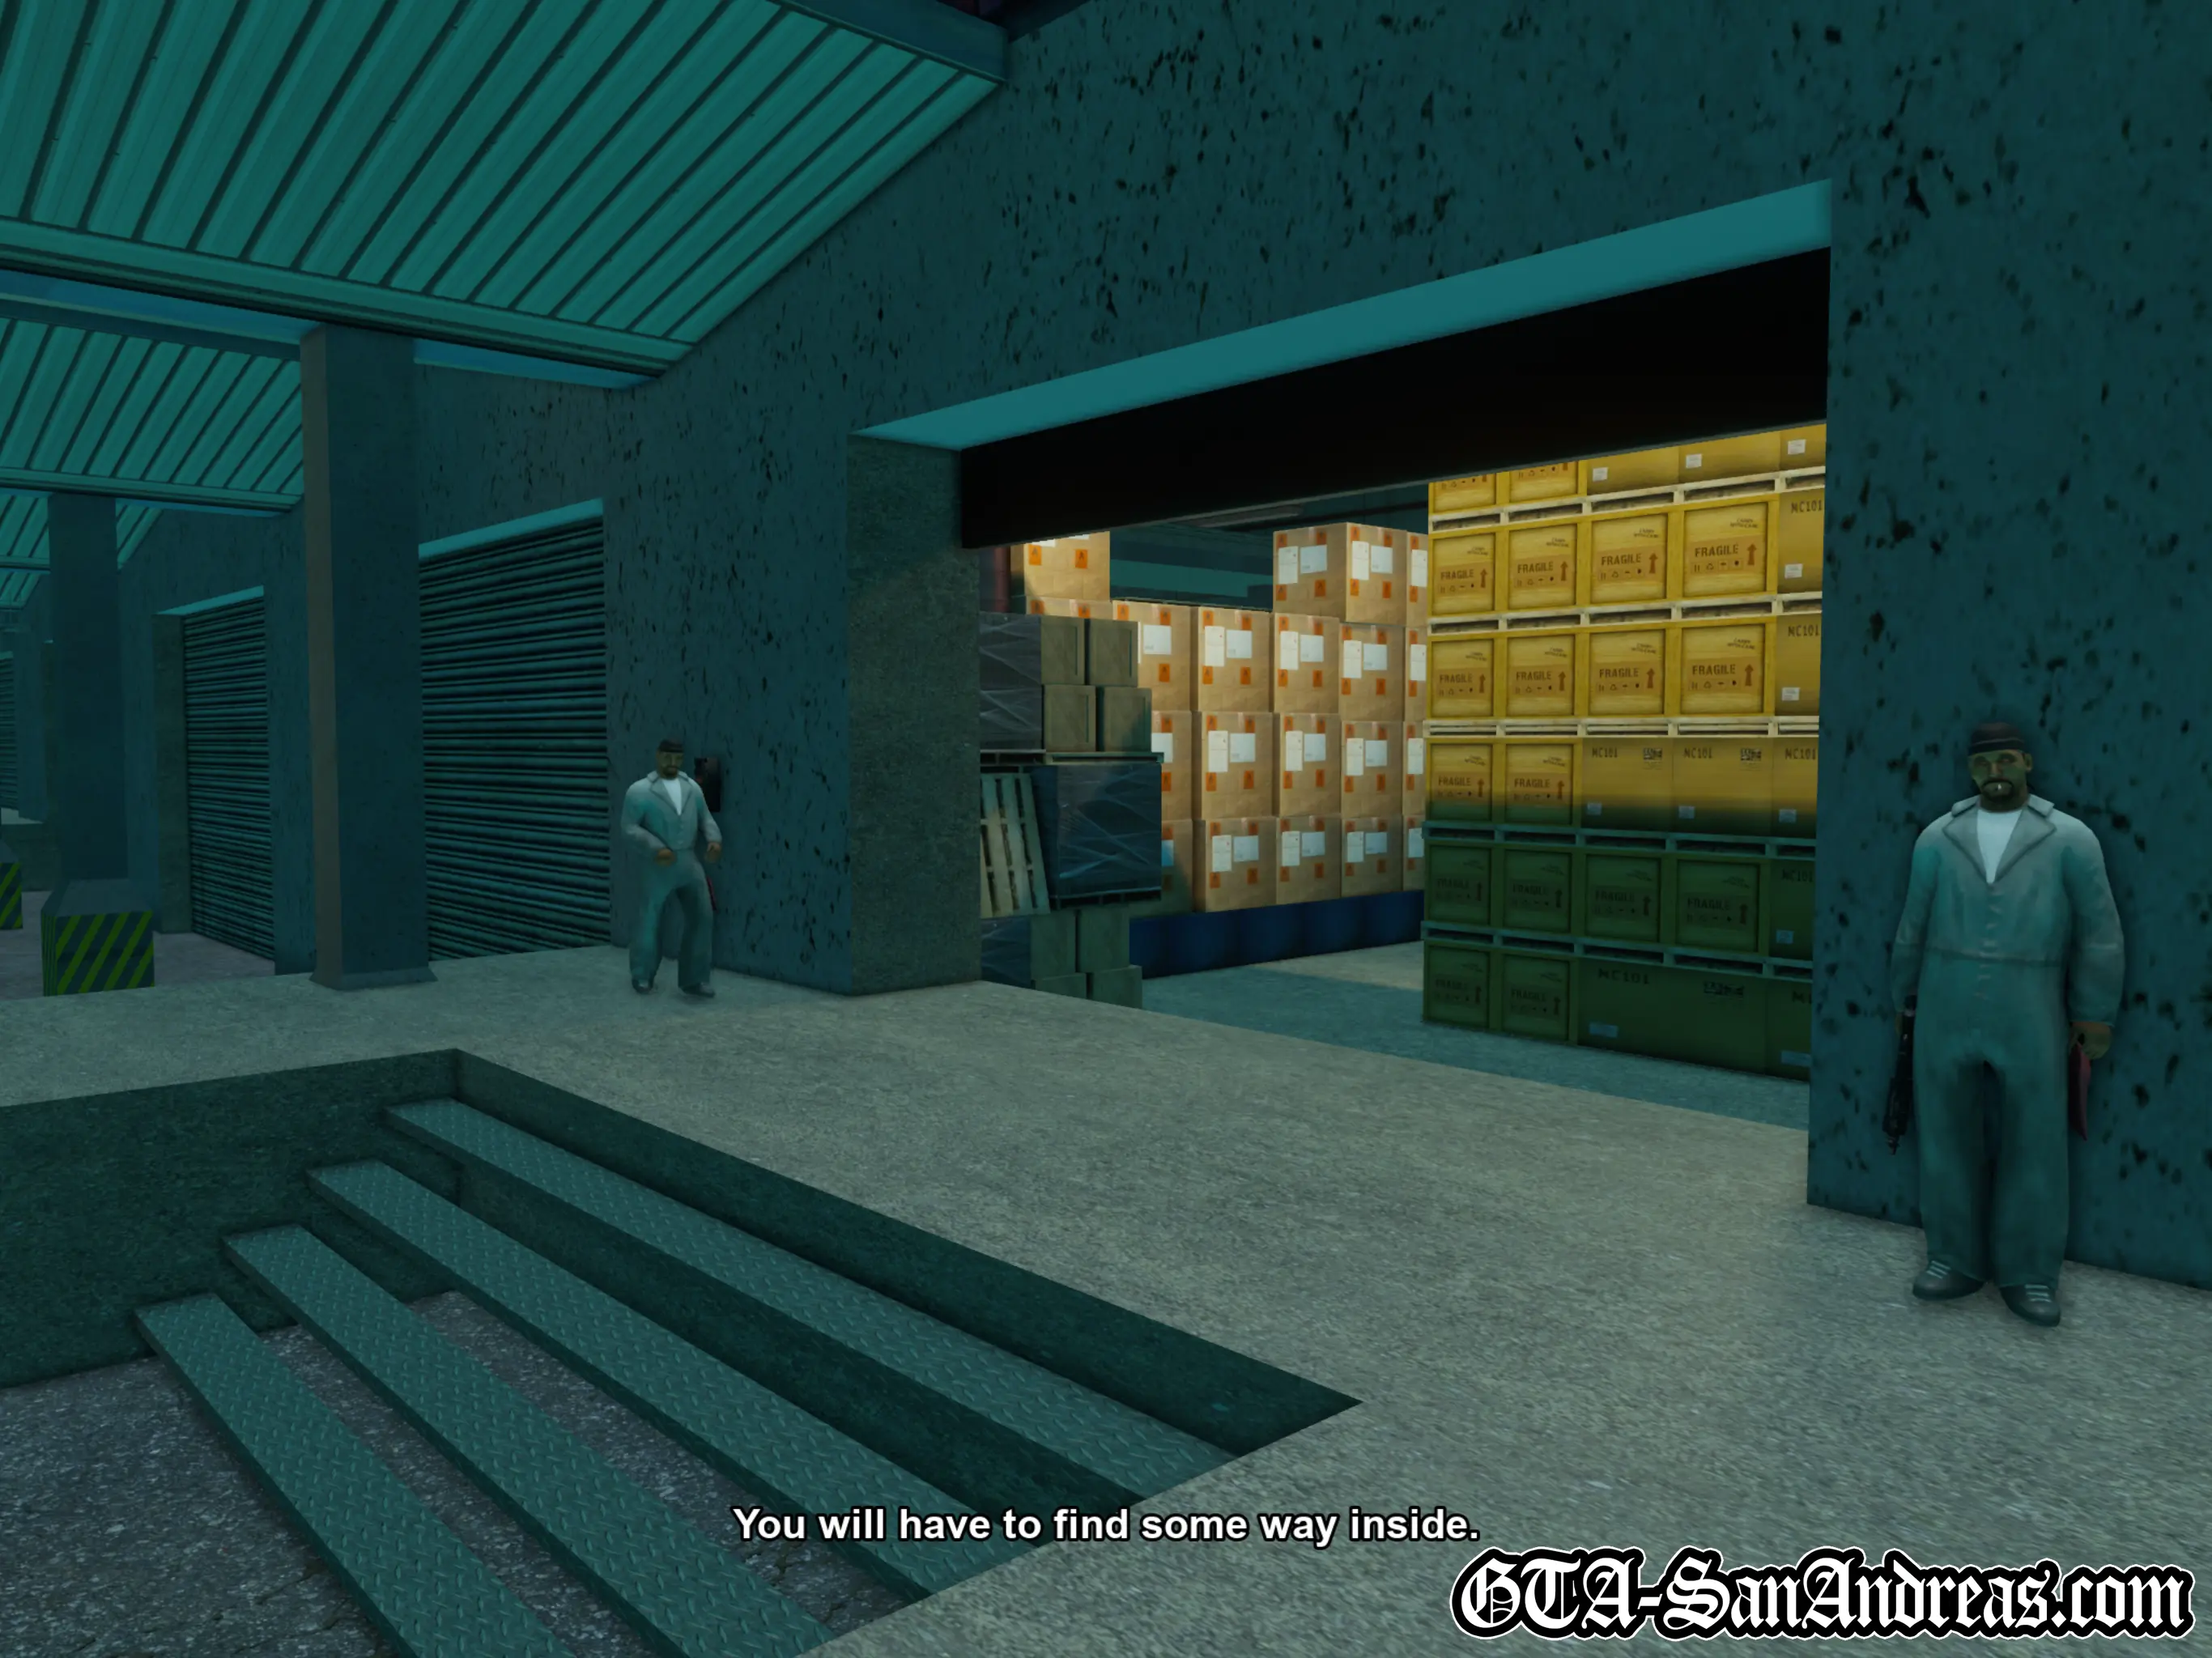
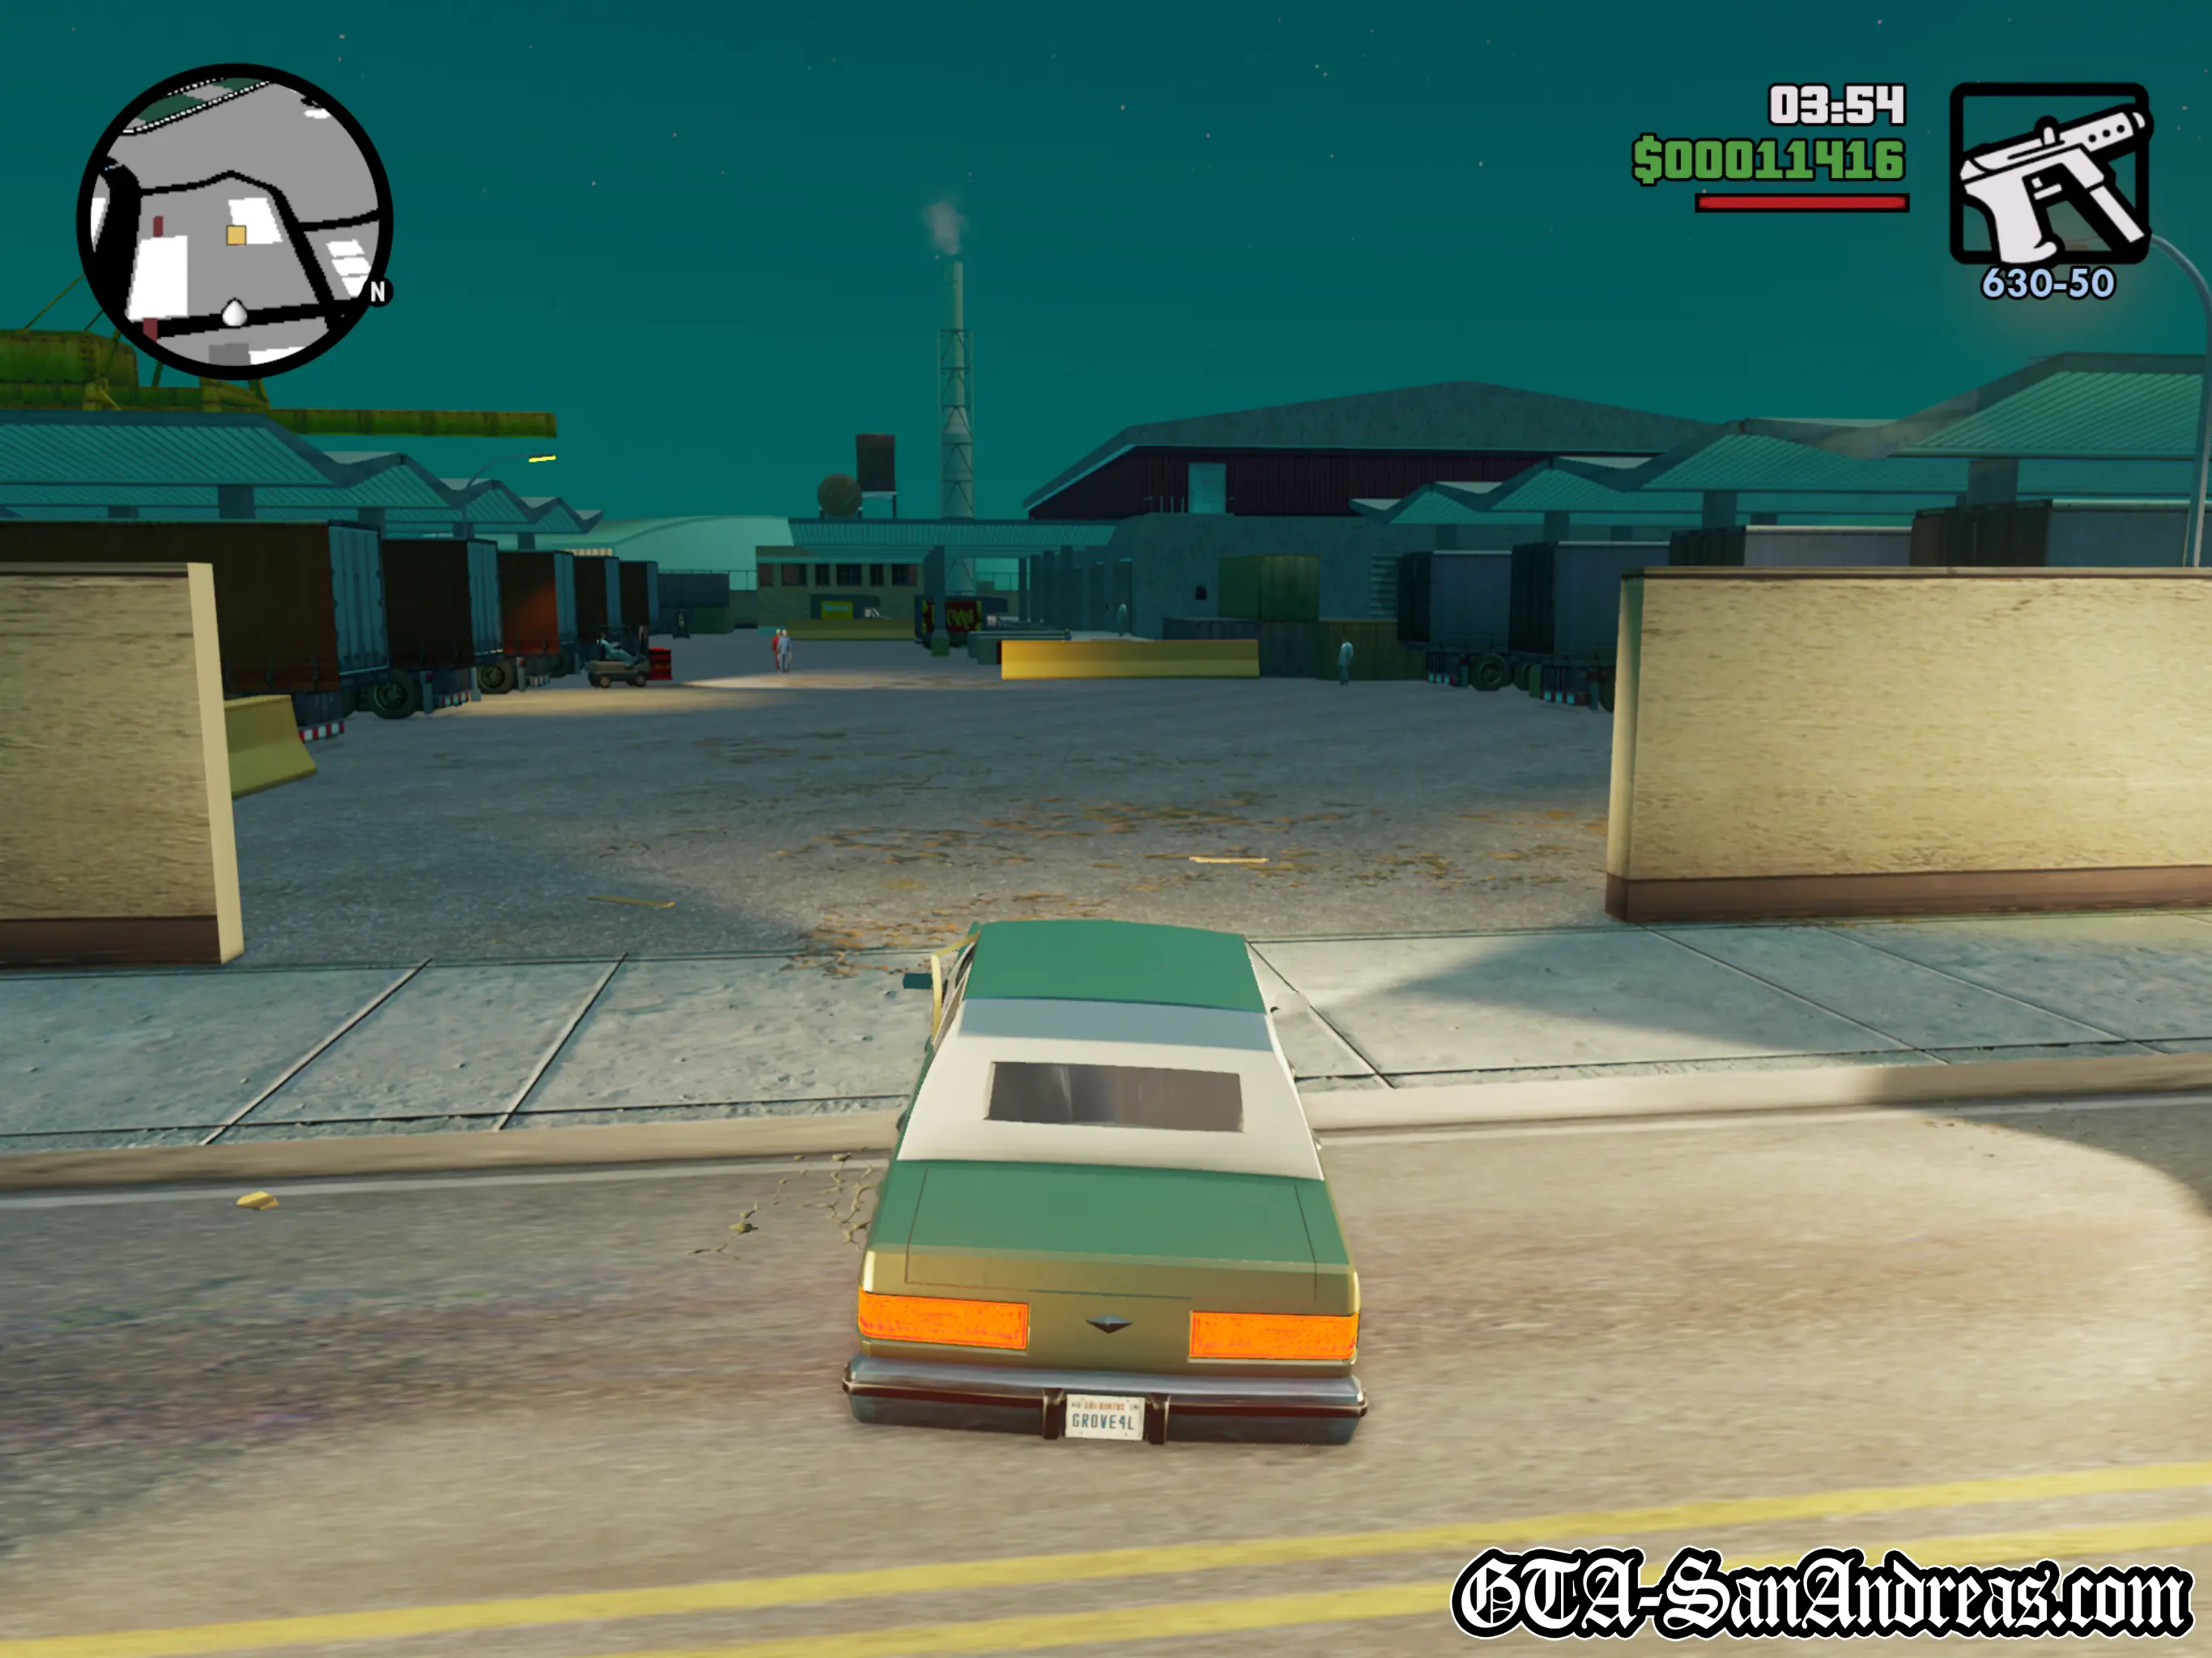
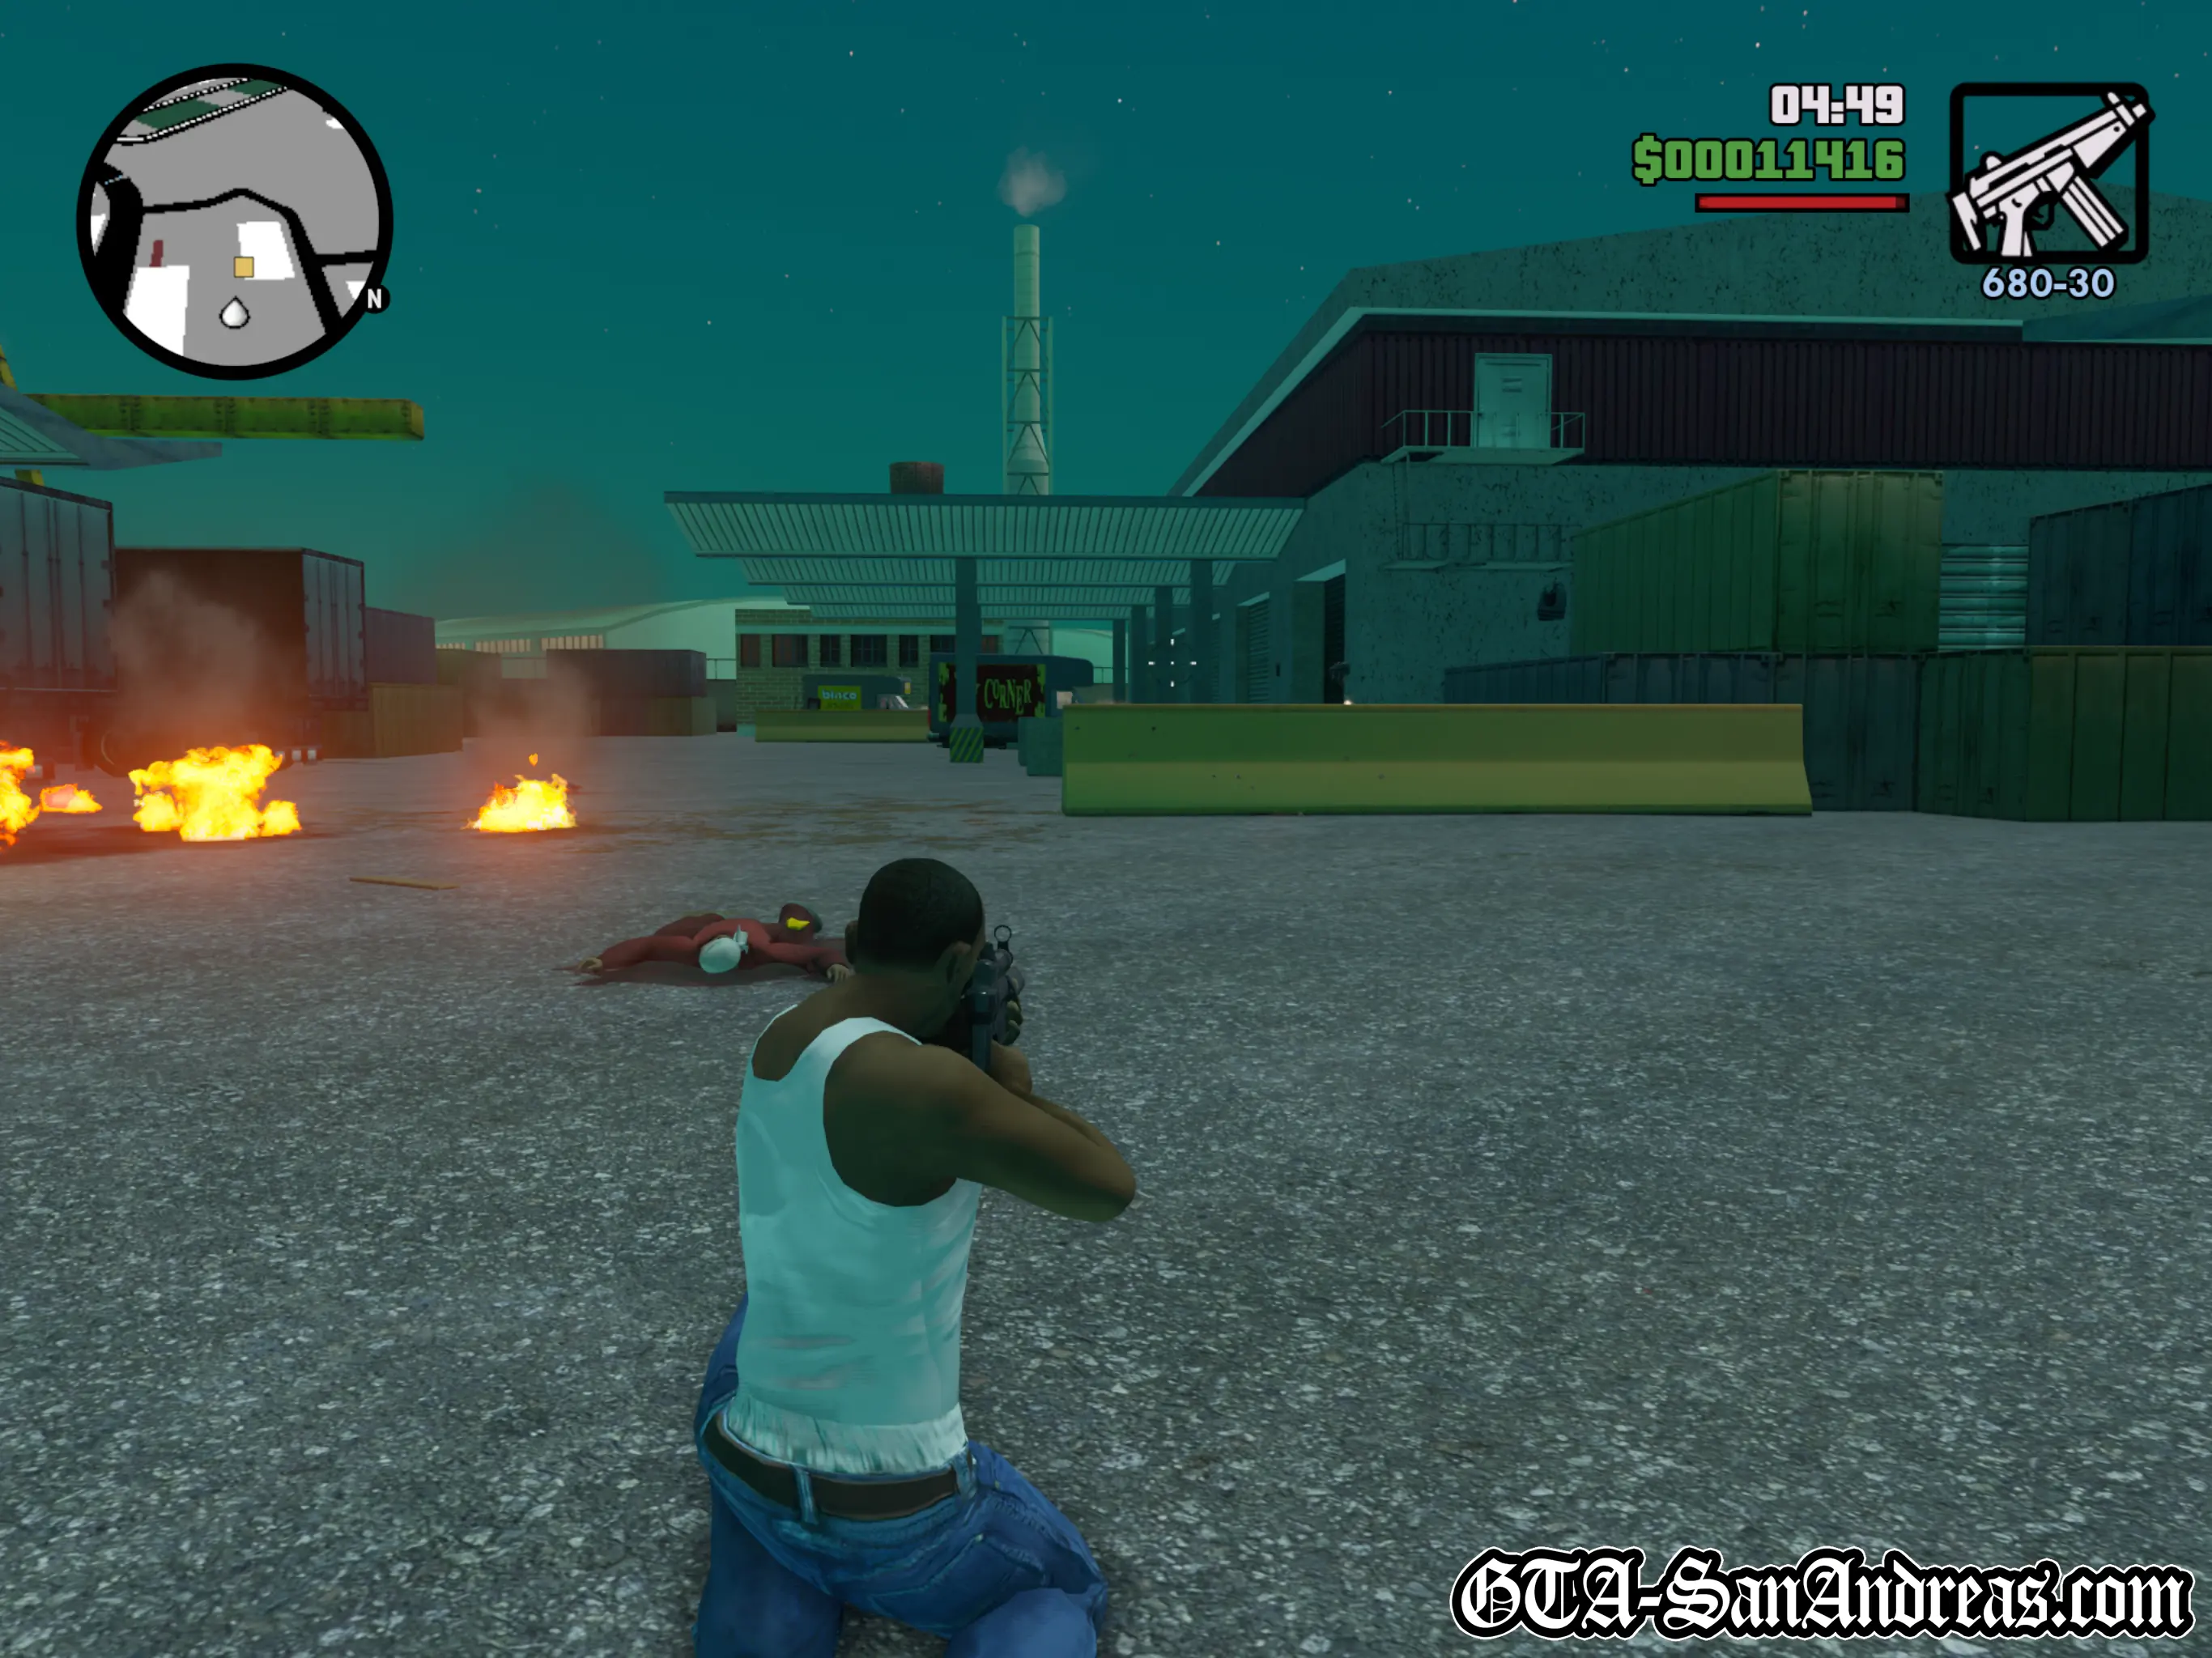
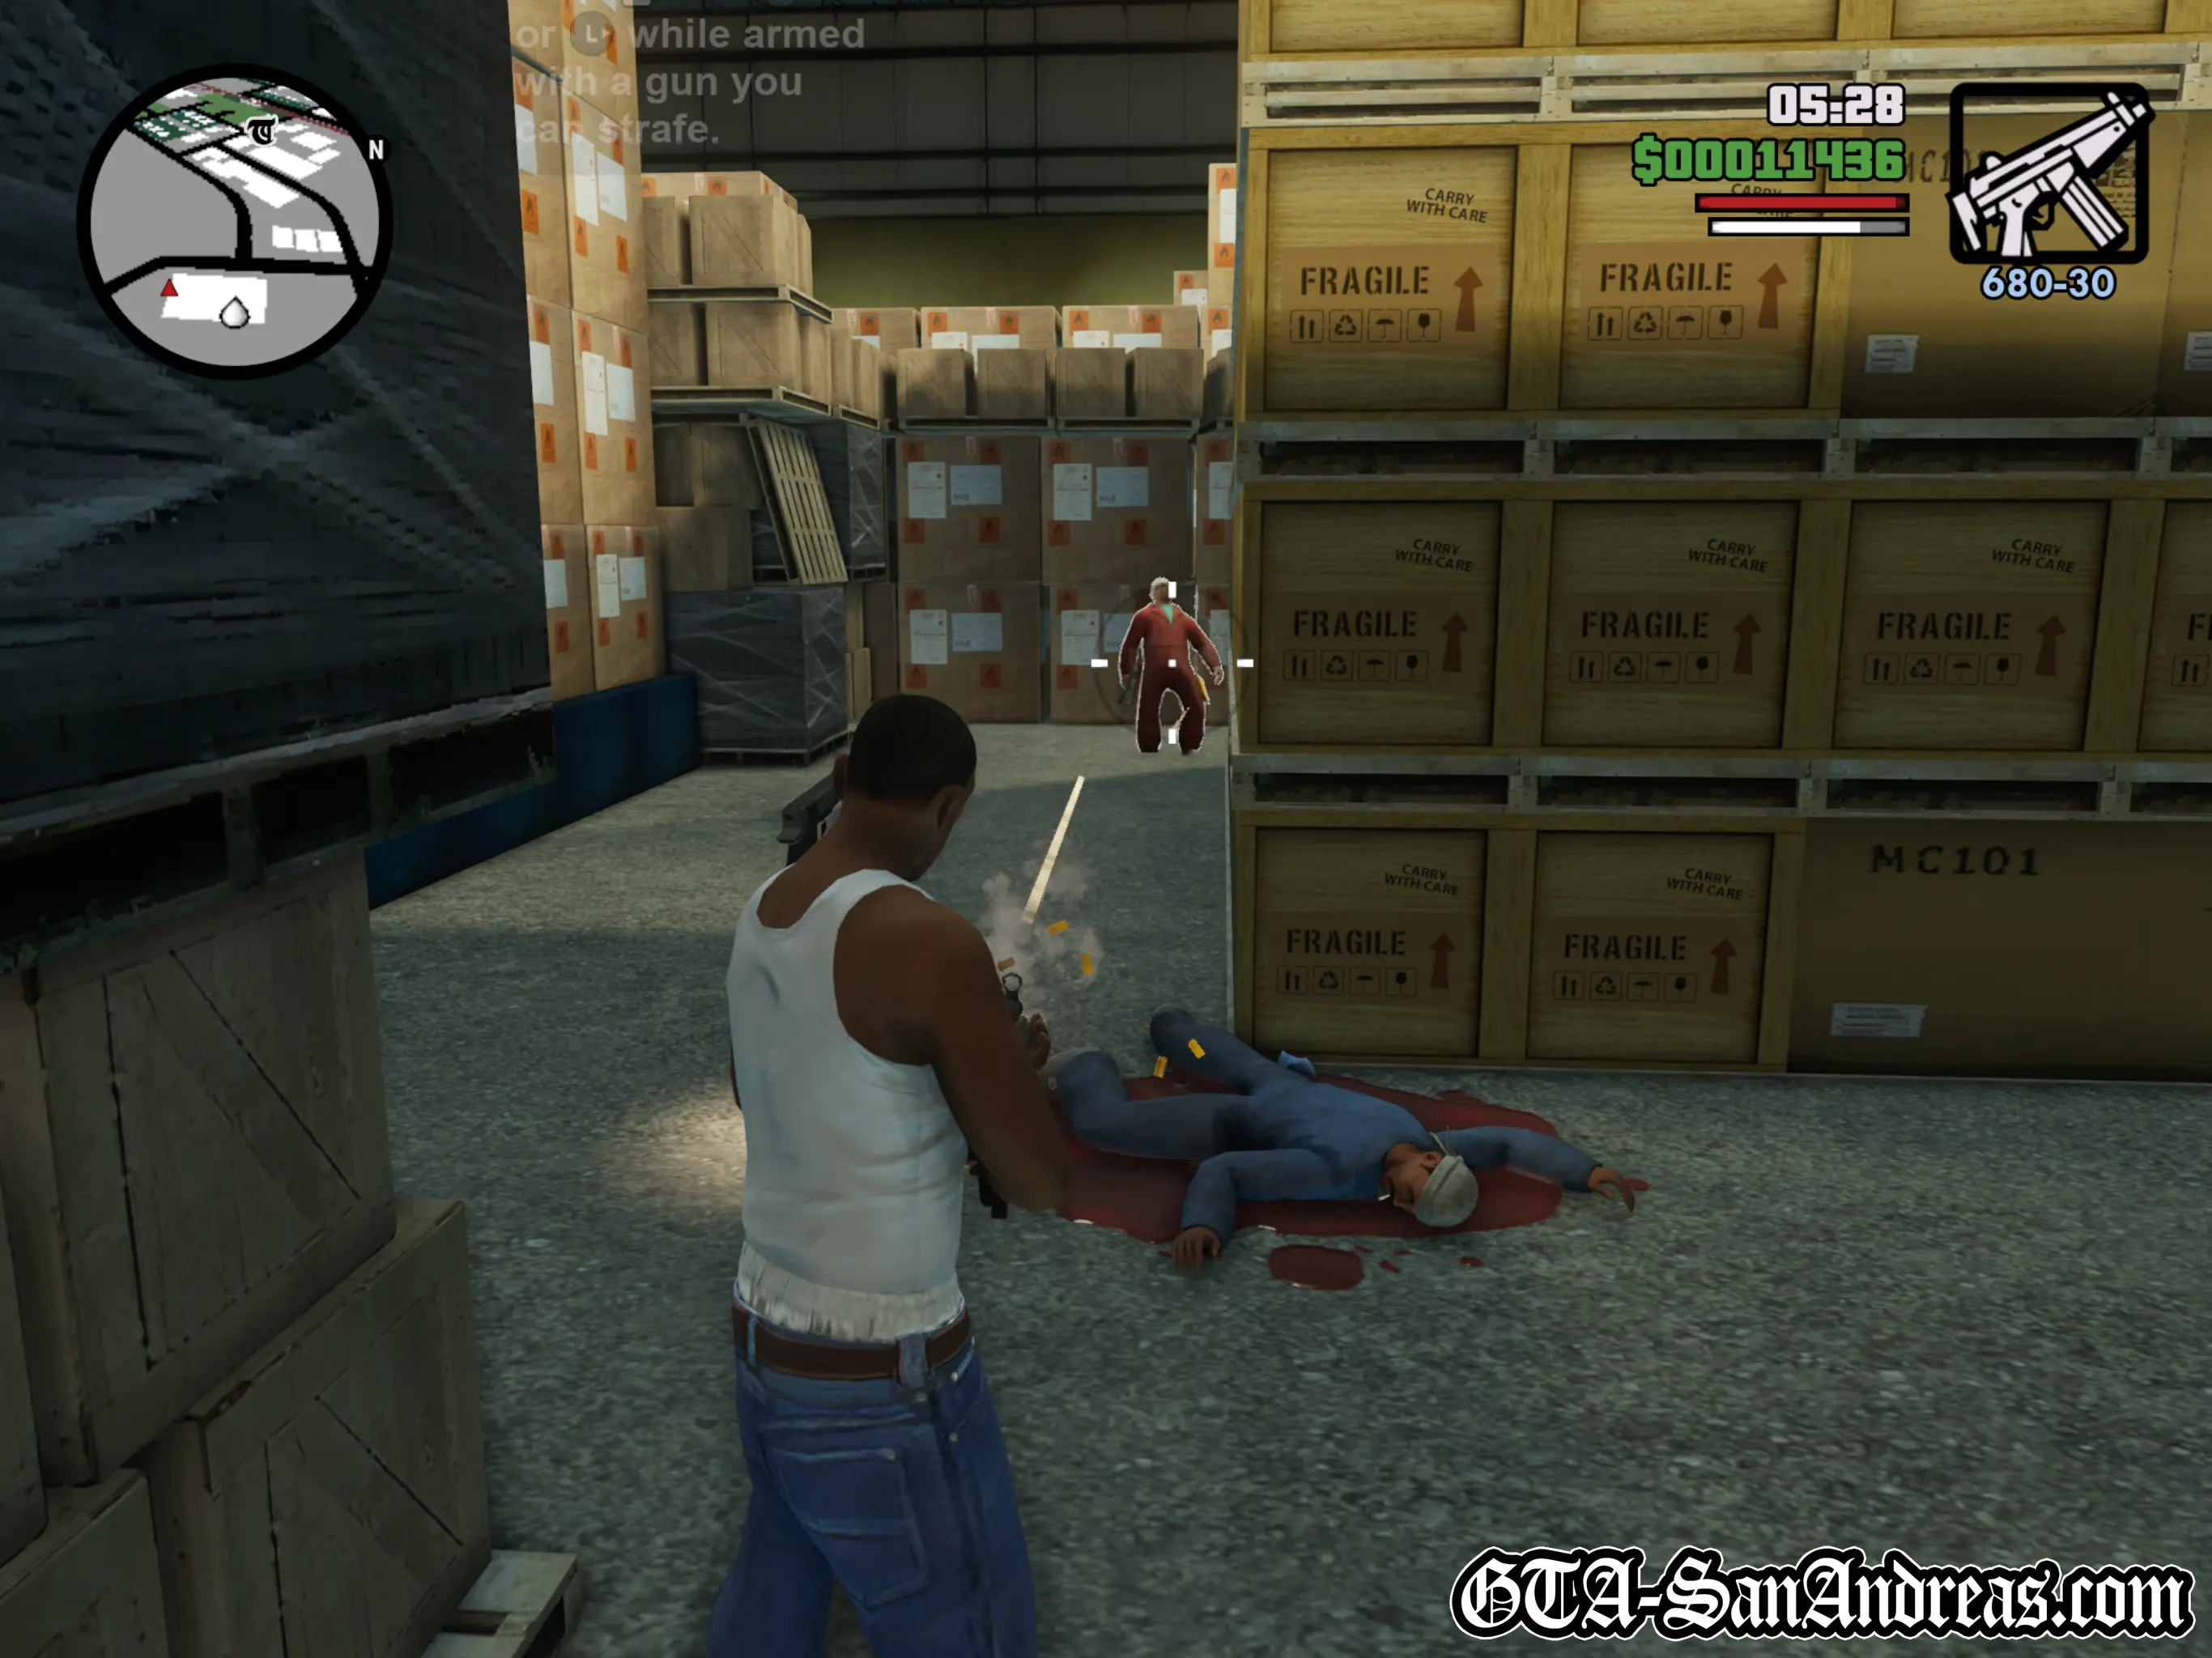
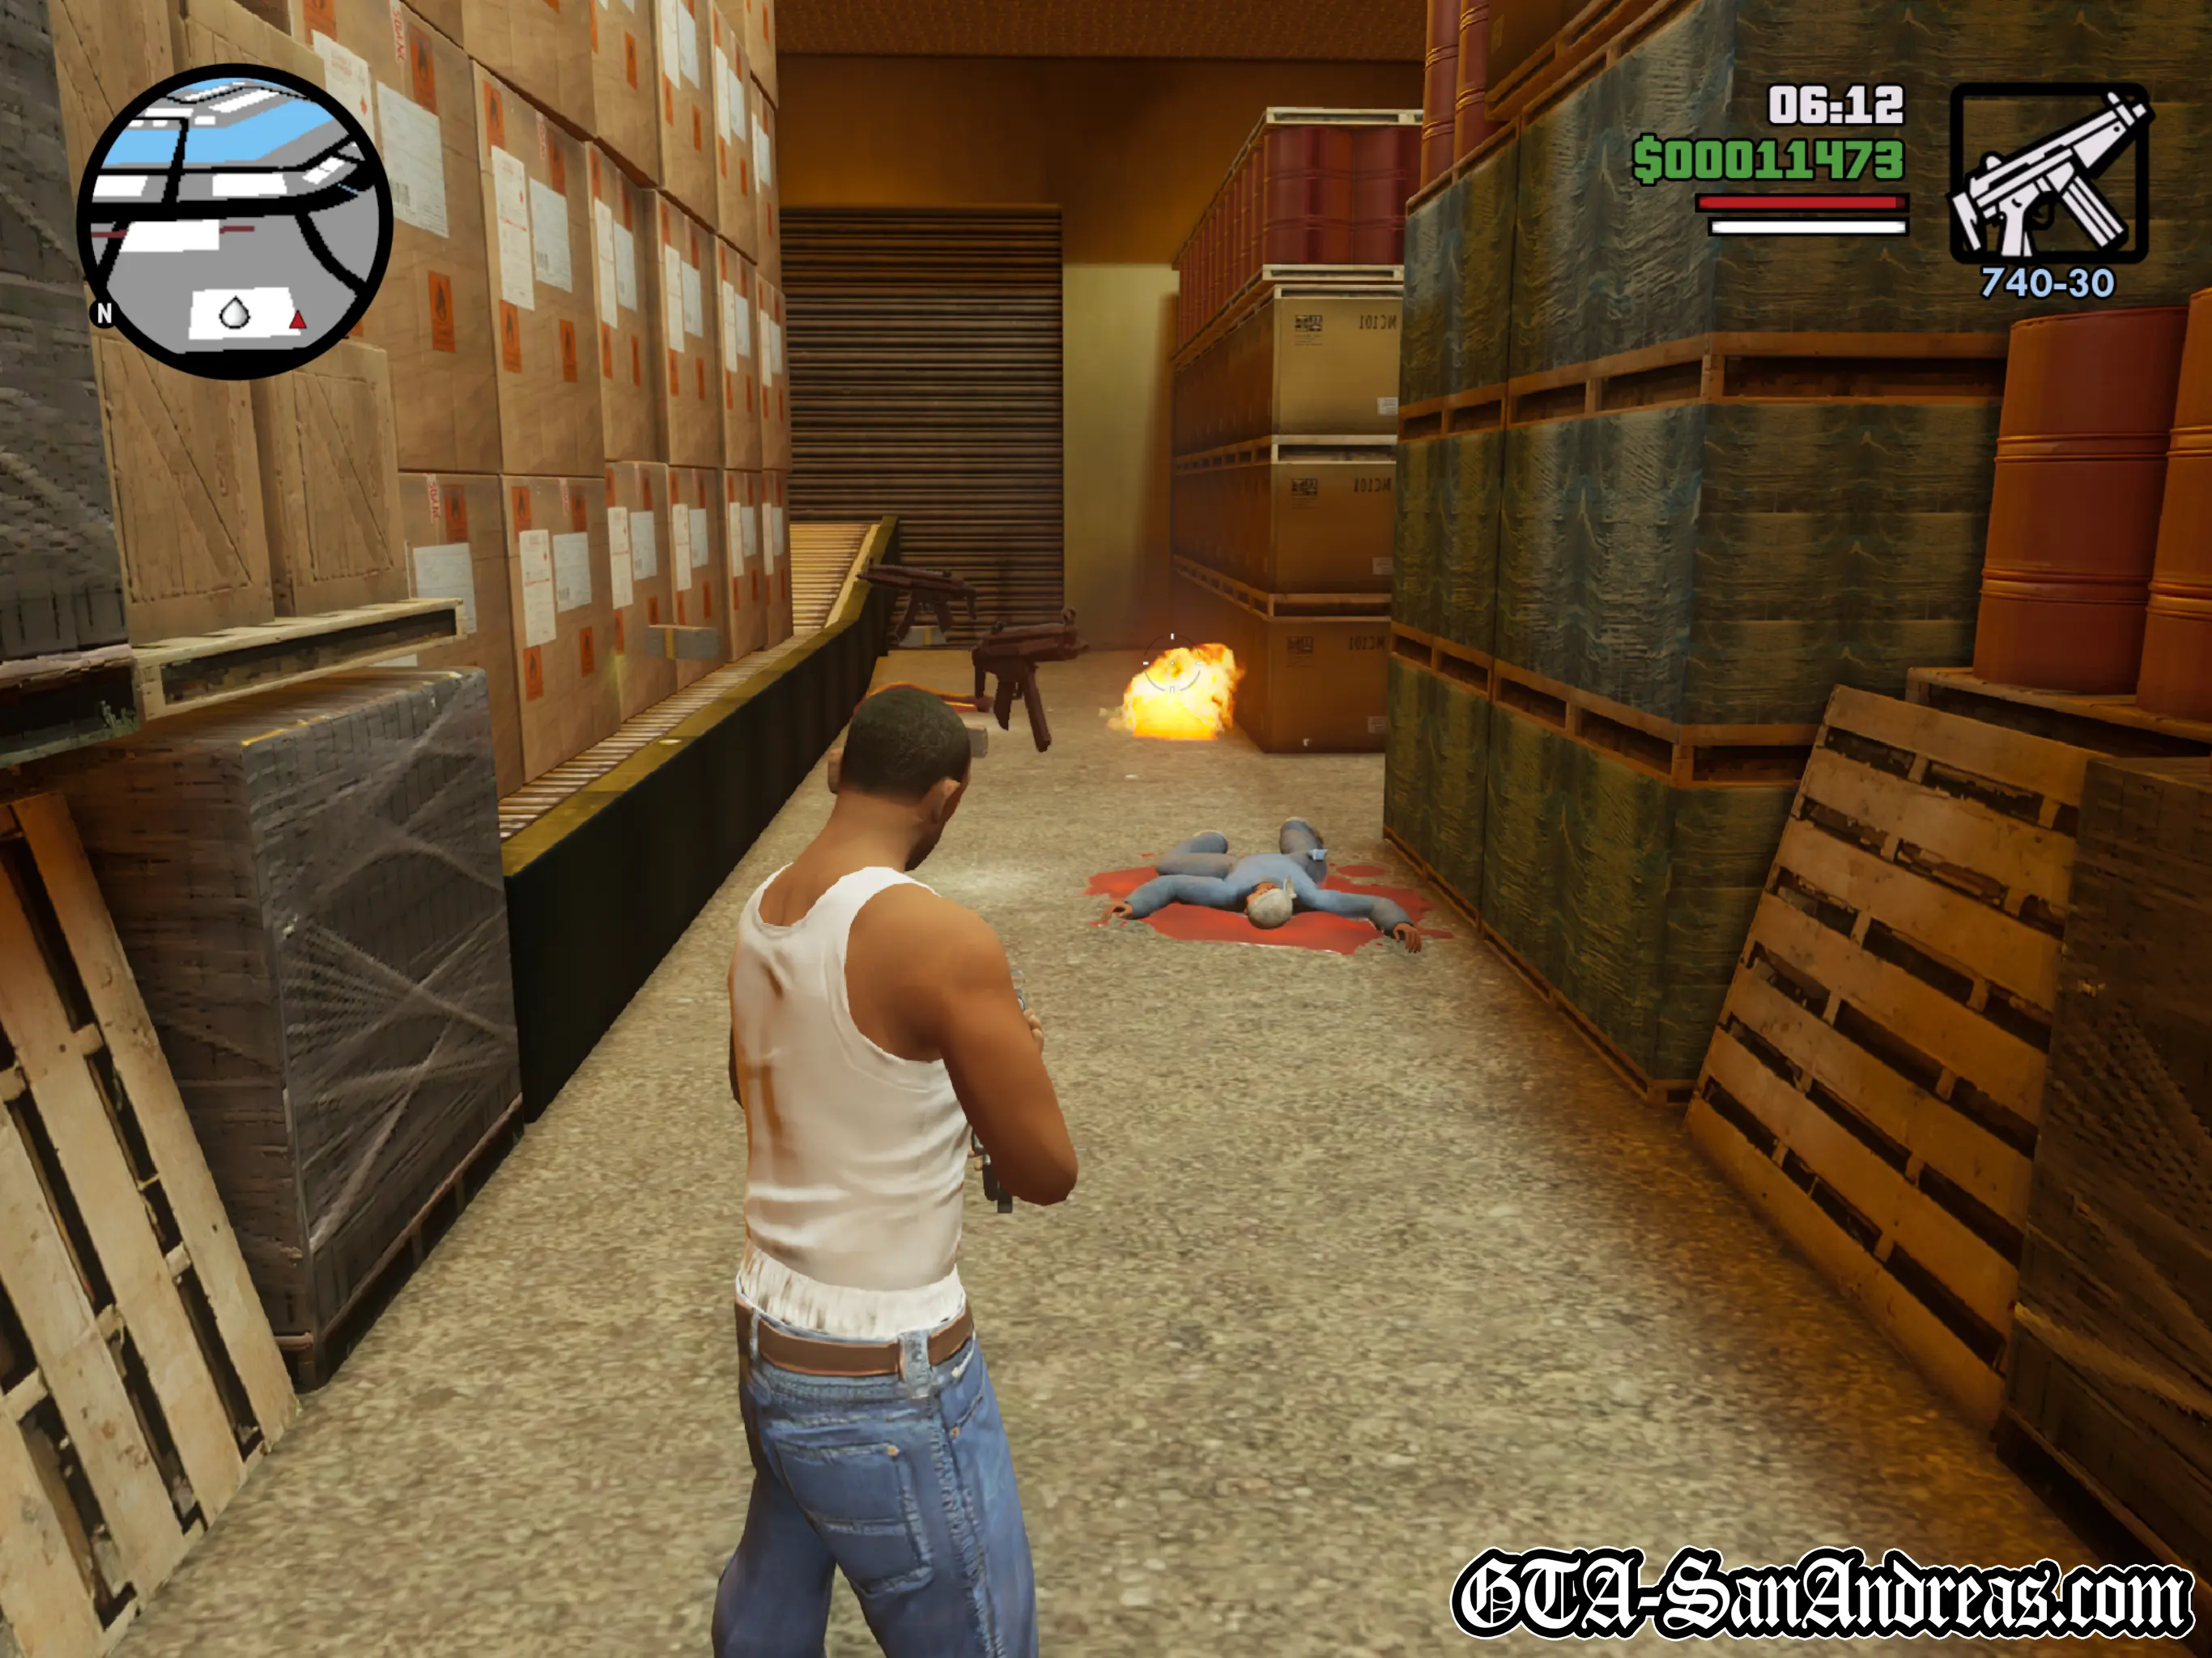
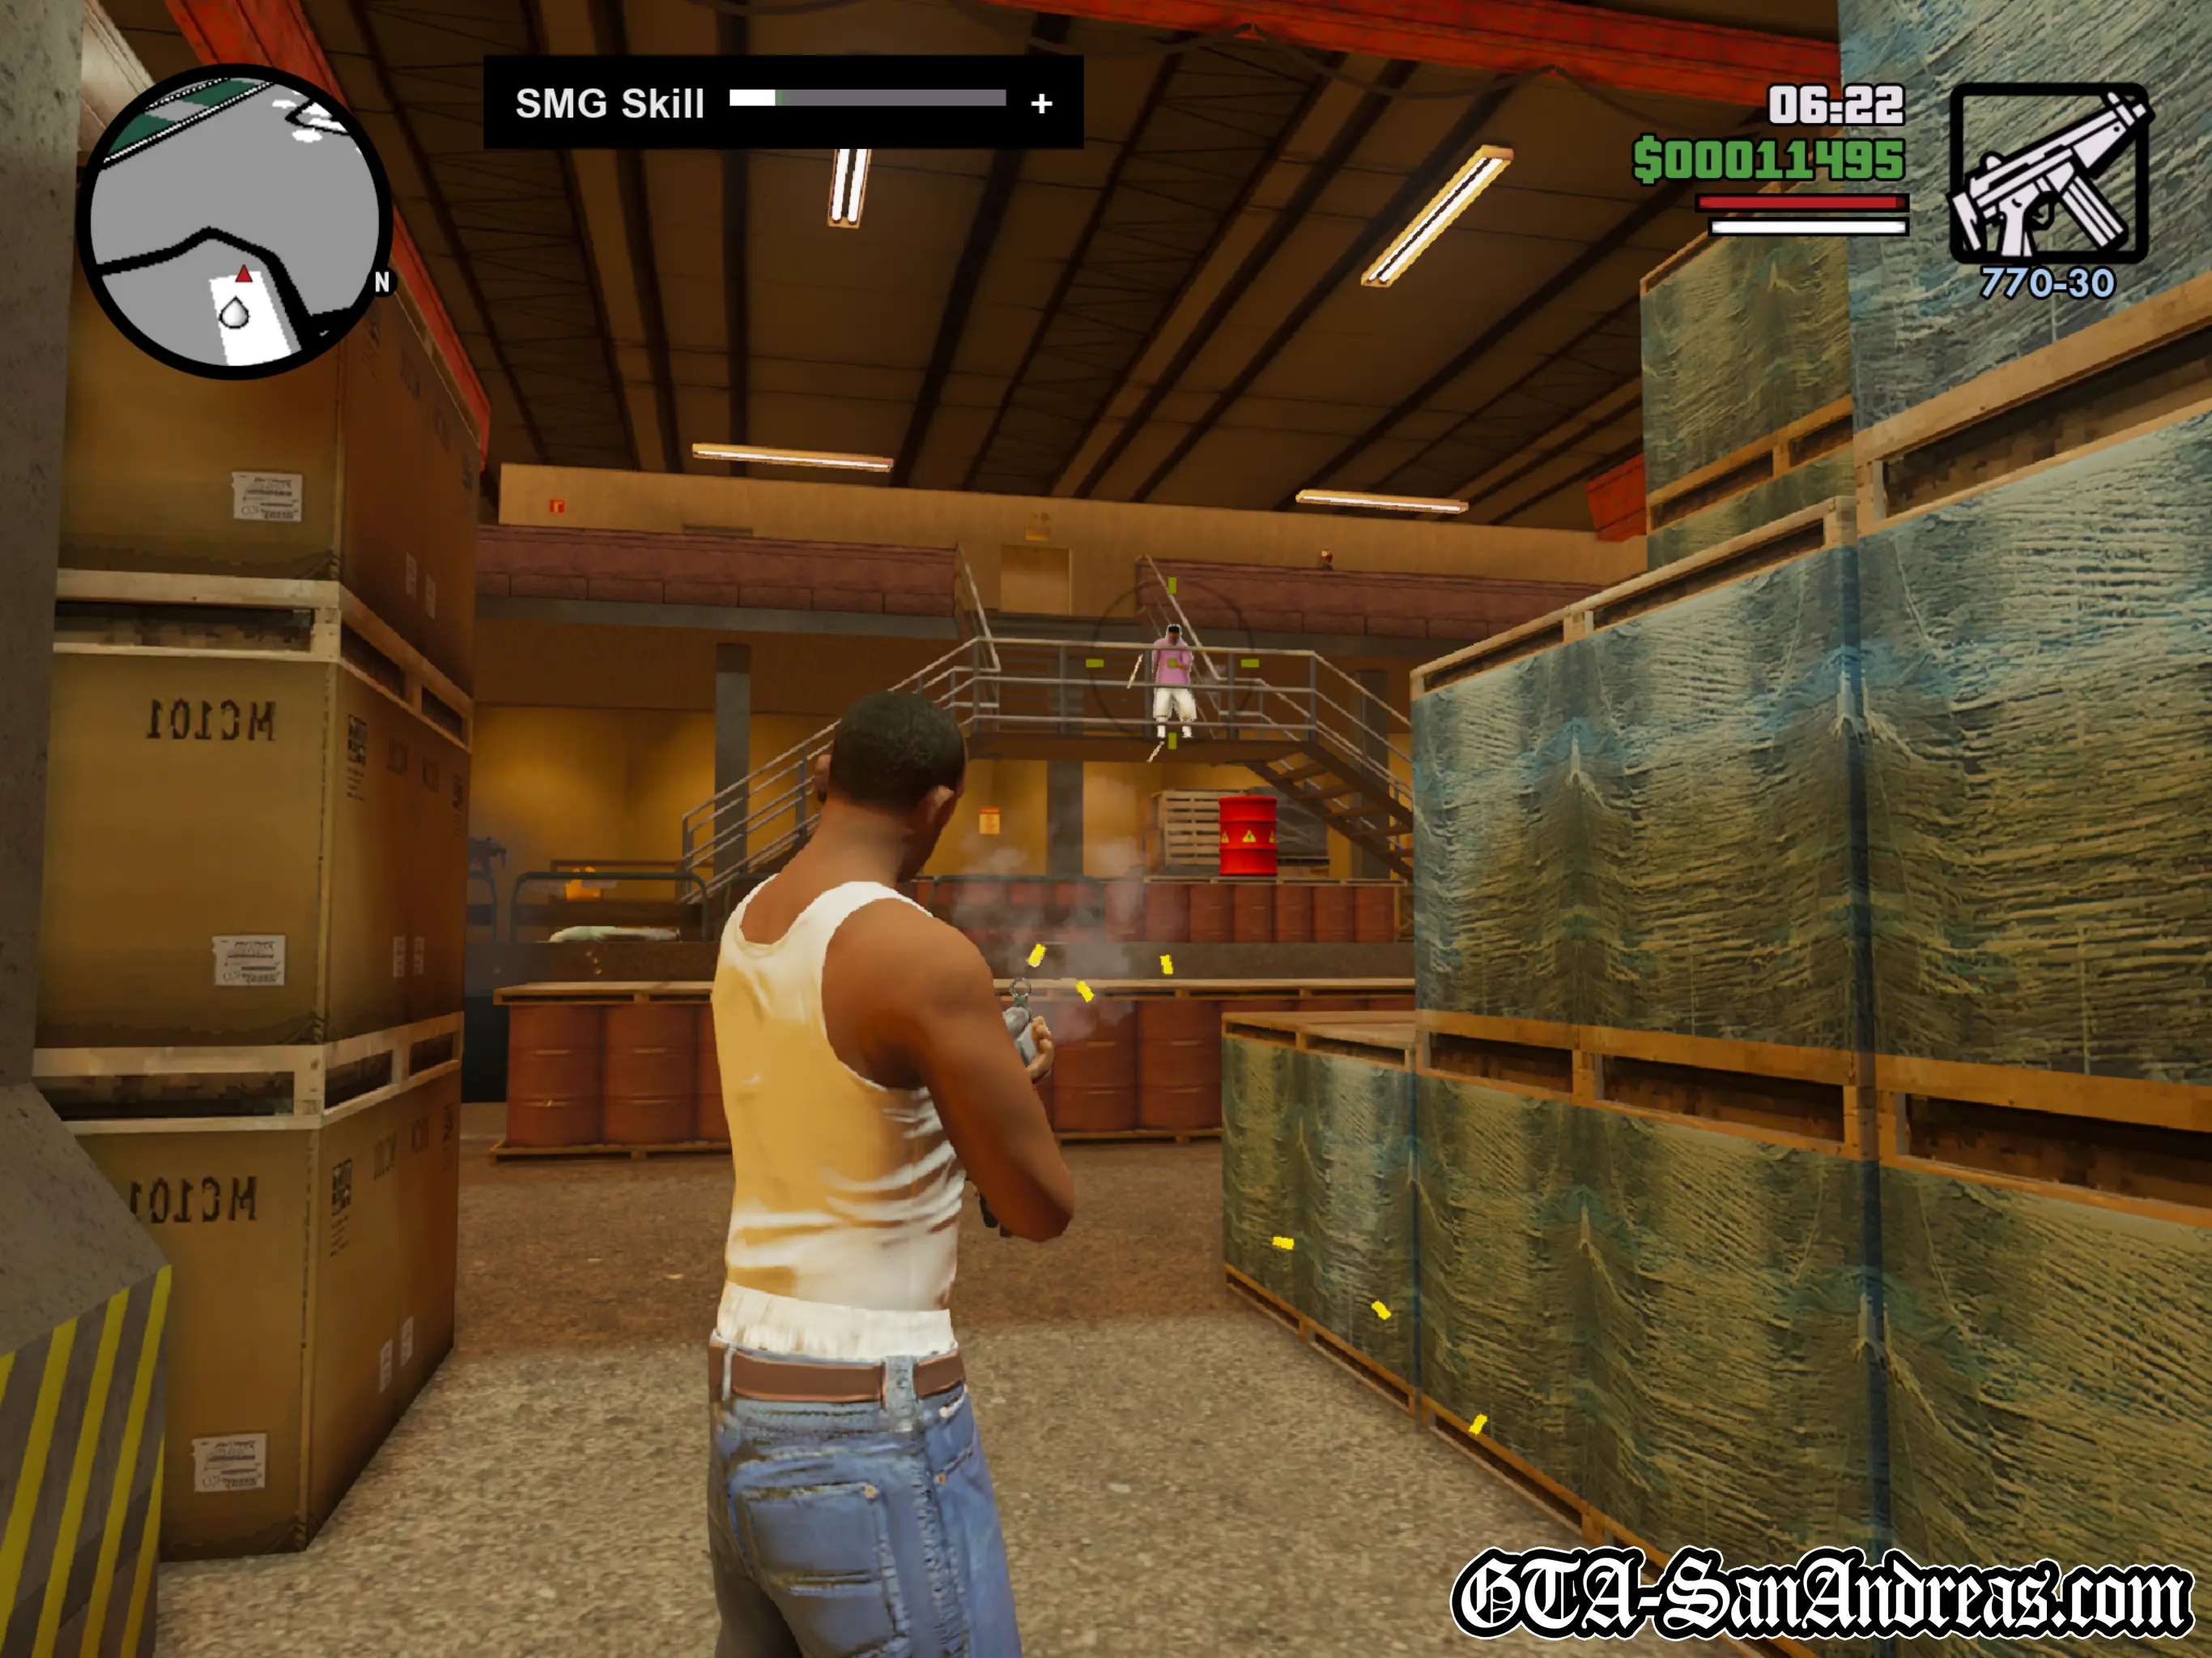
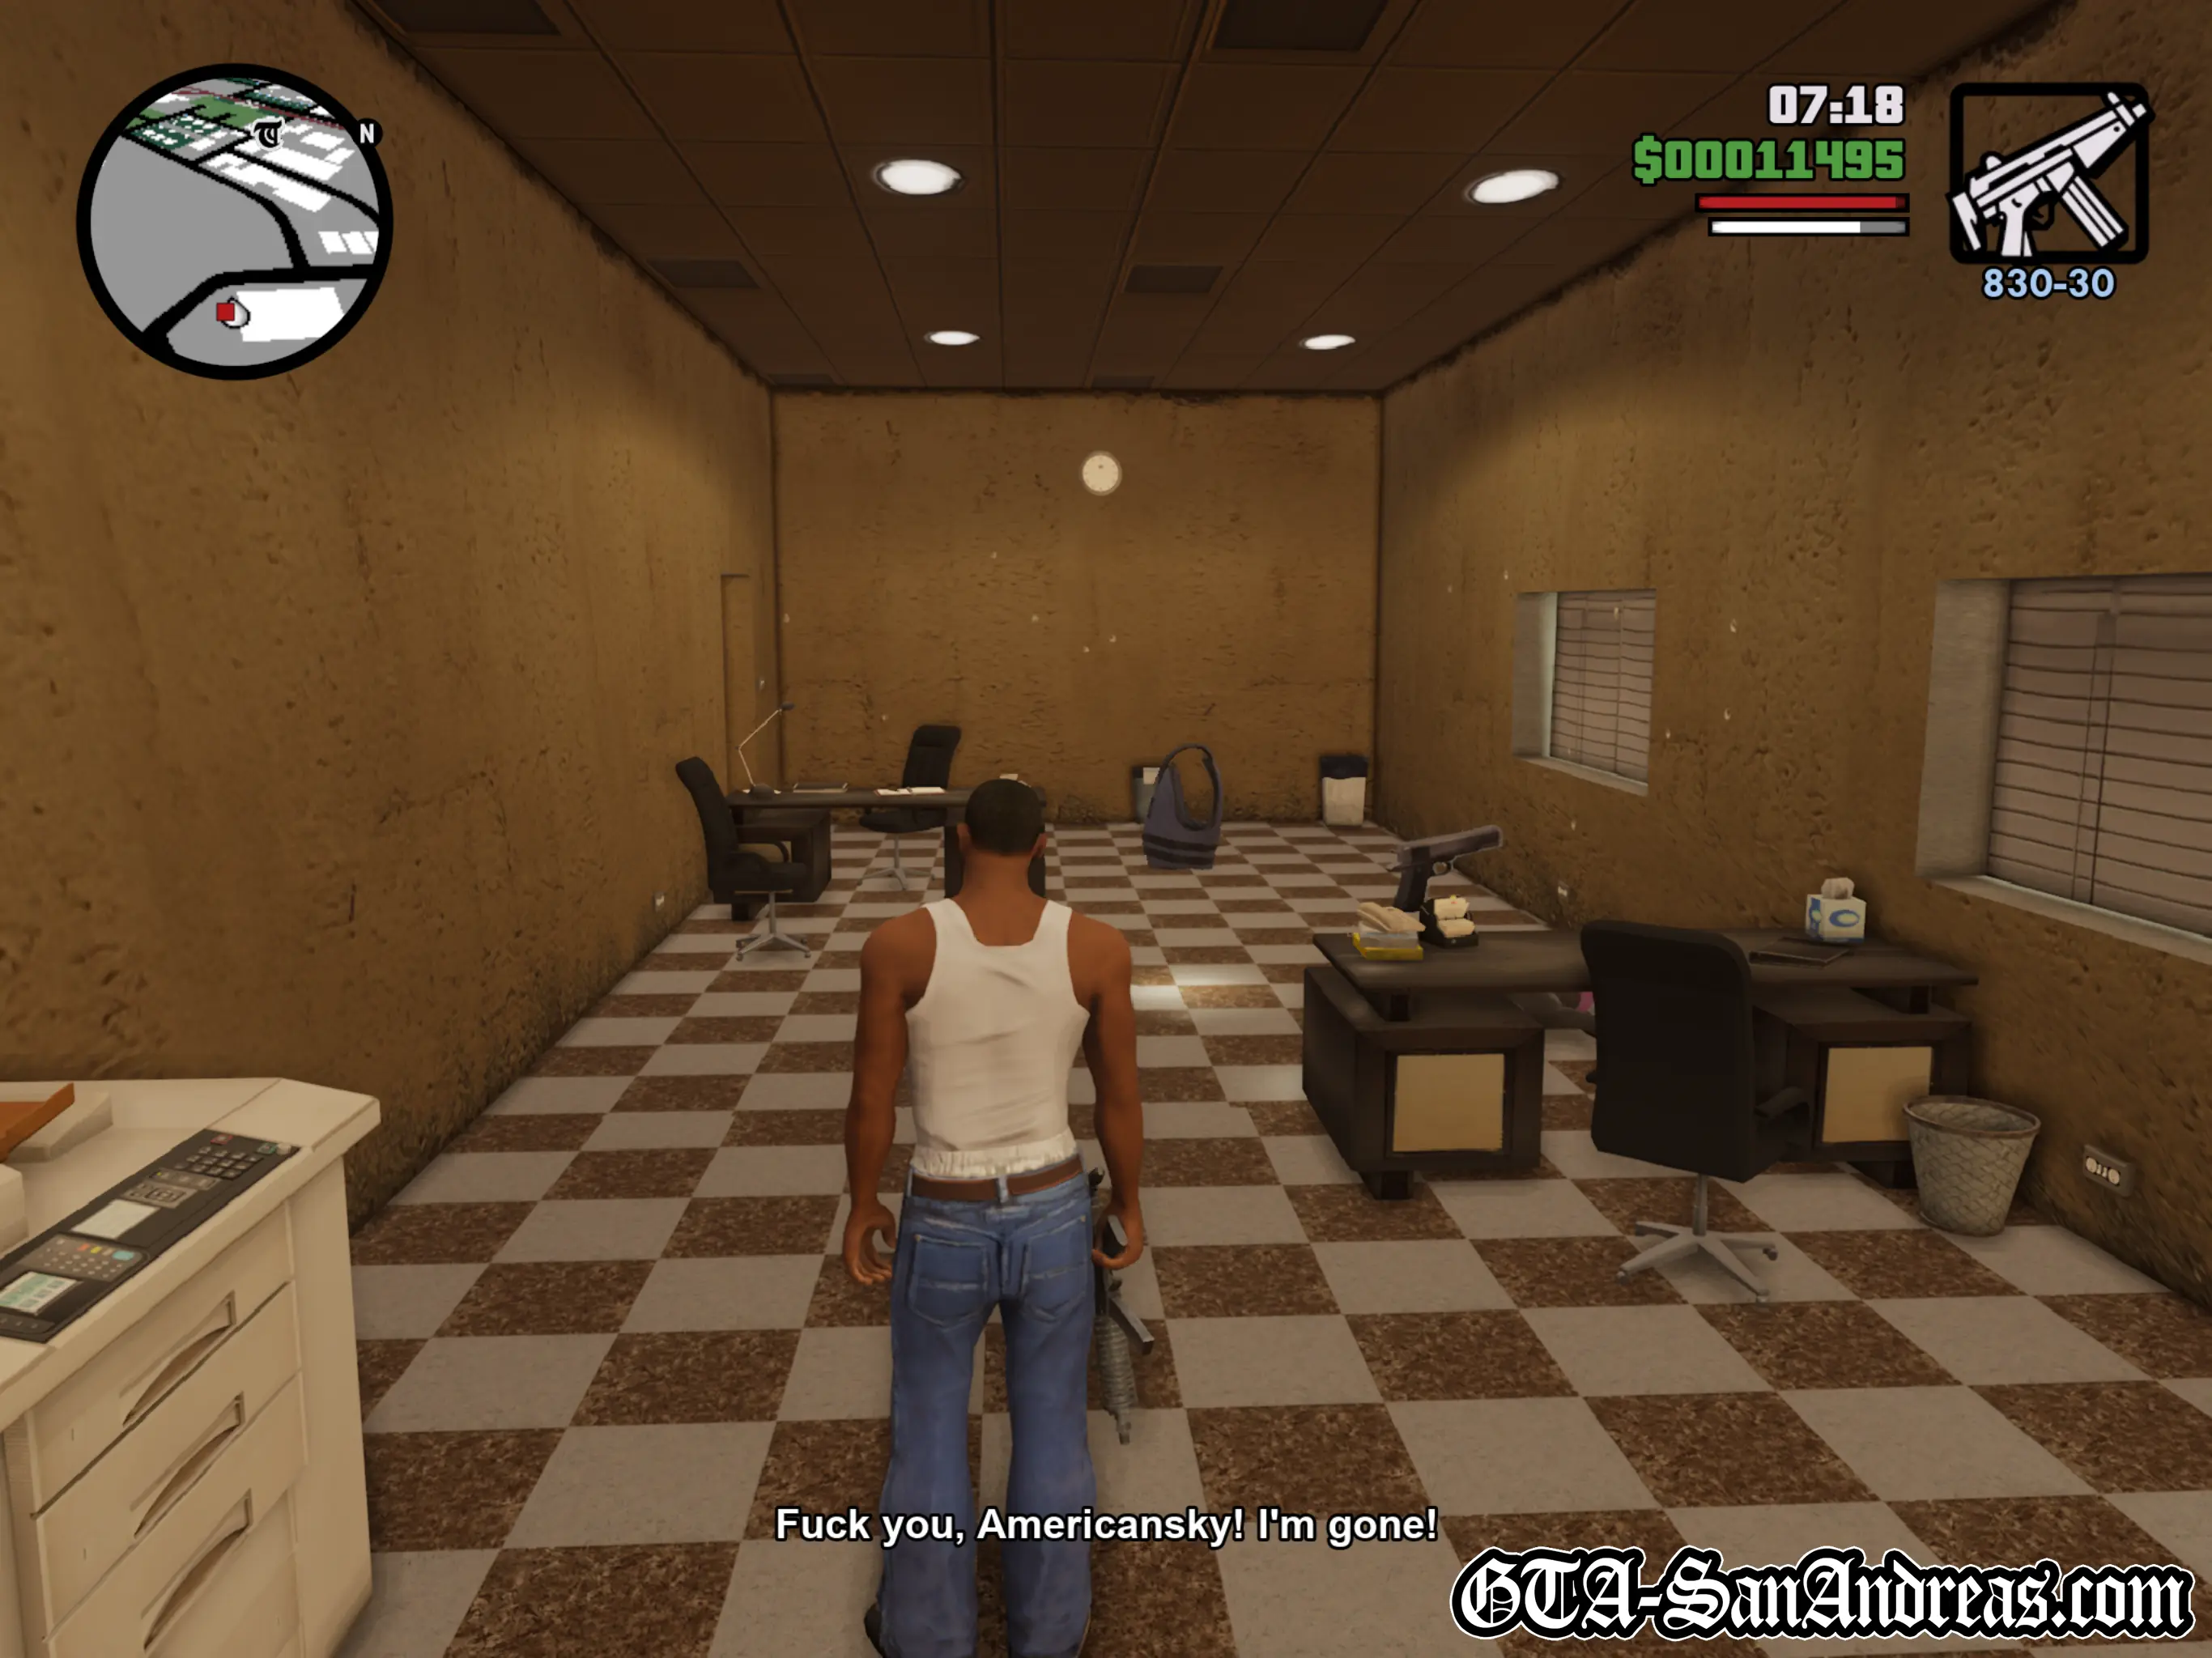
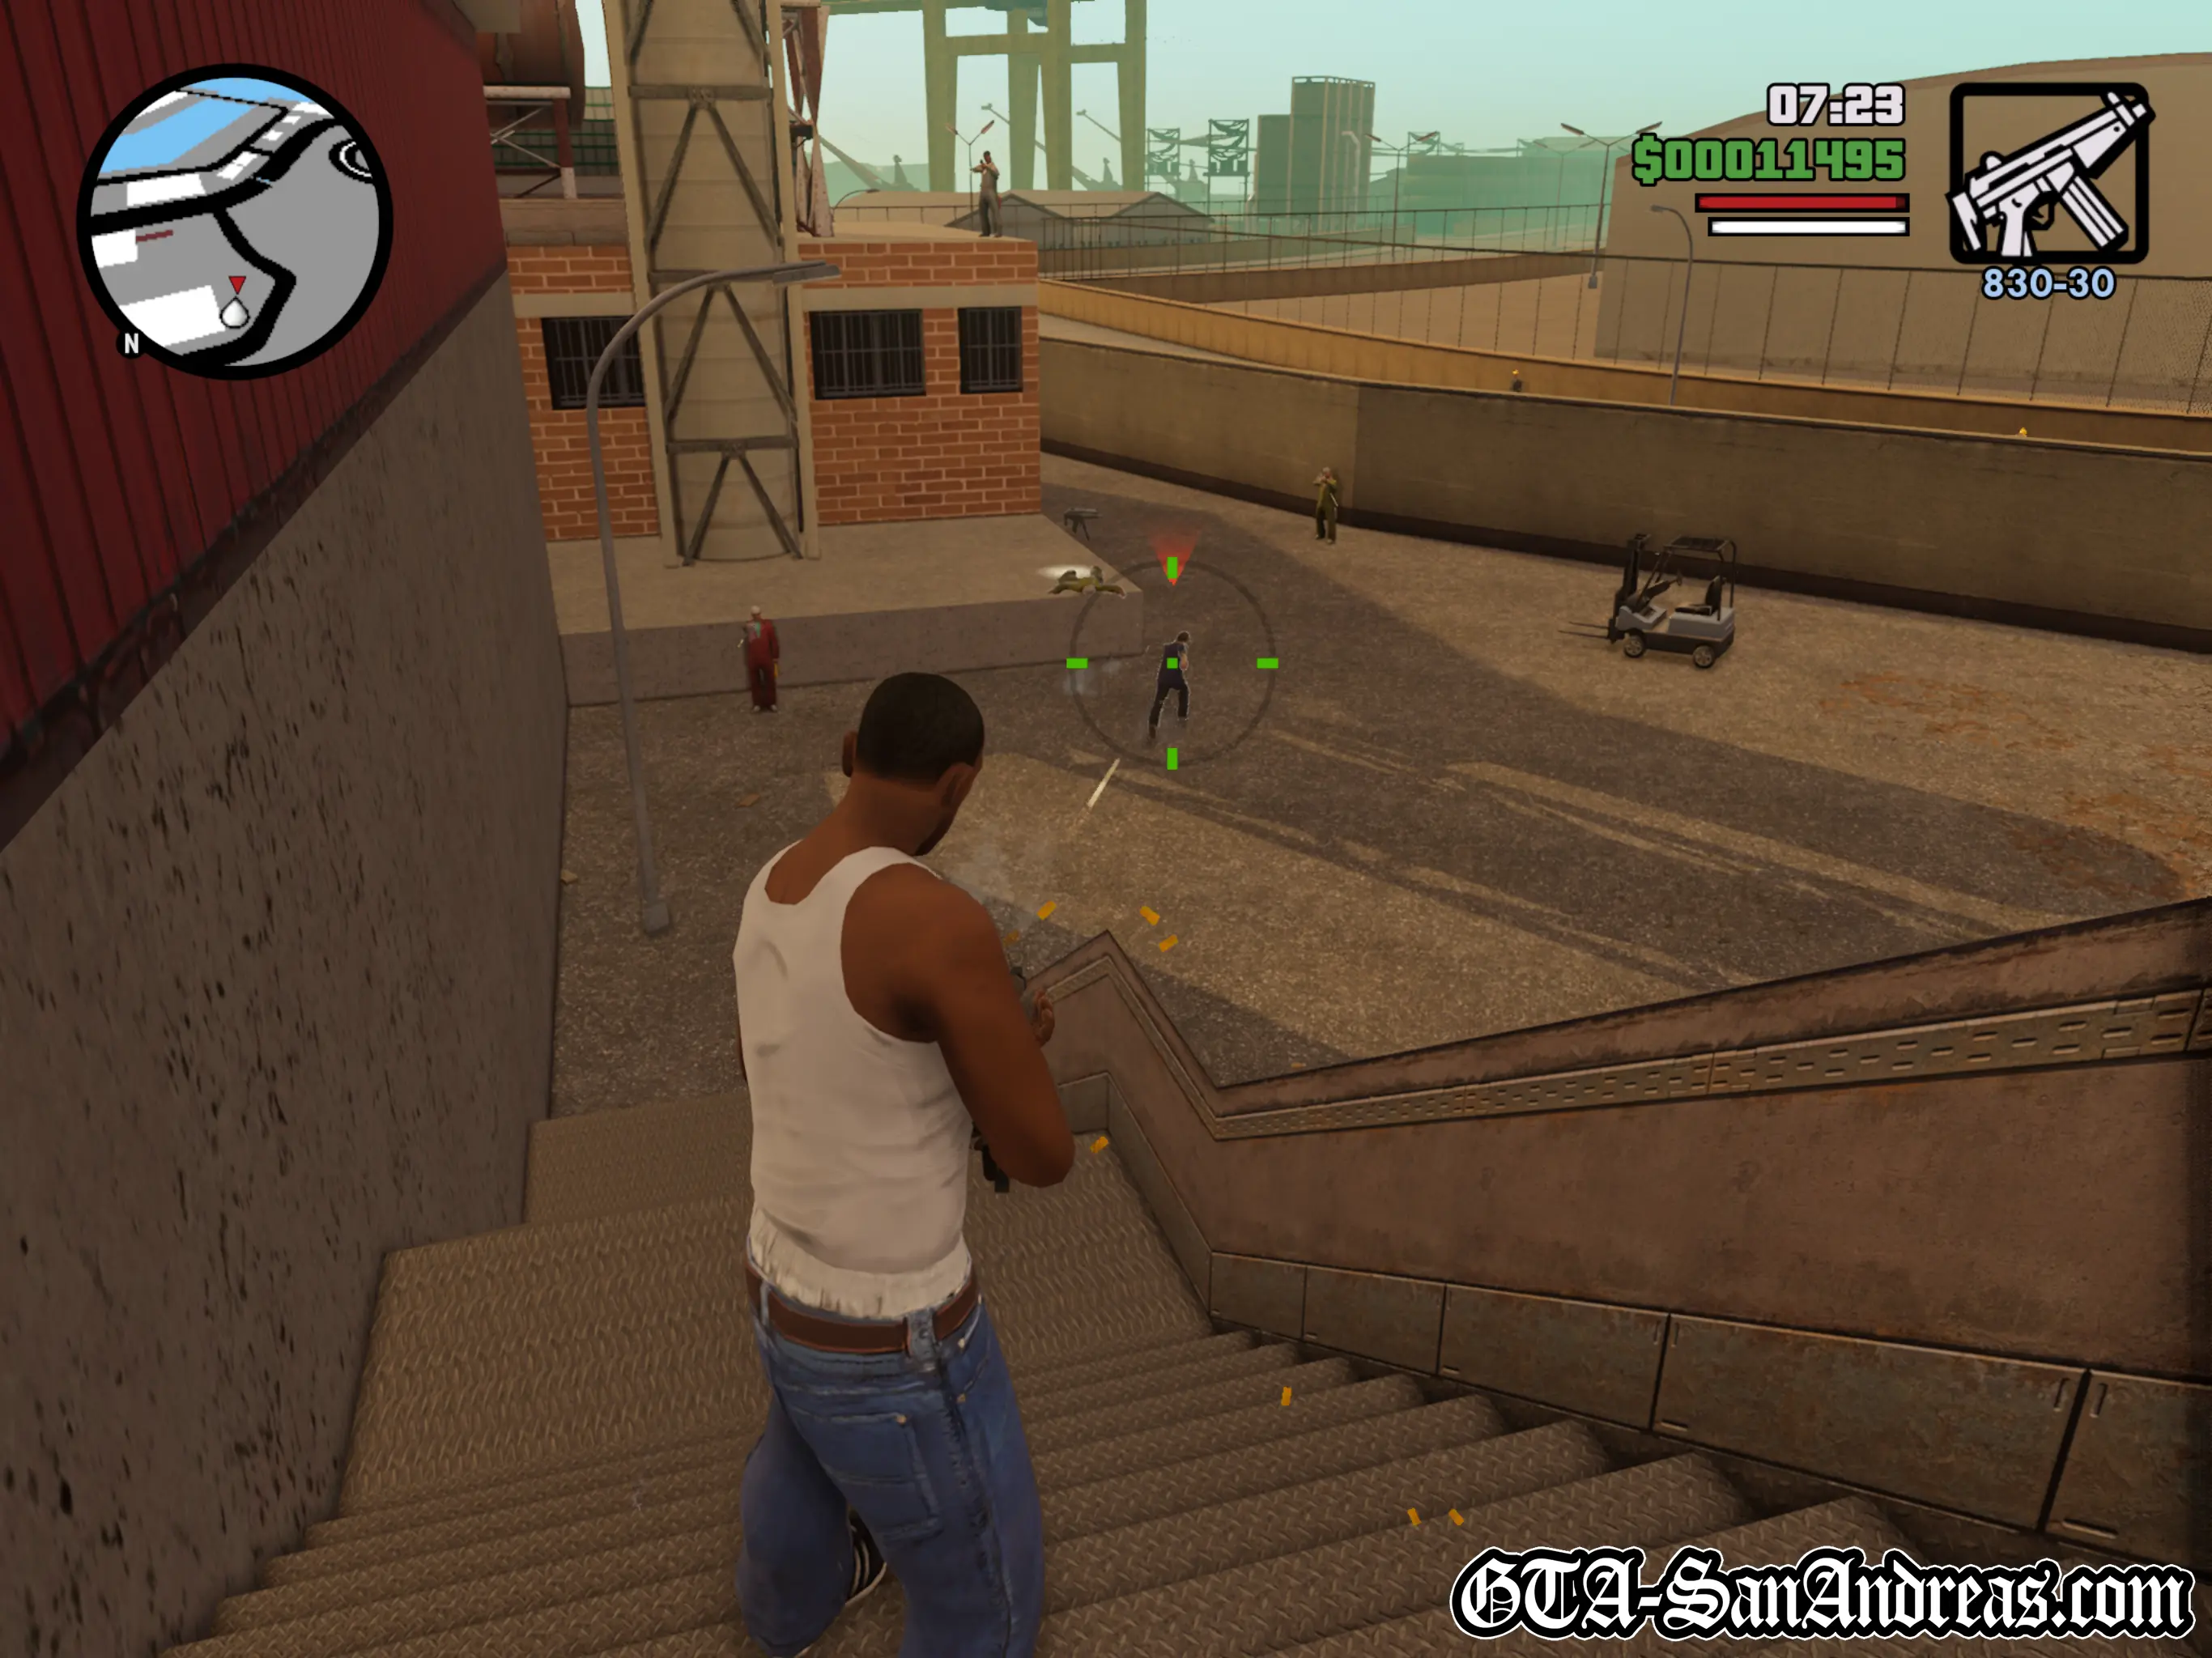
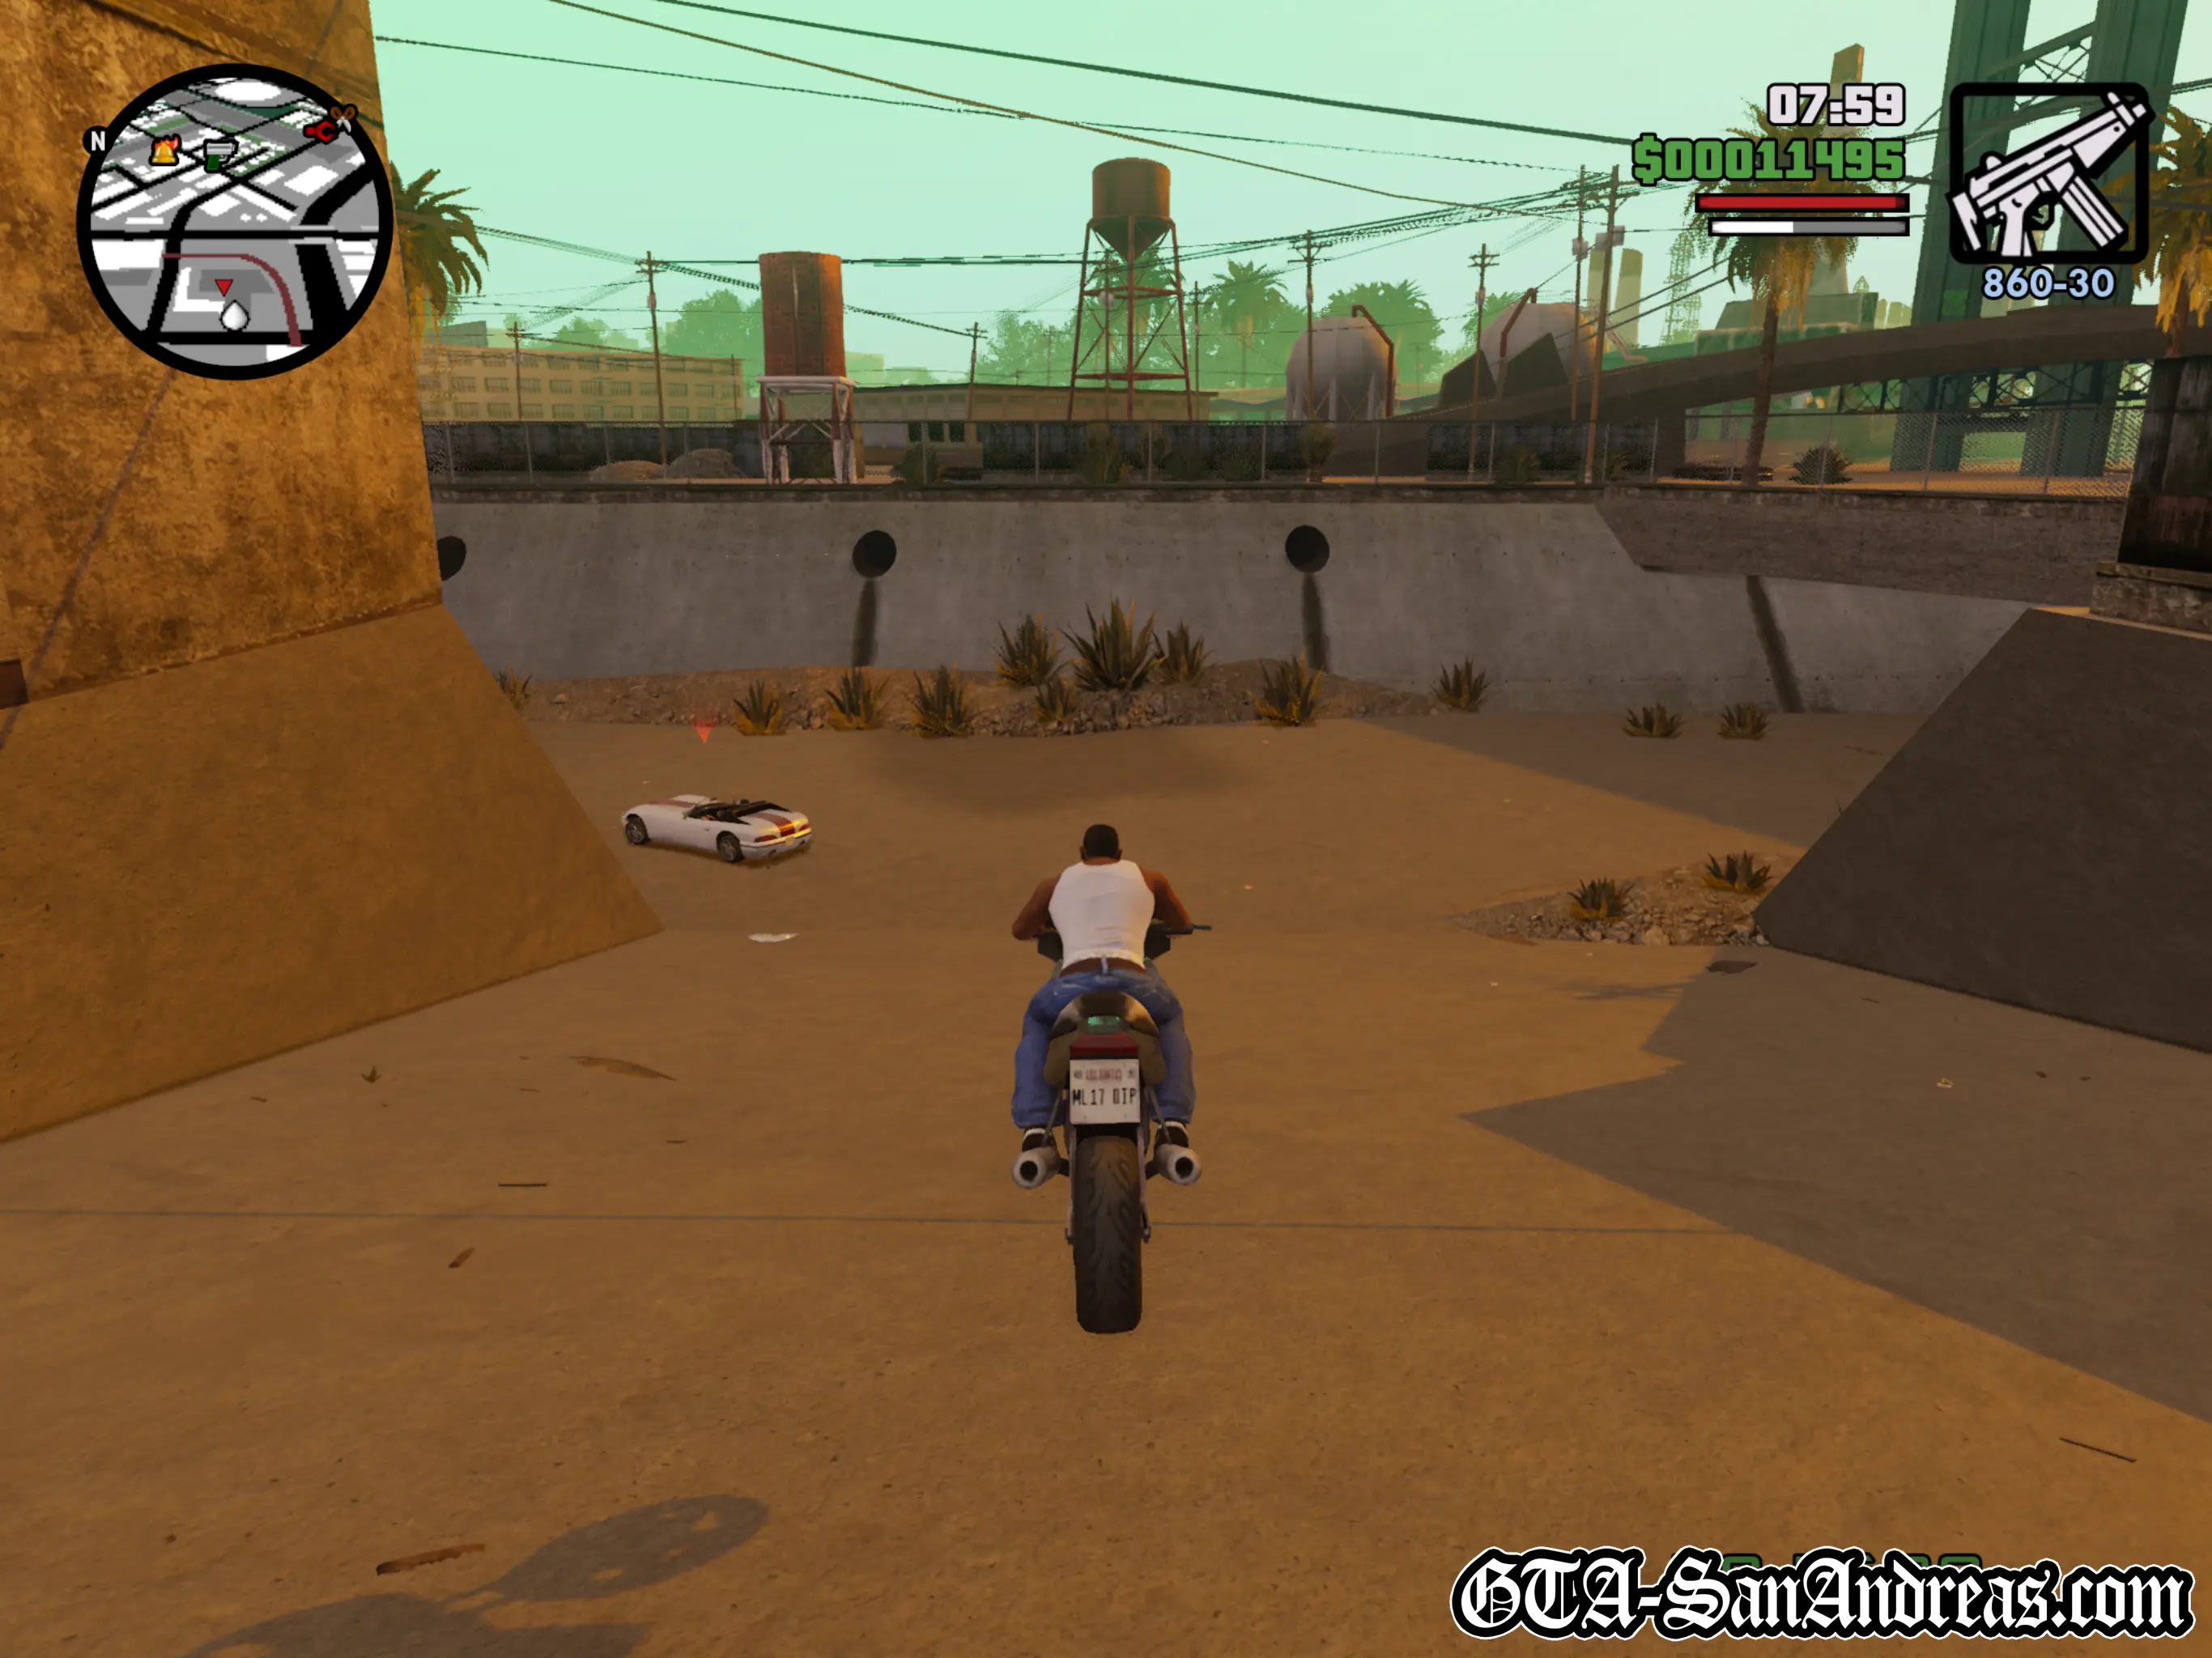
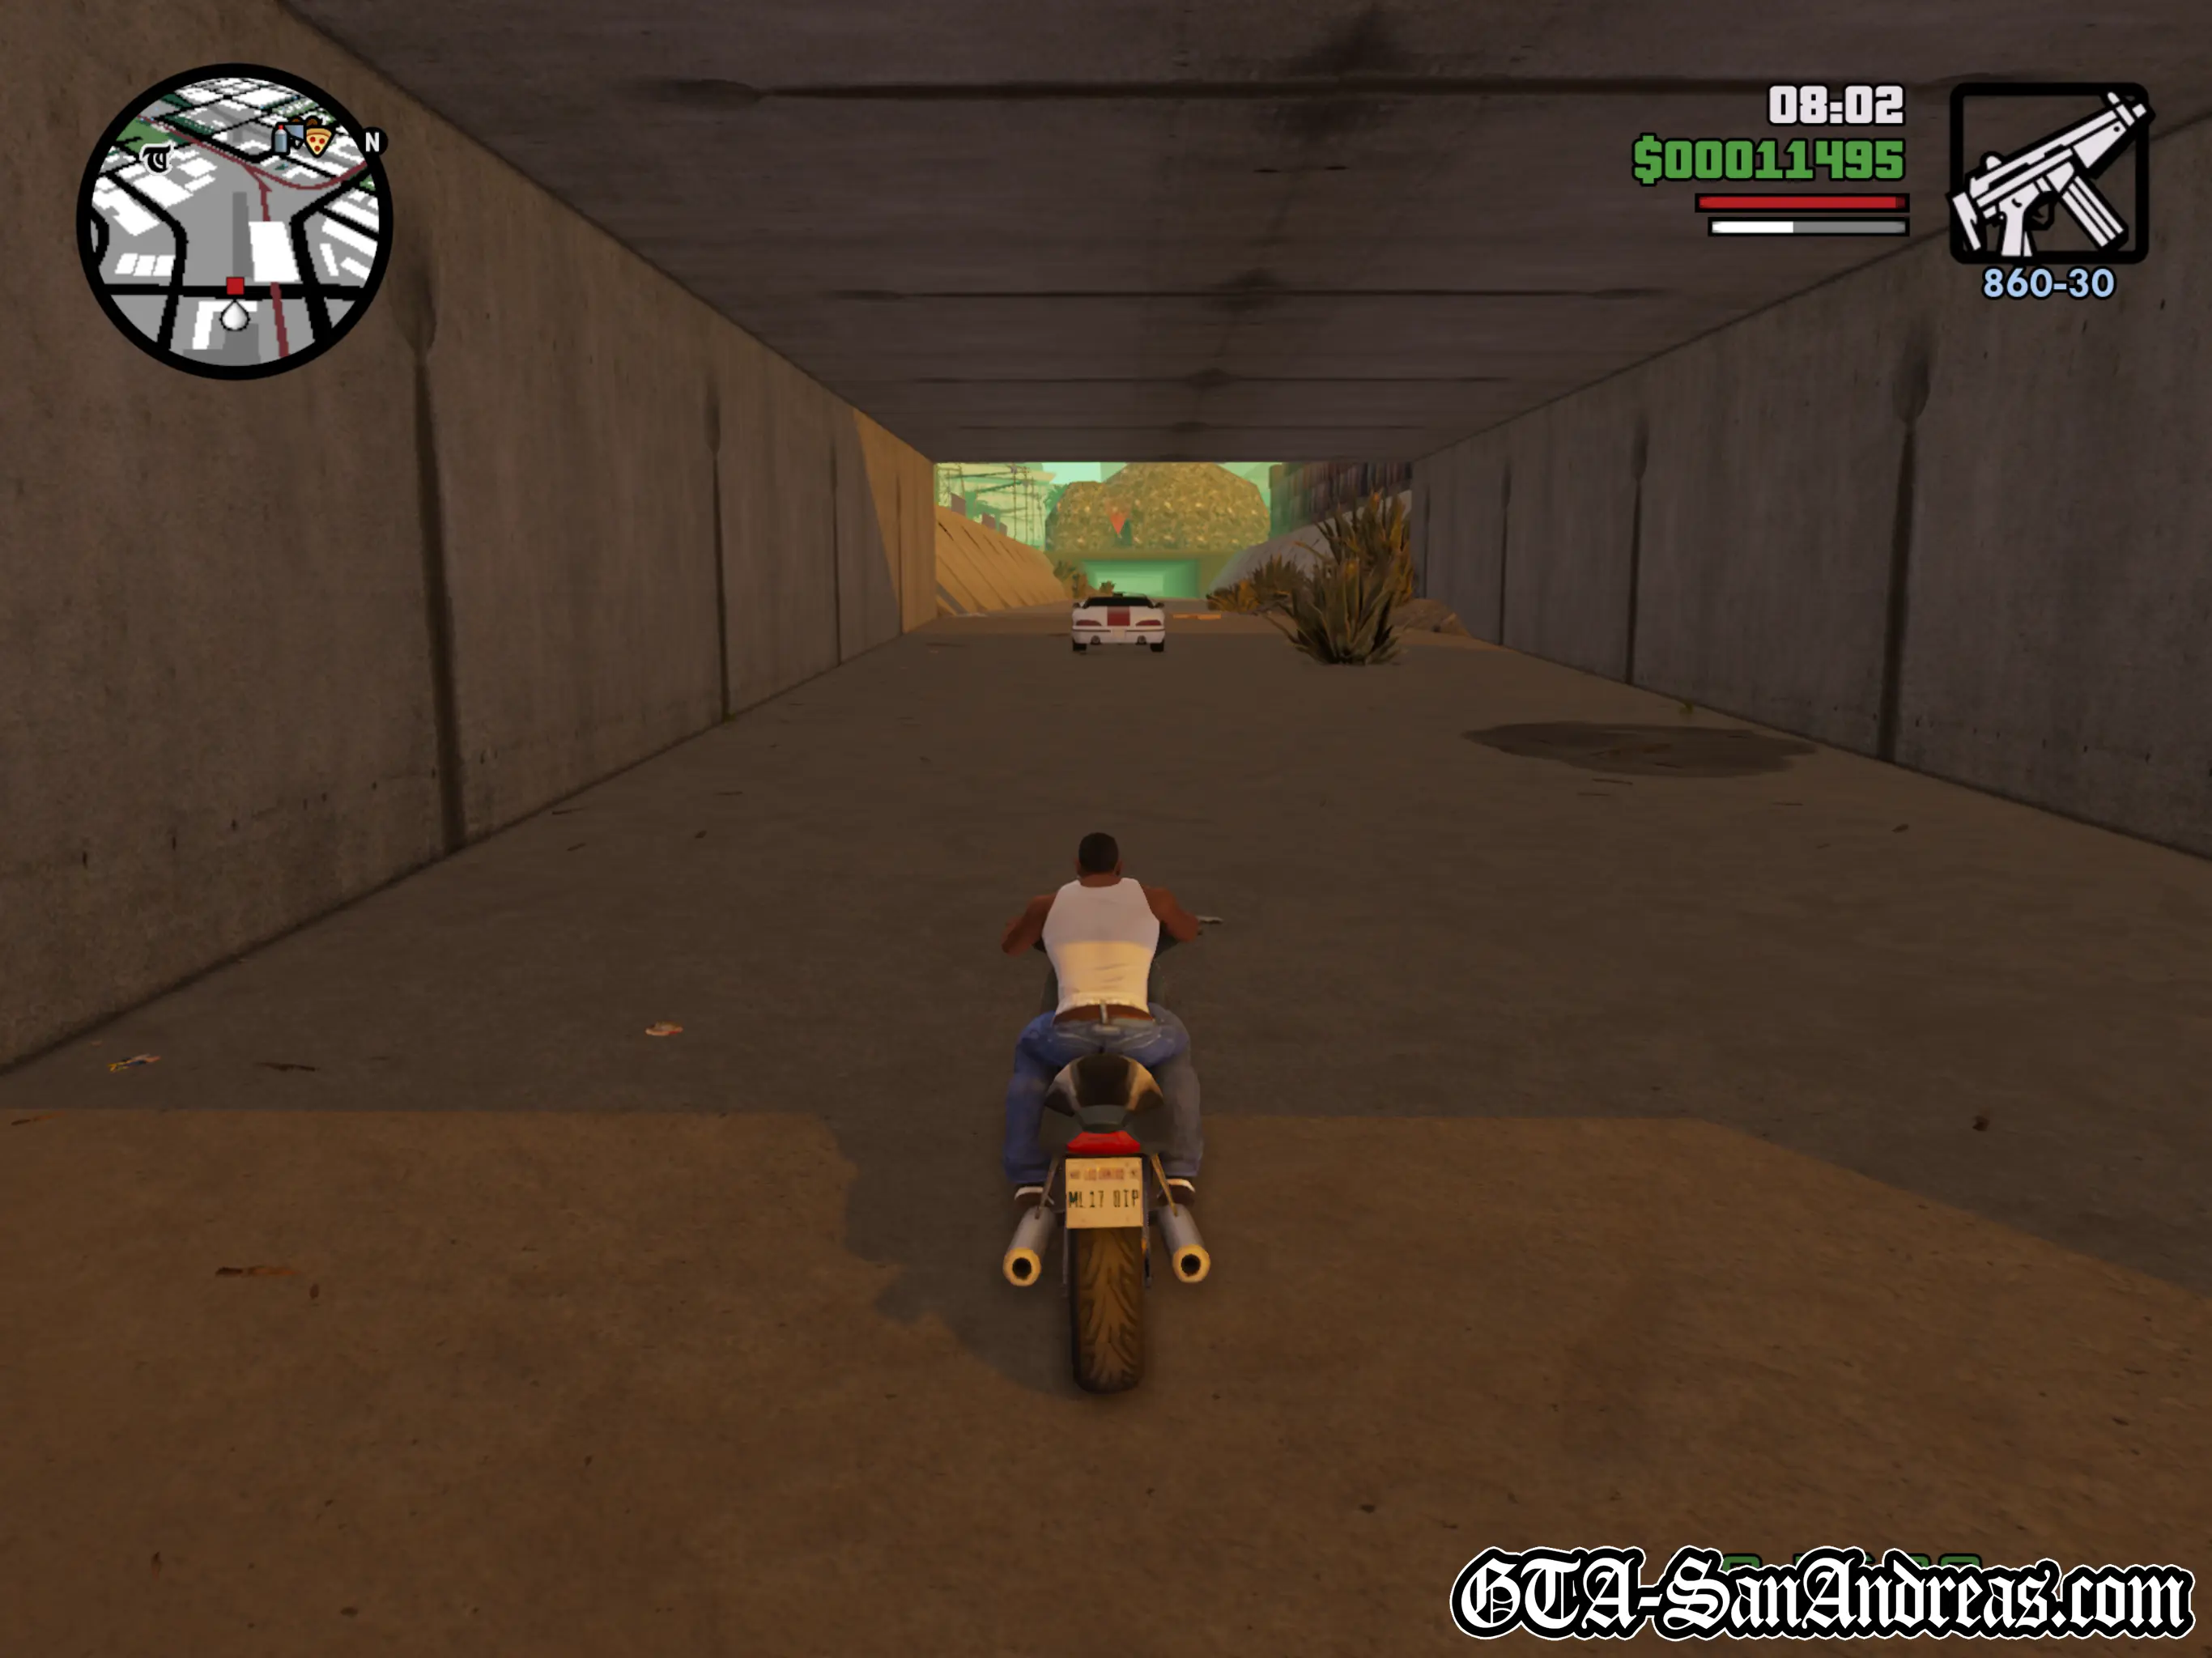
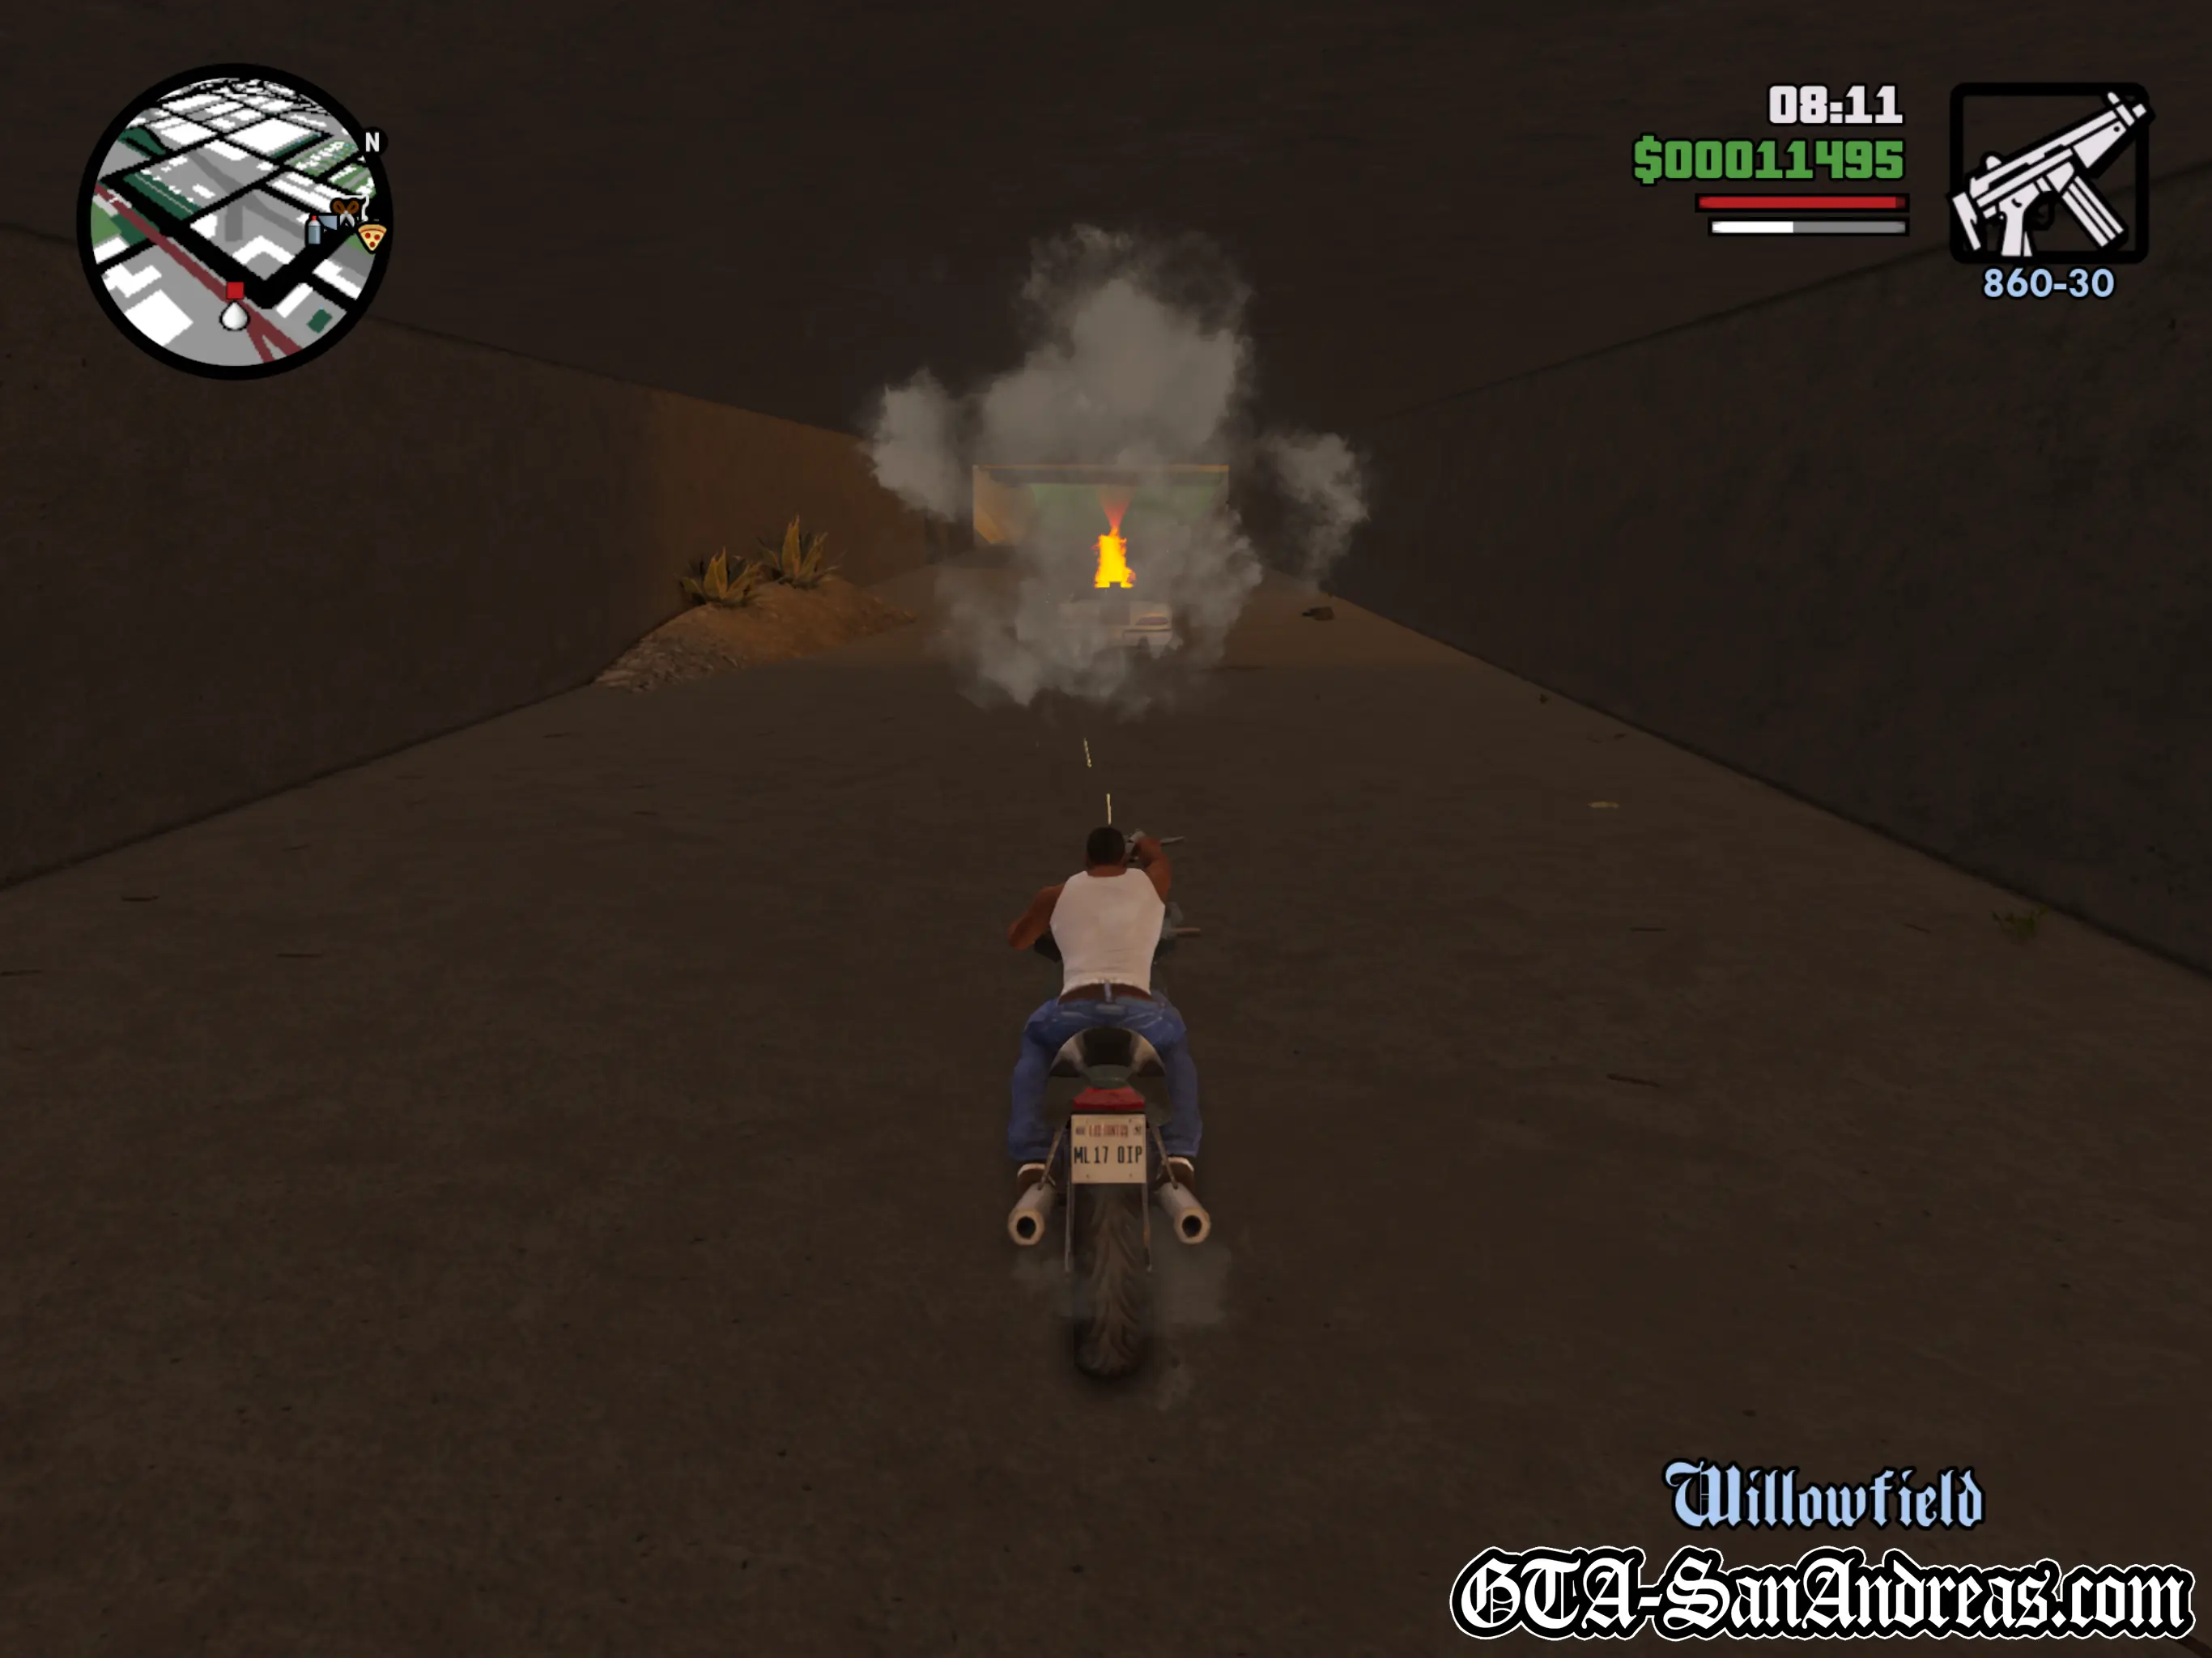
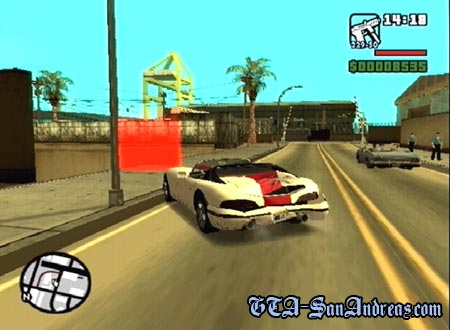

Sweet
Doberman

This mission is located at Ammu-Nation. Sweet wants you to head into Glen Park, Ballas territory and wipe out the Ballas so you claim that area as your own.
Go into Ammu-Nation if you need a weapon or some armor, then make your way to Glen Park.
Once there you need to exit the vehicle and find some Ballas to kill on foot. Killing three or four of them in quick succession will result in a gang war being started.
In a gang war, you'll need to hold your position and take out the waves of enemies - in this case Ballas - who come to take the territory back. Use your radar to see where they are coming from, then kill them when they get close enough.
After you survive the first wave, another will come. This time they will have much more powerful weapons and better accuracy. Do the same again, take cover and take them out.
A third and final wave will appear, so take out the last of them and you'll take over the area.
A short cutscene will explain how gang territory works, then you'll be ordered to take out the grass who comes out of one of the nearby houses. He's very easy to kill and a few shots with a pistol should kill him.
Post-Mission
![]() Gang Wars Have Now Been Unlocked.
Gang Wars Have Now Been Unlocked.
![]() You can now purchase weapons from Ammu-Nation.
You can now purchase weapons from Ammu-Nation.
![]() You can now use the Ammu-Nation gun range, although only the Pistol, Micro SMG and Shotgun challenges are available. The final AK-47 challenge is unlocked later in the story.
You can now use the Ammu-Nation gun range, although only the Pistol, Micro SMG and Shotgun challenges are available. The final AK-47 challenge is unlocked later in the story.
Screenshots
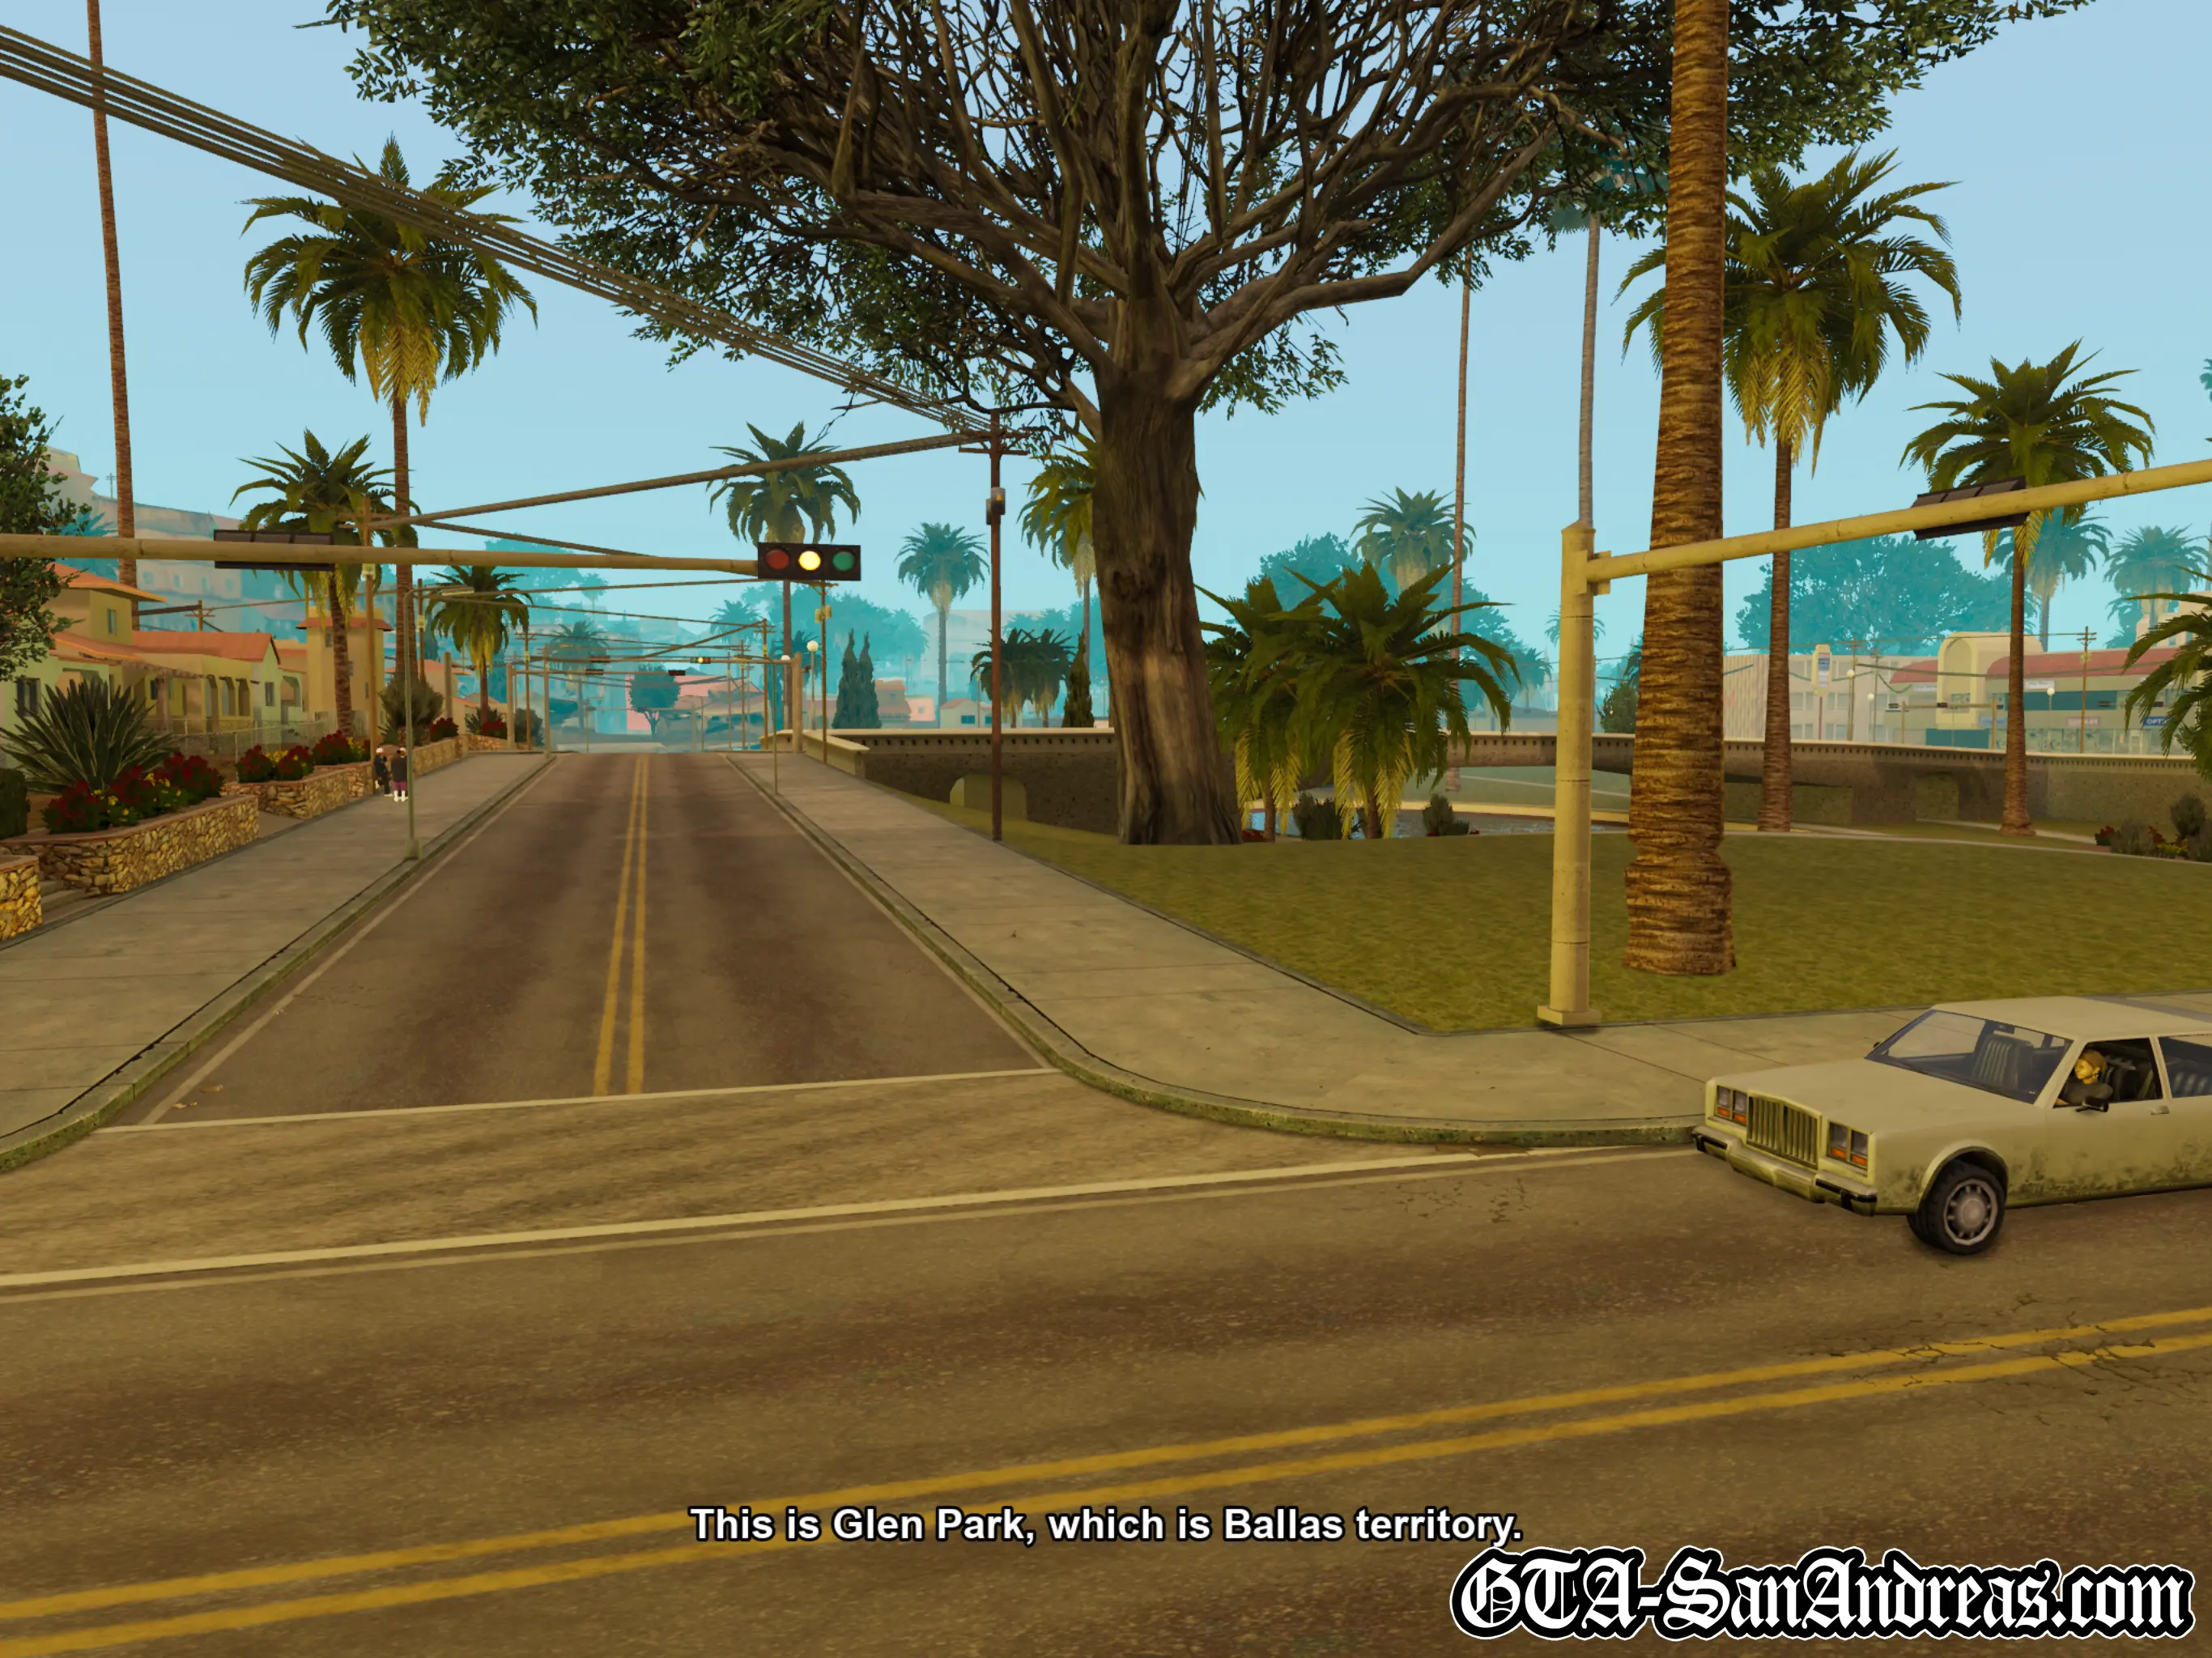
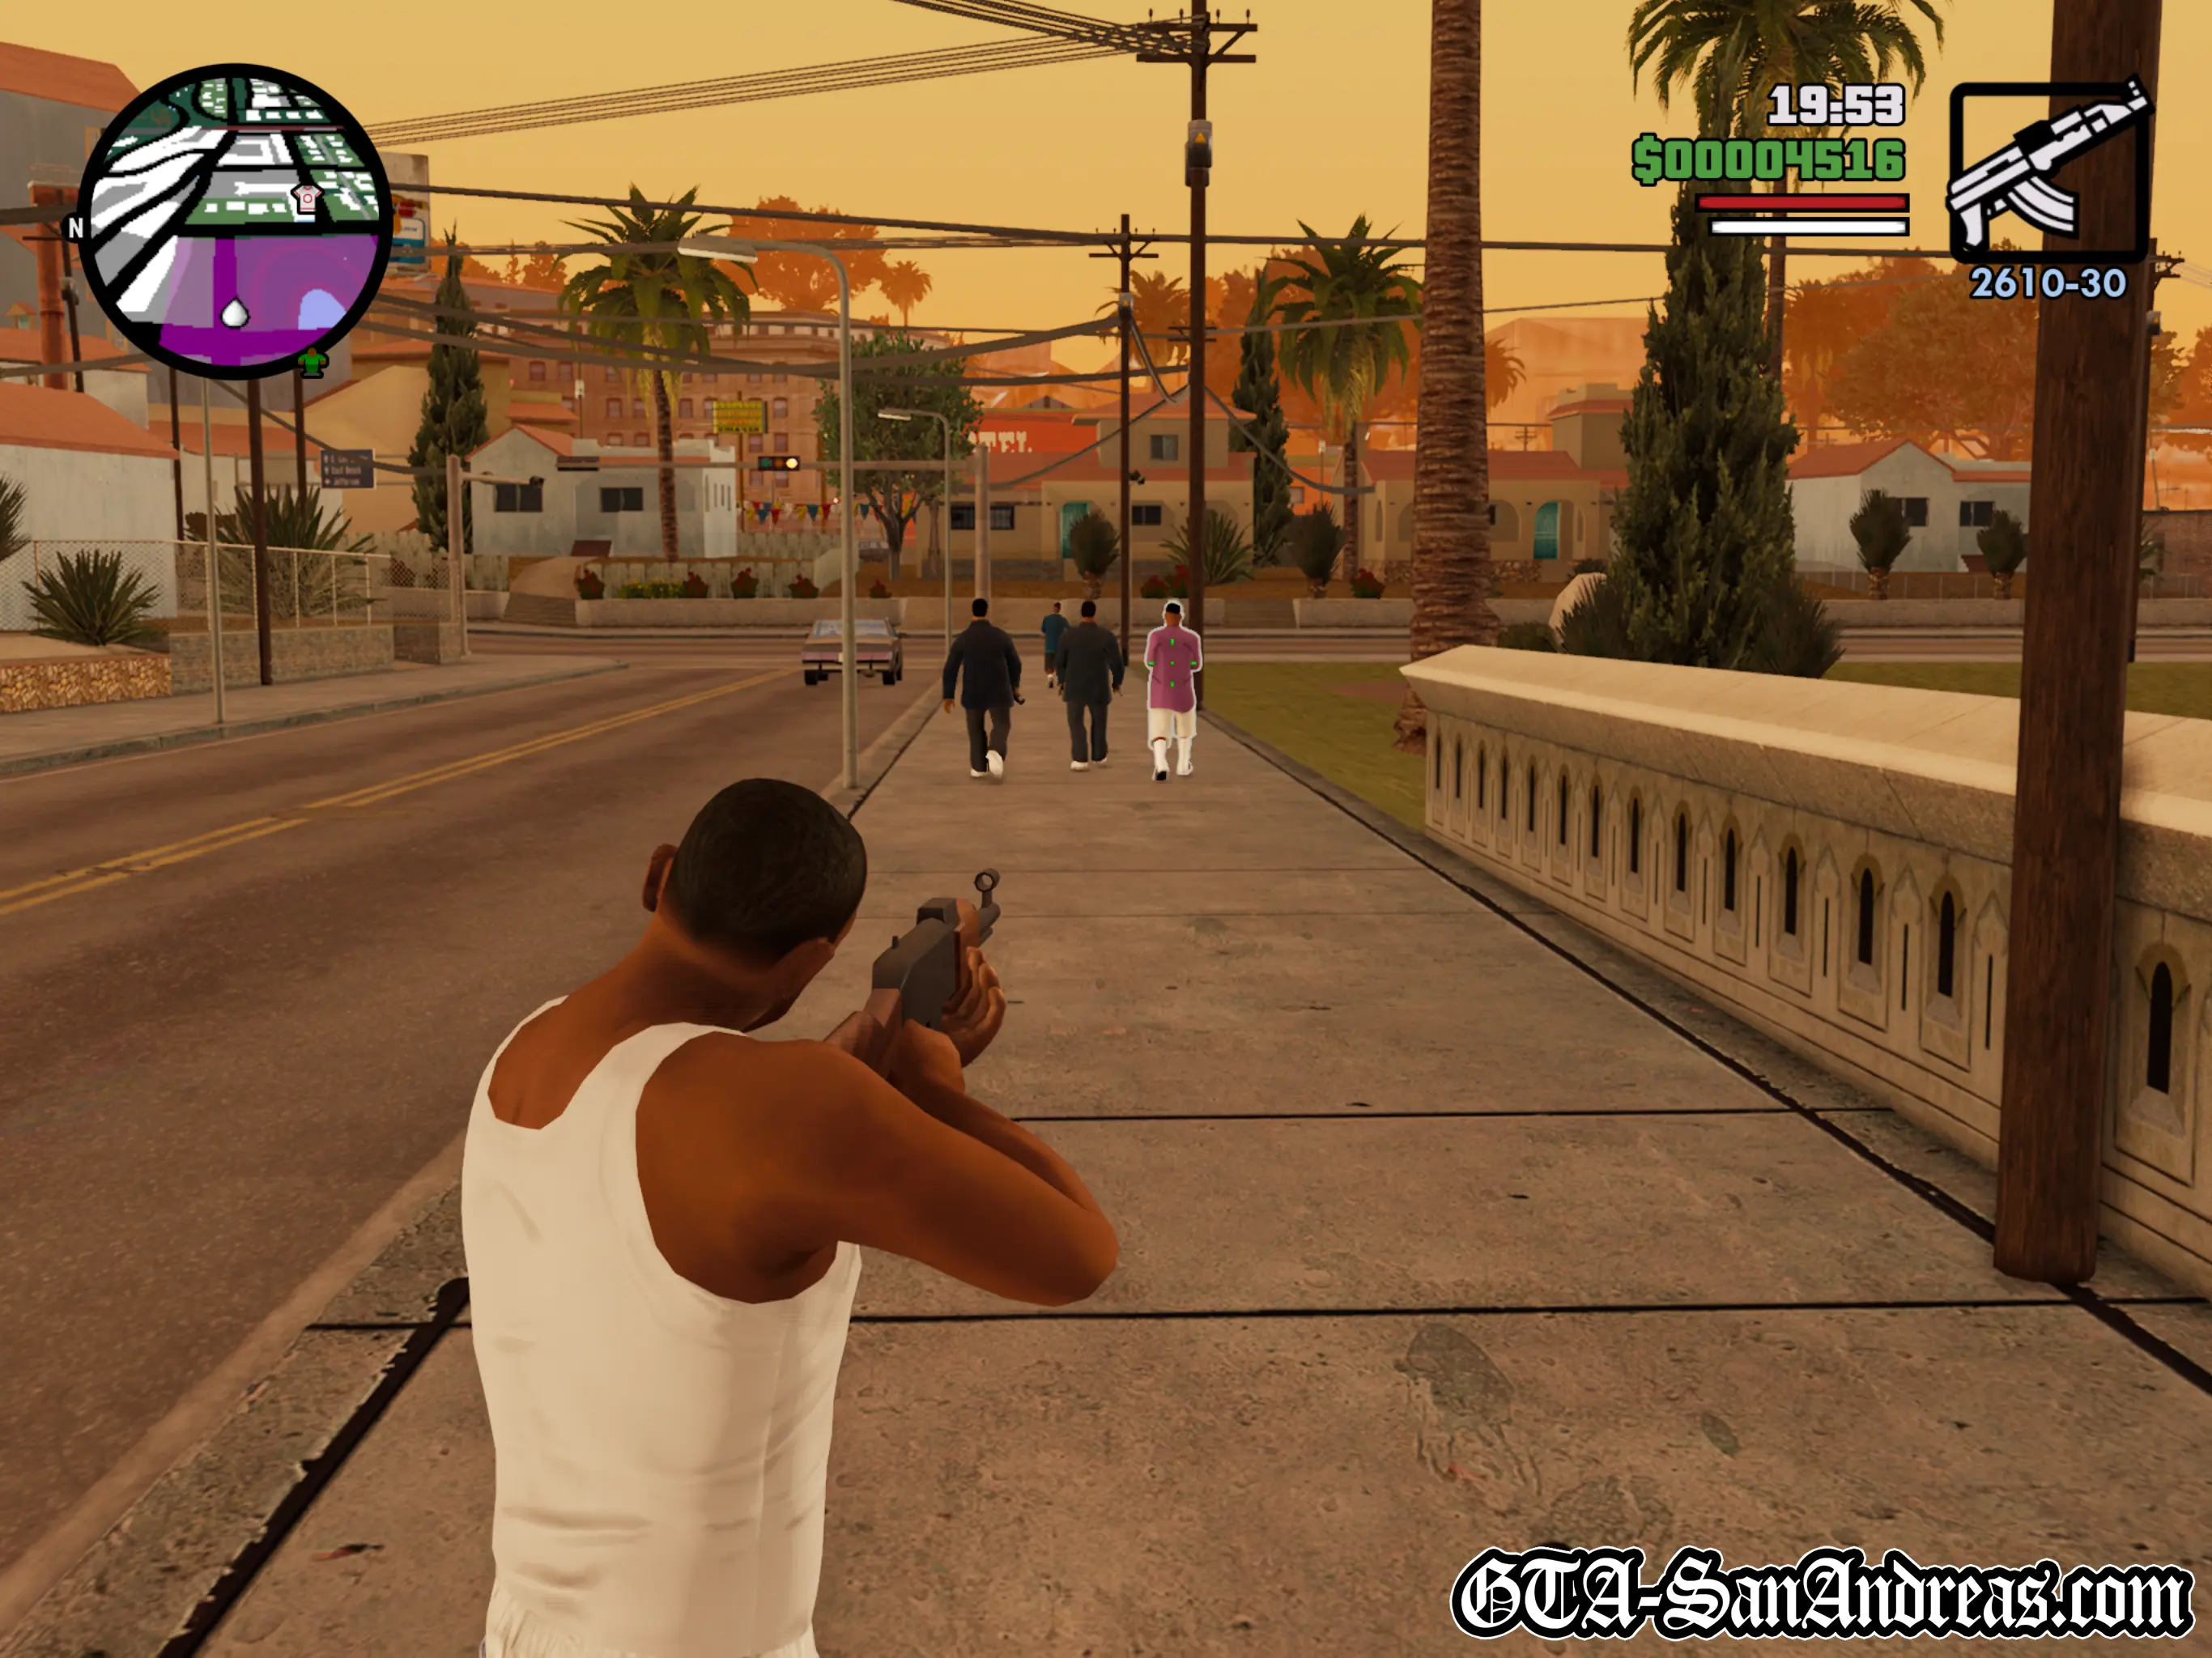
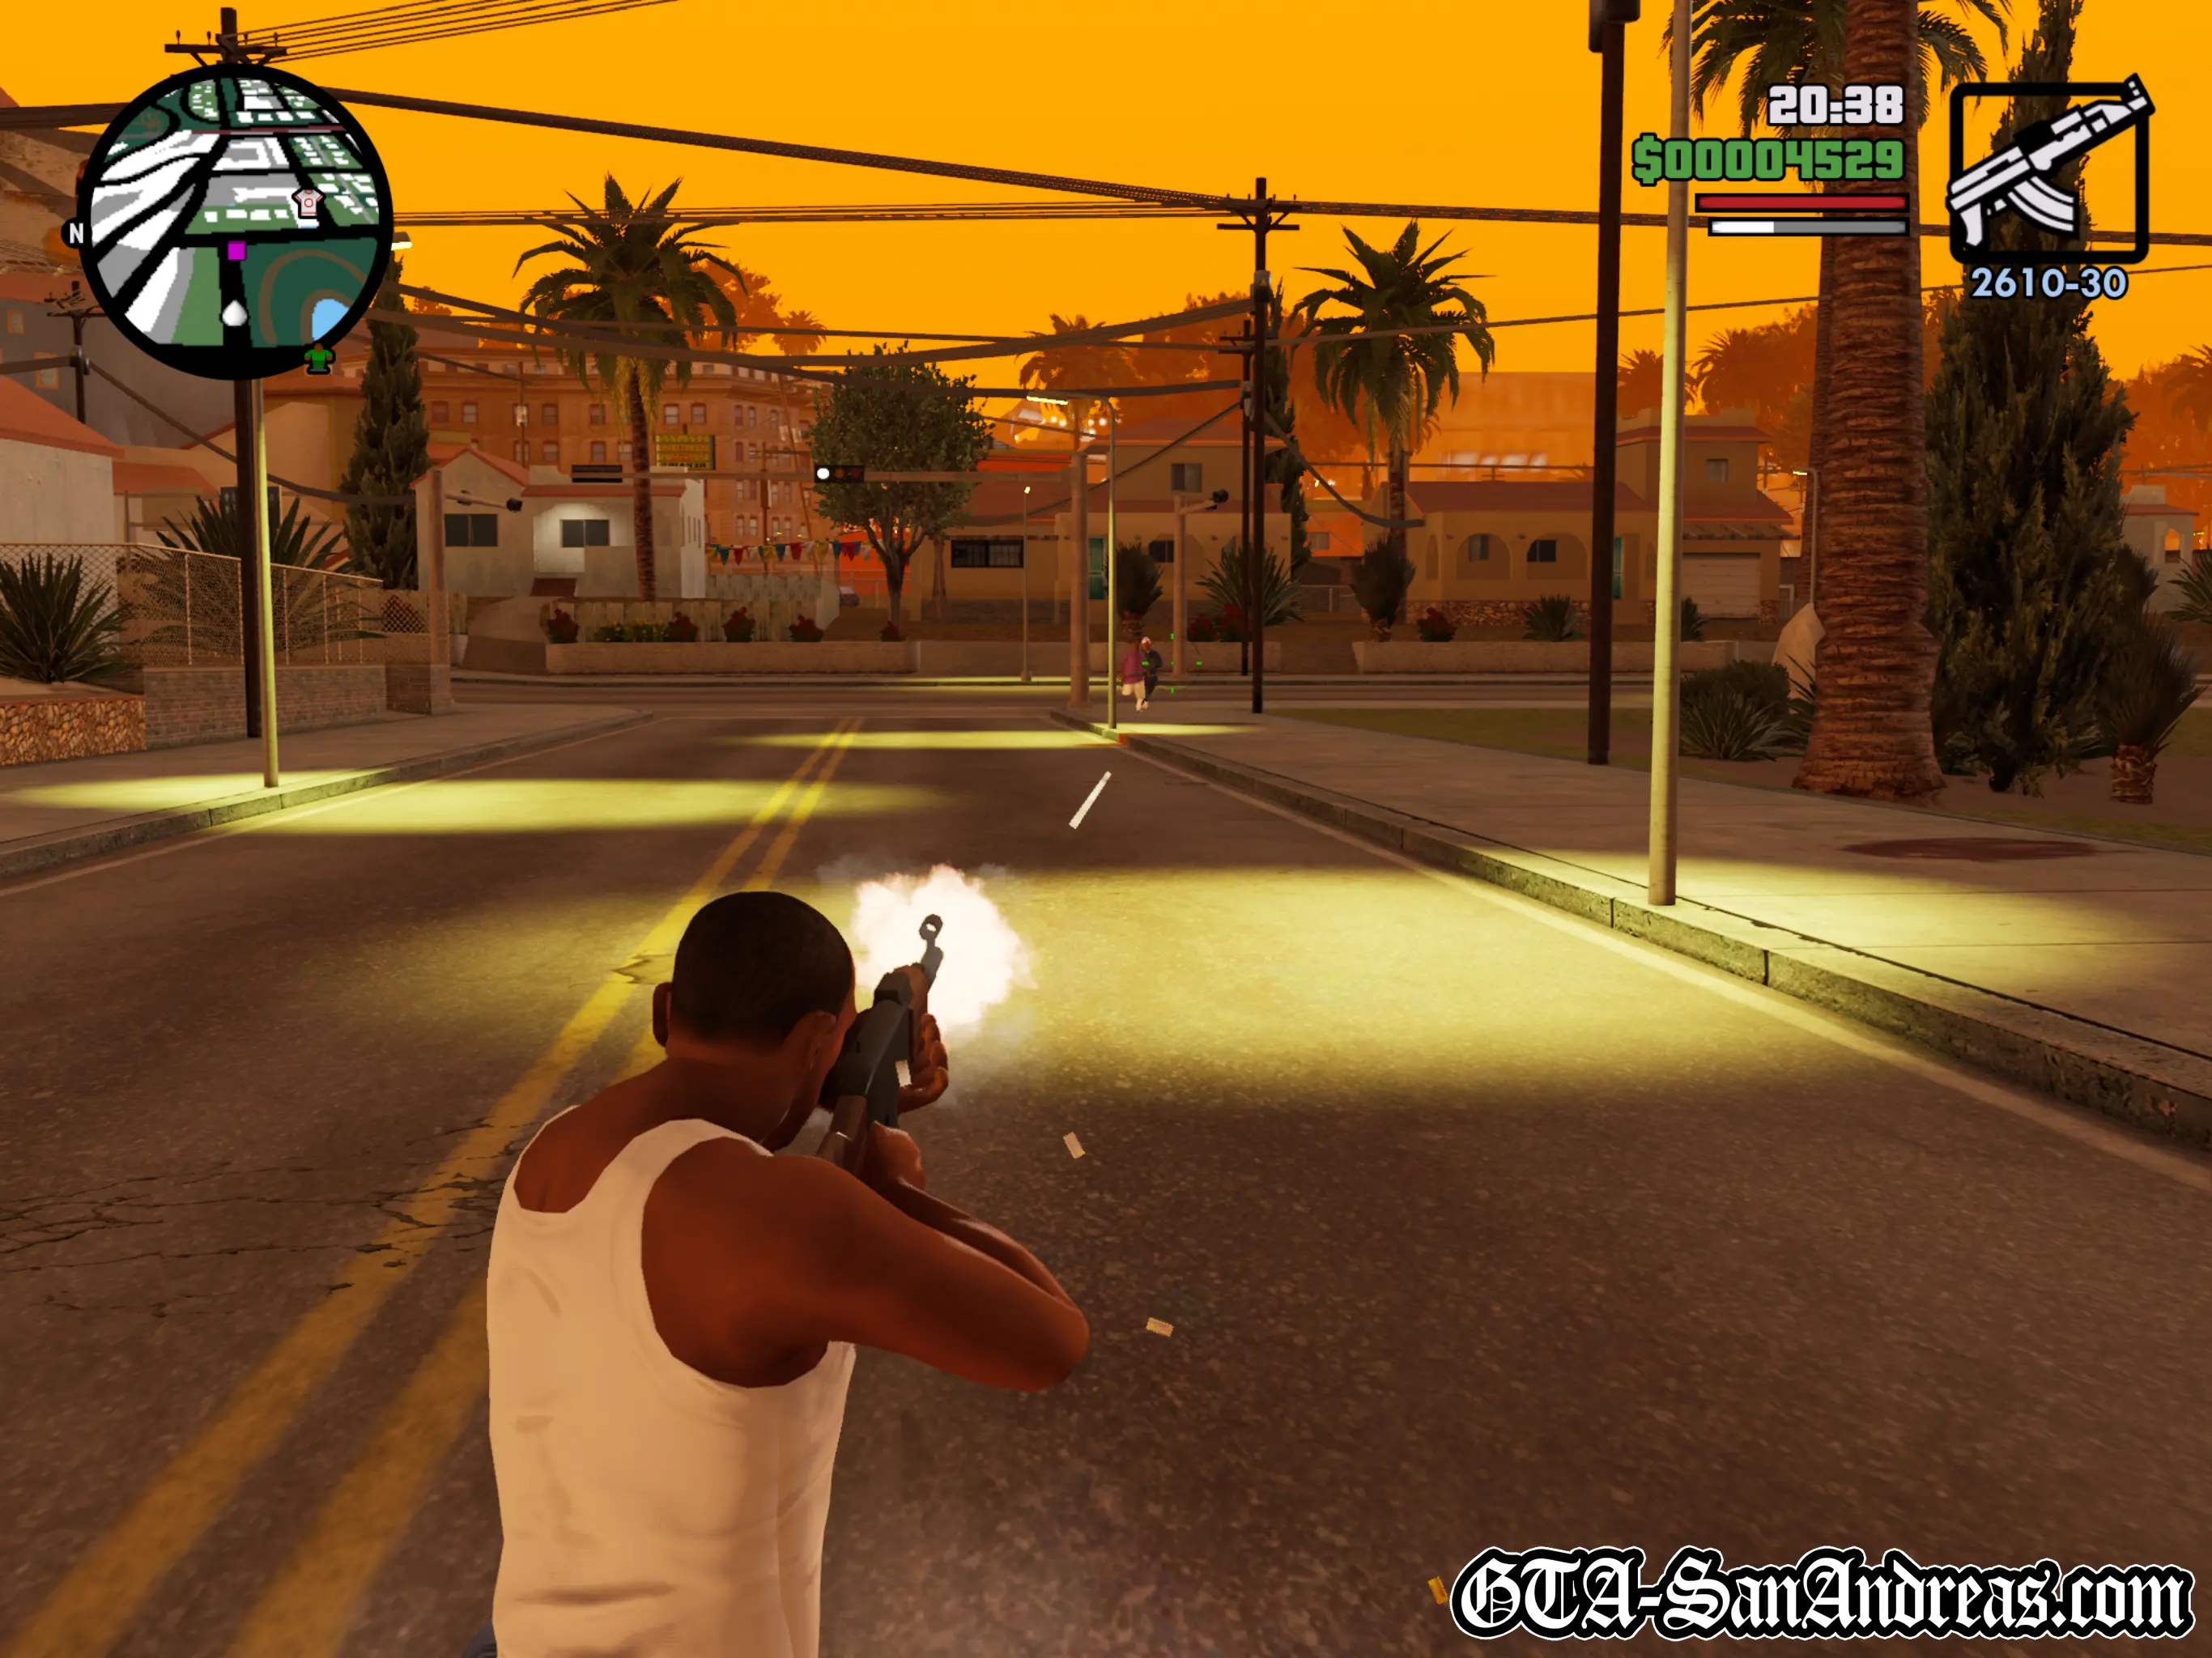
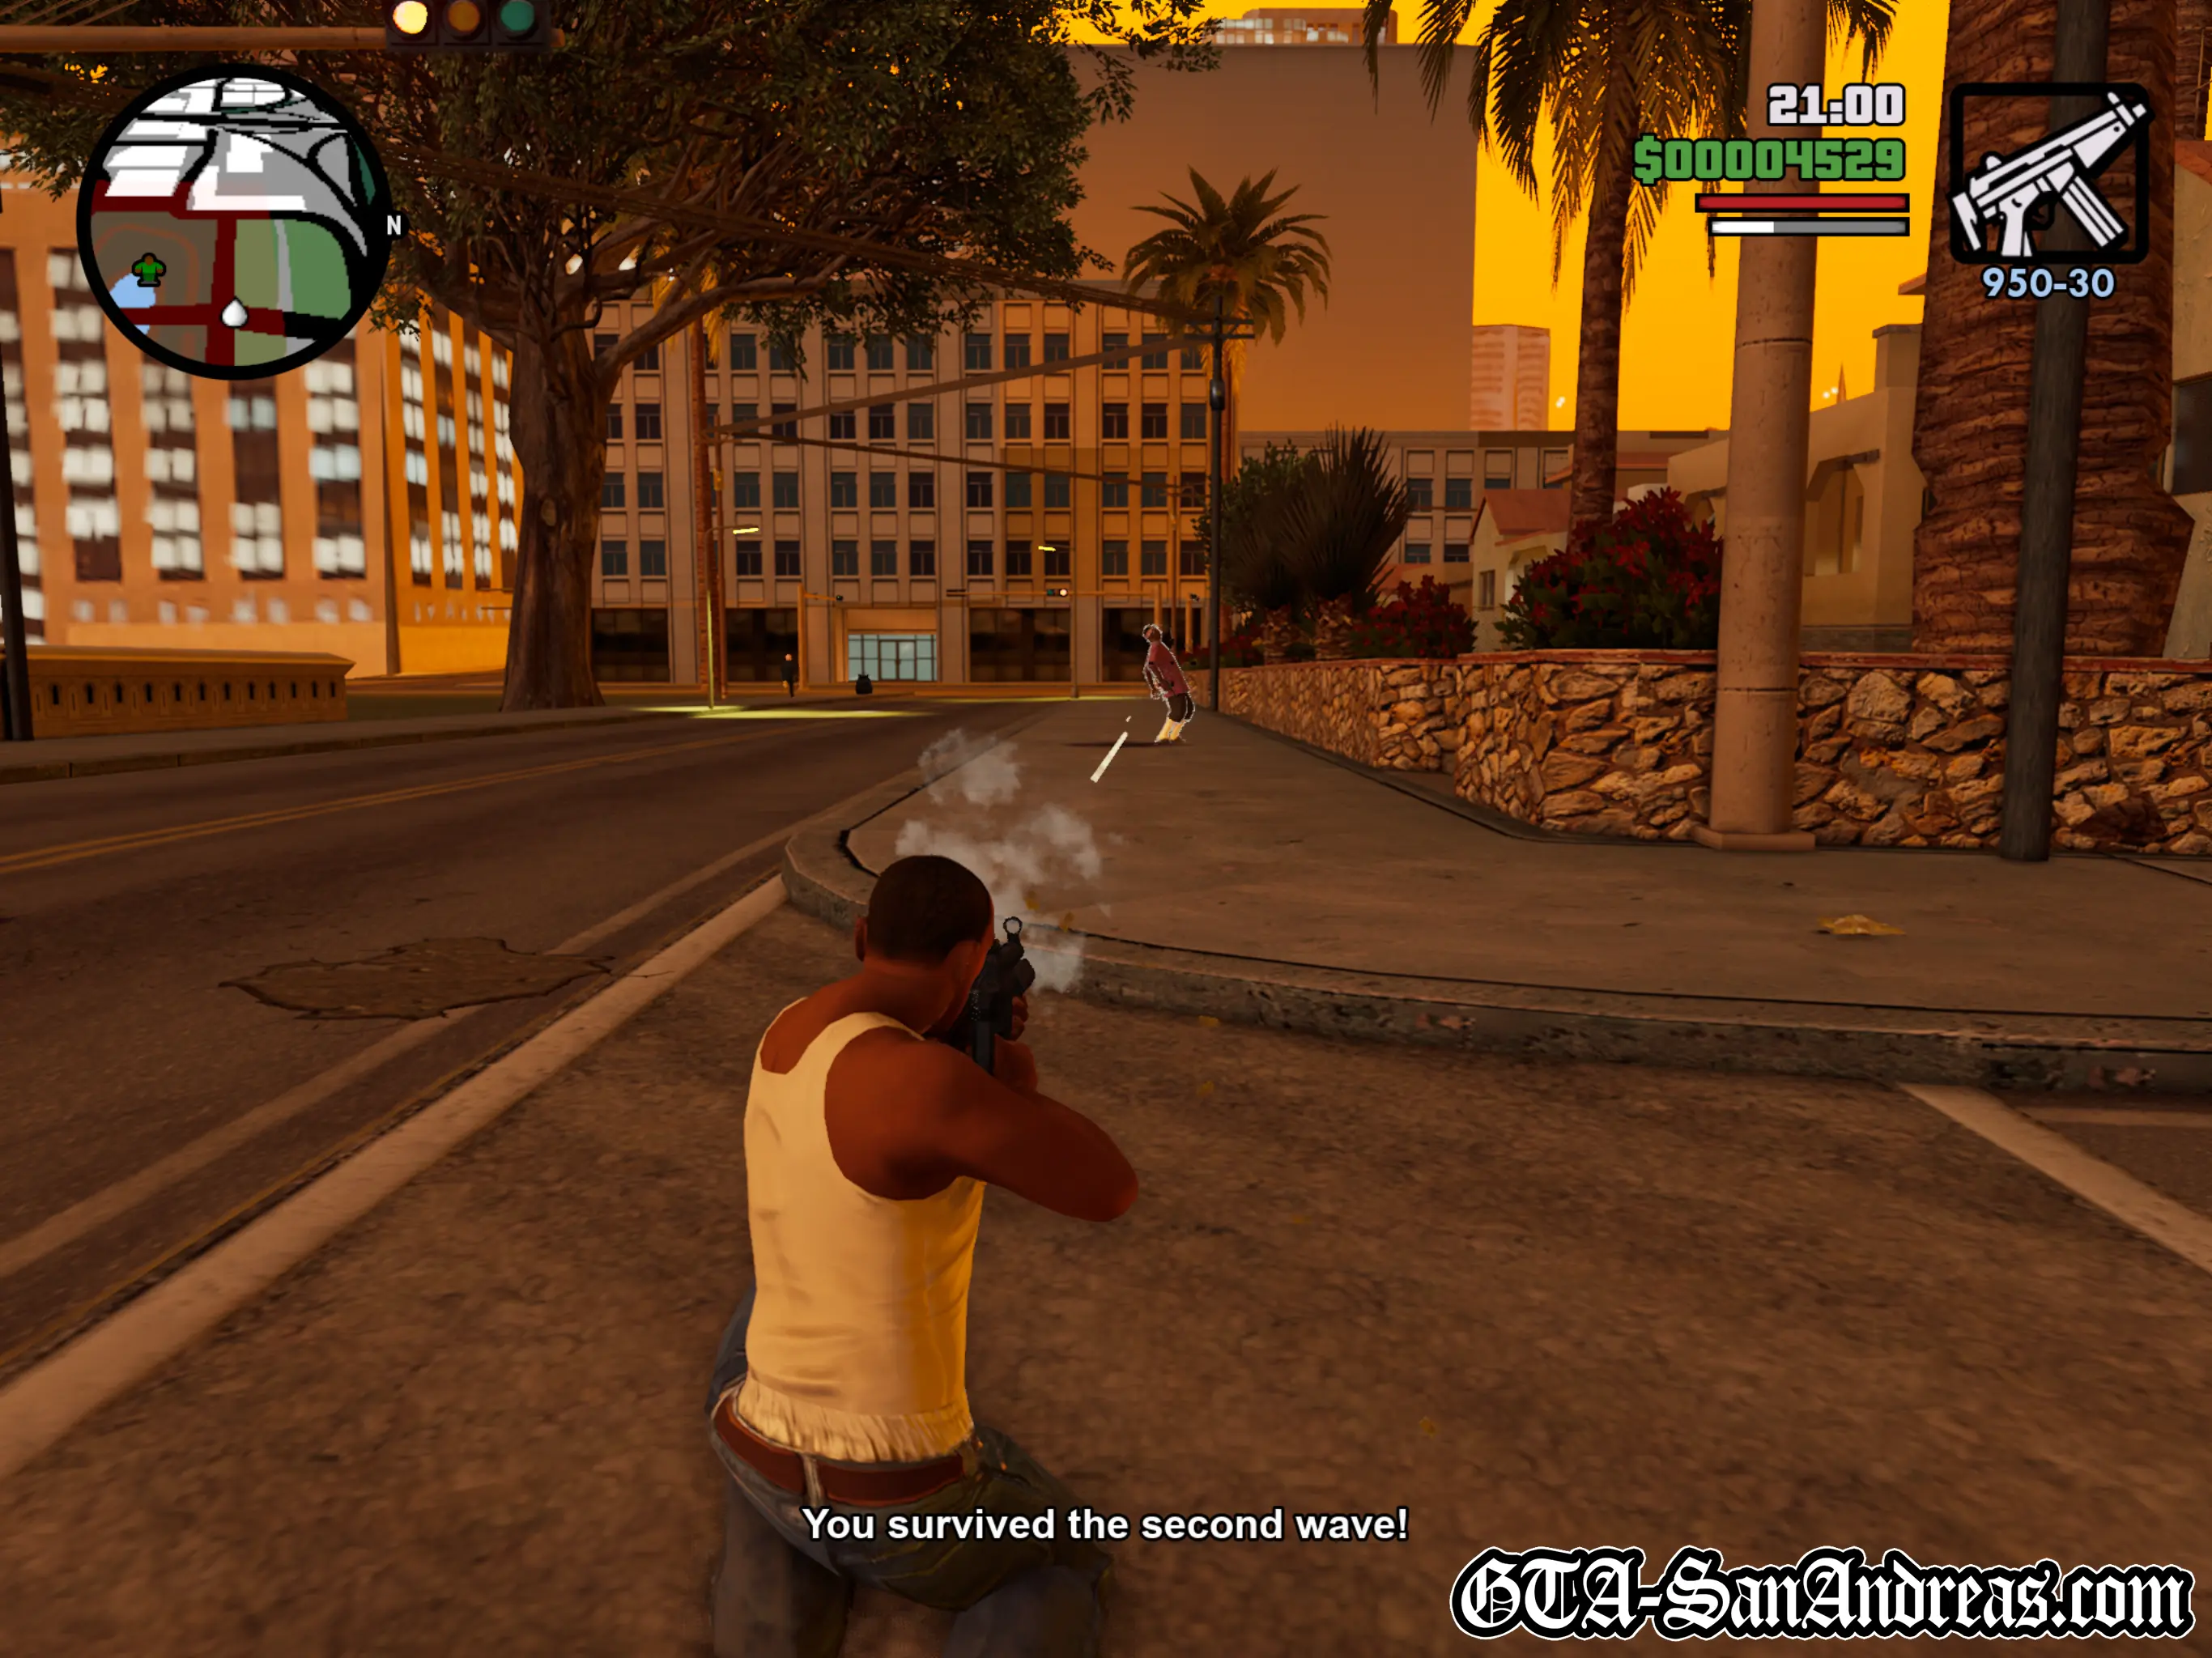
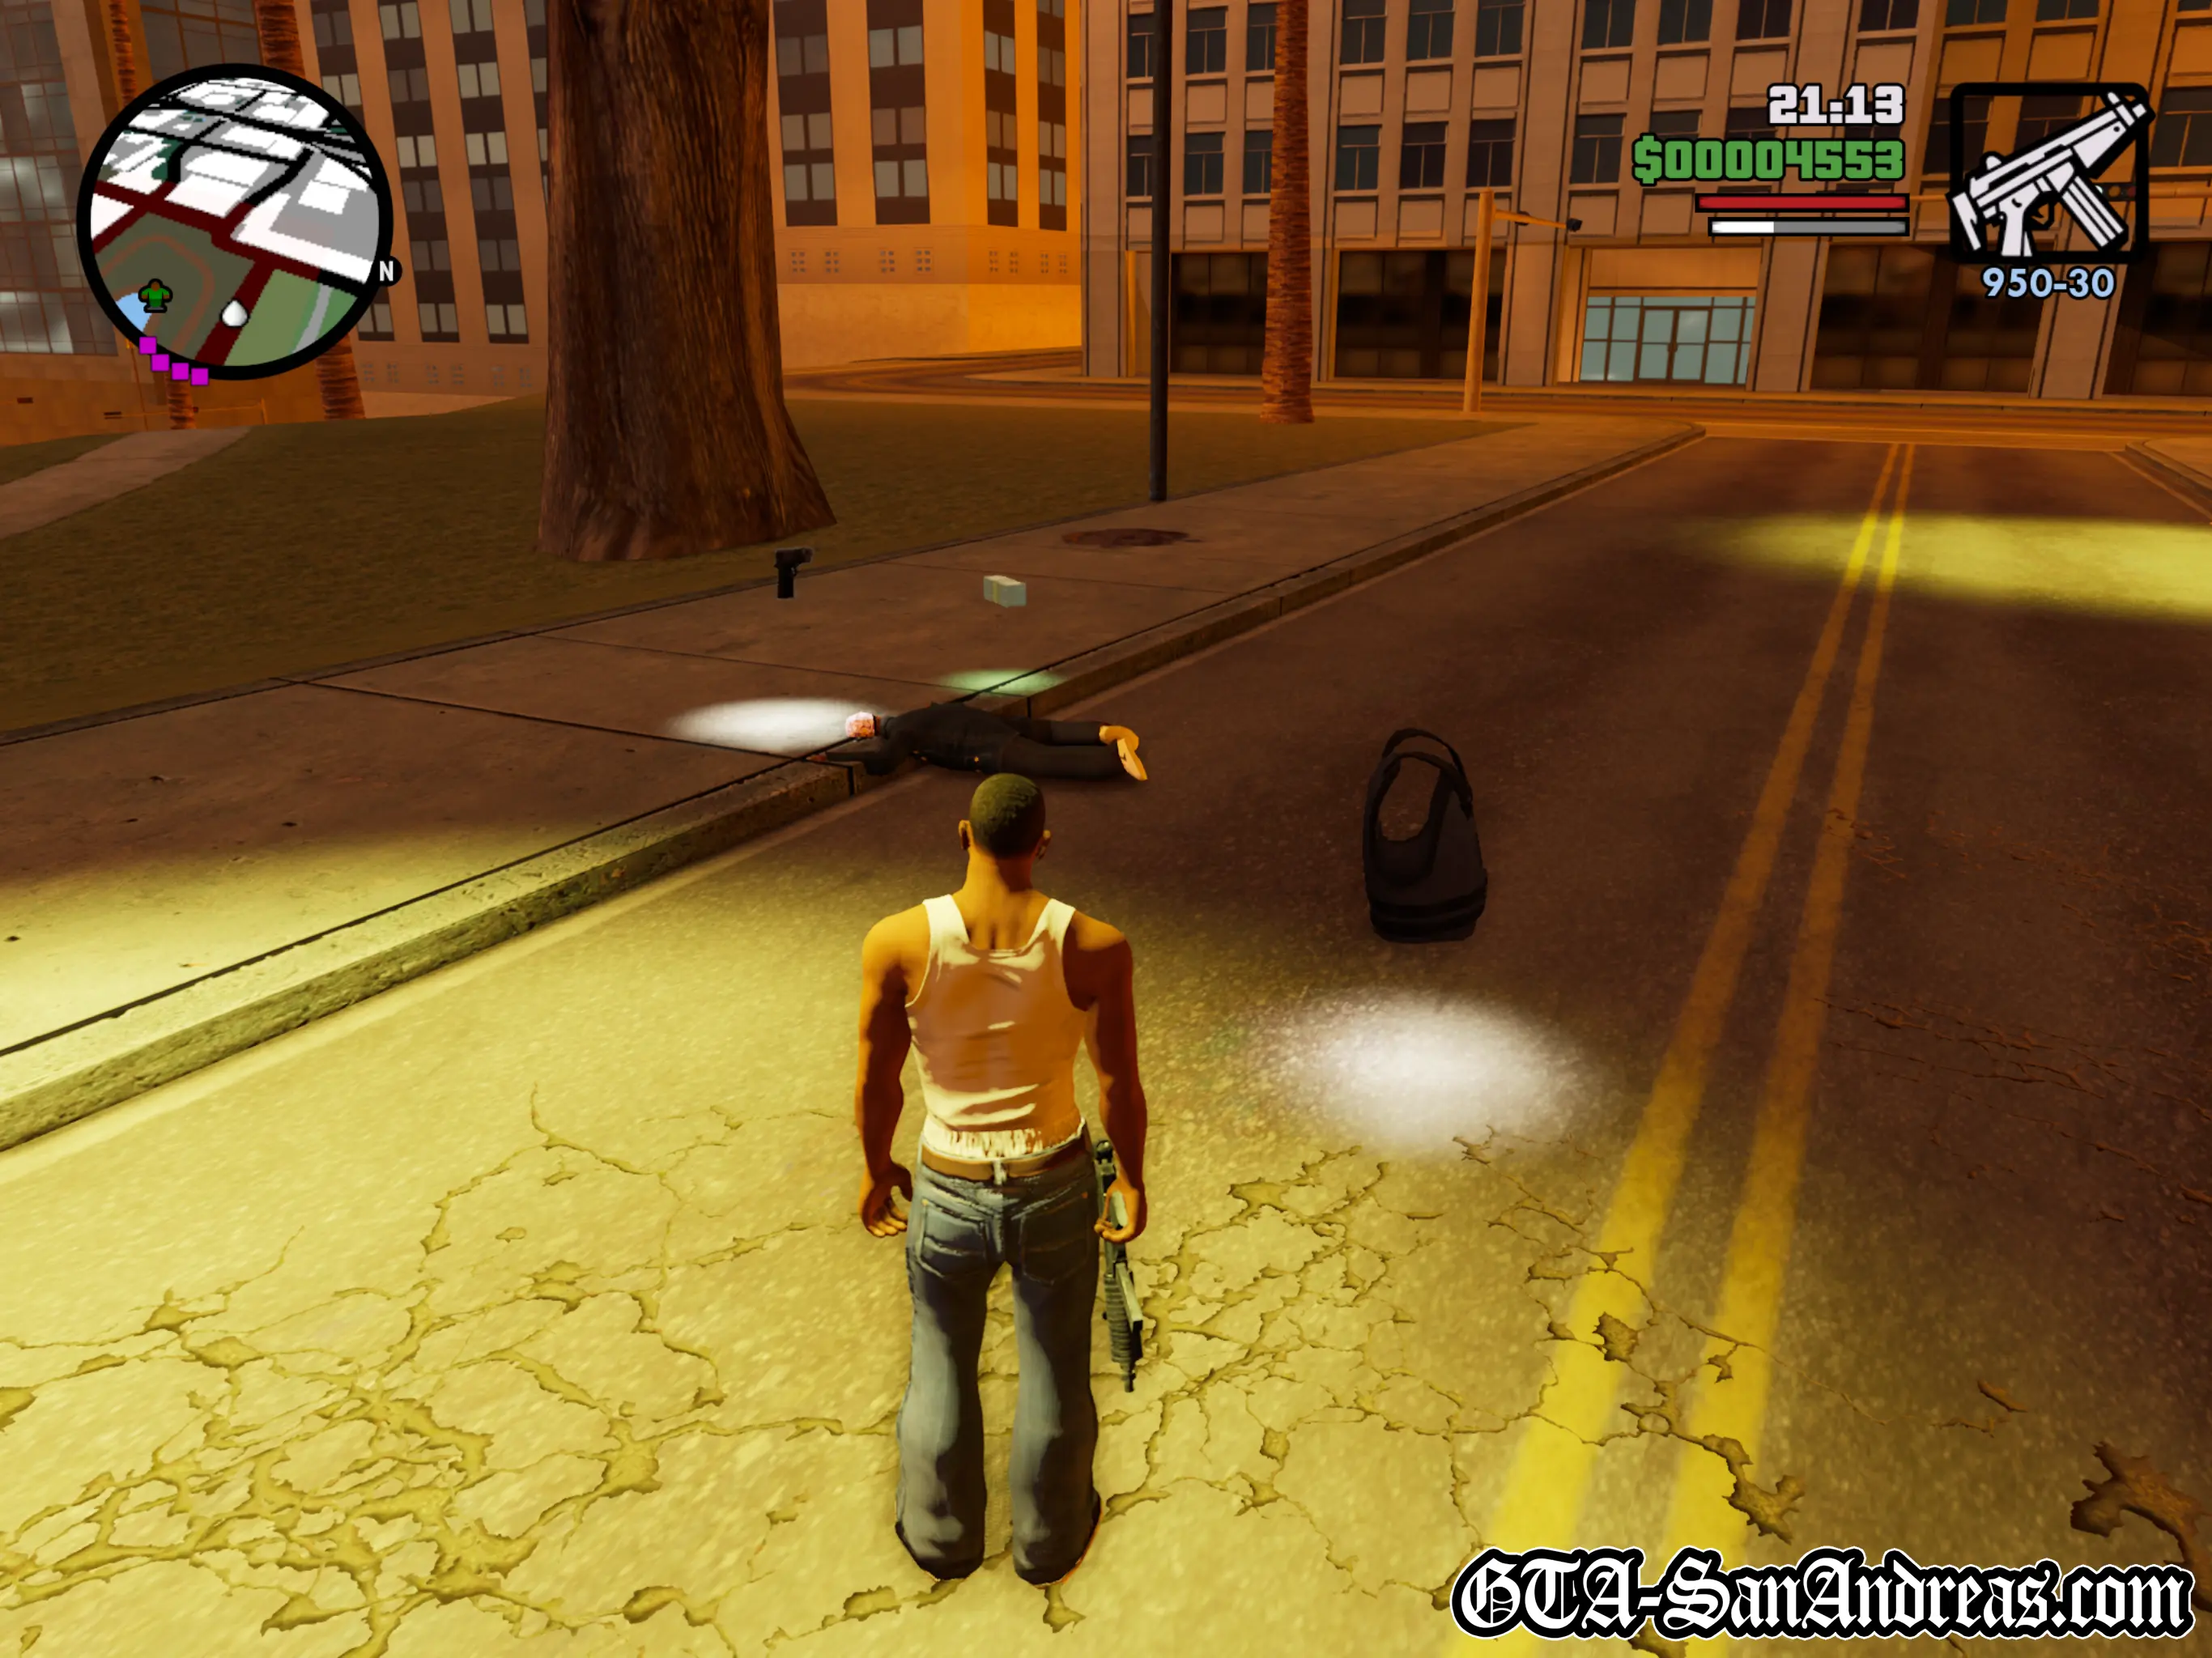
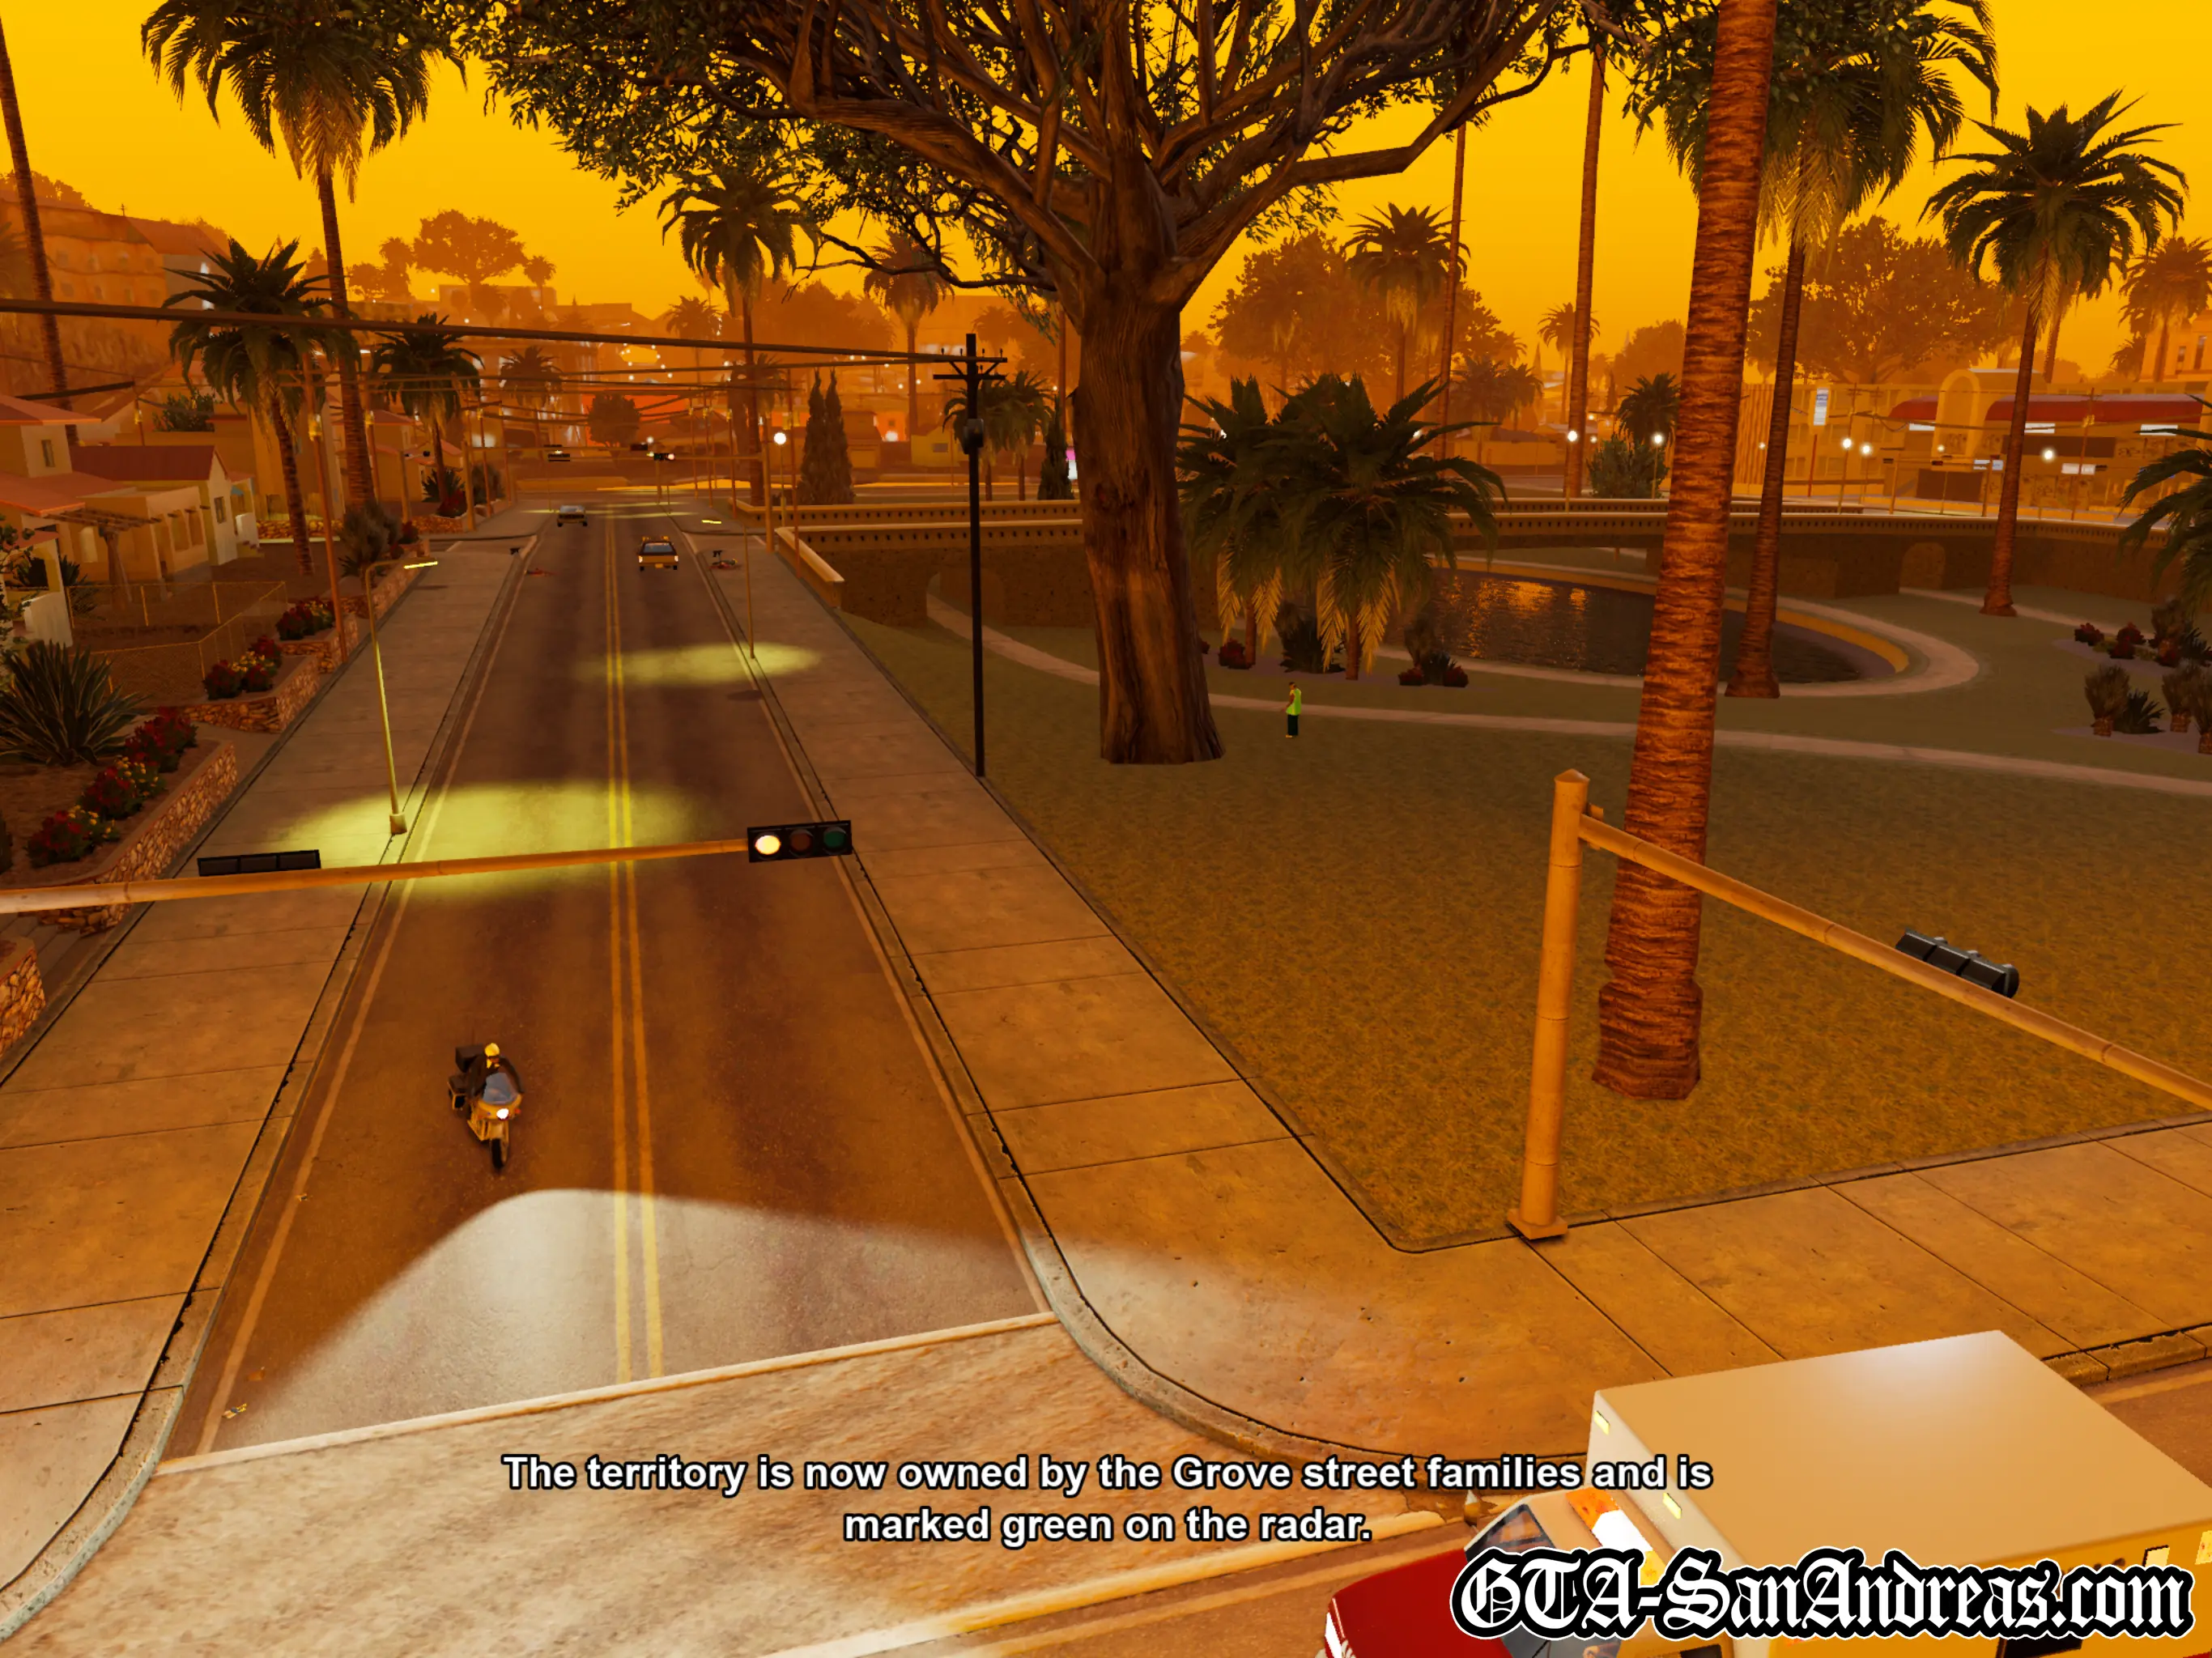
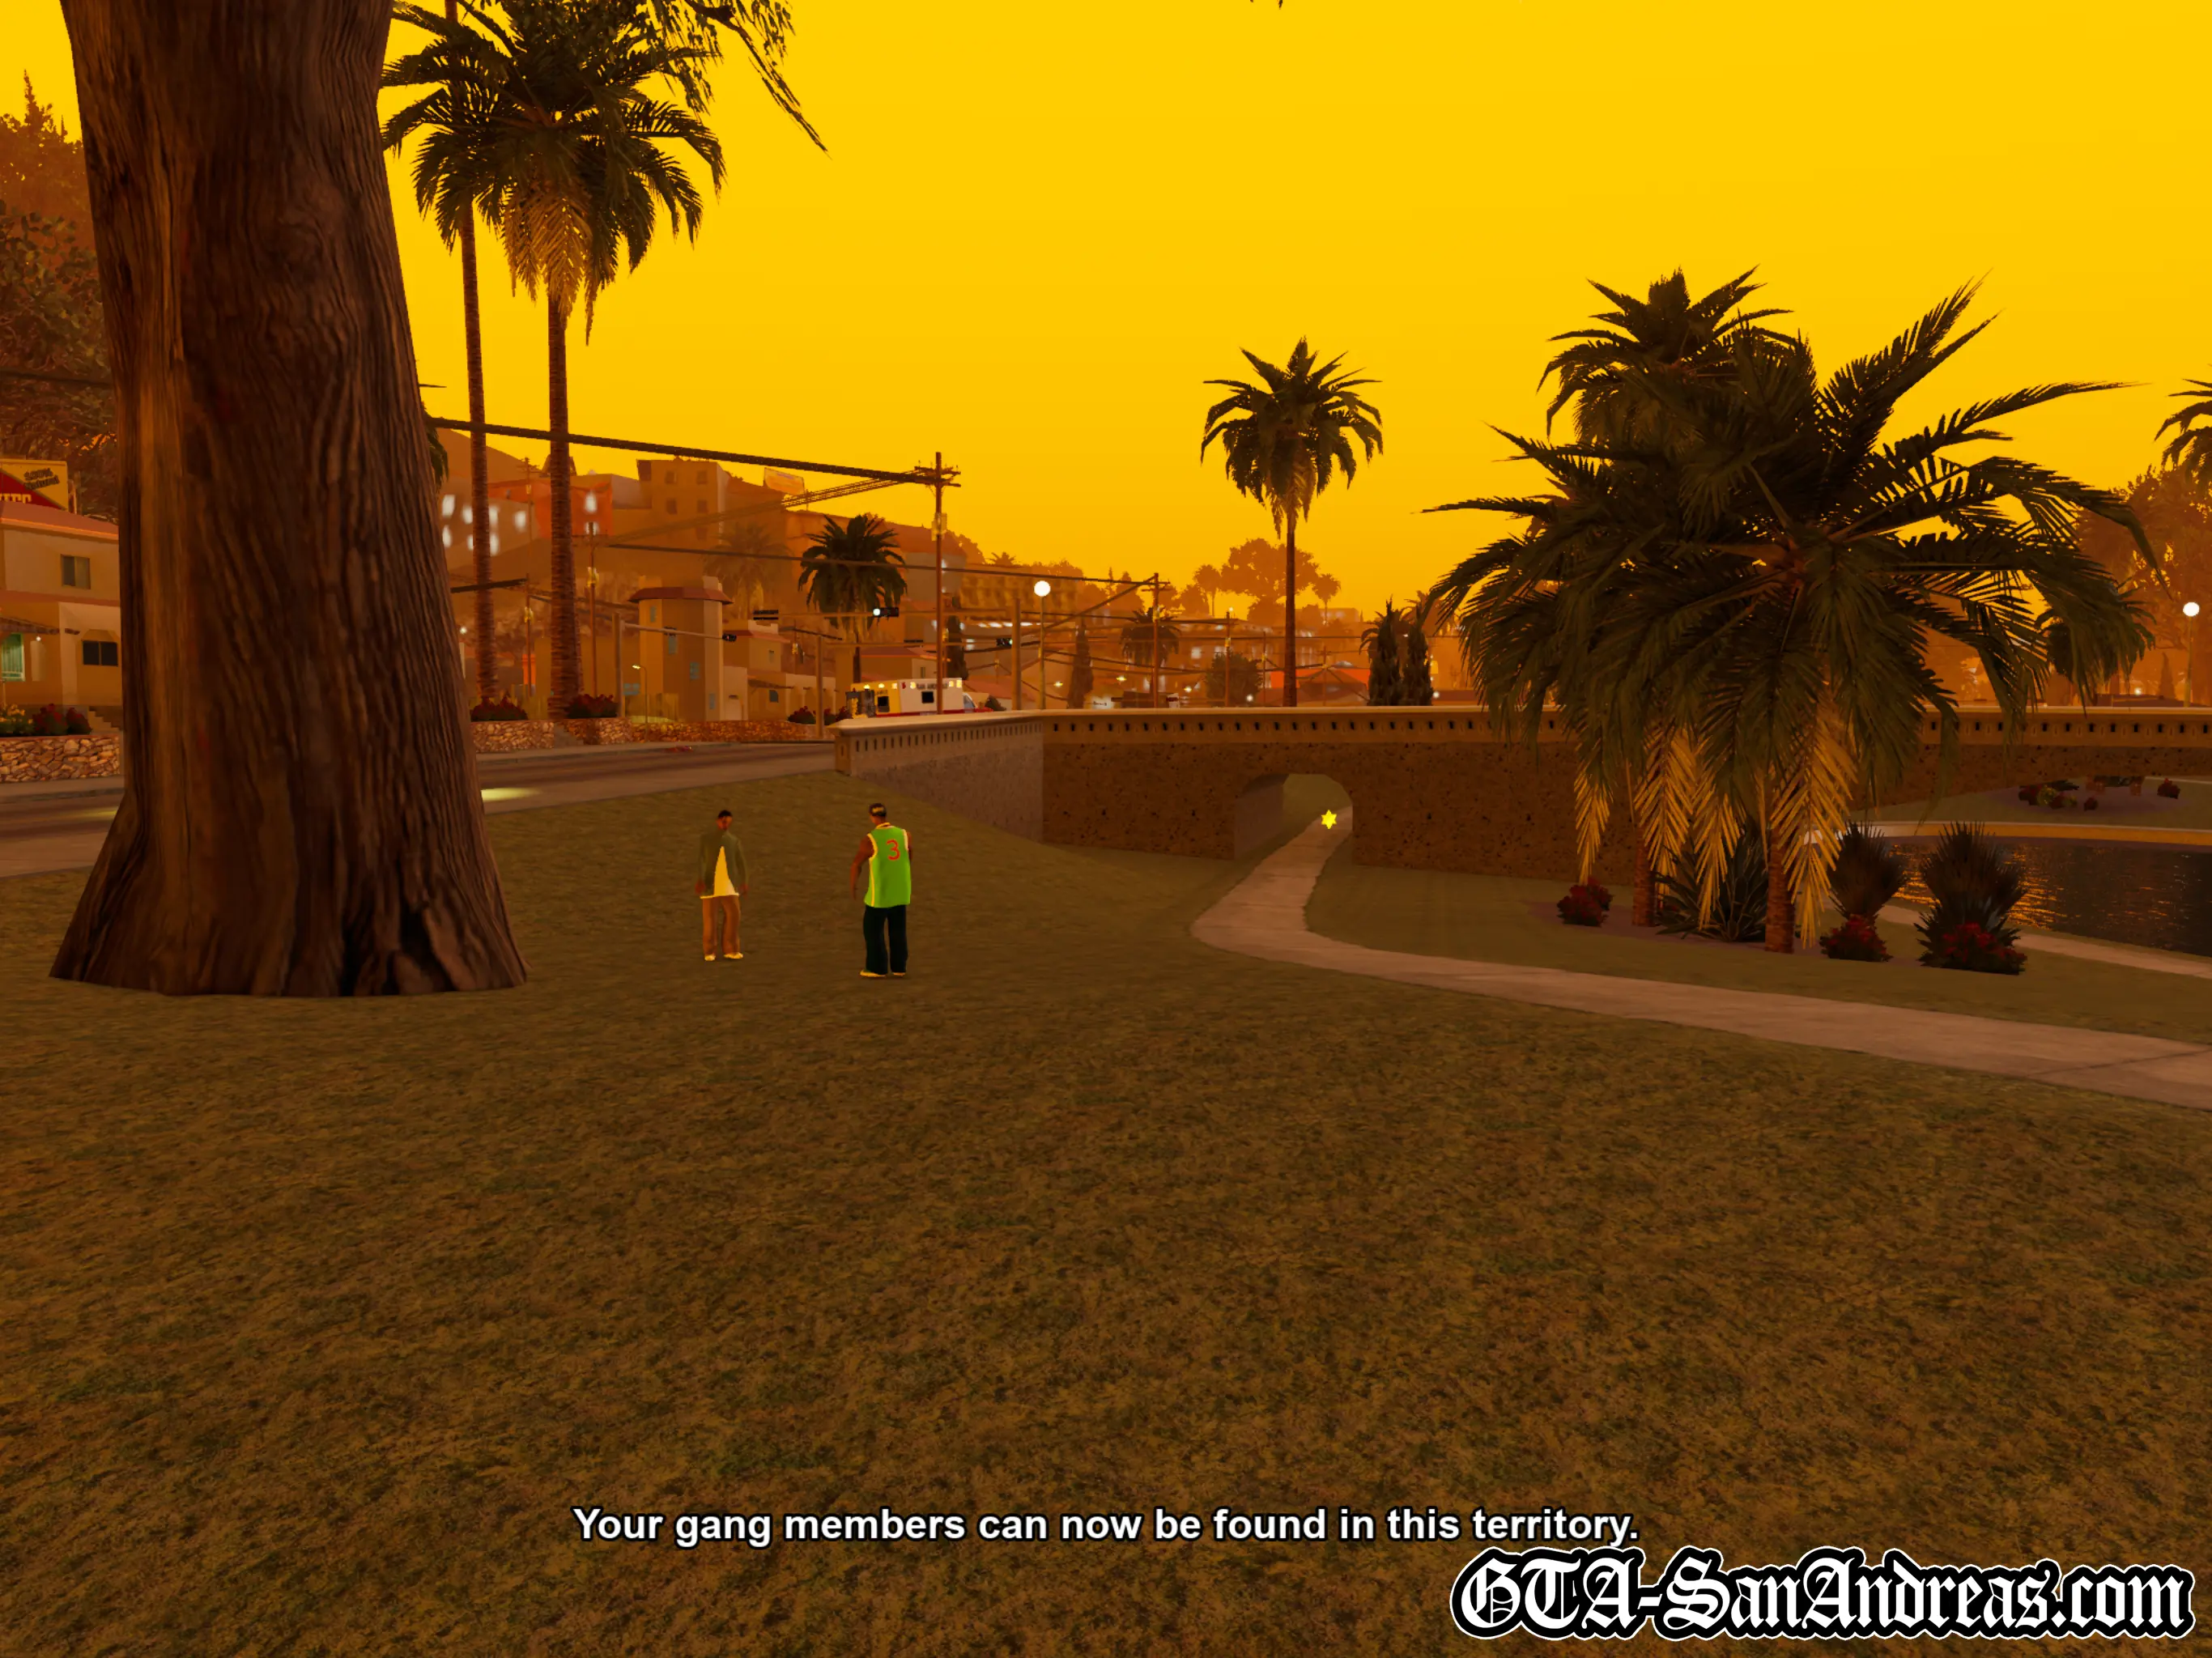
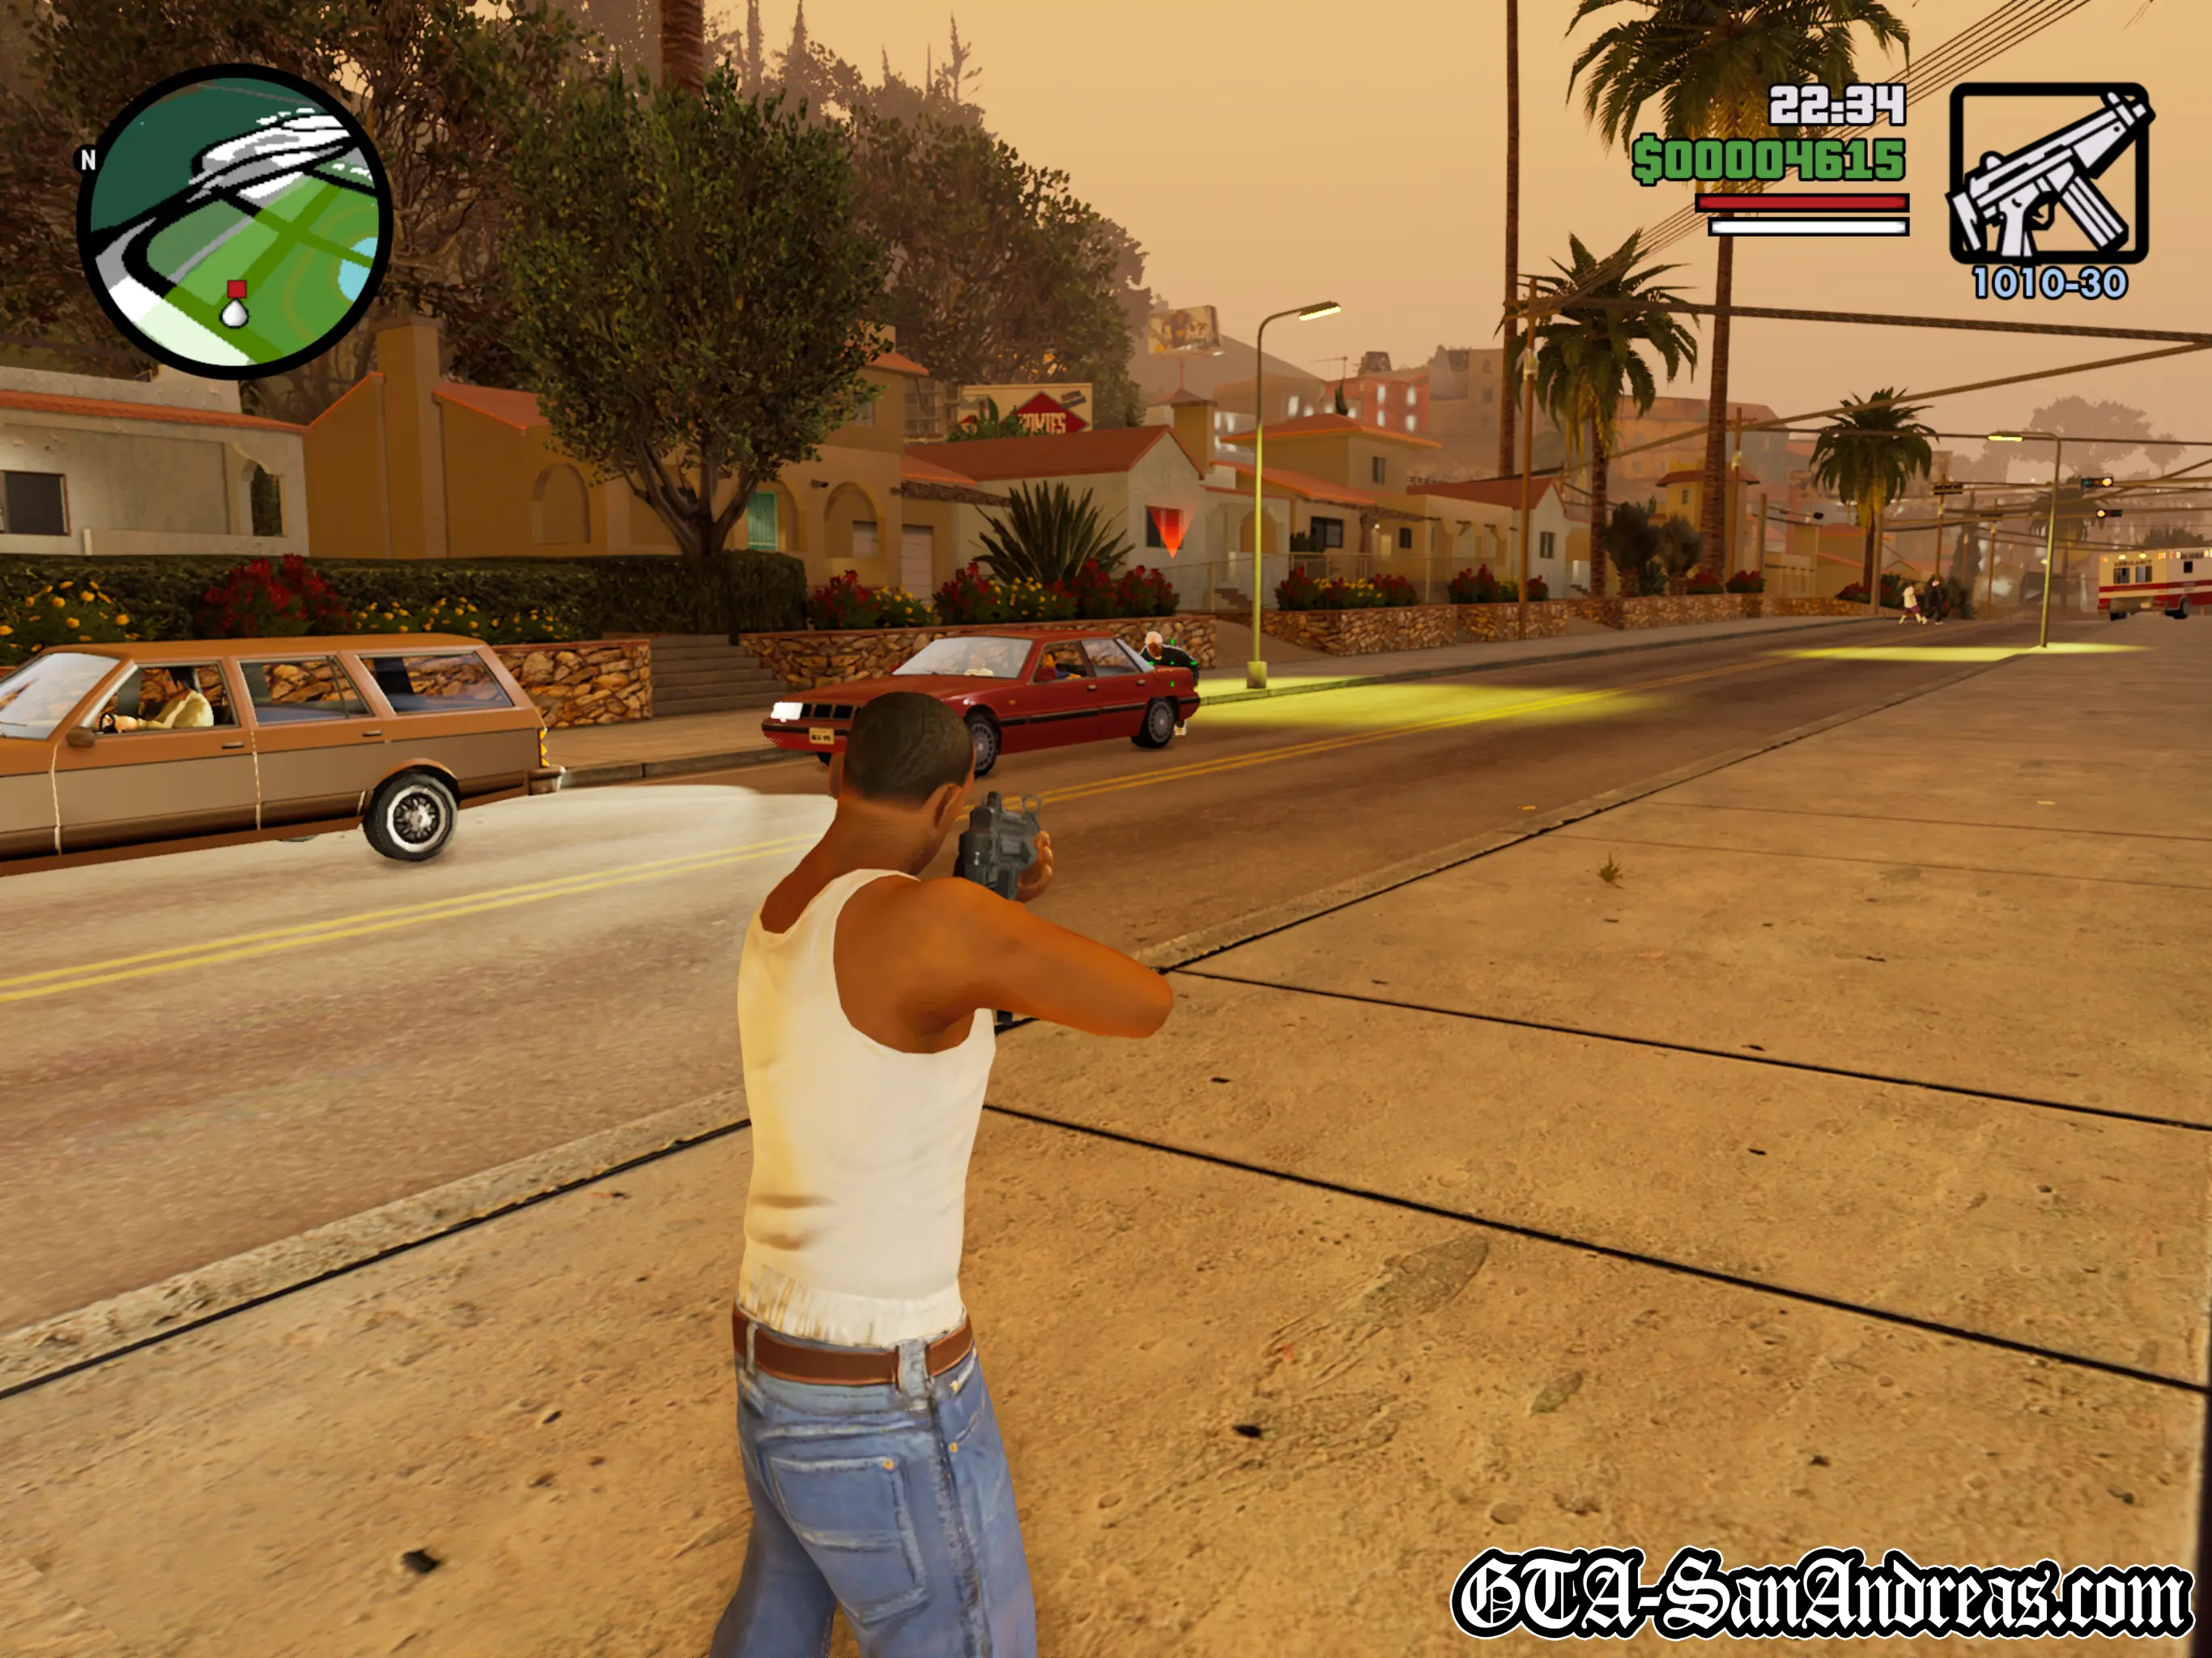
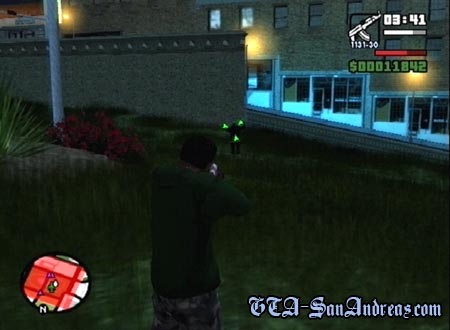
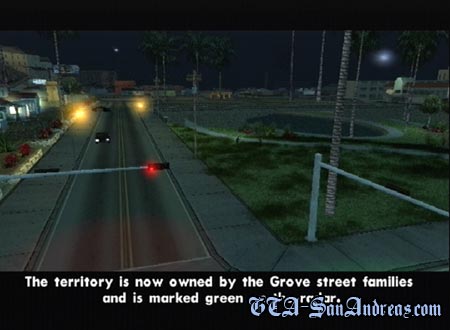
Los Sepulcros
The Ballas are at a funeral, similar to the Grove Street Families at the start of the game, and Sweet wants to head along there and take them out.
When the mission starts you will be told to get some help for the mission. There are two Grove Street Families members standing around, you can recruit these to your gang and get them to come along with you on the mission. Hold R1 to target them, then push up or down to ask them if they want to help you. If your respect is high enough they'll follow you. Do the same to both of them, get in the car, then make your way to the funeral.
Get there as quickly as possible, because you need to arrive before Kane, and as usual, when you do, park in the red marker.
After the cutscene, jump over the wall and meet up with Sweet. He'll tell you to kill Kane and his gang members, so head to the red dot on the radar, kill all of the Ballas and Kane as he tries to run away, then get in the car marked on the radar.
Head to the Pay N' Spray just up the road to lose the heat, then drive the guys back into Grove Street carefully. You can't lose, destroy or flip the car because Sweet is in no mood to get out.
Screenshots
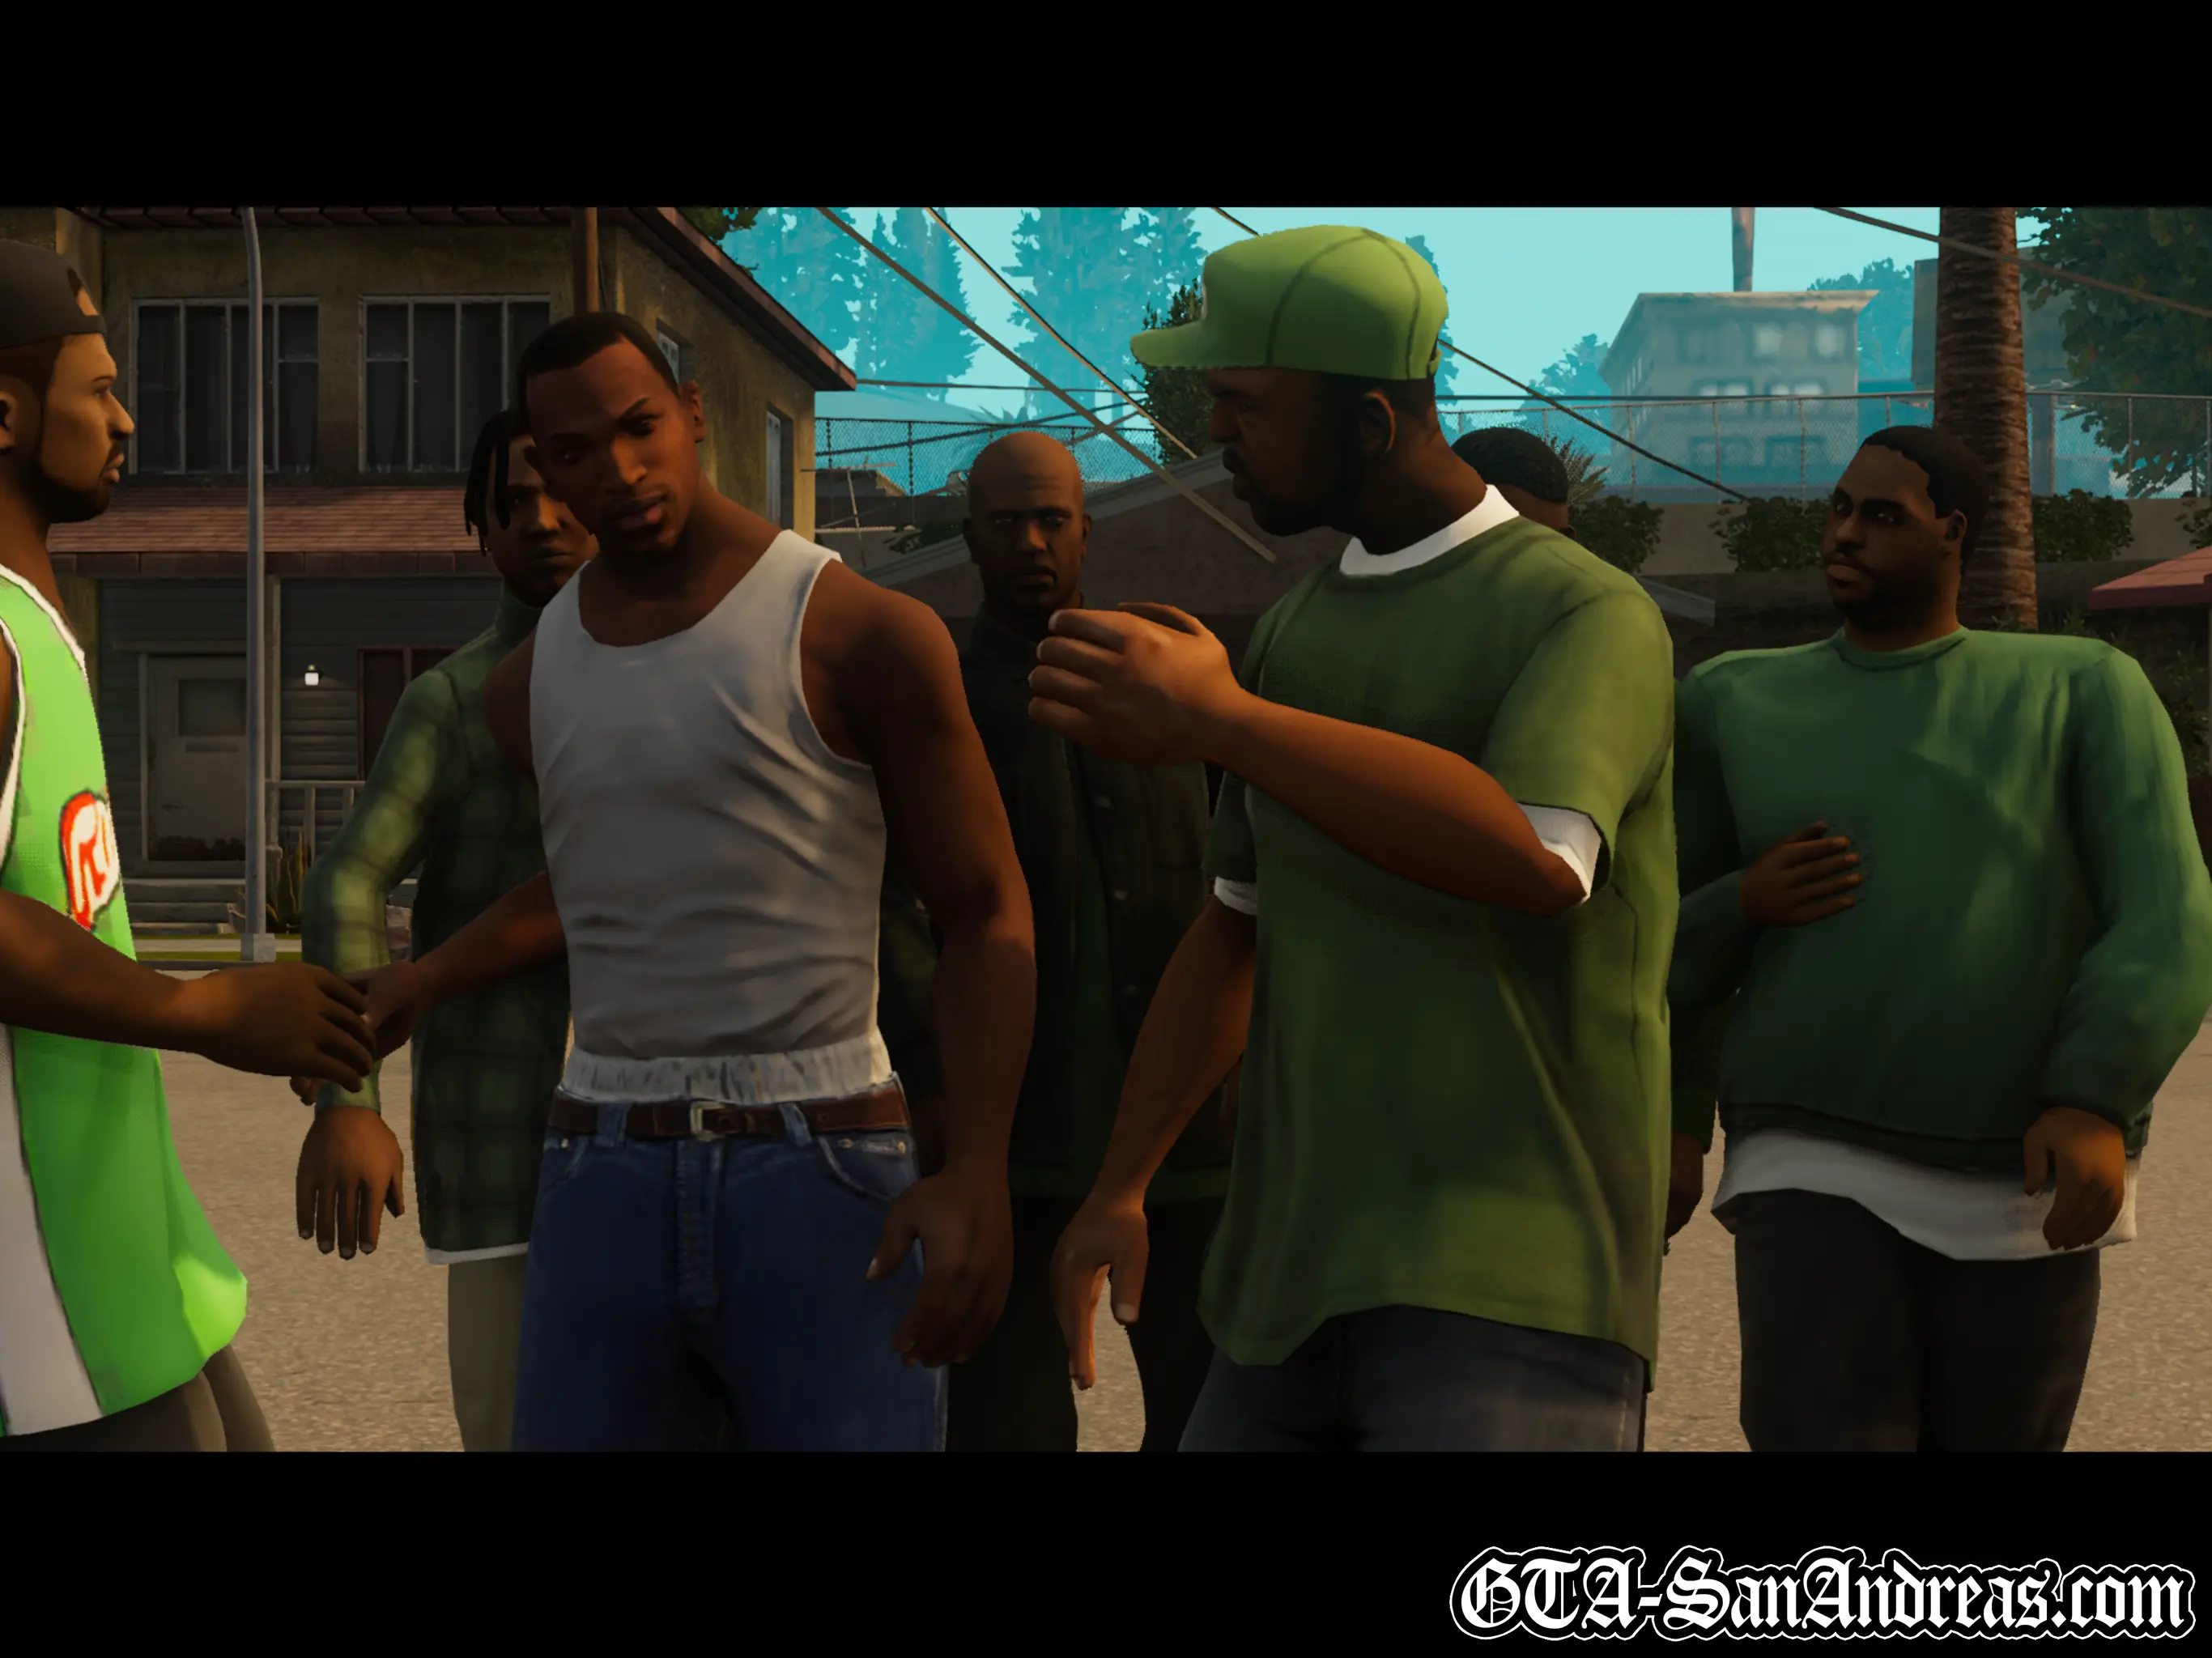

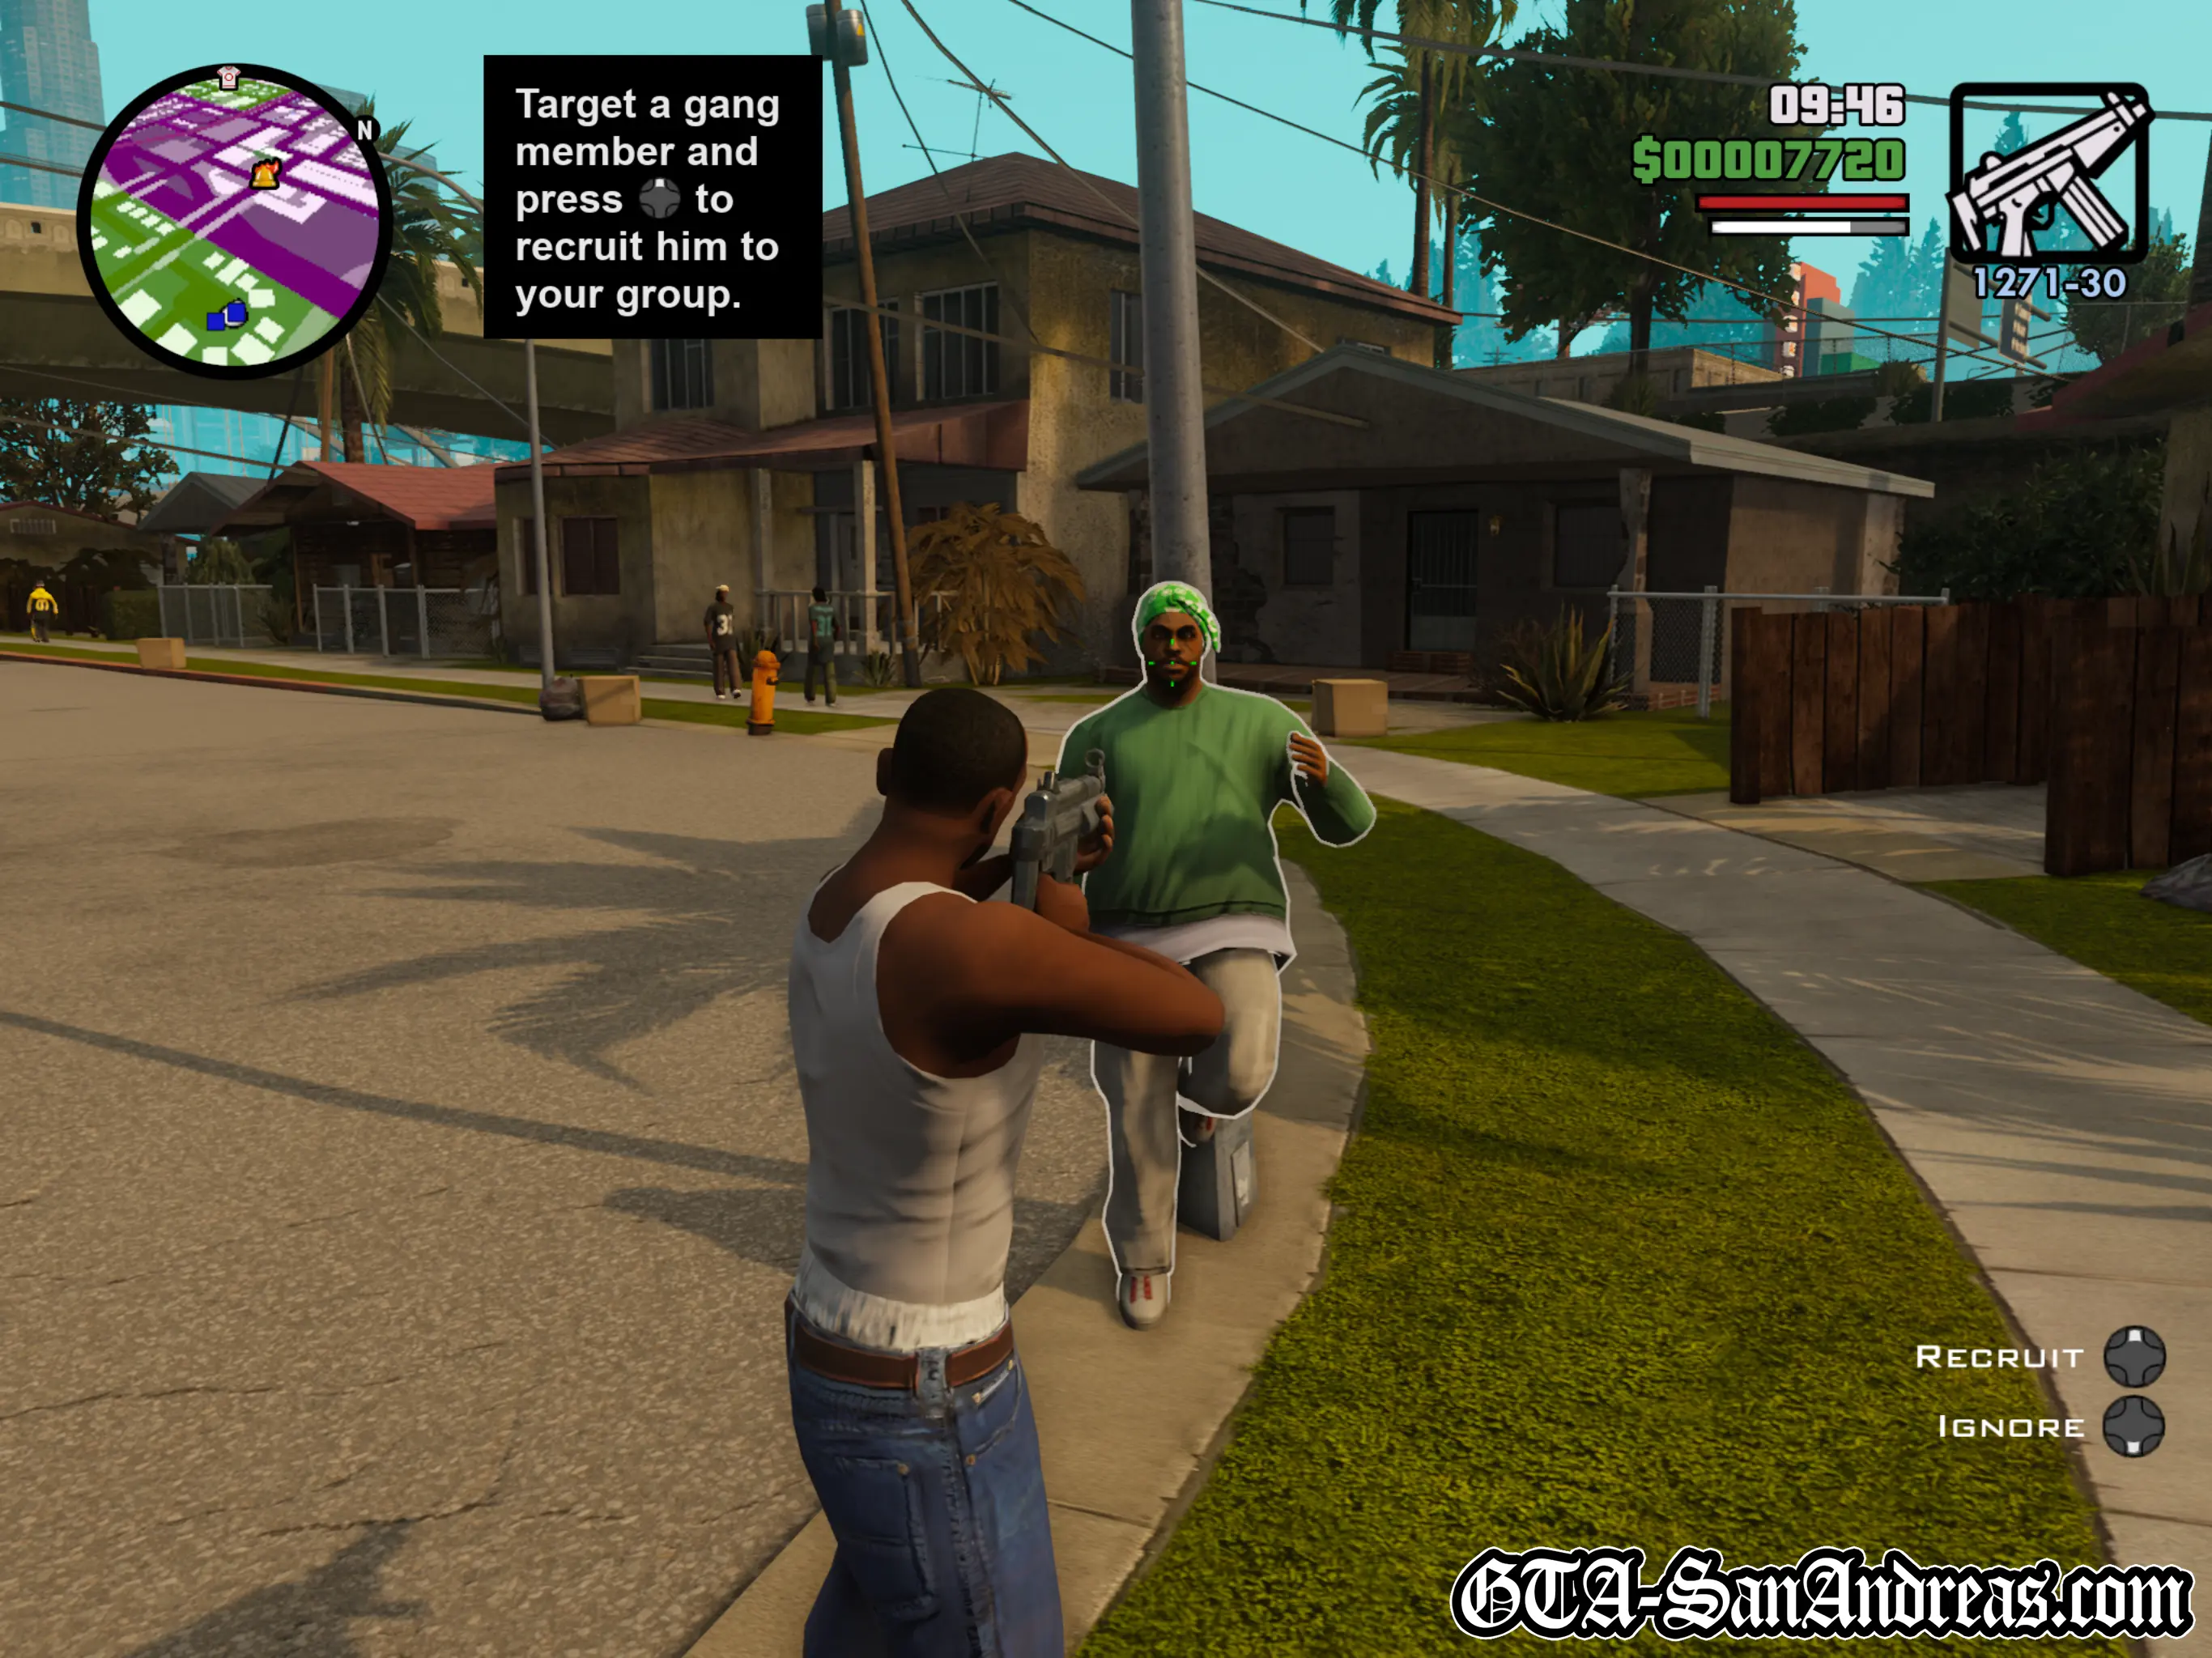

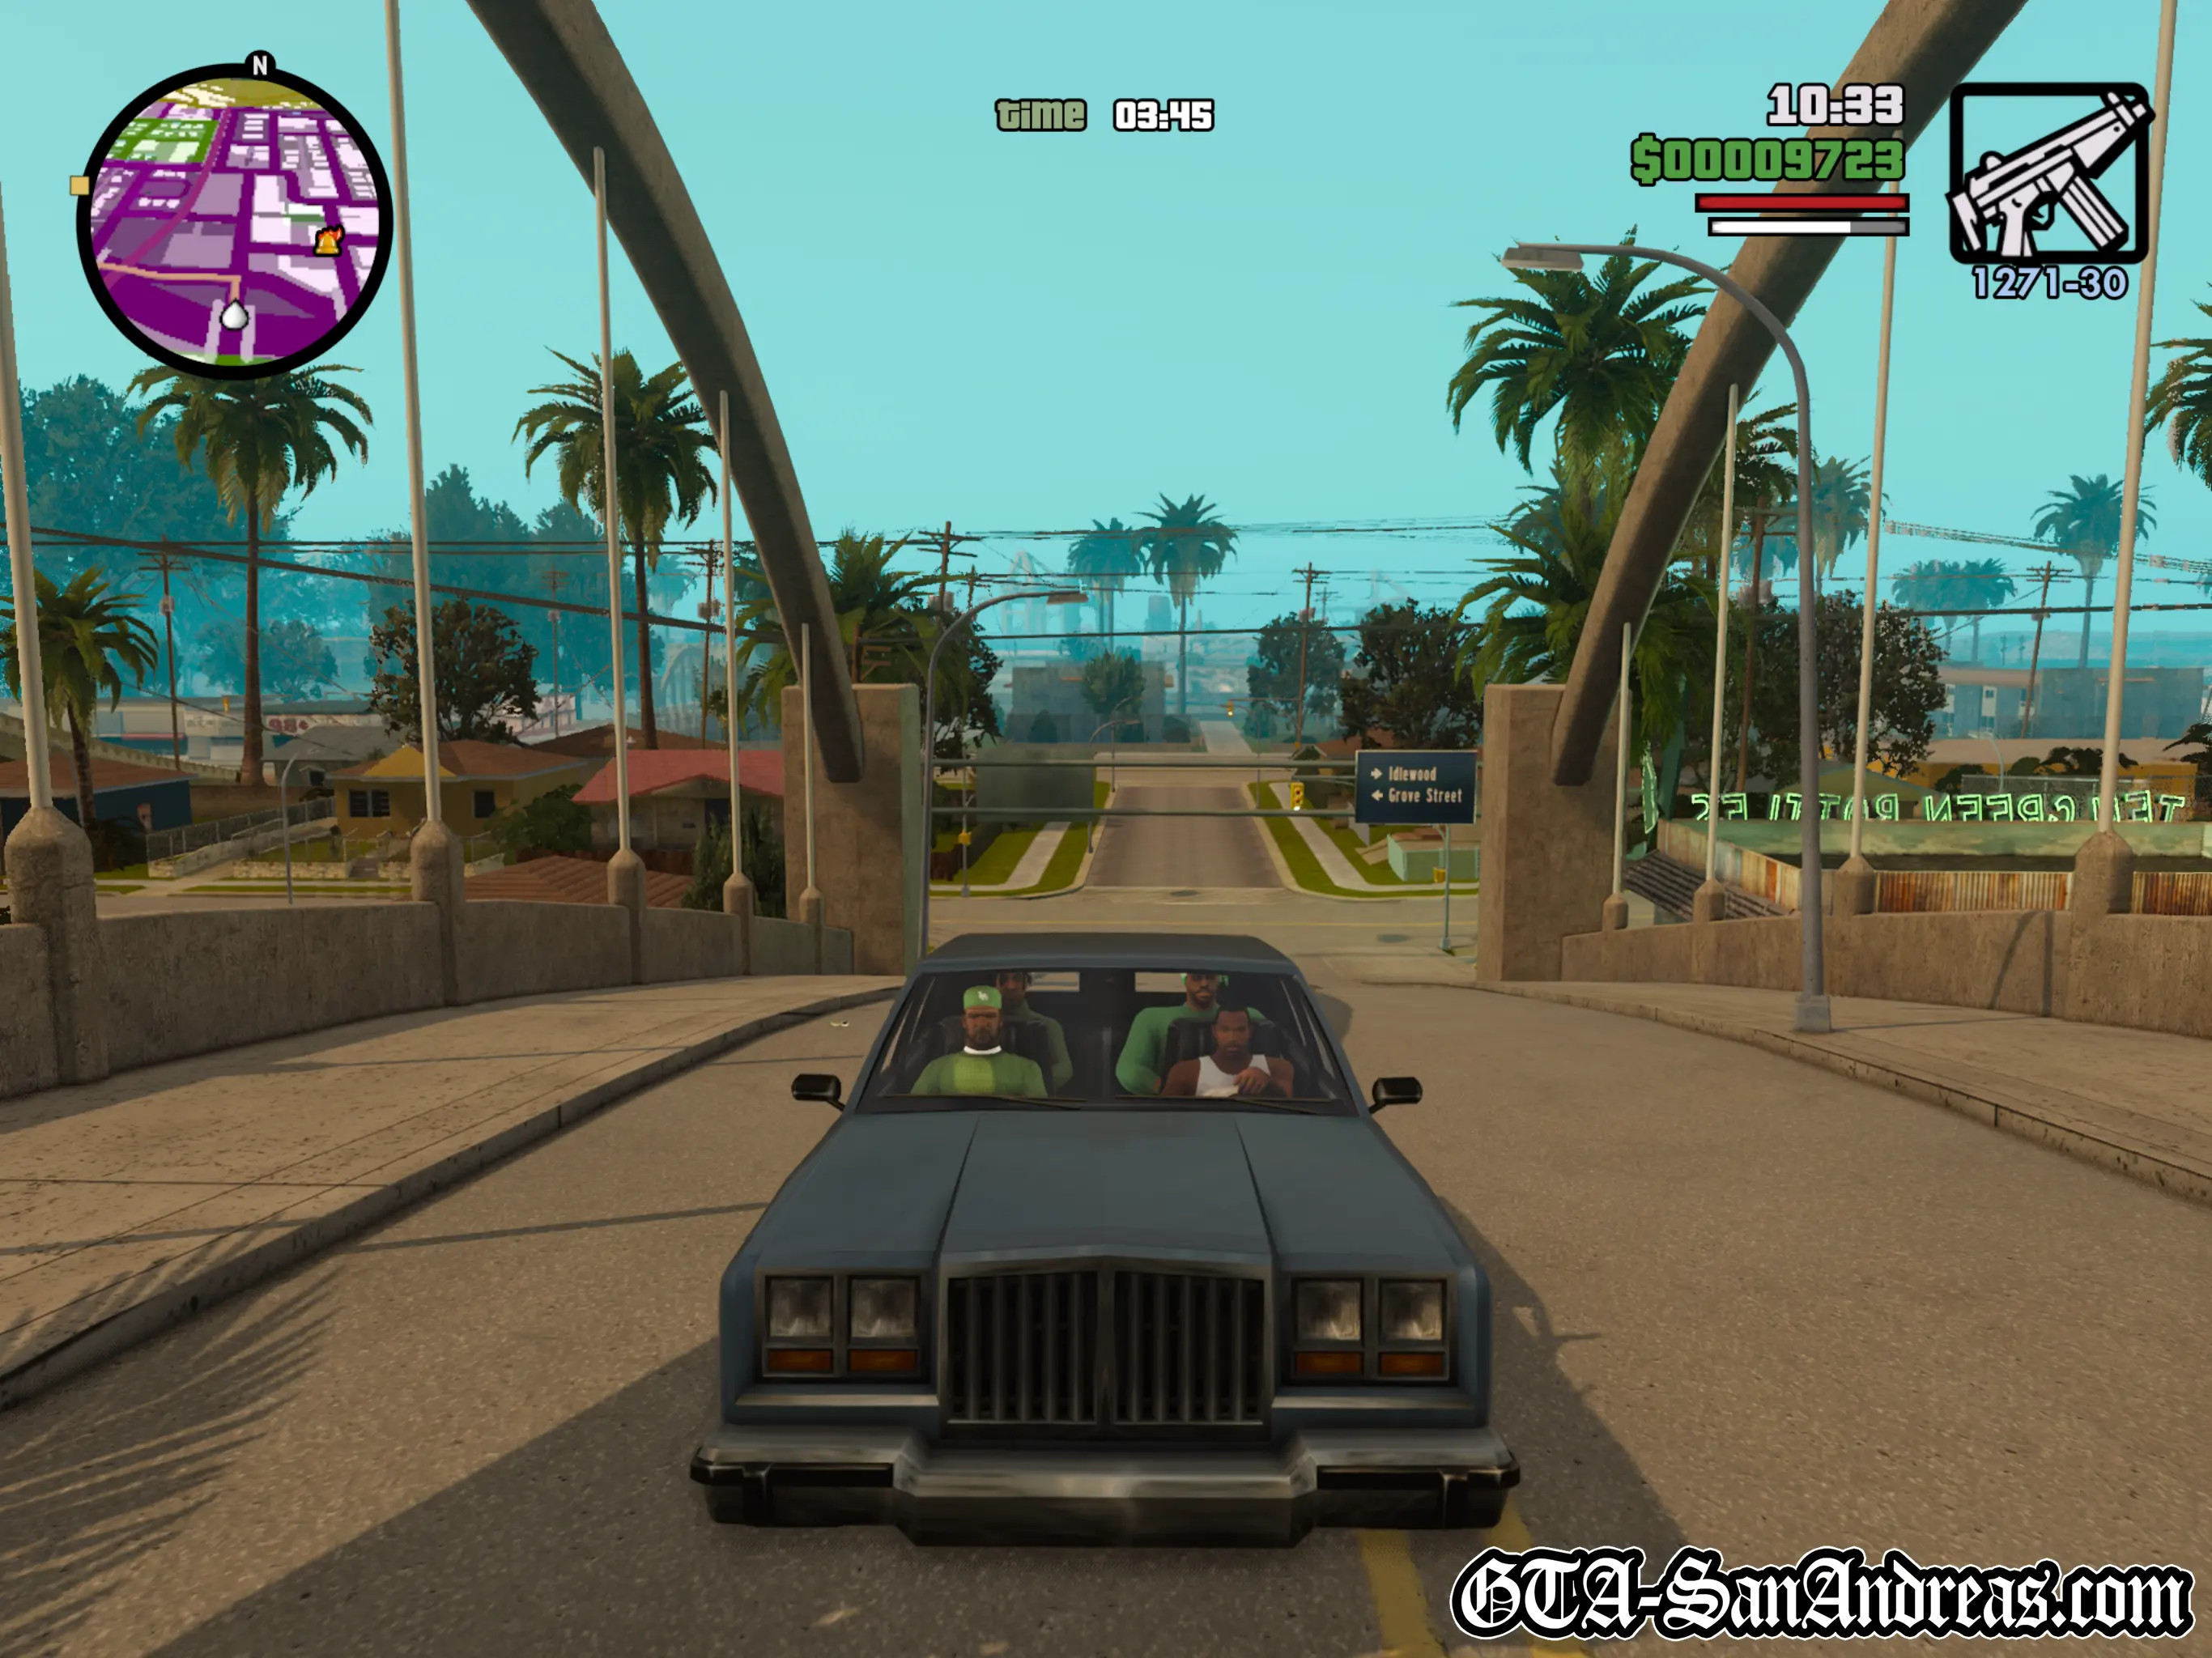
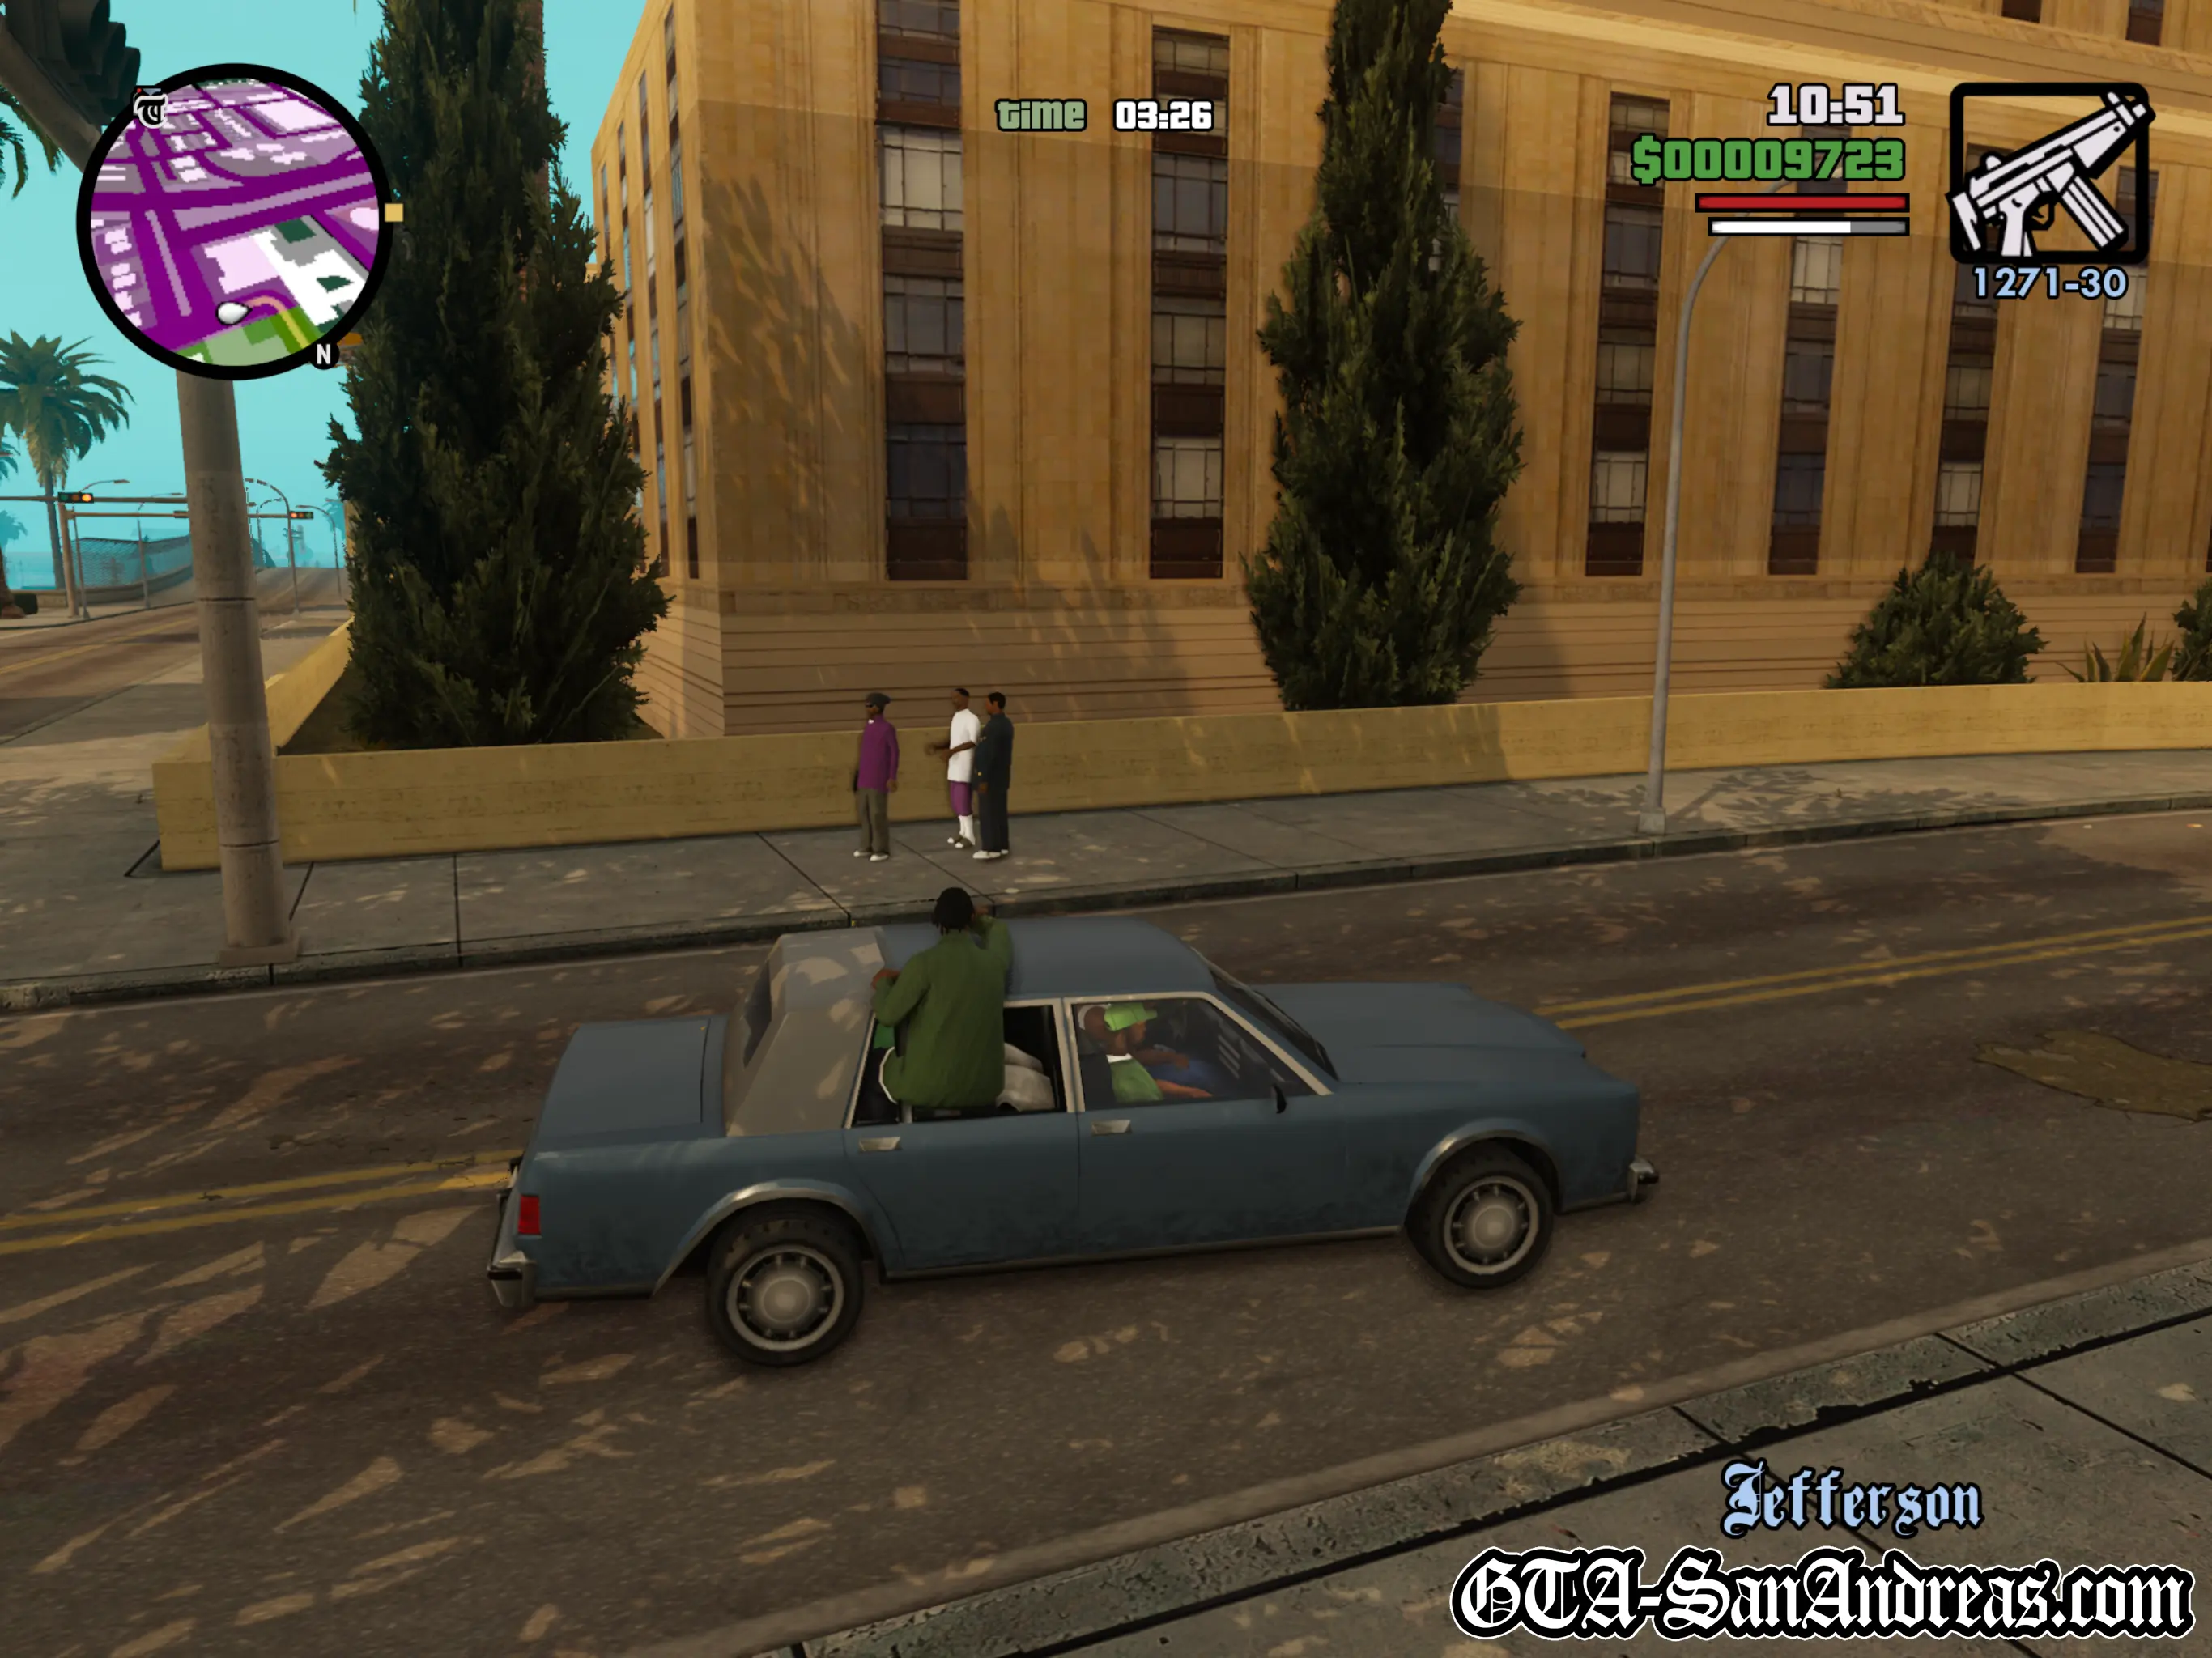

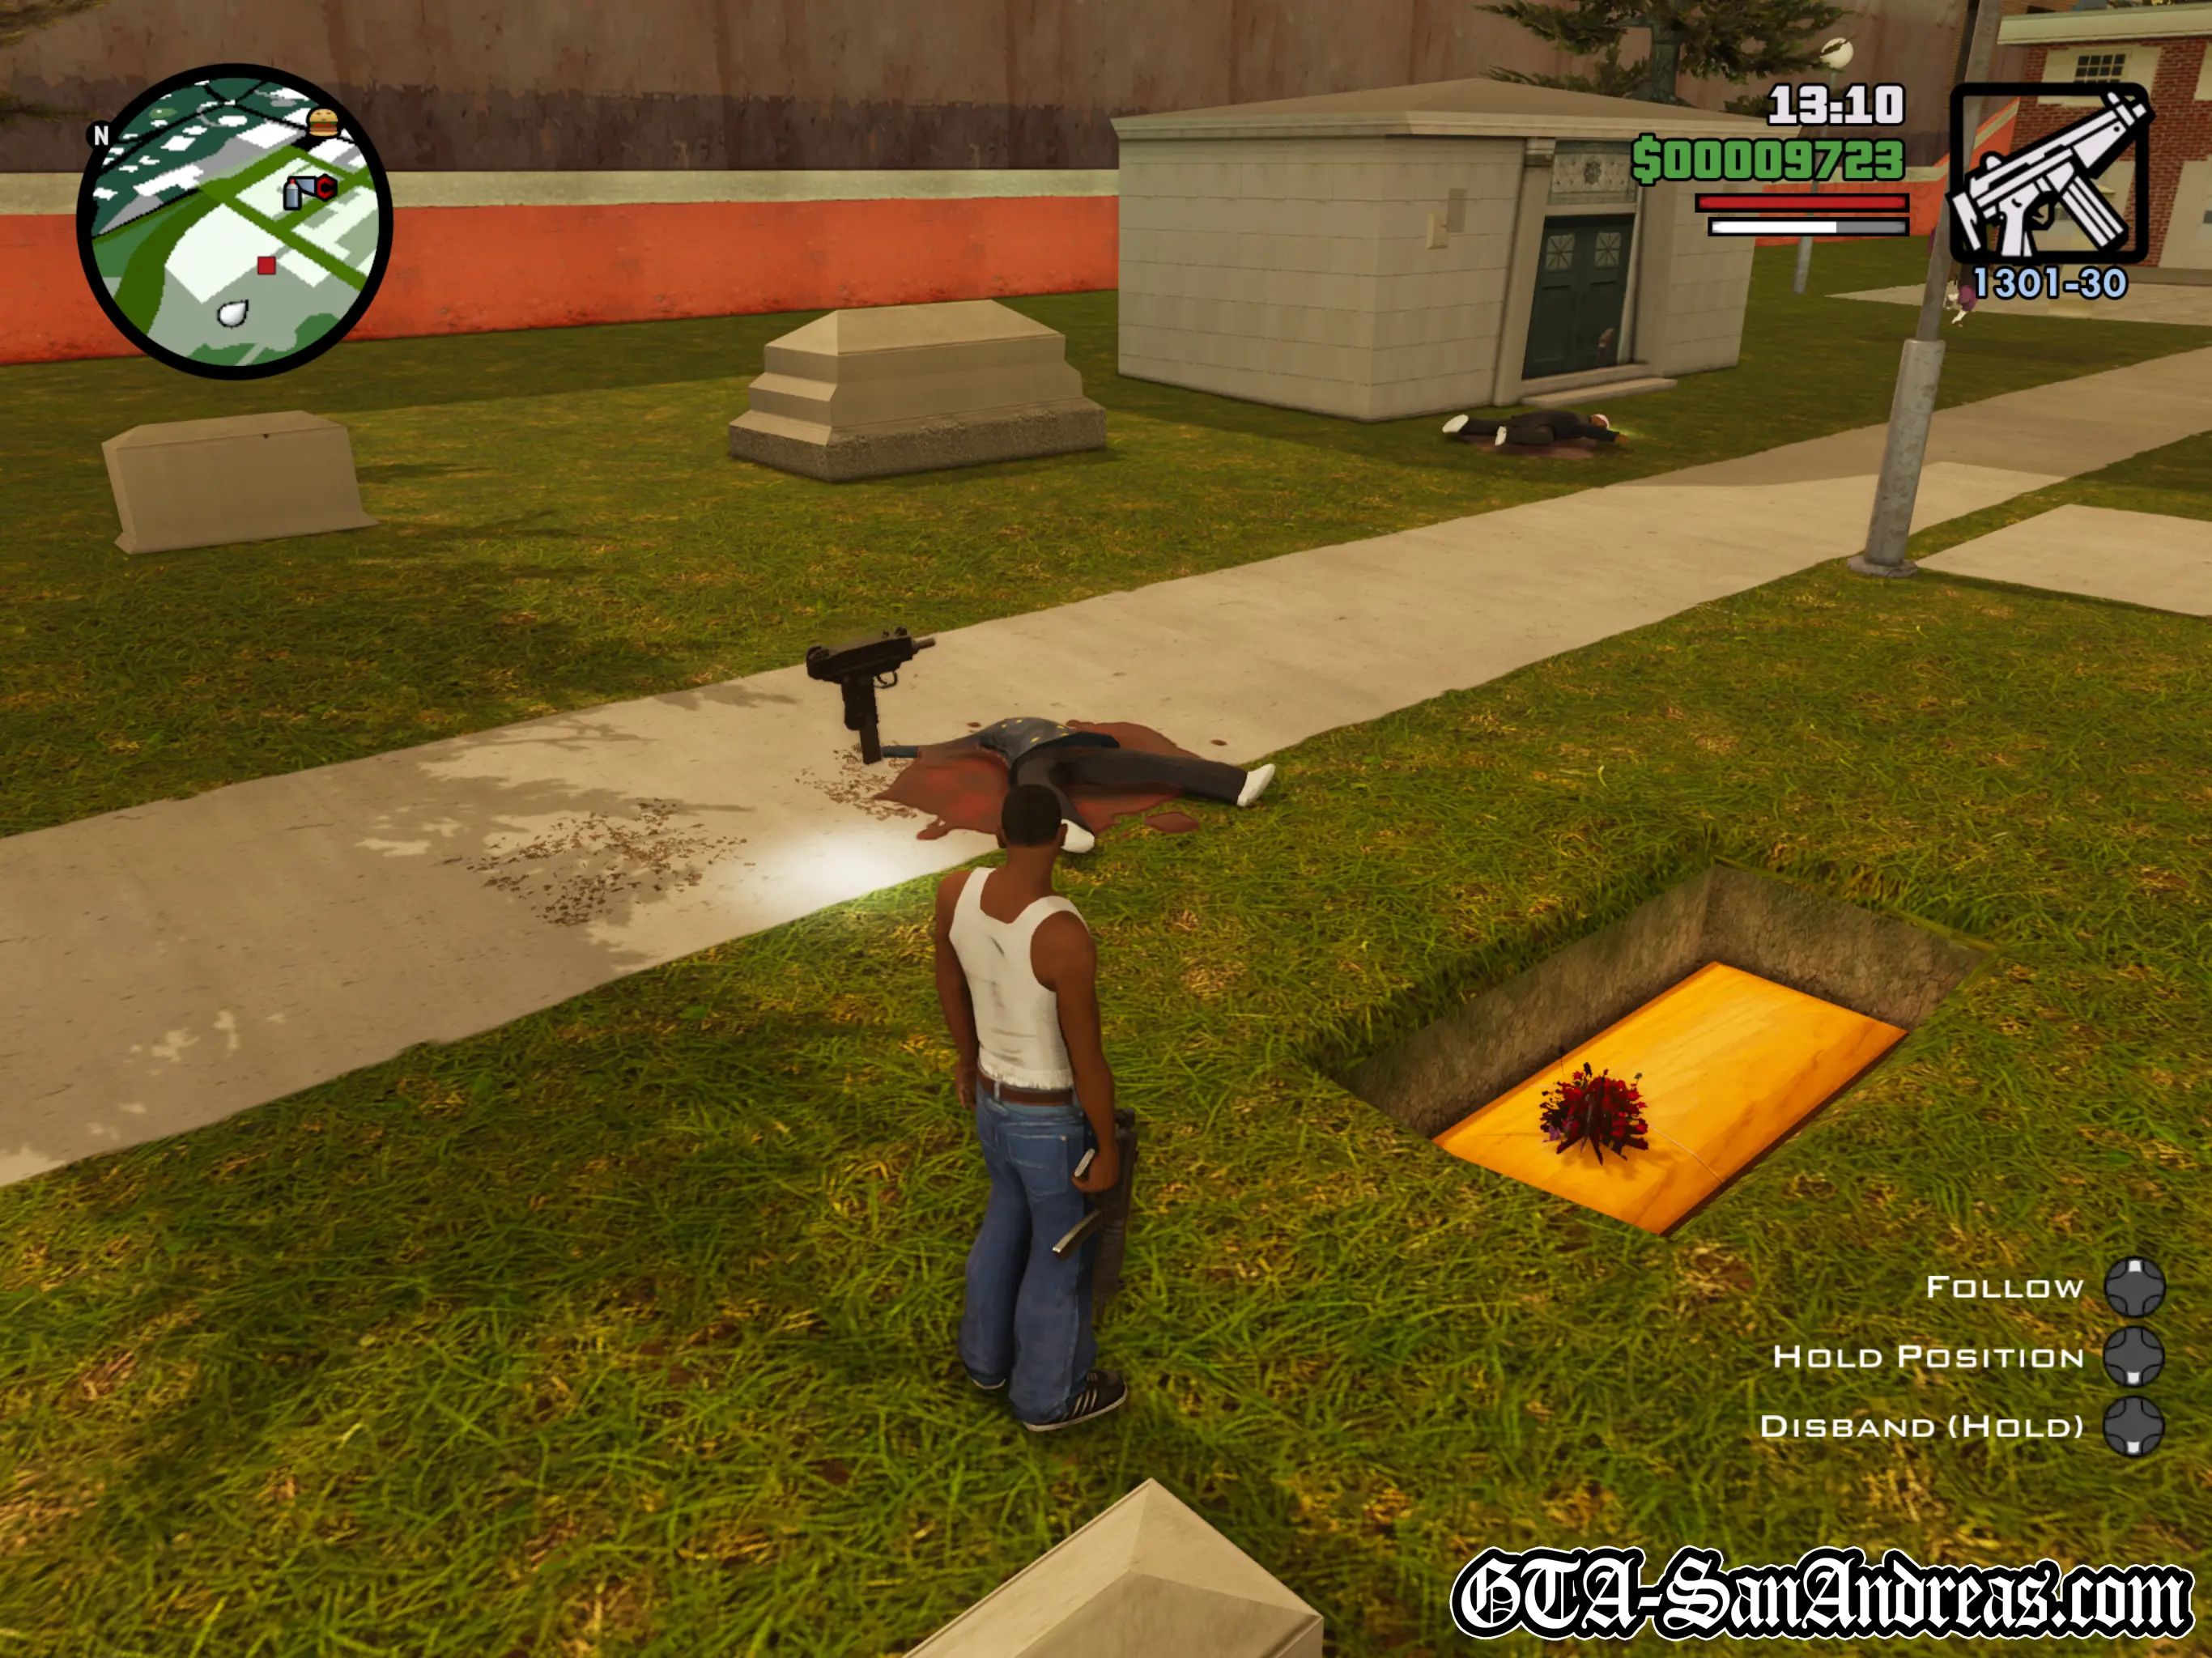

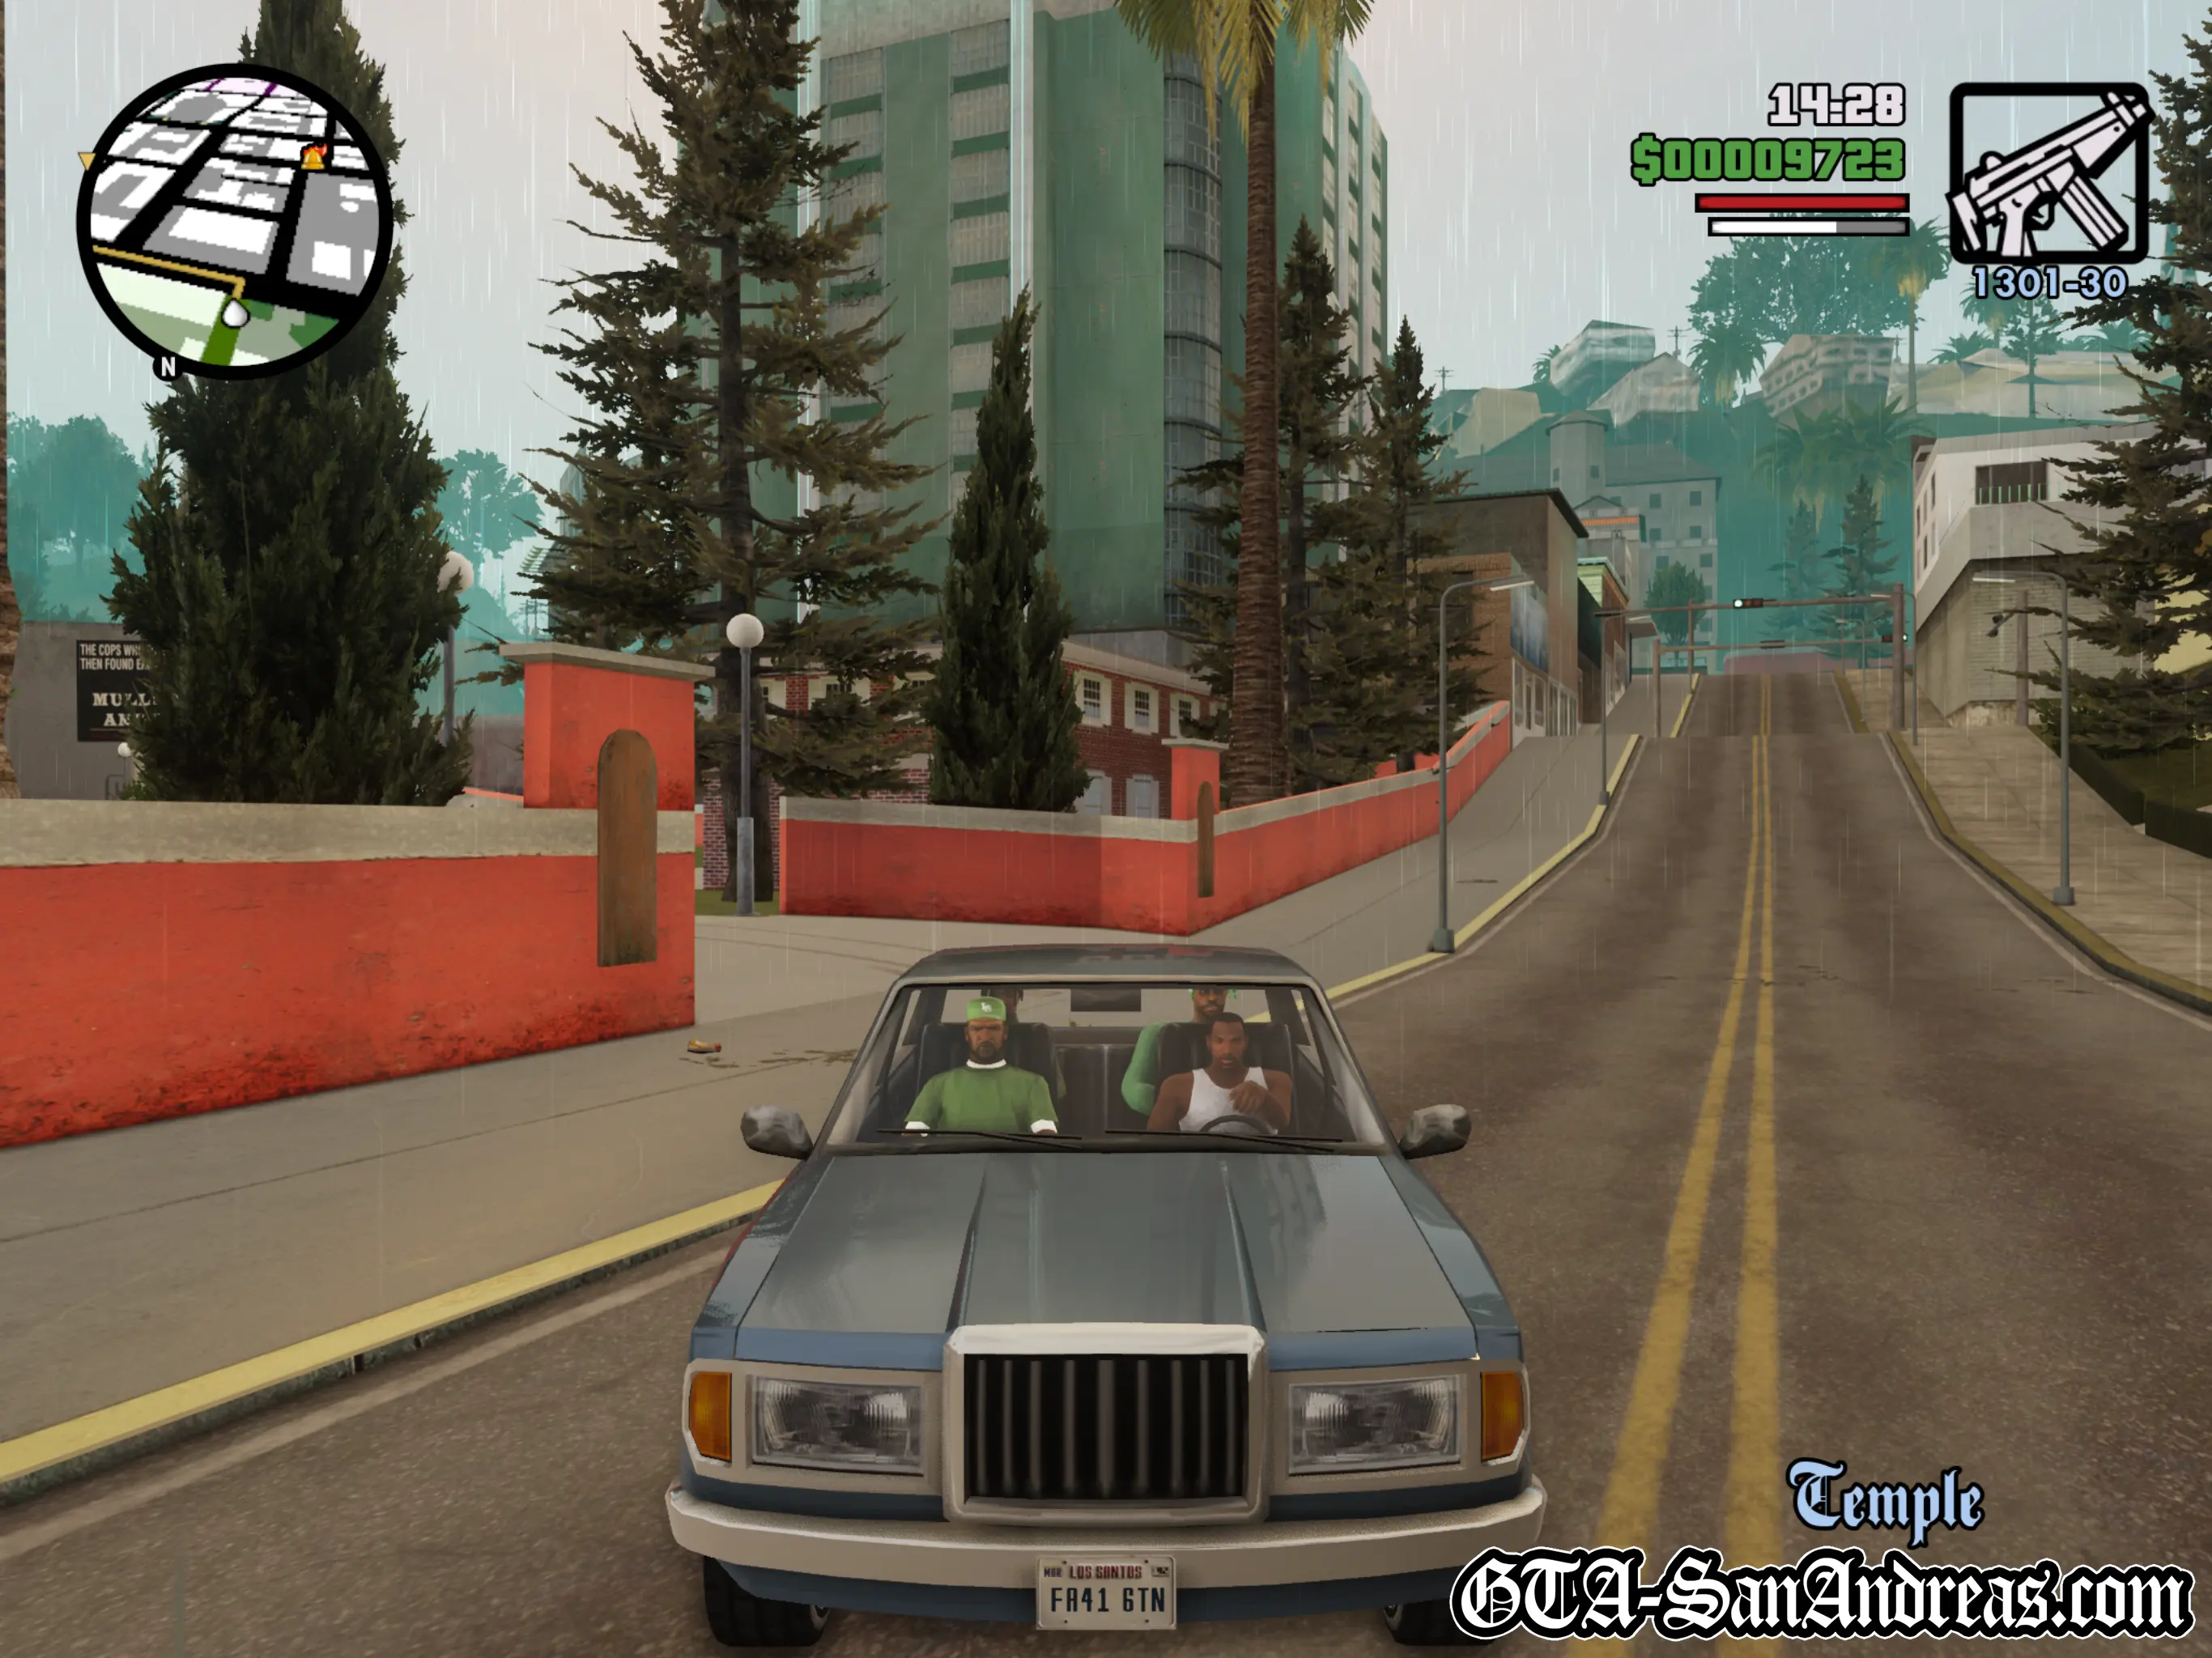
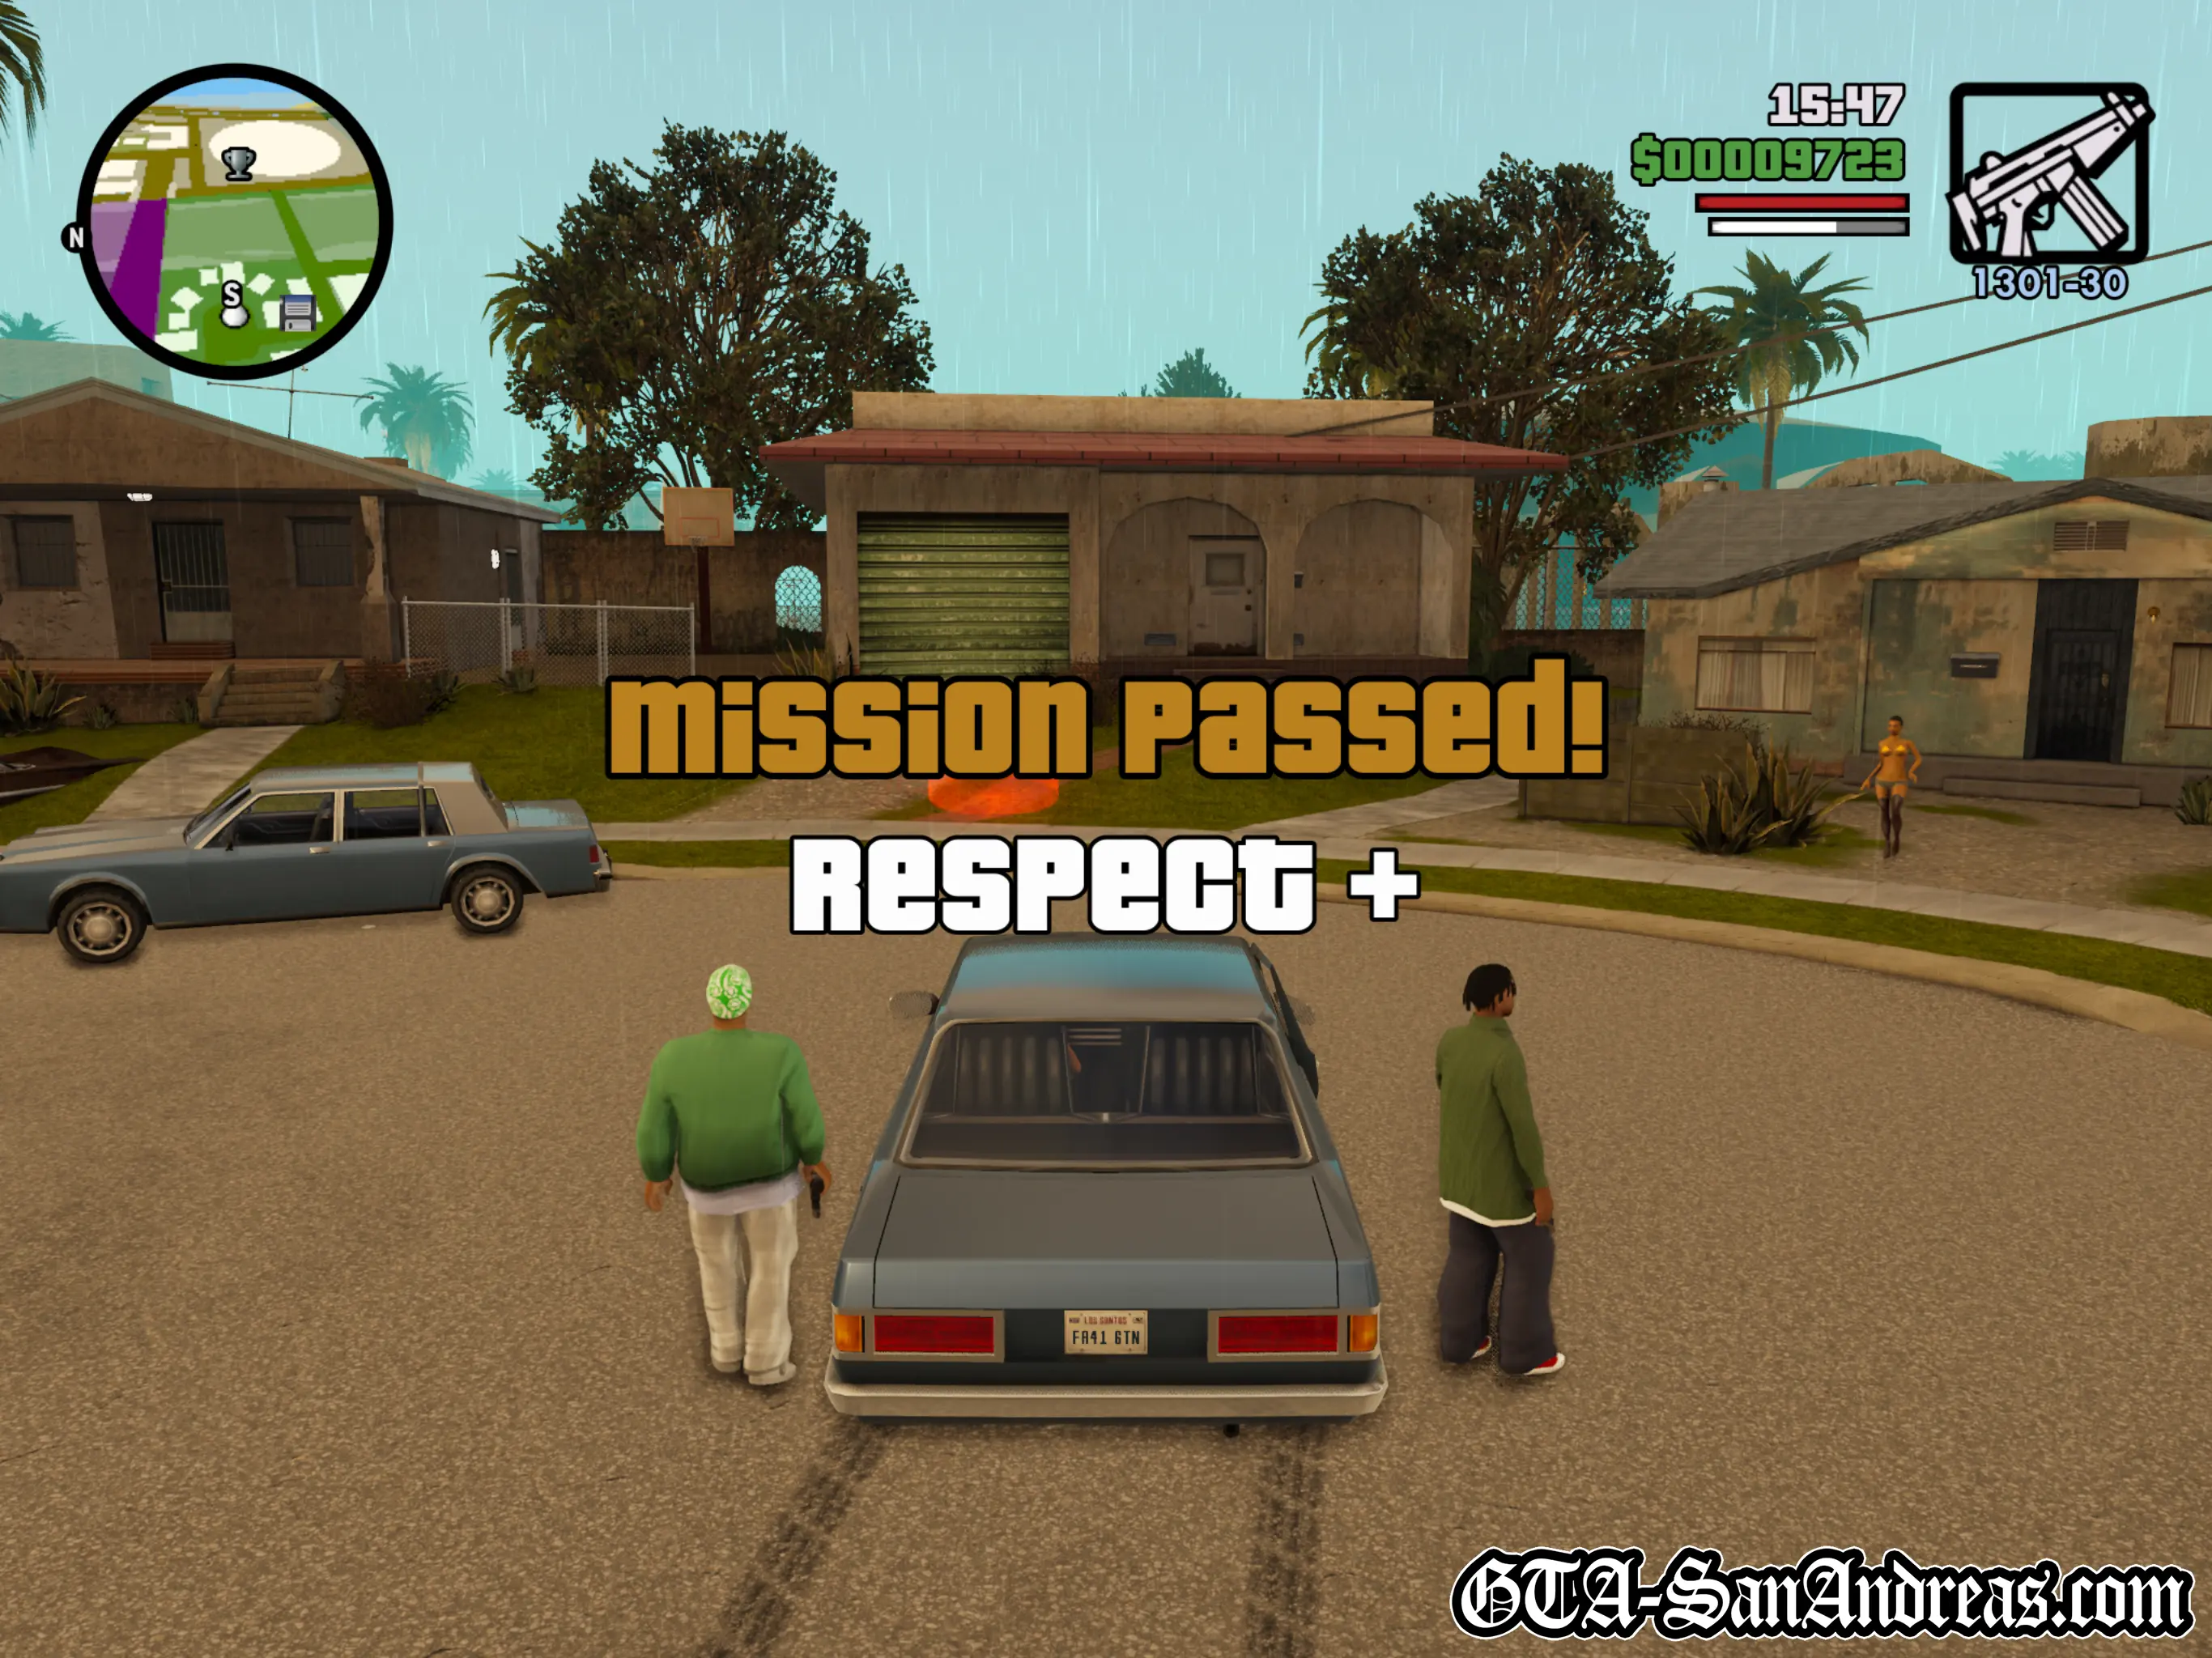
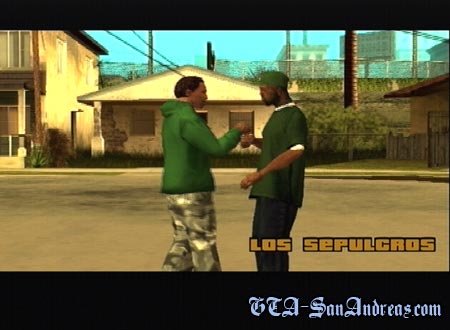
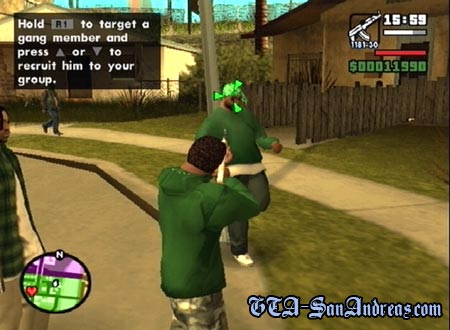
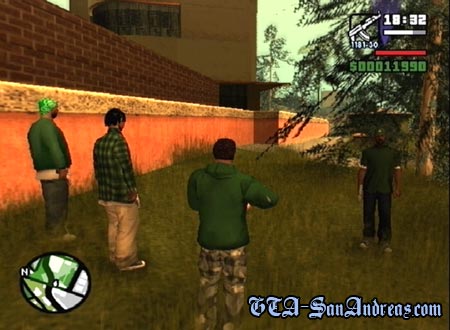
Reuniting The Families
The guys think it's time to reunite the families once and for all. The Ballas have been pumping their guys full of base for too long and Sweet has asked all of the families to meet up at the Jefferson Motel to sort out their differences.
Get in the car and make your way to the Jefferson Motel with the crew. As you park in the red marker you'll see a cutscene where Sweet goes in the building and a large group of SAPD guys come out of the sky in helicopters. Big Smoke and Ryder get the hell out of there, however Carl says he needs to go in and save his brother.
When you're back in the game, quickly enter the motel using the door you're next to. Try to stay away from the cops out front because you don't need to get shot yet!
Move up the stairs and take out the two cops up there, then the three who will bust through the door a little way up. If you get hurt, enter the room to the left at the top of the stairs and a sexy lady will kiss you and regenerate some health for you.
Continue along the hallway. Kill the few cops who come through the roof and the few along the next hallway. If you are almost dead, head back downstairs and buy some Sprunk from the soda machine. One dollar a shot will fill up your health quick, then get back up and continue looking for Sweet.
You'll pass a chick at the end of the hallway, so kill all of the cops in there, then go back and into the room to the right. The girl will kiss you and give you a lot of health back.
Make your way along another hallway. Cops will roll out of the two rooms to the left and right, so kill them, then go in the room to the right to meet up with Sweet.
After the cutscene you'll be on the roof where a helicopter is chasing you. Use whichever weapon you have and shoot down all of the SWAT members on the heli, then fire a few more rounds at the chopper to take it down.
Follow Sweet down the stairs and you'll be reunited with Big Smoke and Ryder.
Next you'll be in the car and riding shotgun with an AK-47. You are being chased by a lot of cops, so shoot the cars chasing you and try to keep your car safe. Try to aim for the cops through their car windows, but if you're finding it difficult, just fire at the cars until they eventually blow up.
Keep firing at the cop cars as you speed along and eventually a cop on a bike will jump onto the front of the car and punch you in the face. Take care of him with your AK and keep shooting the following cars.
Another cop will jump on the back of your vehicle but gun is jammed, so just watch the cutscene while a helicopter inadvertently slices up the cop on the car.
The guys will then drive through a Sprunk sign which results in a huge explosion and they'll be safe at the top of the hill after bailing from the car.
Screenshots
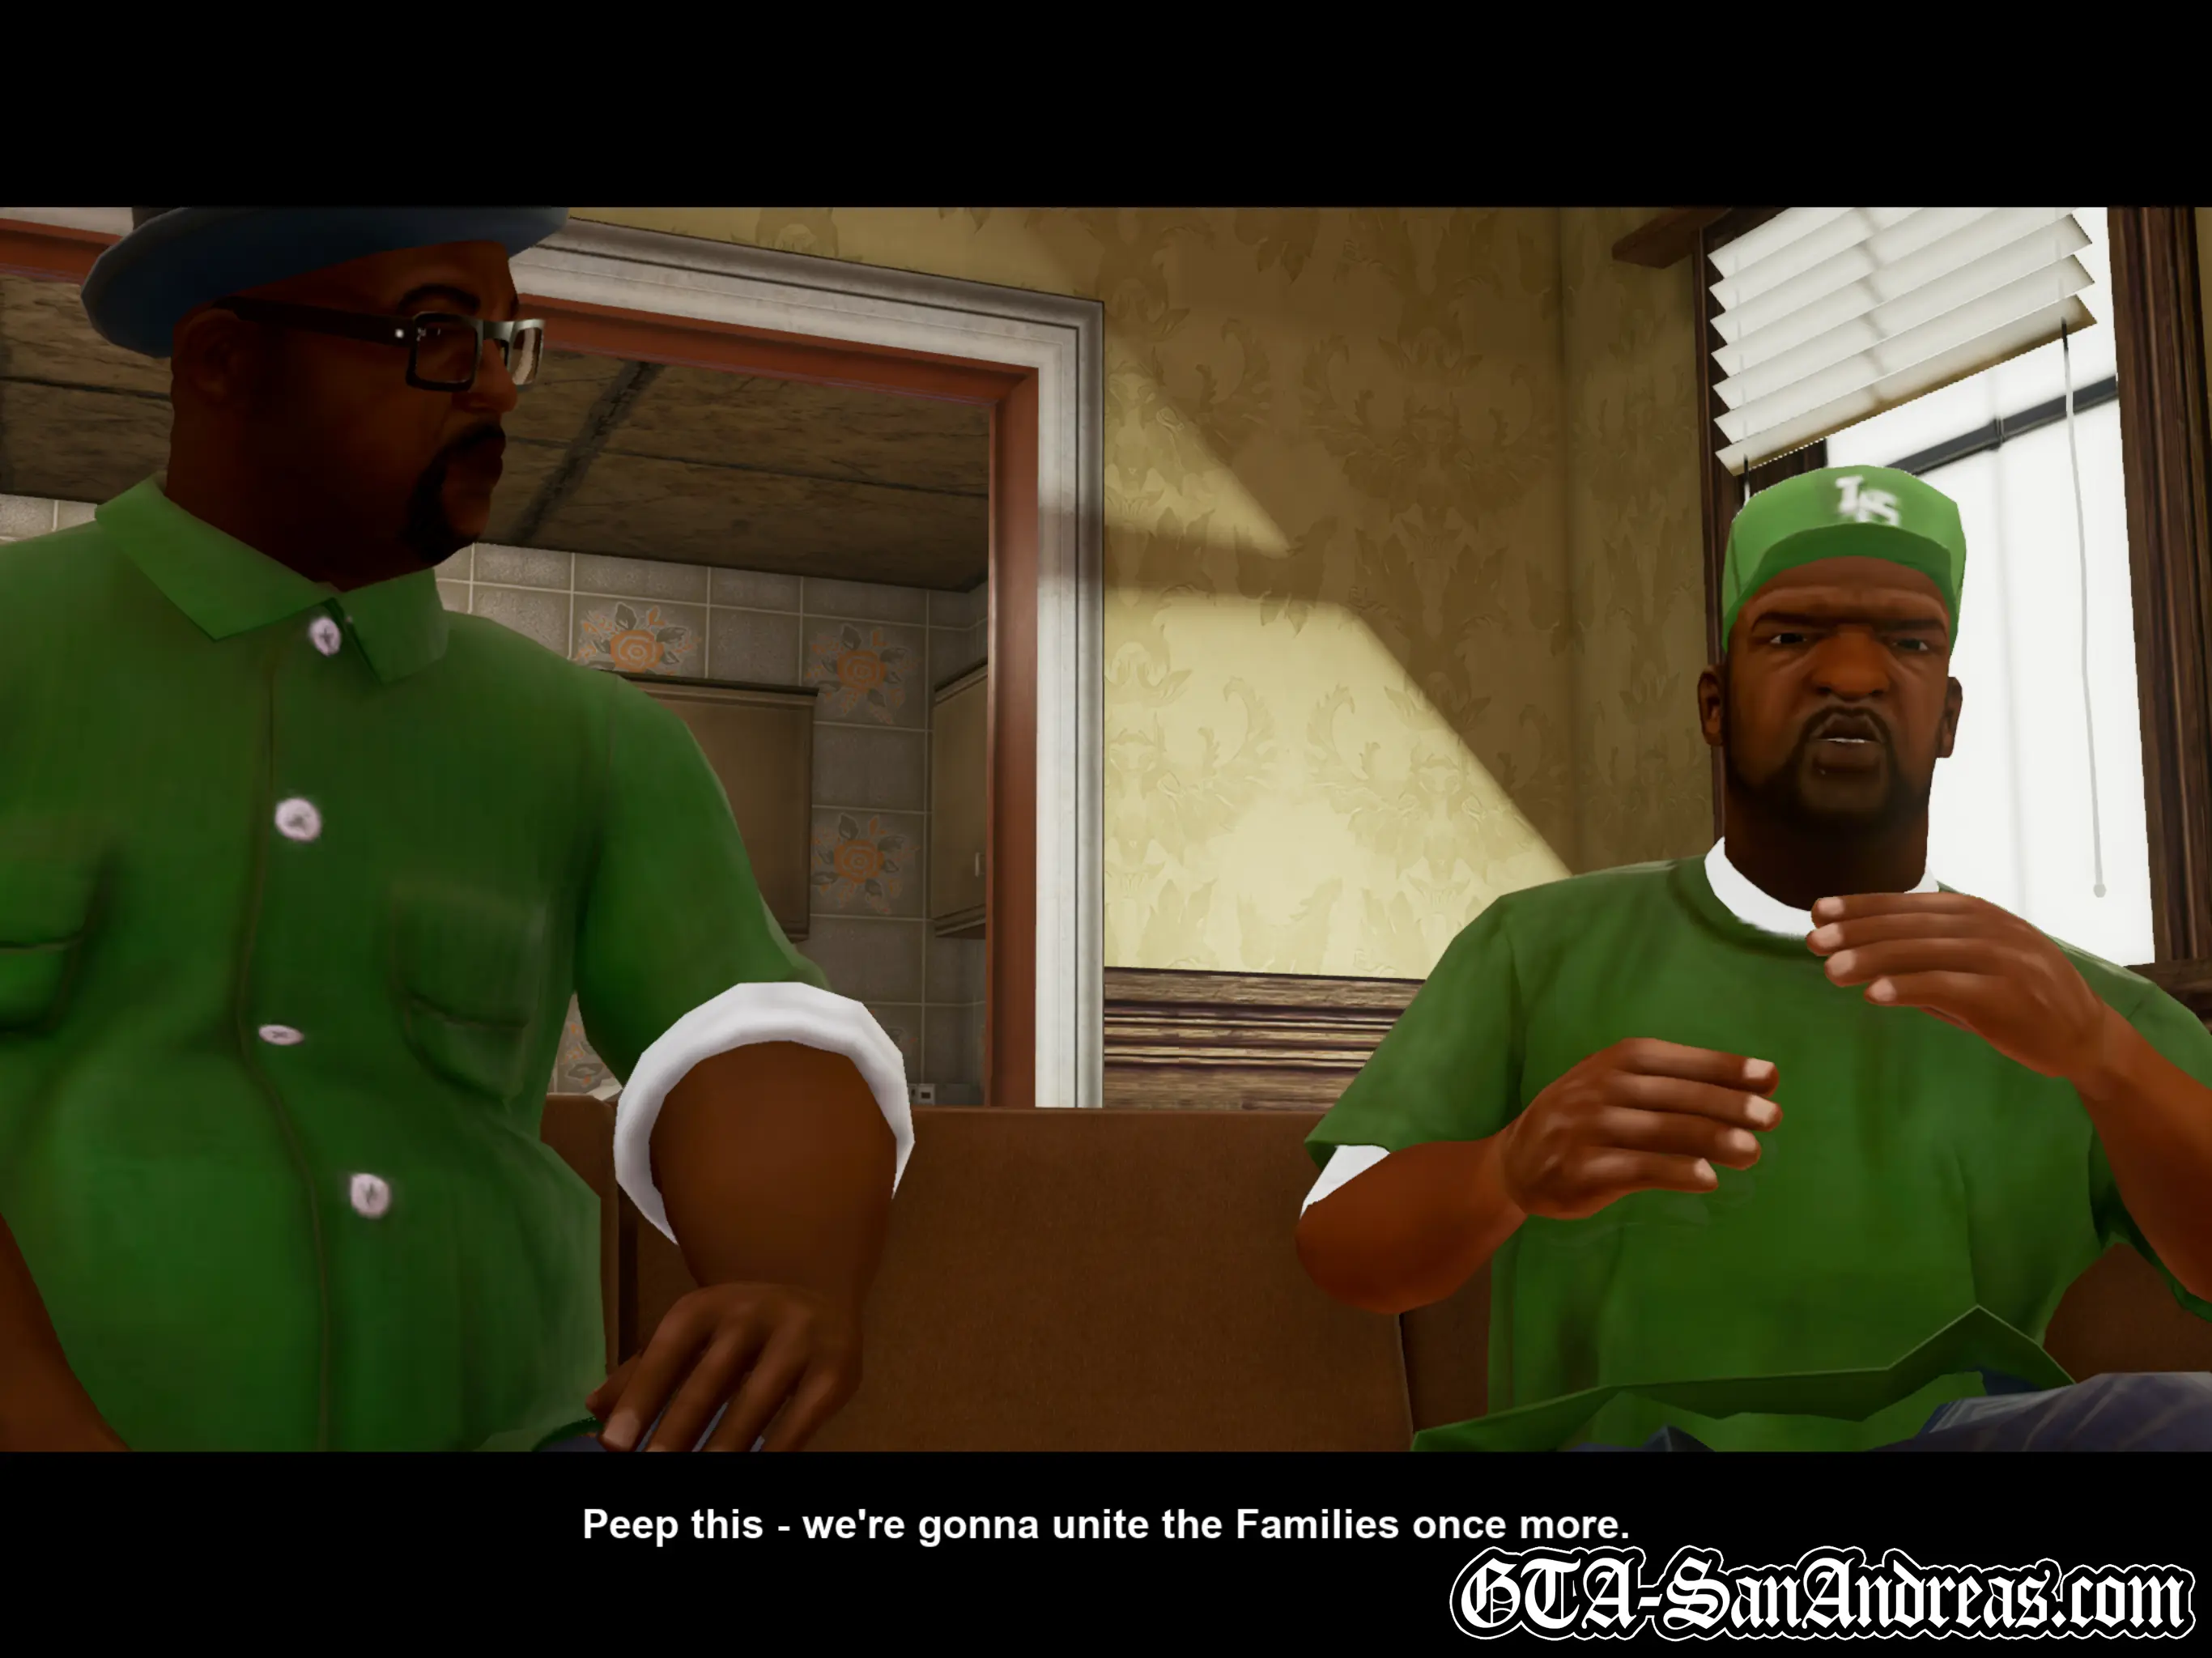
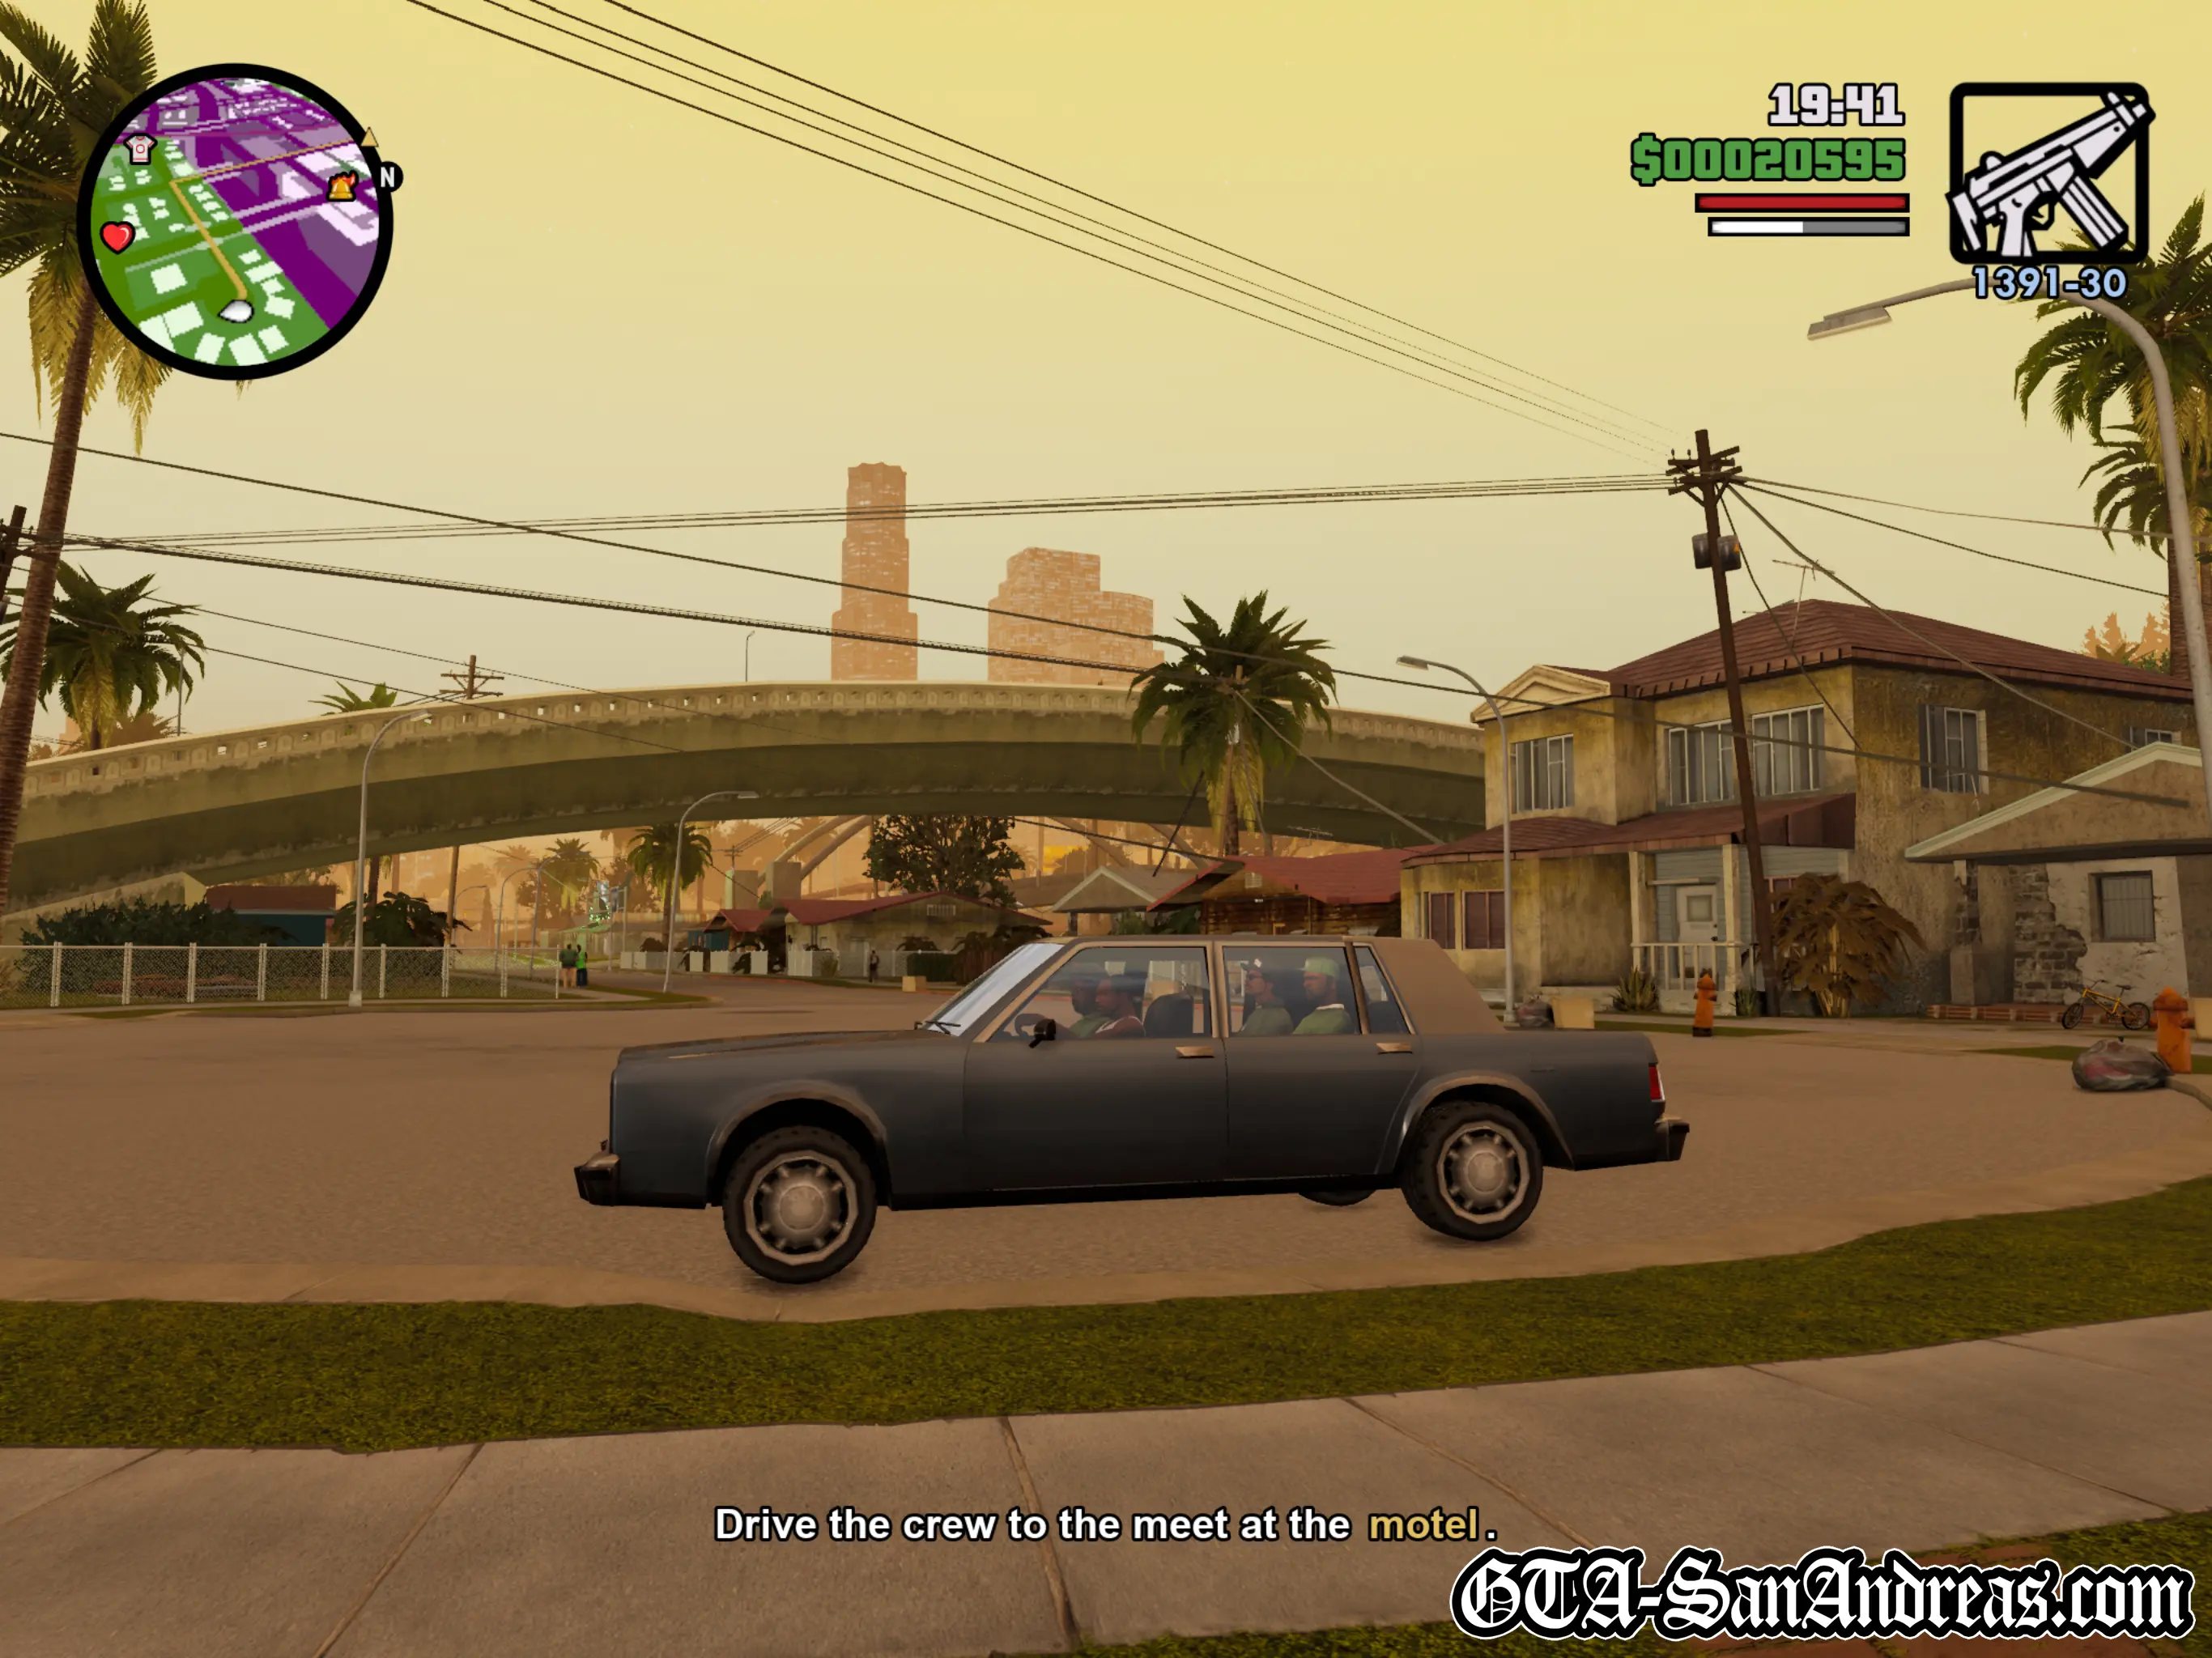
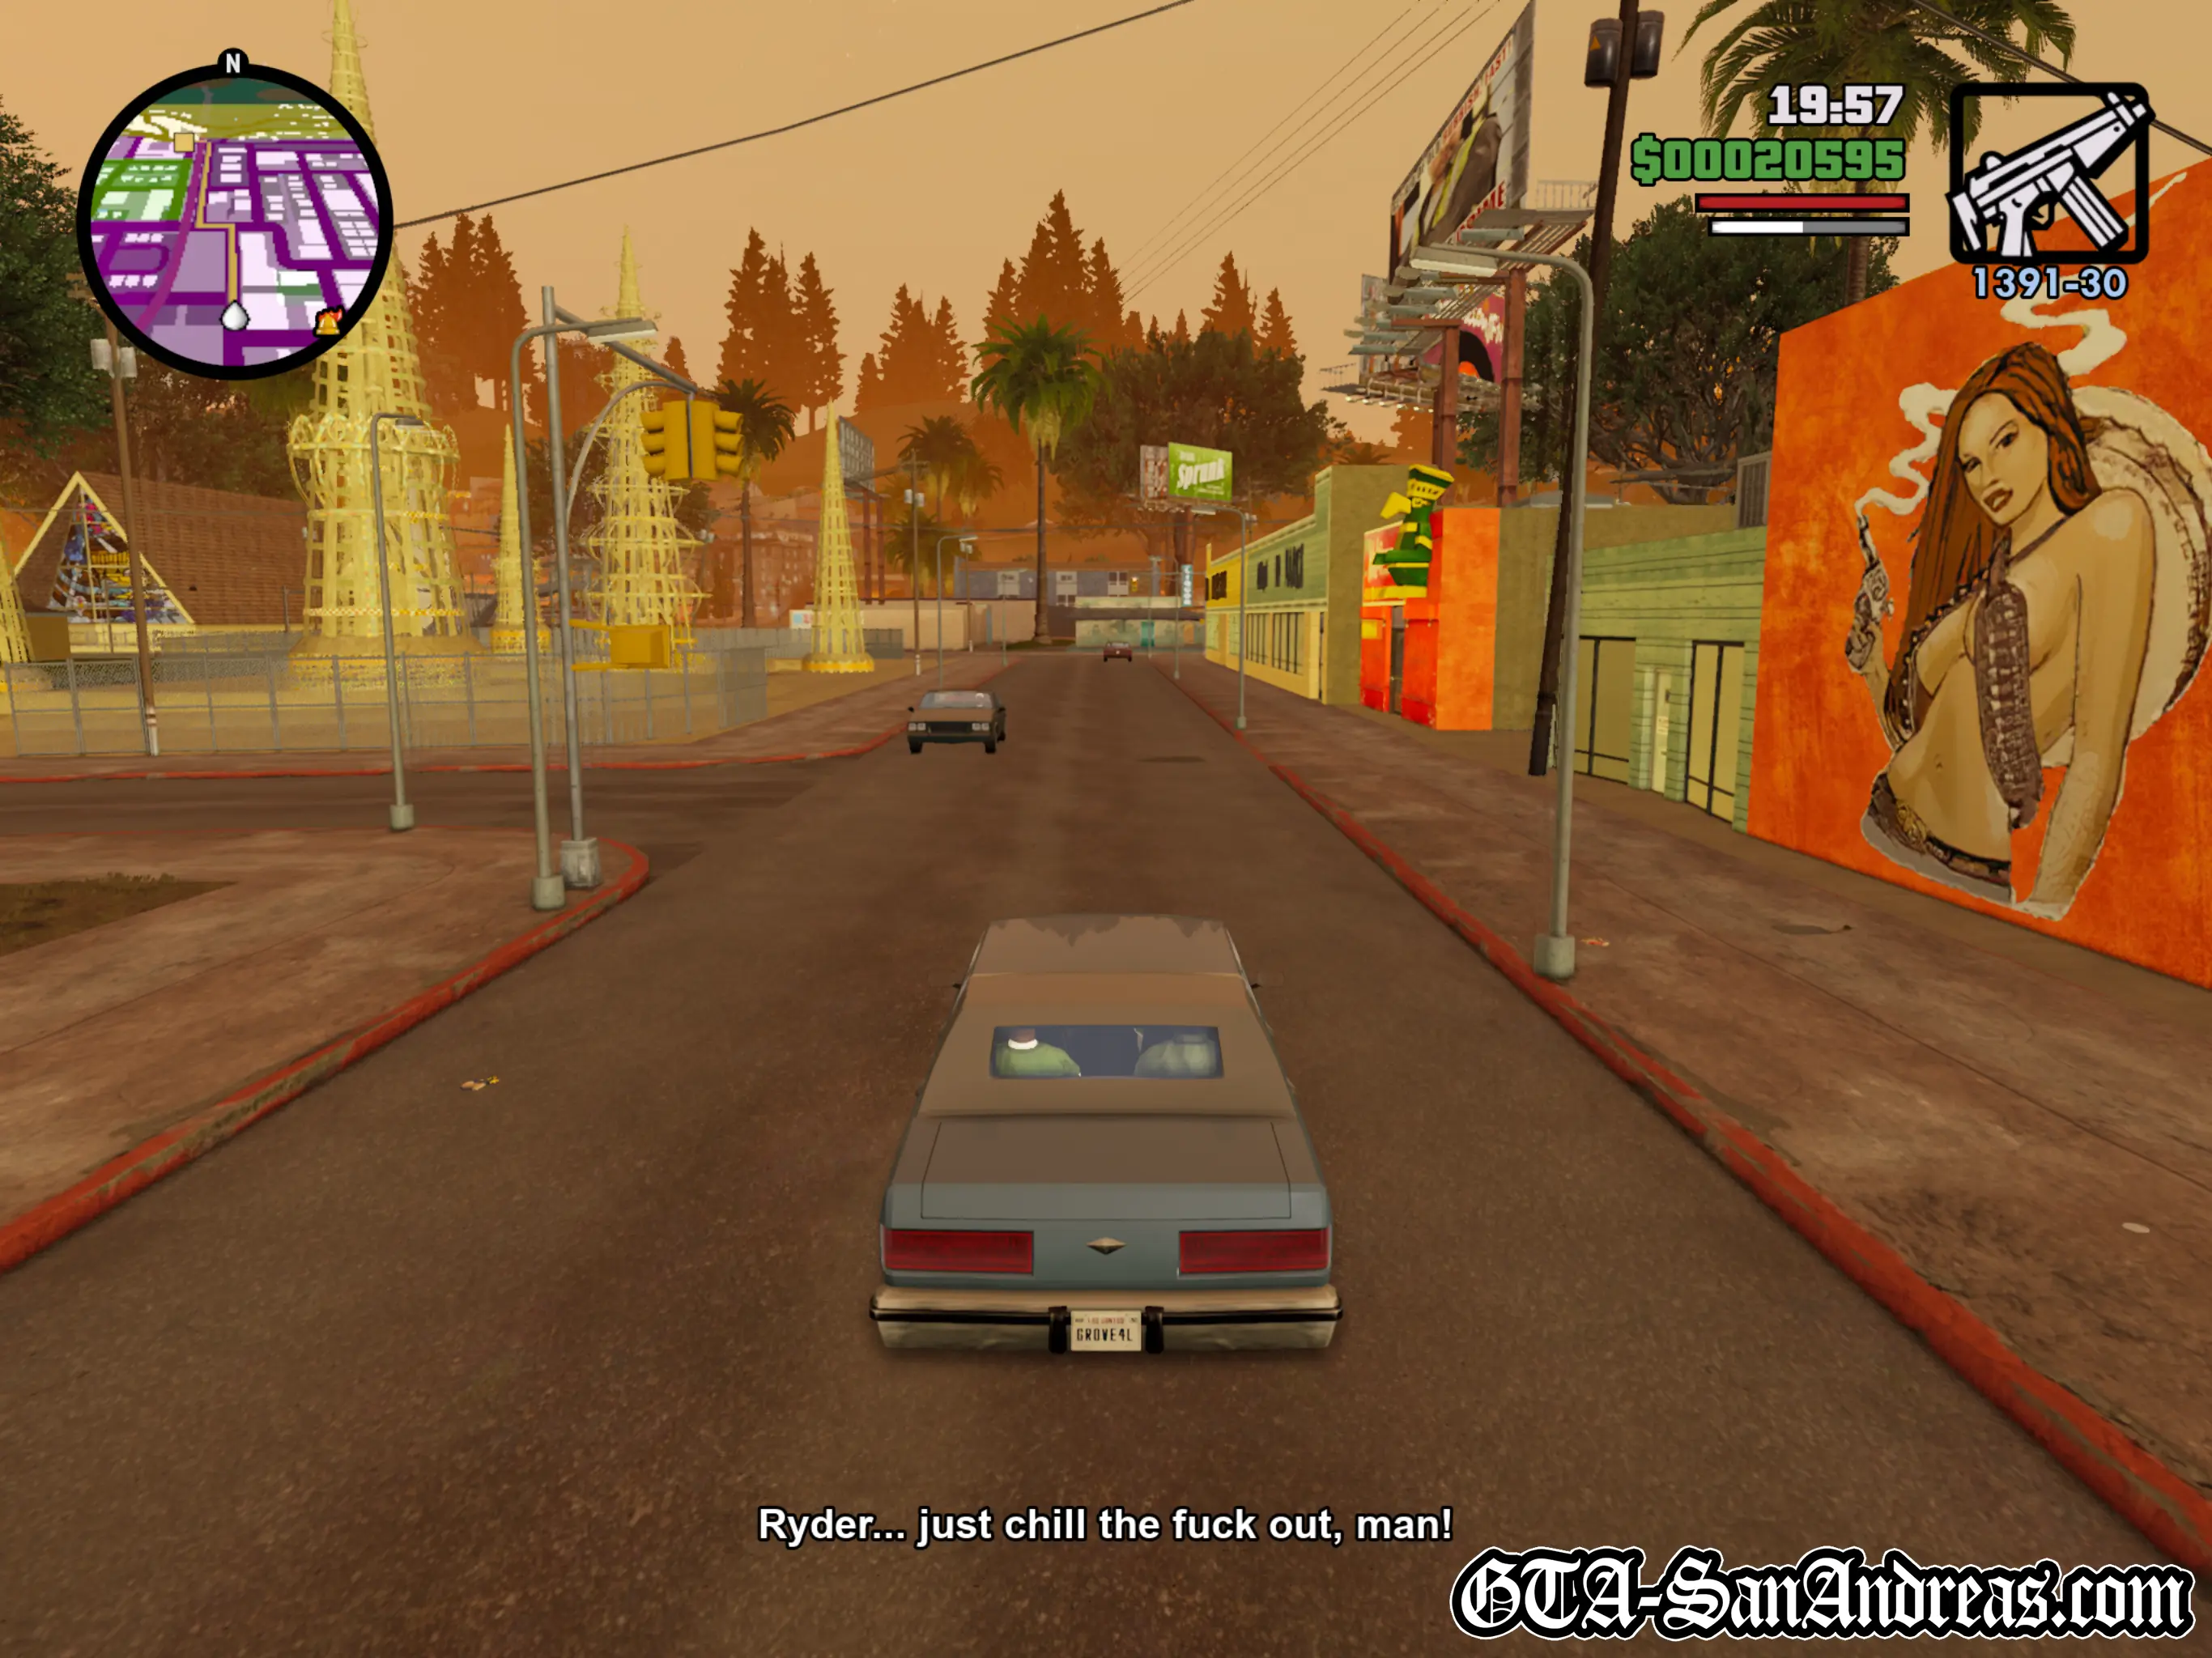
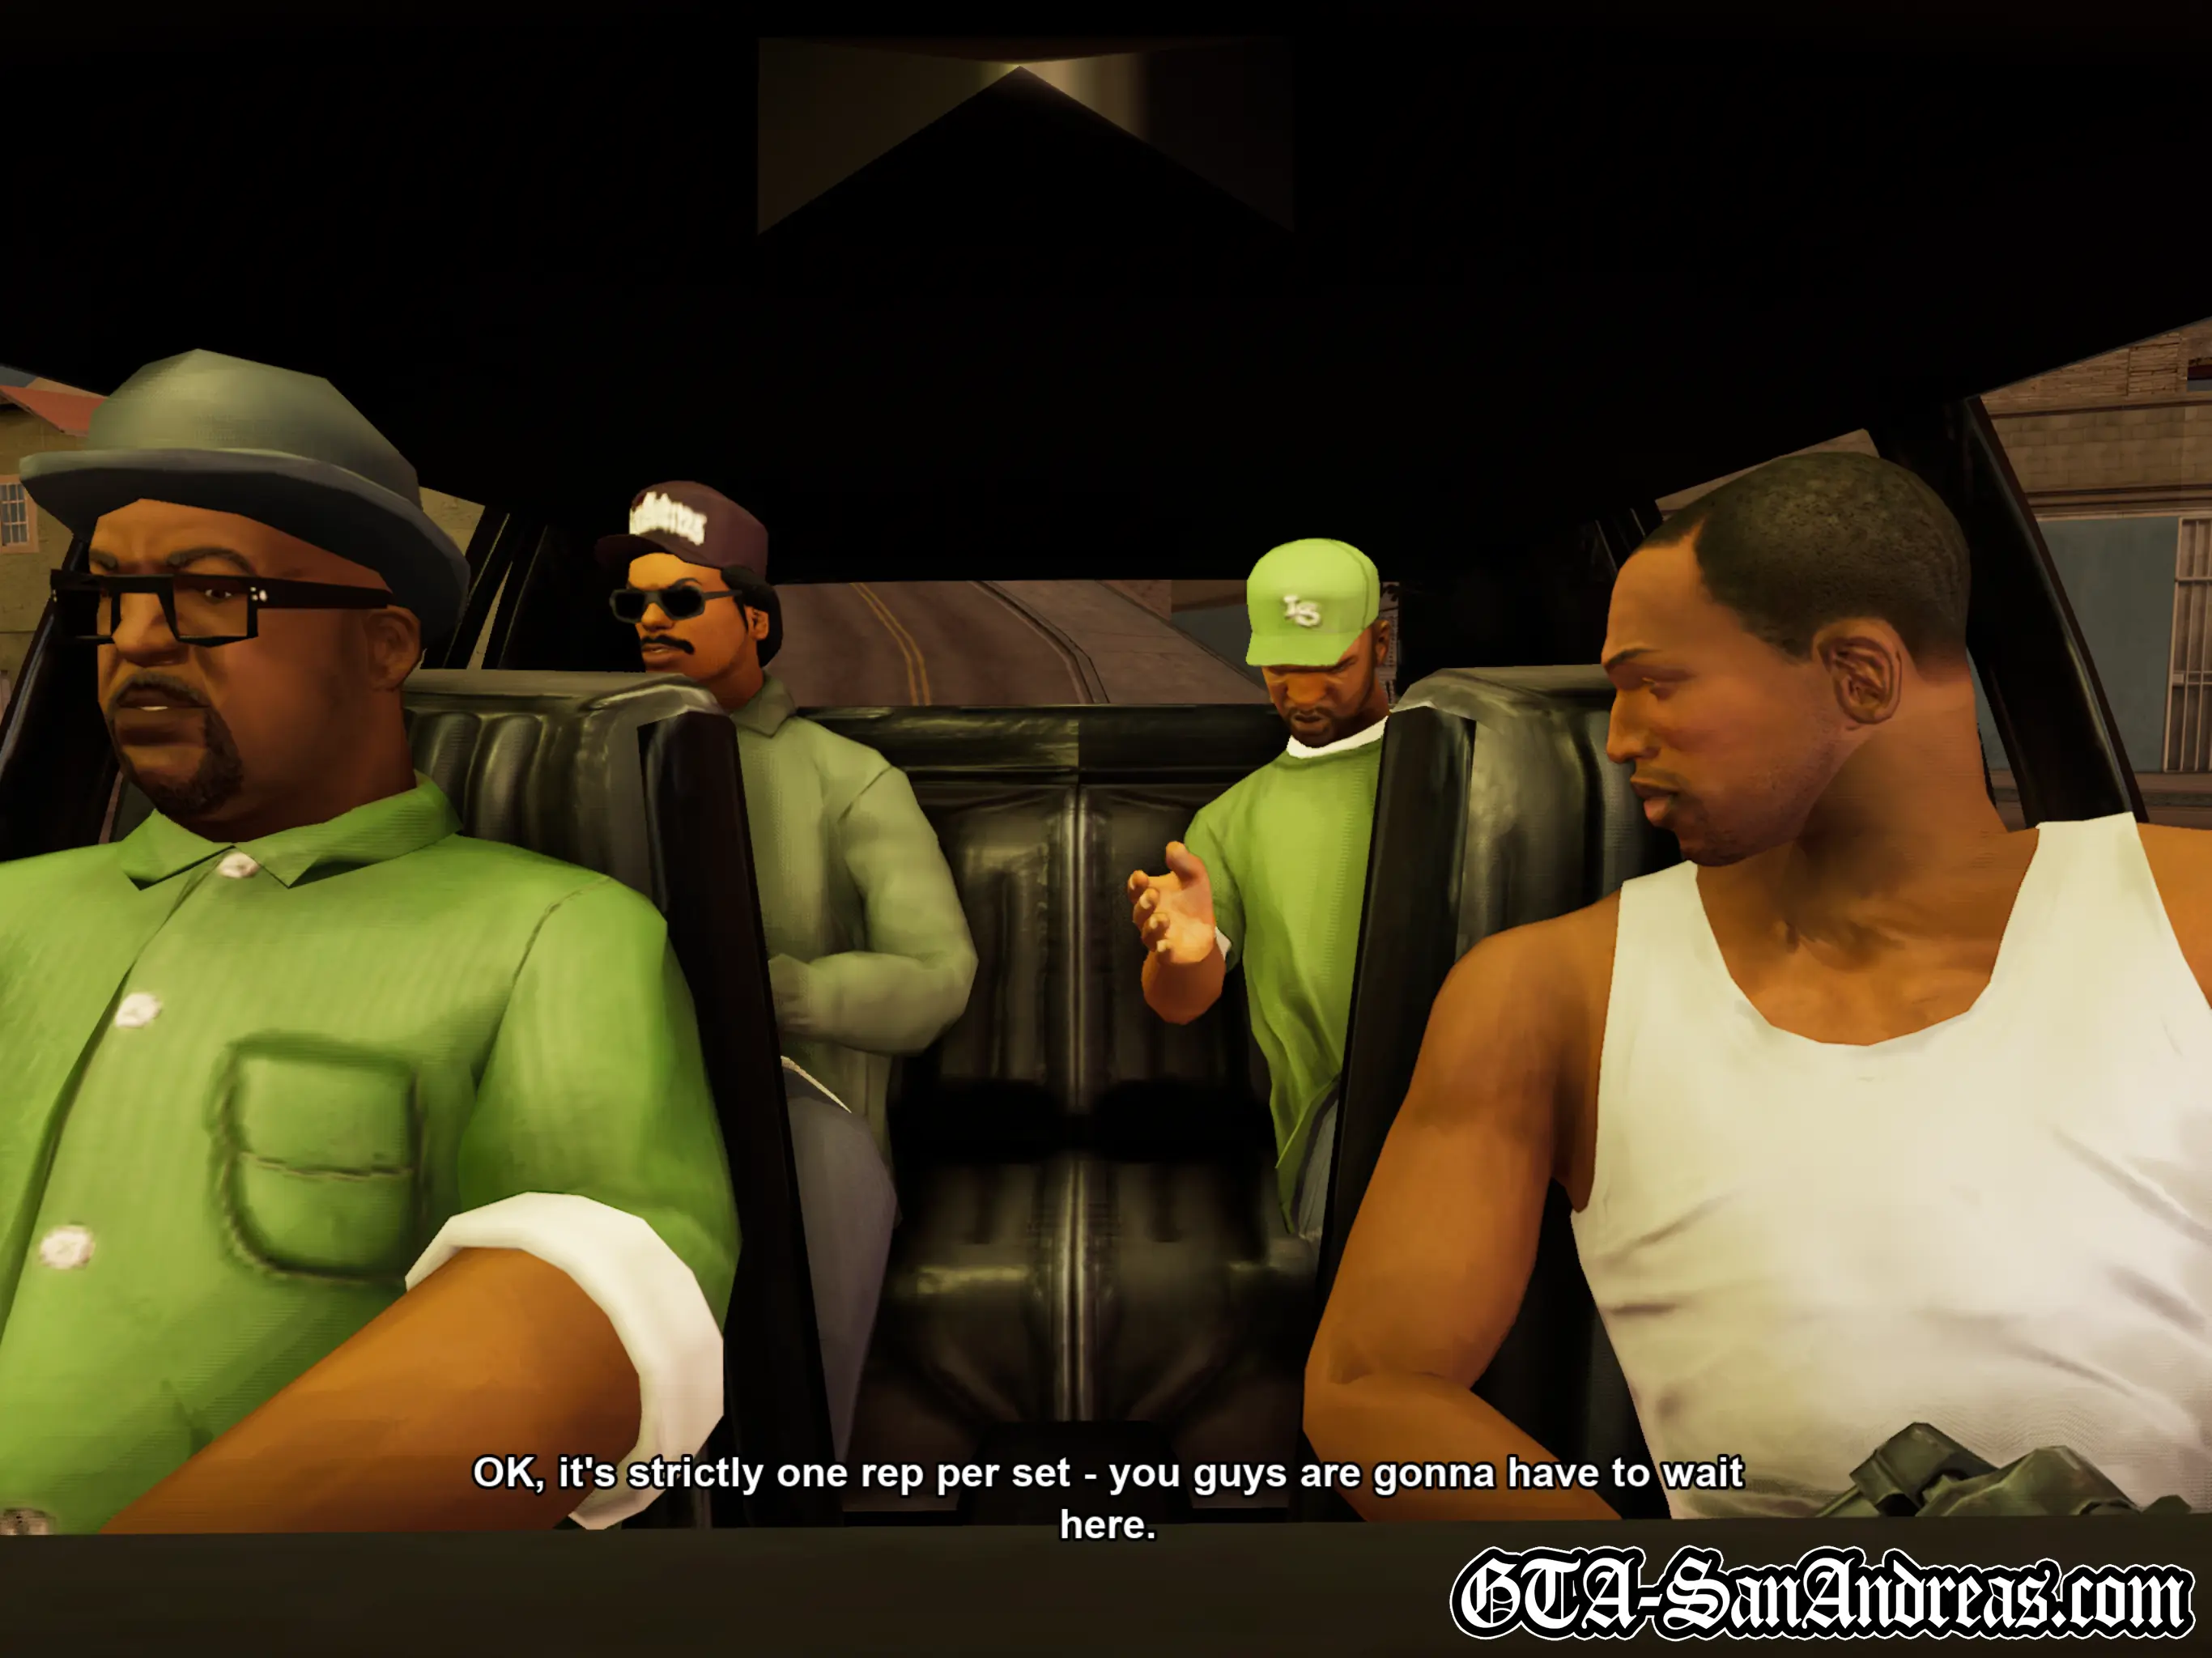
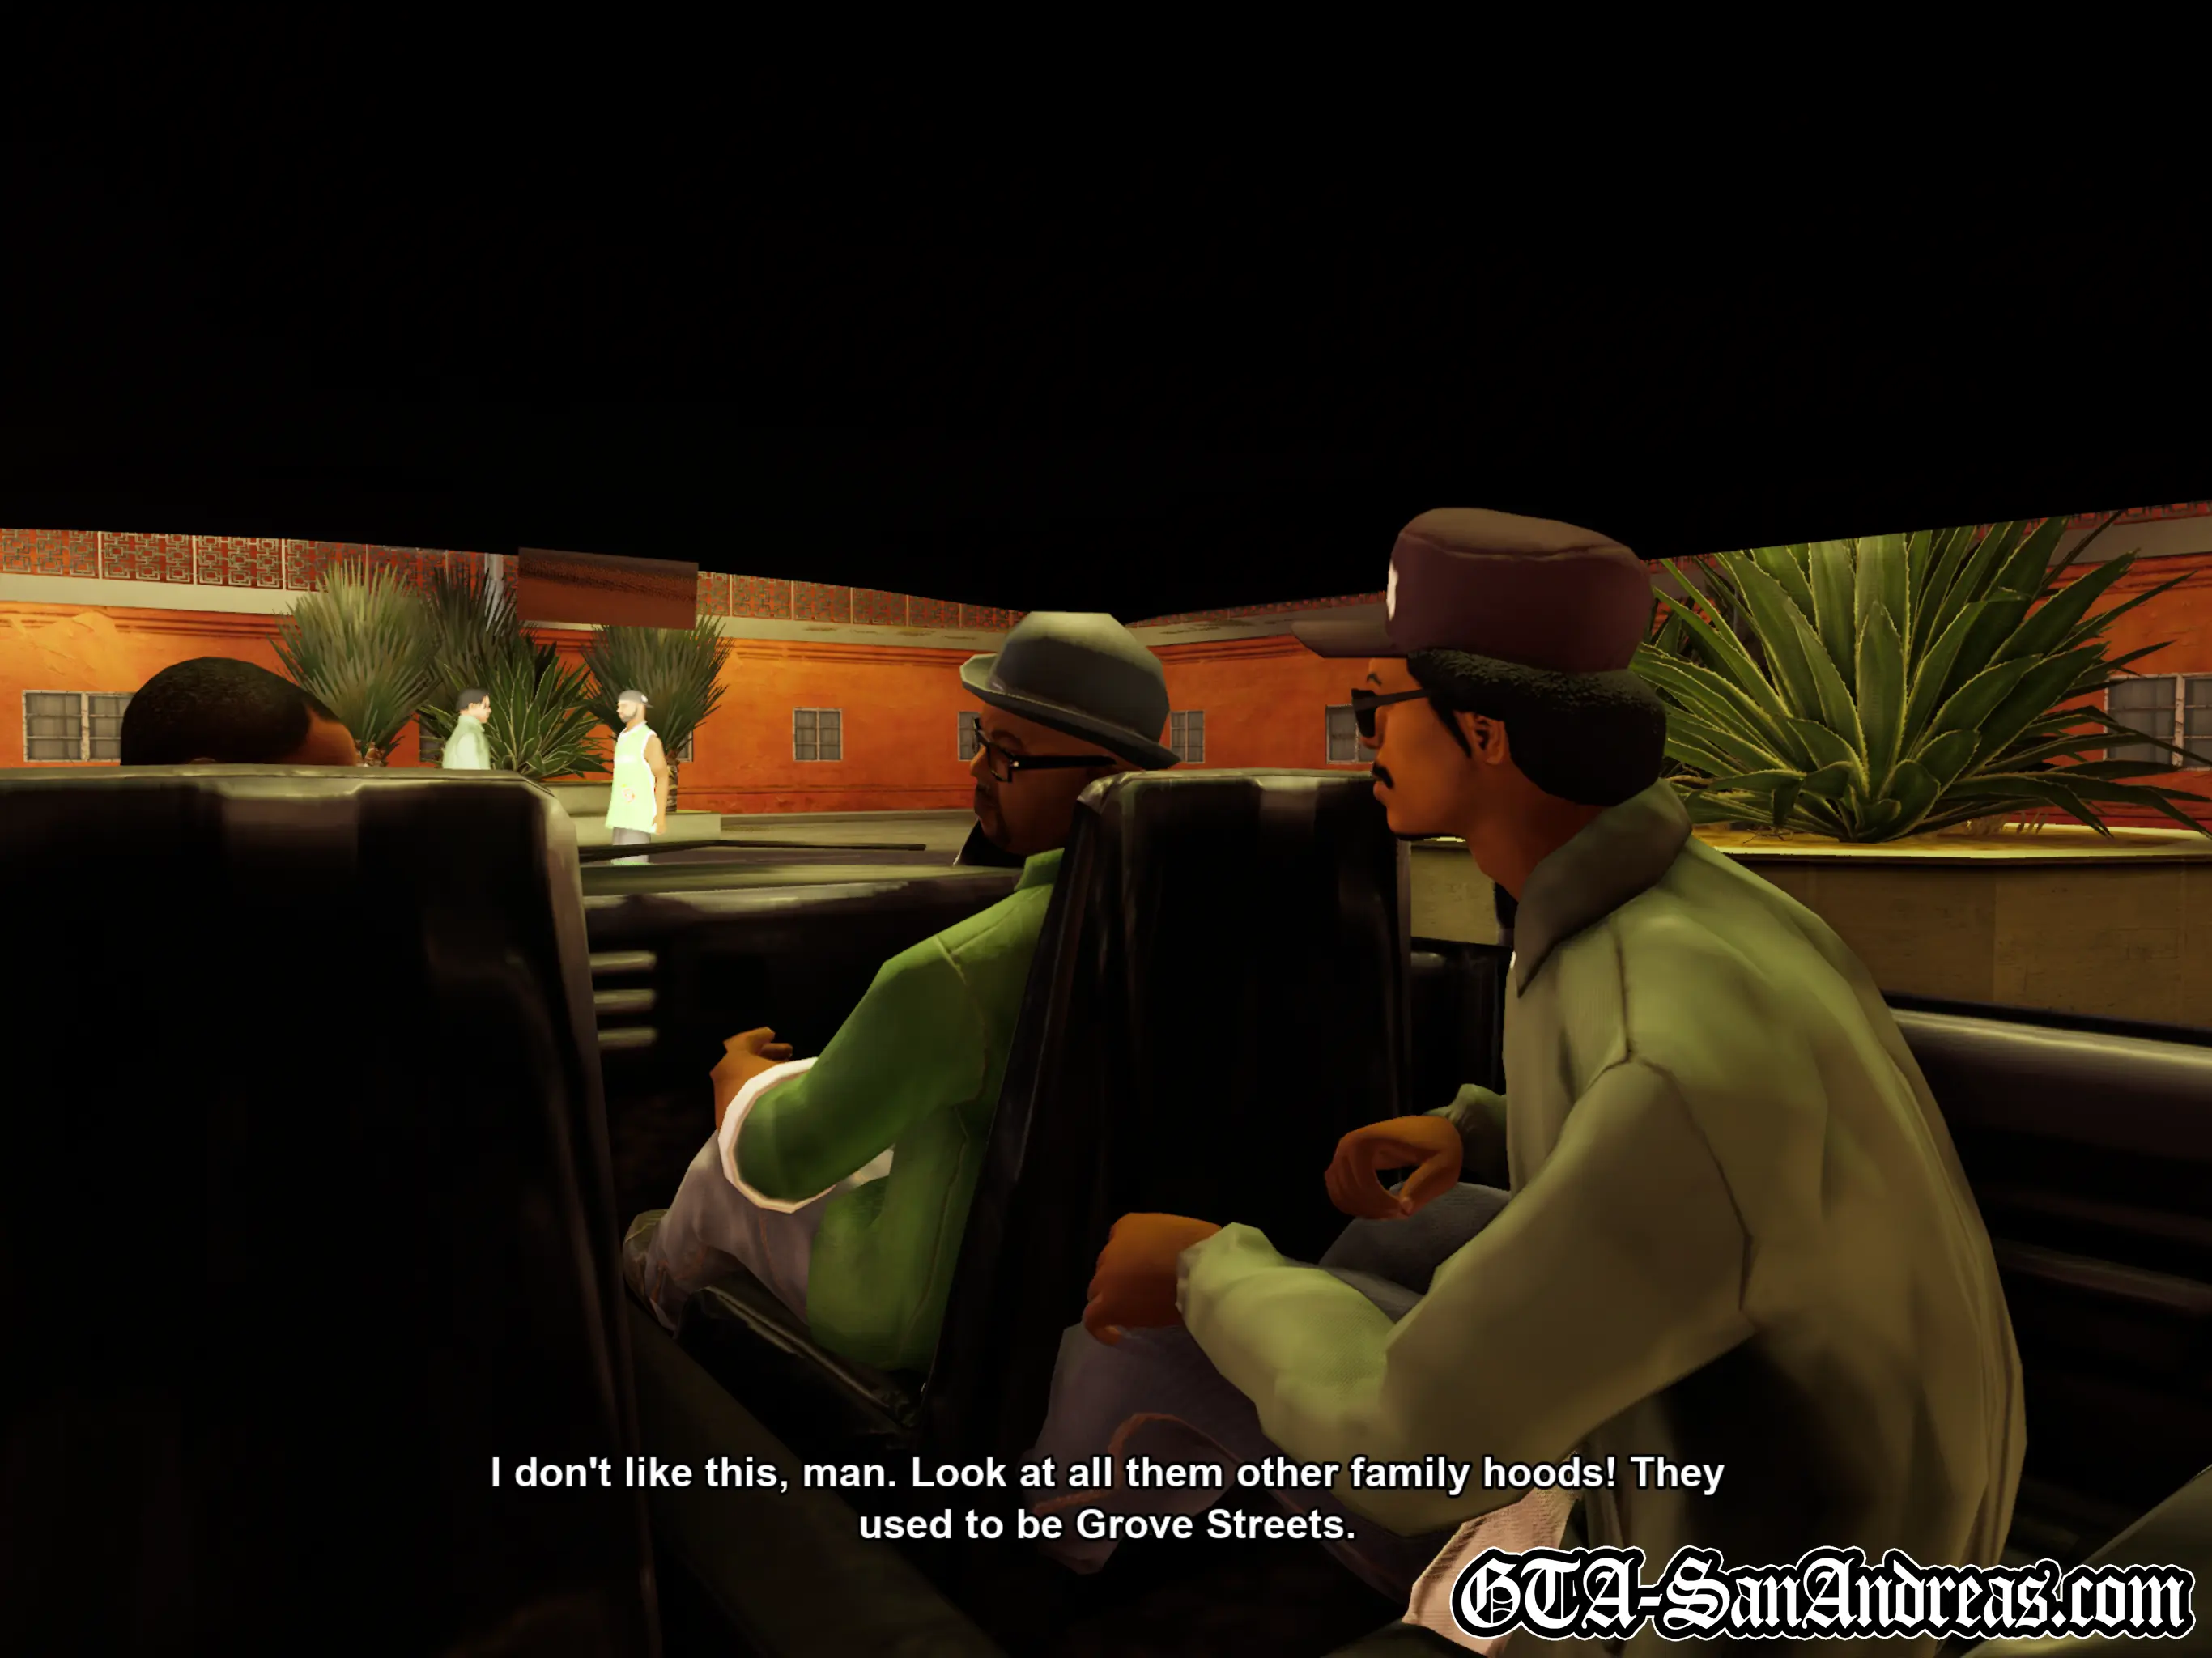
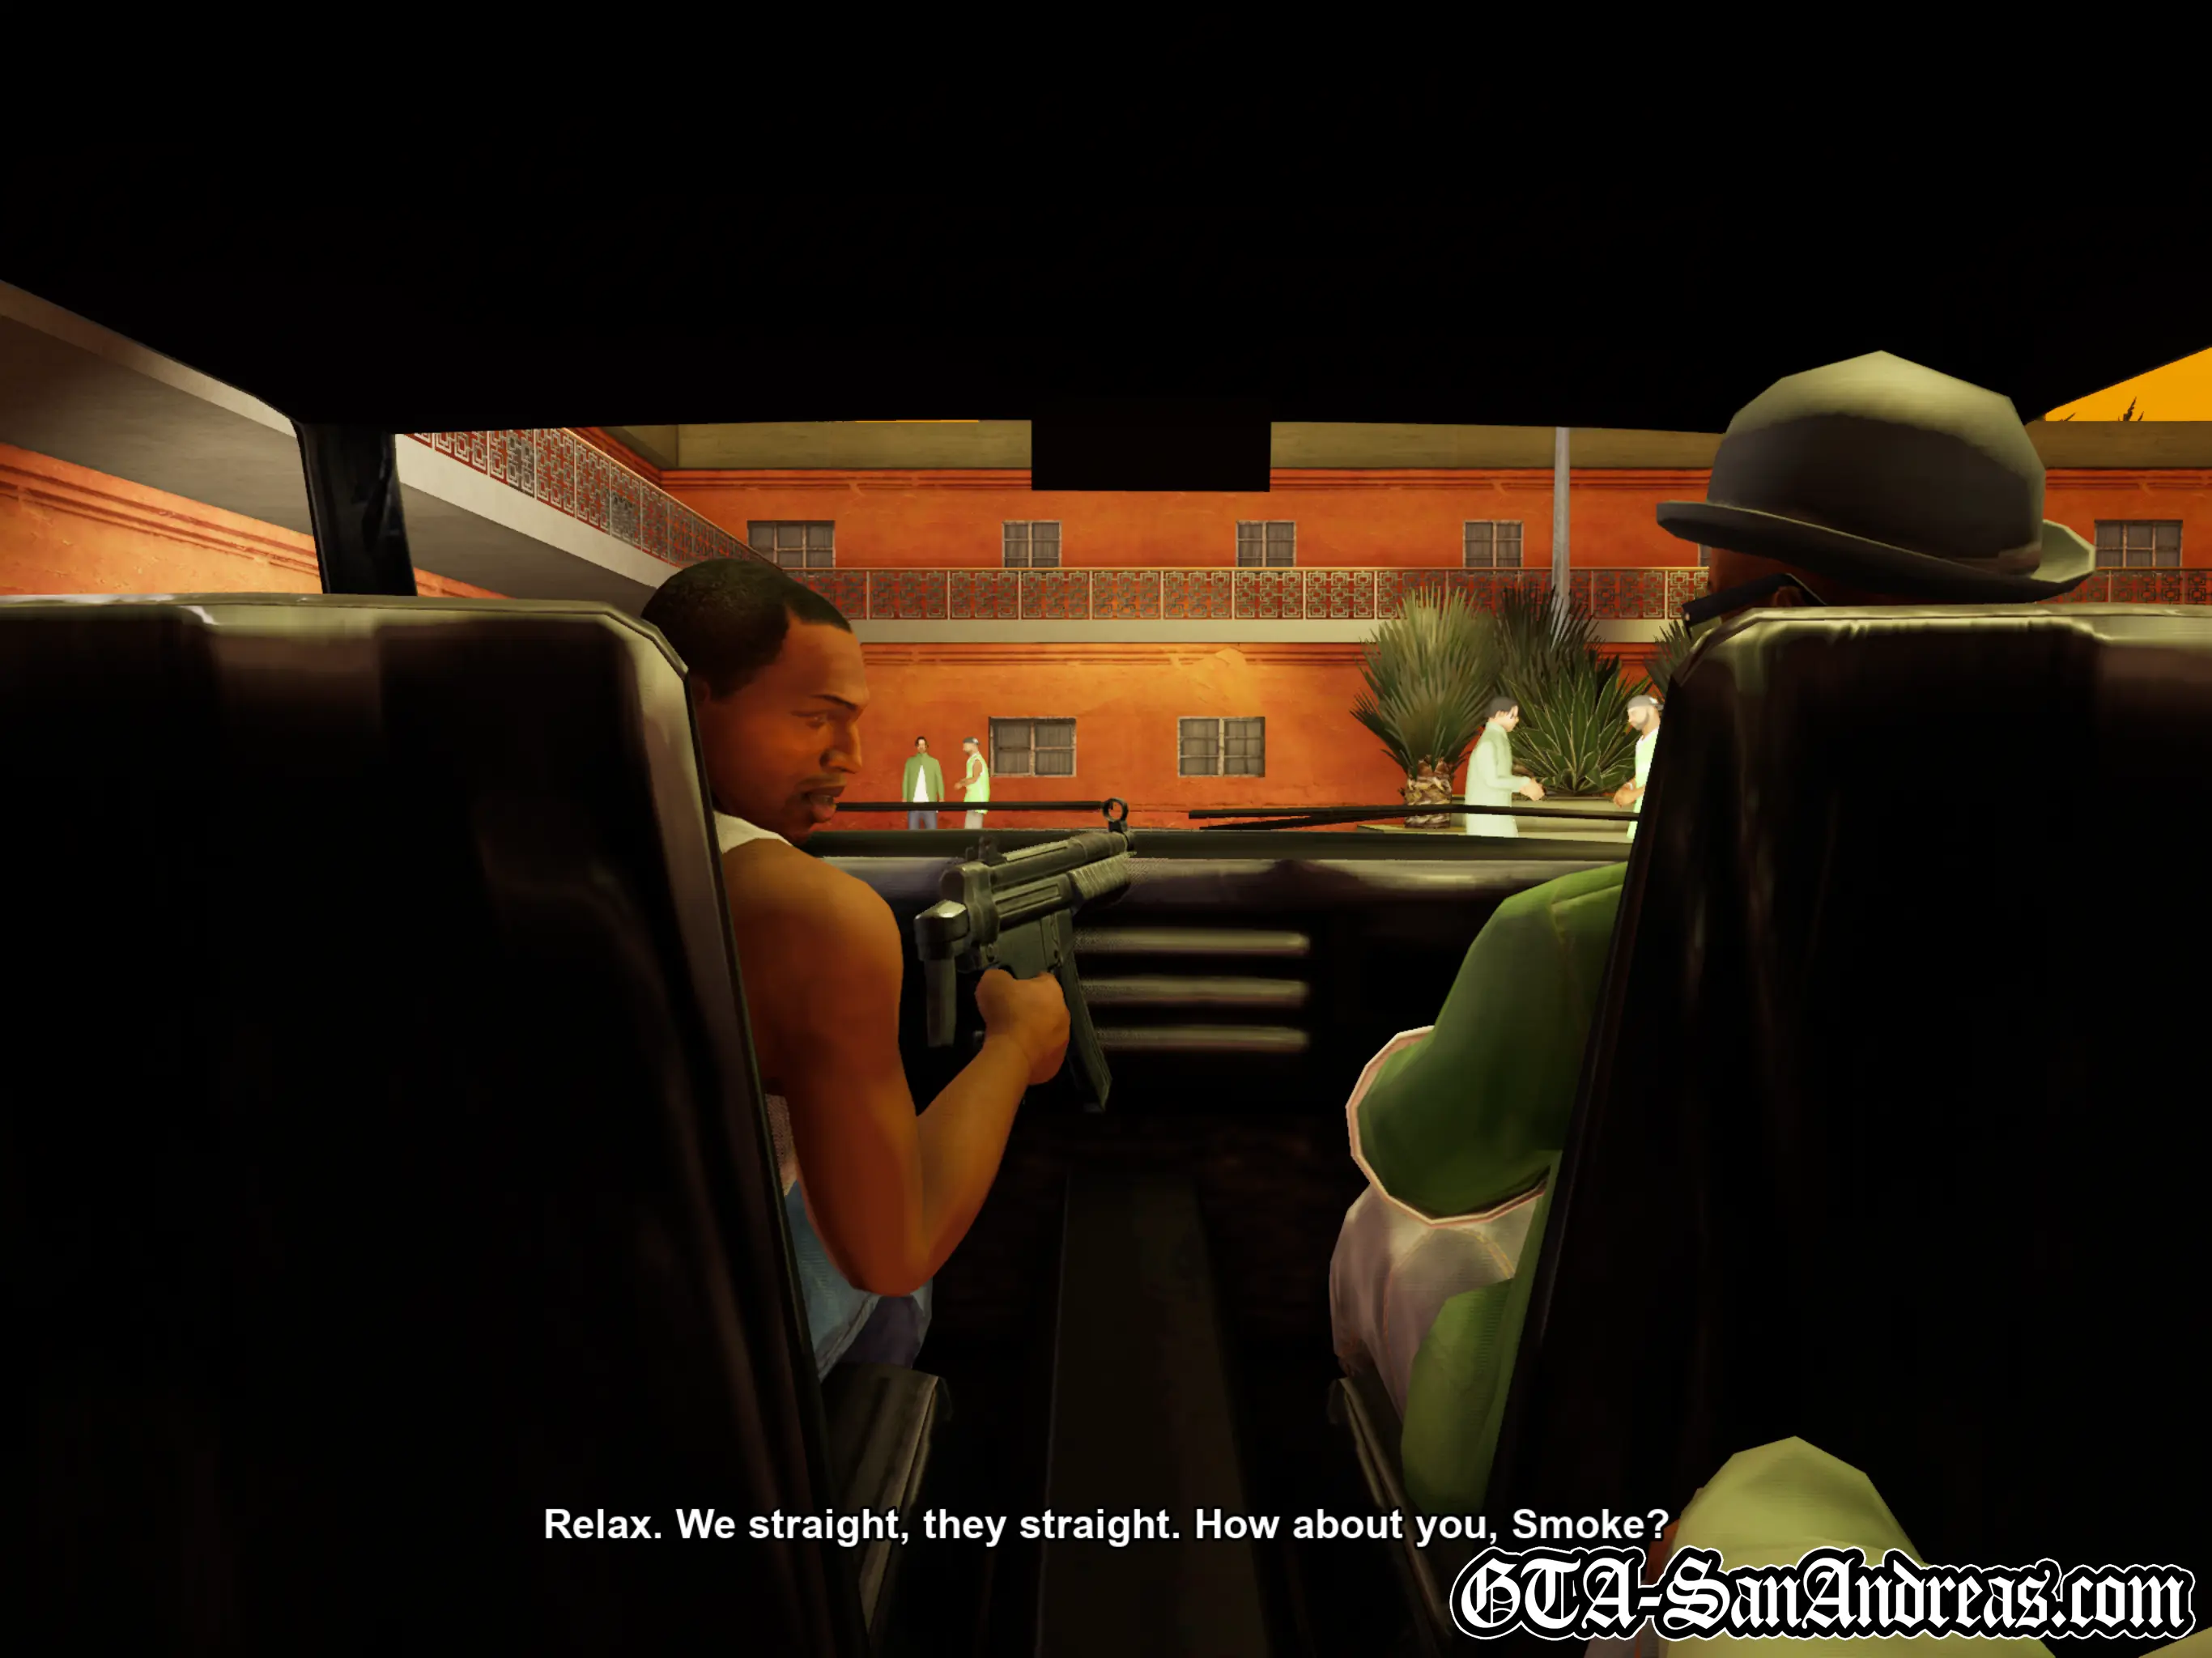
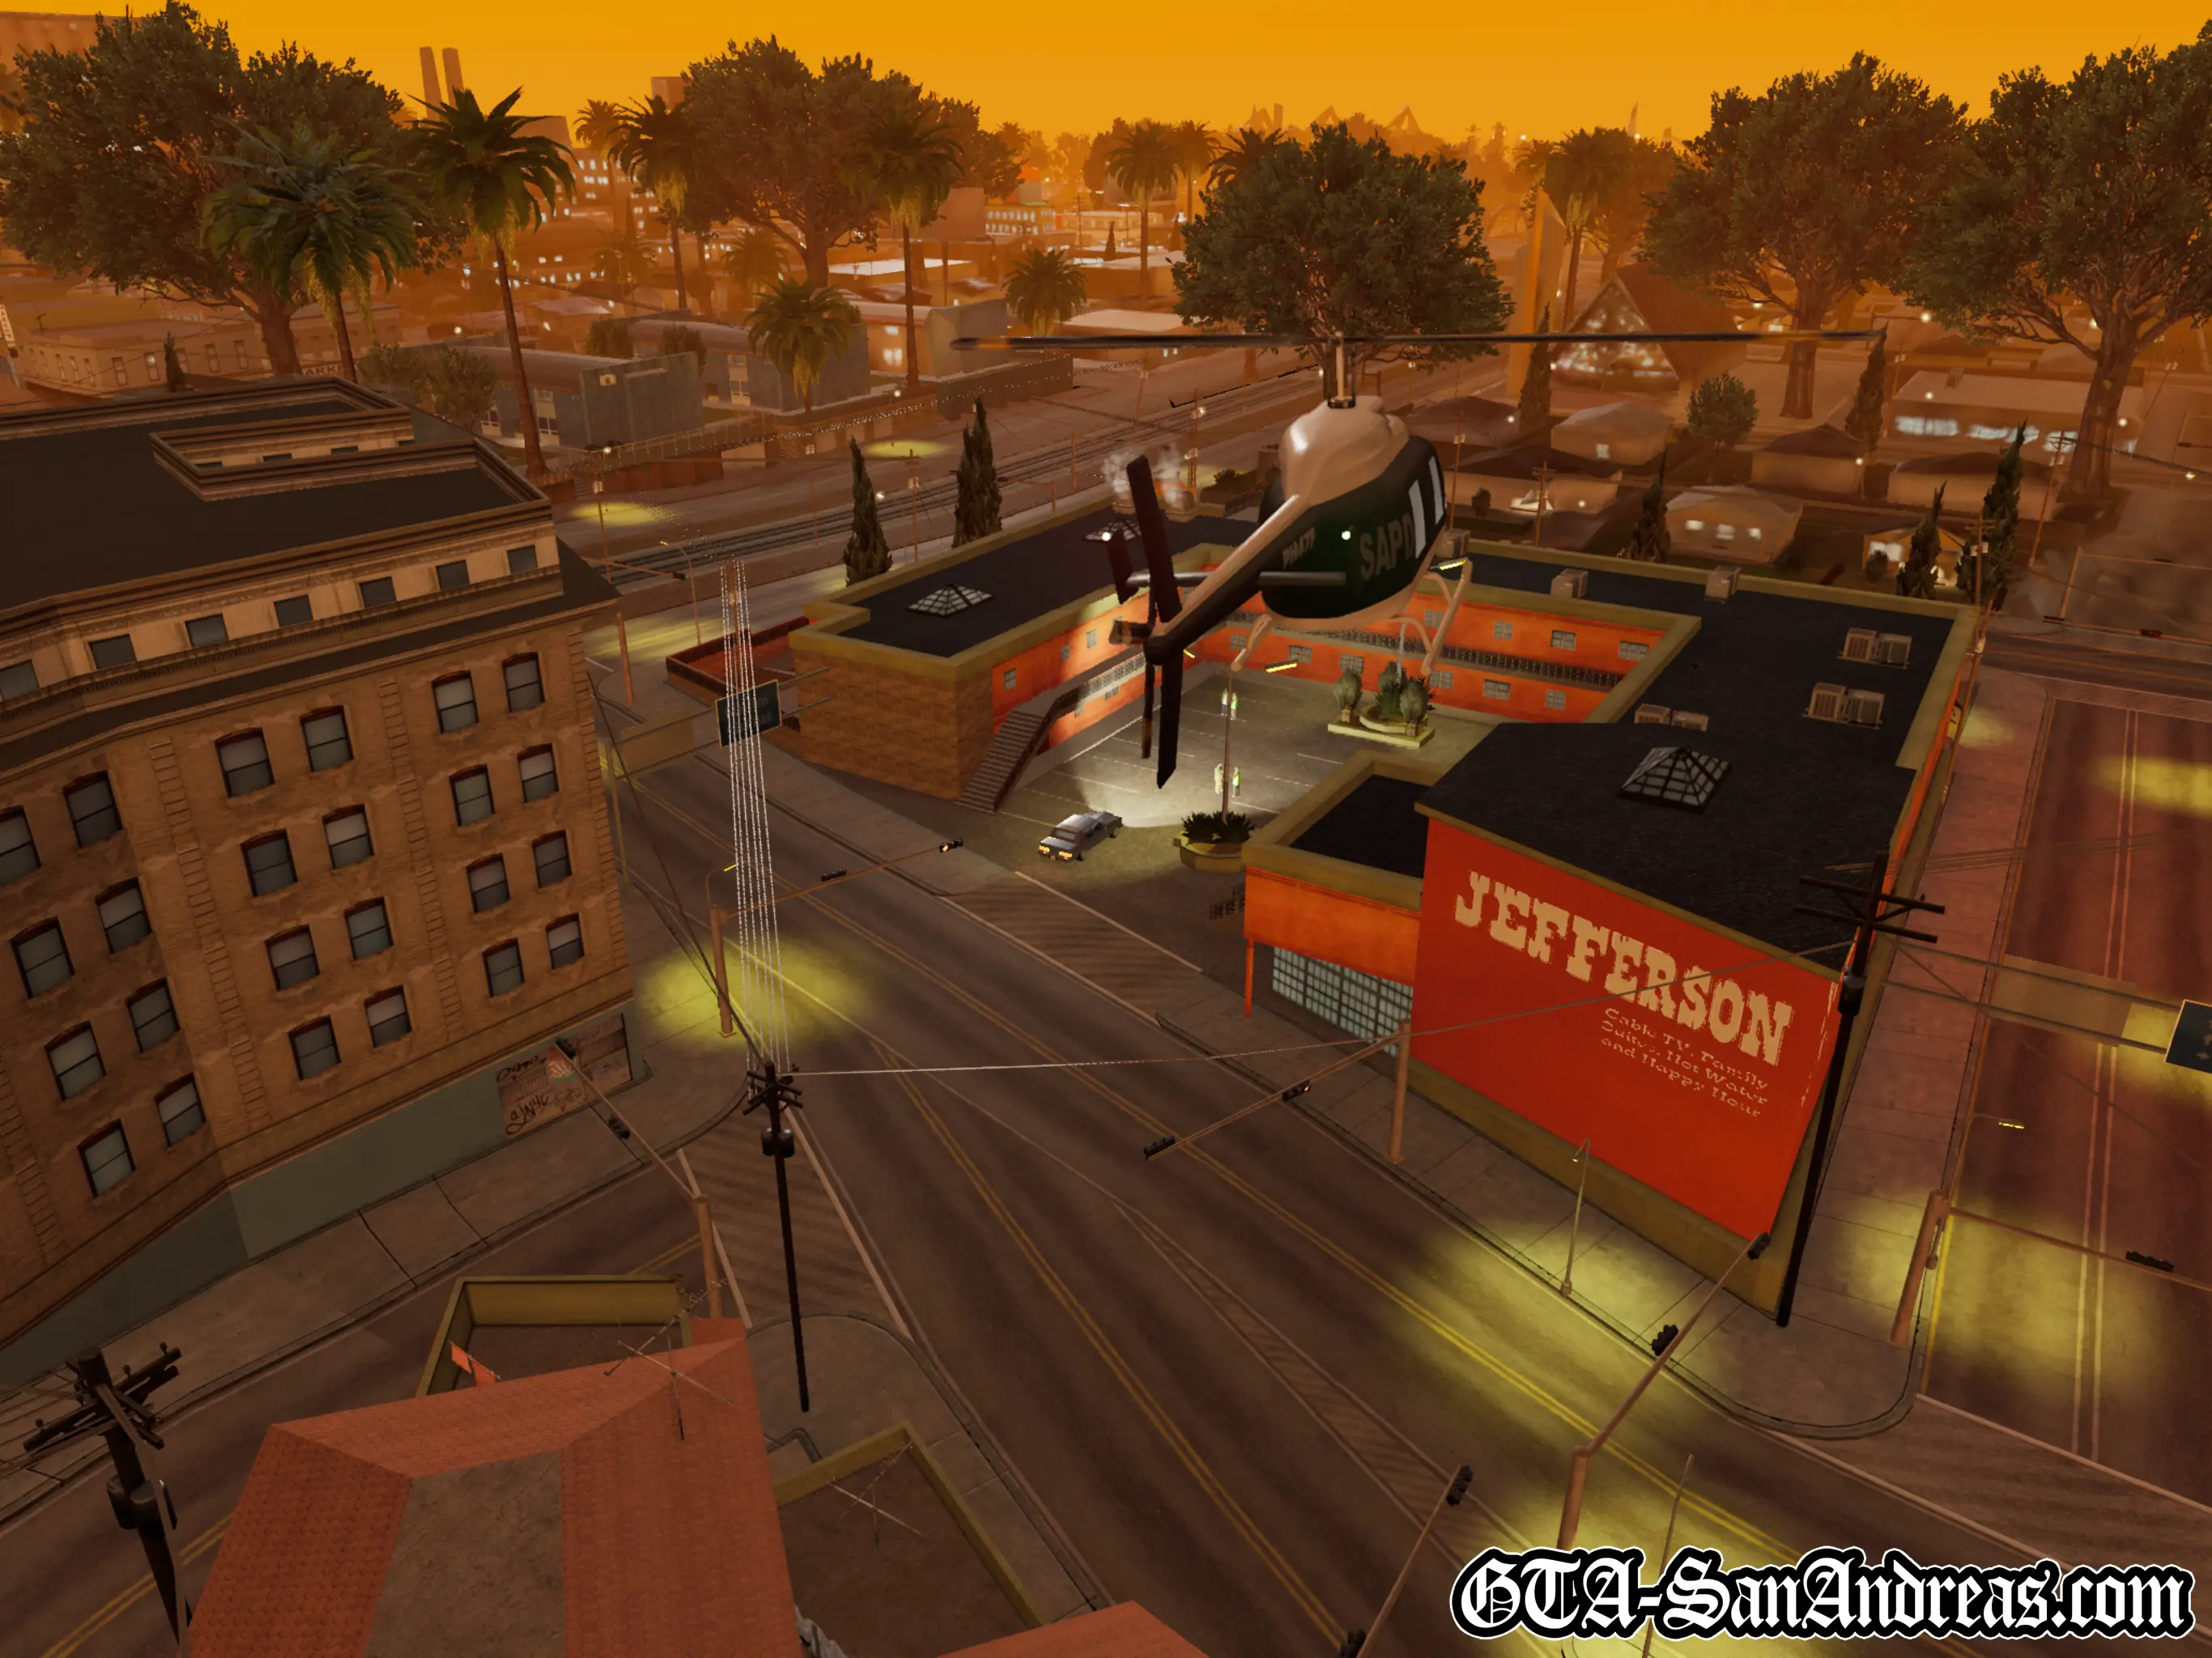
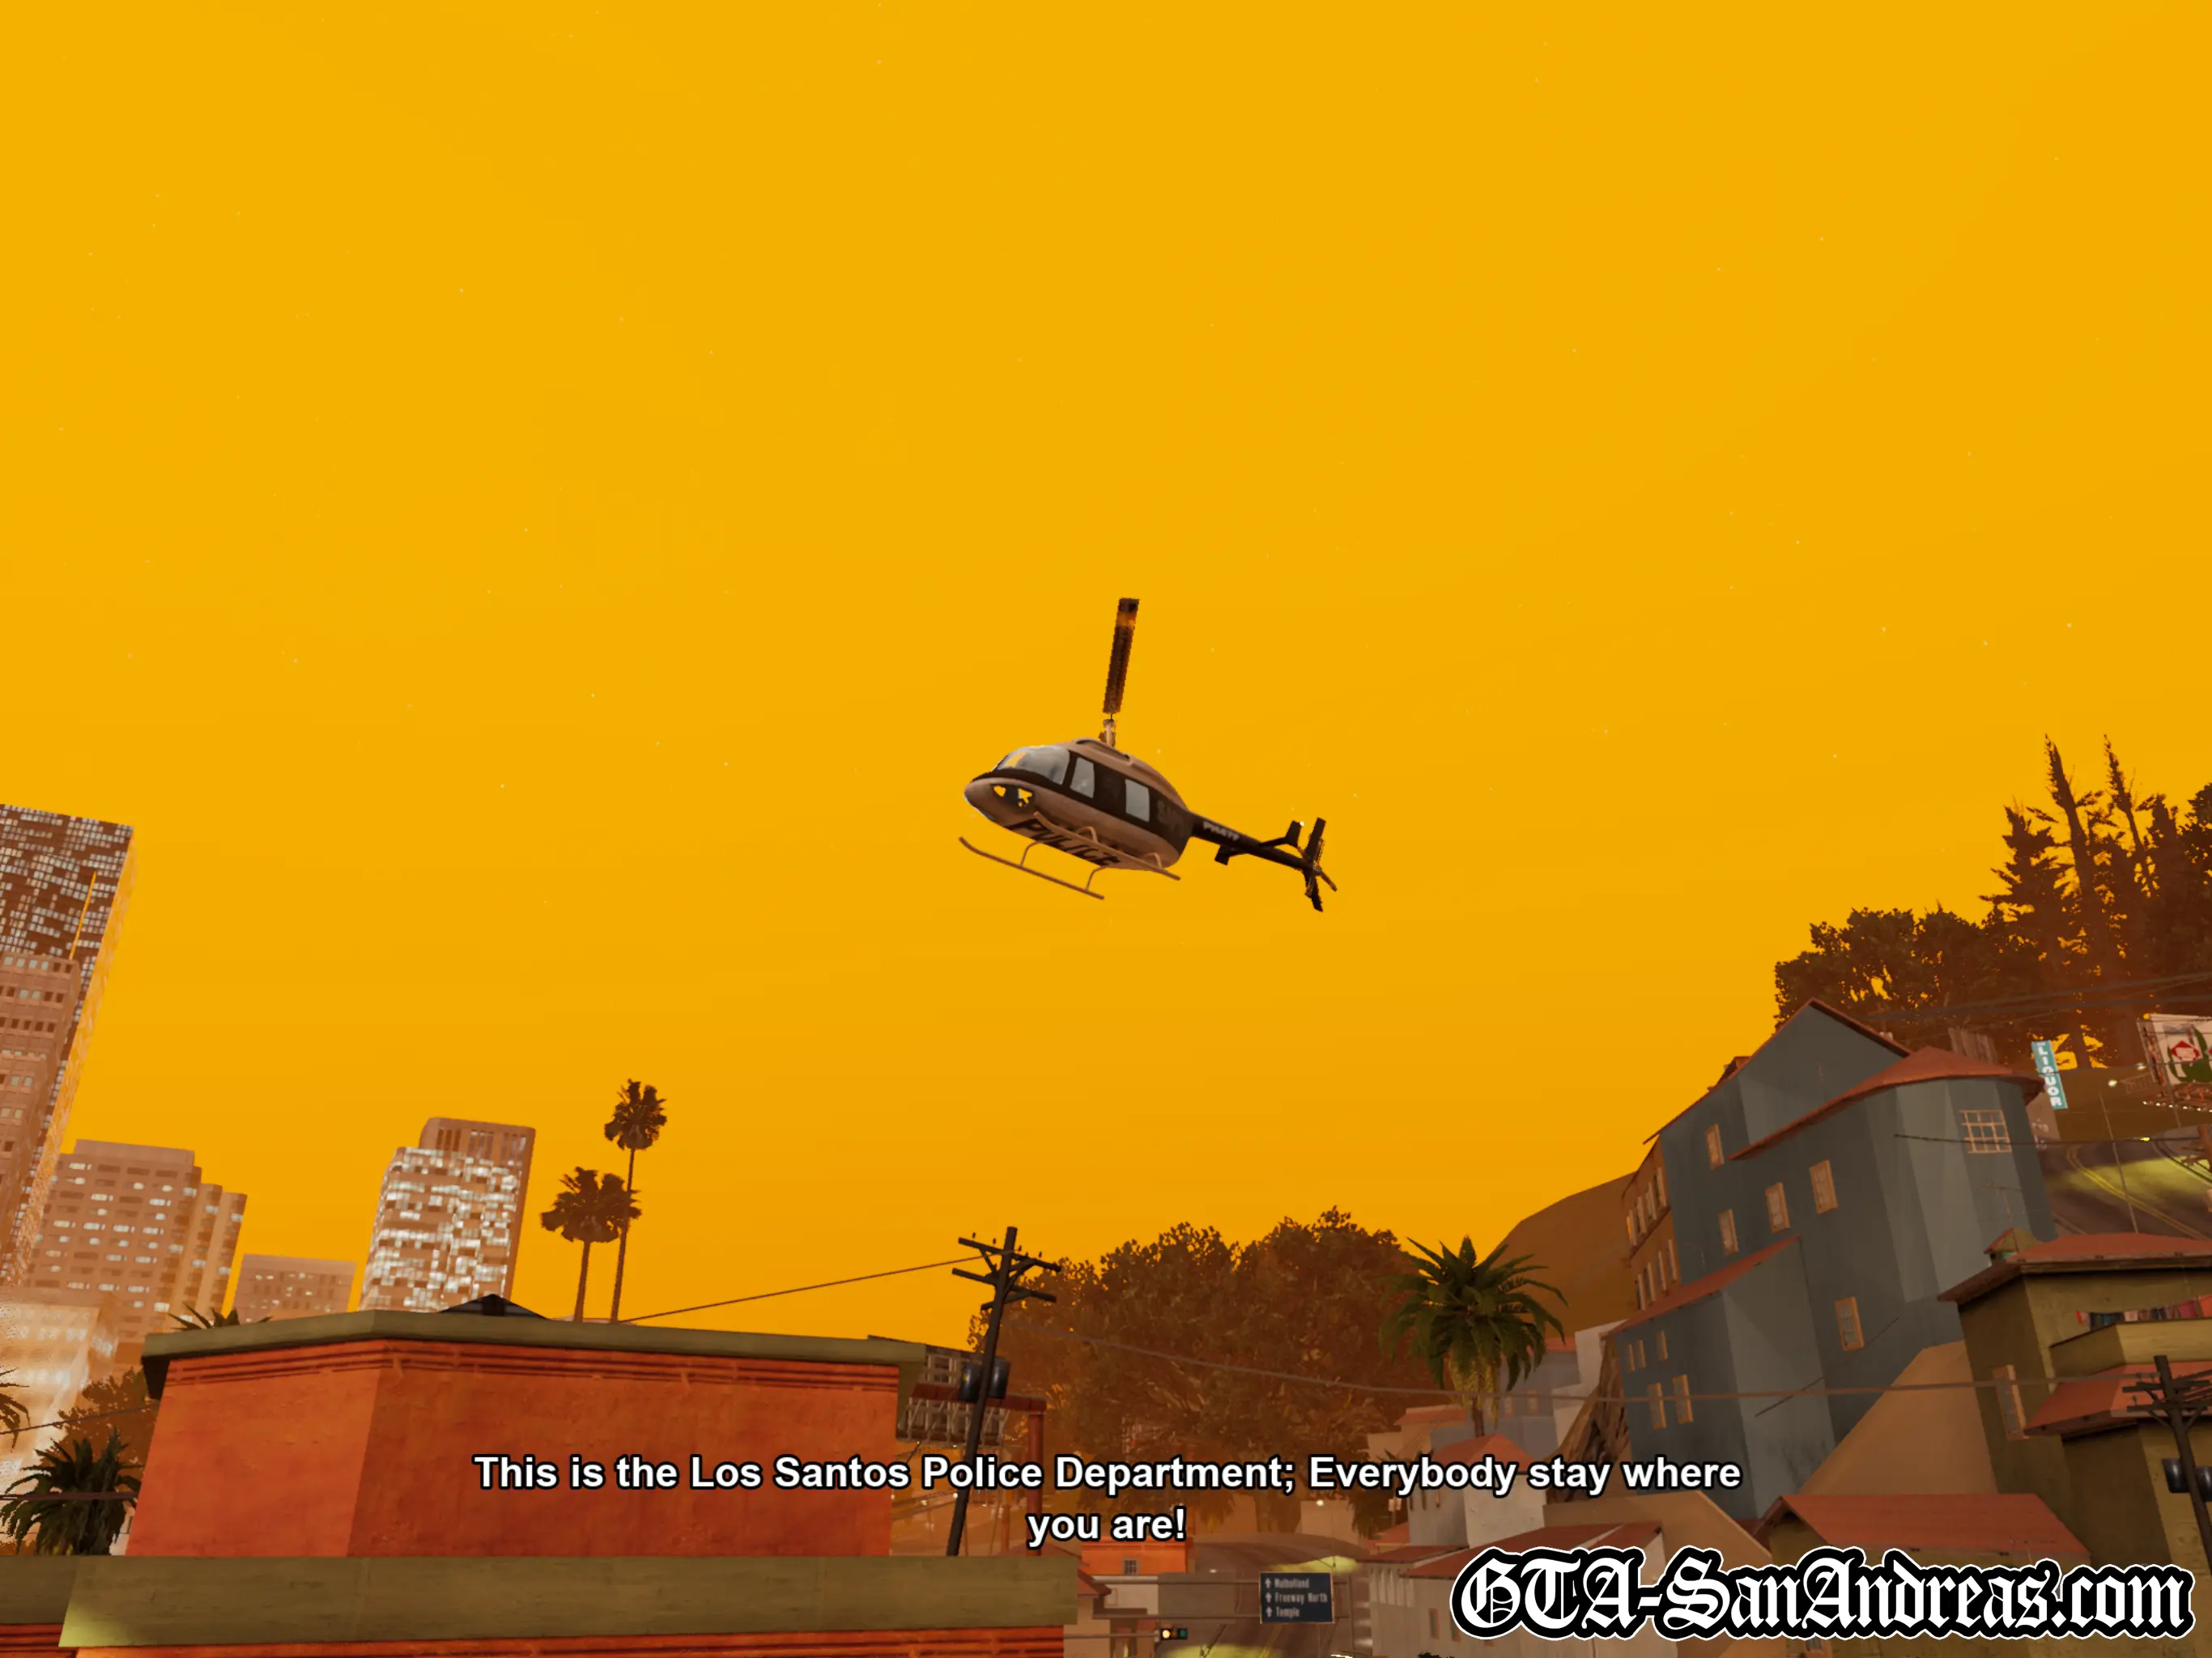

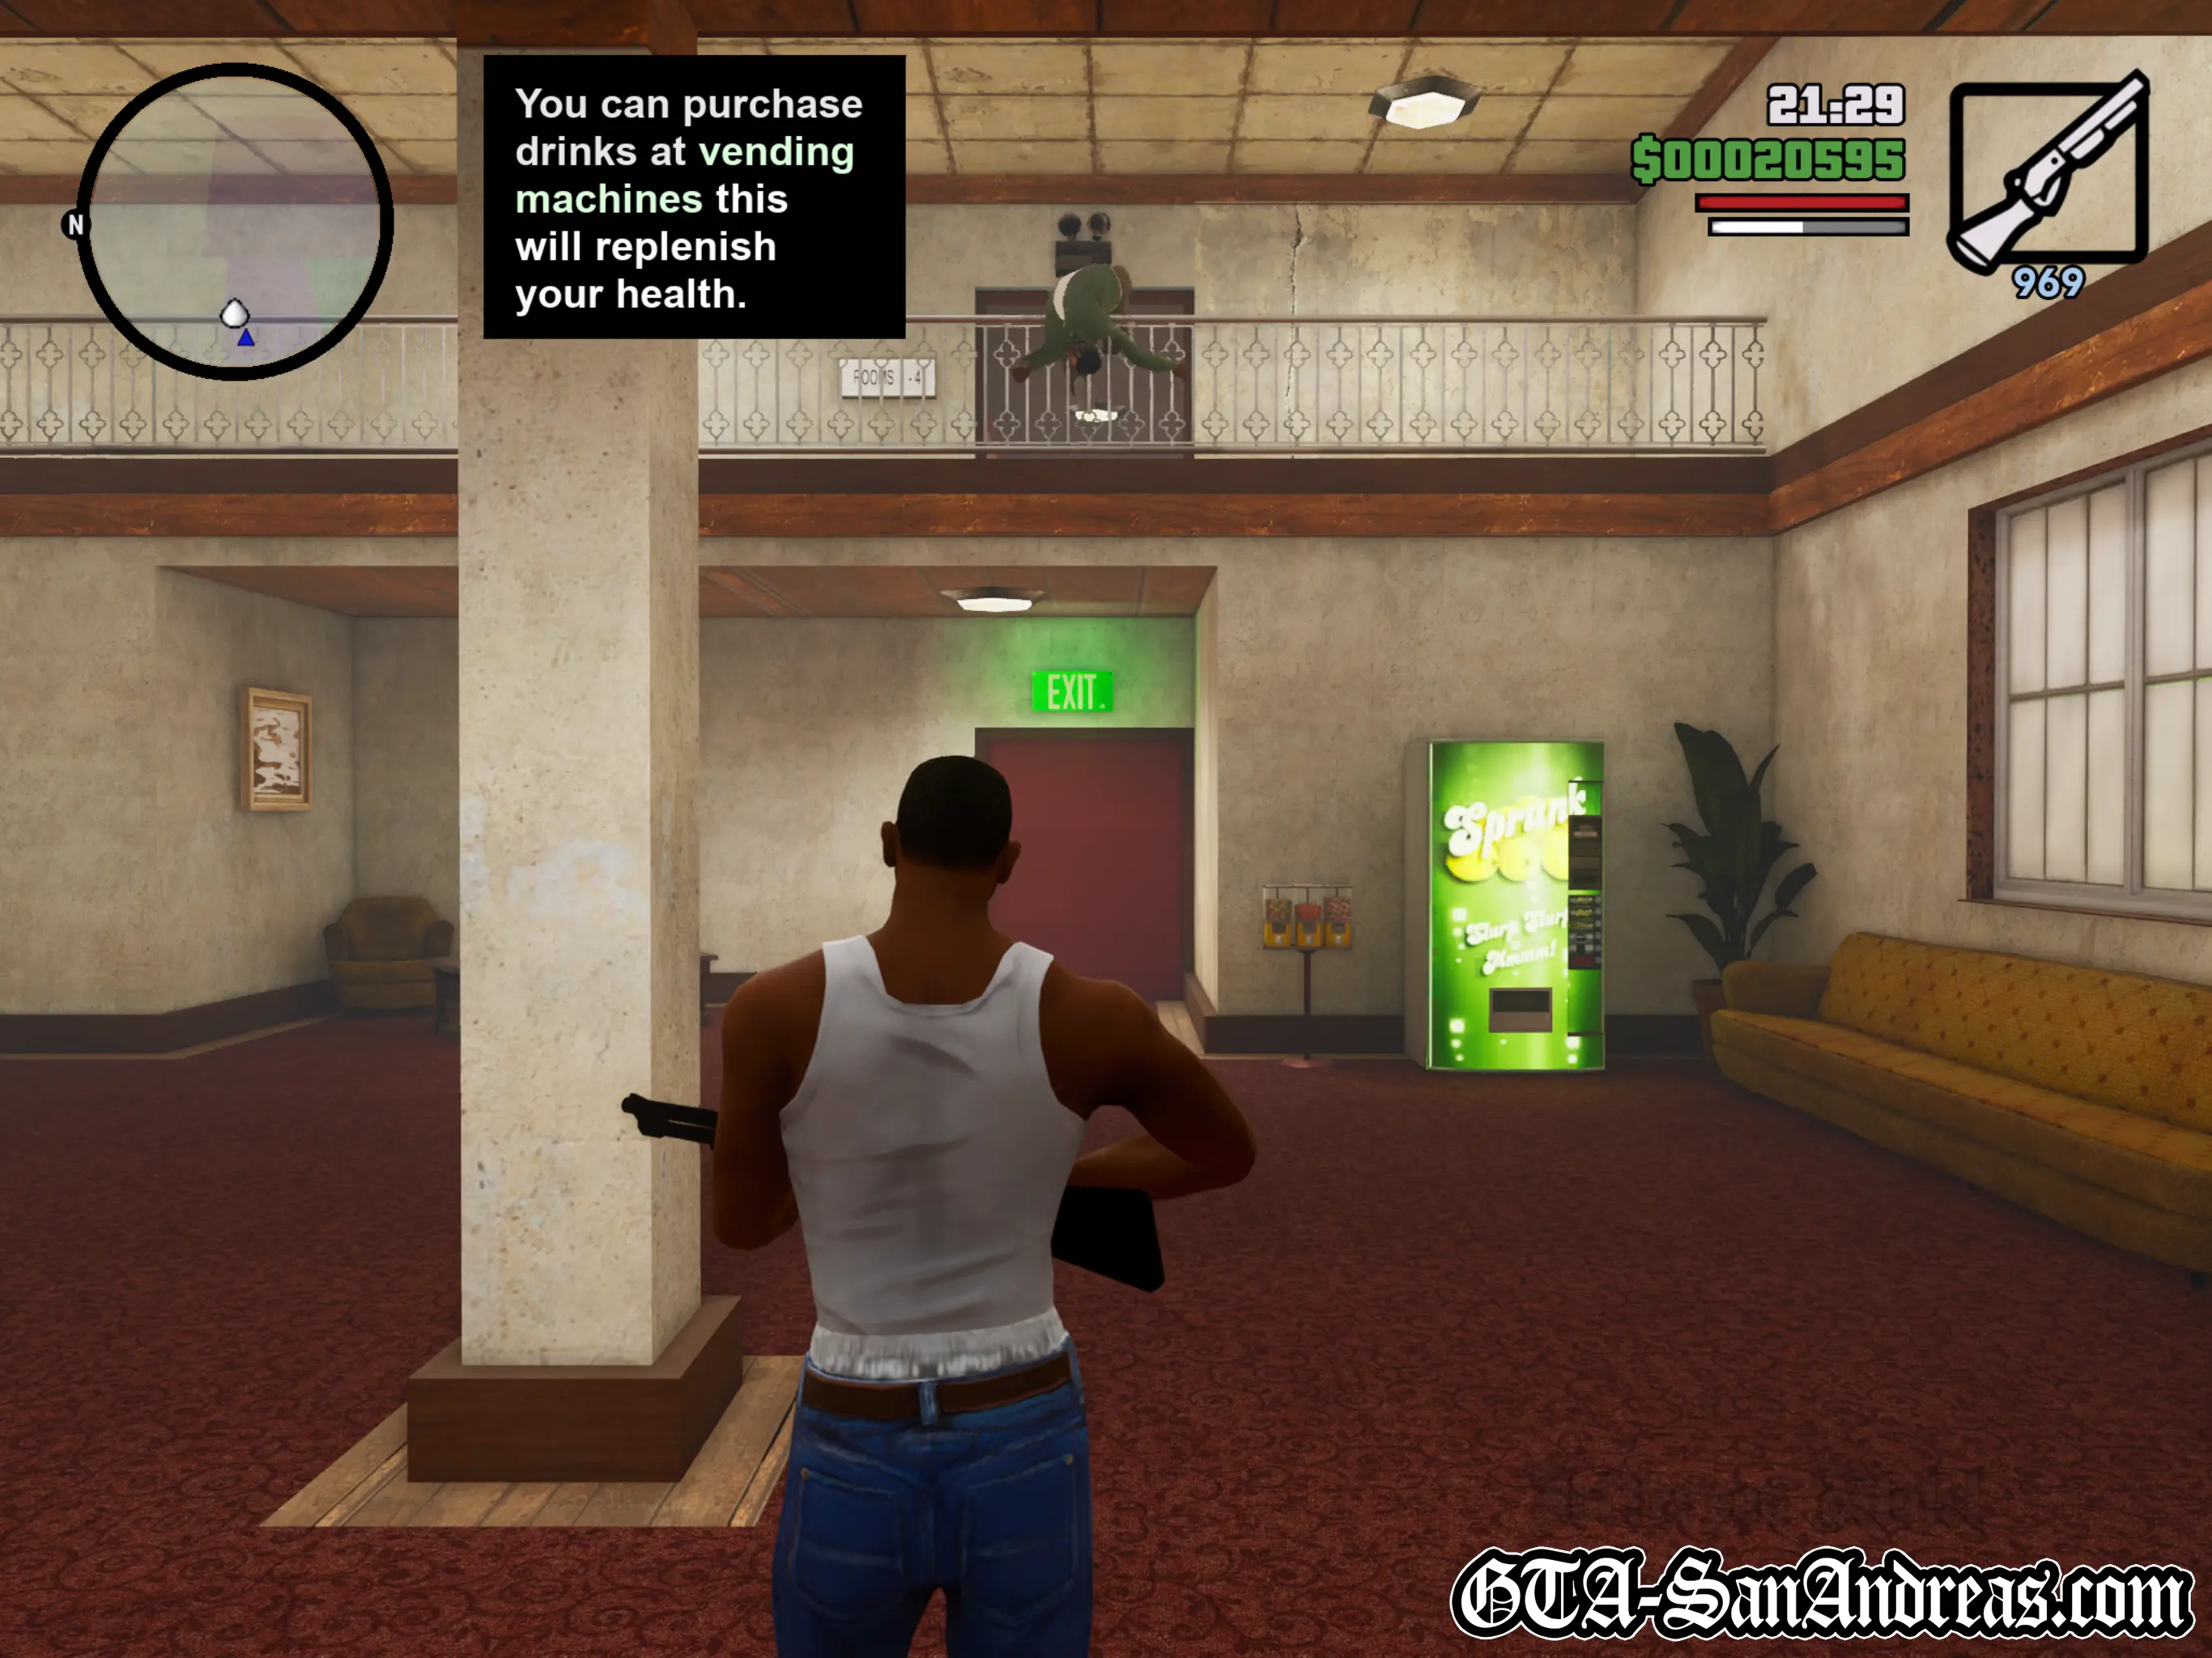
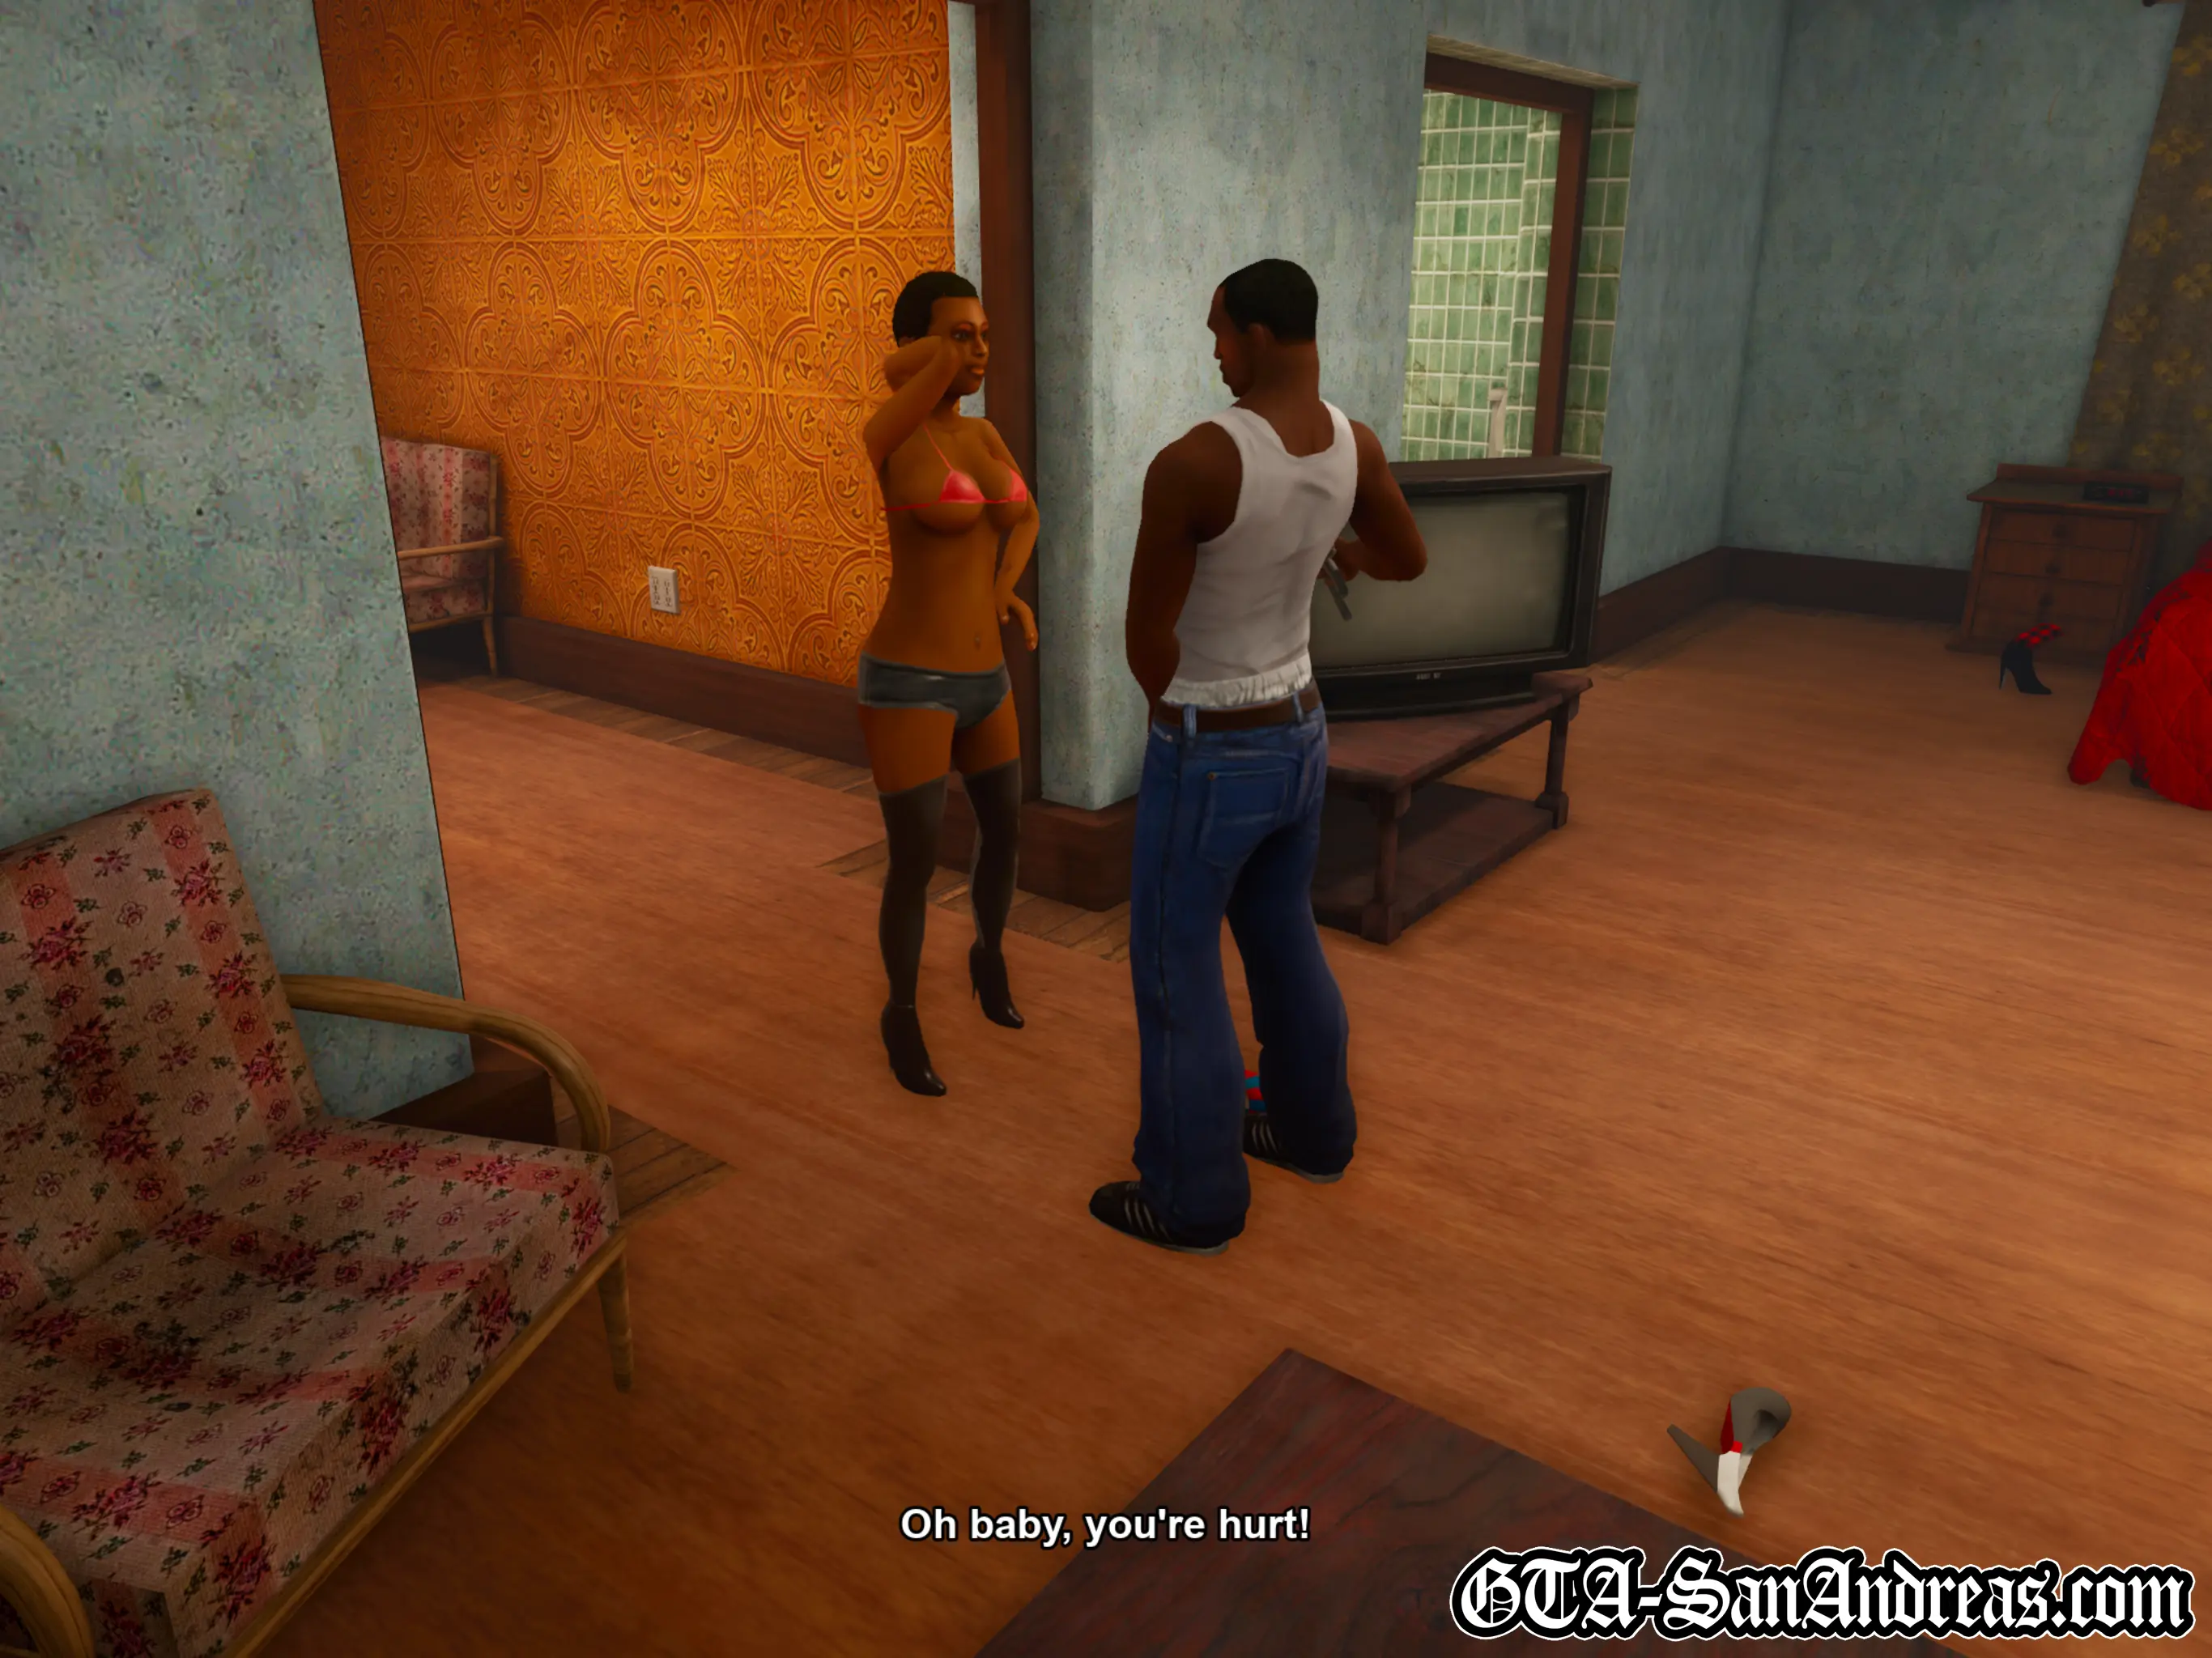
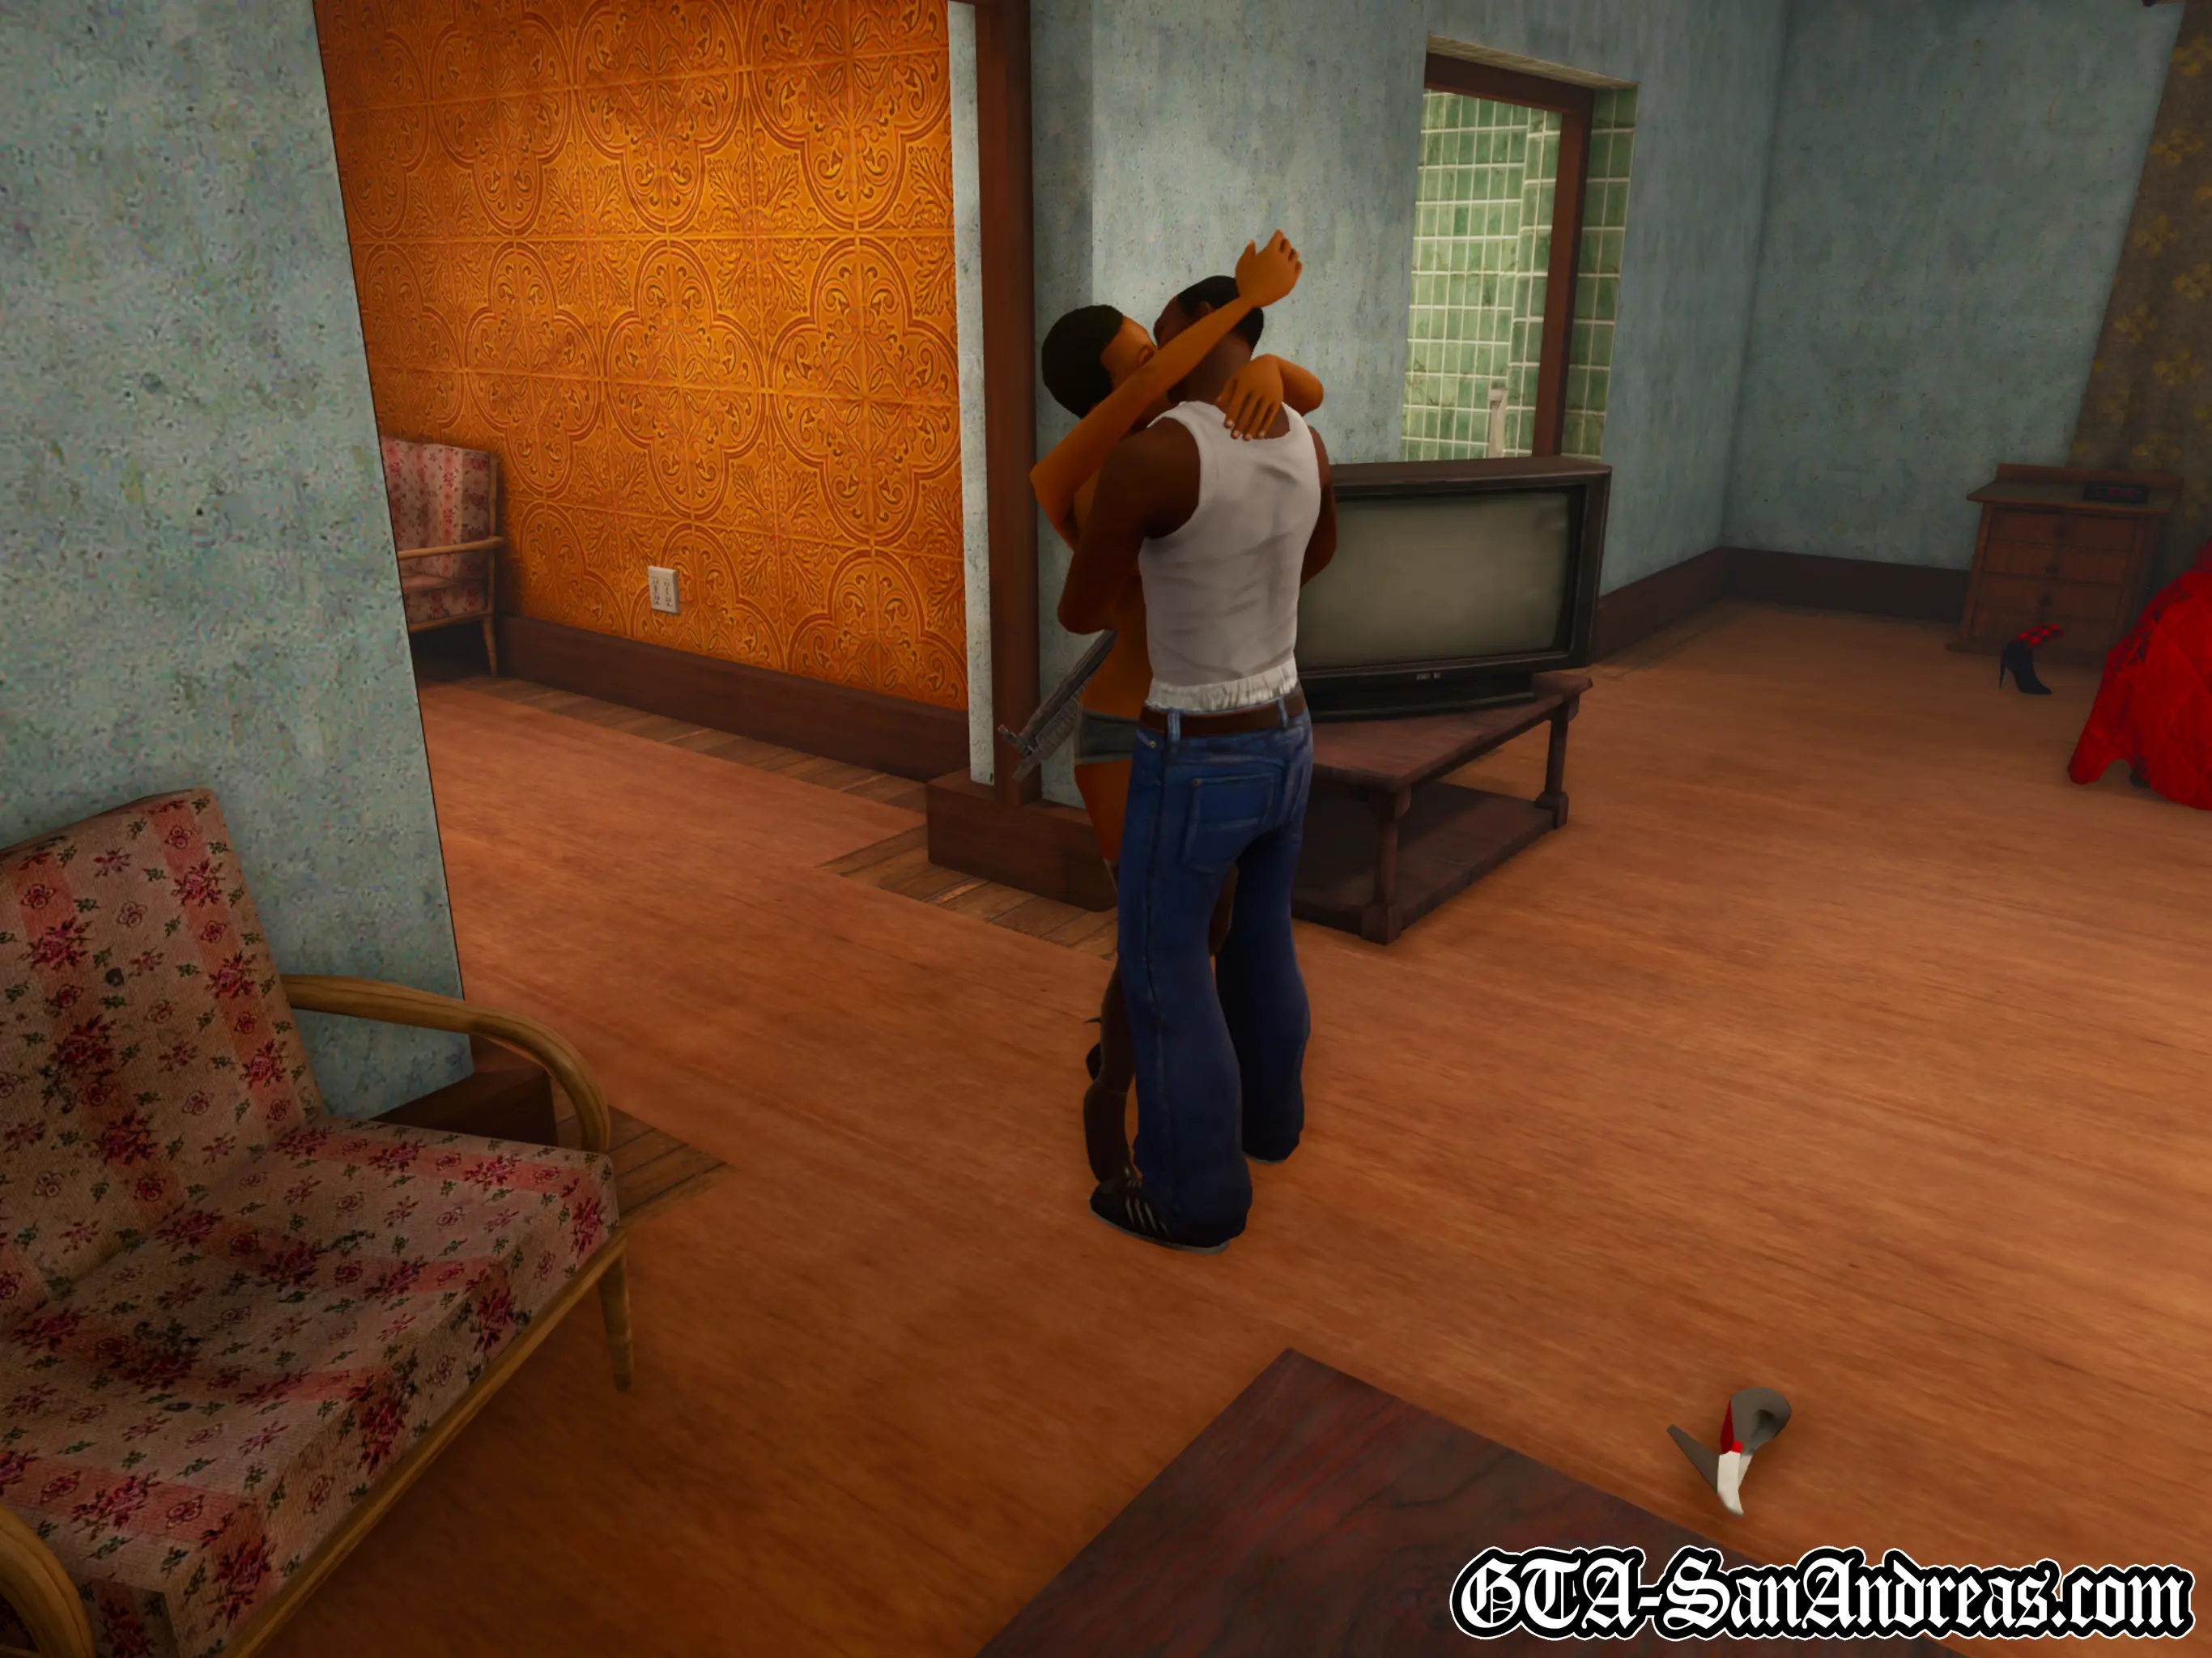
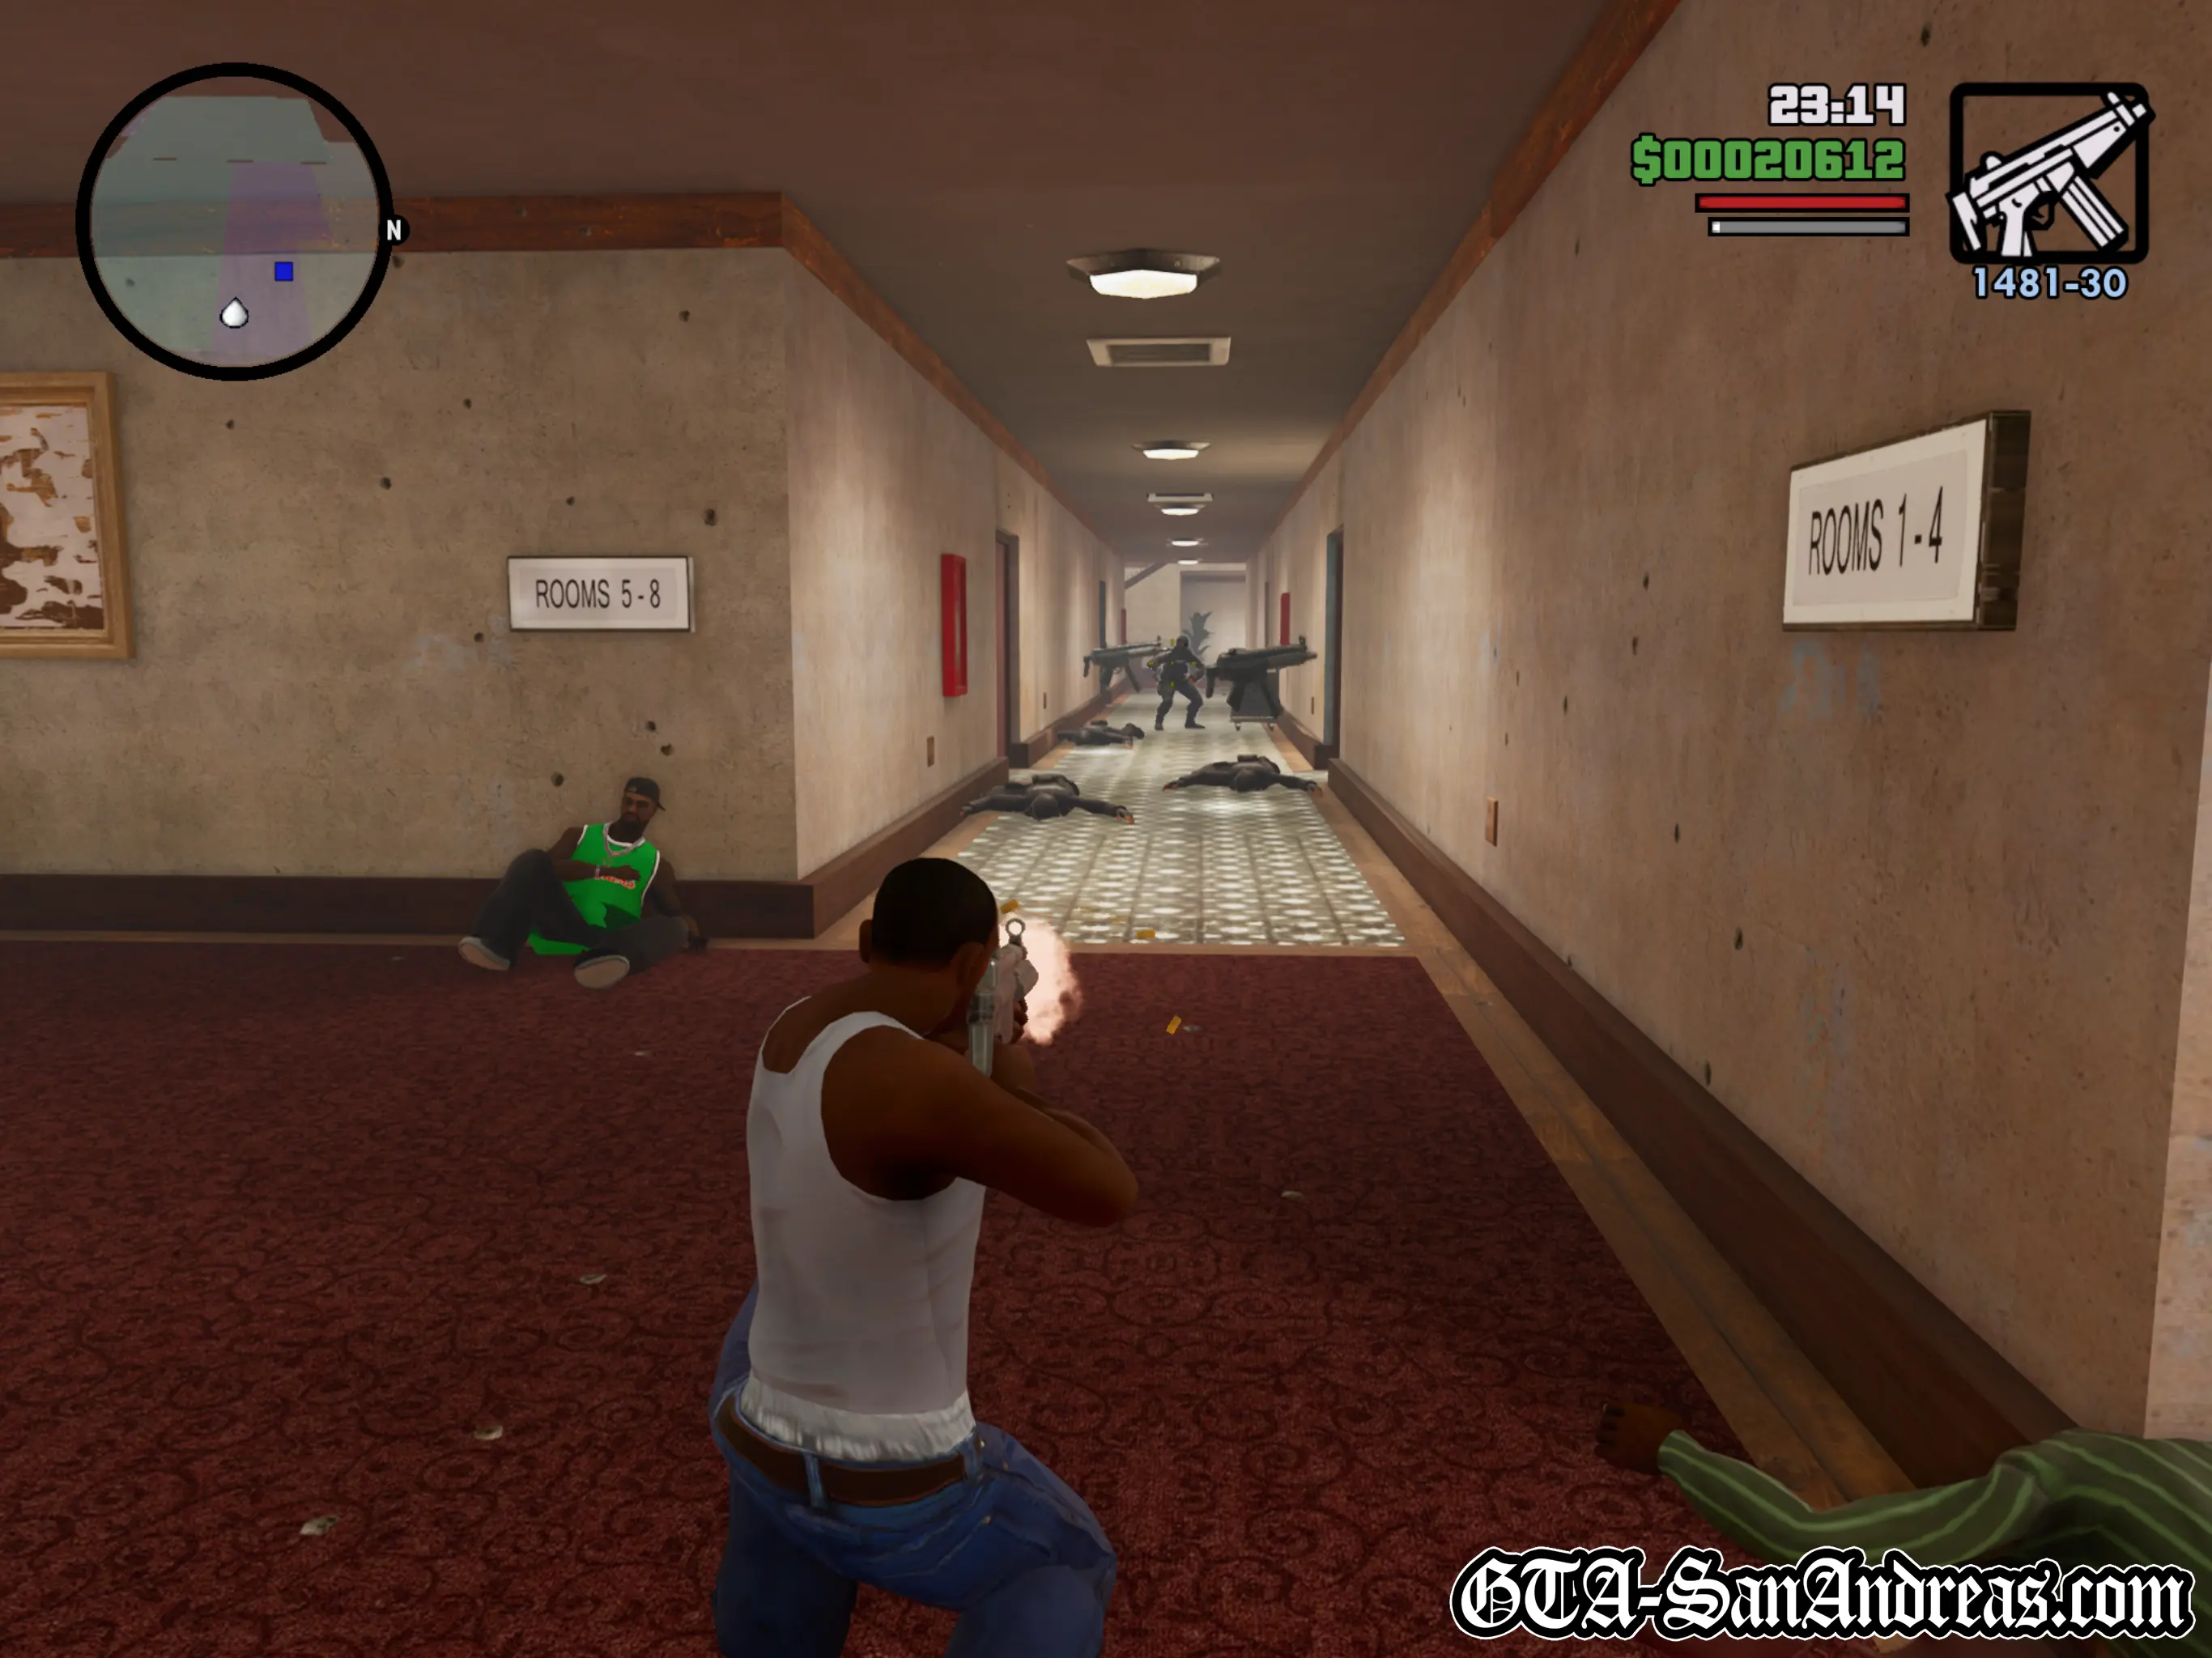
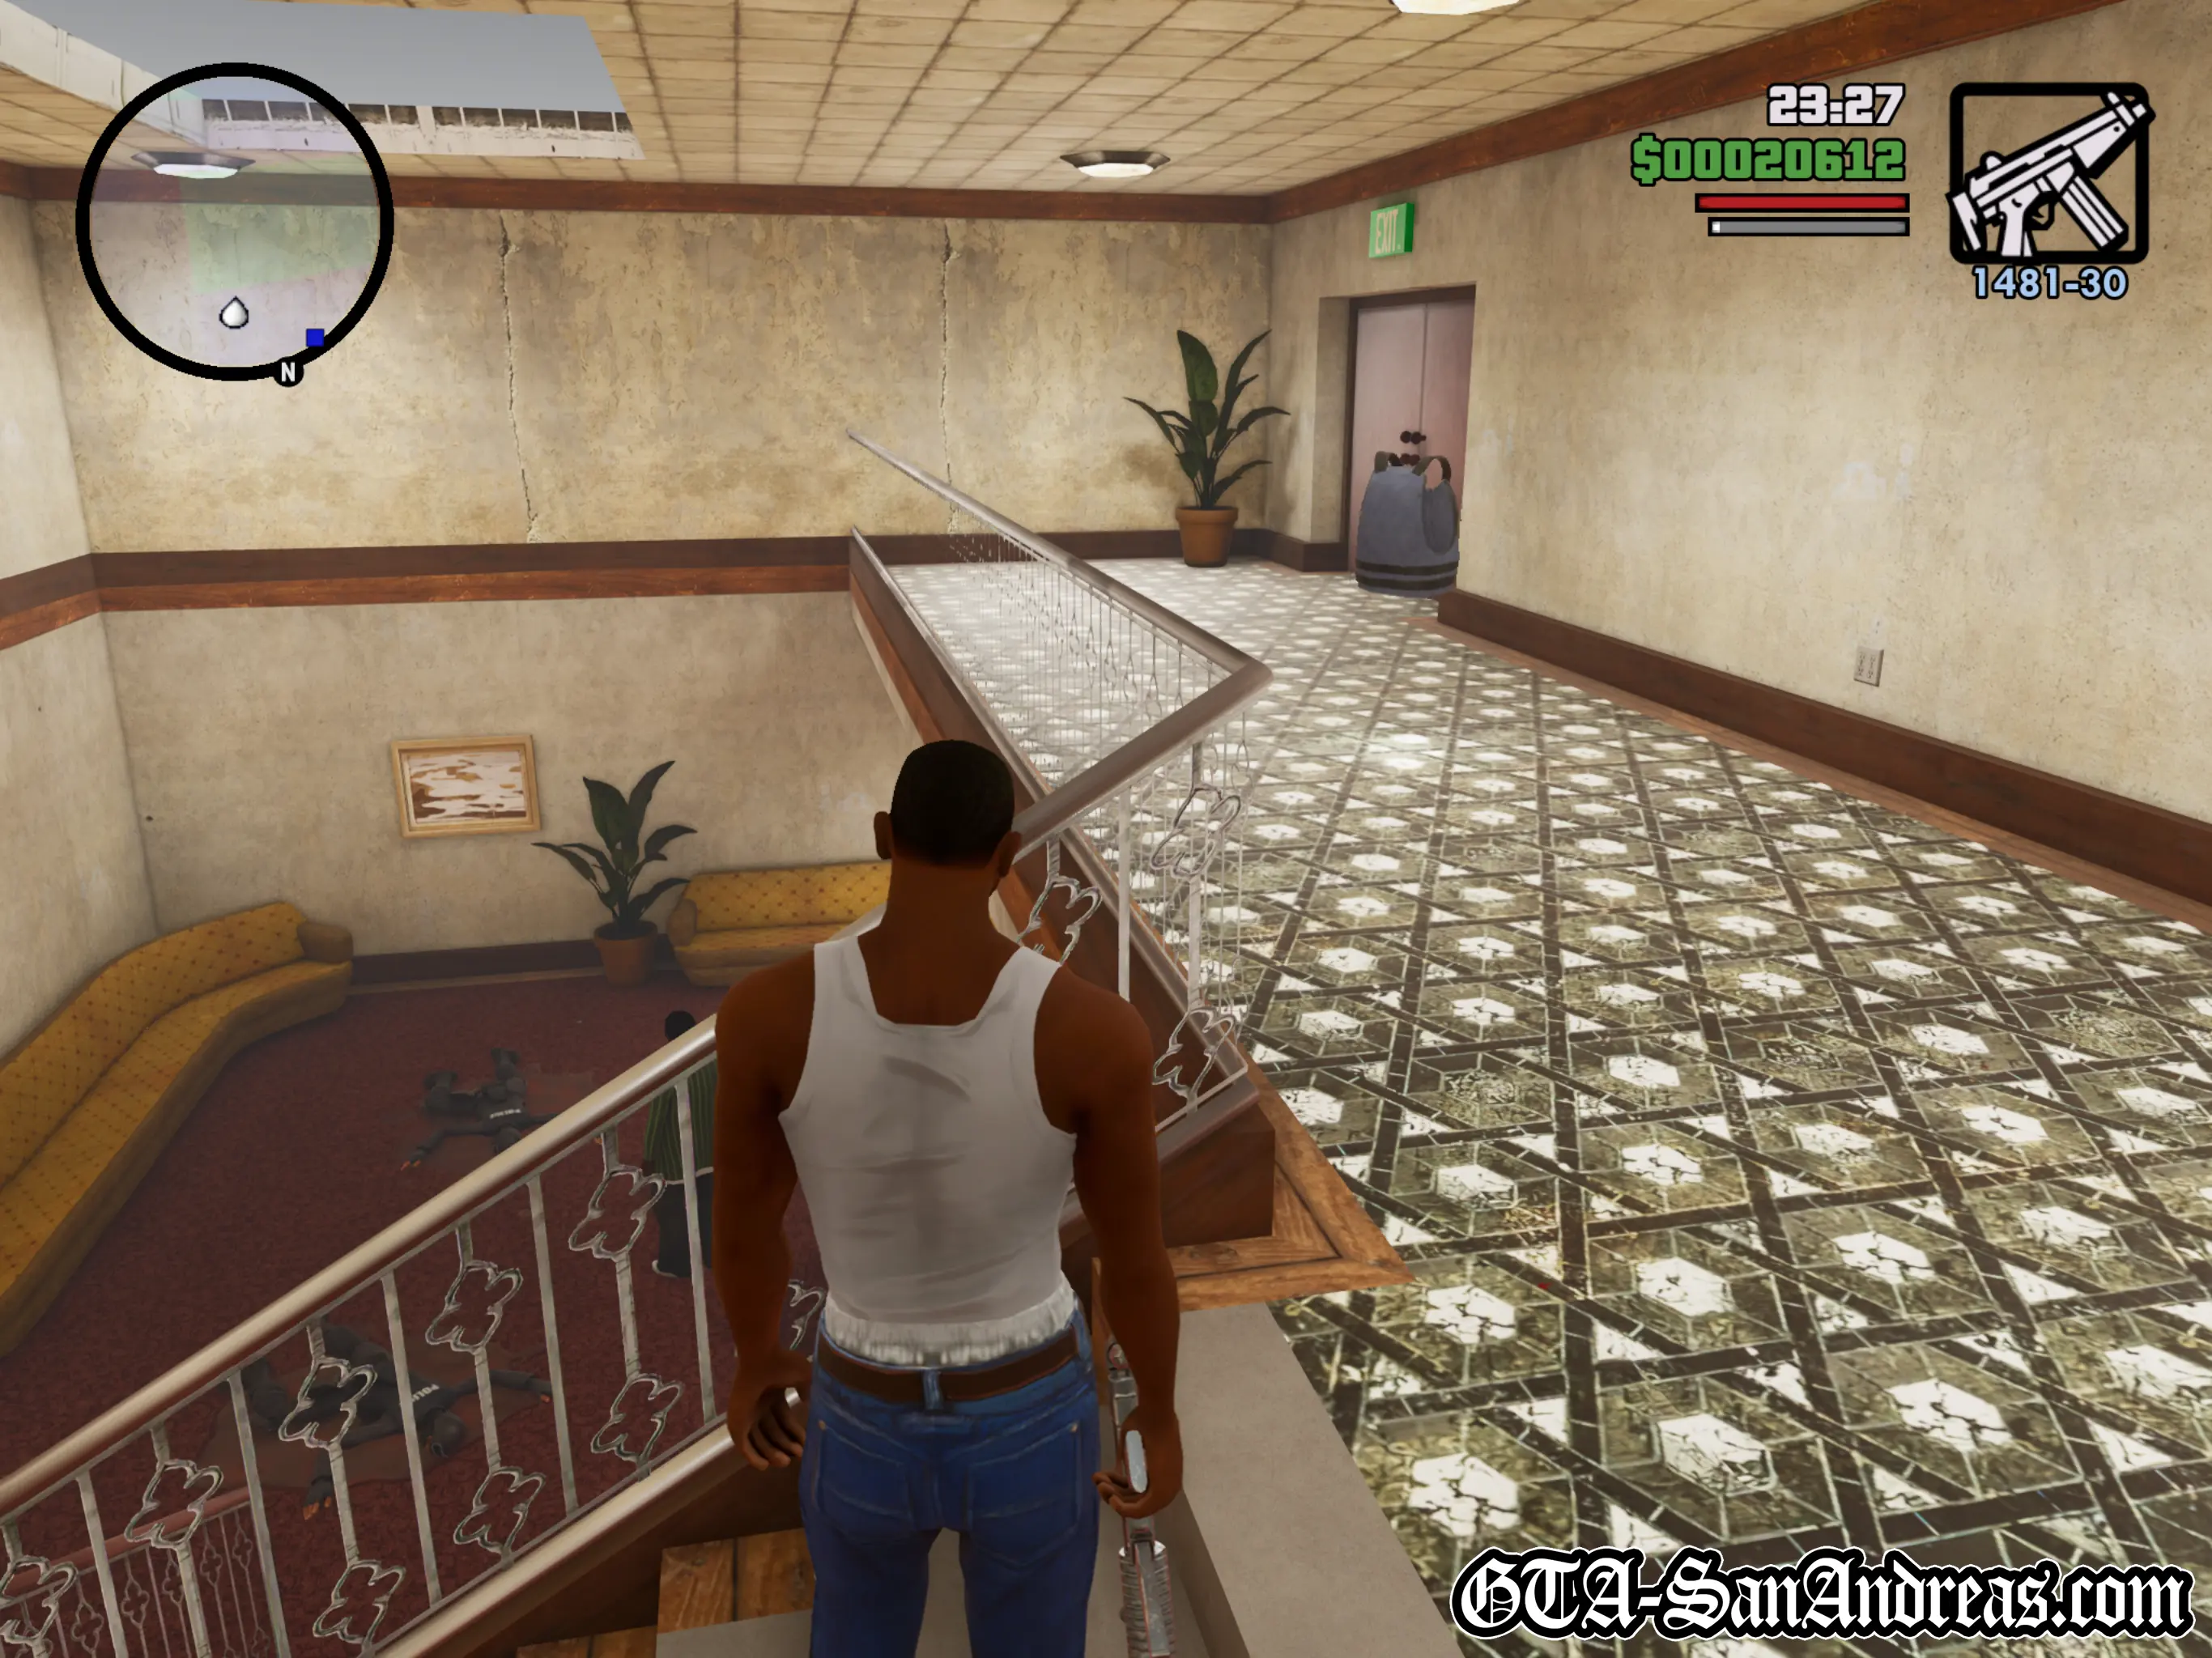
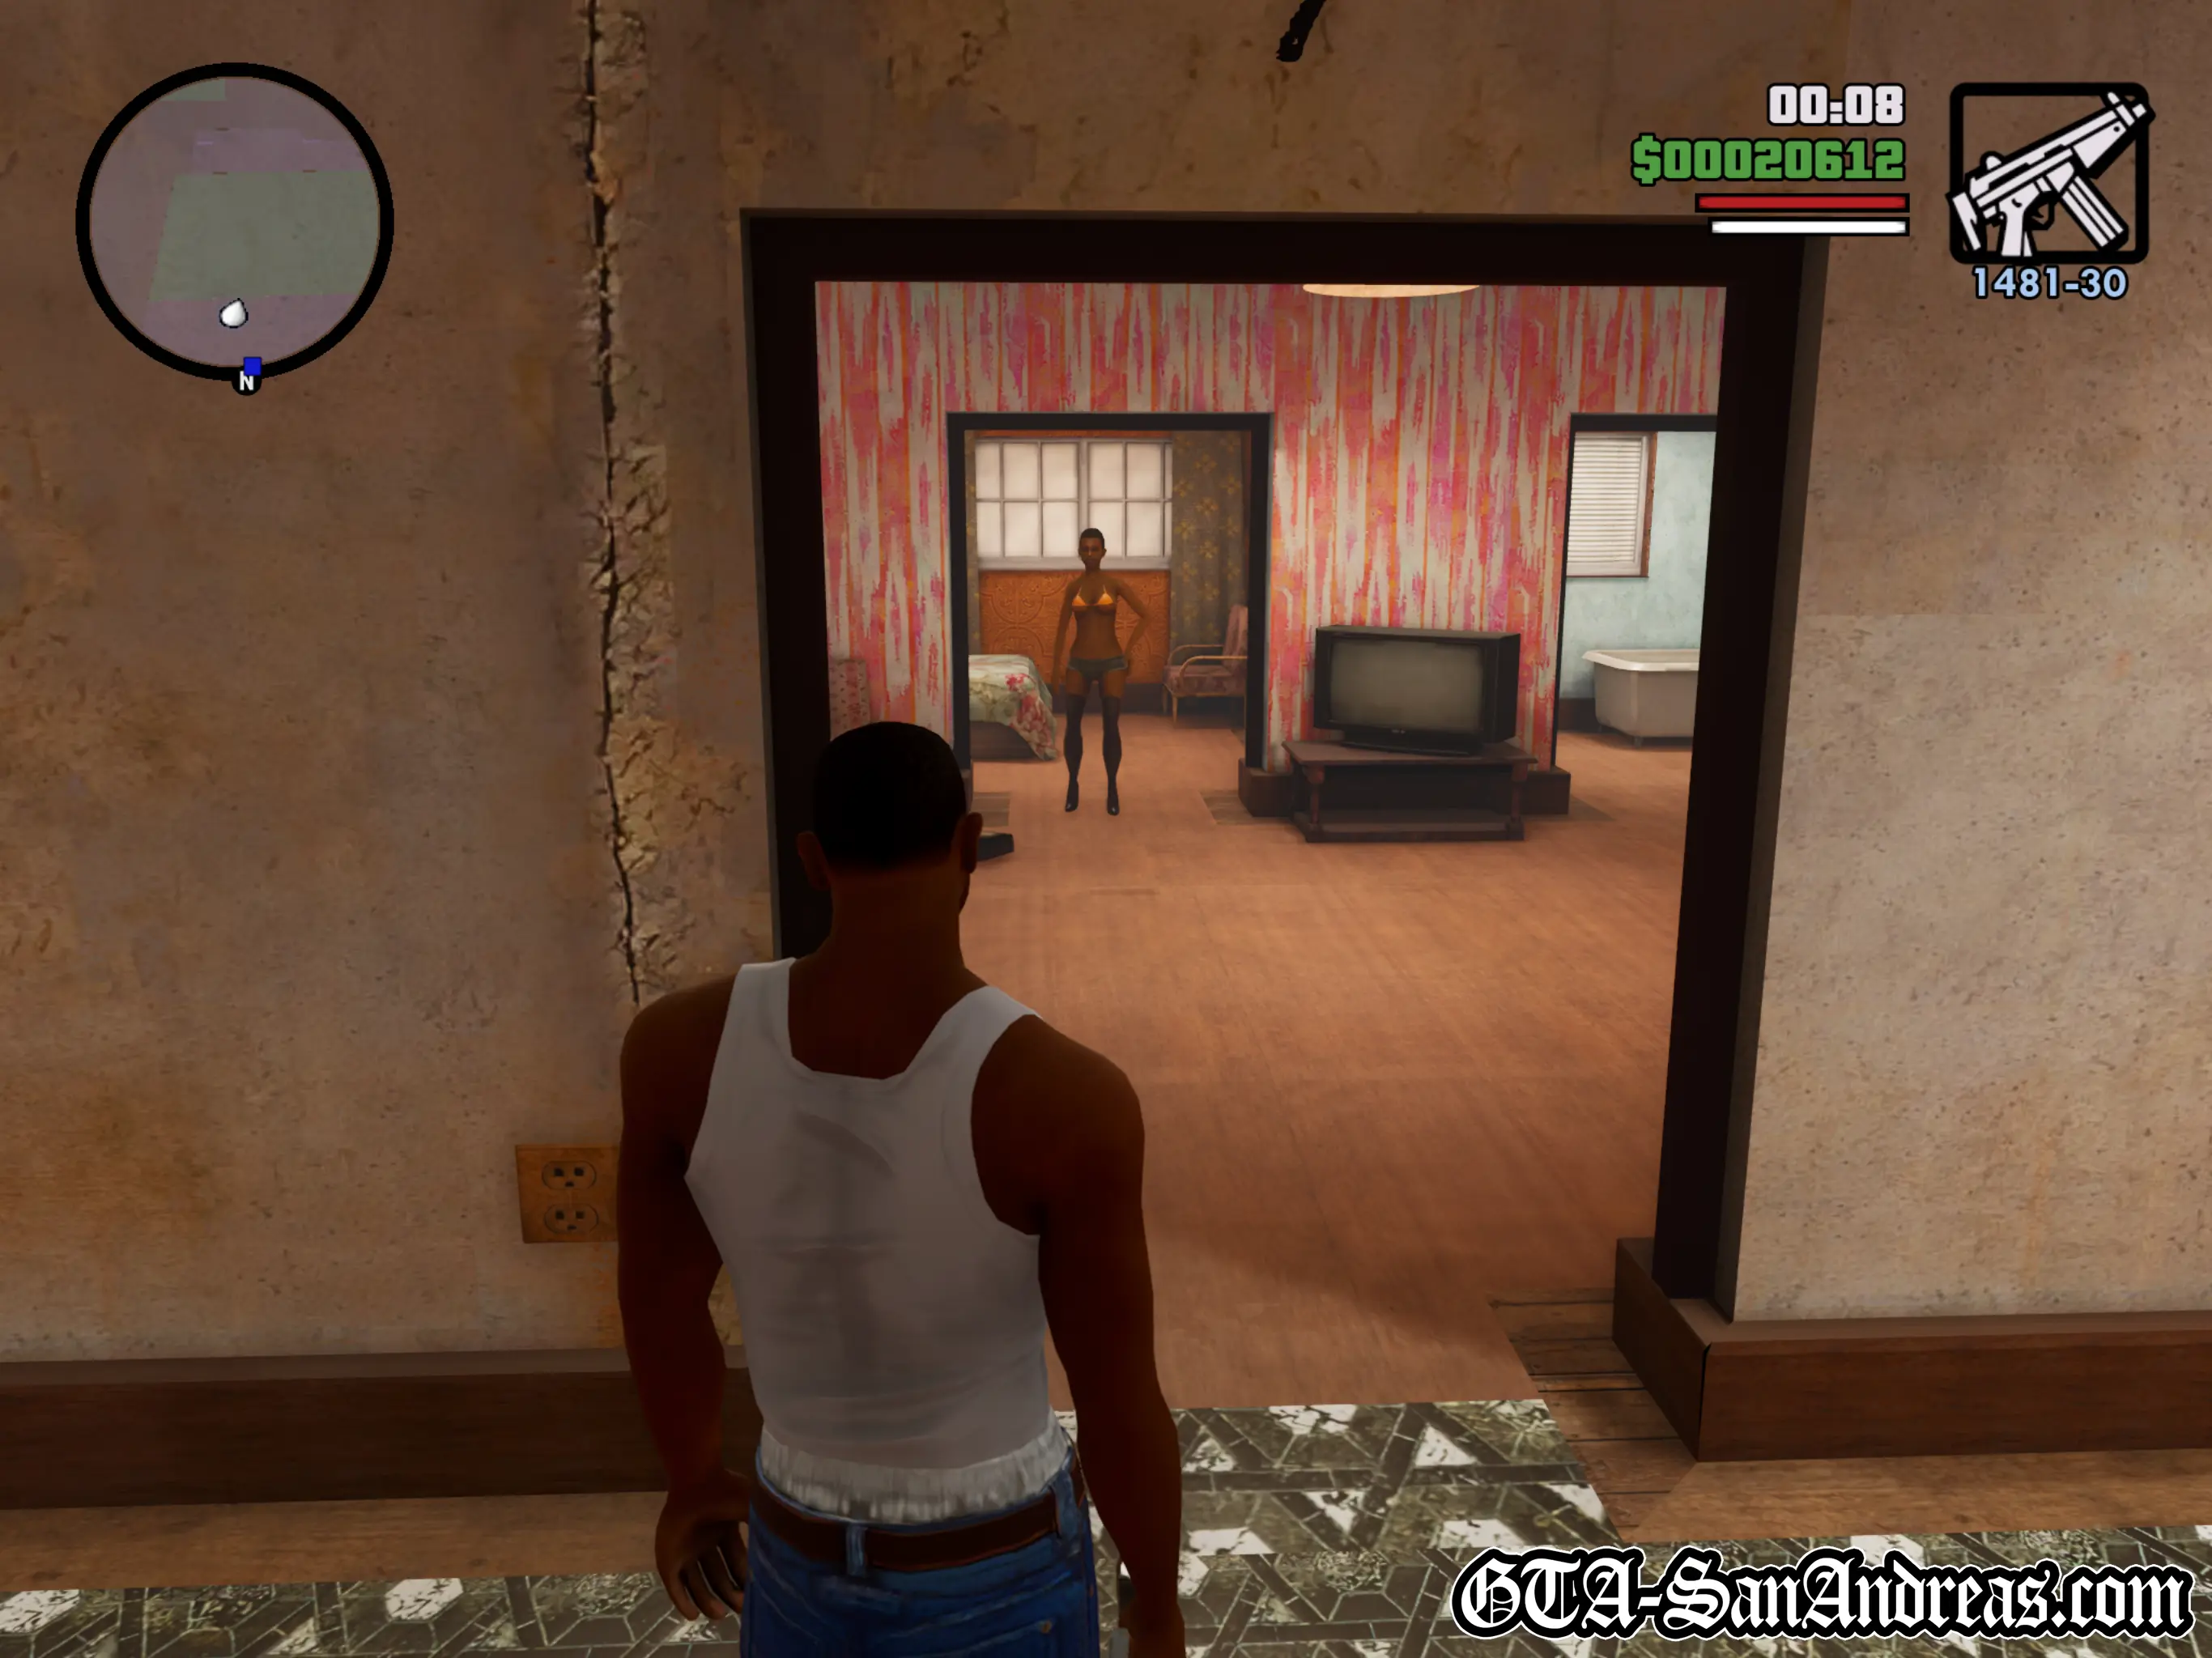
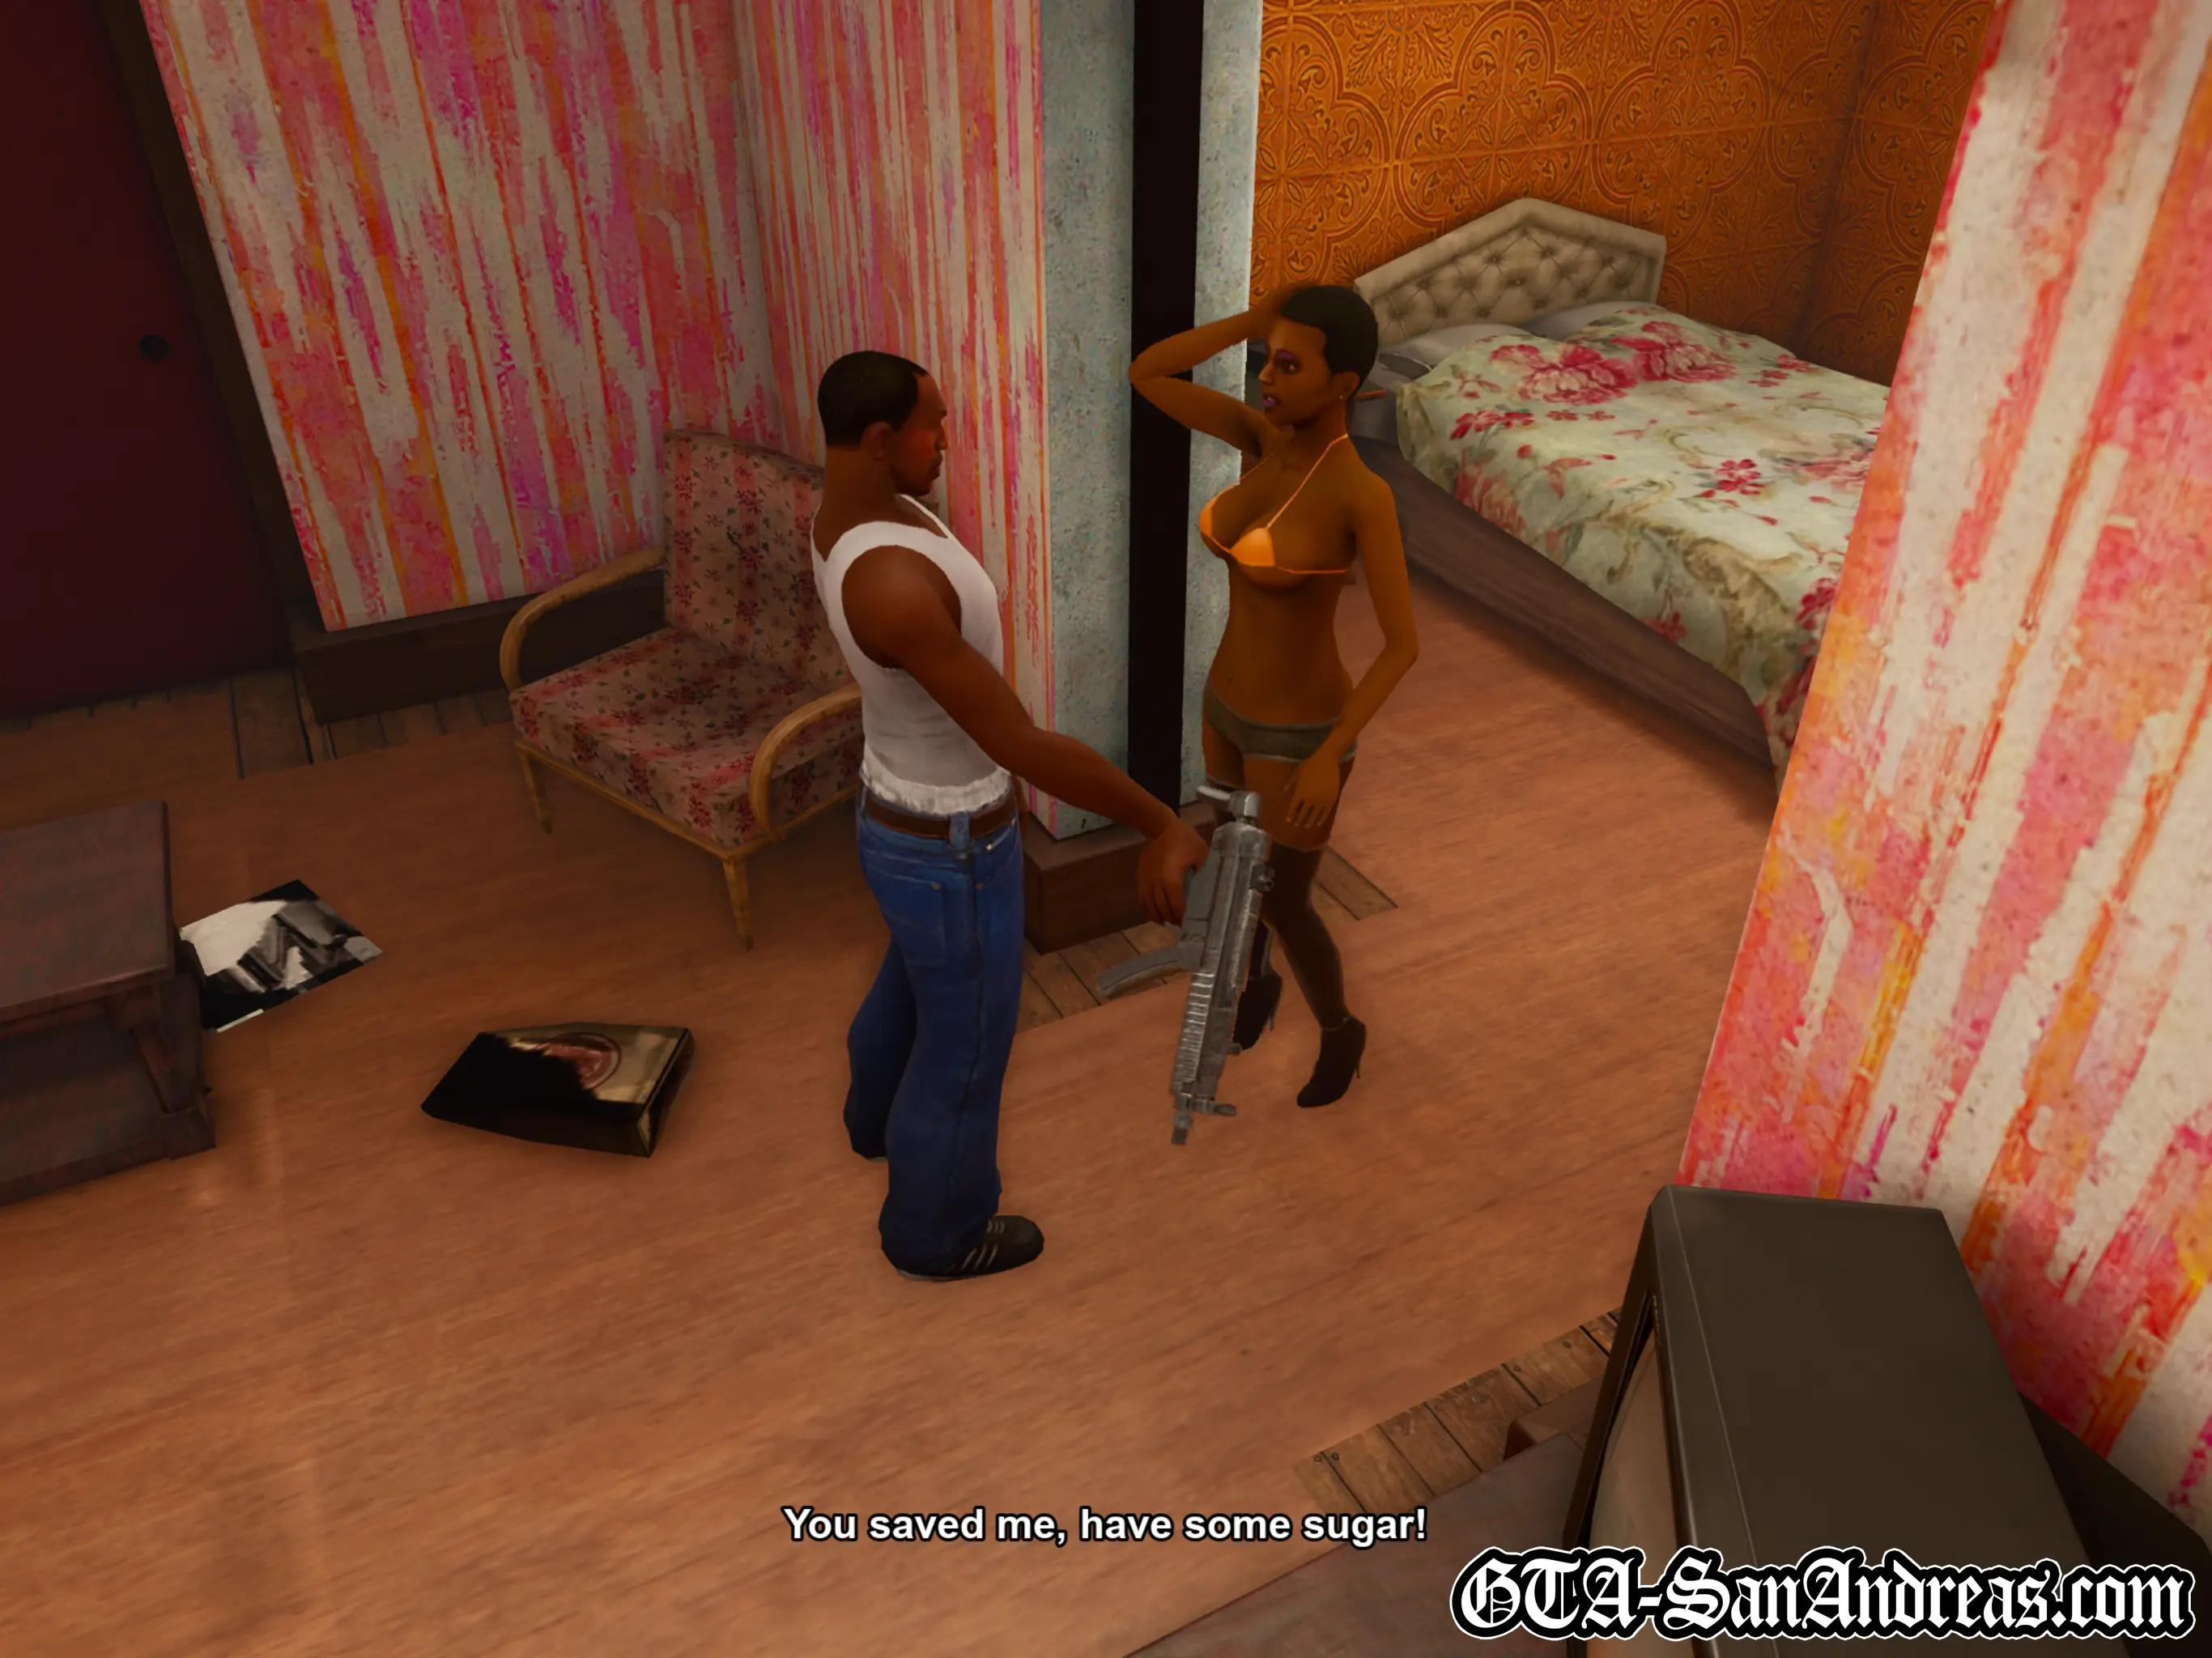
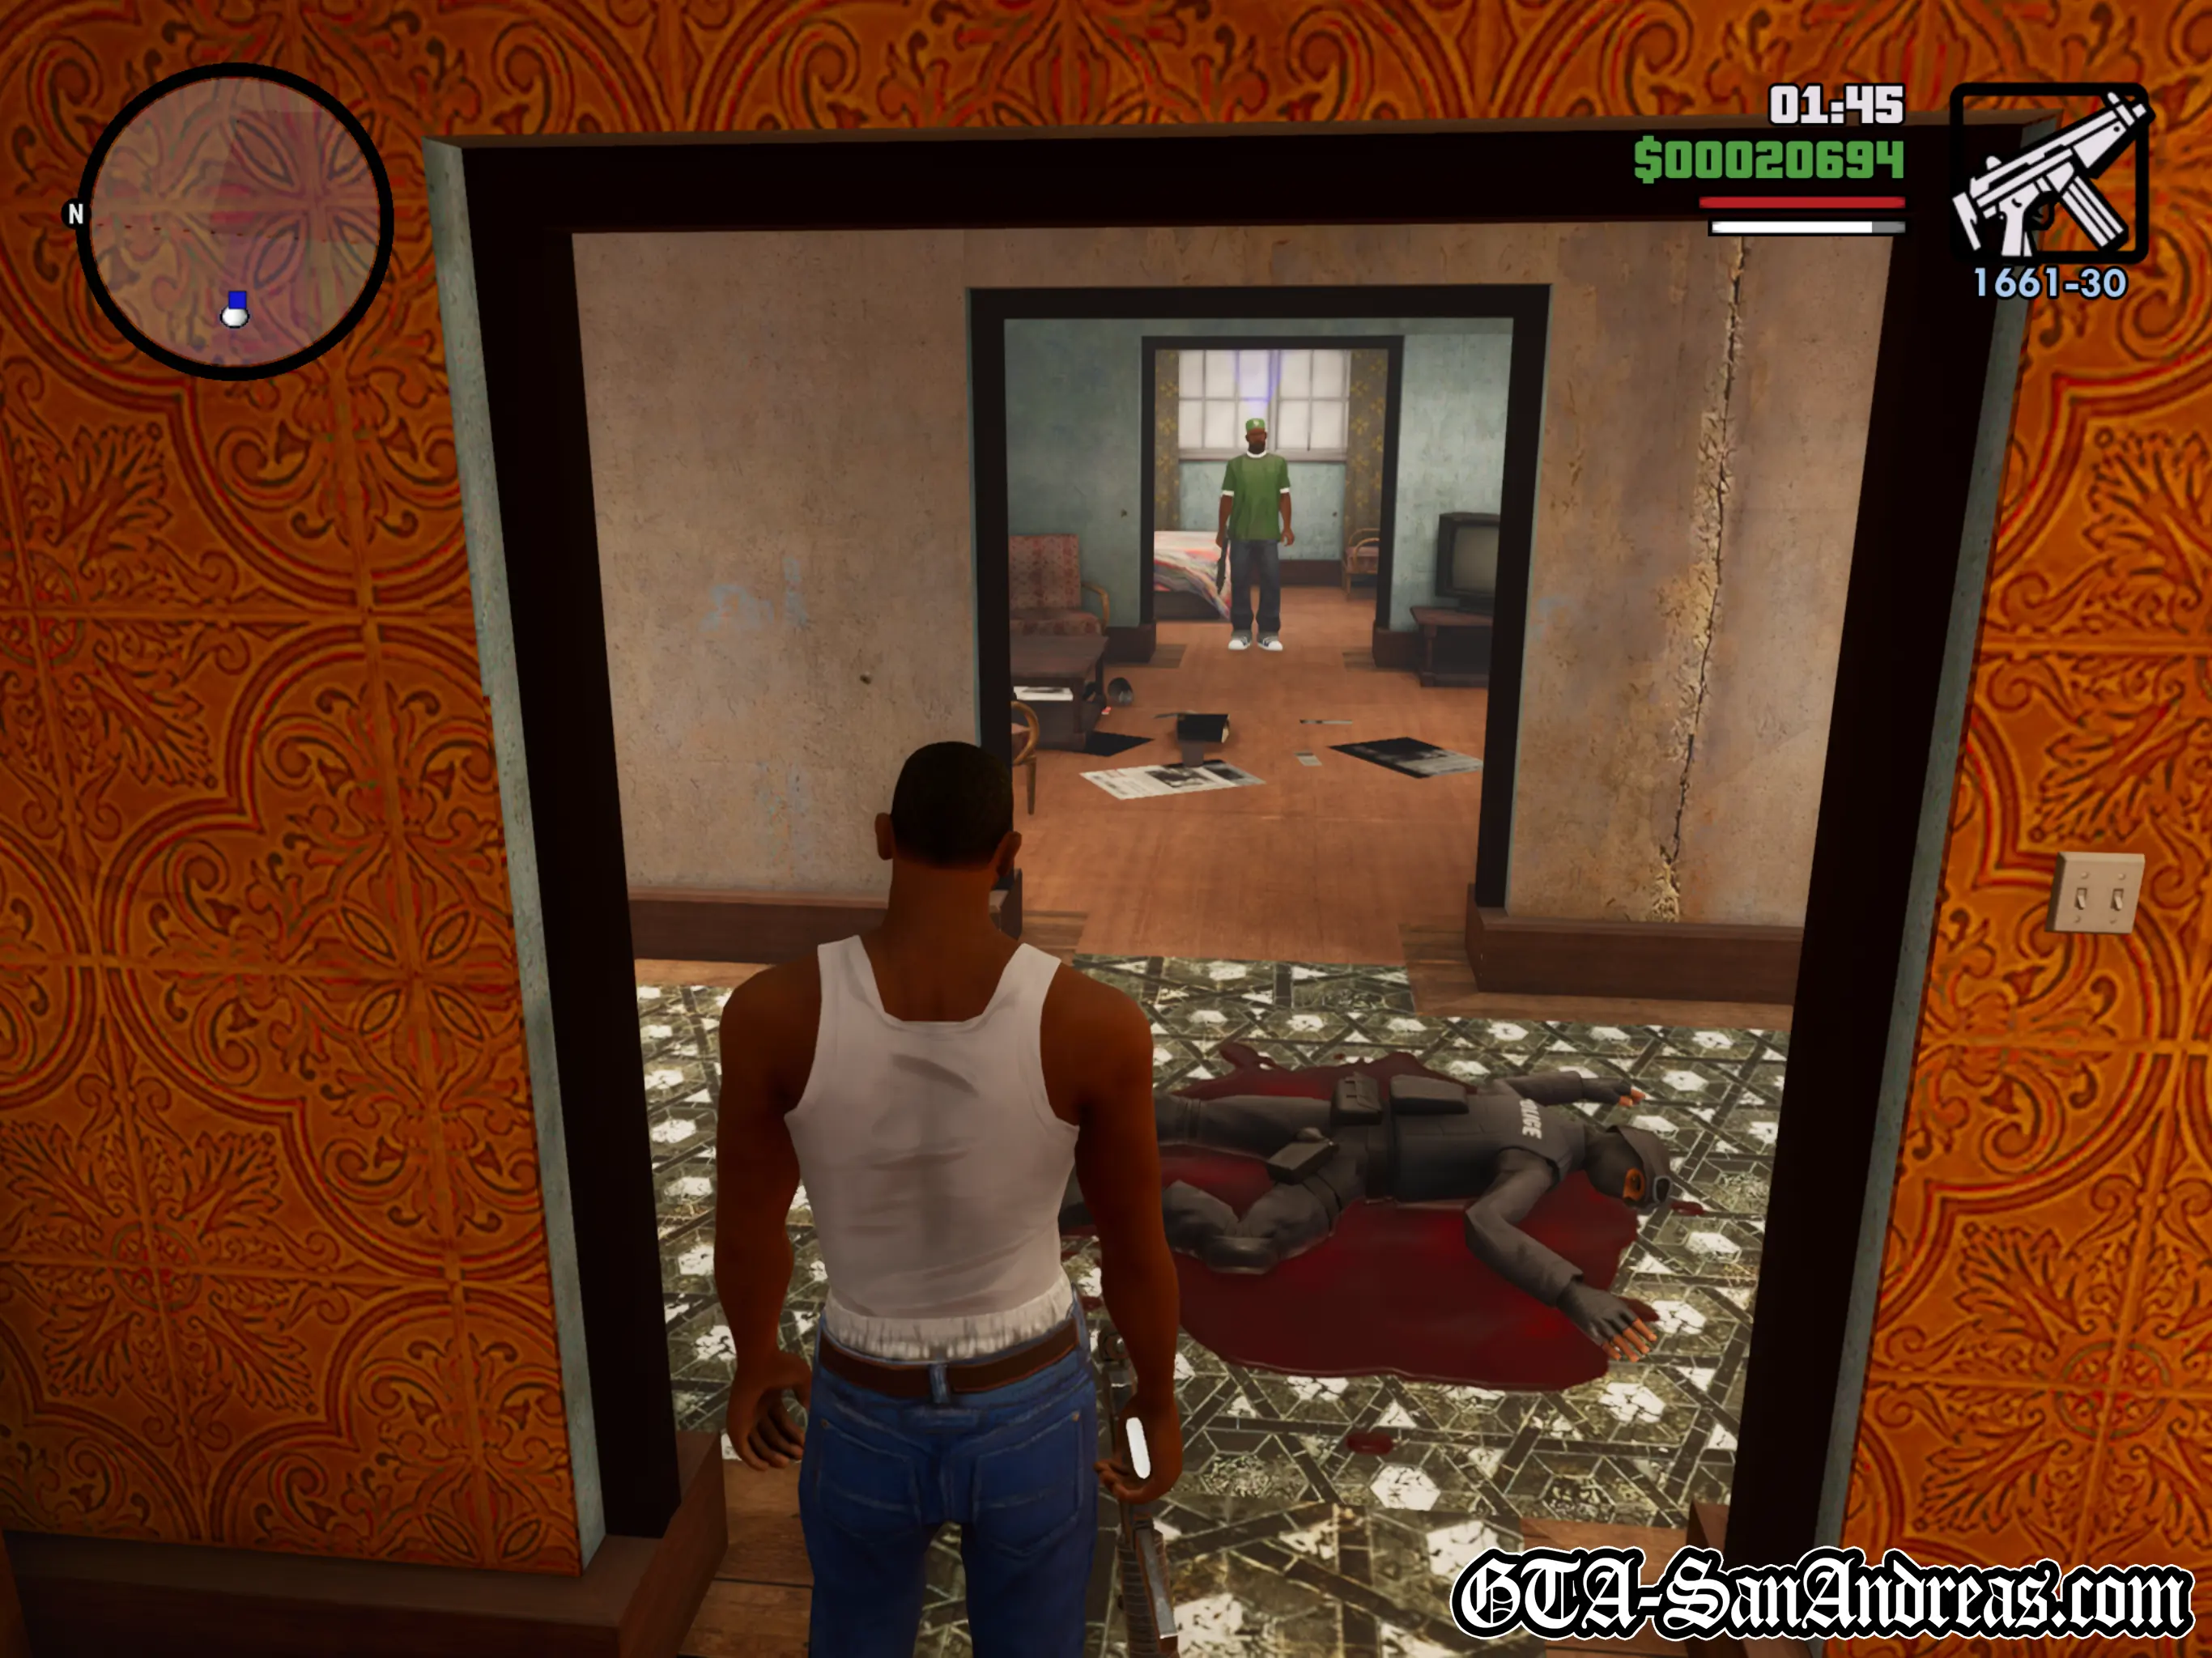
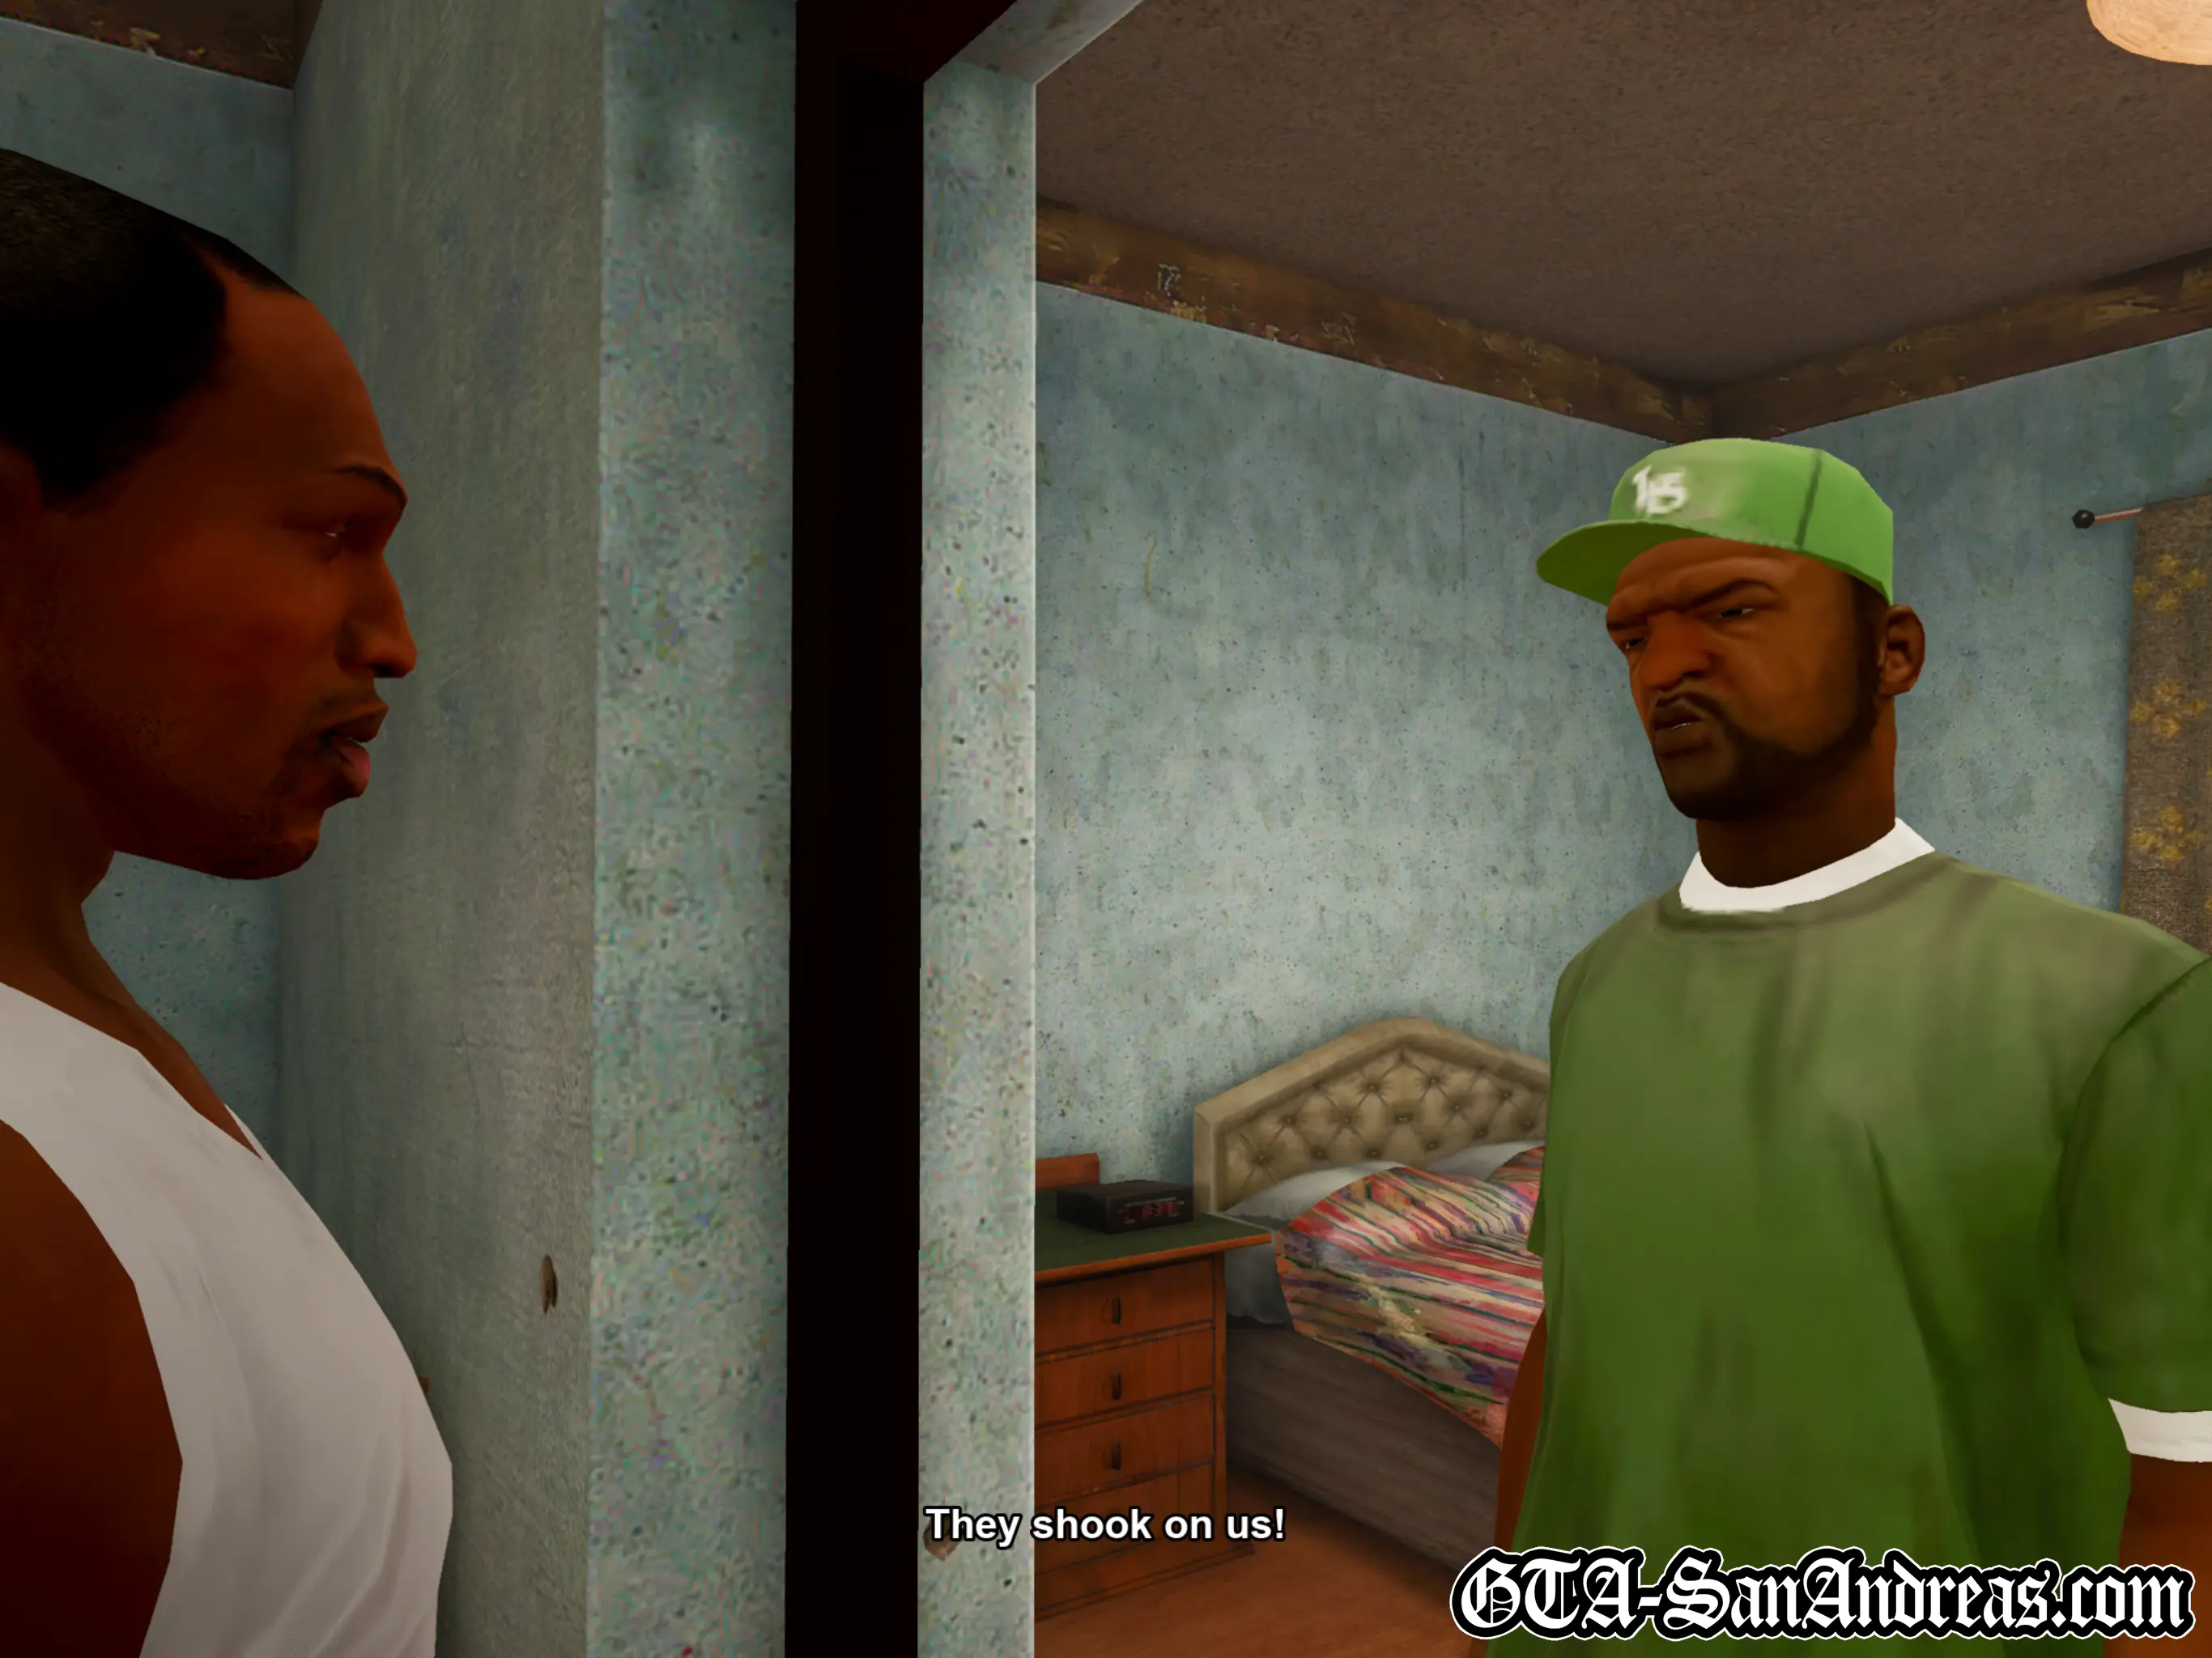
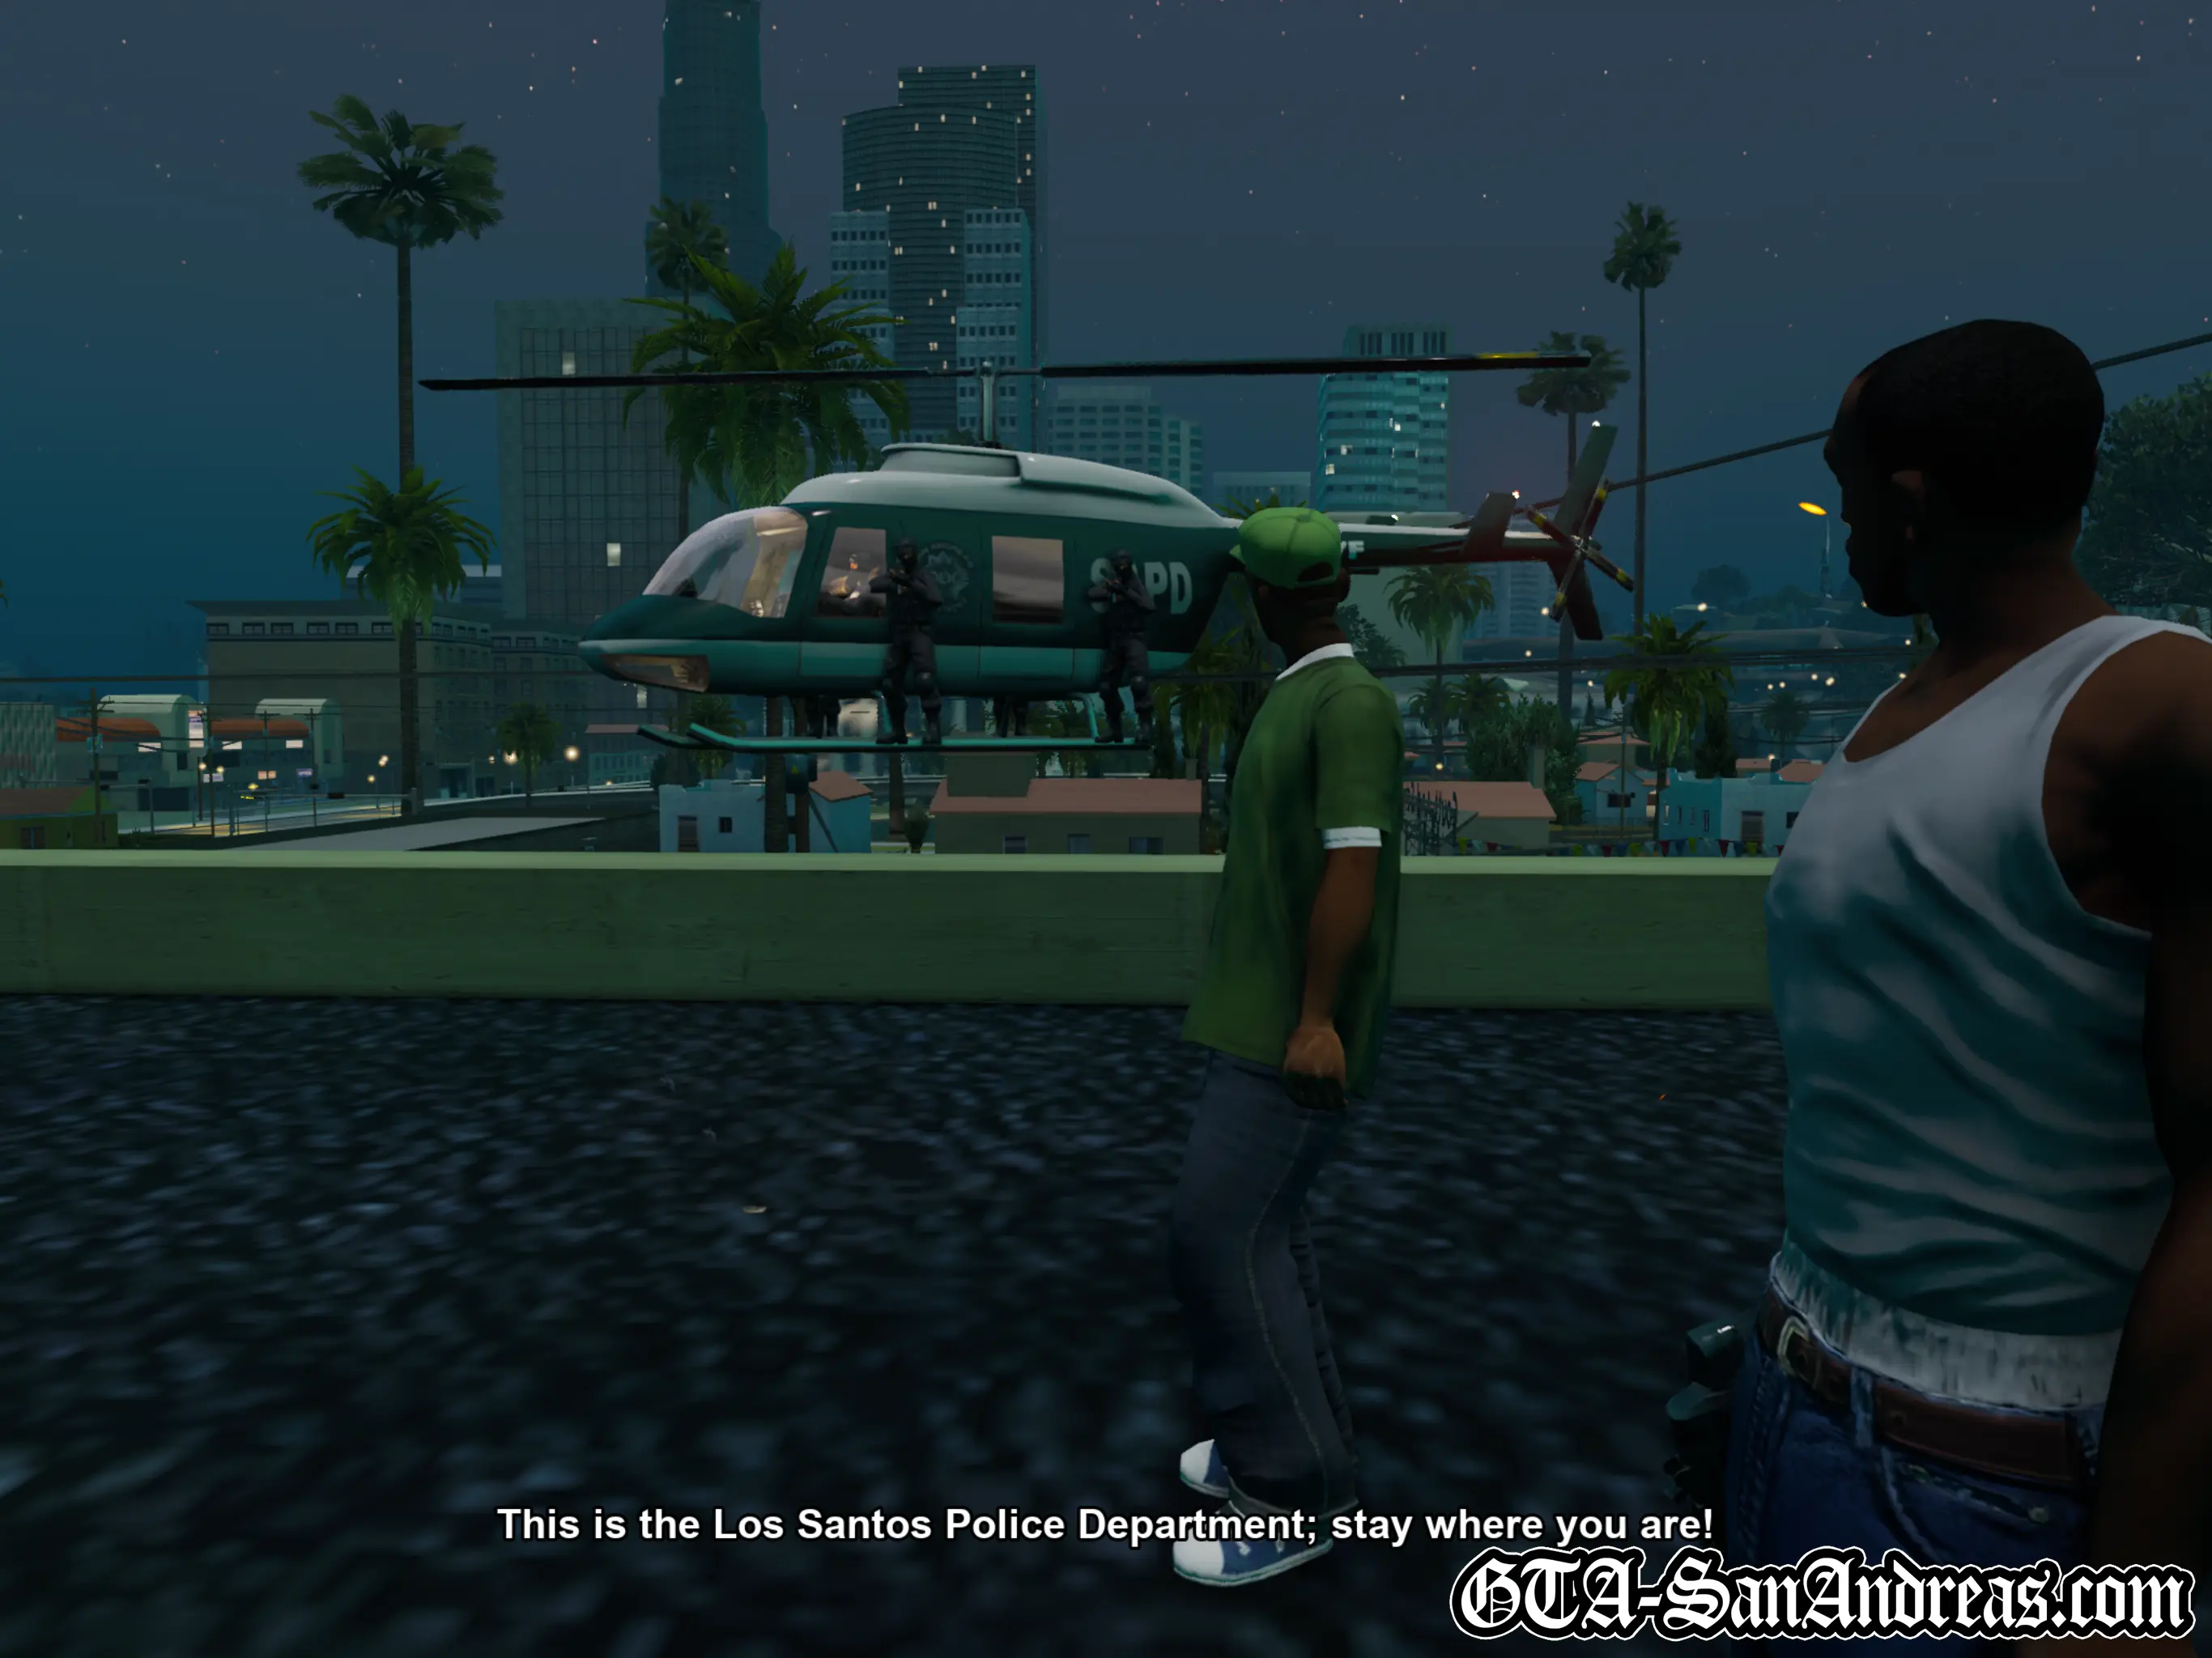
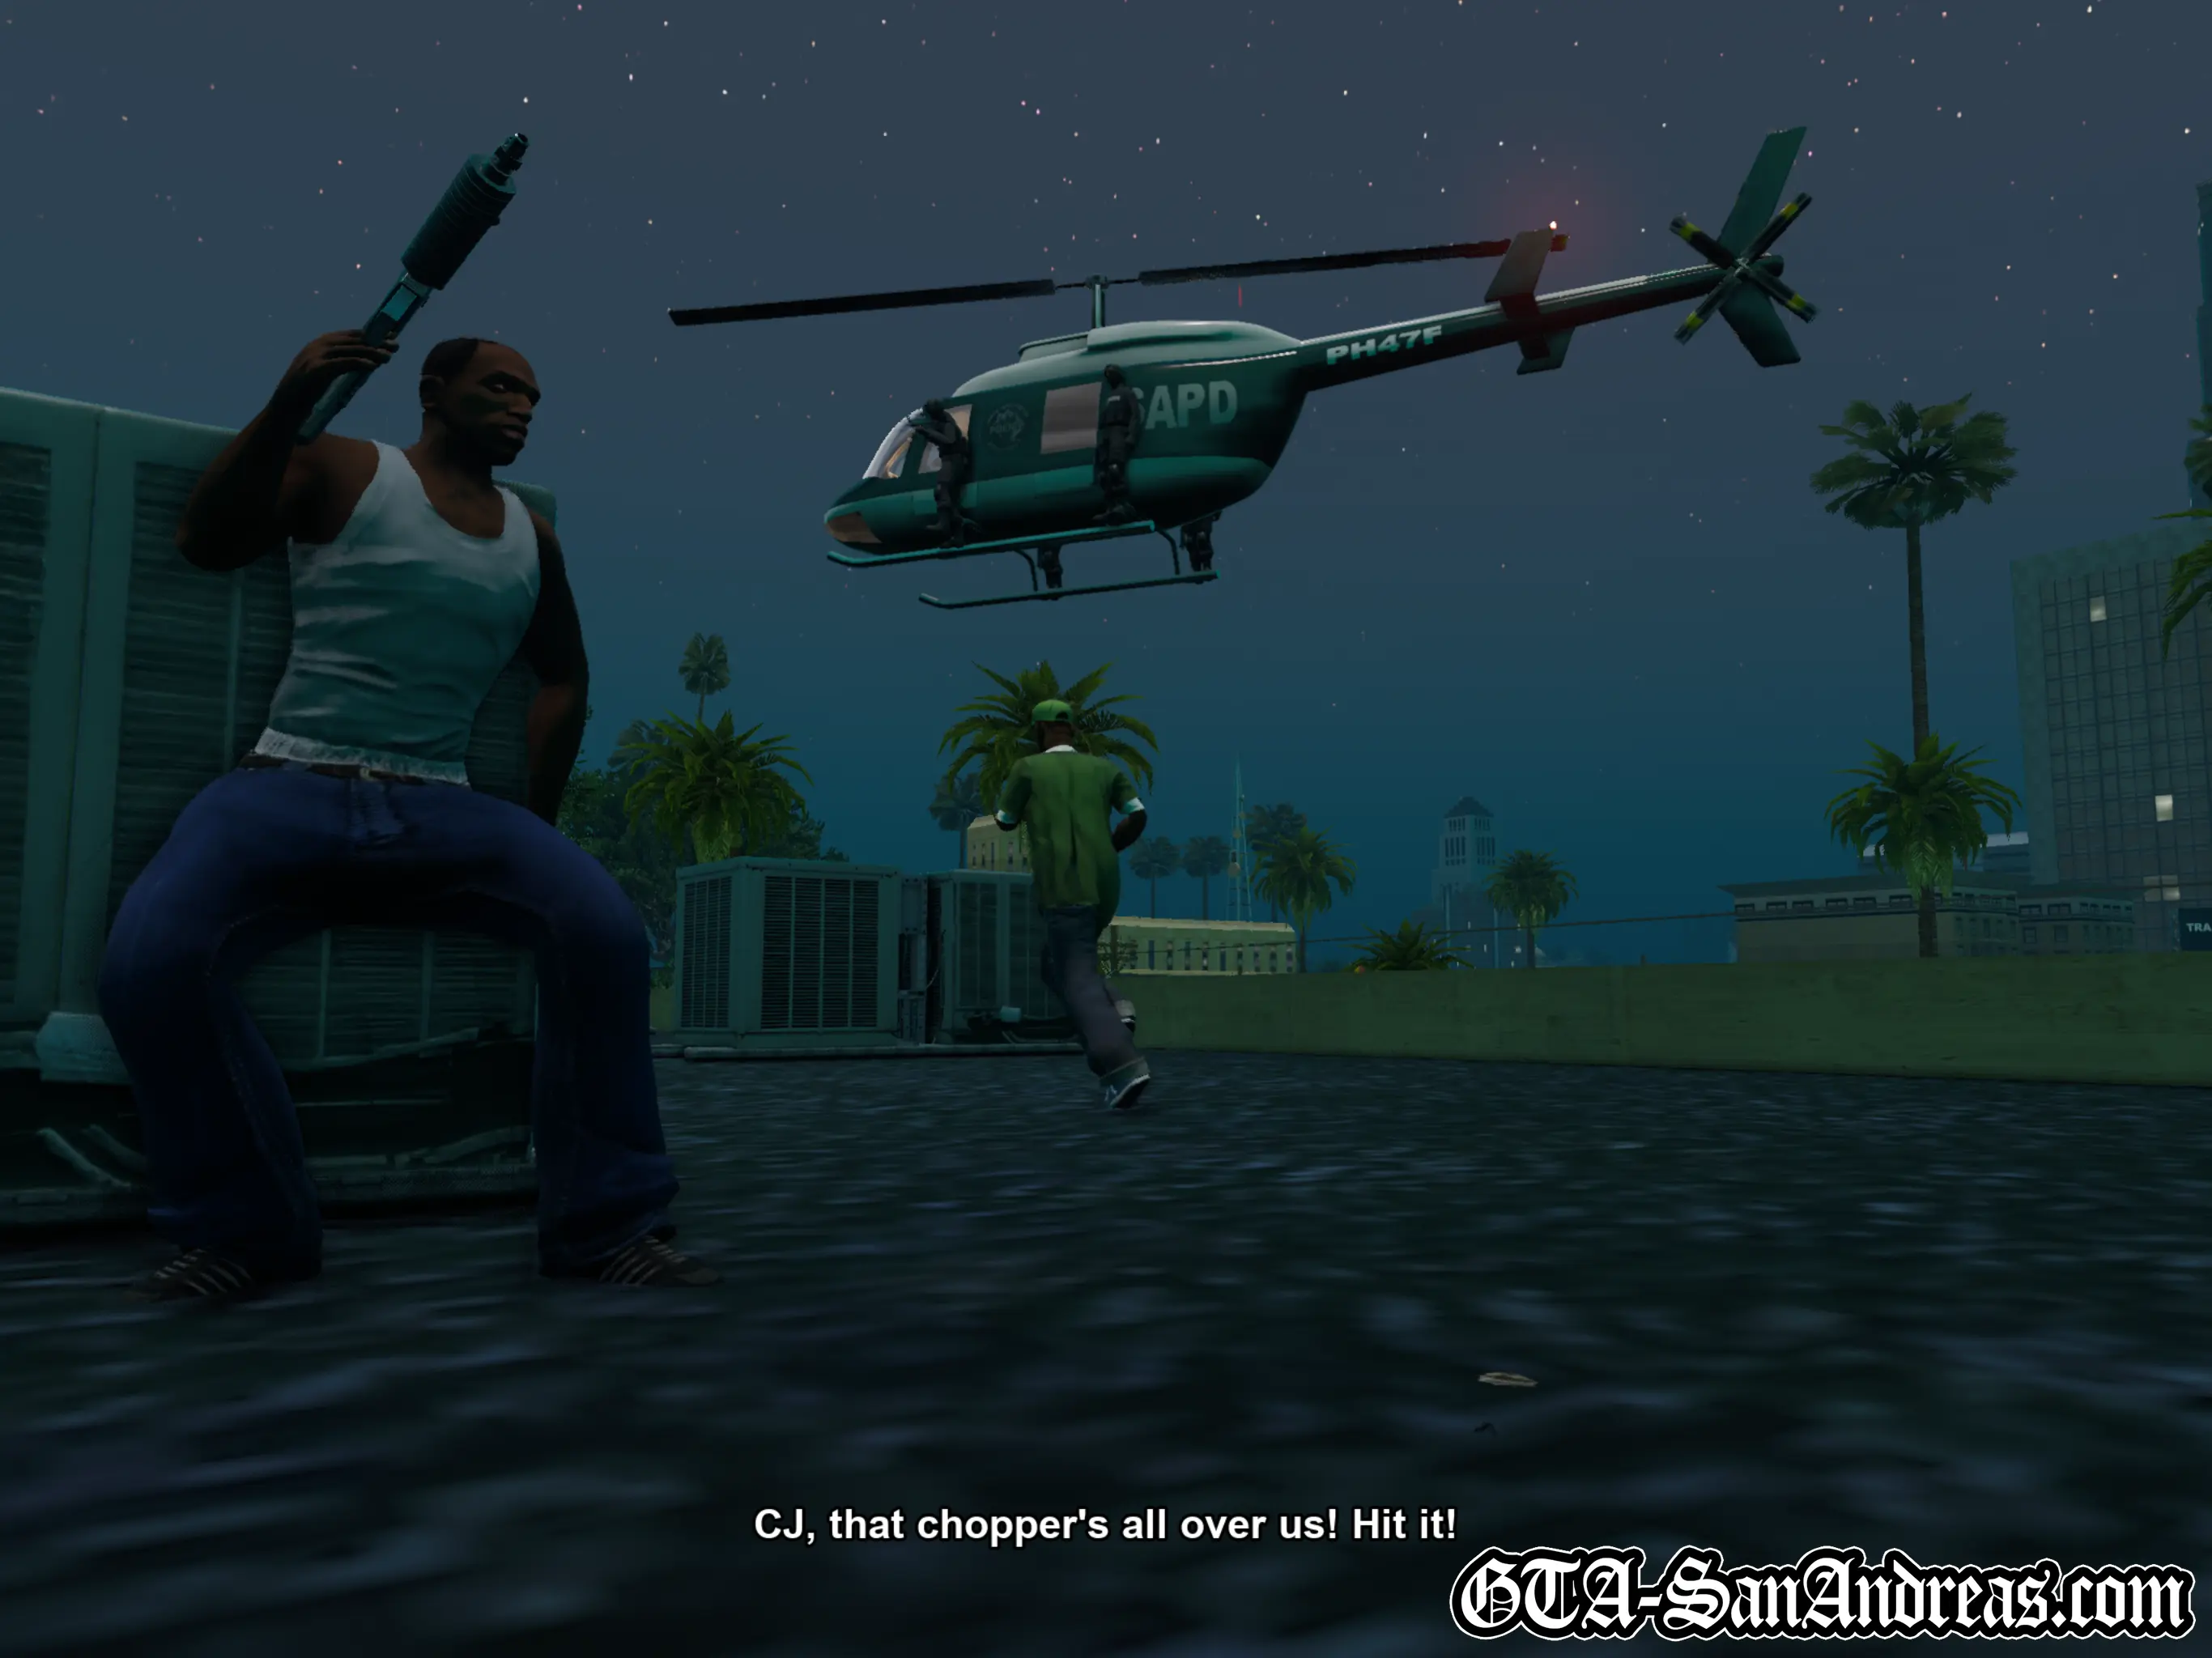
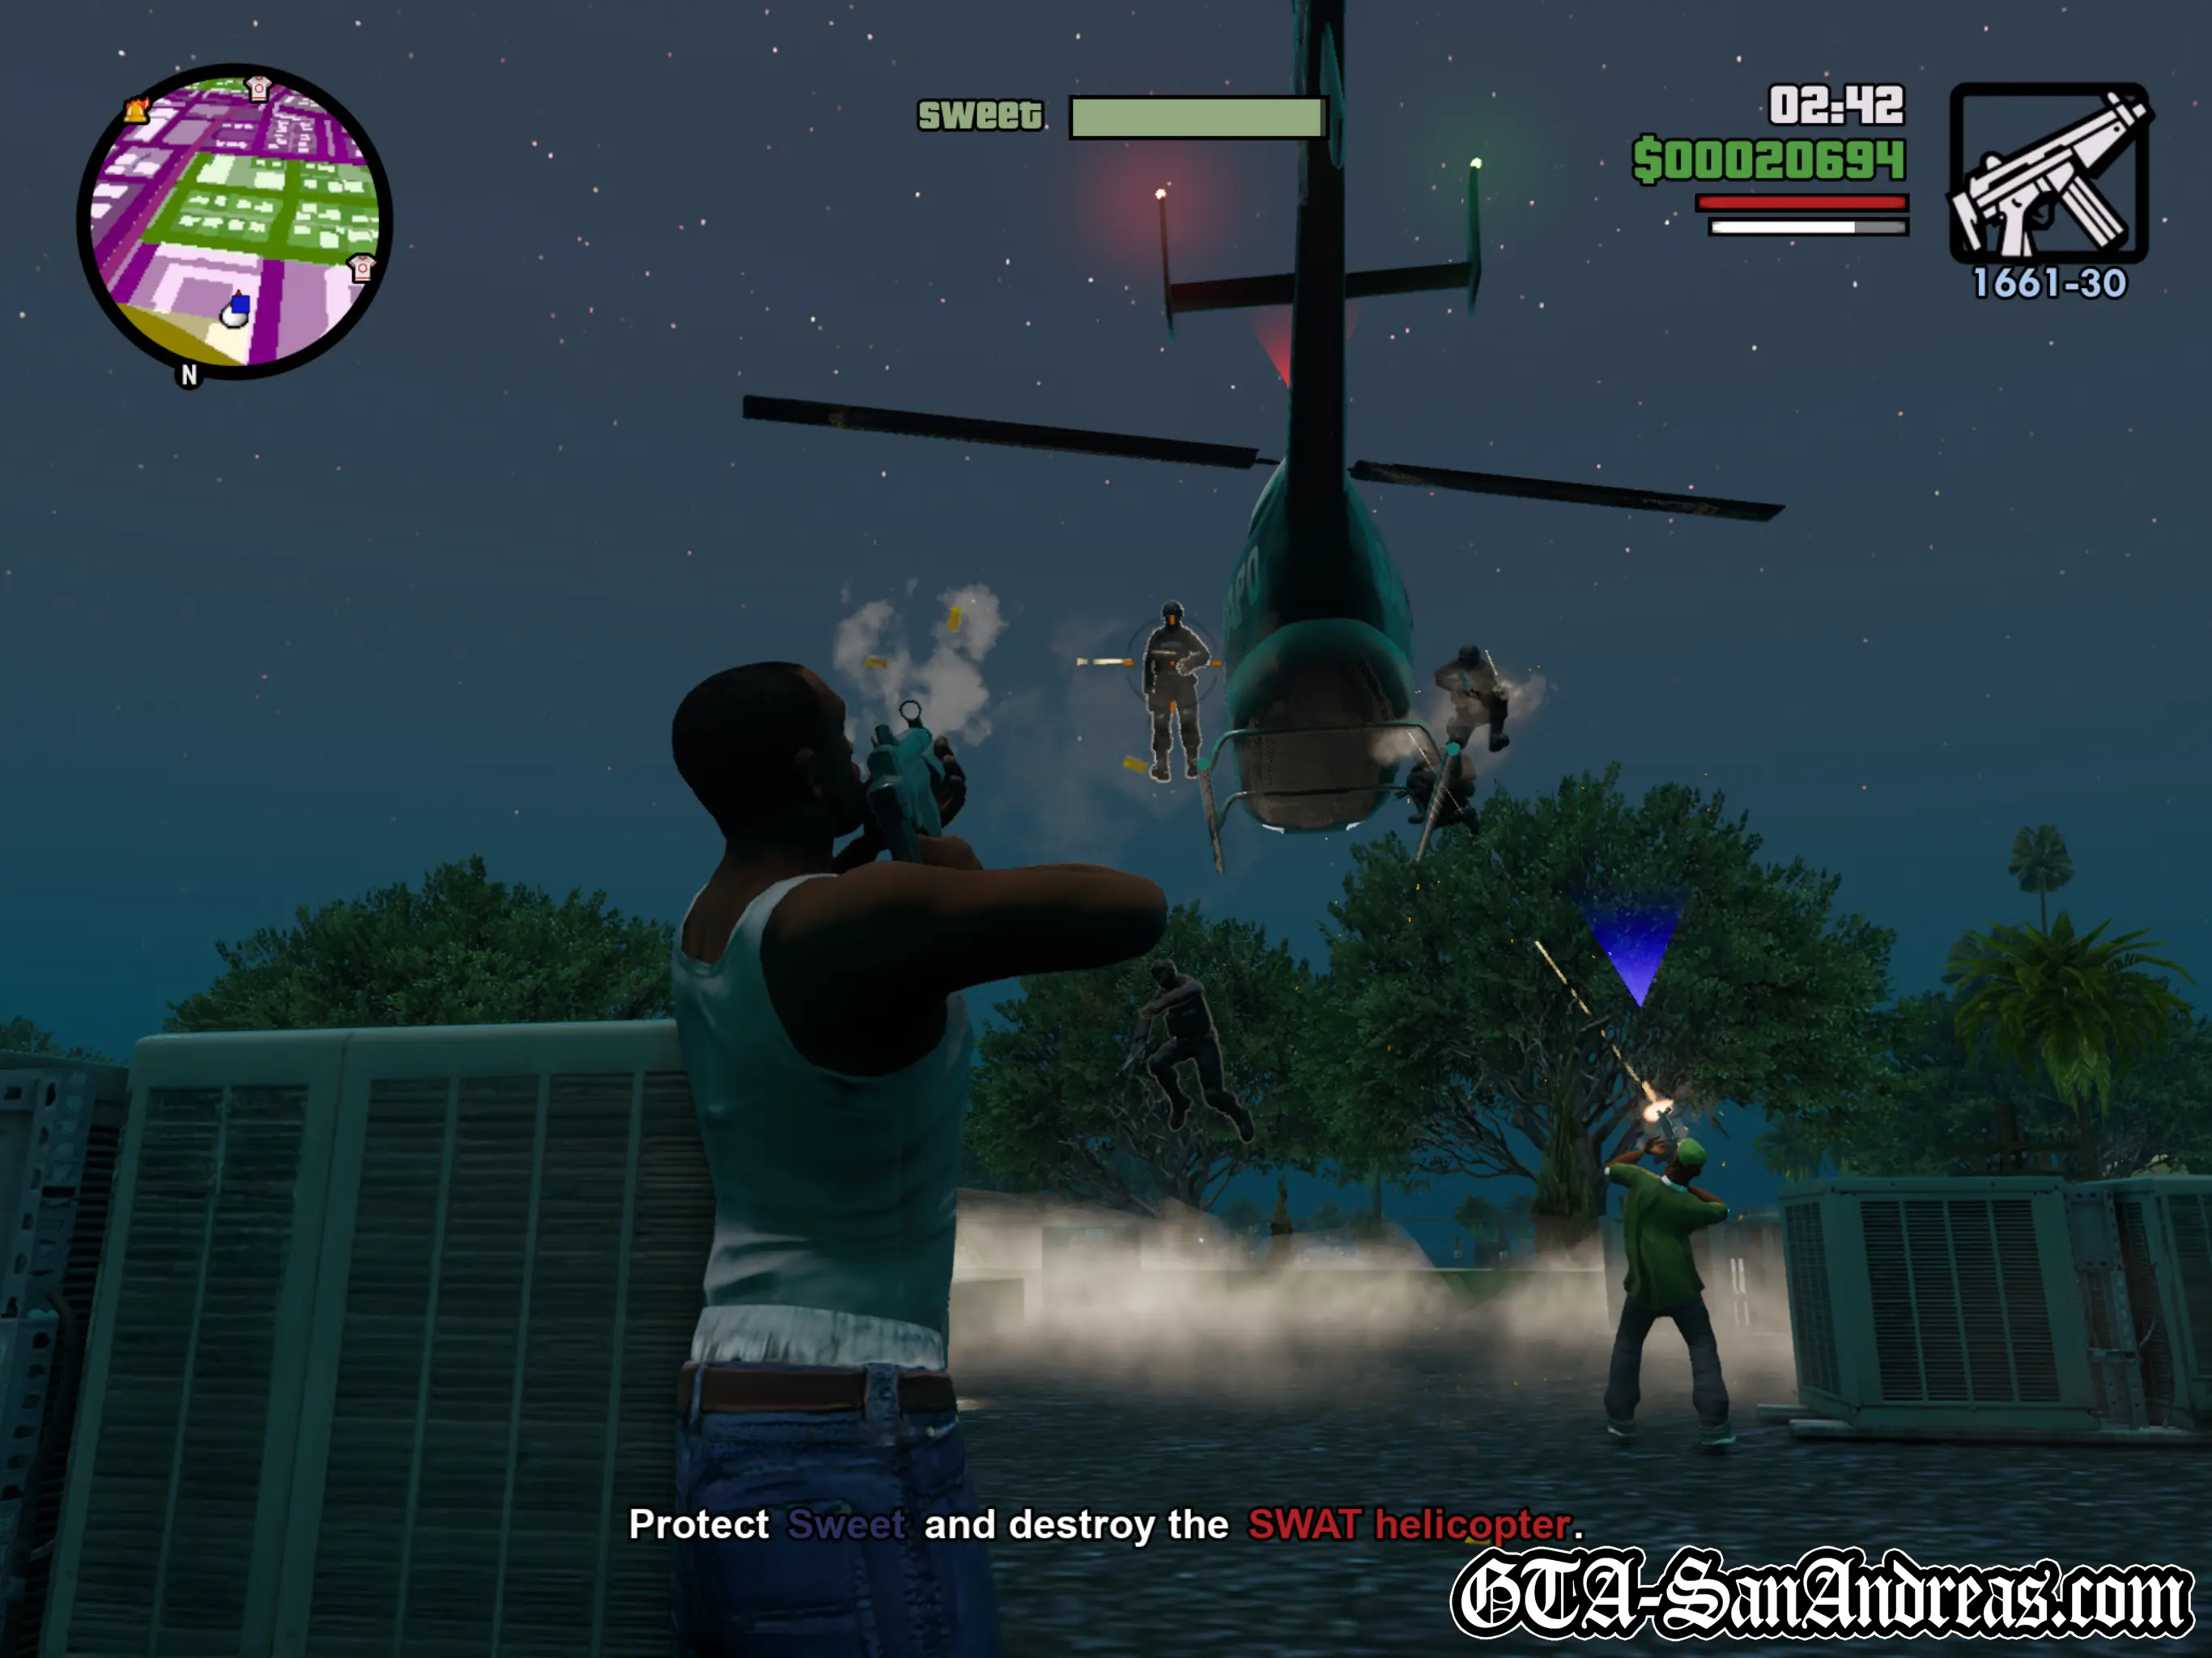
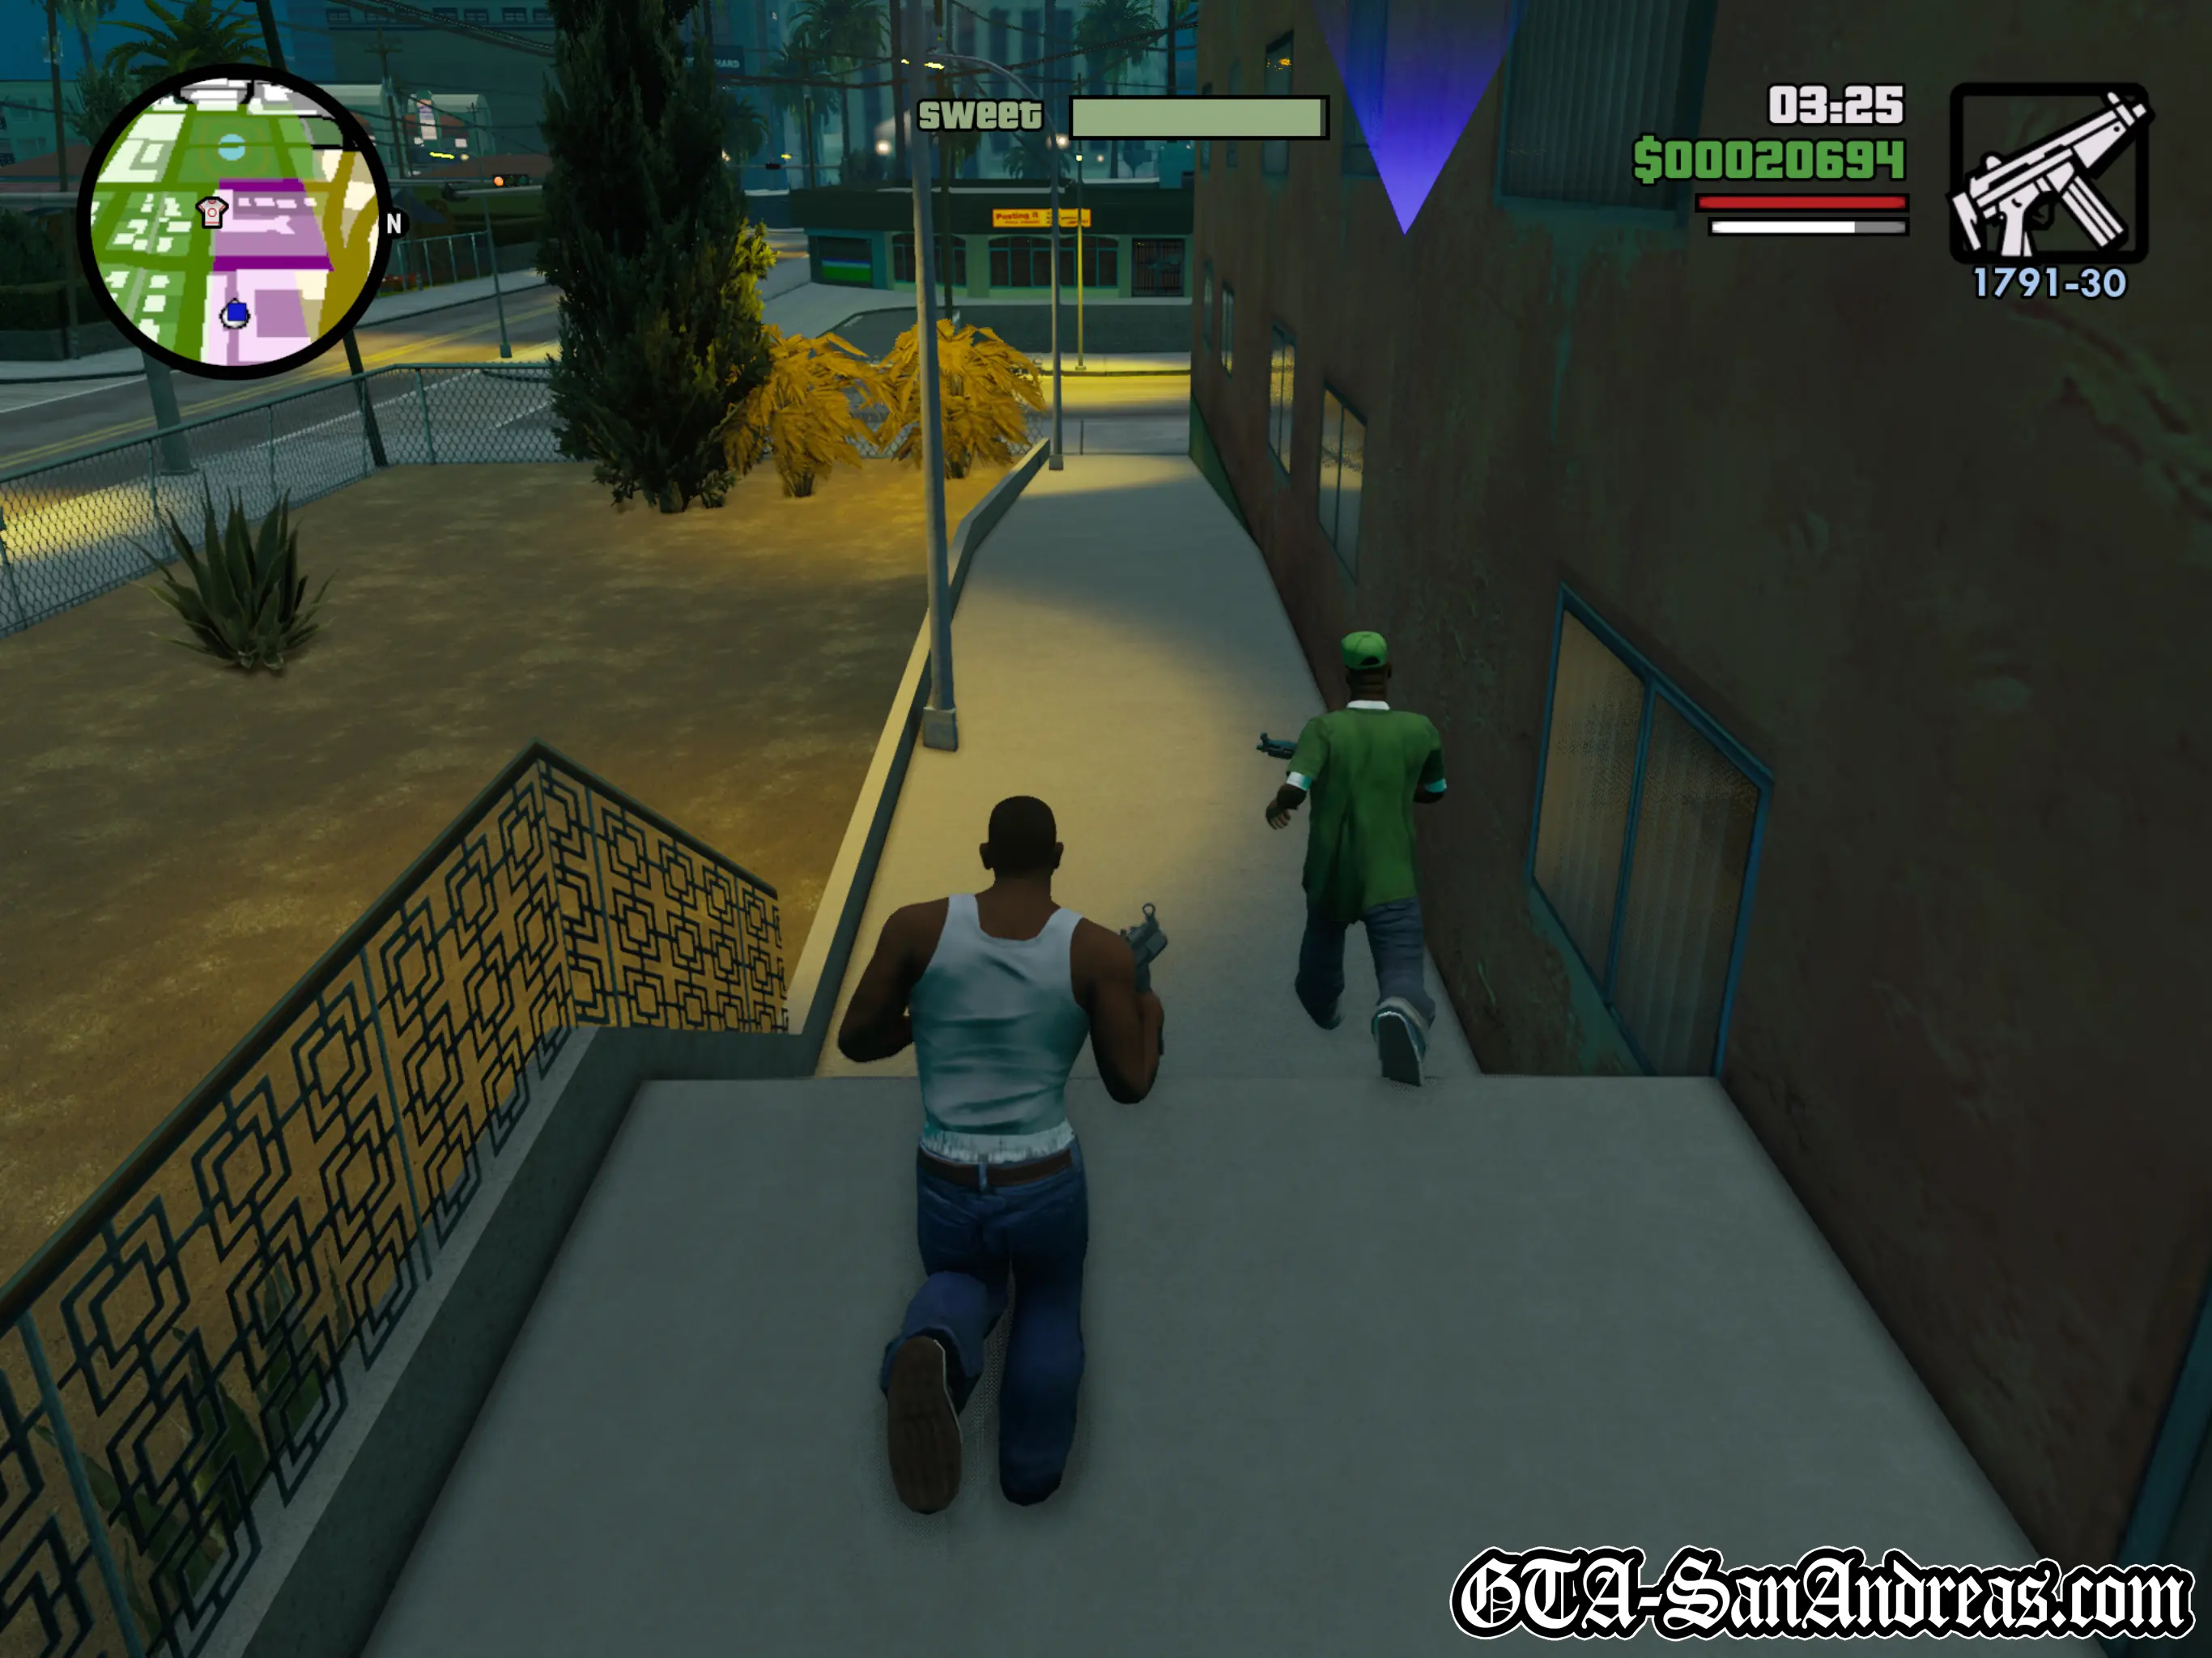
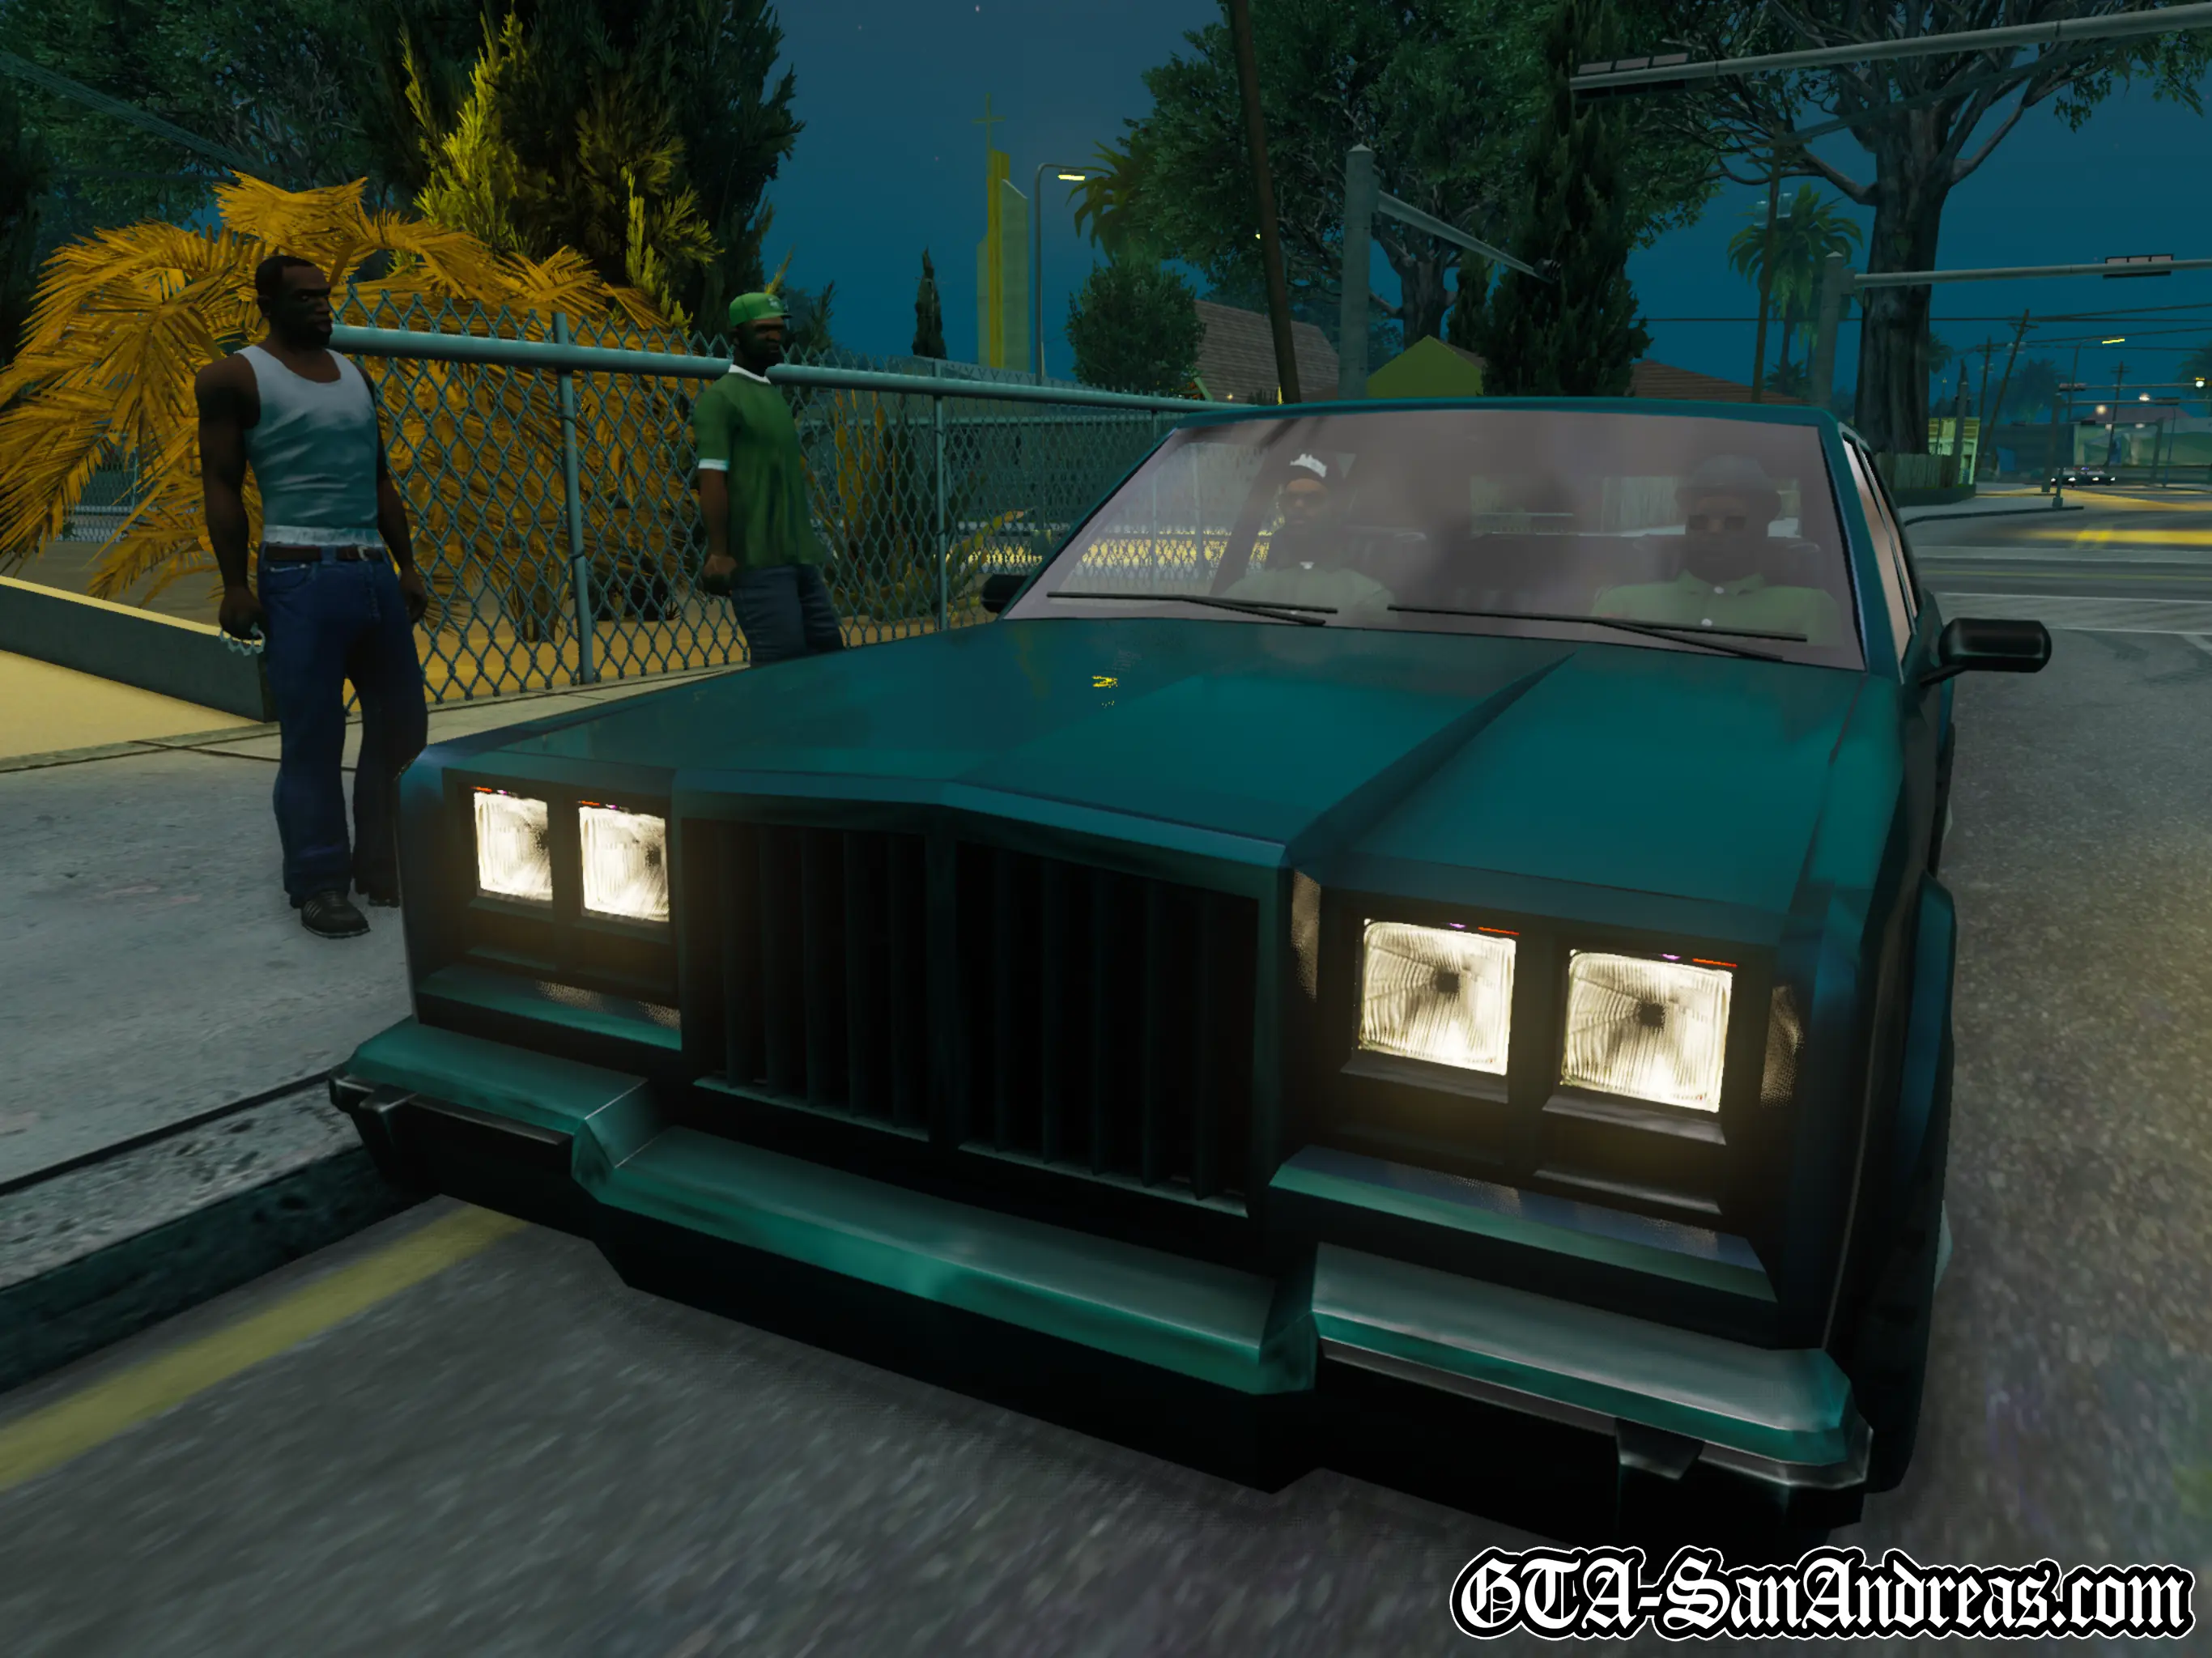
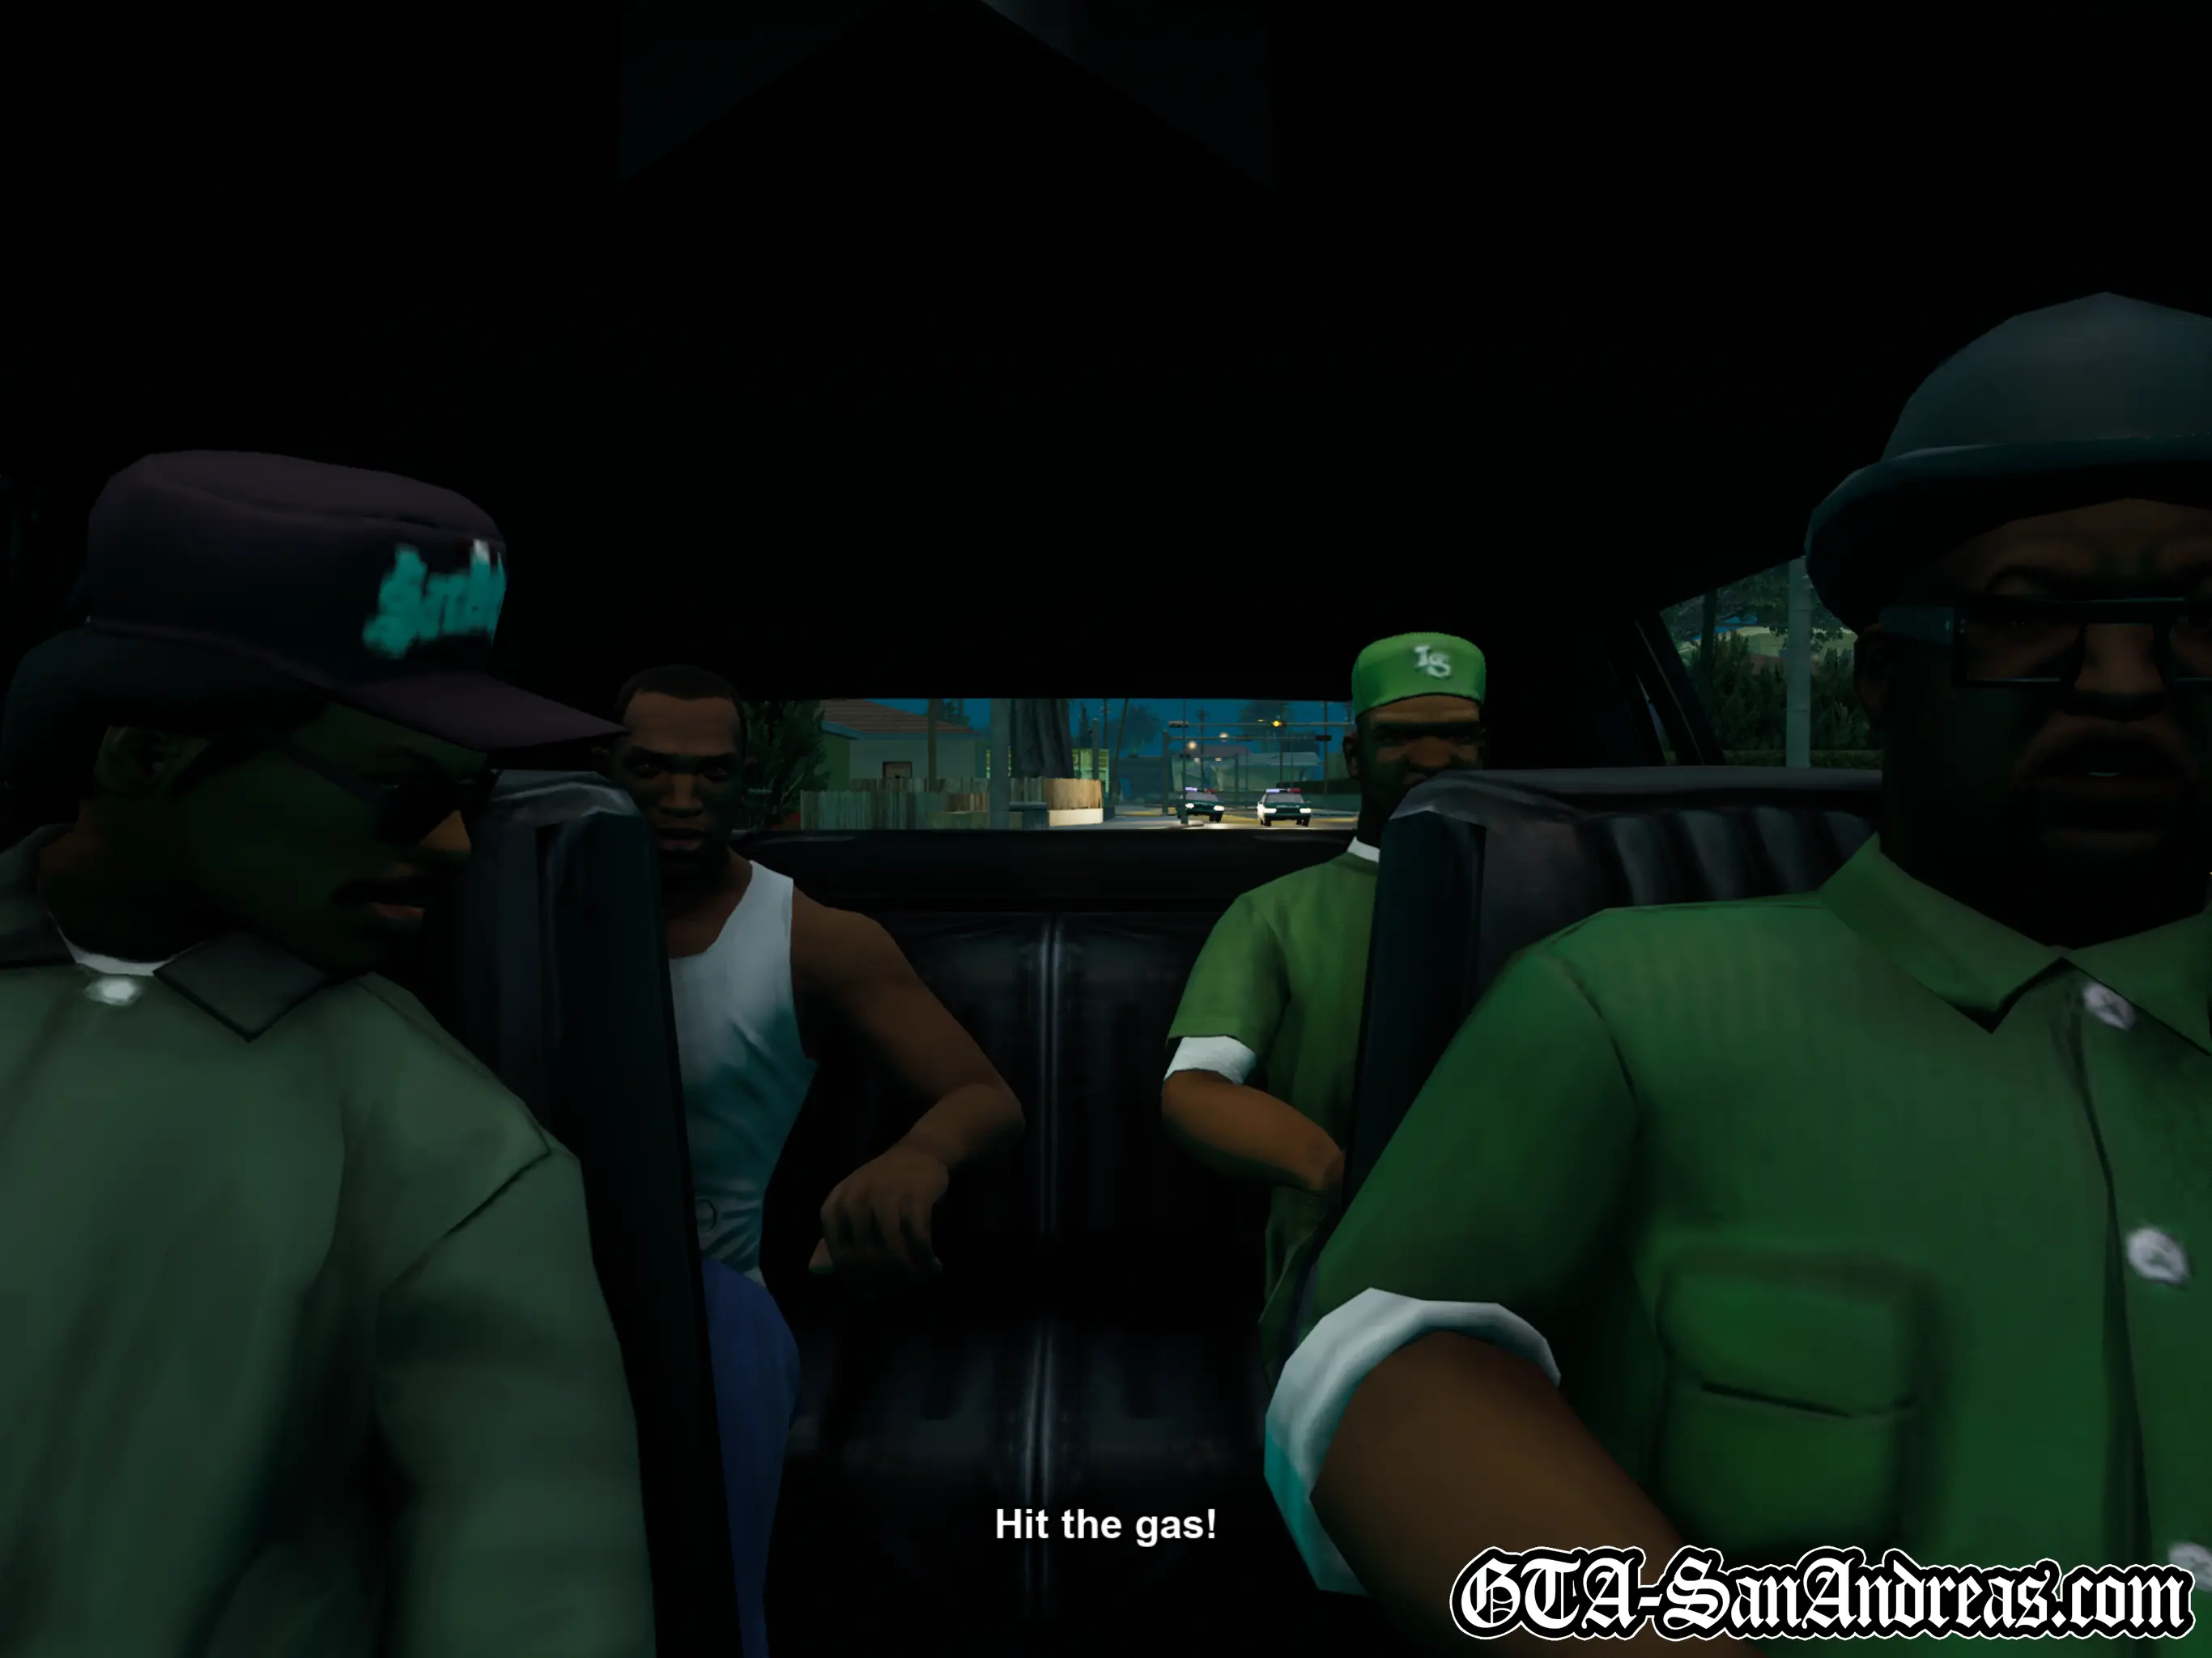
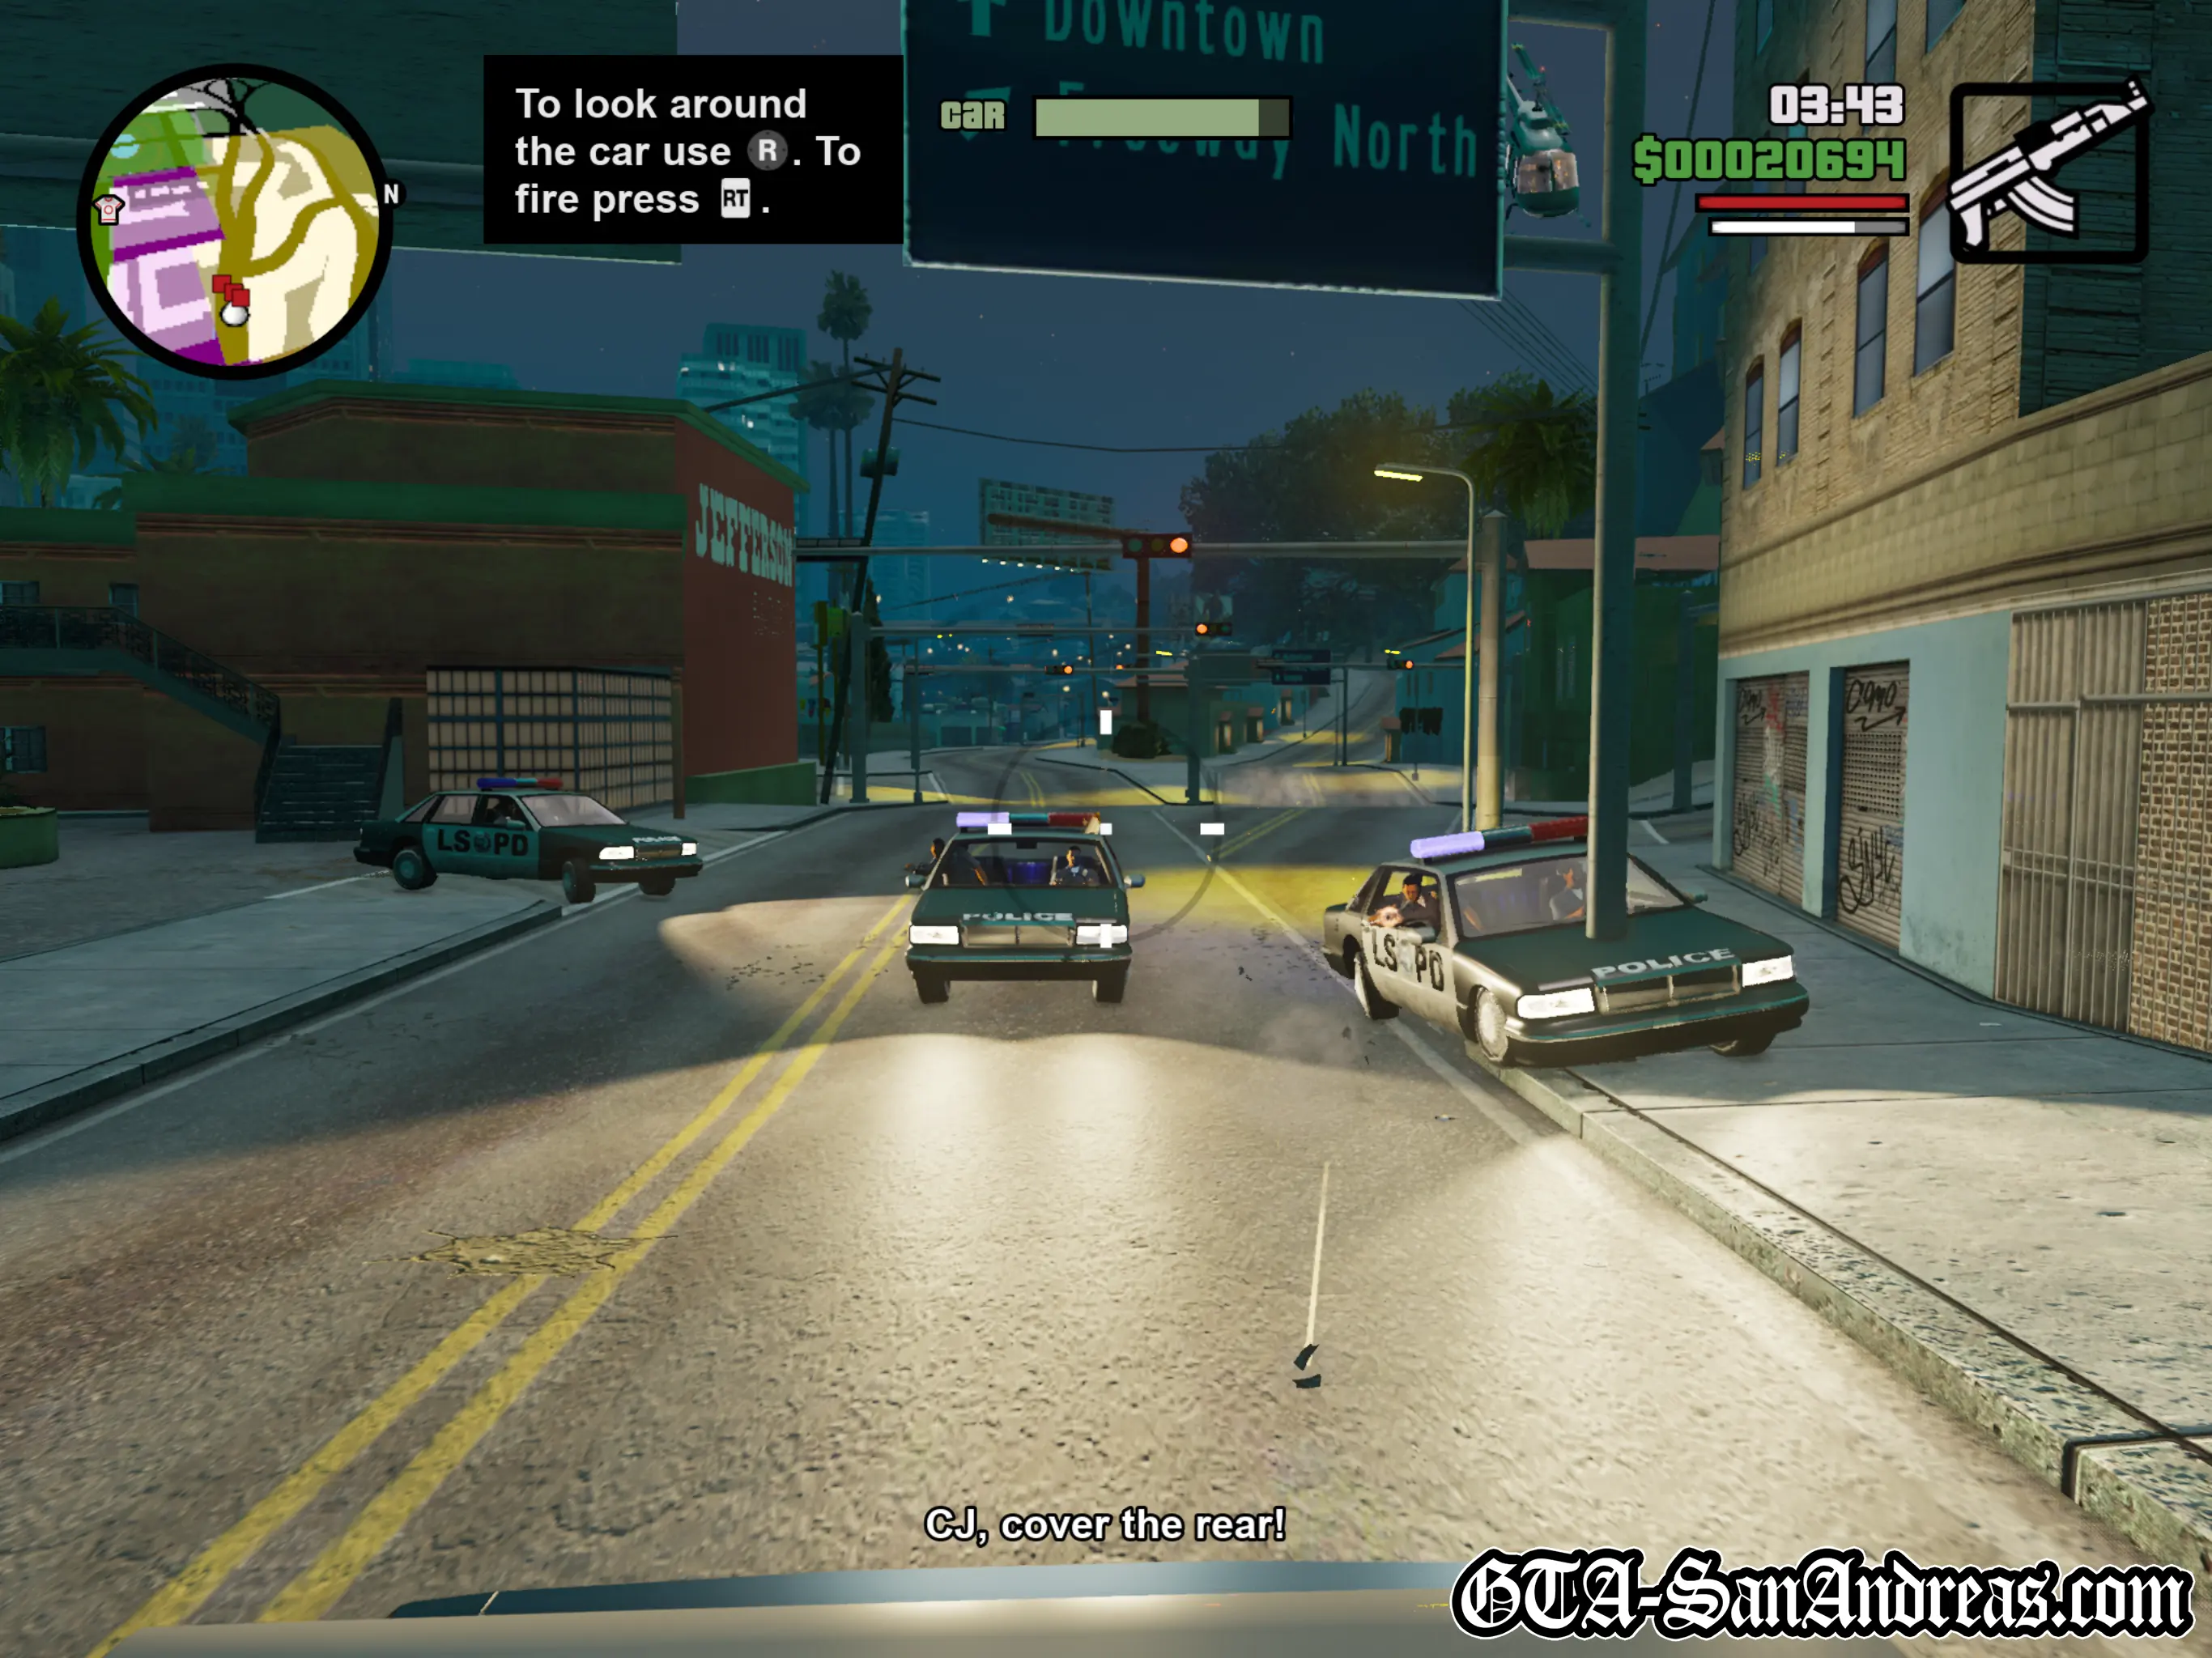
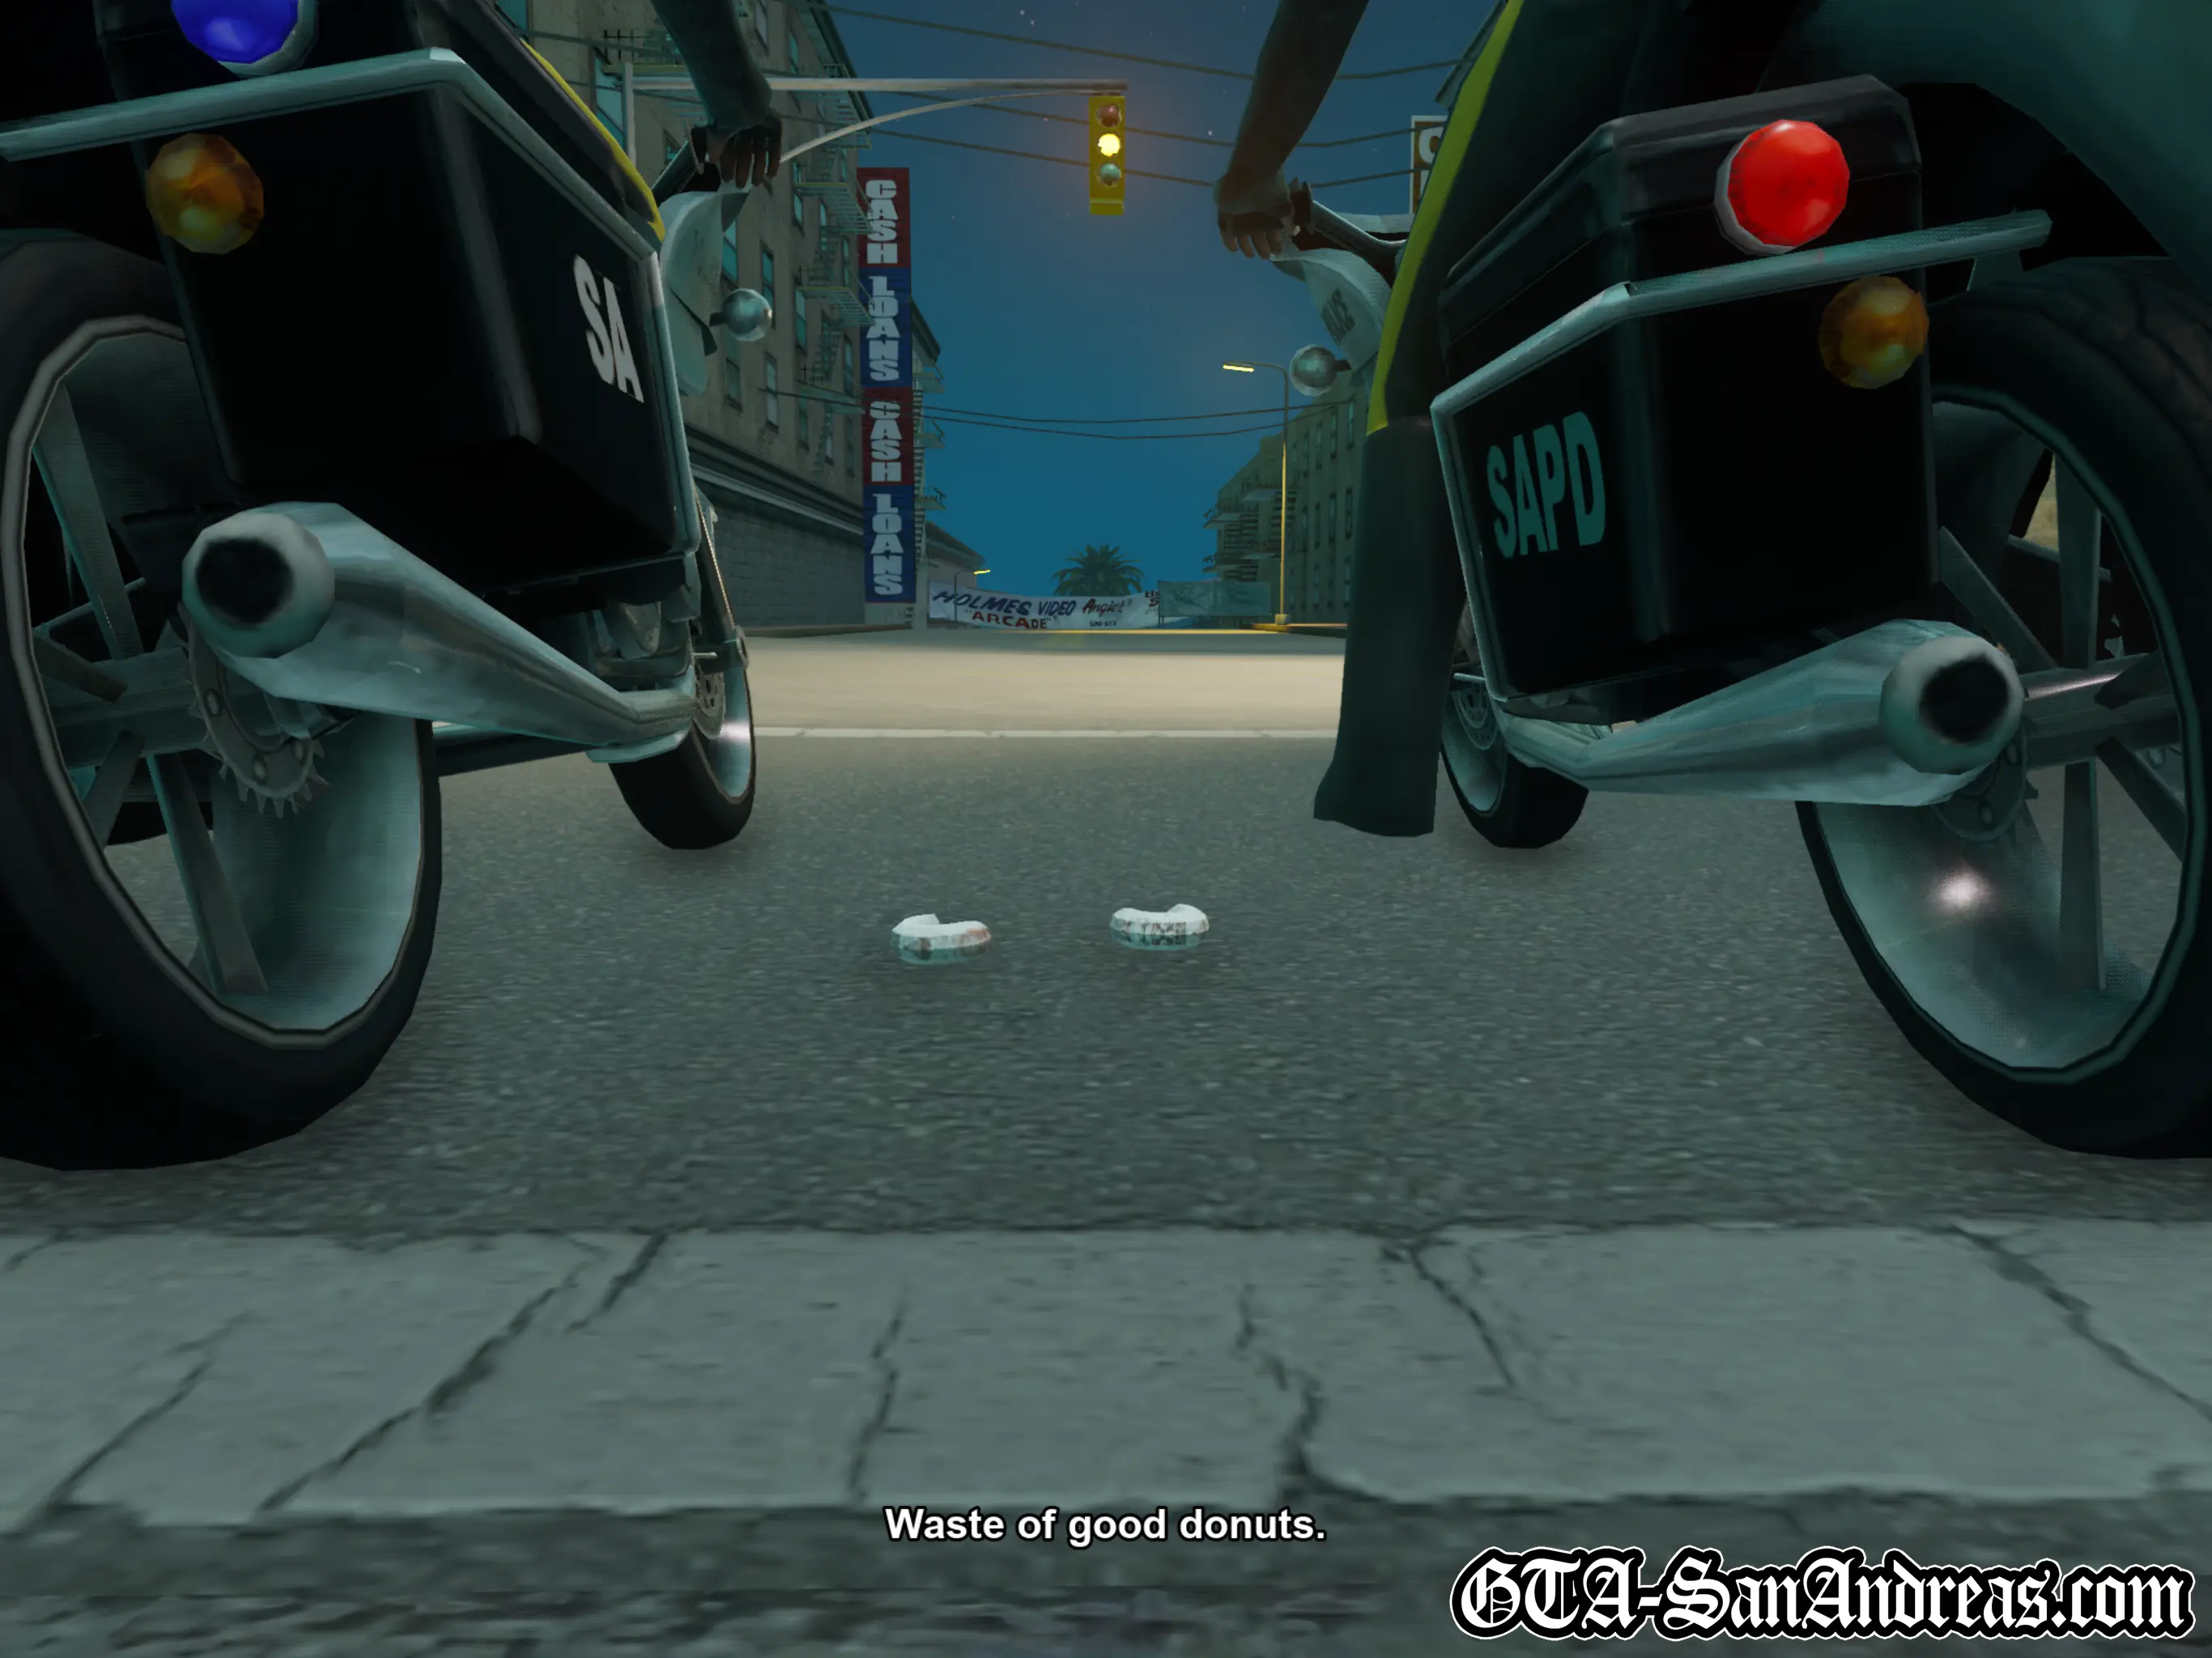
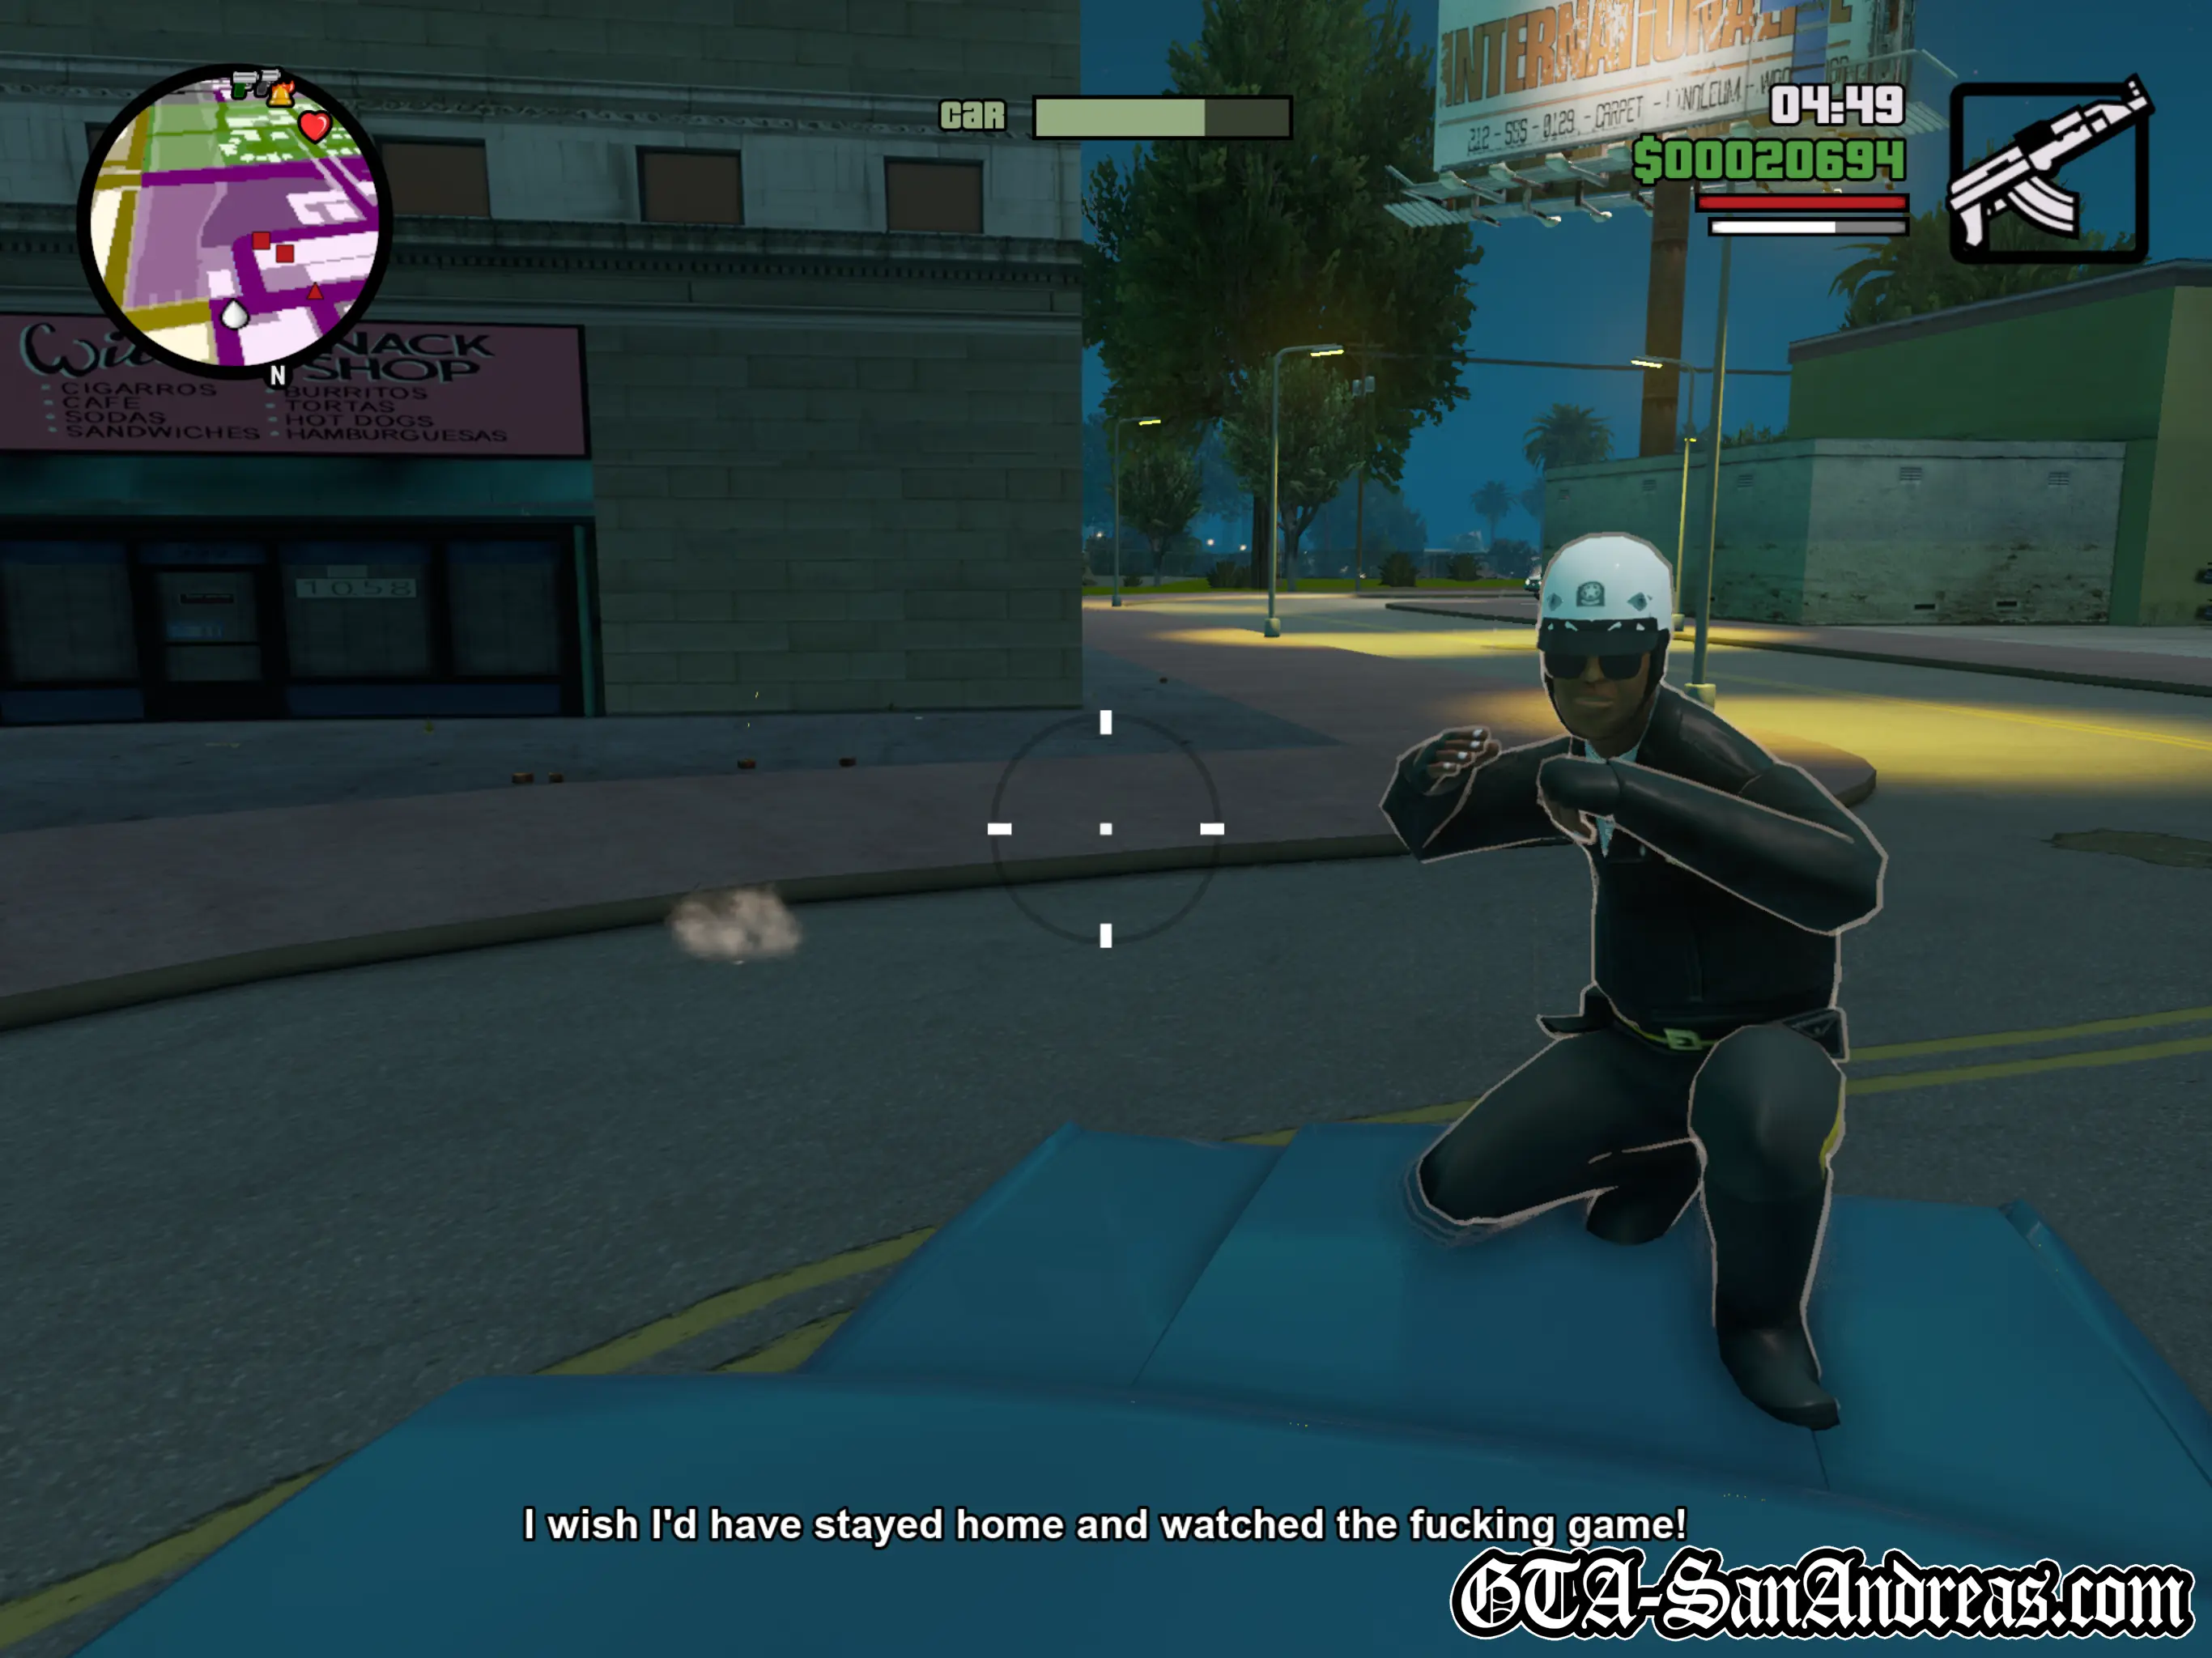
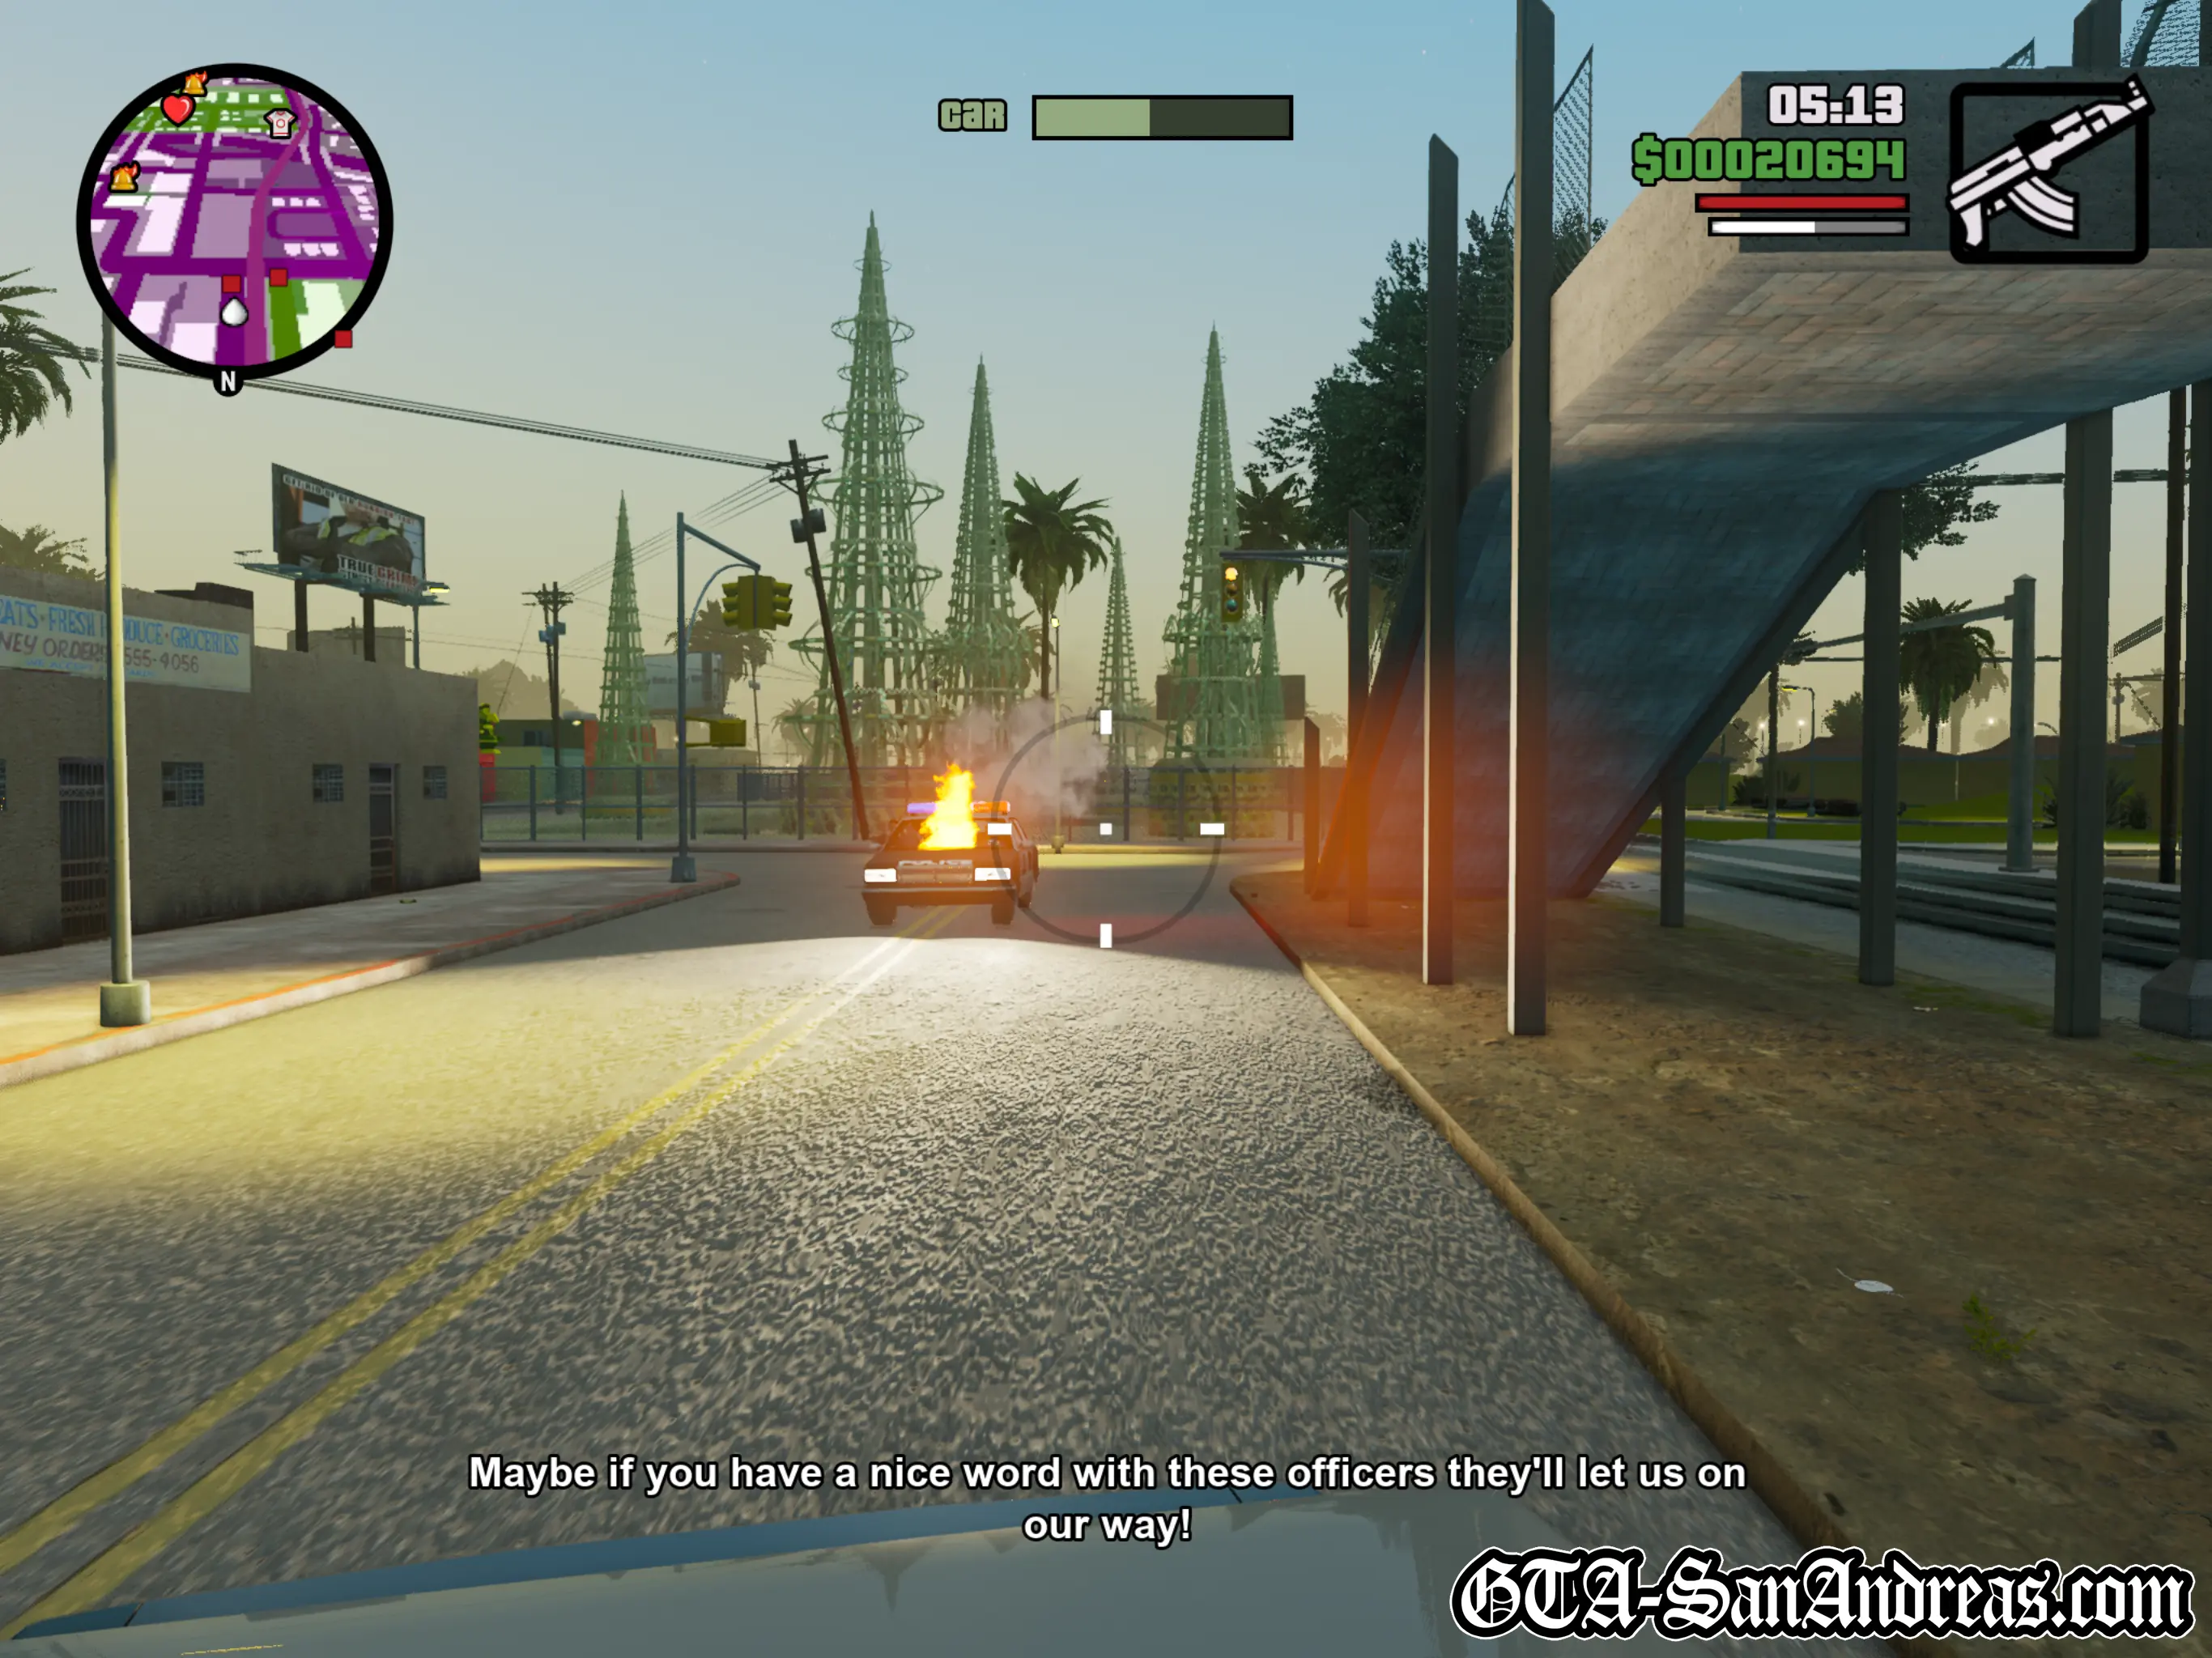
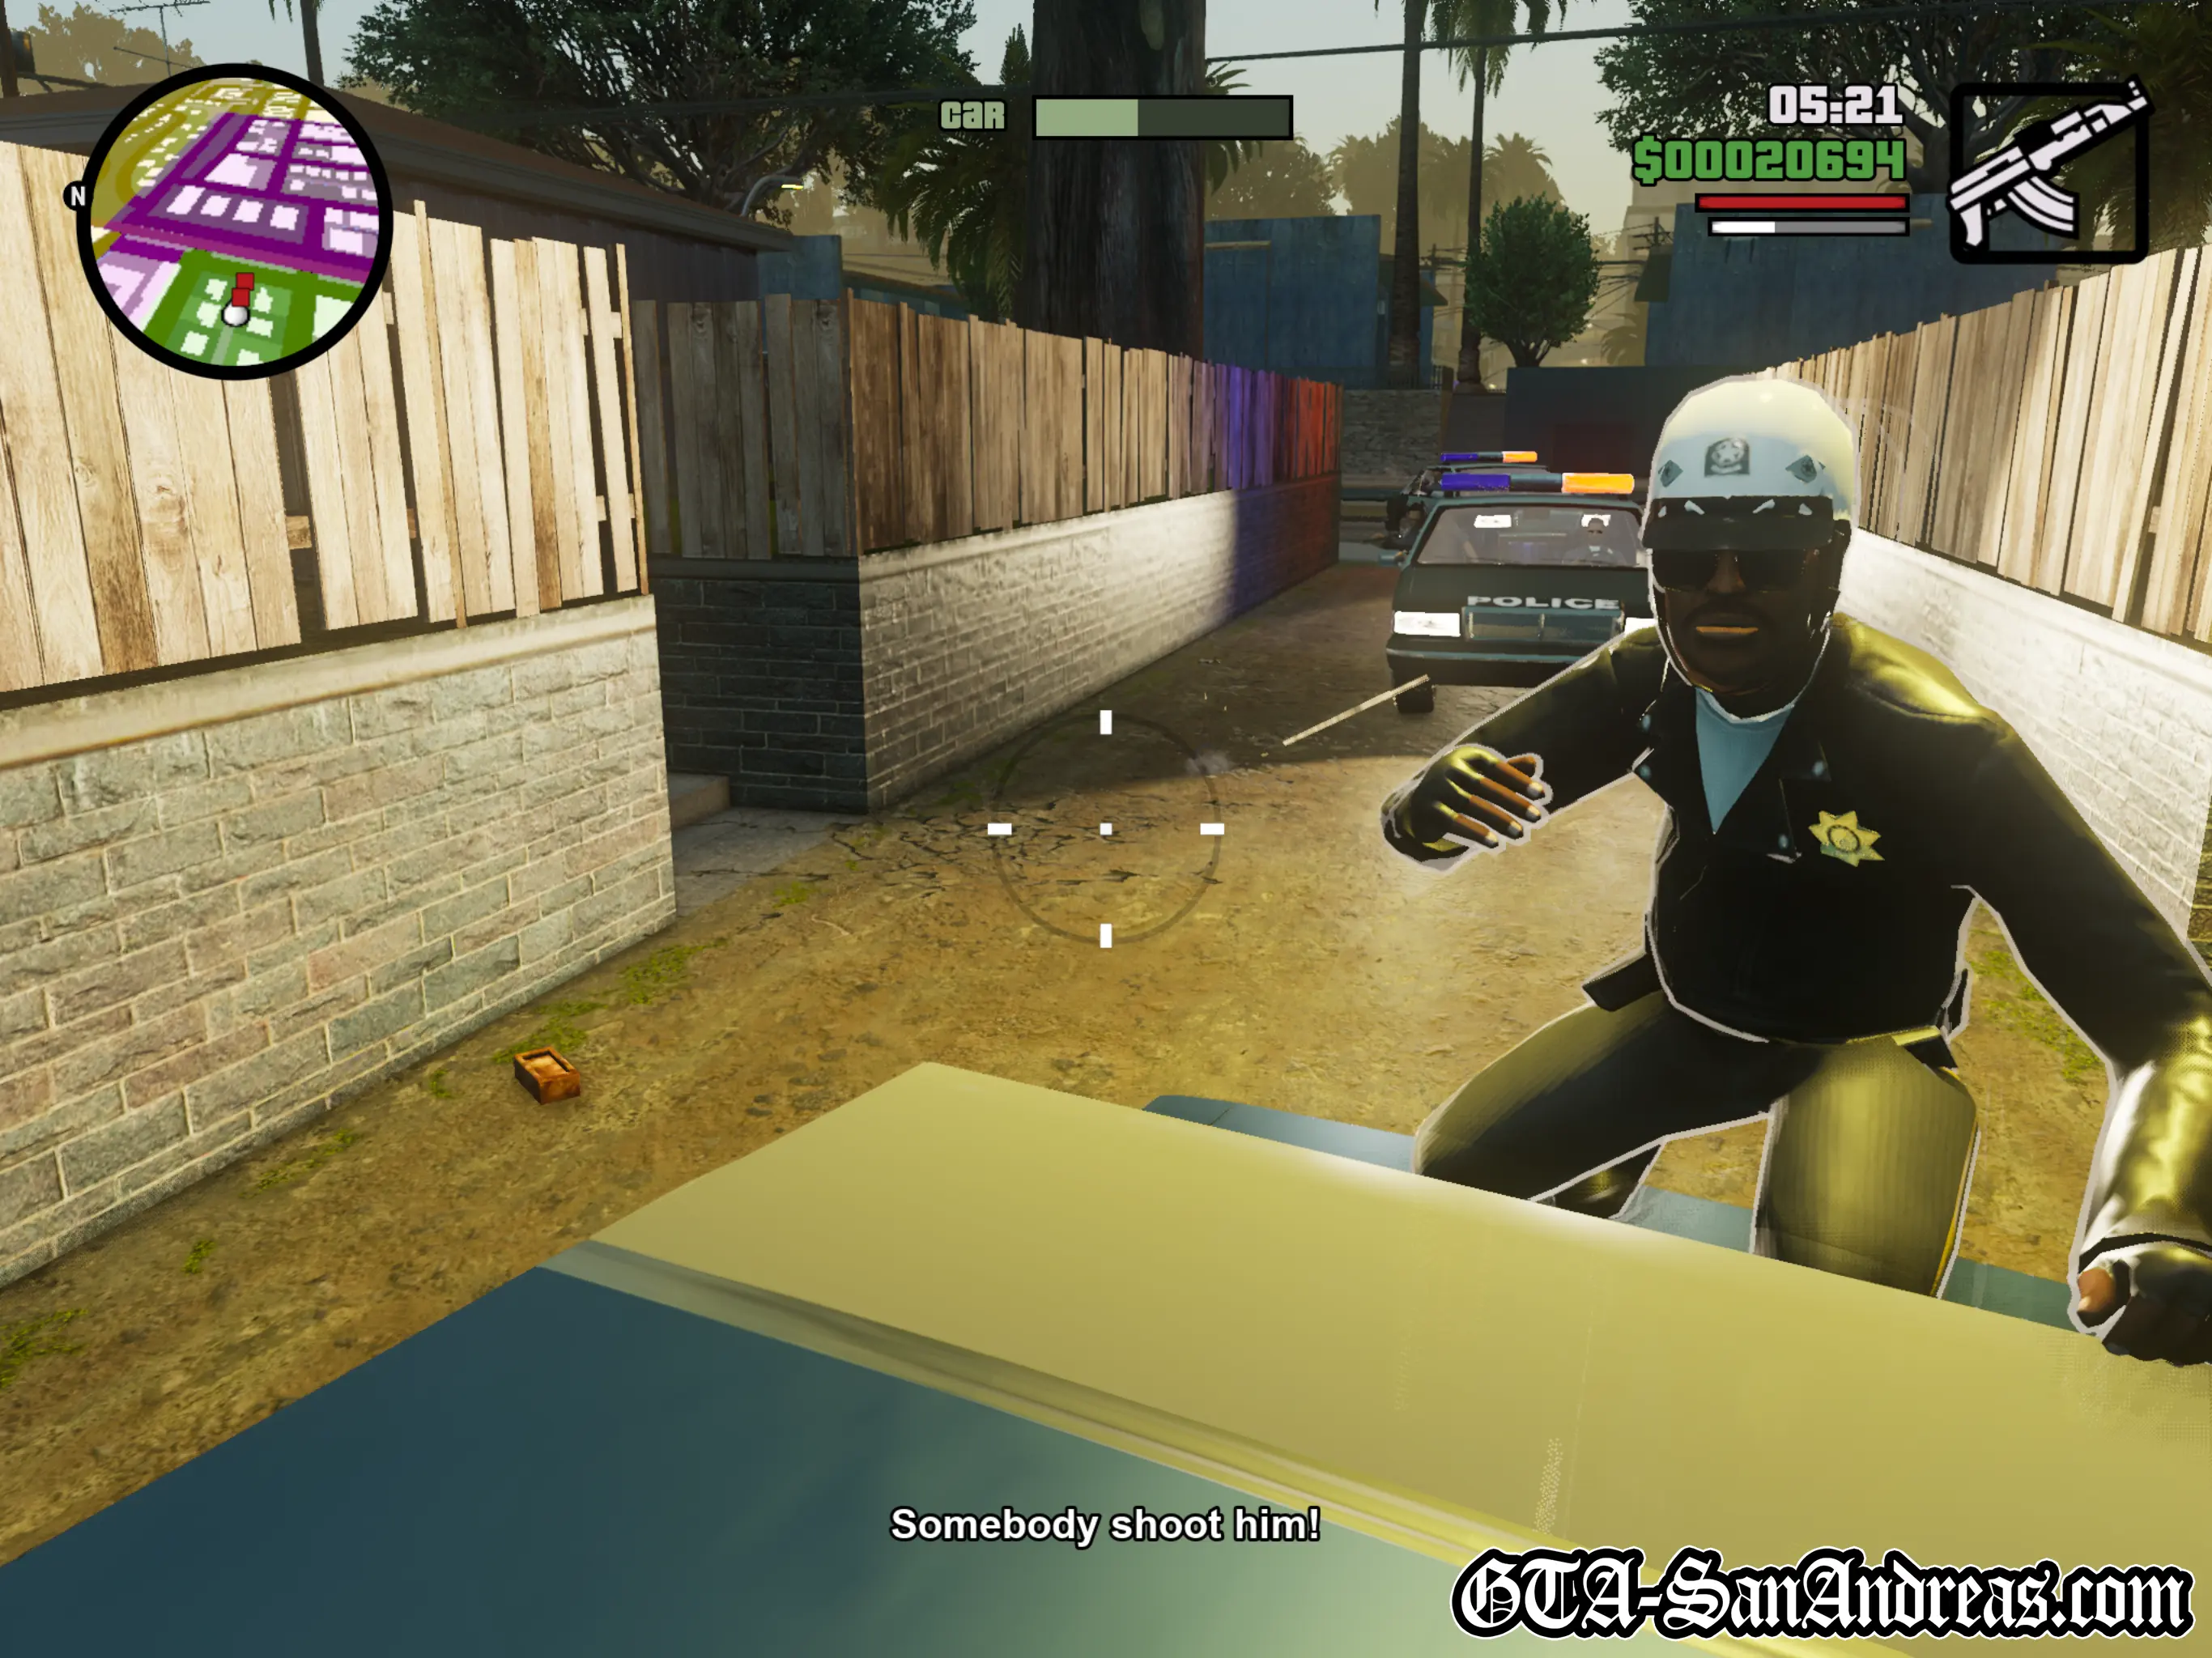
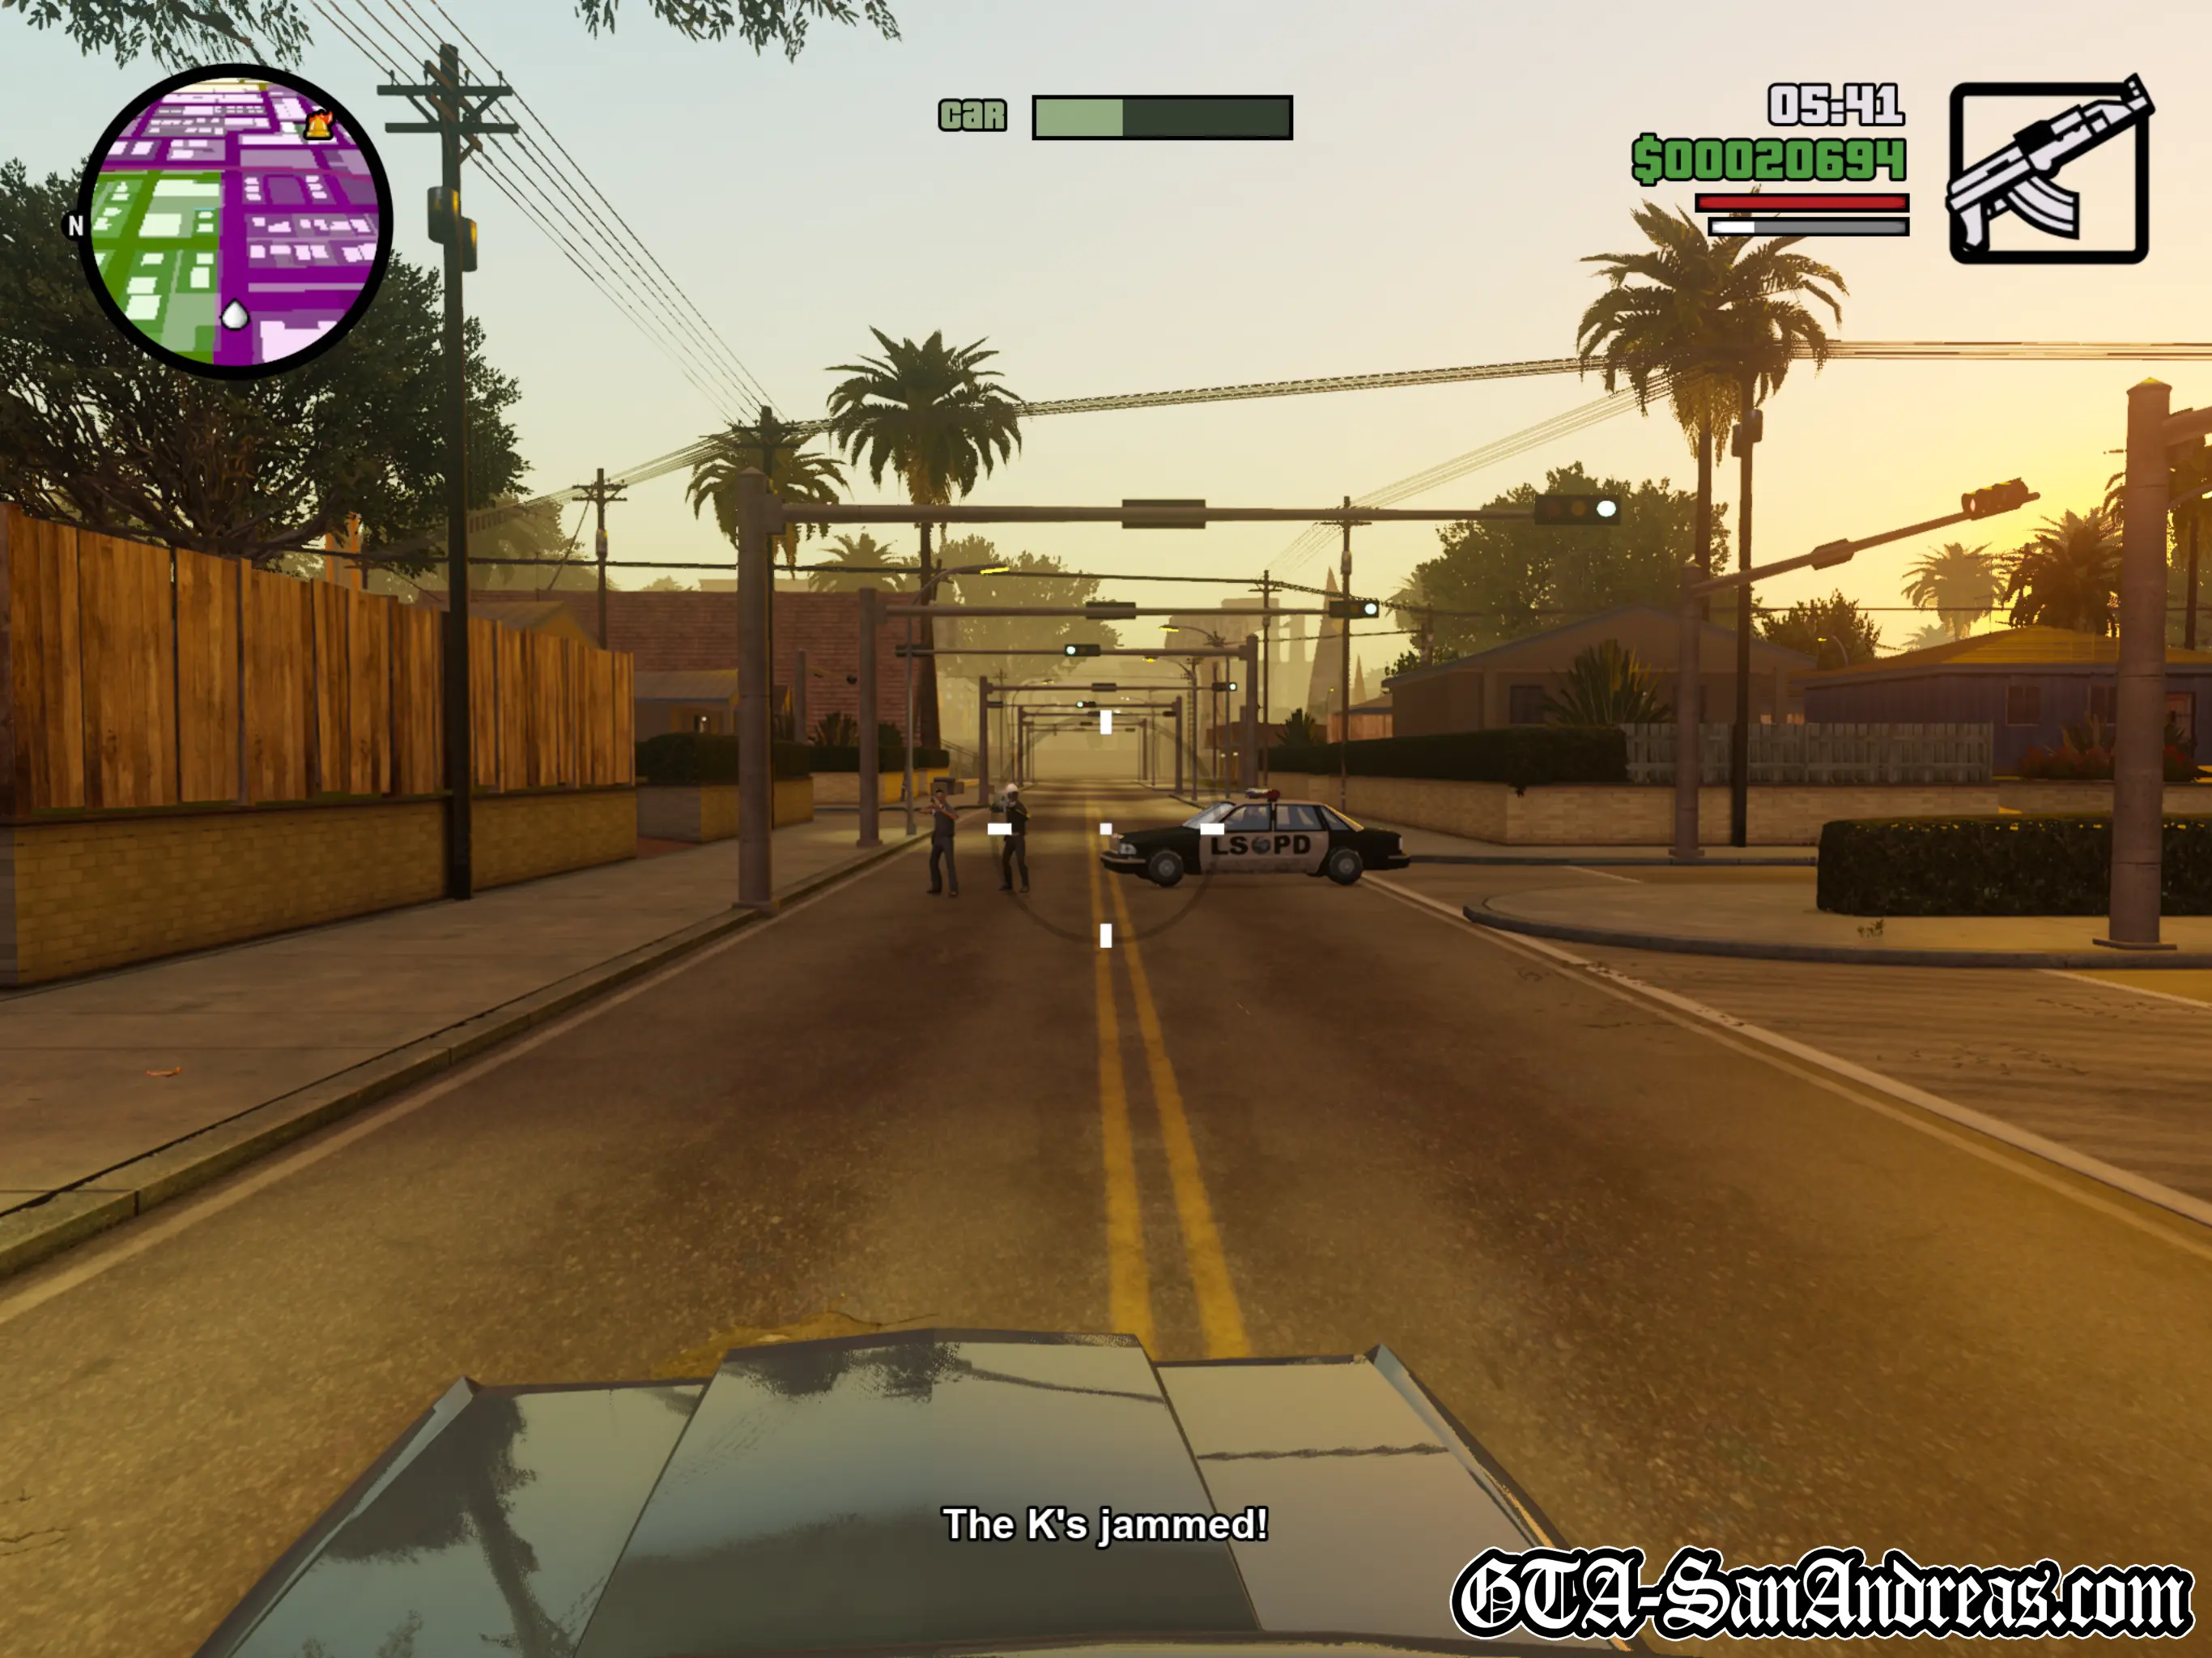
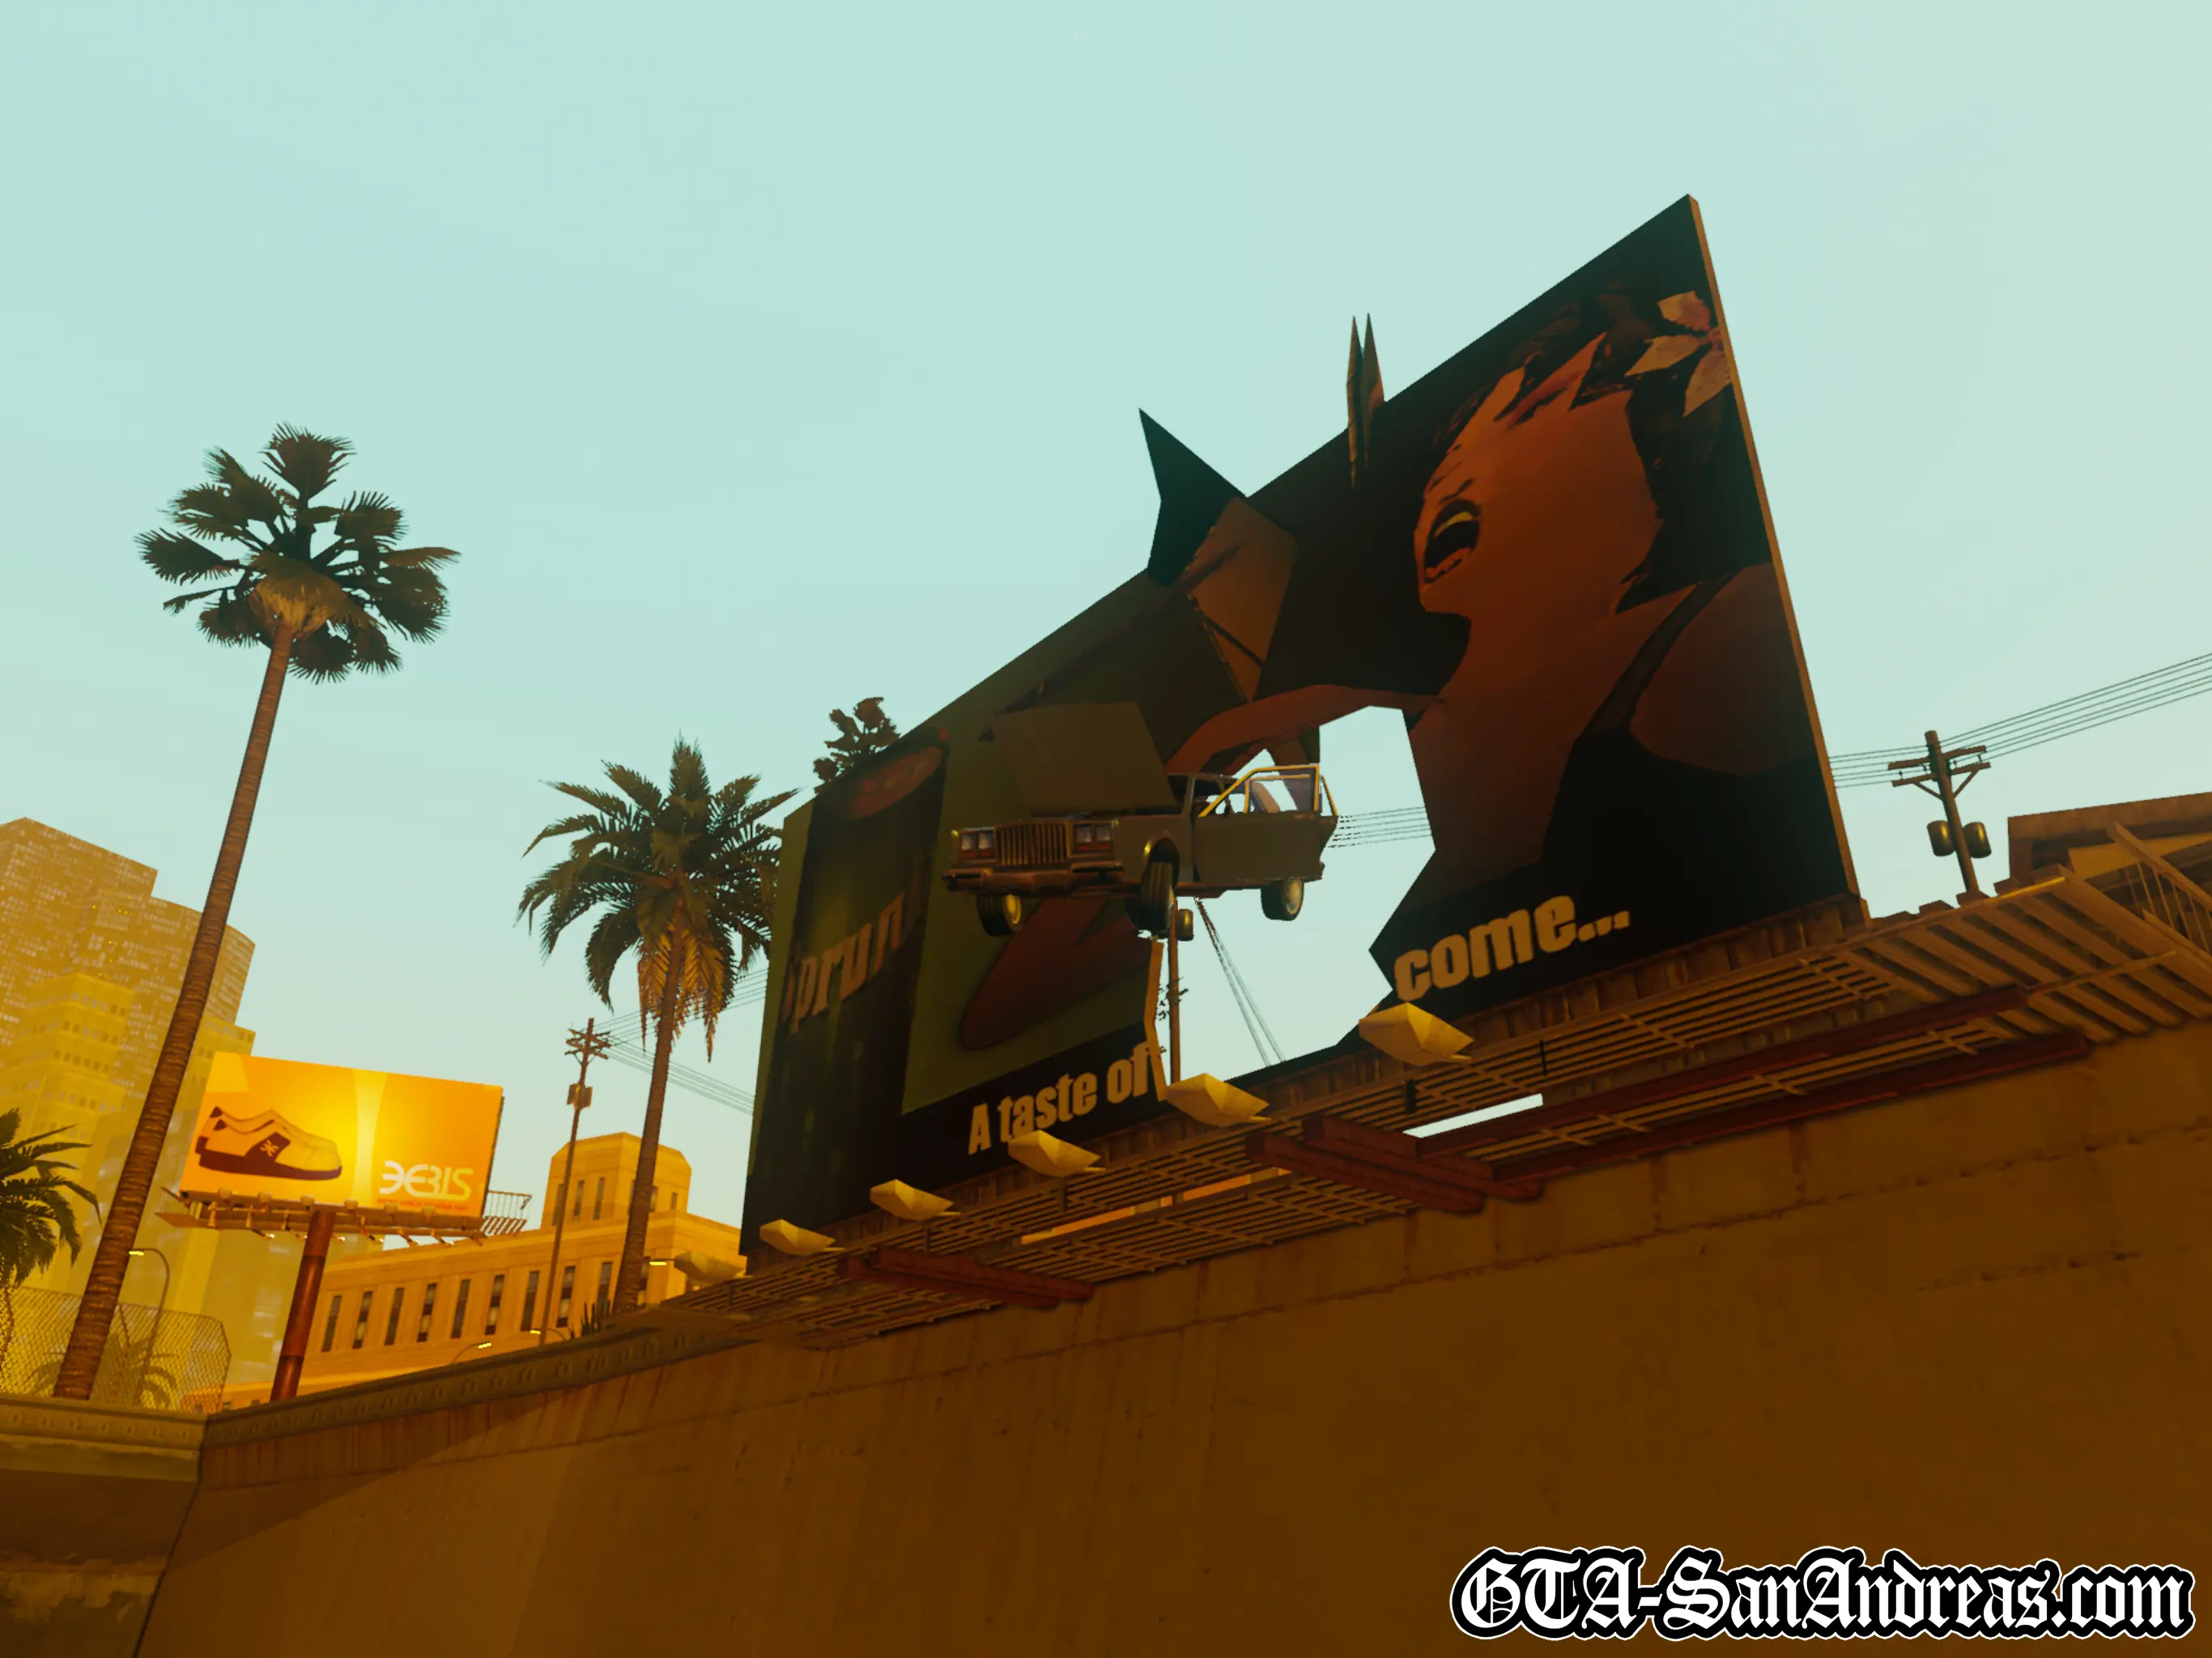
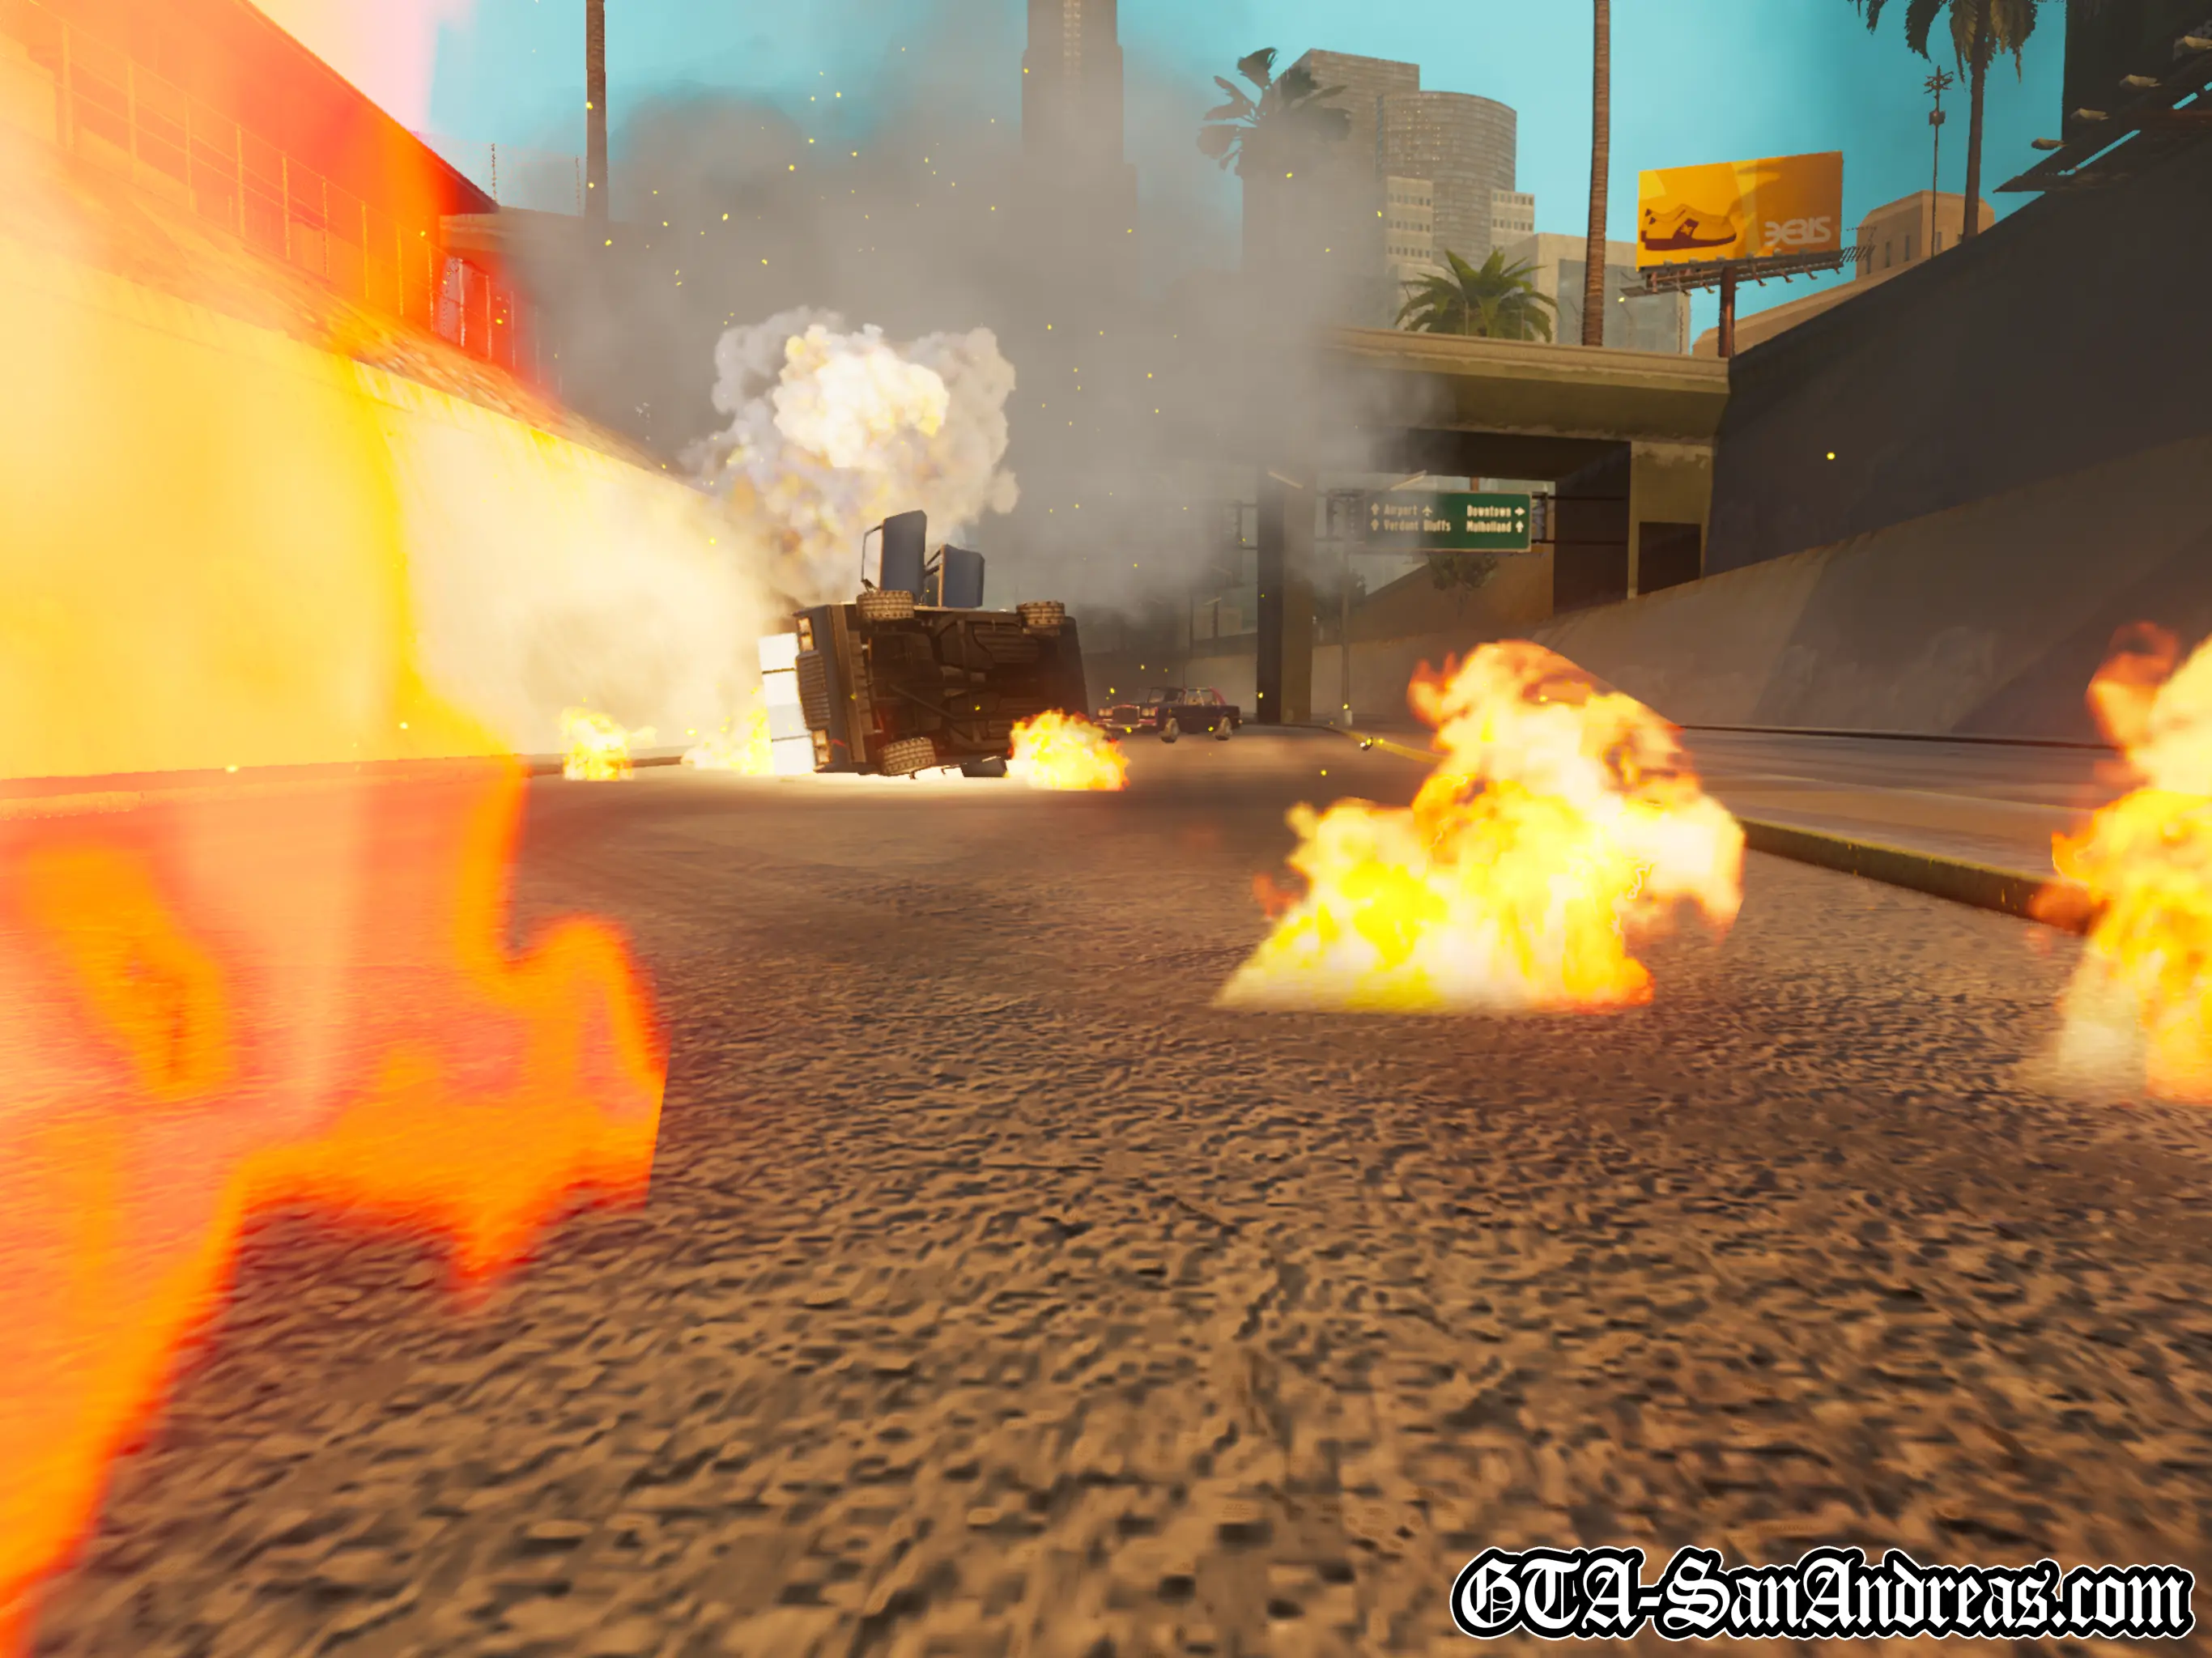
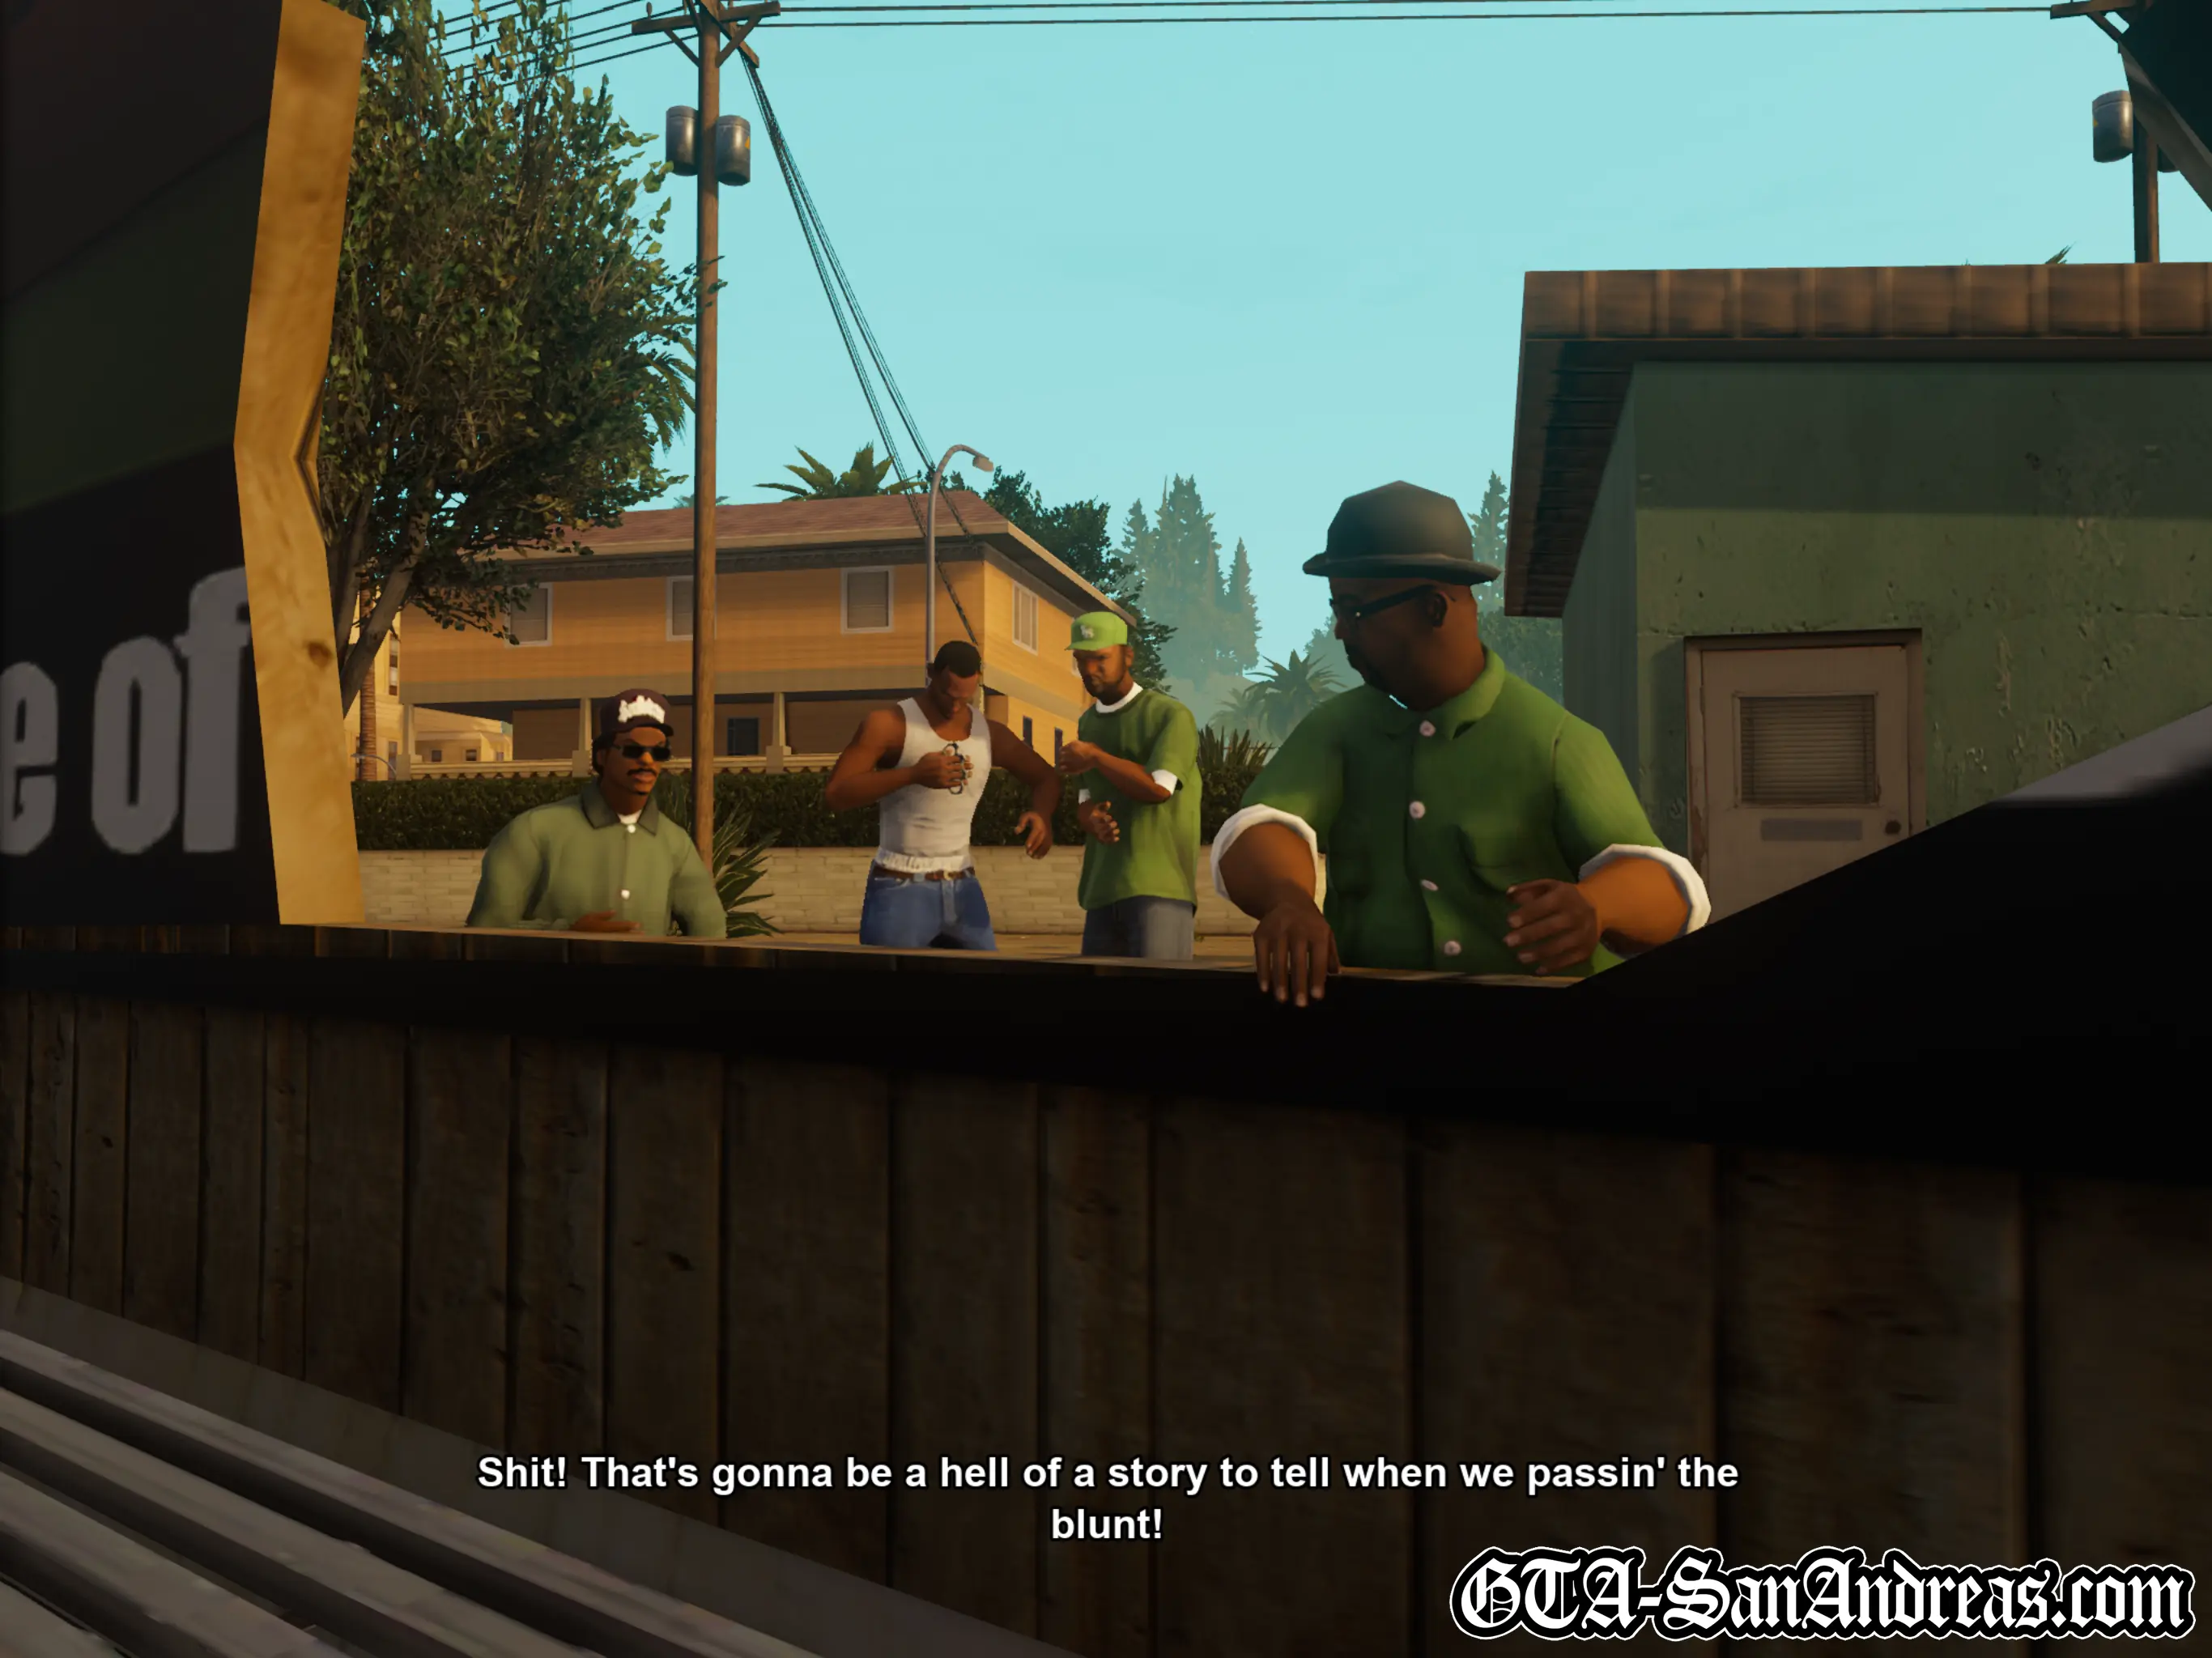
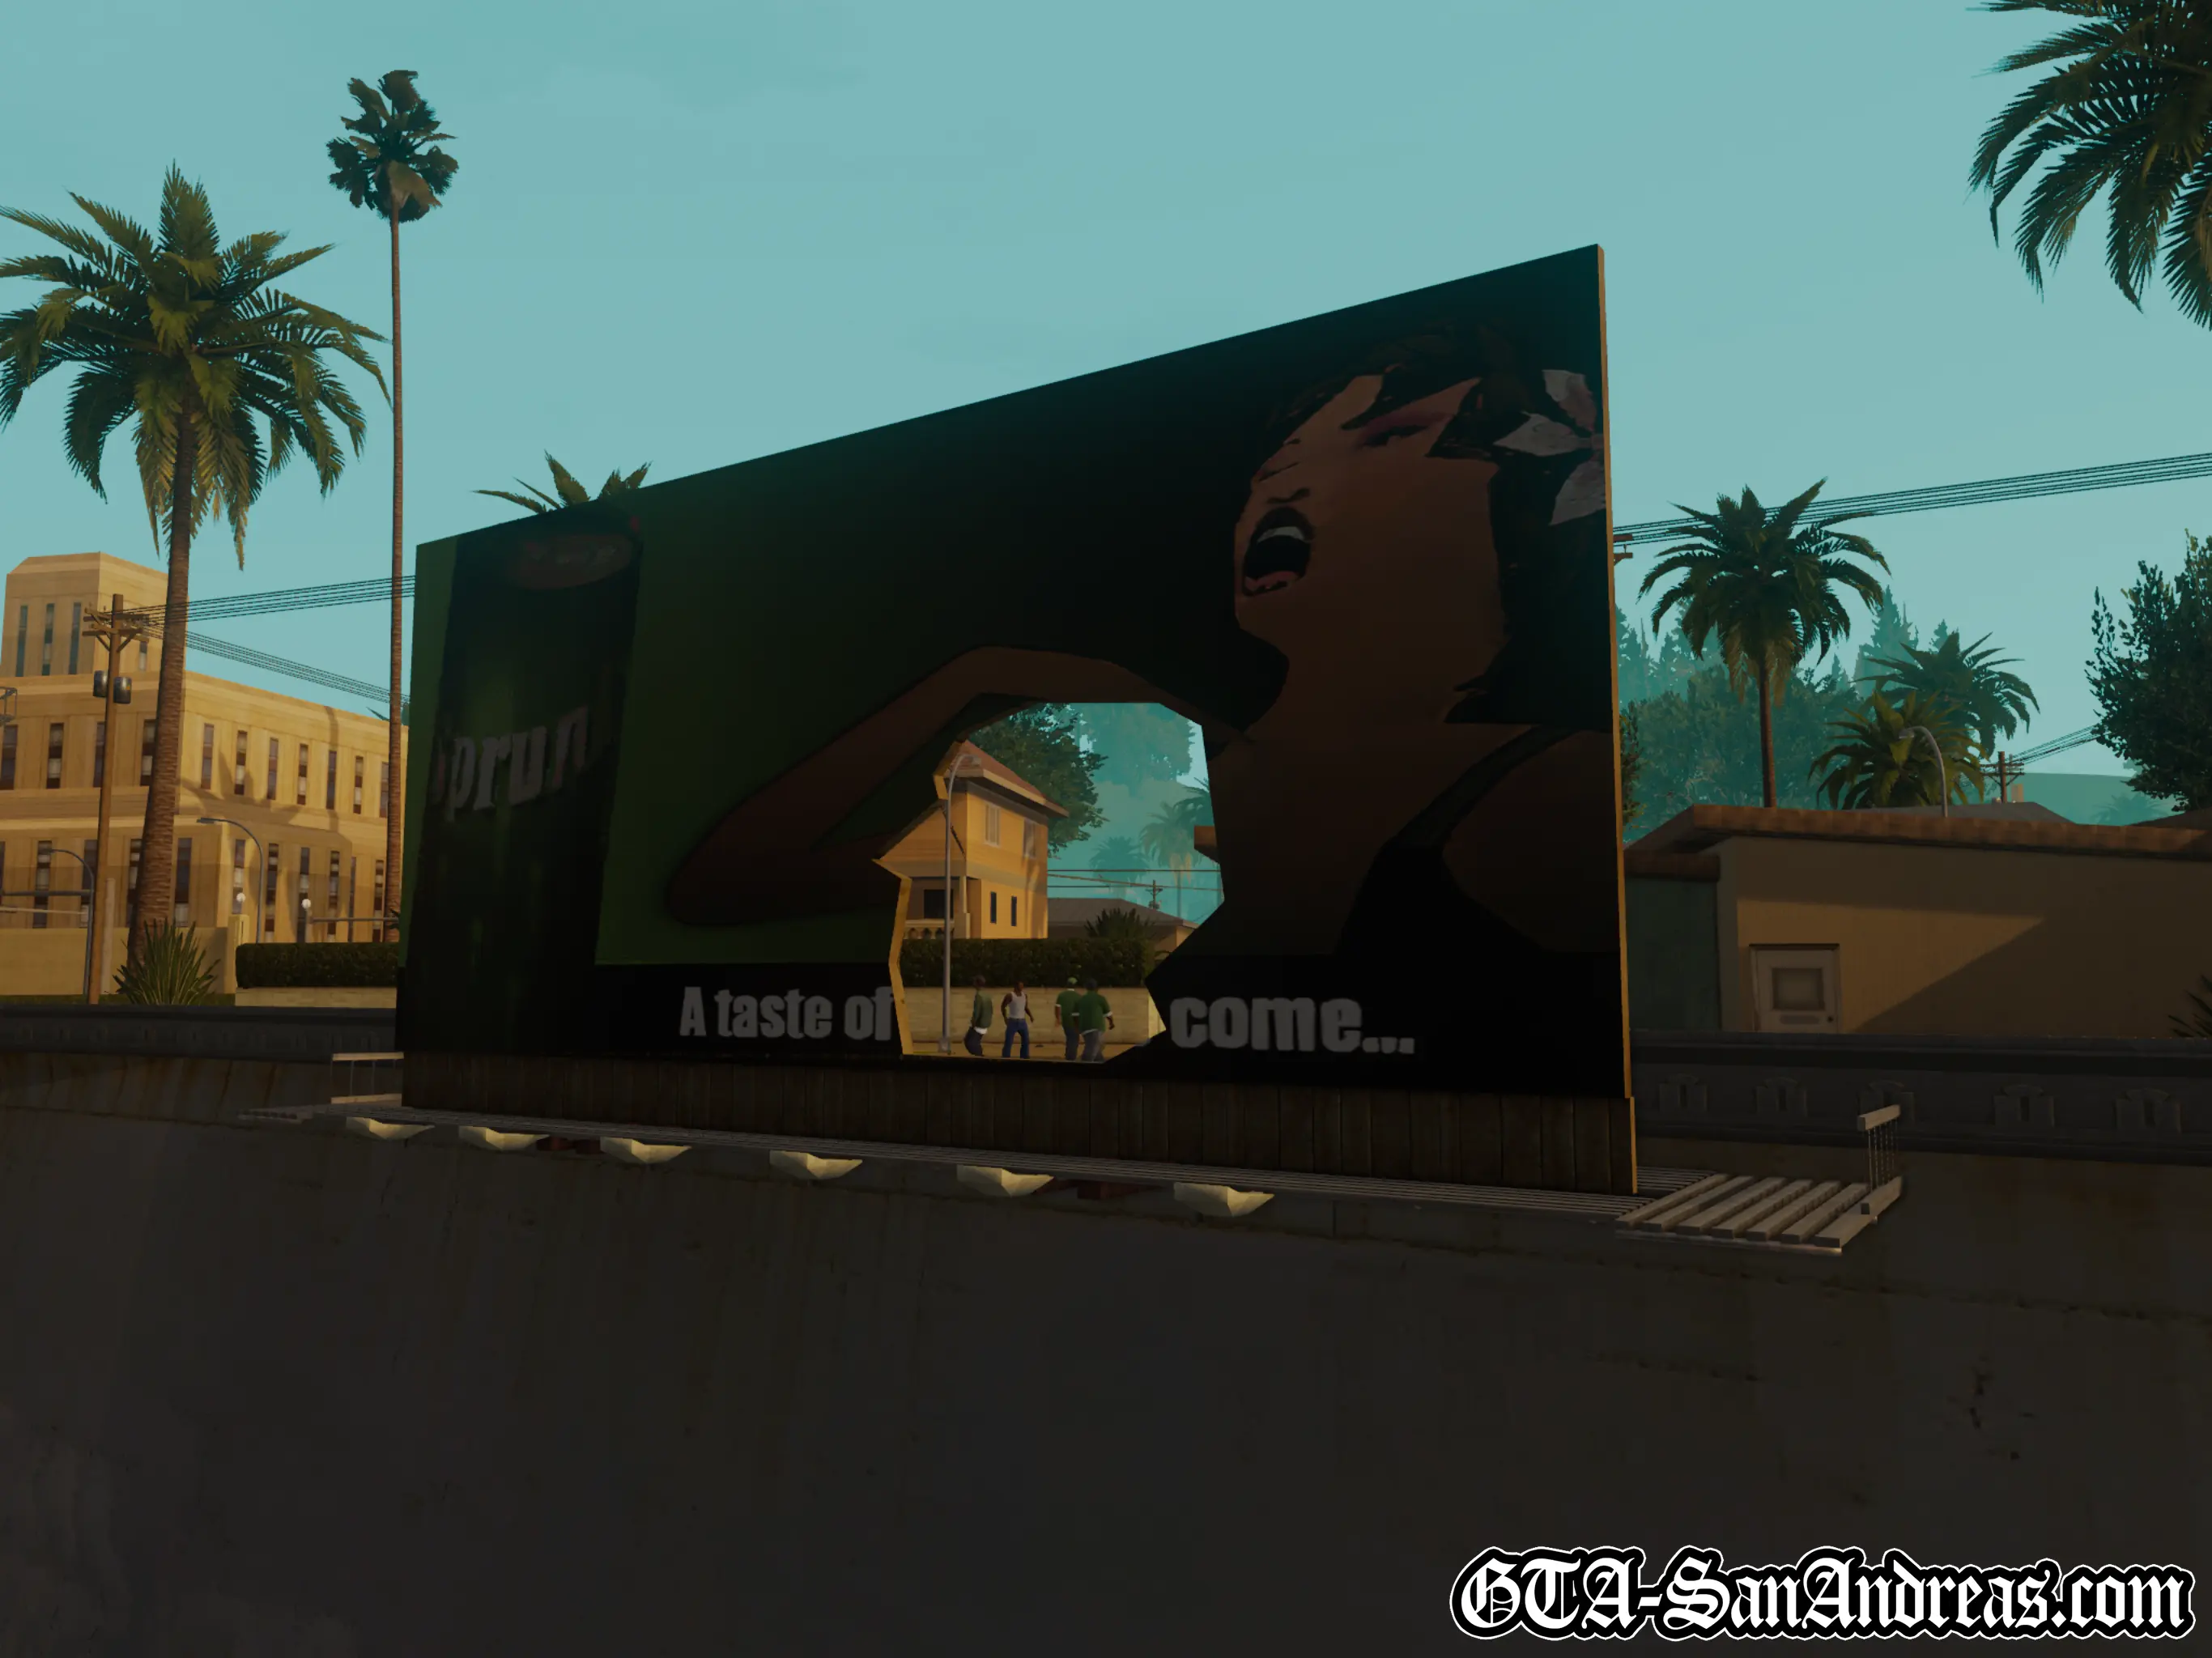
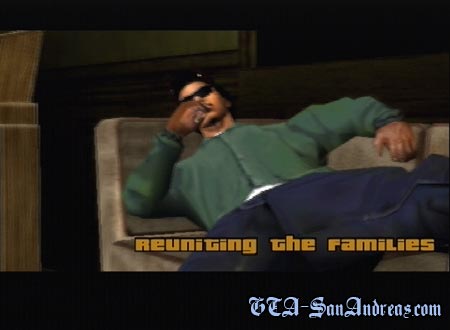
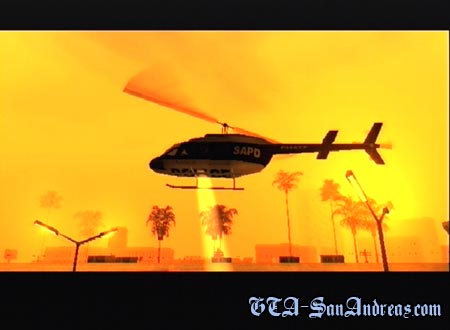
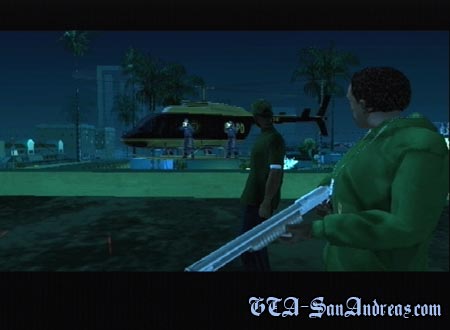
The Green Sabre

Sweet has decided it's time to wipe out the Ballas once and for all. He gives a speech to the Grove Street Families and tells them to get ready to fight. Afterwards he tells you to meet him under the Mulholland Intersection. As you go outside you'll receive a phone call from Cesar. He says he's got something important you need to see, but CJ explains he's busy. After a little bit more persuasion, CJ decides to see what Cesar wants.
Get in your vehicle and drive to the yellow blip and meet up with Cesar. When you get there, you'll be told to get into the car, so do so and watch the cutscene.
It appears Big Smoke and Ryder know more about the Green Sabre which killed Carl's mom than they were letting on. They're seen mixing with some Ballas. After the cutscene Carl tells Cesar to take Kendl to a safe place, meanwhile he has to save Sweet.
Get in the car and drive like hell to the meet under the Mulholland Intersection. Park in the red circle and kill all of the Ballas, then kill the reinforcements they send.
After everyone's dead you'll see a cutscene where Sweet is arrested and you're taken to the middle of nowhere.
Tenpenny and Pulaski tell CJ they want you to kill a witness and get evidence that he won't be talking.
After the cutscene you'll be in Angel Pine, a brand new countryside area which you've just unlocked, right alongside Mount Chiliad. There's a save icon right across the street and you can enter the red marker to start a mission for Tenpenny.
Post-Mission
![]() All of your weapons and ammo have been removed. There's an Ammu-Nation nearby to buy new ones.
All of your weapons and ammo have been removed. There's an Ammu-Nation nearby to buy new ones.
The Countryside has been fully unlocked.
![]() You're able to purchase safe houses in the countryside.
You're able to purchase safe houses in the countryside.
San Fierro has been unlocked. You can visit the city without a wanted level, however you're not able to purchase any safe houses at this point.
![]() Frank Tenpenny's Missions Have Now Been Unlocked.
Frank Tenpenny's Missions Have Now Been Unlocked.