Final Missions
This page contains walkthroughs of all of the Final missions in Grand Theft Auto: San Andreas. There are 8 story missions in total before the game is complete.
Quick Links
Carl Johnson 
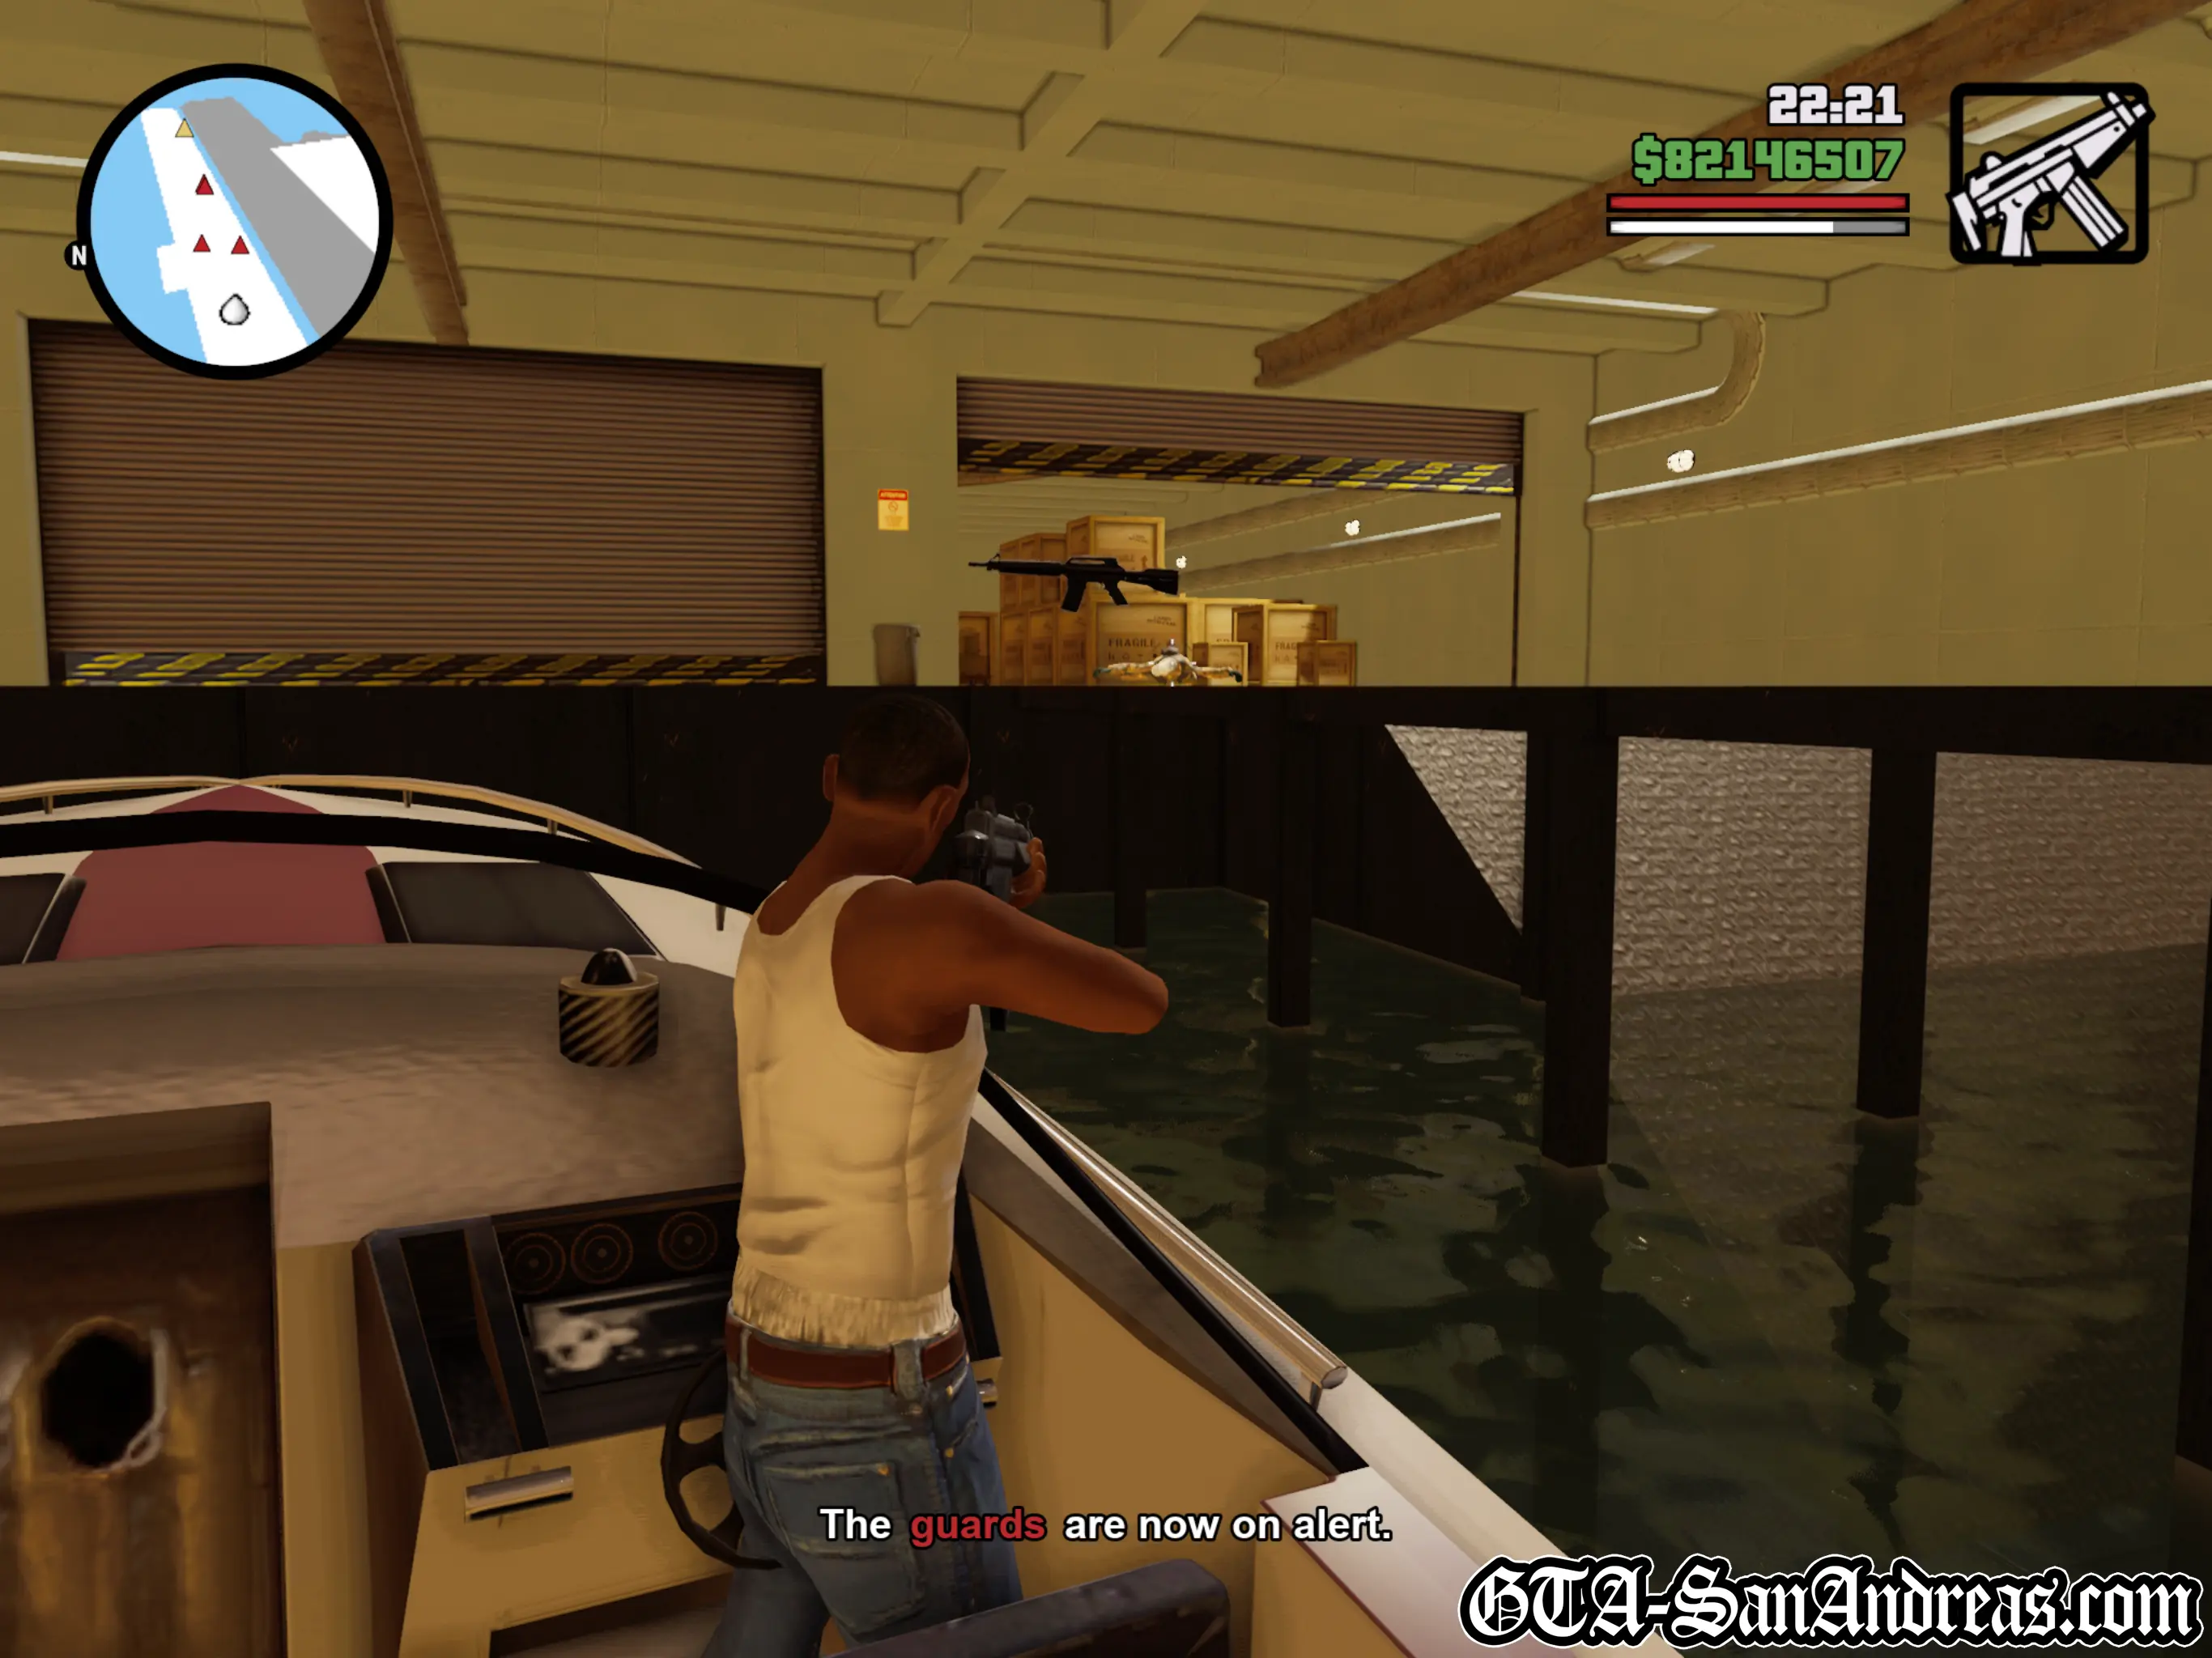
Vertical Bird

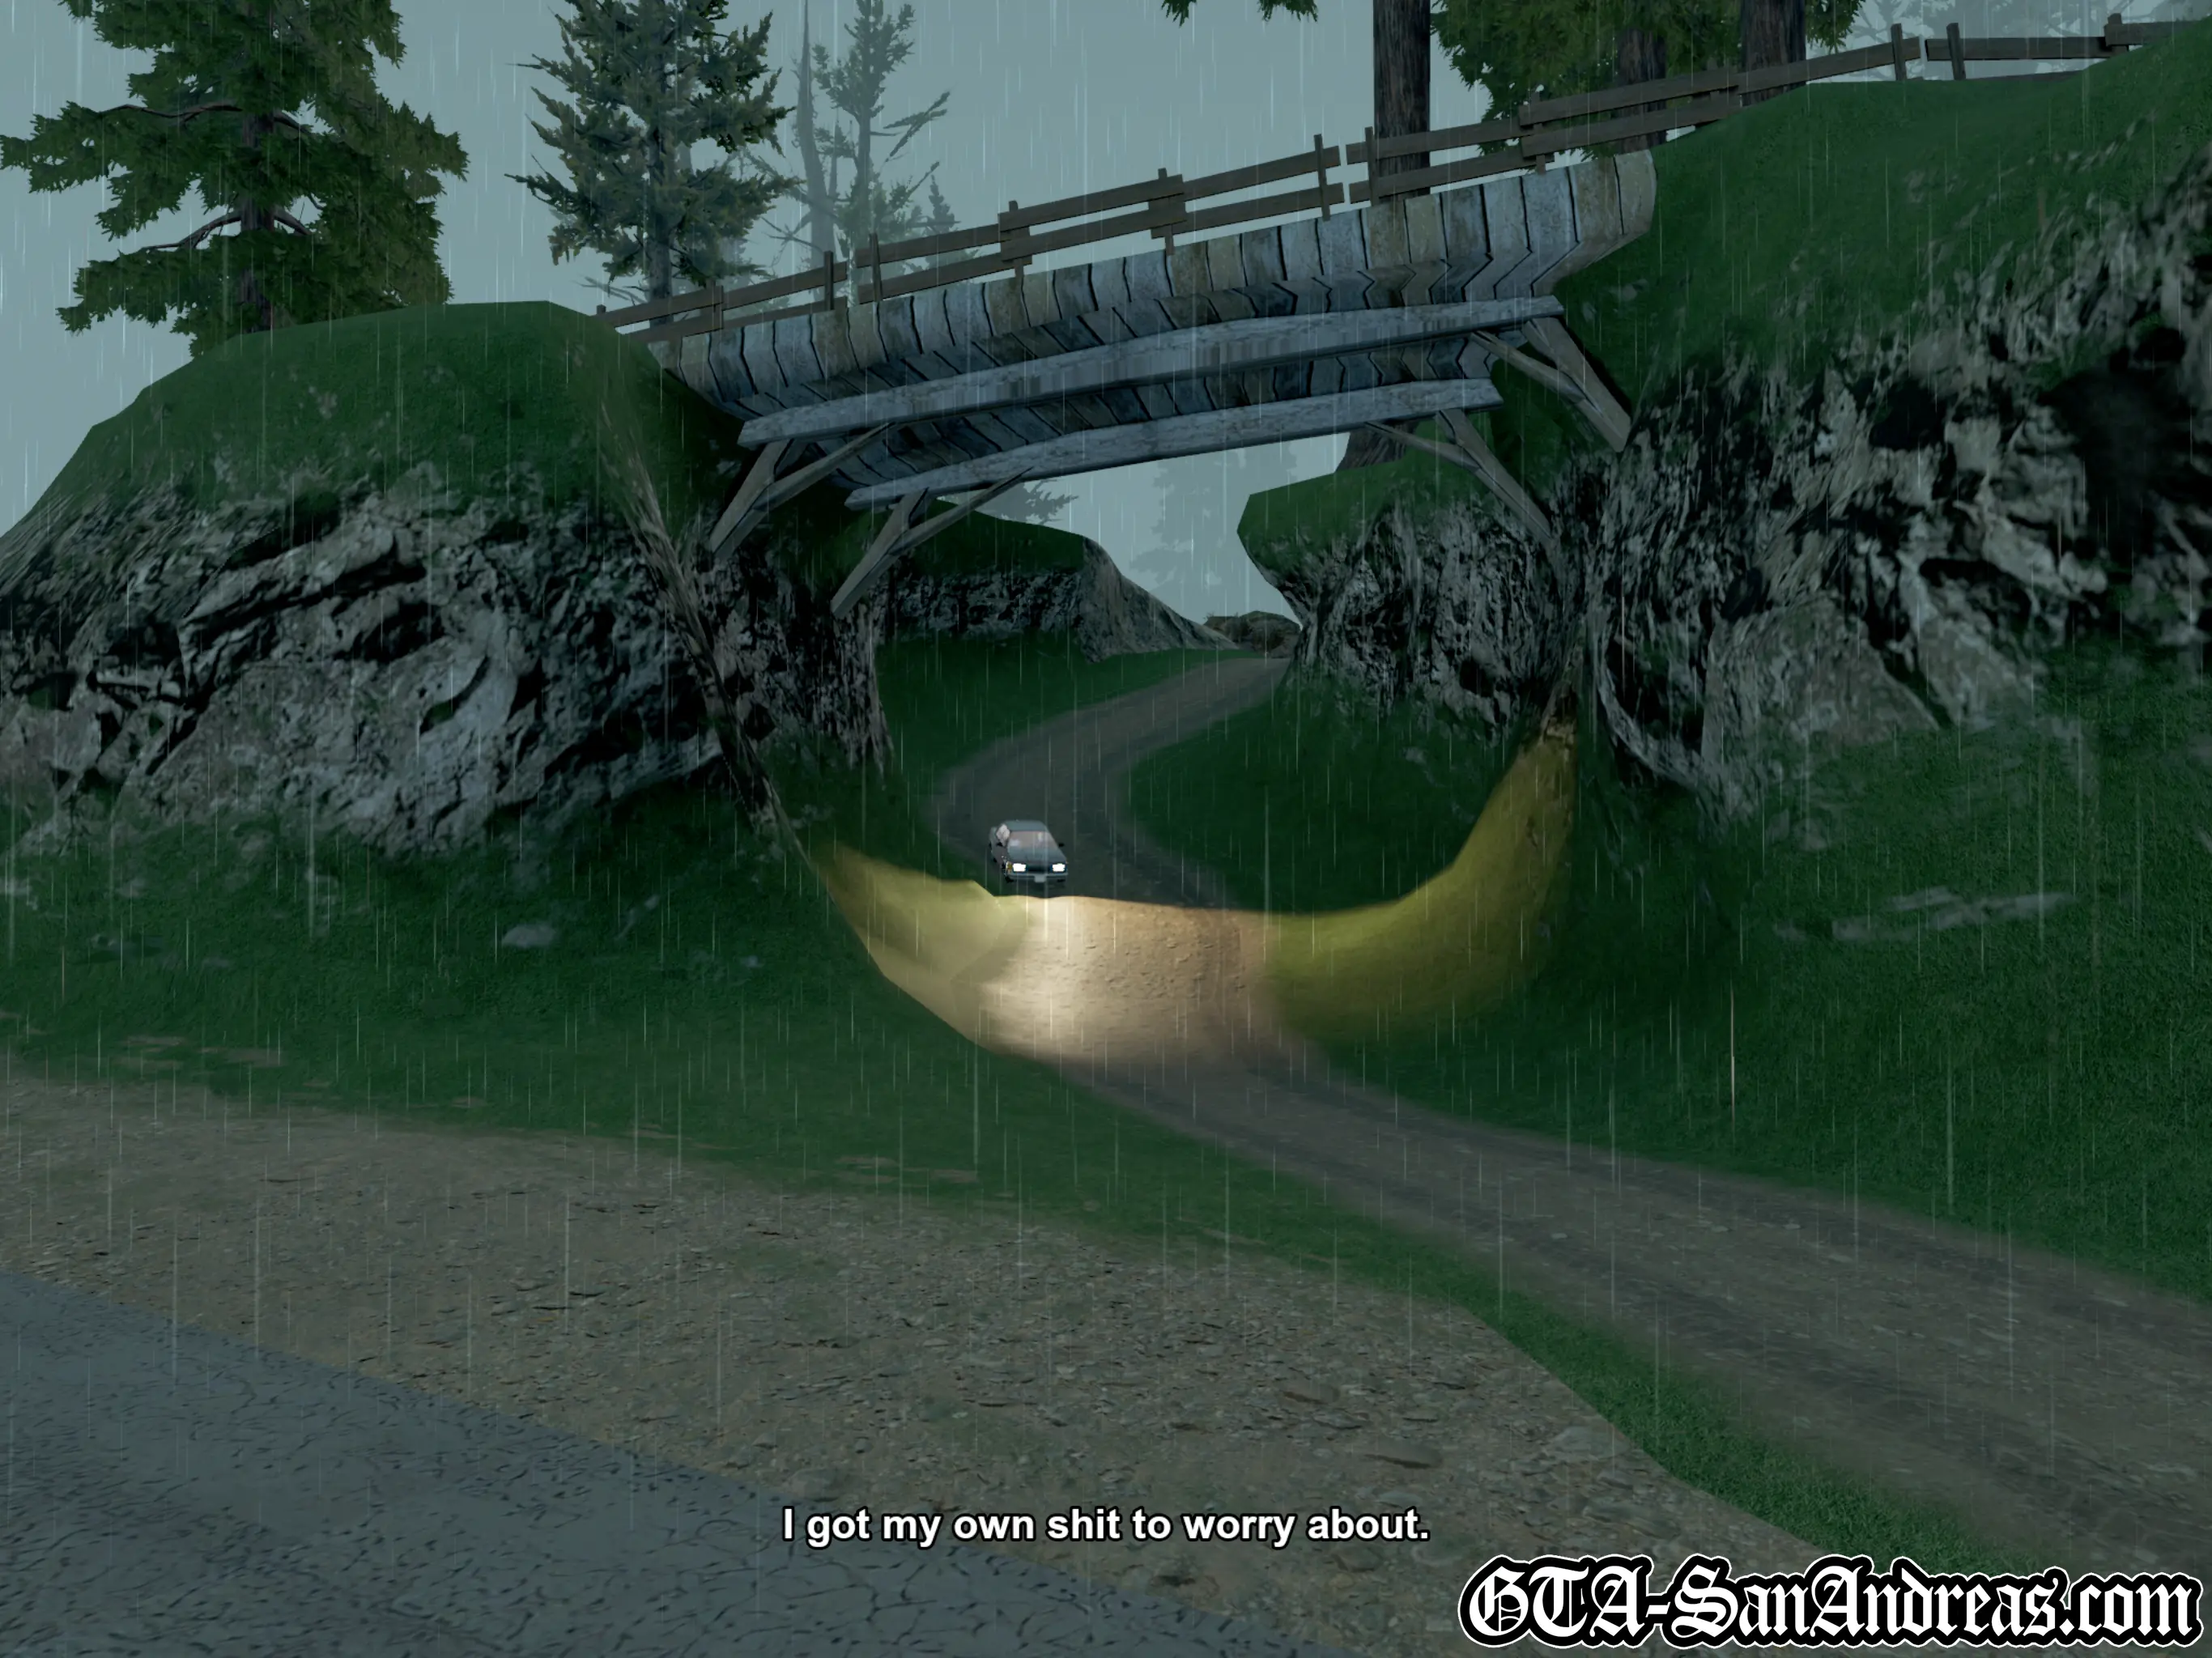
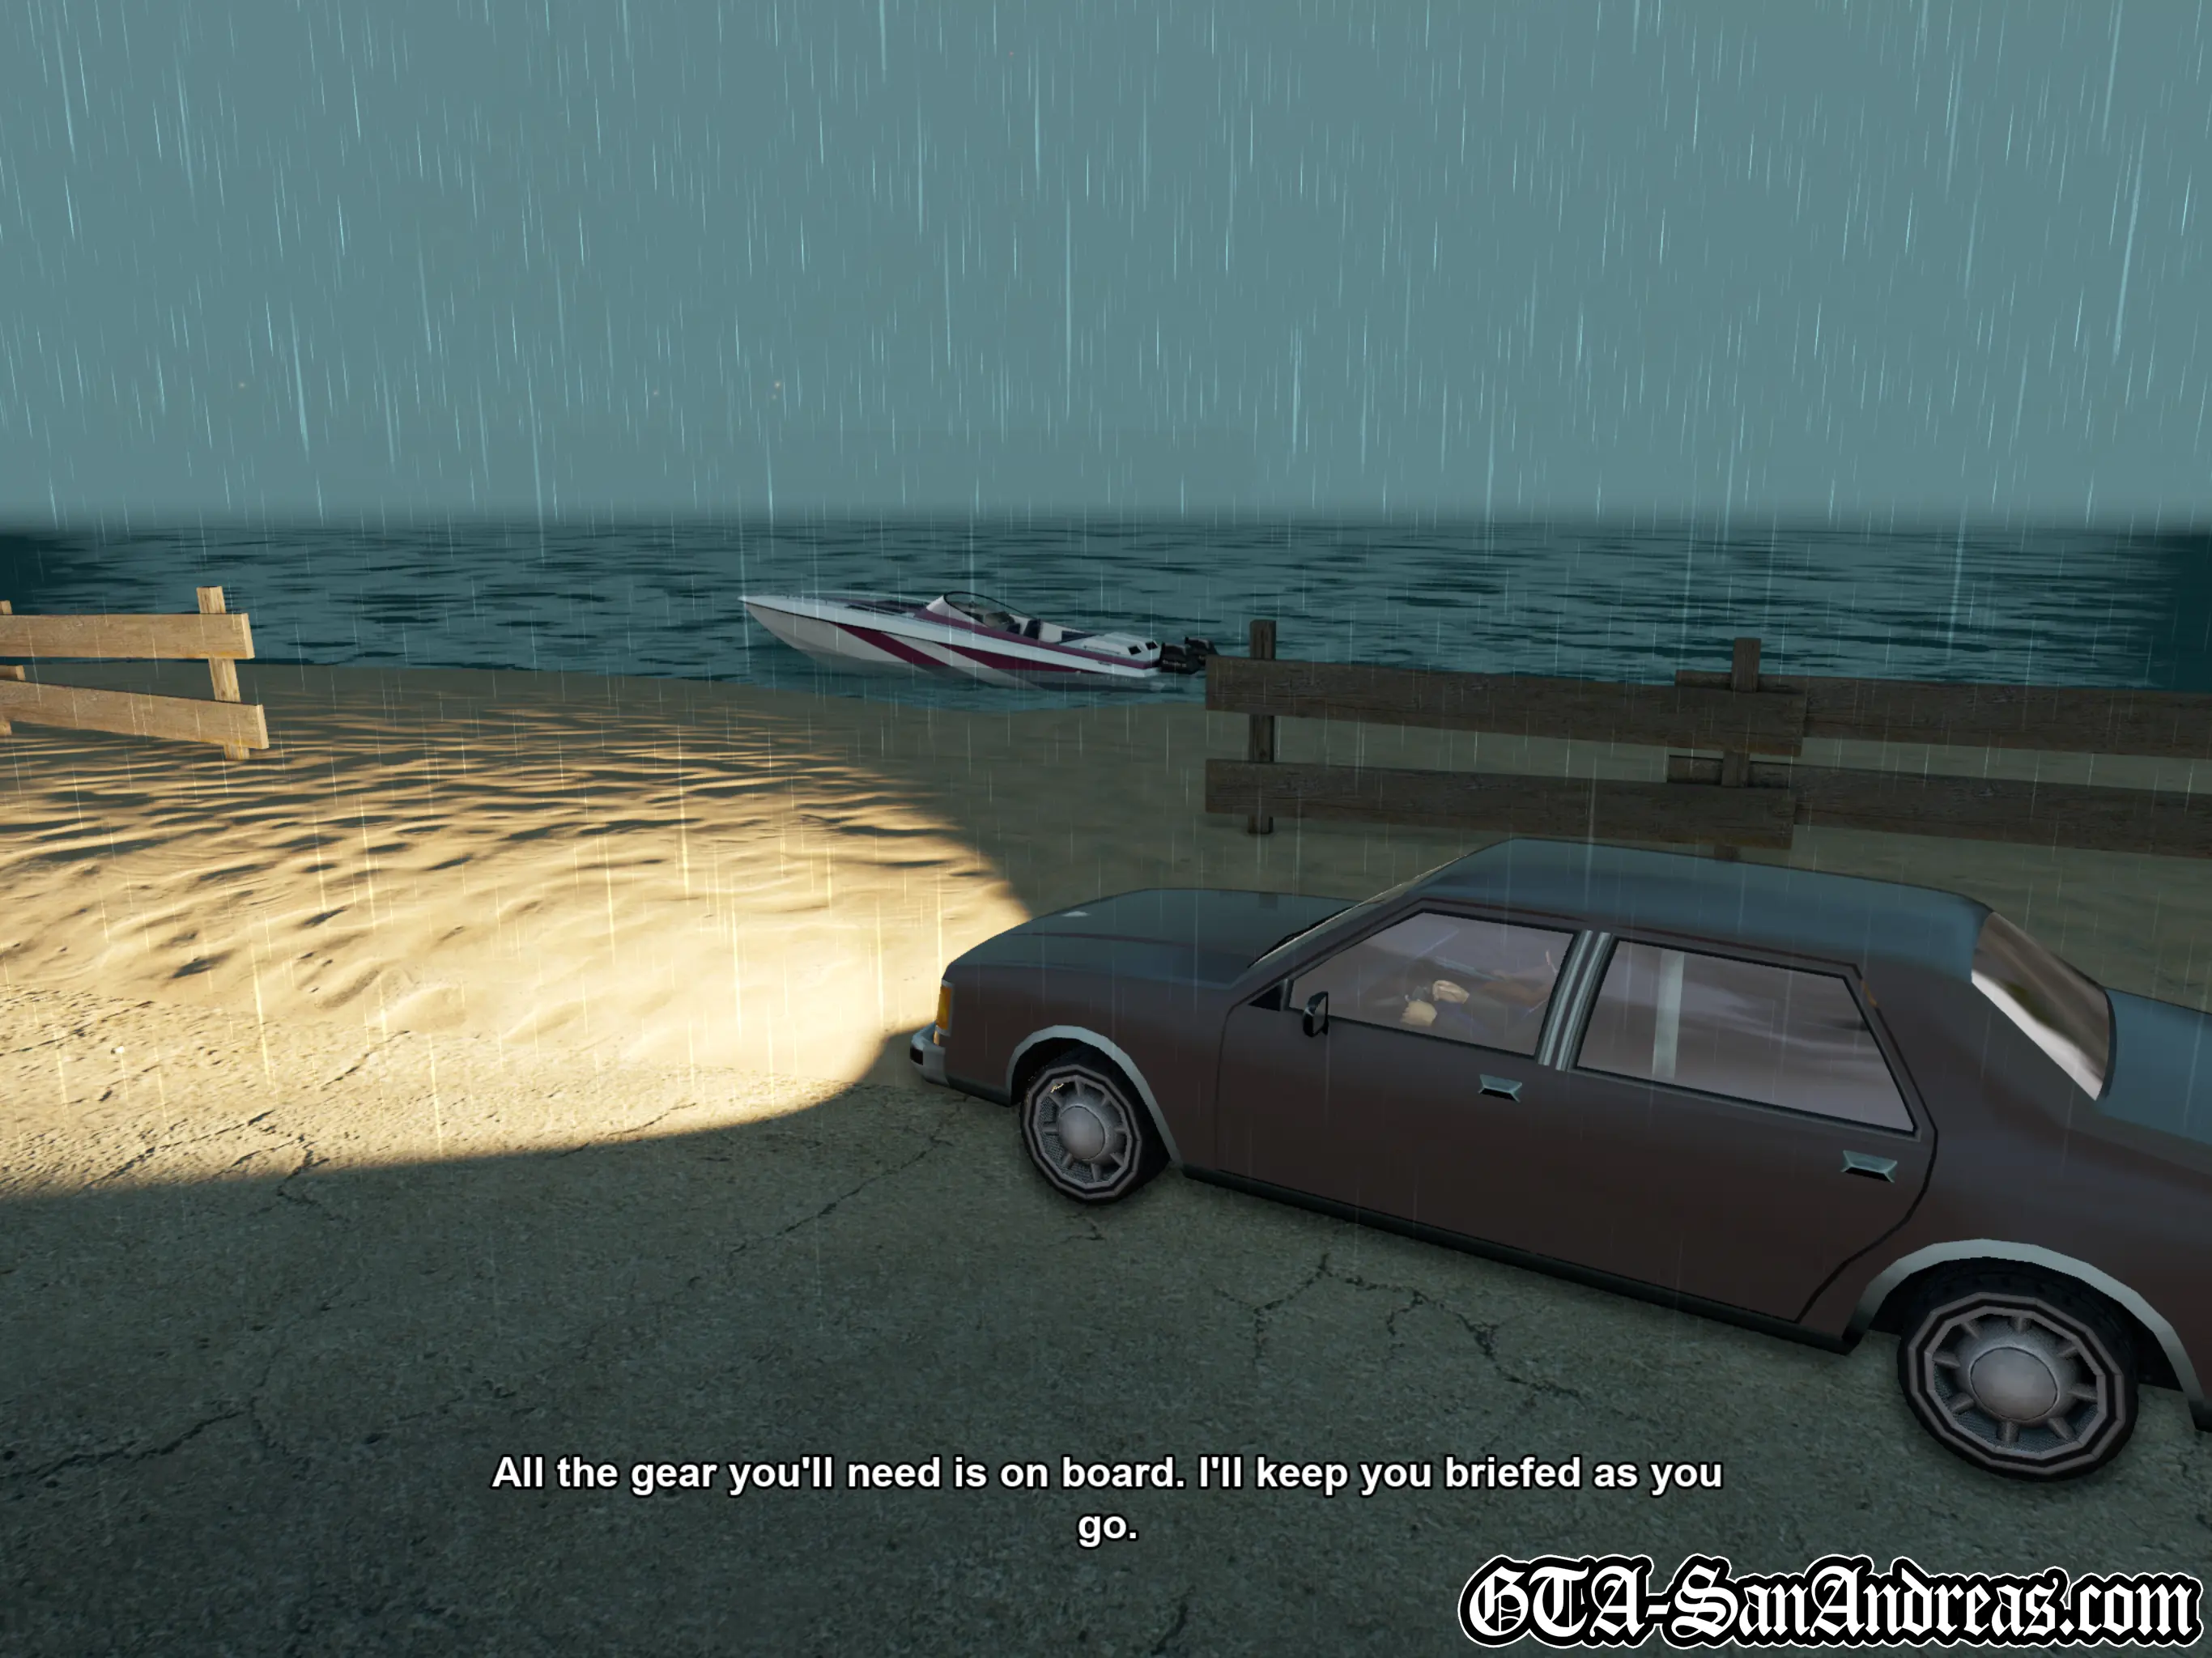
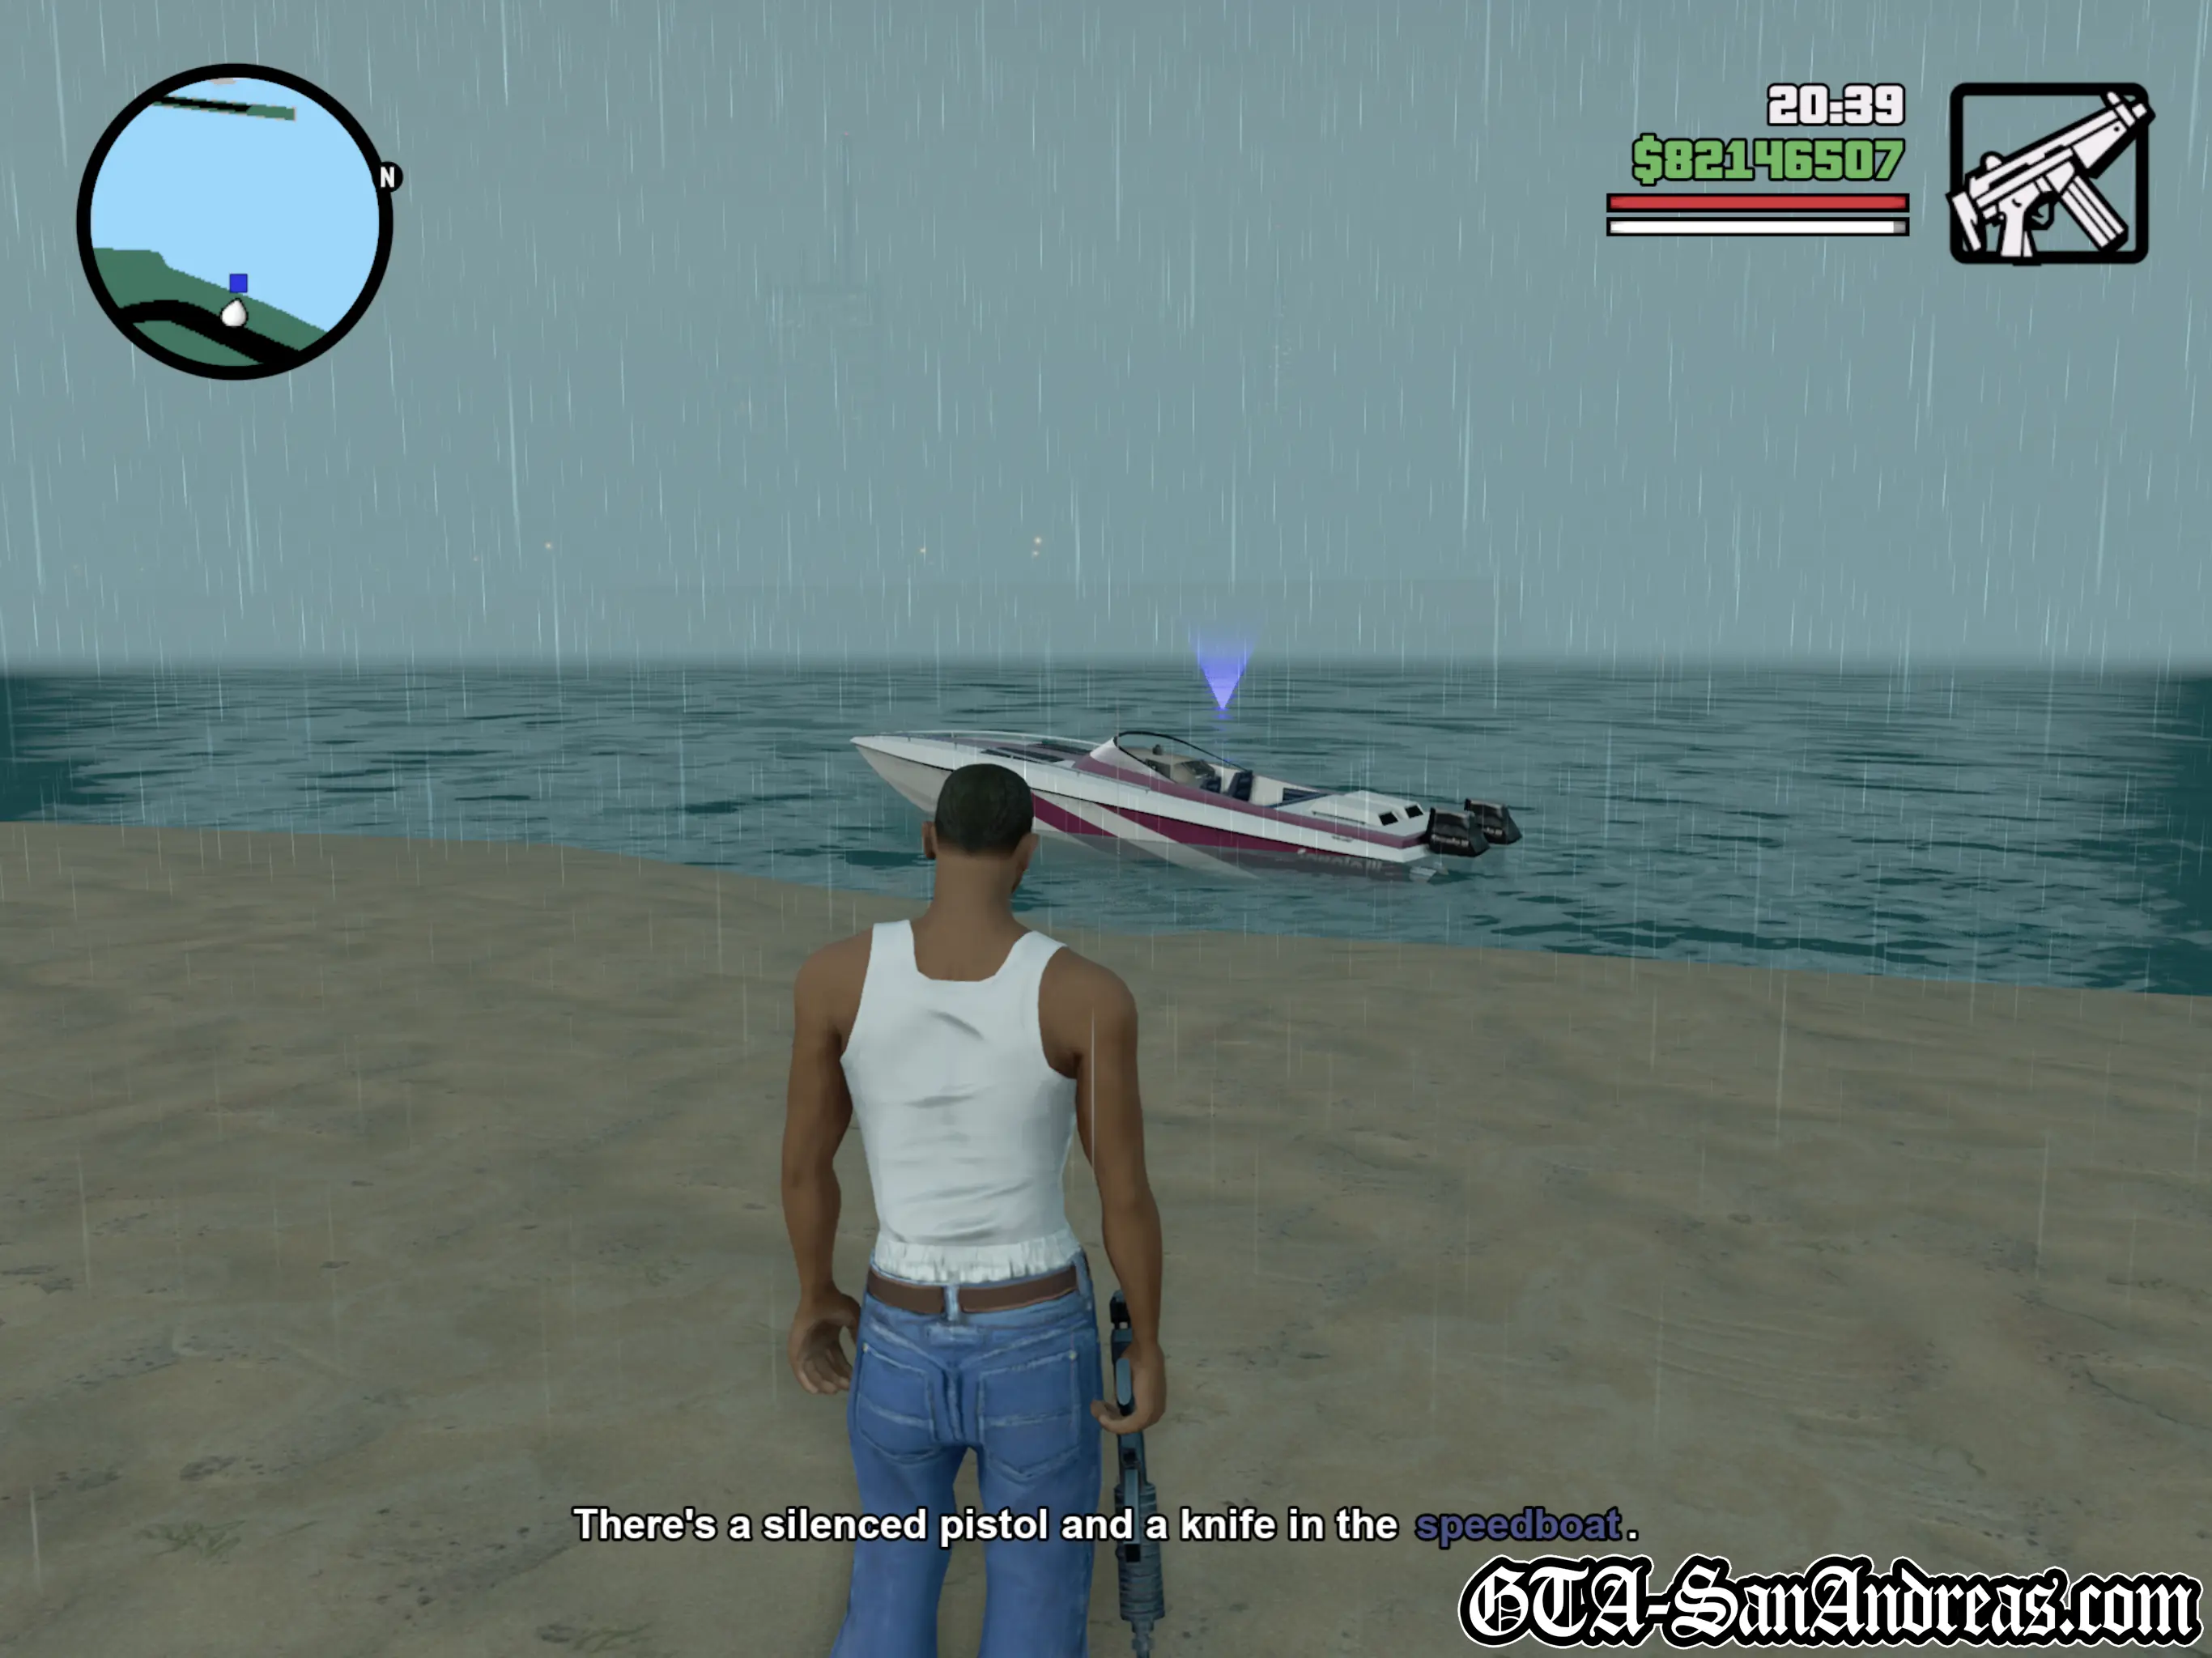
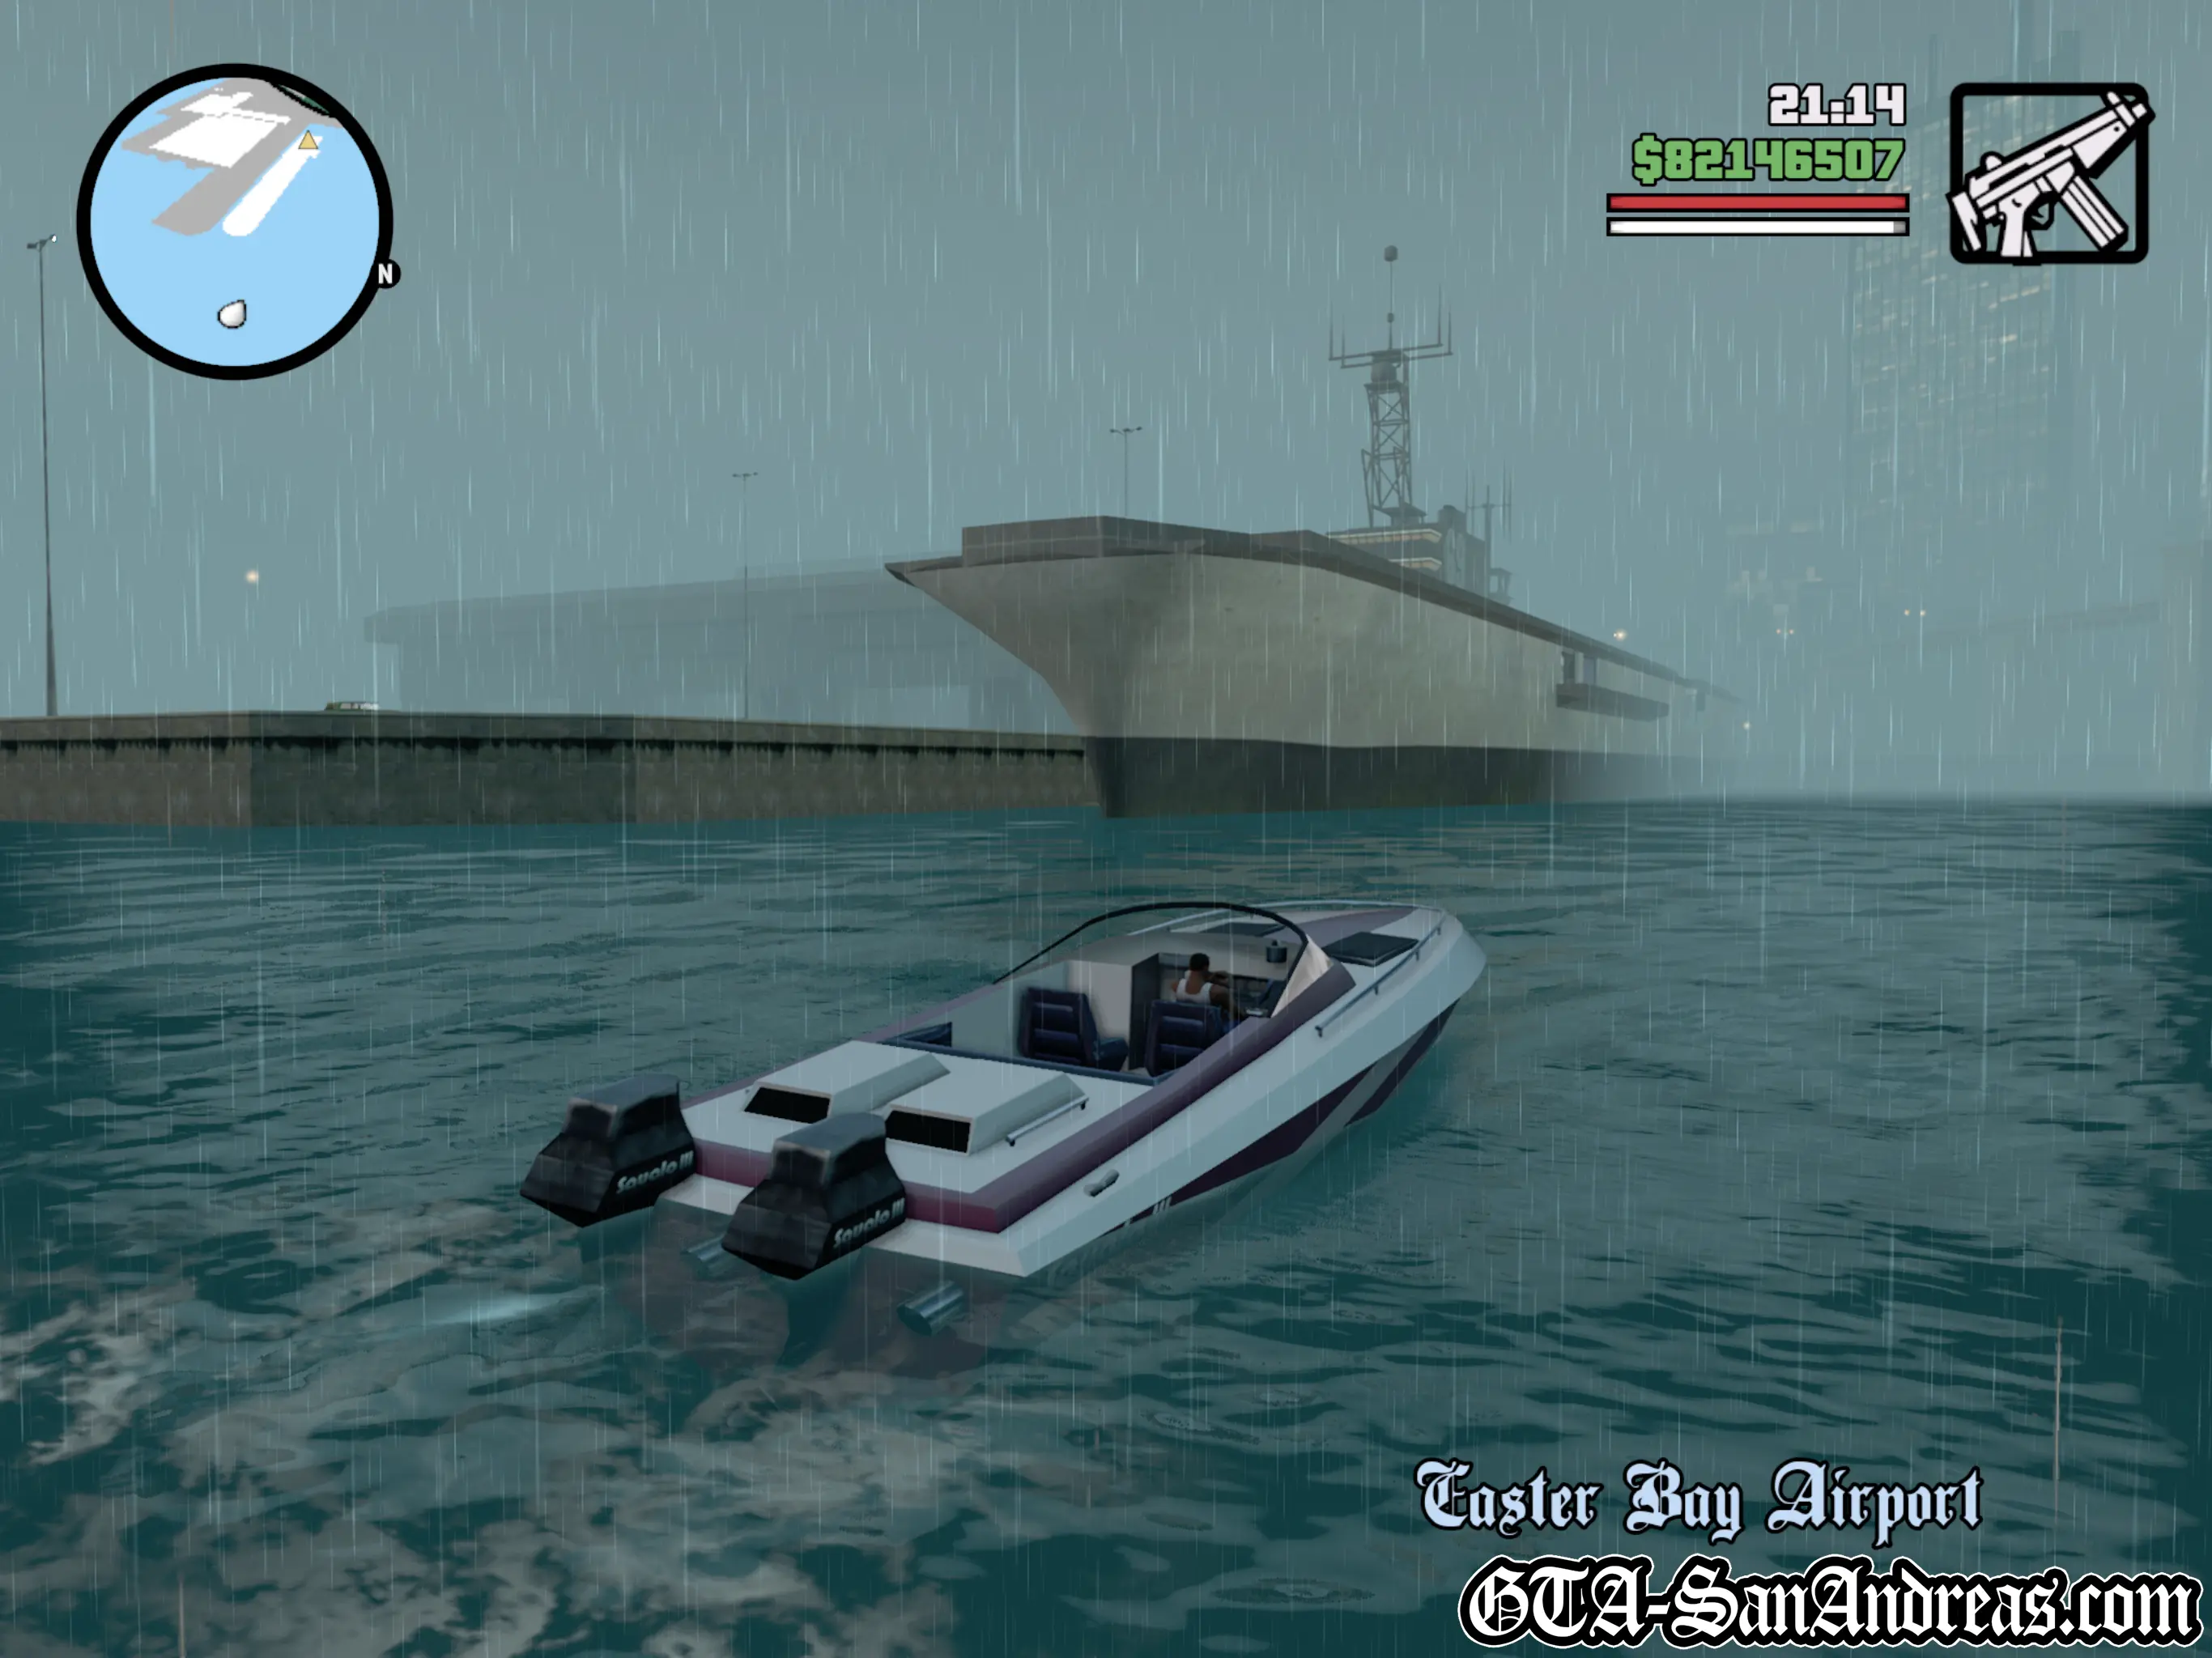
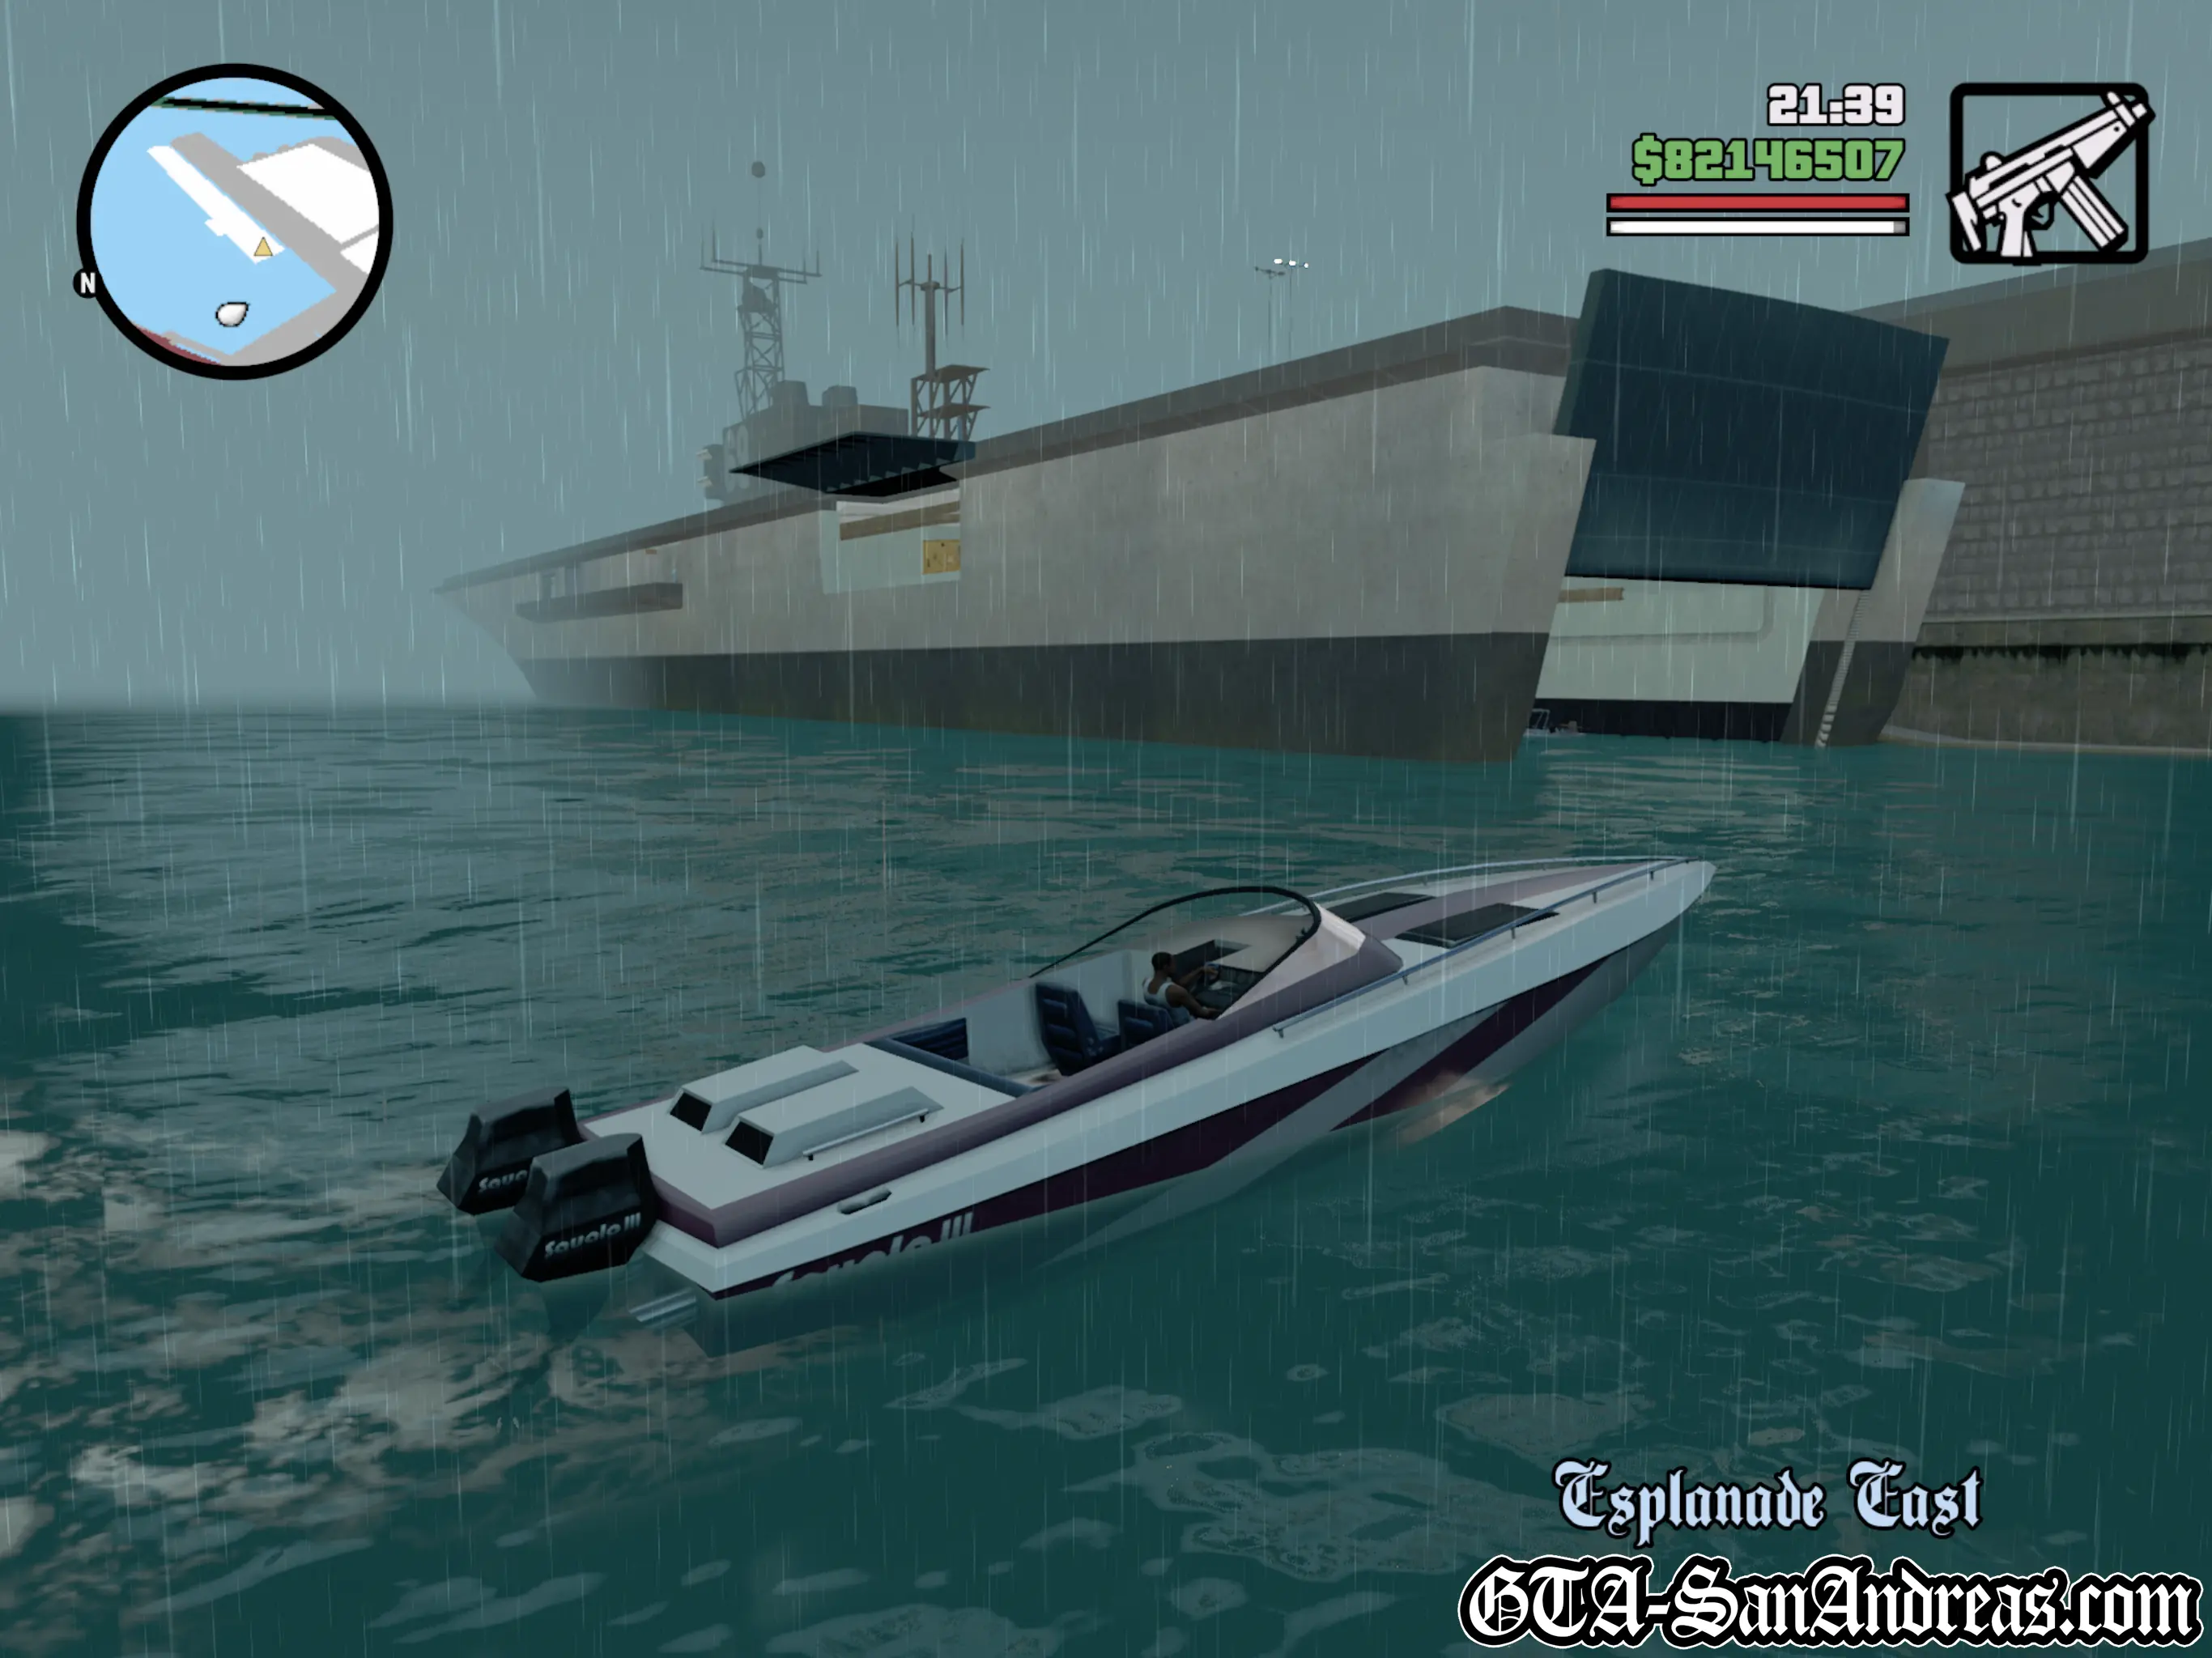
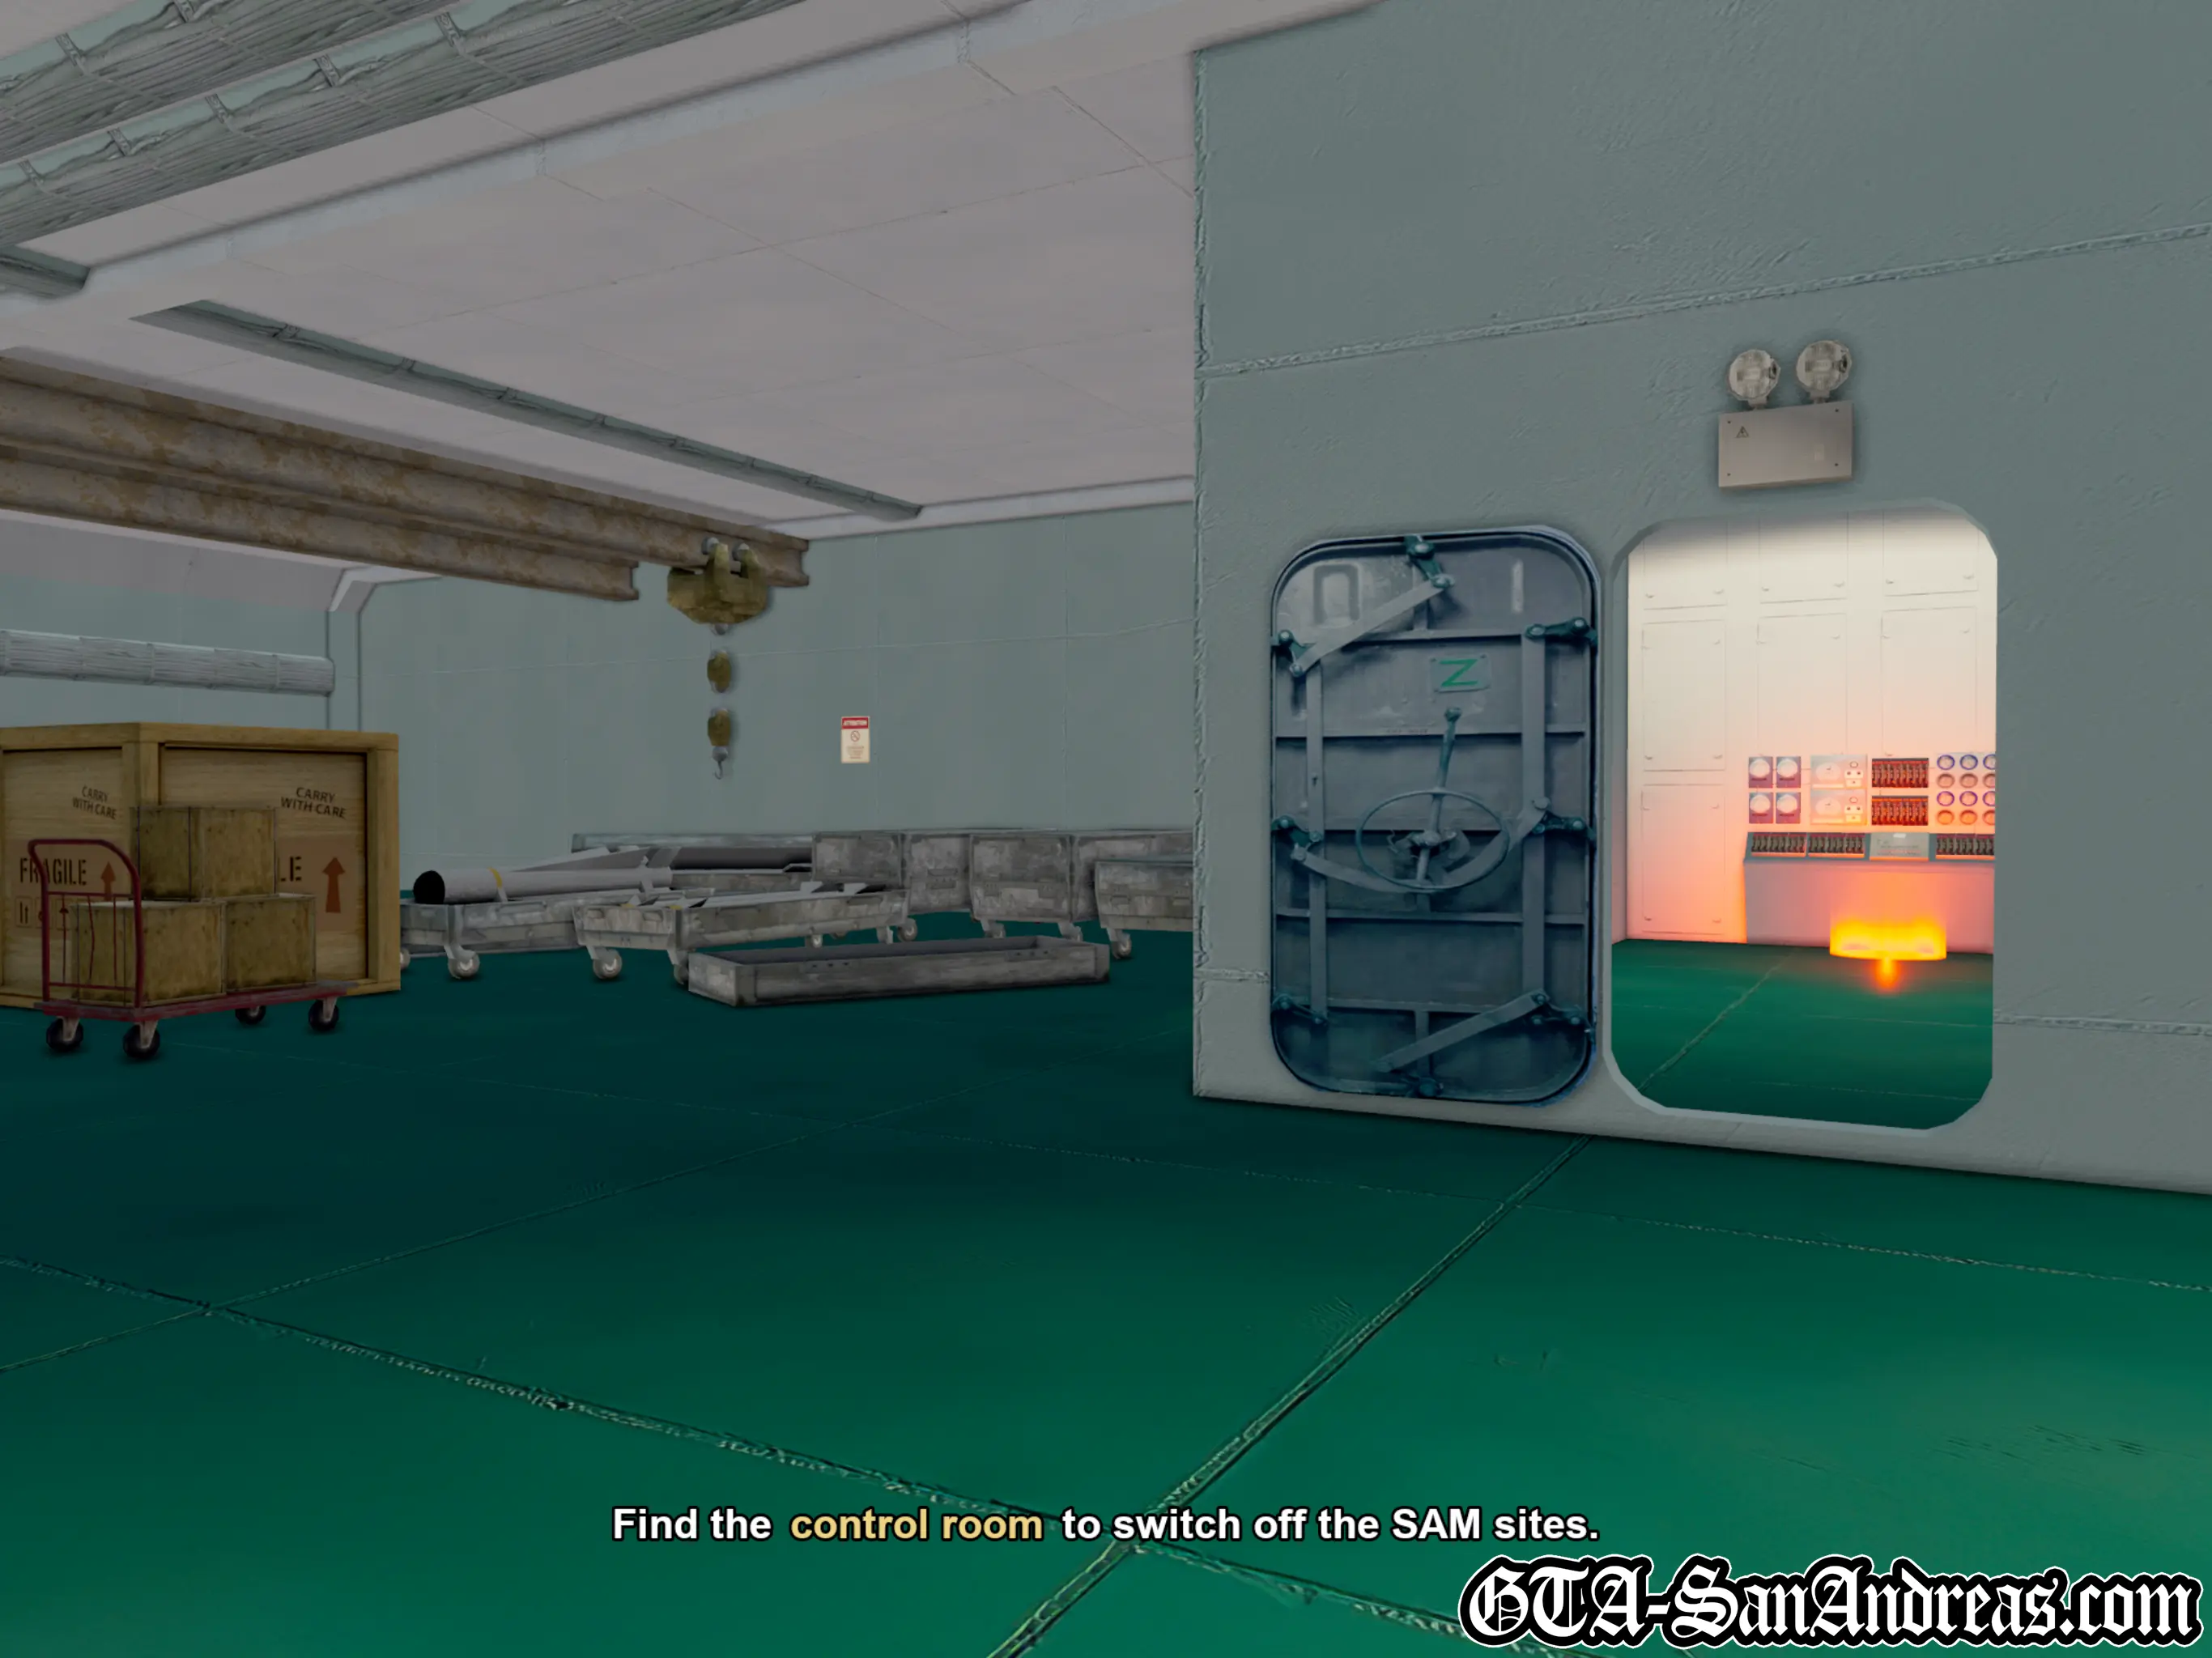
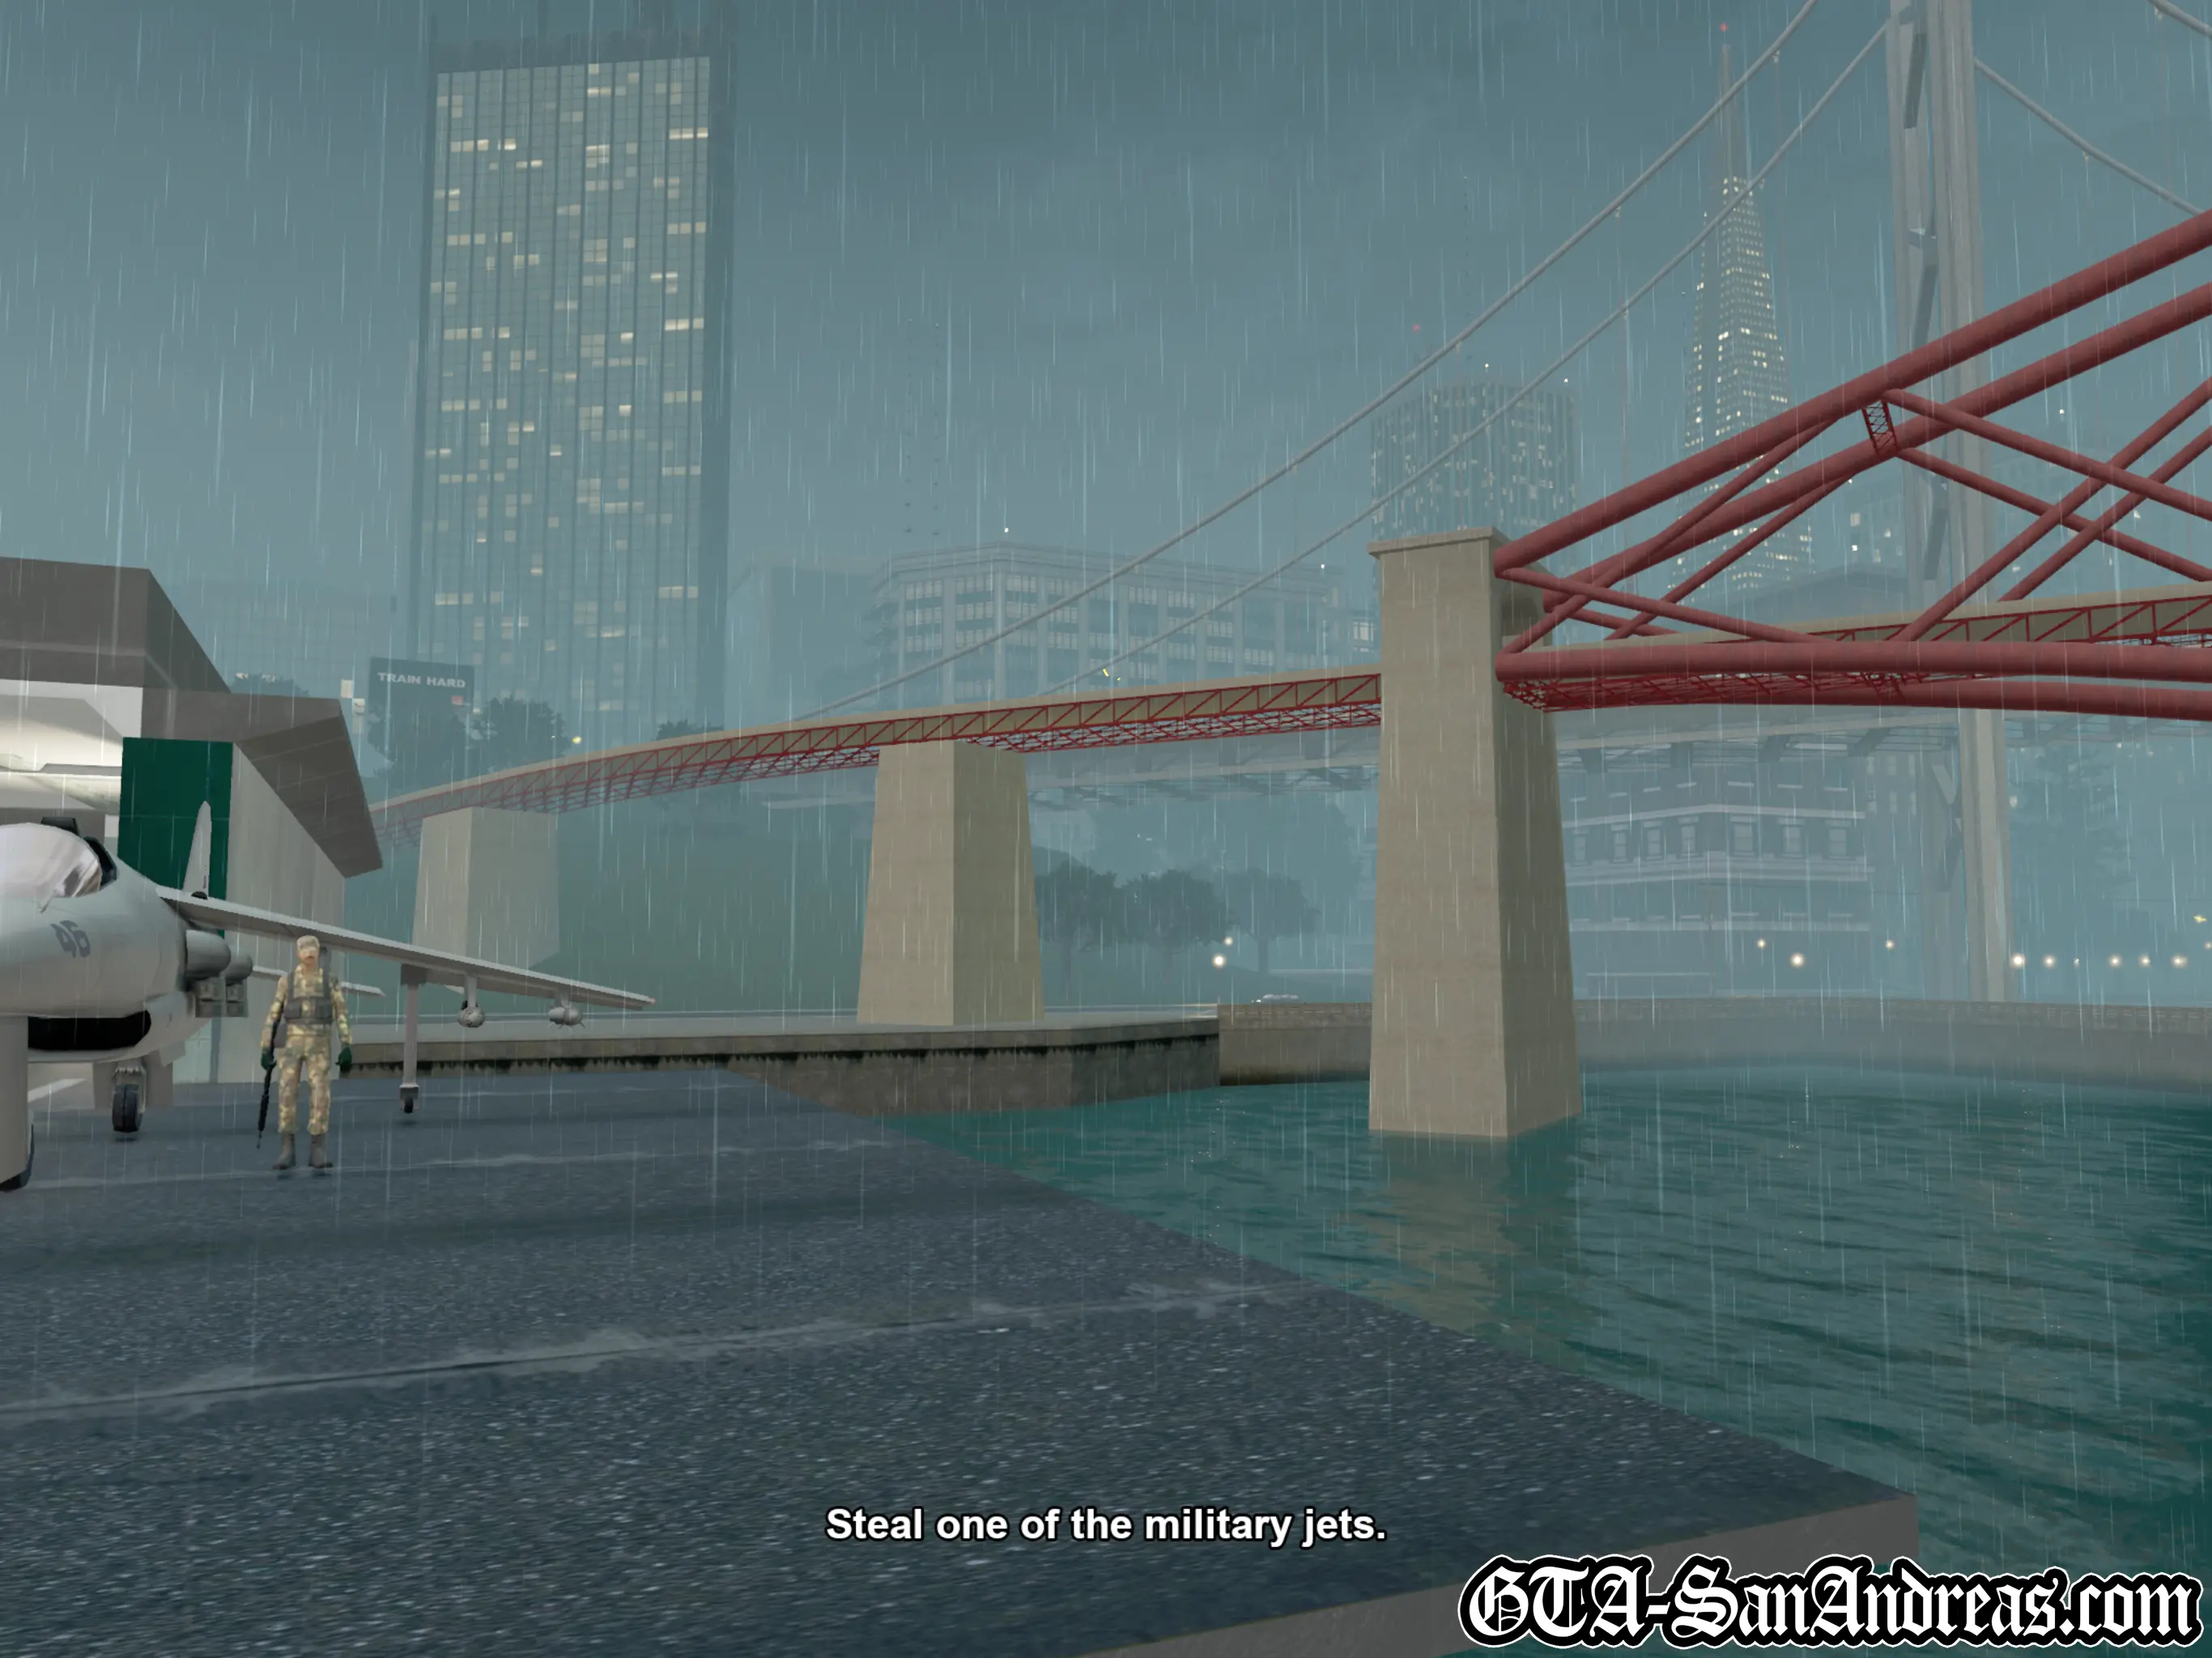
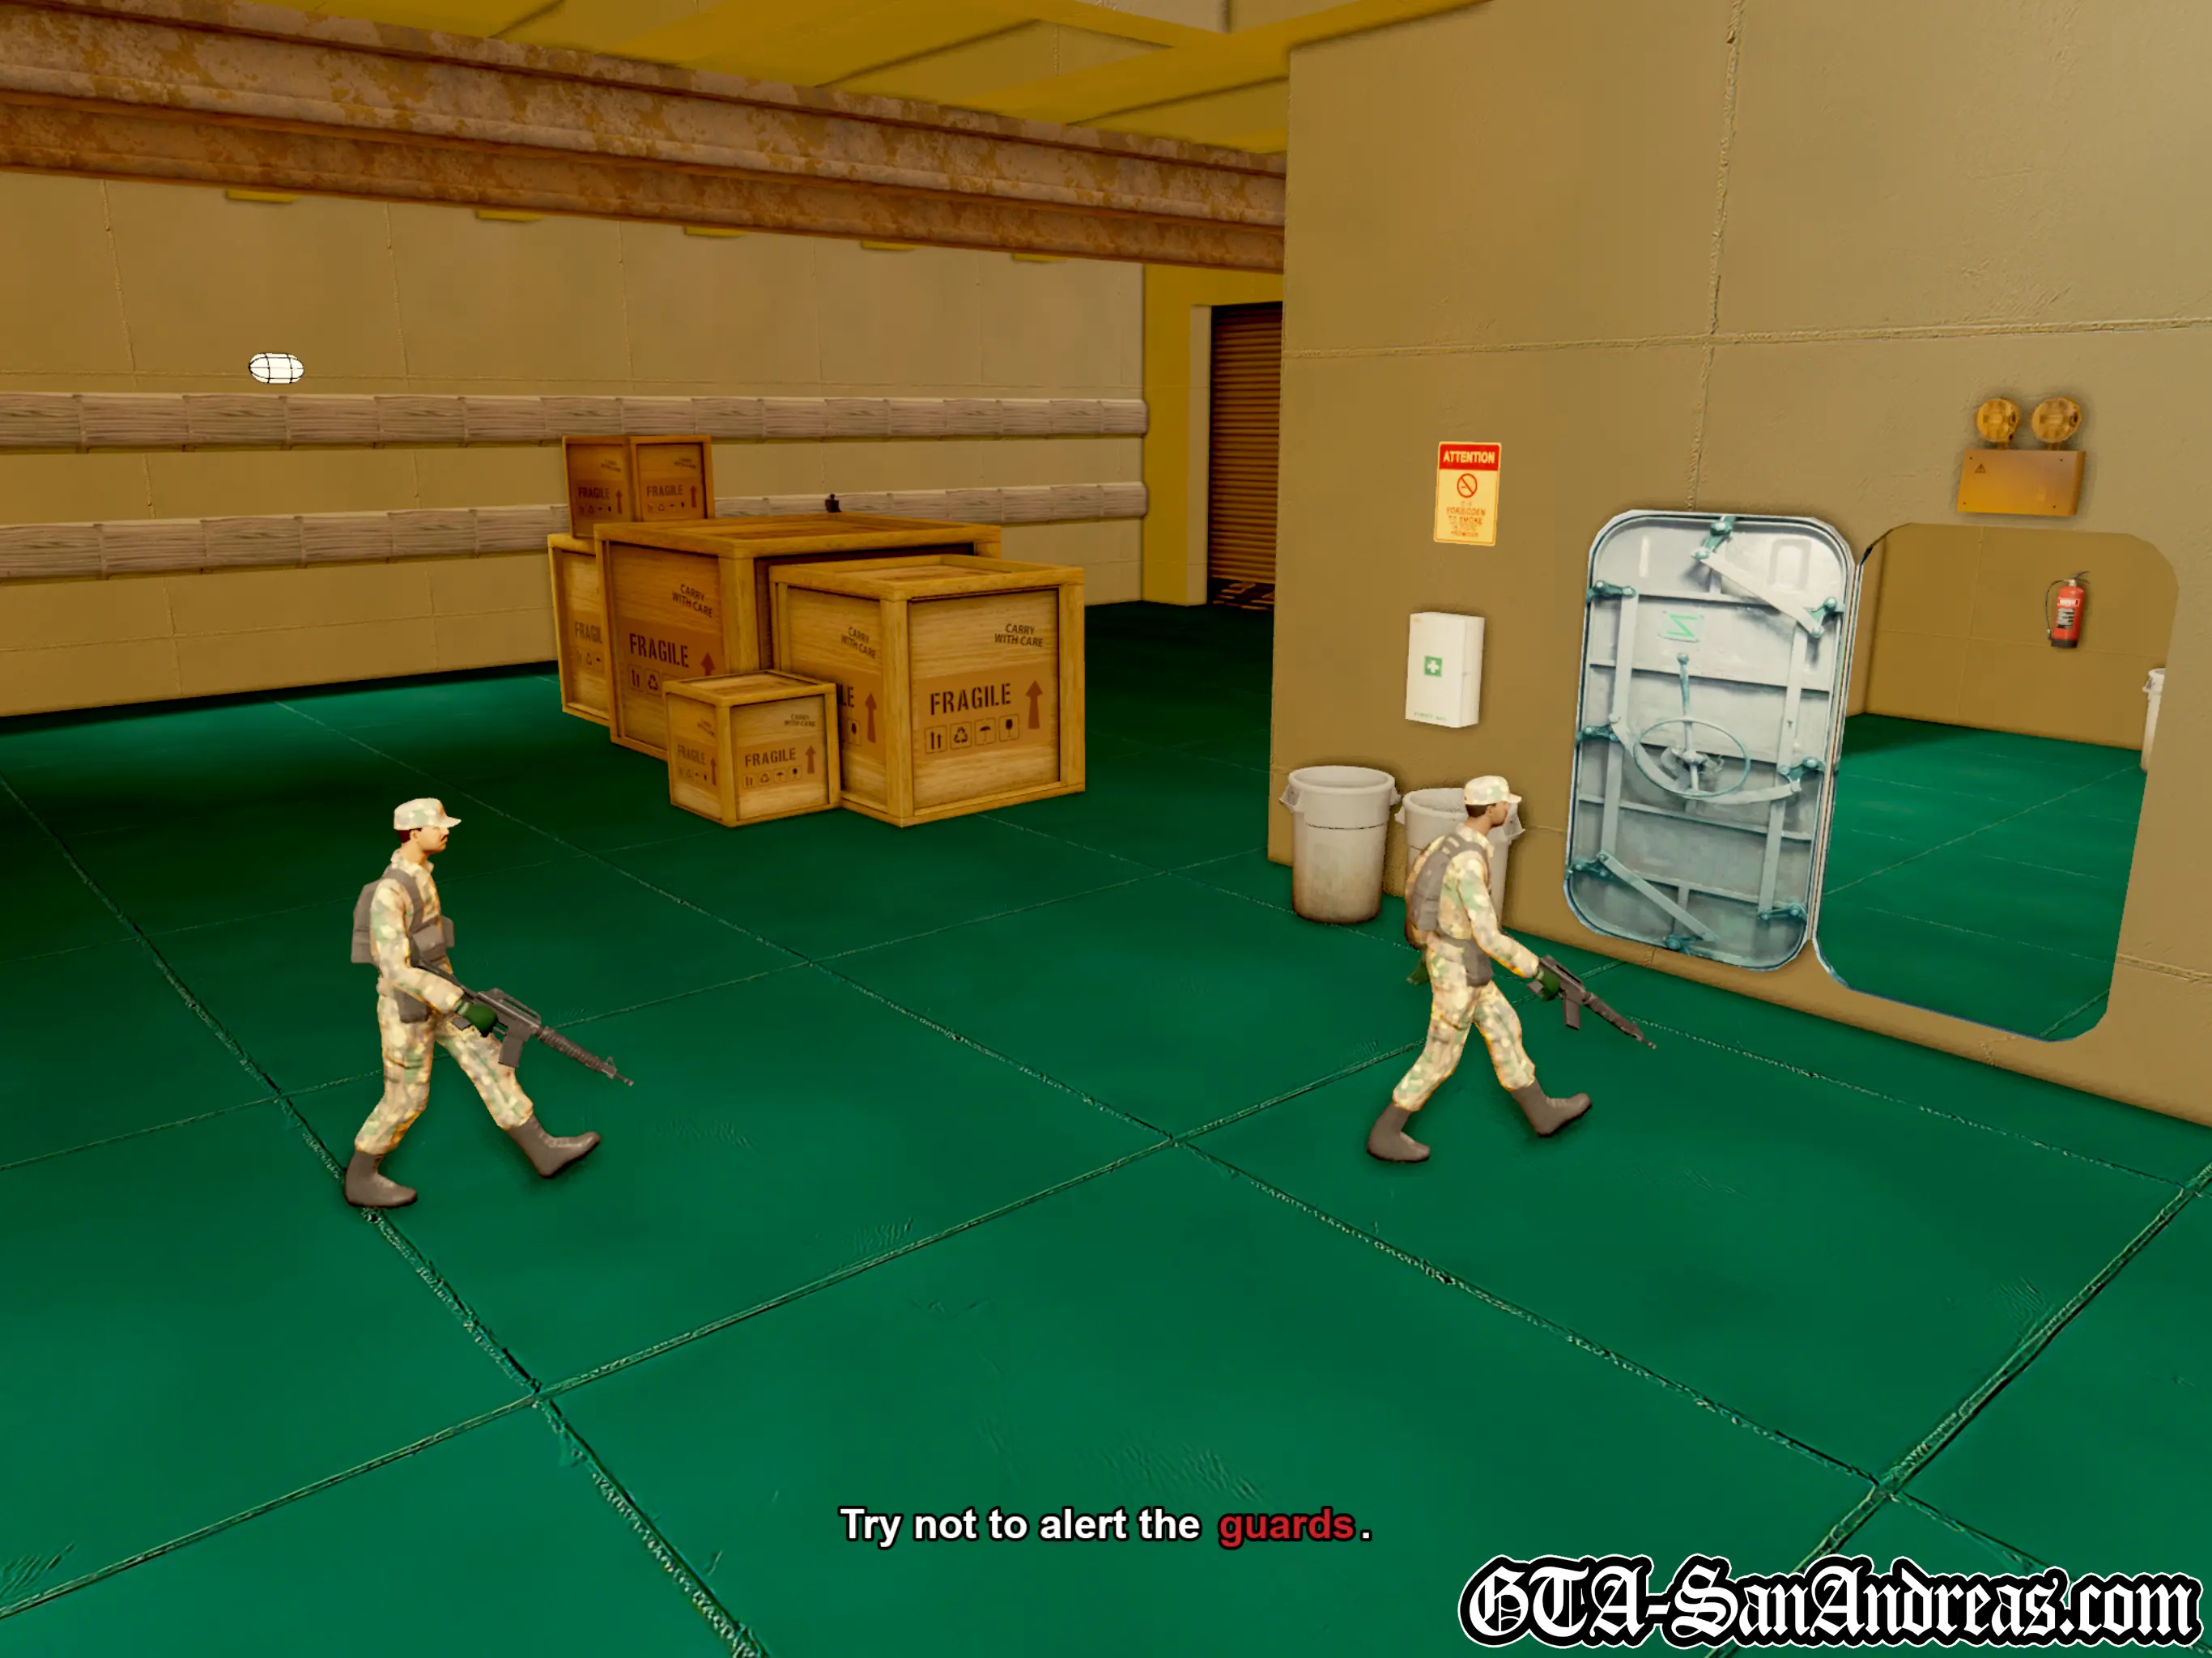
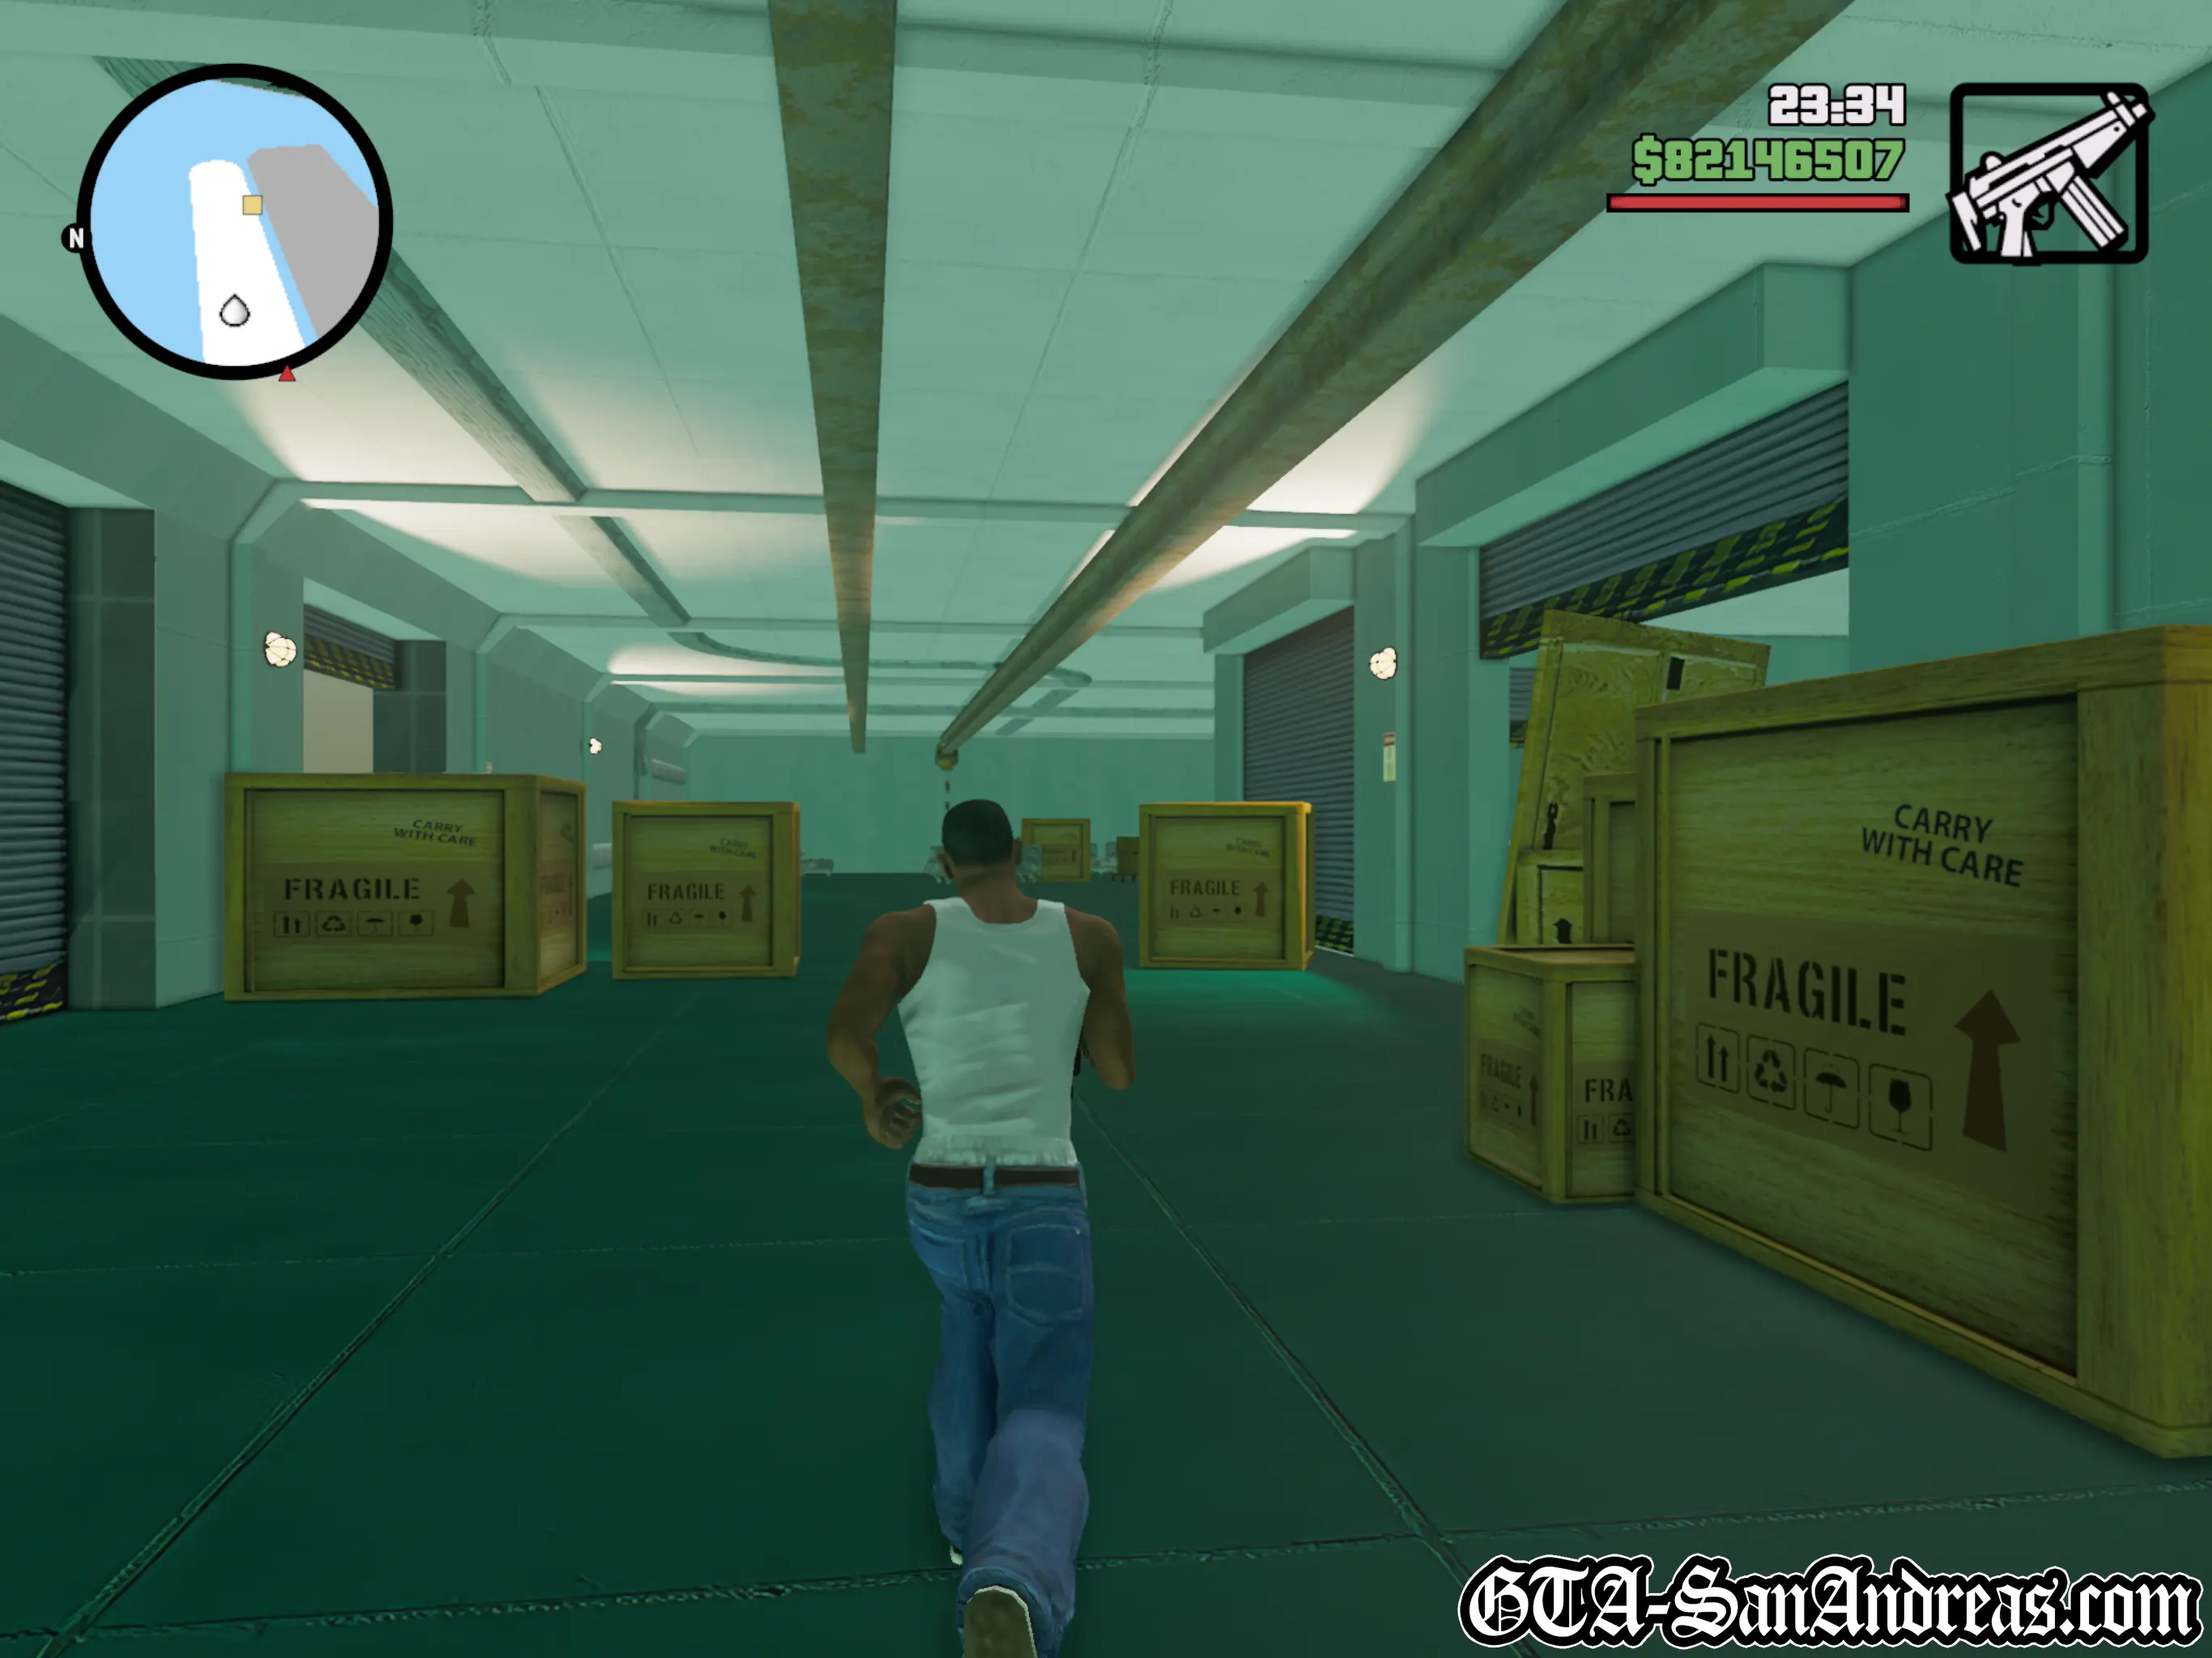
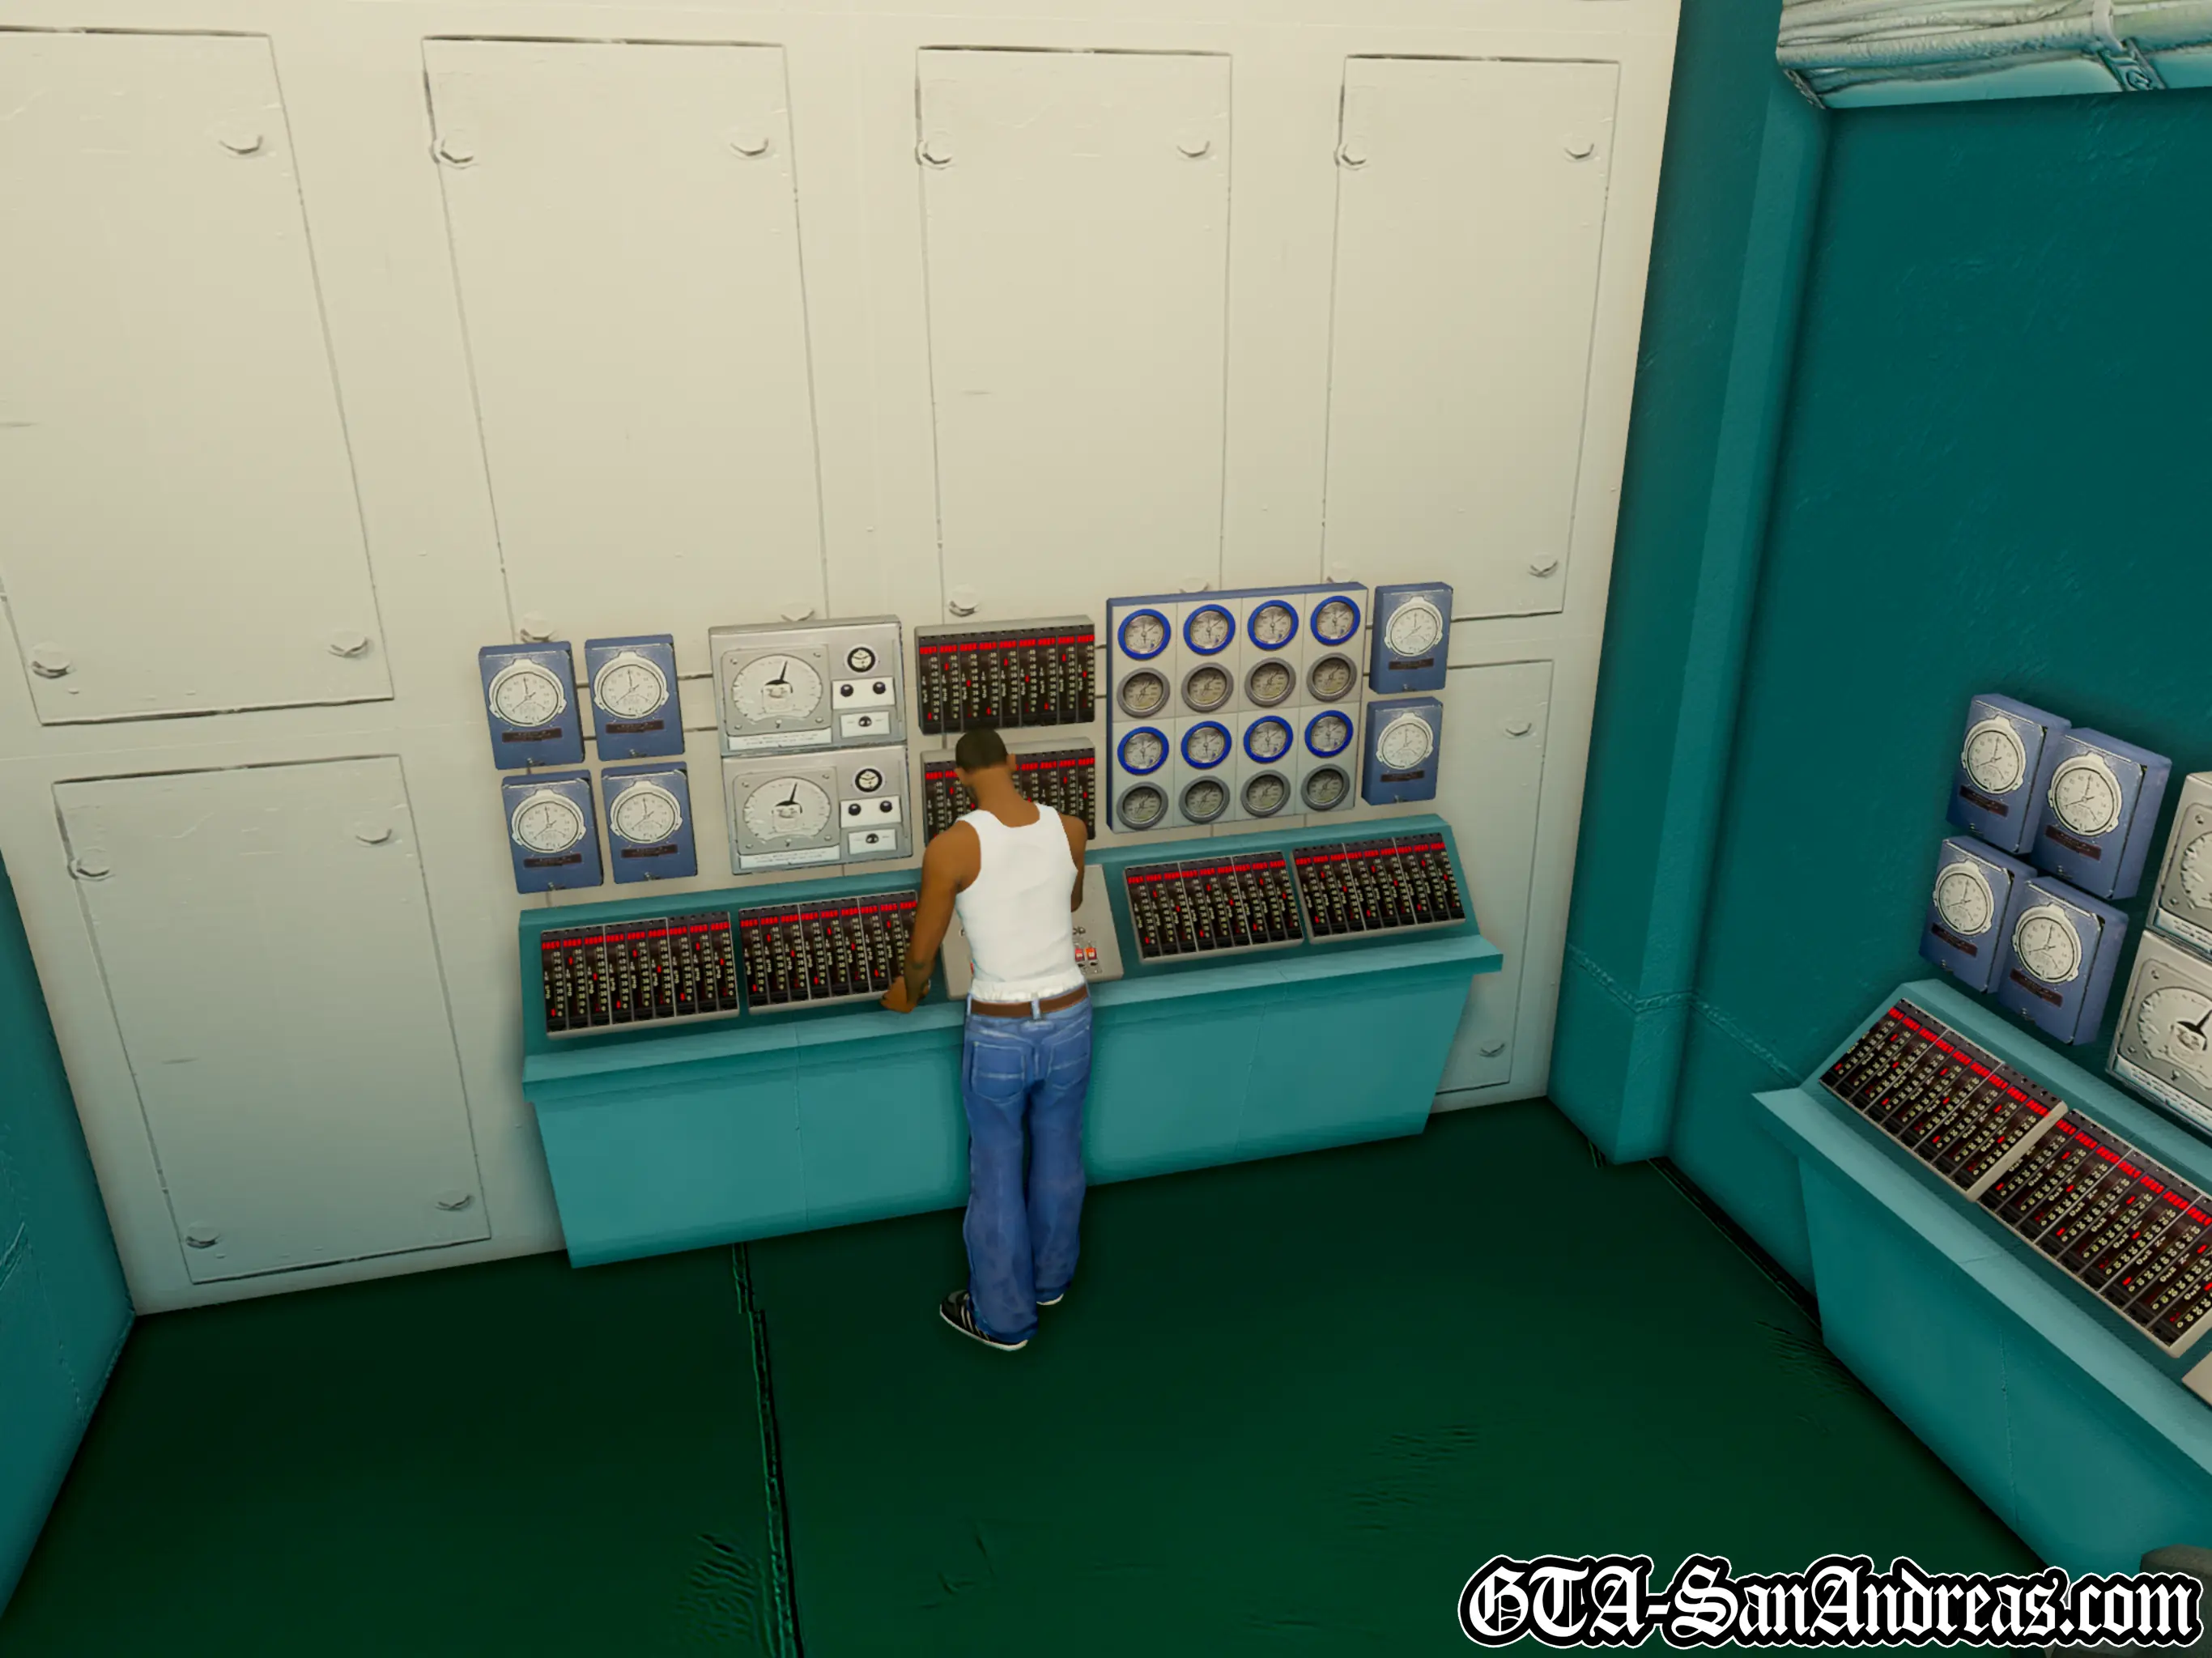
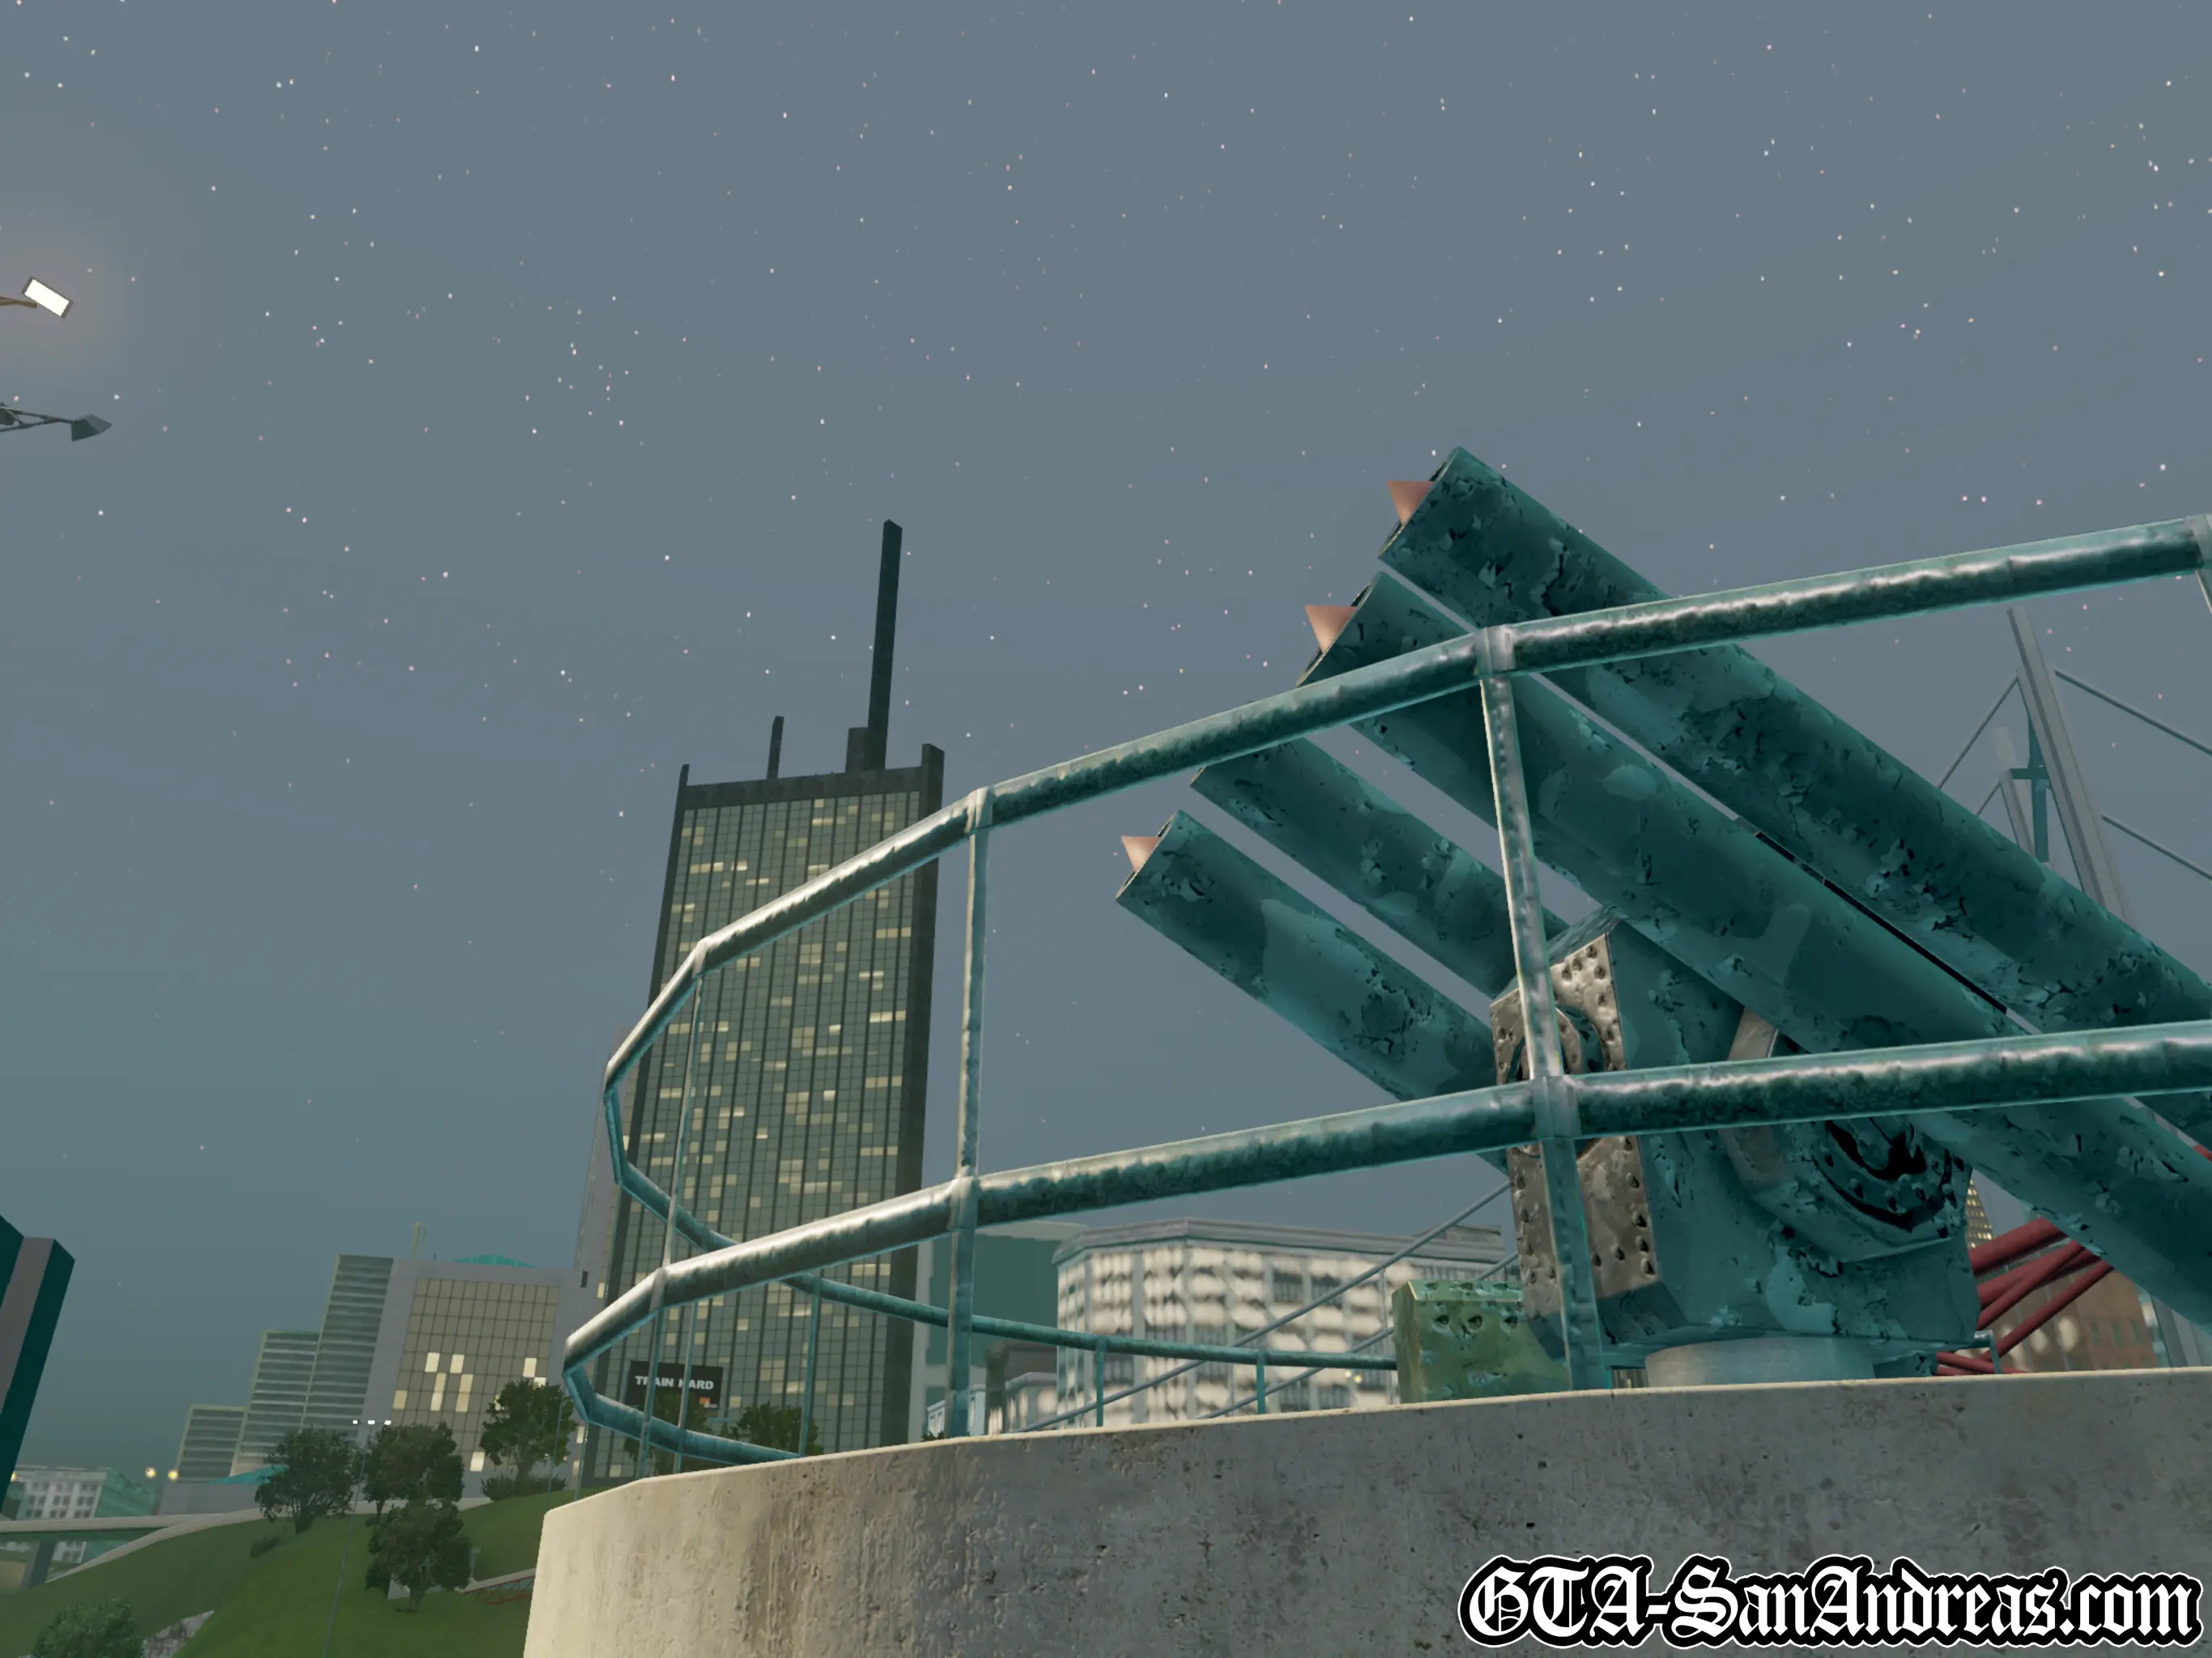
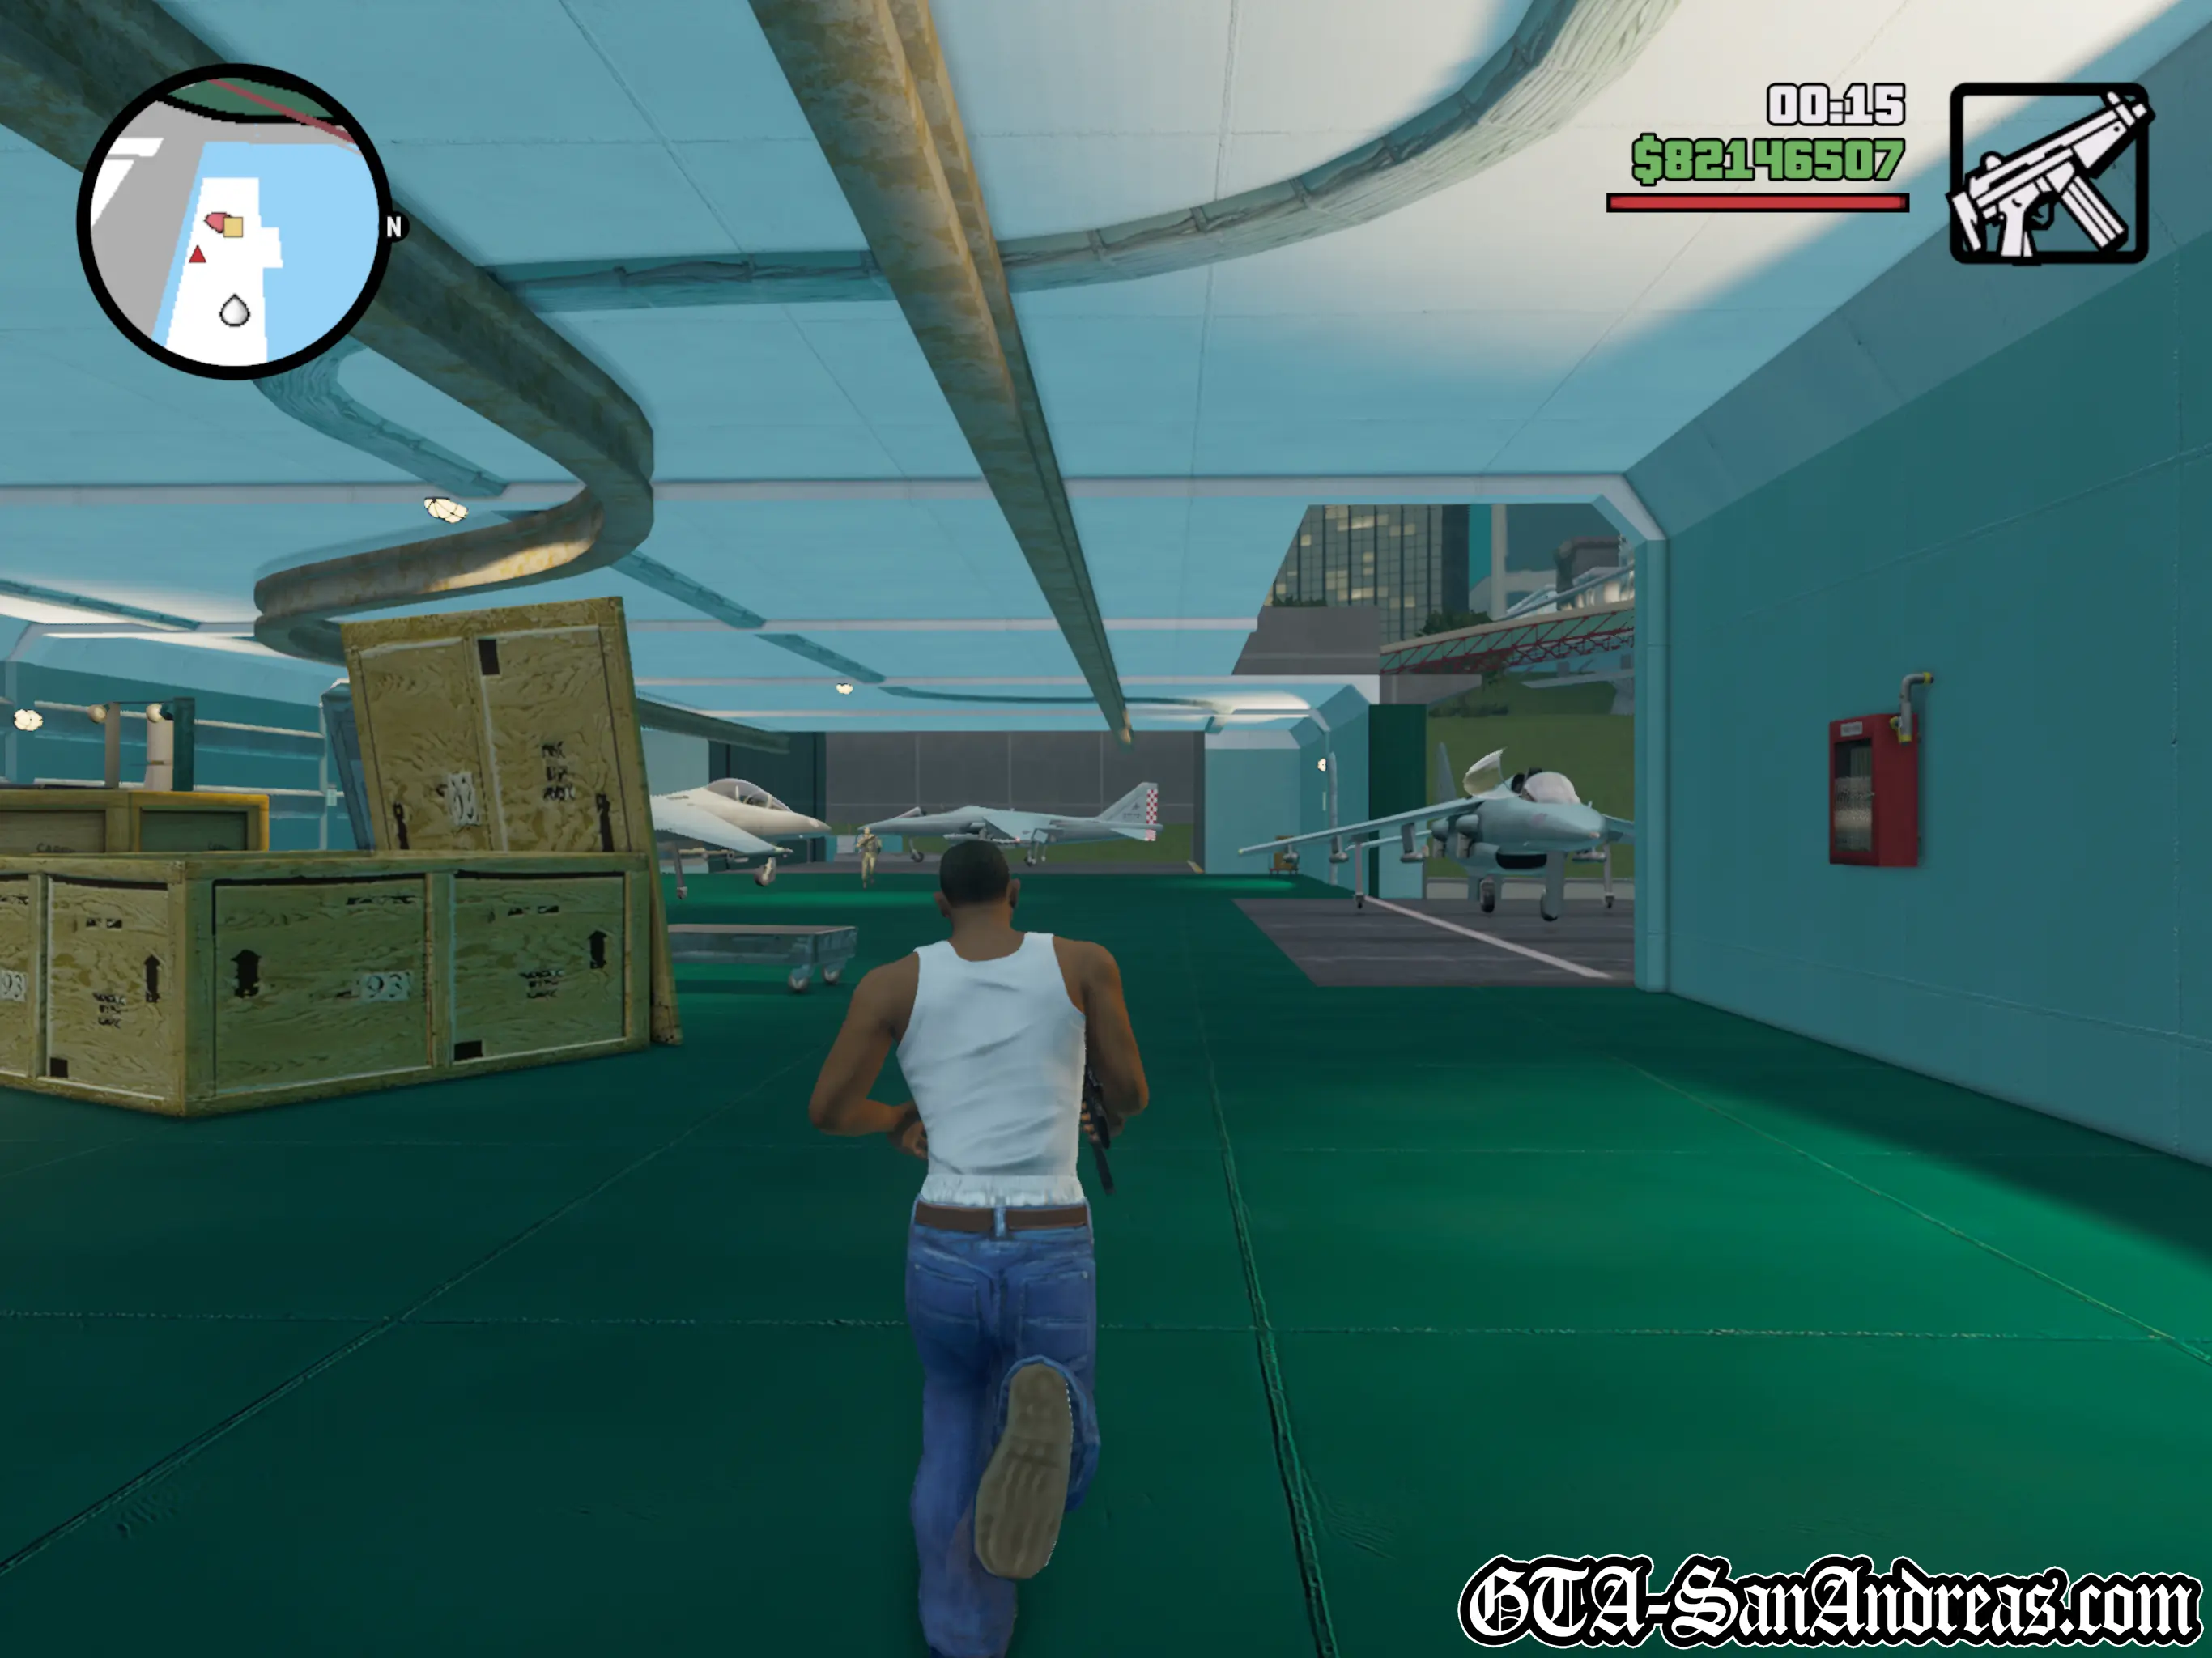
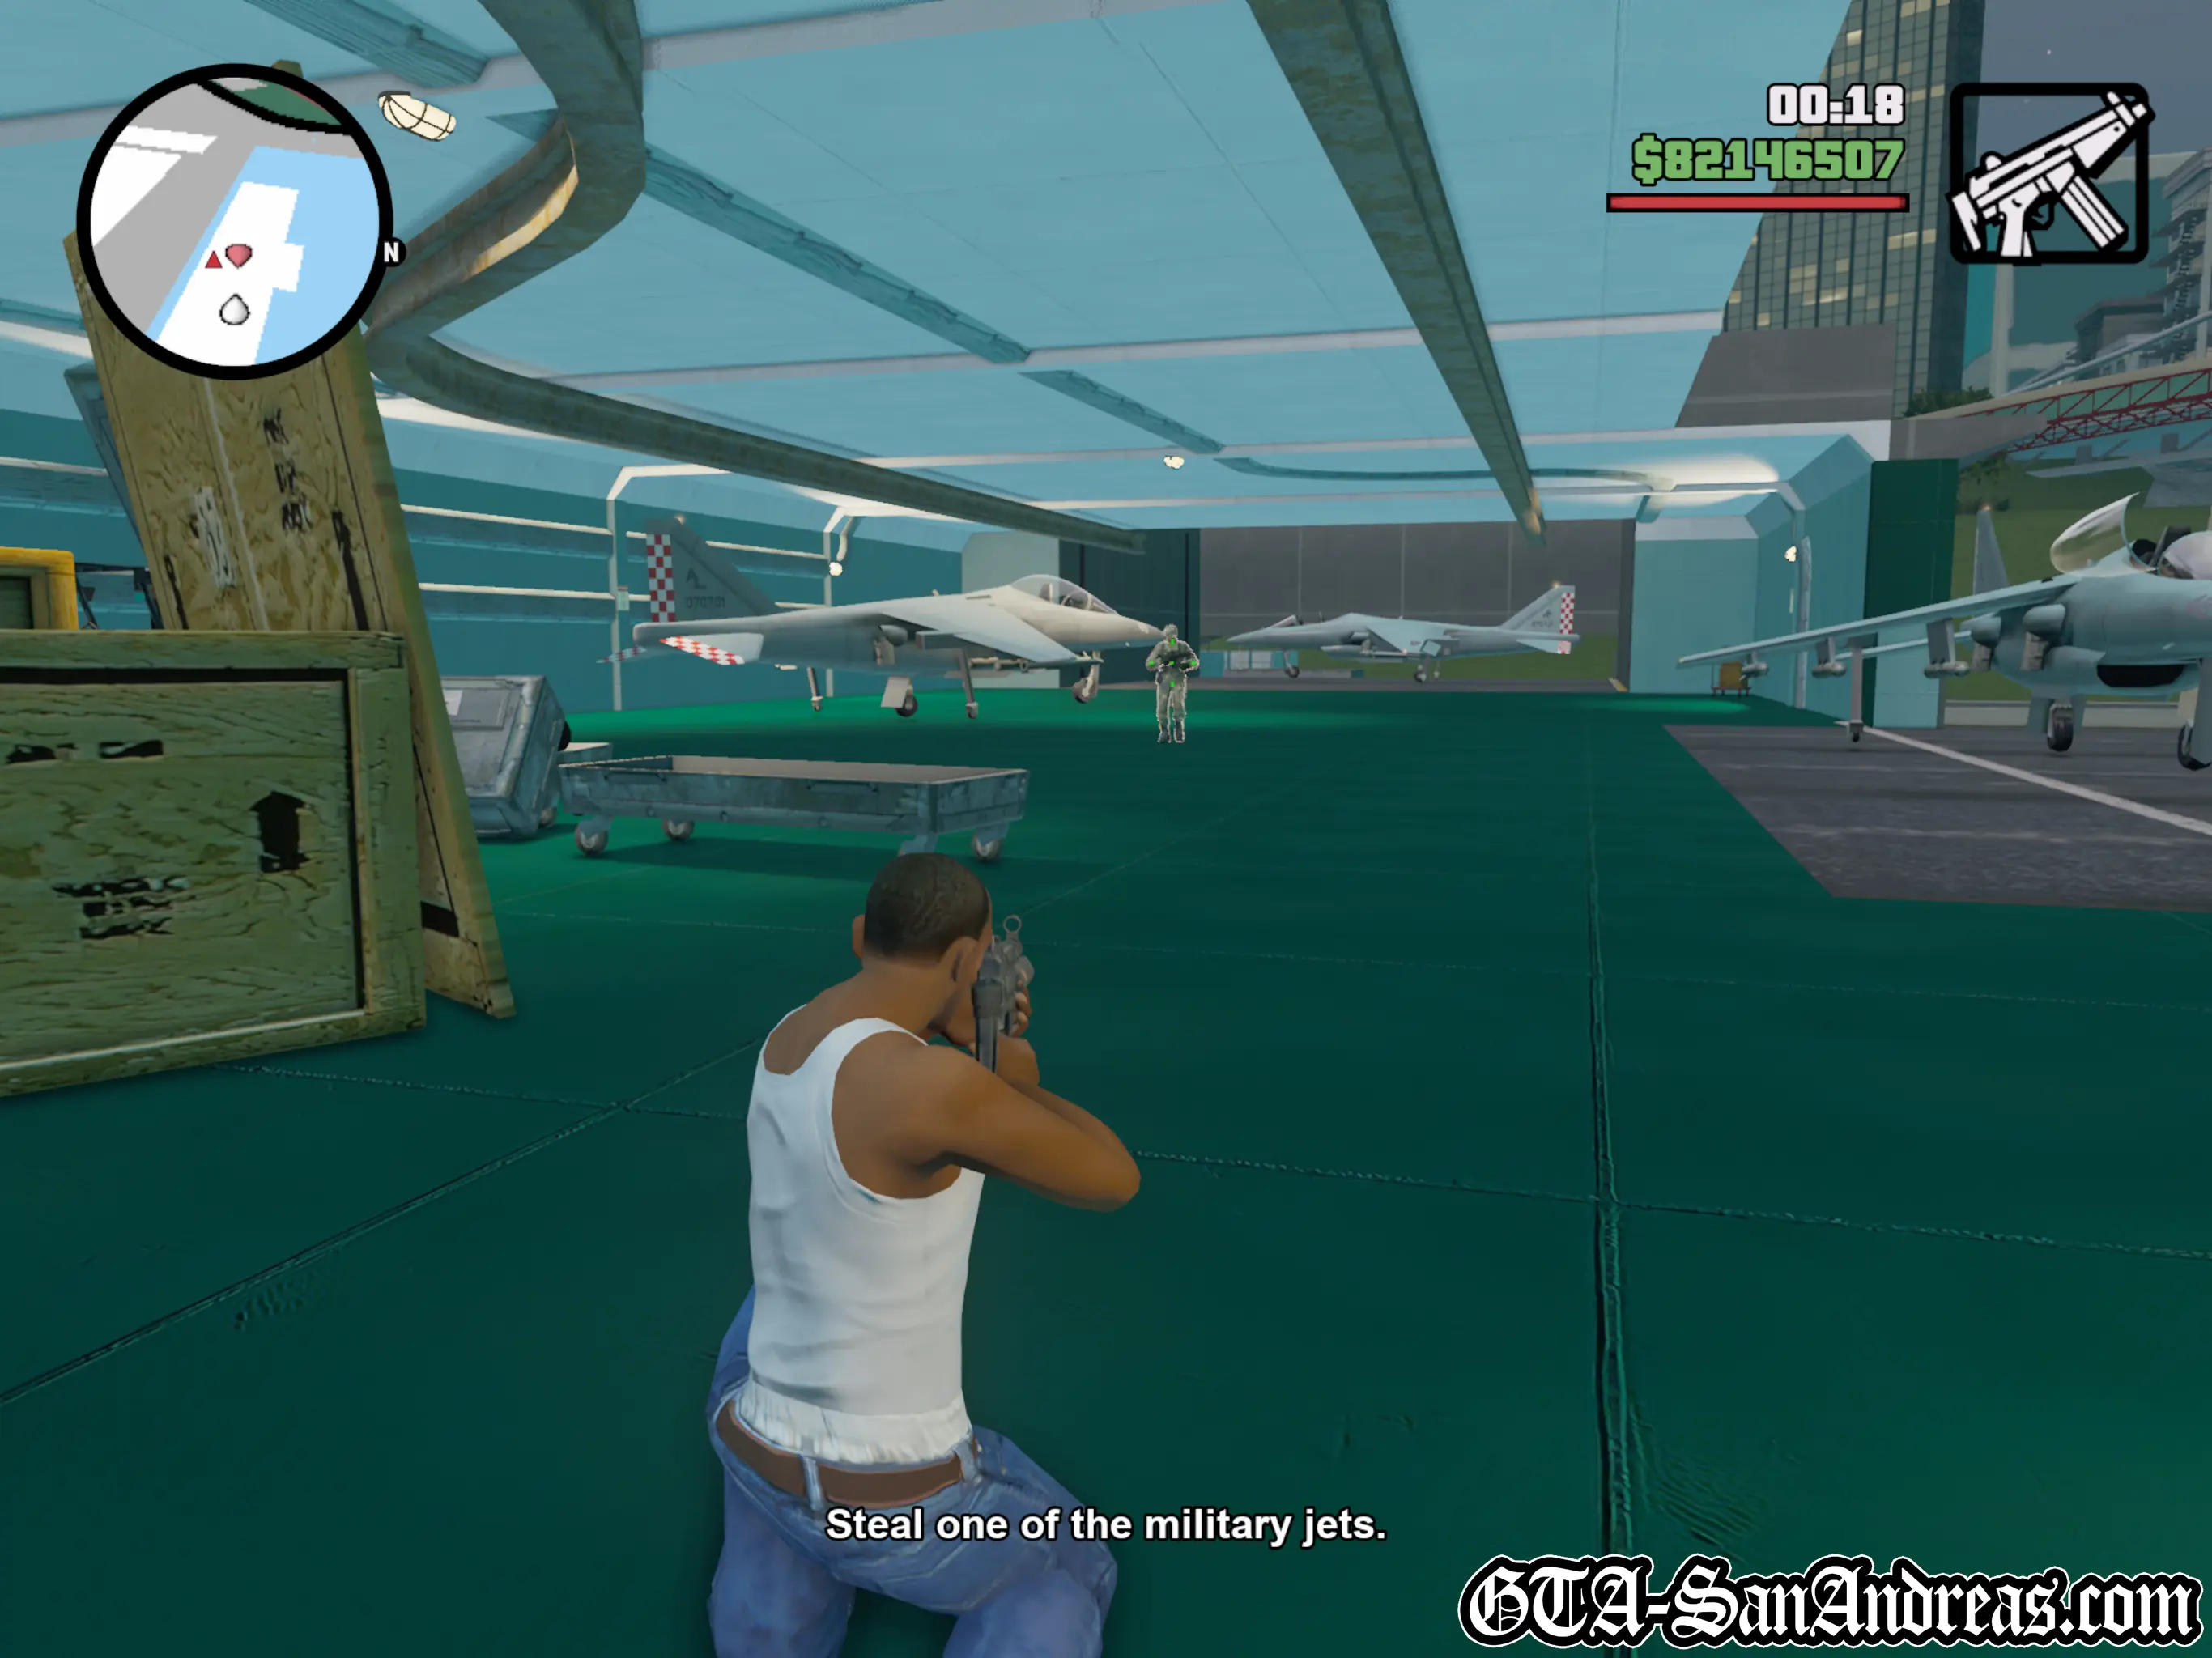
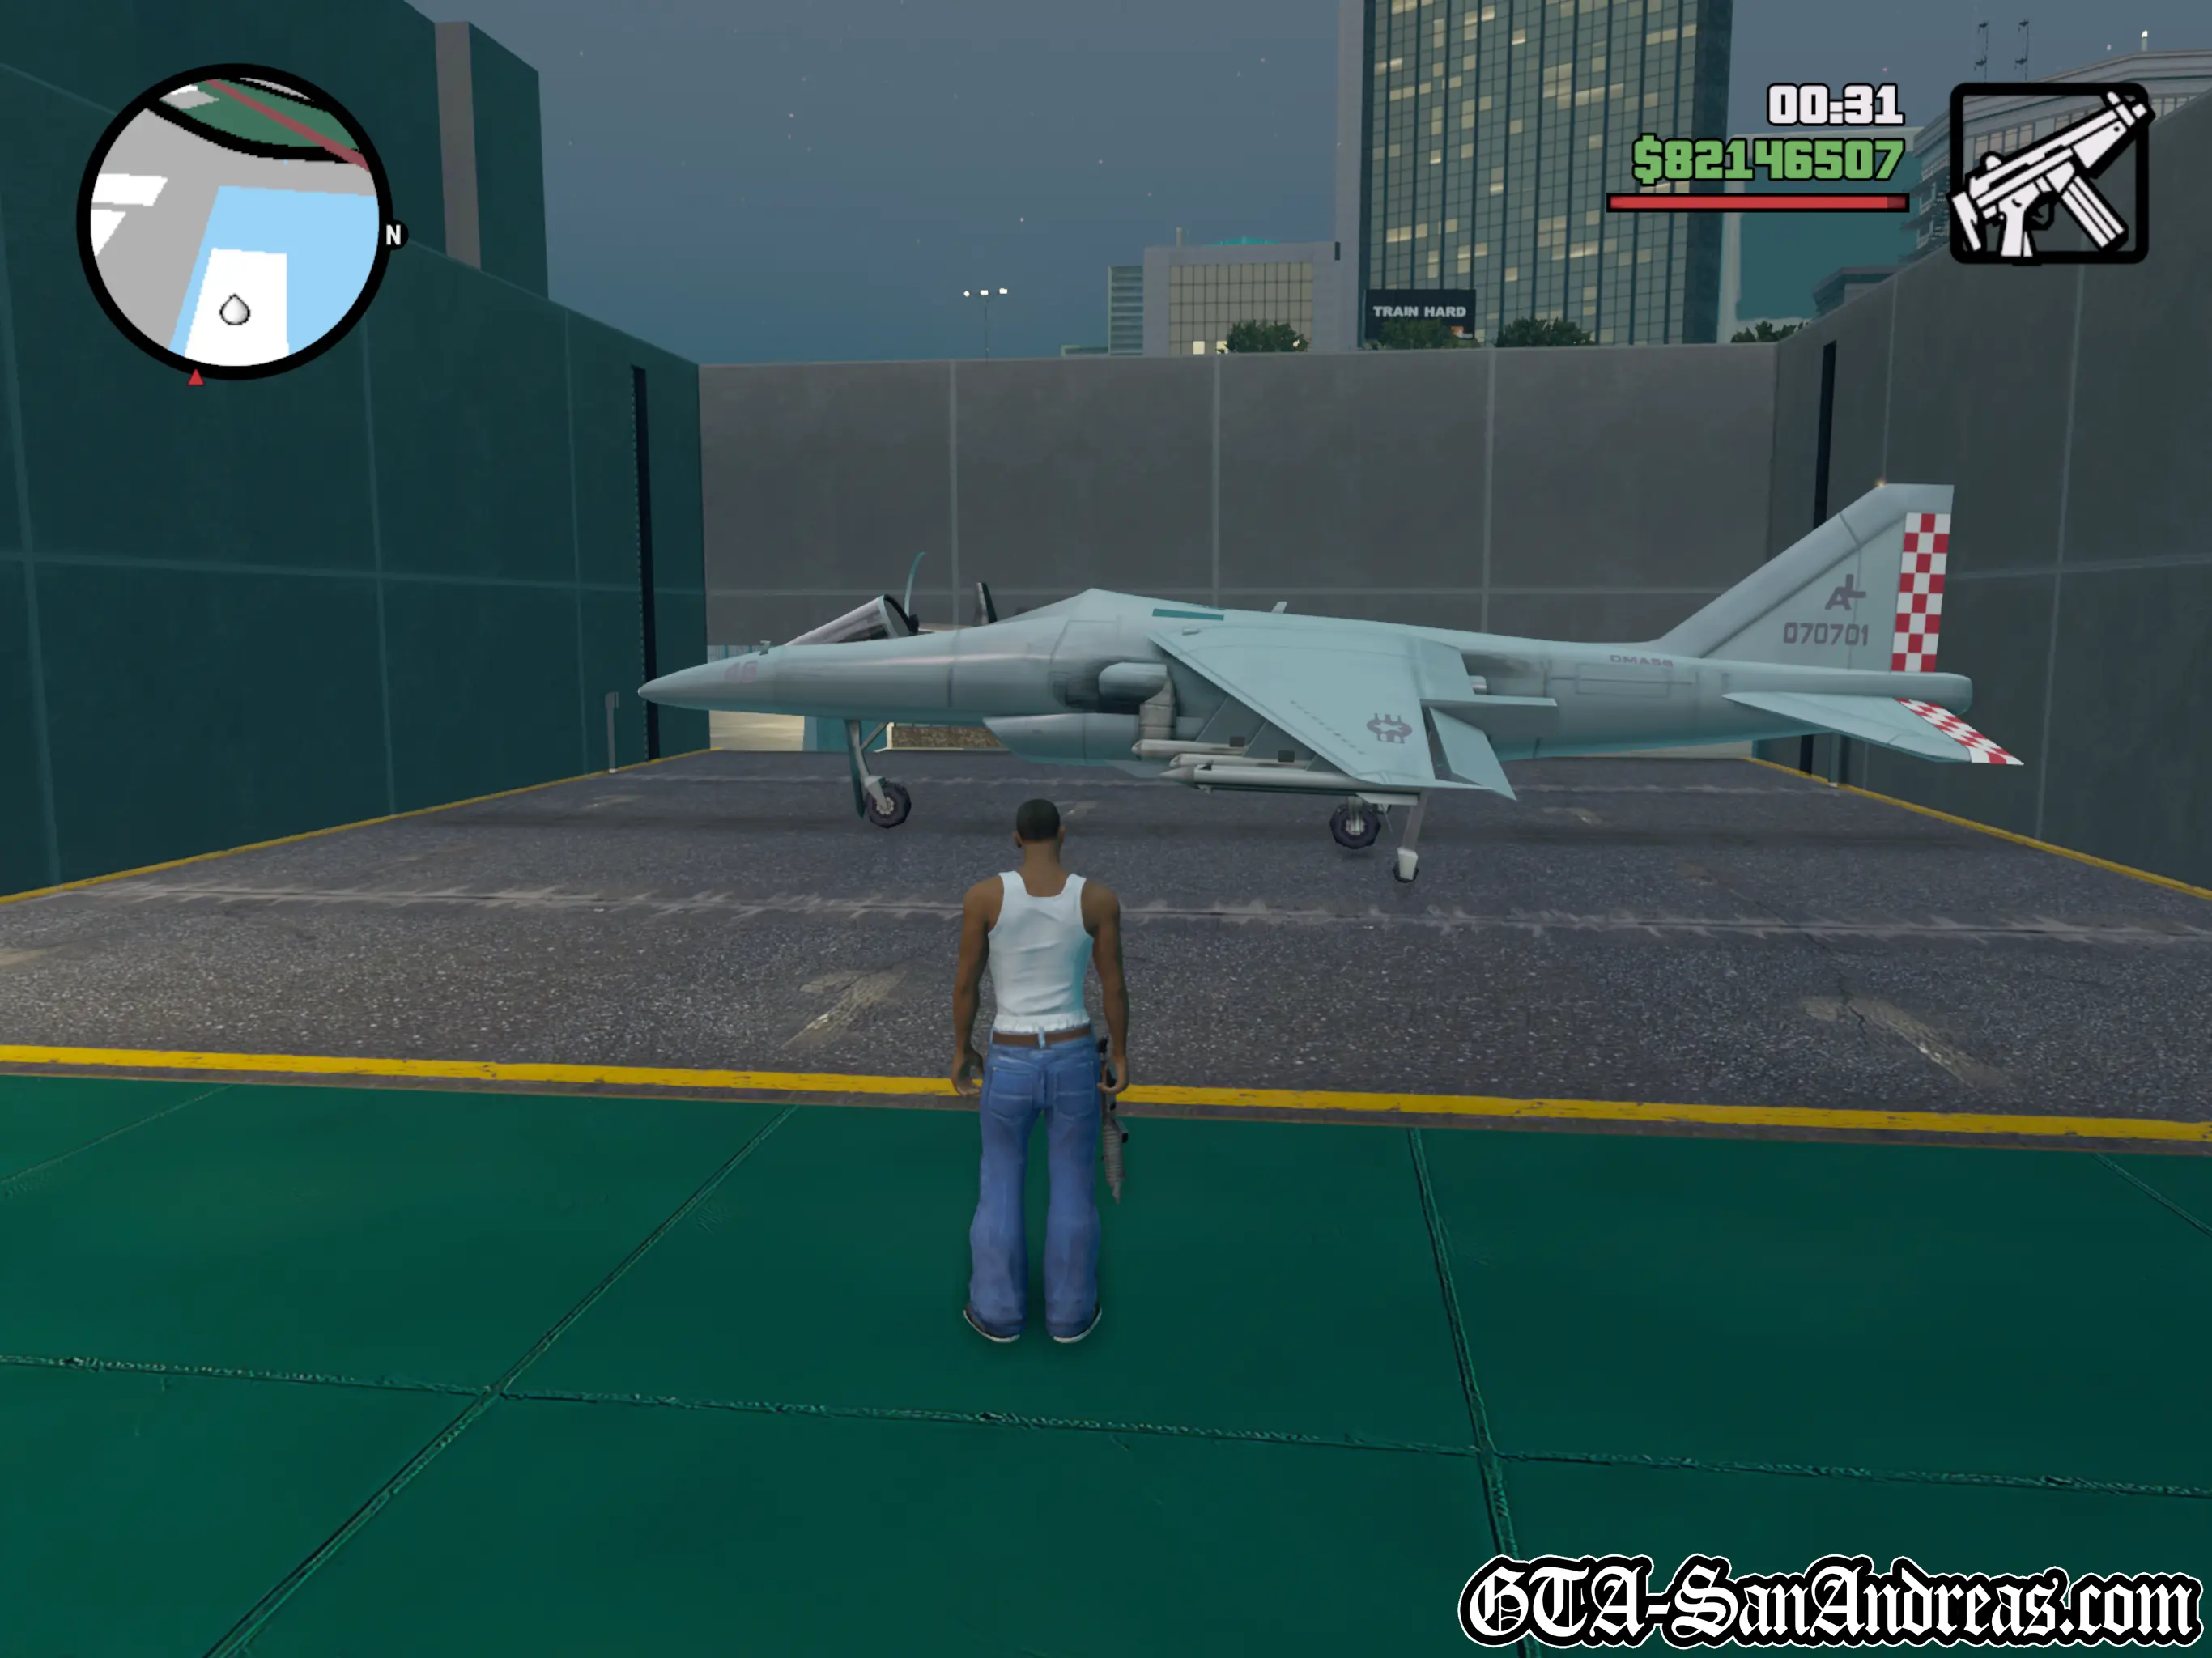
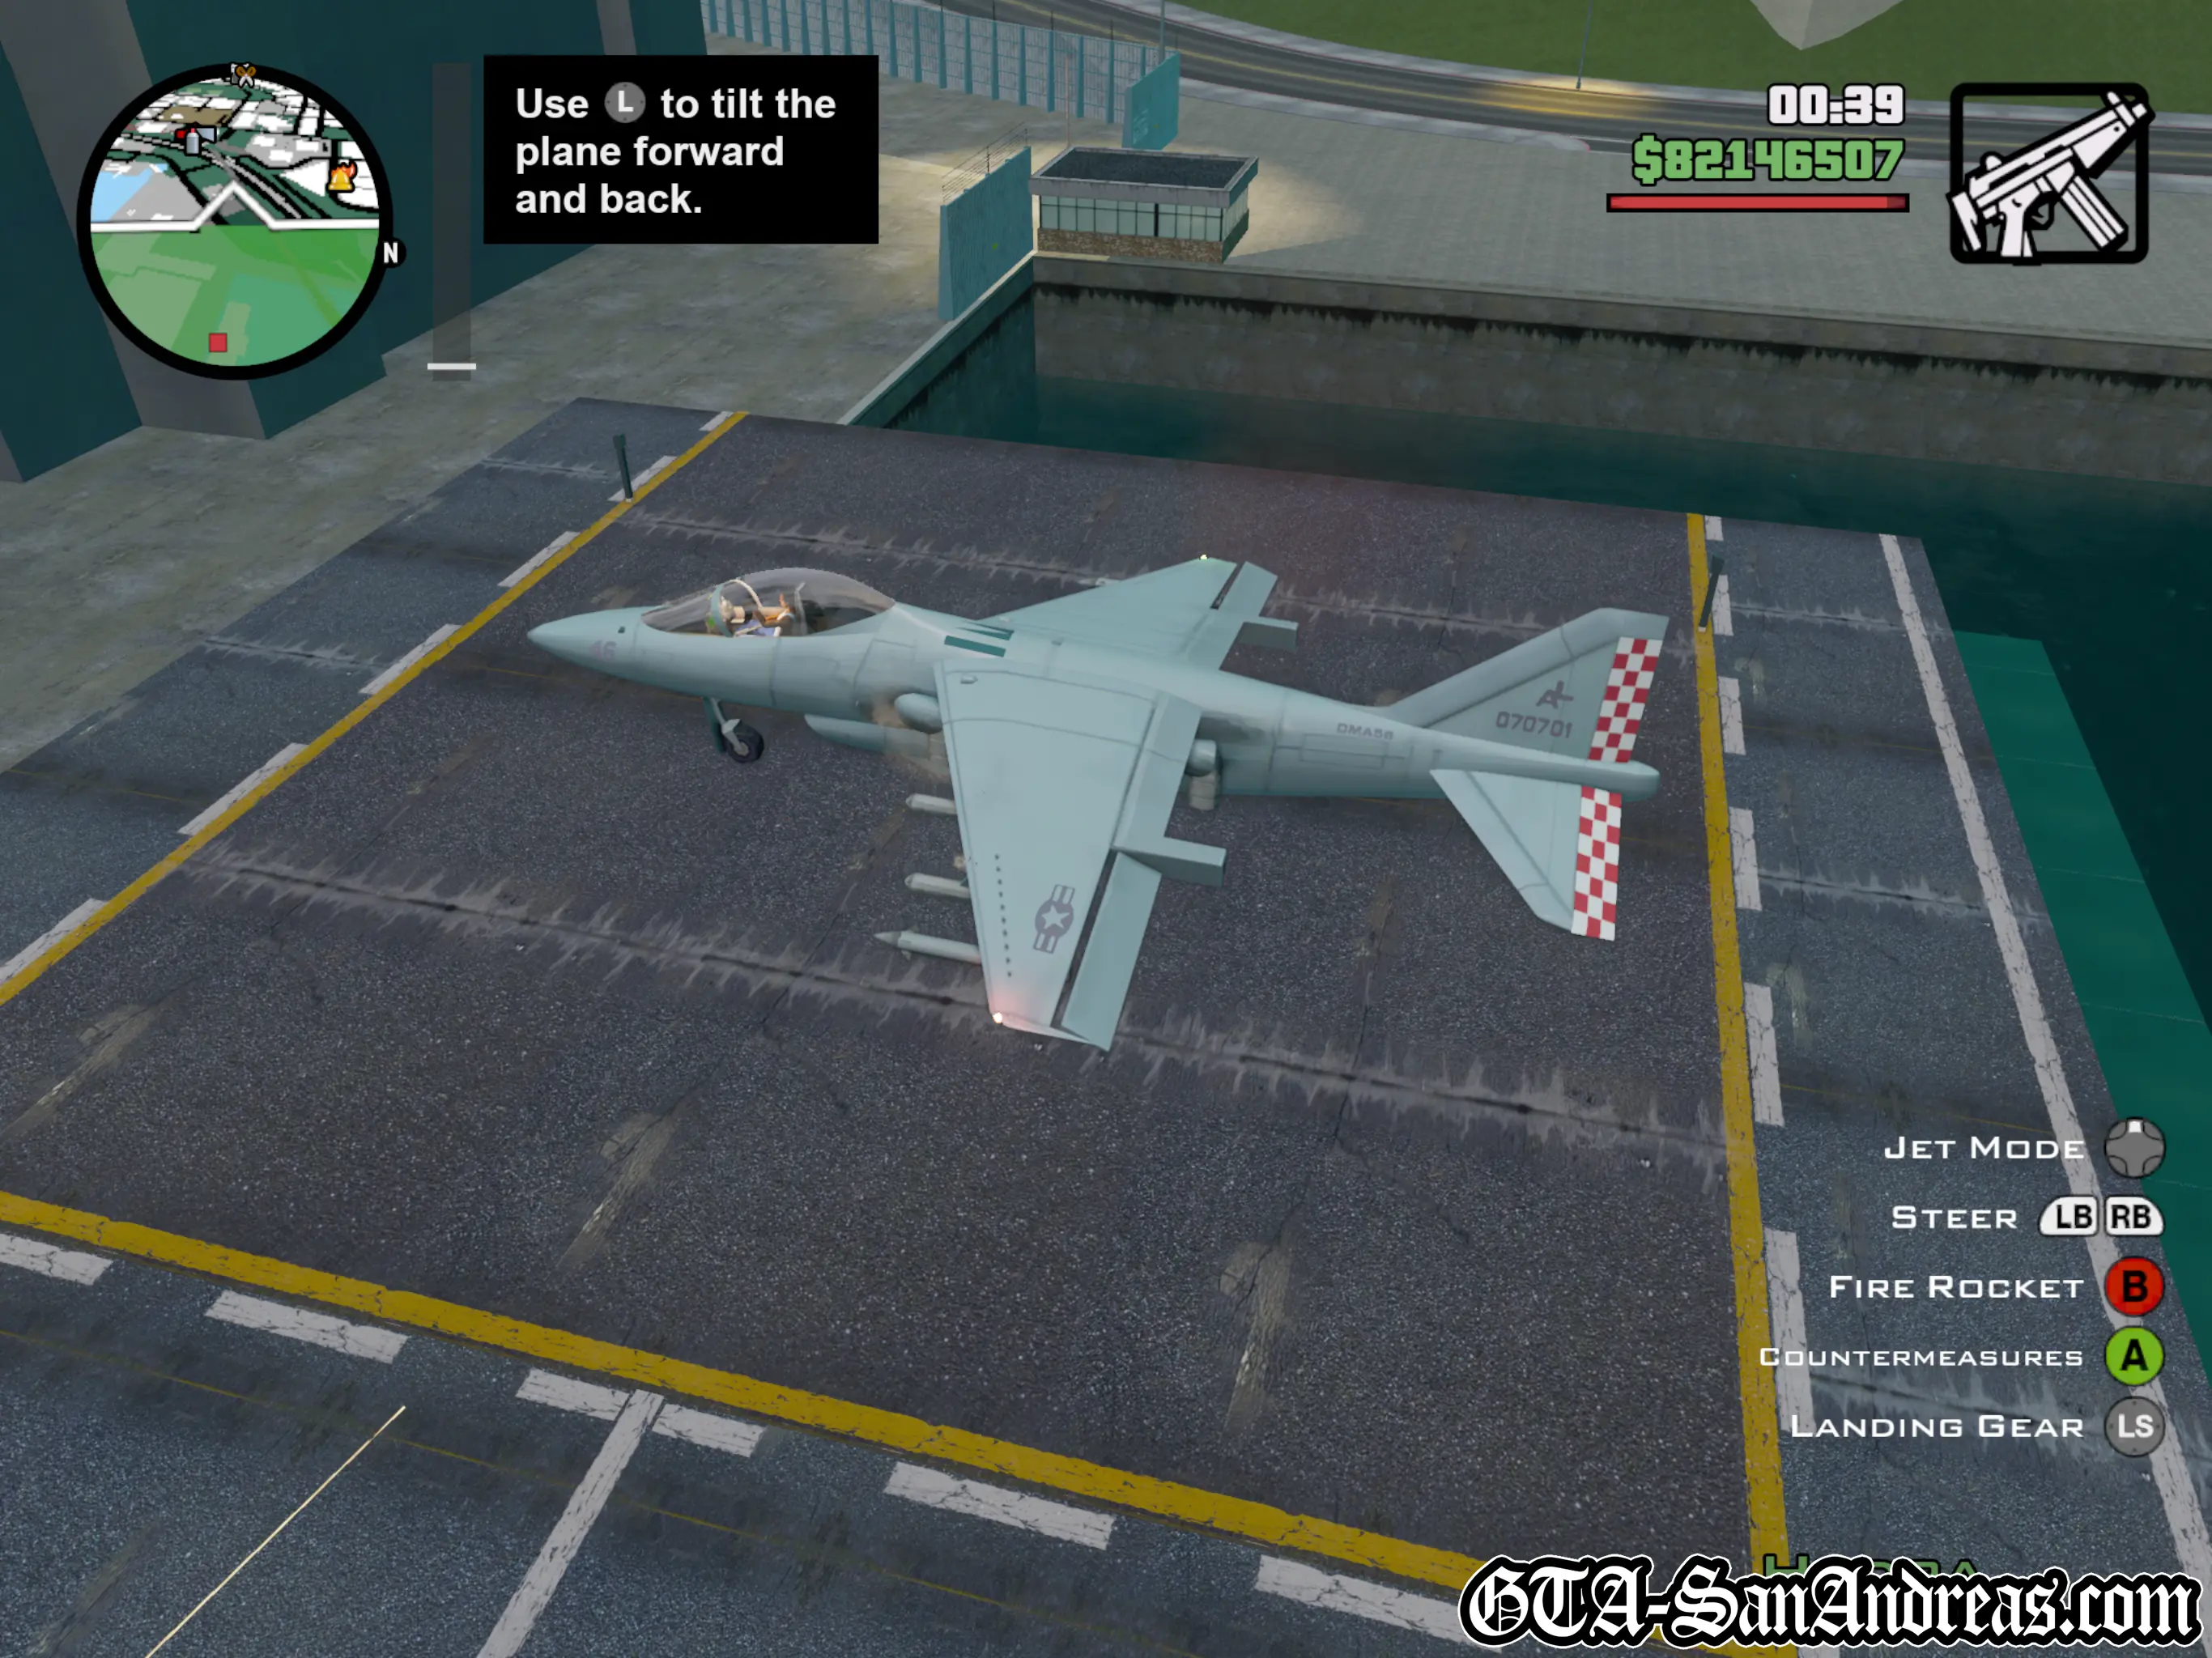
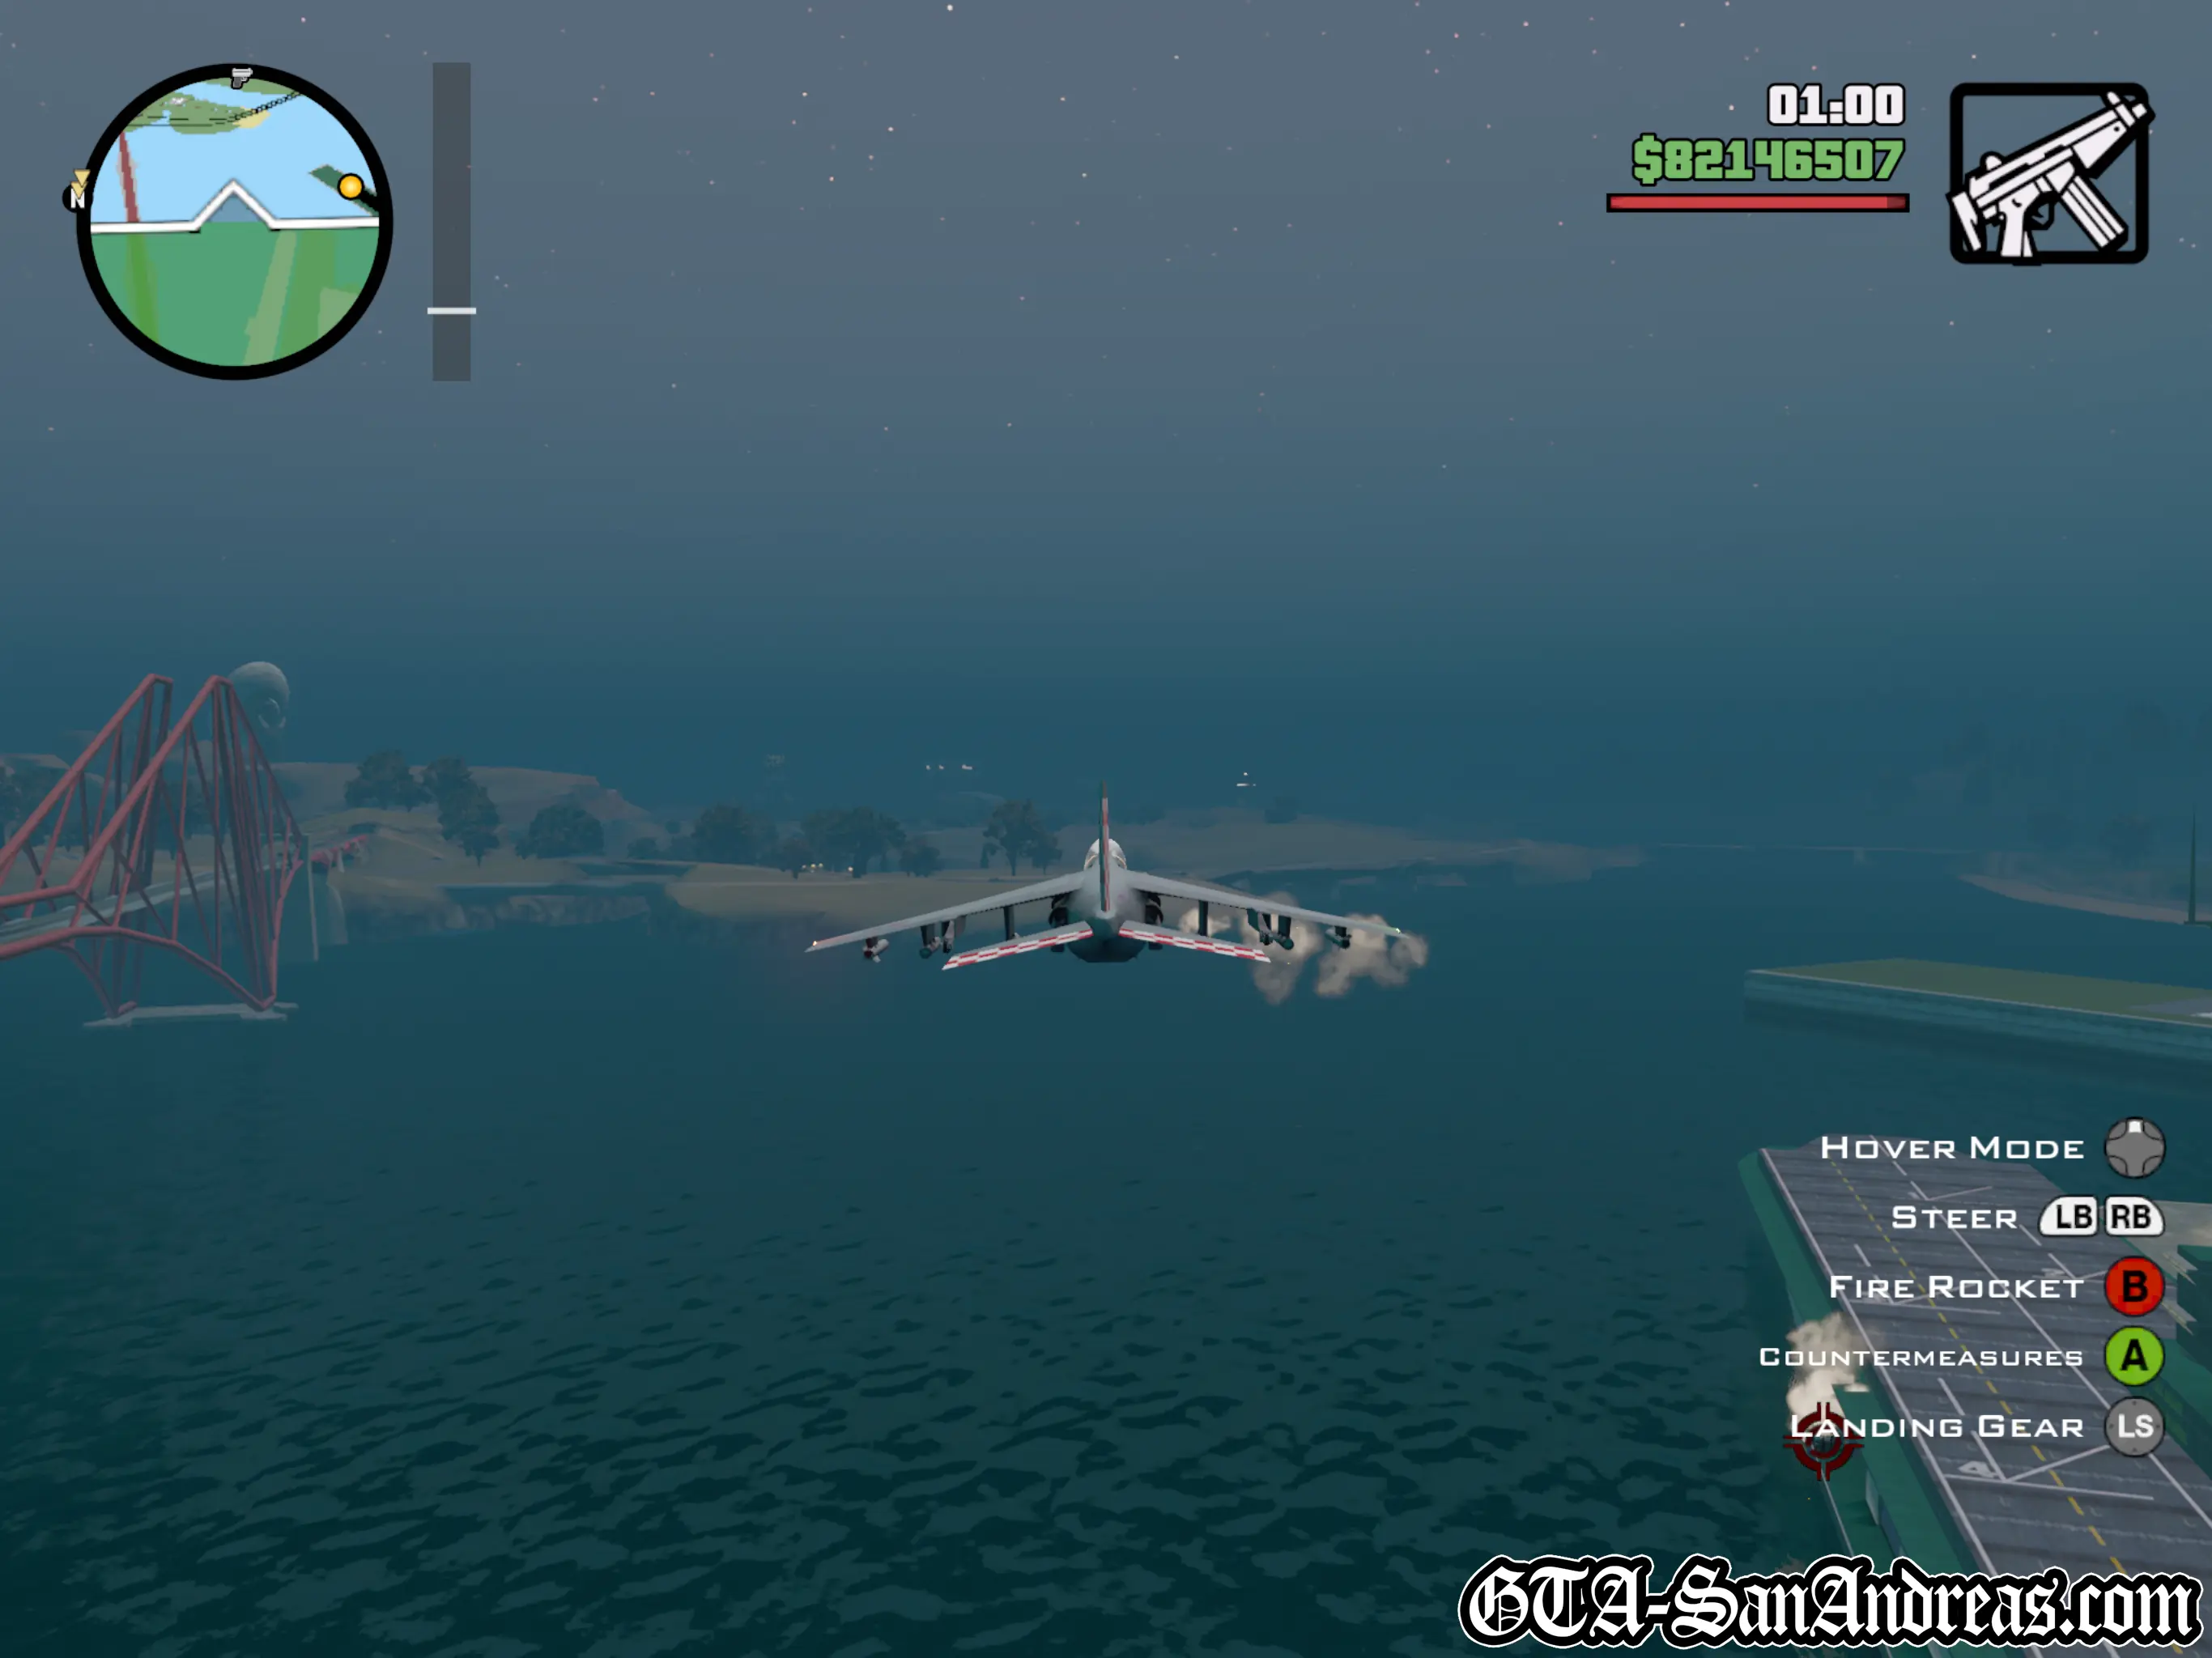
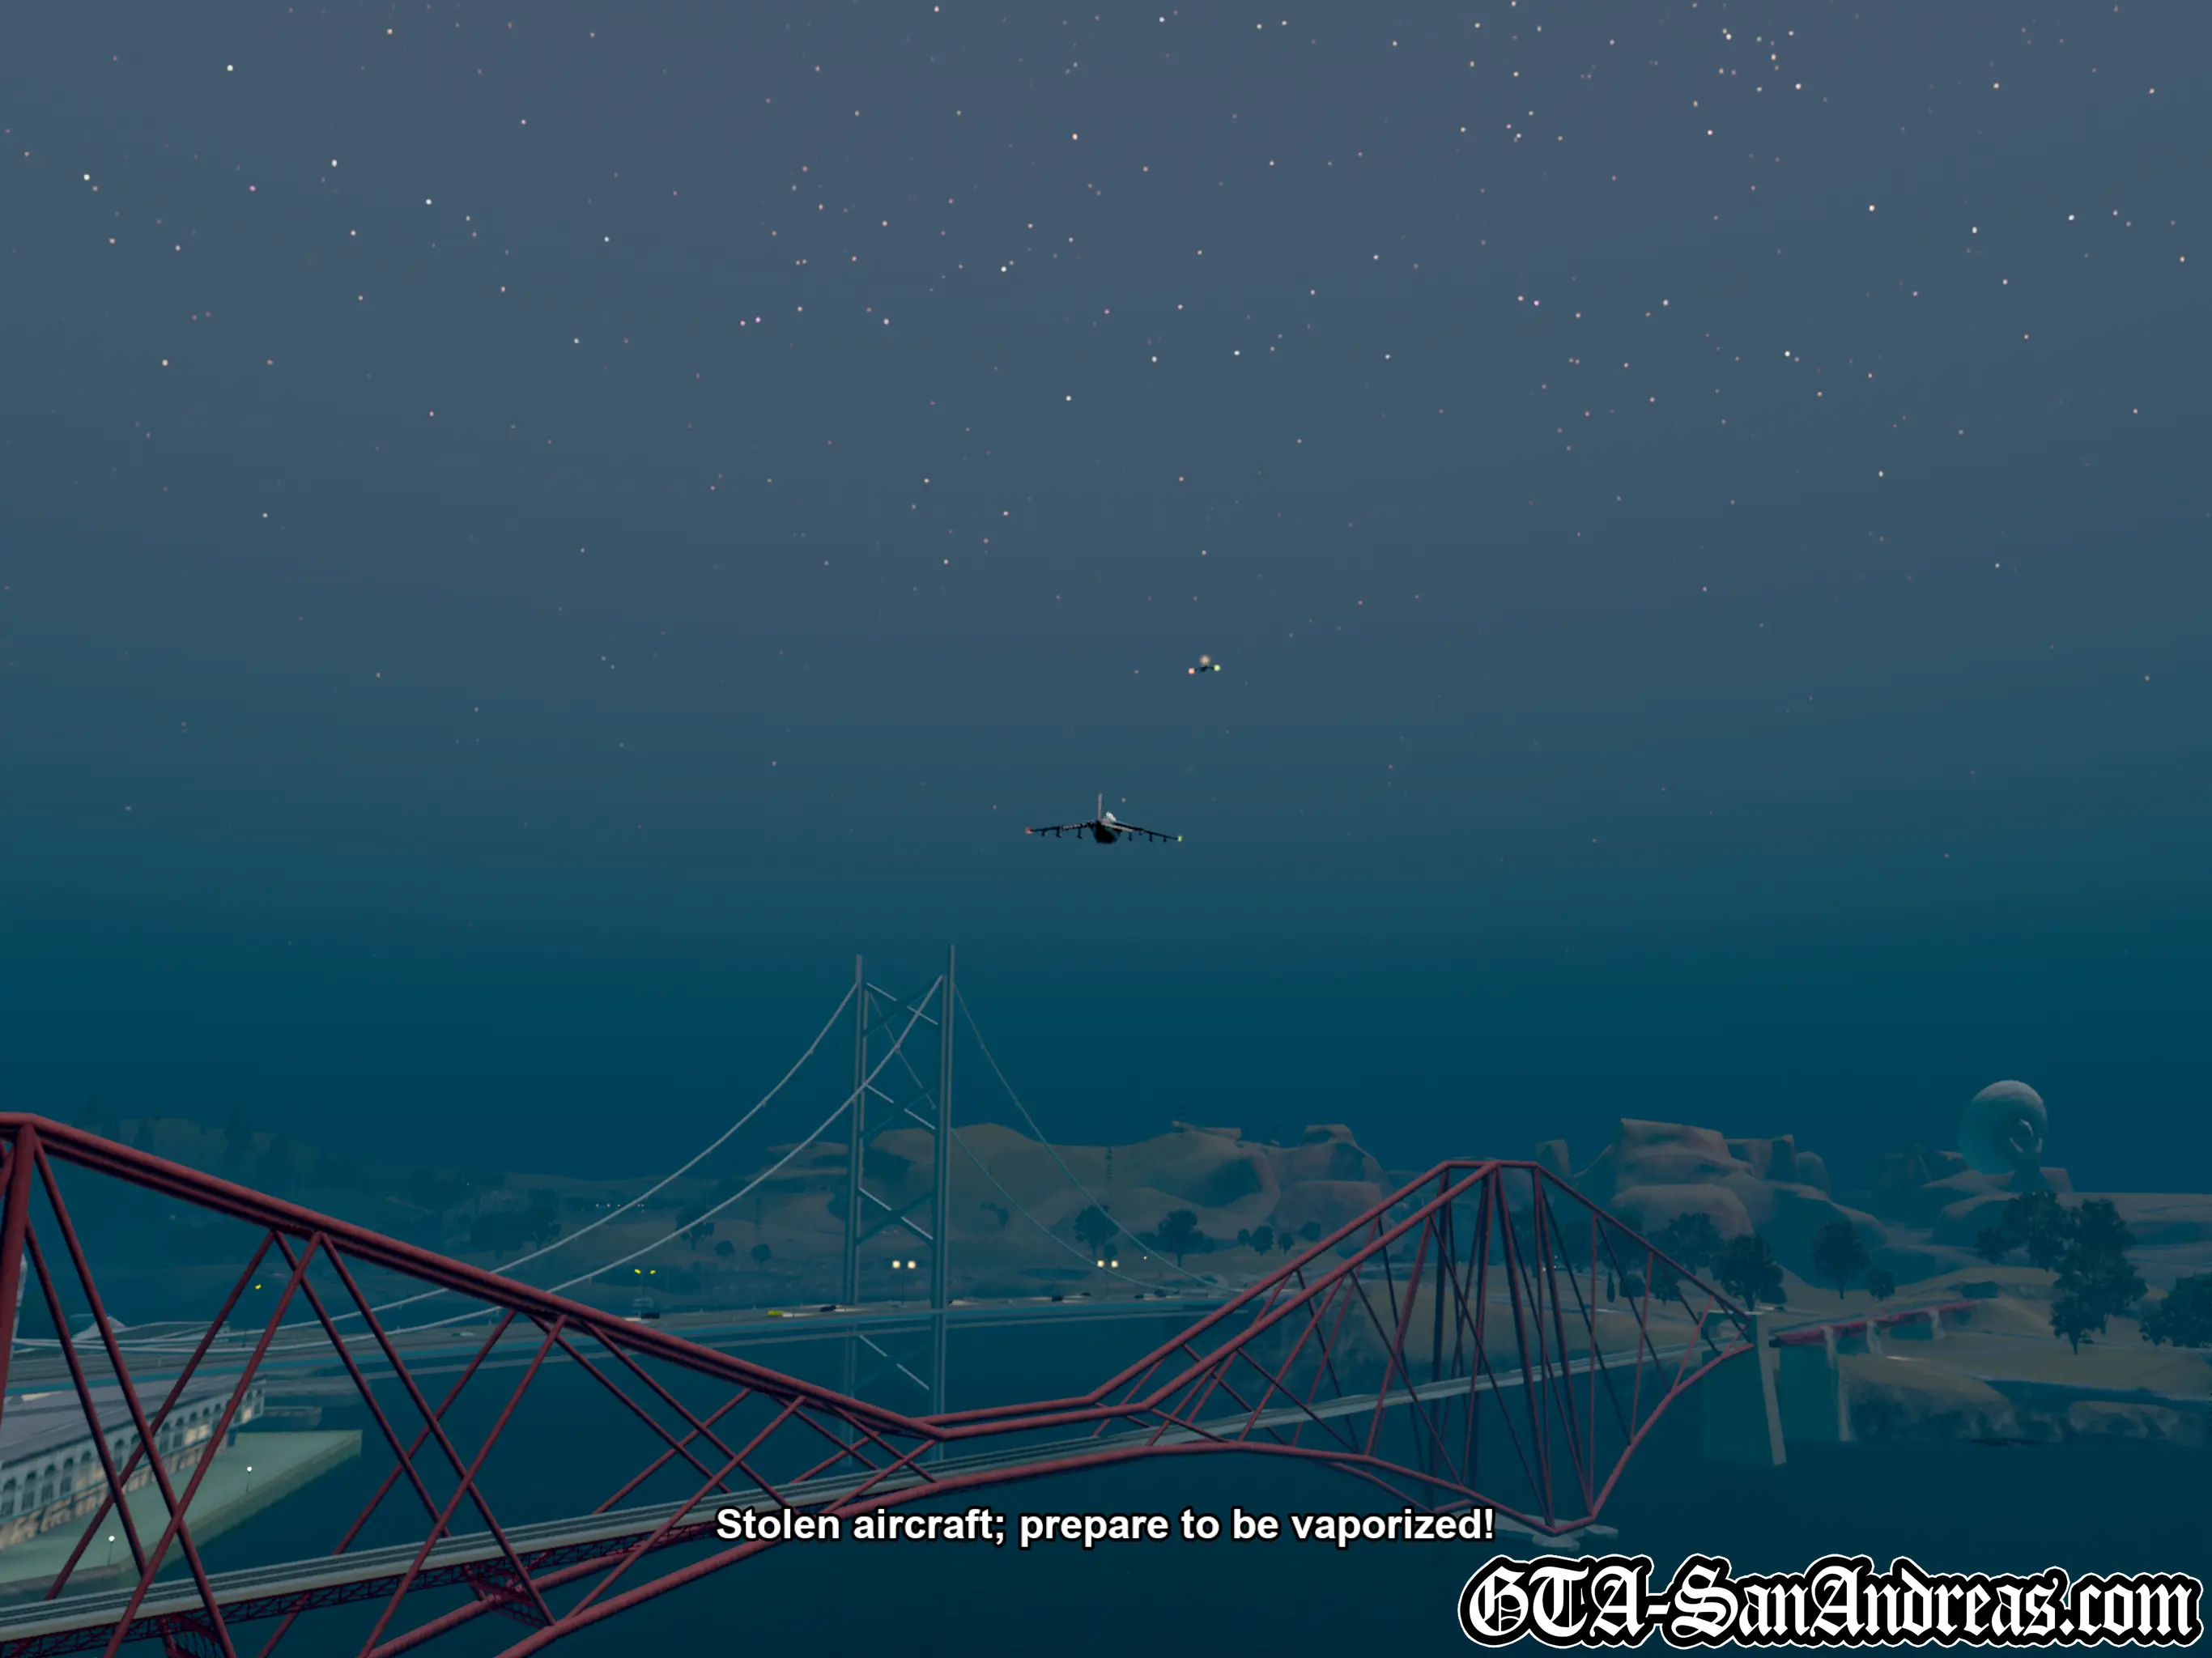
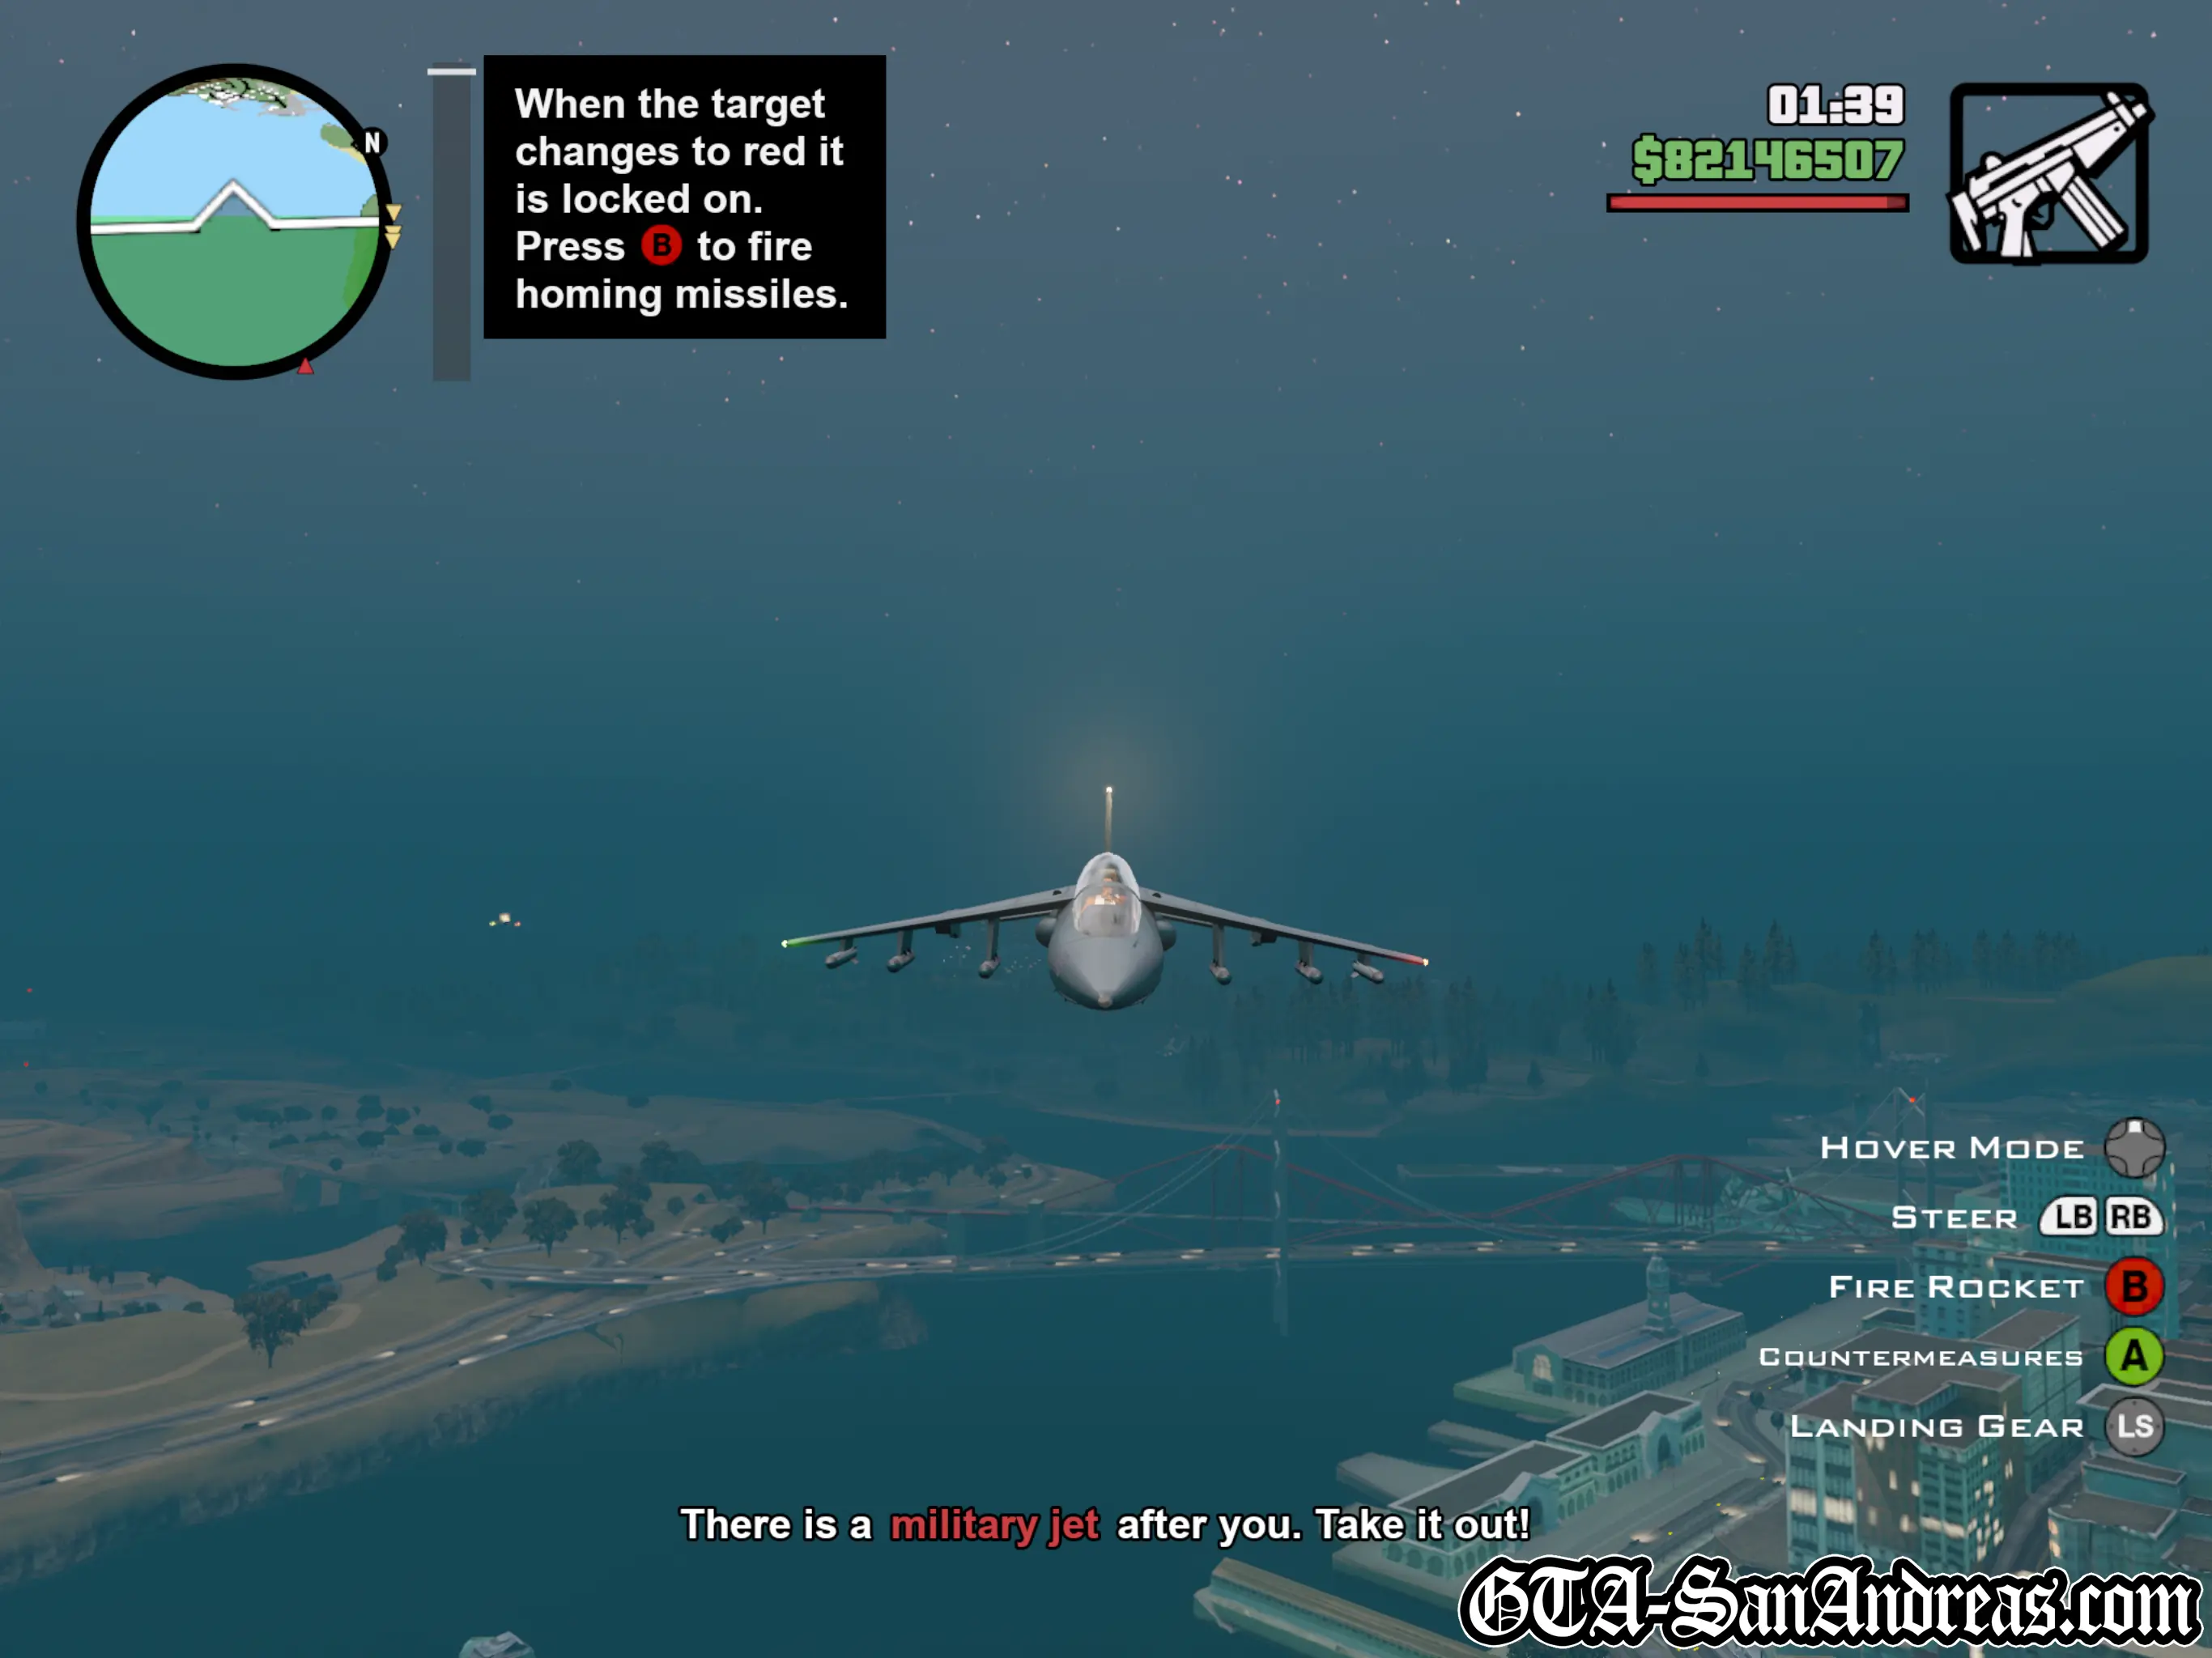
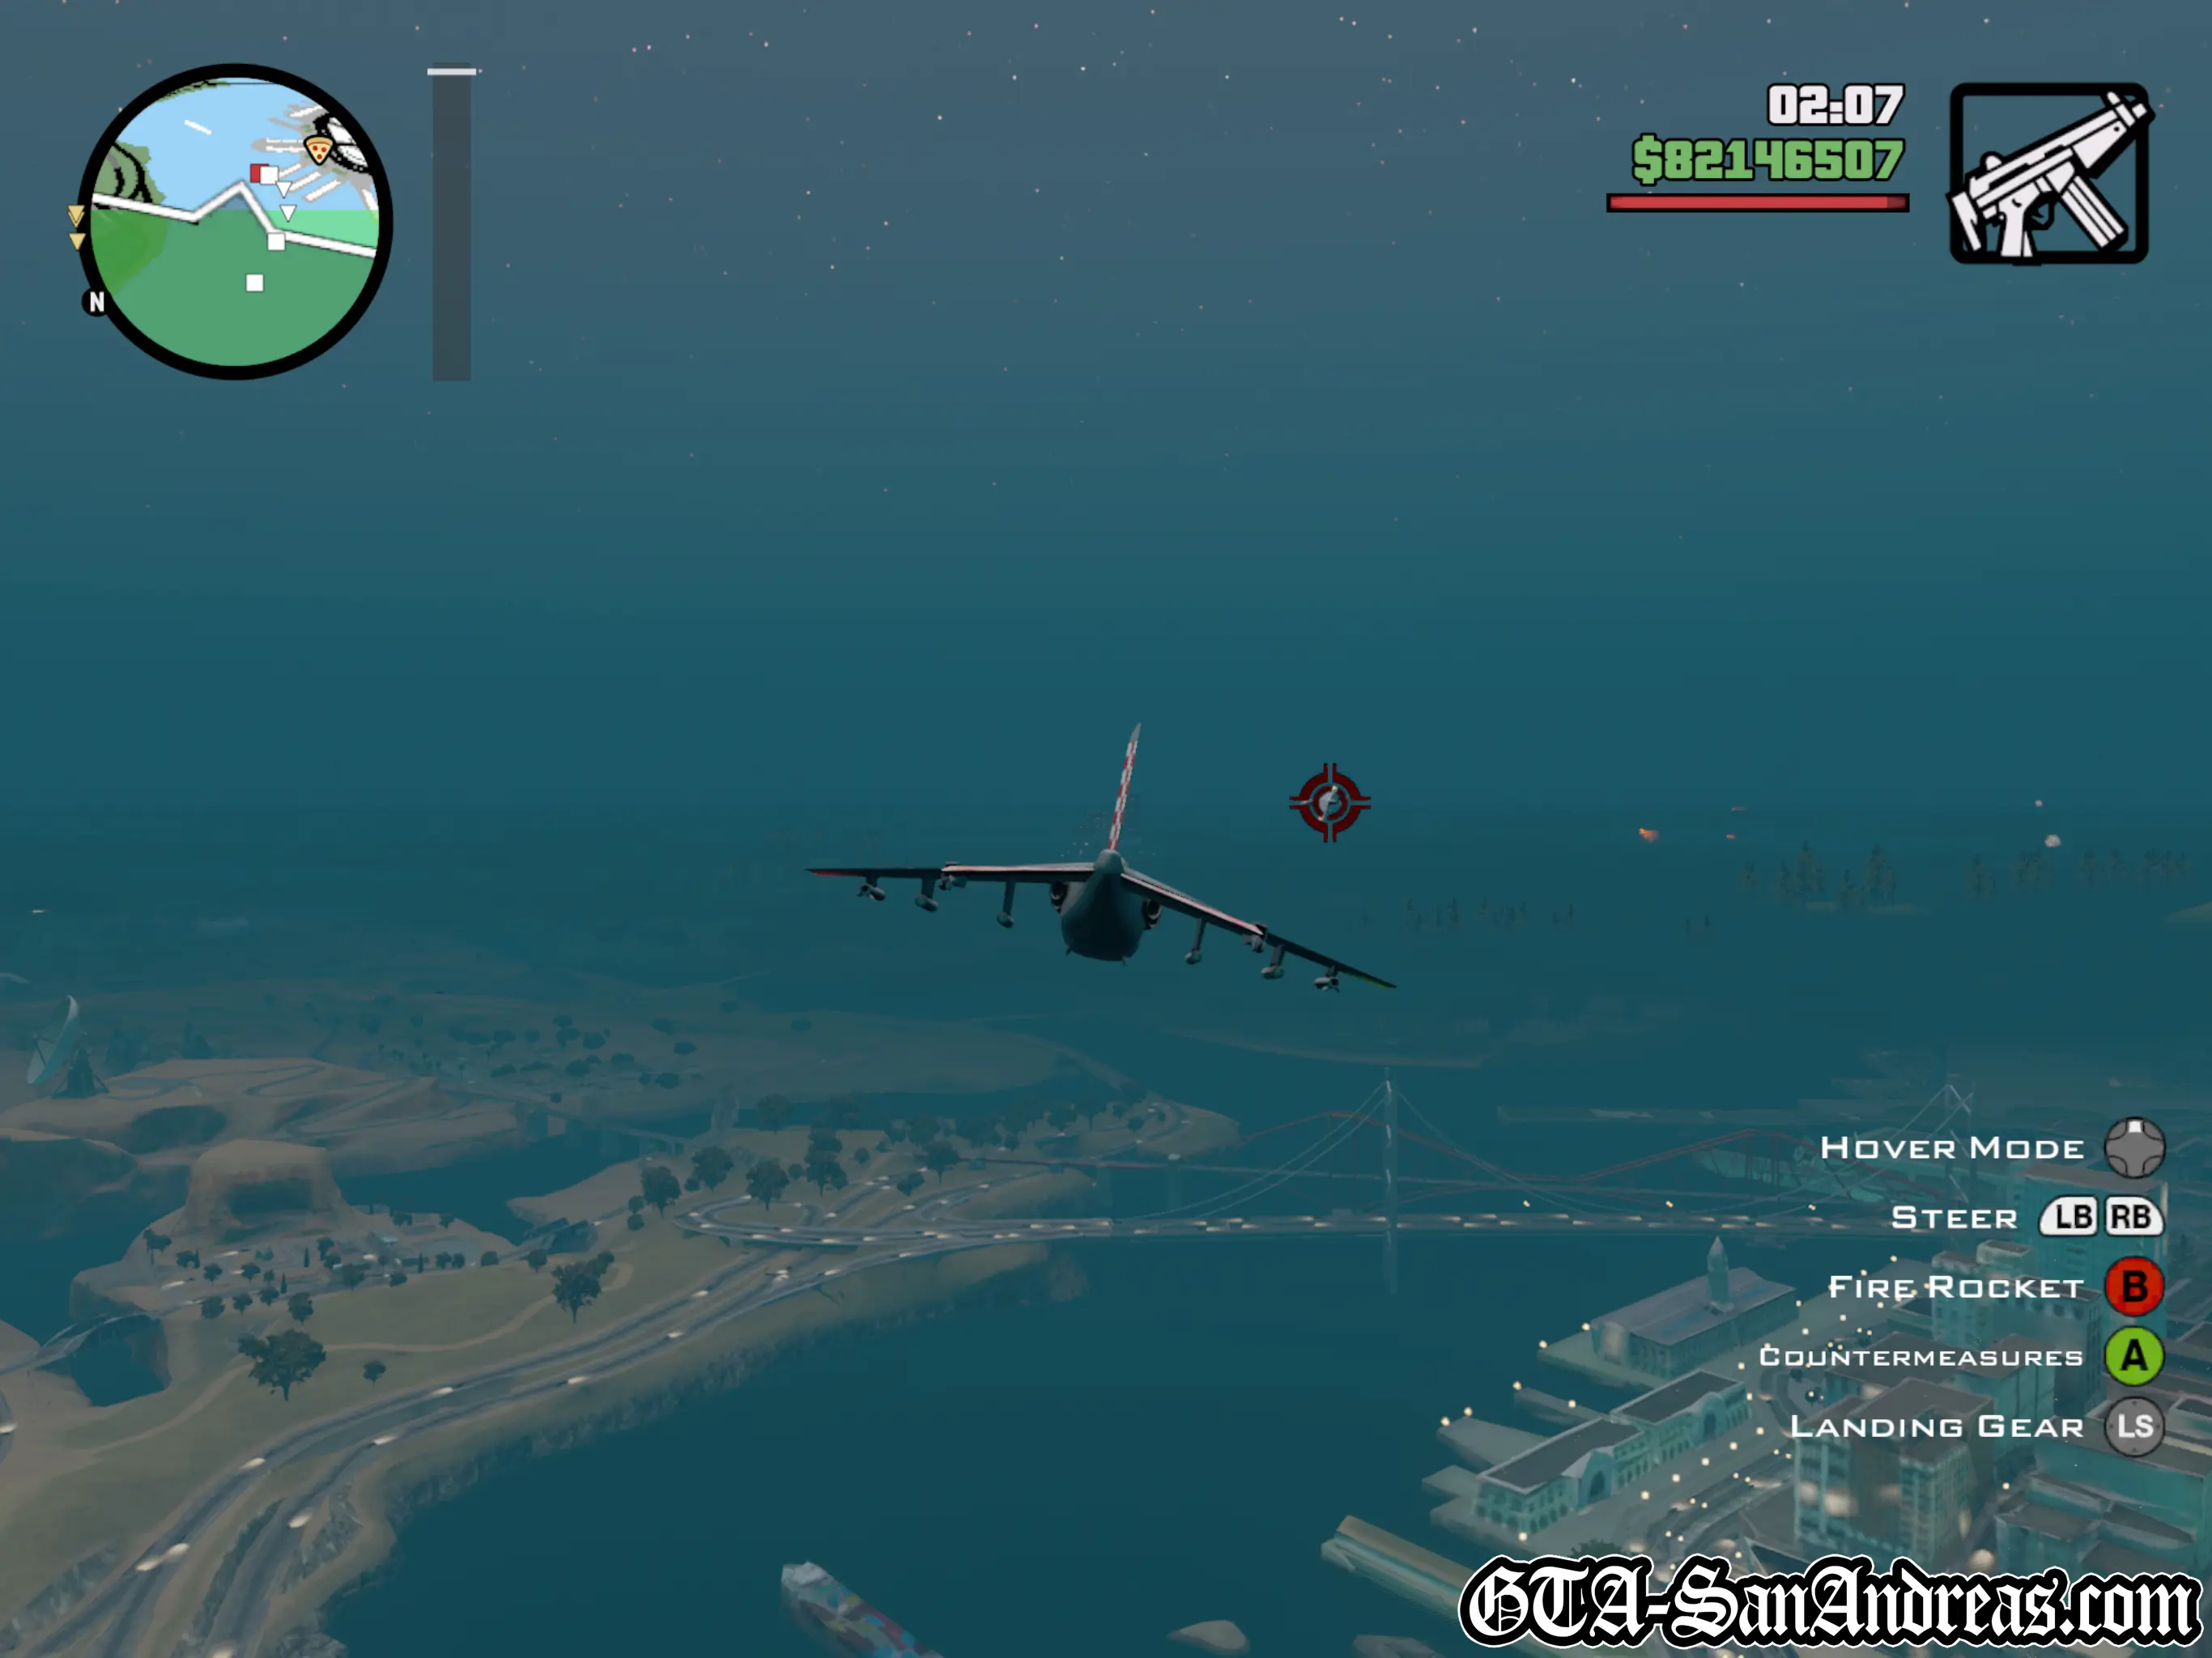
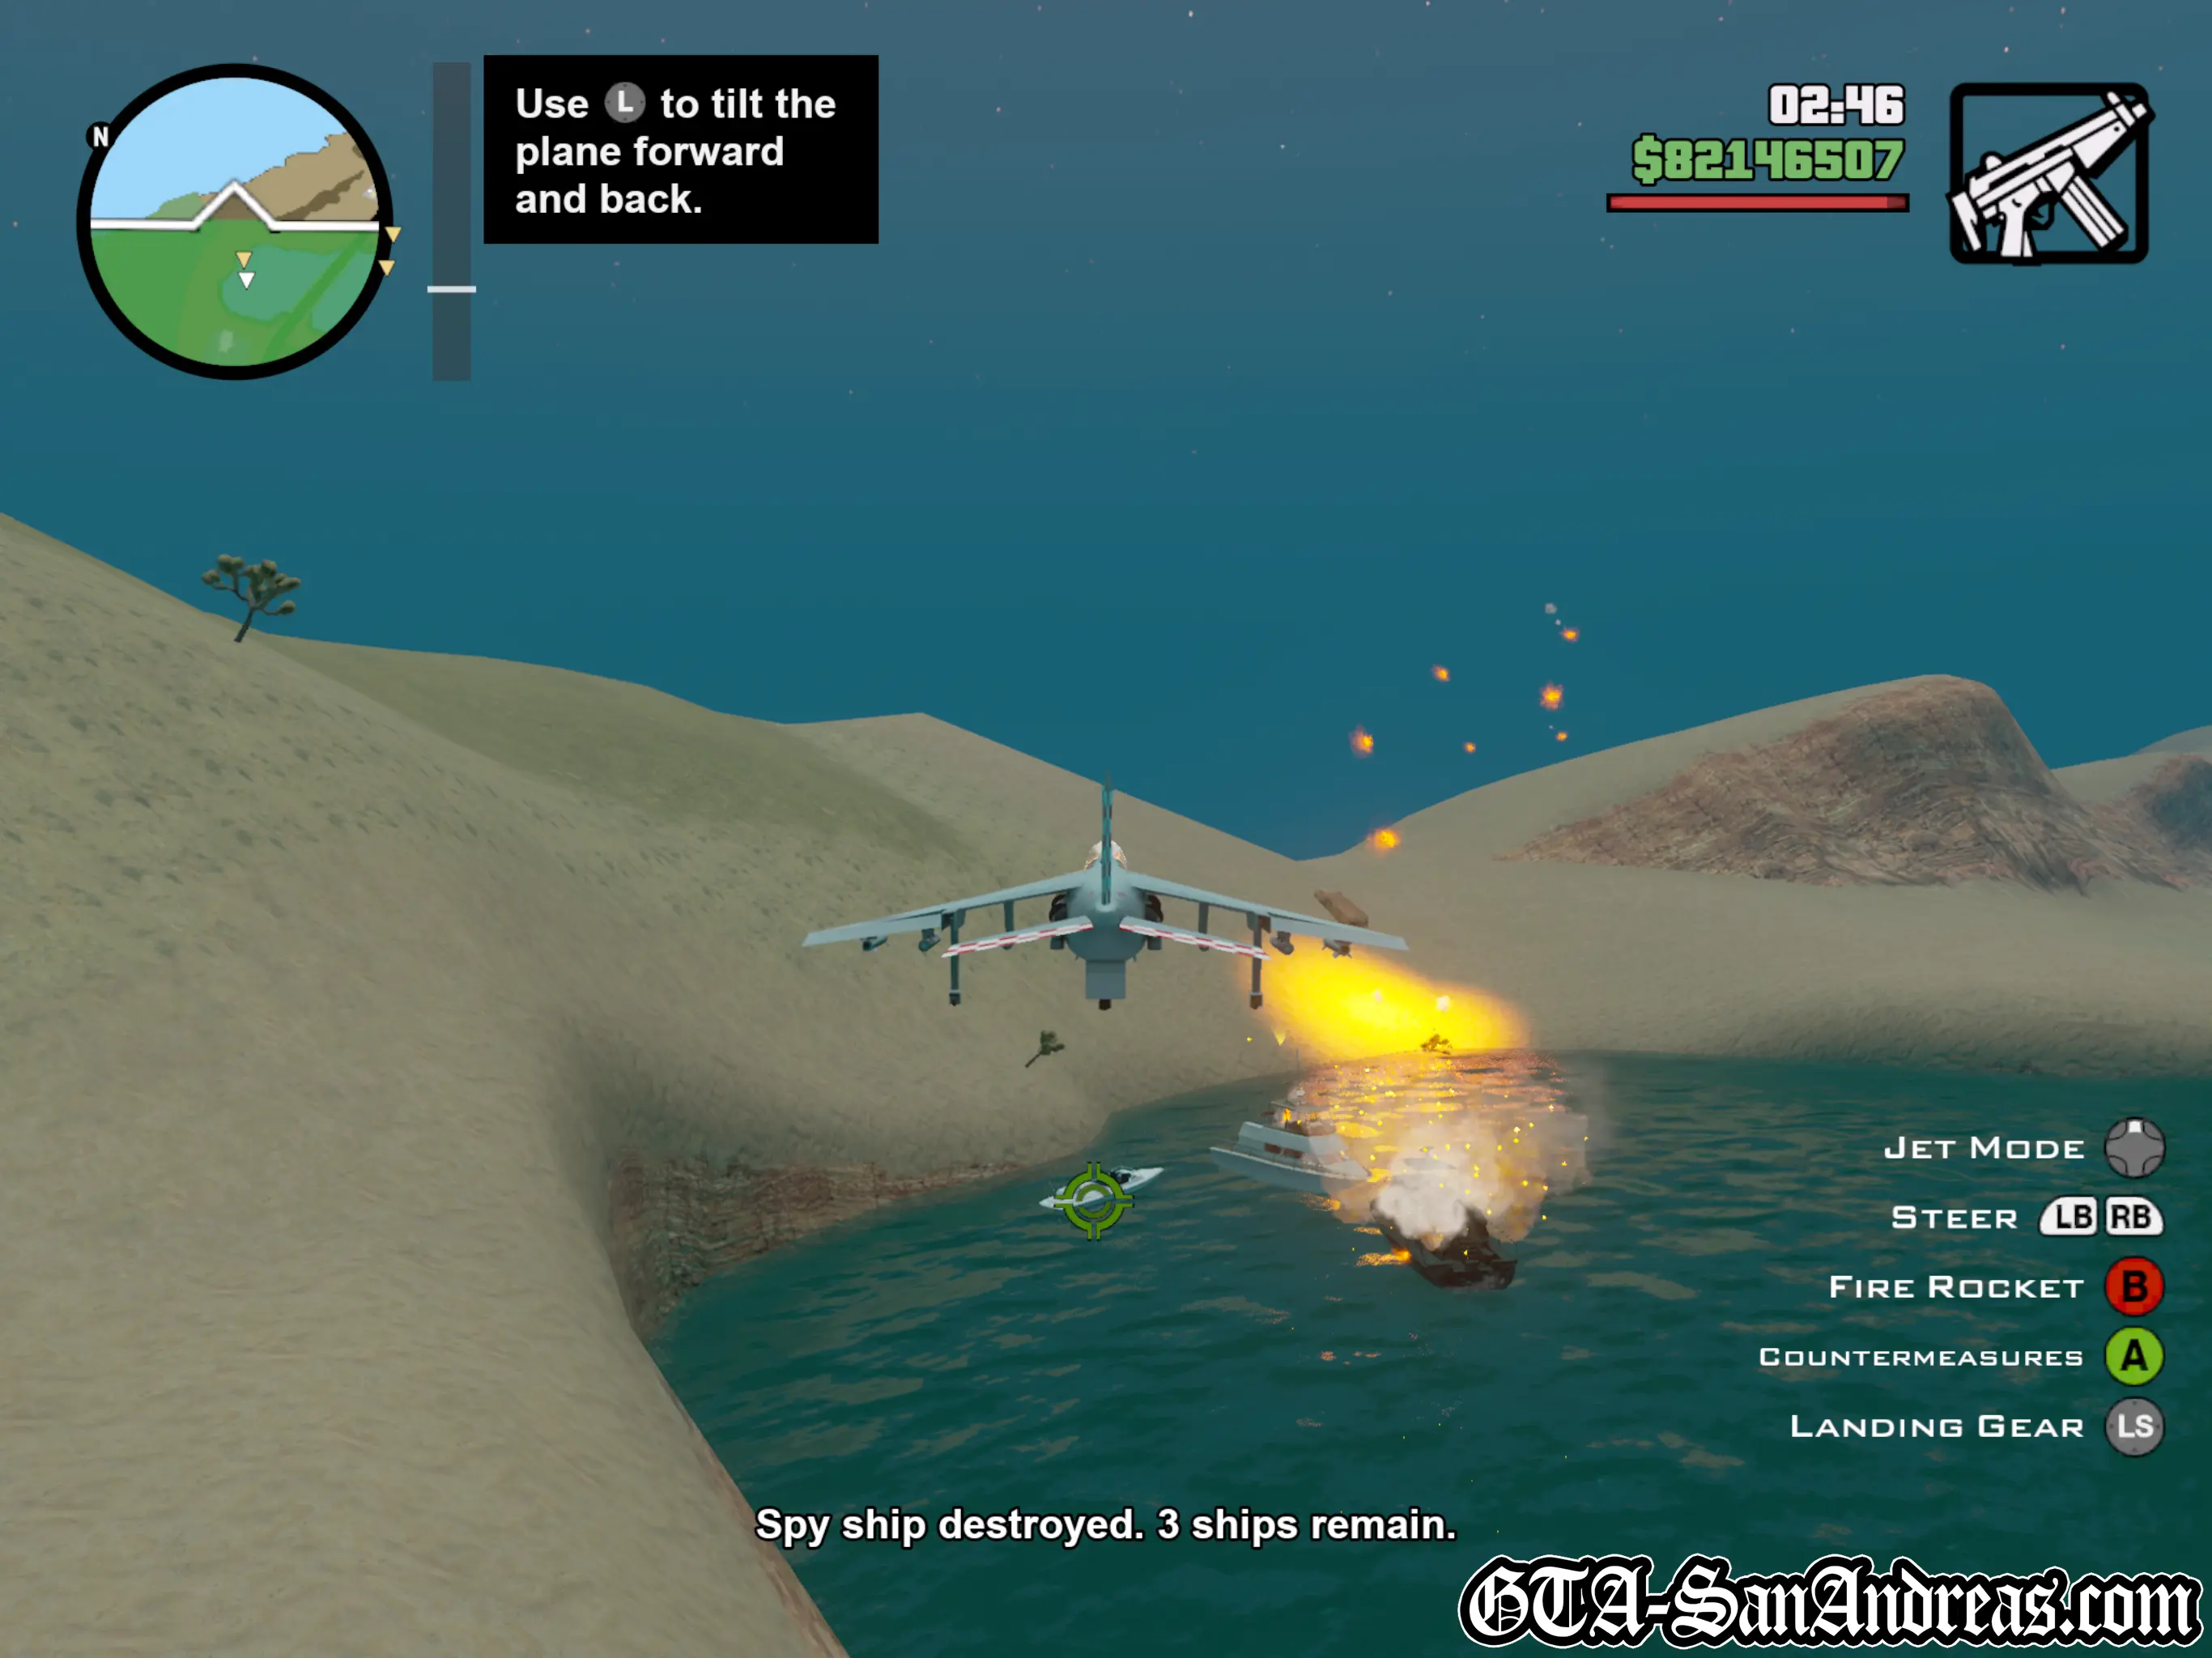
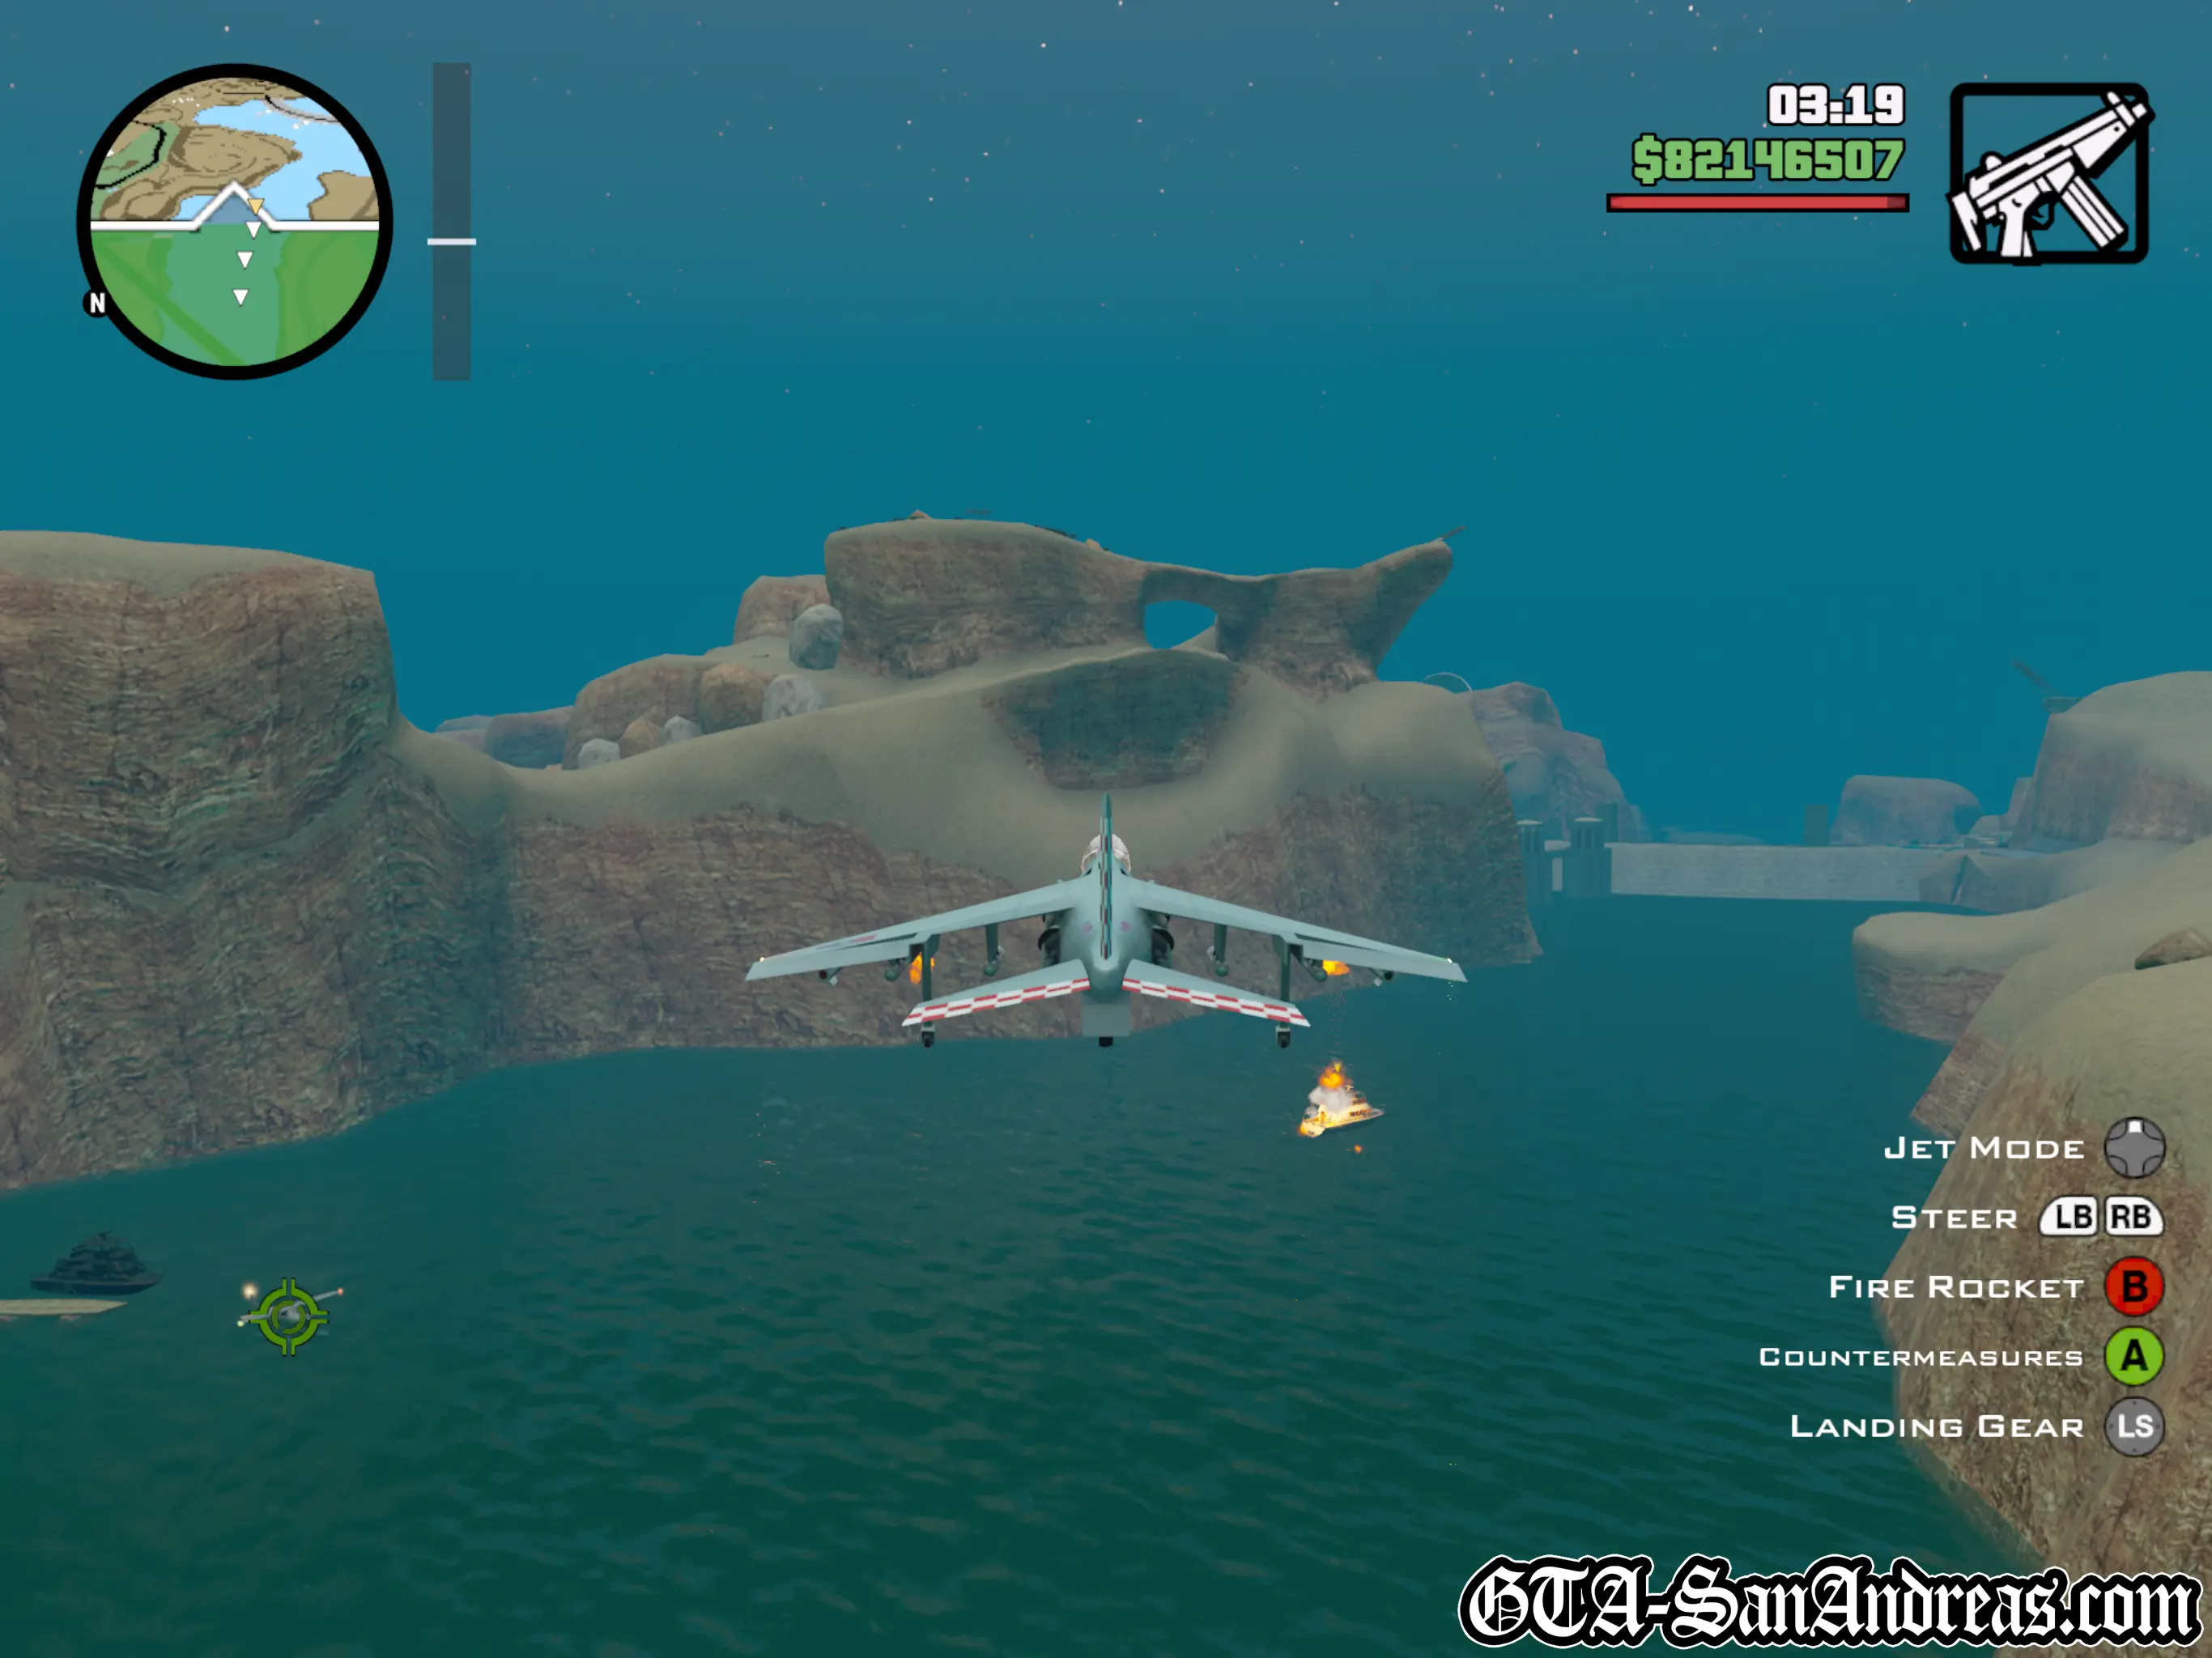
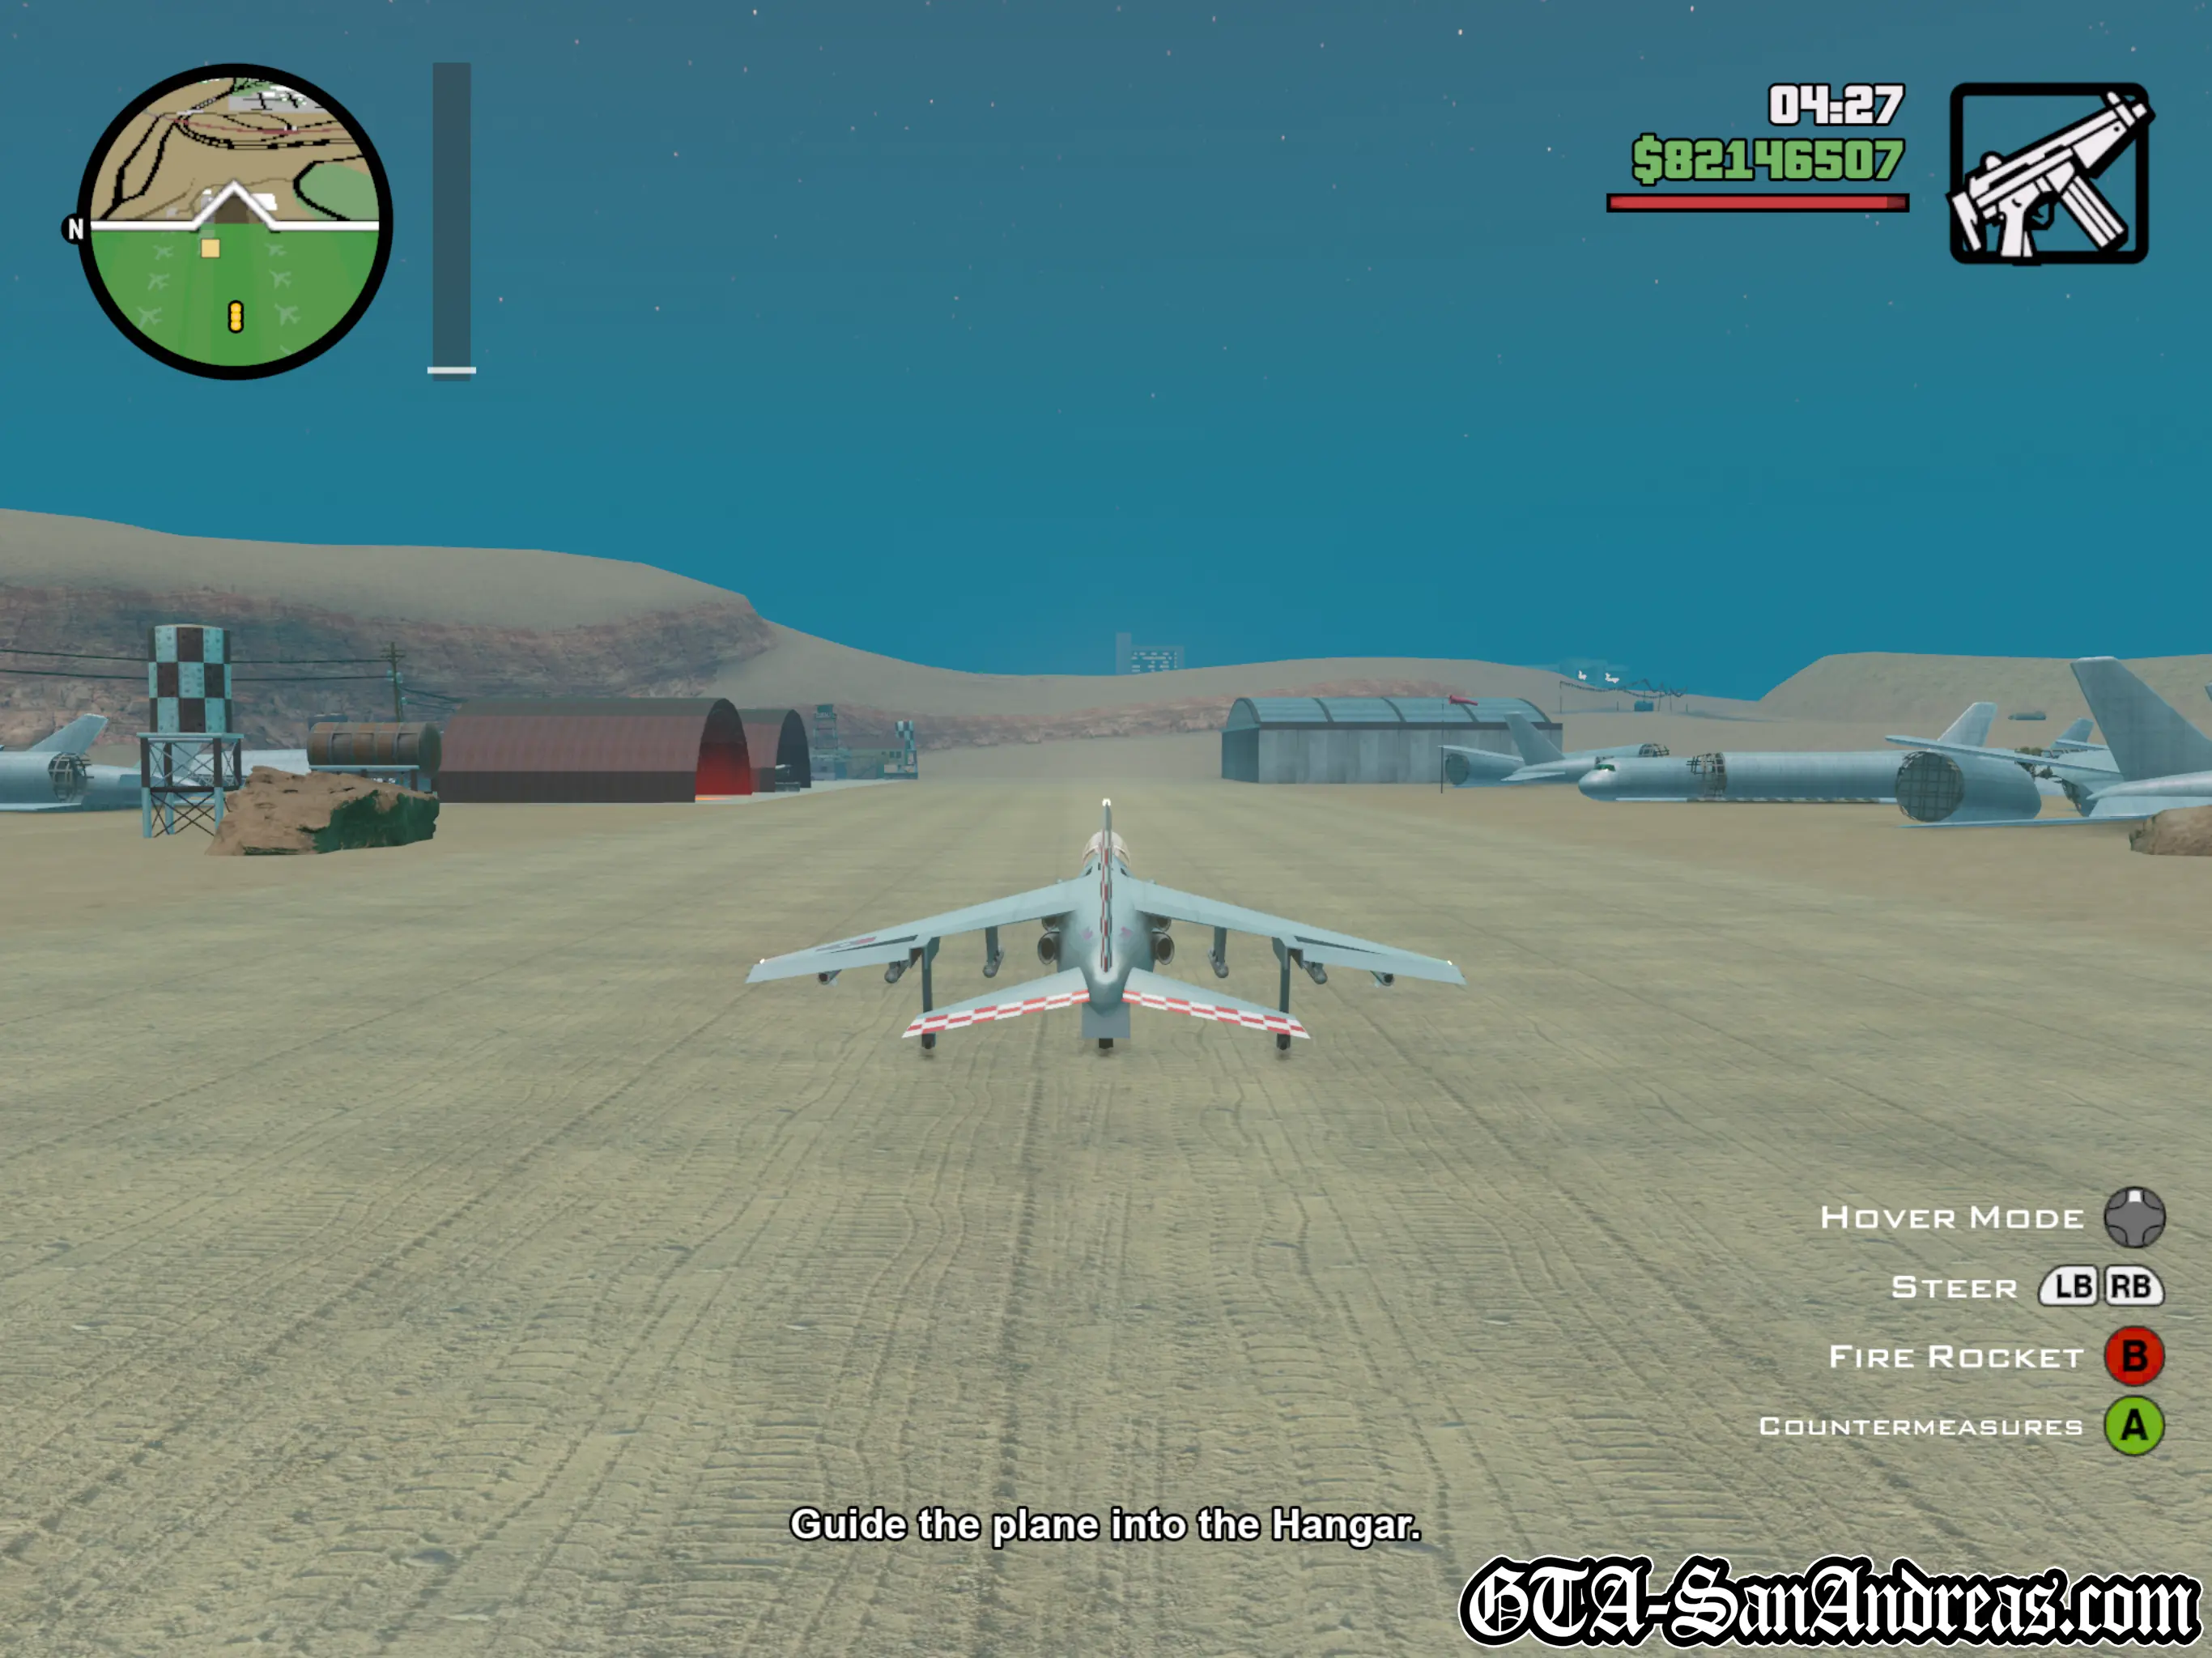
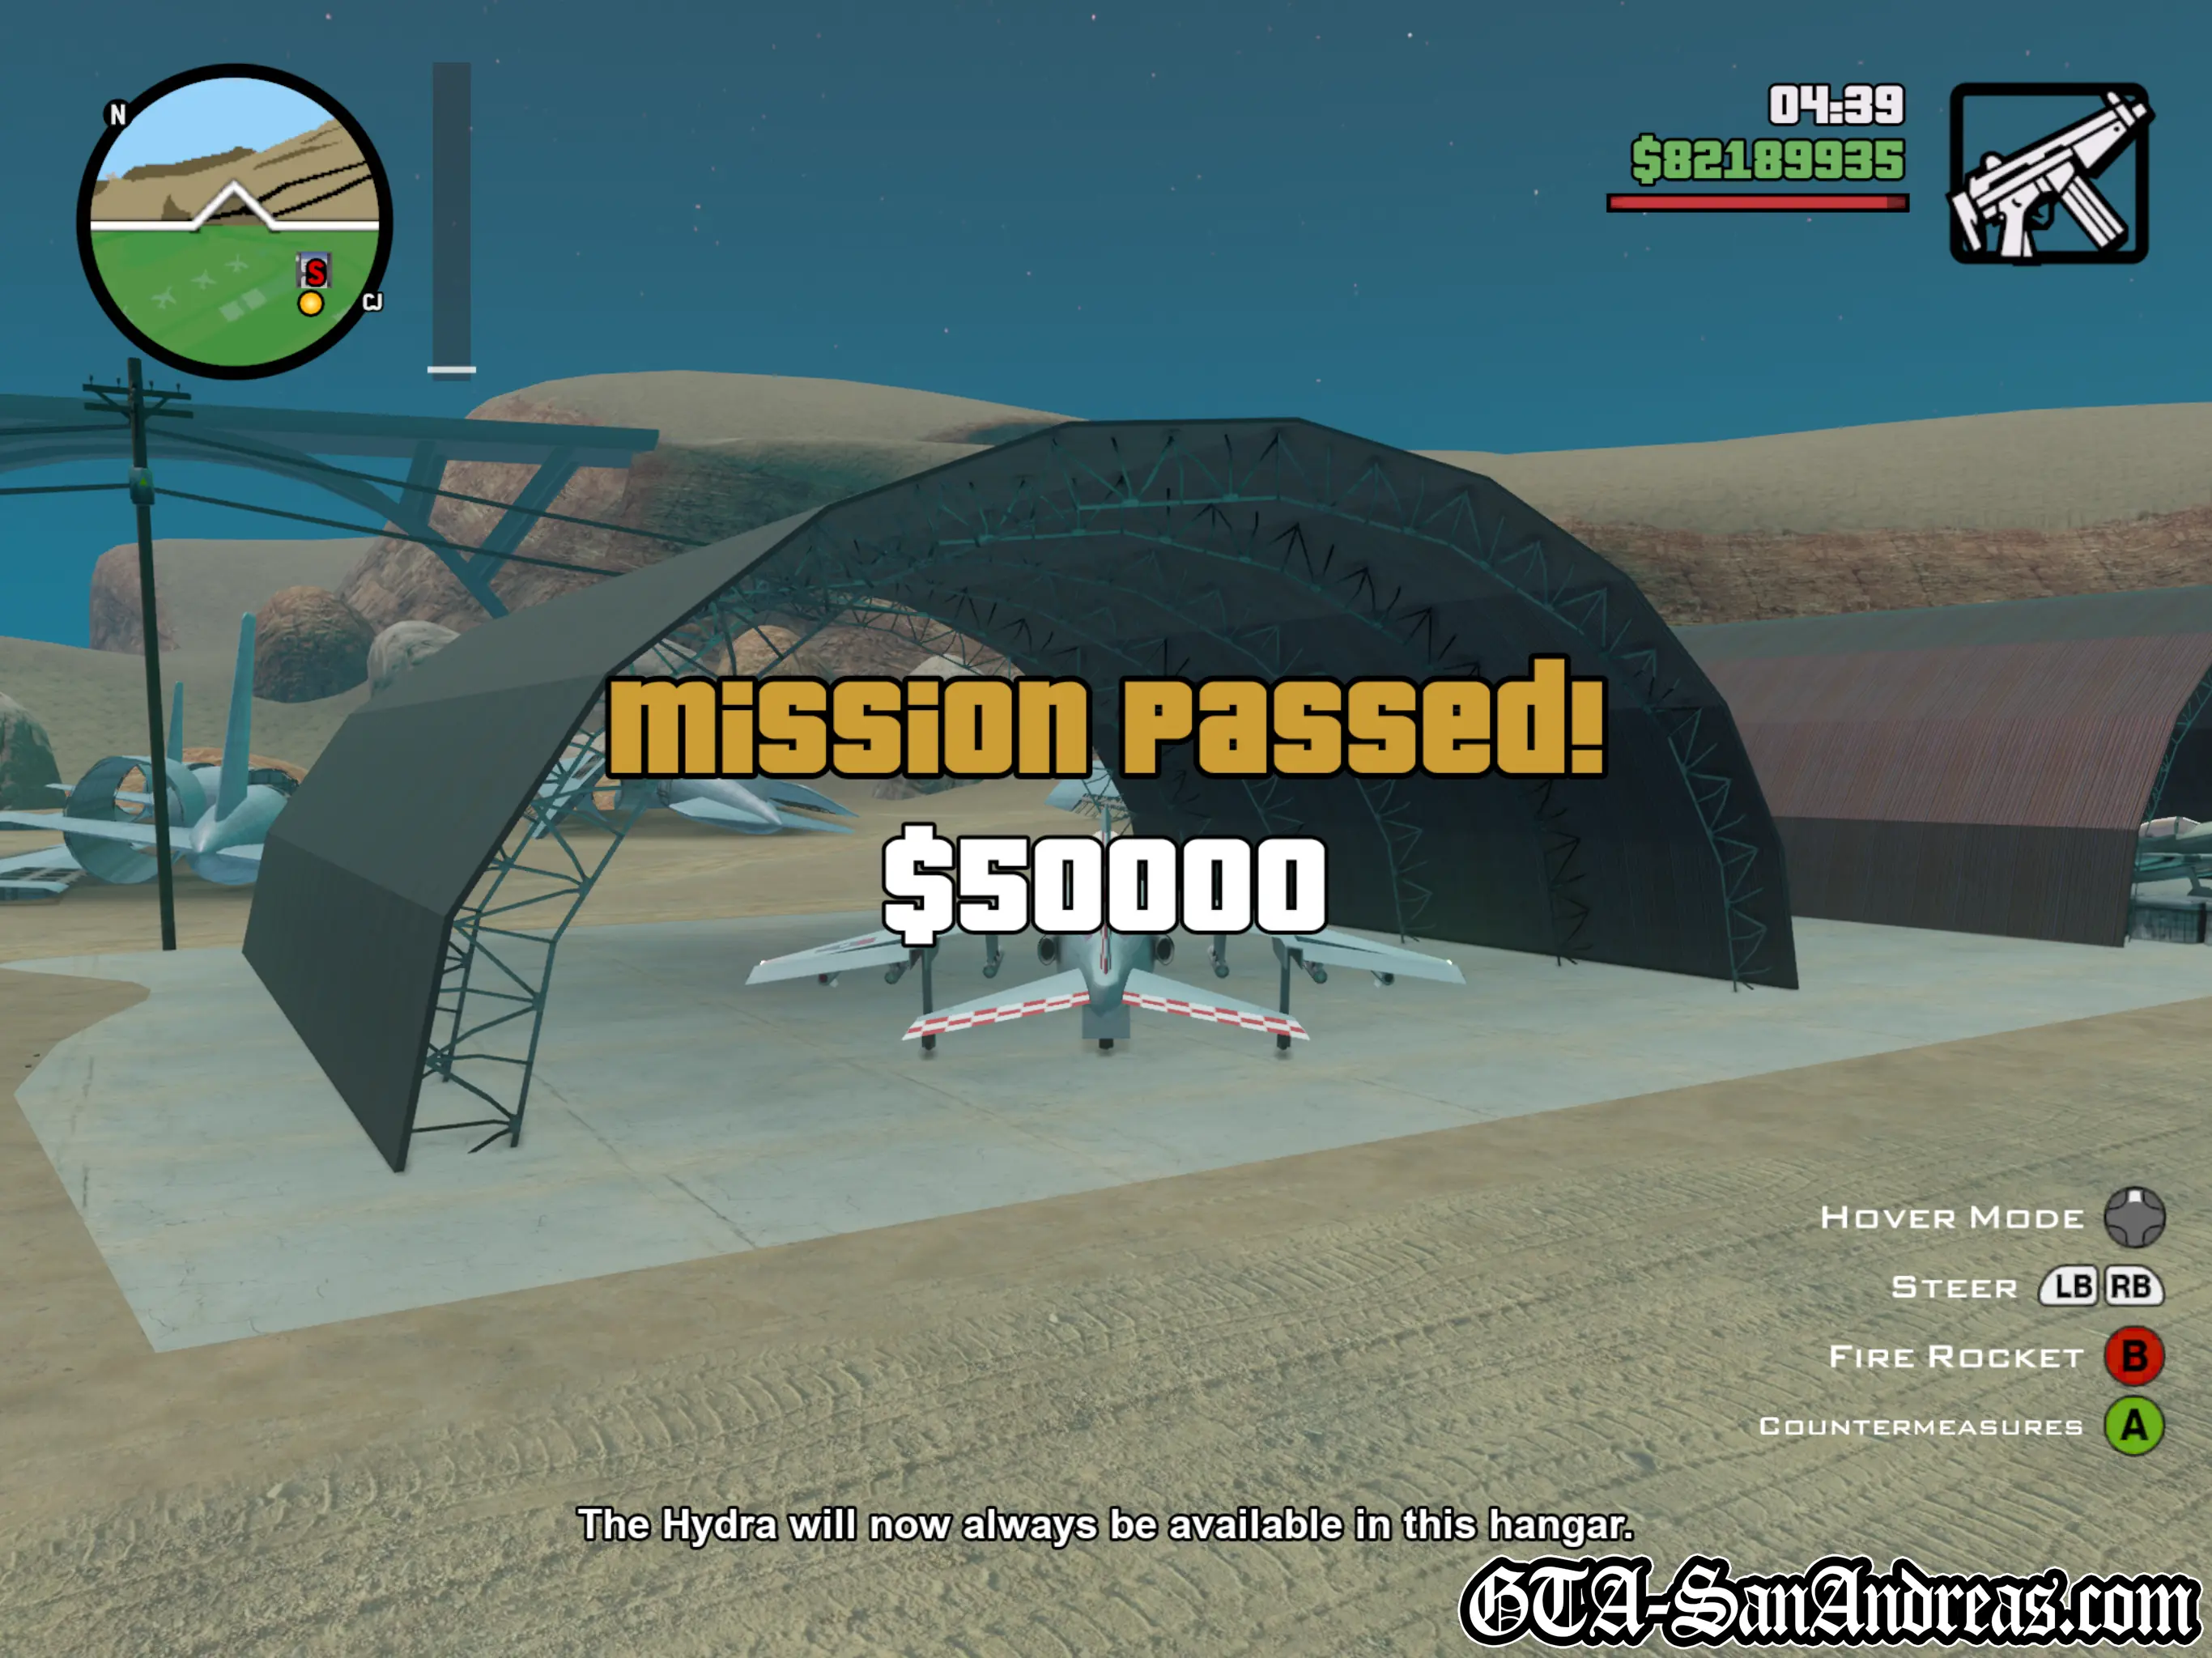
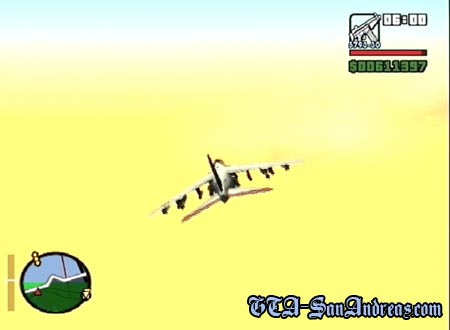
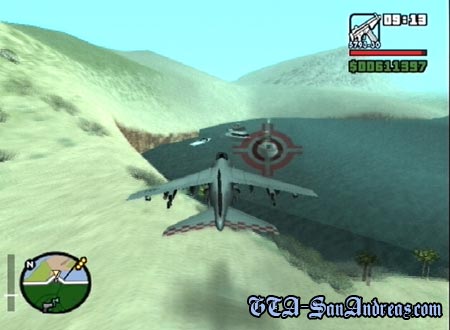
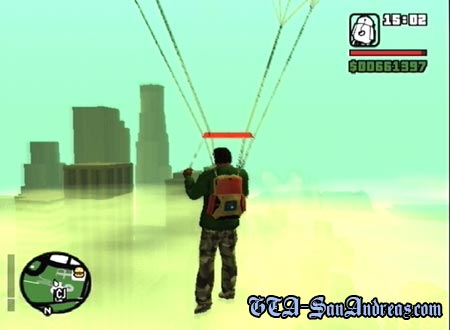
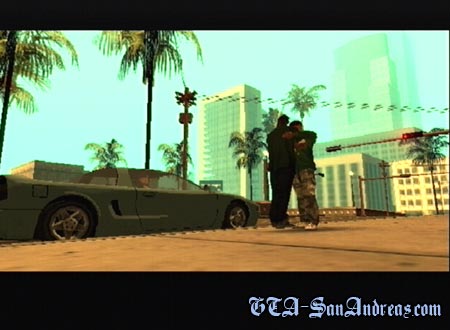
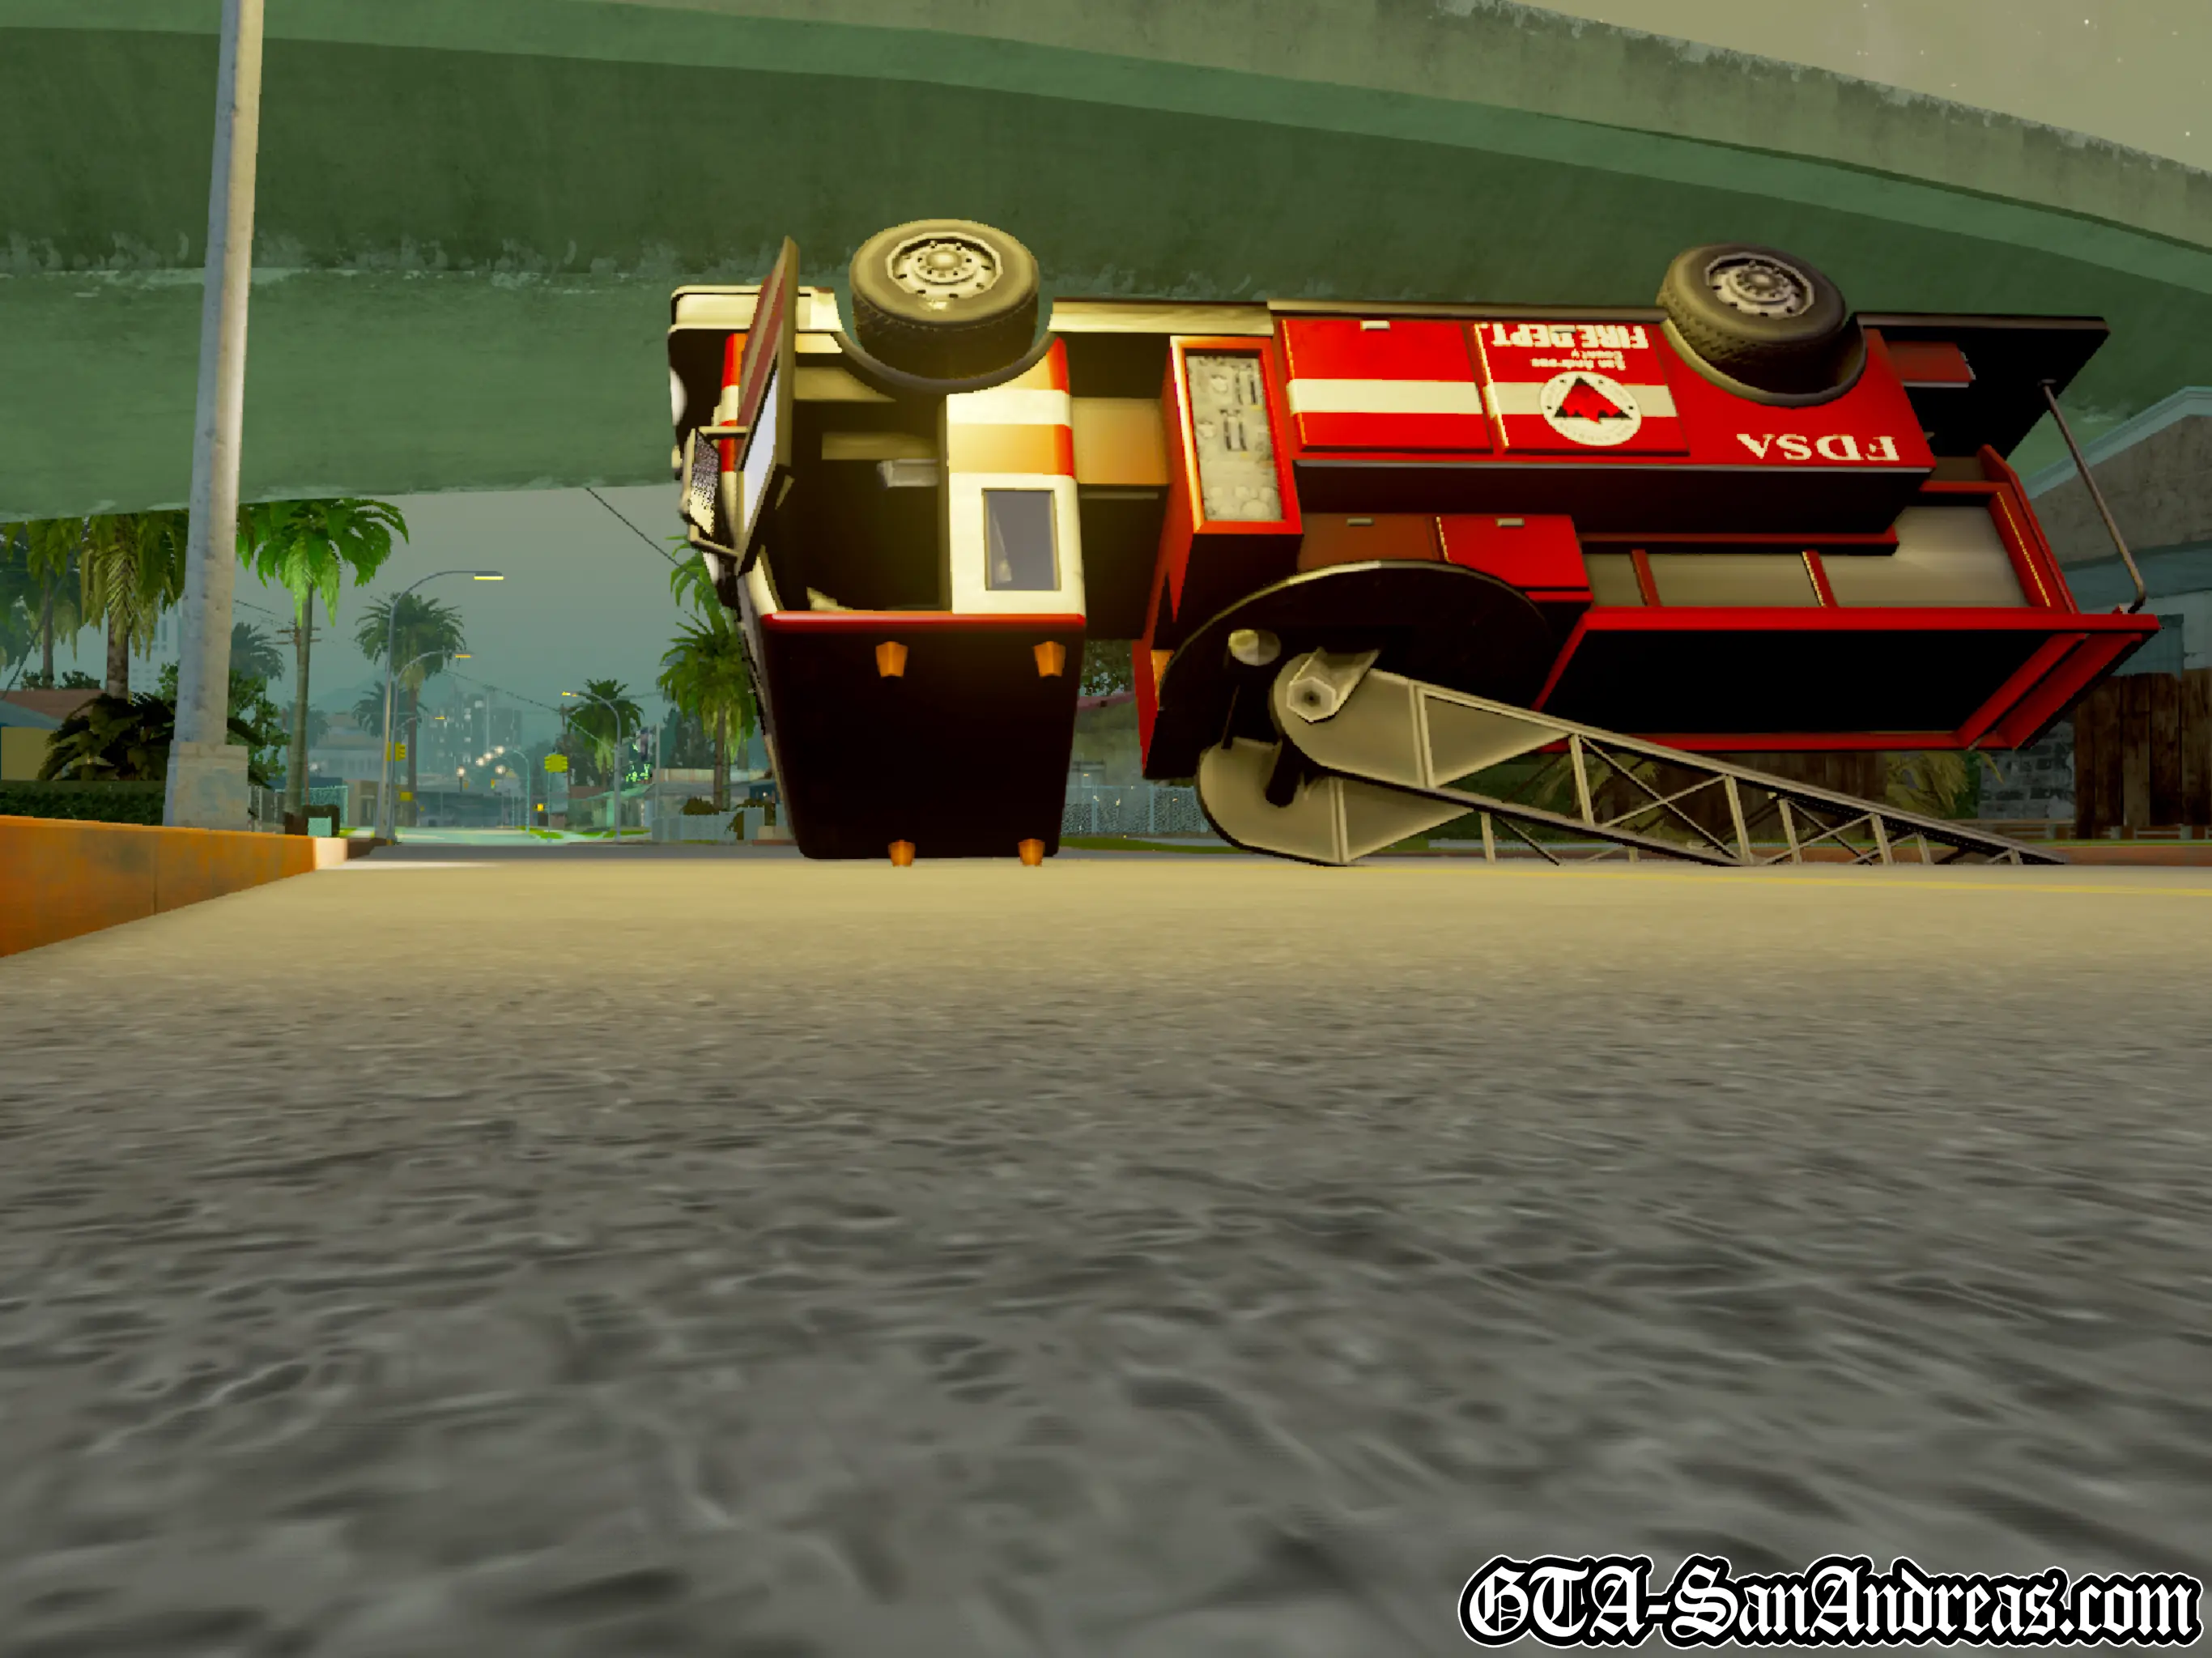
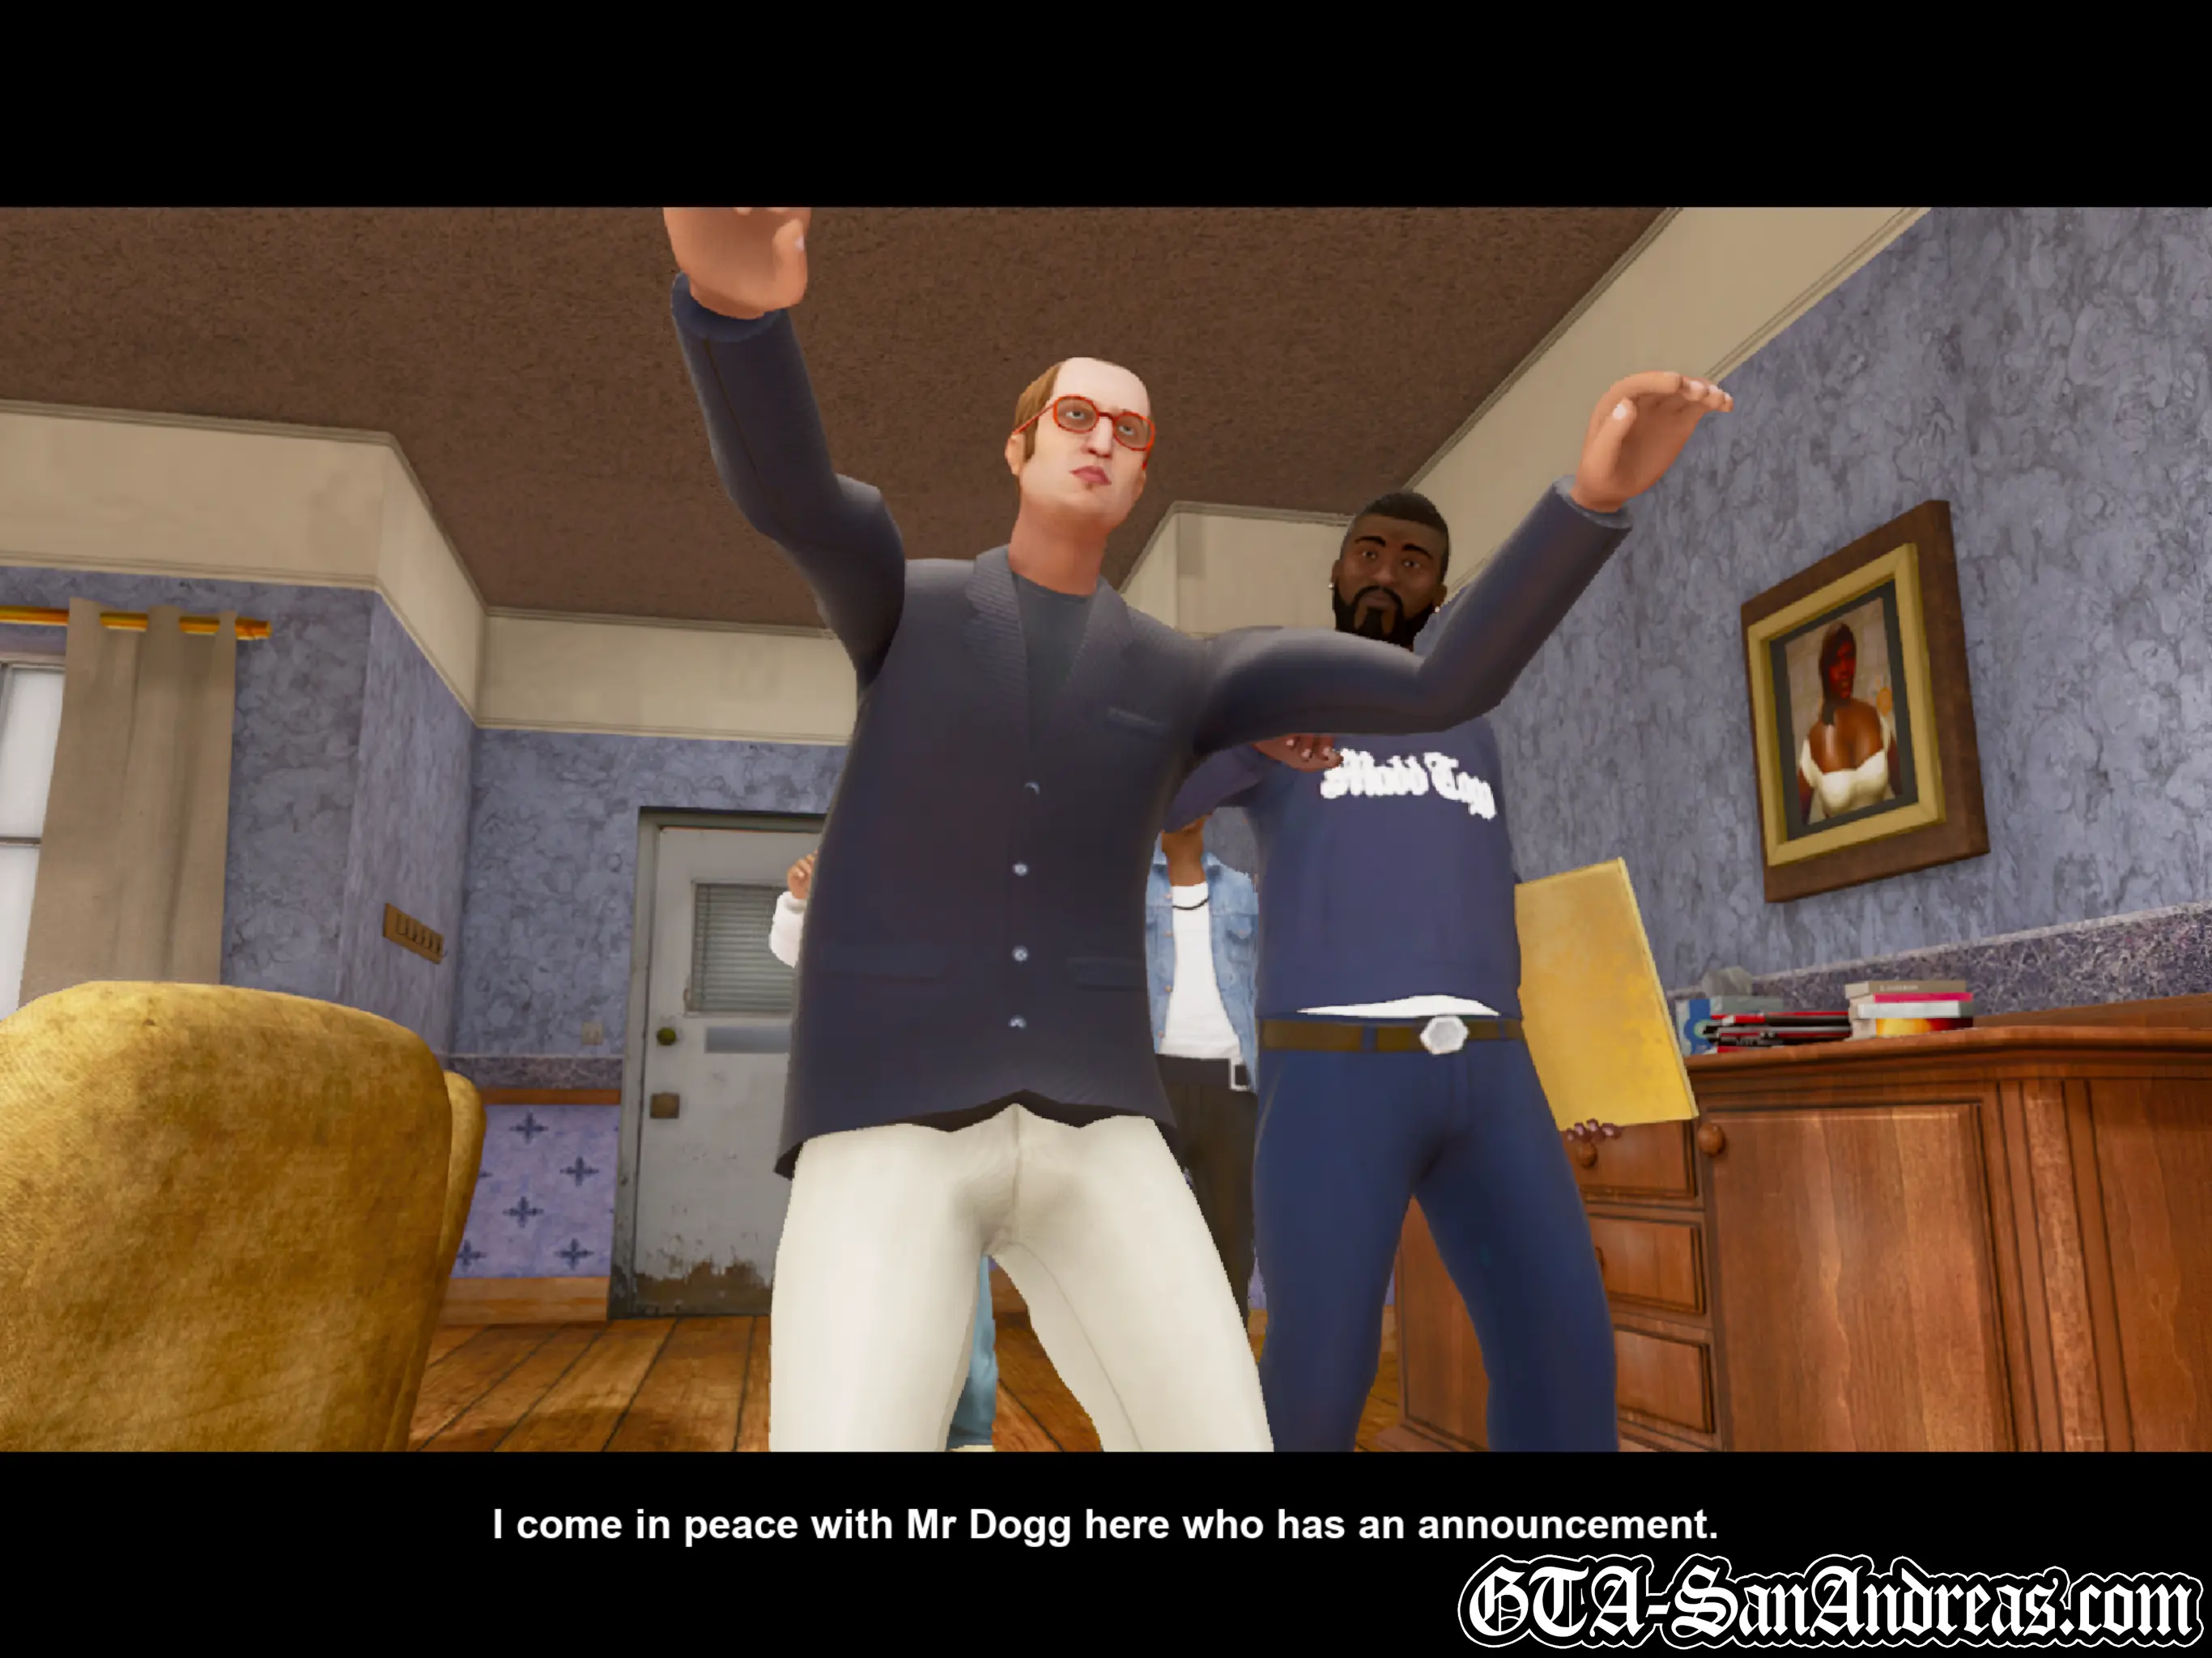
Madd Dogg's singing is interrupted by Toreno who tells Carl to get outside. When you do you'll be told that you need to steal an army aircraft off an assault ship then use it to take out some spy boats. Run to the speedboat where you'll get a silenced pistol and a knife. Drive the speedboat towards the Easter Basin Naval Bay. As you get close a cutscene will kick in showing a boat drive into the back. Toreno tells you to get on board the ship without detection, so jump out of your boat and swim underwater into the back of the ship. Once you get there head to the left and climb up. There will be a mechanic in the forklift, and sooner or later he'll spot you. Use your silenced pistol and kill him before he gets to the alarm, then kill the other guard in there with stealth. Head through the door and up the stairs, then go through the door on the left. Sneak all of the way, and kill the dude sitting on the chair to the right. Most likely you'll have set the alarm off now, so just carefully make your way to all of the red blips on the radar and kill the guards. Use whichever weapons you like, then once they're all dead, head to the yellow blip and deactivate the SAM's. Once you've done that, get to the Jet and get in it. Read the on screen instructions explaining that normally, the jet blast will point downwards and result in the jet moving up and like a helicopter, pushing up on the right analog stick for a few seconds will change the blast direction and result in you moving forwards extremely fast. You can of course pull back on the stick for a few seconds to make the Hydra hover. Holding R1 will also auto target vehicles, and L1 will fire a homing missile. Fly to the yellow blips on the radar at the dam in the desert. Just after you get close to Las Venturas, three military jets will chase after you. Turn around and auto aim at them. Chase them across the sky, and use your homing missiles to take them down. It's not really too hard to do, just hold R1 until the crosshair turns red, then keep hitting L1 to fire rockets. They'll most likely all hit, then the Jet will go down. Do the same to the other two and make your way to the yellow blips. When you reach there, pull back the right analog stick and hover. Aim at the boats and fire a few missiles at each of them until they are gone. Afterwards Toreno will speak to you and tell you he has no idea what 'thing' you're talking about. Fly it to the airfield and land on the runway. You'll then be told to guide it into the hangar, so carefully fly it into the hangar and stop in the red circle.
The Hydra will always be available from this hangar.
Screenshots


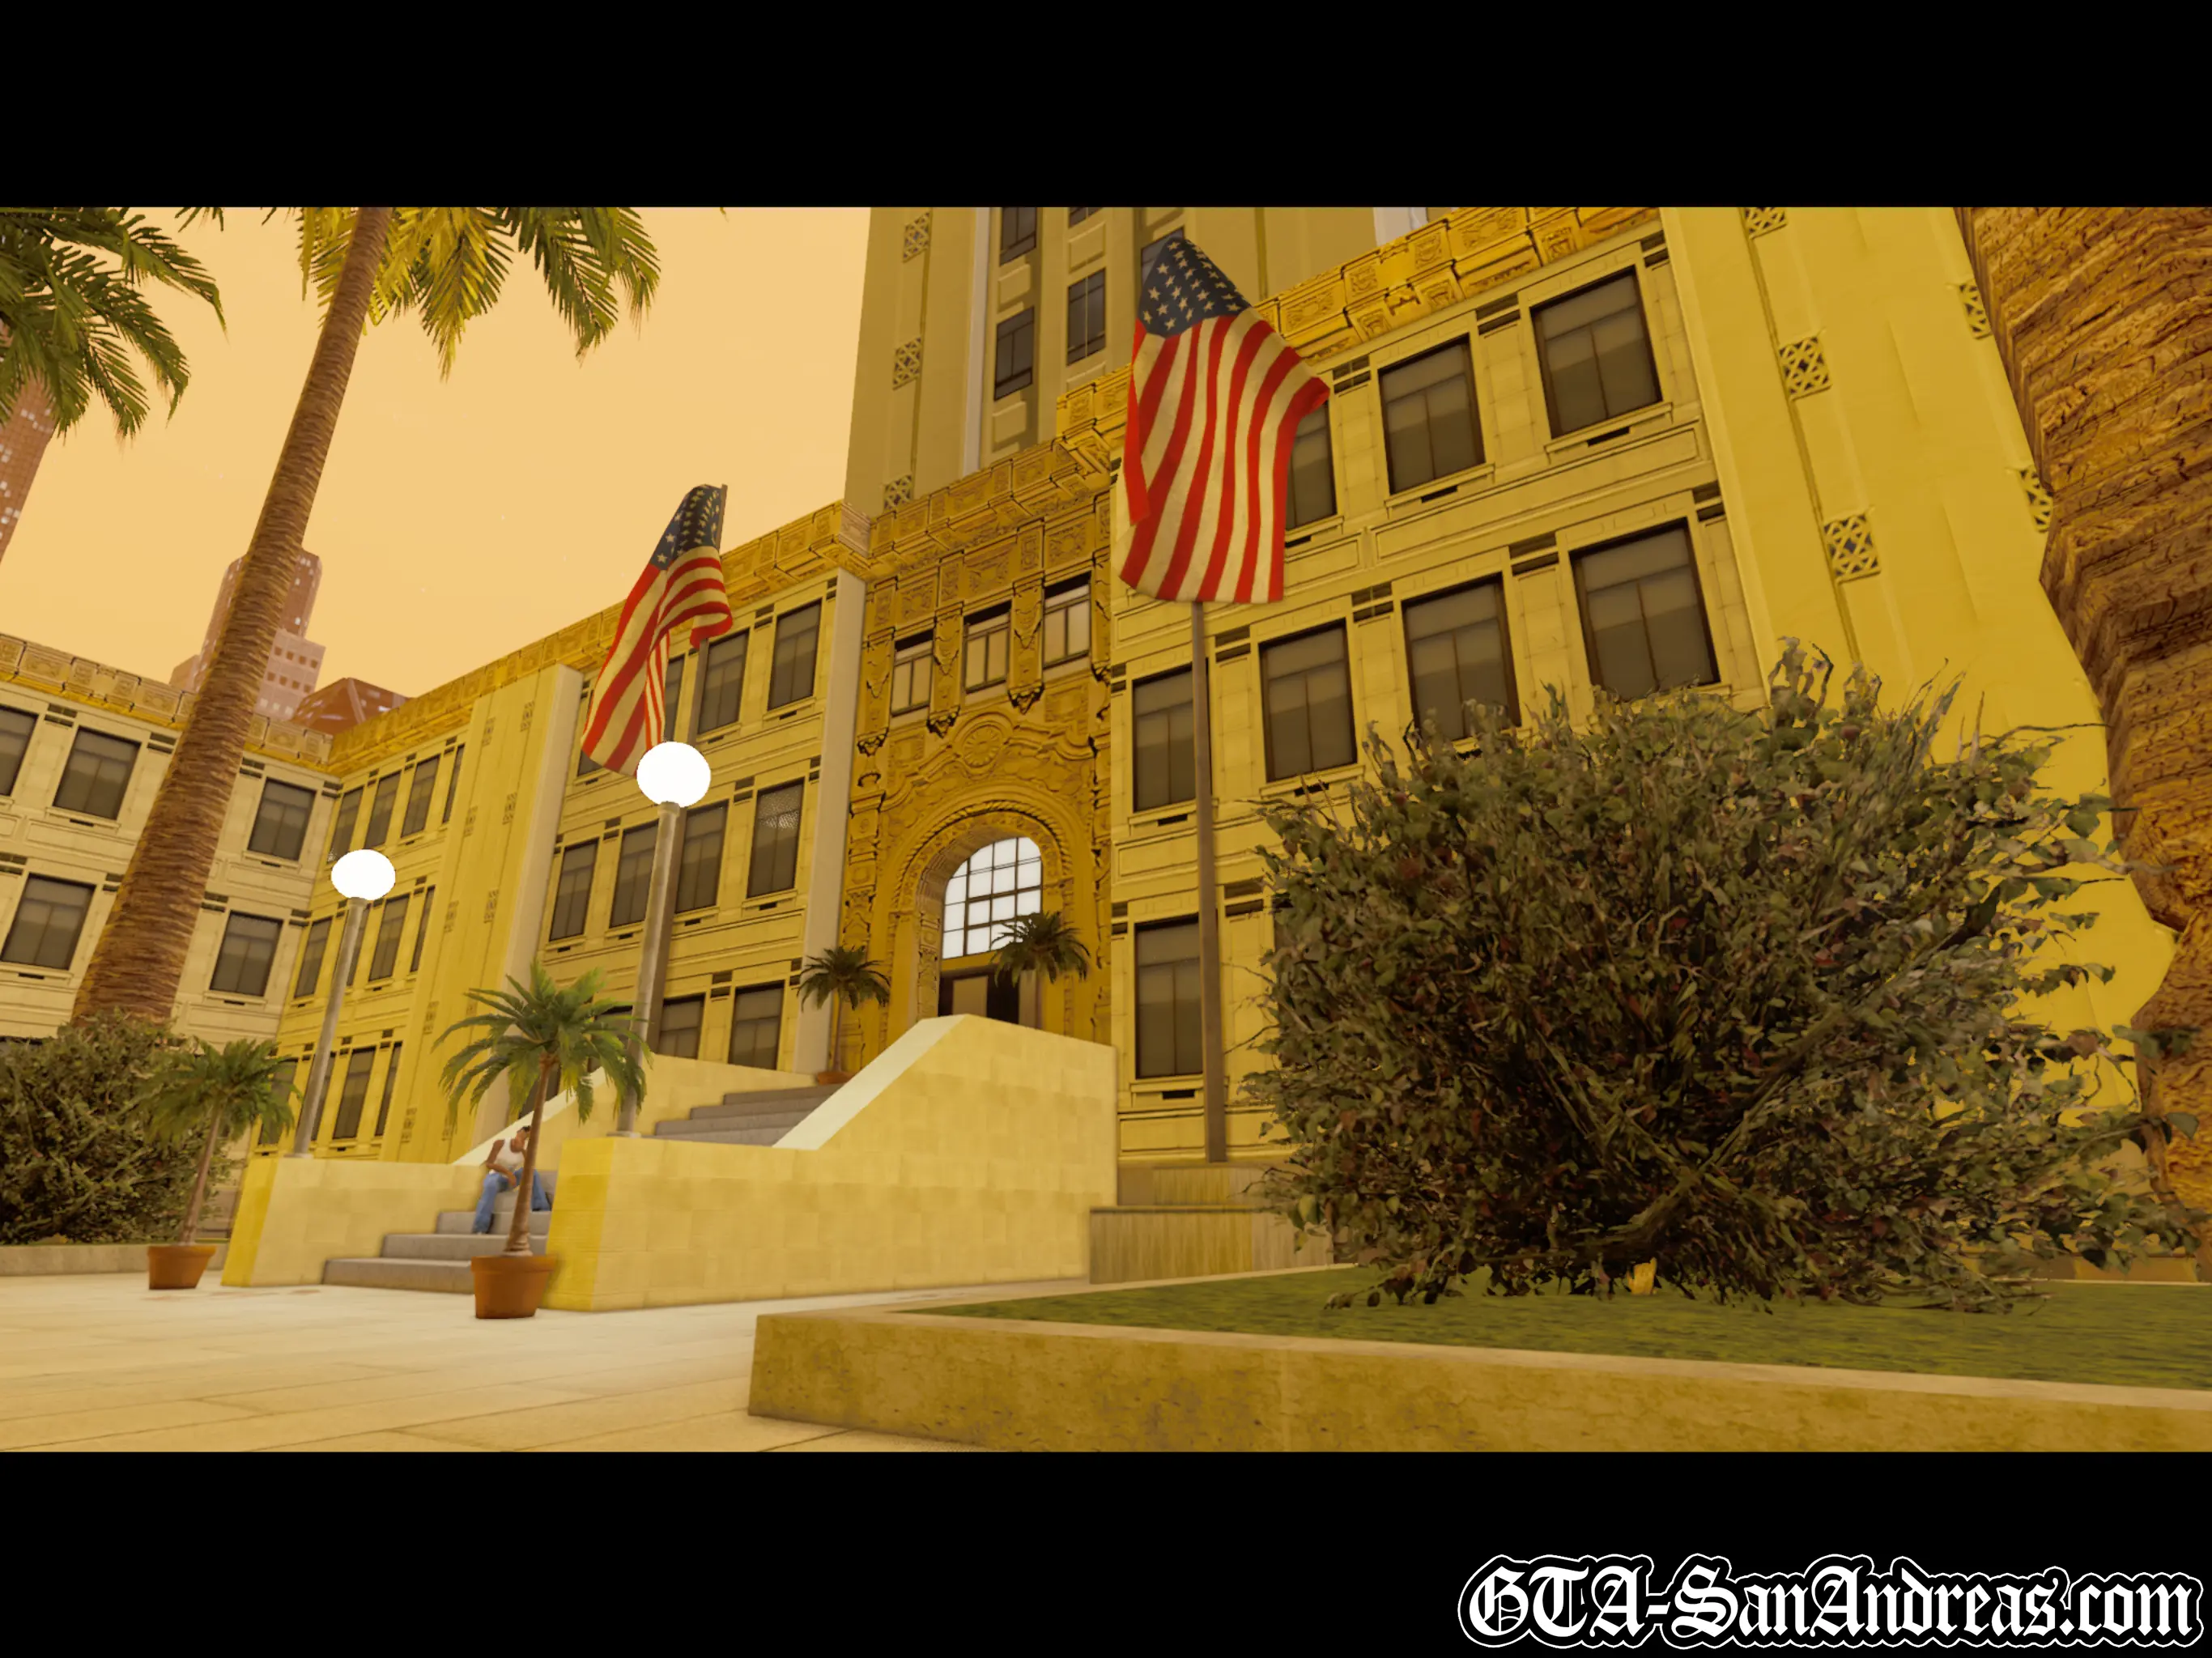
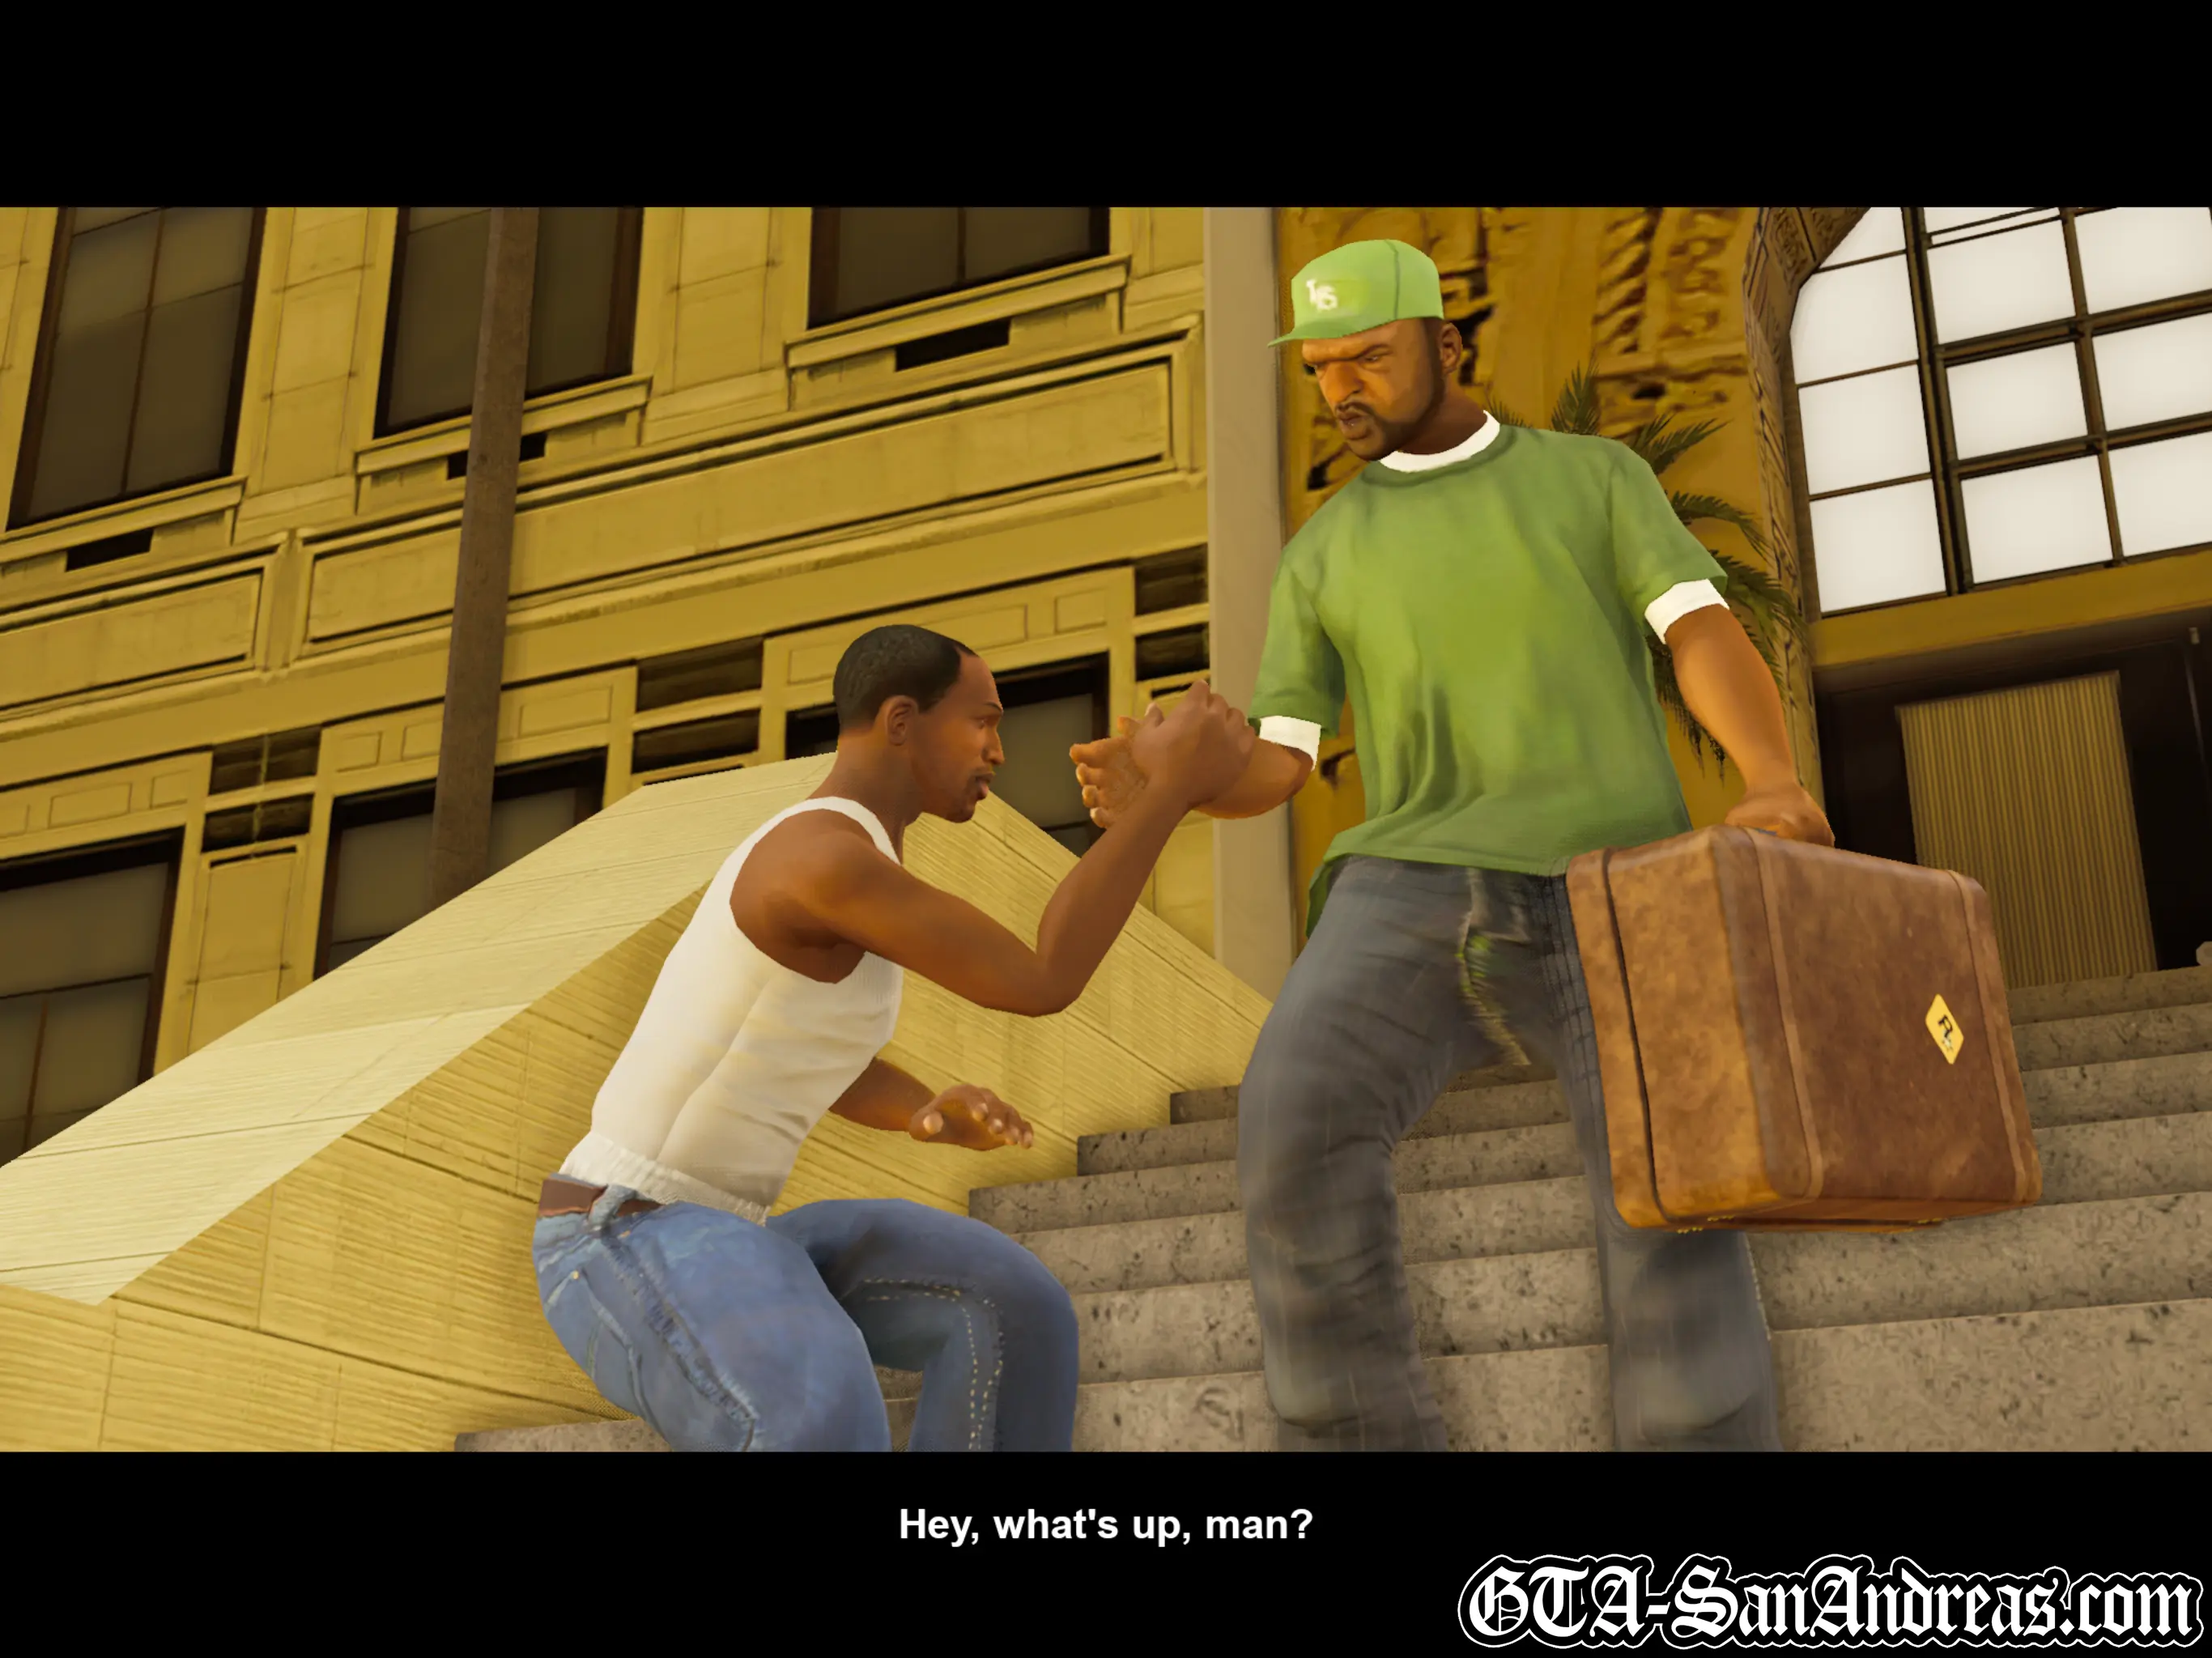
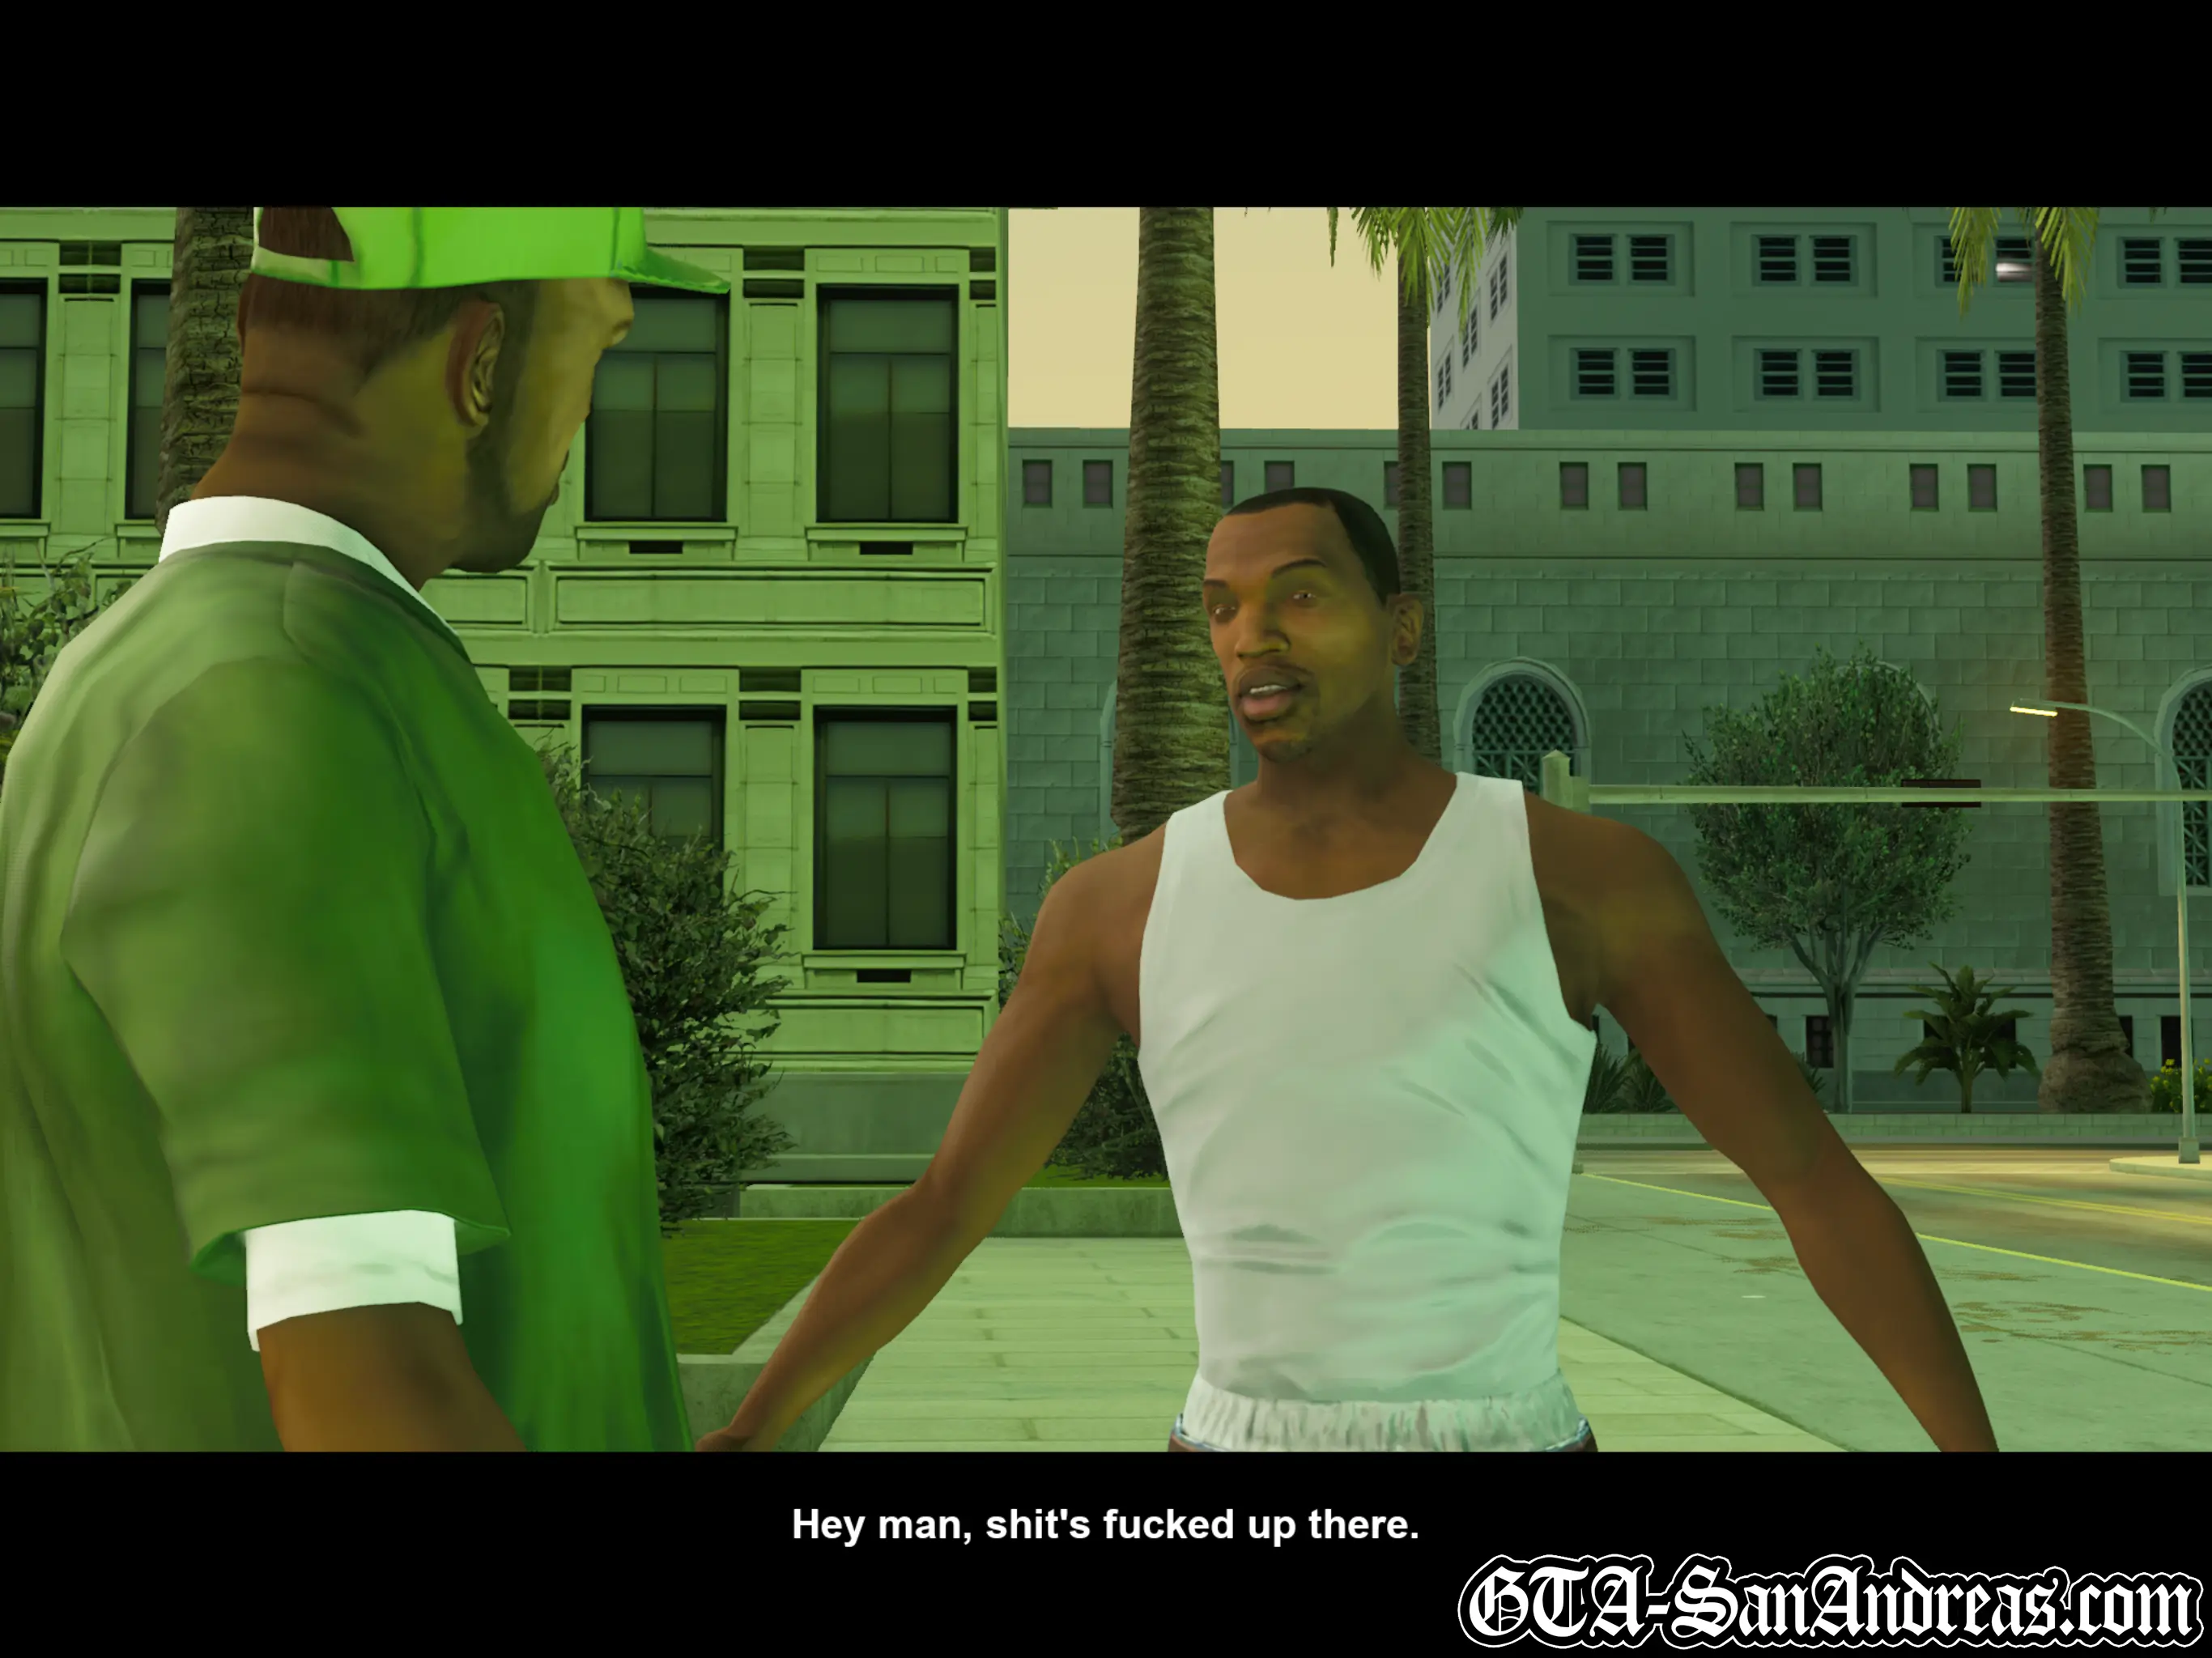
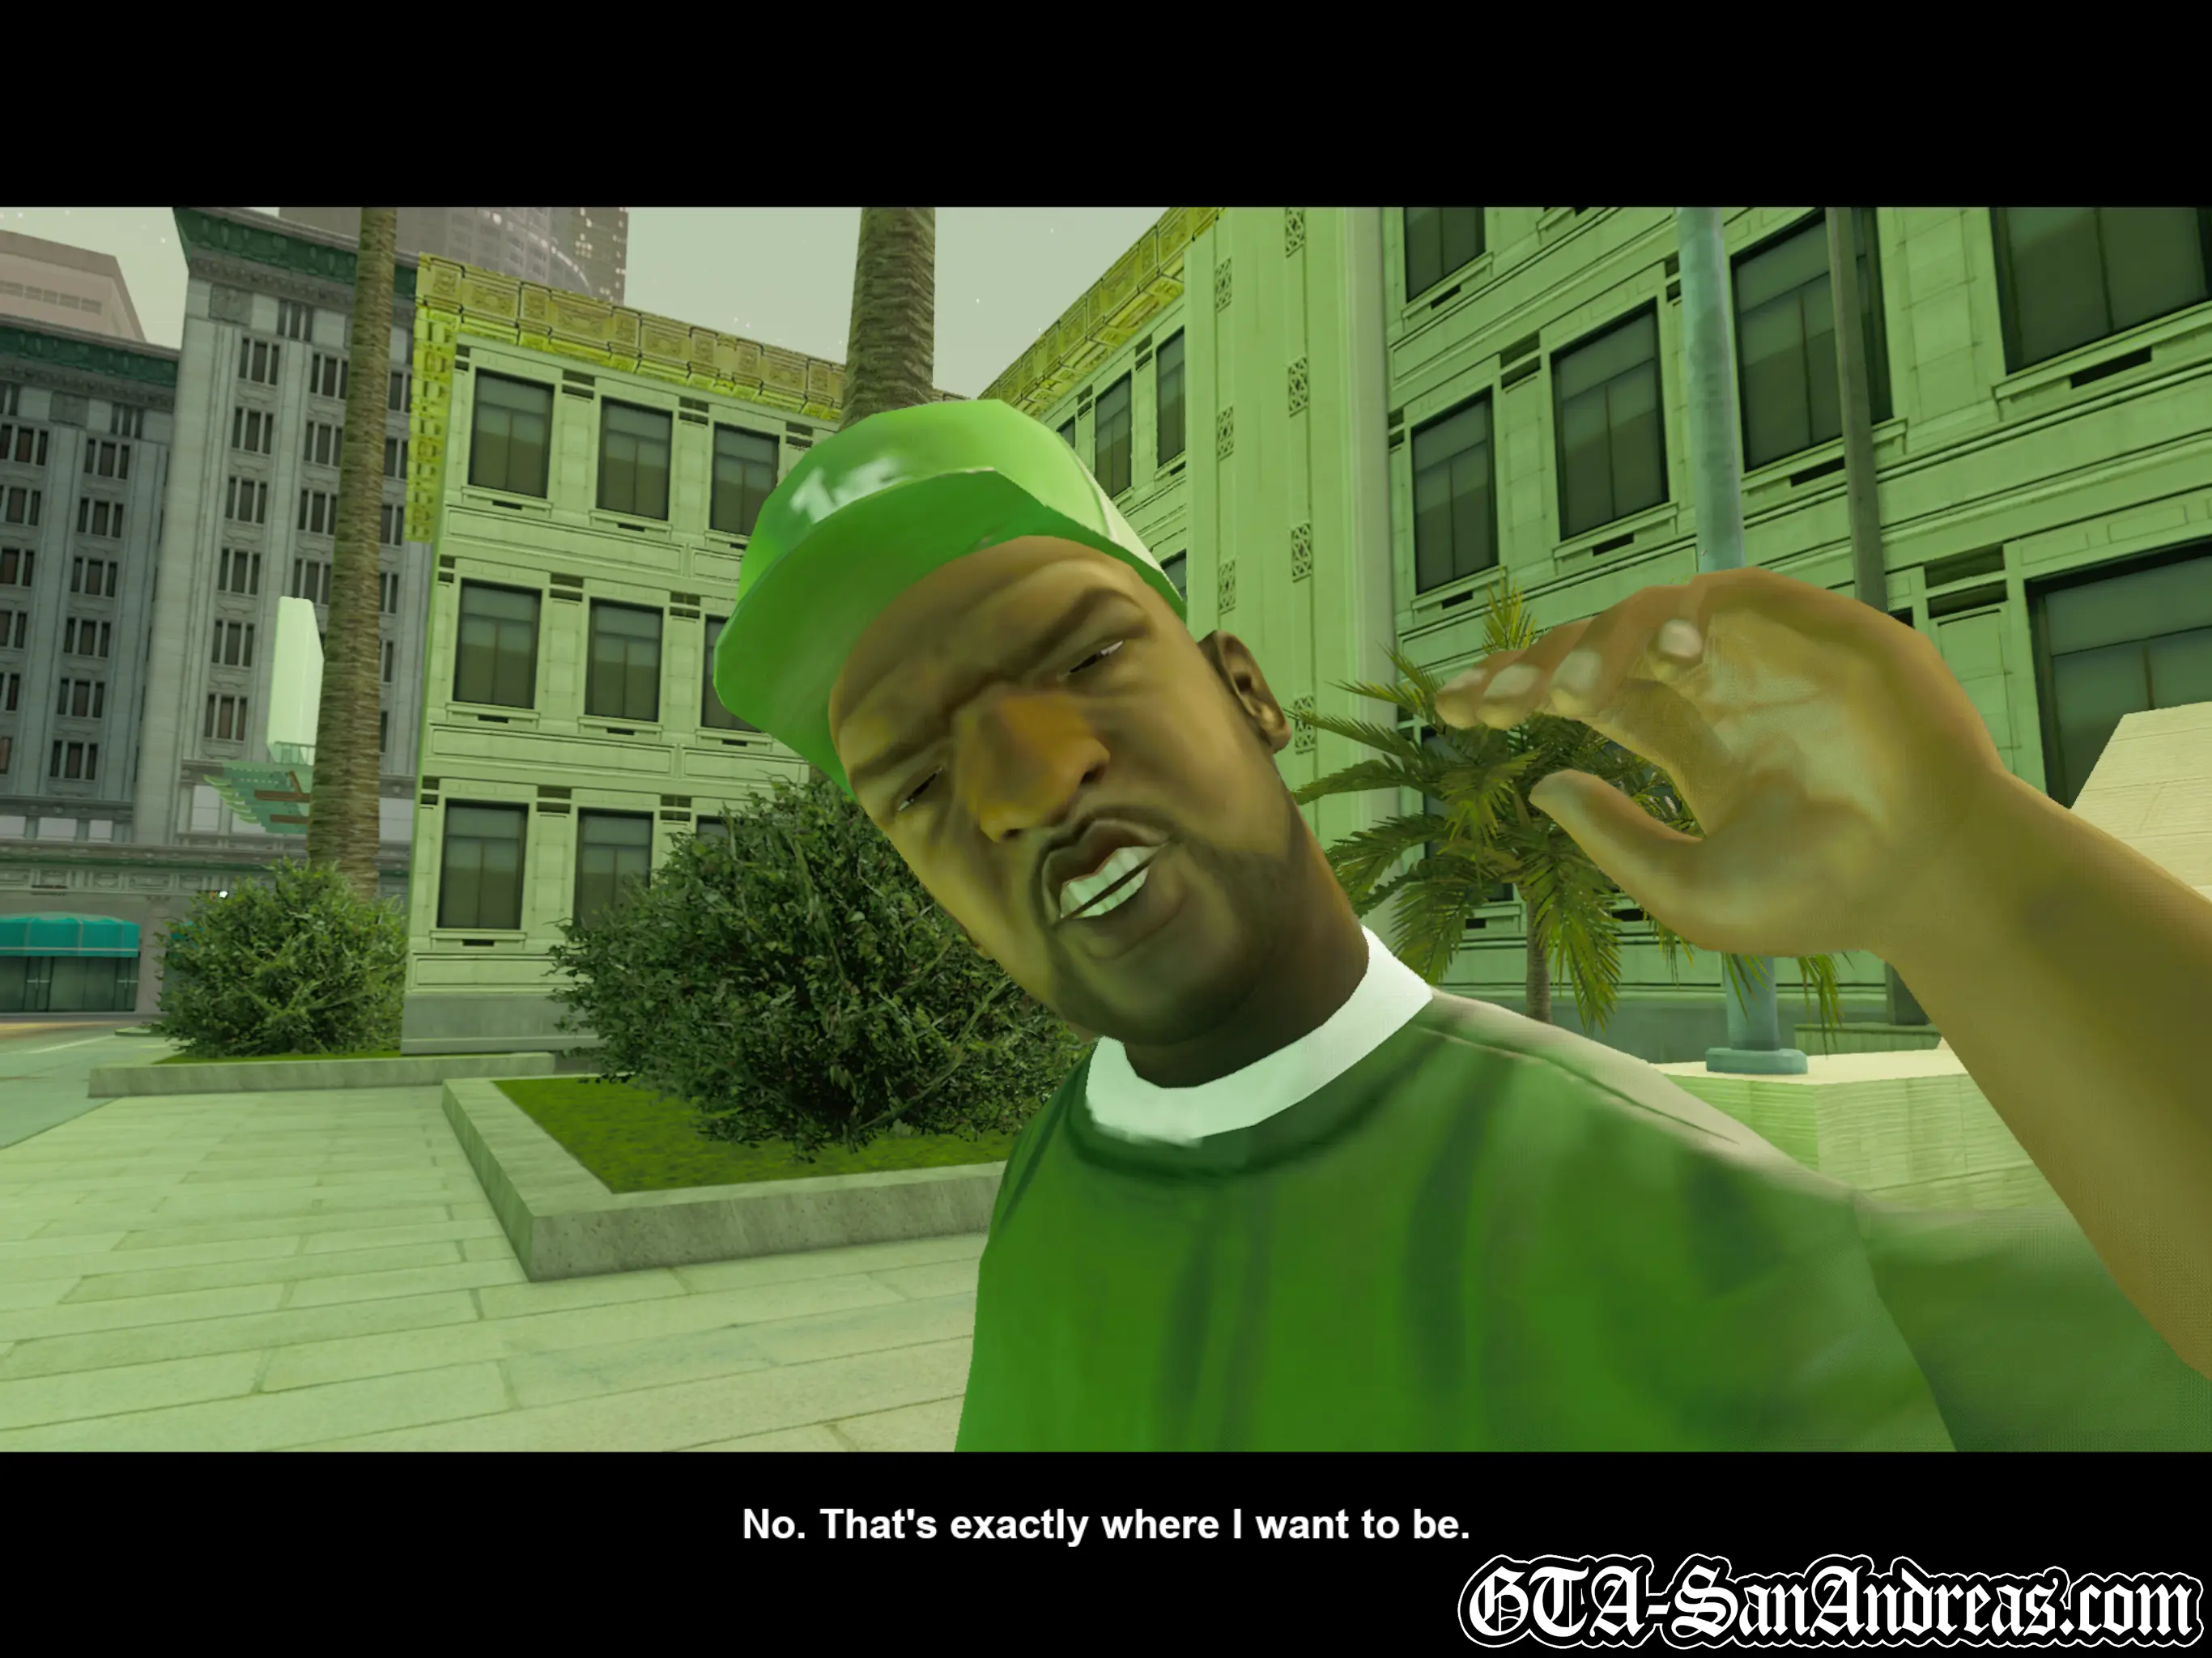
Home Coming
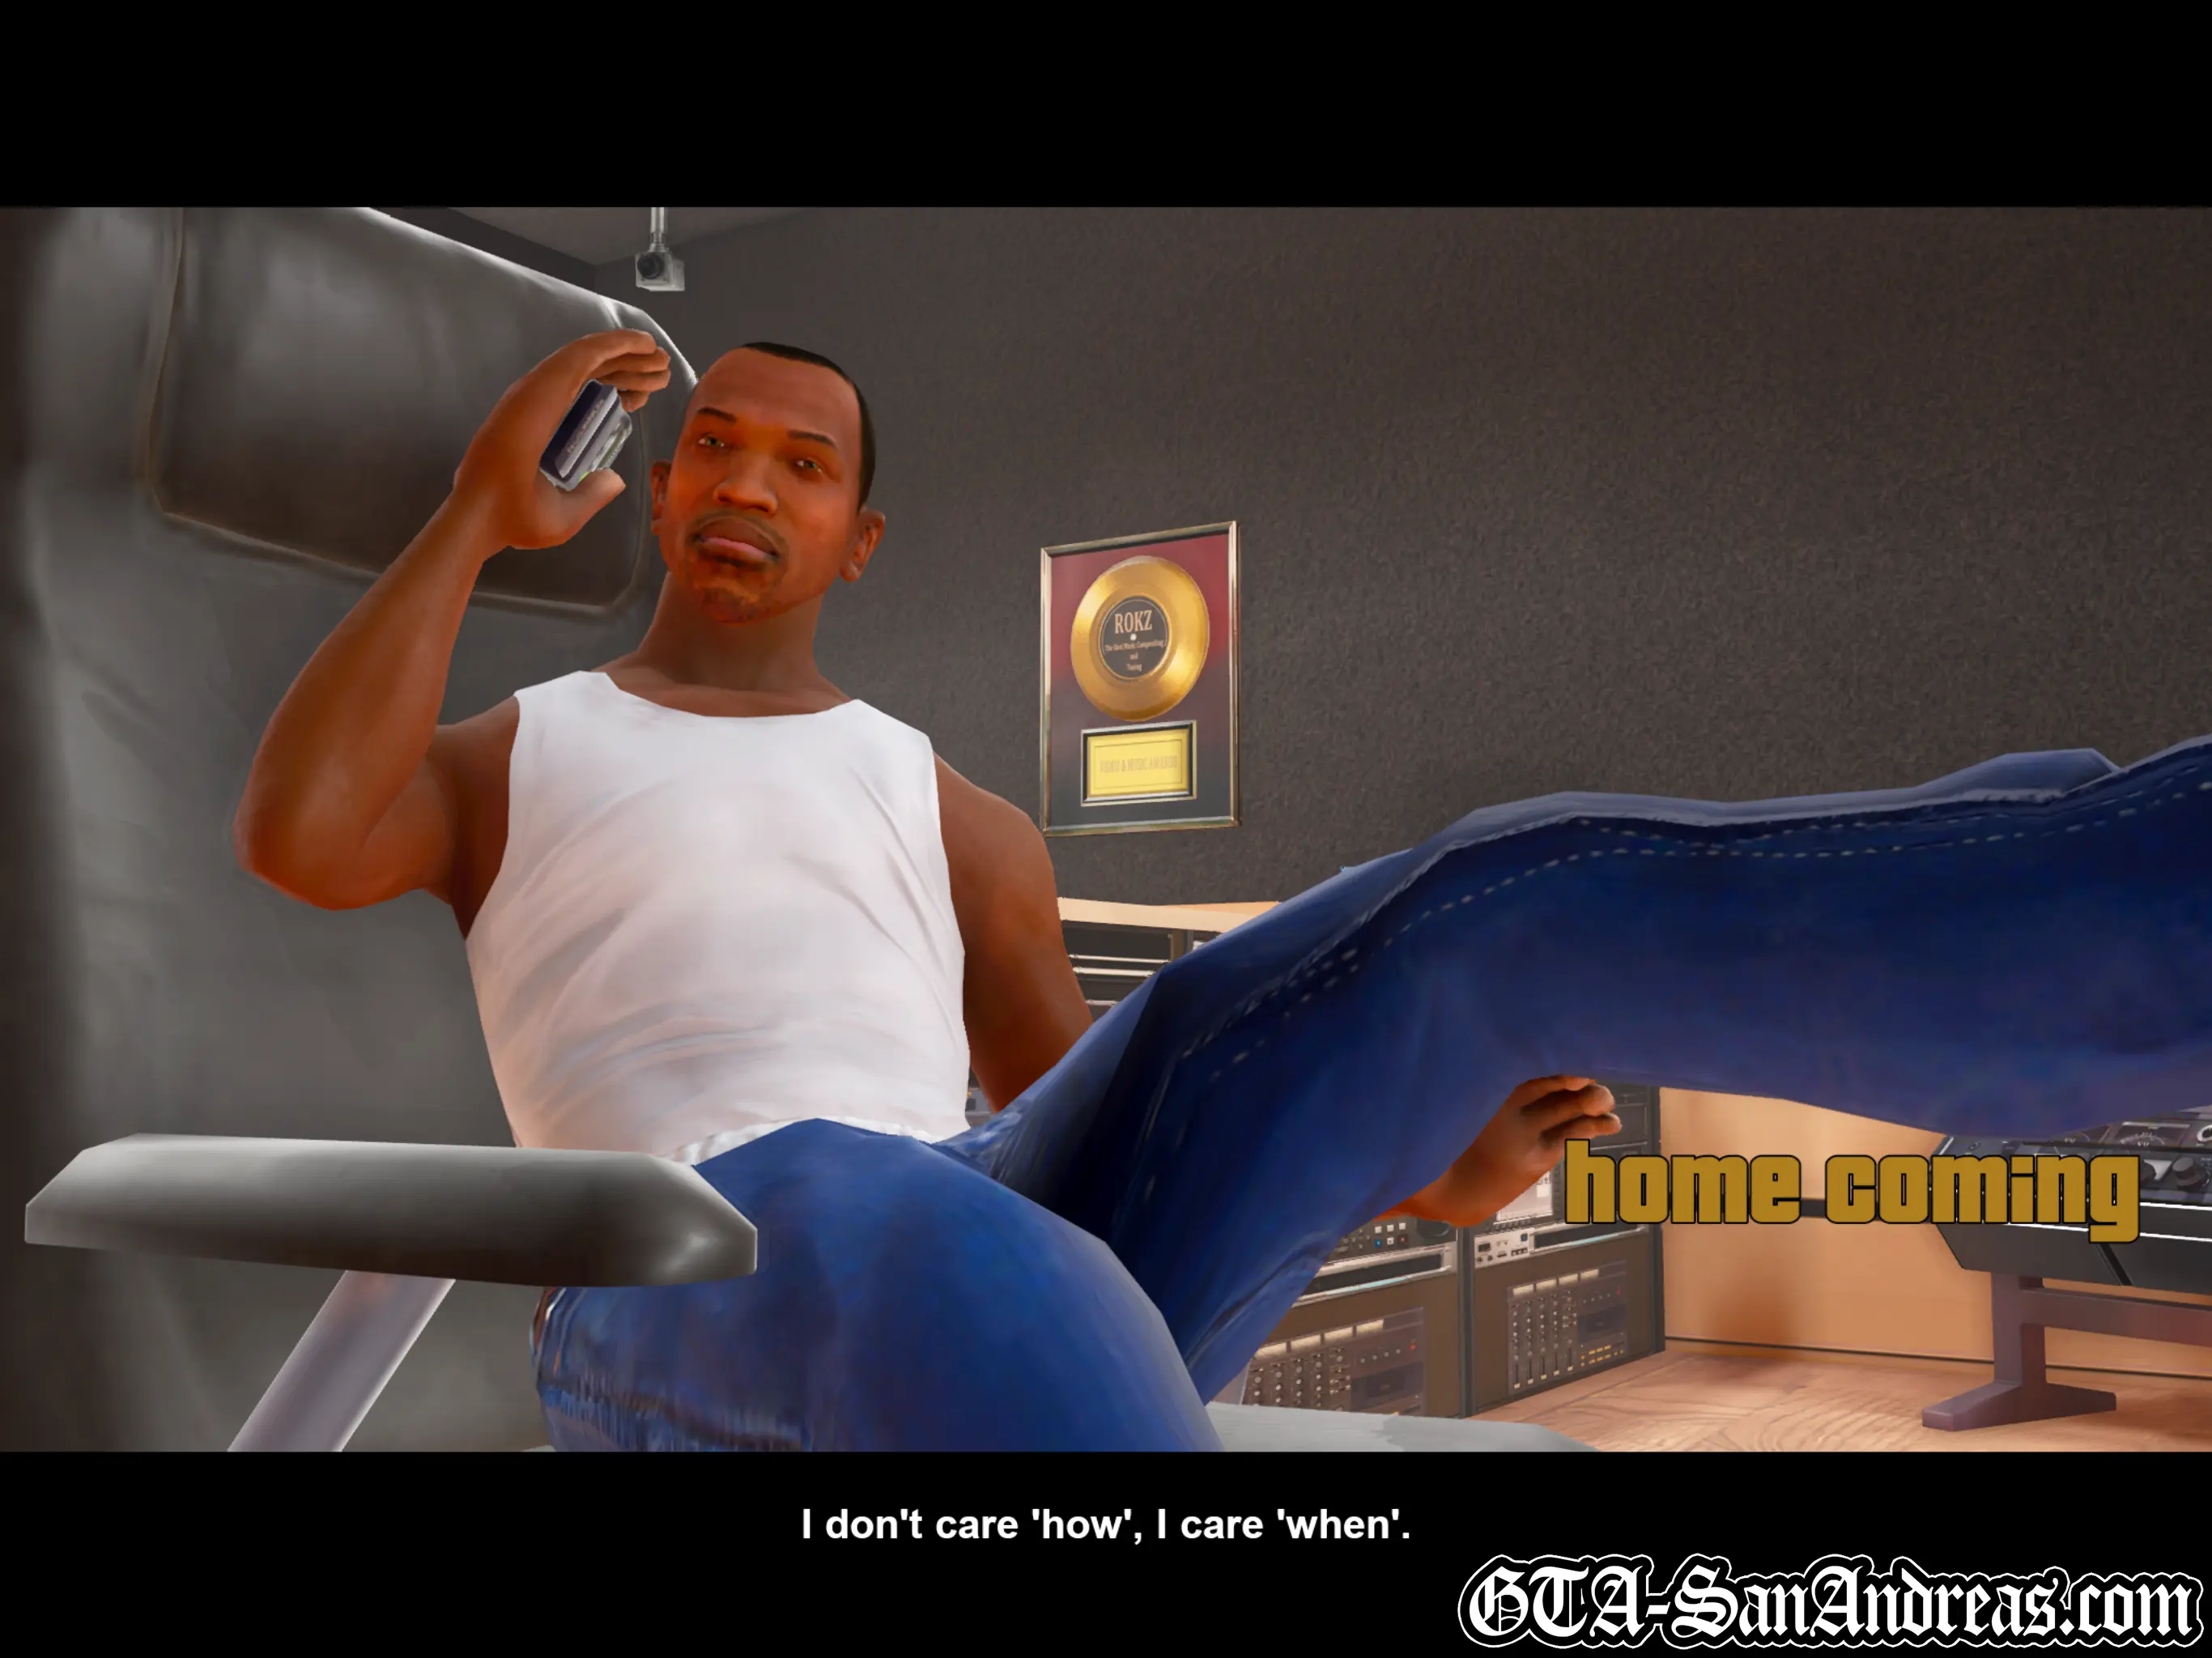
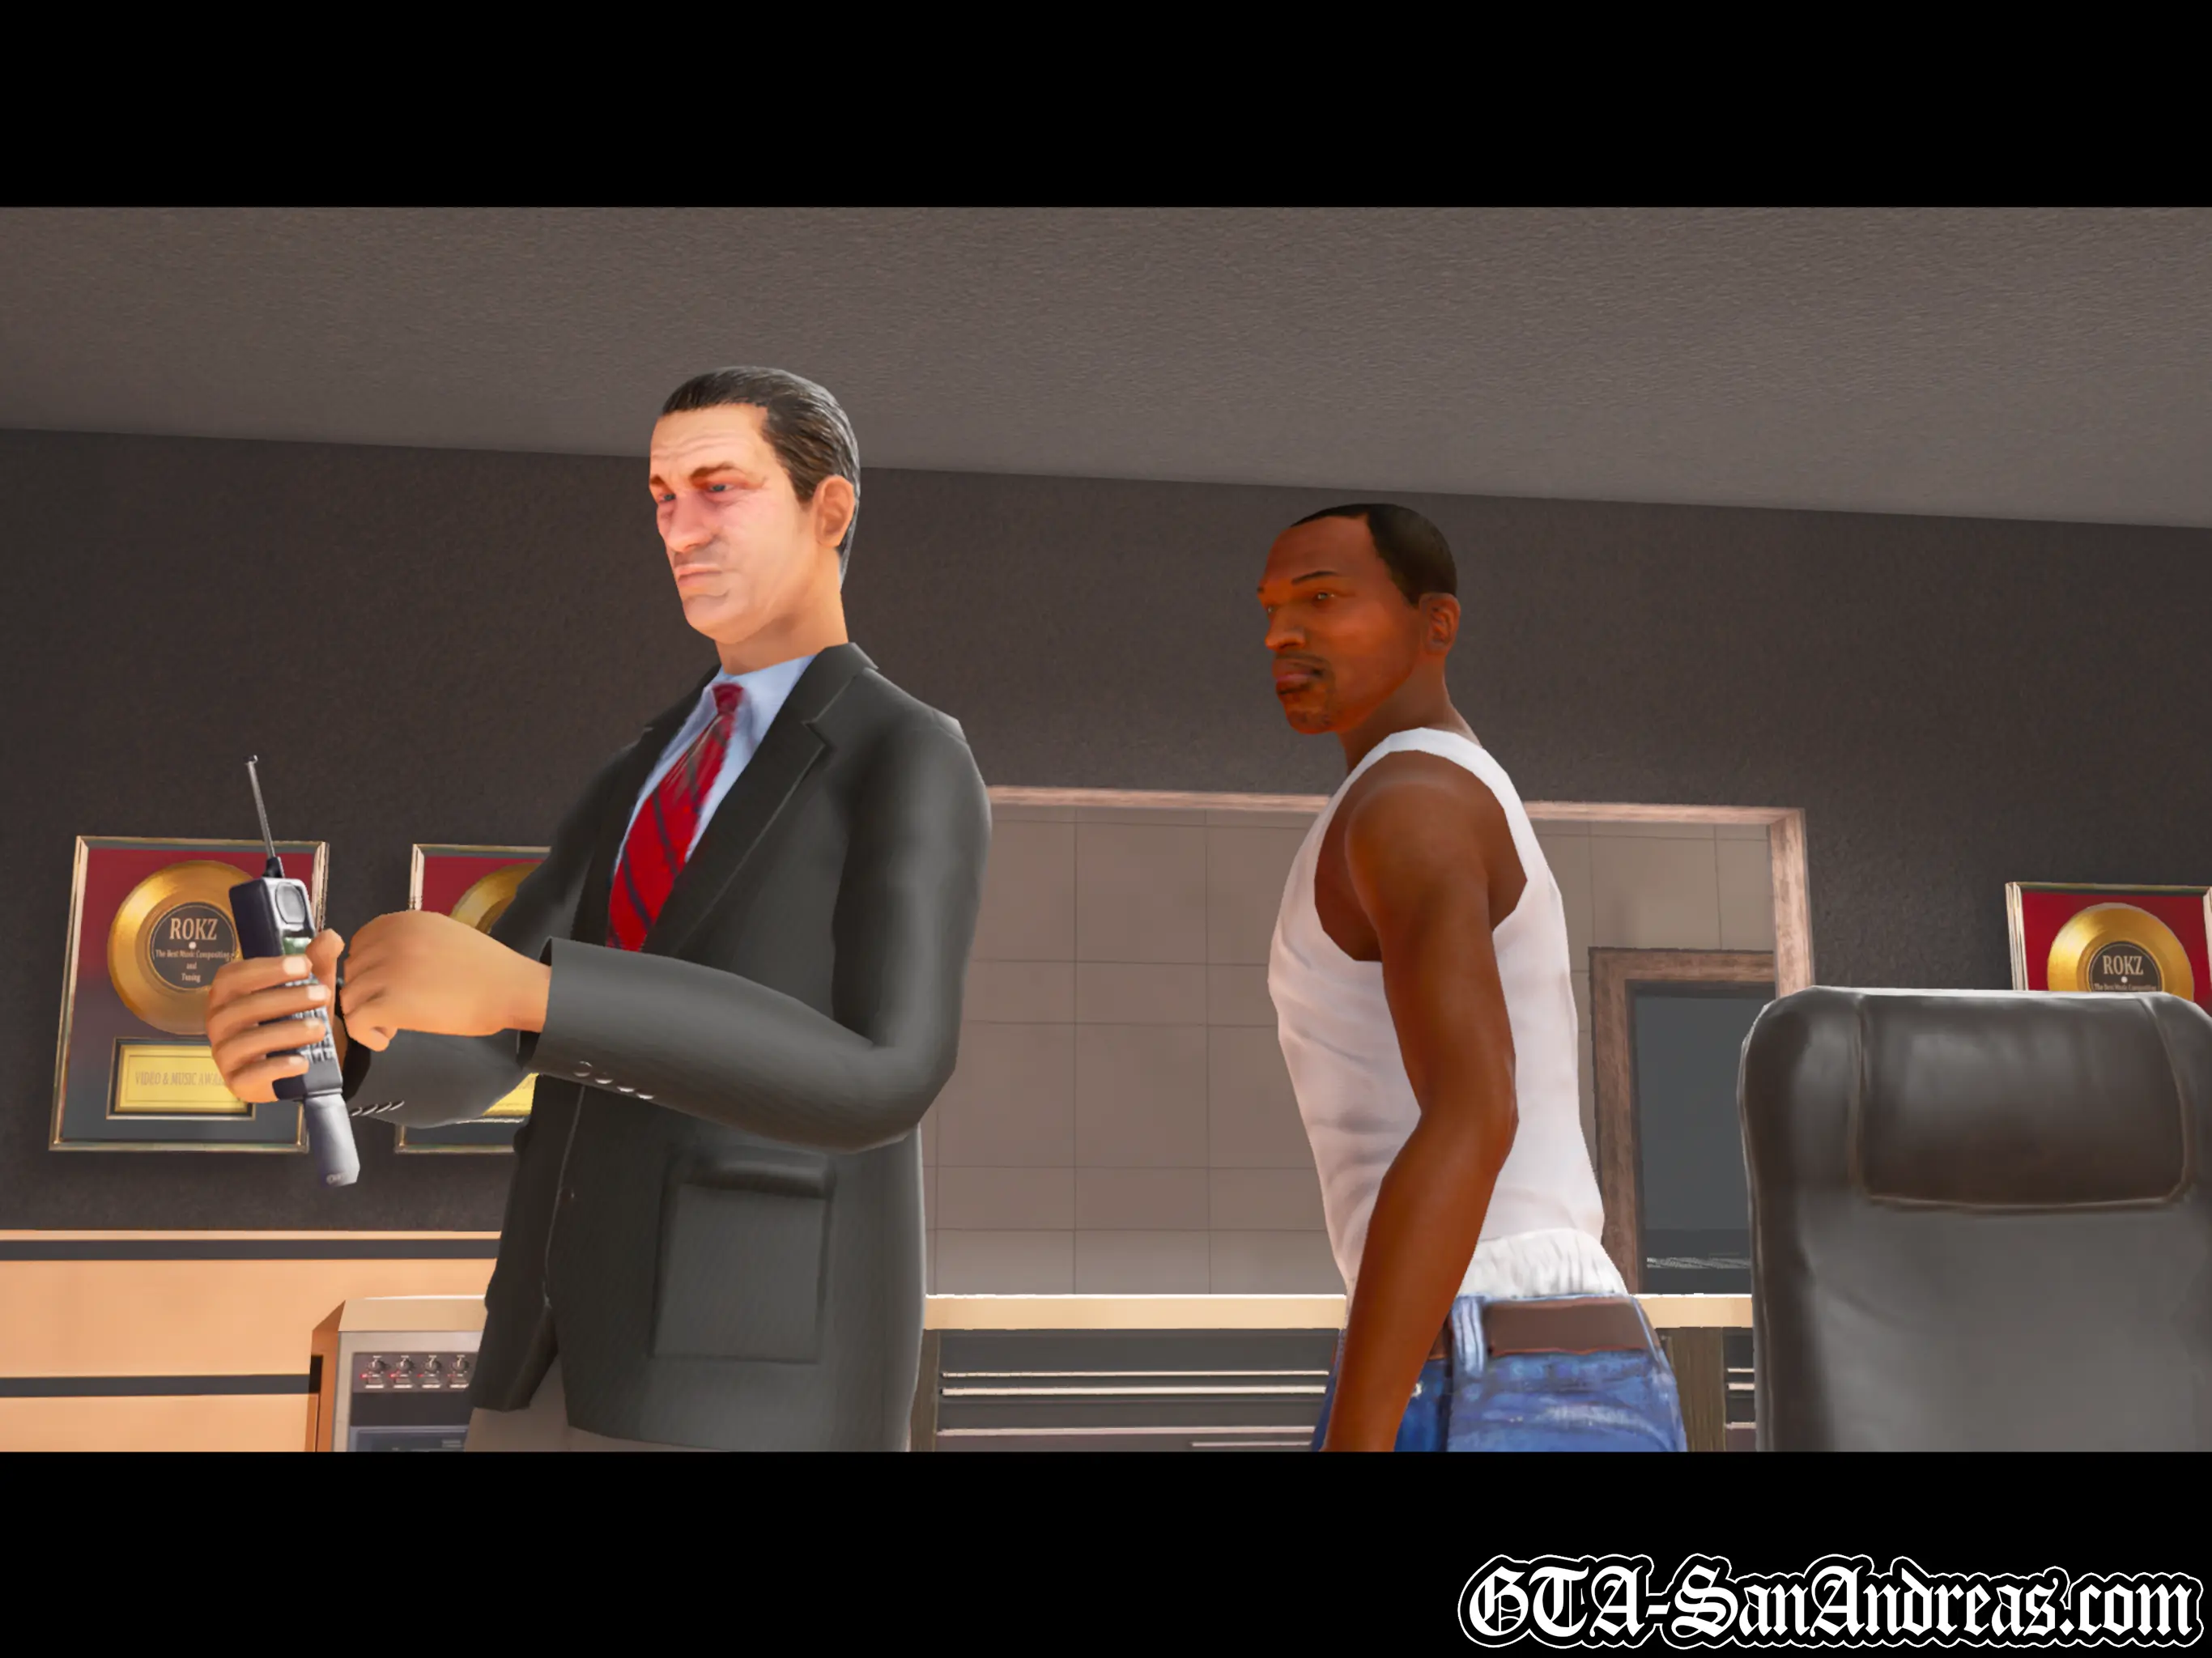
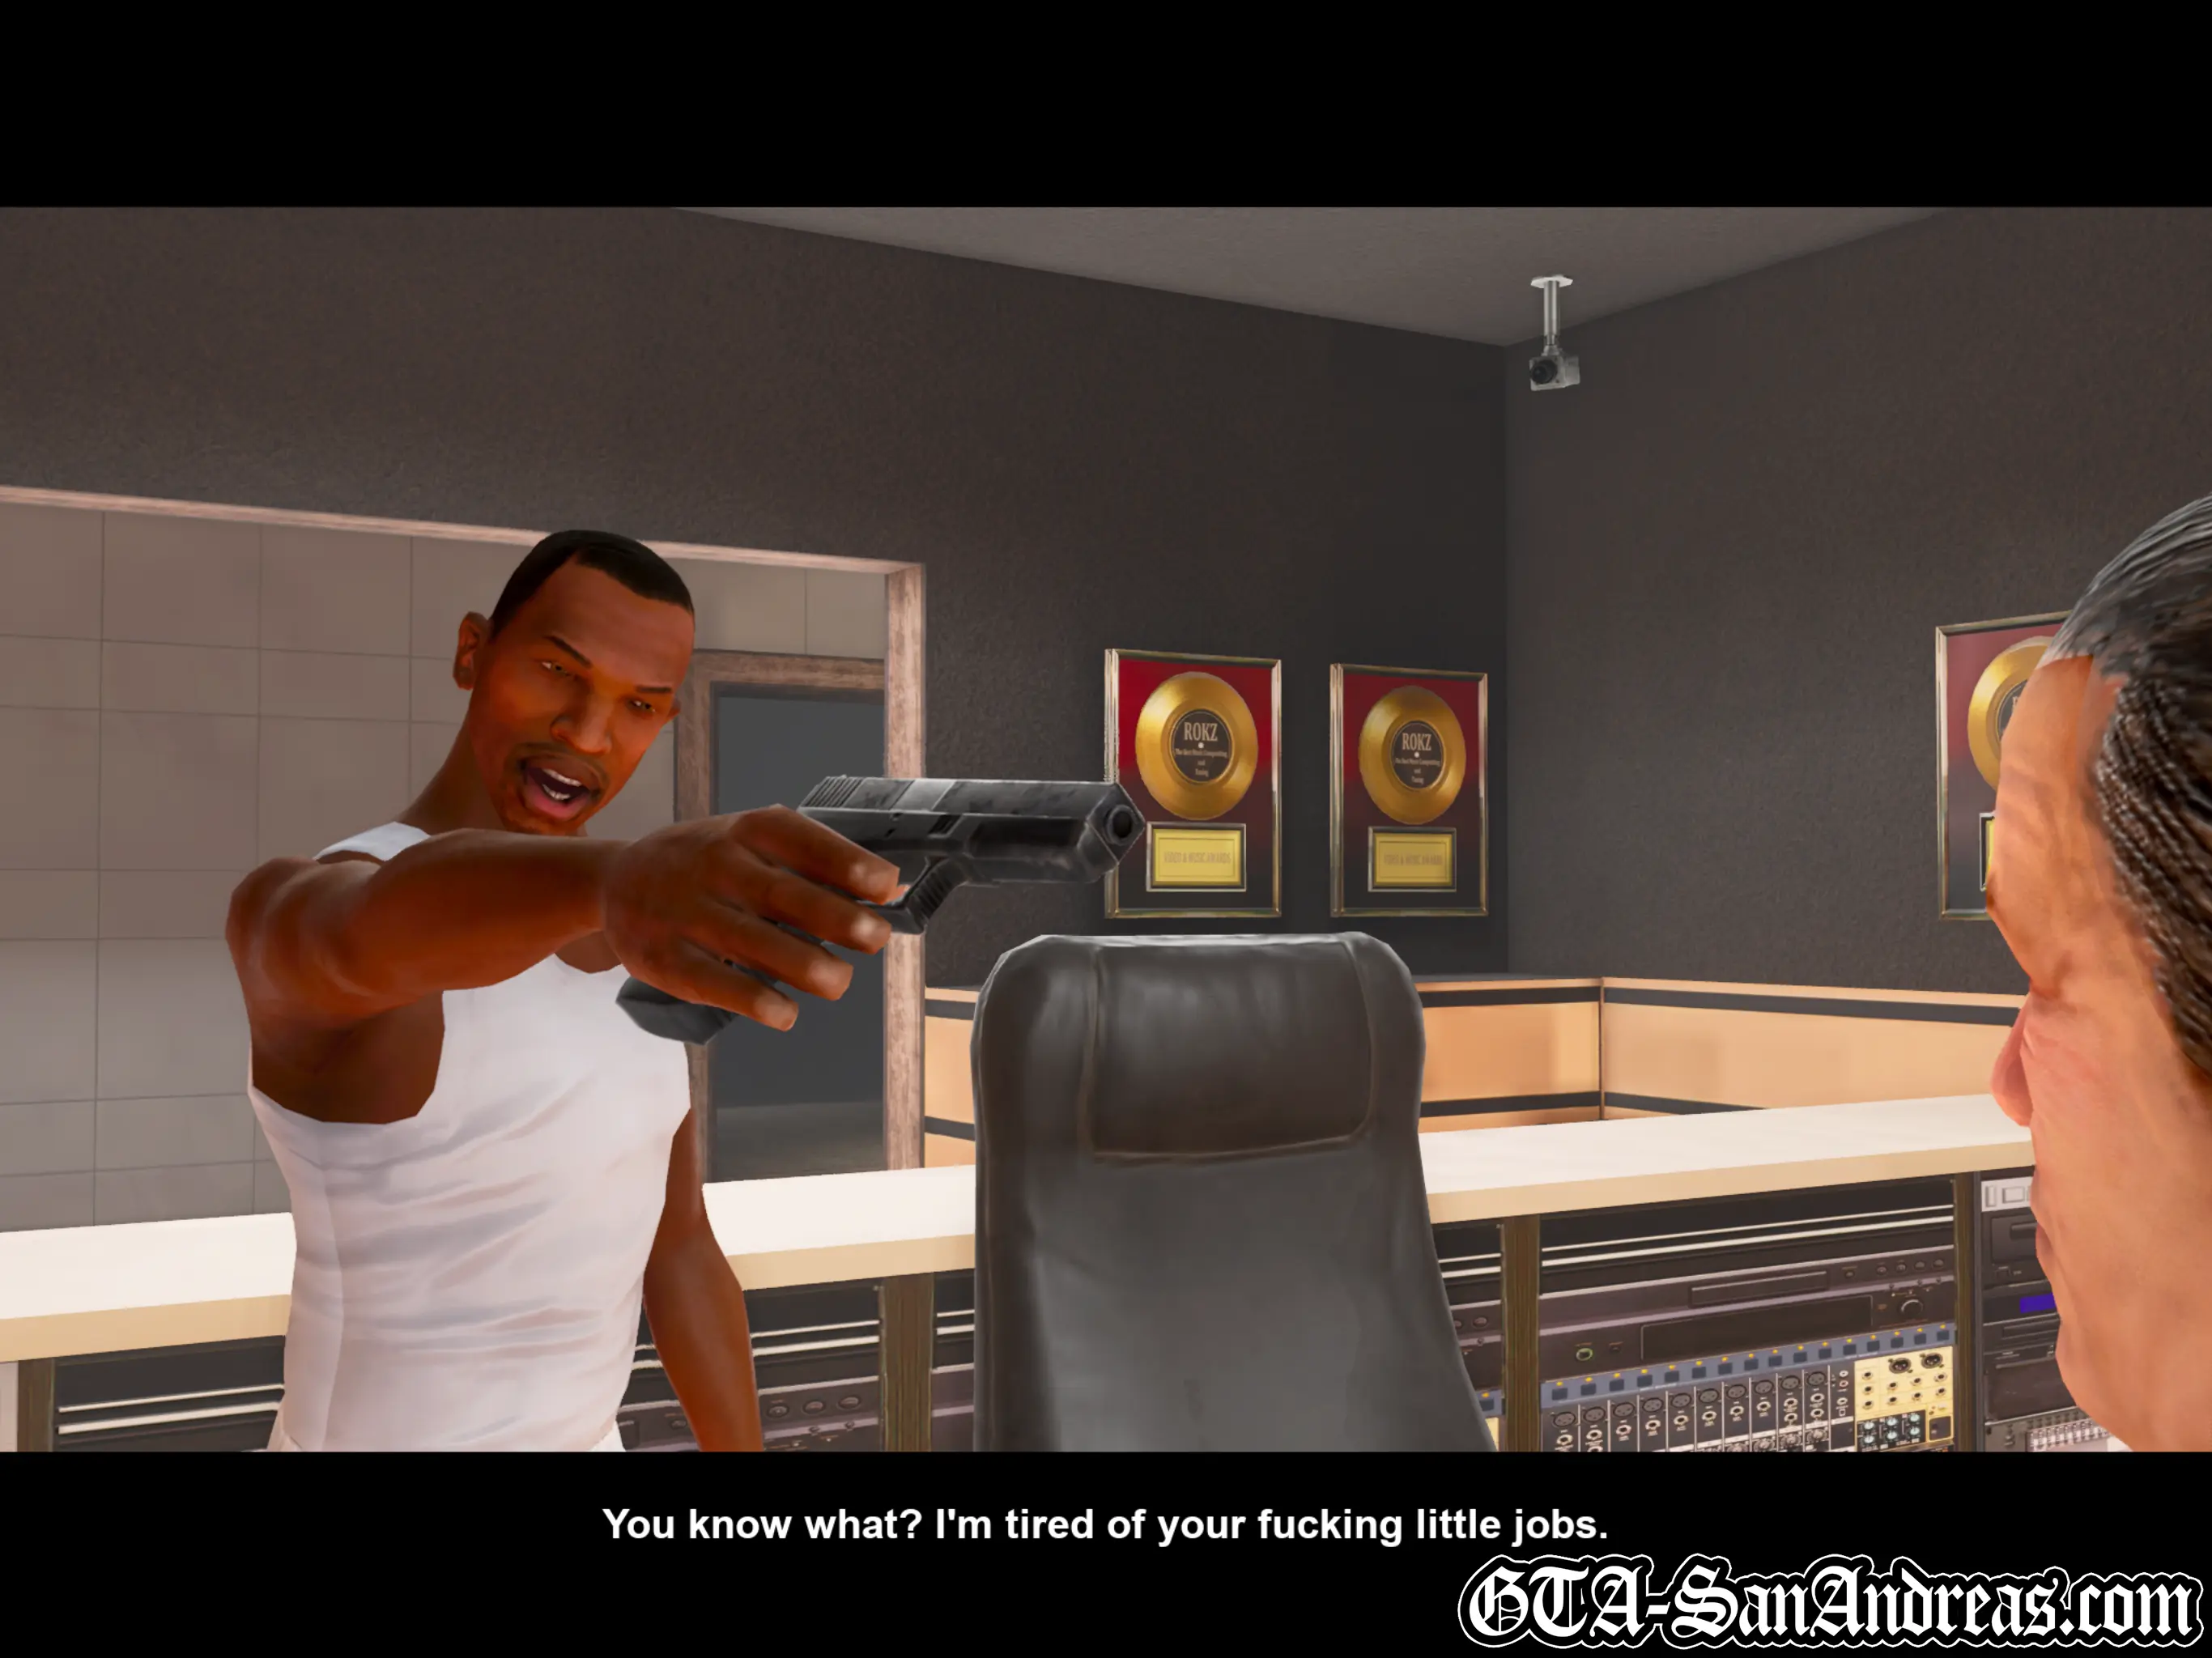
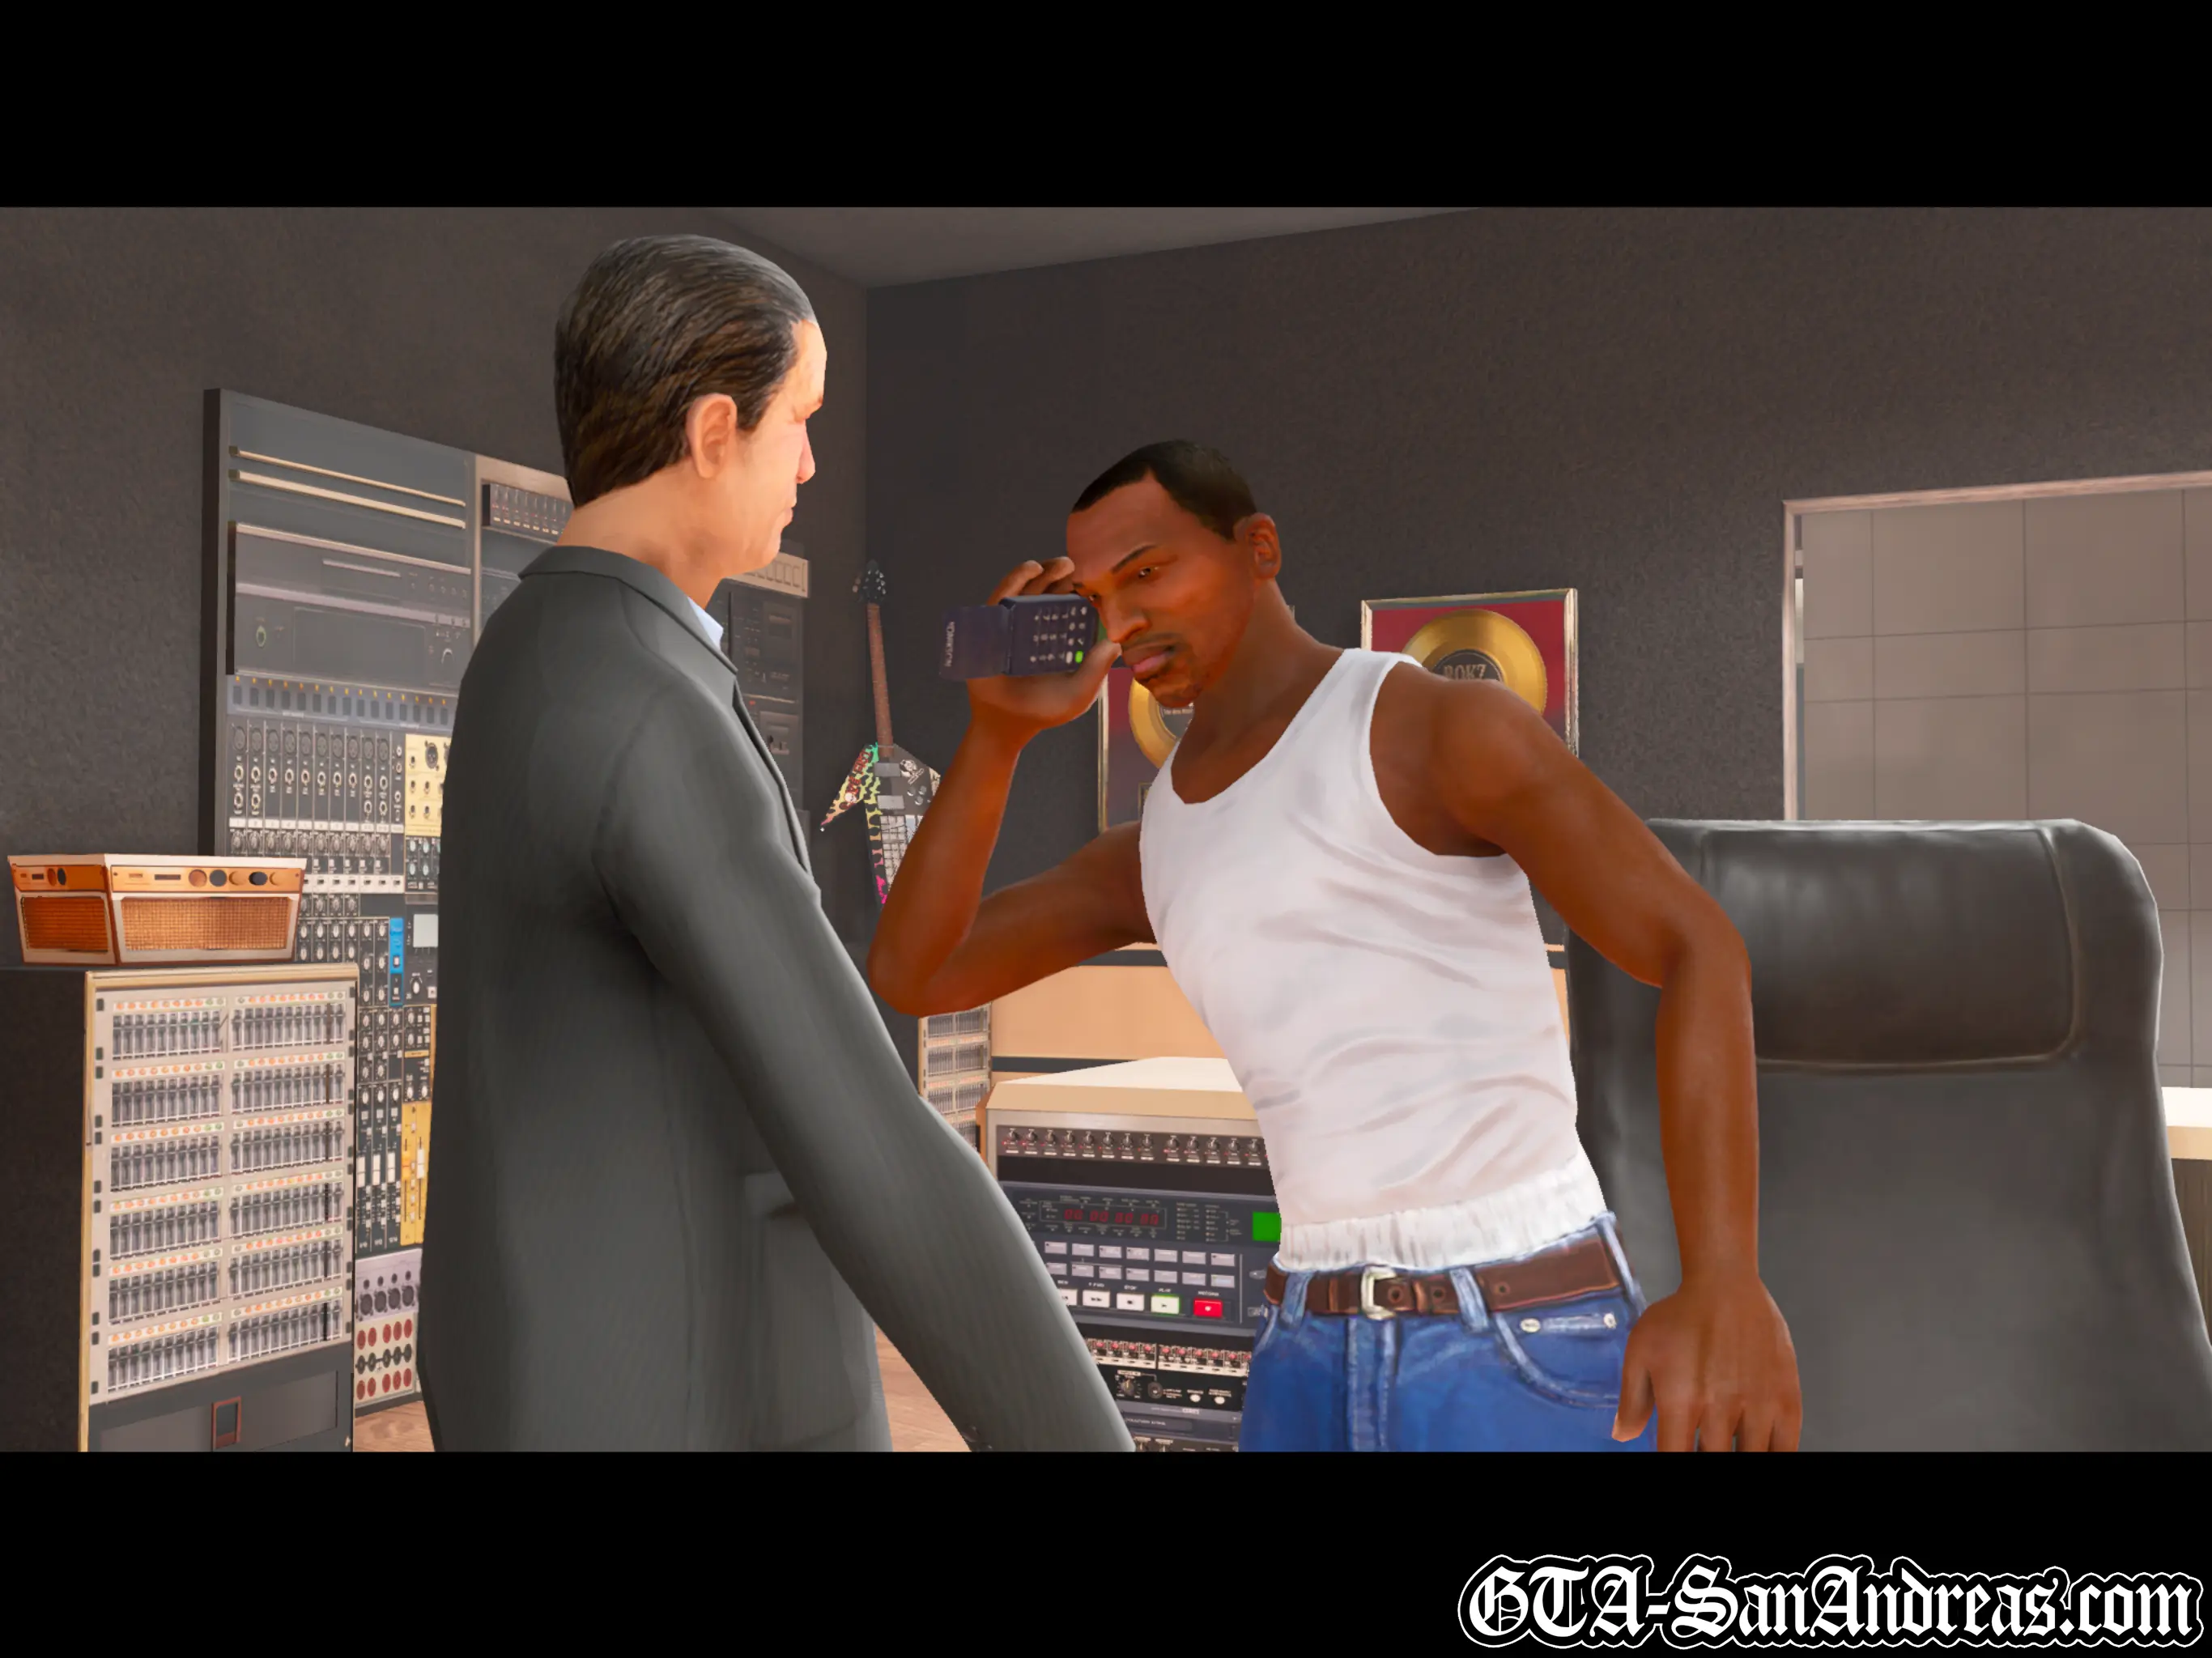
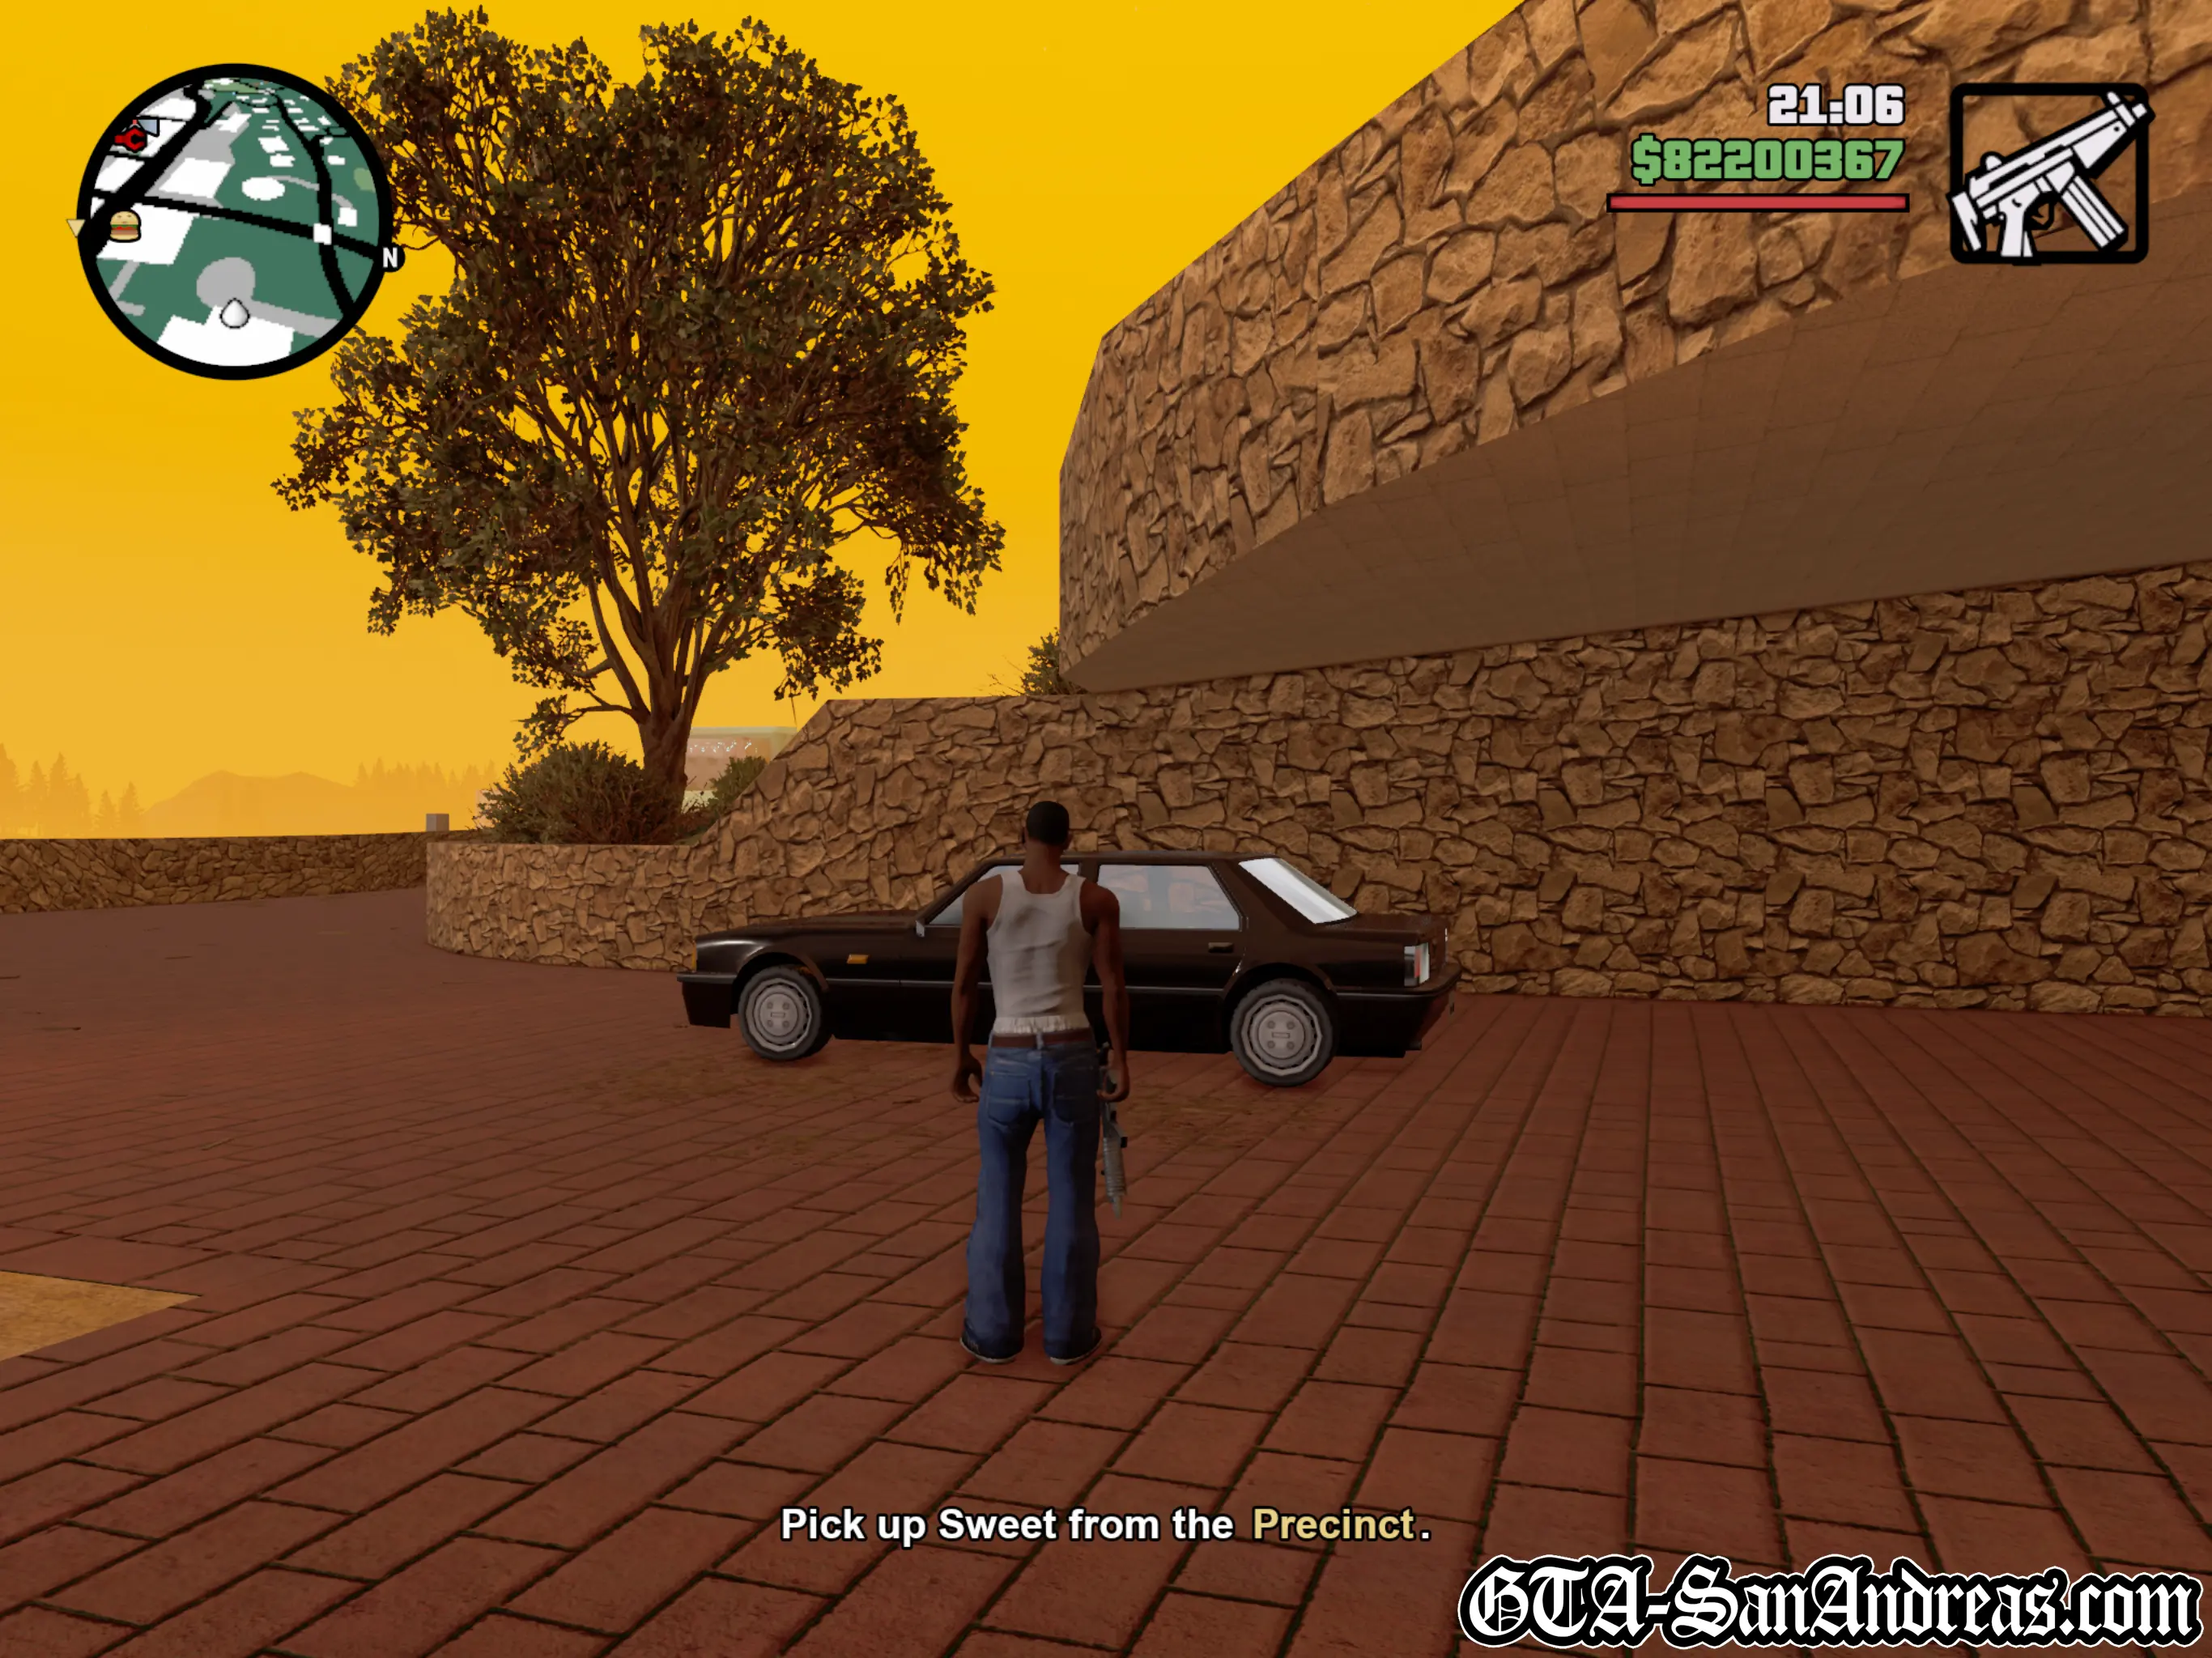
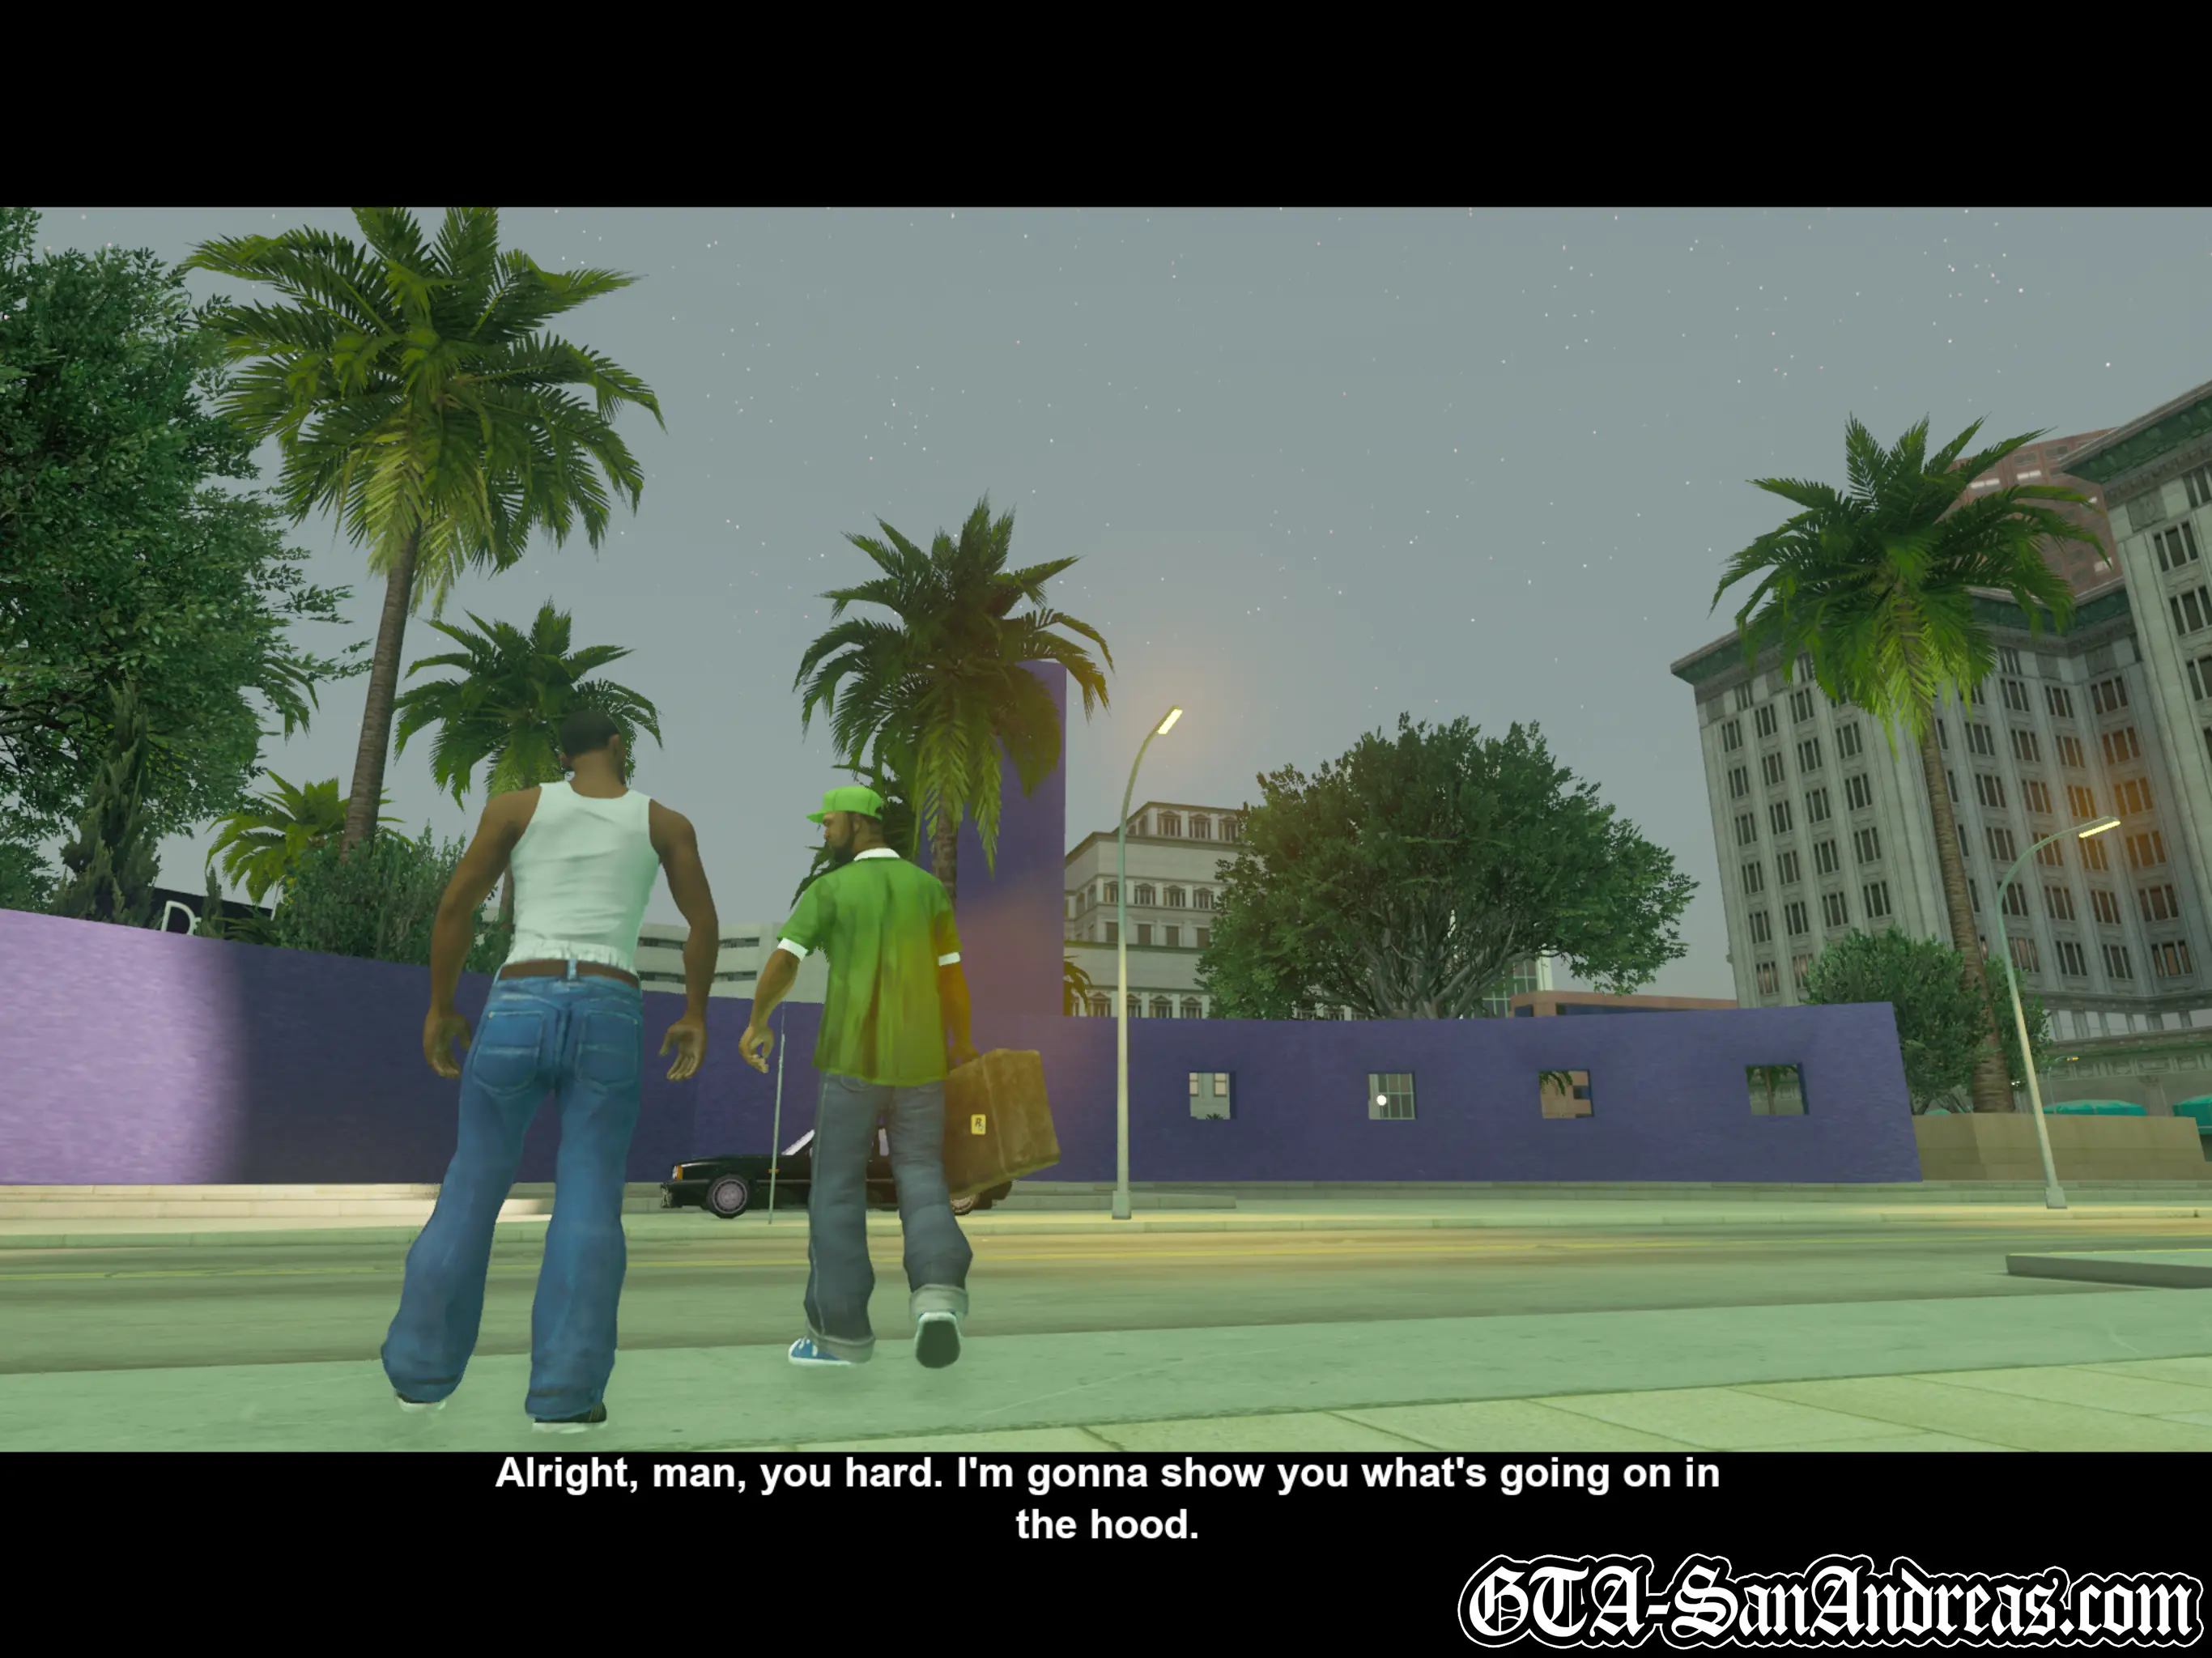
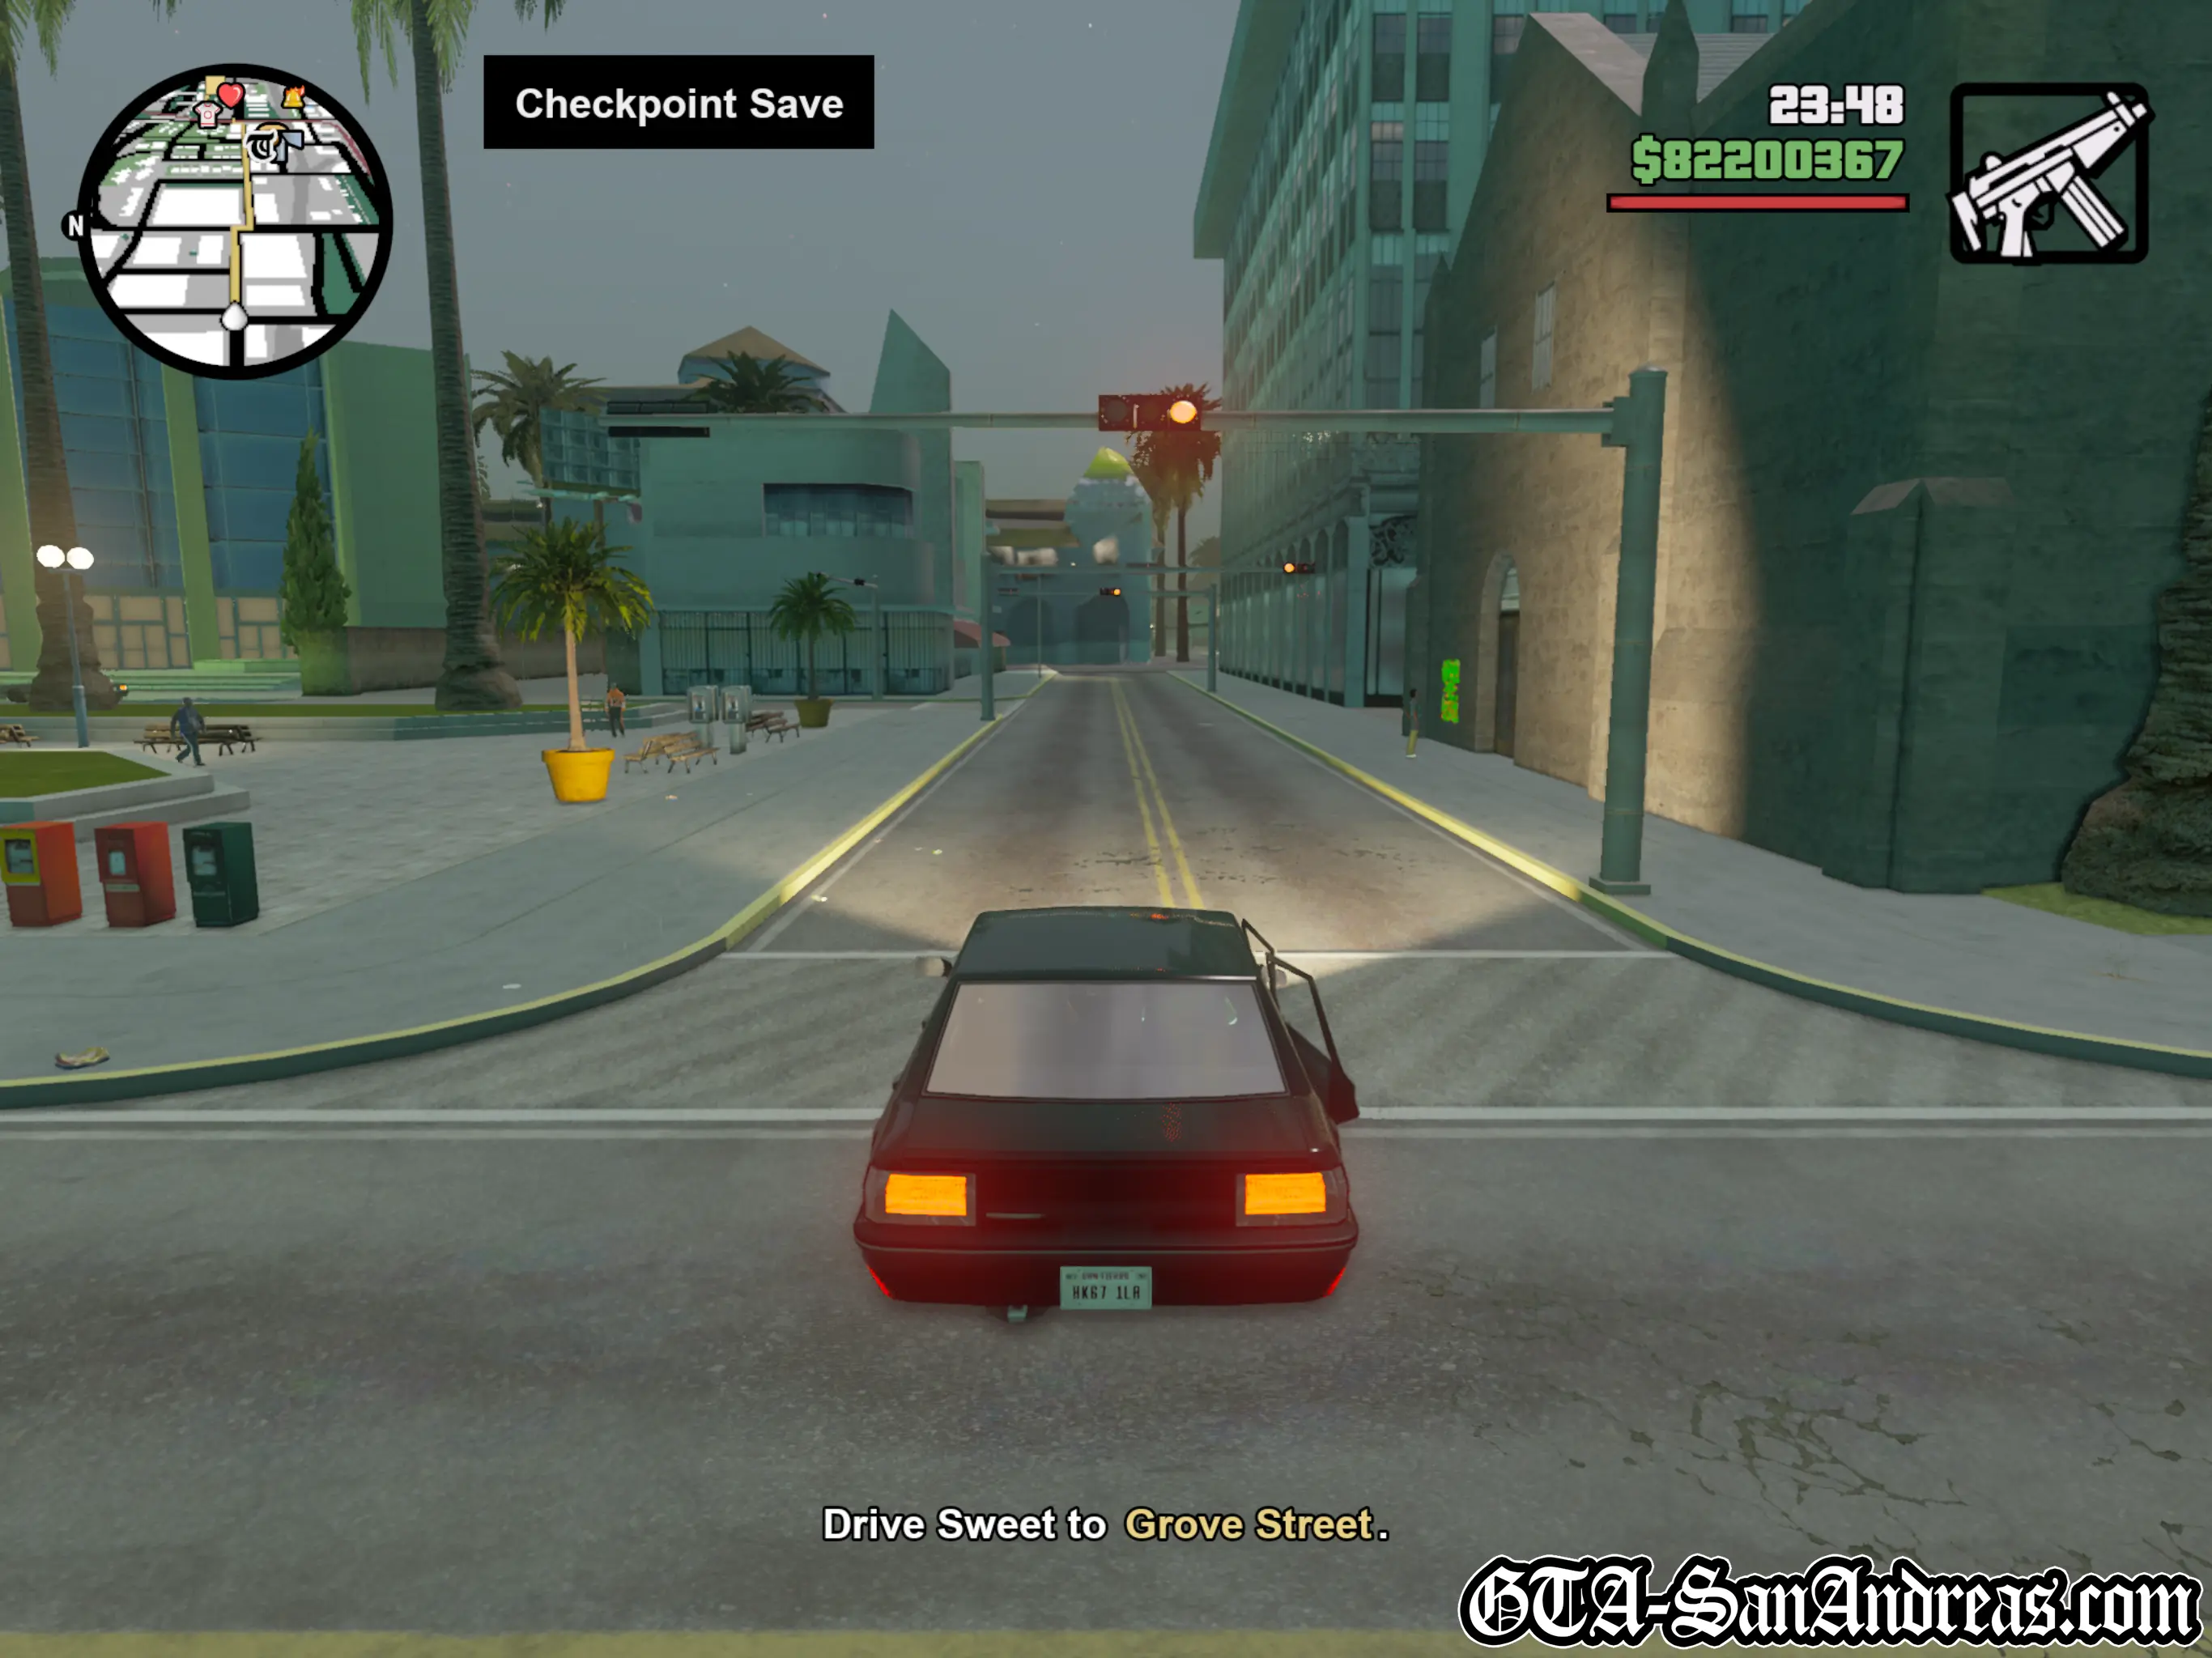
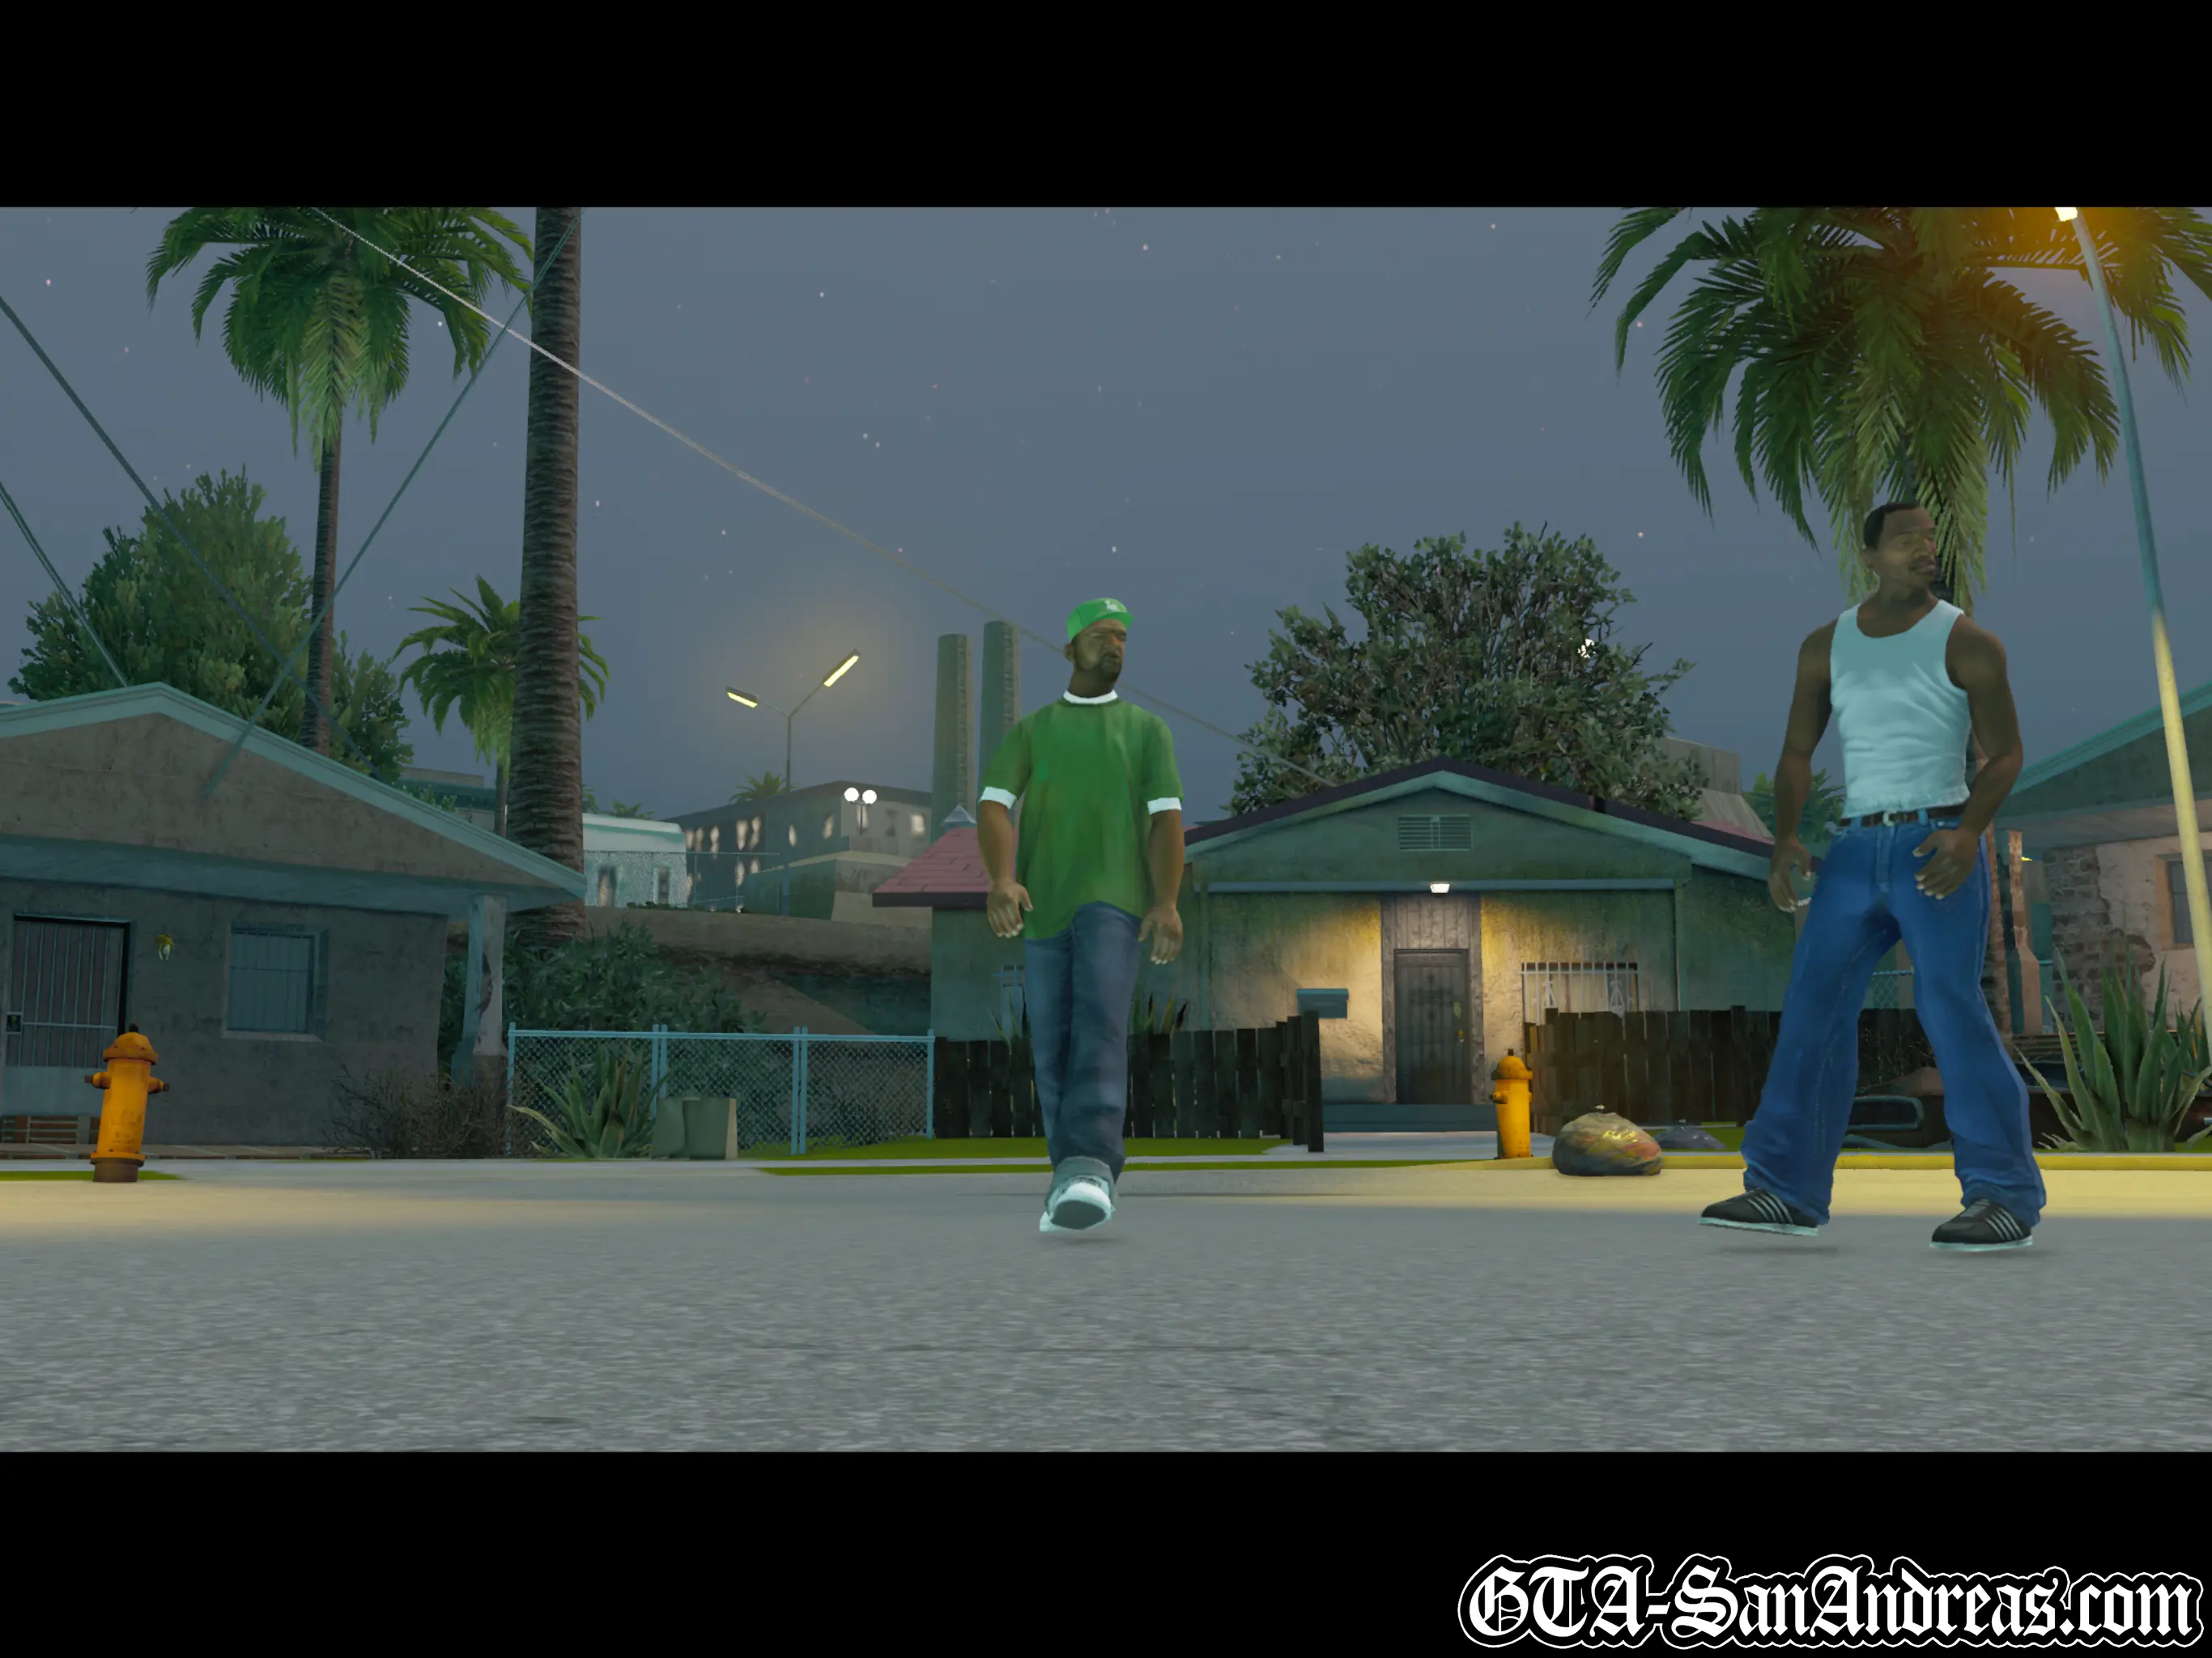
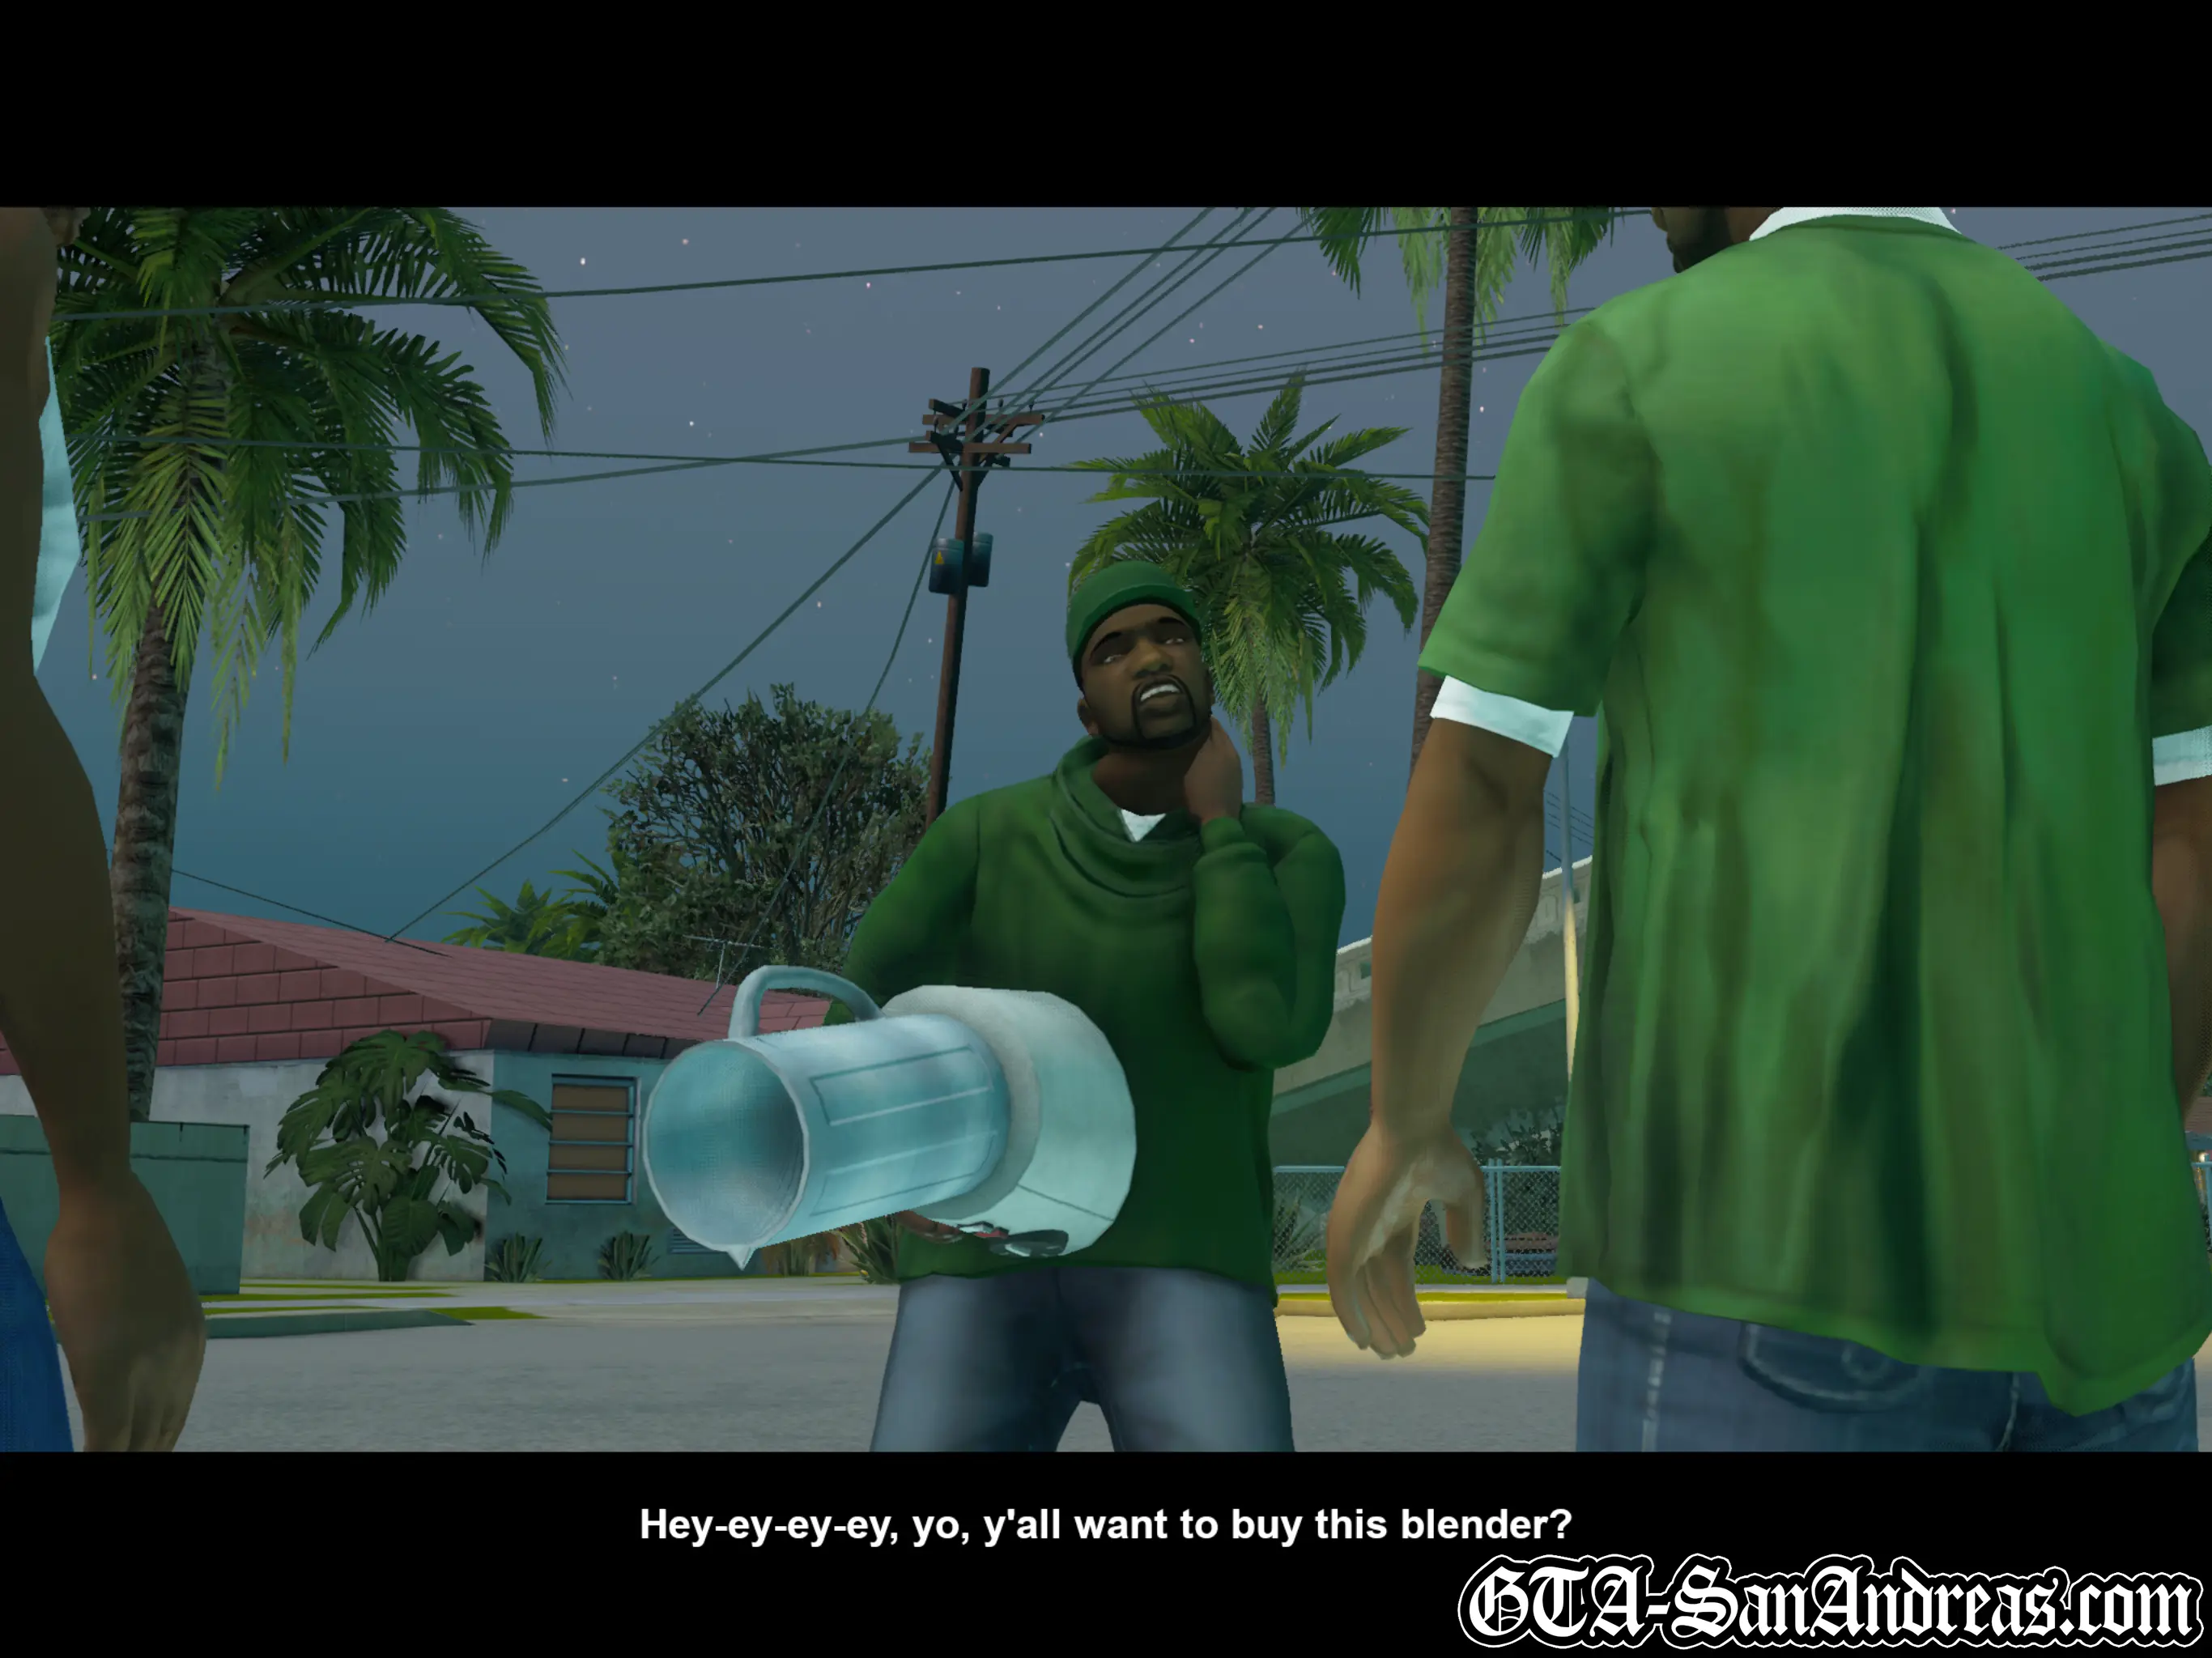
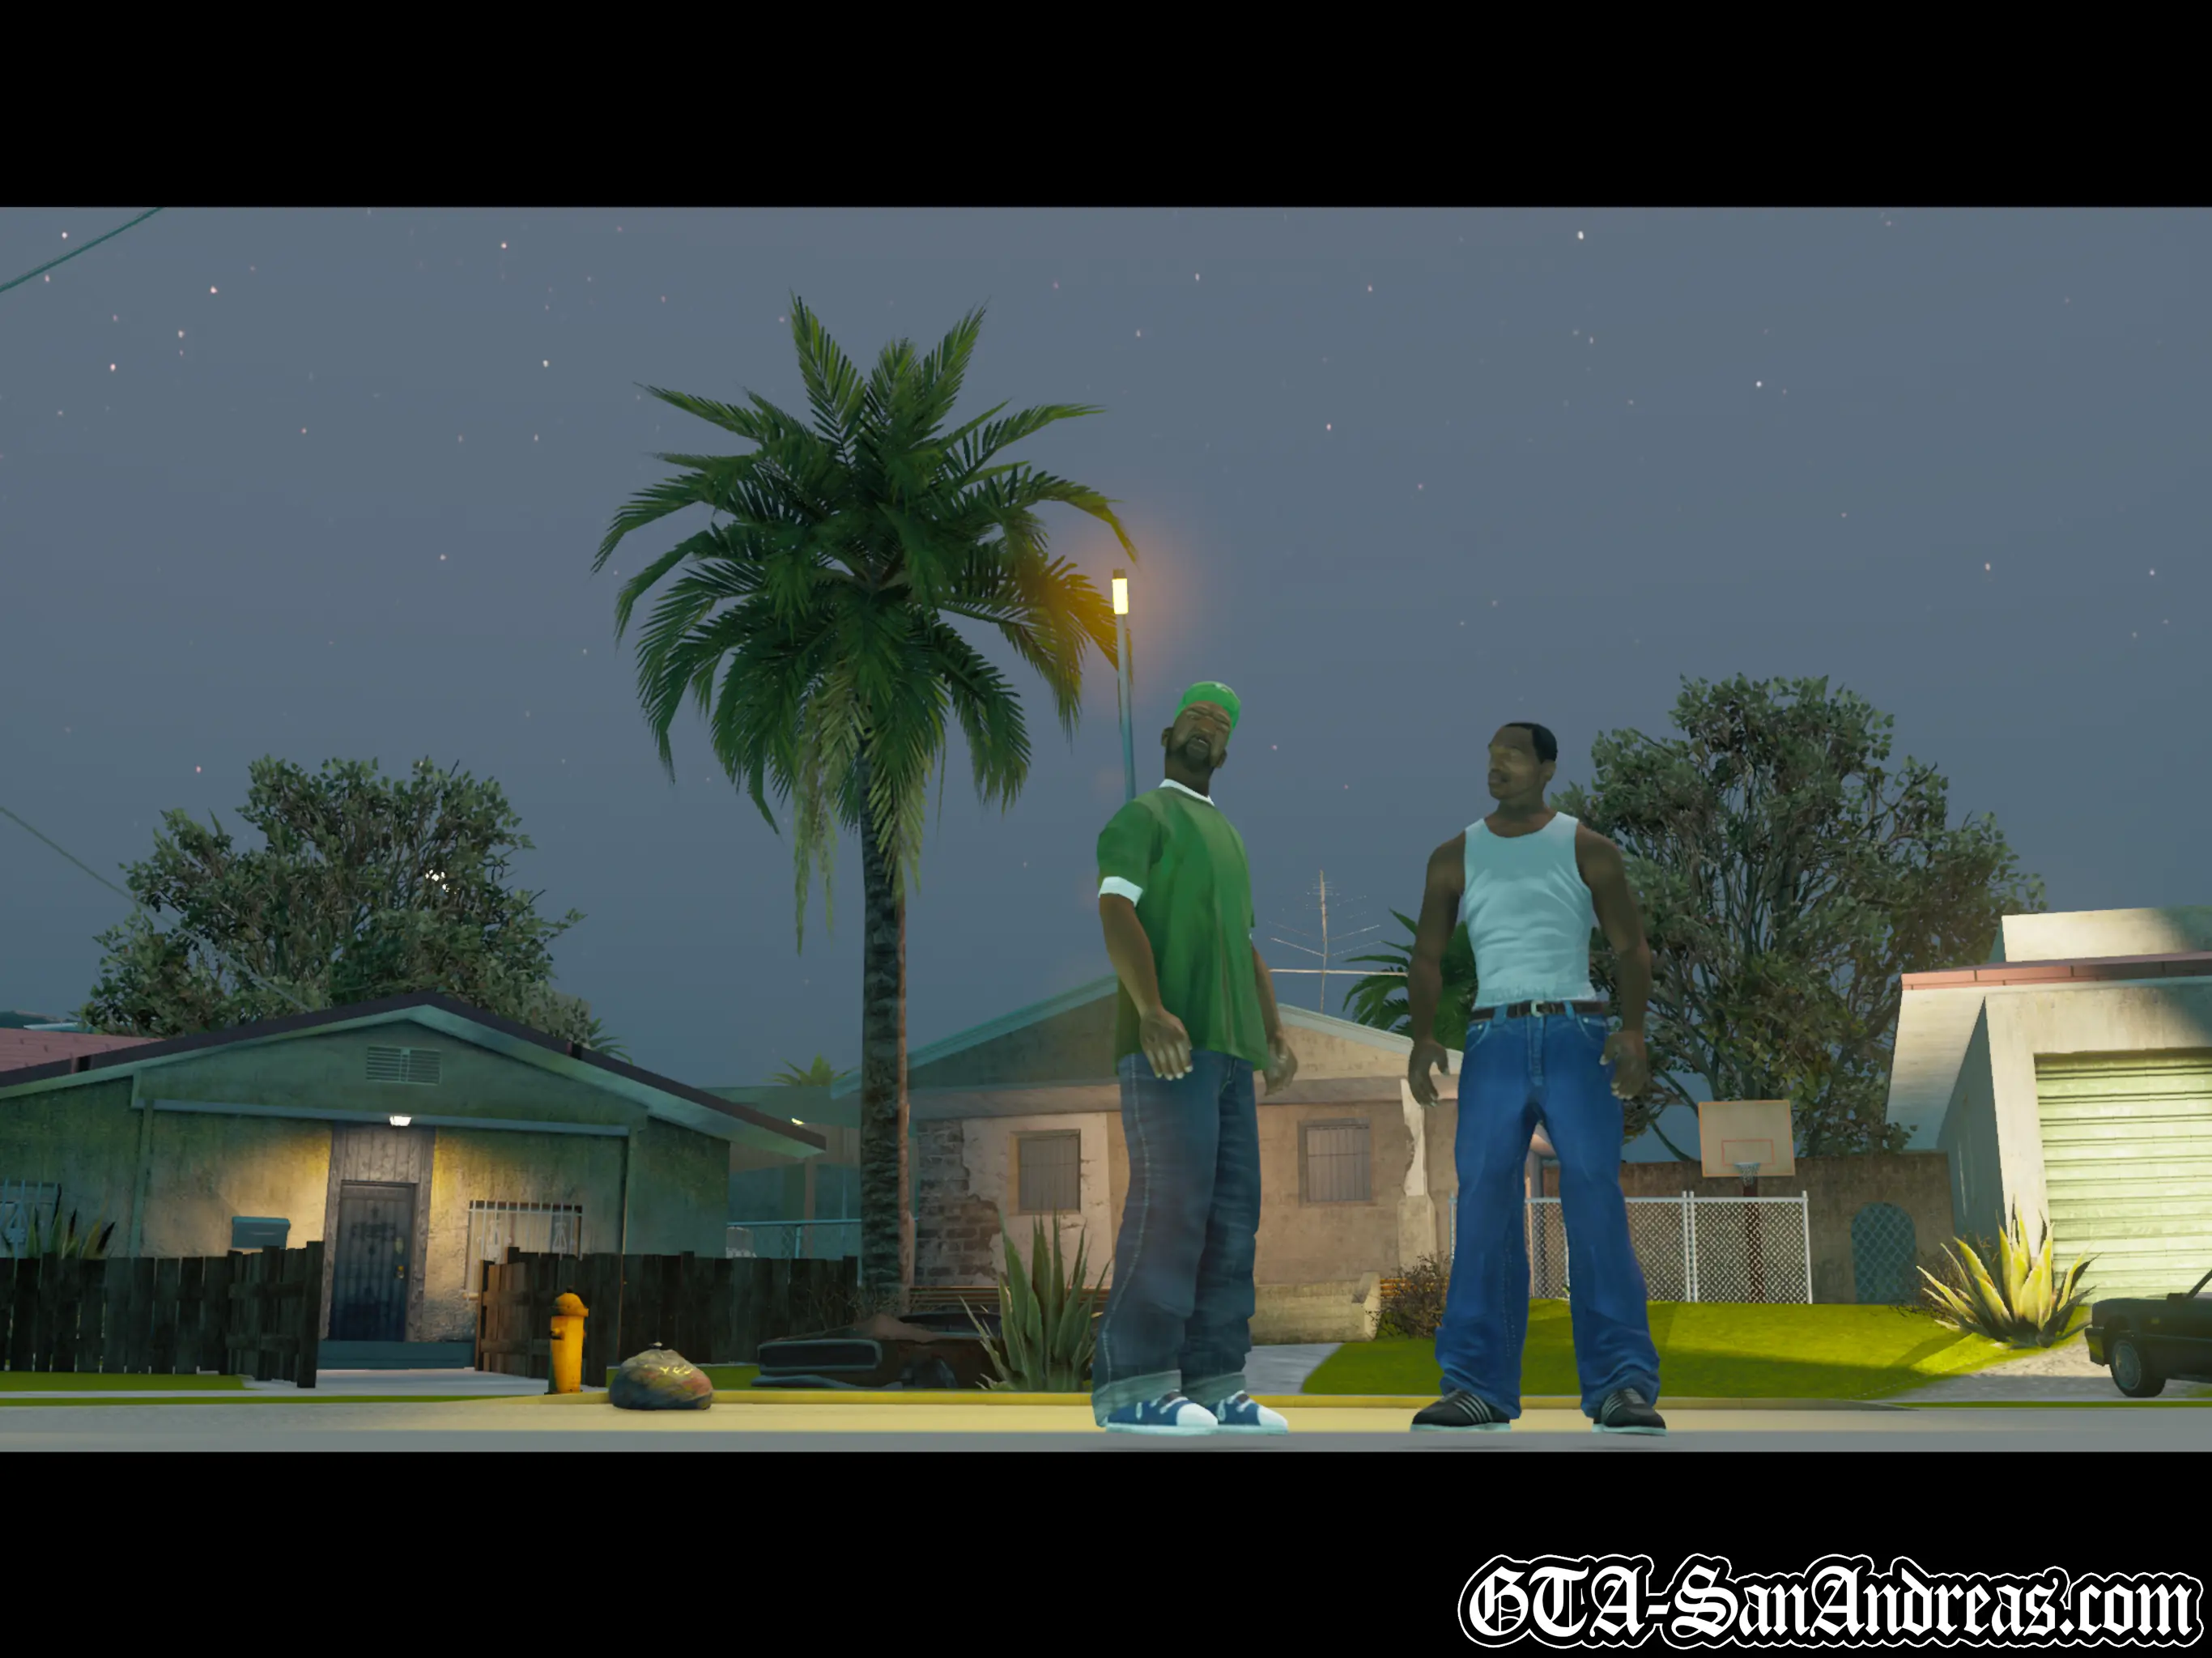
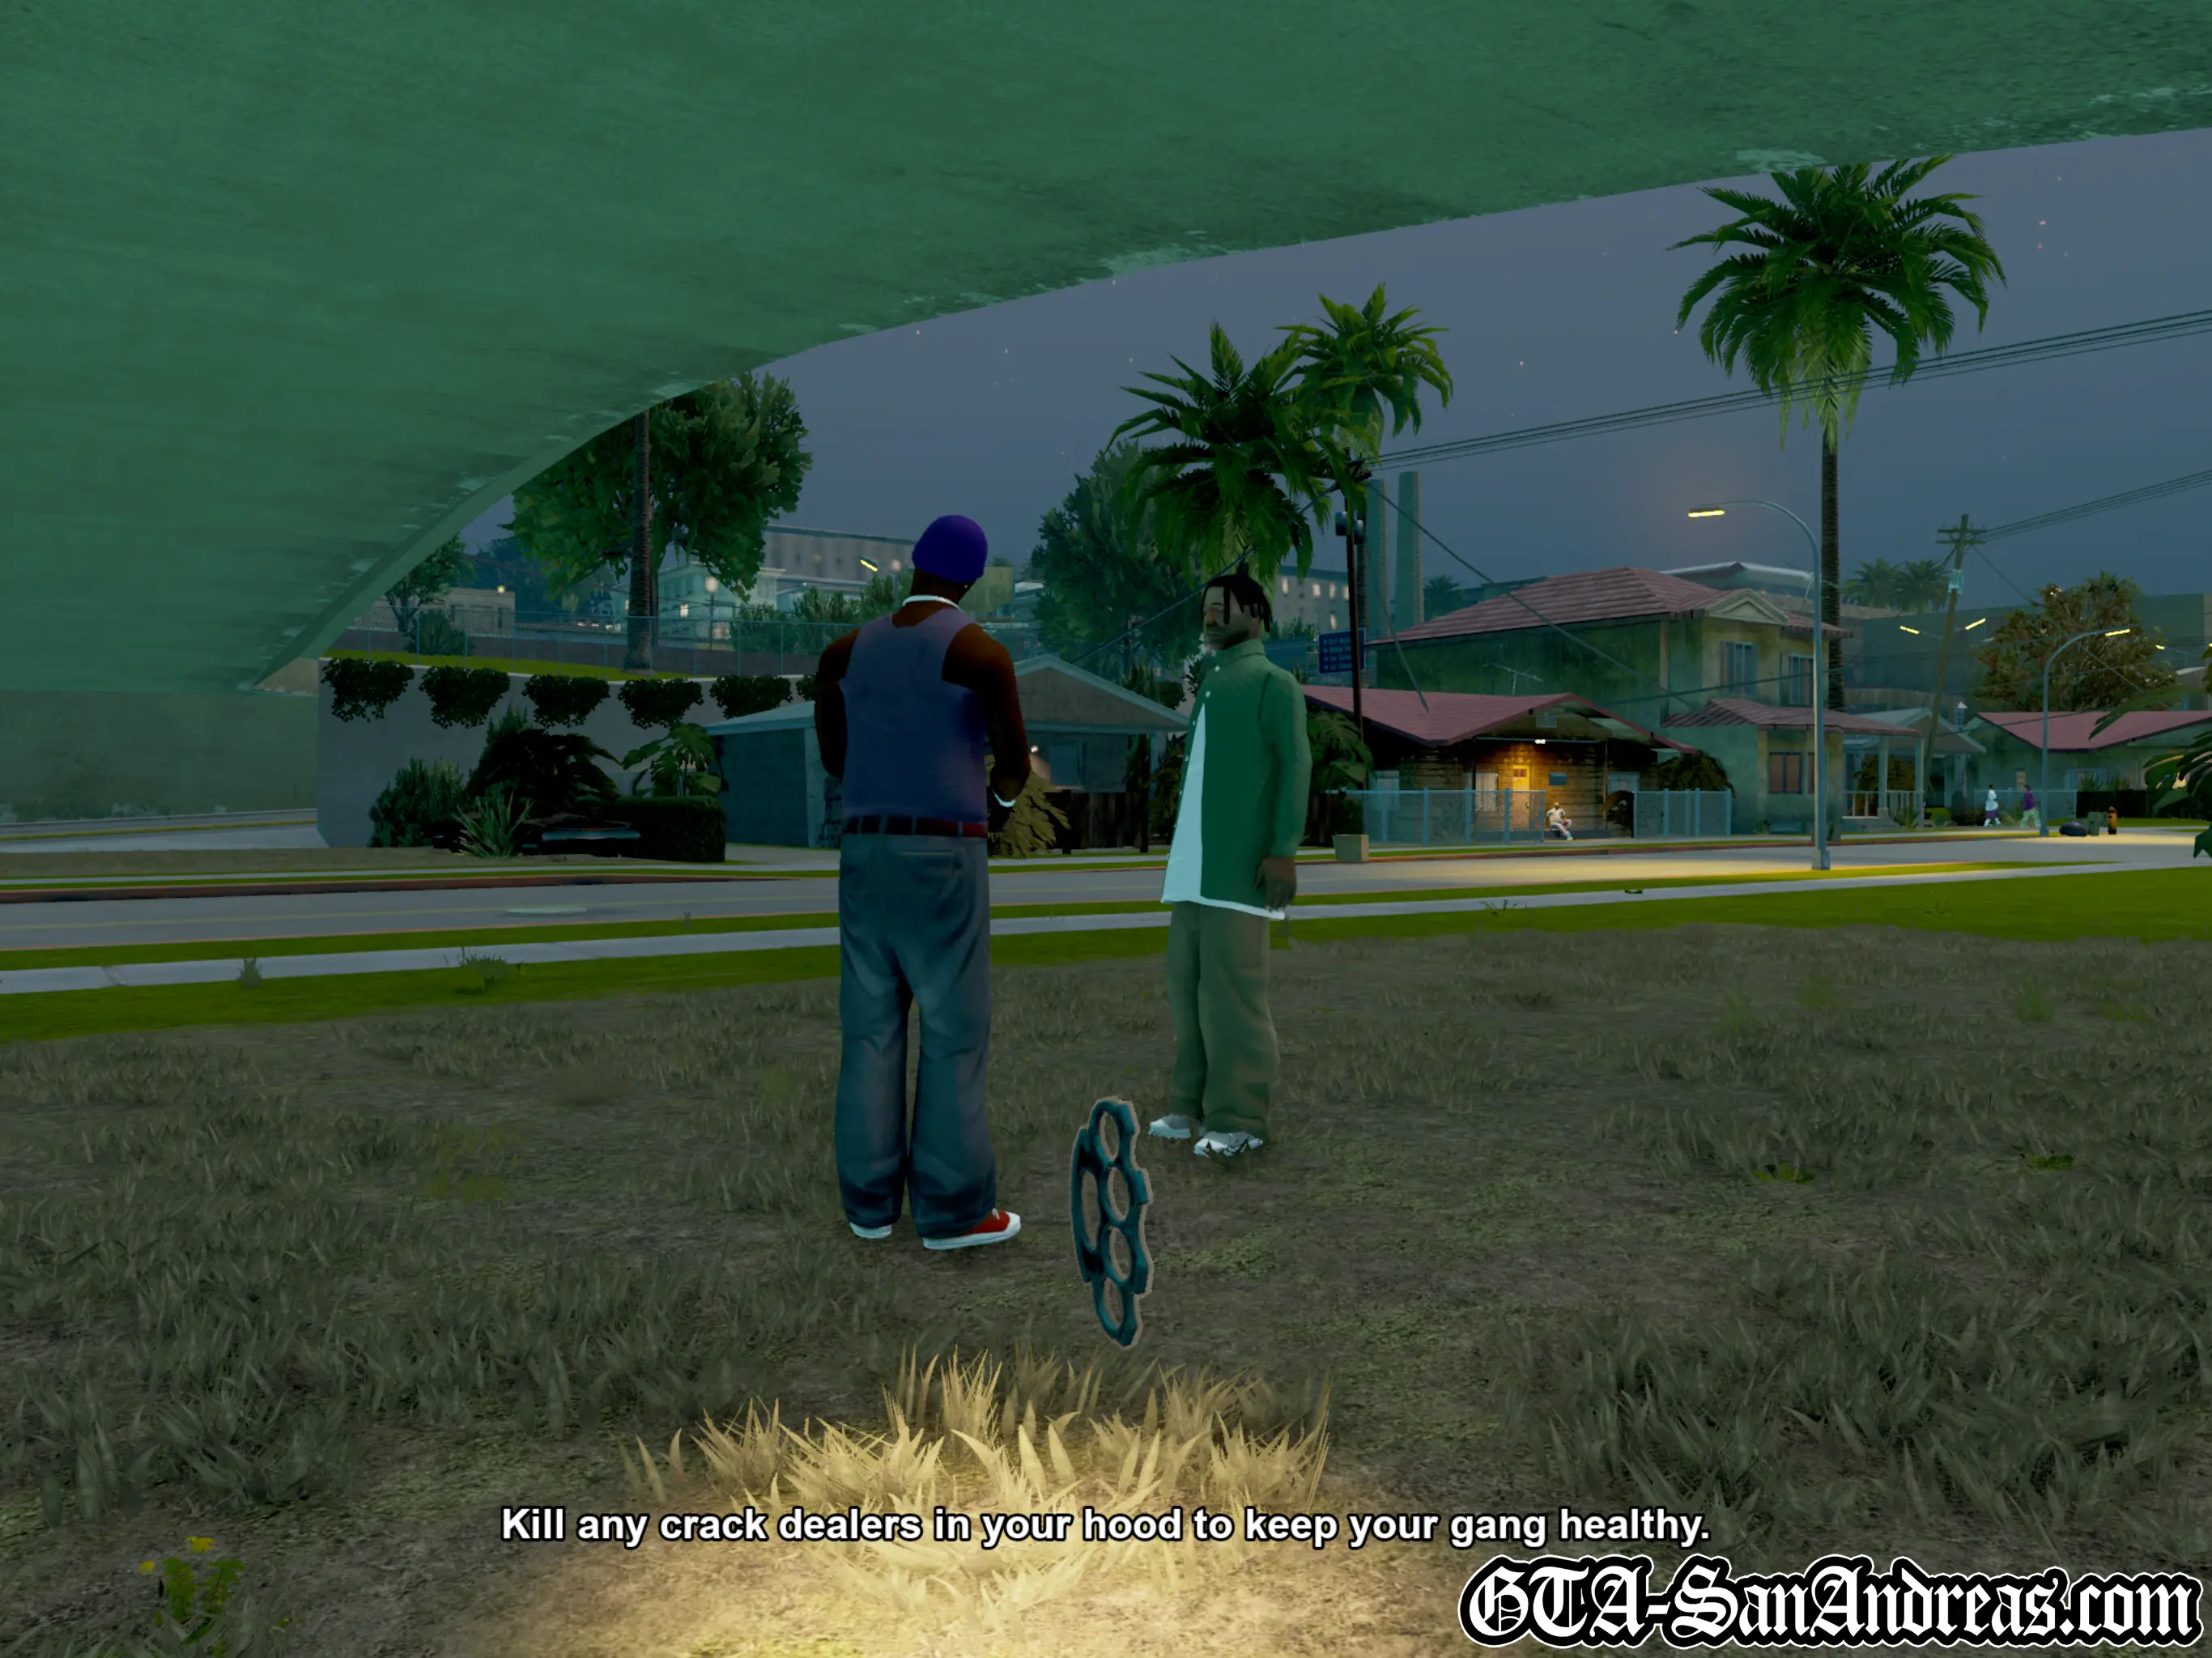
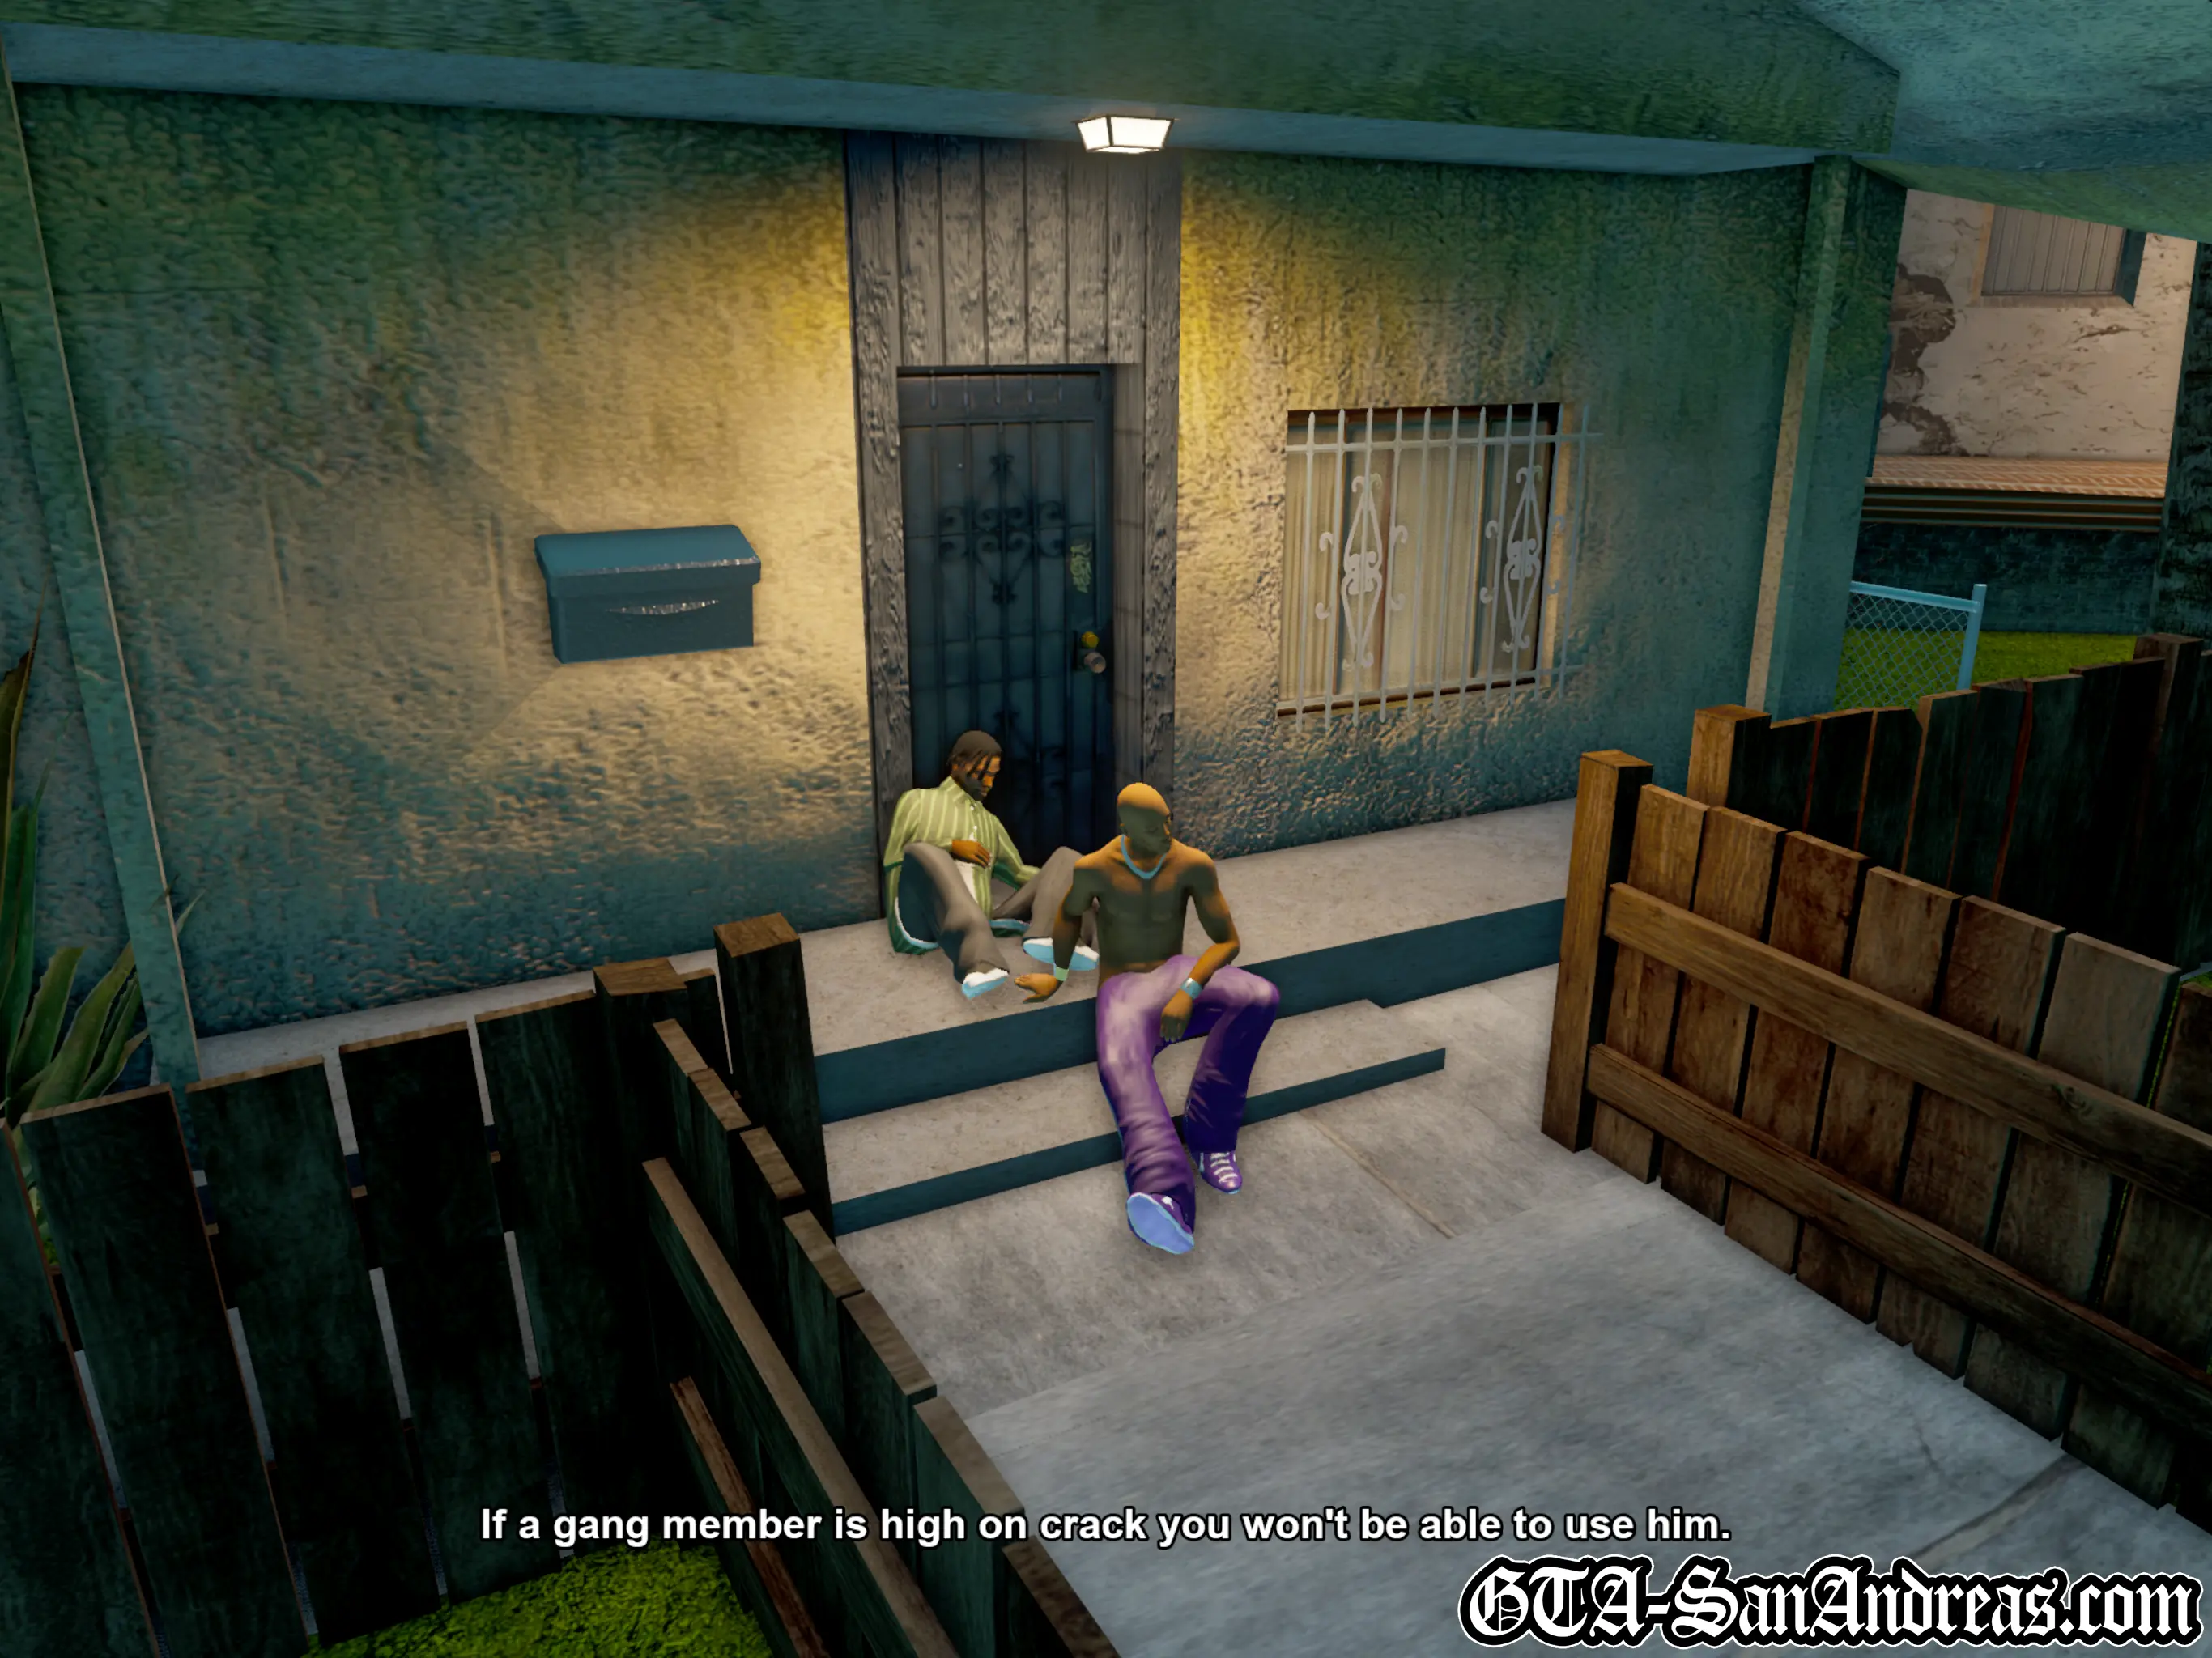
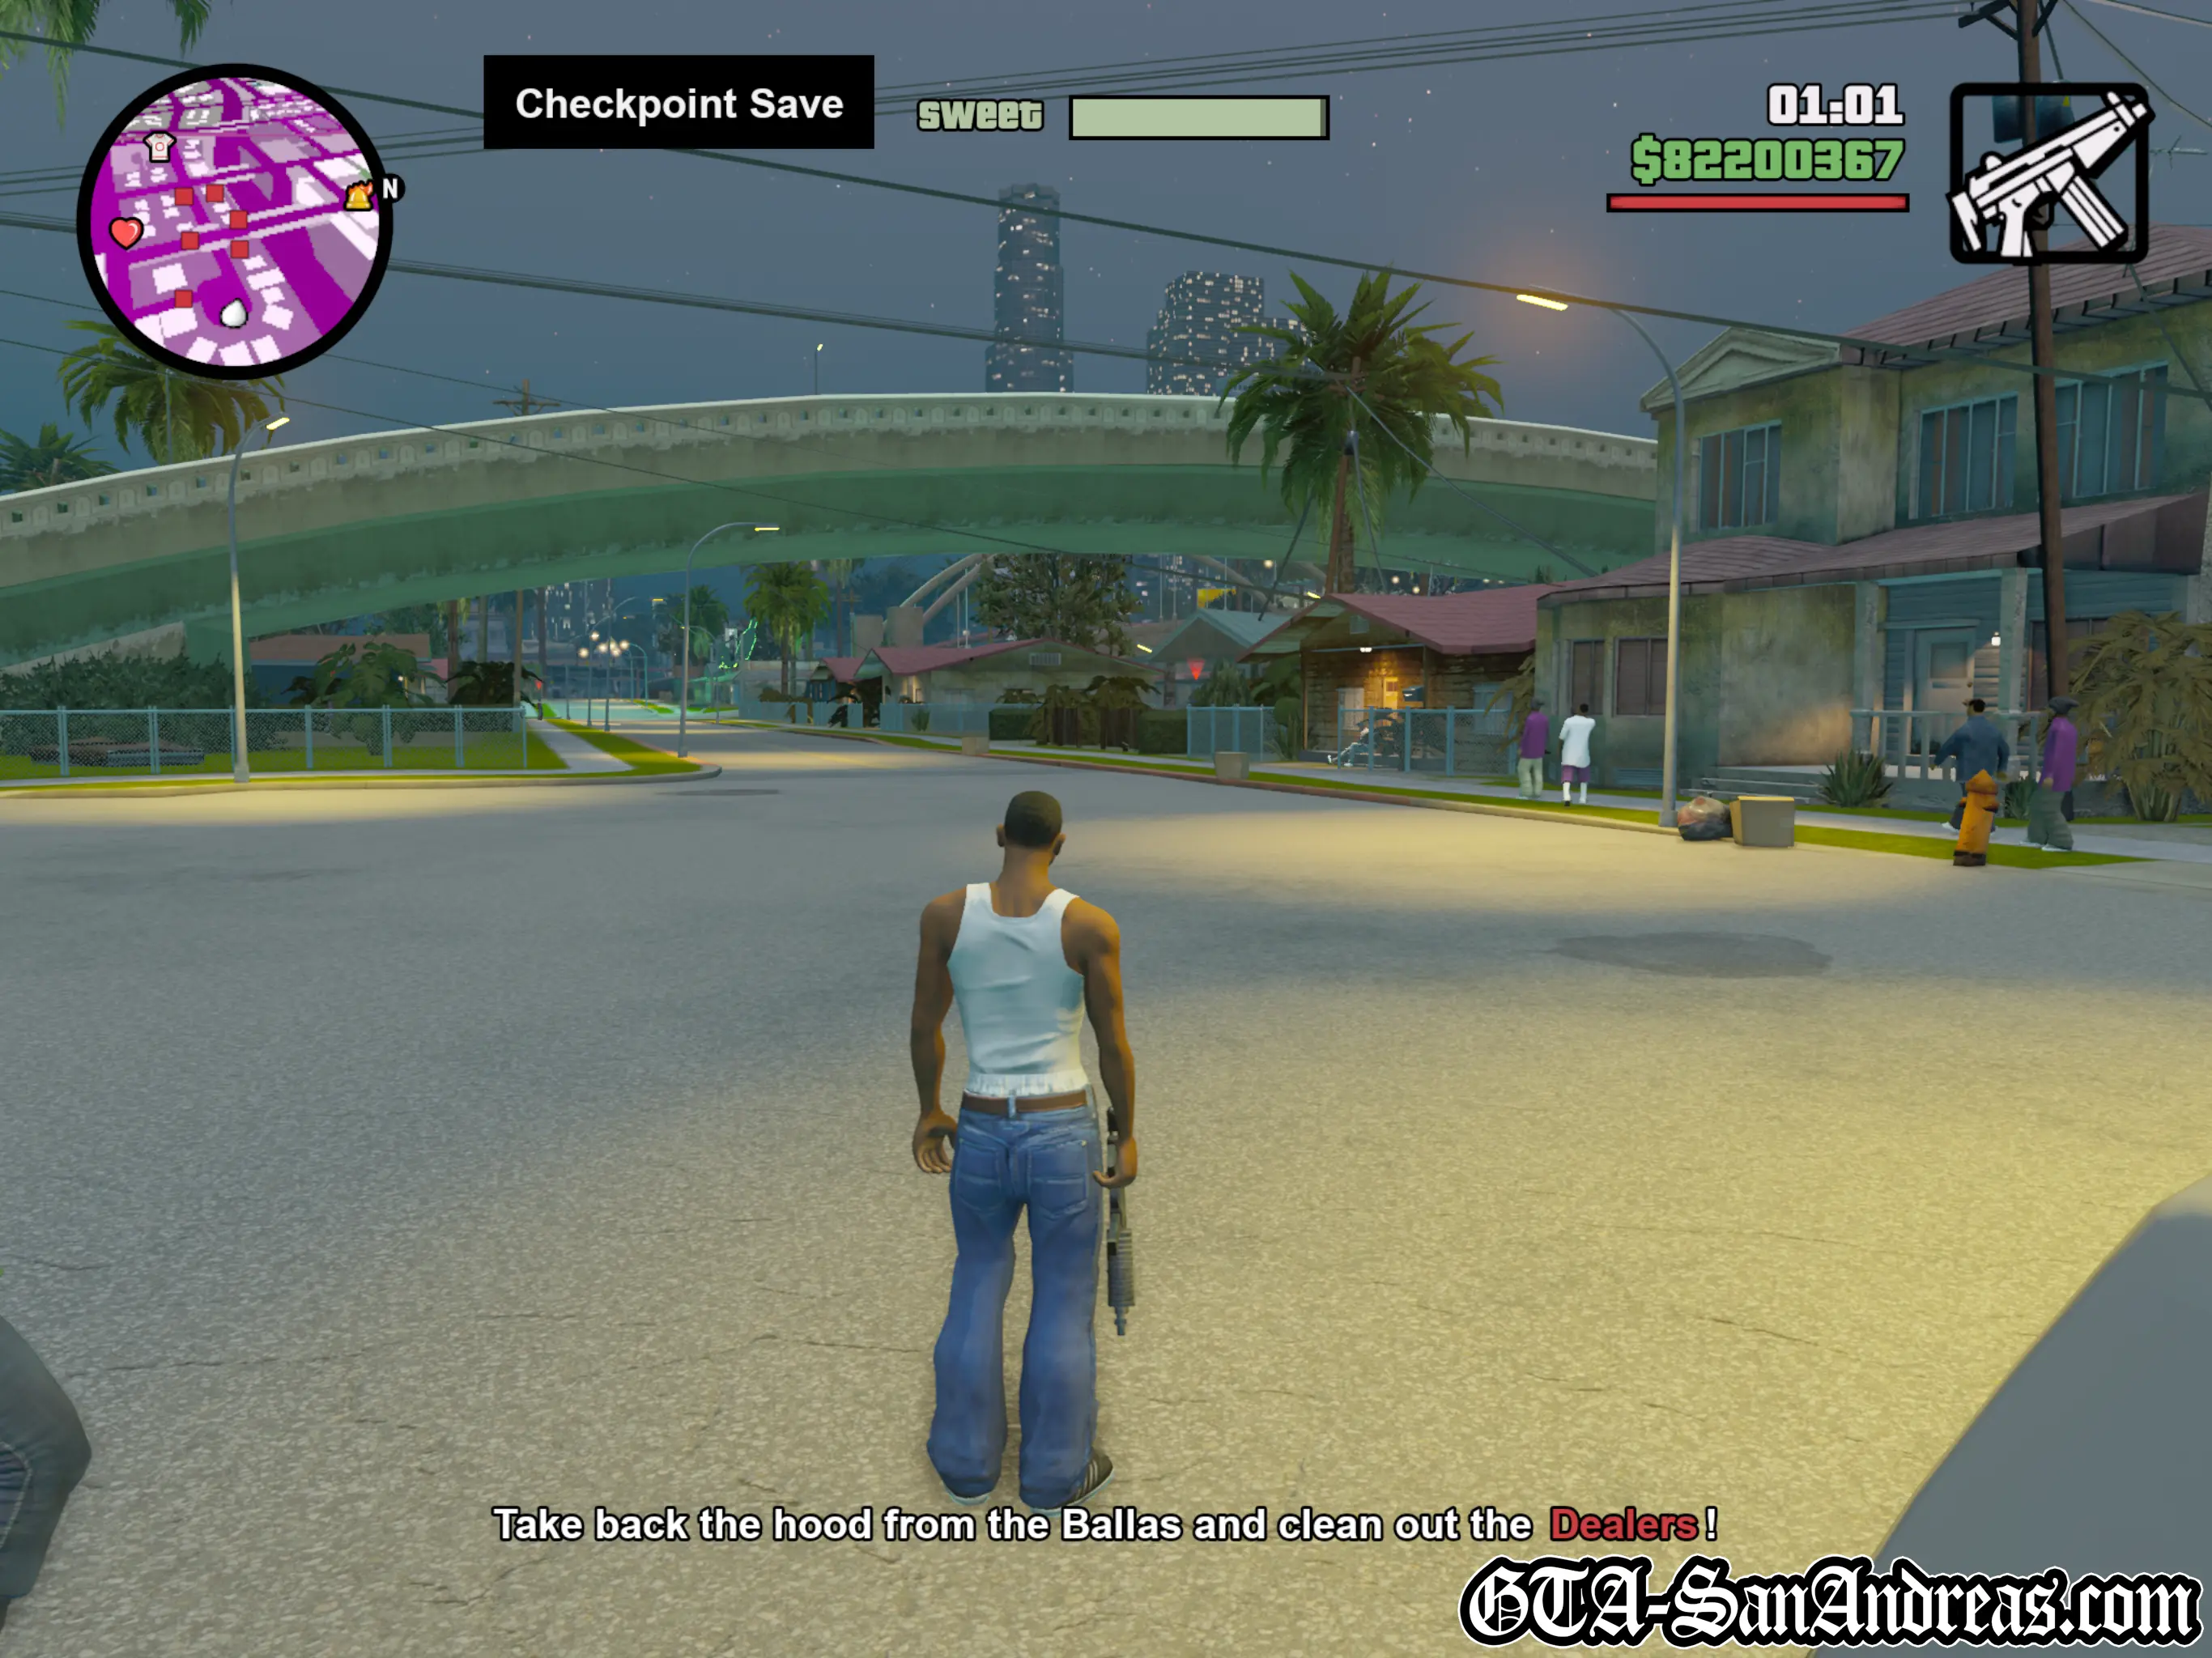
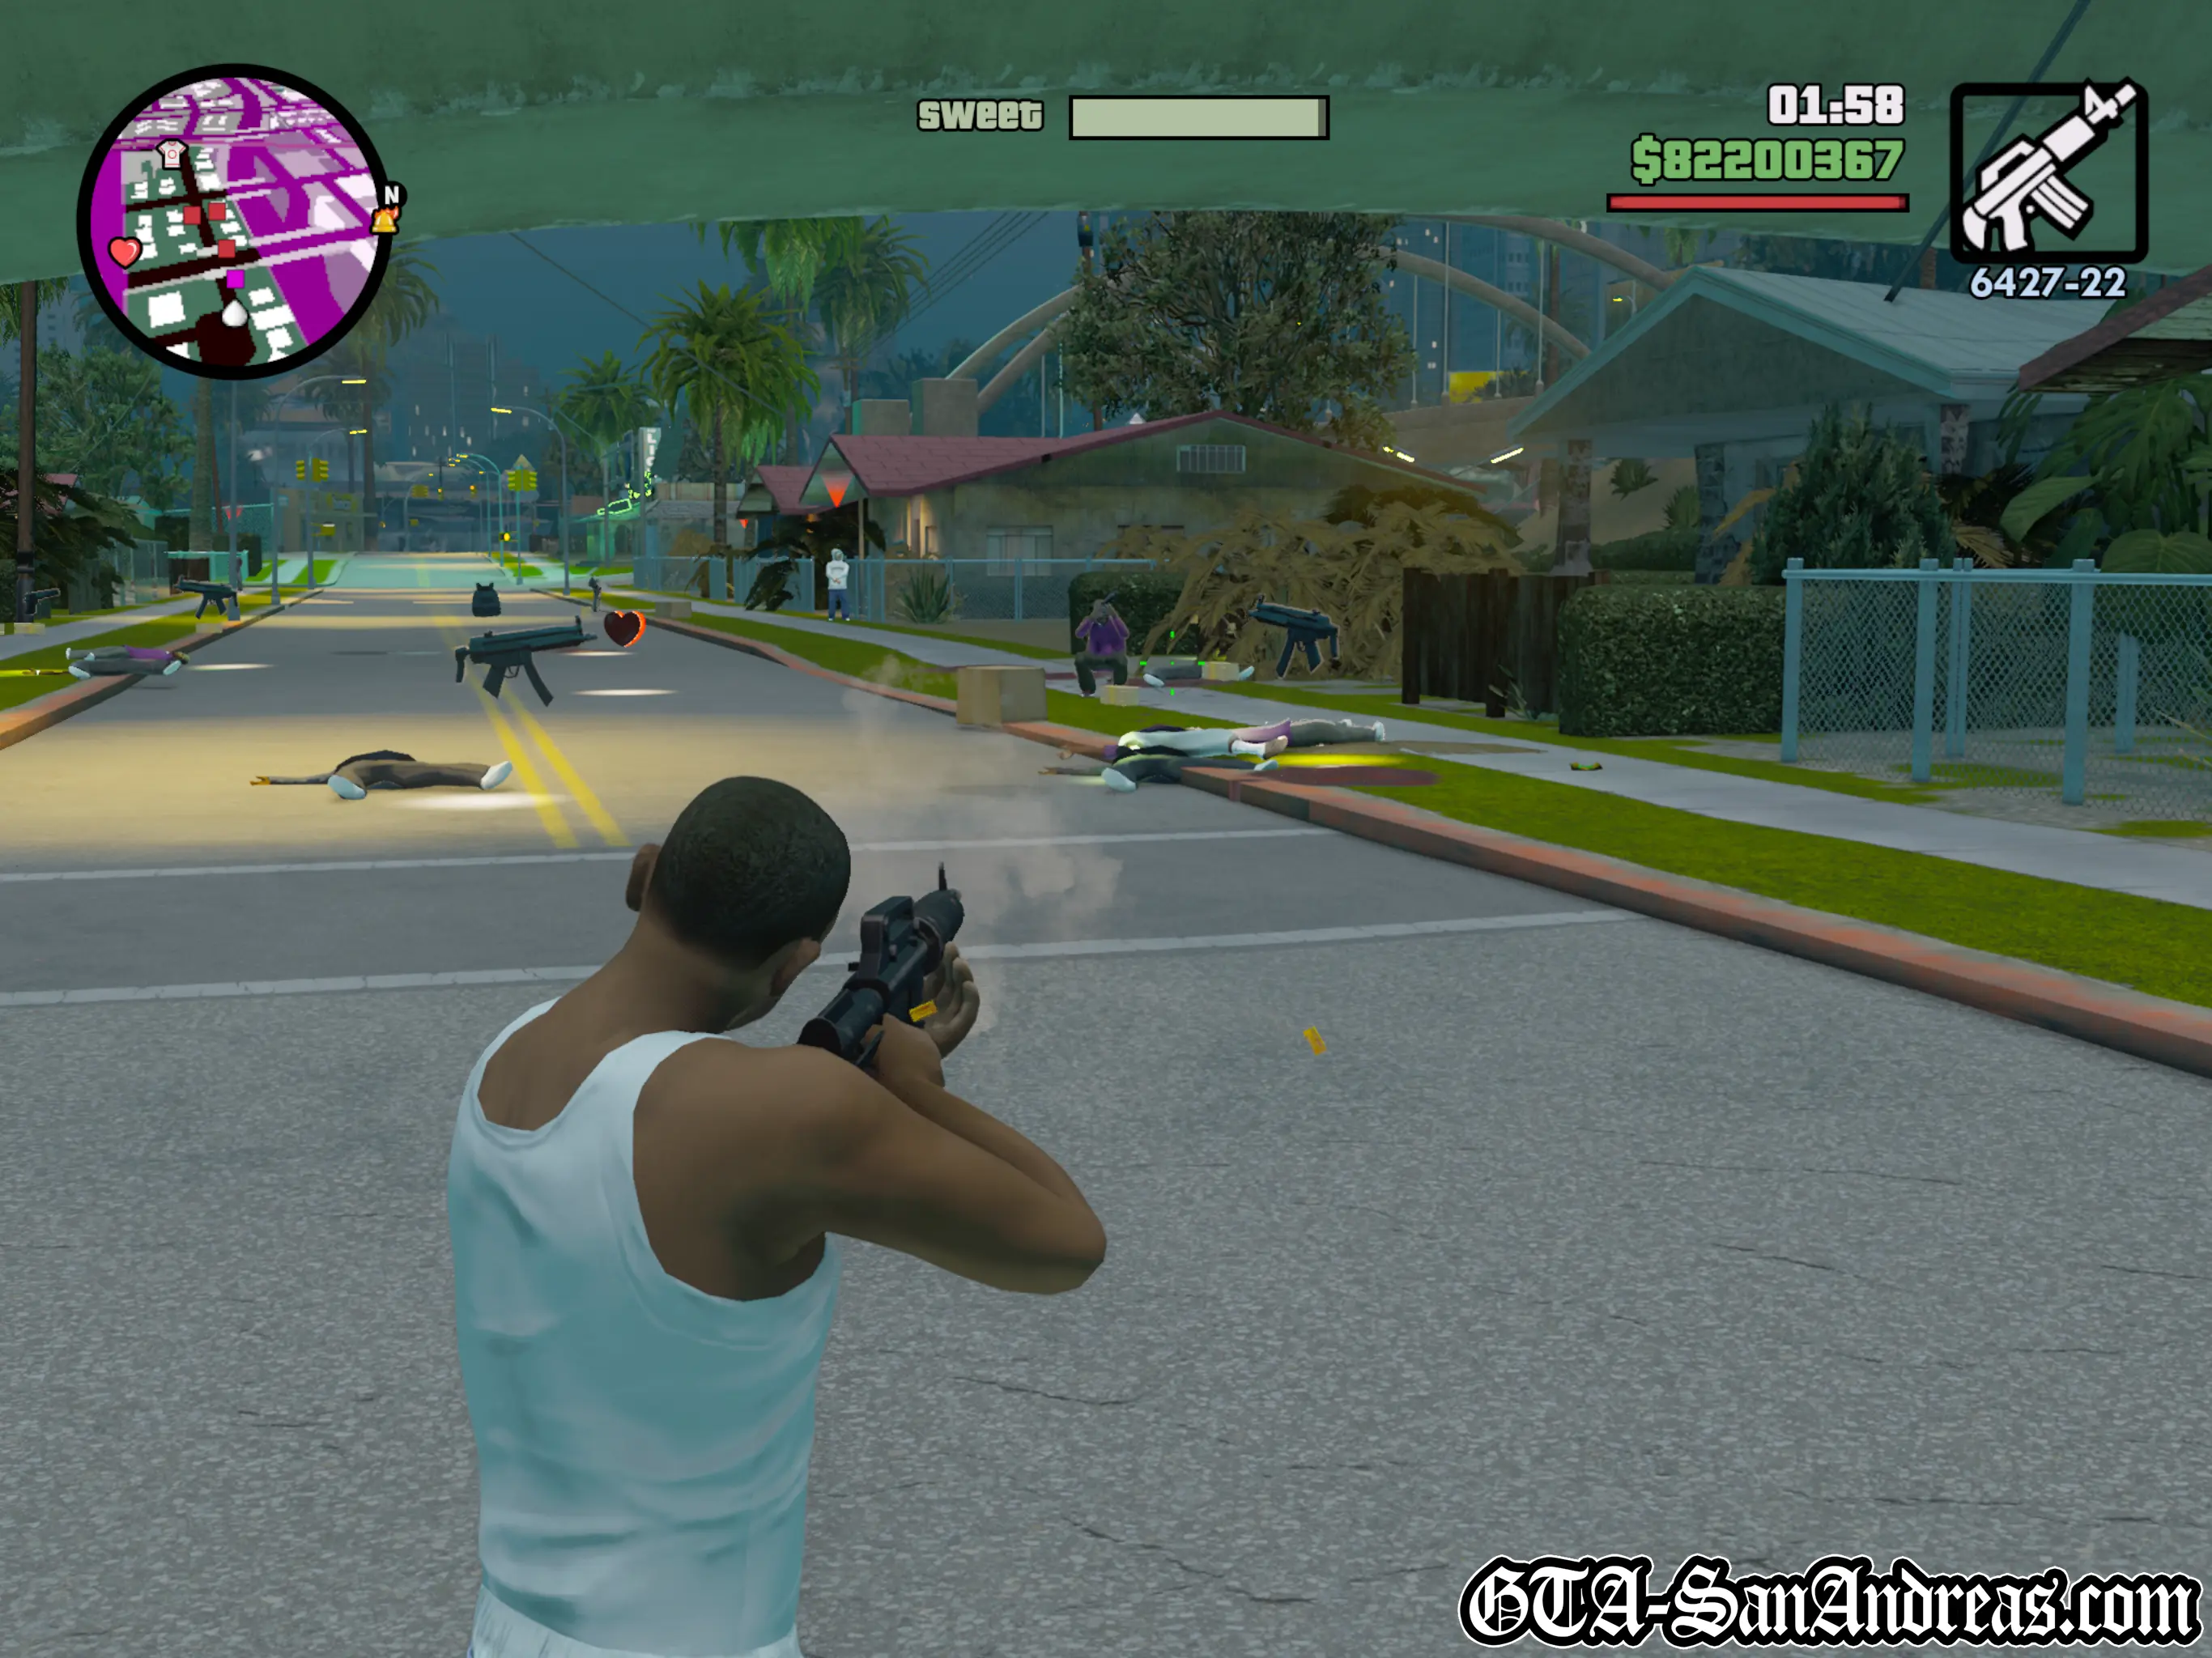
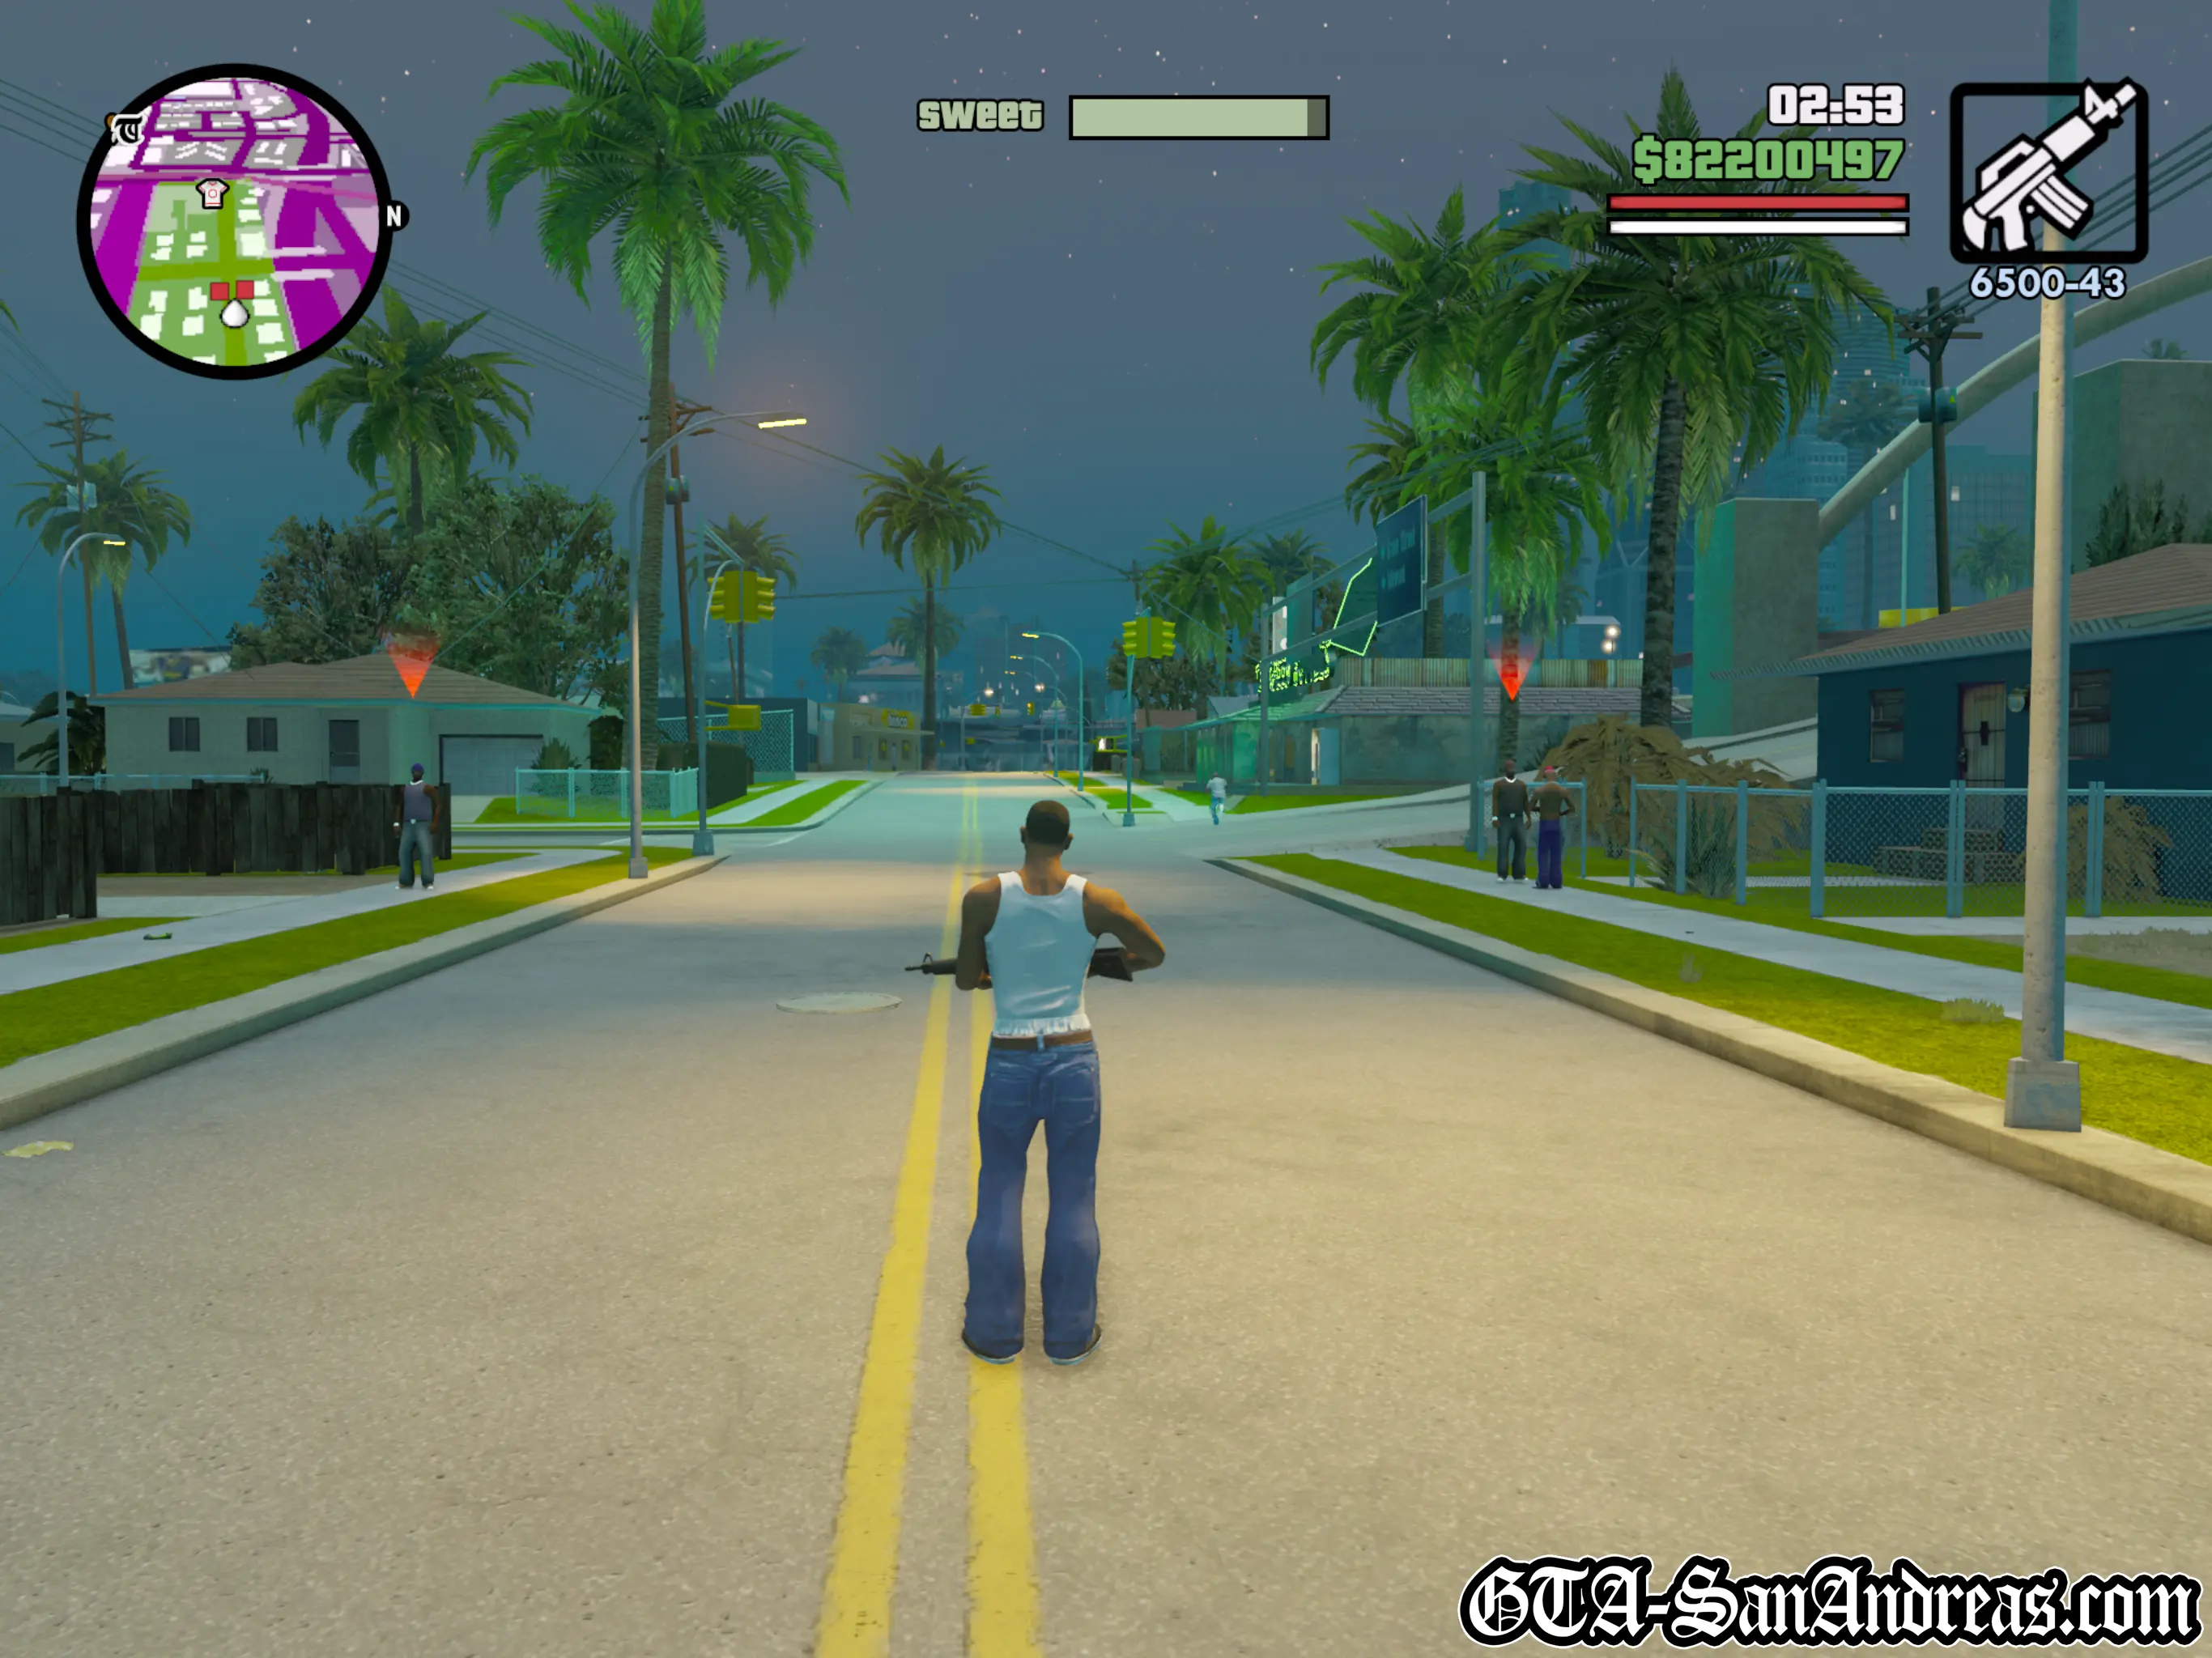
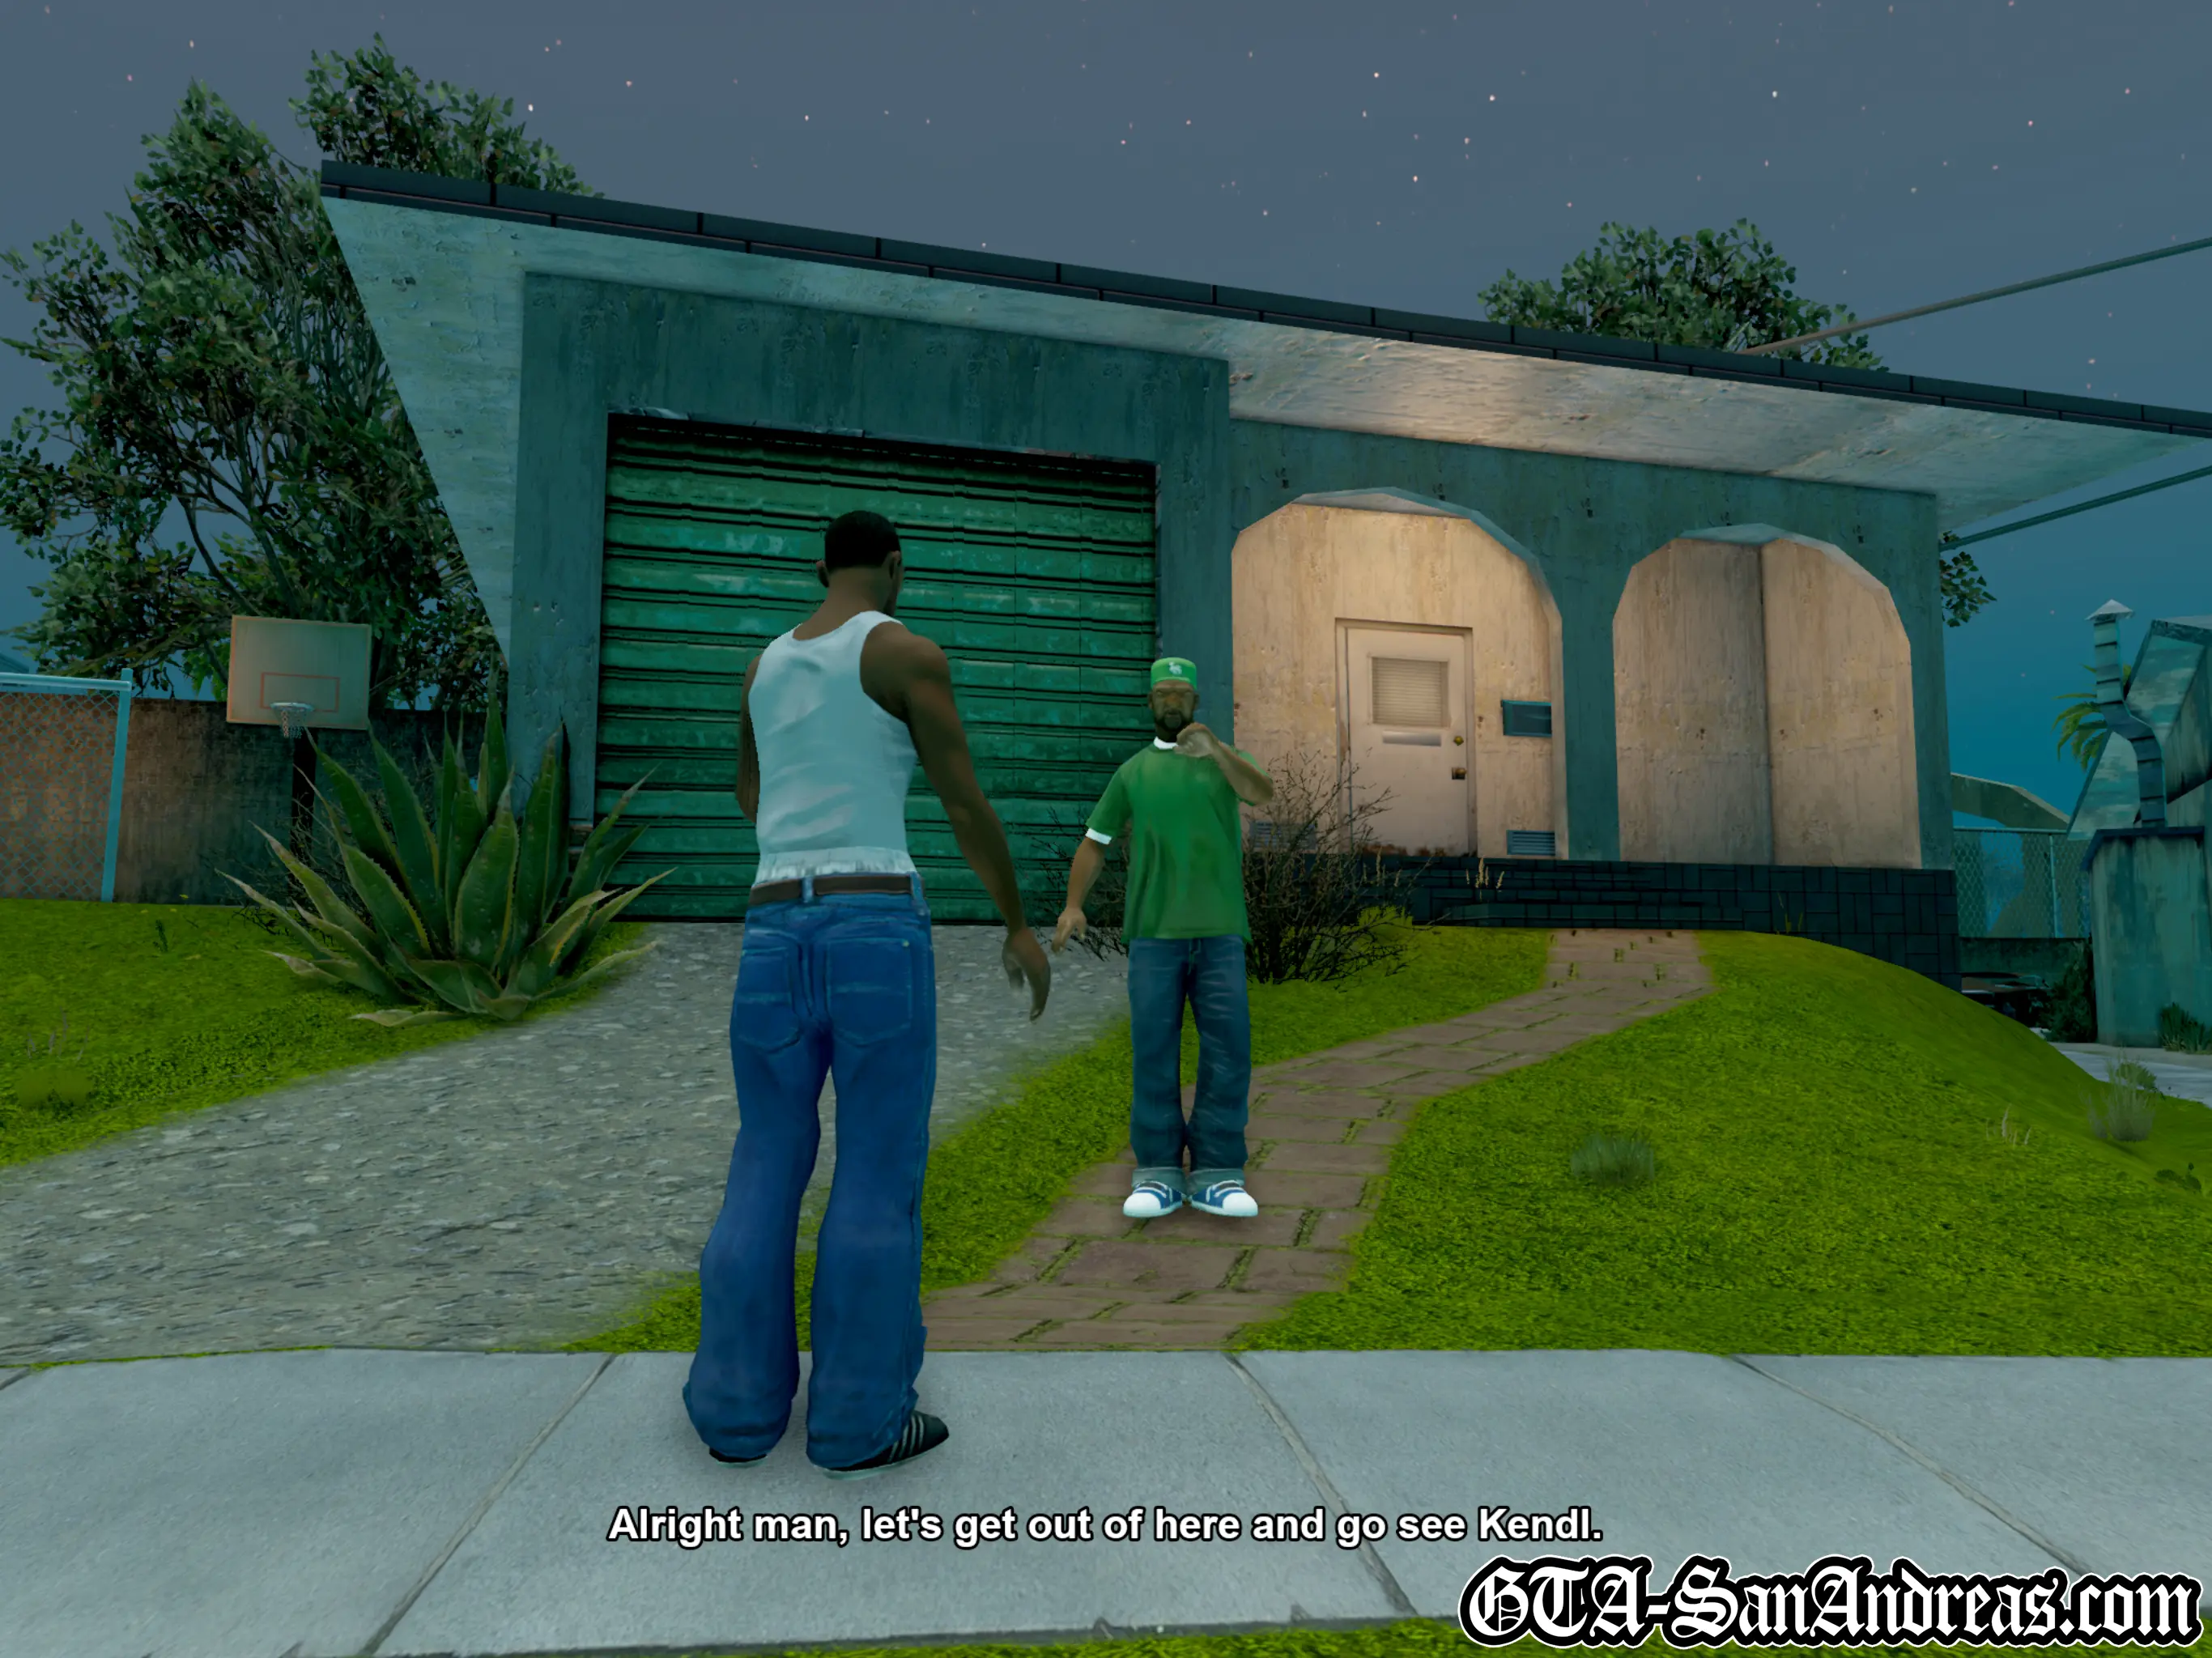
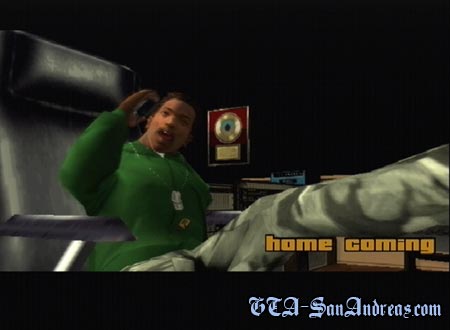
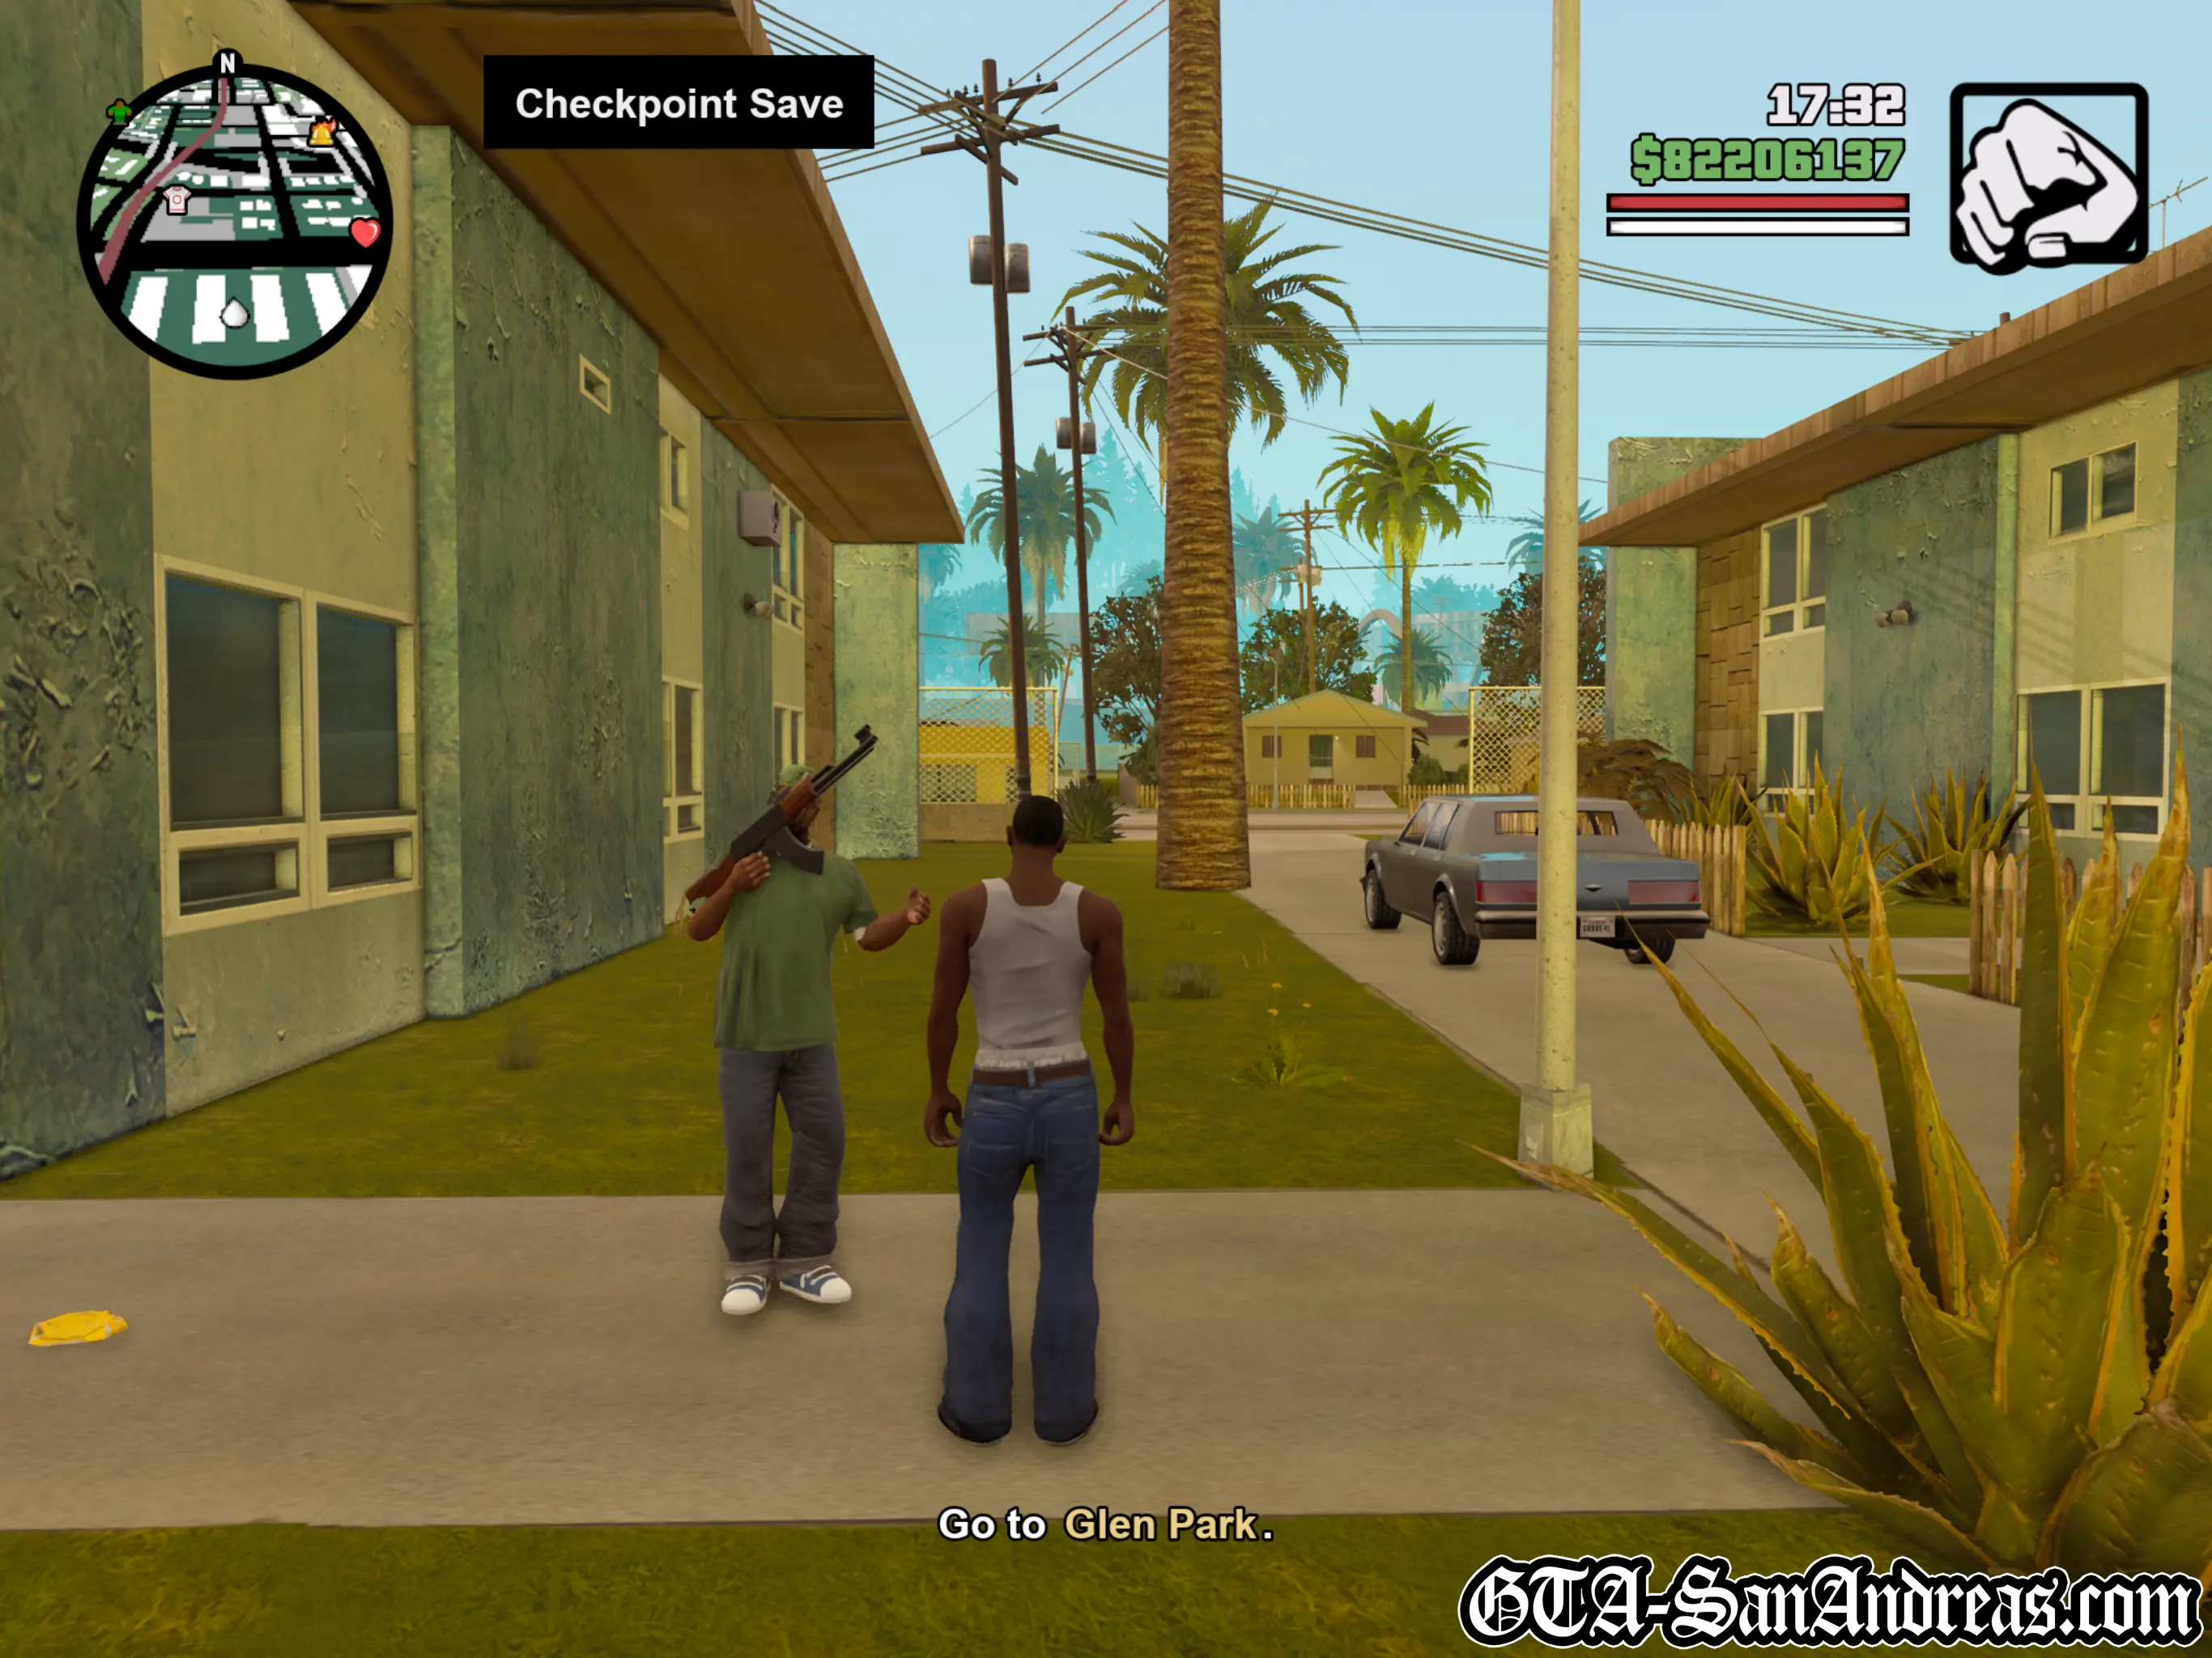
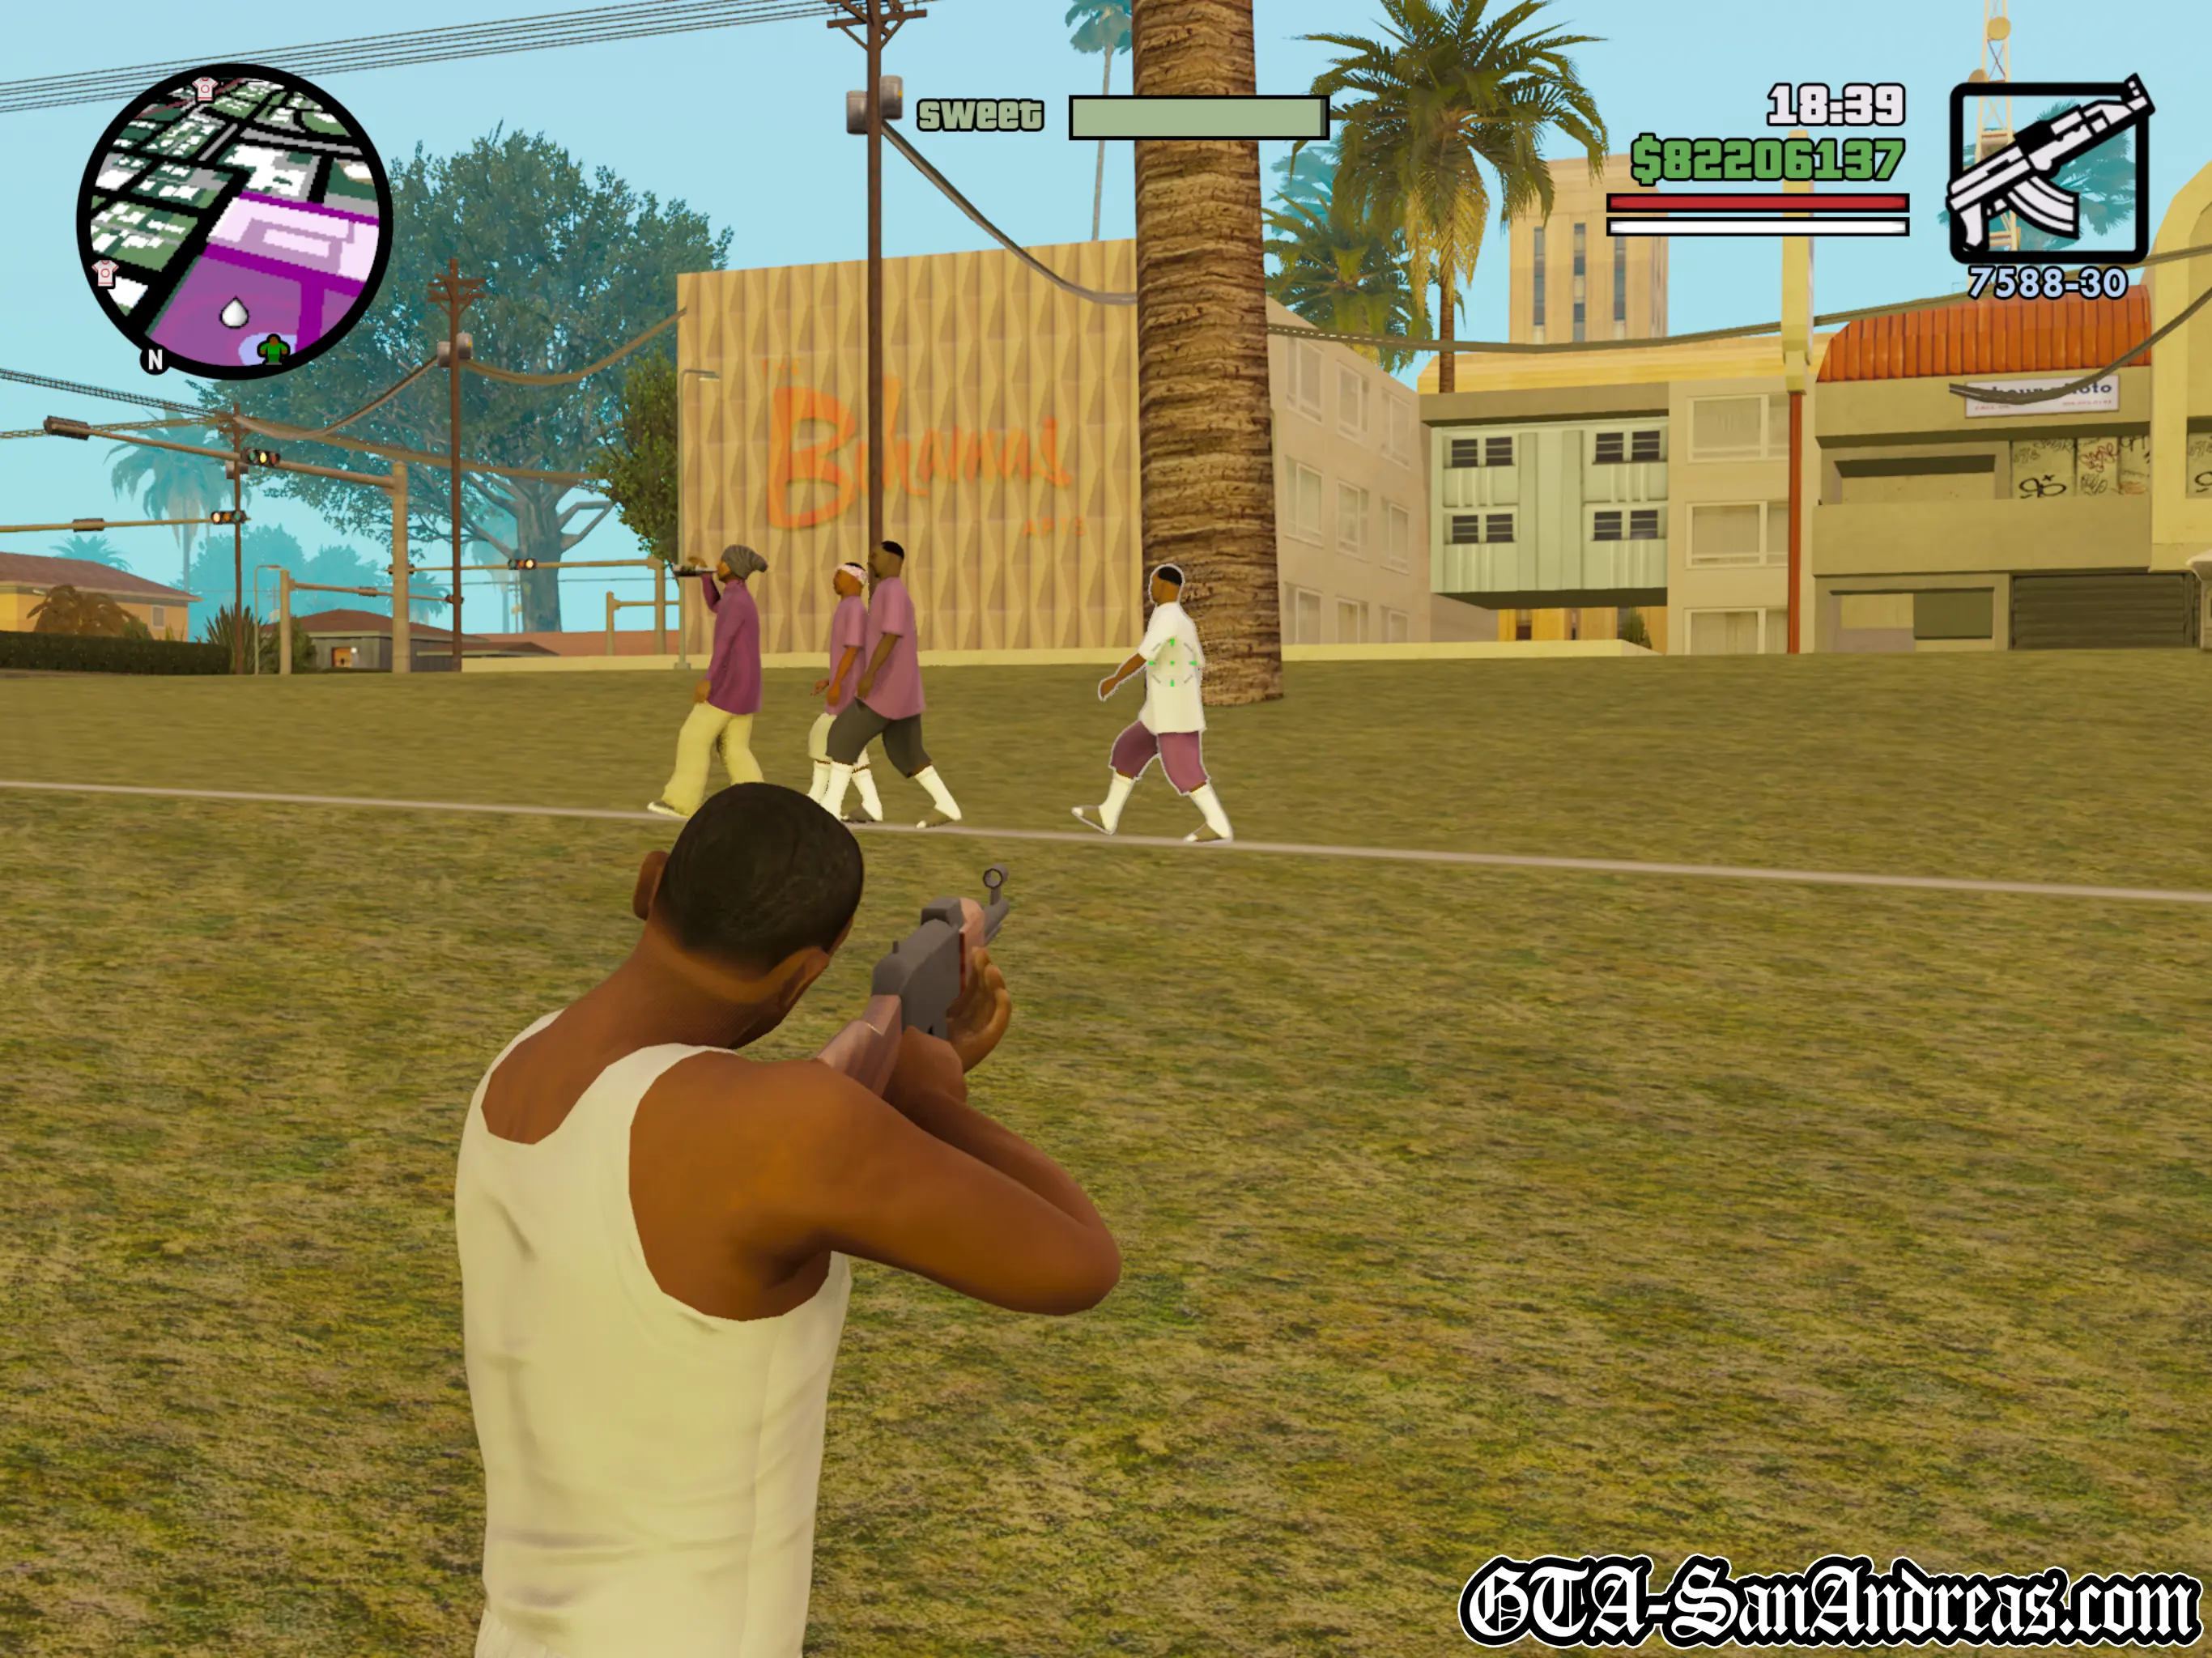
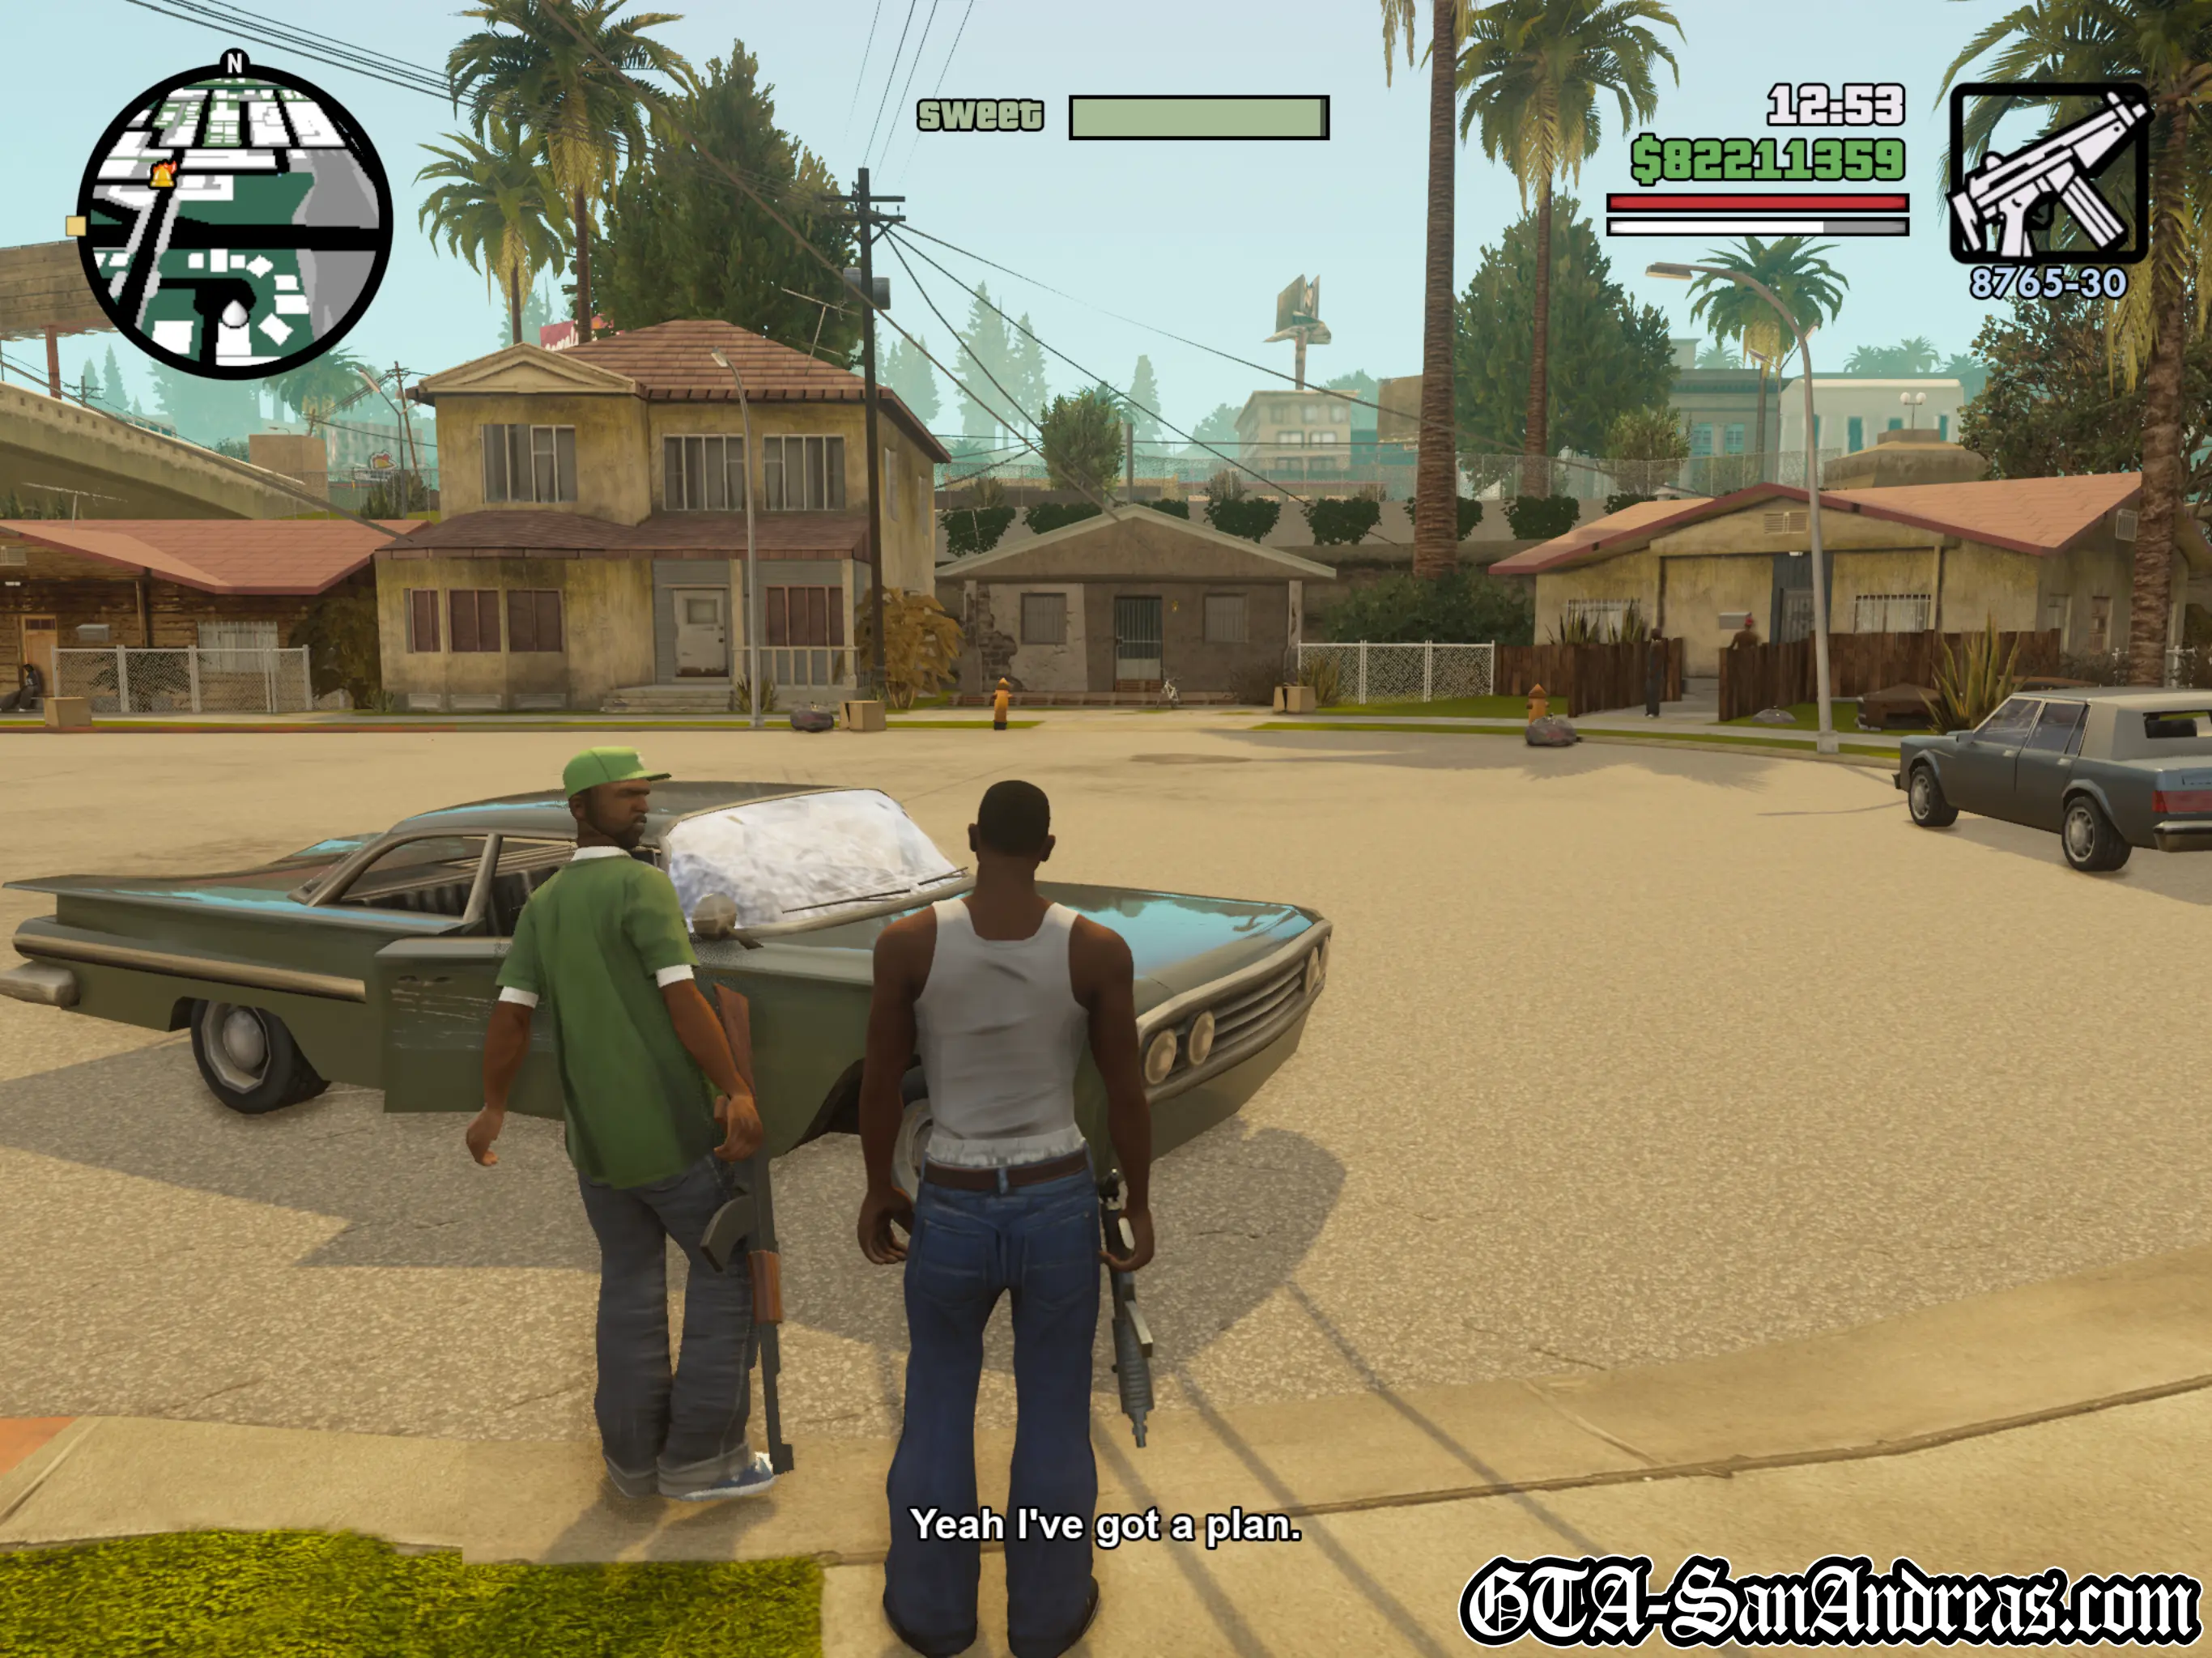
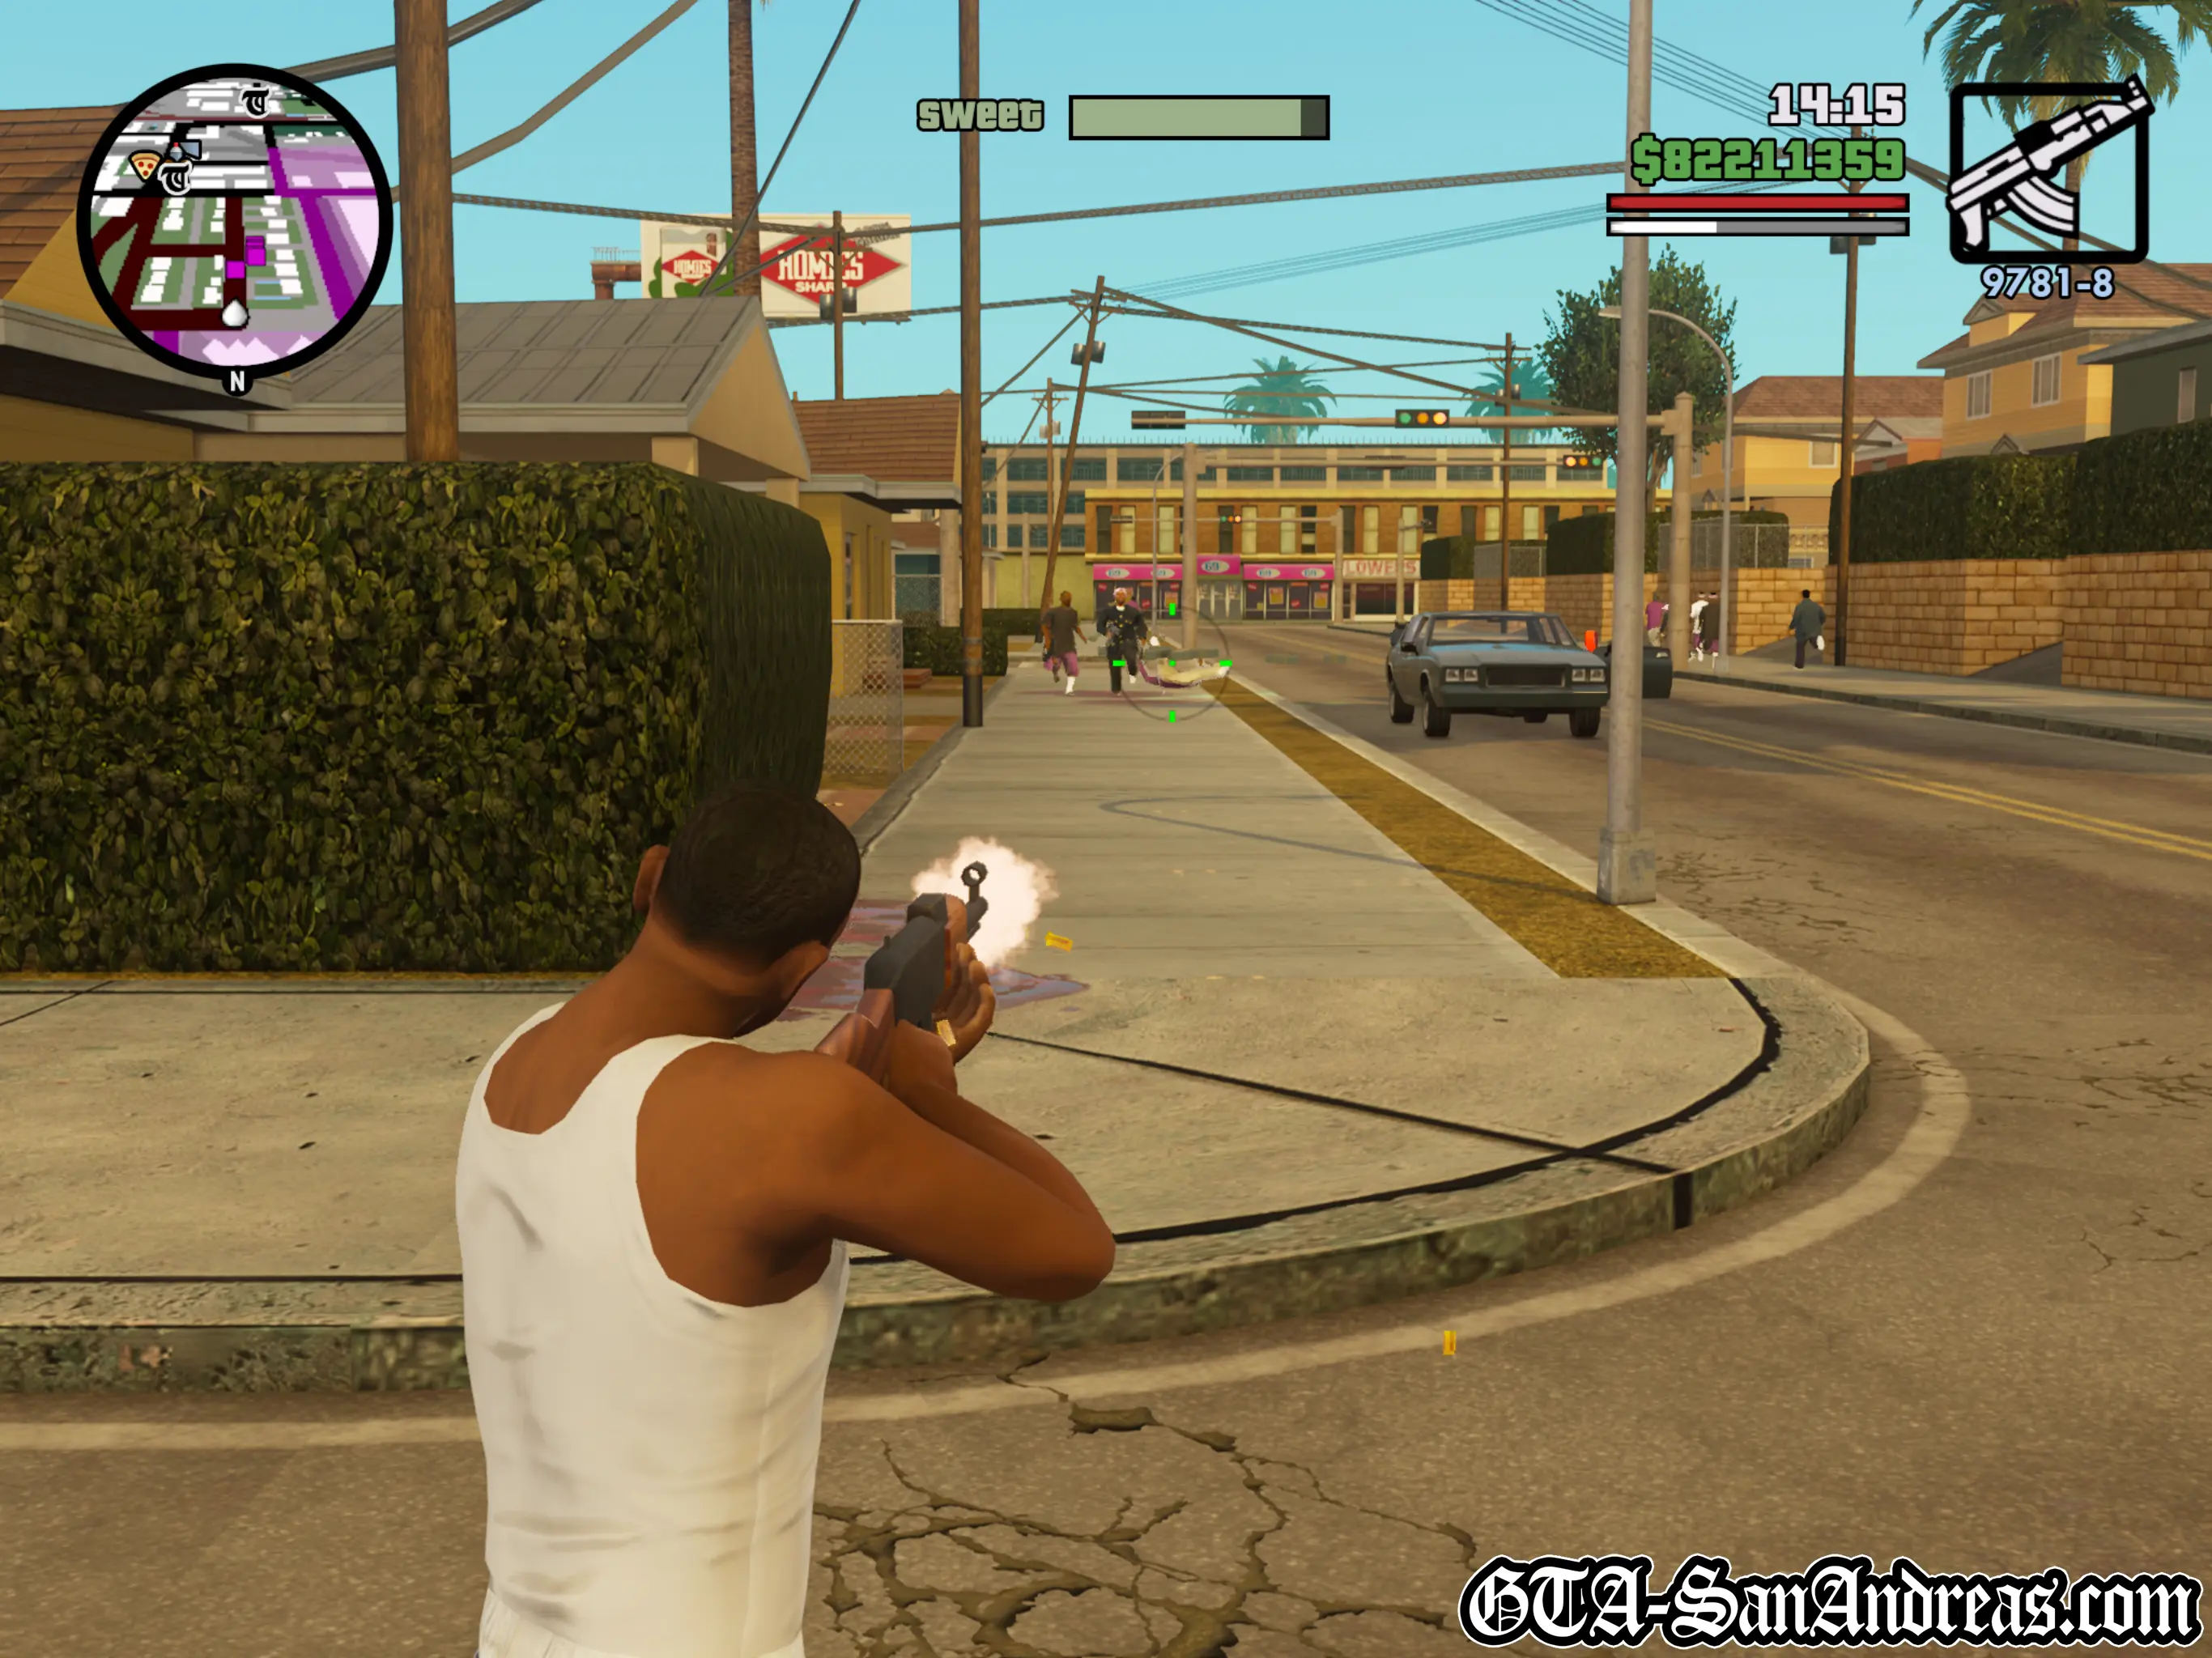
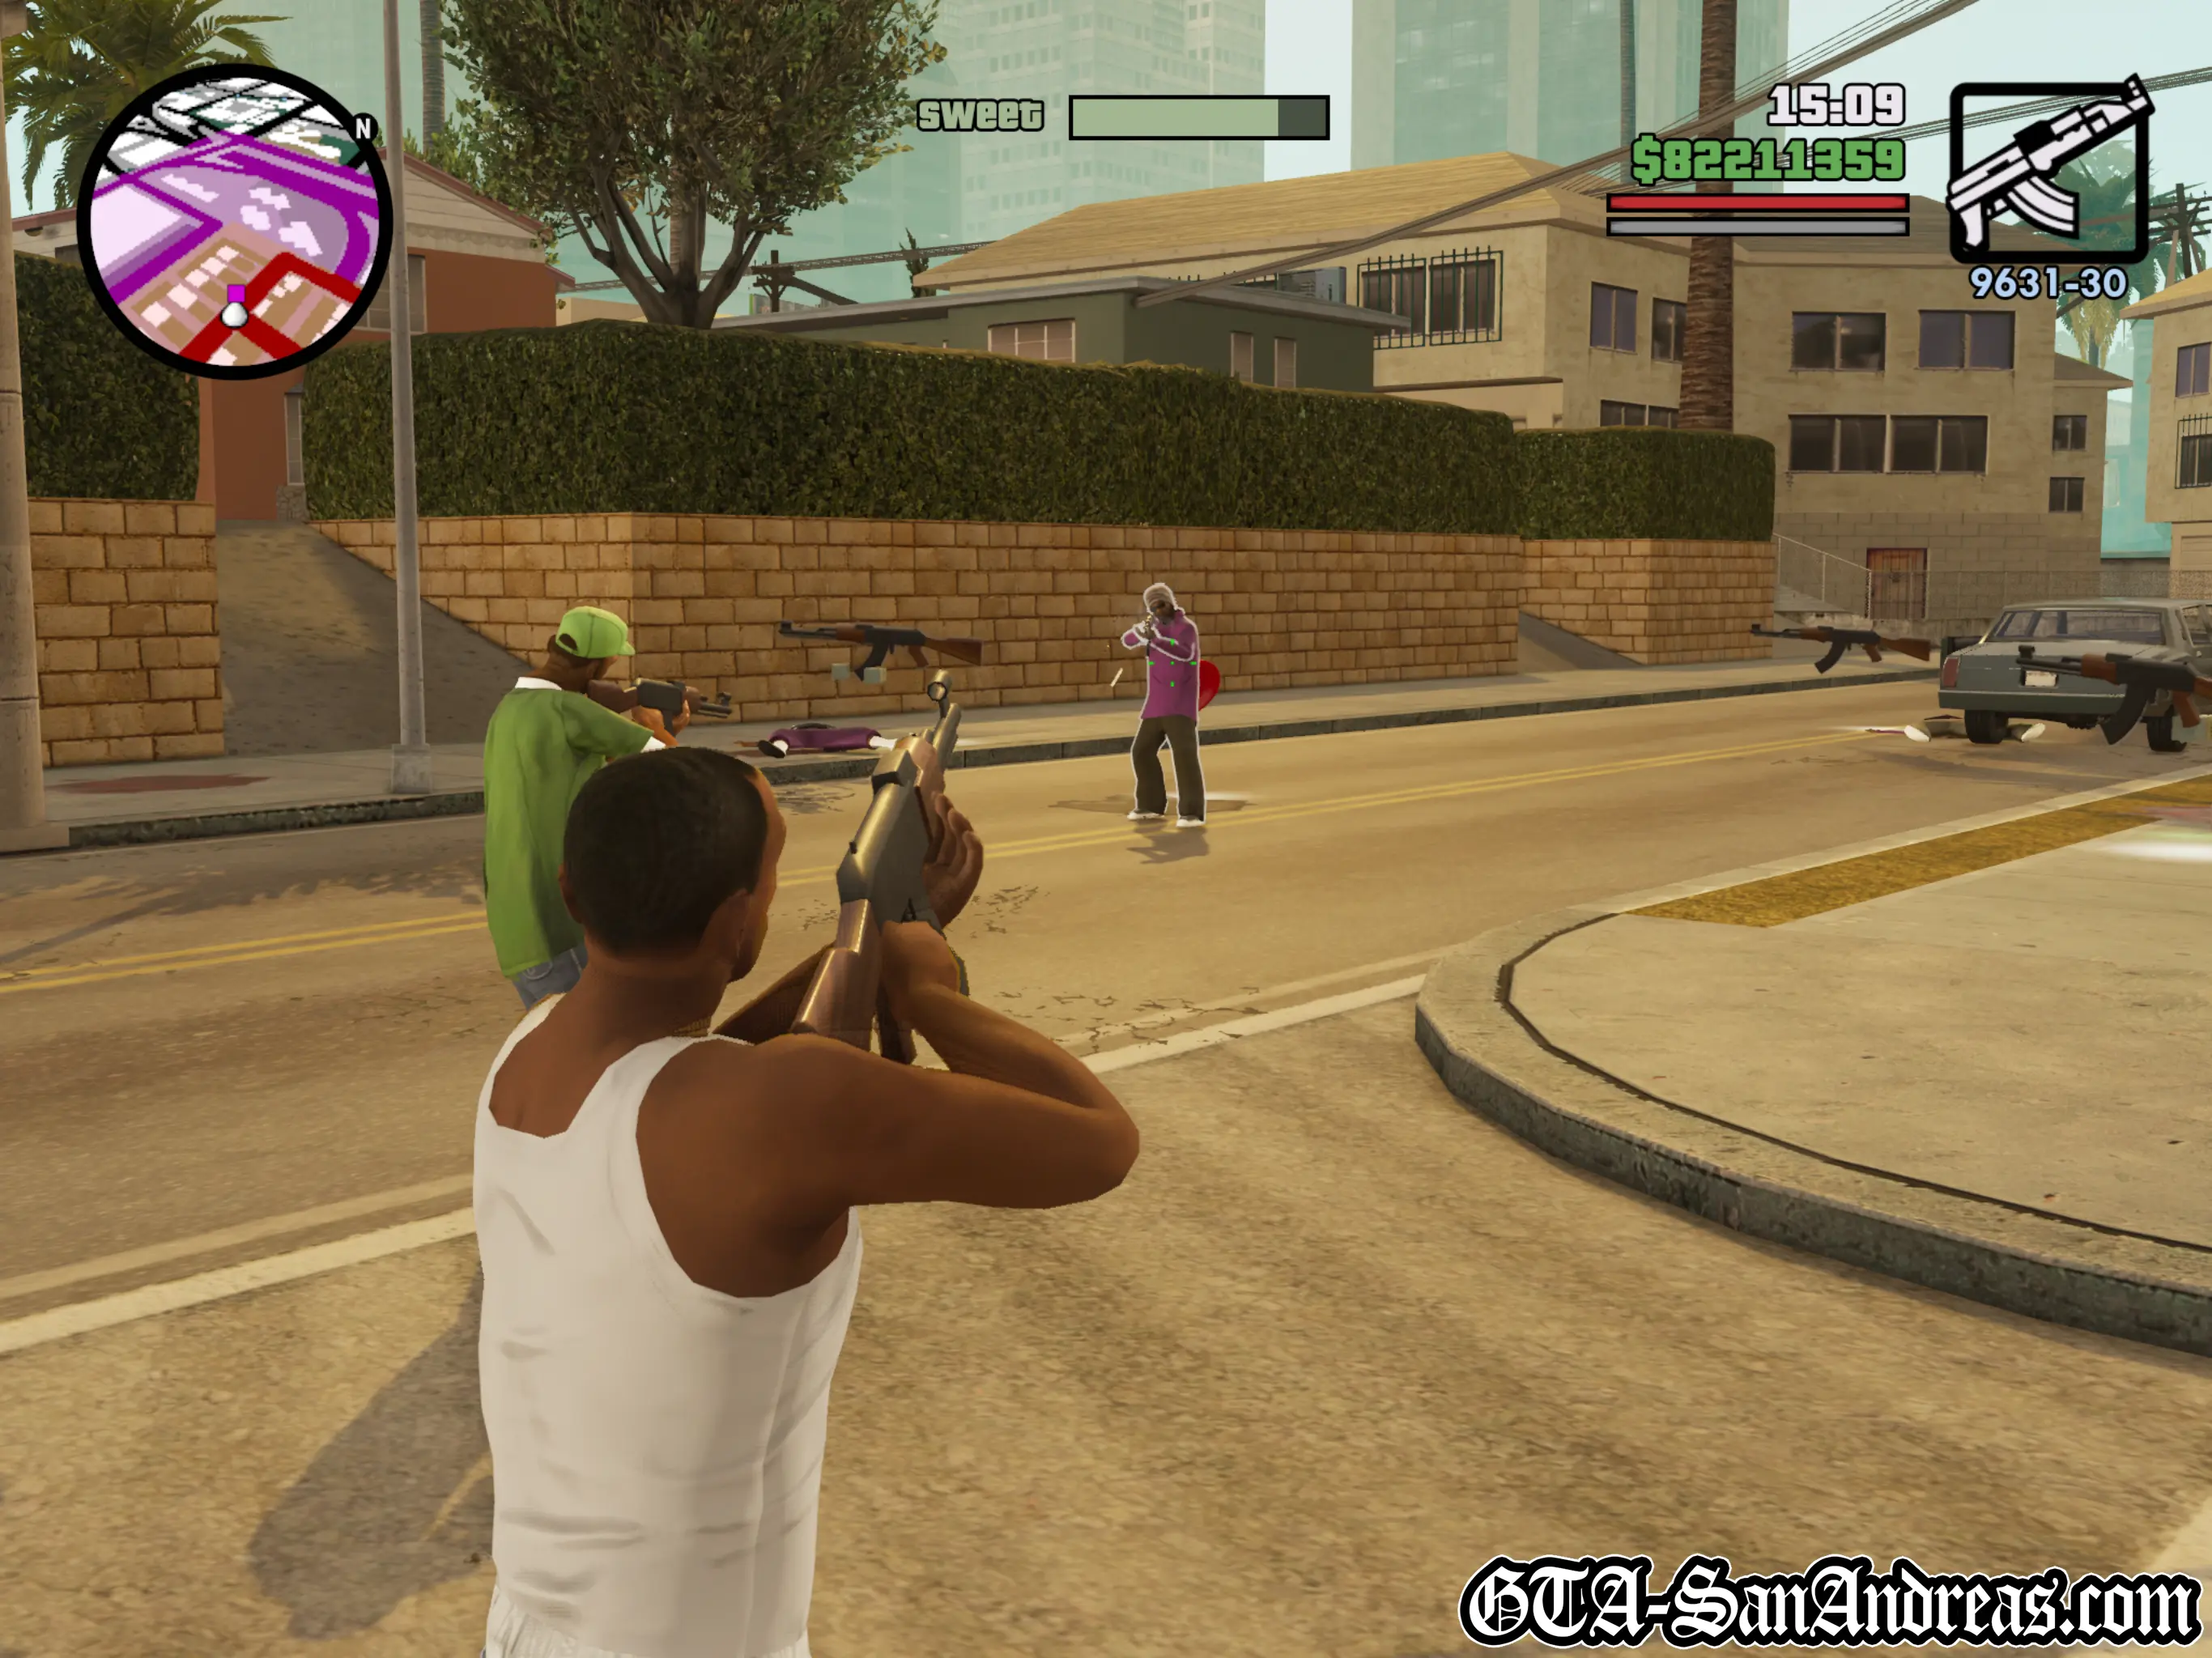
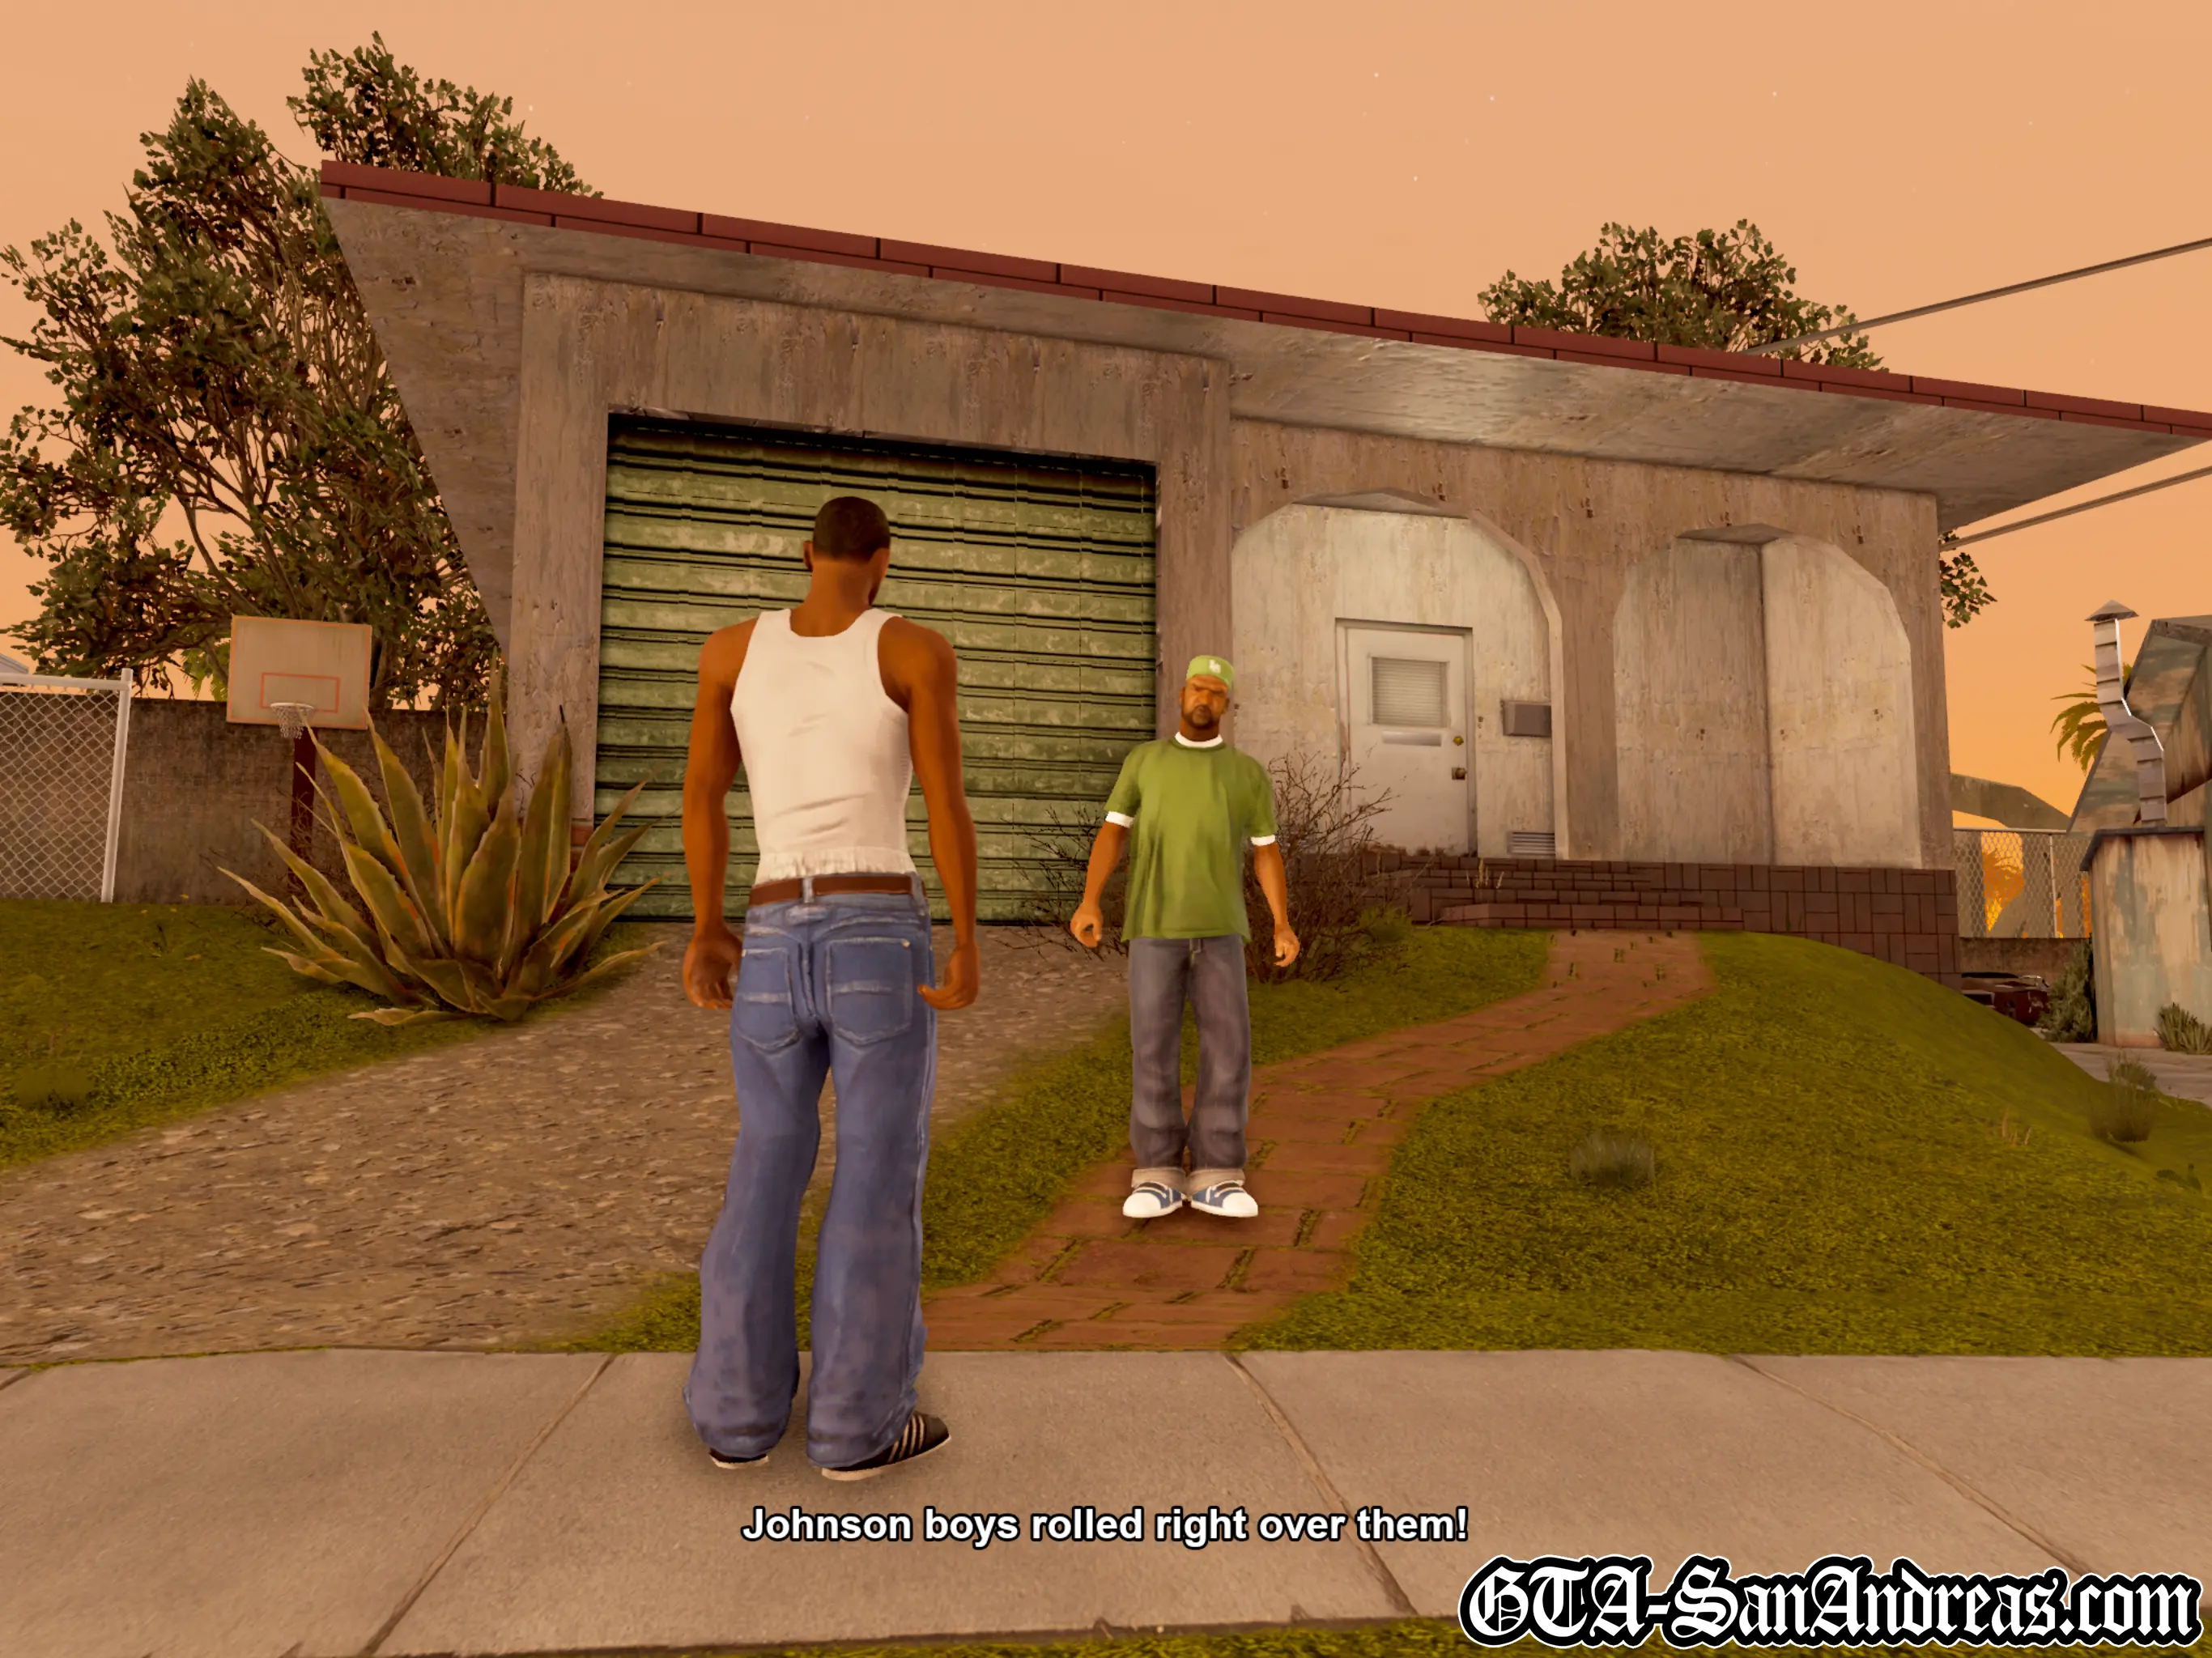
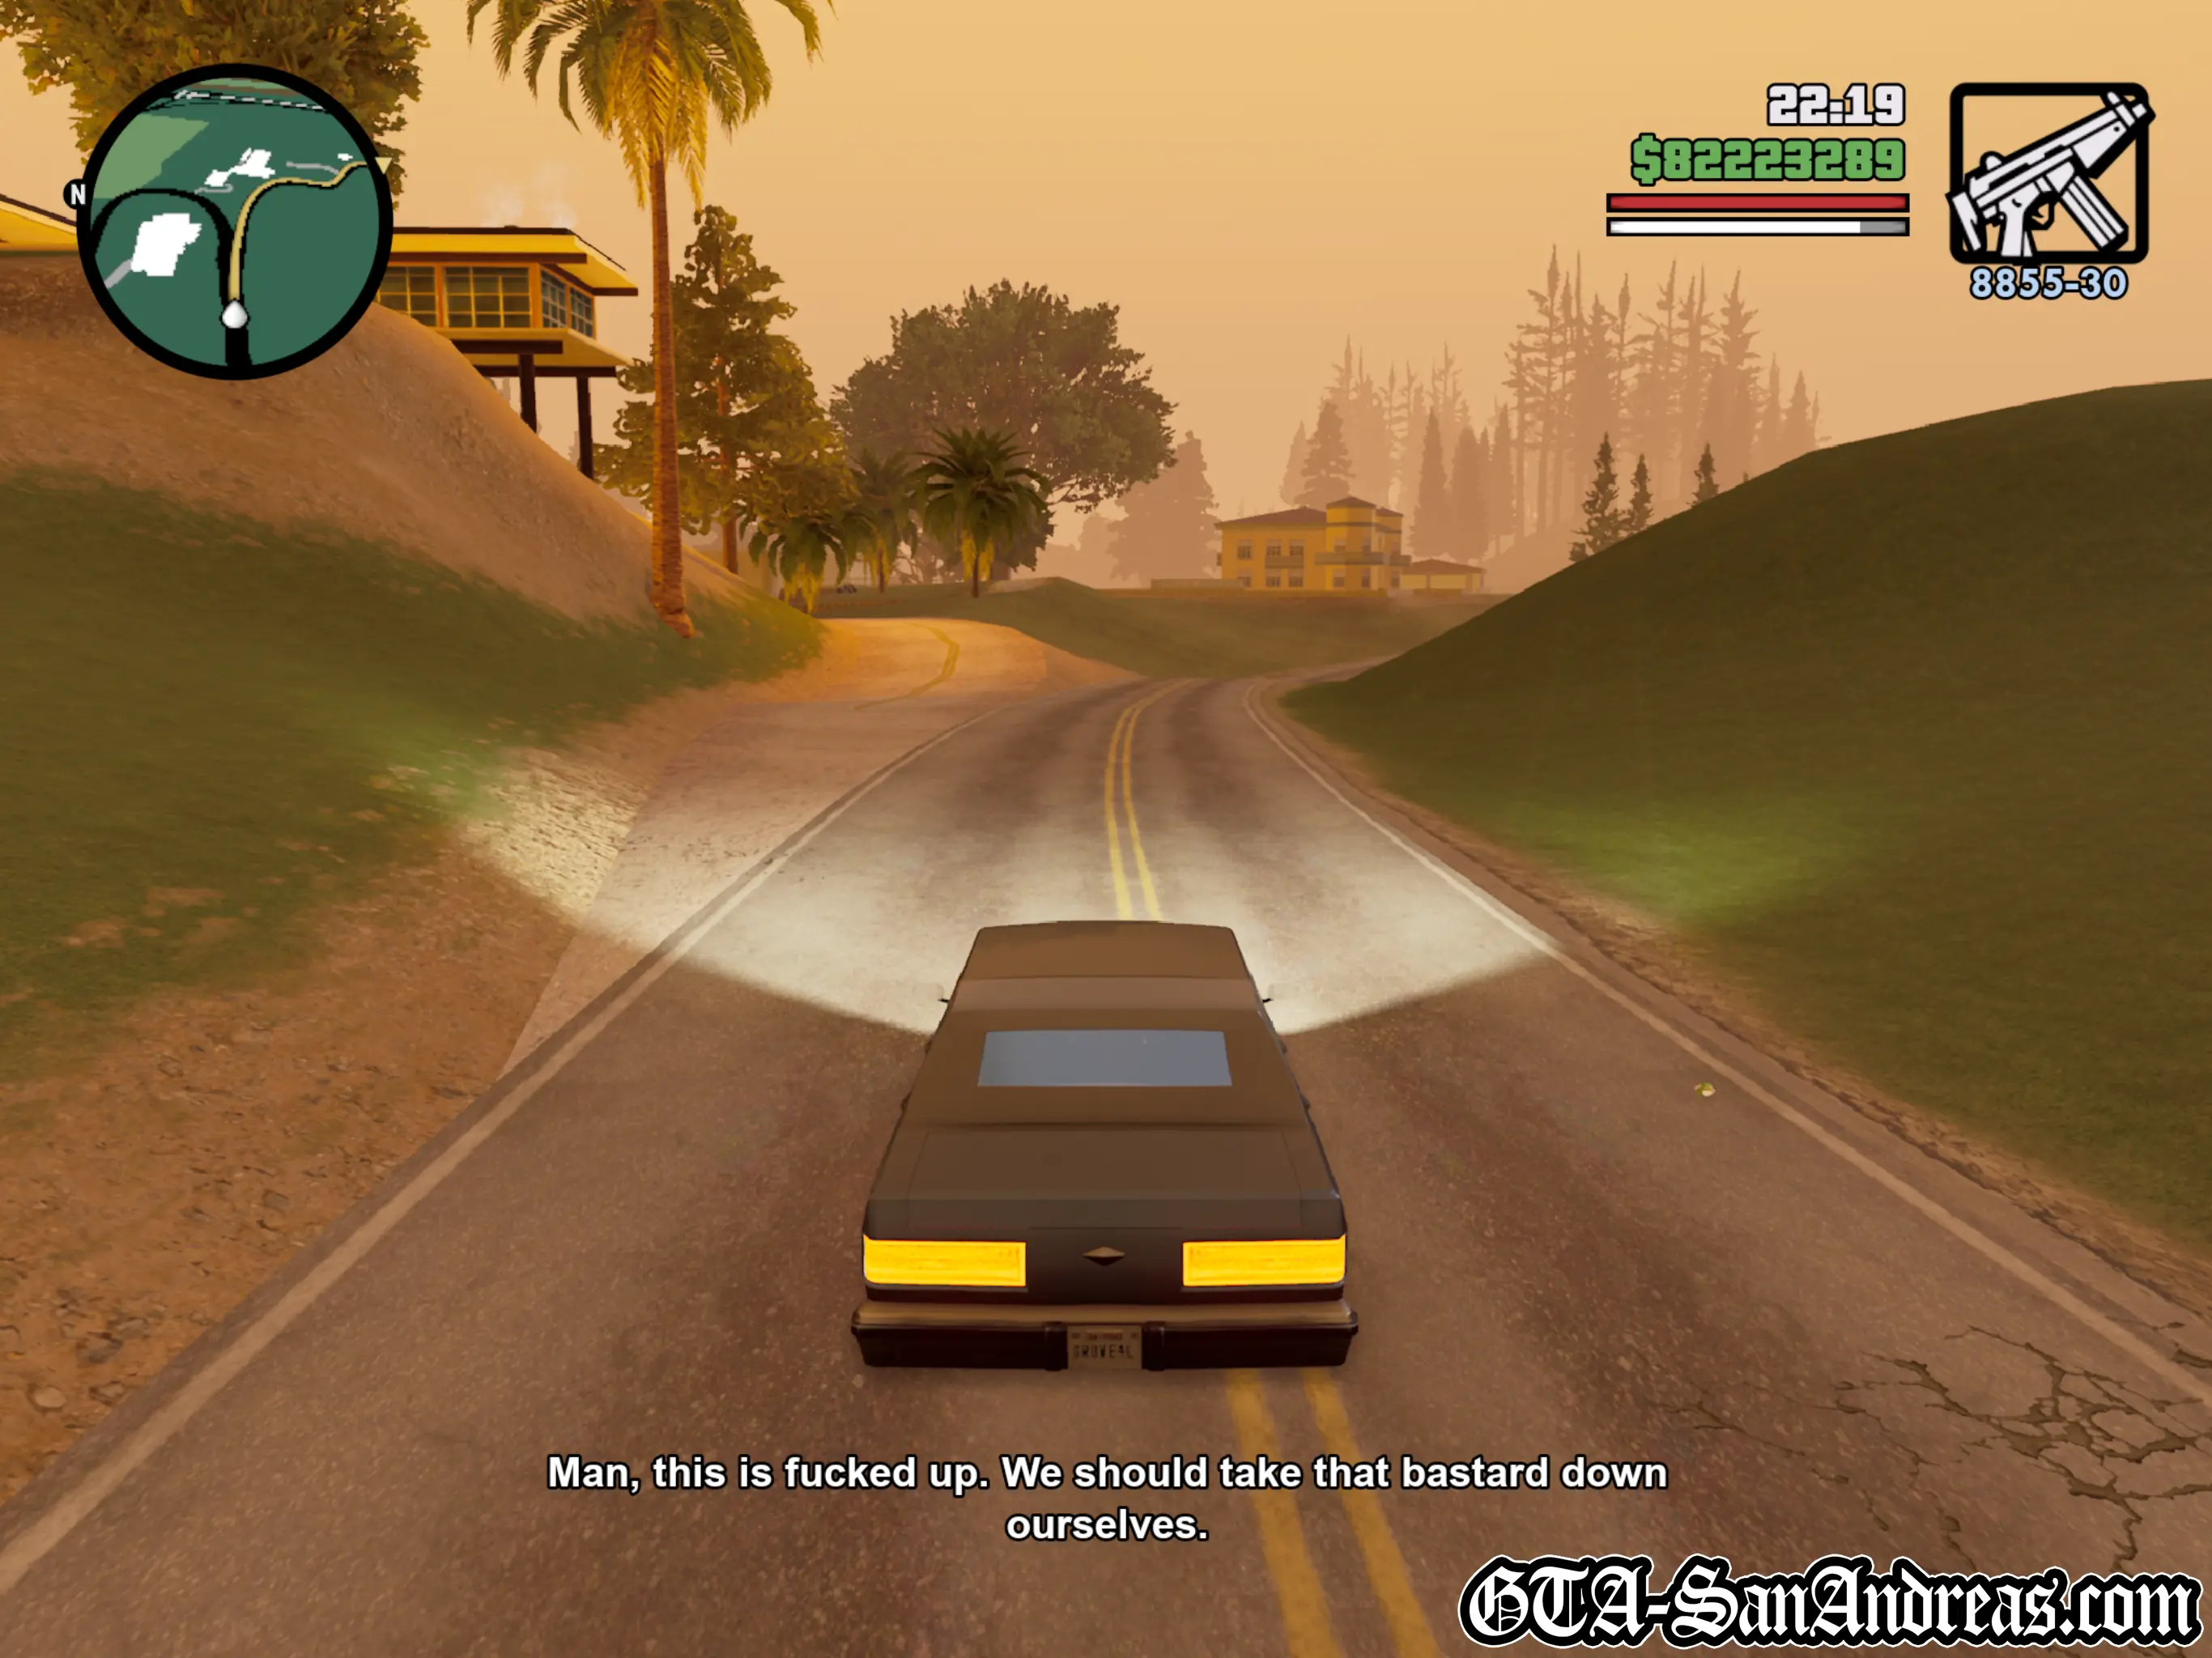
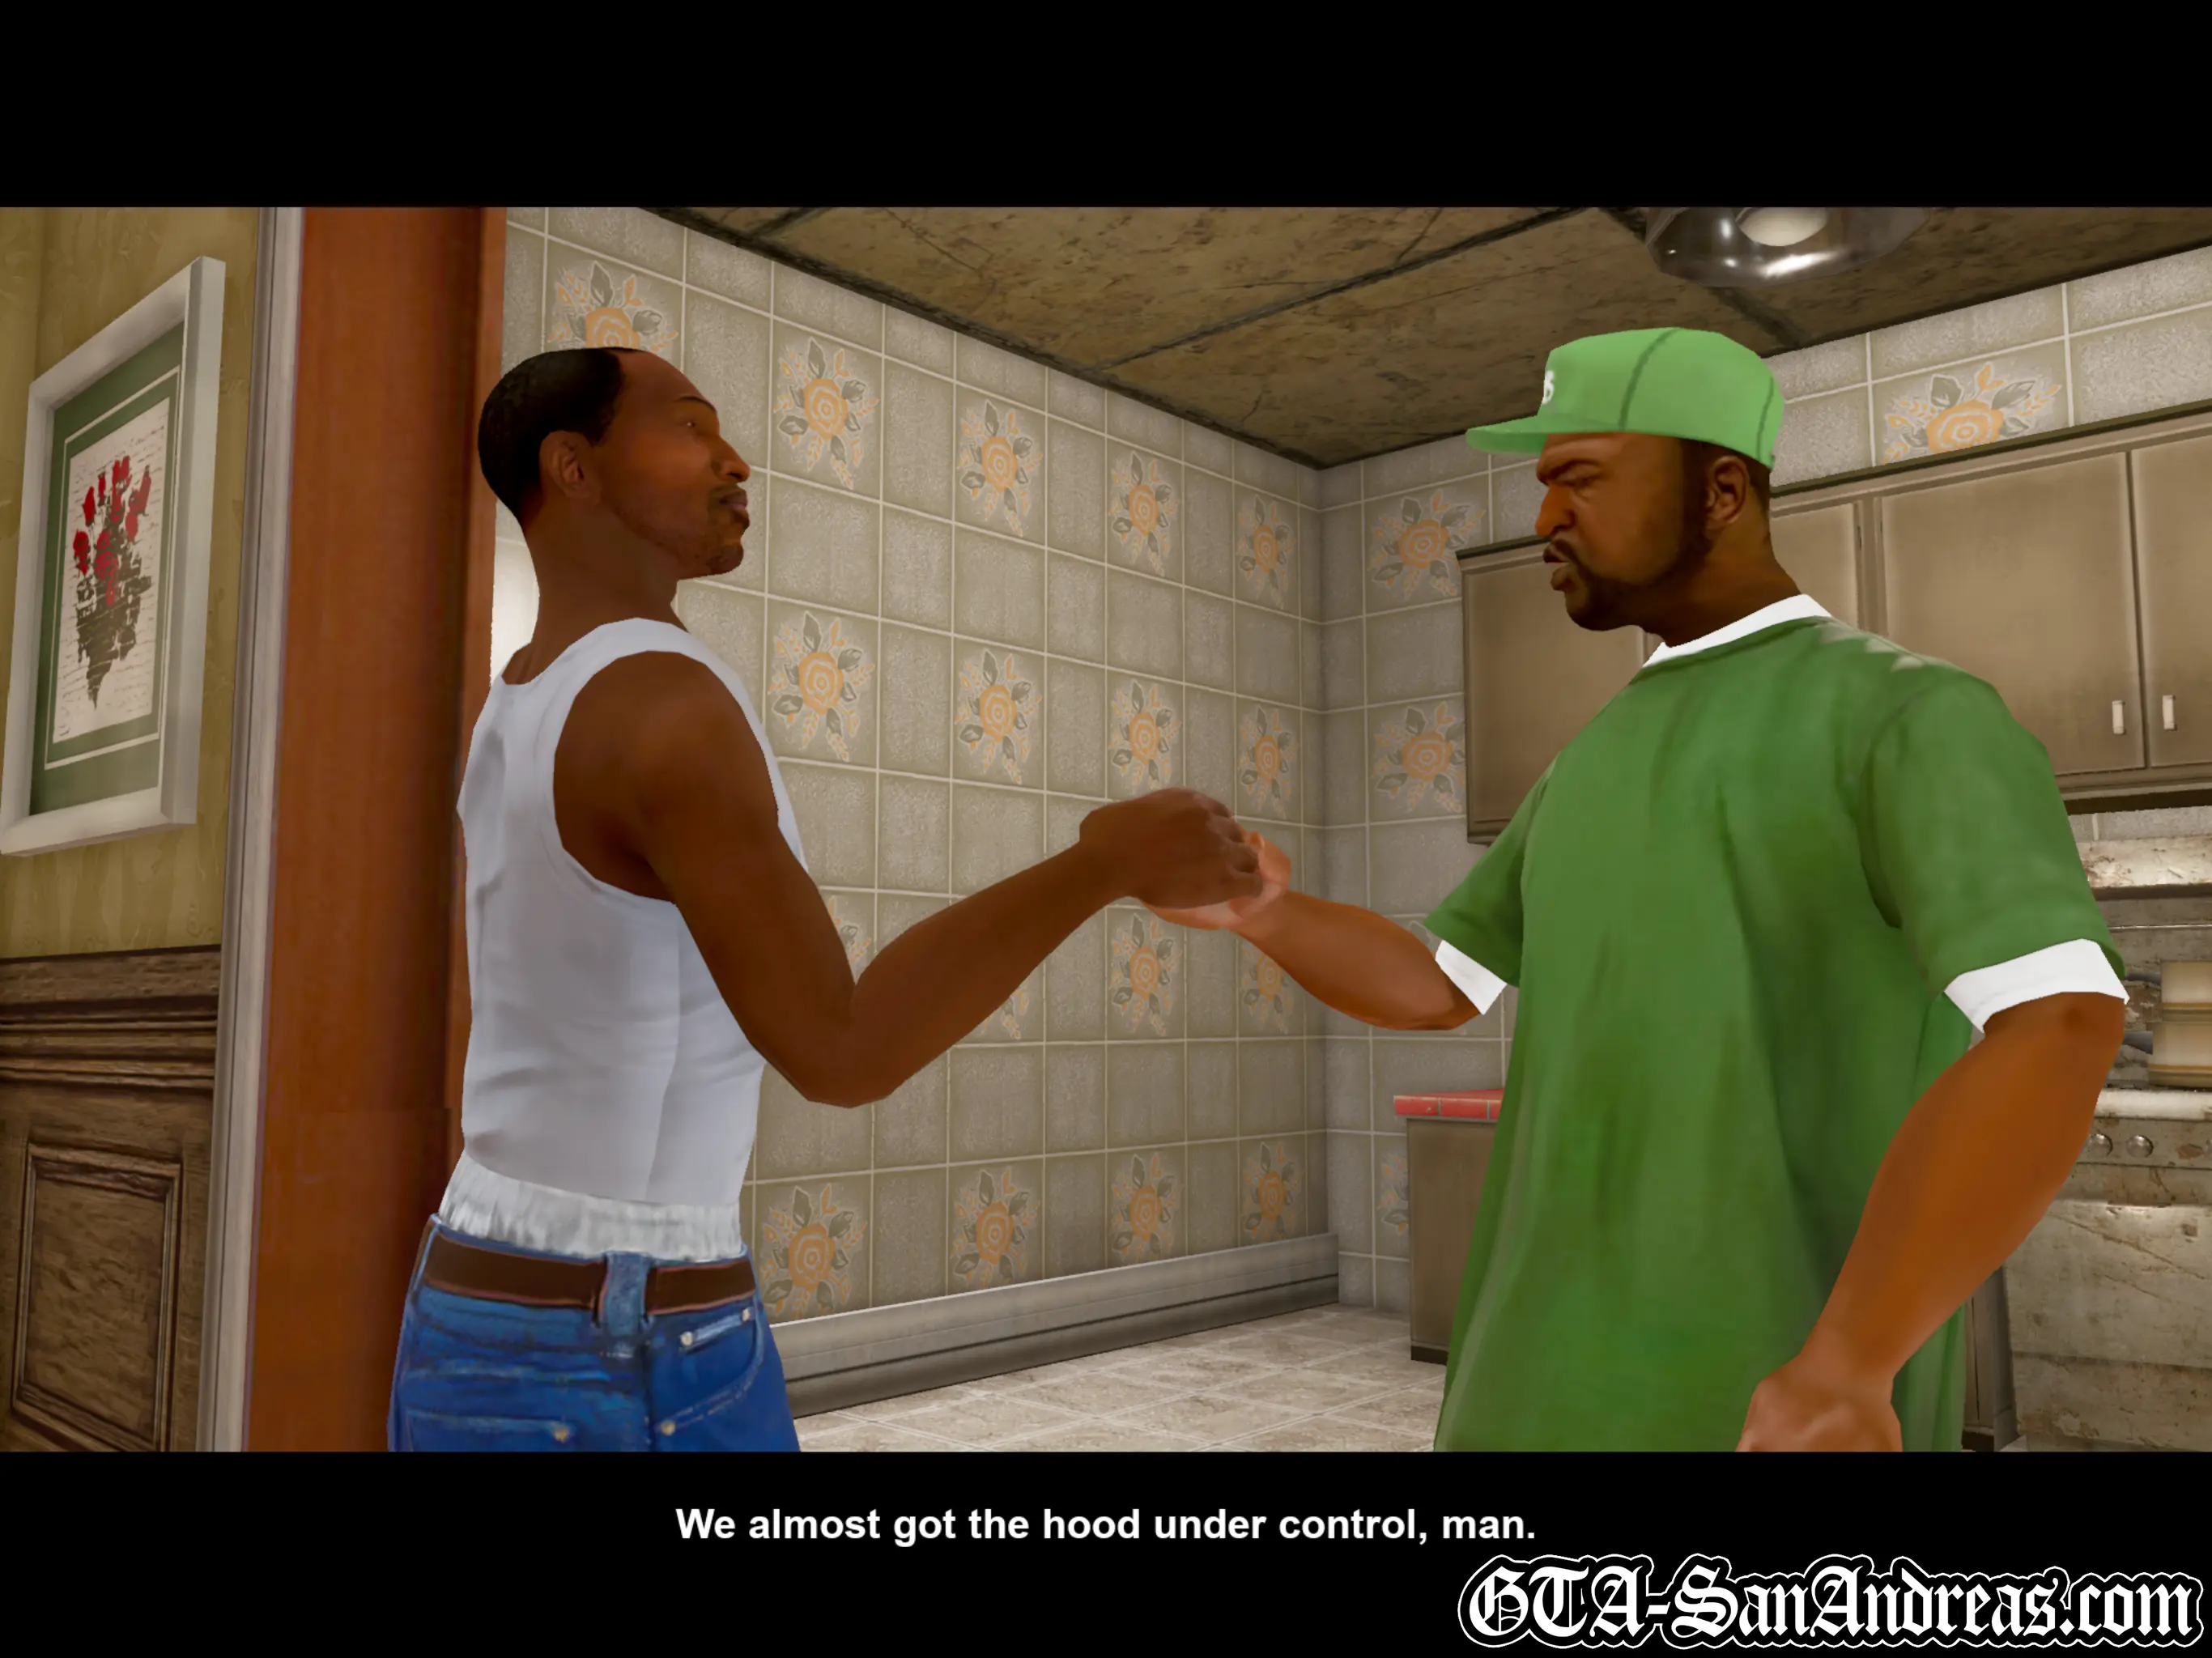
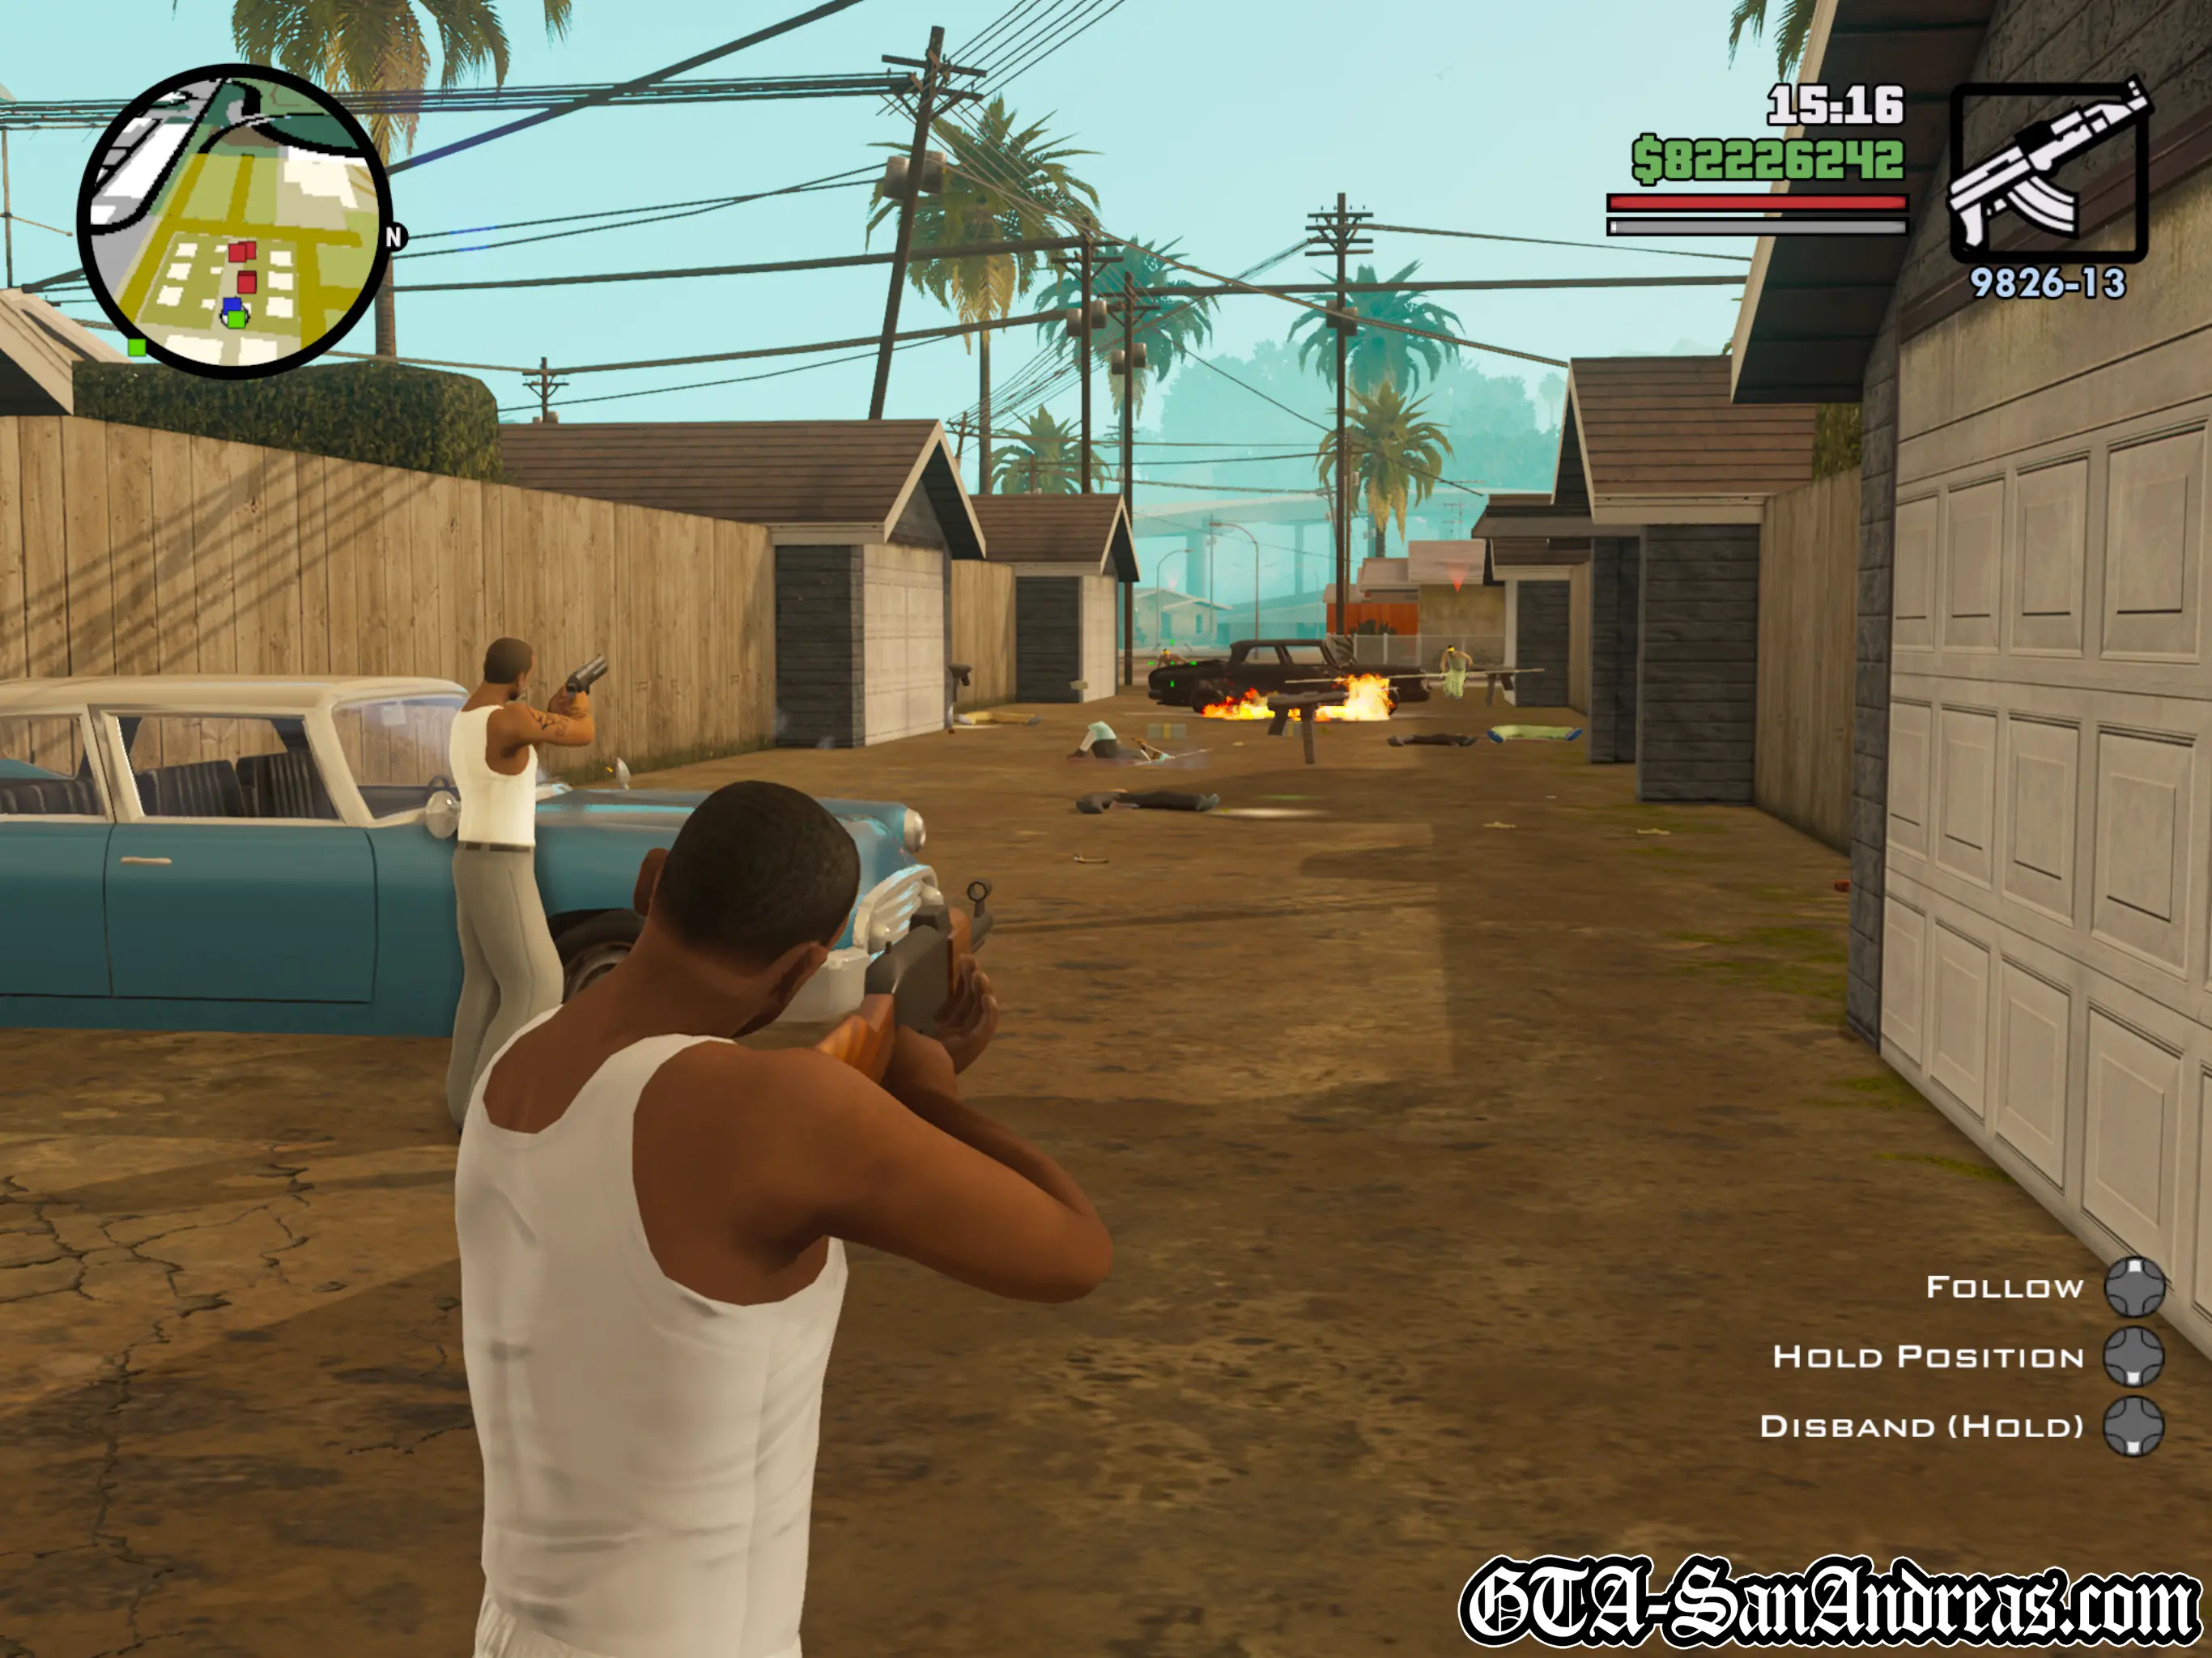
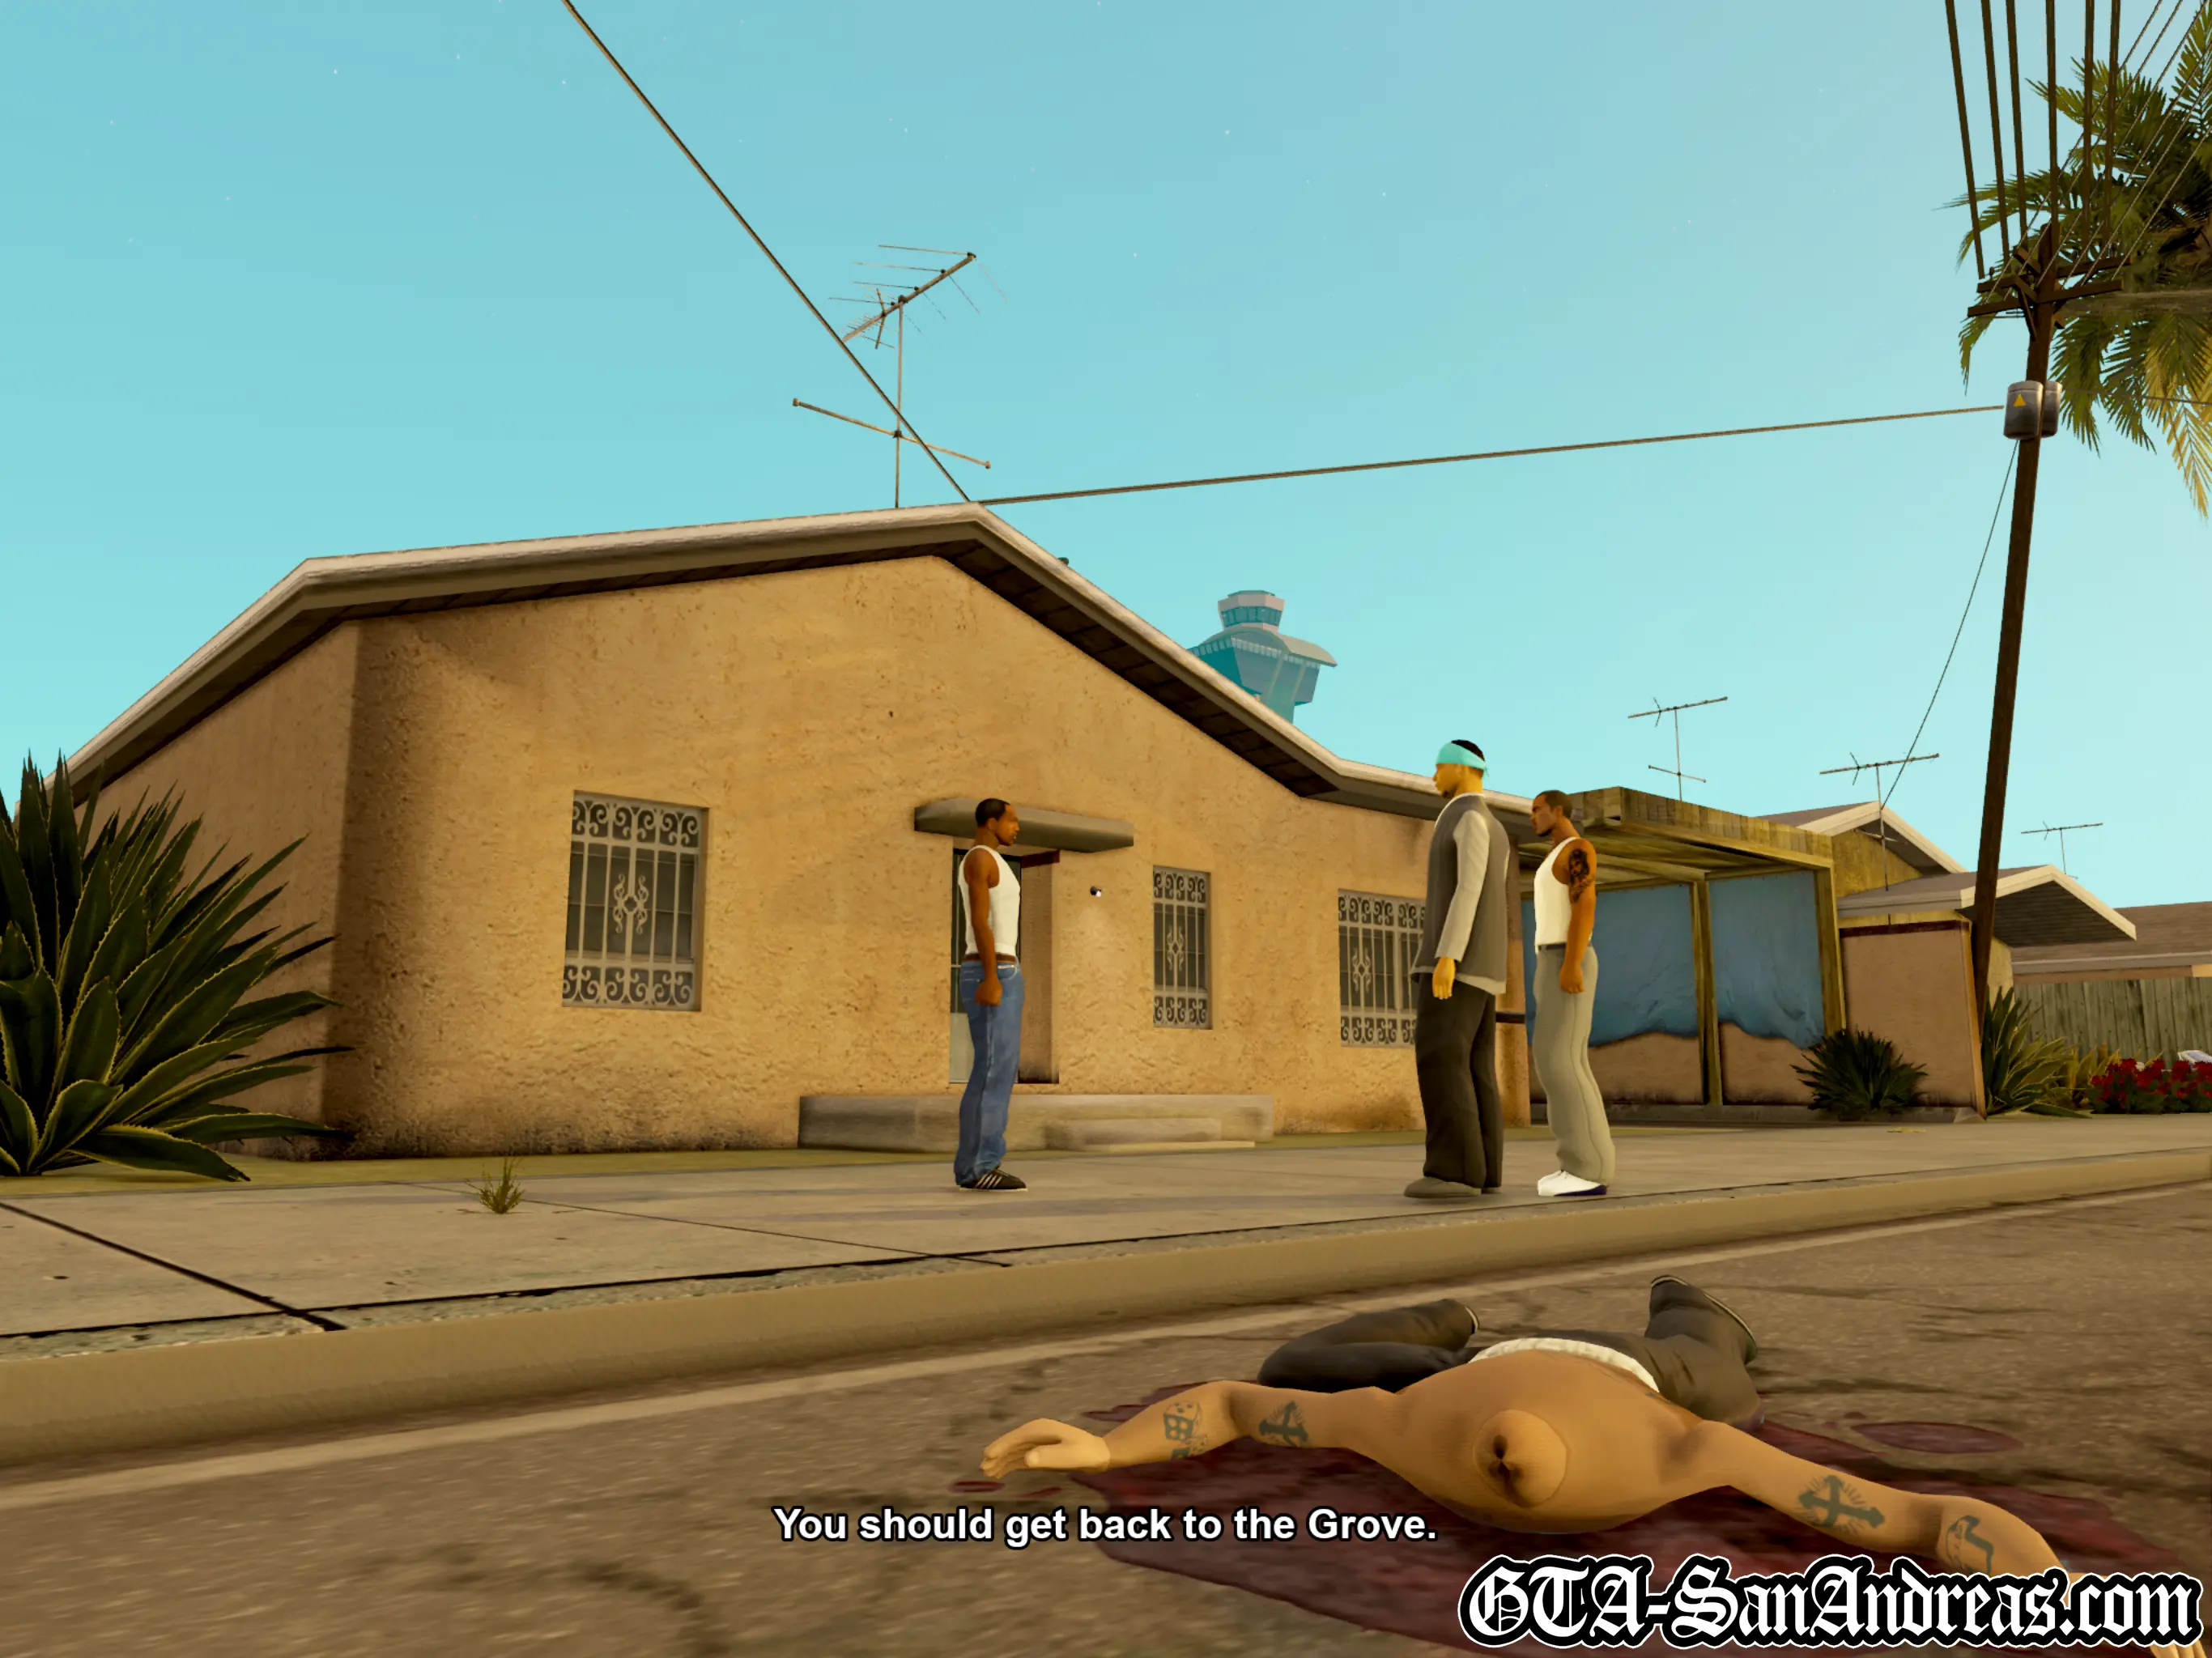
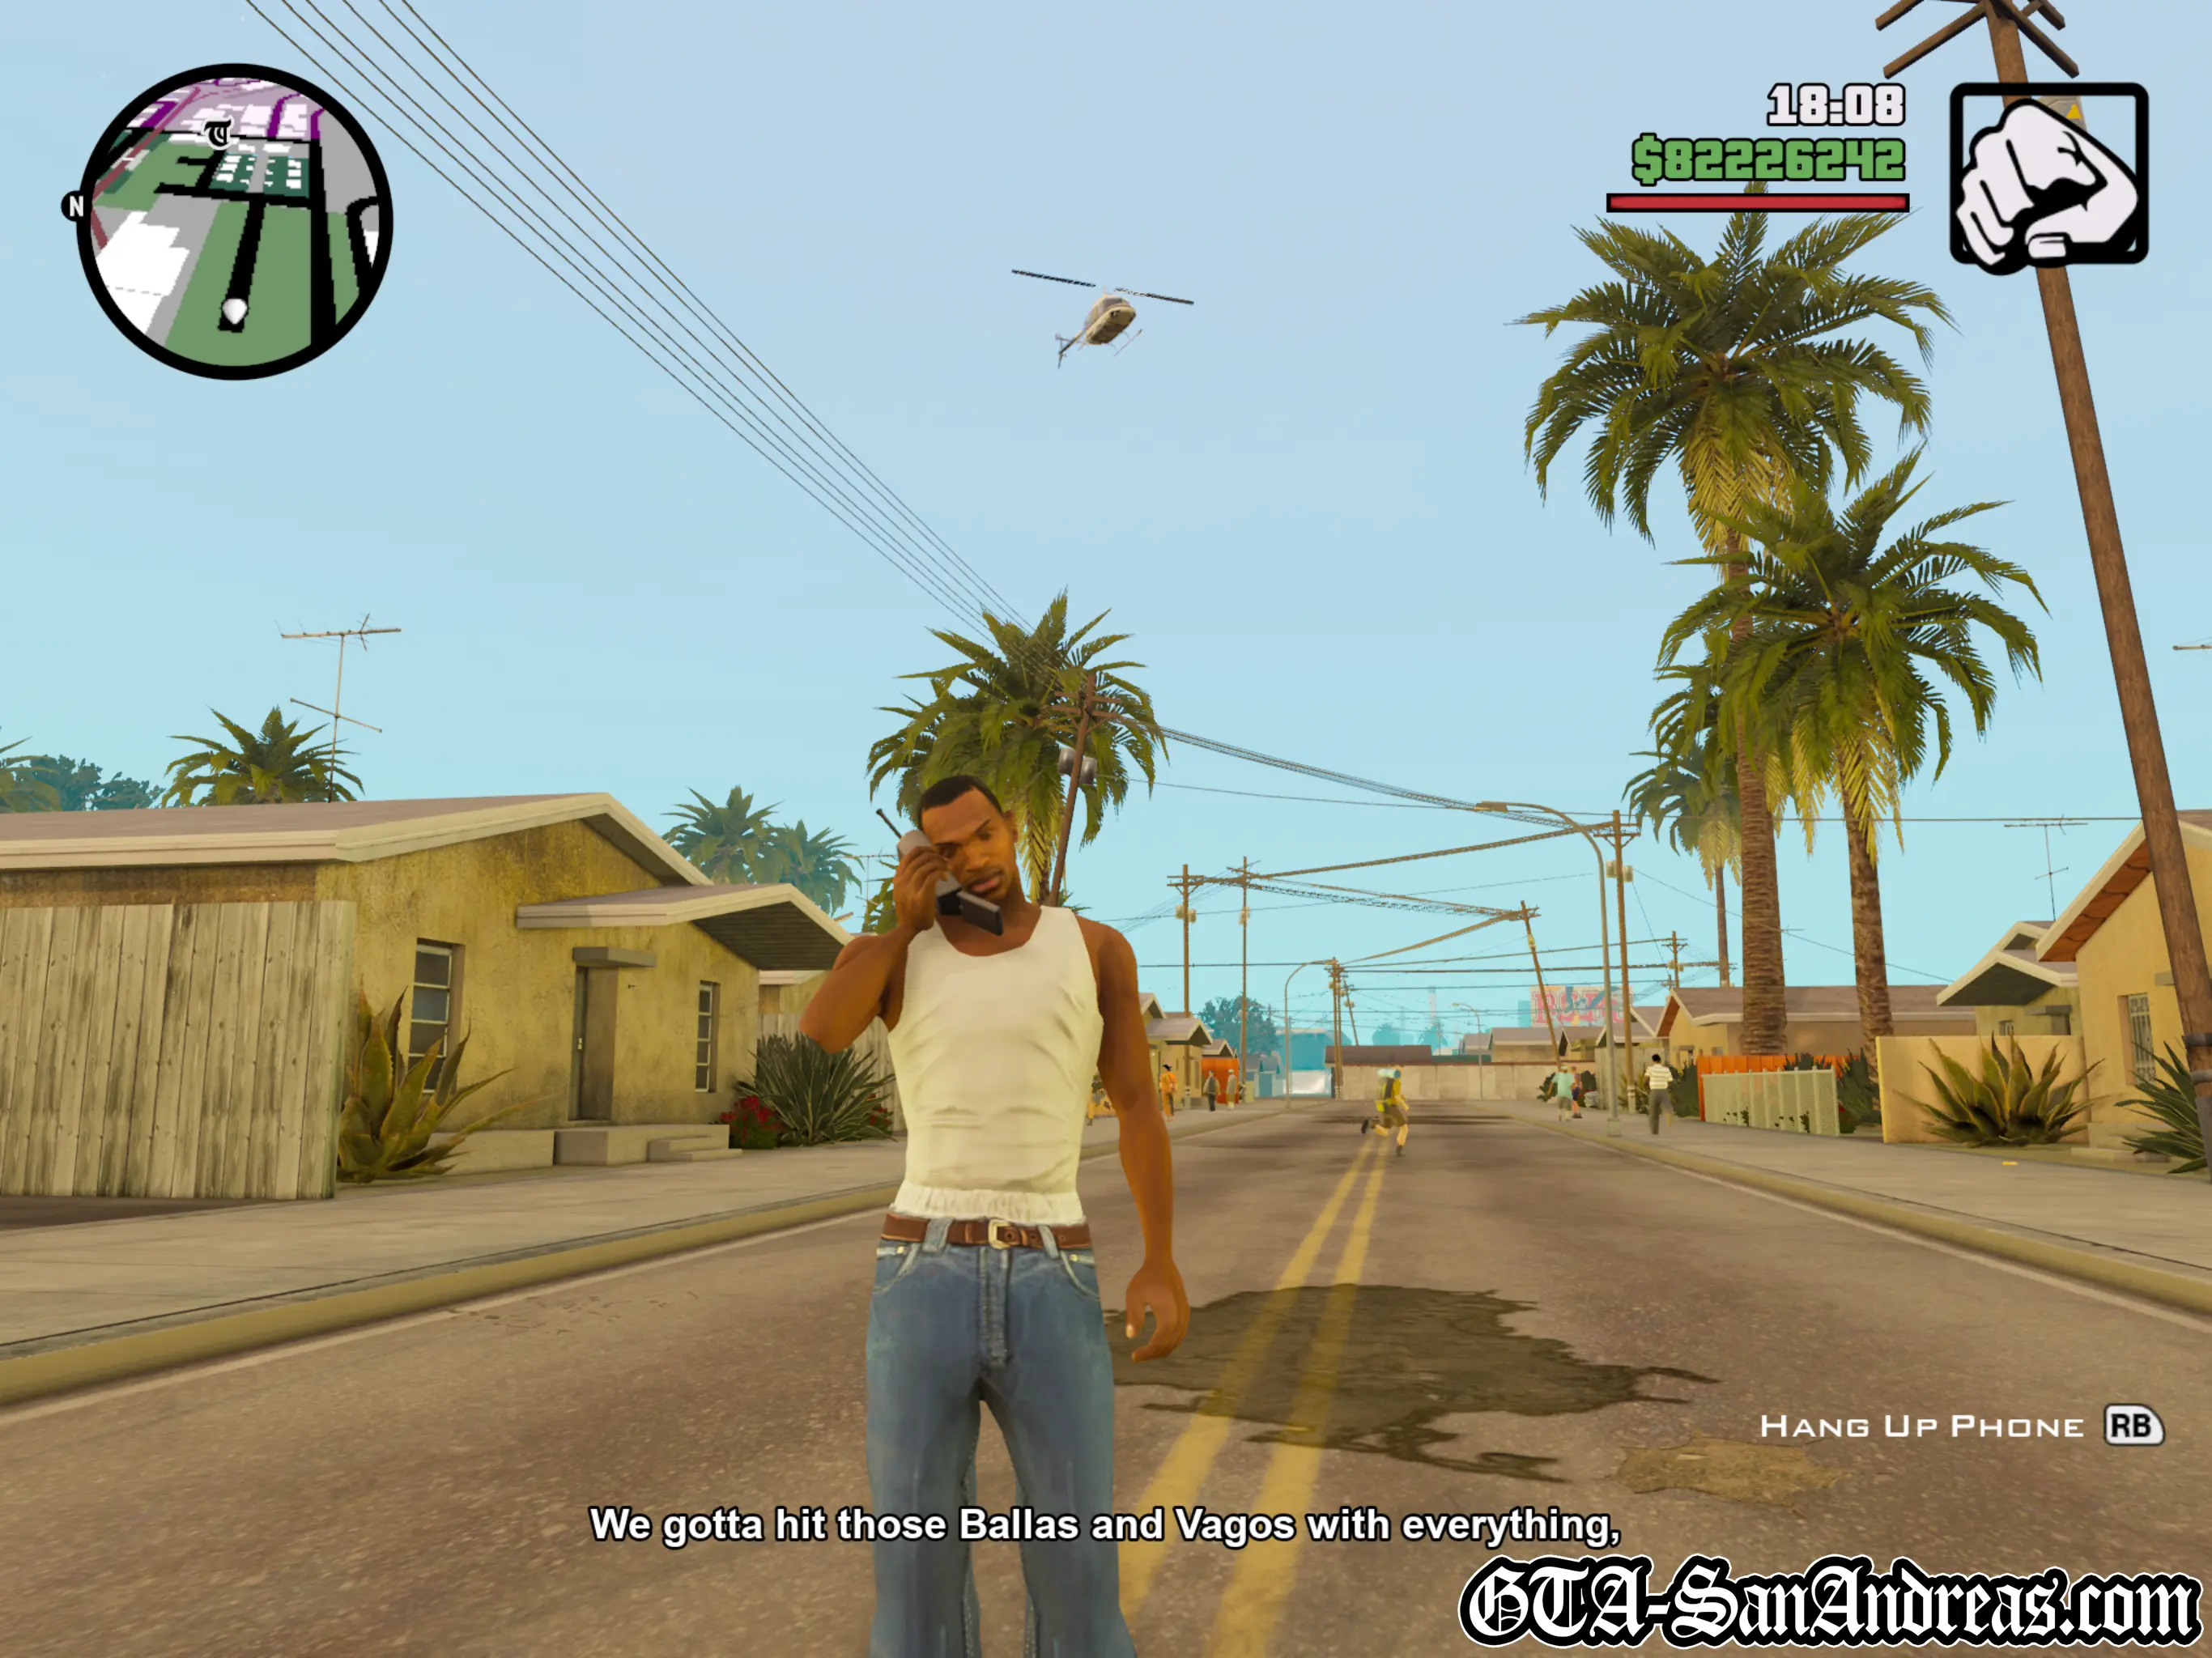
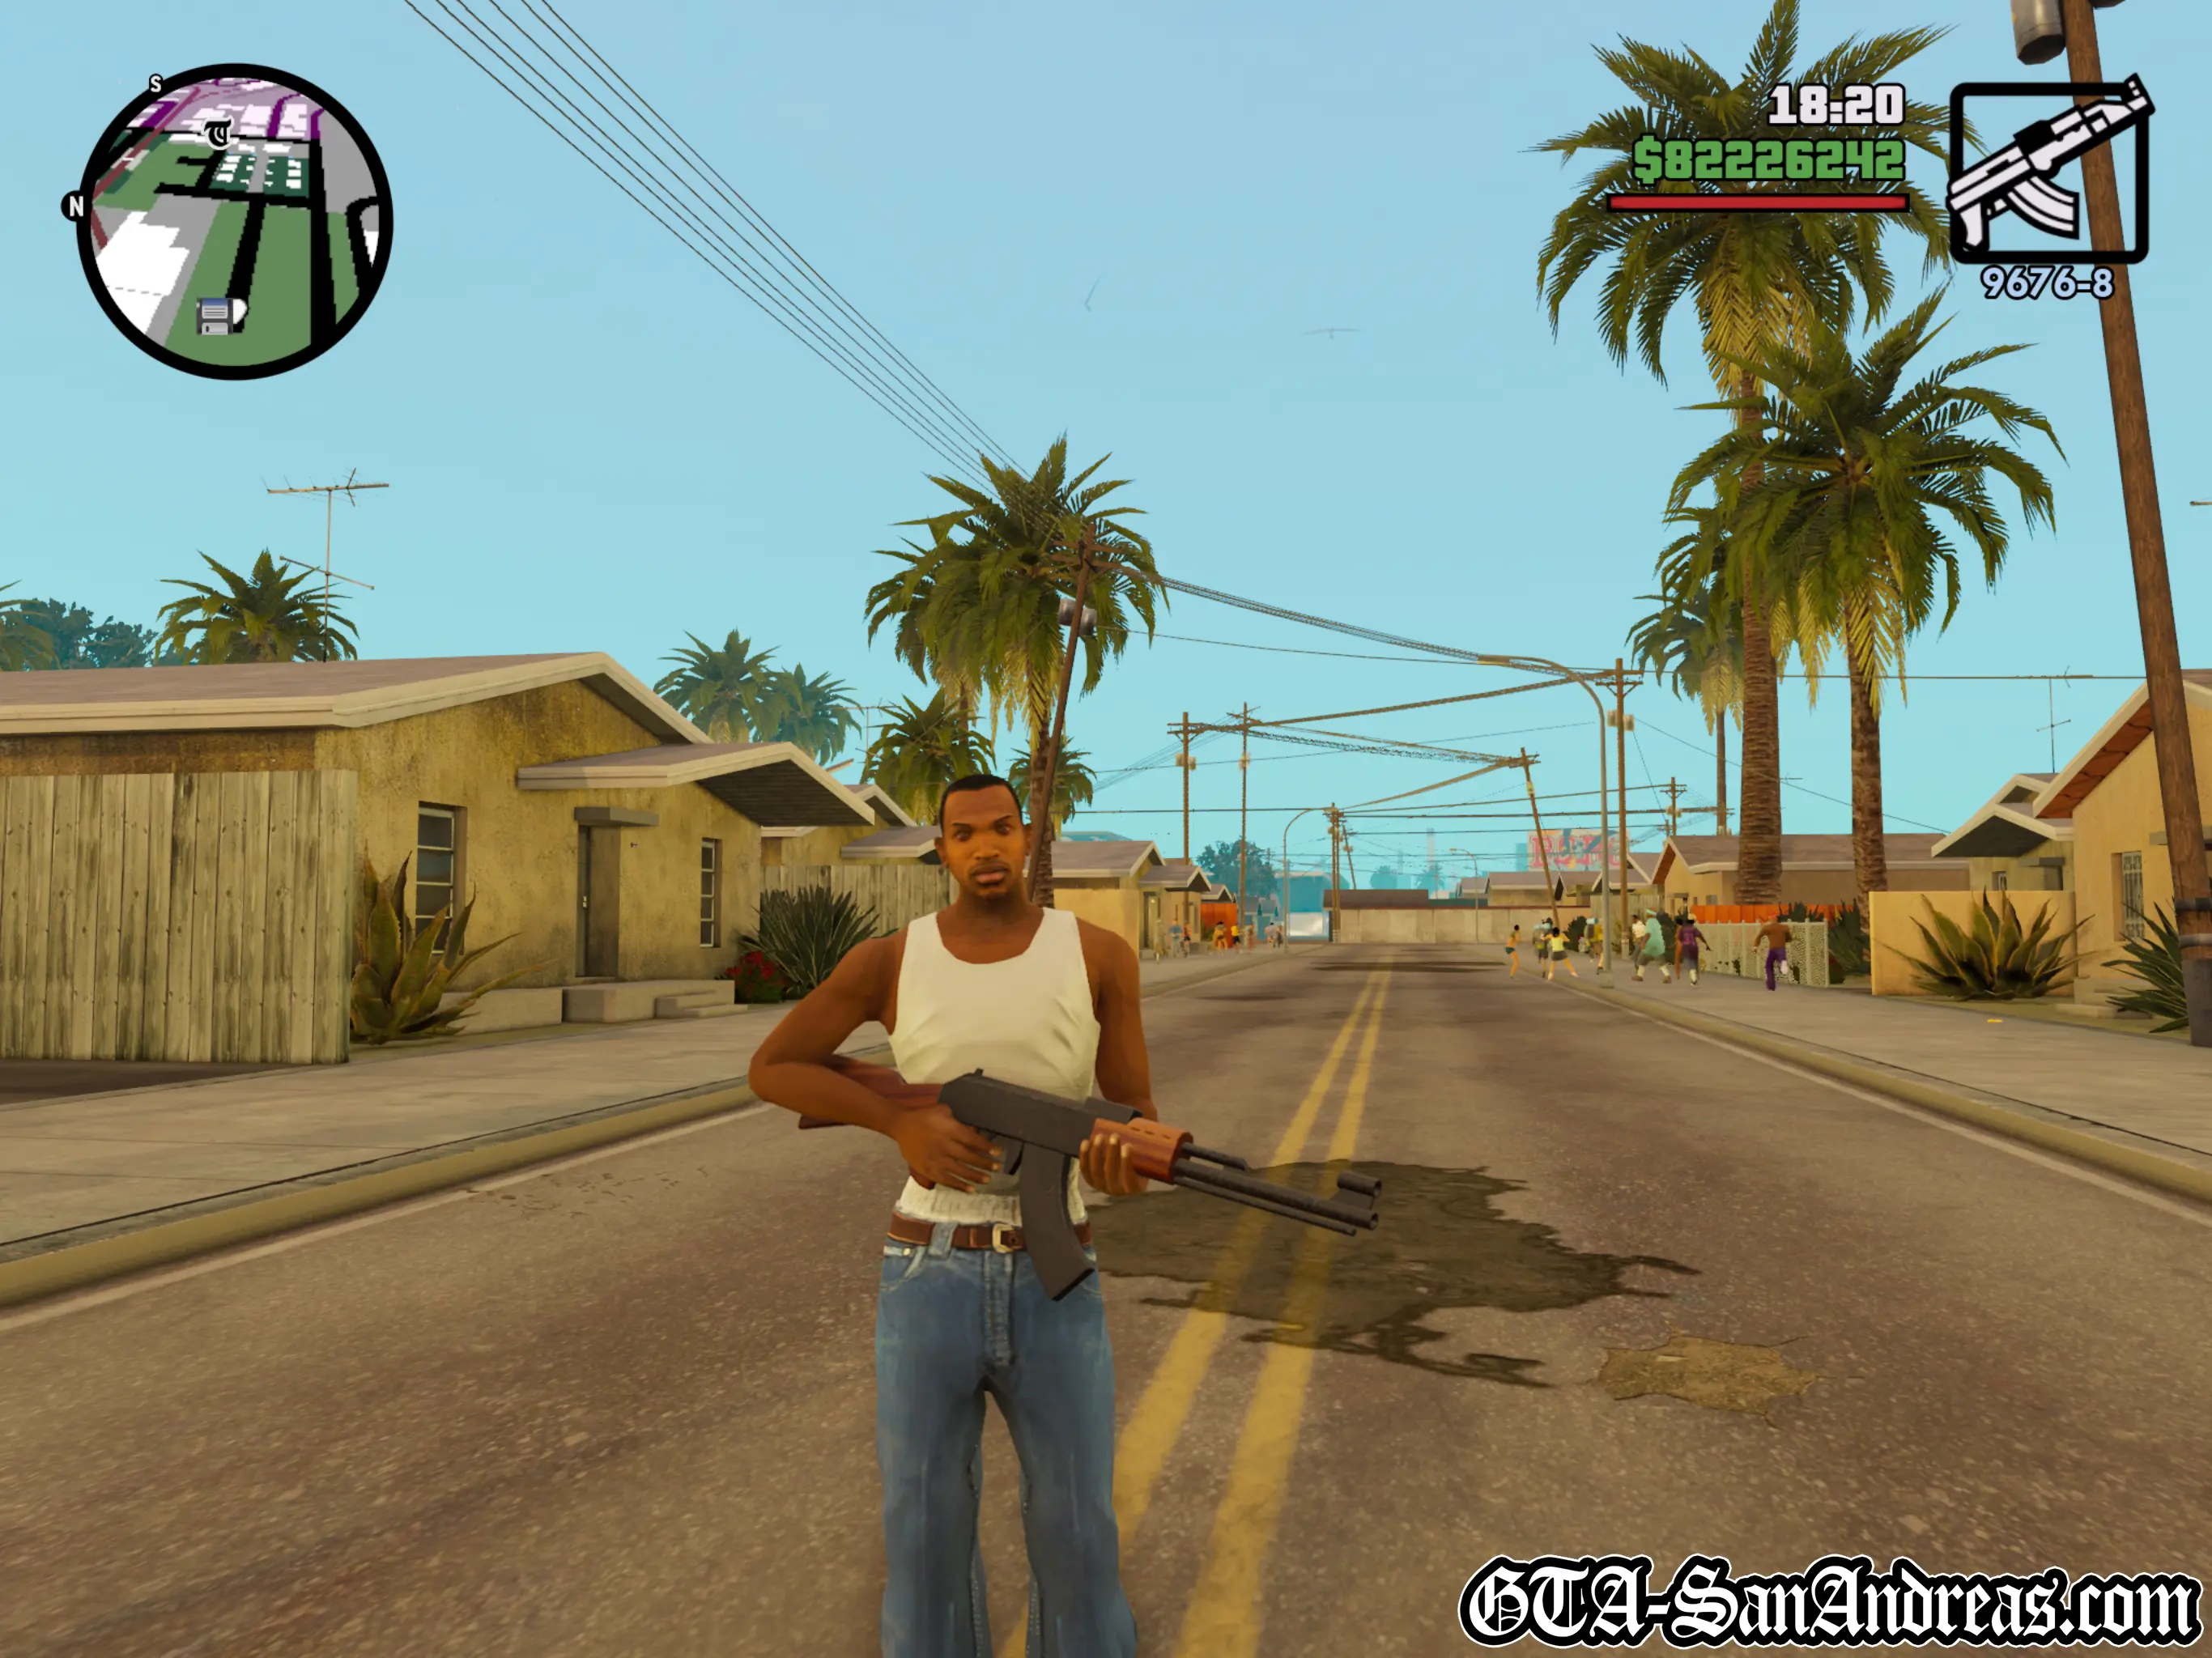
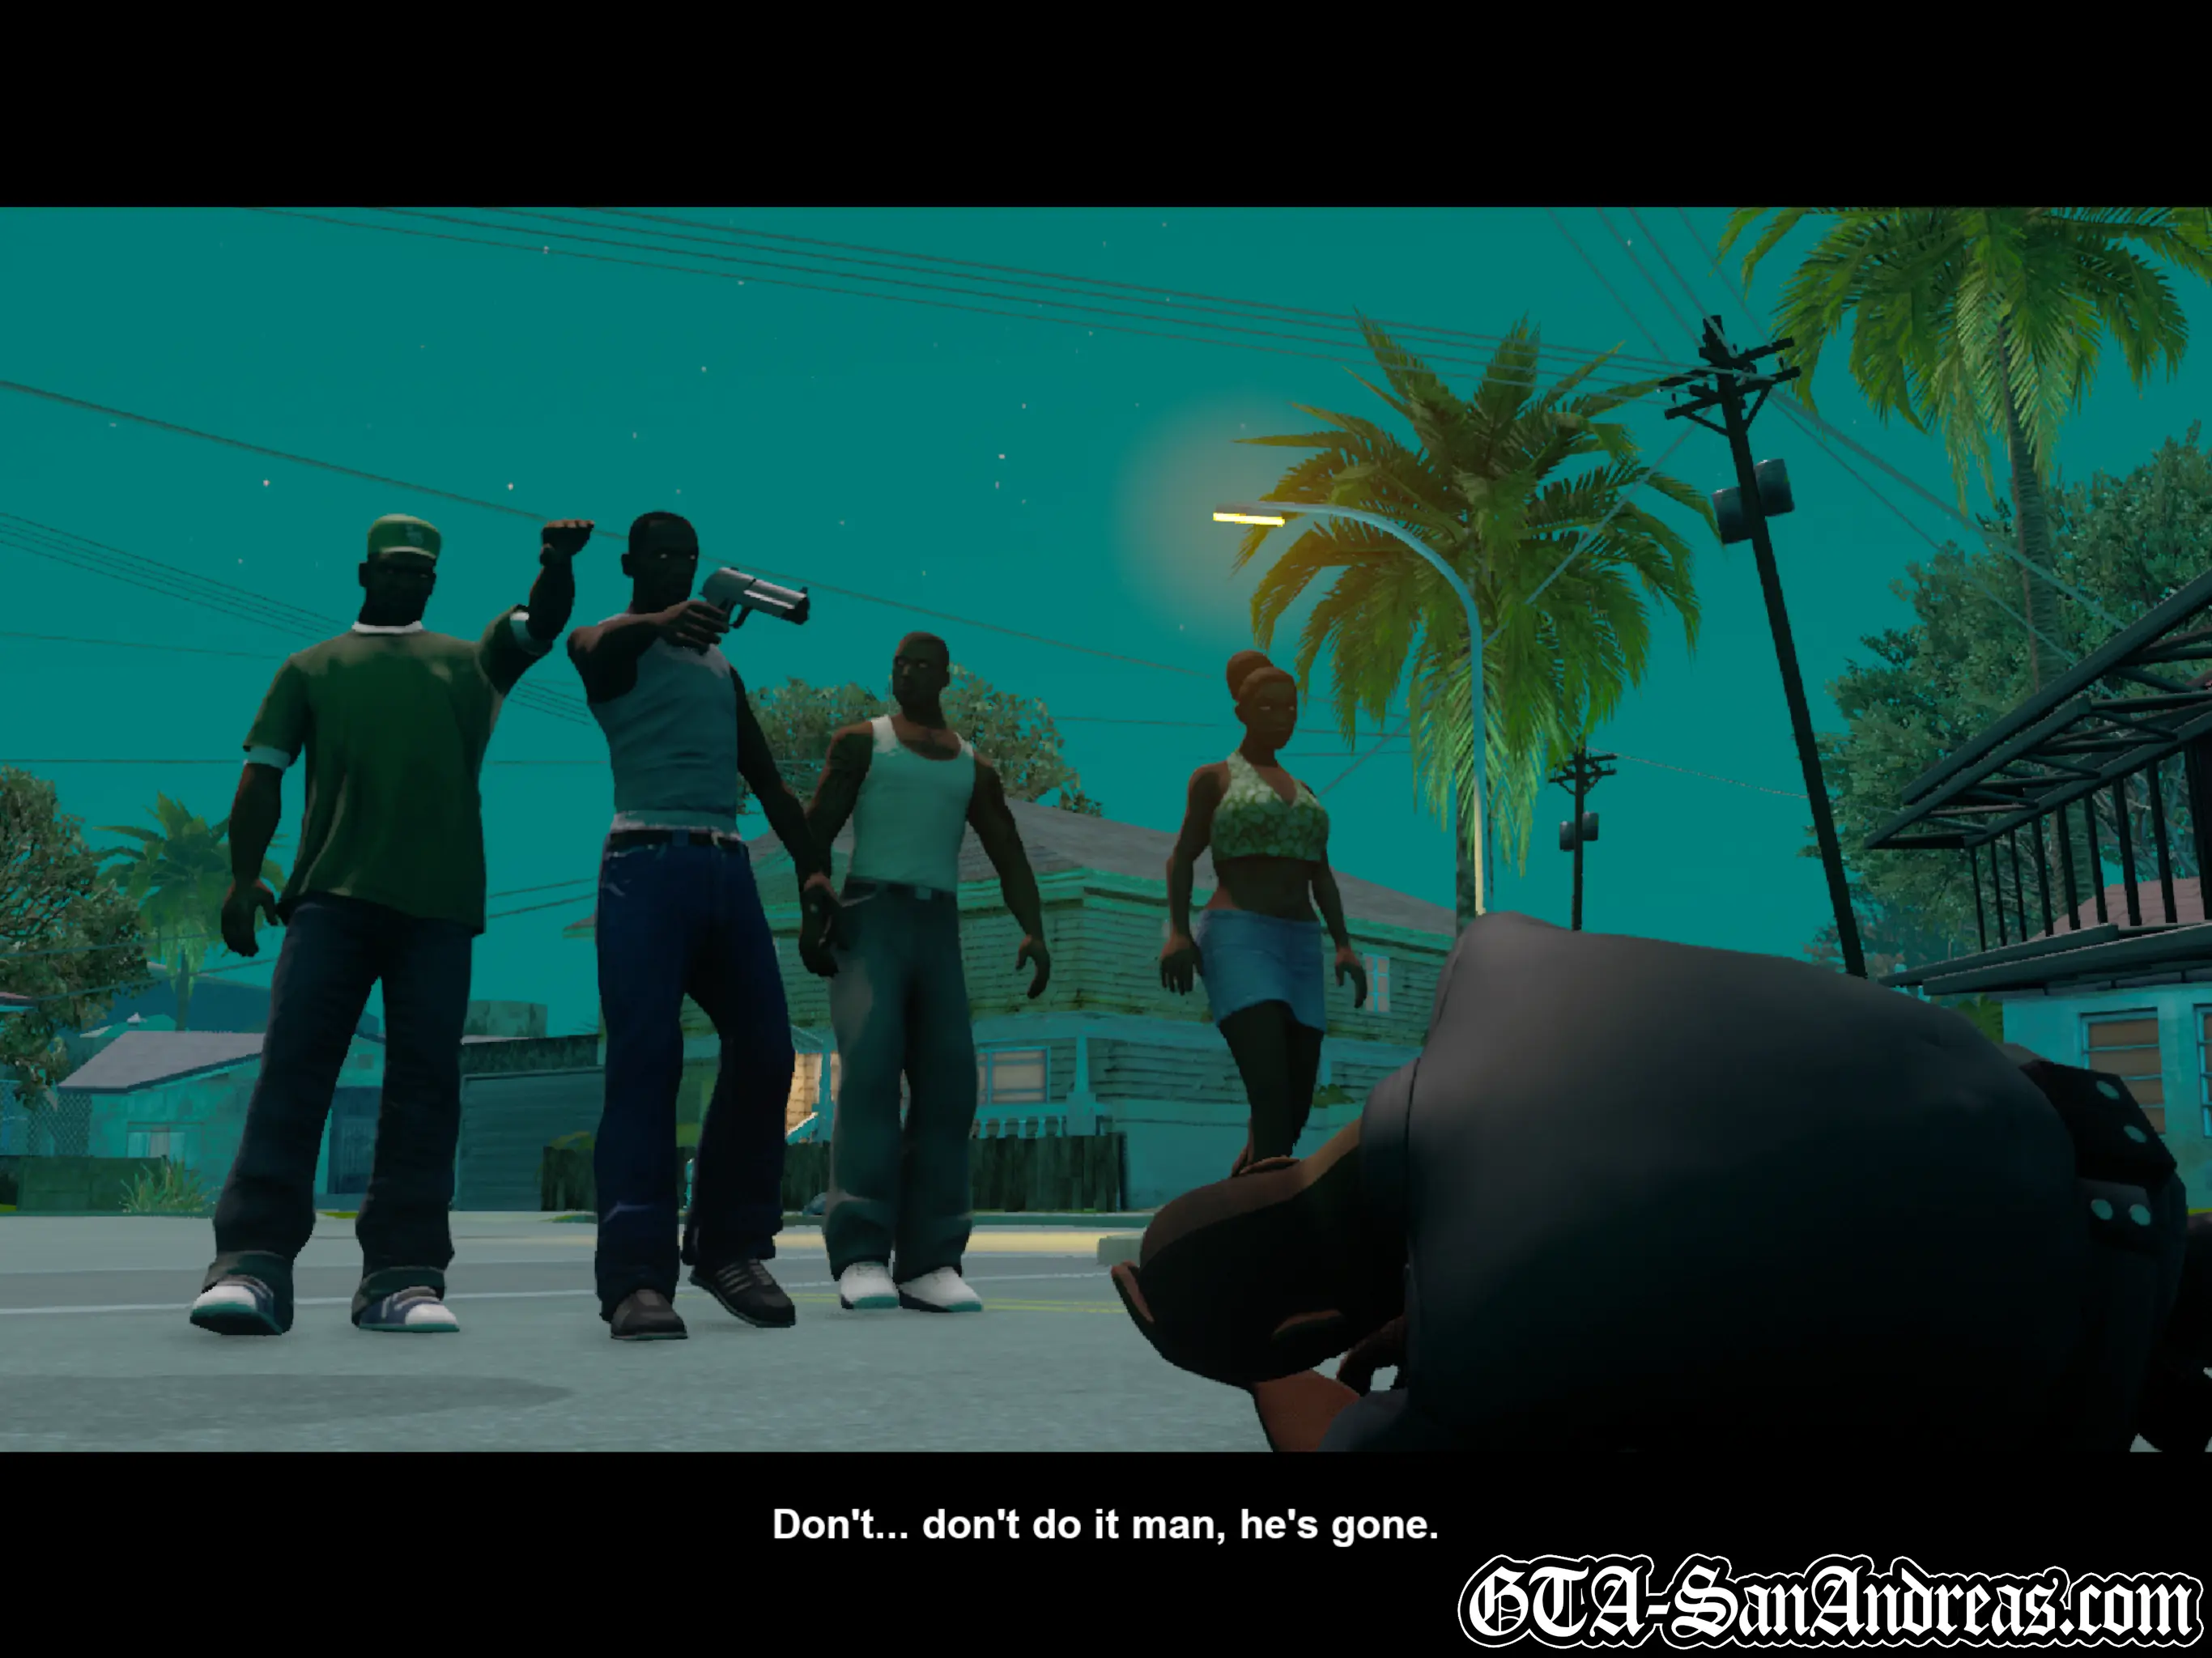
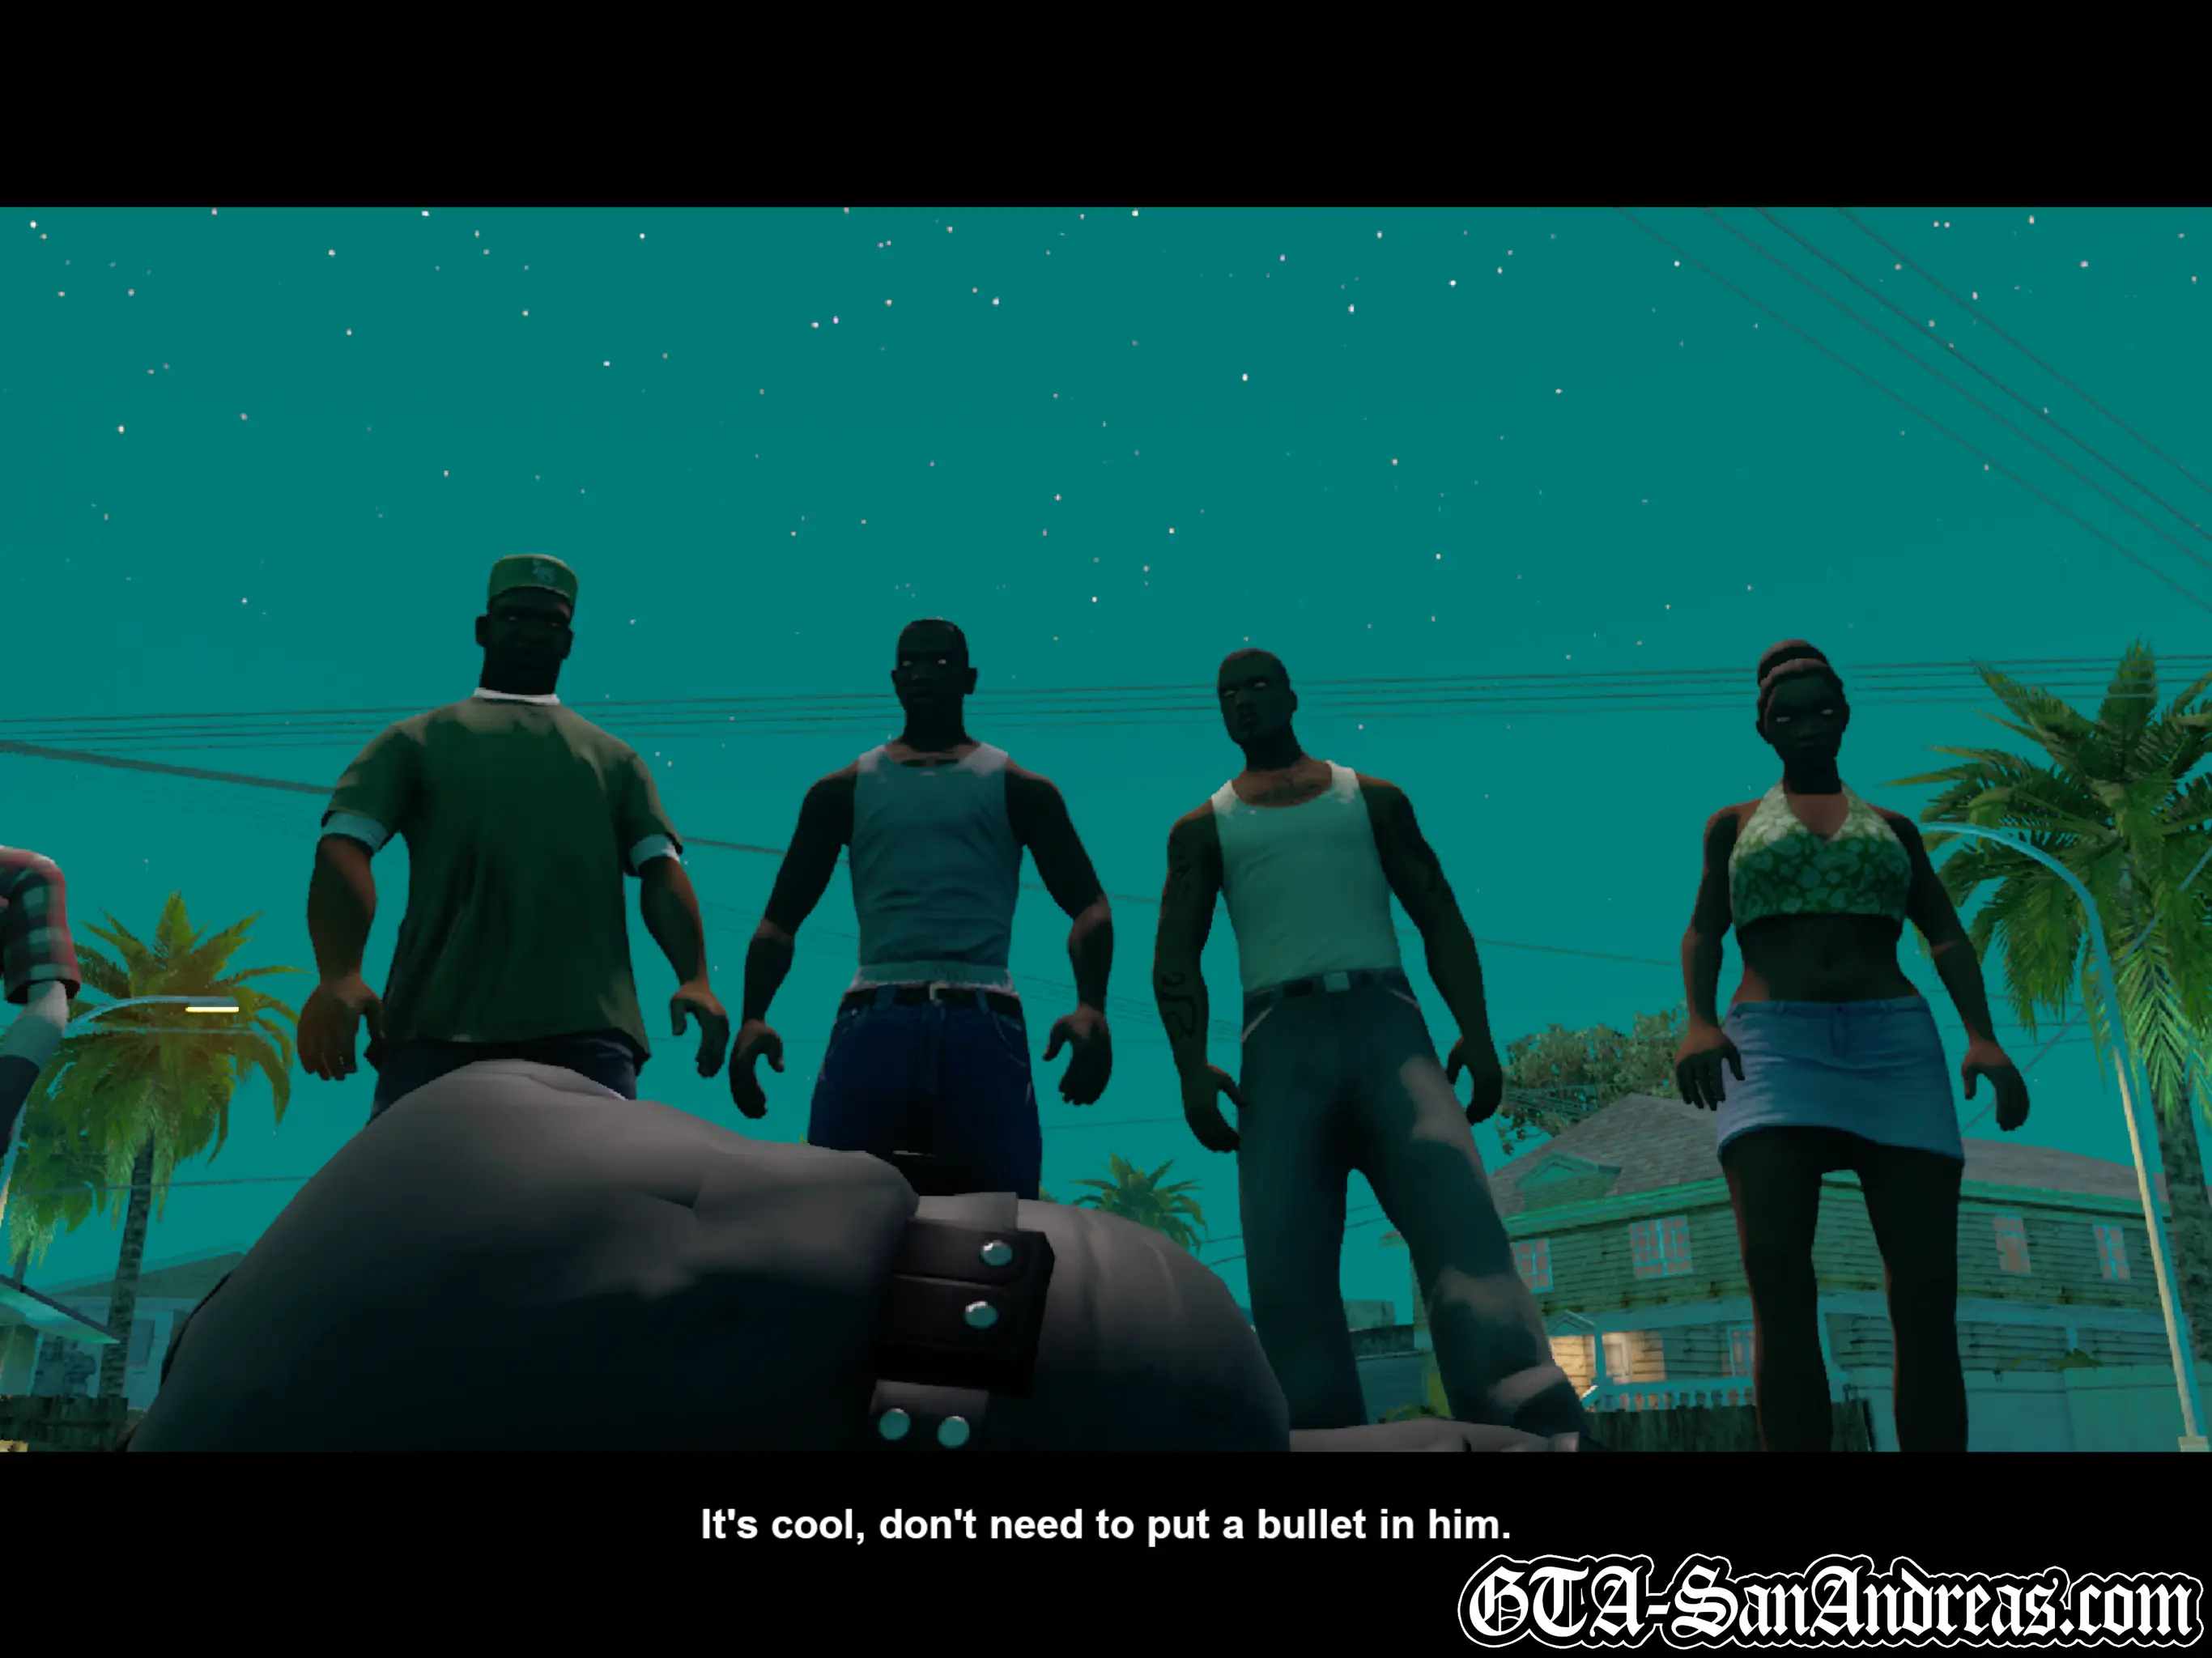
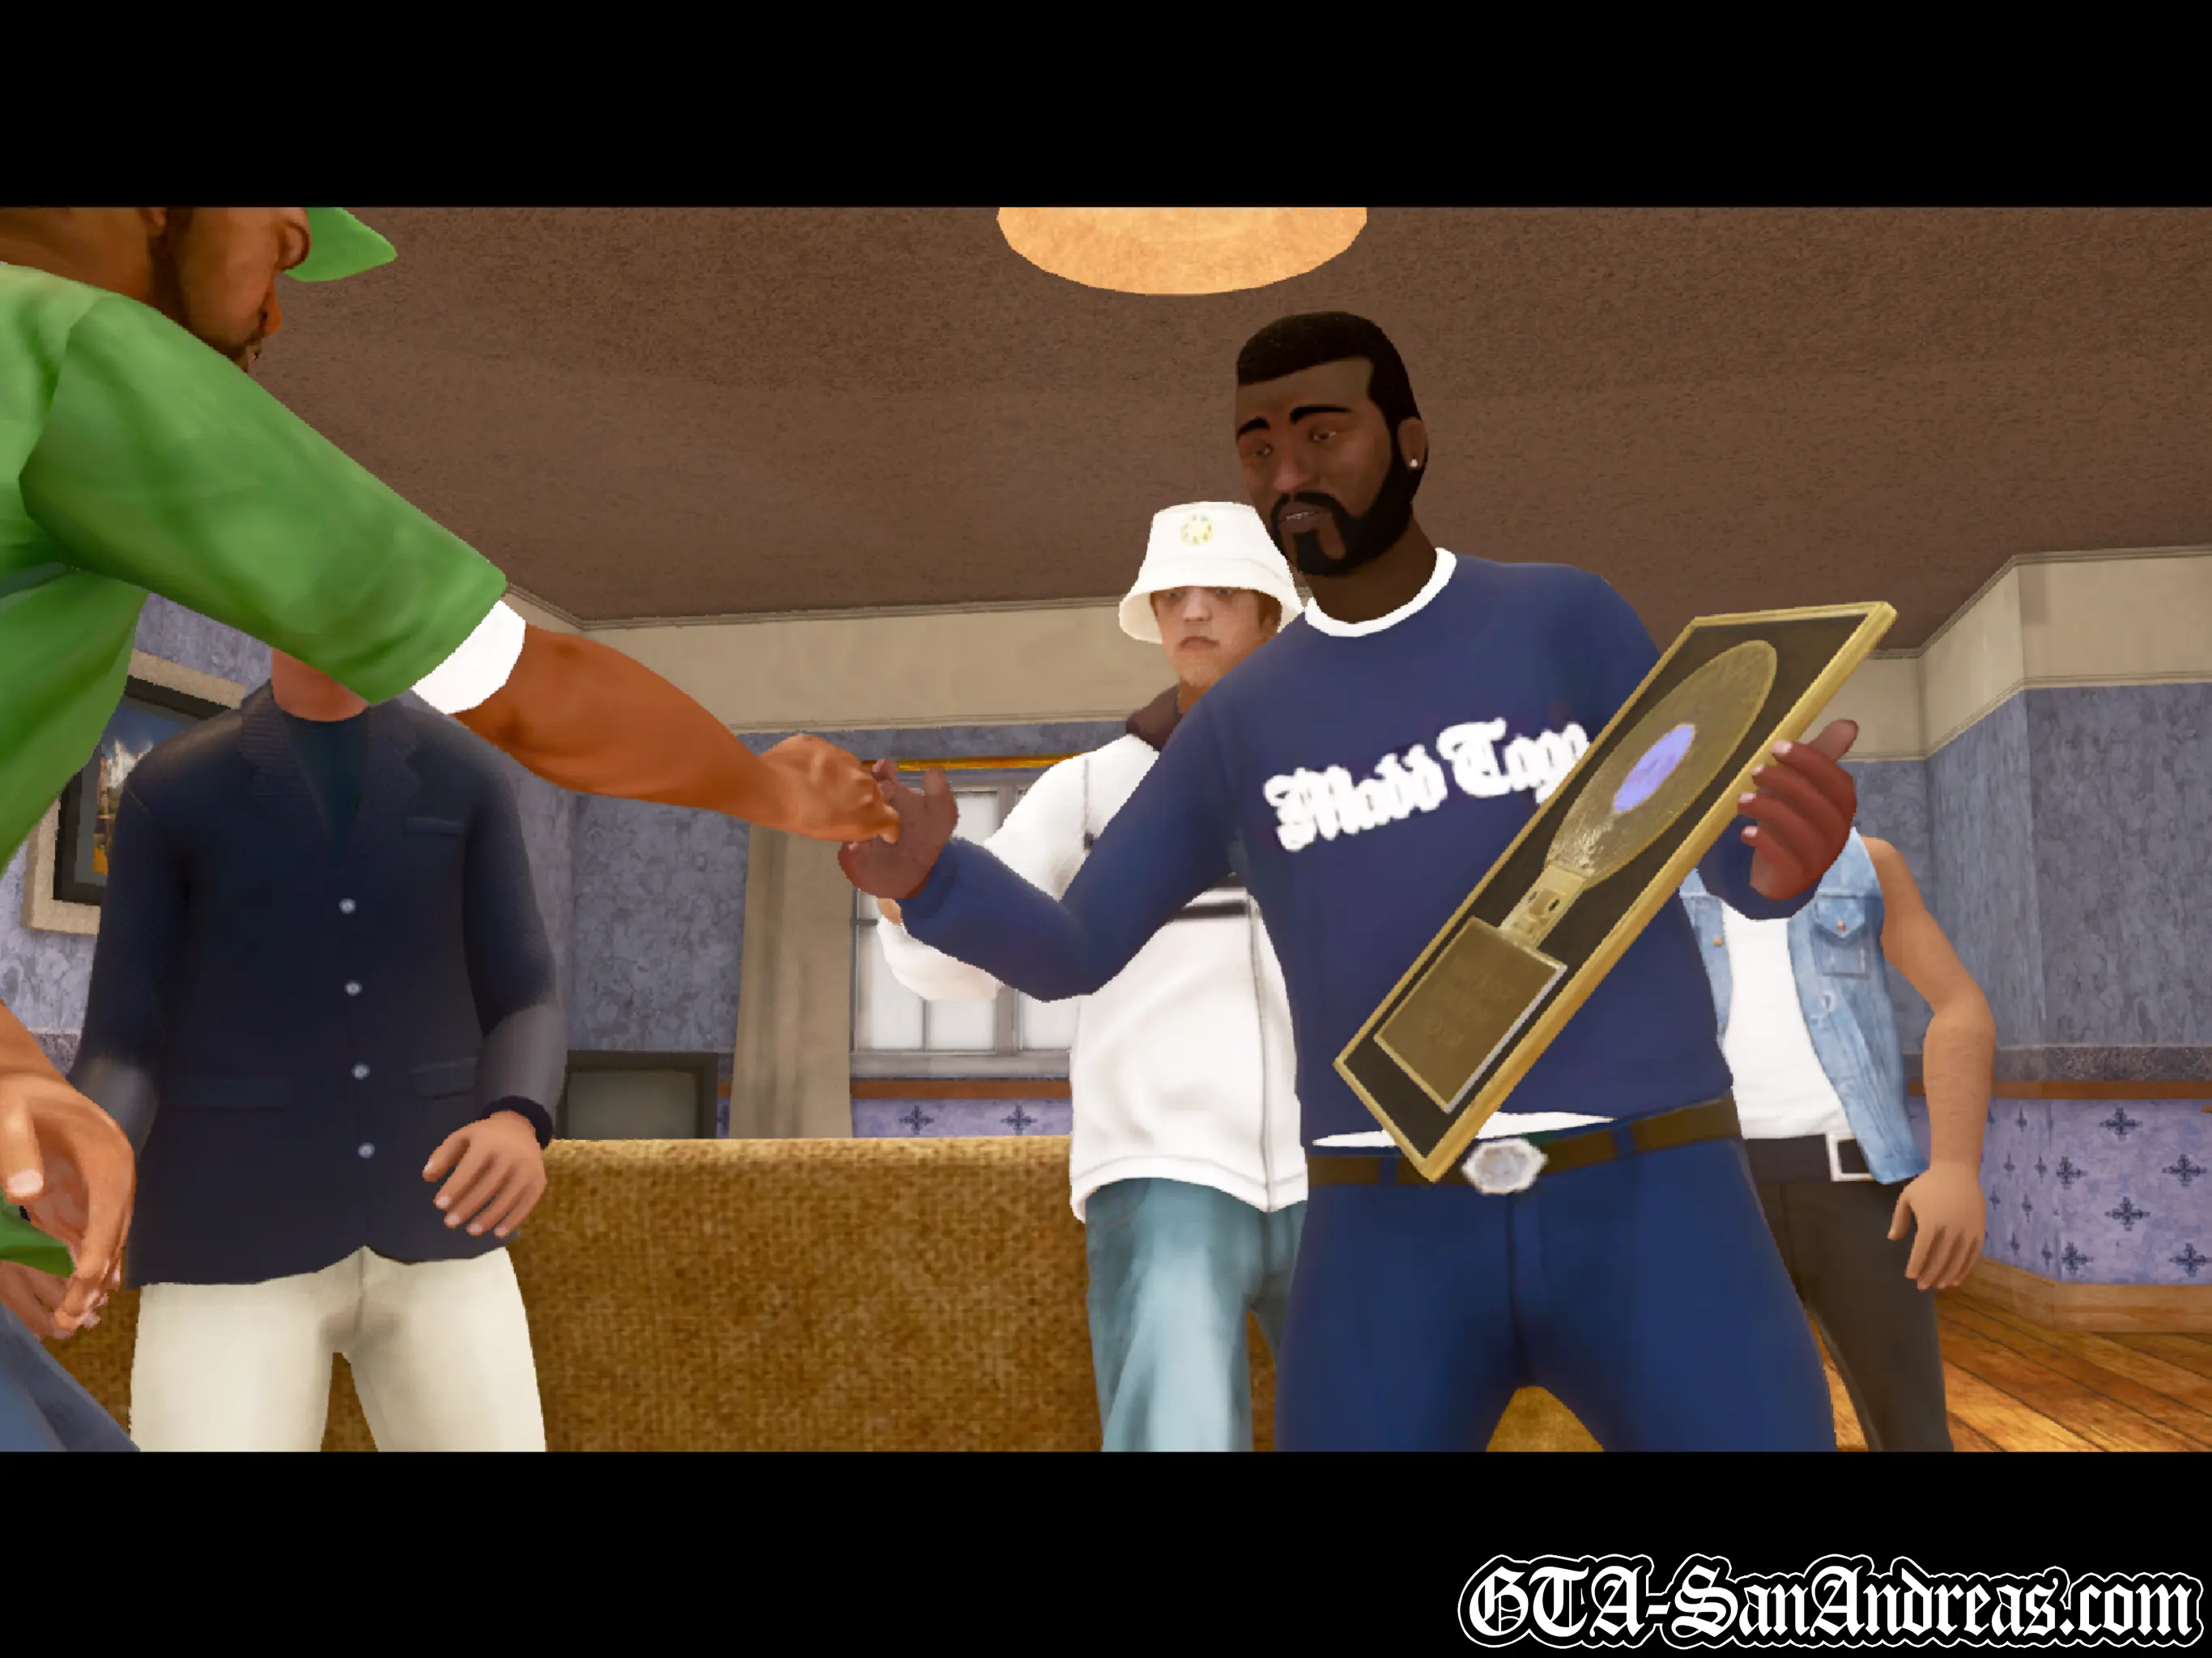
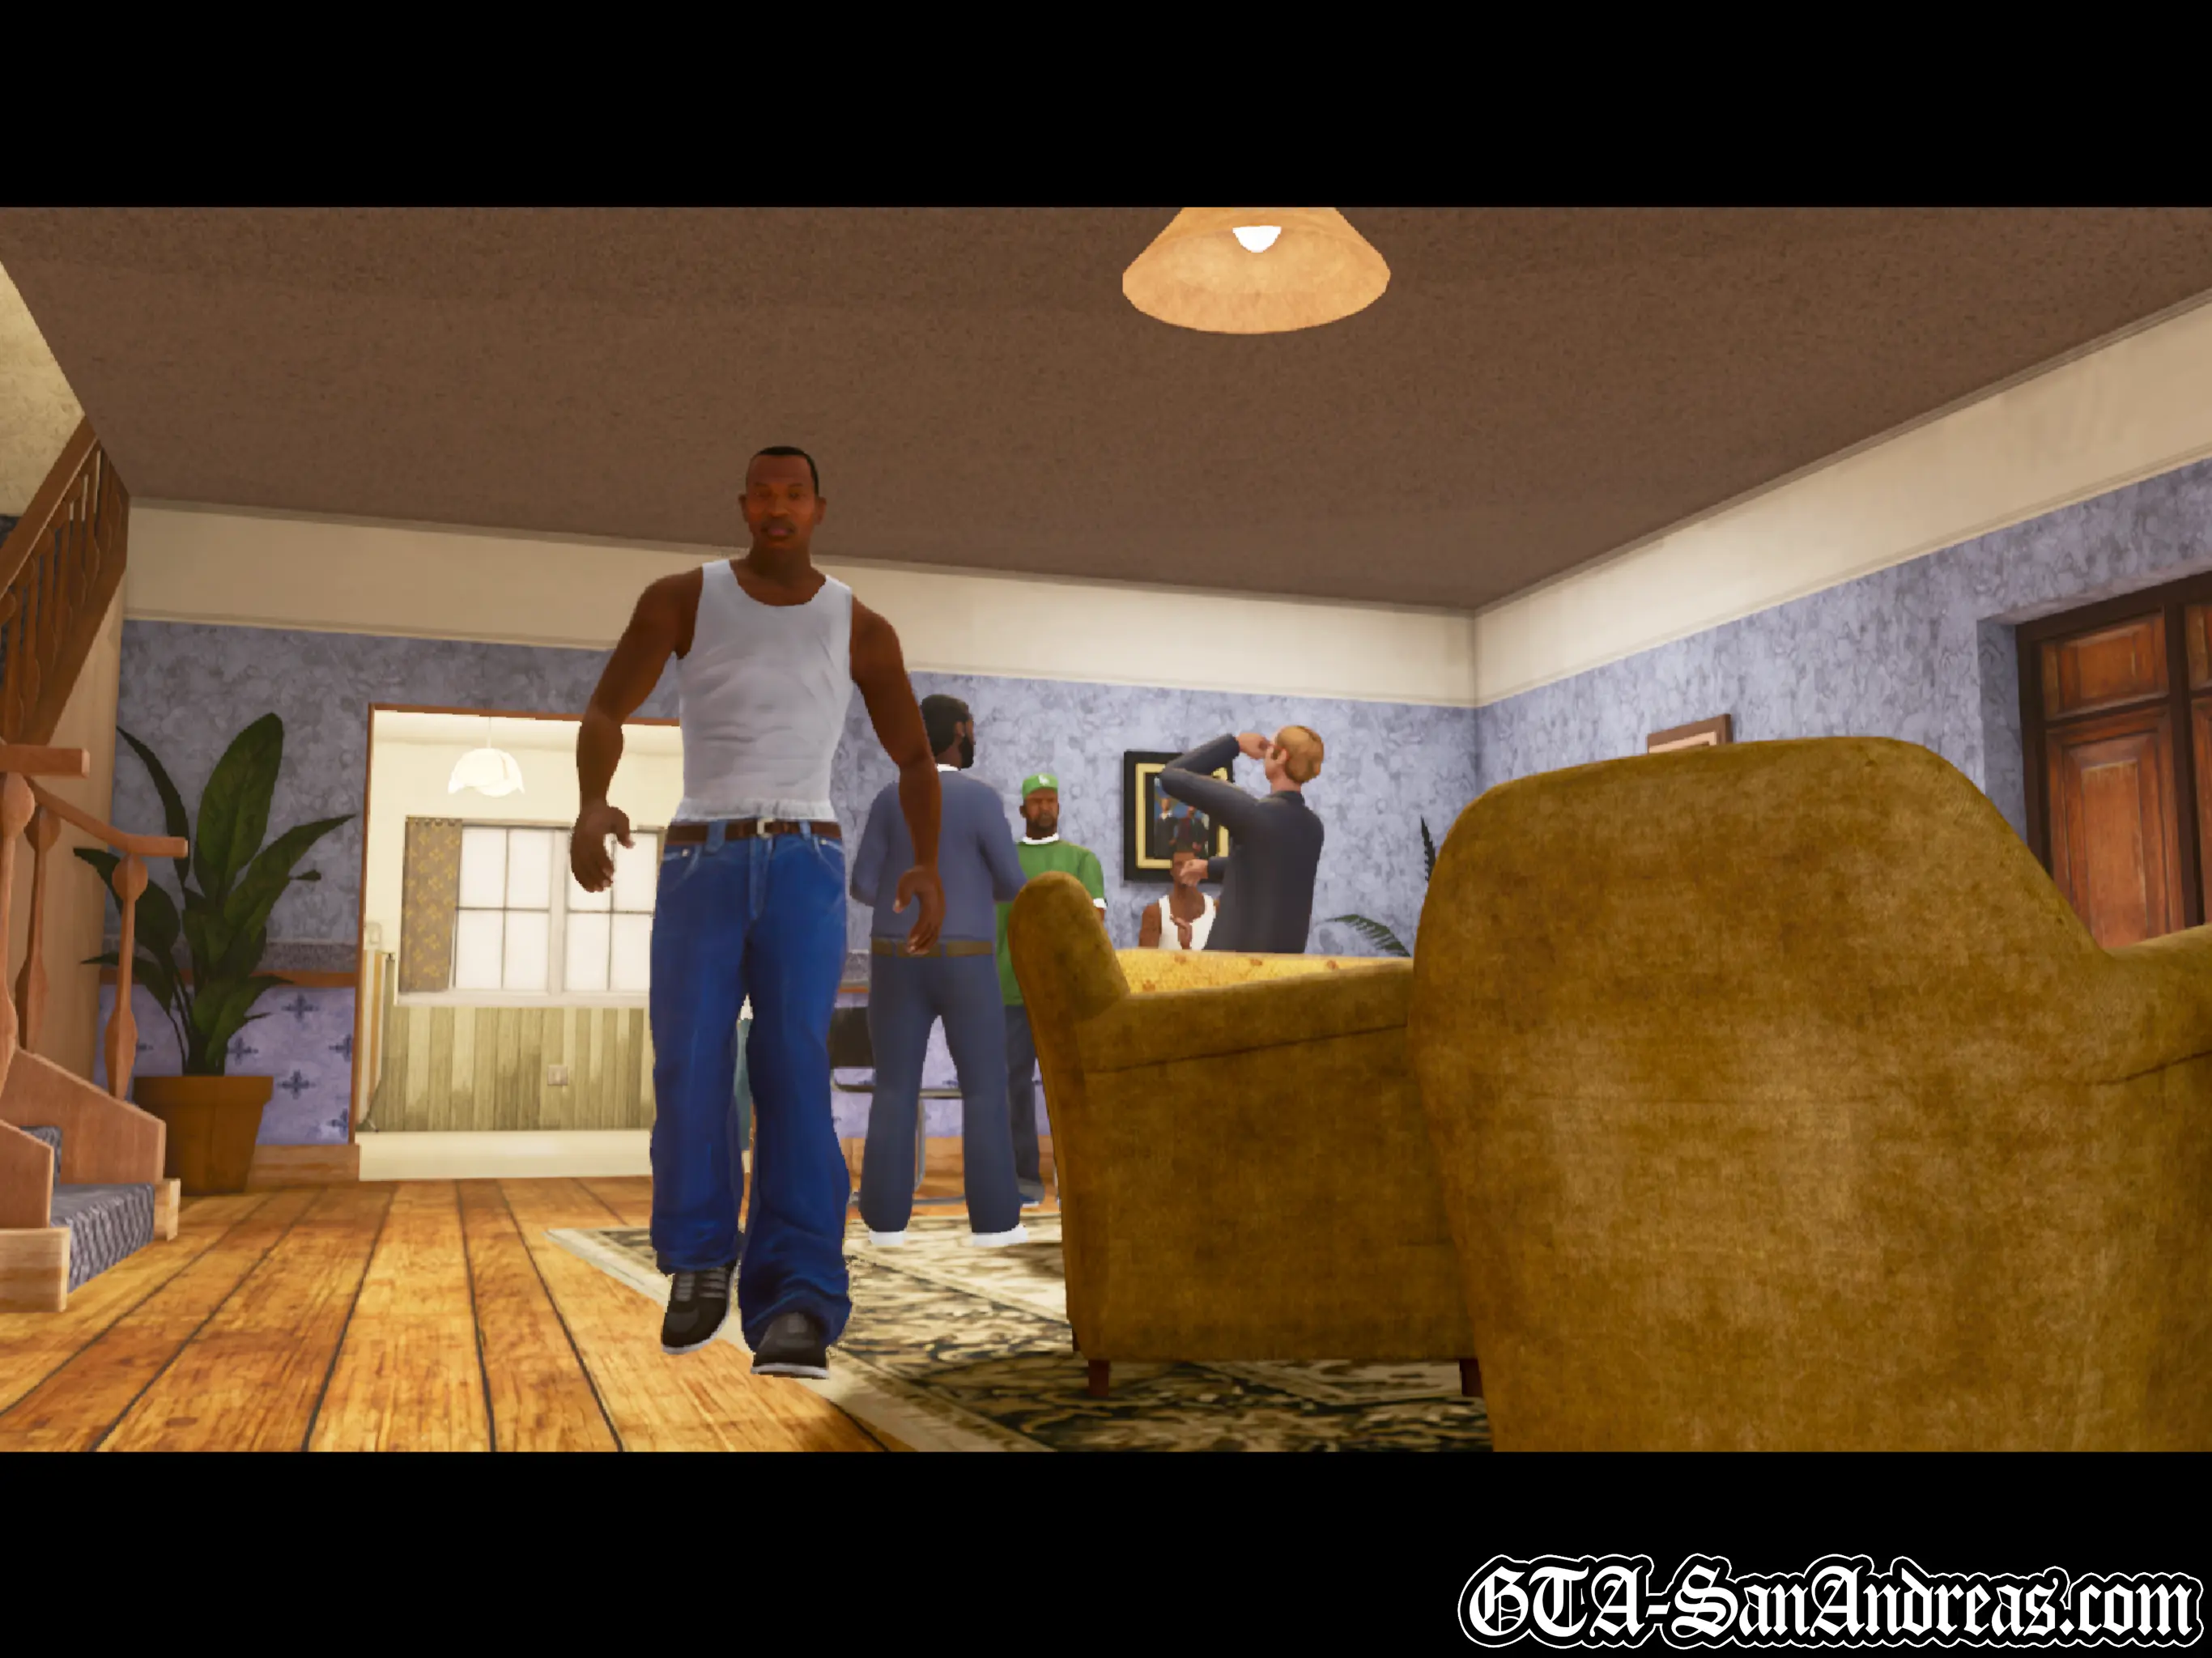
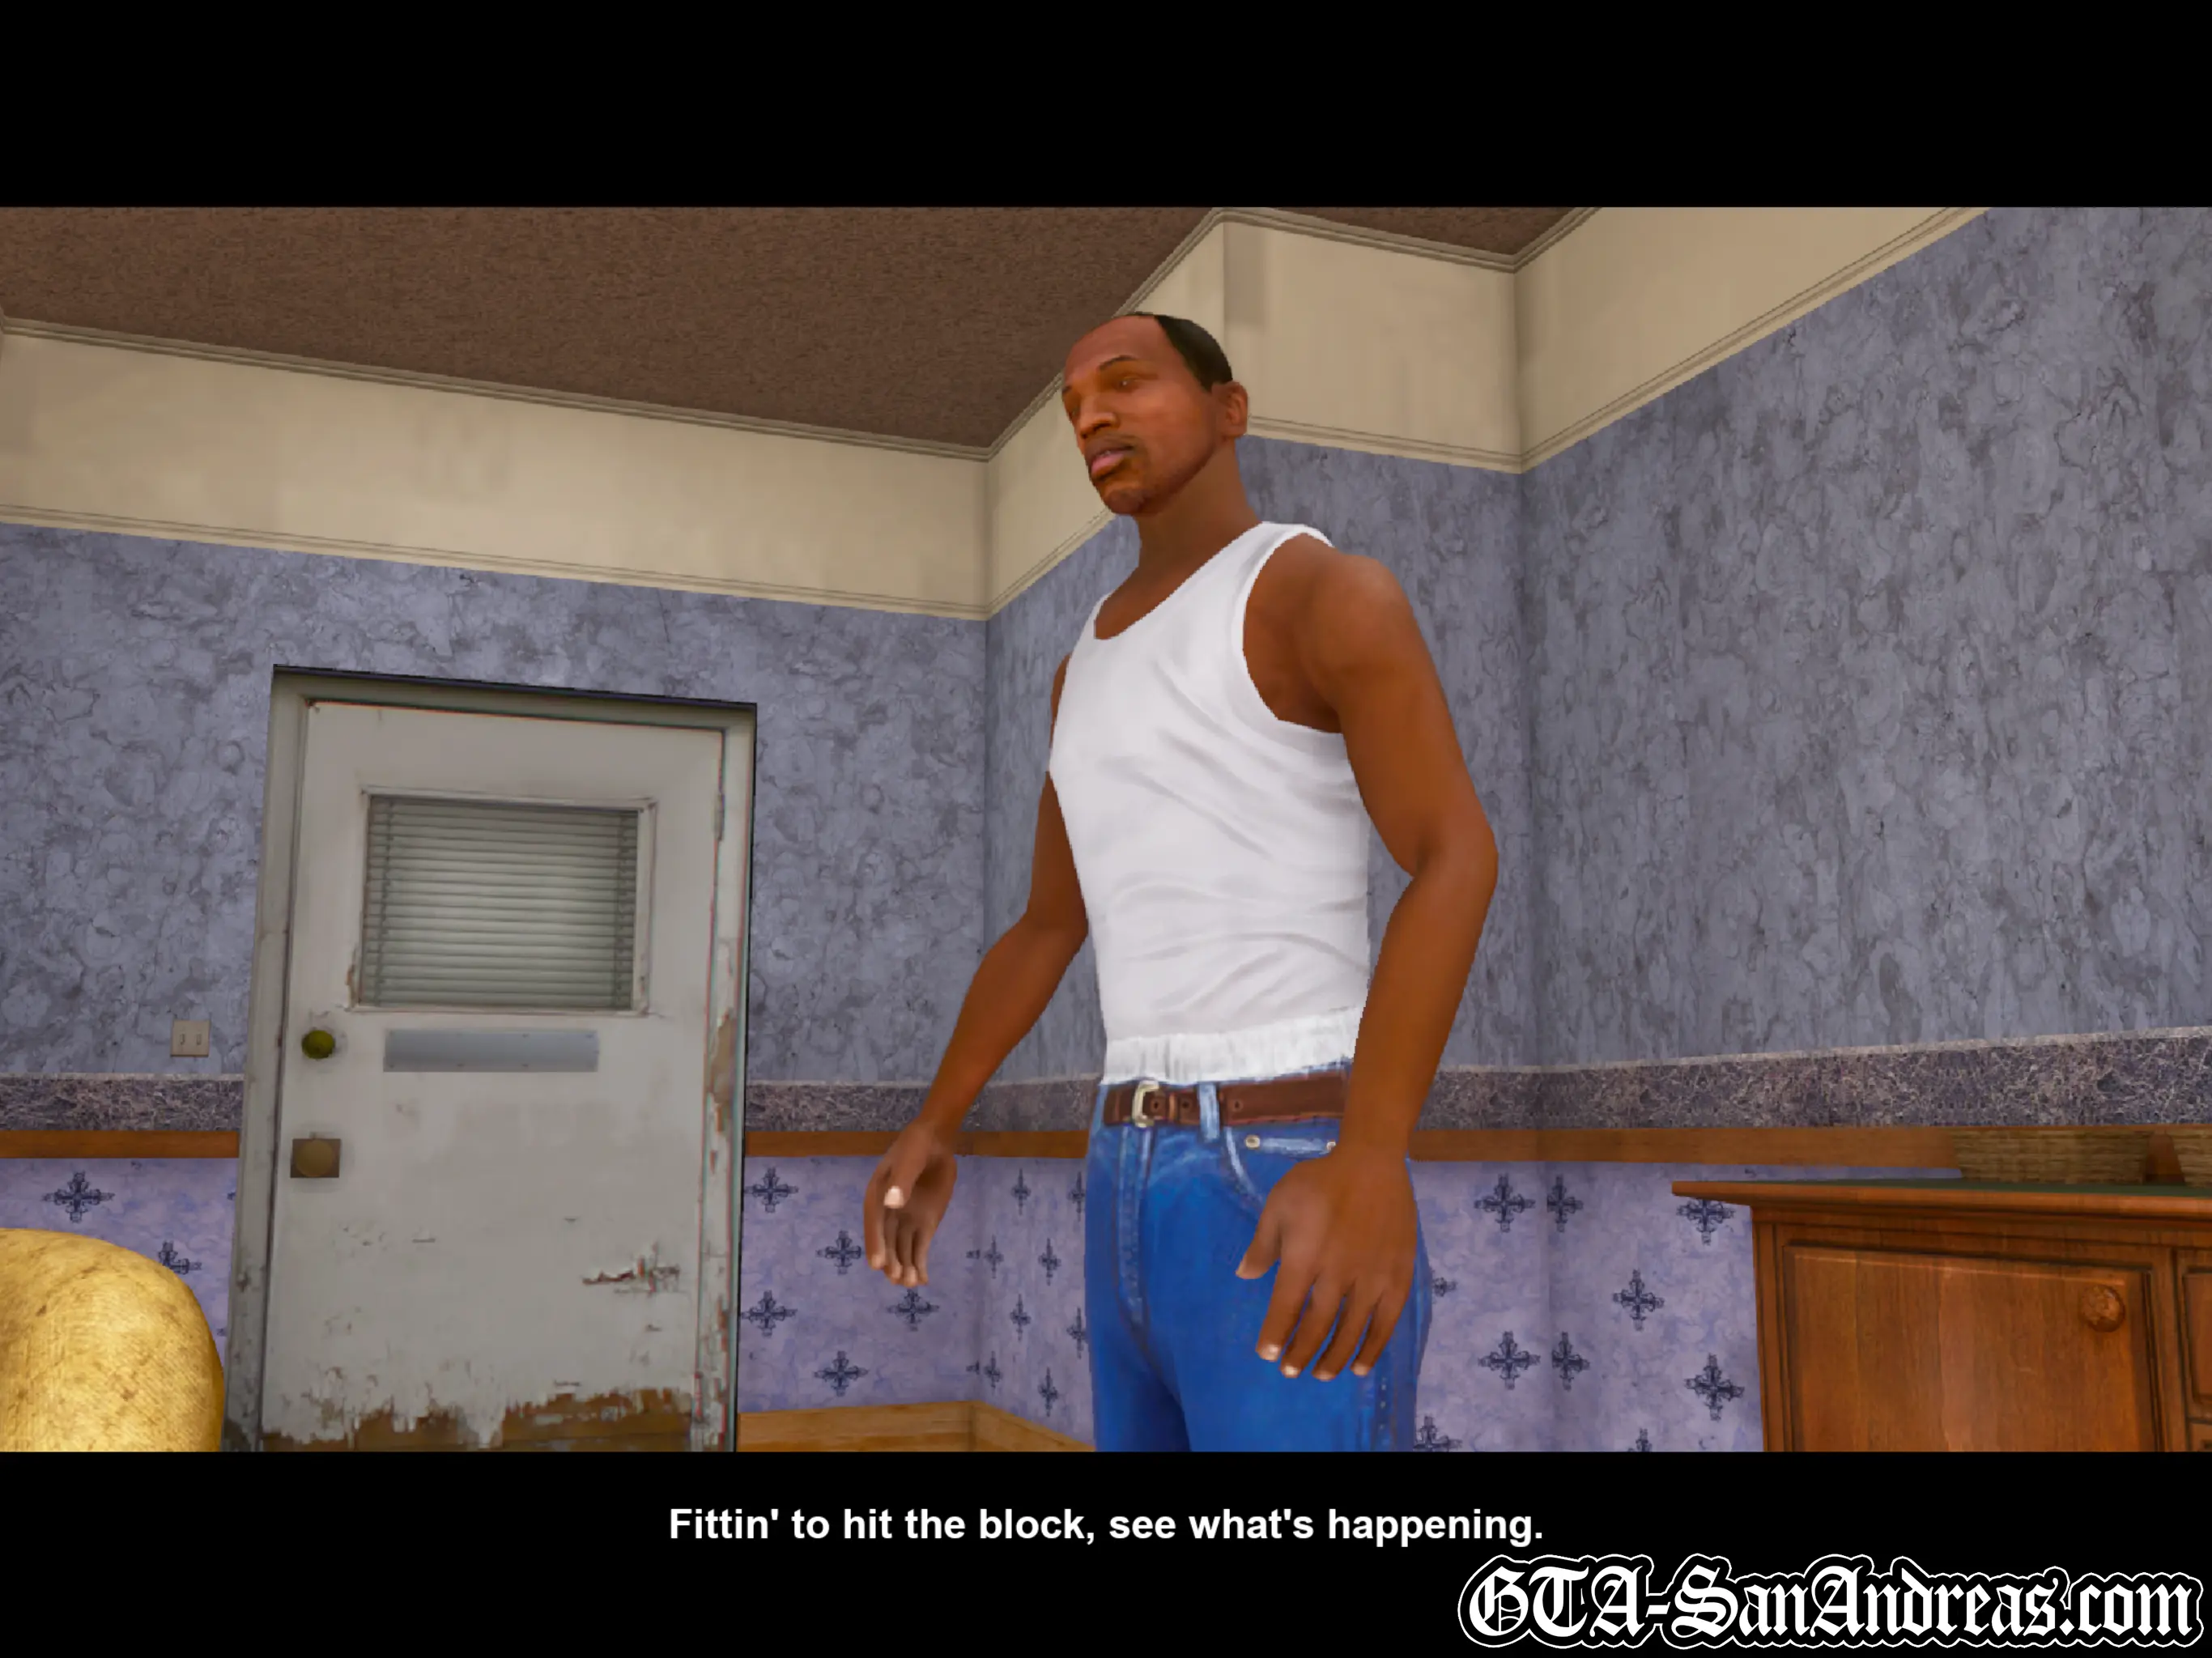
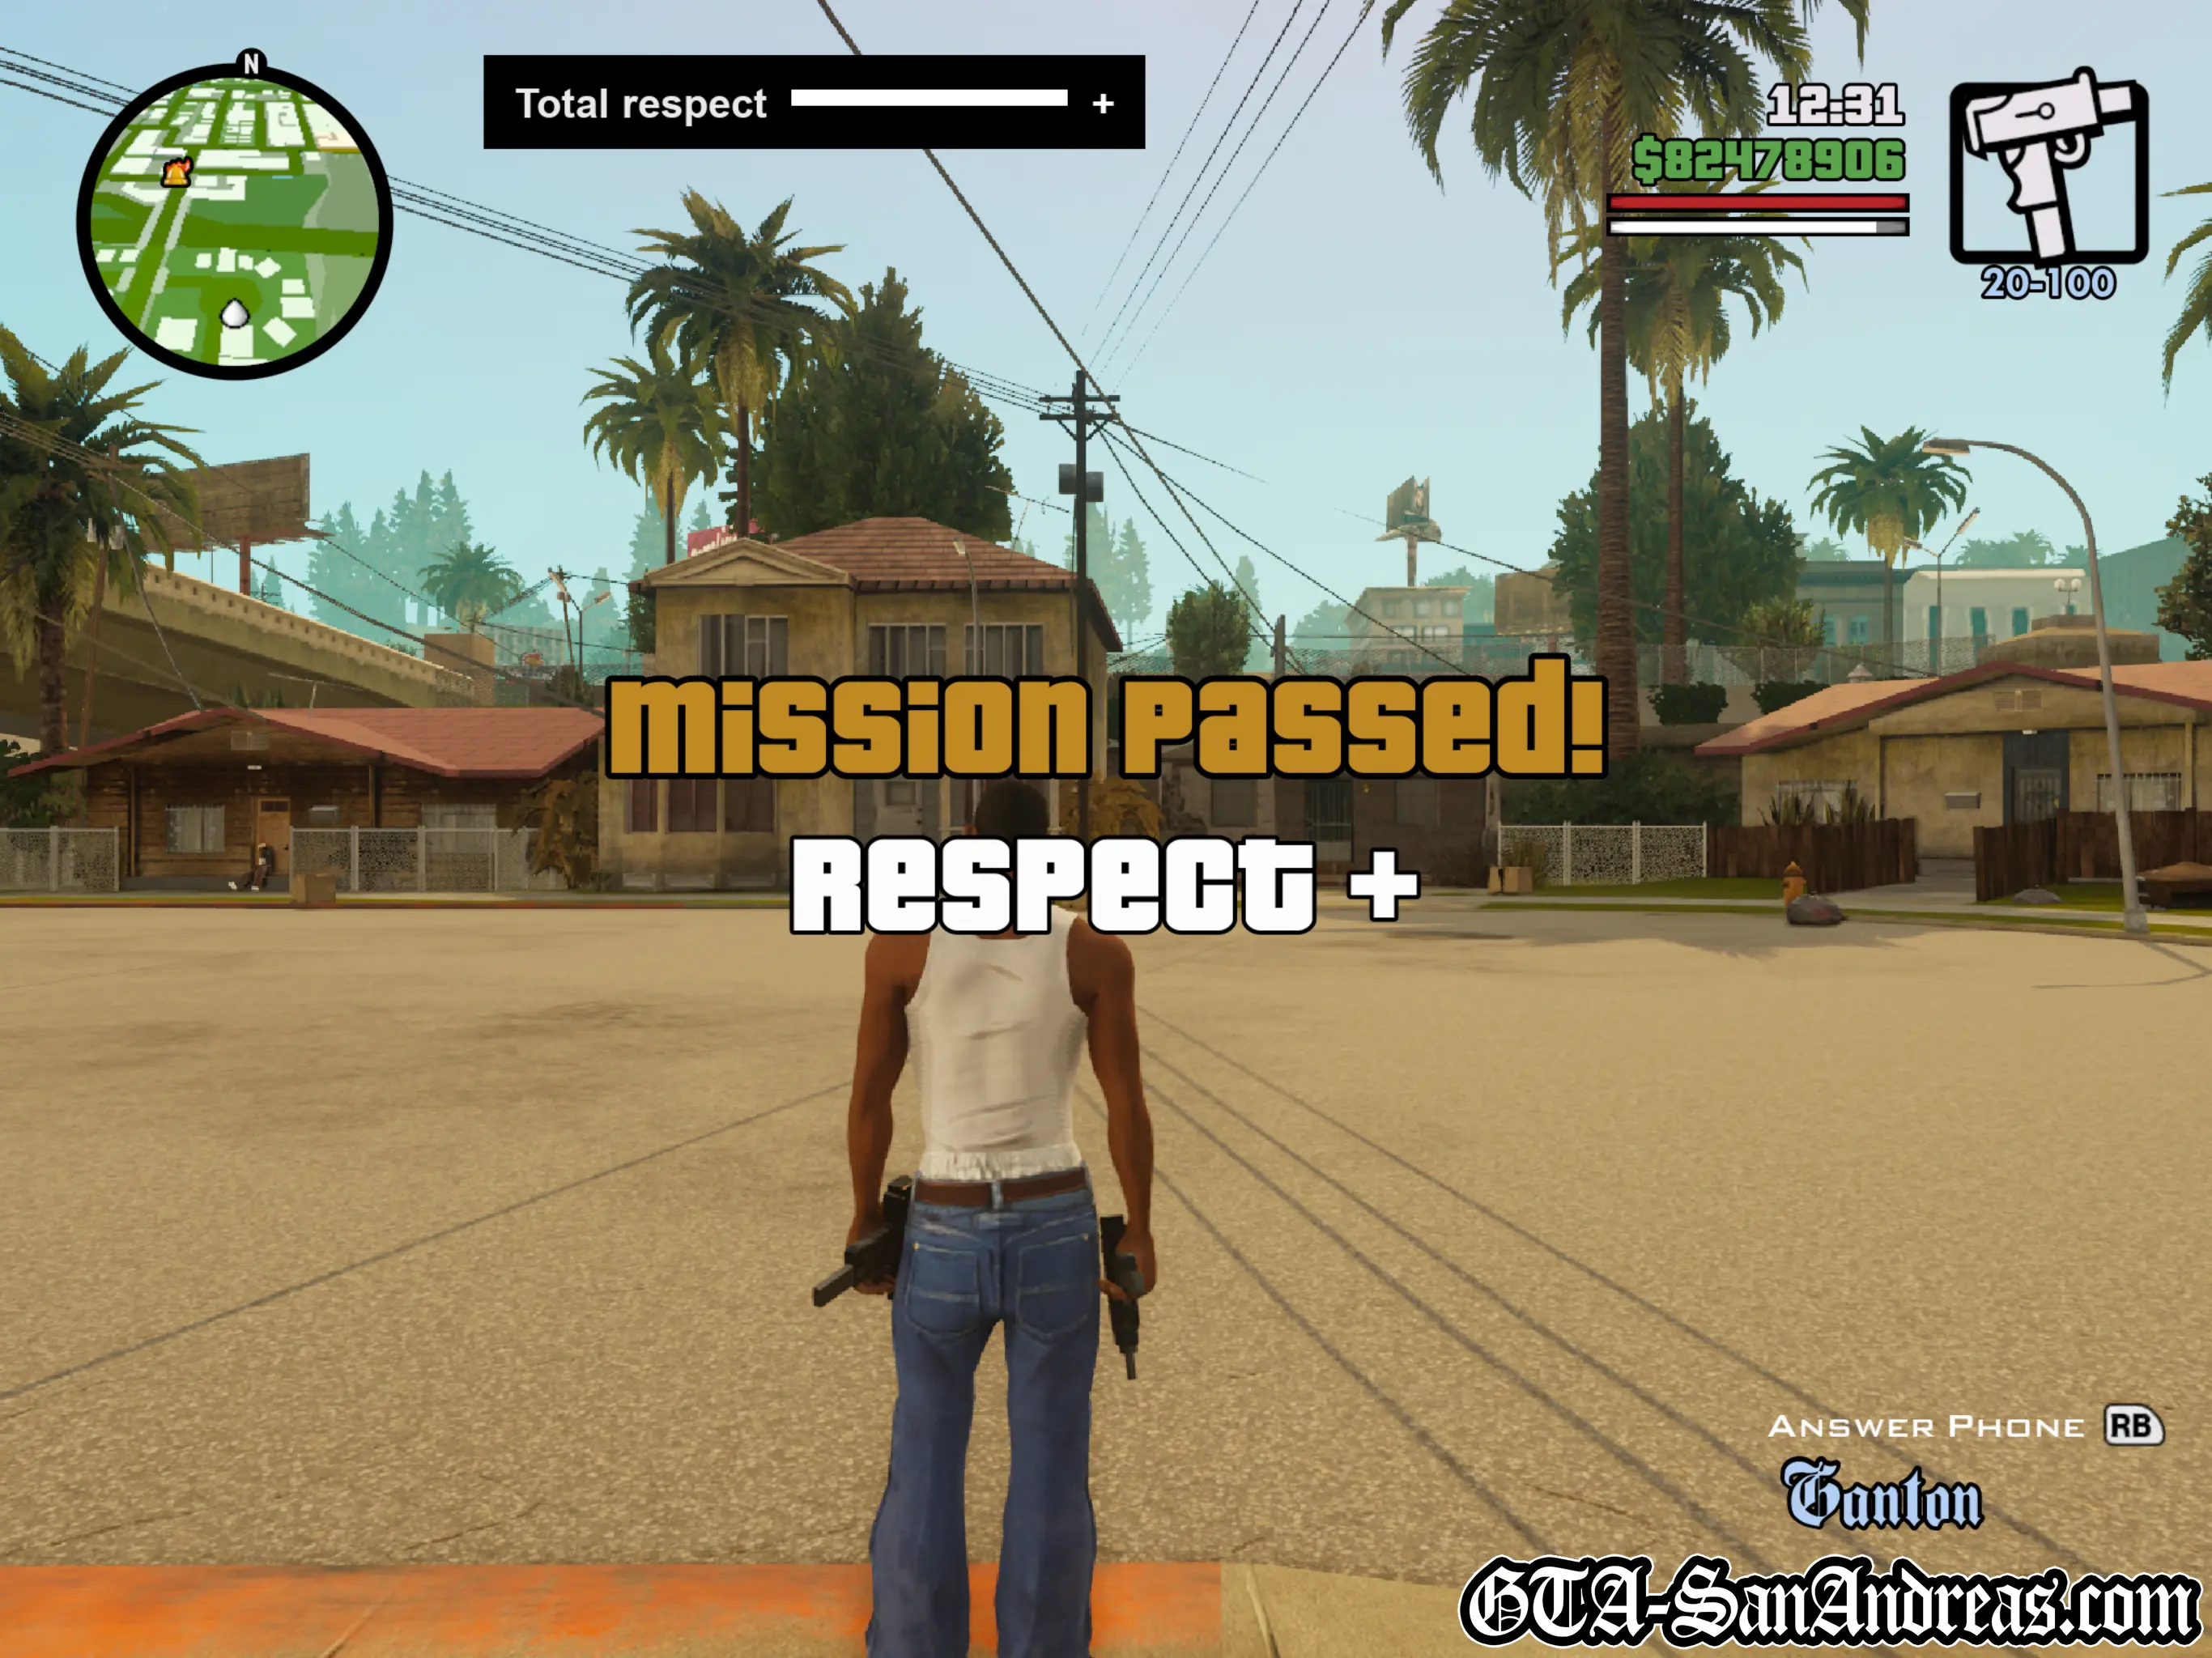
Carl is speaking with someone on the phone when Toreno rudely interrupts him. He hangs up the call and Carl threatens him with a pistol. Toreno says to Car that he doesn't want to do that. After a bit more talking Toreno tells Carl to 'answer it'. Seconds later his cell phone starts ringing and it's Sweet. He says they just released him from prison. Toreno then tells you that your mission is to pick up your brother. Drive into Commerce and pick up your brother from the police station. Park in the red circle and watch the cutscene. Afterwards Sweet wants you to take him to mommas house, so make your way to Grove Street which has been marked yellow on your radar. When you get there you'll see that a number of crack dealers have moved in. Sweet wants you to eliminate them, so head to the red dots on the radar and kill the crack dealers. Once they're all dead you'll be told to start a gang war with the Ballas and take back the territory. Find a group of three or more Ballas and kill them to provoke a gang war. Then just keep watch on the radar and see where the guys are coming from. If you have an M4 with pretty decent weapons skills, you'll be to aim at them from a long way away, so just keep shooting and switching targets until the first wave is dead. Do the same for the second wave, and then the third. Once you've recaptured the area, Sweet will go home and tell you that if Kendl wants to see him, she can come home.
Sweet's Missions Have Now Been Unlocked.
Gang Wars And Territory Have Now Been Unlocked.
We'll finish off CJ's missions before starting any other ones. Head back to Madd Dogg's mansion.
Screenshots

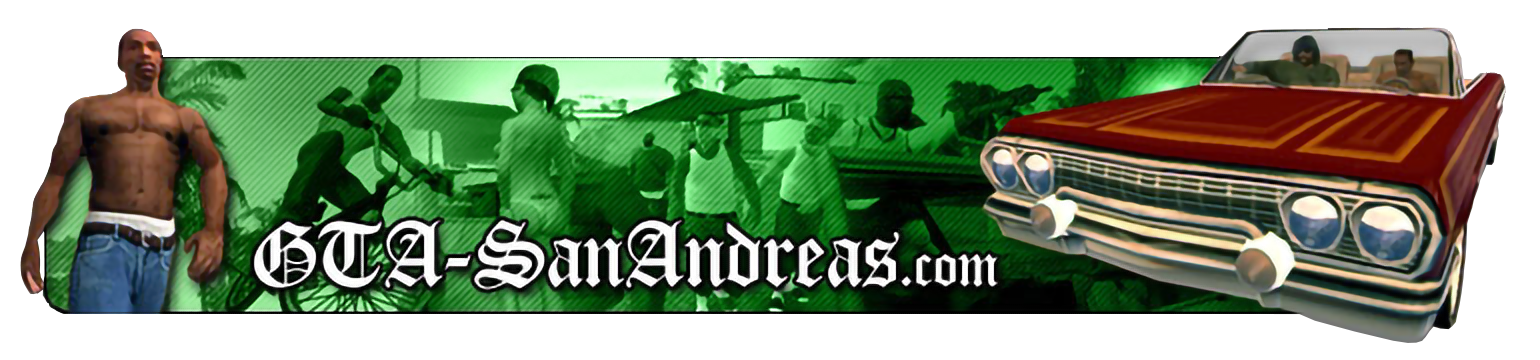
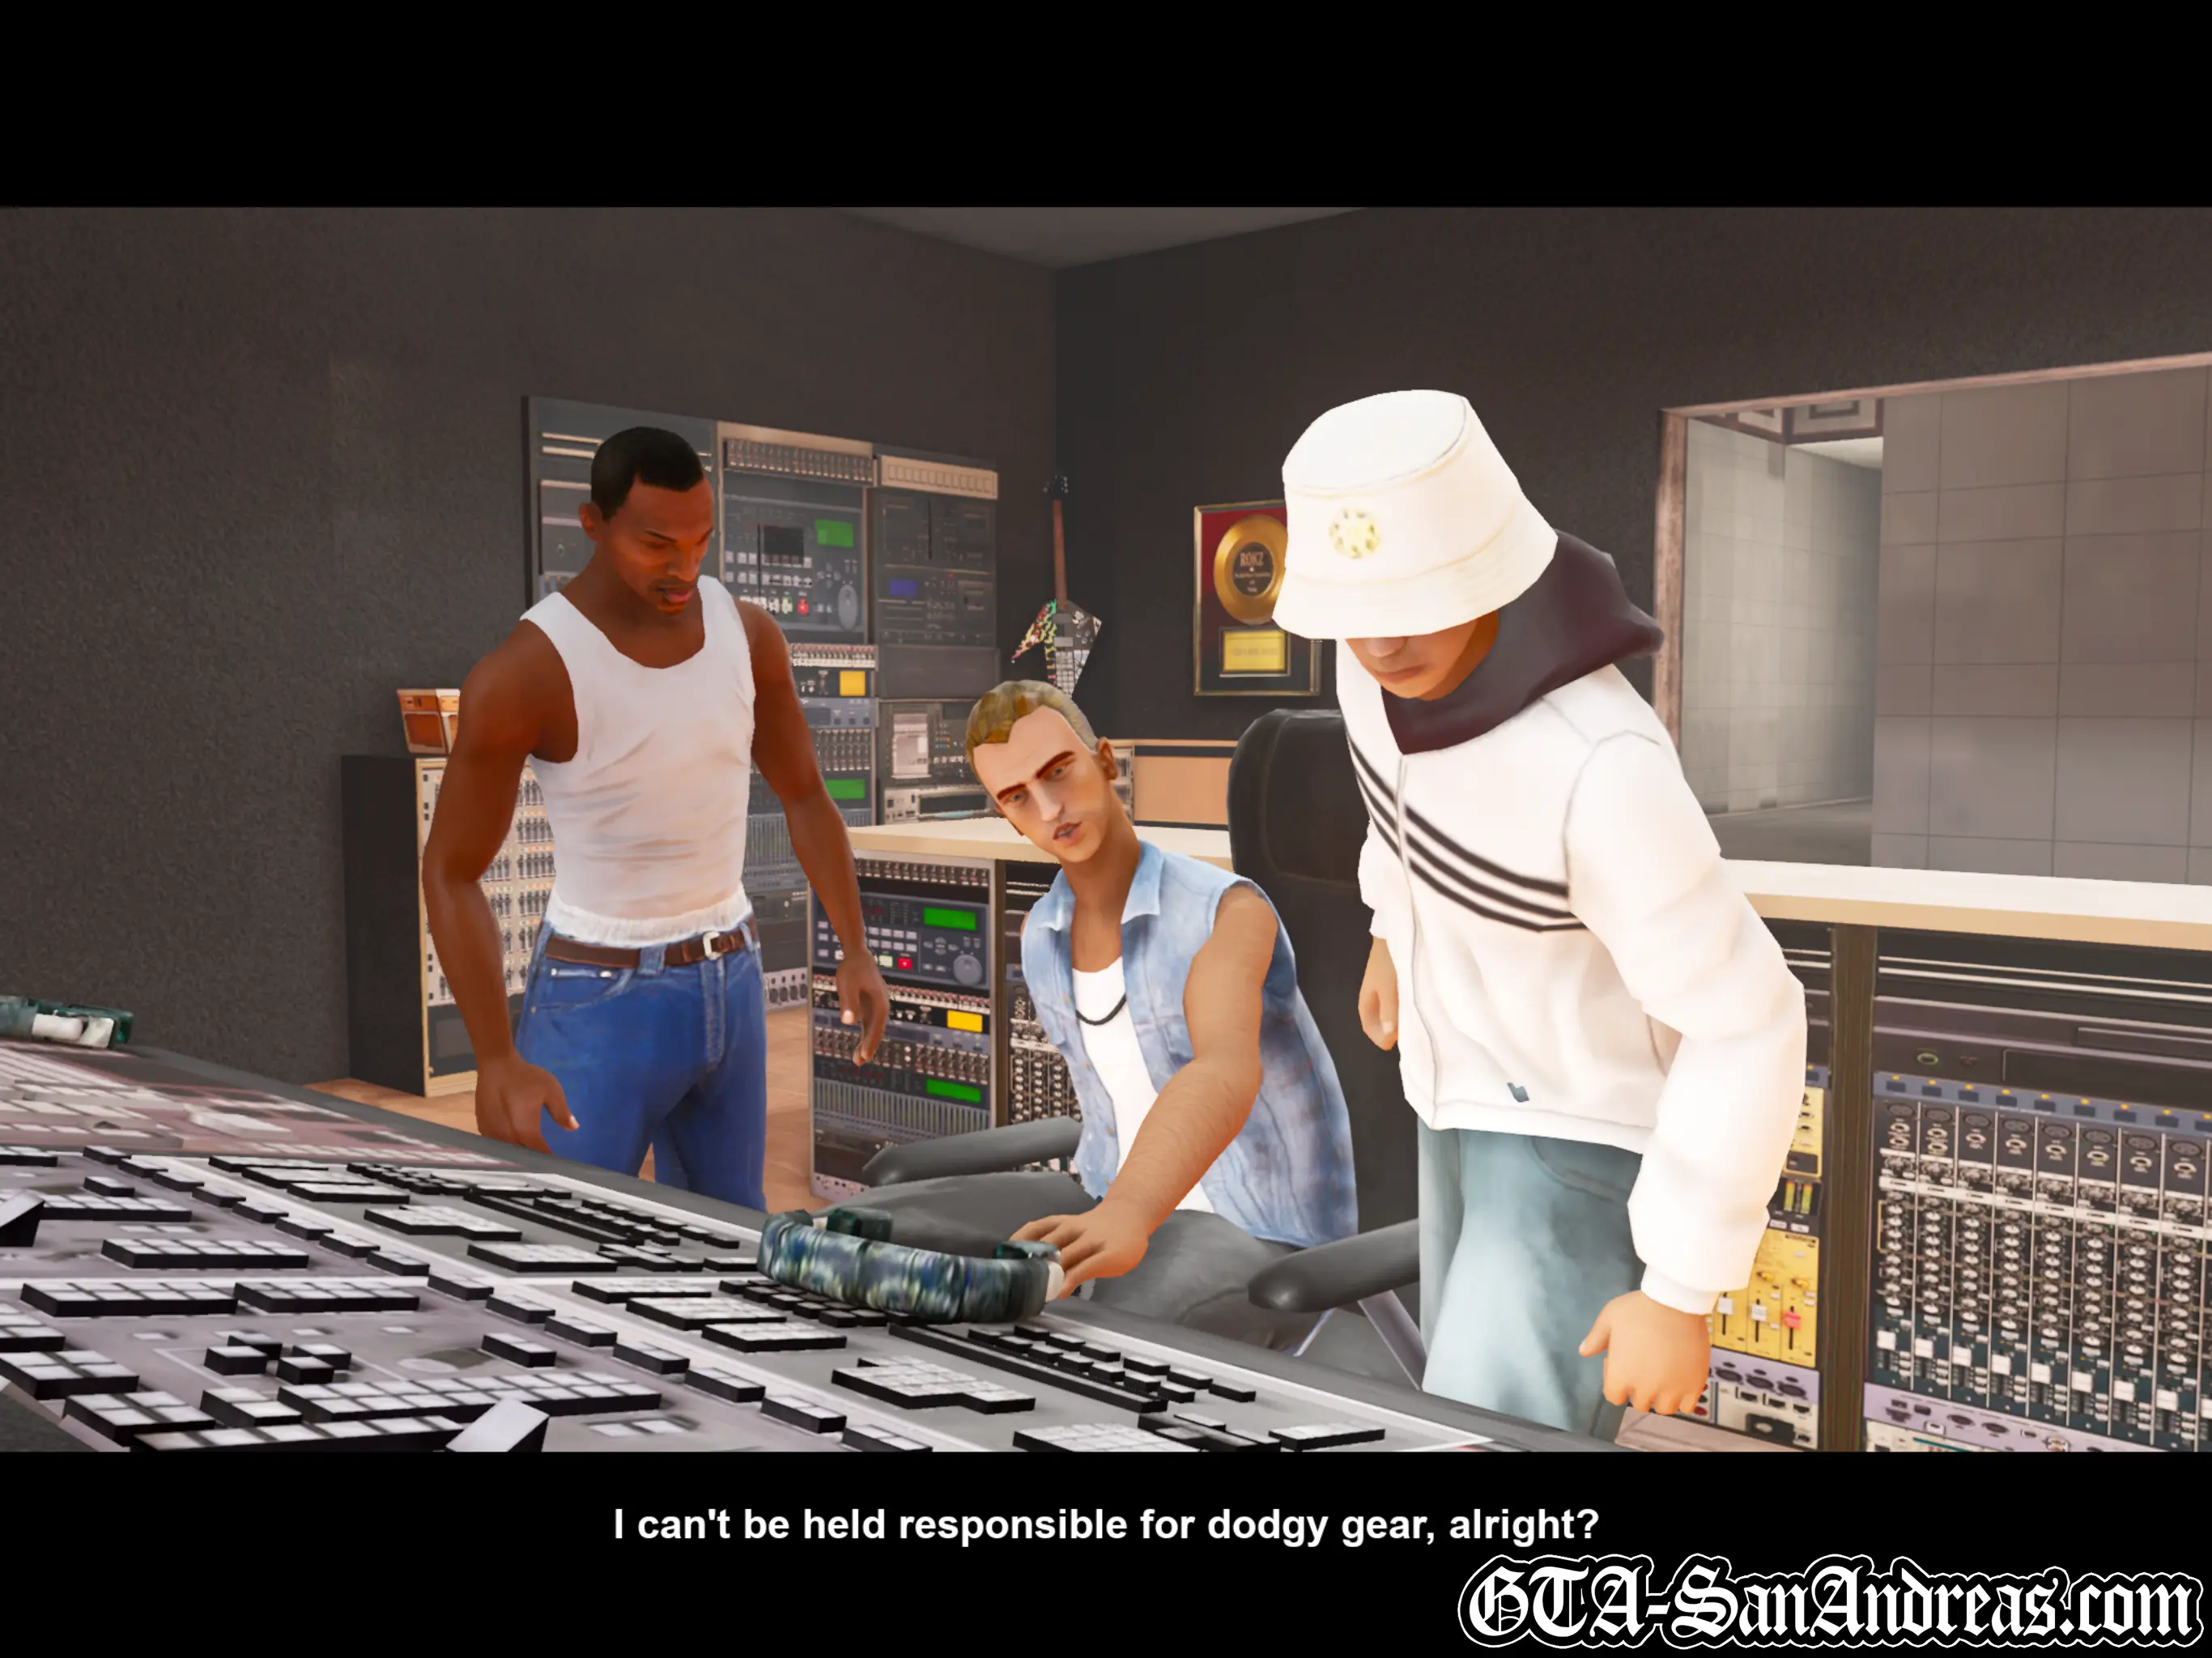
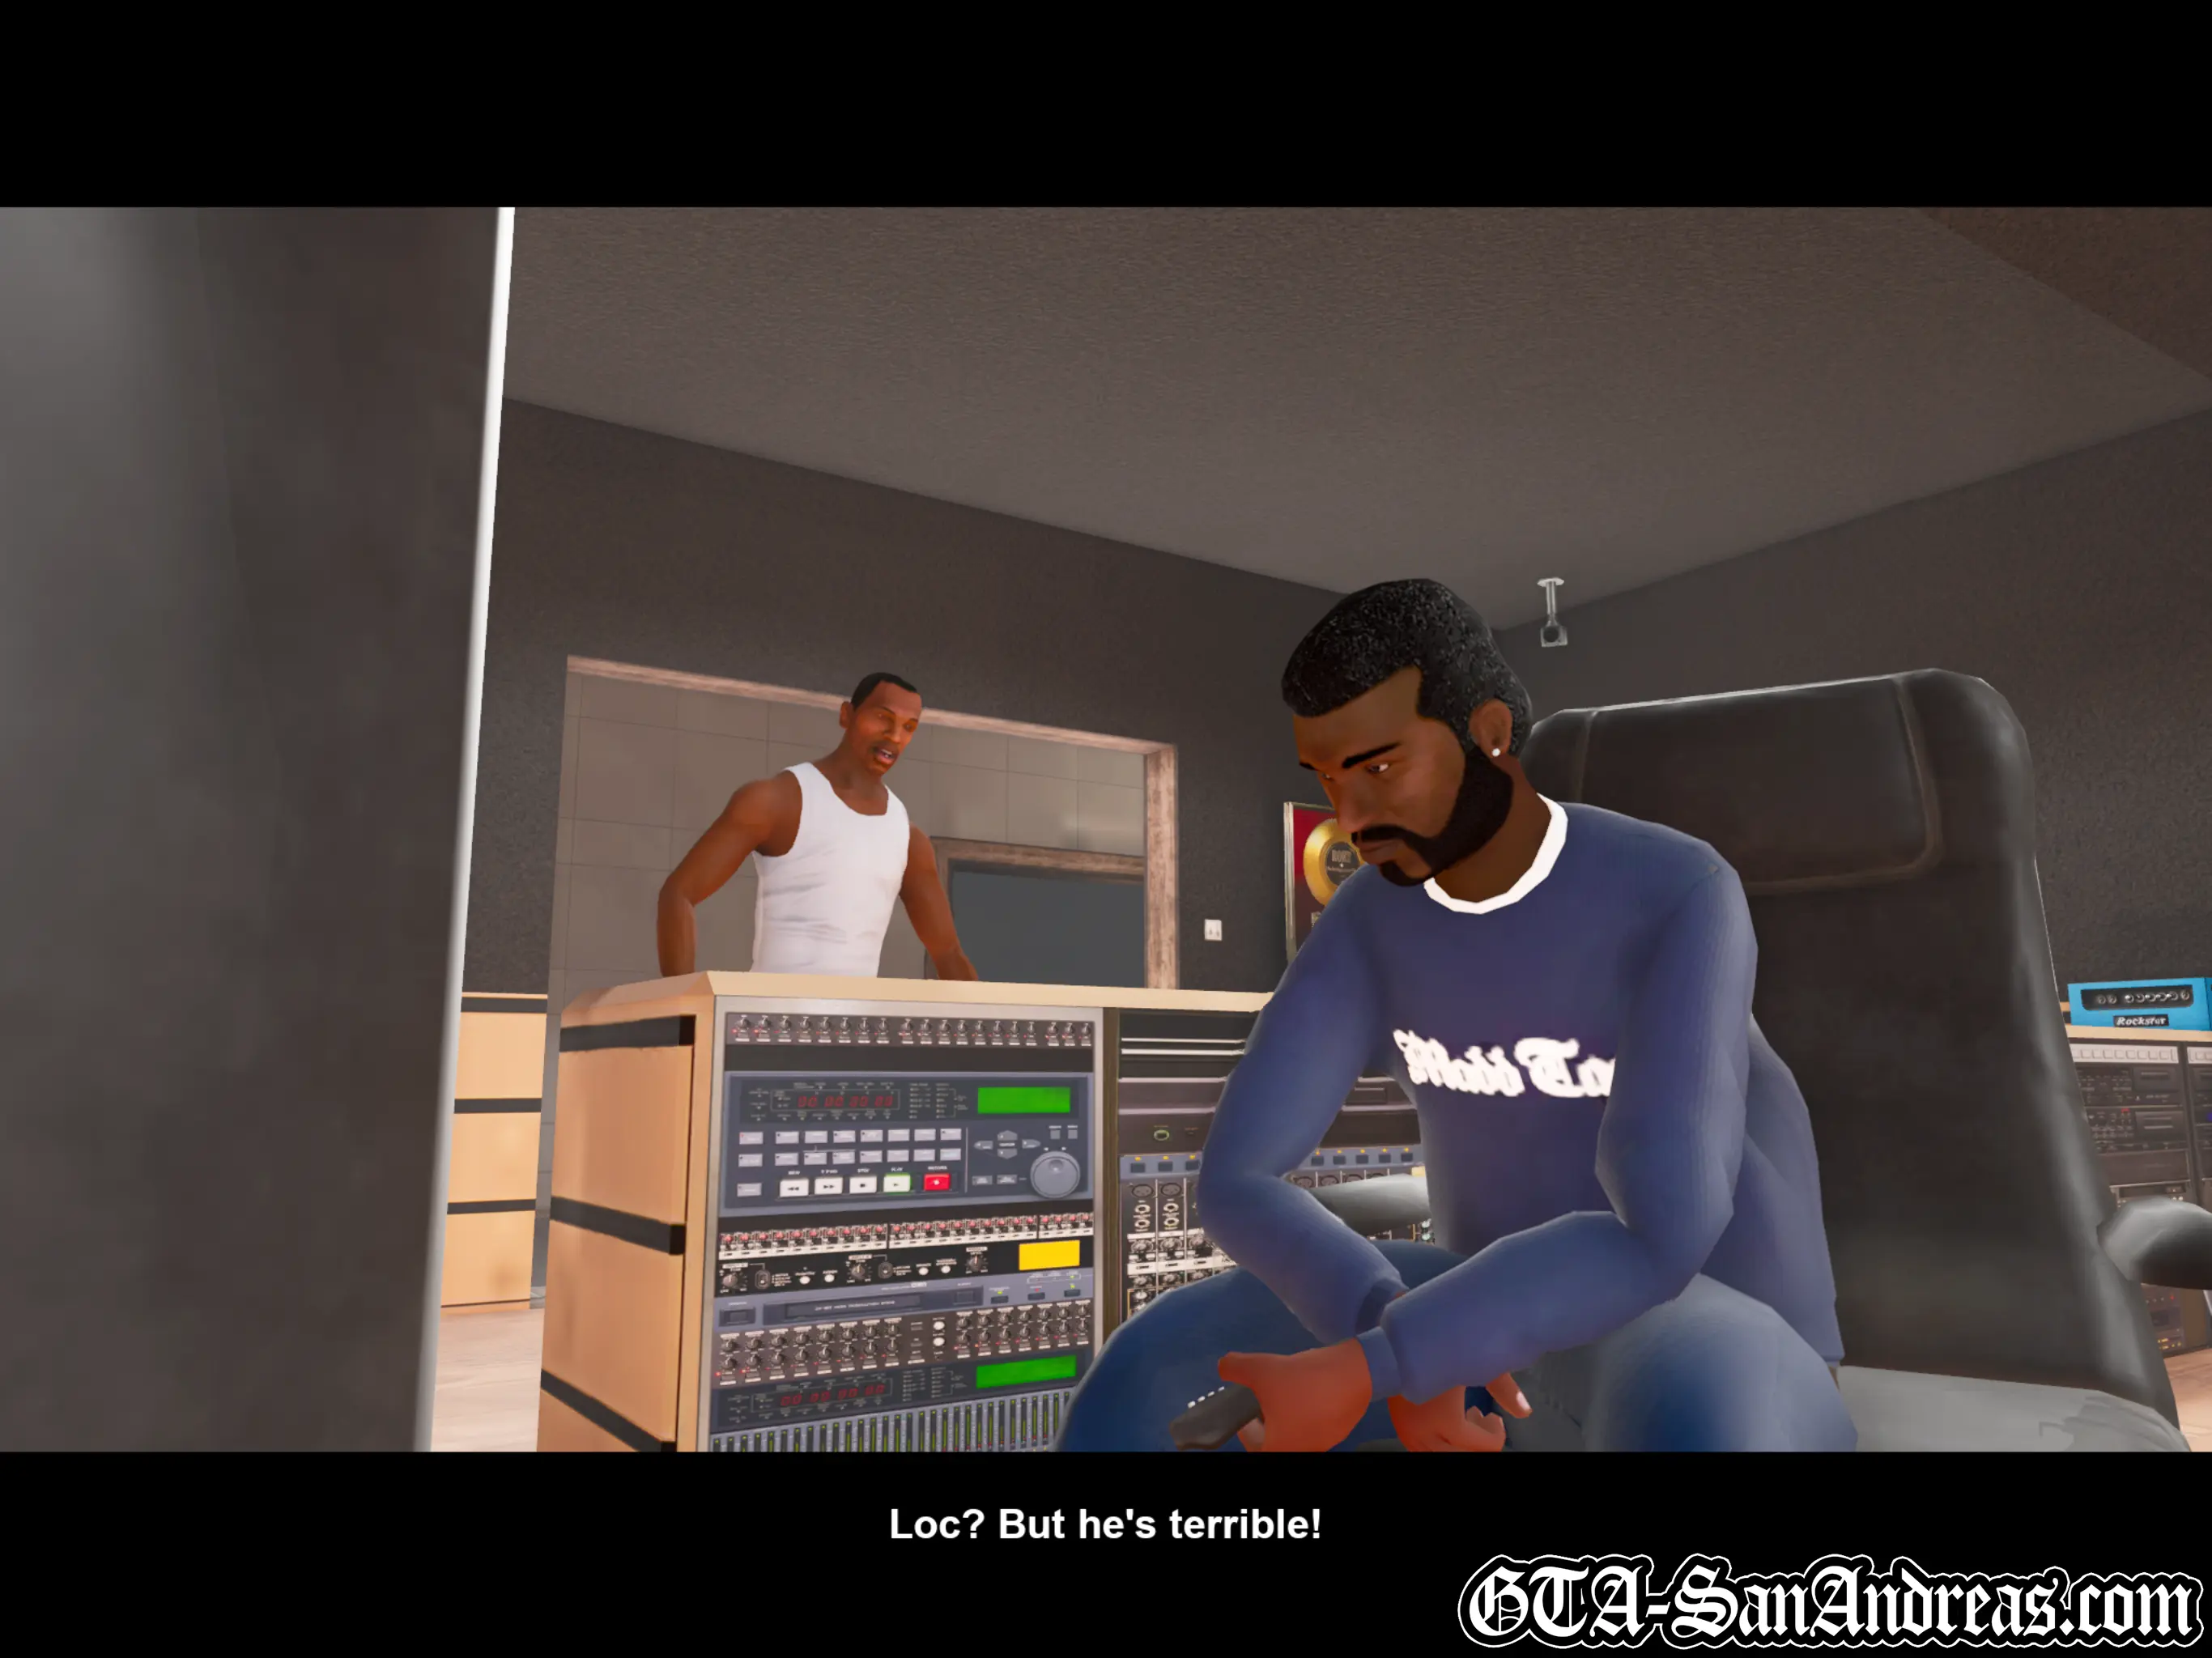
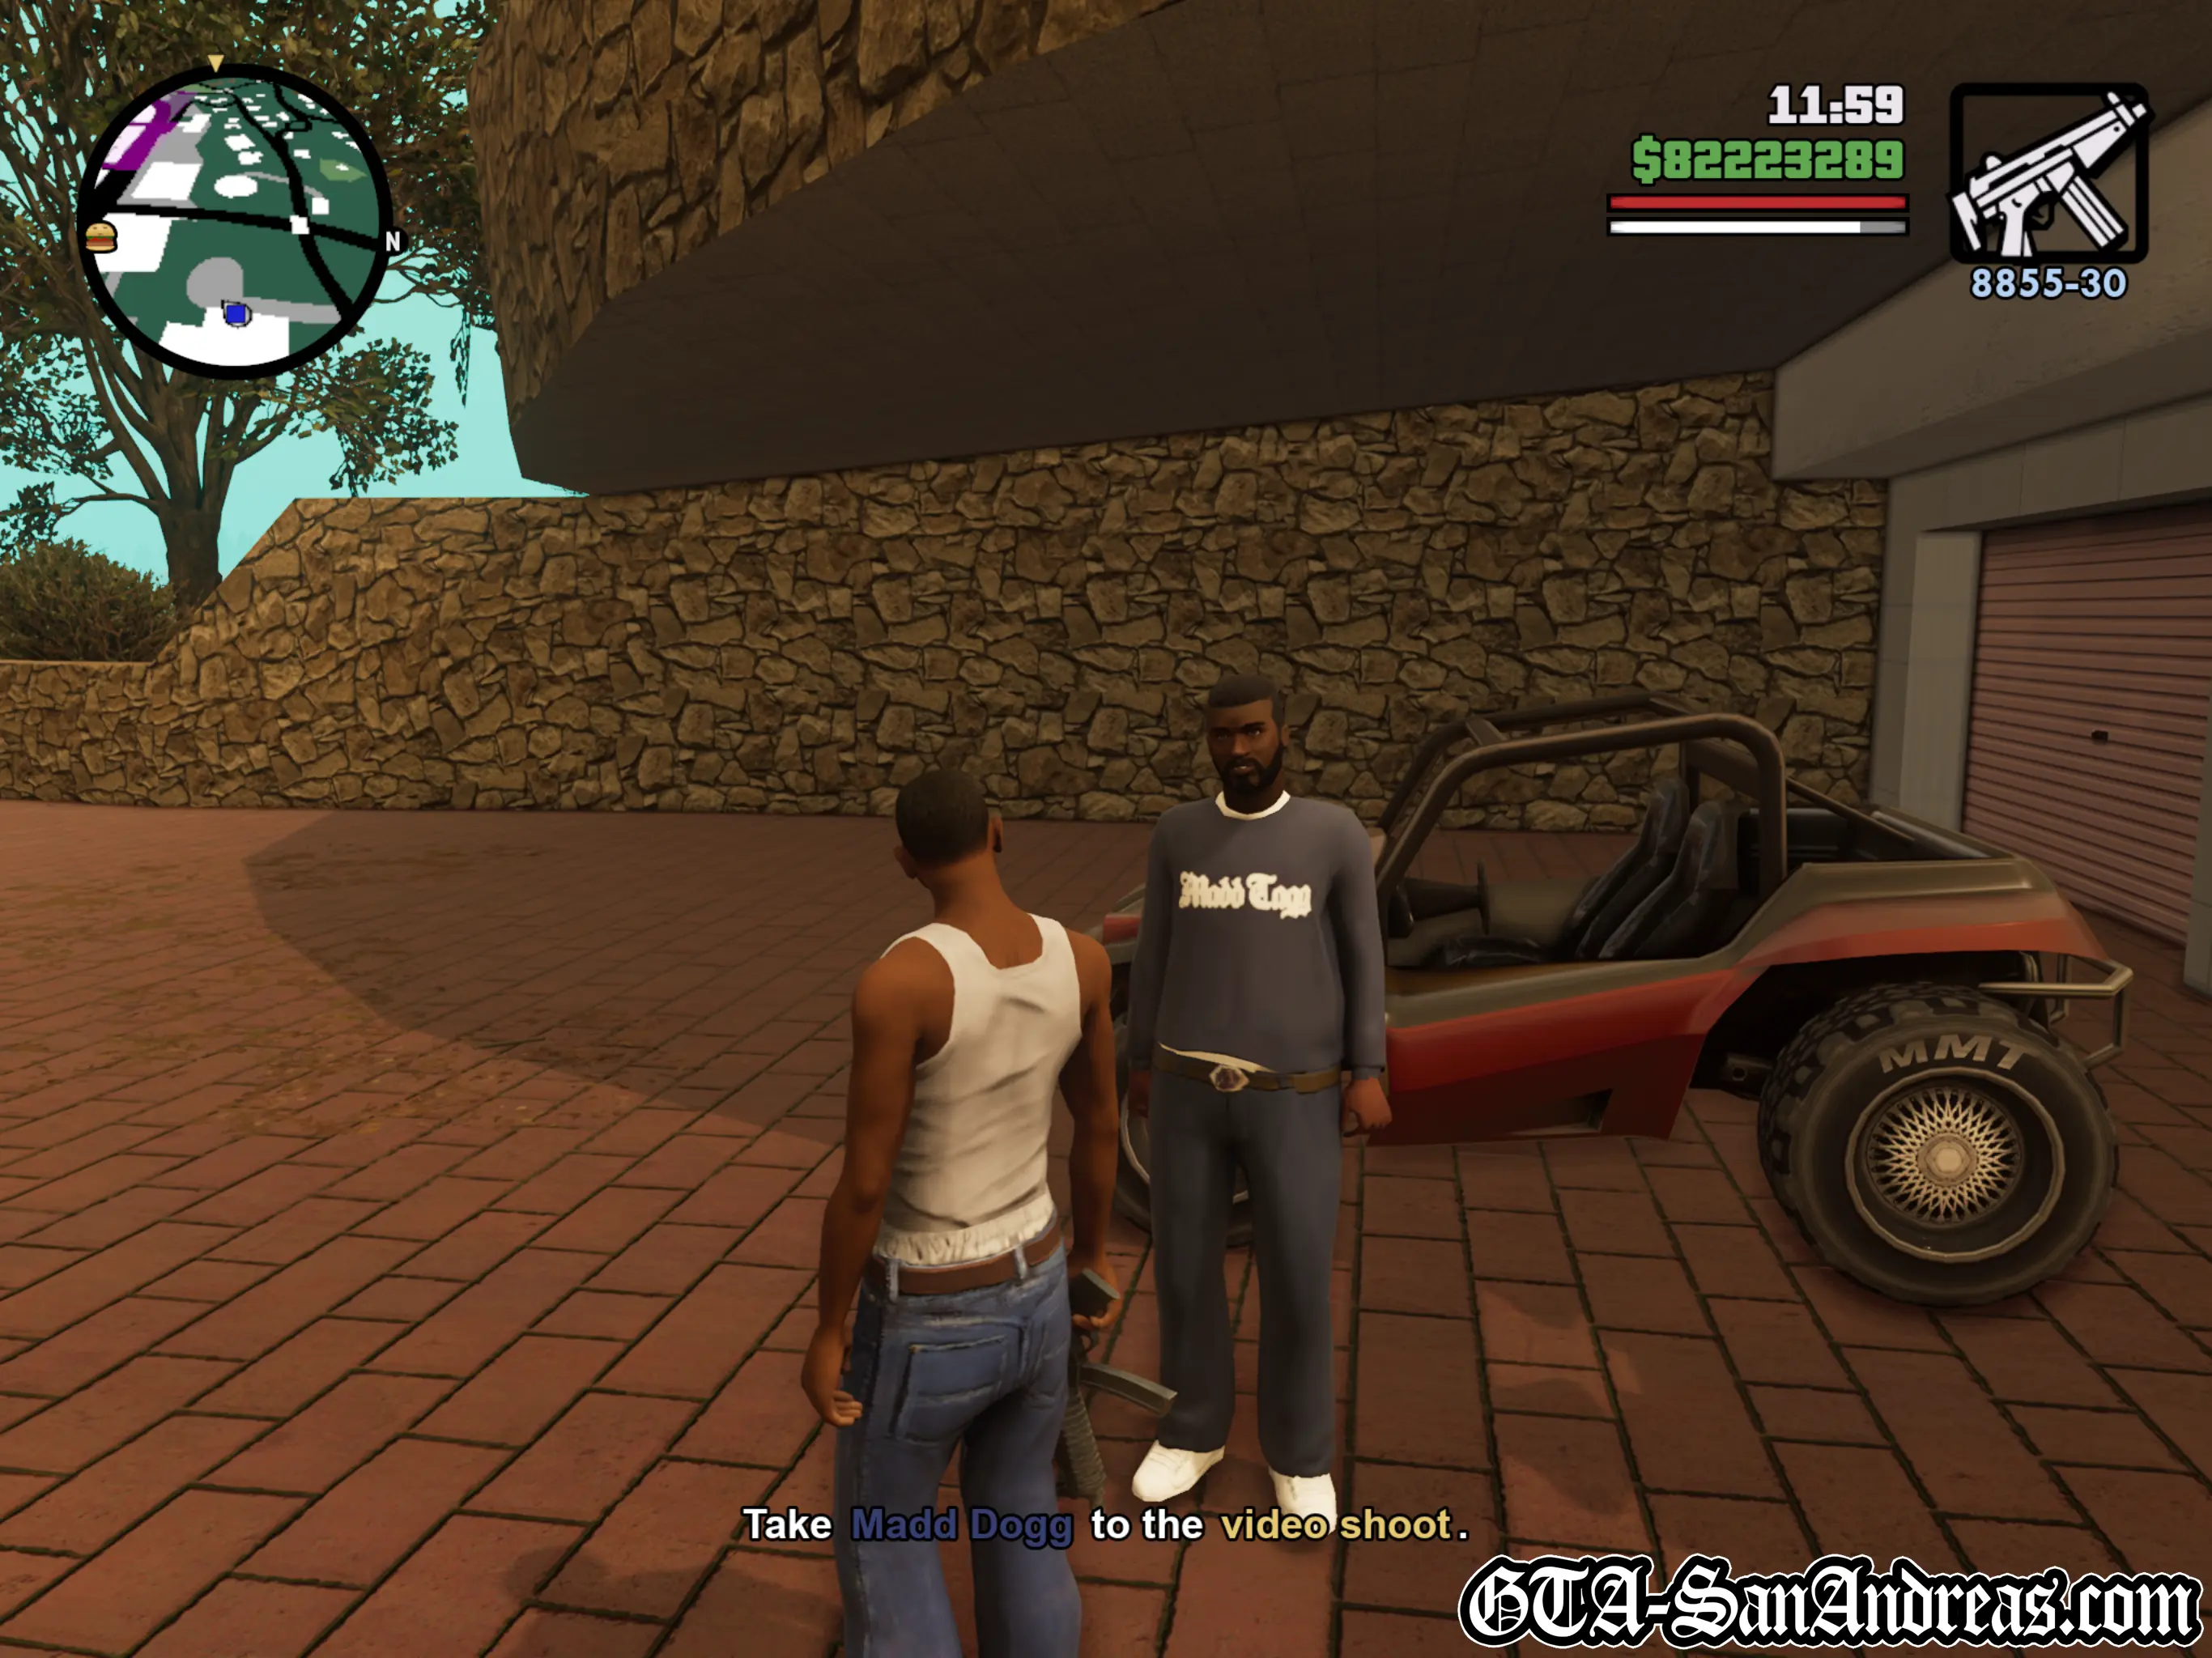
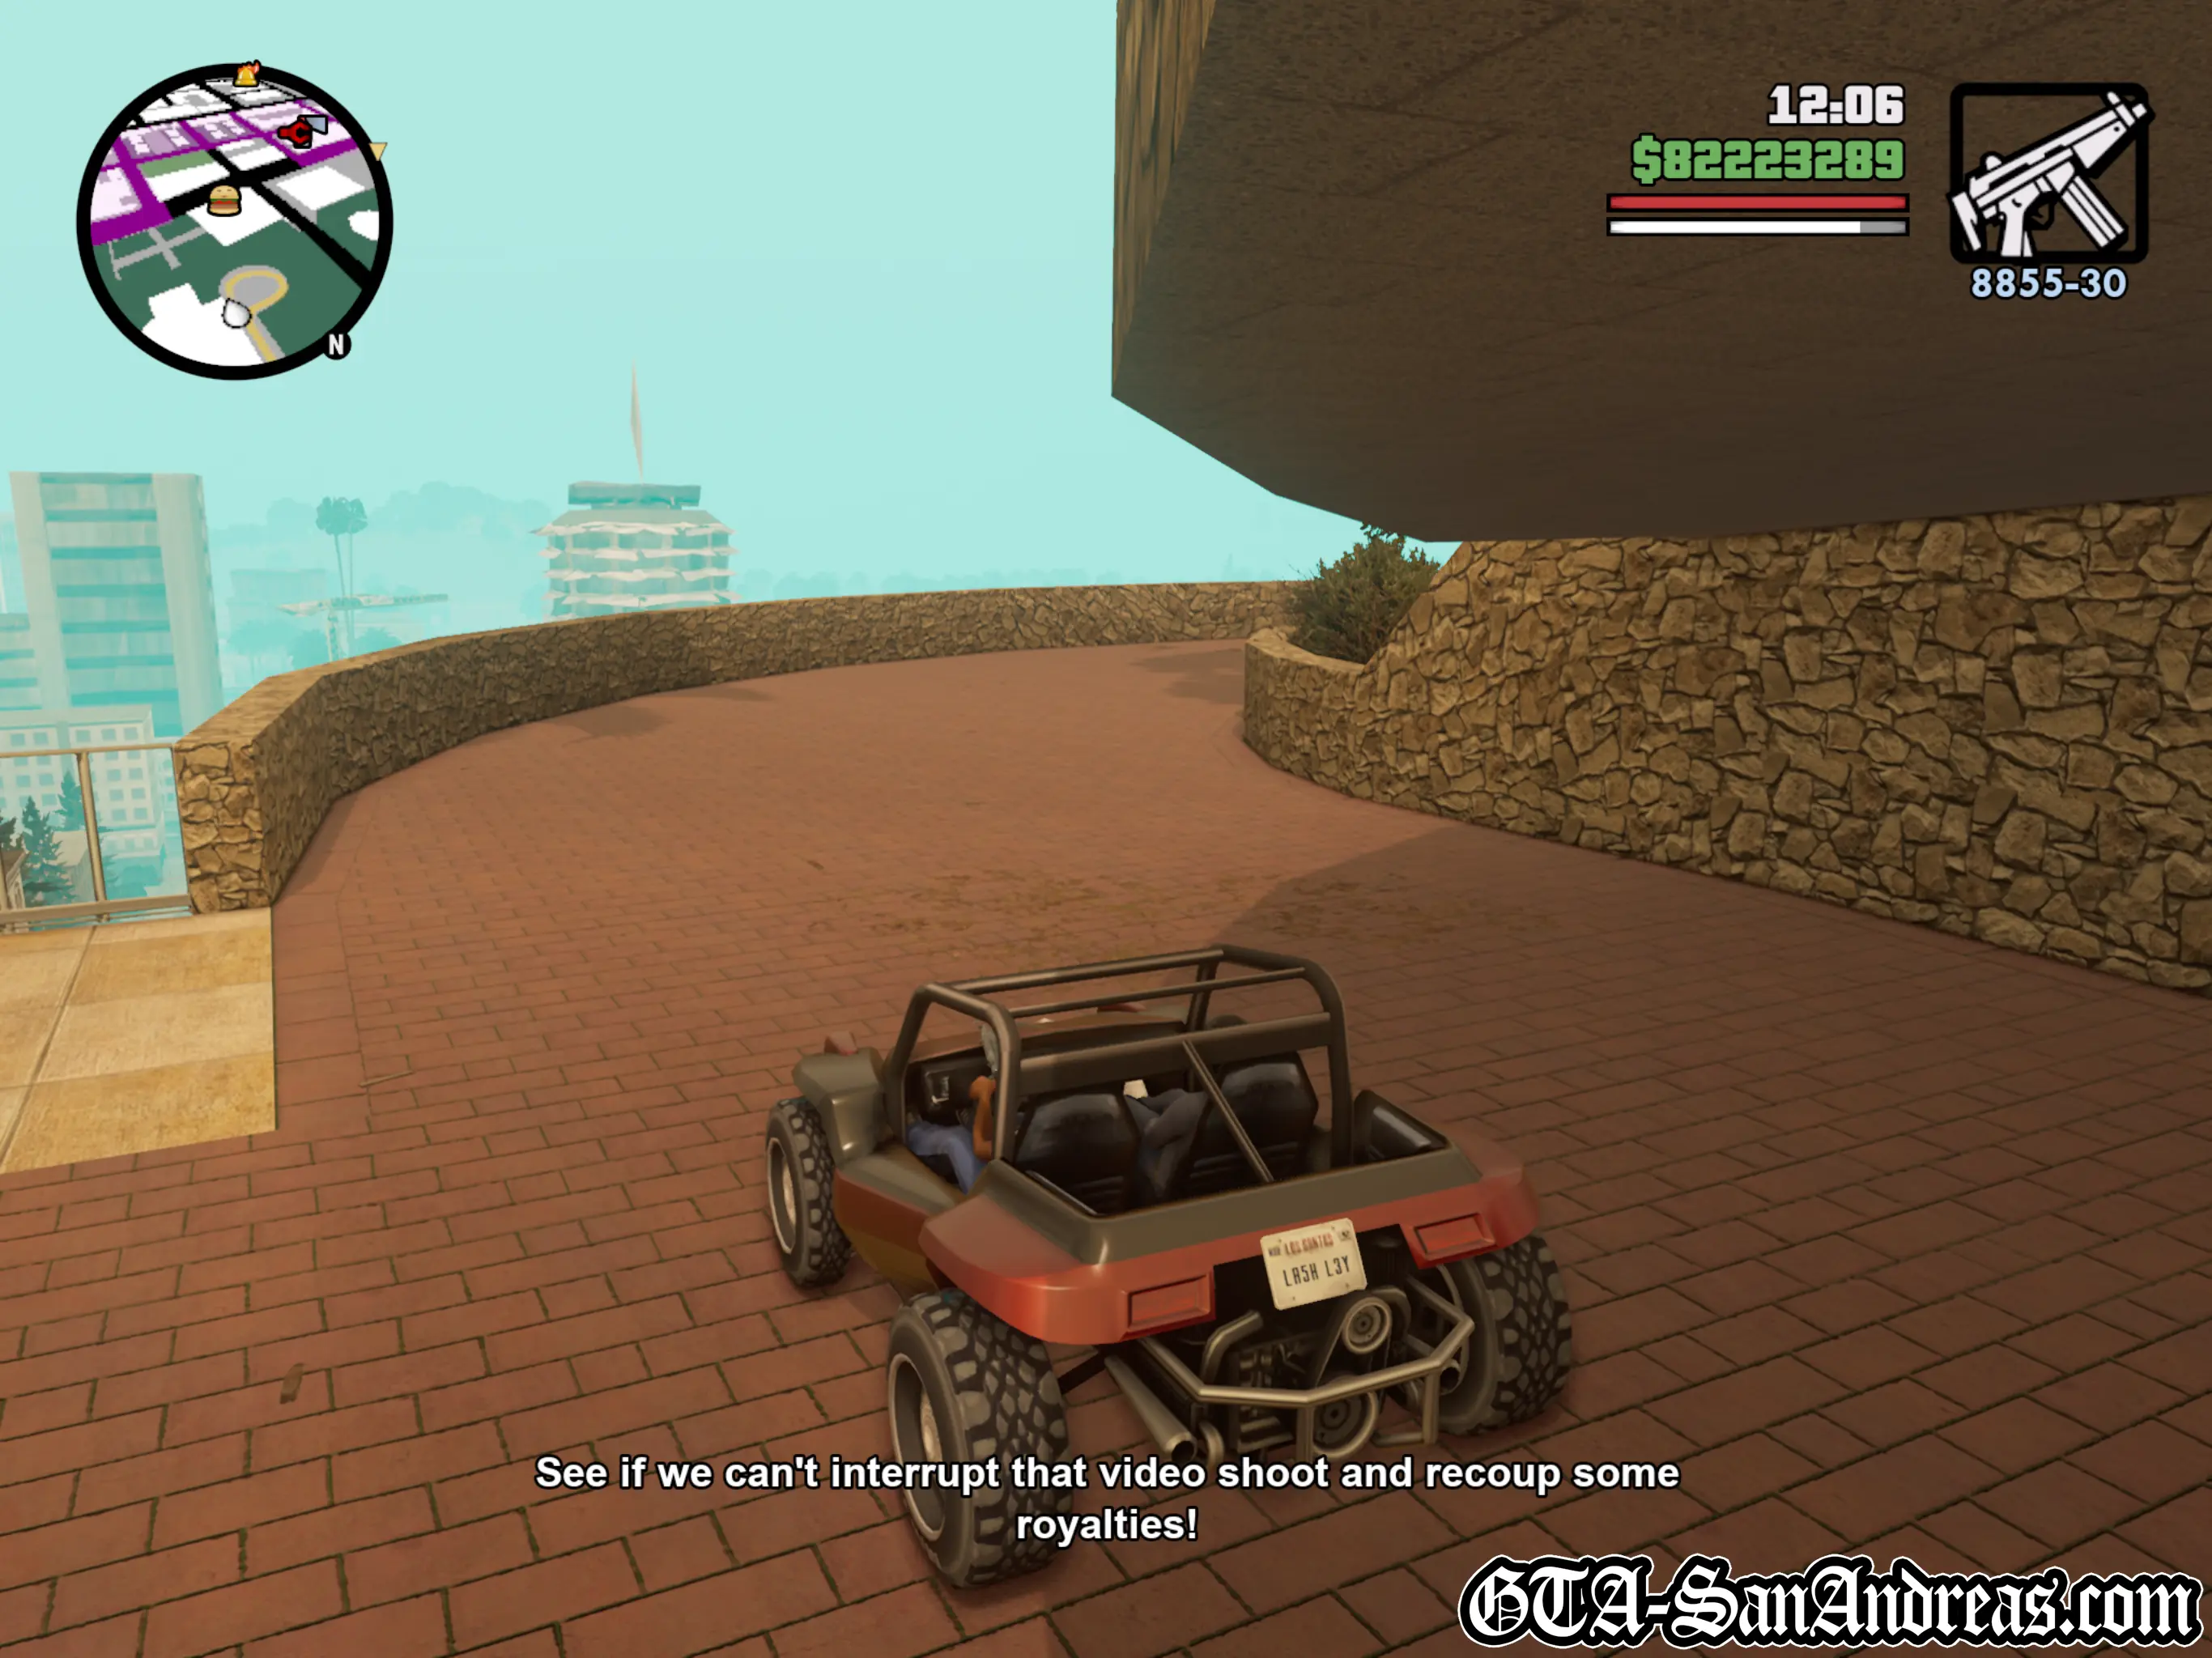
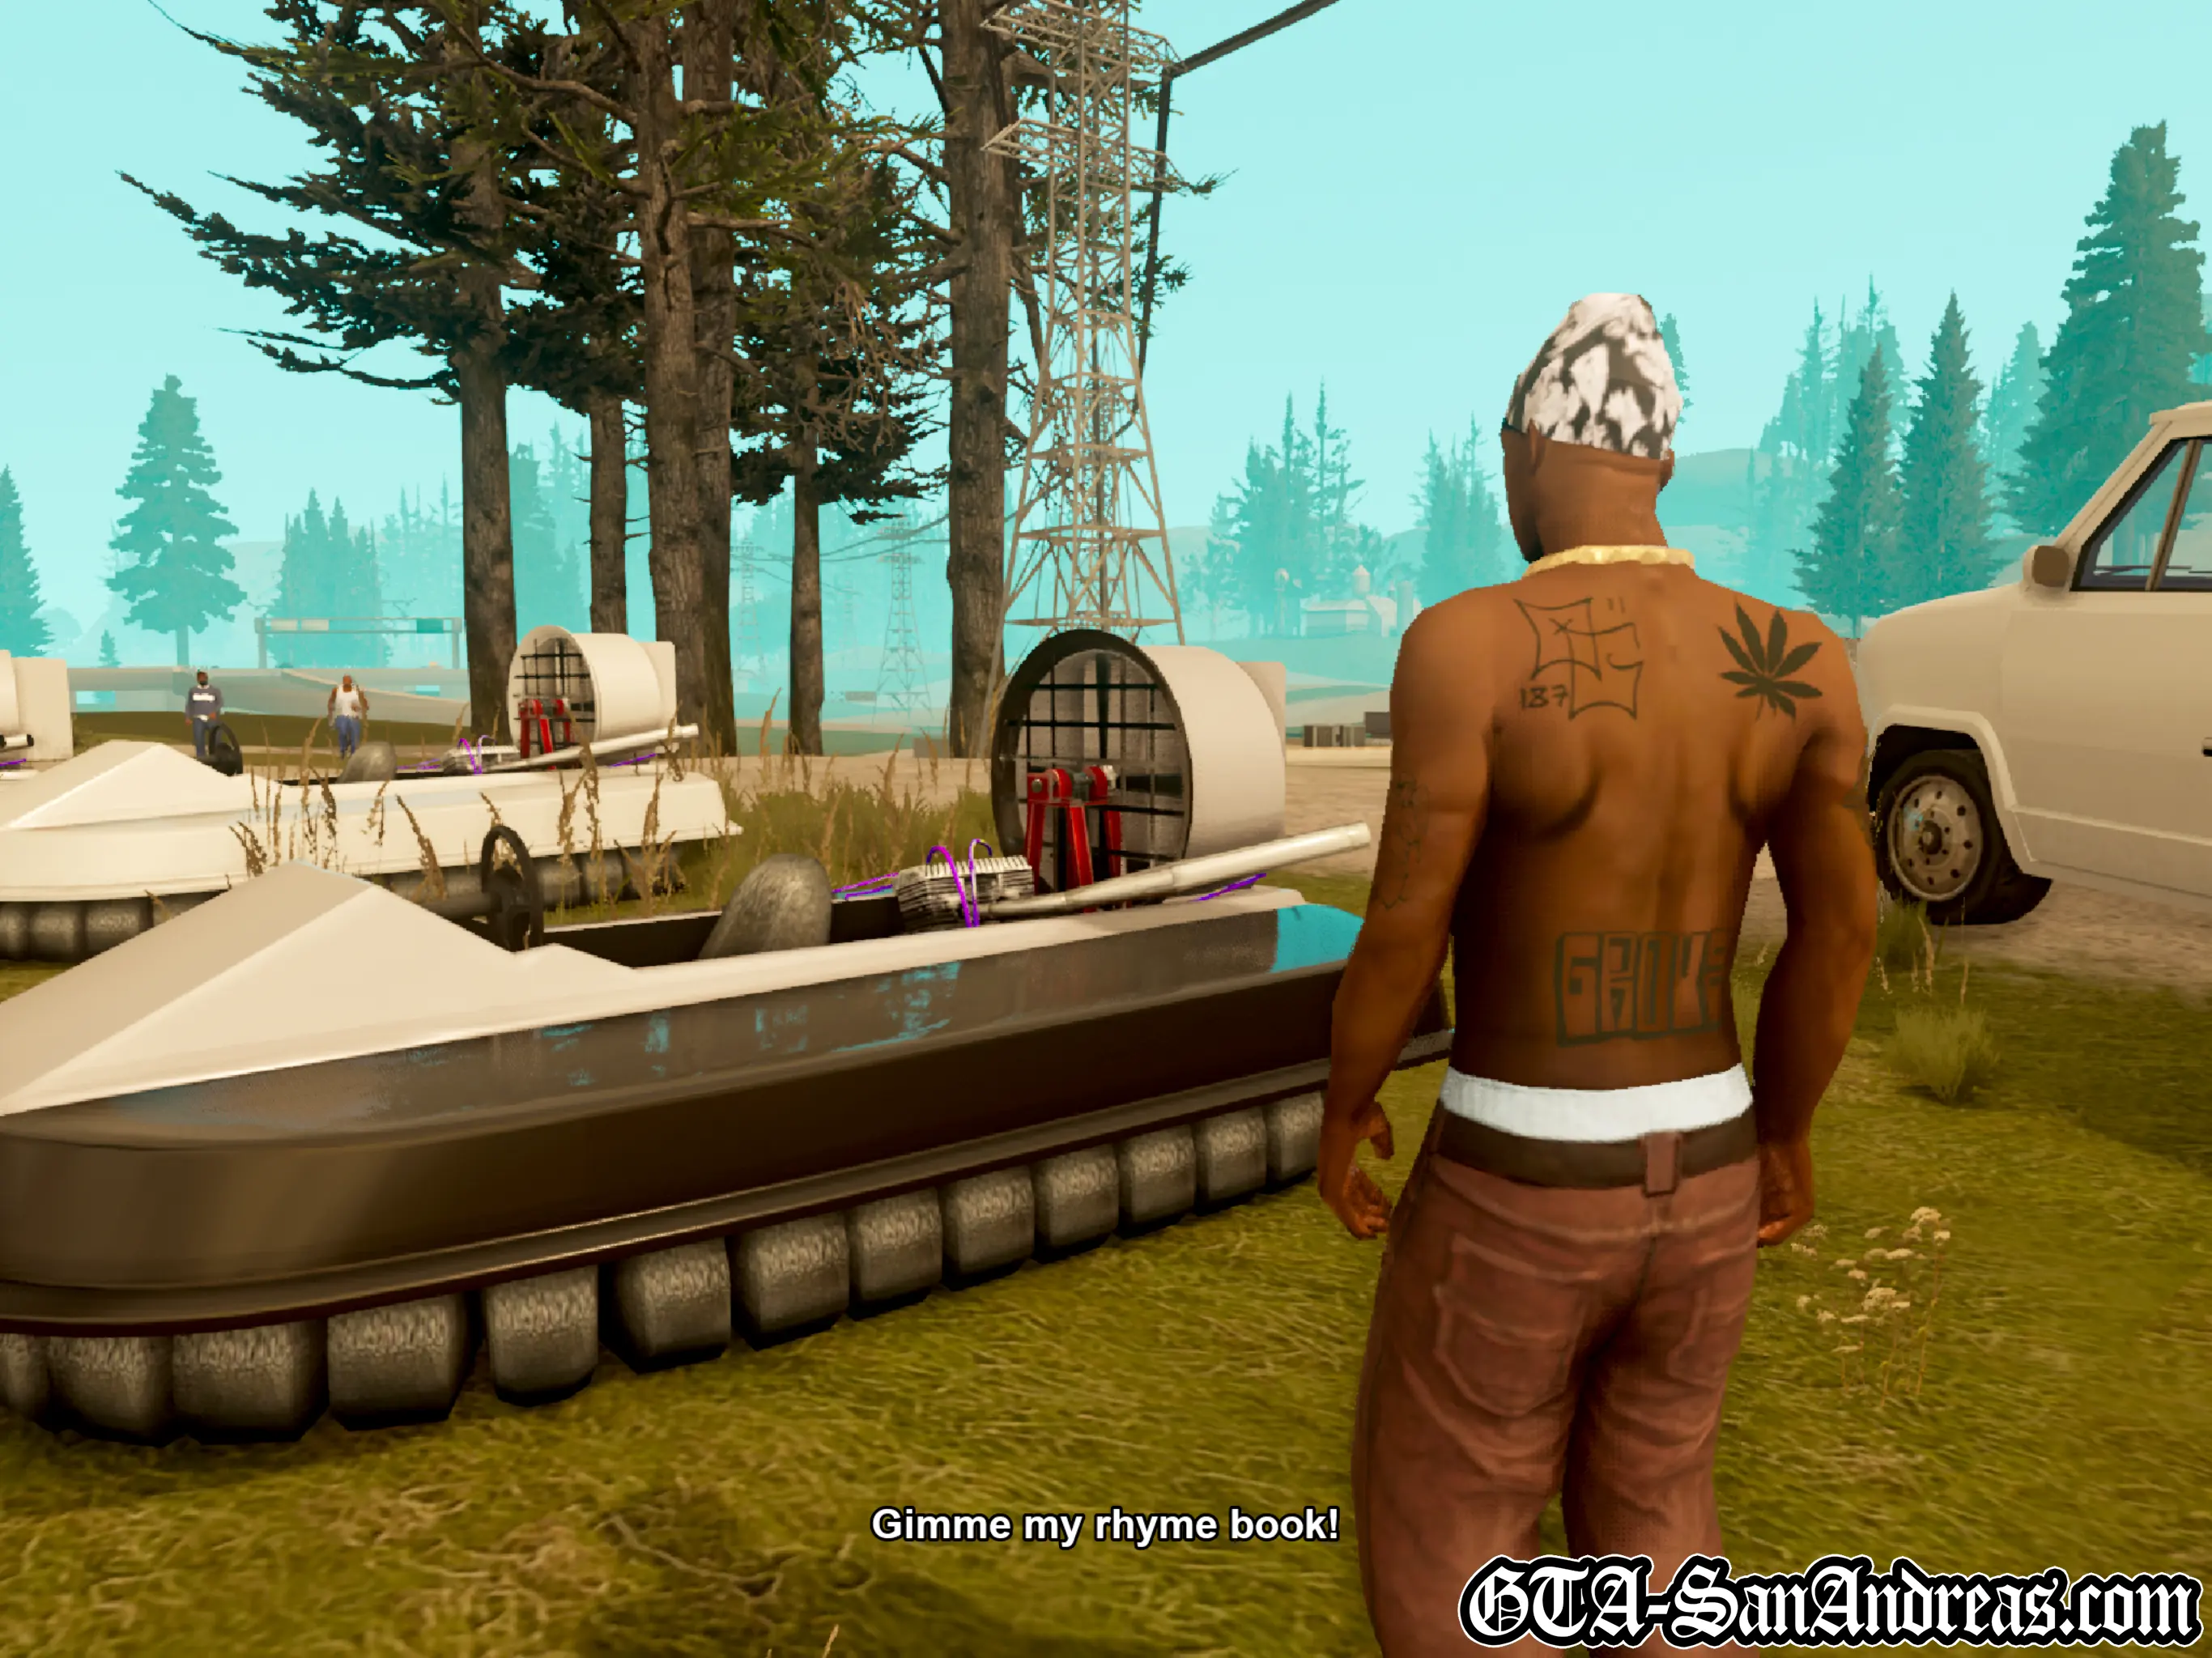
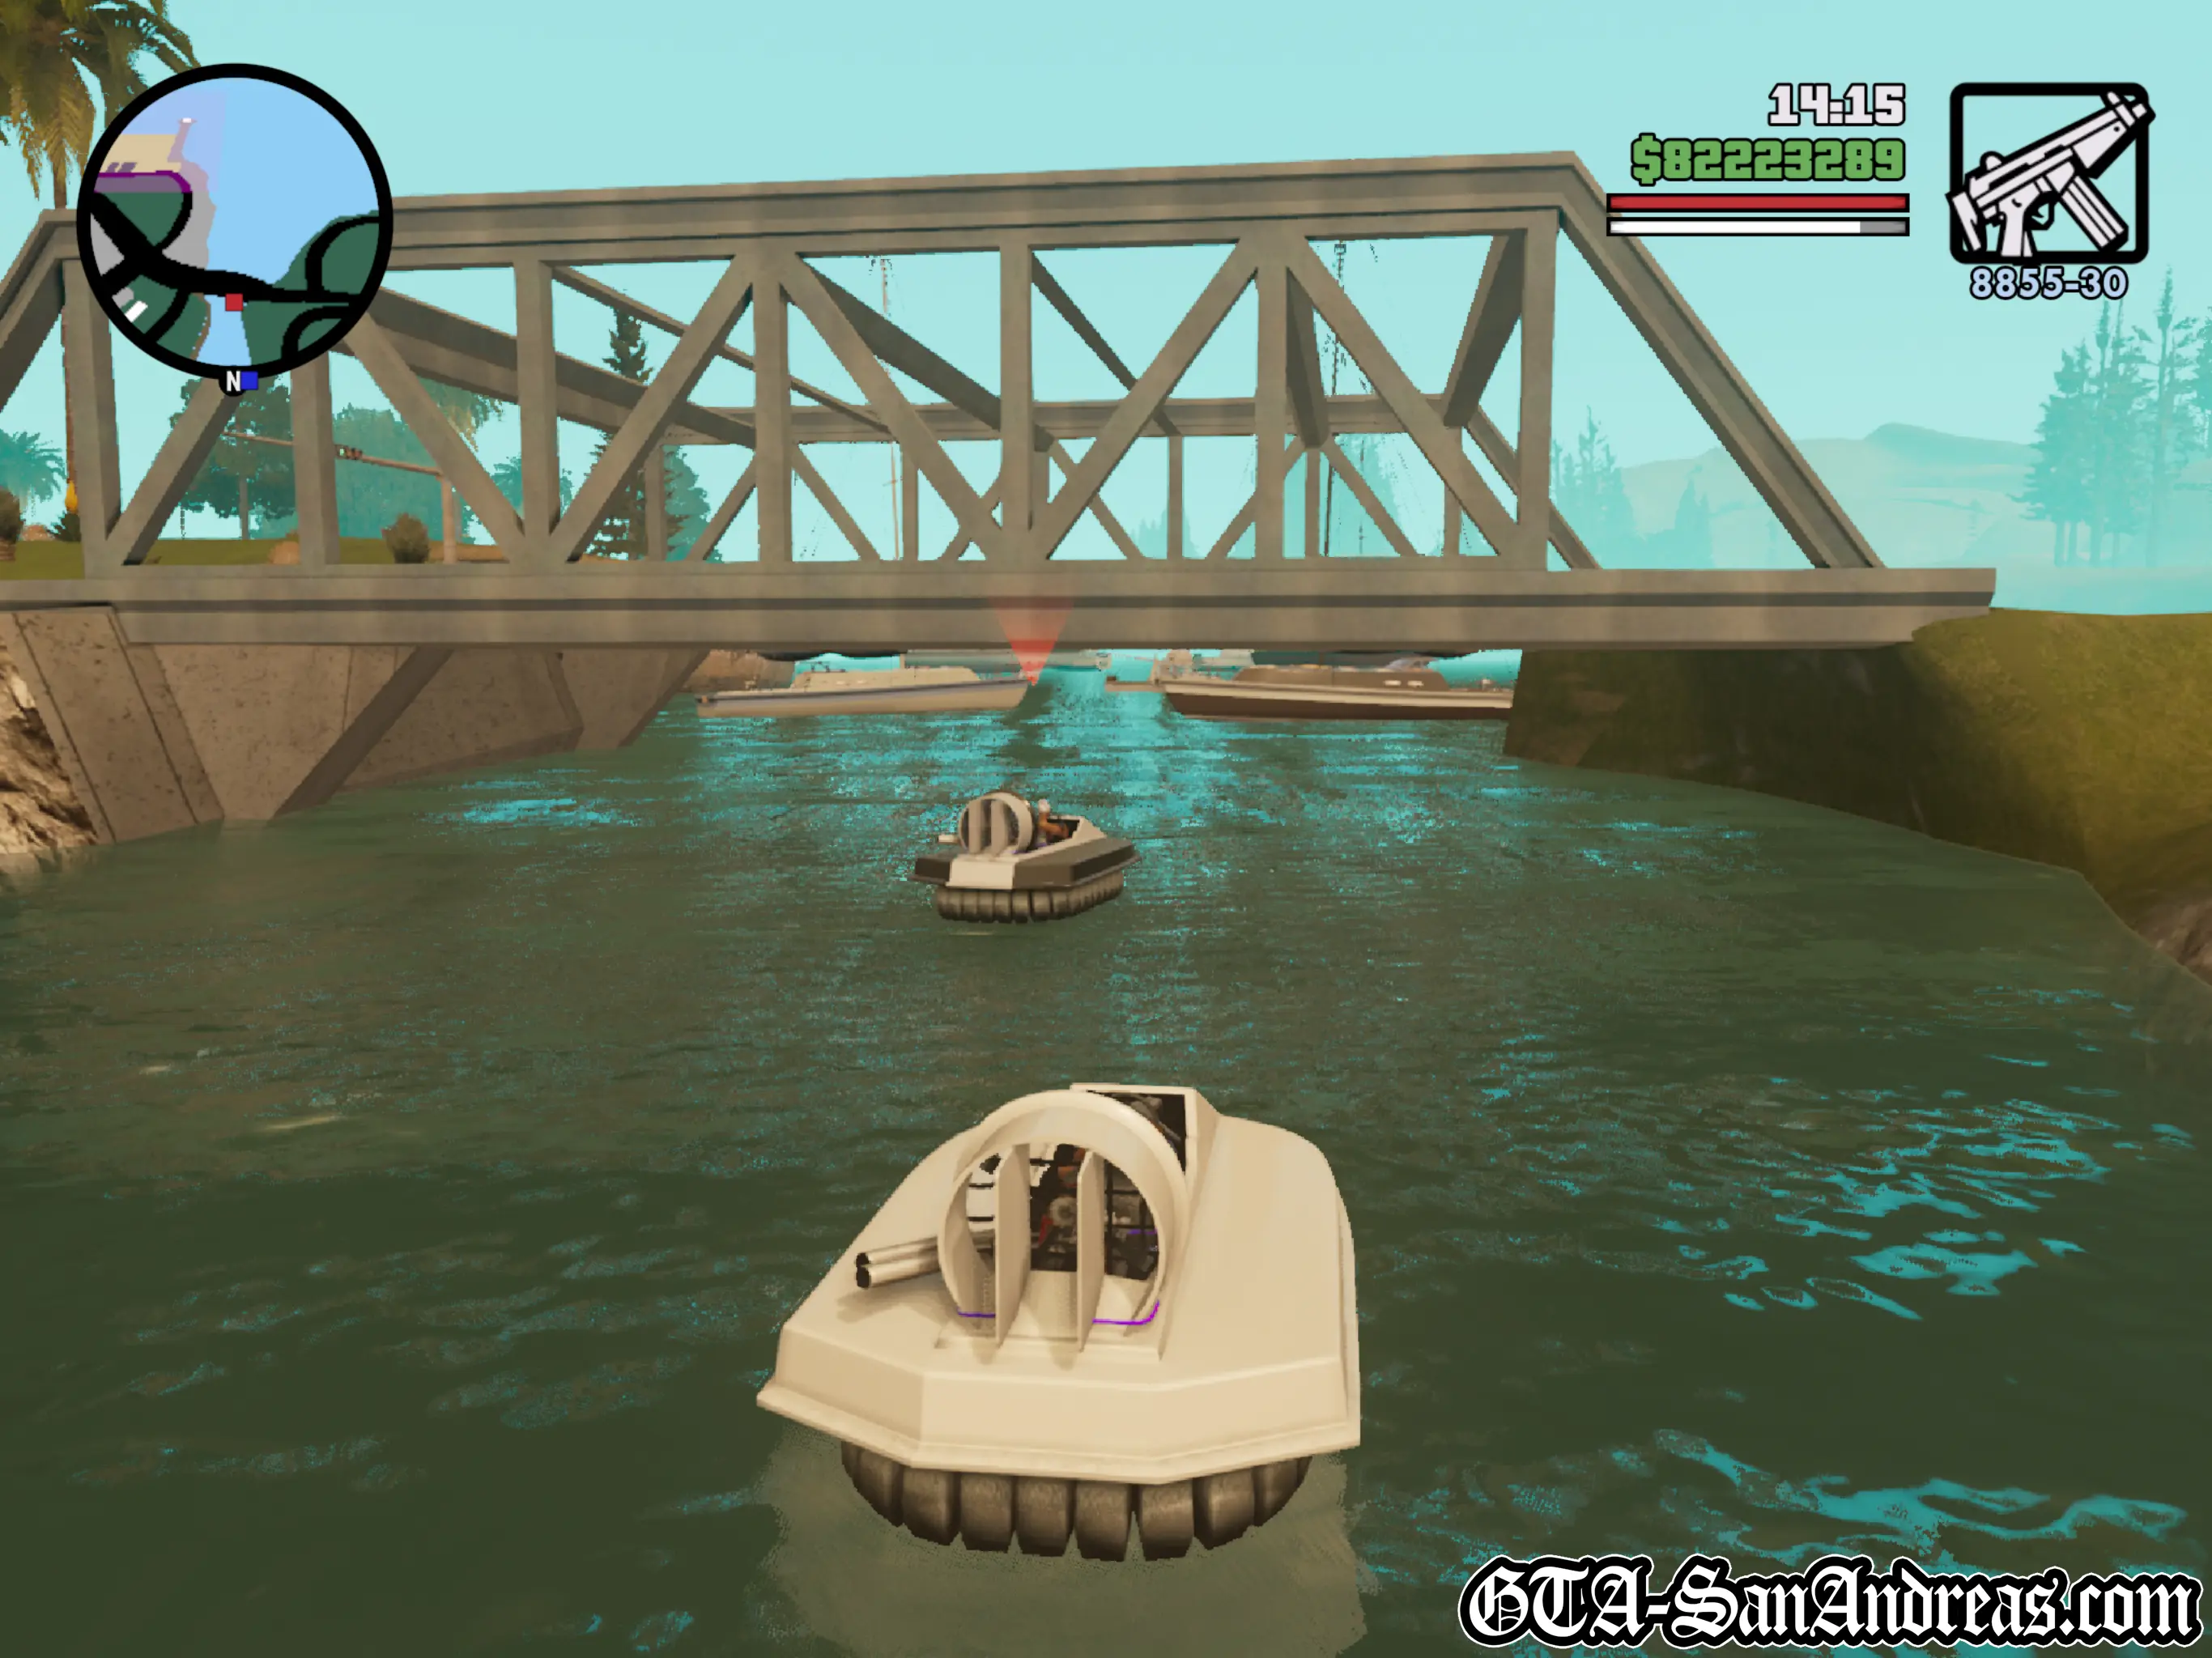
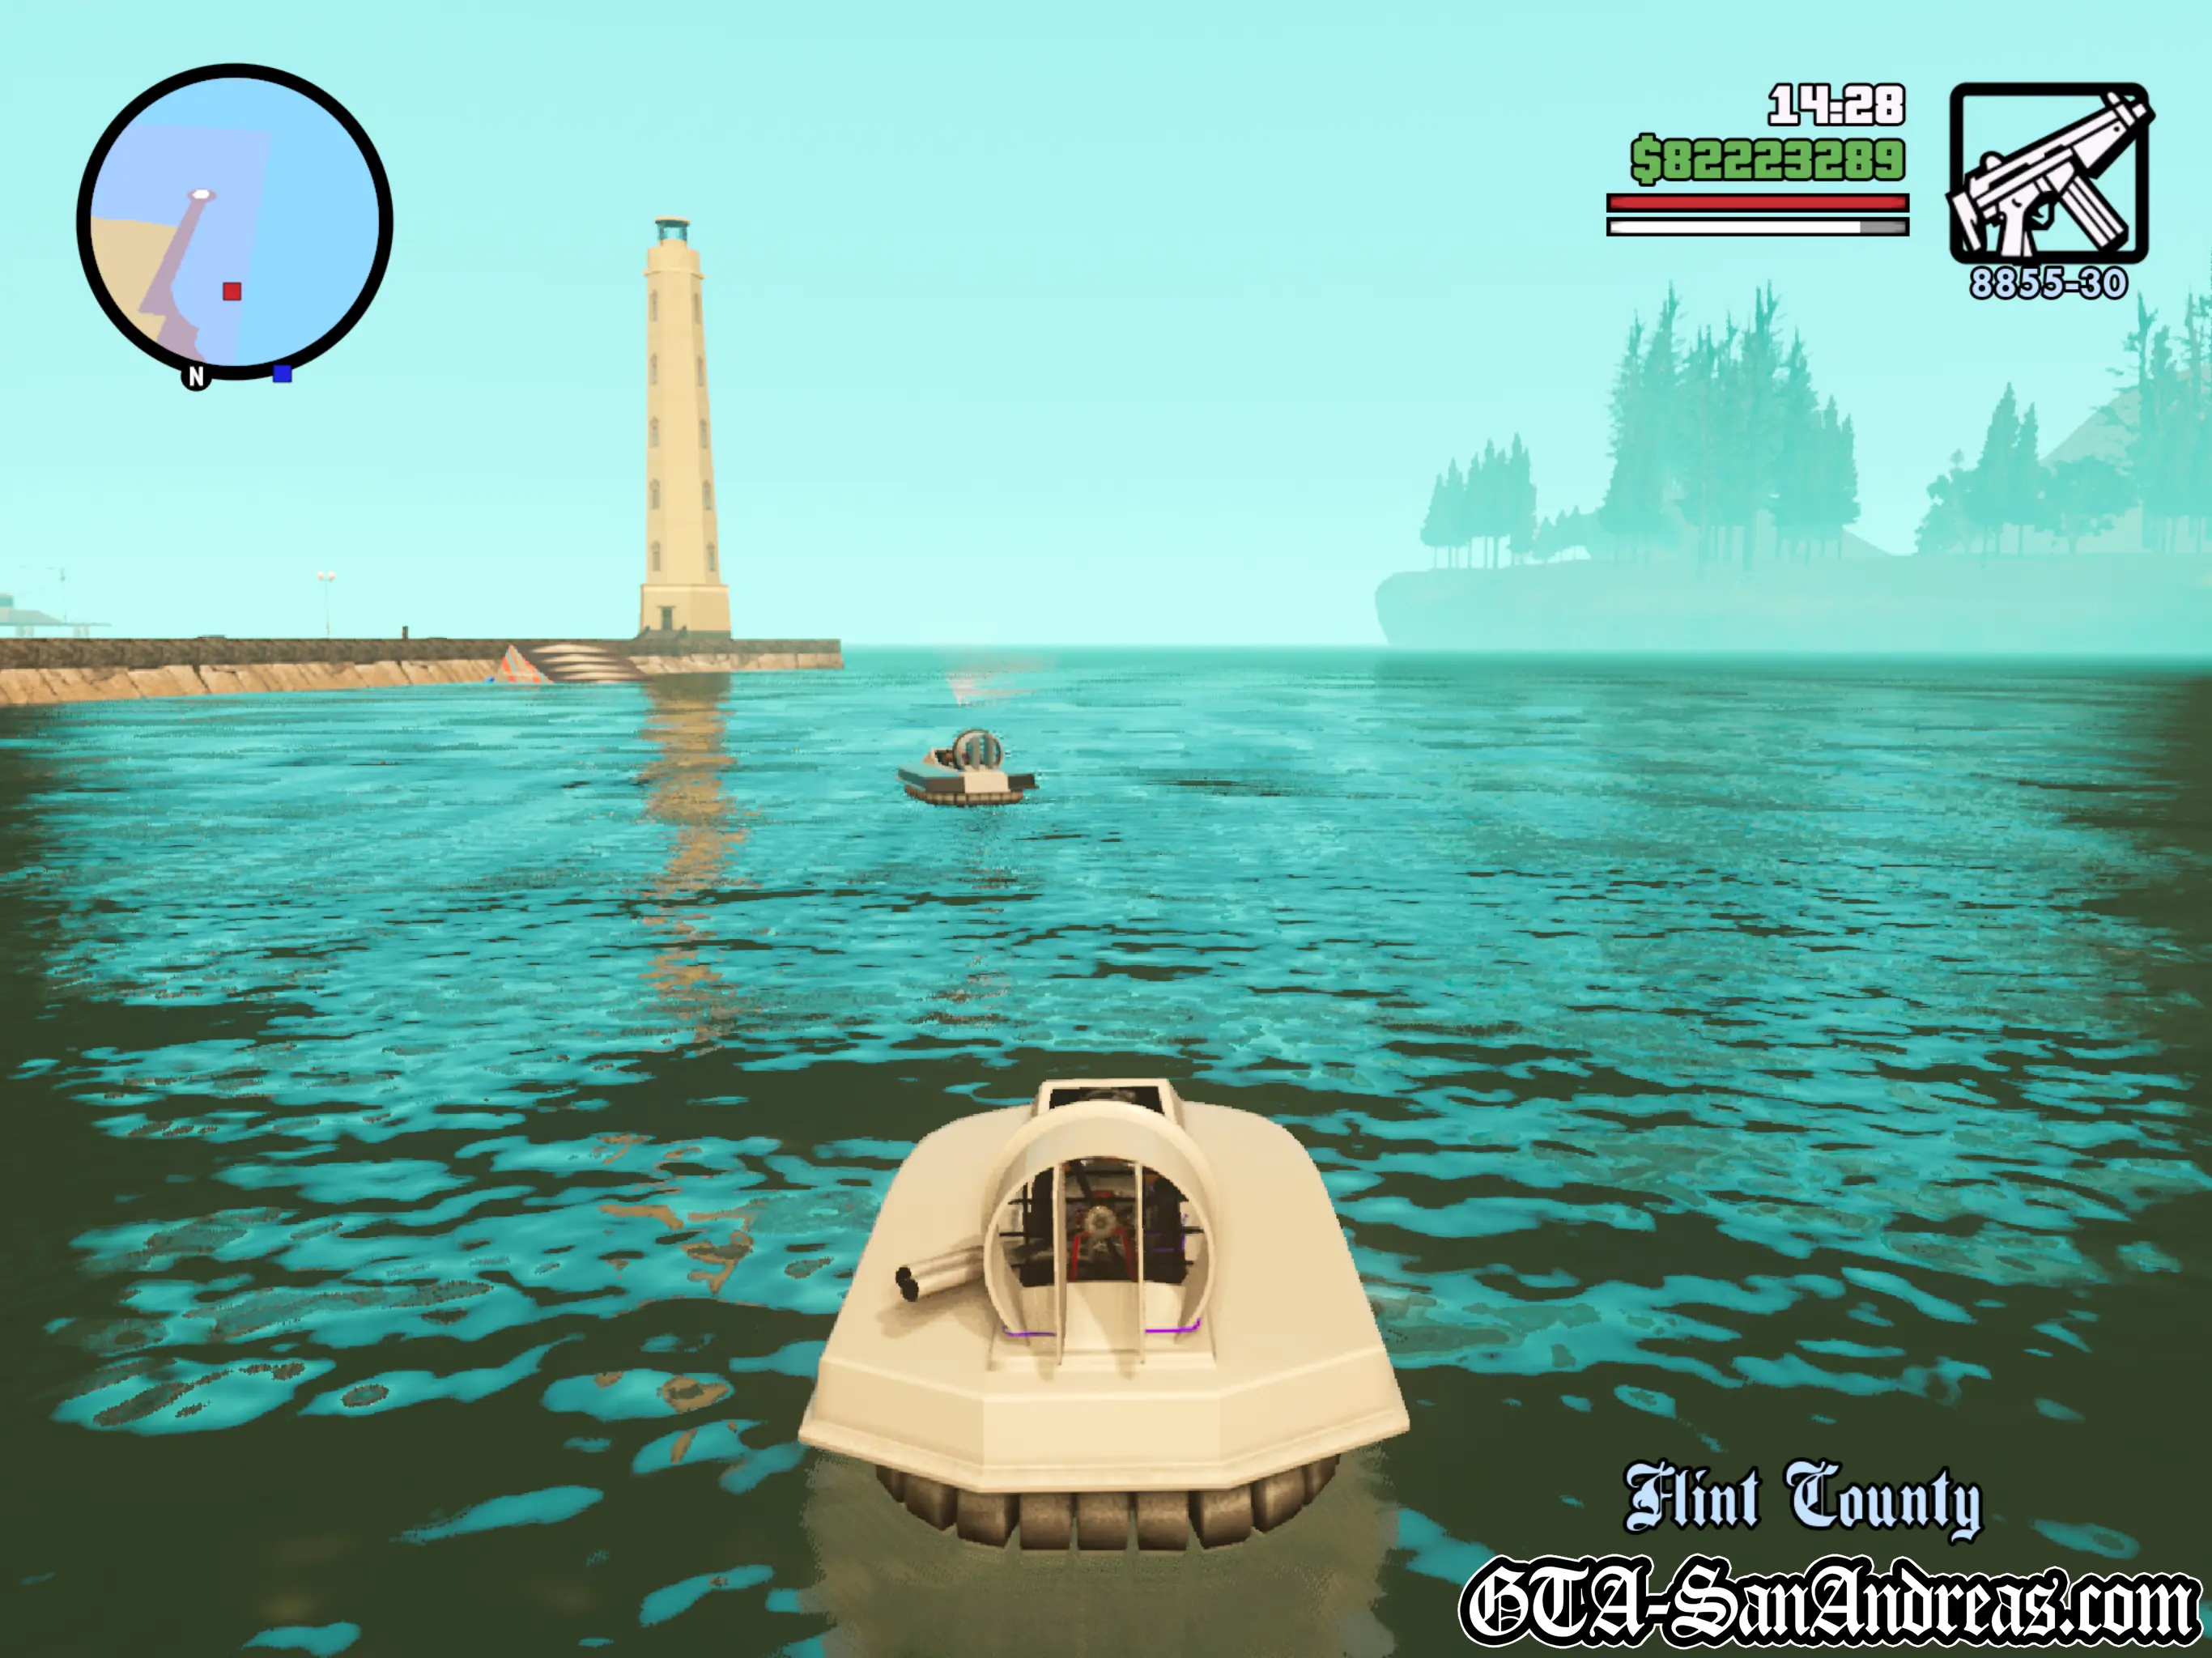
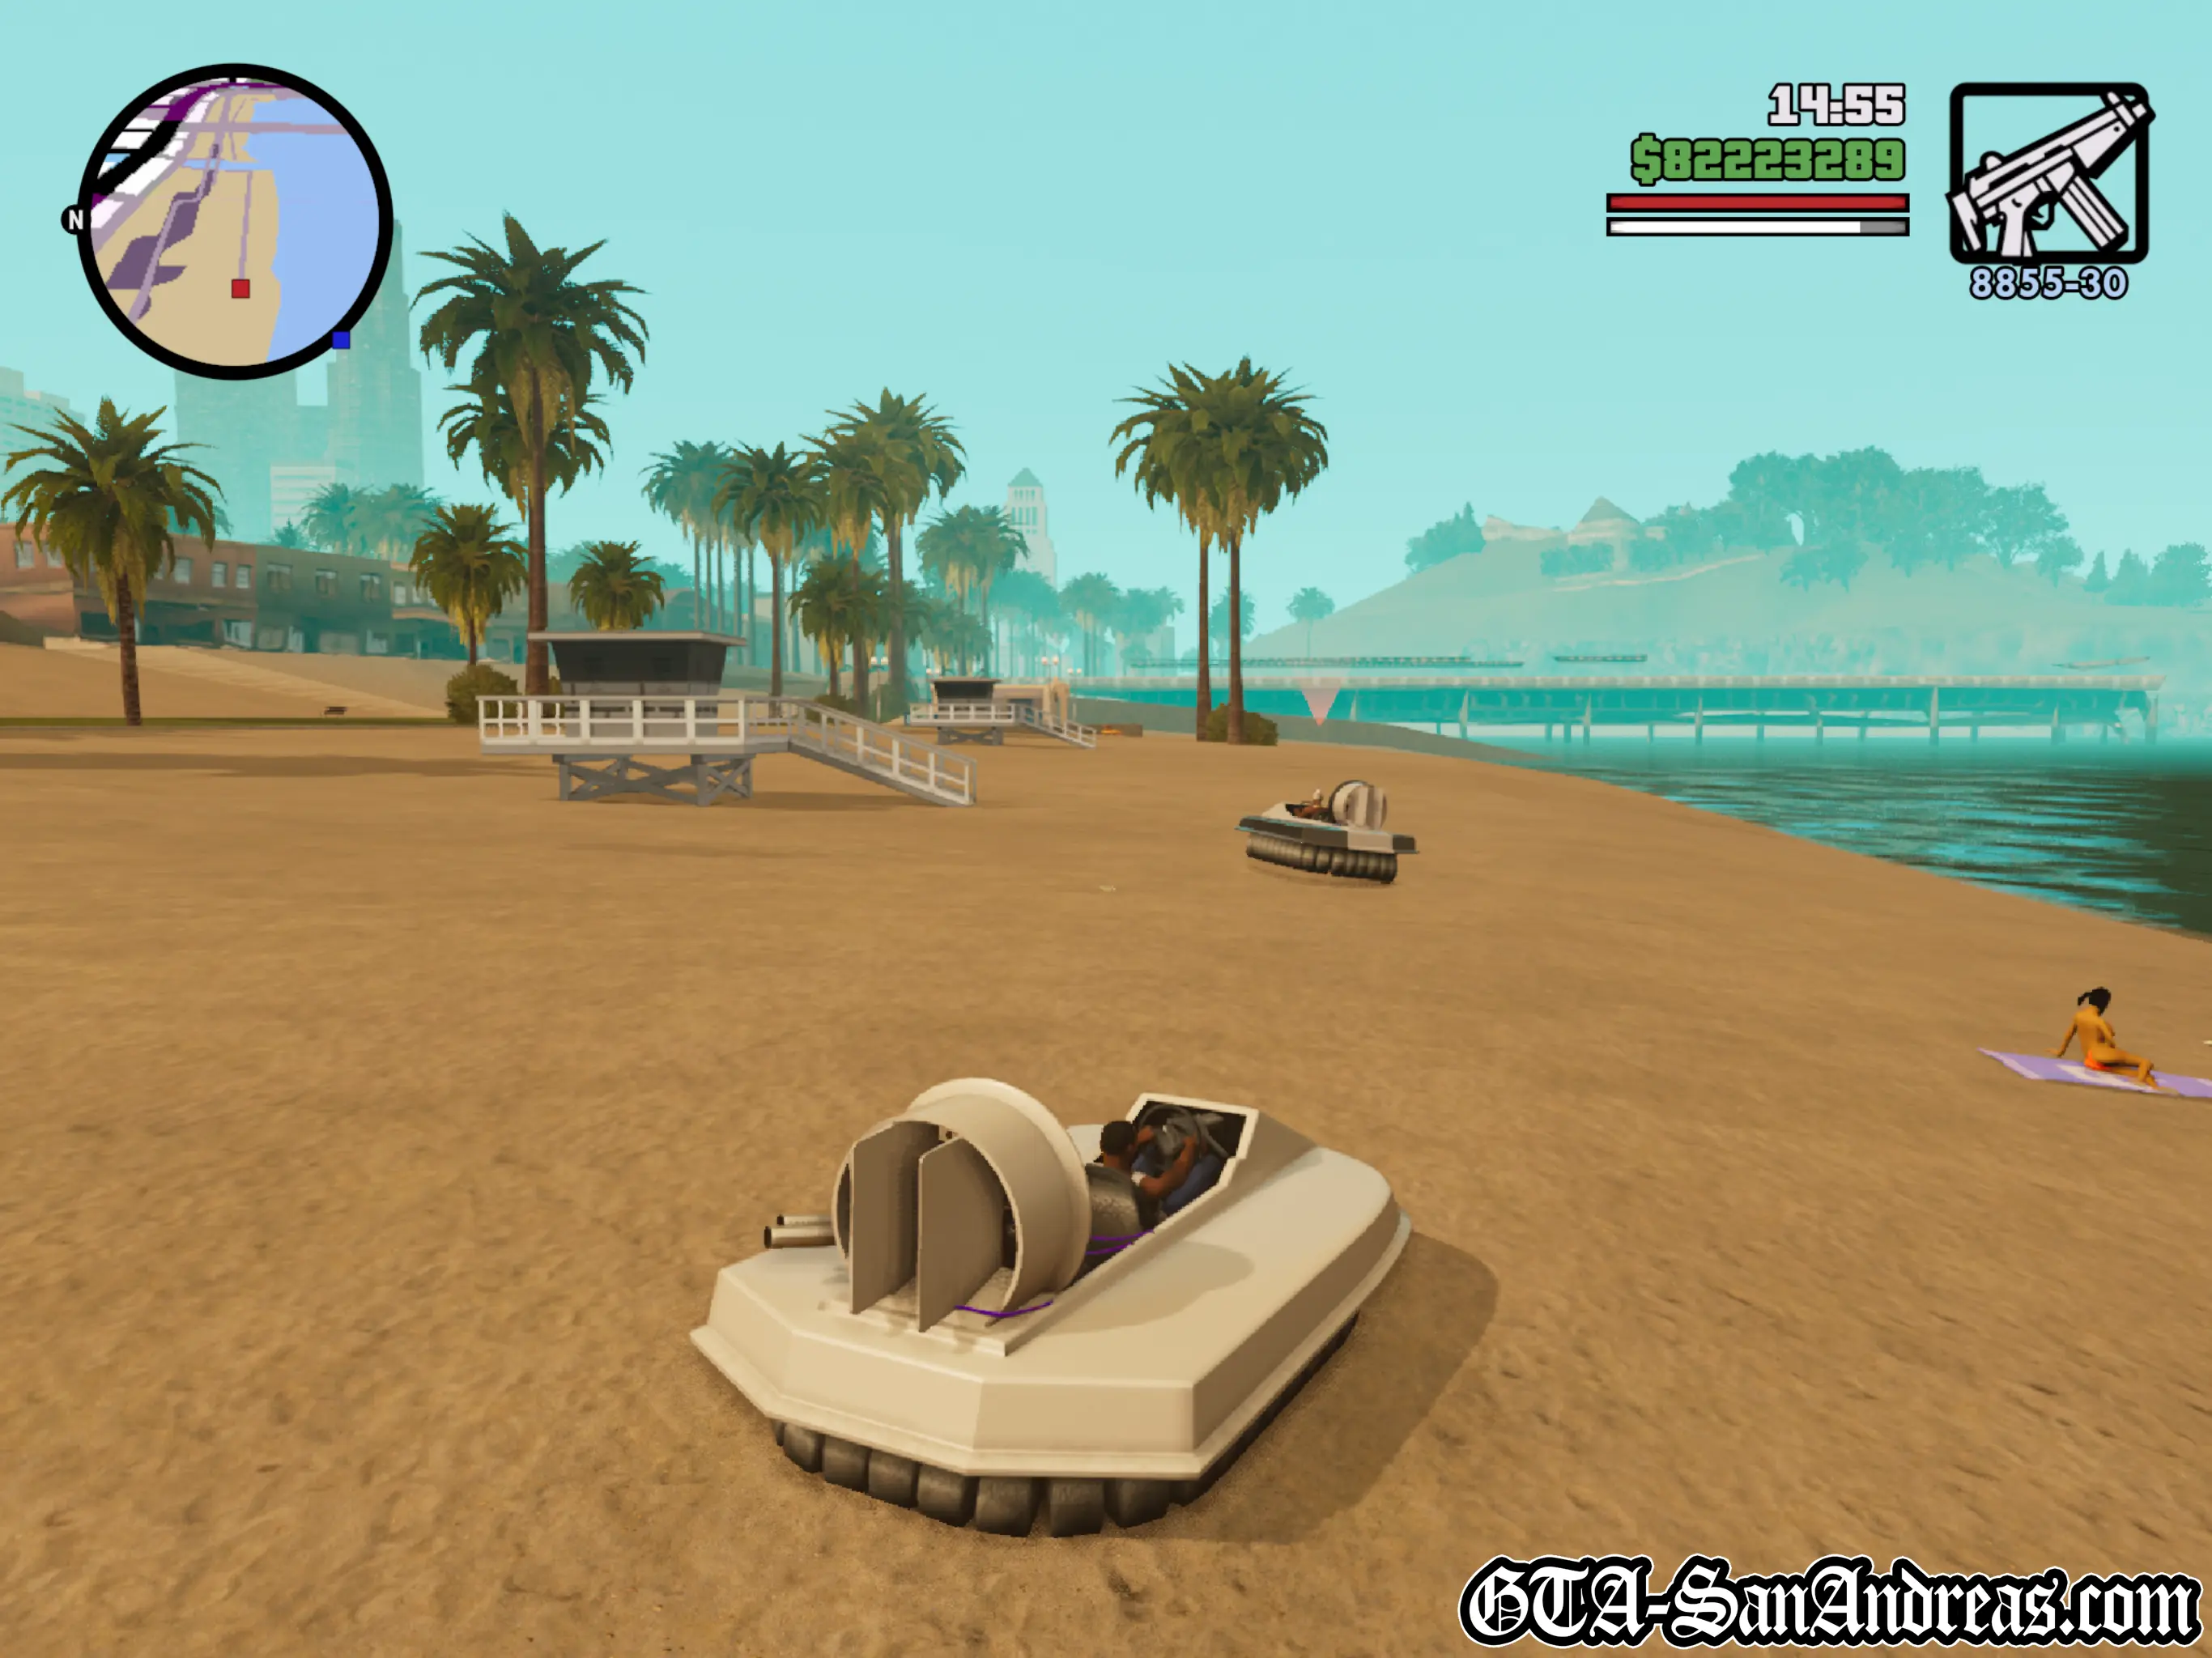
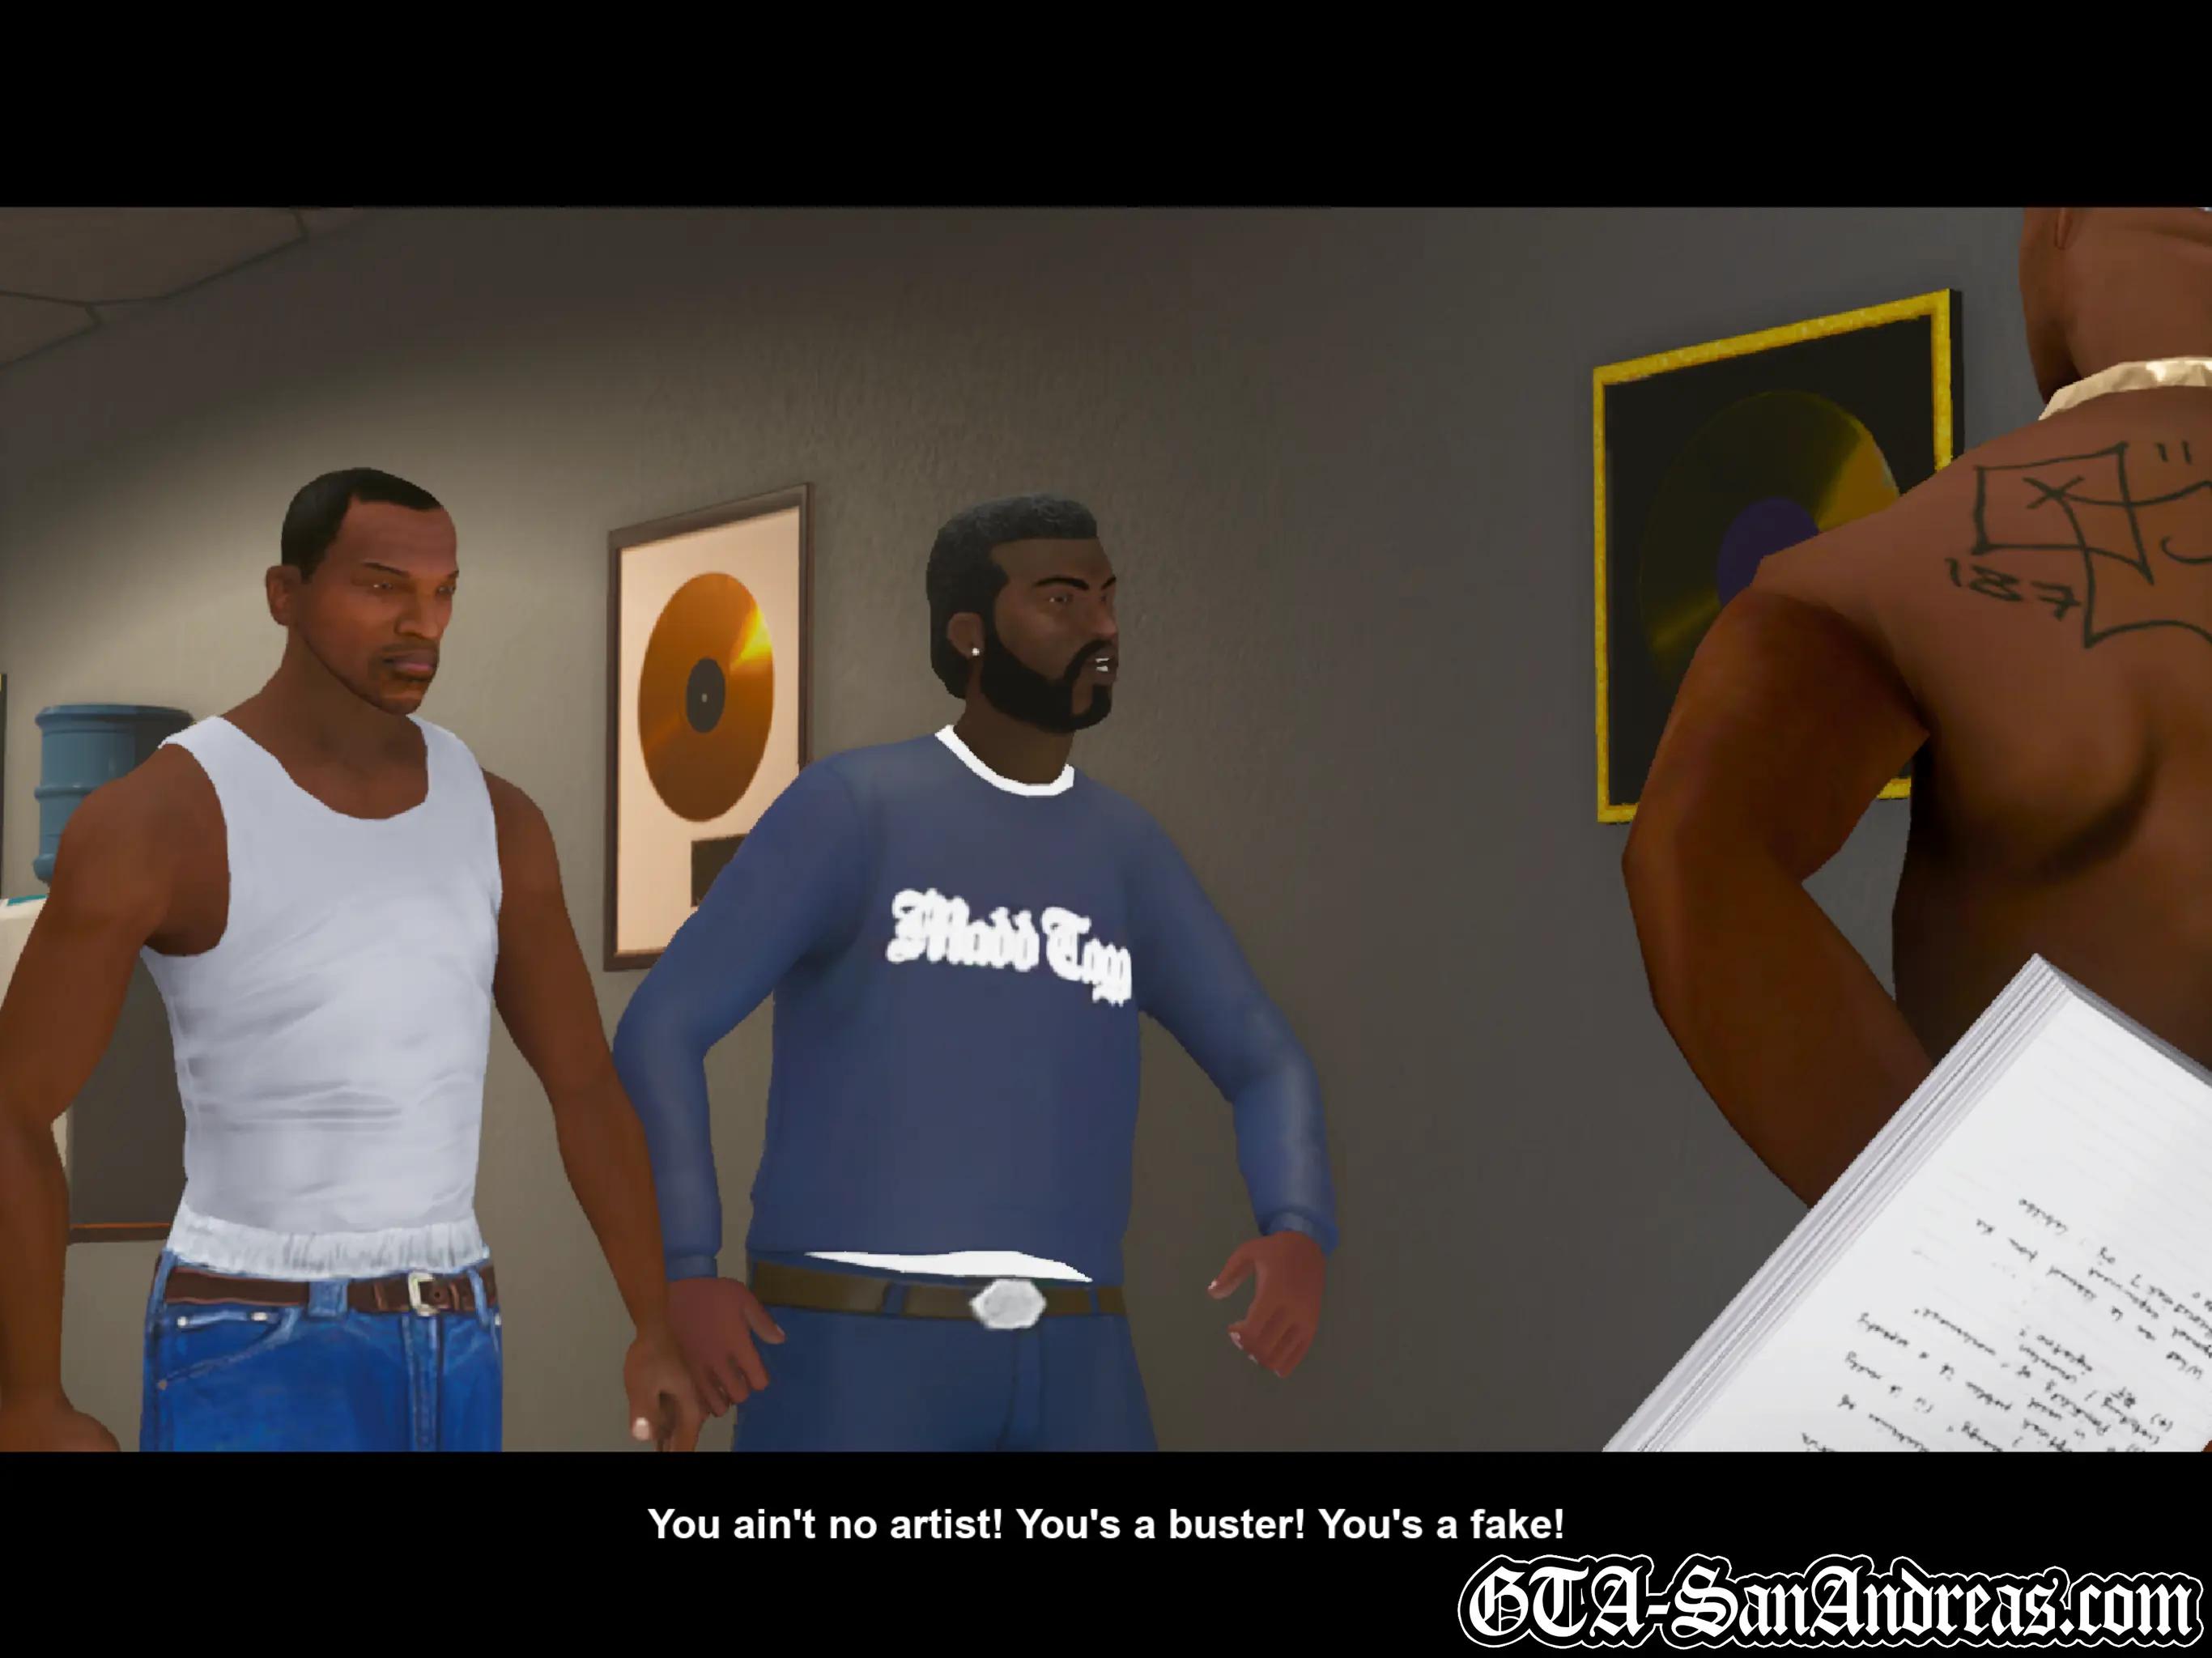
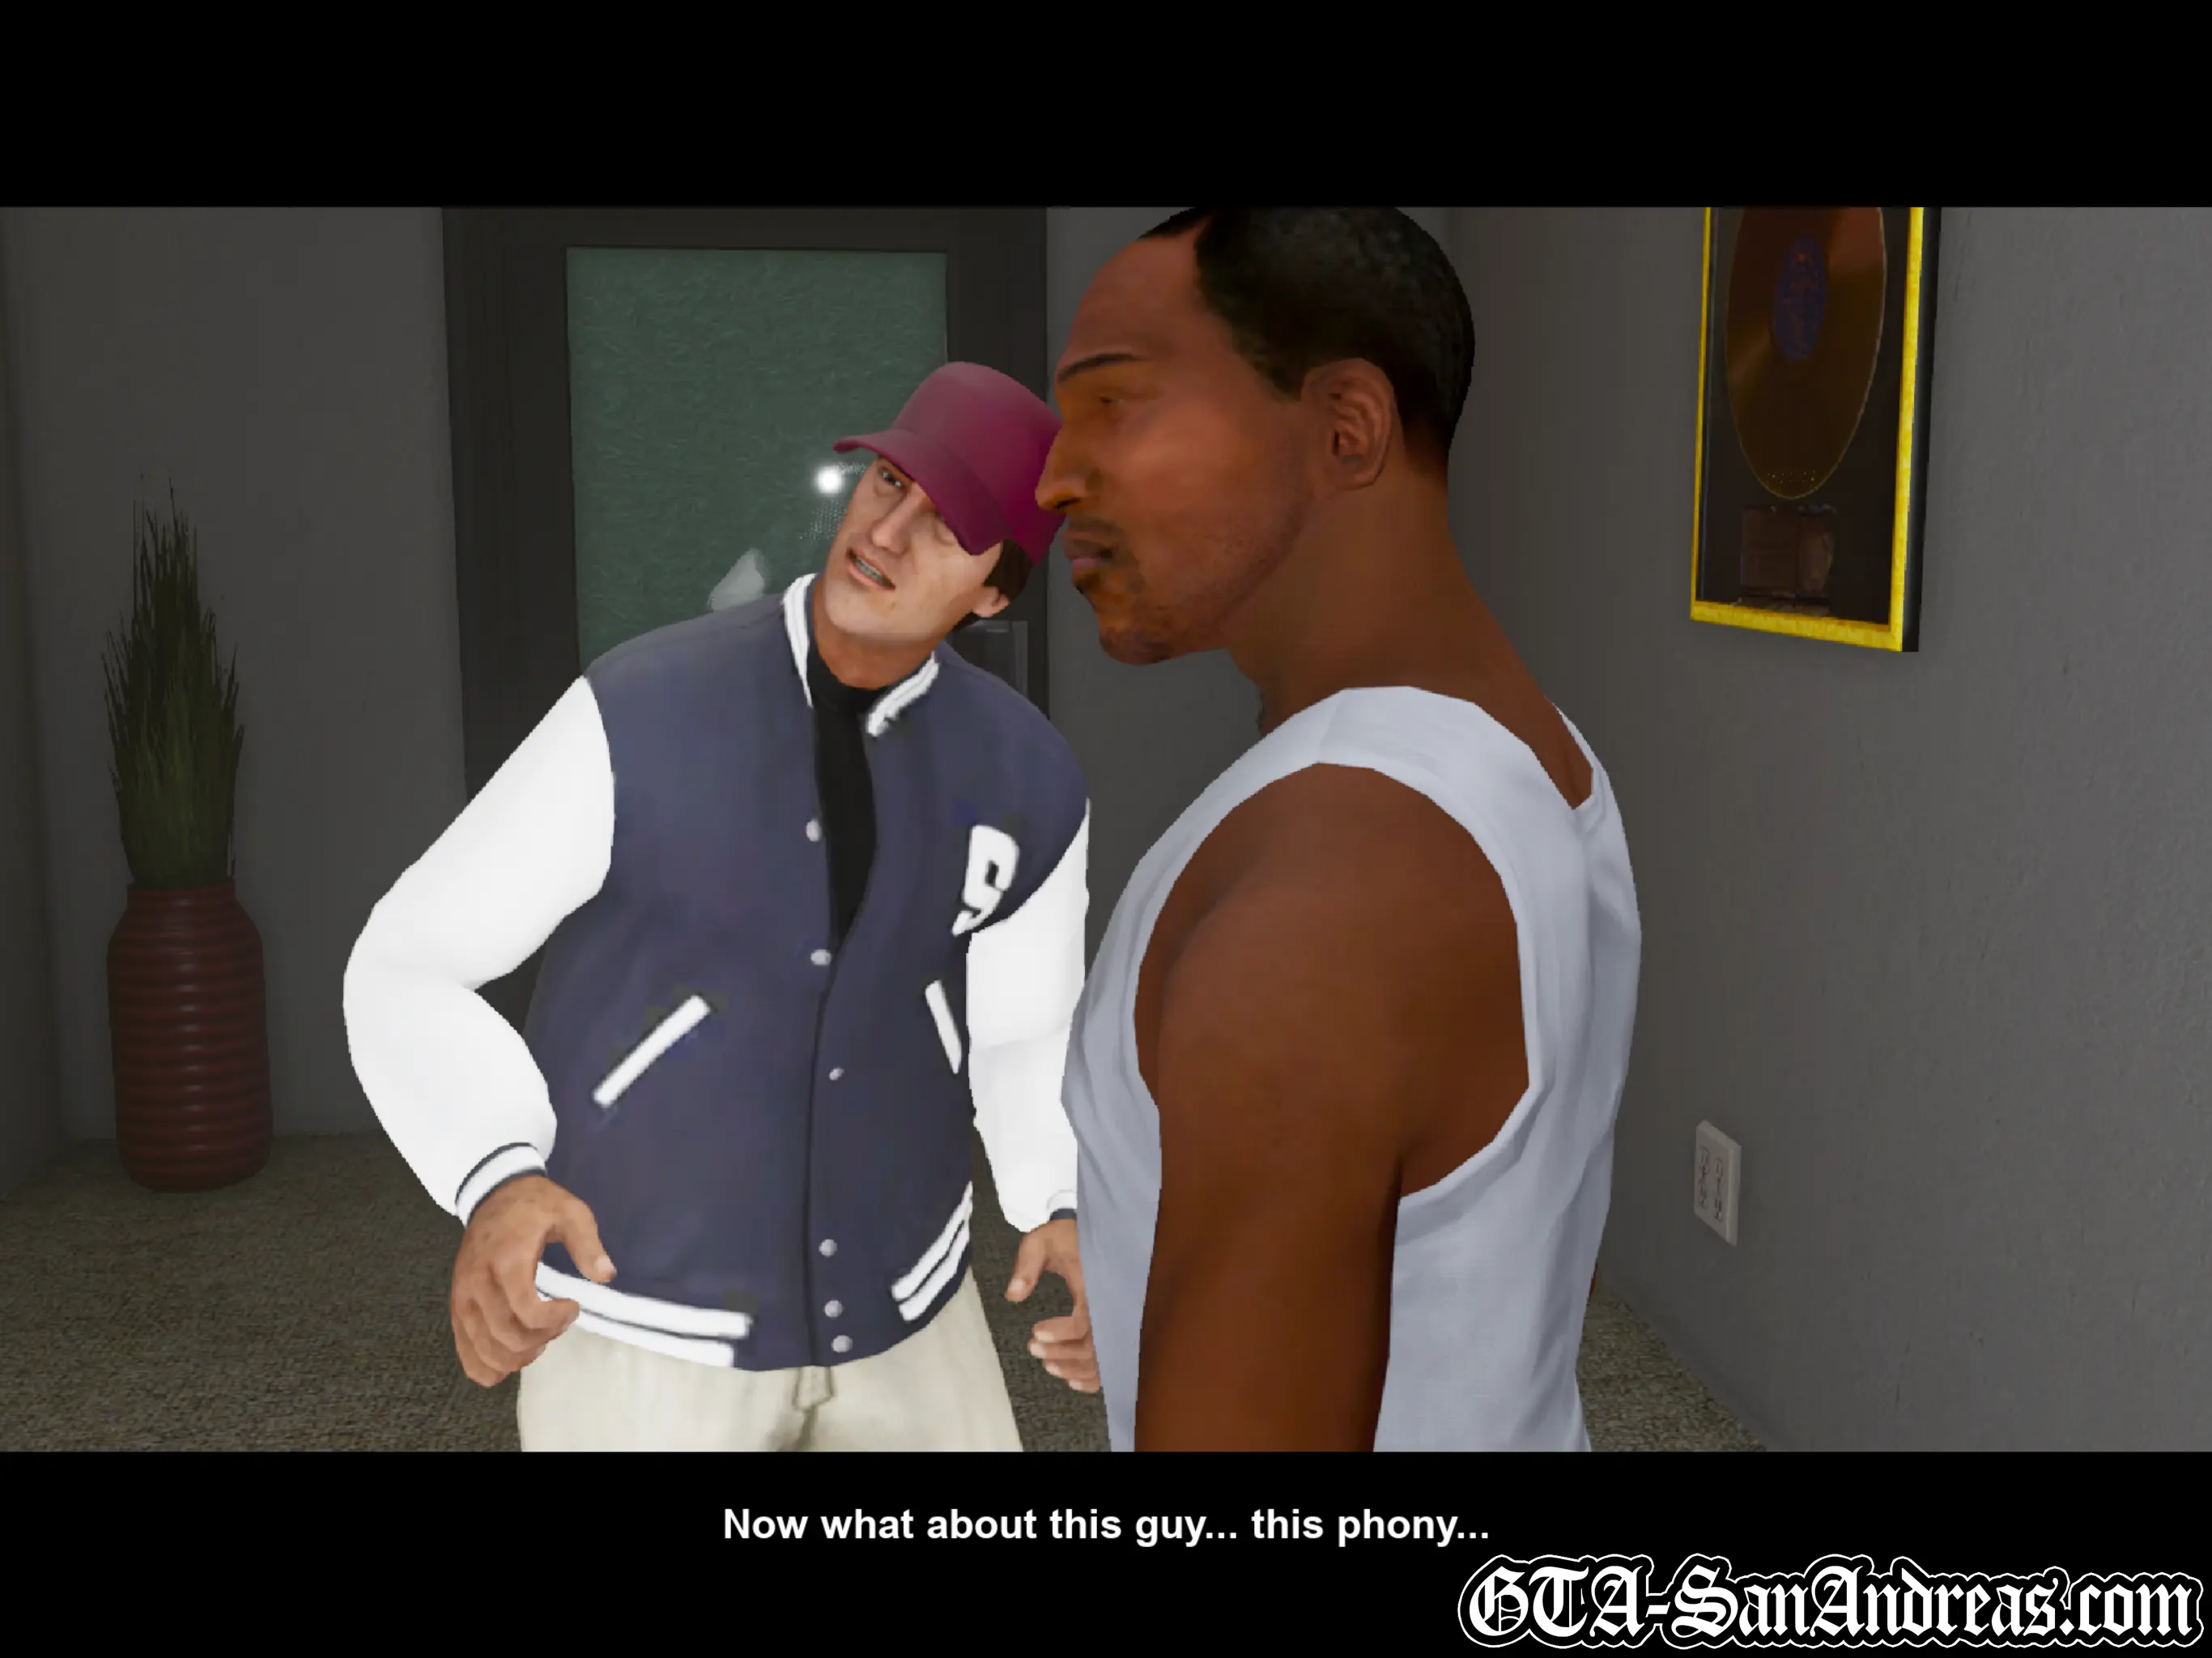
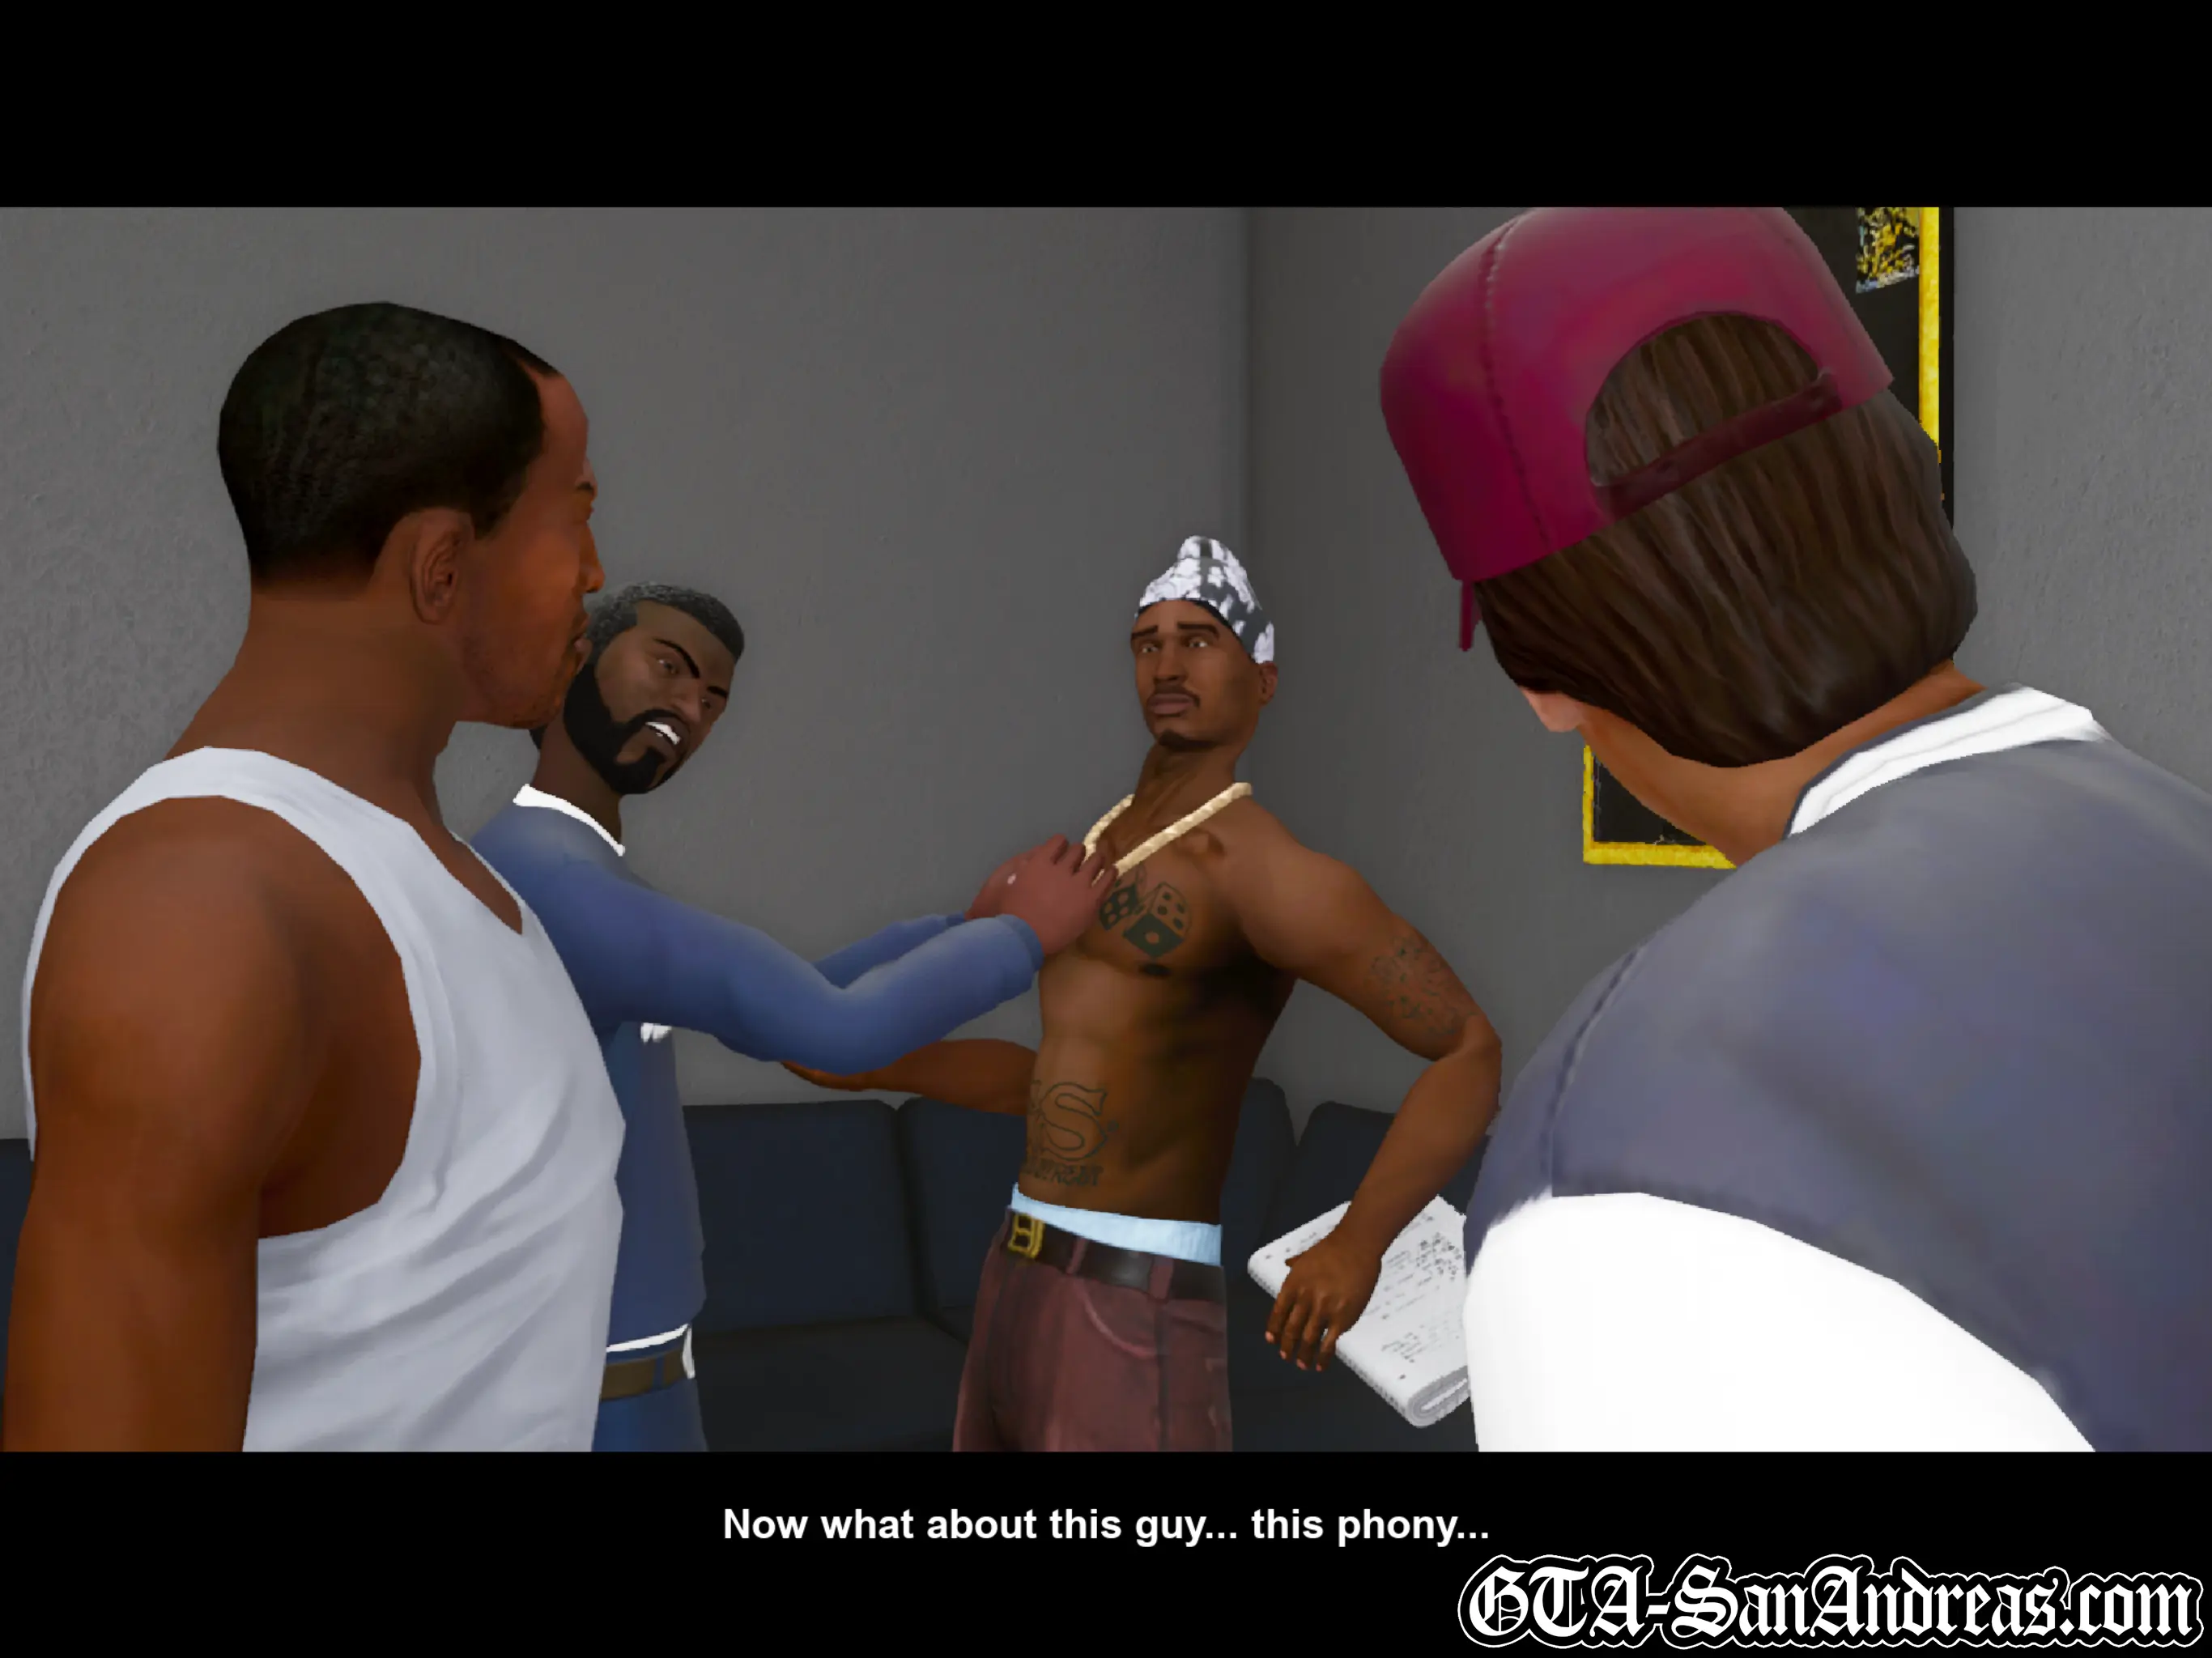
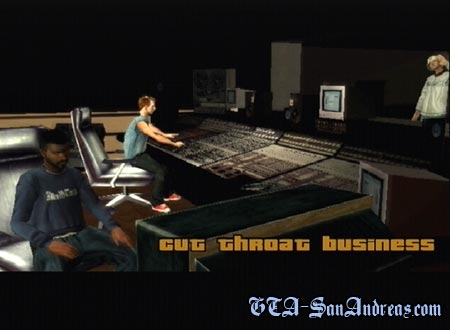
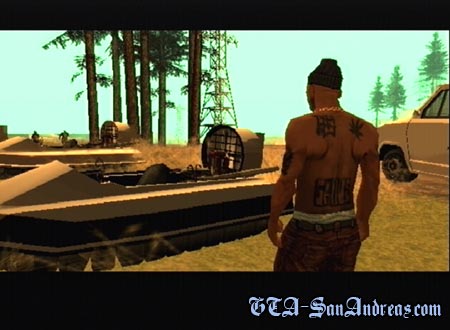
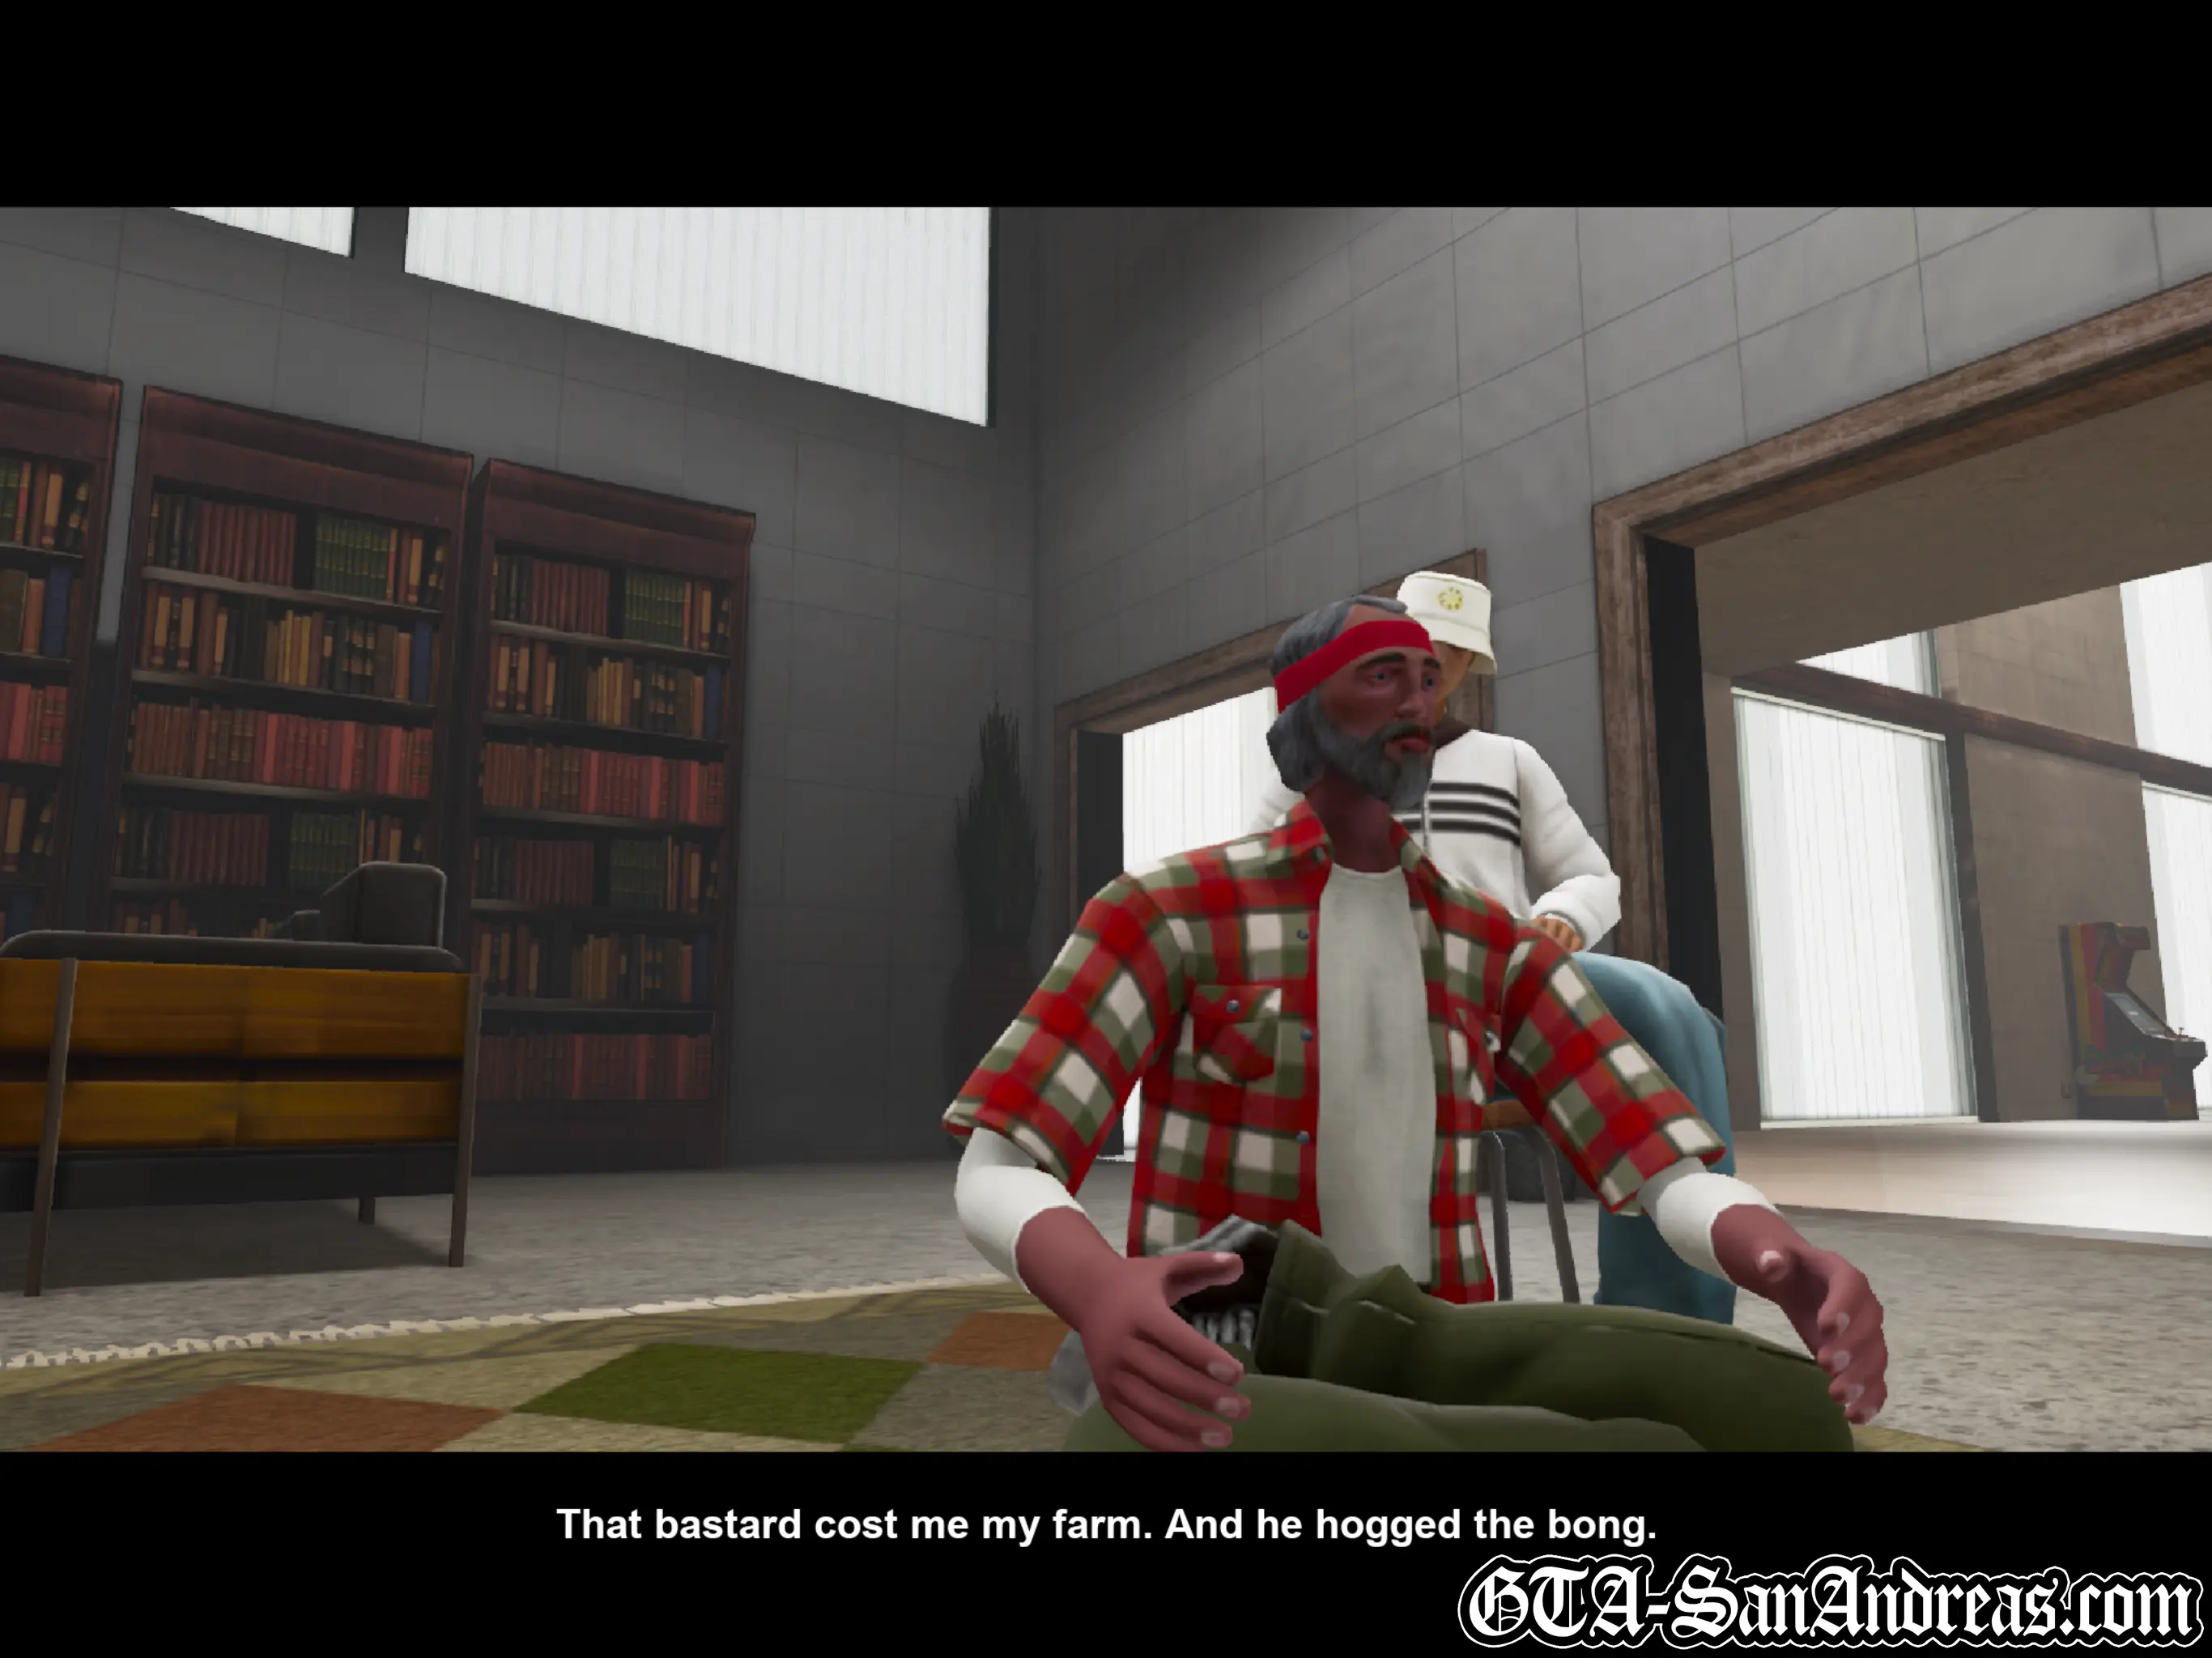
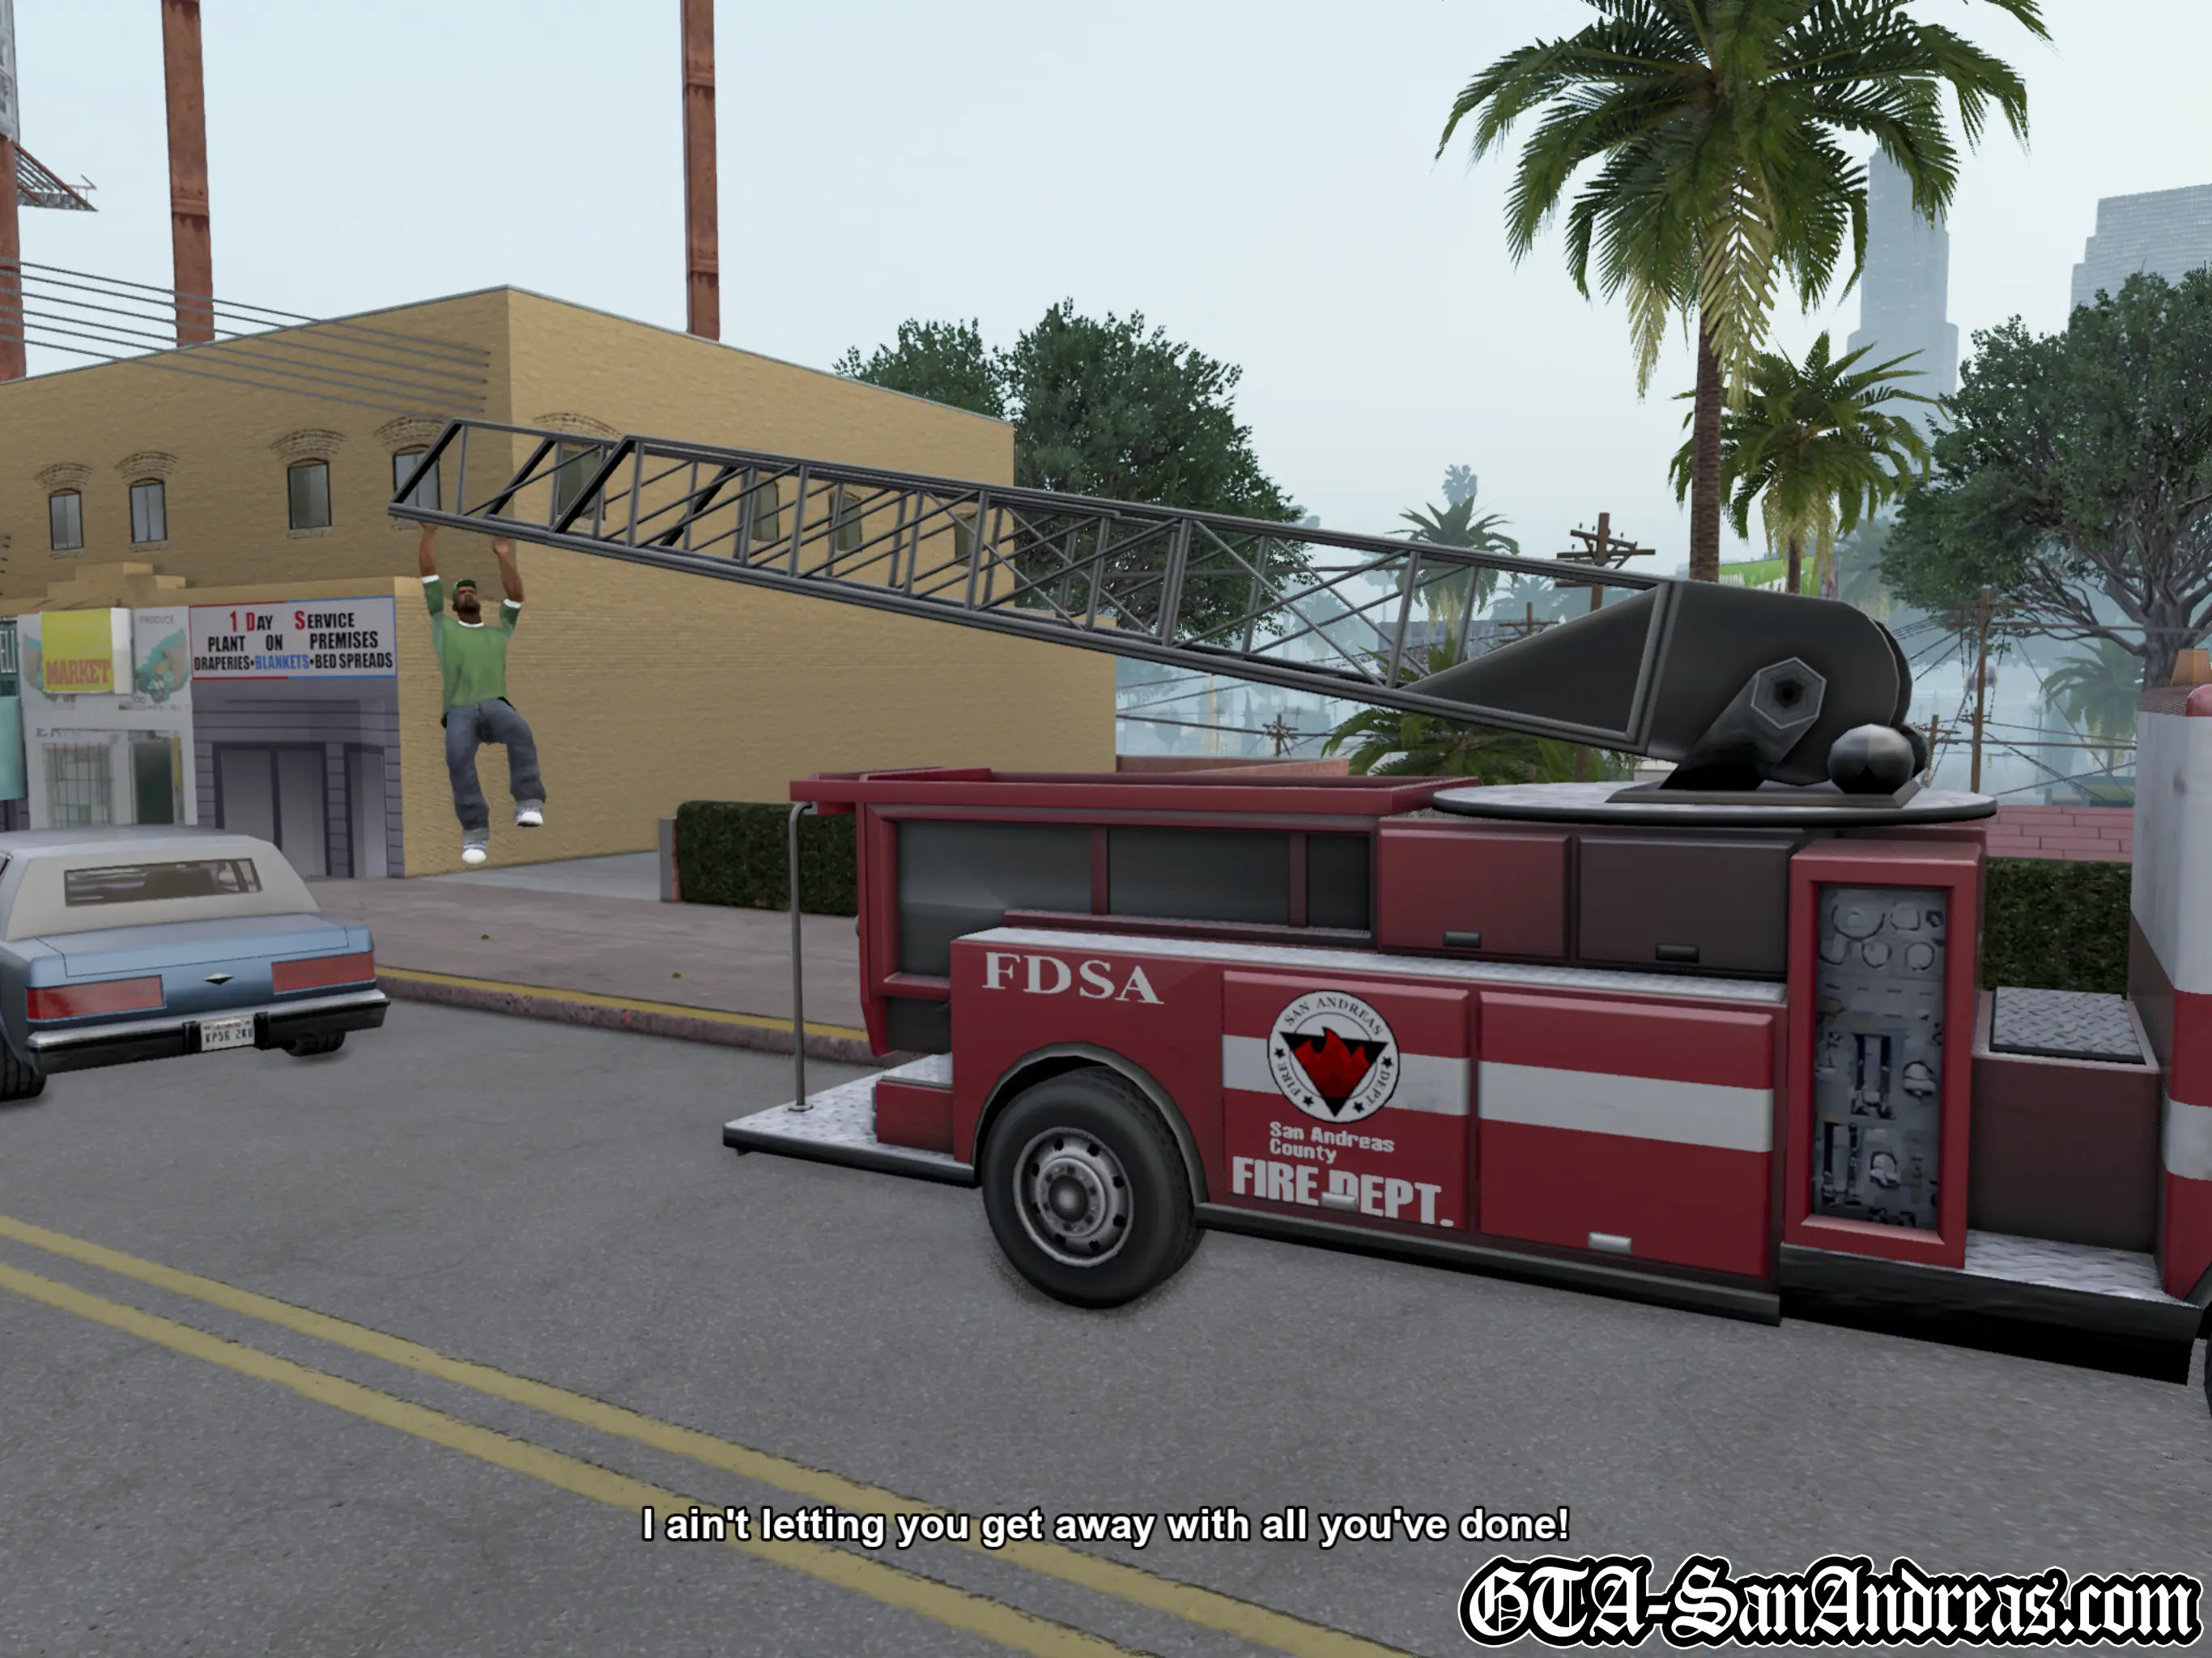
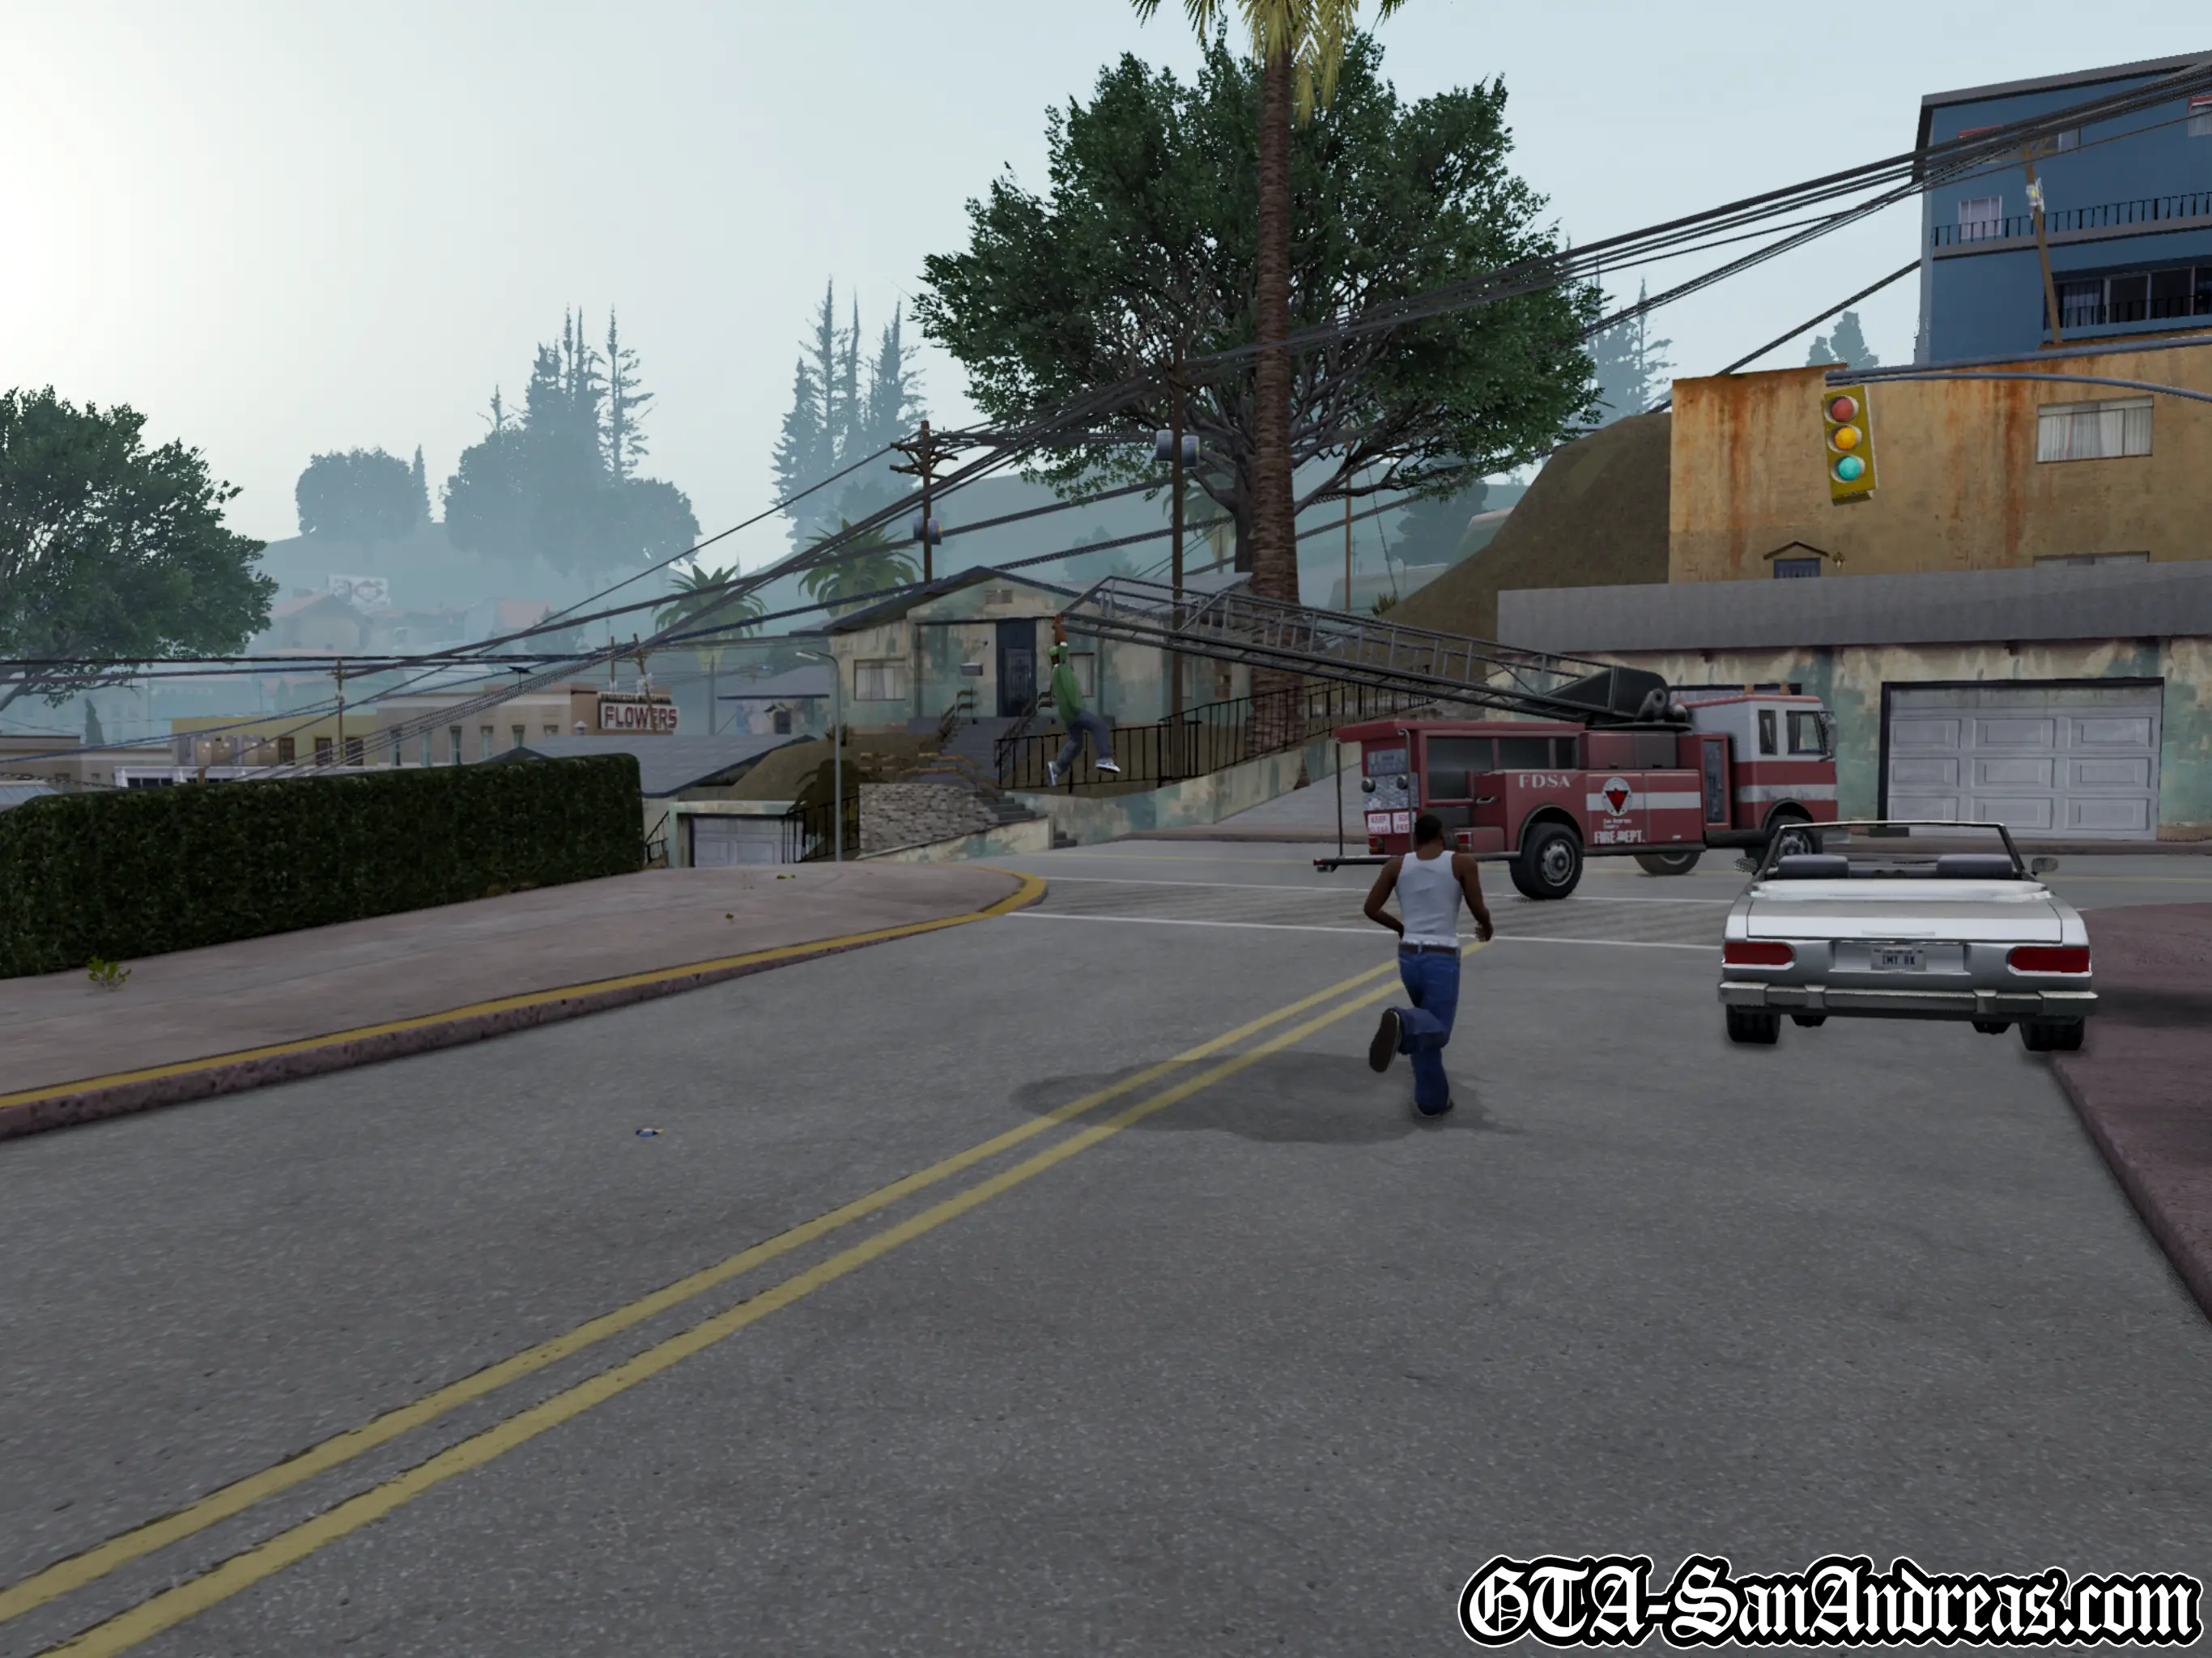
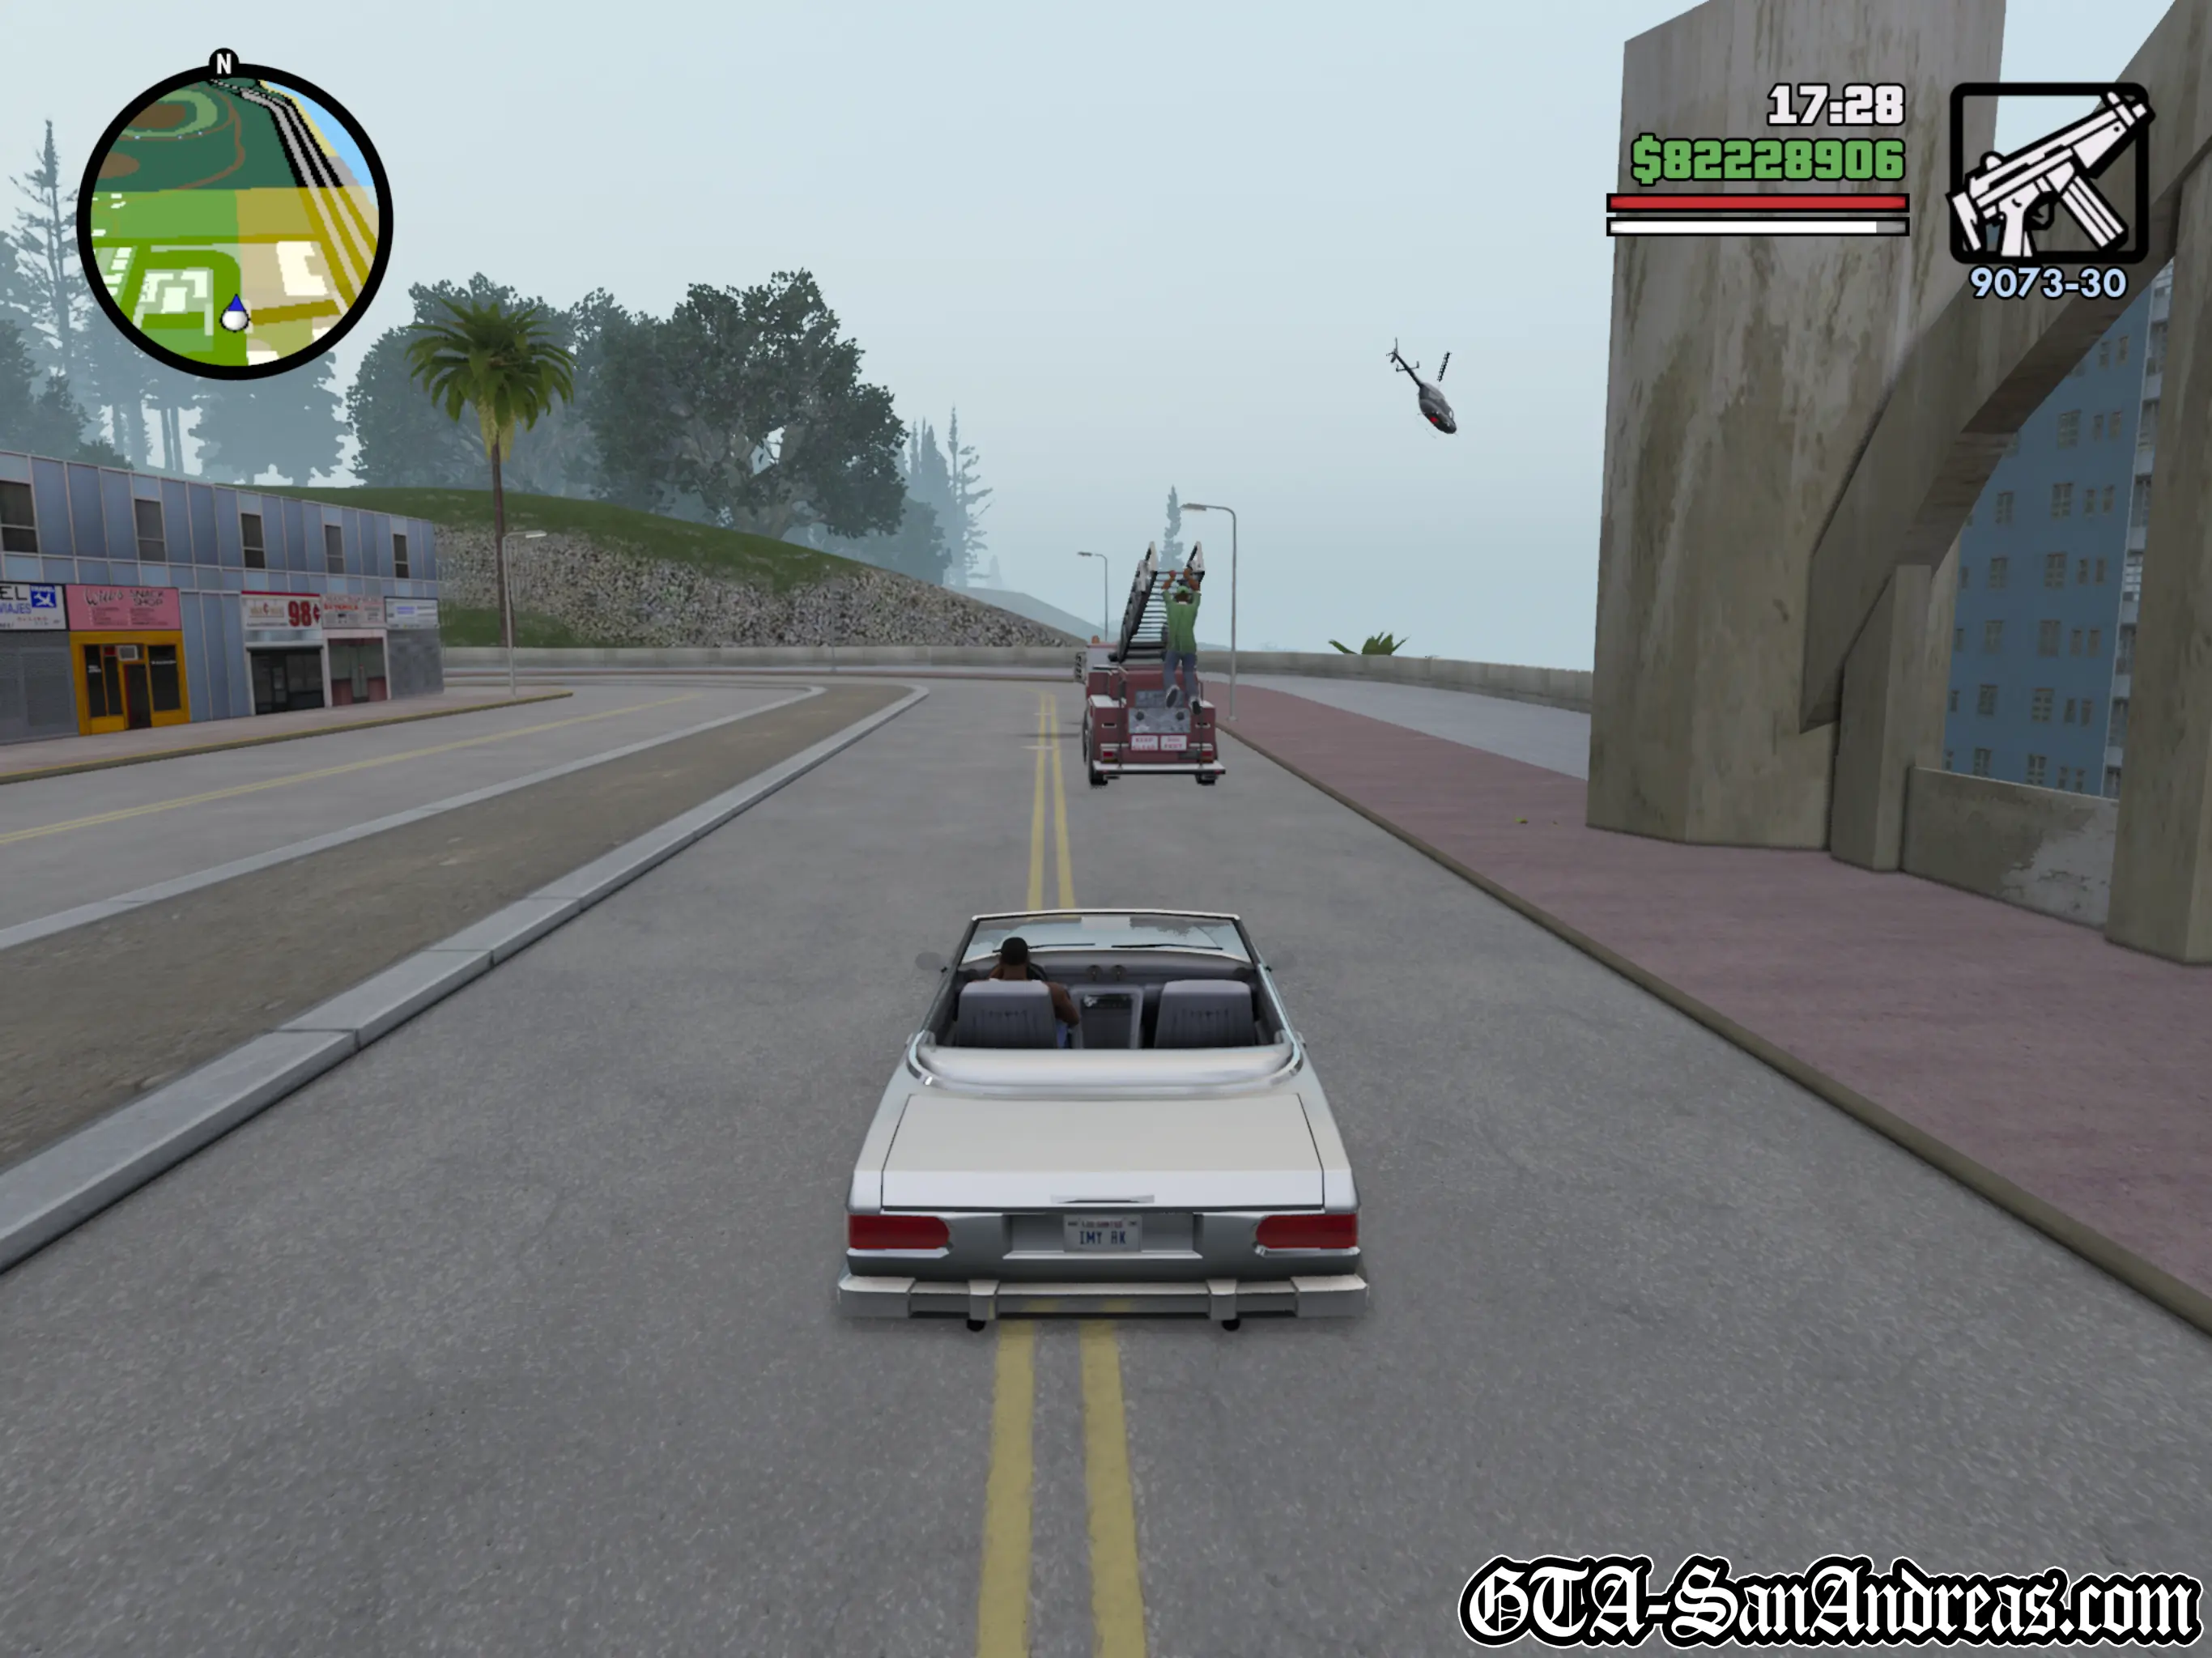
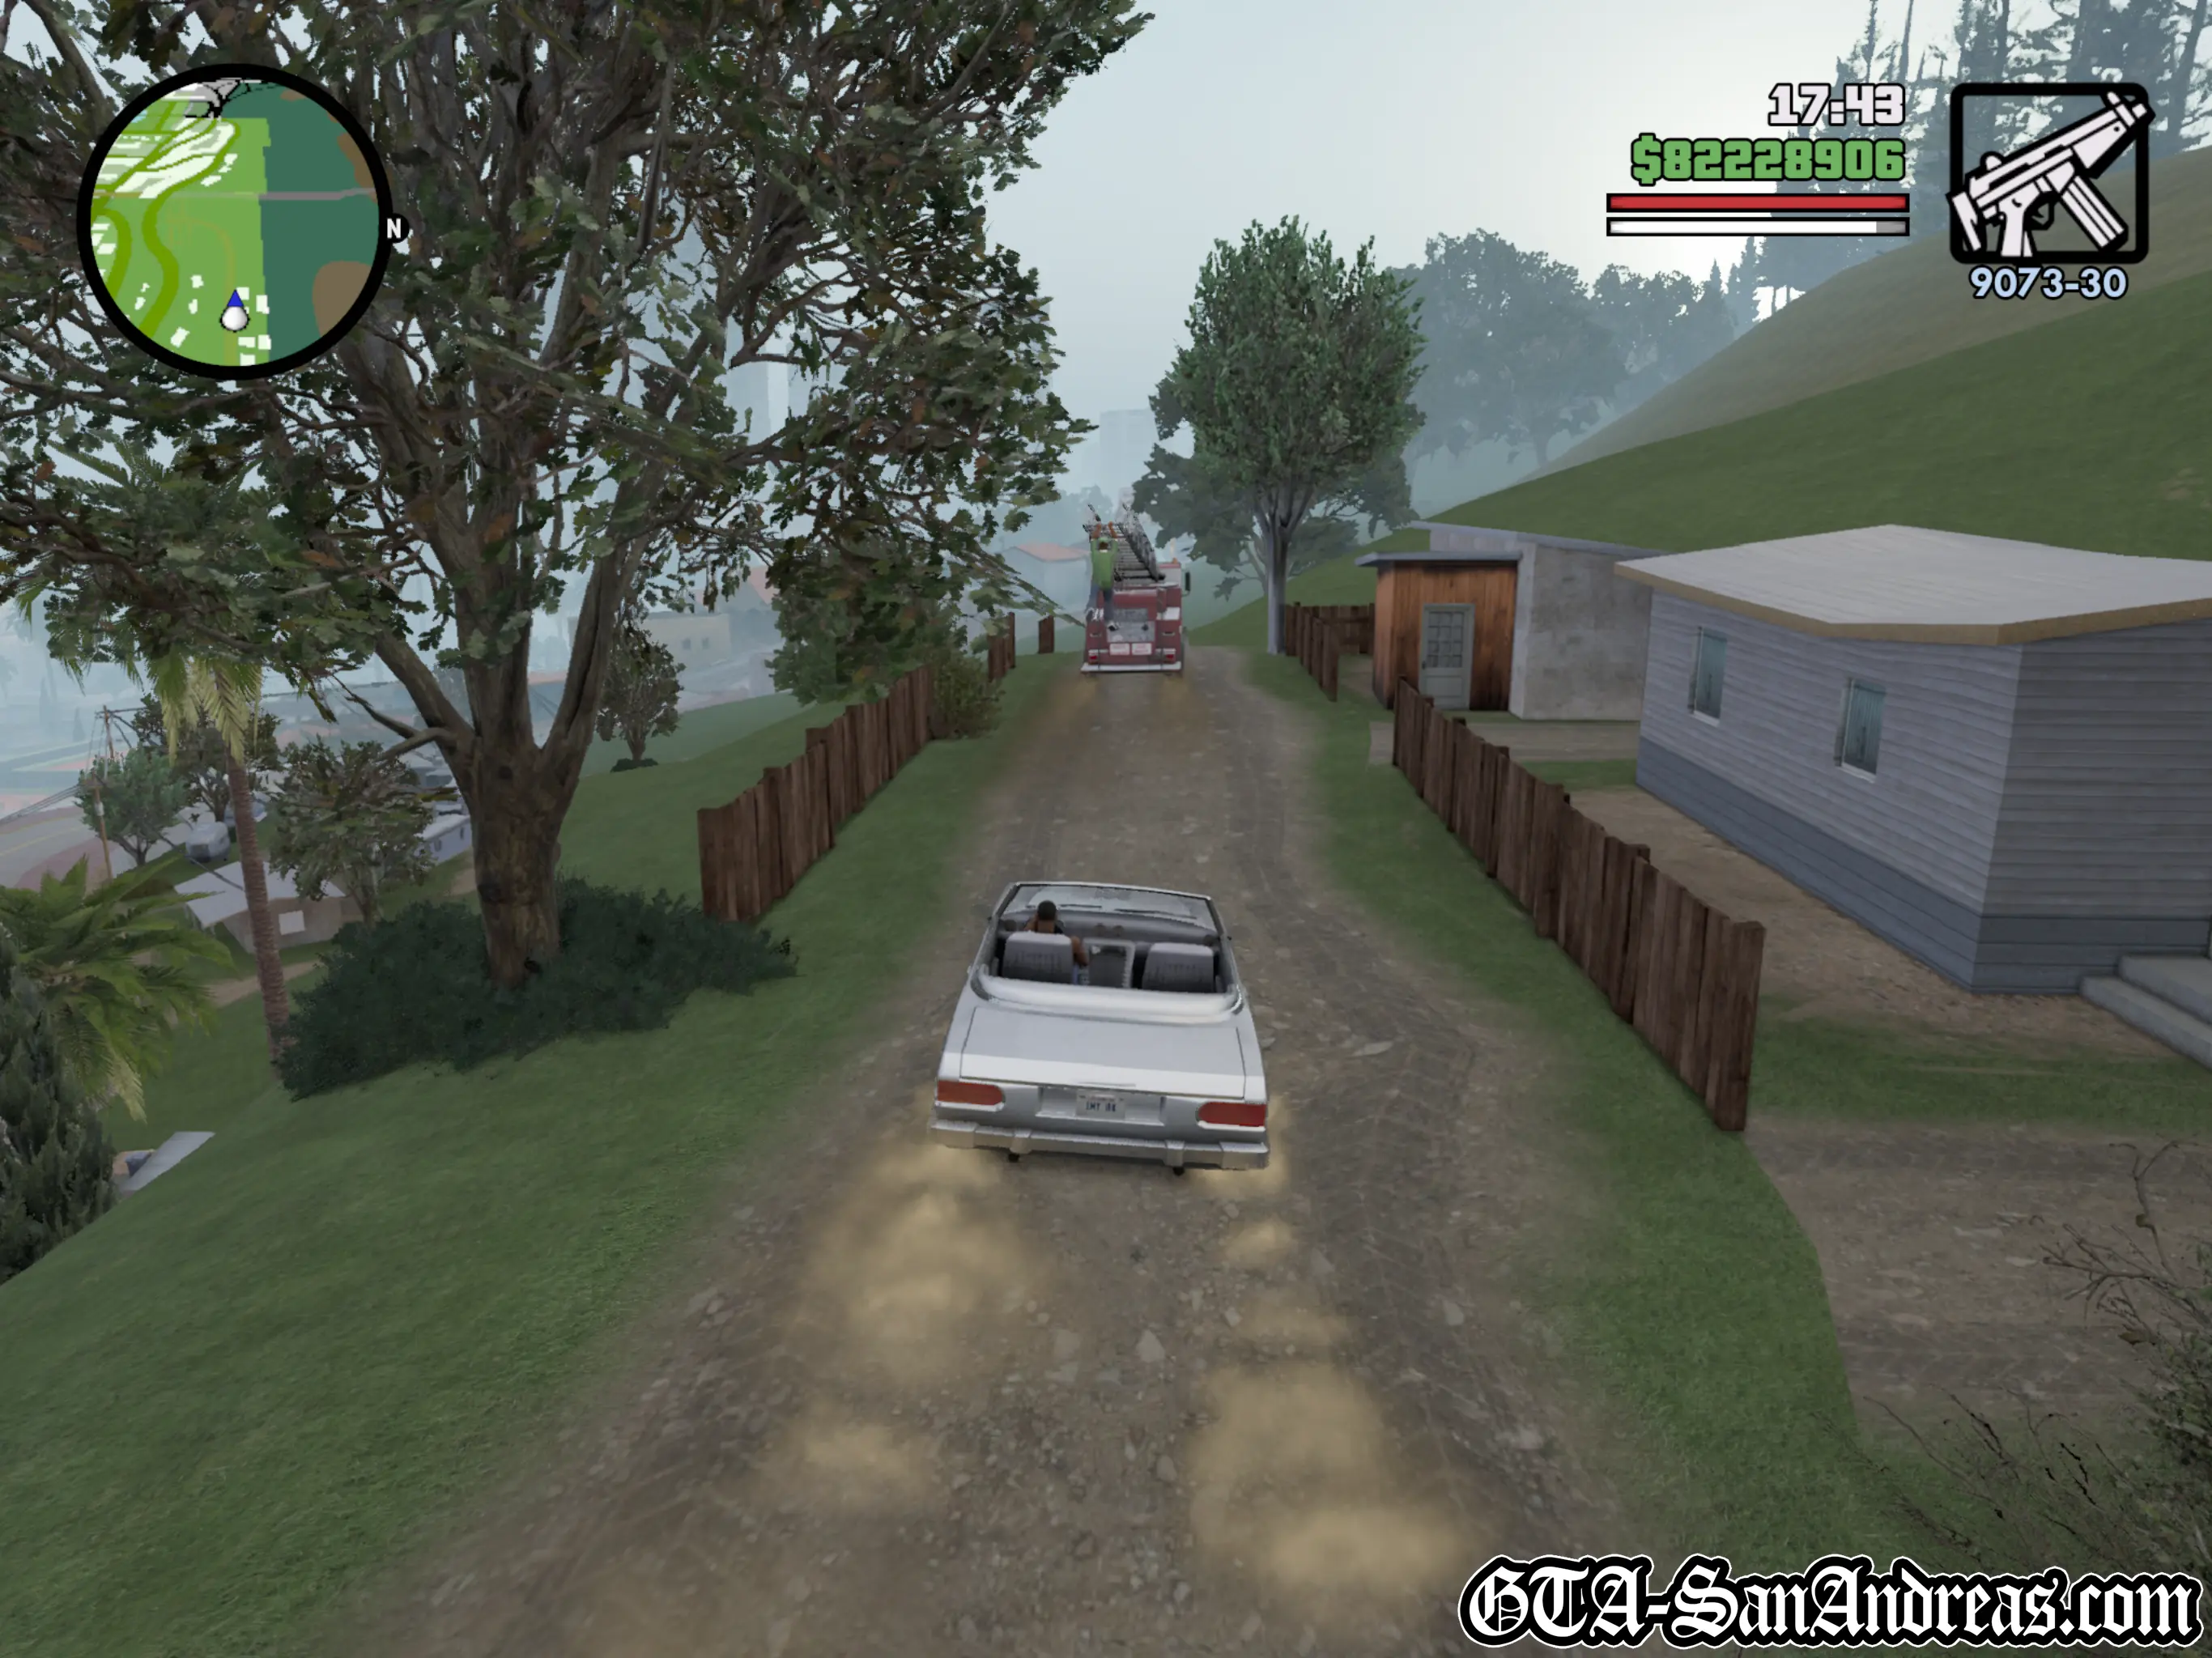
Cut Throat Business

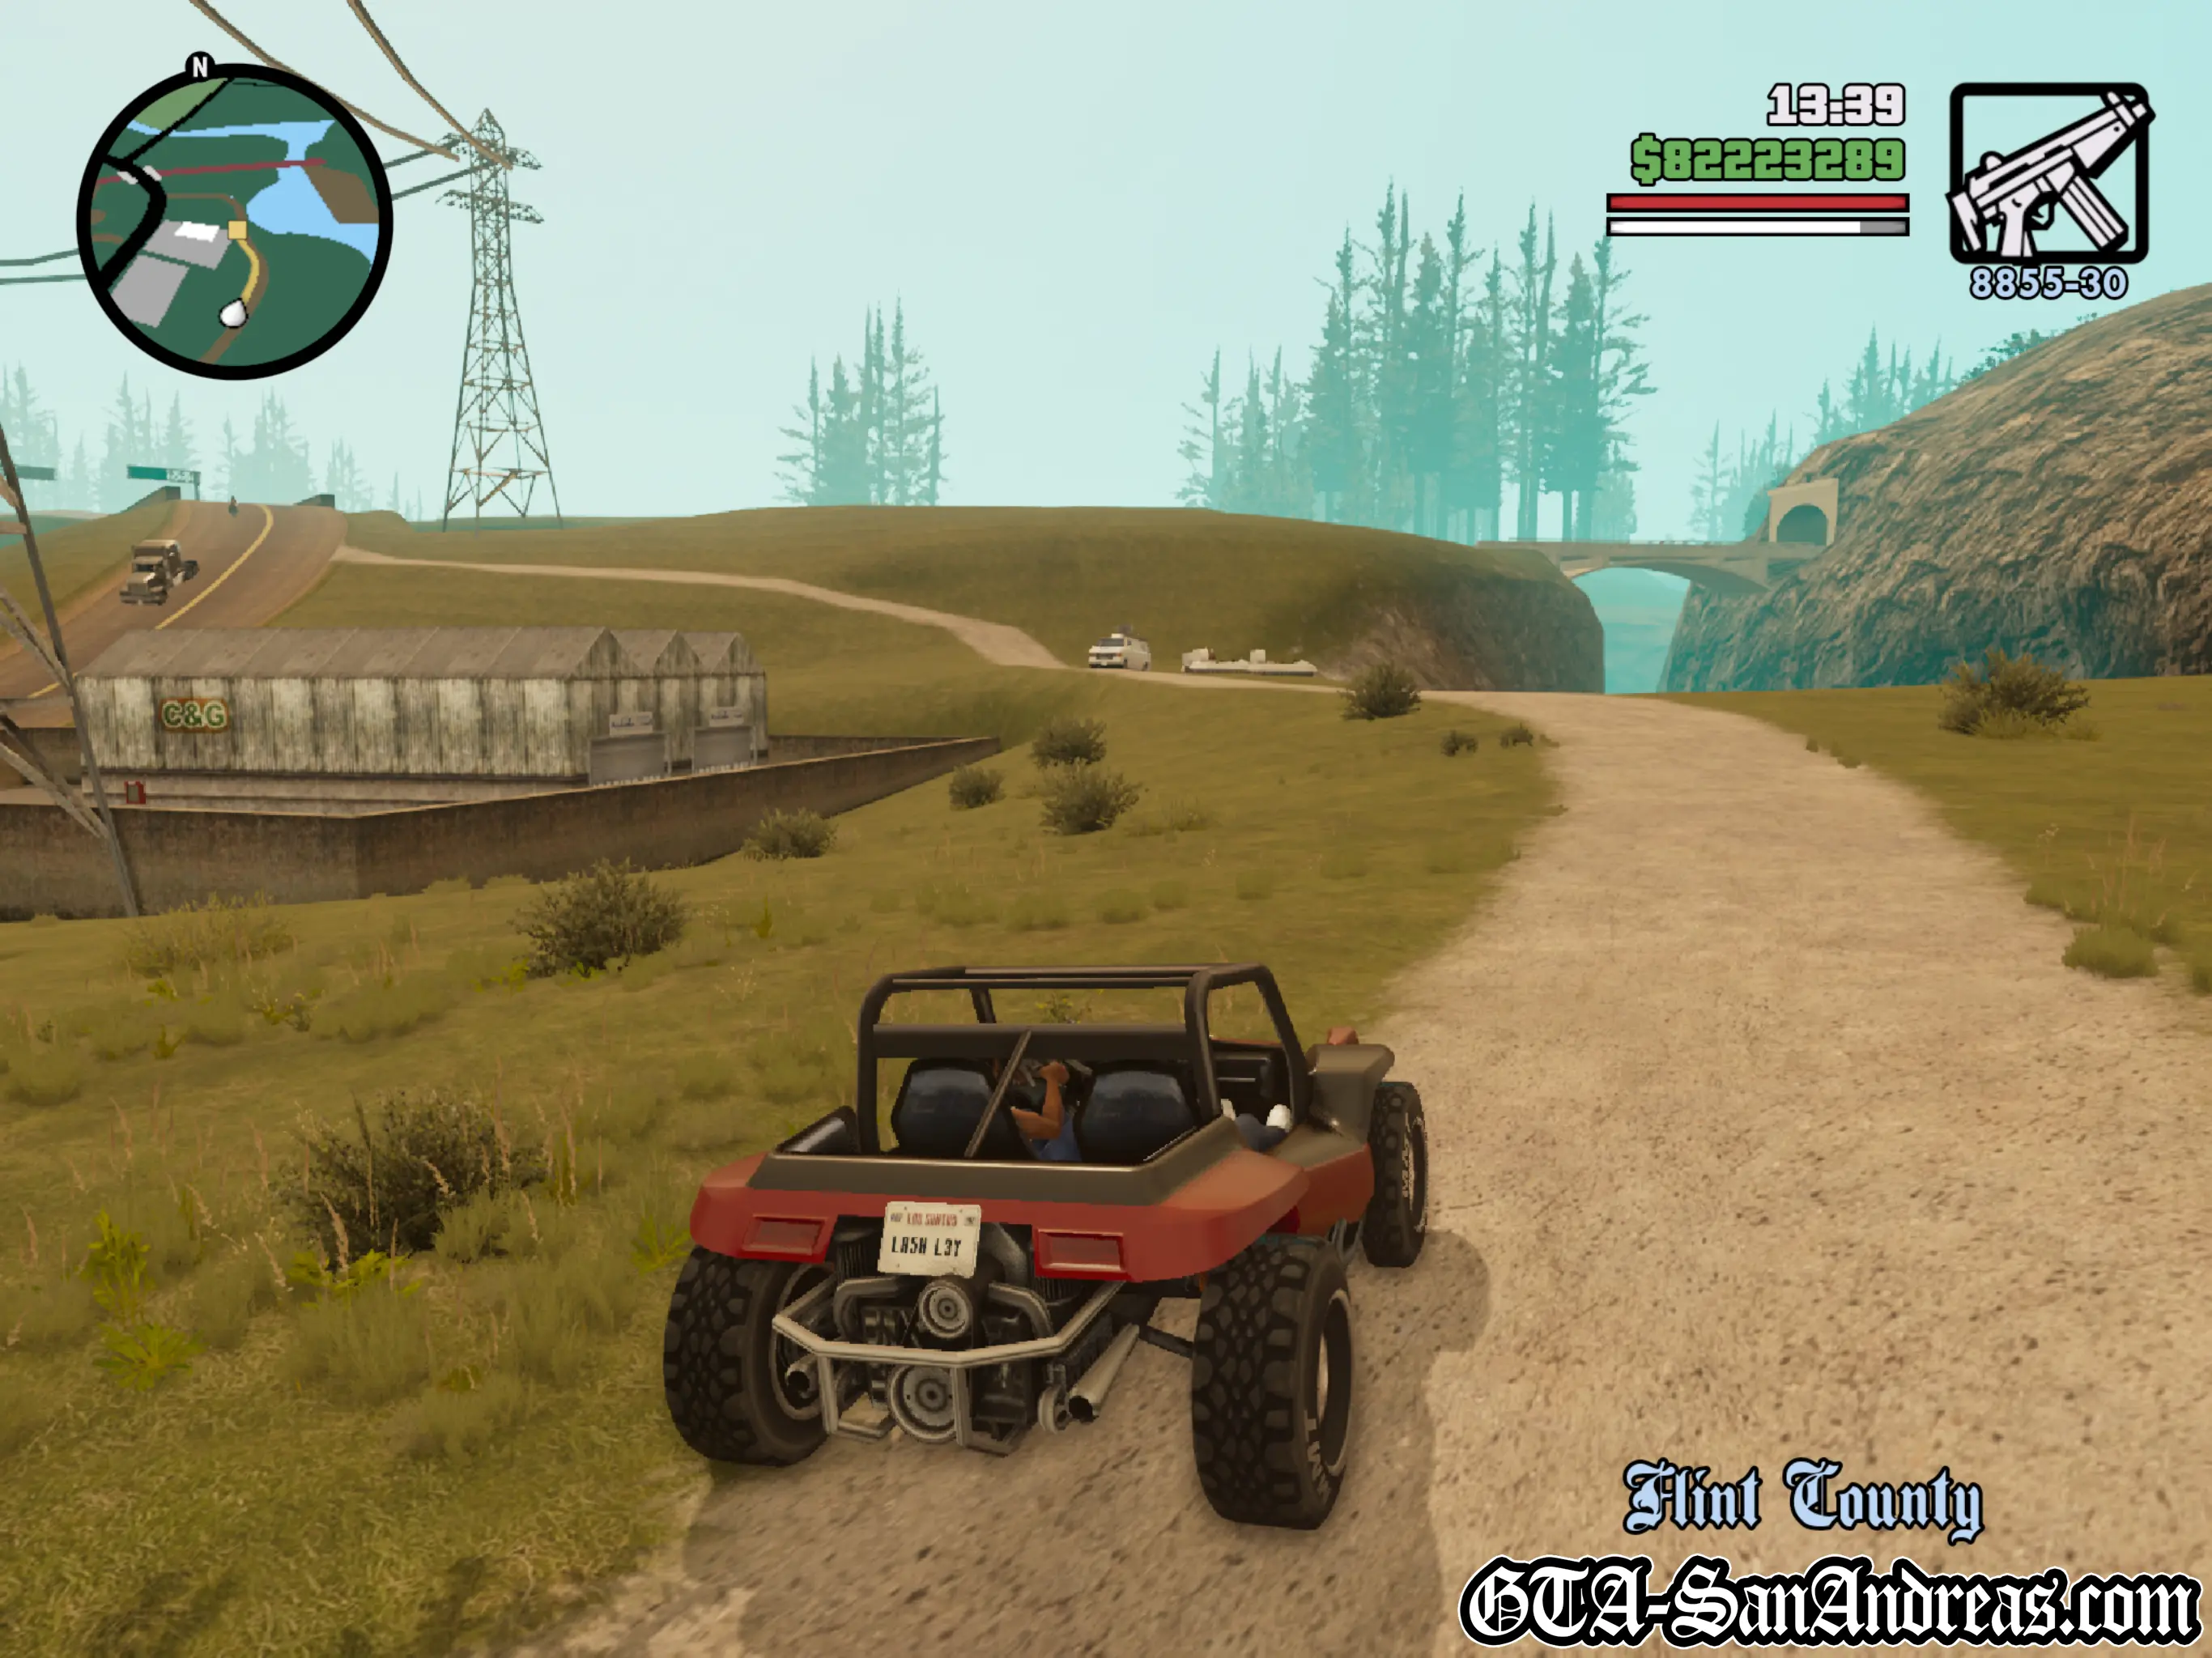
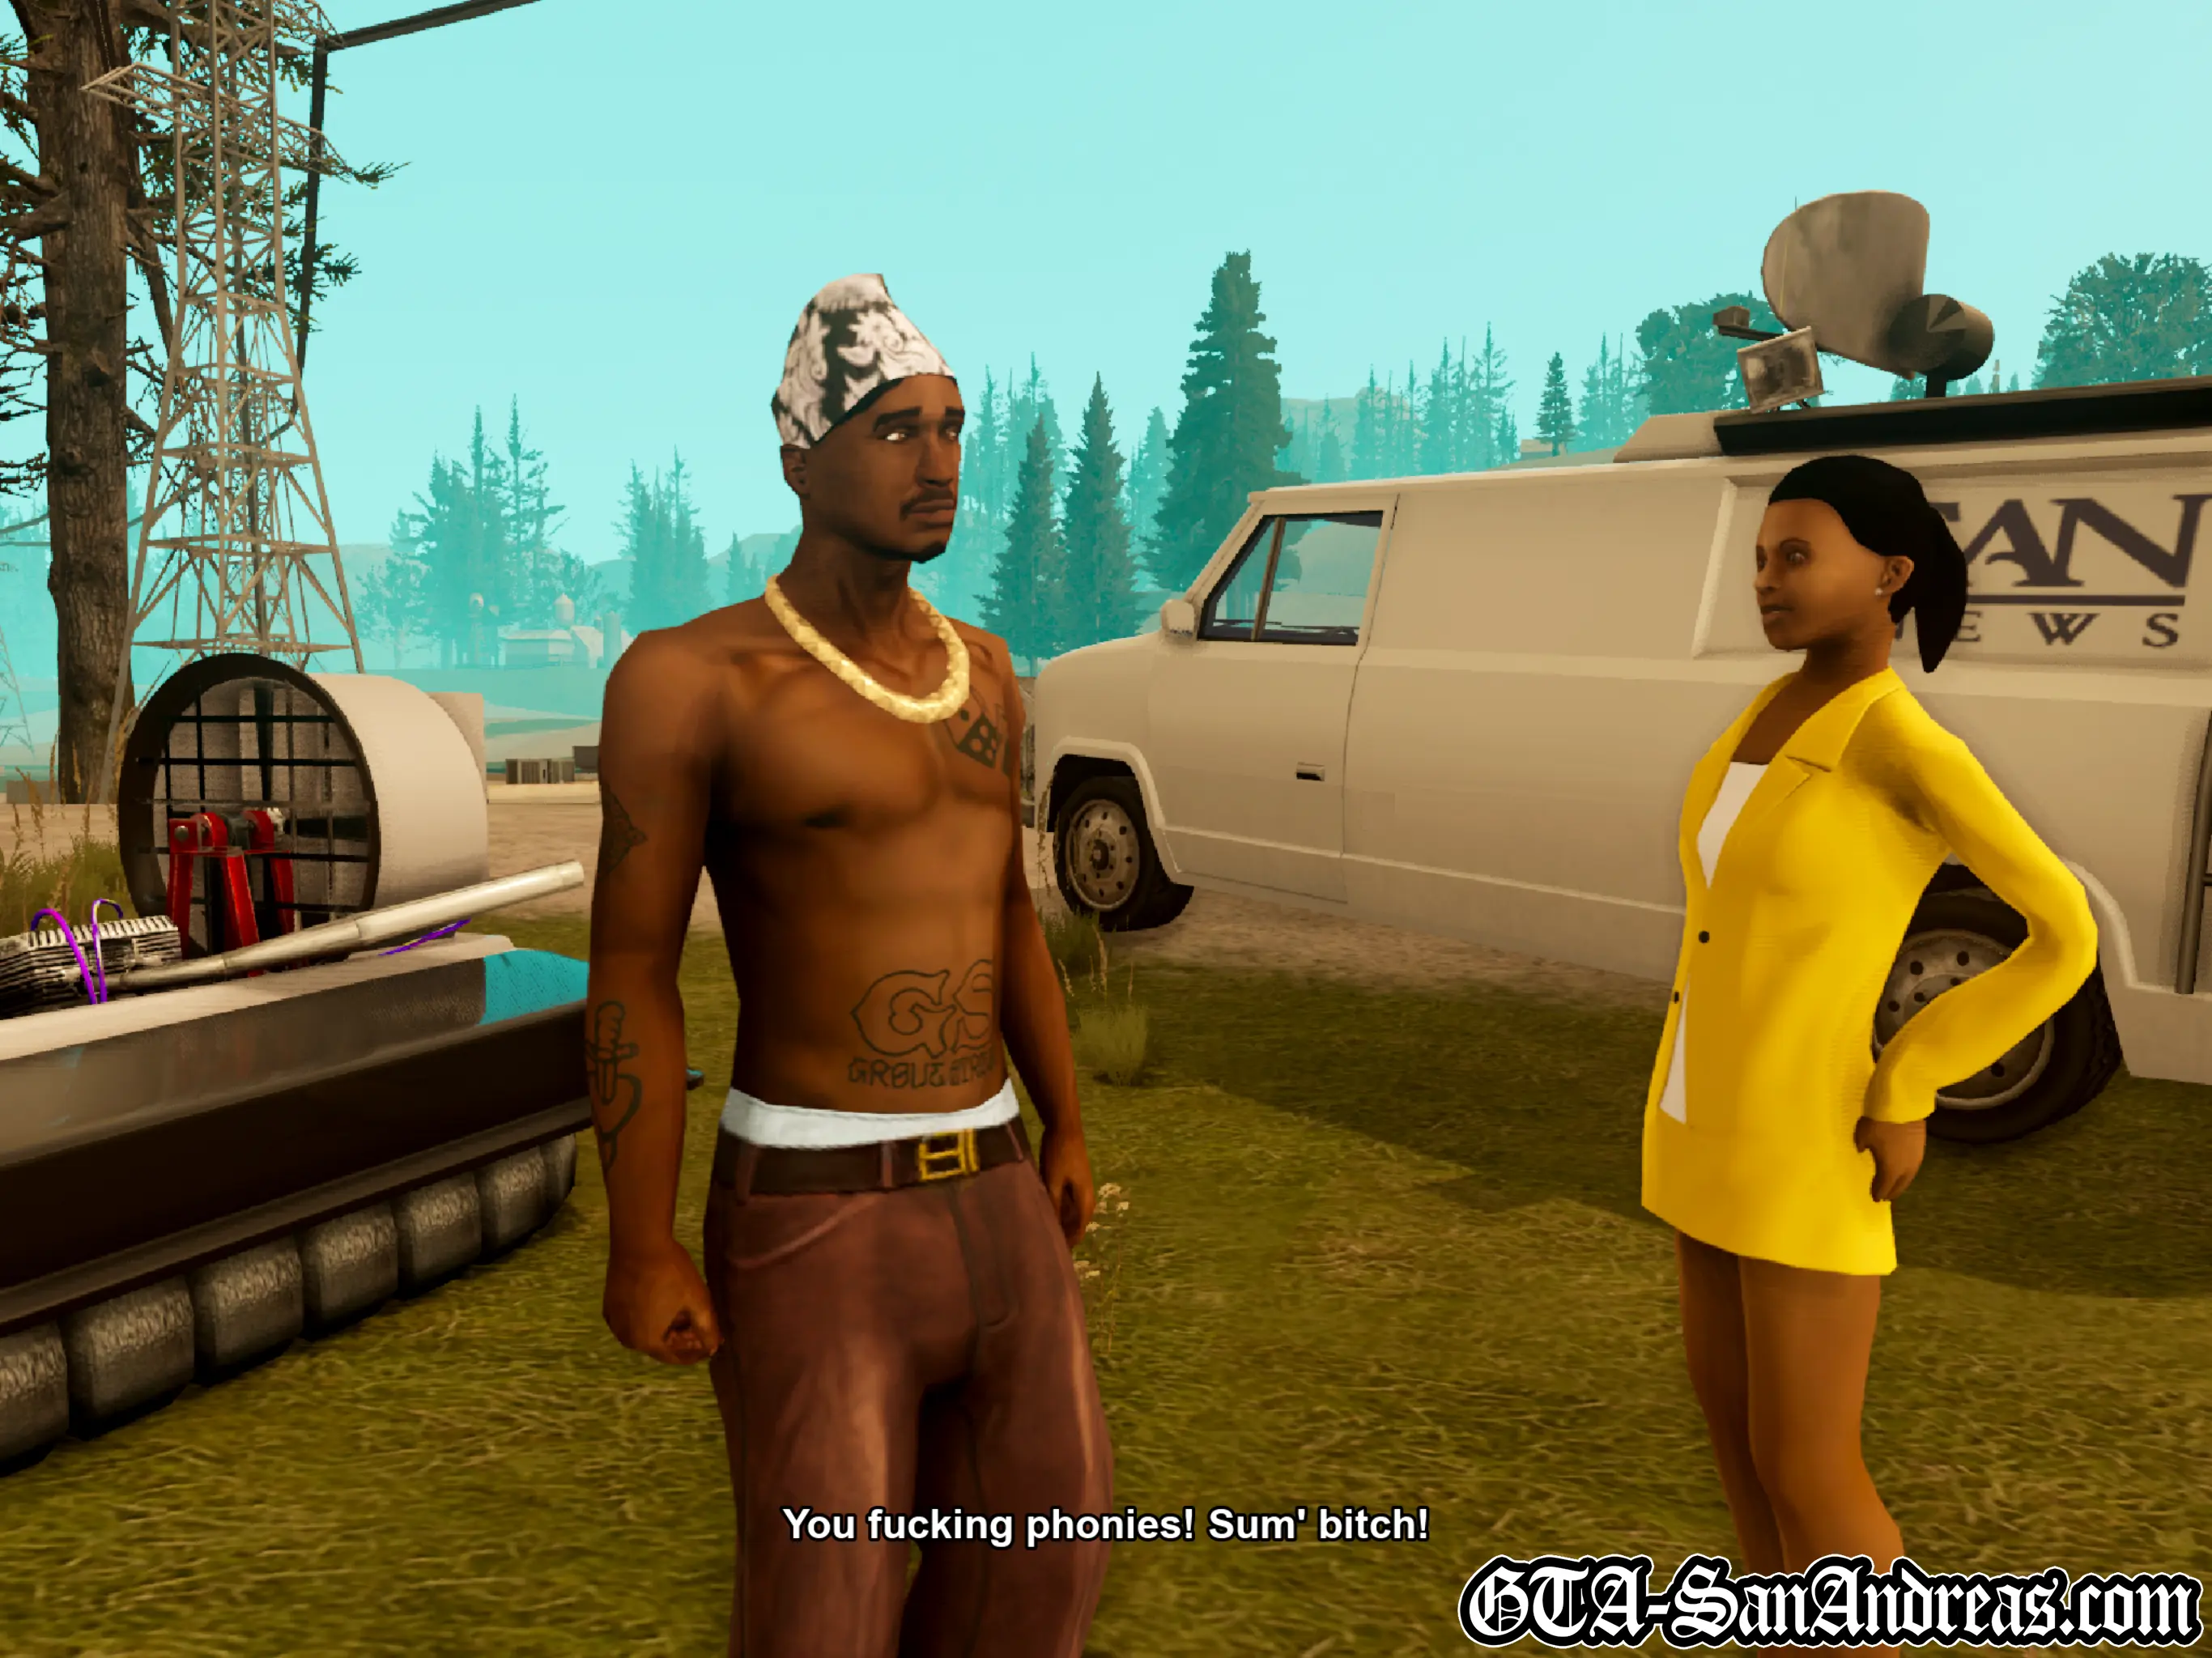
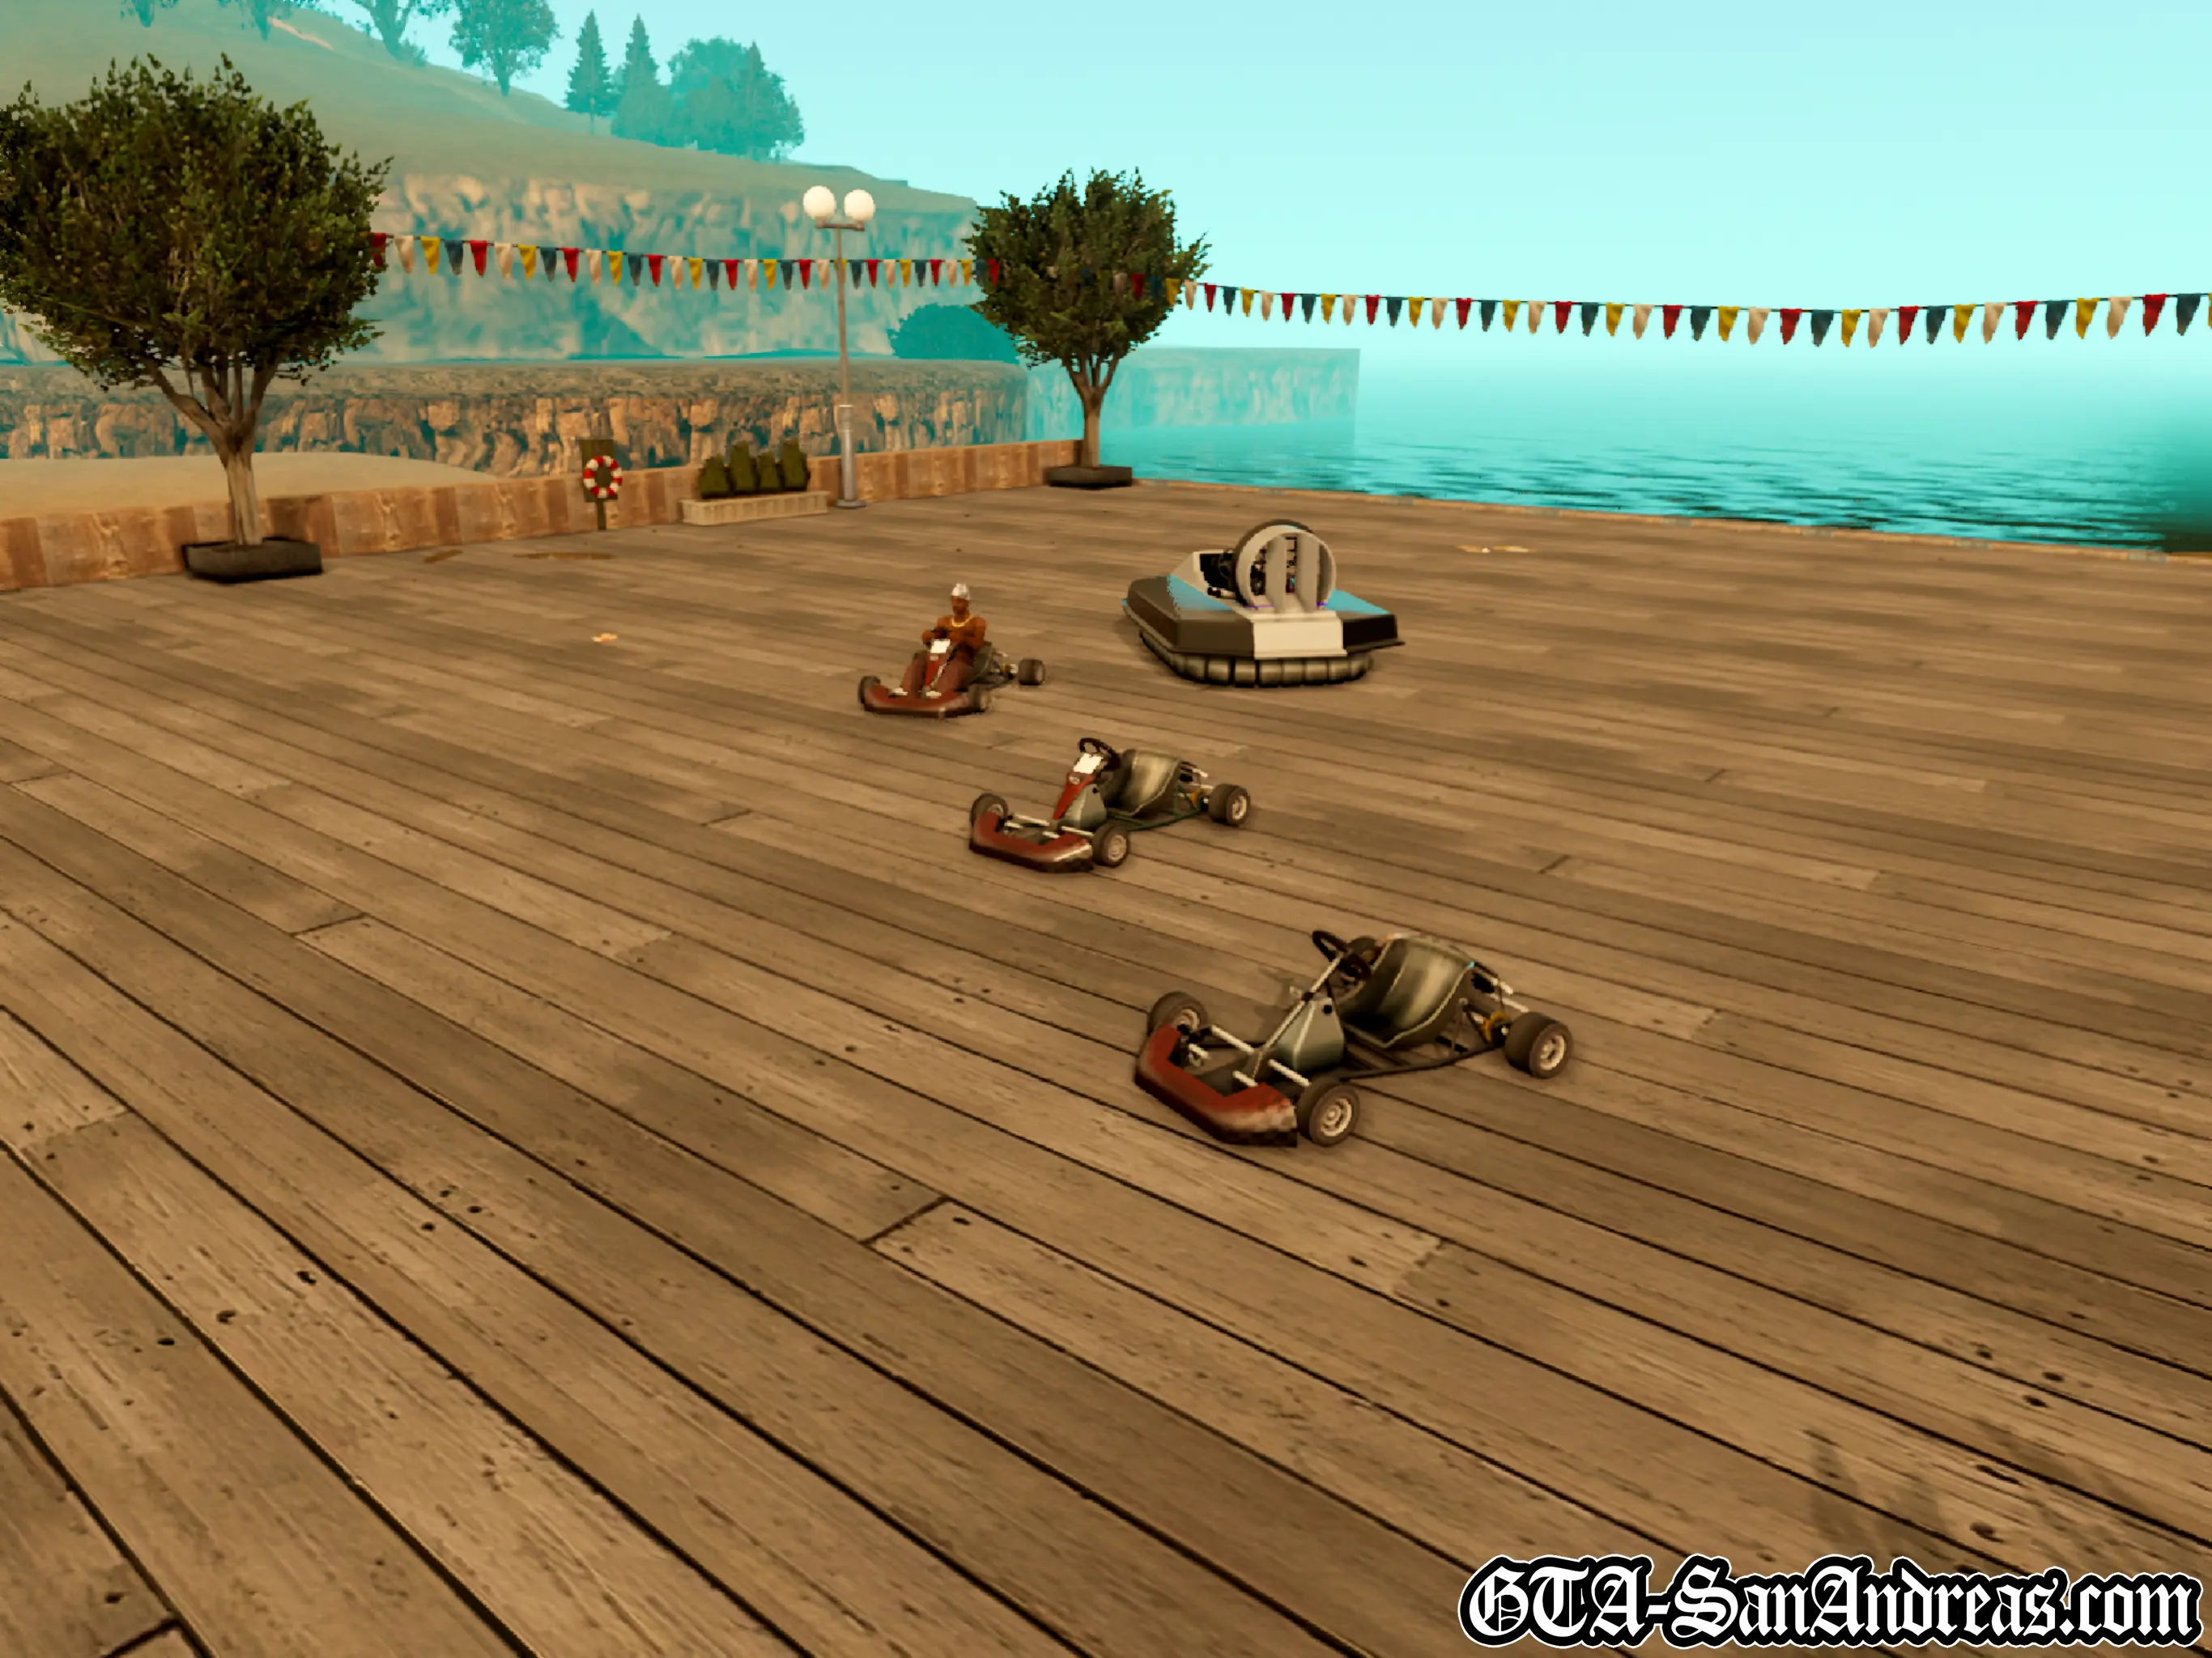
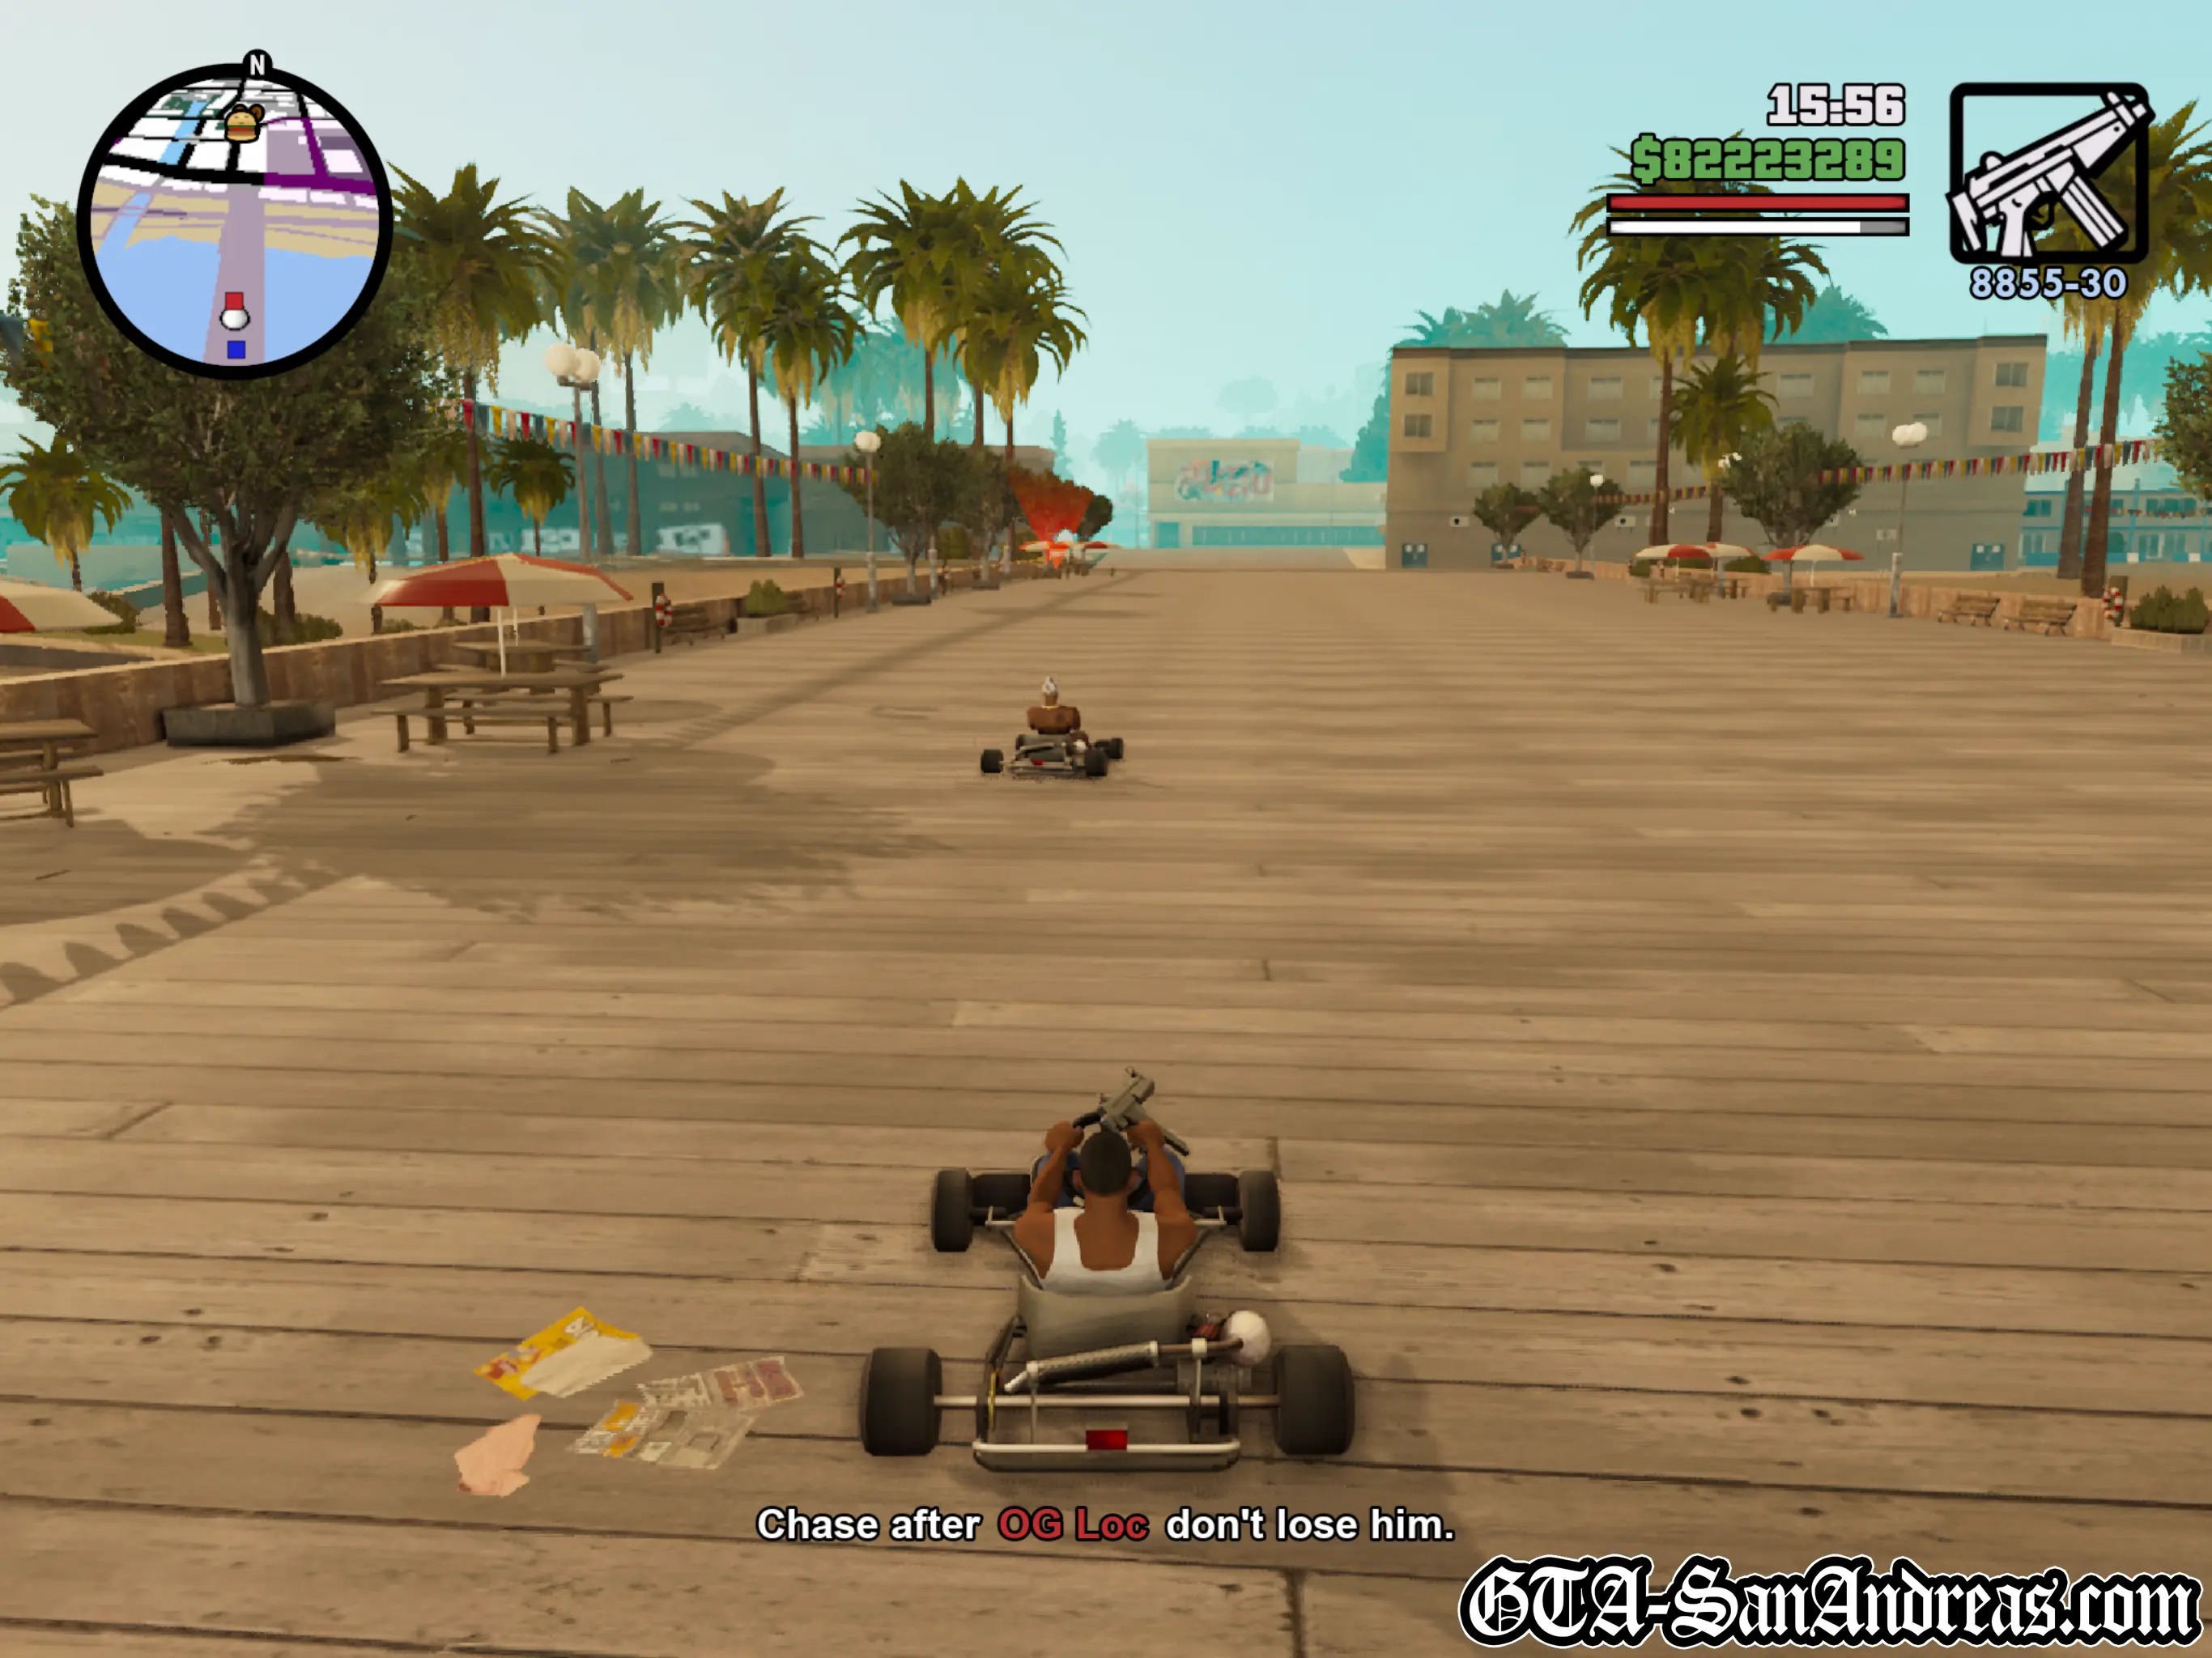
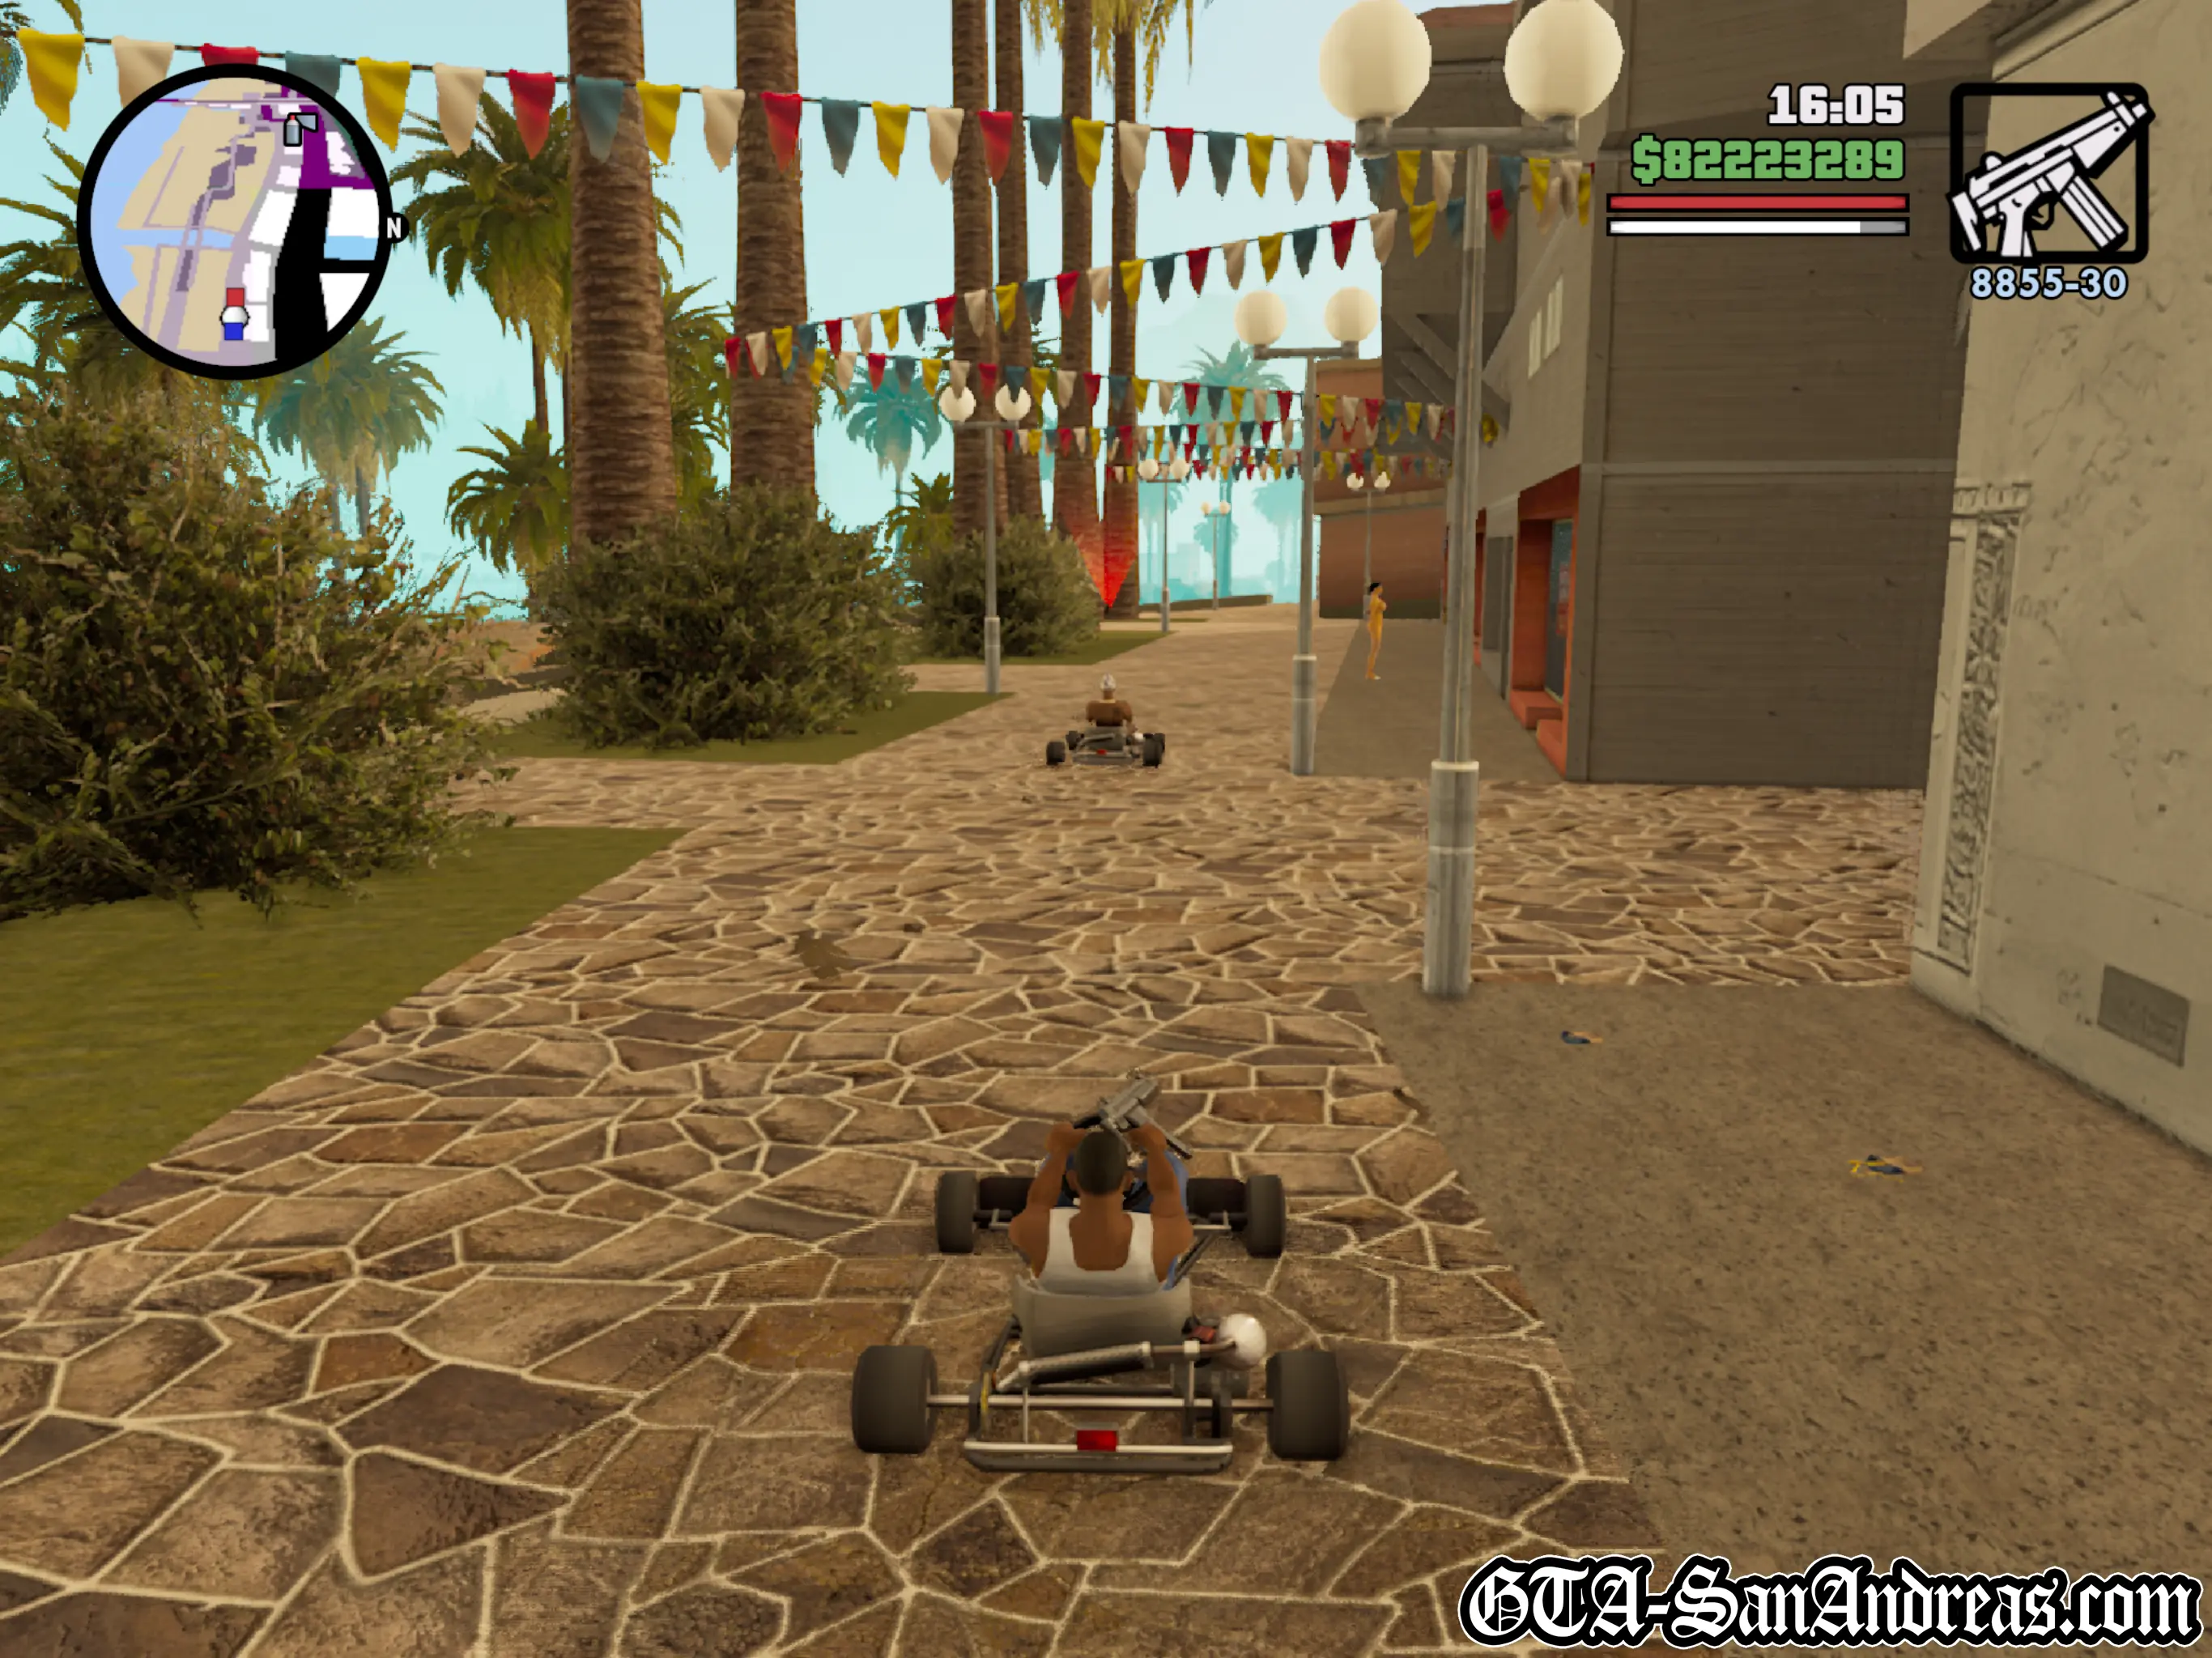
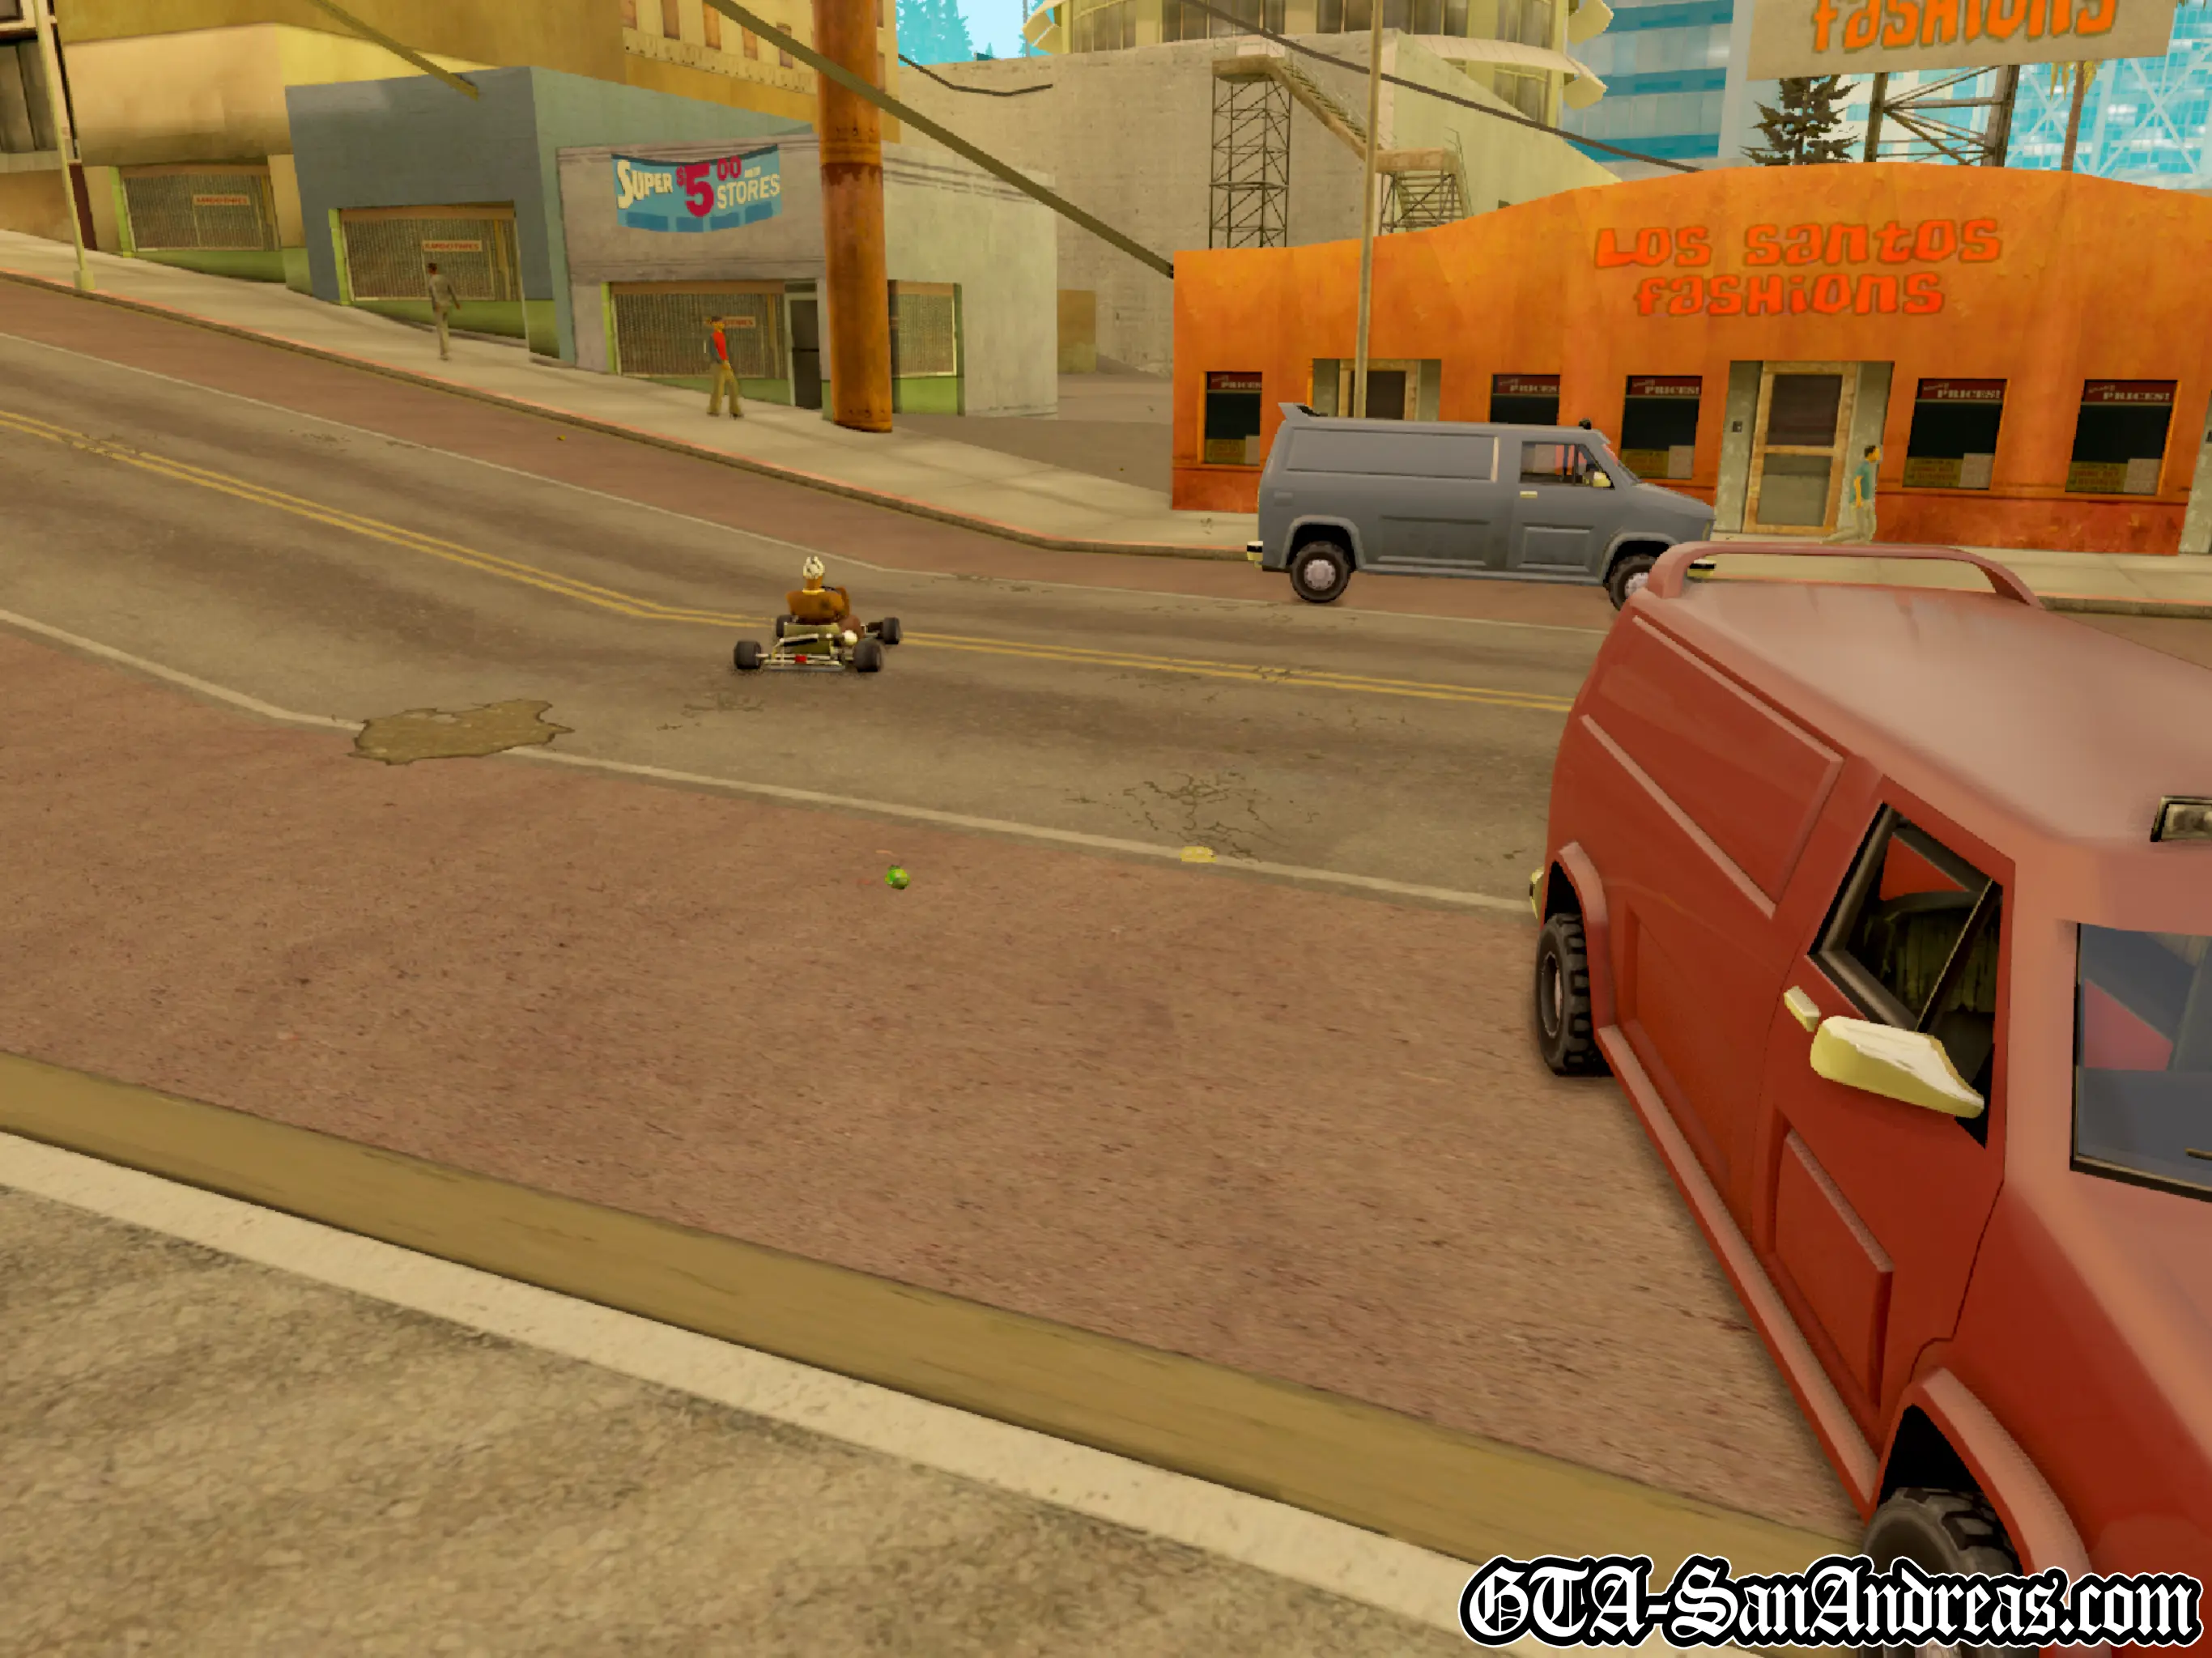
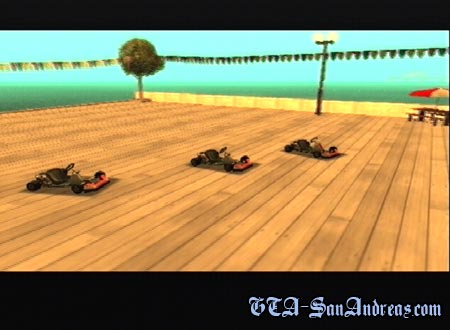
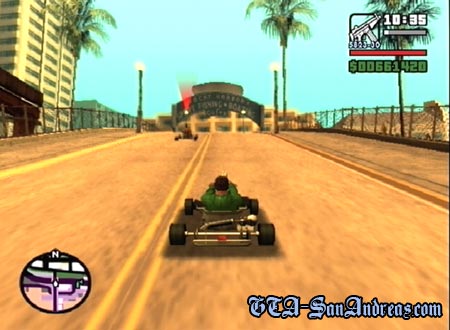
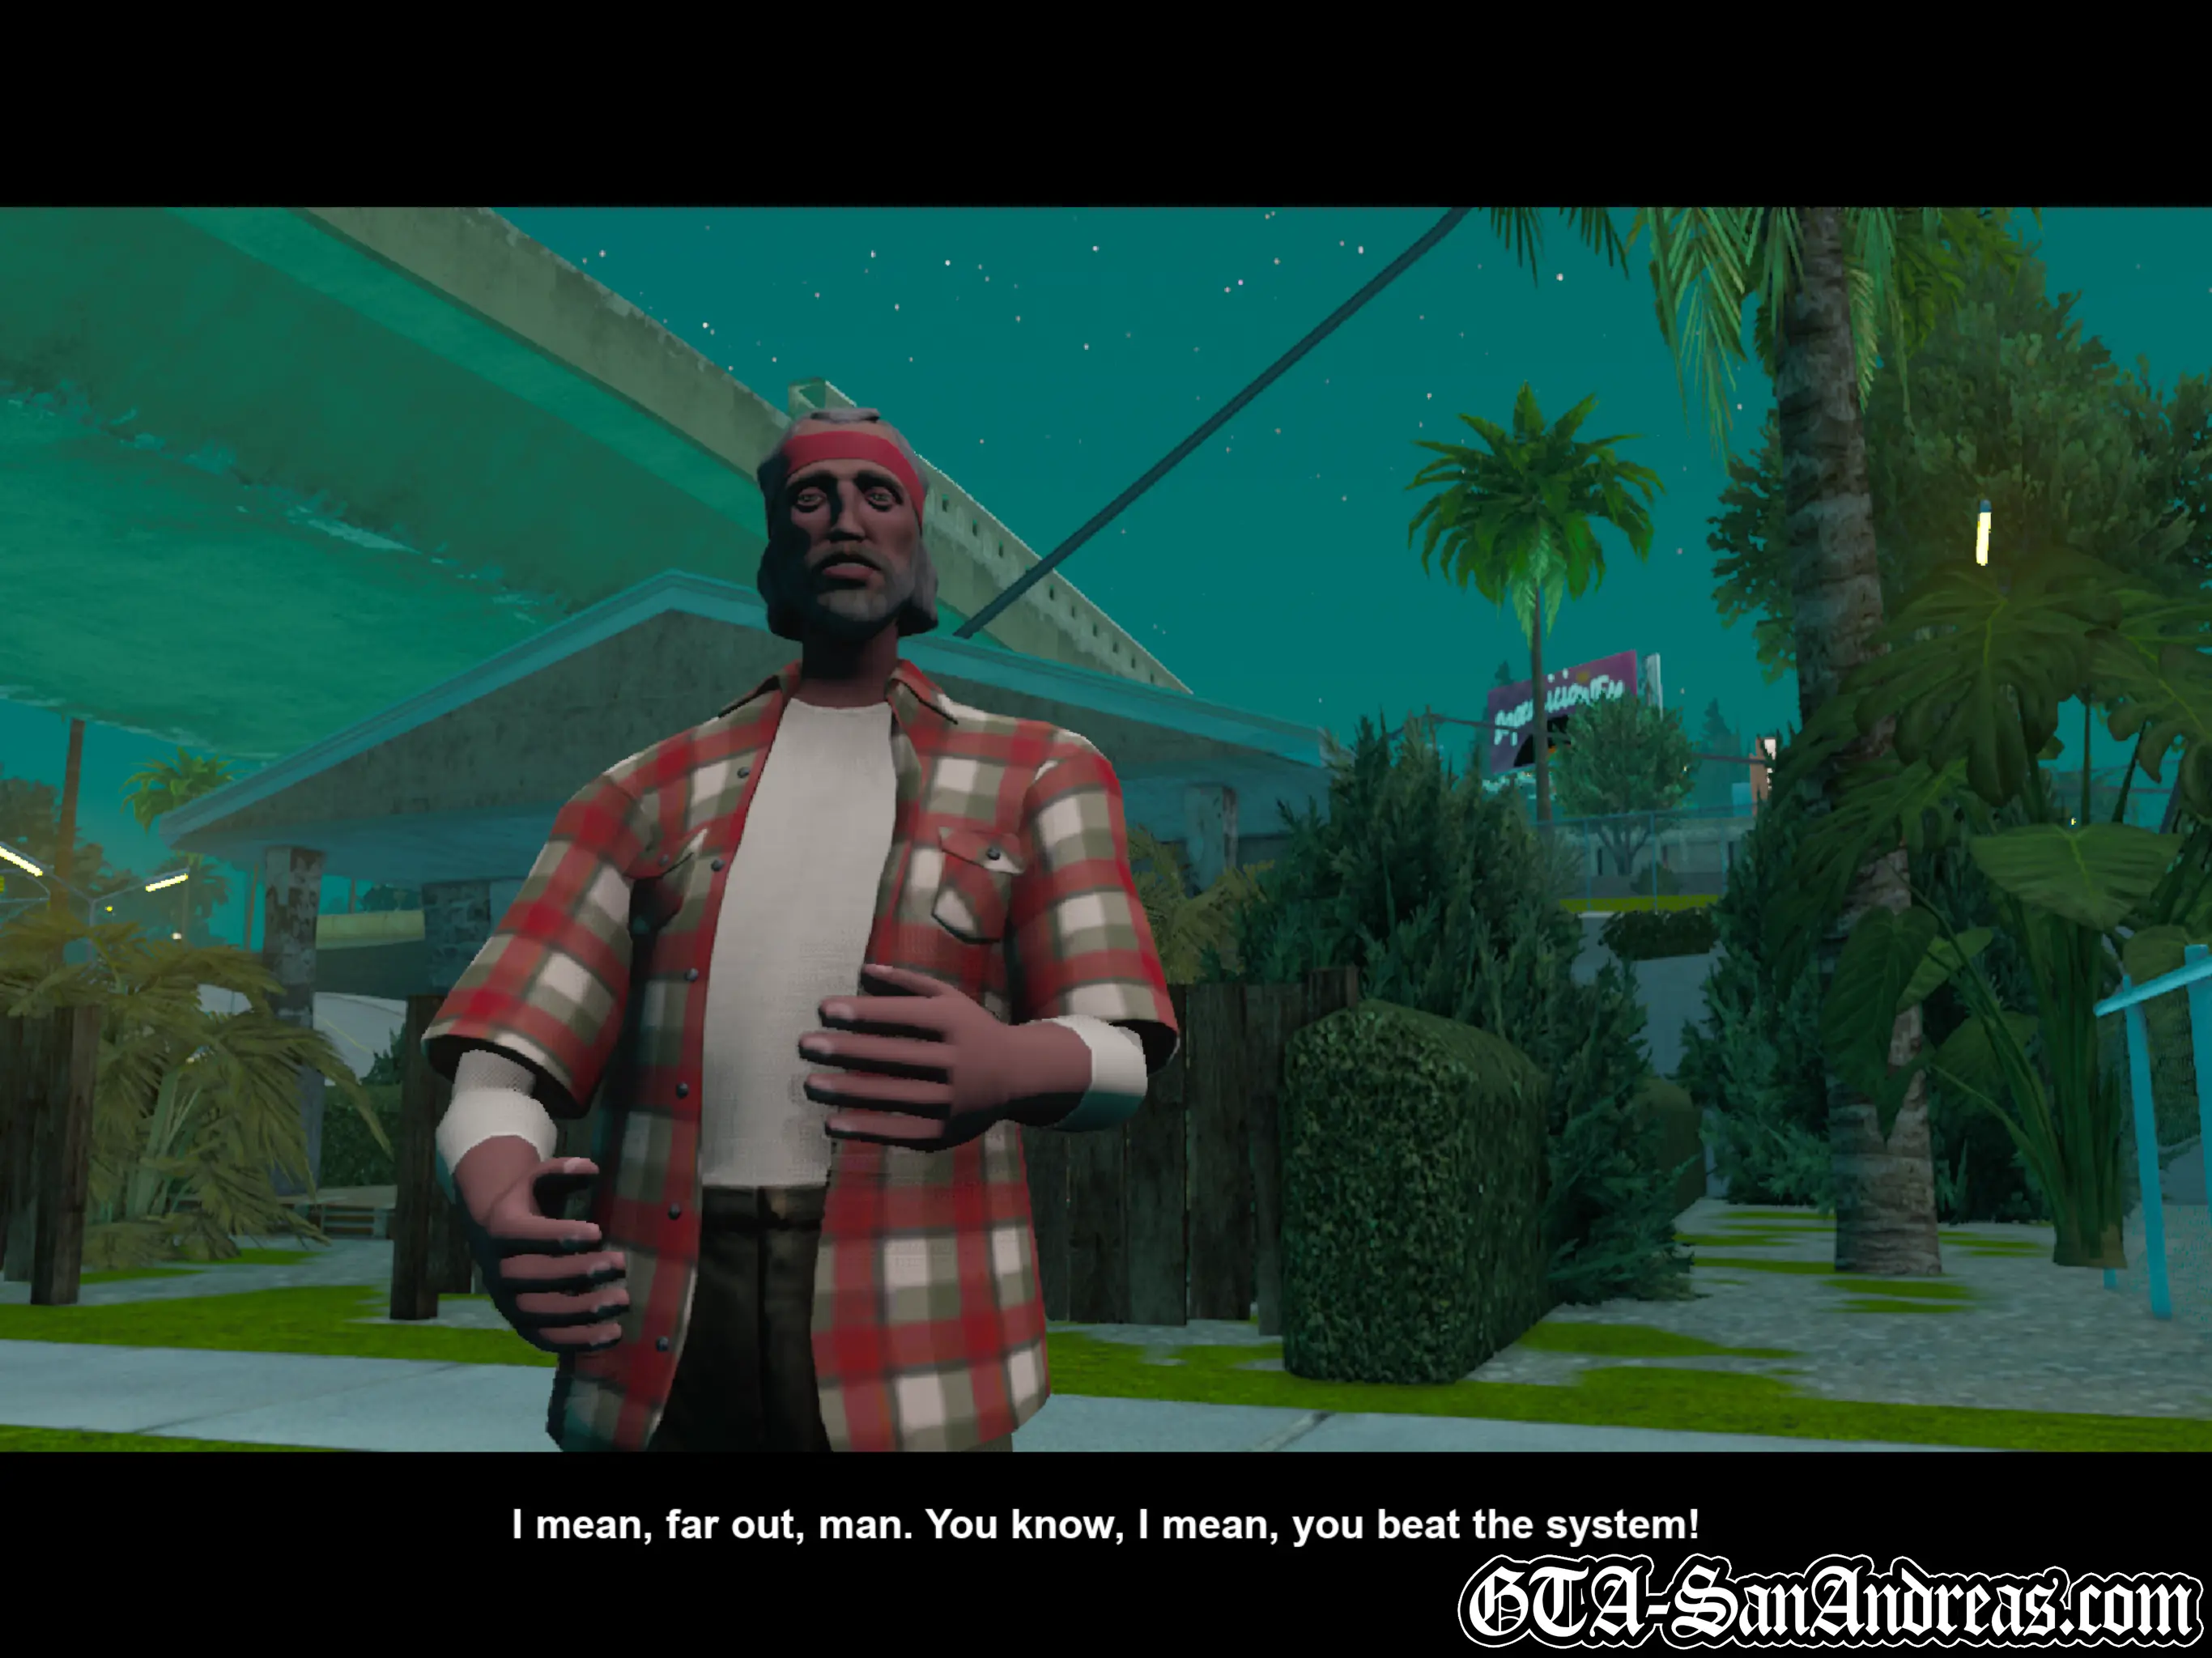
Madd Dogg is watching OG Loc performing live on TV, and he realises that OG Loc is only famous because of his rhyme book. He wants you to take him to the video recording and drop in on OG Loc. Grab the BF Injection and make your way to the video shoot at Flint Country. When you get close, OG will jump in a hovercraft and try to escape. Carl and Madd Dogg will get in one too and you'll need to chase him. Follow him past obstacles and make sure you have enough speed to jump over the lighthouse walkway. Keep chasing Loc up onto the beach and along the pier, then he'll bail and grab a Kart. Chase after him in the kart, and watch out for the rather extreme steering. Chase after him across Rodeo and you'll eventually come to a stop near Blastin' Fools records. After the cutscene you'll pass the mission.
All of Carl Johnson's missions have been completed. Off to Sweet we go.
Screenshots


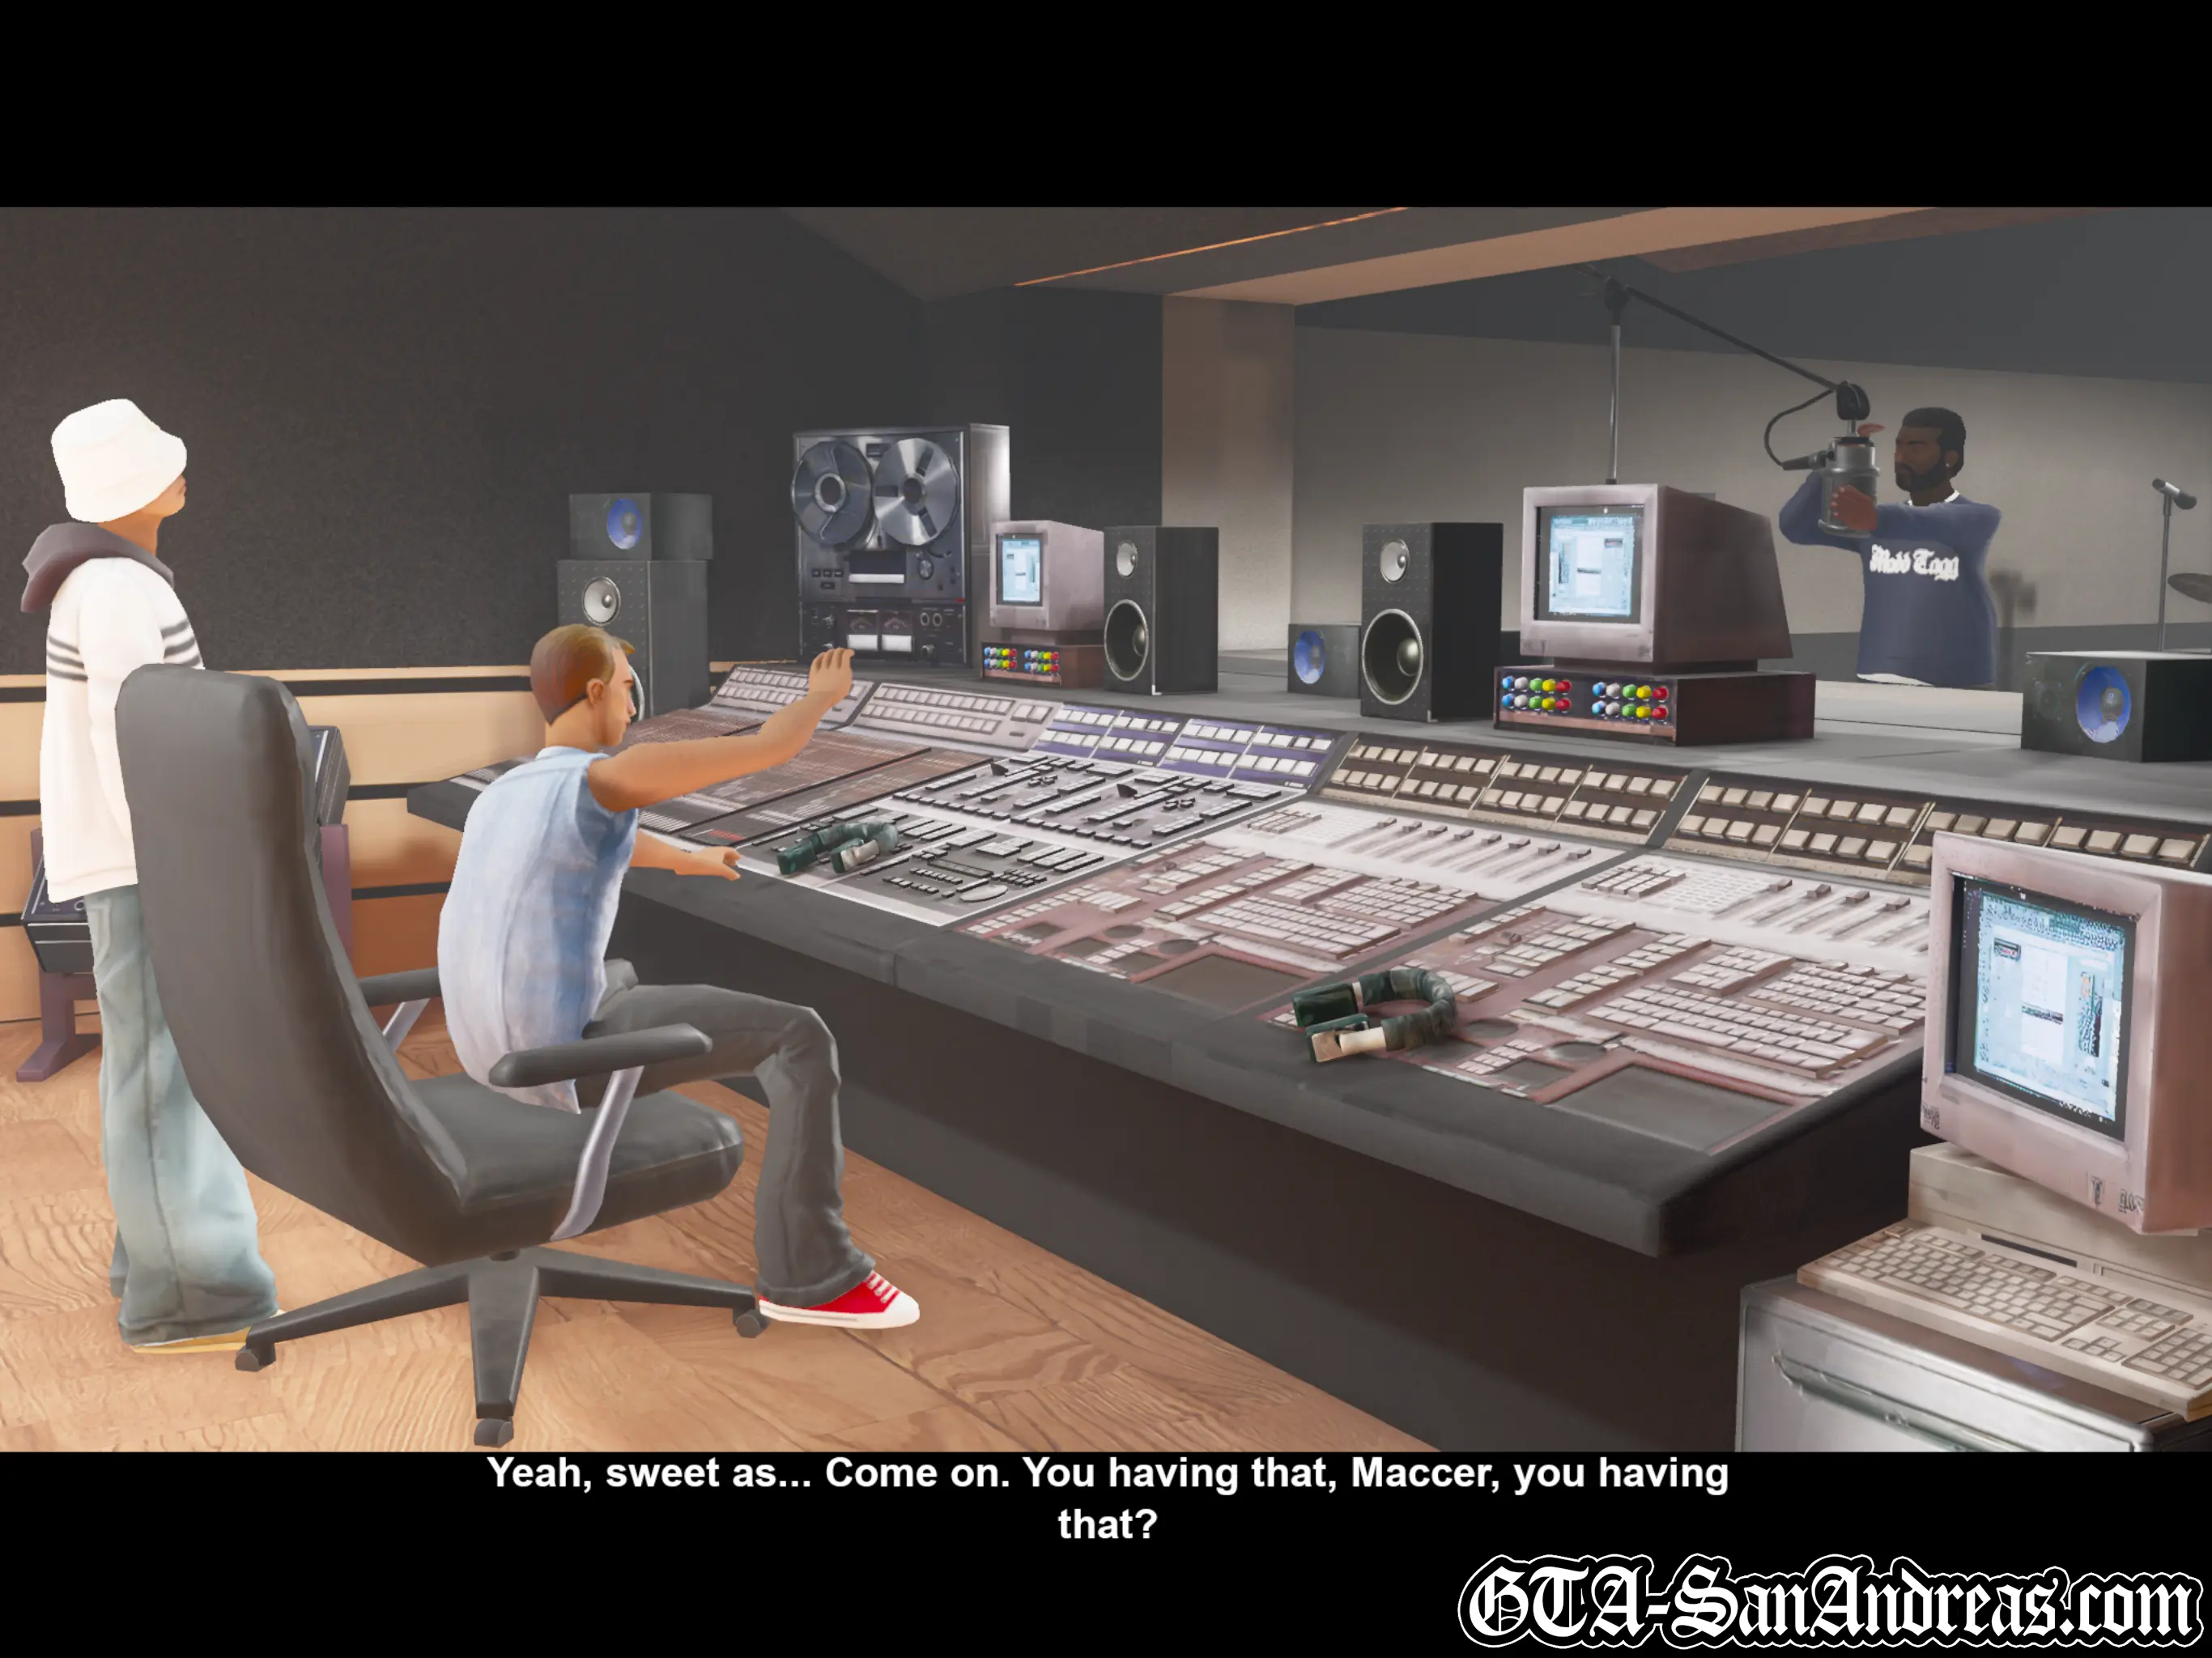
Sweet
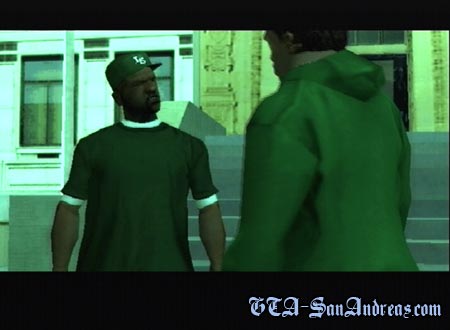
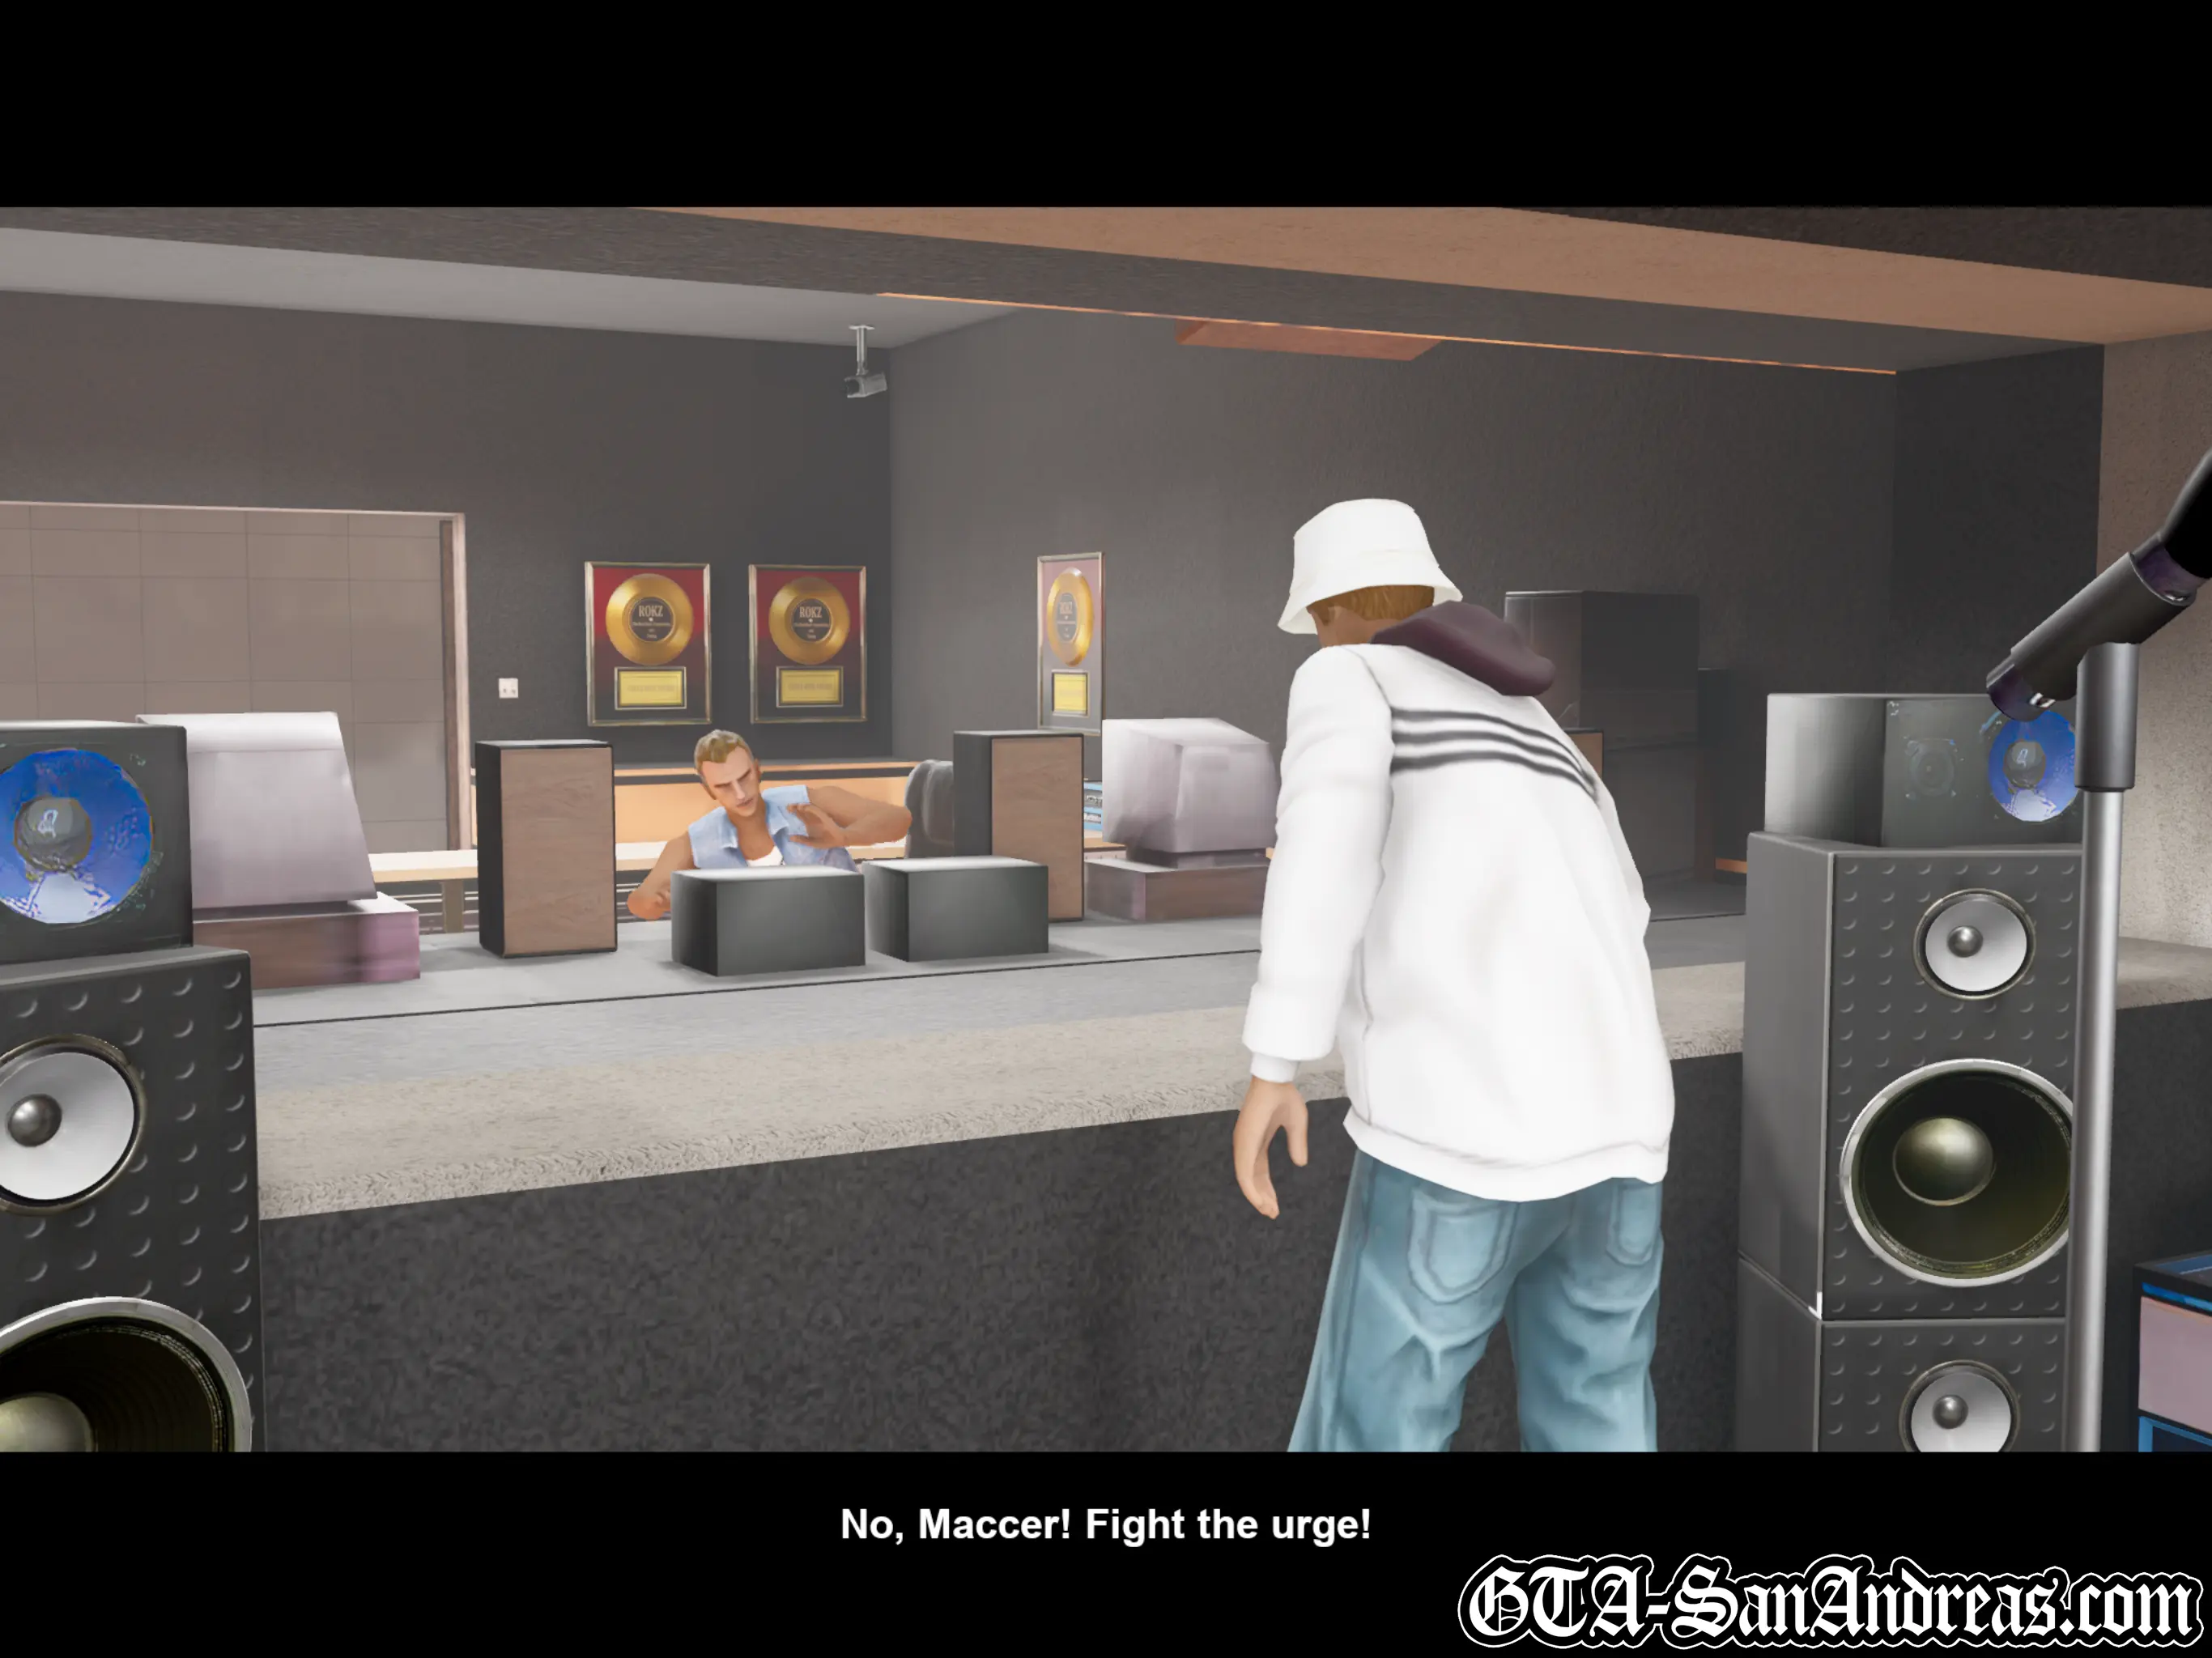
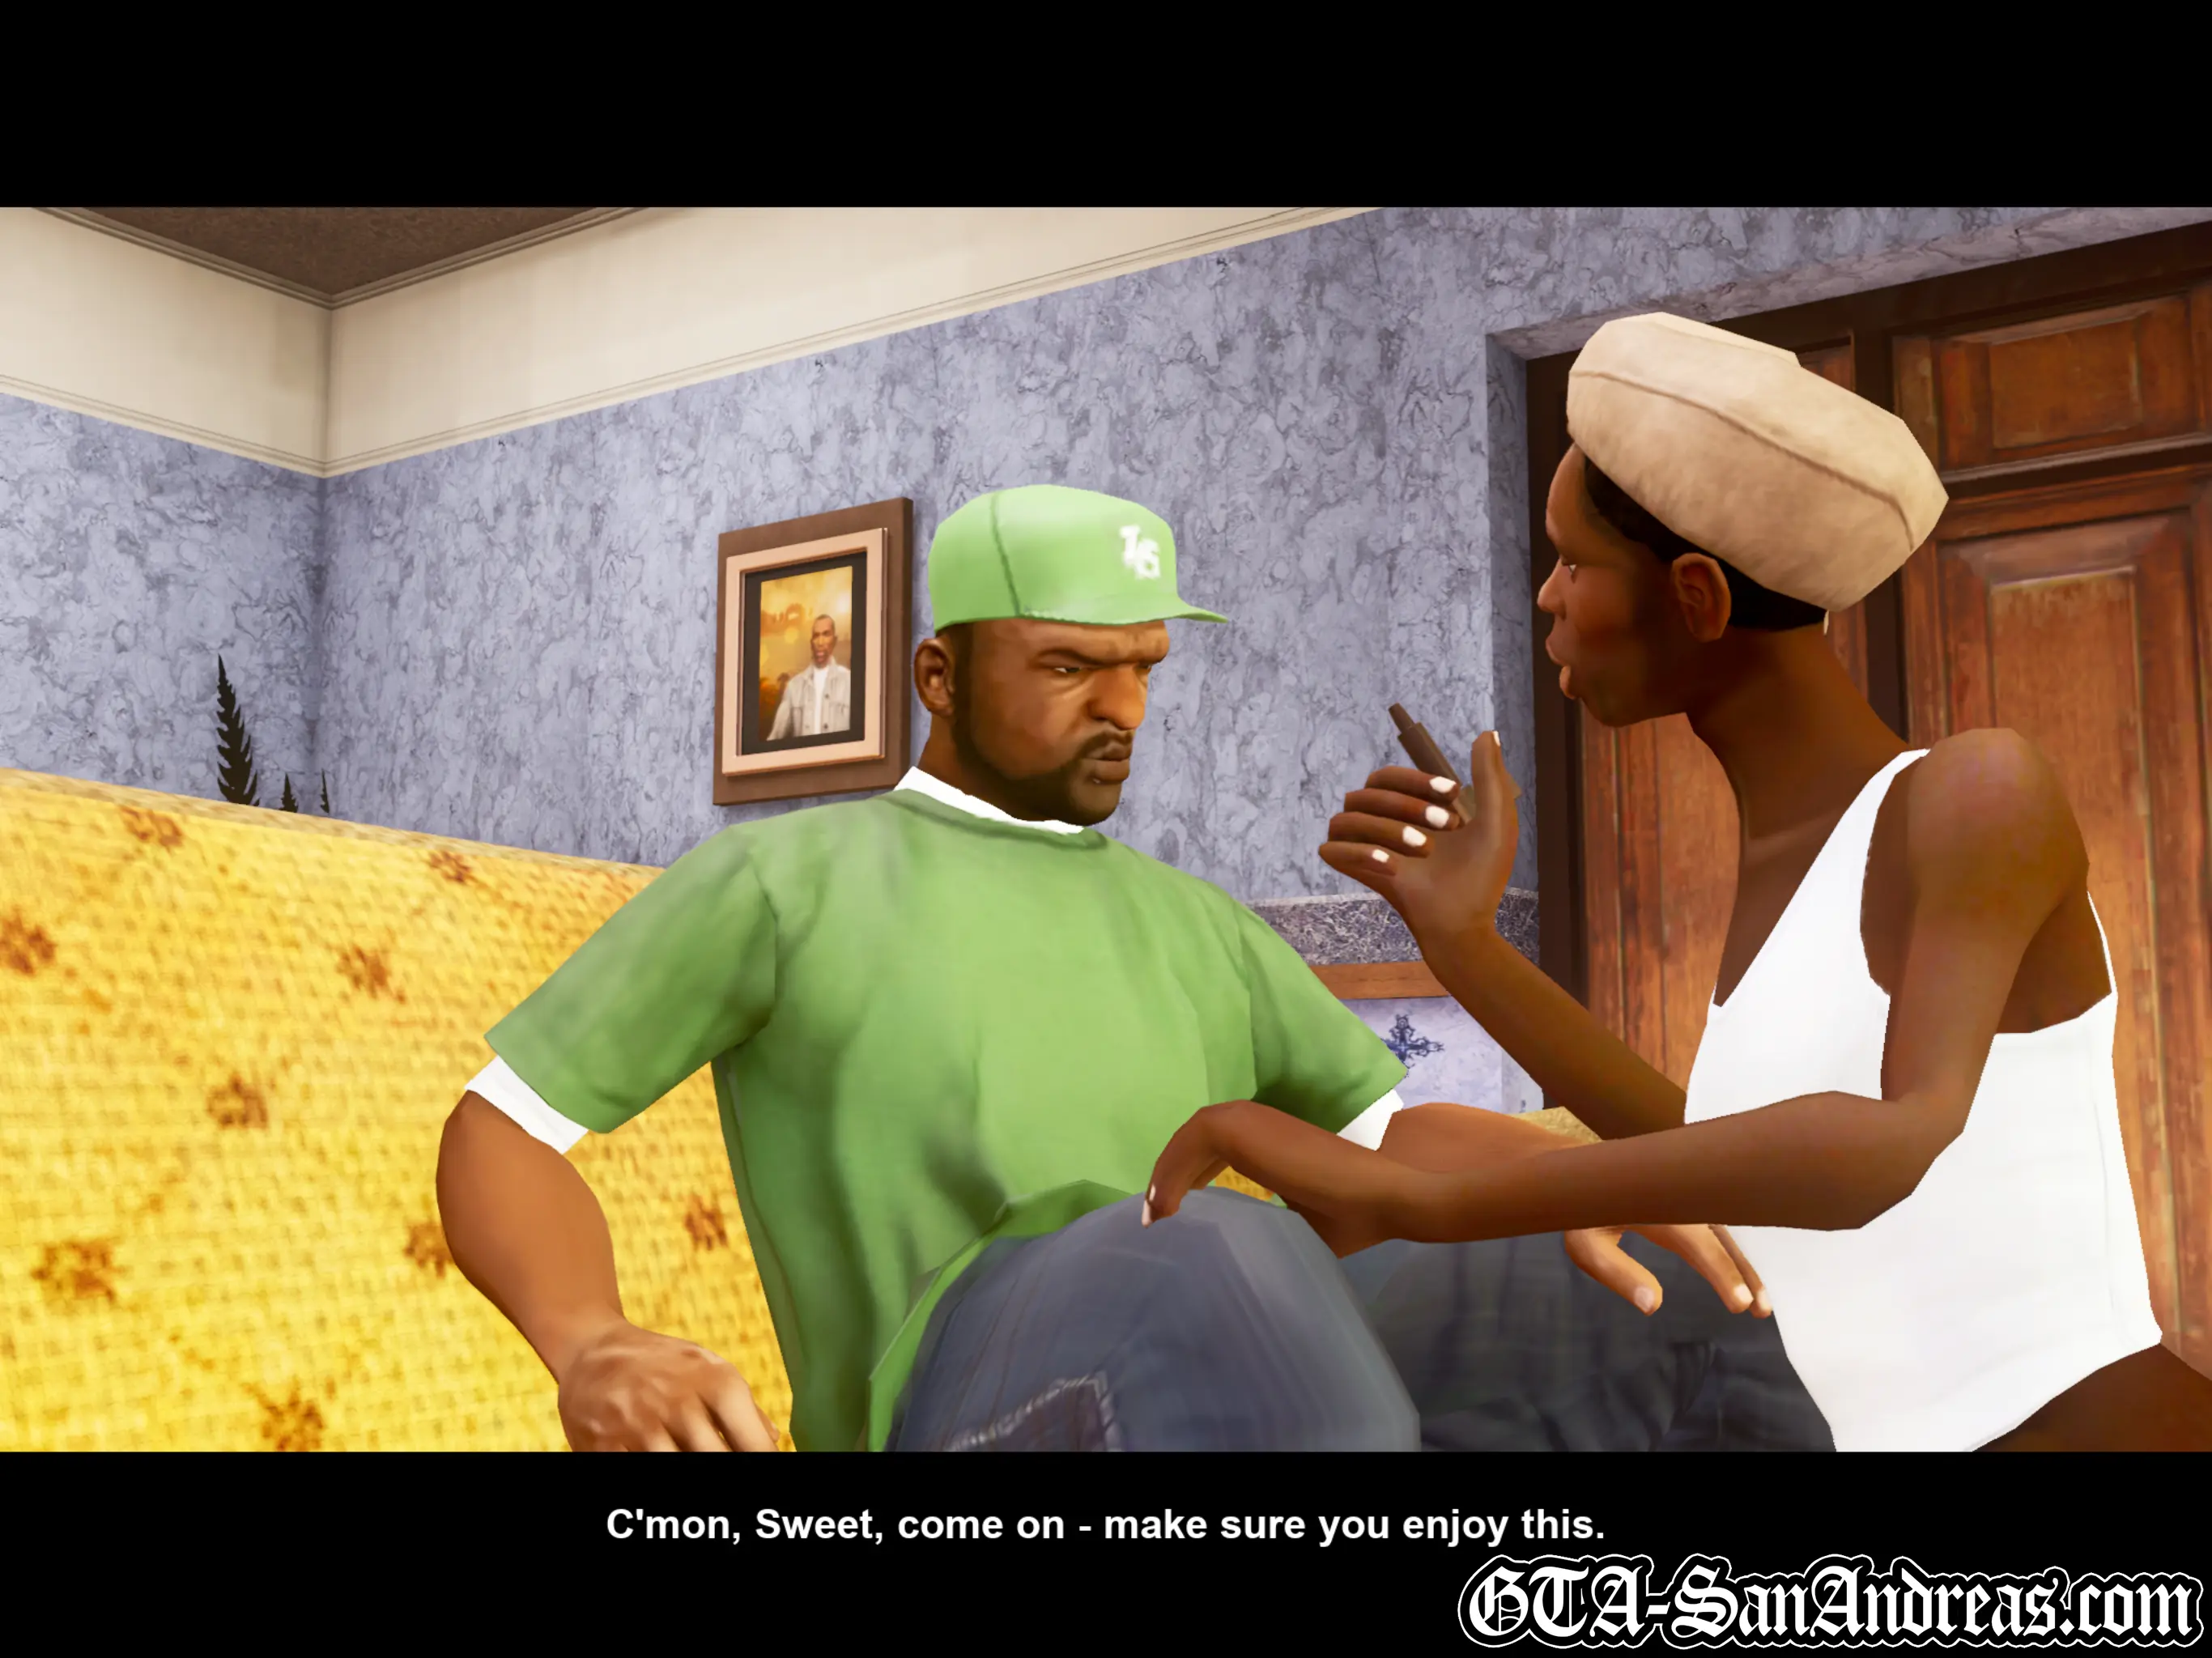
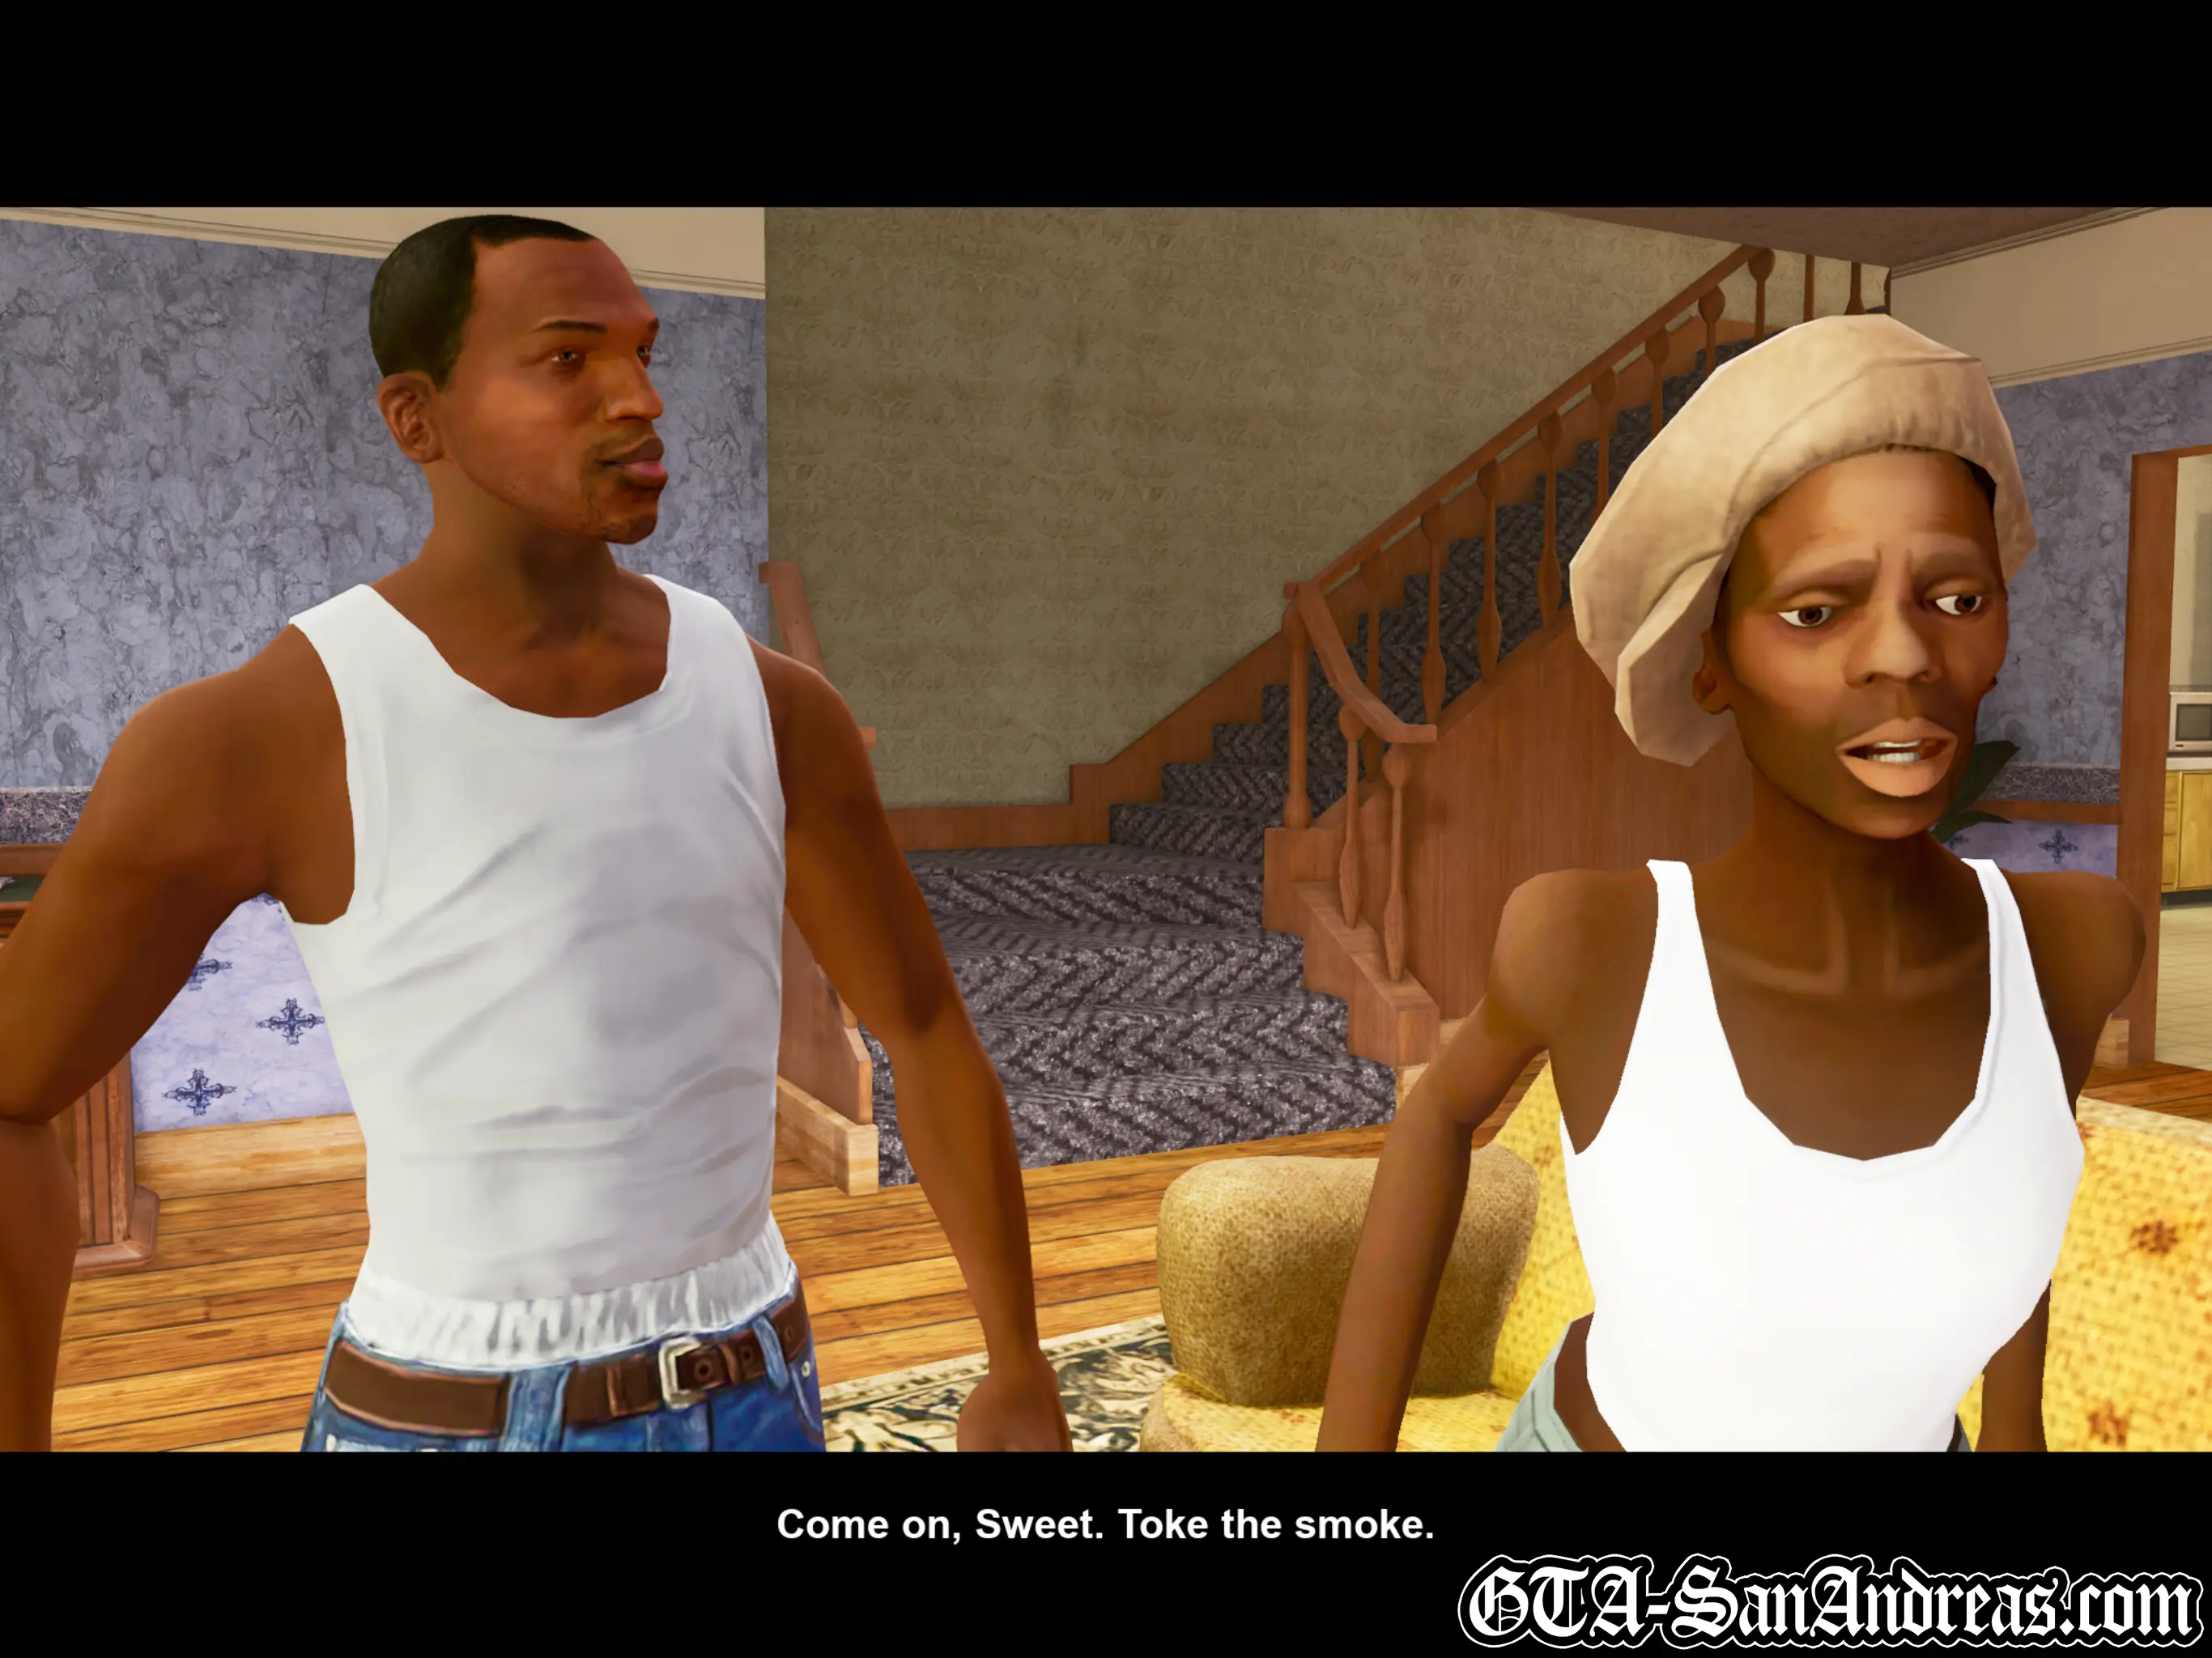
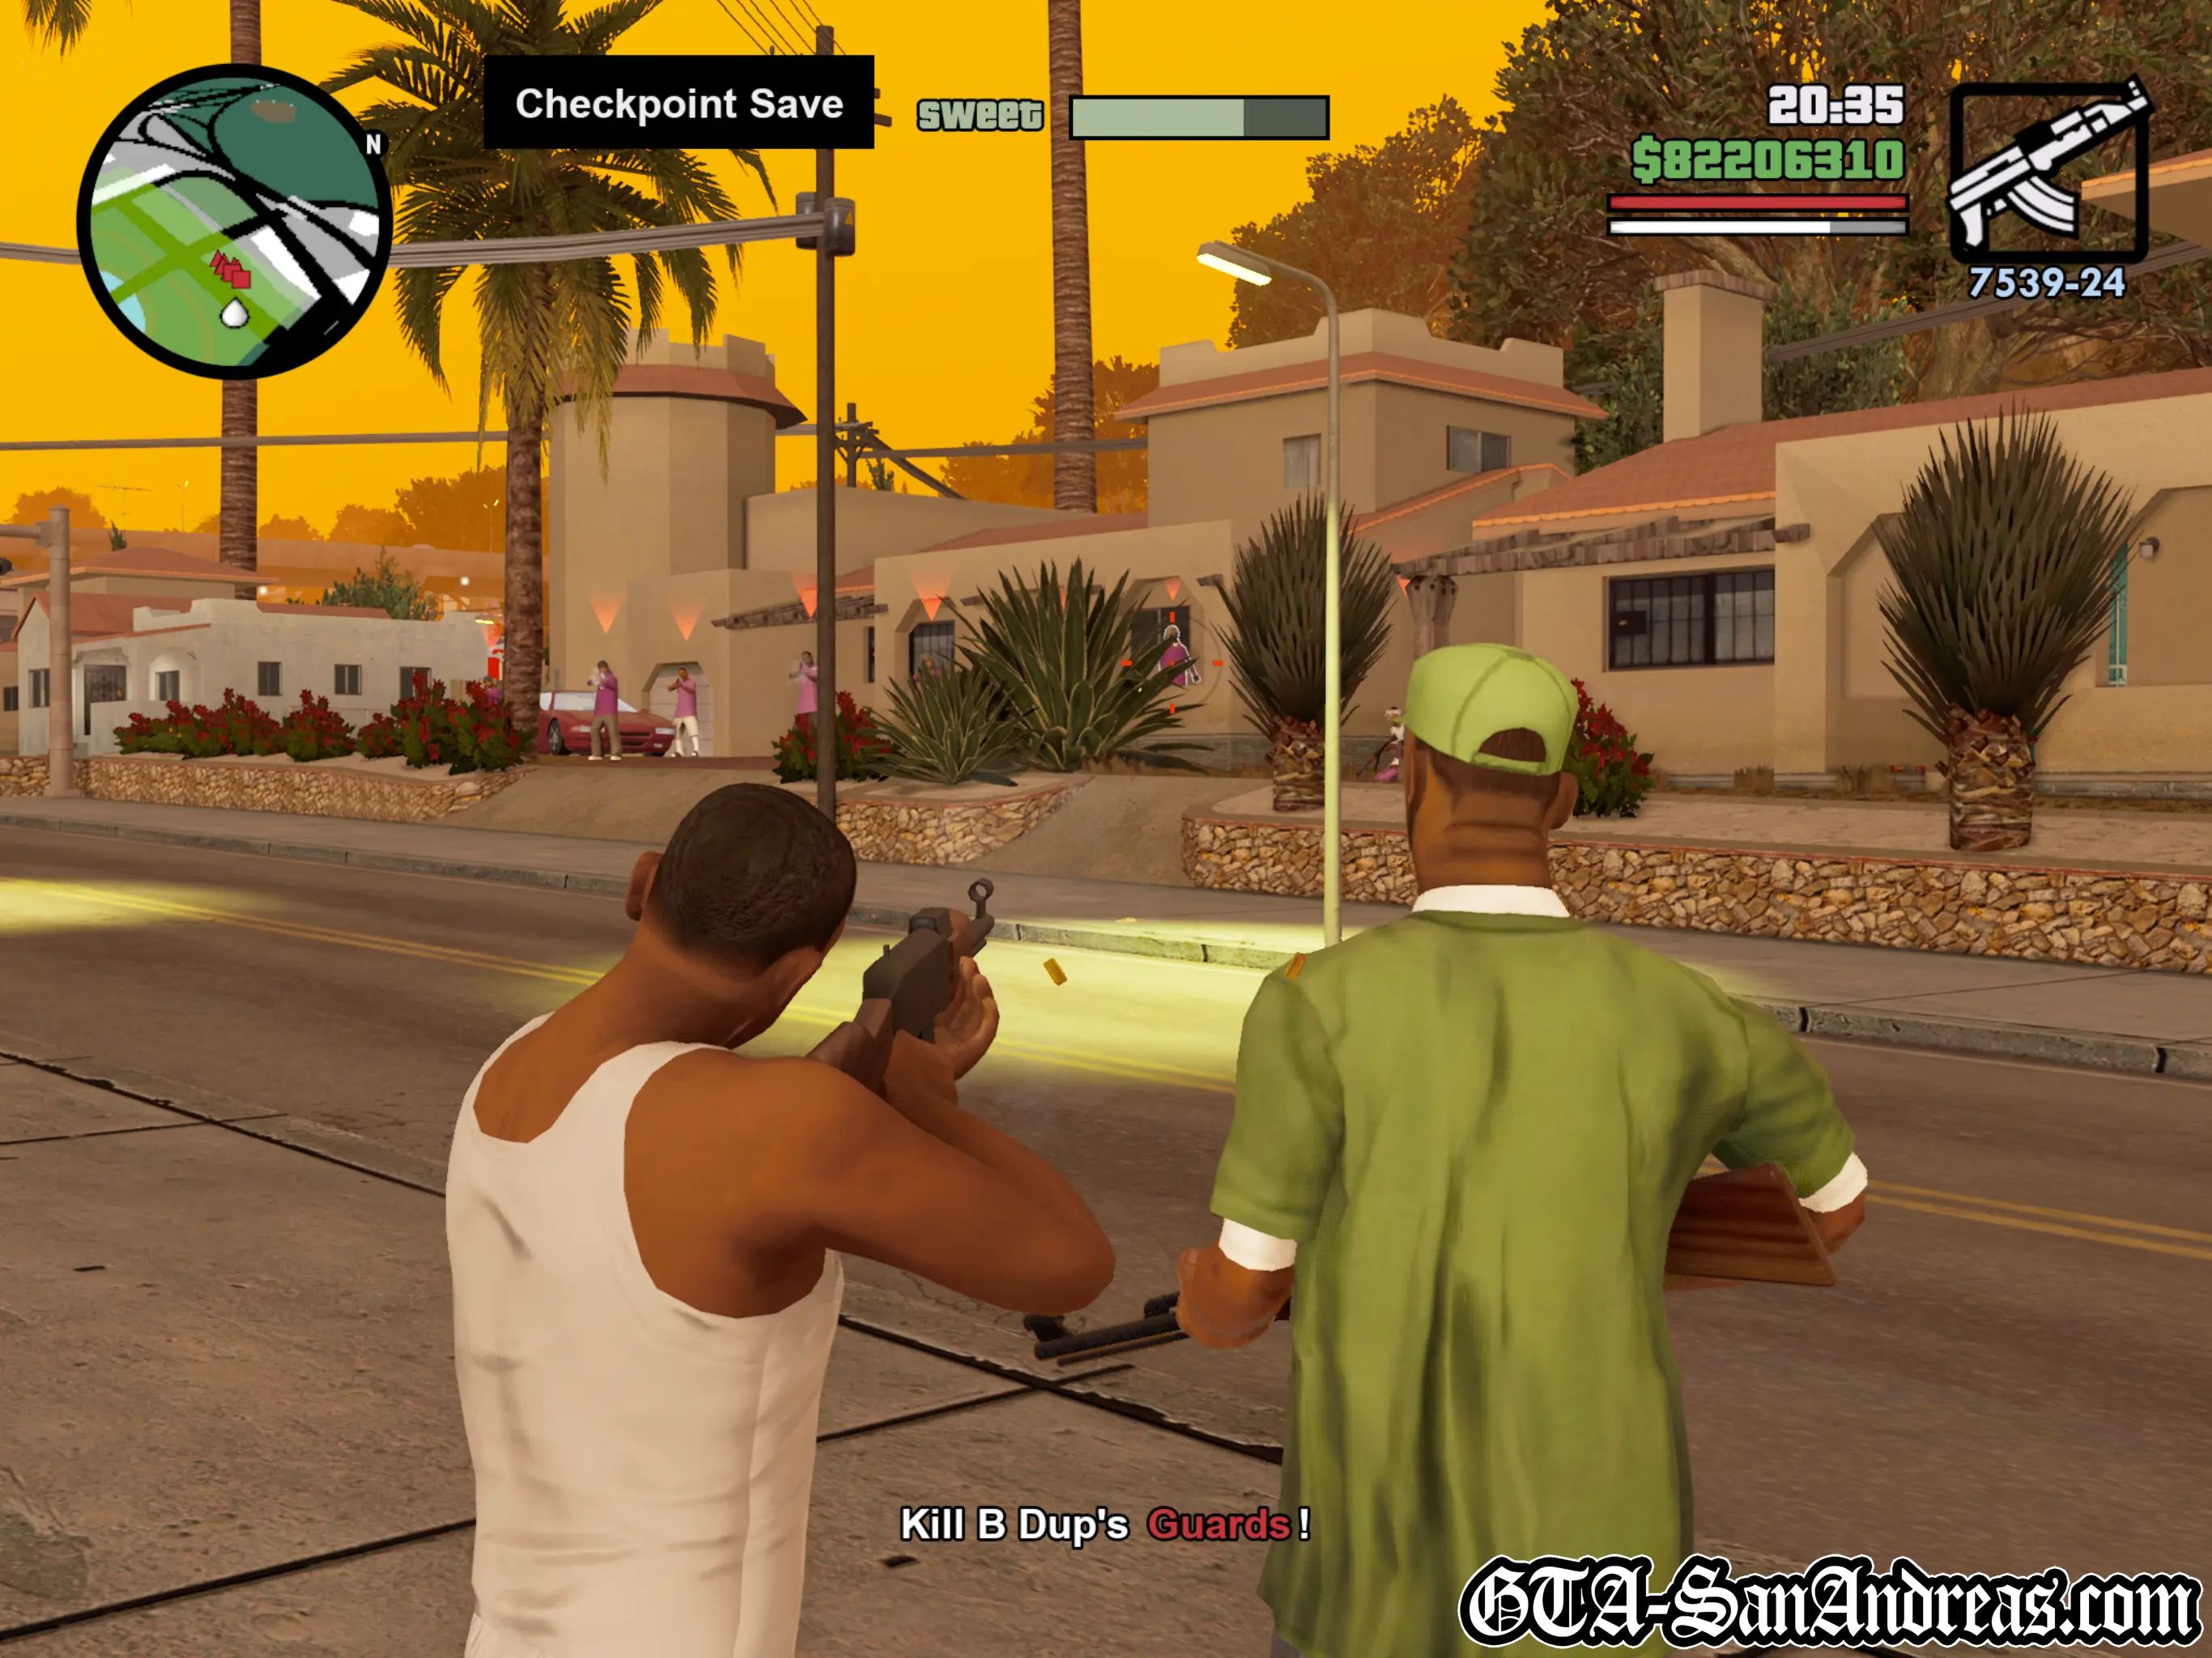
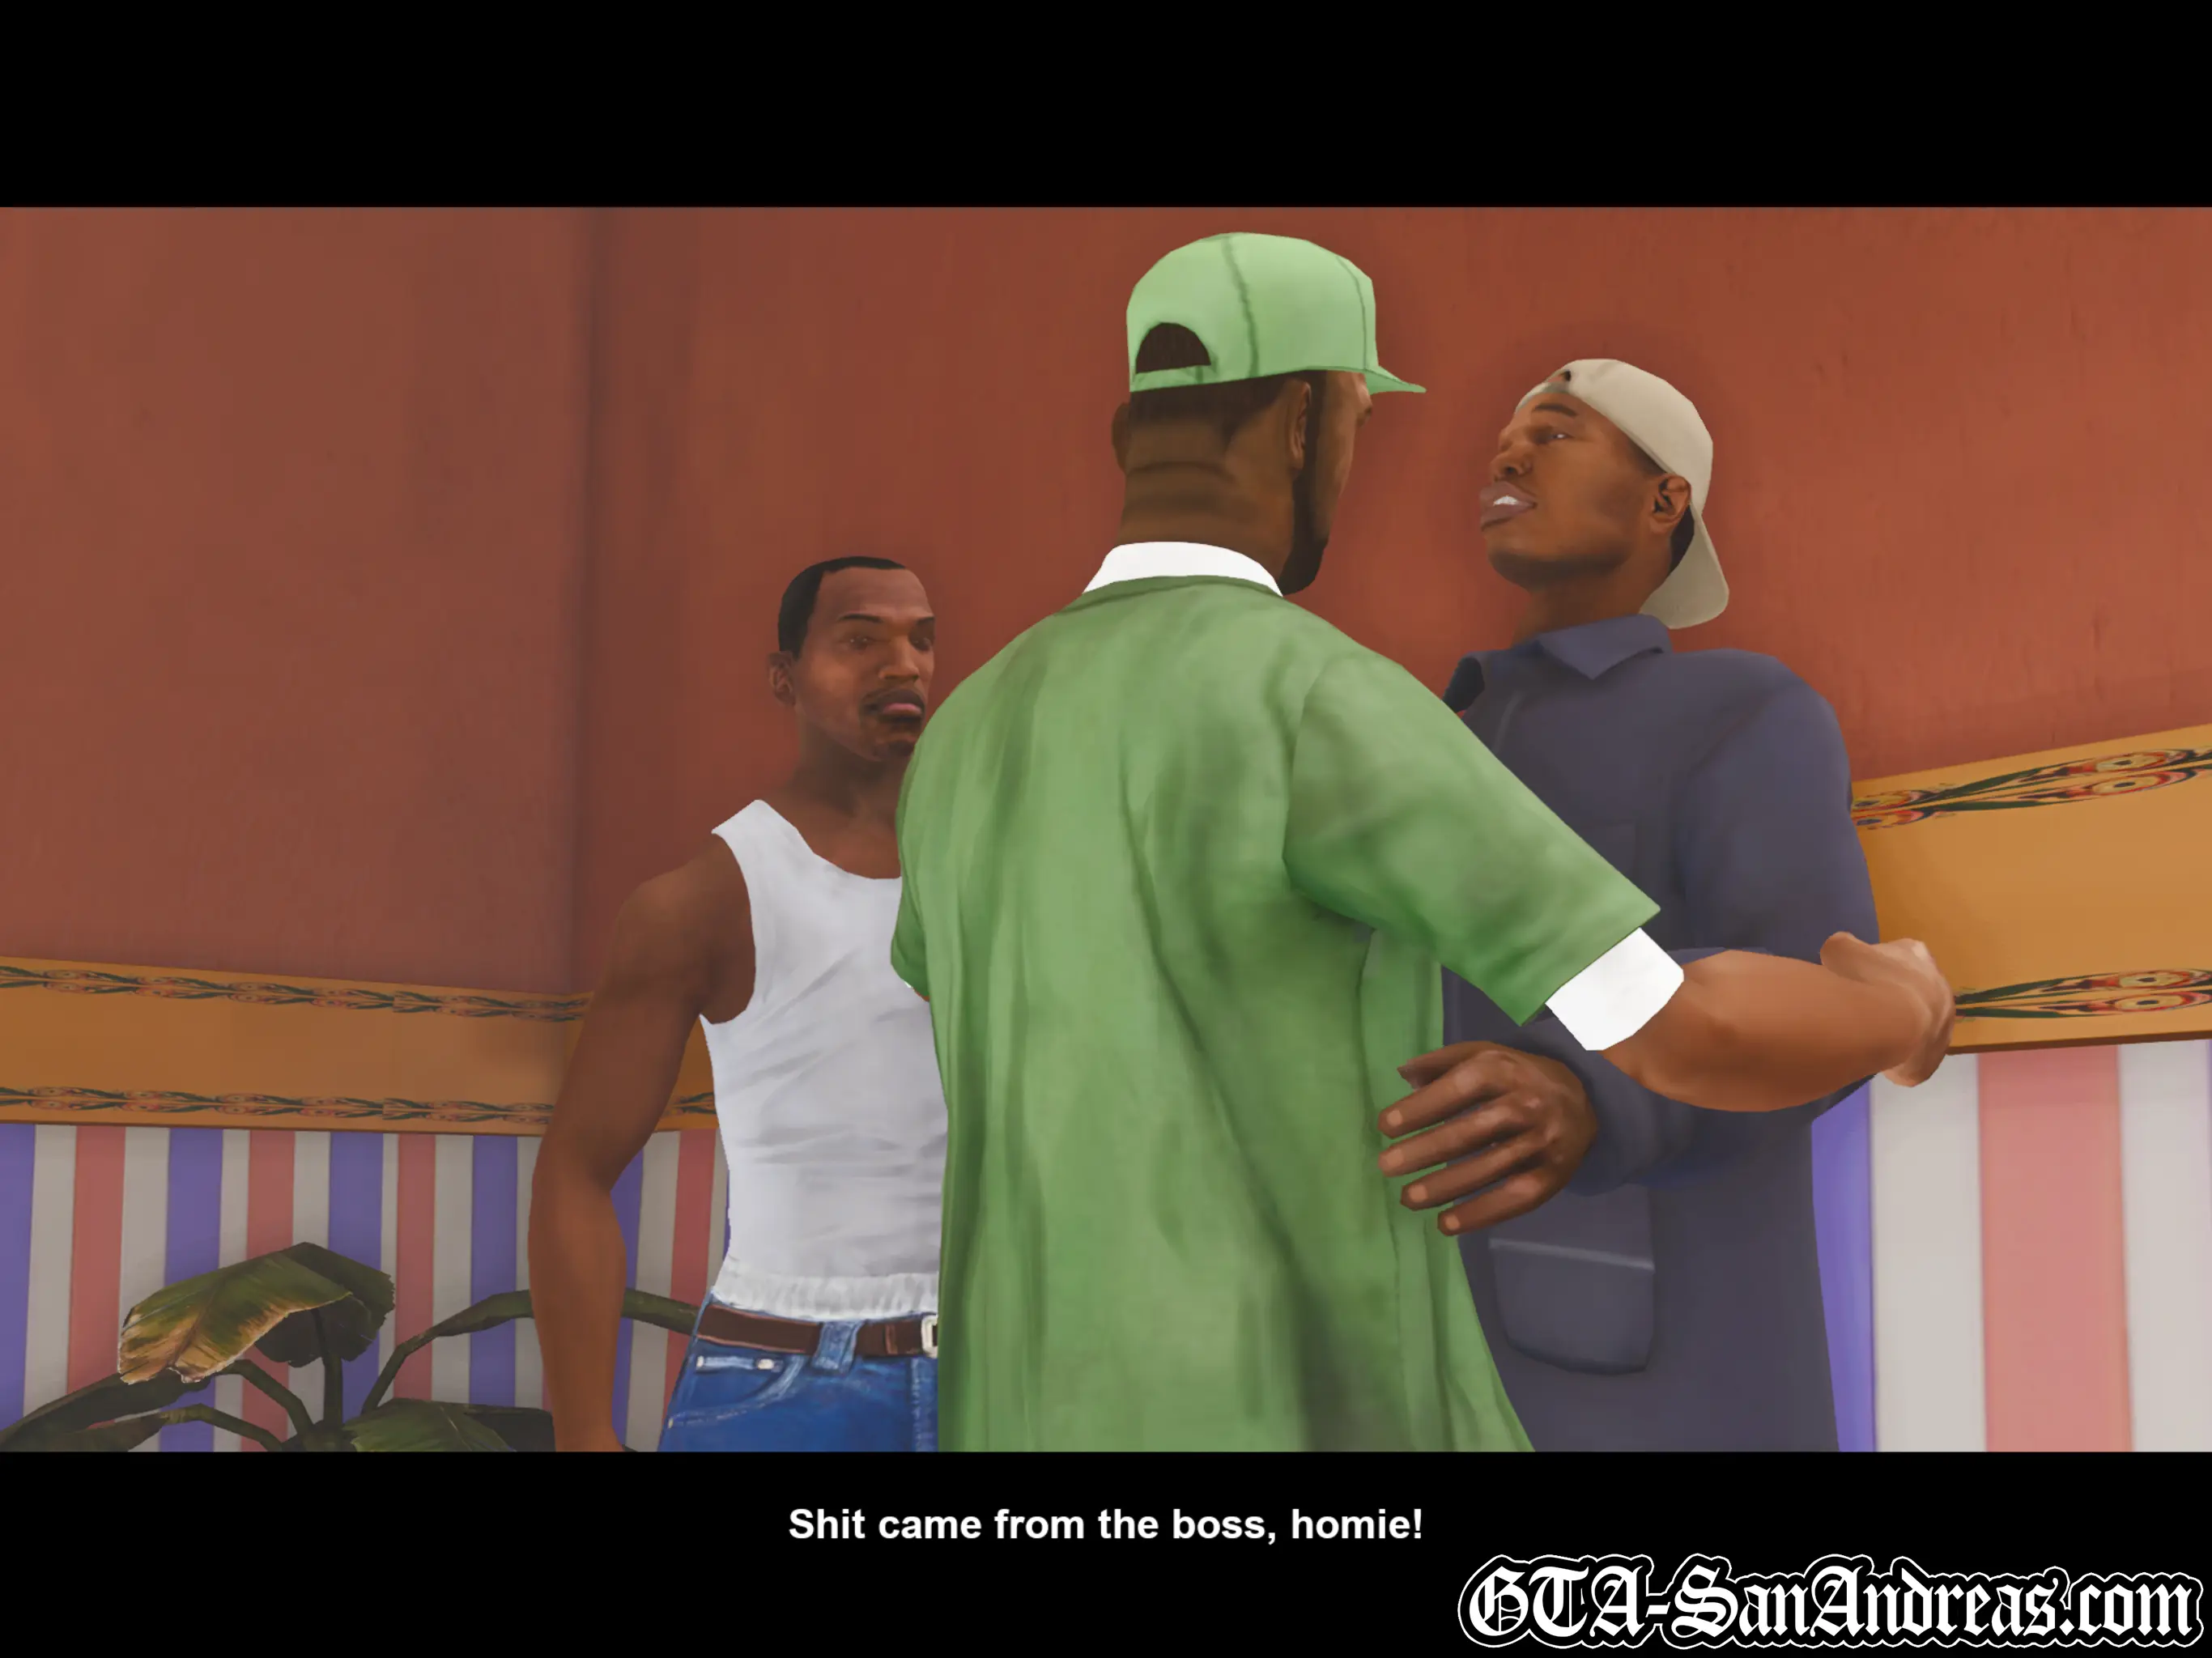
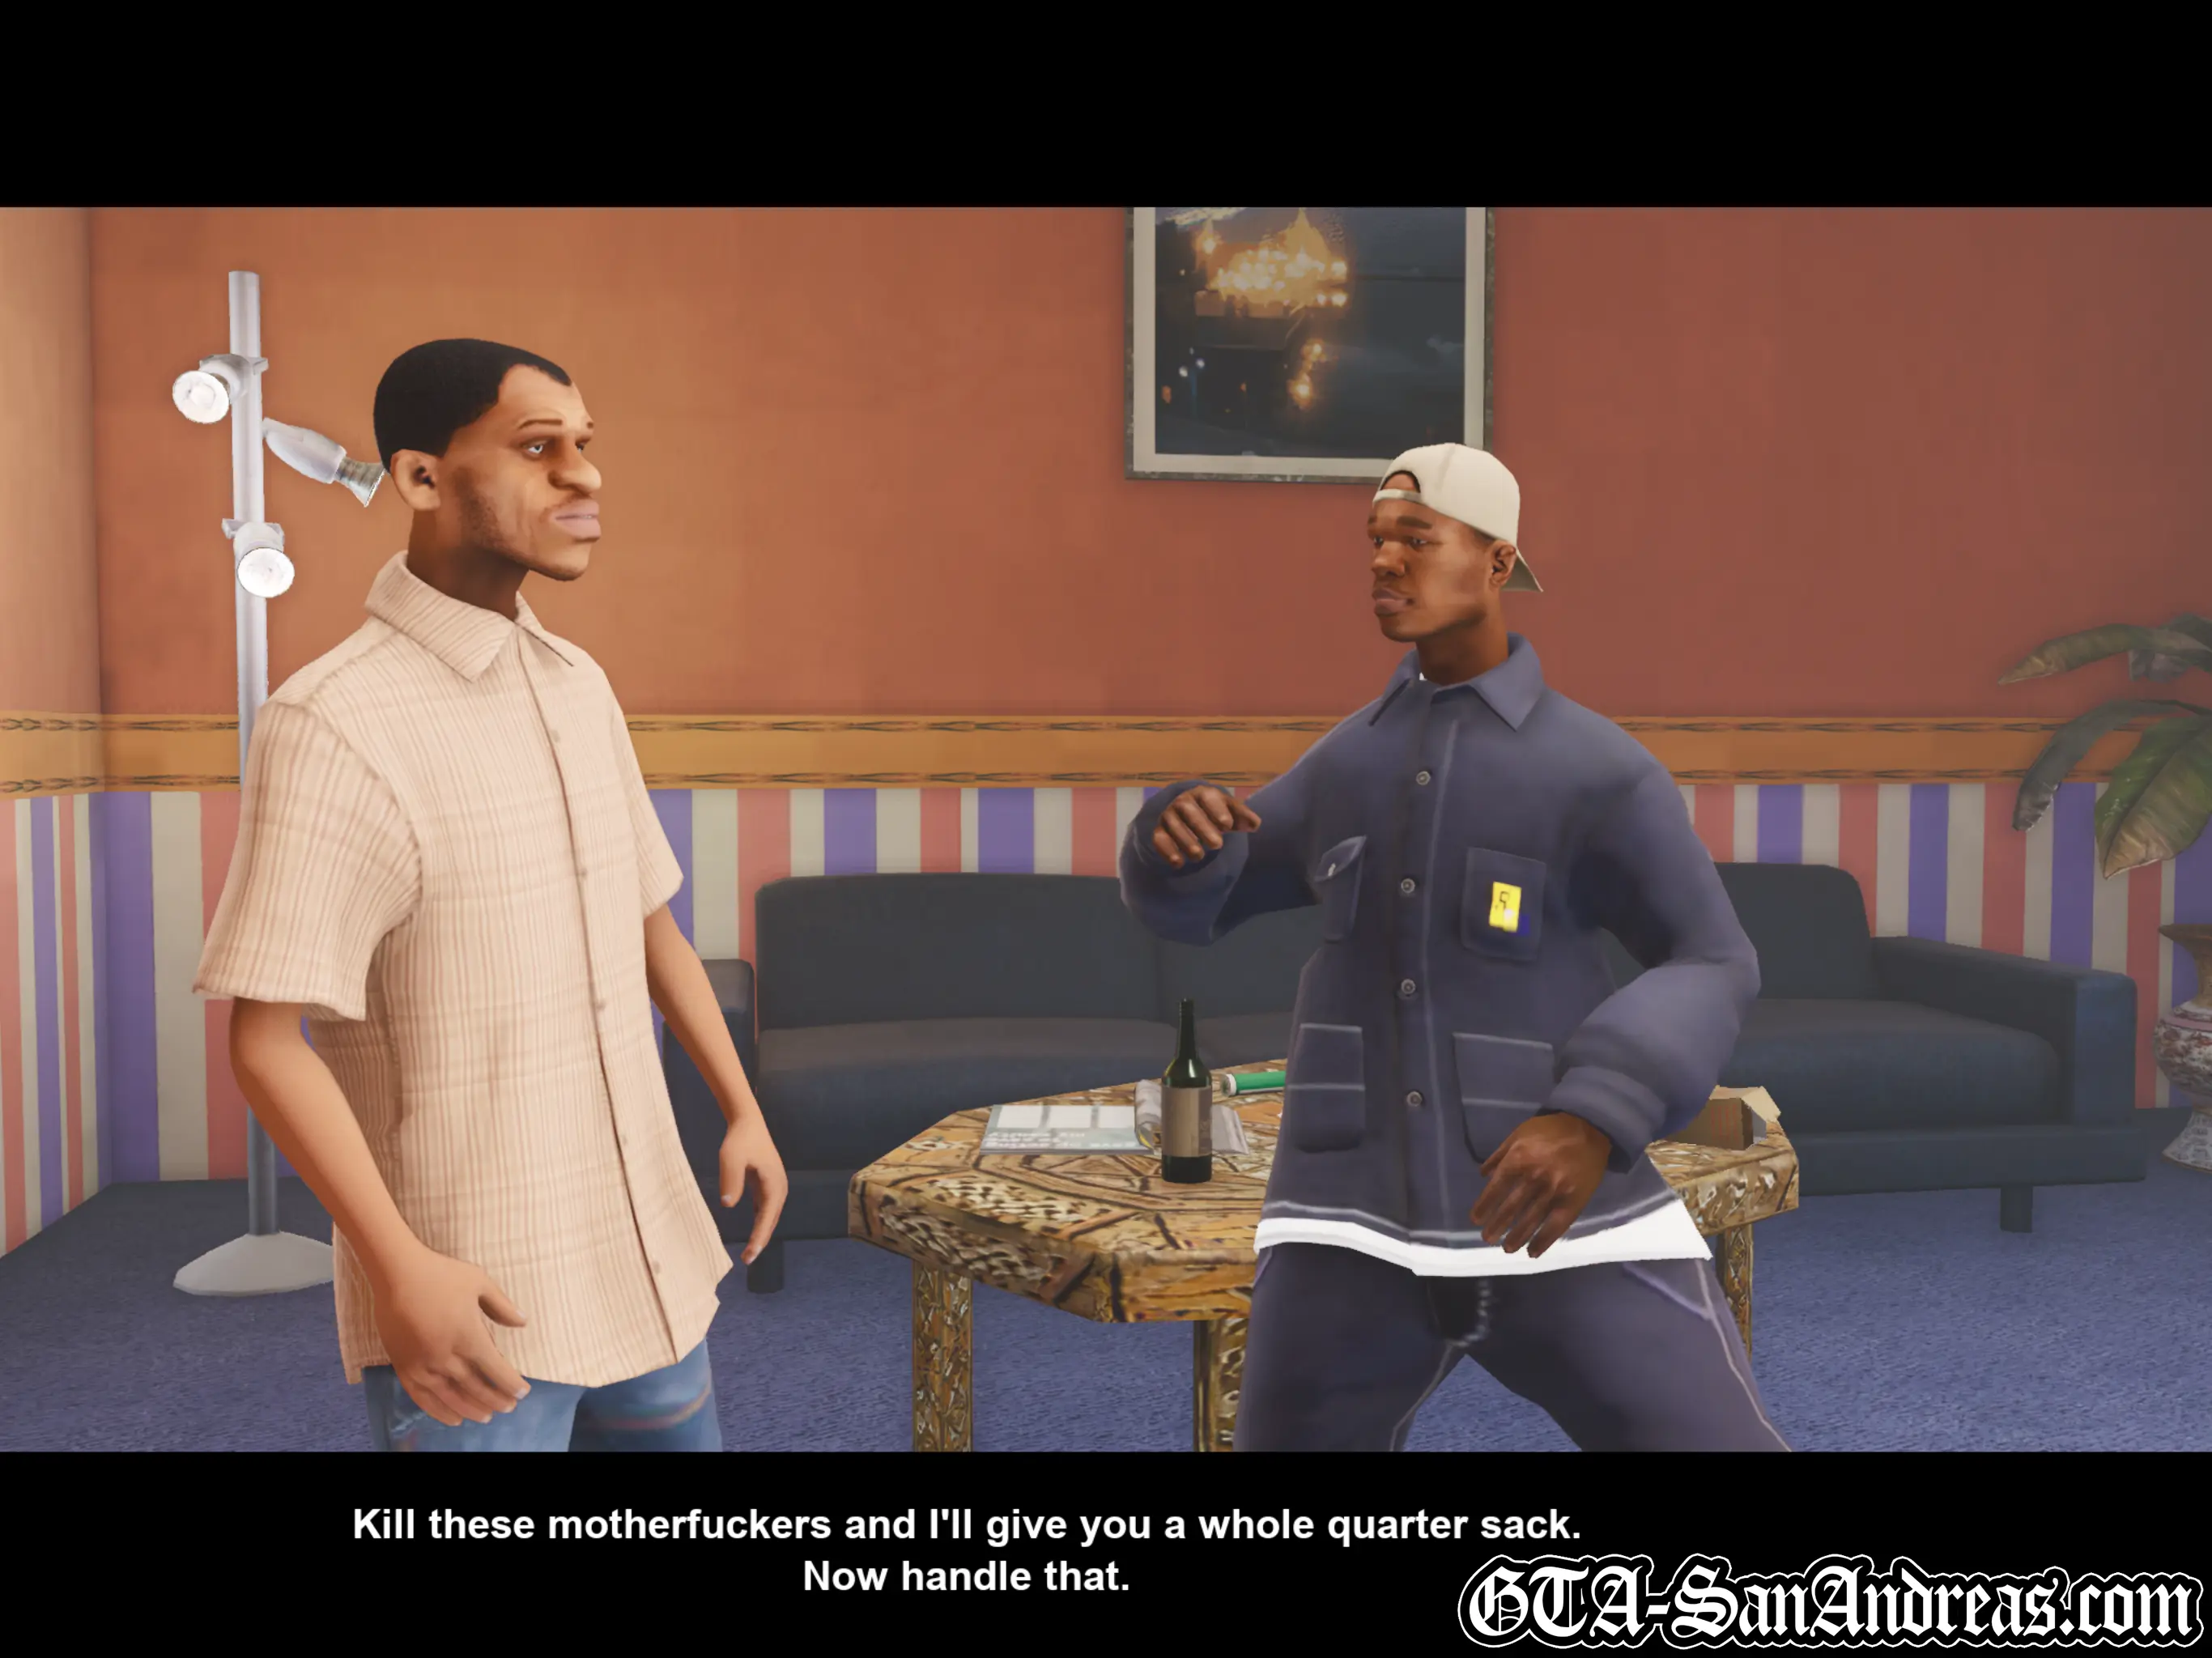
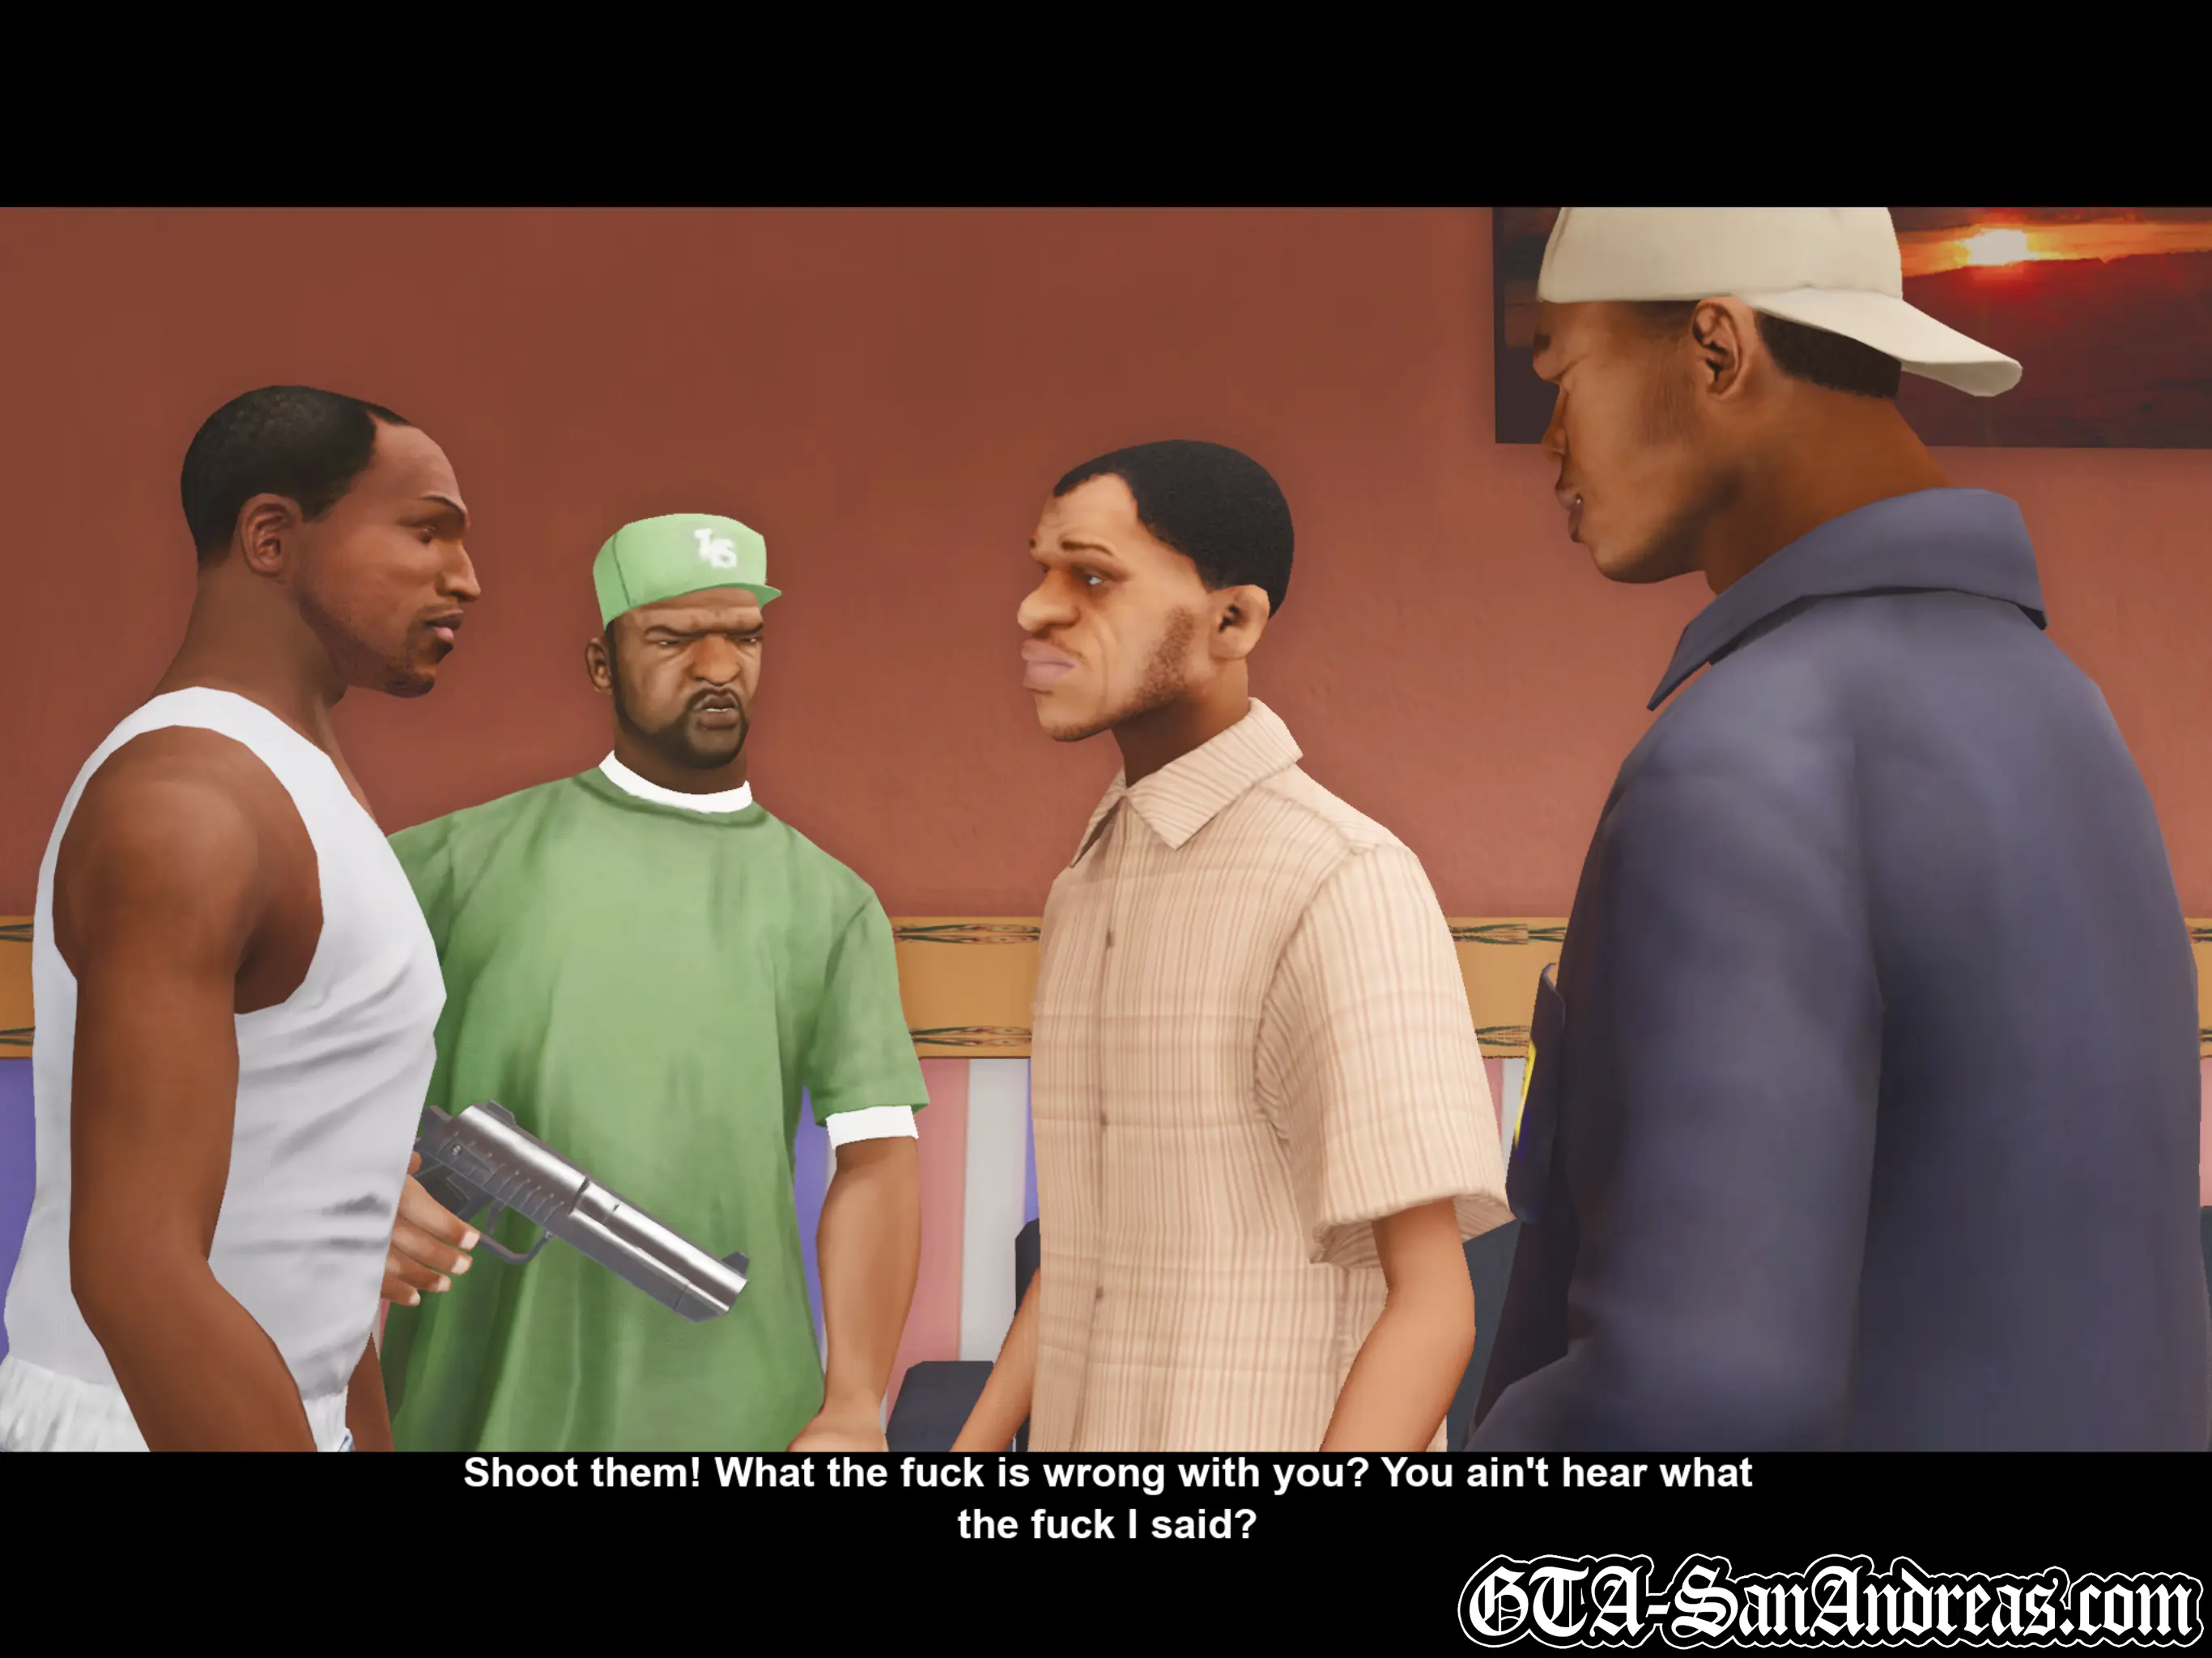
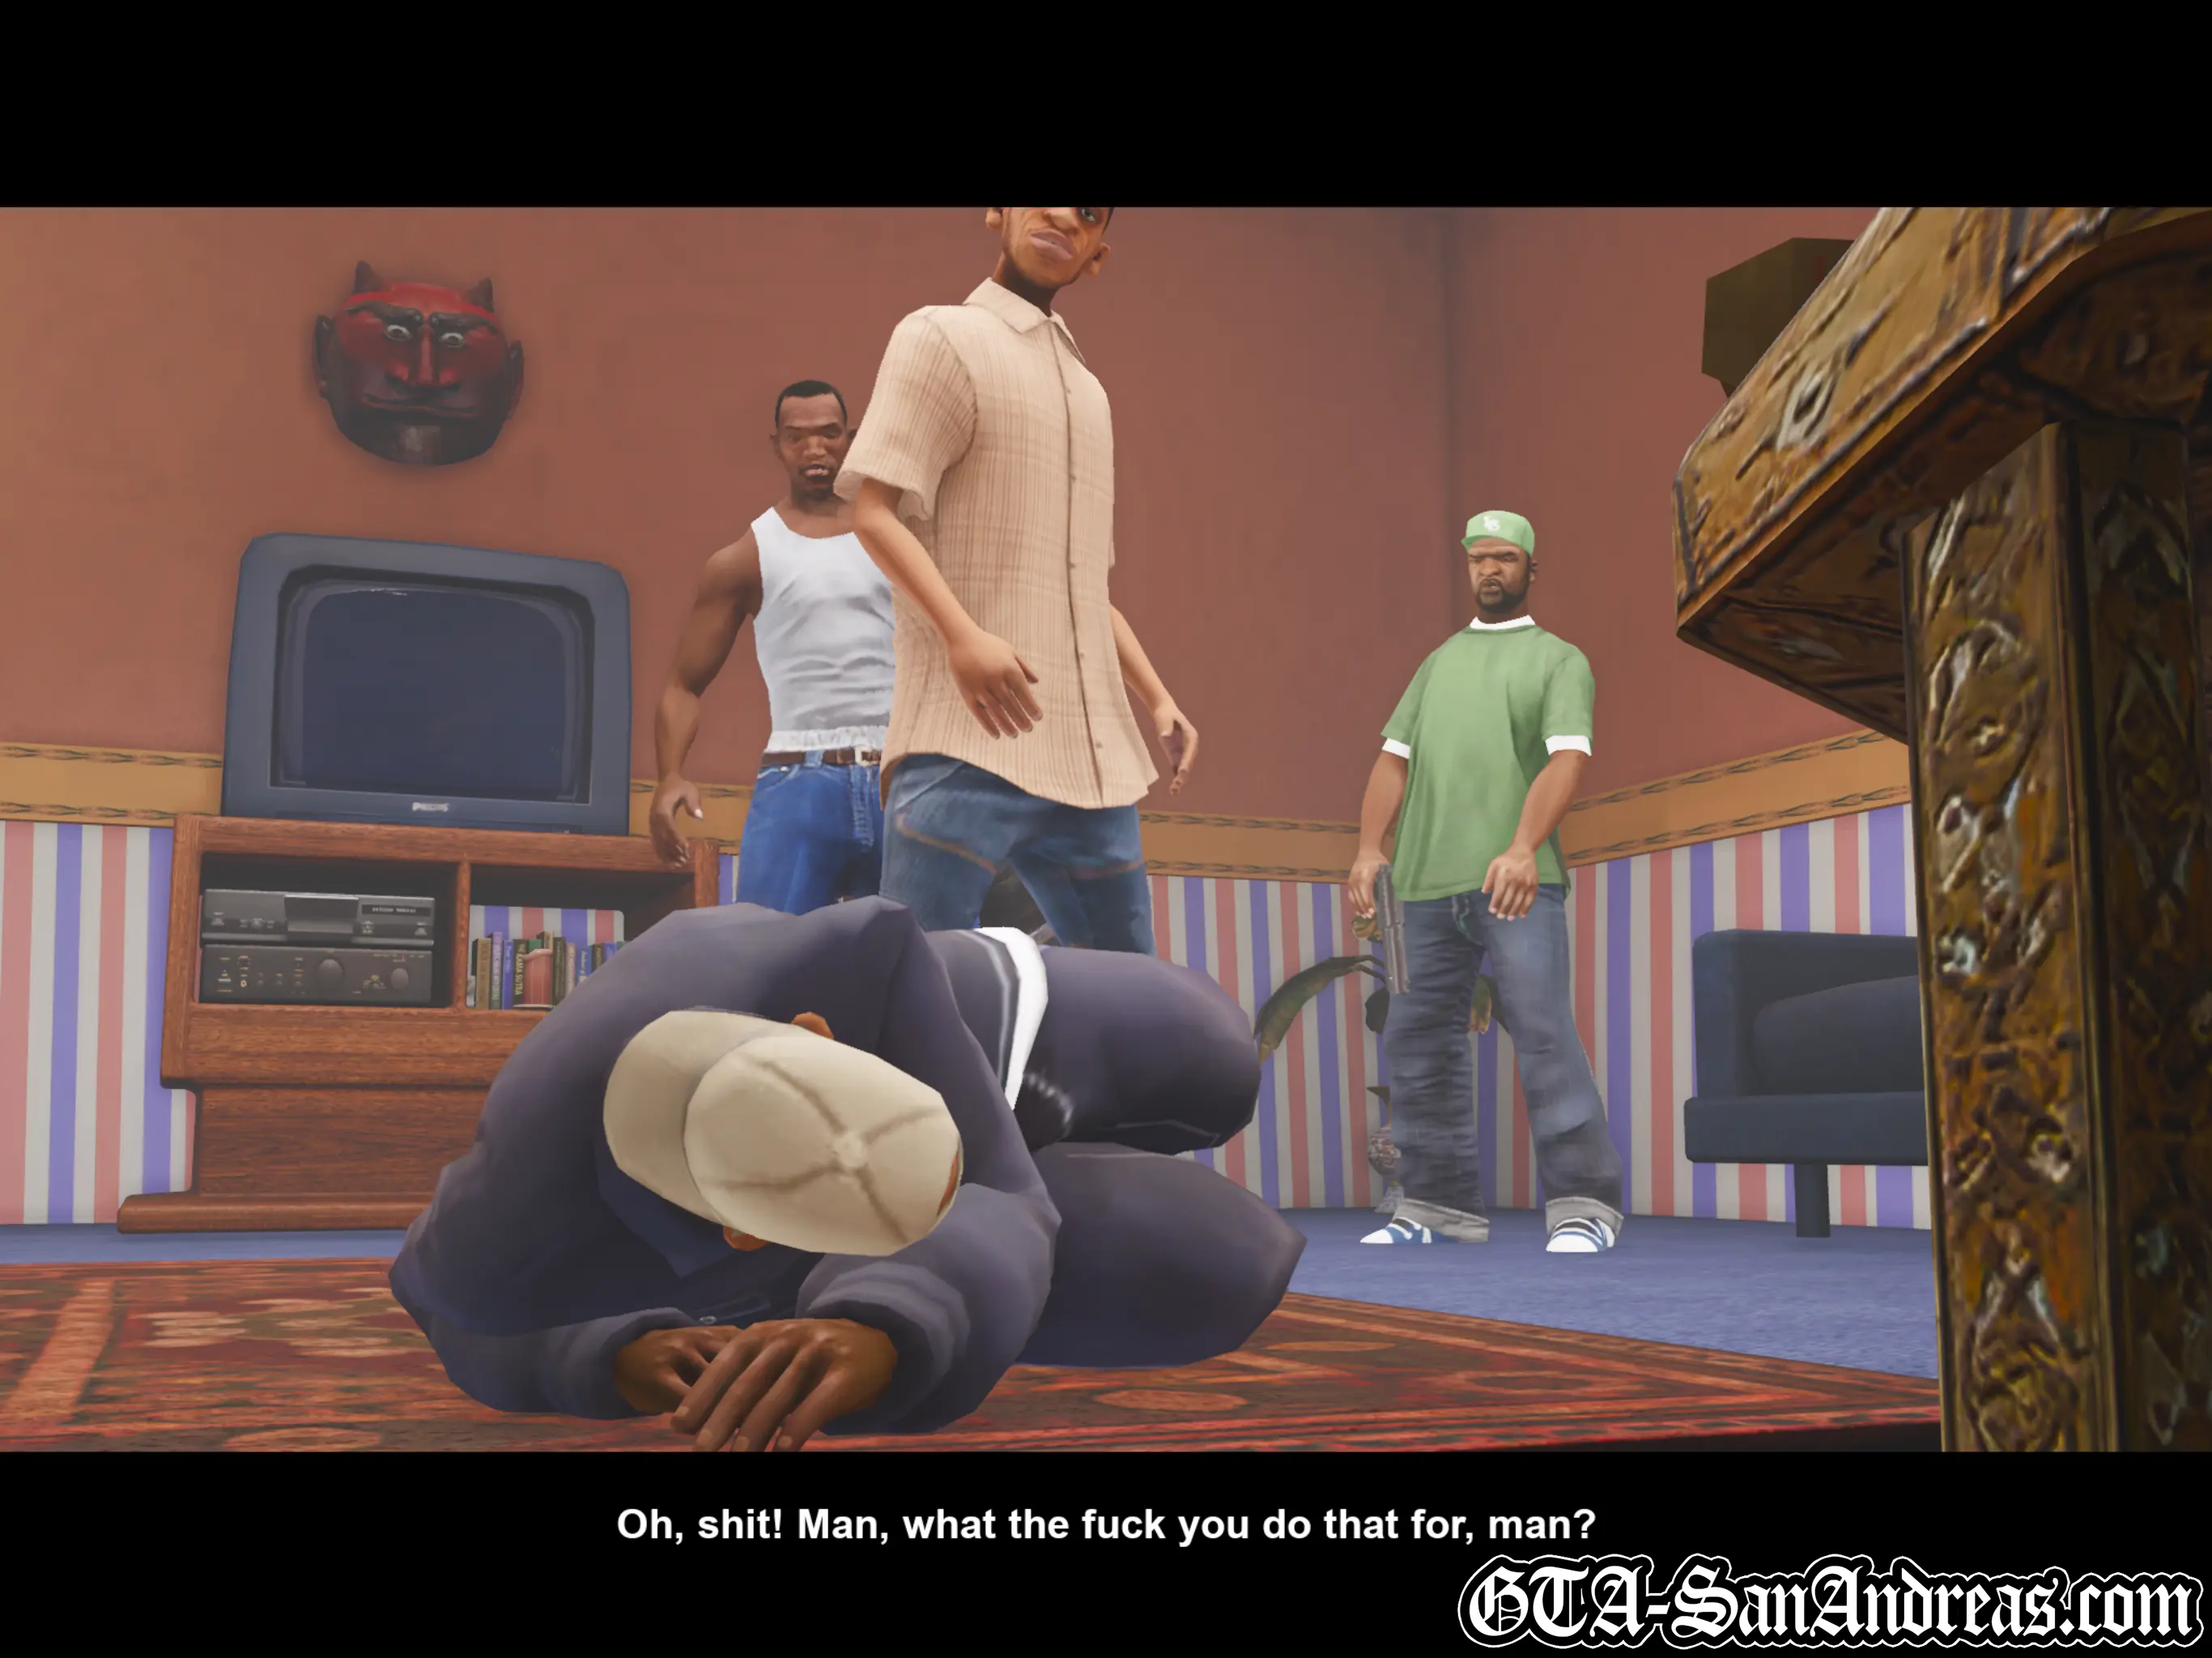
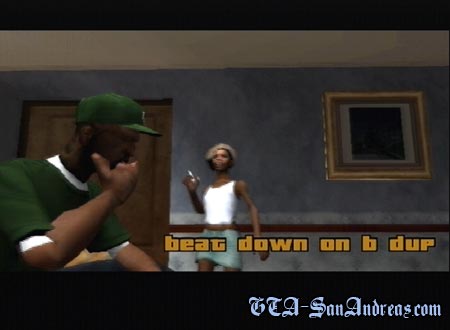
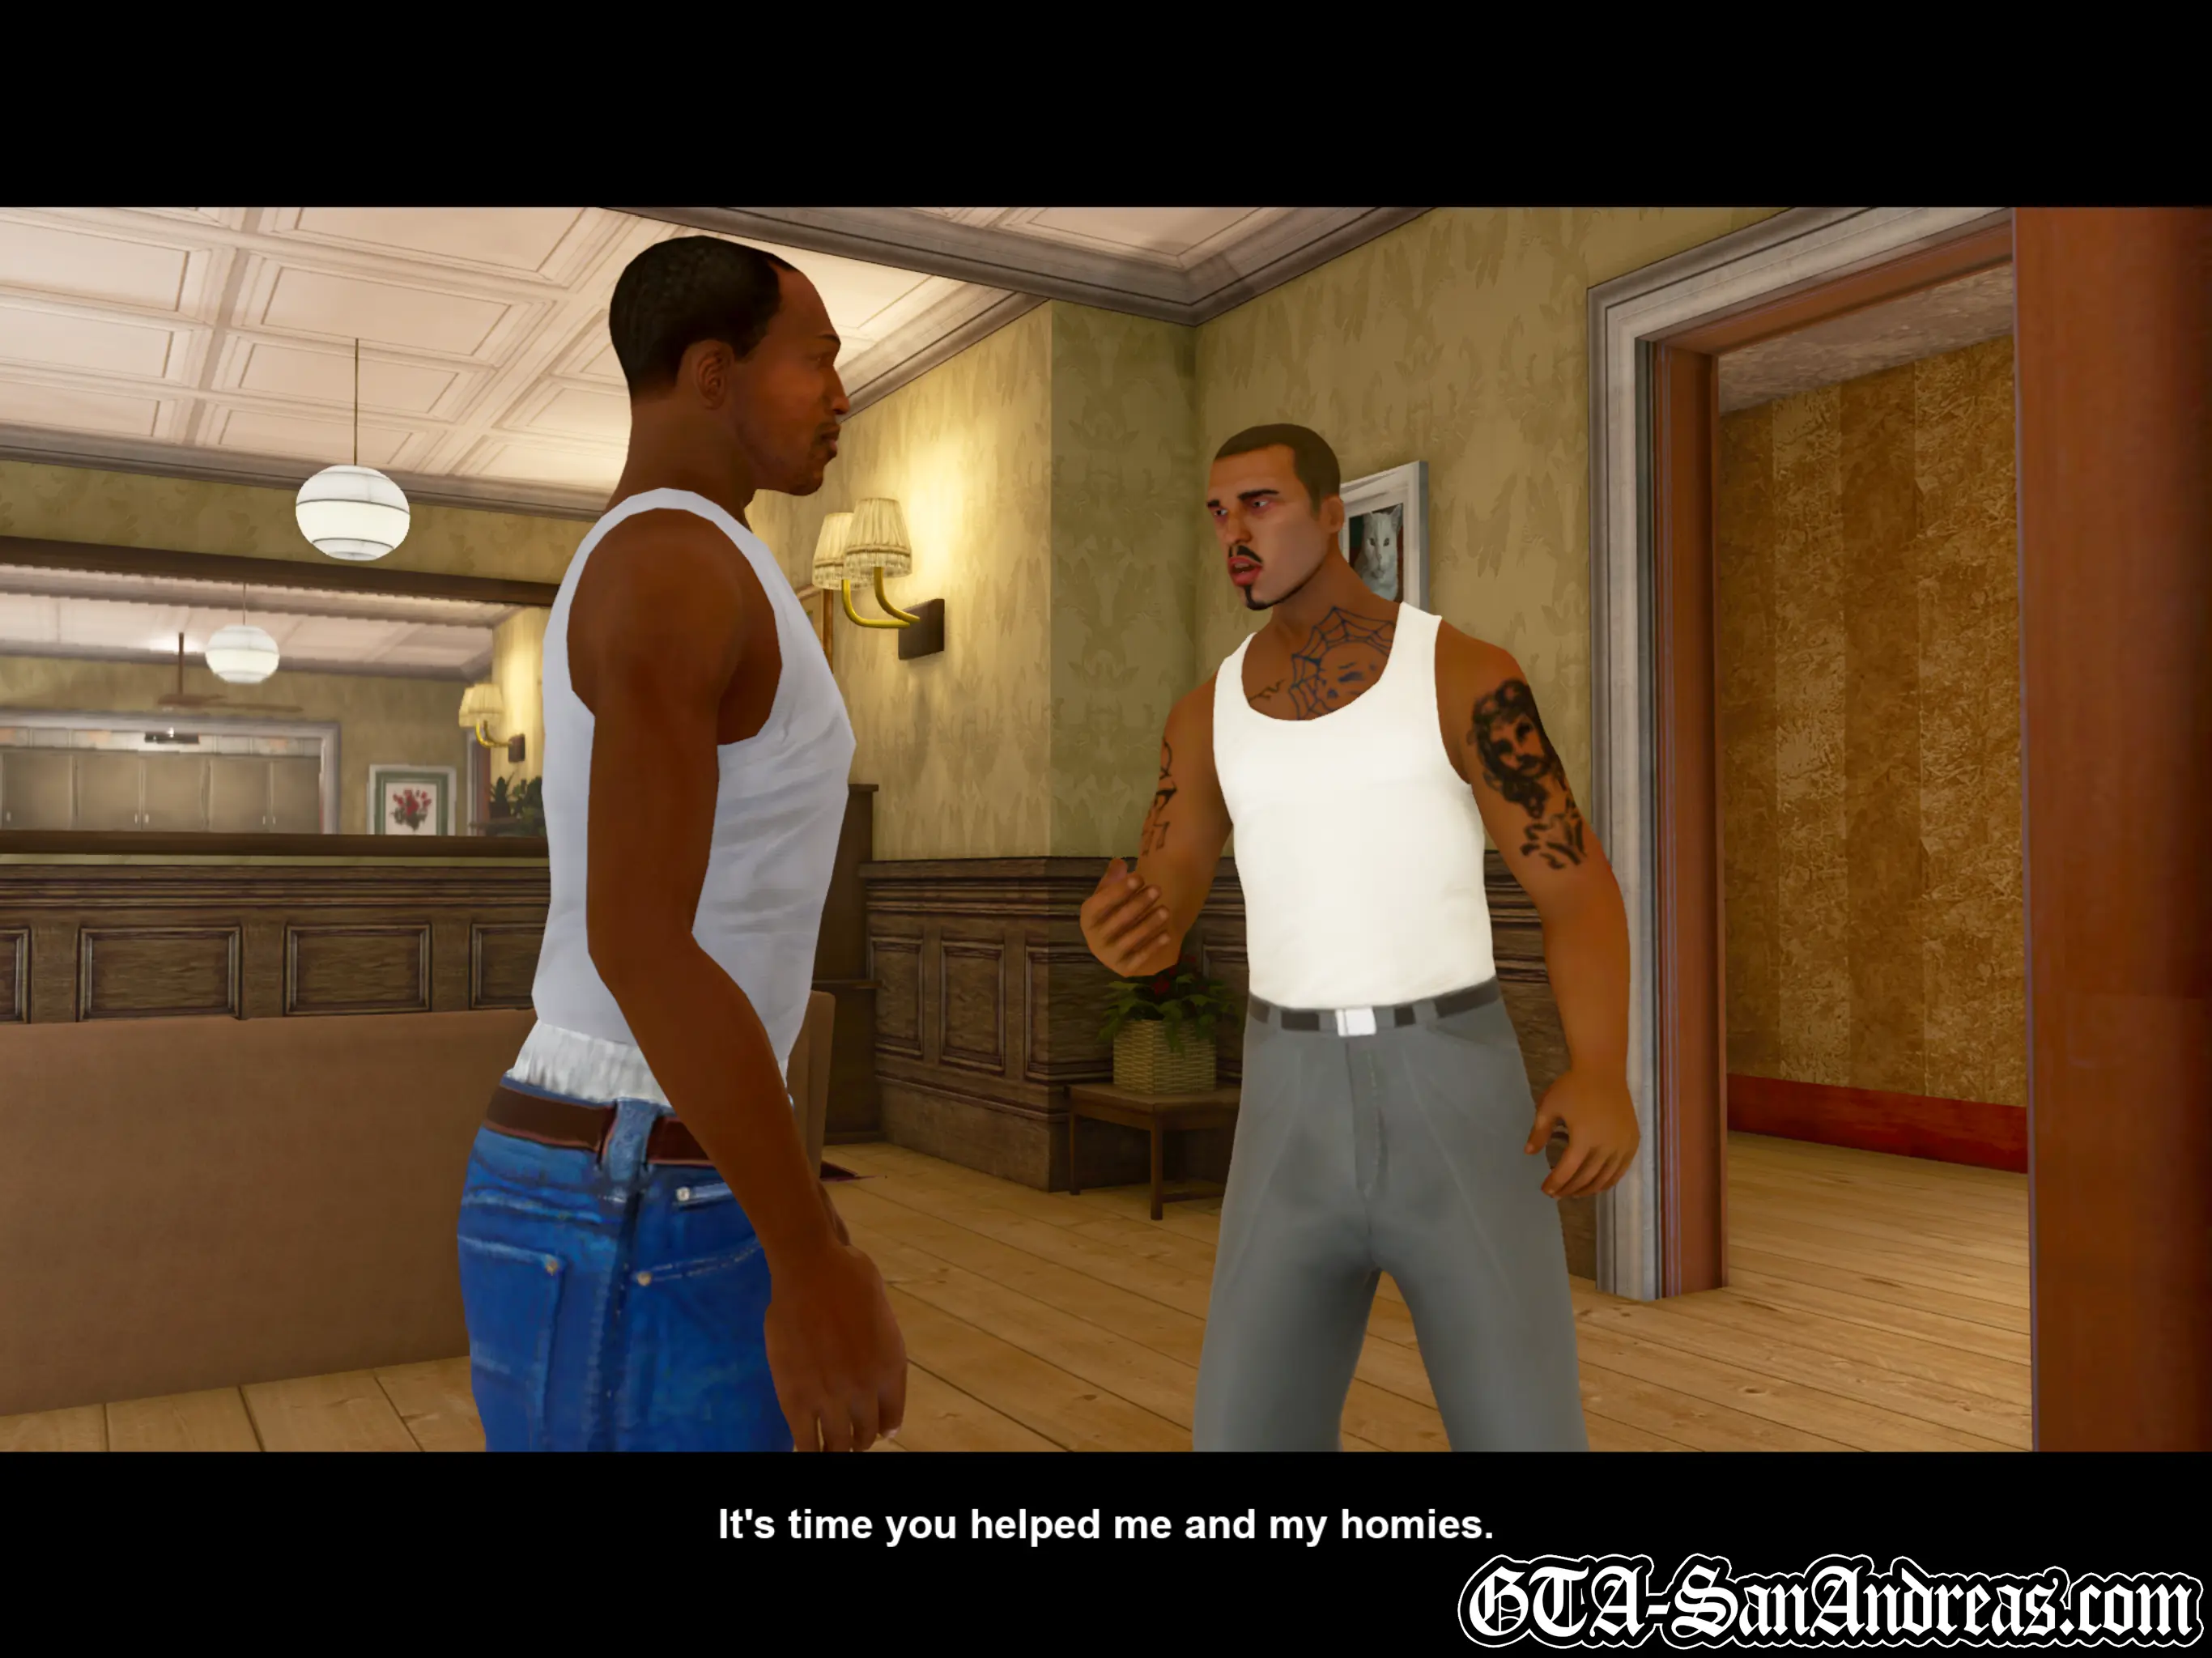
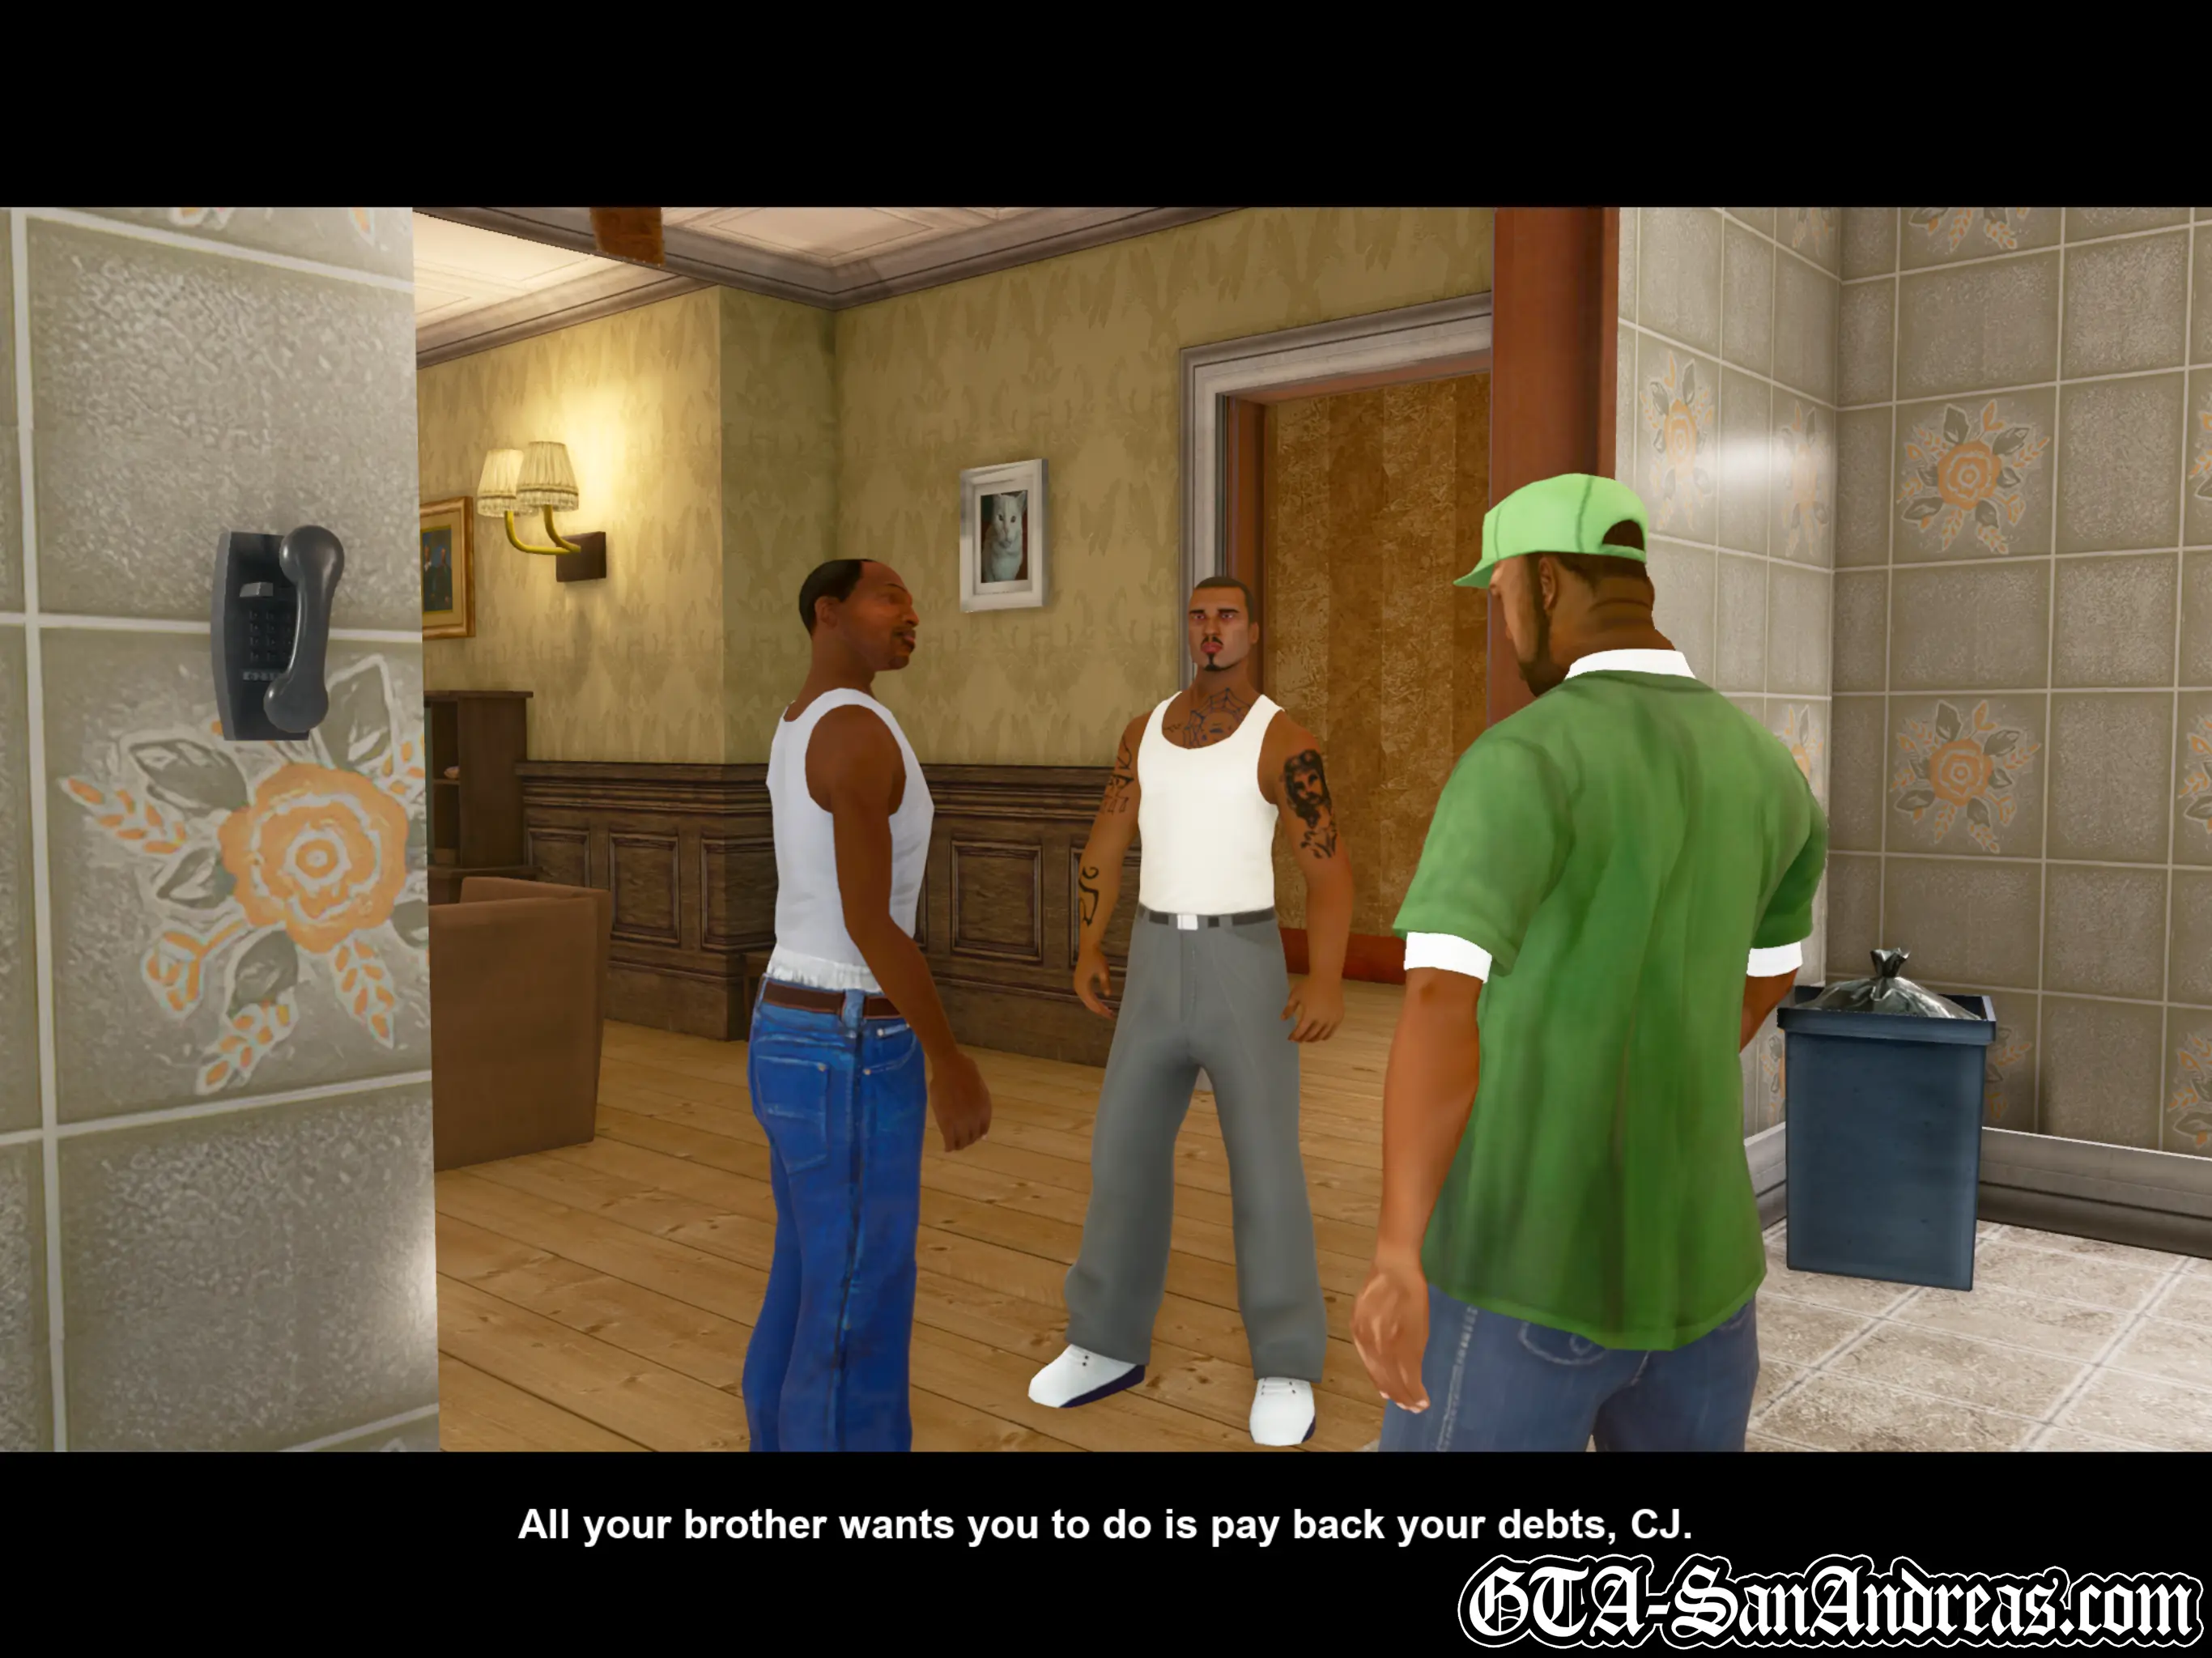
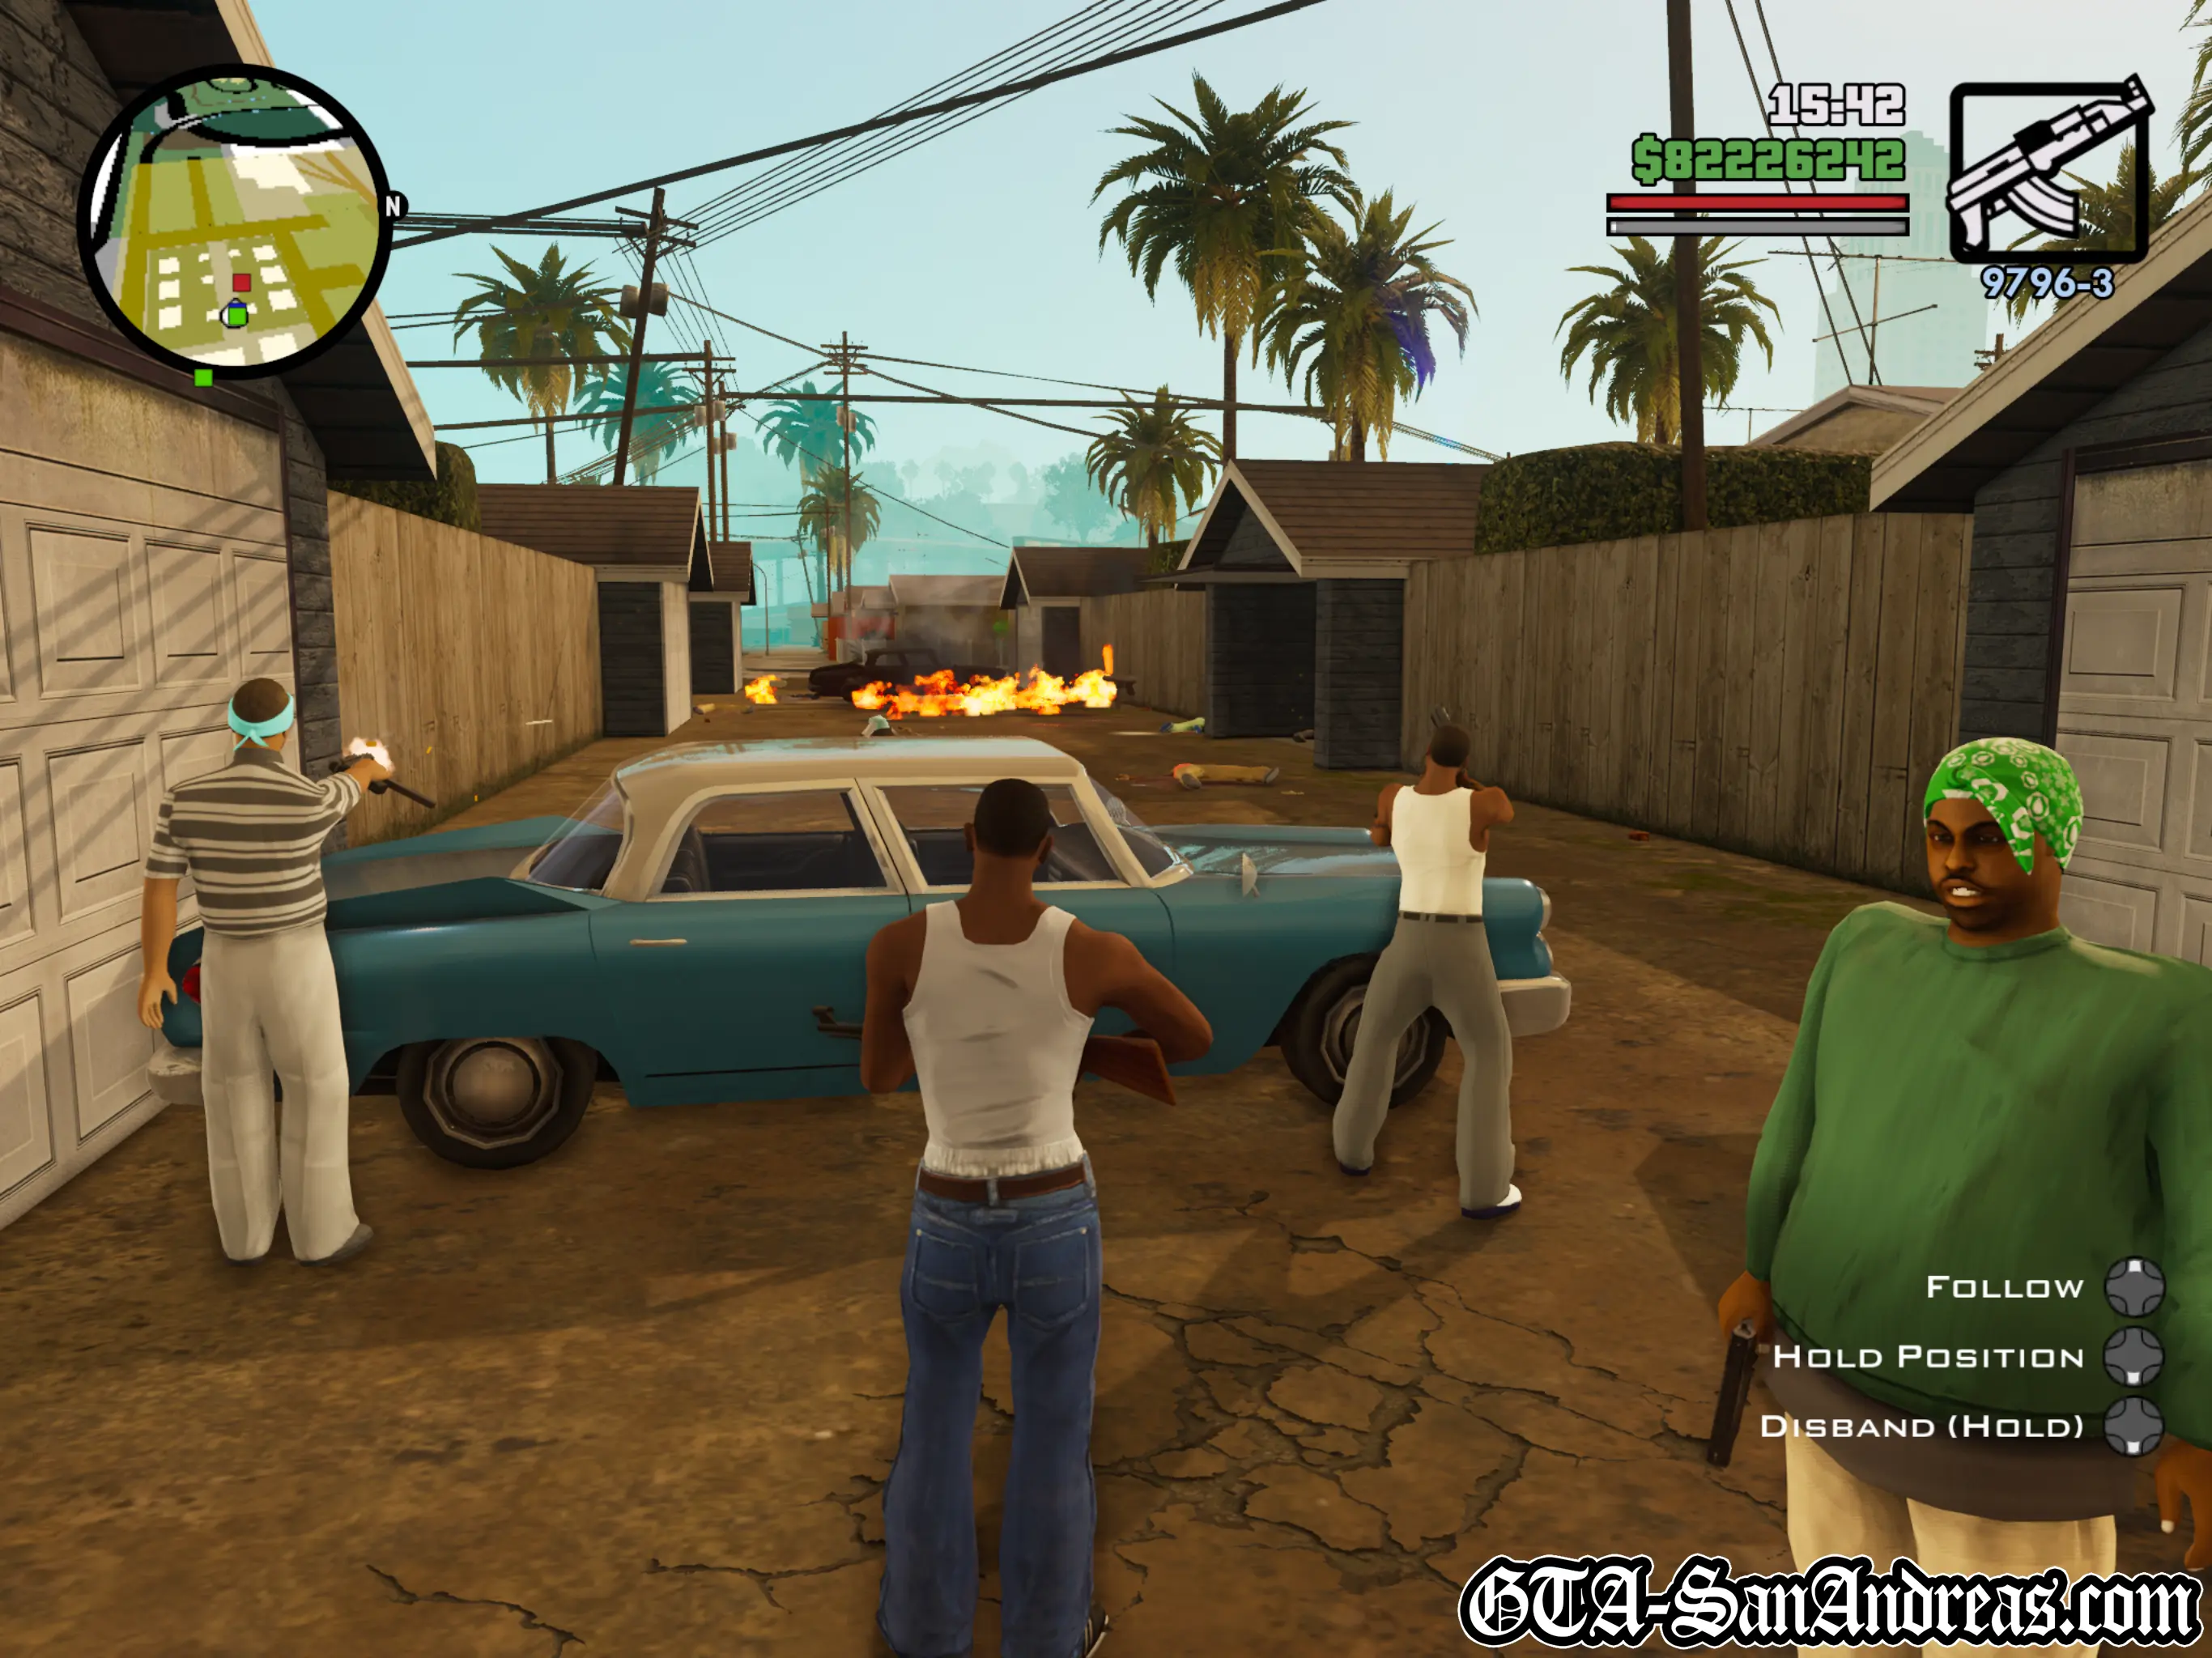
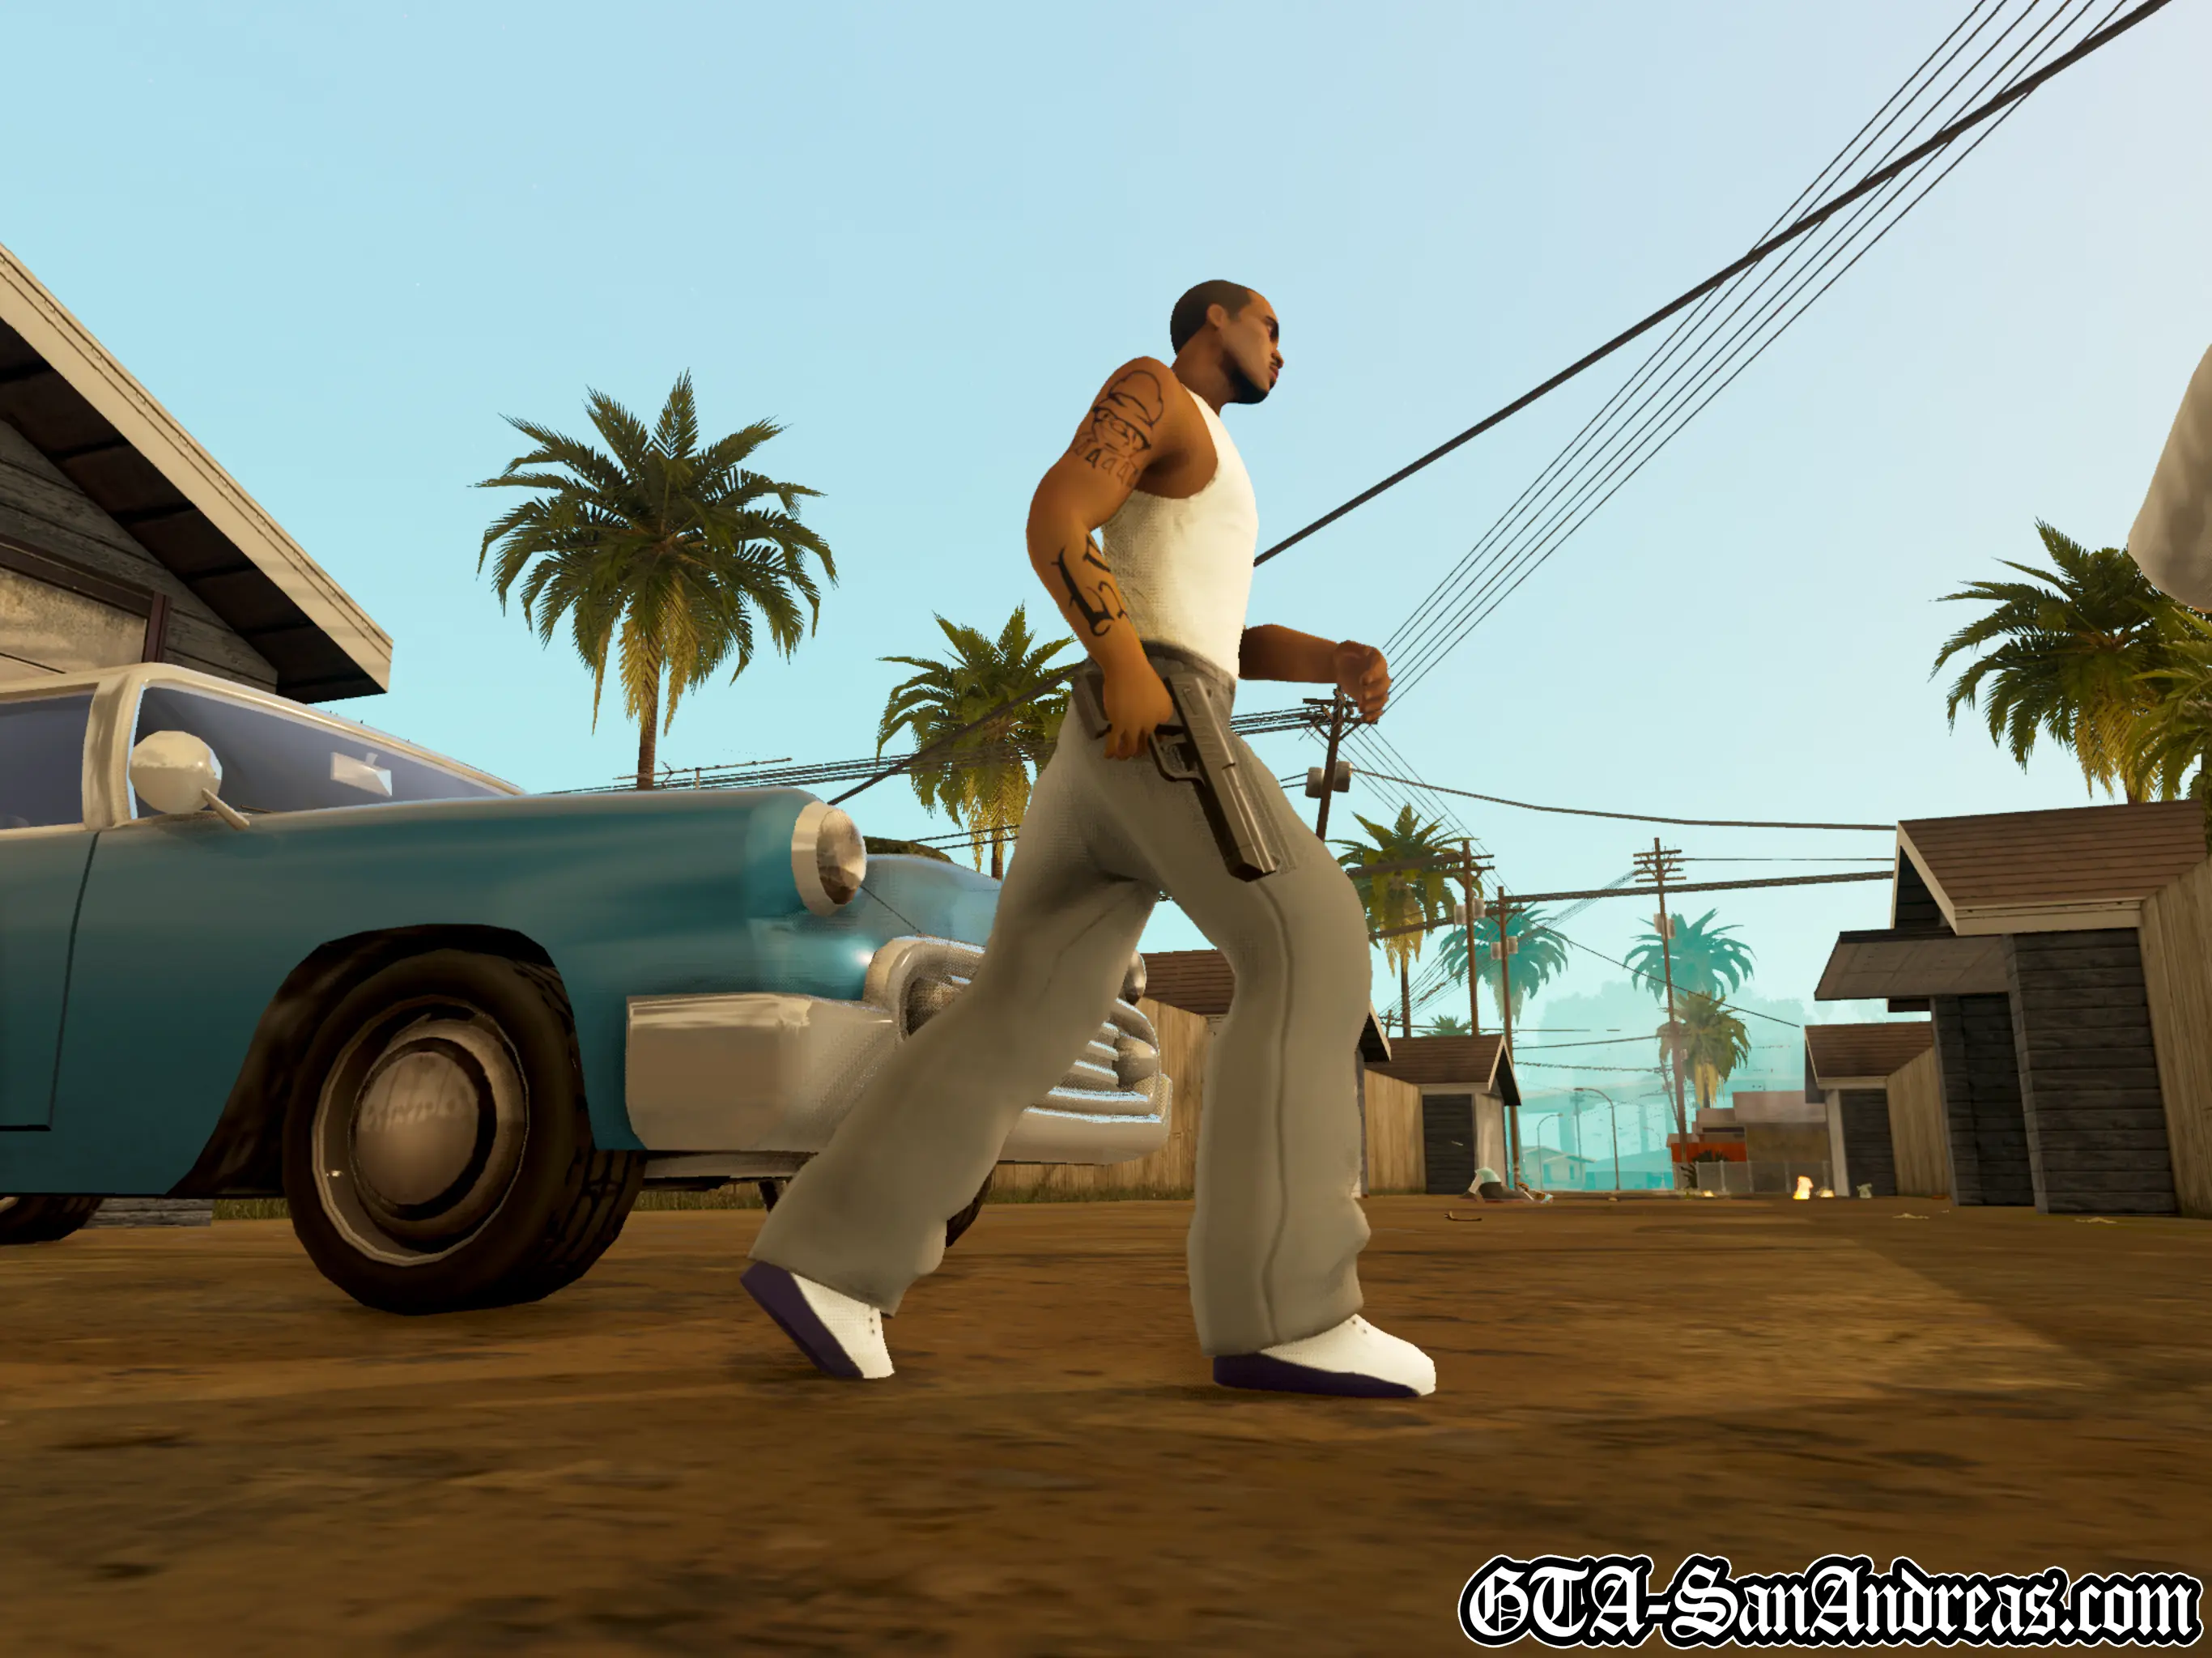
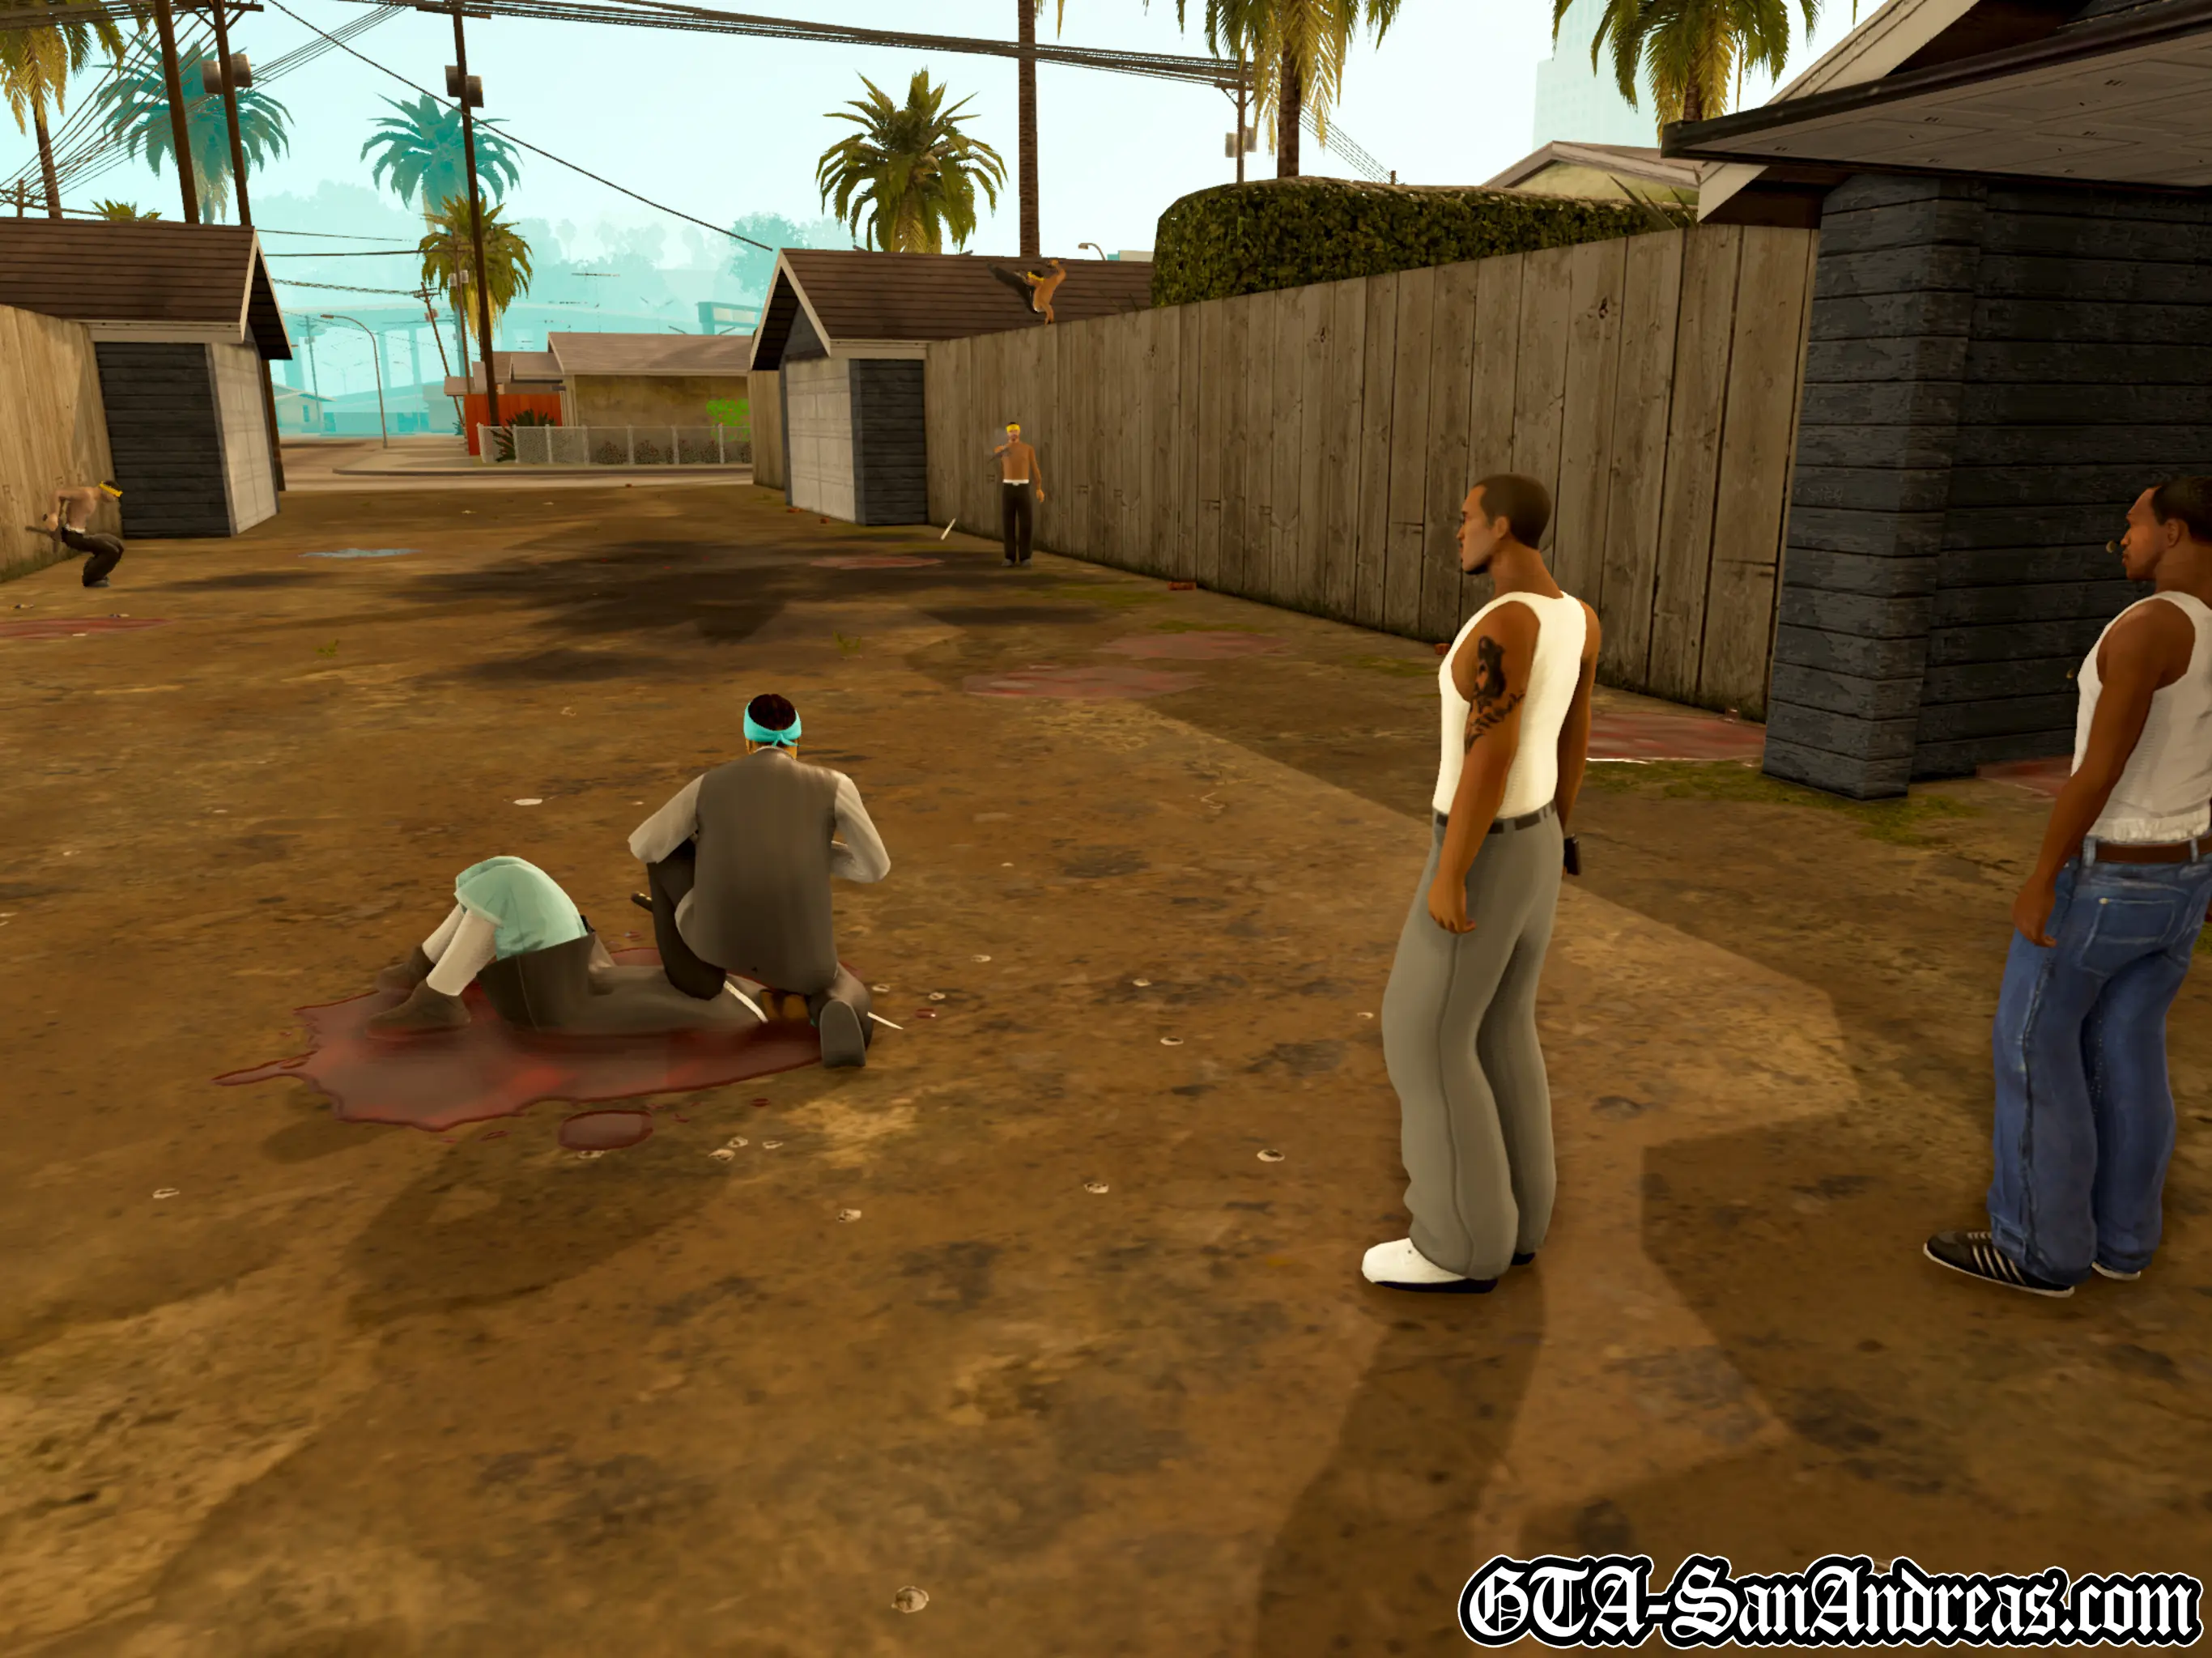
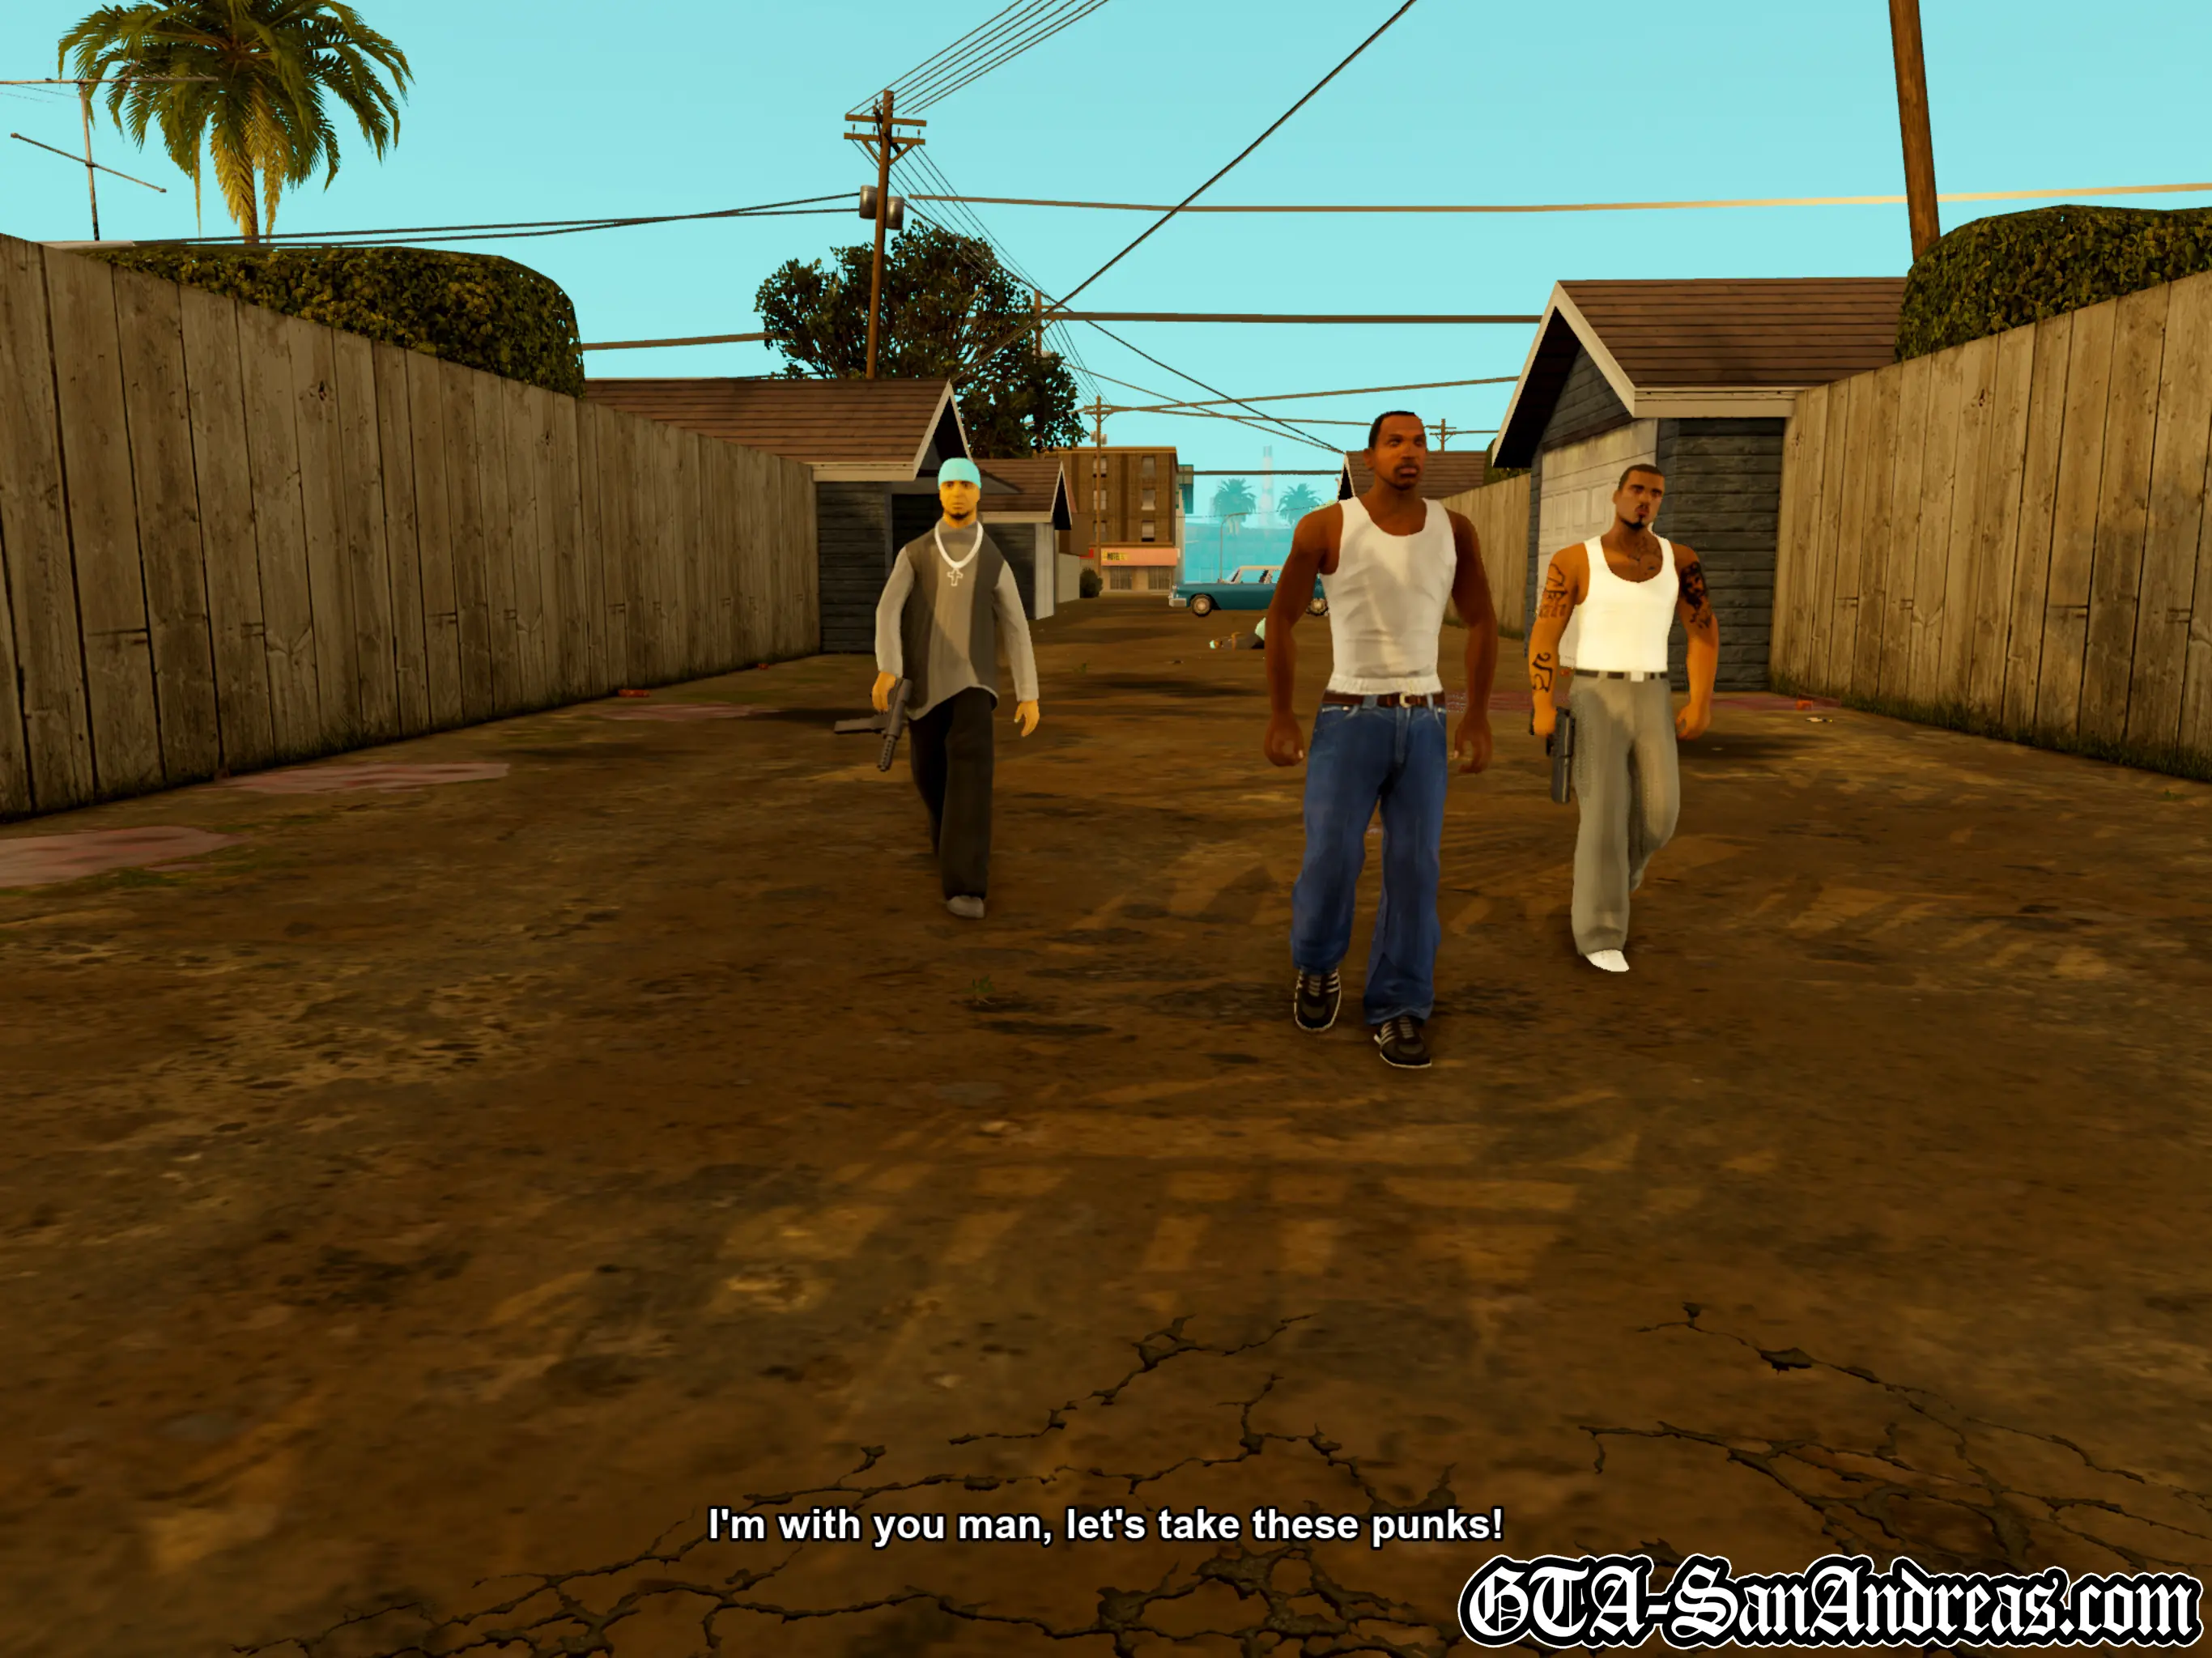
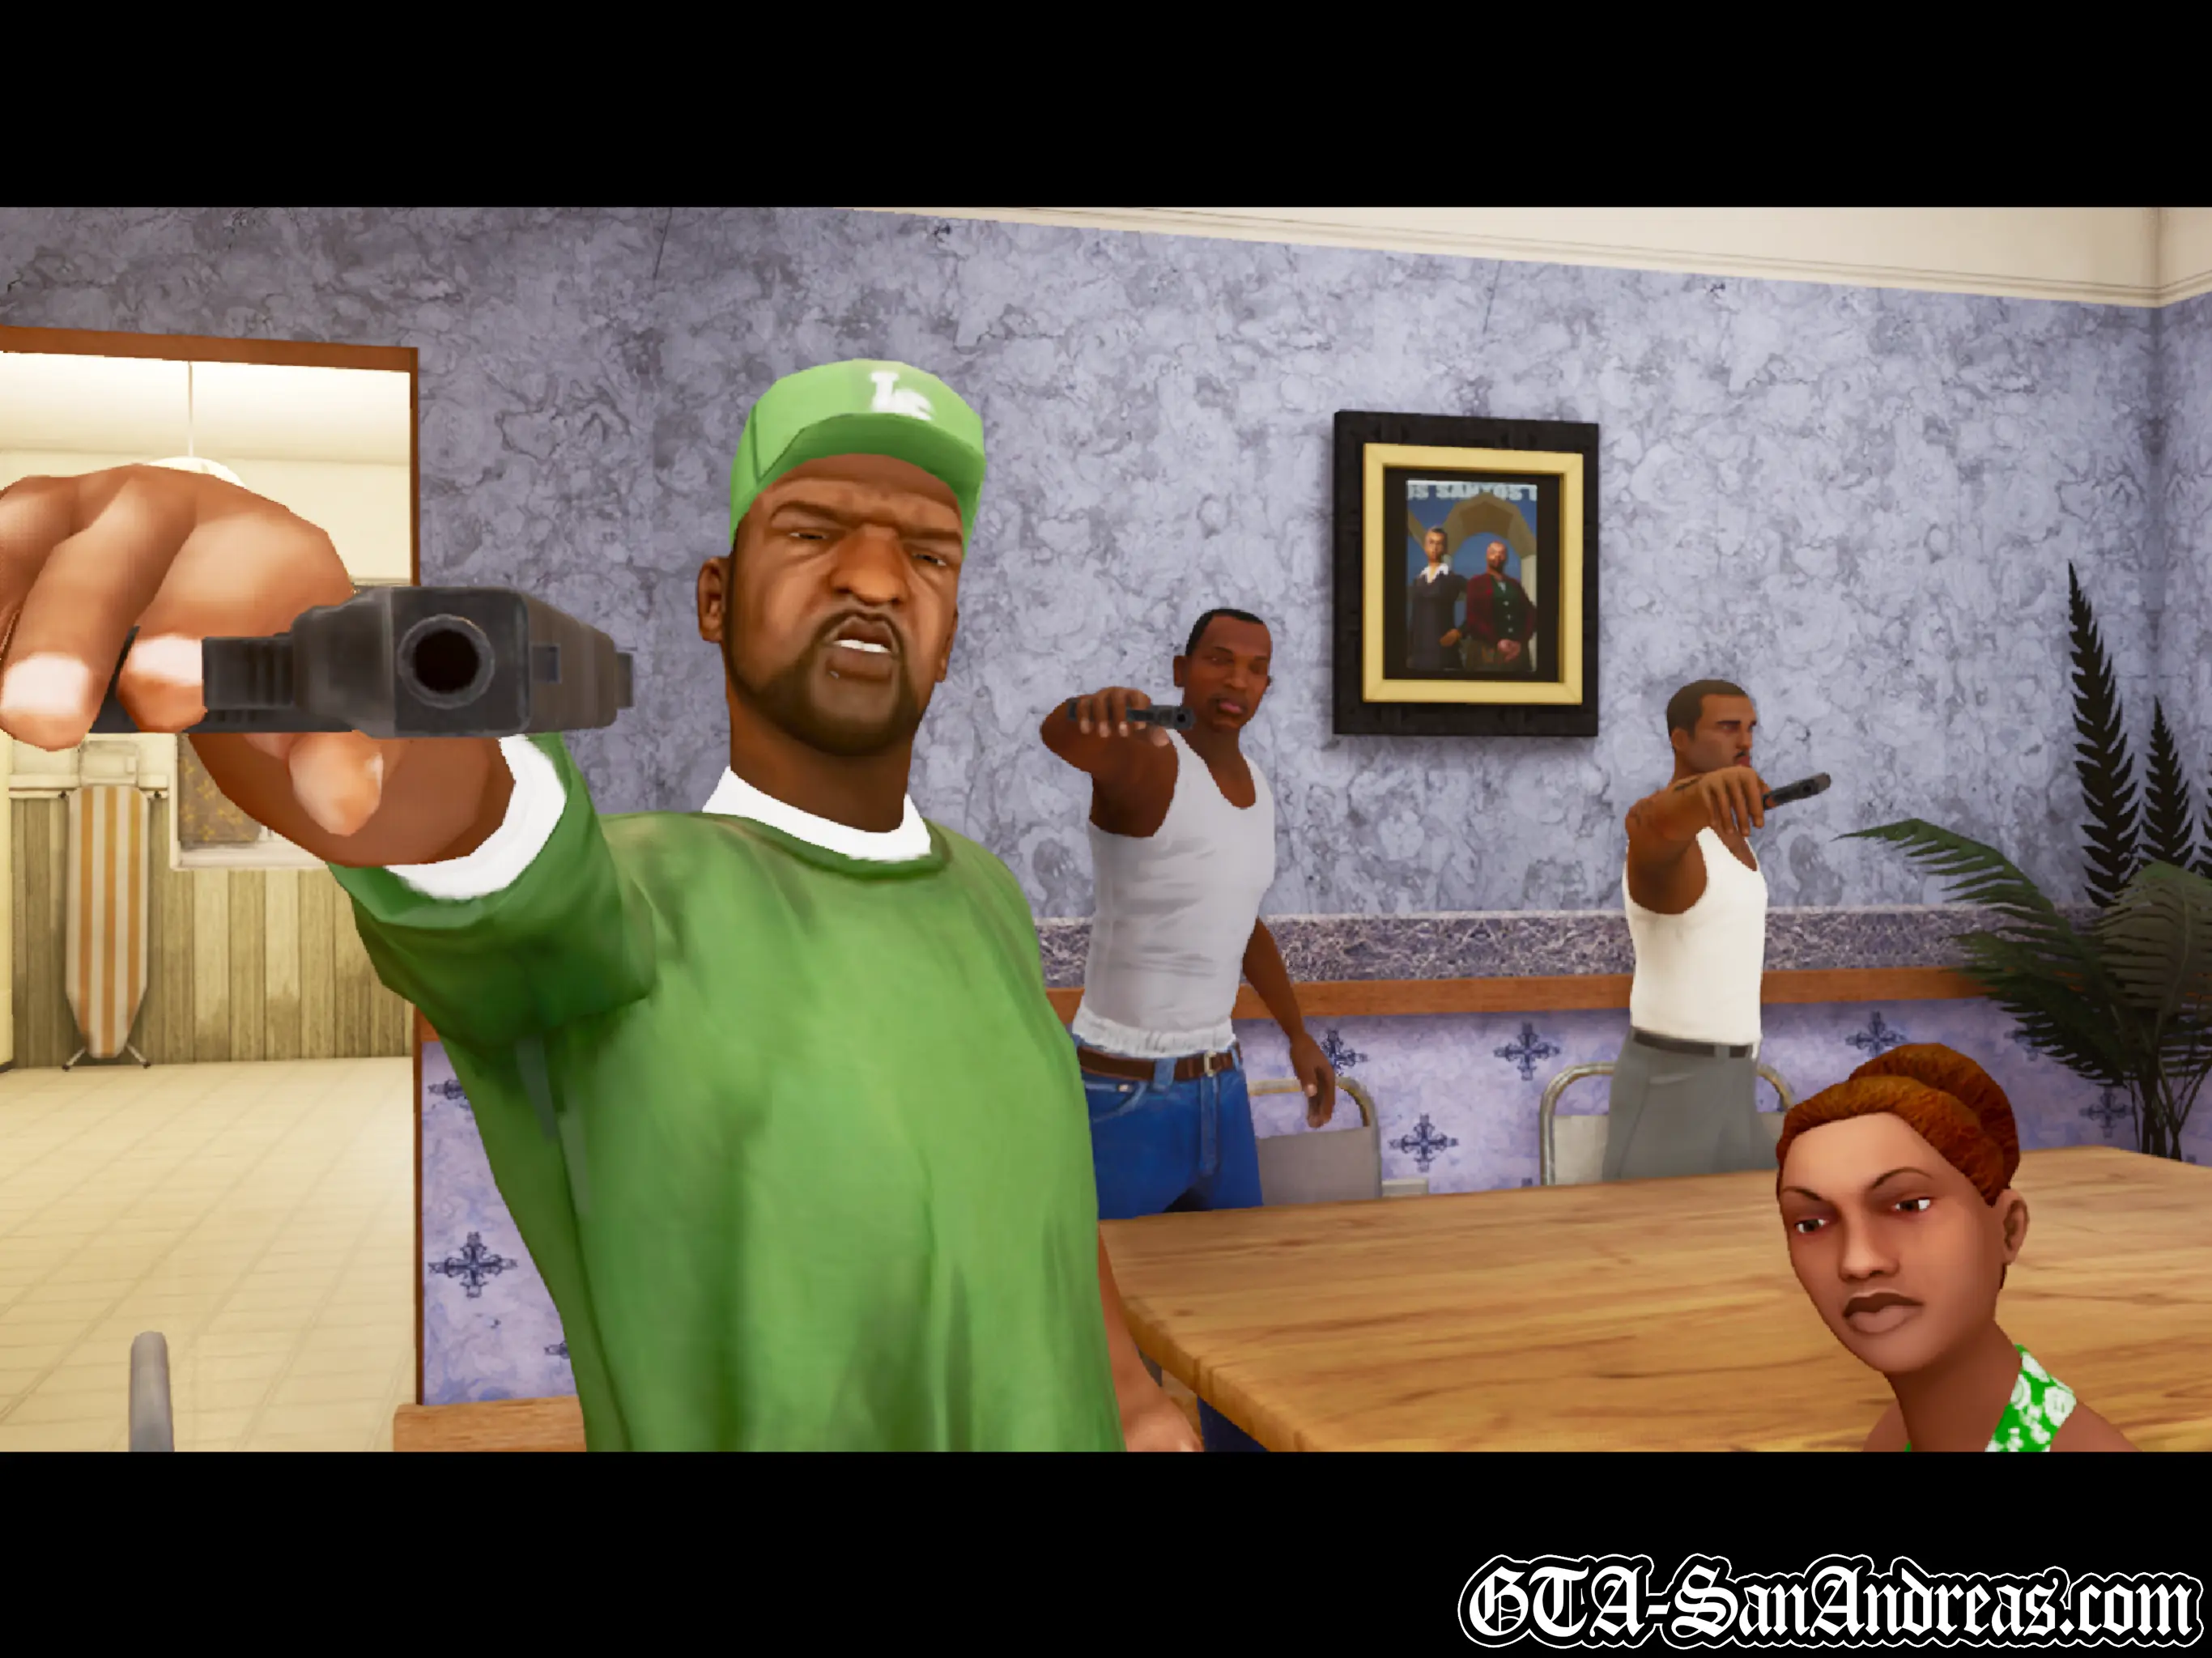
 Beat Down On B Dup
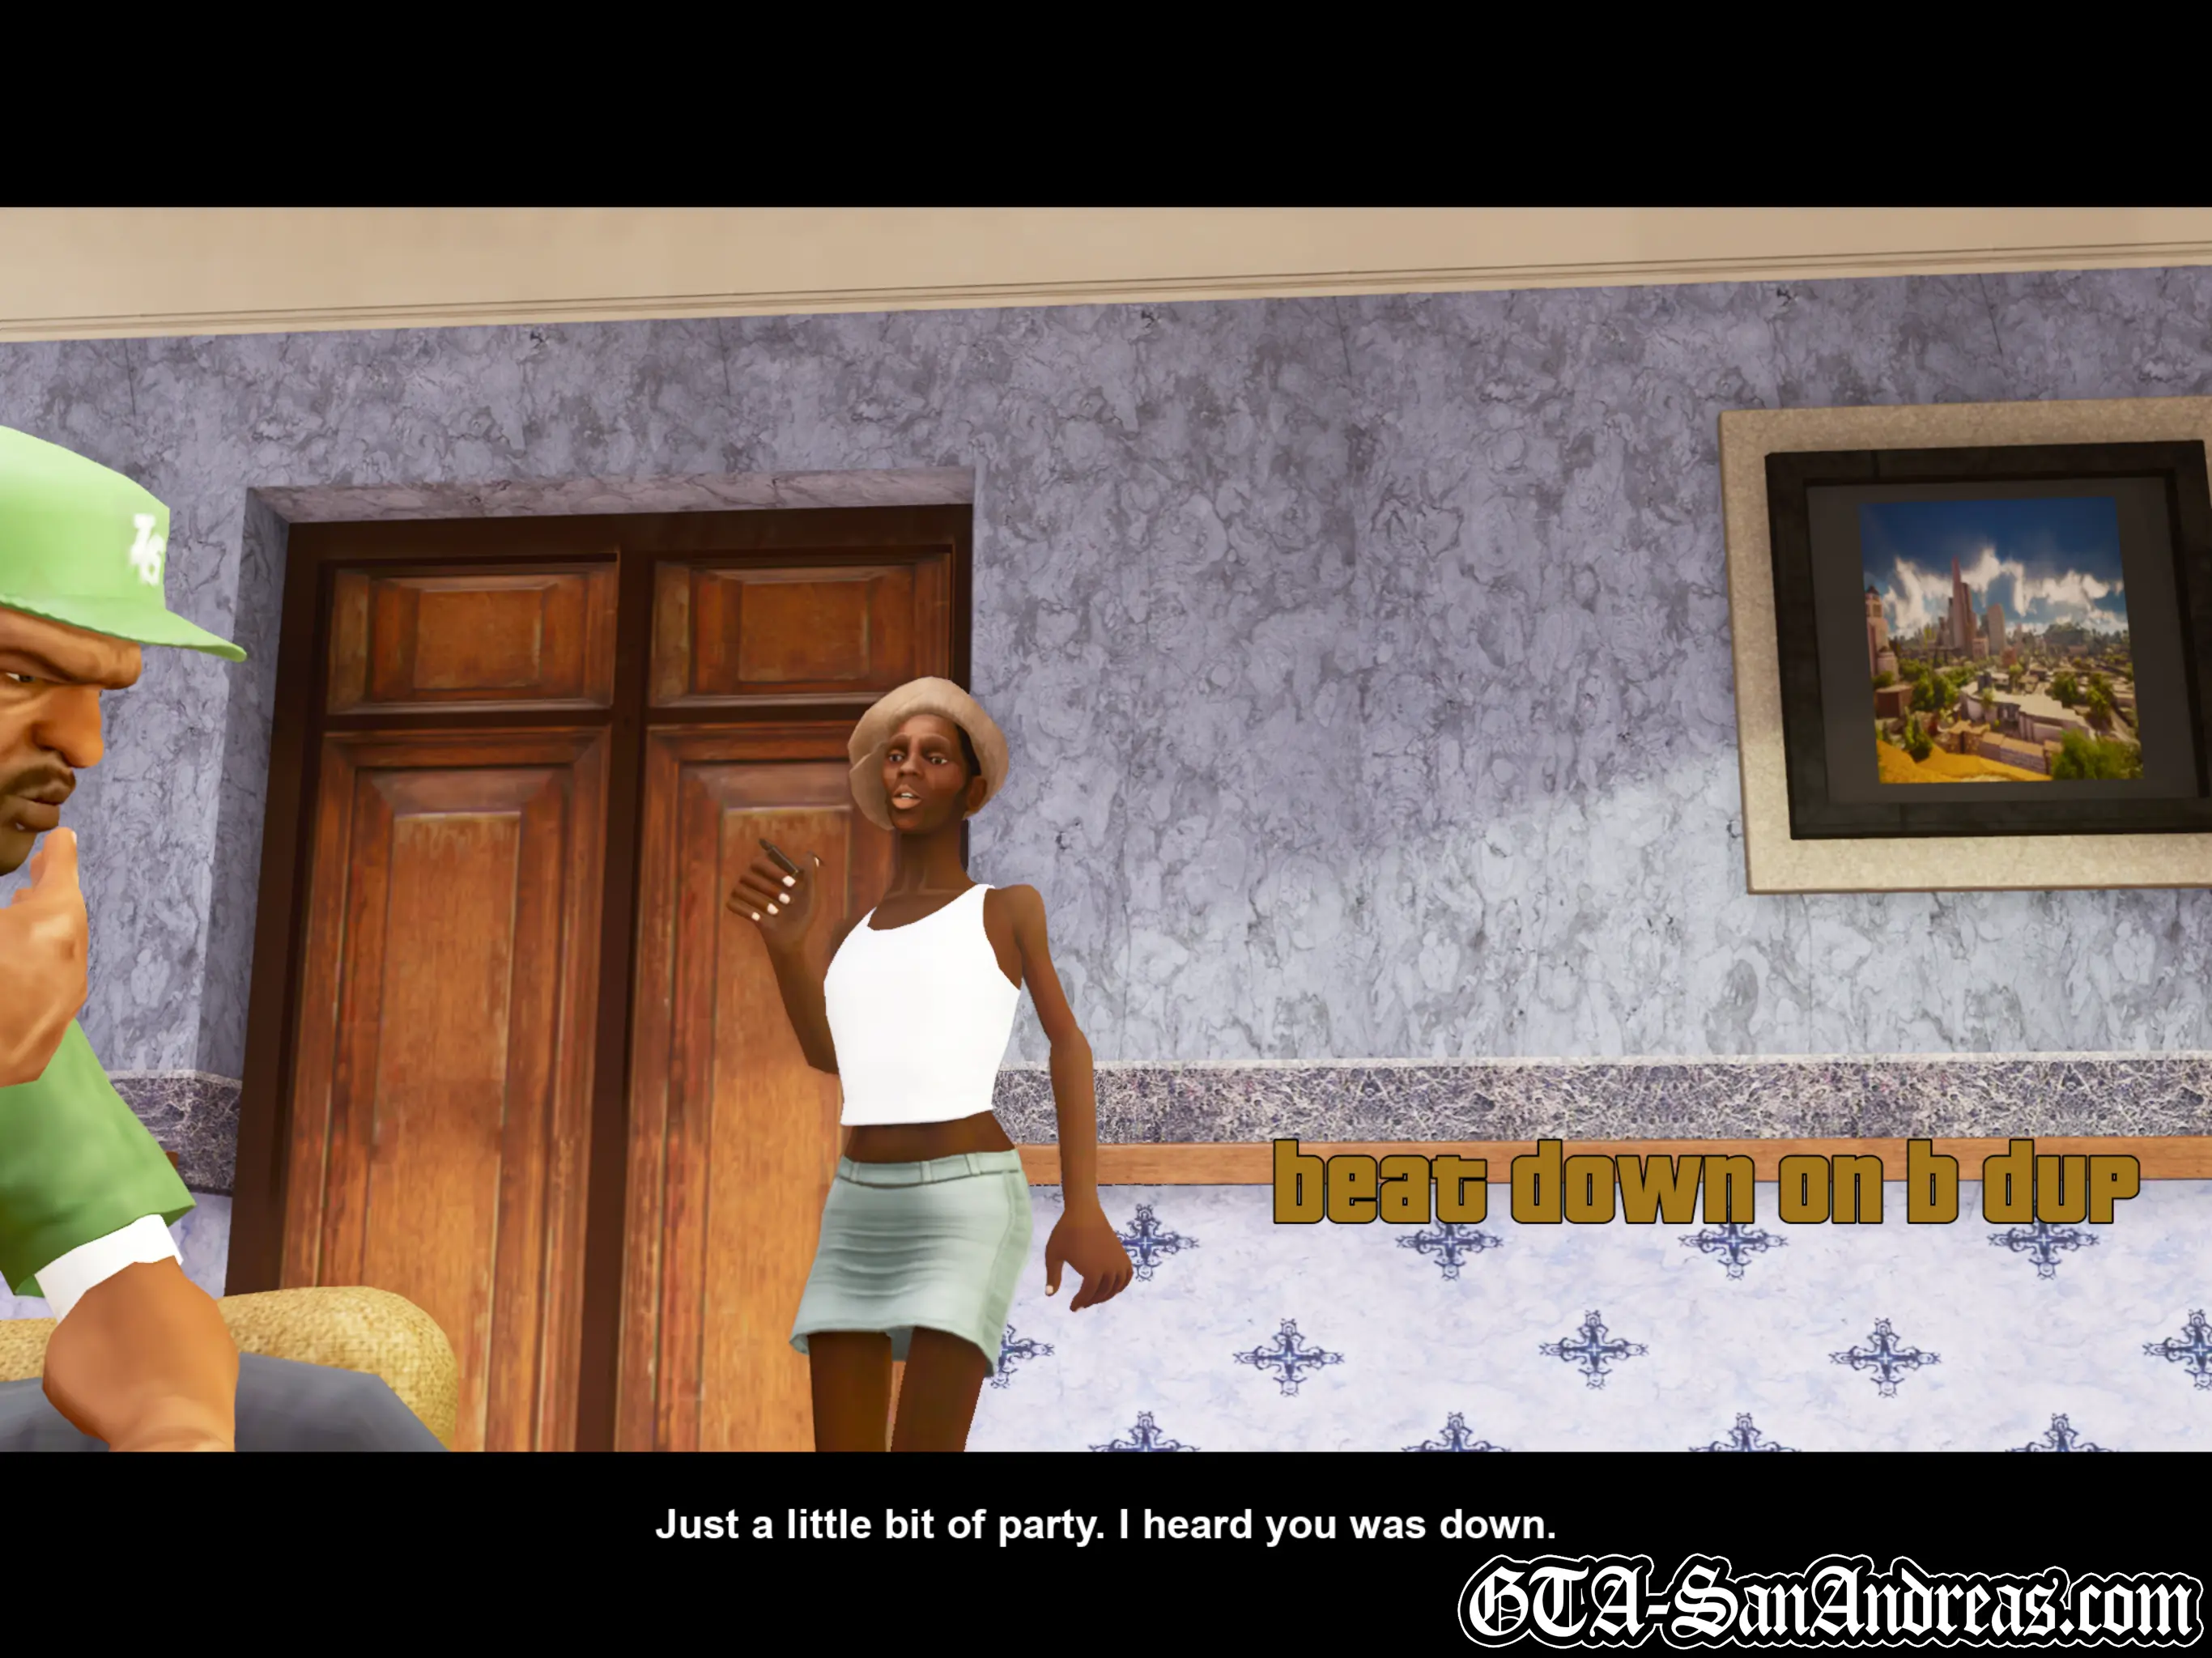
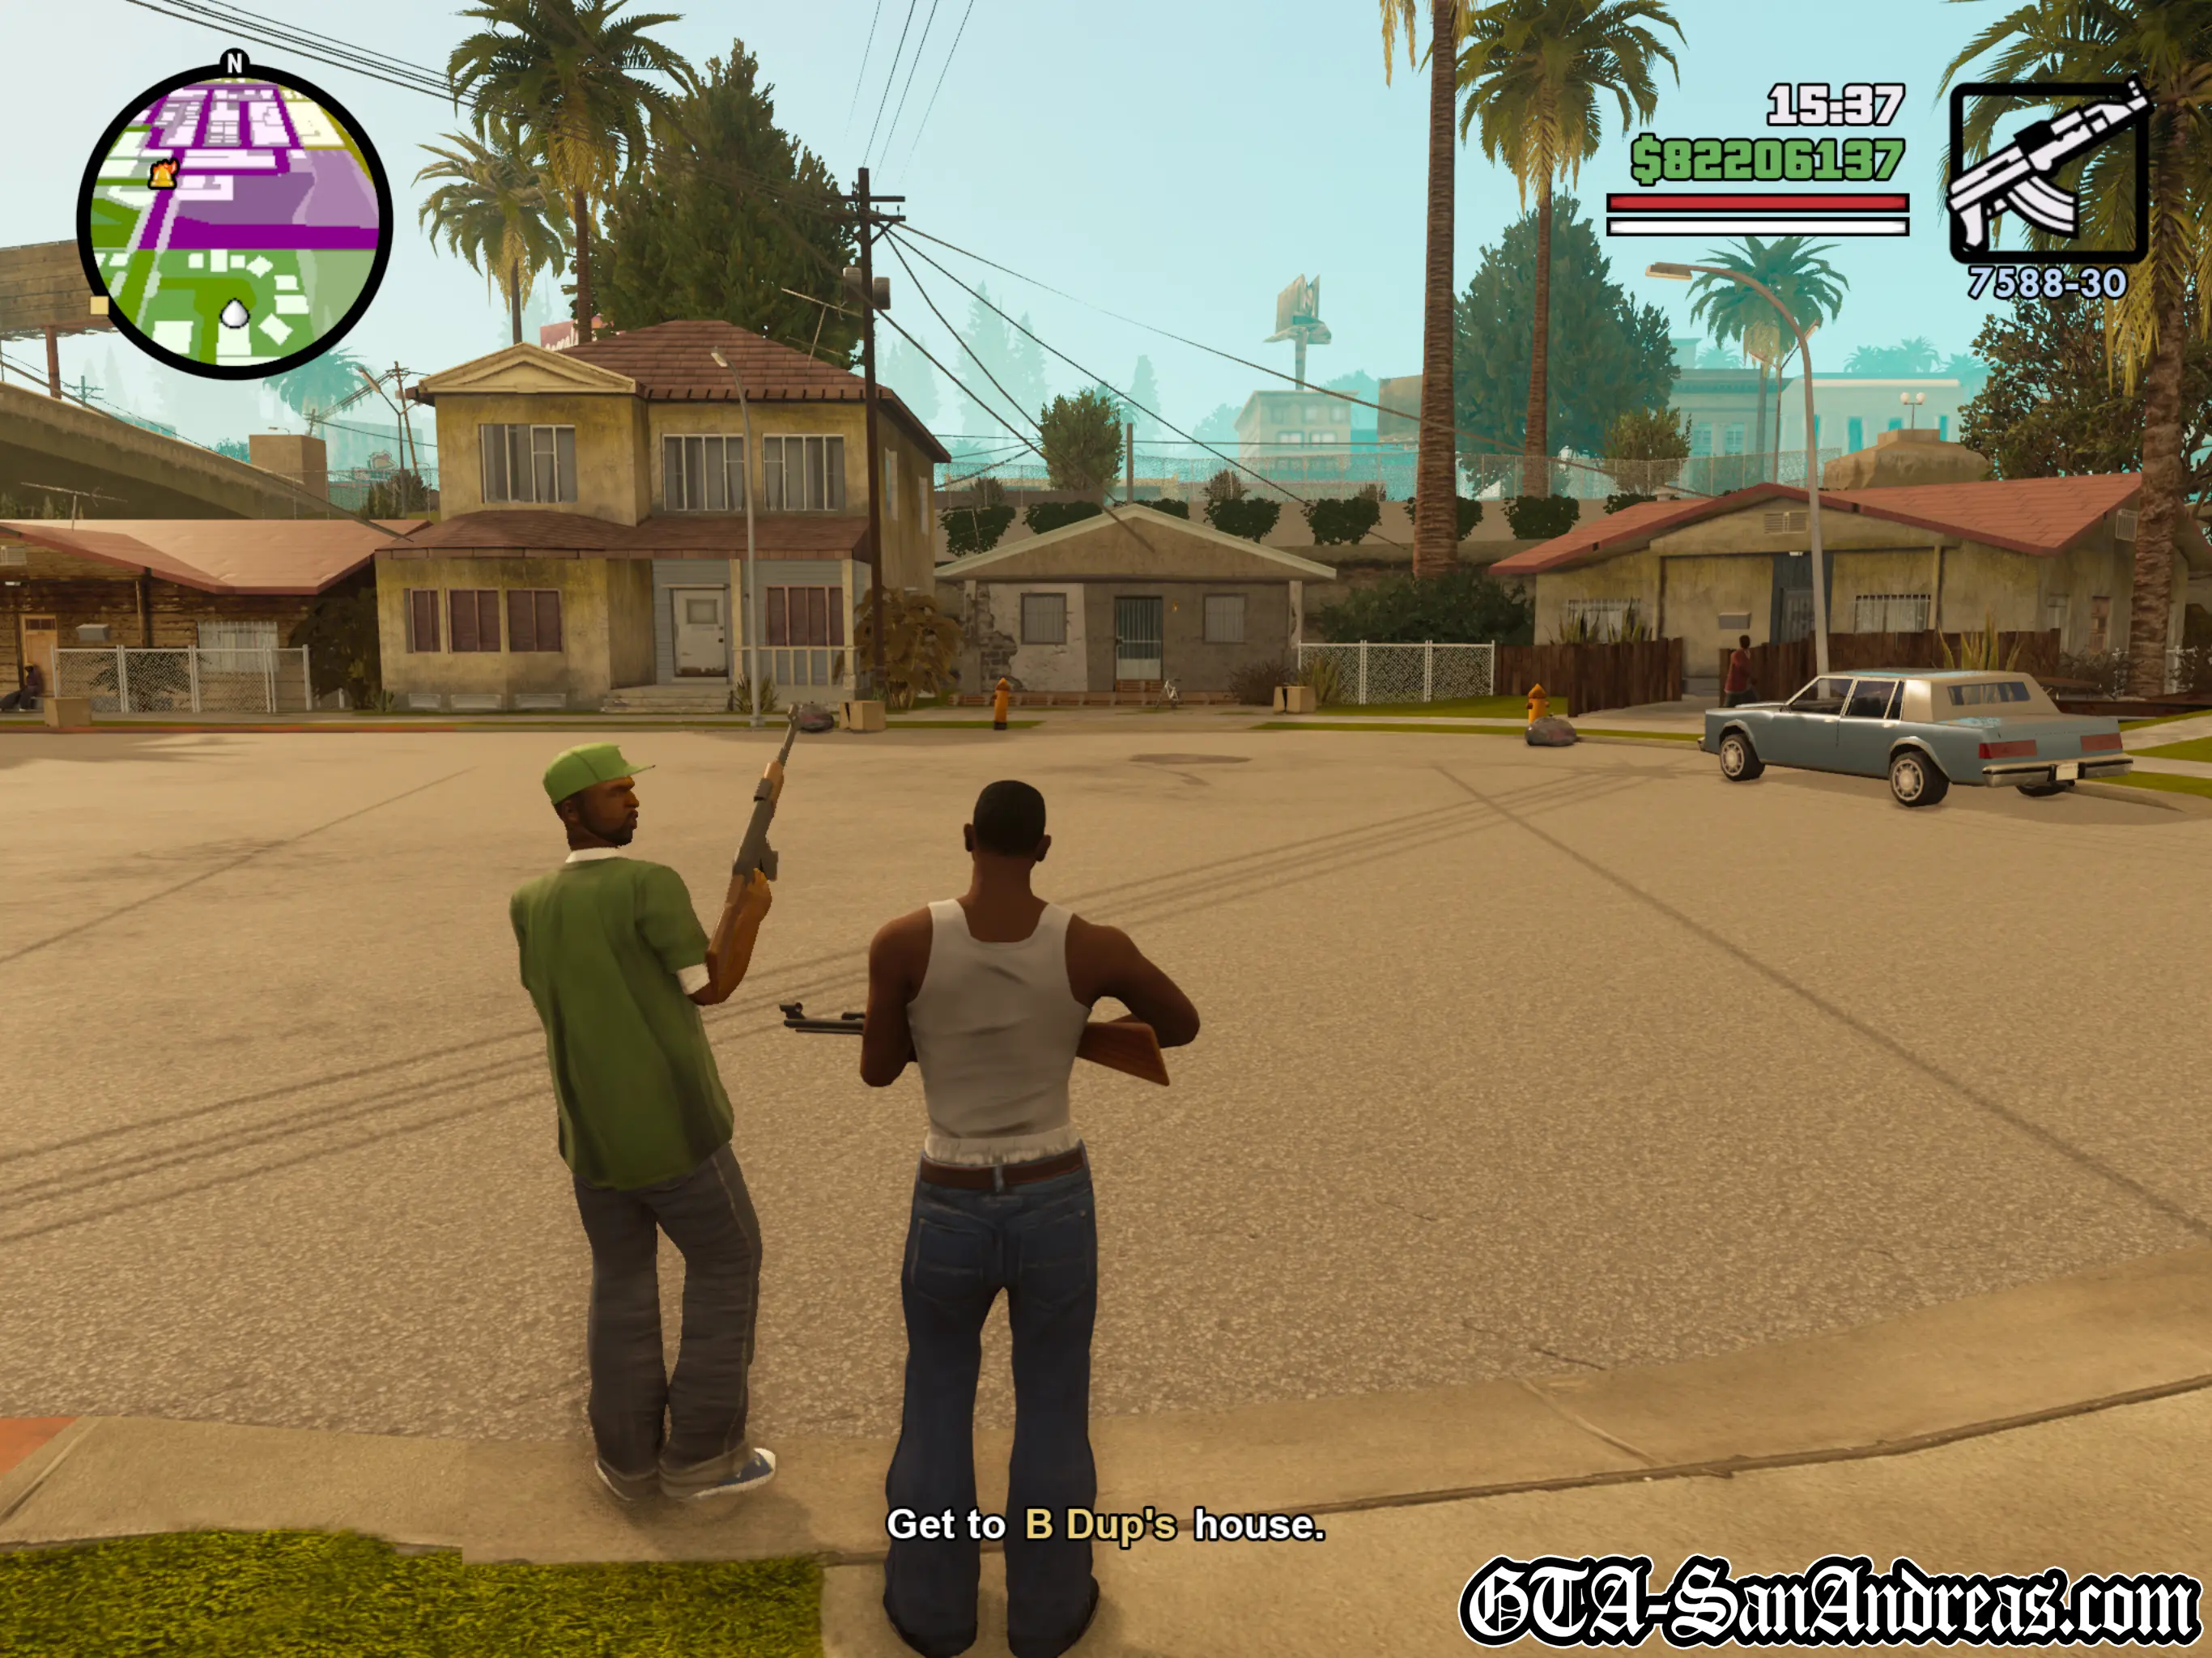
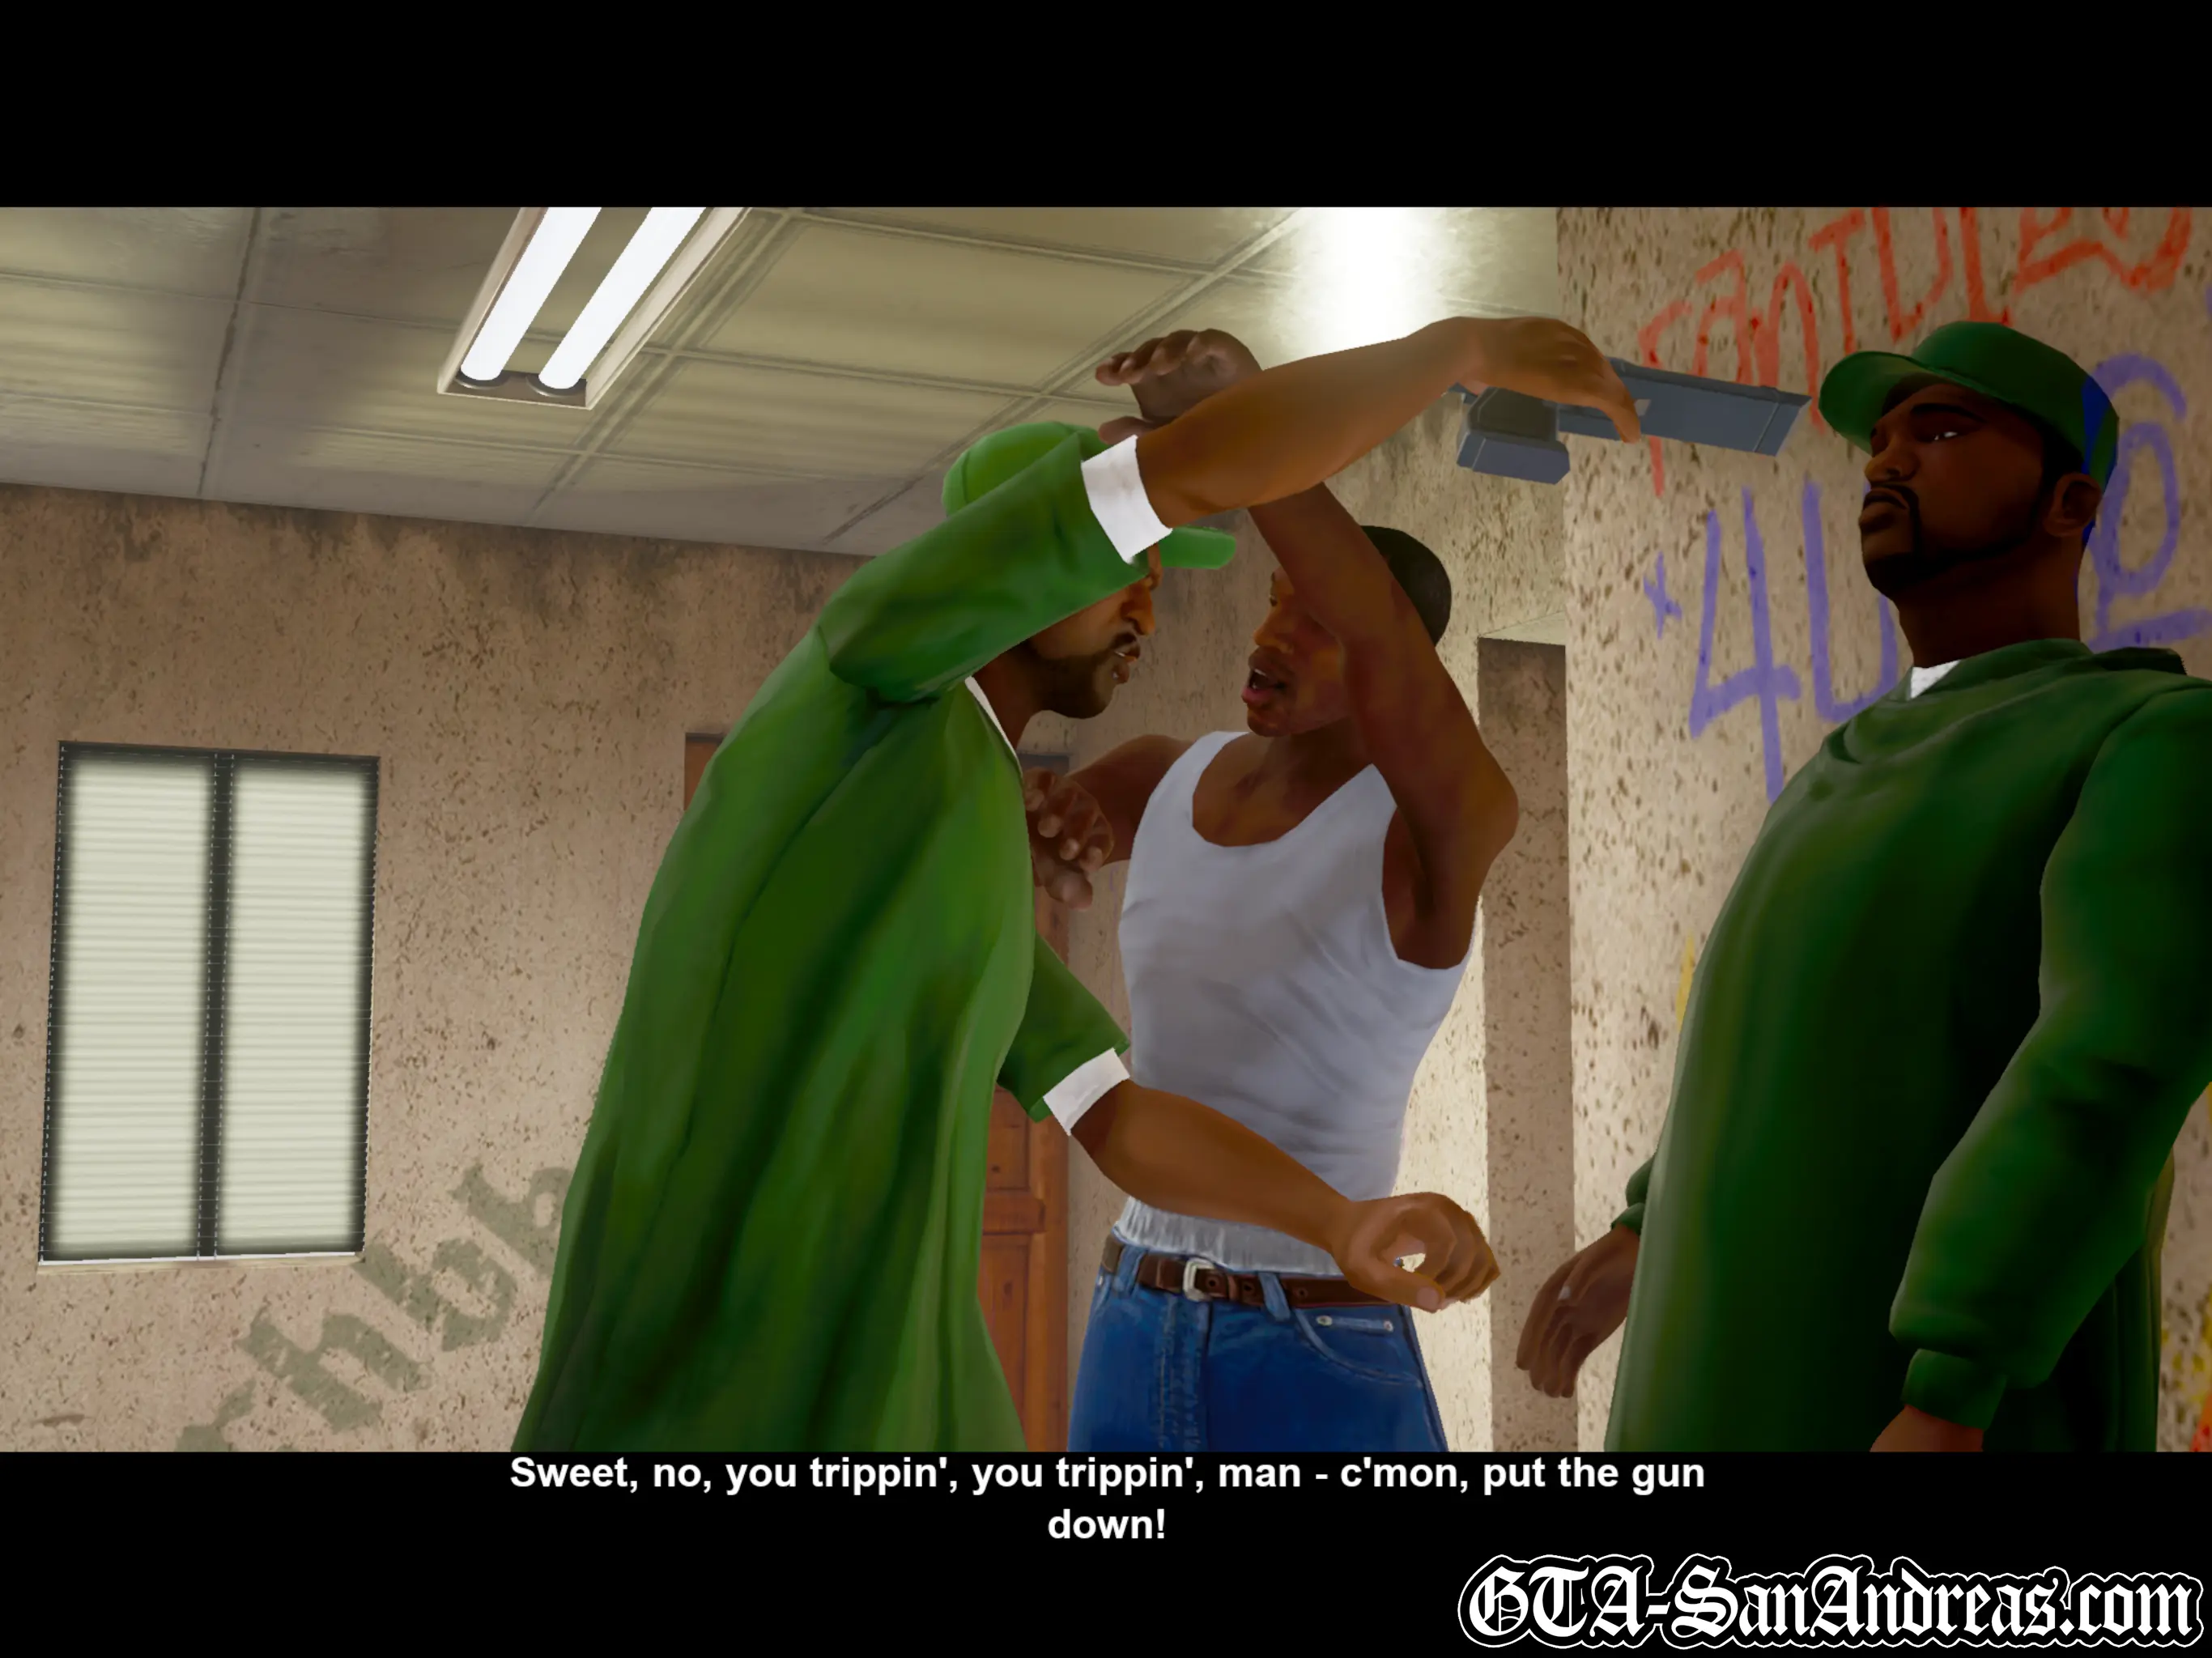
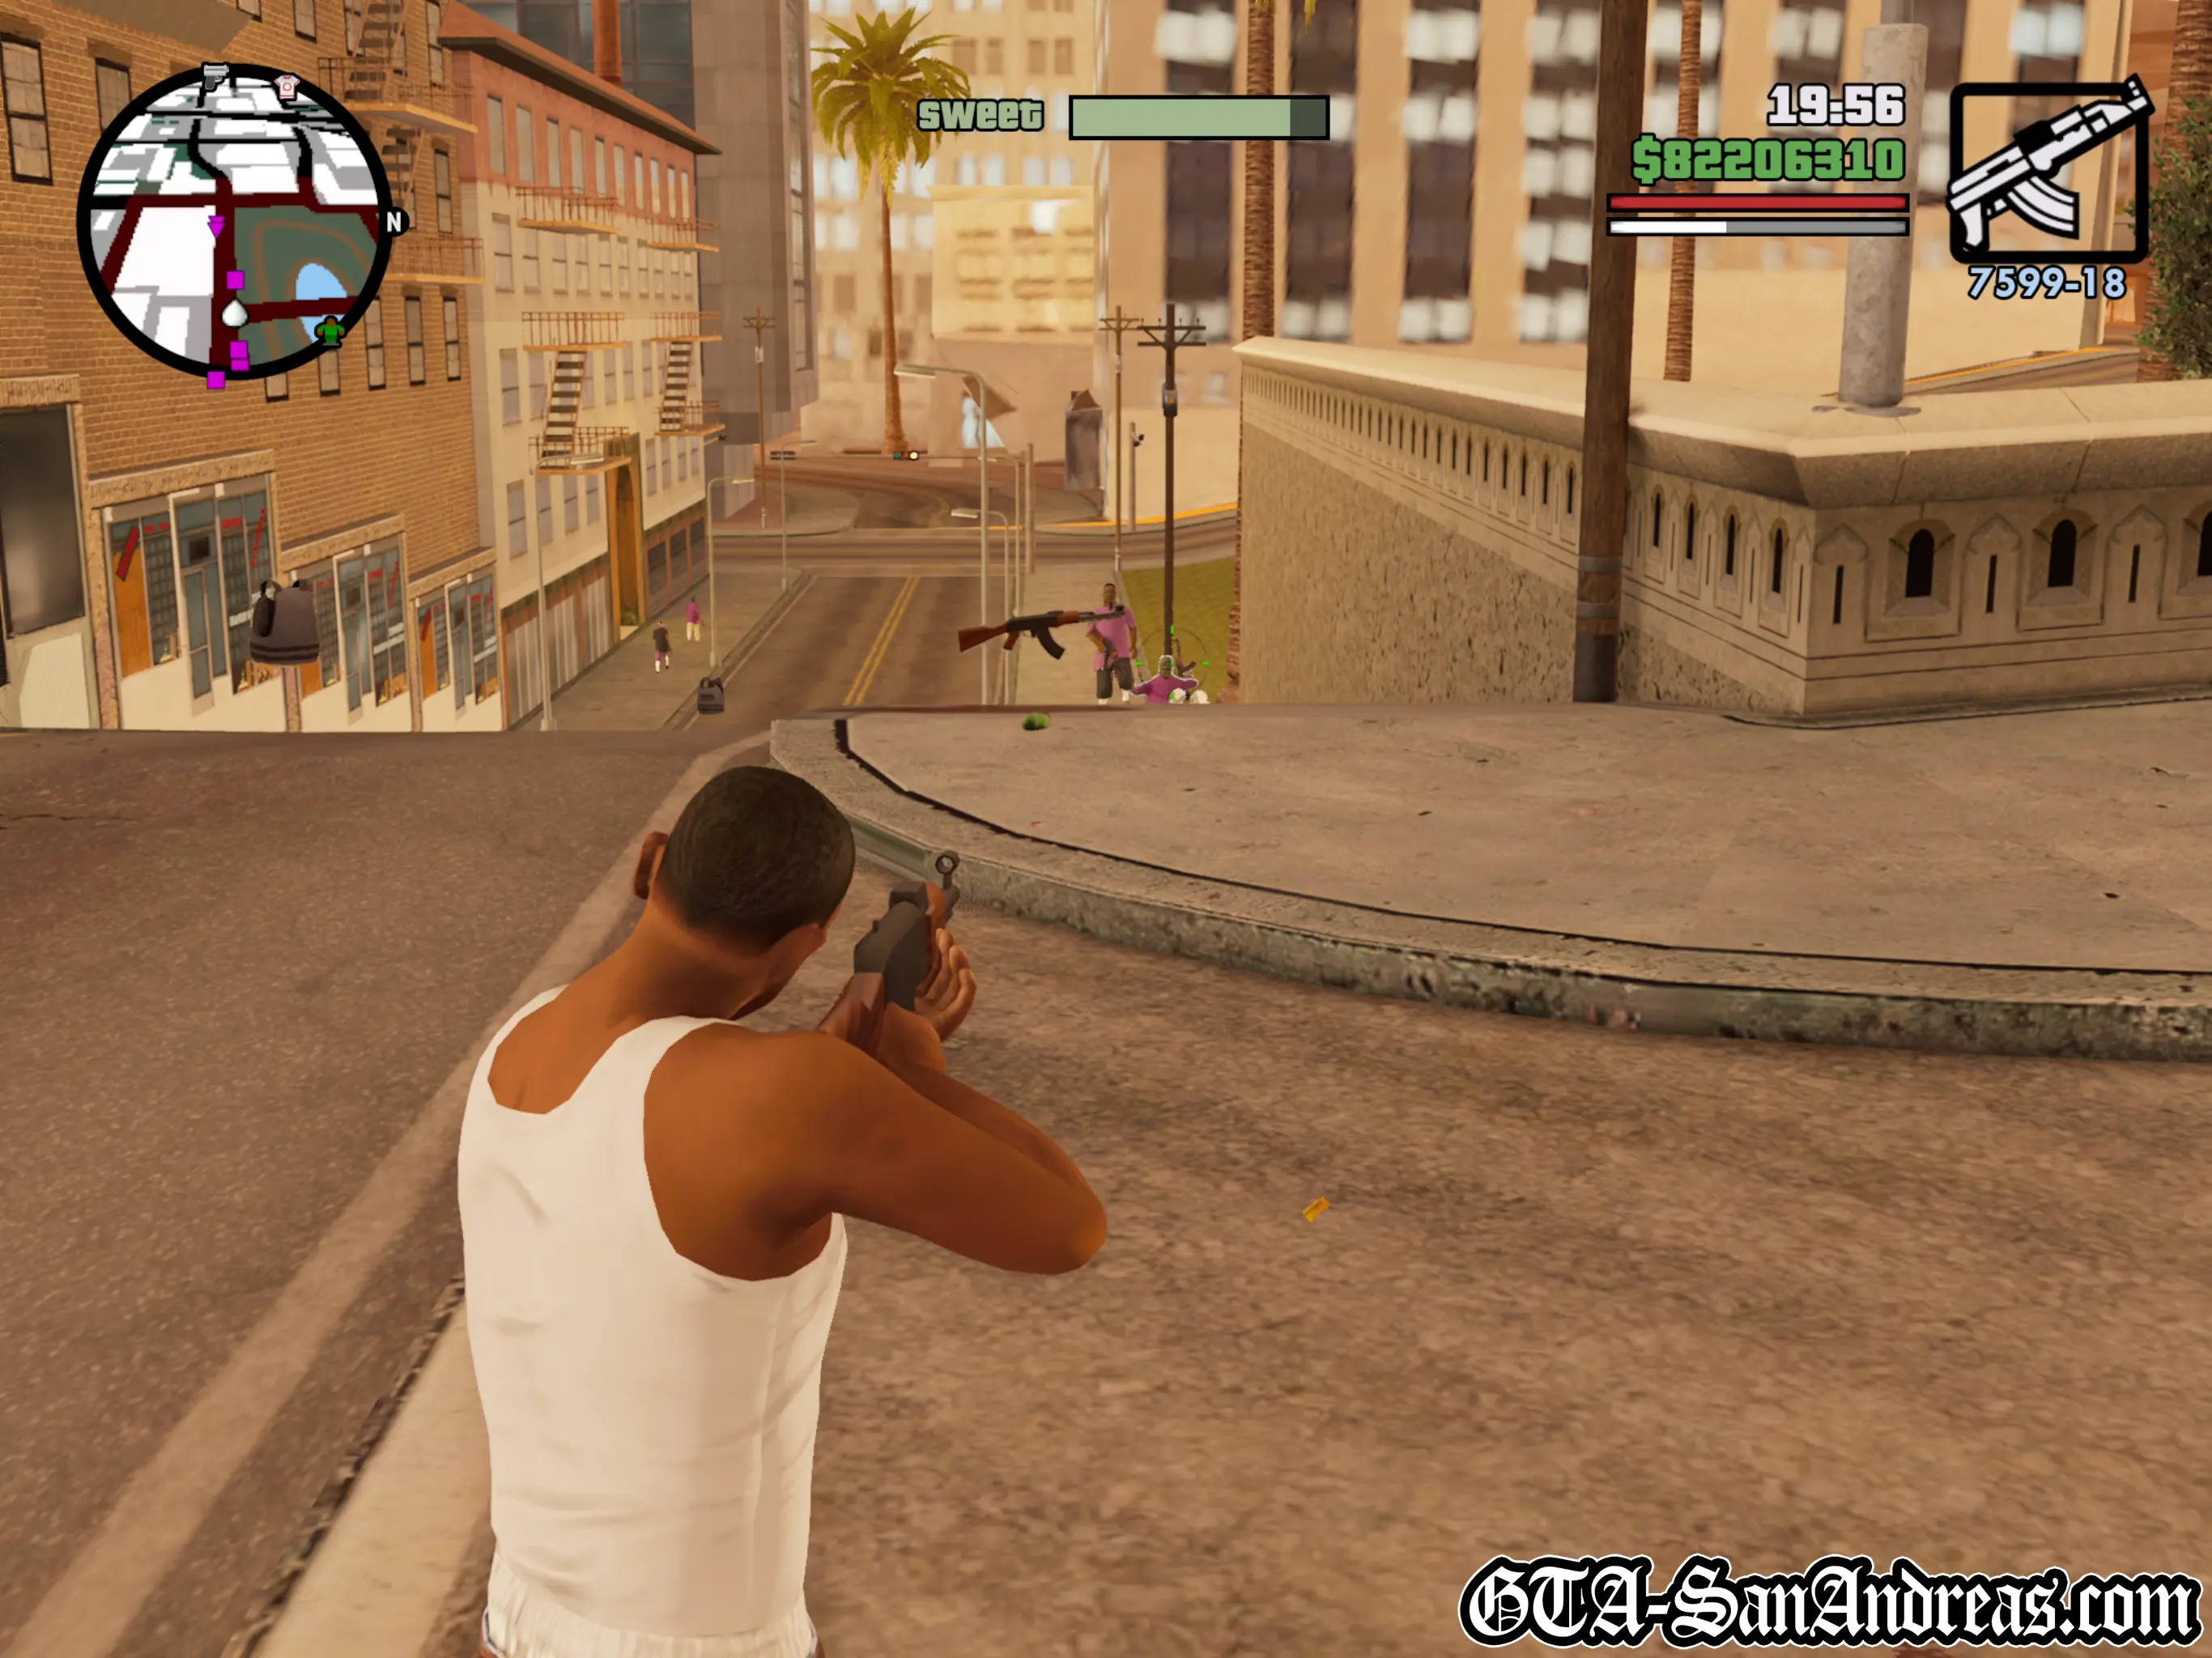
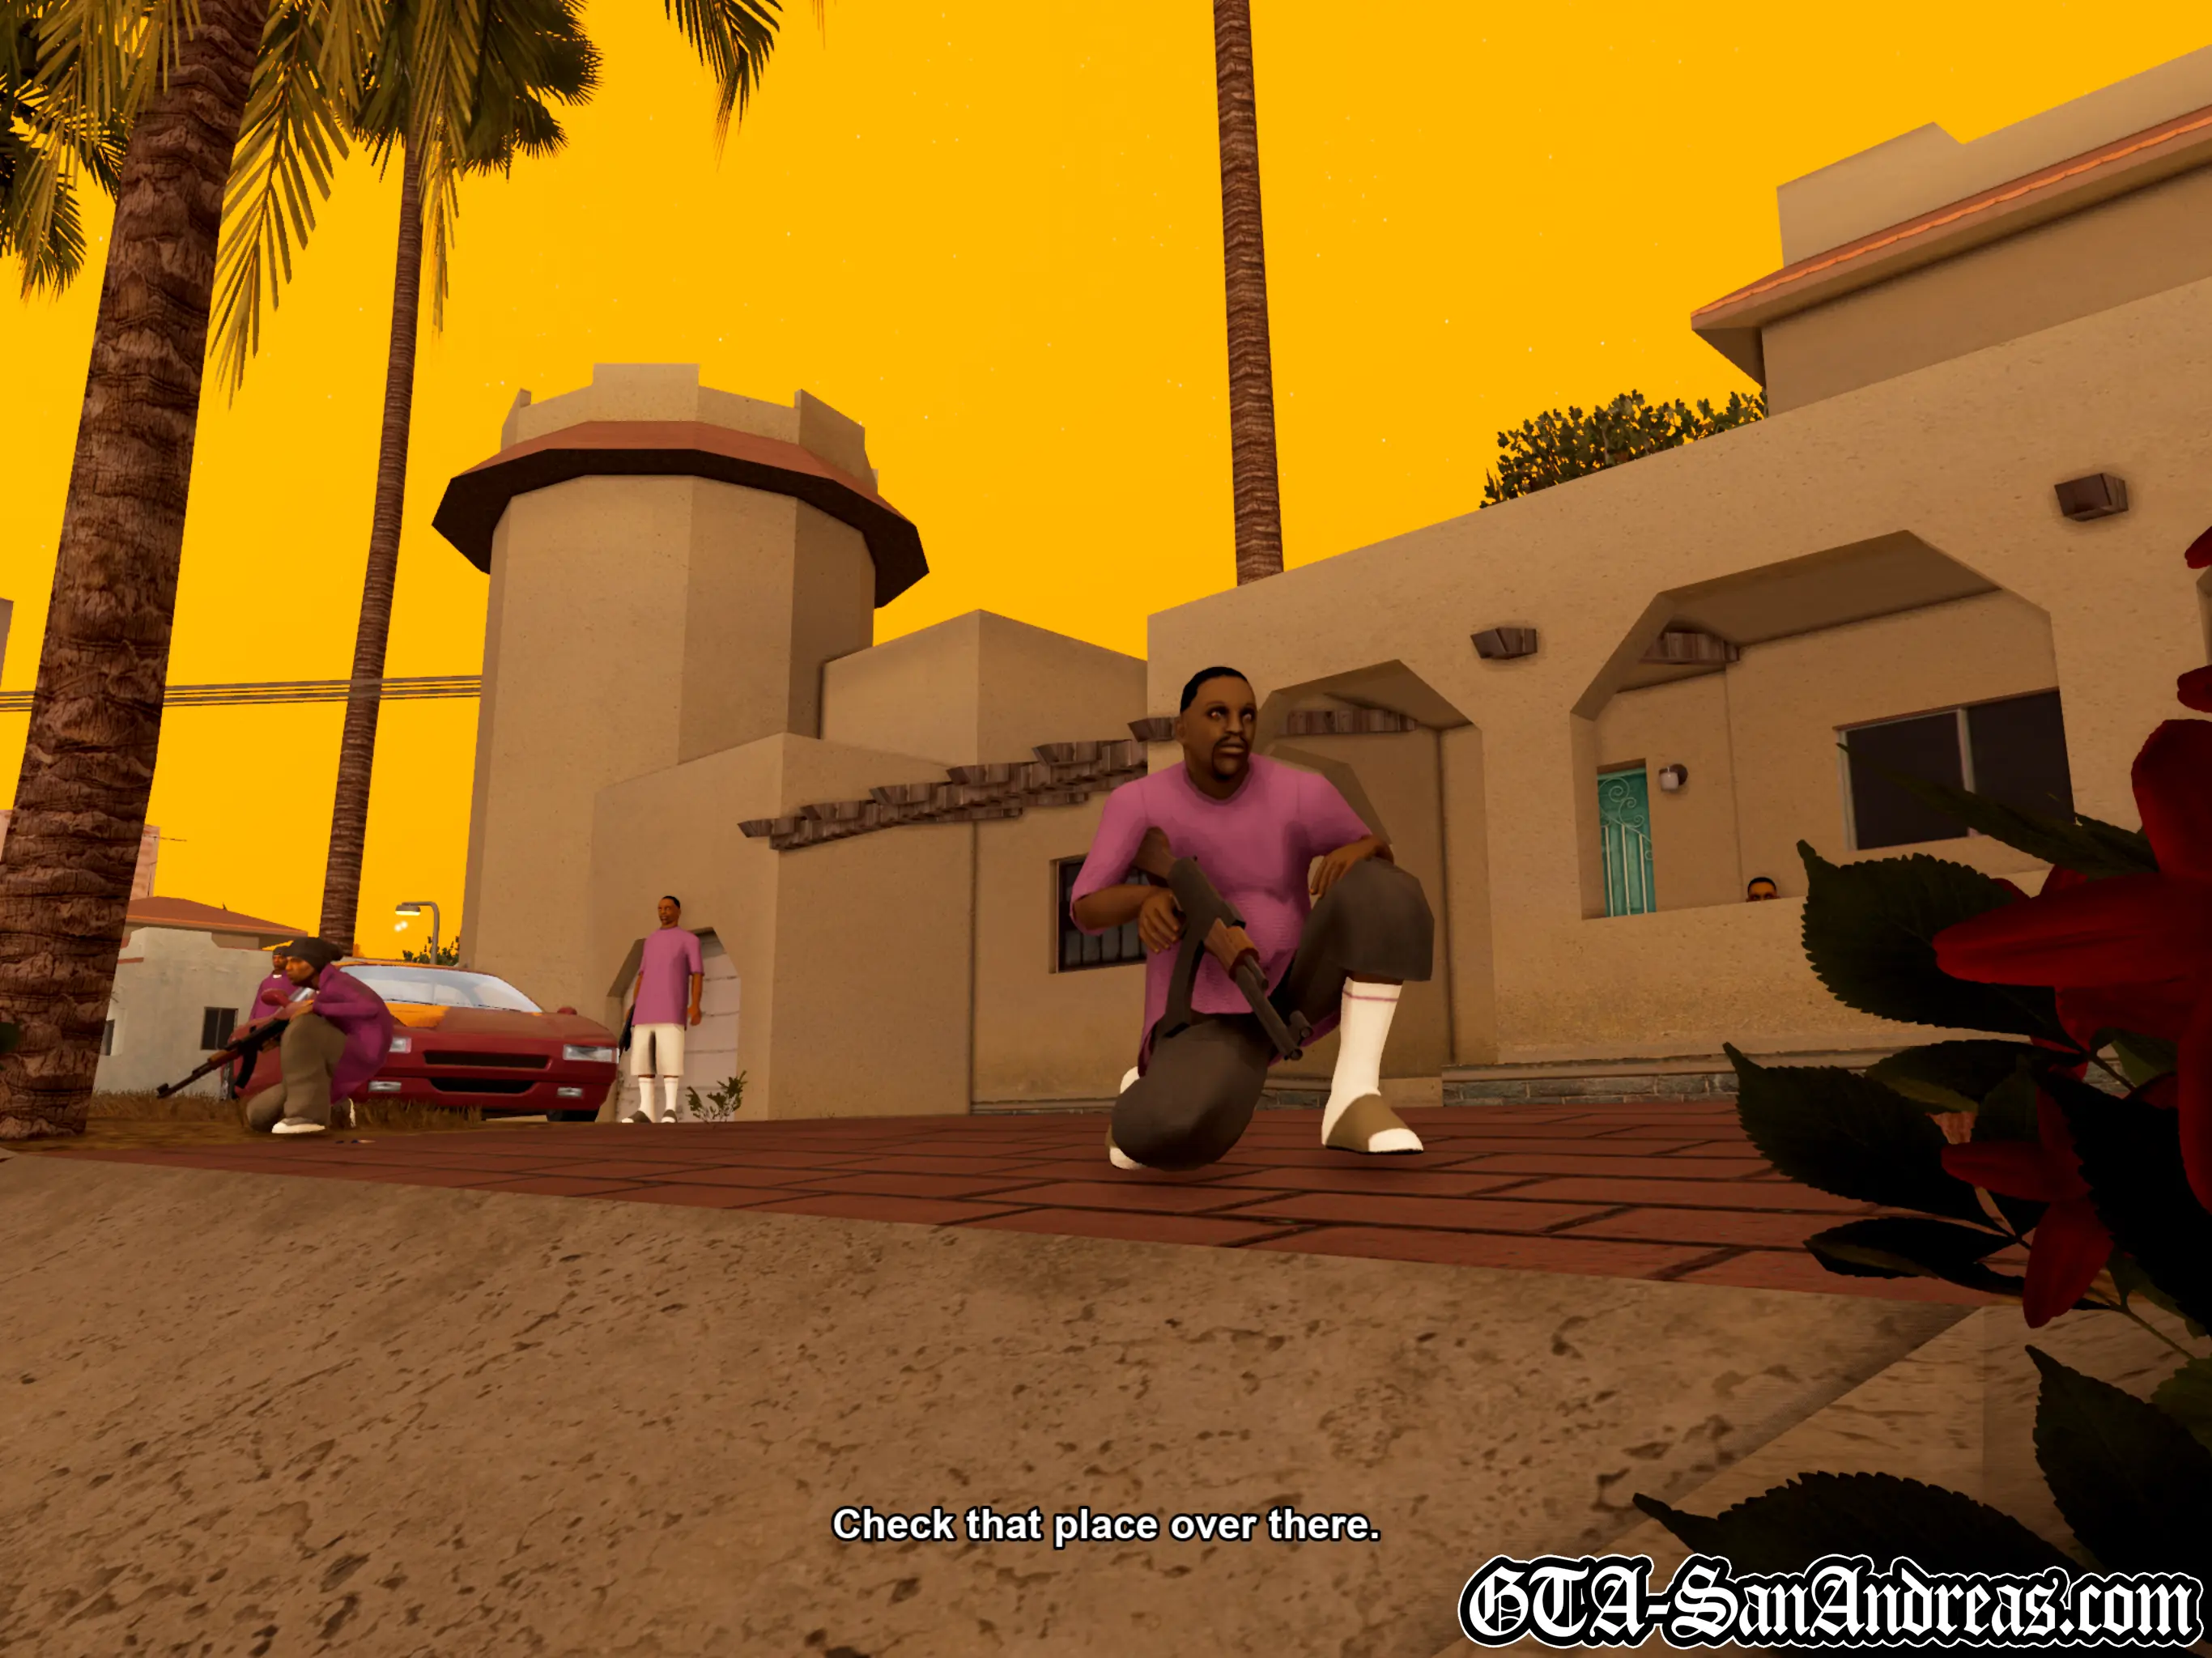
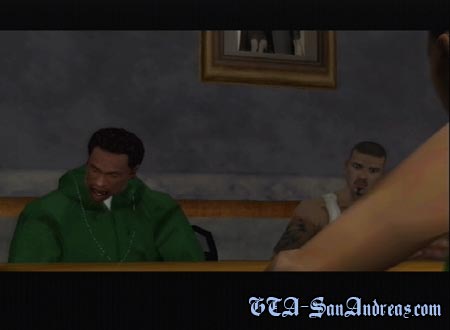
Sweet almost gave in to the coke, but luckily Carl came and stopped him. Some bitch says B Dup sent her, so you and Sweet are going to have words with him. Grab a vehicle and make your way to B-Dup's place. When you get there, park in the red circle and watch the cutscene. A stoner tells you B-Dup now lives at Glen Park. Make your way over to the Ballas icon on the radar. Once you get to Glen Park you'll need to find some Ballas and kill them. Provoke a gang war, then win it. I'm sure you know how a gang war works, so just fight that as usual, and try to keep Sweet safe. After you've survived all three waves you'll be told to check out a Balla protected house. Make your way over to it, and kill the ten or so Ballas out front, then once they're dead, go and confront B-Dup. During the cutscene Big Bear will leave B-Dup and ask to join the GSF once again. Afterwards Sweet and Big Bear will drive off.
Screenshots
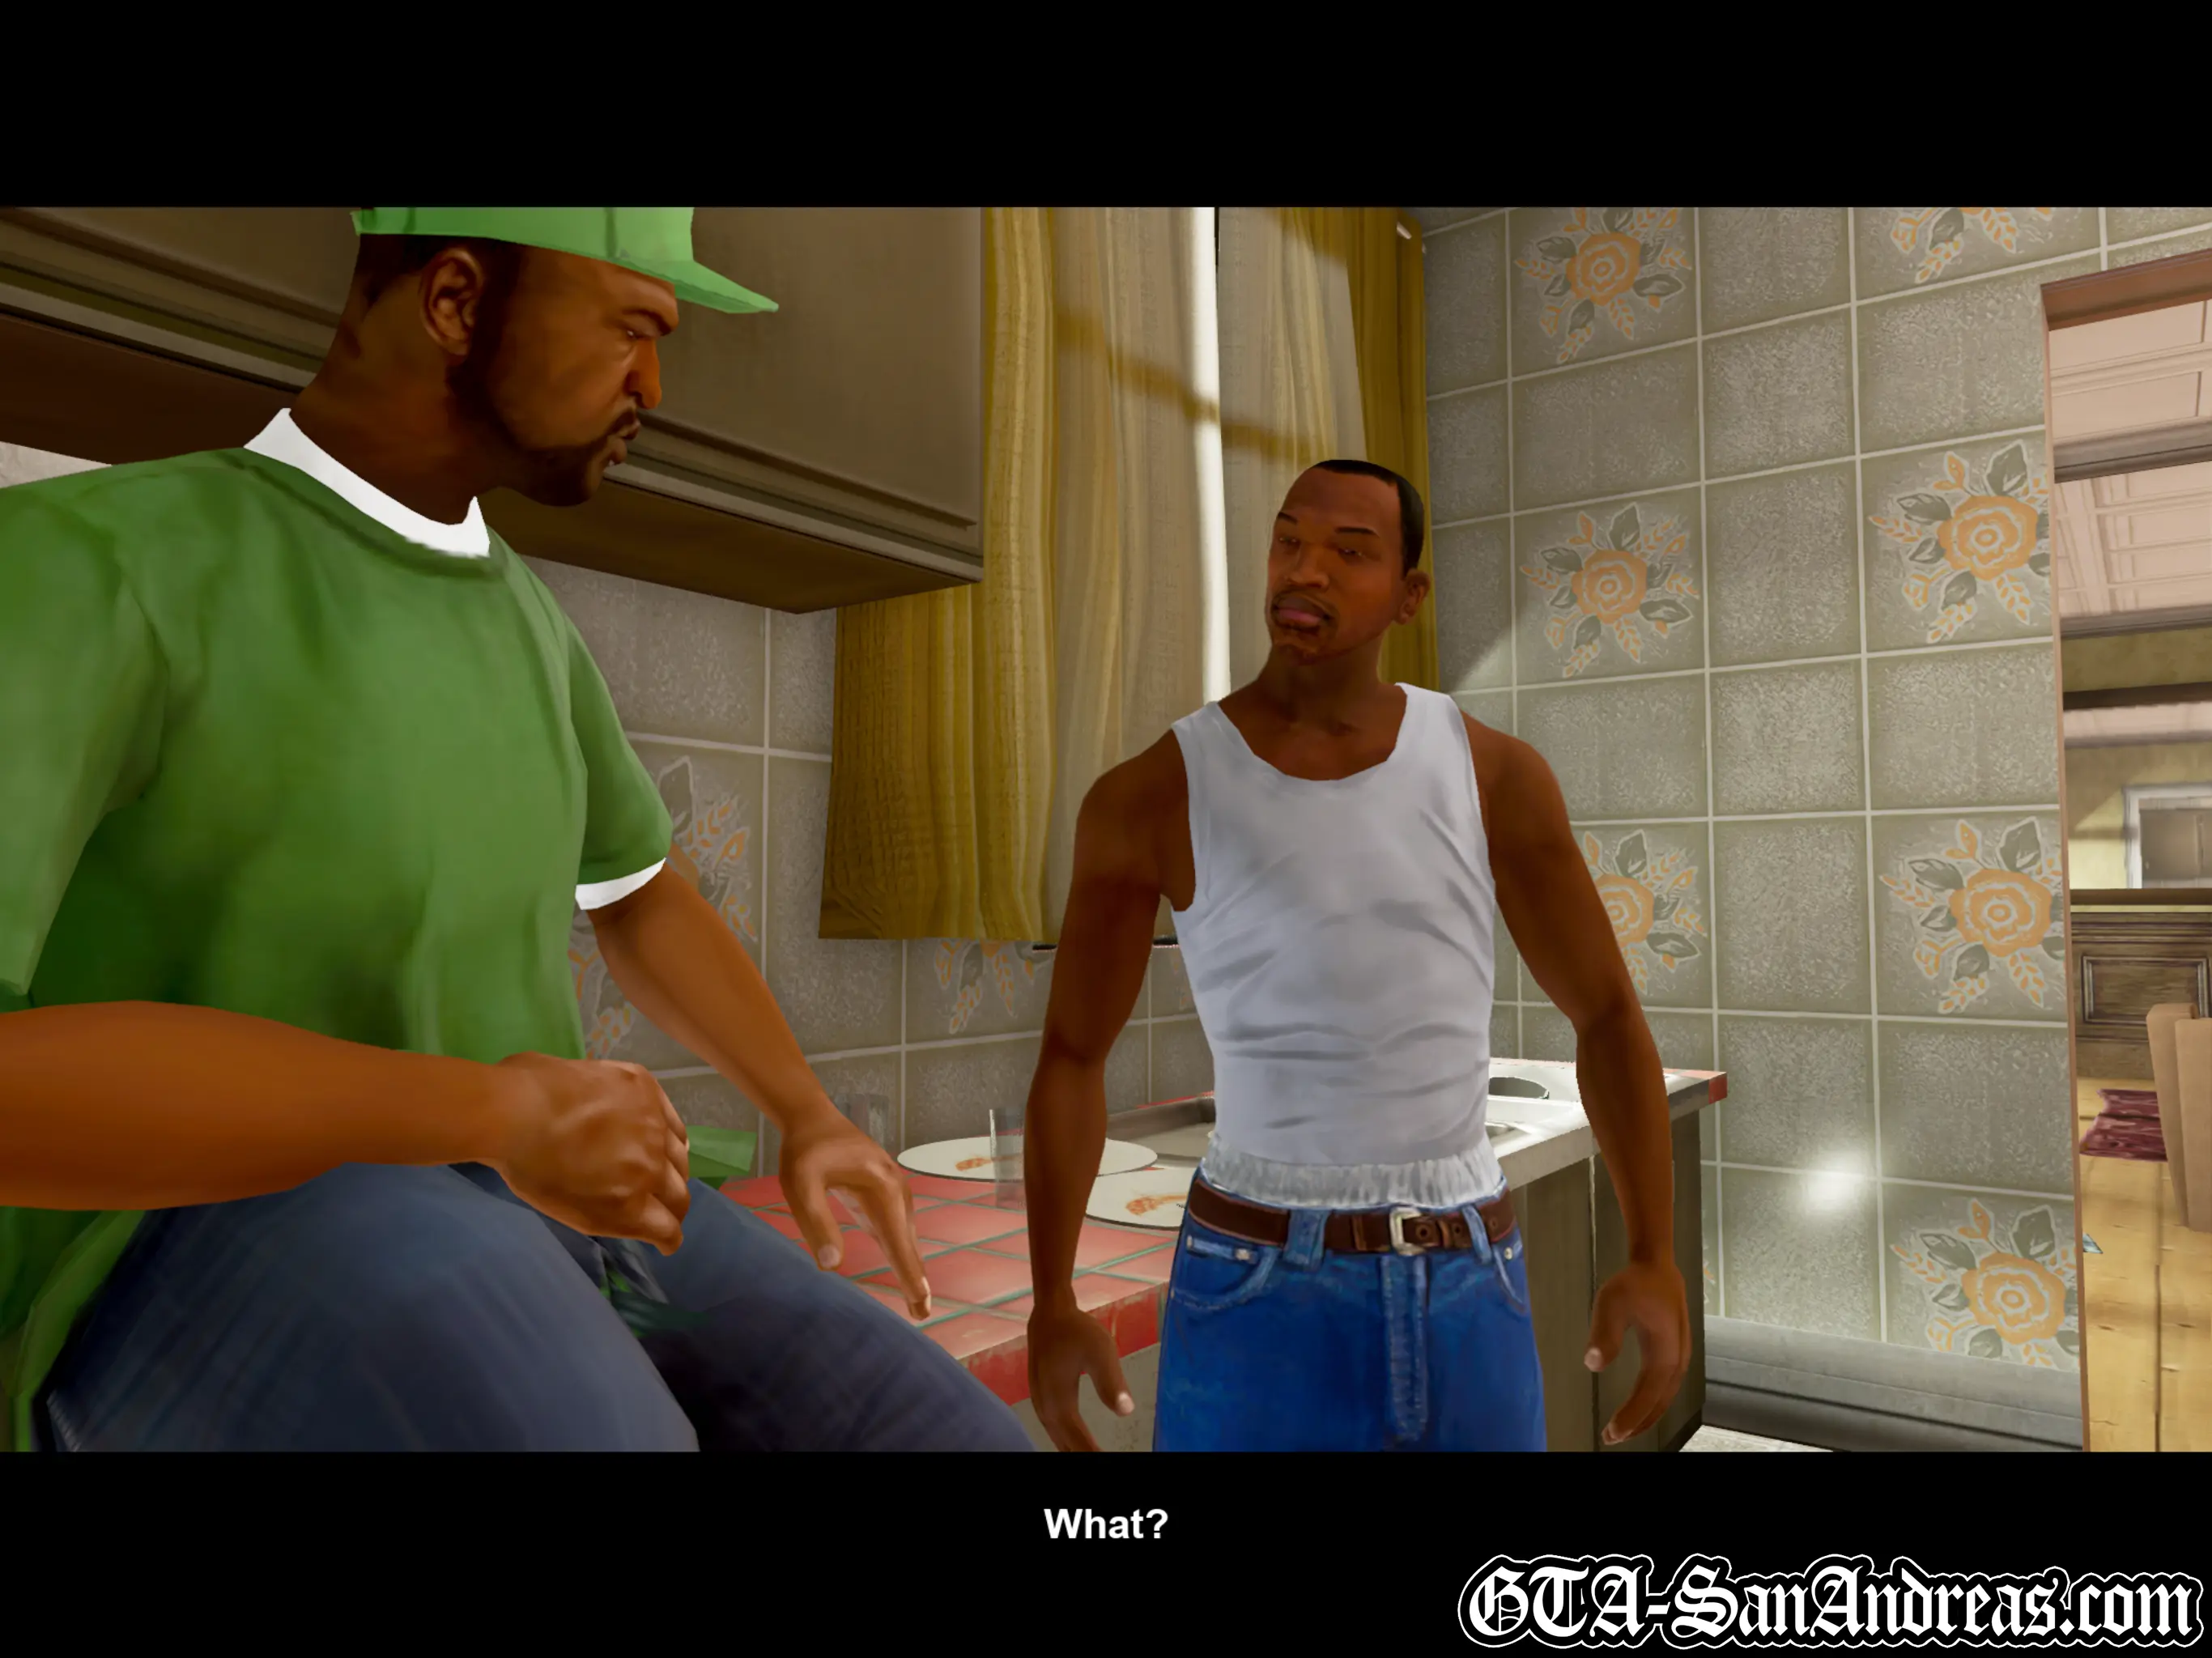
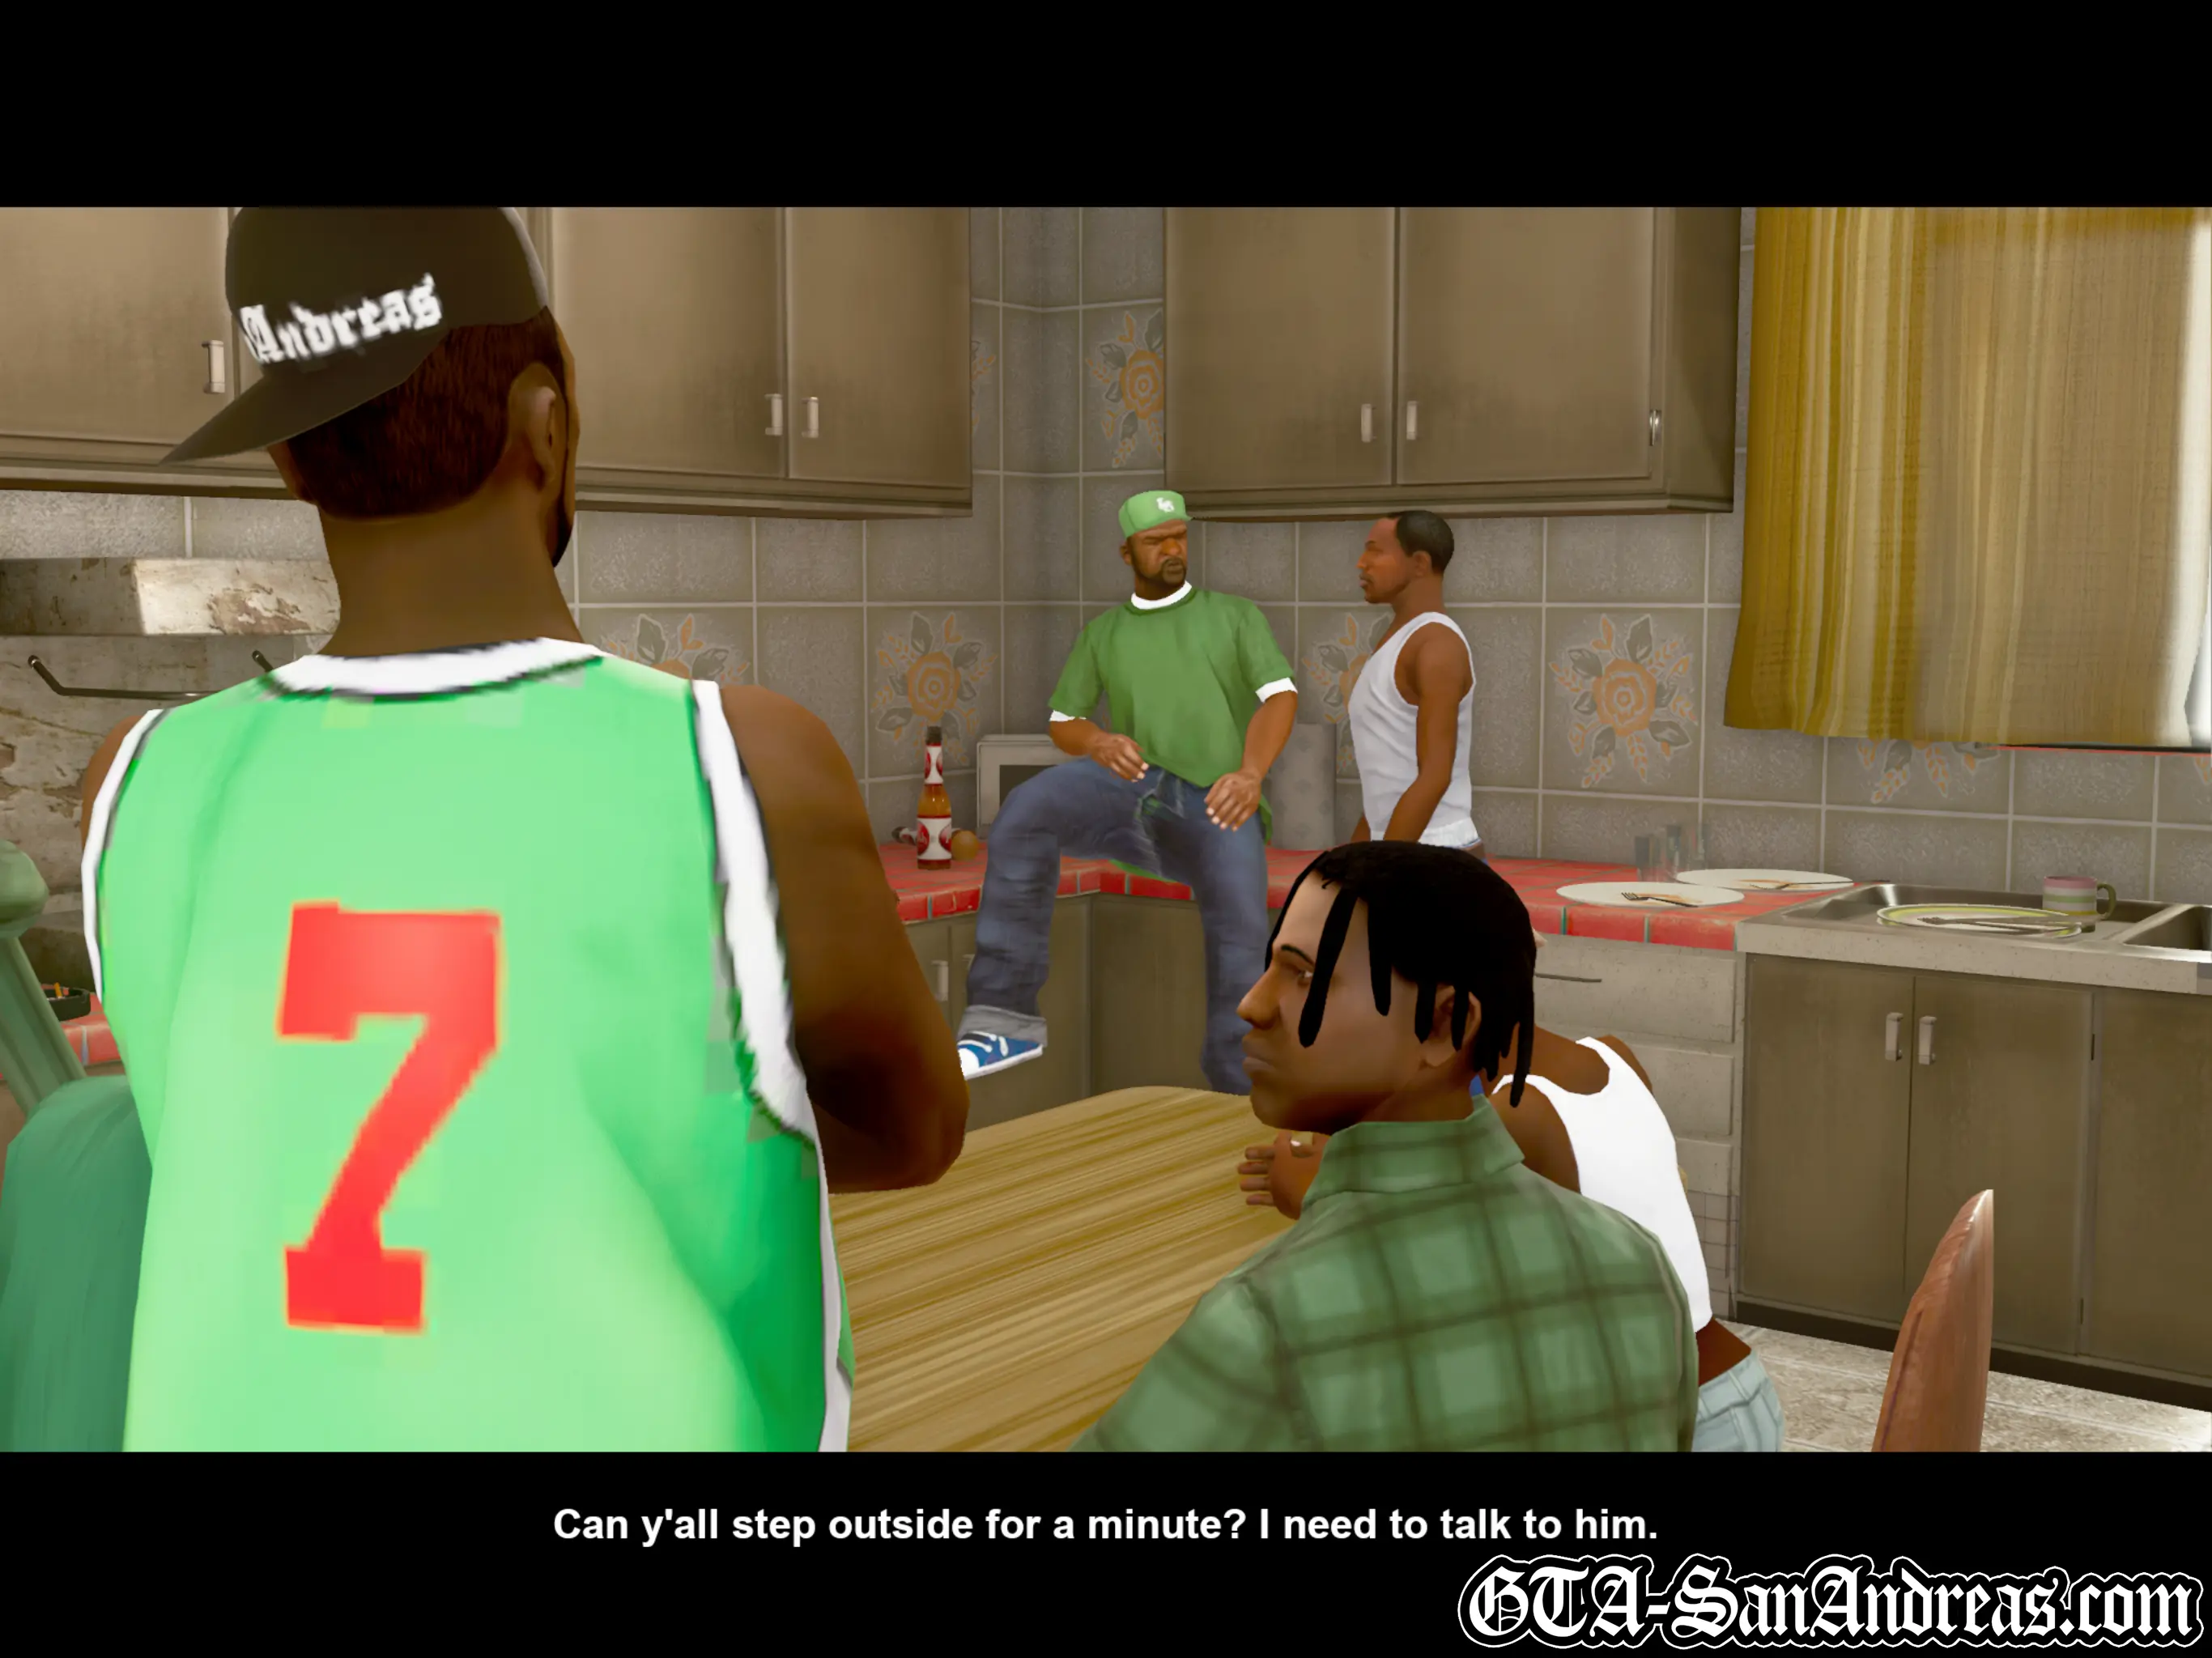
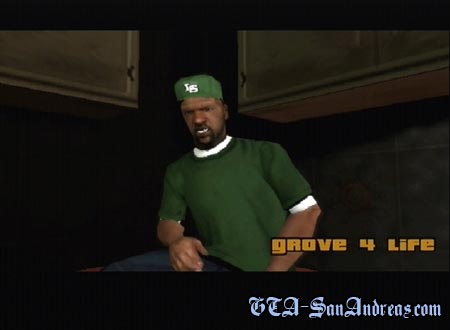
Grove 4 Life
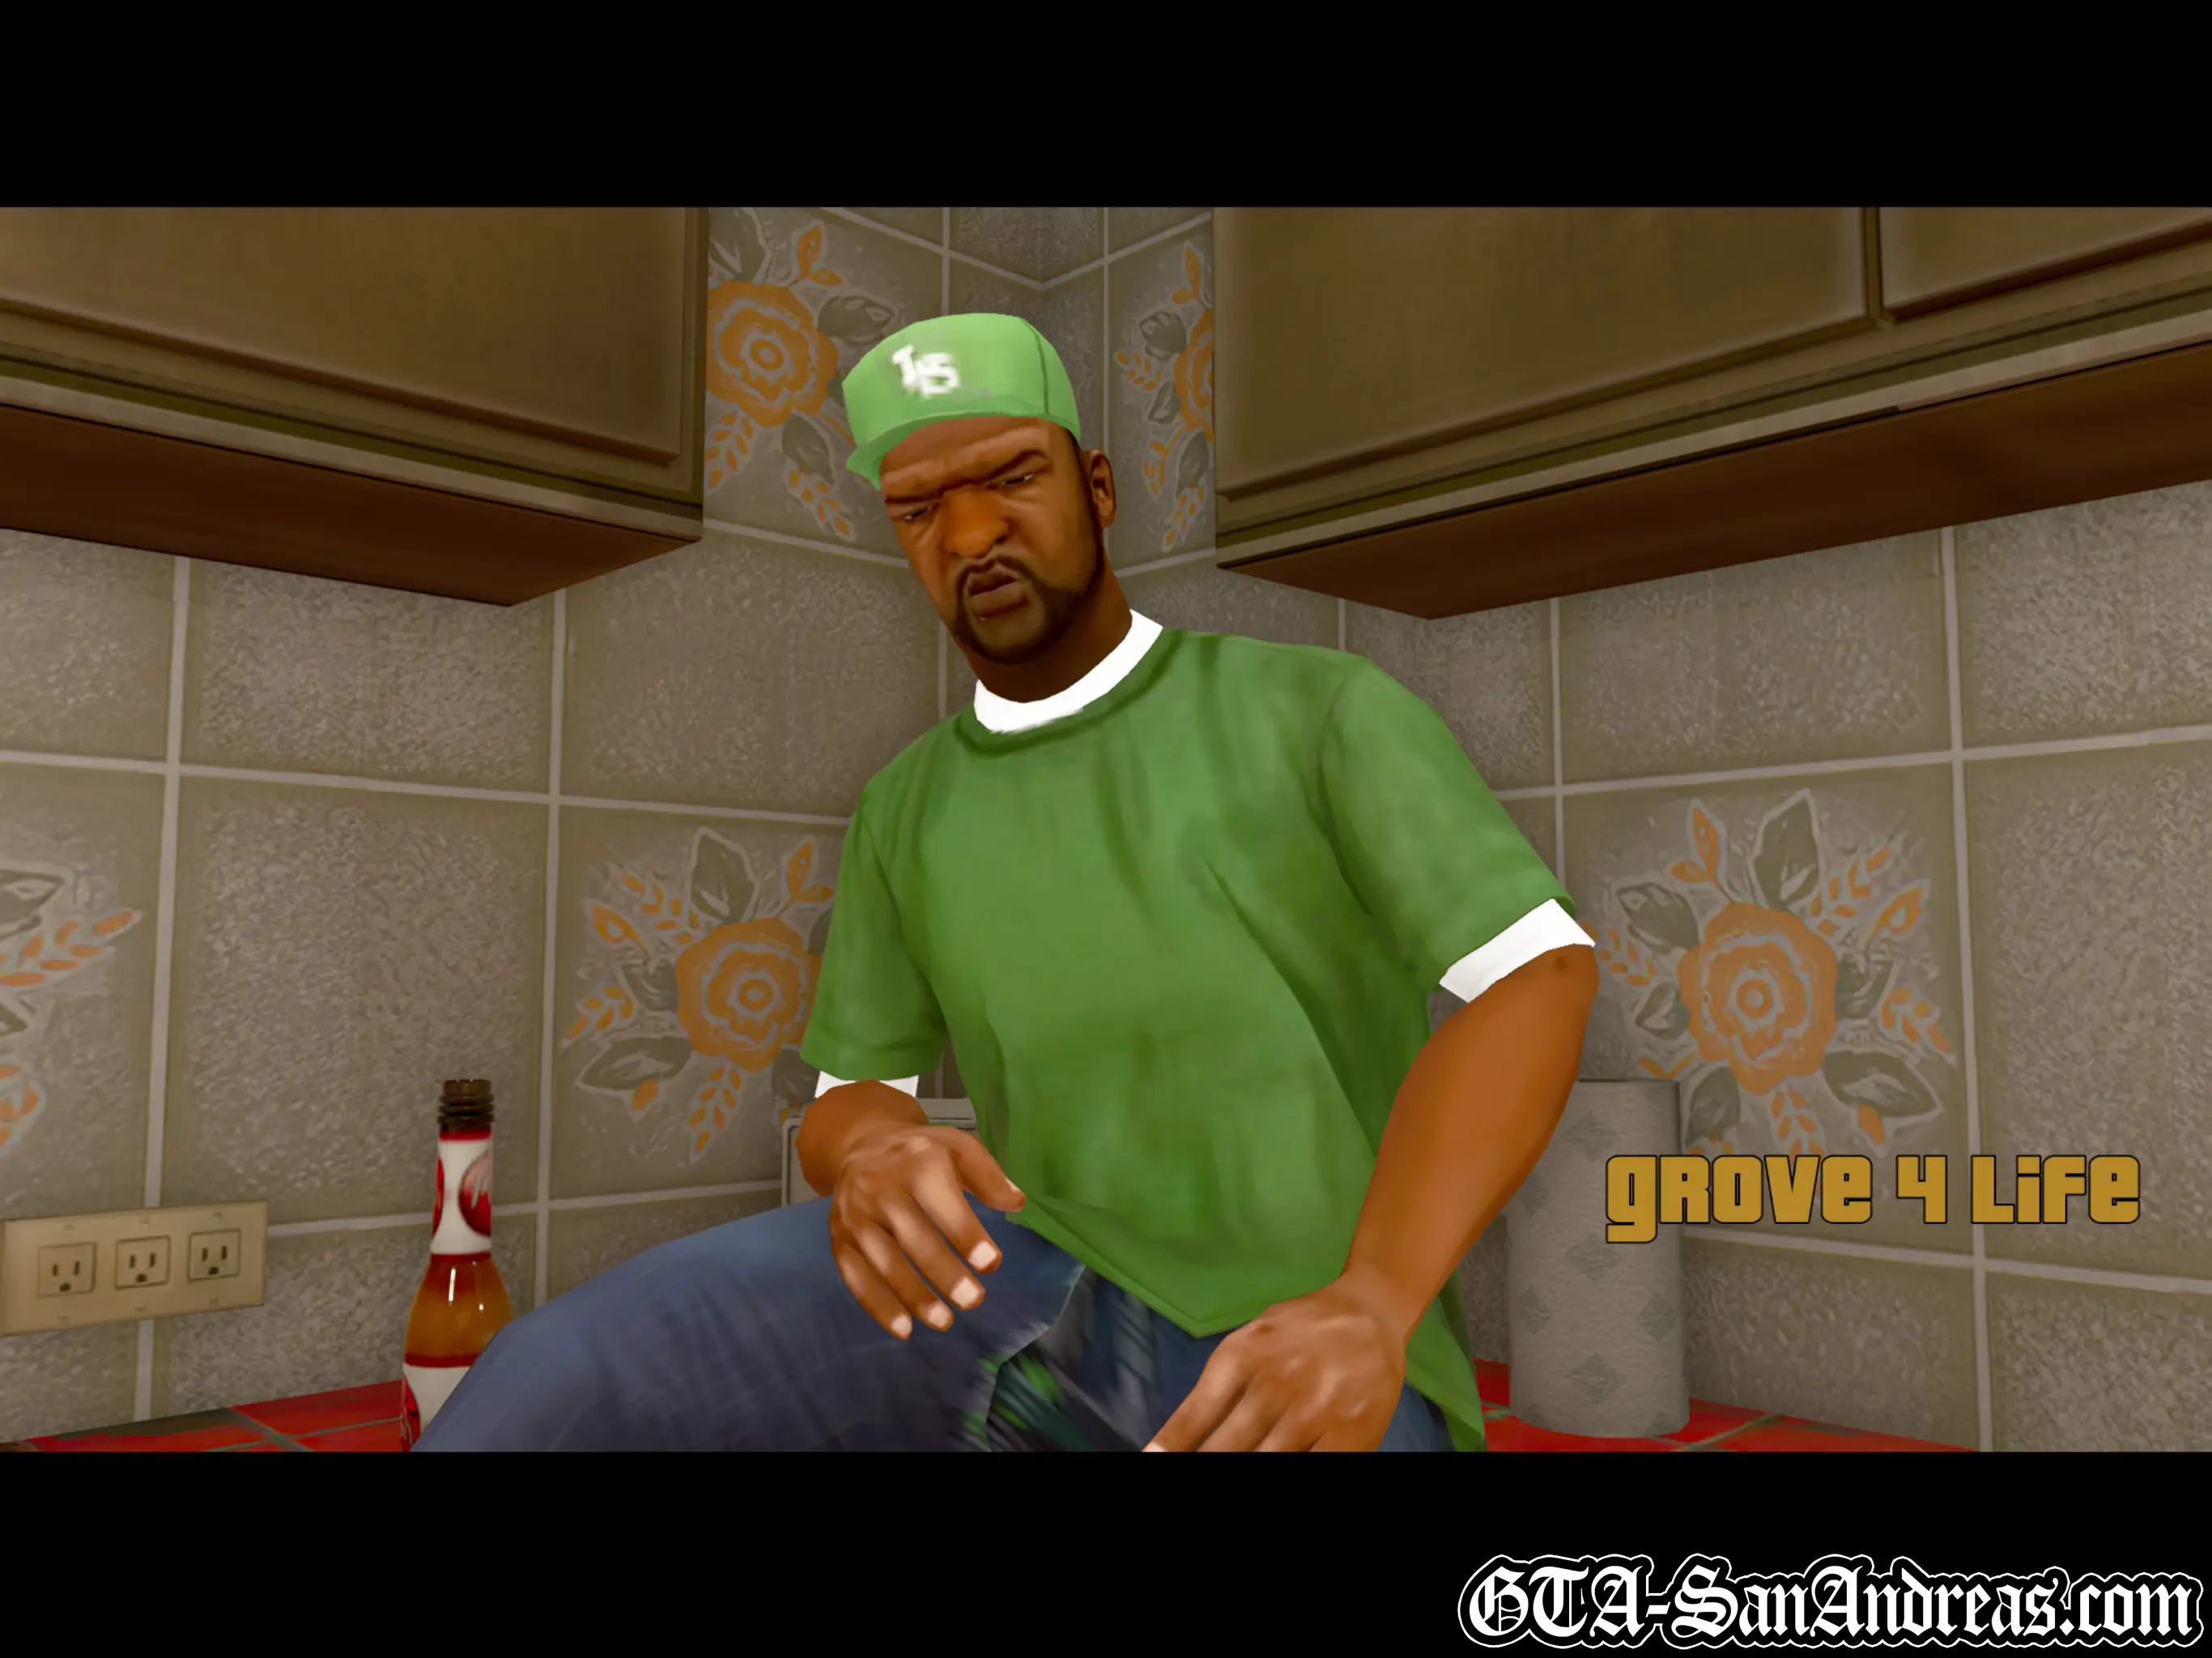
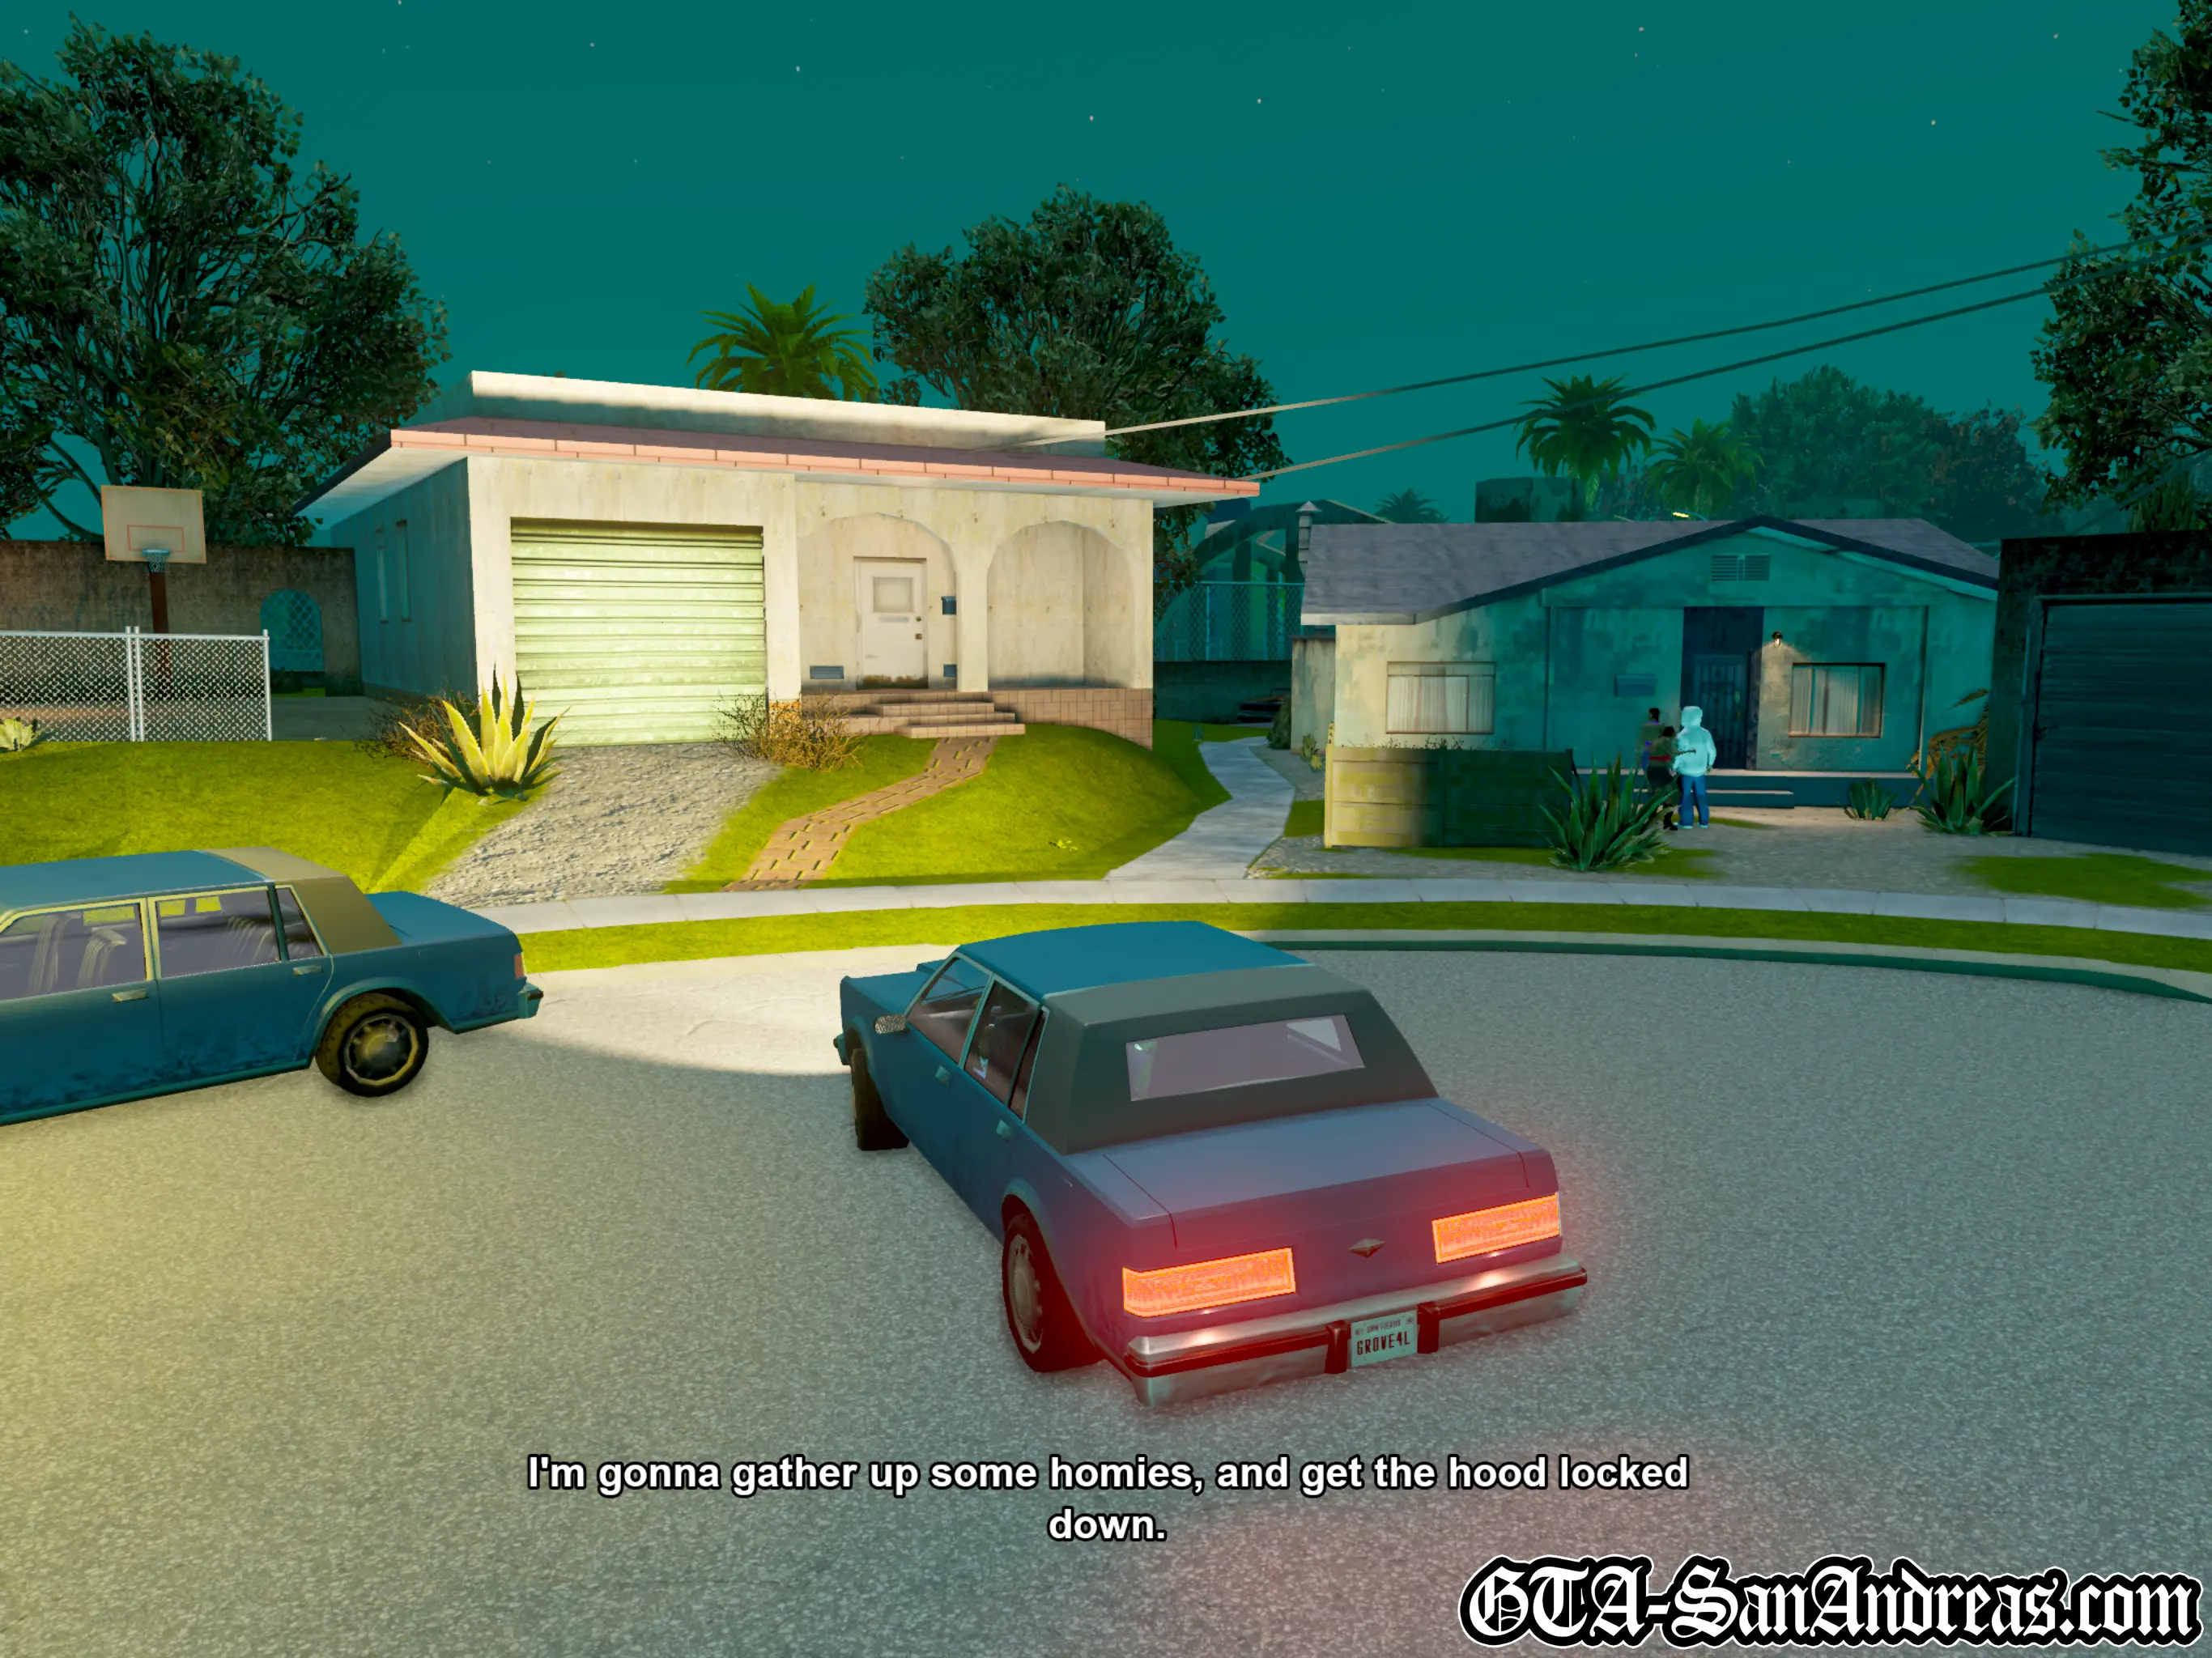
Sweet is a bit pissed off at the fact the Ballas have taken the families hood and he wants it back. Grab a car and head into Idlewood which is marked with a yellow blip on the radar. When you get there you'll need to start a gang war in order to recapture the hood. Survive all three waves and the area will be yours. Sweet then wants you to head into more Ballas populated area inside Idlewood and take it back. Start another gang war and win it. Remember that health and armor will spawn close by at the end of a wave. Once you've won the second Idlewood gang war, Sweet will tell you to get back to Grove Street. Make your way back to the house which is marked with a yellow blip. Park in the red circle.
Sweet's missions have now been completed, and Carl Johnson's missions at Madd Dogg's Mansion have been unlocked once again.
Screenshots
Carl Johnson
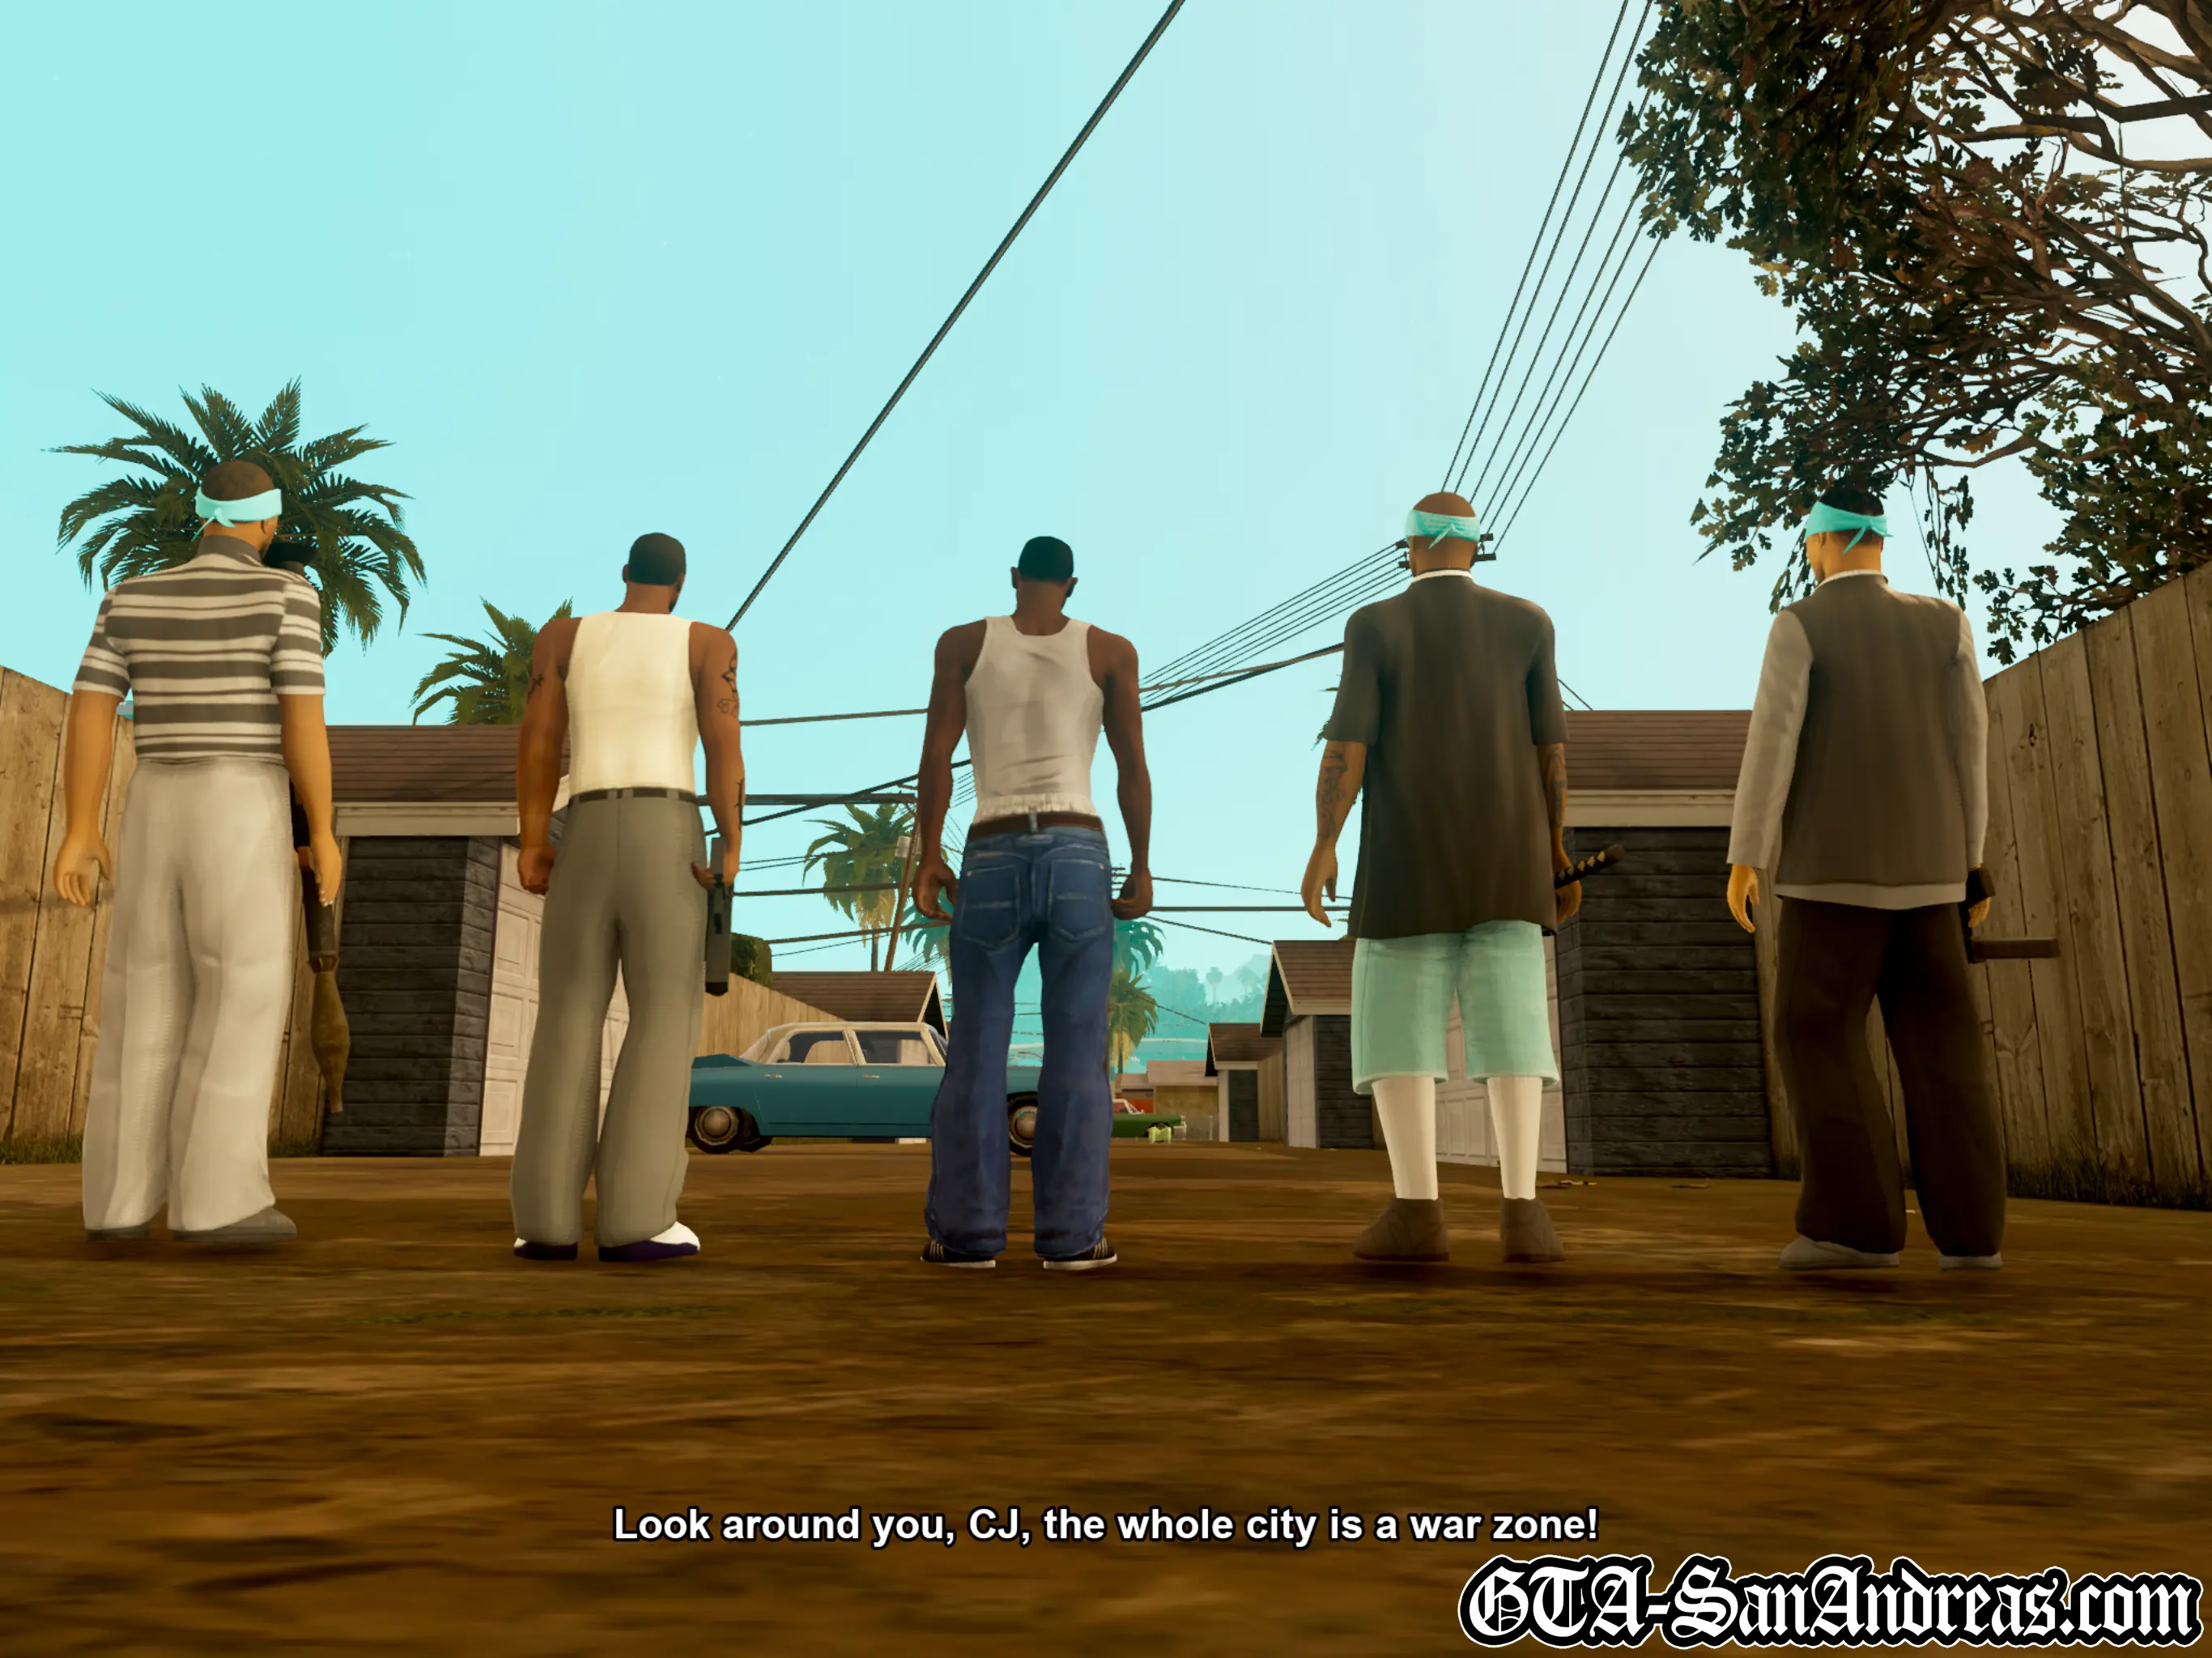
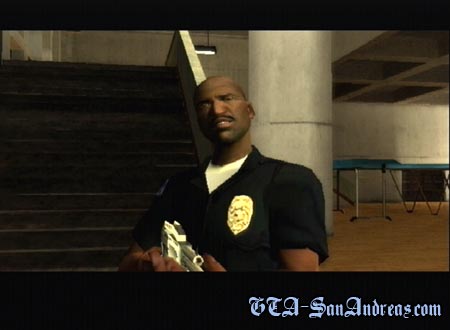
Riot
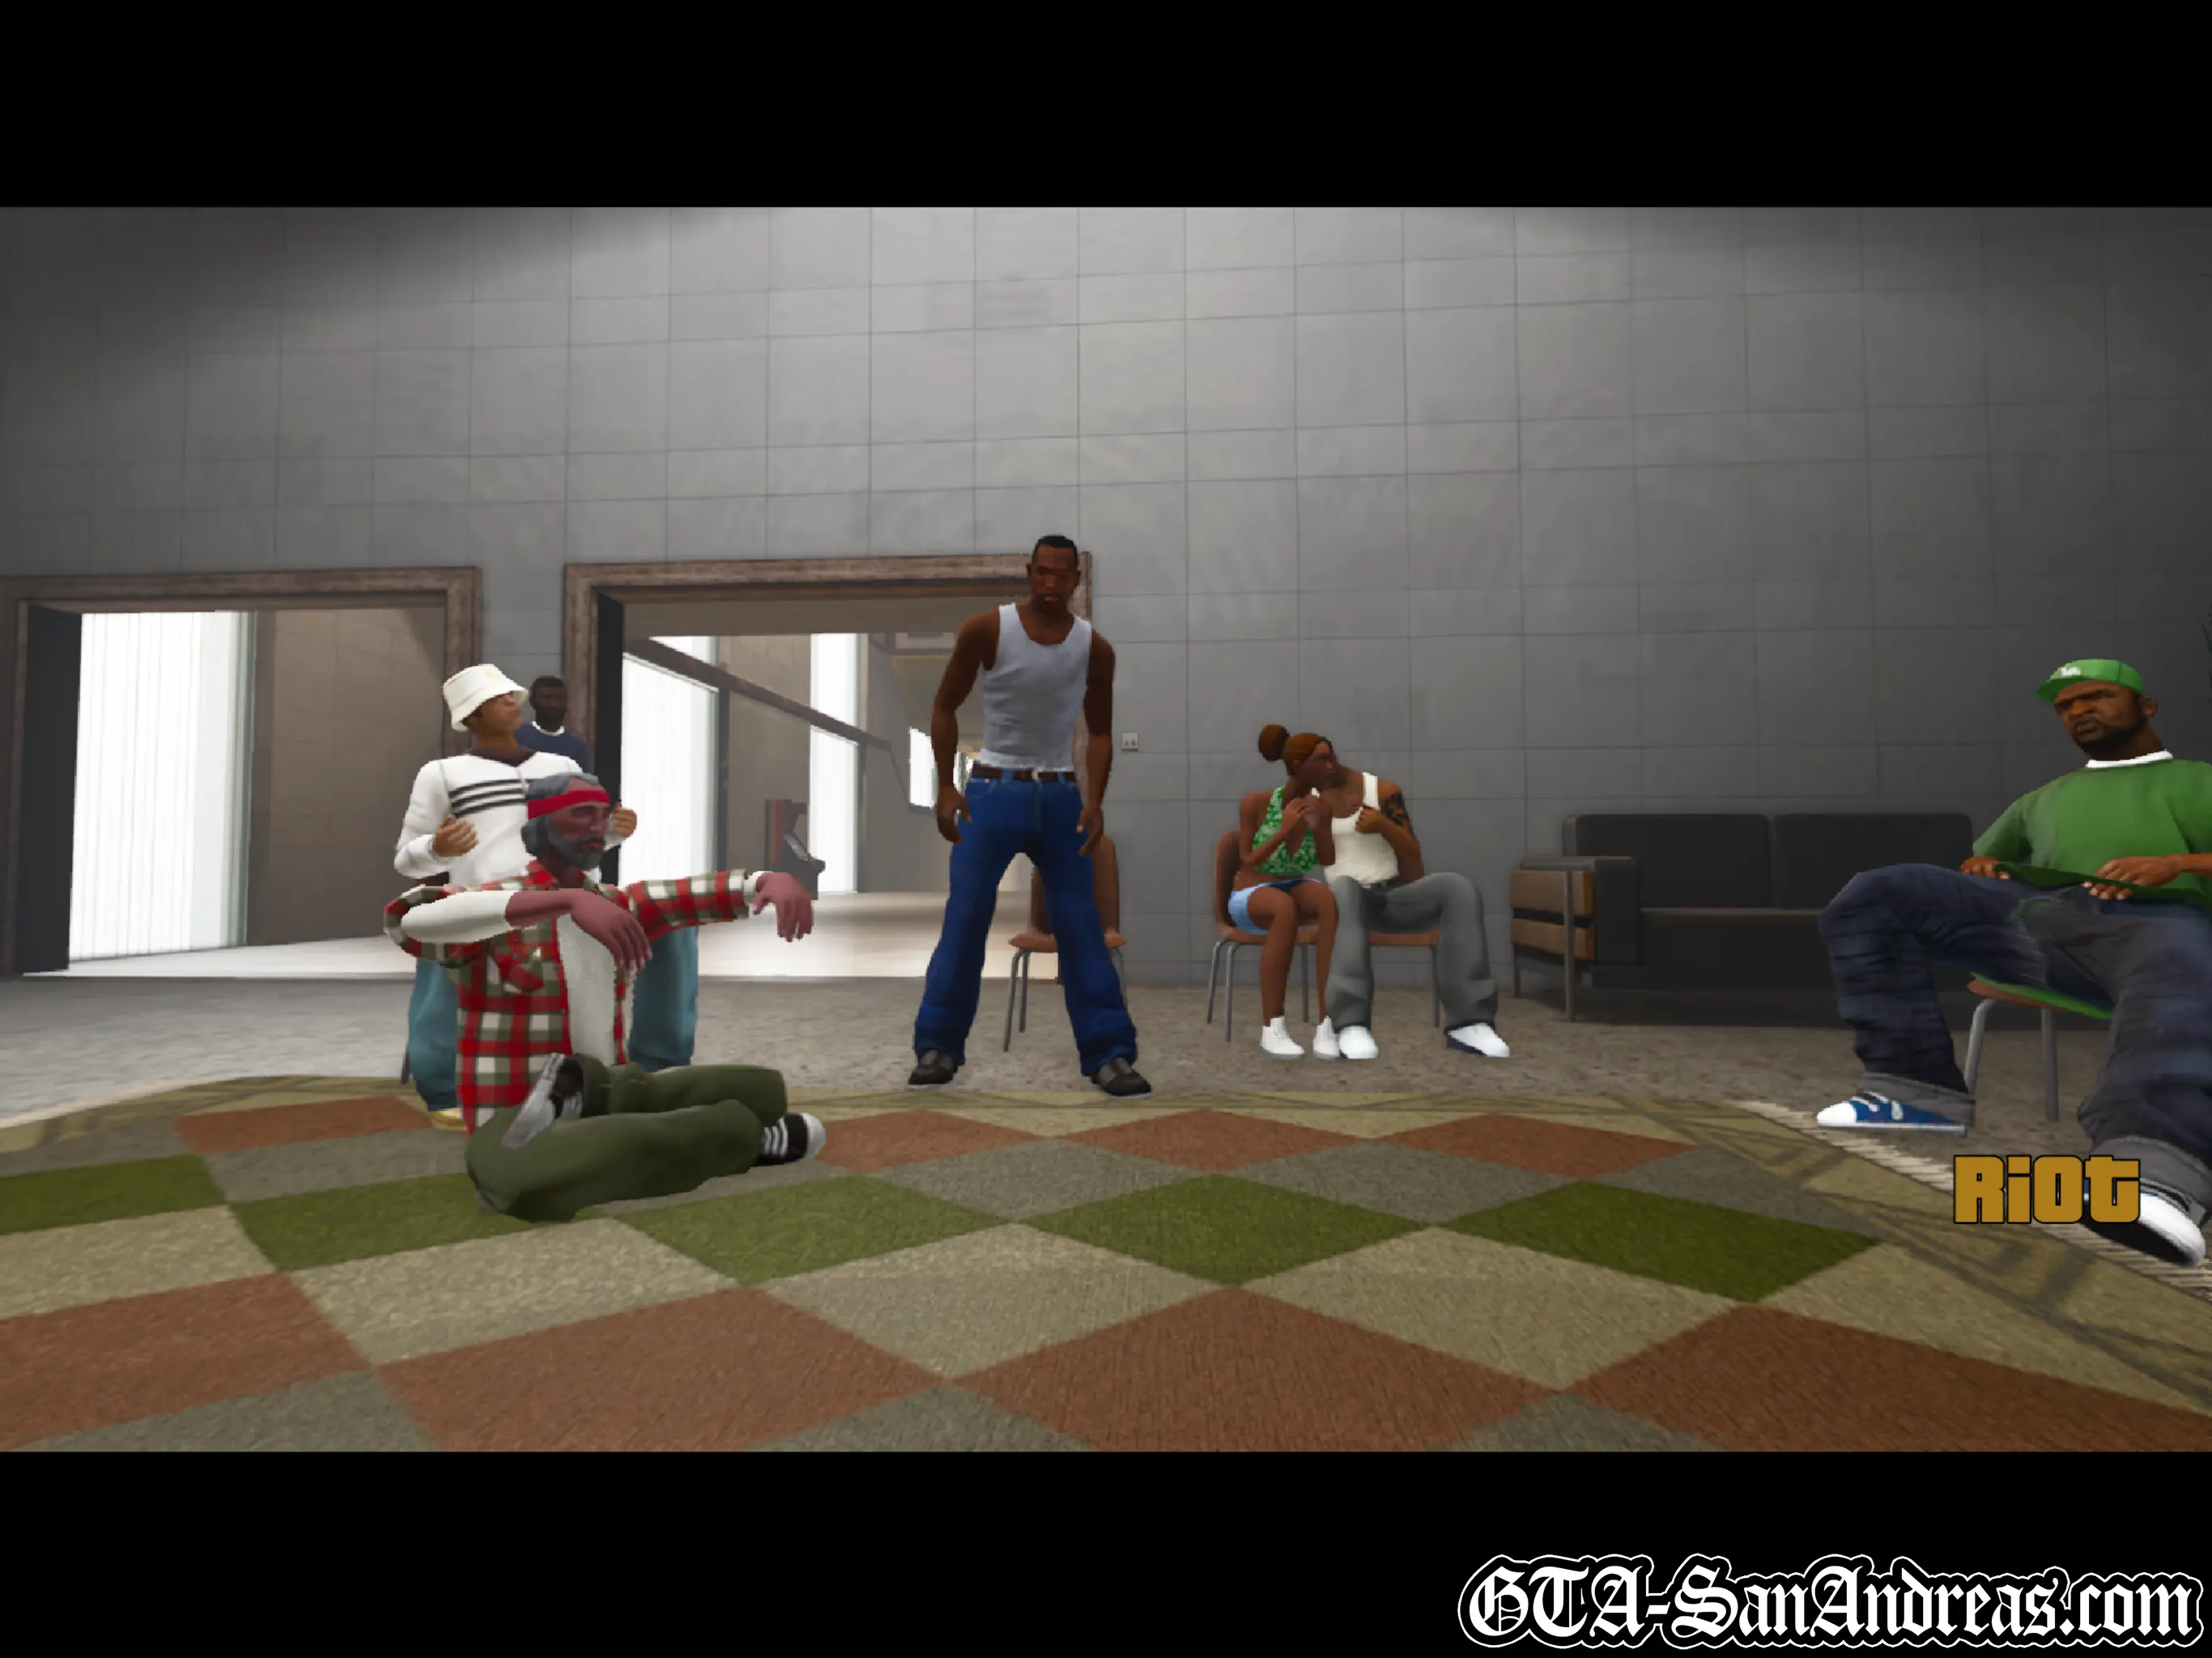
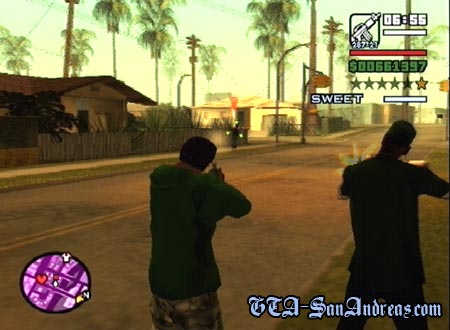
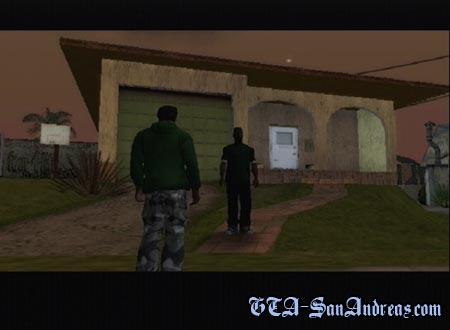
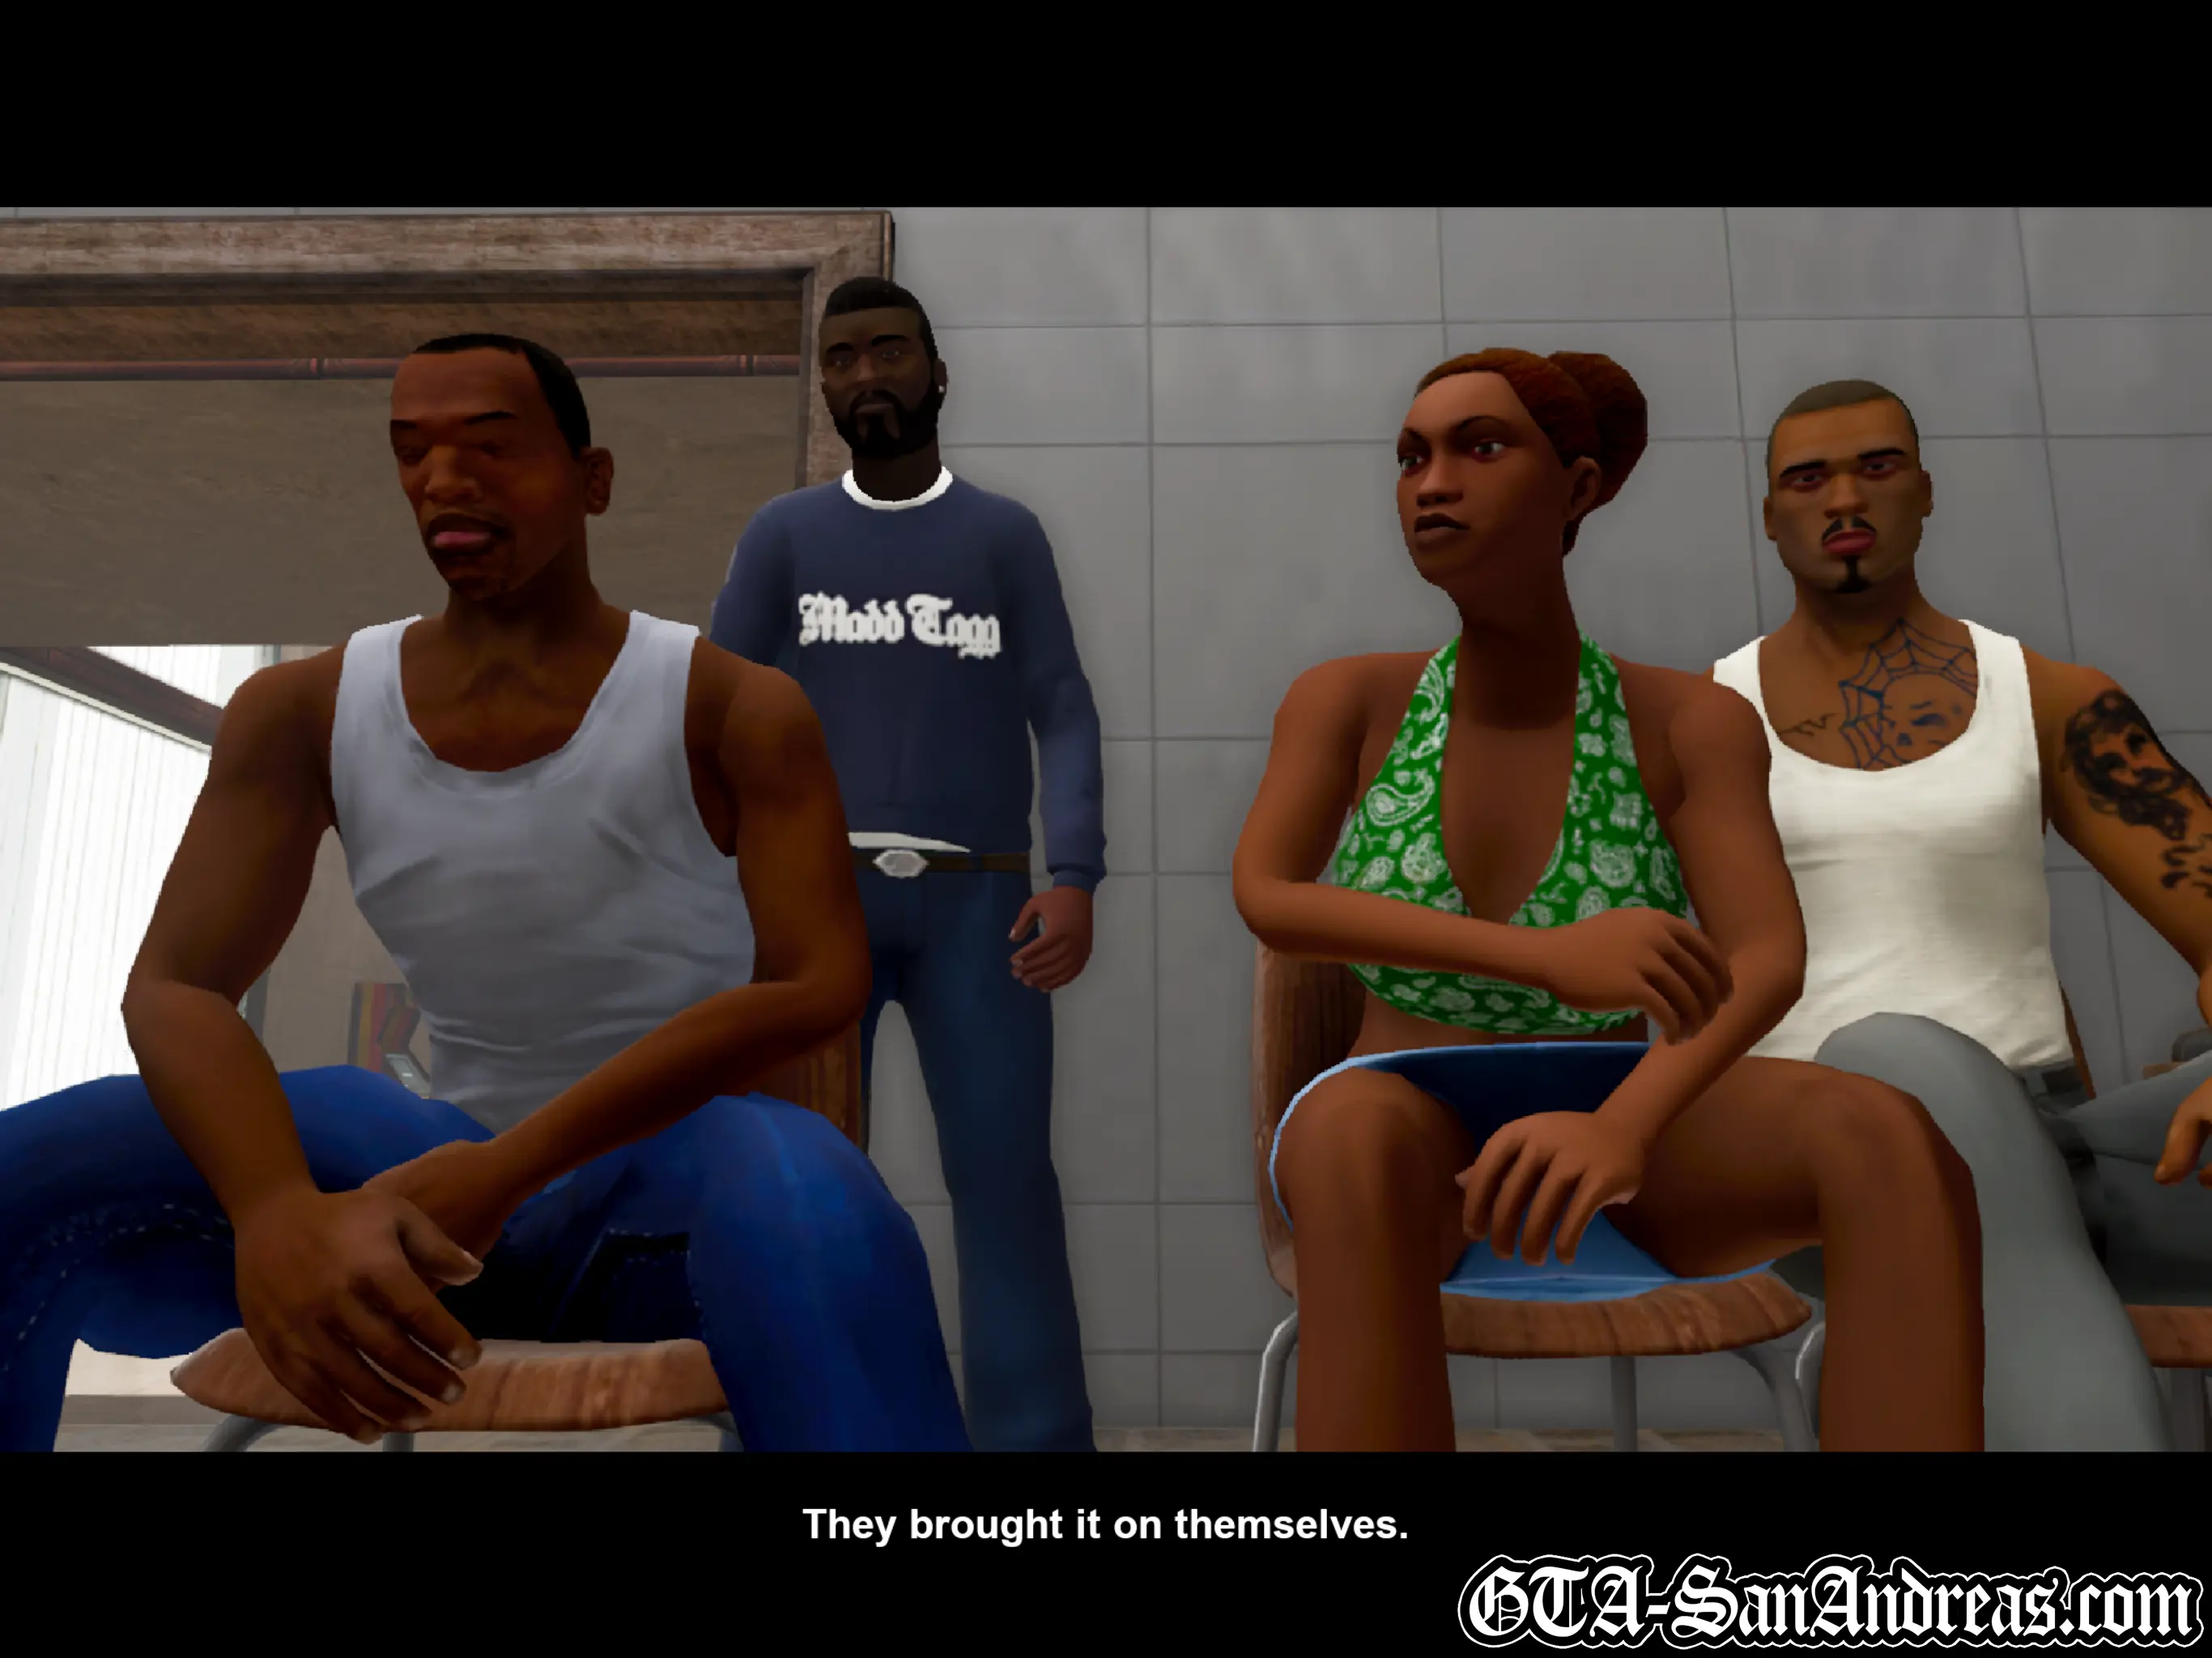
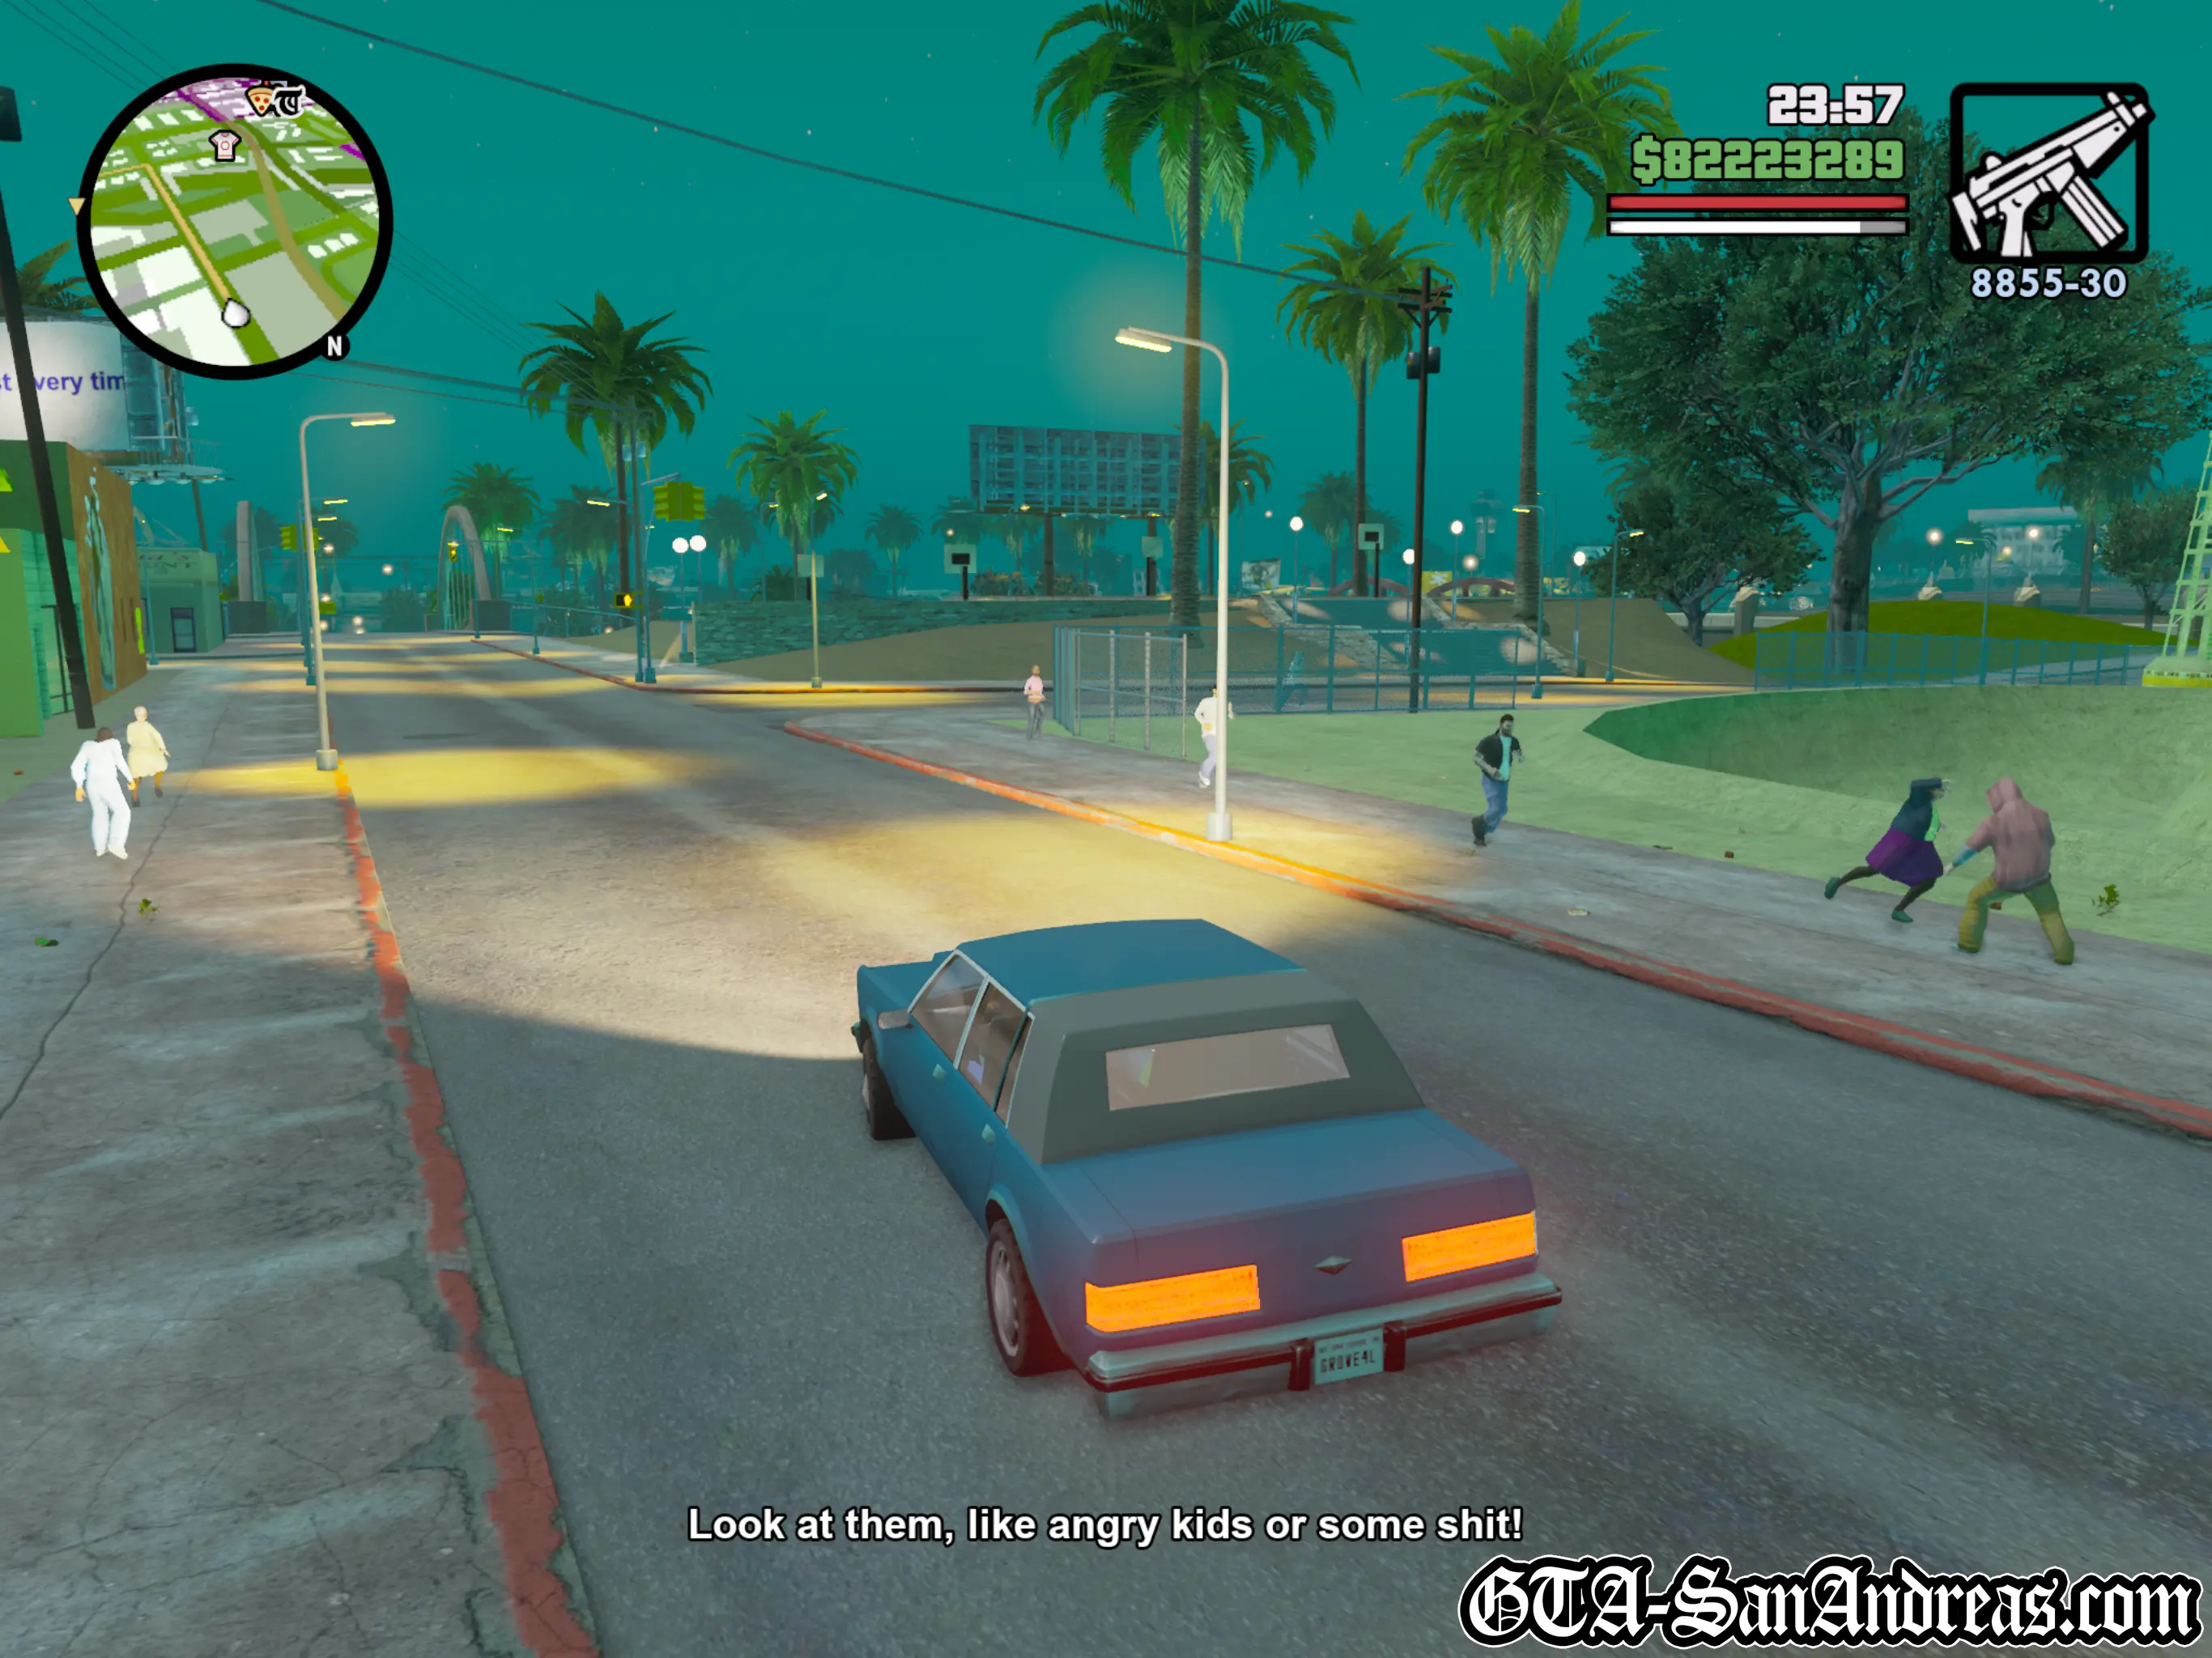
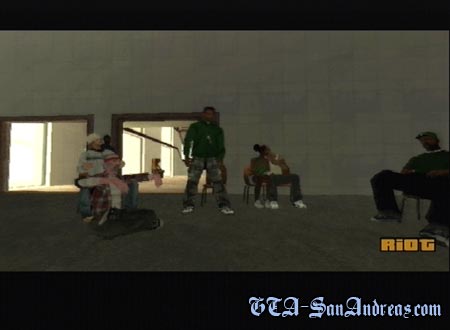
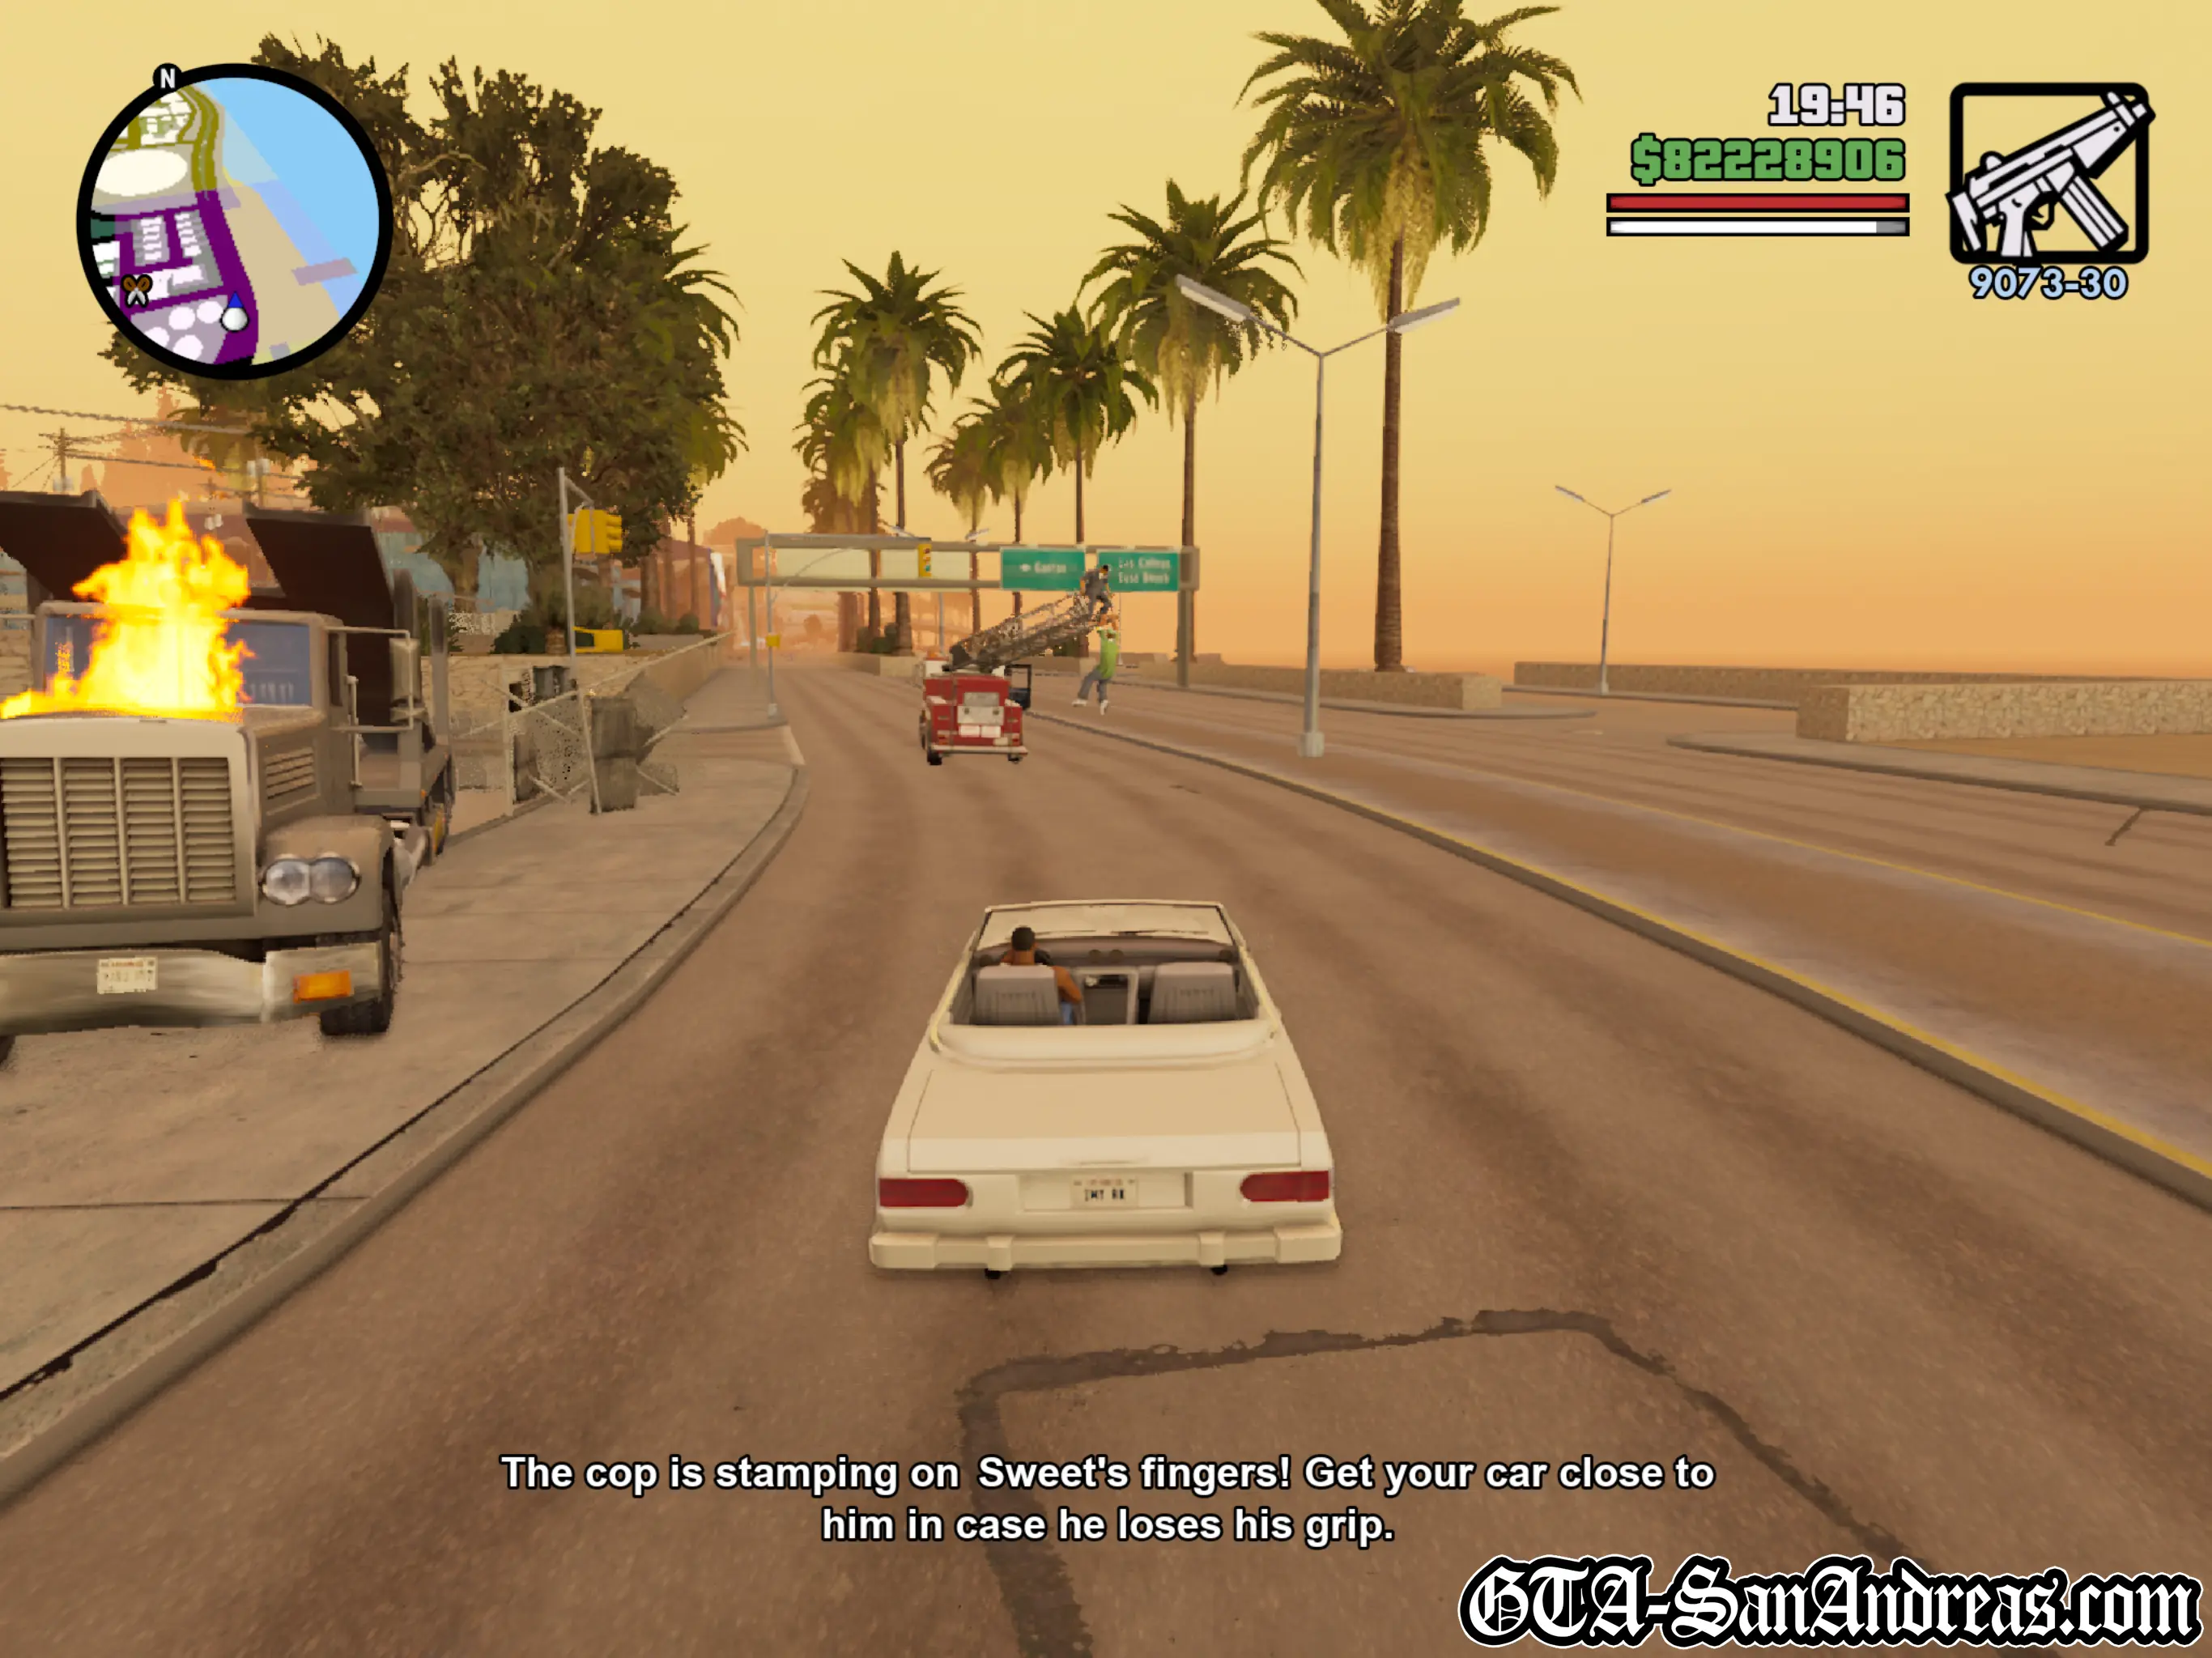
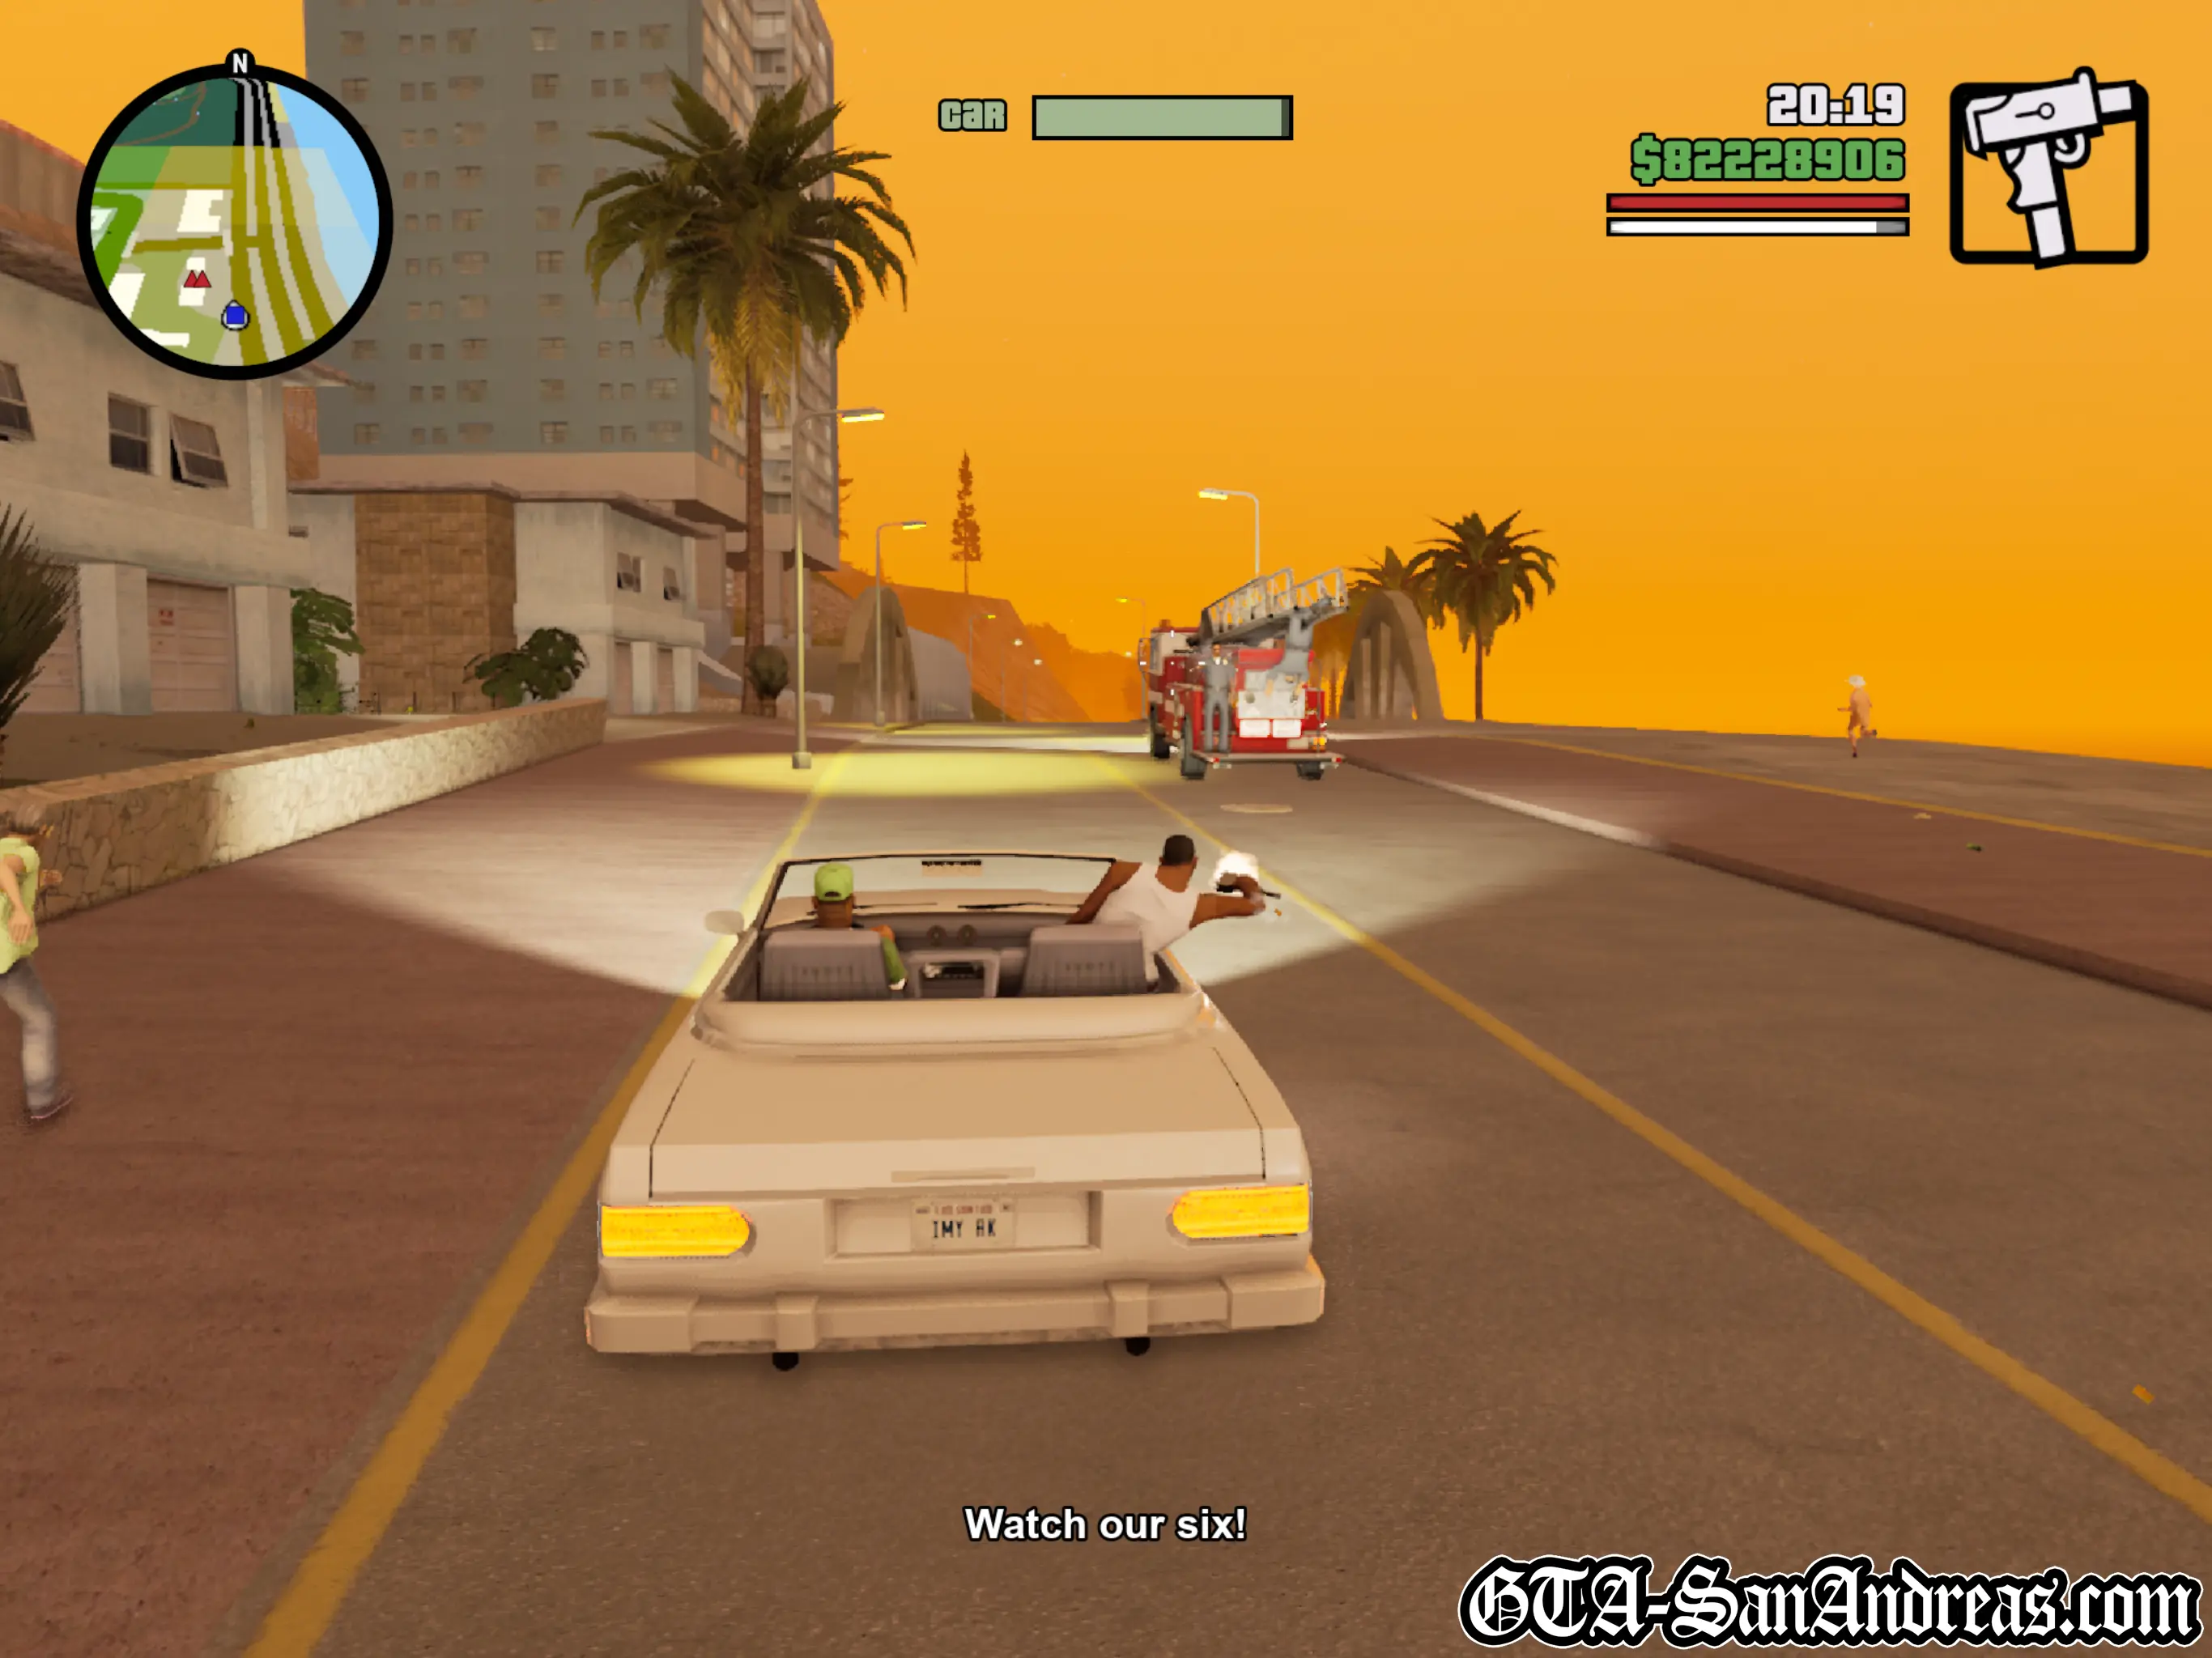
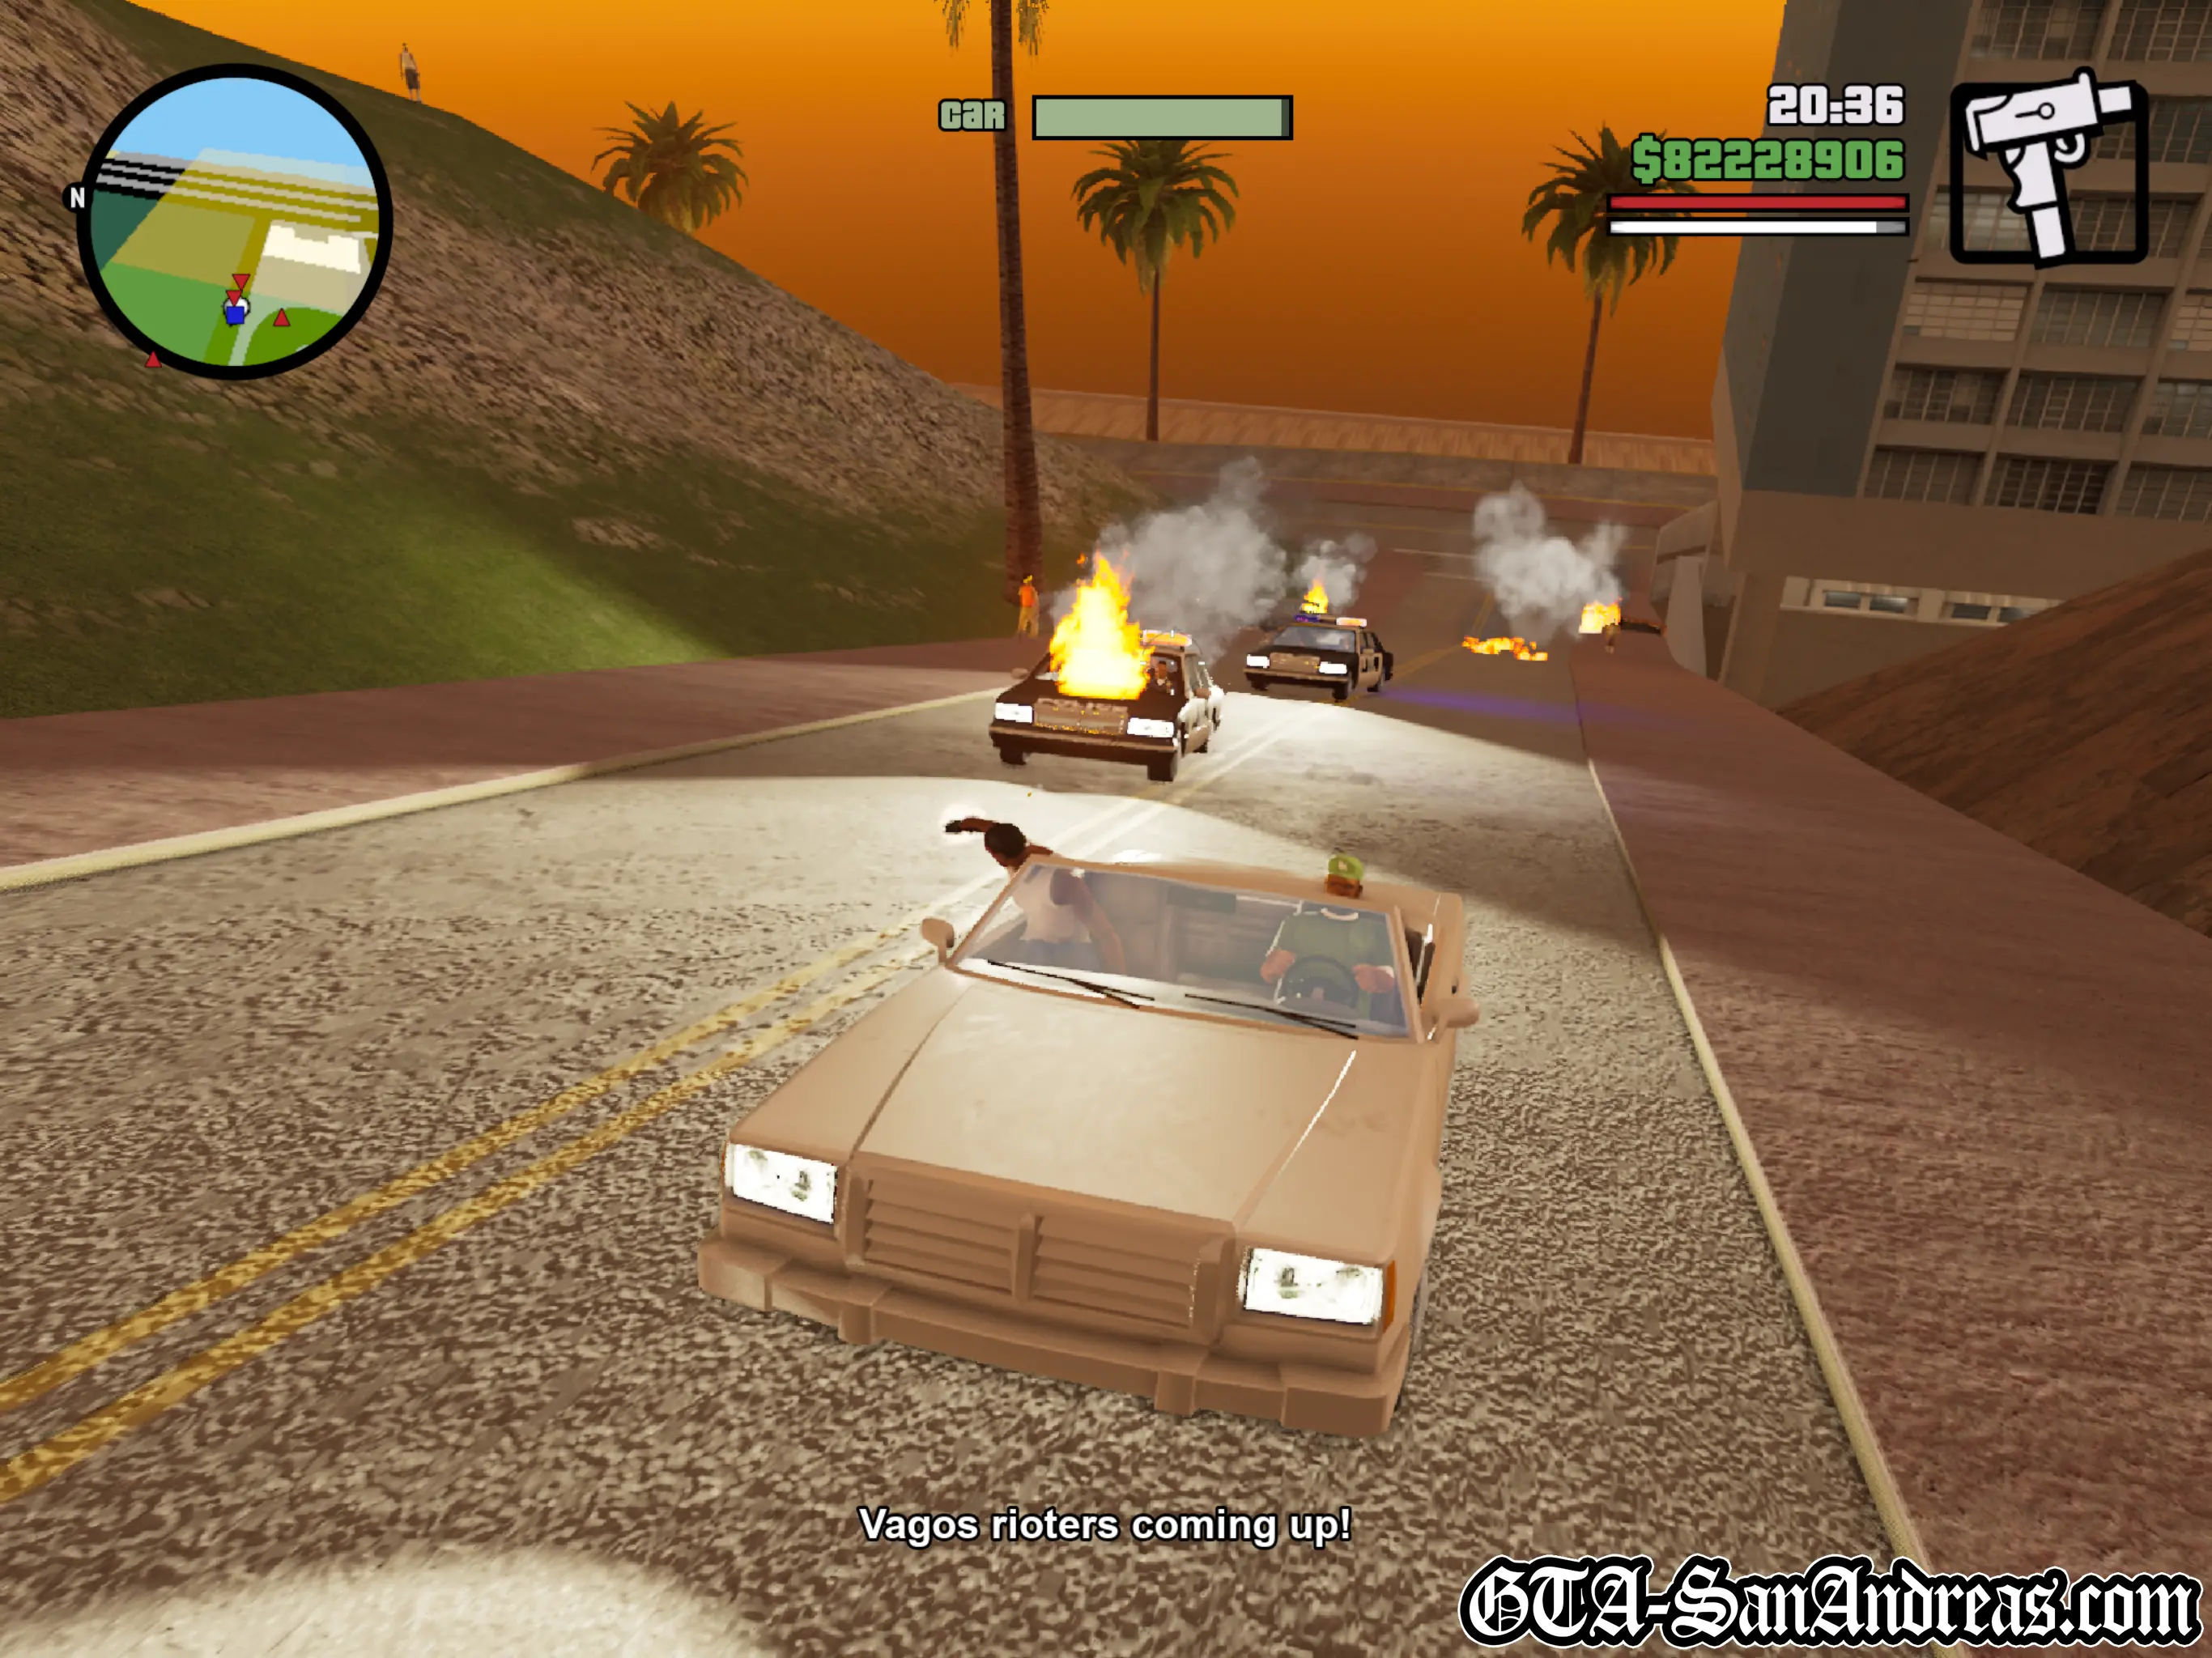
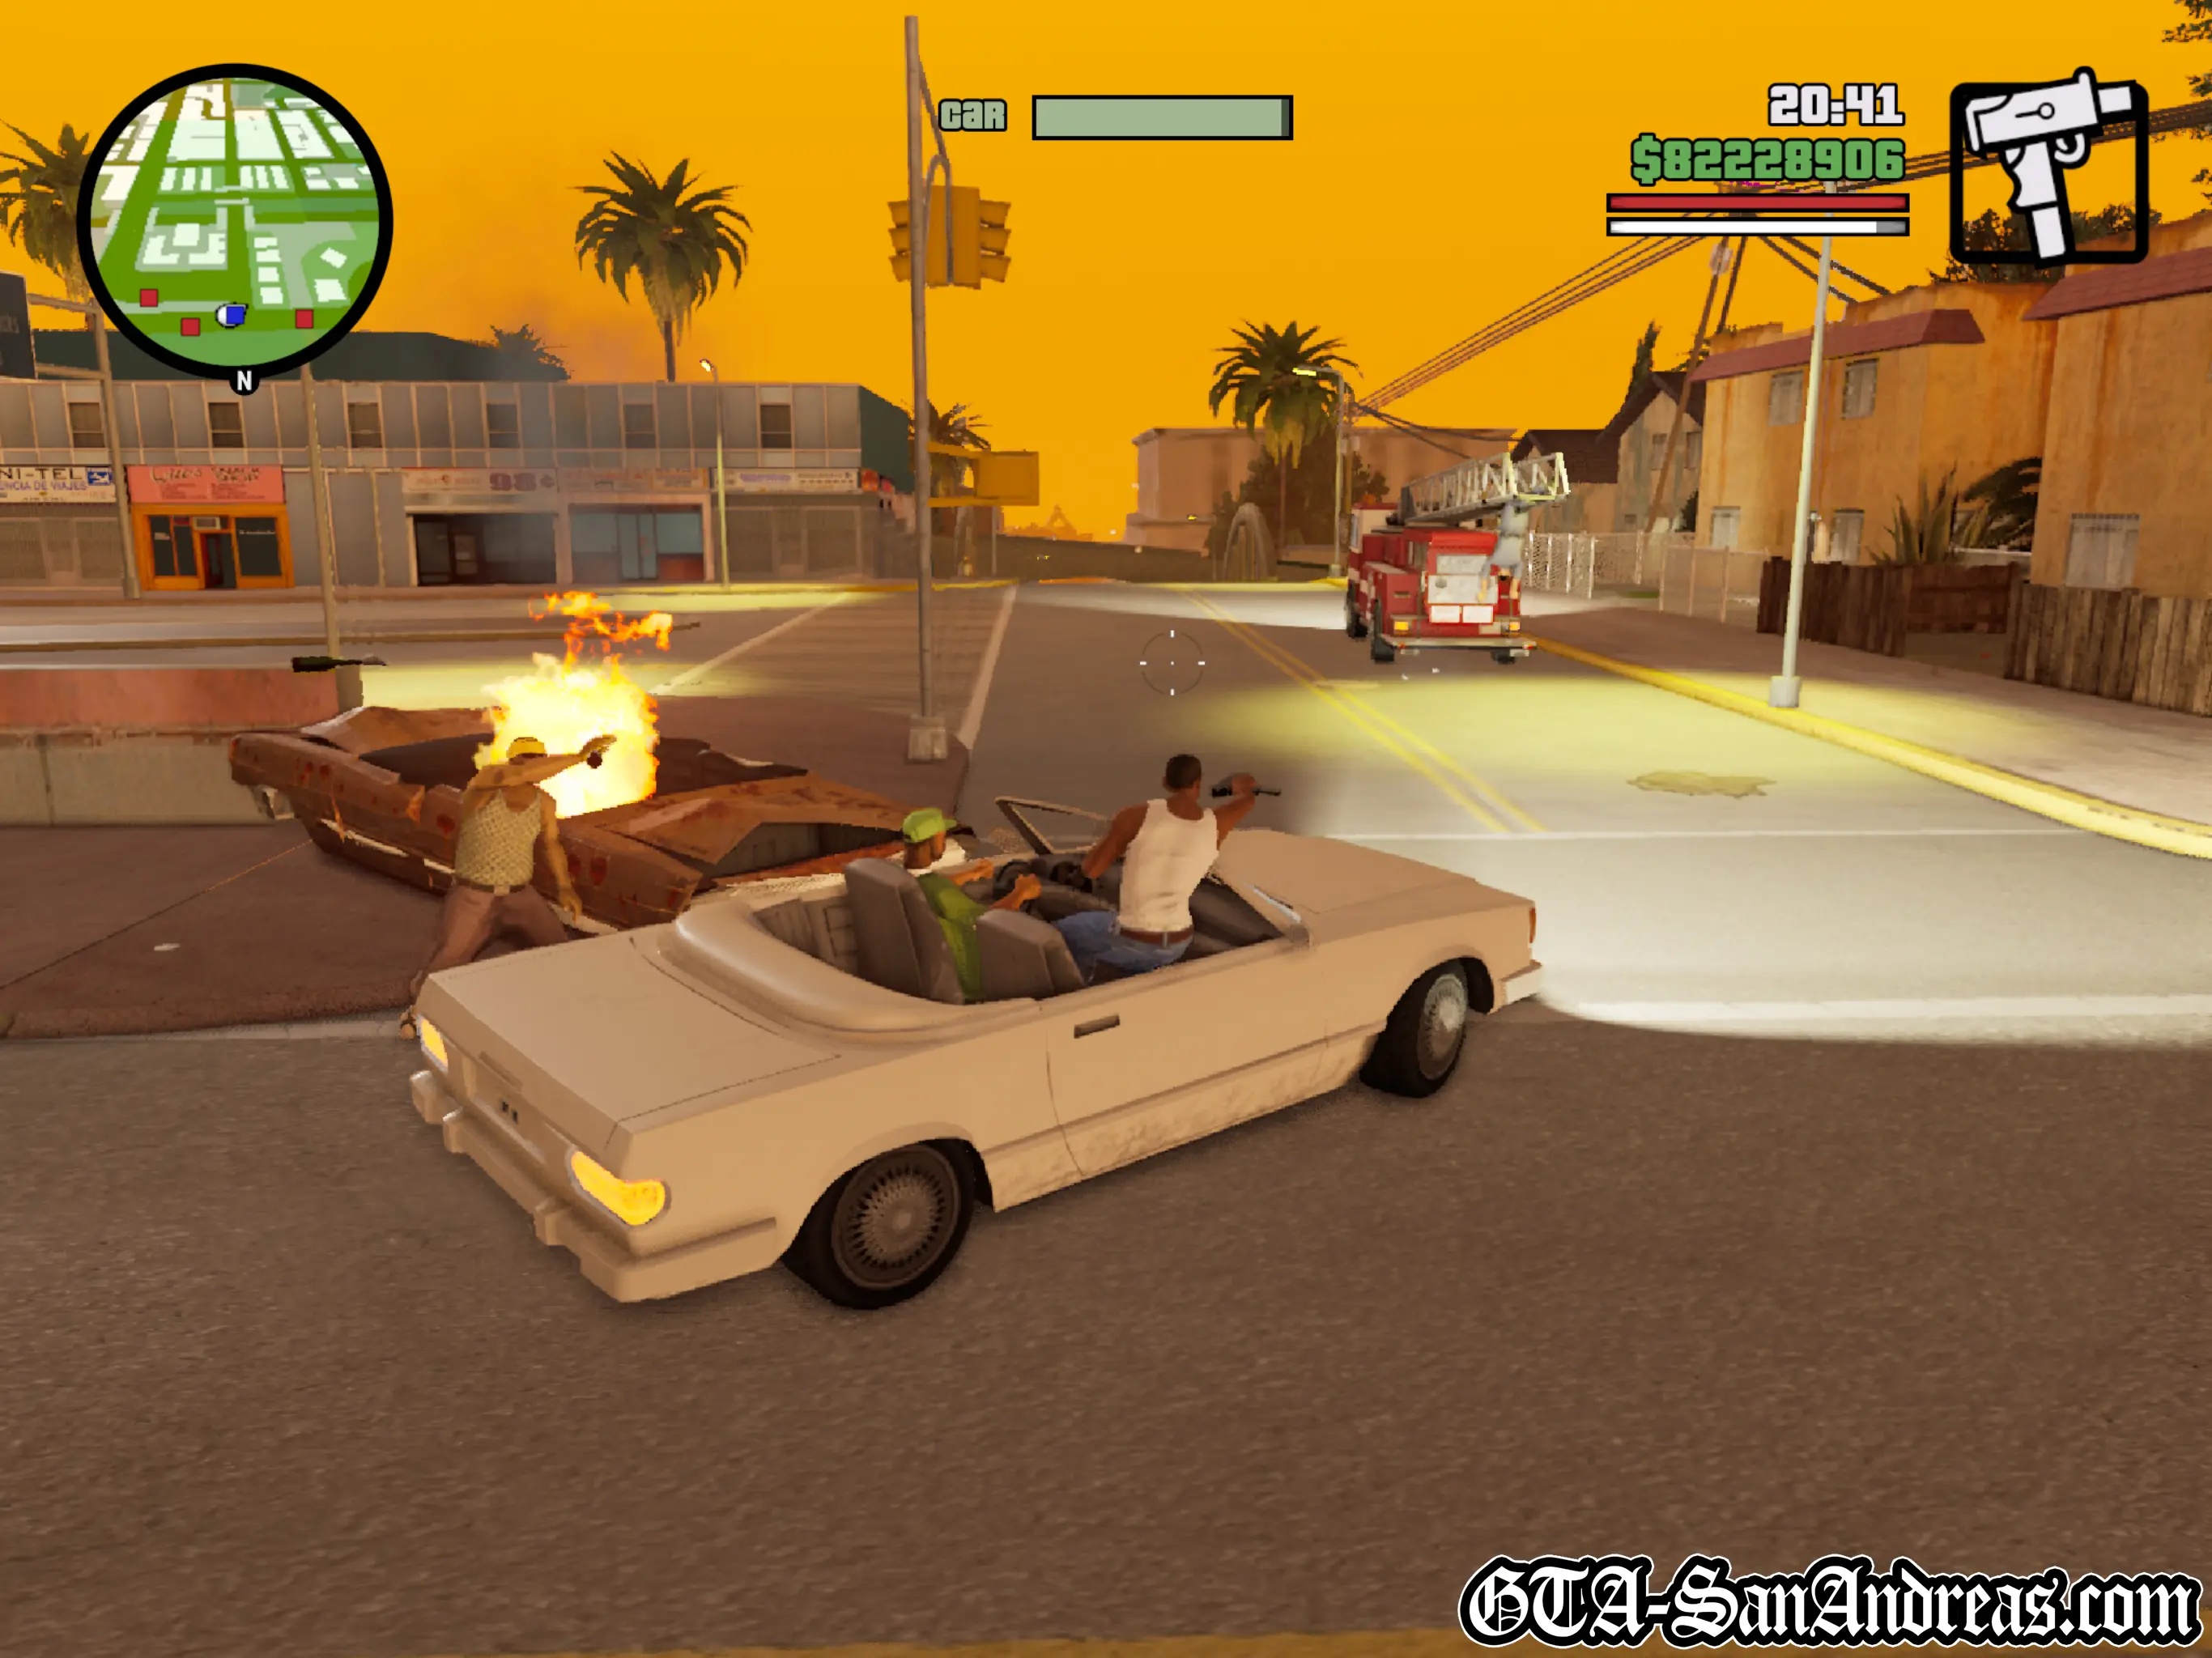
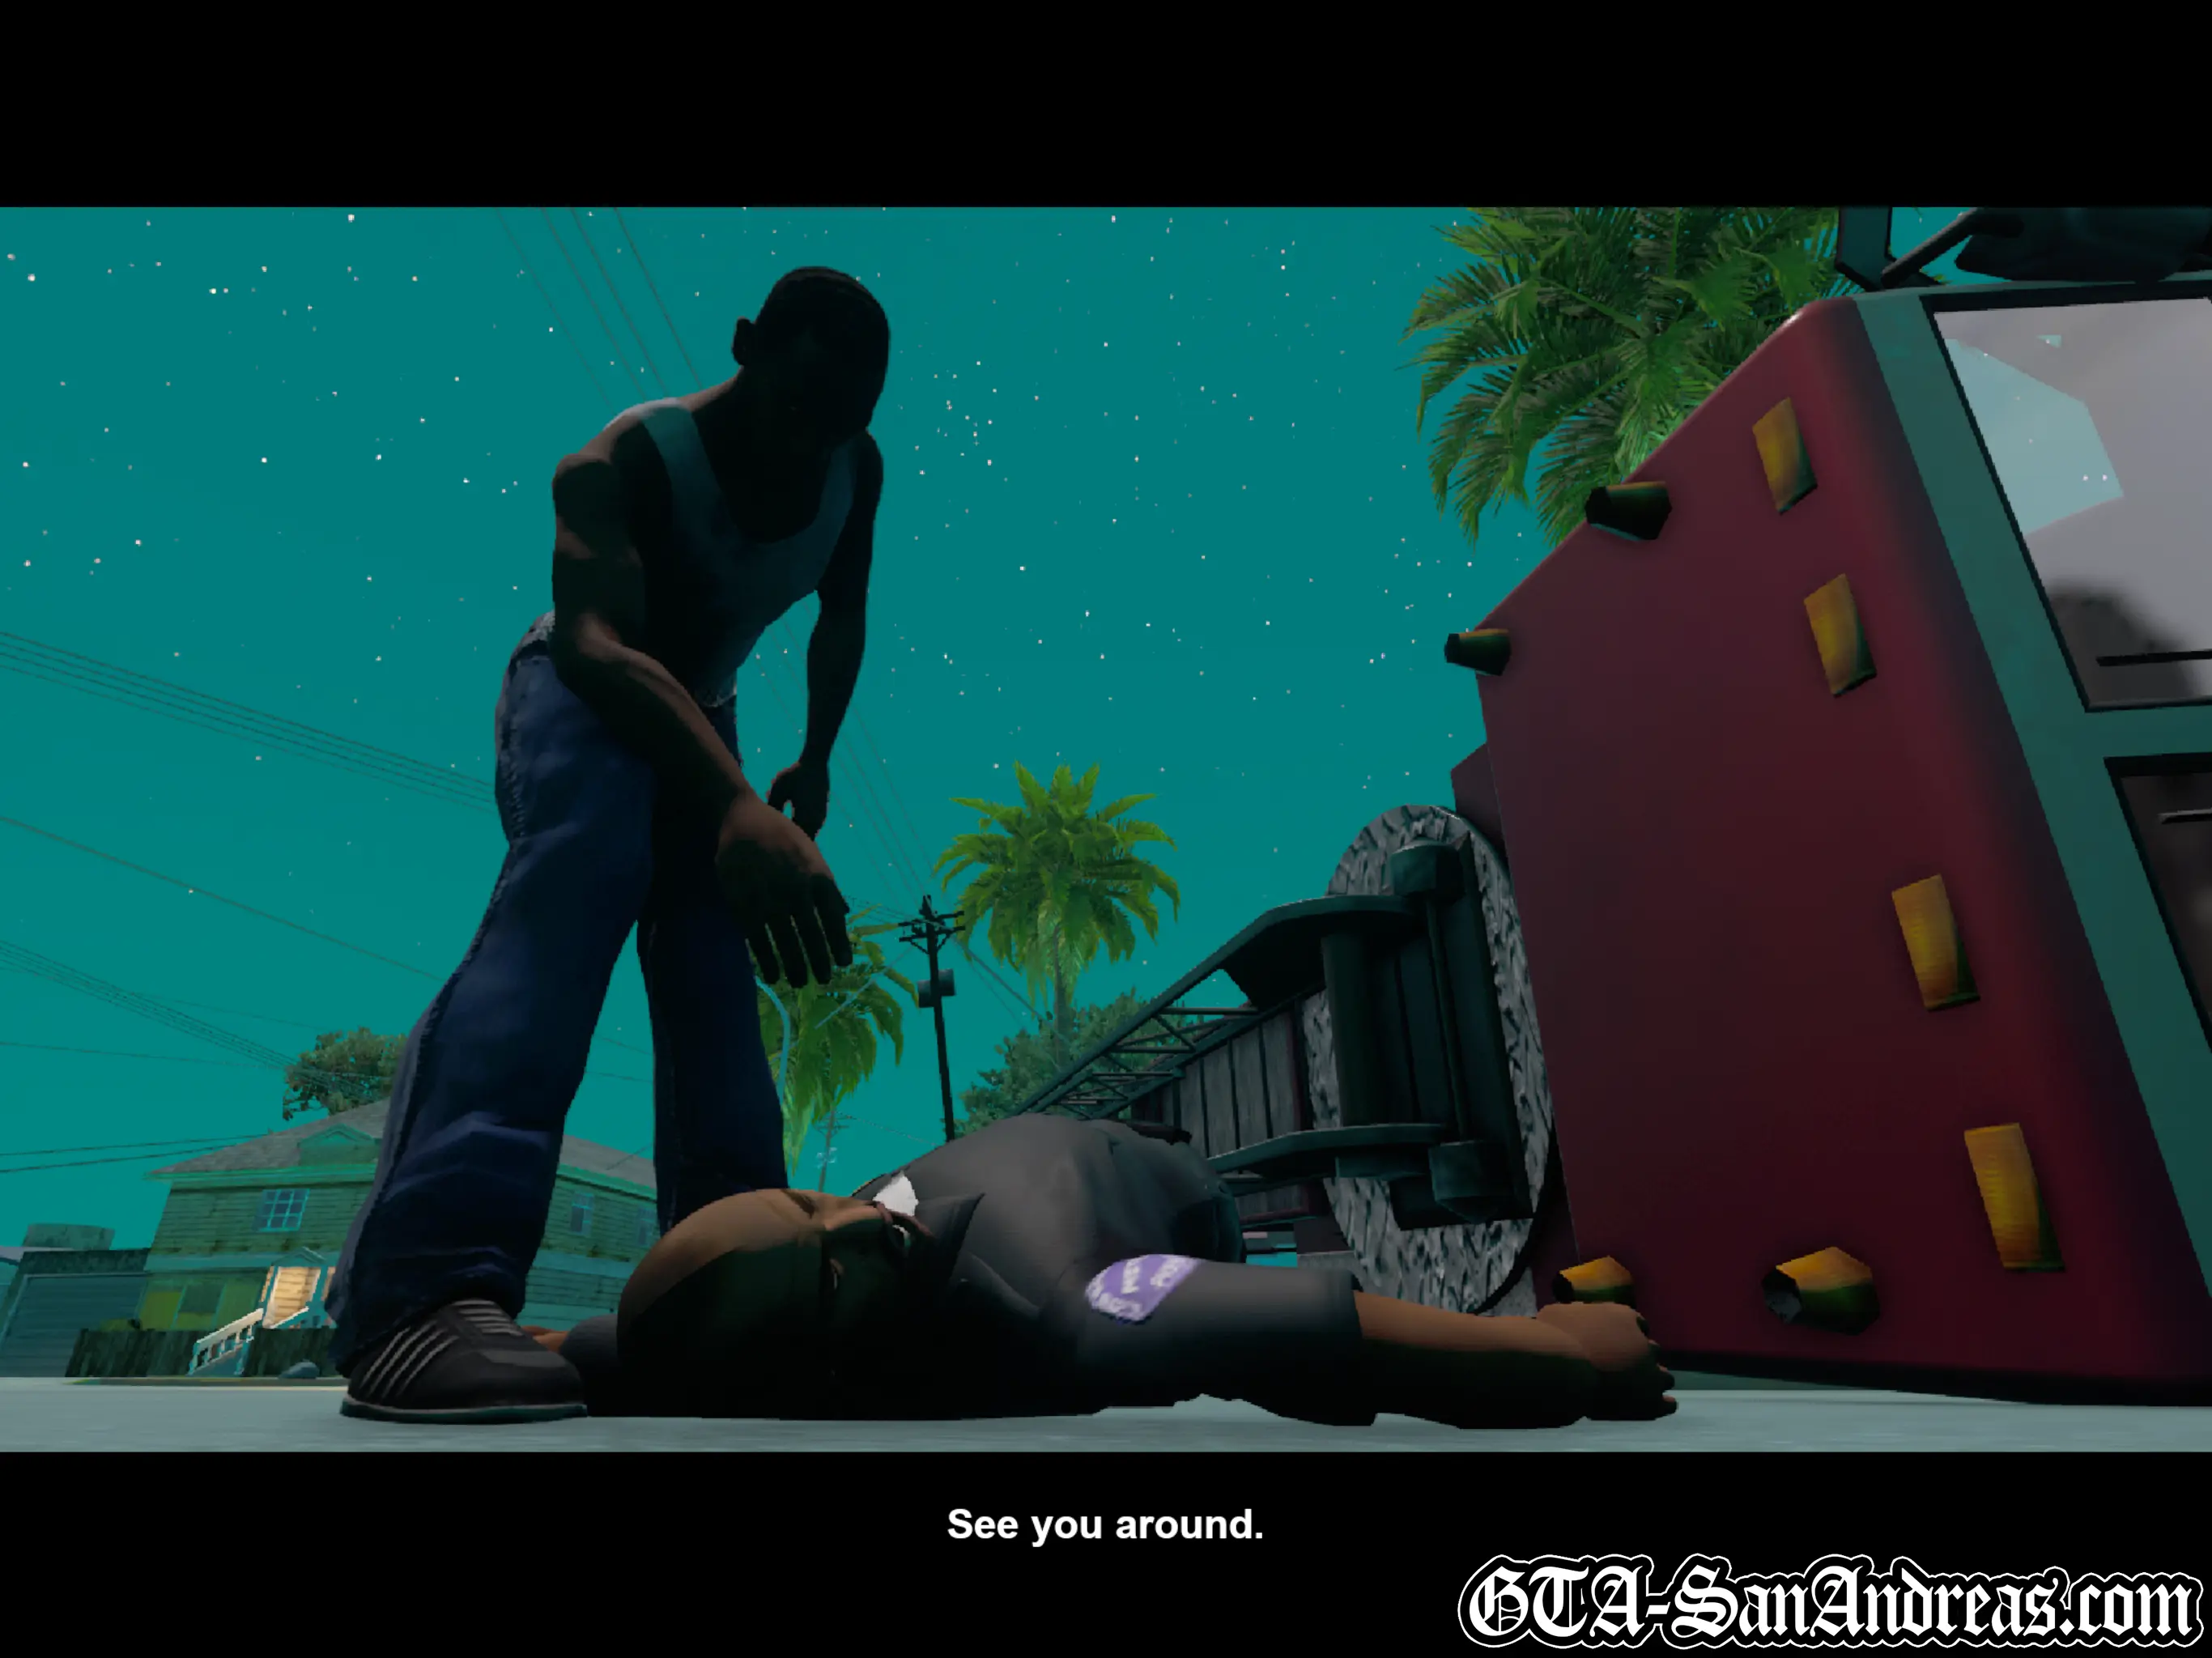
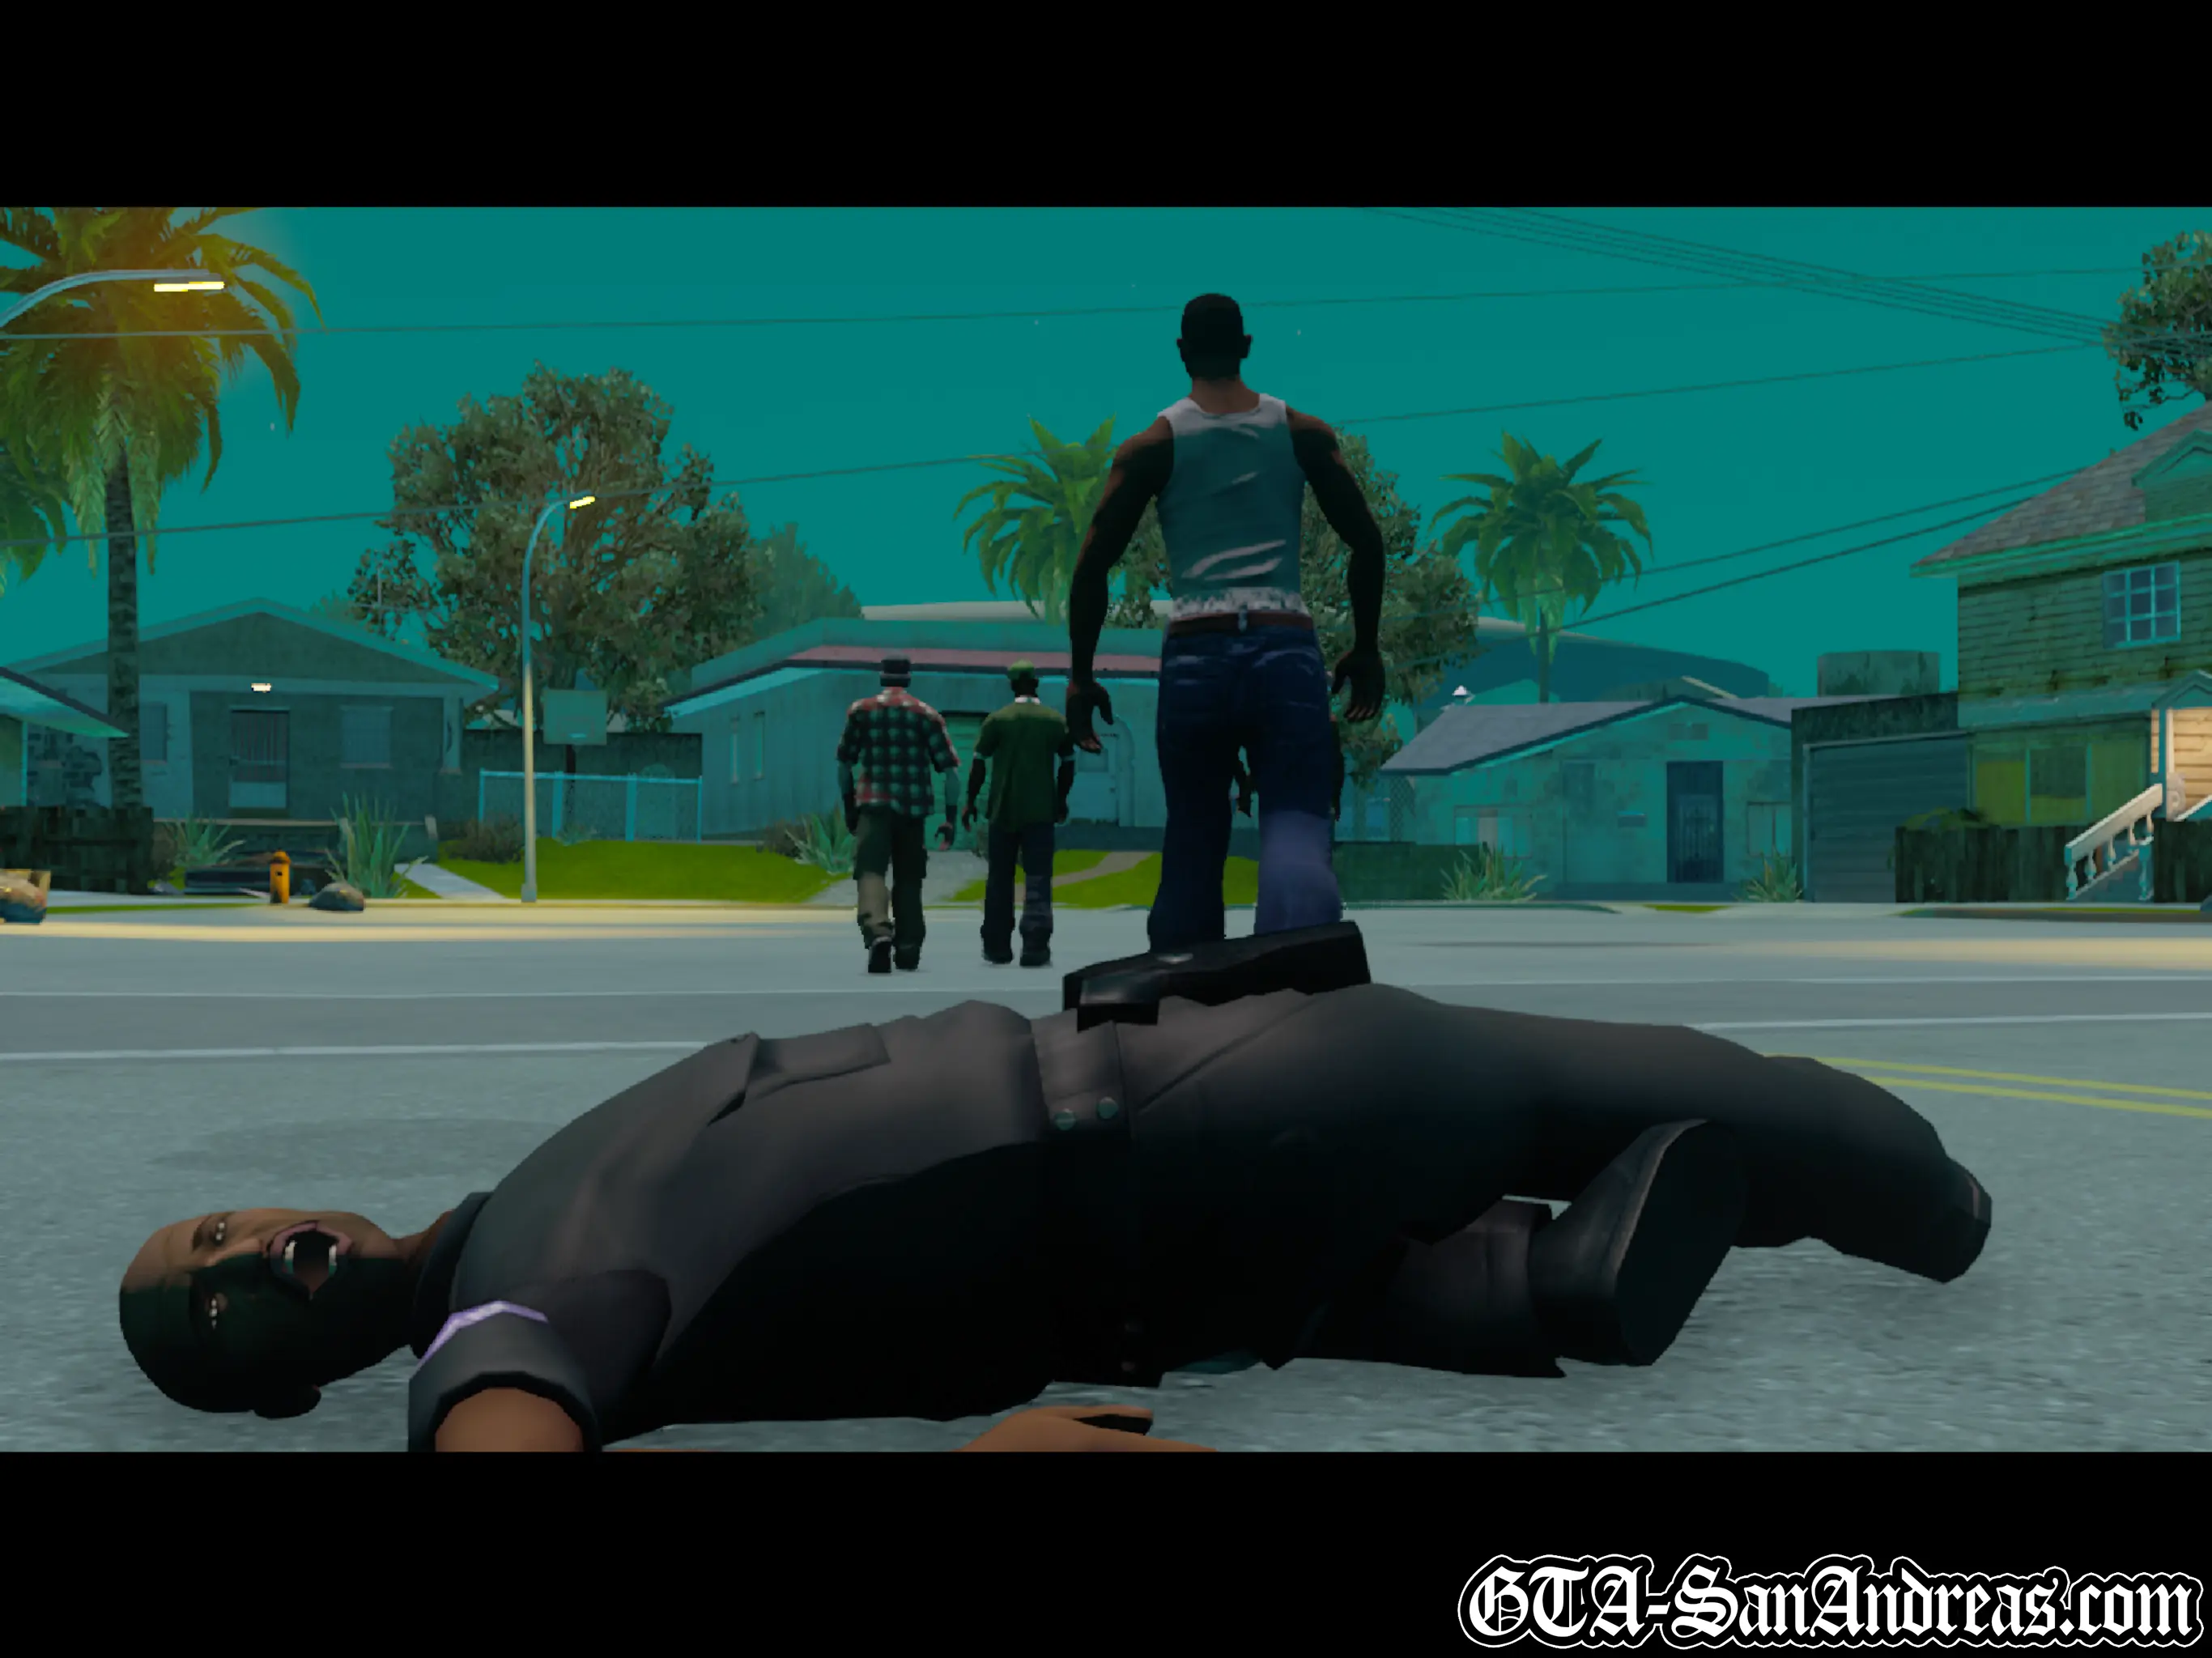
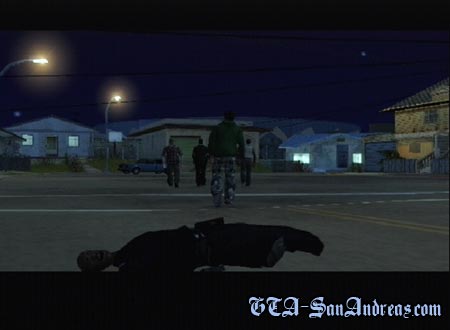
Frank Tenpenny was on trial for being a bent cop, but somehow, he got let off with no charges. The whole city can't believe it and is going insane and rioting in the streets. Everything is on fire and people are stealing shit all over! Sweet wants you to take him home, so drive to Grove Street, avoiding the crazy pedestrians and random fires, and make your way home. When you get there, park in the red circle.
The whole city is now Rioting. This will continue until you complete a few more missions. If you like the idea of smoke coming out of everything, or random cars blowing up, feel free to check out the city. If not, head to Sweet for another mission.
Screenshots
Sweet
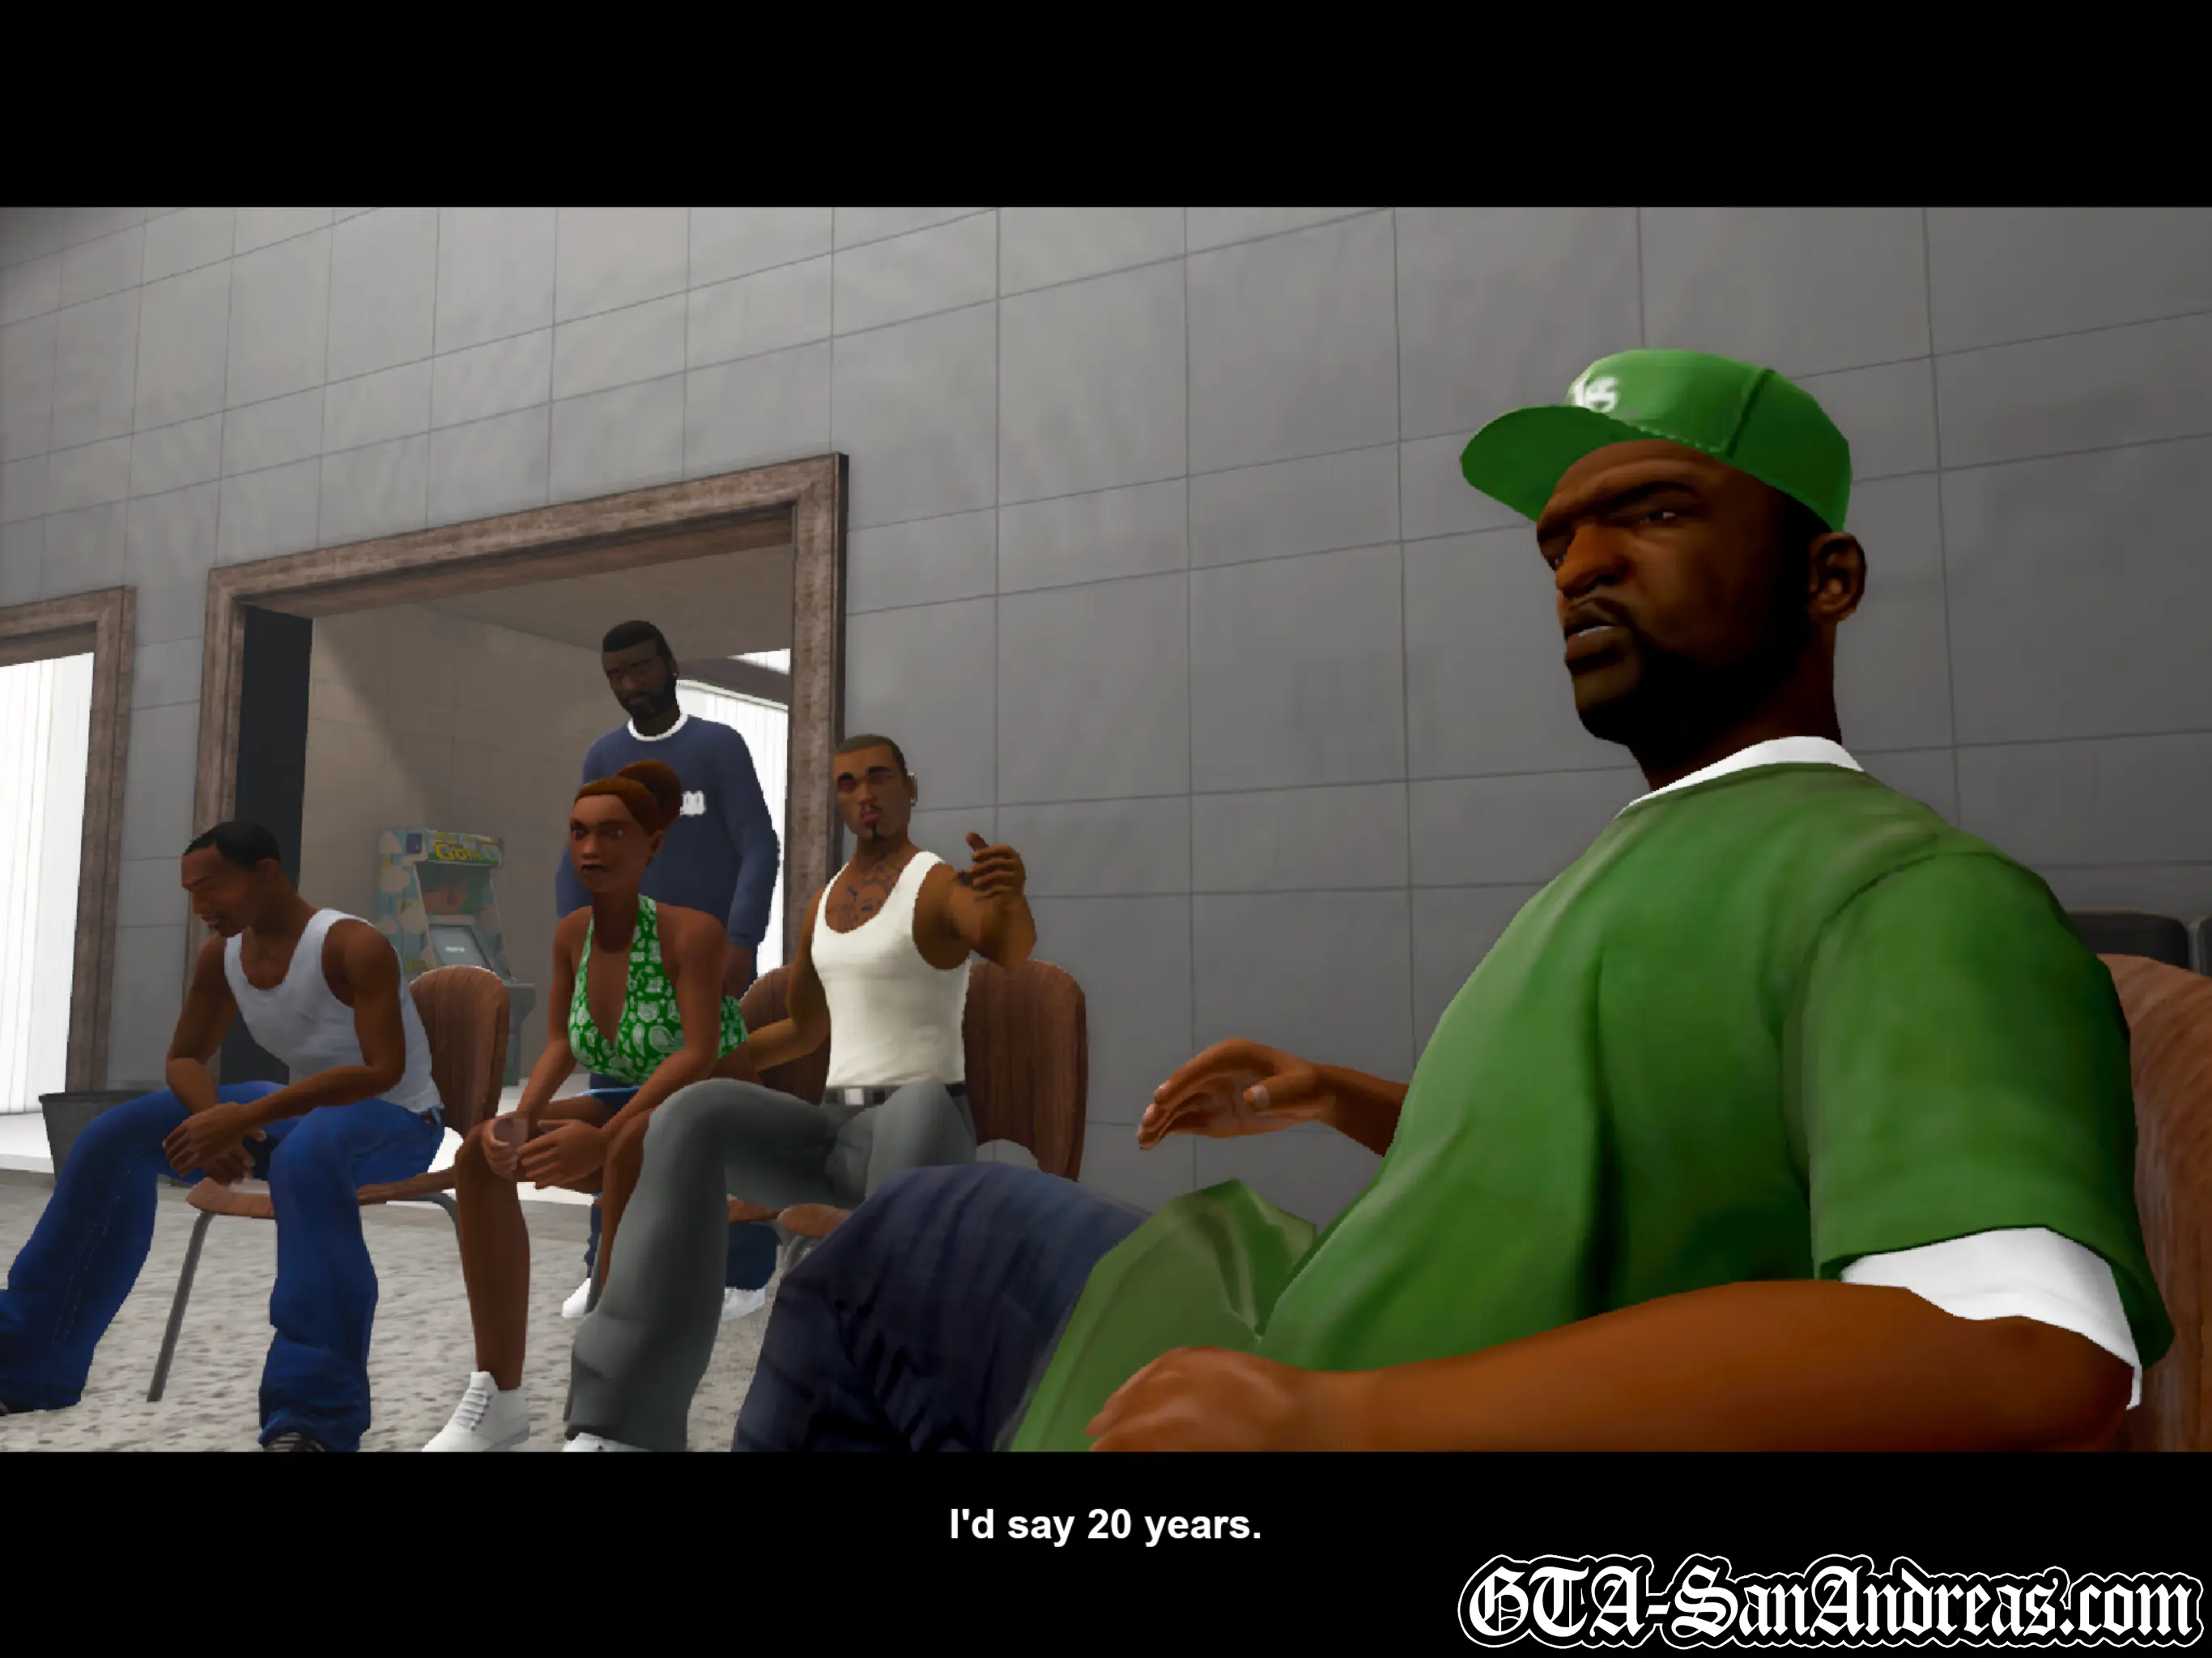
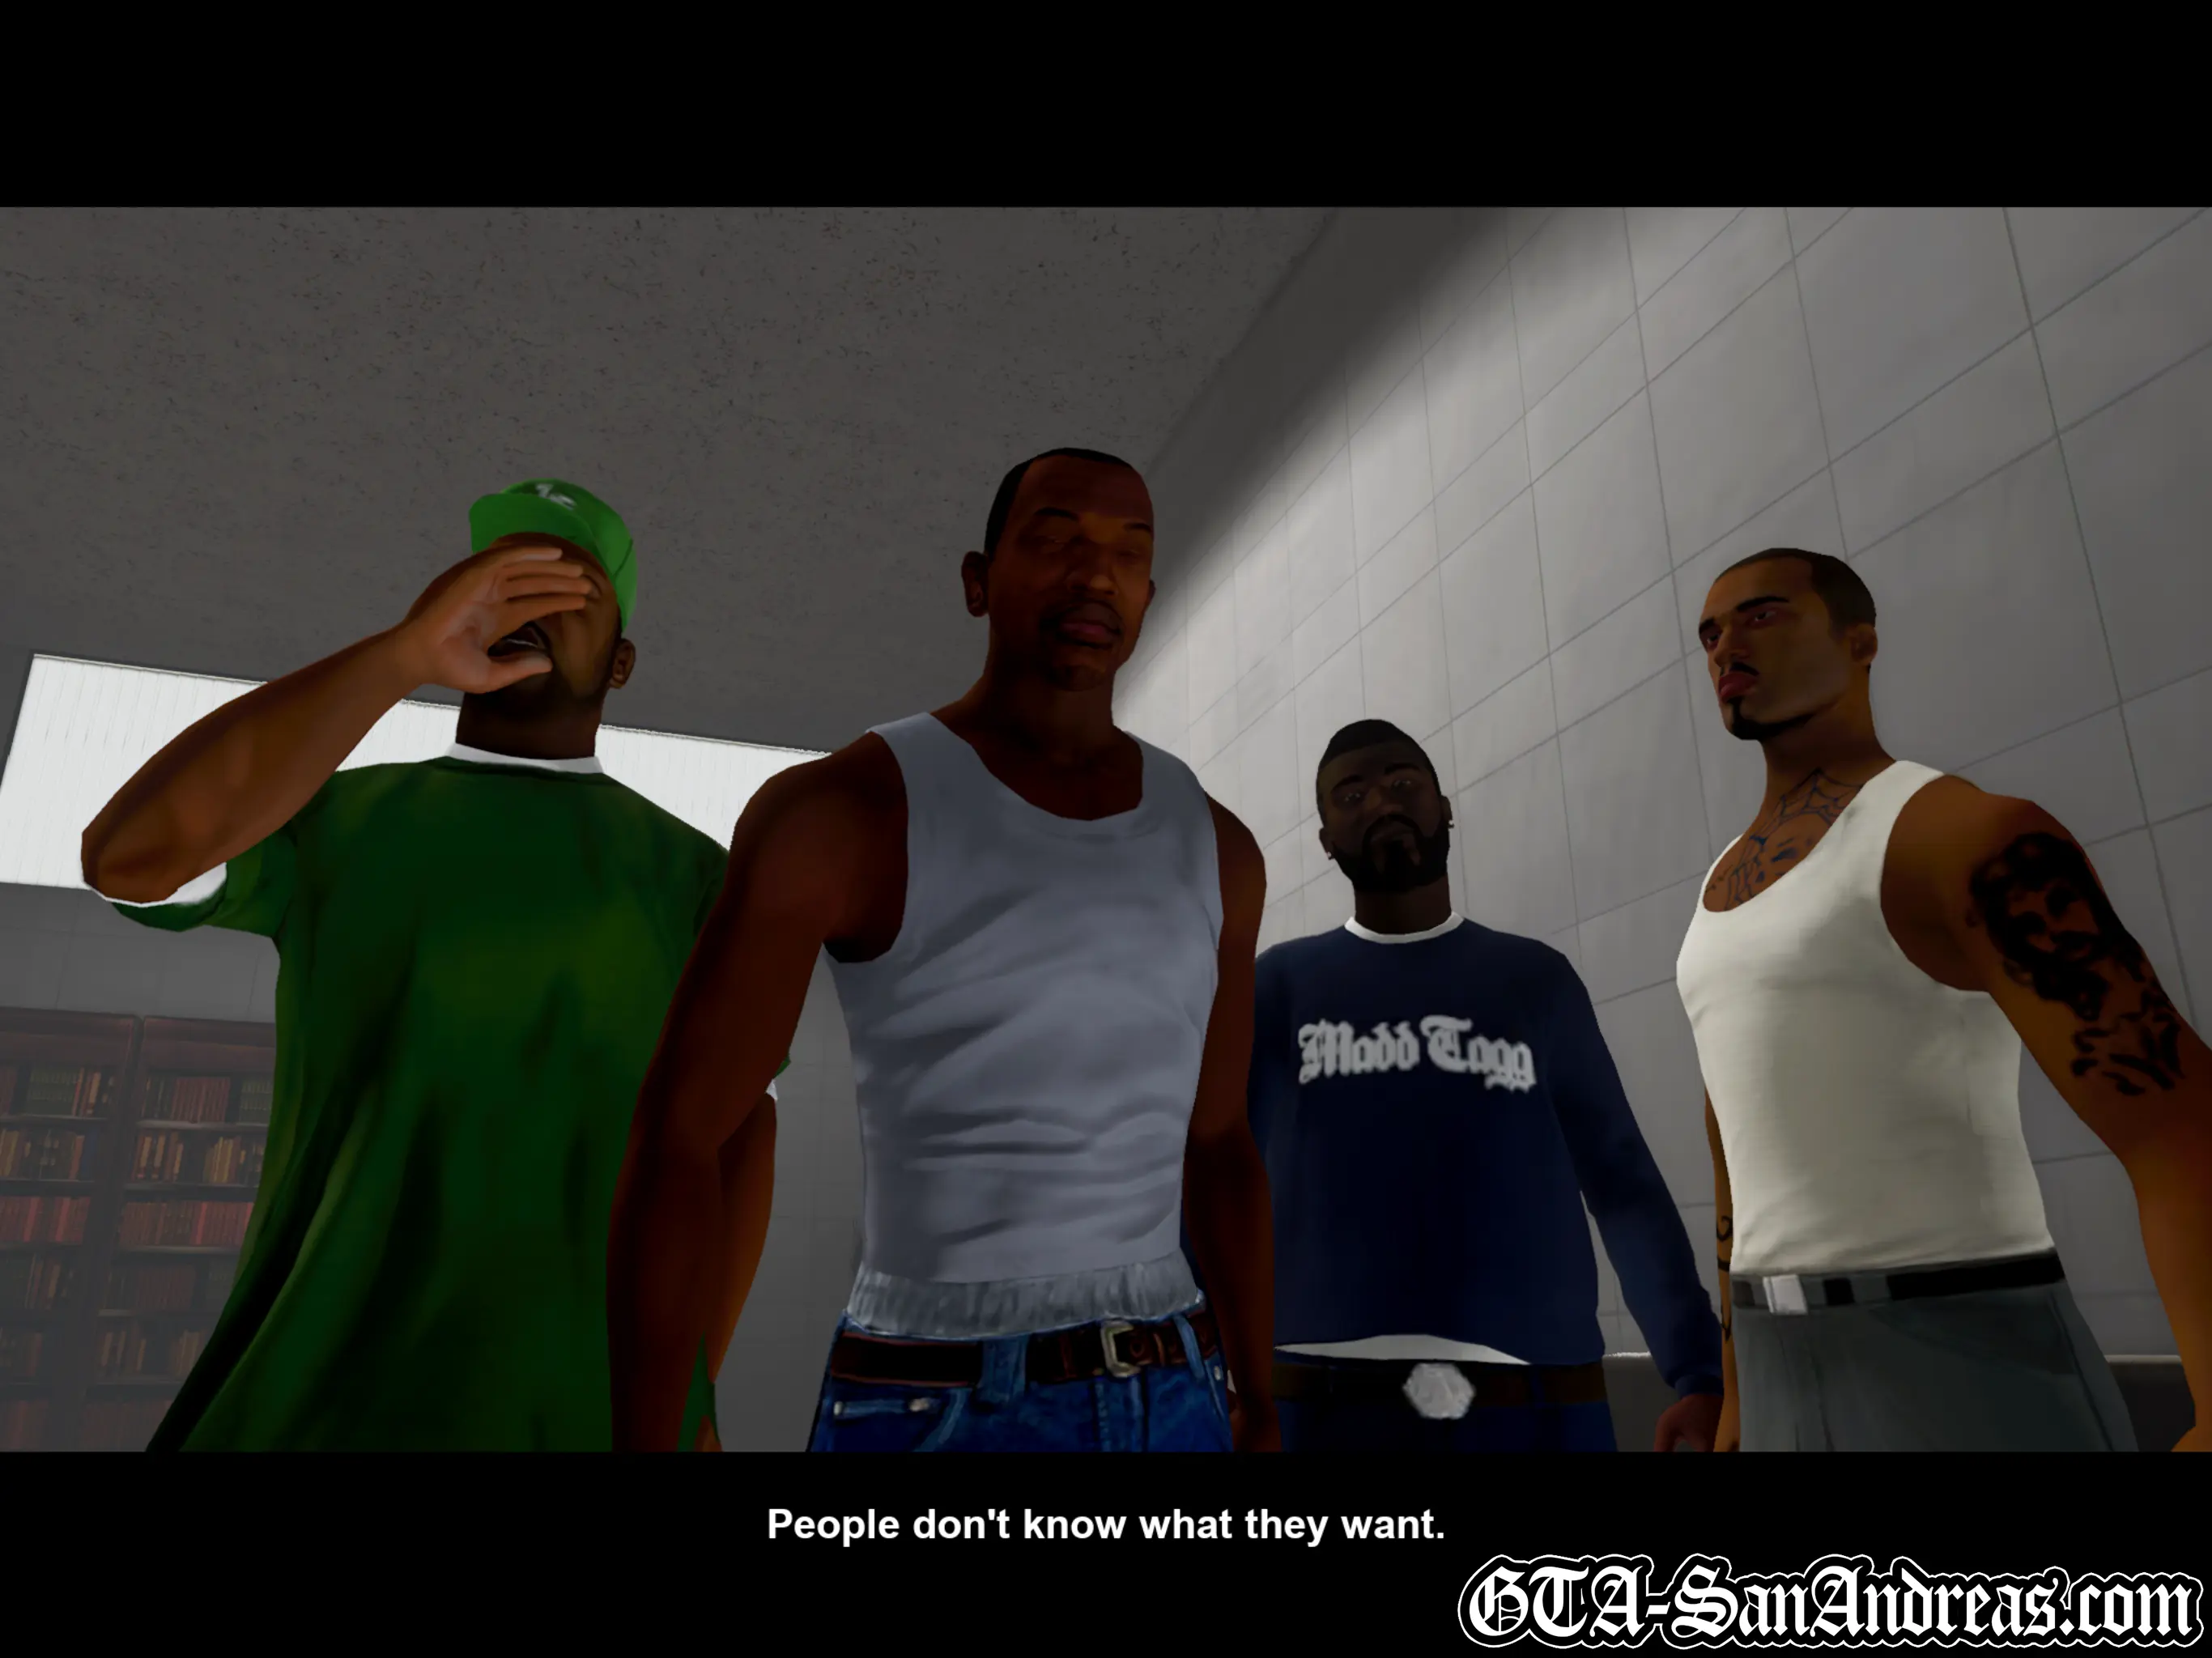
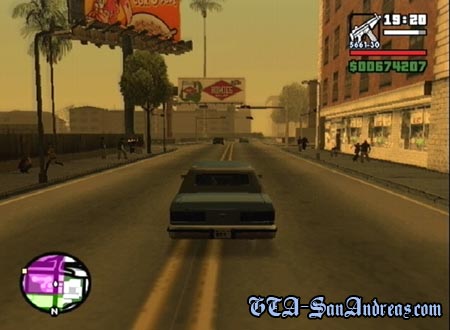
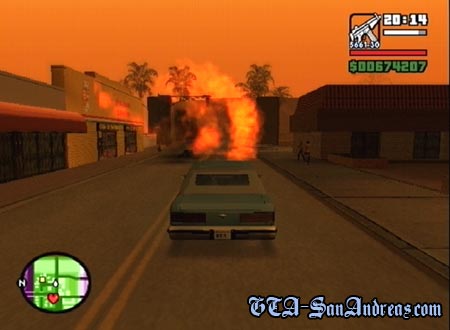
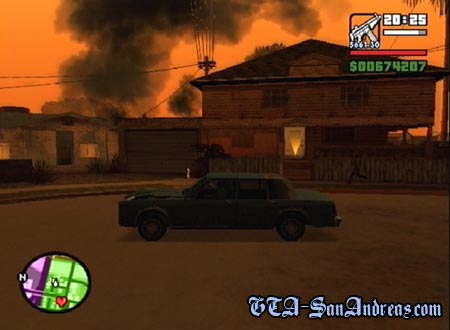
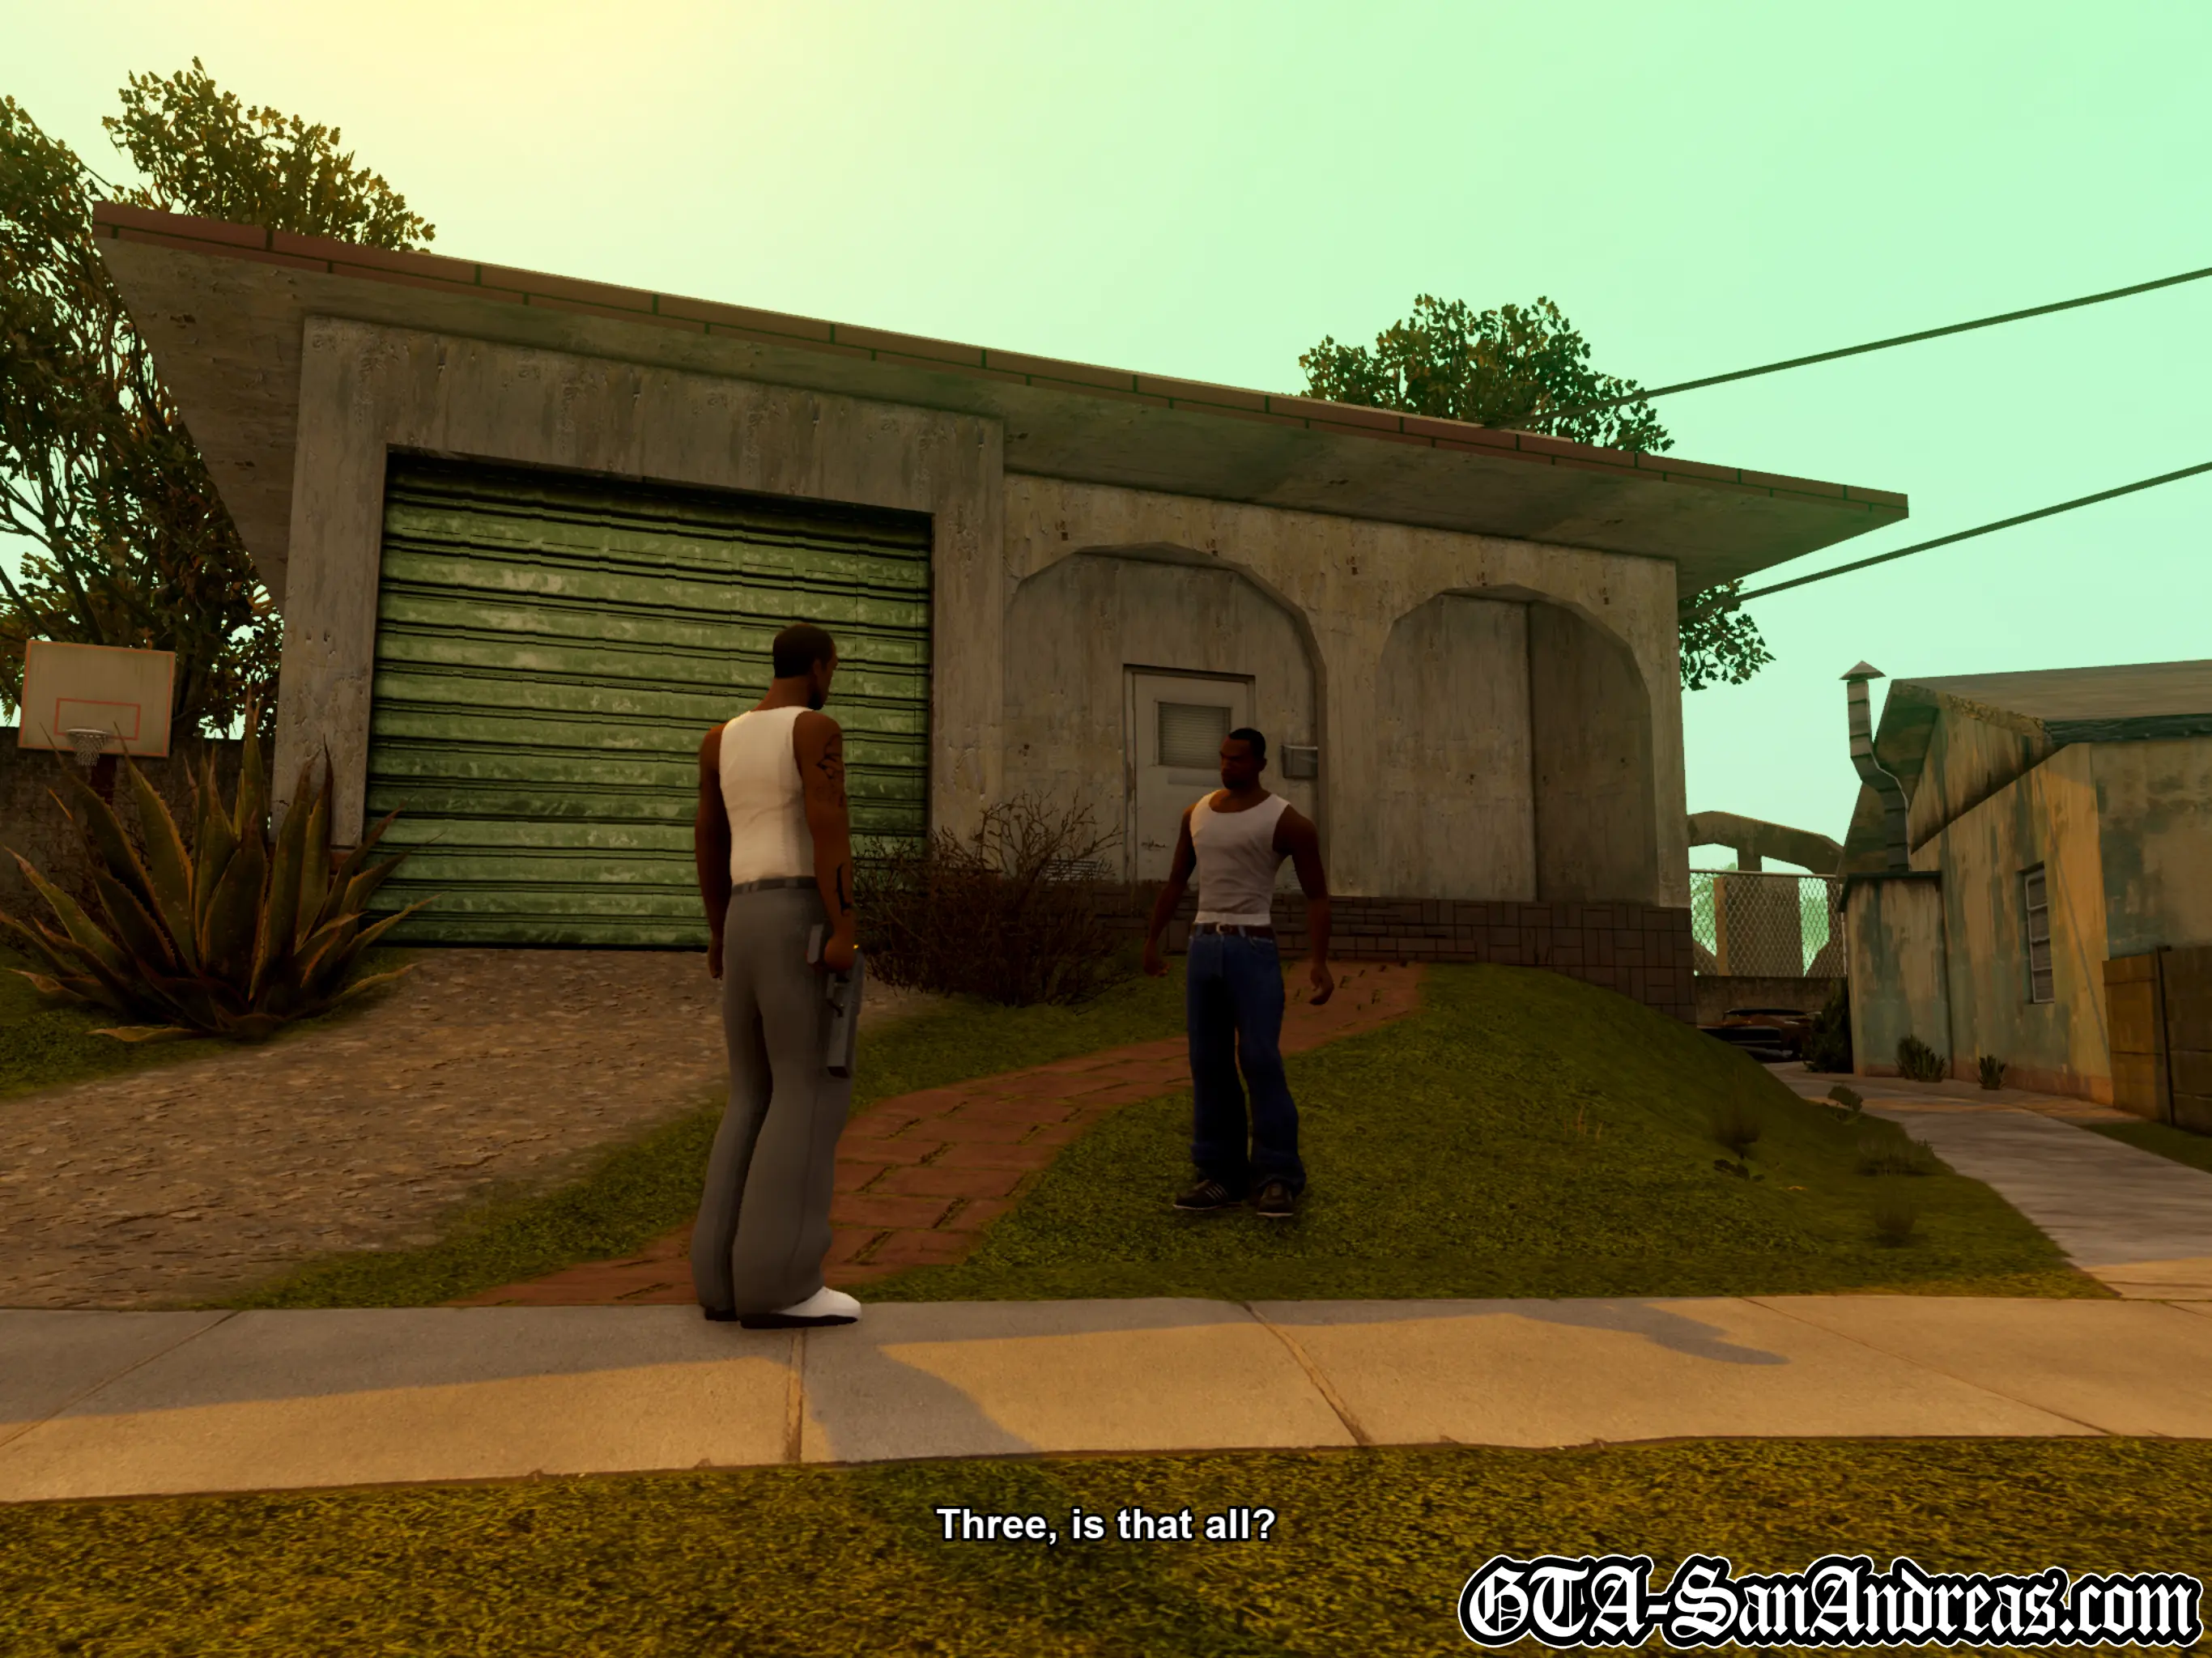
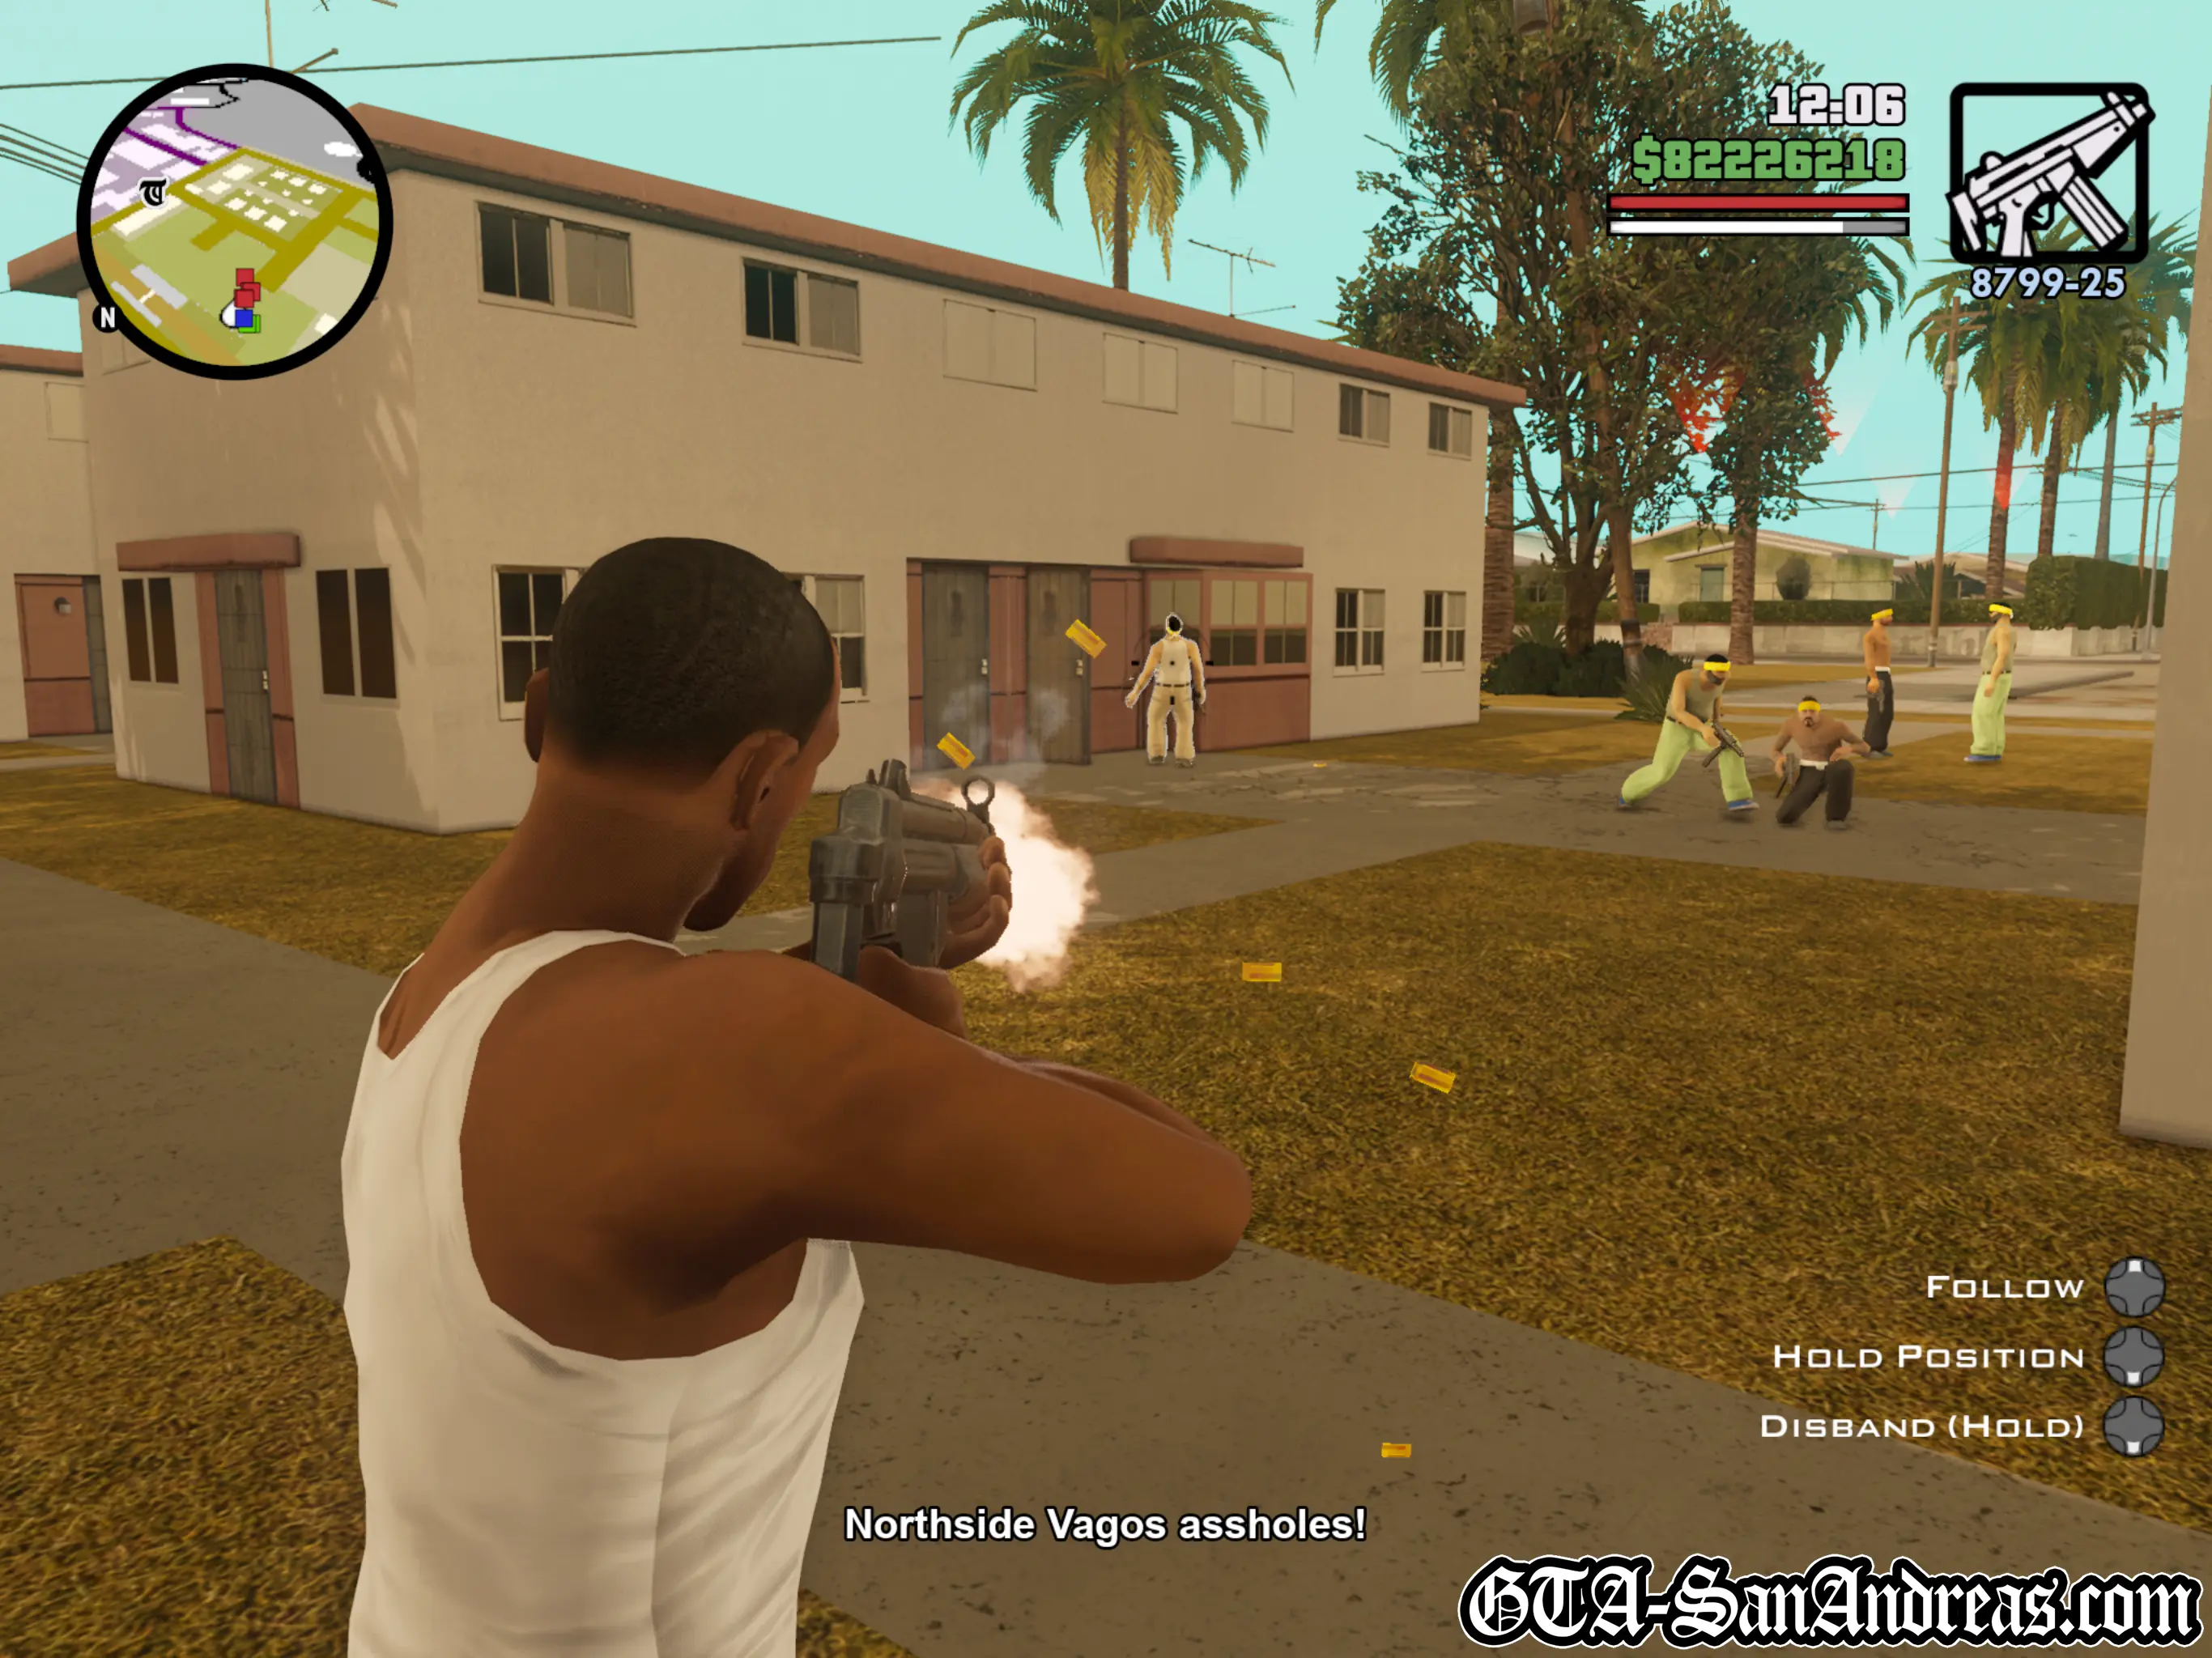
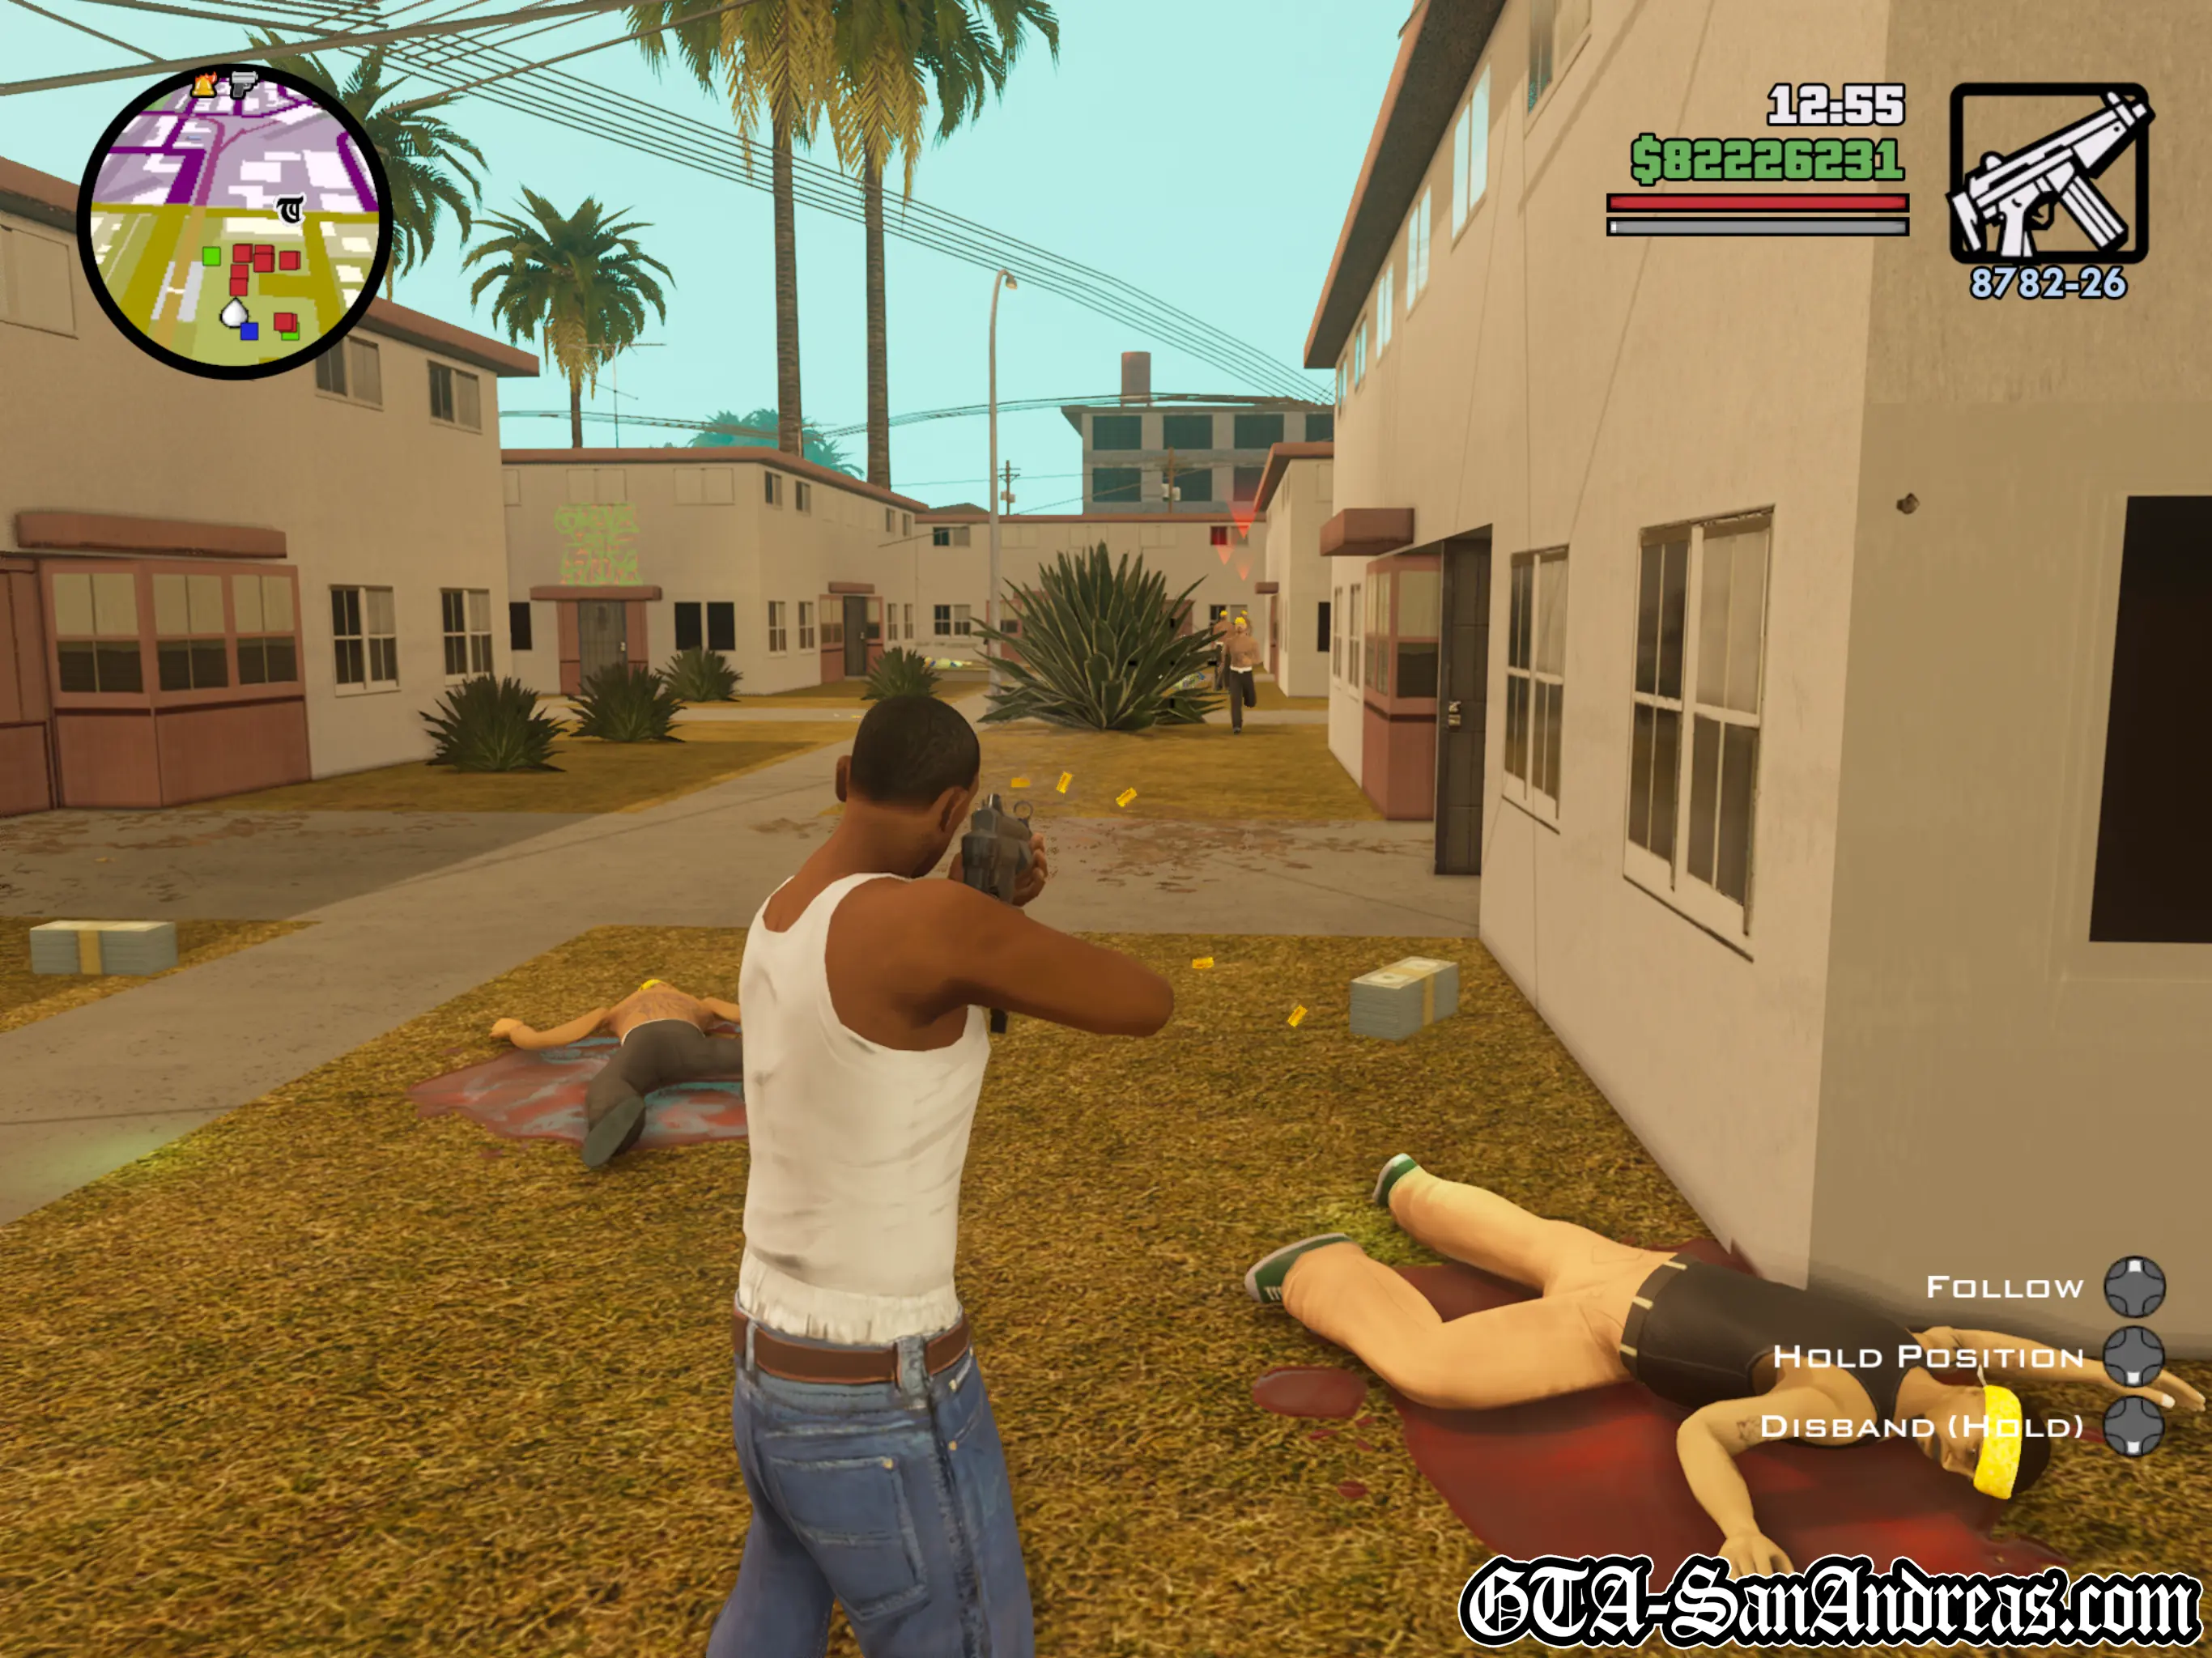
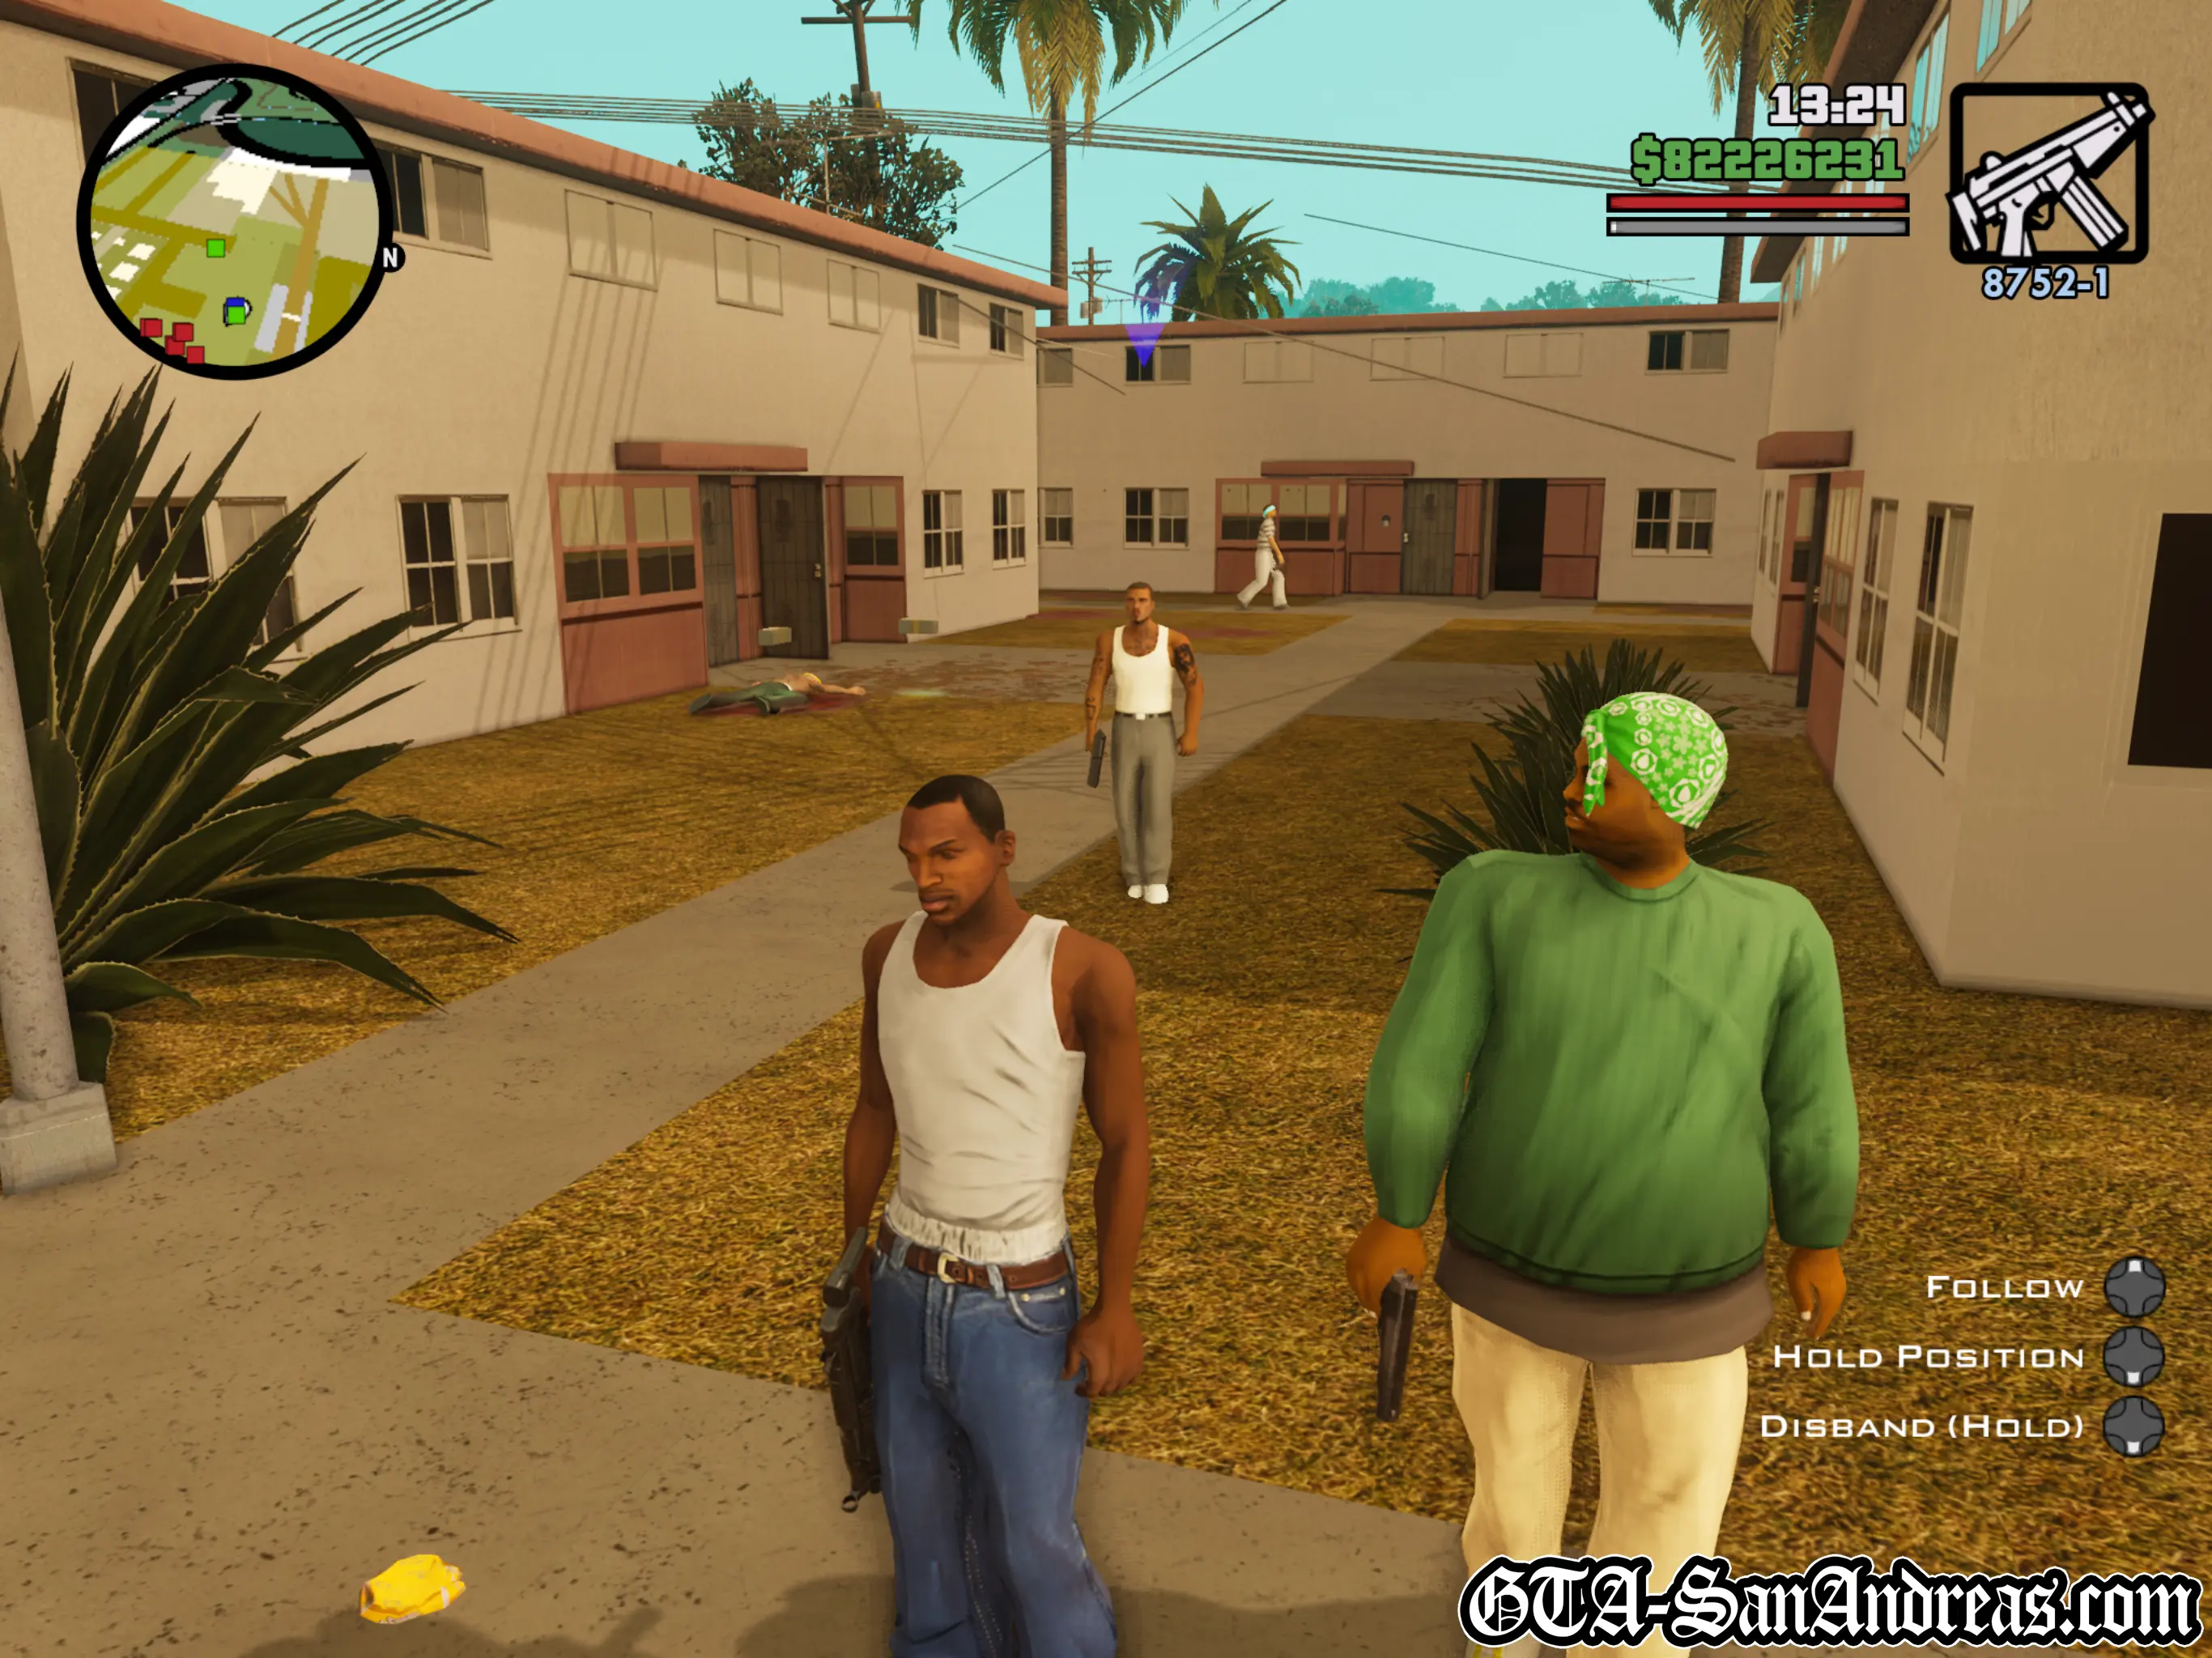
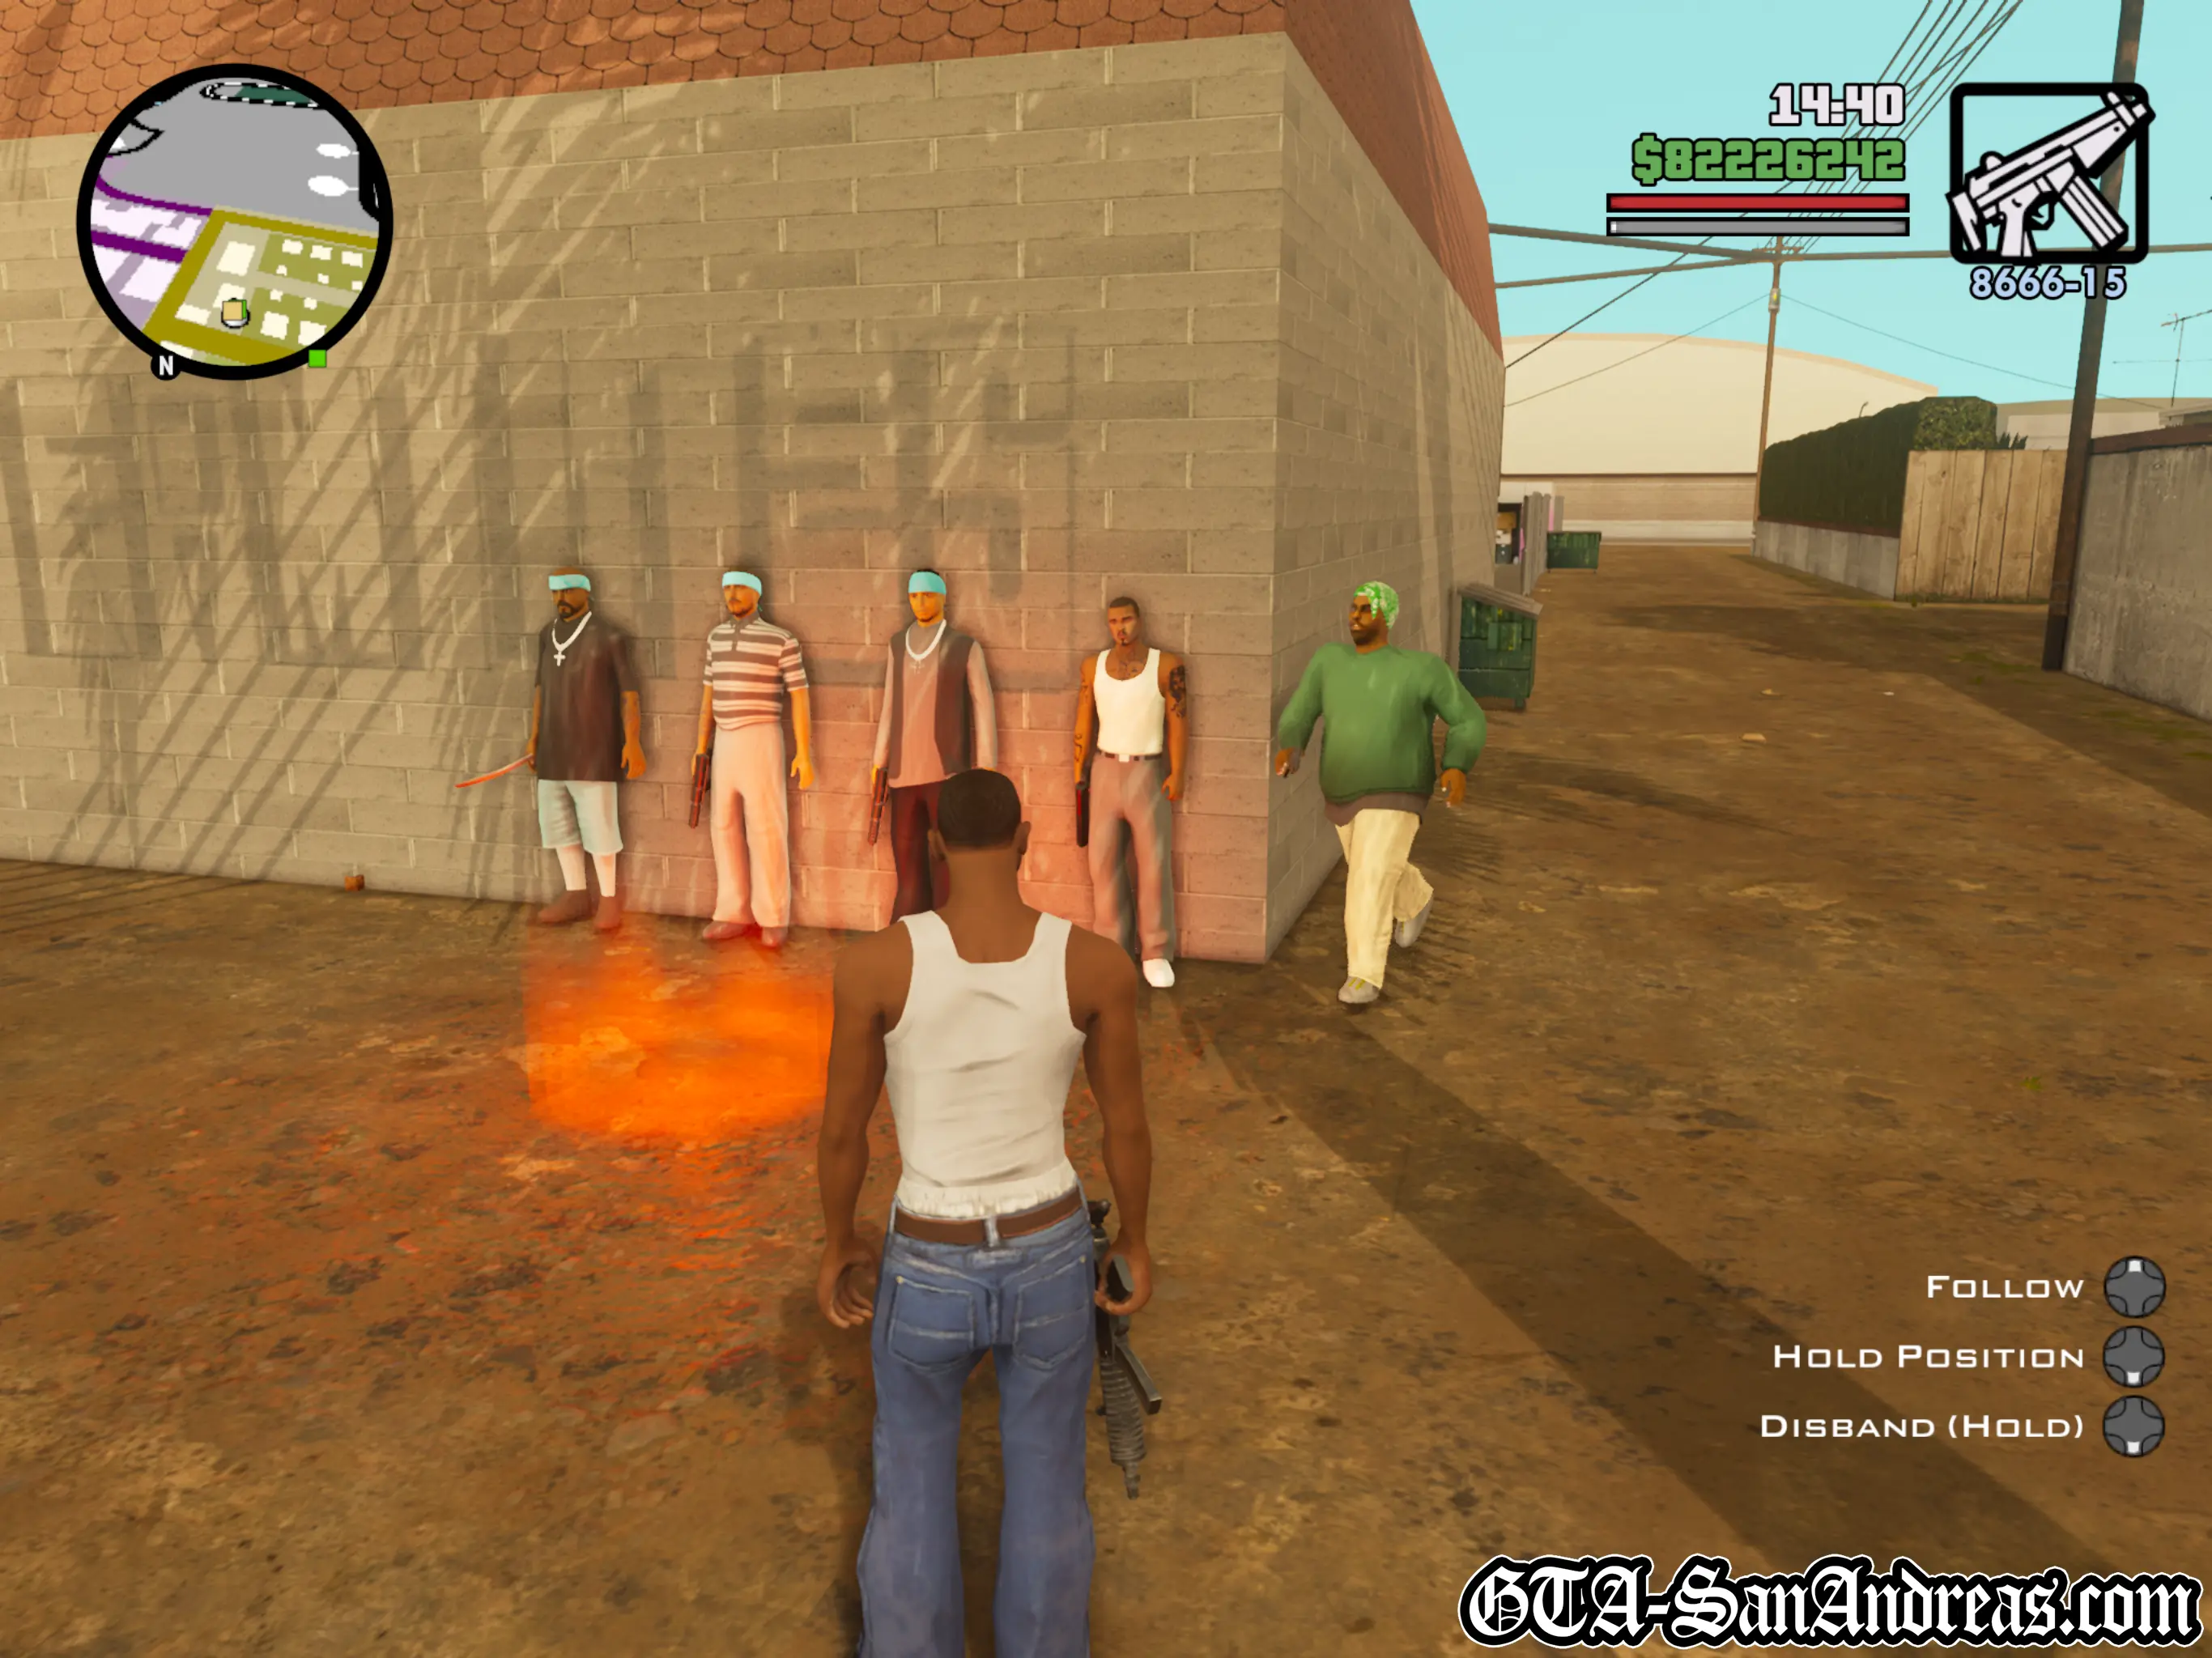
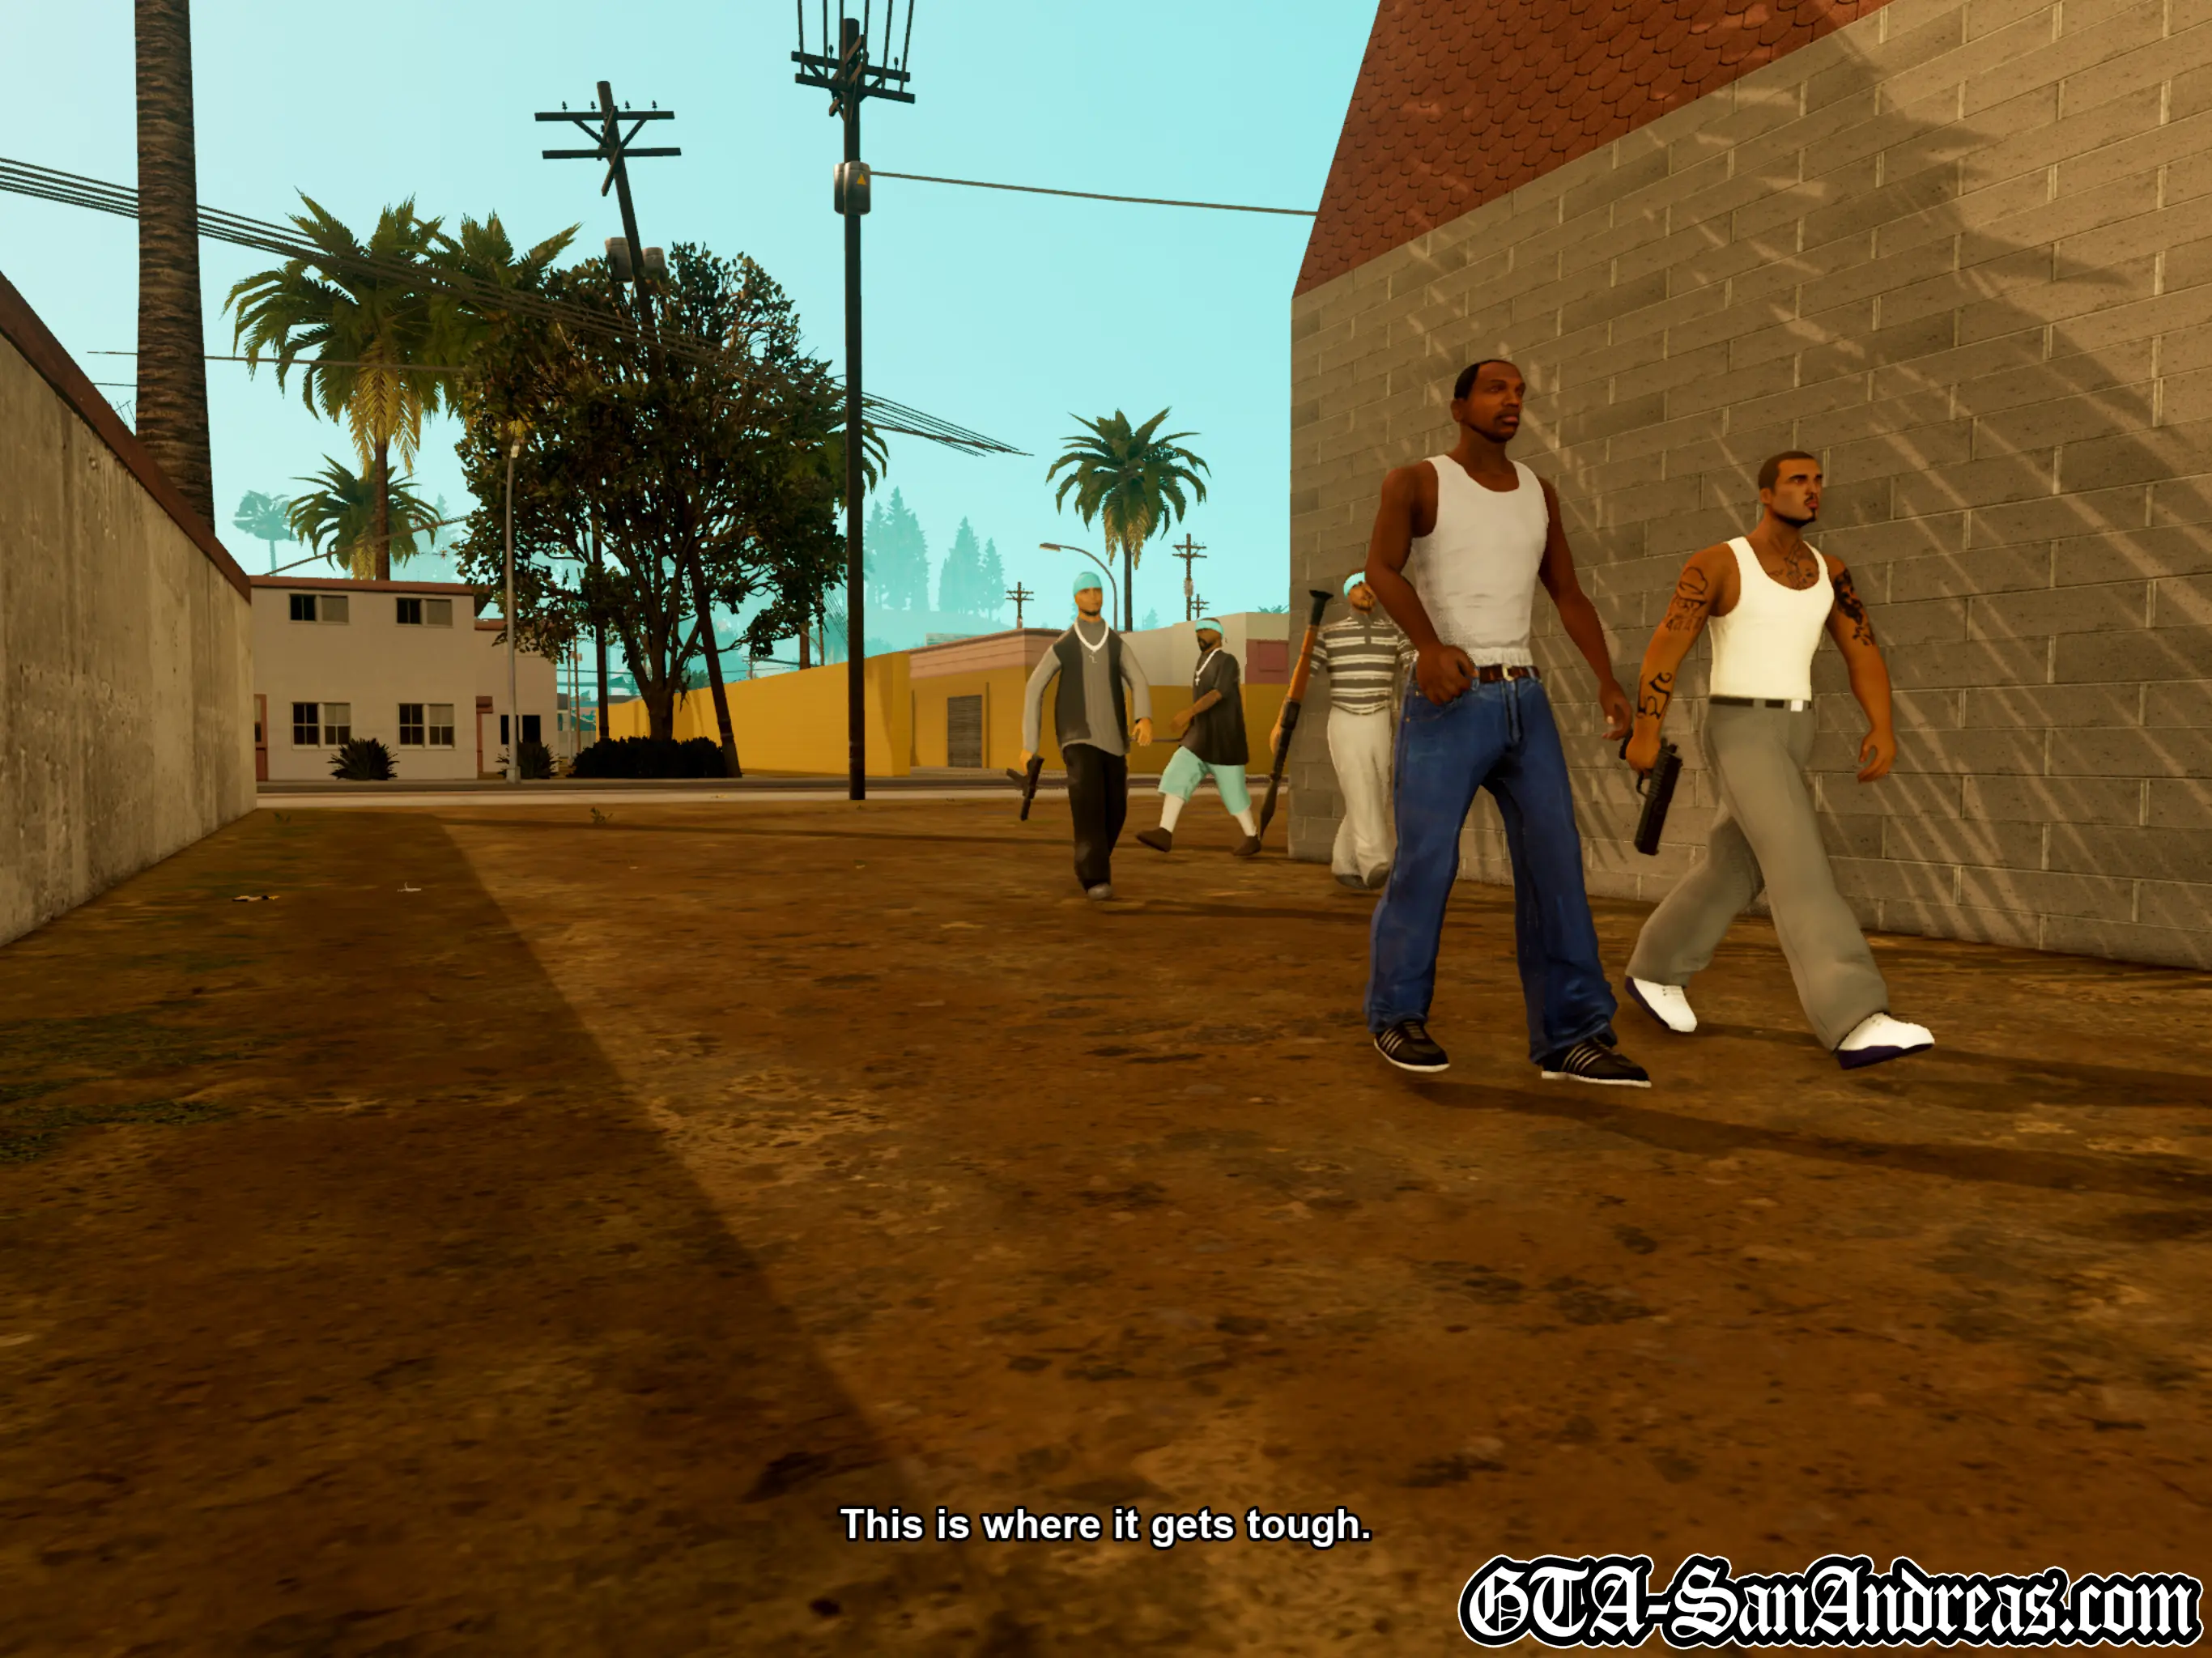
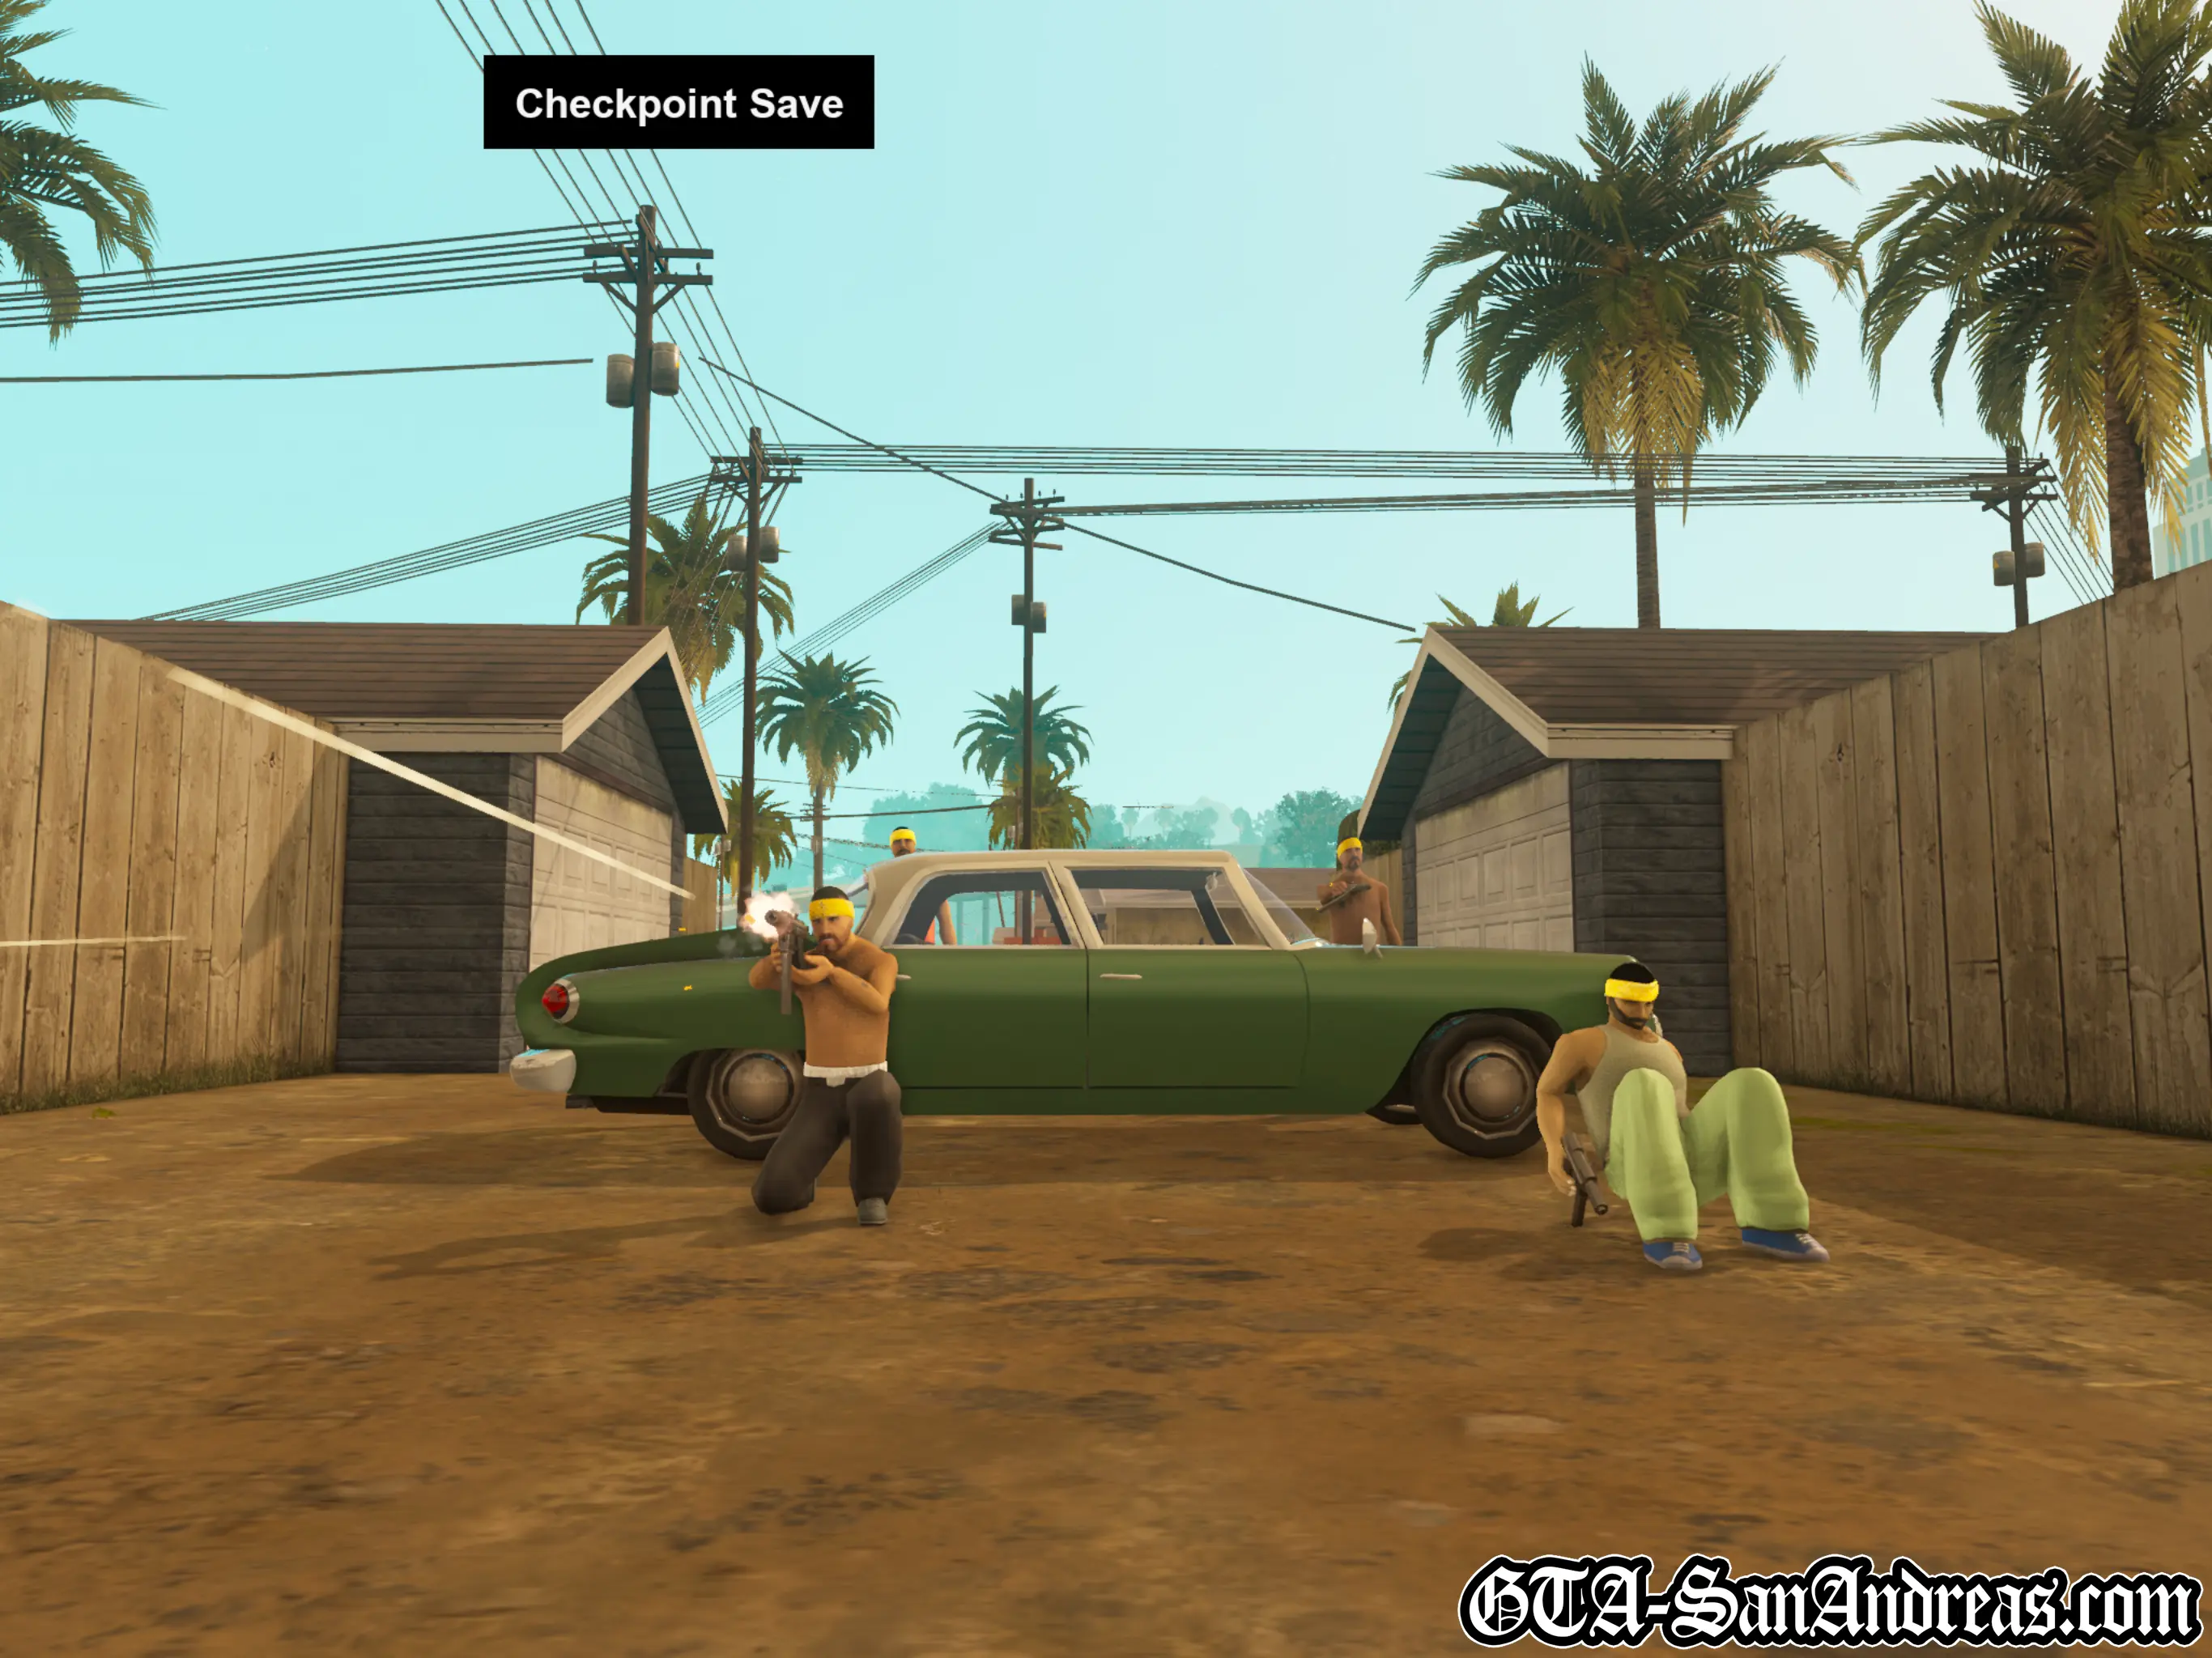
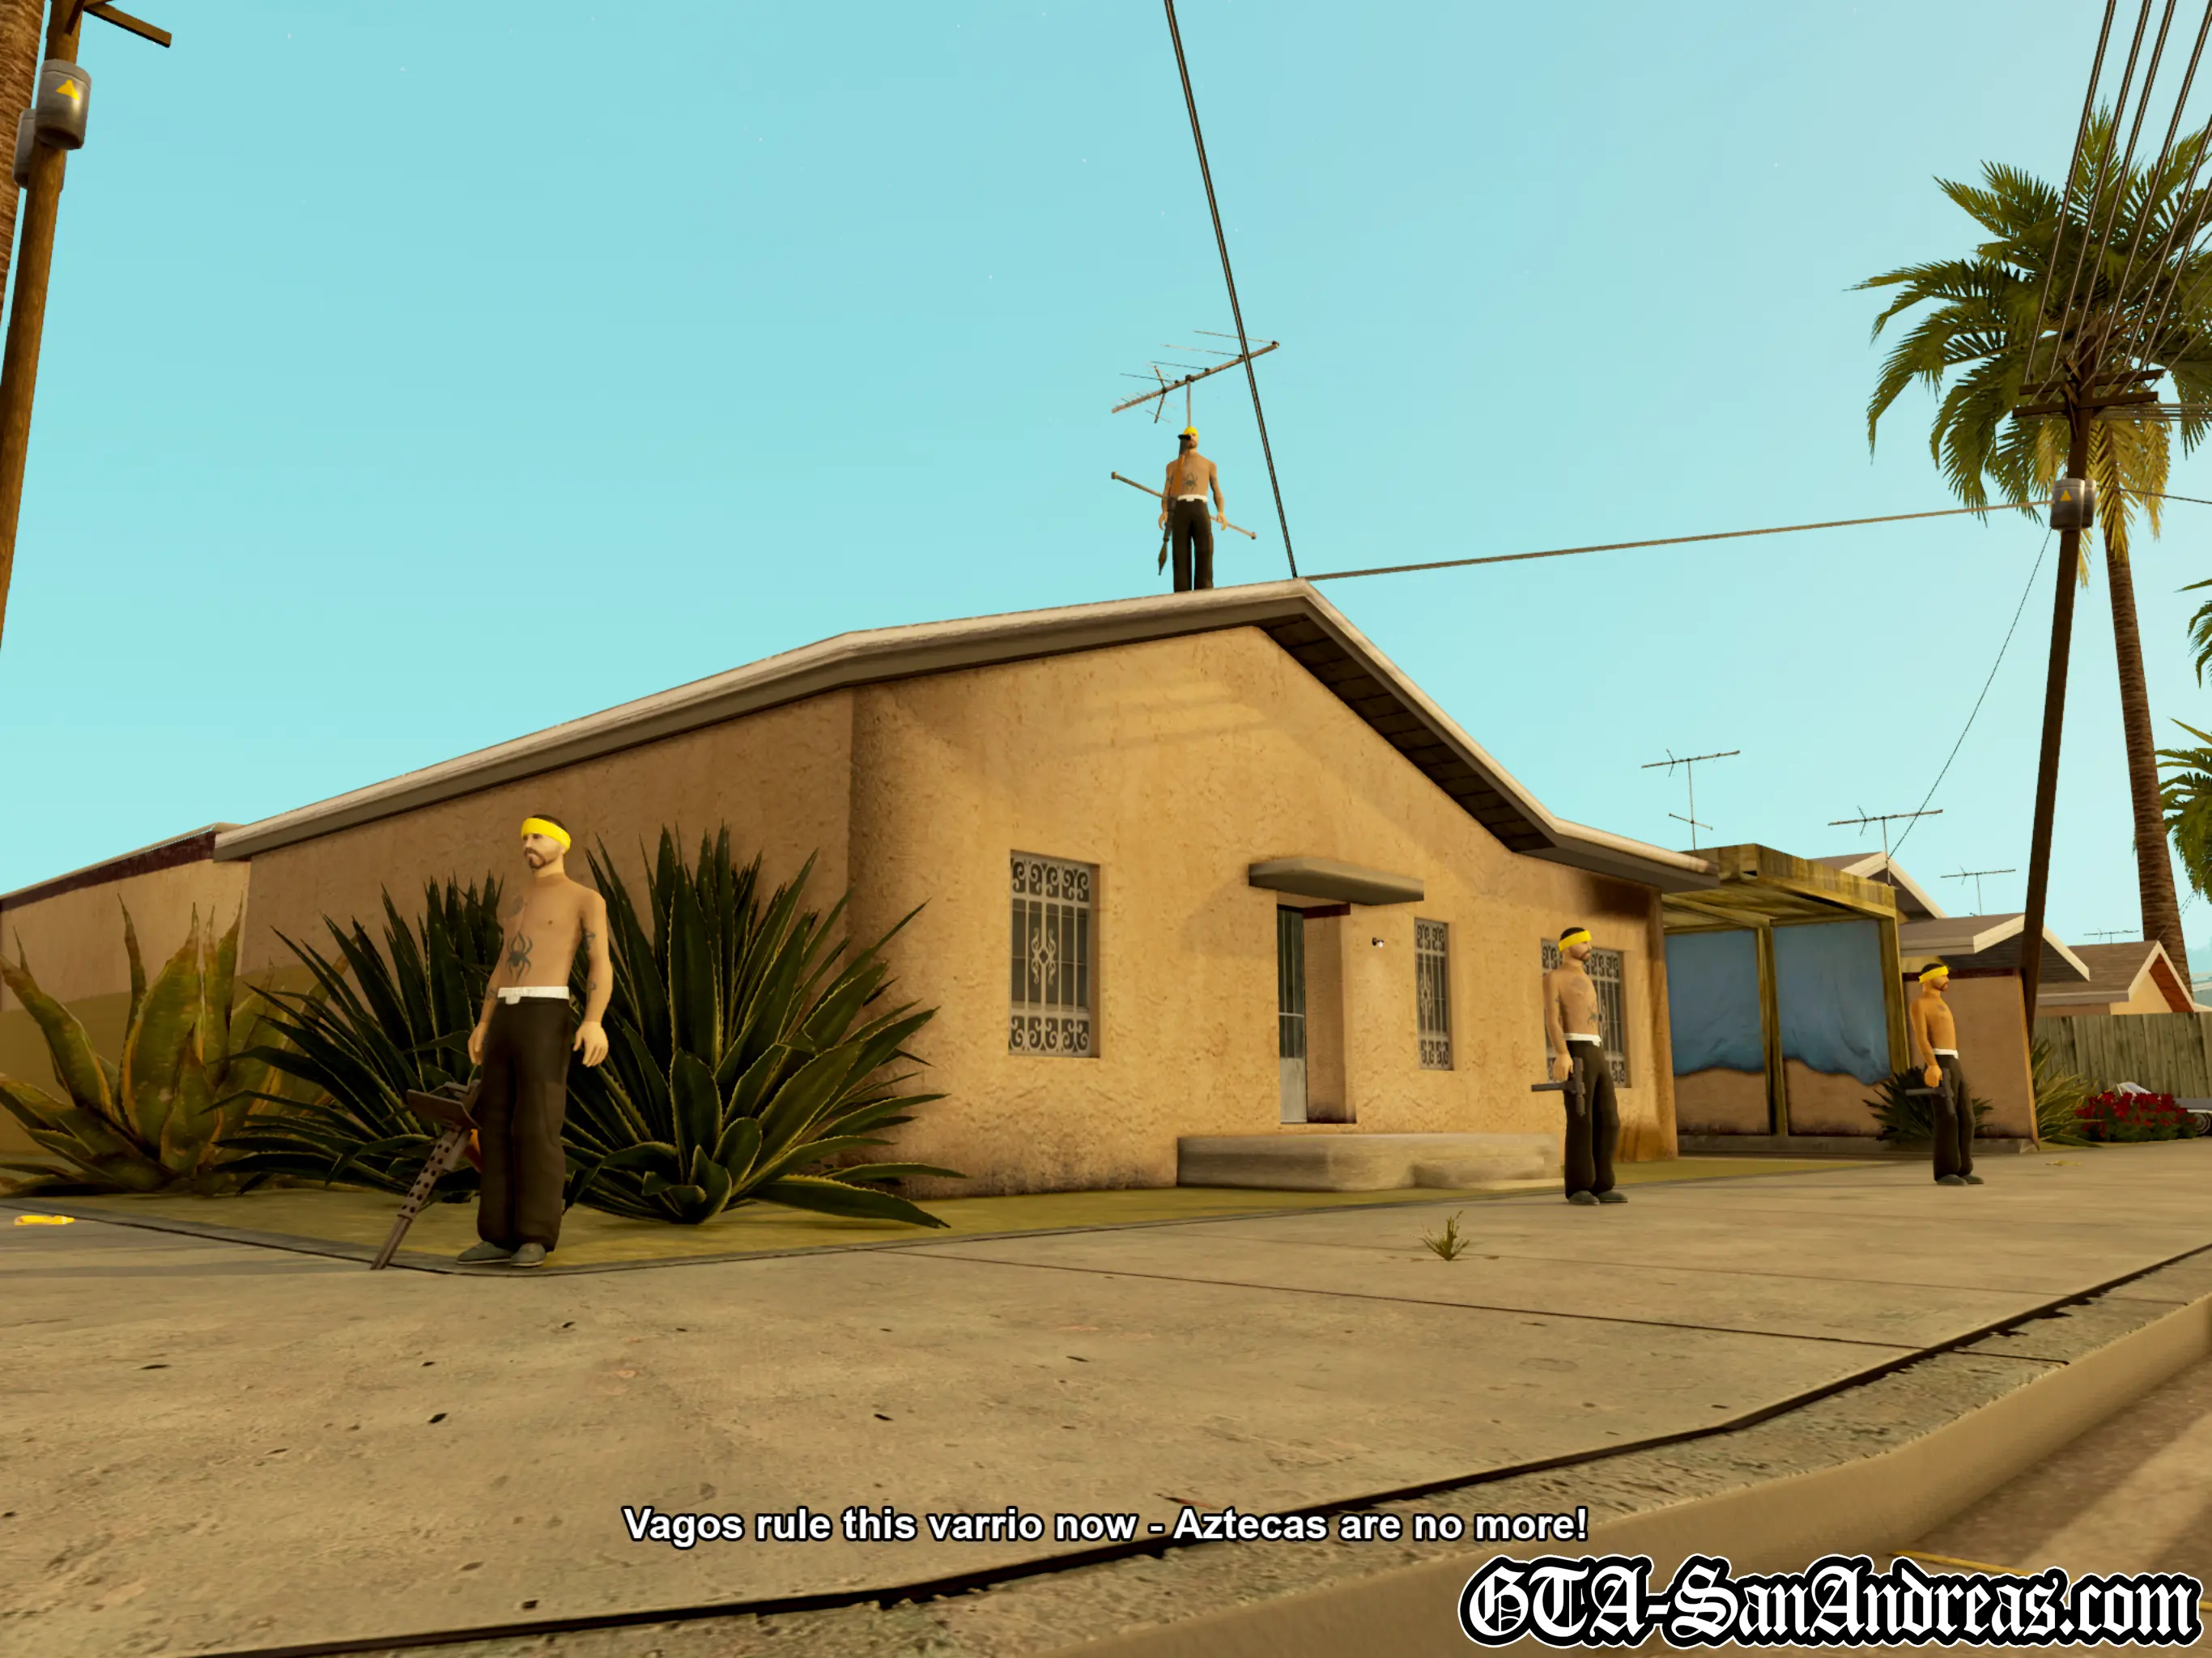
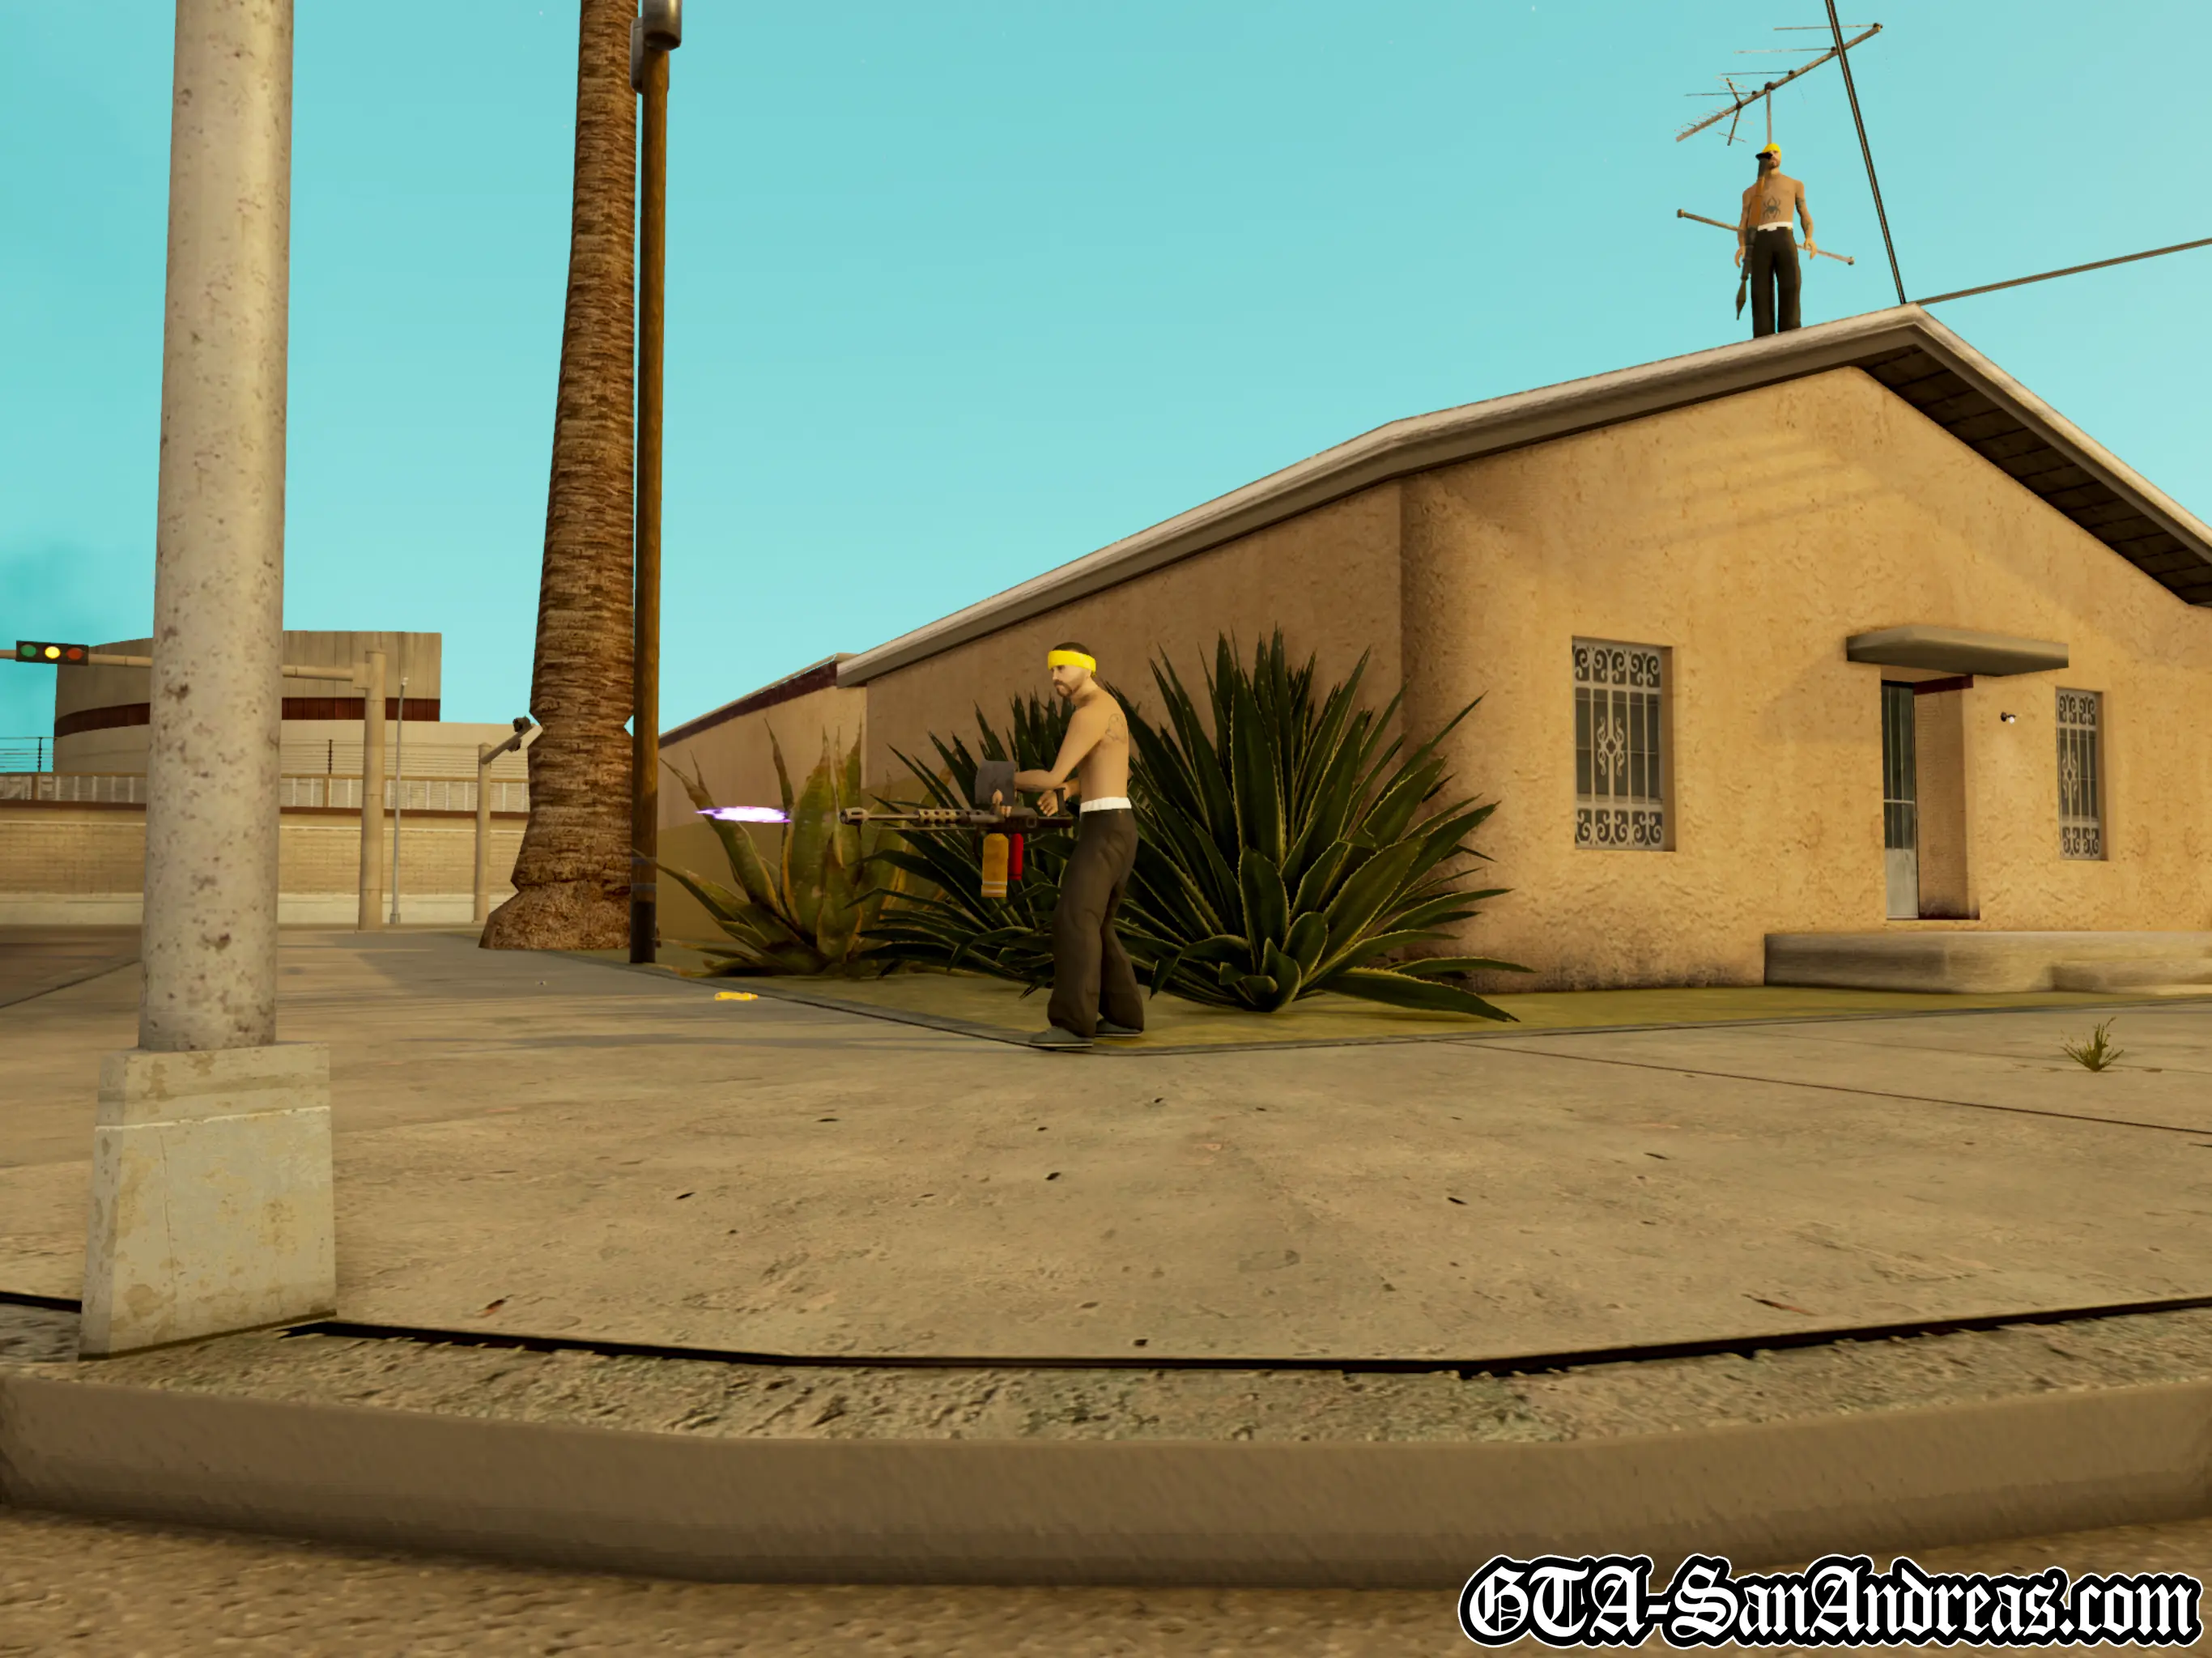
Los Desperados
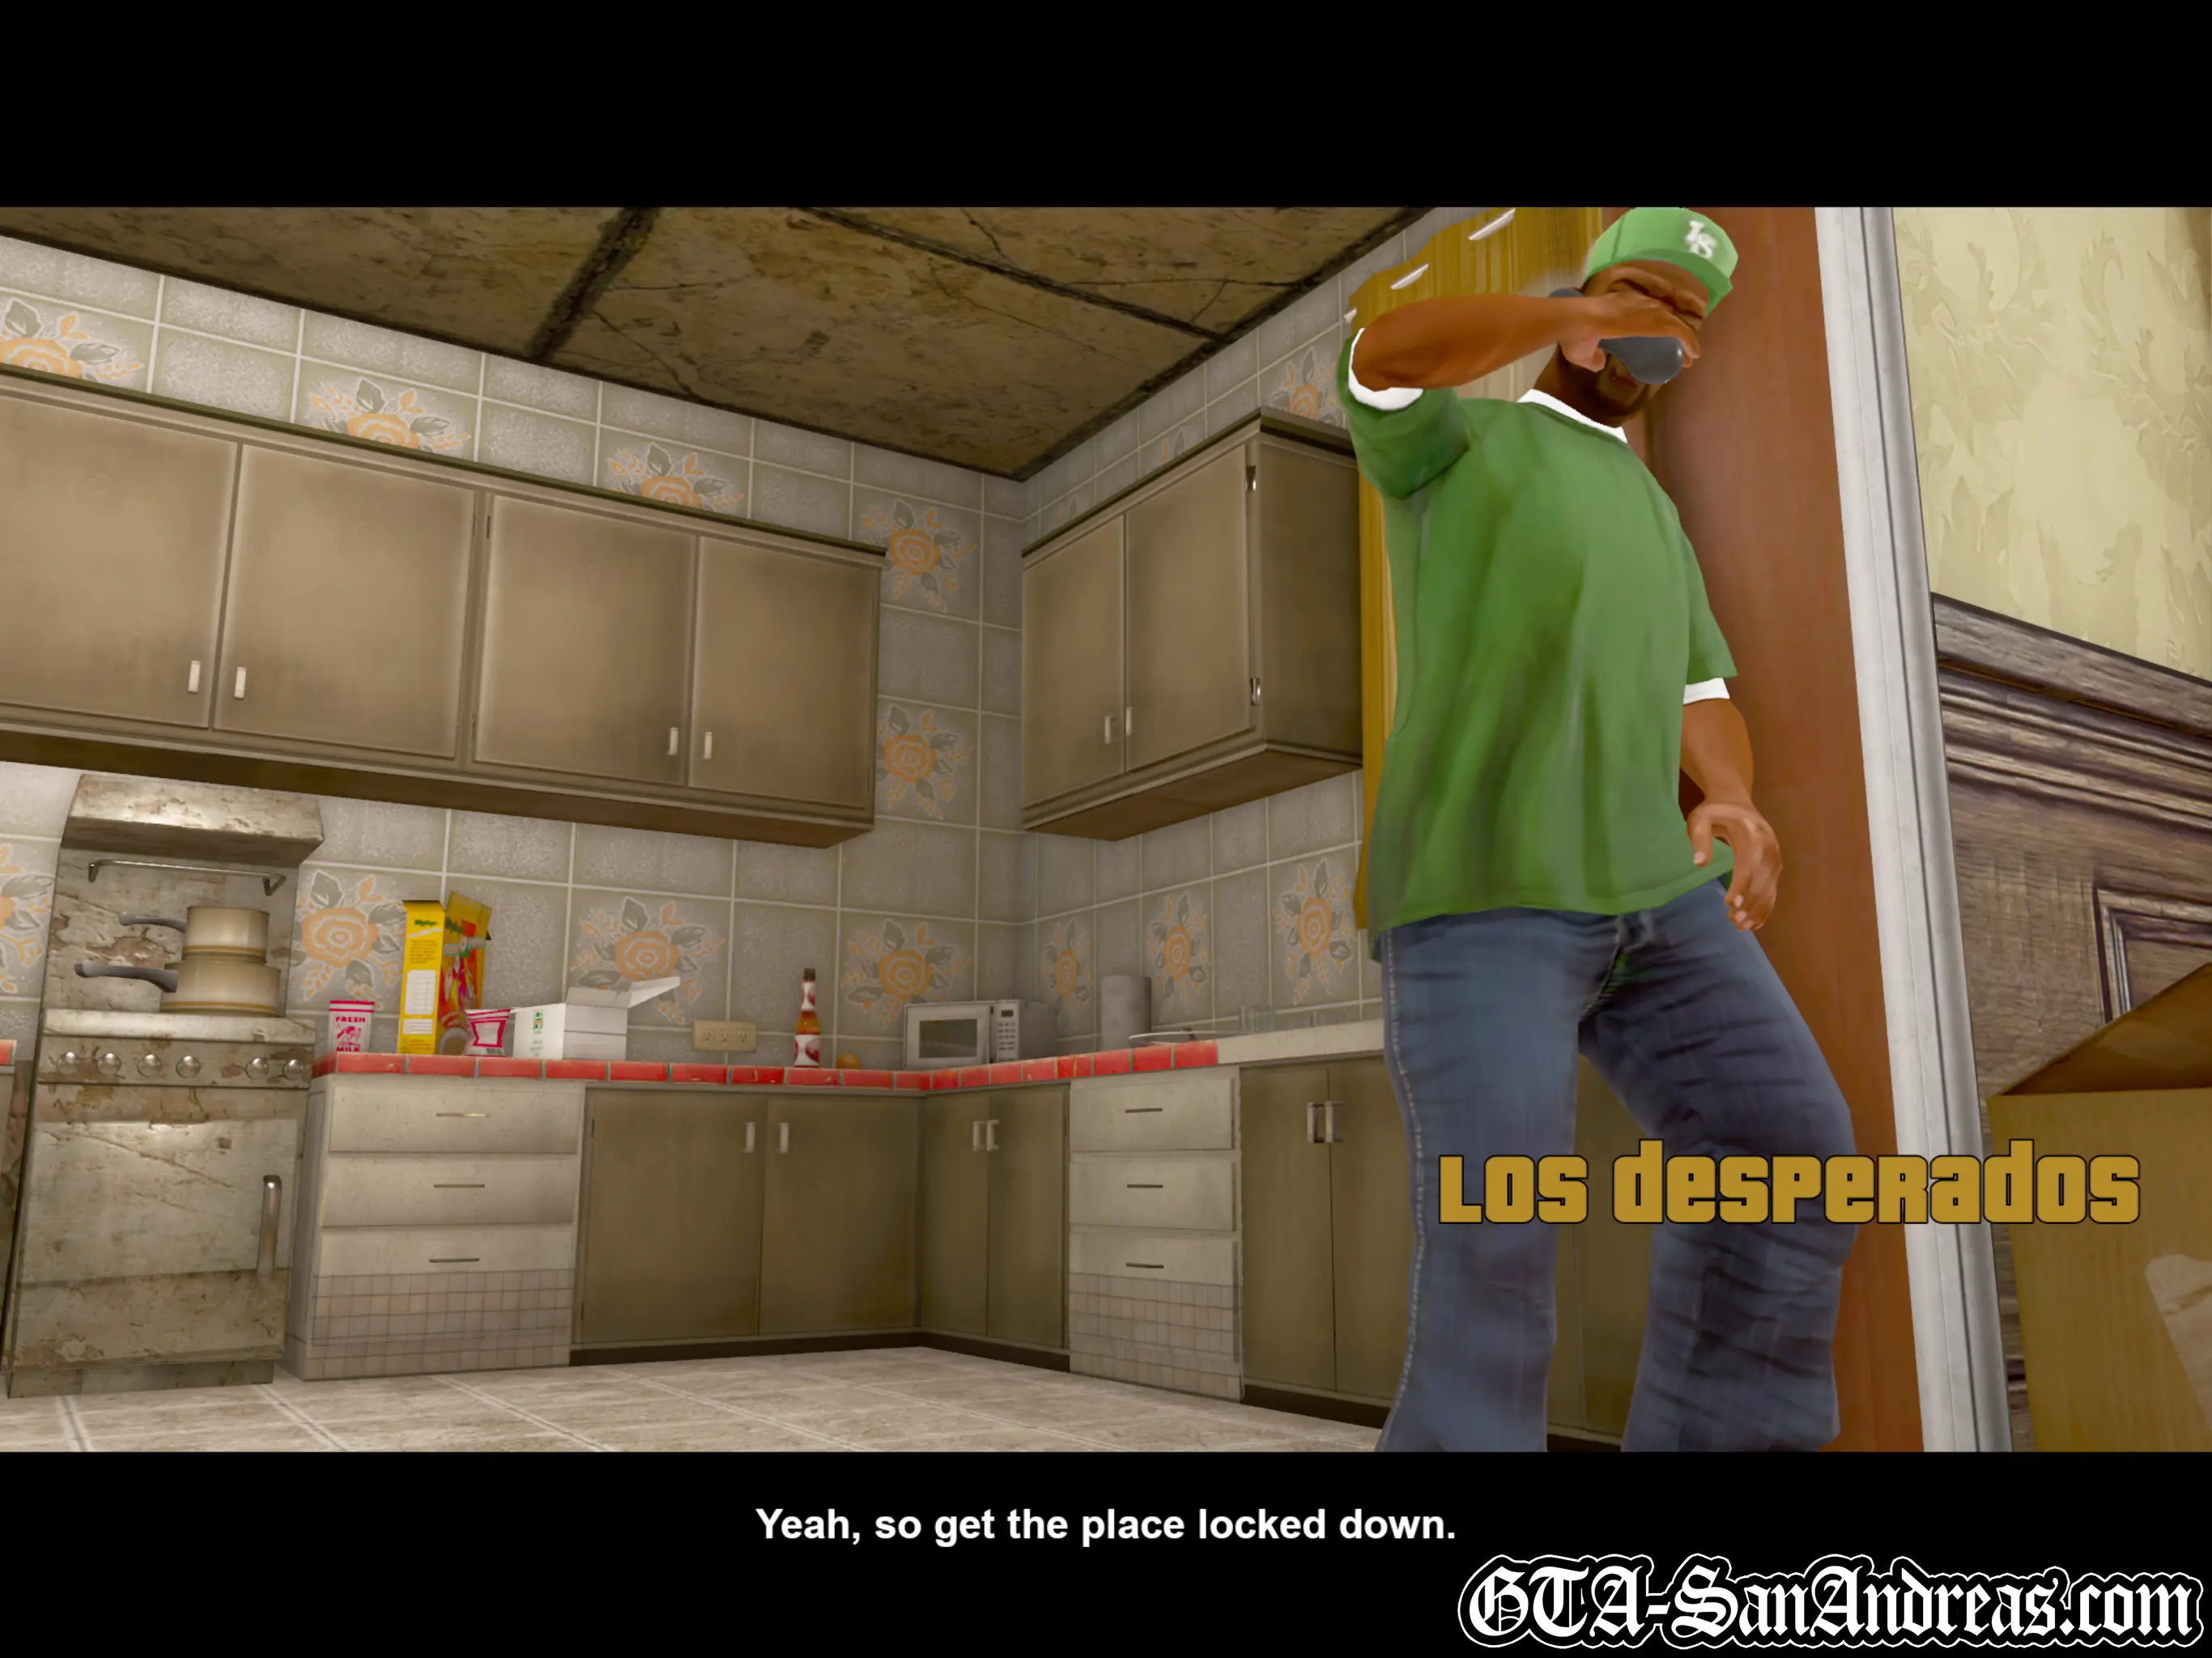
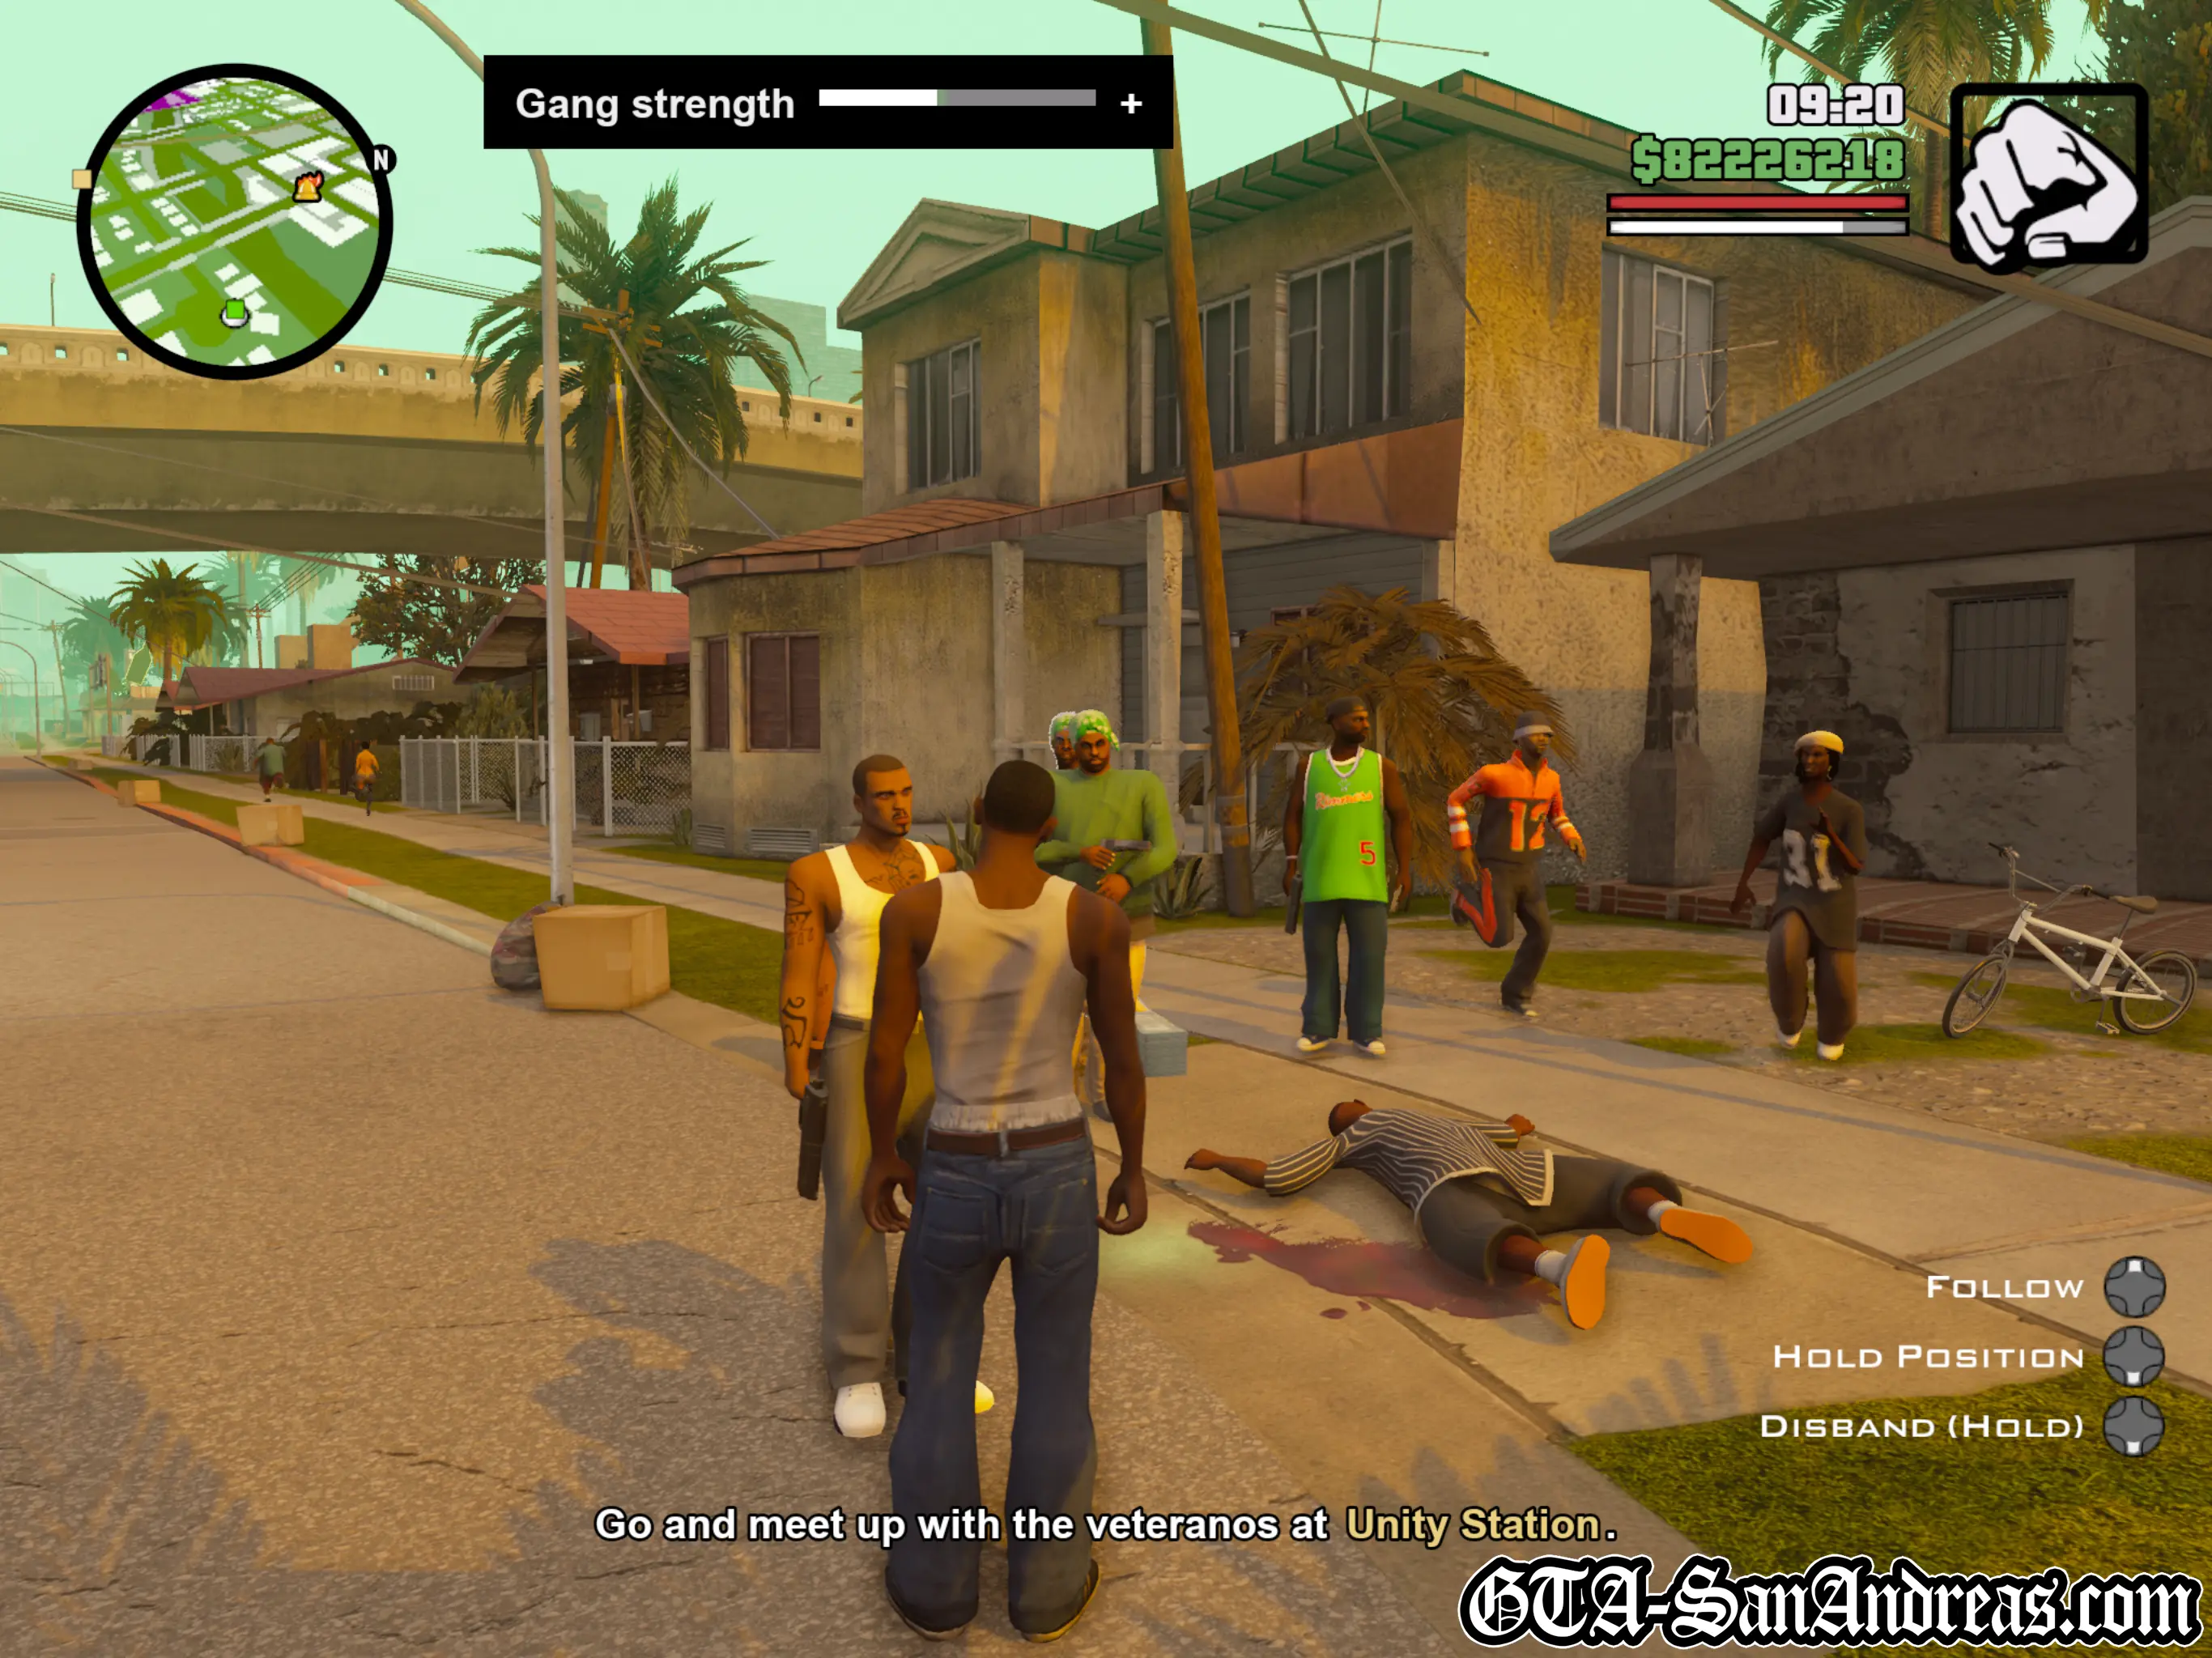
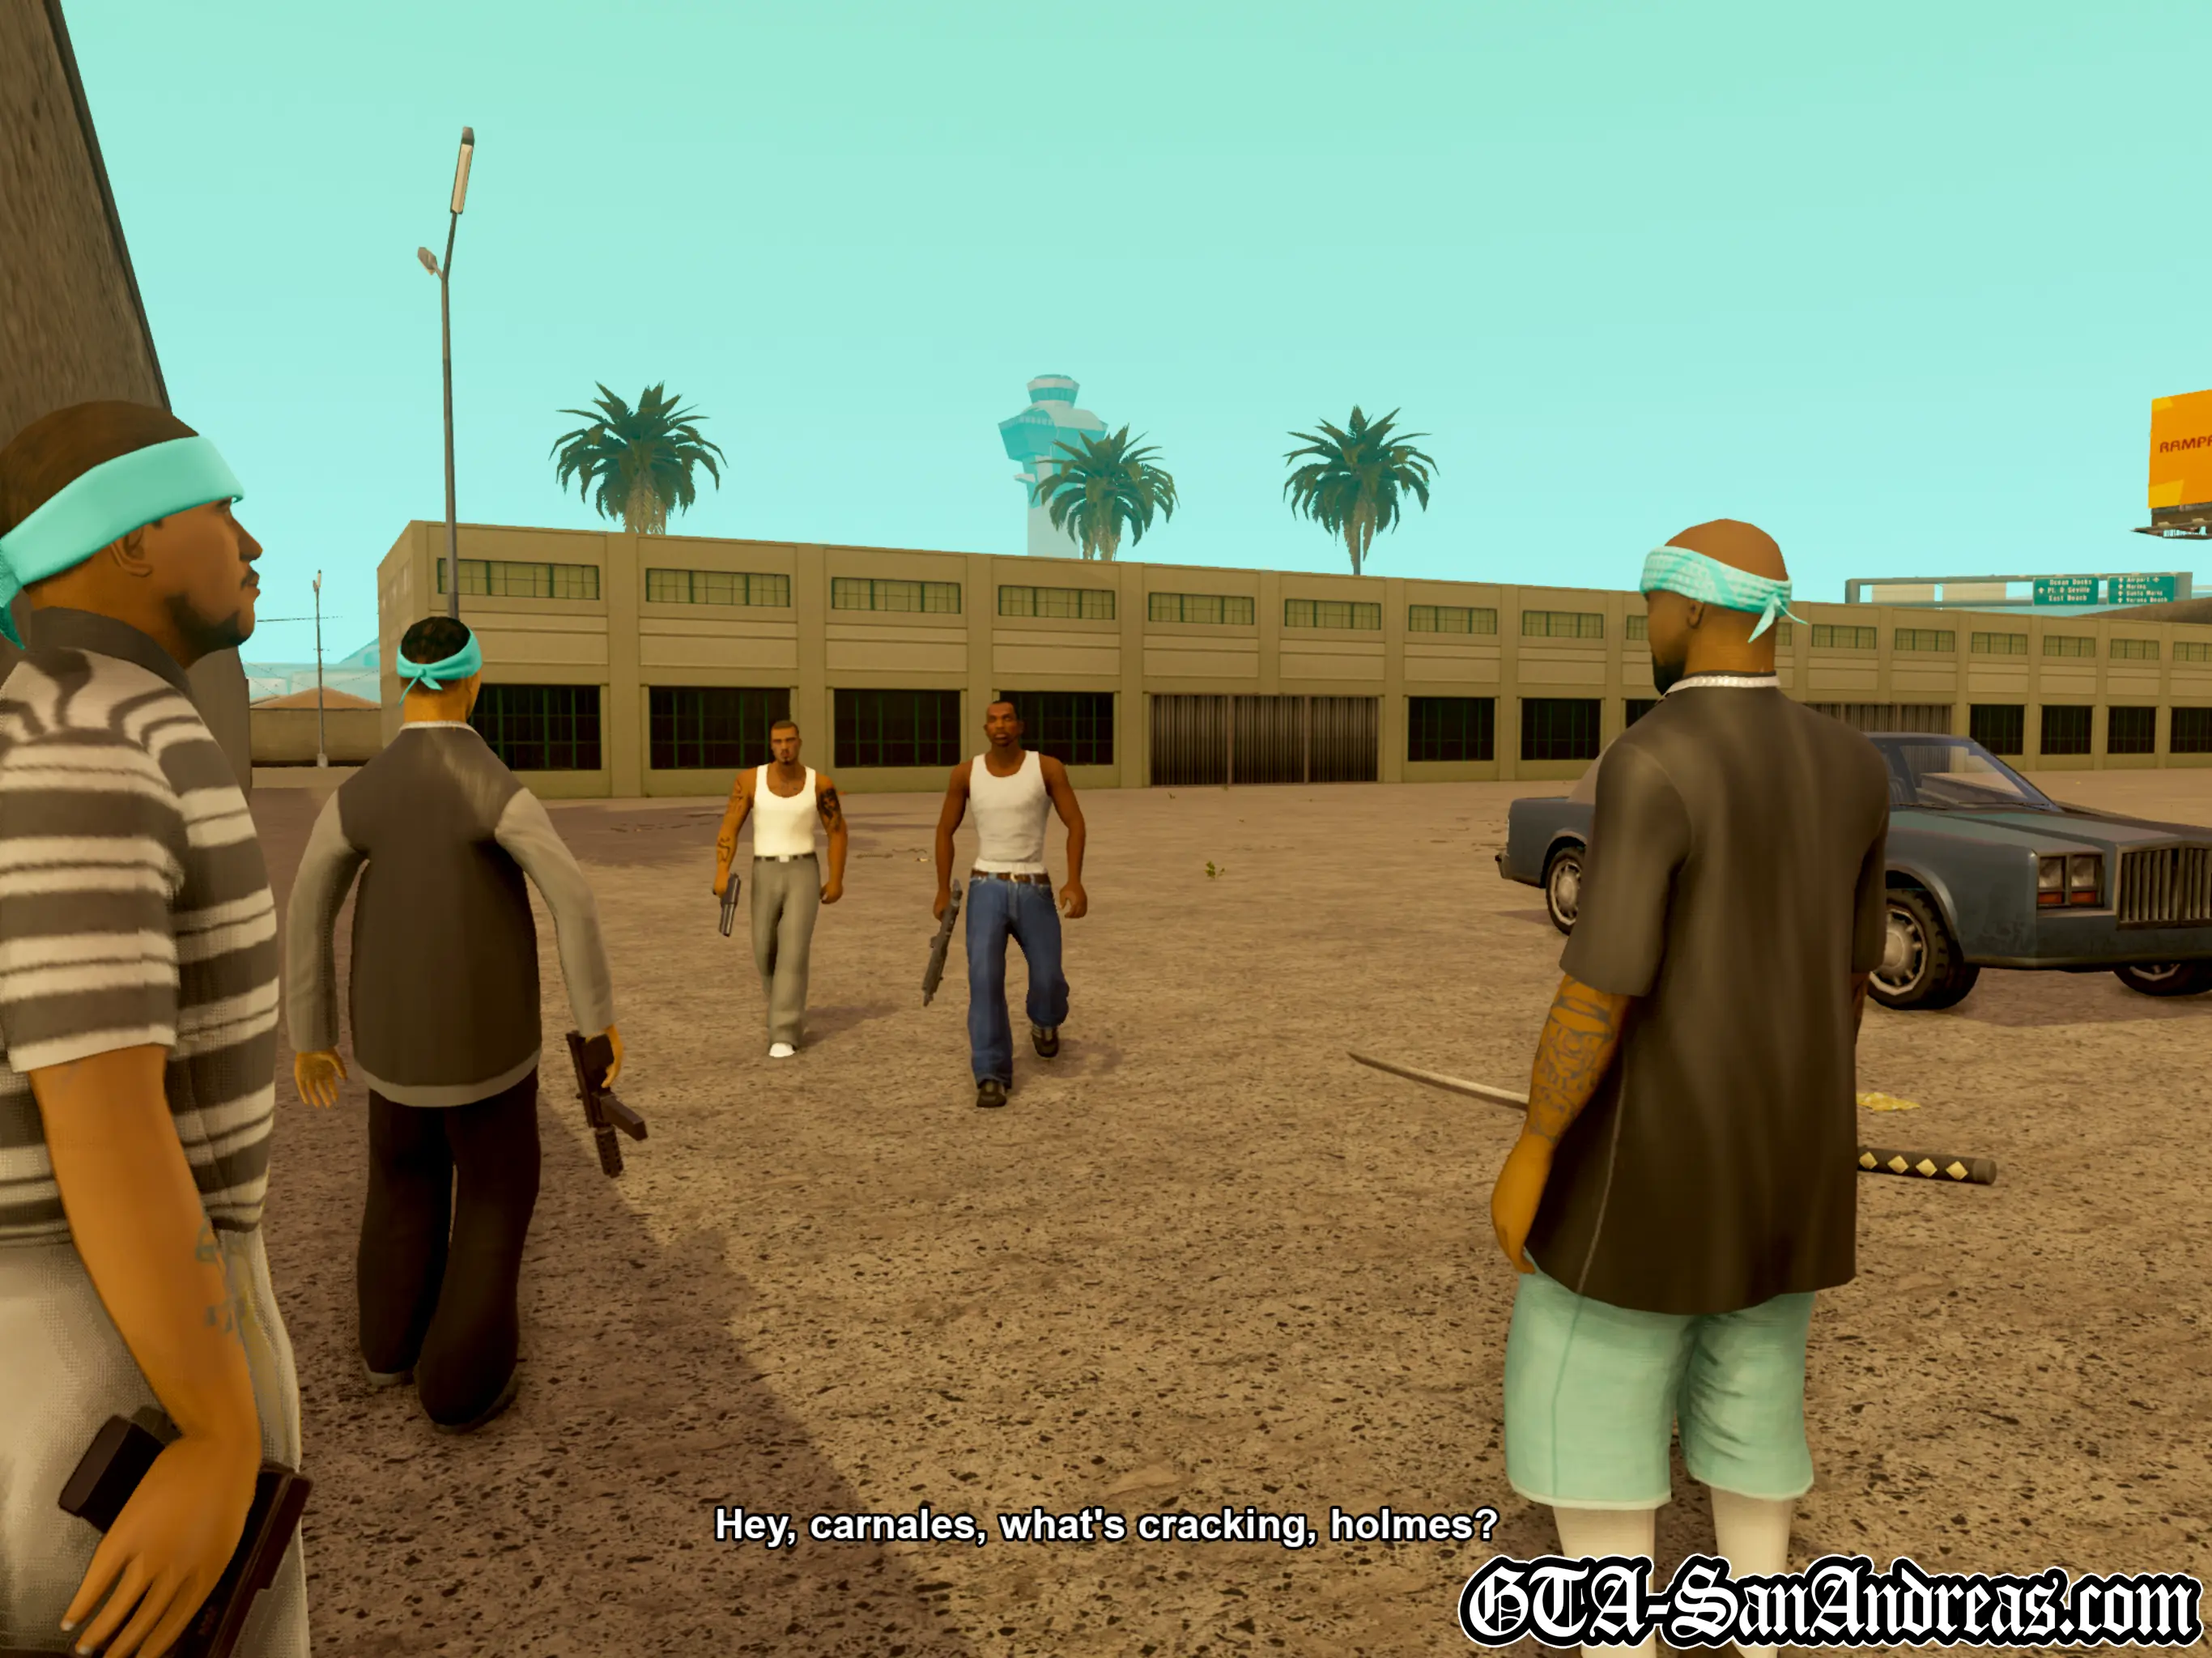
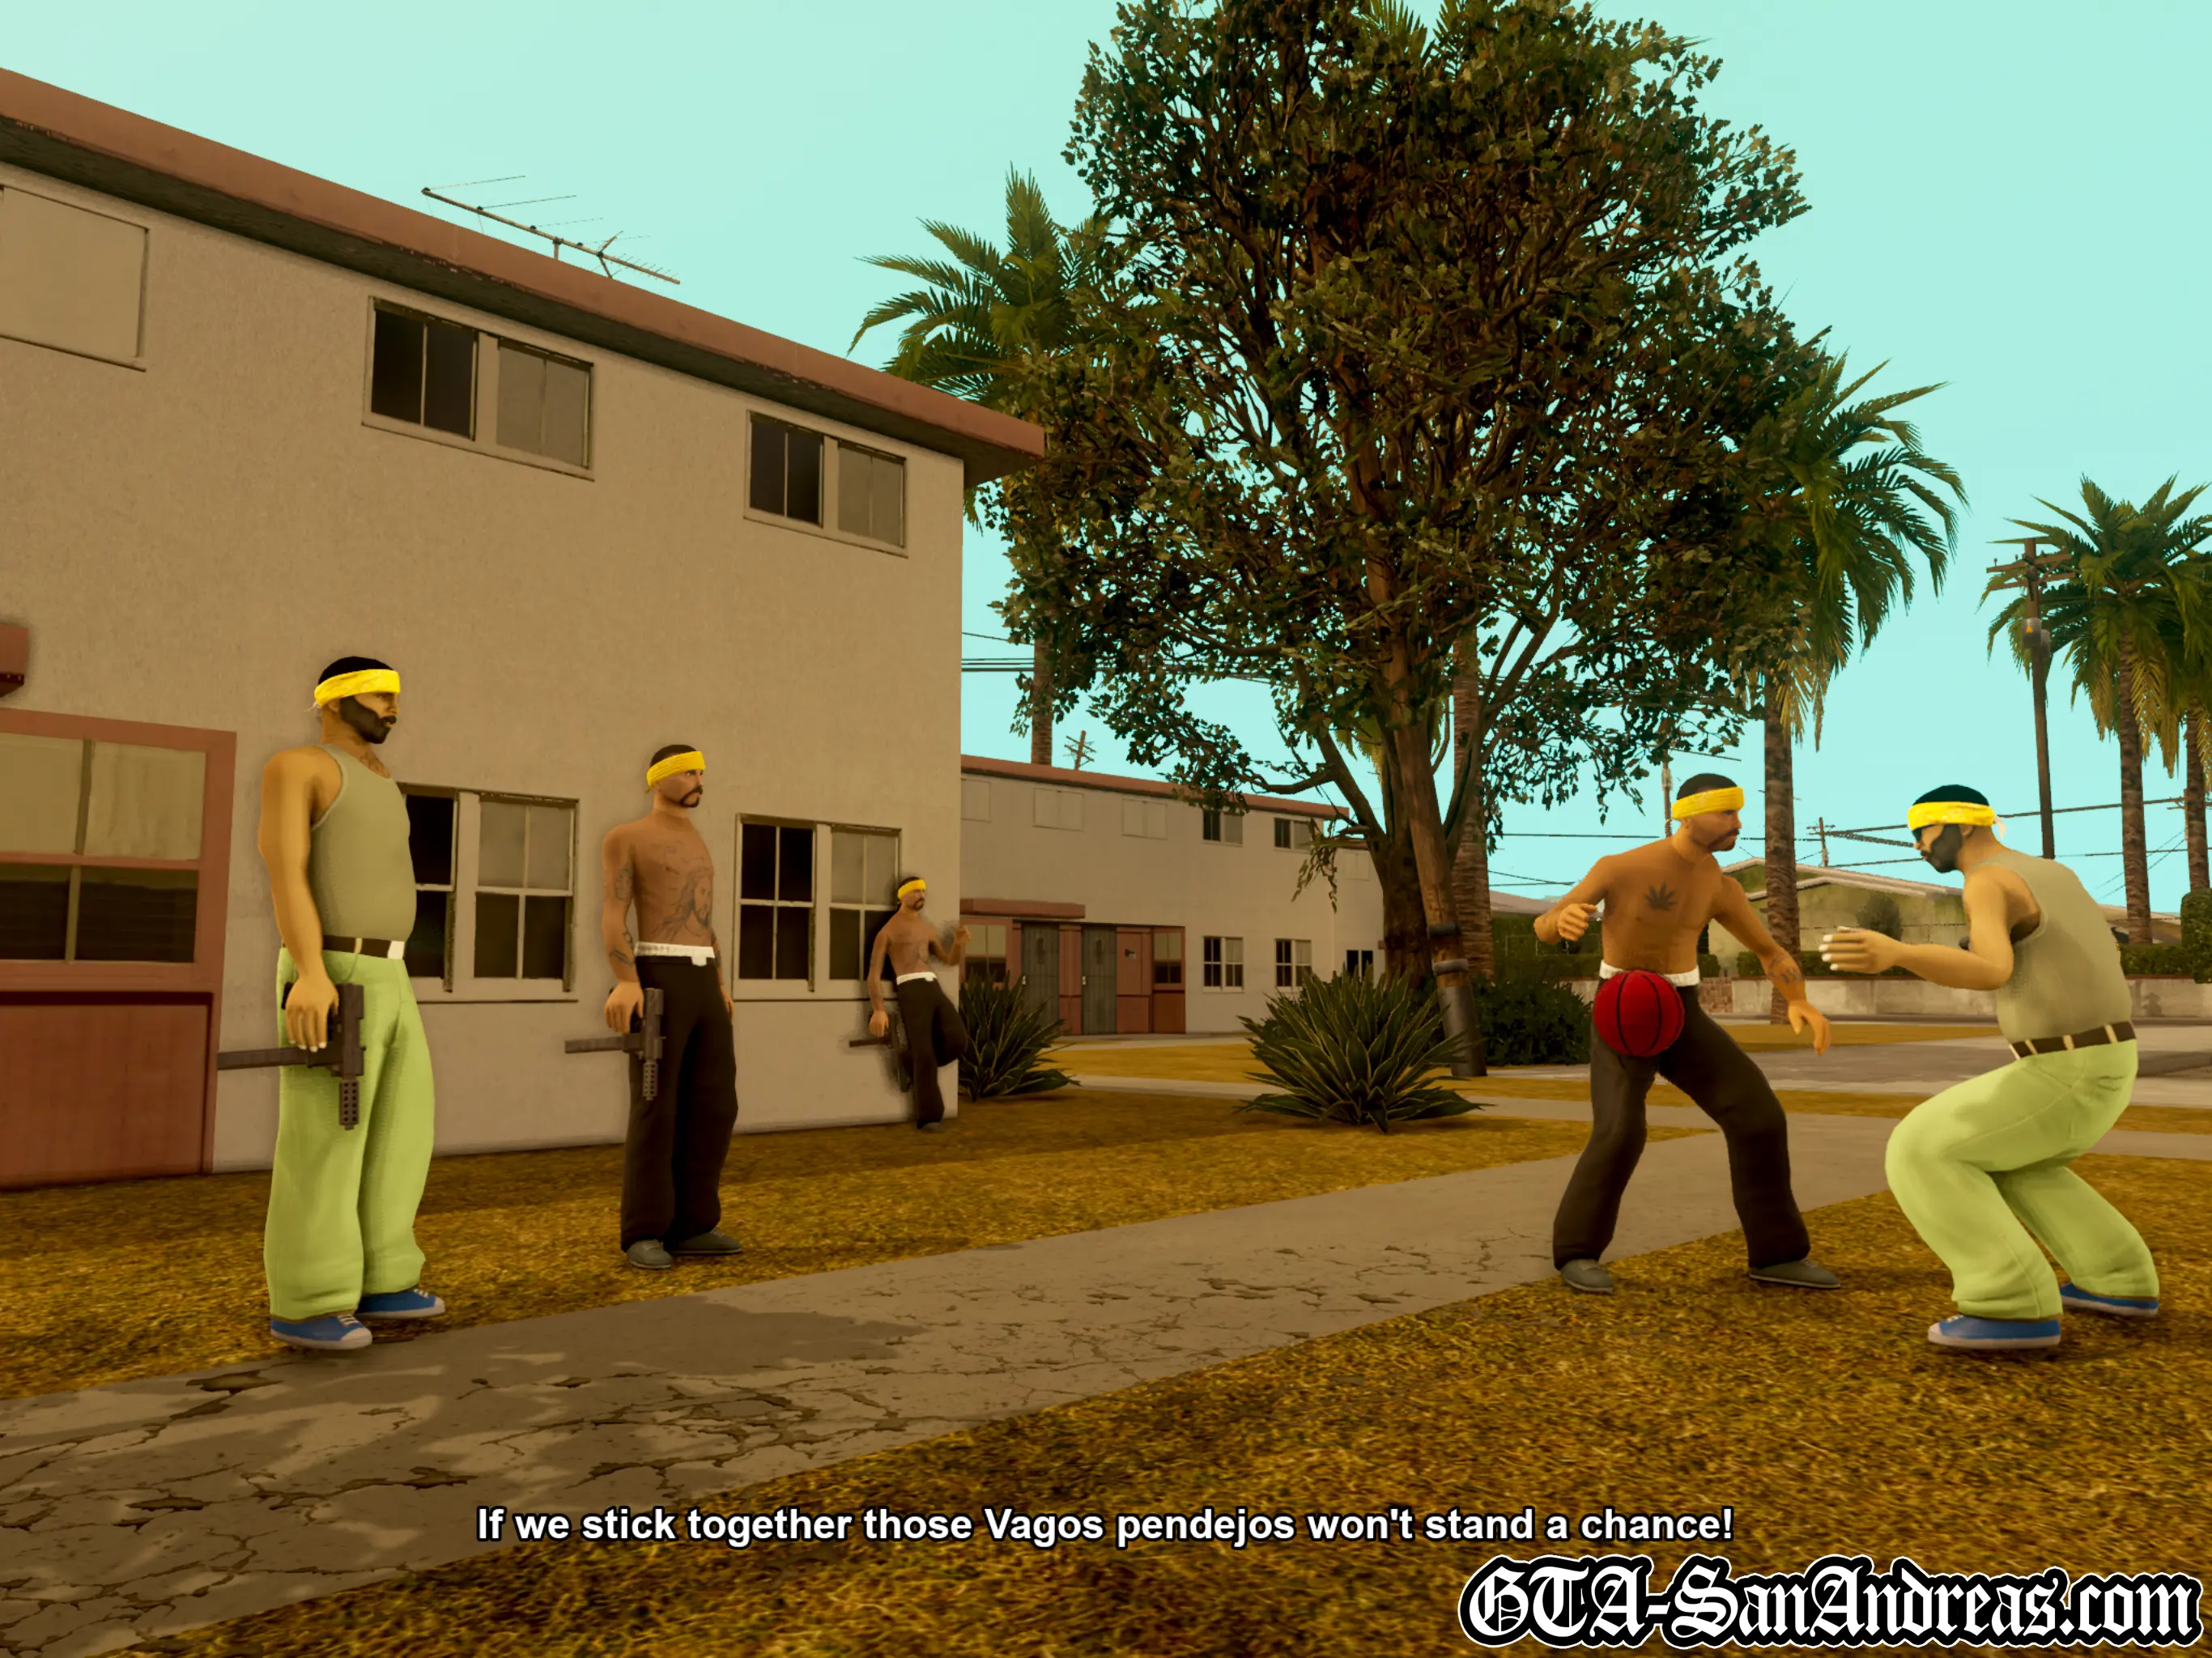
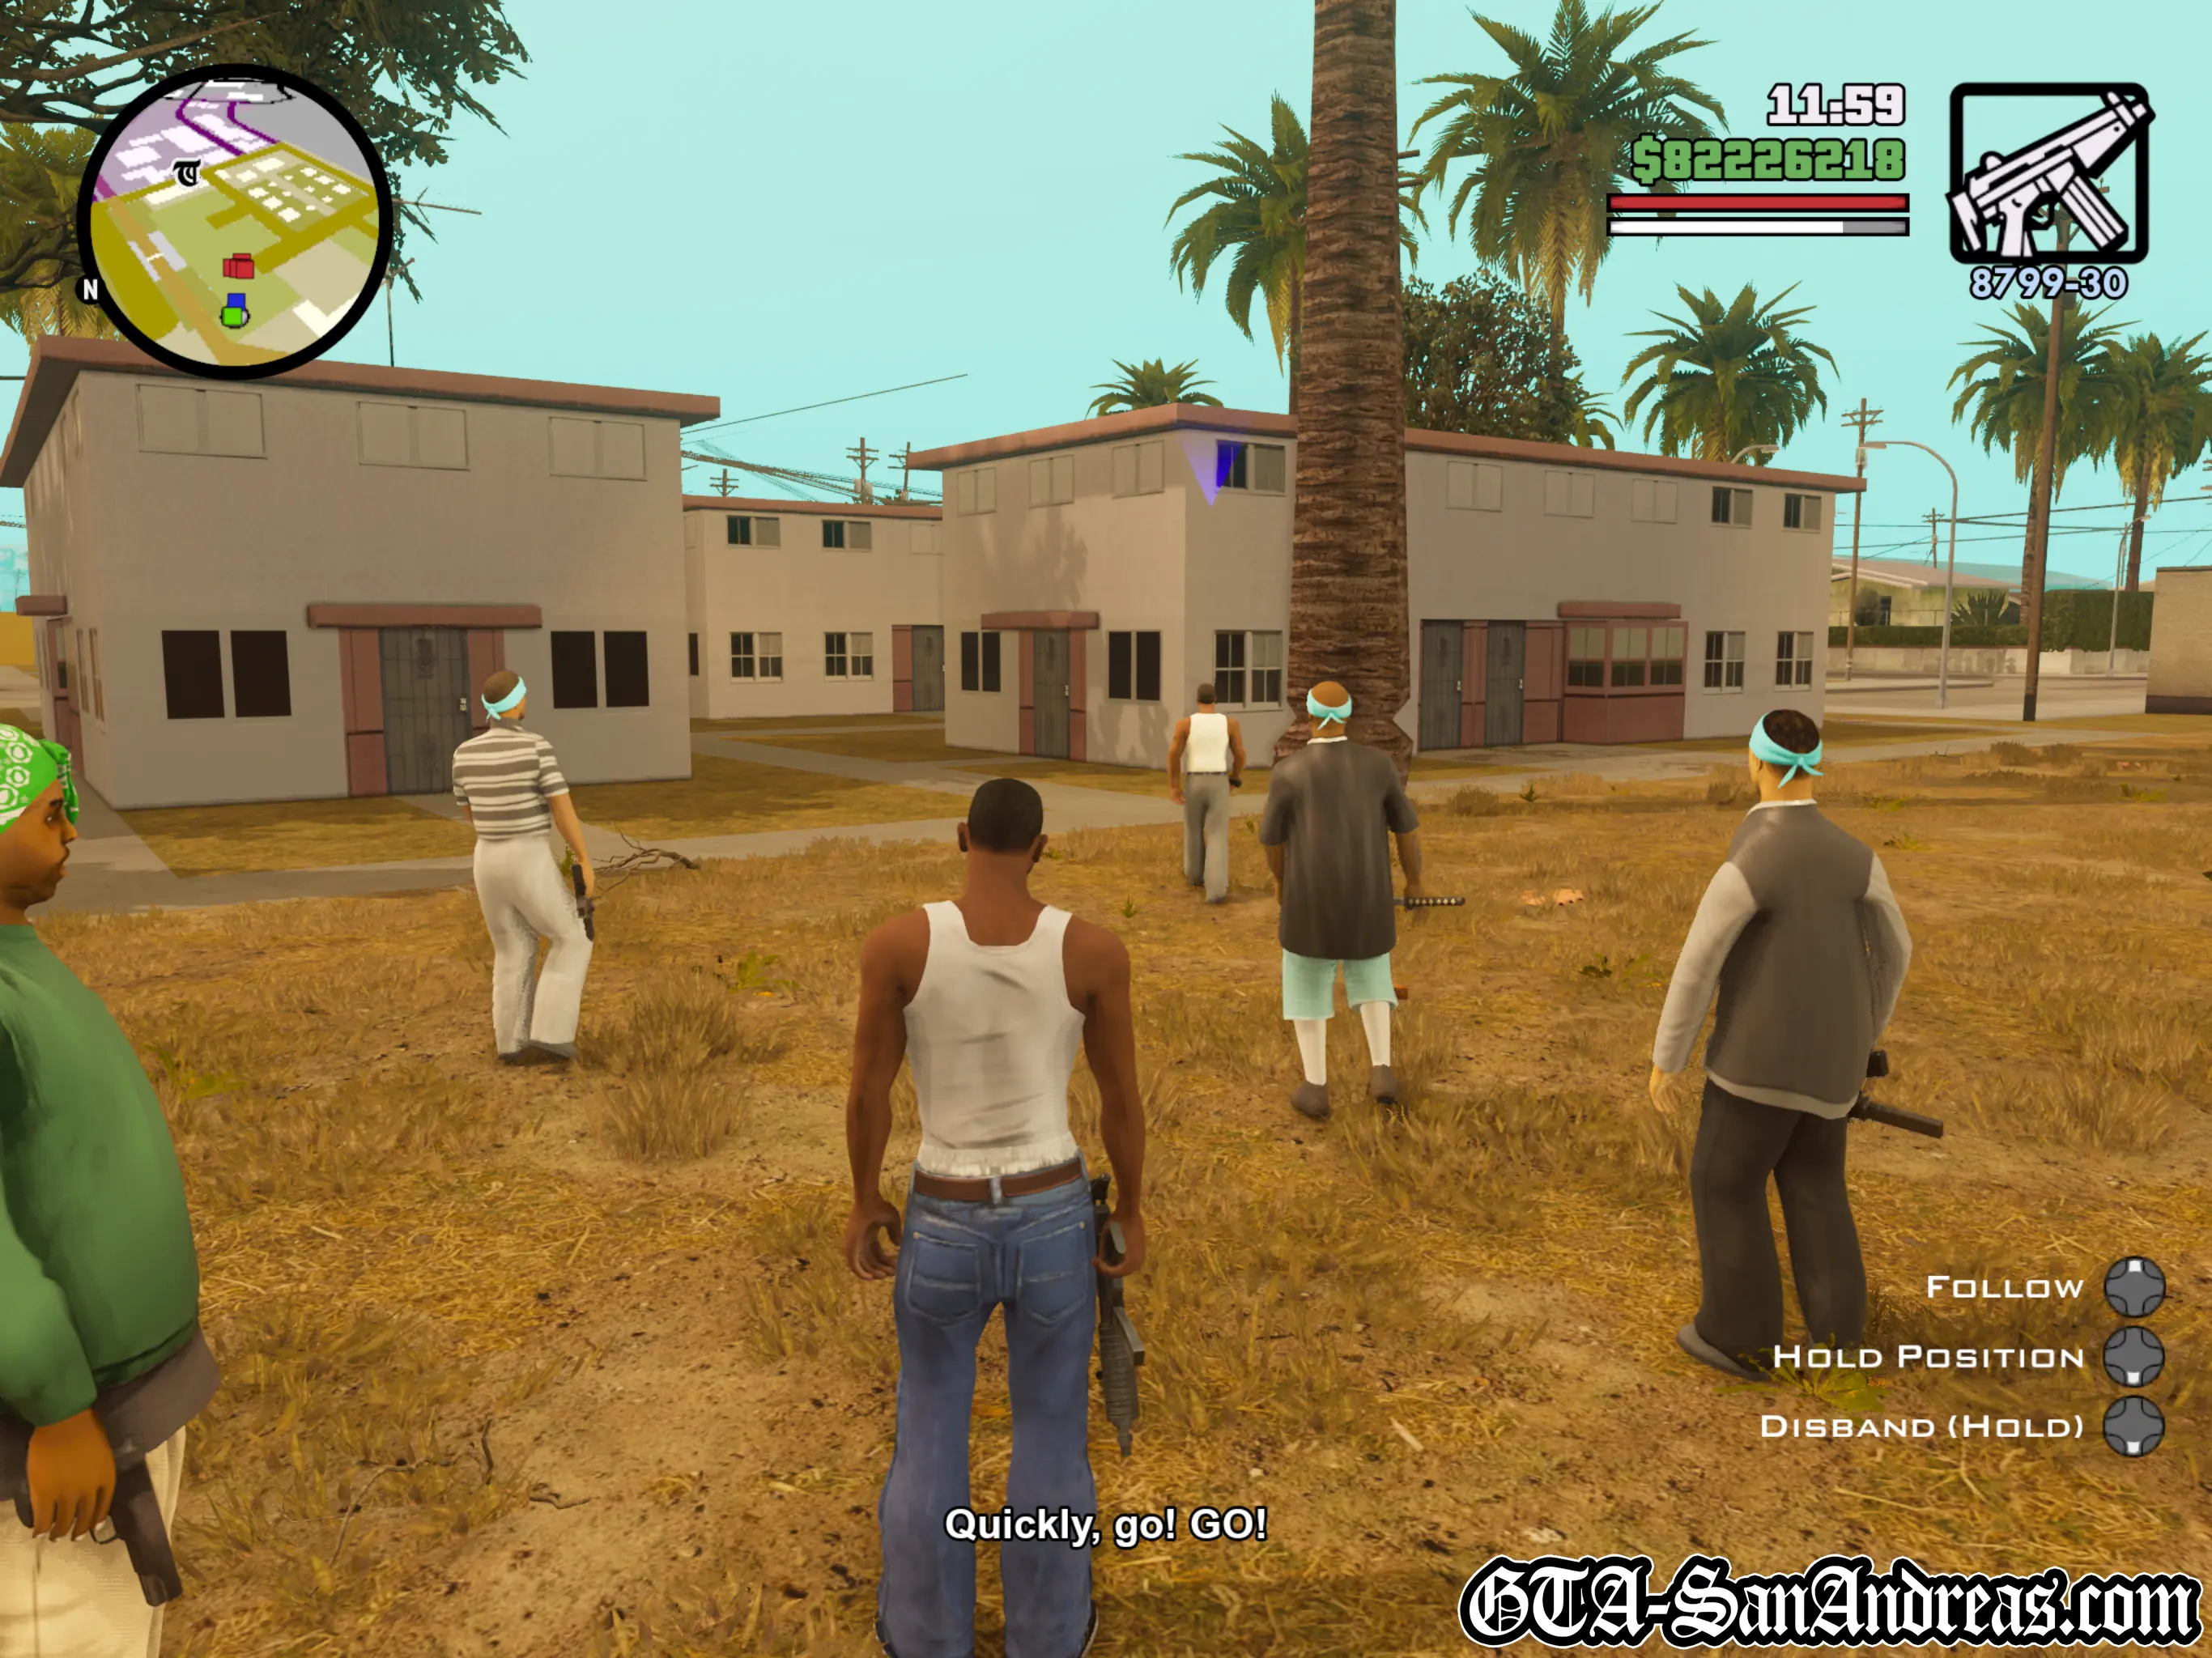
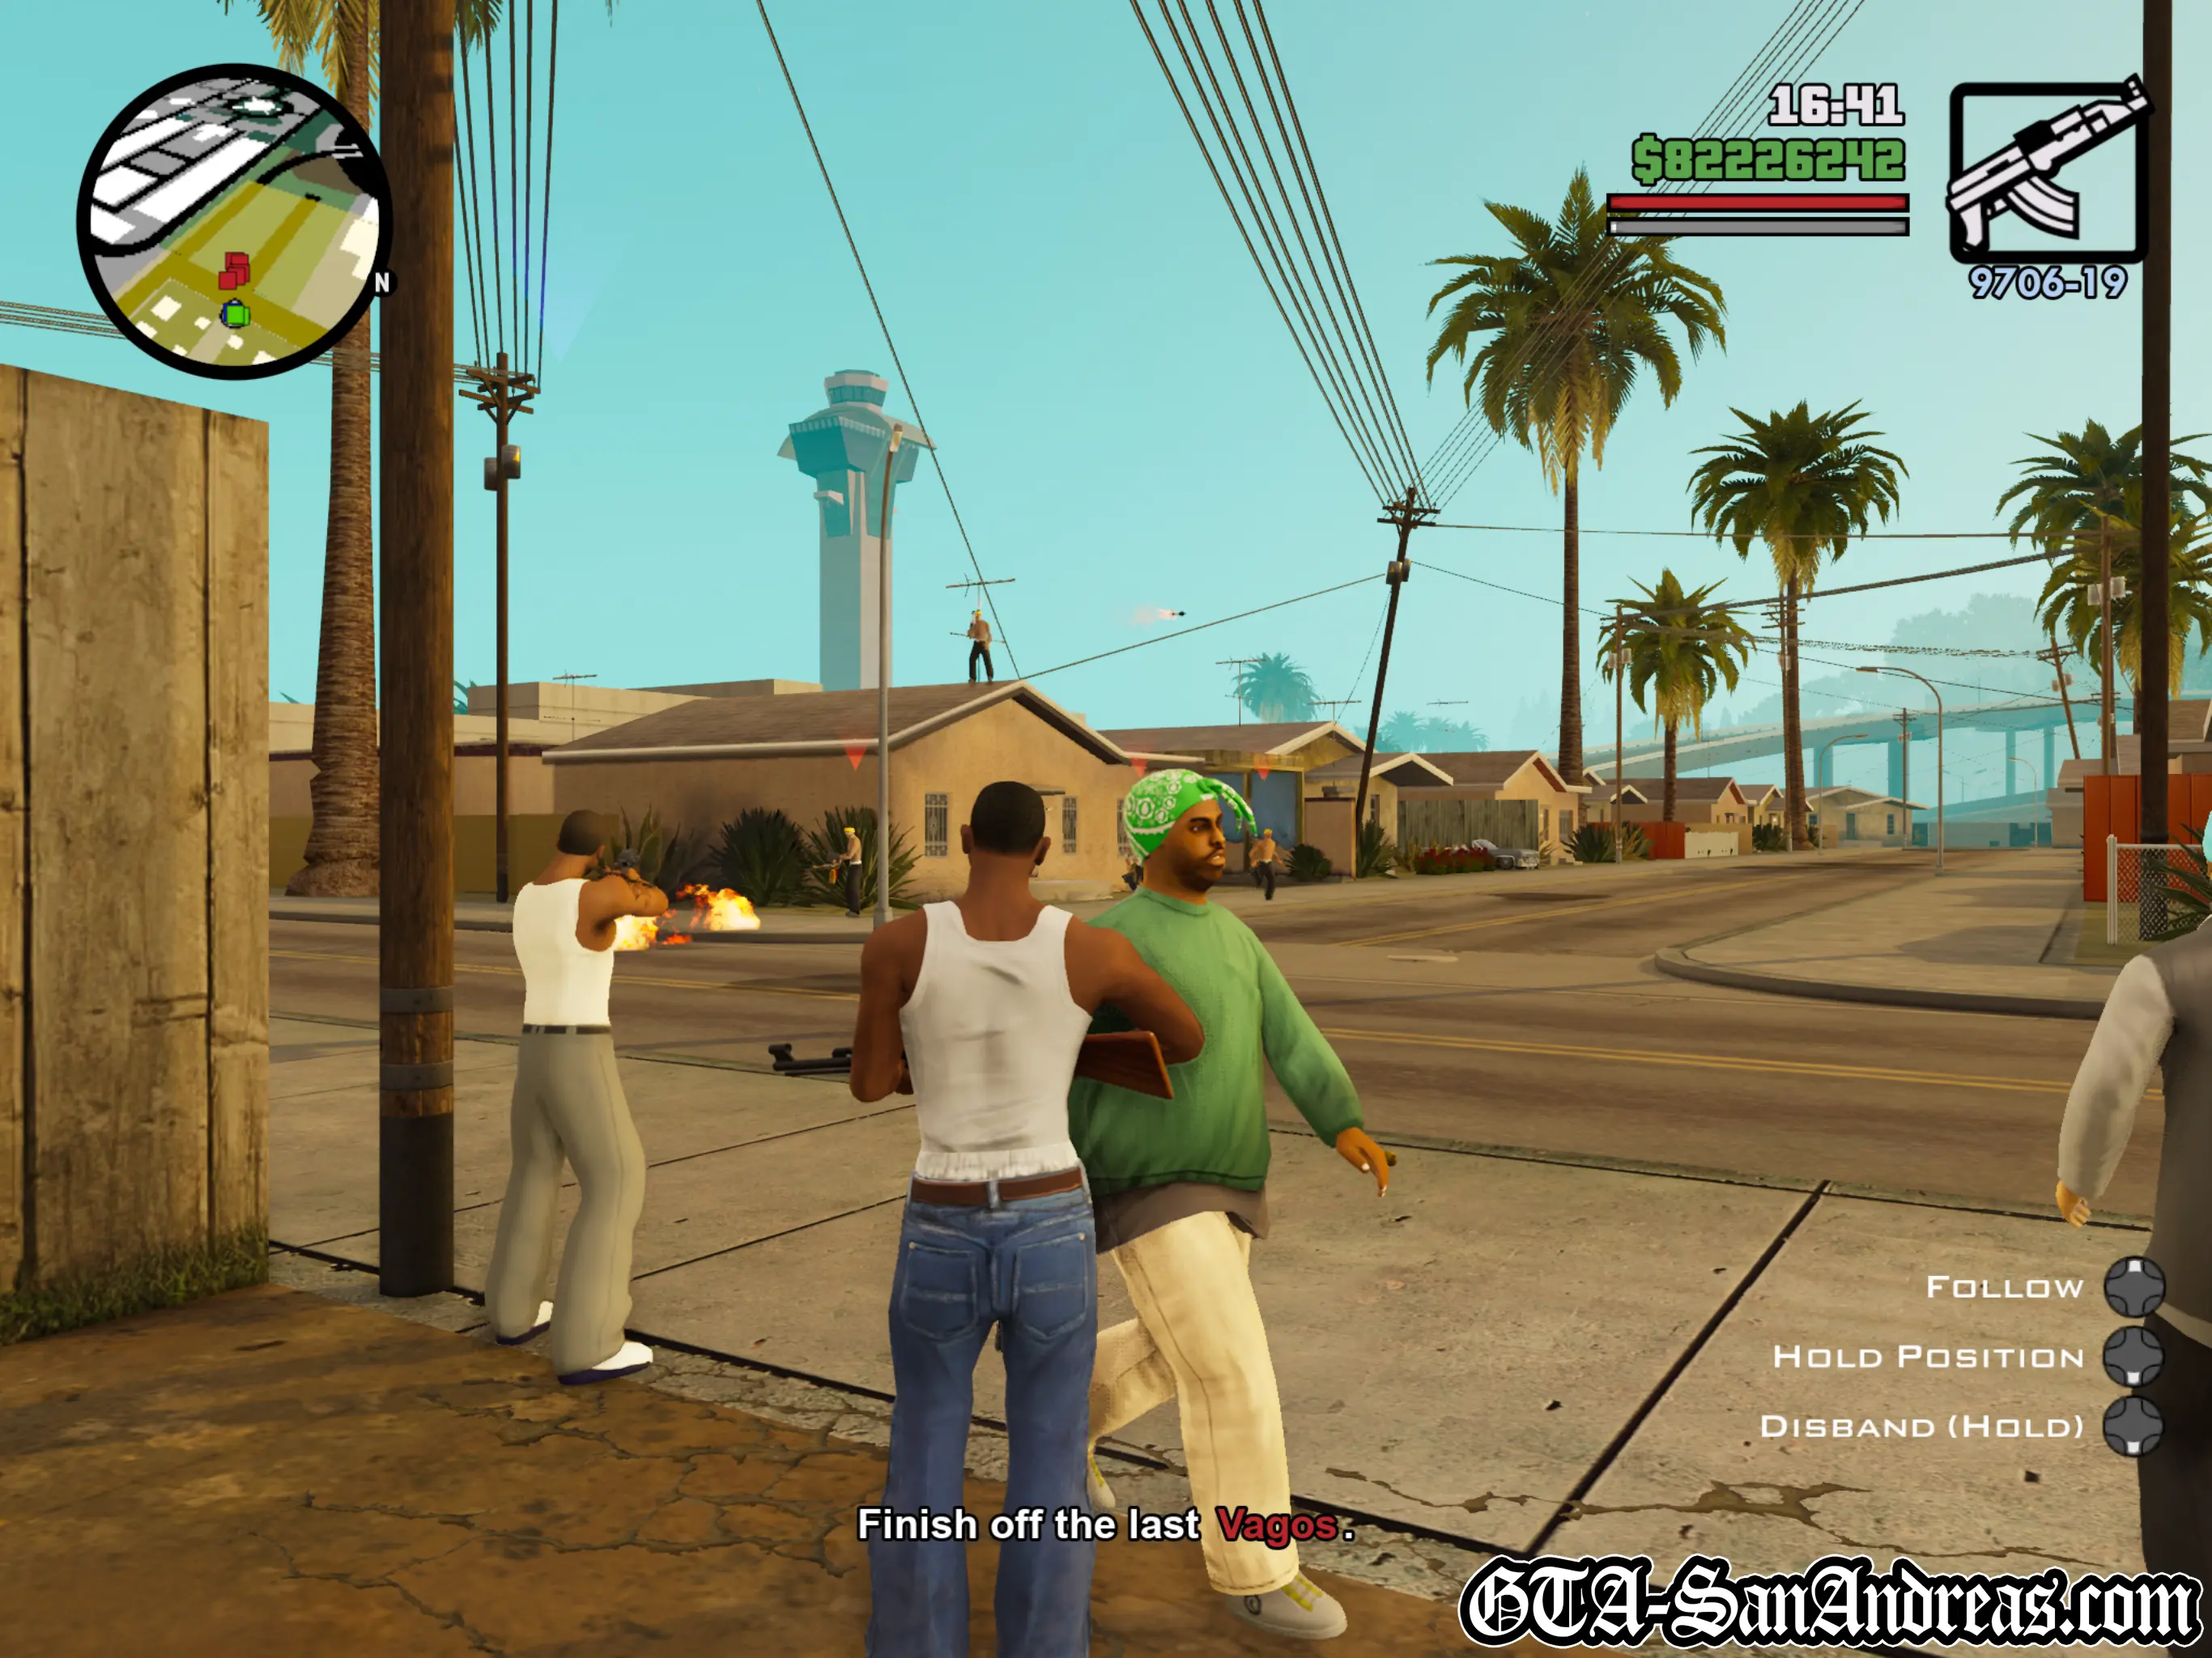
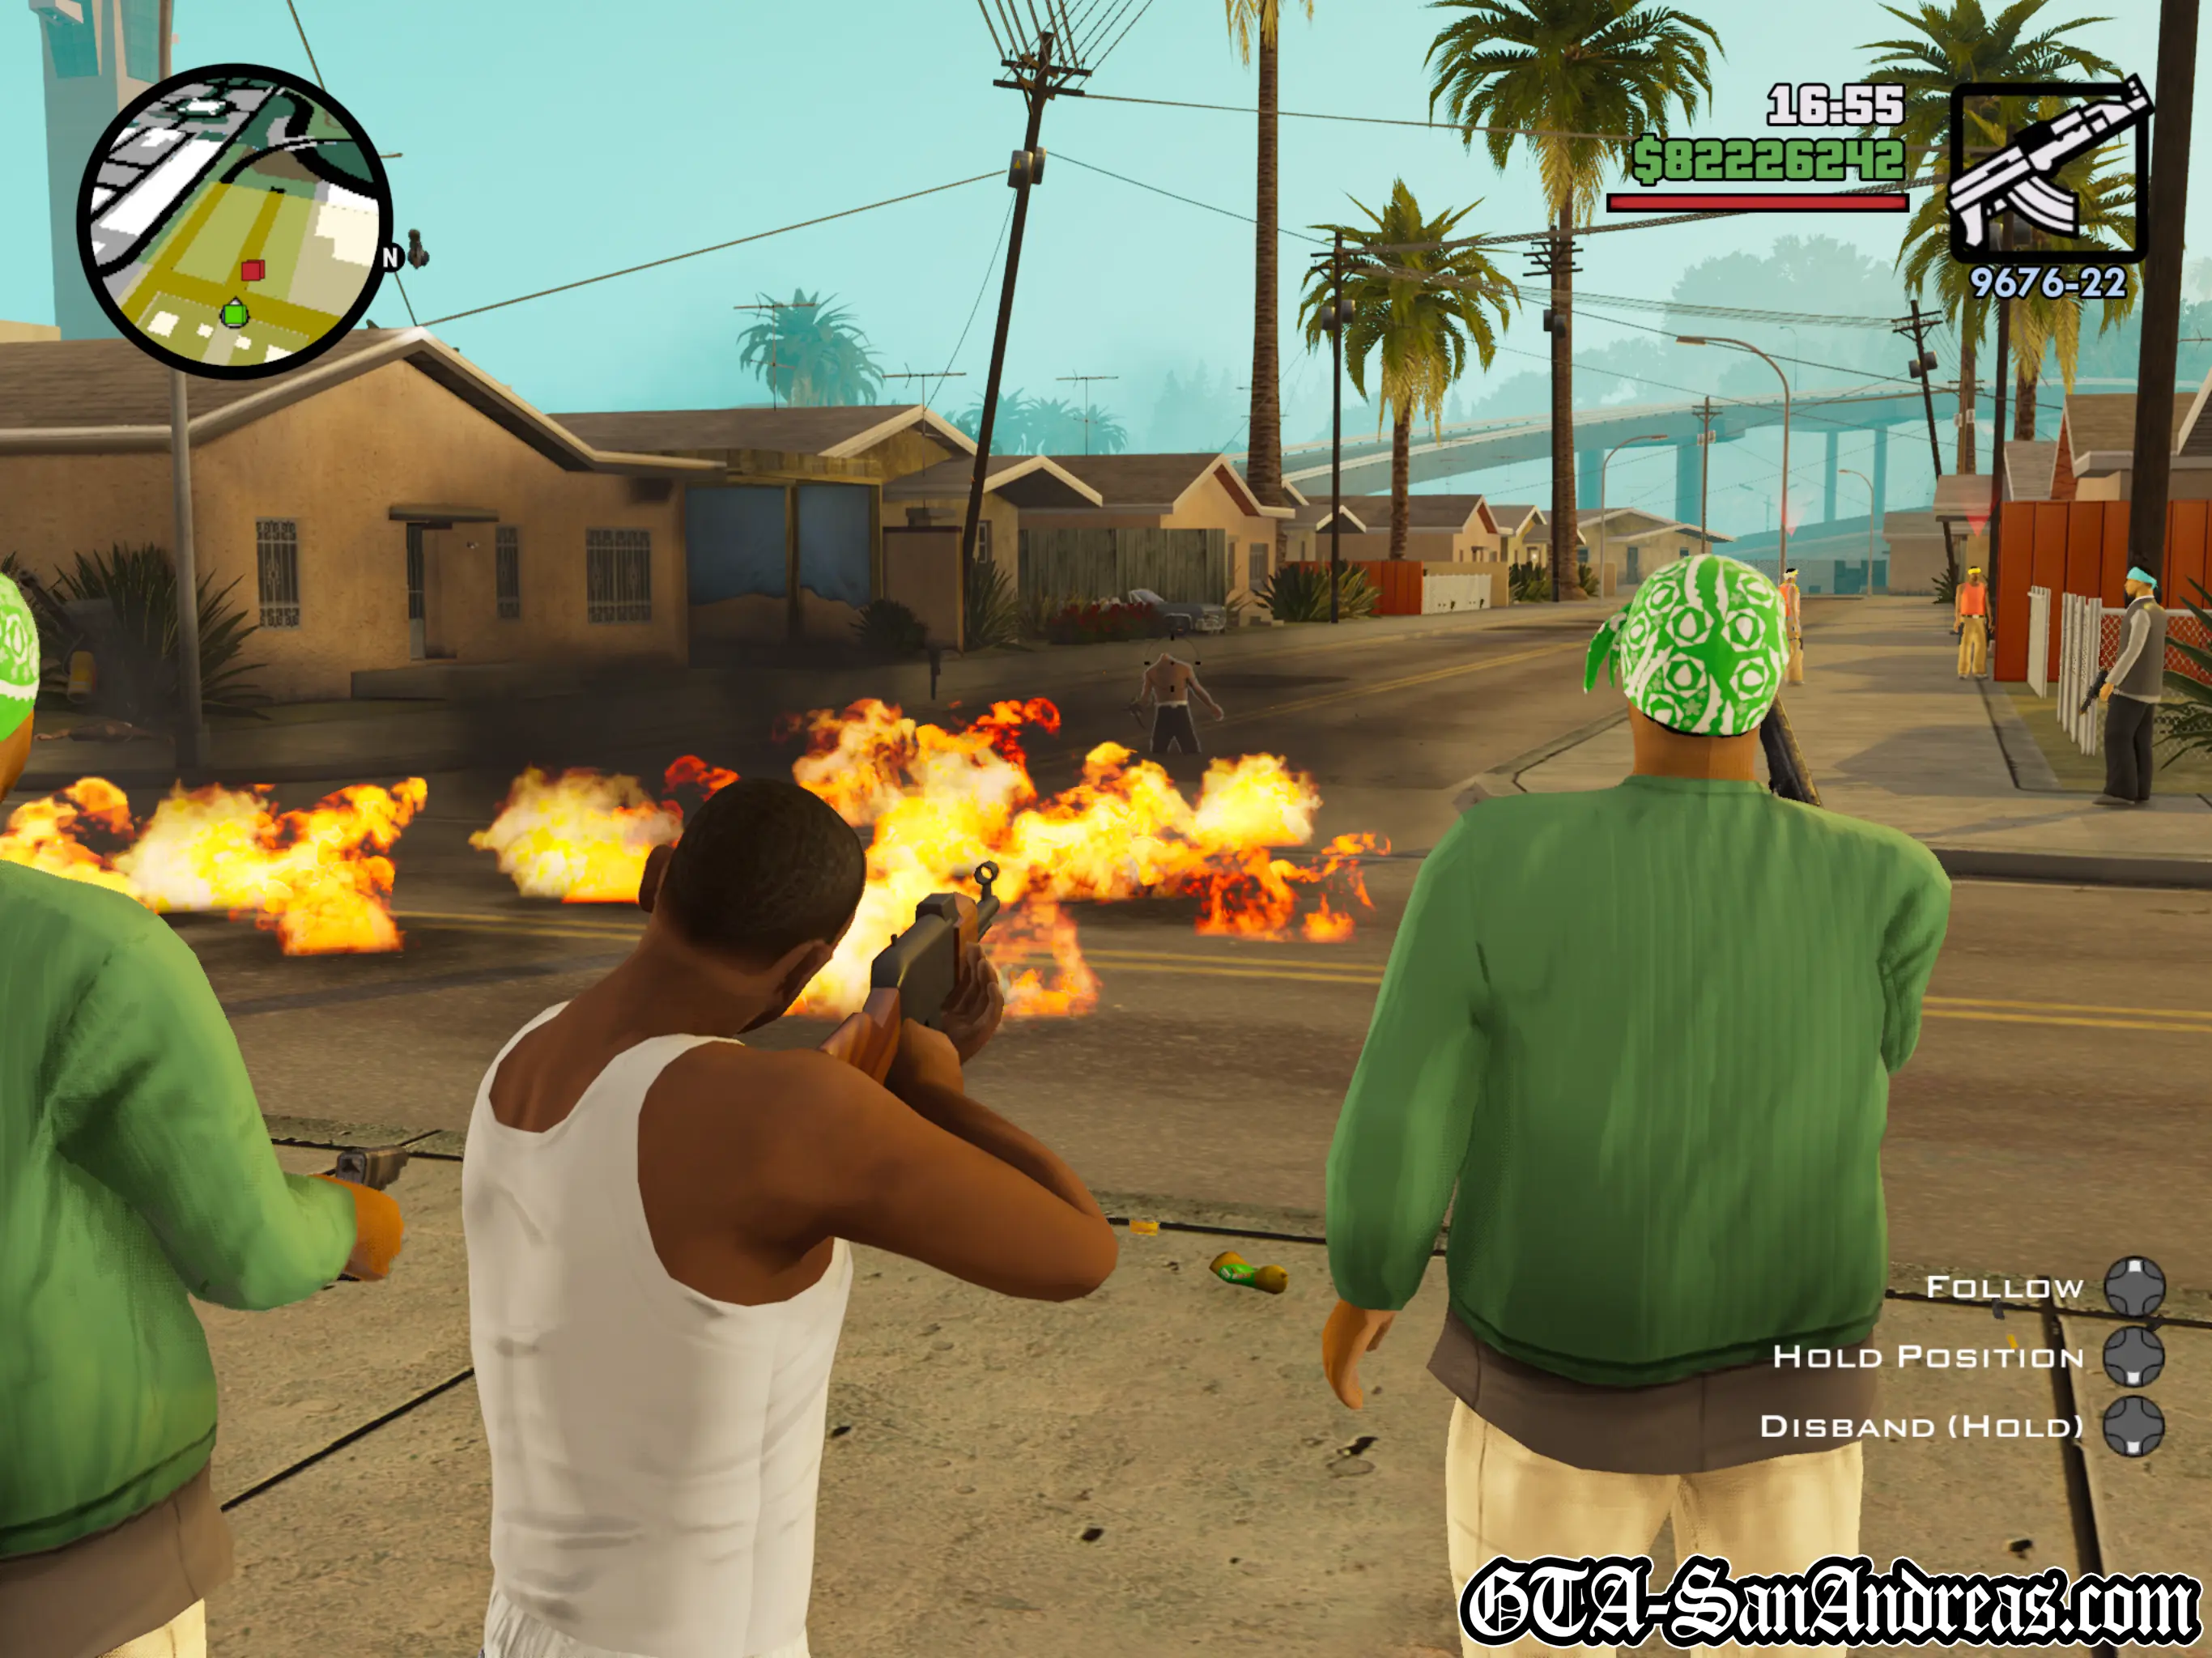
Cesar needs some help getting his gang back together, and retaining their power on the streets. Carl says he's busy, but he'll help out. When you go outside you'll need to get two Grove Street guys to follow you. Aim at them, then push up and you'll recruit them. You can recruit as many as you can carry, however you 'need' two. If you've only got two, you, Cesar, and the two GSF's can get in a car and drive to Unity Station. If you do drive, I suggest following the train tracks. If you choose more than two, you're going to have to run on foot. You shouldn't take too much damage while running past stuff, so make your way to the meet at the station. If you lose any homies, you'll need to find some more, so you either better be close to a Grove Street owned territory, or you're going to have to drive a long way to pick up some more. Get to the station and walk into the red circle. Cesar and his guys want to take their hood back, but to do that, they need to make their way through a neighborhood and wipe out all of the Vagos. You'll be killing all of the people marked with tiny red dots on the radar. Make your way into the houses and kill all of the Vagos. Rockstar Games didn't really do themselves any justice with this mission though, because your guys and Cesar's guys are absolutely fucking useless. I don't even think mine fired a shot the whole time. Cesar and his guys can't advance until you wipe out an area, so make sure you kill every last one. Use the same technique as the other 75 missions like this where you have to single headedly kill everyone. Auto aim and switch targets while shooting until they are dead. Once you clear out an area, move into another and do the same. Work your way through all of the buildings, and after you've killed all 50 or so people, head to the yellow dot and the guys will move into the alleyway. Now they will decide to use their weapons, and they have rocket launchers! Once again you need to kill everyone so just move slightly forward and aim and shoot, blah blah blah. Kill everyone, and one of Cesar's guys will be wounded. More Vagos will appear and you'll need to wipe them all out. You'll find some health and ammo in the garage to the right. Once the Vagos have been killed you'll make your way towards Cesar's house. There are about five more people here, each with heavy weaponry, including flamethrowers and rocket launchers. Same thing applies here, aim, shoot, switch, shoot, reload, shoot, switch, et cetera. Once everyone's dead Cesar will thank you for your work and tell you to get back to the grove.
After the mission you'll receive a phone call from Sweet telling you to take over as many gang territories as you can. A message will then usually tell you that you need to take over more gang territories. Head into Ballas territory and start shooting. Start a gang war and win it. You'll need to own about 20 territories before you can accept the next mission. Sweet will call you when you have enough and tell you he knows where Smoke is at. Head back to the grove and meet Sweet for his final mission.
Screenshots

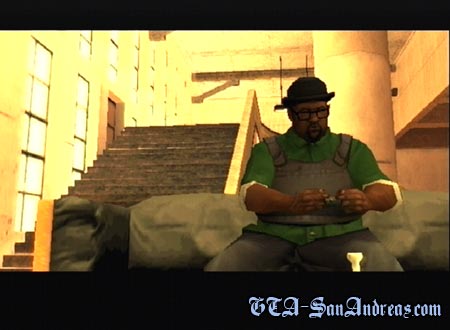
End Of The Line
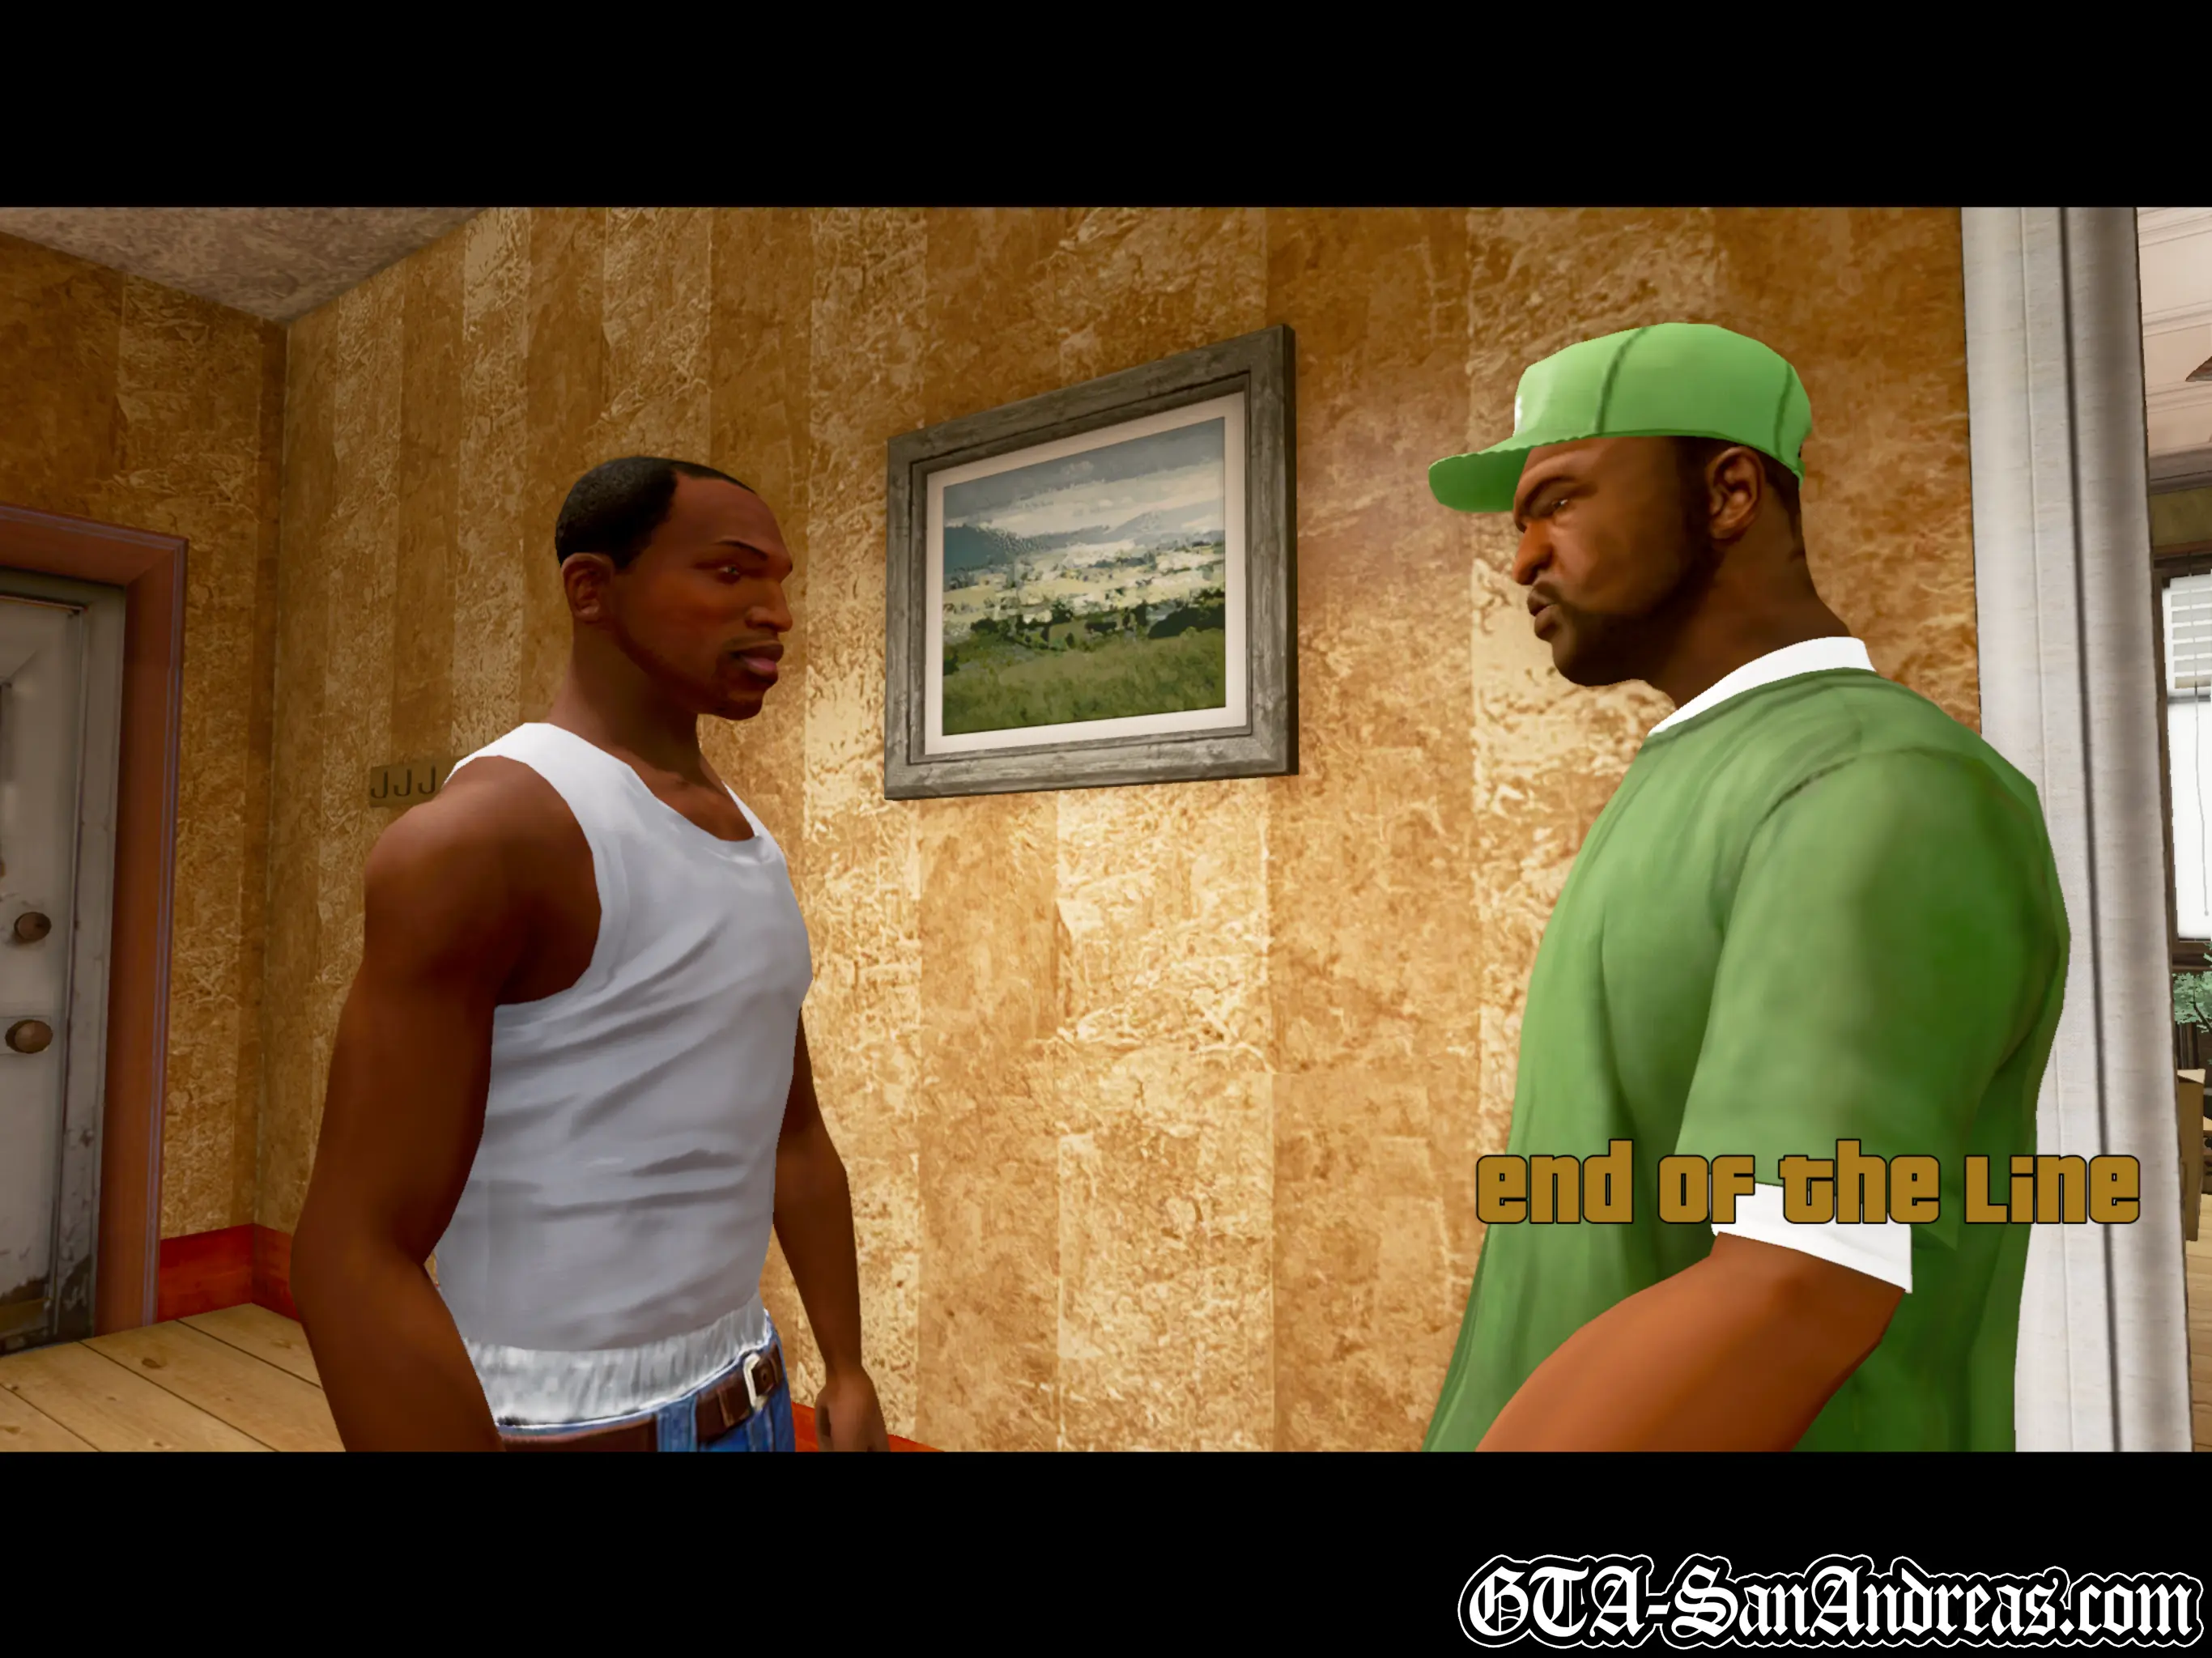
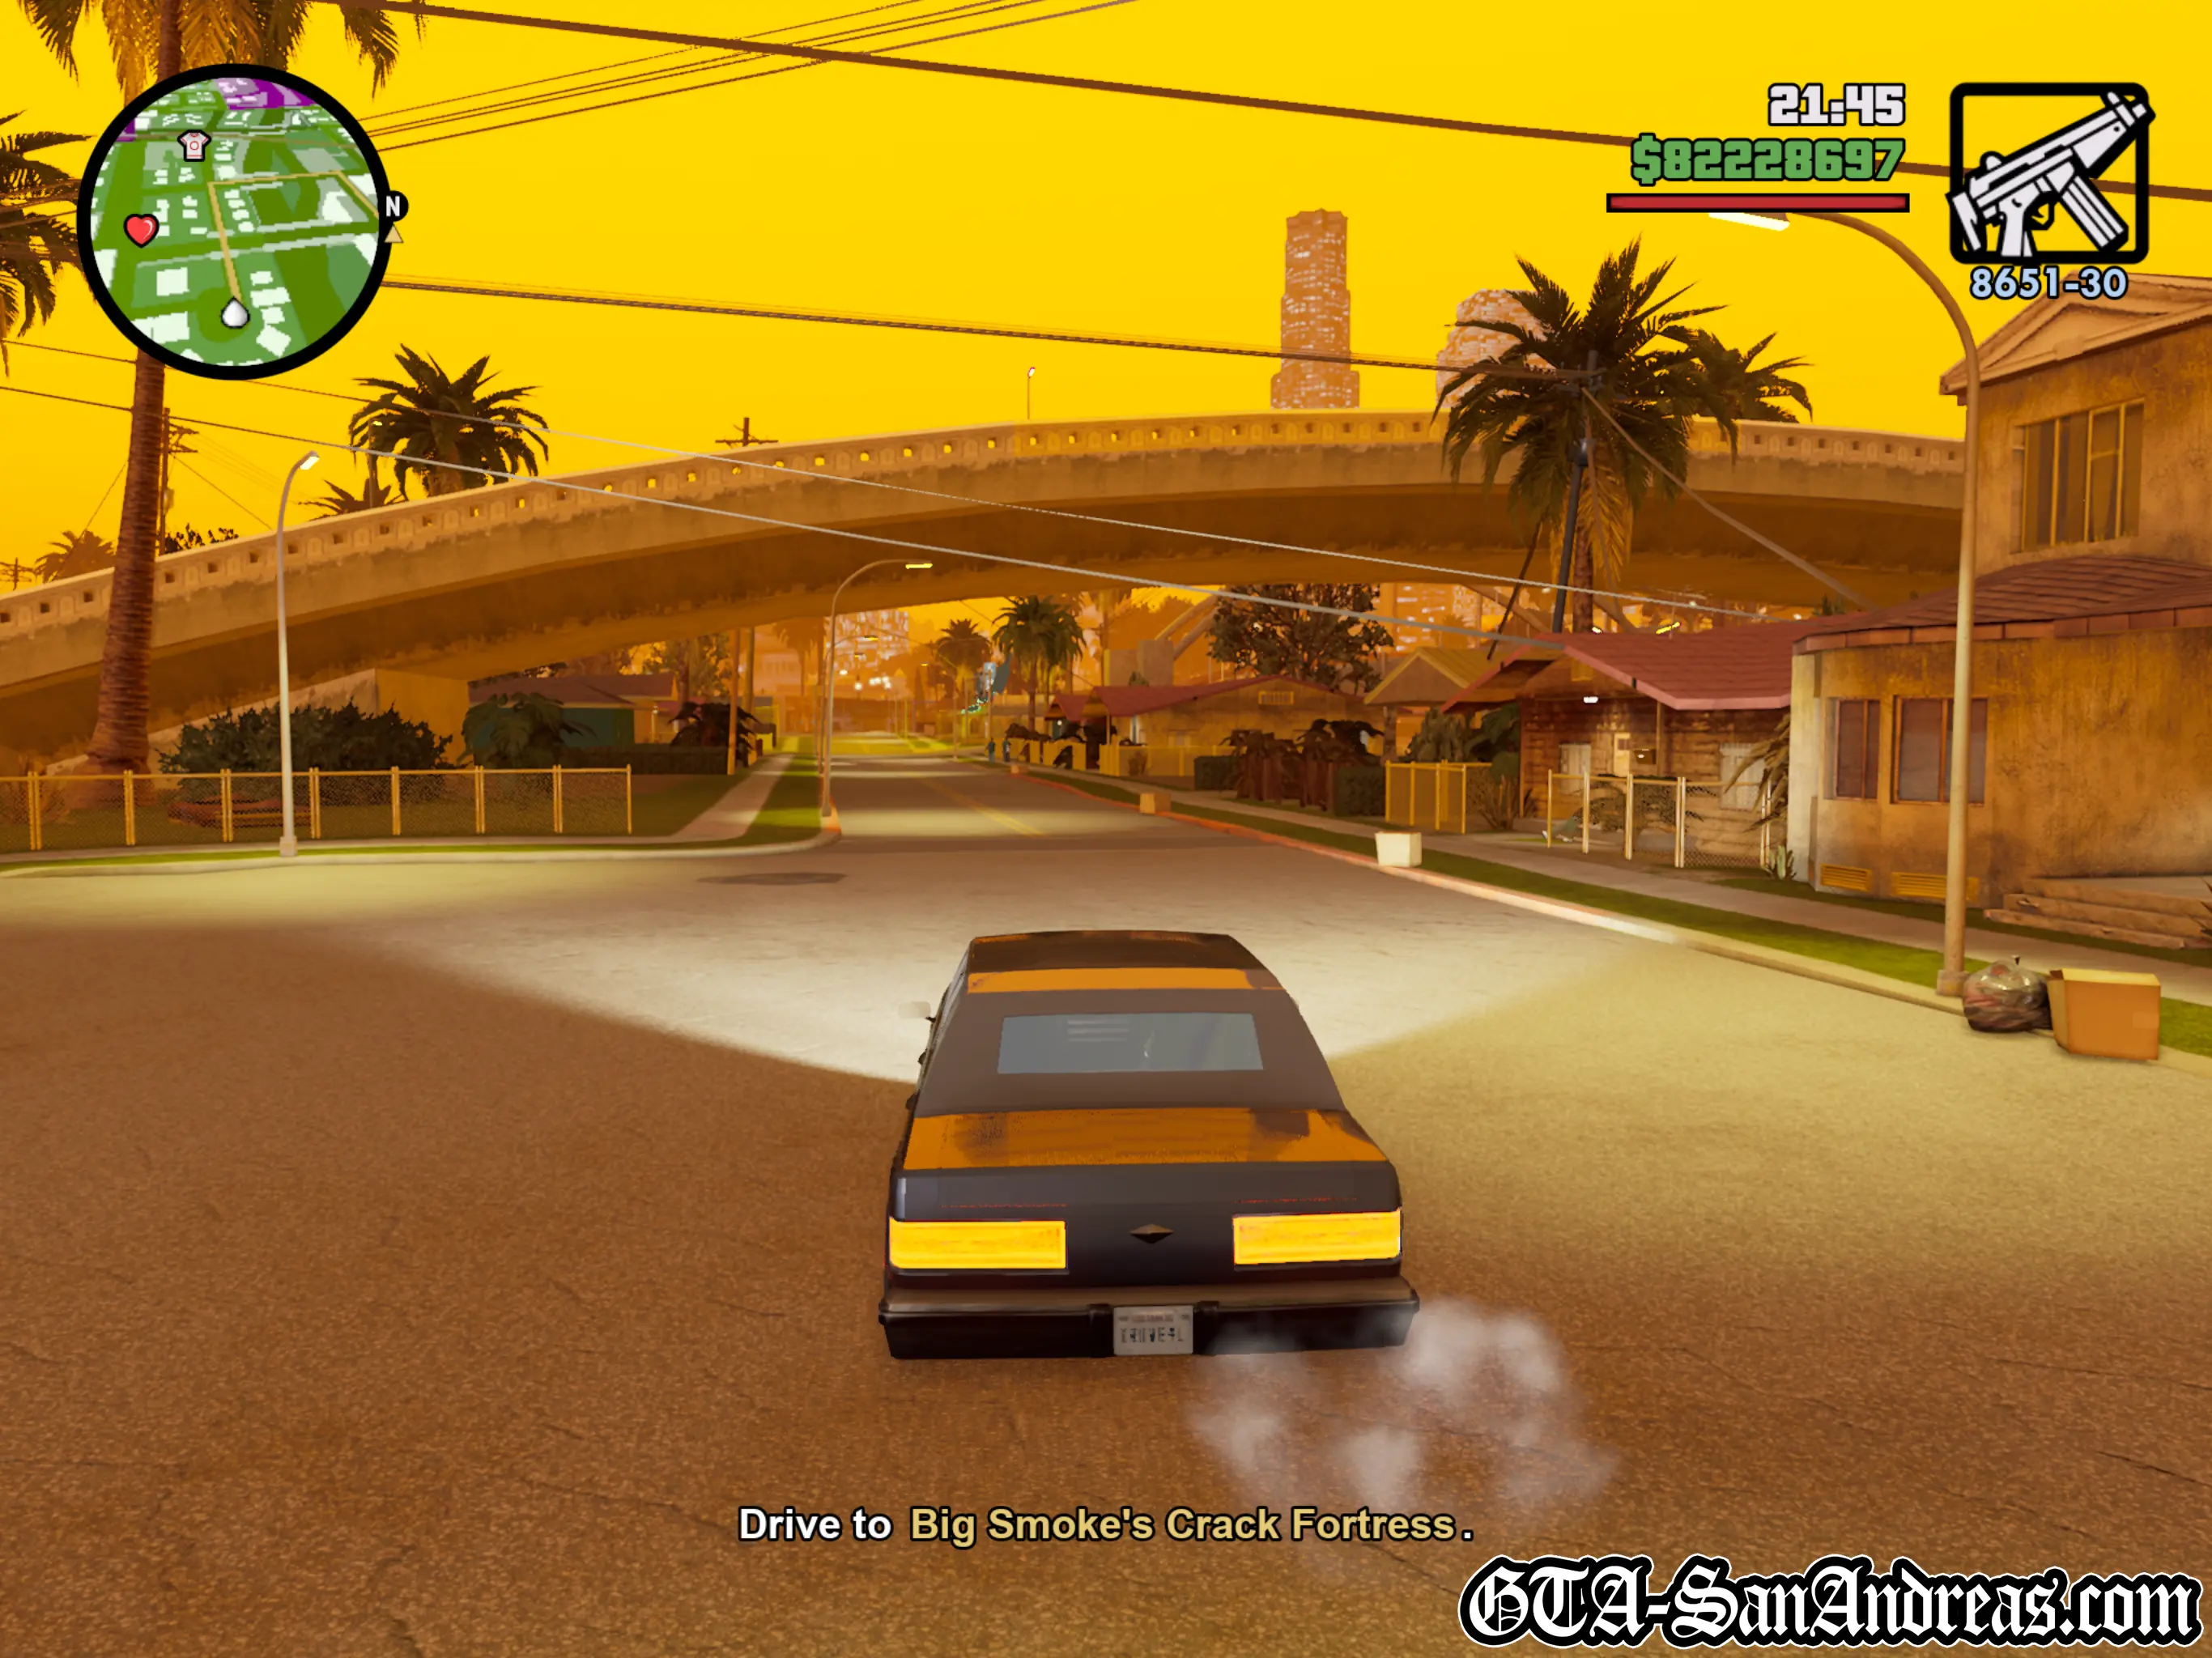
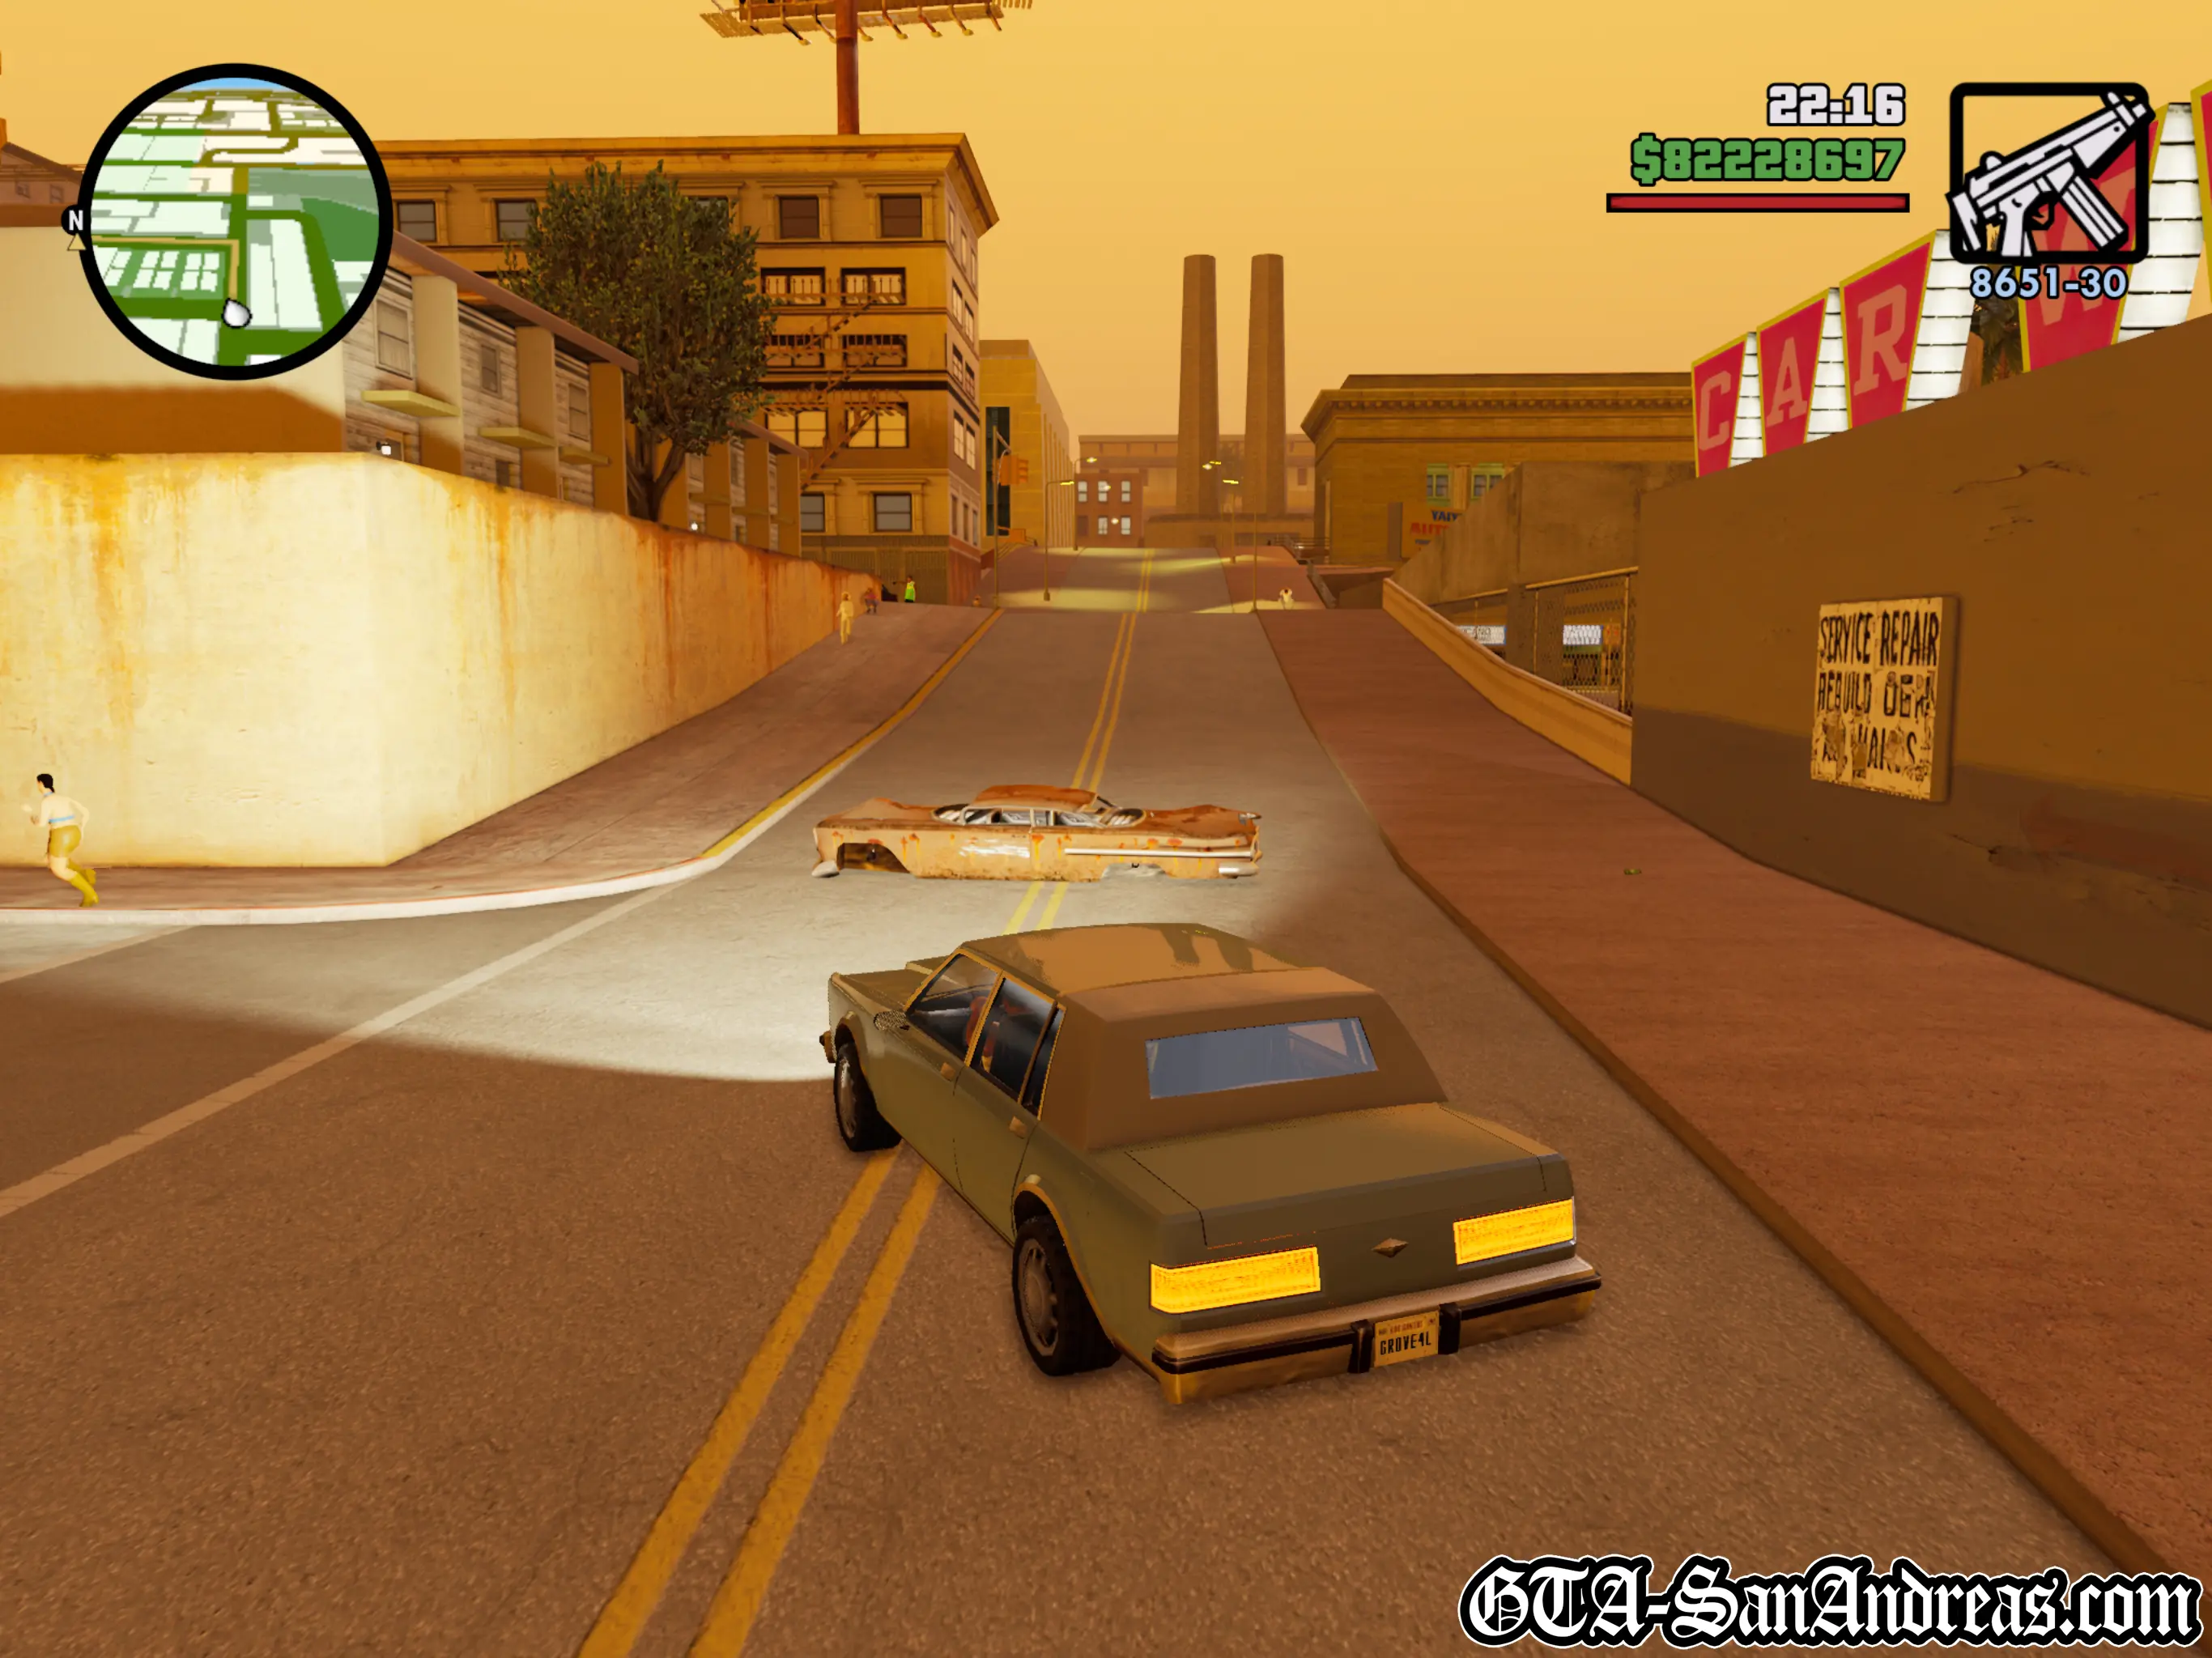
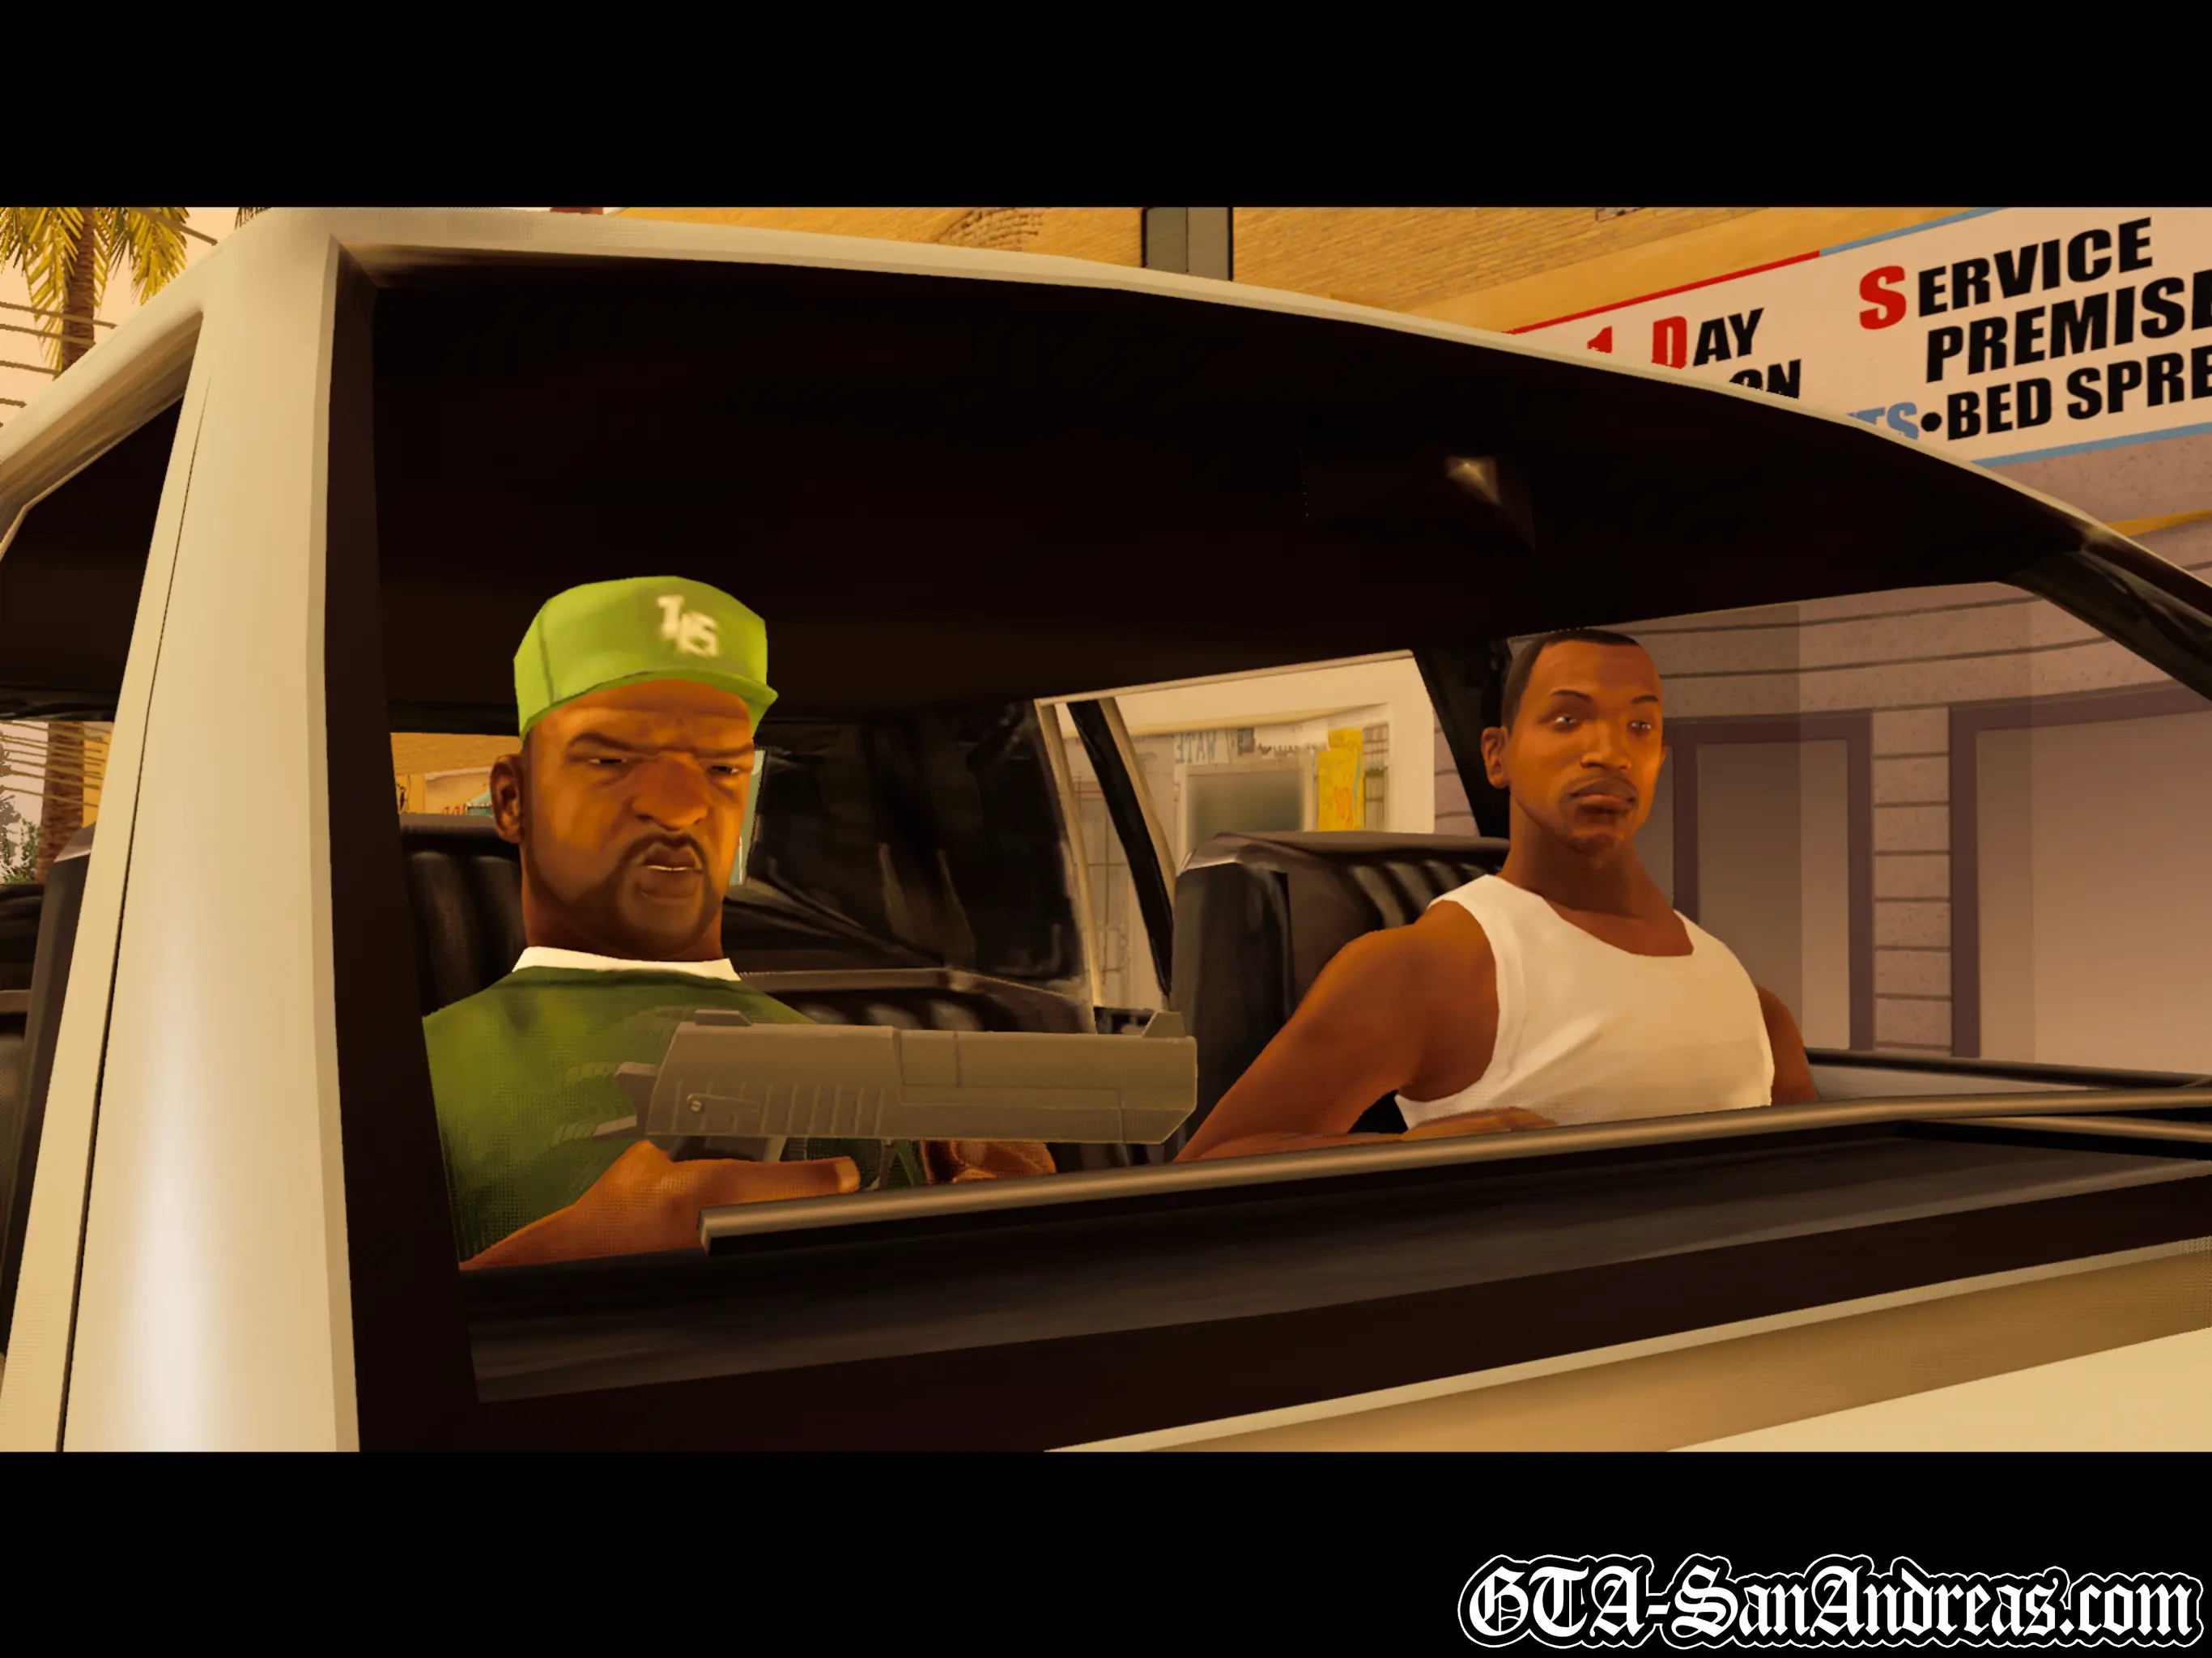
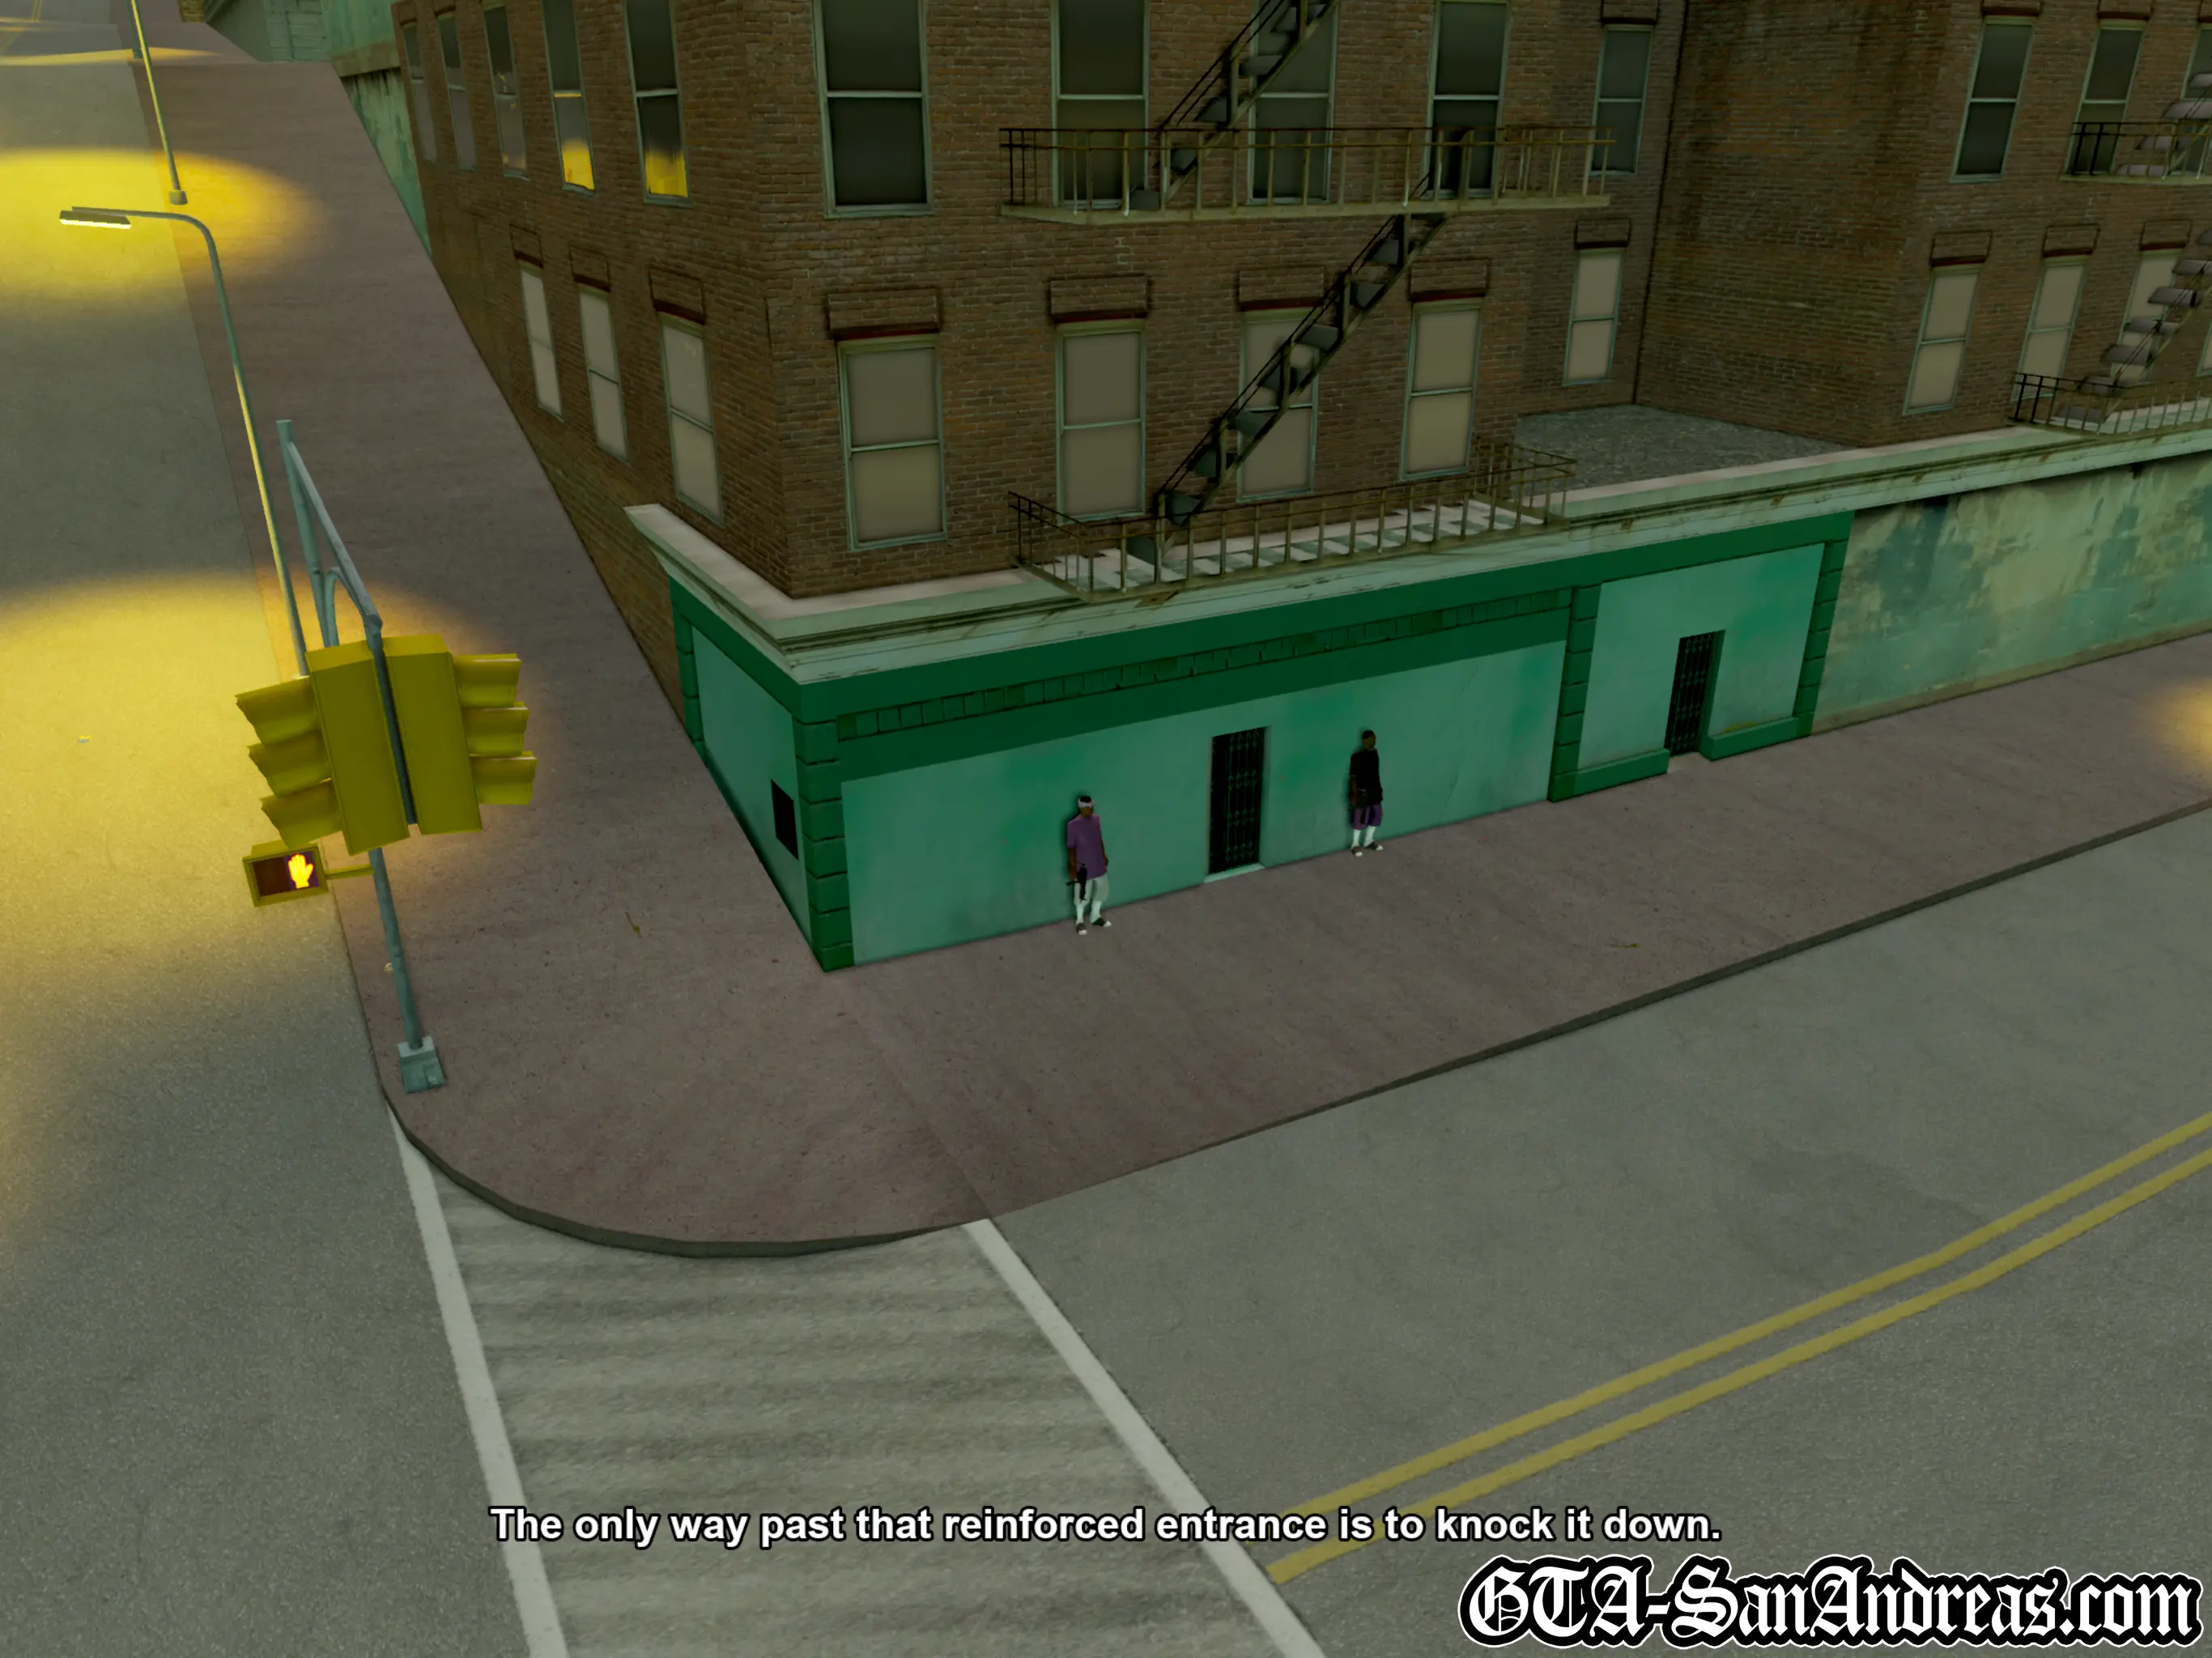
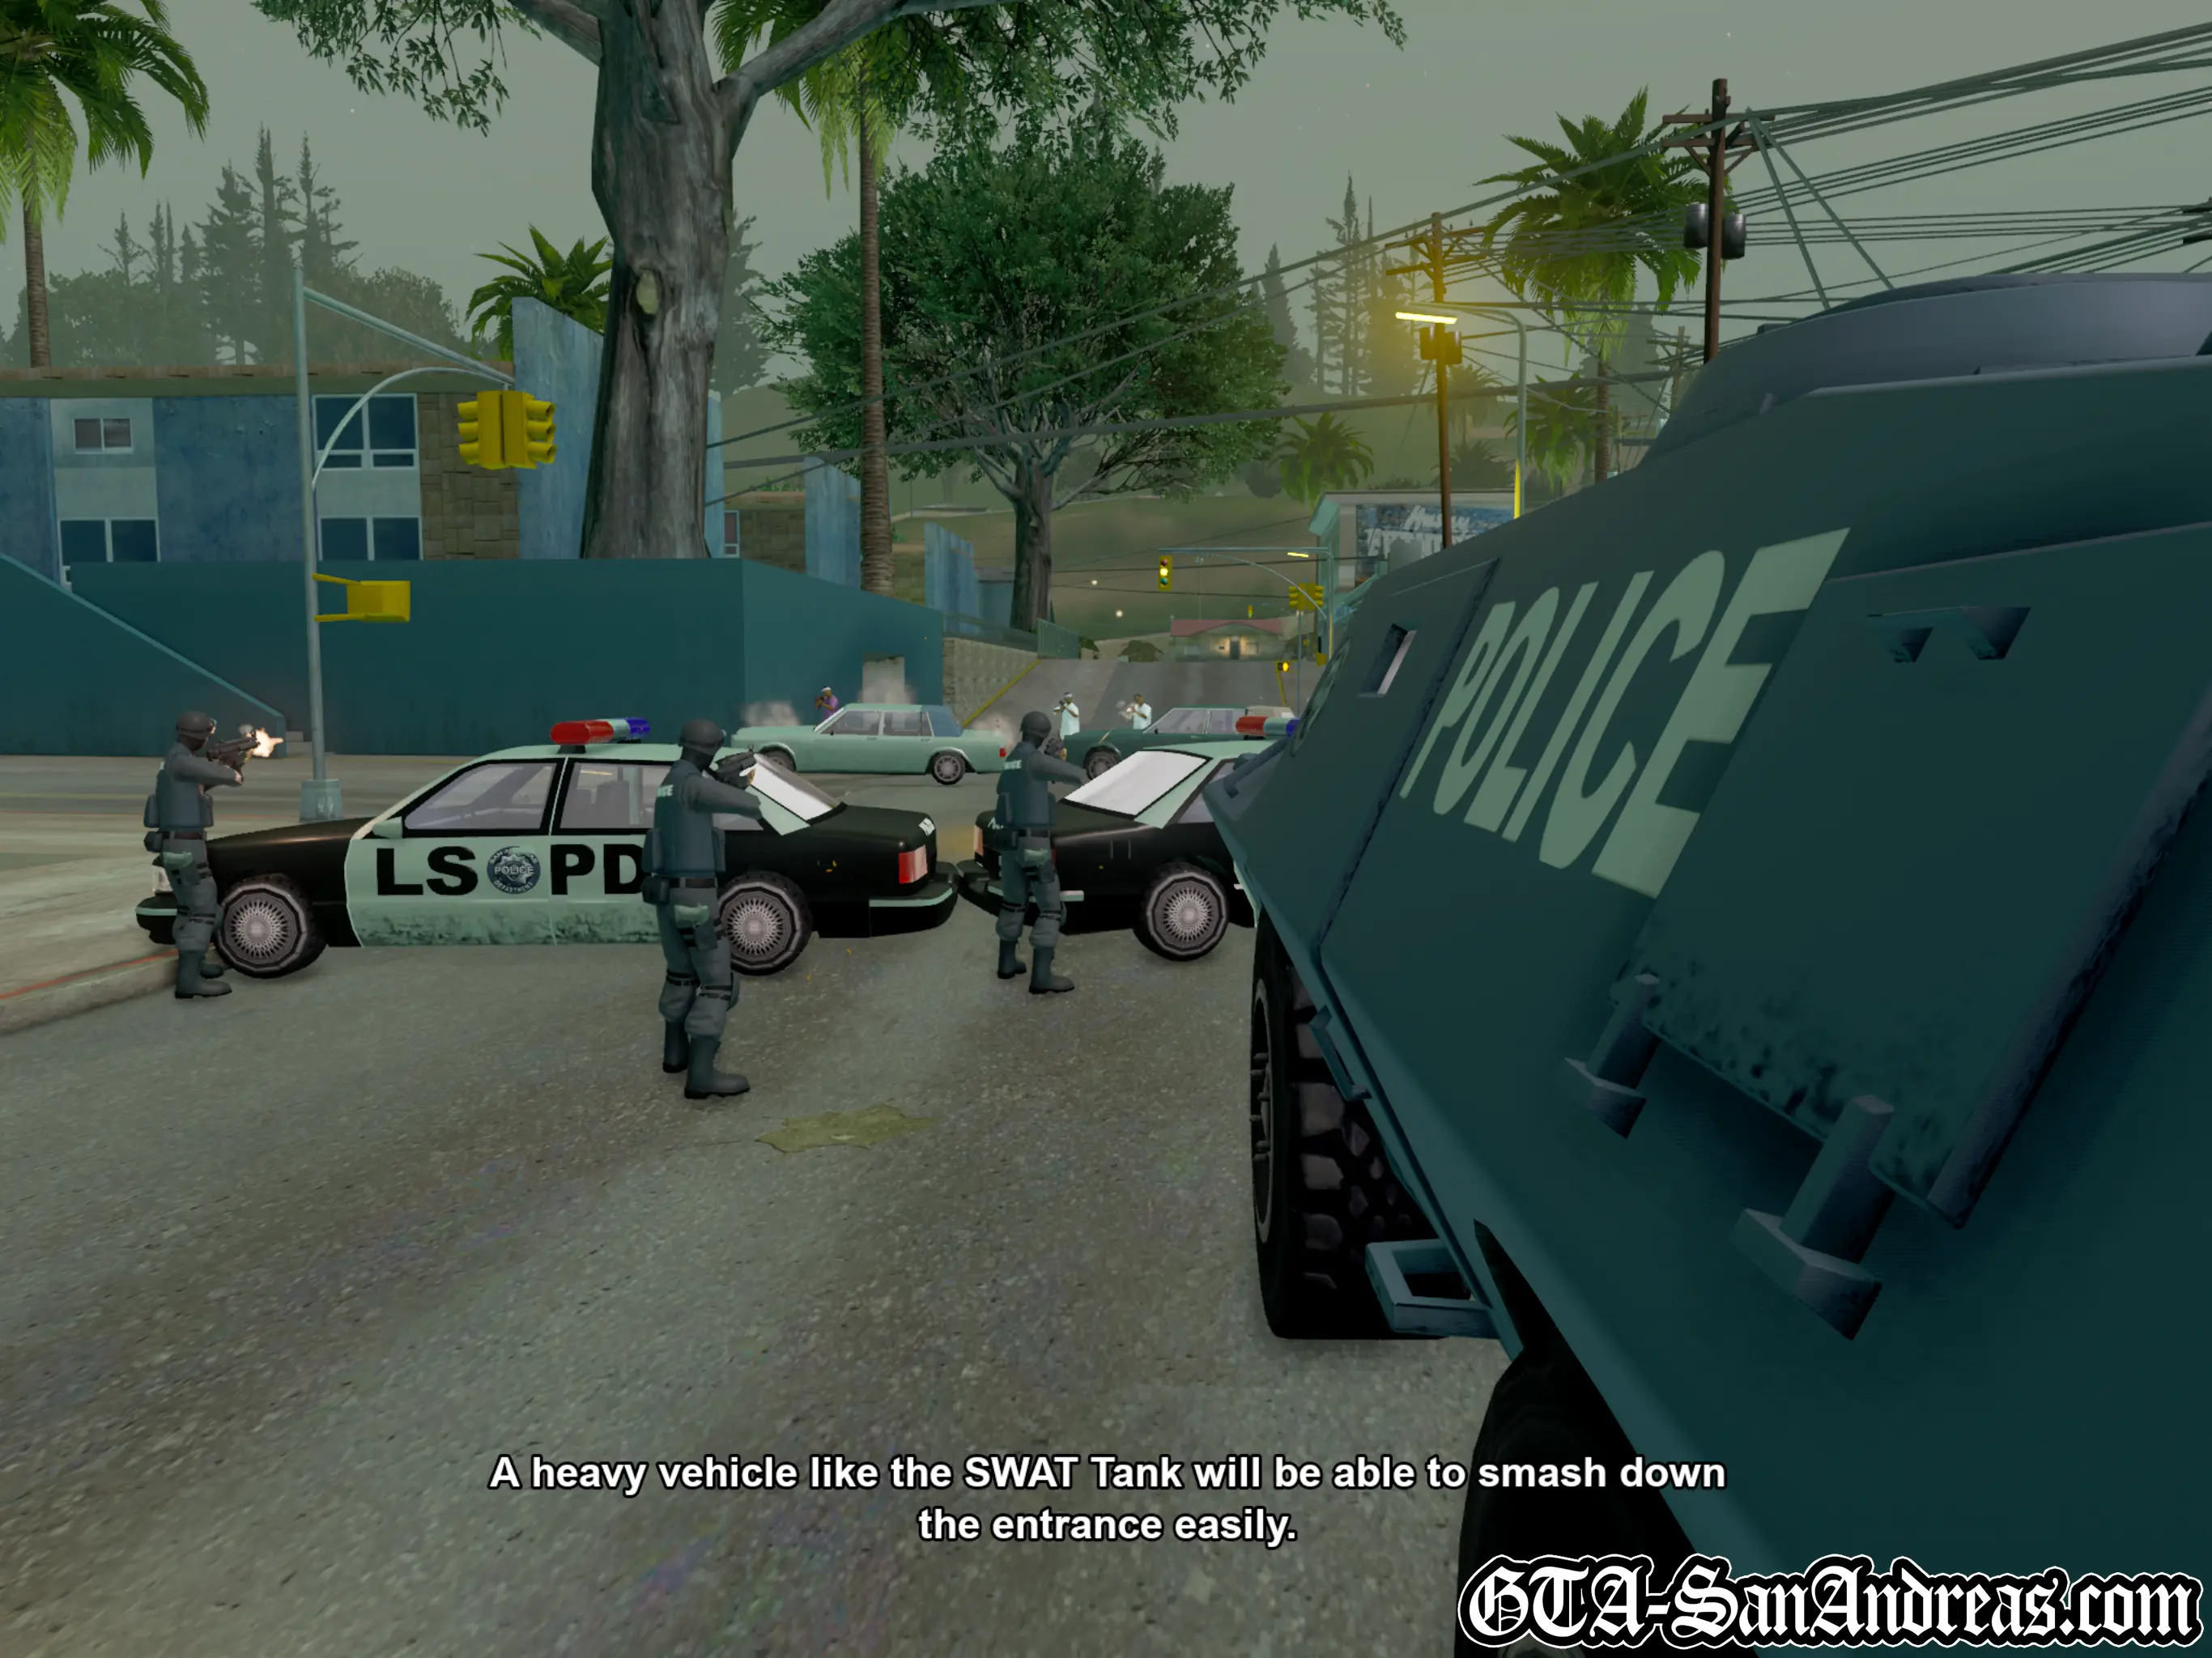
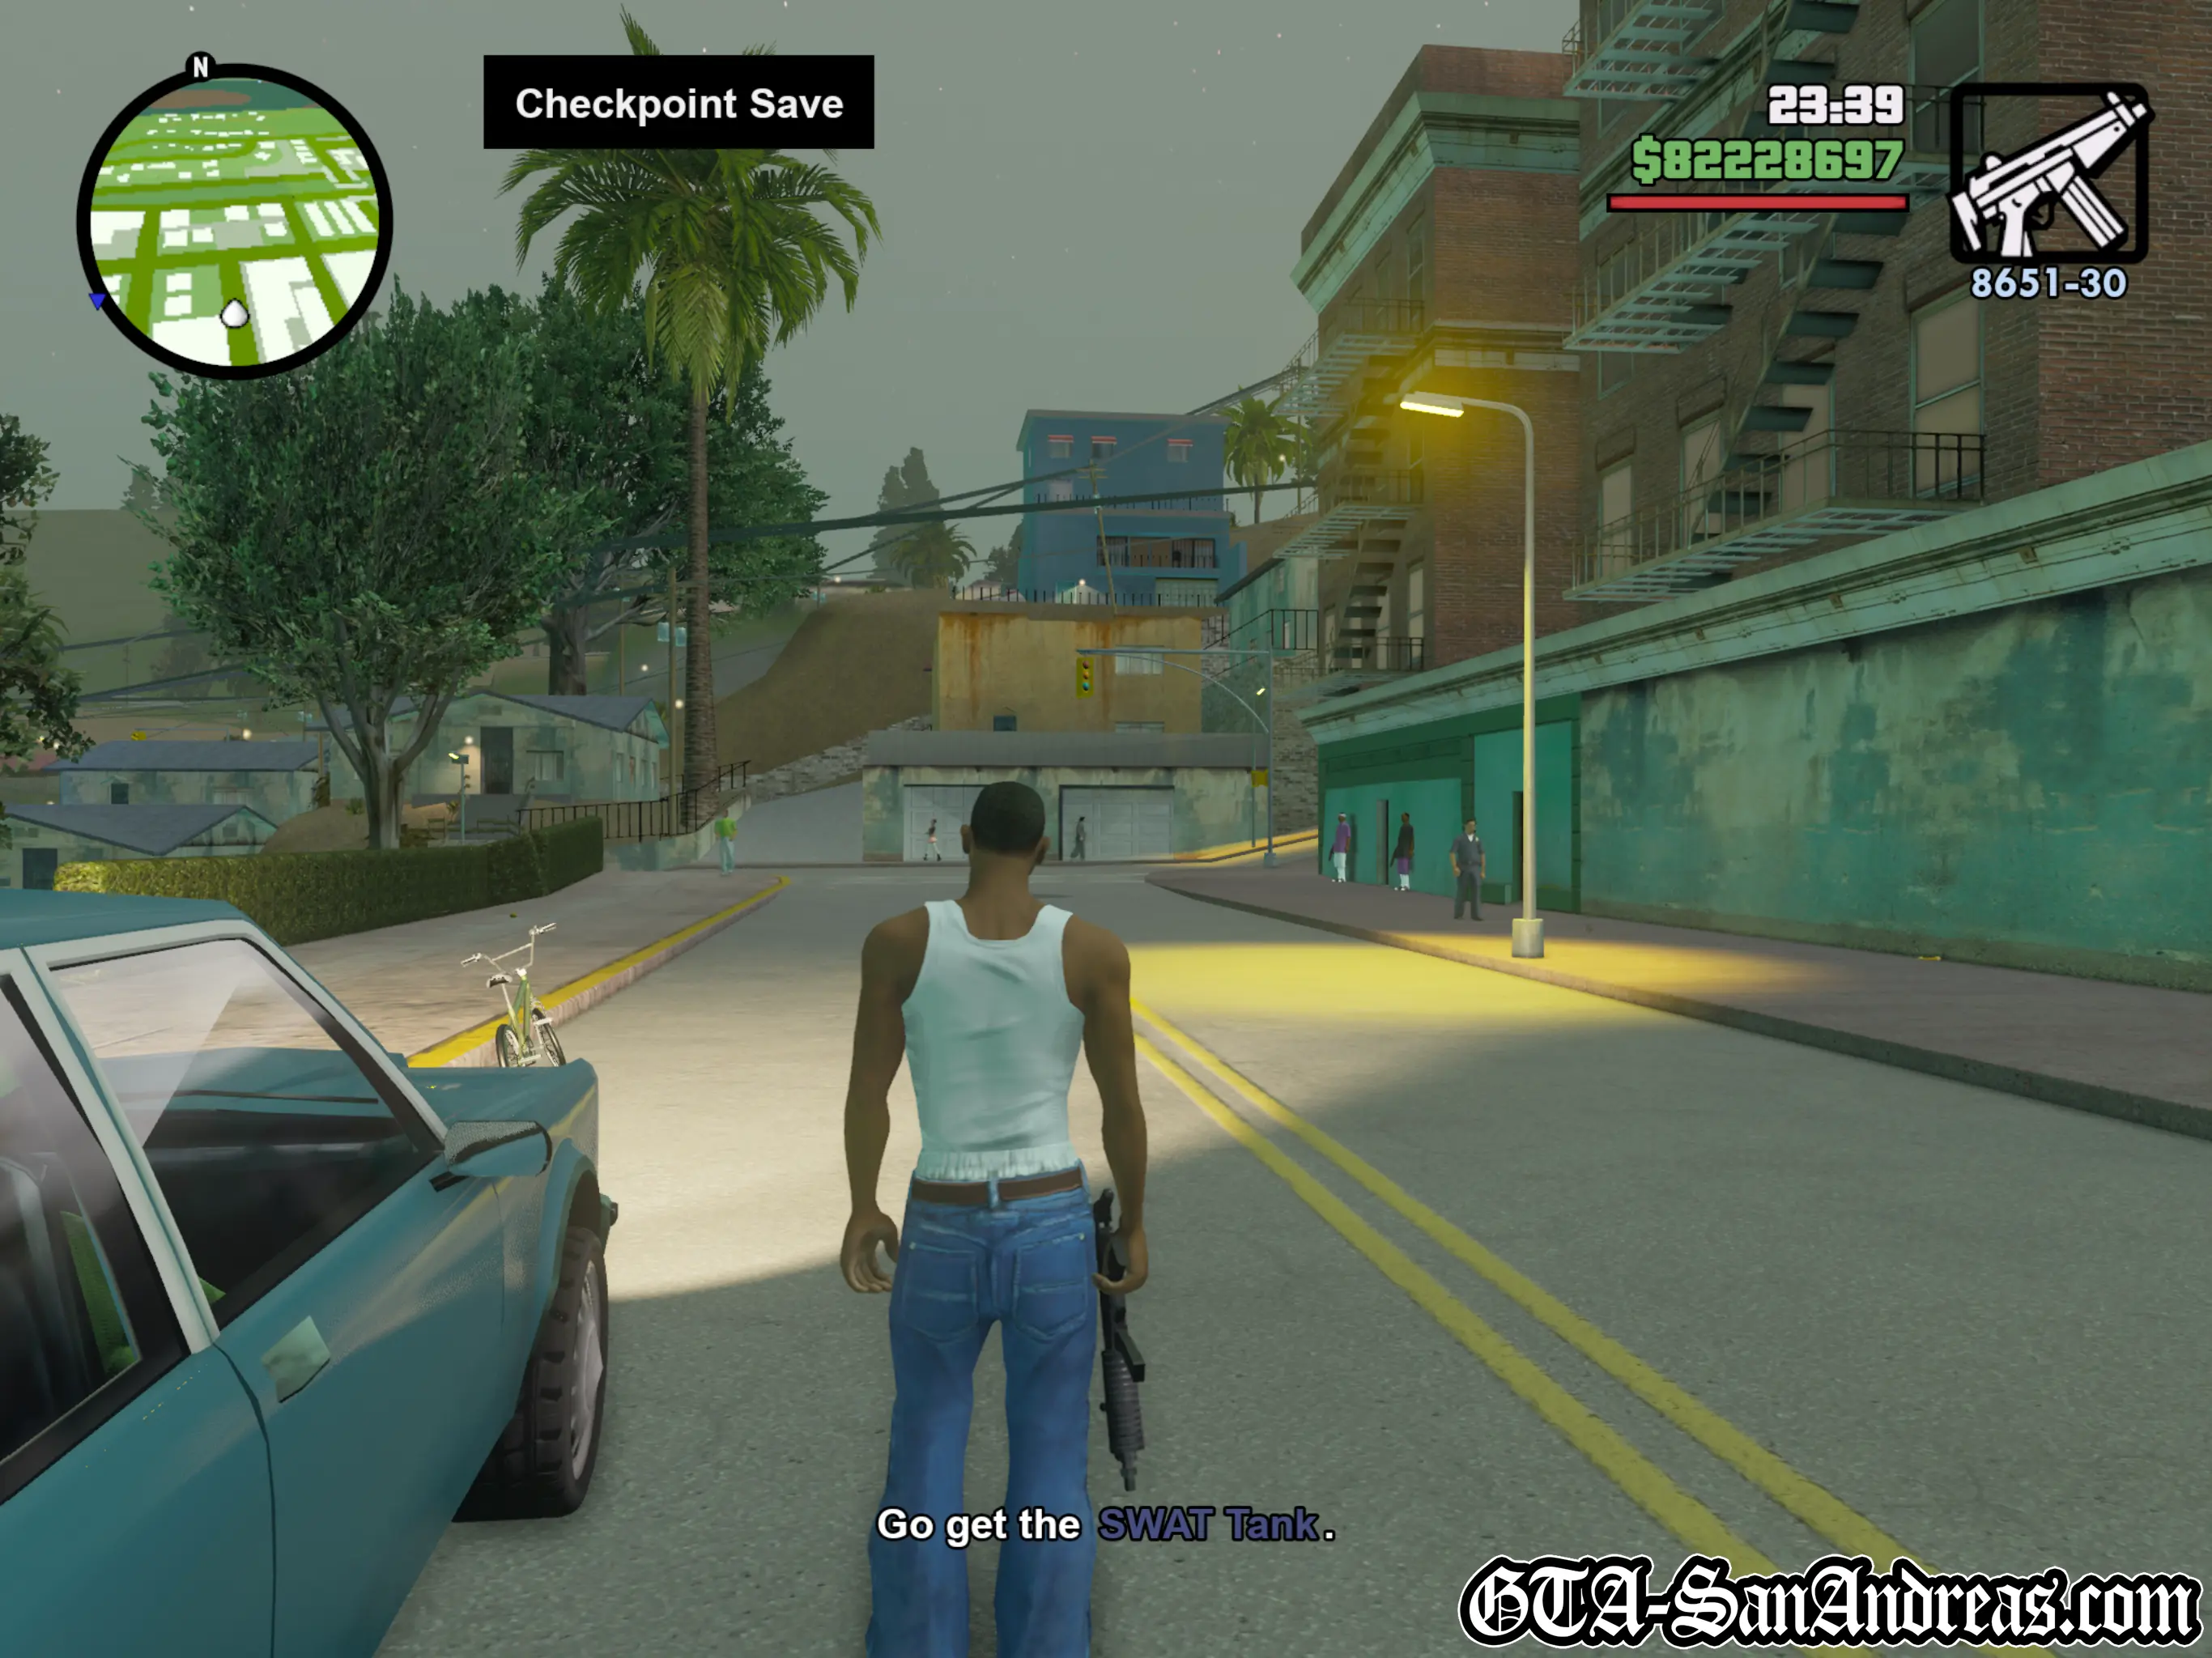
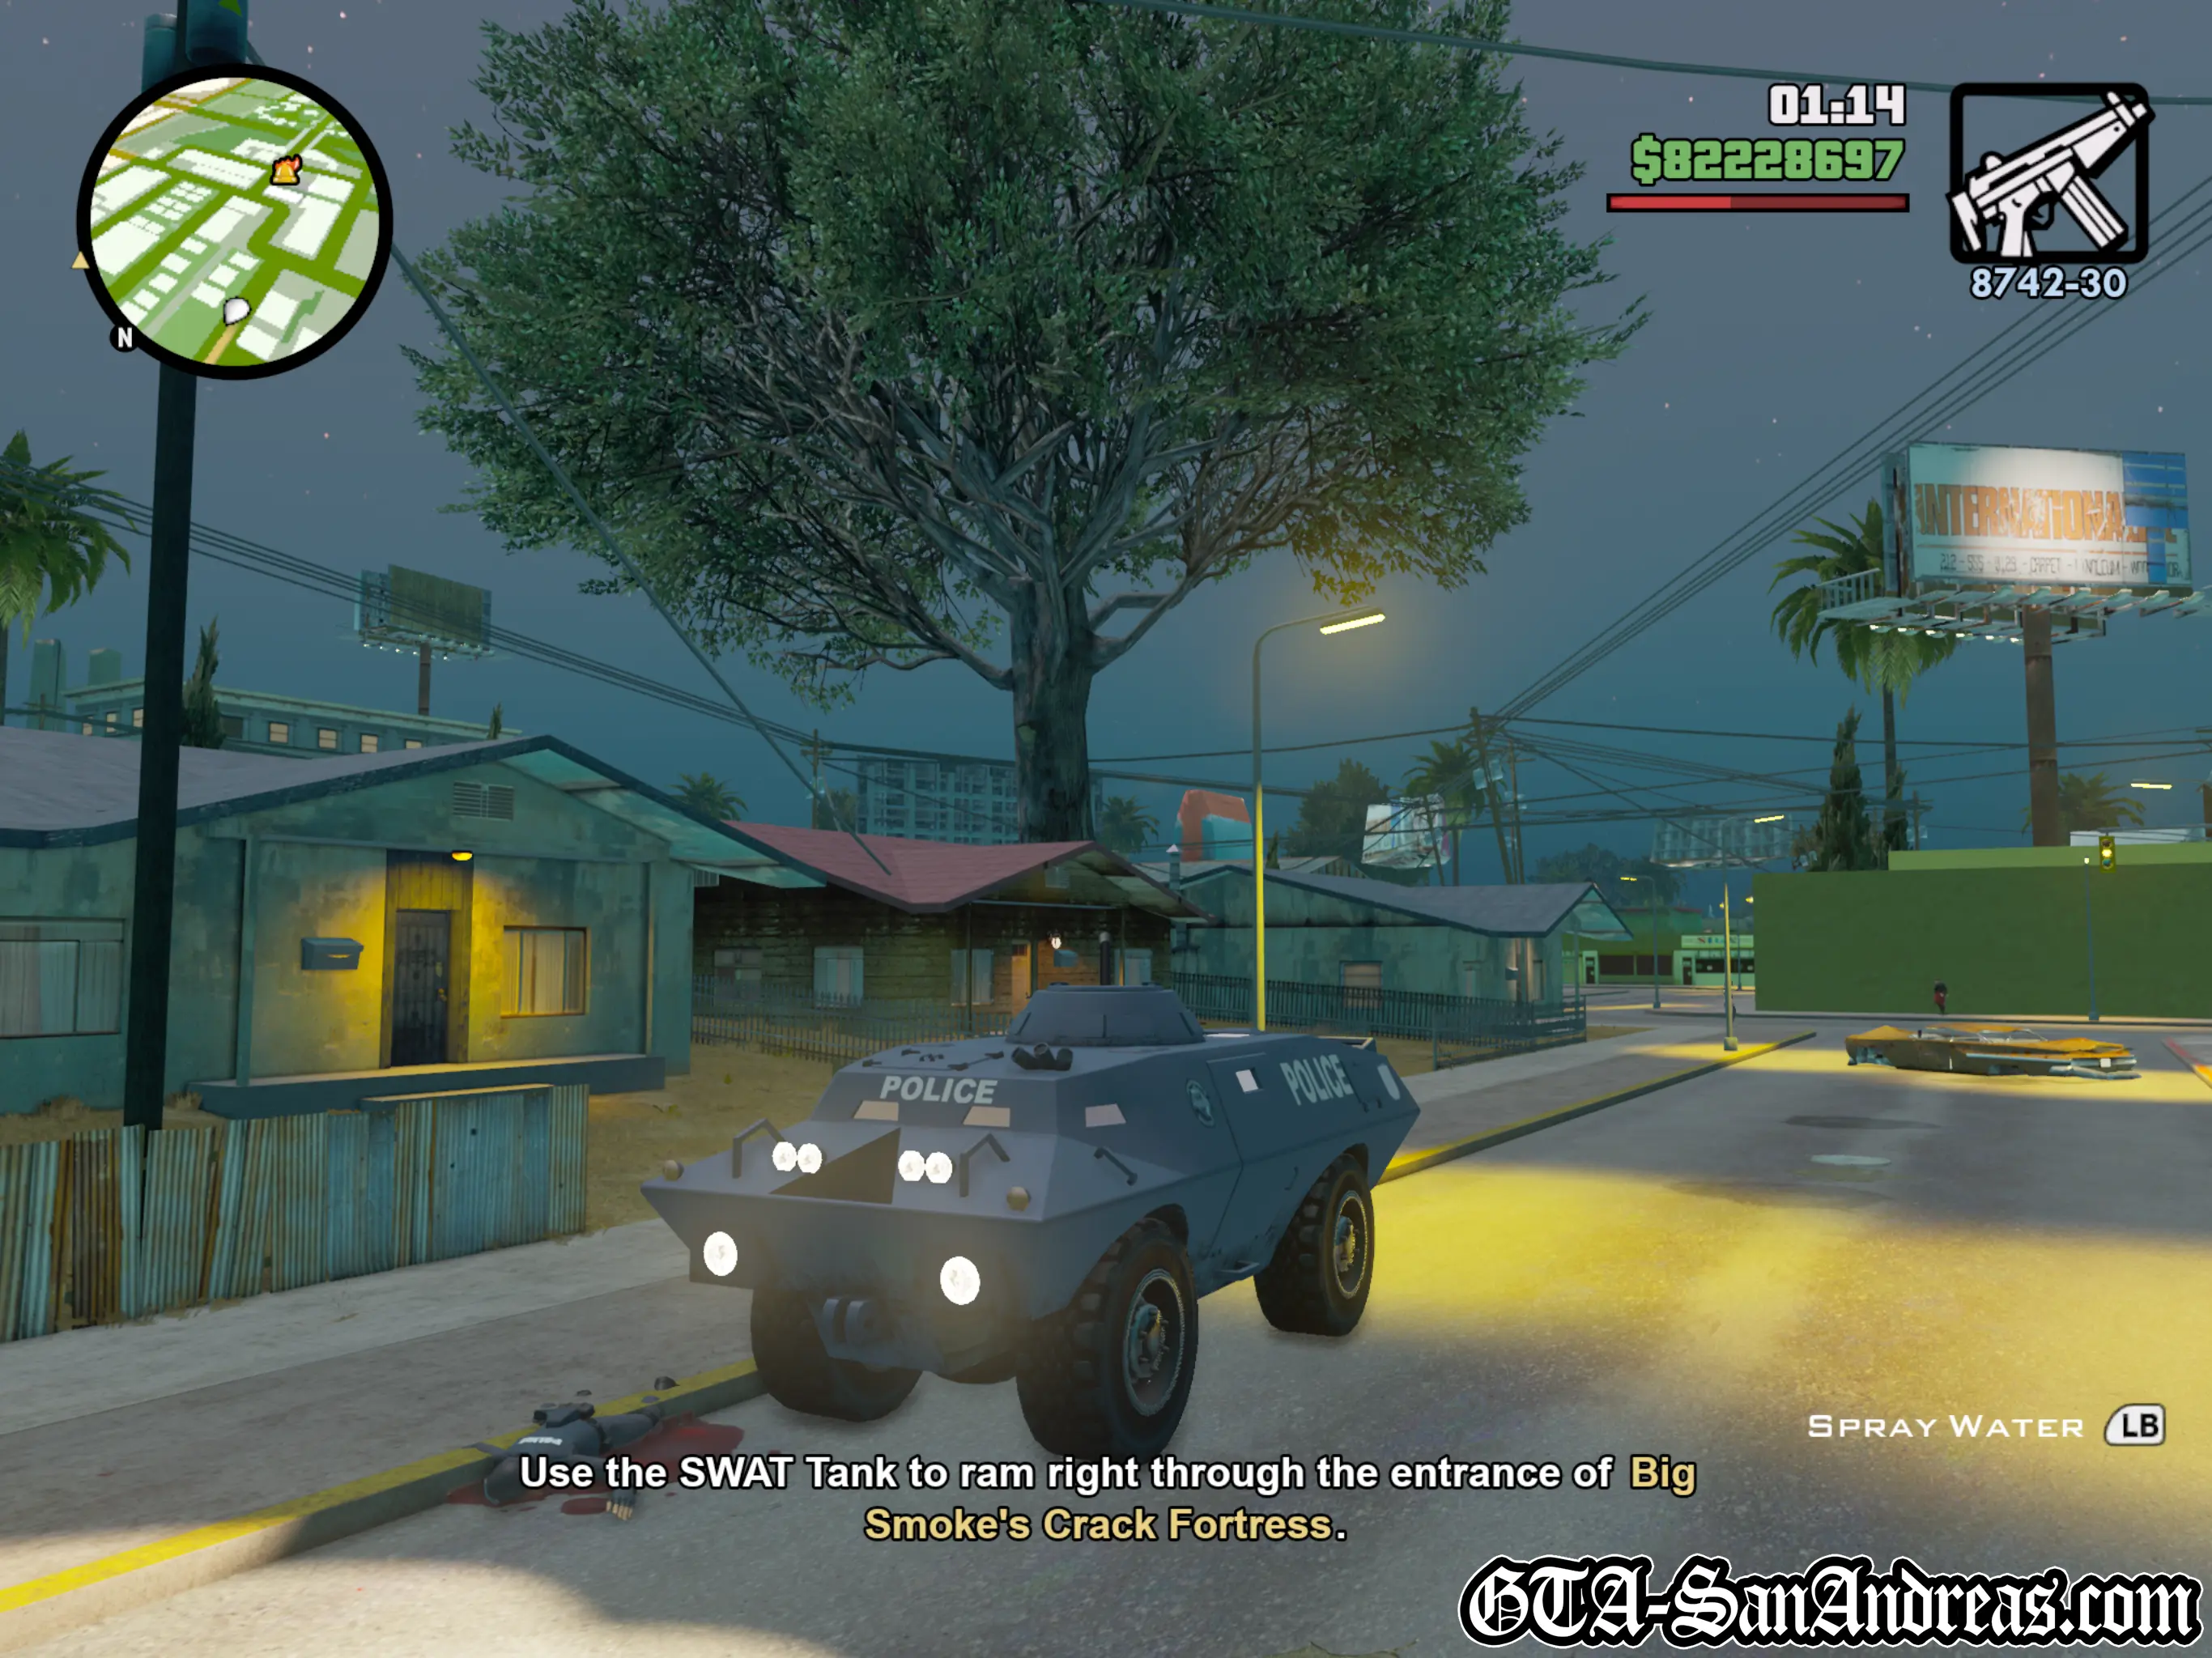
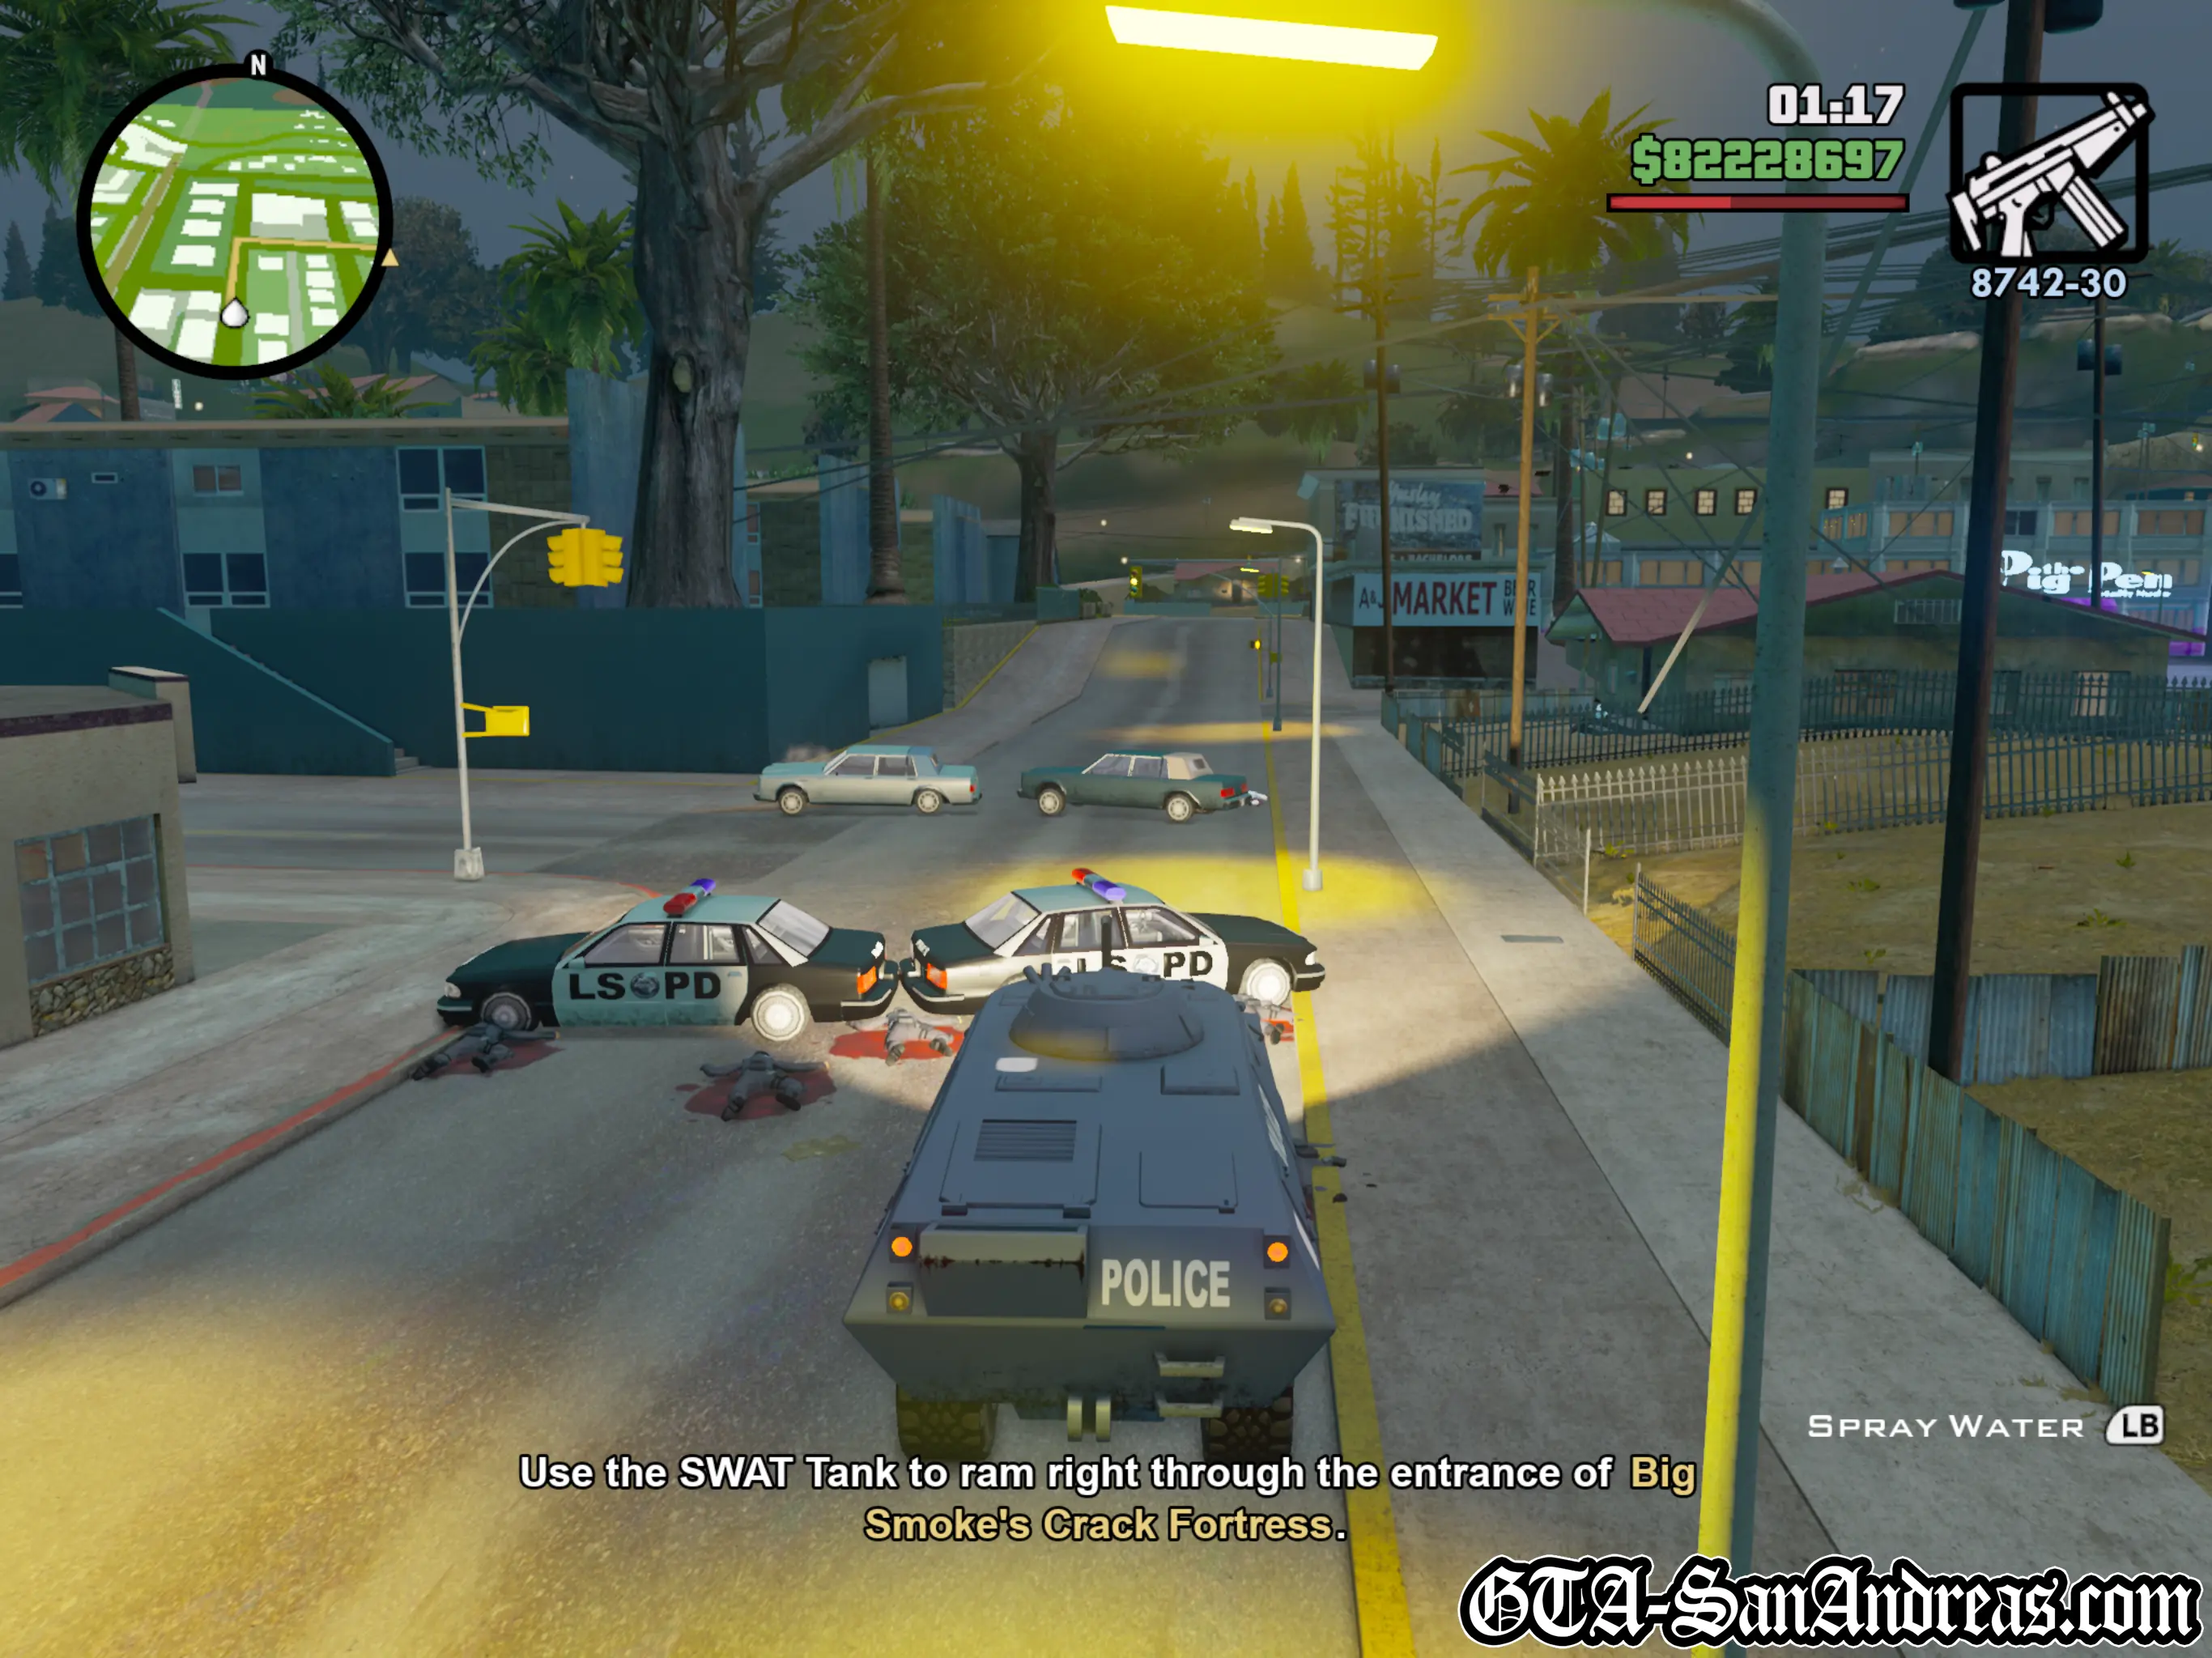
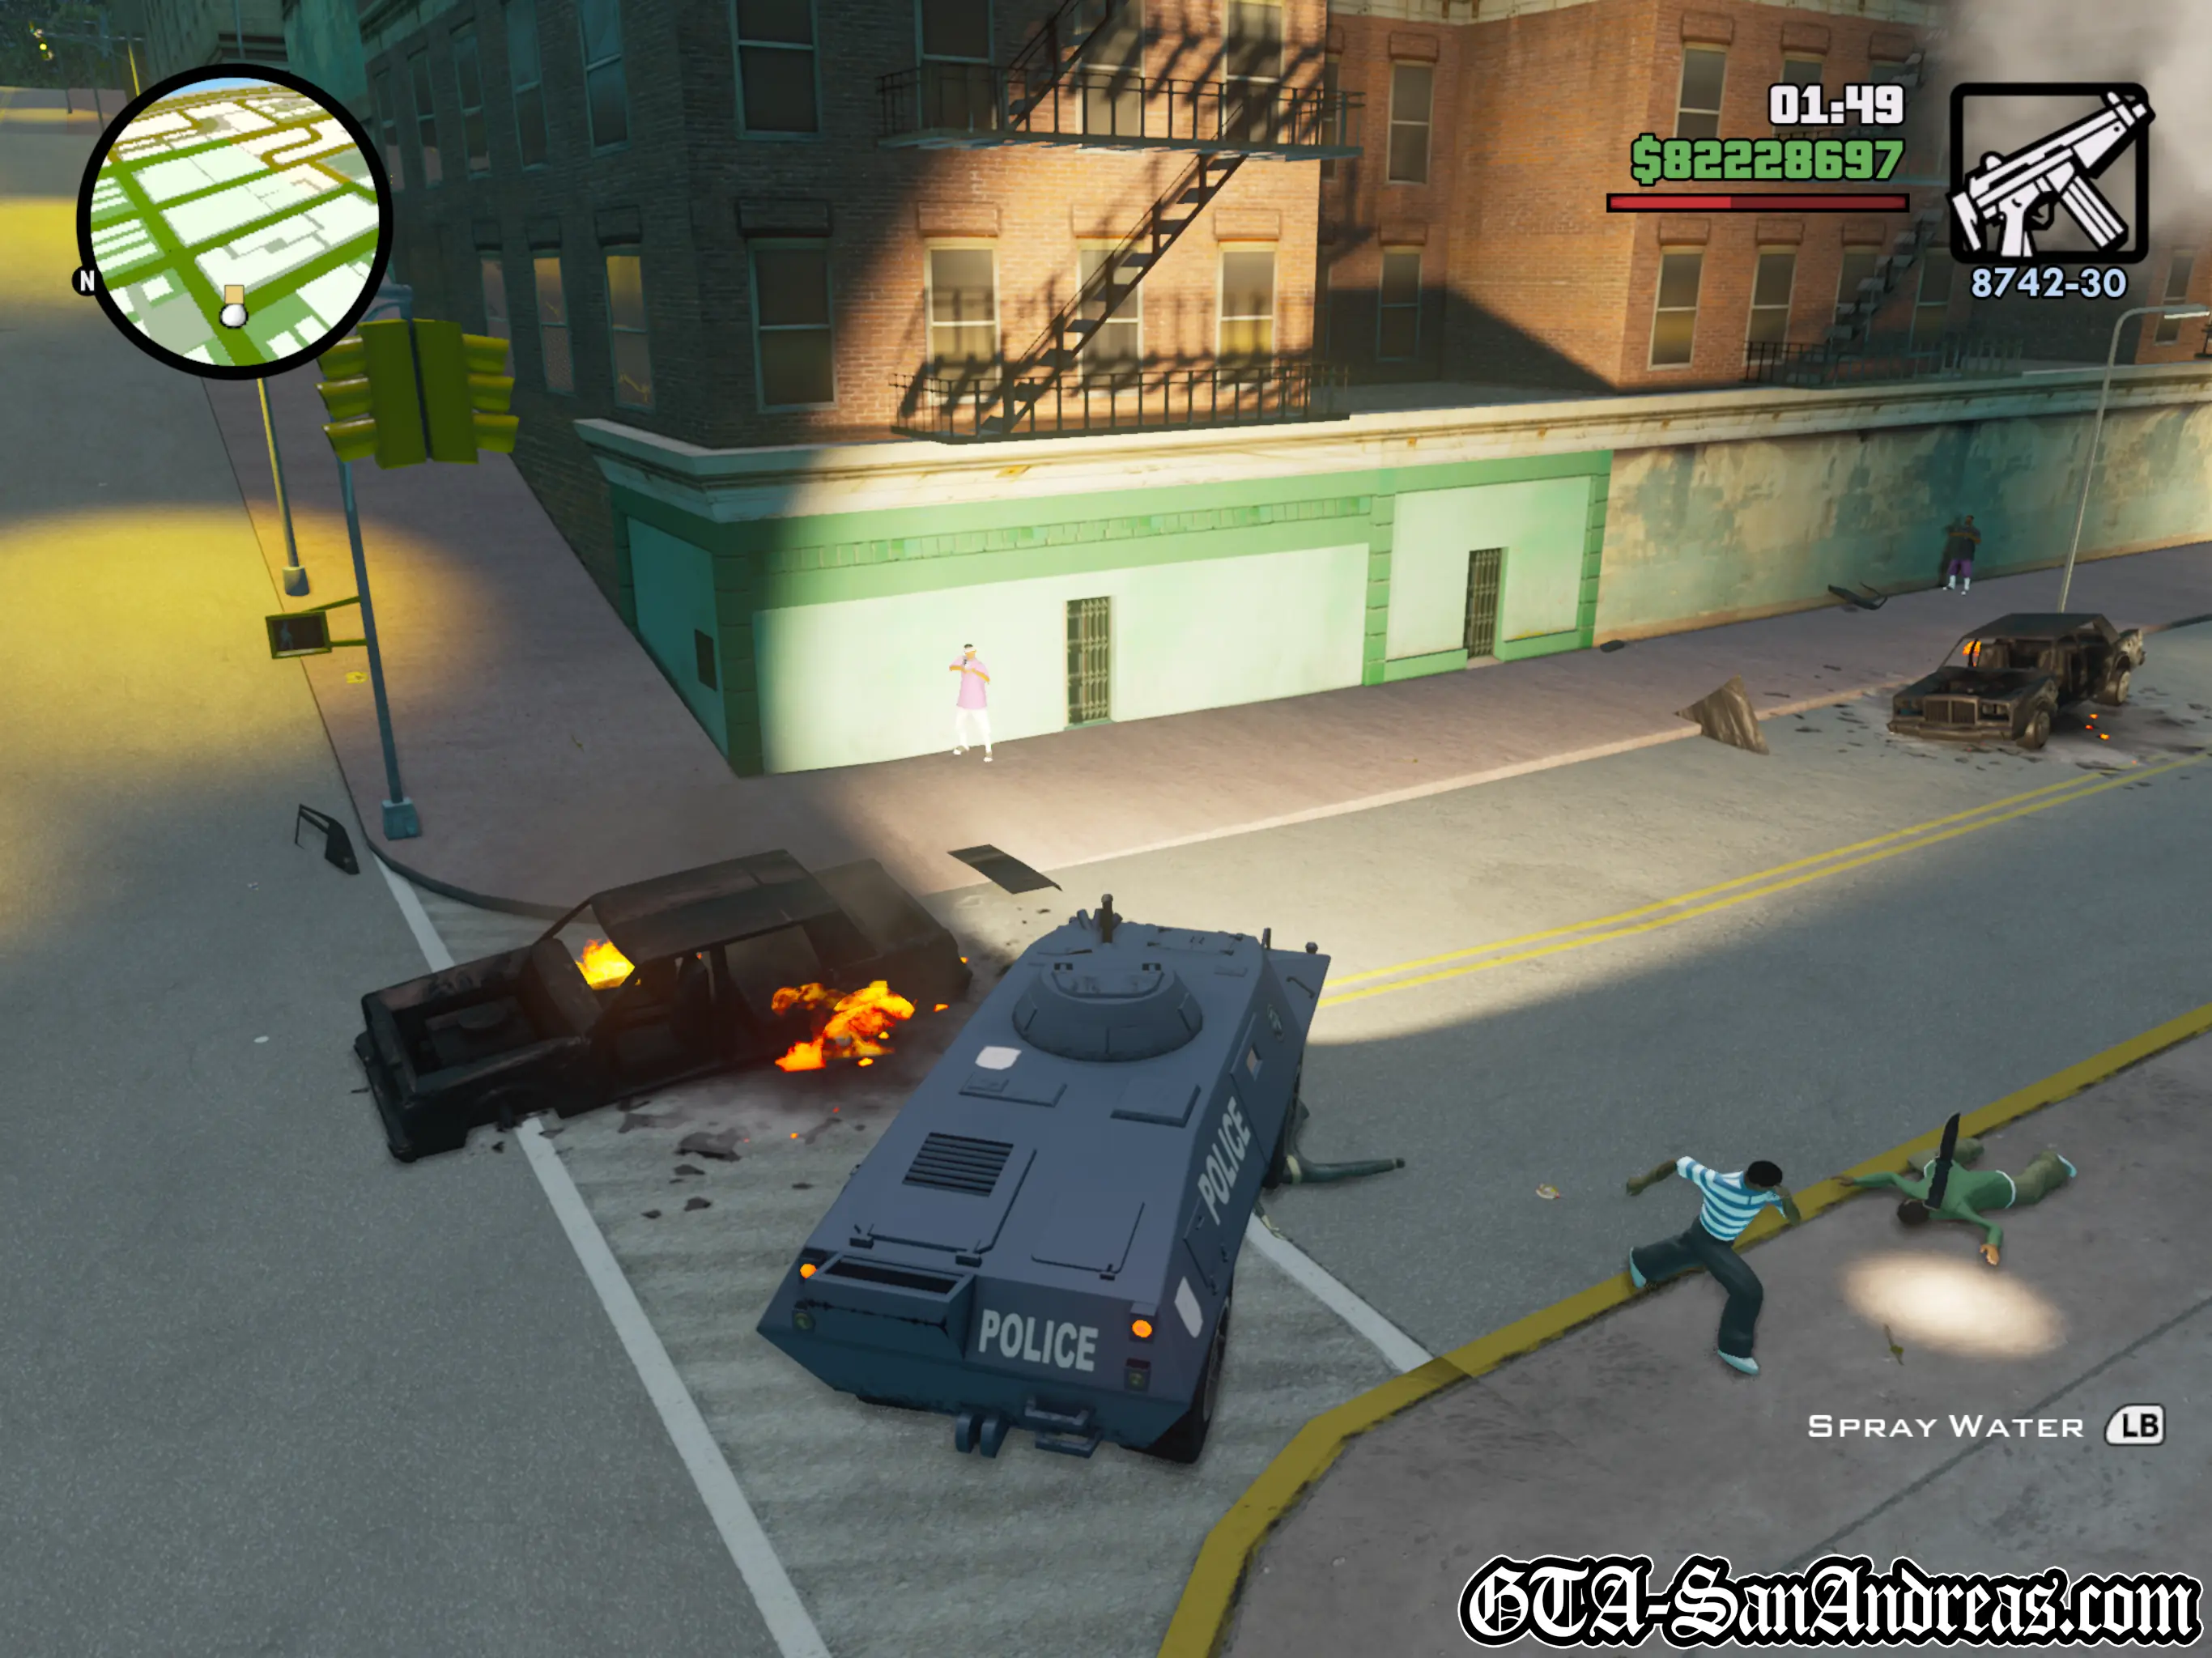
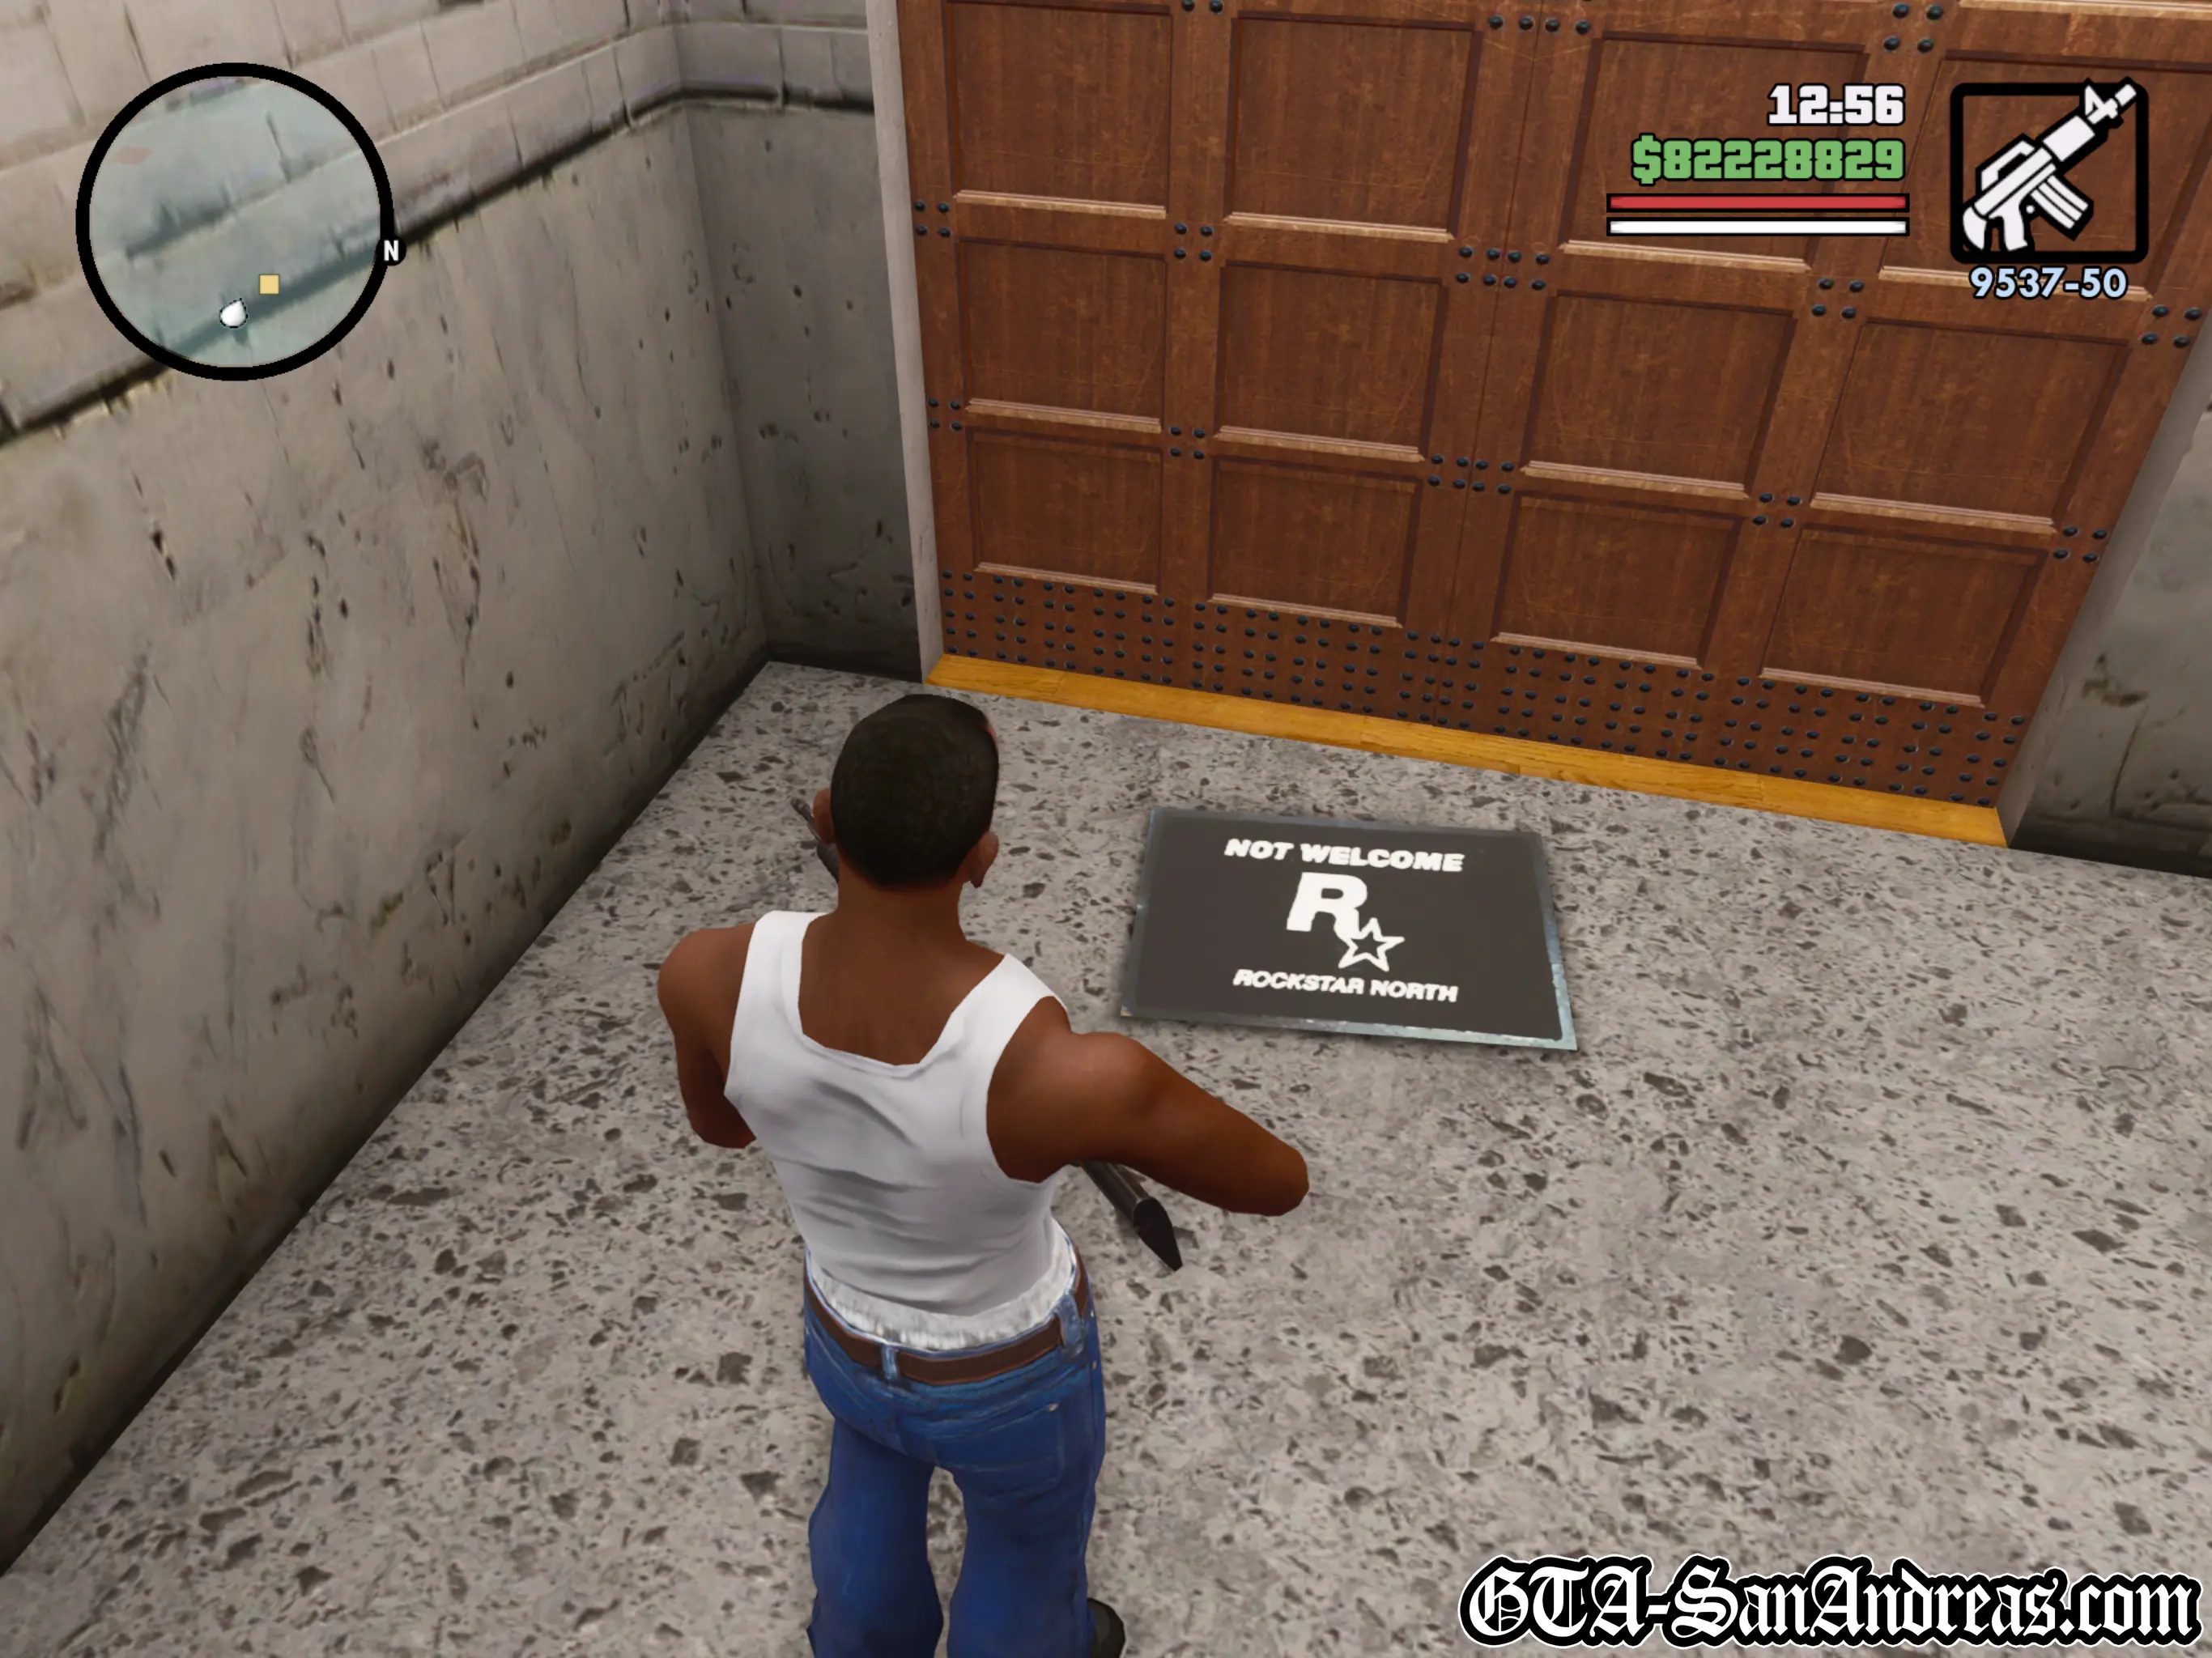
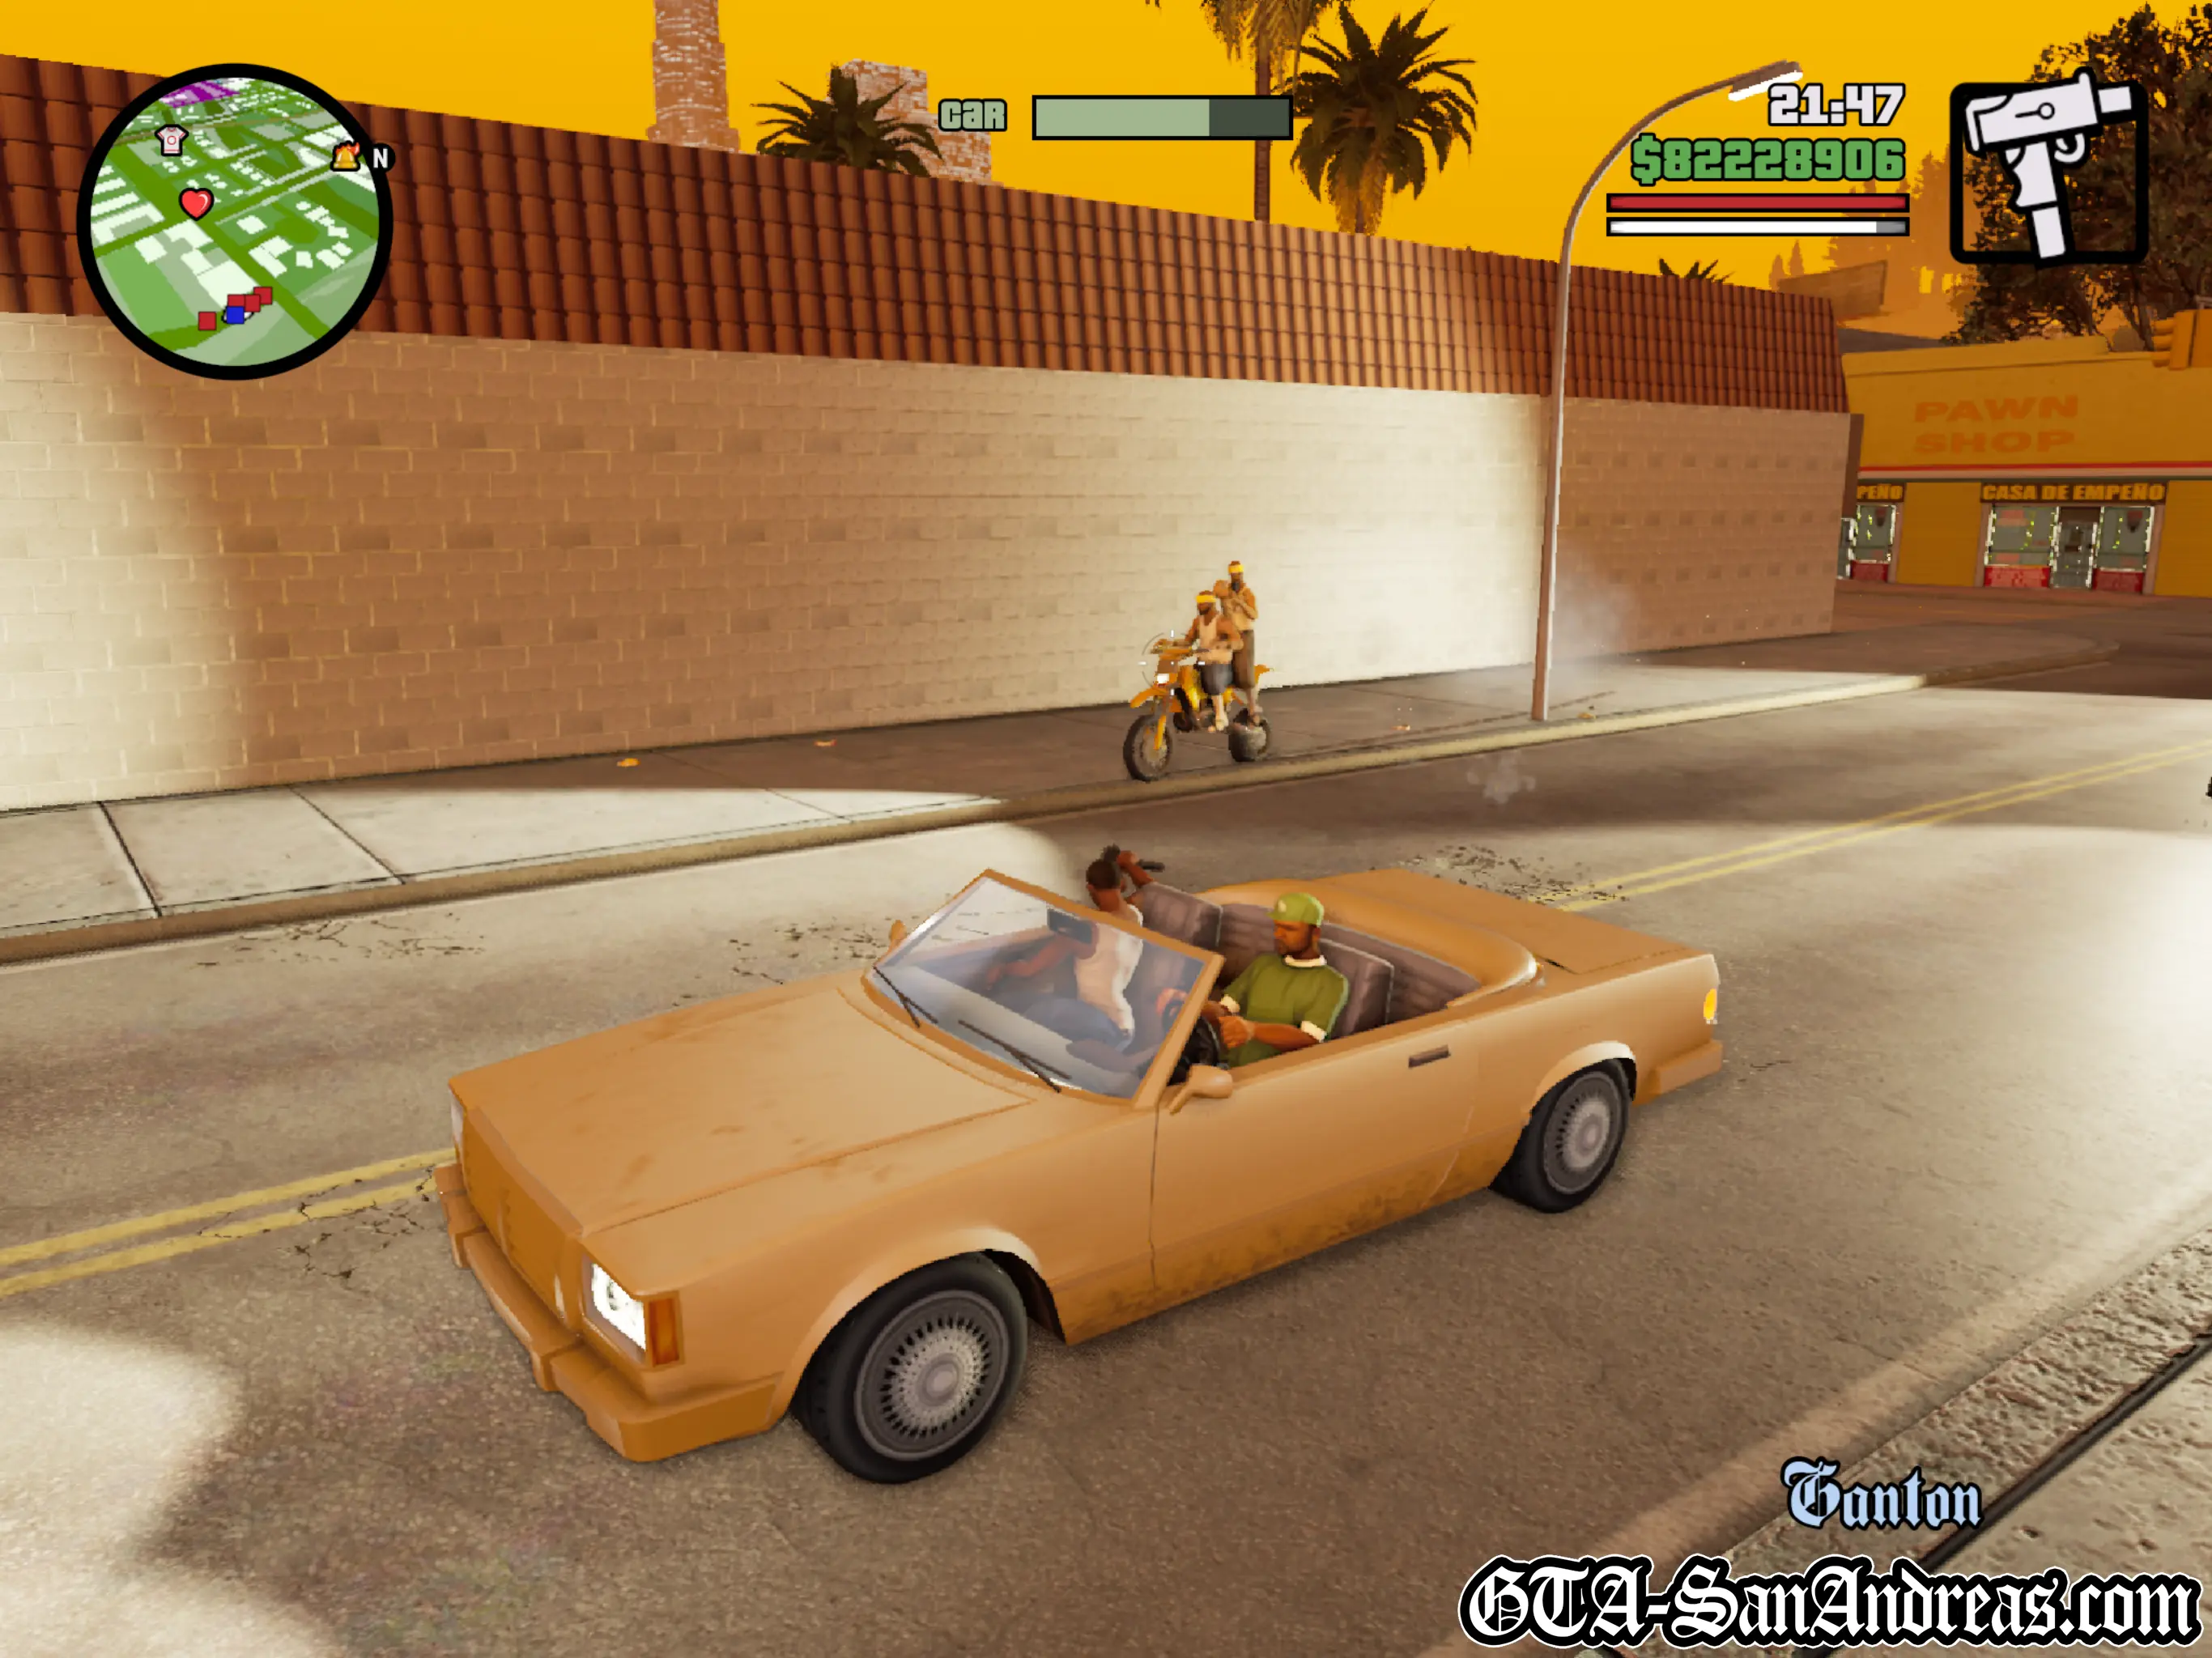
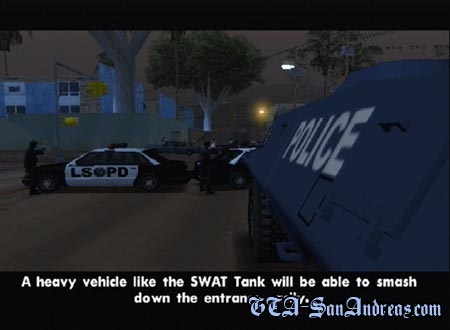
Be warned. You will need full health and full armor before even attempting this mission. Make a trip to Ammu-Nation and grab some M4 and some sub machine gun ammo too. Lots of it. After the cutscene get in the car with Sweet and make your way to Big Smoke's Crack Fortress in East Los Santos. Park in the red circle and watch the cutscene with Sweet and Carl. Afterwards you'll see that the entrance is blocked and you'll need to knock the wall down. There's a S.W.A.T. tank parked just down the street. Kill everyone near it, and steal it, then use that to knock down the wall. Run over all of the Ballas in there, then go through the door at the back.
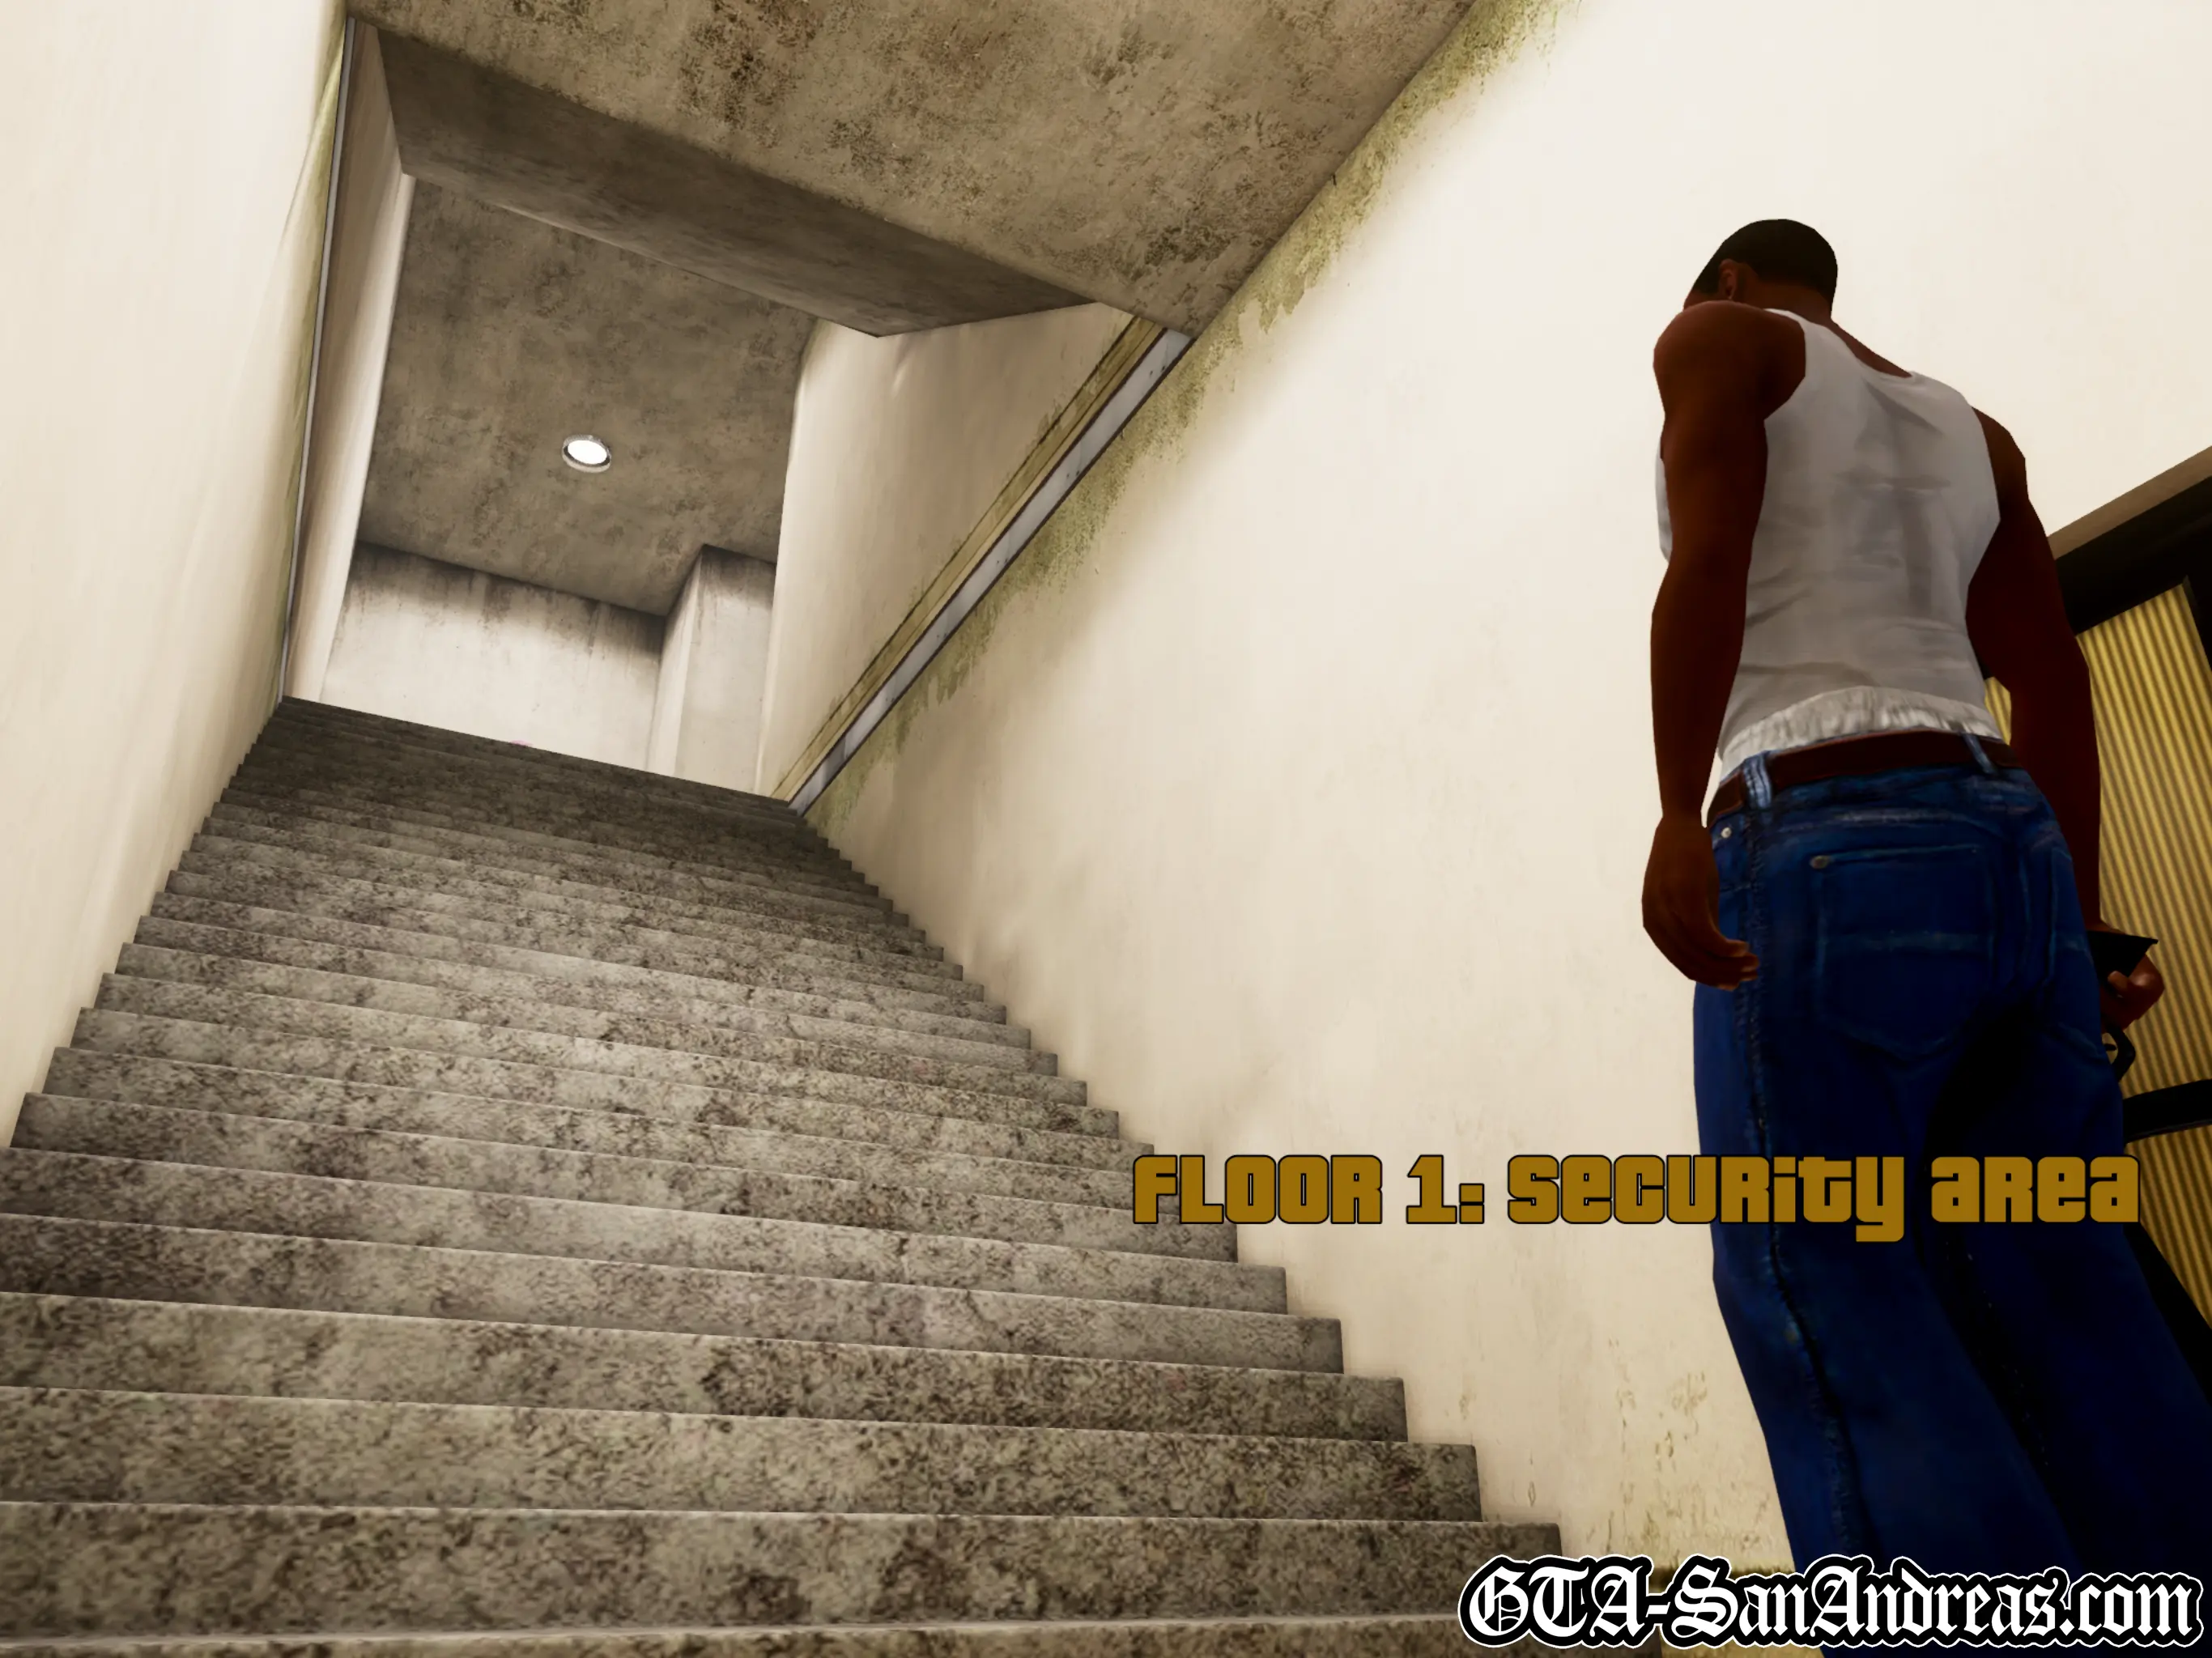
Floor 1: Security Area
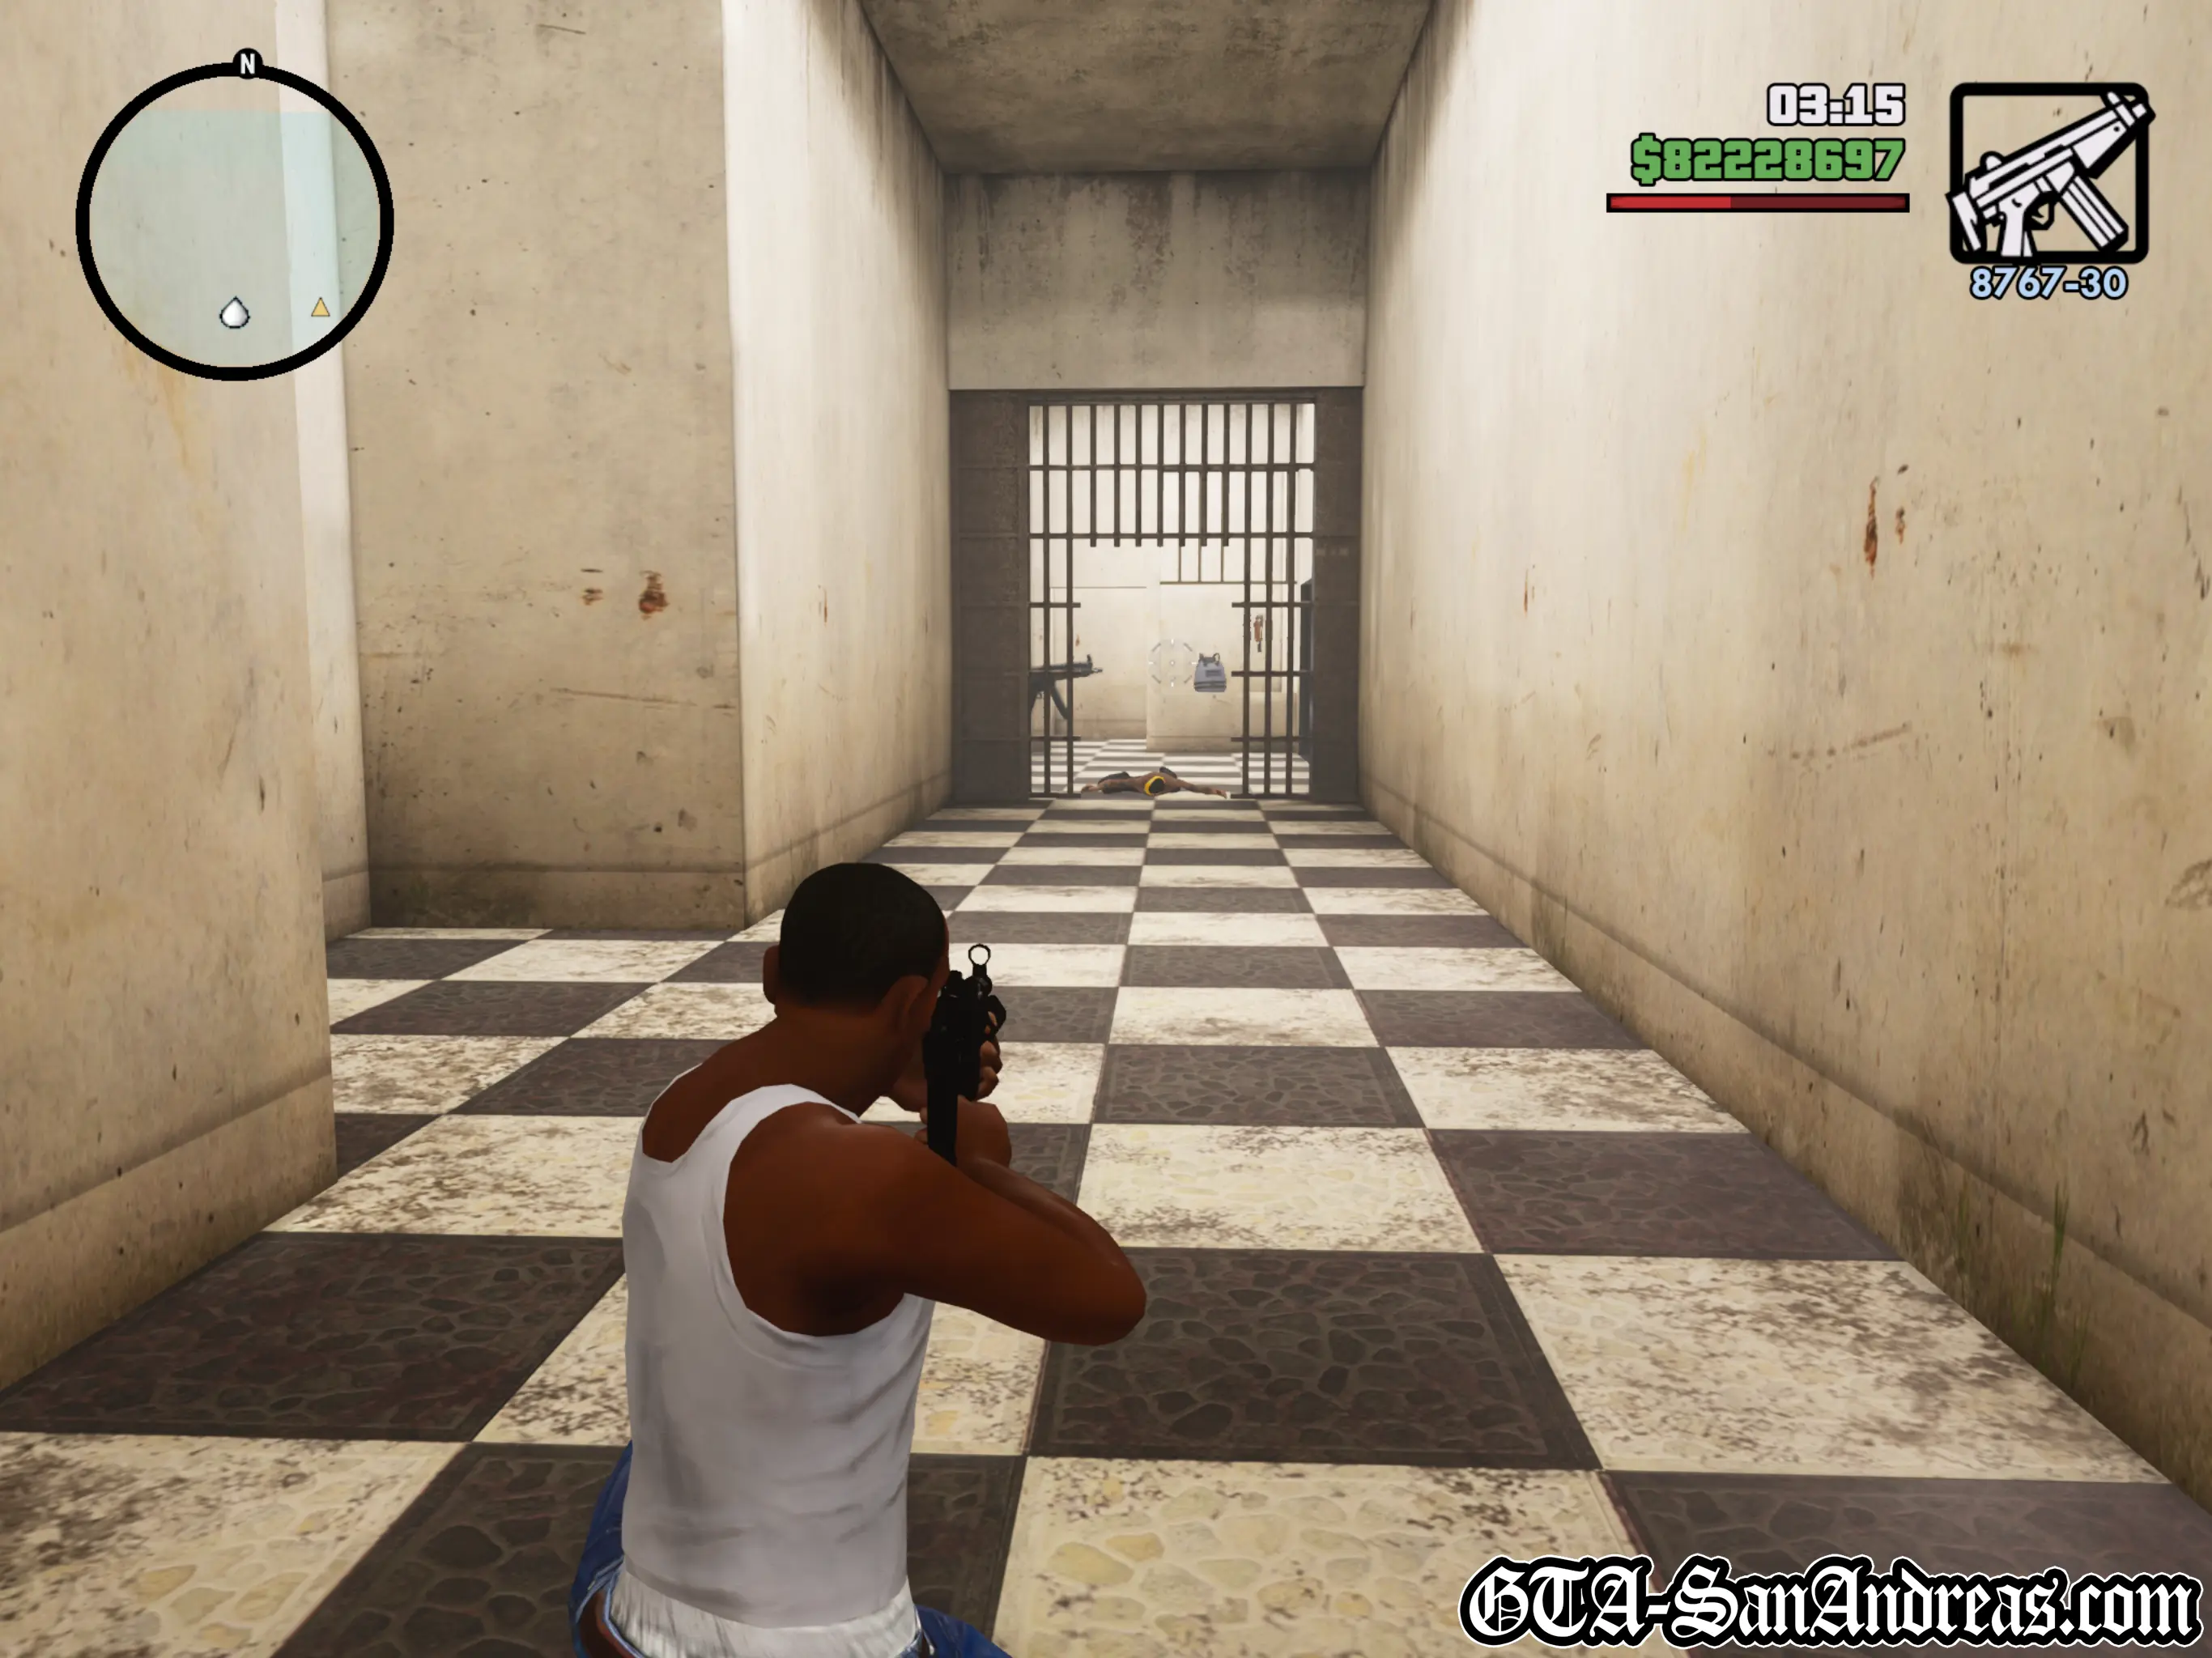
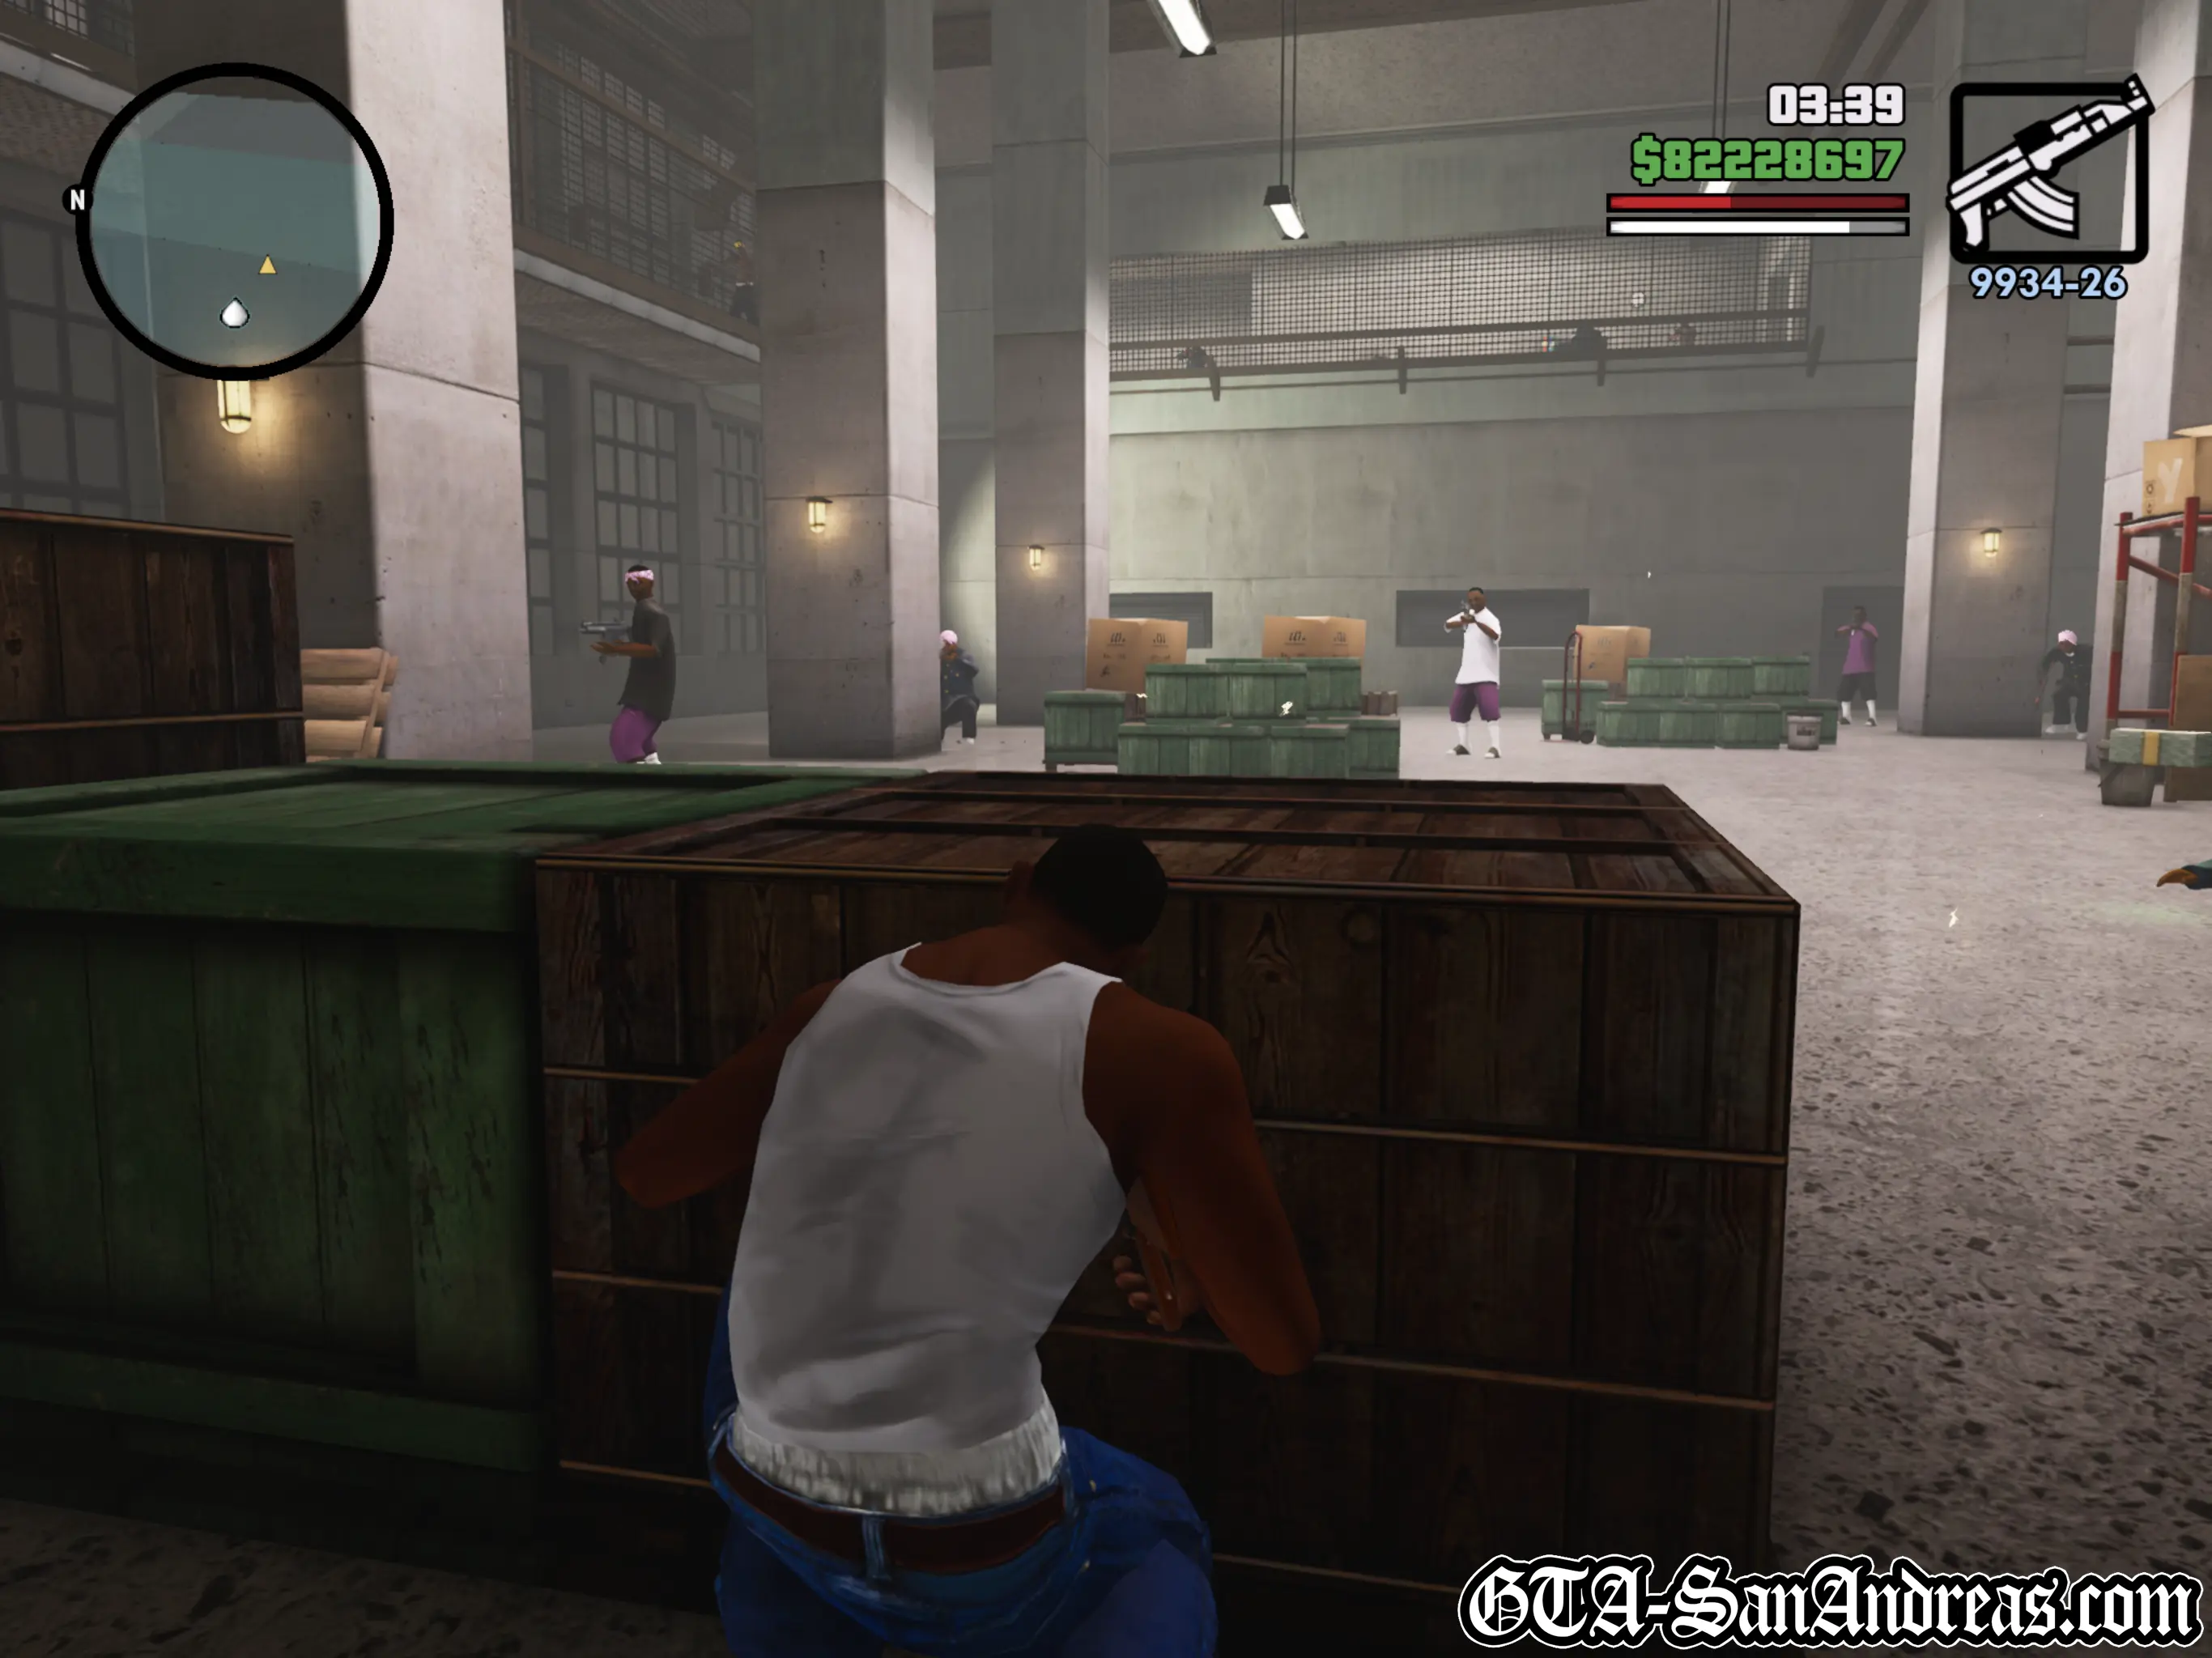
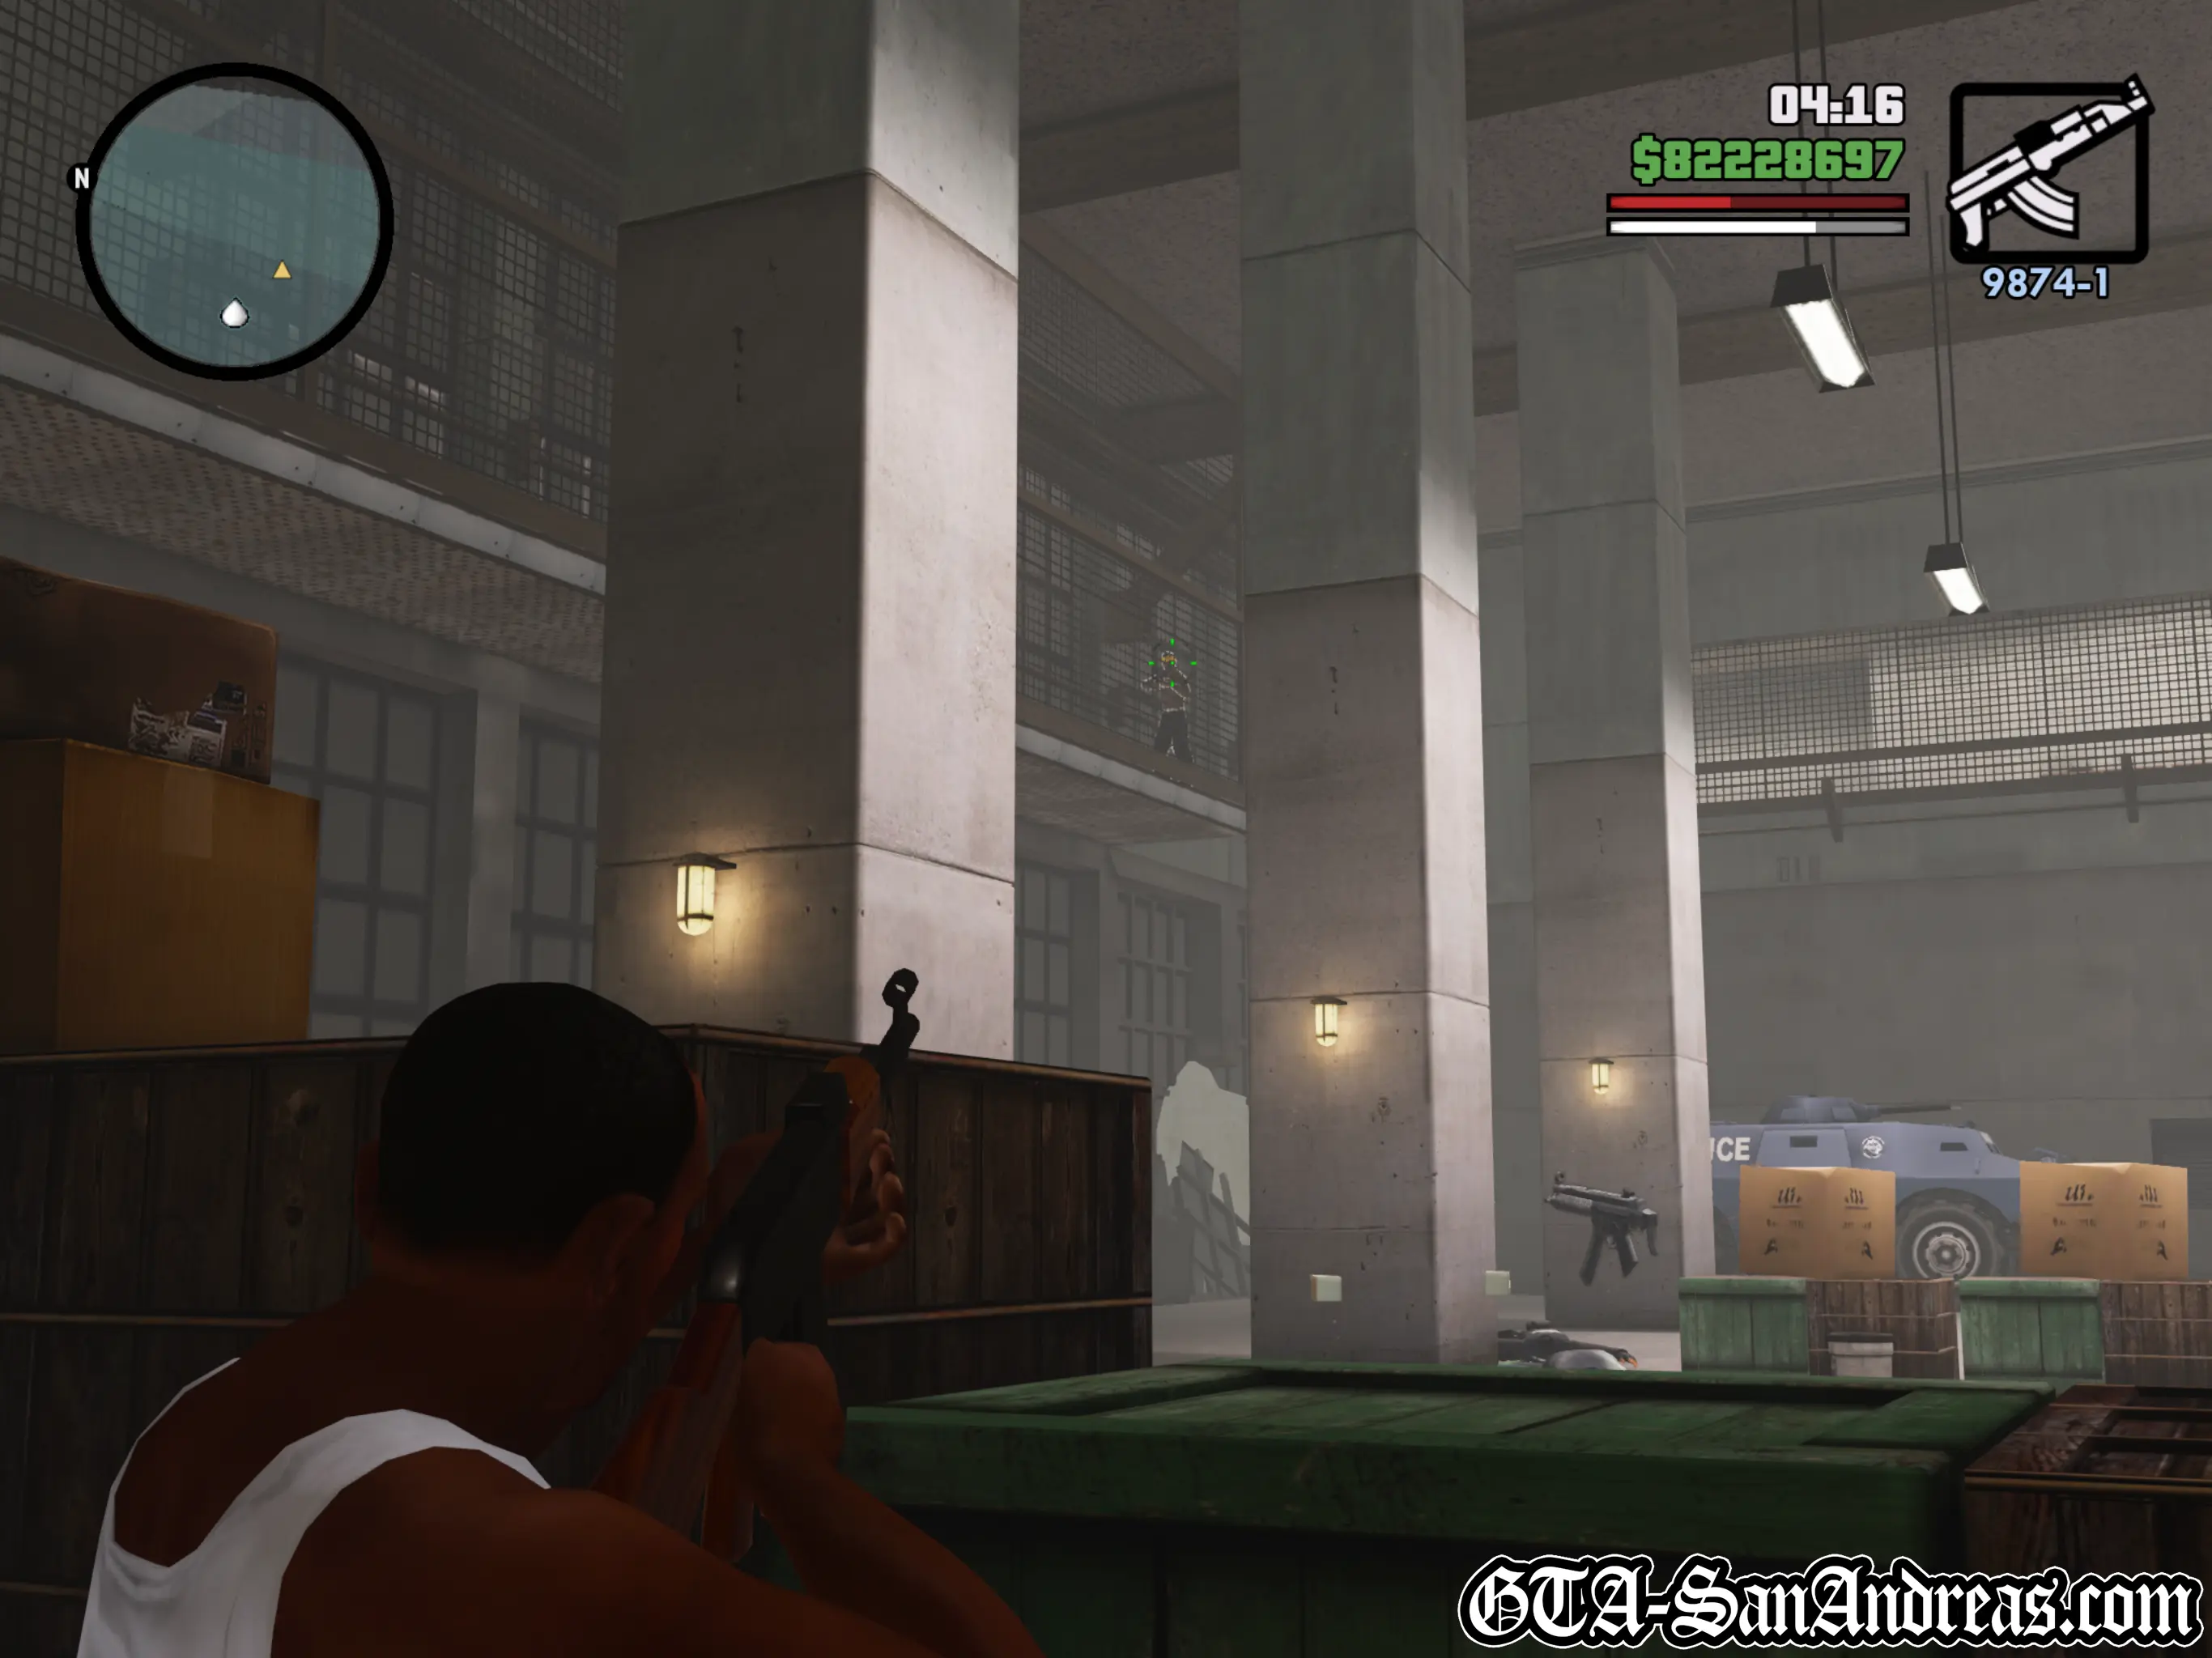
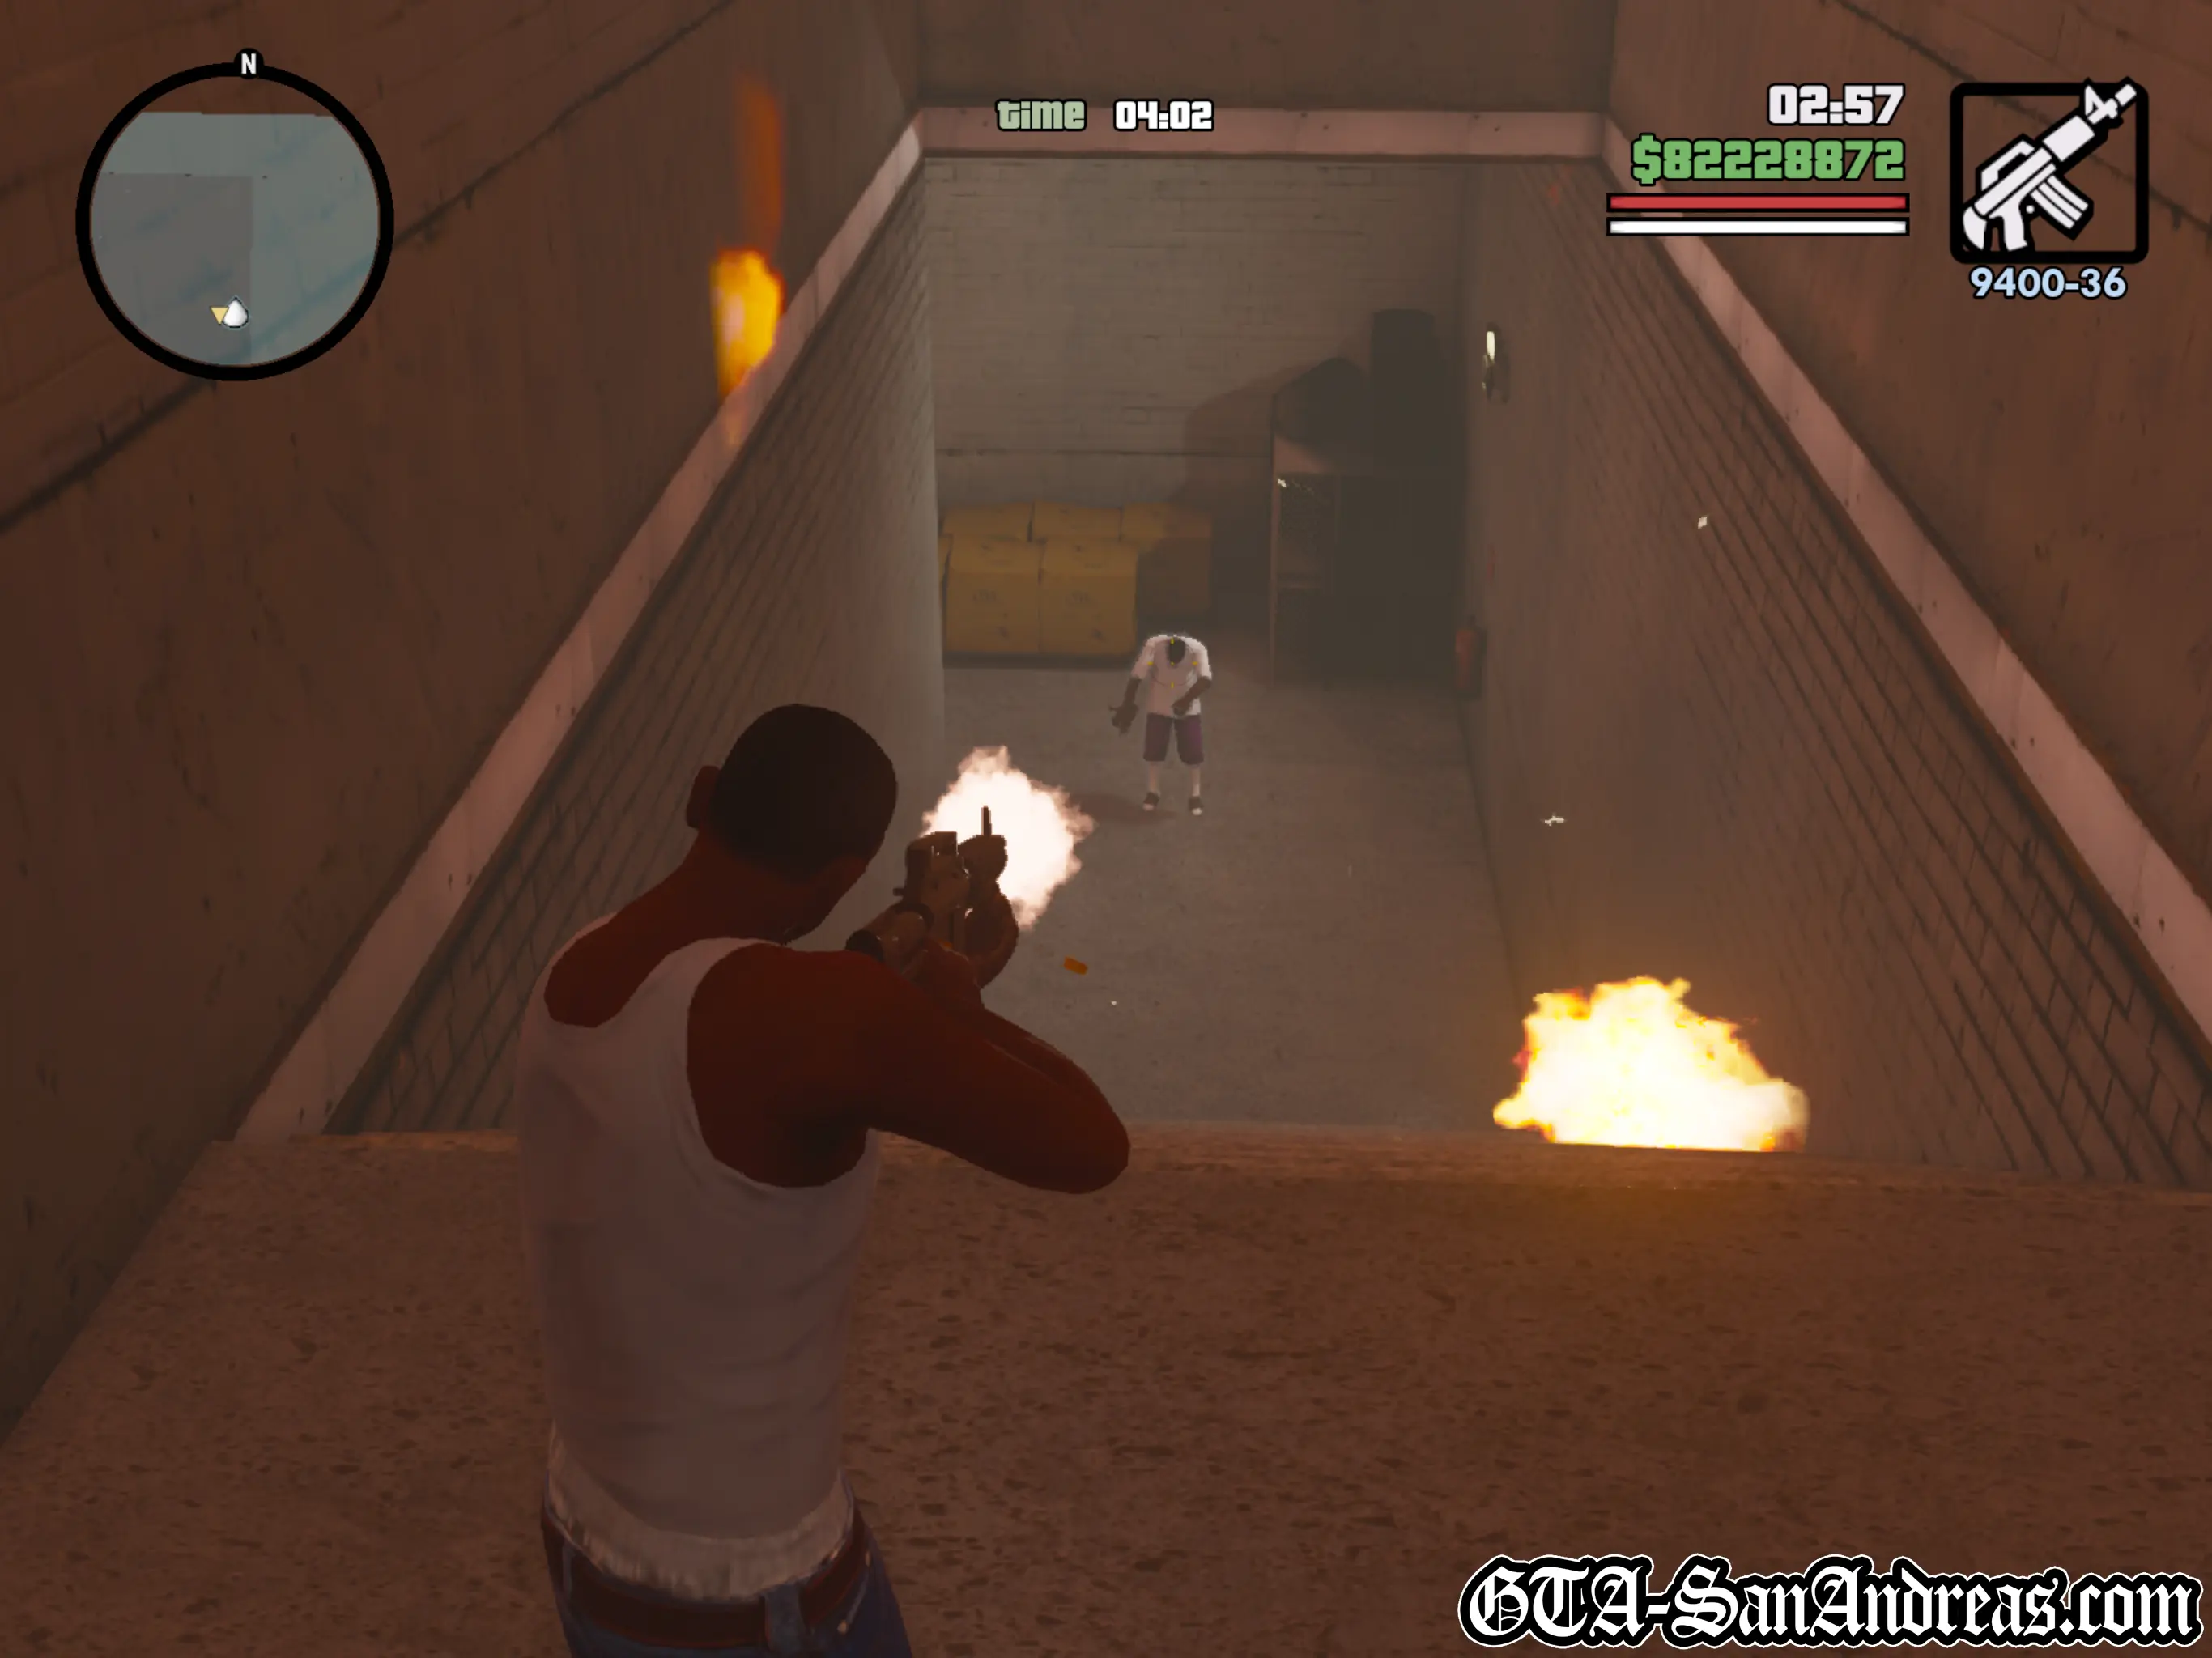
Kill the guy at the top of the stairs, then as you head up, another Balla will roll from the left. Kill him too. Go into the door to the right and kill two people at the end, then make your way along the rest of the hall way. Grab the body armor at the end, then walk through the door to the right. You better be ready to spray your bullets like I don't know what, because there's gotta be about twenty enemies in here to kill. There's almost so many that you don't know who to aim for, but if you stay crouched behind the boxes, they won't hit you too much, surprisingly. Keep aiming and switching and kill every last one of them, including the two SWAT guys who come in through the wall in a tank. Make your way into the next room and kill three or four people in here. Head around and up the steps, then go in the small room to the right where you'll find some health. Grab that and the riot shotgun, then go through the door to the left.
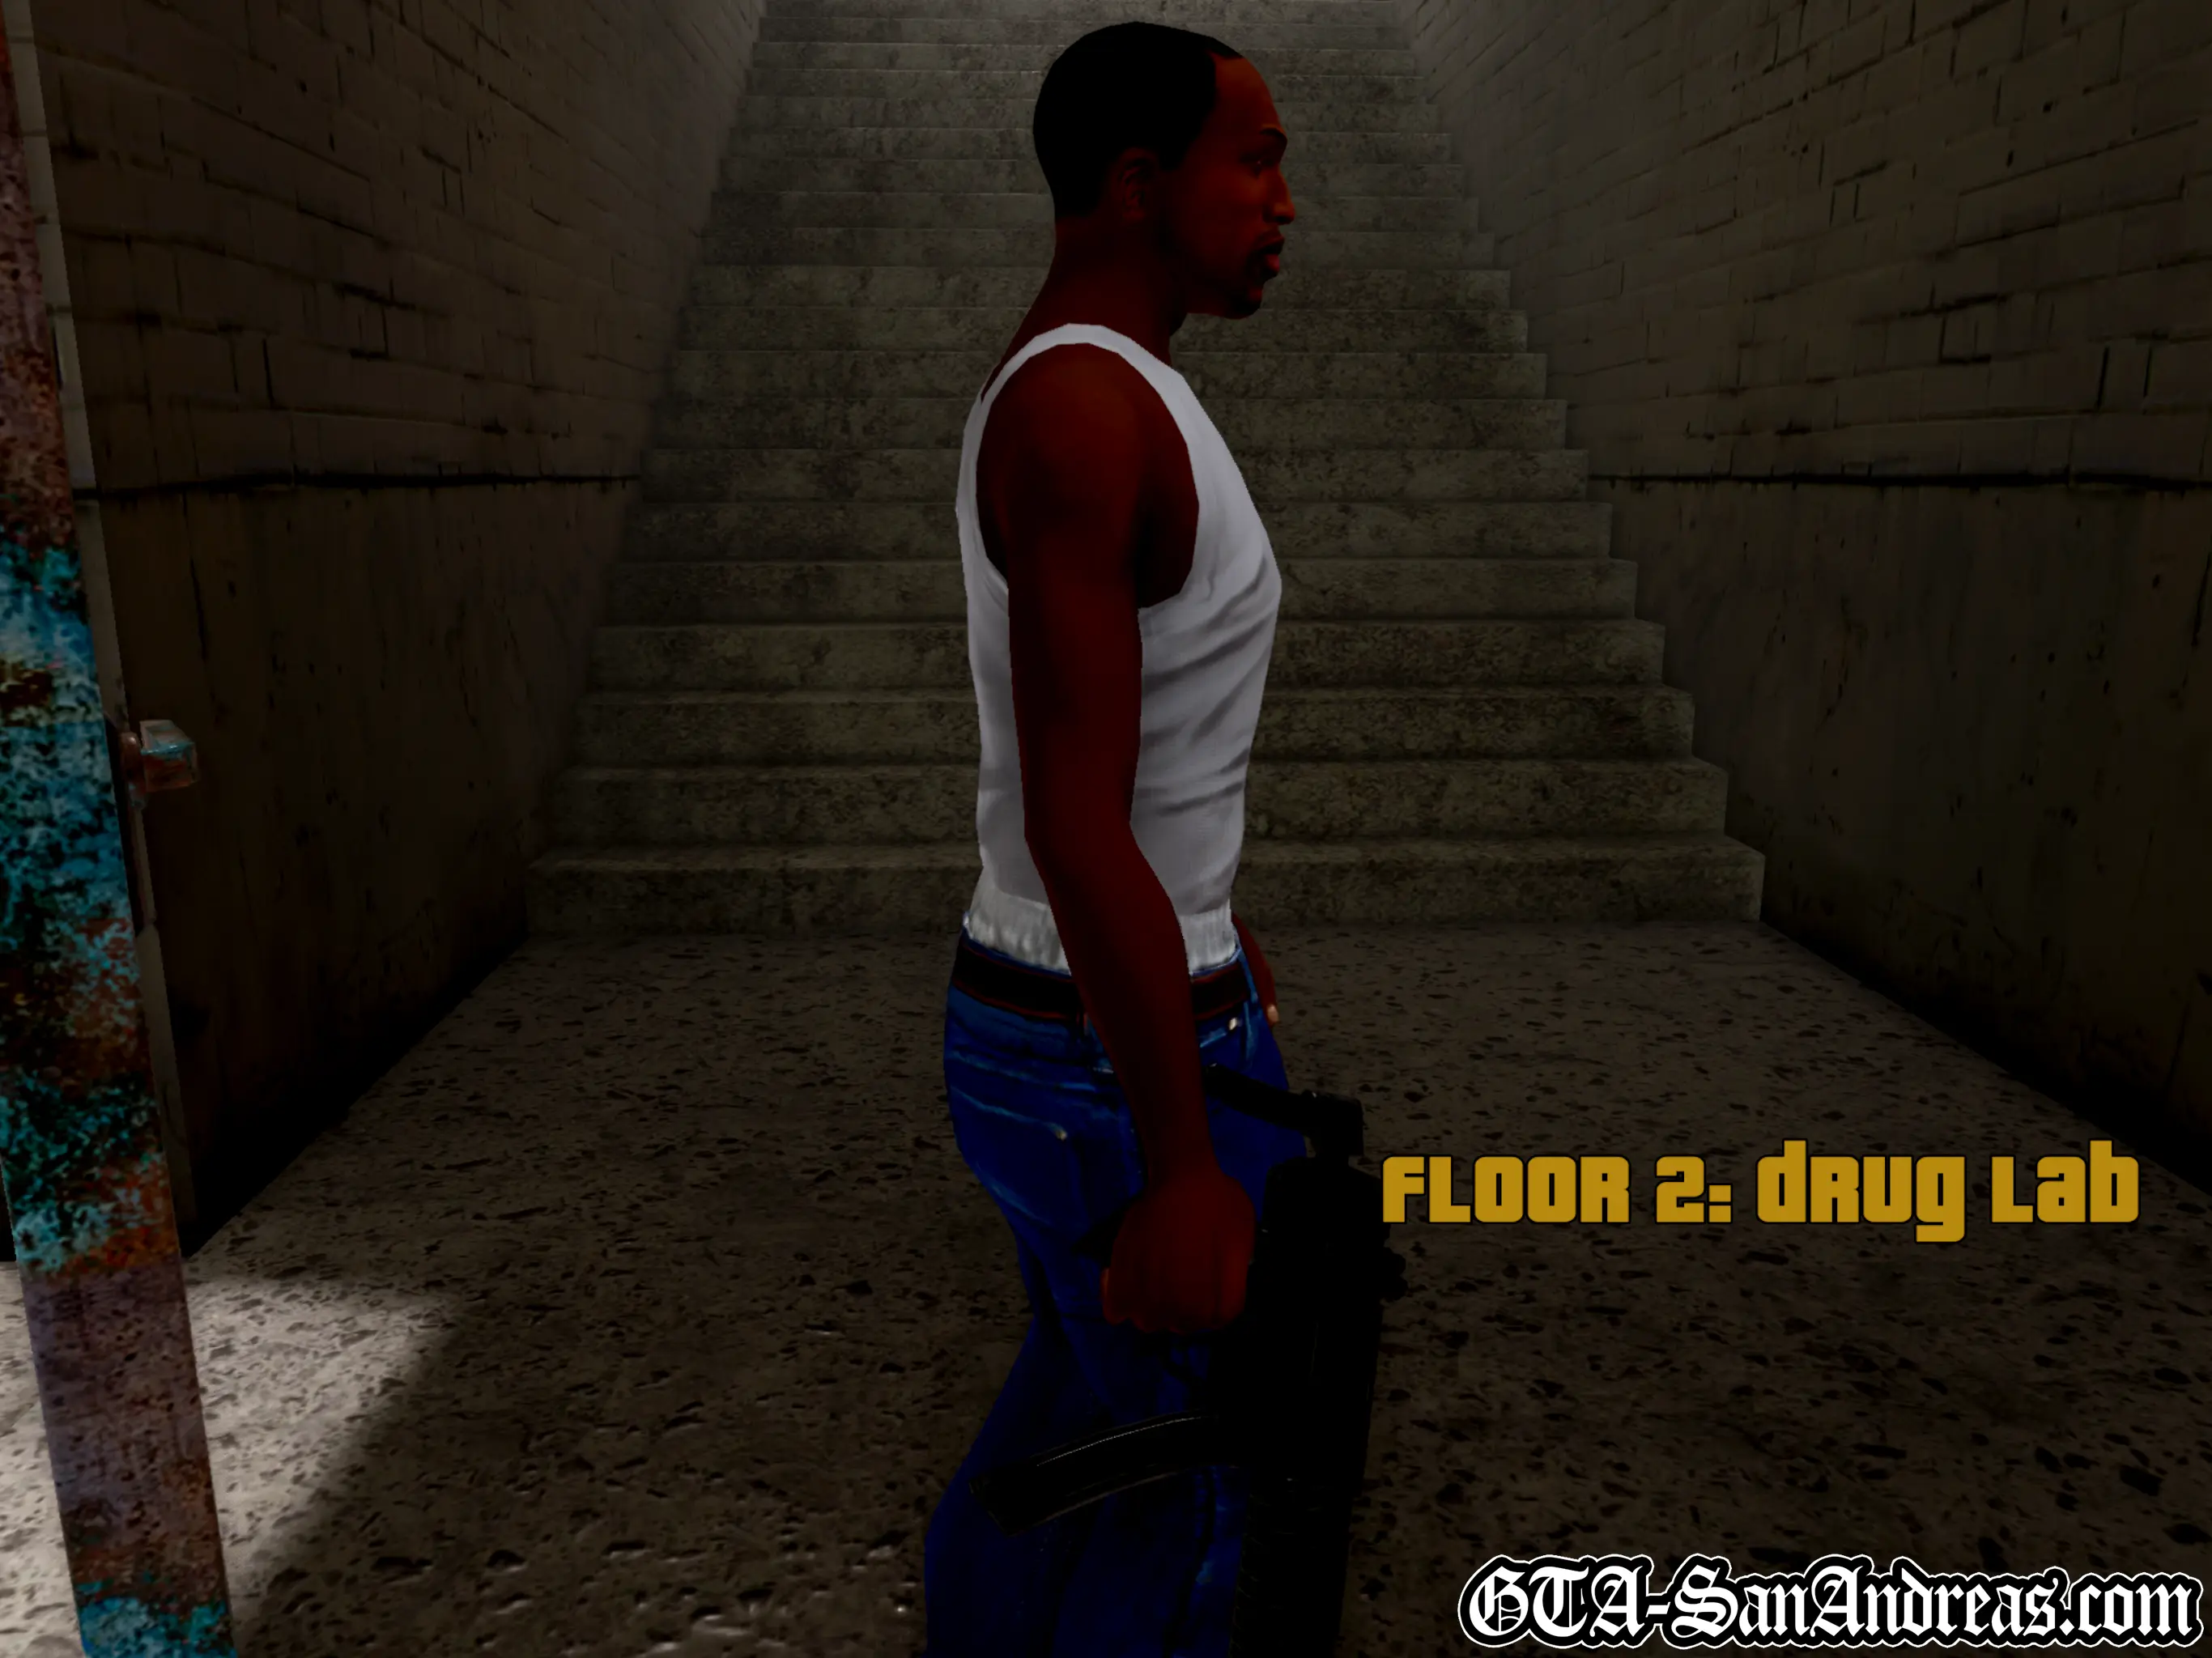
Floor 2: Drug Lab
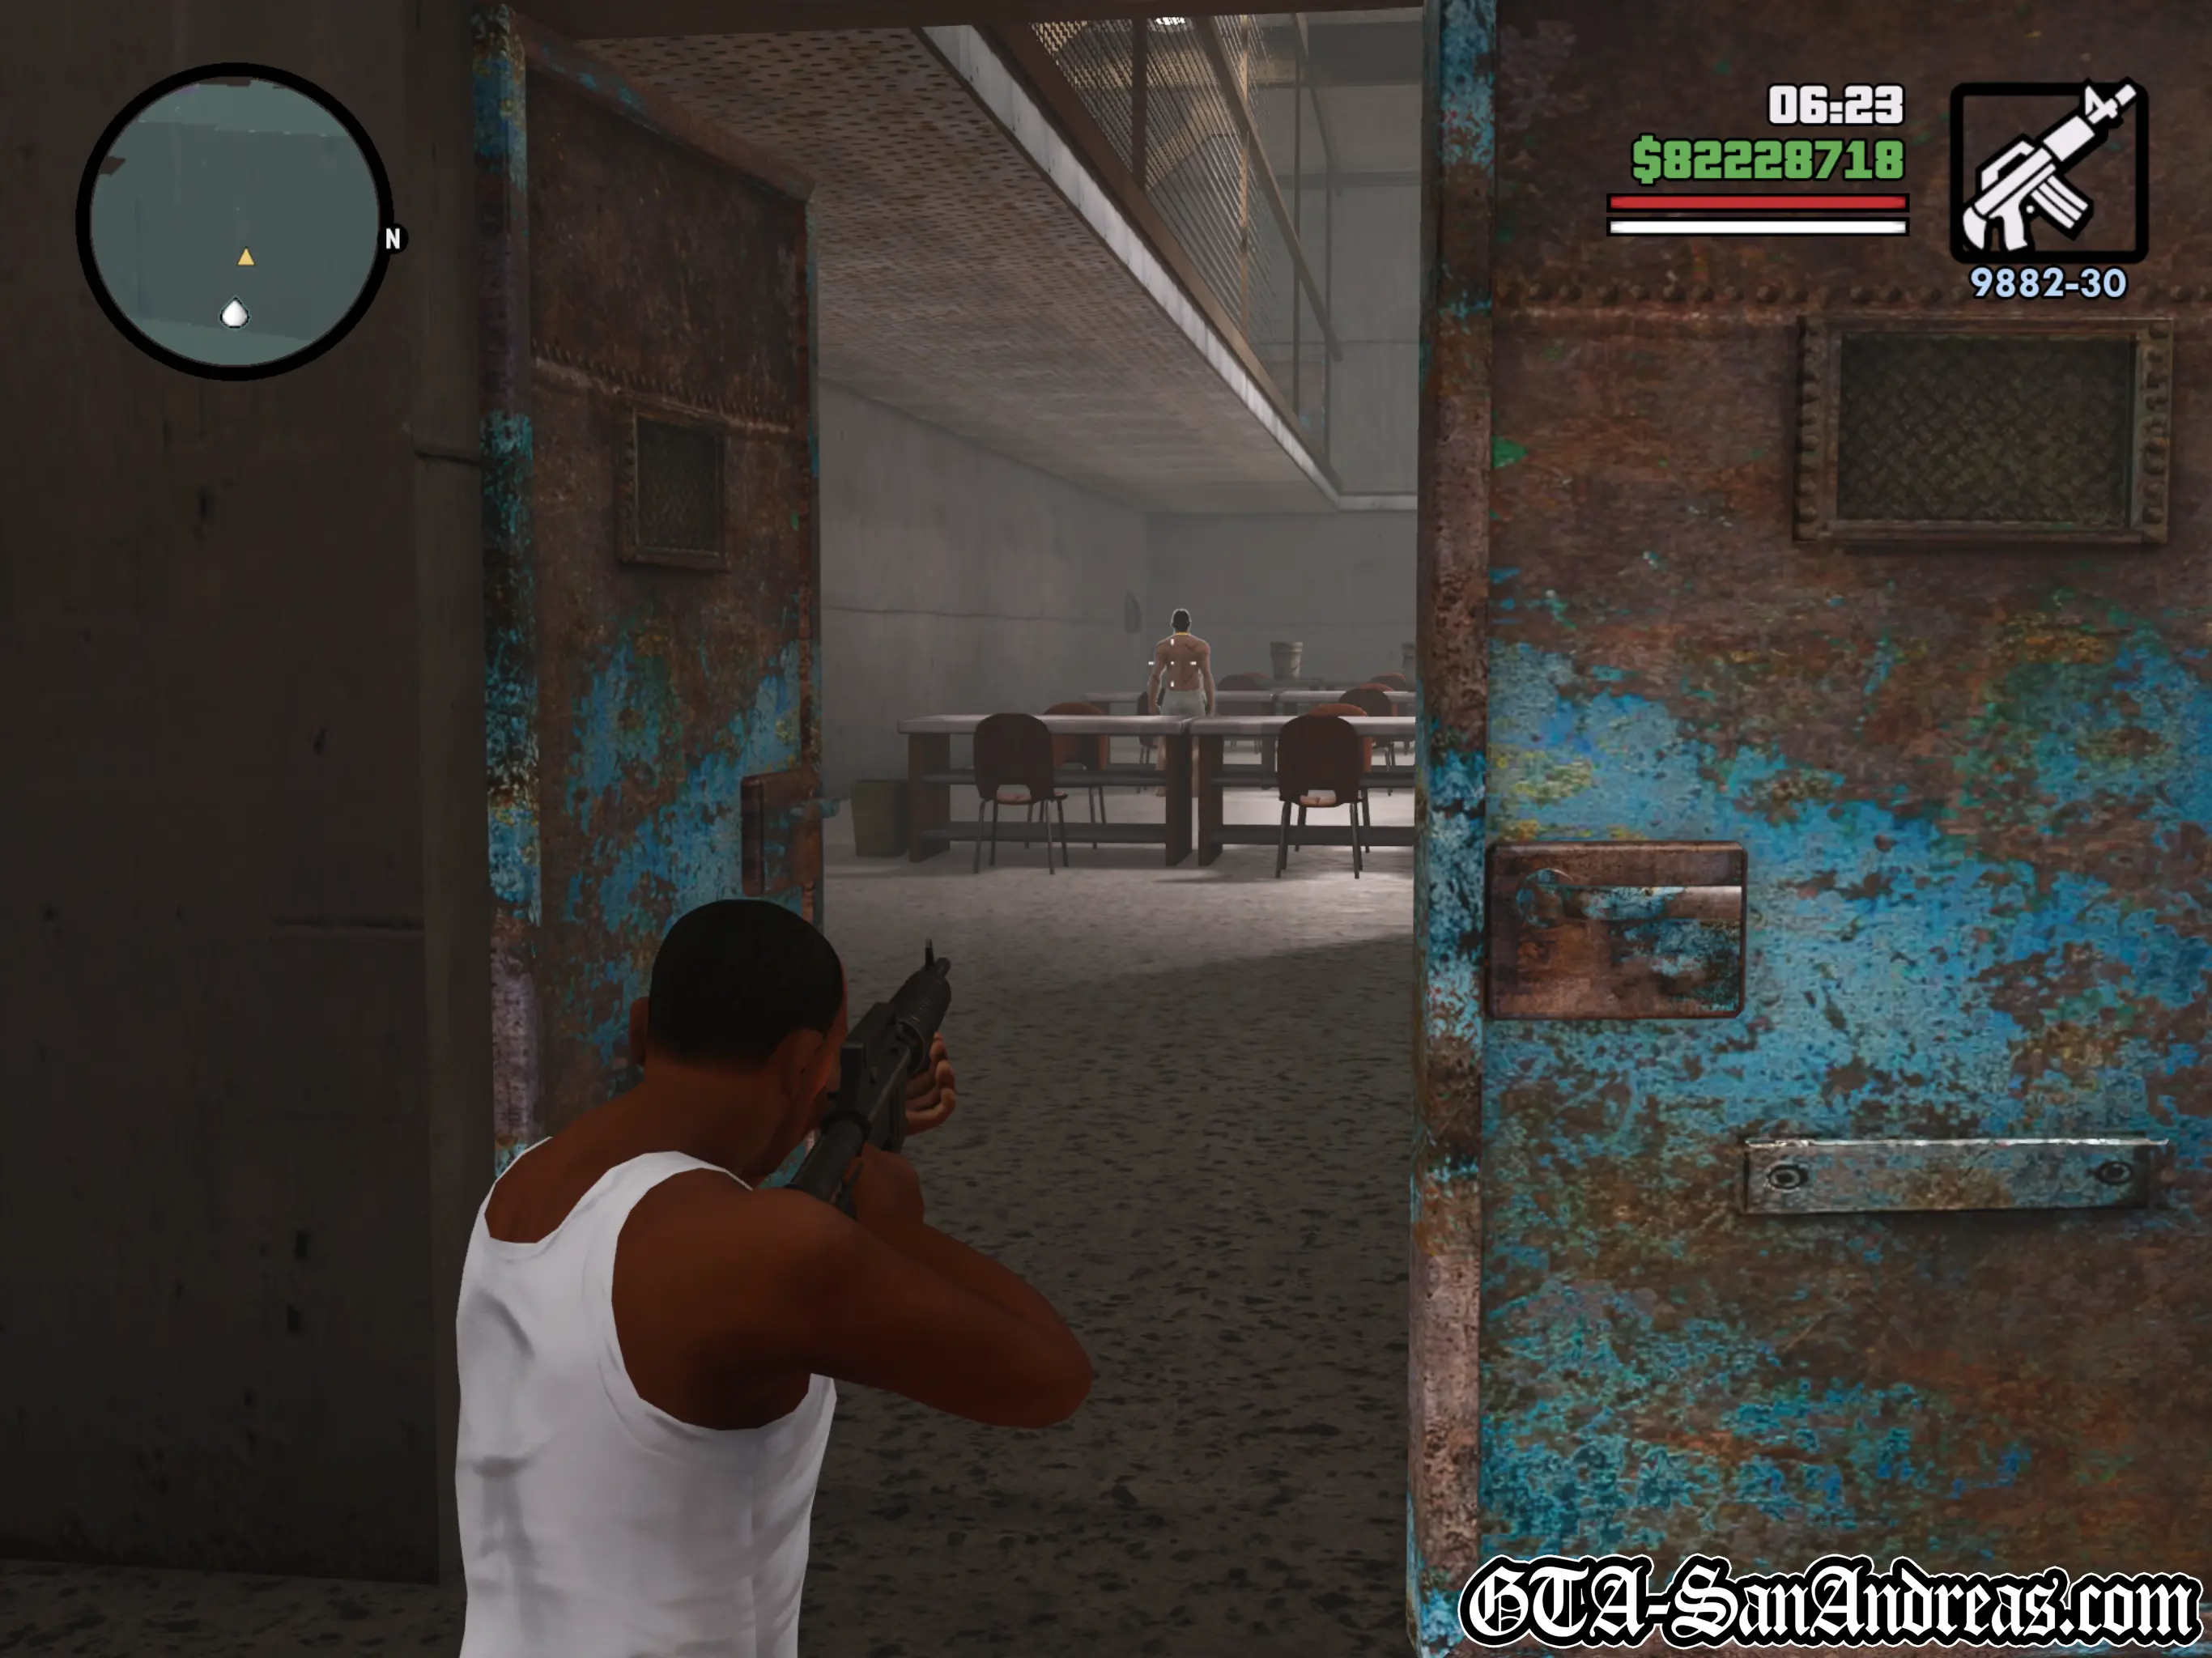
Head up the stairs and kill the Rifa dude. Grab his M4 ammo and the body armor and move into the drug lab main room. This is similar to the first one, only there's about five or ten people in here, not twenty like before. You should have full health now, so just stay crouched and keep cool. Aim at anyone you can see, and stay in cover while waiting for them to come out. Head up the stairs and around. As you get half way, two people will appear below you, so kill them, then continue around the walkway. When you are almost at the end, two more people will come through the door. Waste them, then head through that same door. Head to the right and grab some more health, then go through the back door.
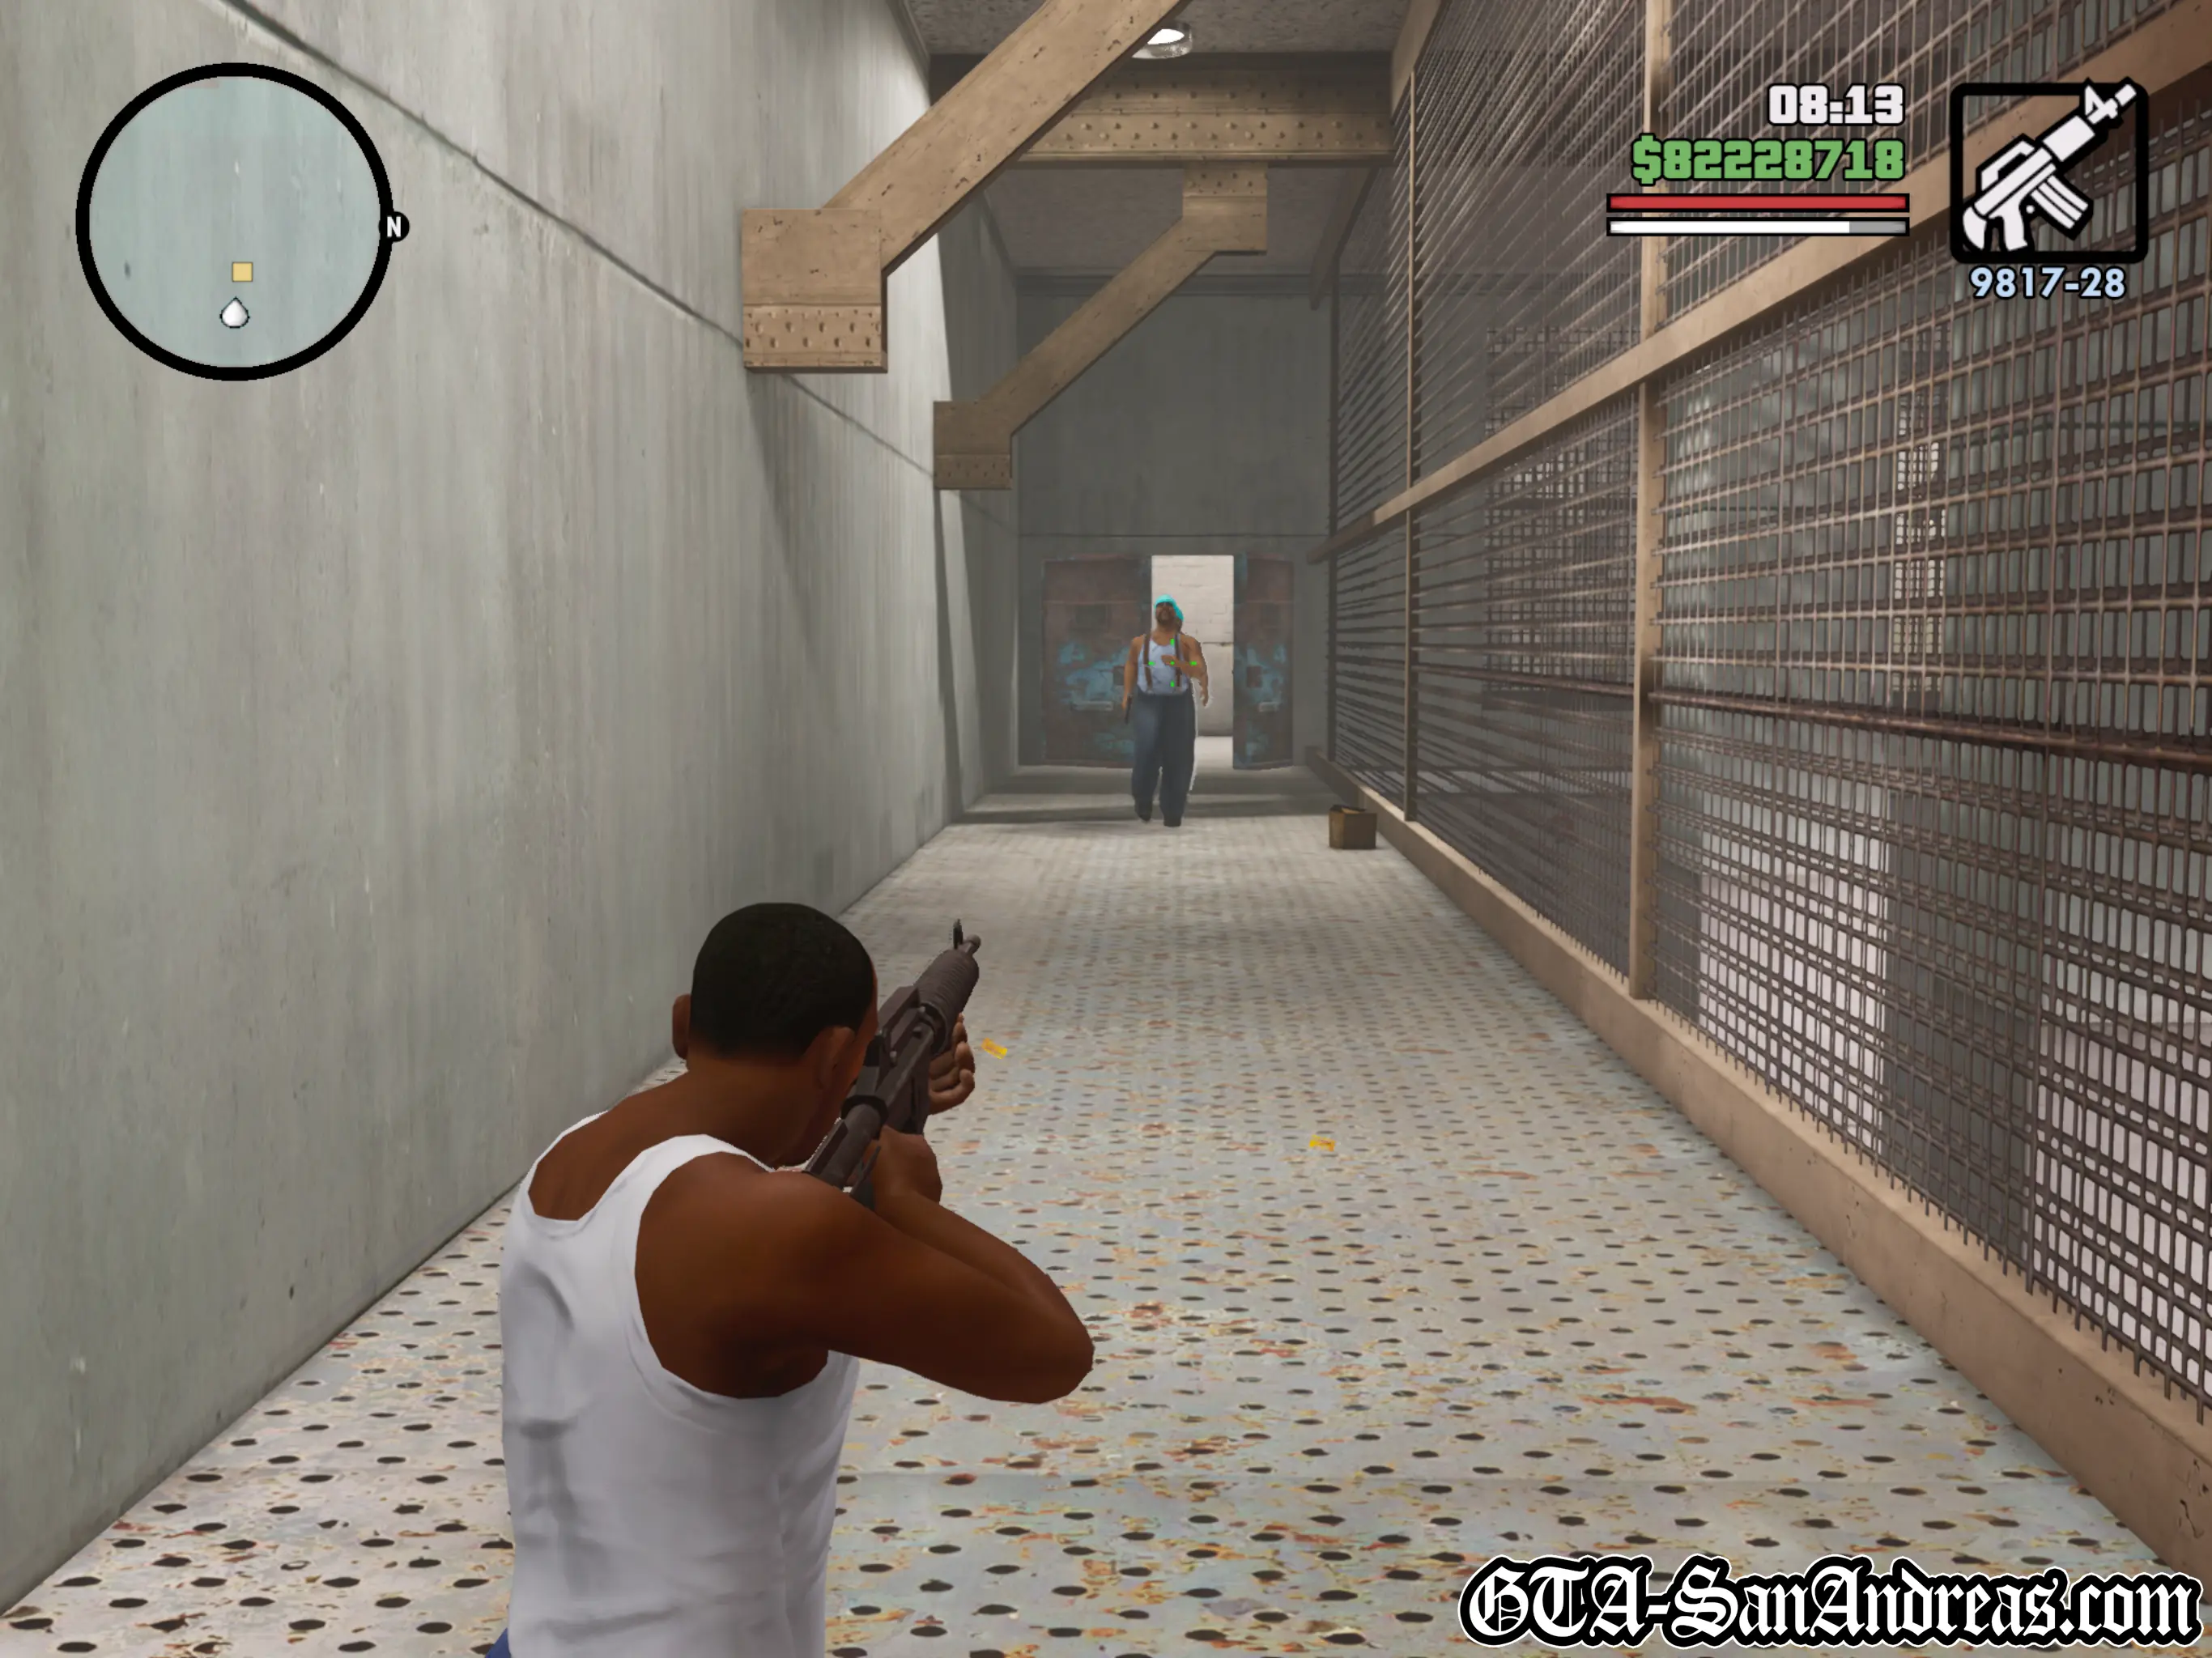
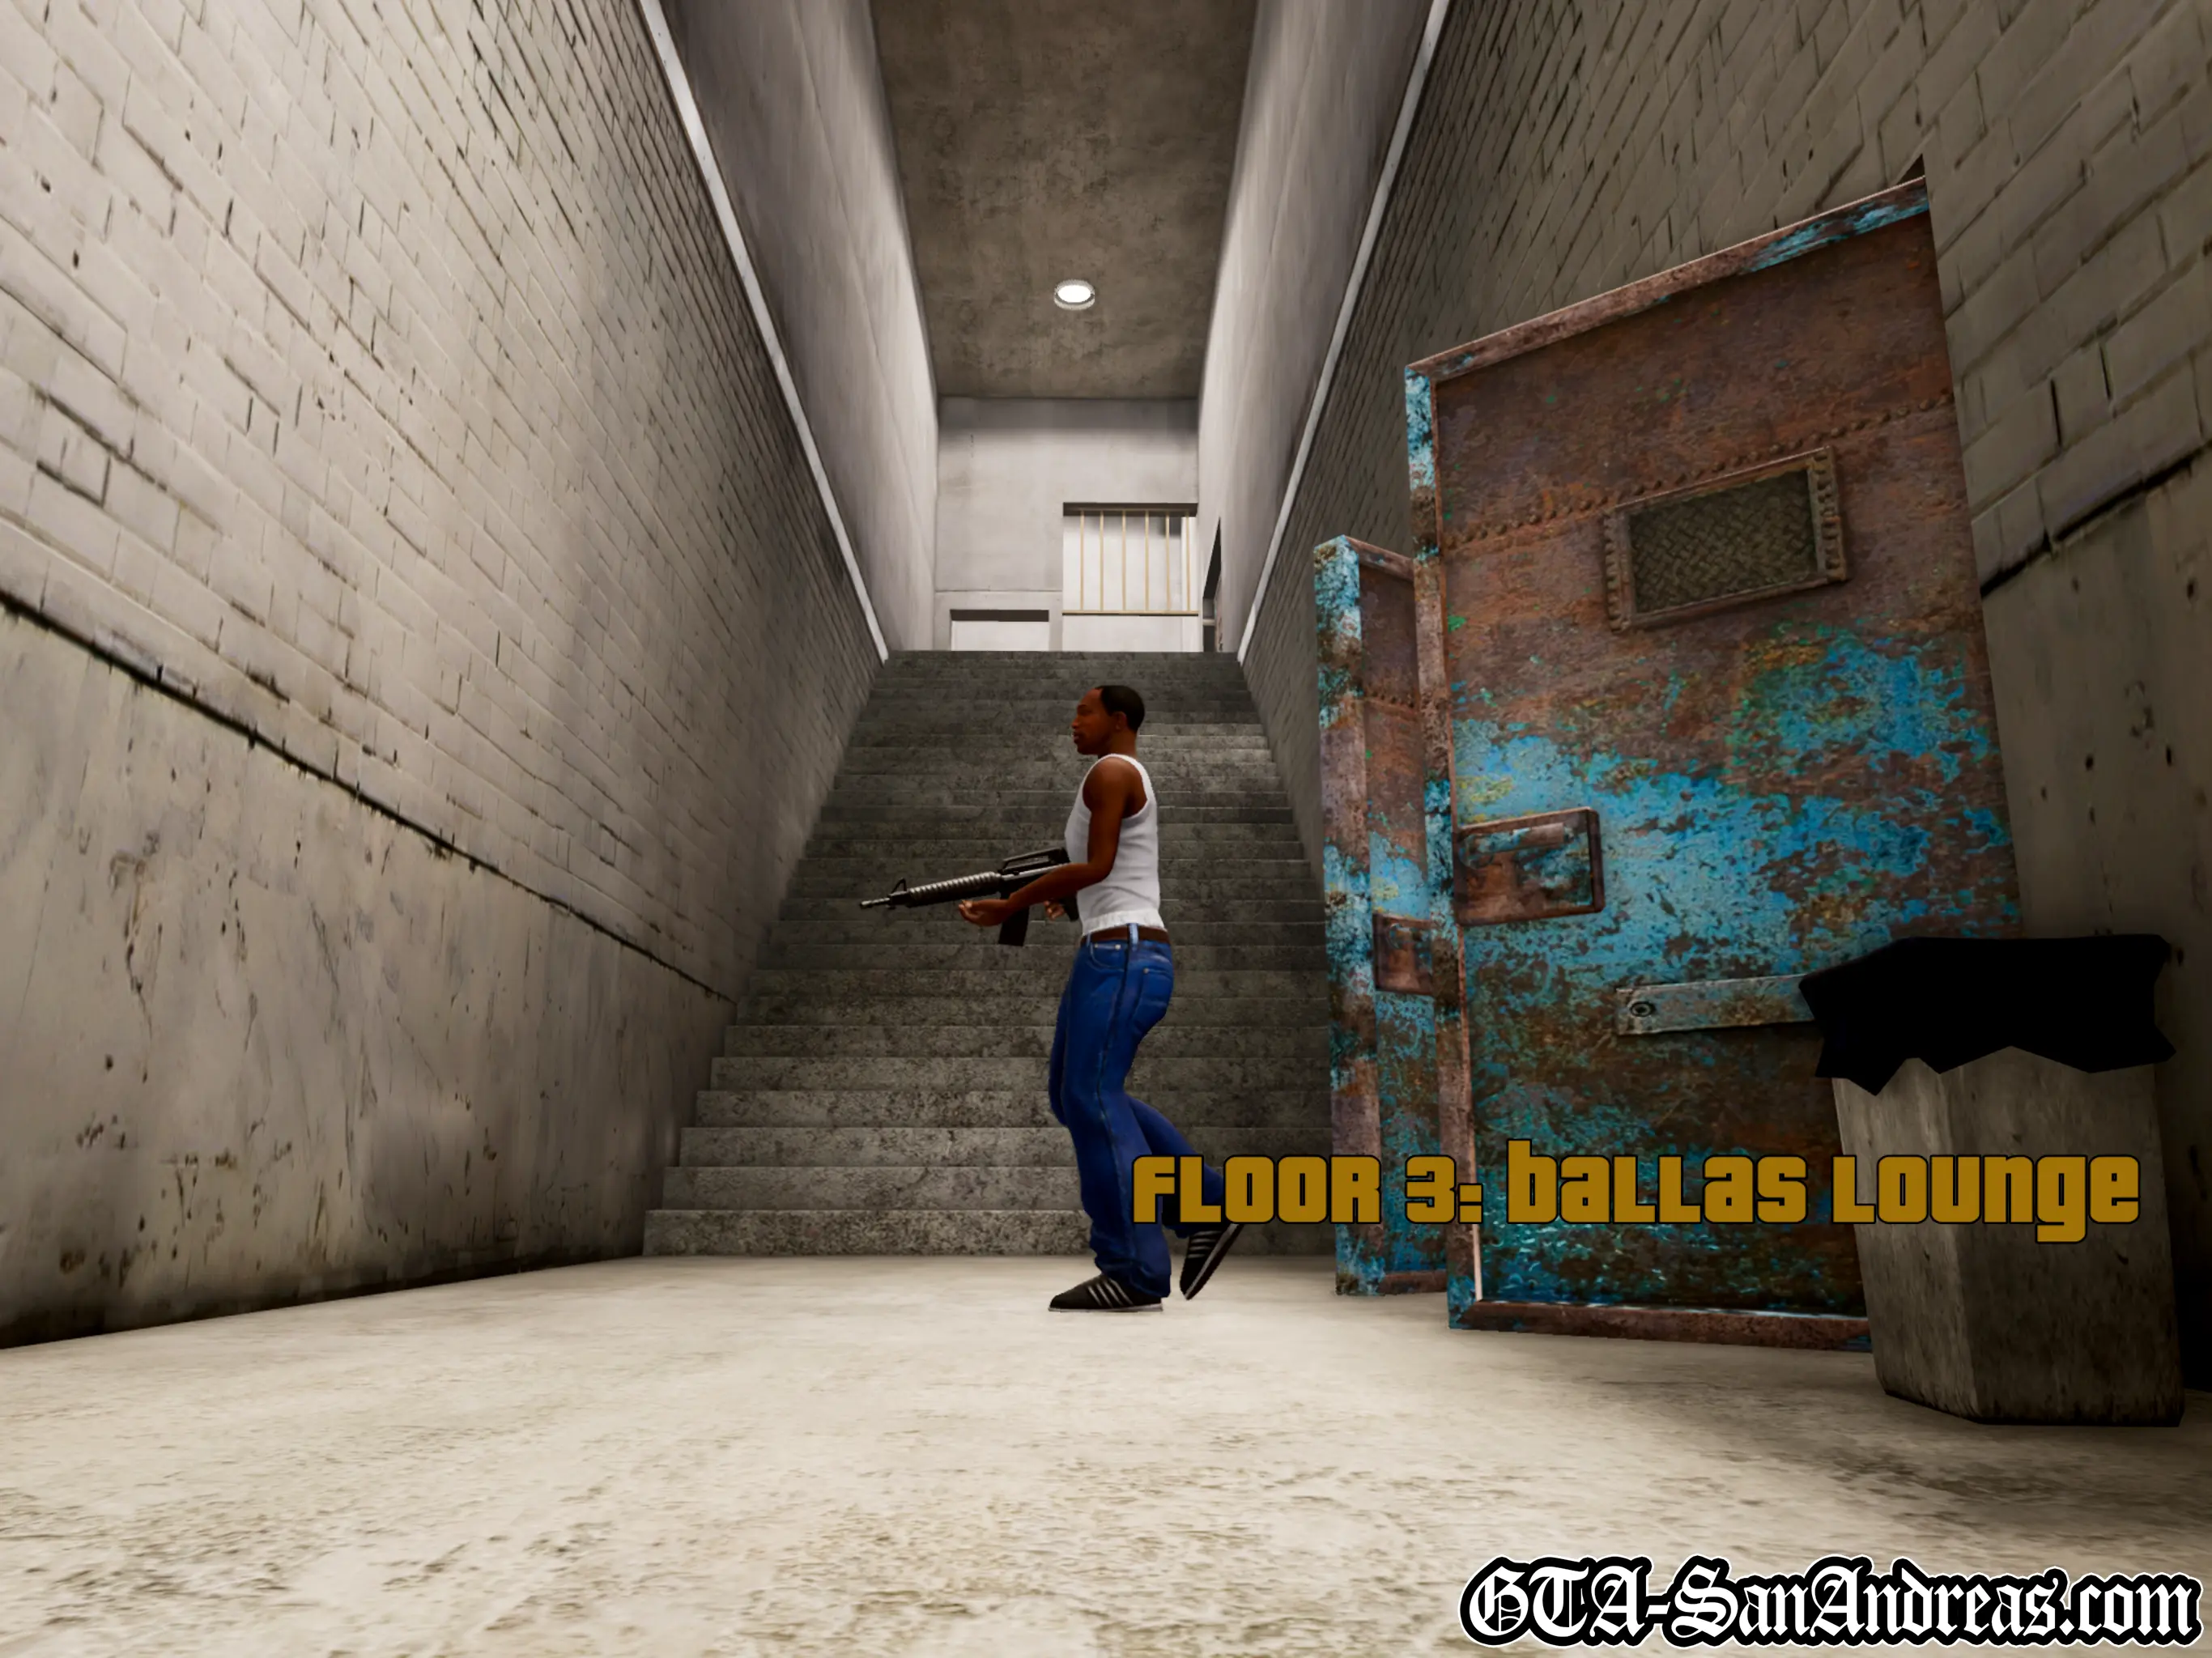
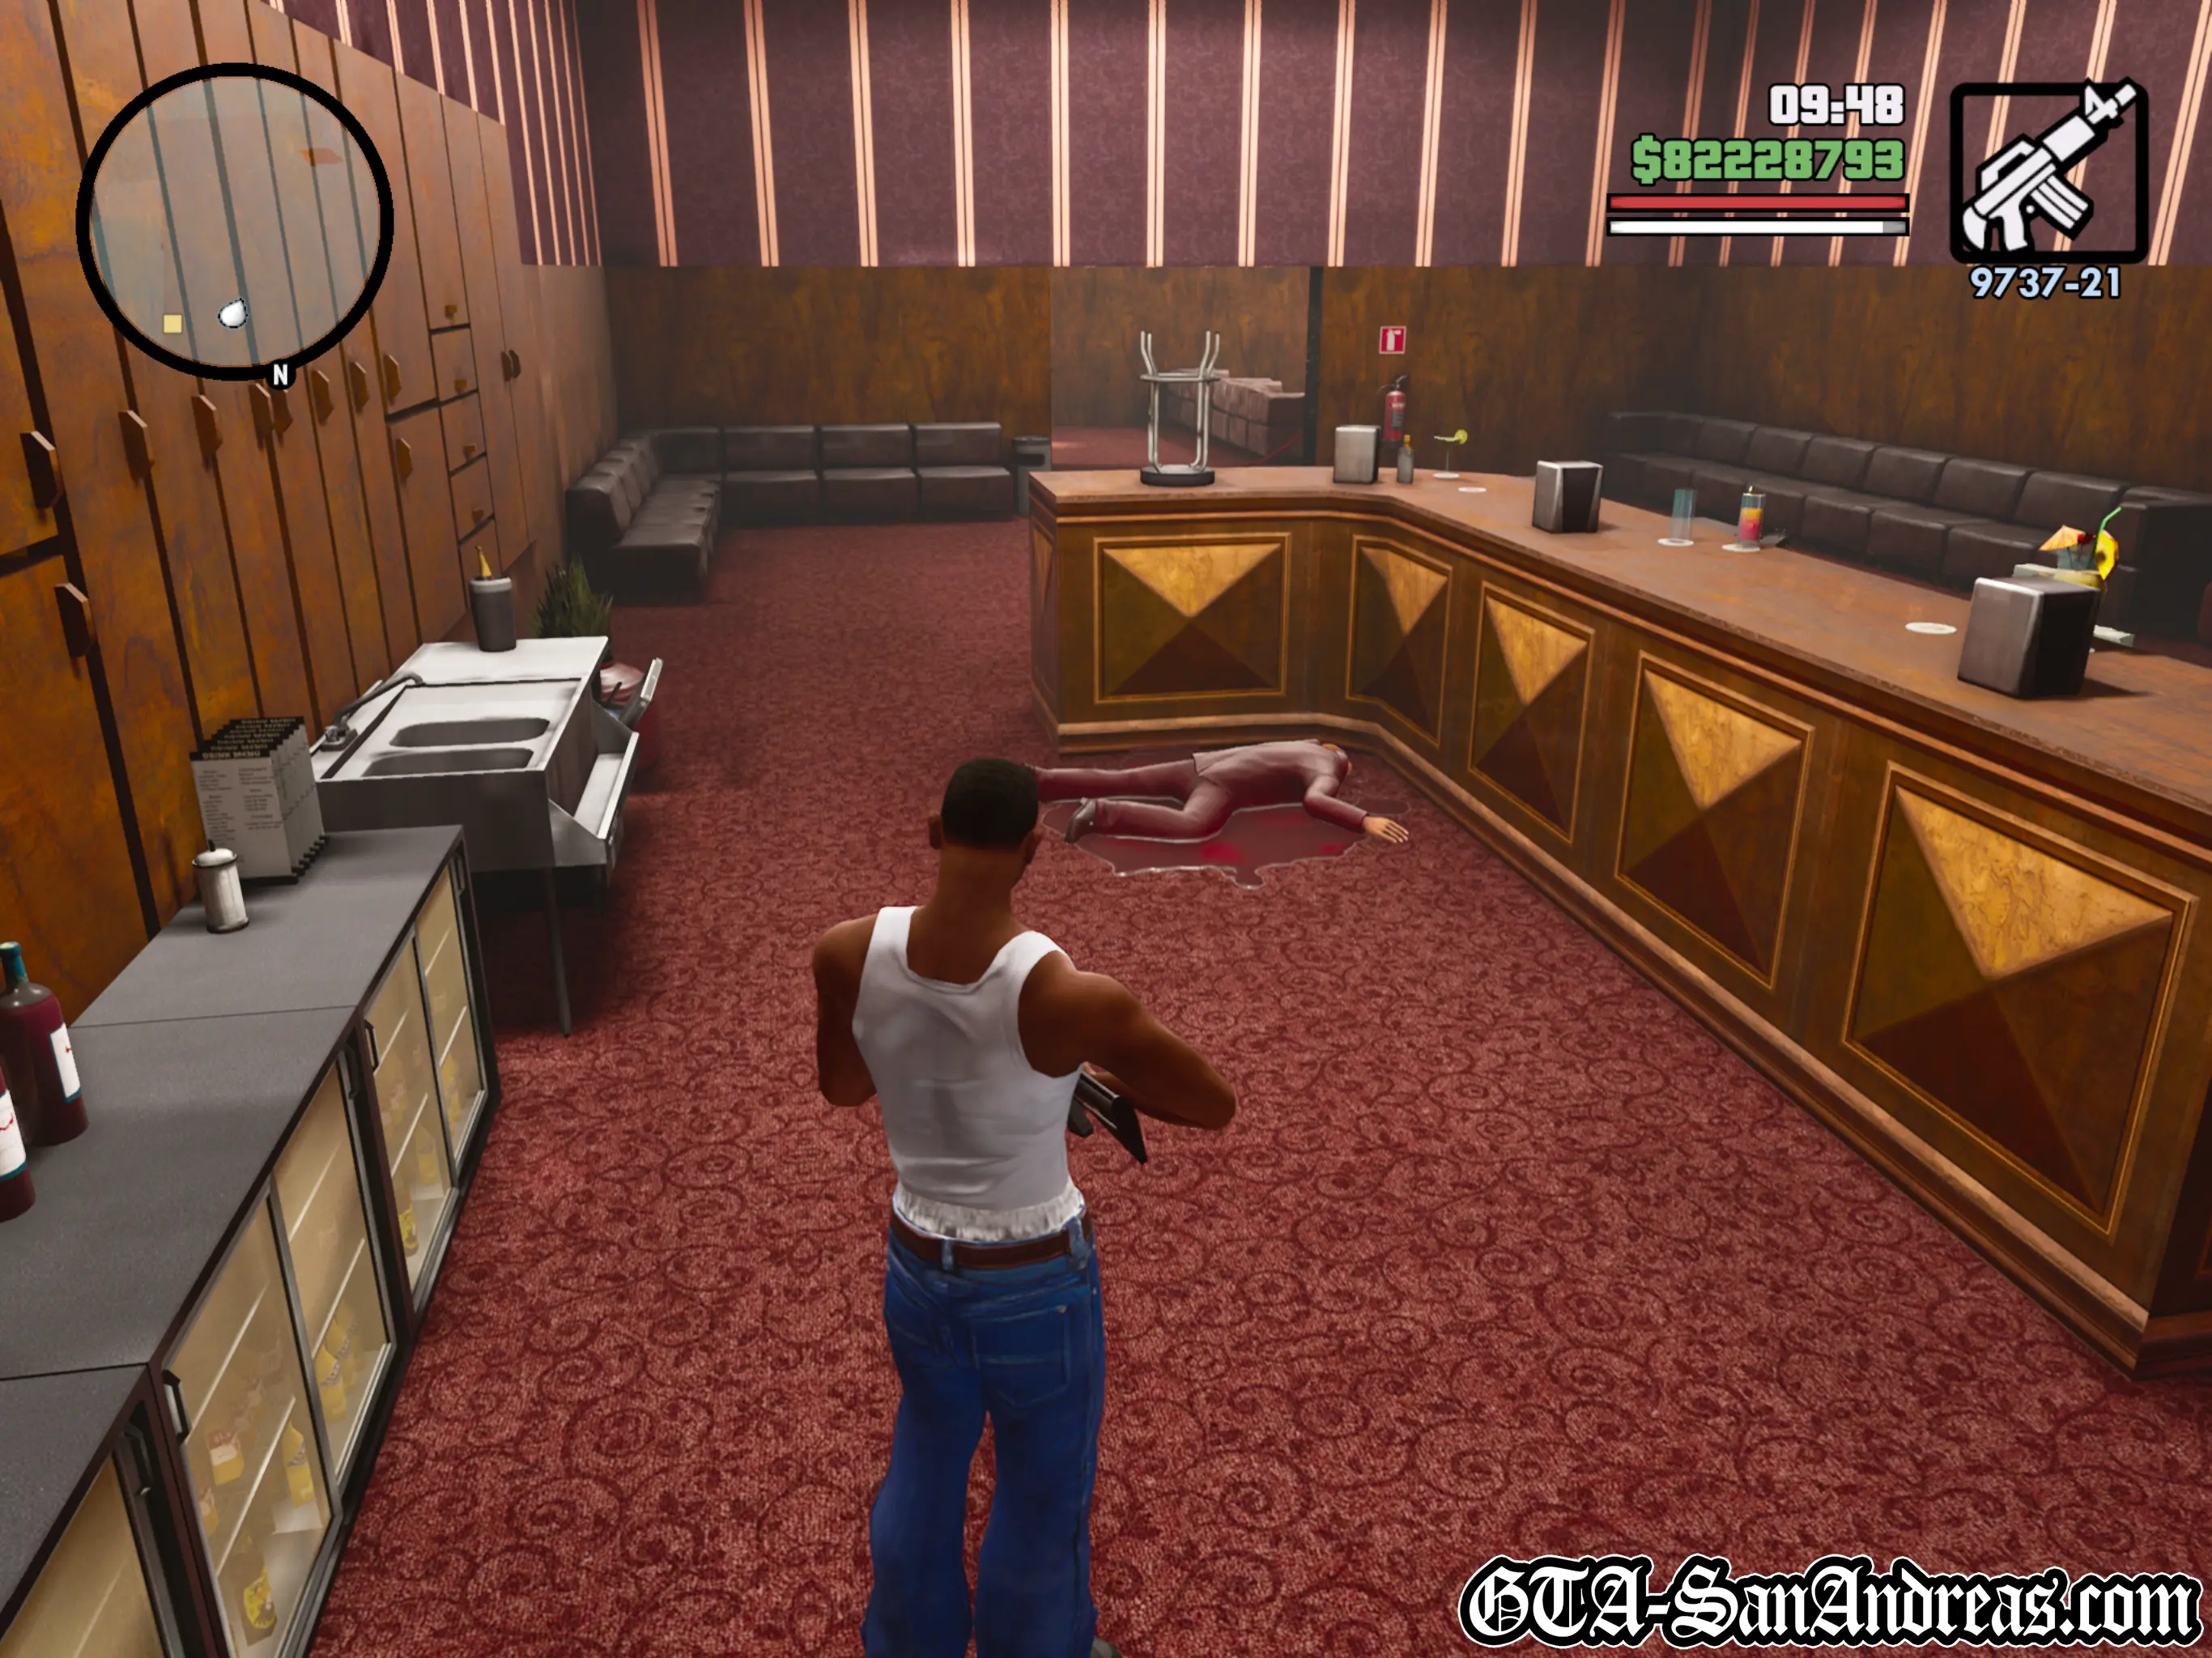
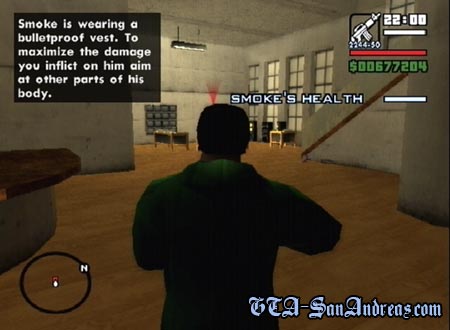
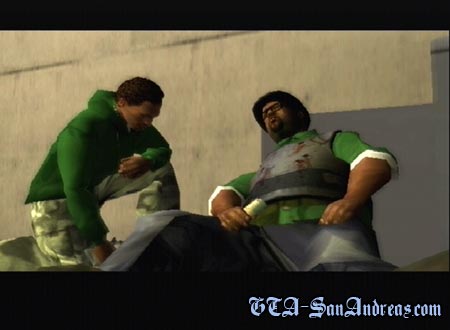
Floor 3: Ballas Lounge
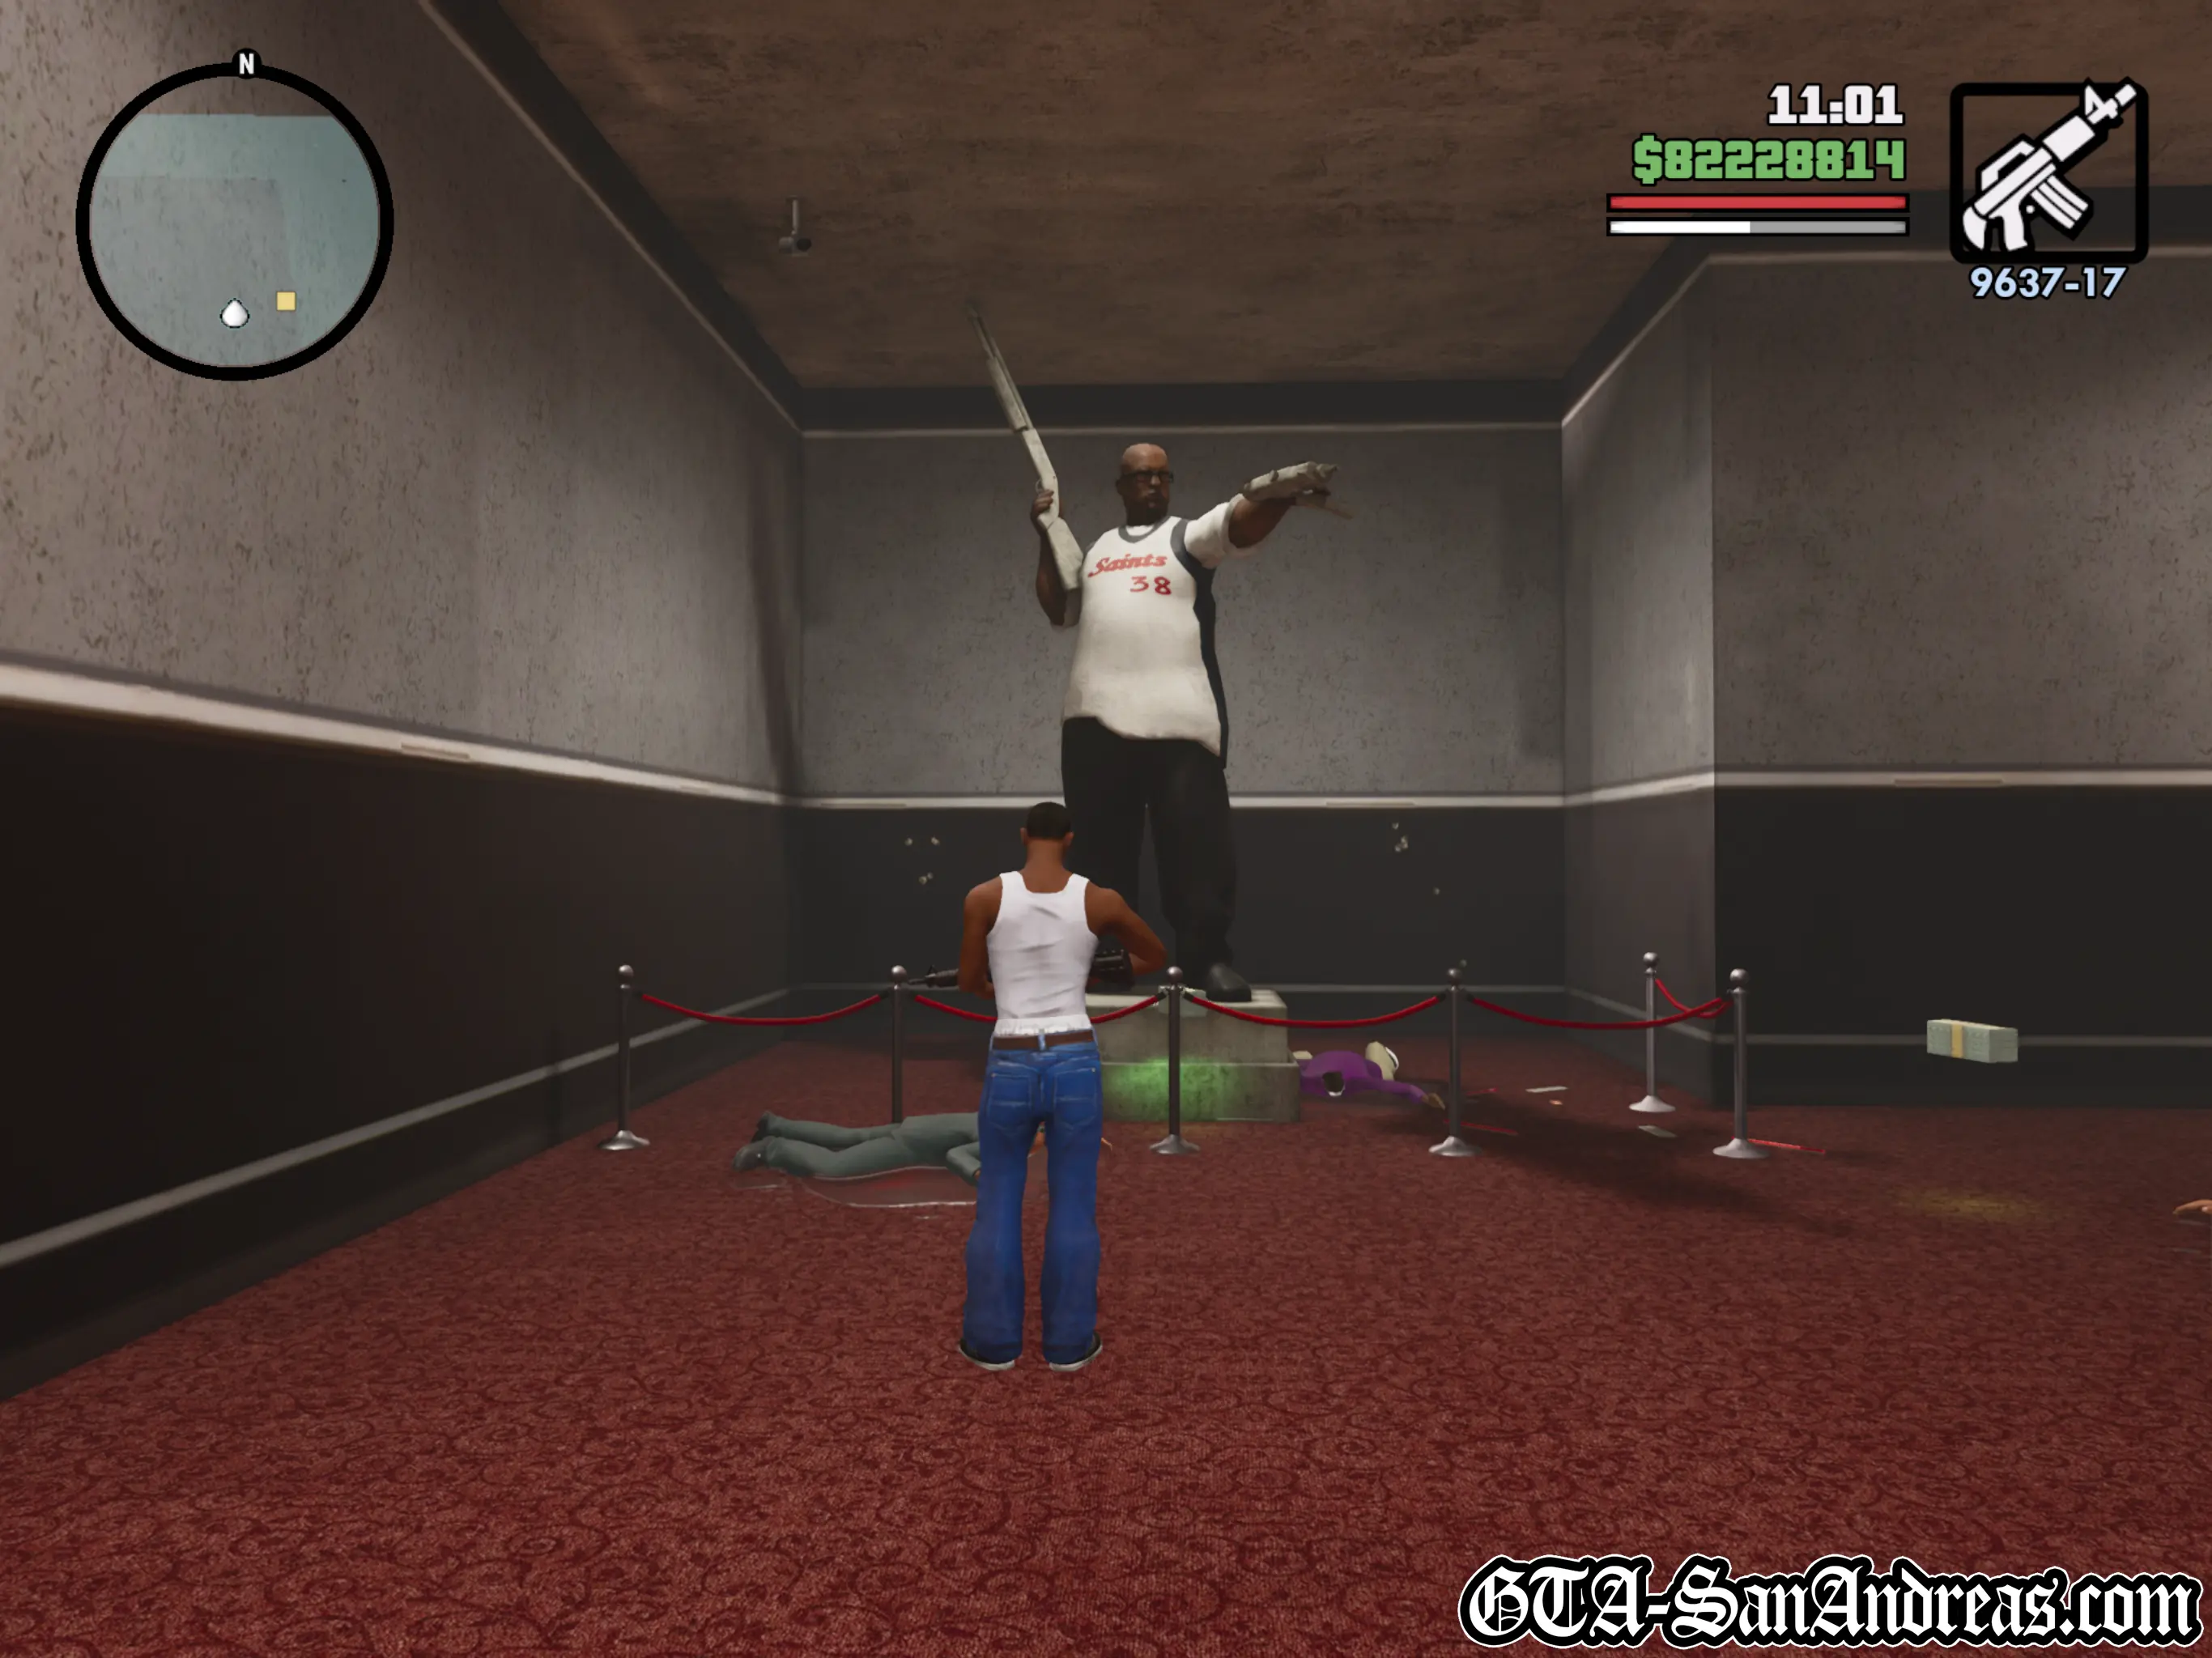
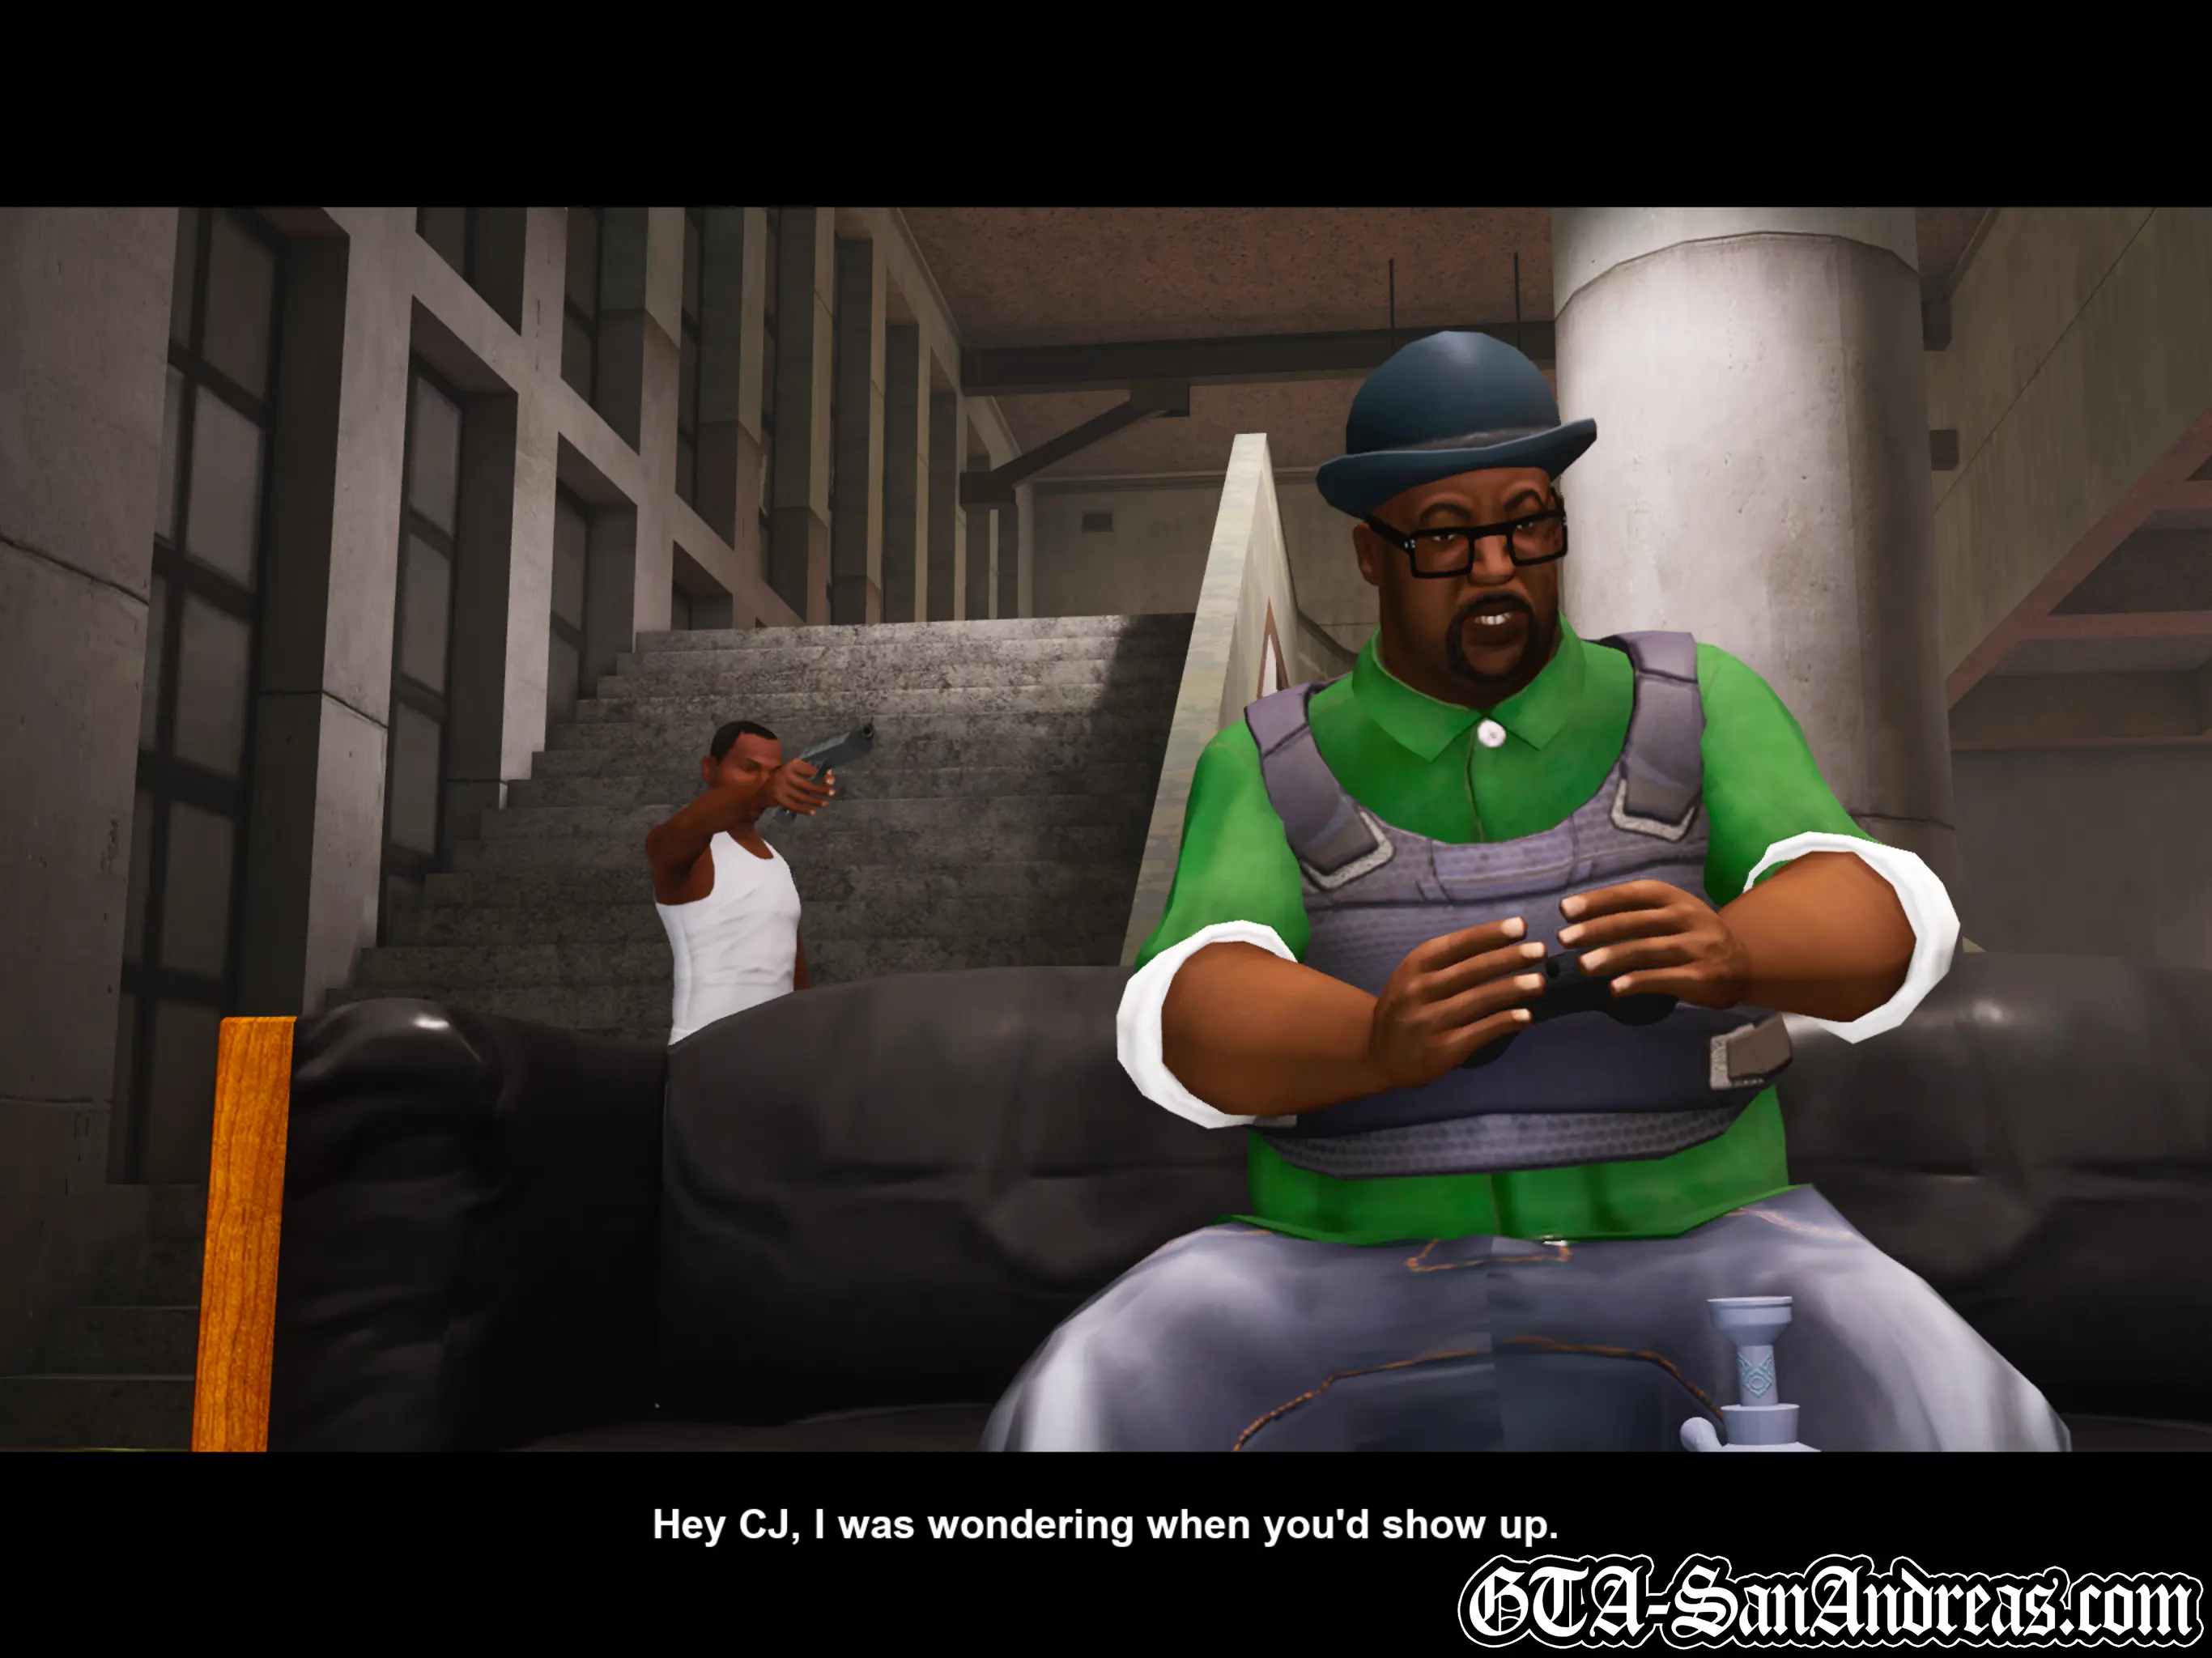
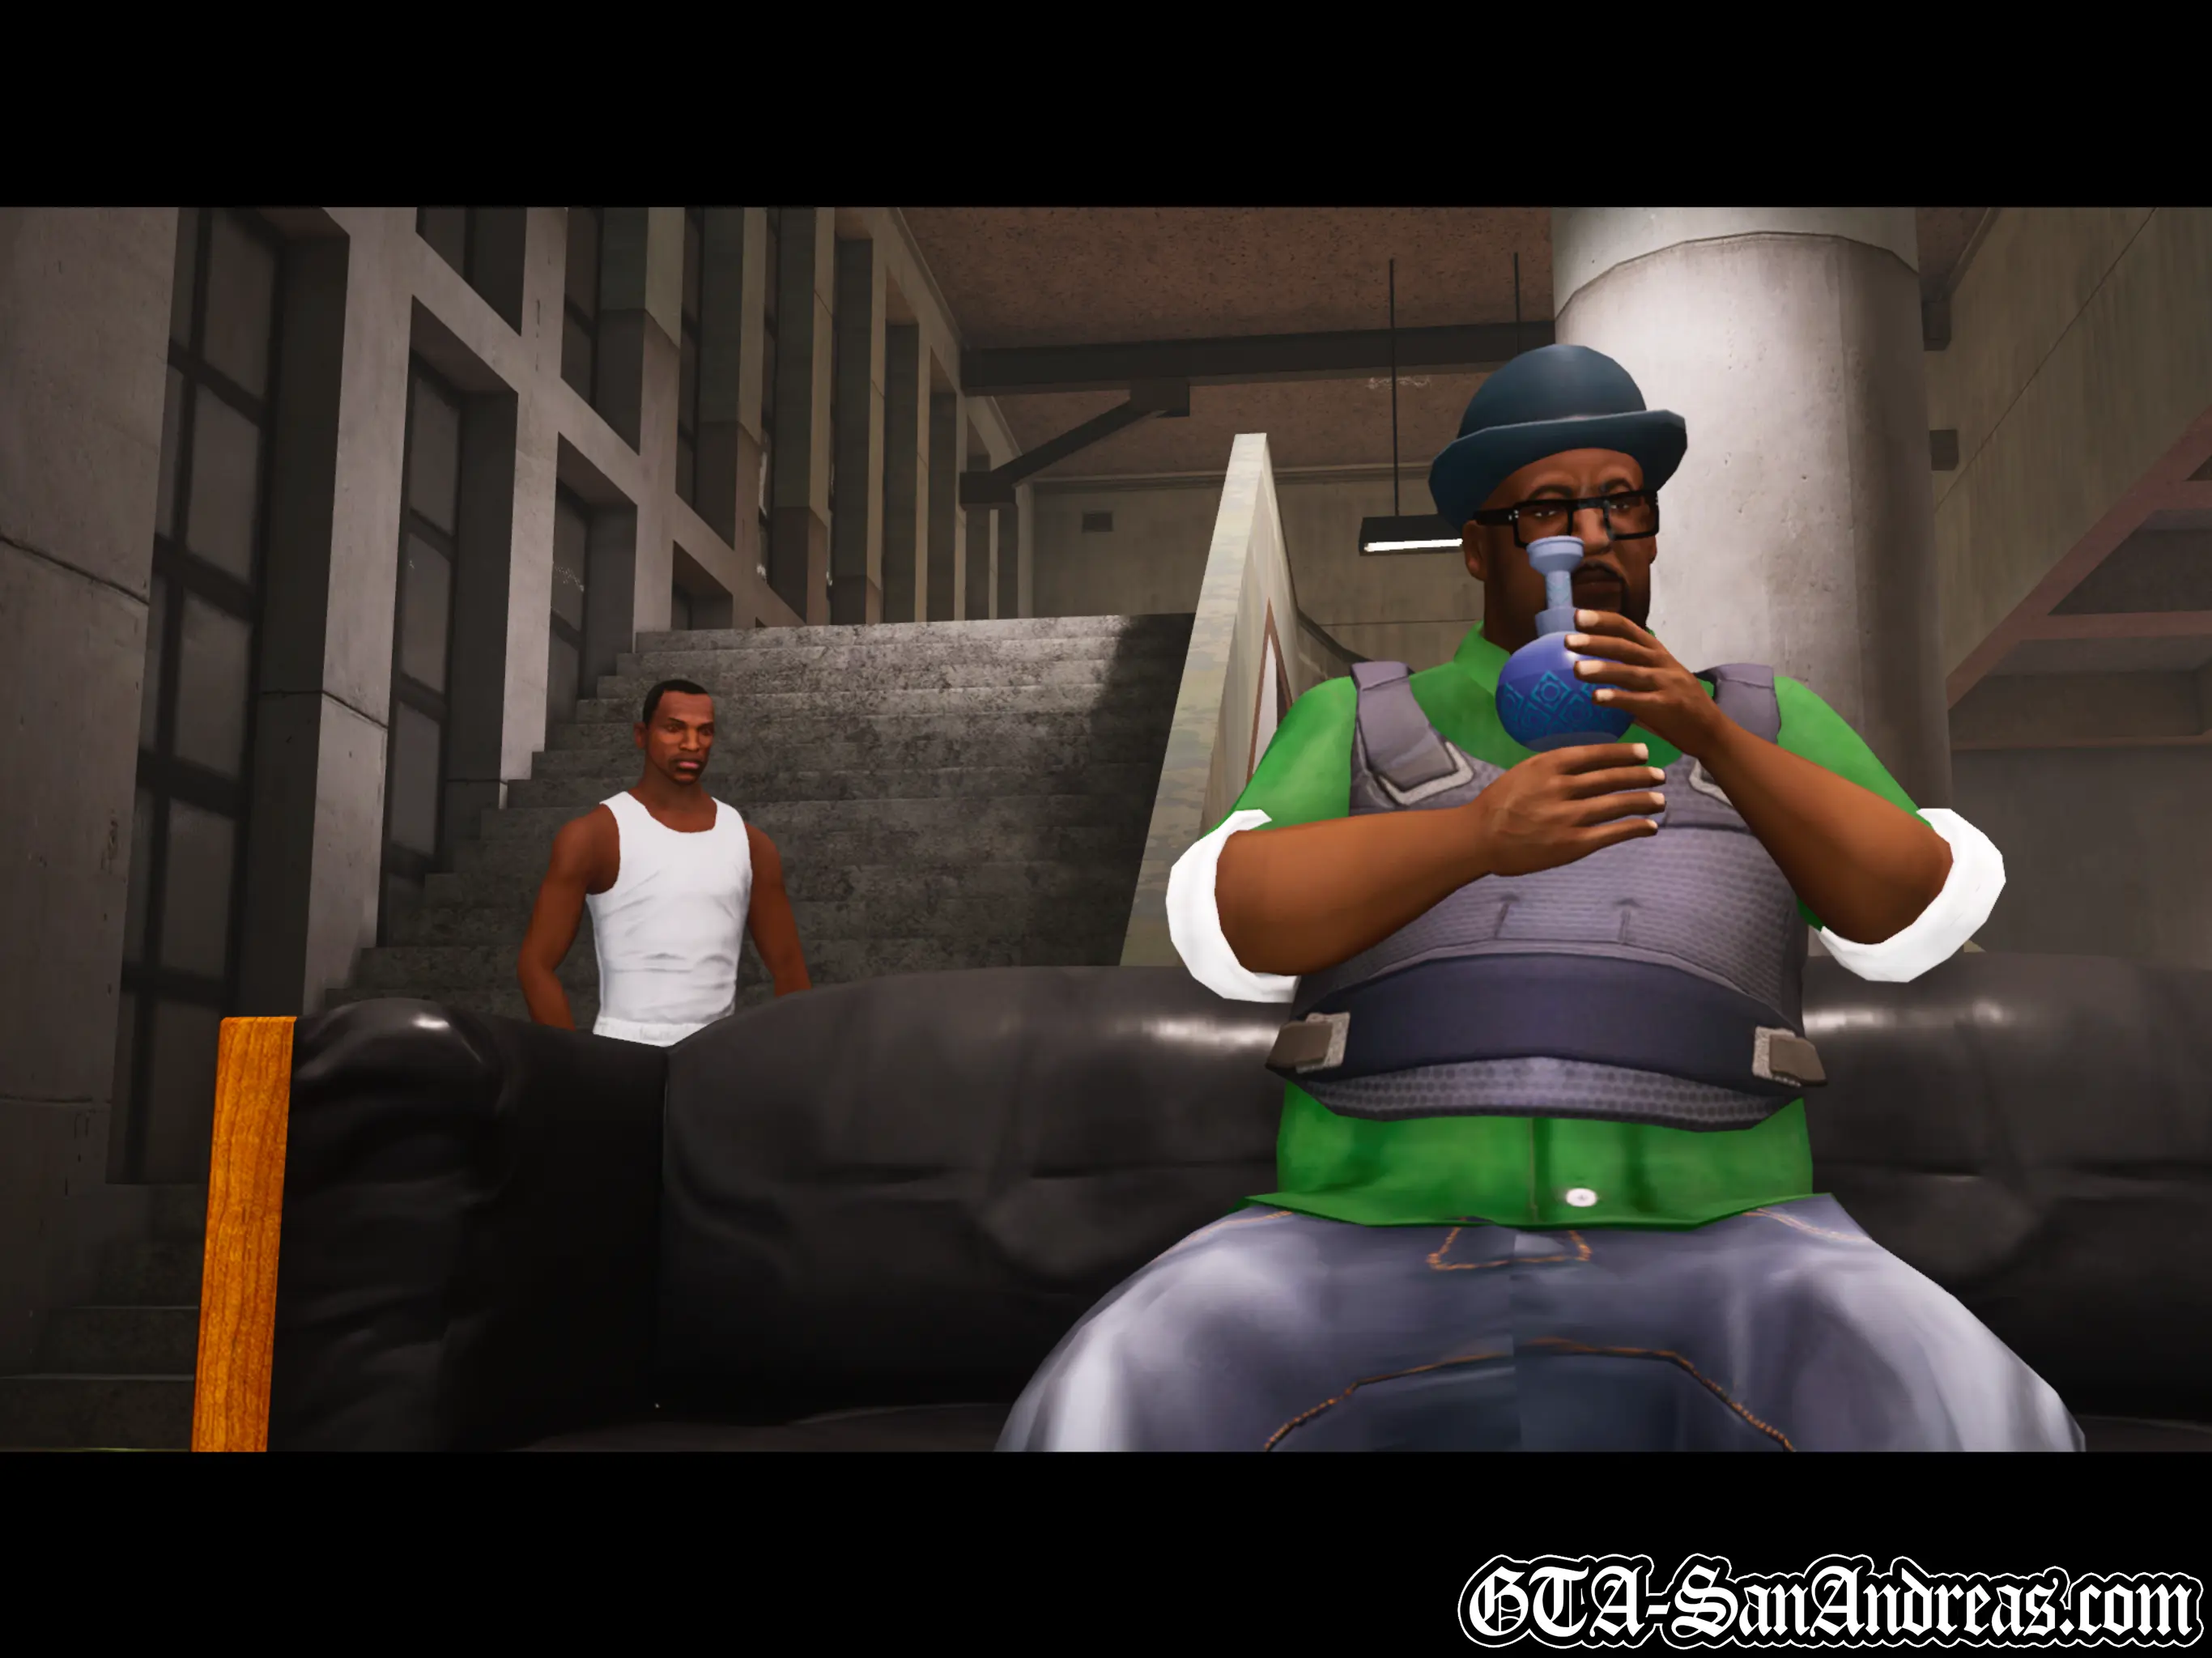
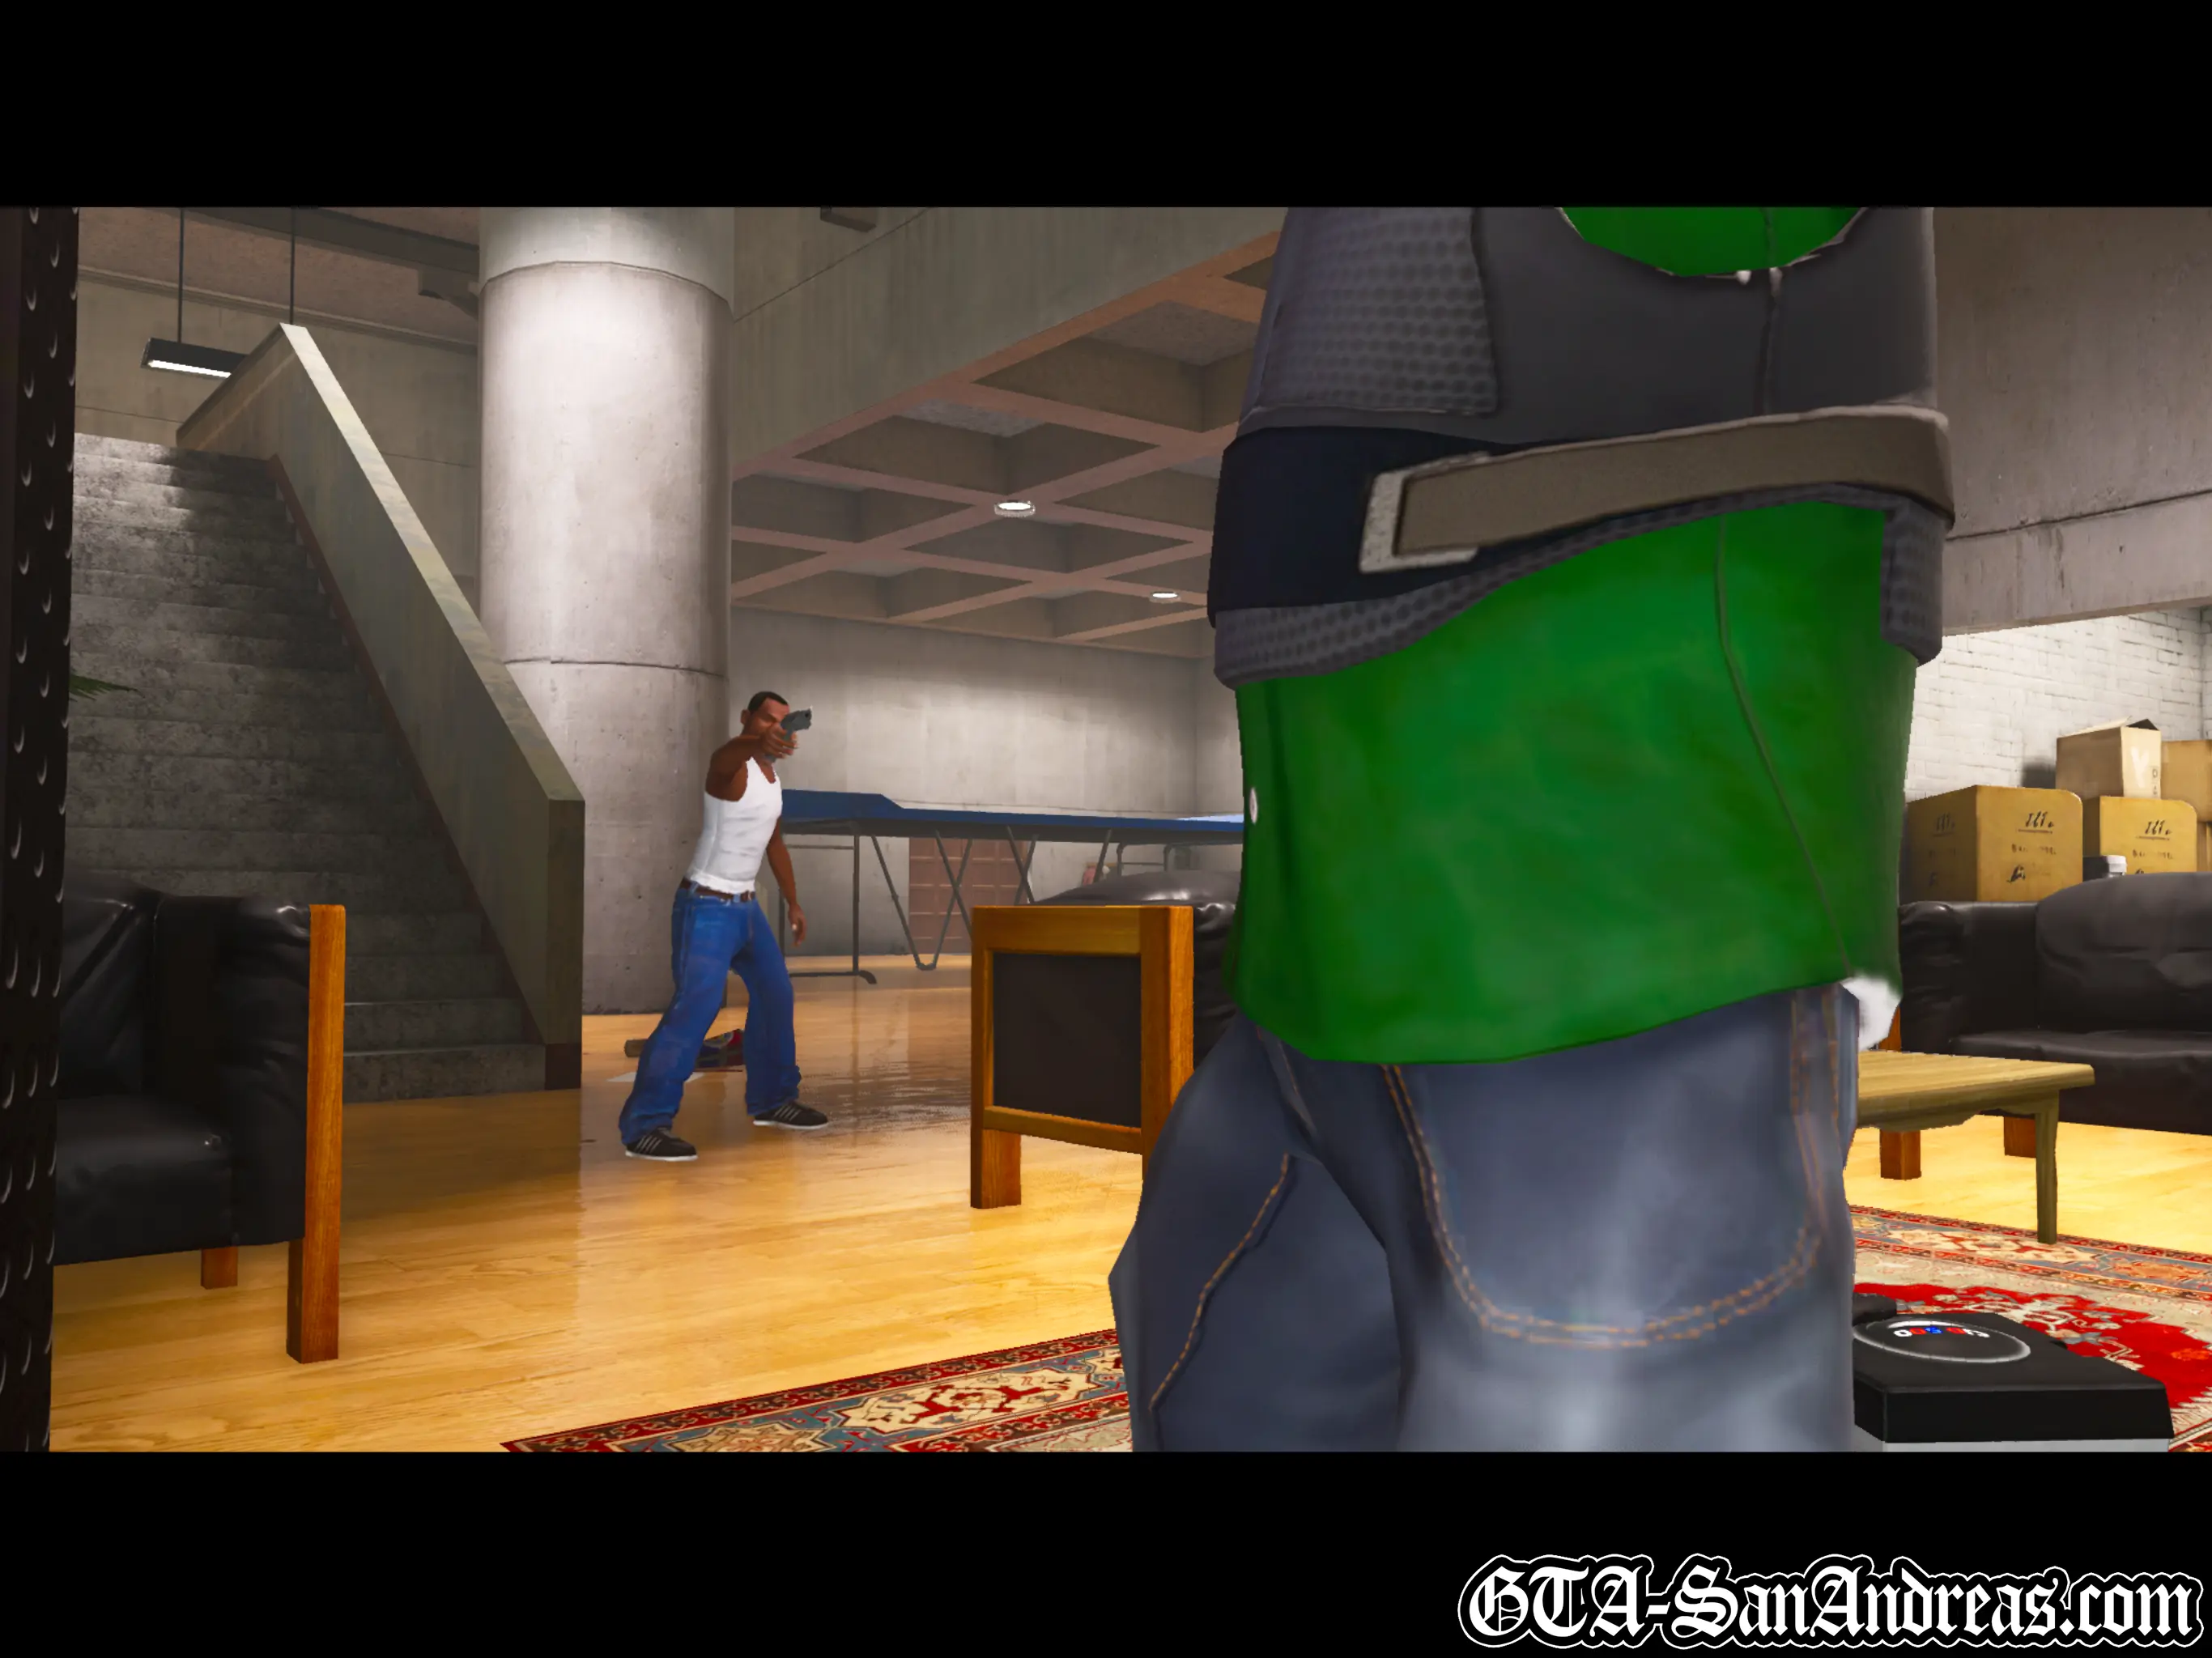
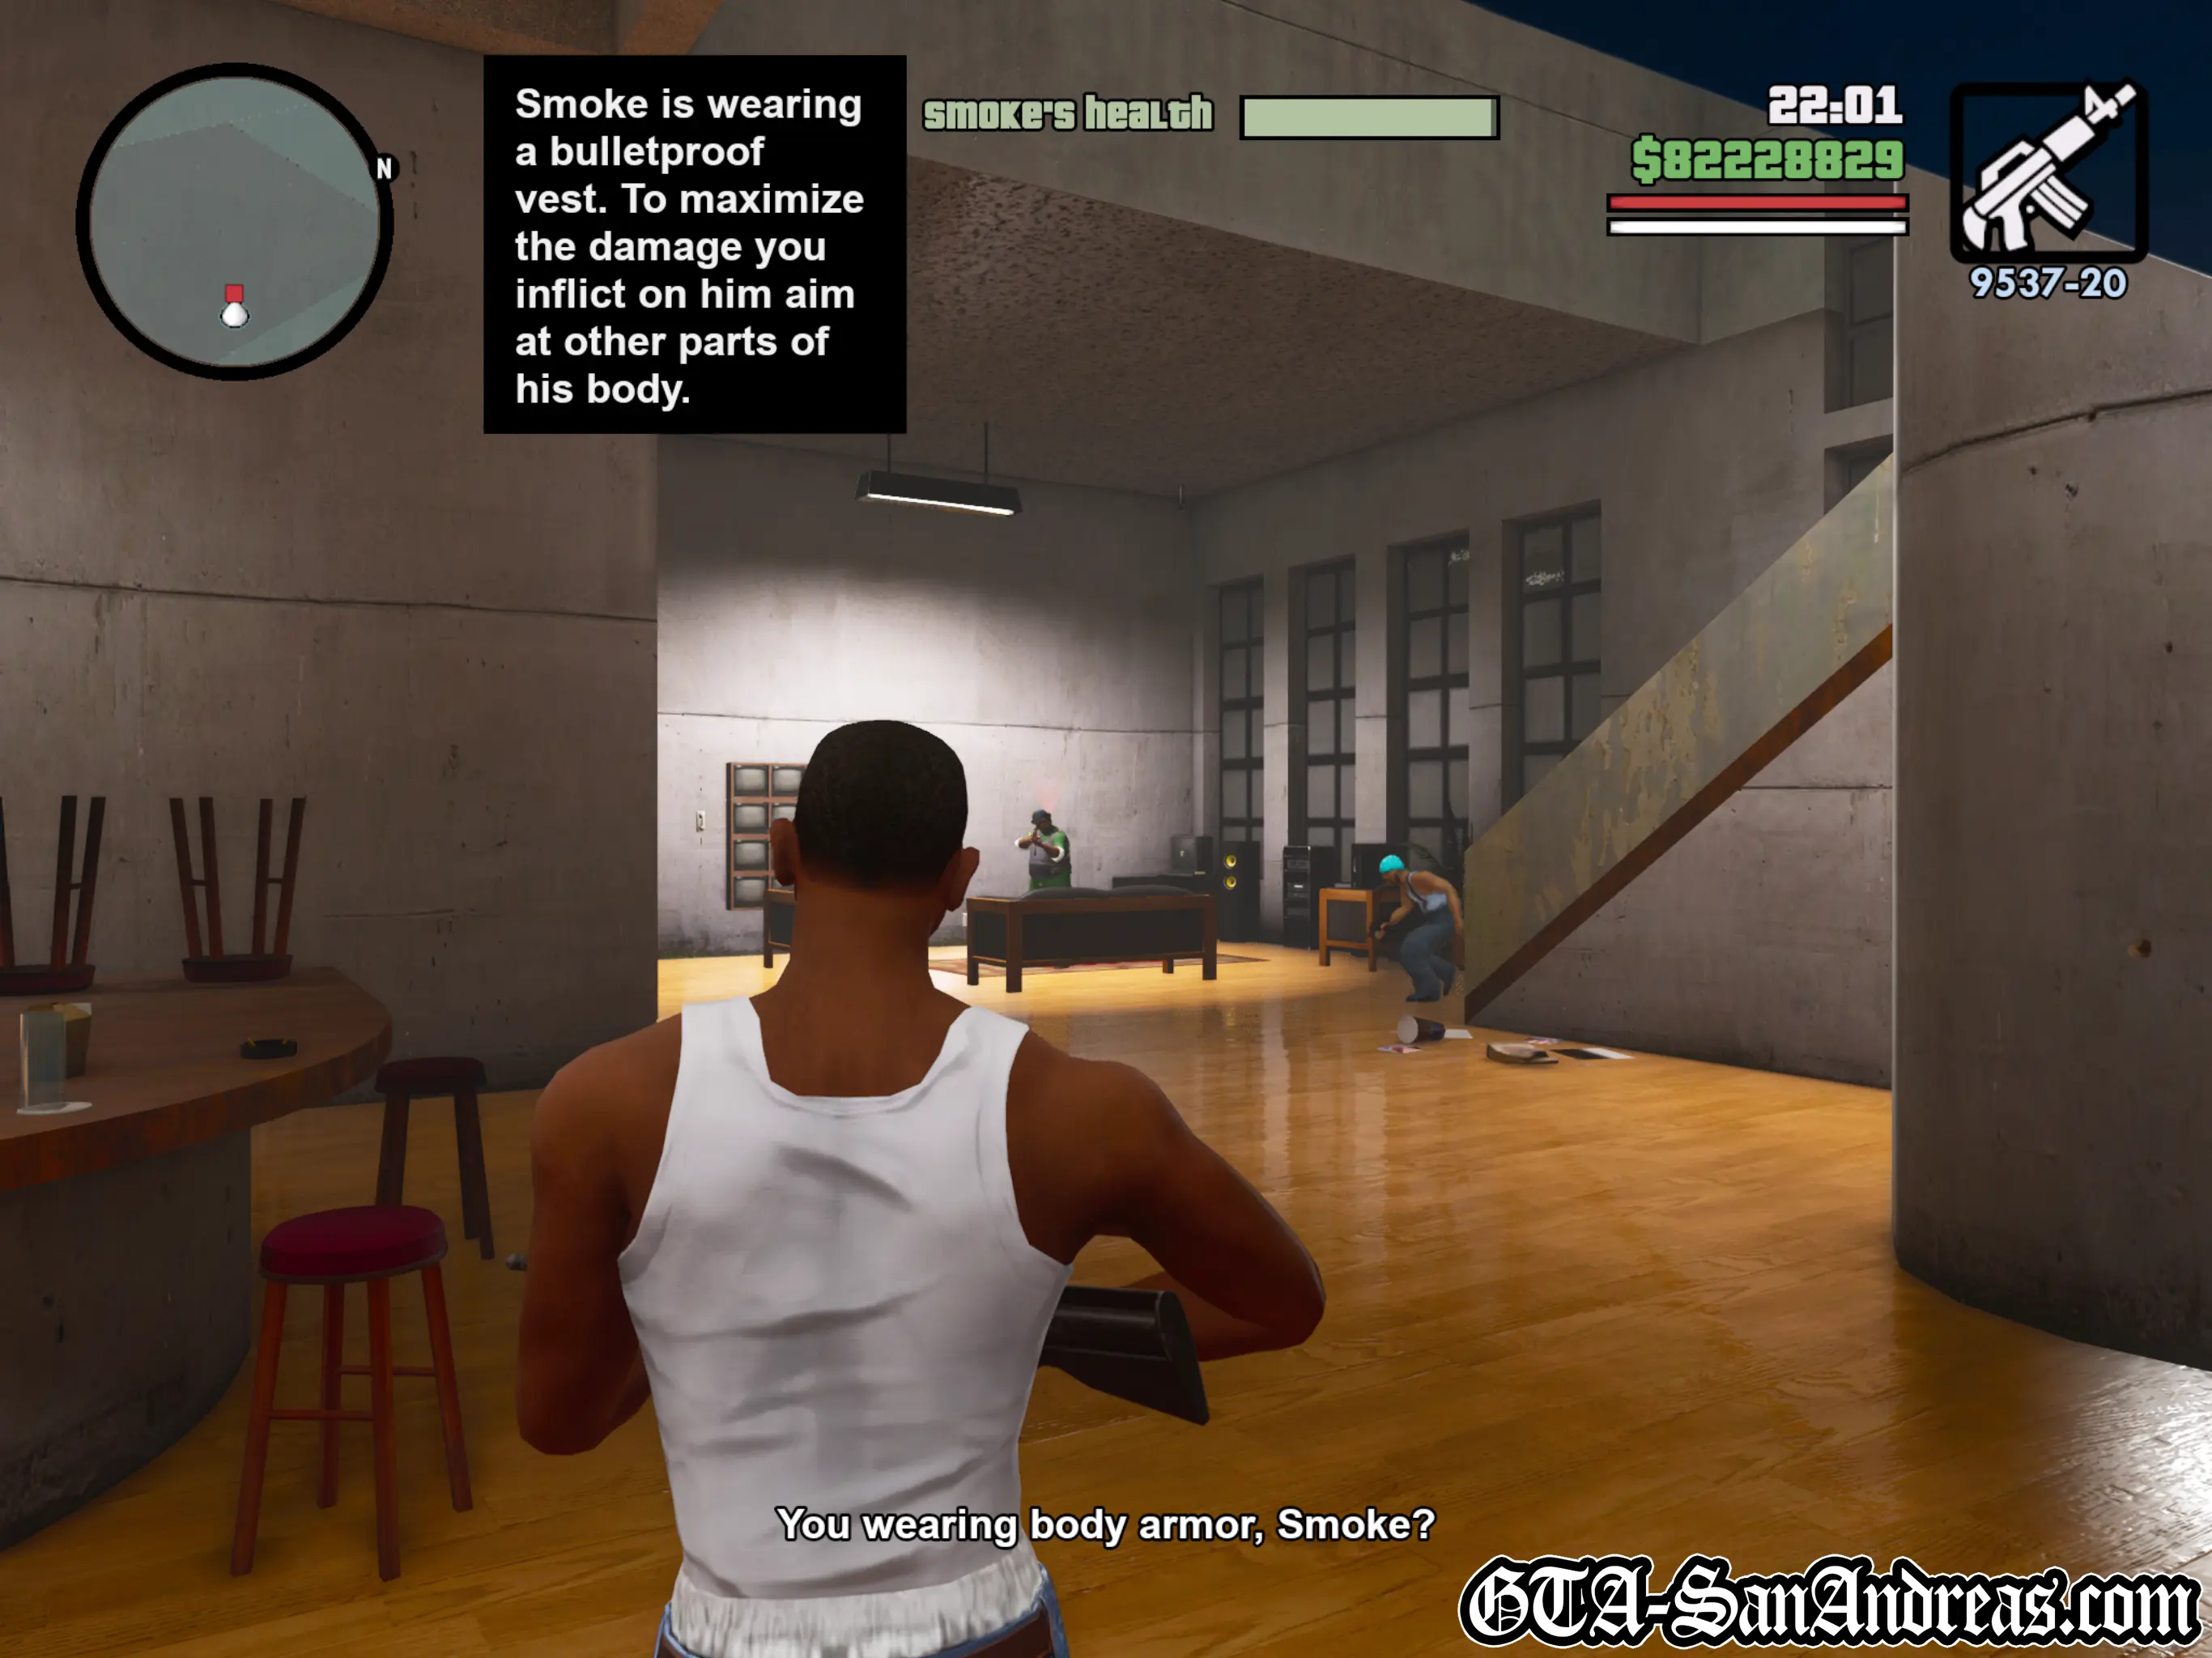
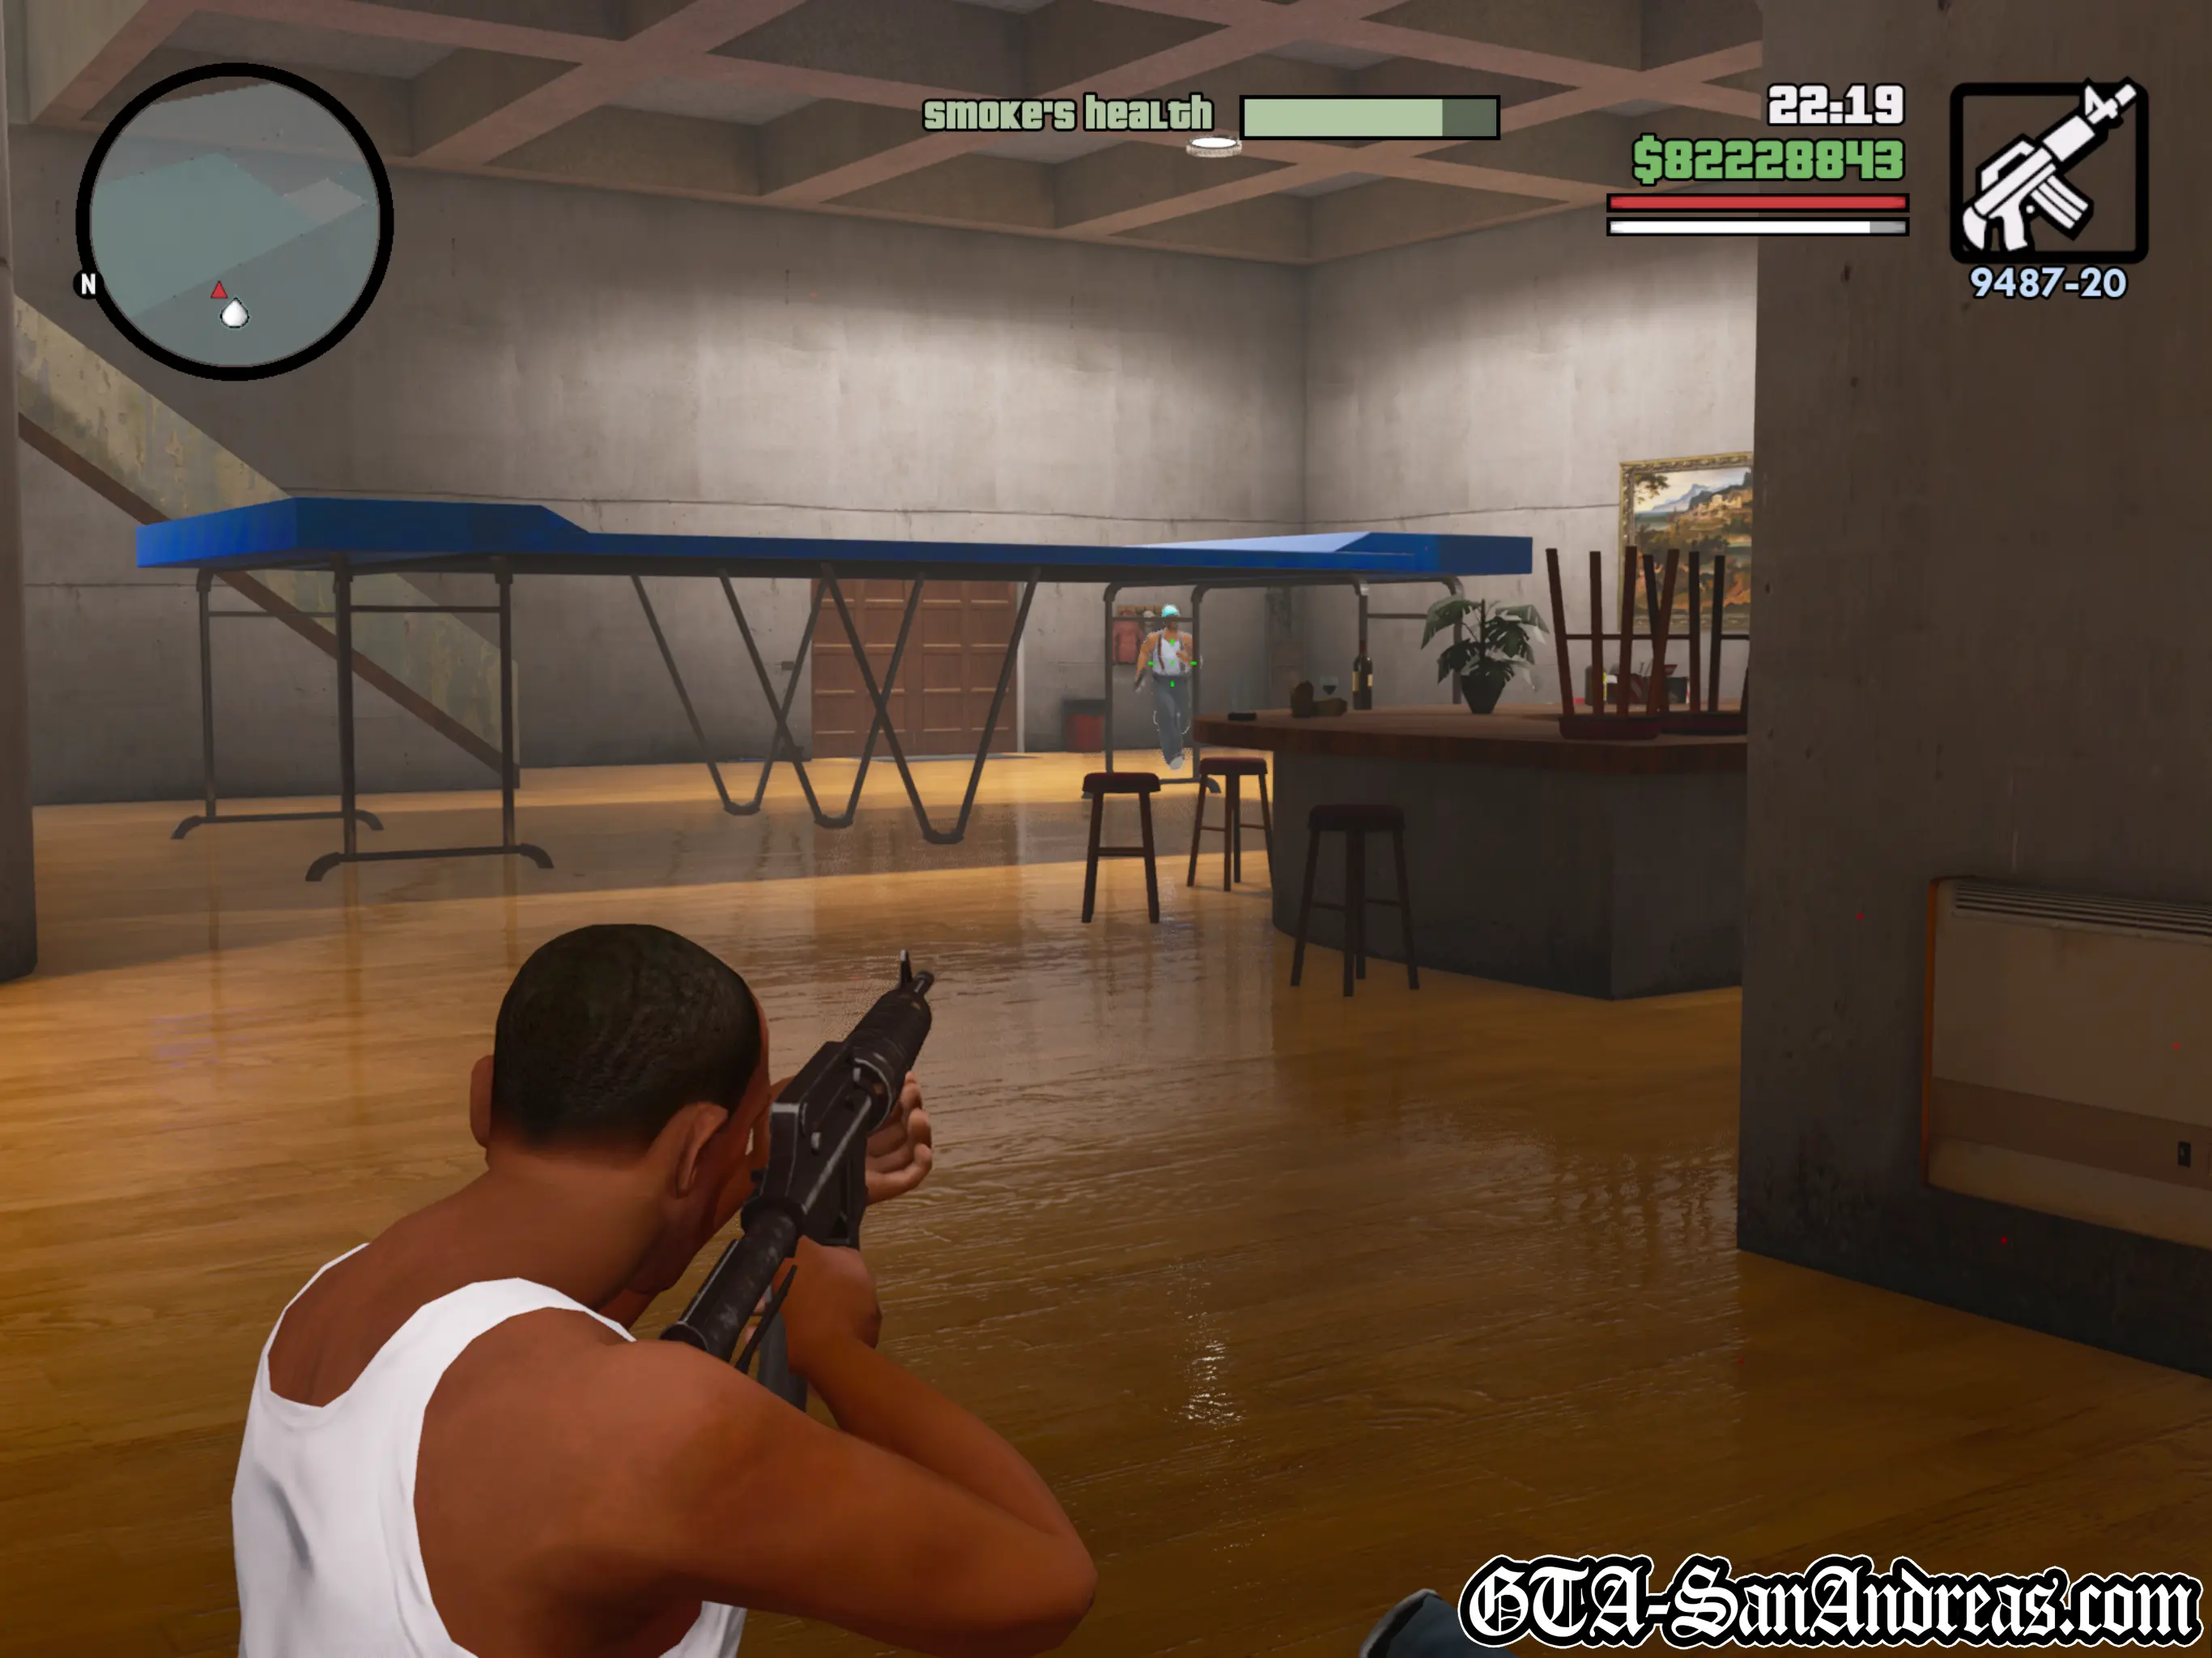
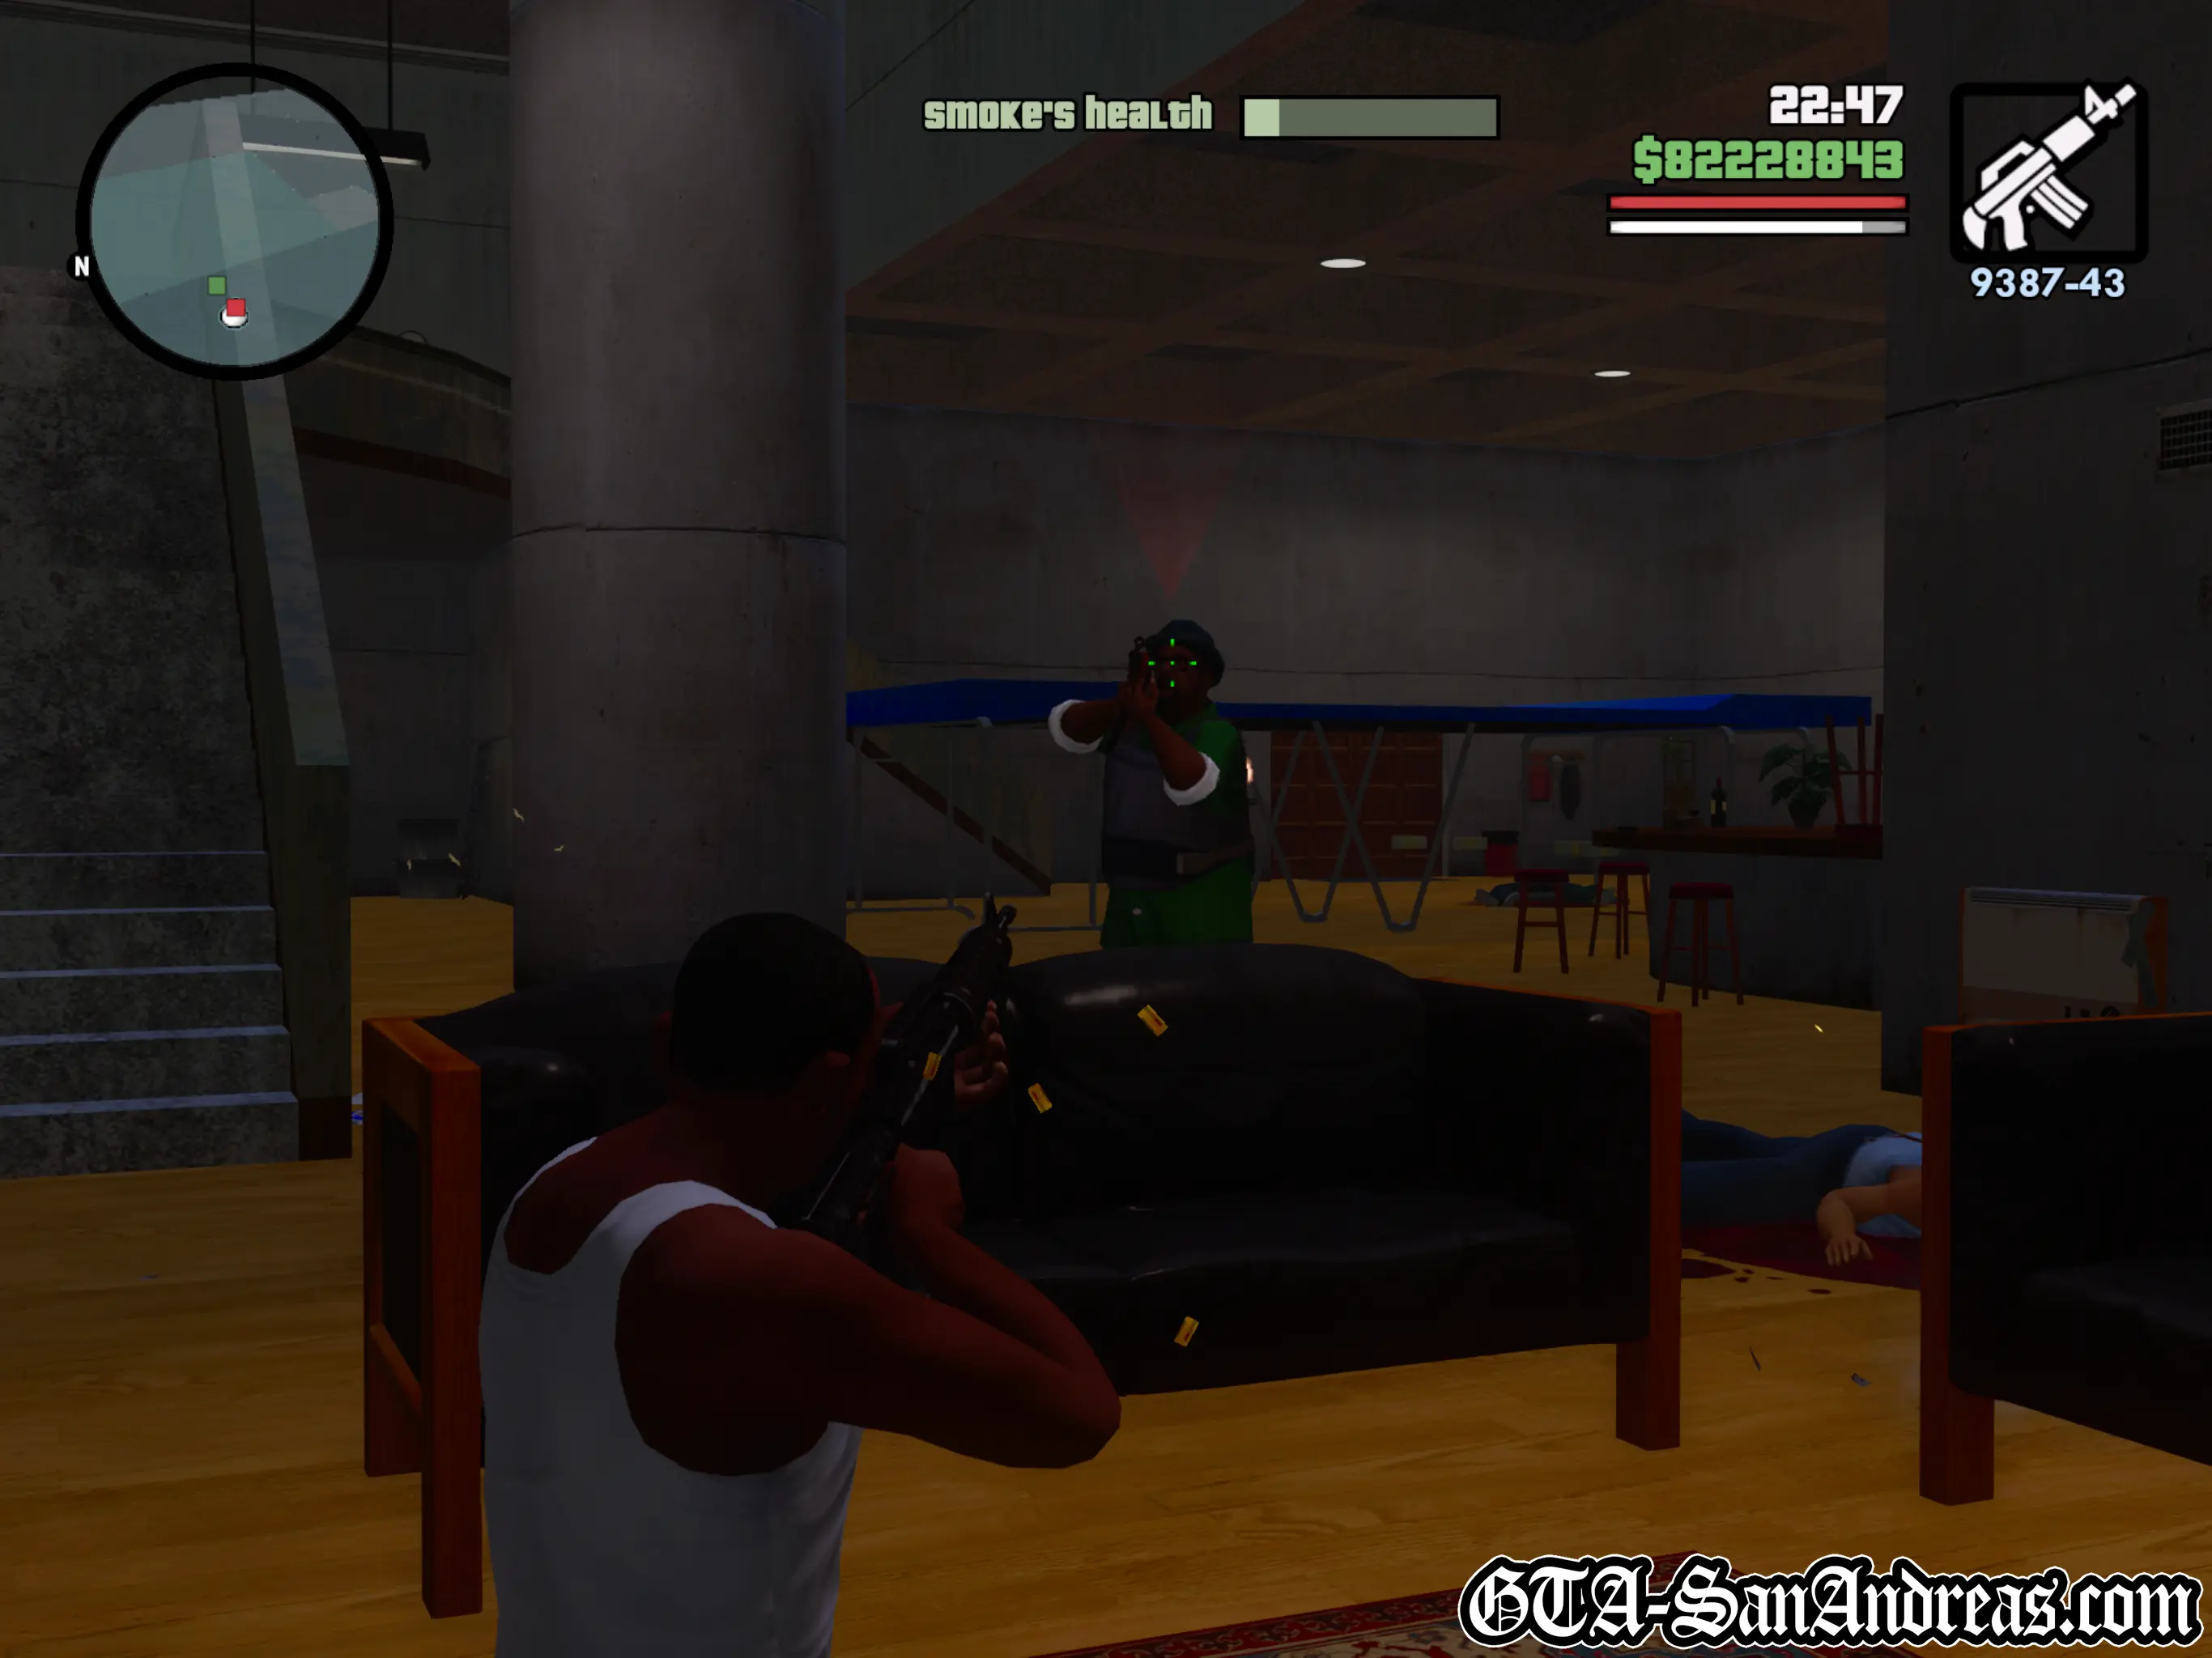
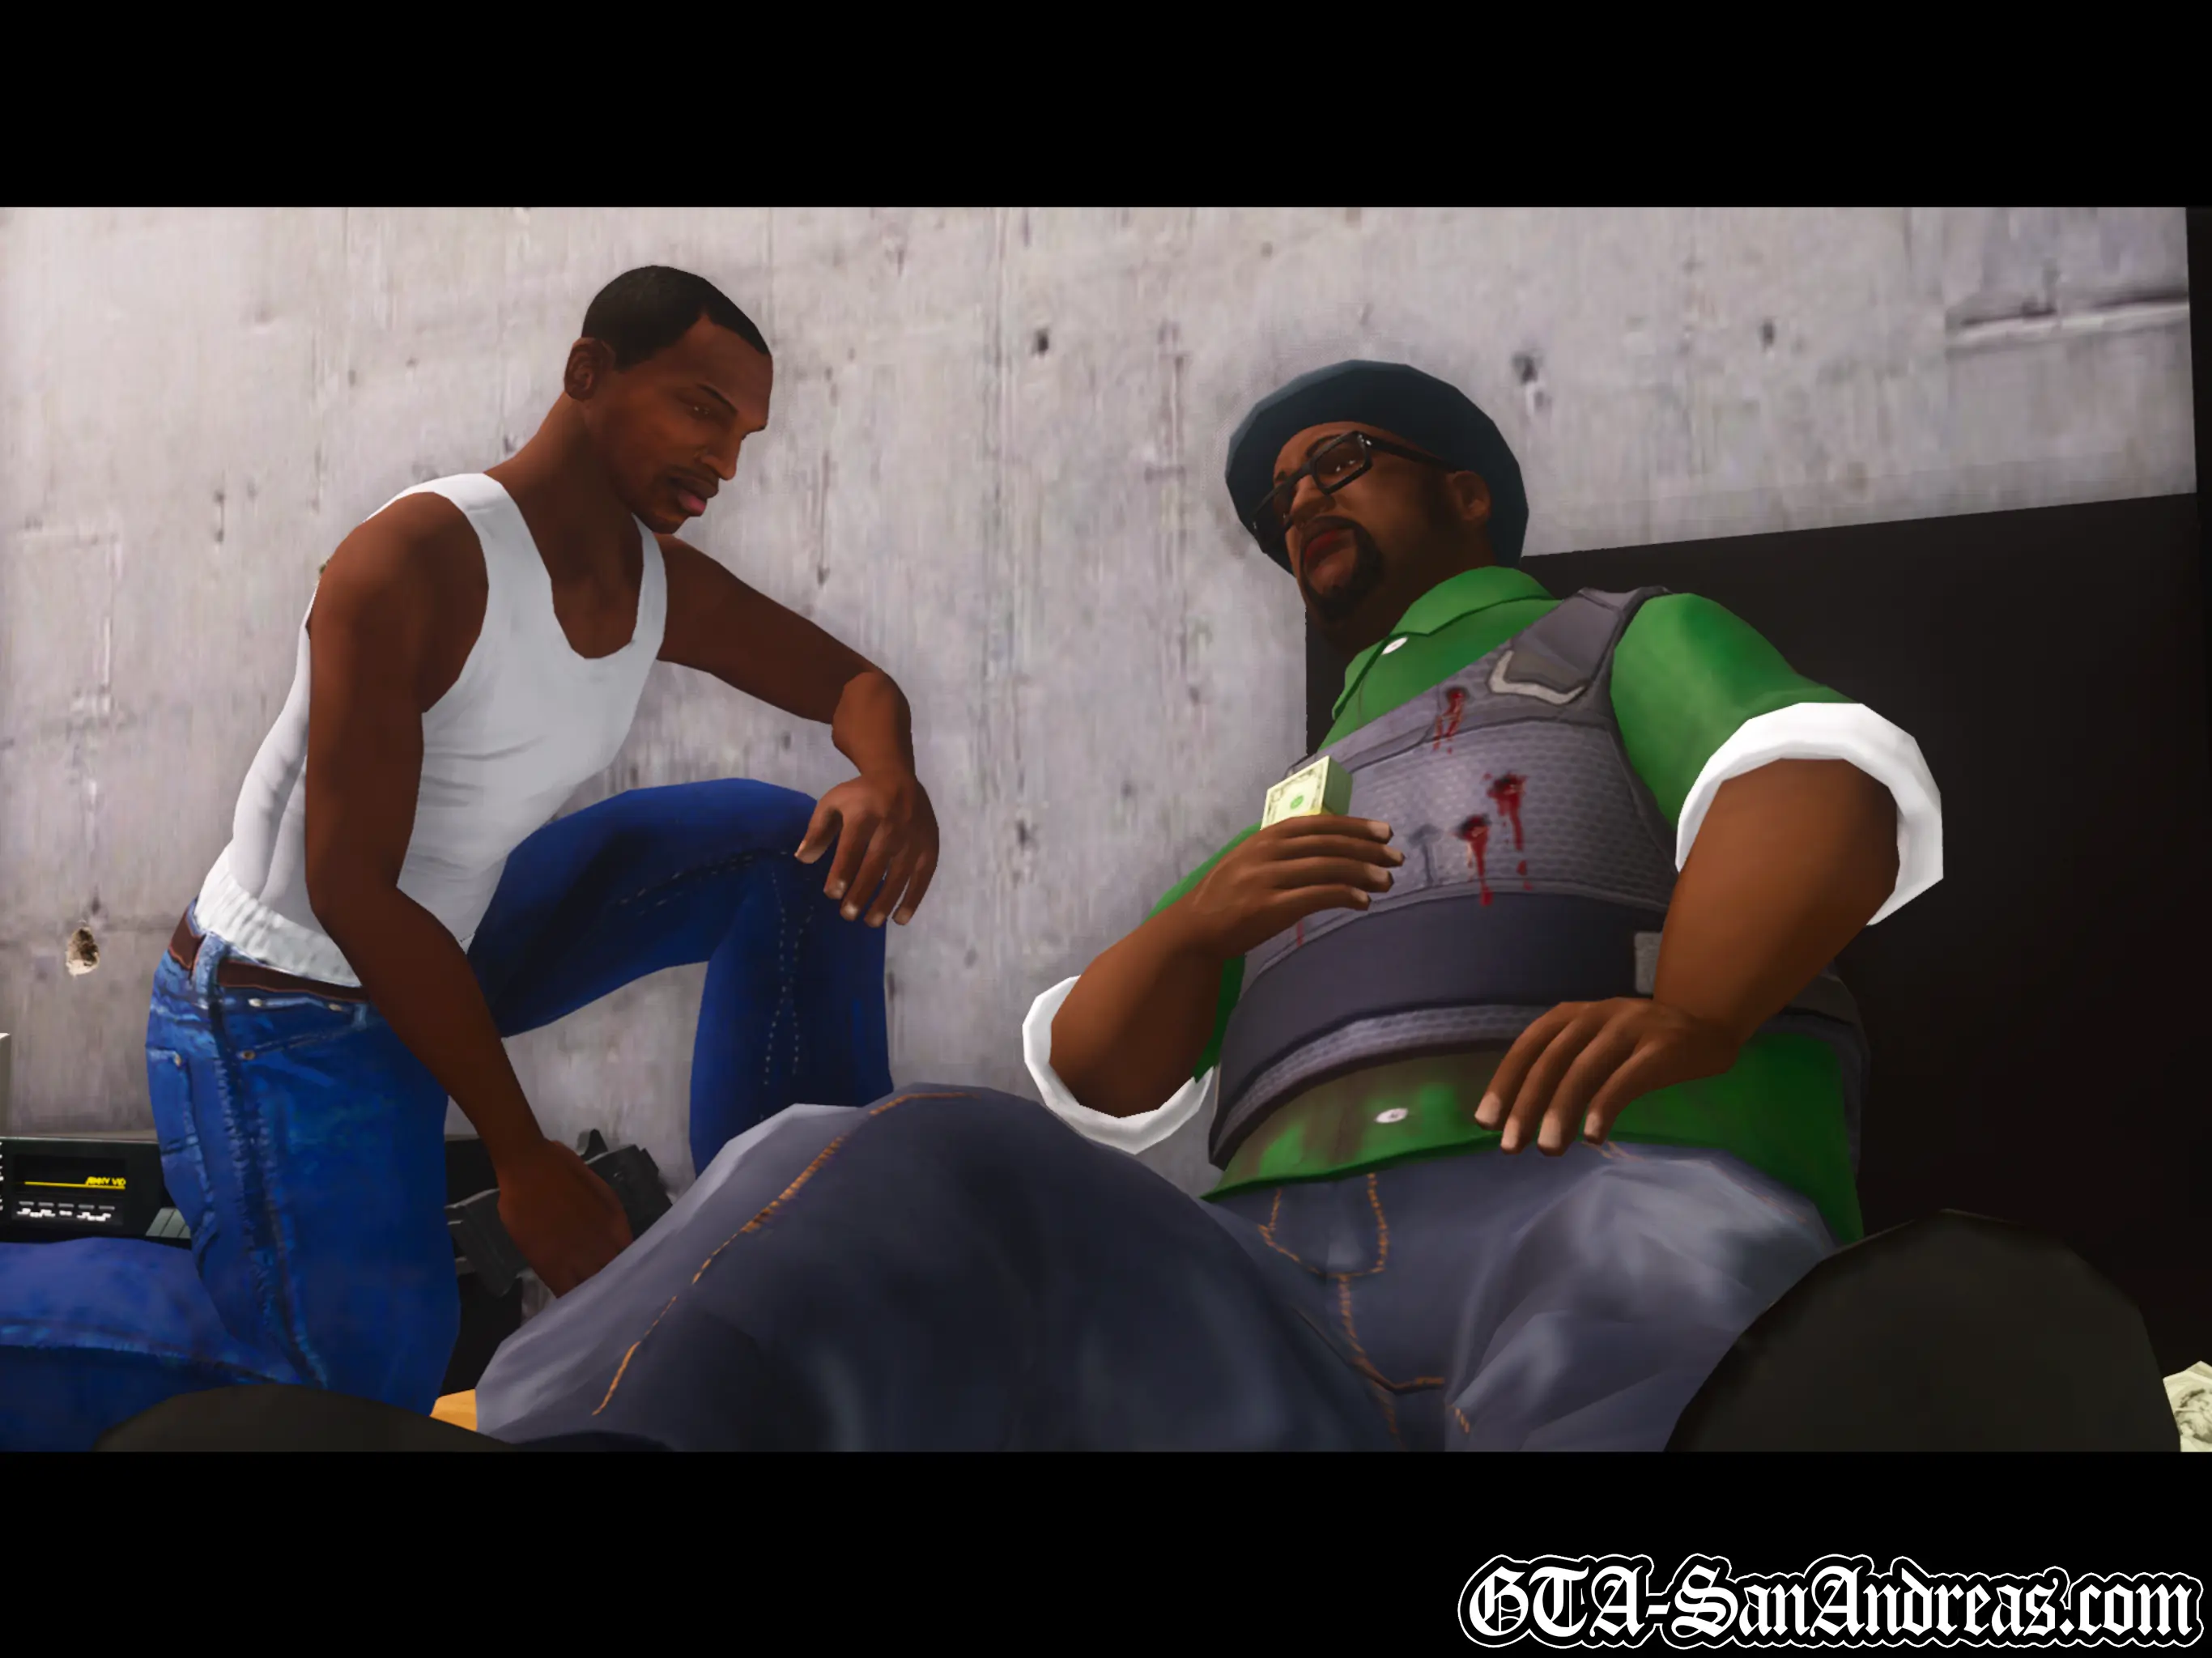
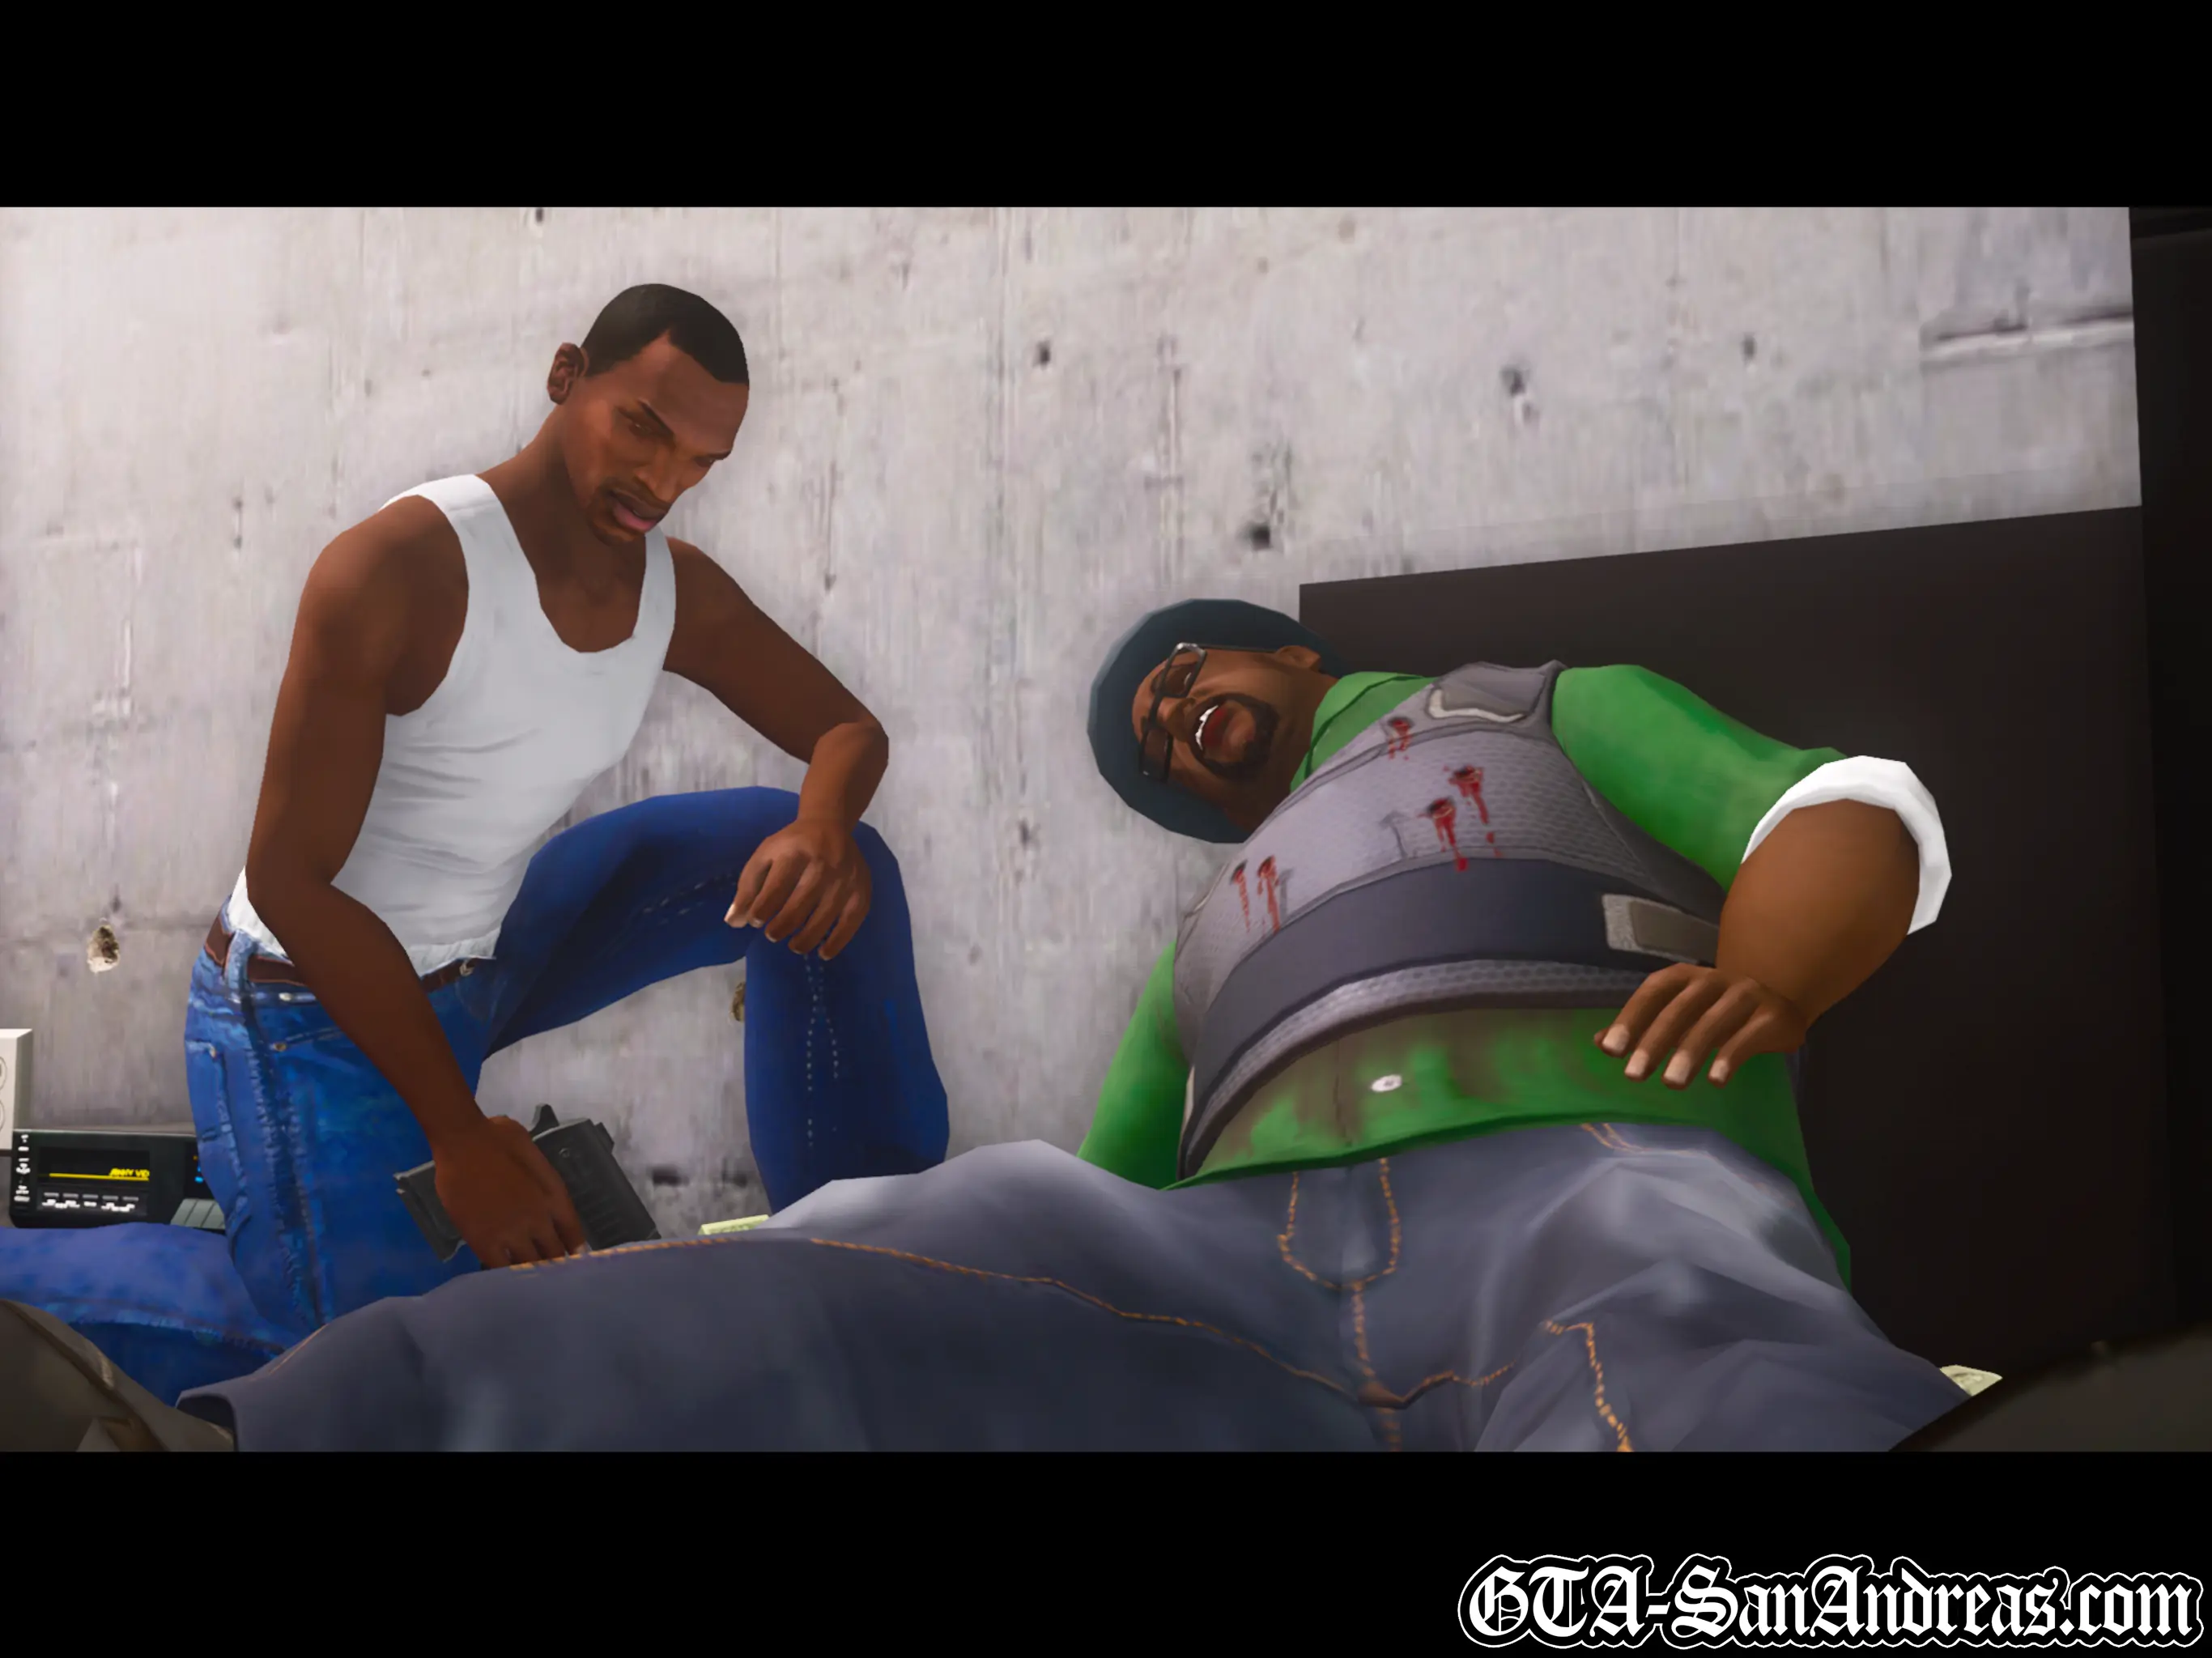
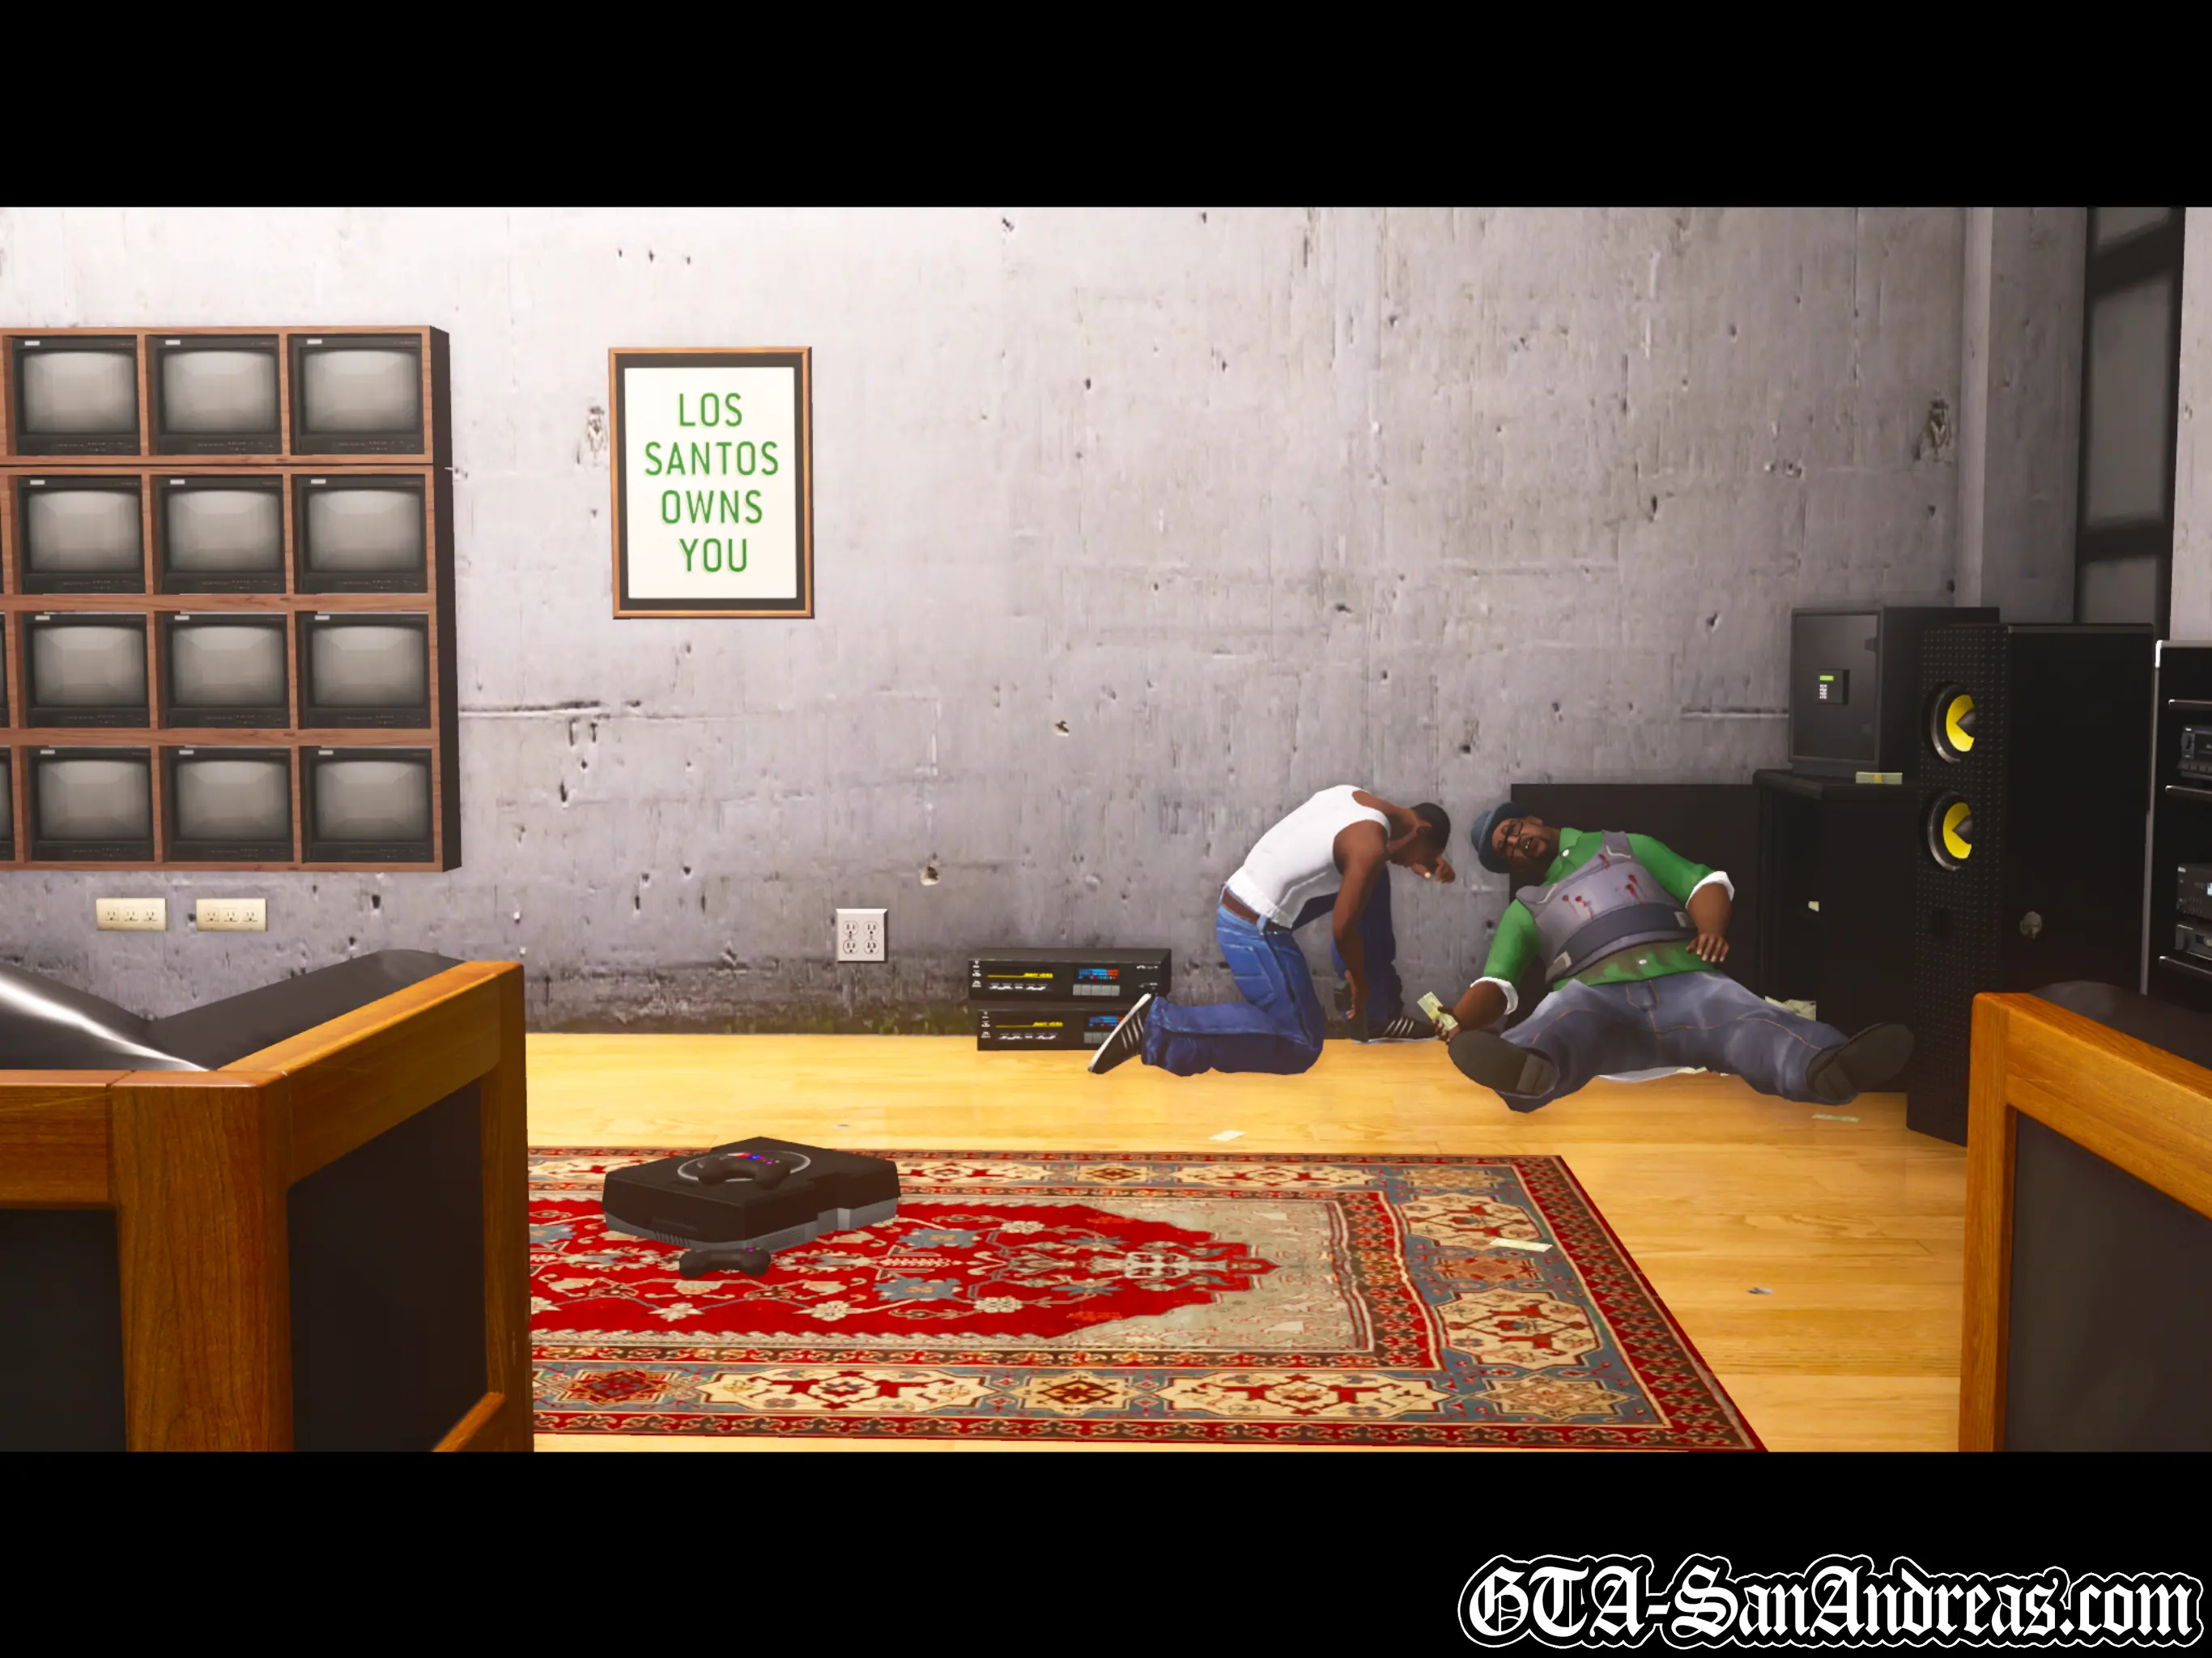
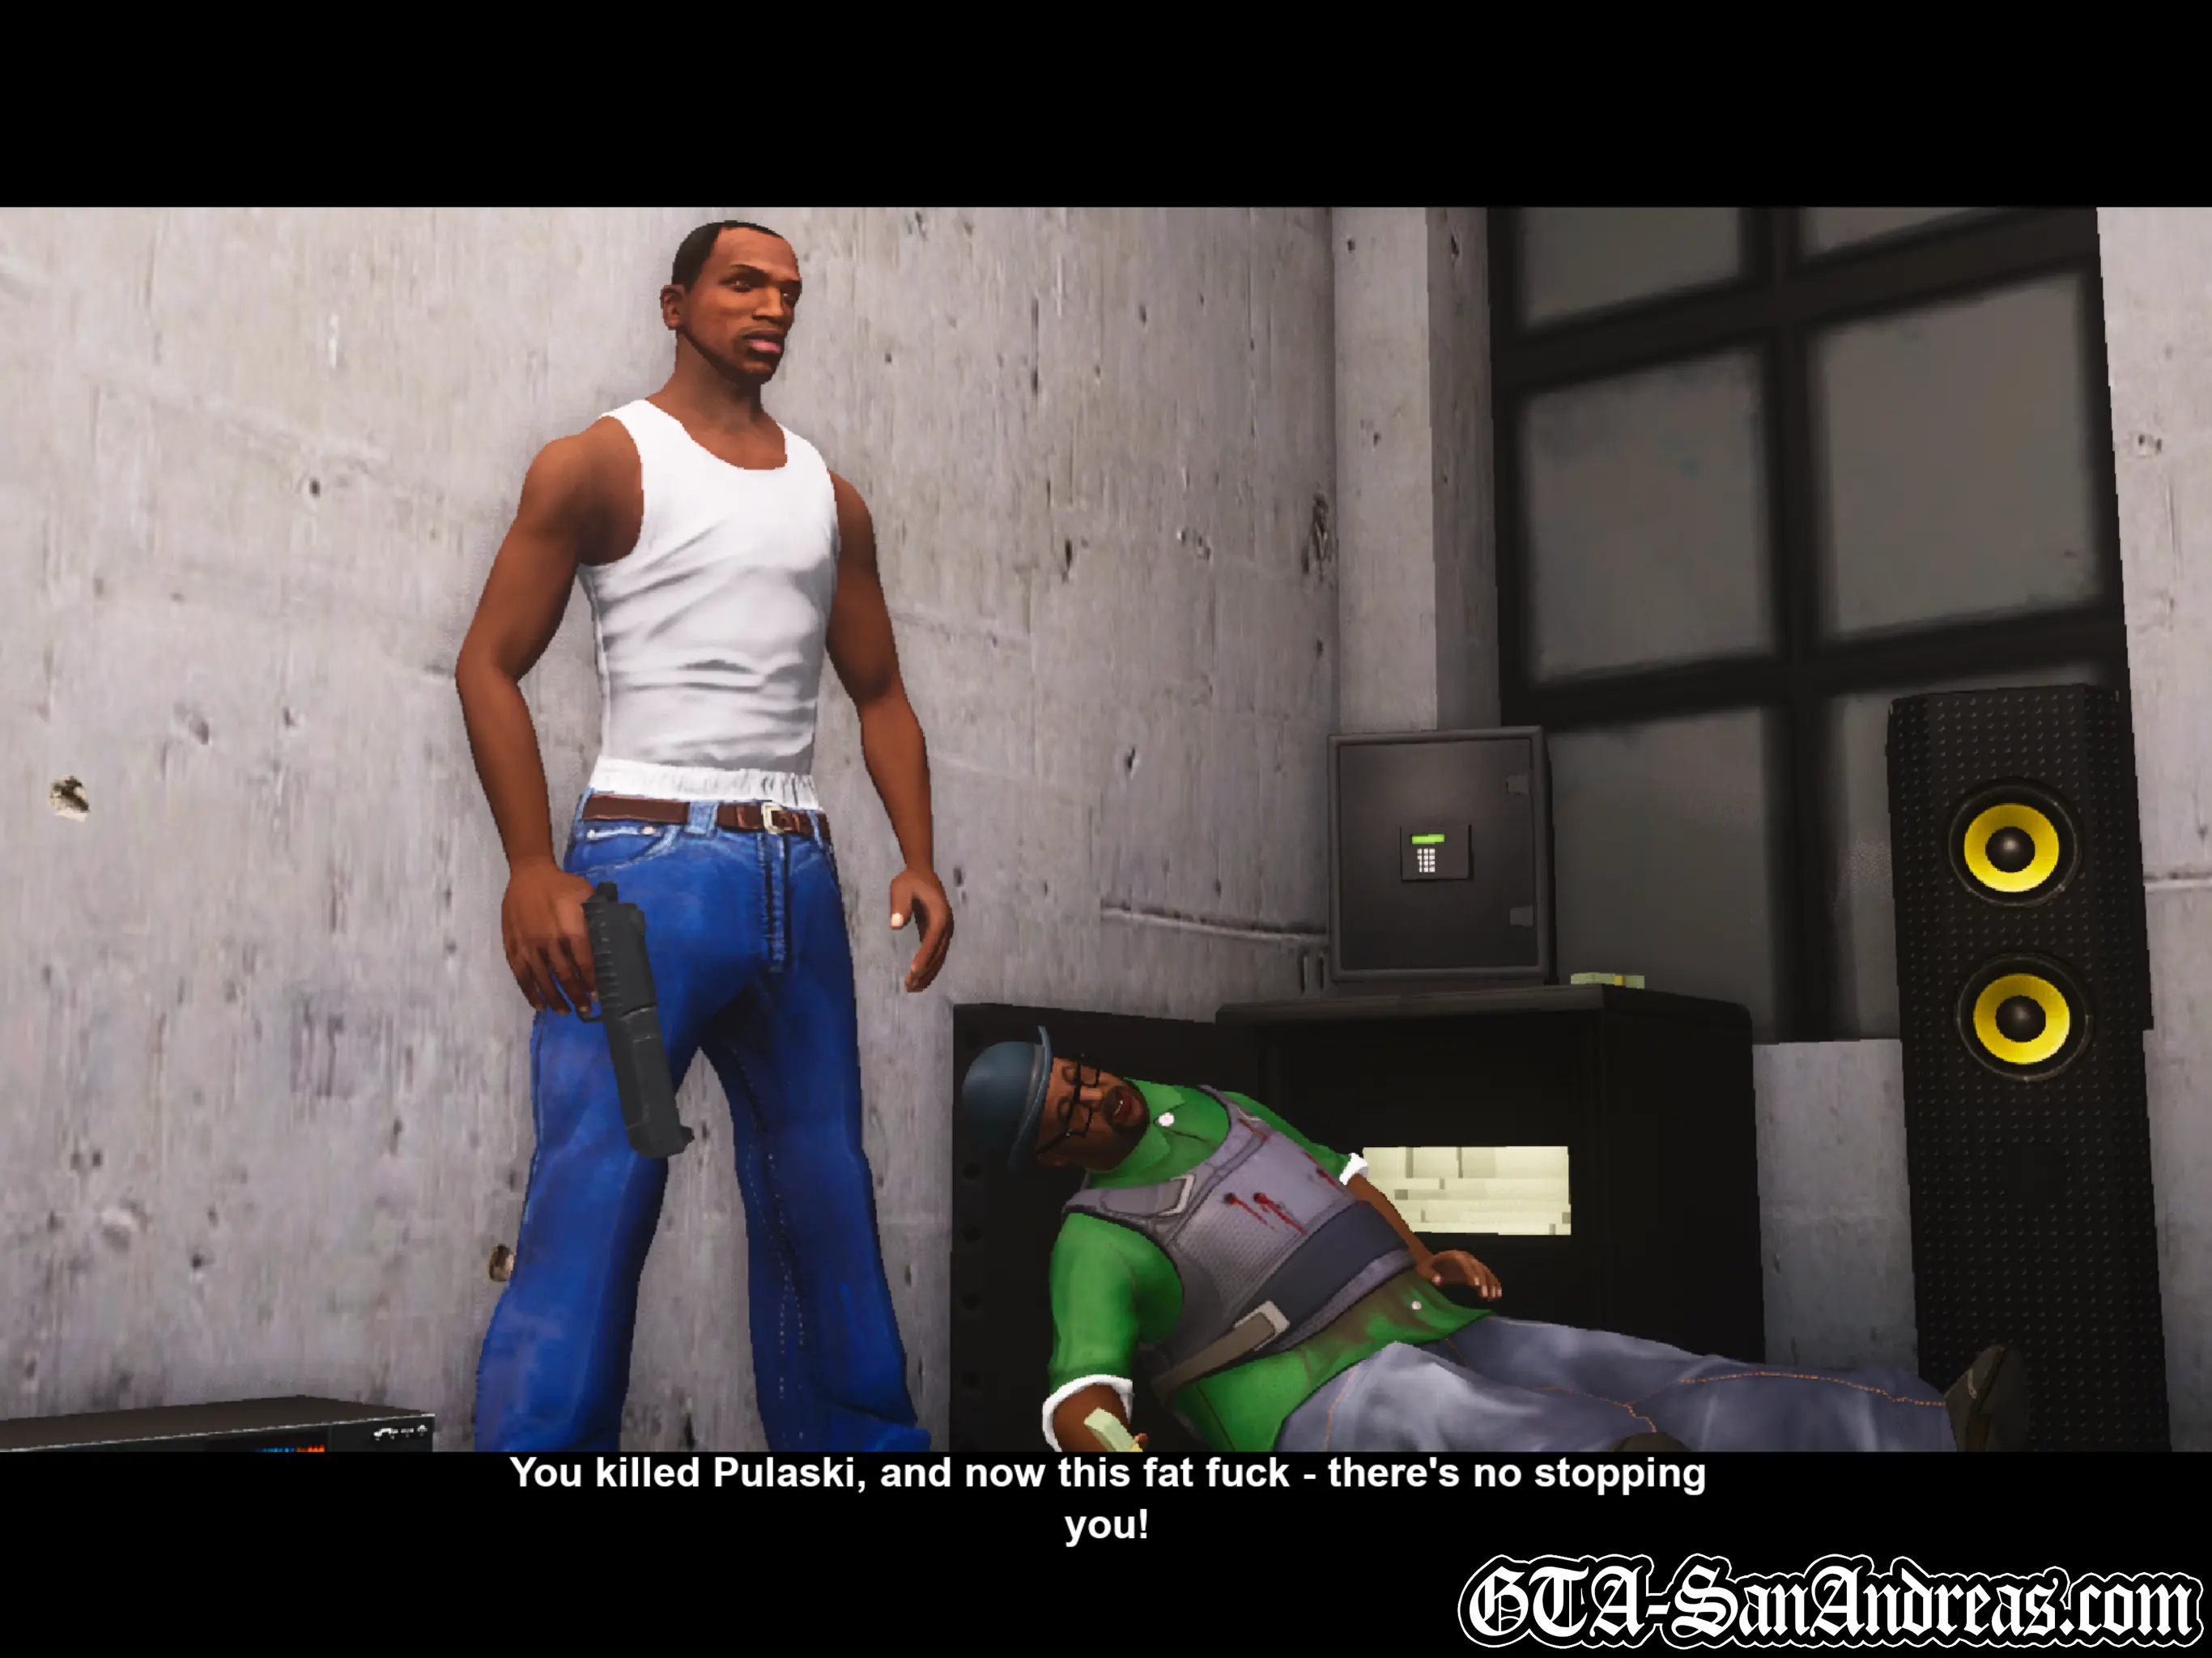
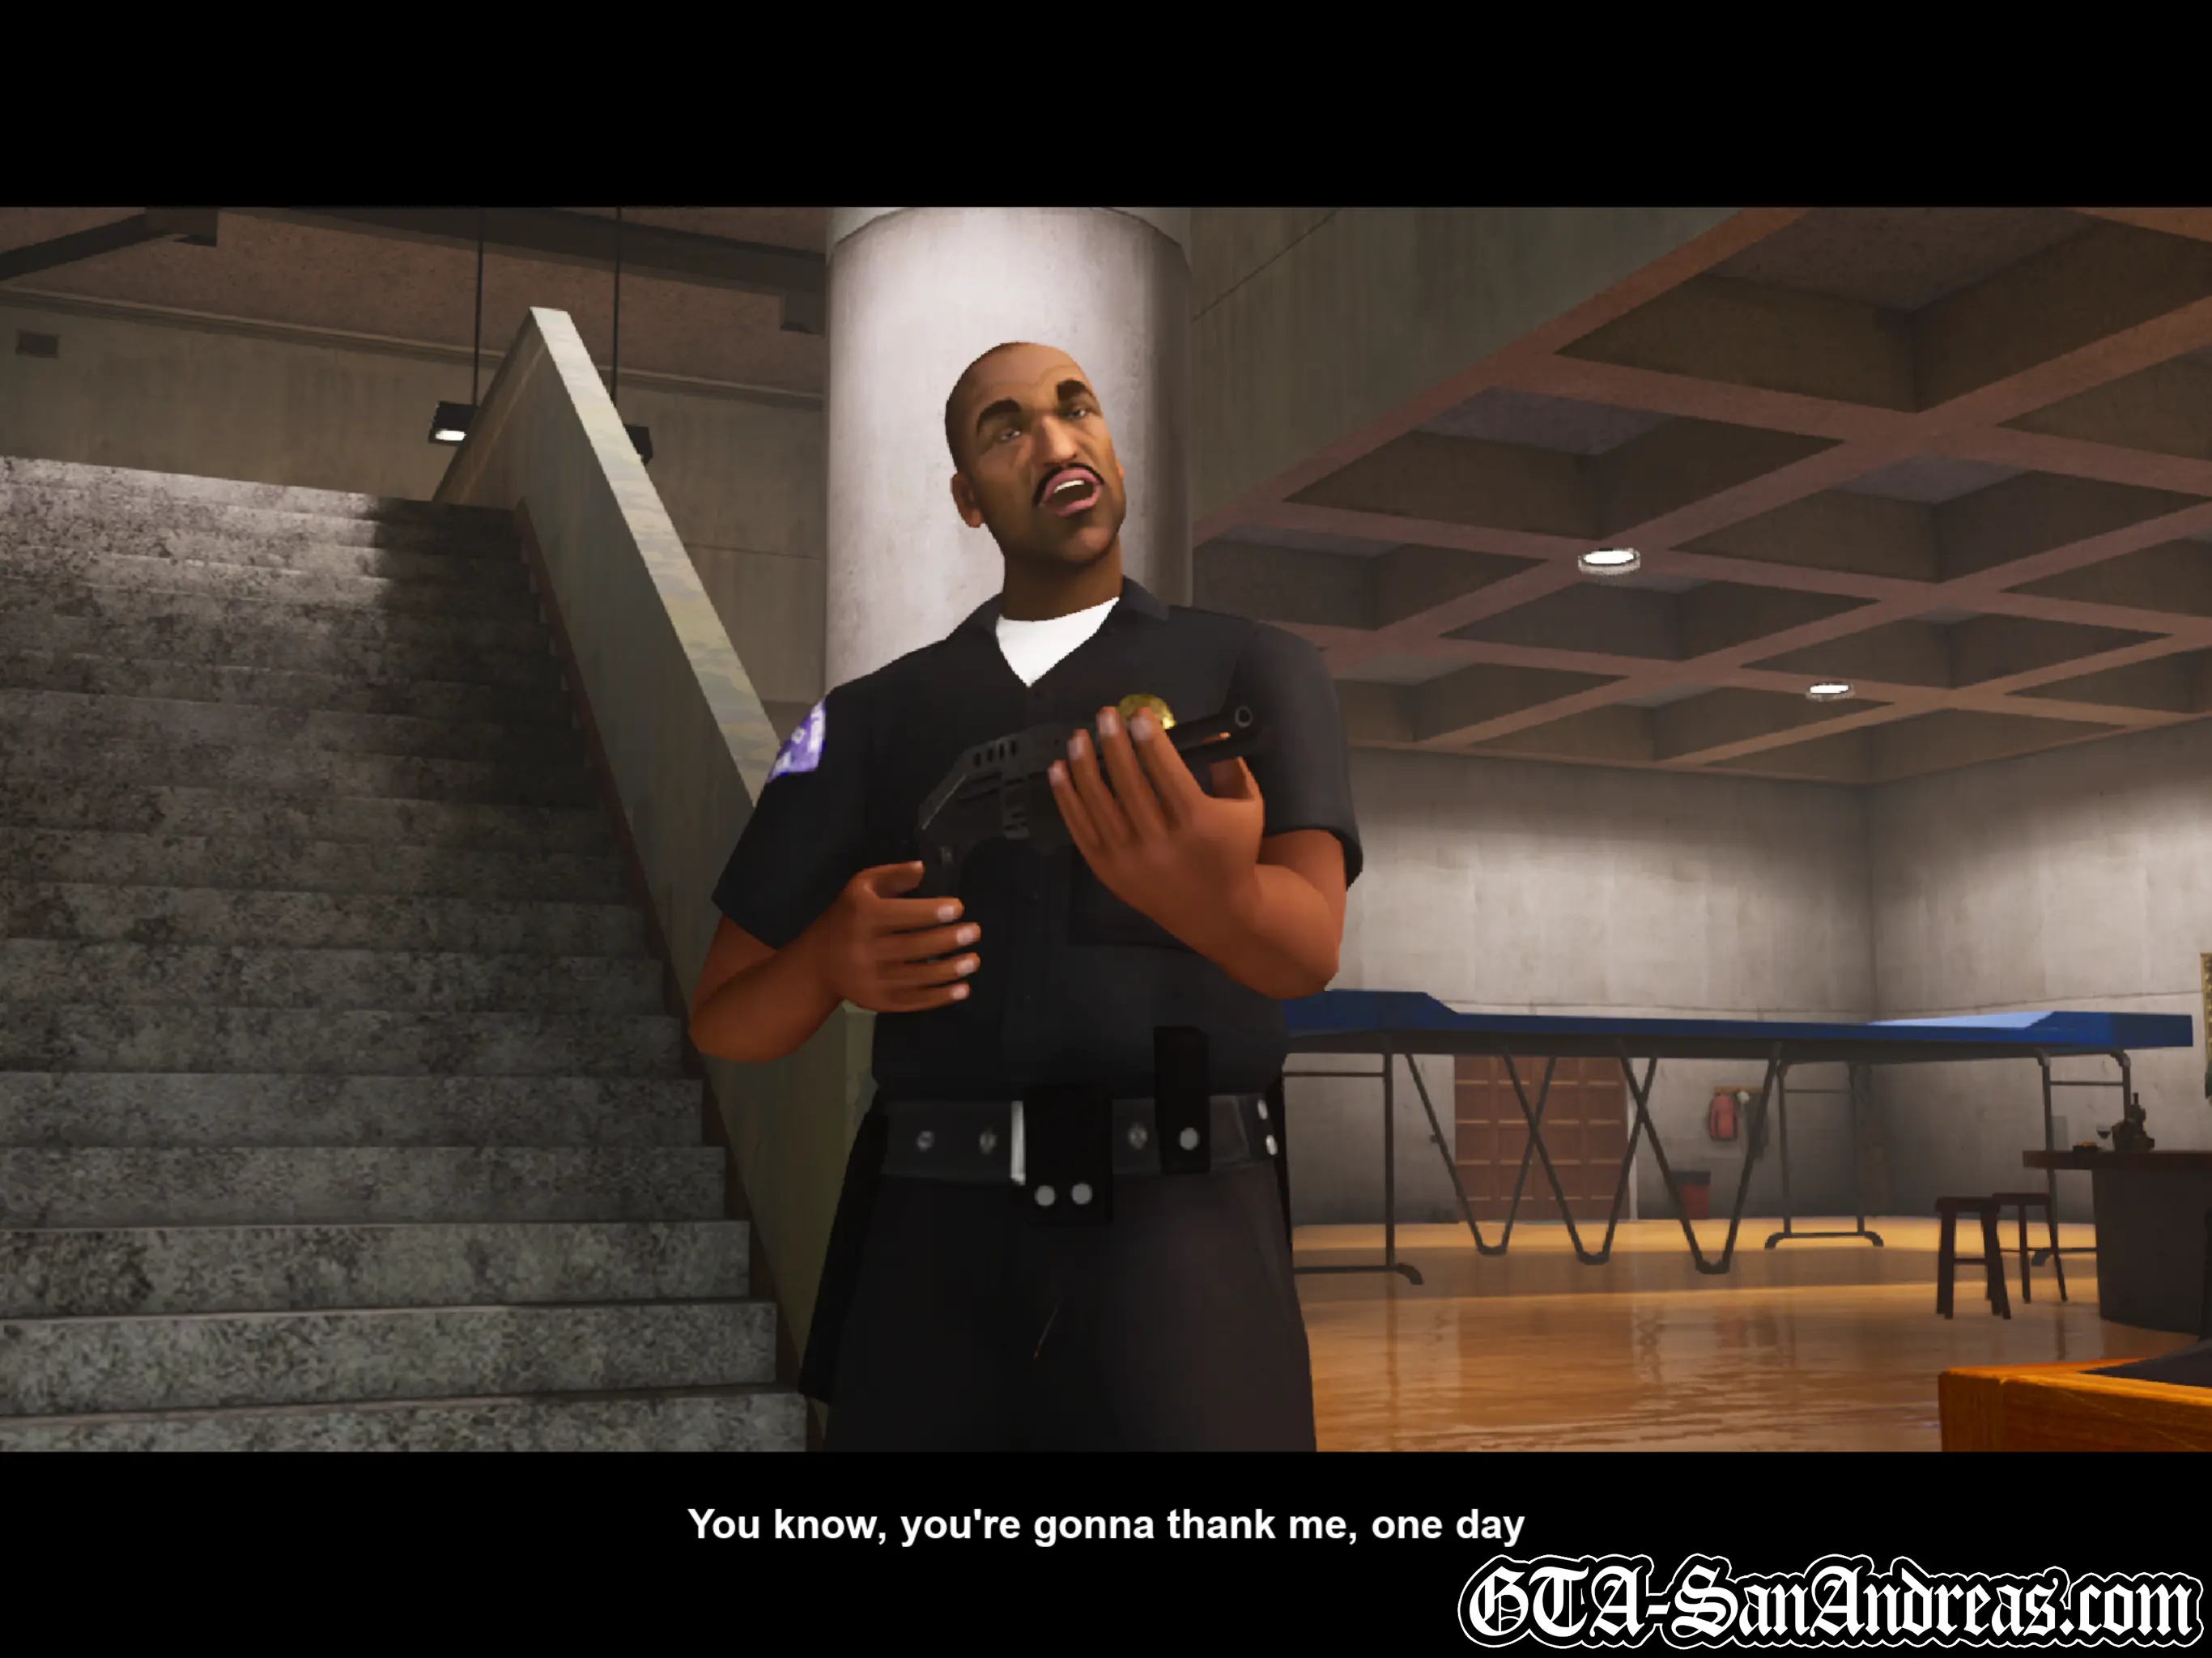
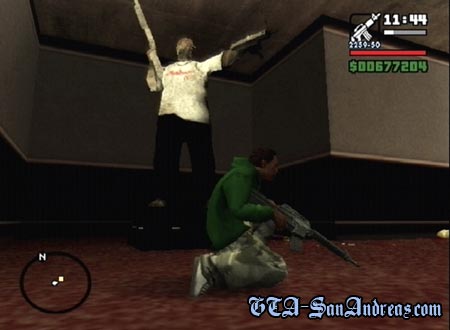
As usual, head up the stairs and waste the guard. Pick up his ammo and the body armor and make your way into the next room through the door. There'll be two people right in front of you, waiting, so aim, shoot, switch and shoot and you should get two headshots if you're using the M4. Go through the next door where you'll find about four more people who need to be killed. Waste the two gang members, then the two or three black suited body guards. Head through the open area to the right and go through the door. There's about seven or eight people to kill in this next room, but they are all relatively easy. Just keep moving and aiming while switching targets and they should all go down pretty easily. Head into the room to the left and kill a guard, then you'll be able to pick up some body armor. Head into the room to the right and kill the guard in there and you can pick up some health. Once you've got it, continue along the hall way. Go through the door and move onto the next floor. Upon entering you'll be told to 'go get Big Smoke', so head through the door at the top of the stairs where a cutscene will kick in. Smoke will not give a shit that you're here, and he'll pick up a shotgun and say let's do it. All you need to do is point your M4 at him and shoot. He'll occasionally get two or three Ballas to shoot at you, but they die in almost one shot. Smoke has body armor on so he takes longer to kill, but it's really quite simple. Just keep locked onto him and follow him around emptying rounds into him until he's gone. You can usually do it with over half of your armor left. After Smoke is dead you'll see a cutscene where he says he couldn't miss the opportunity. Tenpenny will then appear and get you to load up a briefcase with money. After you fill it up he's going to kill you, but CJ shouts Sweet, and Tenpenny turns around while CJ dives for cover. Tenpenny then runs out of the building, but not before starting a fire and turning out the lights. You need to escape in seven minutes.
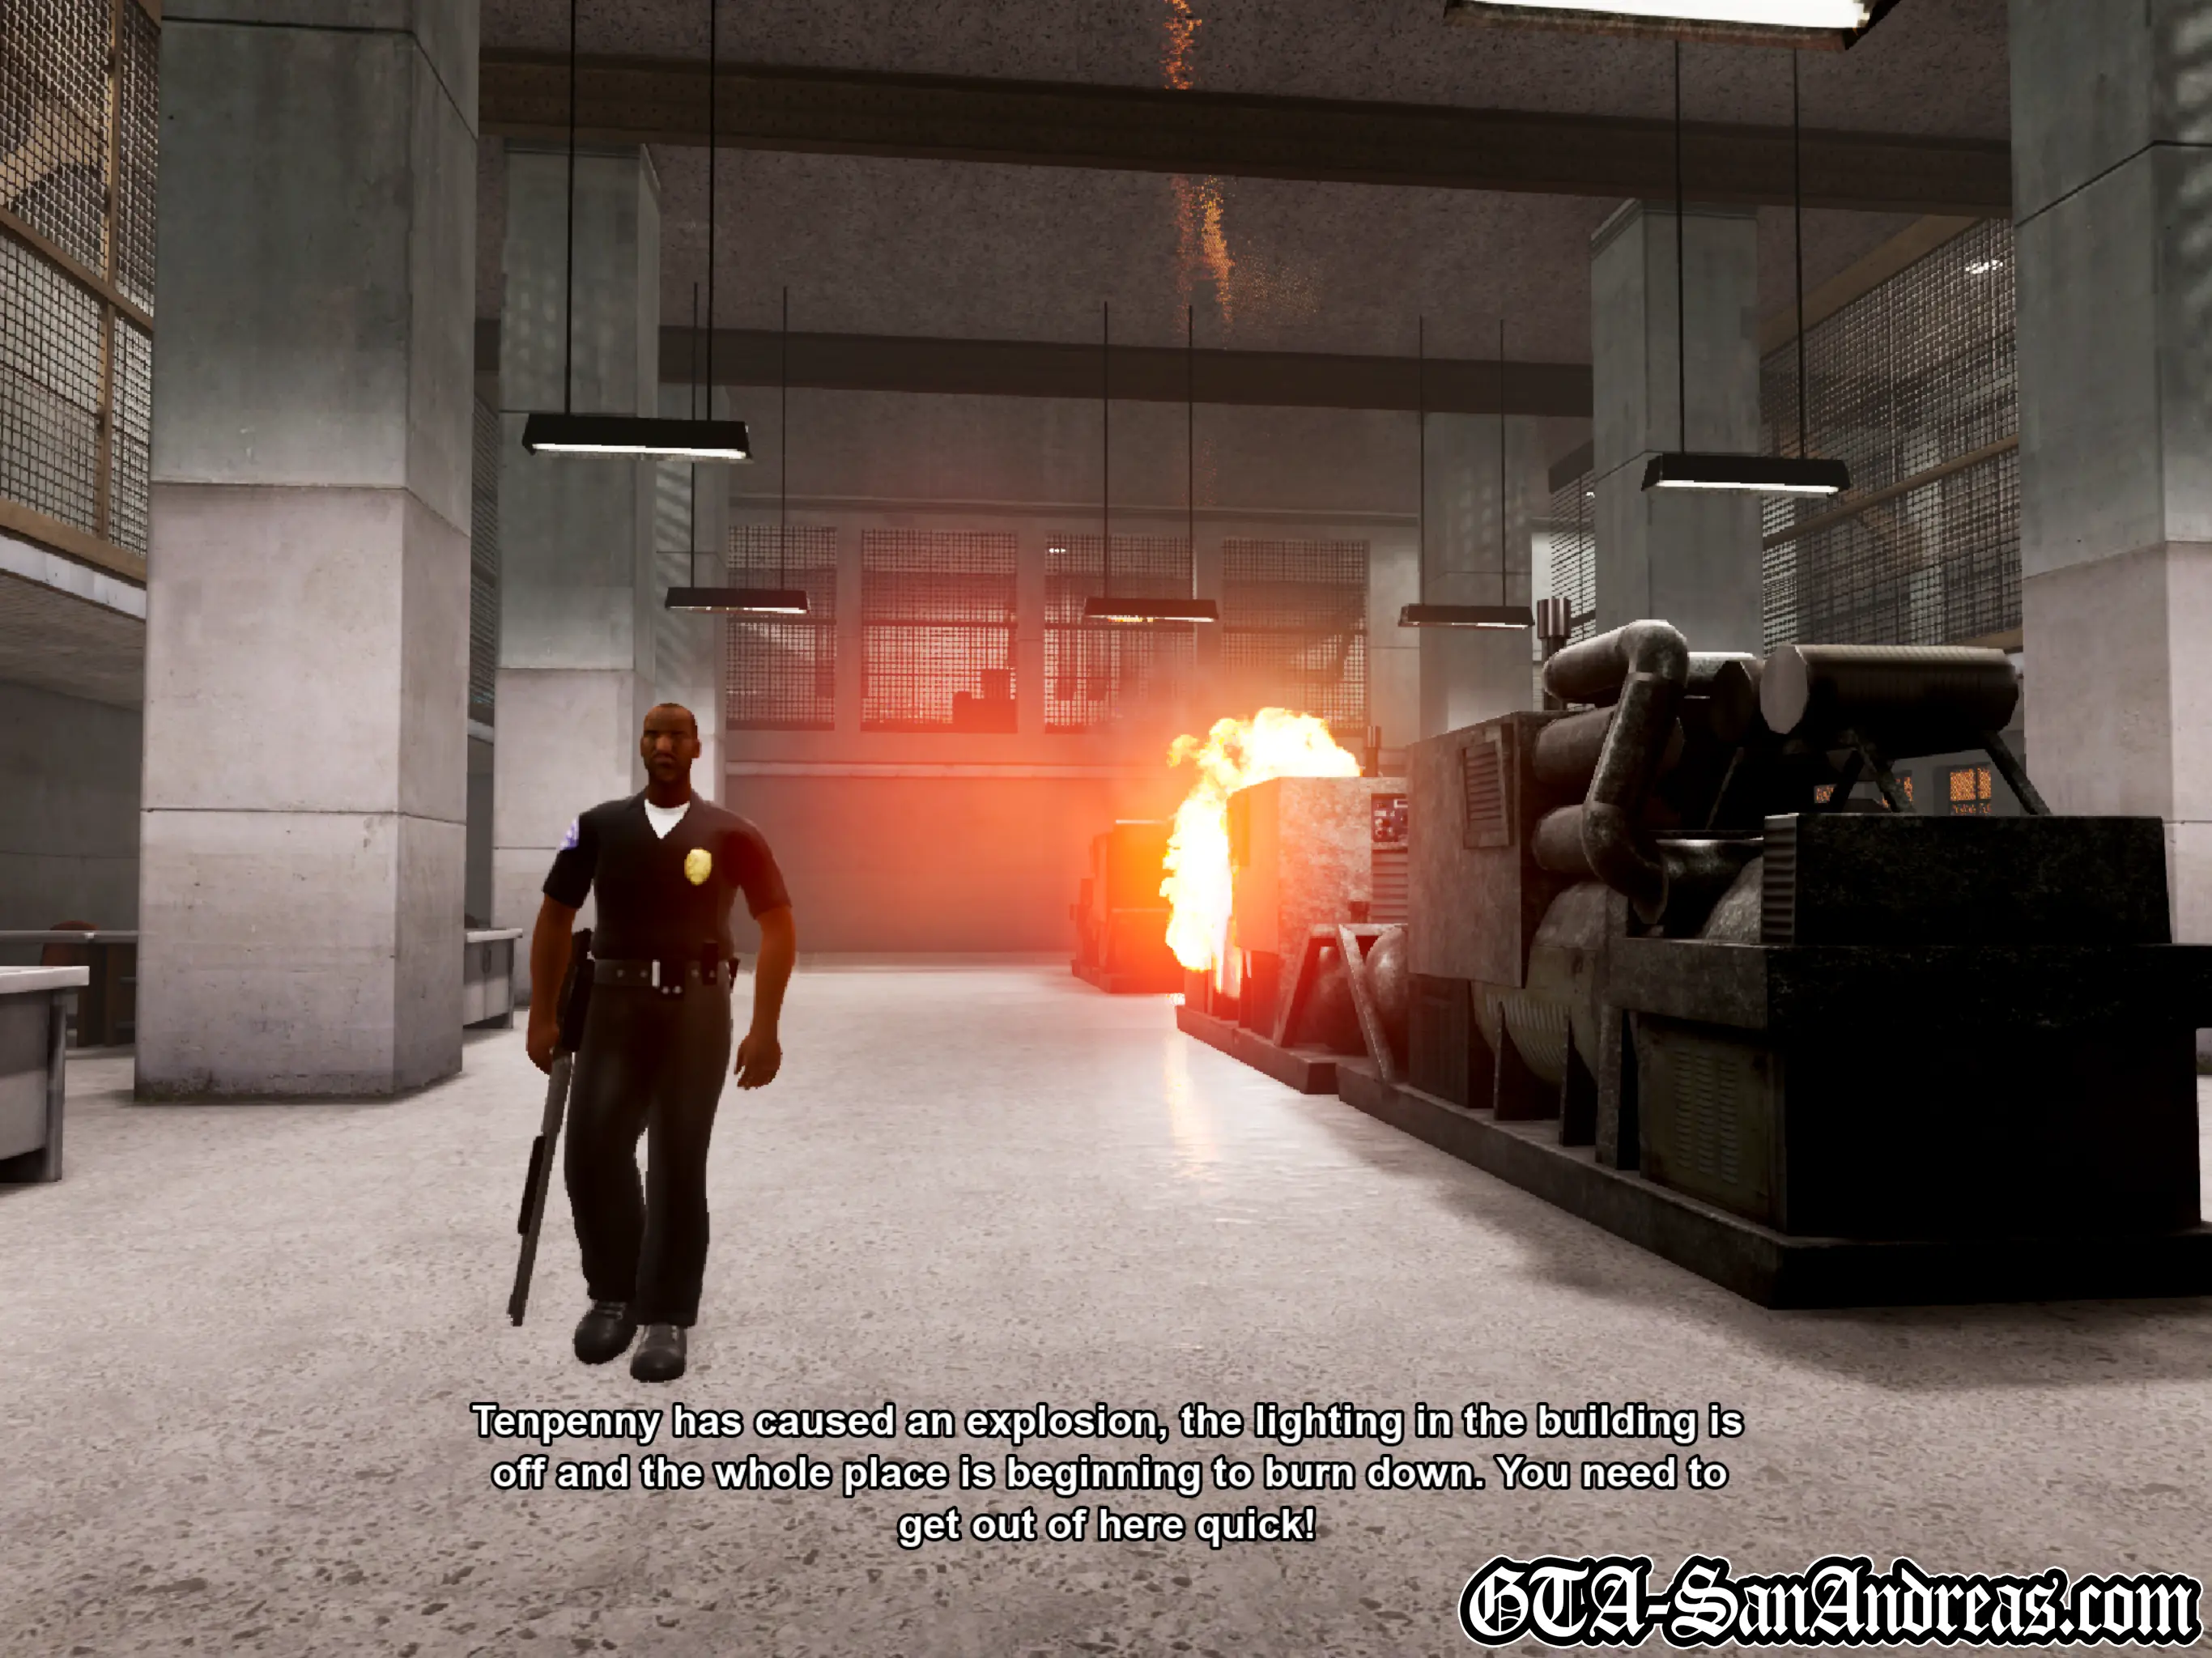
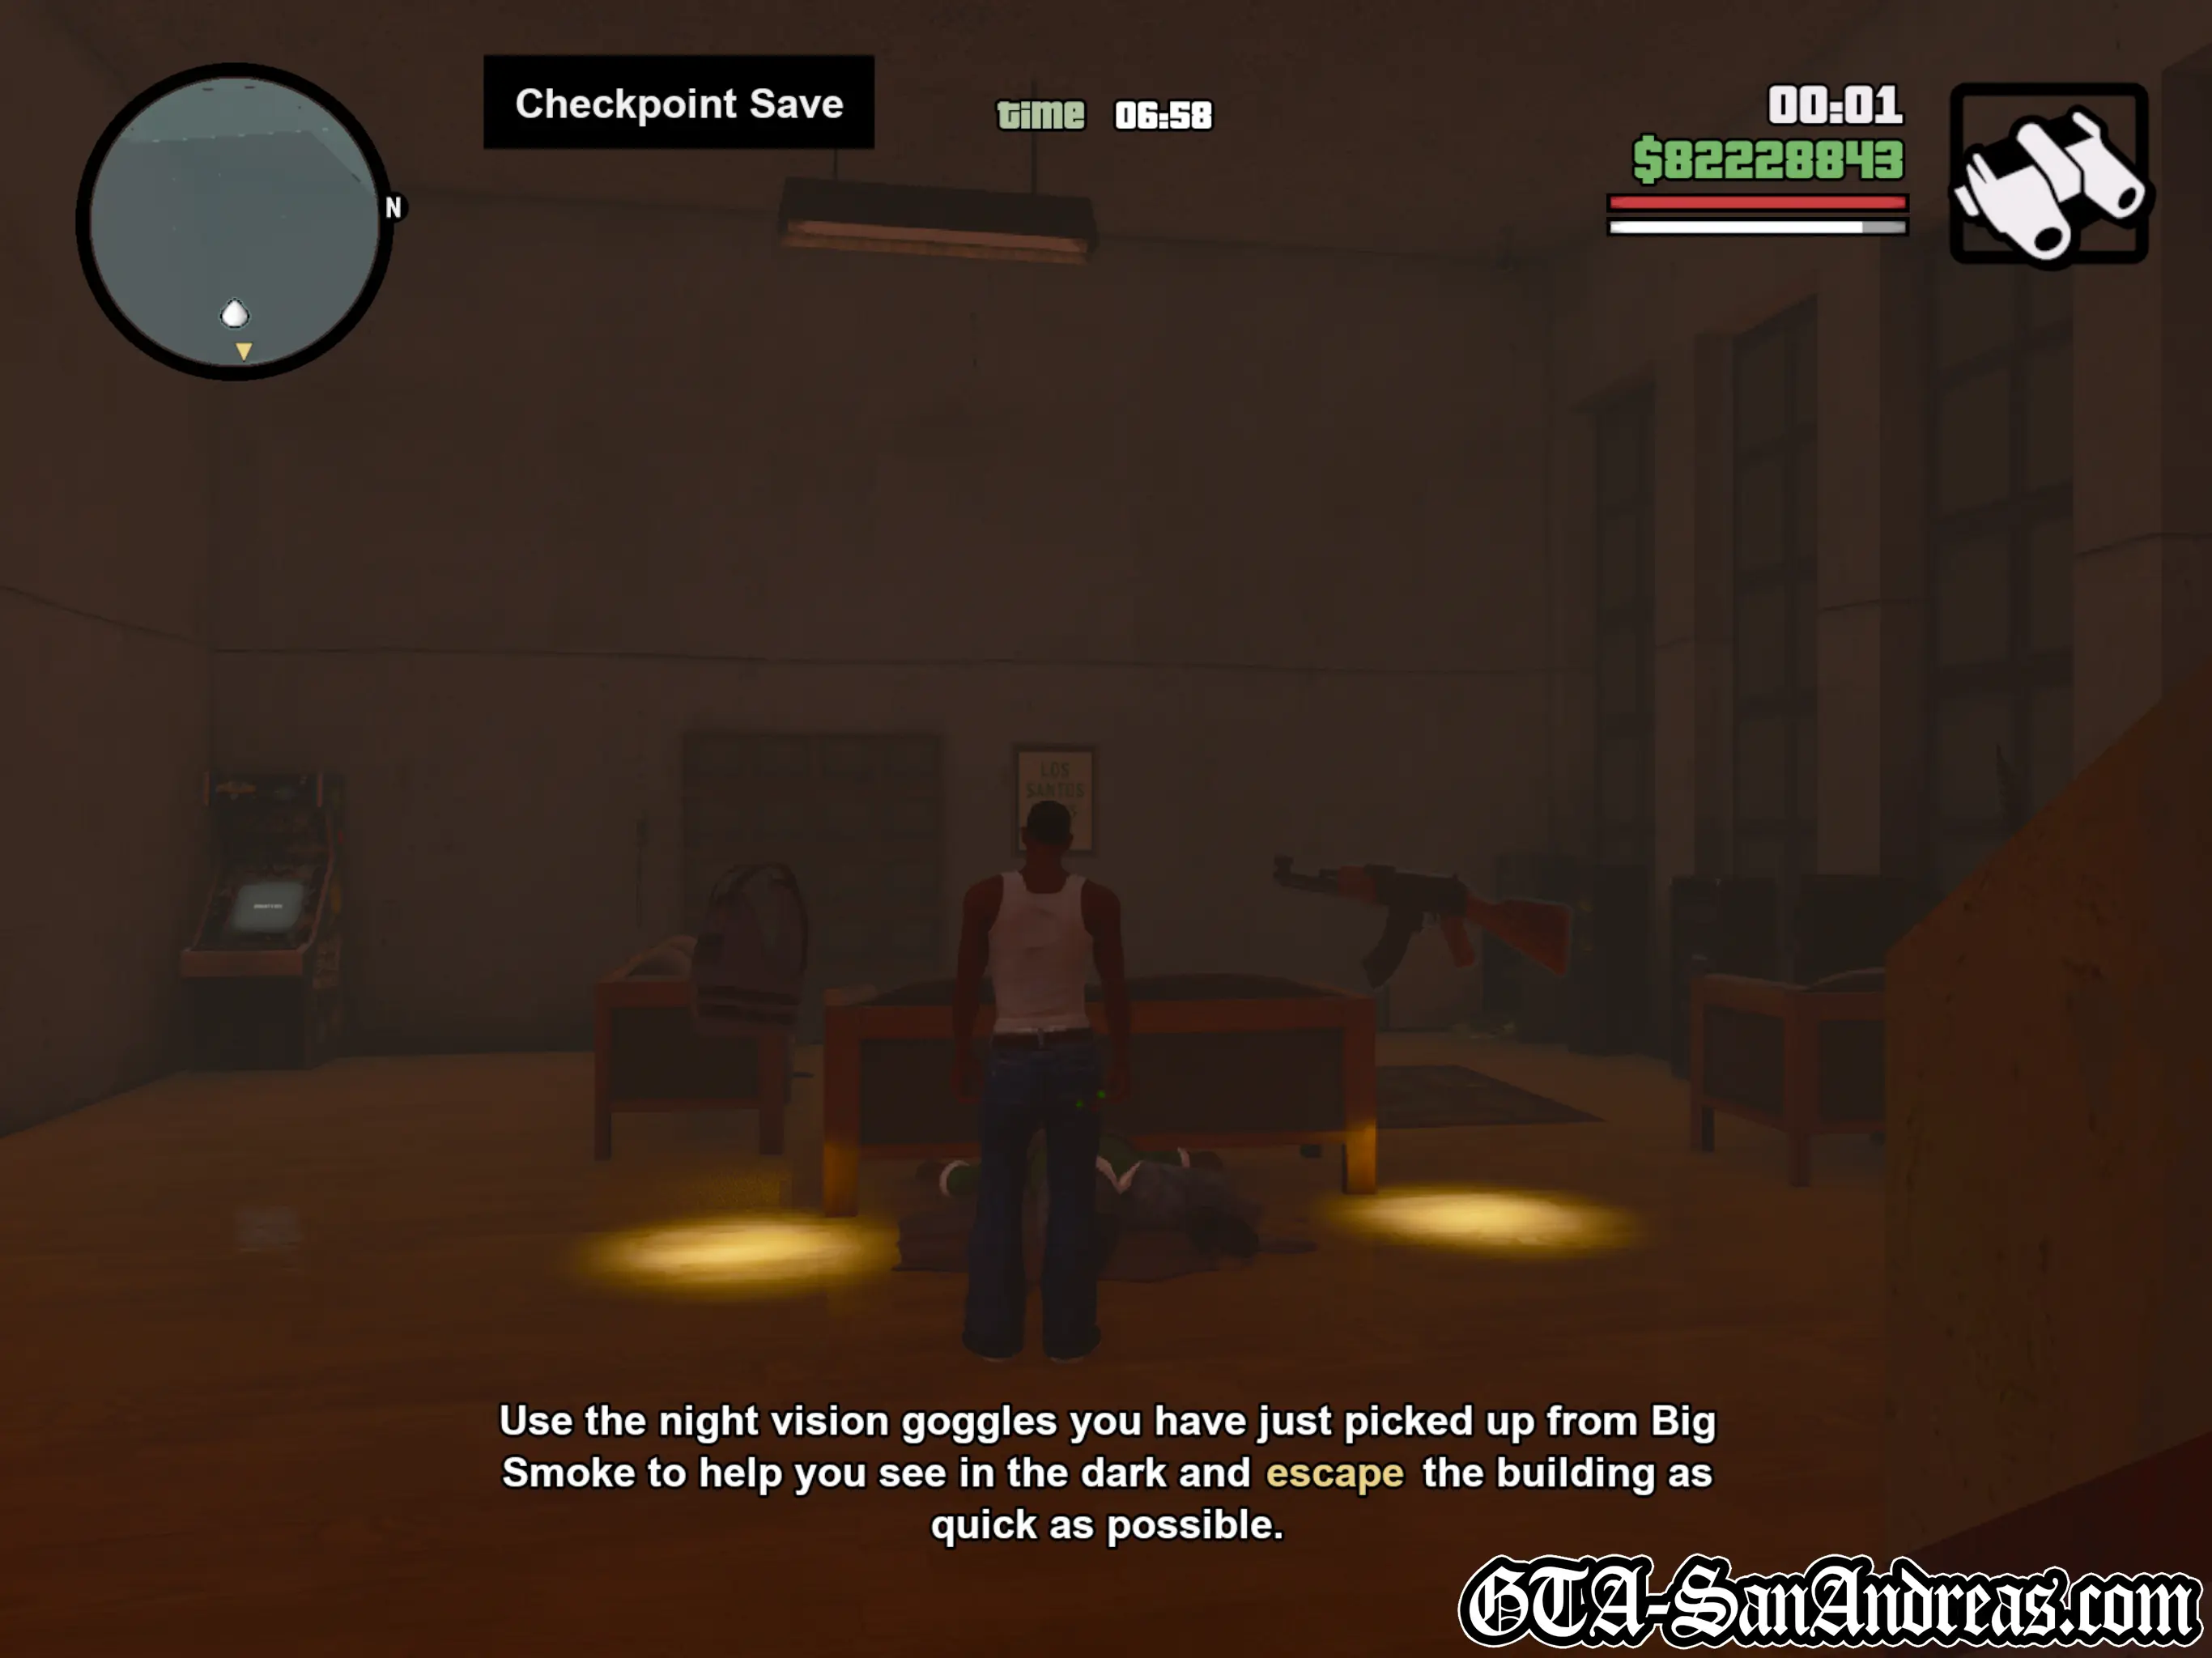
Escape
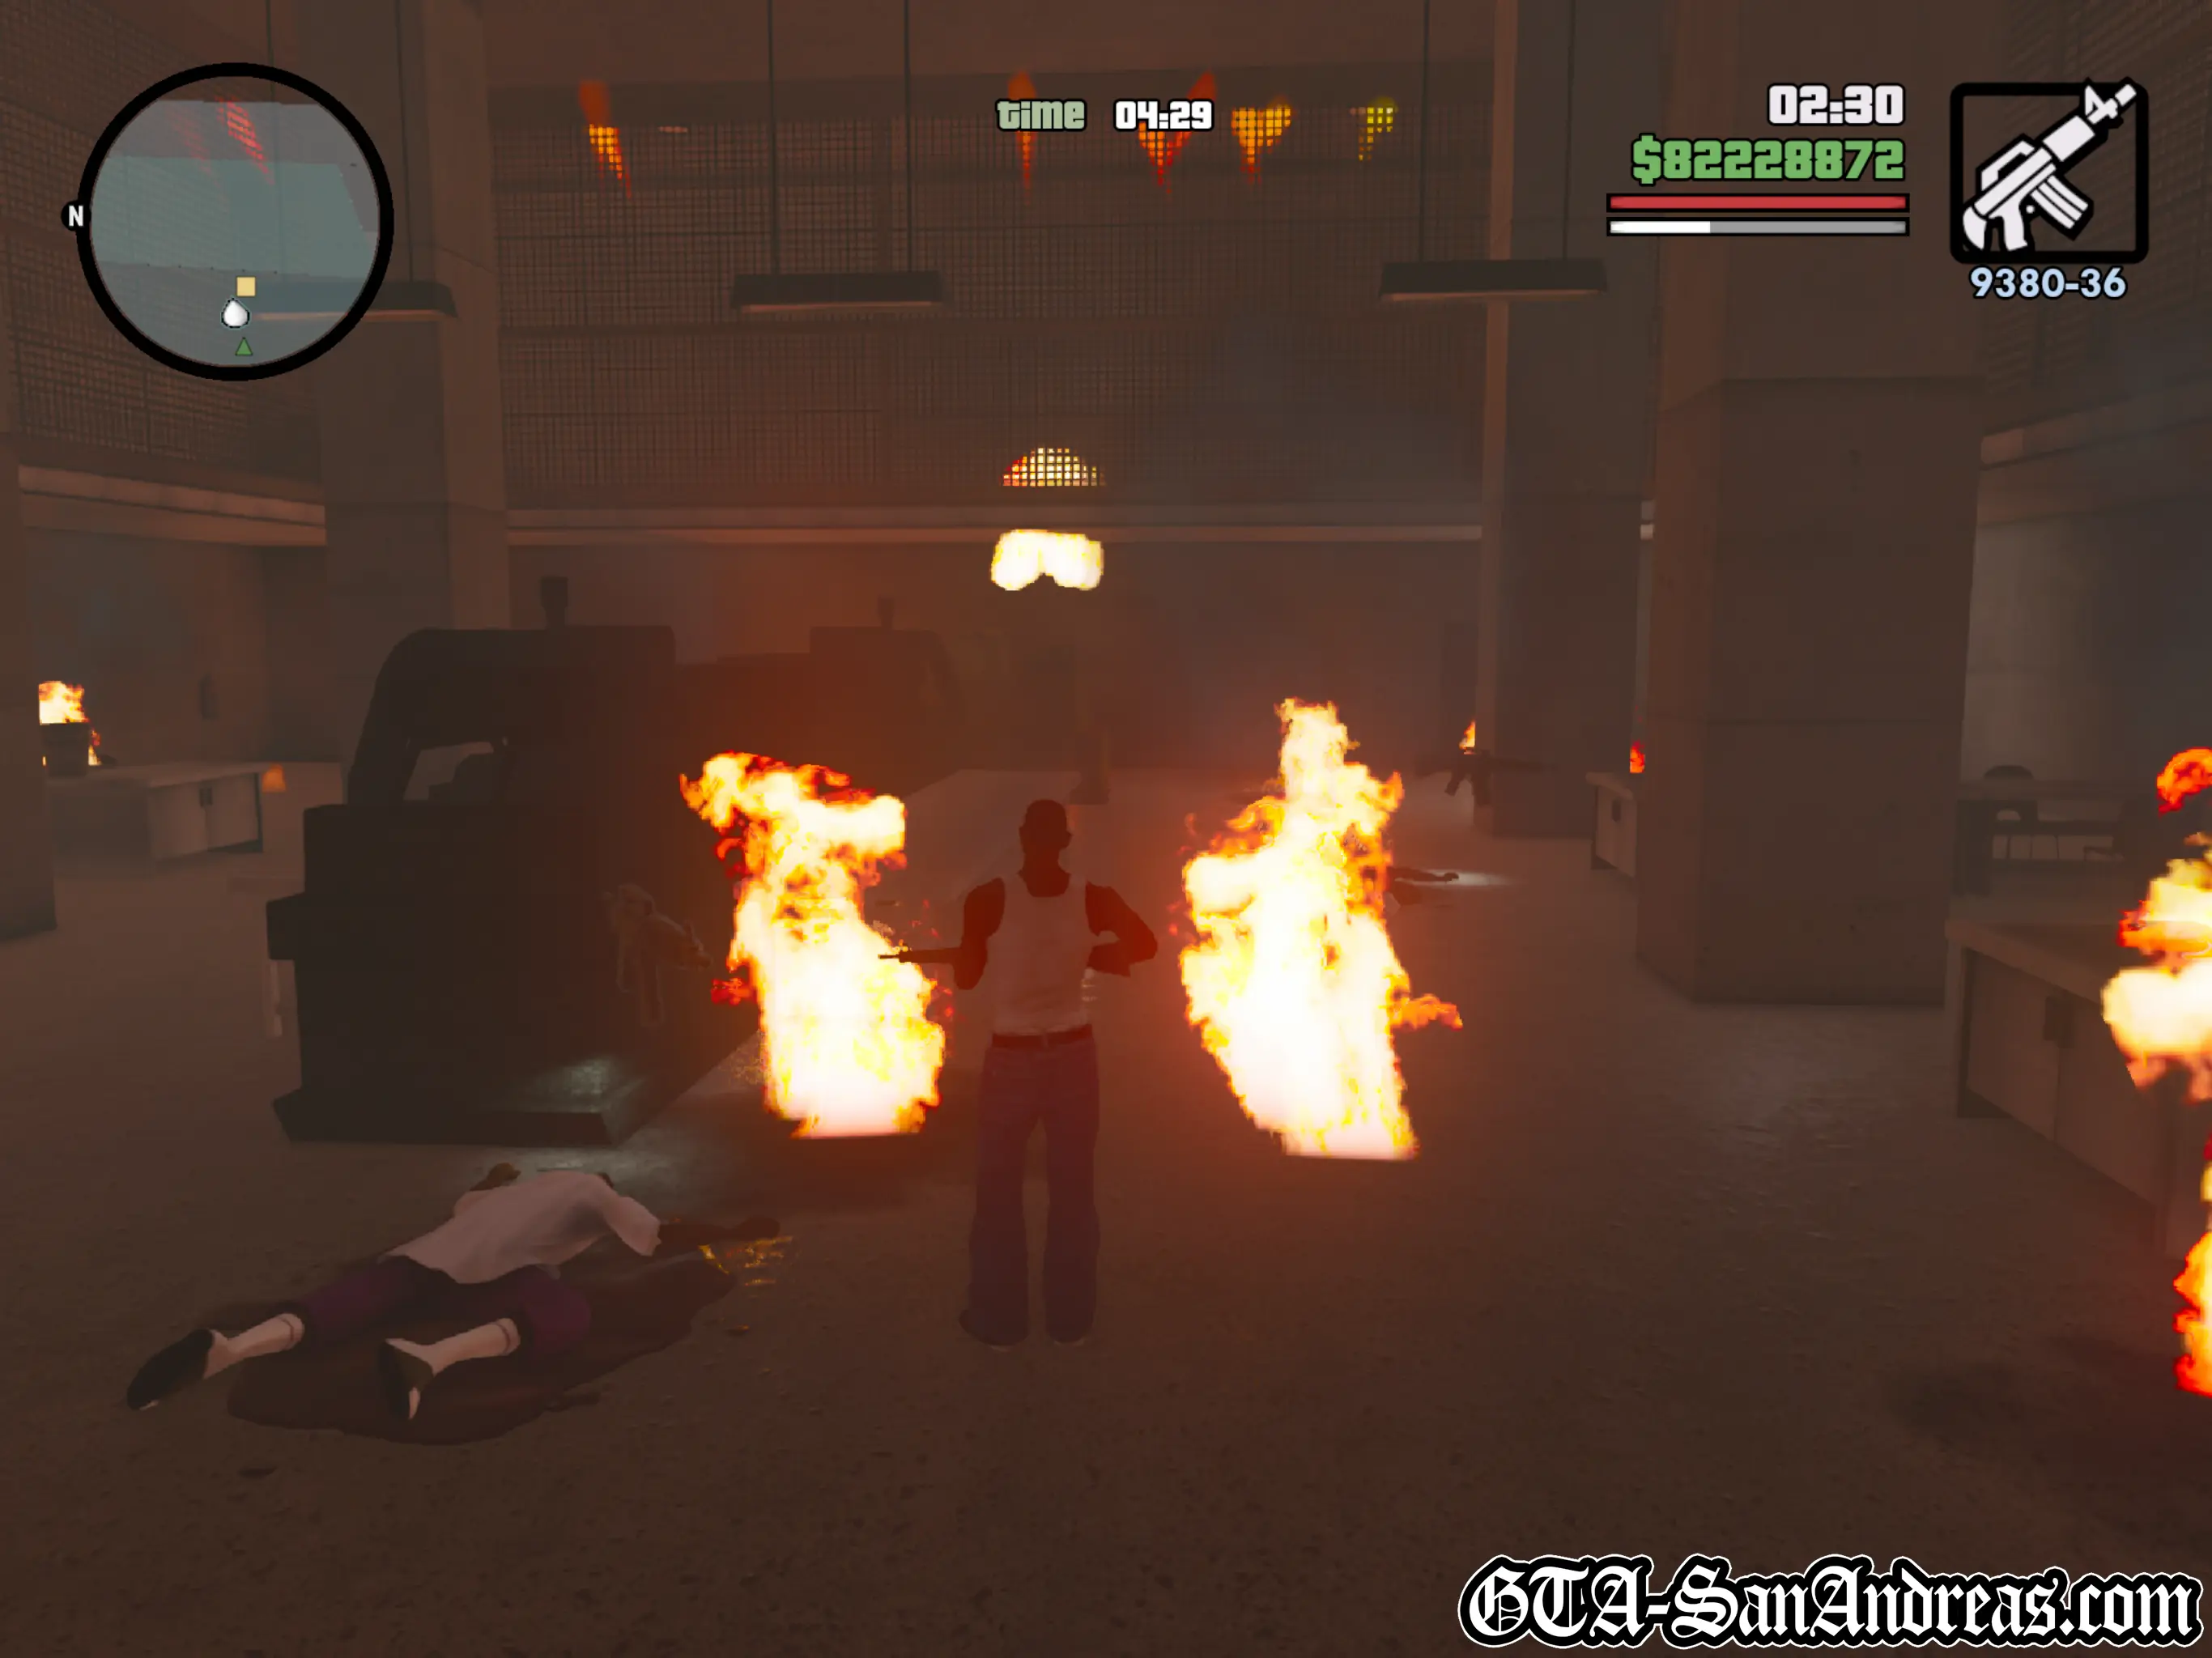
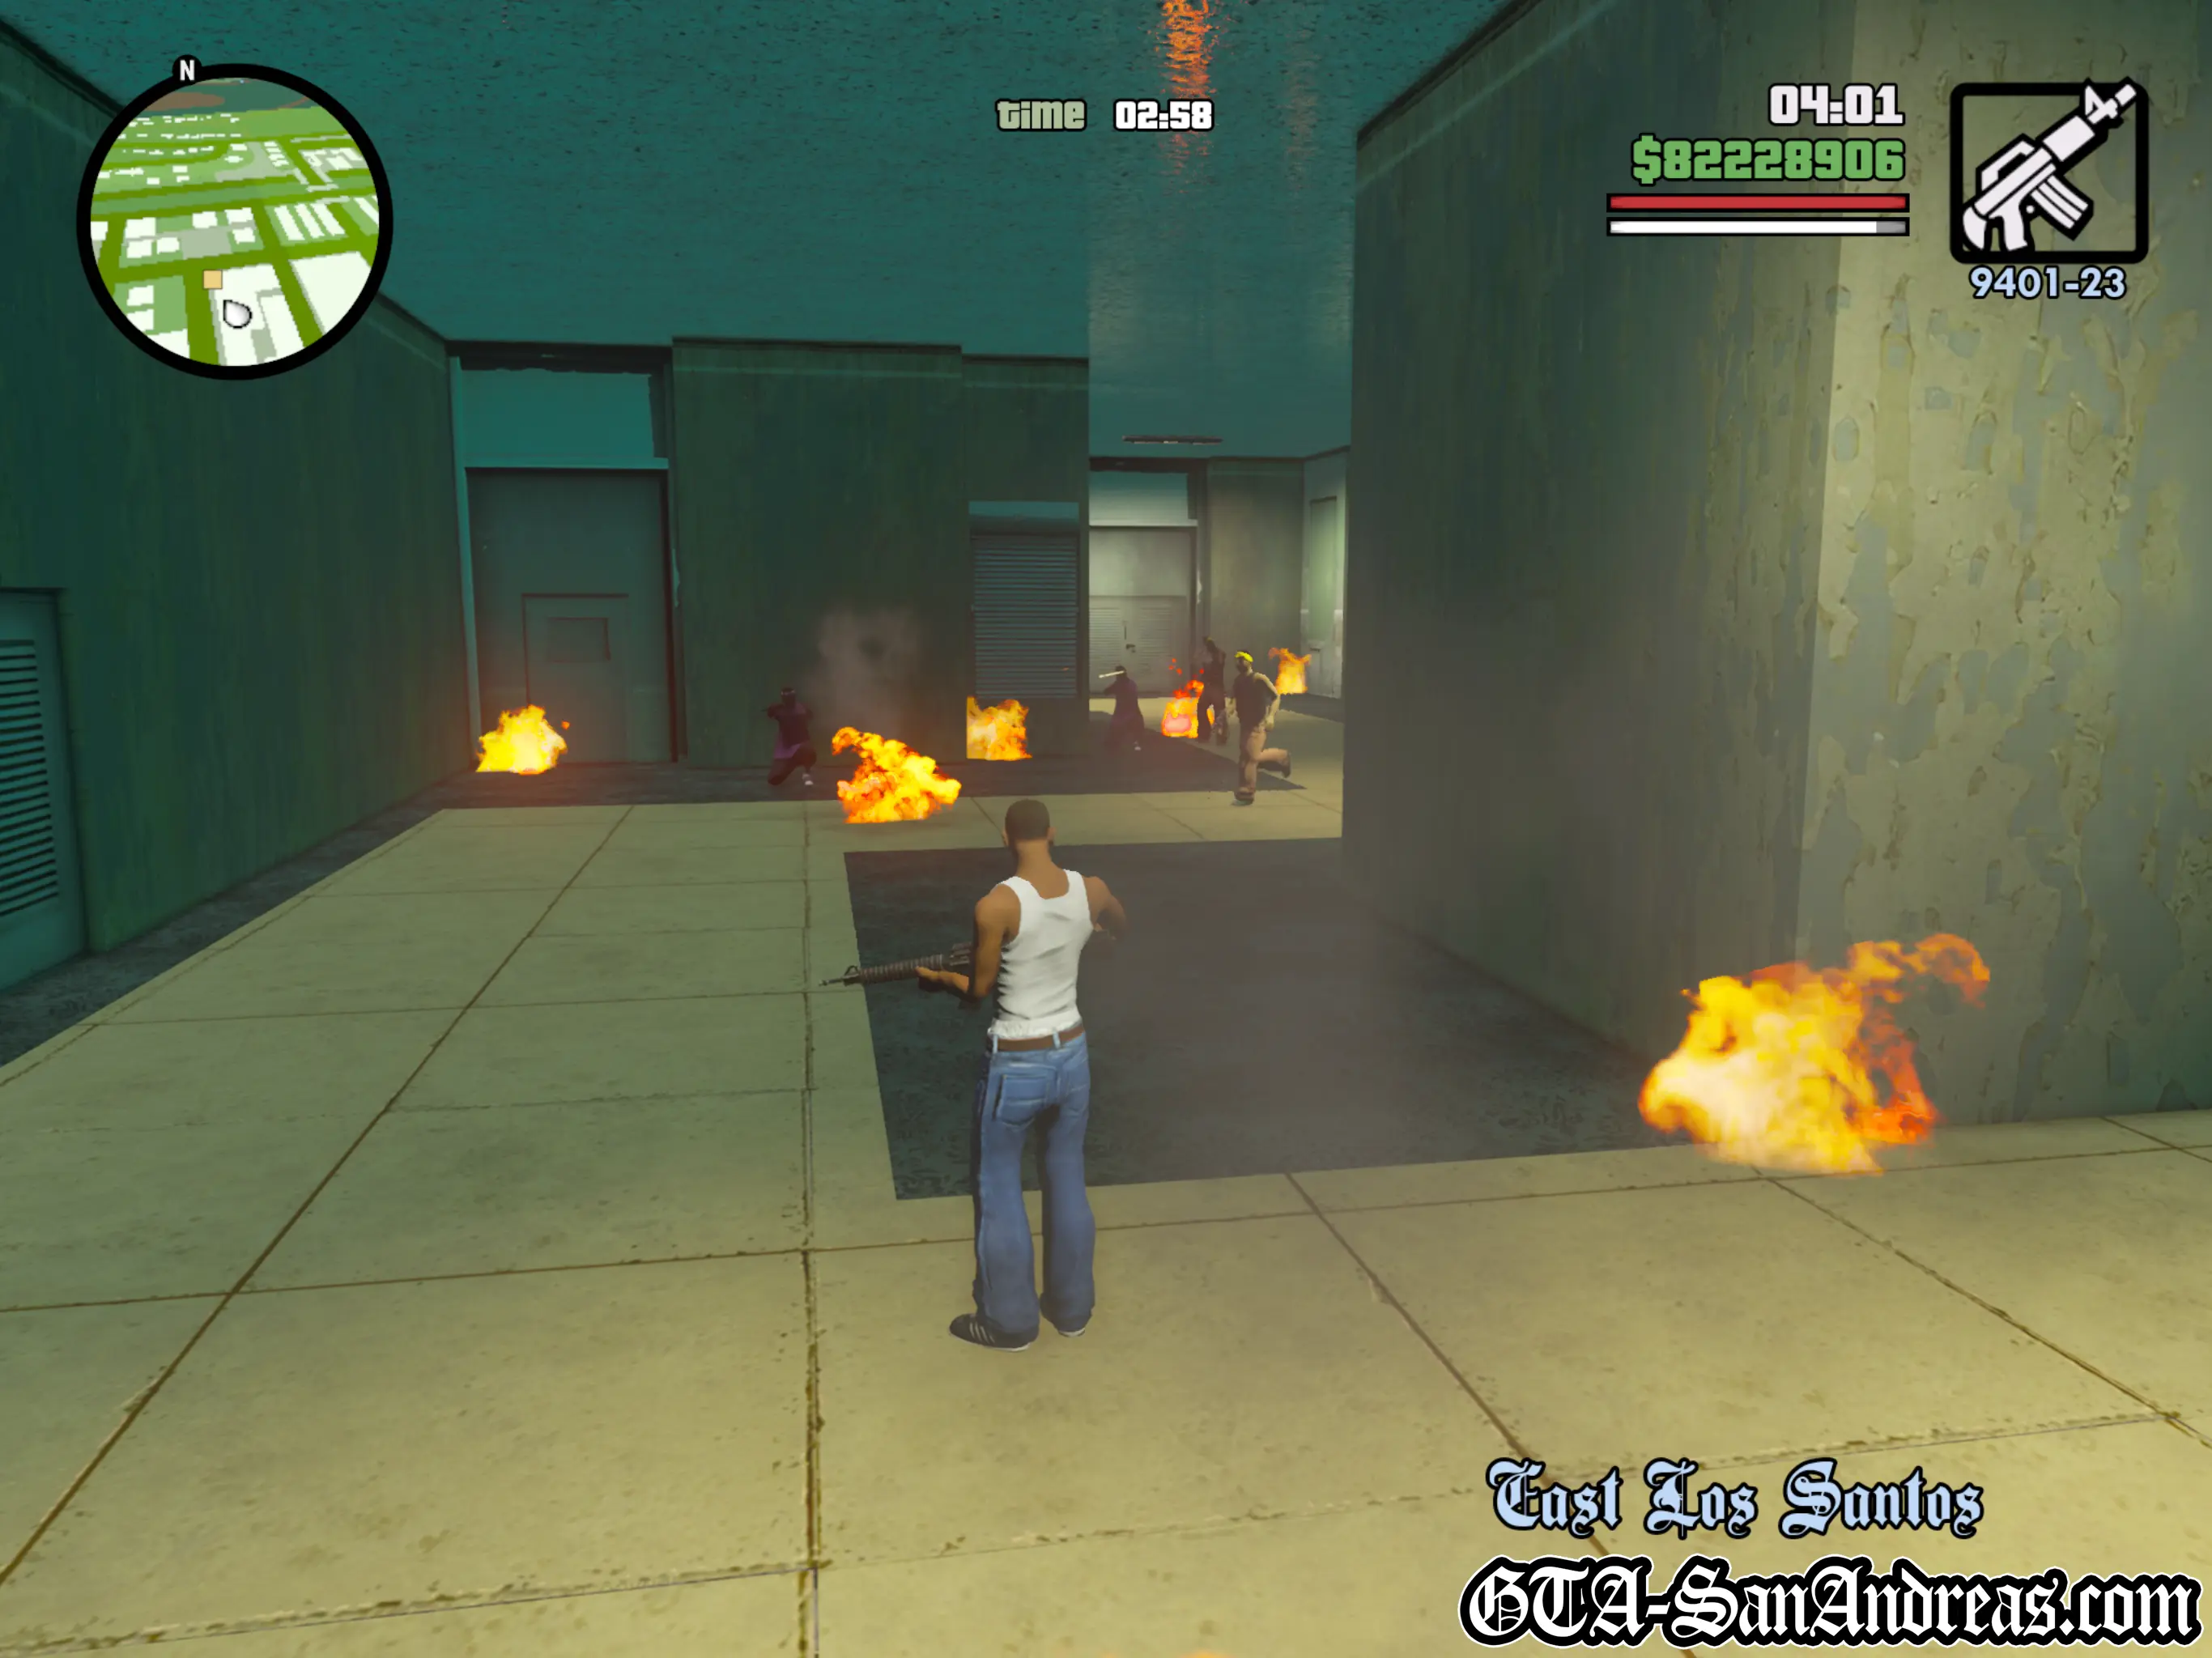
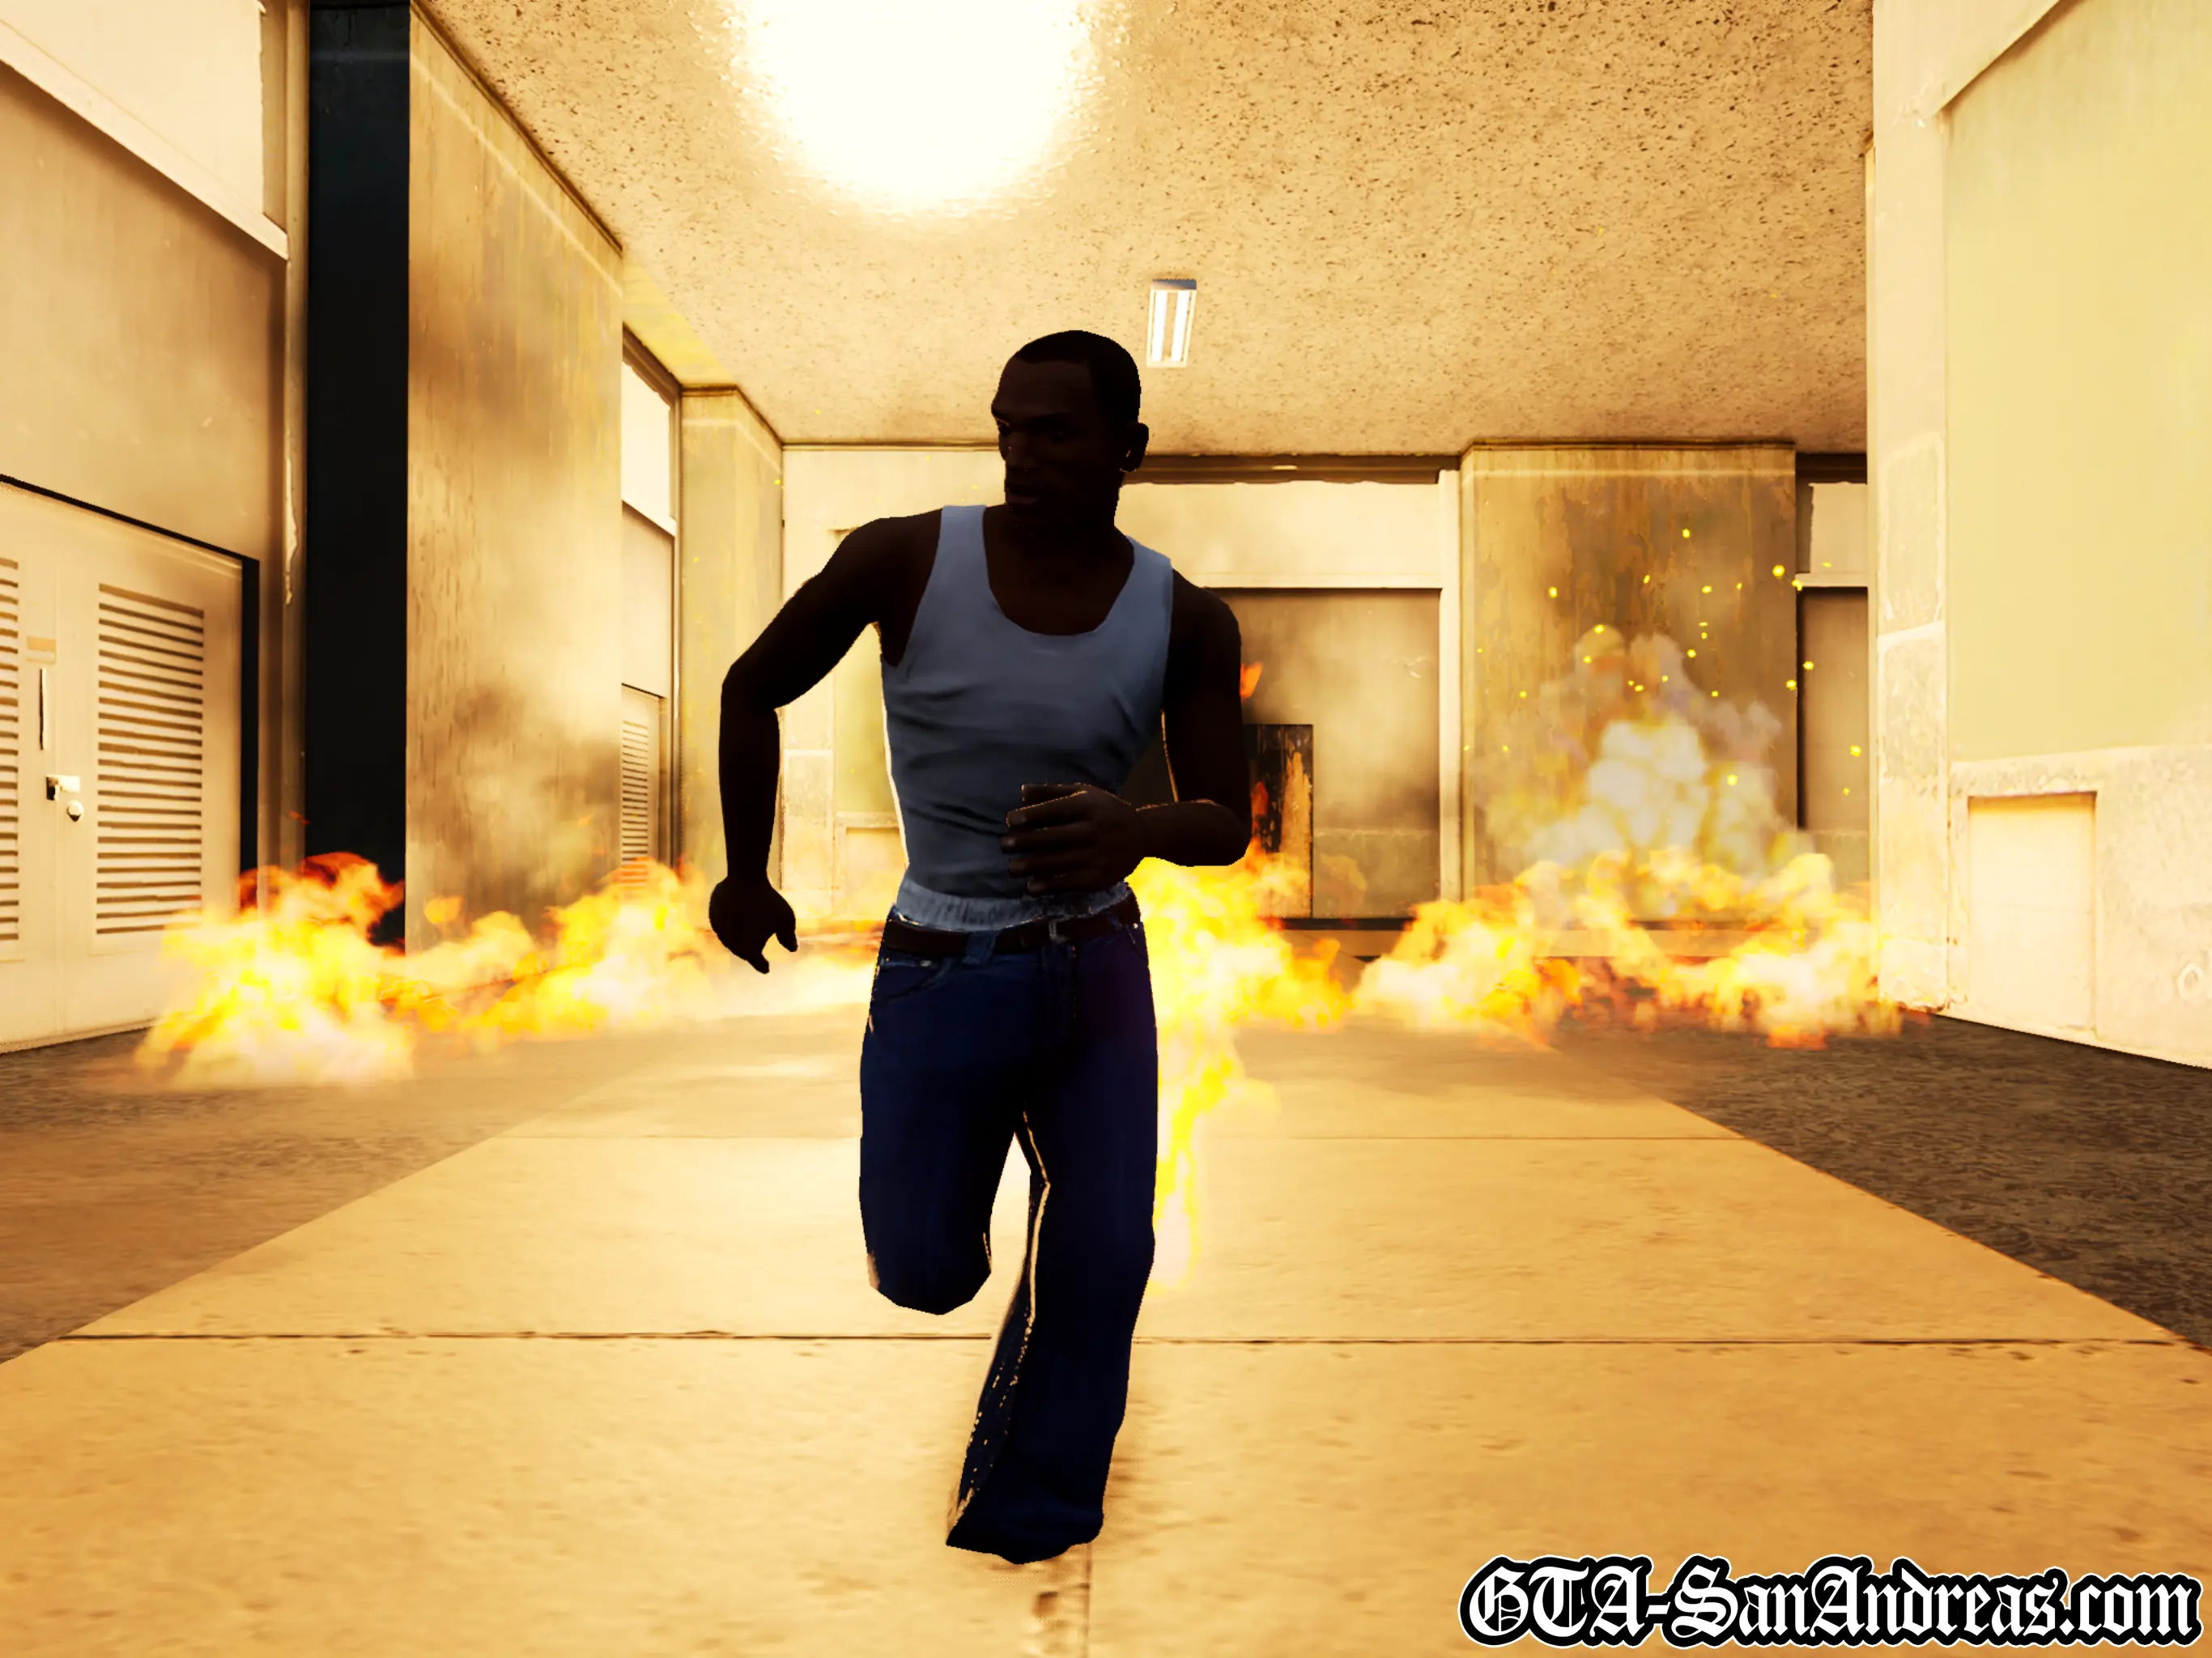
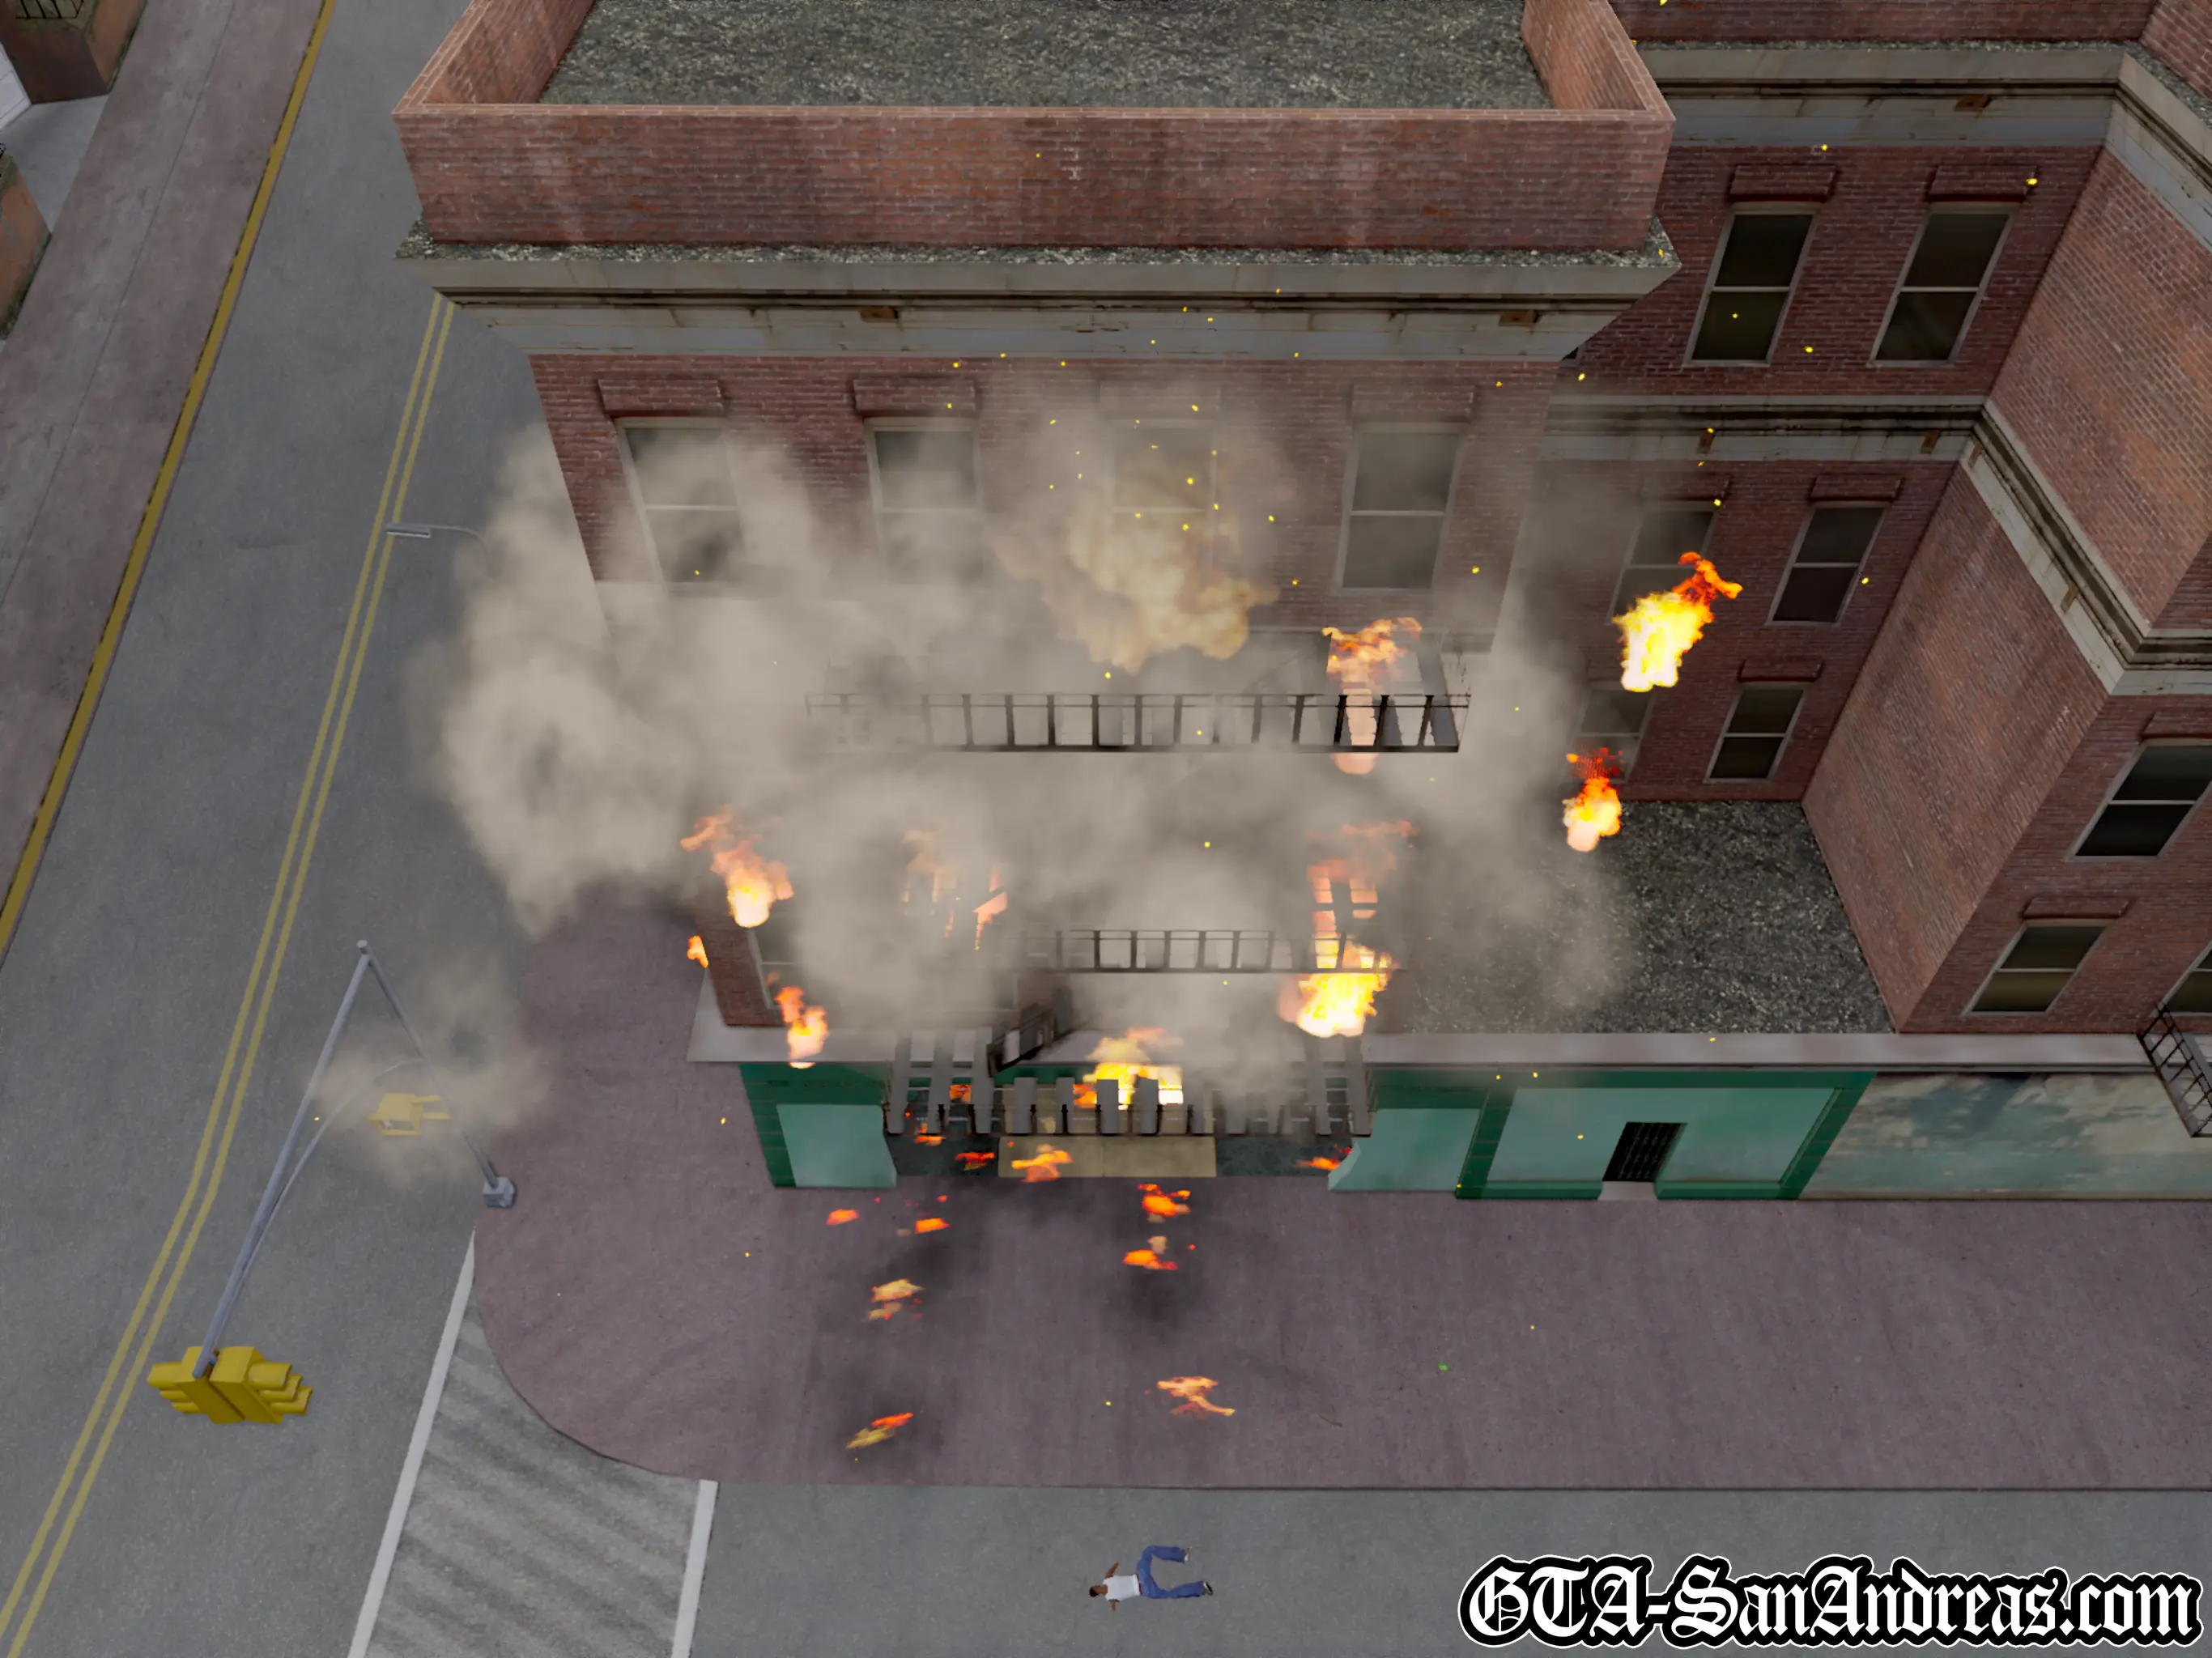
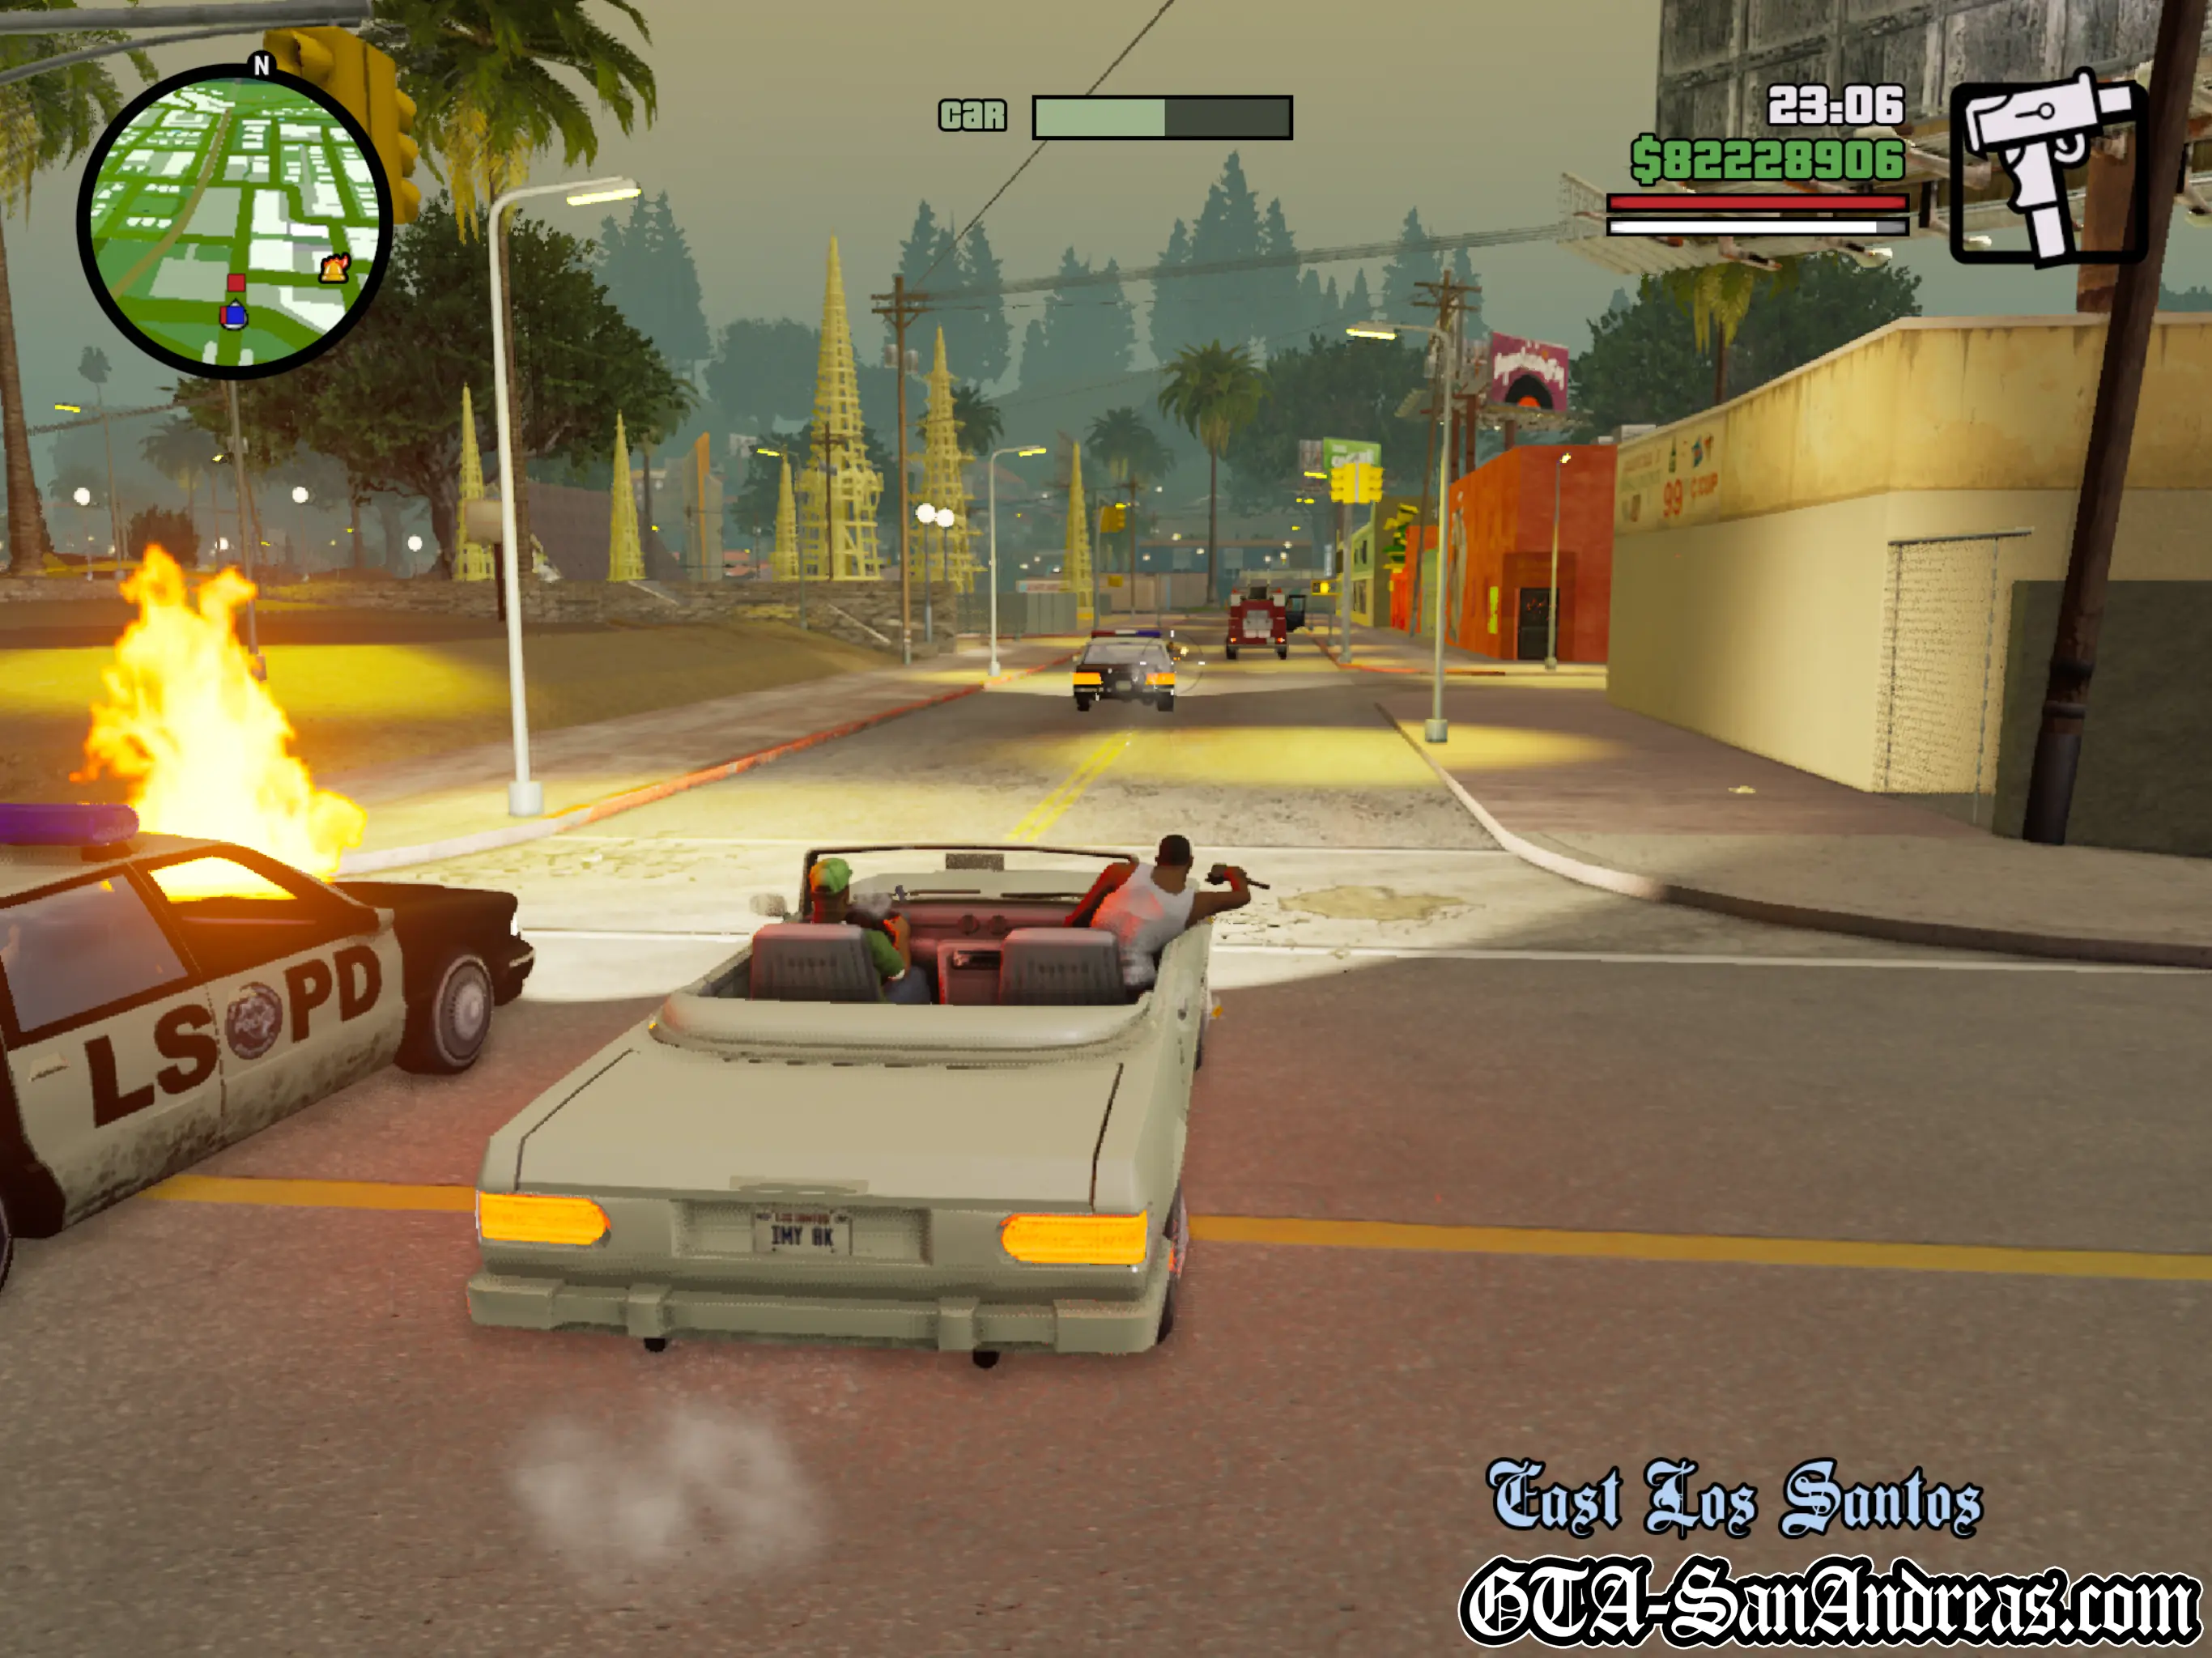
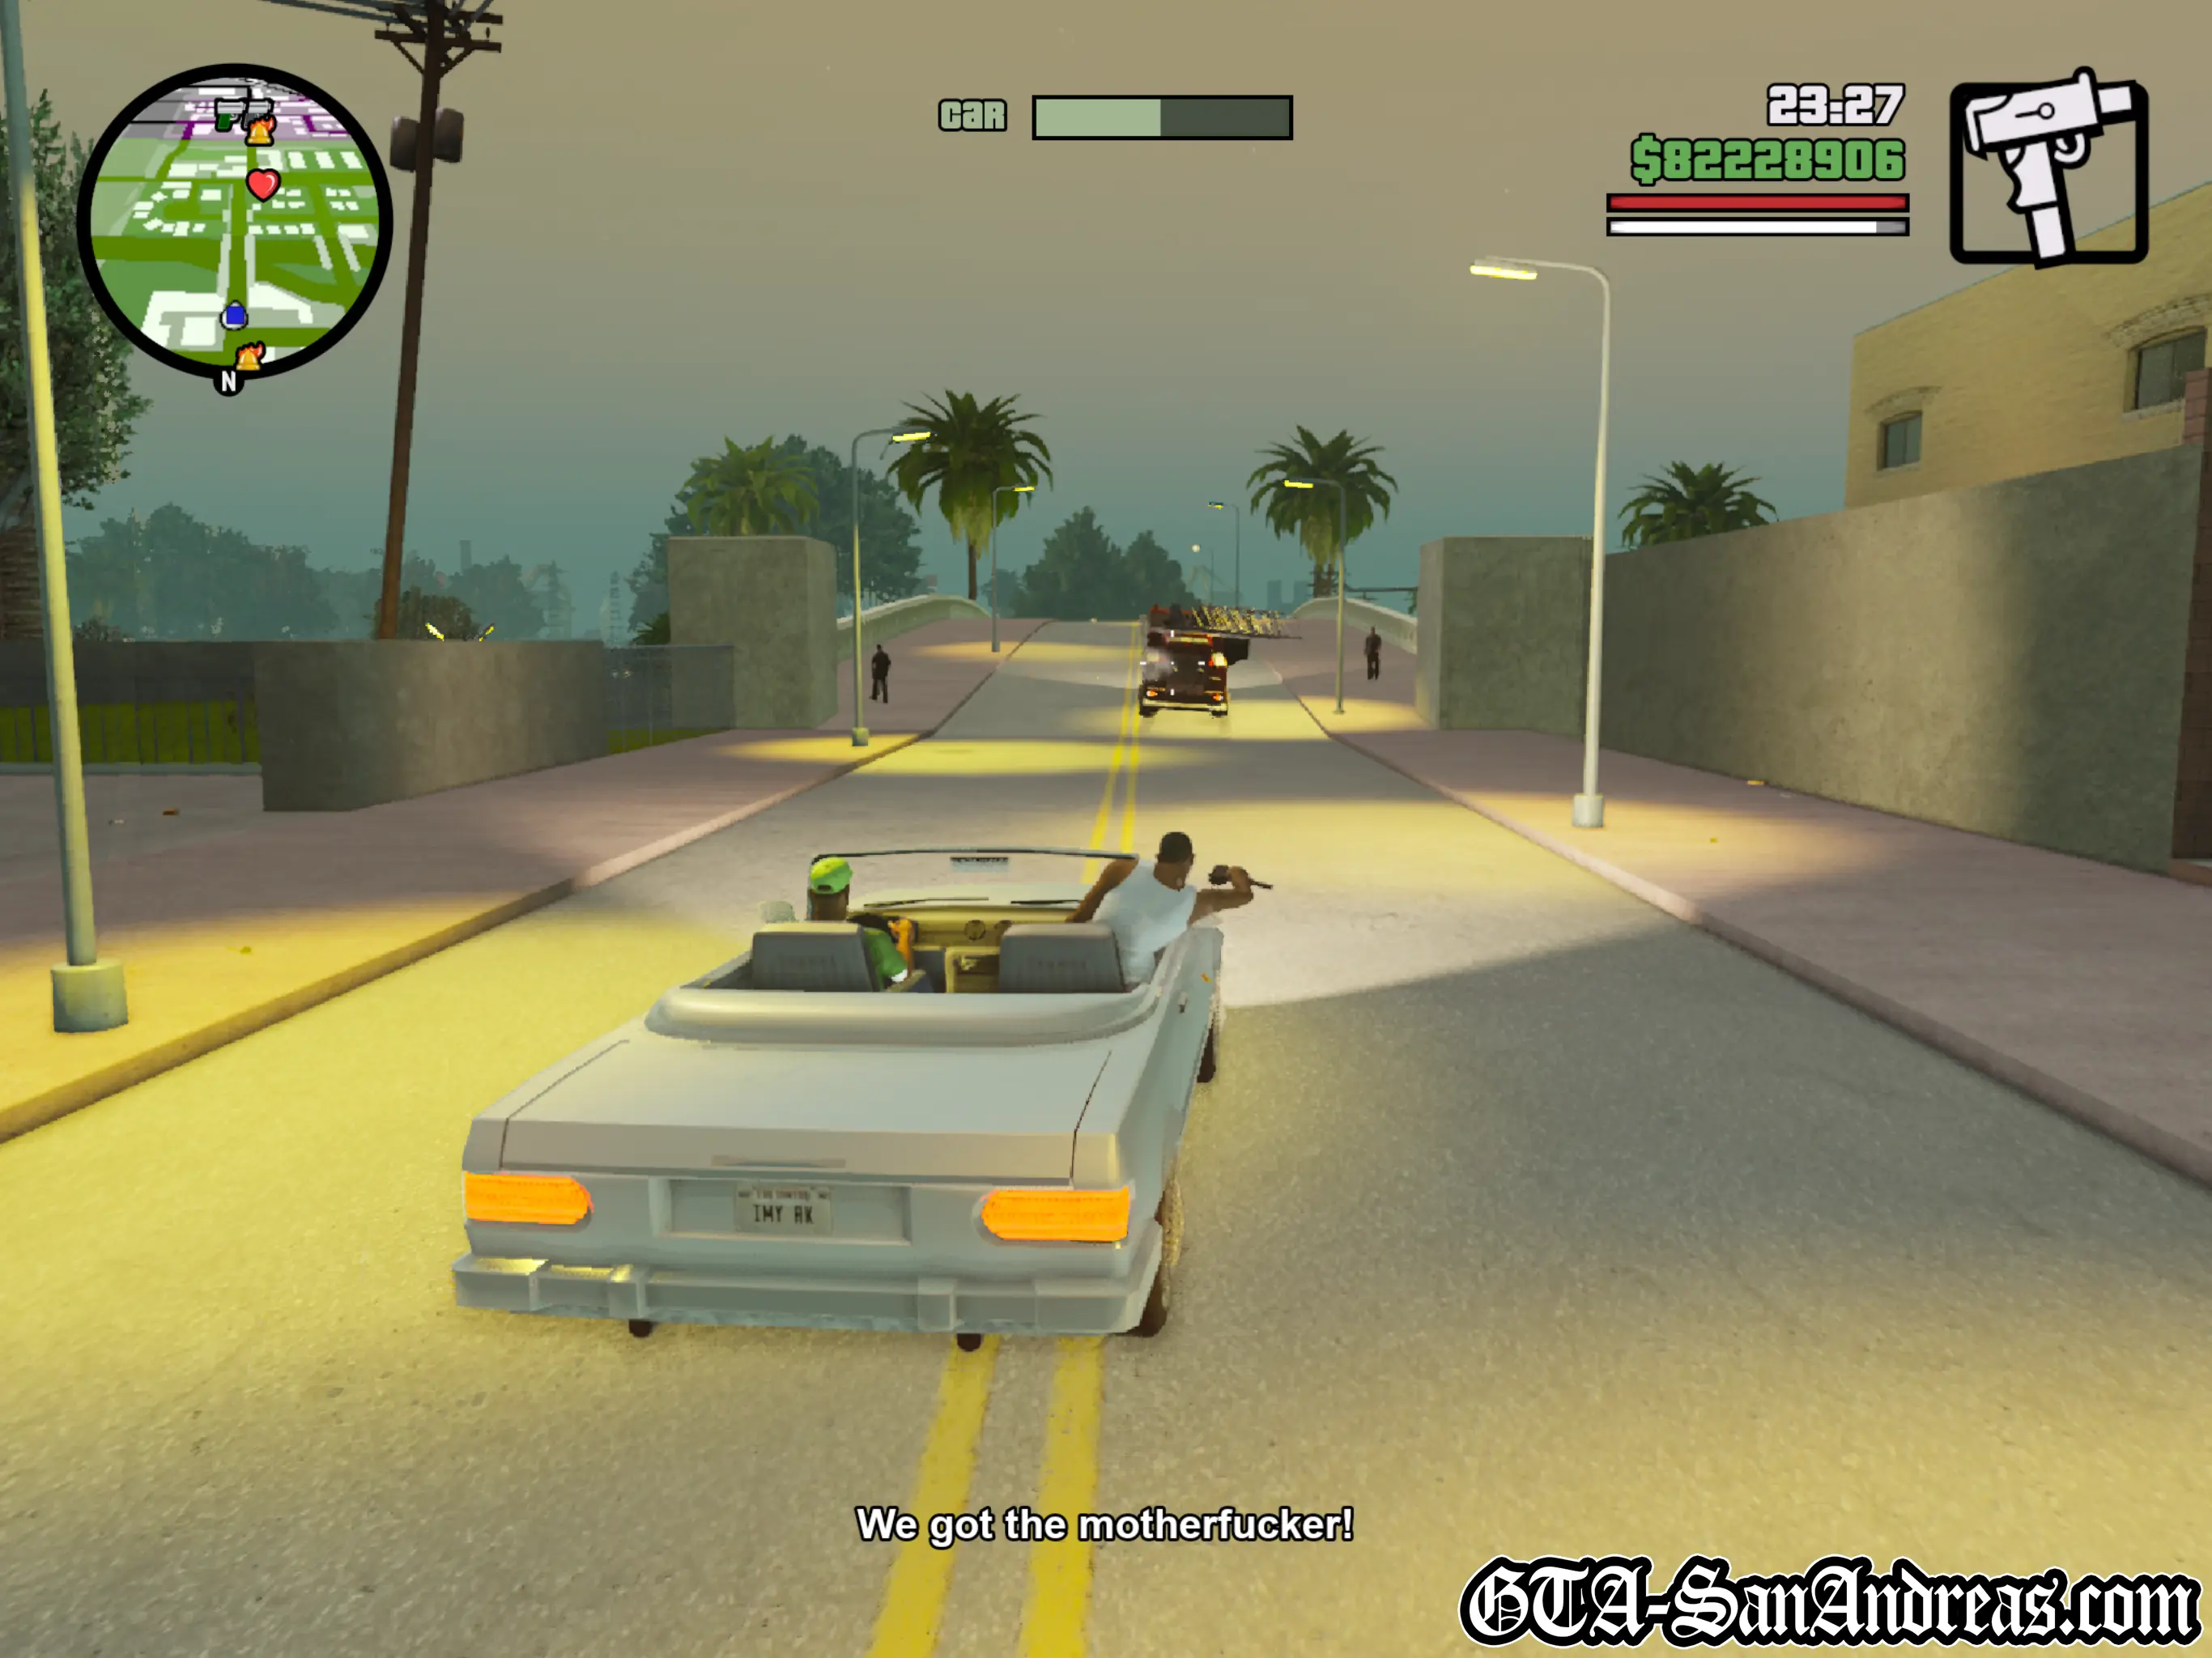
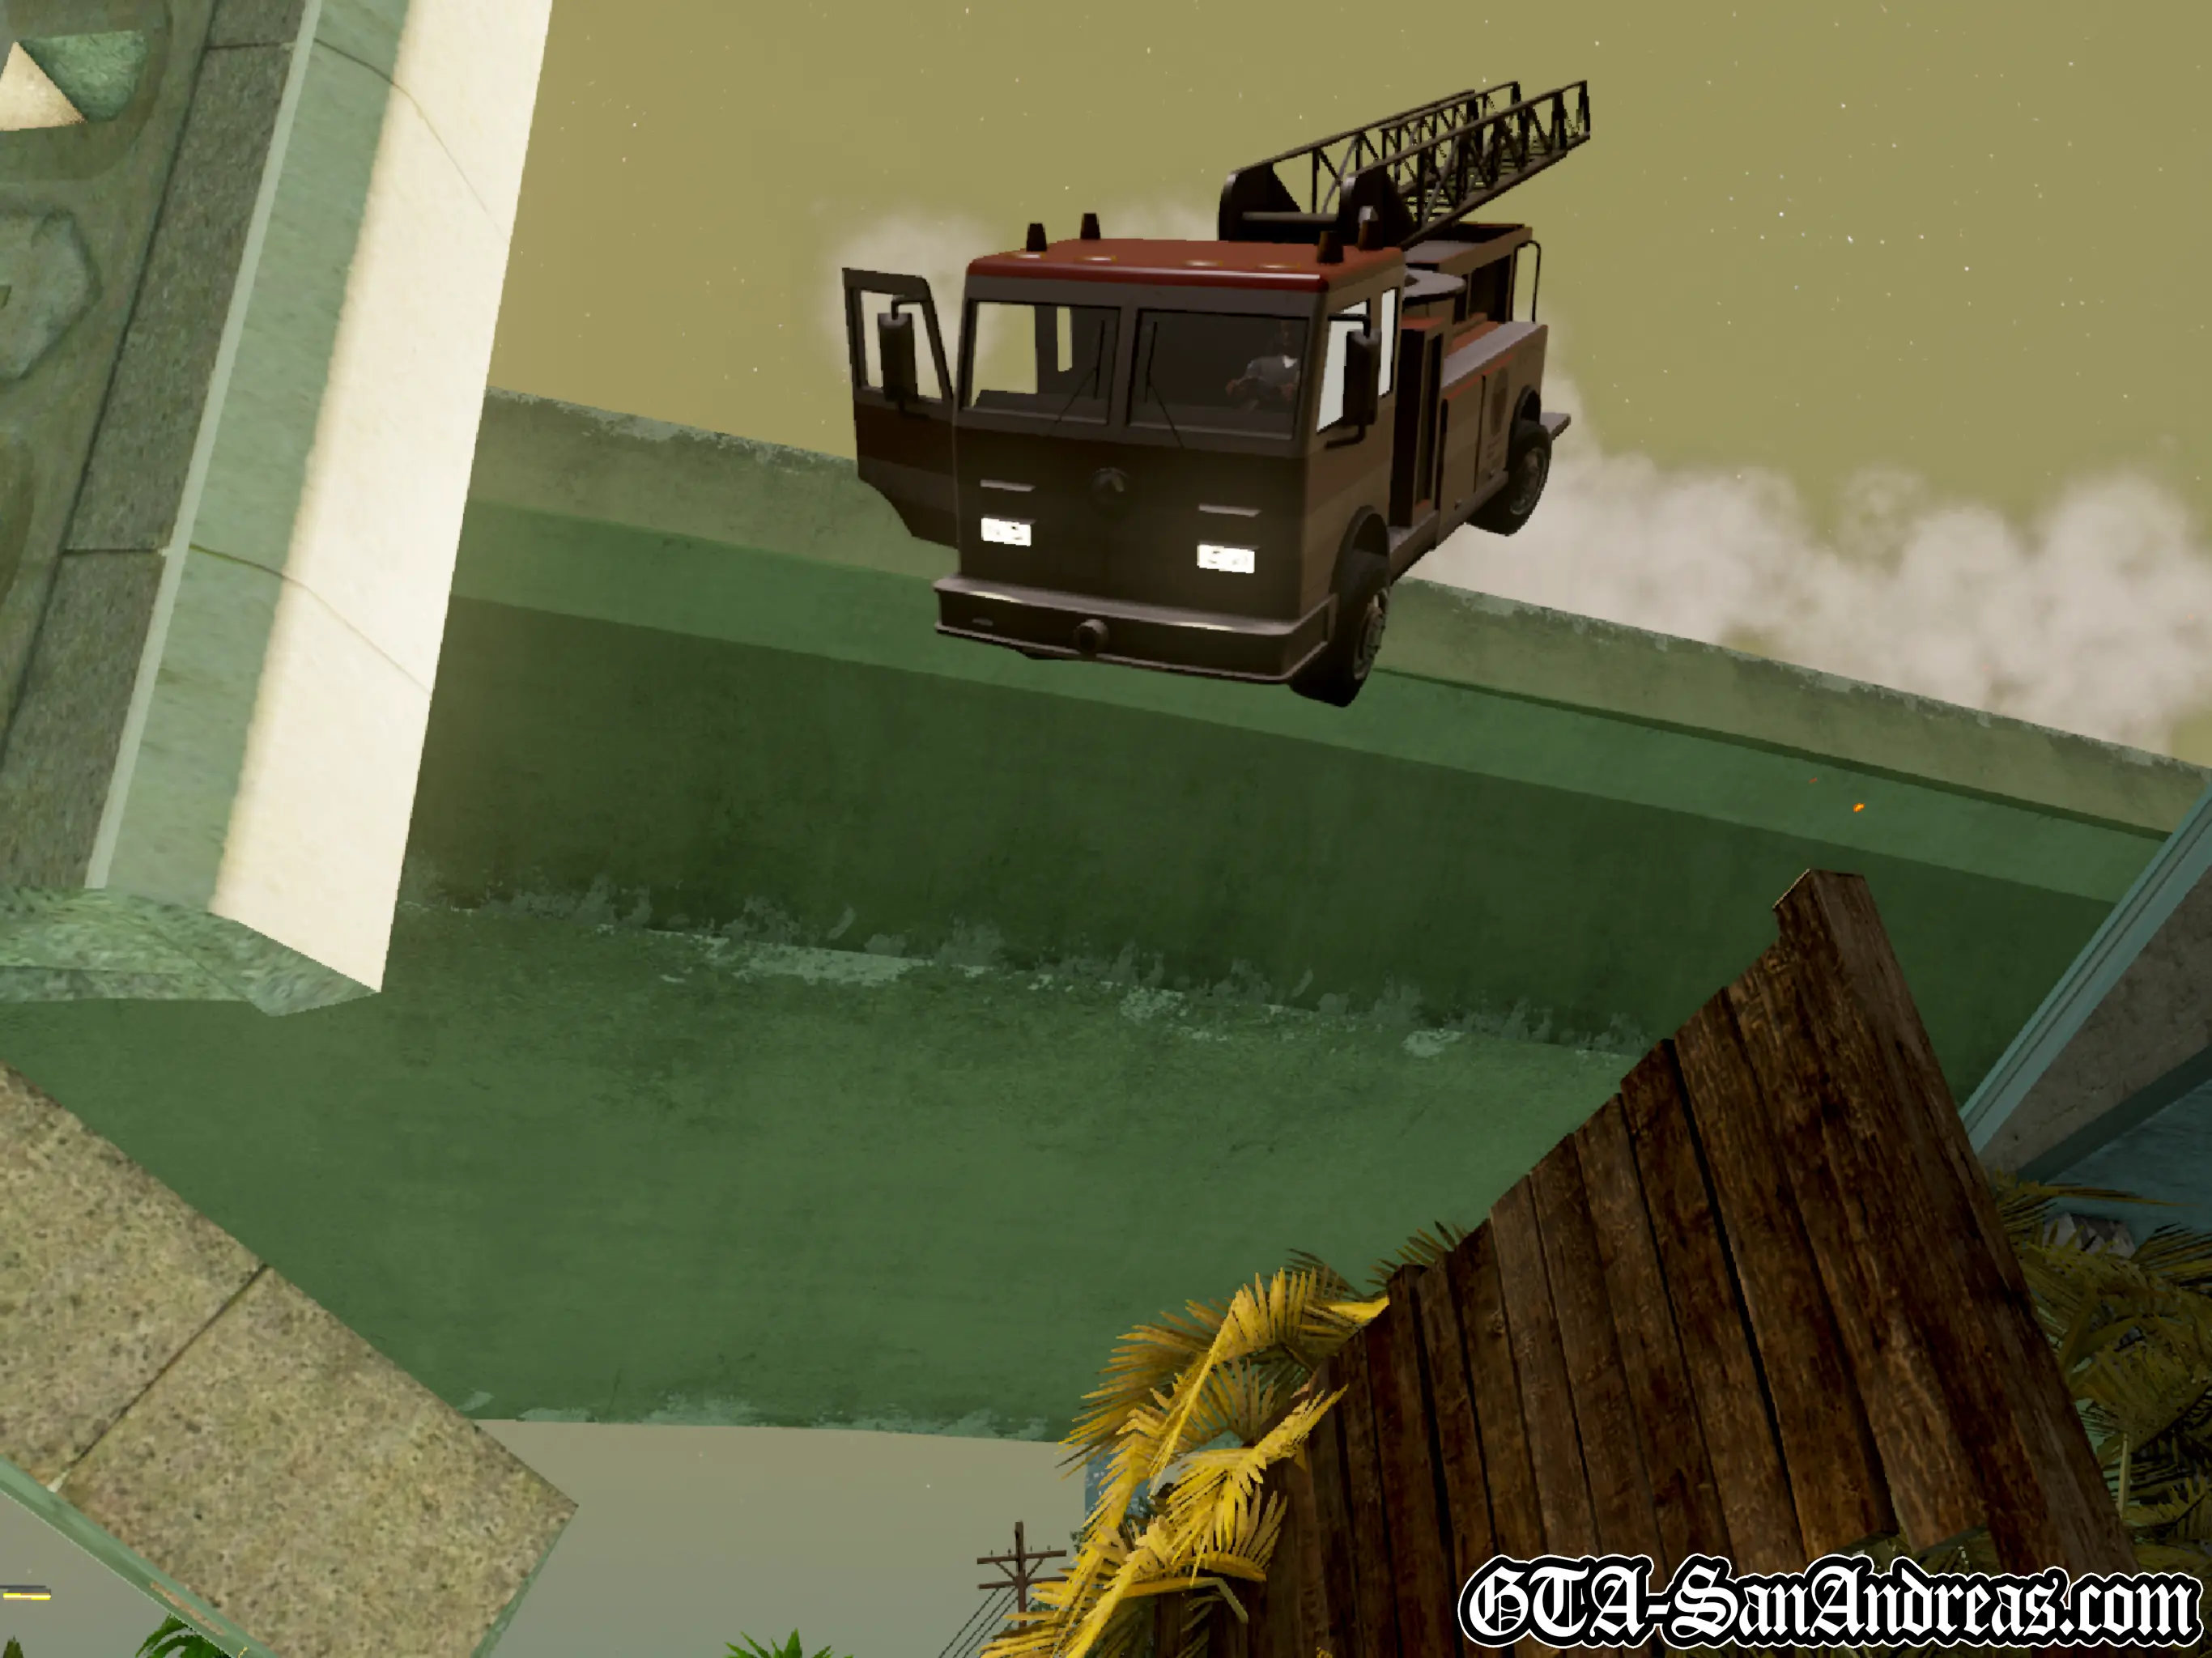
Switch weapons and select the night vision goggles. Turn them on, then grab your M4. Head through the door and down the stairs, then through the door again. Kill the three or four people in here, then make your way back into the main area on this floor. Everything will catch fire now, so you'll need to grab the fire extinguisher. First, switch to the M4 and look through the wire fence in front of you. Aim at and kill the ten or so enemies in here, then turn off the night vision goggles or you won't be able to see the fires. Use the fire extinguisher and work your way along the walk way putting out the fires so that you don't burn to death. You'll need to go slowly and make sure all fires are out before trying to get past. If you have completed the Firefighter submission then you'll be fireproof, and you can basically just skip all of the fire extinguisher section as you won't take any damage from being on fire anyway. Once you've put out all of the fires and cleared a path to the door, put back on the night vision goggles, and equip your M4. Head through the doors and down the stairs, taking out the Ballas who try to get away. Go through the next room and kill any Ballas, then move into the first main area we came to. Once again this is flooded with enemies, so aim and shoot everywhere. Luckily the smoke and fire makes it a bit easier to kill them without taking too much damage. You can get through this area without needing to put any fires out if you navigate your way through the fires. Head through the door and through the hall way killing the last few enemies, then you'll need to put out a fire. Head down the stairs and exit the building through the door. Kill the last five or so enemies, then make your way to the wall you smashed open before. A cutscene will then be shown where the building explodes and Carl escaped just in time. Straight after, Sweet will be seen jumping onto the back of Tenpenny's firetruck. You will get in a Stinger and you need to chase after Sweet and the firetruck. Don't lose it! During the chase, some fools will throw Molotov Cocktails in front of your car, however these are merely for the action and will not cause any damage to your vehicle. After about a minute or two of the chase you'll get to a part where Ballas are throwing Molotov's. At this part be very careful for obstacles on the road. Use the right analog stick to adjust the camera so you can see a bit further ahead than usual. Follow Tenpenny onto the tracks and avoid the train. Just a bit further along a cop will climb out of the cab and start standing on Sweet's hands. He can't hold on for very long, so you need to speed right behind the fire truck and stay there while he falls onto your car. Once he does, a cutscene will start where Carl and Sweet swap positions. He's driving, and you're shooting. Aim for the cop at the top of the ladder then use L1 to blast him. Shoot the other cop who is climbing on the other side as well. After that you'll have a cop tail, so turn around and keep the cop and gang cars off the back of the car. Keep spraying your Uzi bullets into them, and they'll eventually blow up. You'll be told about some Ballas on a bridge throwing stuff onto the road. After that a few bikes will chase you. You need to take out these bikes as soon as possible, keep shooting for the drivers and try to kill them as soon as you can. You'll also need to deal with about four more police cars. Just keep shooting at everything you can see basically. Keep the car alive until you reach the overpass which goes over the top of Grove Street. Tenpenny crashes his firetruck off the side of the bridge and after the cutscene, dies from the accident.
After the credits you'll receive a phone call from Catalina who is relatively "busy" with Claude. God knows why she called you. Again.
Screenshots


Story Complete!
Congratulations. You just beat Grand Theft Auto: San Andreas.
This guide walked you through every single story mission in the game. It was originally written directly after the launch of the game in 2004 and took around 30 hours to write, over the space of a week. I hope you found it helpful!
Check some of my other guides, such as the 100% Checklist for more information on everything to do in Grand Theft Auto: San Andreas.
- Psy