Follow us on X. We're posting regular updates about everything GTA VI!
@iGrandTheftAutoAsset Missions
Grand Theft Auto: San Andreas contains a number of tasks which are required to attain 100% game completion. Some of those challenges will reward CJ with an asset - essentially becoming the owner of the business - upon completion, which provides a daily cash bonus that can be collected. See our guides below for help with all of the asset missions across the state of San Andreas.
Quick Links
Los Santos
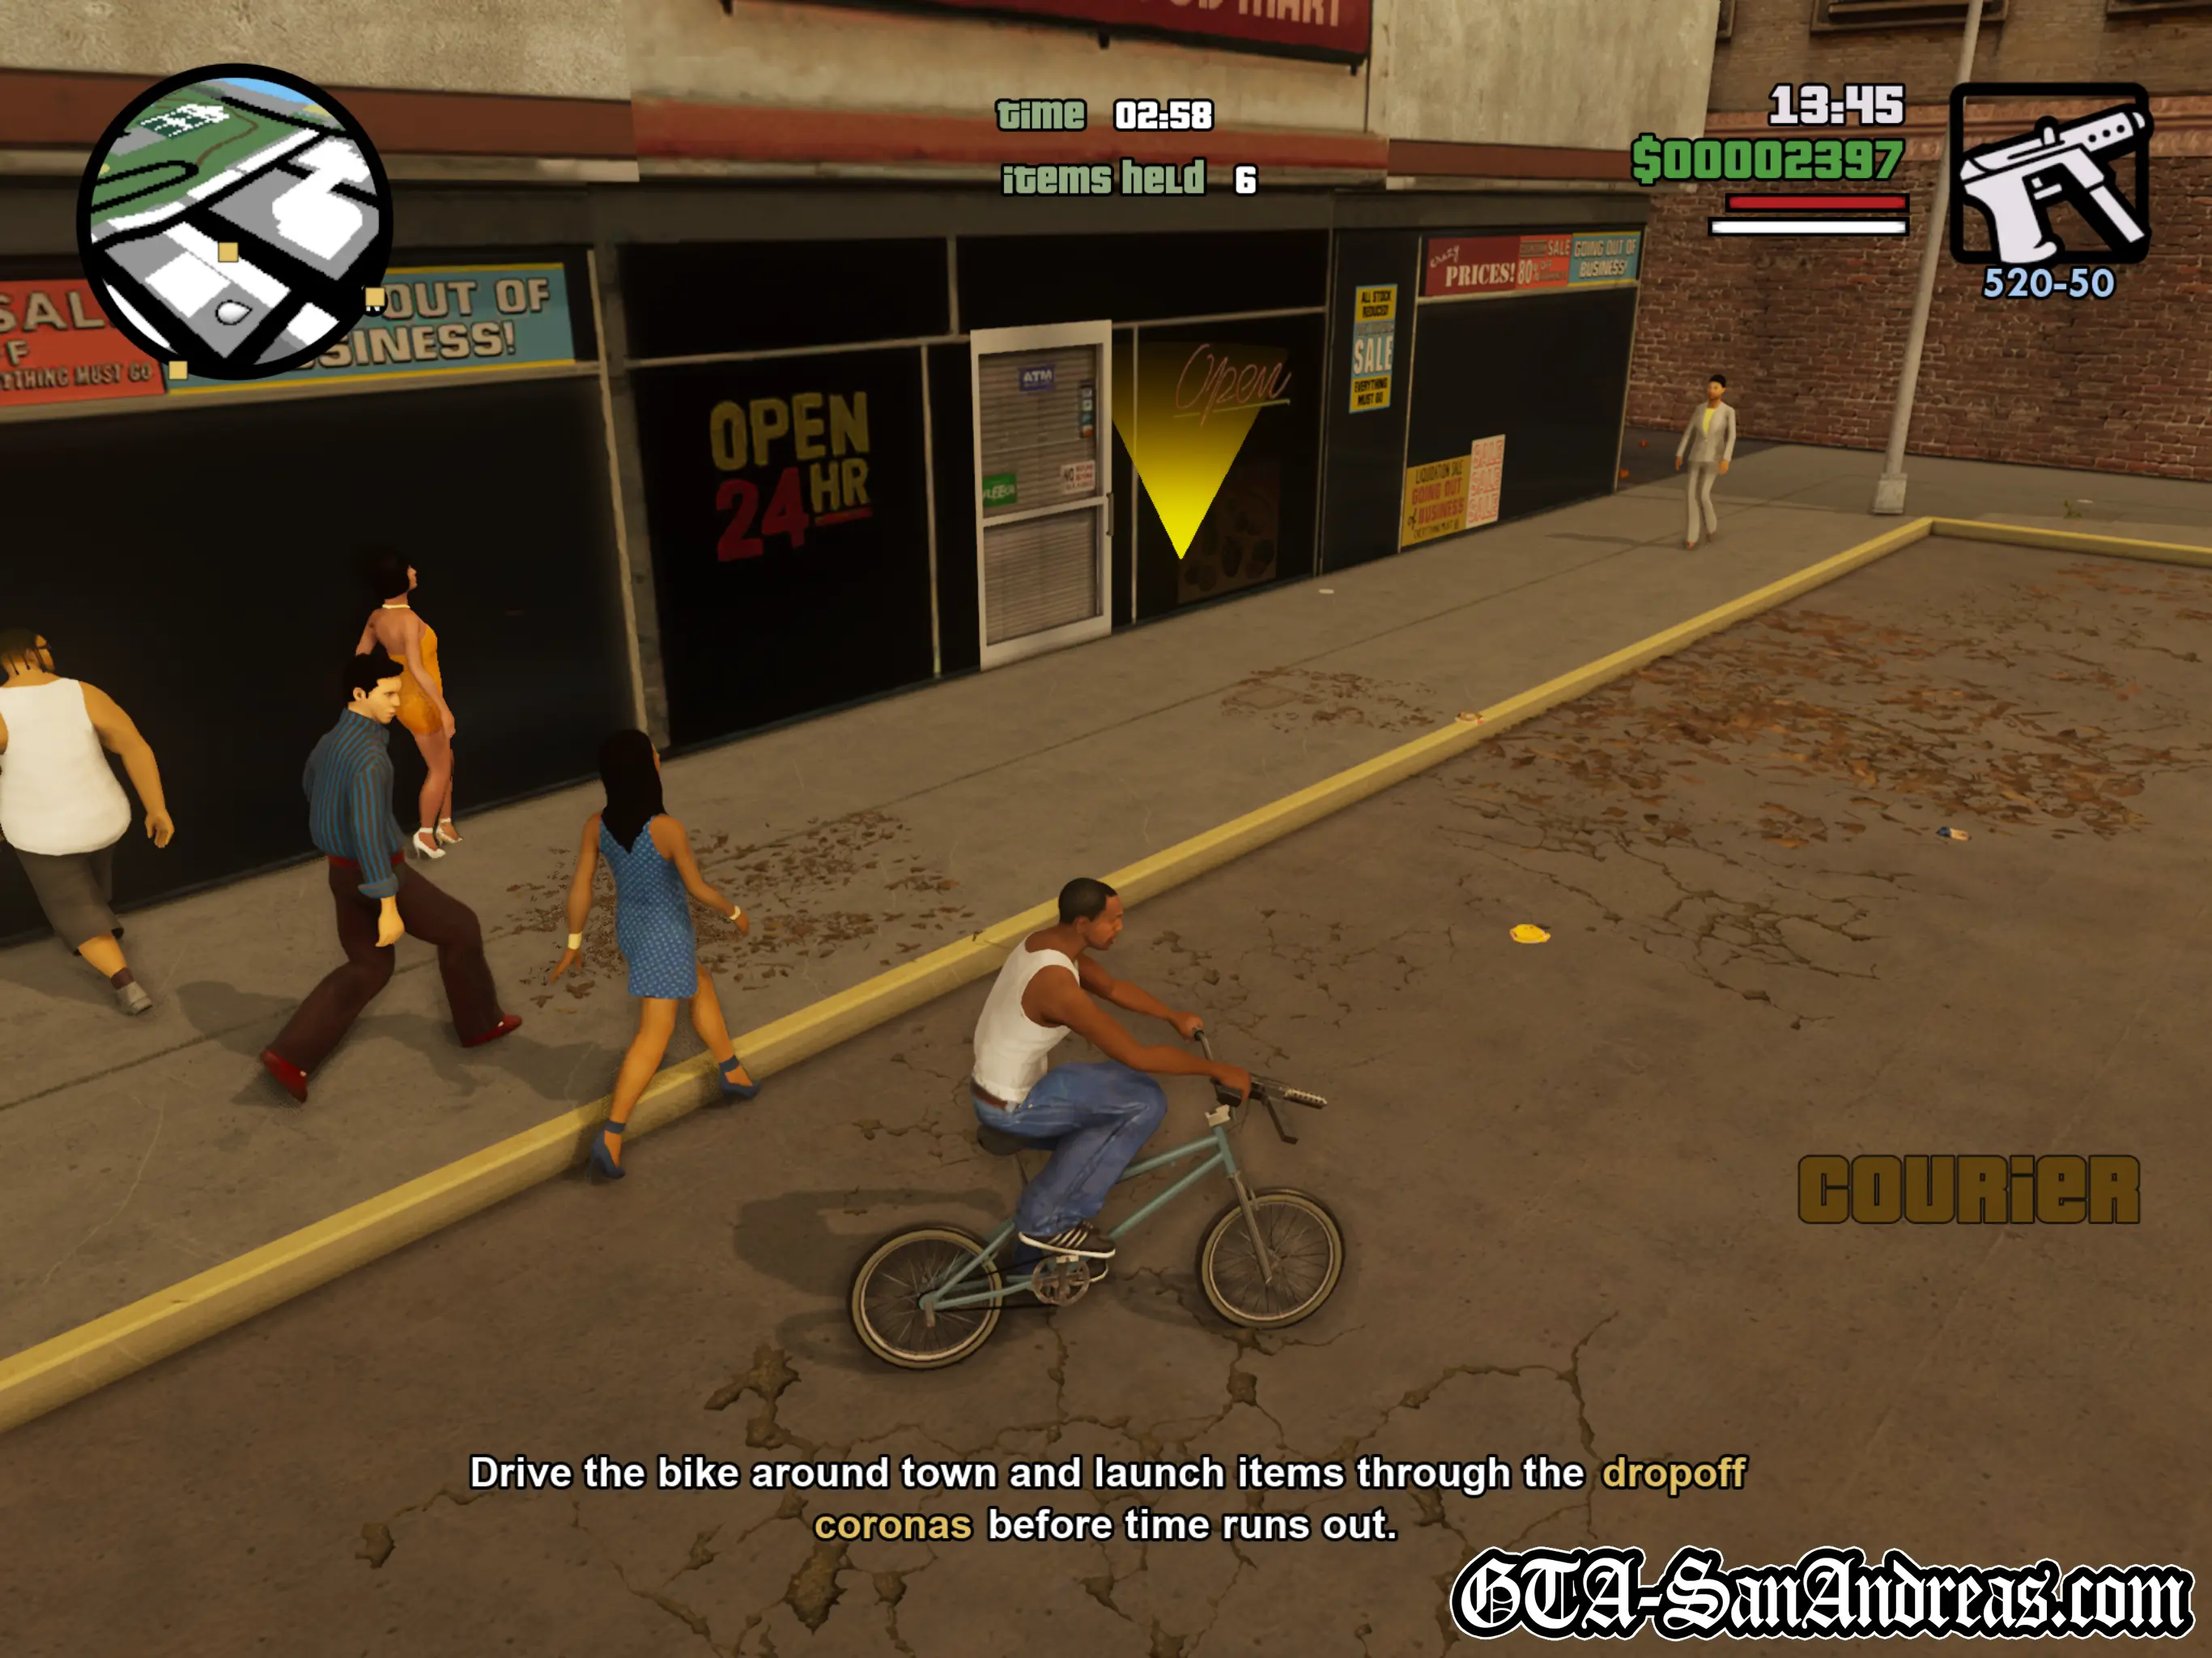
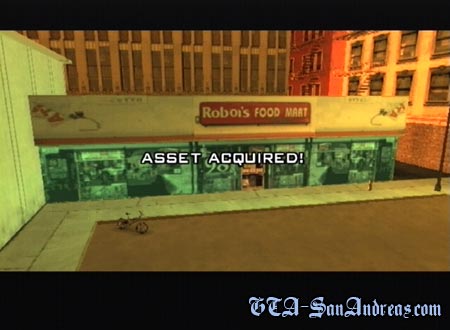
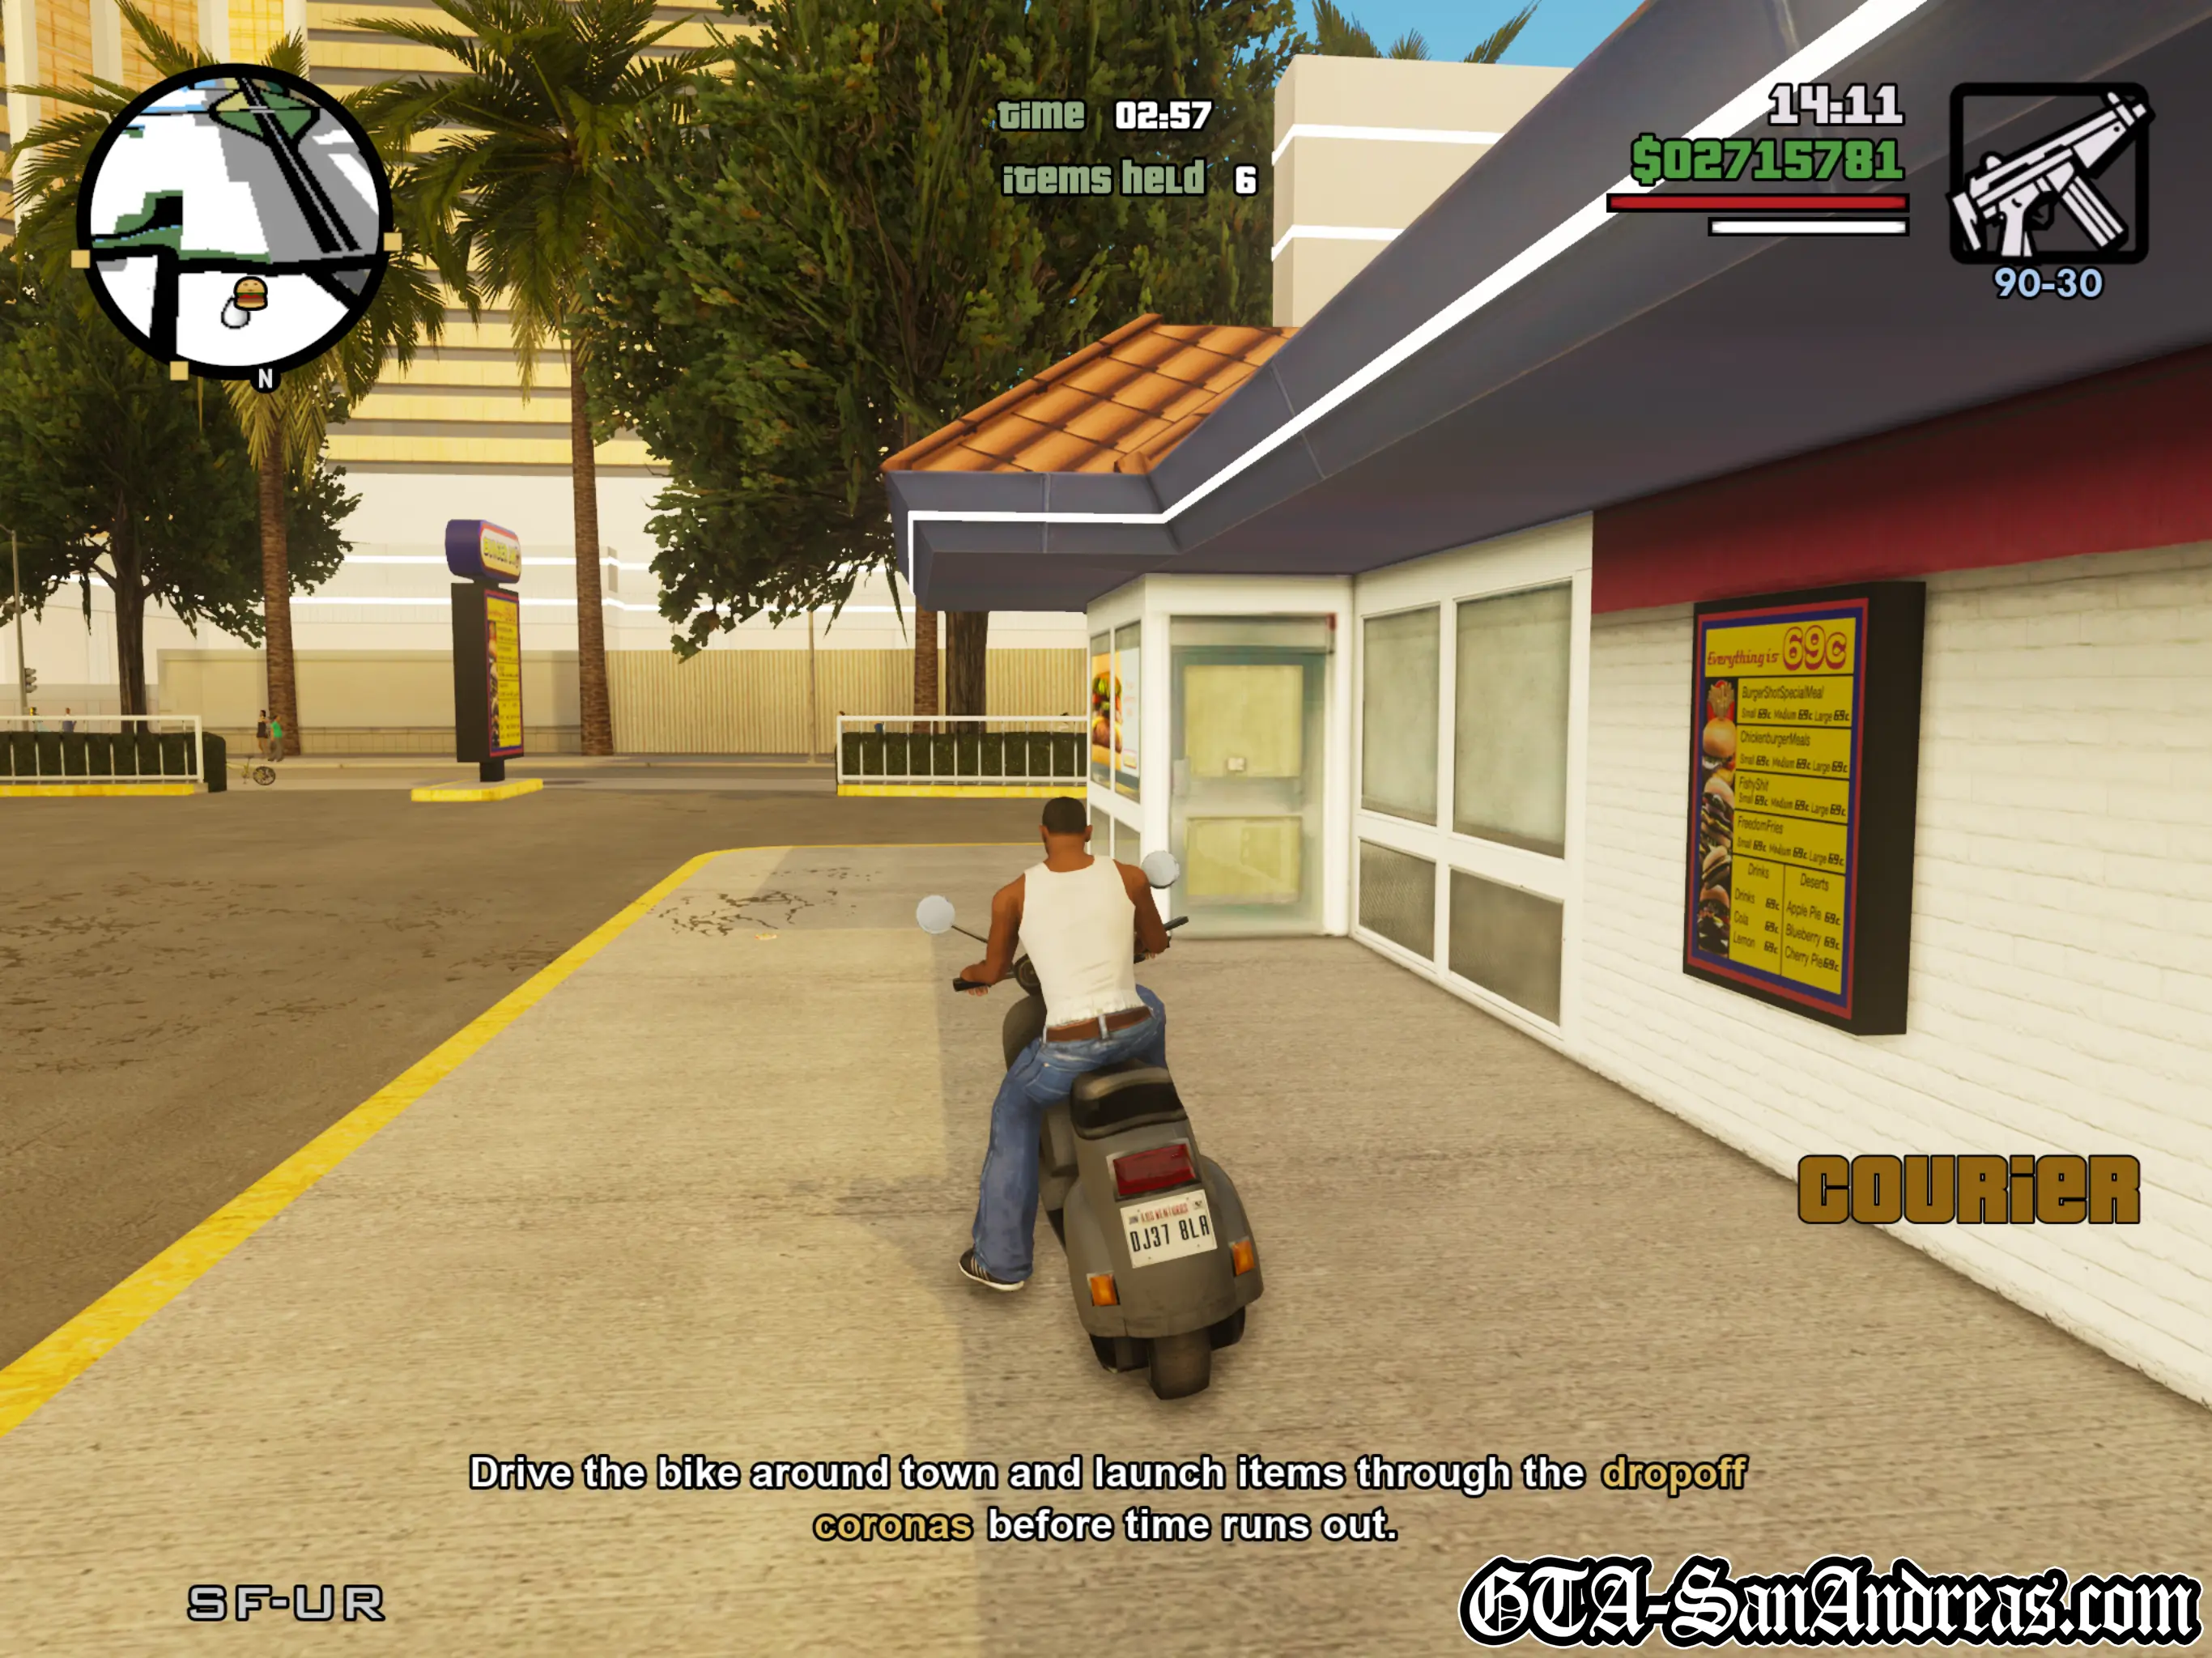
Courier Mission - Roboi's Food Mart
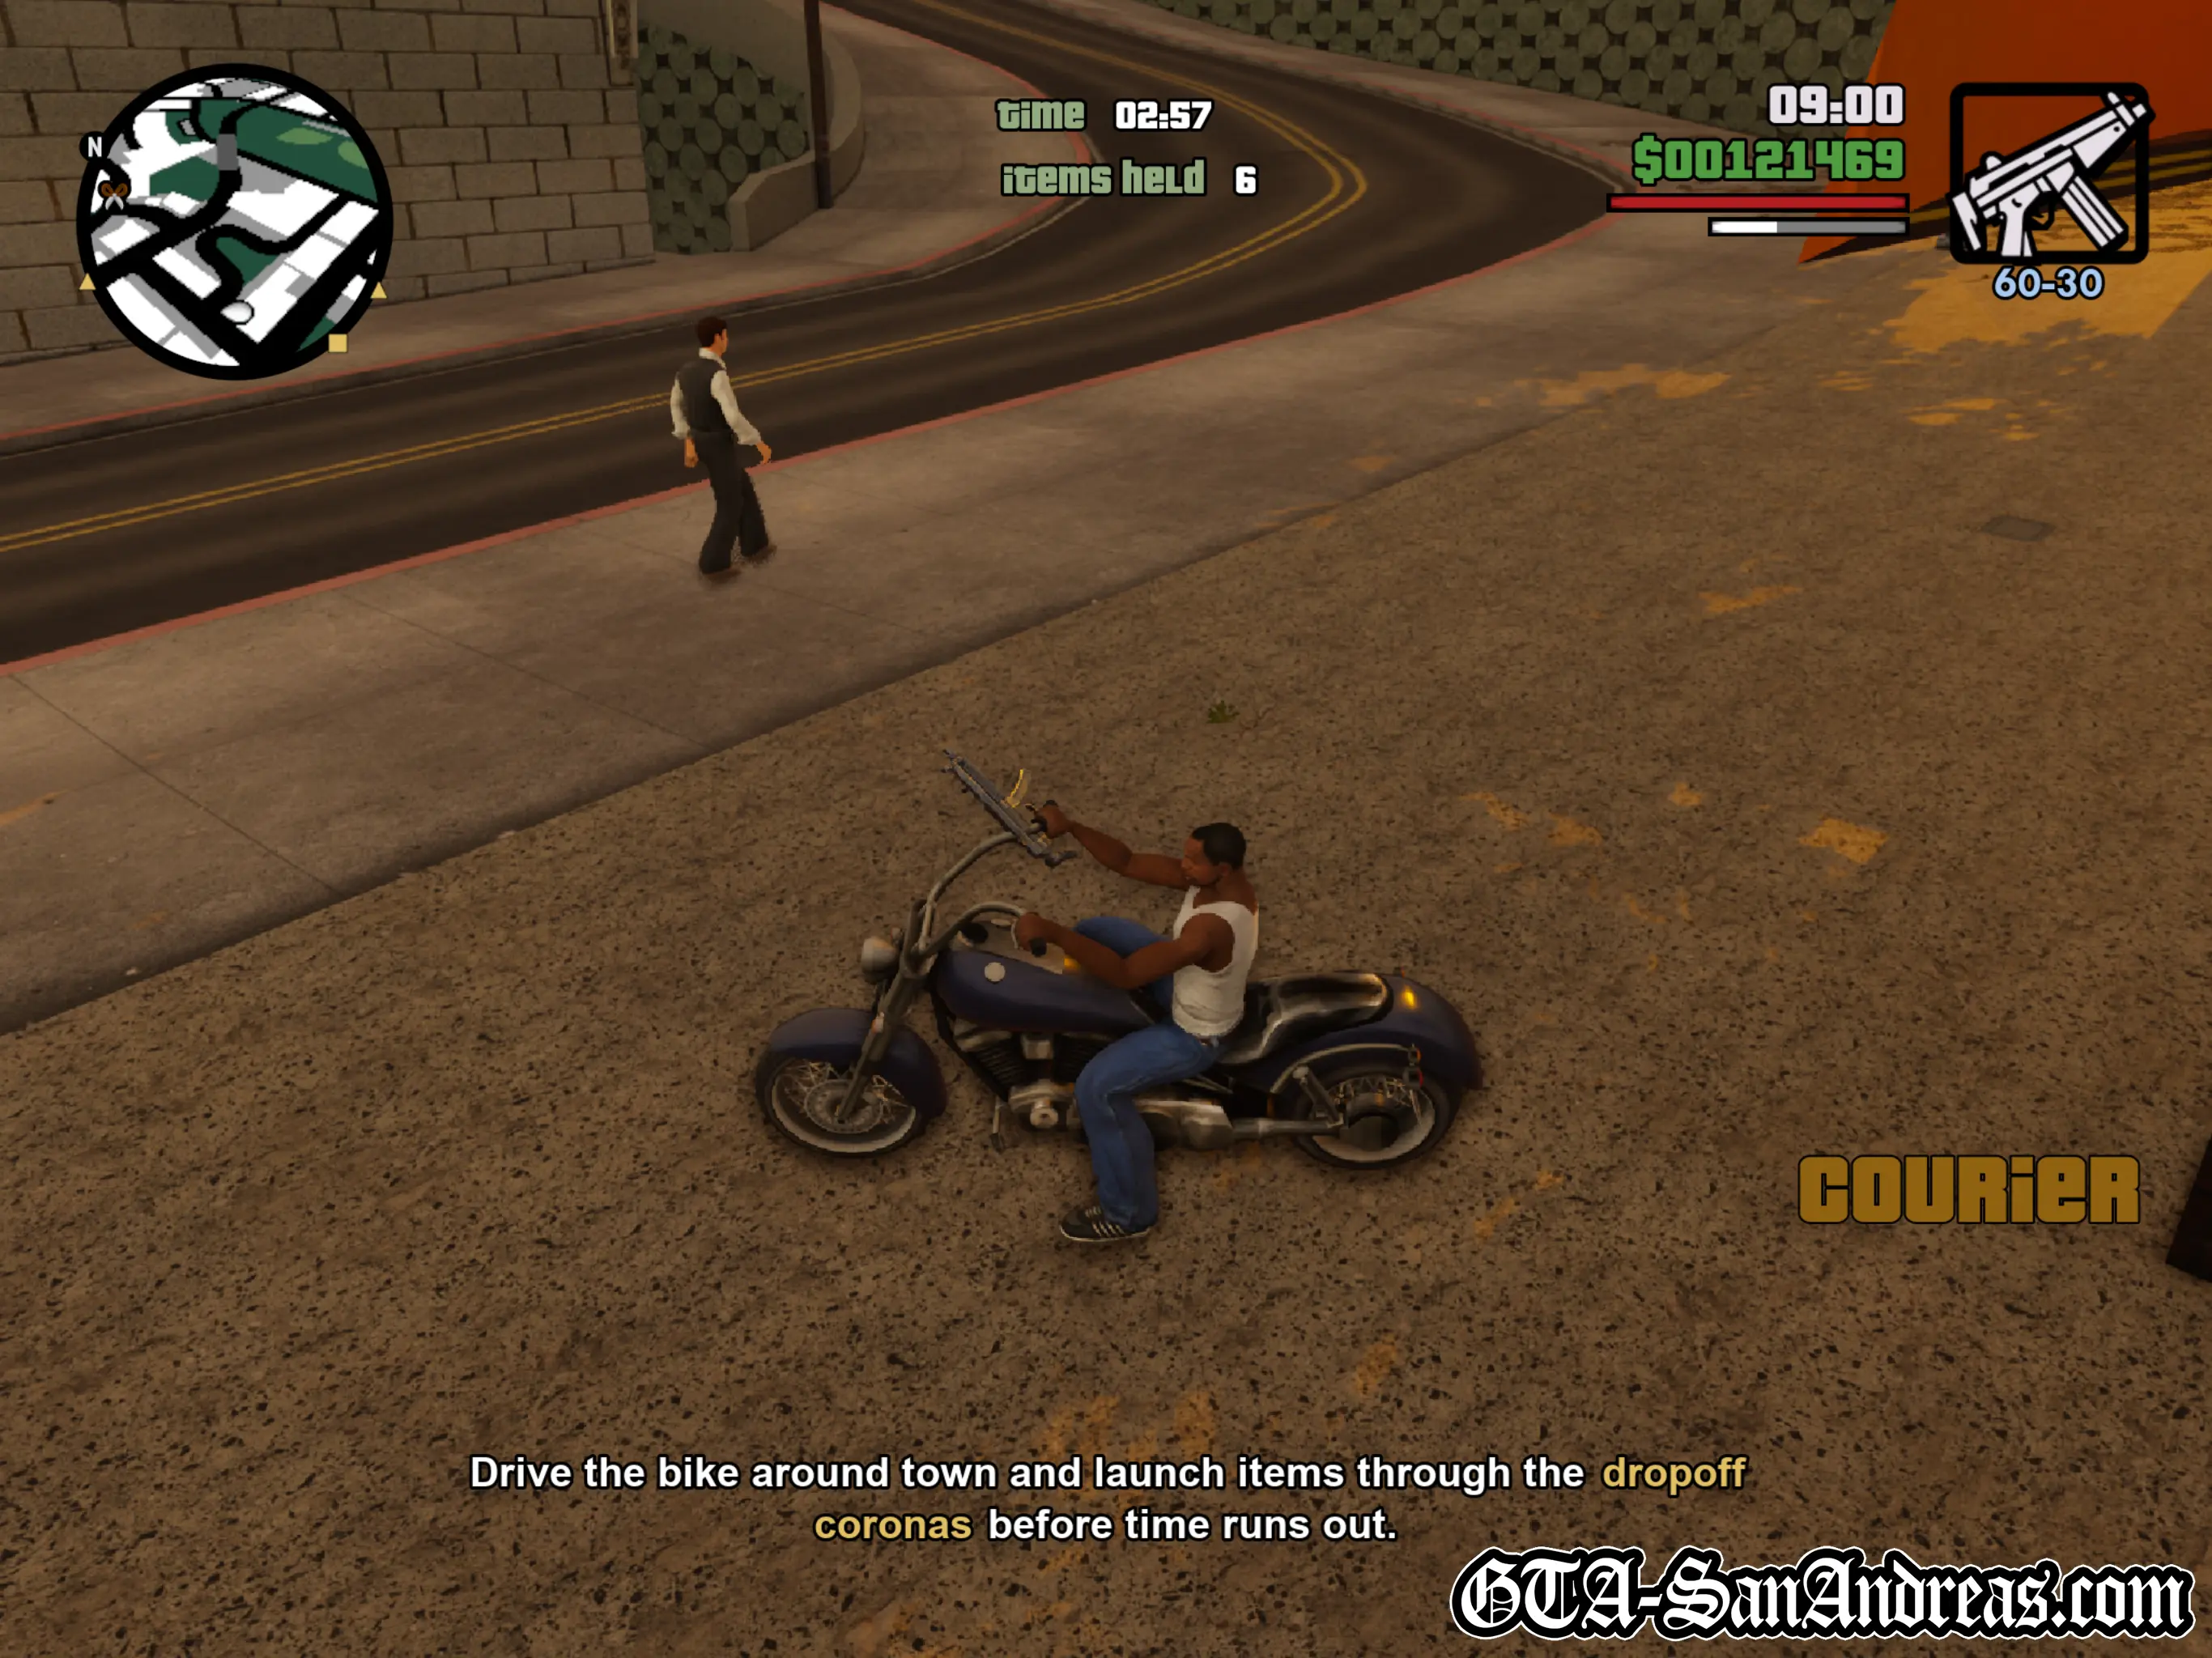
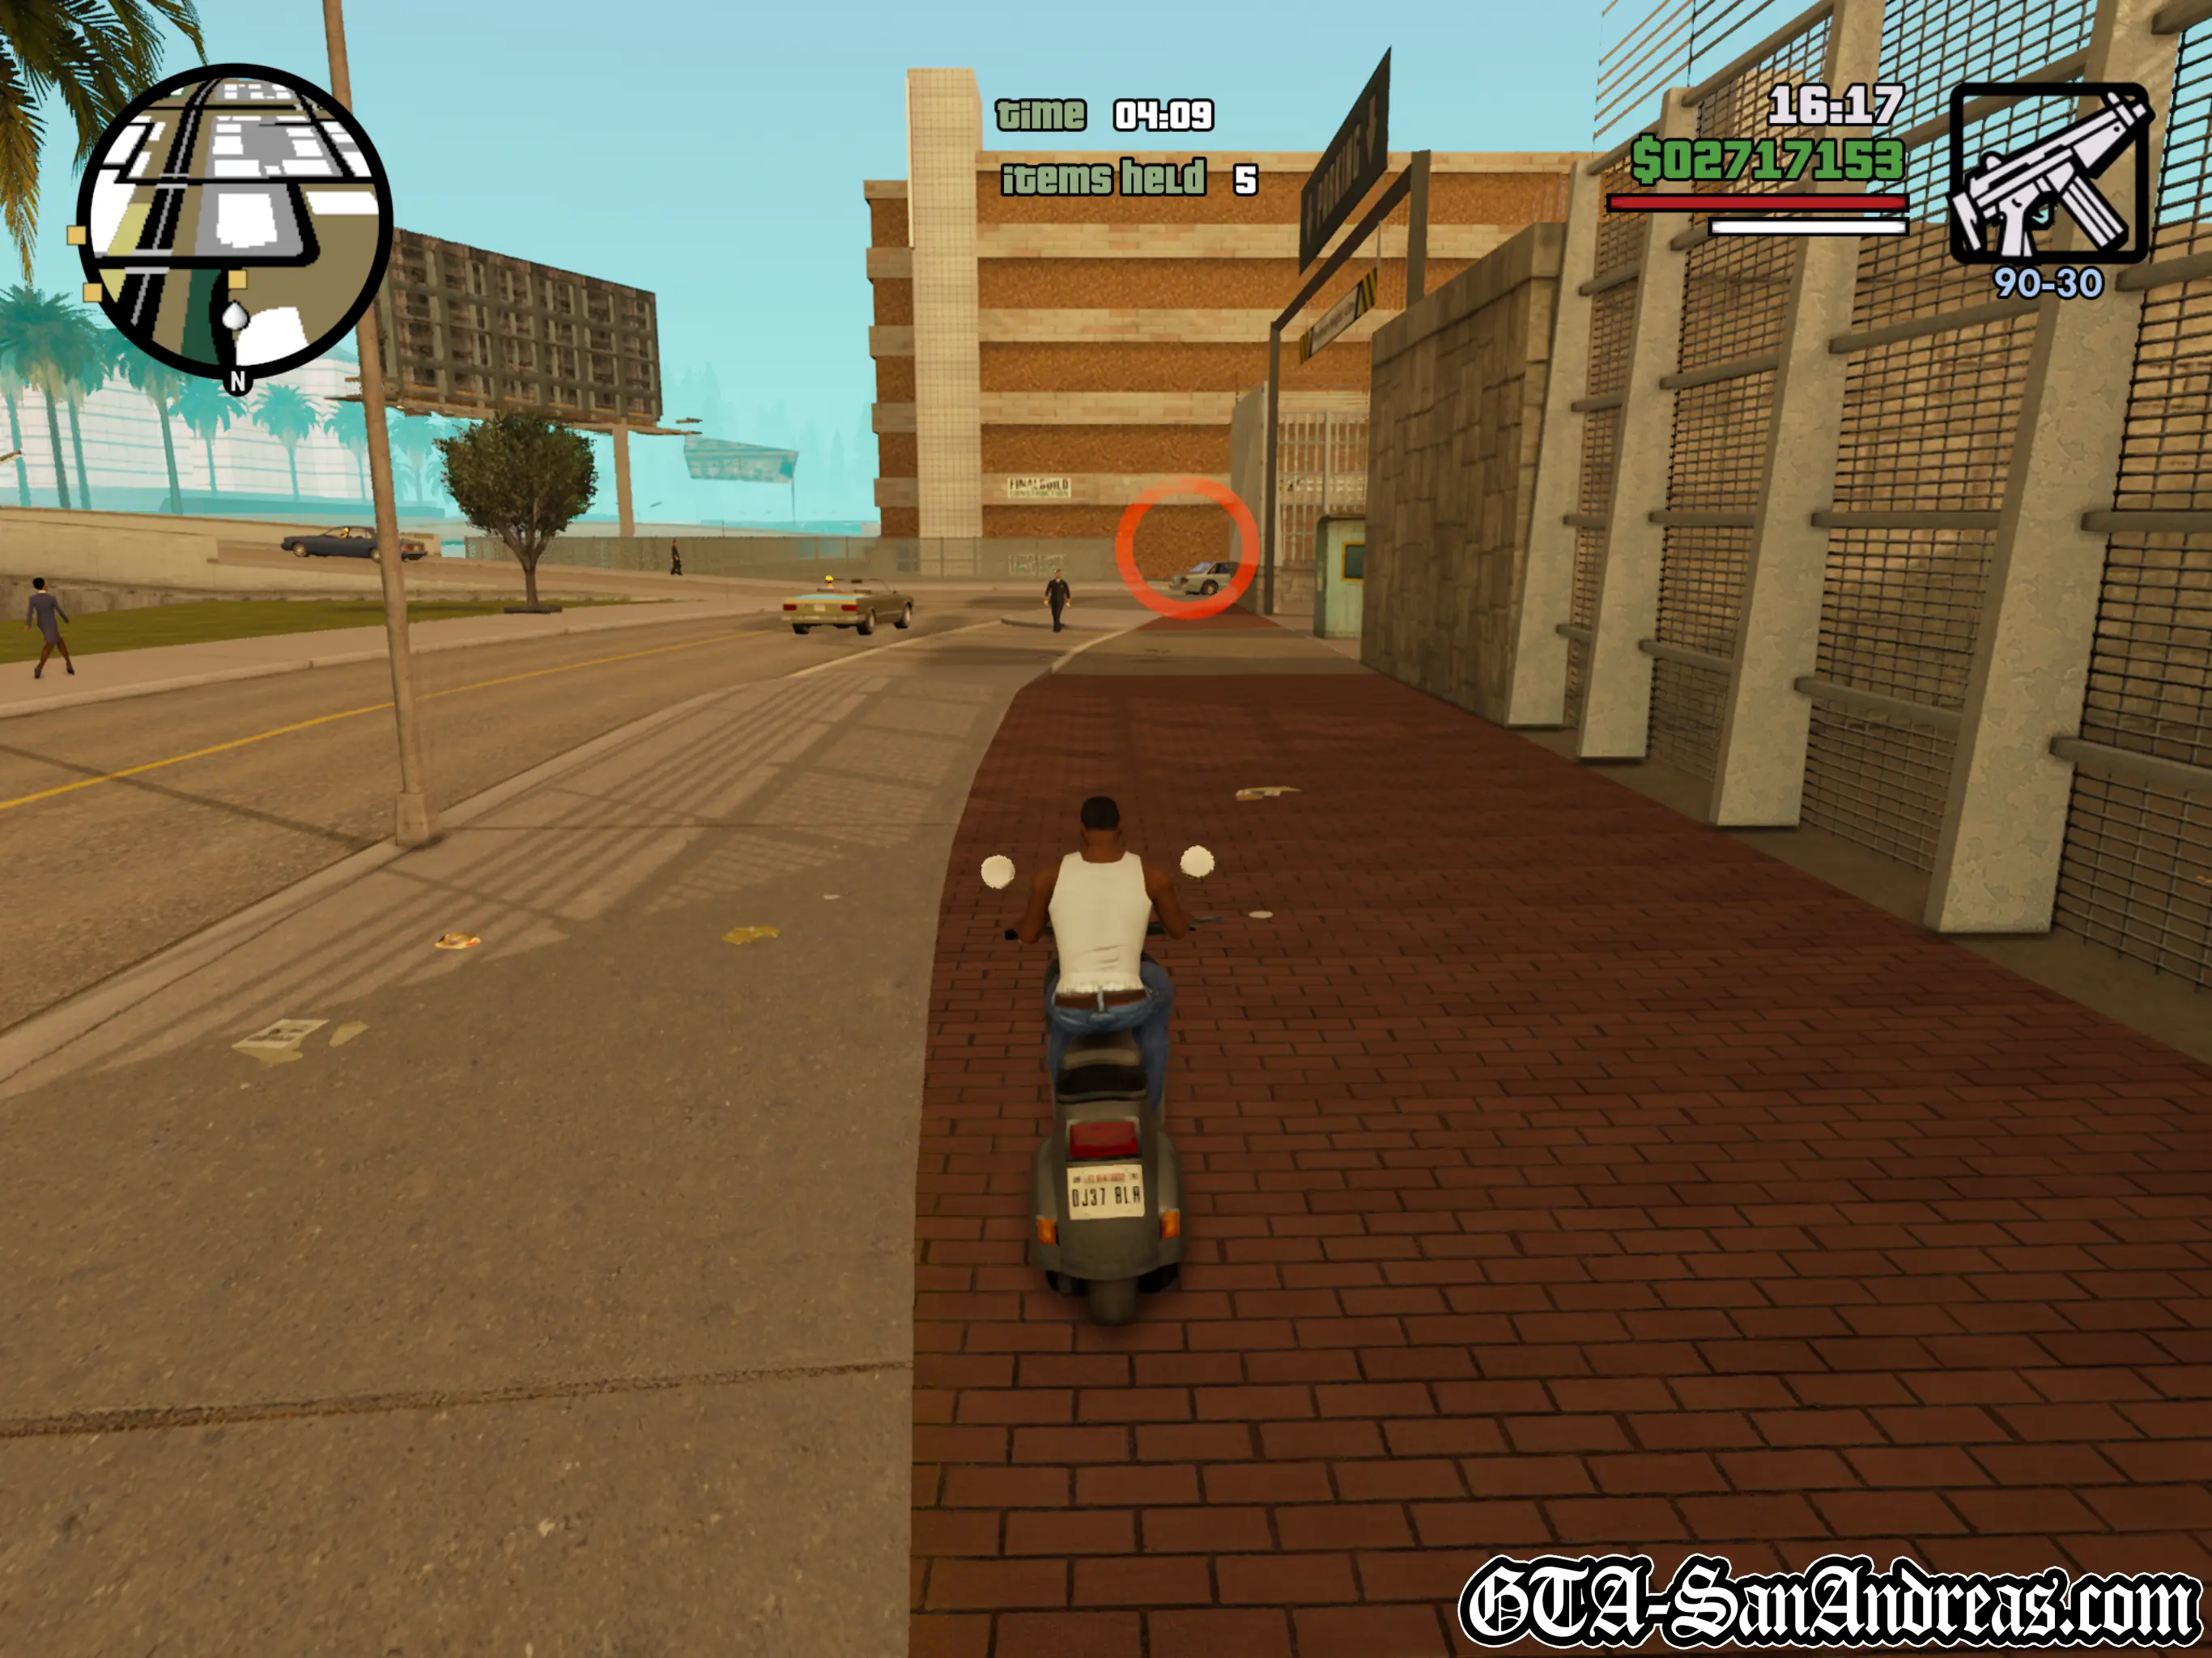
Each city has a hidden Courier Mission which involves making deliveries for a business, very similar to the Pizza Delivery missions from GTA Vice City. These are technically hidden challenges, however they'll reward the business as an asset on completion.
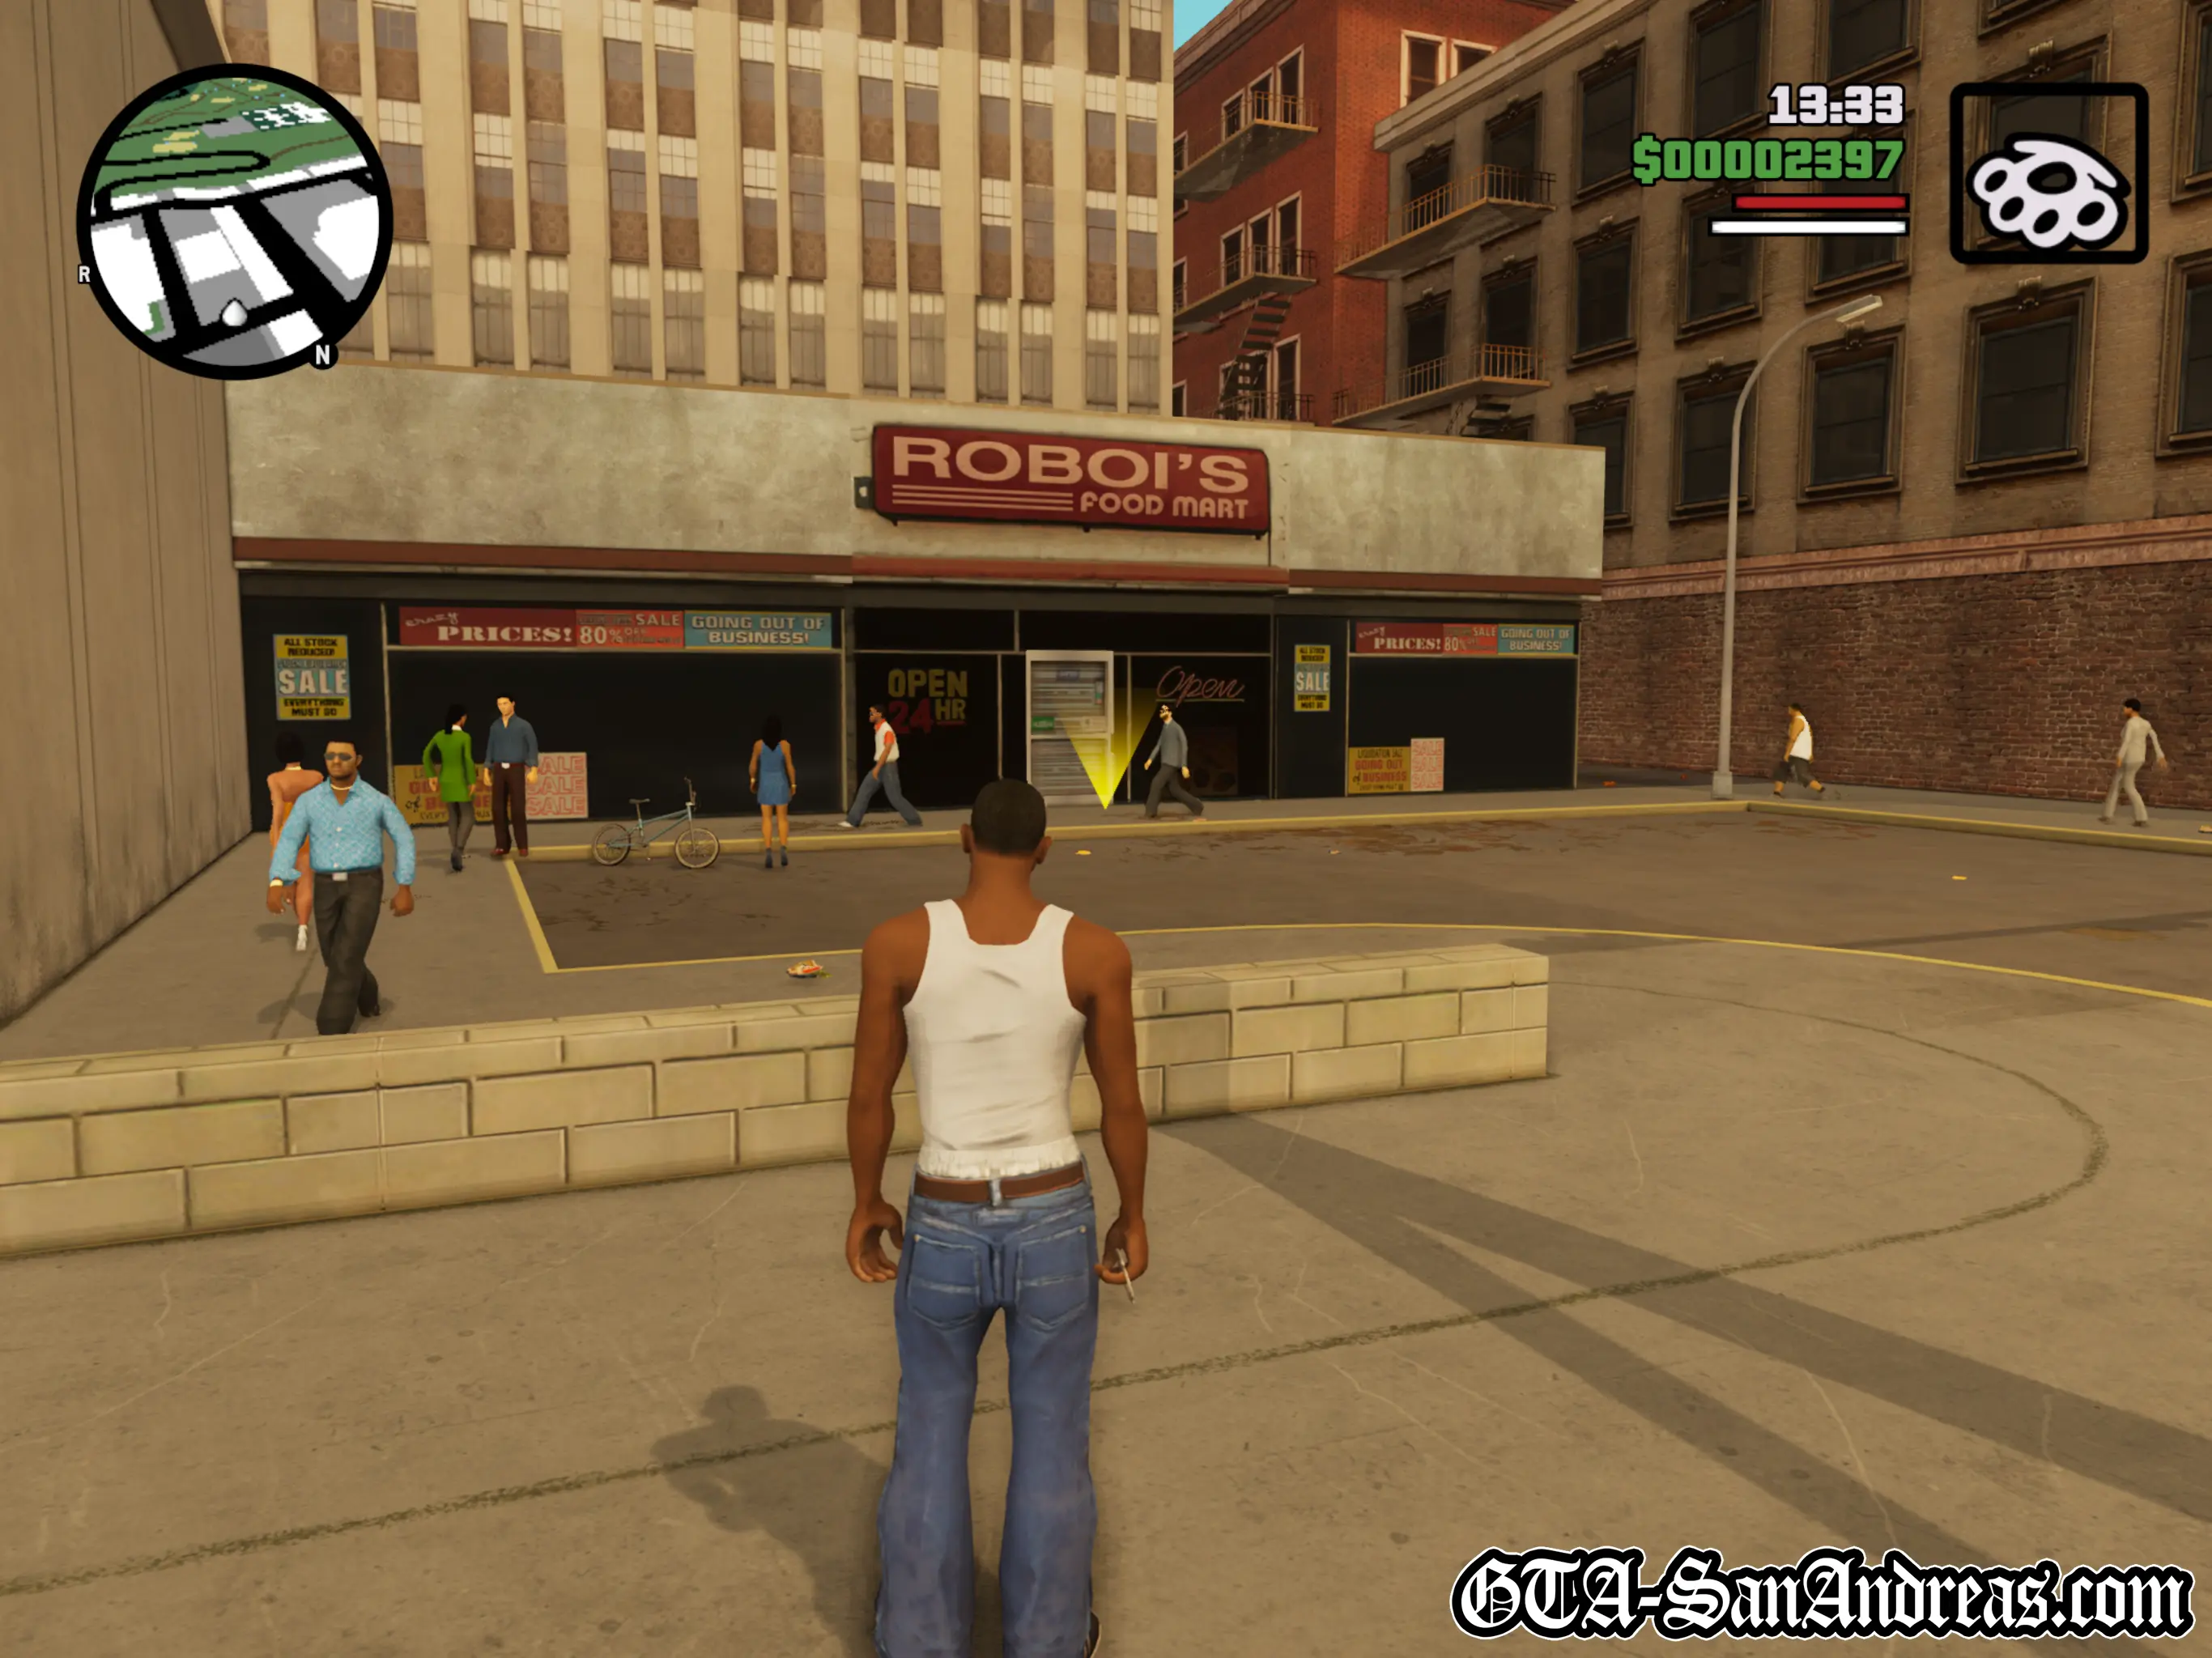
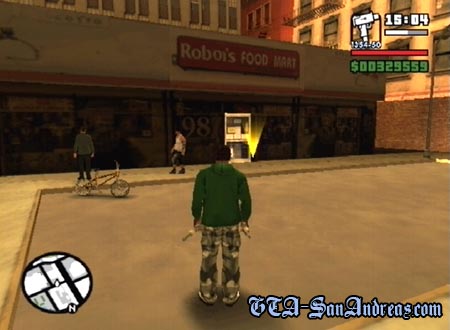
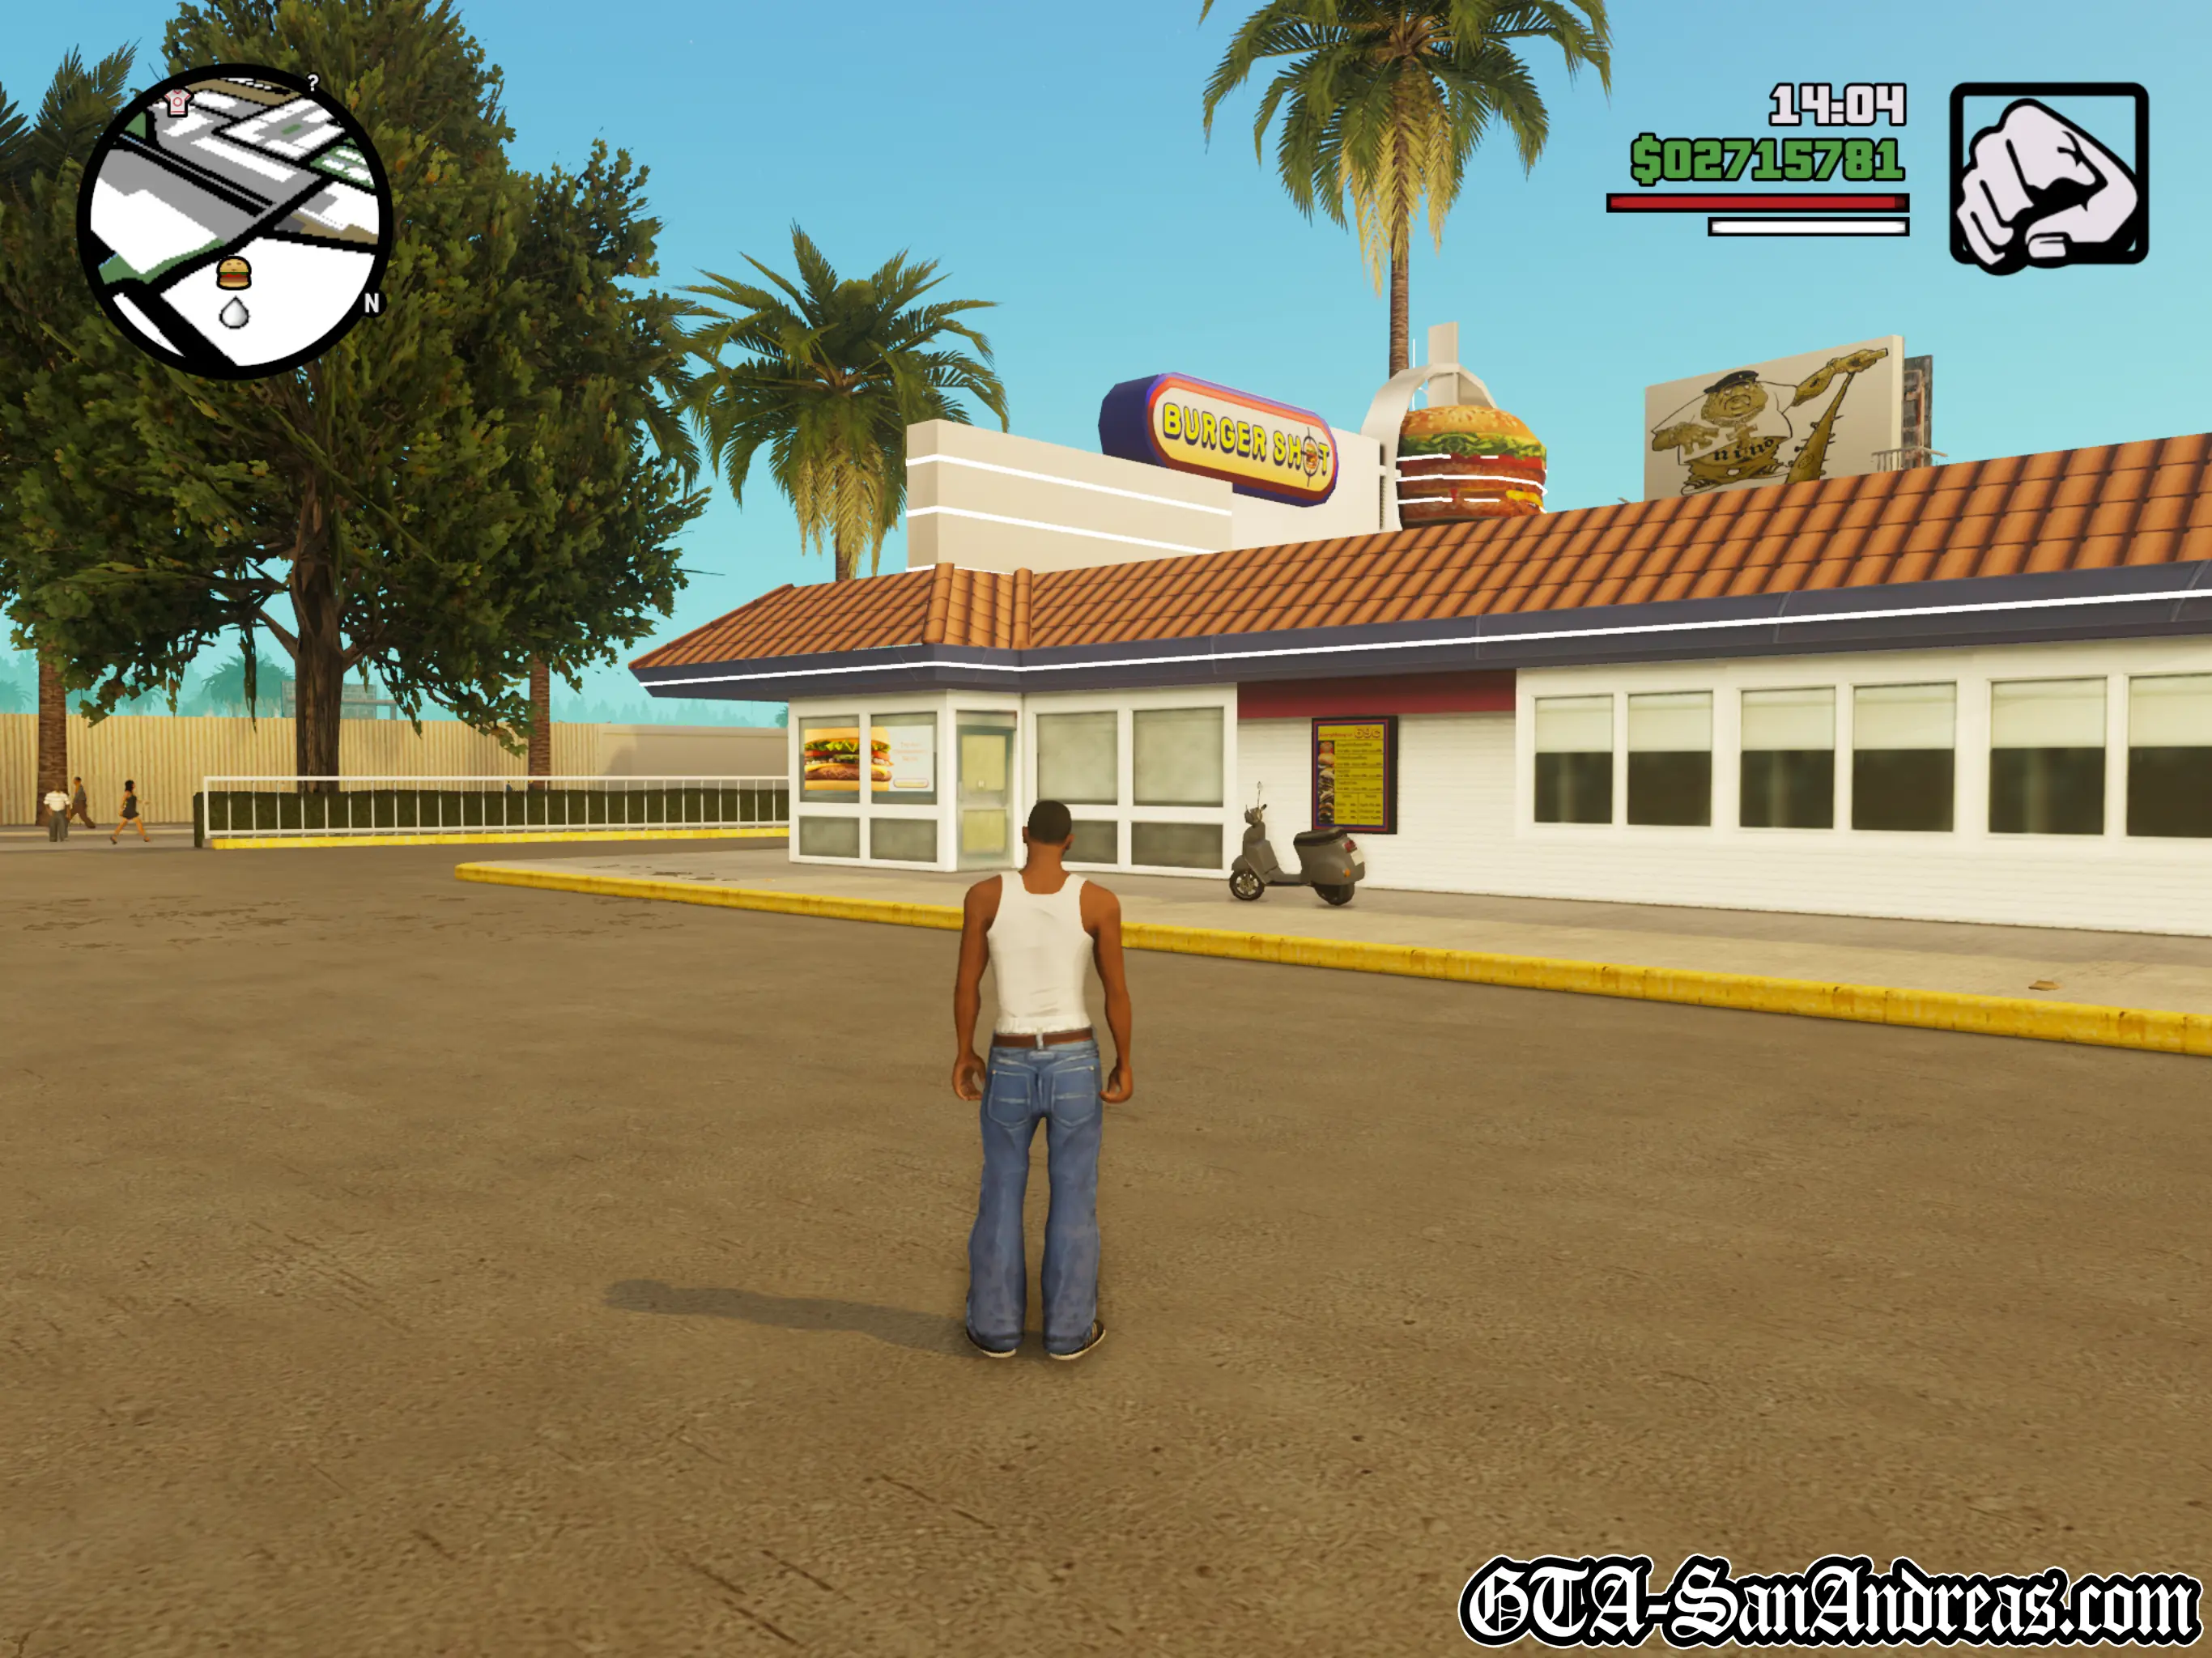
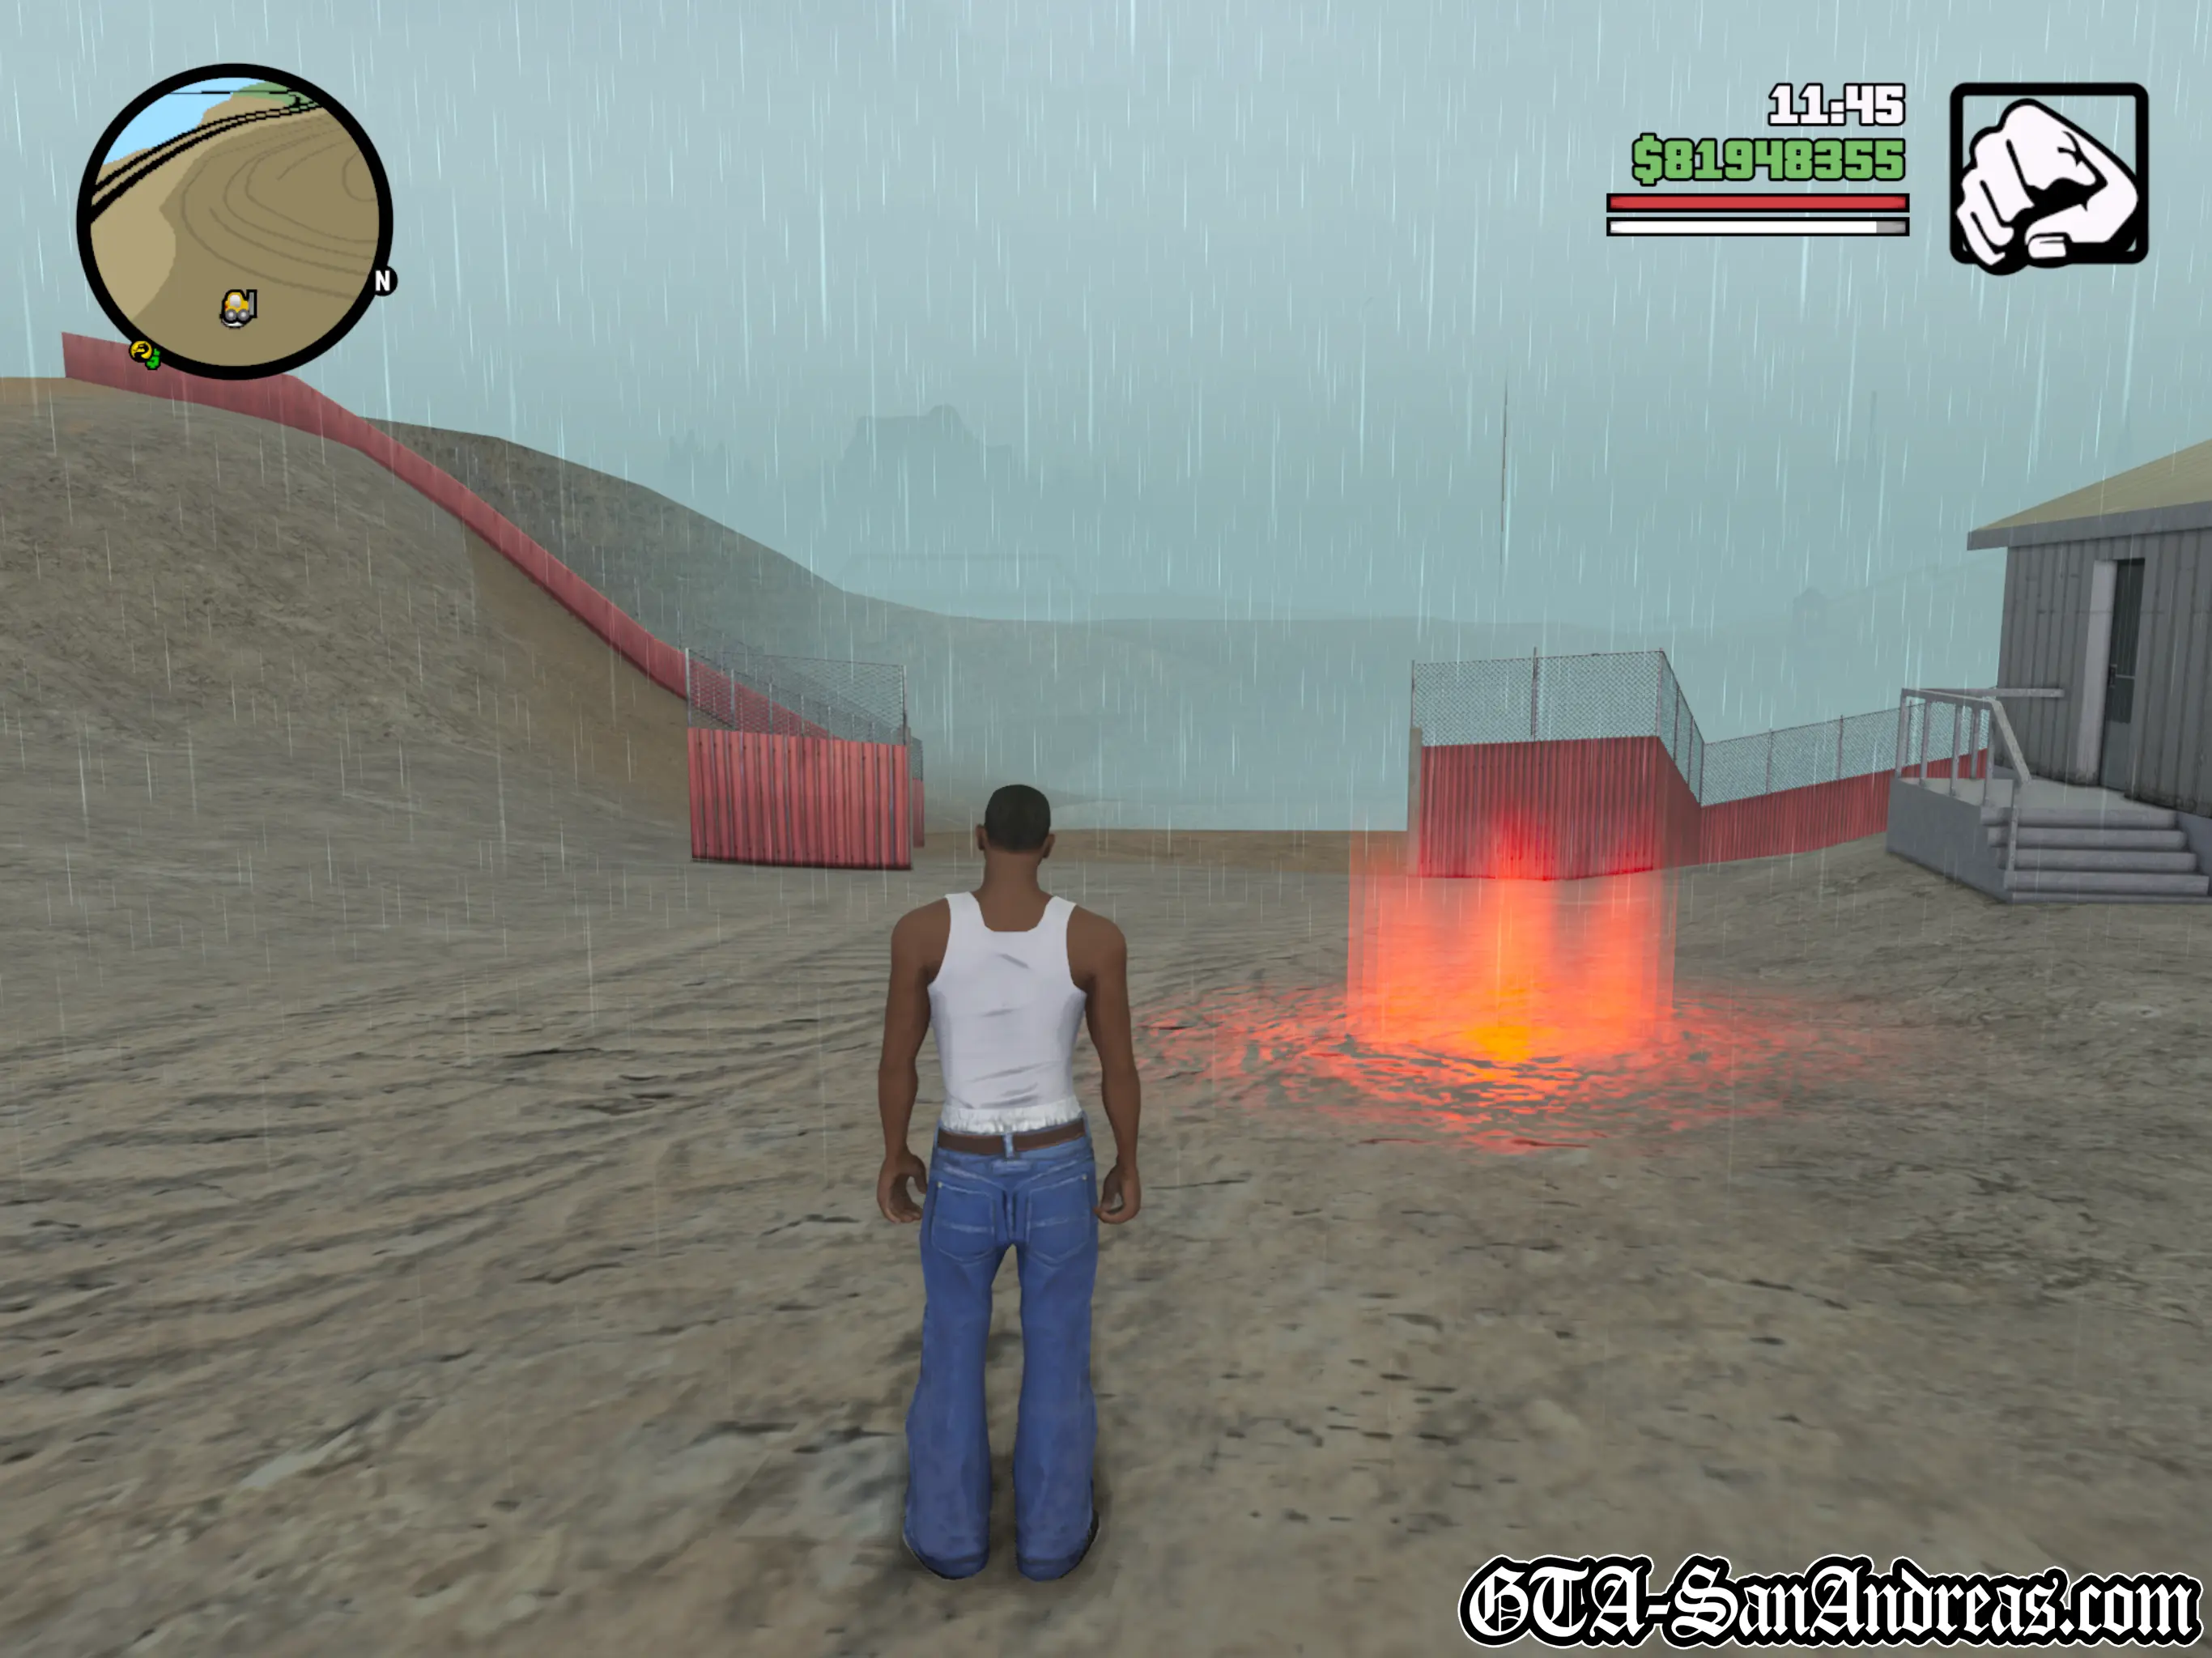
In Los Santos, the courier challenge can be found outside Roboi's Food Mart. This is located in Commerce which is to the South West of the main Los Santos area.
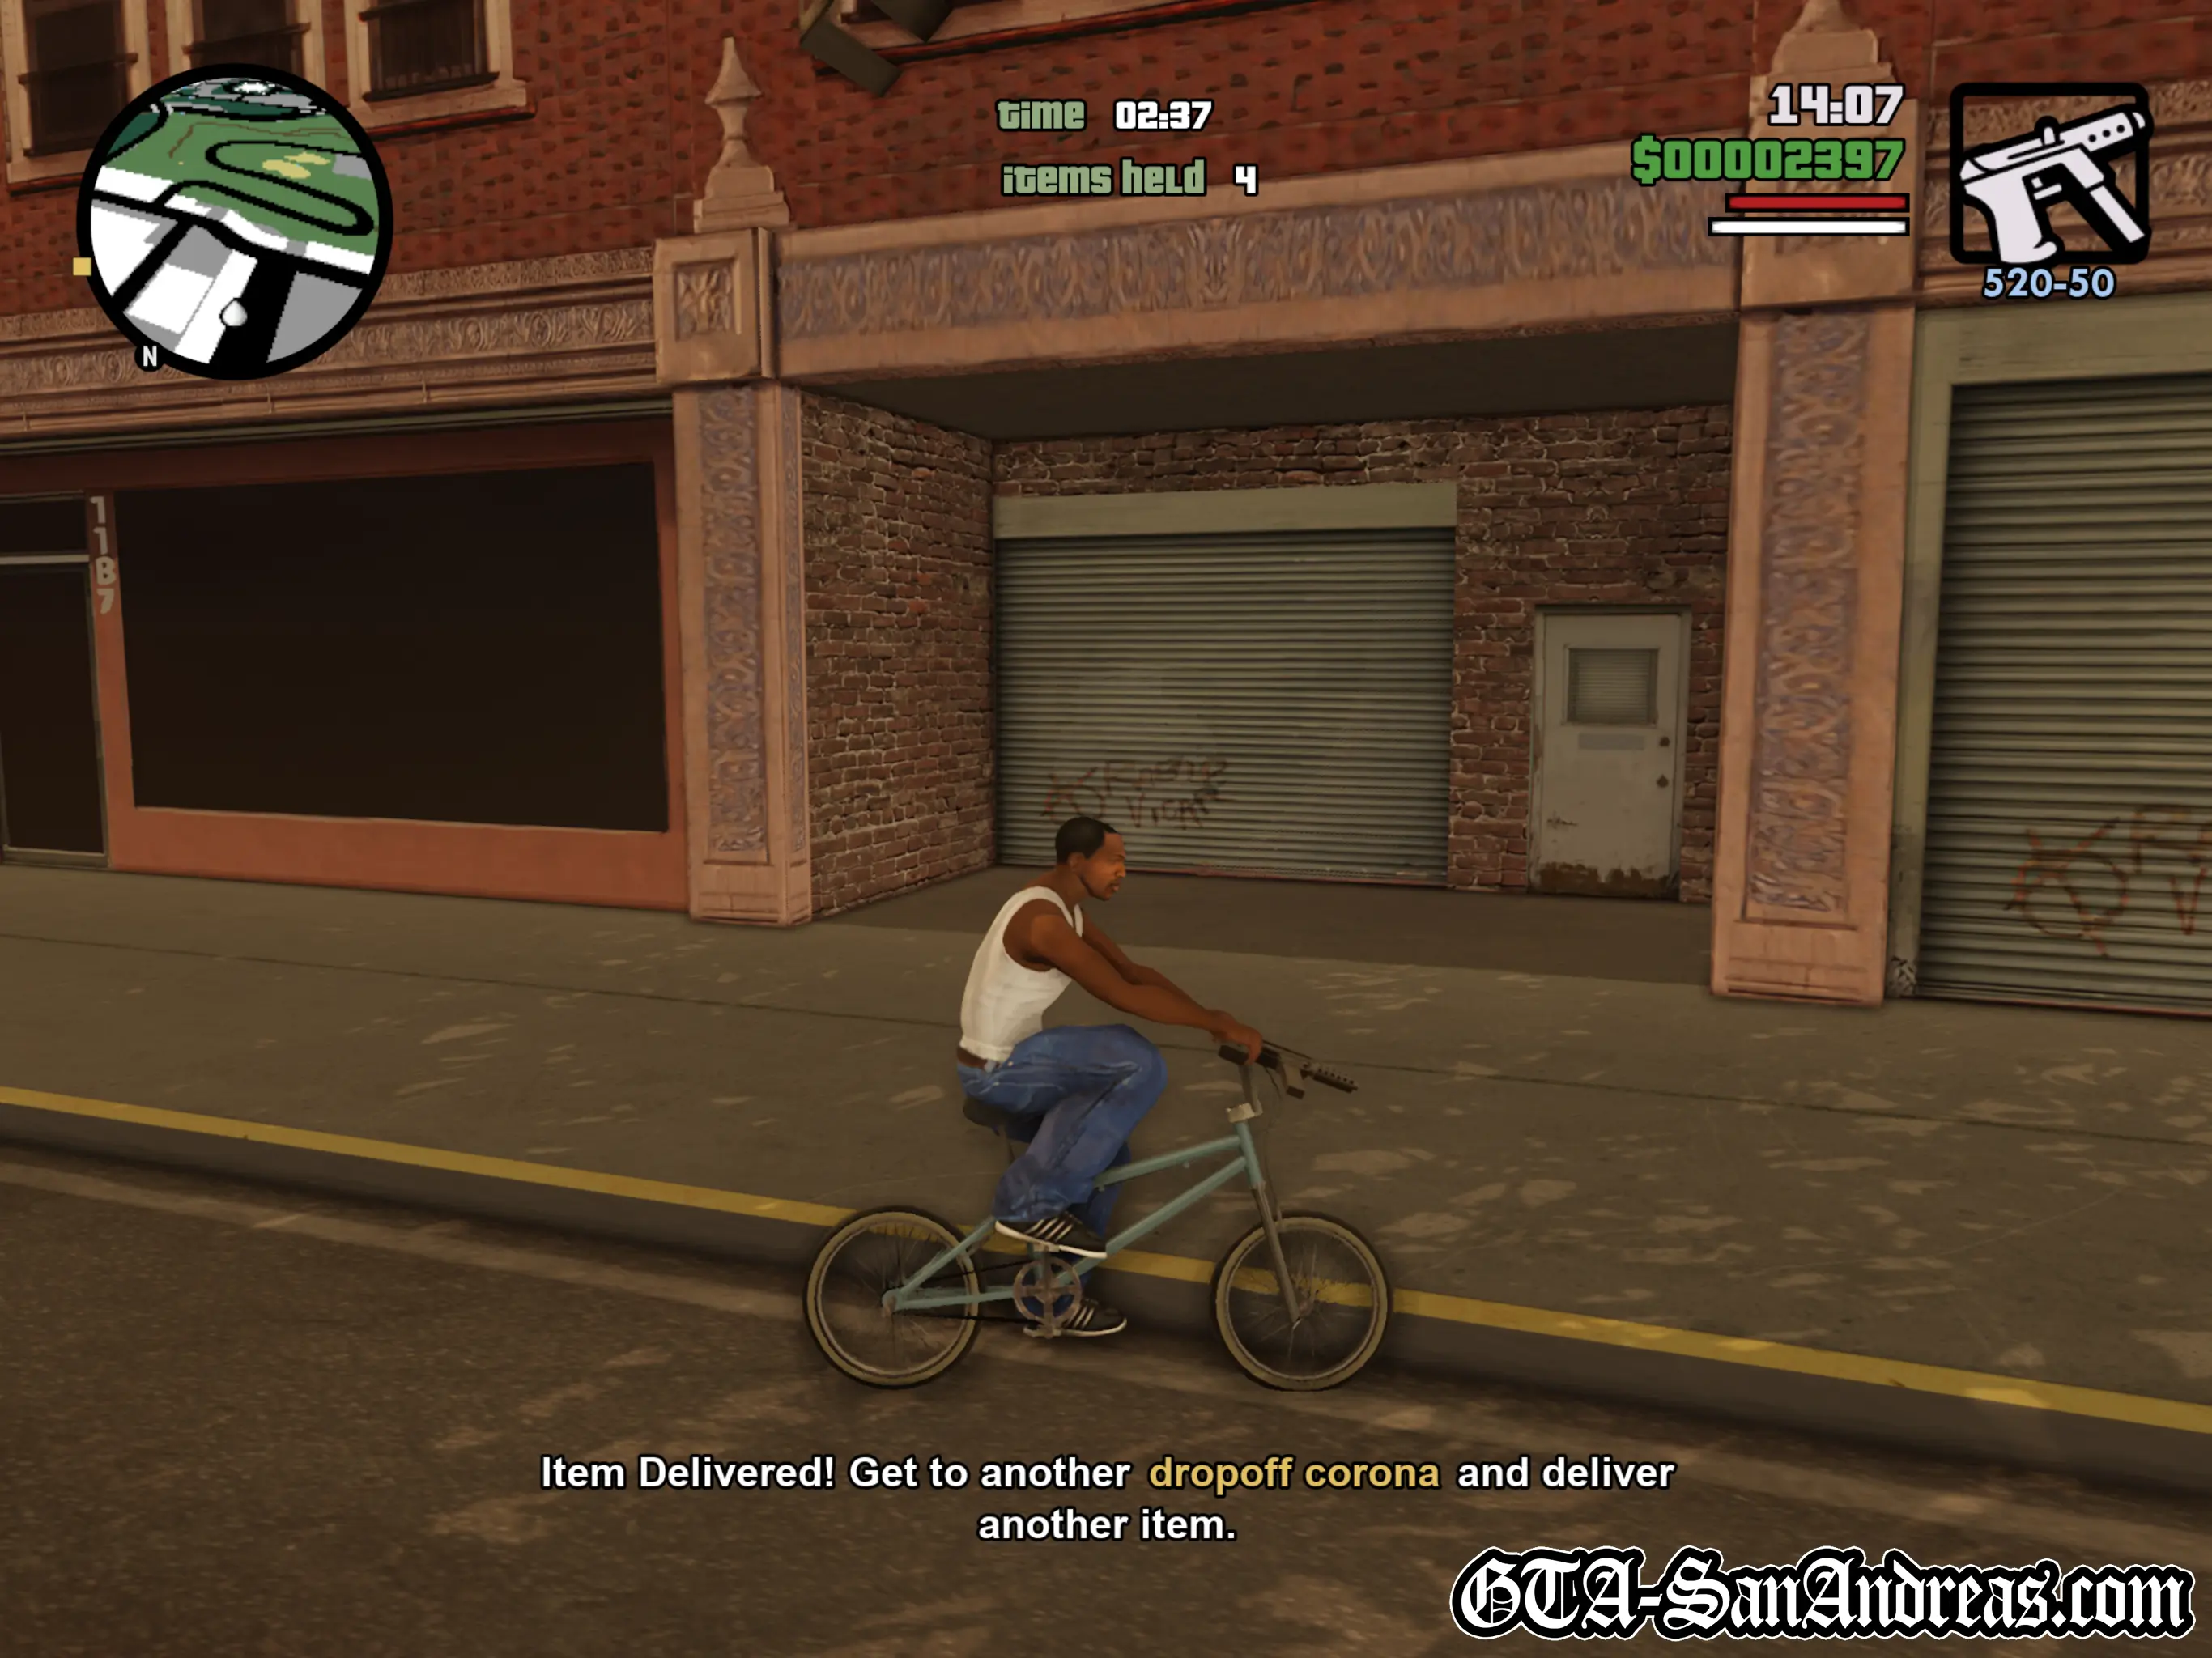
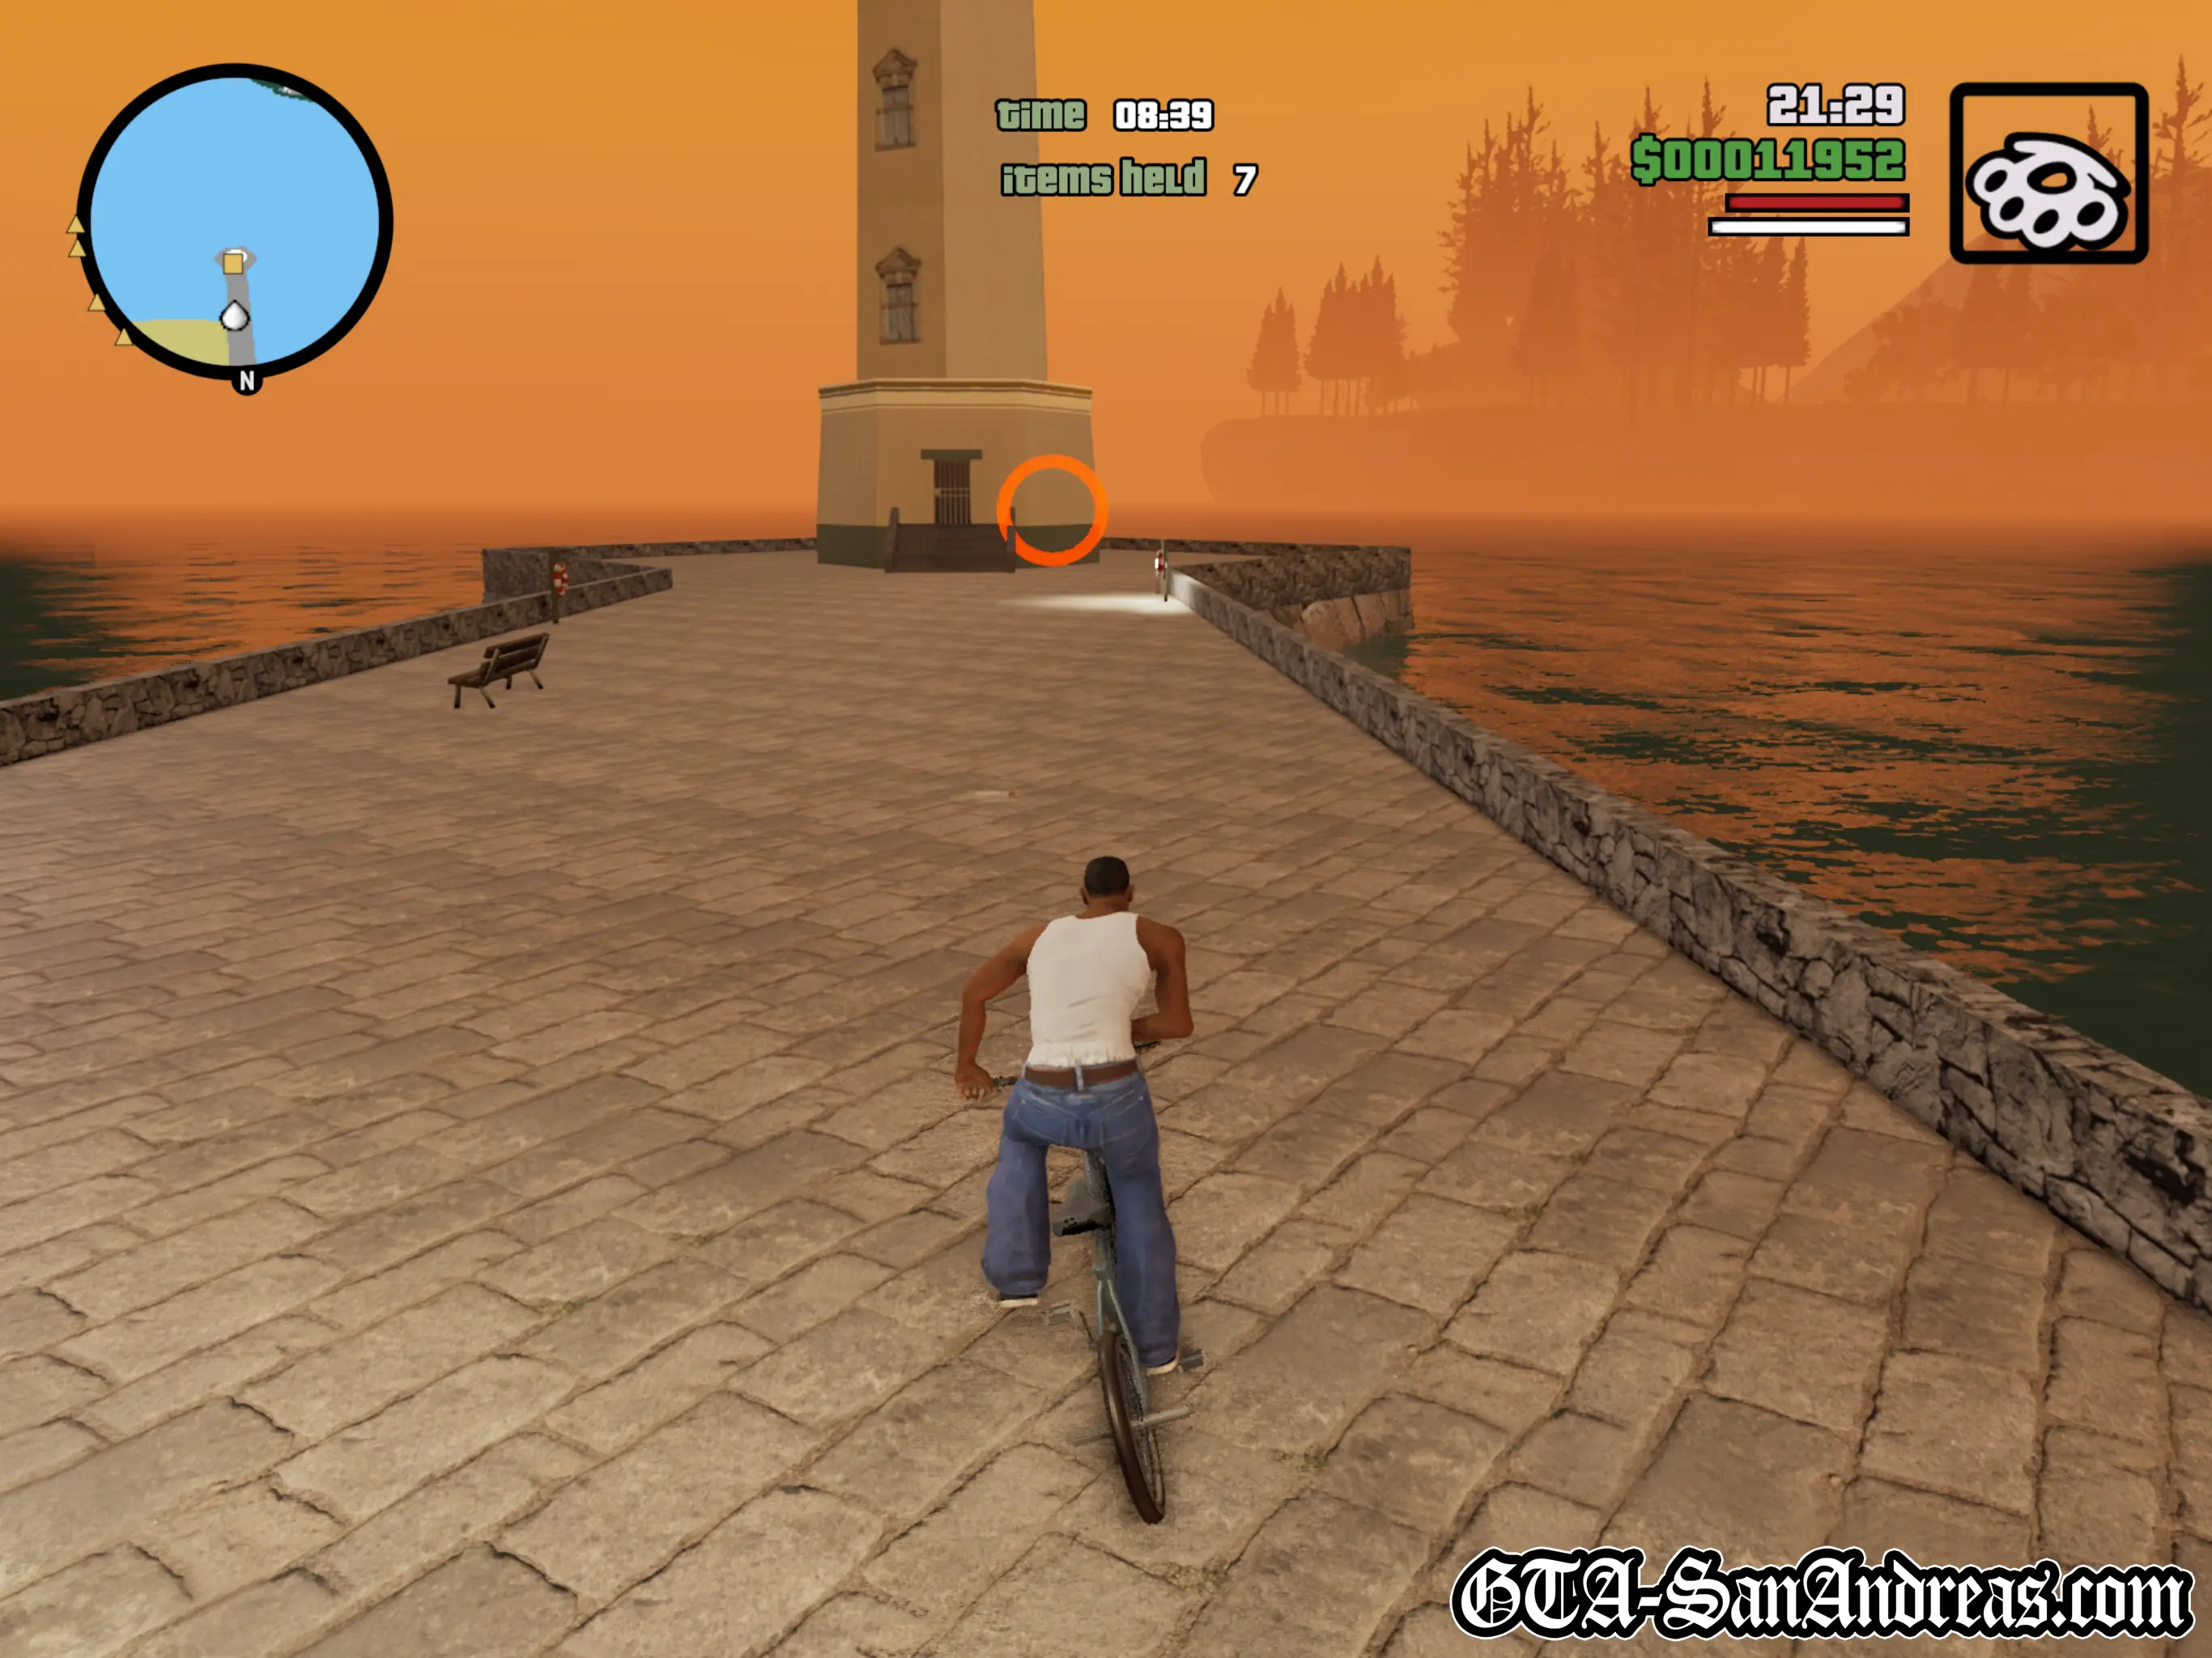
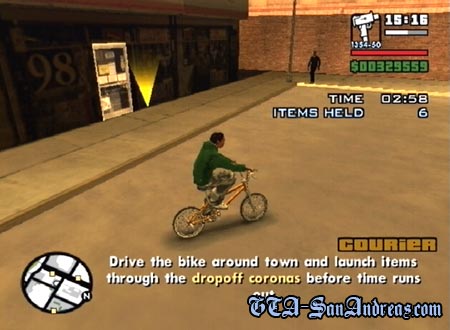
Once you climb on the BMX parked out front, you'll start the mission and be given 6 items to deliver to 3 large red coronas.
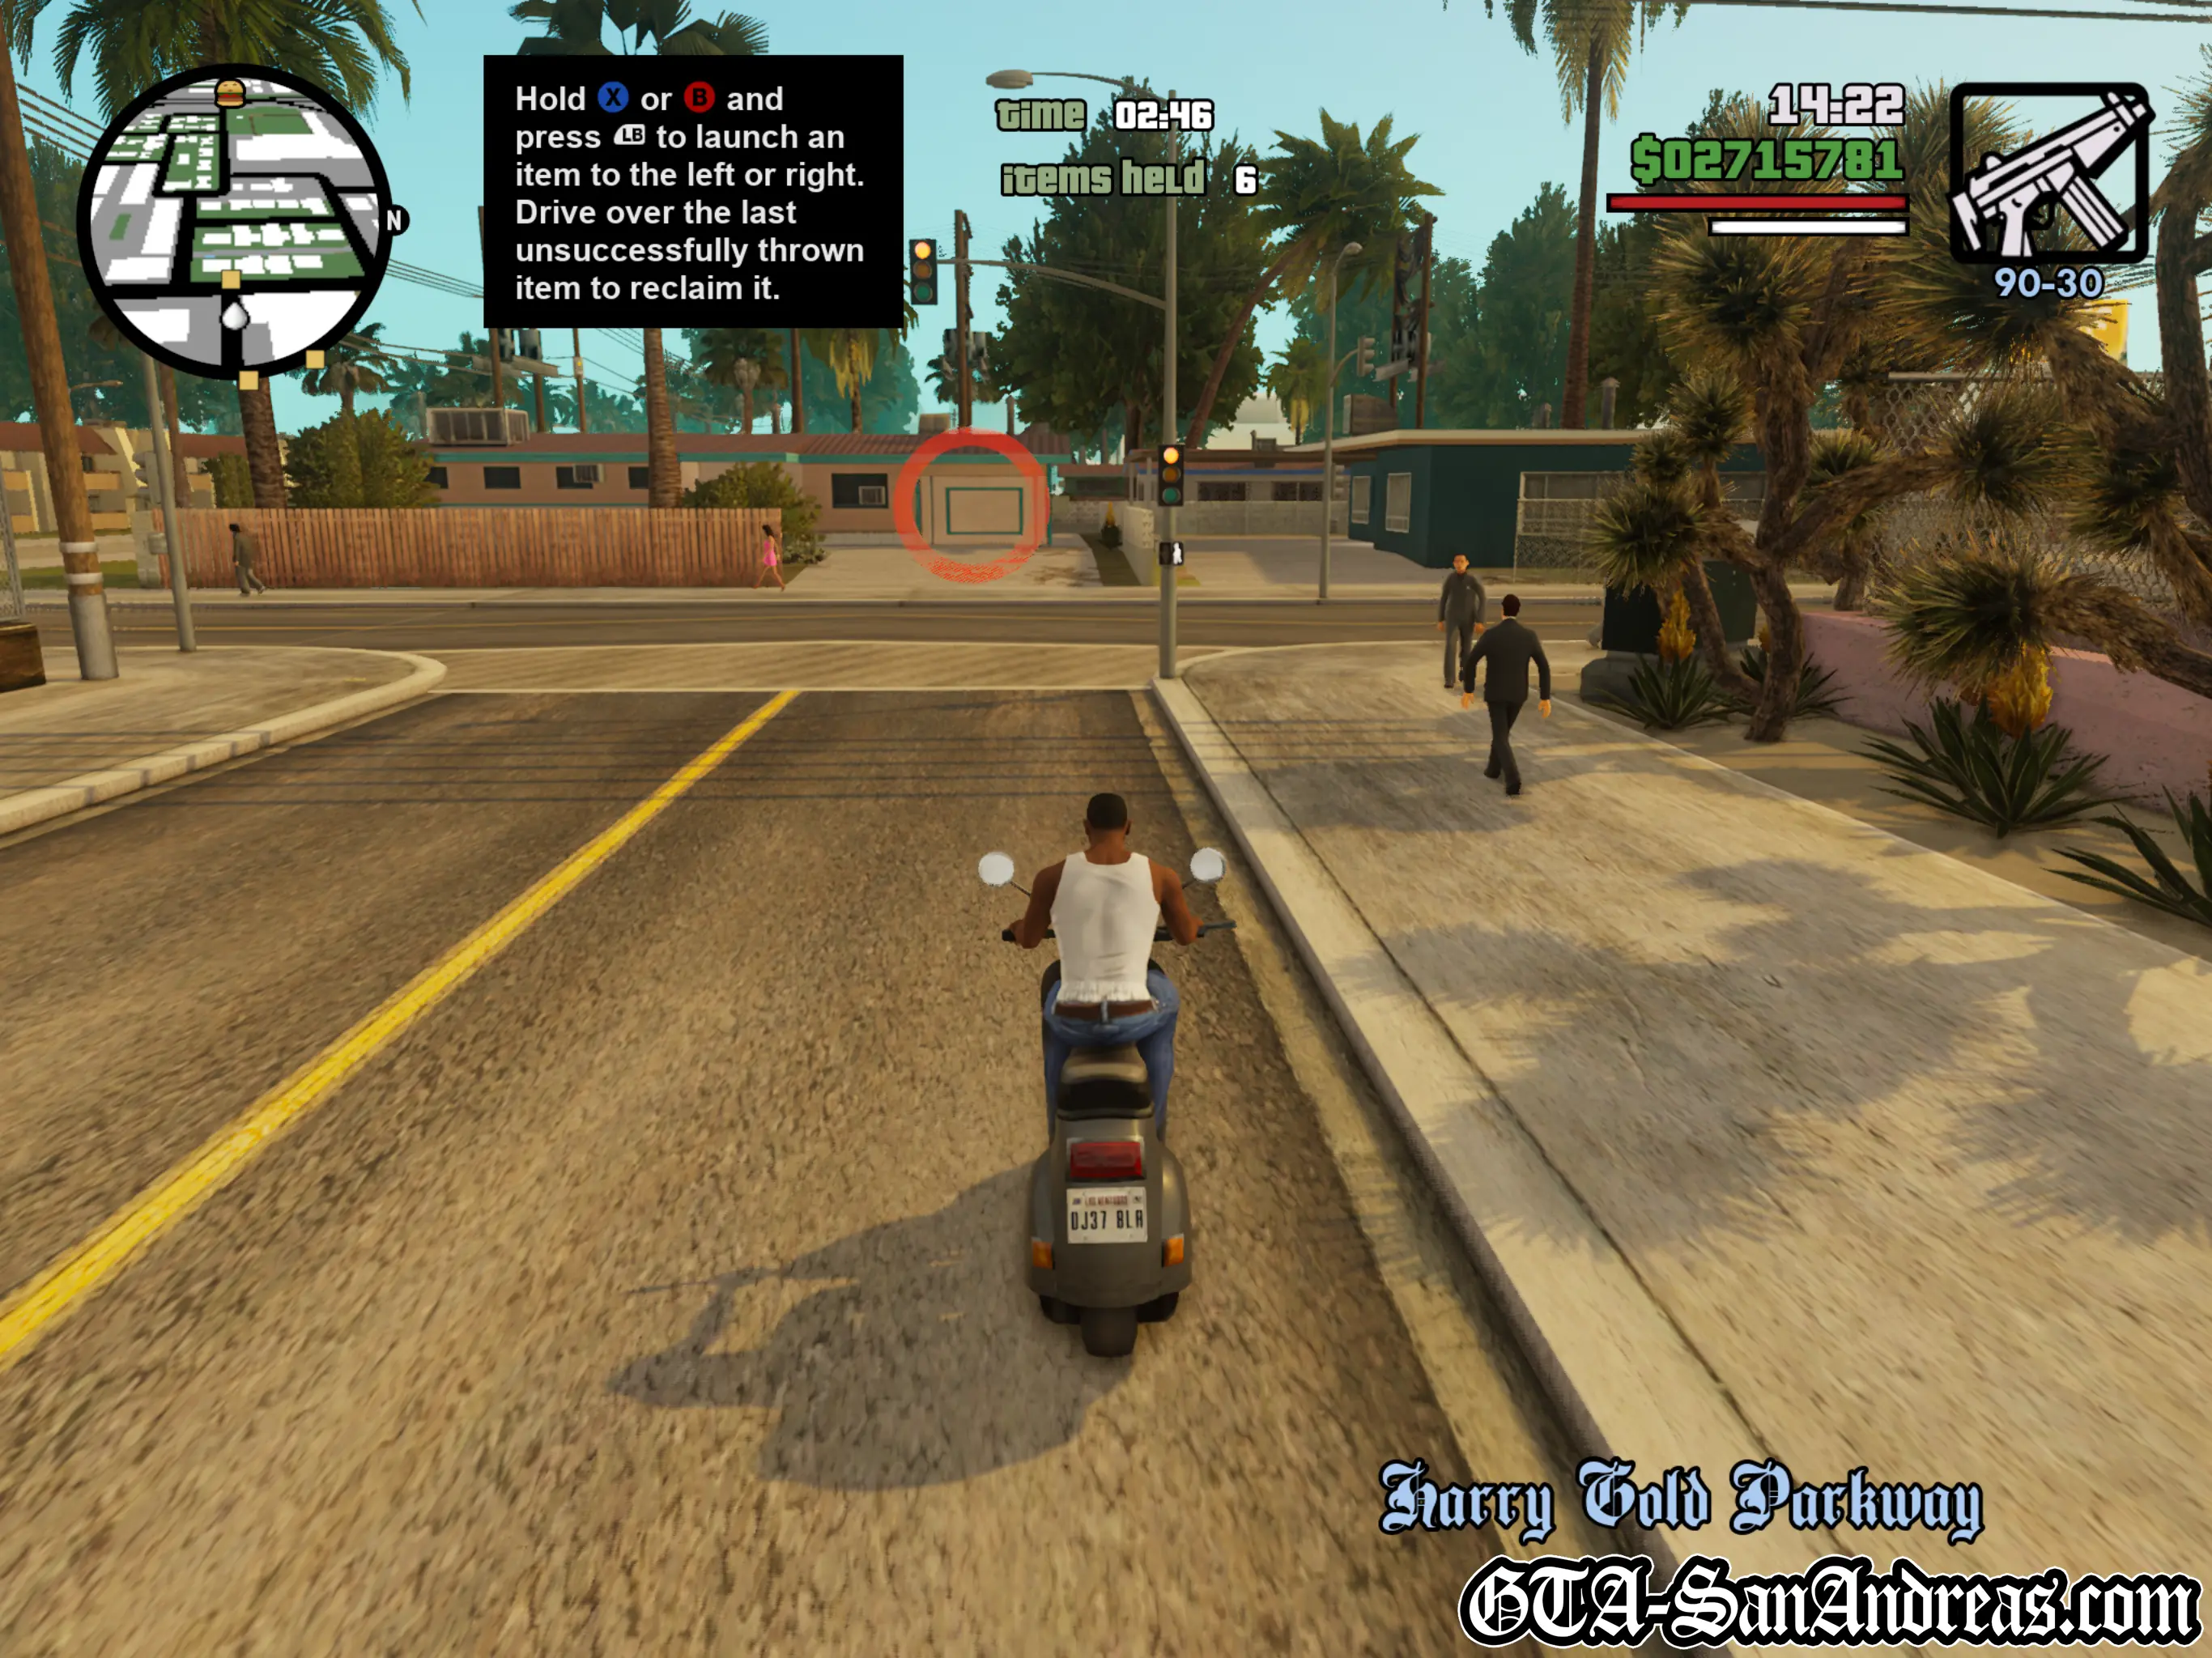
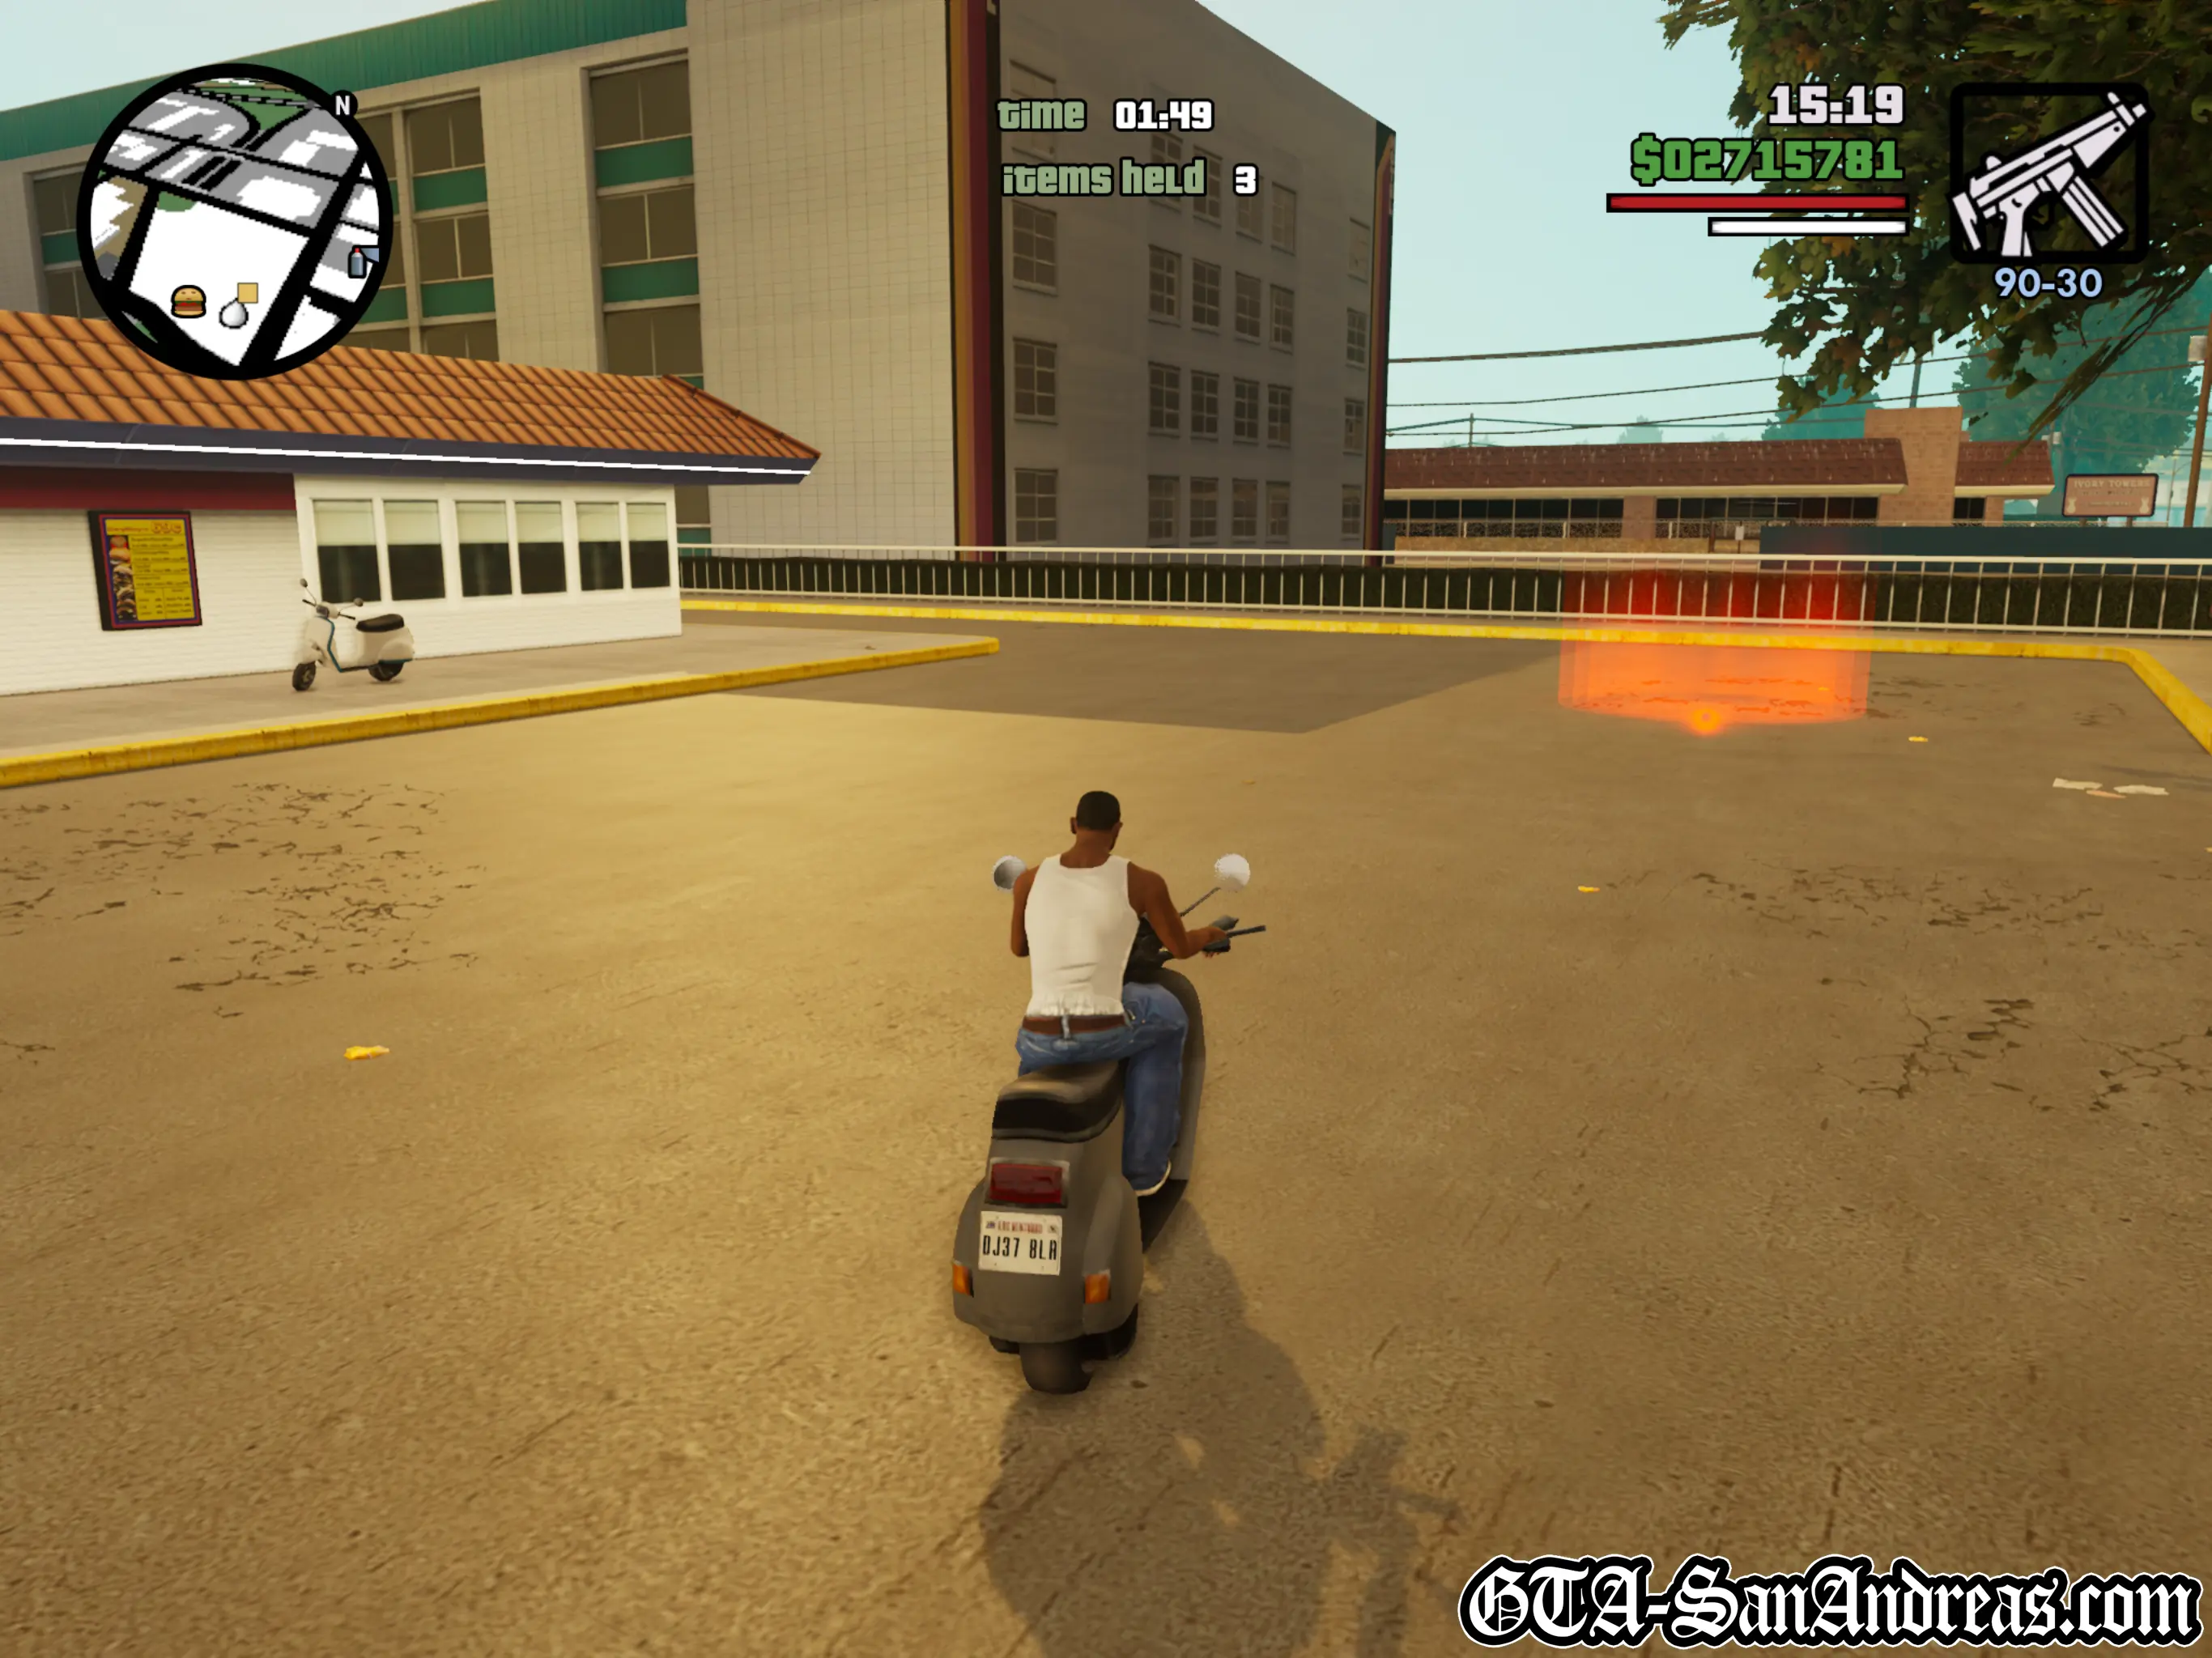
Pedal to each location marked with a yellow blip on the map and use the drive-by feature to throw the package through each corona. If you miss the corona you can pedal over the package to pick it back up then try again. Once a package is delivered, immediately head for the next one.
Hints & Tips
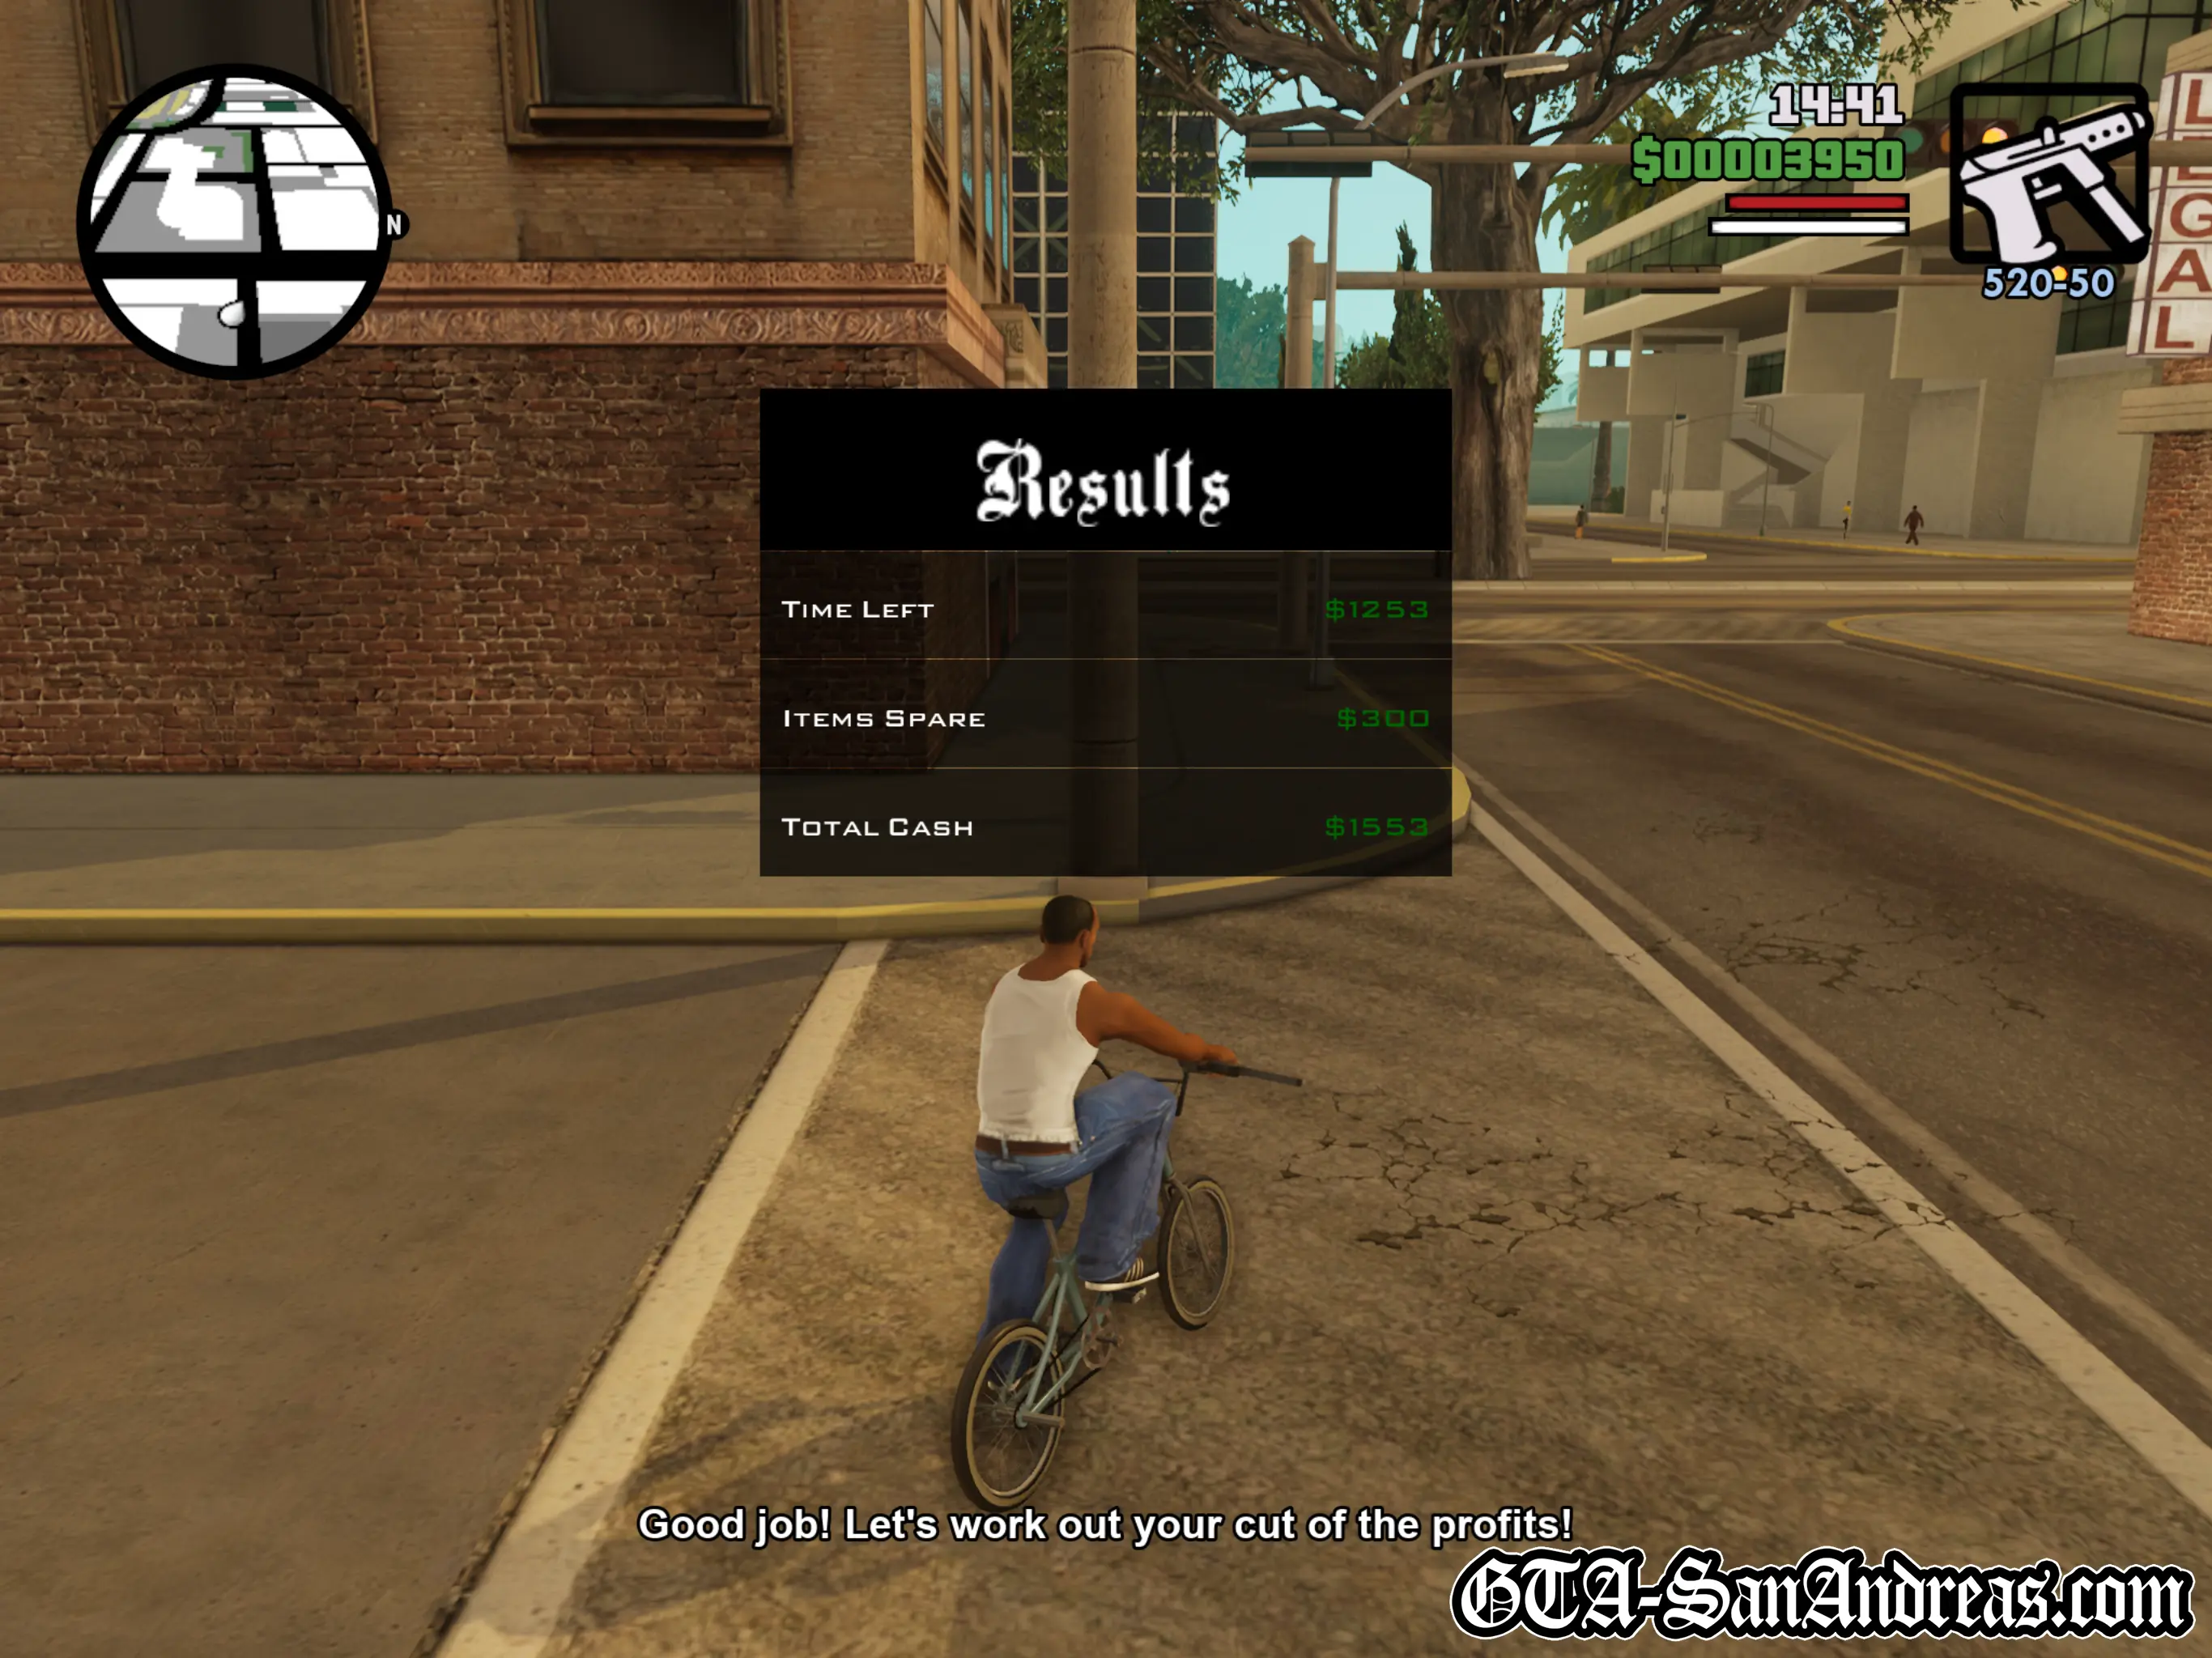
Try to keep hold of any remaining items after completing the deliveries as you'll be rewarded with a bonus for them. You'll also receive a time bonus, so the quicker you get back, the more cash you'll receive.
Once you've fed a package into each corona, head back to Roboi's Food Mart for your rewards and to start the next level. This time you need to deliver 4, then 5 and on the final level you'll need to deliver 6 items.
The final level is more difficult as the delivery points are scattered all over Los Santos, meaning you need to pedal pretty fast to get there and back in time.
Once you get through the 4th and final delivery level, you'll complete the mission and be rewarded for your hard work.
Mission Overview
| Level | Items Held | Deliveries |
|---|---|---|
| Level 1 | 6 Items | 3 Deliveries |
| Level 2 | 6 Items | 4 Deliveries |
| Level 3 | 7 Items | 5 Deliveries |
| Level 4 | 8 Items | 6 Deliveries |
Post-Mission
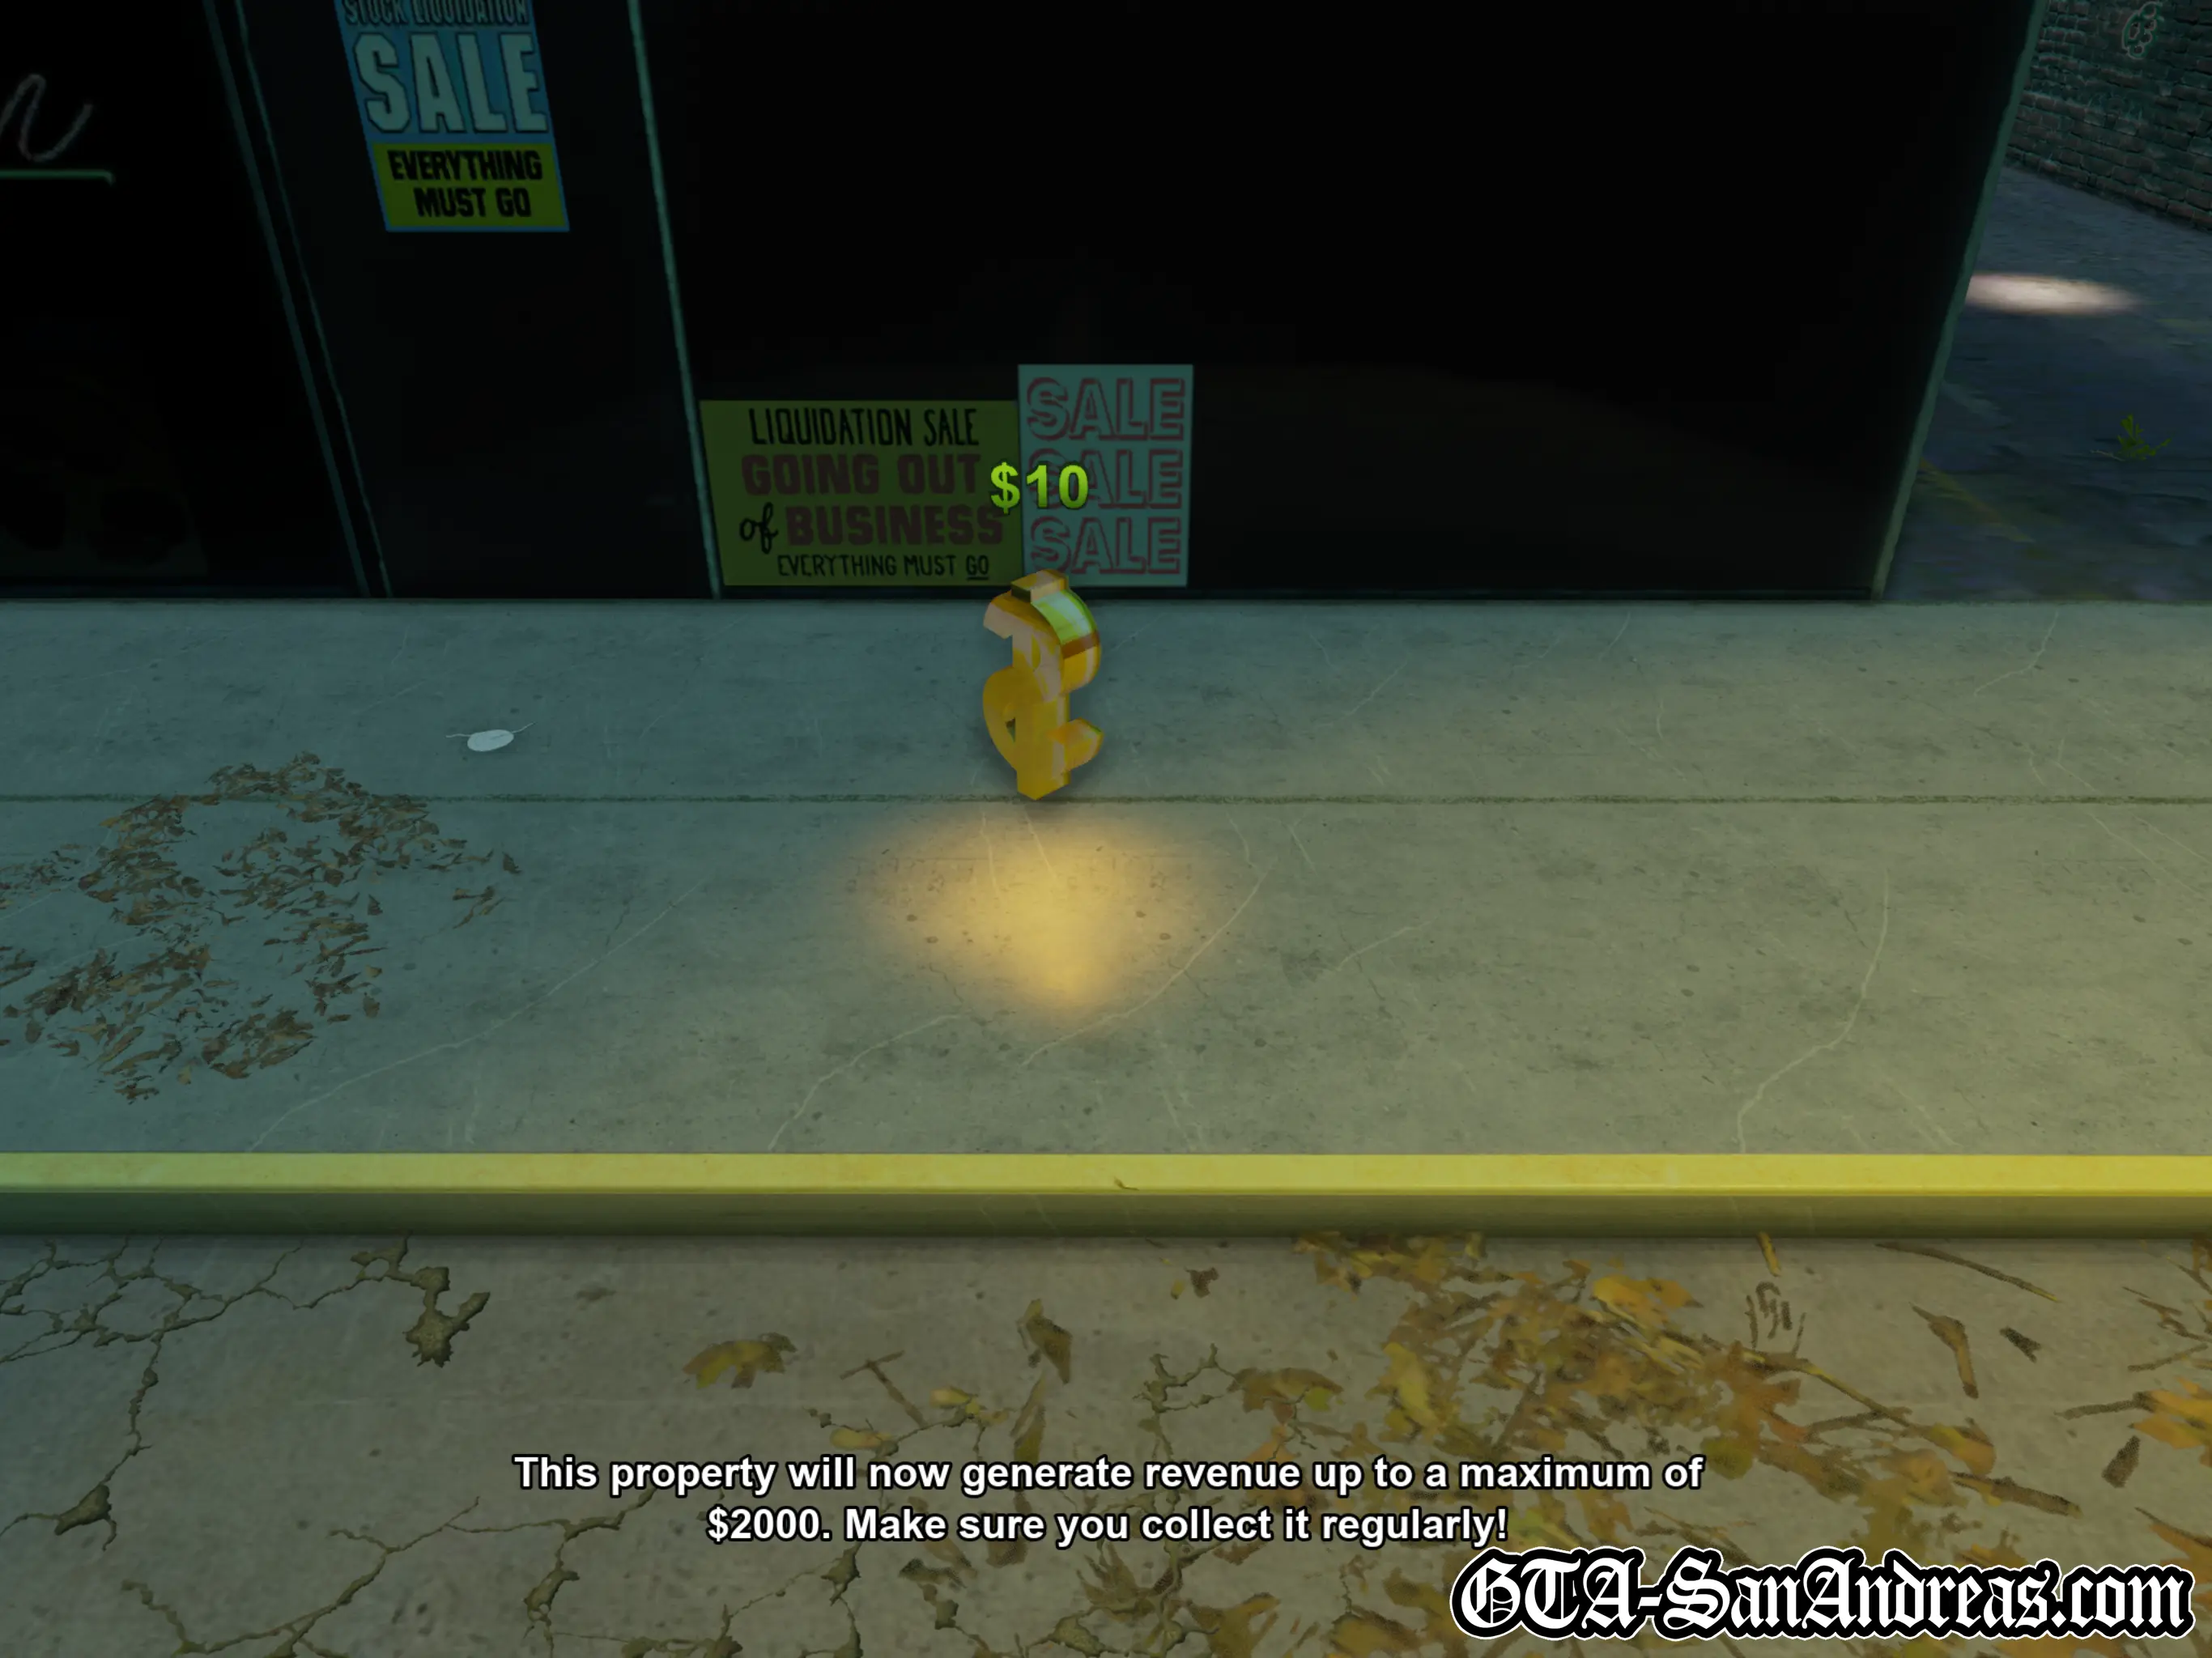
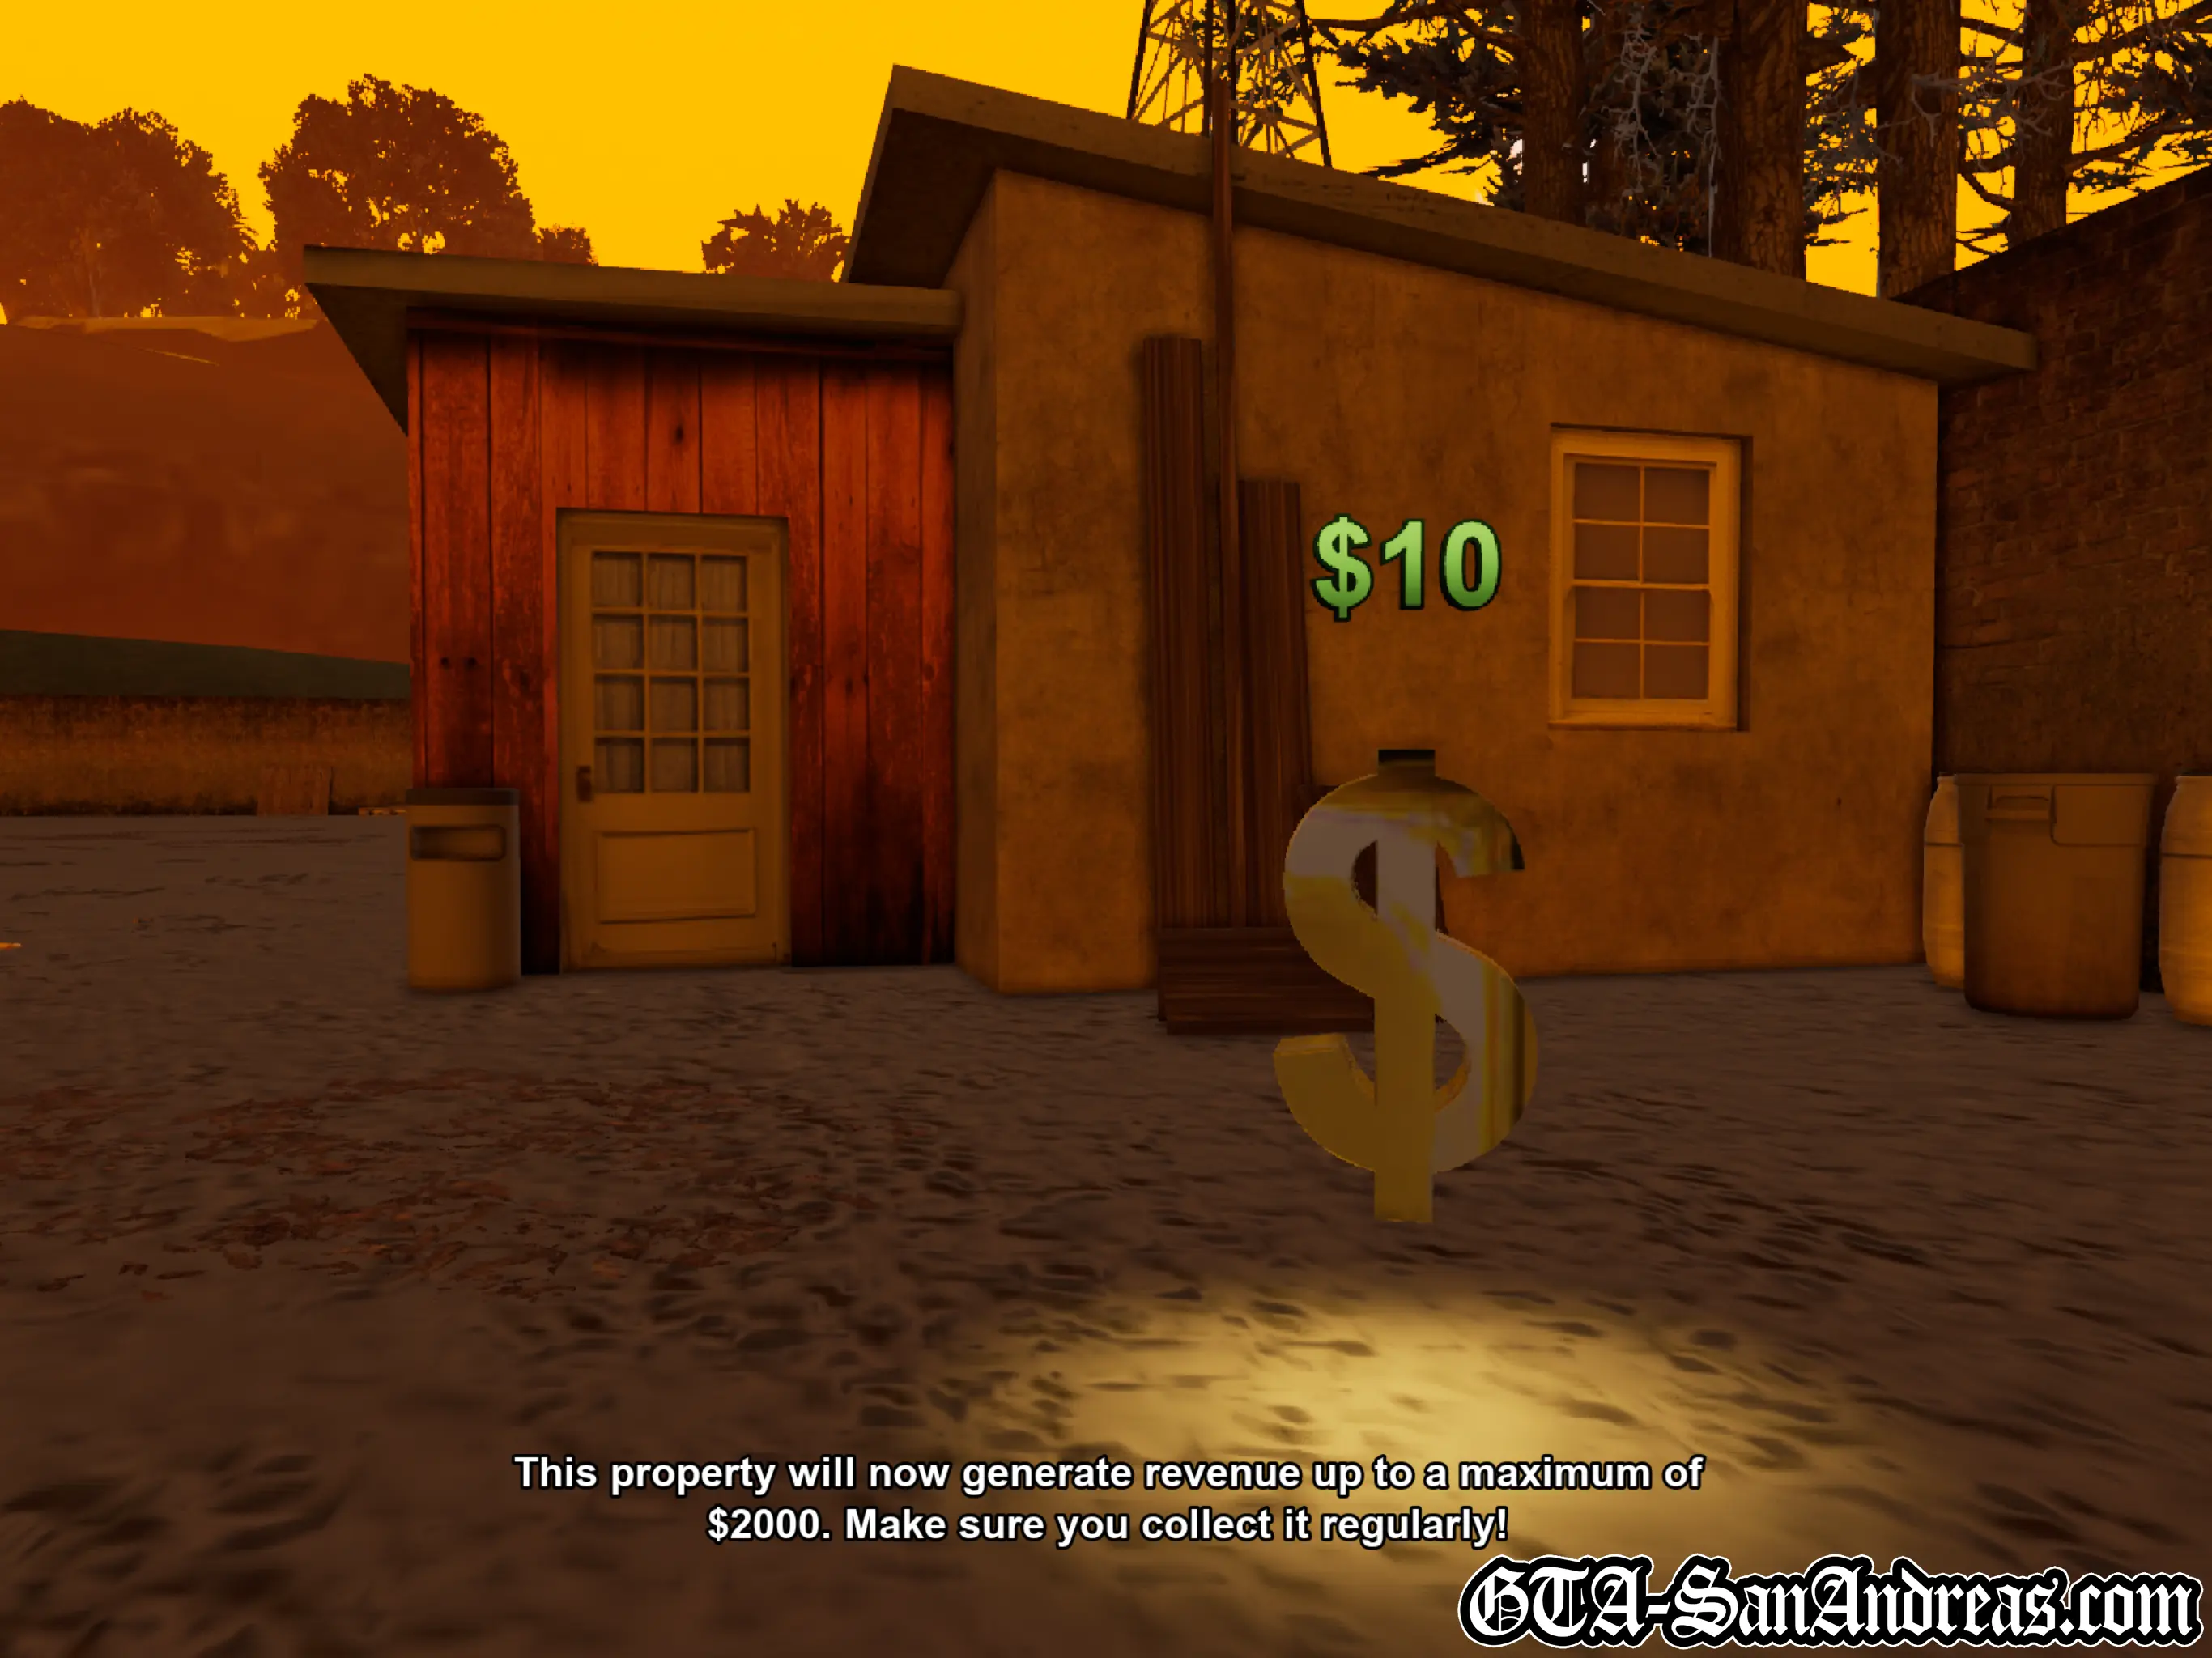
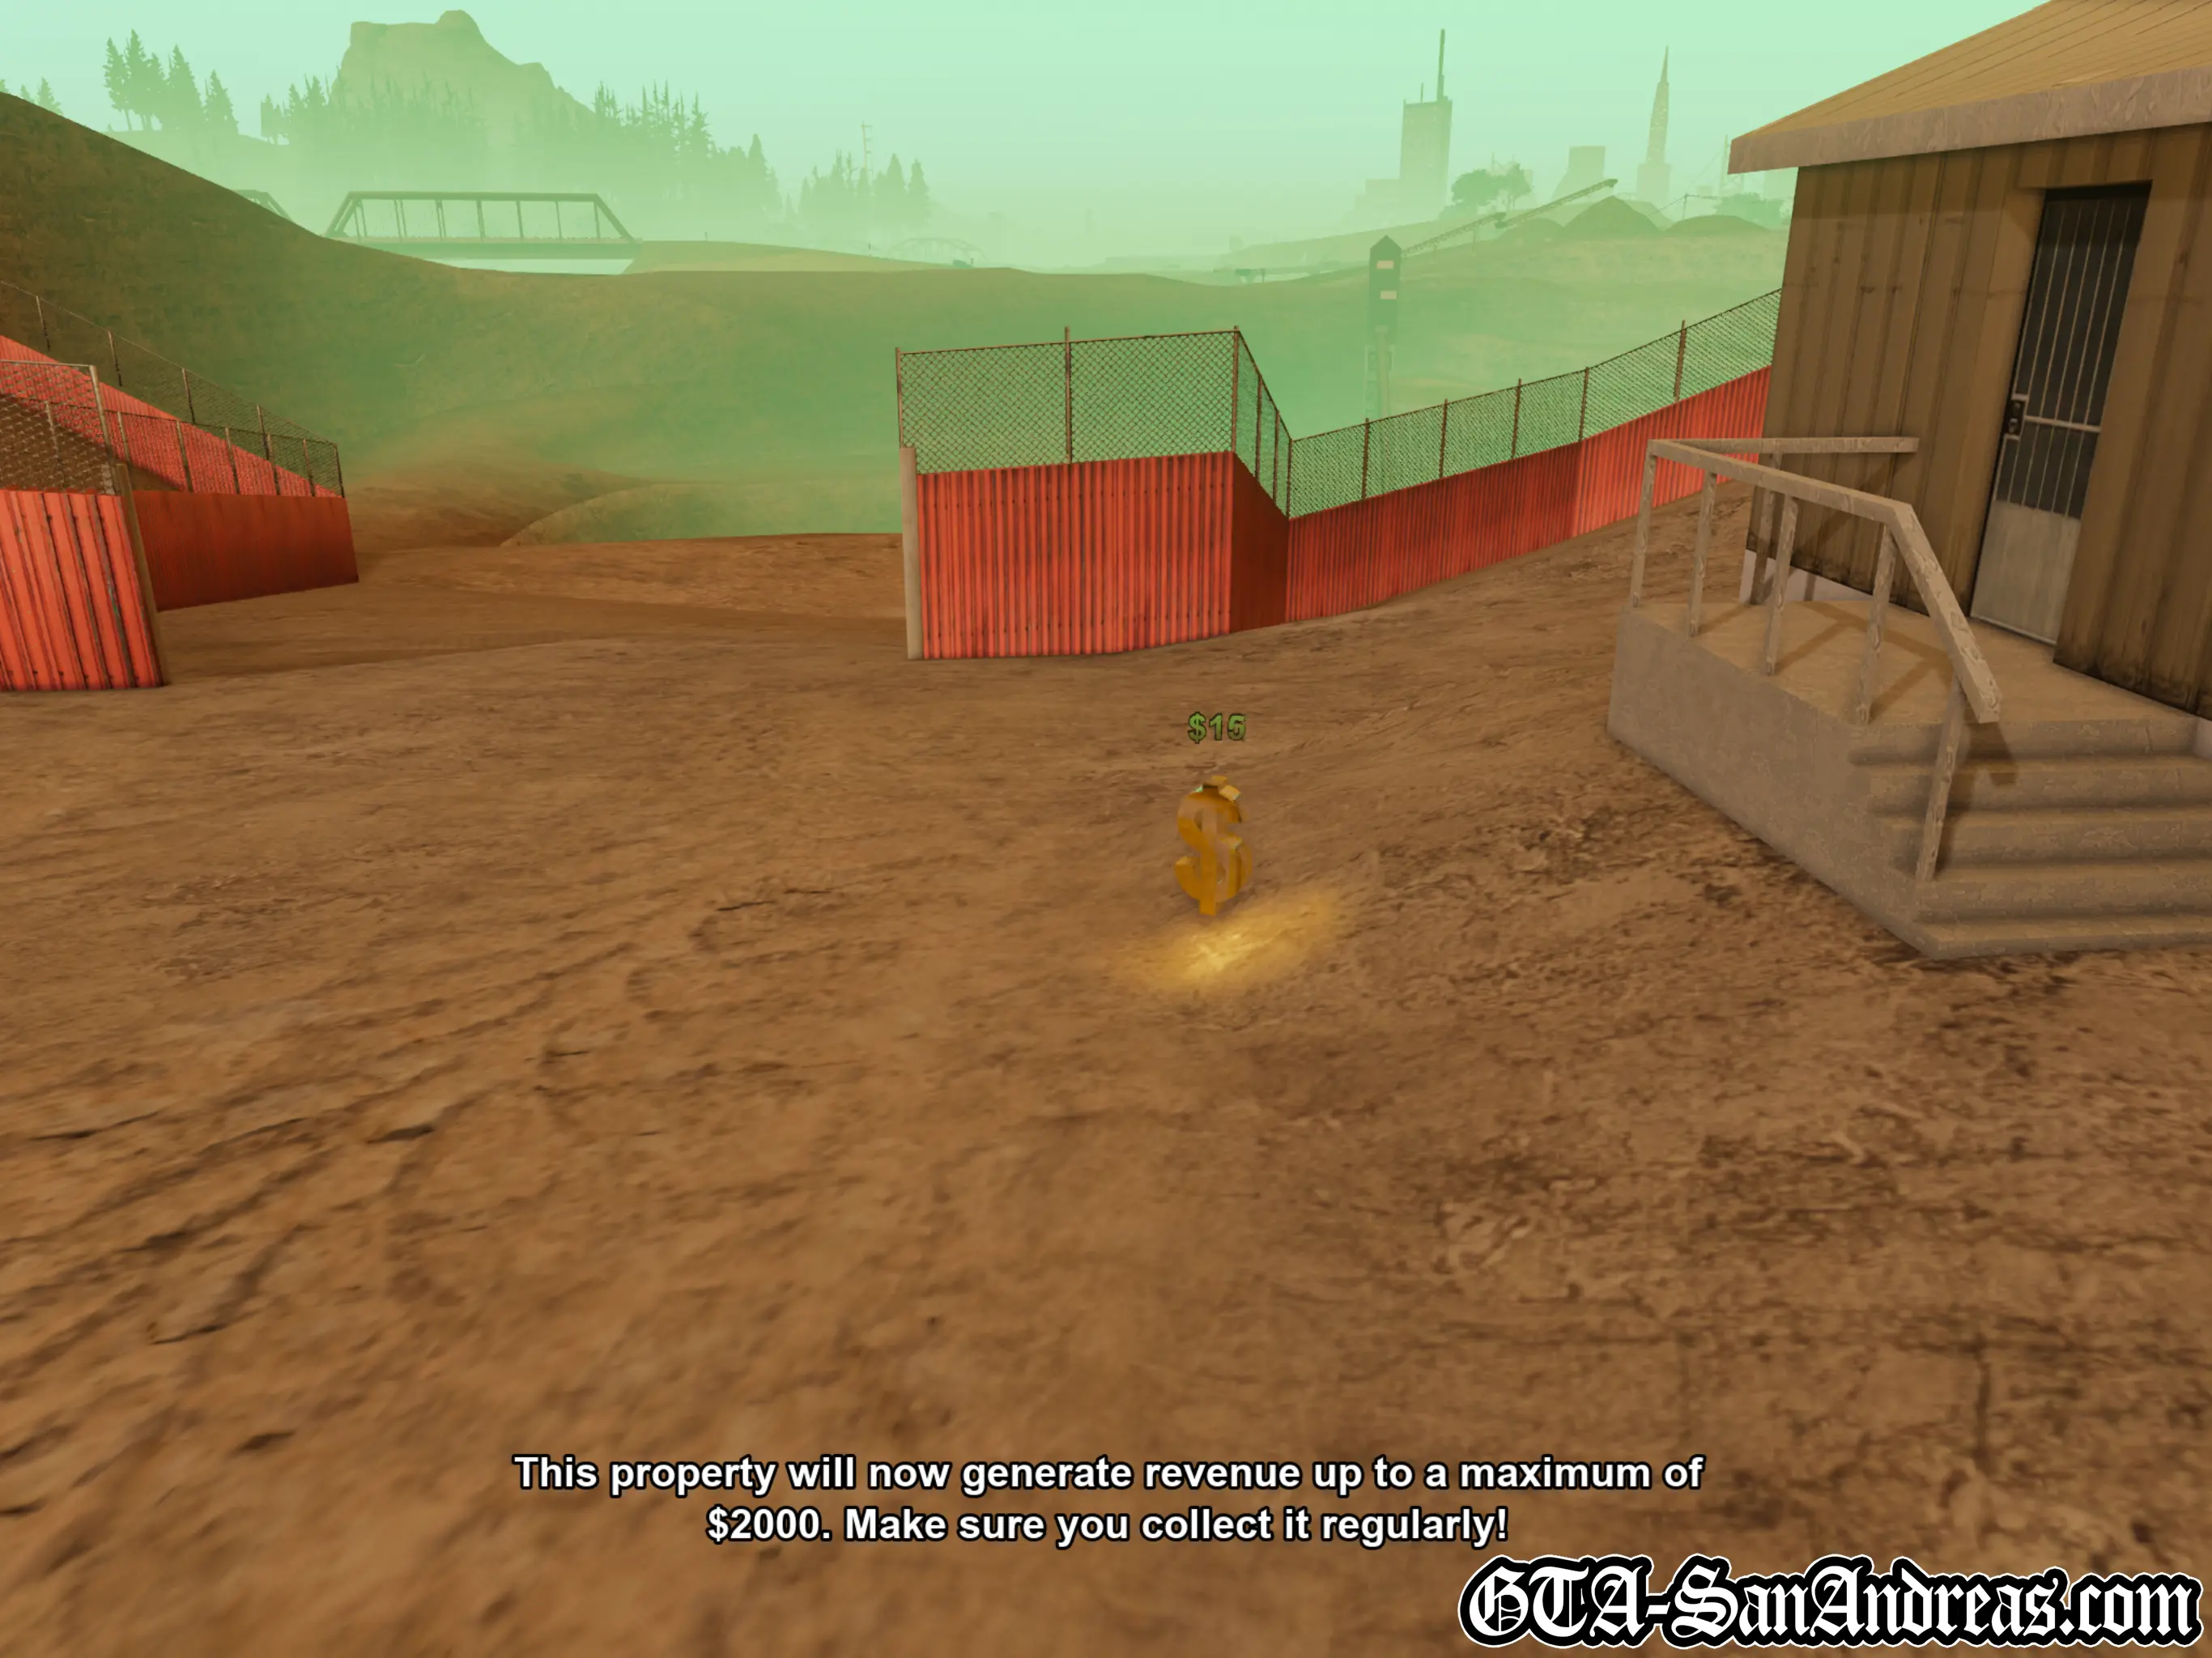
Roboi's Food Mart has been Acquired as an Asset and will generate up to $2000 on a daily basis which you must manually collect.
Hints & Tips
Completing this challenge early in the game is a great way to improve your cycling skill.
Screenshots

Original PS2 Screenshots
Countryside
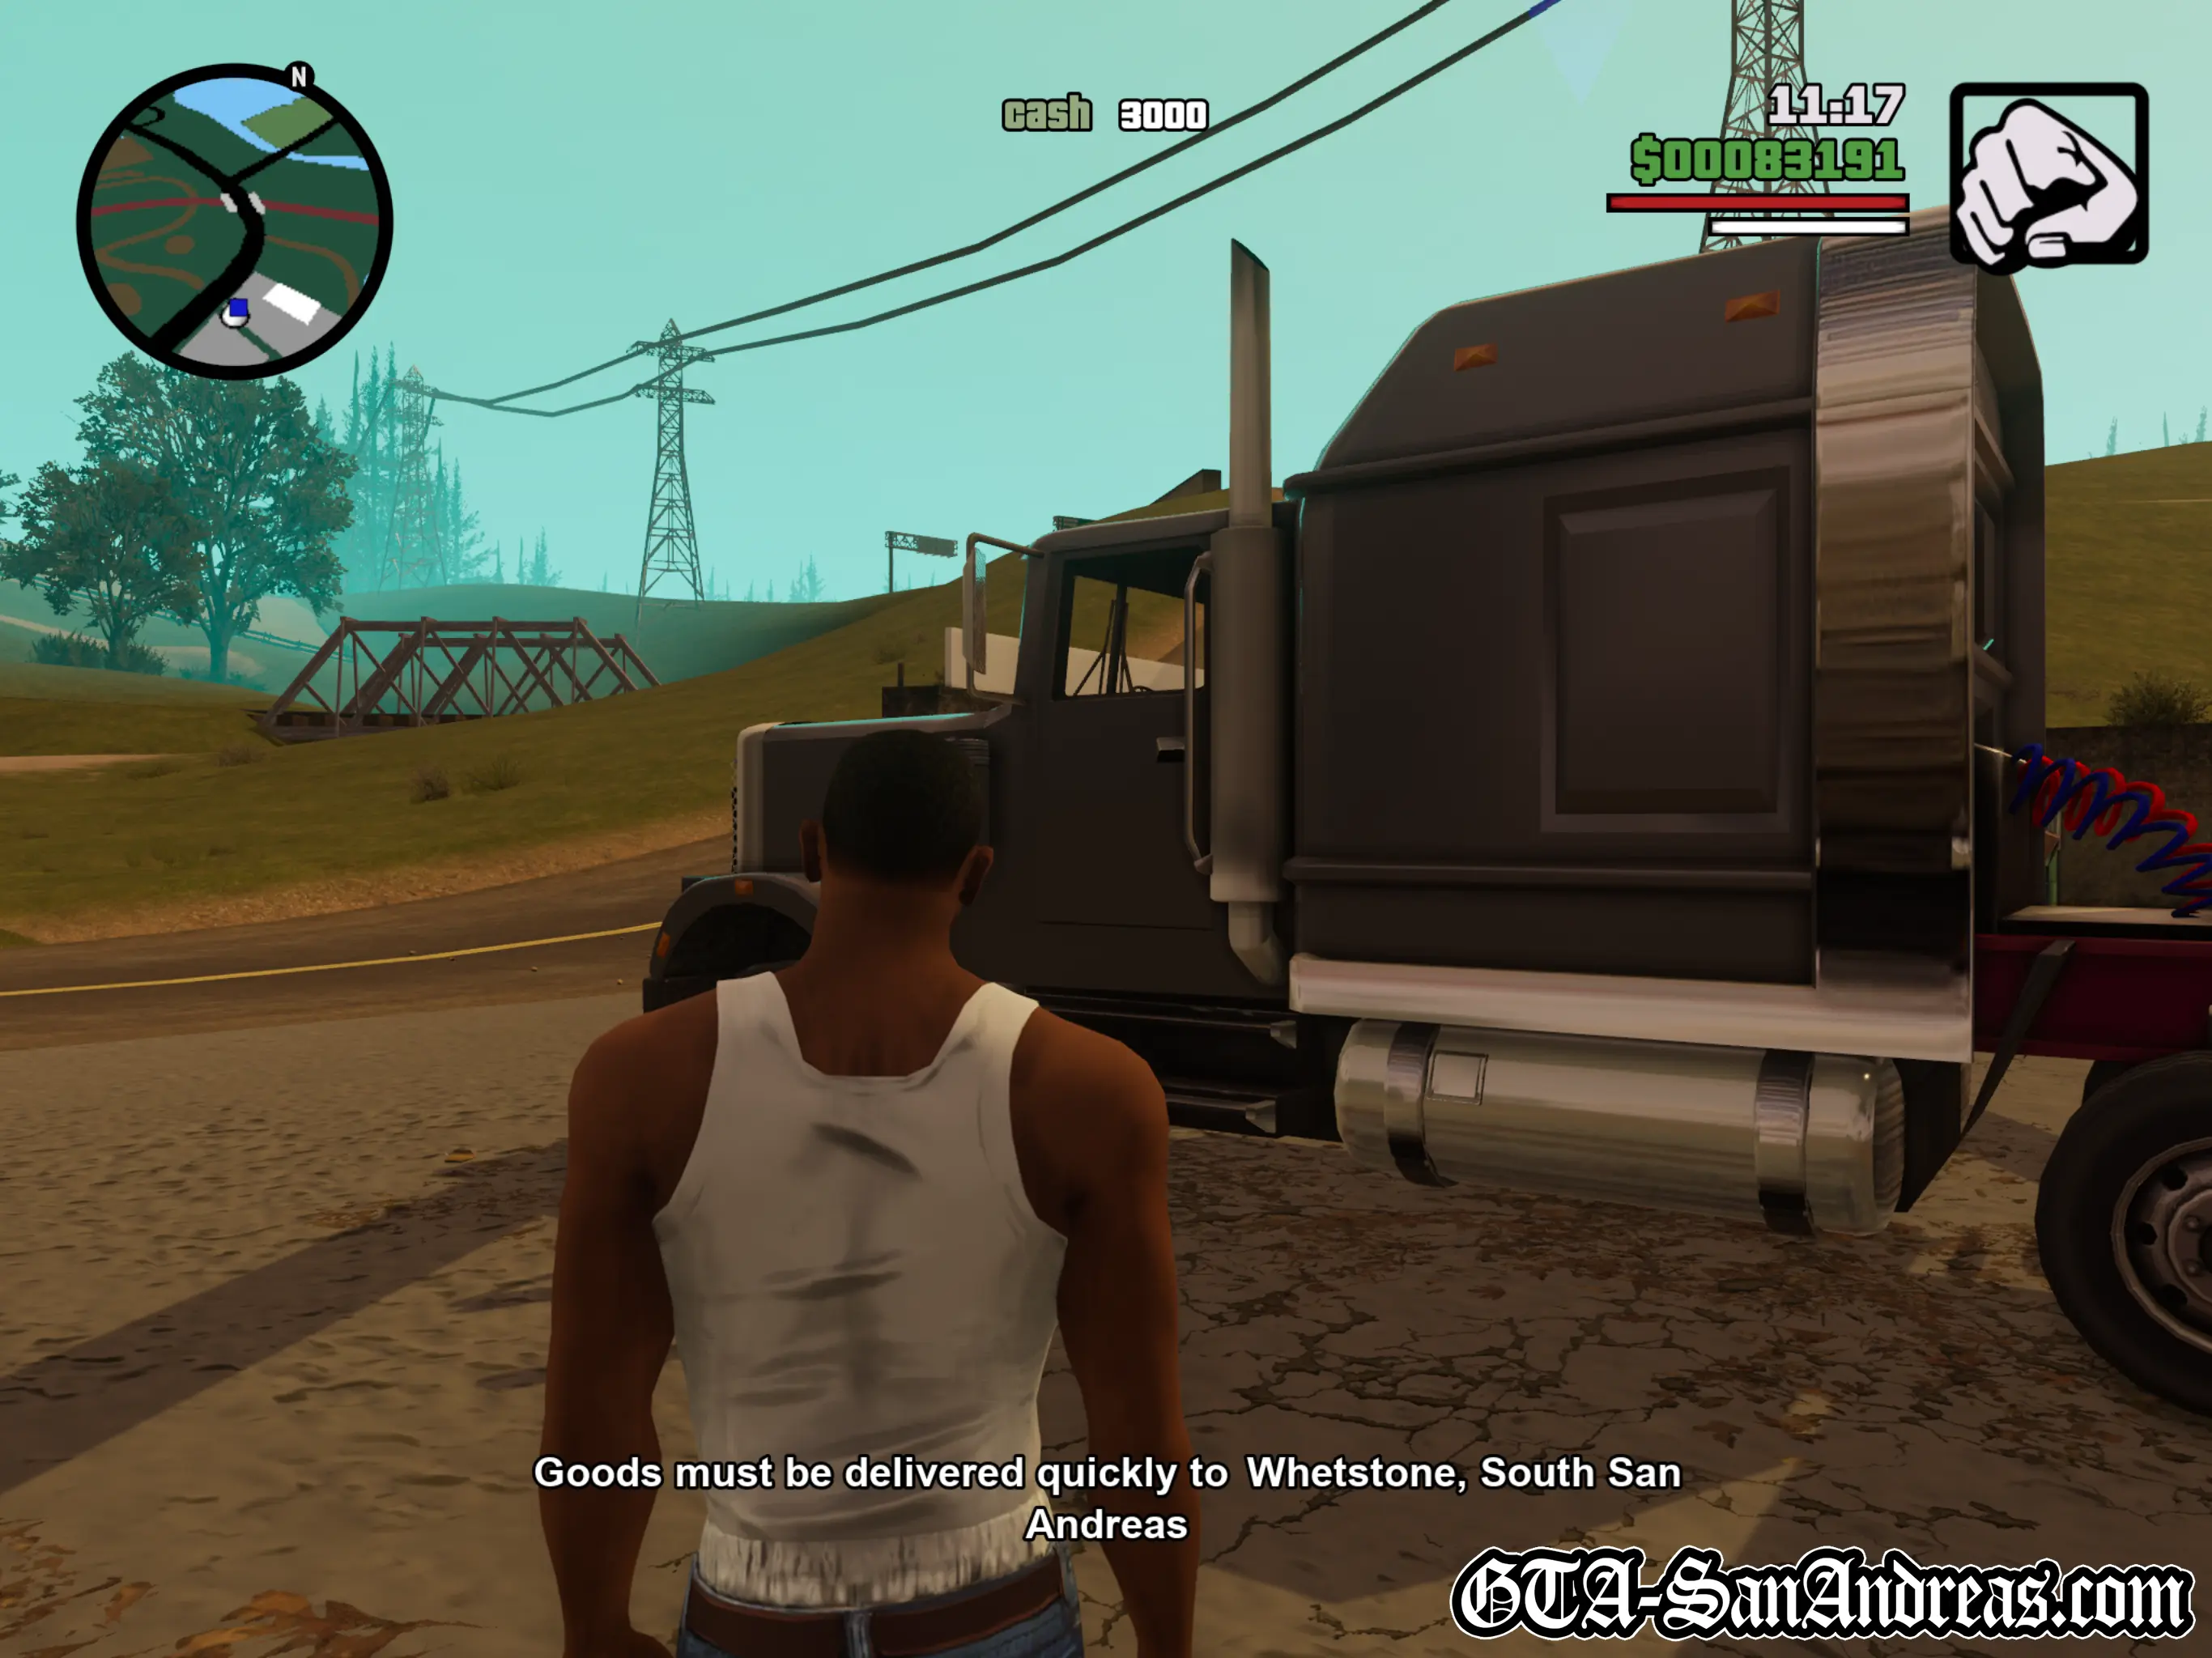
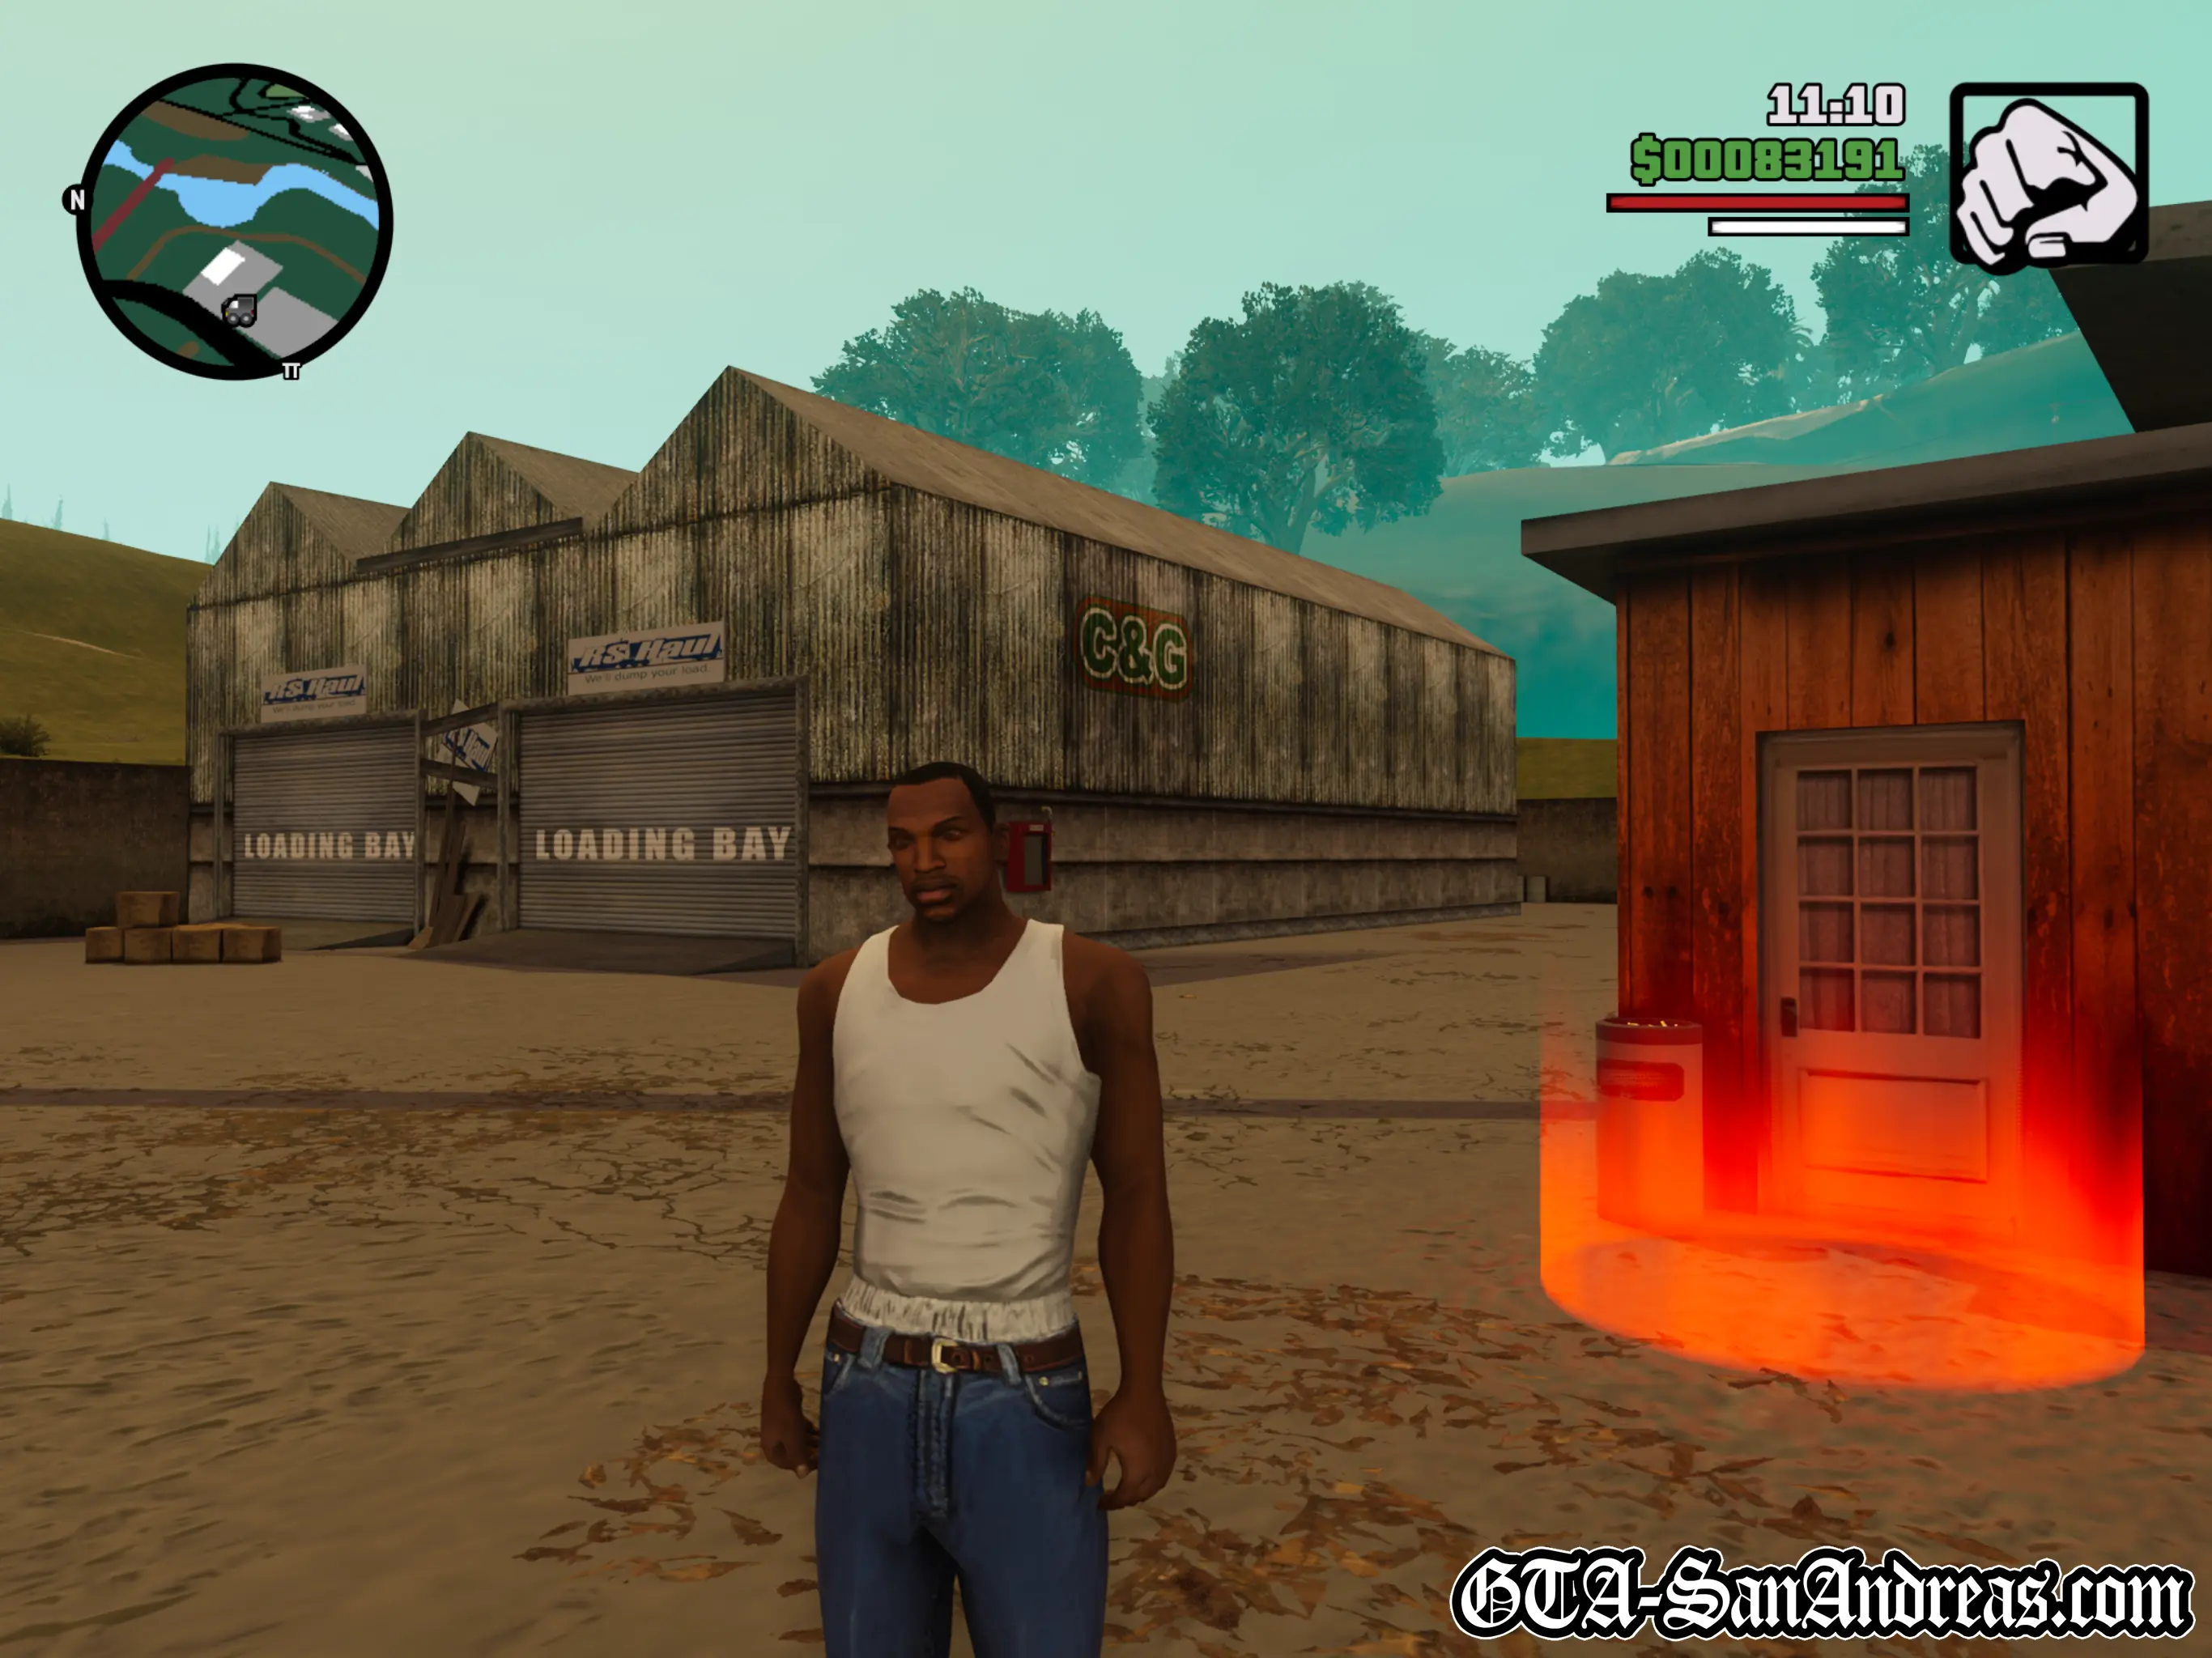
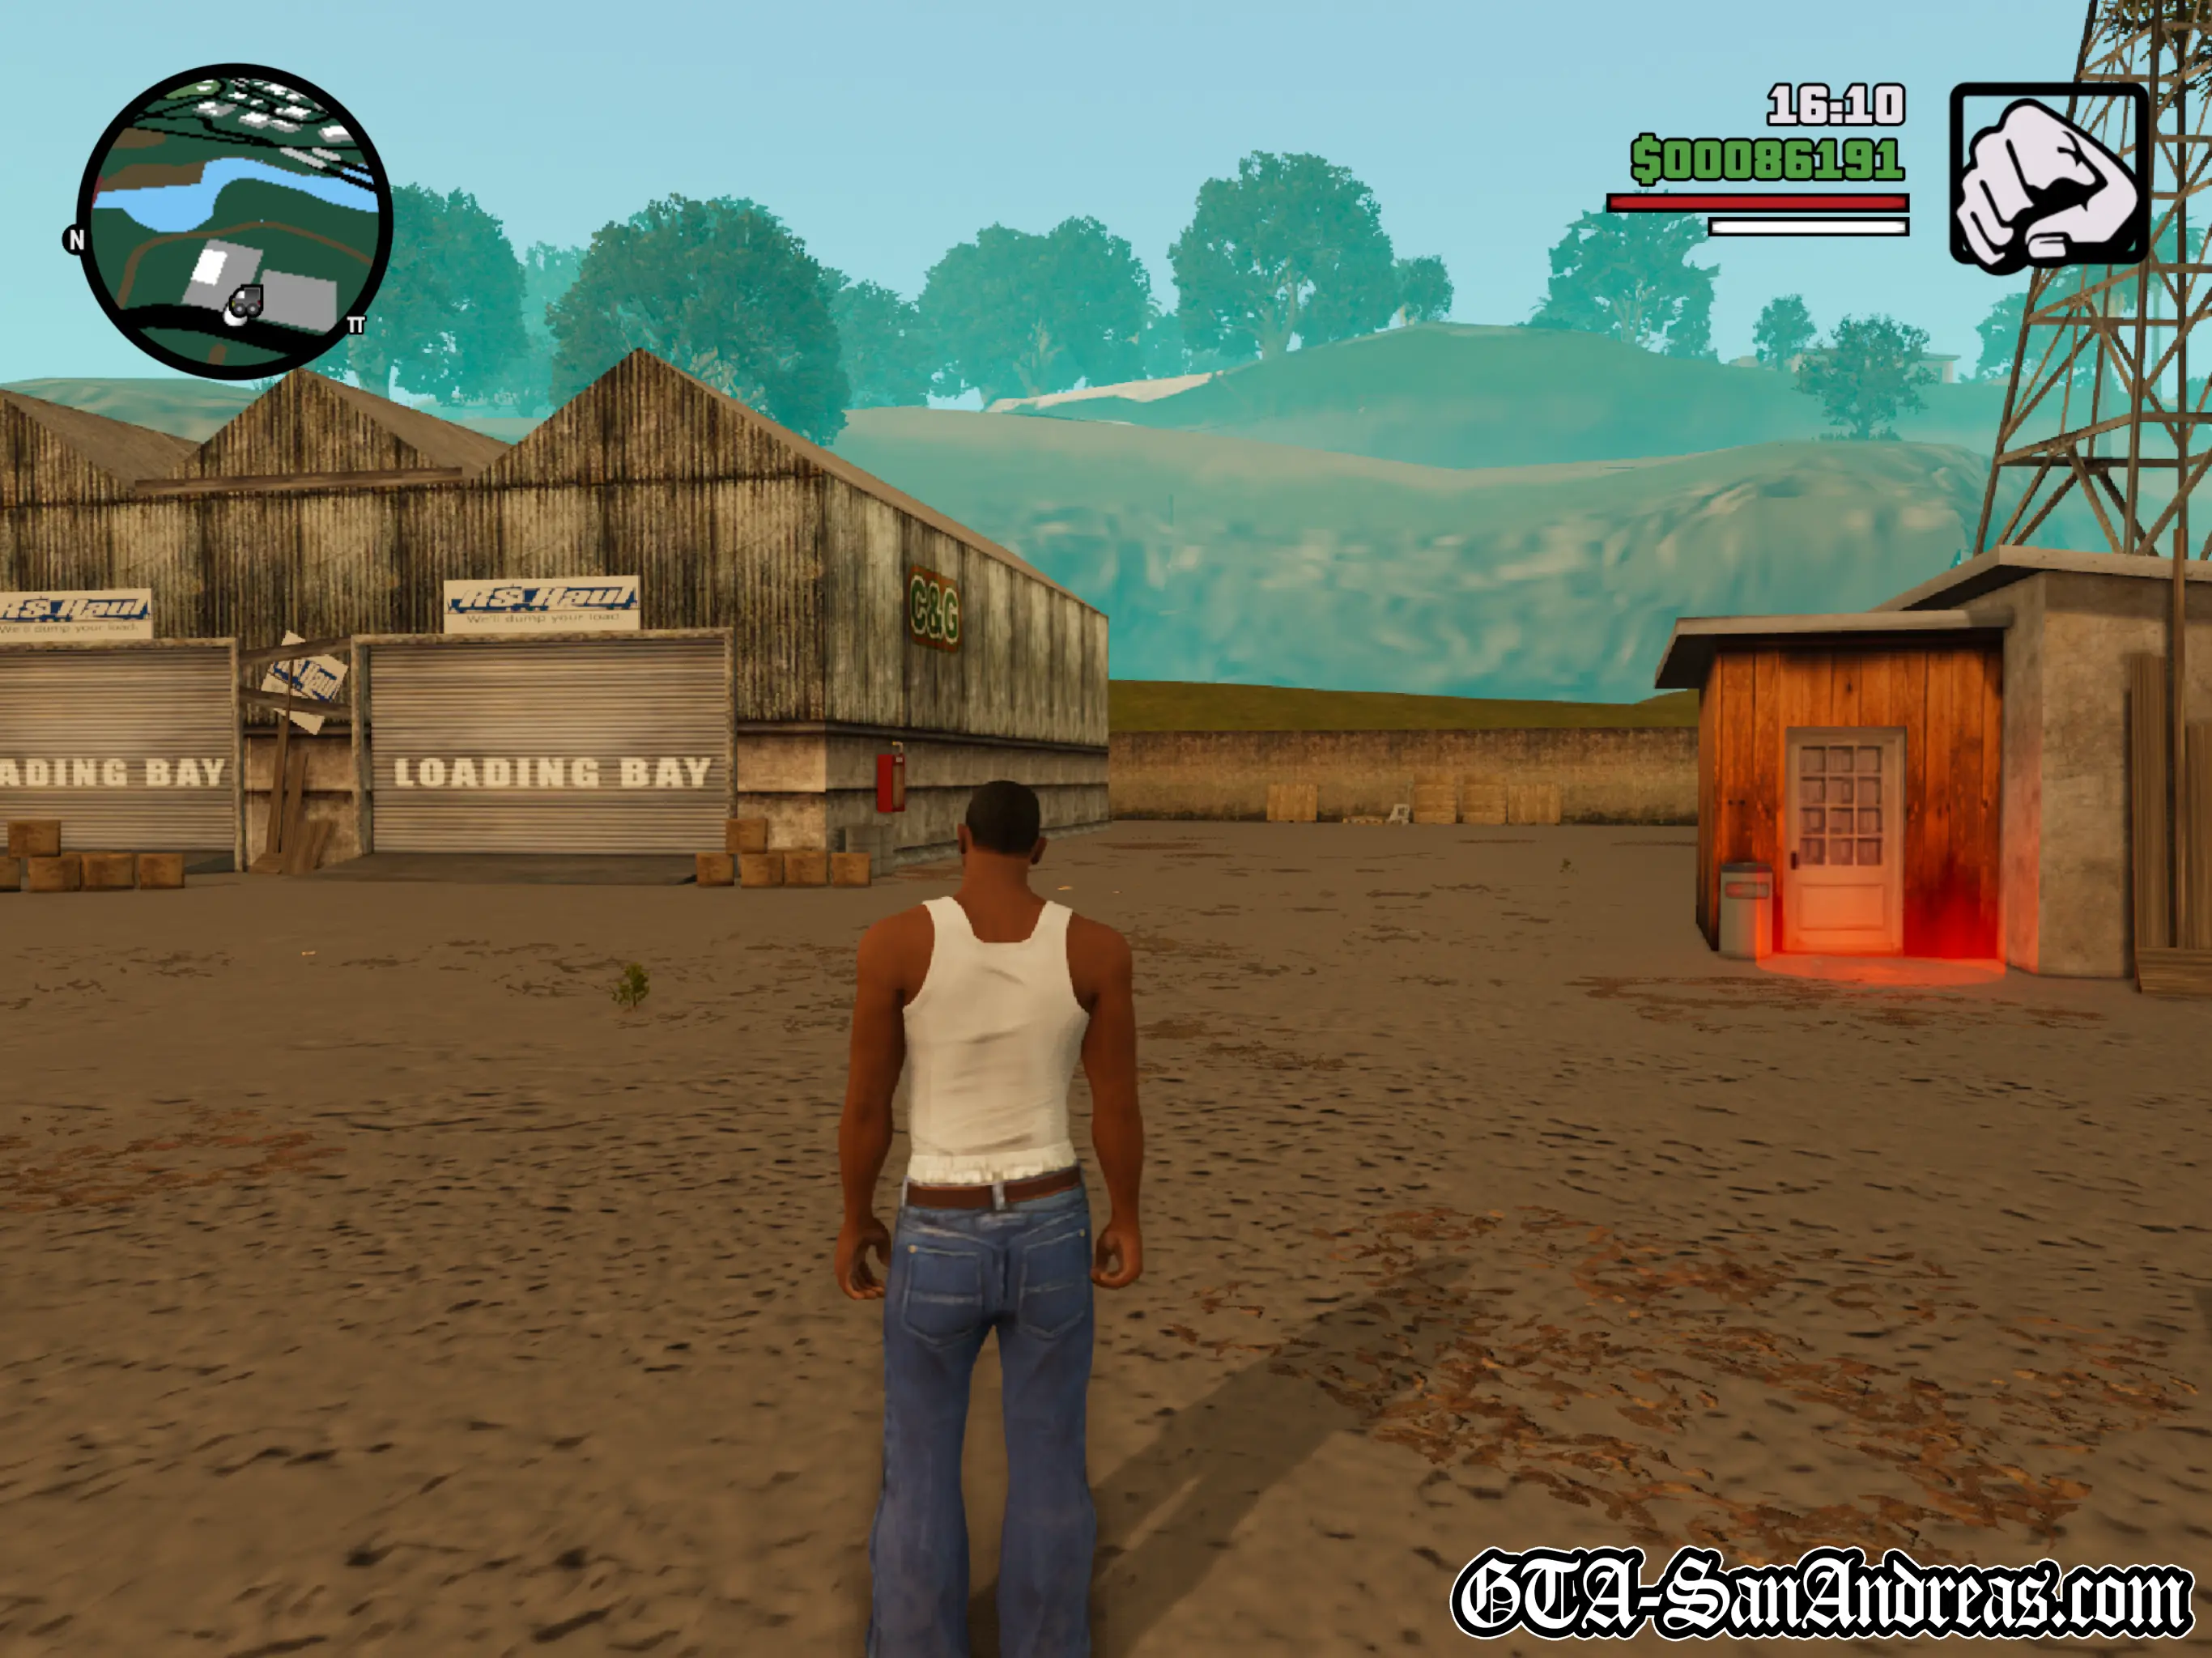
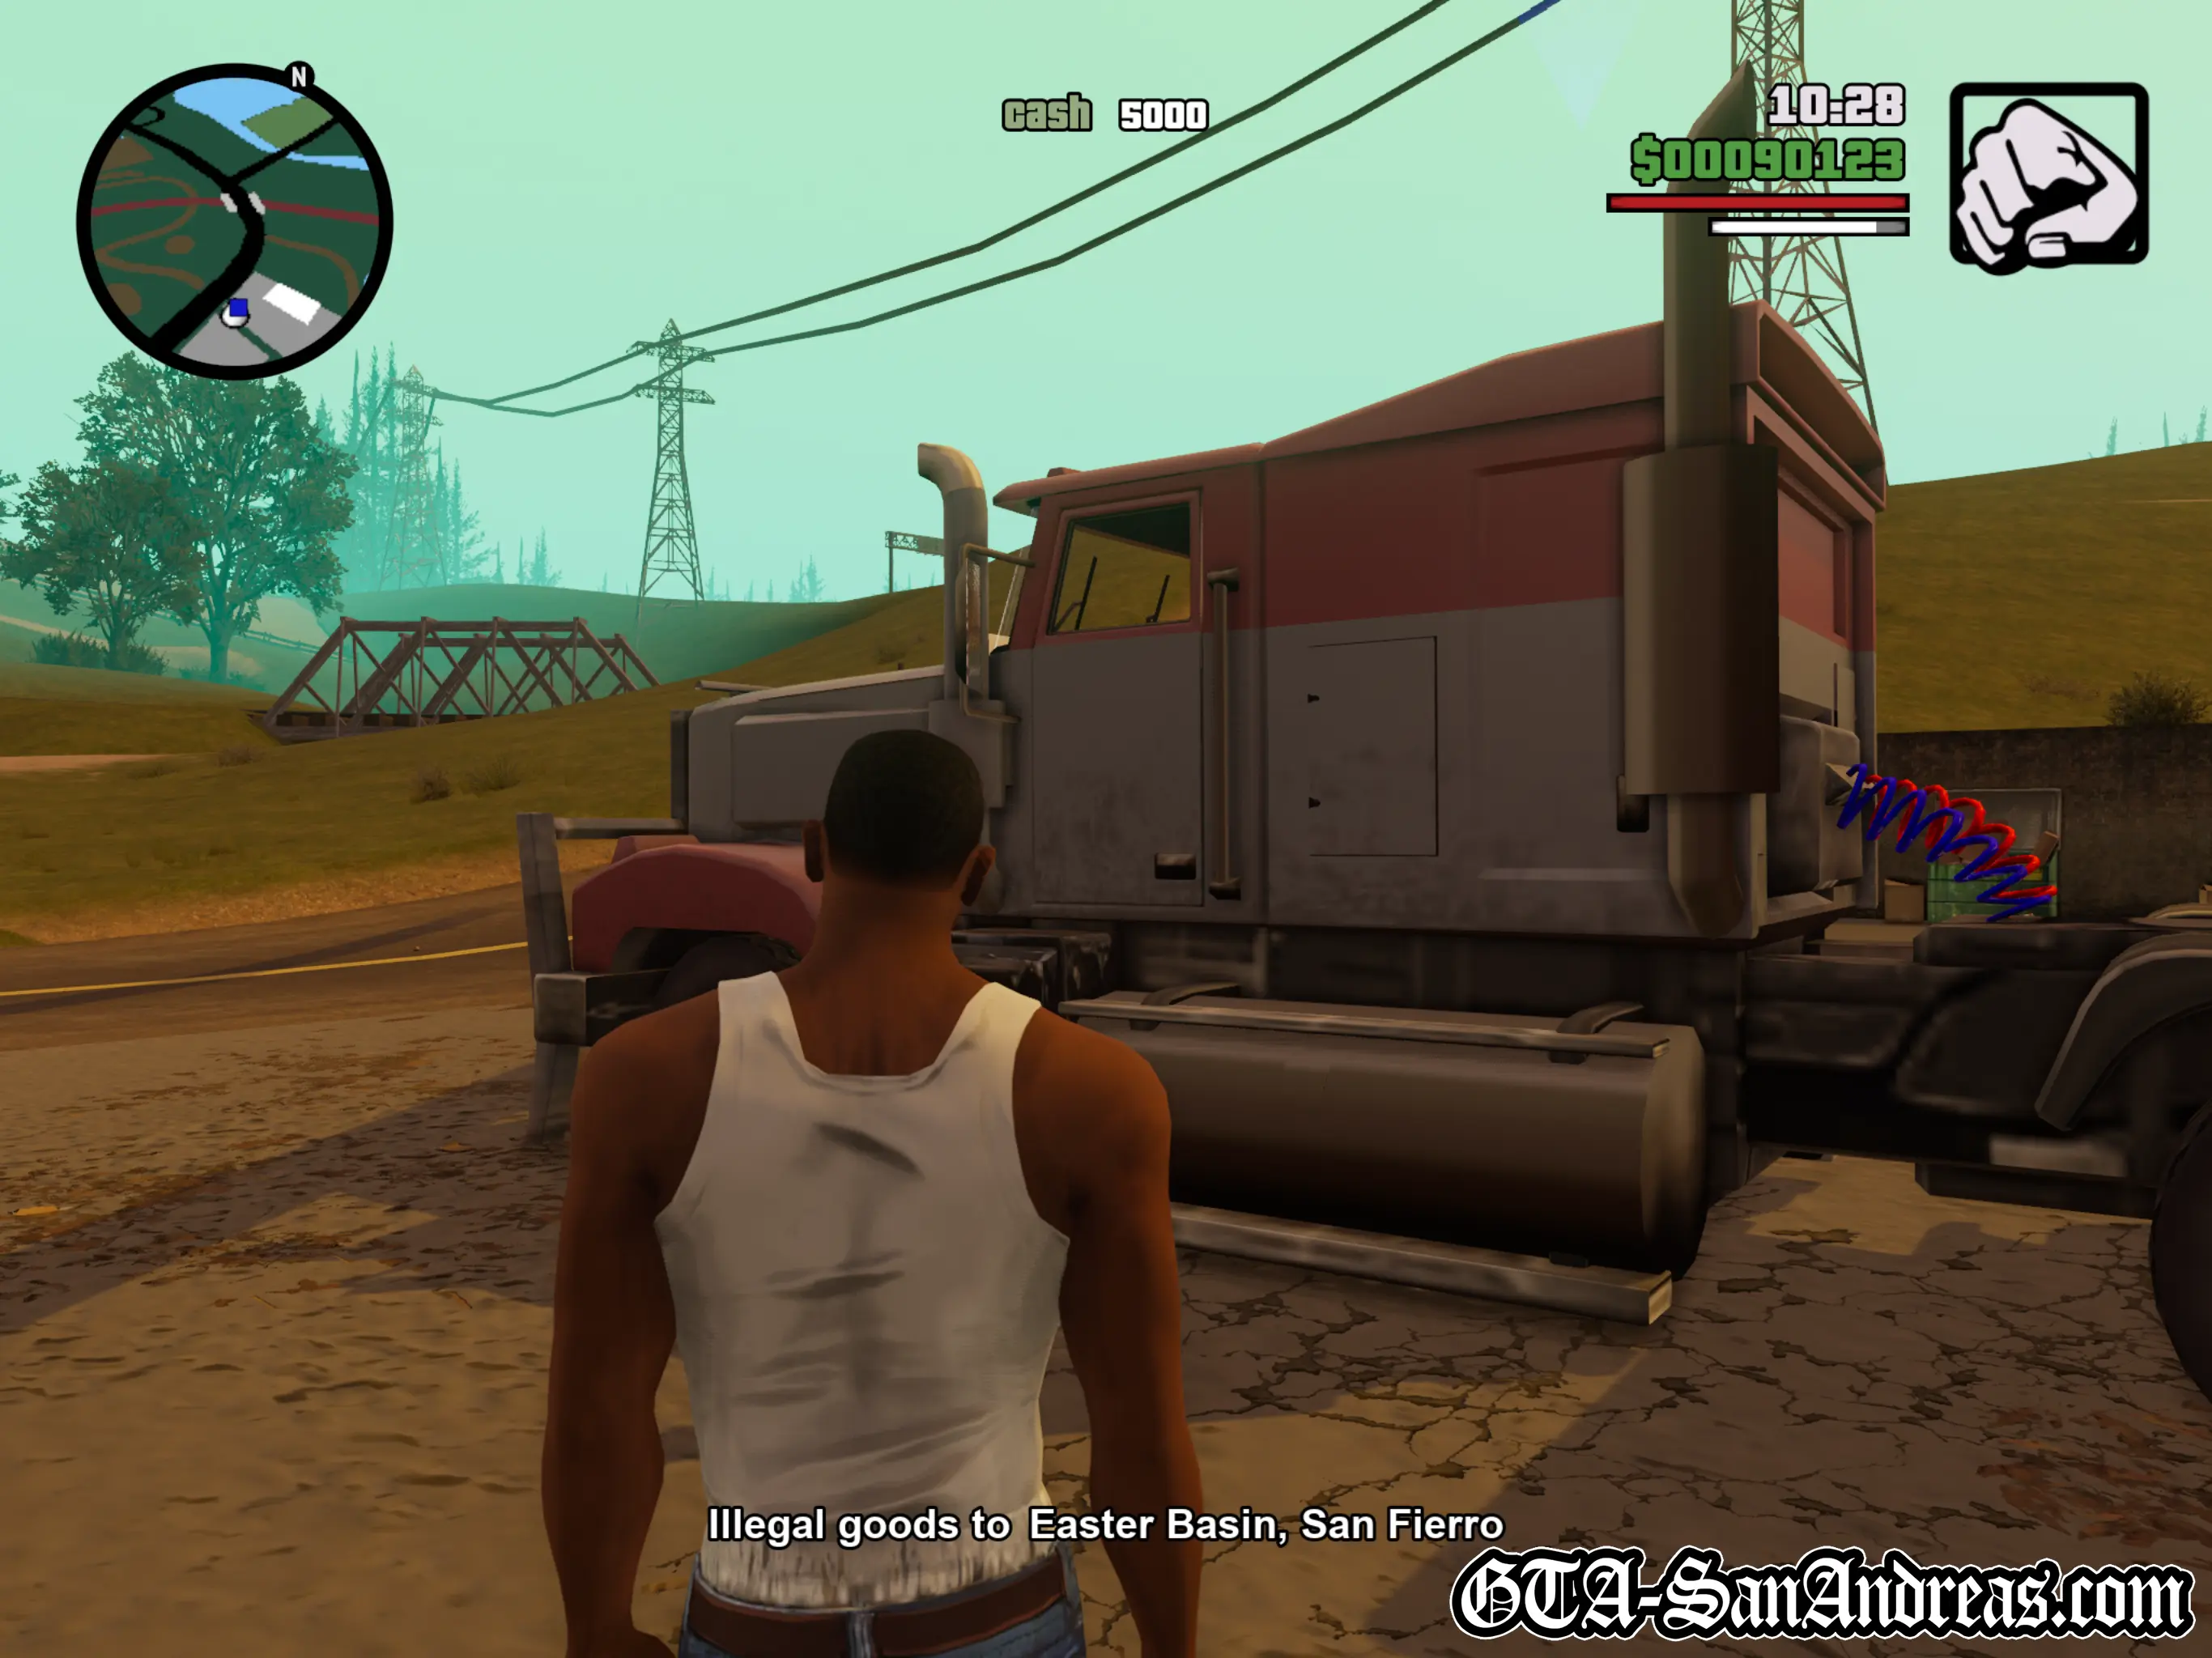
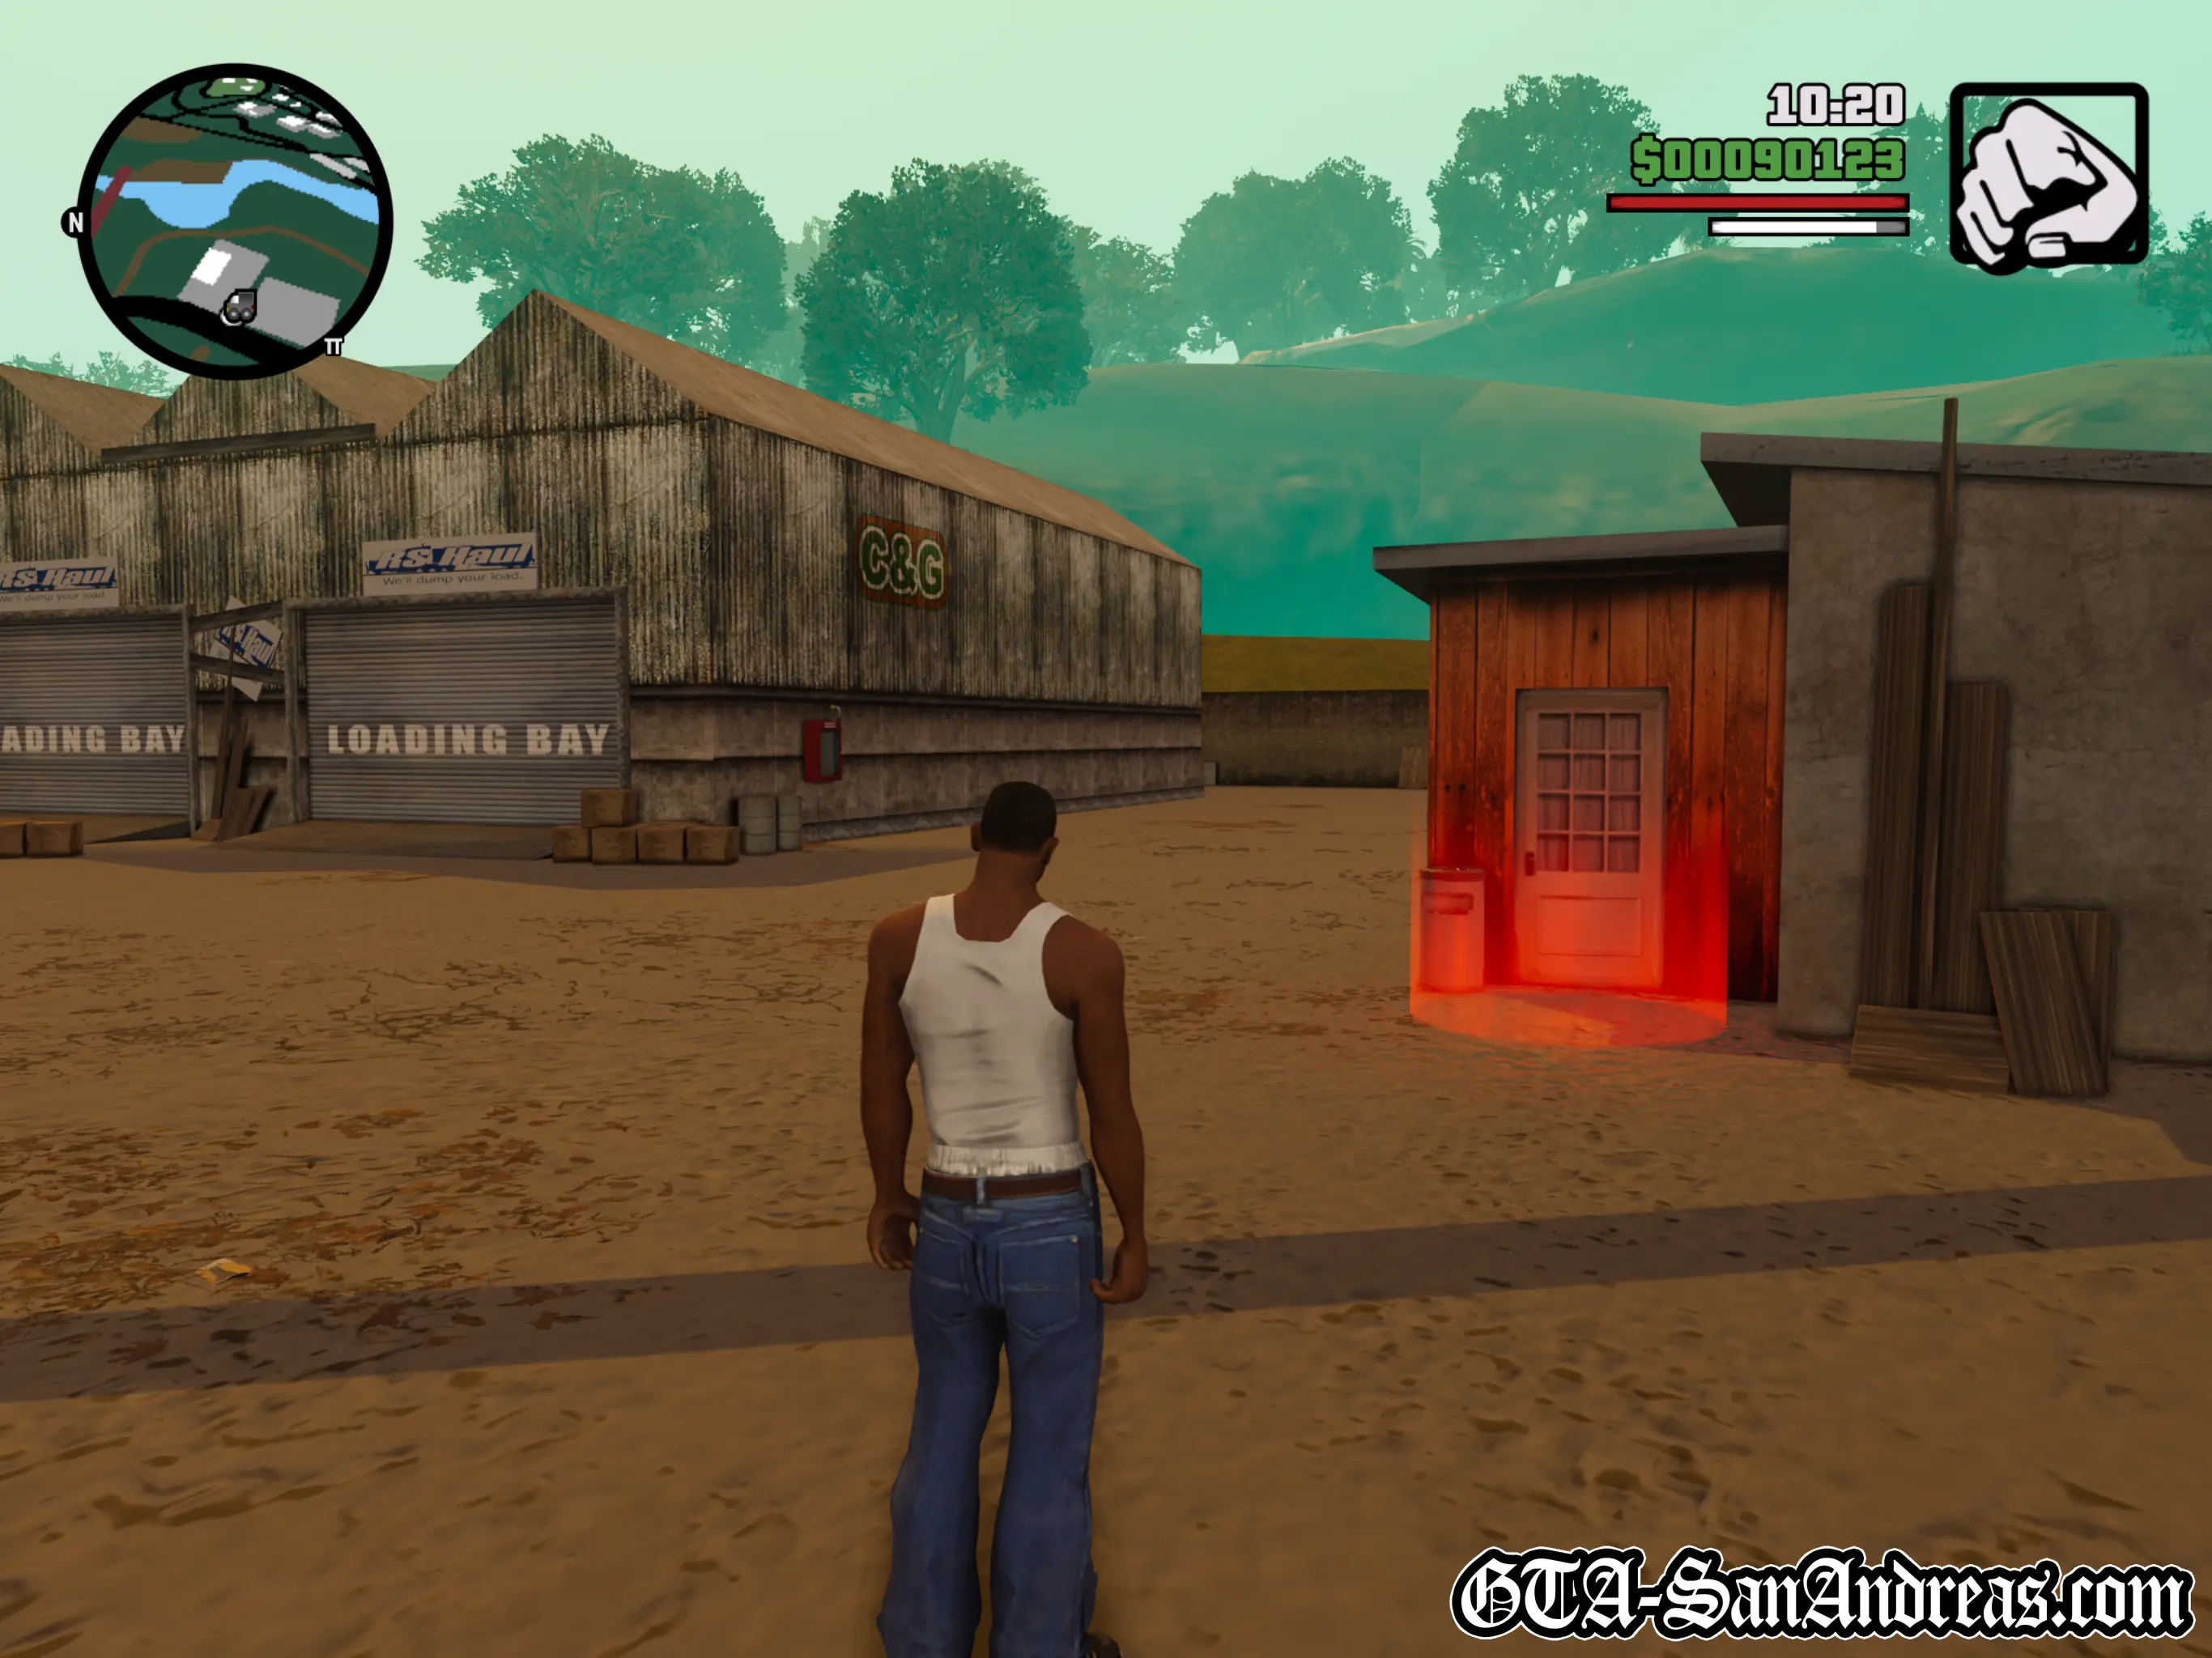
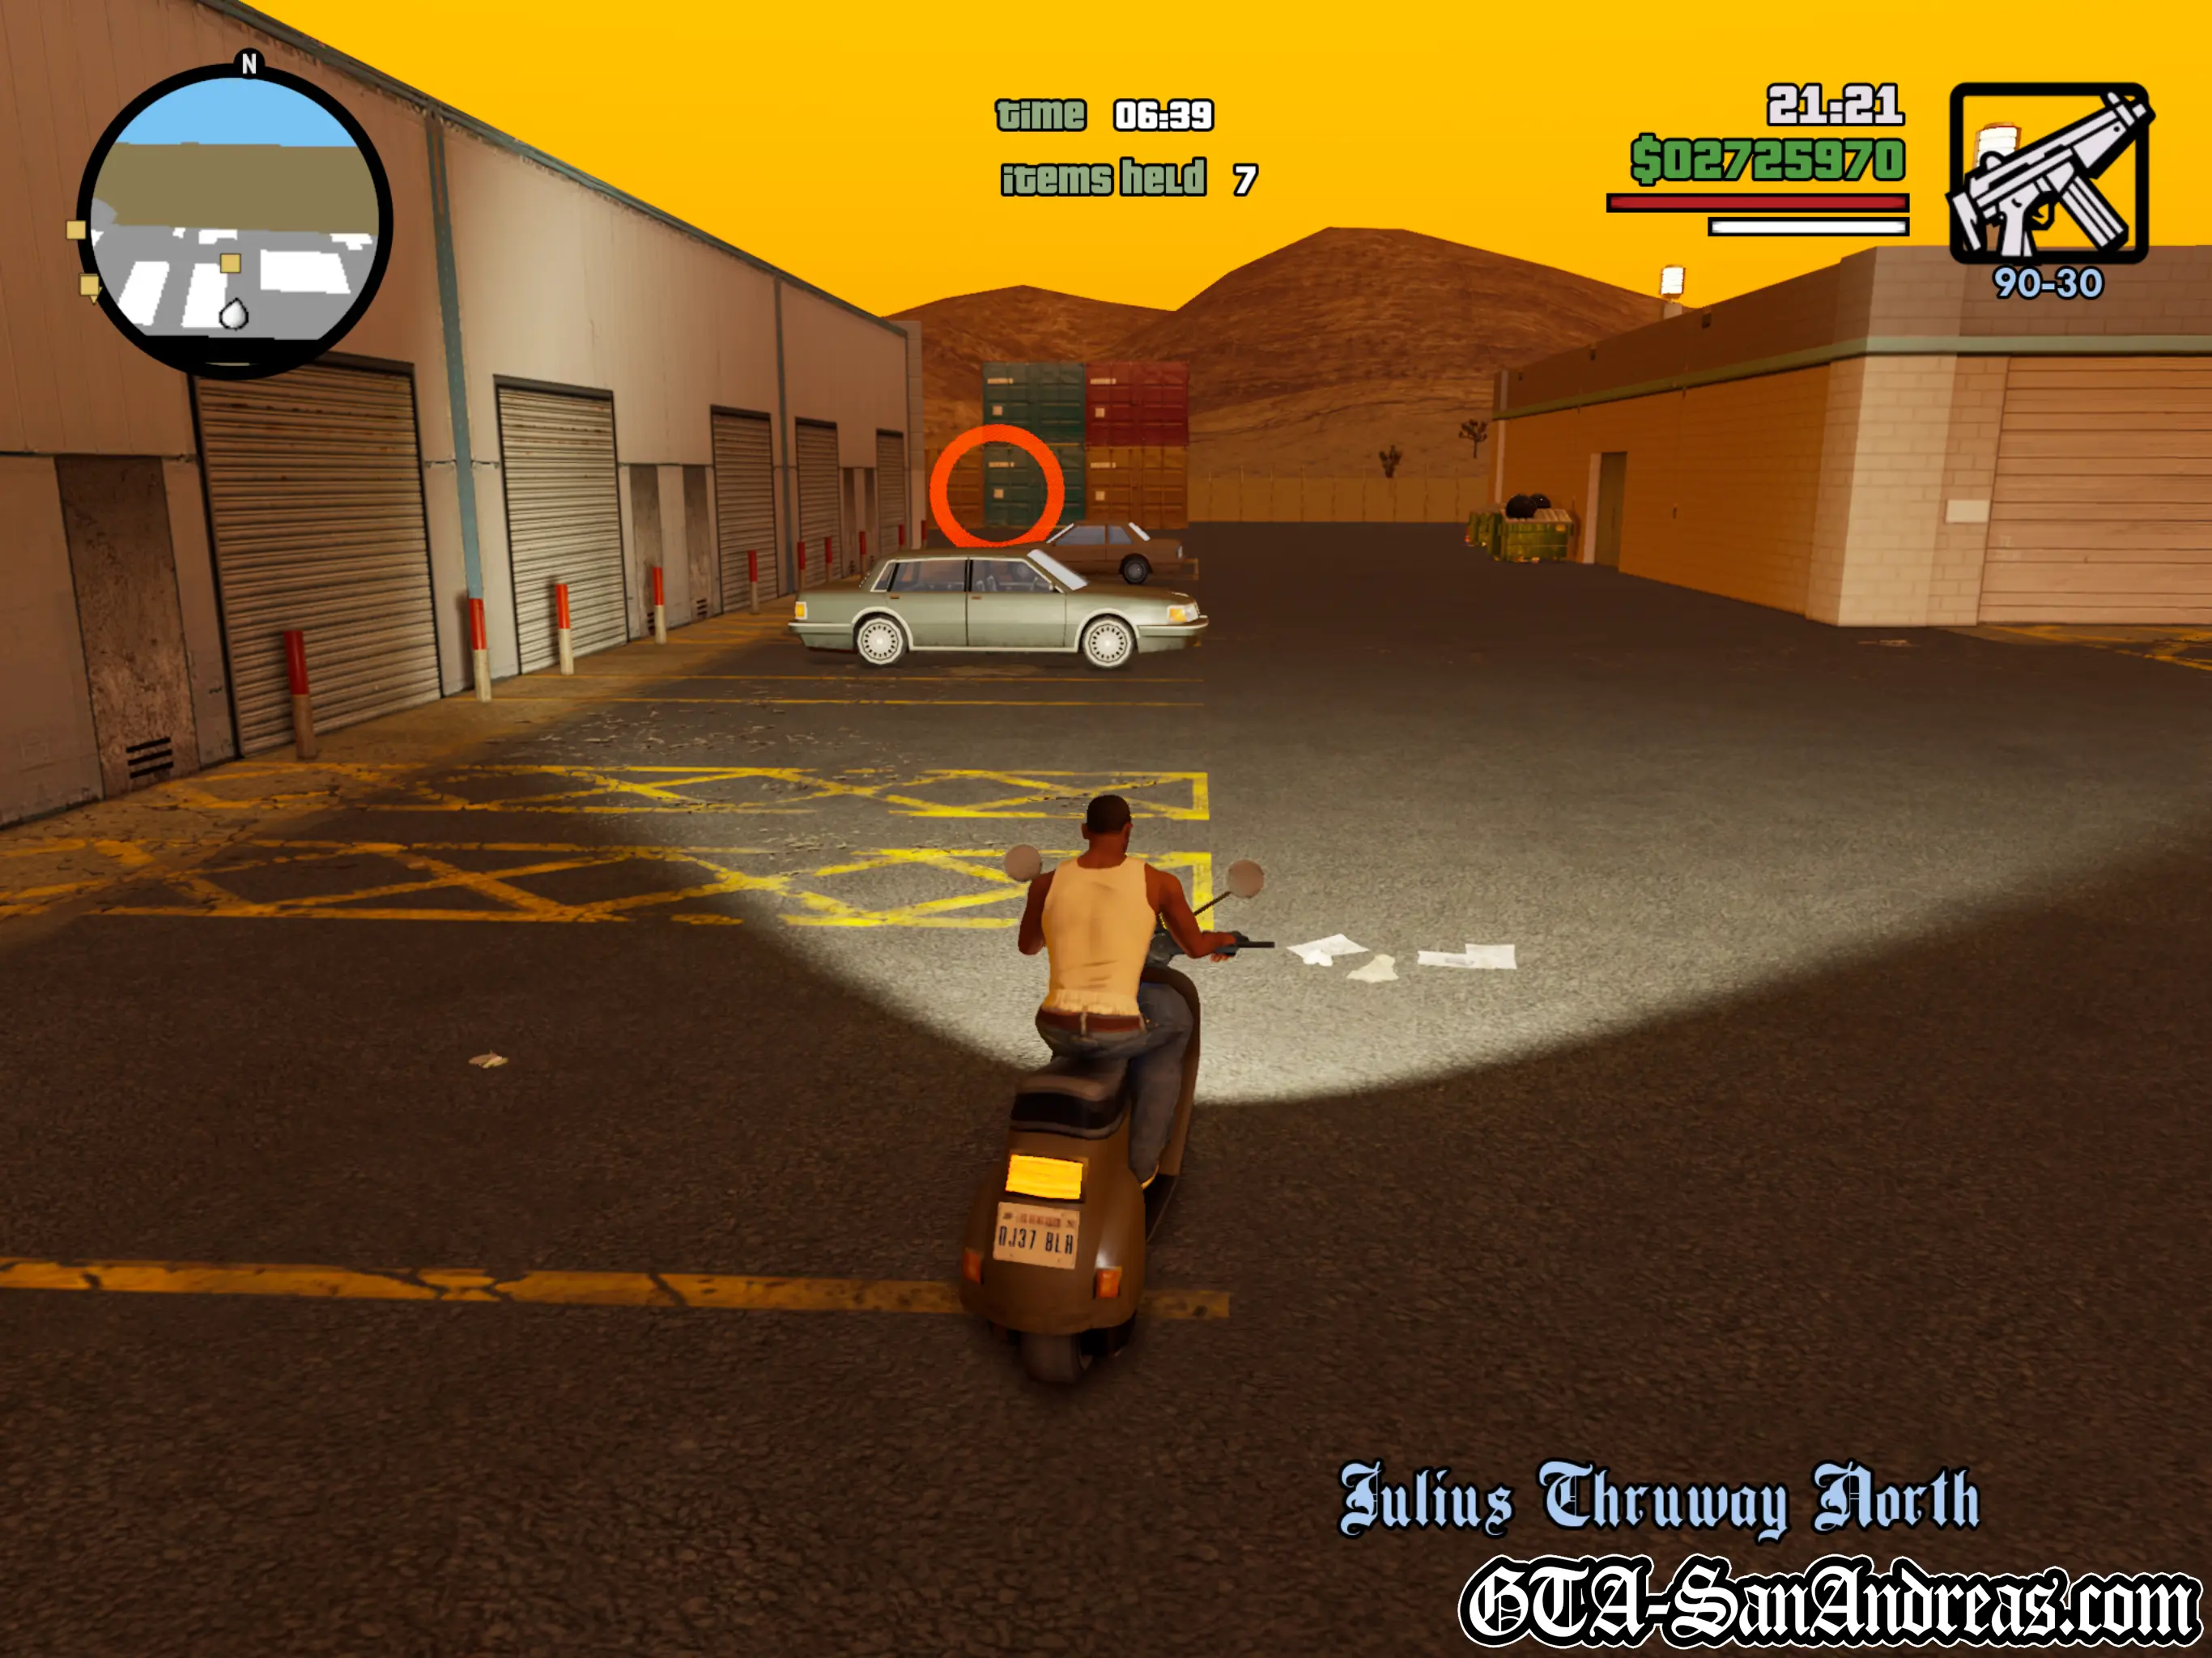
Trucking Missions - RS Haul
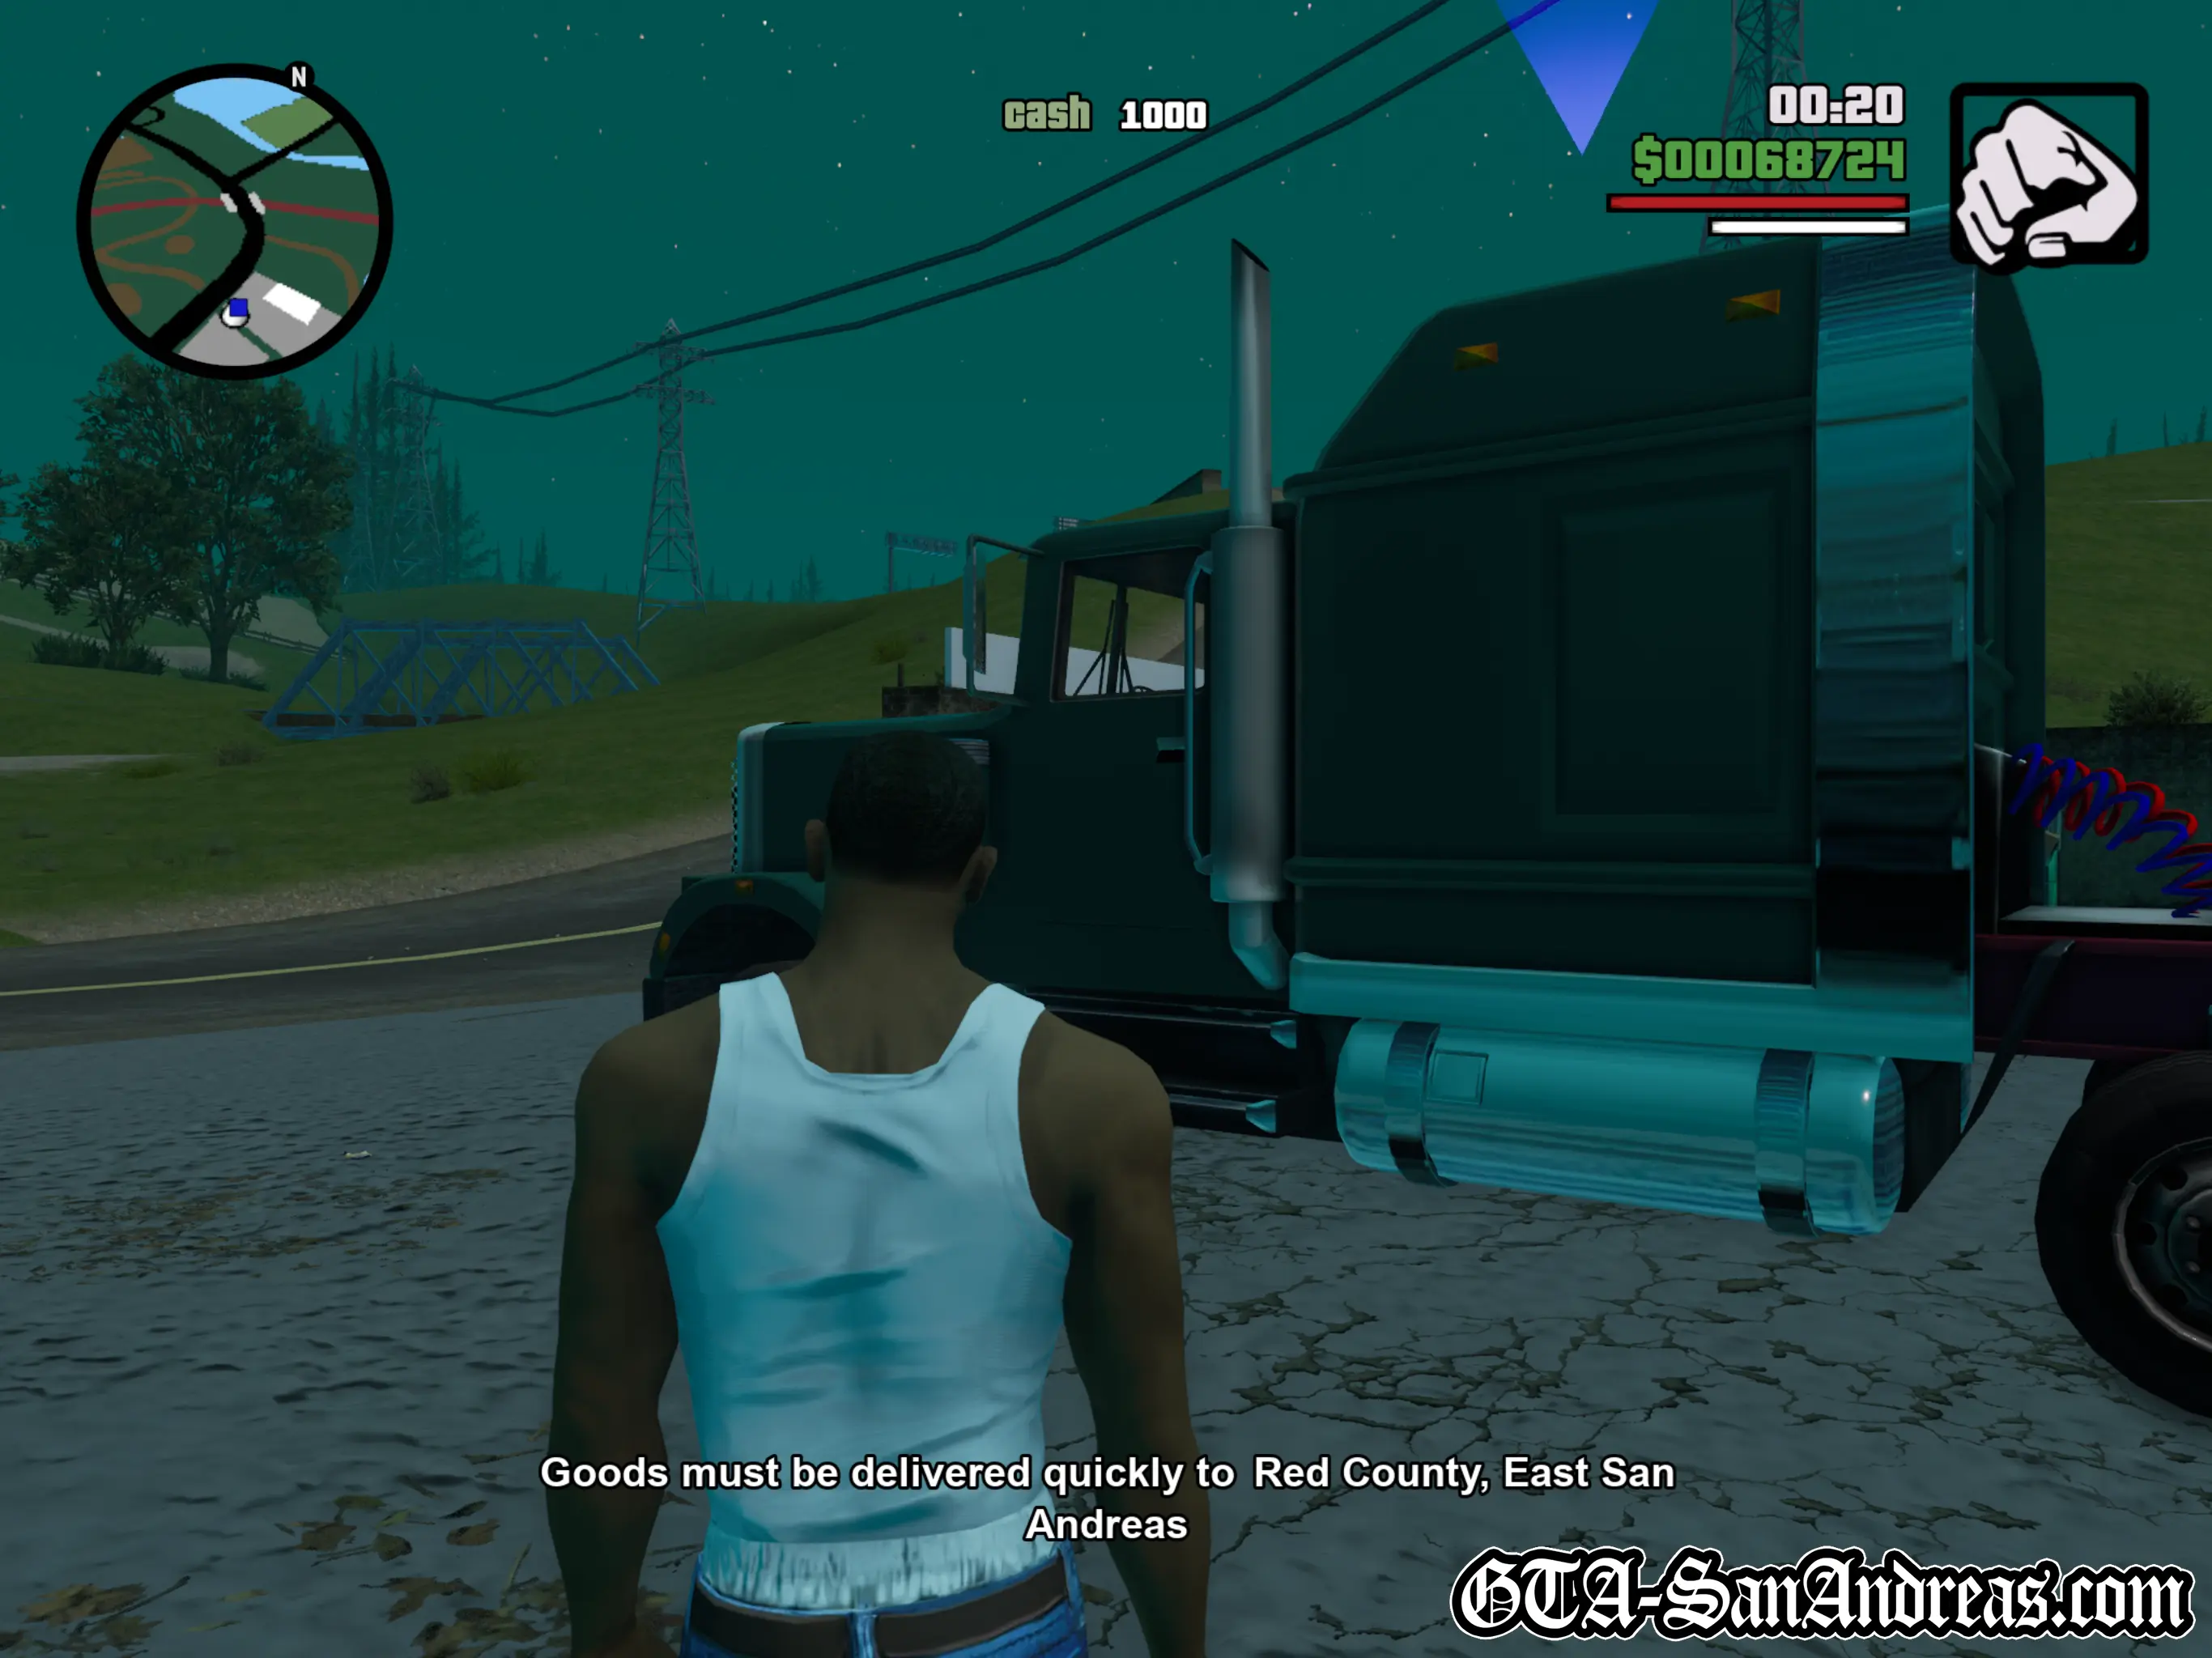
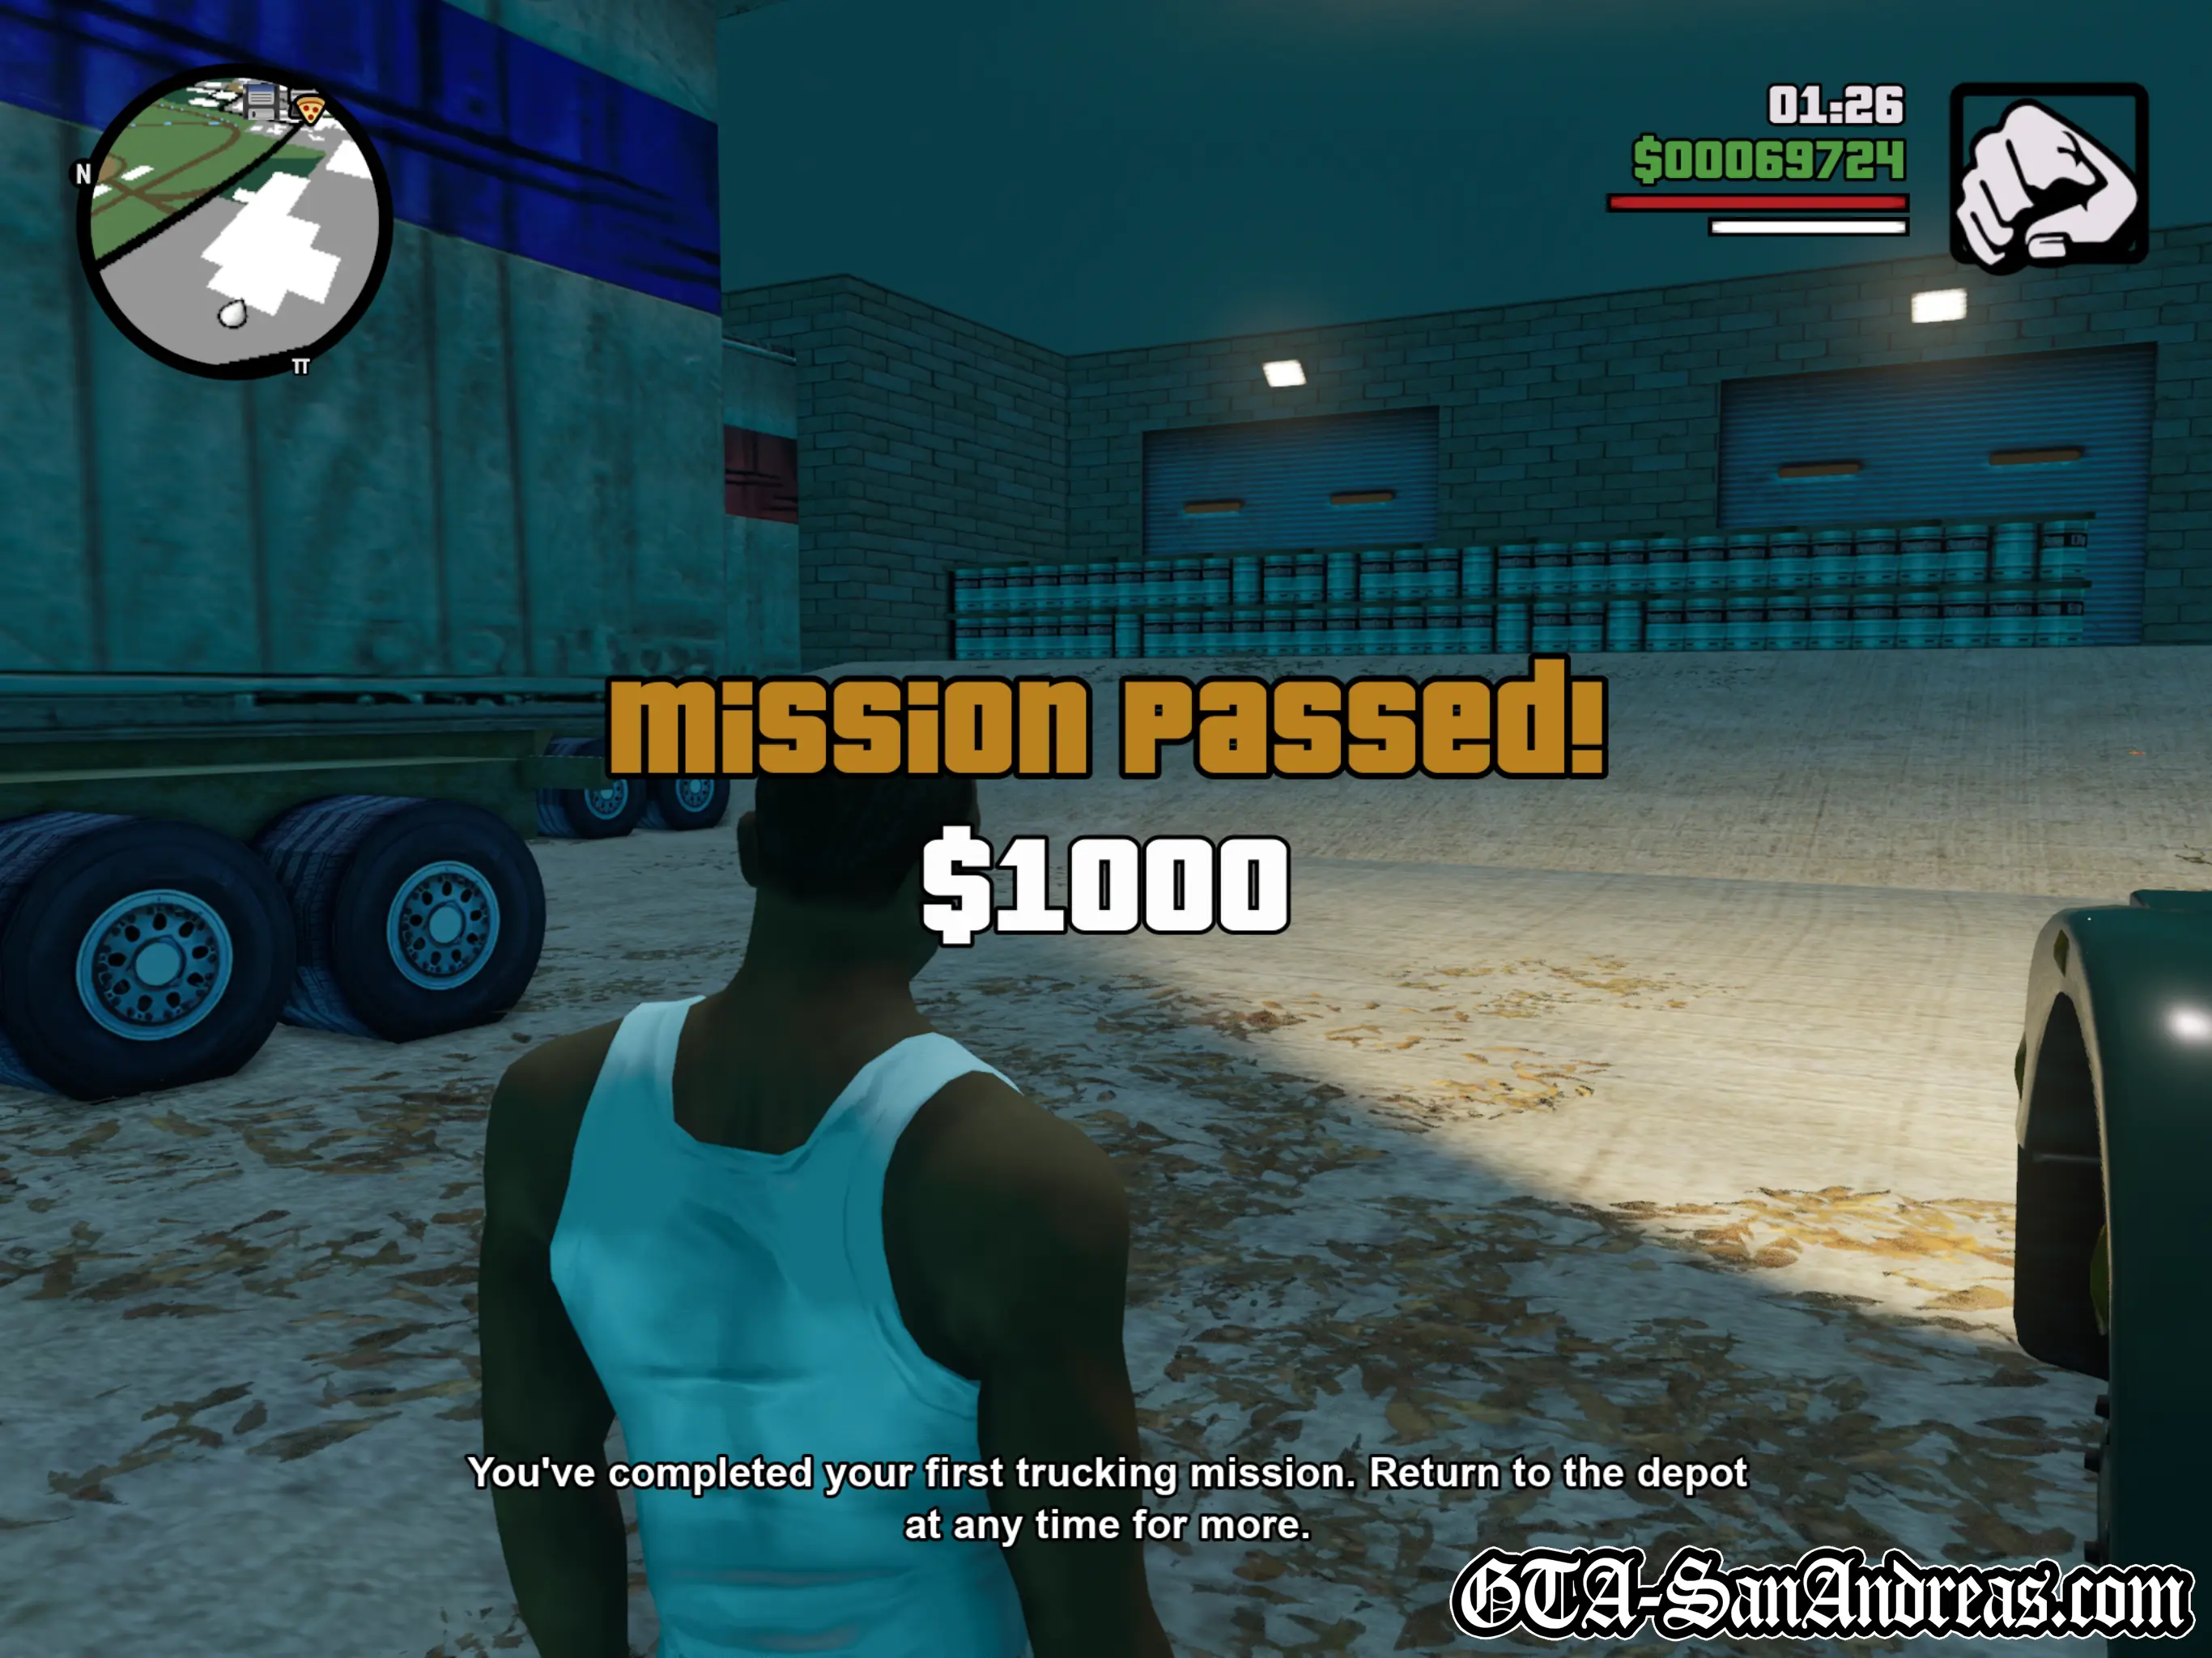
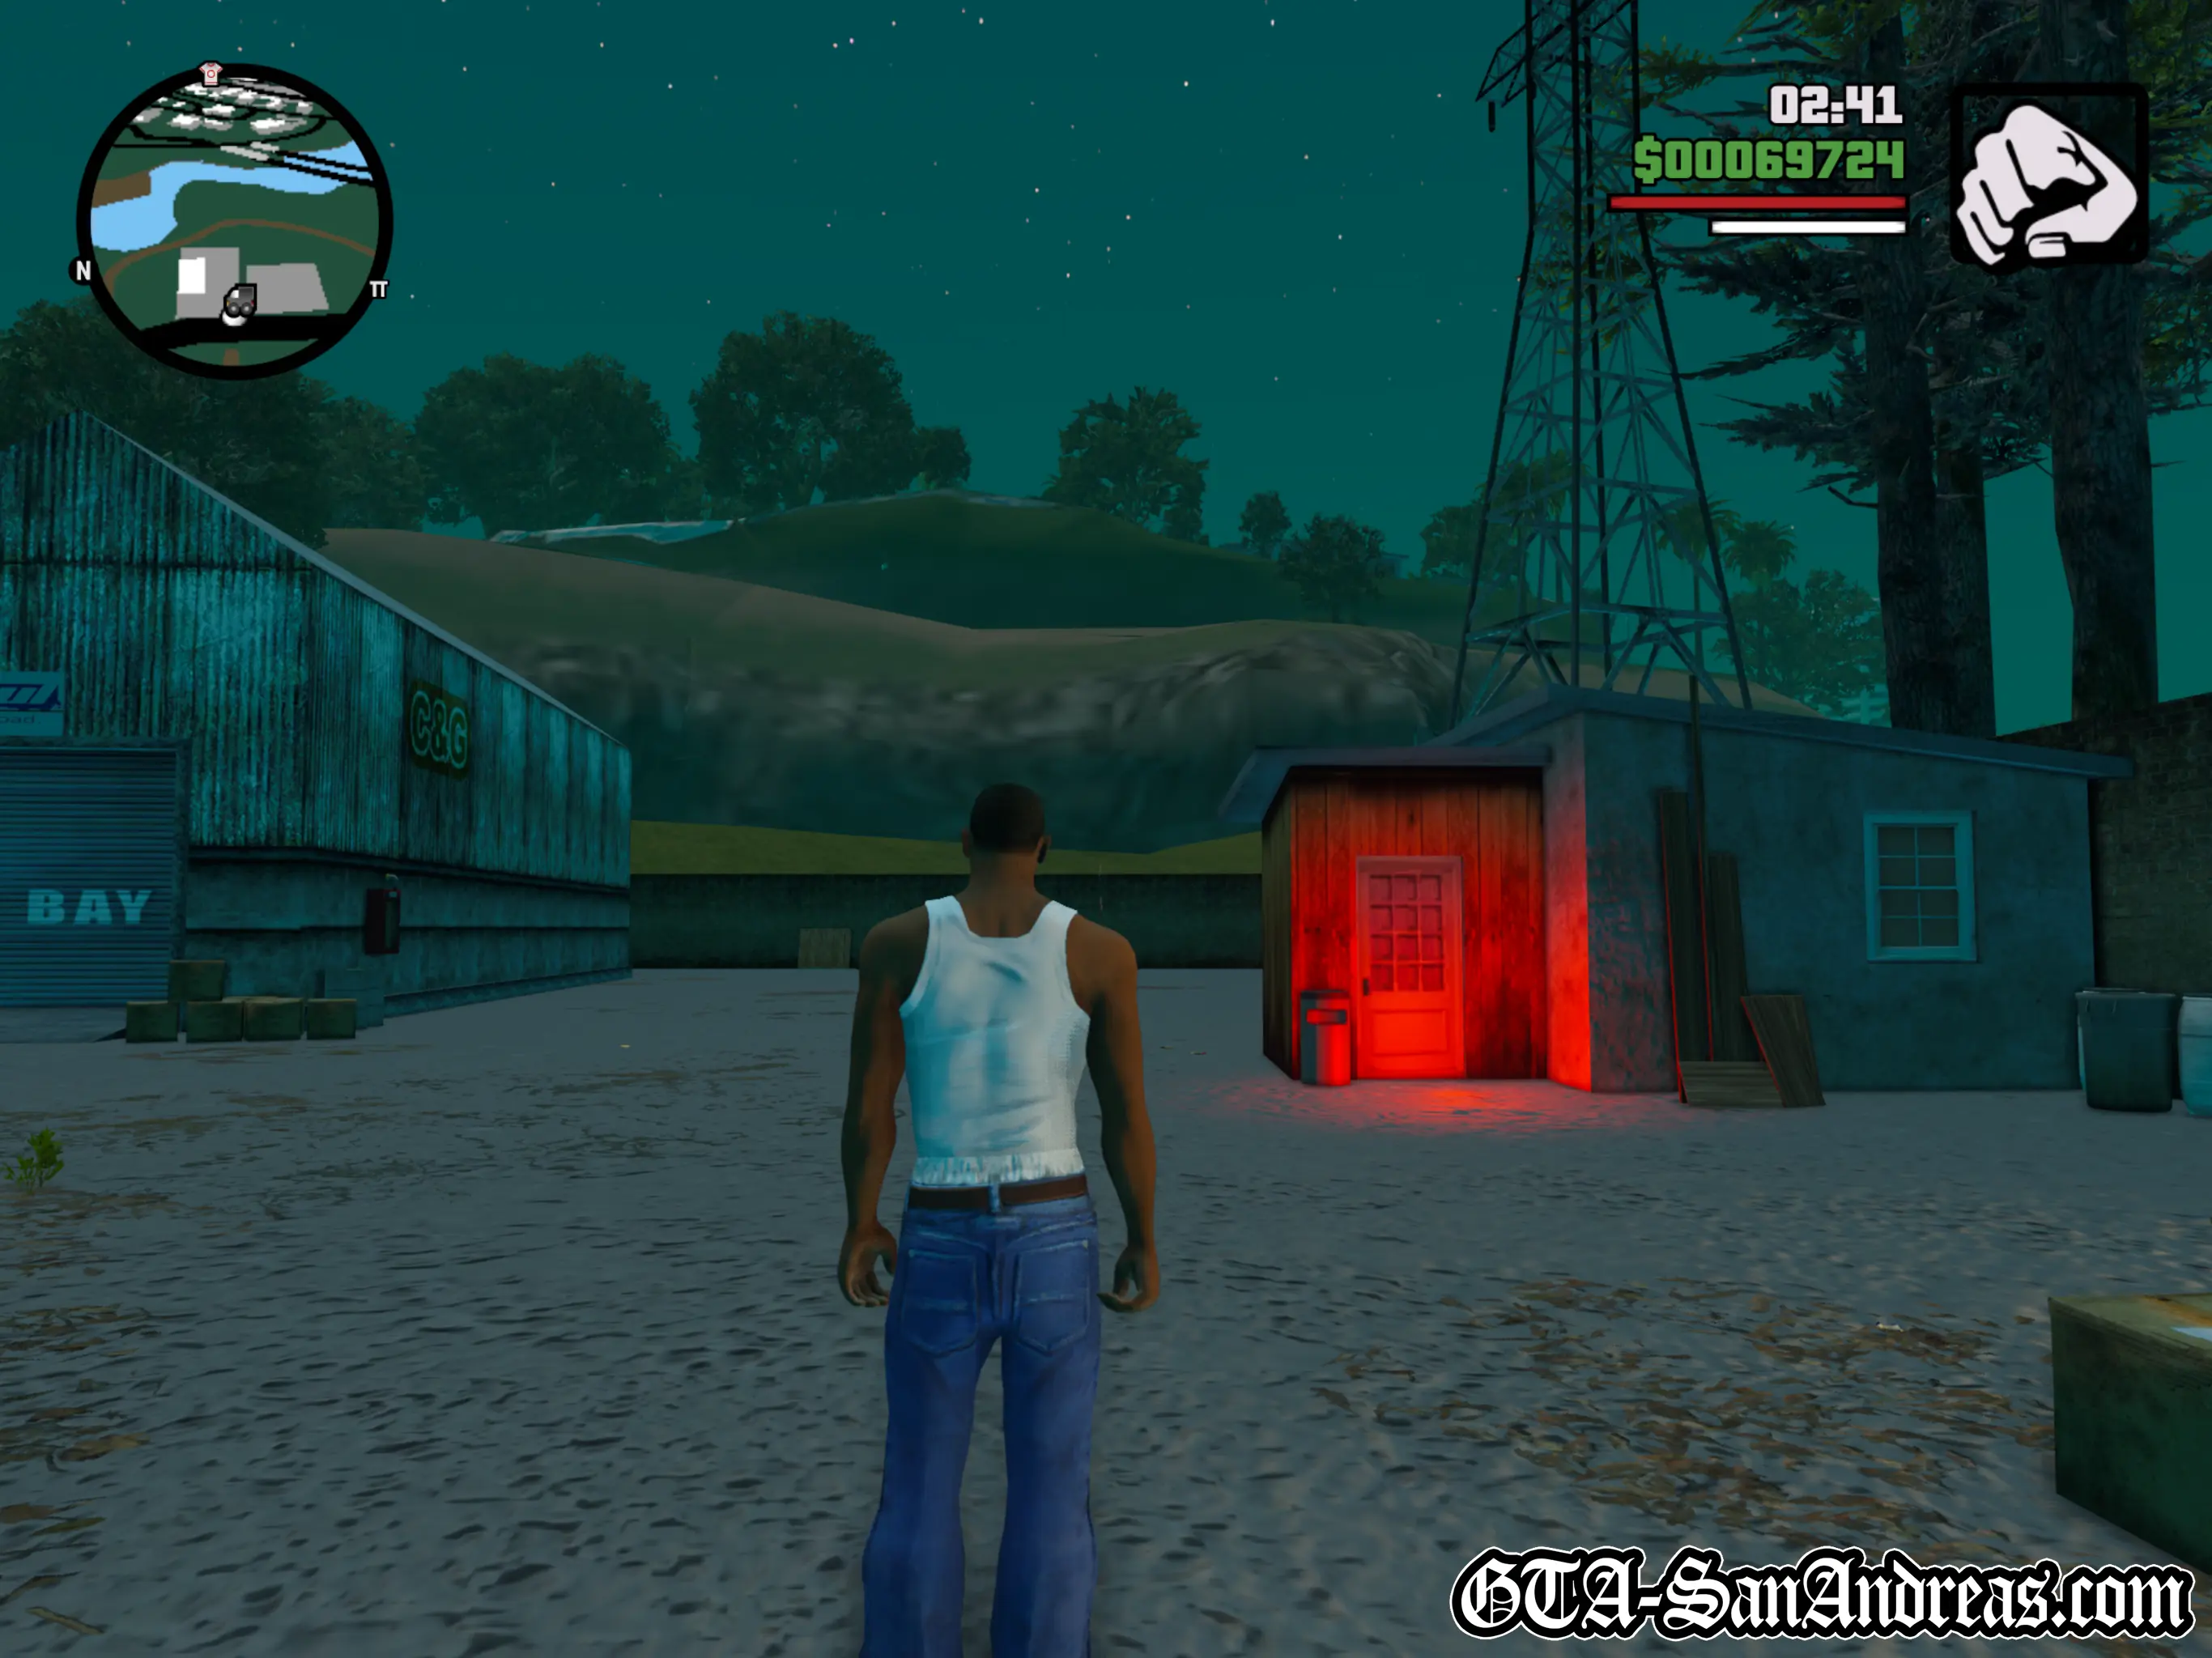
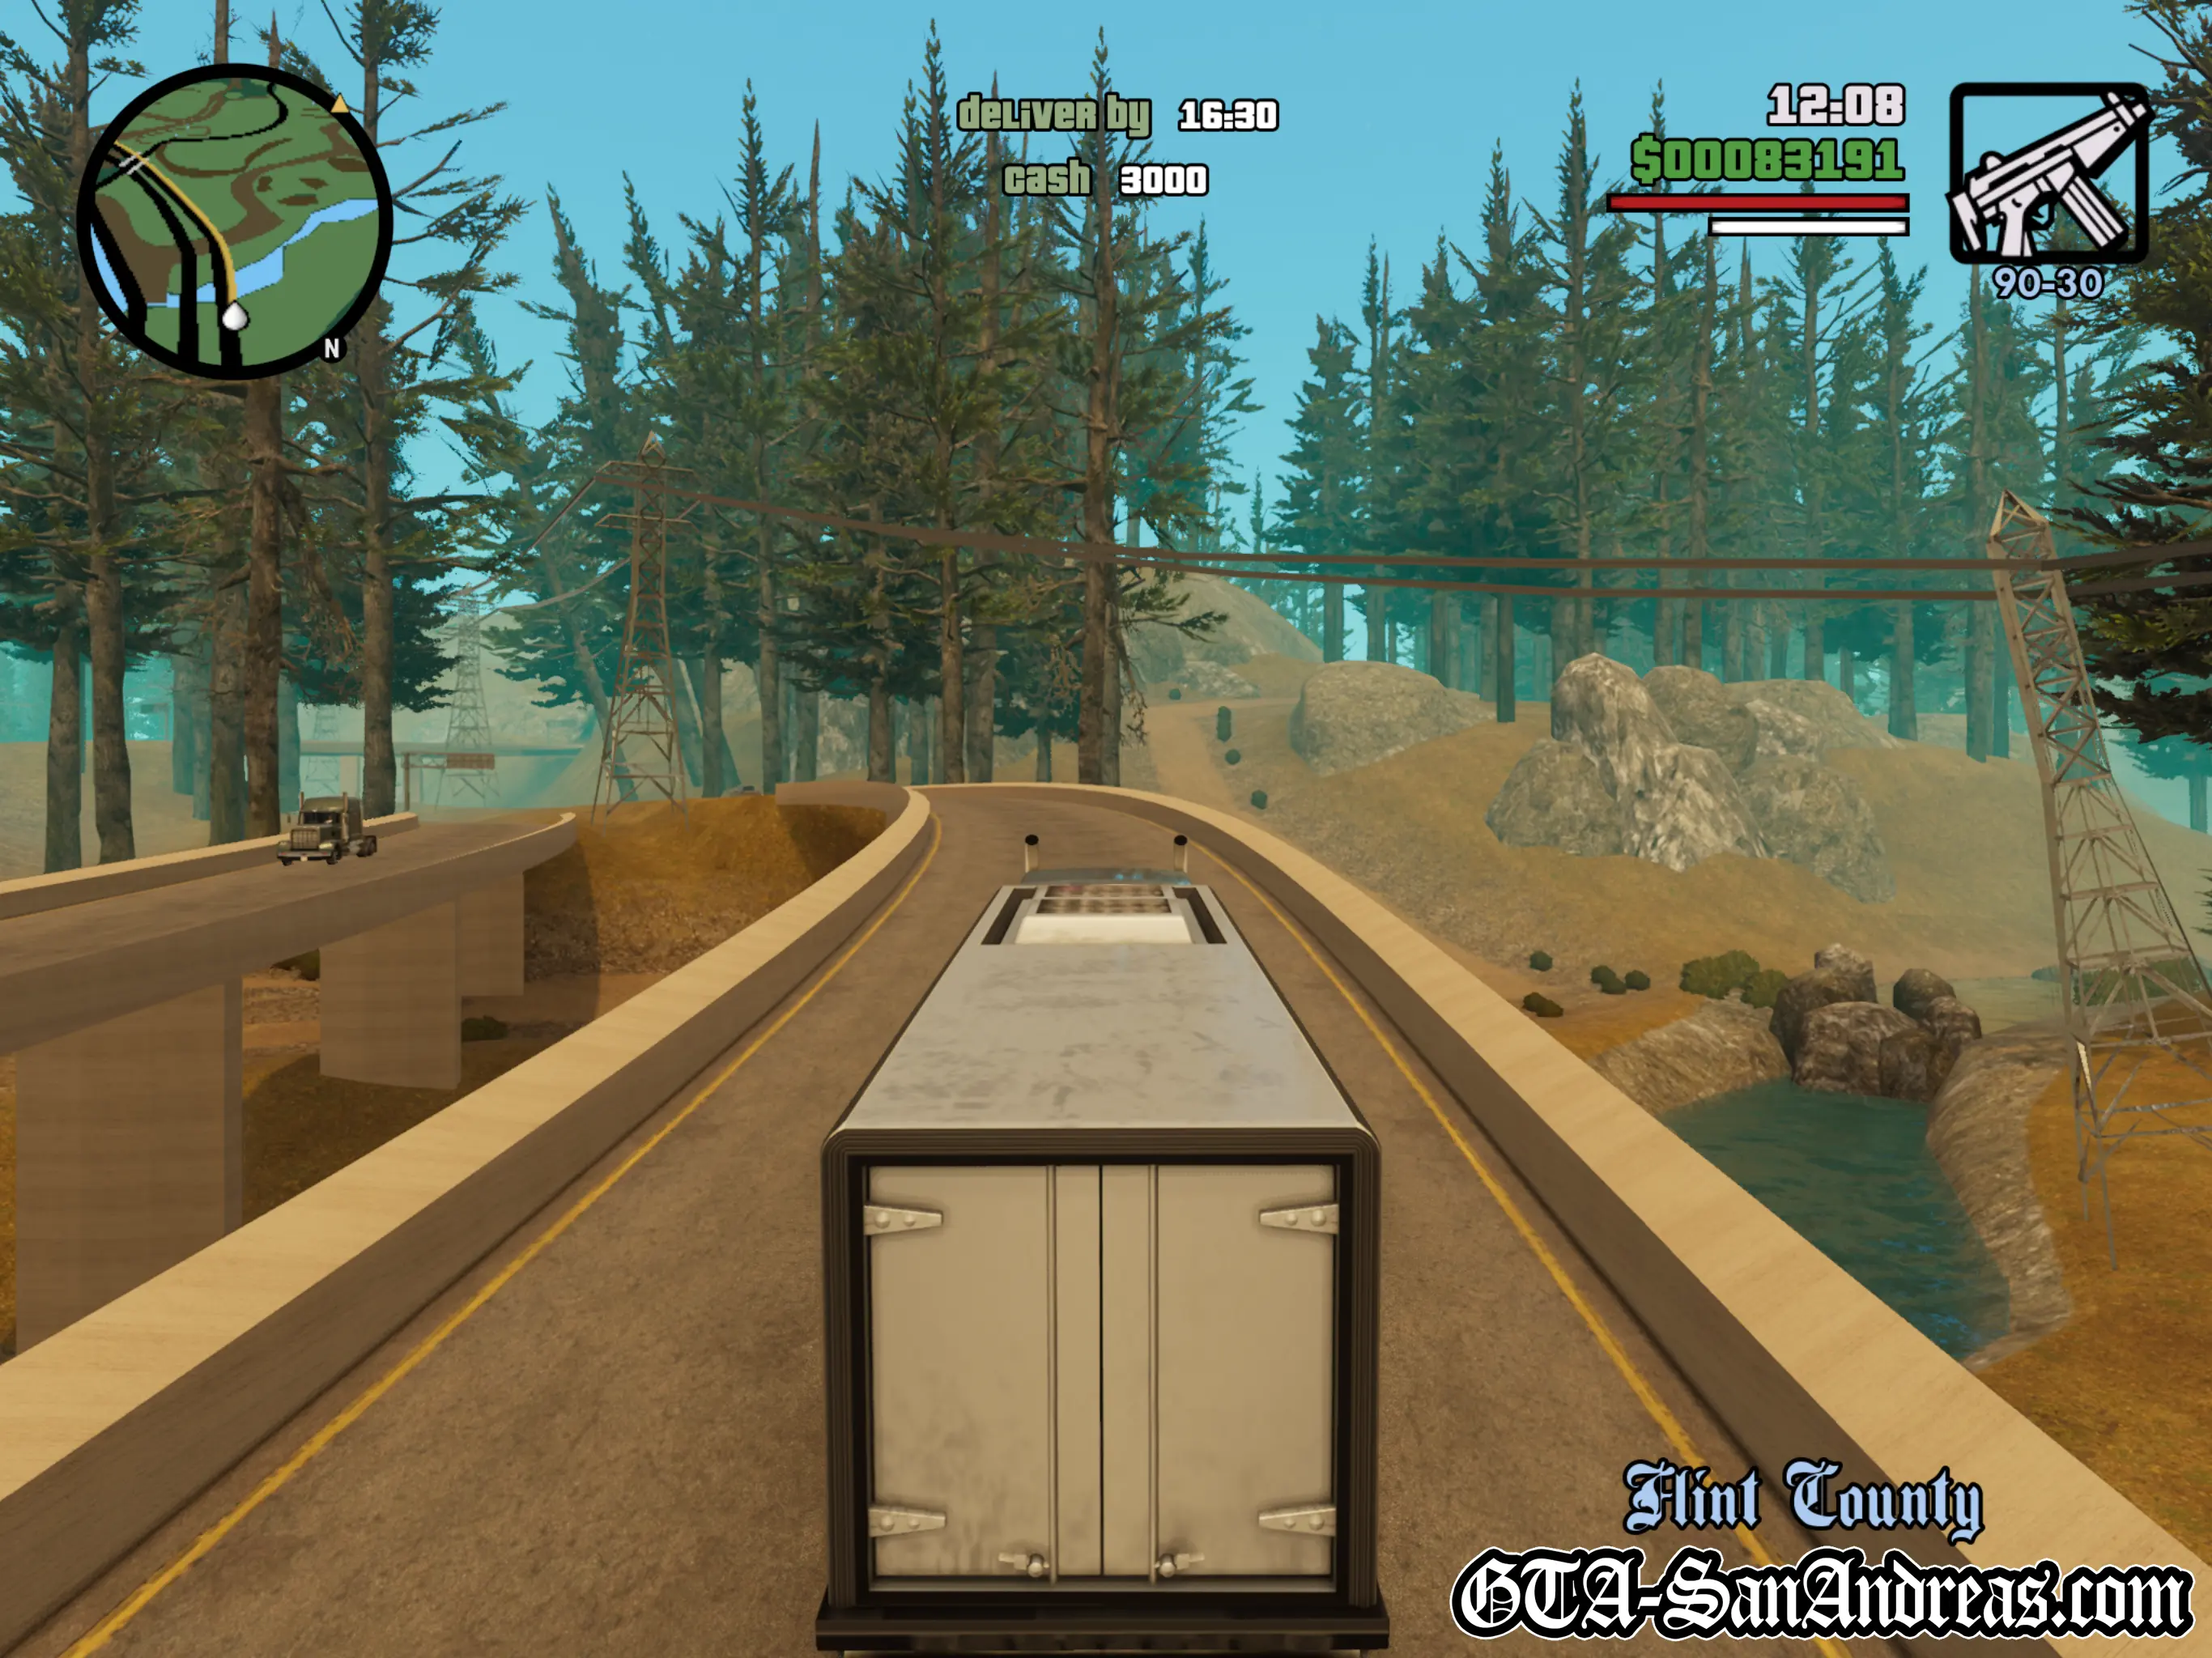
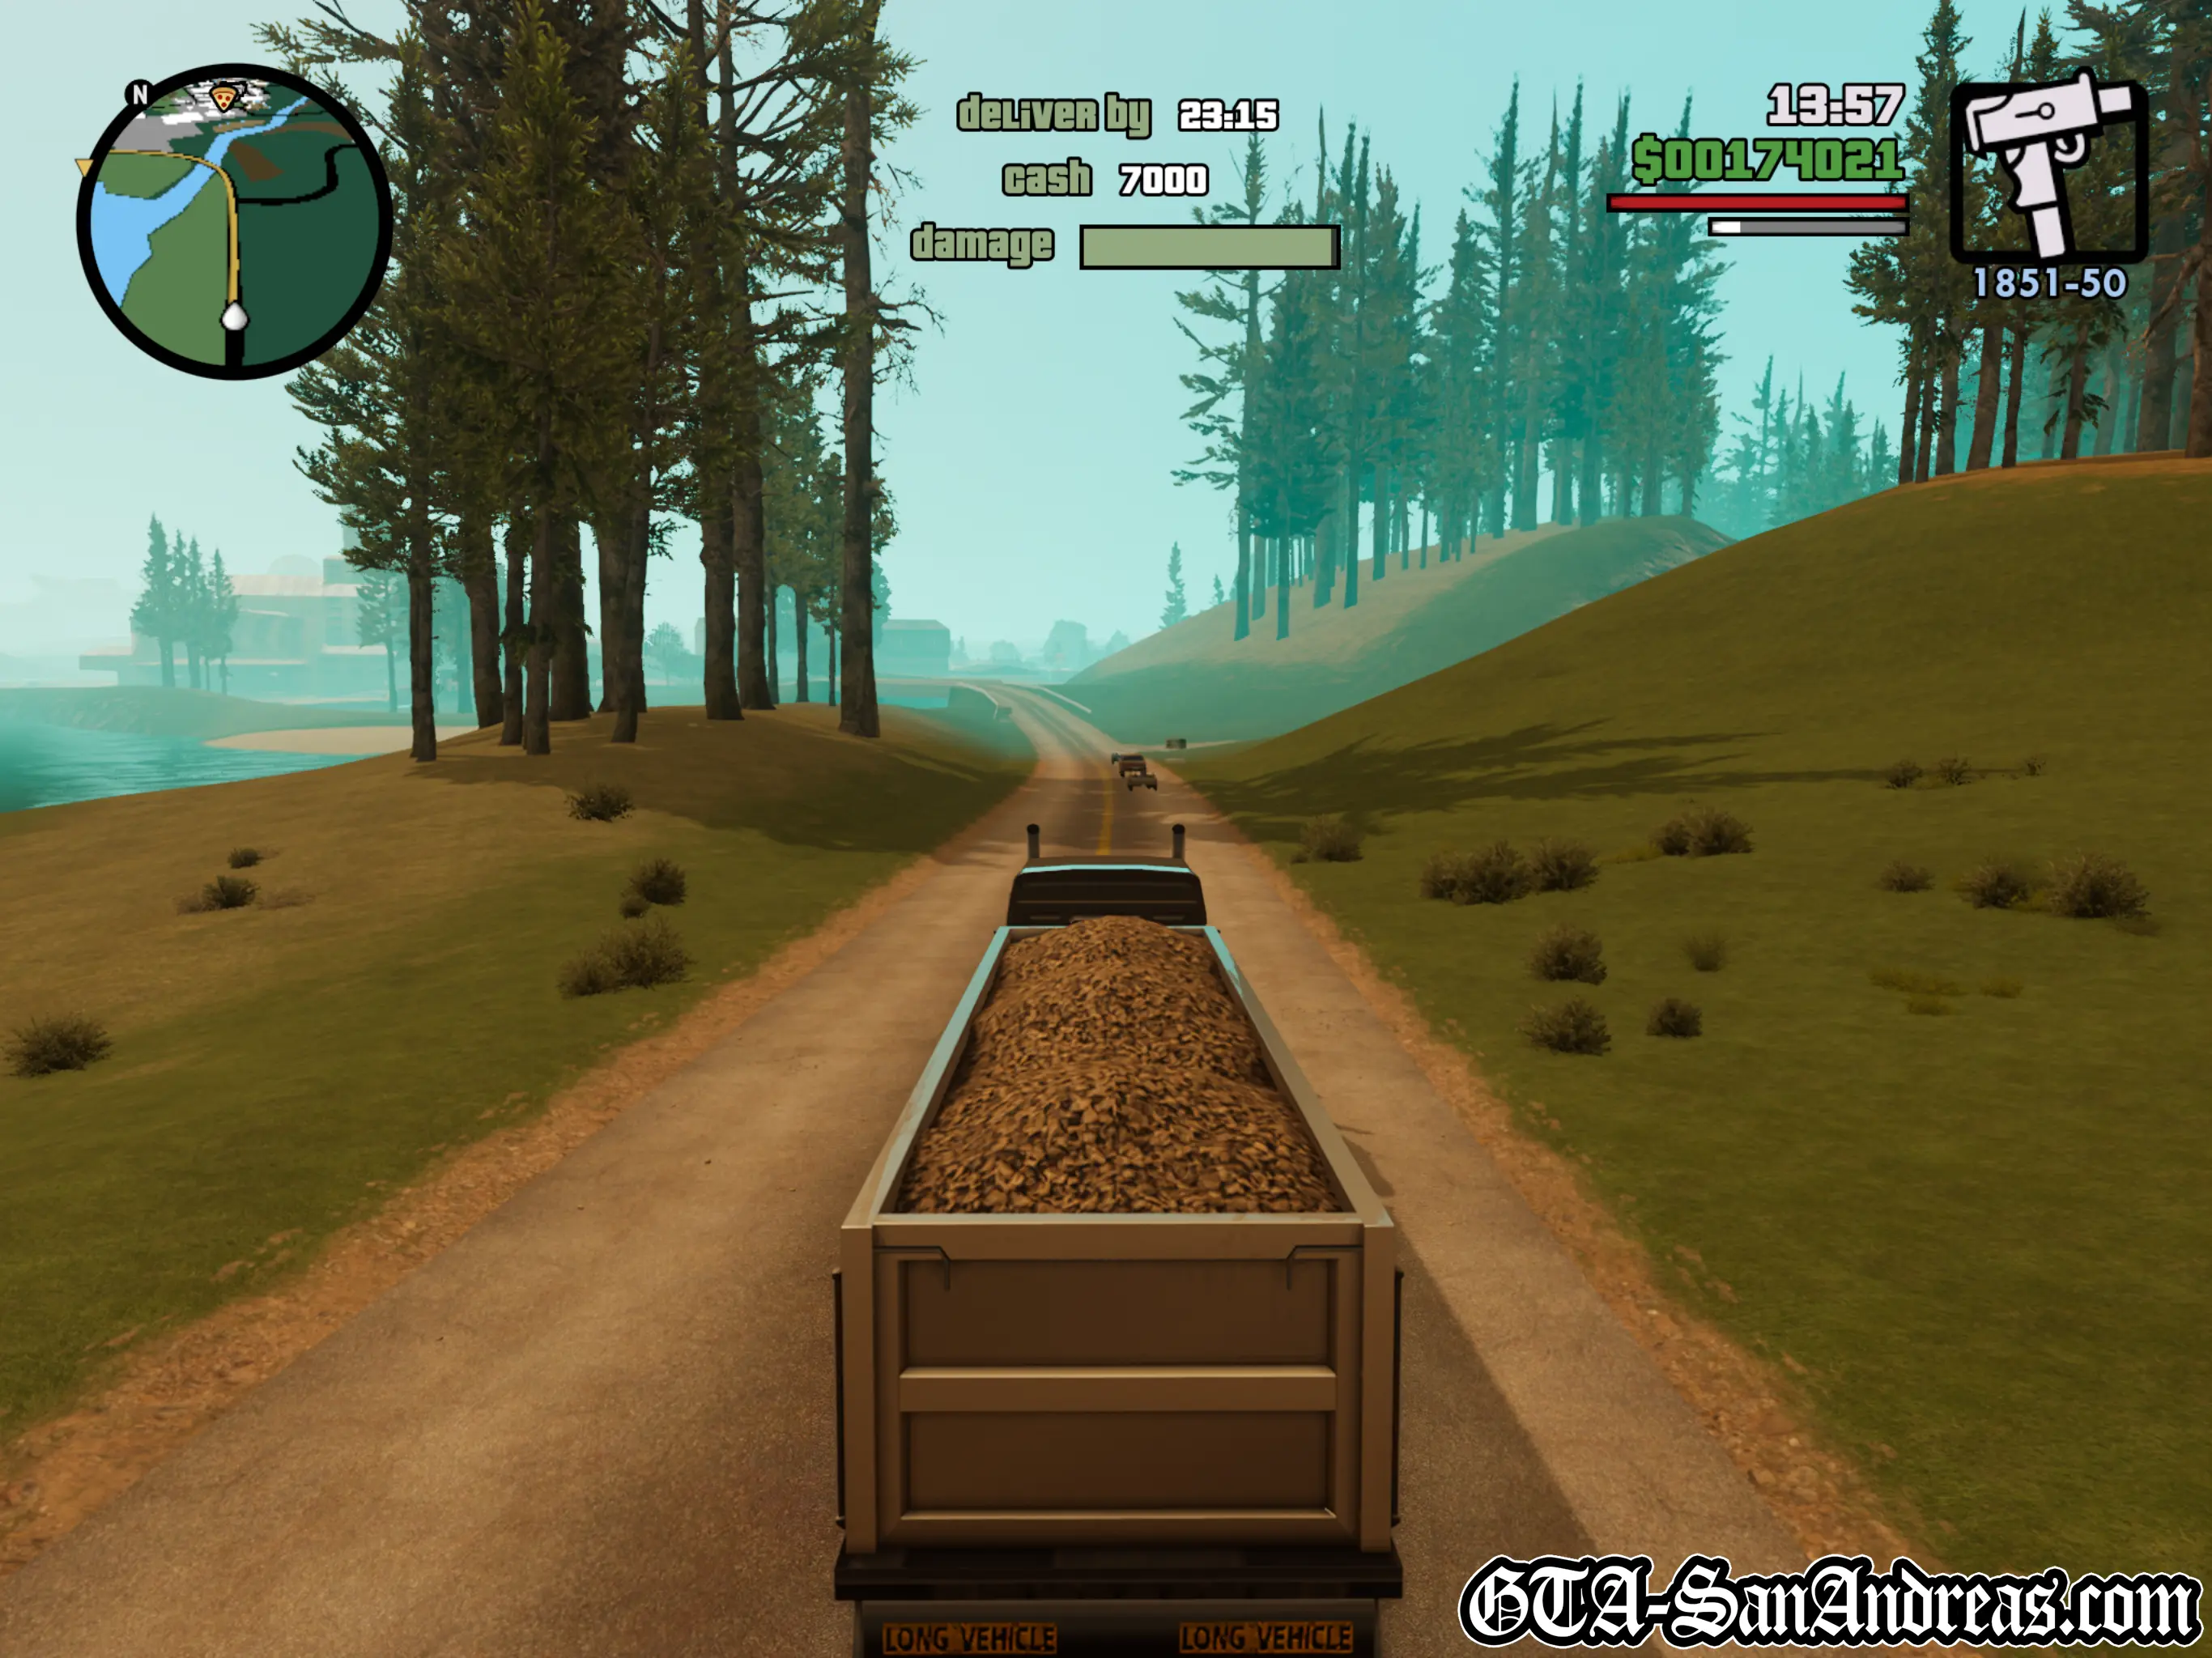
The Trucking Missions are unlocked after the mission "Tanker Commander" for Catalina. They can be found in Flint Country marked with the ![]() Truck Icon on the map.
Truck Icon on the map.
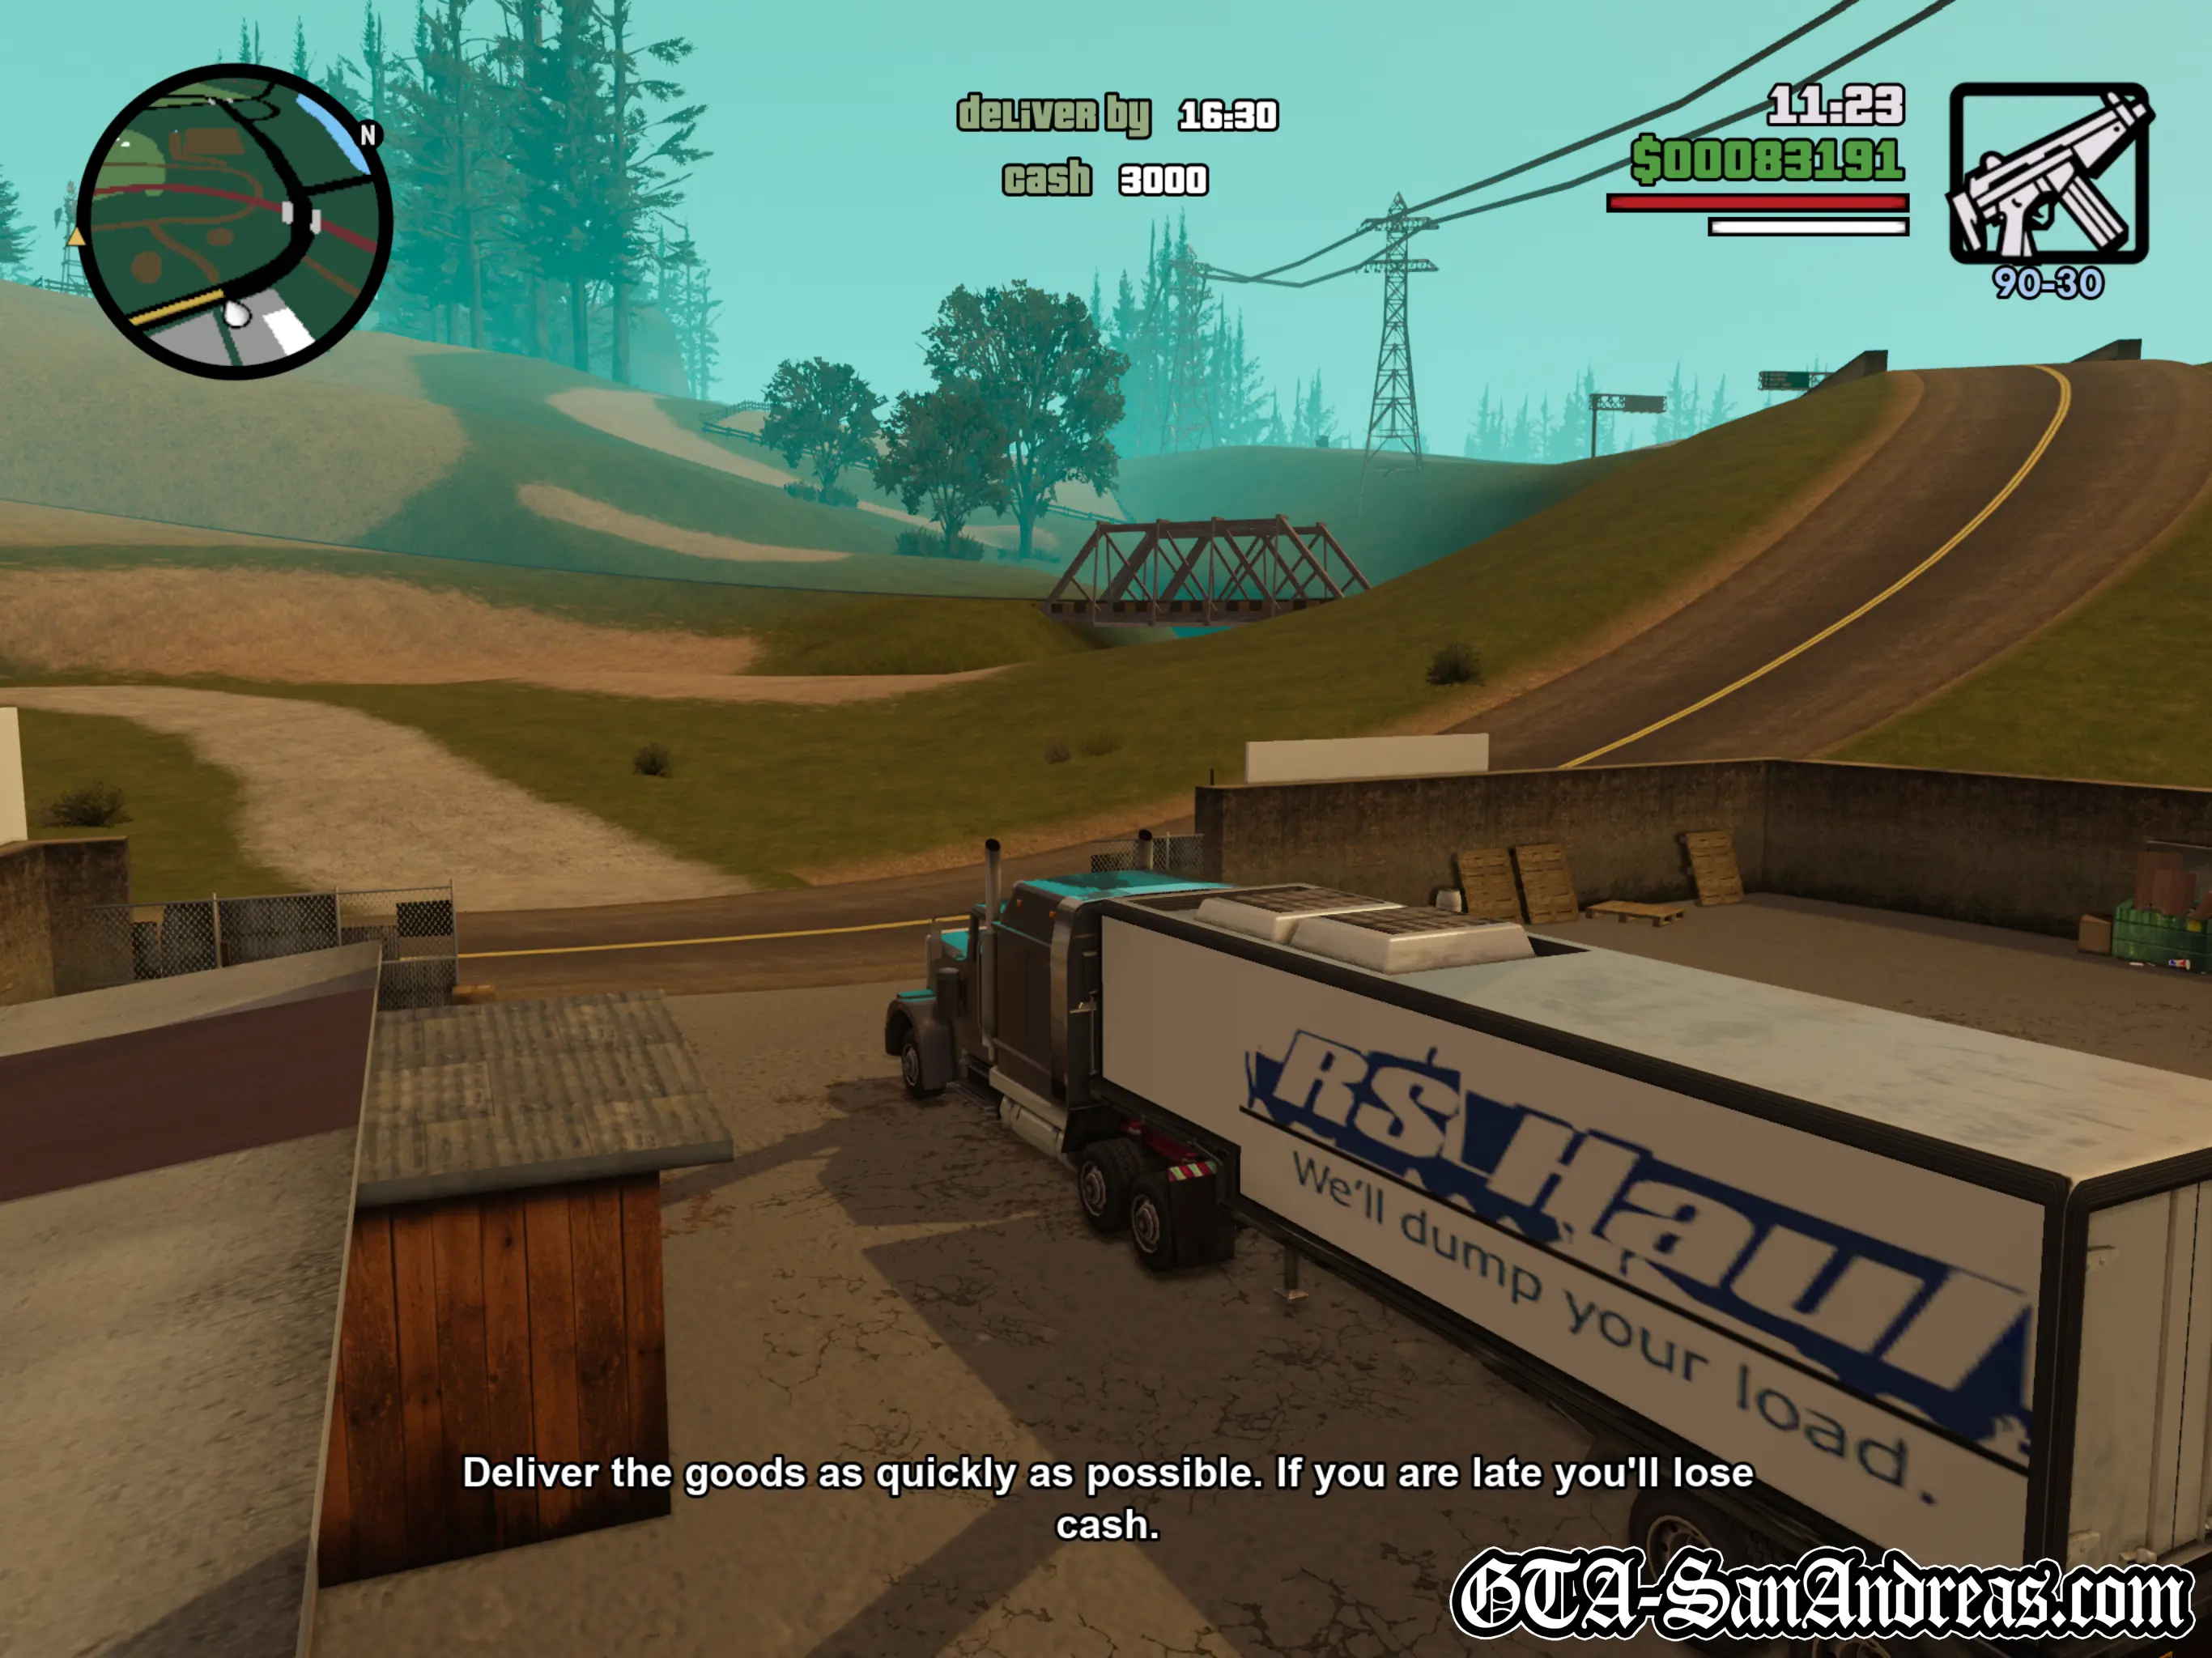
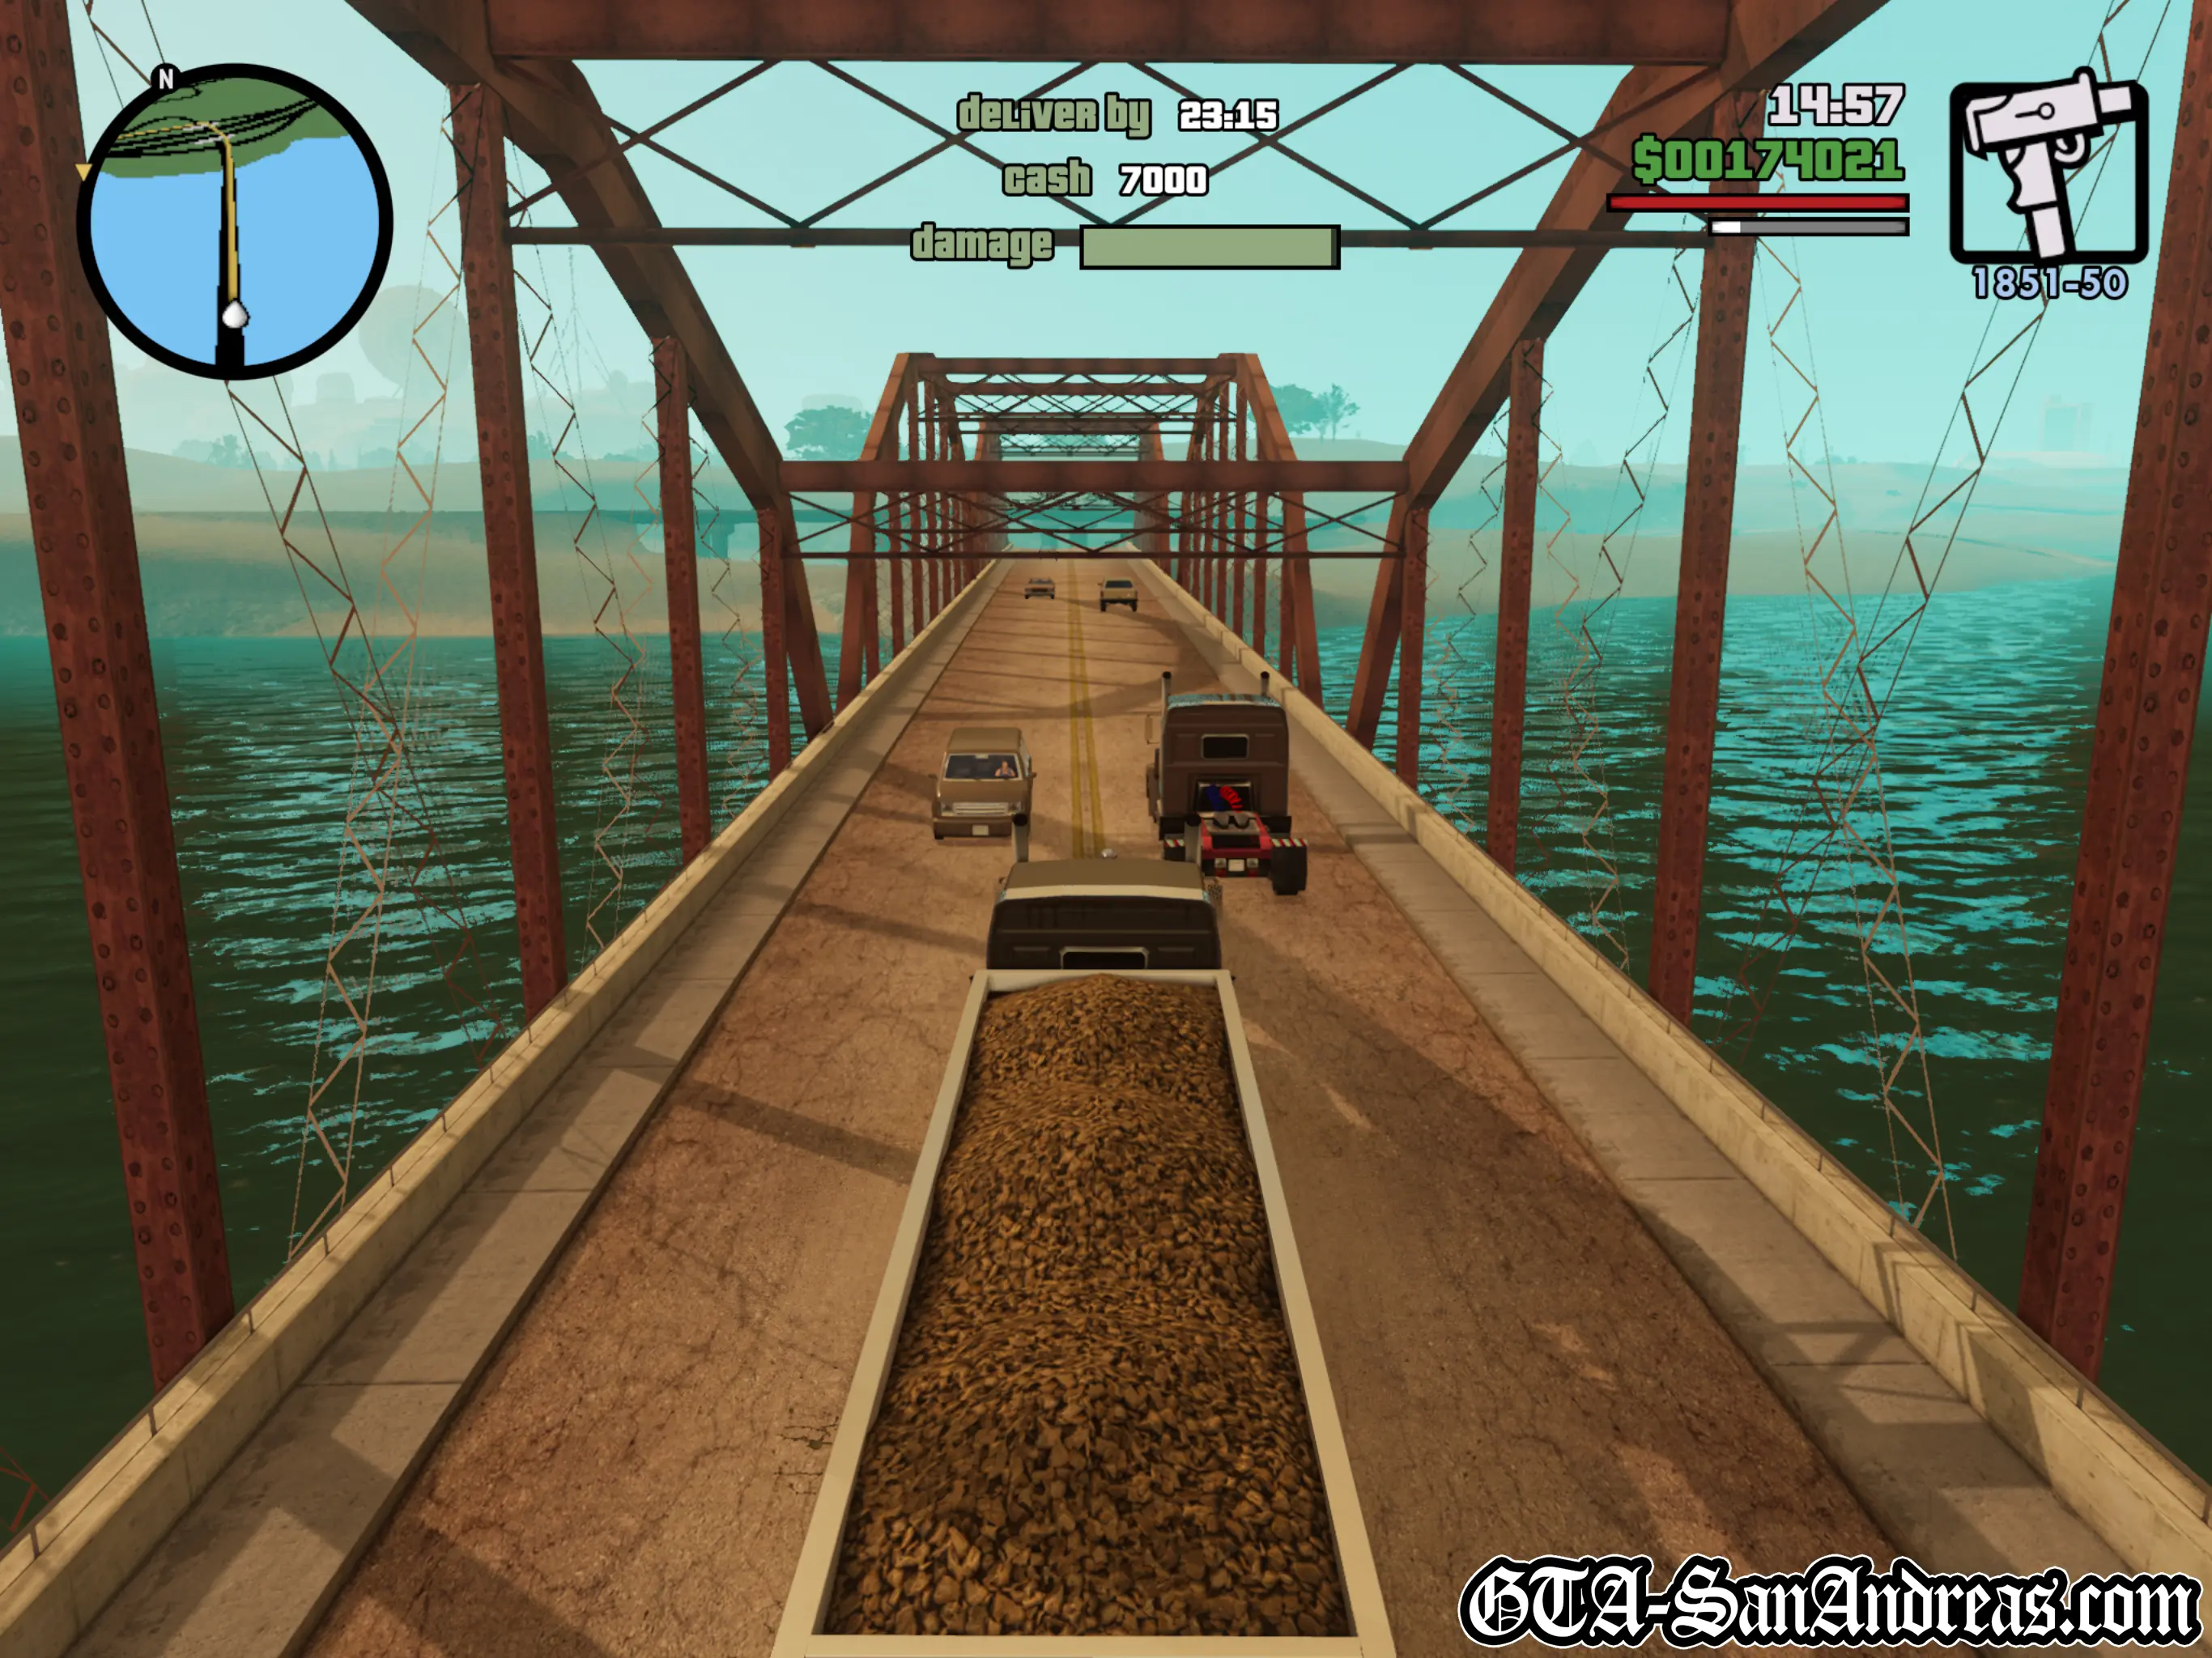
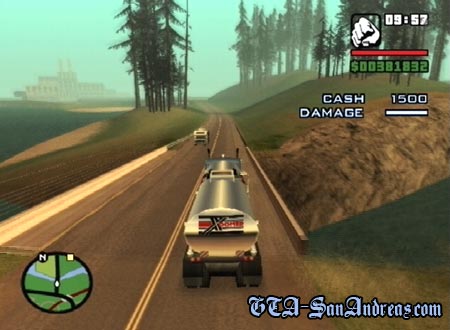
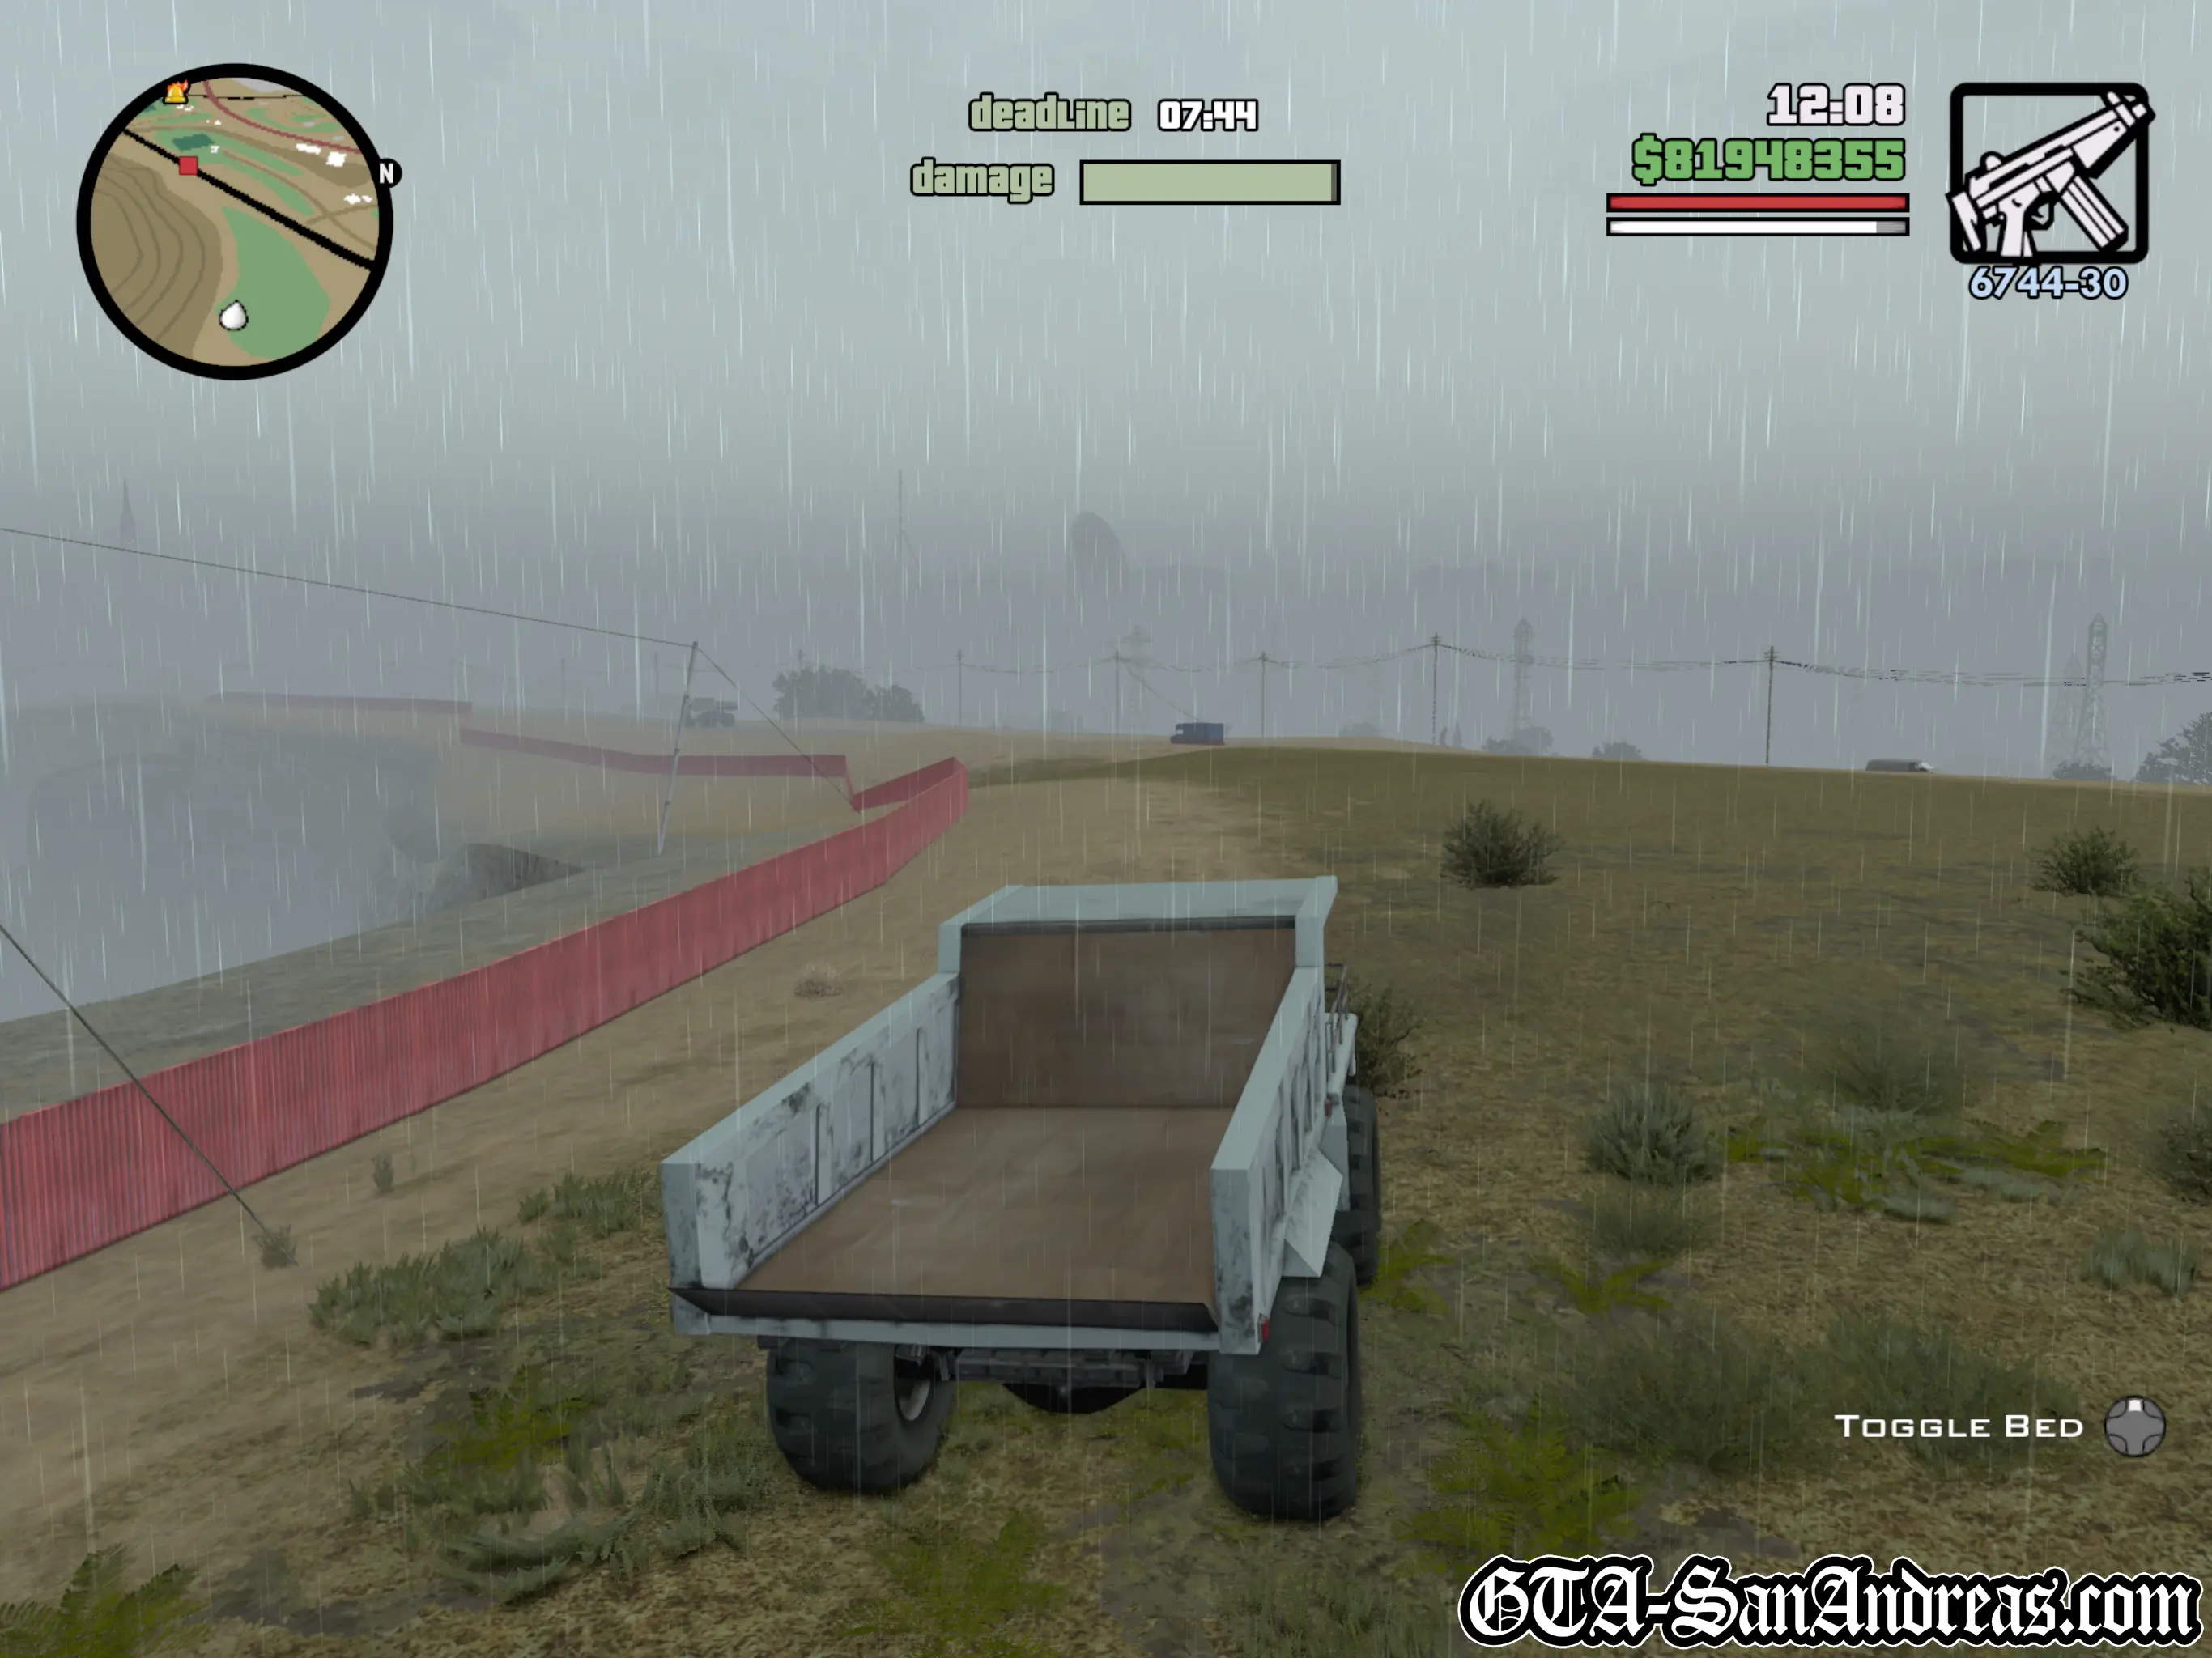
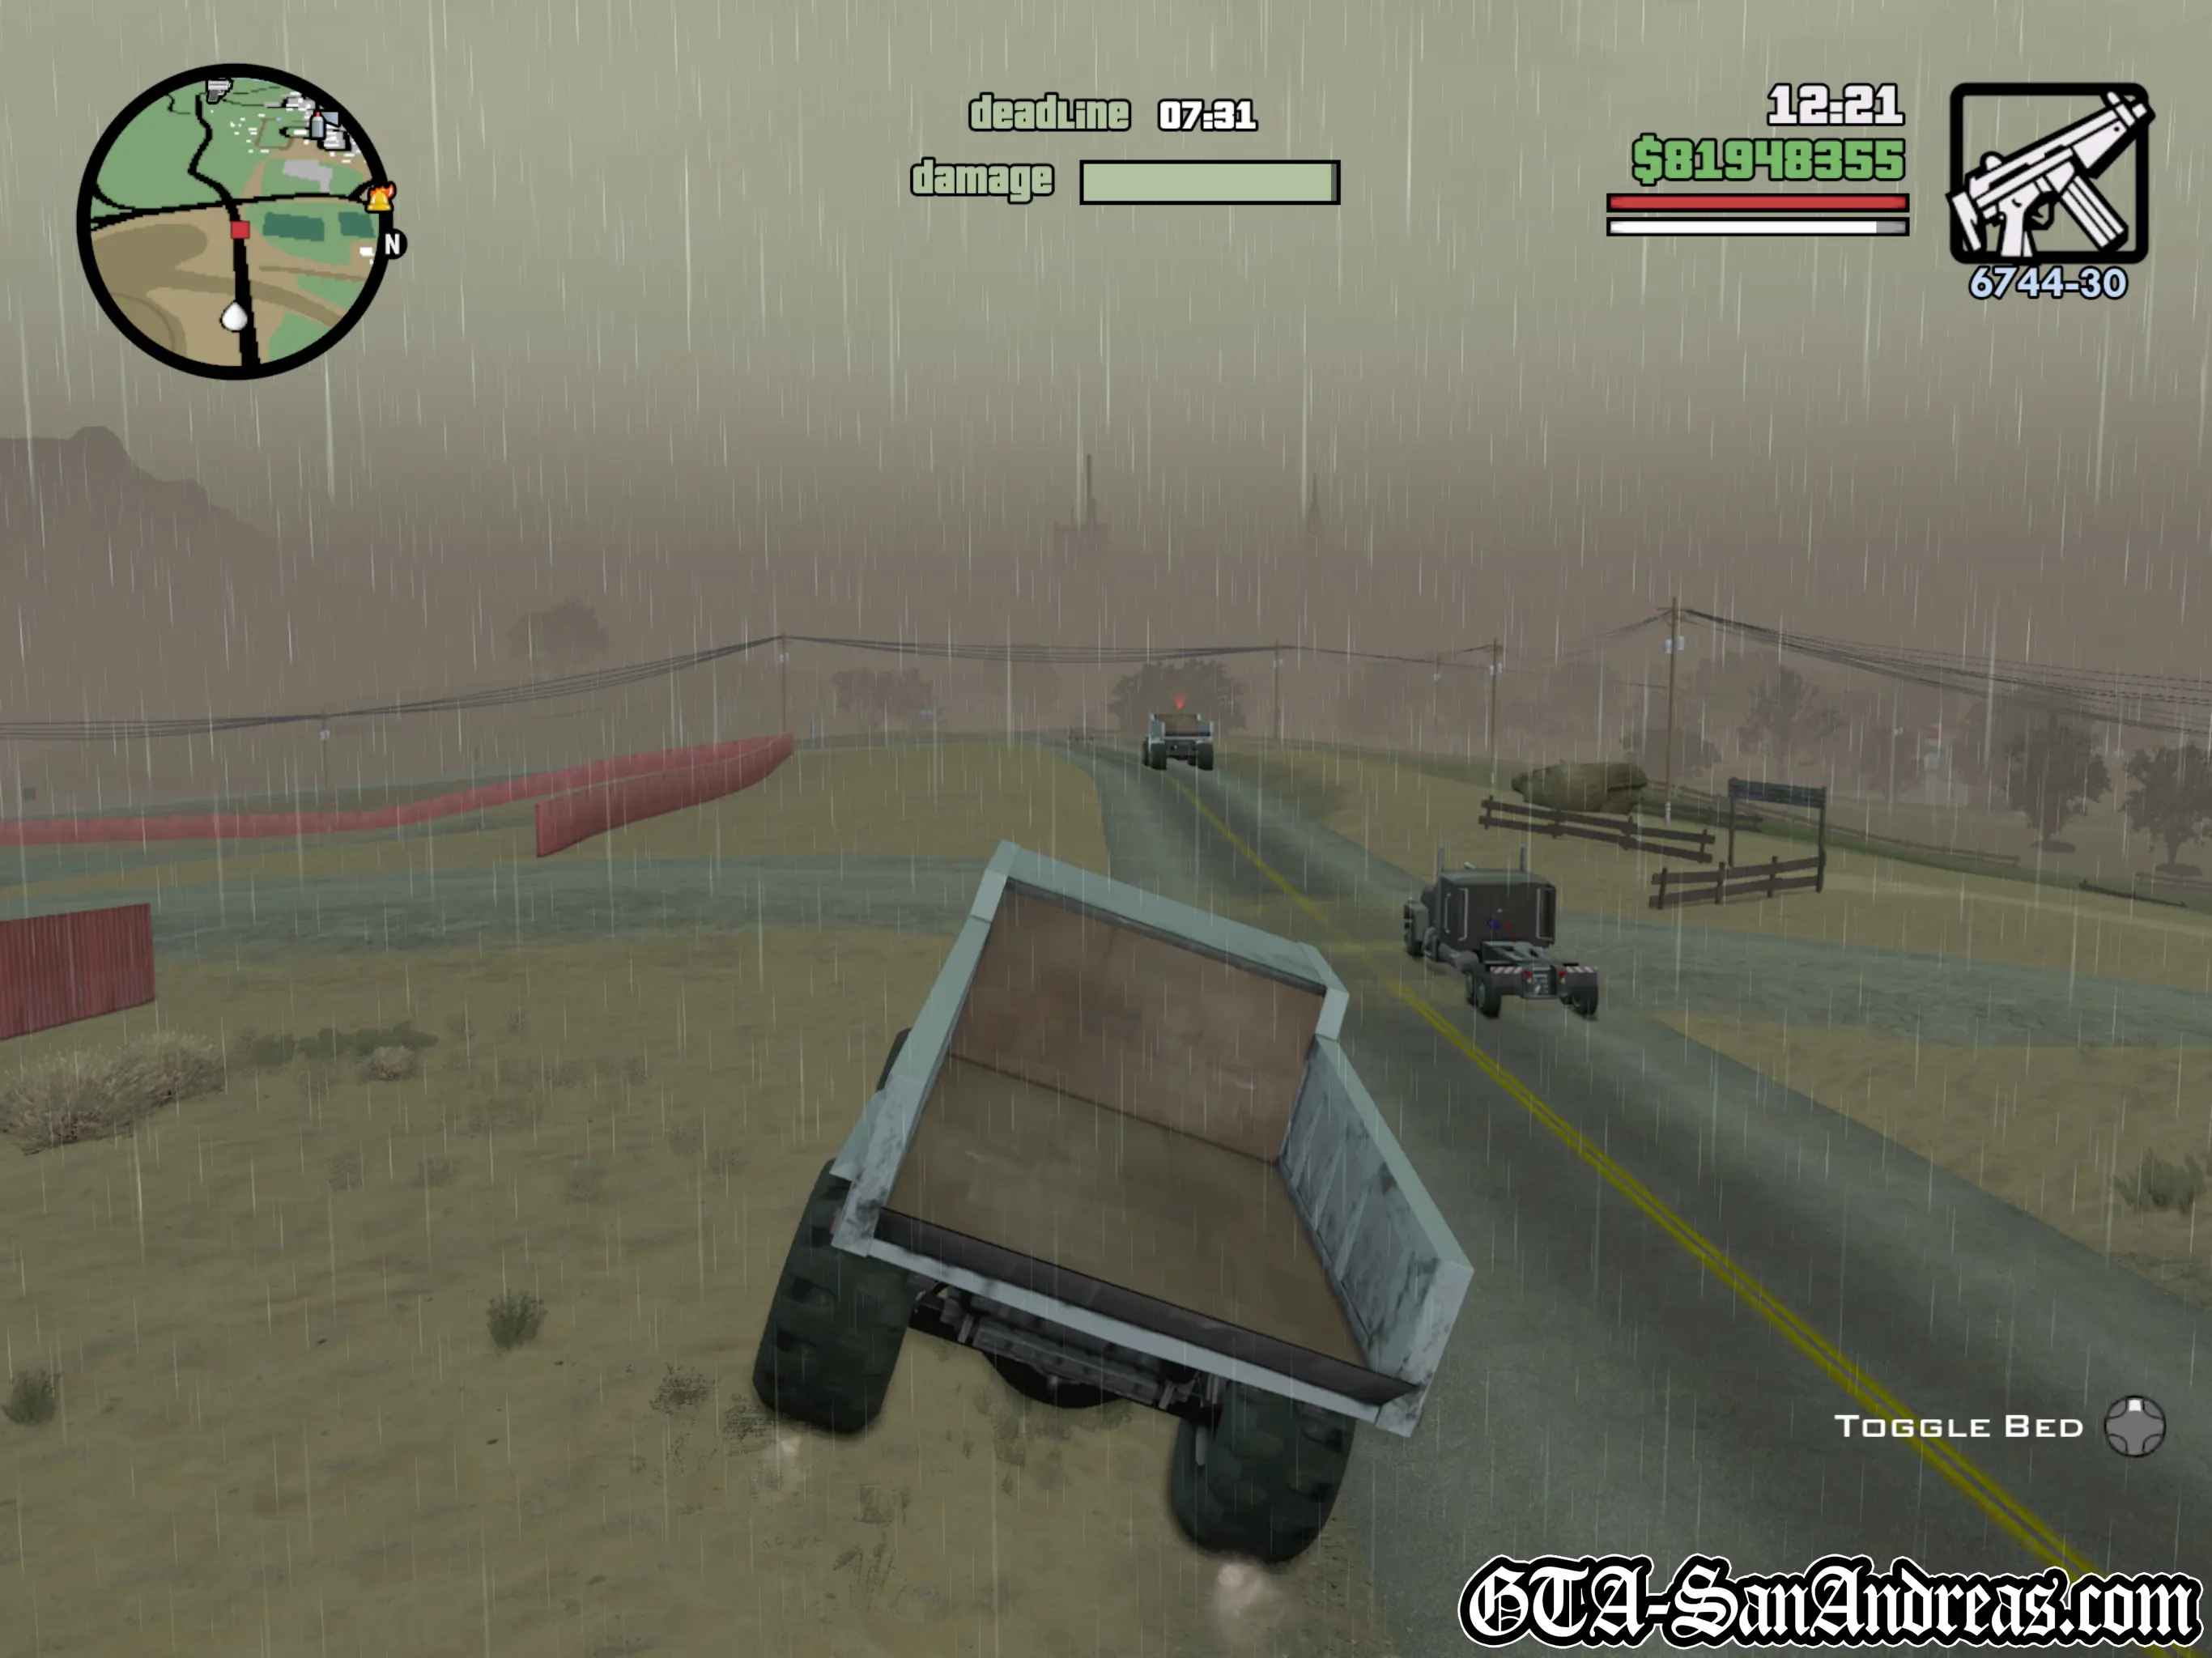
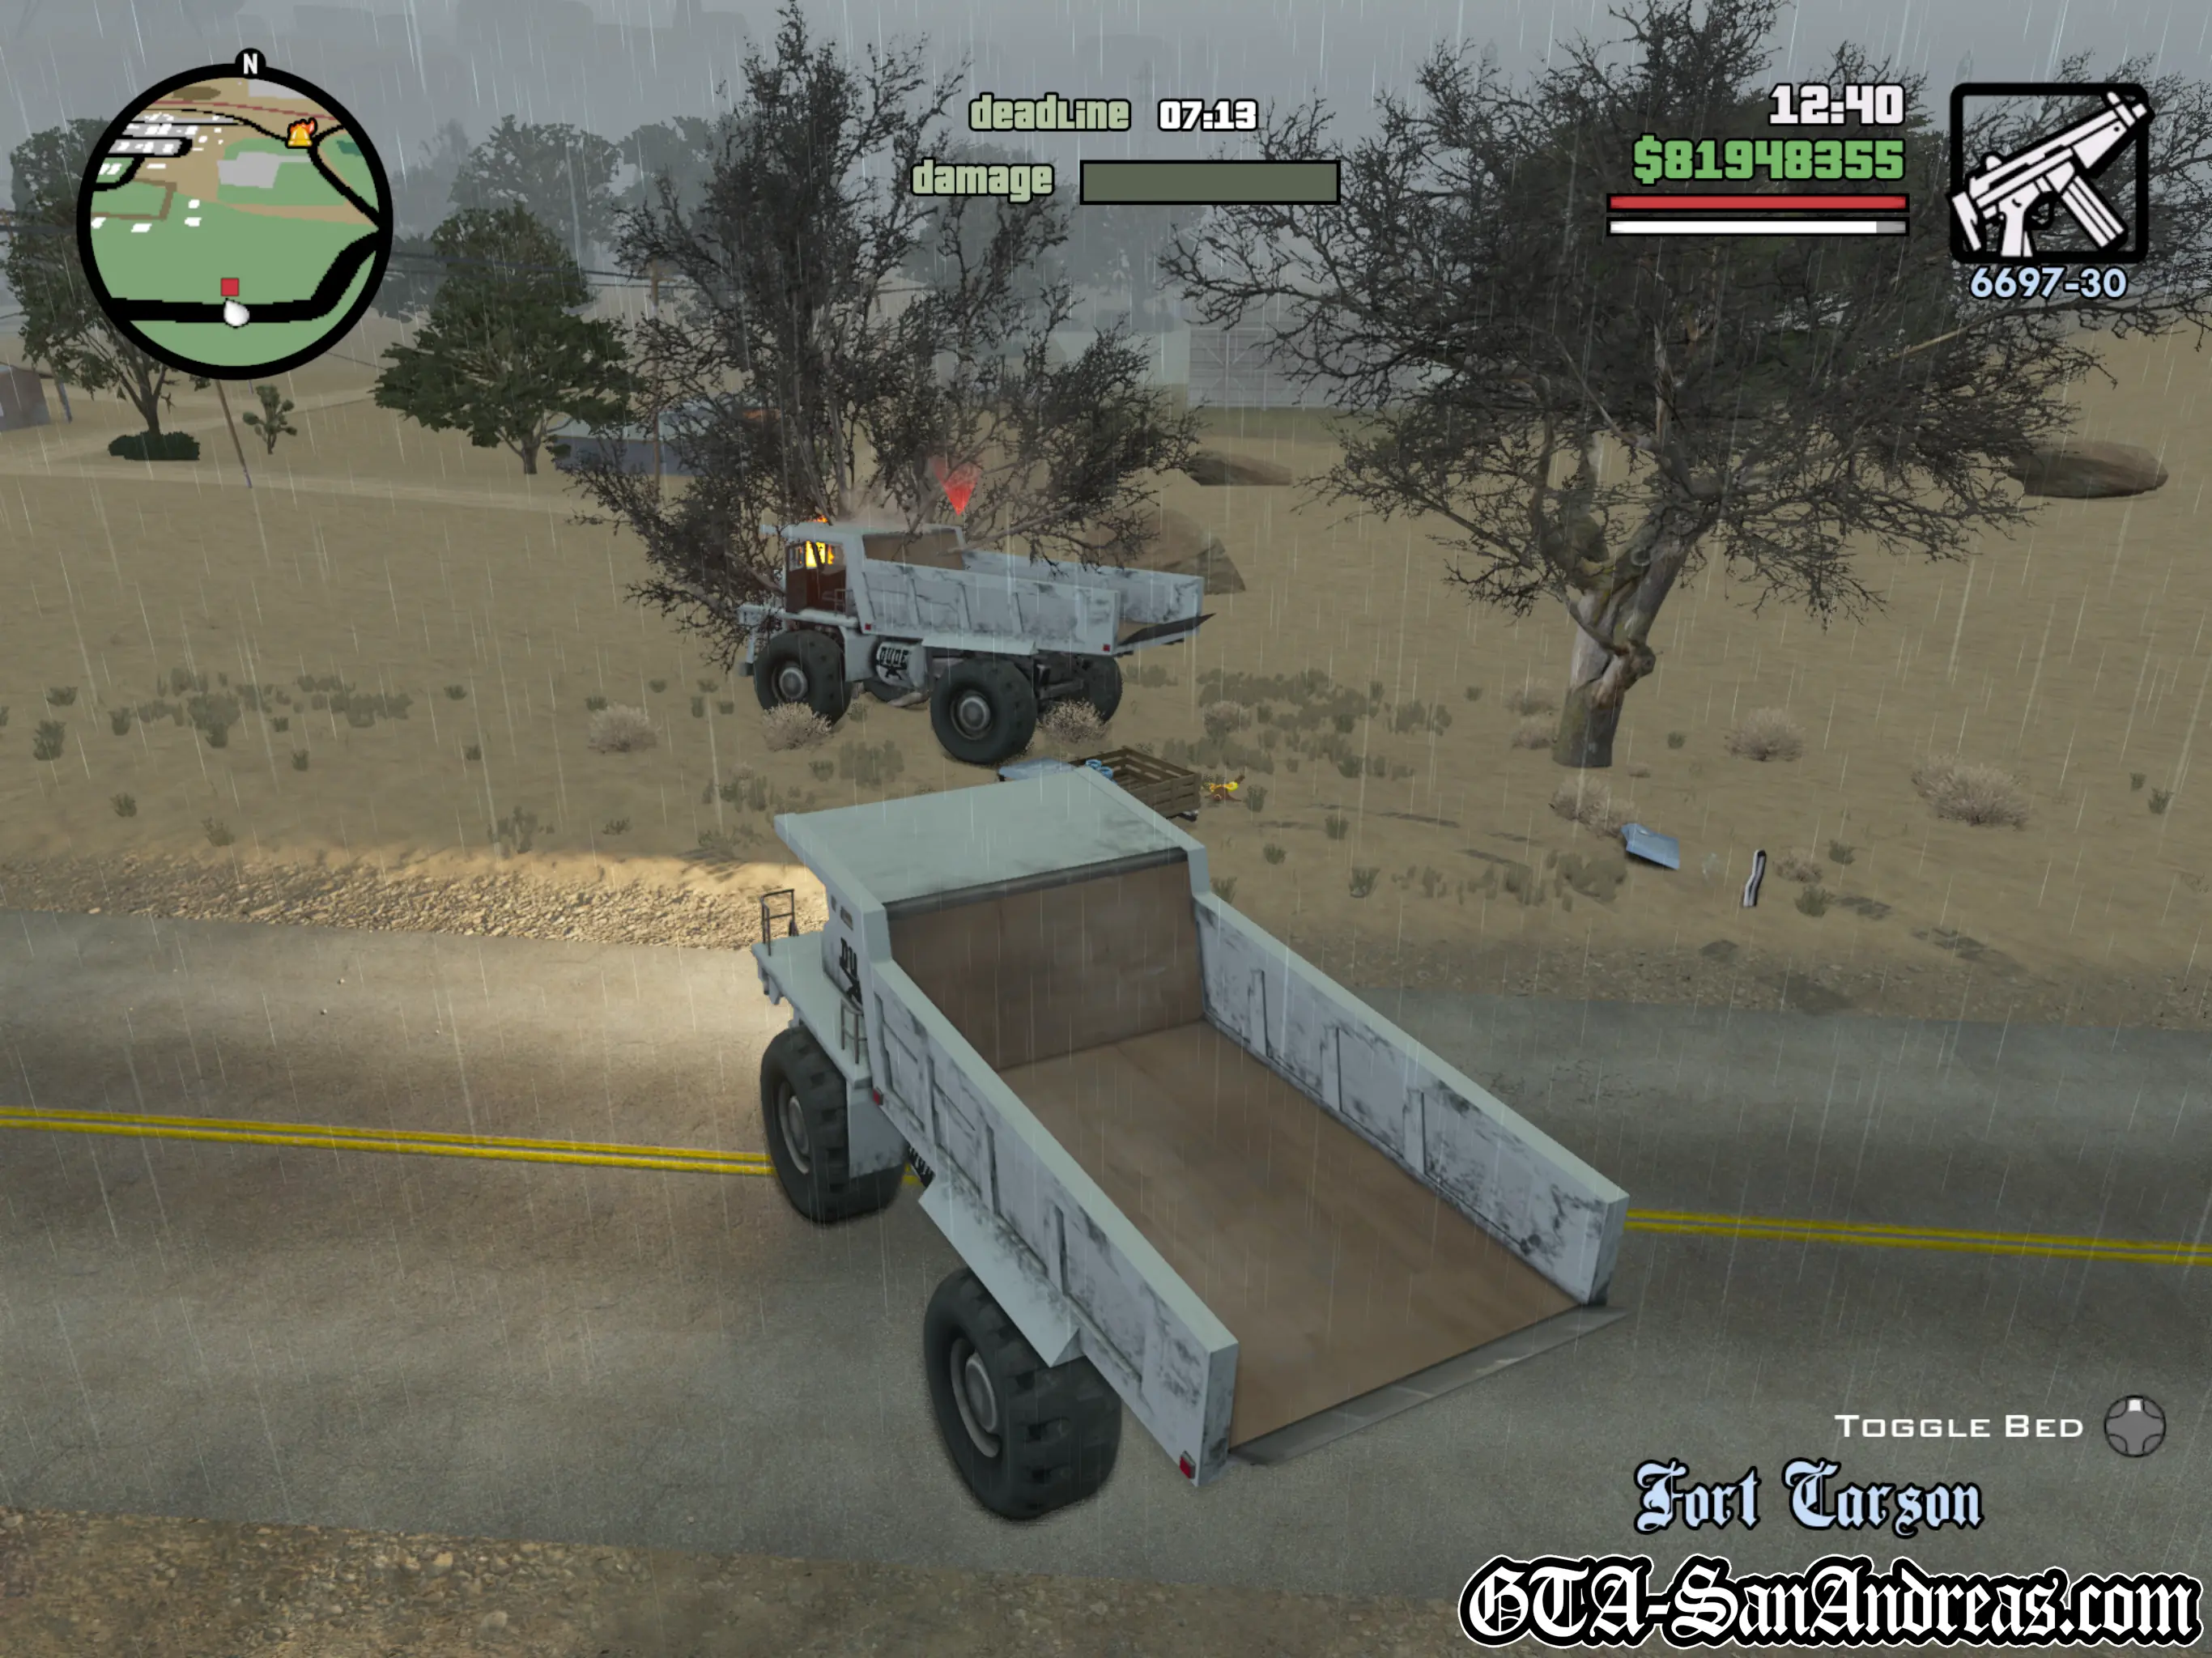
Your objective is to drive a large articulated truck with a trailer attached and deliver the goods to a certain place, with specific criteria which must be followed. There are eight Trucking Missions altogether, although they are not marked in game in any specific order, here are a list of the missions and your objectives. Please note that the delivery destinations are usually random, but will all be in roughly the same area. As a result, it's difficult to provide an exact guide for these missions.
While you can start these missions as soon as they're unlocked, you will need access to Las Venturas before you can complete the final Trucking Missions.
Hints & Tips
As soon as the mission starts, you should pause the game and check the map. Look for the destination then plan your route accordingly.
For missions with a wanted level, consider using the train tracks to avoid some of the heat.
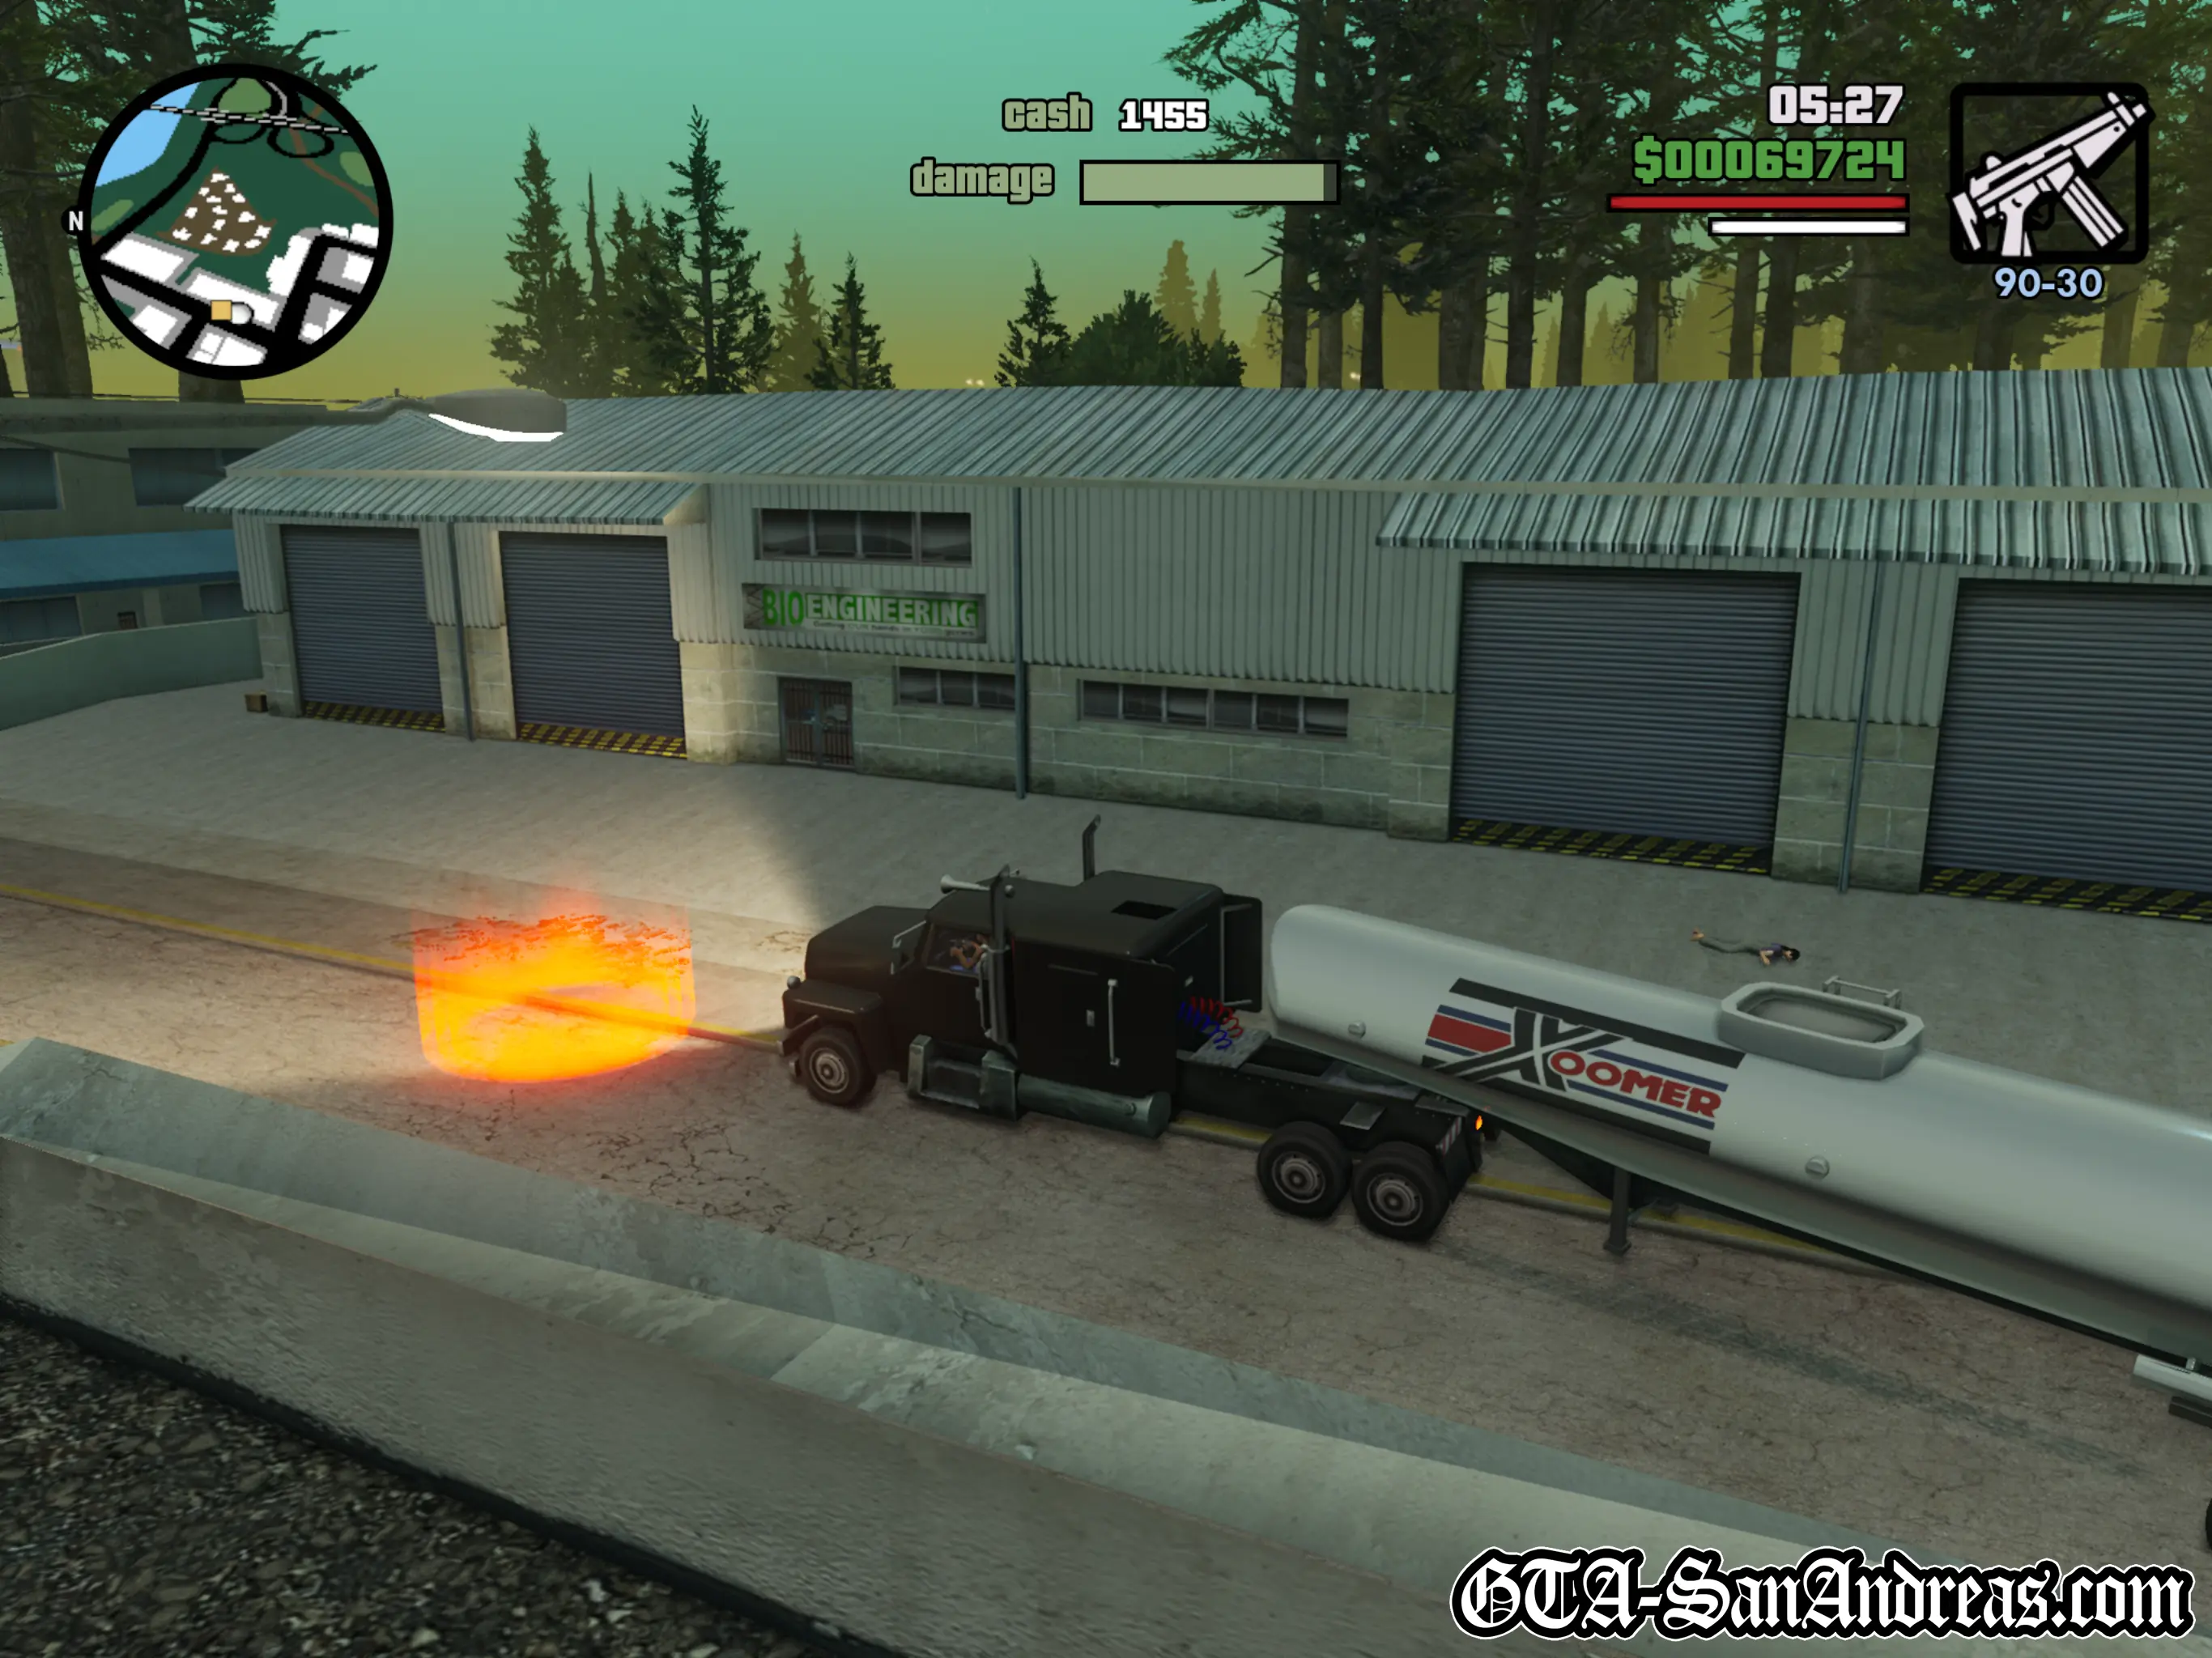
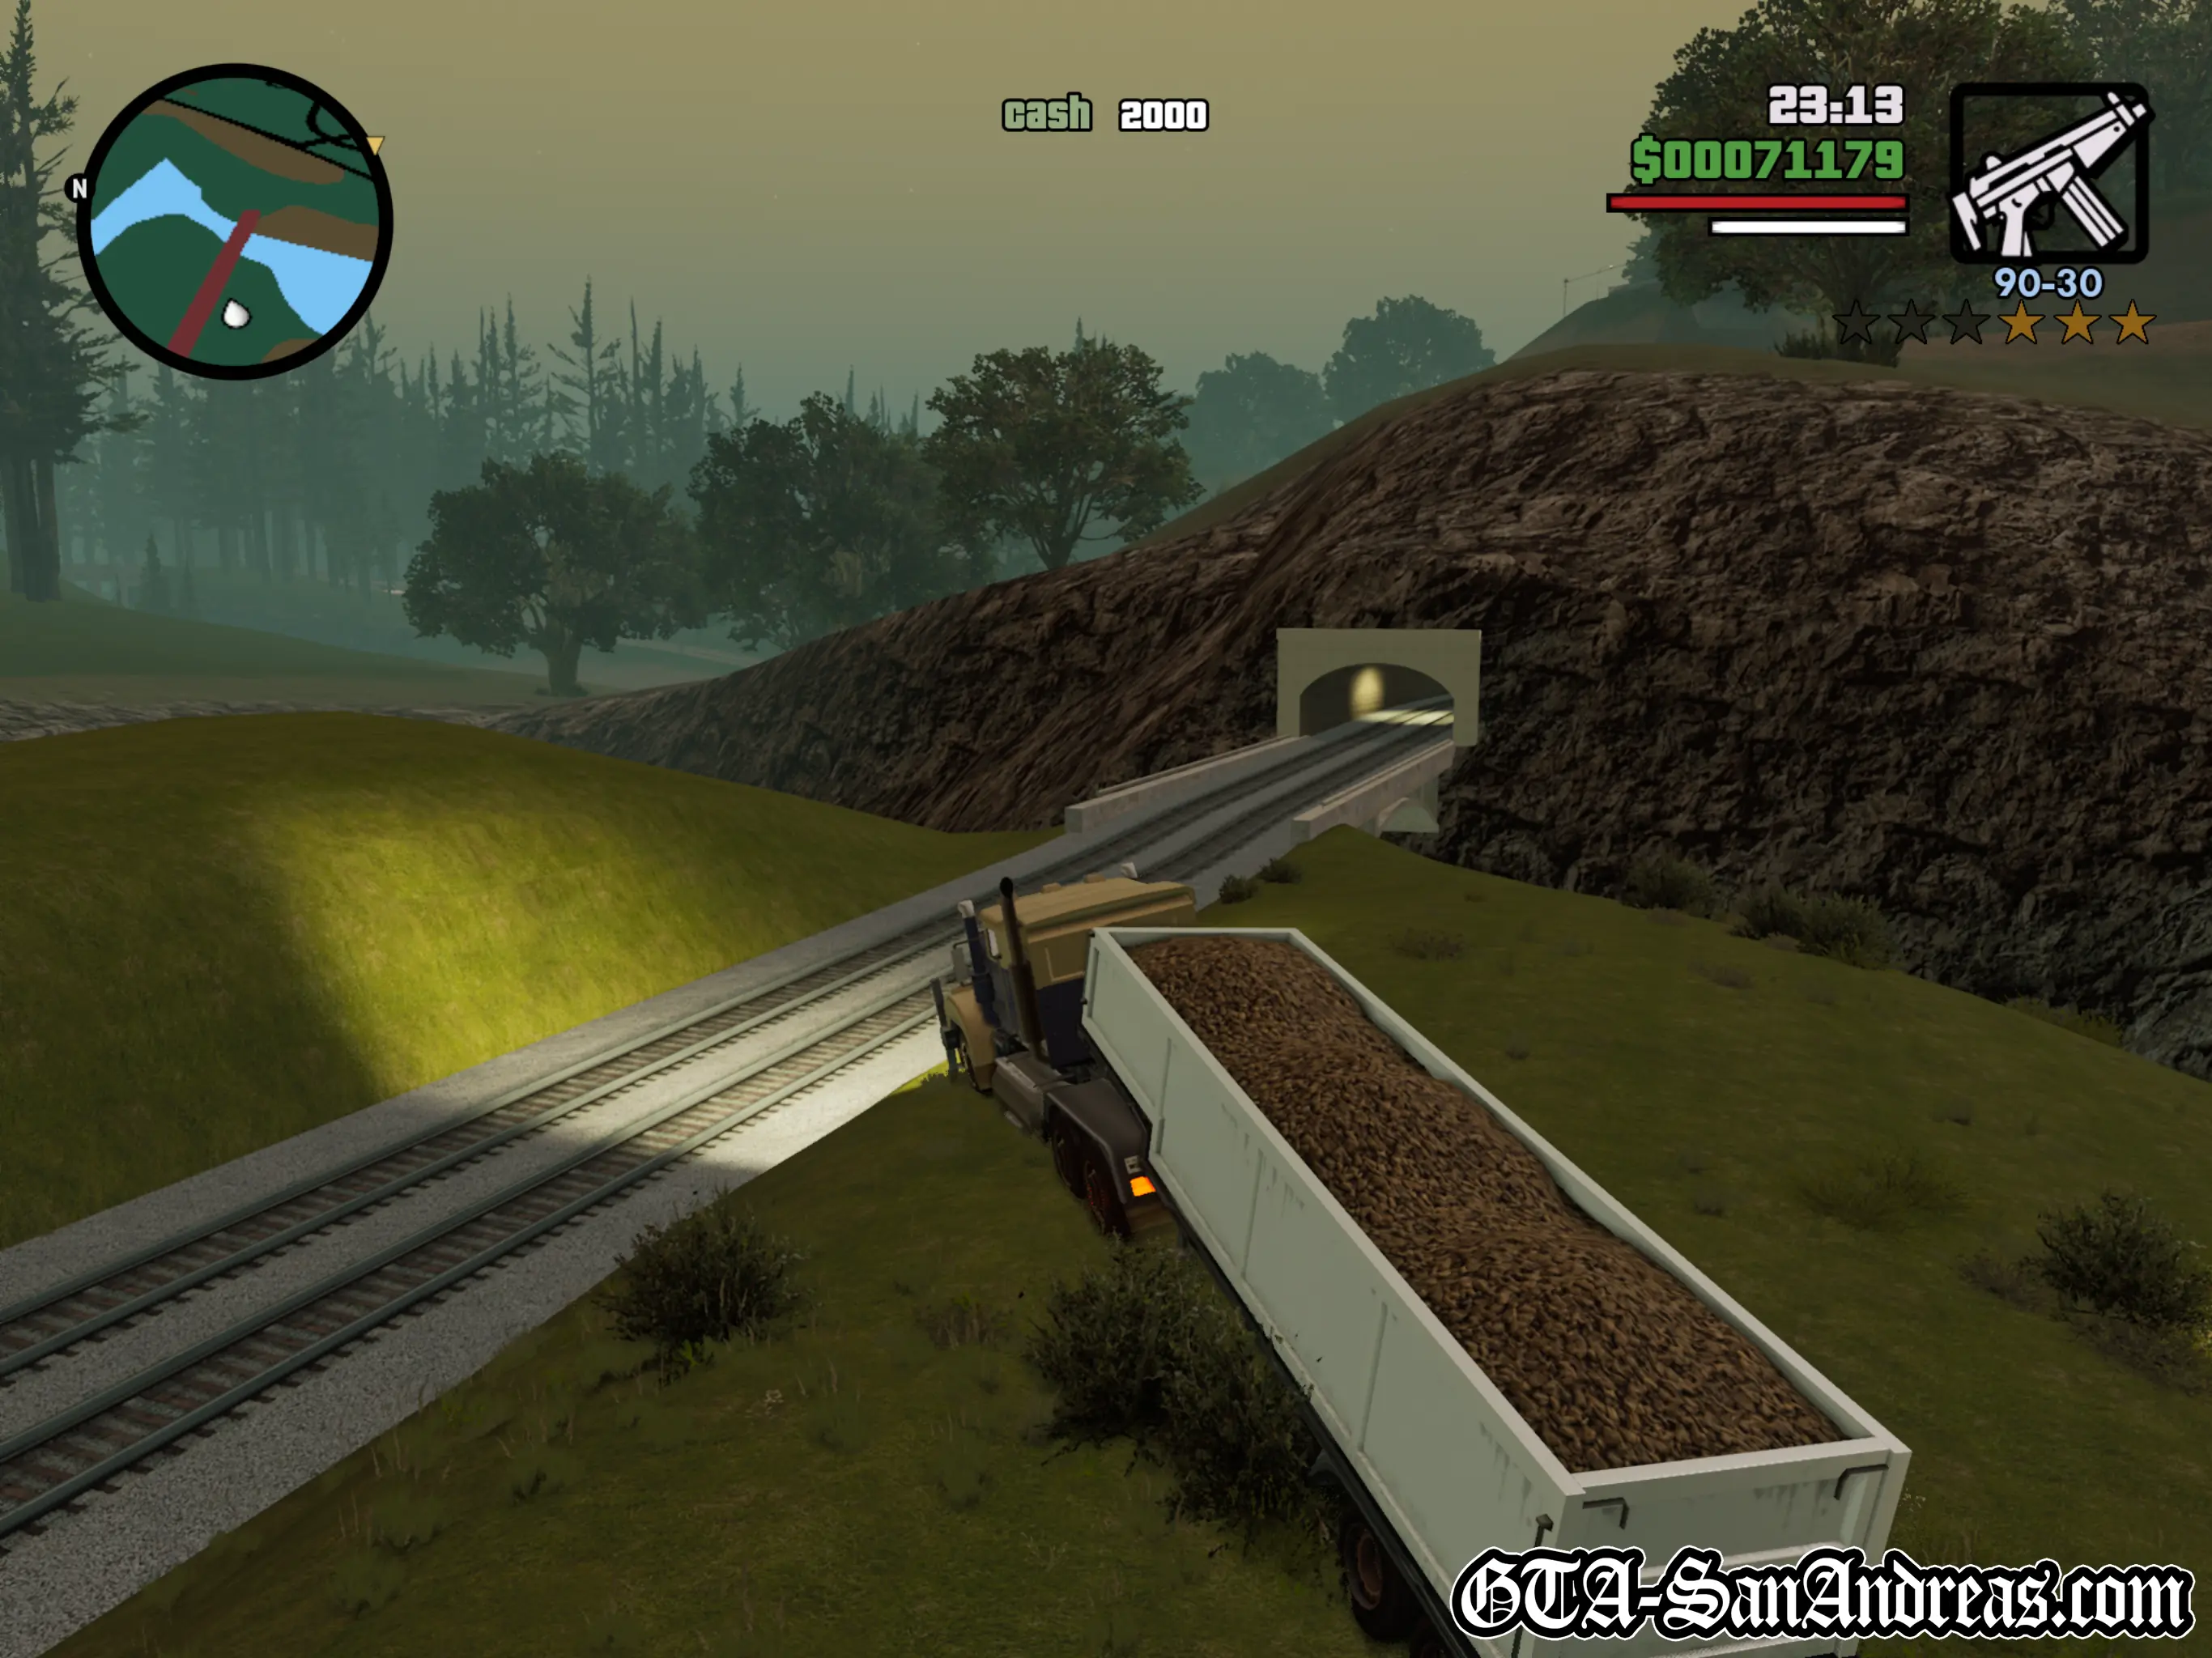
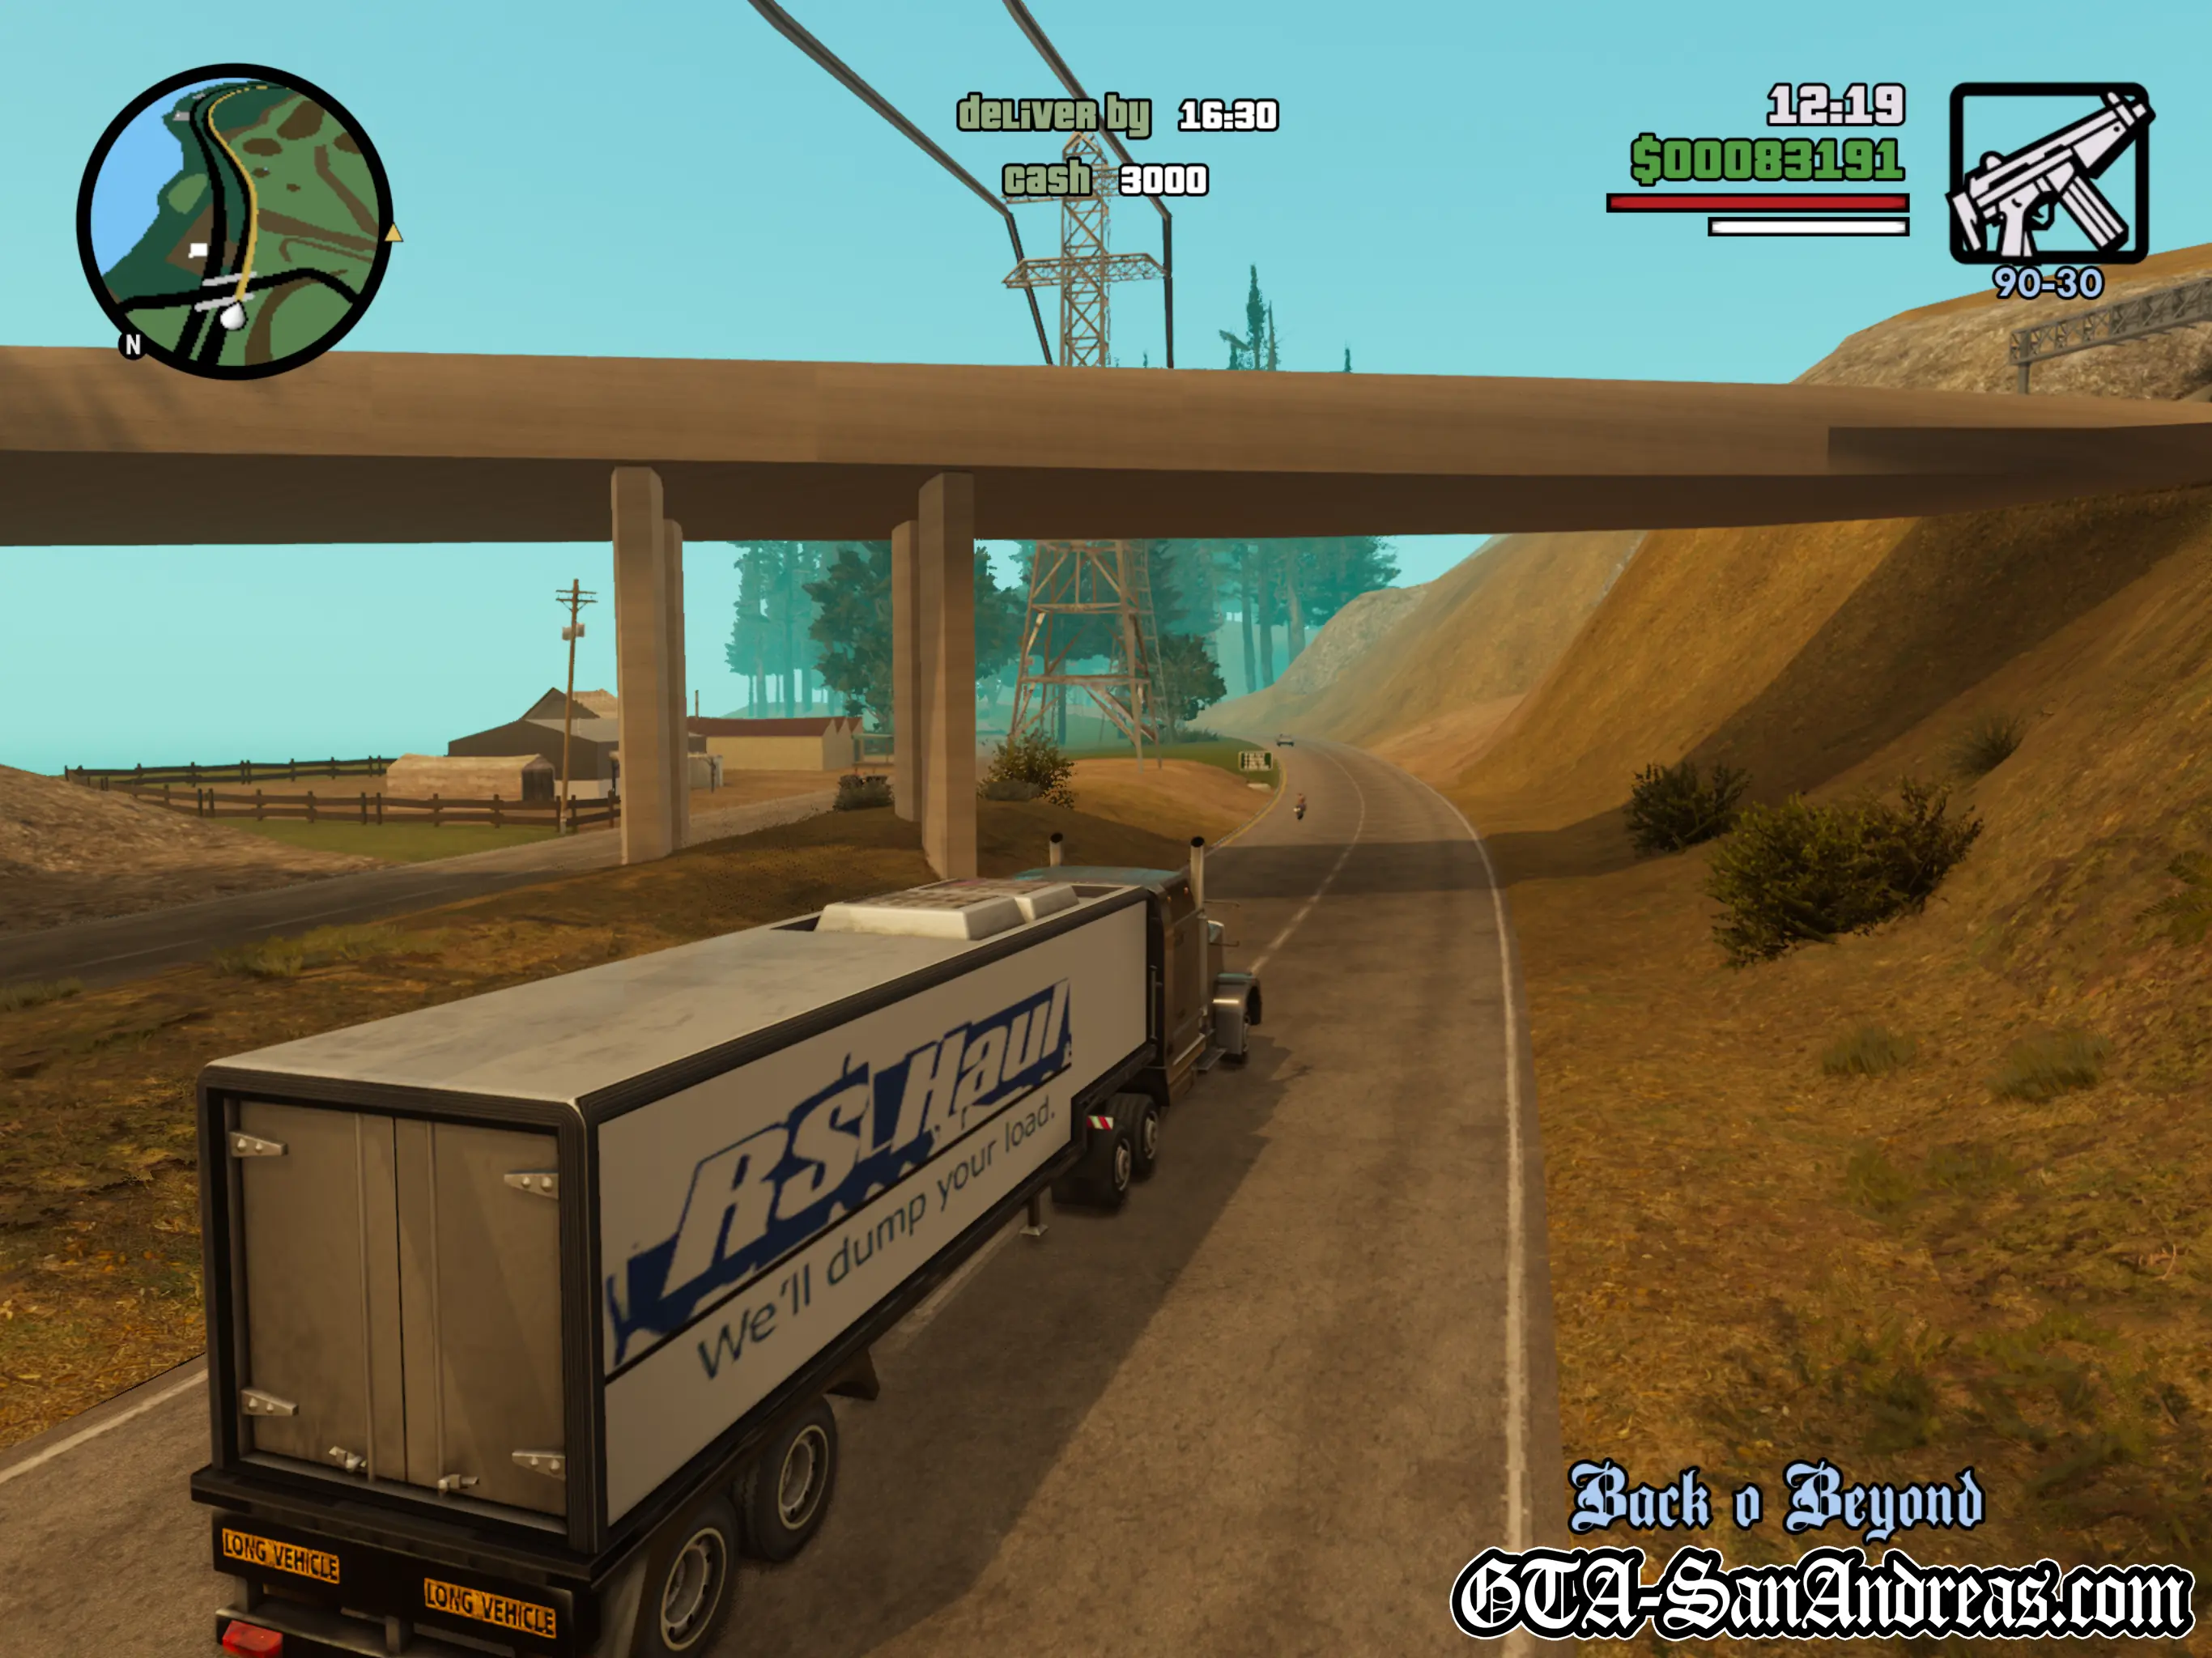
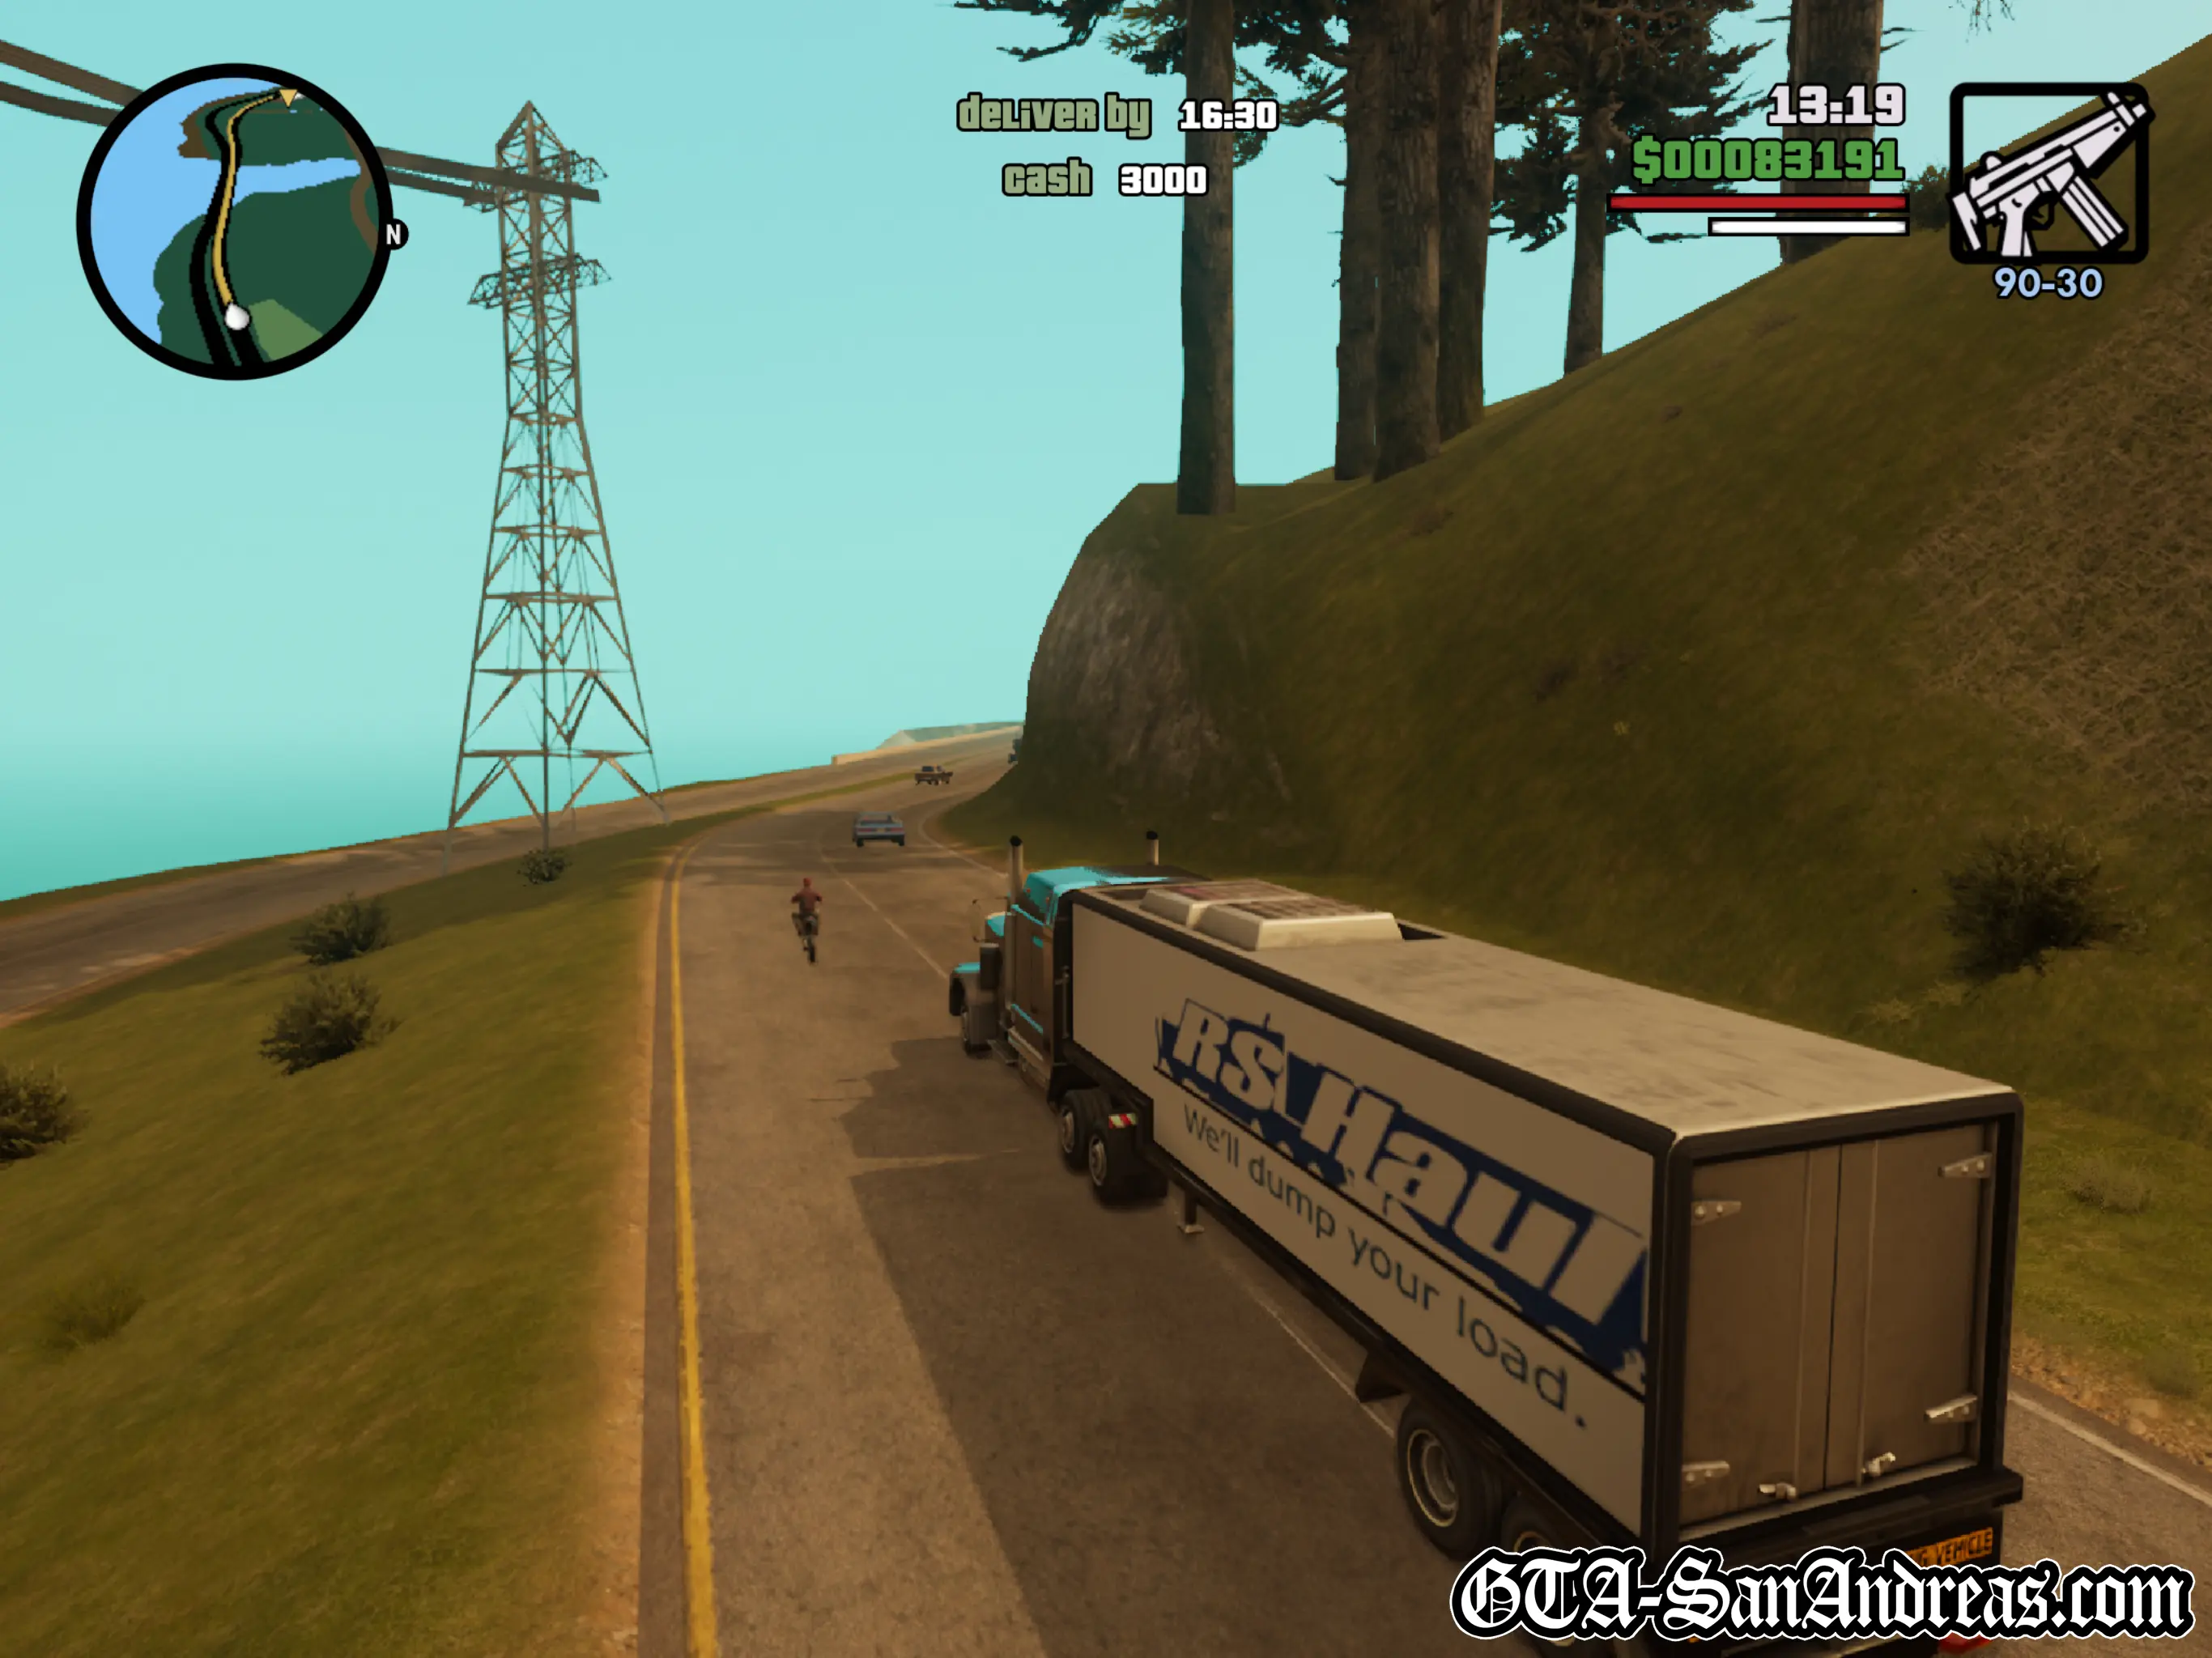
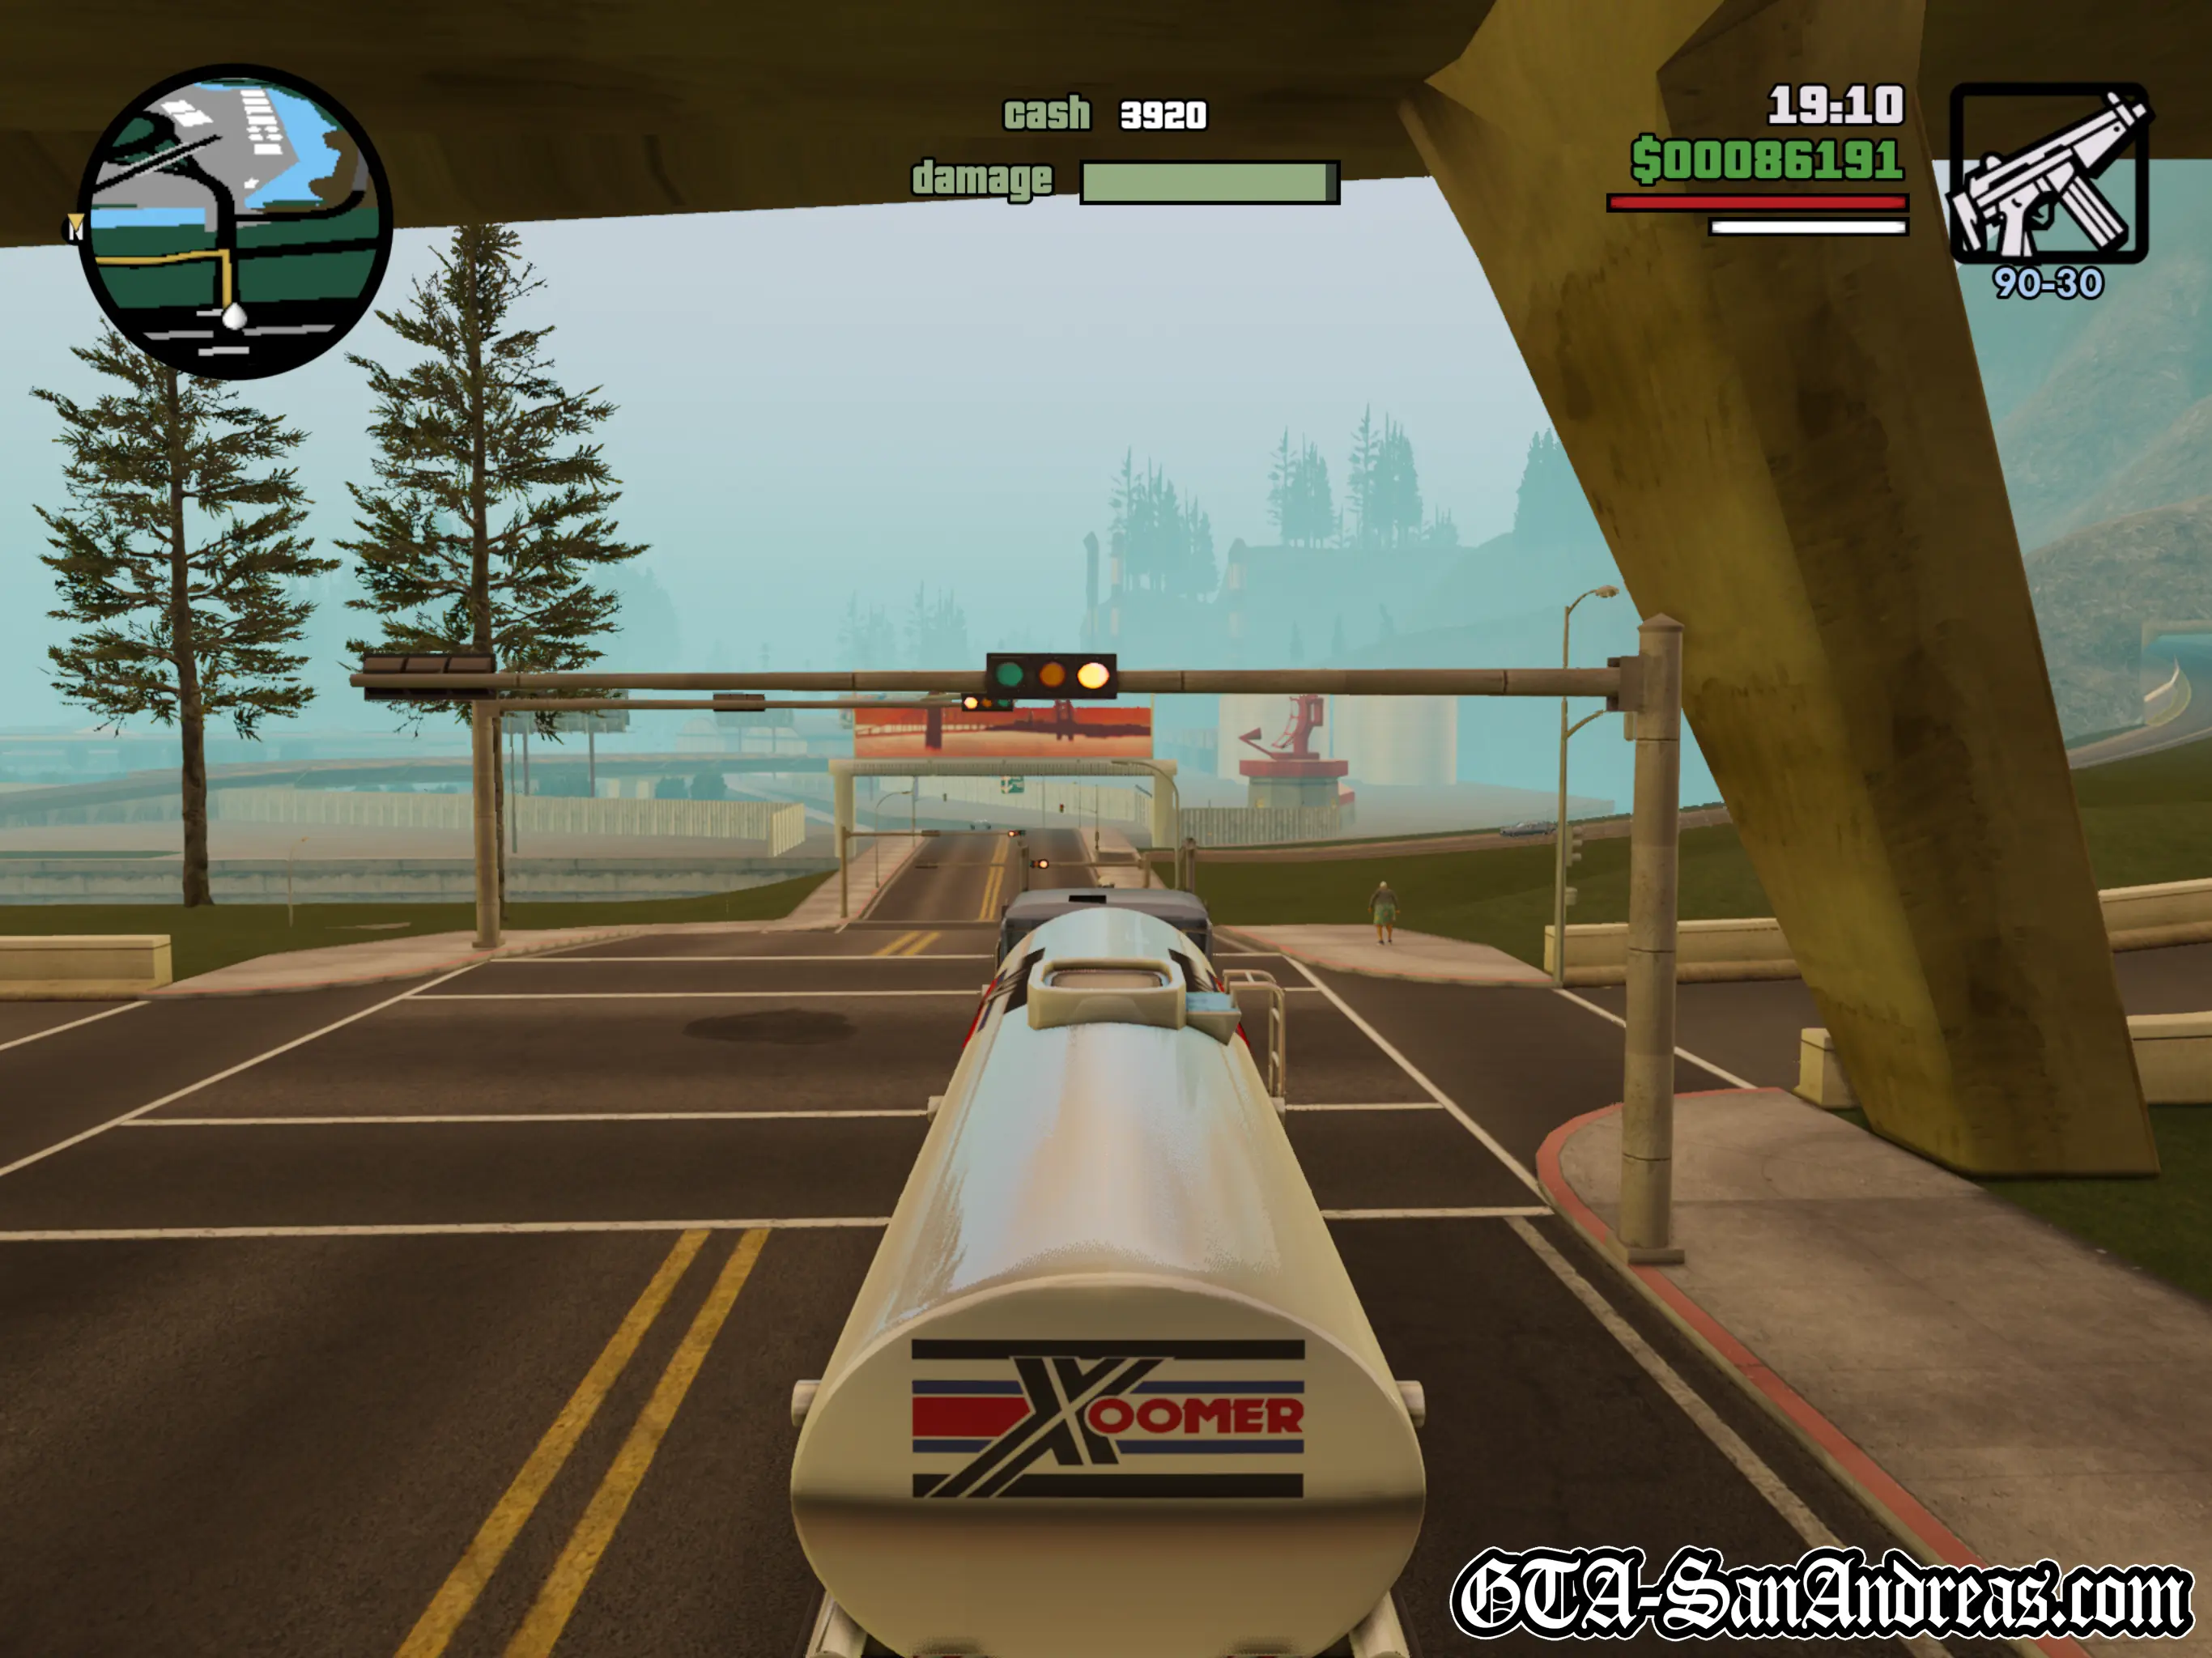
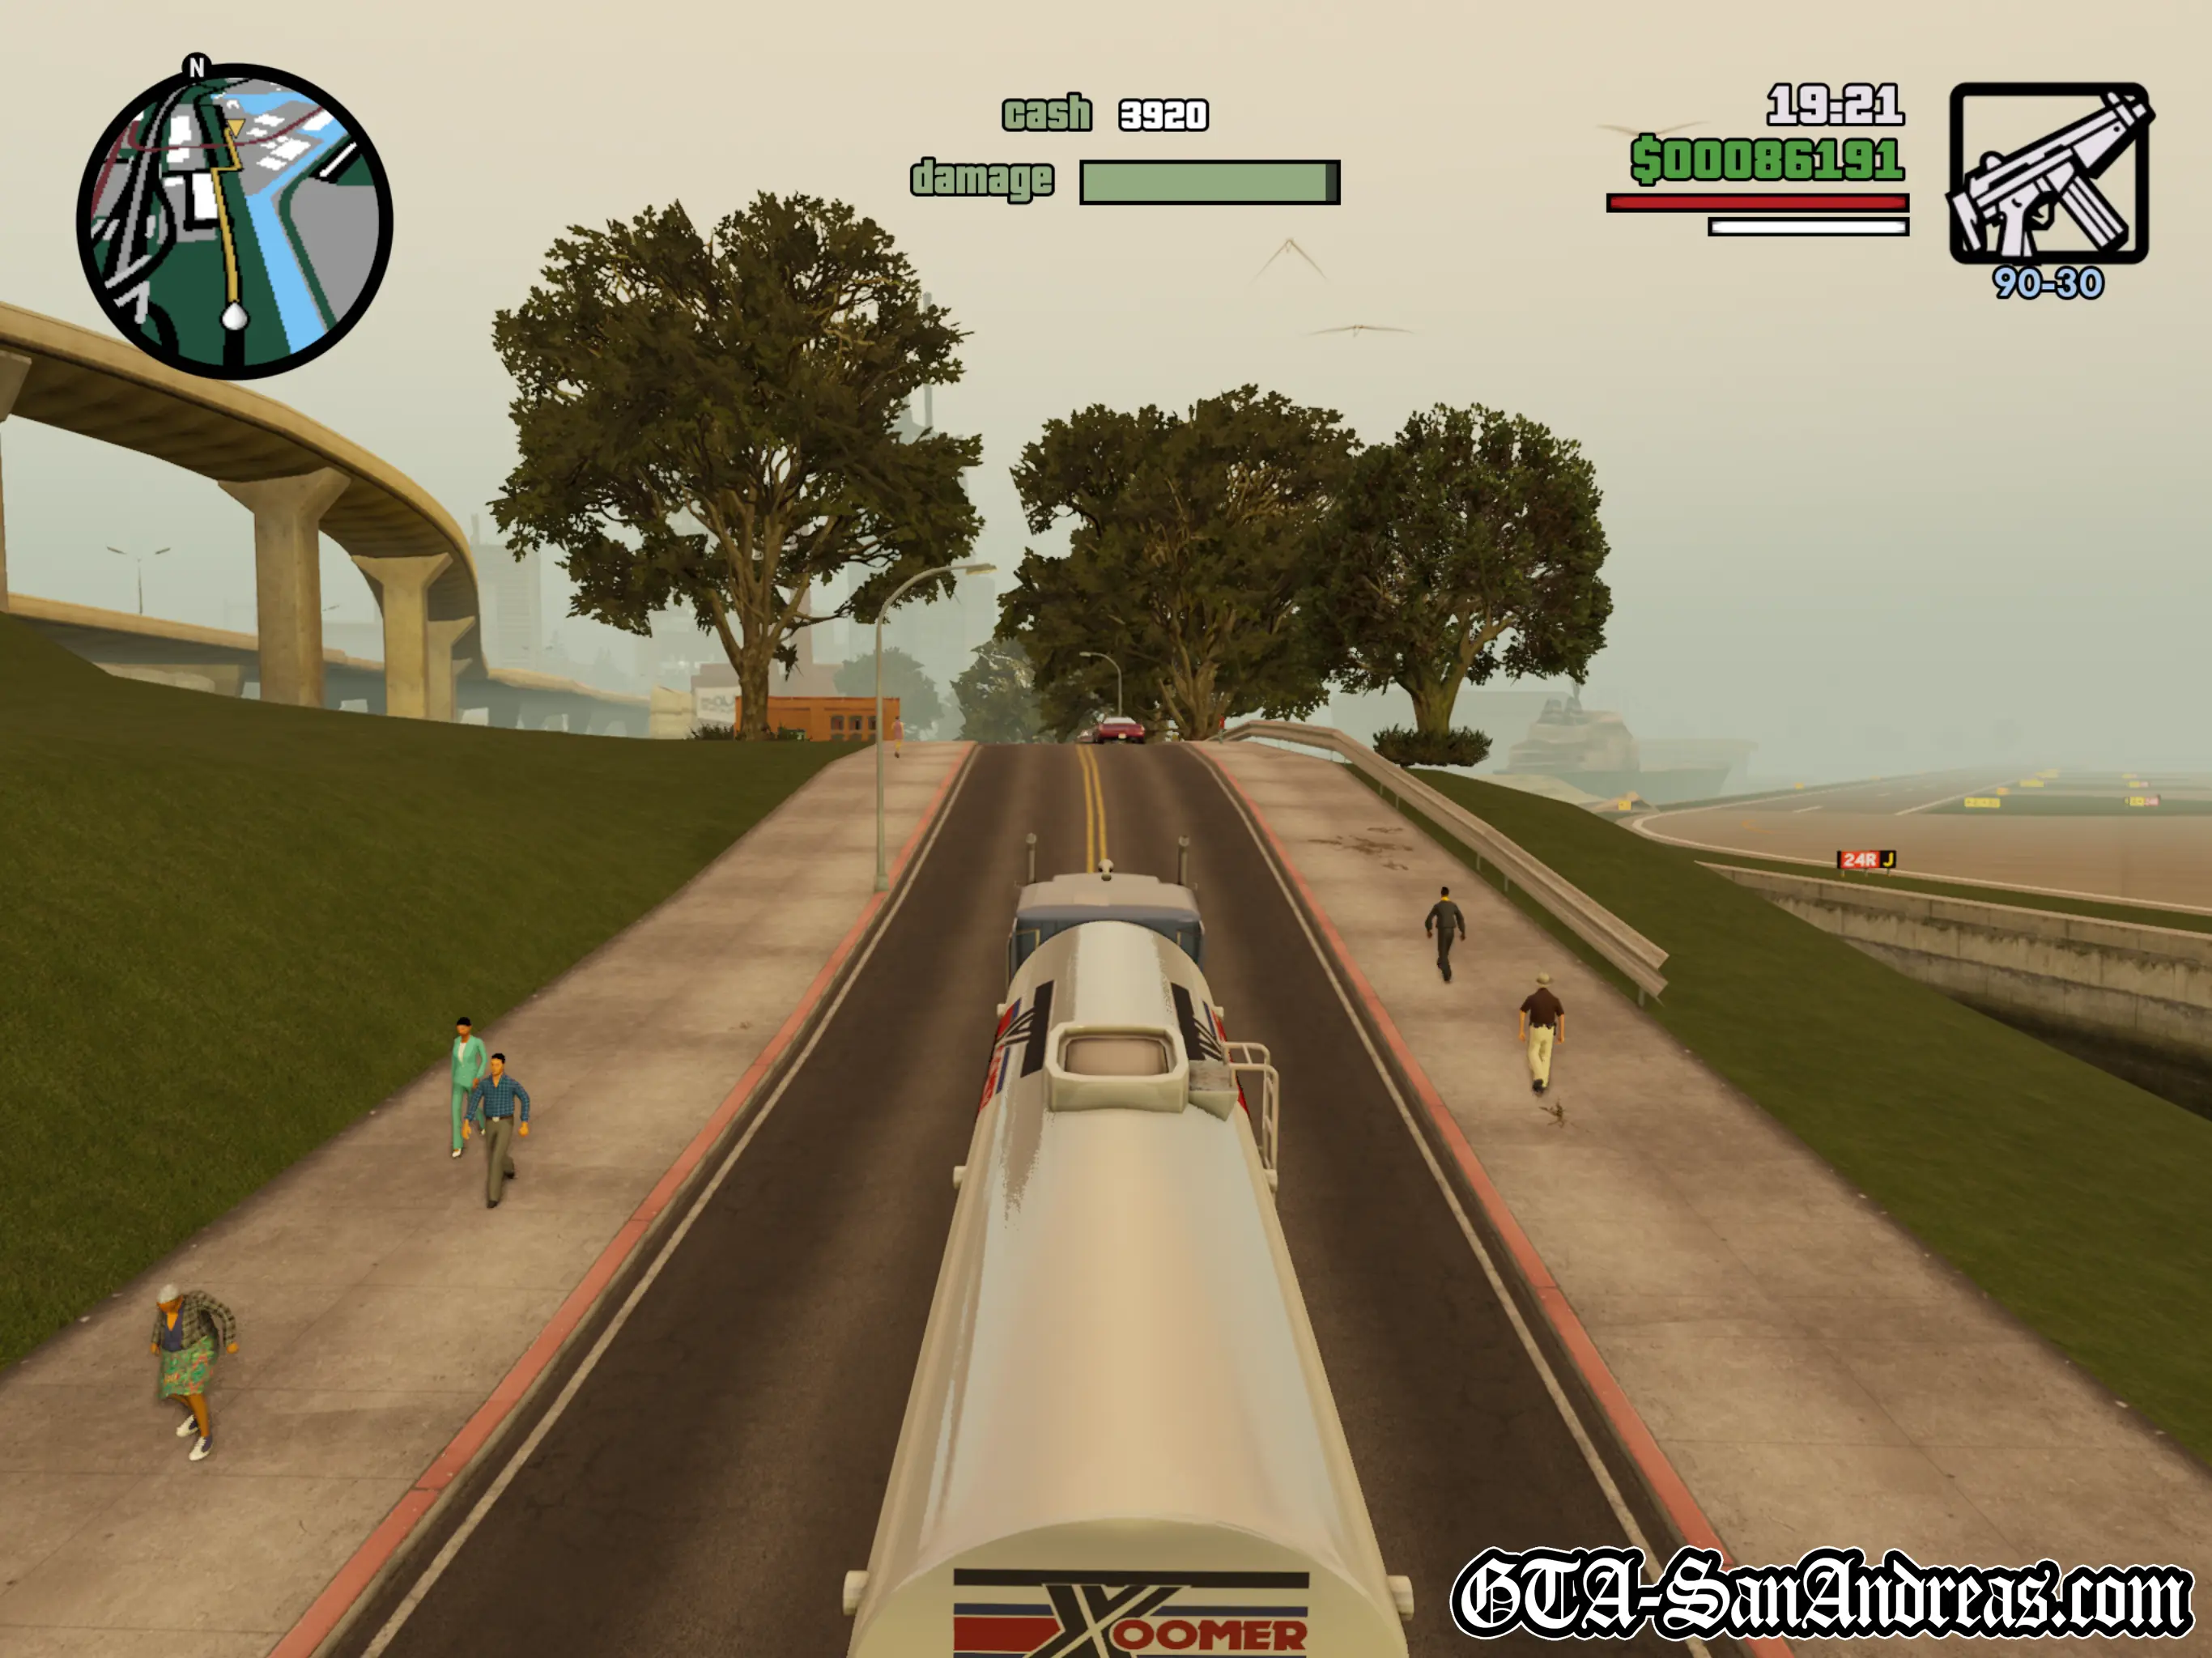
 RS Haul Trucking - Mission 1
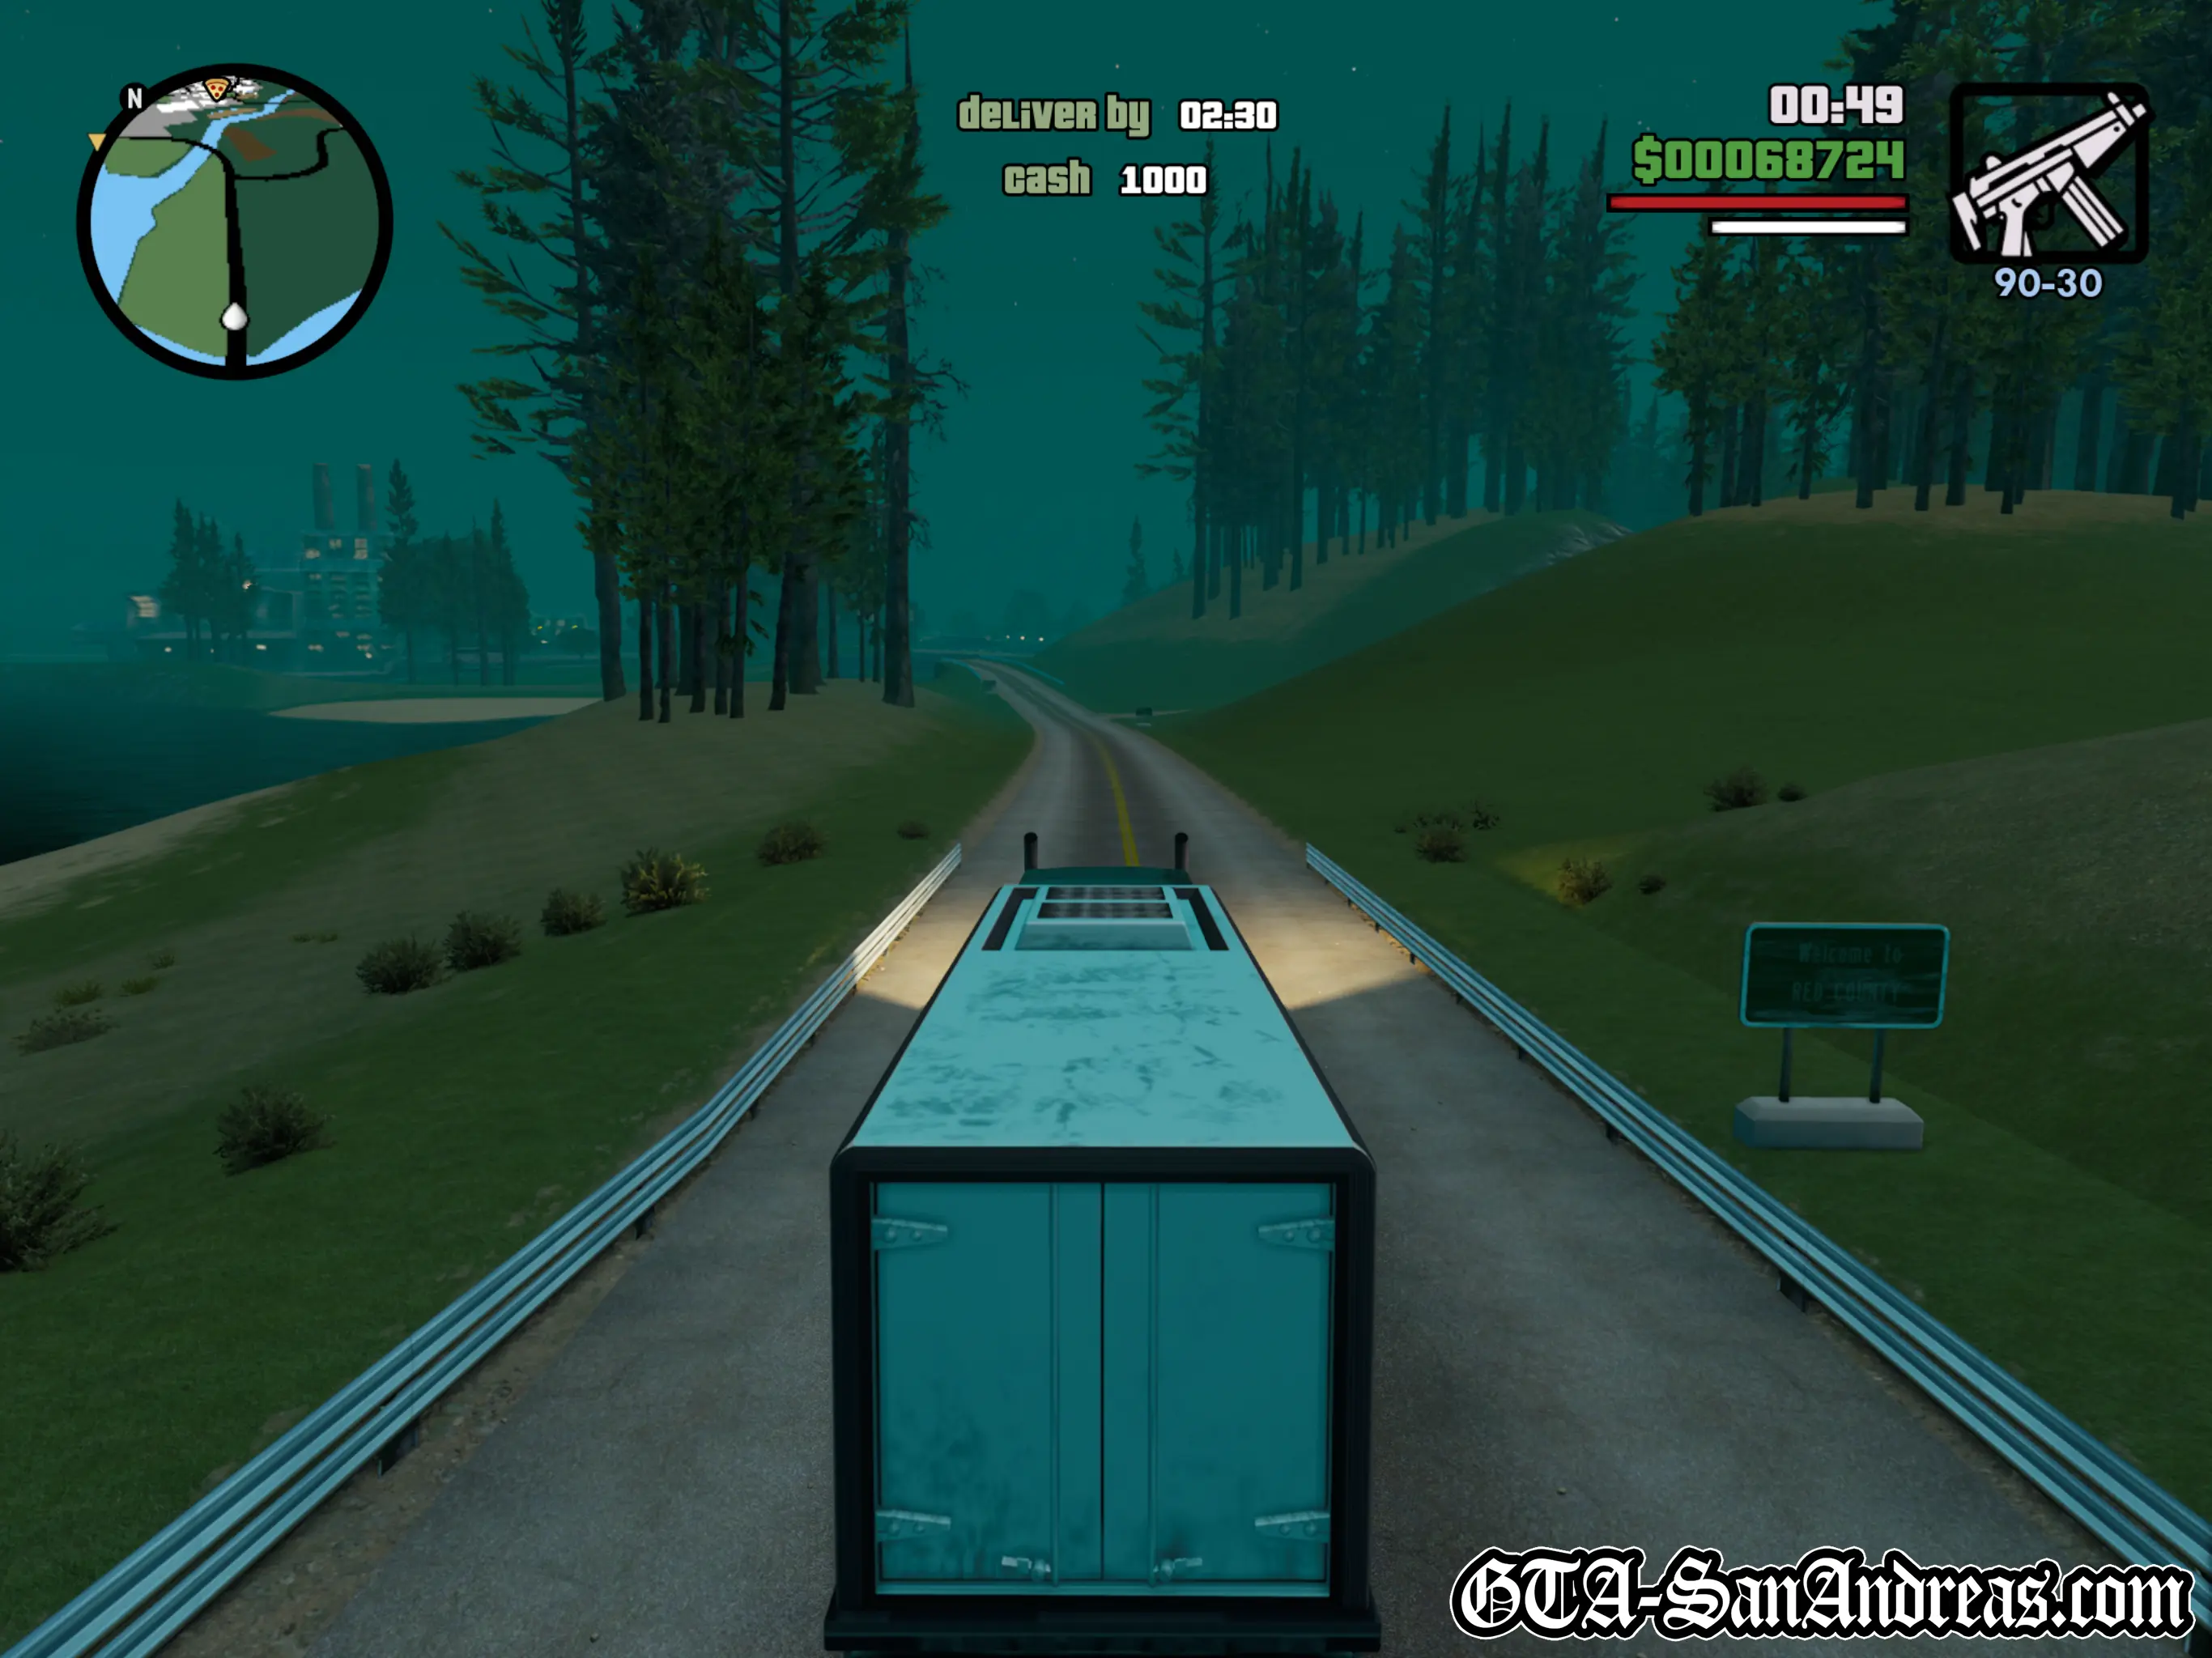
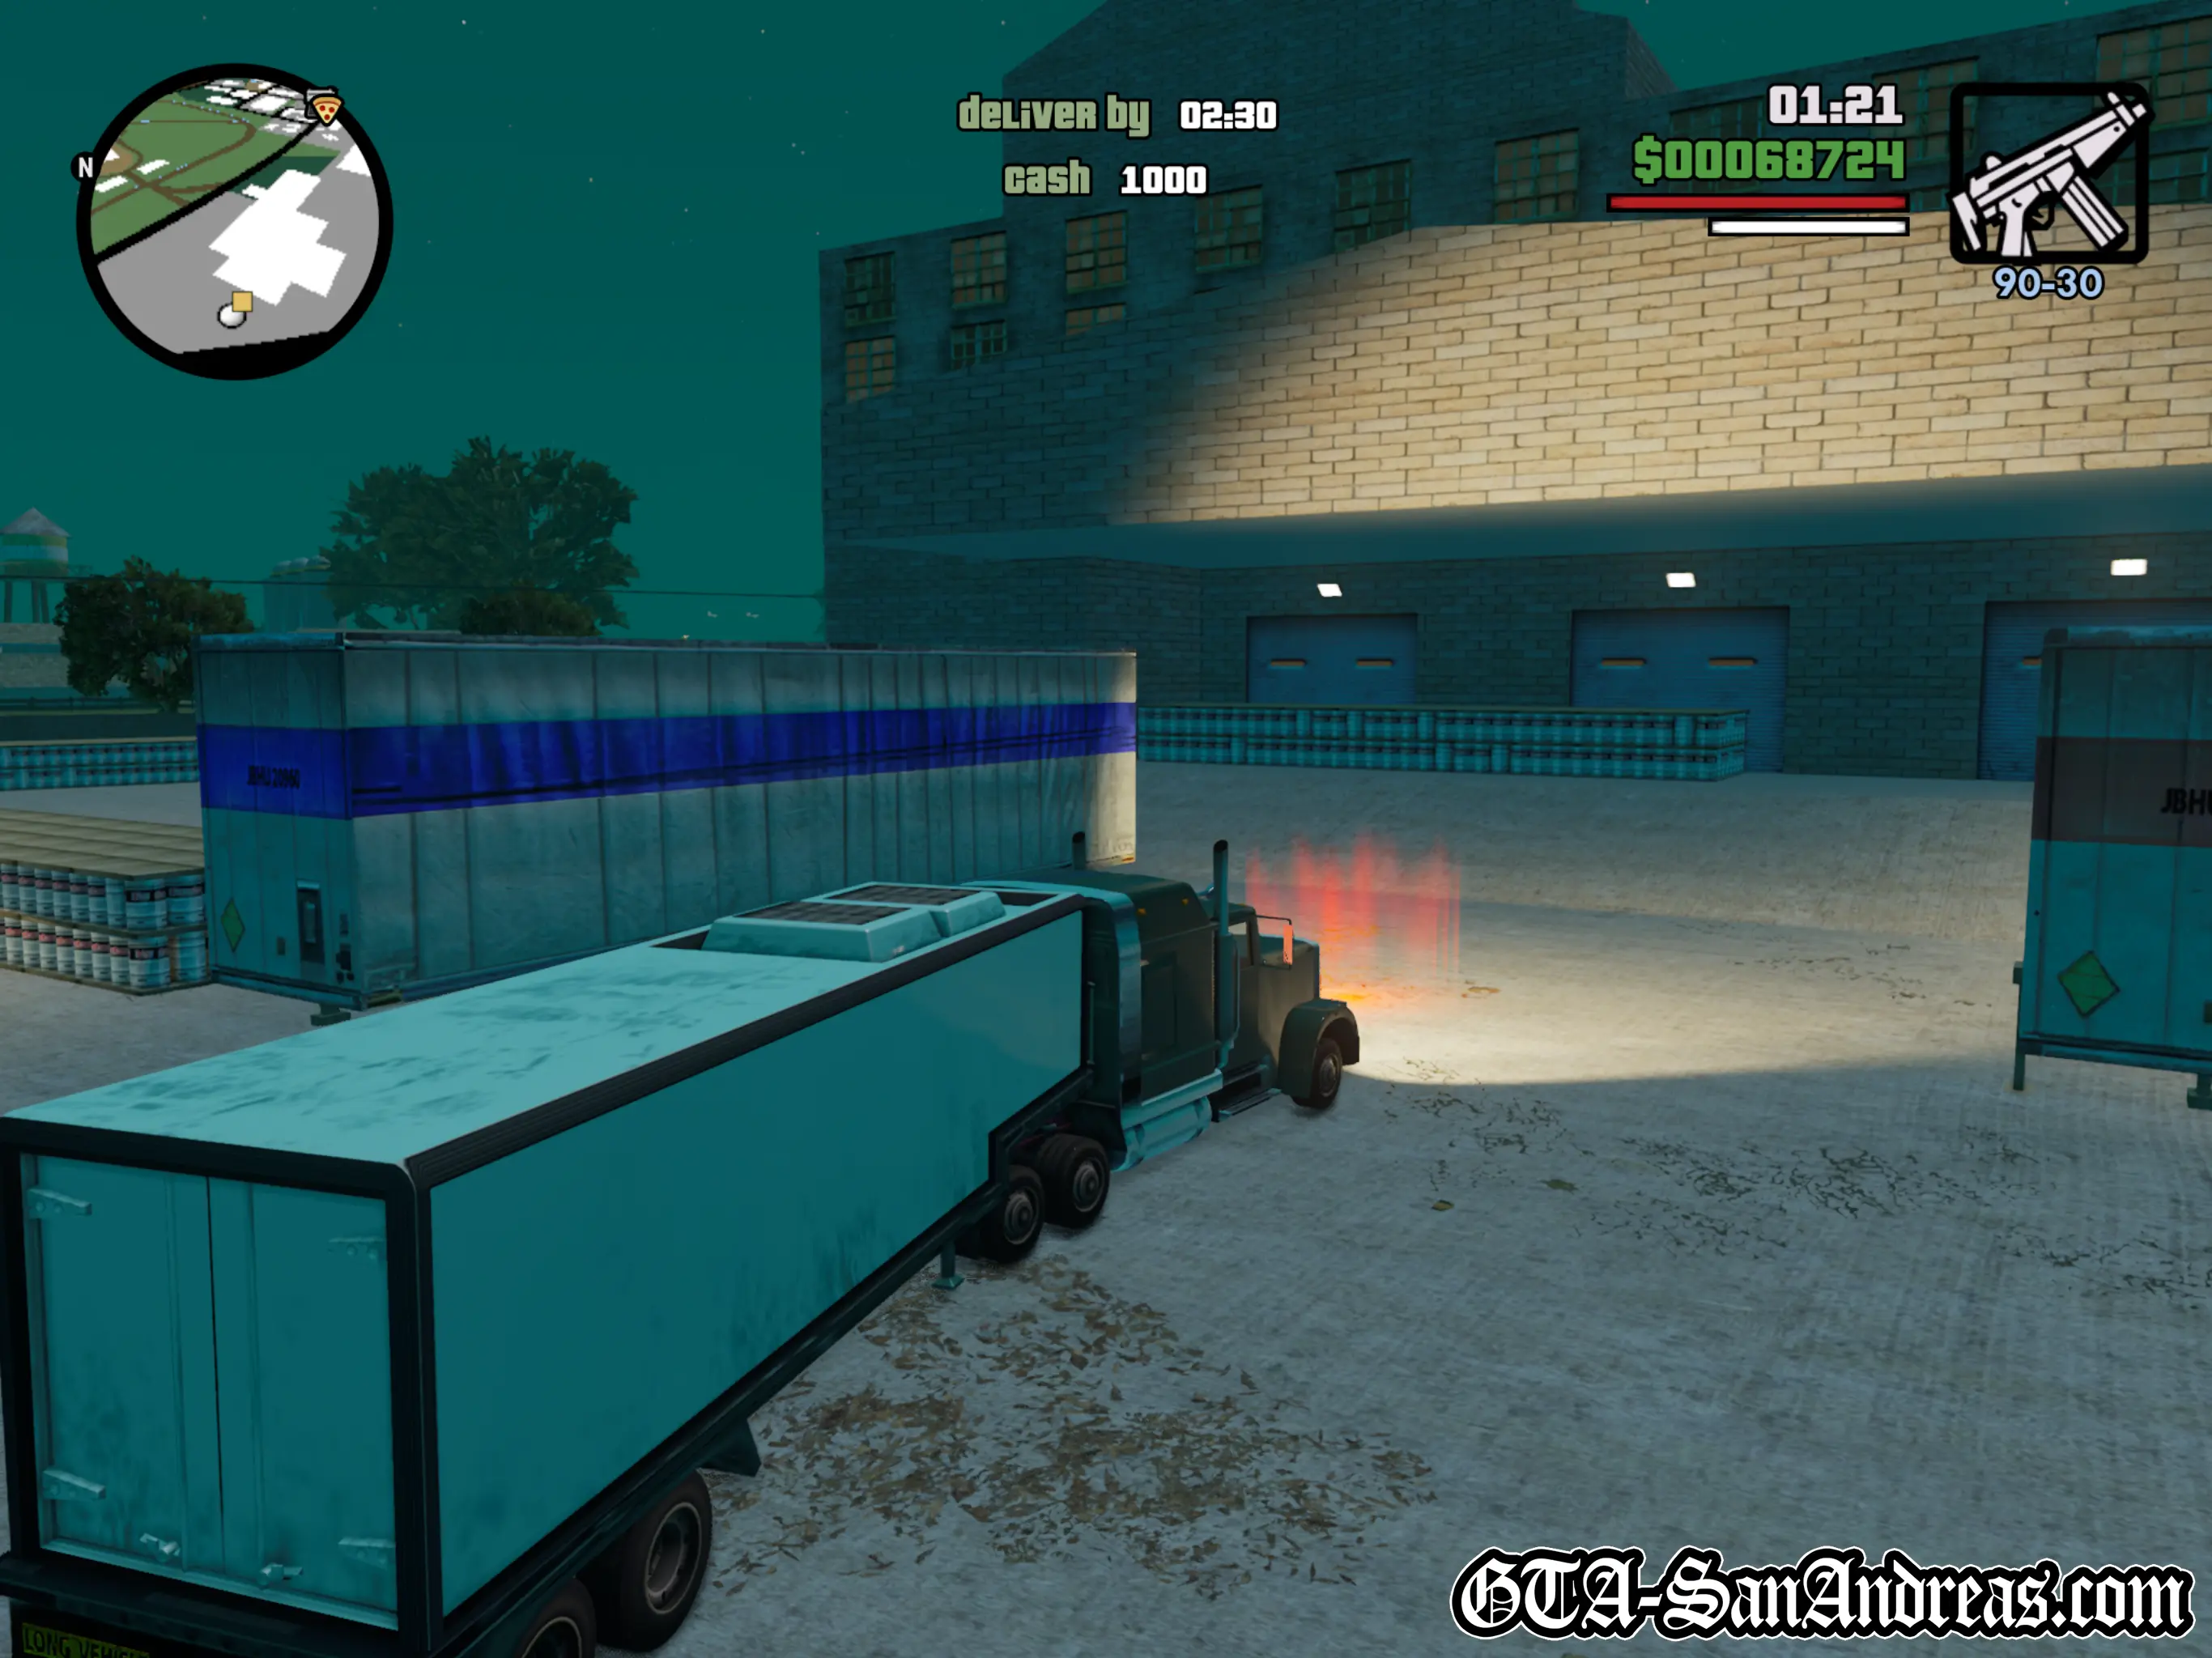
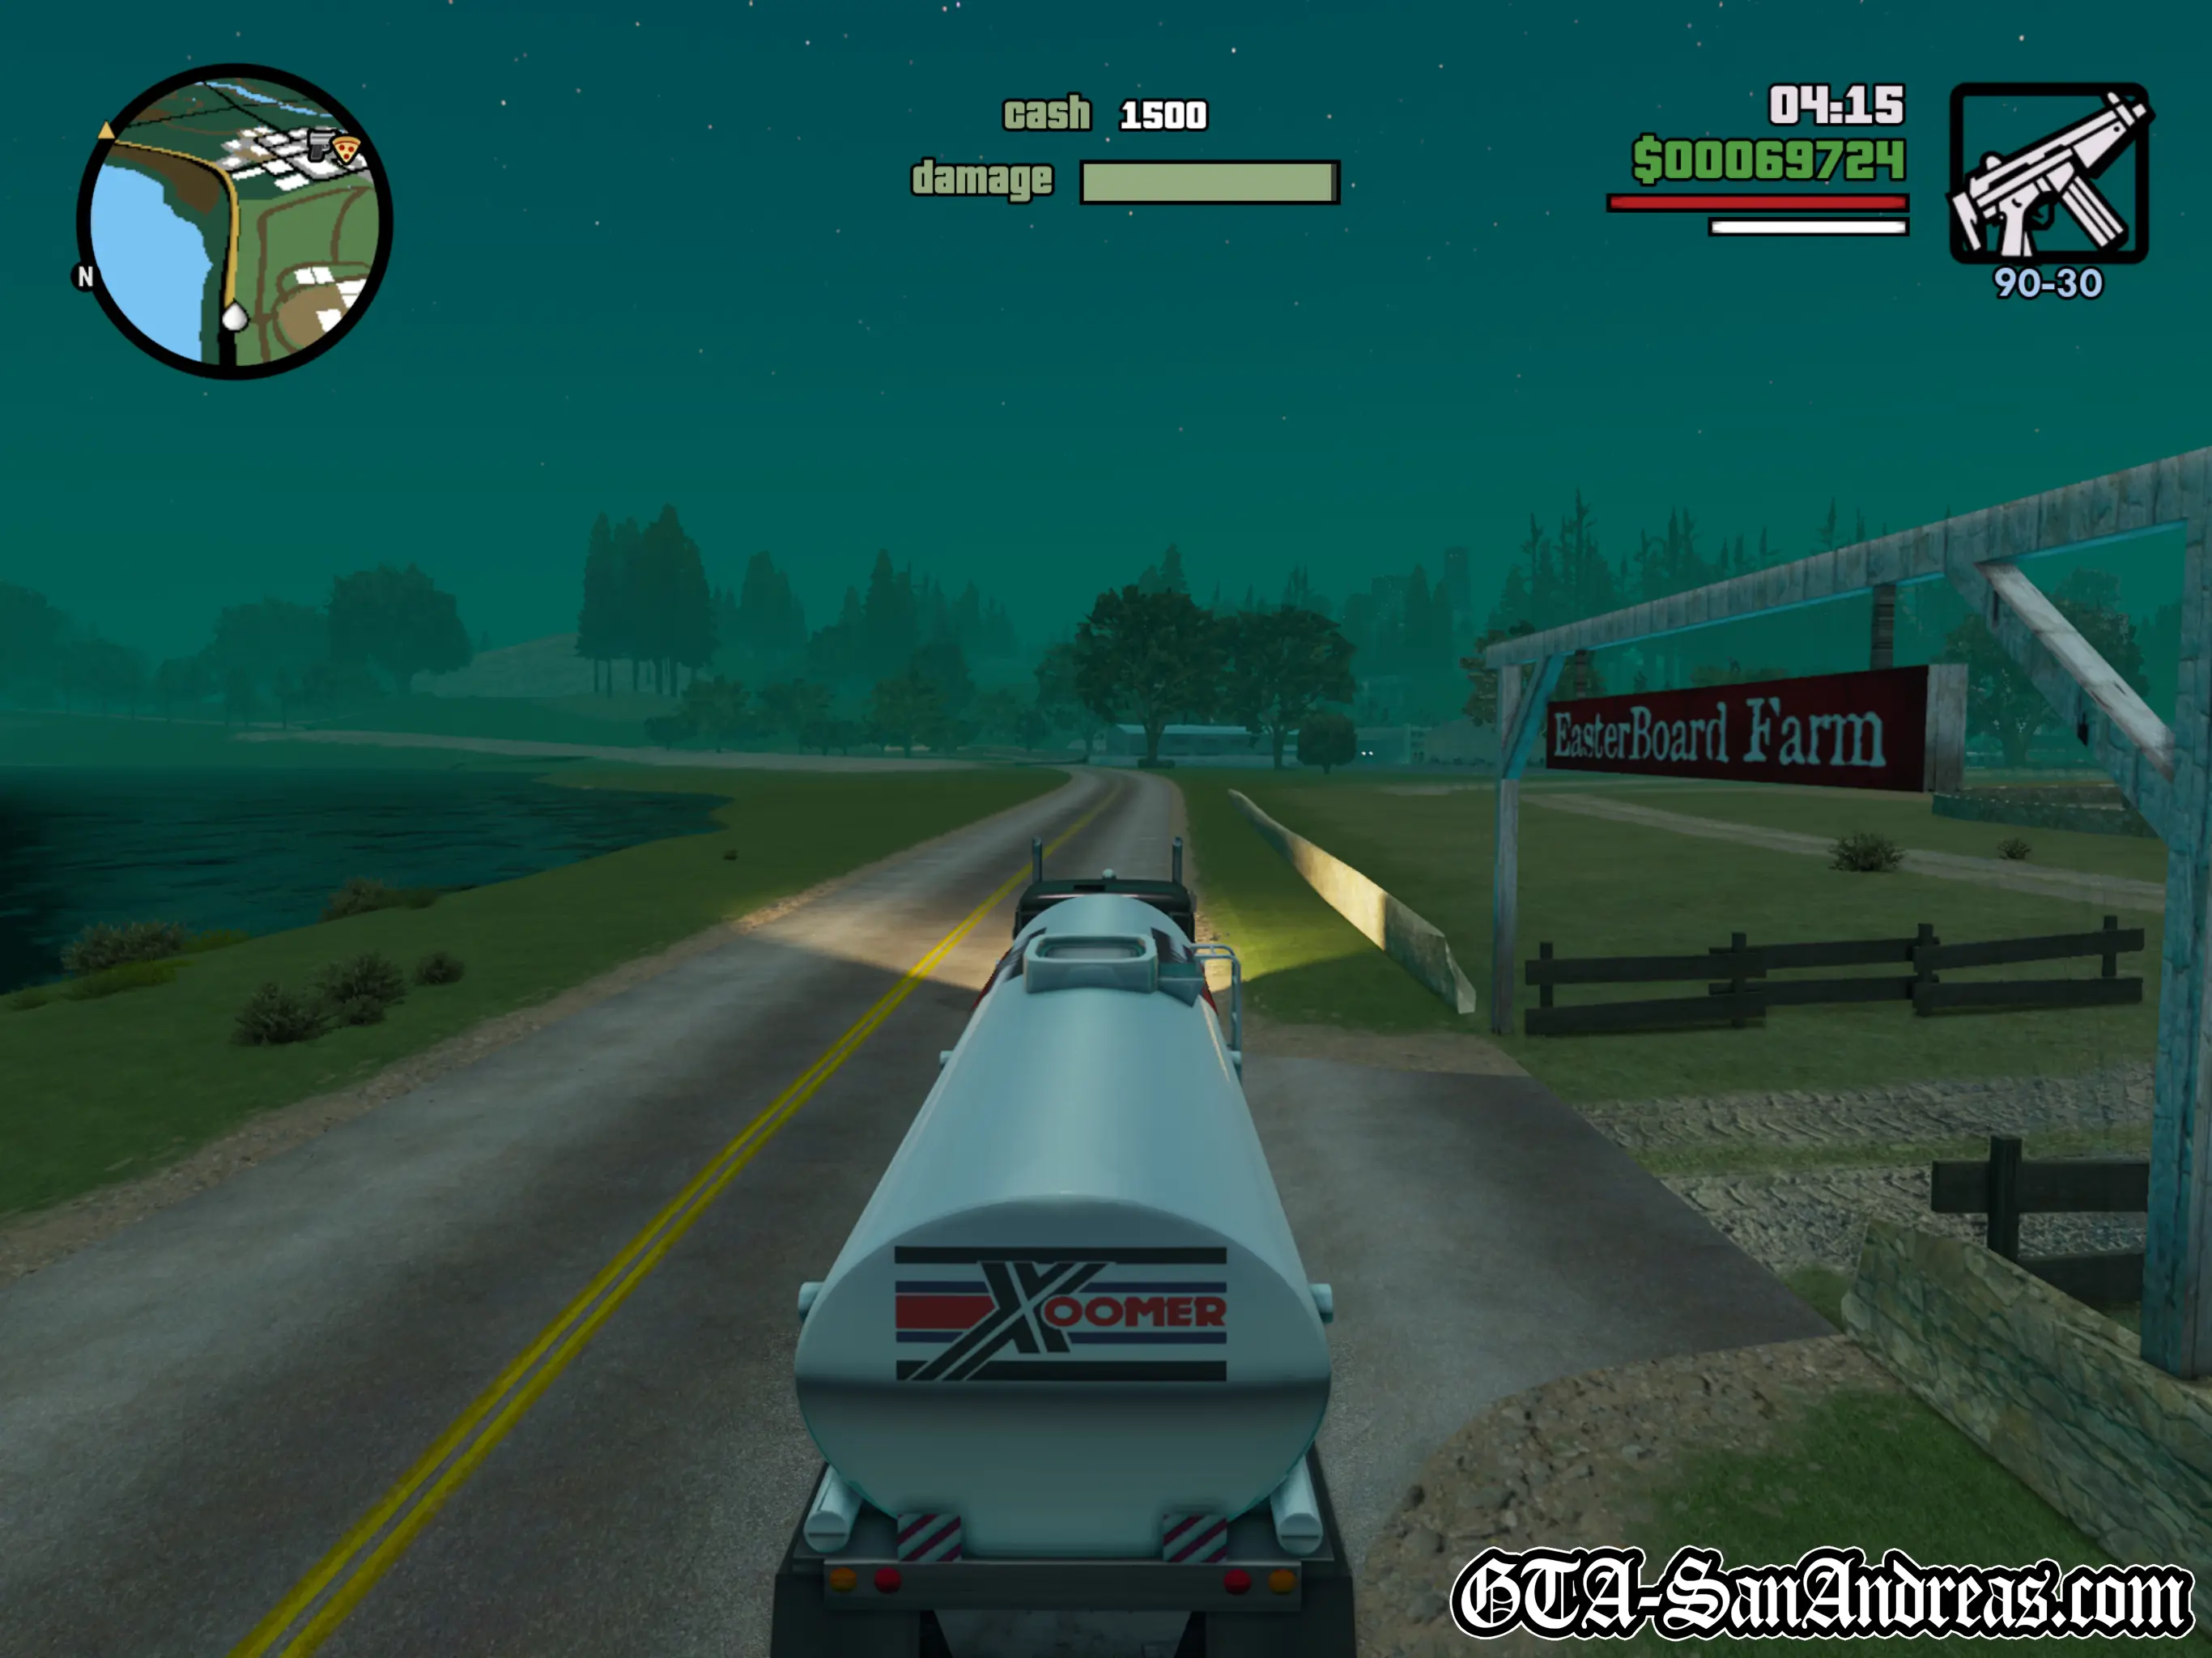
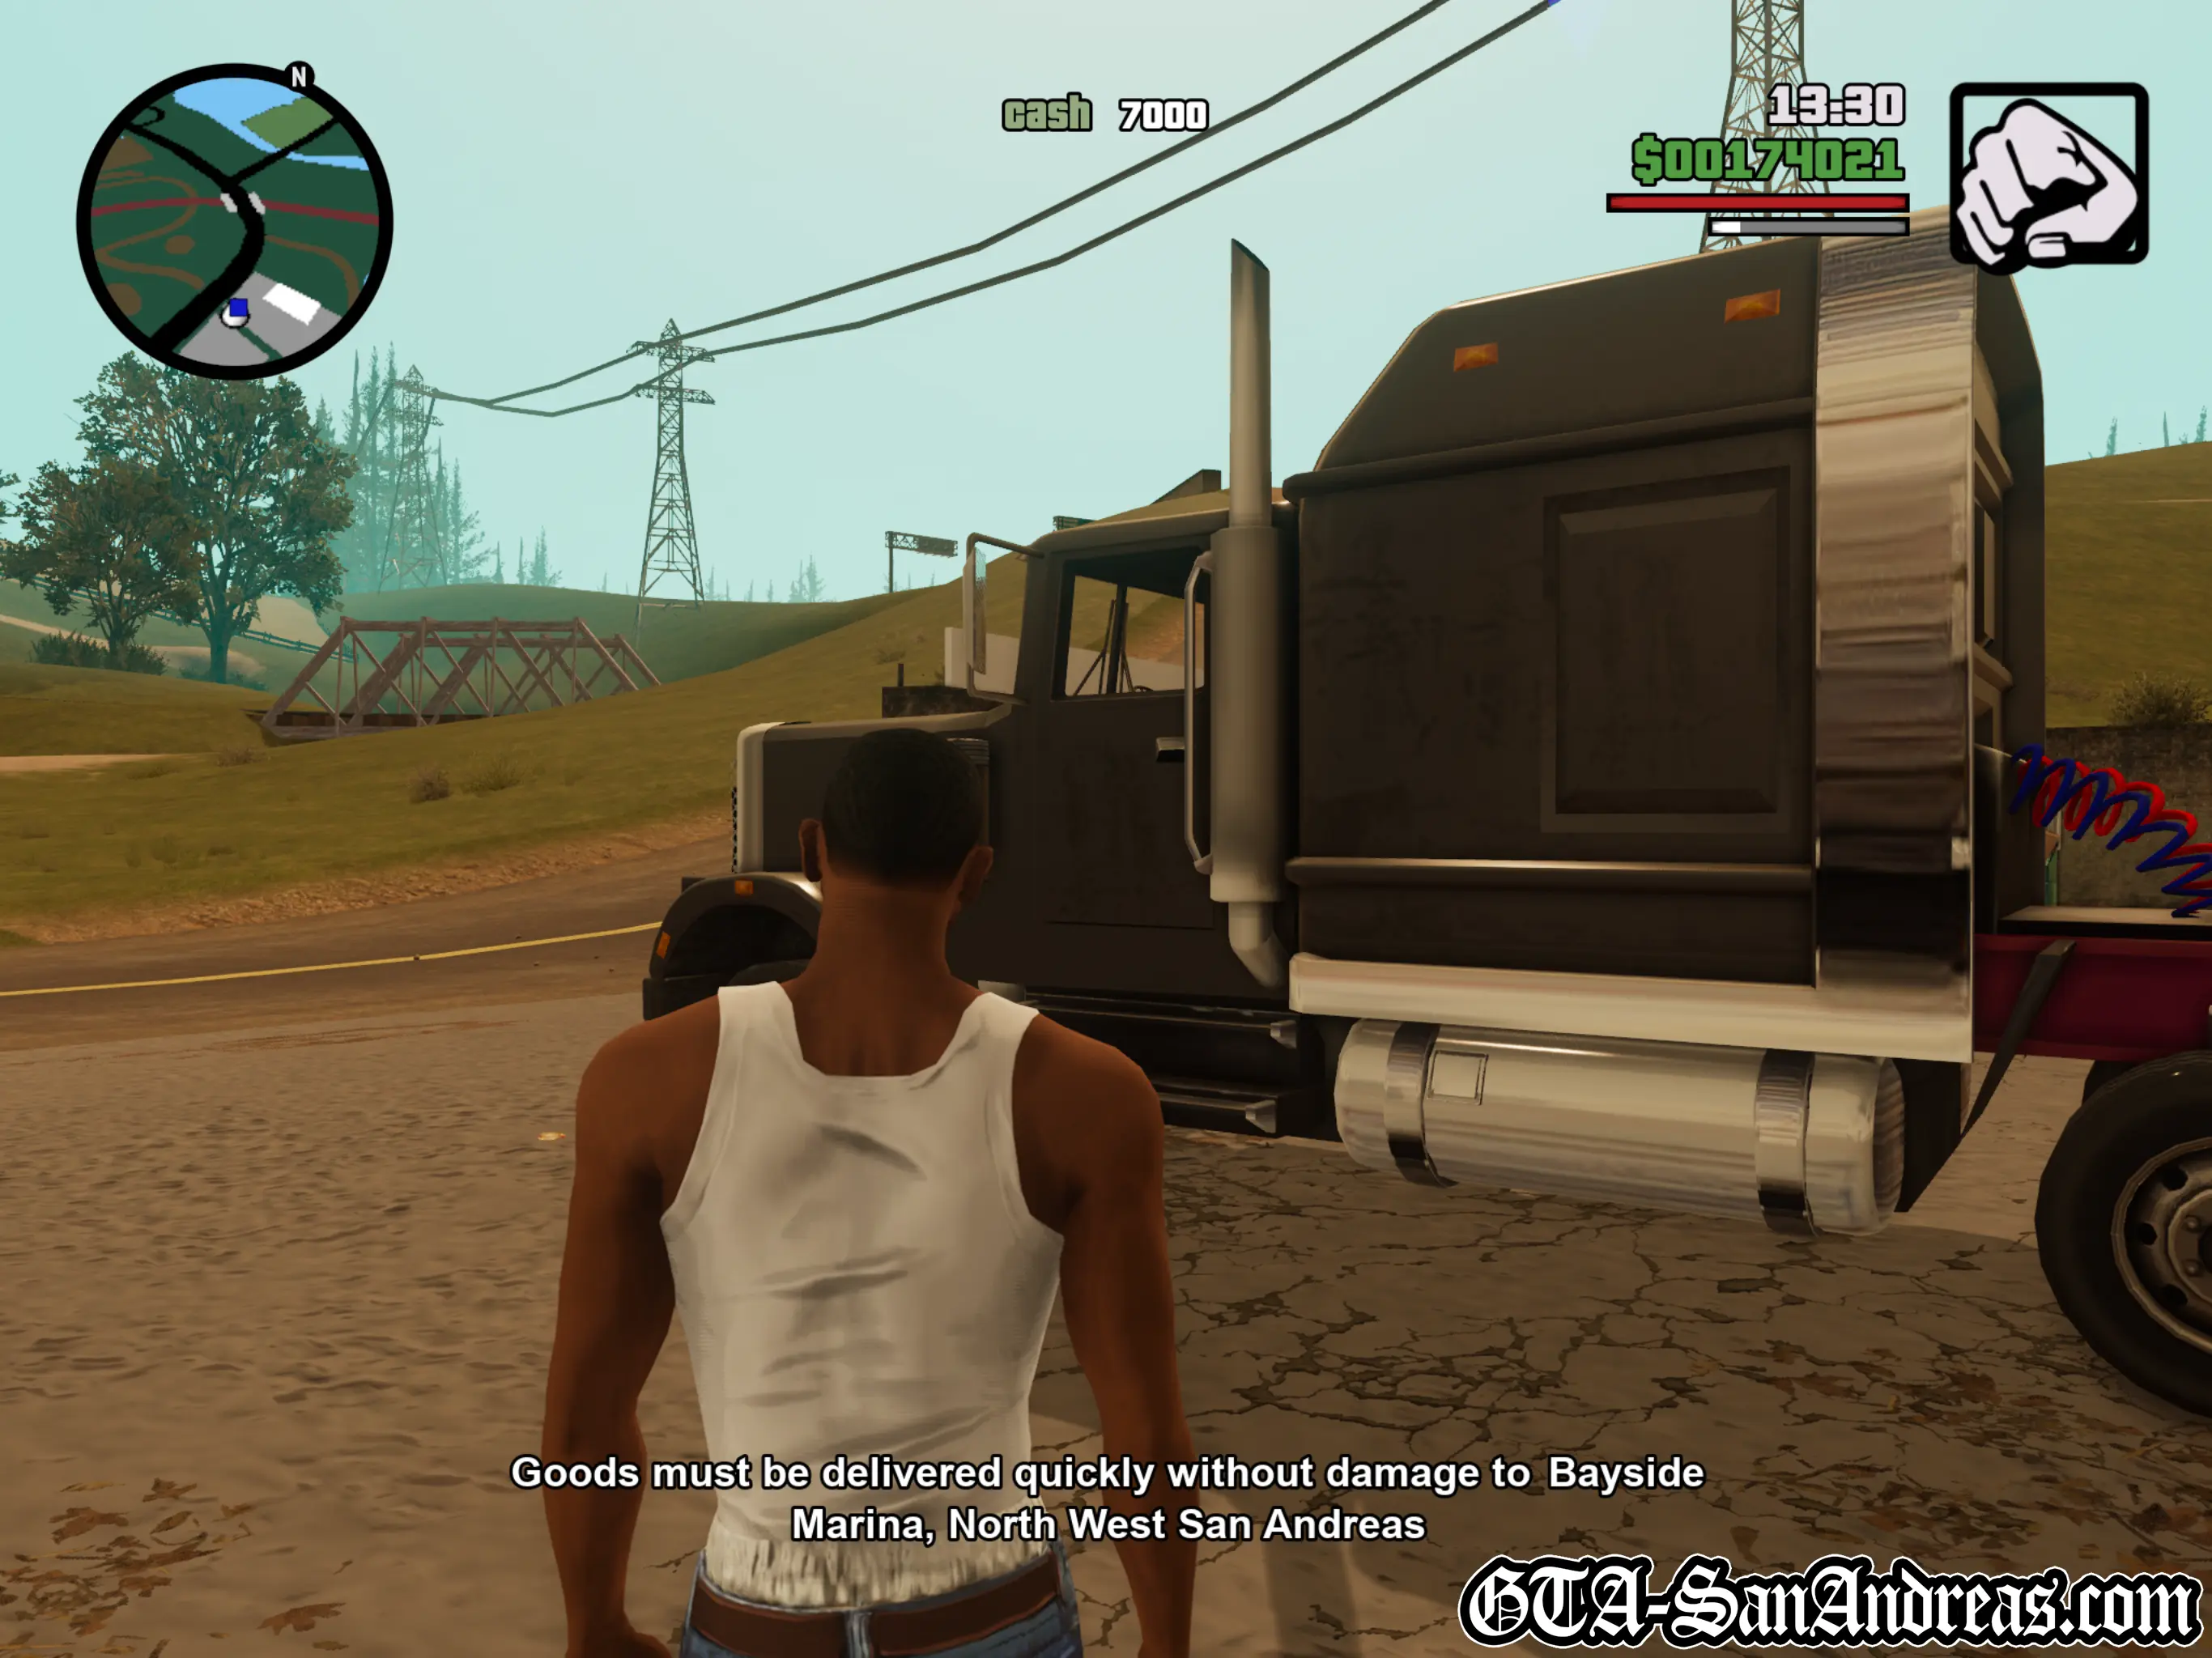
Goods must be delivered quickly to *SOMEWHERE* in North-East Red County.
You're delivering regular cargo to a destination not too far away. It doesn't matter if you take damage on the way, but you will incur a penalty to your reward payment if you miss the deadline. If you're REALLY late, you'll fail.
Possible destinations include:
- Red County in the countryside North of Los Santos
- Blueberry in the countryside North of Los Santos
* Reward will decrease if you miss the deadline.
Screenshots

RS Haul Trucking - Mission 2
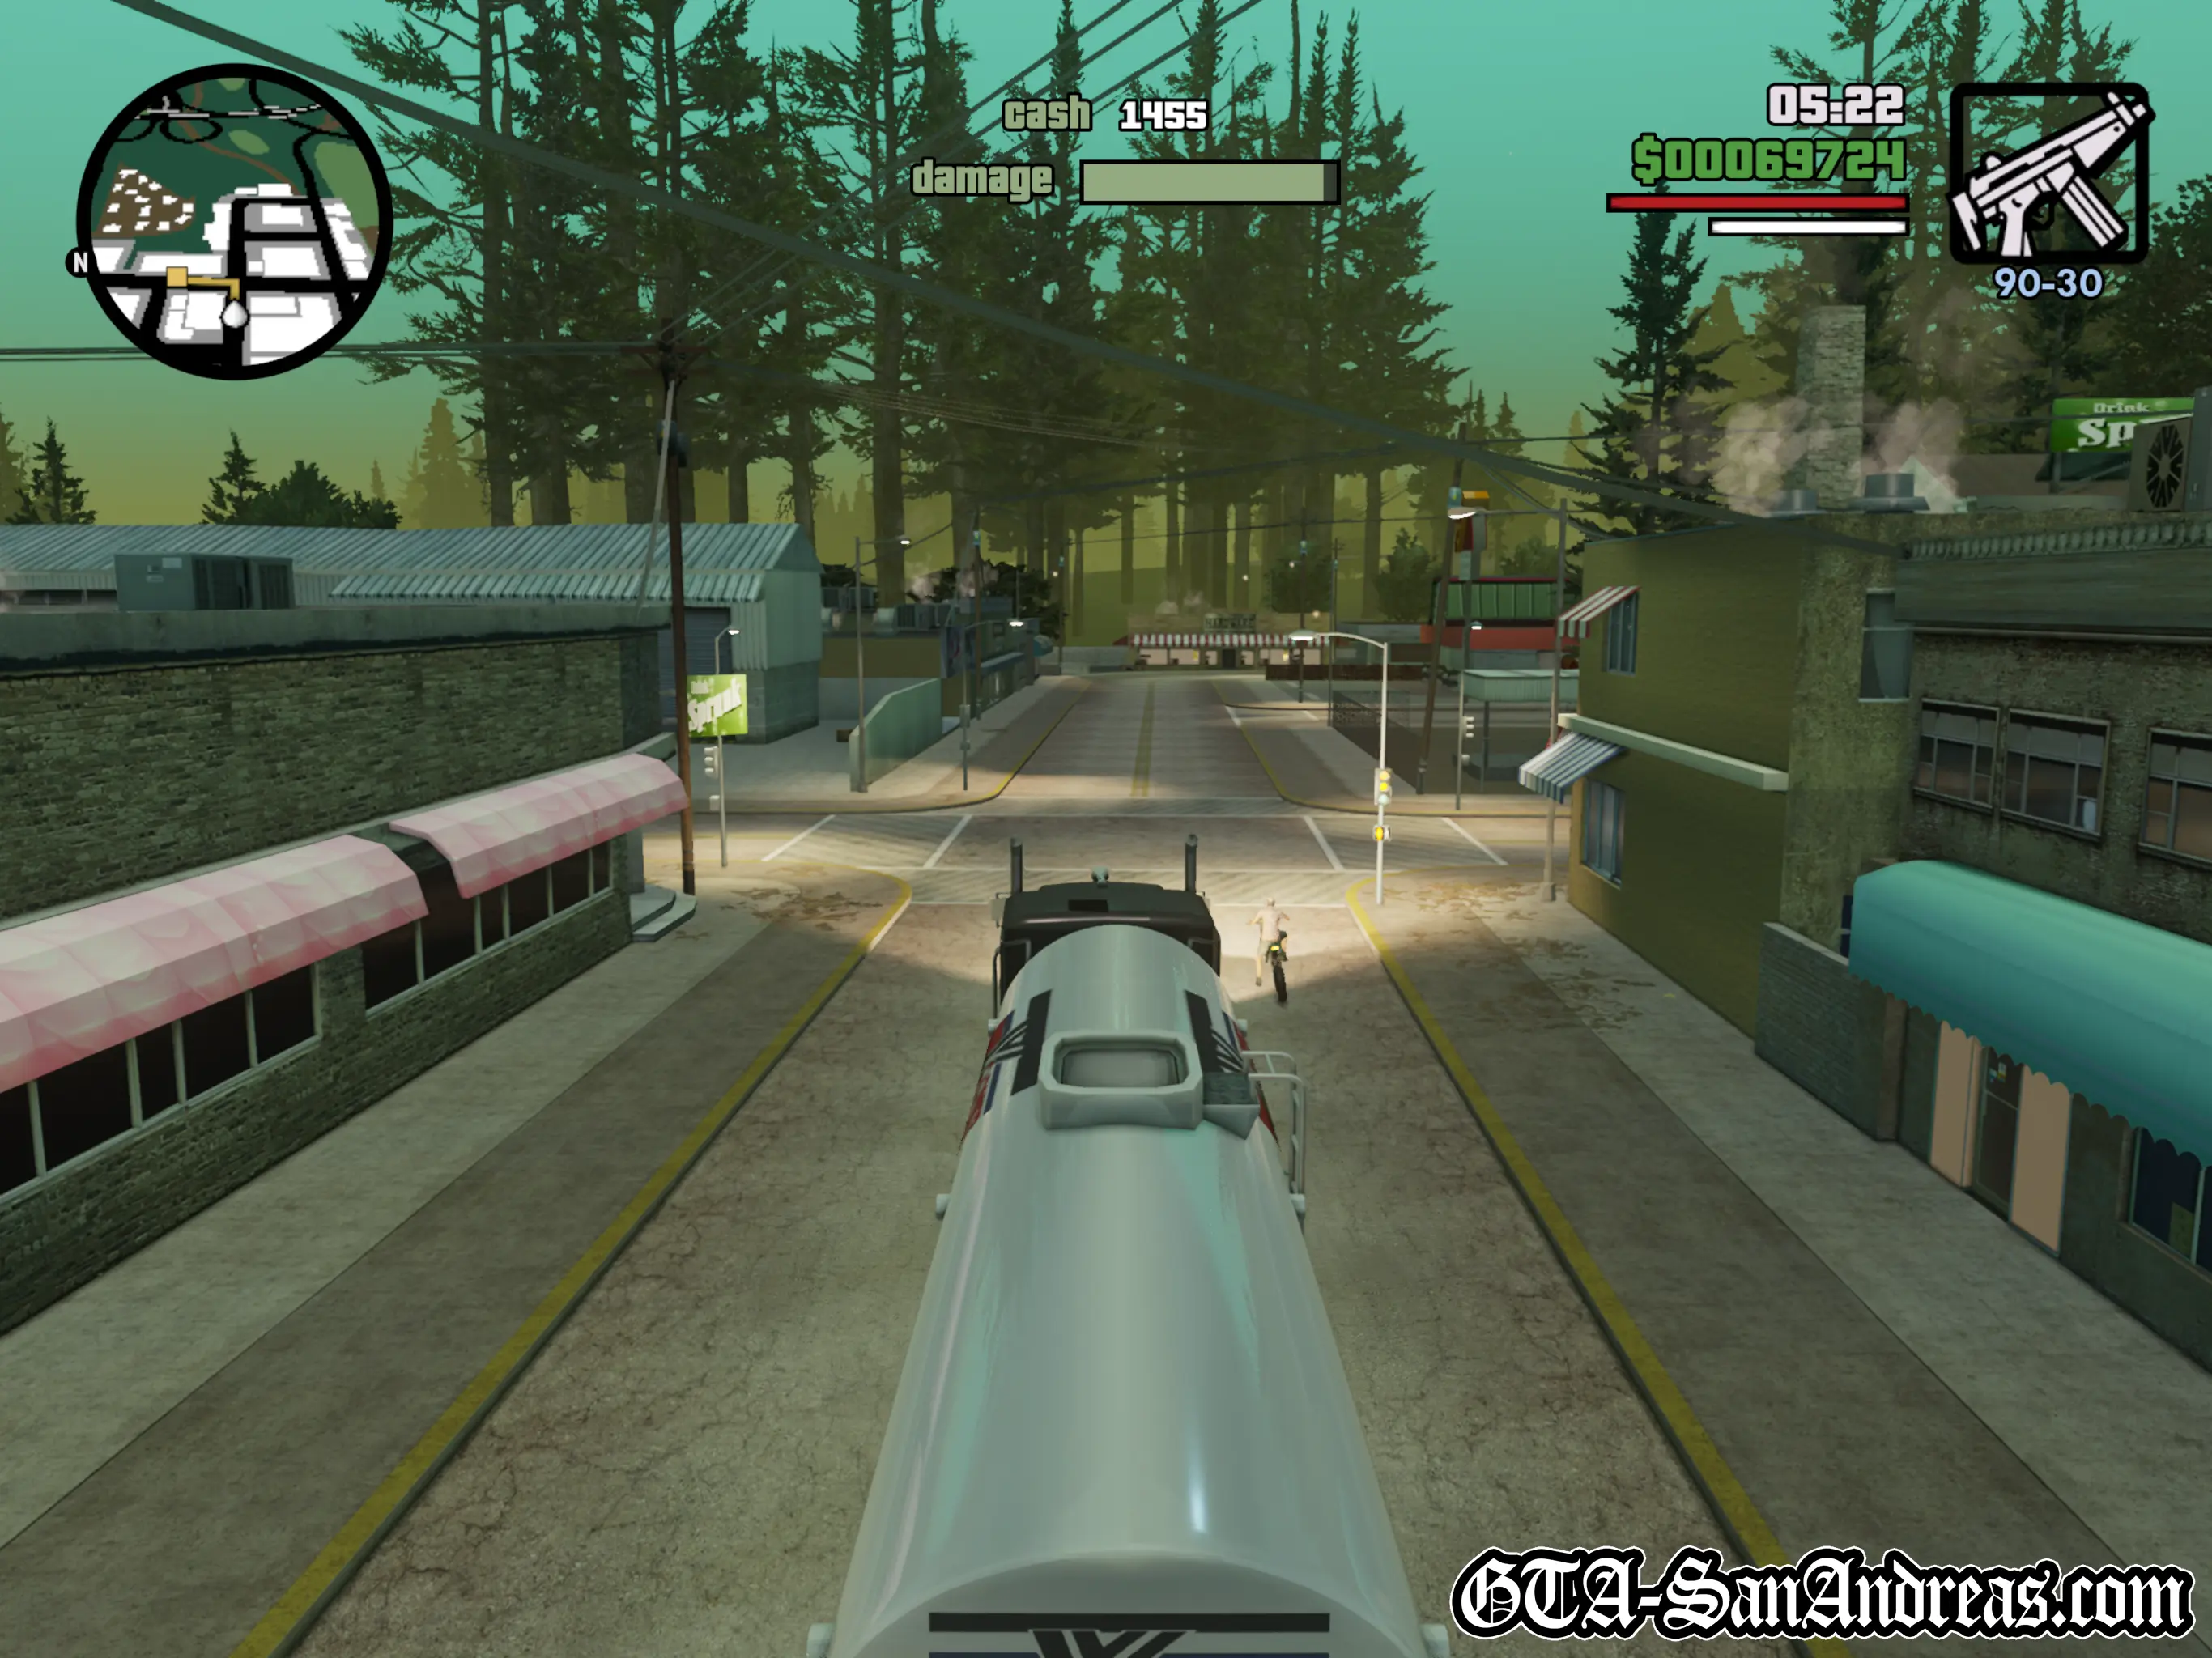
Goods must be delivered without damage to Montgomery, East San Andreas.

This mission is not timed, however the cargo is fragile and you will be penalised for damaging the vehicle. You should take your time and avoid any collisions for maximum rewards. You'll fail if the cargo takes too much damage.
The destination for this one seems to be fixed. It'll always be the truck stop in Montgomery.
* Reward will decrease if you damage the cargo.
Screenshots
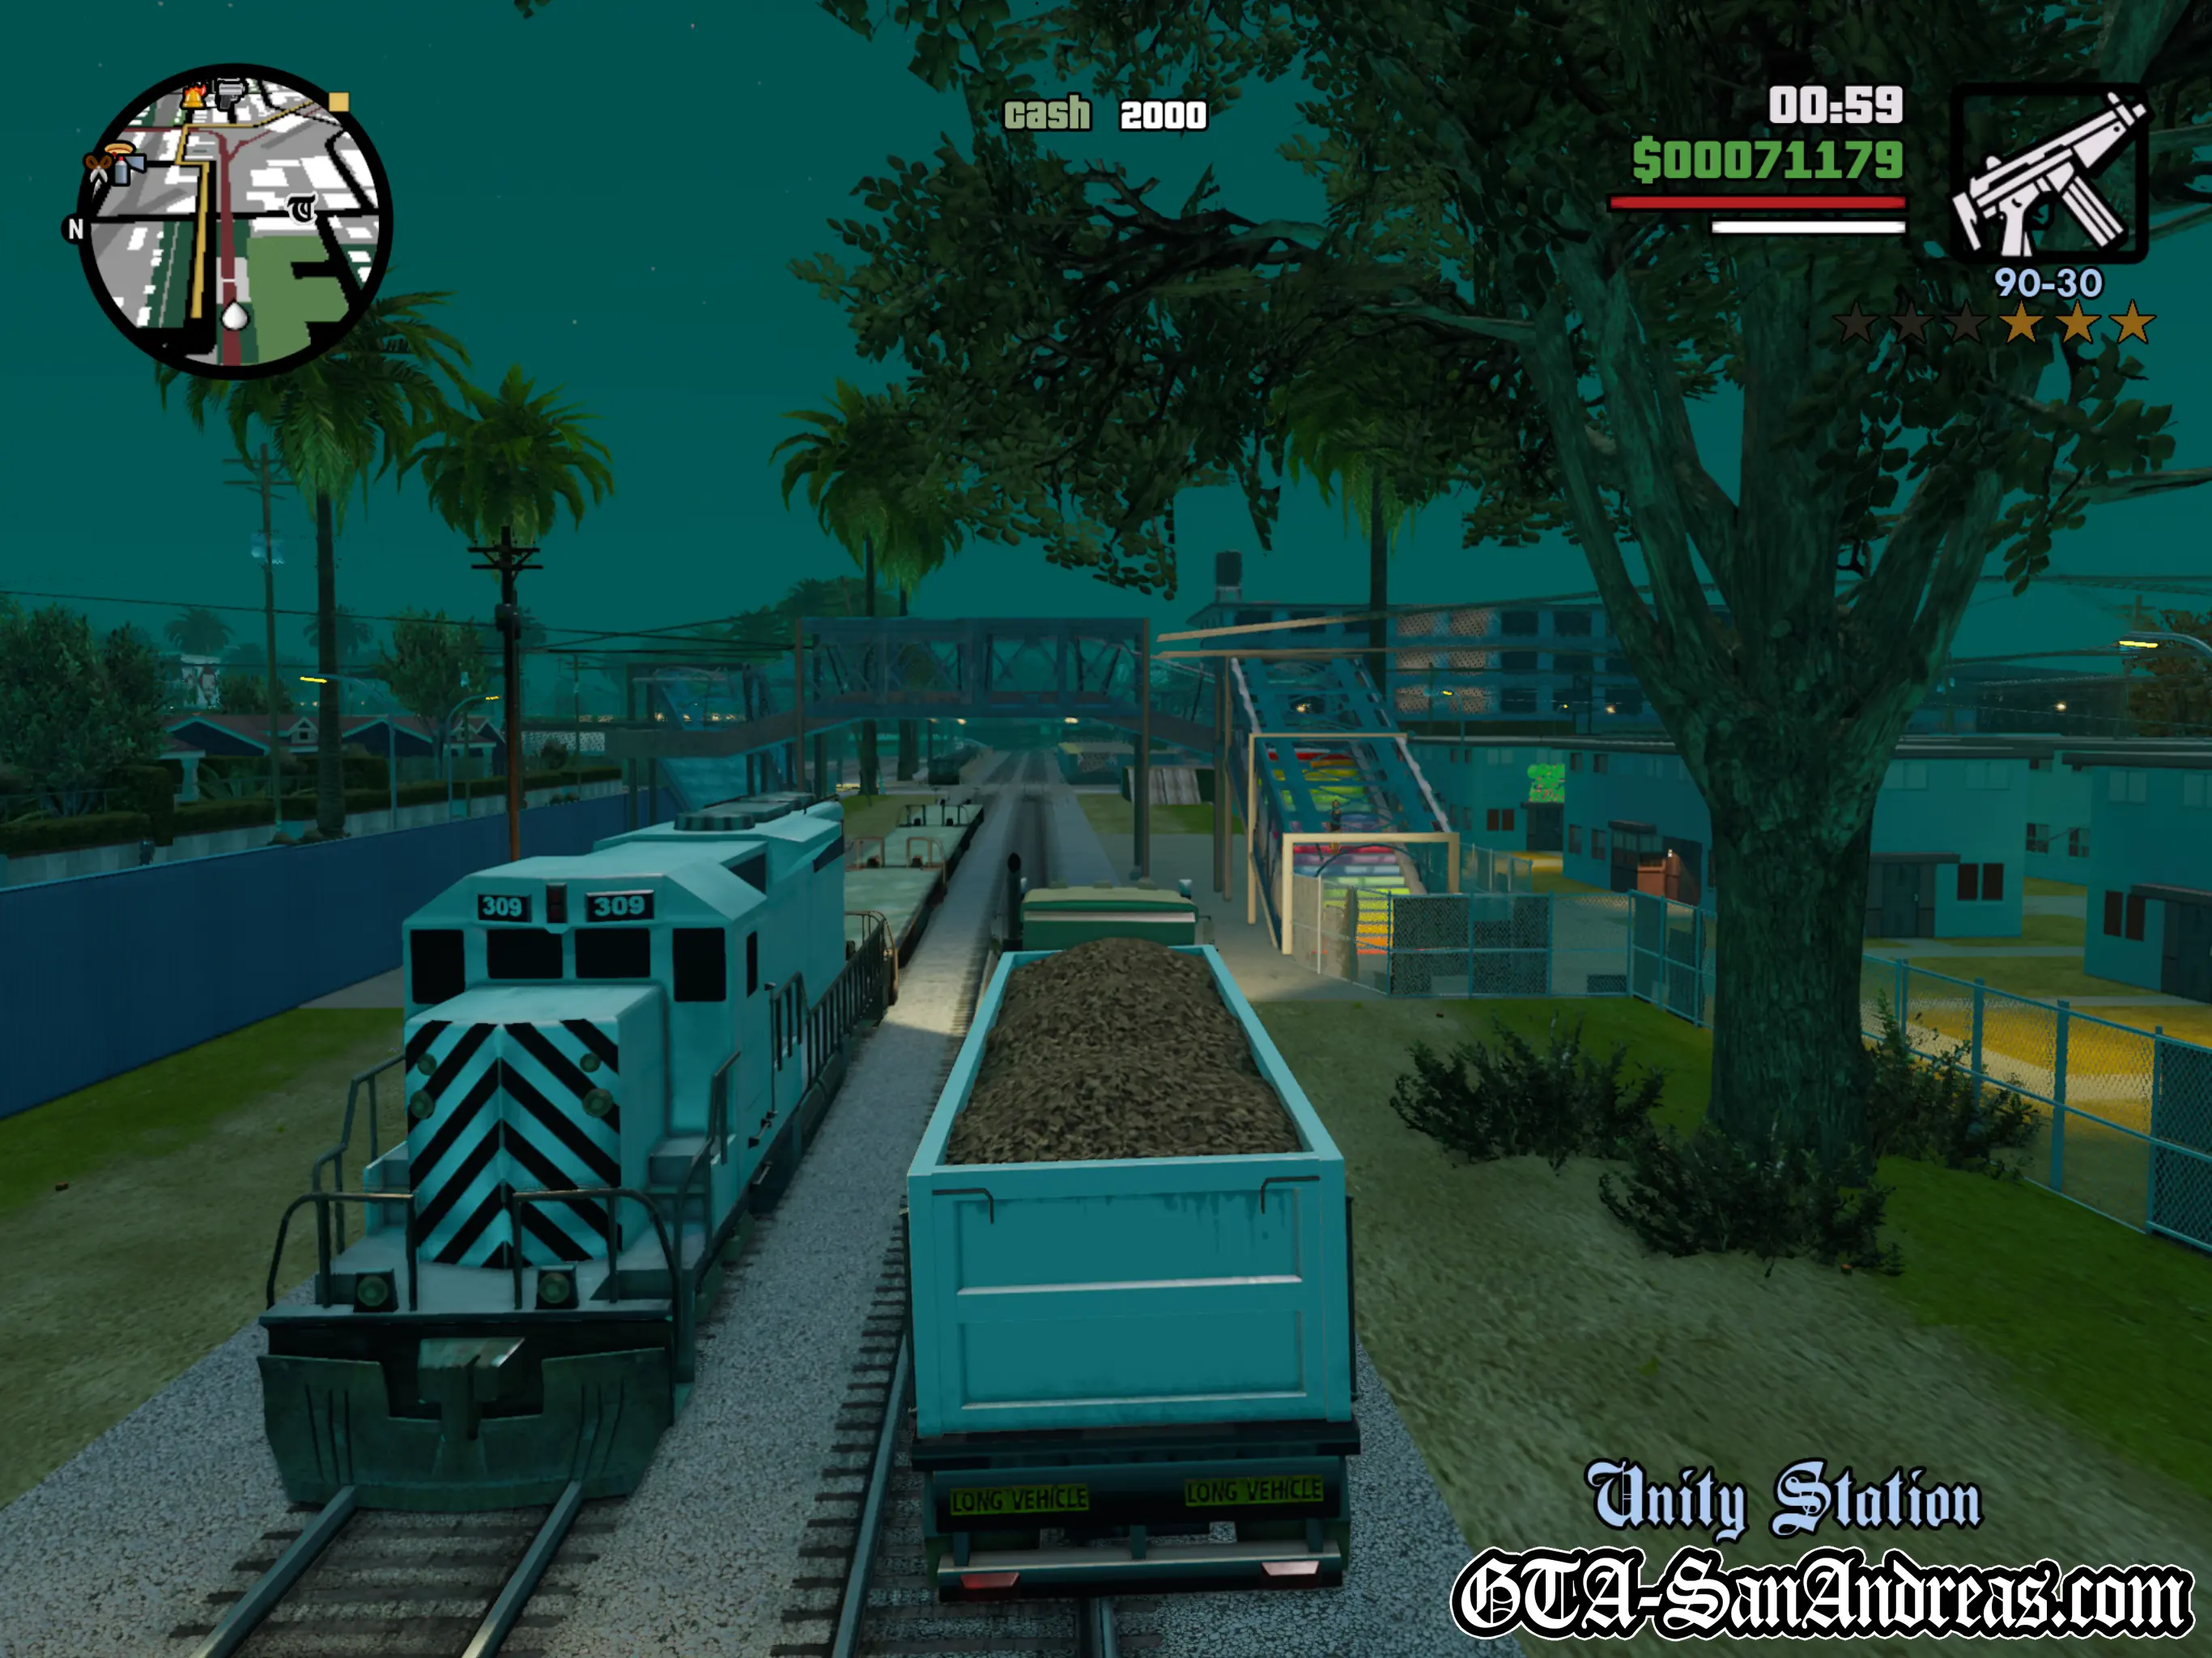
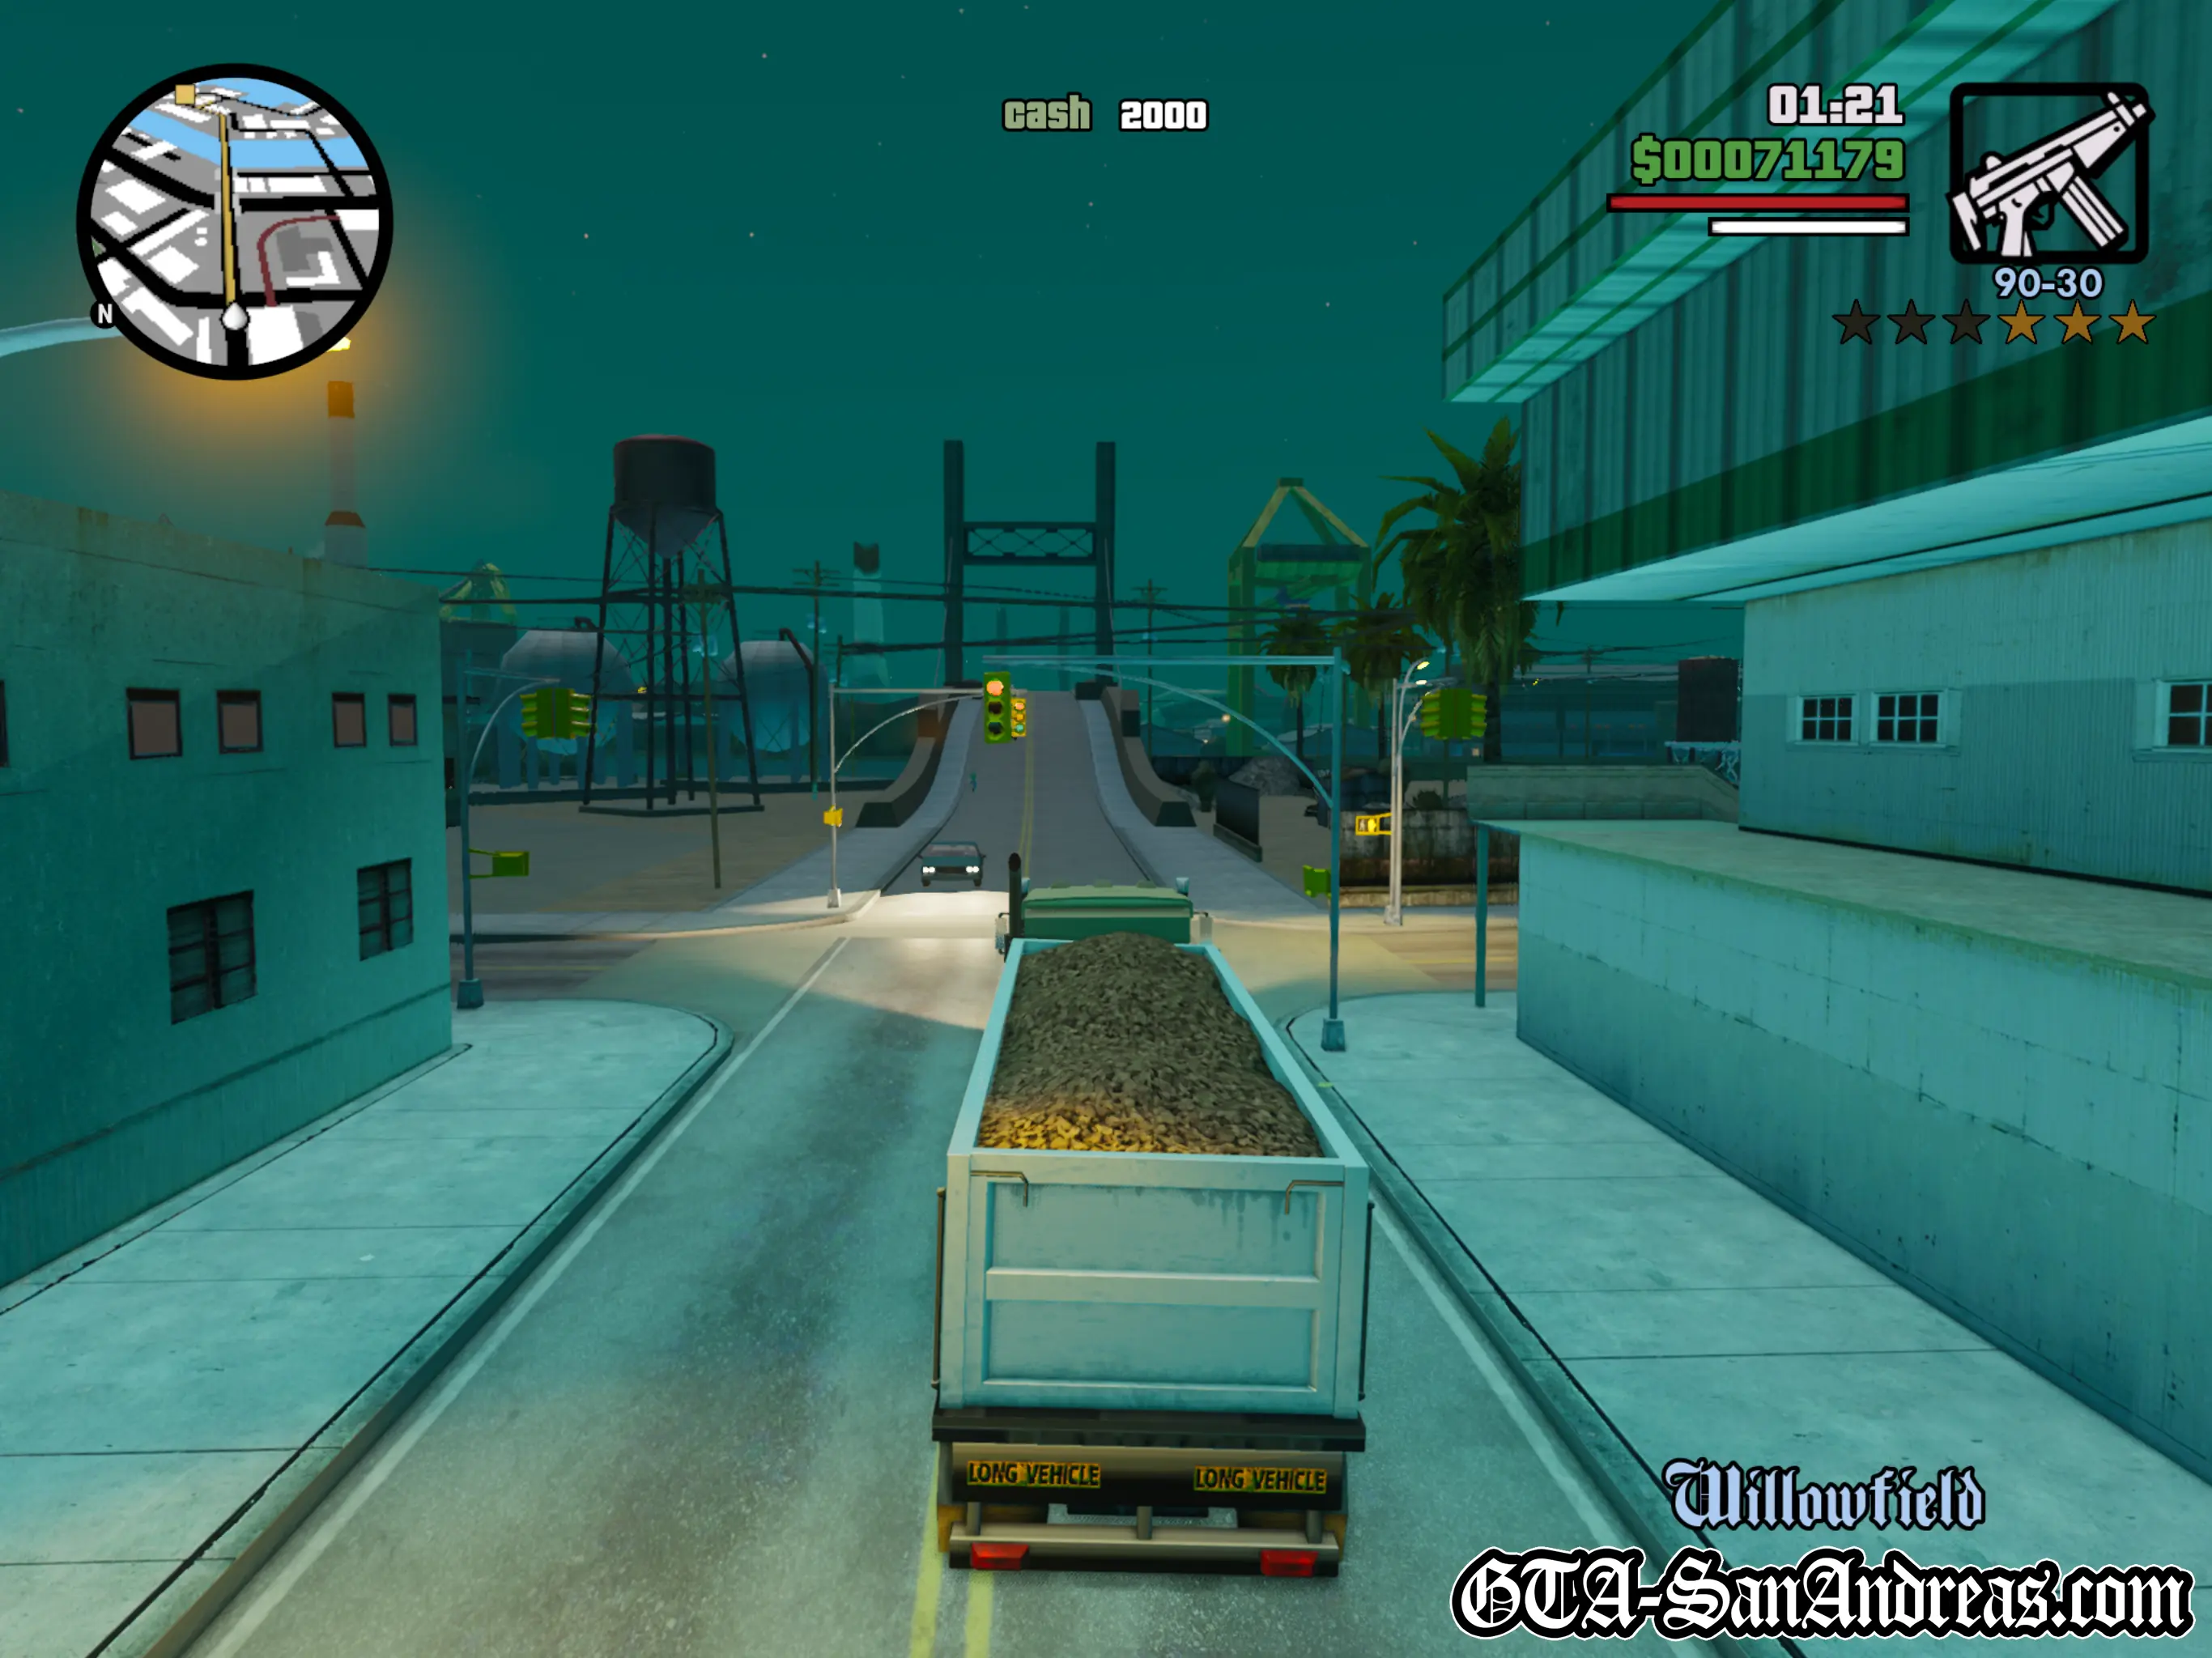
RS Haul Trucking - Mission 3
Illegal goods to *SOMEWHERE* in South Los Santos.
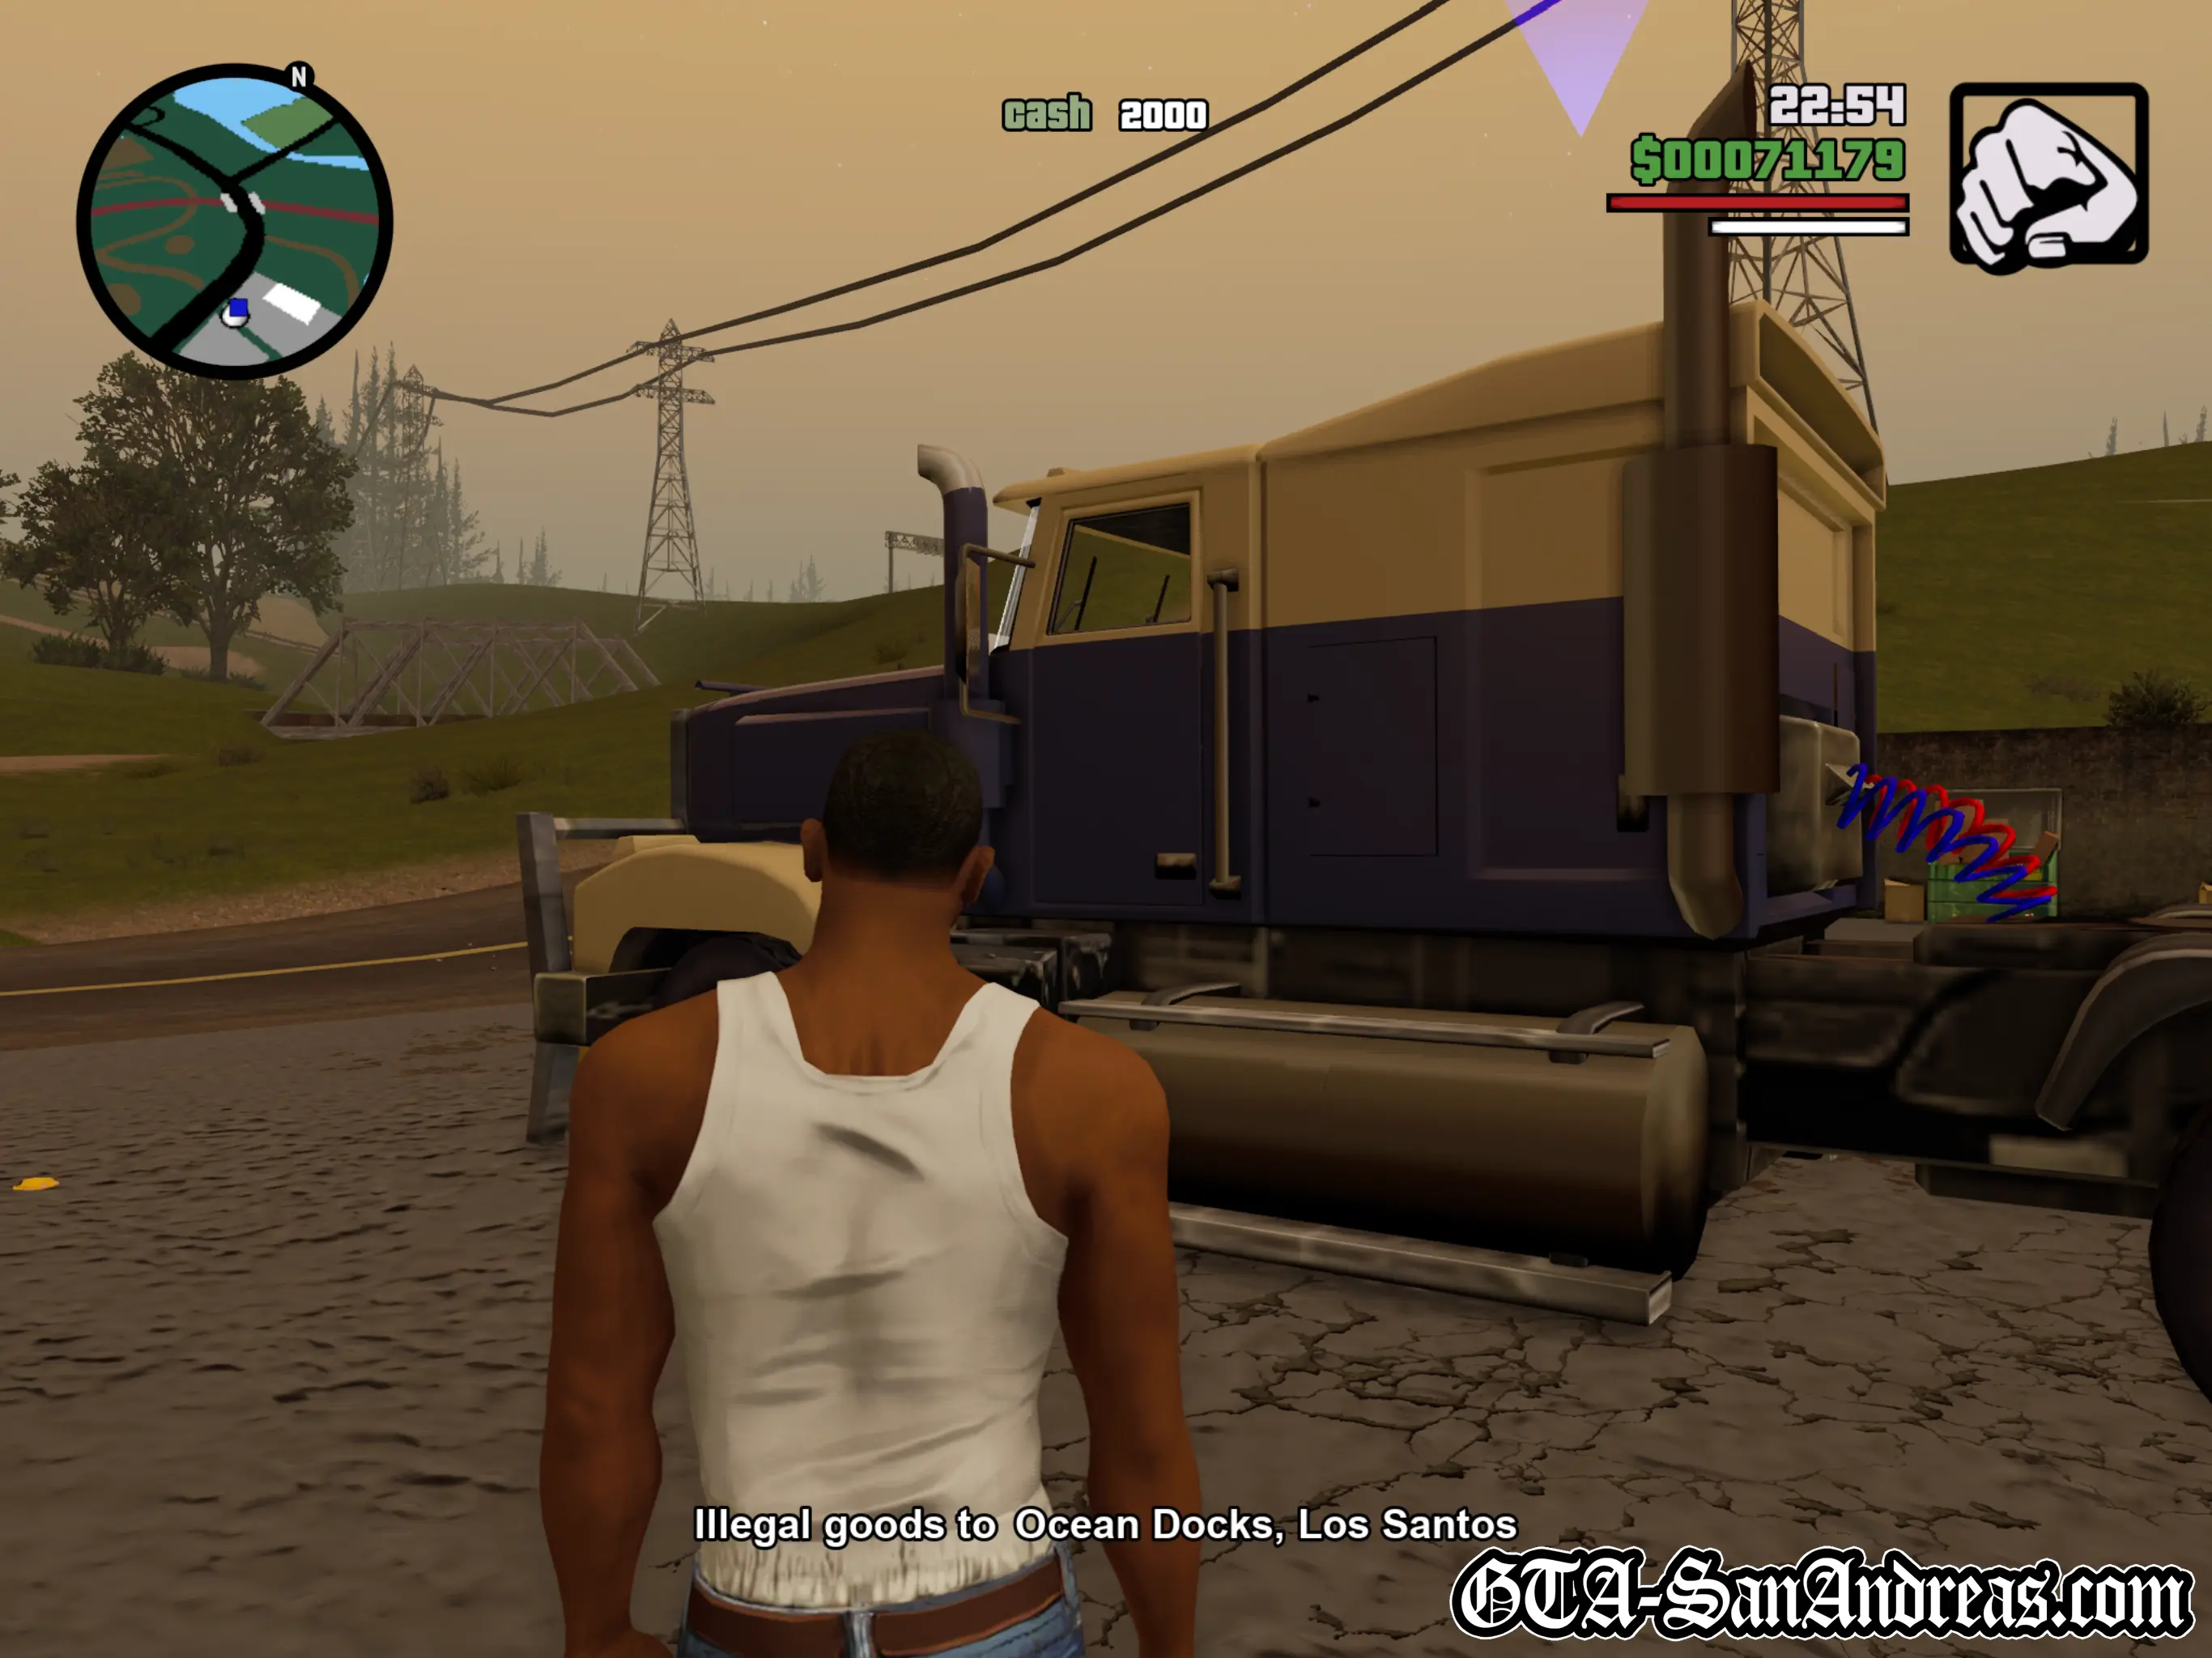
This mission is not timed, so you can take as long as you need to, however you will have a three star wanted level for the whole journey.
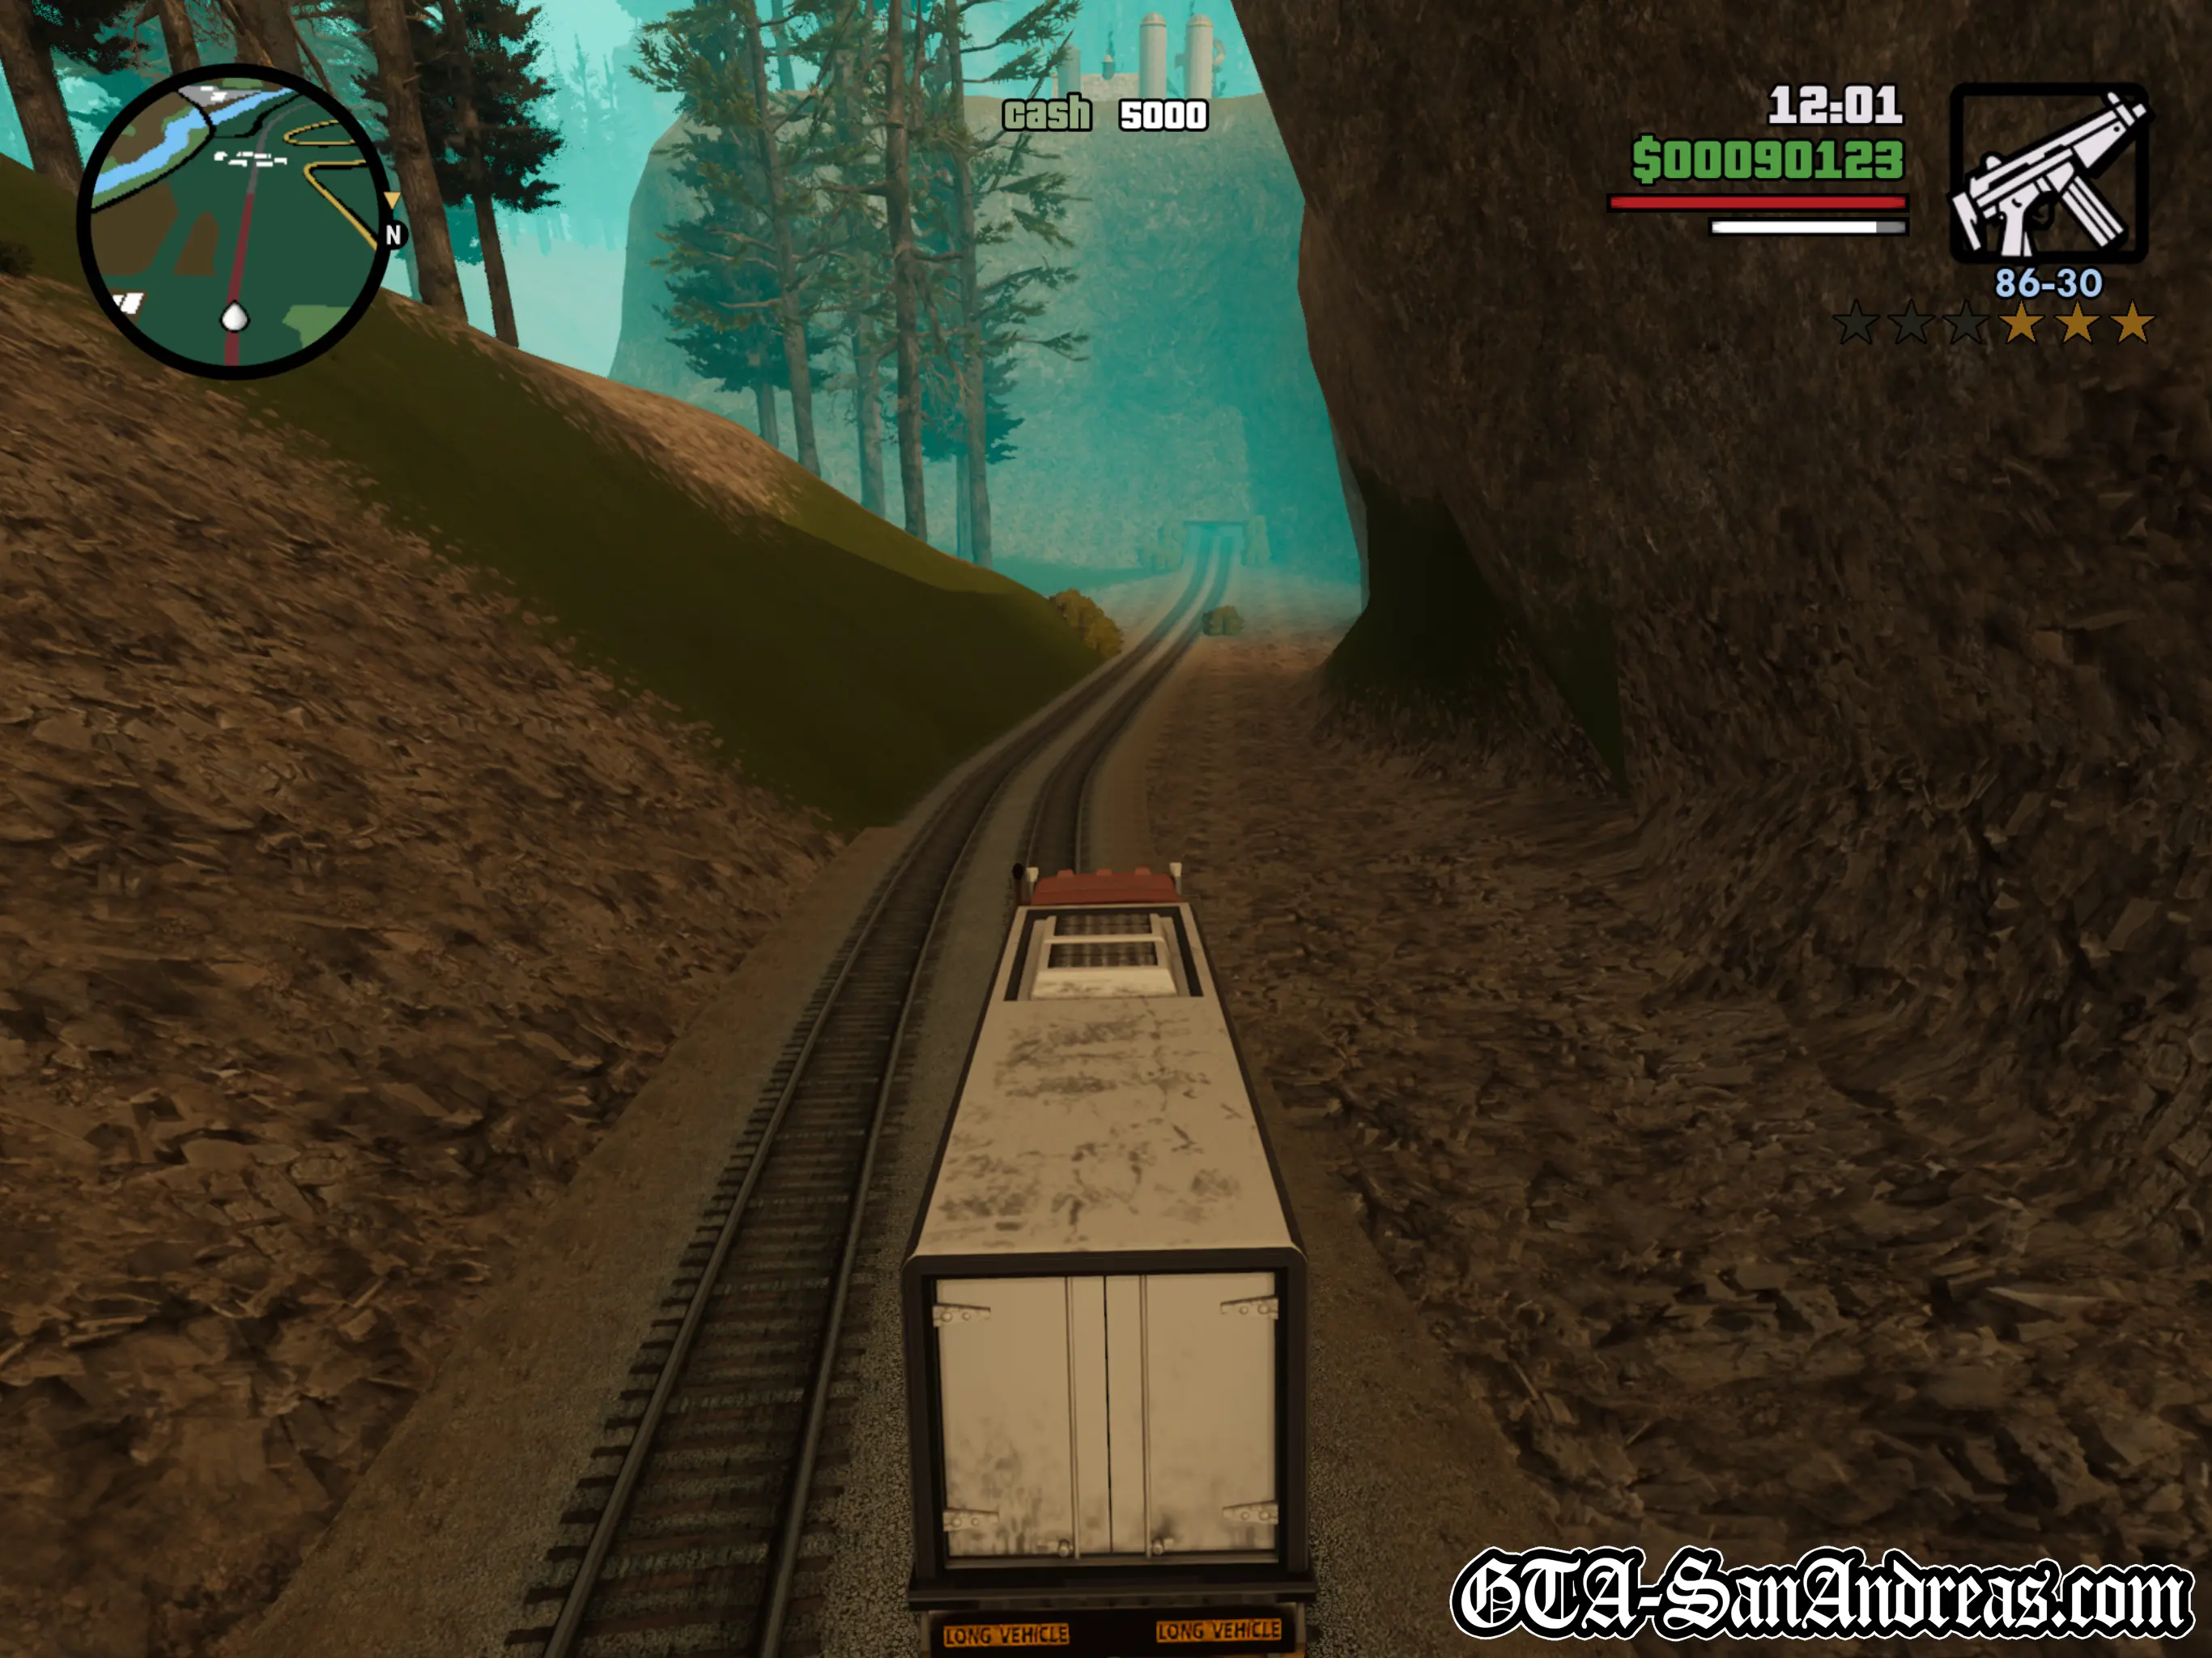
To avoid police, I strongly suggest using the near-by train tracks to lead you into South Los Santos. You should be pretty protected from any police attention until you reach the city, and by then you'll be close enough to the destination to tough it out.
Possible destinations include:
- National Guard Depot at Ocean Docks
- Willowfield, near Emmet's place
- El Corona, near the airport
If you attempt this mission while excluded from Los Santos and successfully deliver the cargo, your wanted level will be removed allowing you to freely explore Los Santos again (until you leave the city) without attracting police attention.
Screenshots

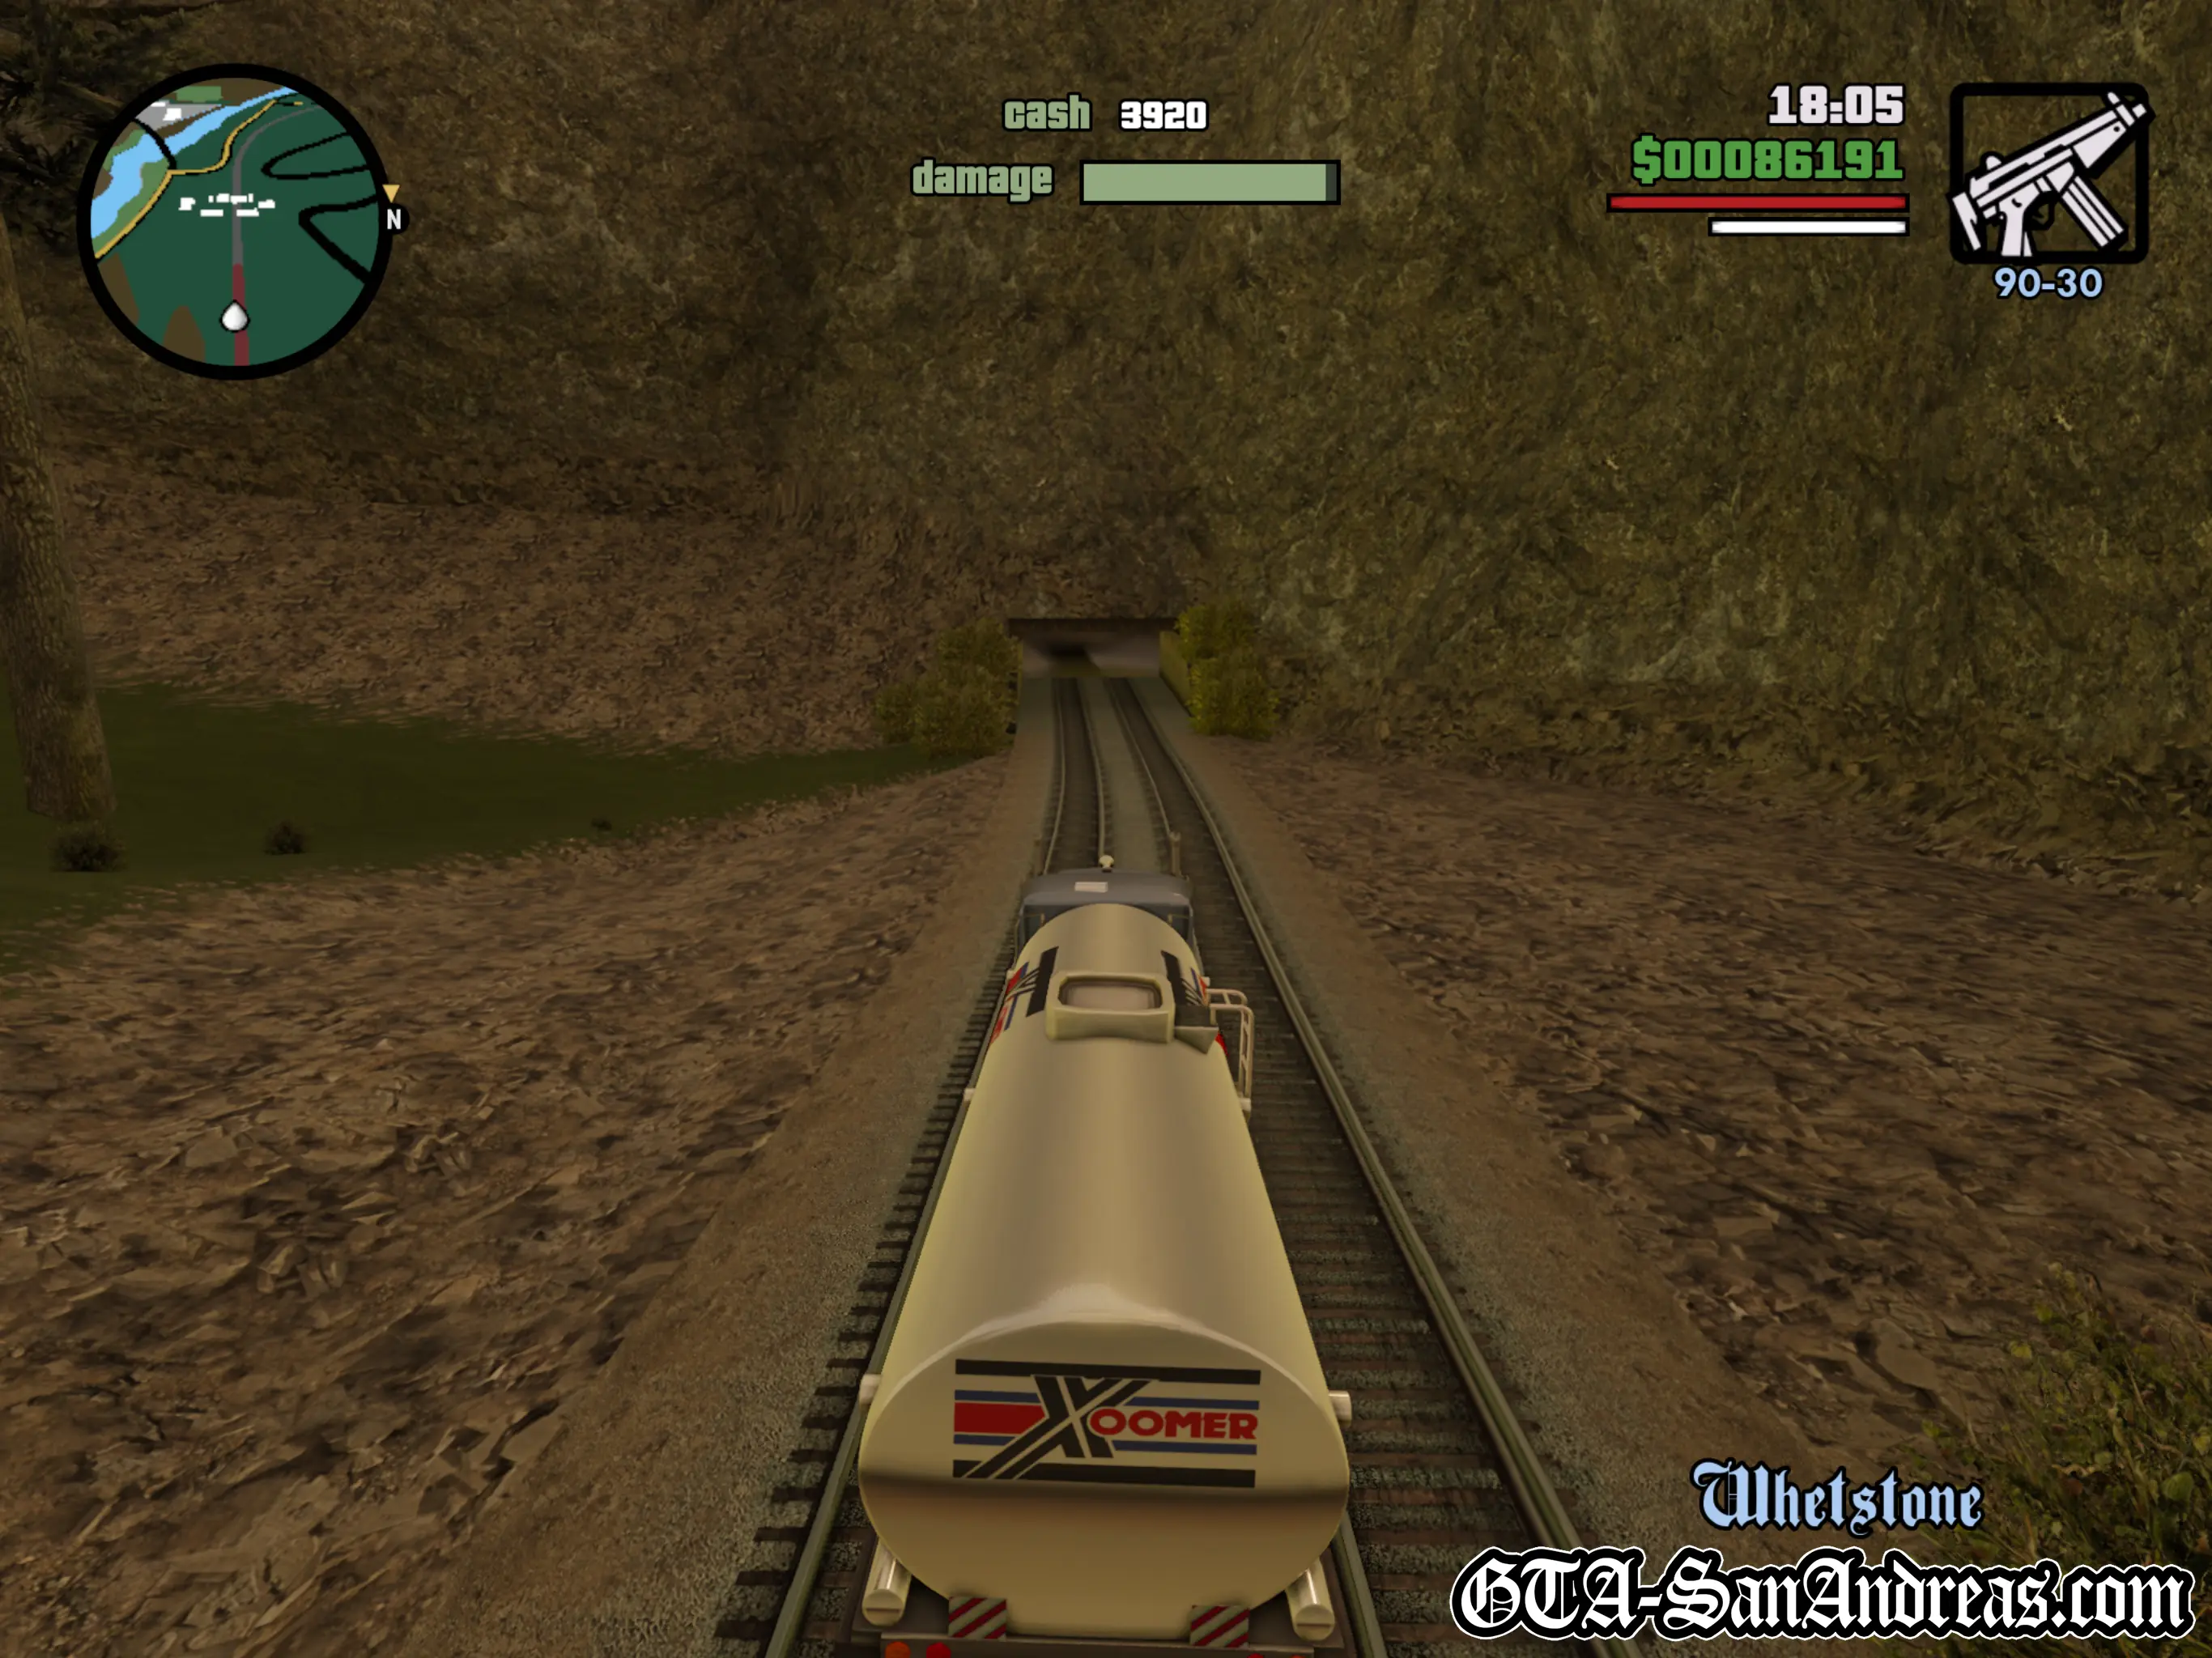
RS Haul Trucking - Mission 4
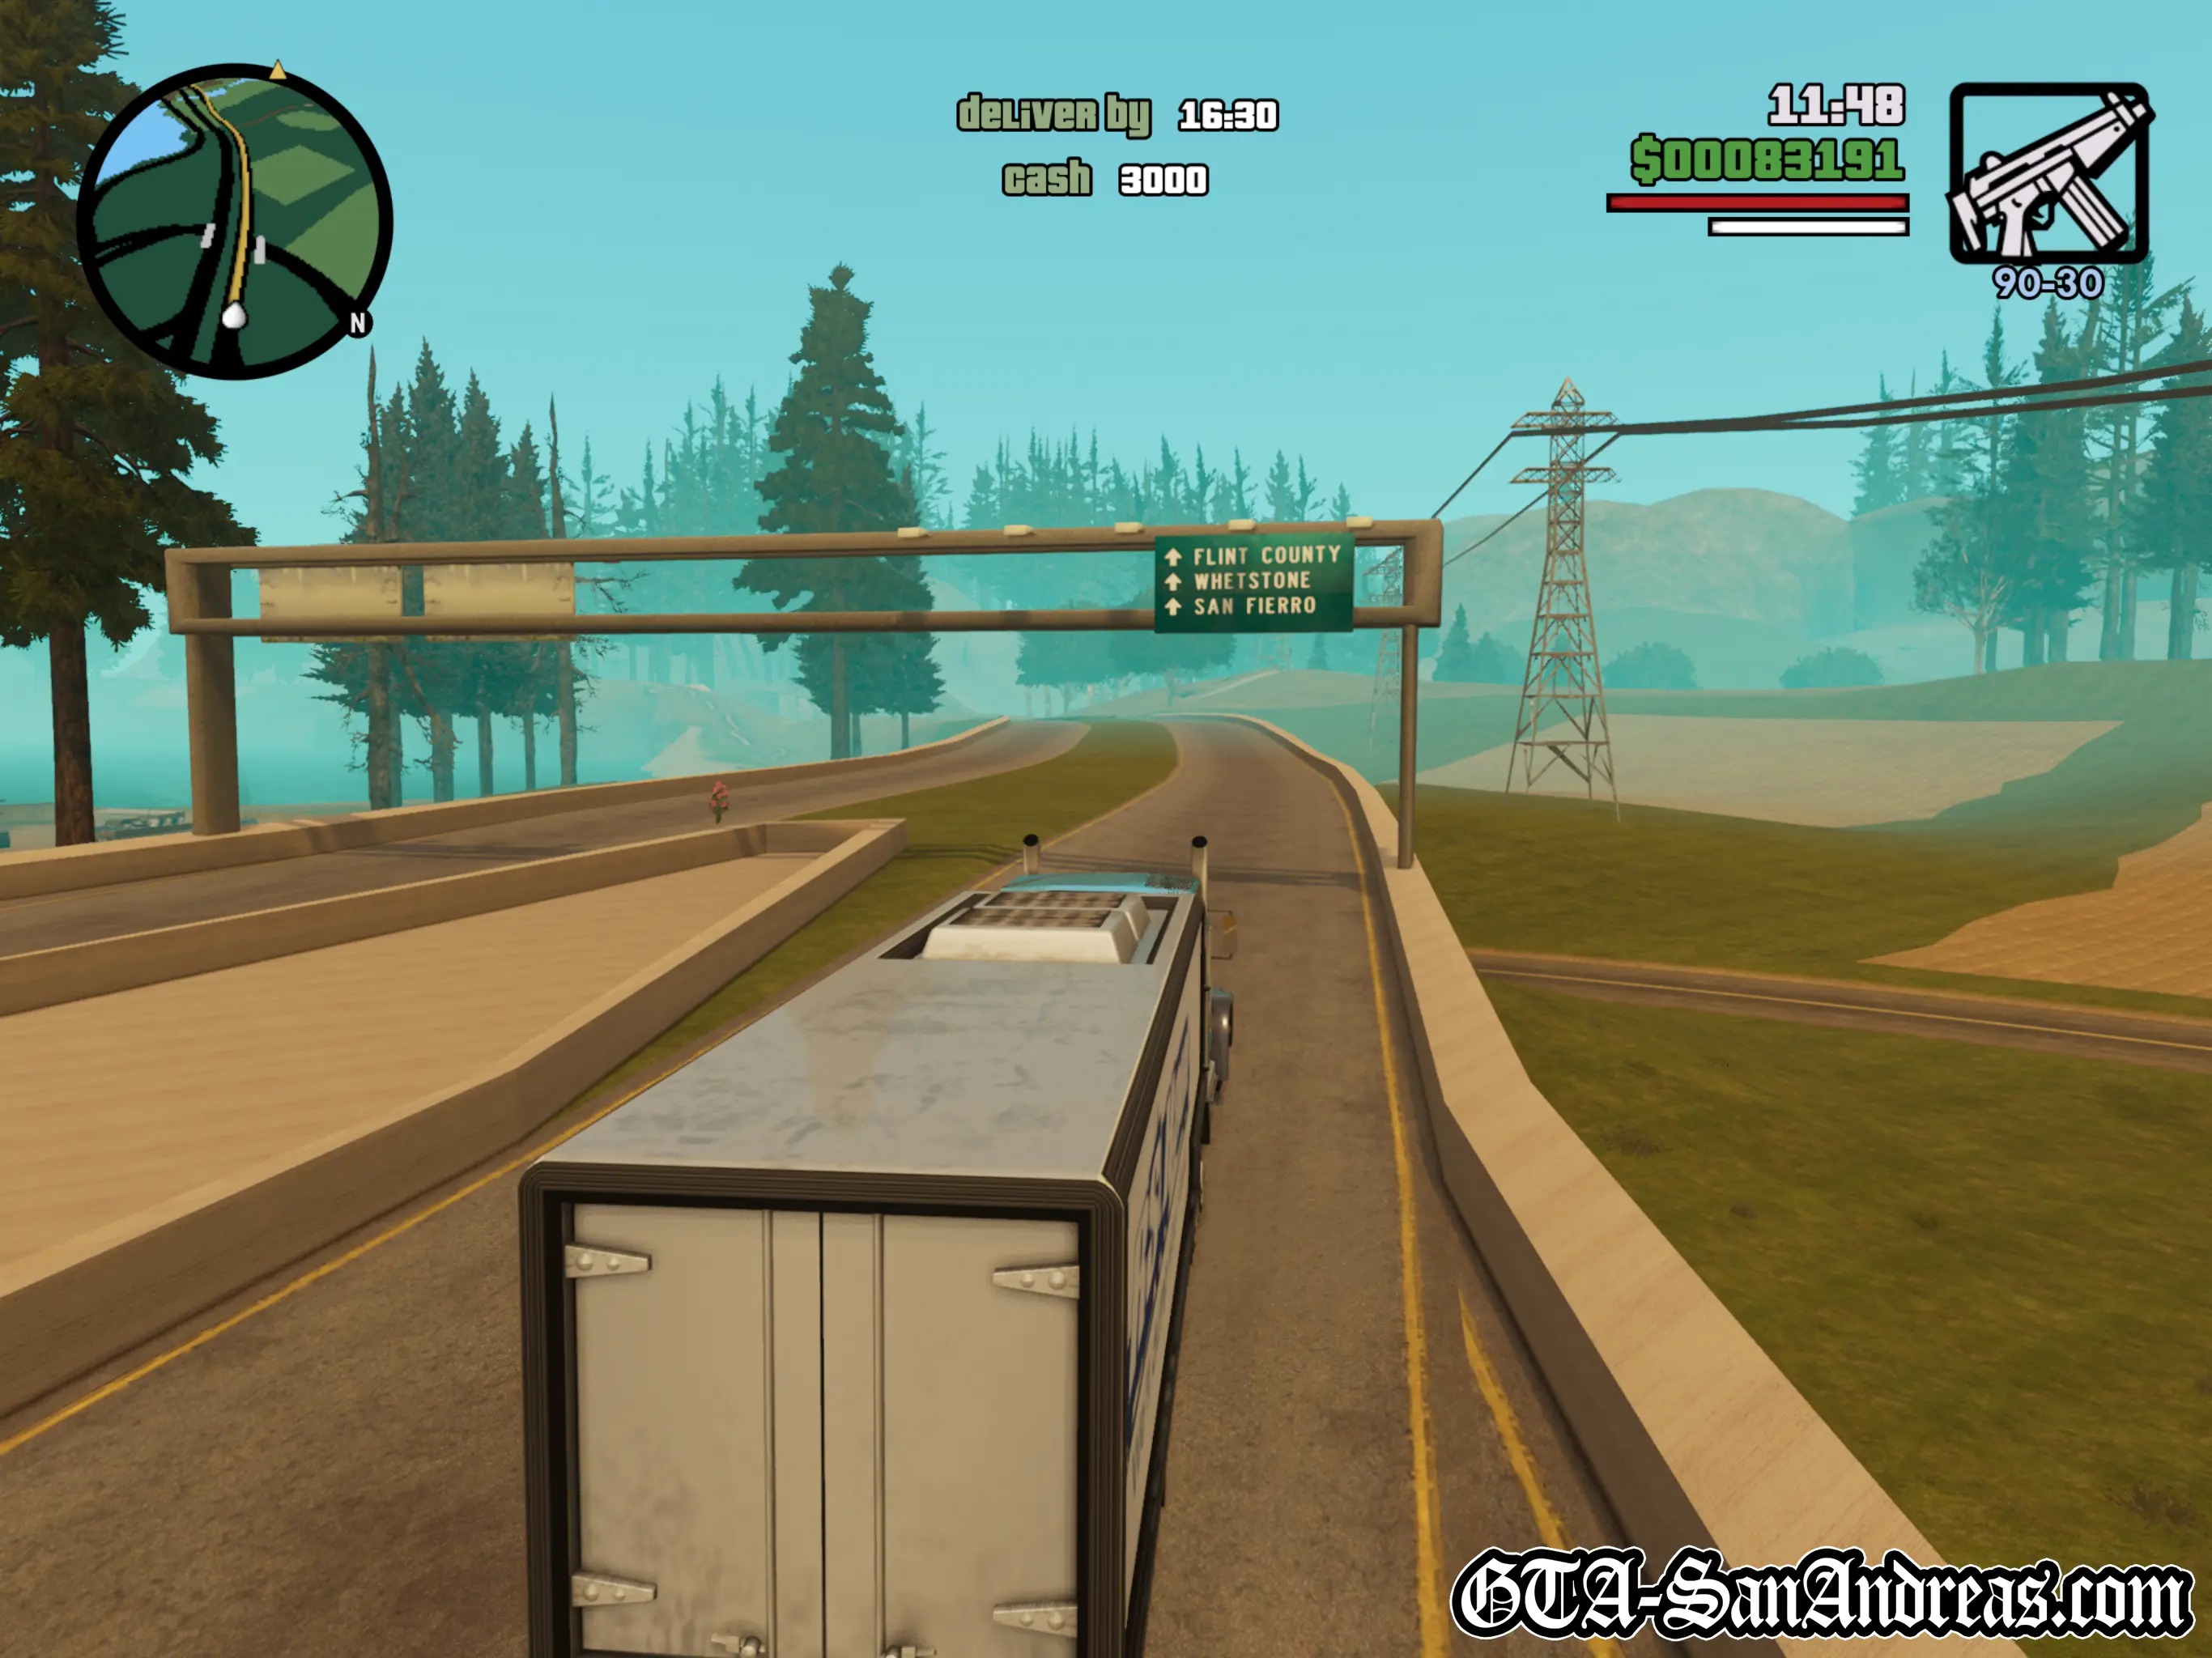
Goods must be delivered quickly to *SOMEWHERE* in South-West San Andreas.
You have a time limit to deliver the cargo, so you should plan out your route and head straight there. It doesn't matter if you take a bit of damage on the way.
Possible destinations include:
- Whetstone in the countryside near Mount Chiliad
- Angel Pine in the countryside near Mount Chiliad
* Reward will decrease if you miss the deadline.
Screenshots
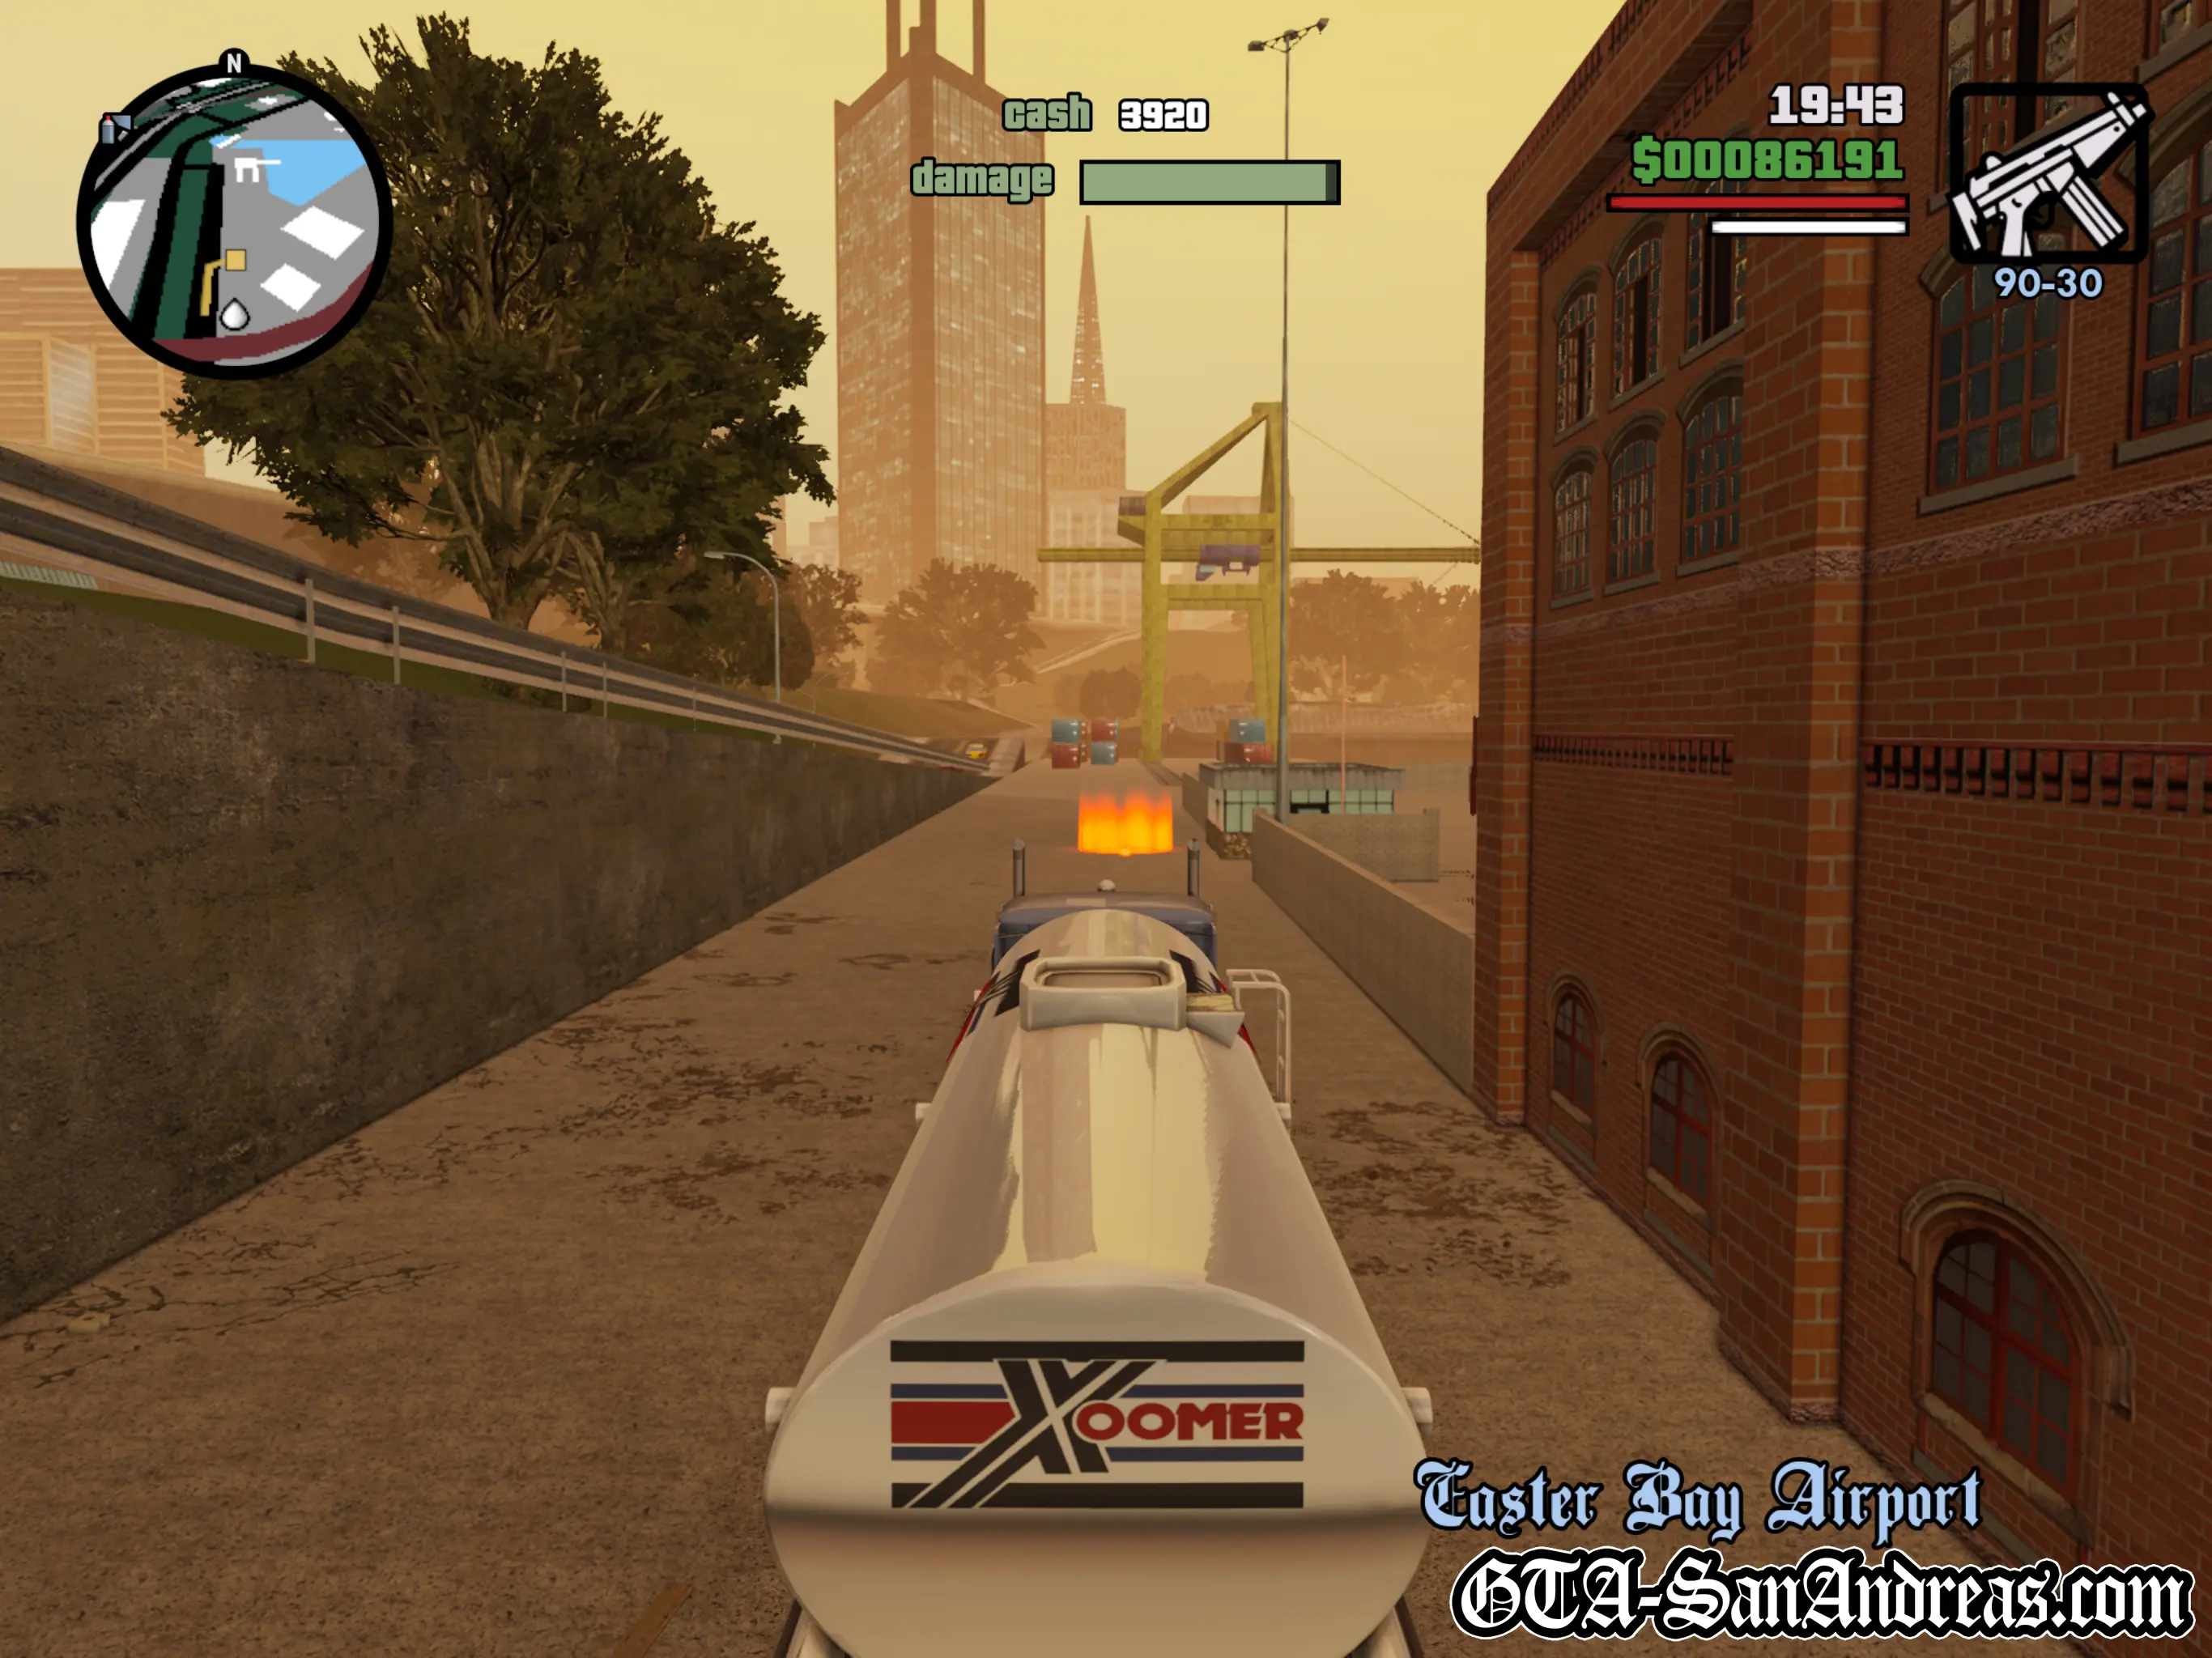
RS Haul Trucking - Mission 5
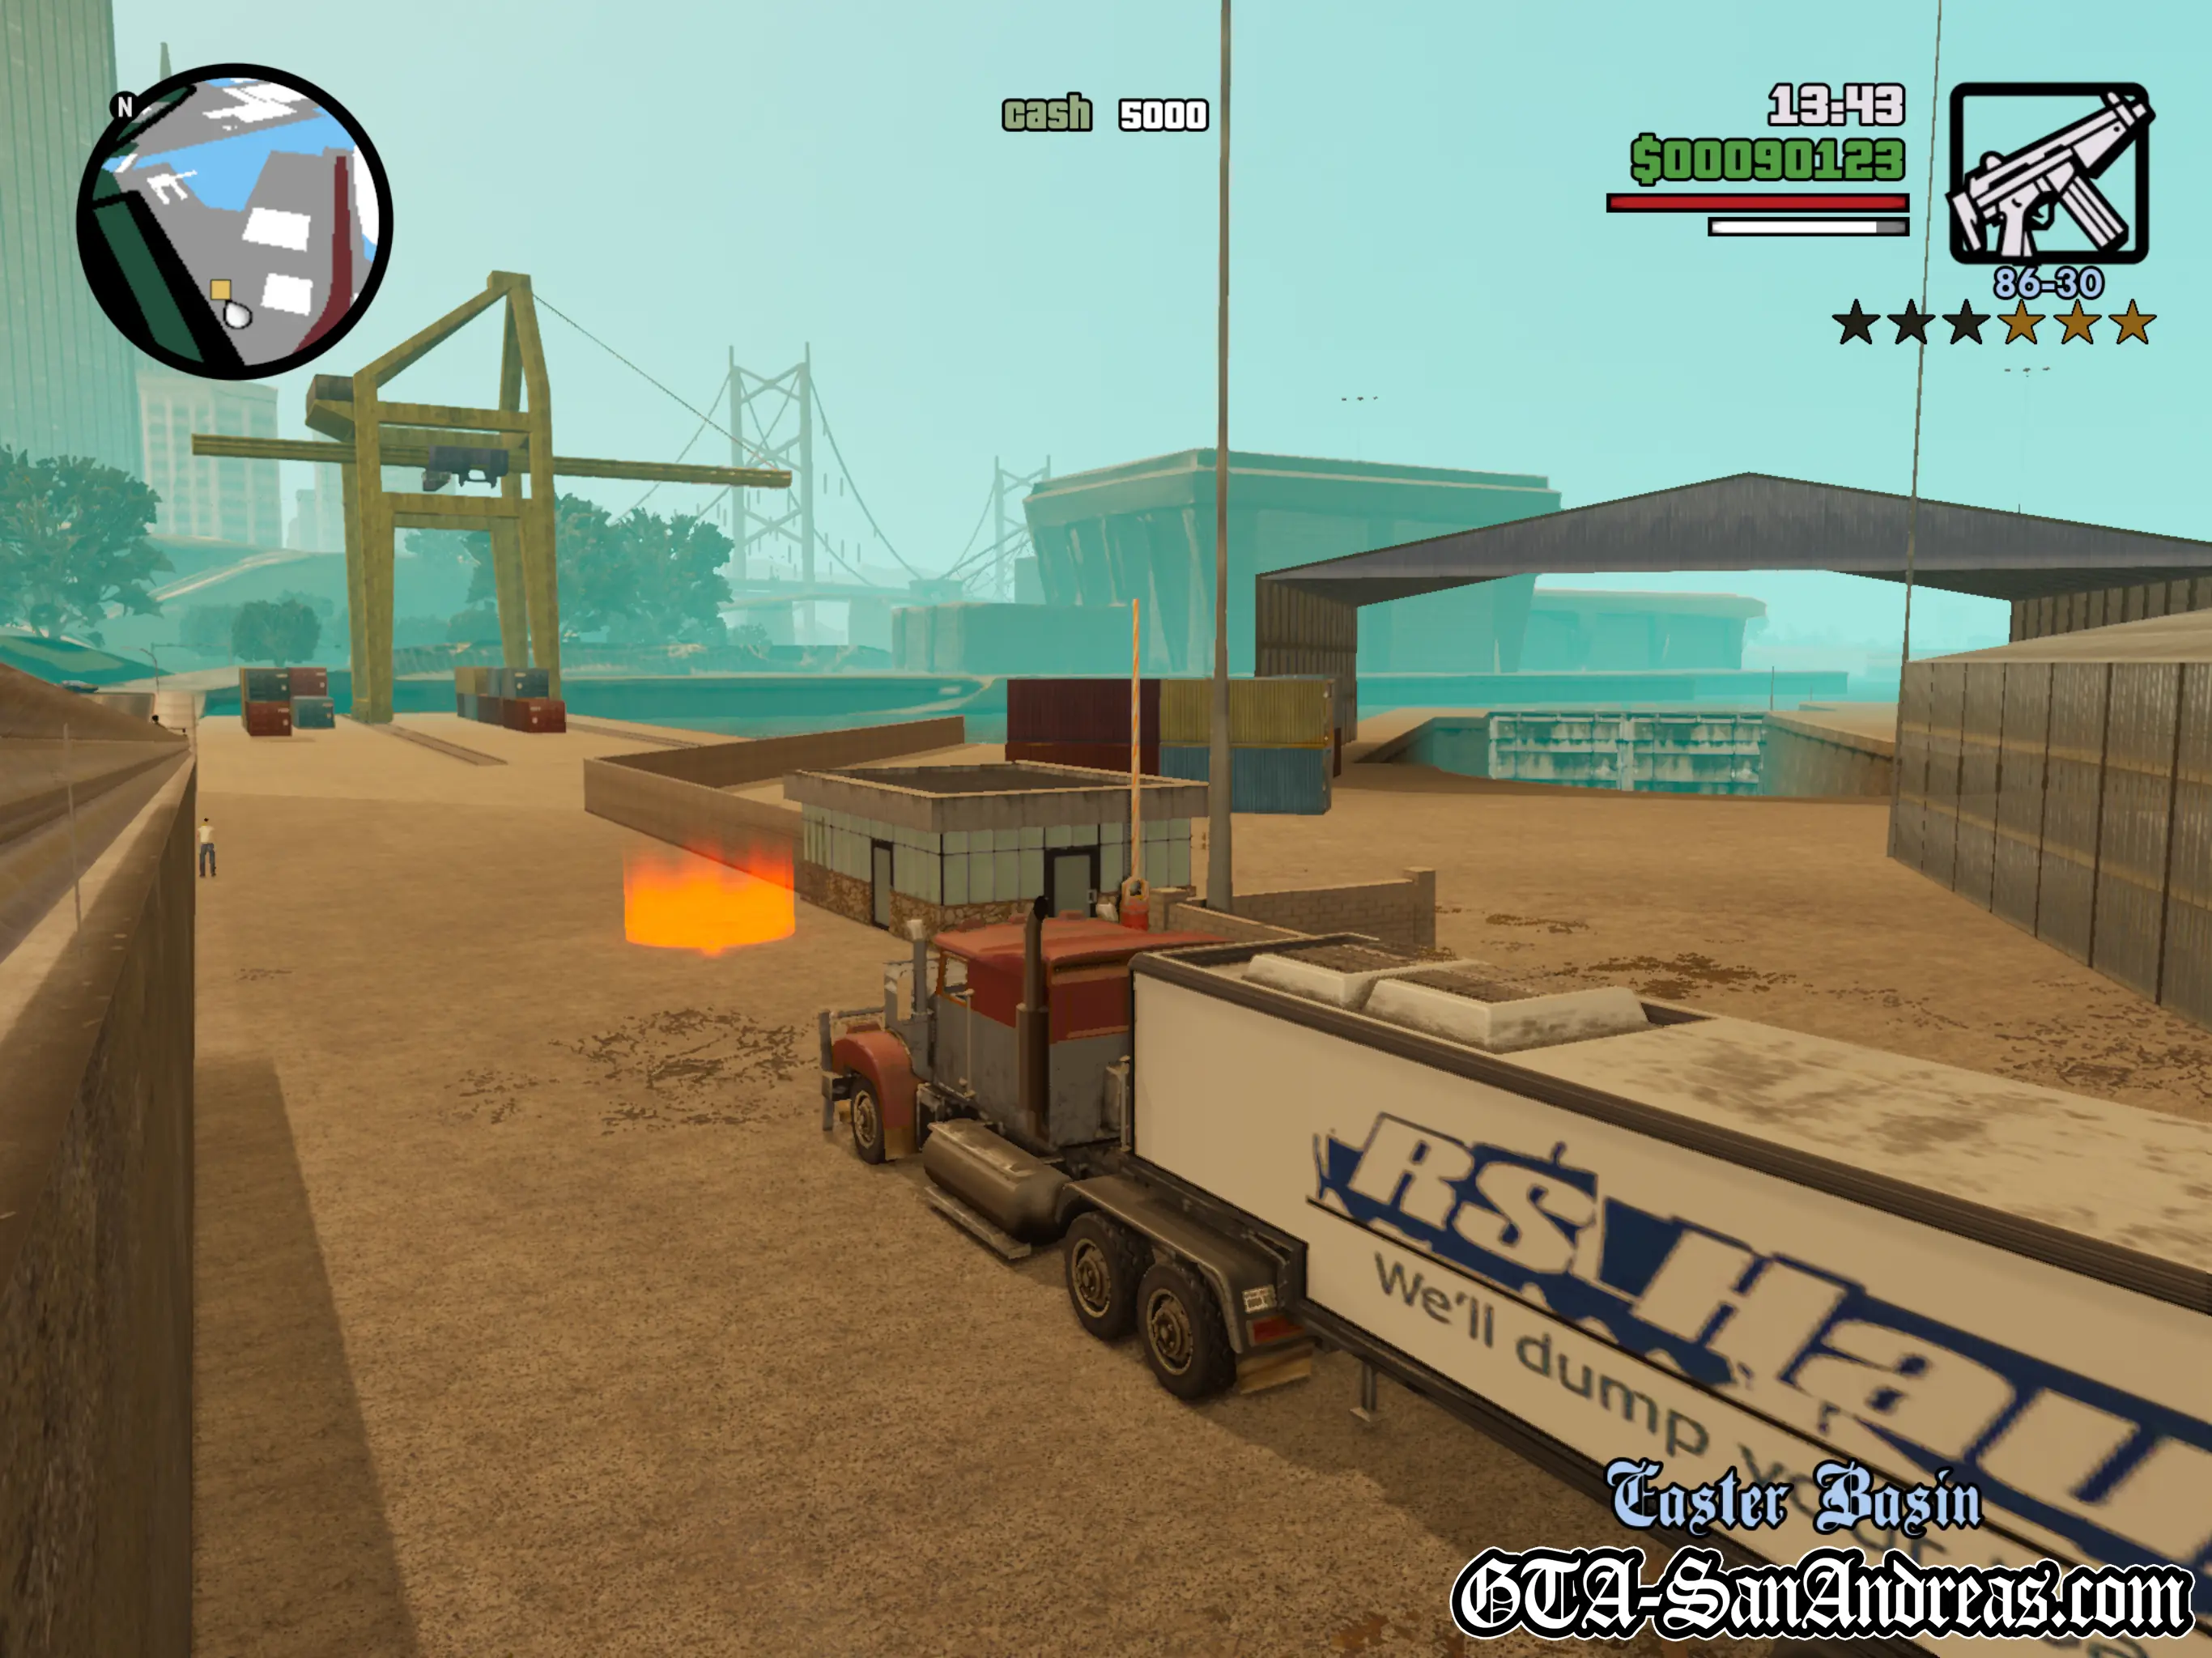
Extremely fragile goods to *SOMEWHERE* in San Fierro.
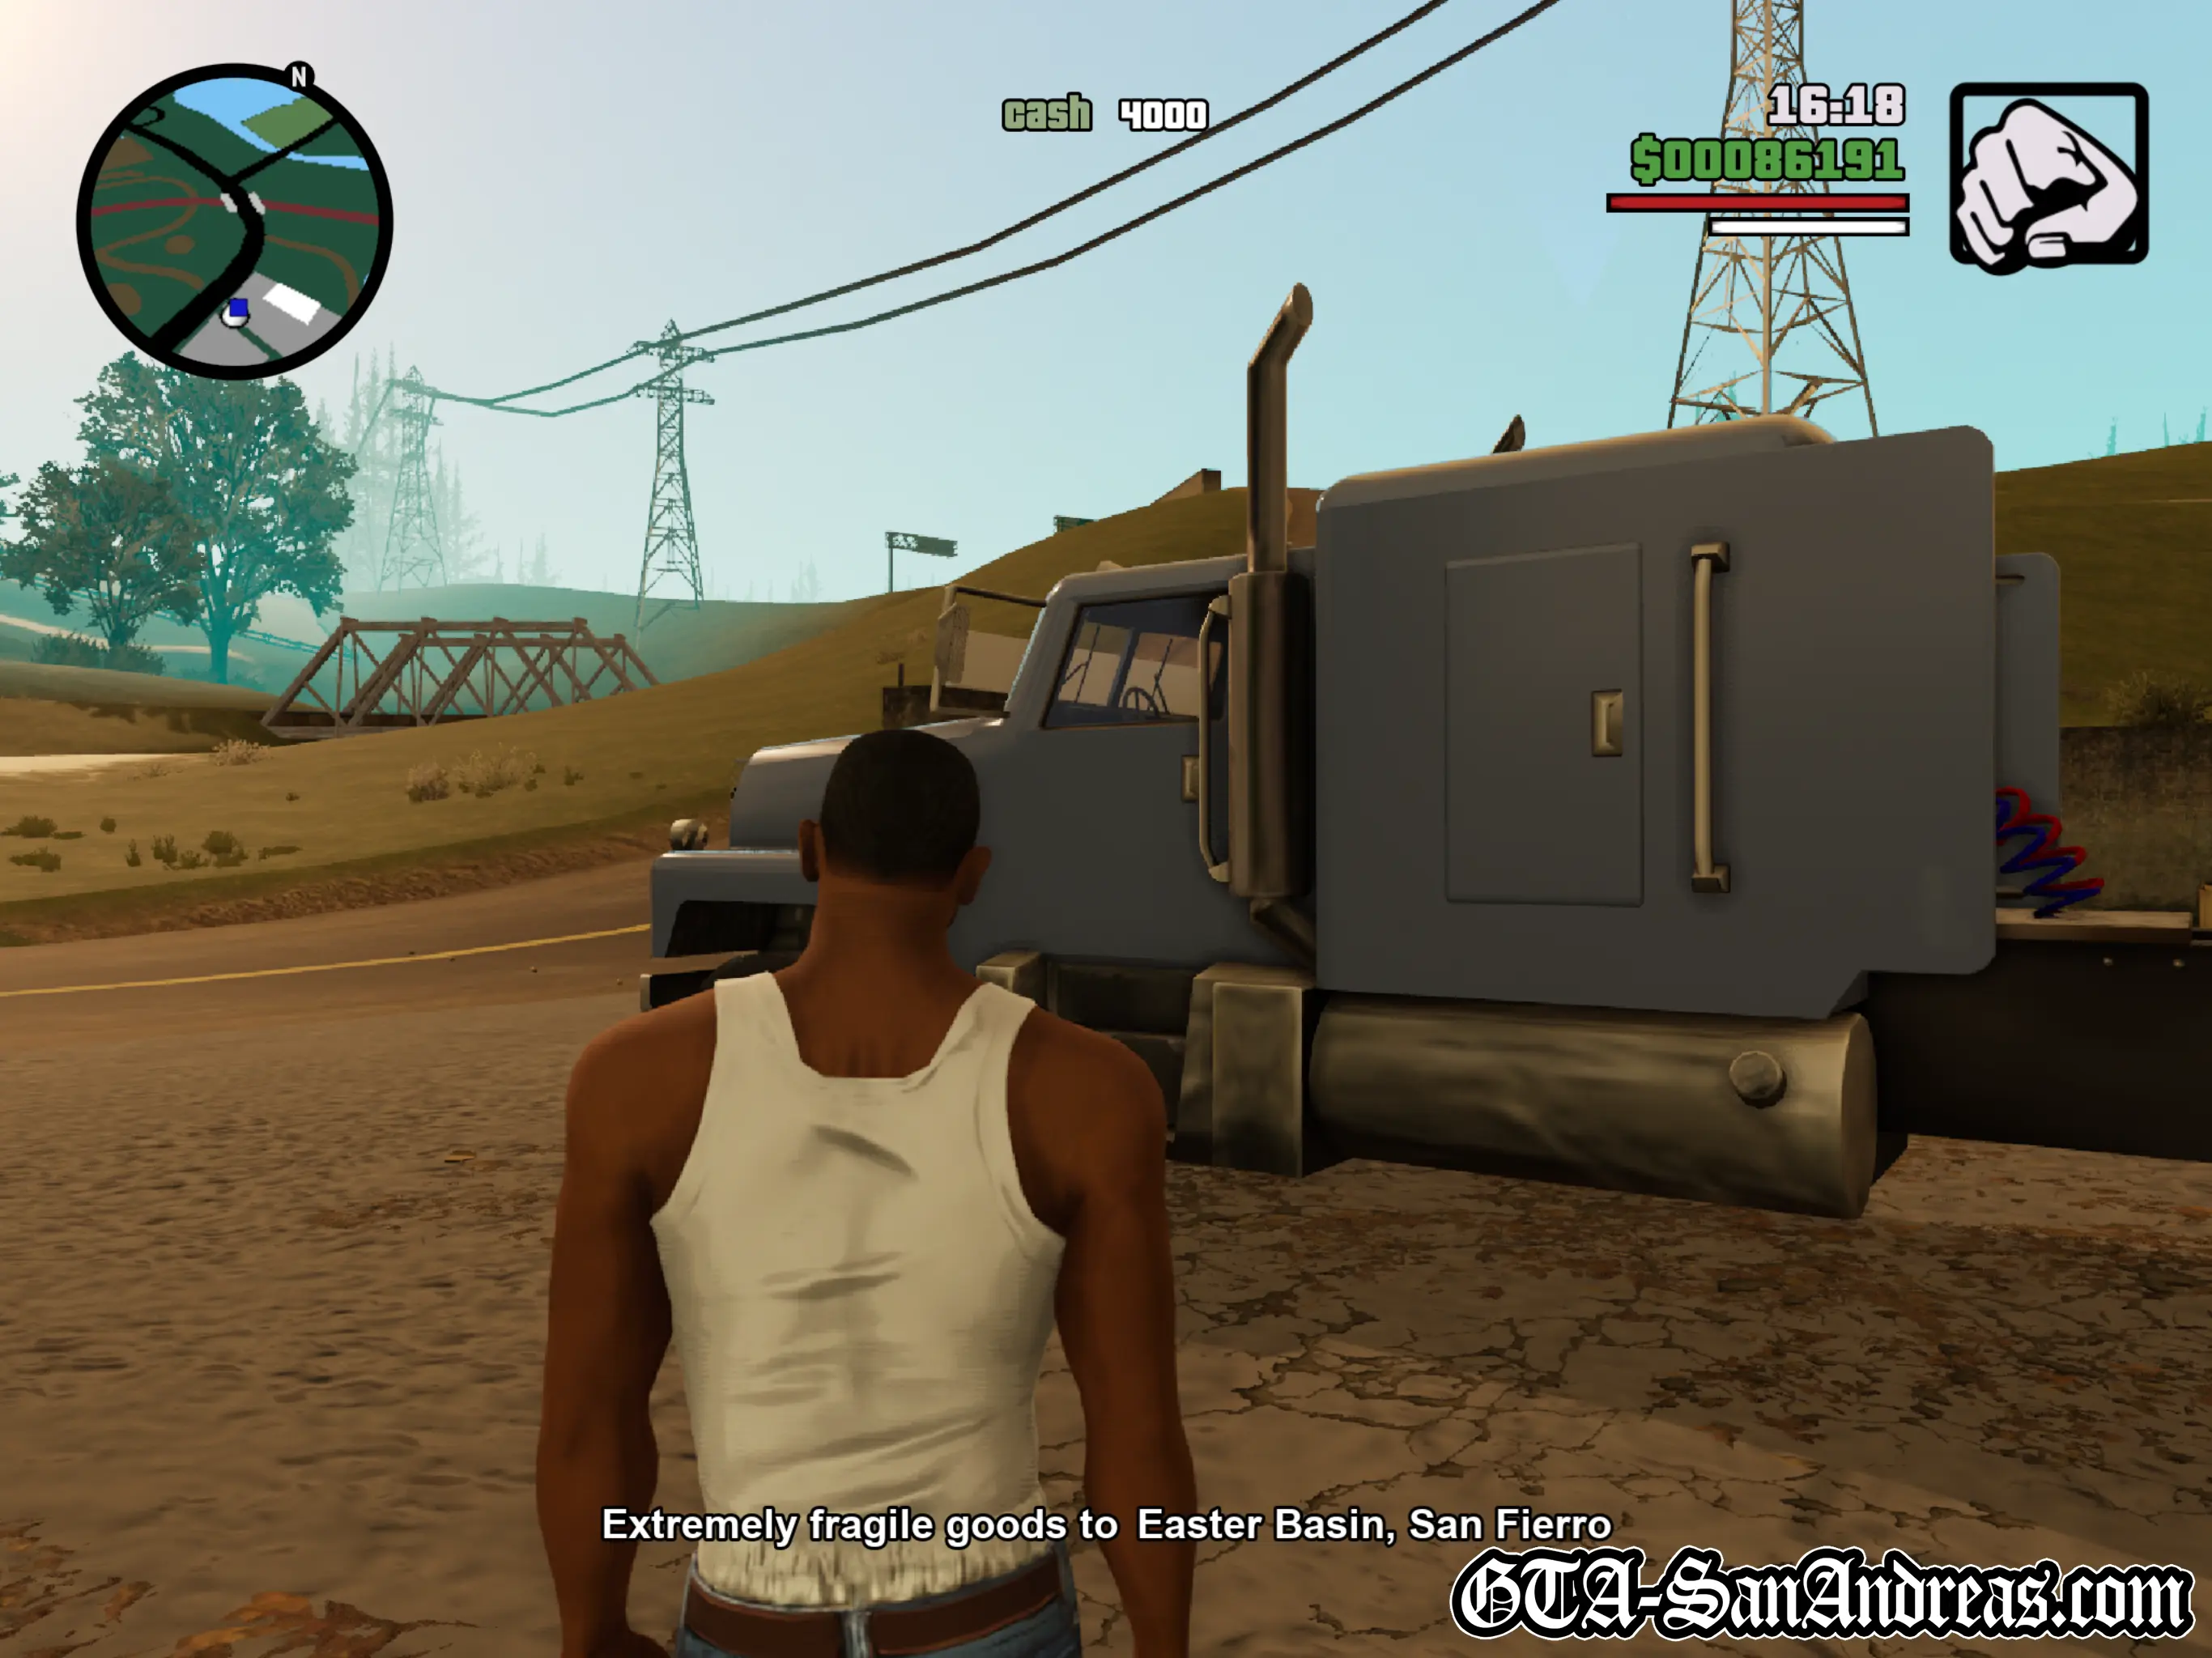
This mission is not timed, however you will be penalised for damaging the cargo. You can take your time and drive slowly and safely to ensure you receive the biggest reward possible.
Possible destinations include:
- Easter Basin, East San Fierro
- Easter Bay Airport, East San Fierro
- Battery Point, North San Fierro
* Reward will decrease if you damage the cargo.
Screenshots
RS Haul Trucking - Mission 6
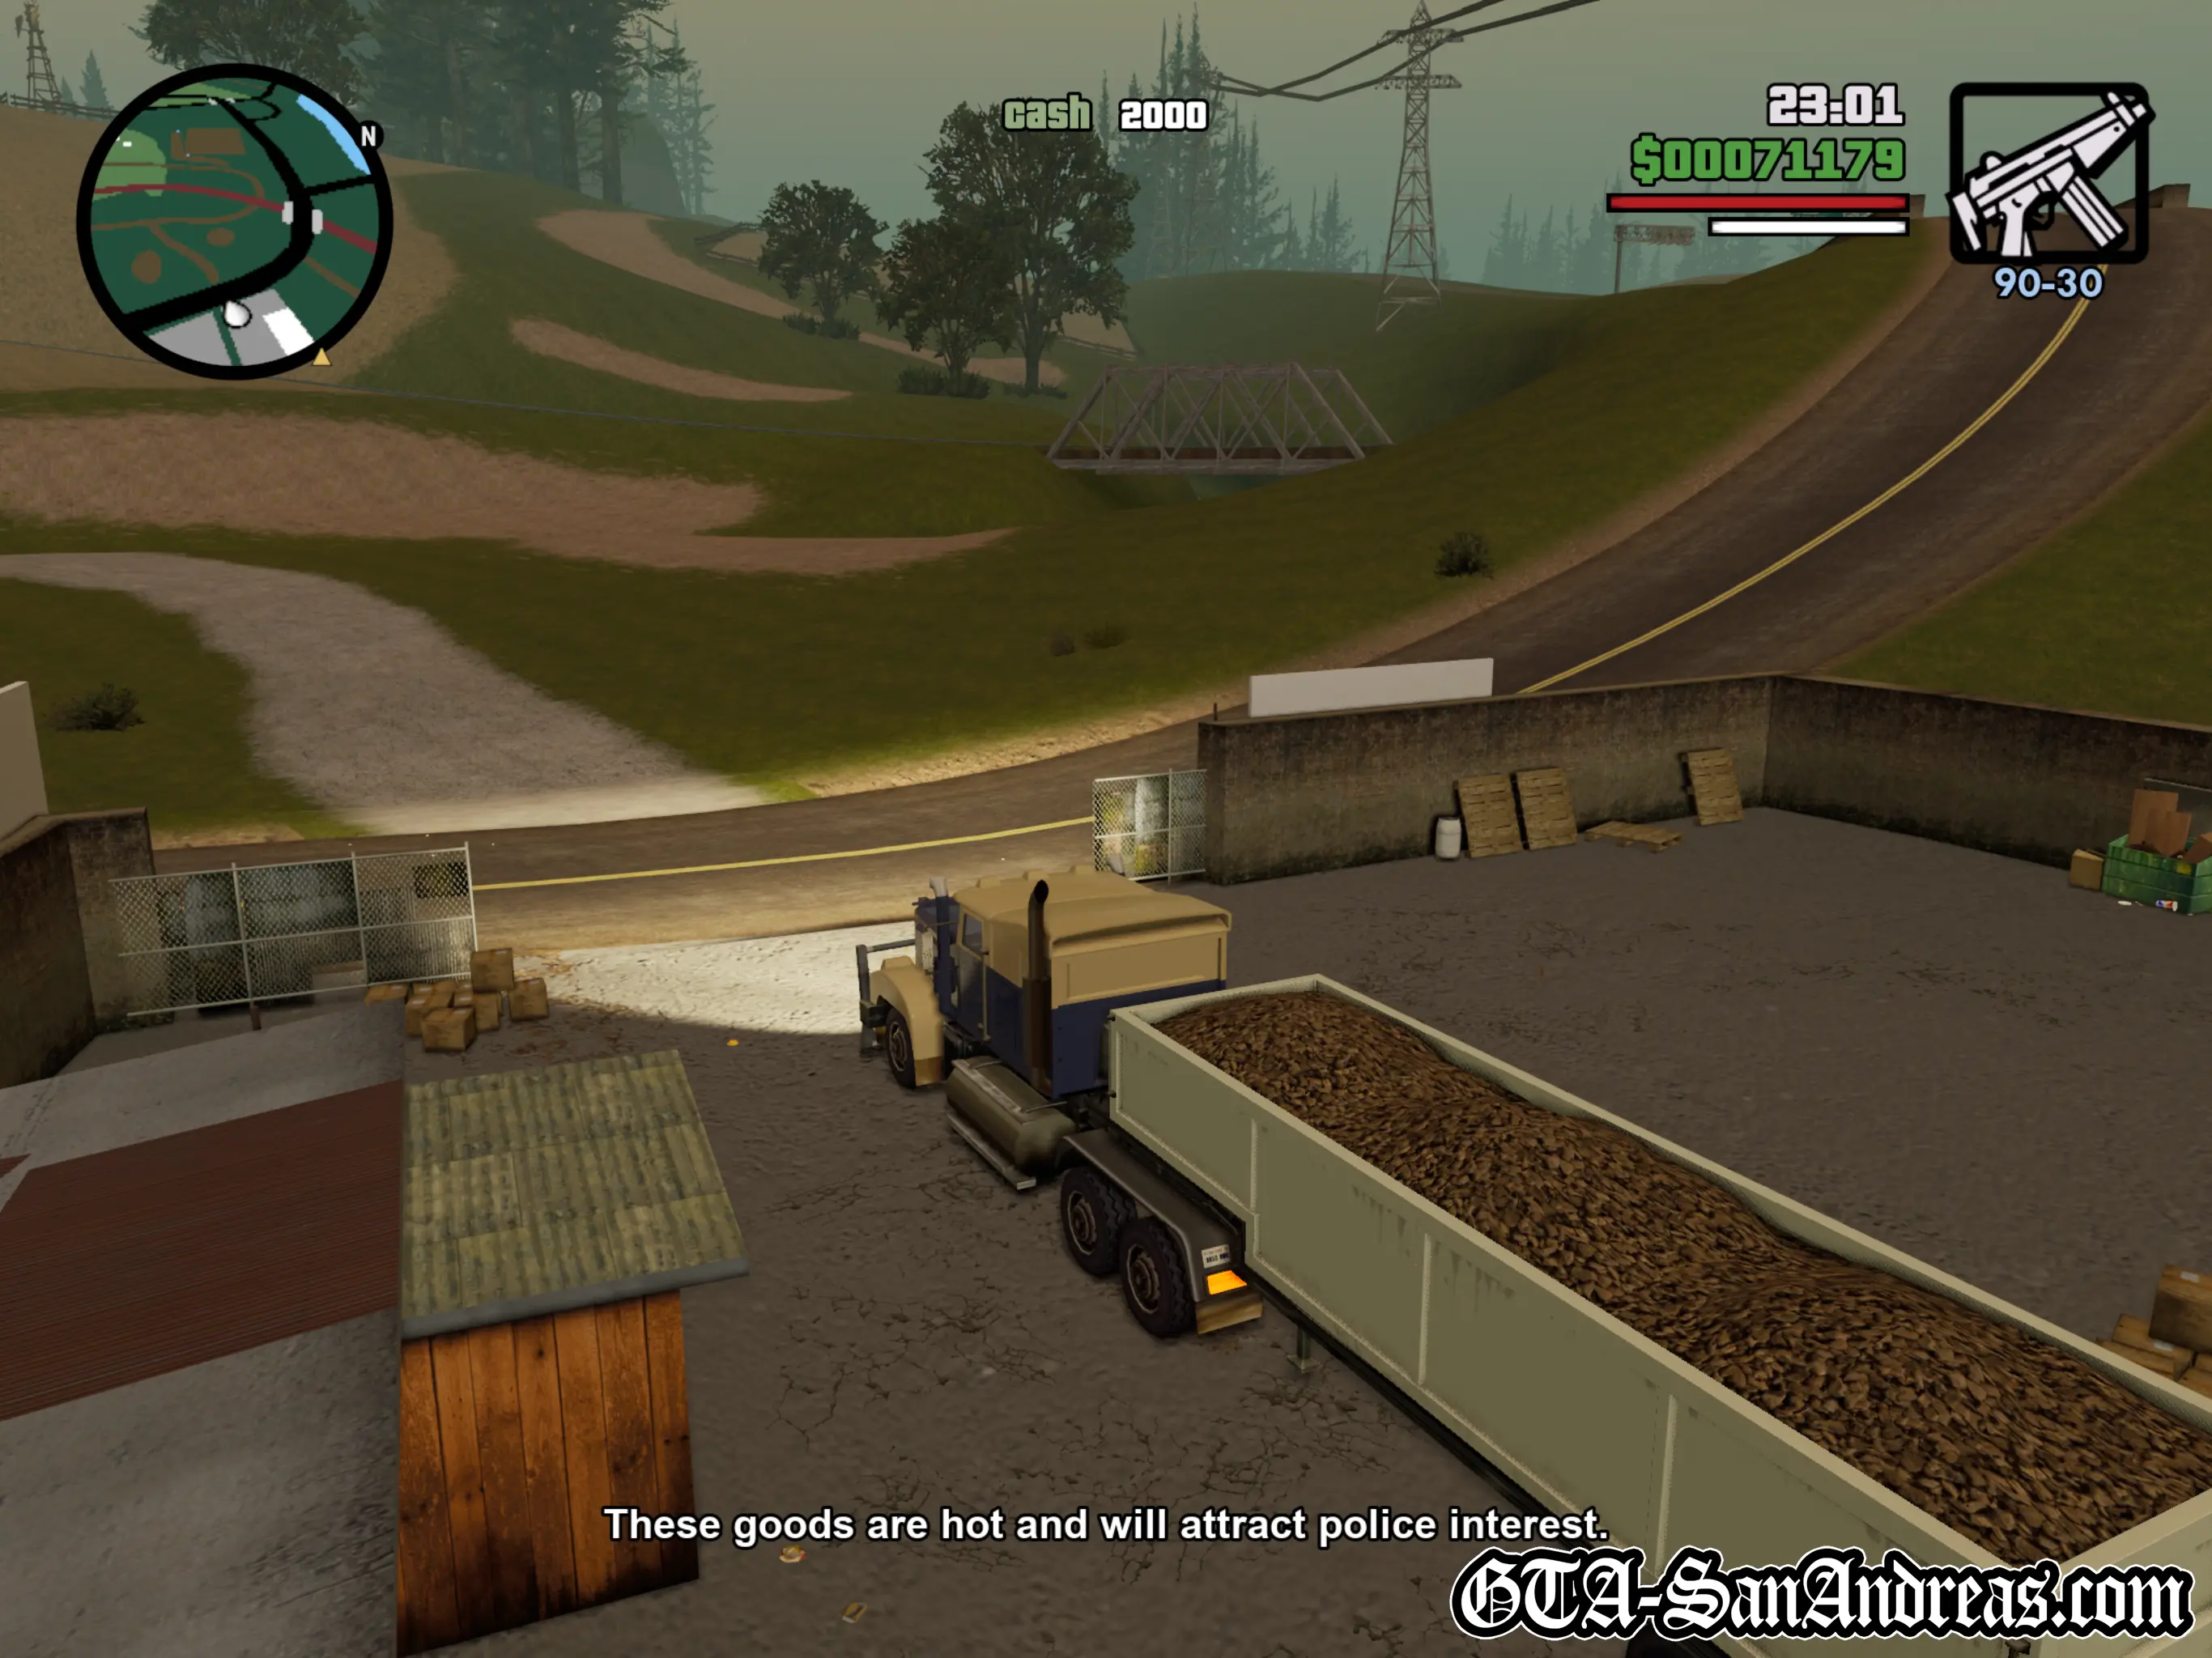
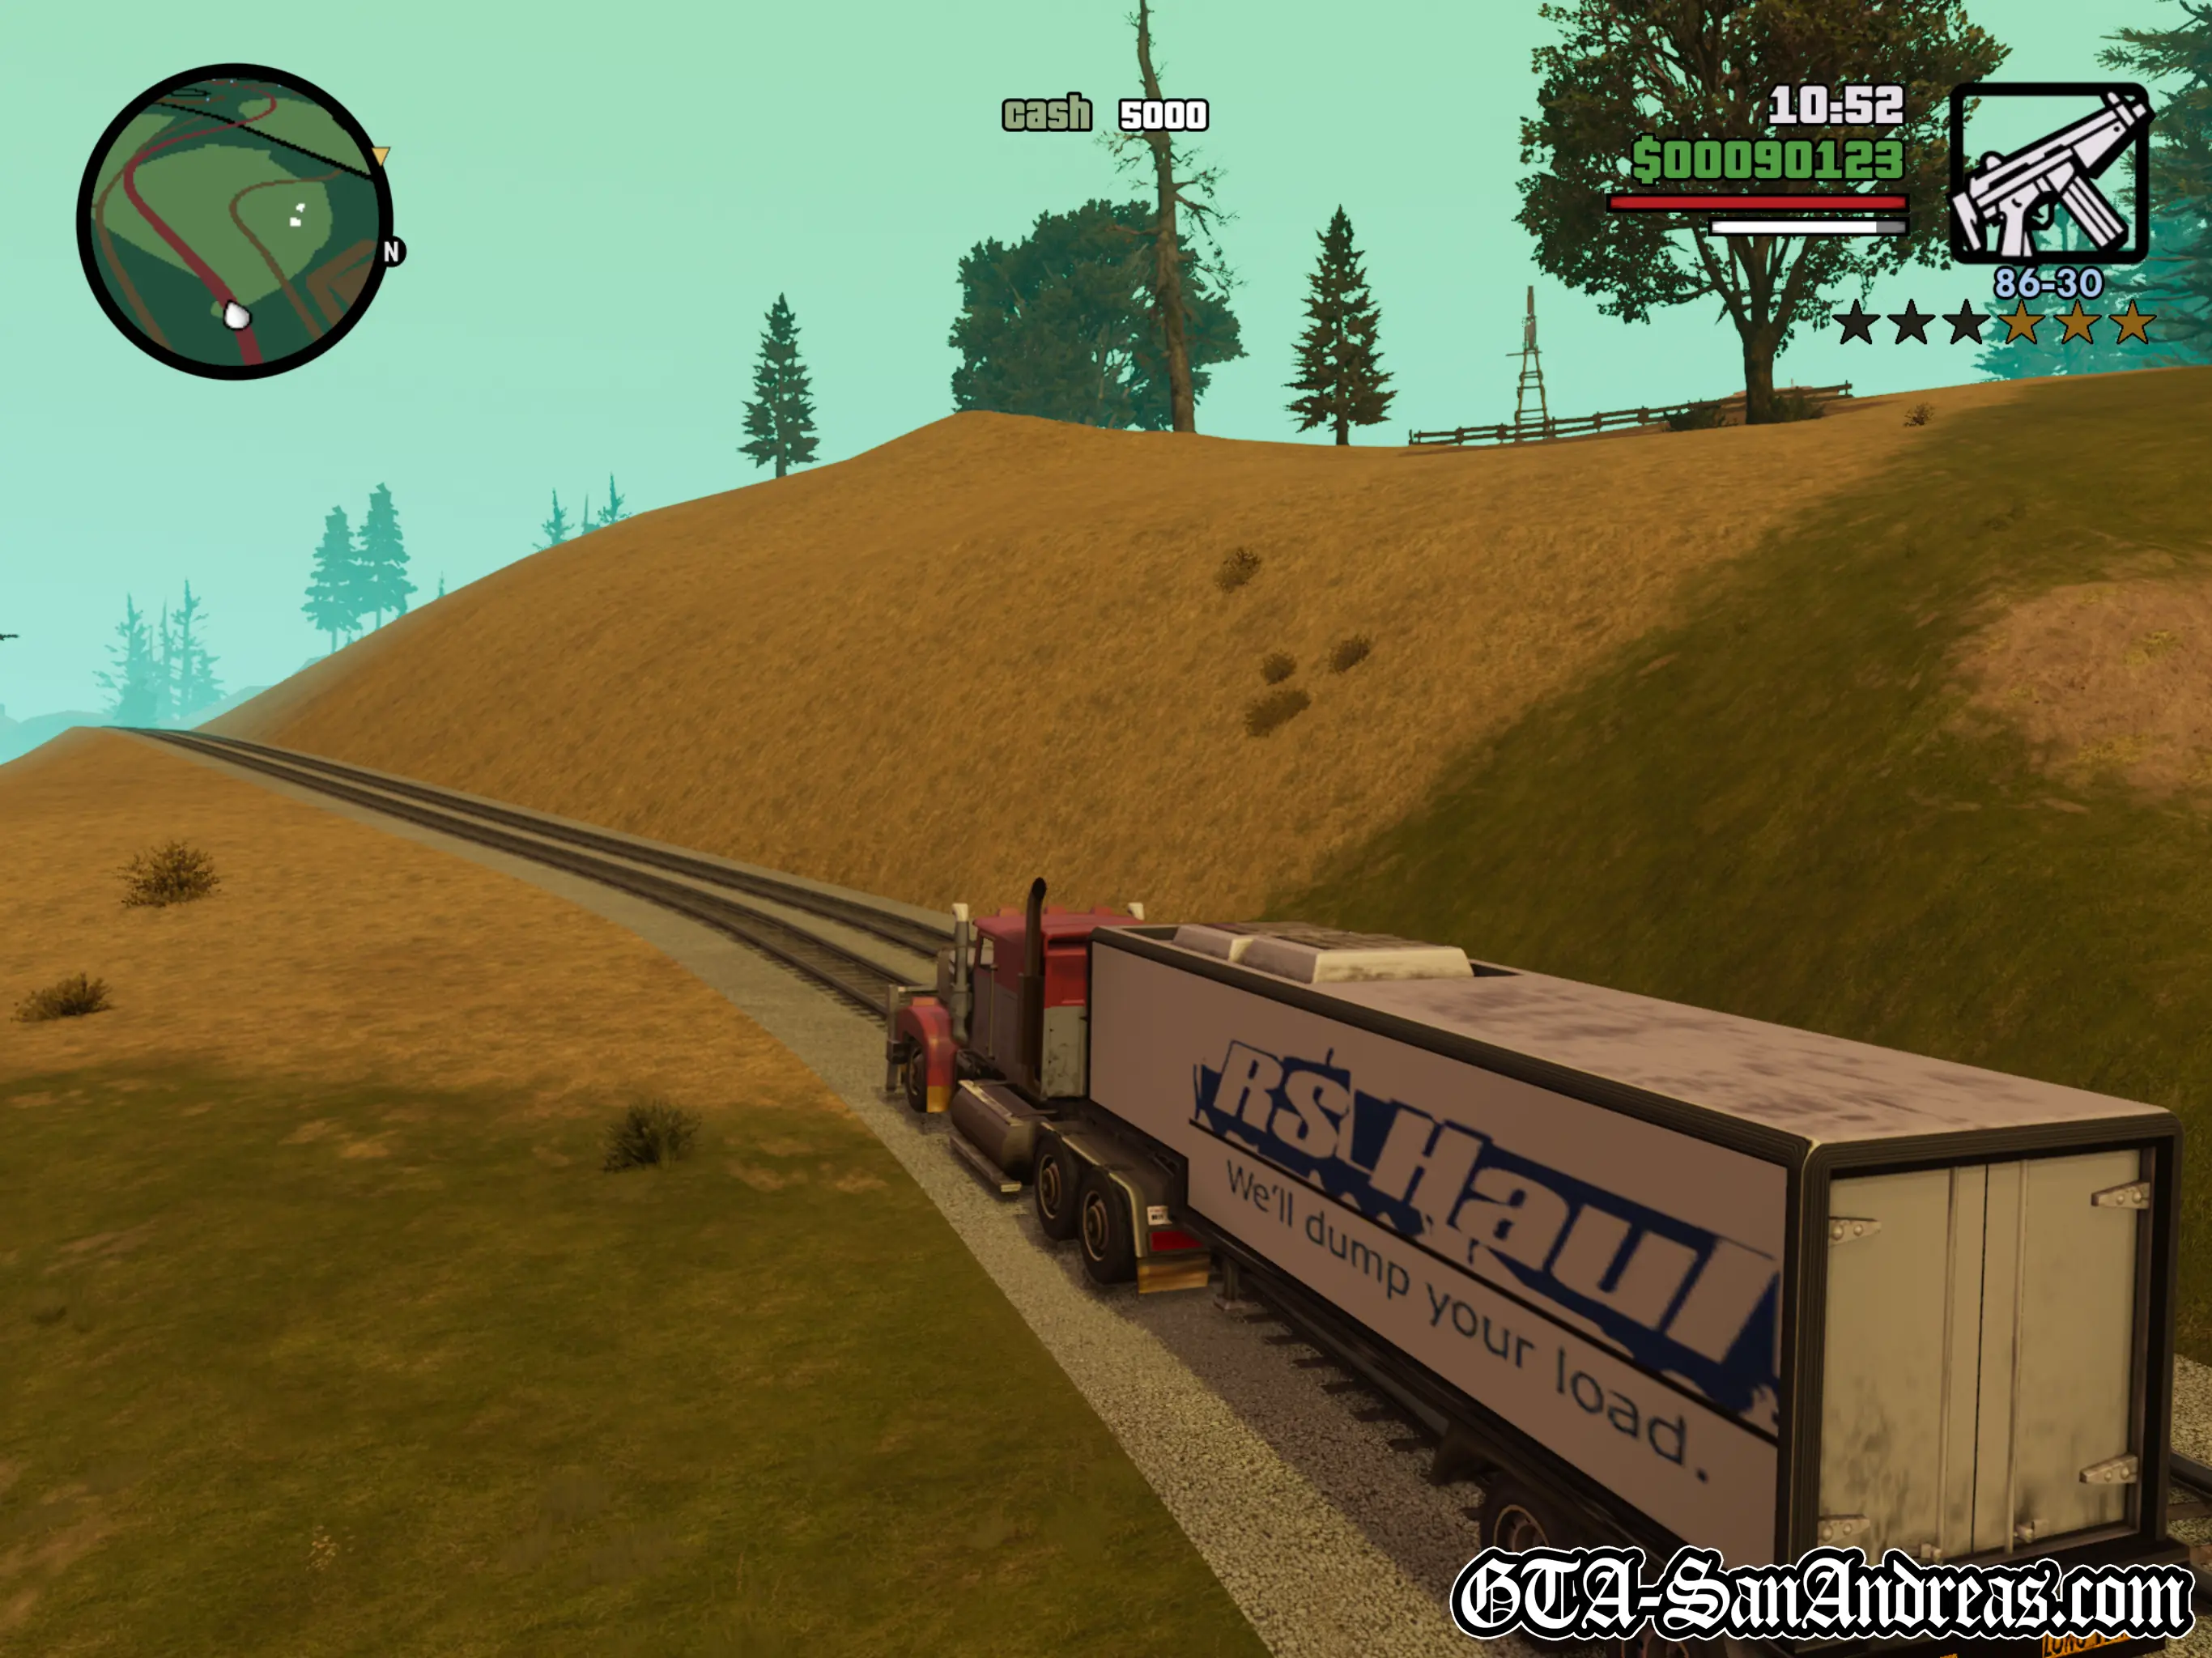
Illegal goods to *SOMEWHERE* in West San Andreas.
This mission is not timed, so you can take as long as you need to, however you will have a three star wanted level for the whole journey.
Depending on your randomly selected destination, there may not be a train track you can take to avoid the cops with this one, so the best advice is to slow down if the police start bashing into your truck. If you lose the cargo you'll only have a minute to reverse into it and re-attach it, which isn't long while being battered by cop cars.
If your destination is in San Fierro, then you're free to take the train tracks.
Possible destinations include:
- Easter Basin, East San Fierro
- Easter Bay Airport, East San Fierro
- Whetstone in the countryside near Mount Chiliad
- Angel Pine in the countryside near Mount Chiliad
Screenshots
Hints & Tips
The following deliveries are not available until you have access to Las Venturas. There's no point heading back to the trucking start location until you've completed Toreno's missions in the desert.
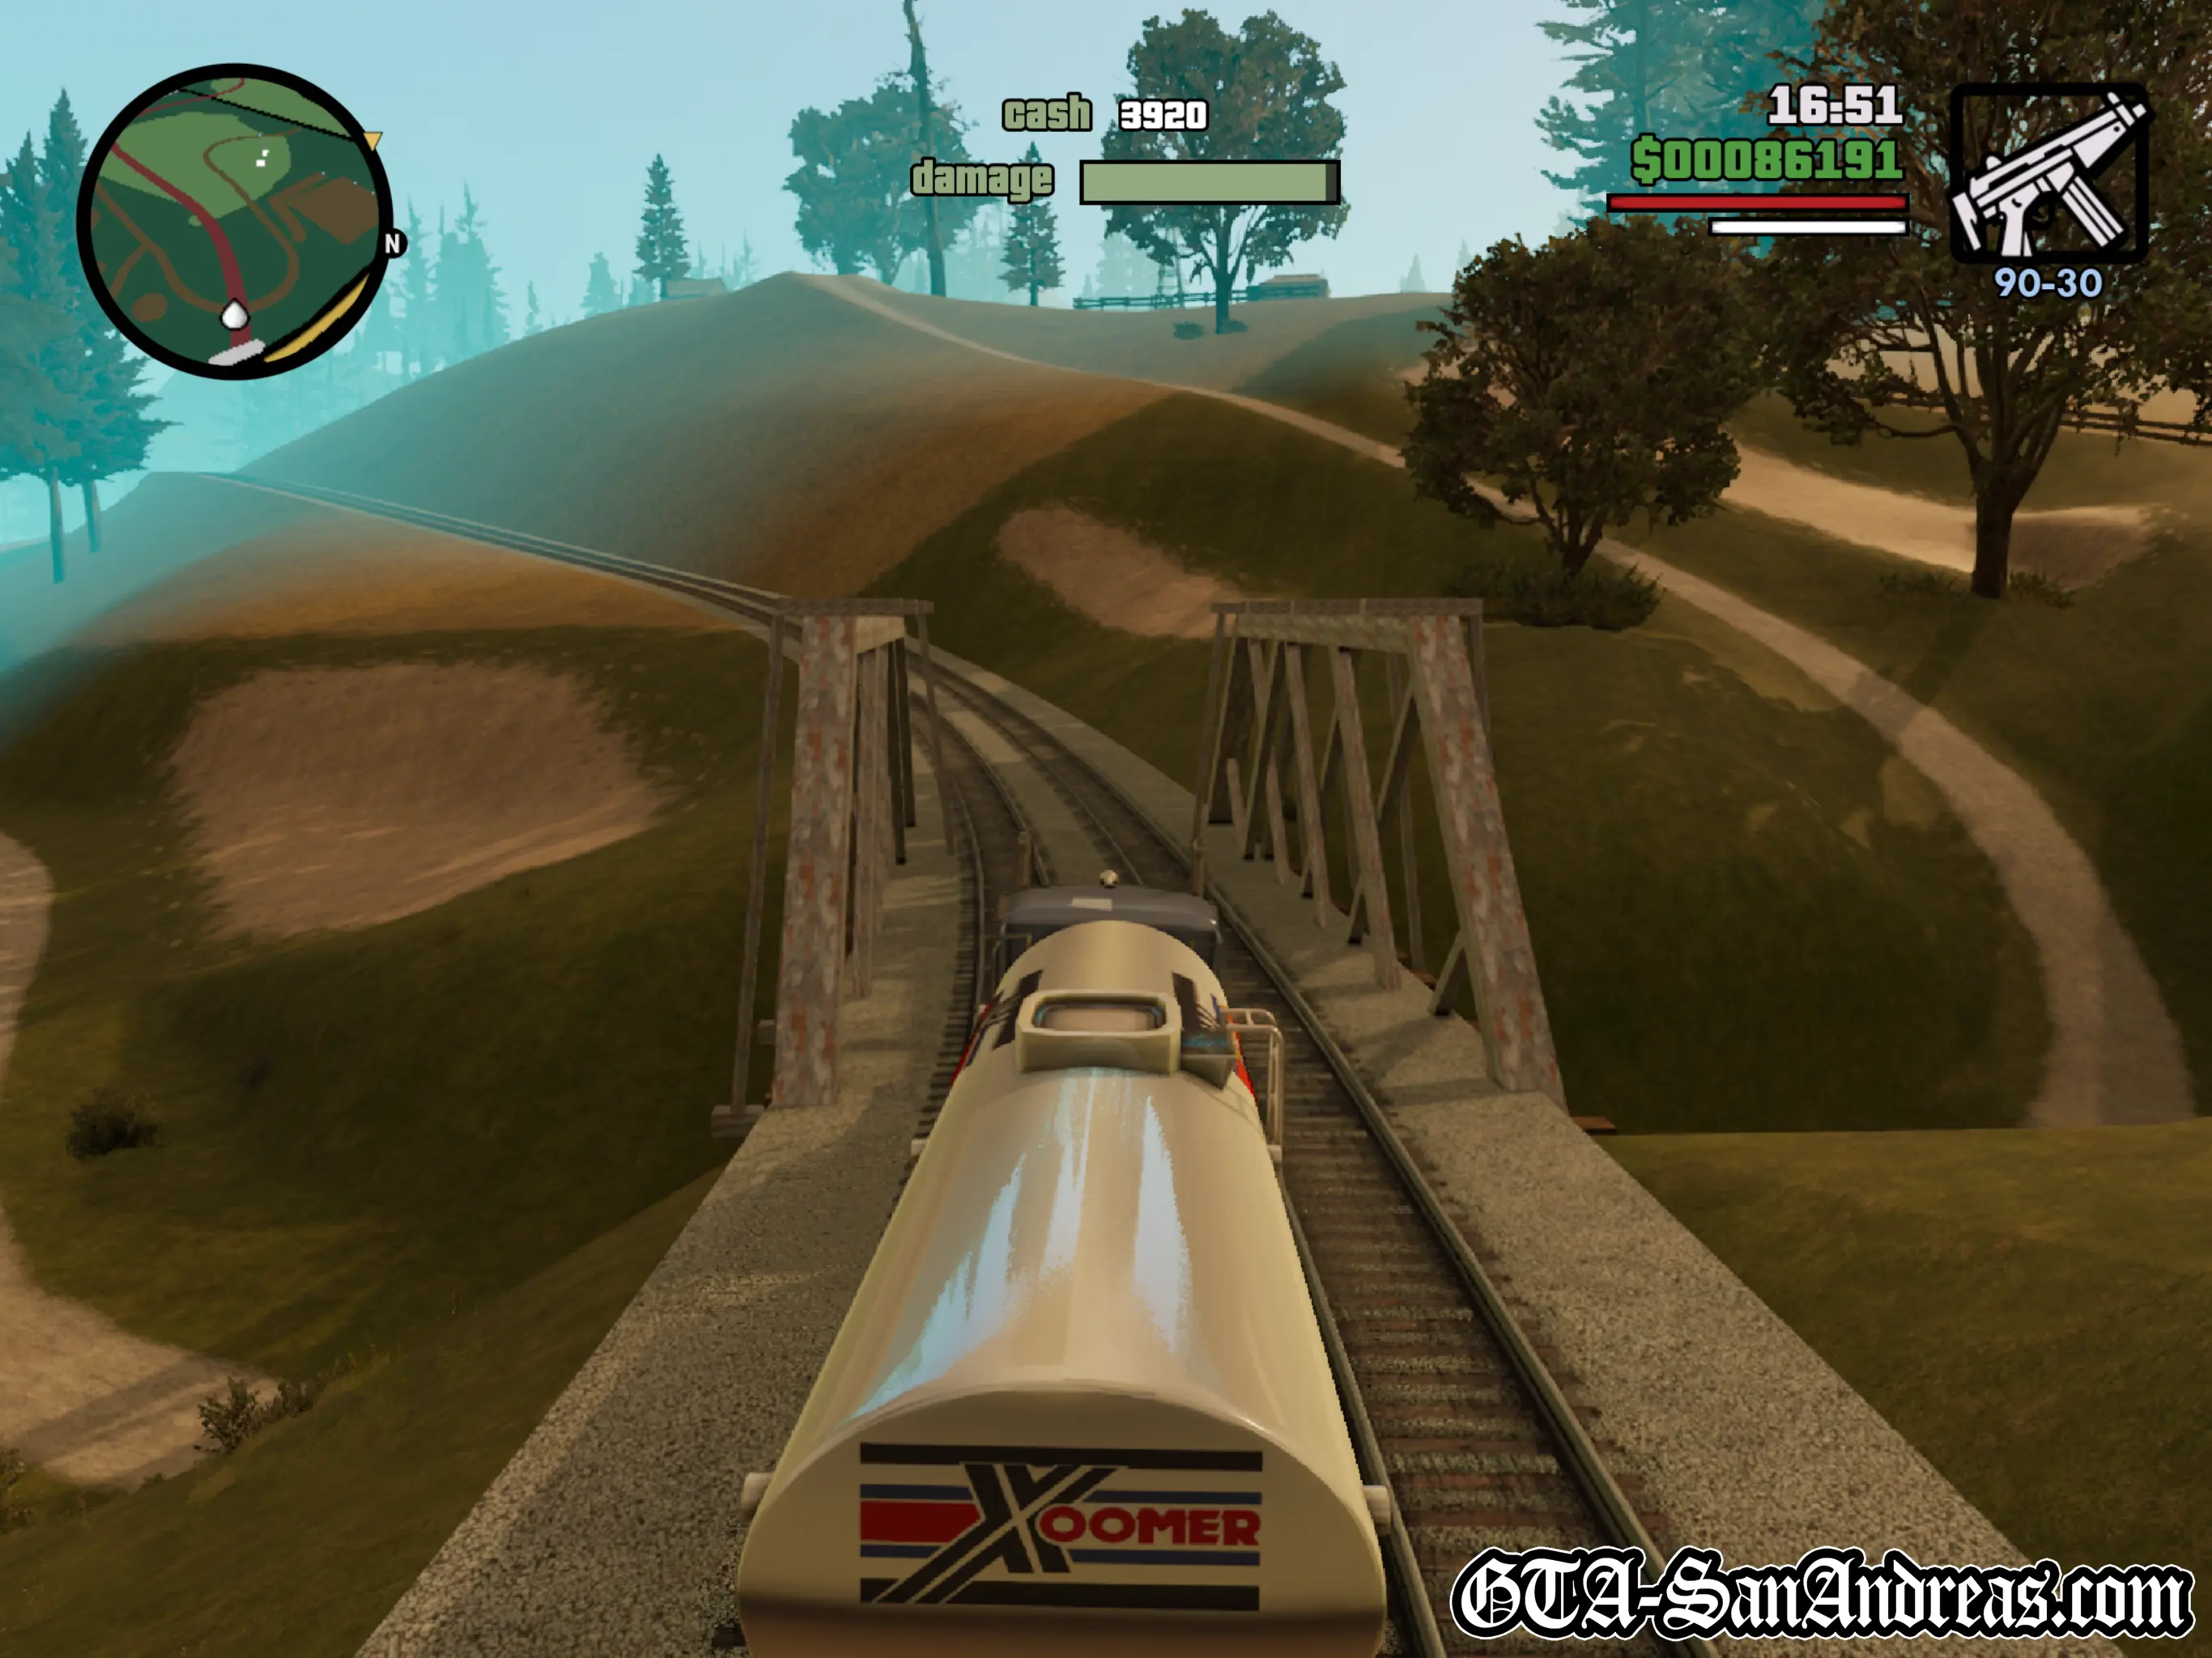
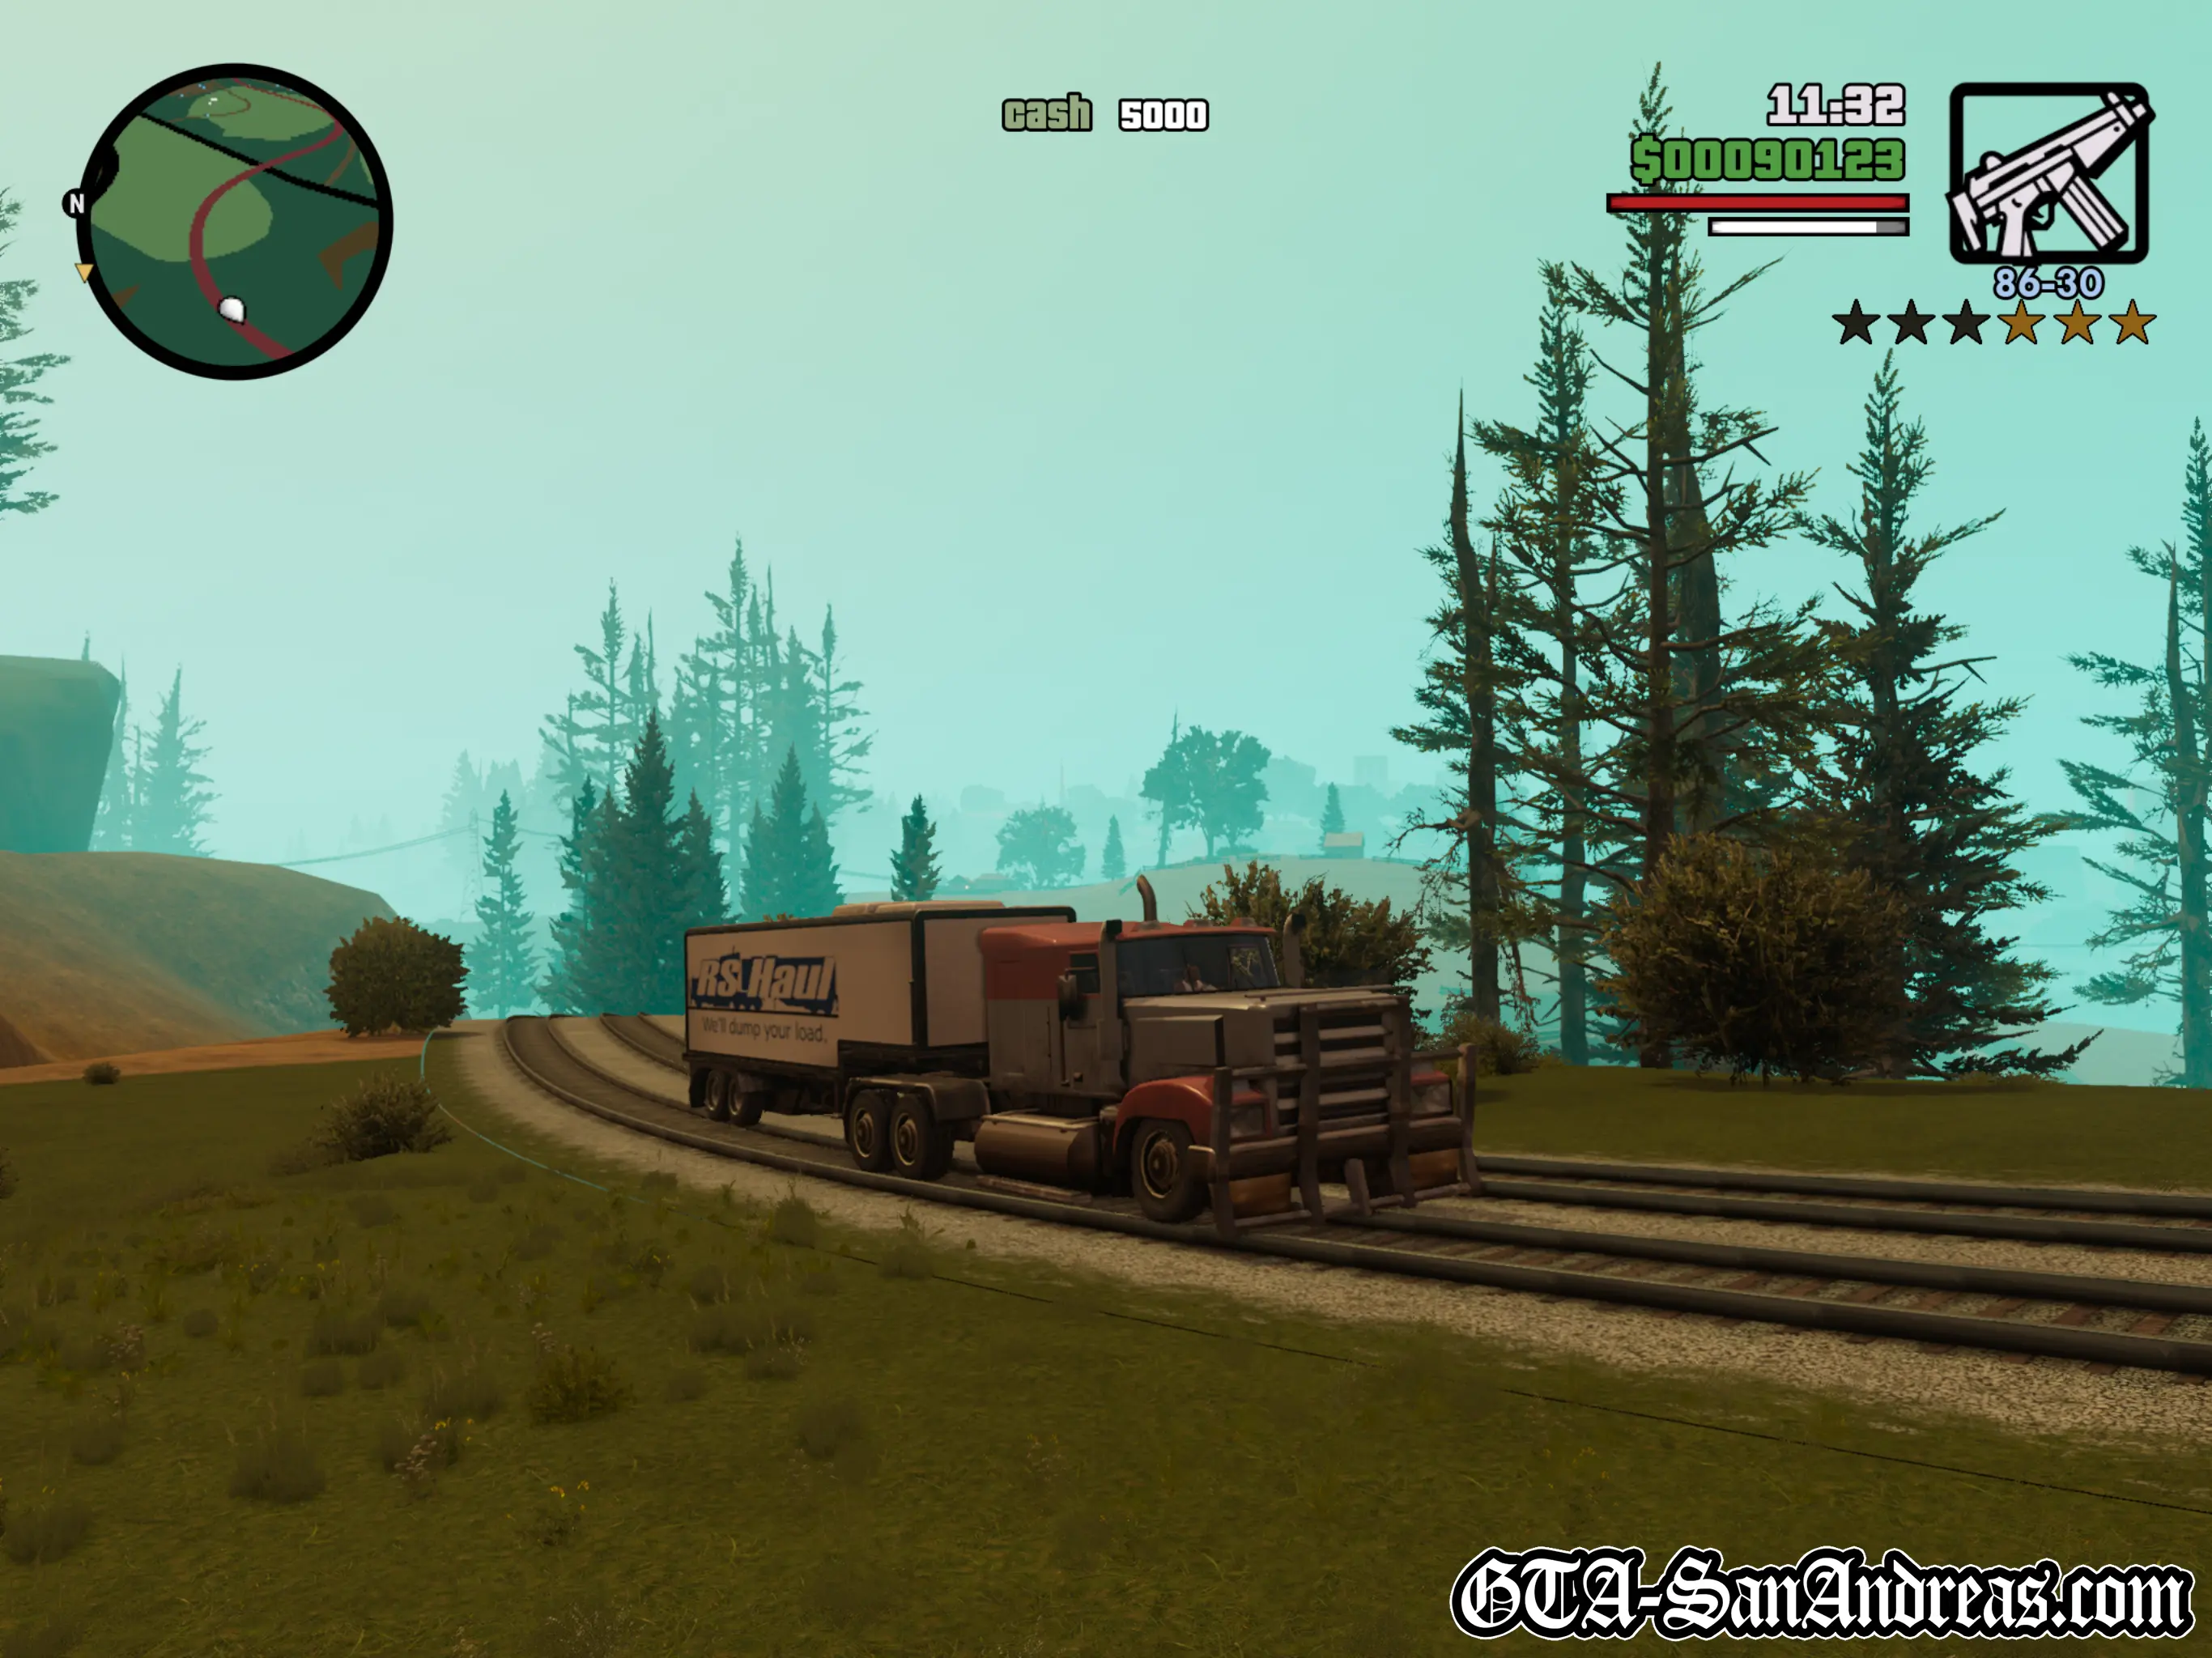
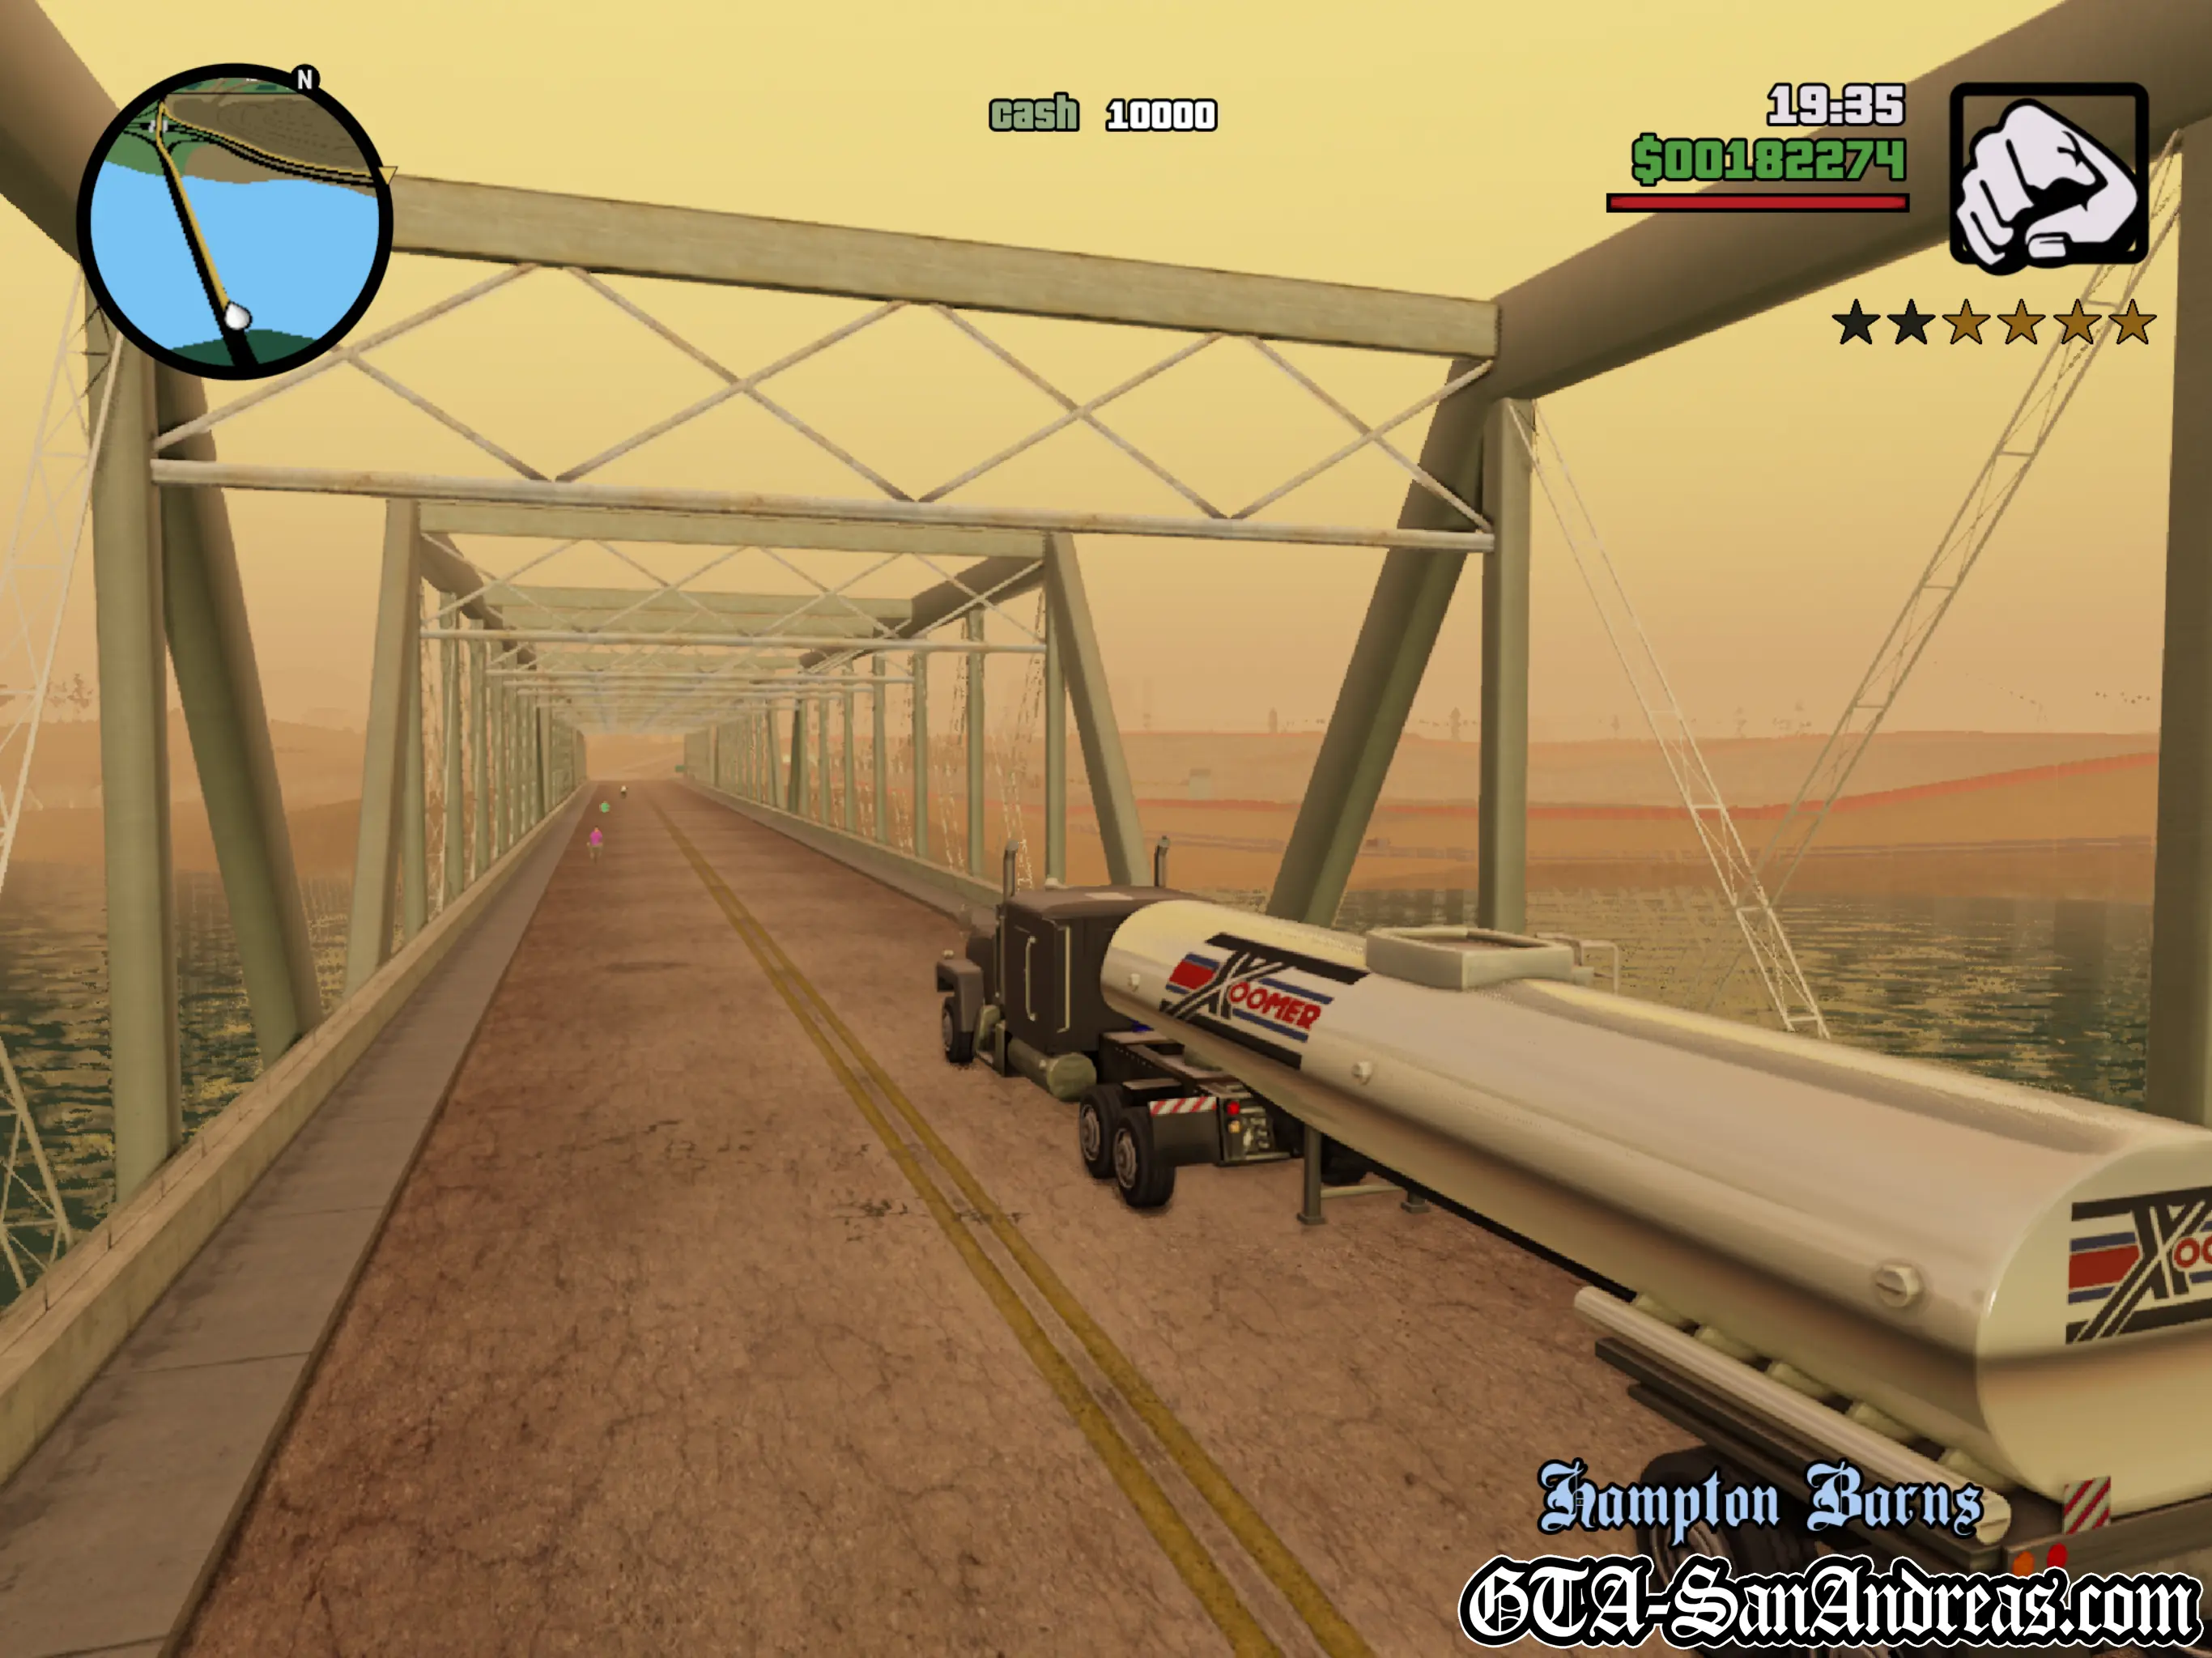
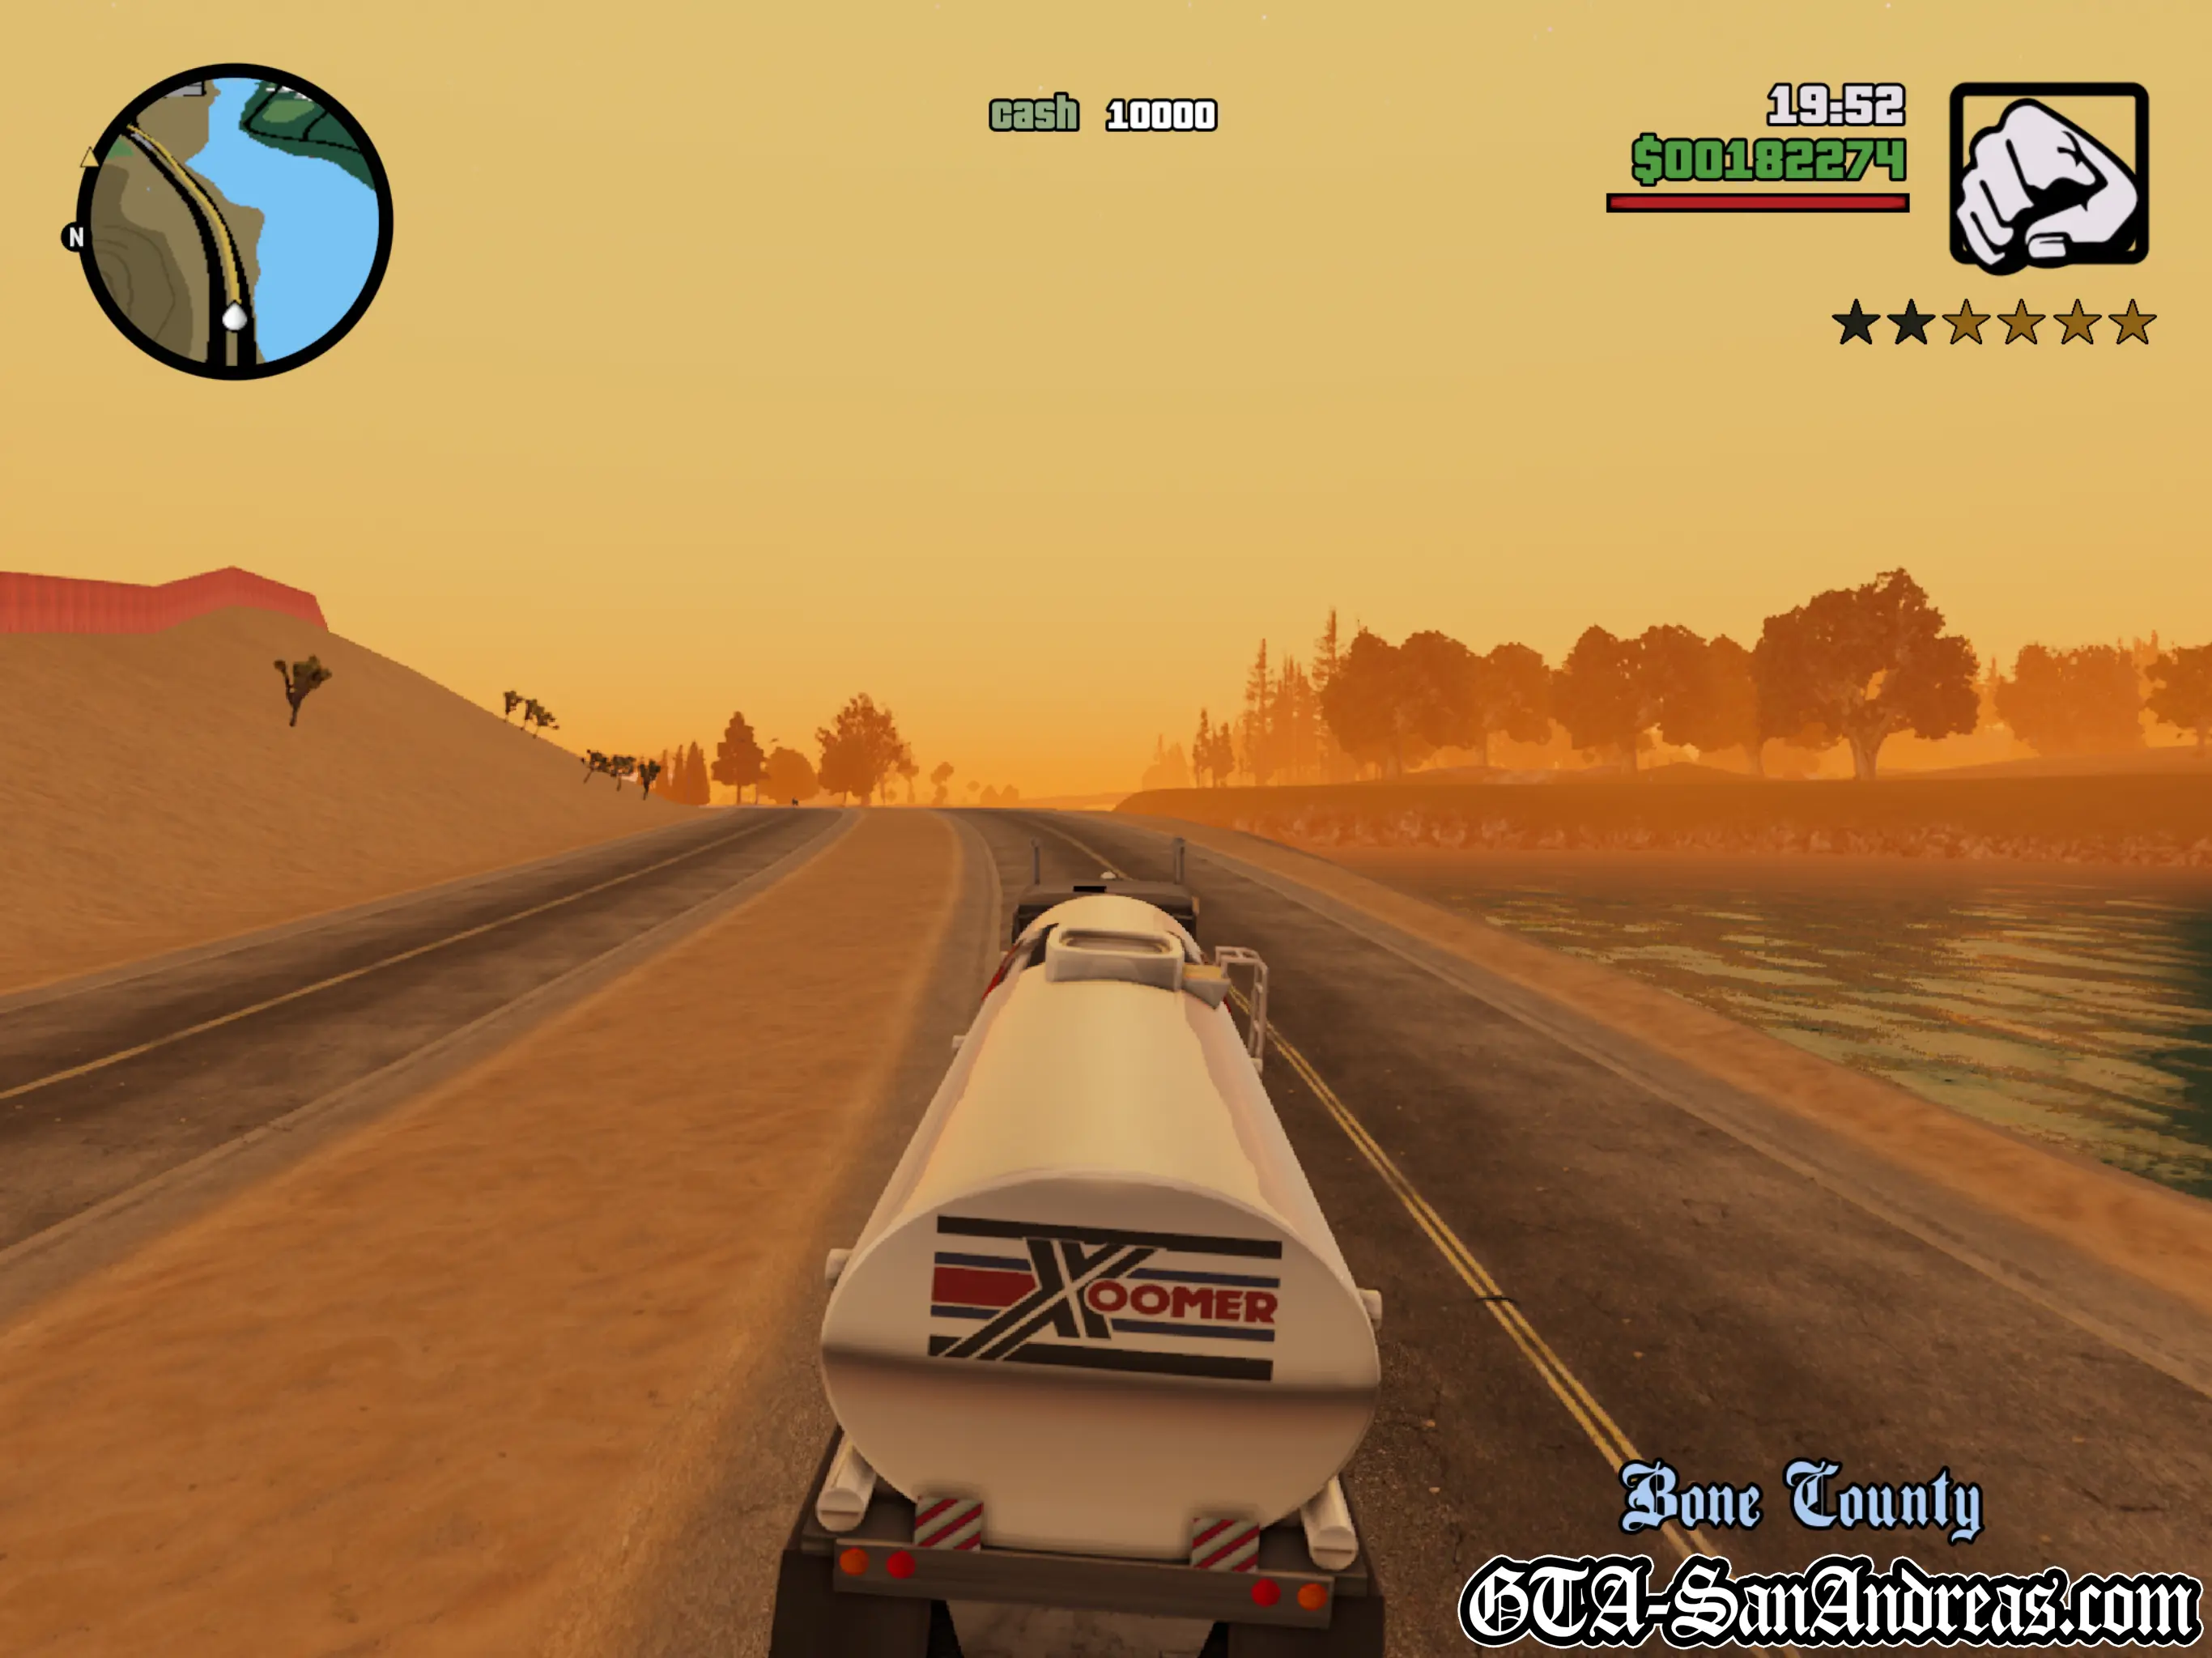
RS Haul Trucking - Mission 7
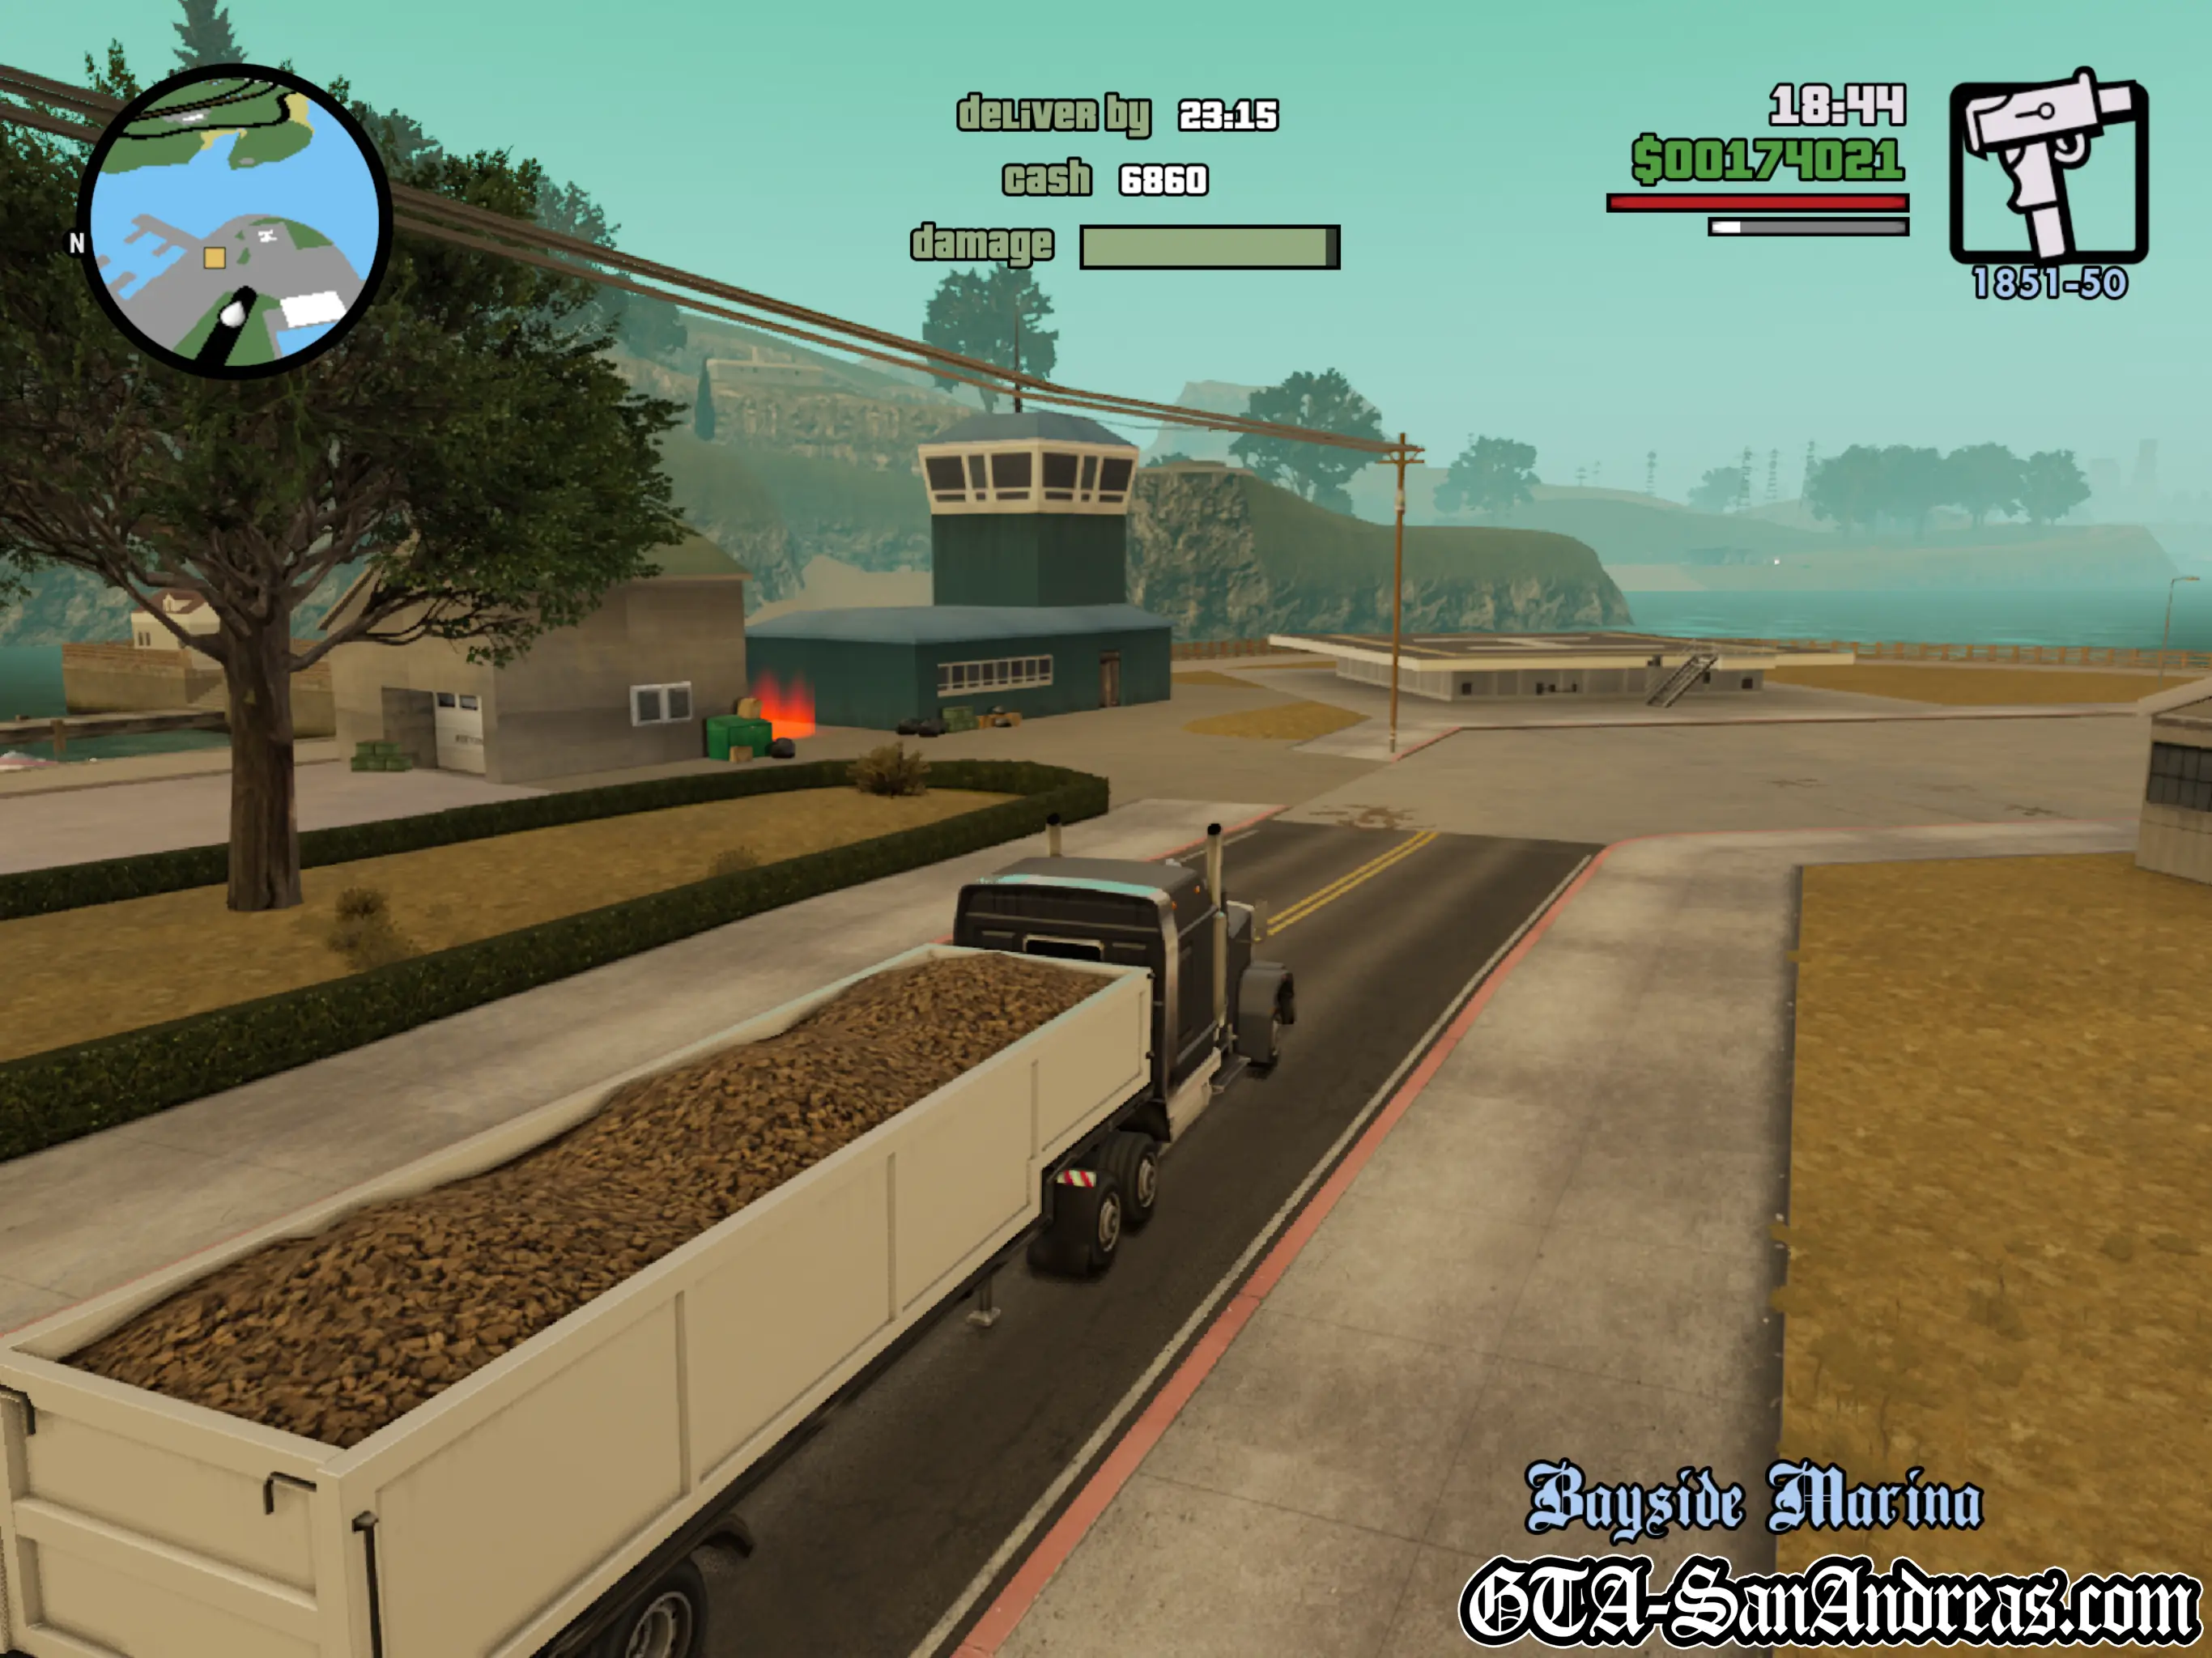
Goods must be delivered quickly without damage to *SOMEWHERE* in the desert.
This mission is timed AND has a damage limit. You need to drive fast, but make sure you don't crash.
You'll need to head North and cross one of the small bridges into the desert area. The roads are quite wide here so you should be able to avoid a lot of the traffic, but plan your route carefully because you're on a reasonably tight deadline.
Possible destinations include:
- Verdant Meadows
- Bone County
- Green Palms
- Sherman Dam
- El Quebrados
- Tierra Robada
- Bayside Marina
* Reward will decrease if you miss the deadline or damage the cargo.
Screenshots


Hints & Tips
The following deliveries are not available until you have access to Las Venturas. There's no point heading back to the trucking start location until you've completed Toreno's missions in the desert.
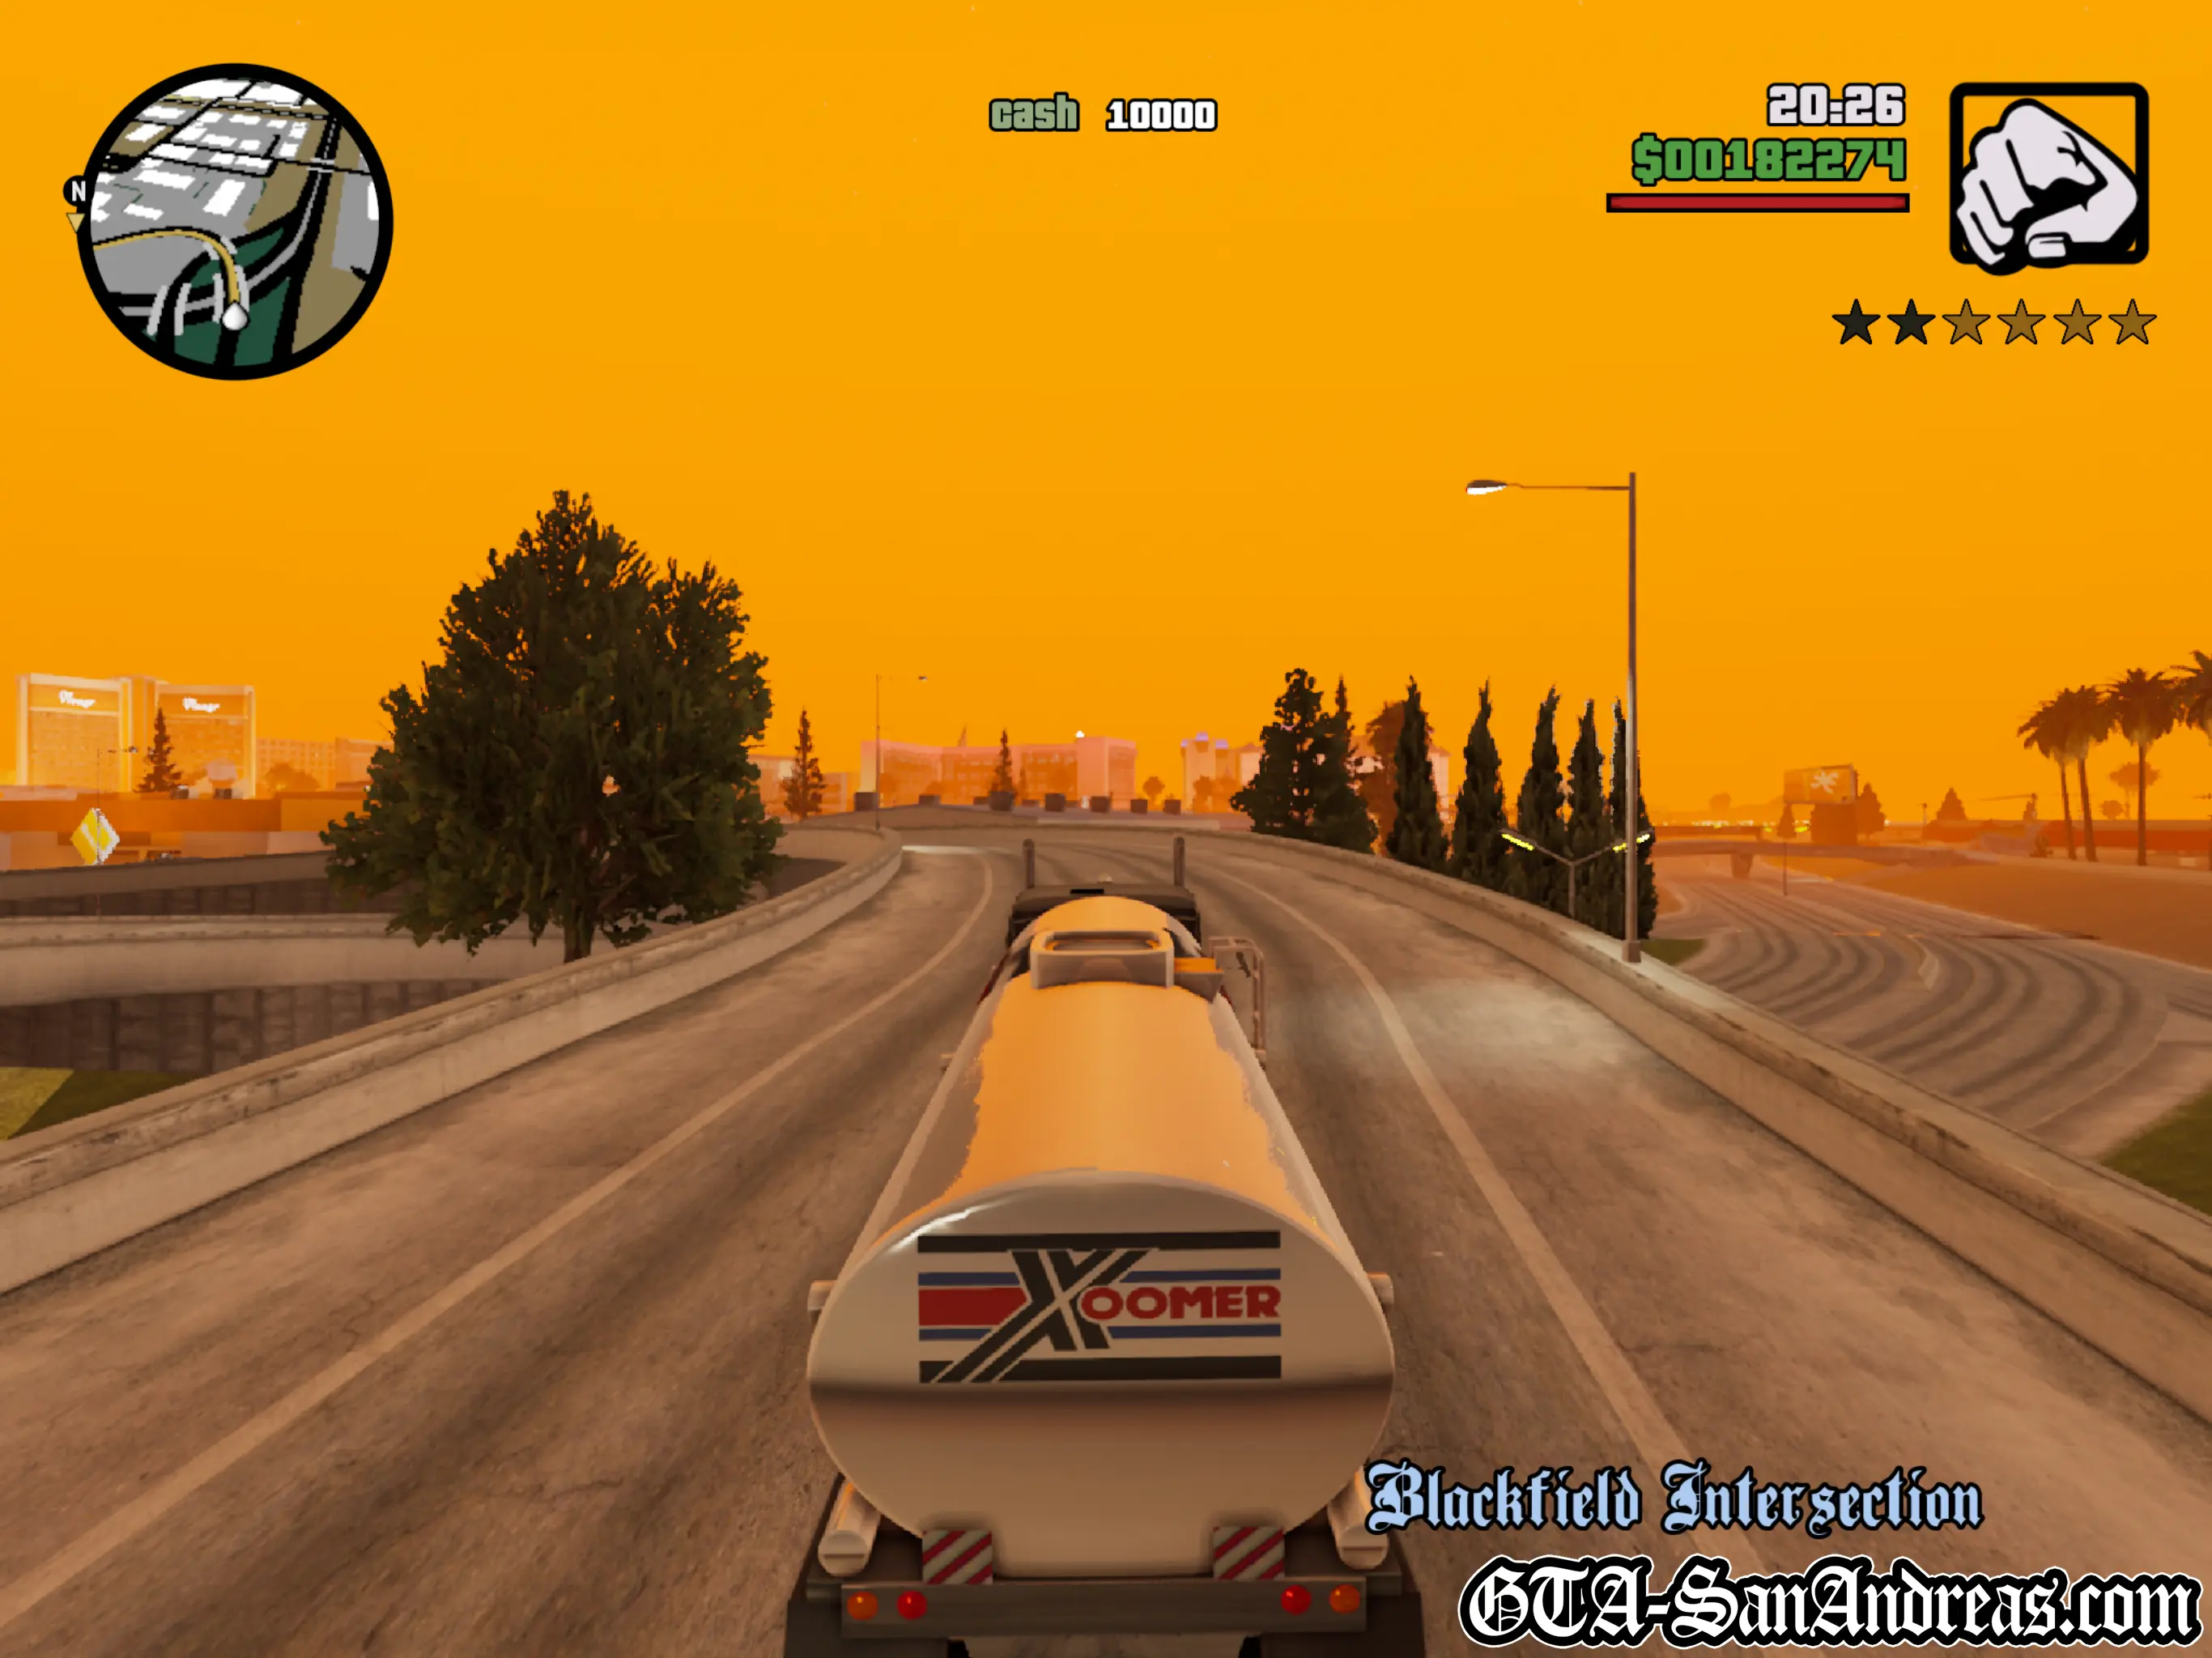
RS Haul Trucking - Mission 8
Highly illegal goods to *SOMEWHERE* in Las Venturas.
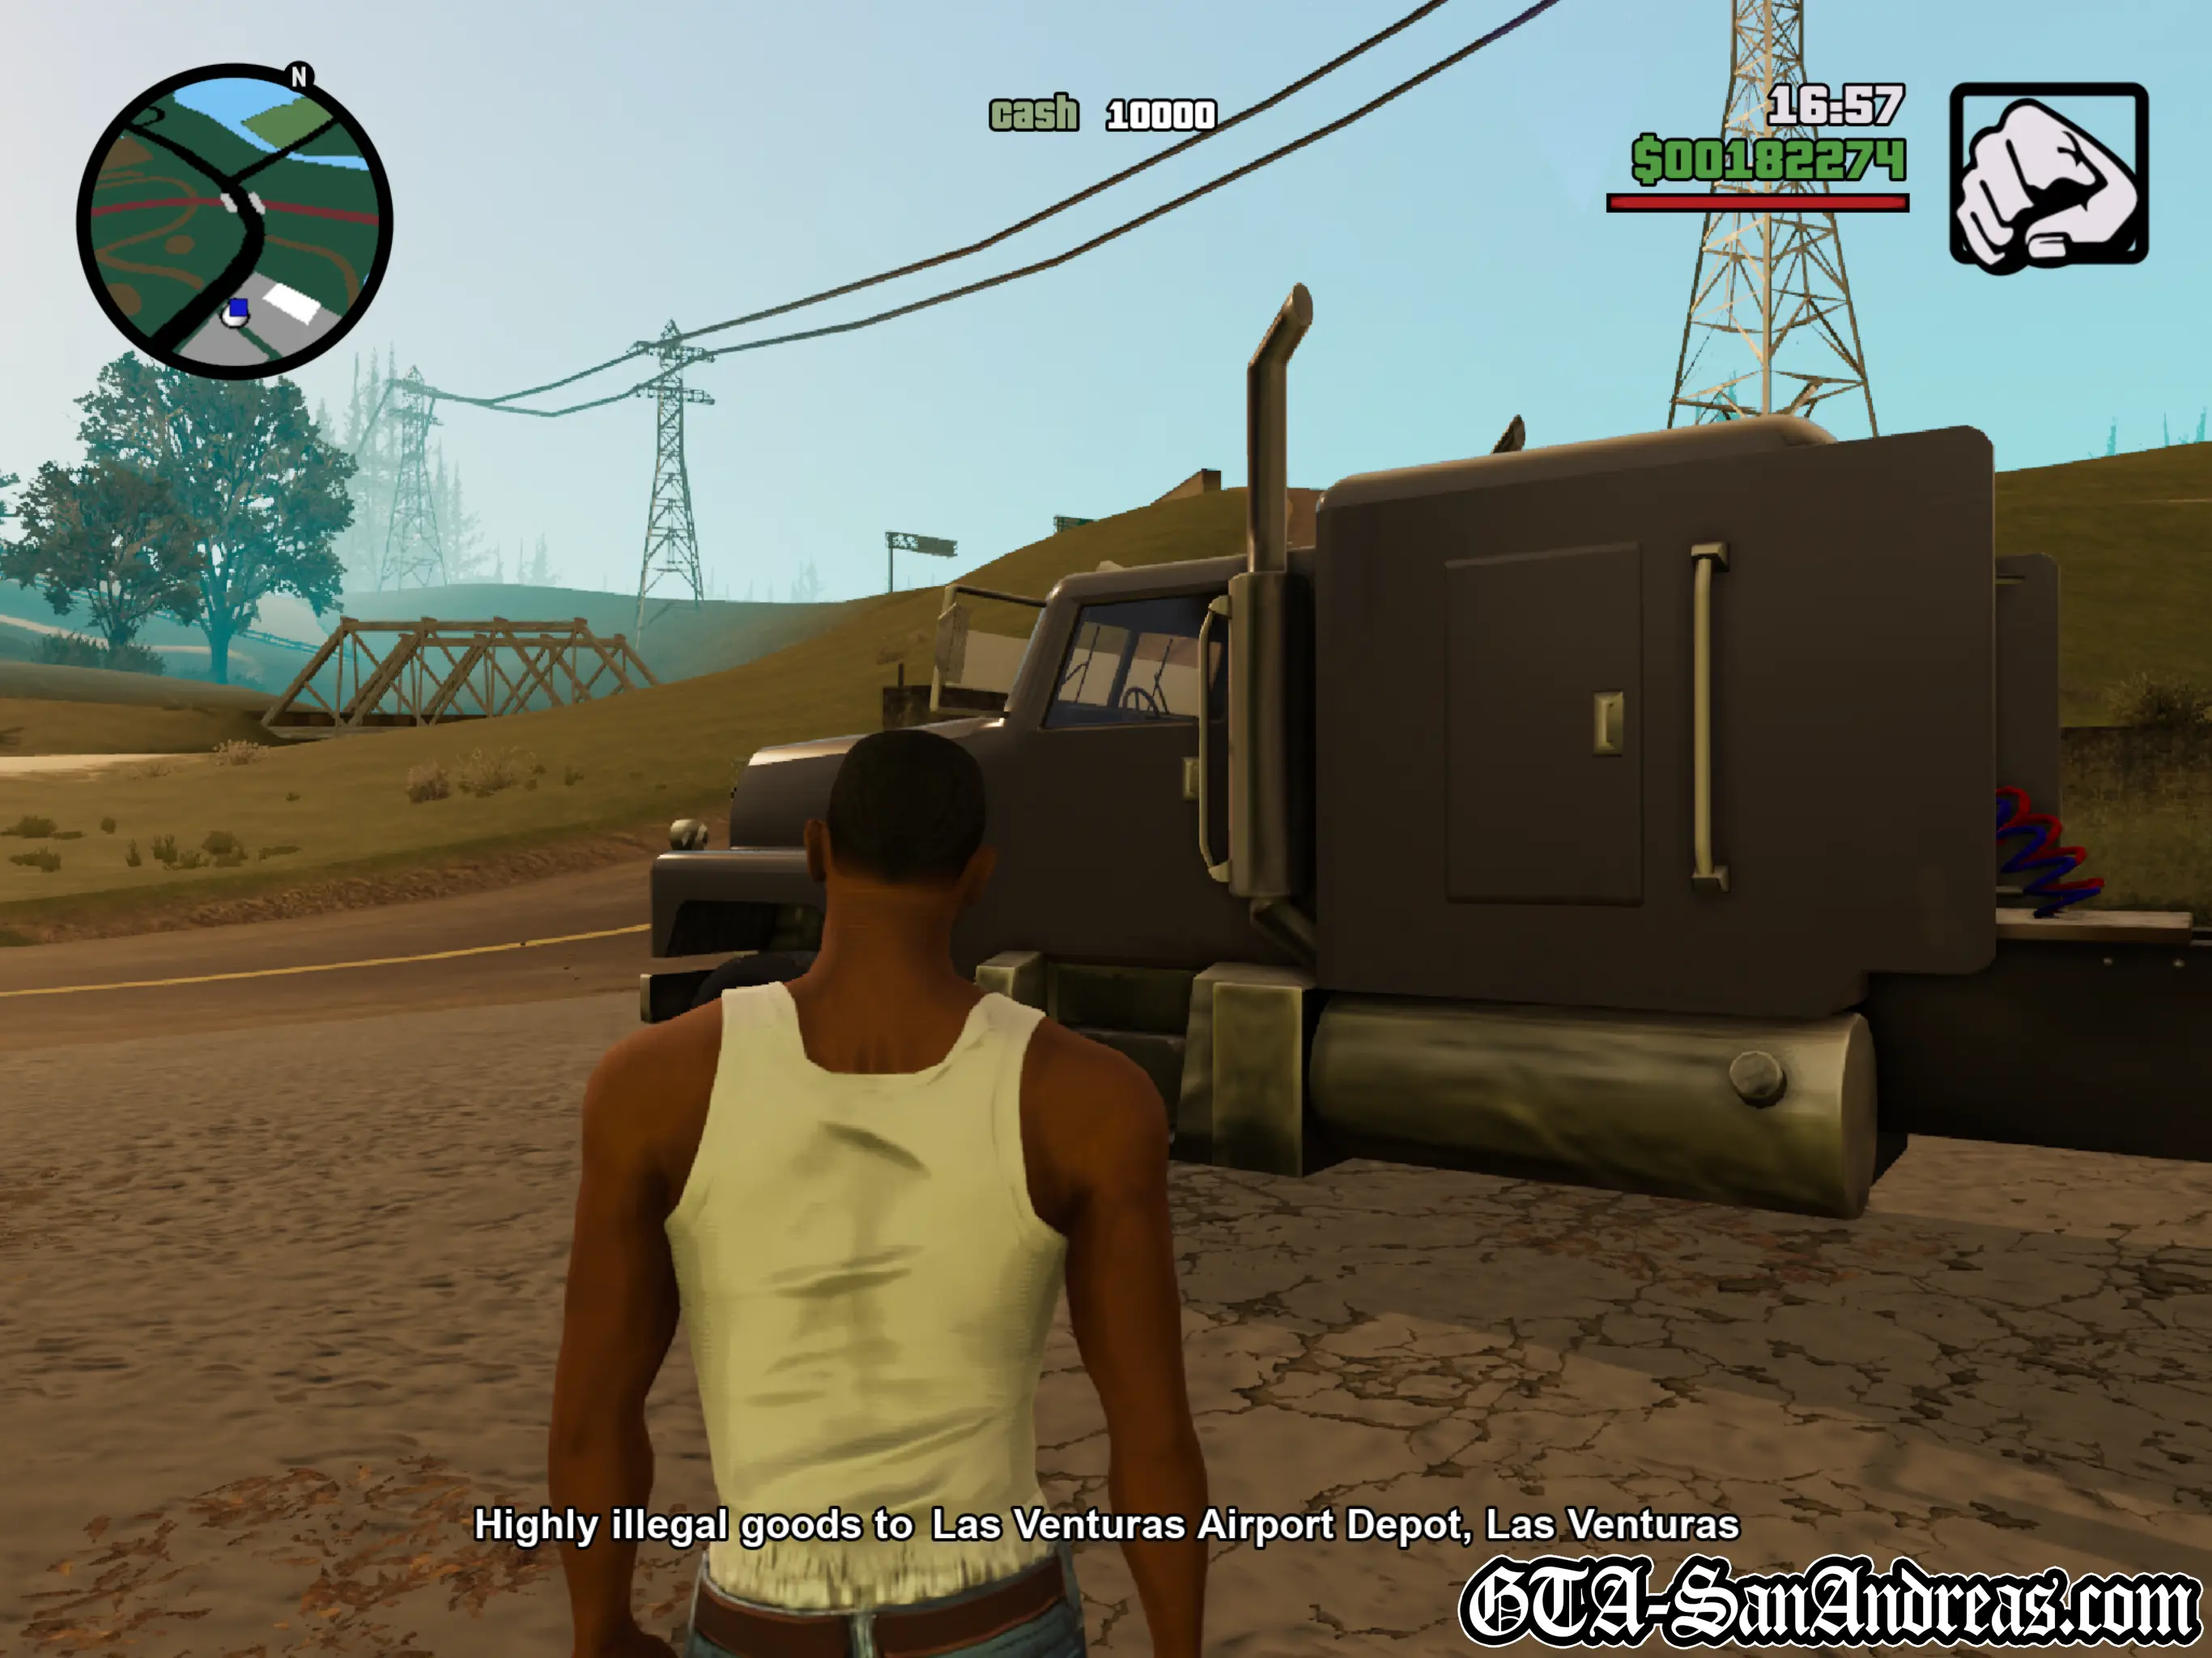
This mission is not timed, so you can take as long as you need to, however you will have a four star wanted level for the whole journey.
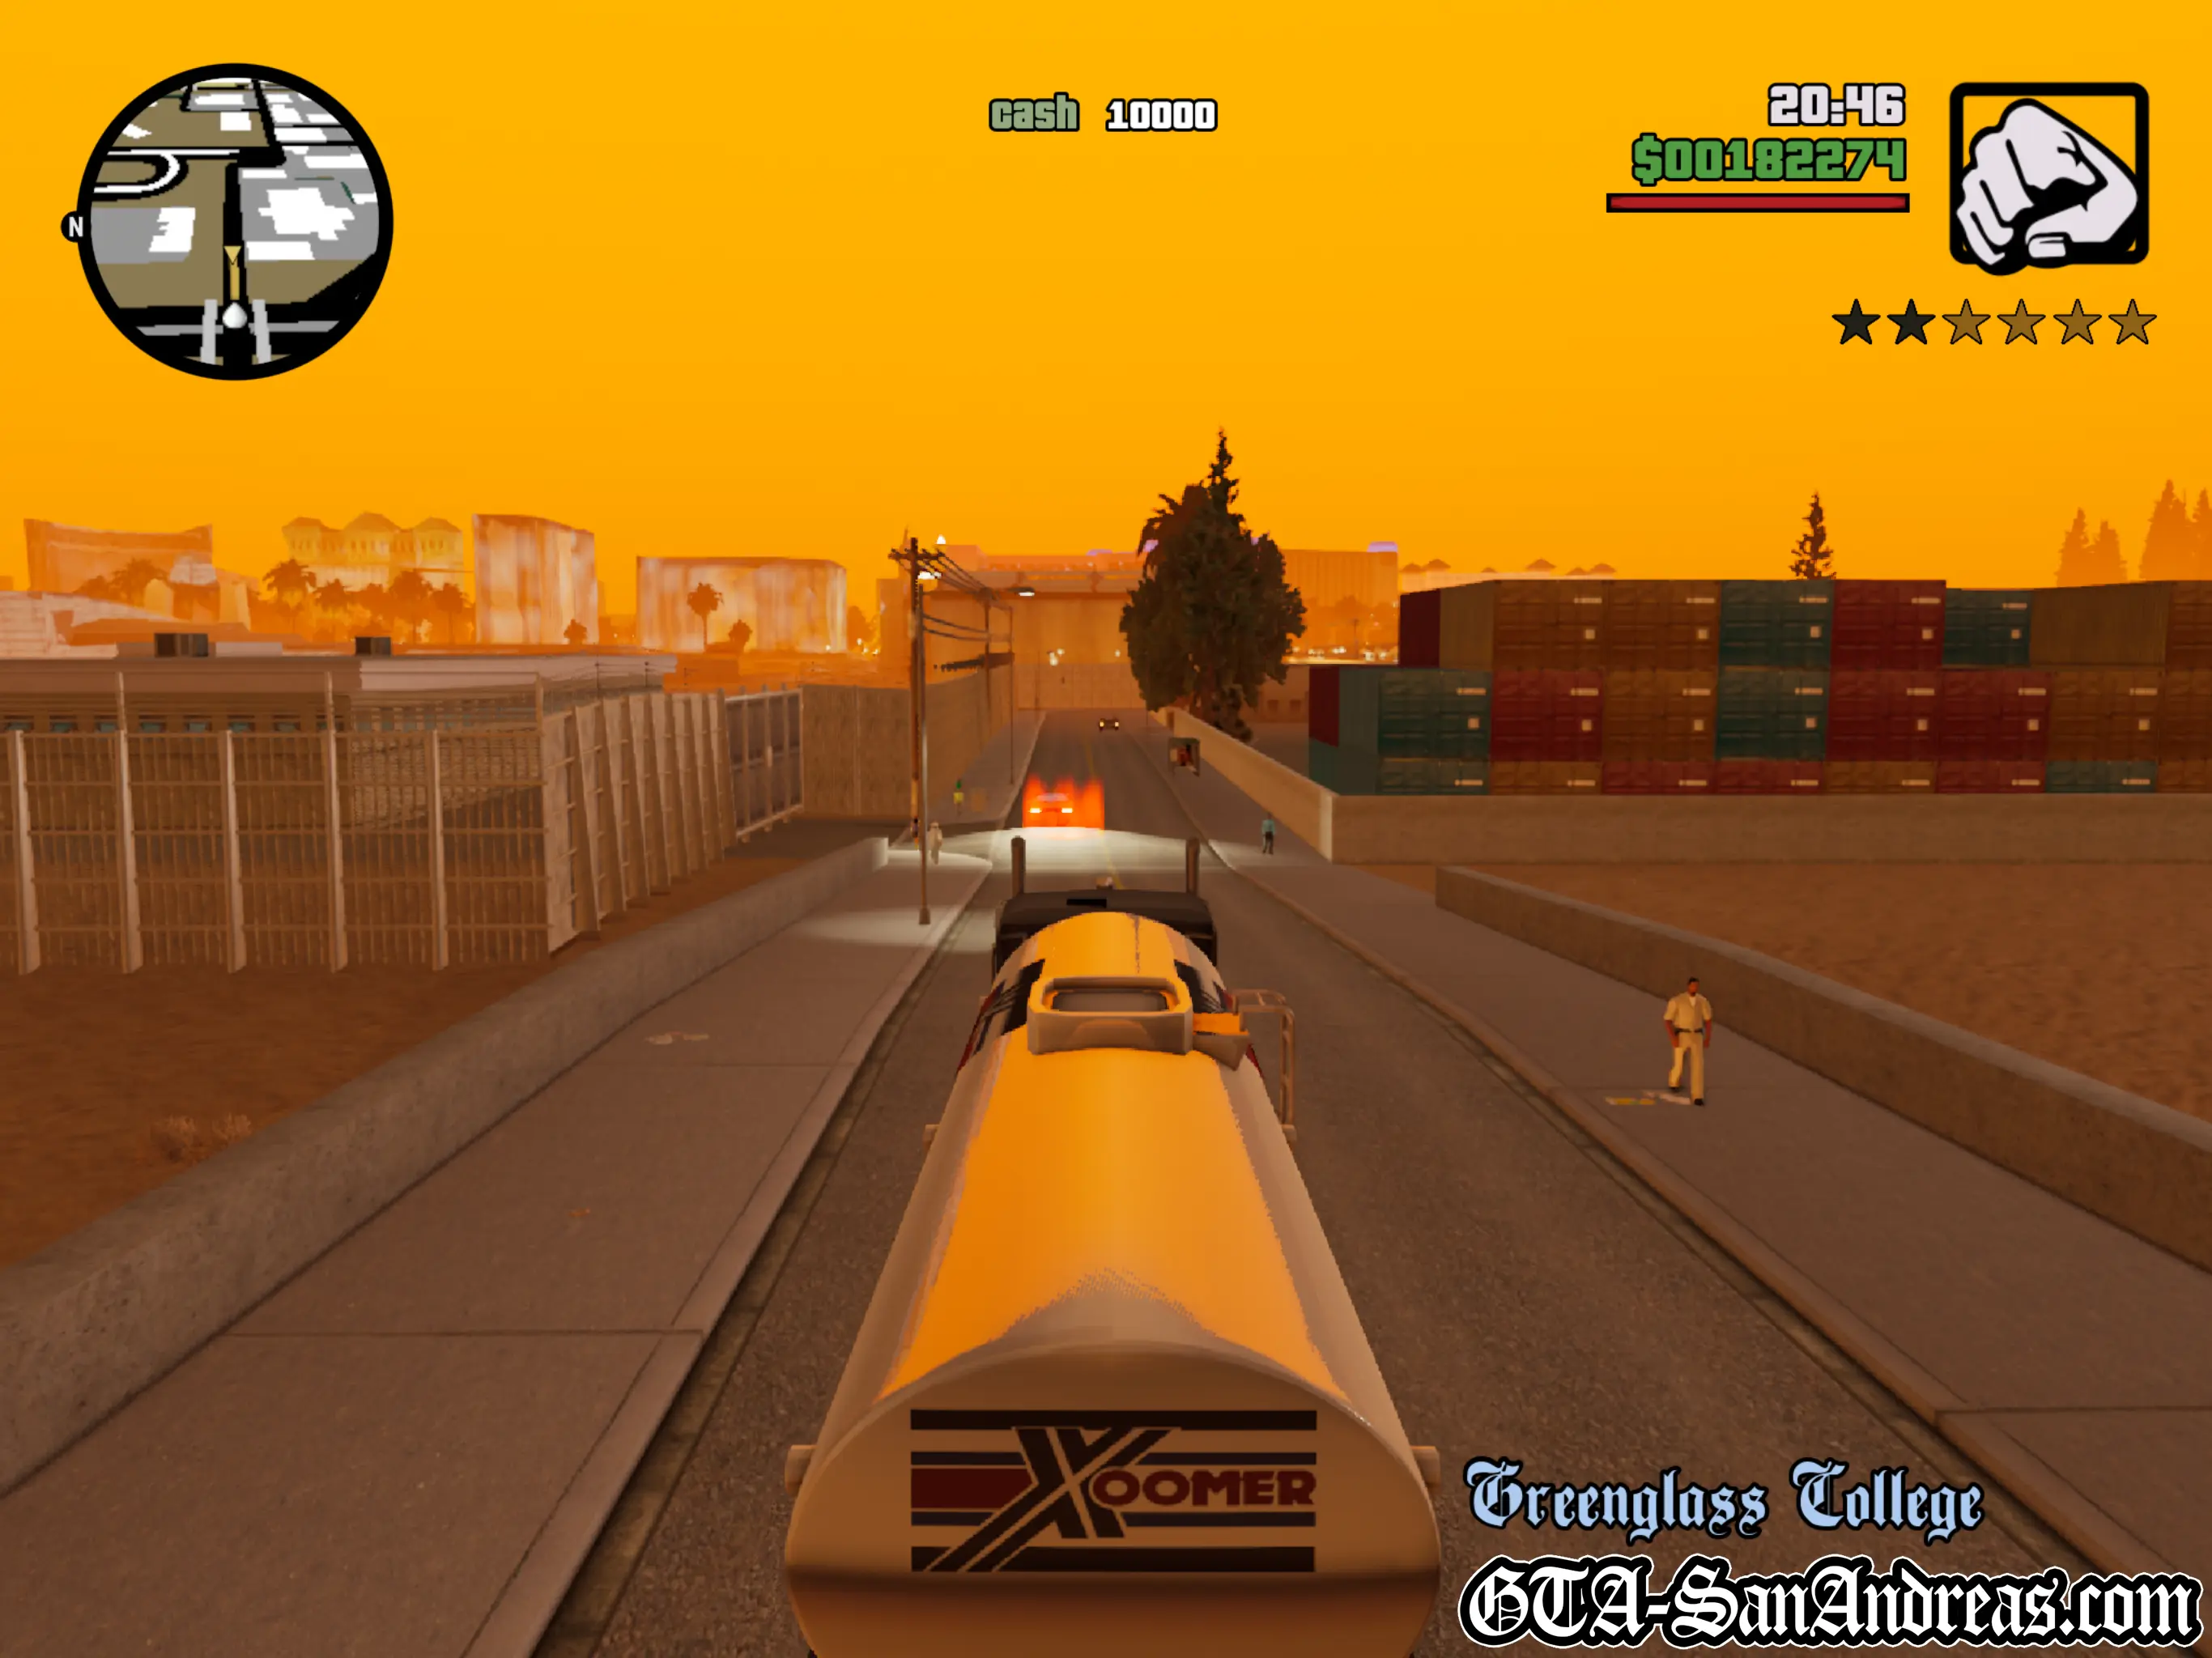
The best way to do this is to carefully make your way down onto the train tracks and follow them all of the way through San Fierro into Las Venturas, then come off the tracks and drive to the location.
This takes a long time, but you won't have to worry about getting knocked off the road by the Swat Vans pursuing you.
Possible destinations include:
- LVA Freight Depot
- Las Venturas Airport
- Whitewood Estates
- Creek
- Randolph Industrial Estate
- Rockshore East
- Spinybed
- Starfish Casino
- Redsands West
- Pilgrim
Post-Mission
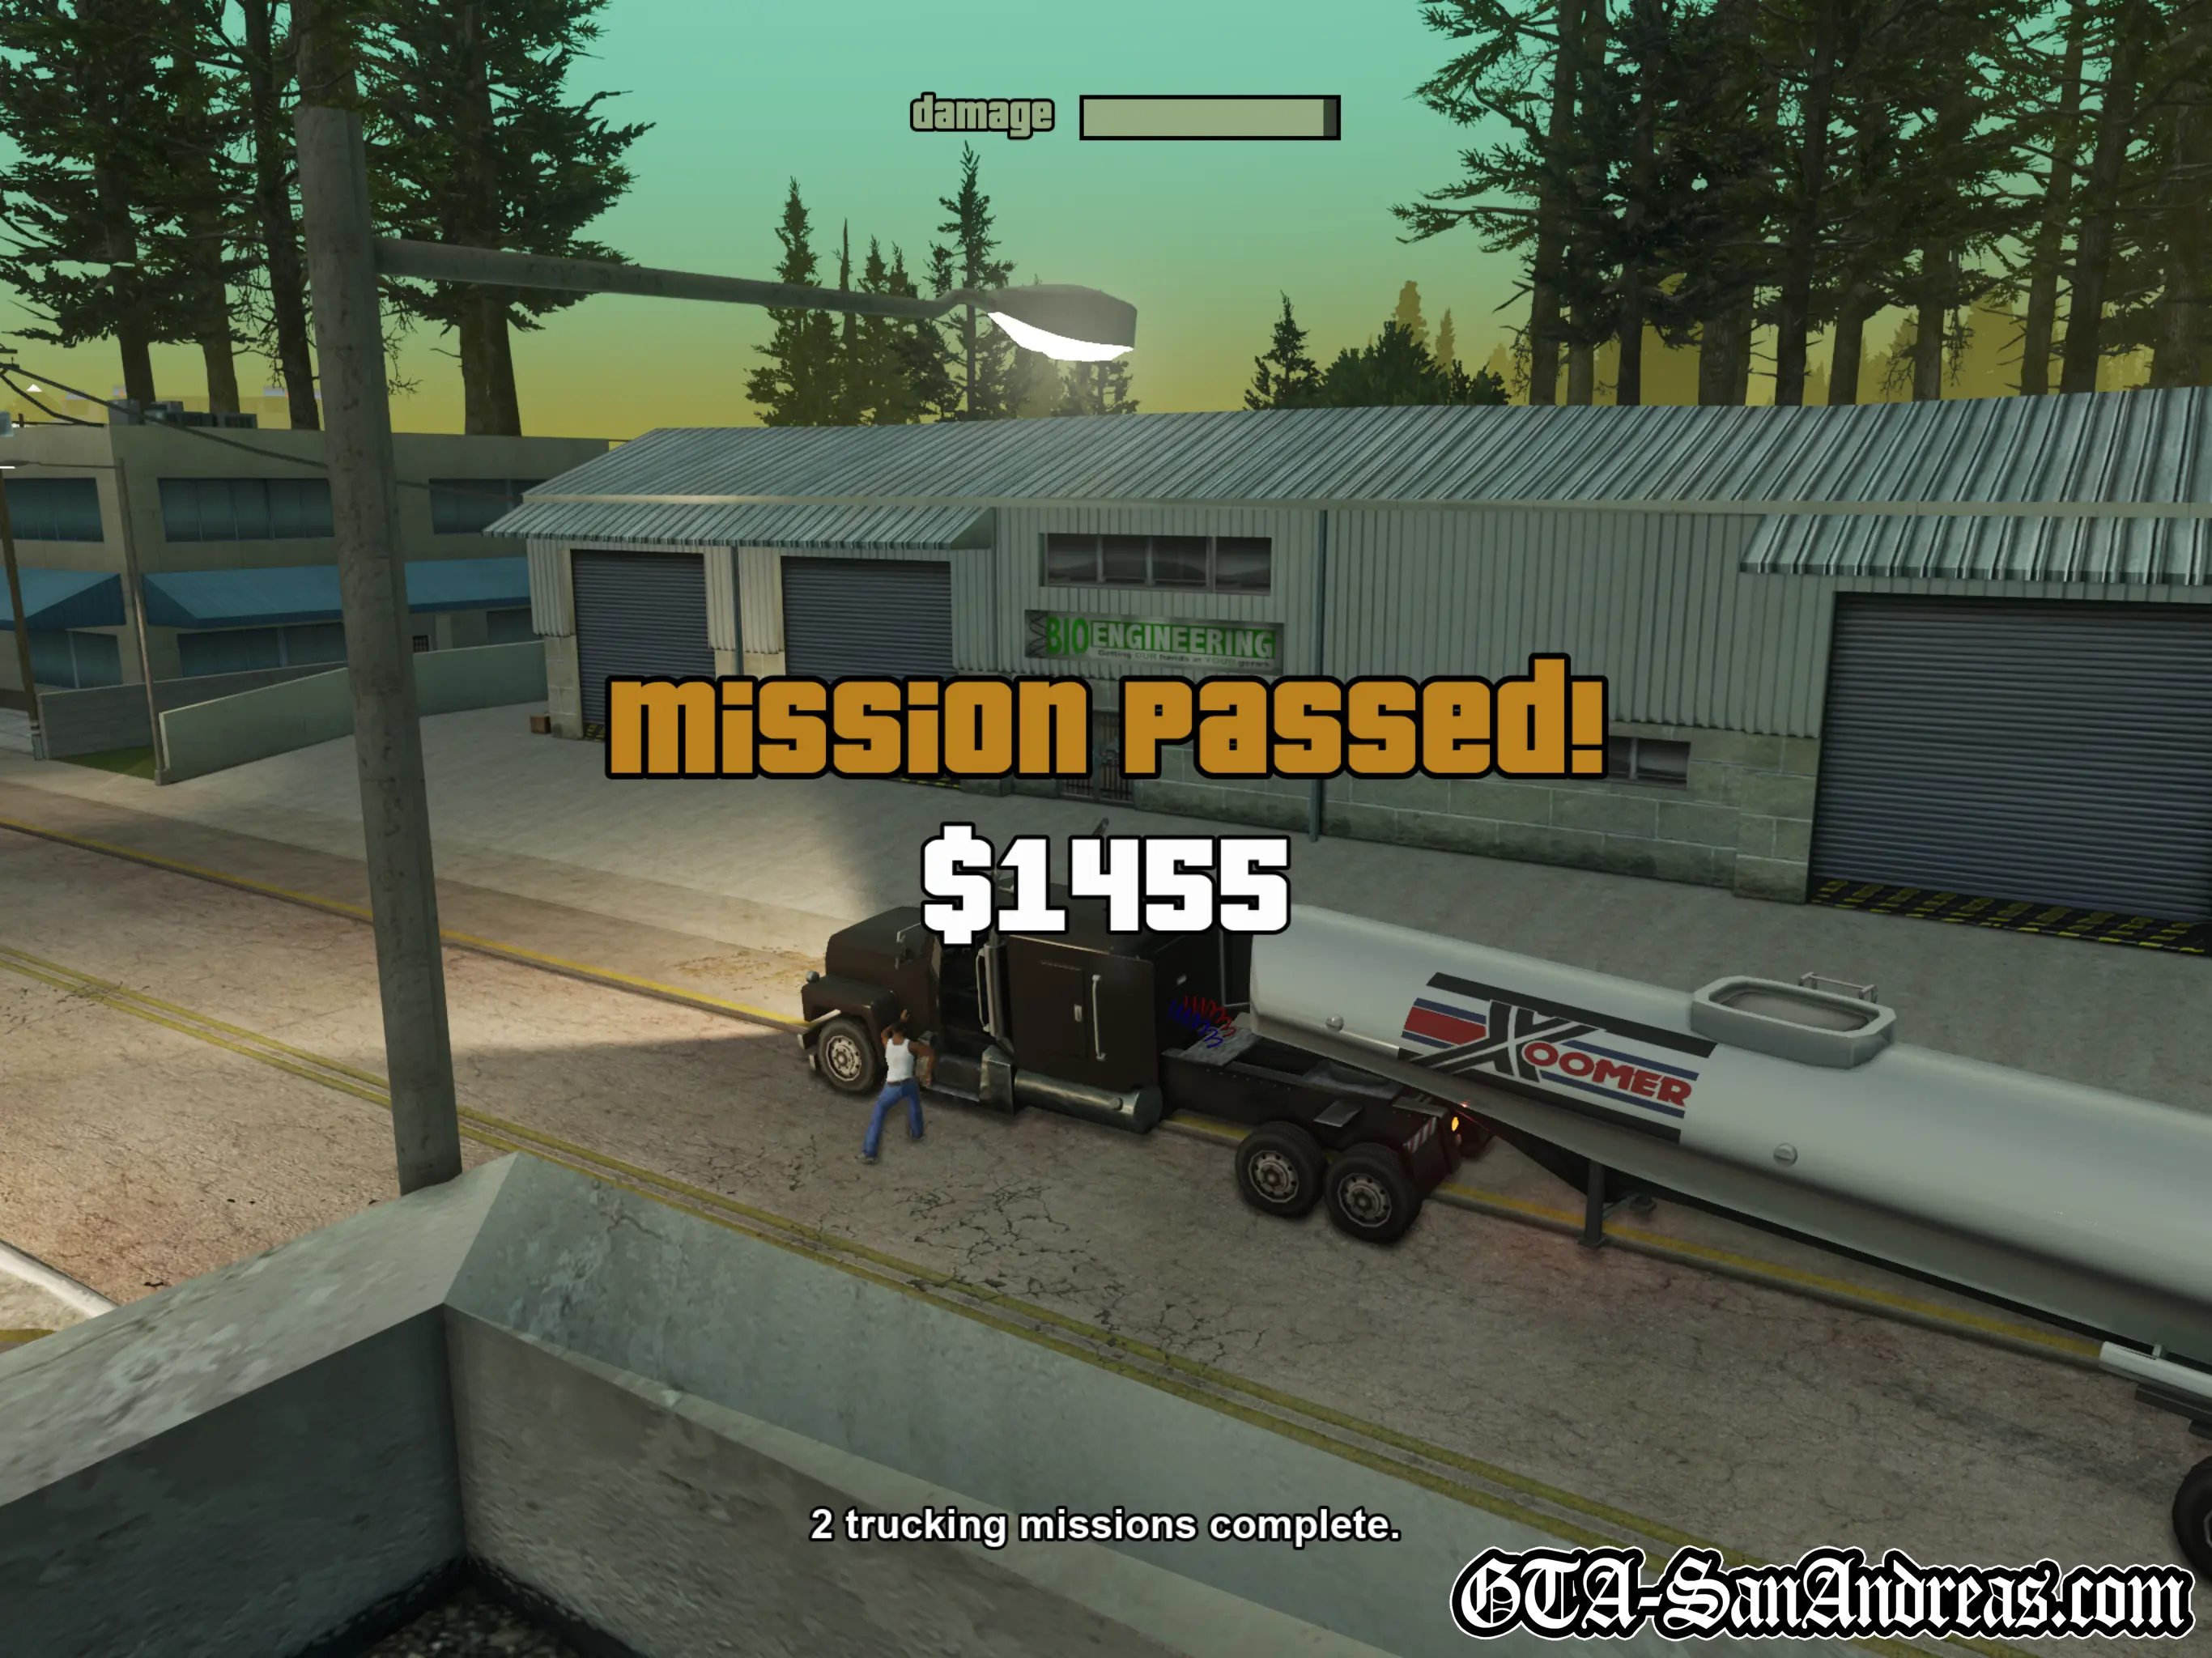
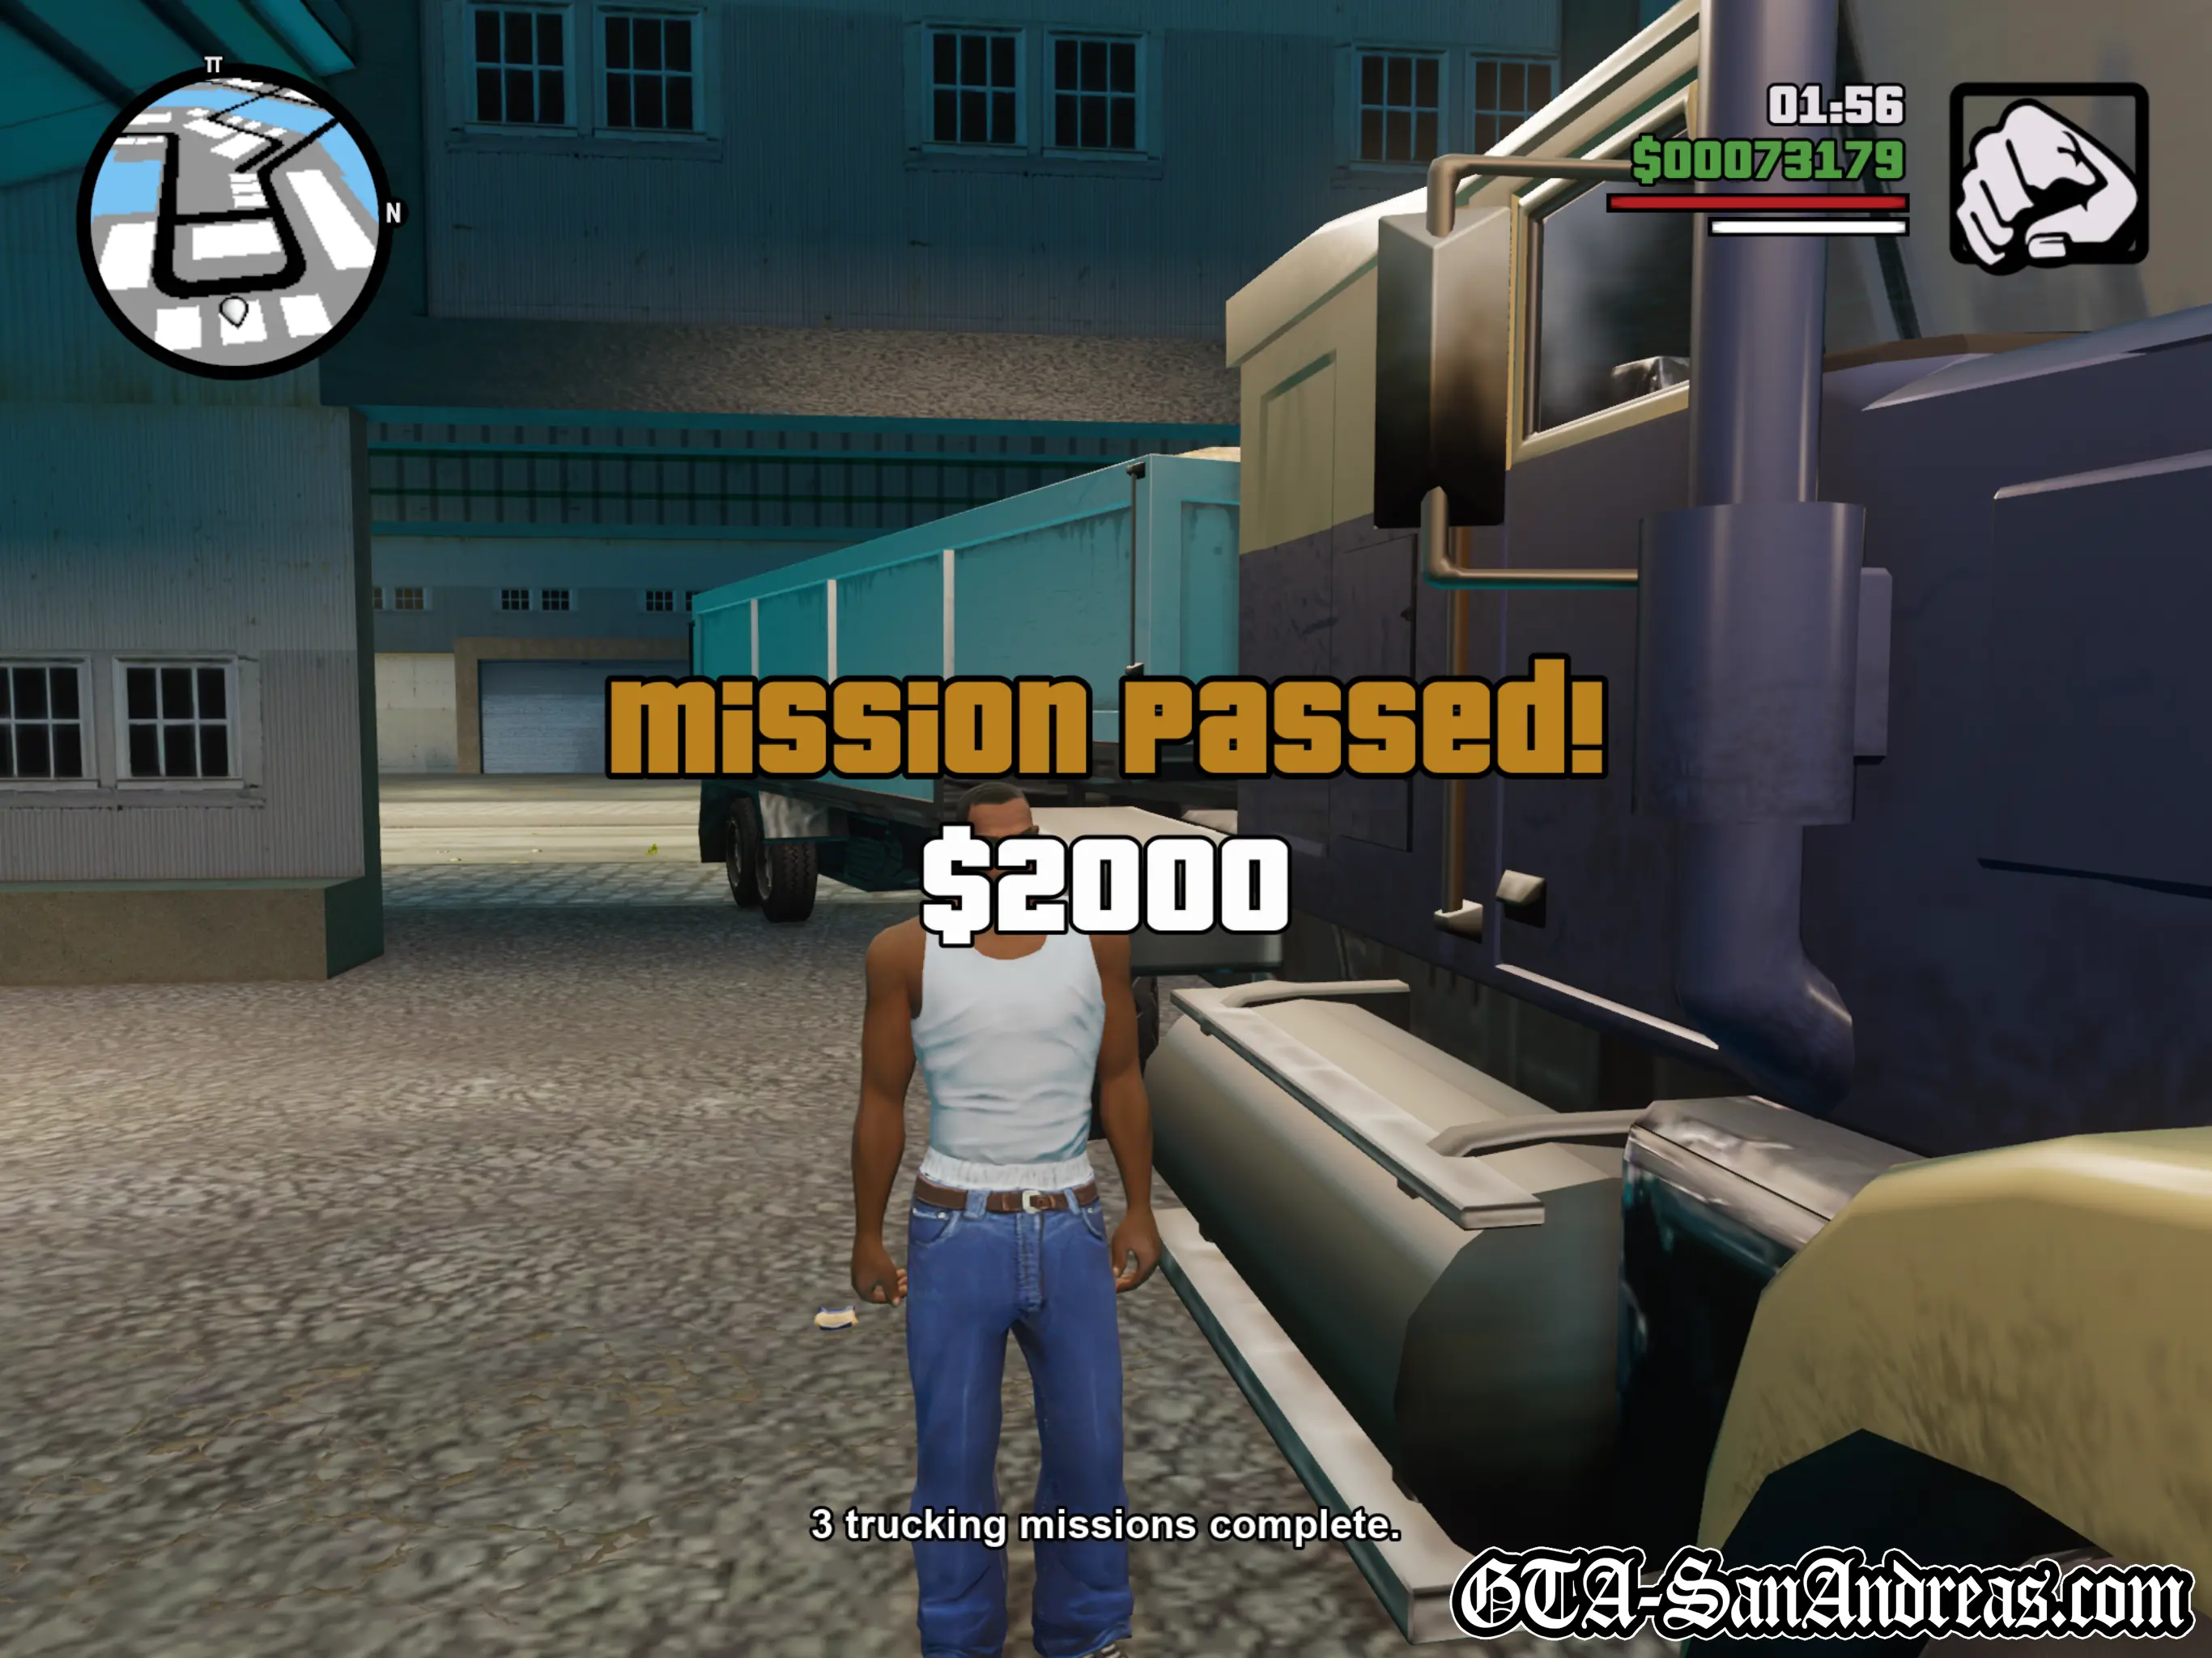
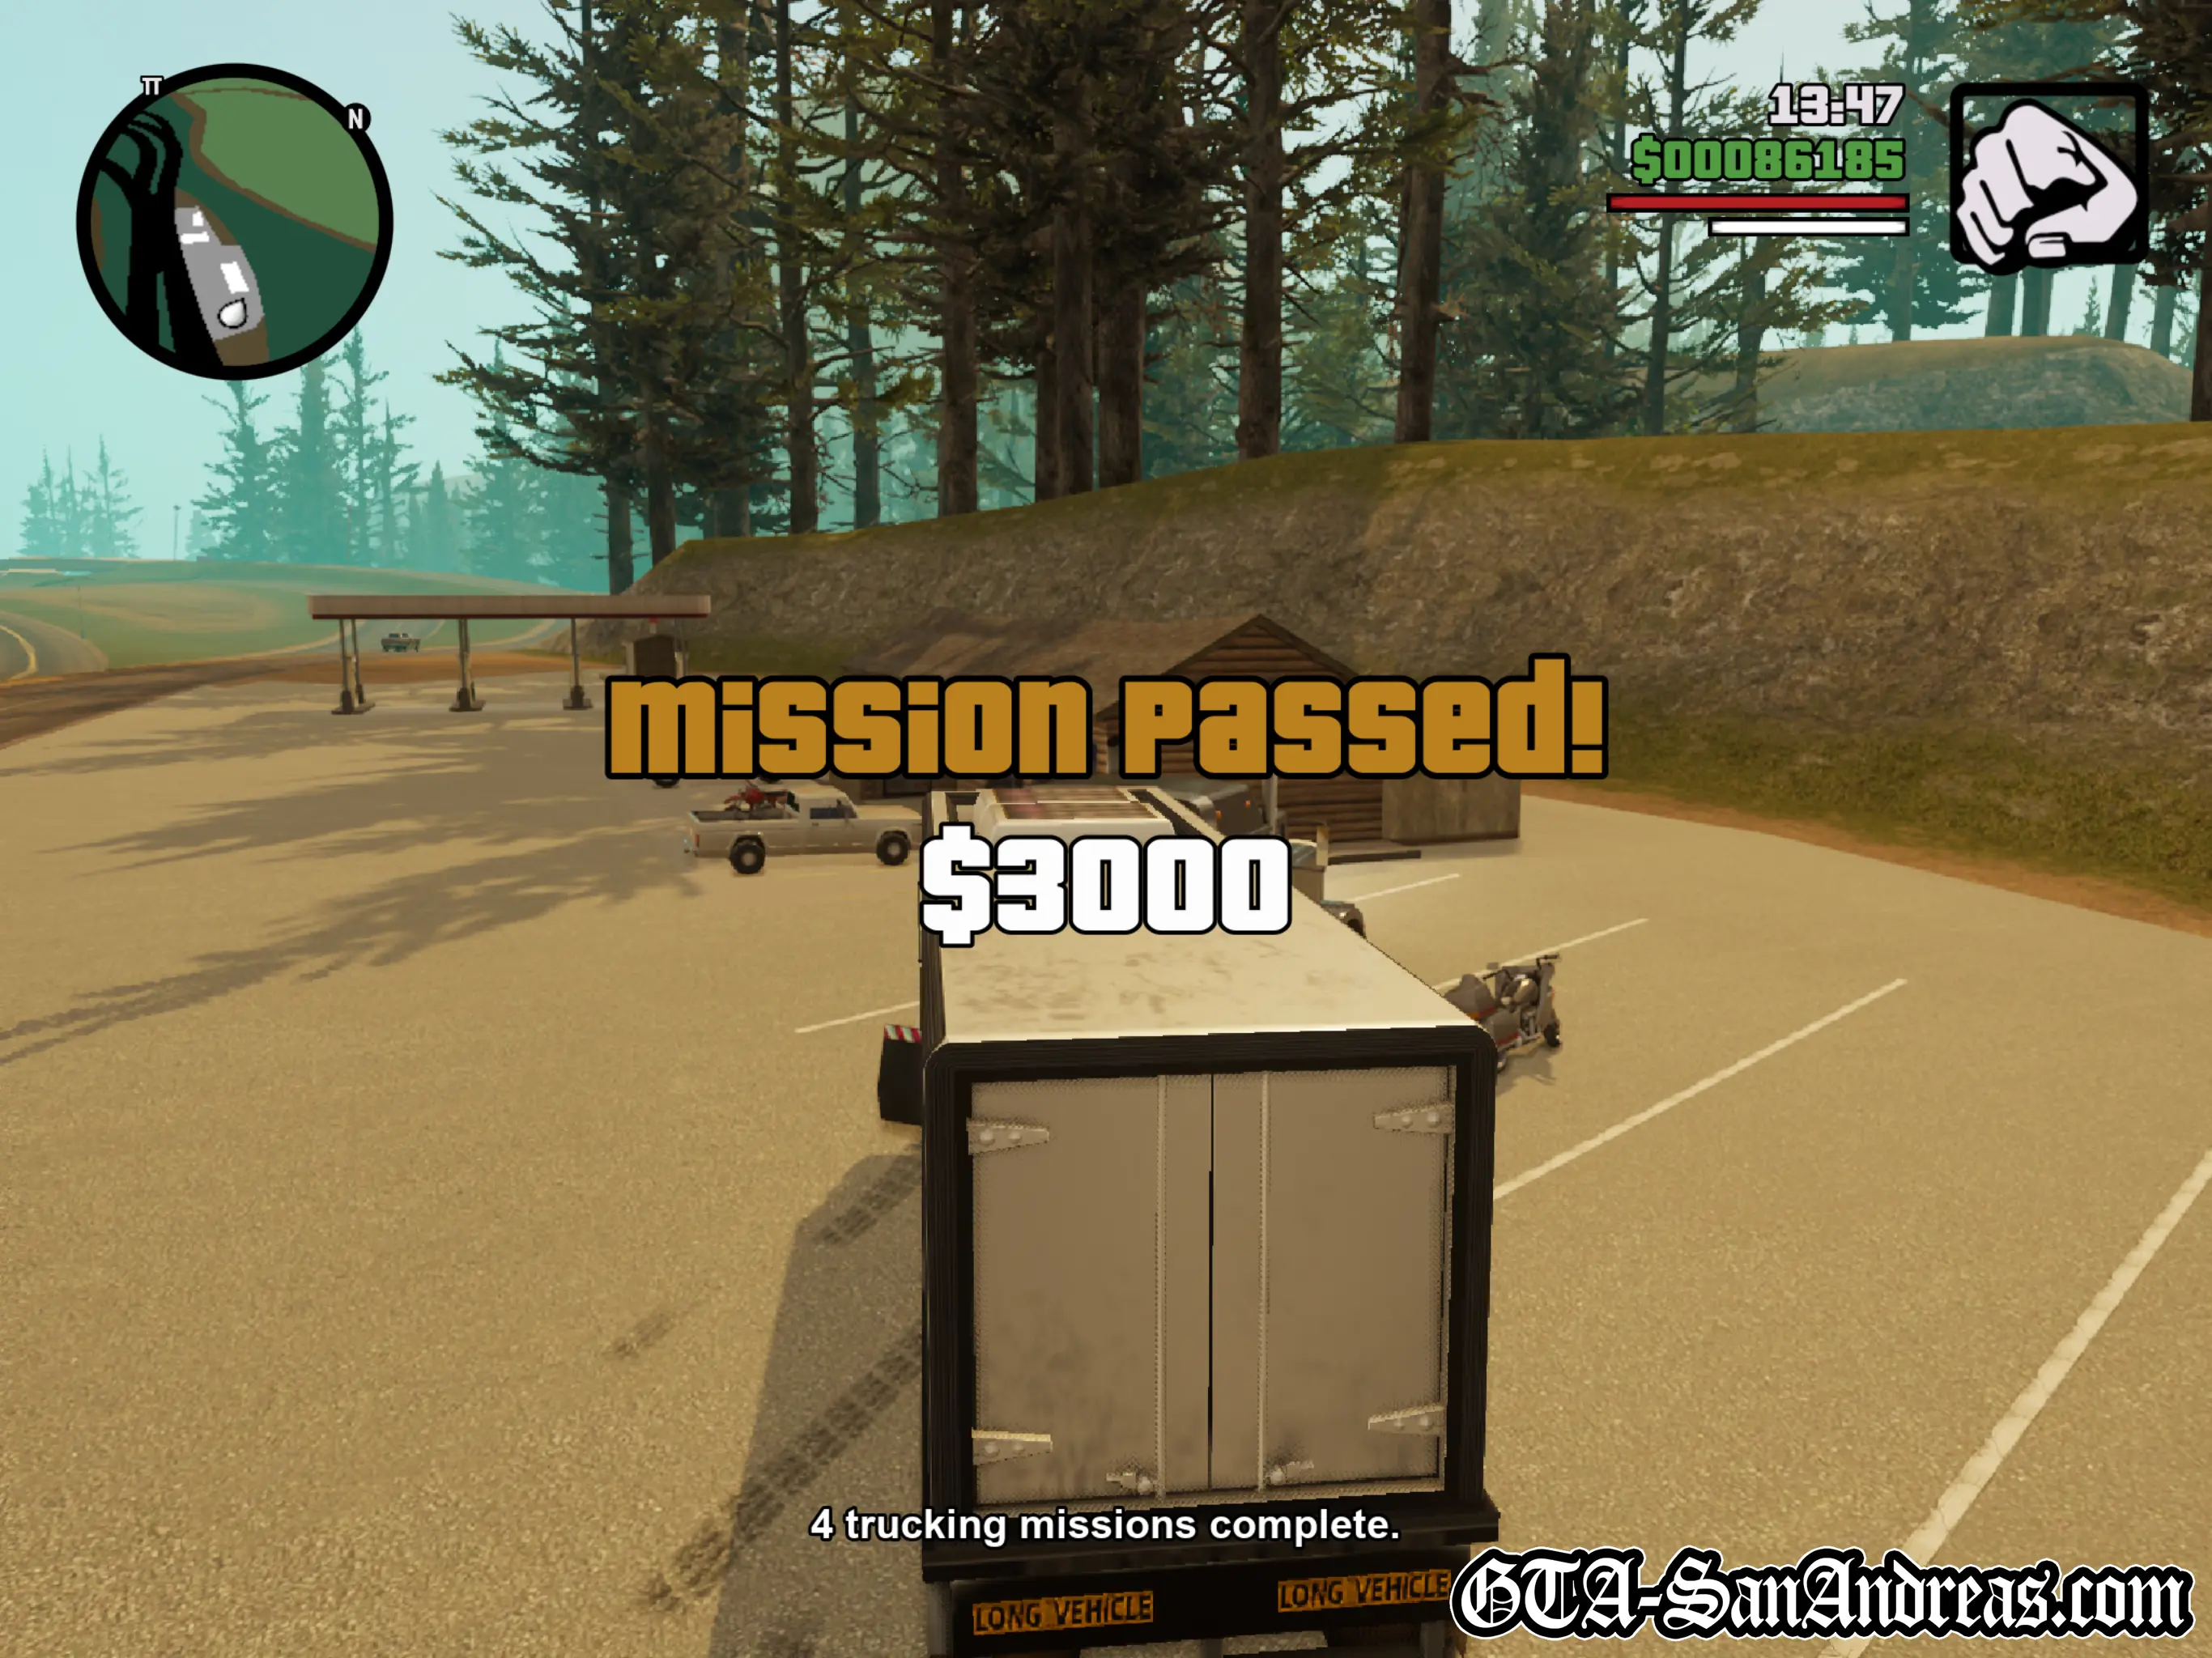
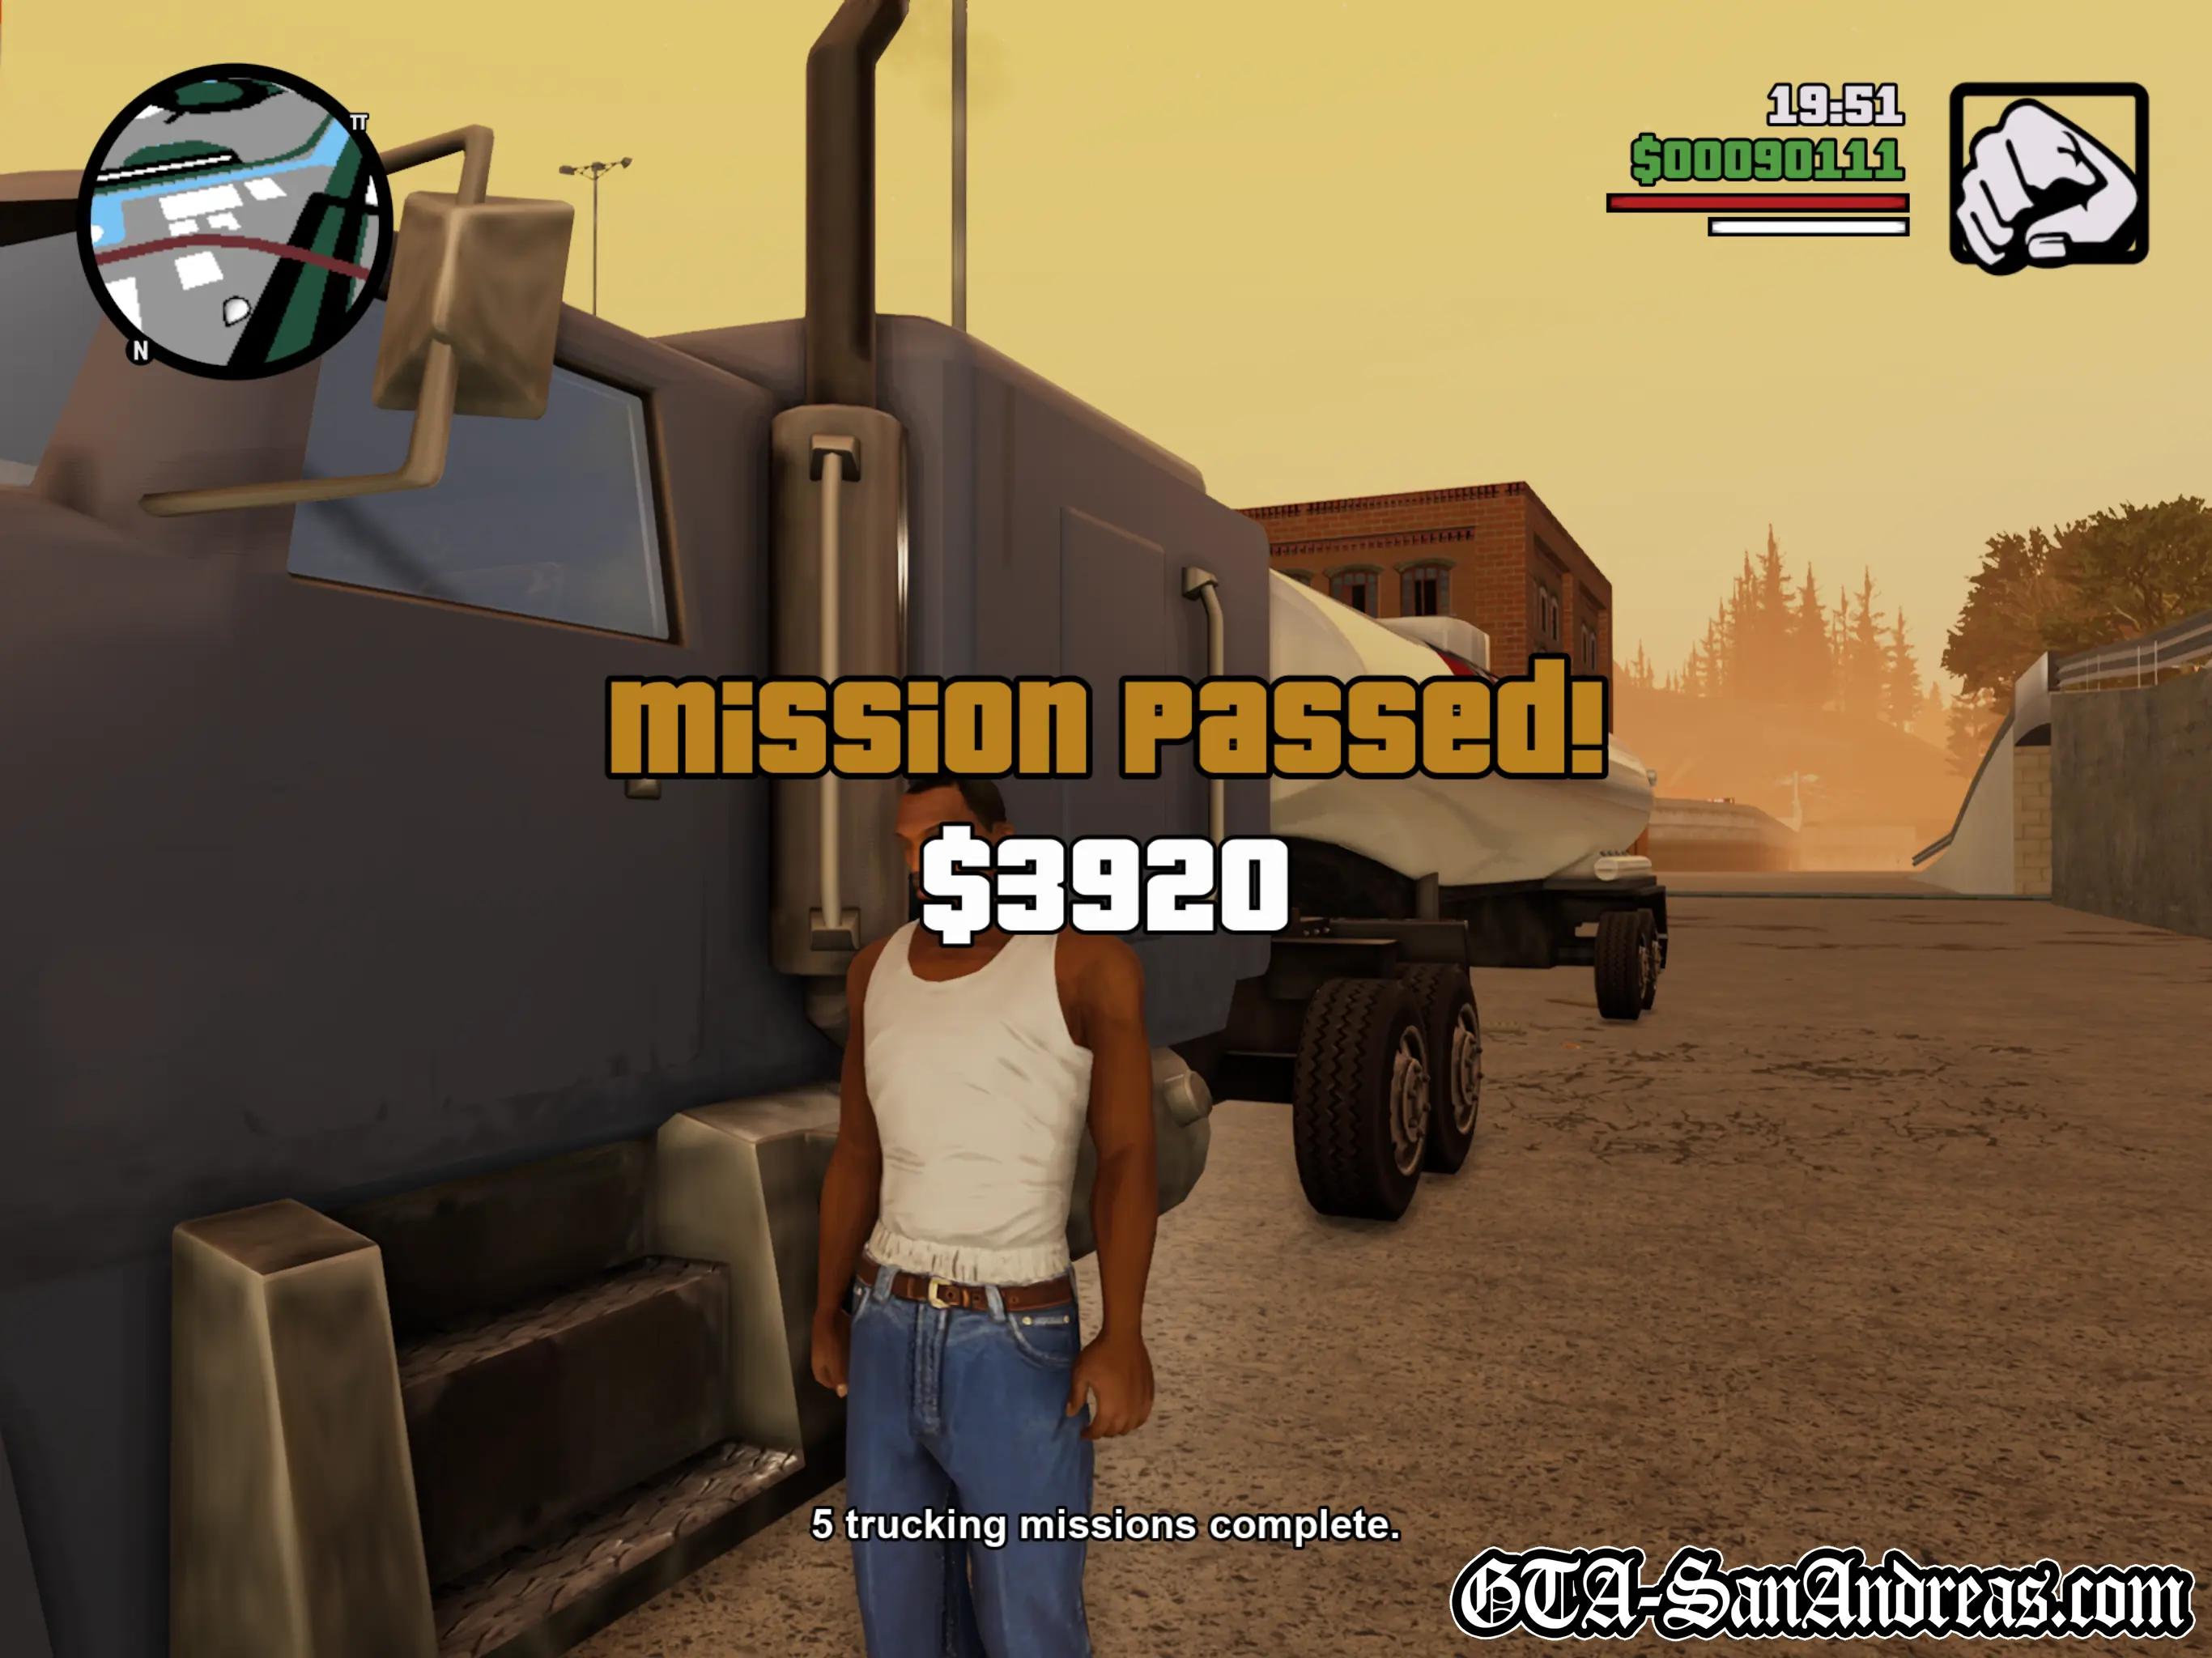
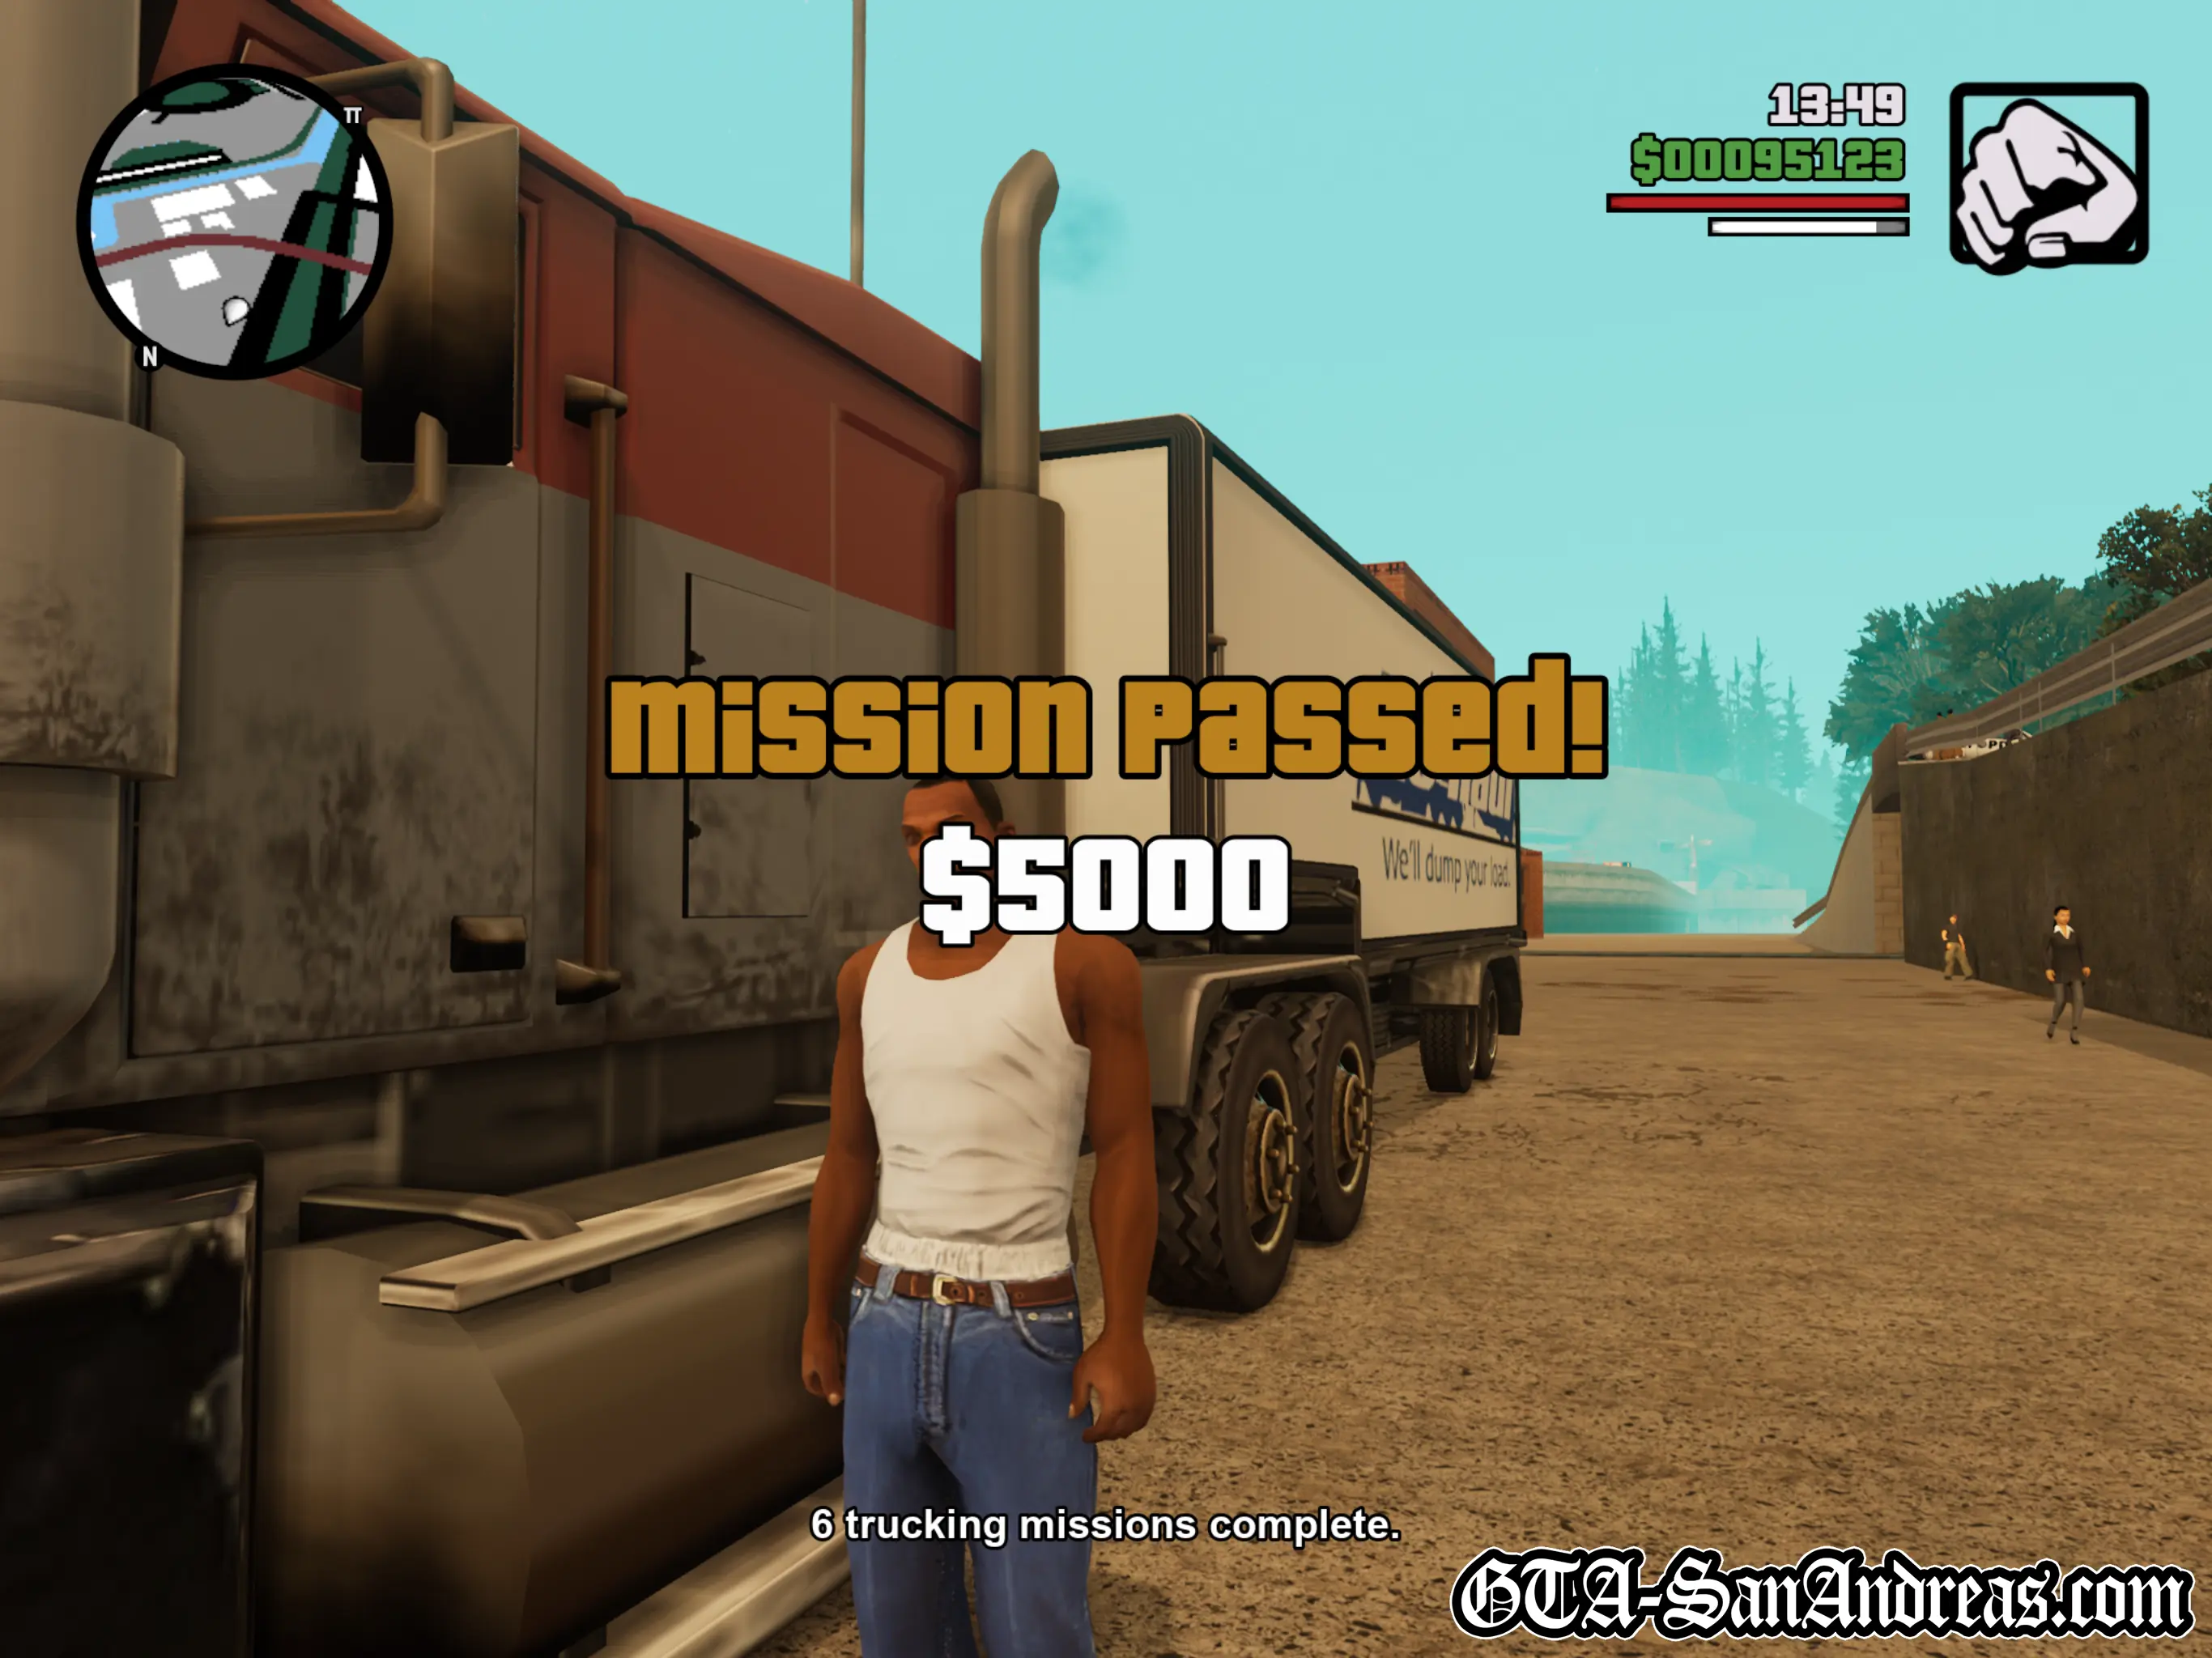
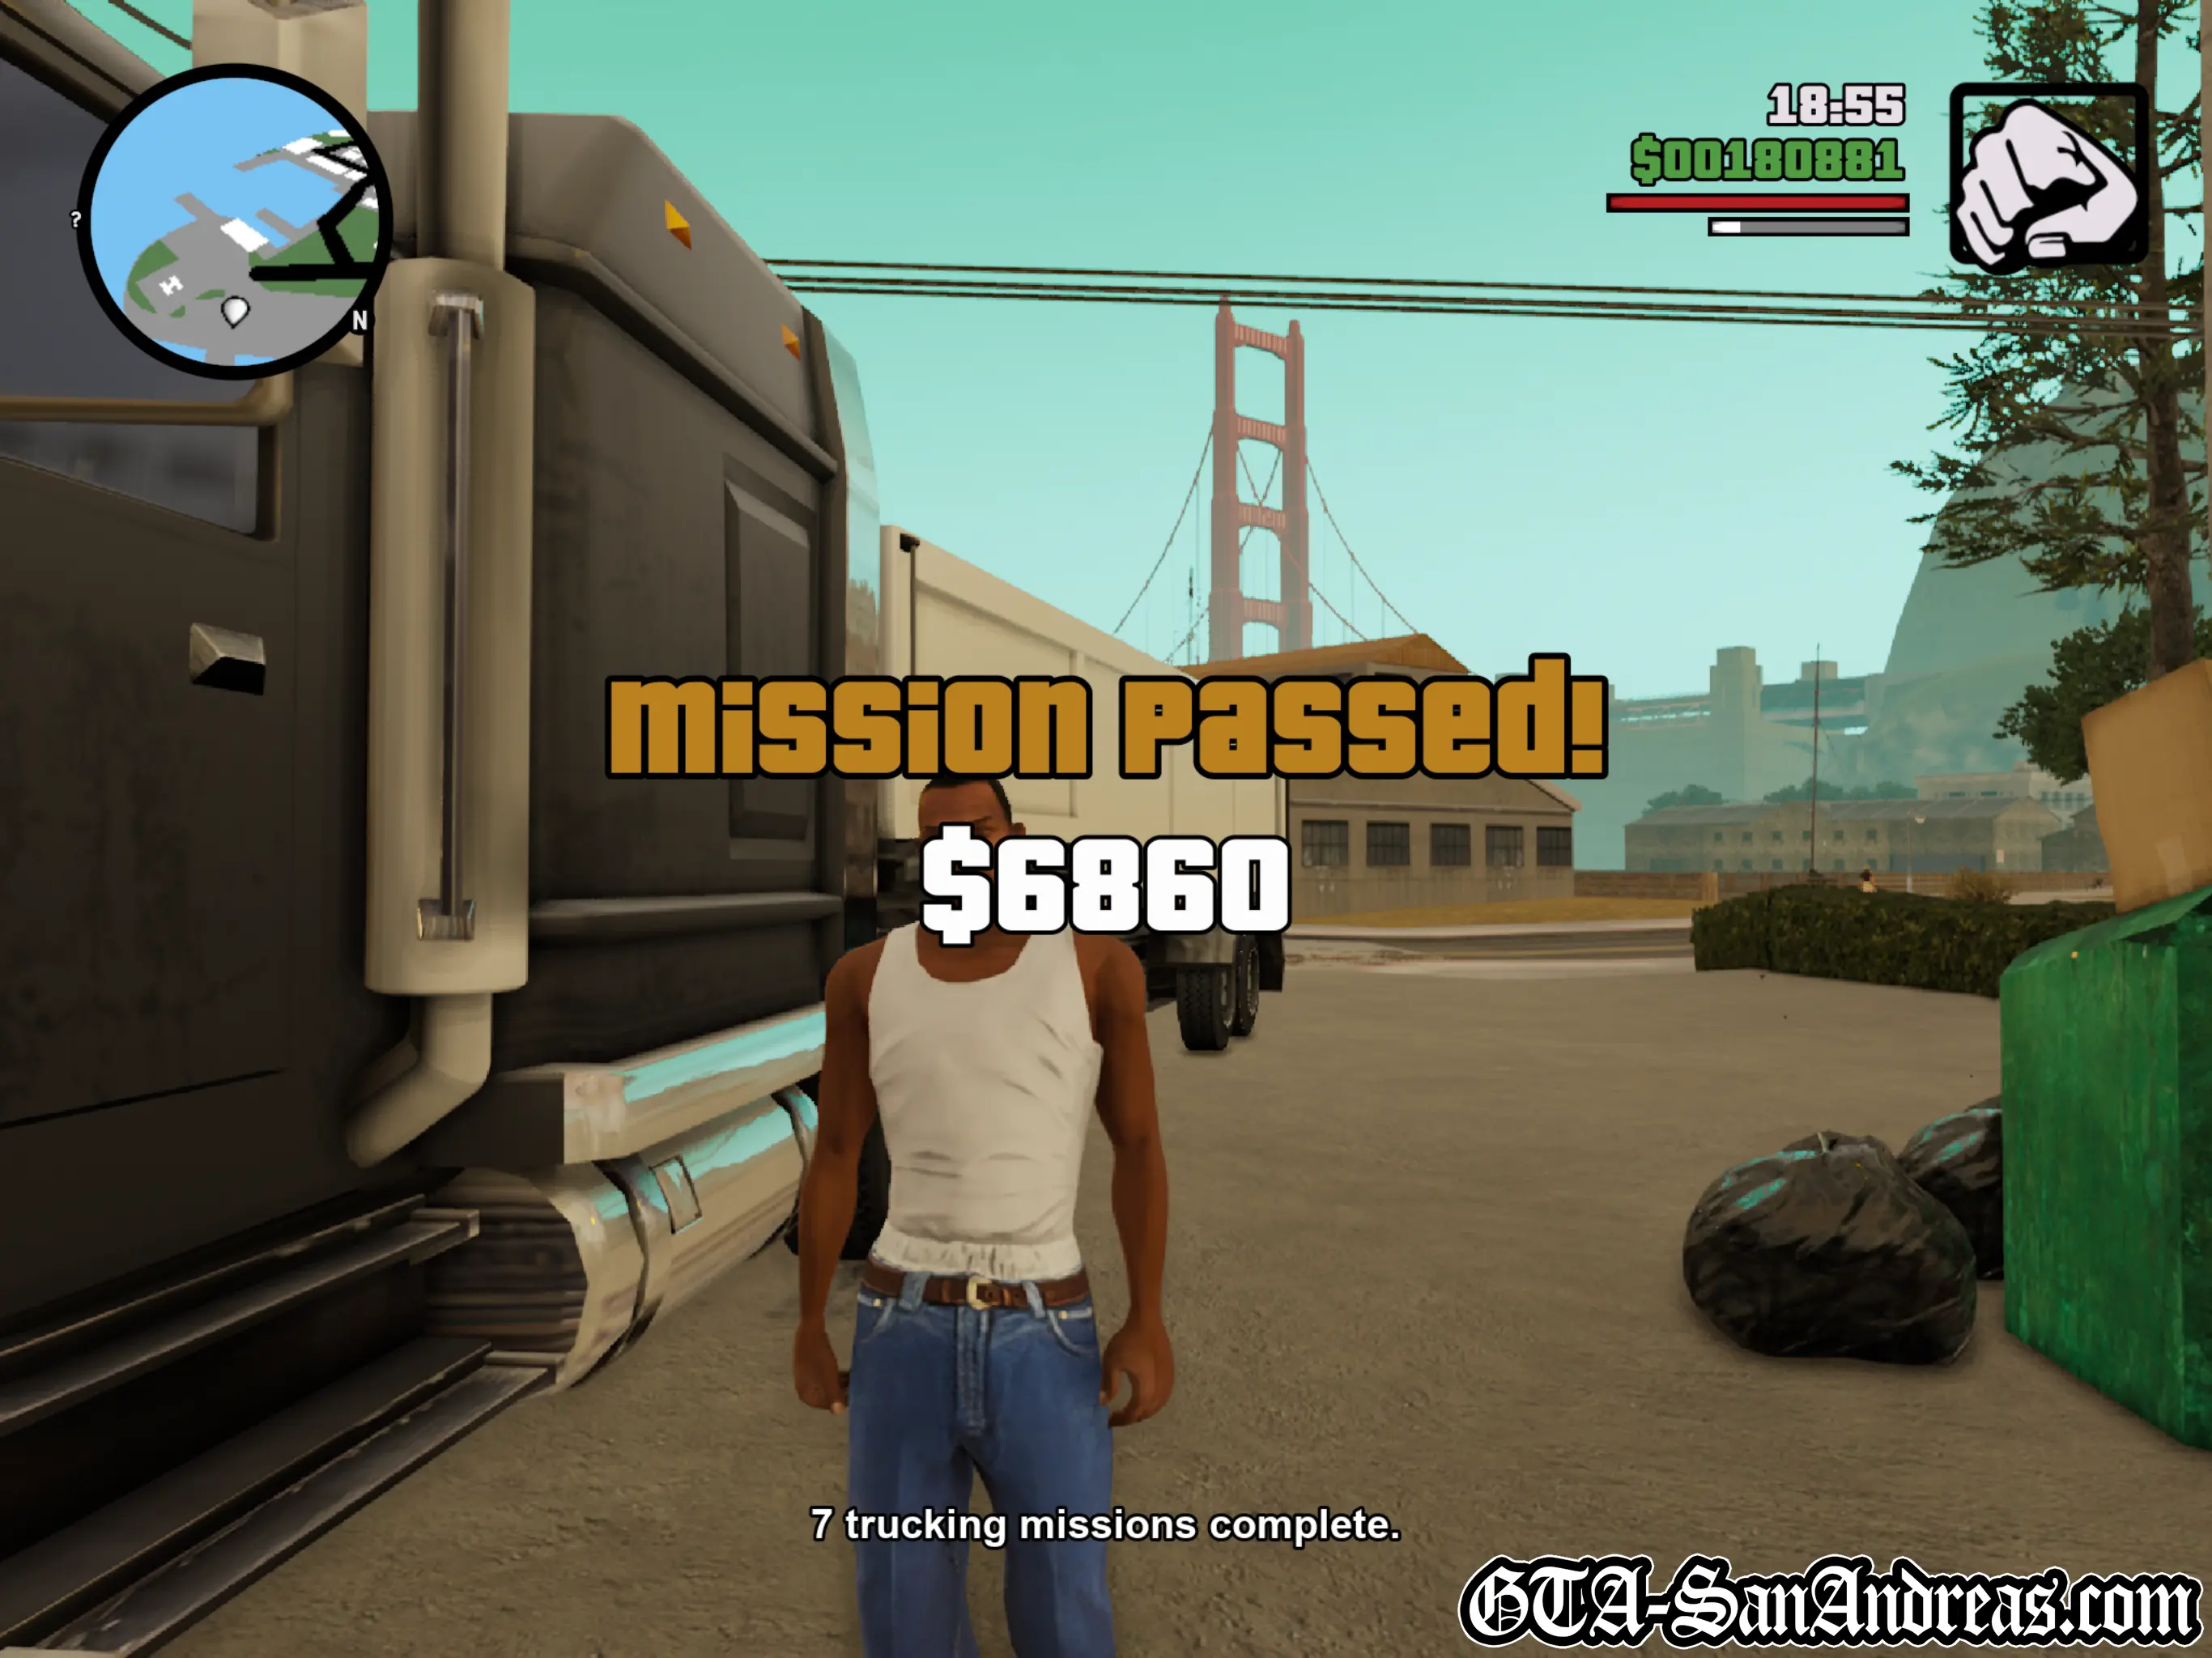
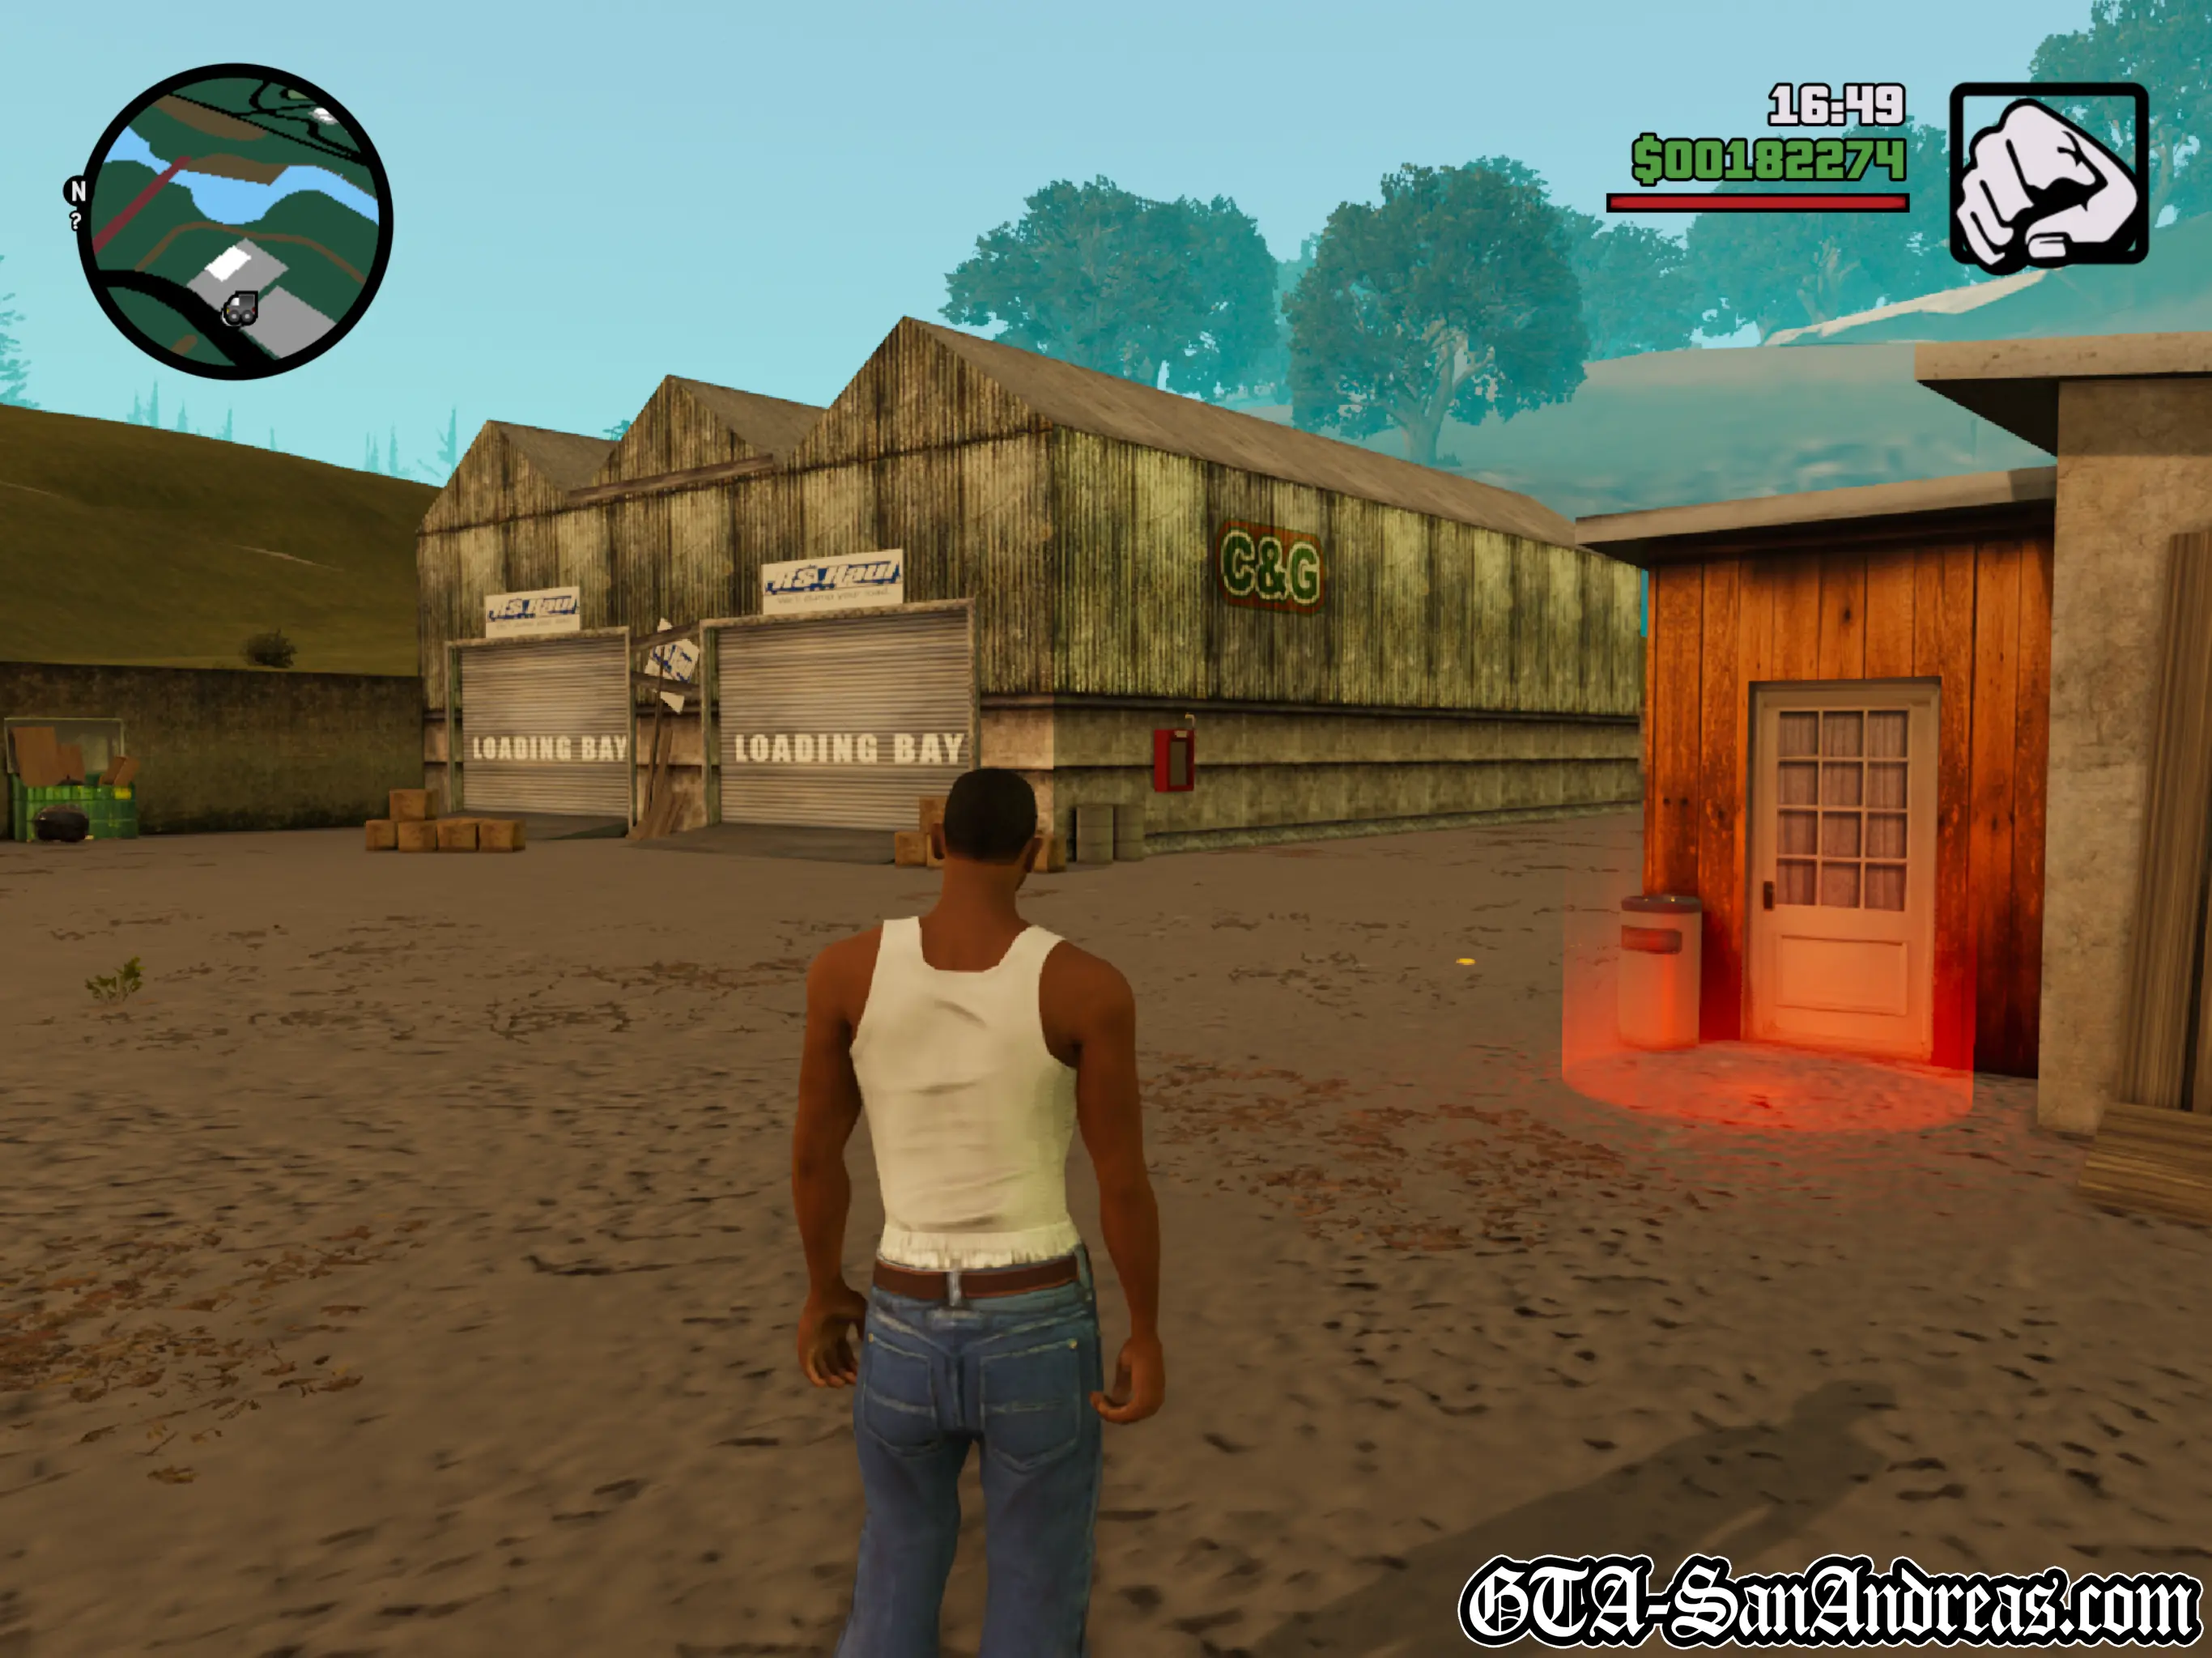
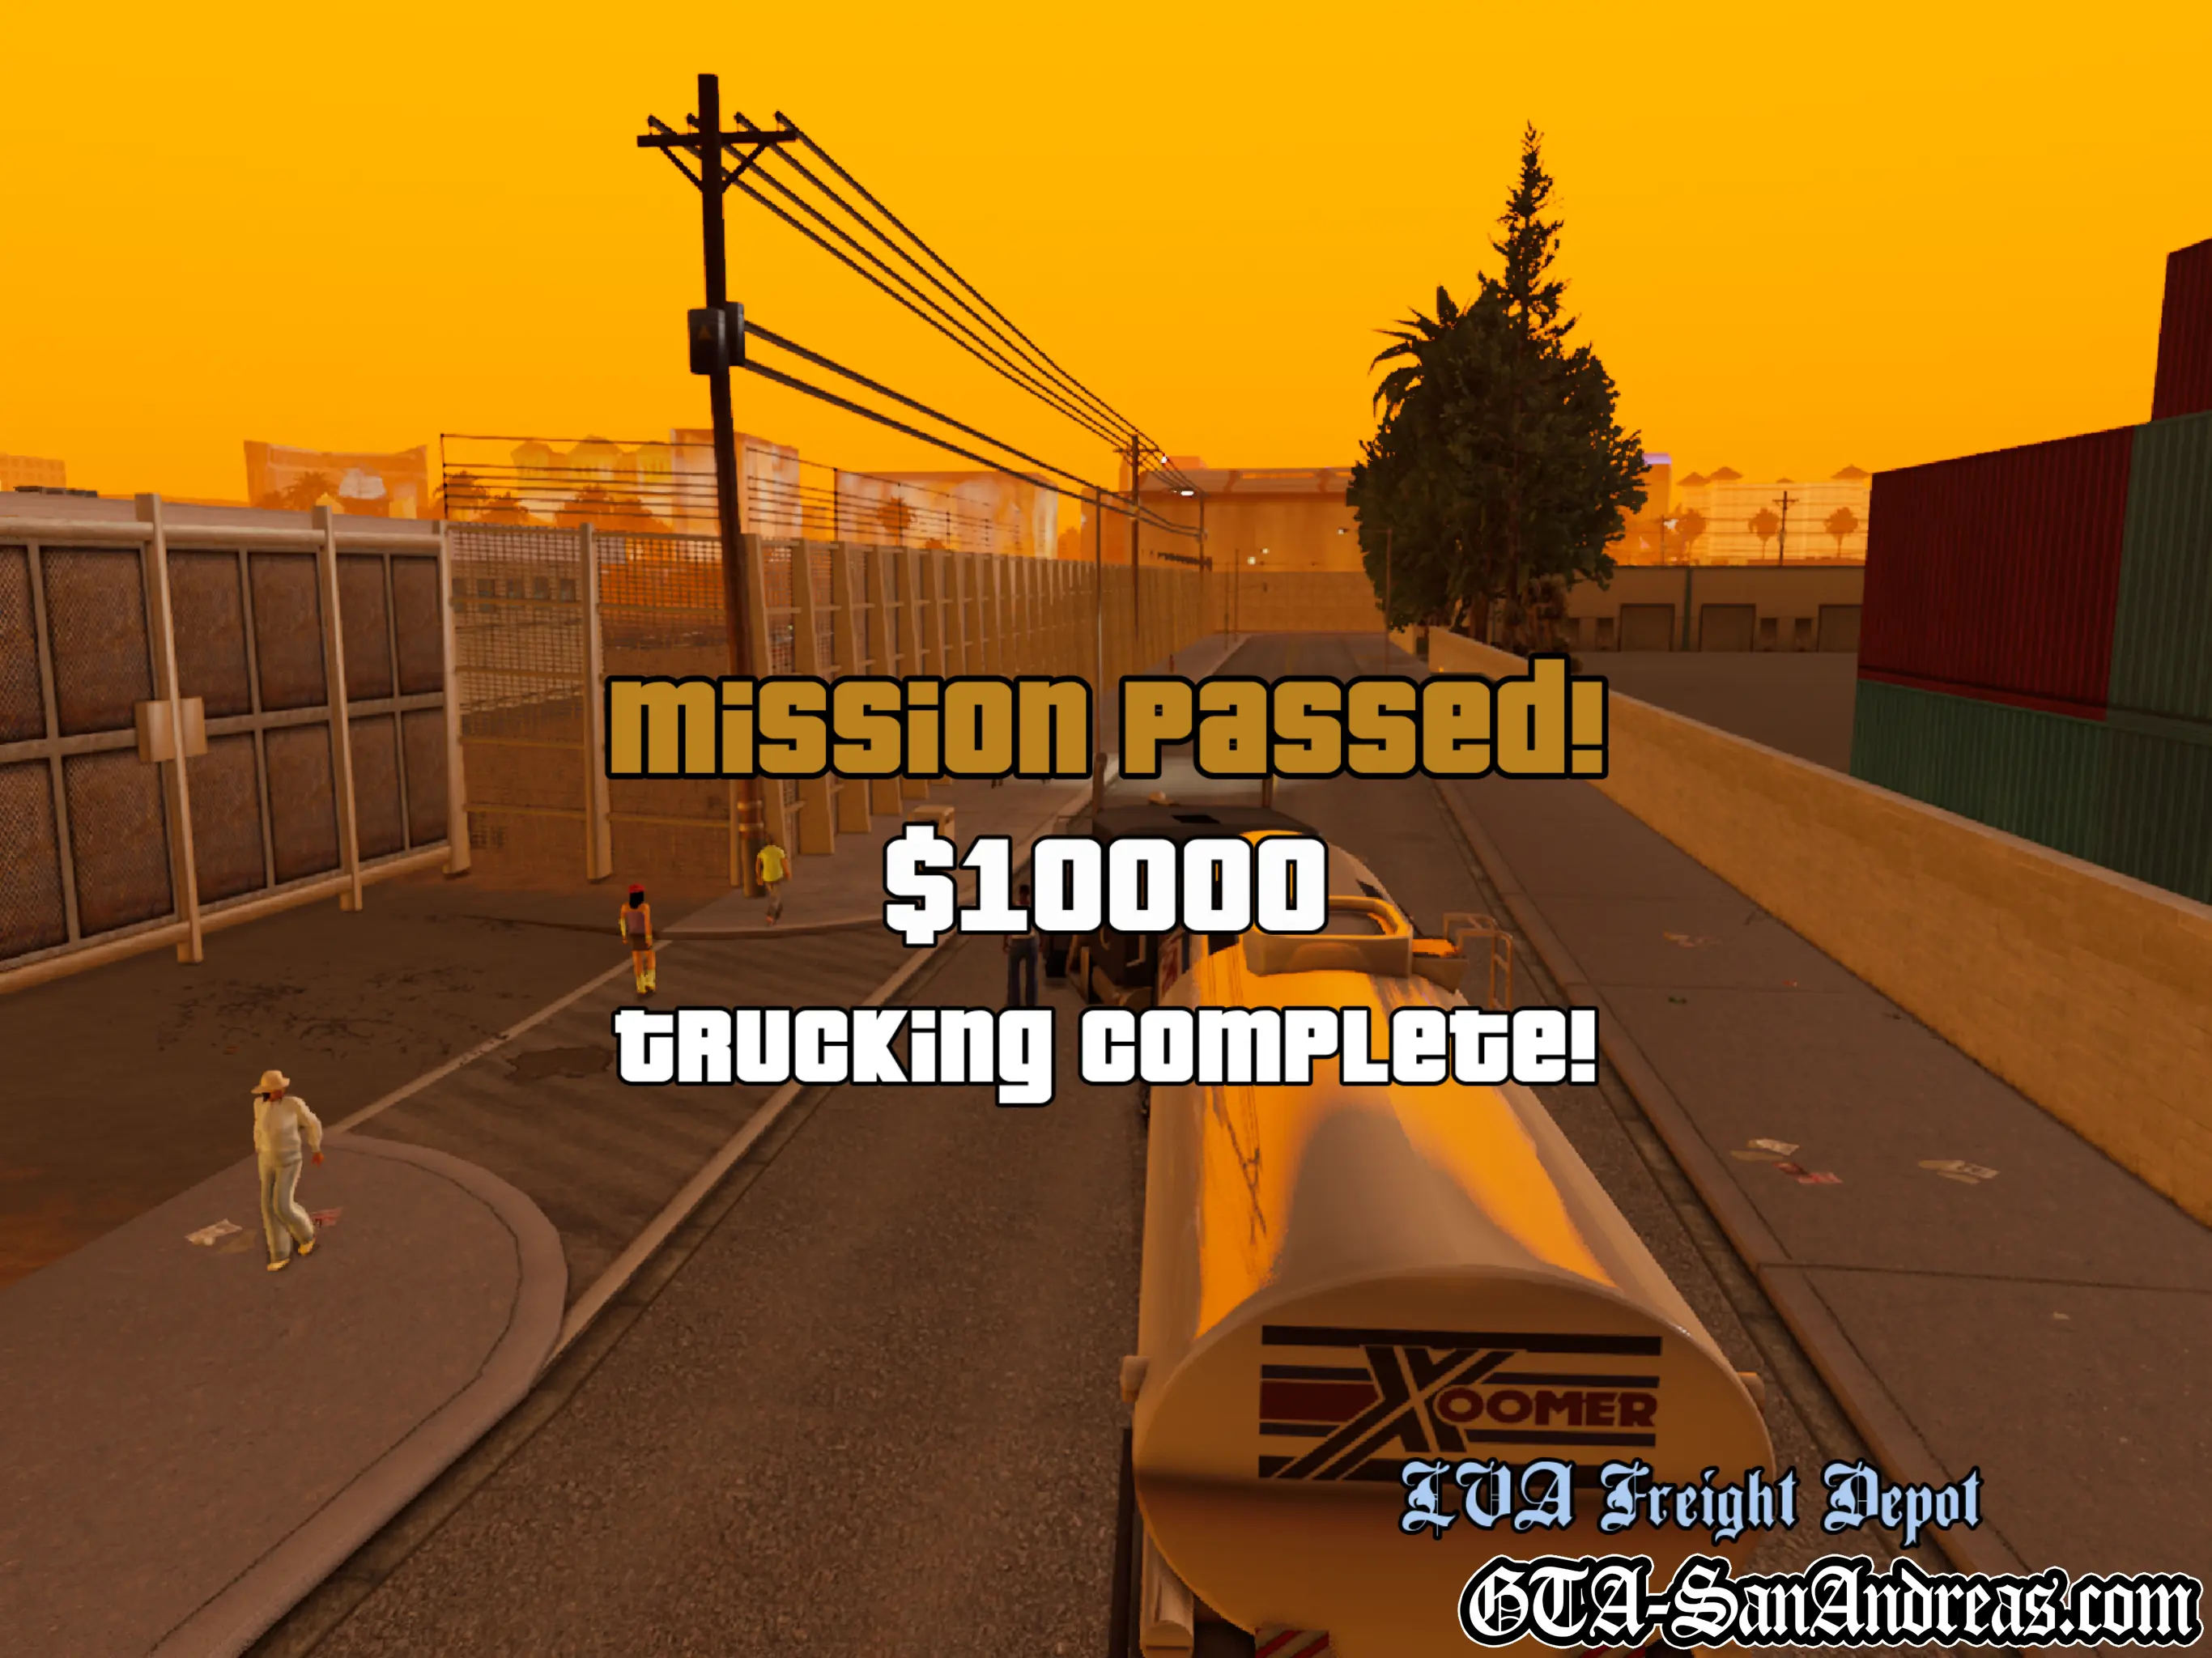
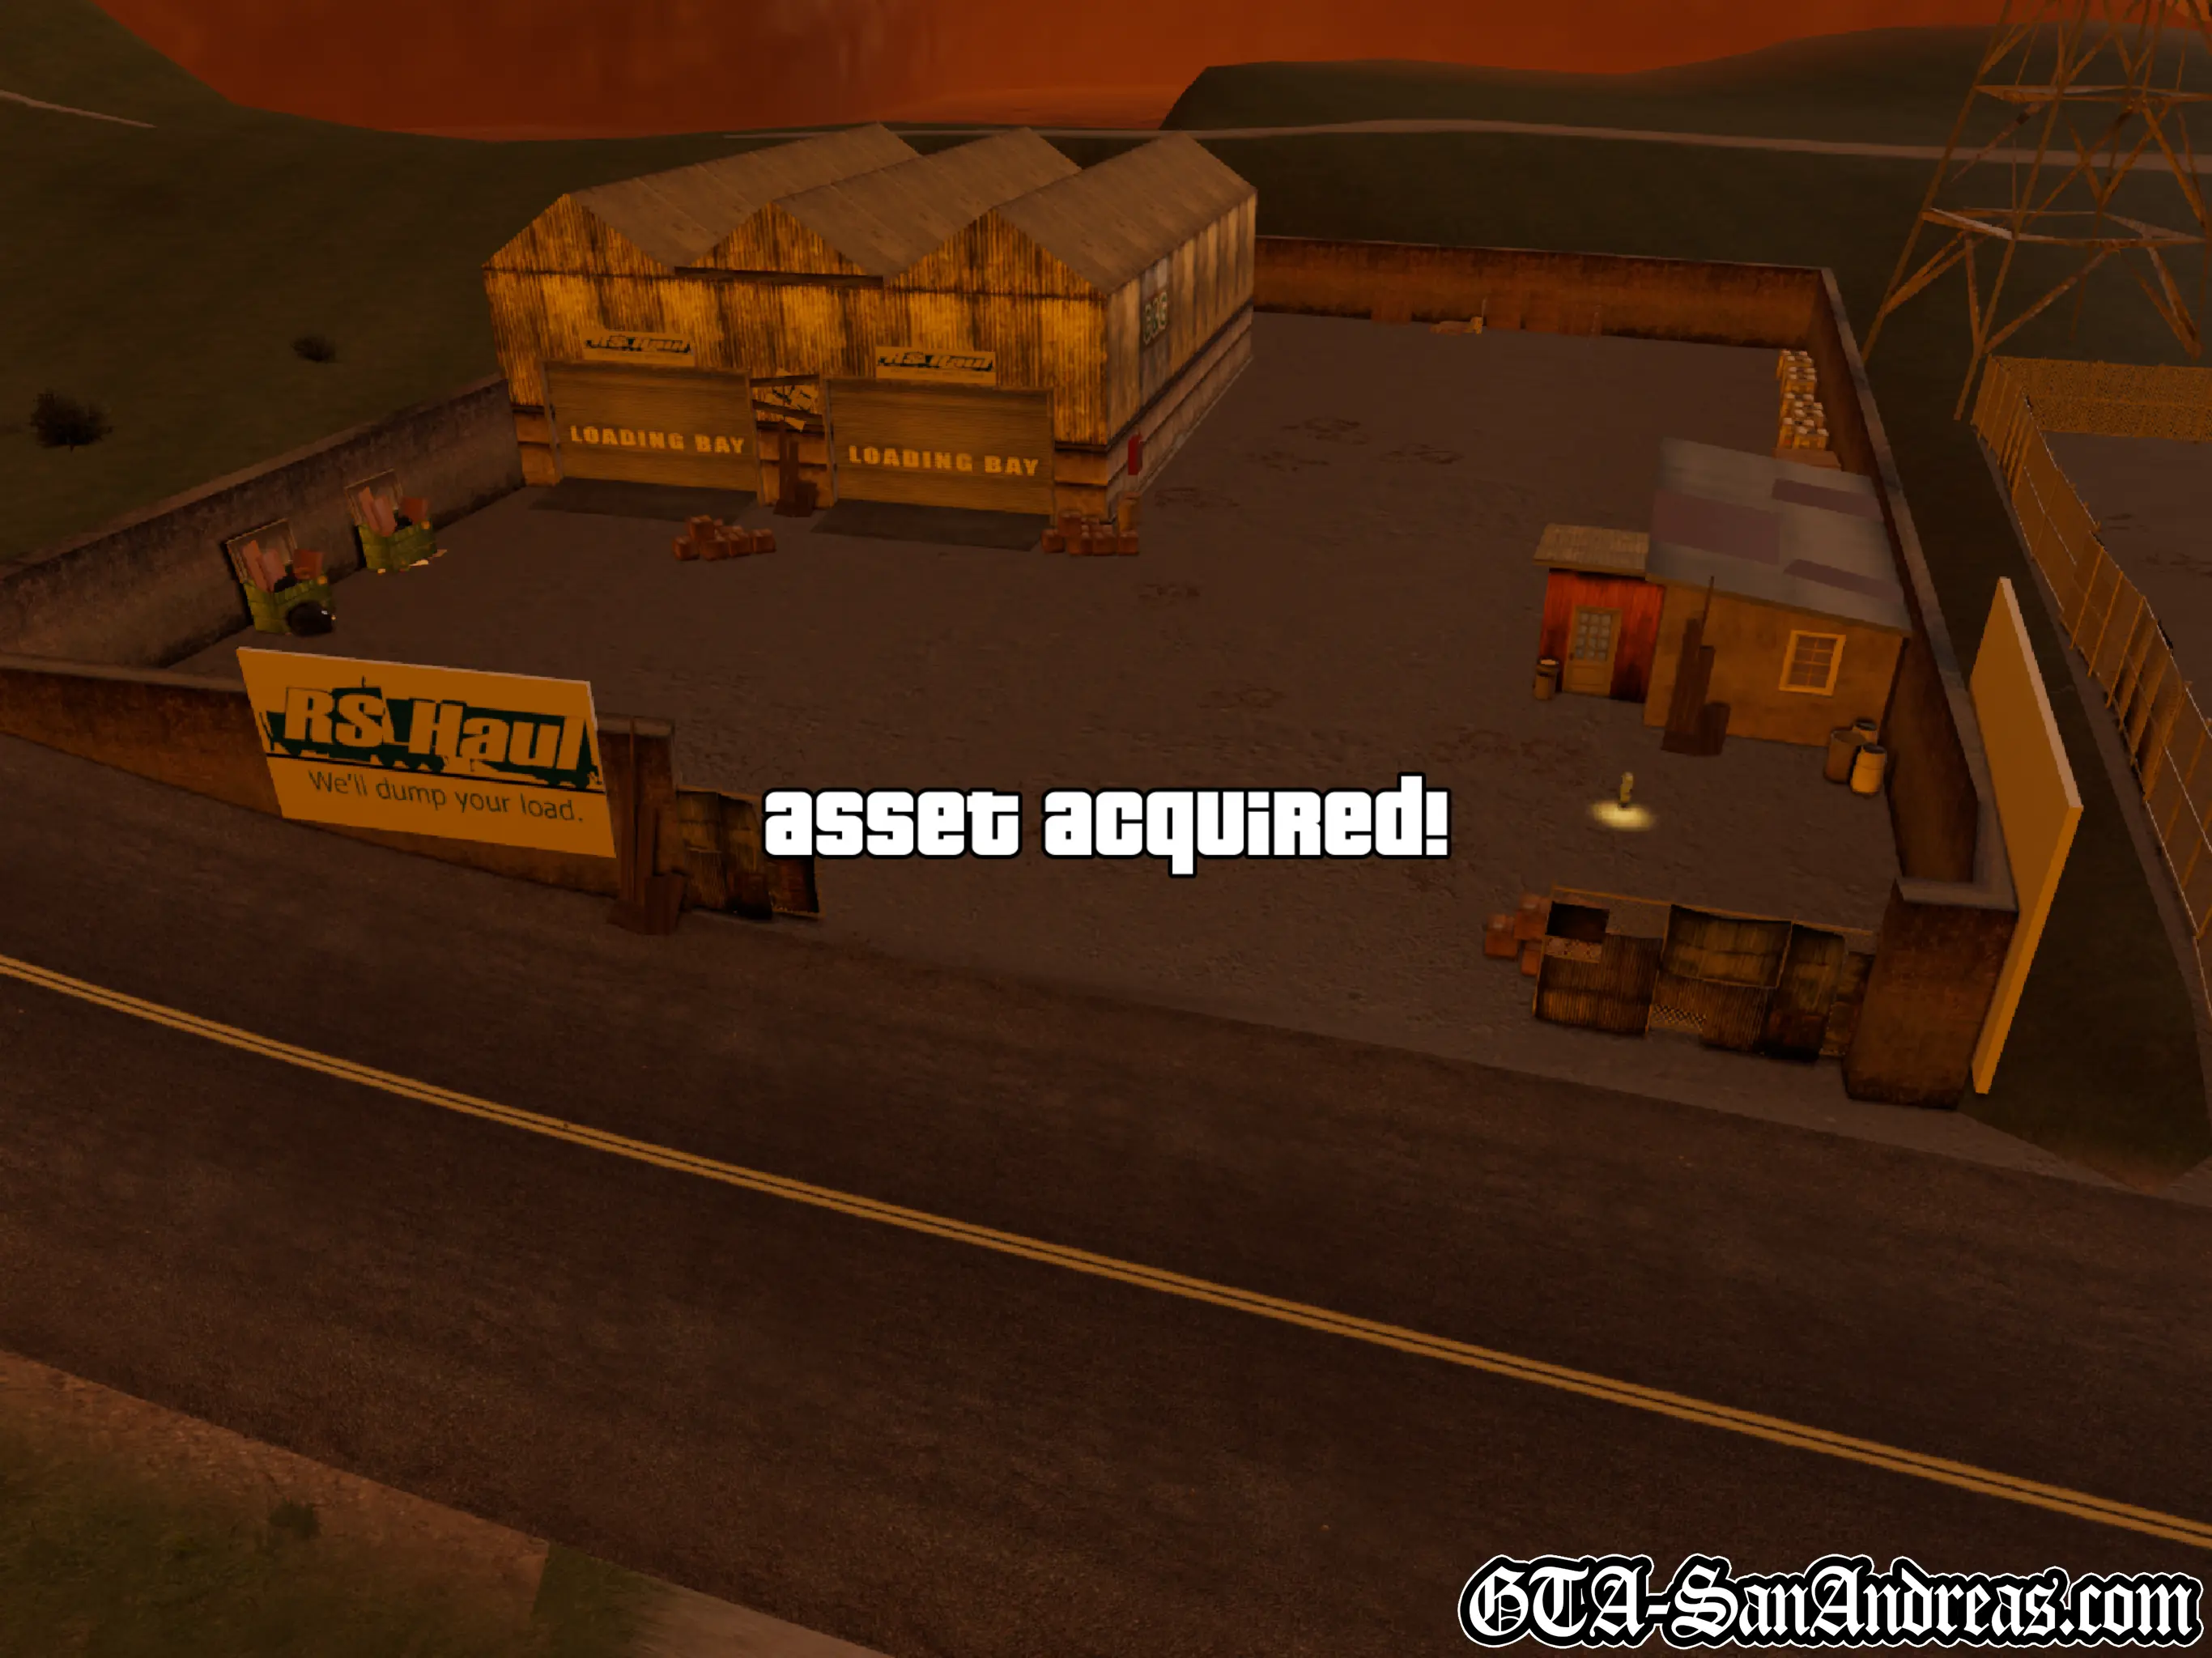
![]() RS Haul has been acquired as an asset and will generate up to $2,000 on a daily basis which you must manually collect.
RS Haul has been acquired as an asset and will generate up to $2,000 on a daily basis which you must manually collect.
Screenshots
Original PS2 Screenshots
San Fierro
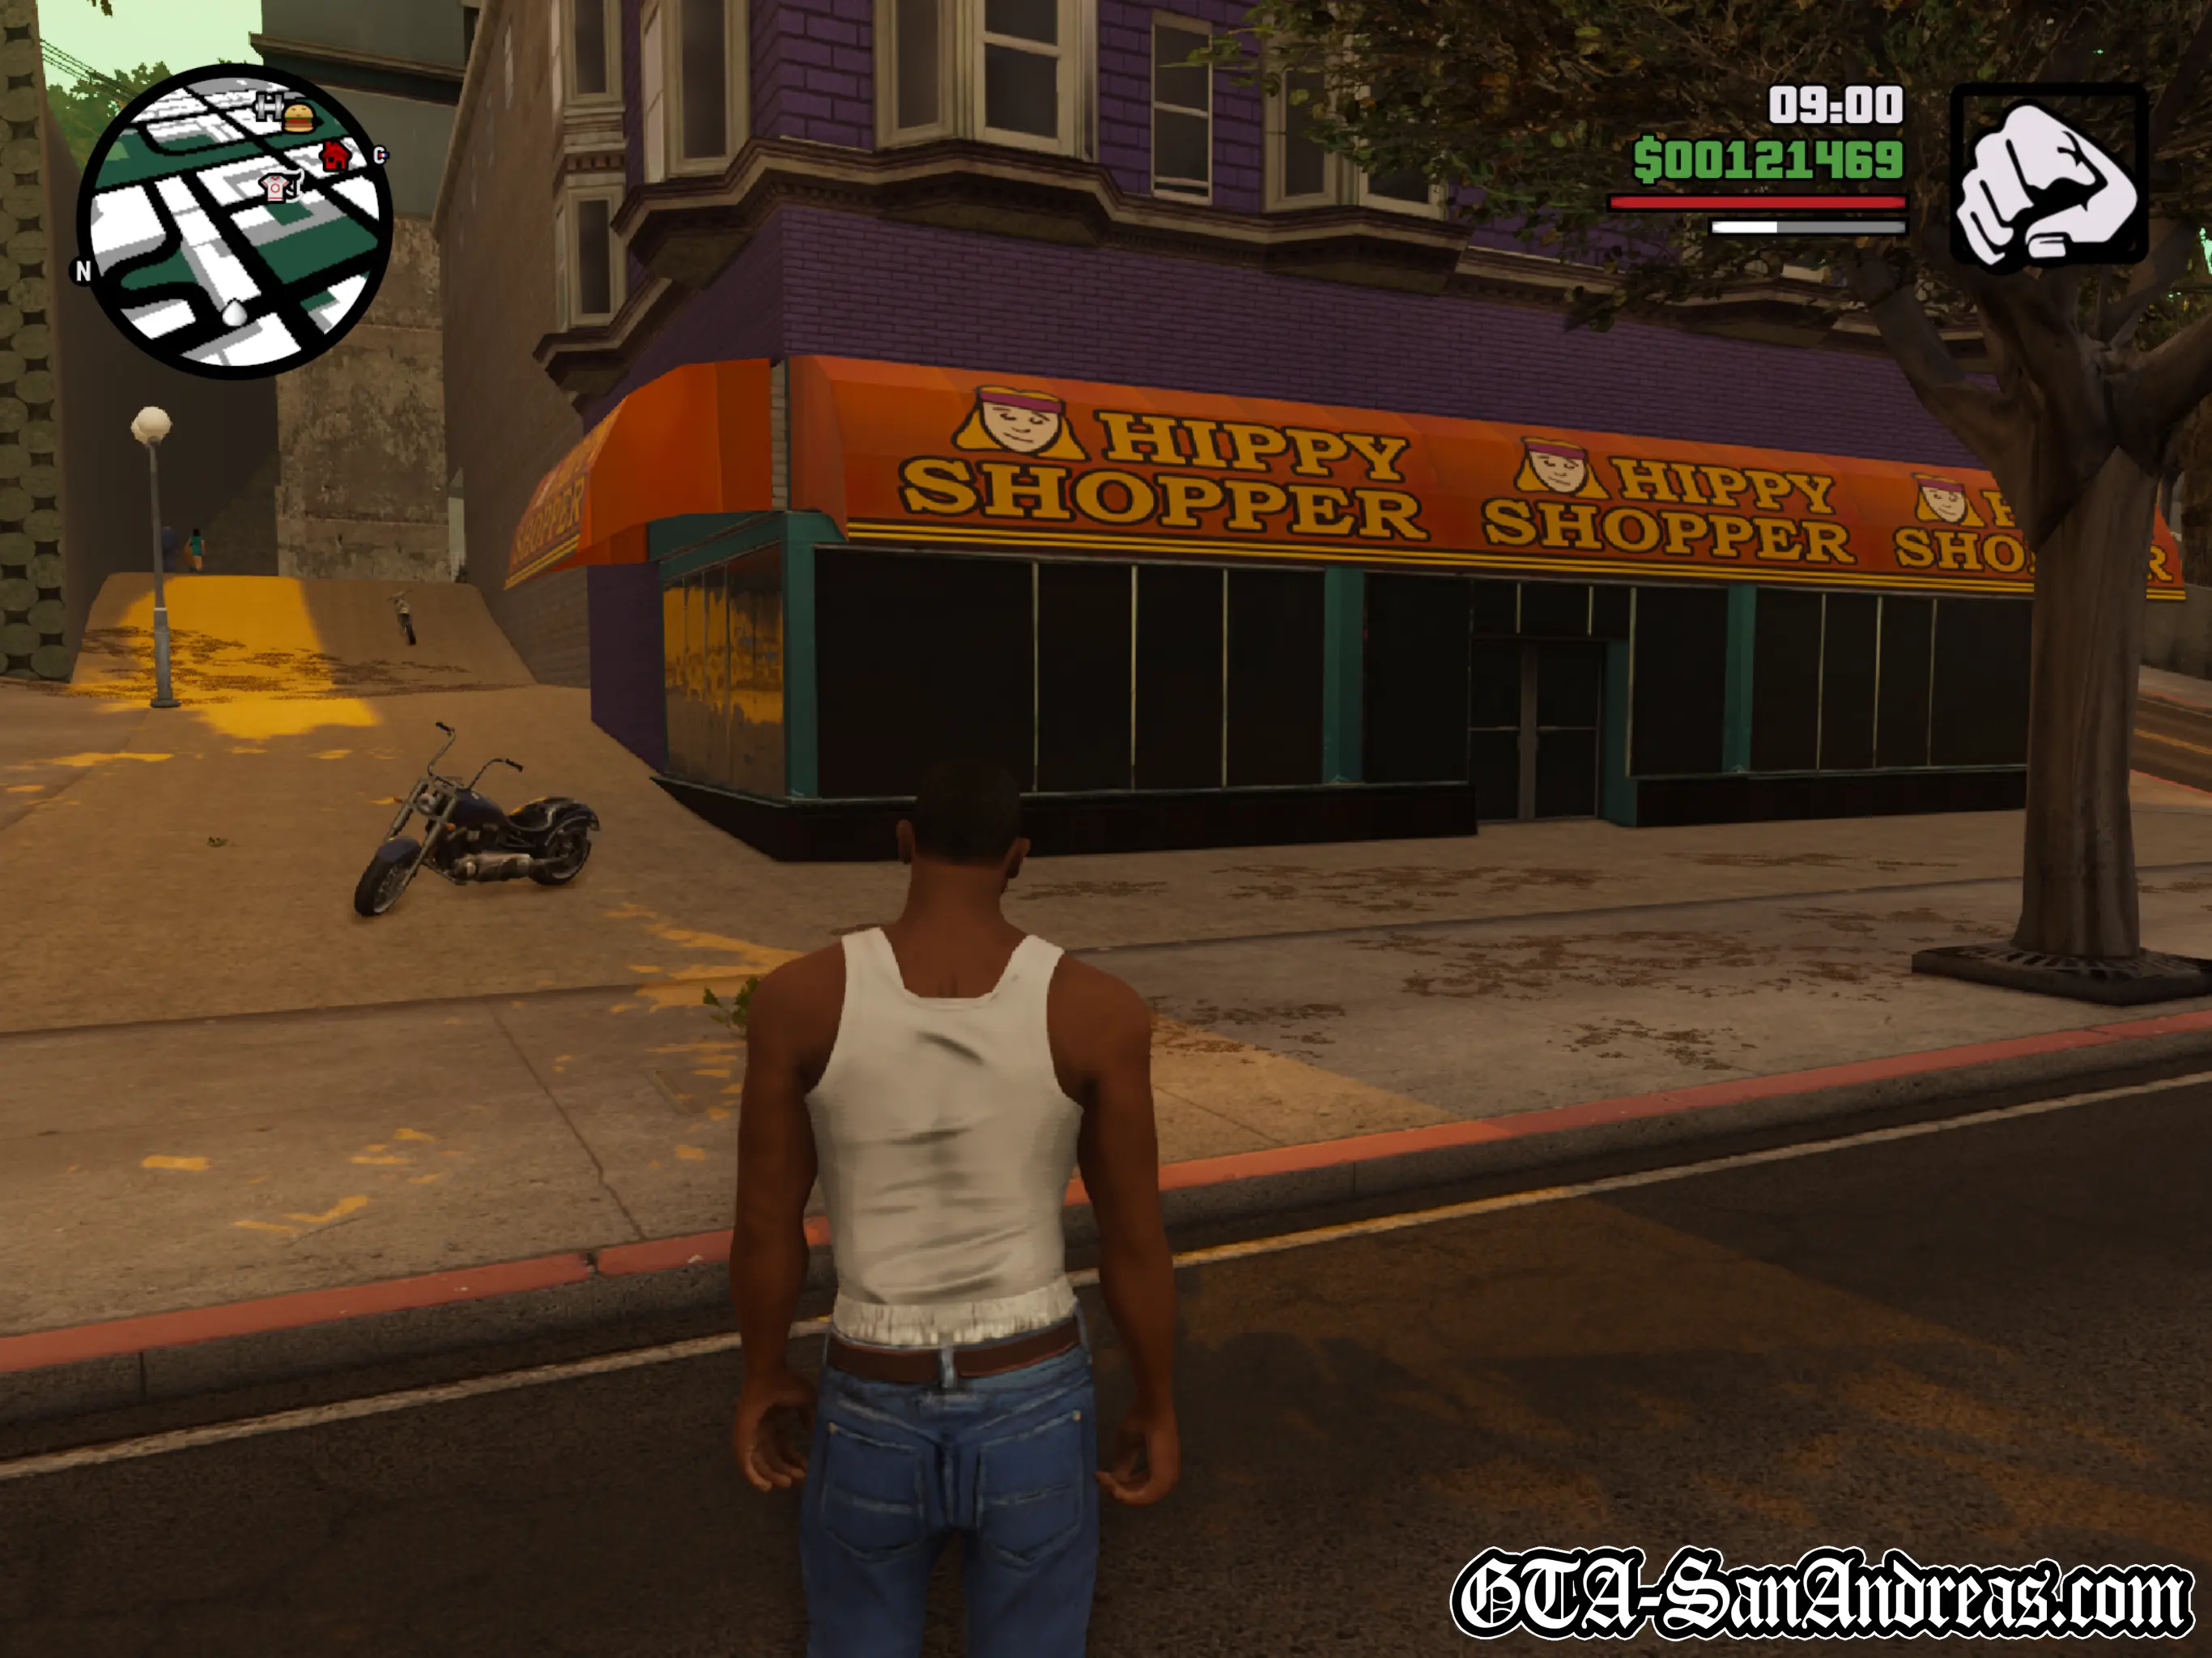
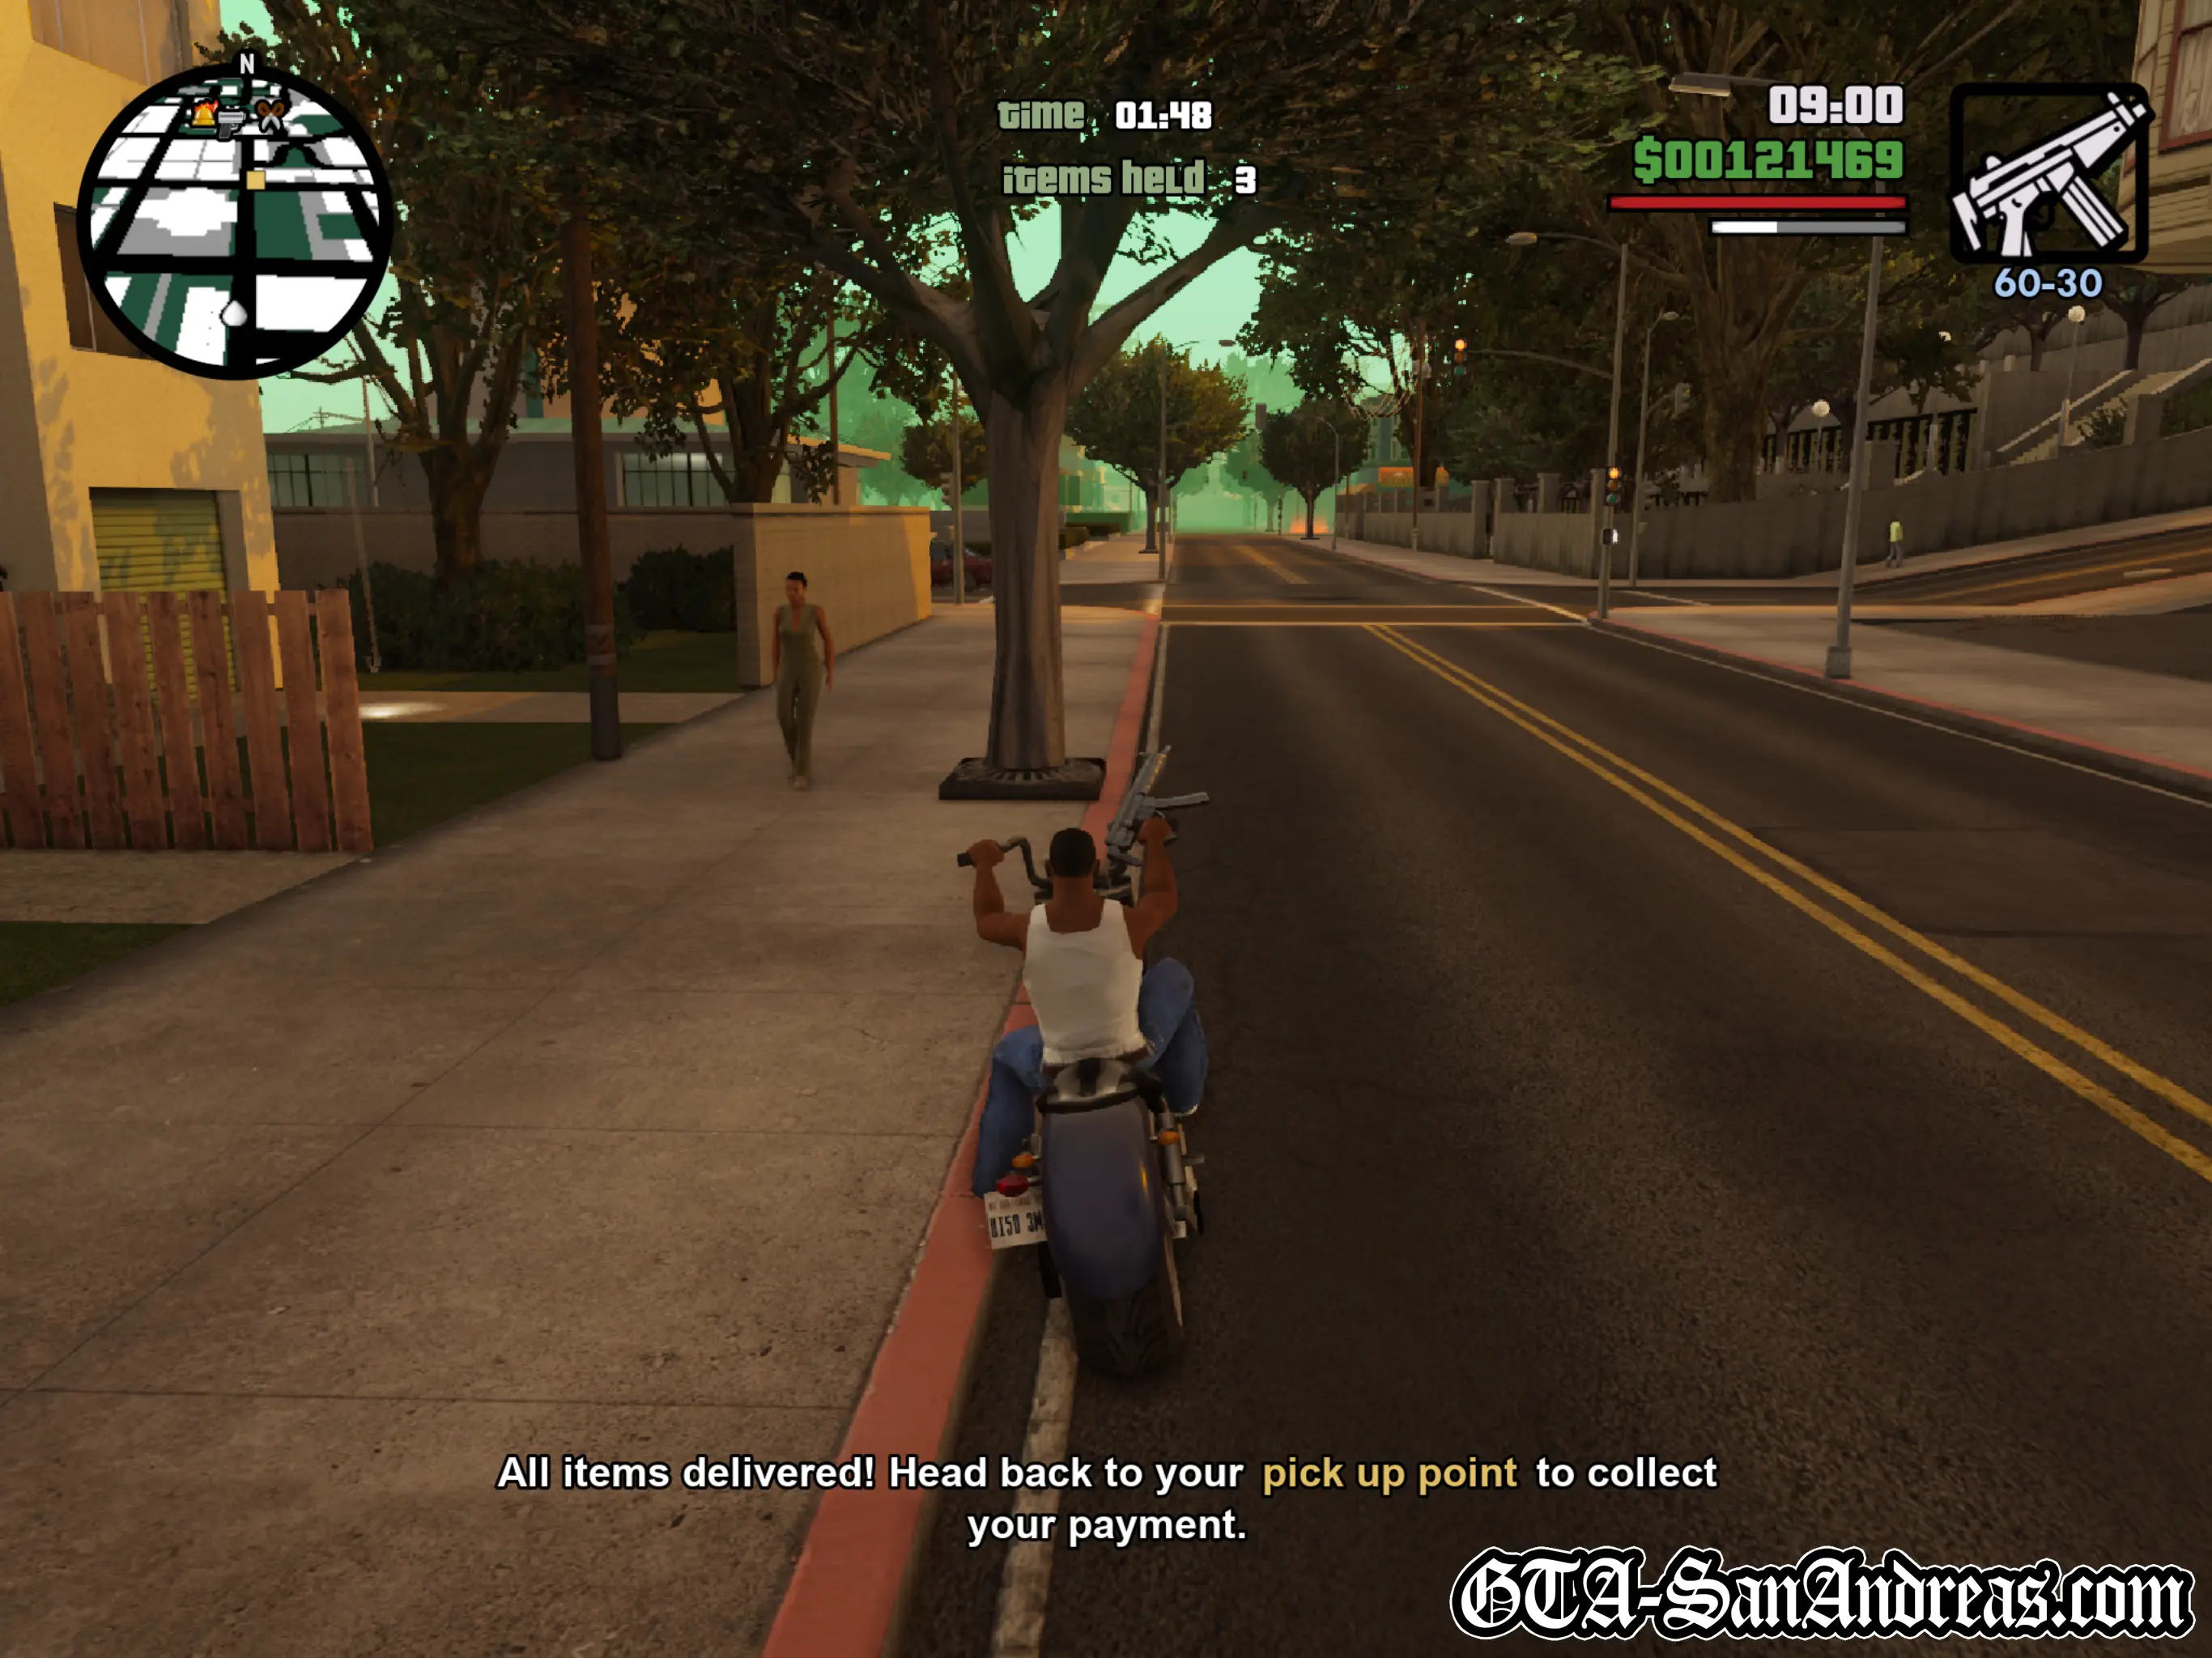
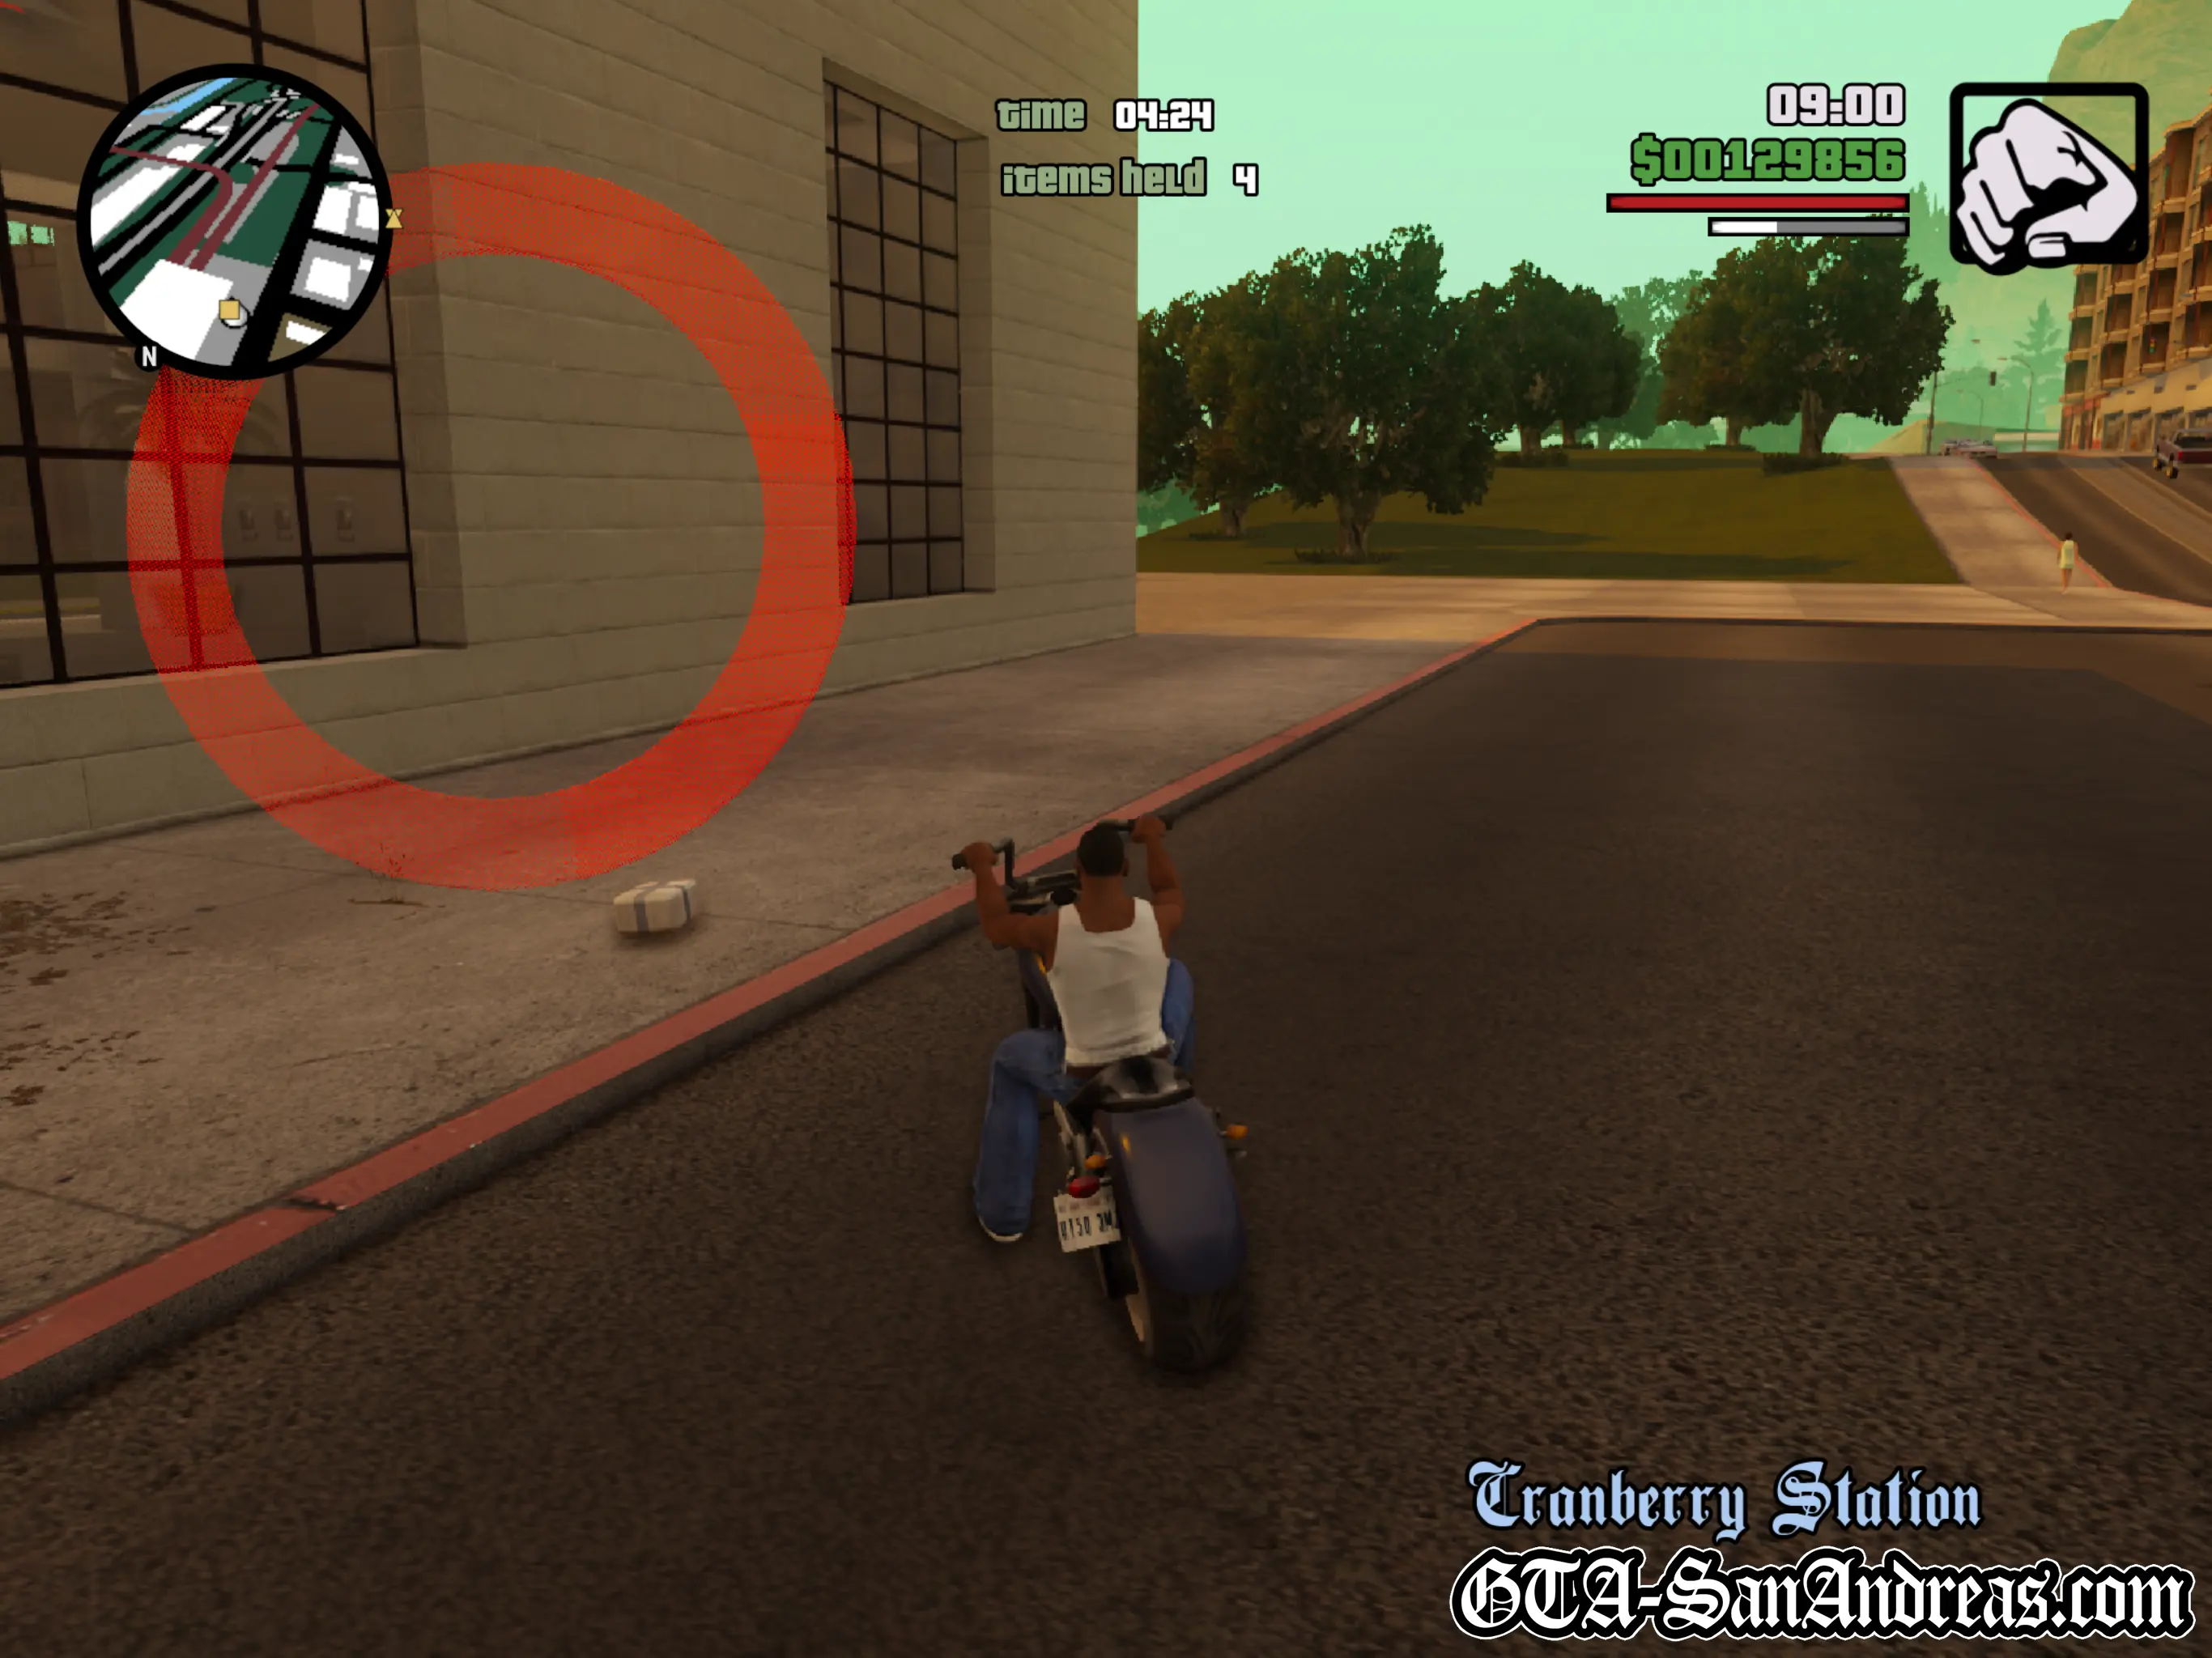
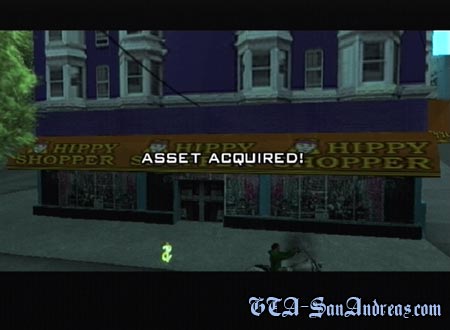
Courier Mission - Hippy Shopper
Each city has a hidden Courier Mission which involves making deliveries for a business, very similar to the Pizza Delivery missions from GTA Vice City. These are technically hidden challenges, however they'll reward the business as an asset on completion.
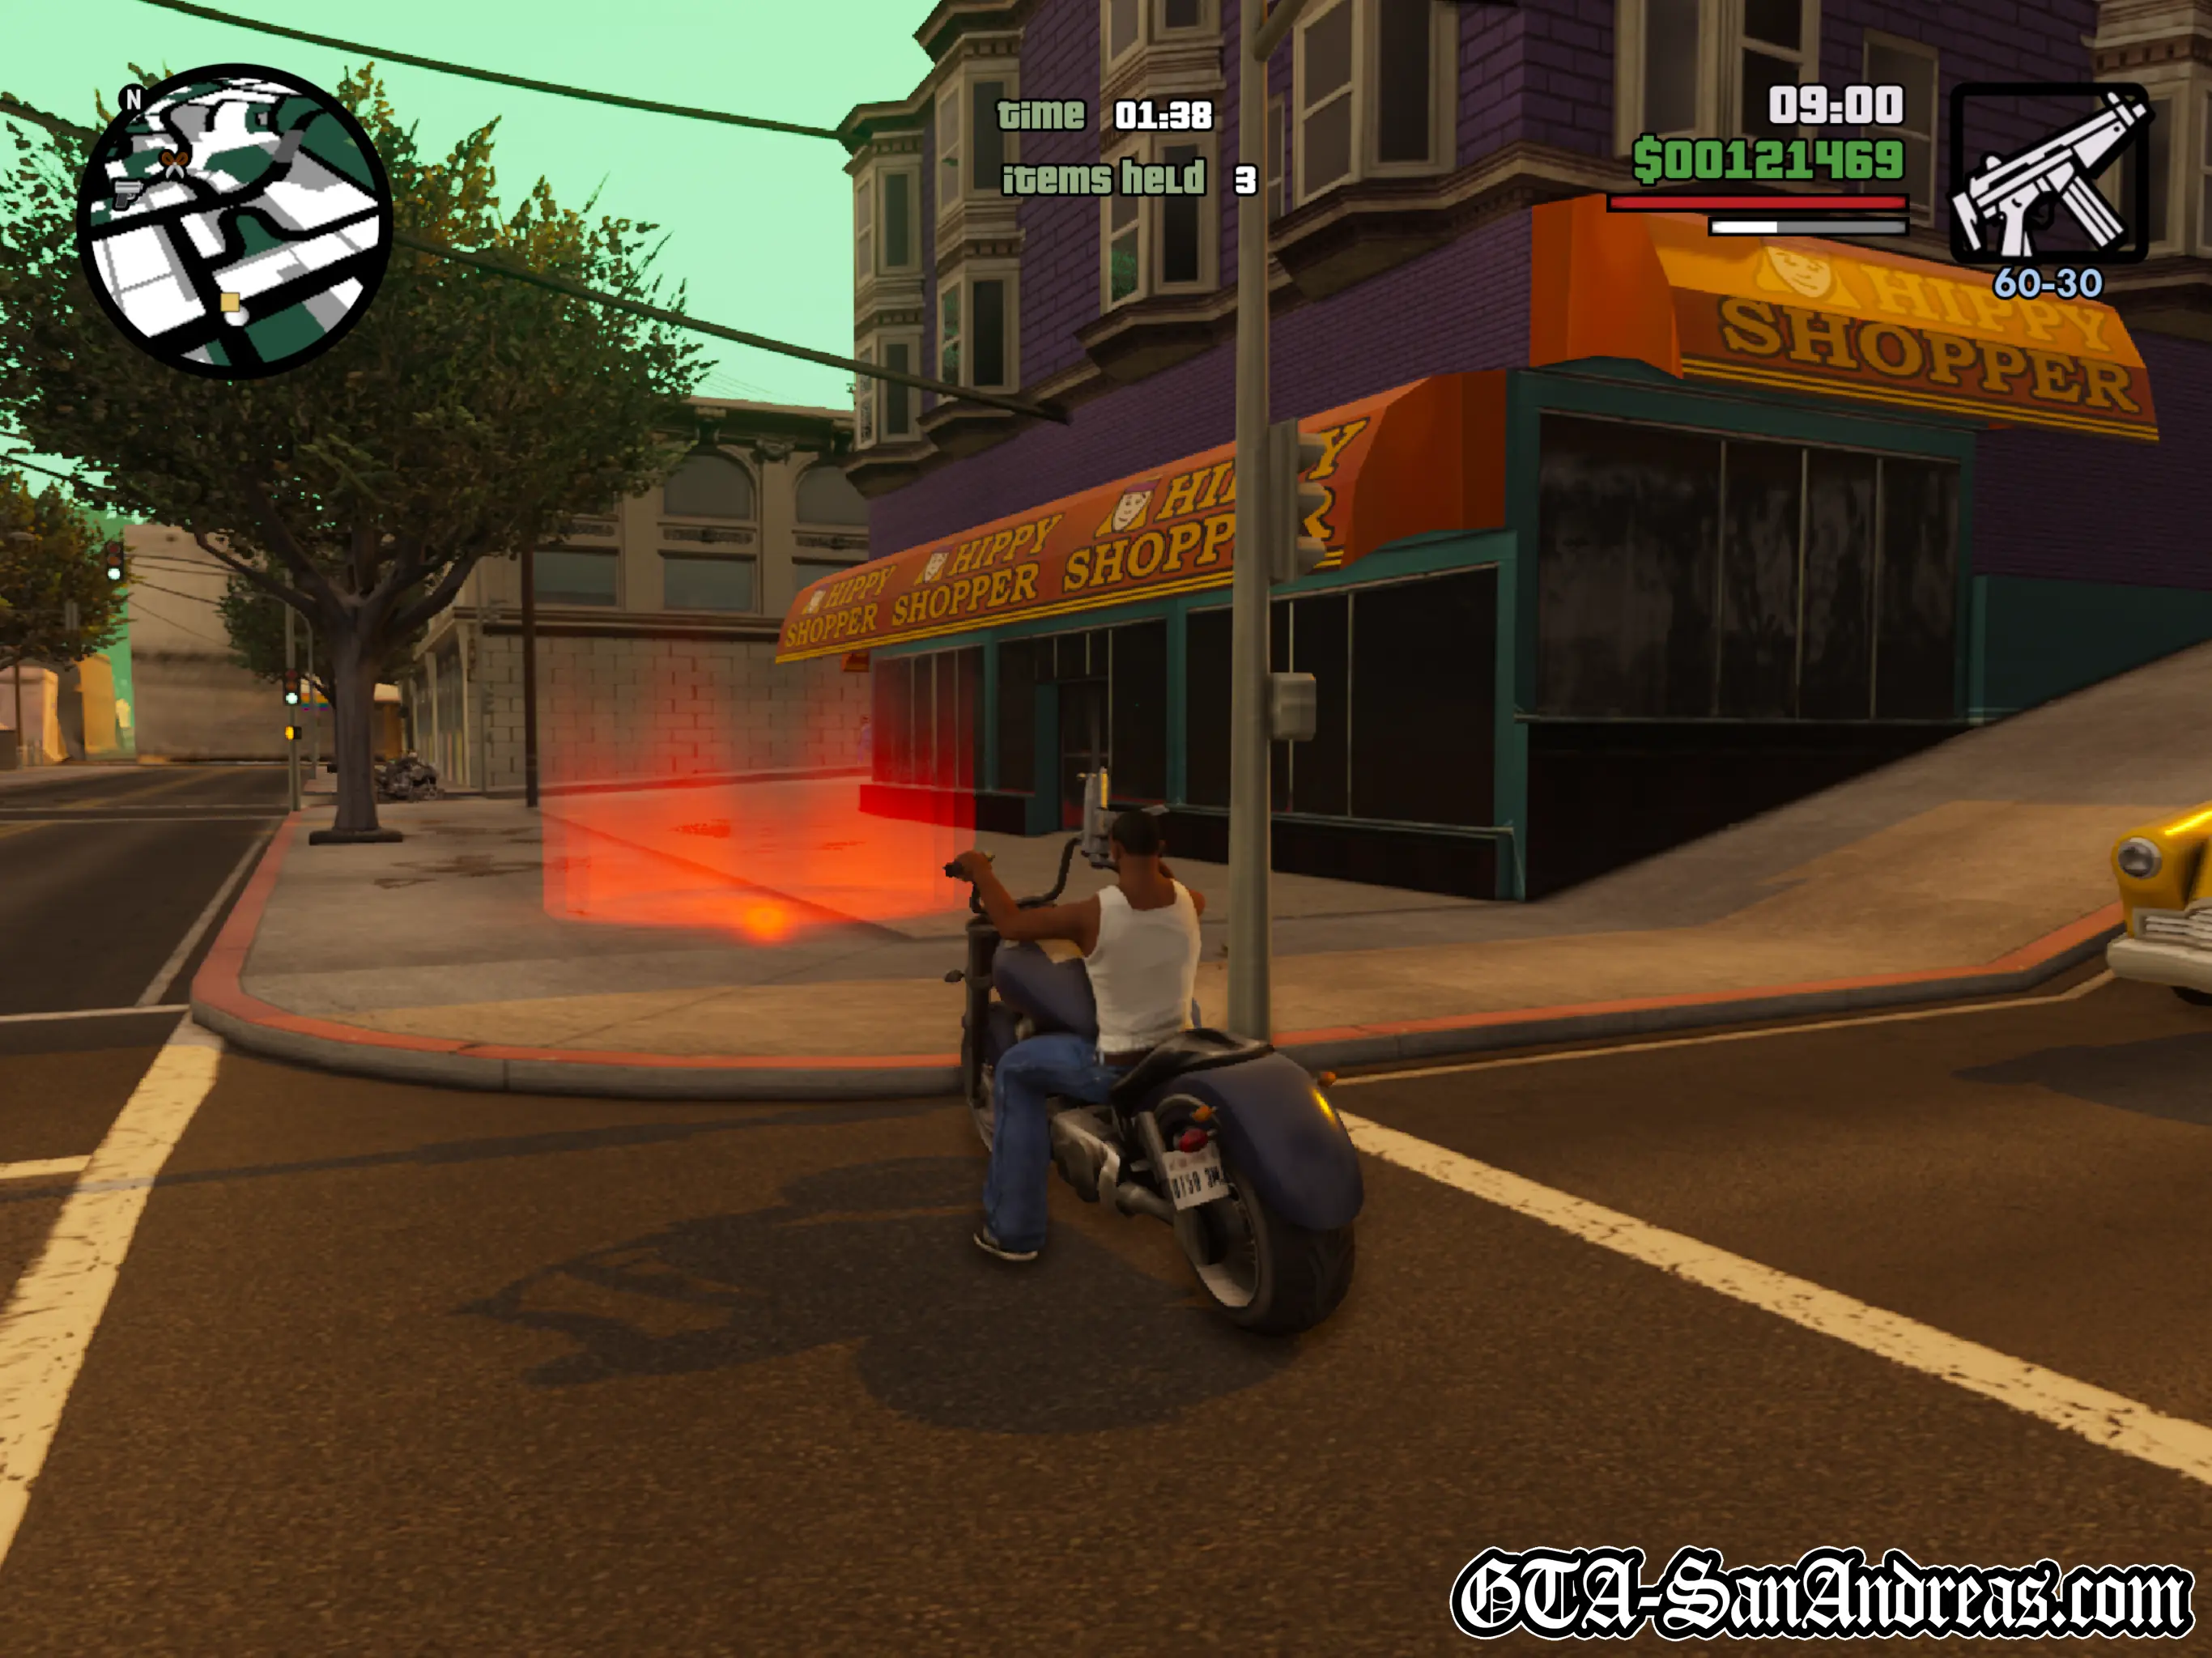
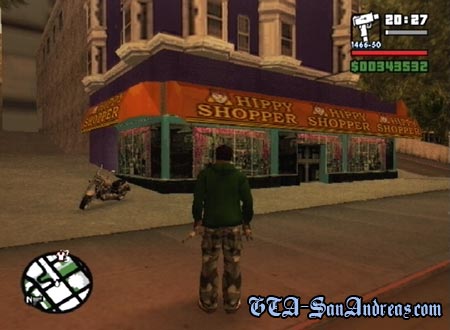
In San Fierro, the courier challenge can be found outside Hippy Shopper. This is located in Queens which is to the Central West of the San Fierro area.
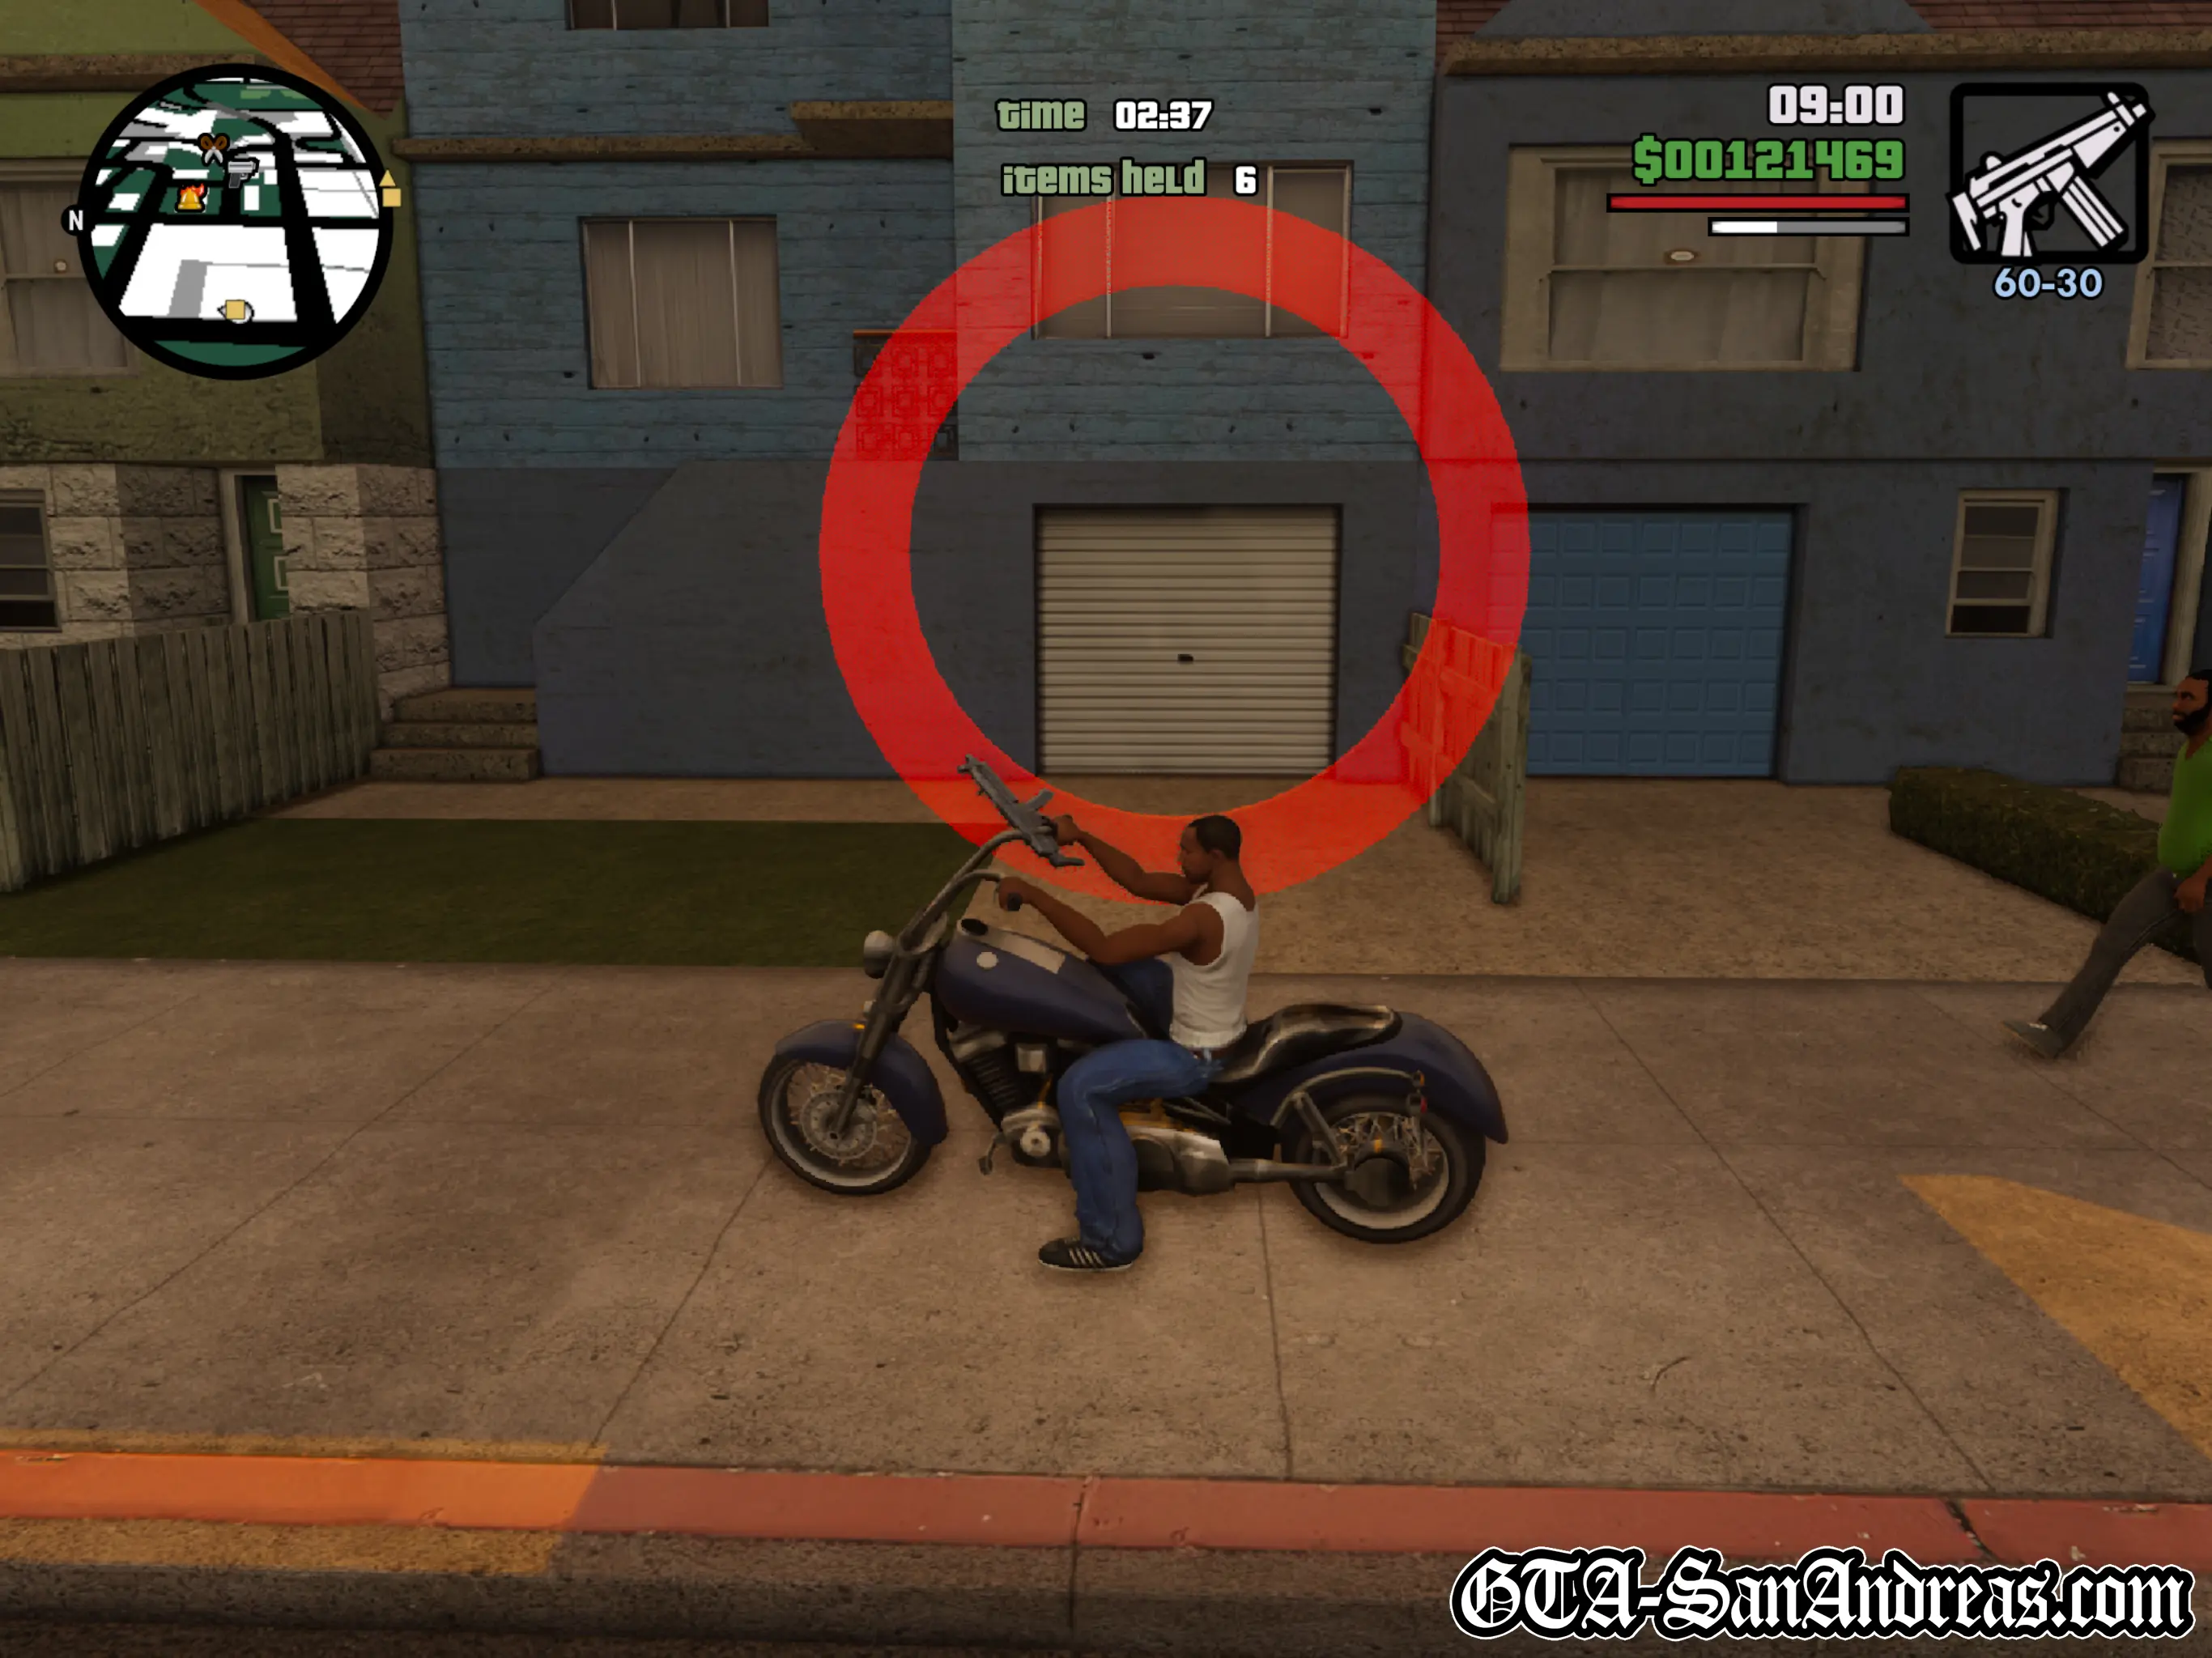
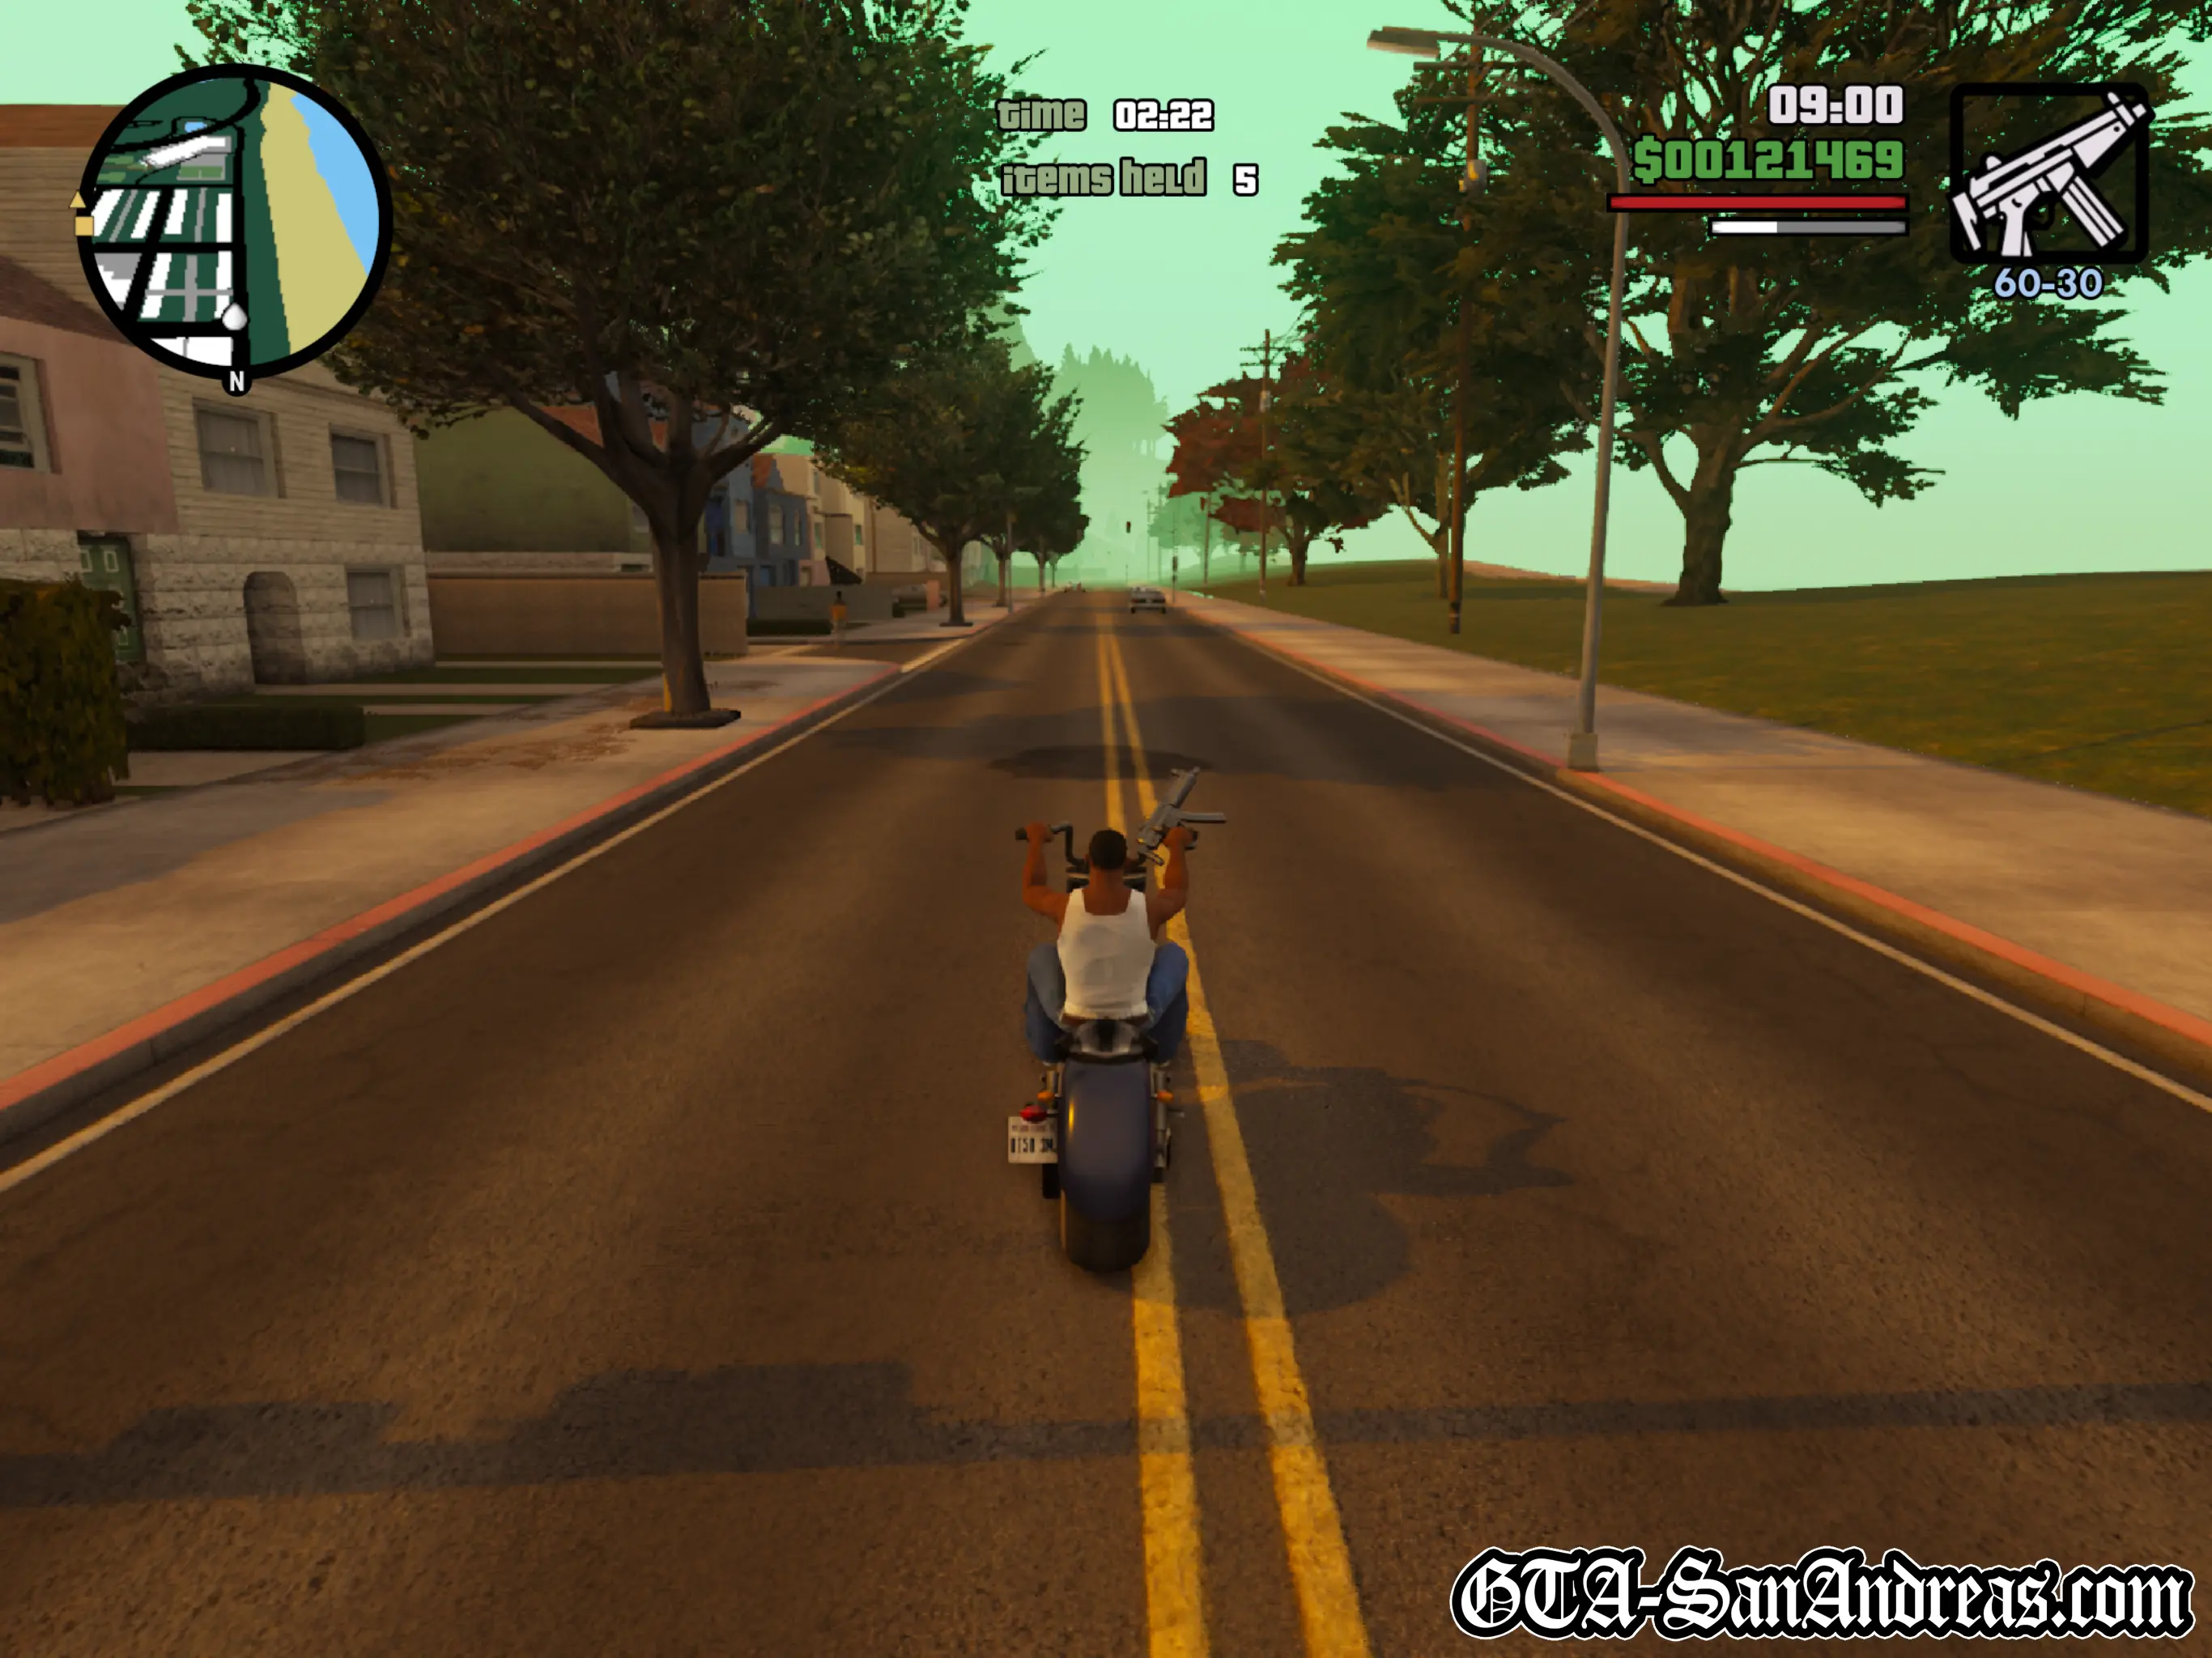
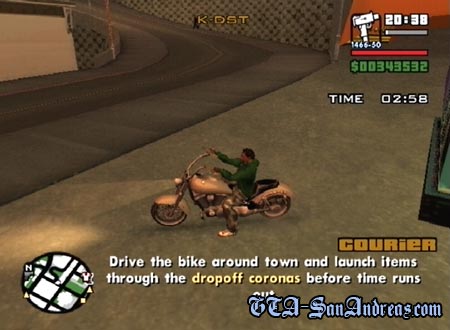
Once you climb on the Freeway motorbike parked out front, you'll start the mission and be given 6 items to deliver to 3 large red coronas.
Drive to each location marked with a yellow blip on the map and use the drive-by feature to throw the package through each corona. If you miss the corona you can drive over the package to pick it back up then try again. Once a package is delivered, immediately head for the next one.
Be aware that unlike the BMX challenge in Los Santos, crashing the Freeway motorbike will result in damage and you need to keep the bike in one piece in order to finish the mission.
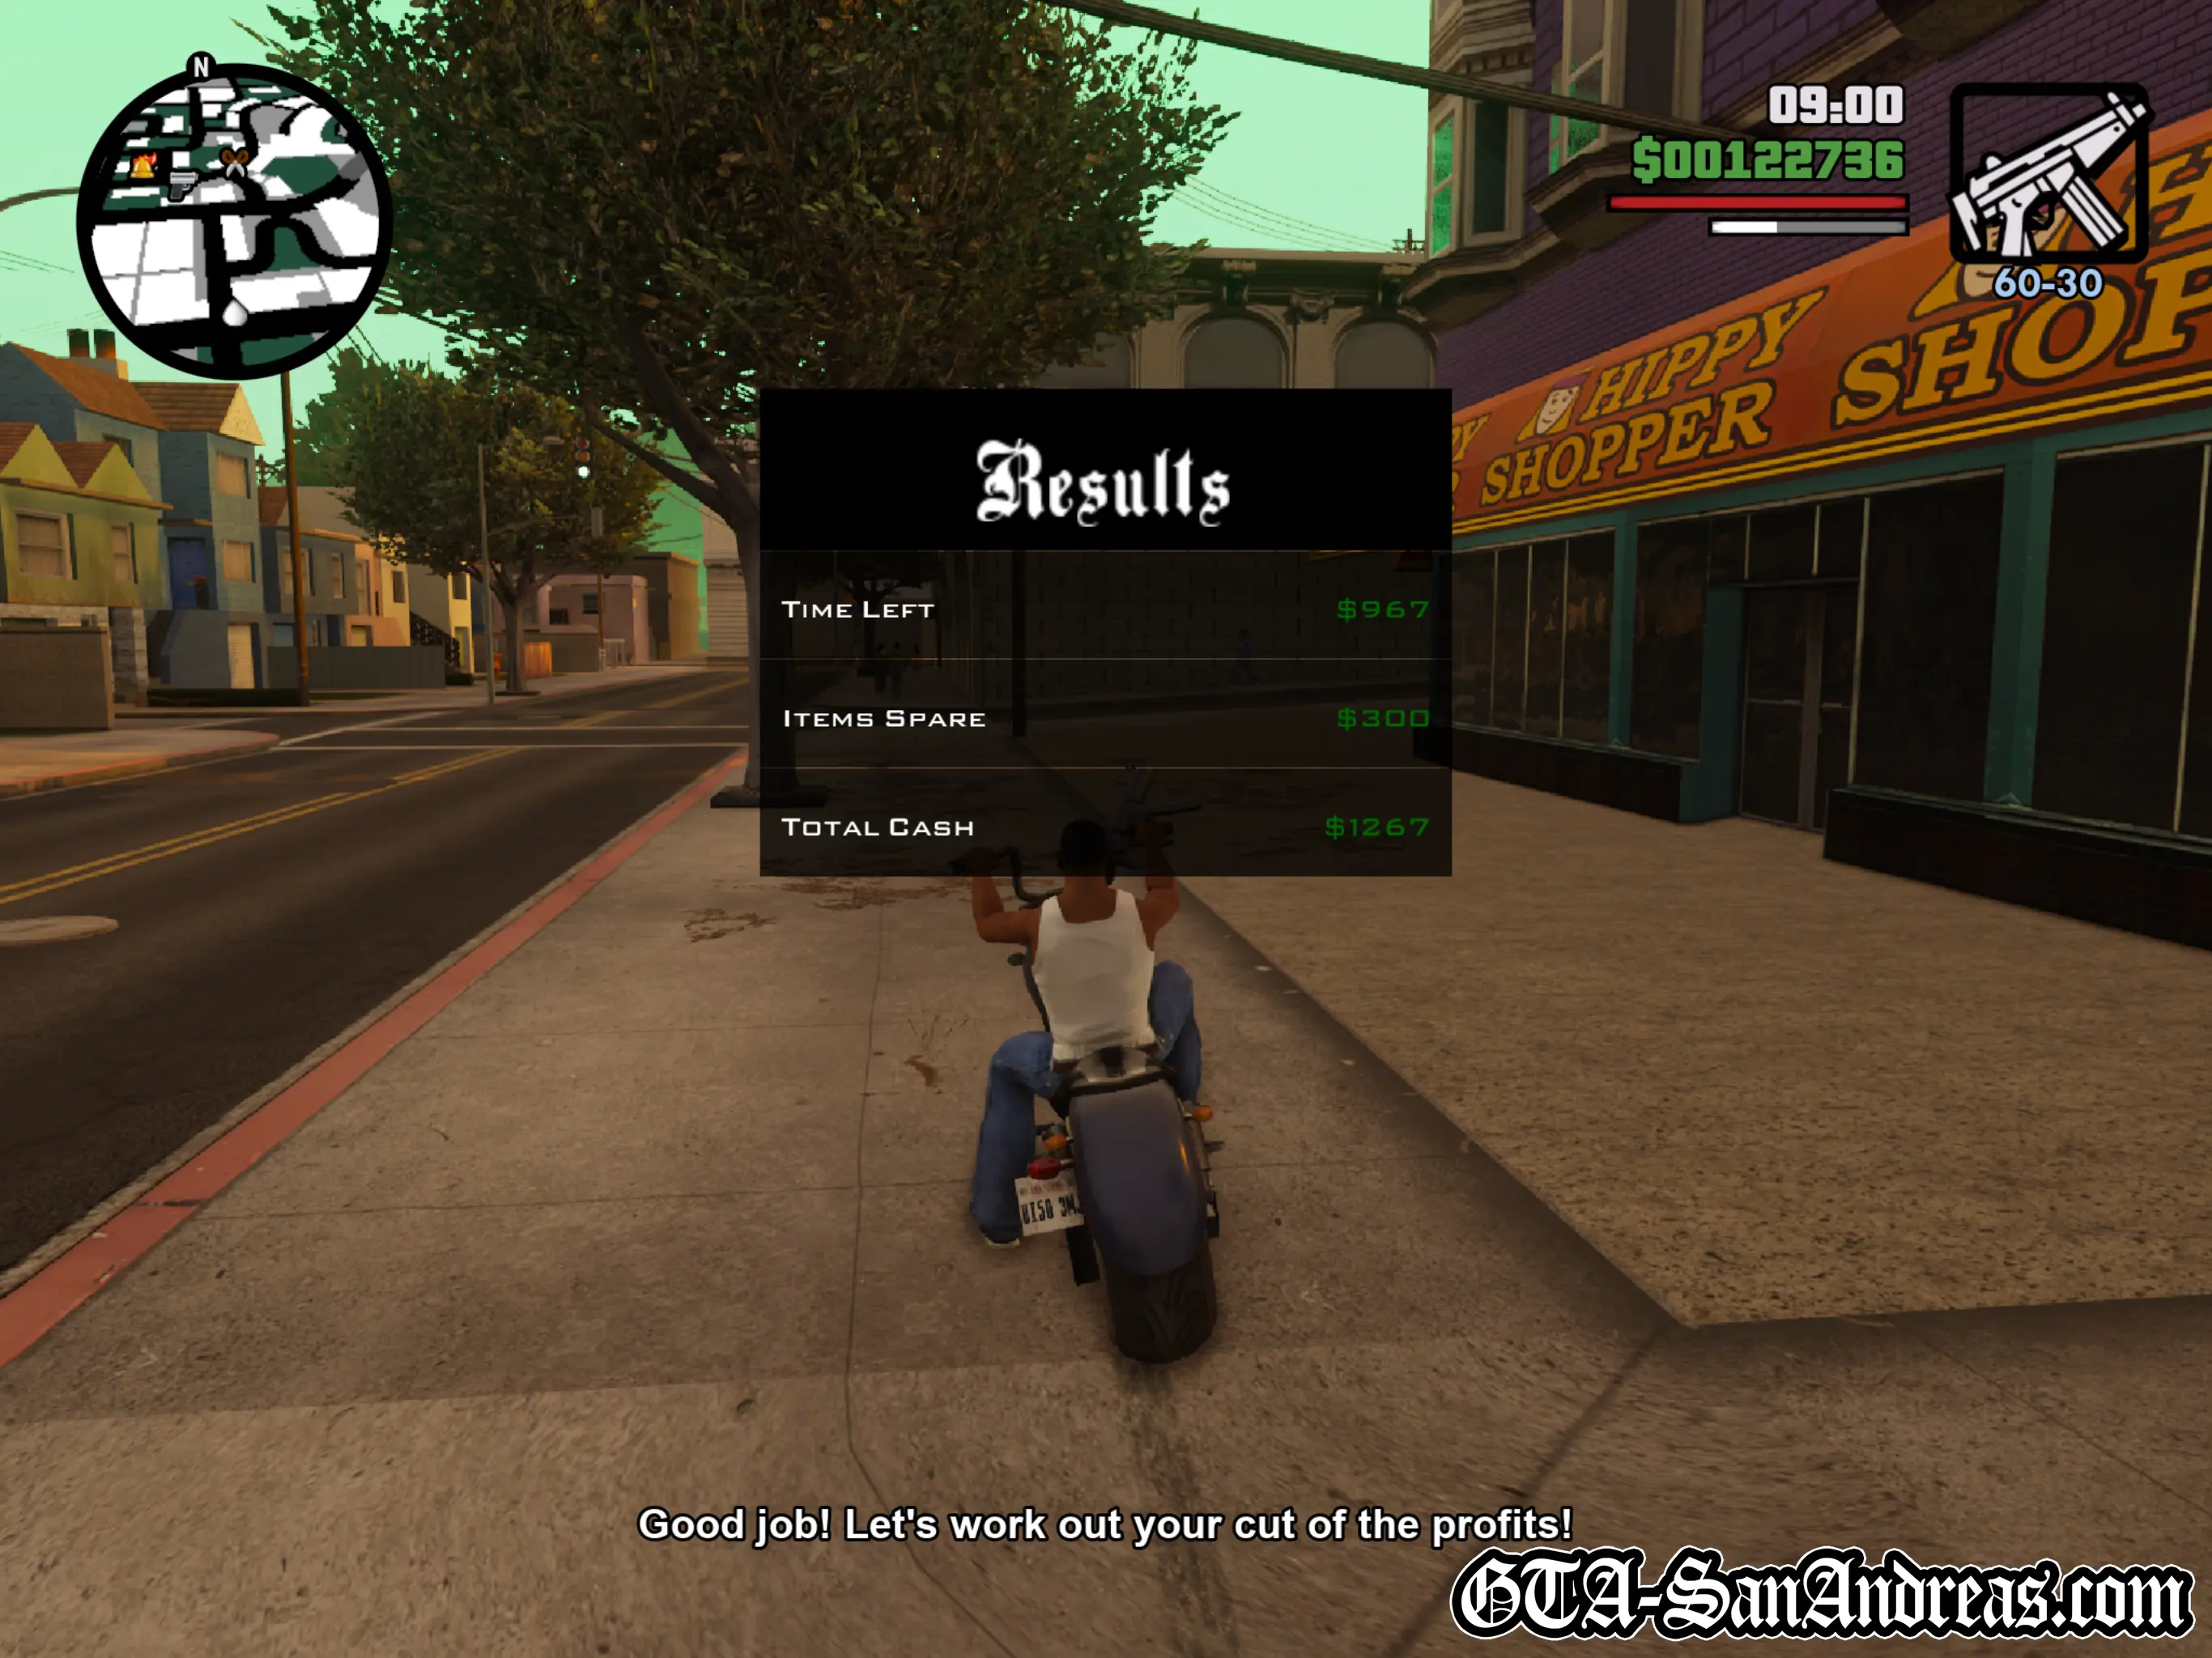
Try to keep hold of any remaining items after completing the deliveries as you'll be rewarded with a bonus for them. You'll also receive a time bonus, so the quicker you get back, the more cash you'll receive.
Once you've fed a package into each corona, head back to Hippy Shopper for your rewards and to start the next level. This time you need to deliver 4, then 5 and on the final level you'll need to deliver 6 items.
The final level is more difficult as the delivery points are scattered all over San Fierro, meaning you need to drive pretty fast to get there and back in time.
Once you get through the 4th and final delivery level, you'll complete the mission and be rewarded for your hard work.
Mission Overview
| Level | Items Held | Deliveries |
|---|---|---|
| Level 1 | 6 Items | 3 Deliveries |
| Level 2 | 6 Items | 4 Deliveries |
| Level 3 | 7 Items | 5 Deliveries |
| Level 4 | 8 Items | 6 Deliveries |
Post-Mission
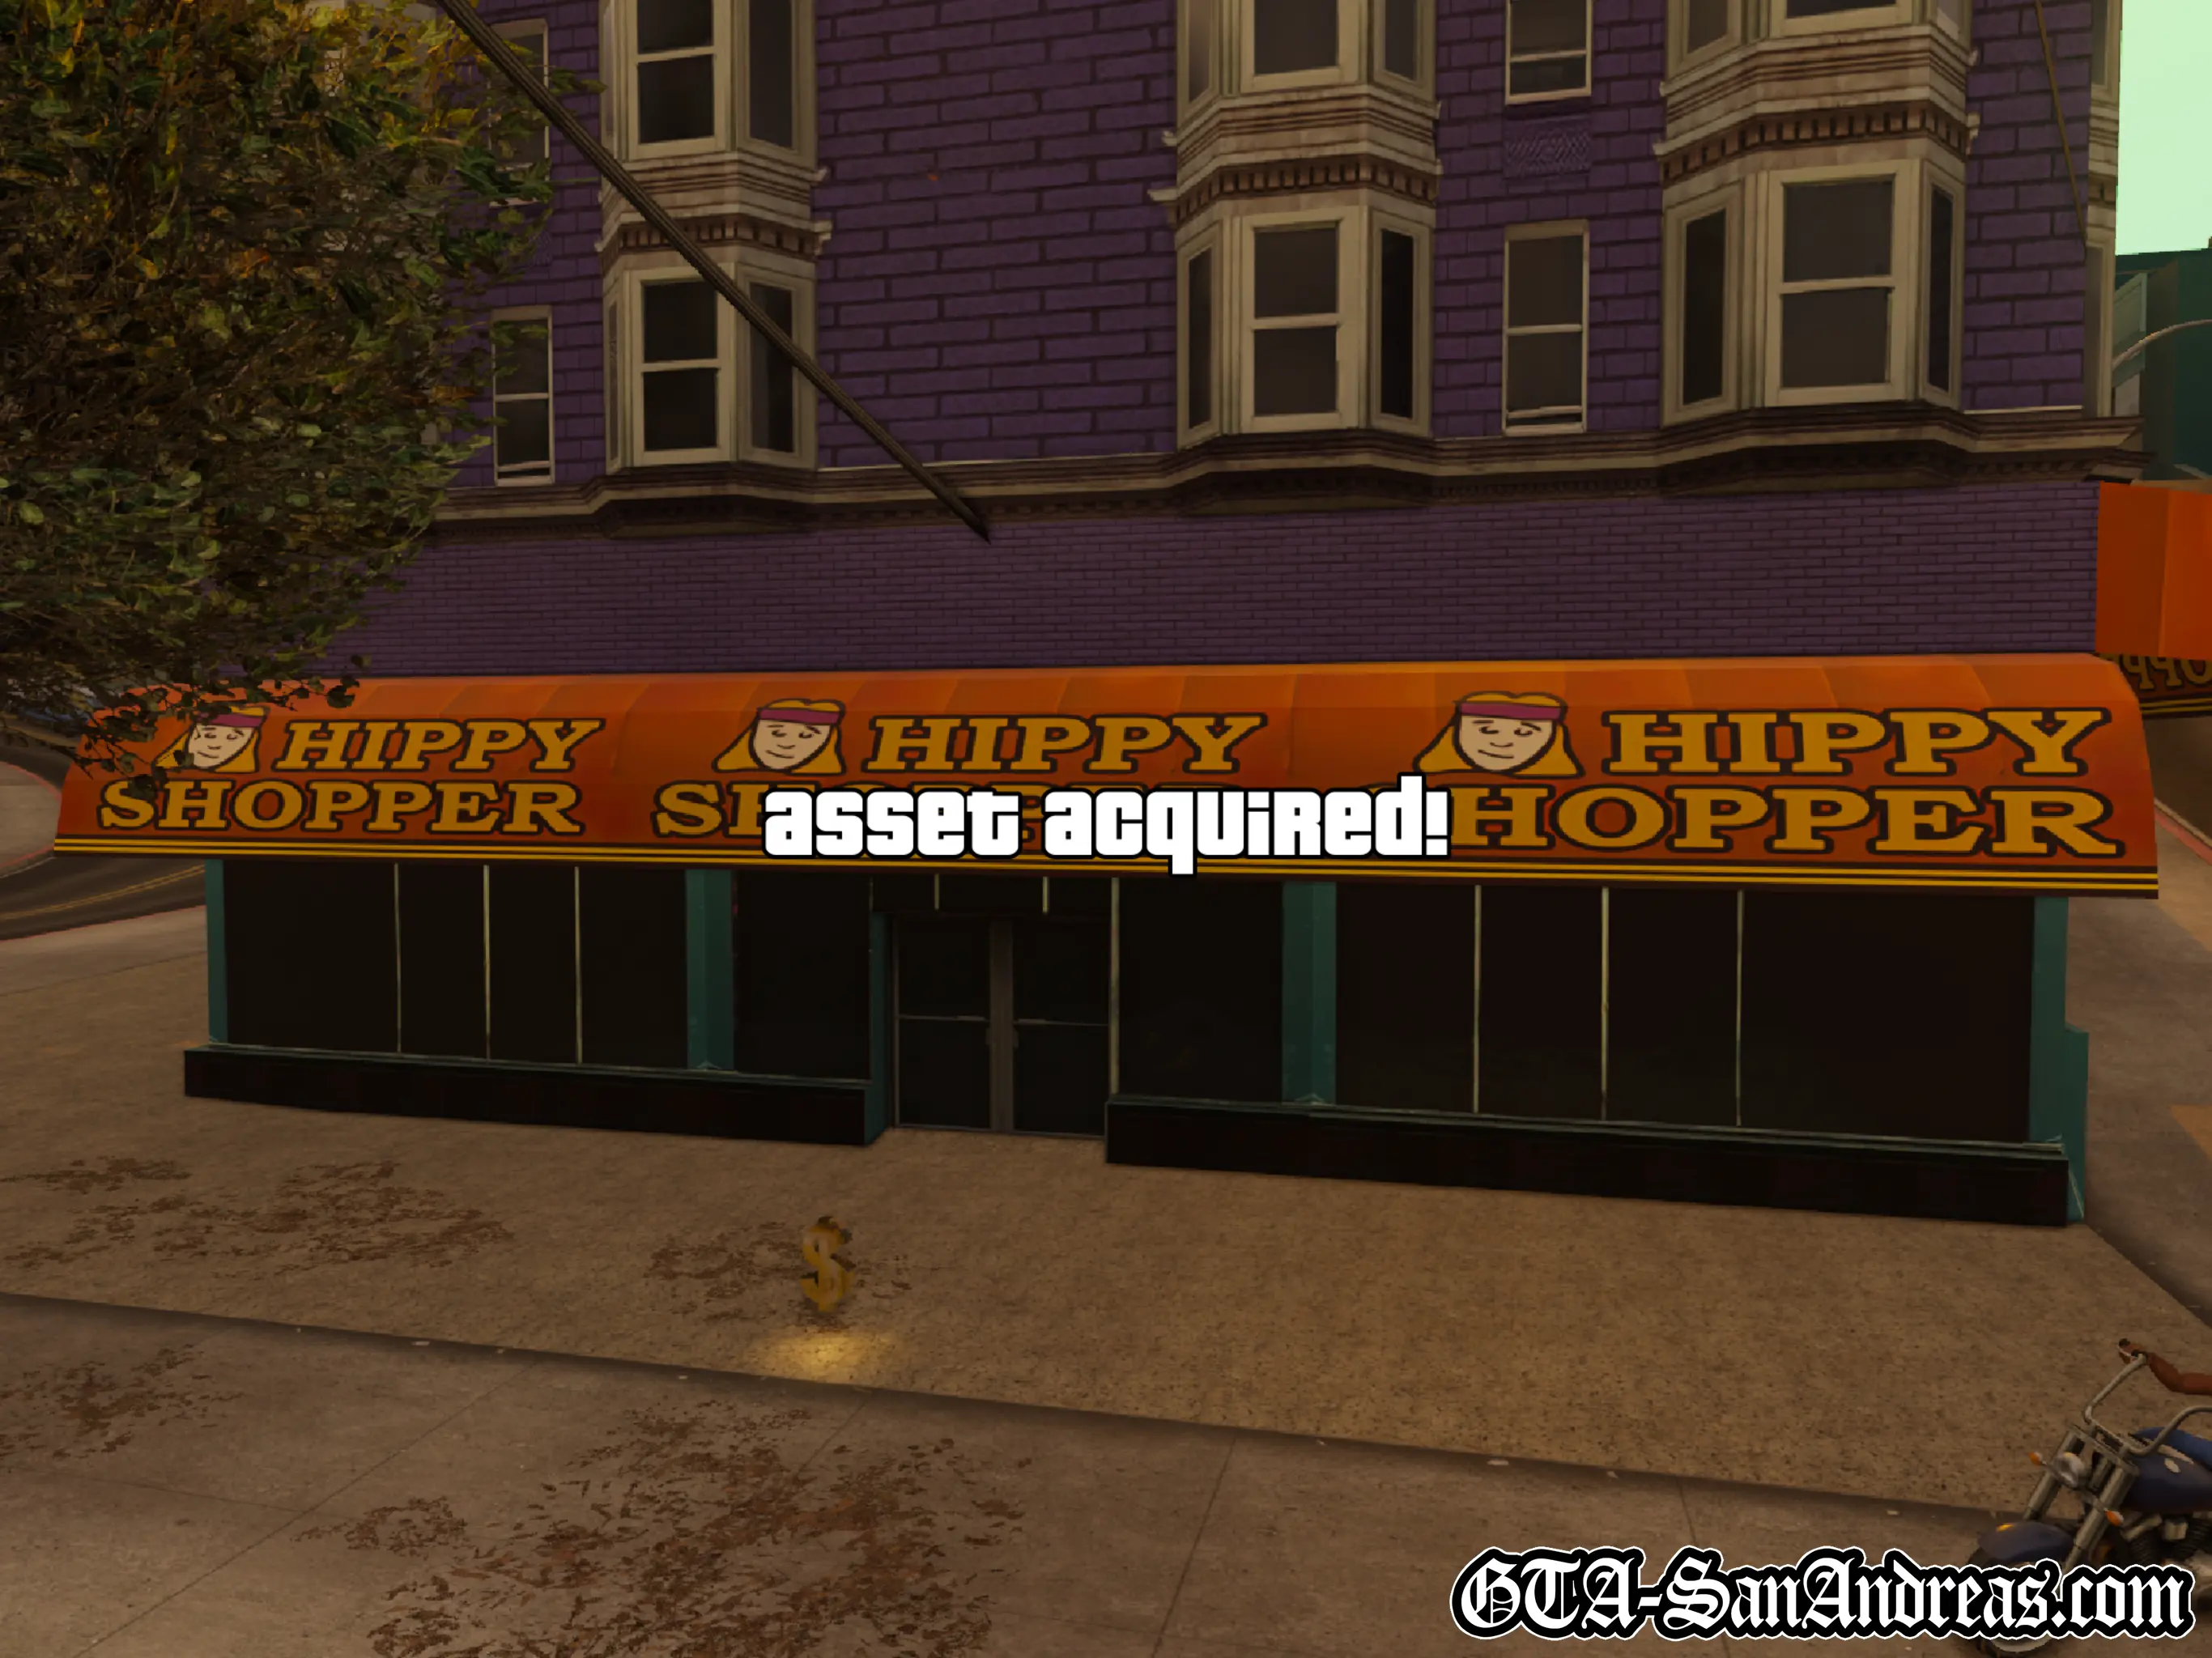
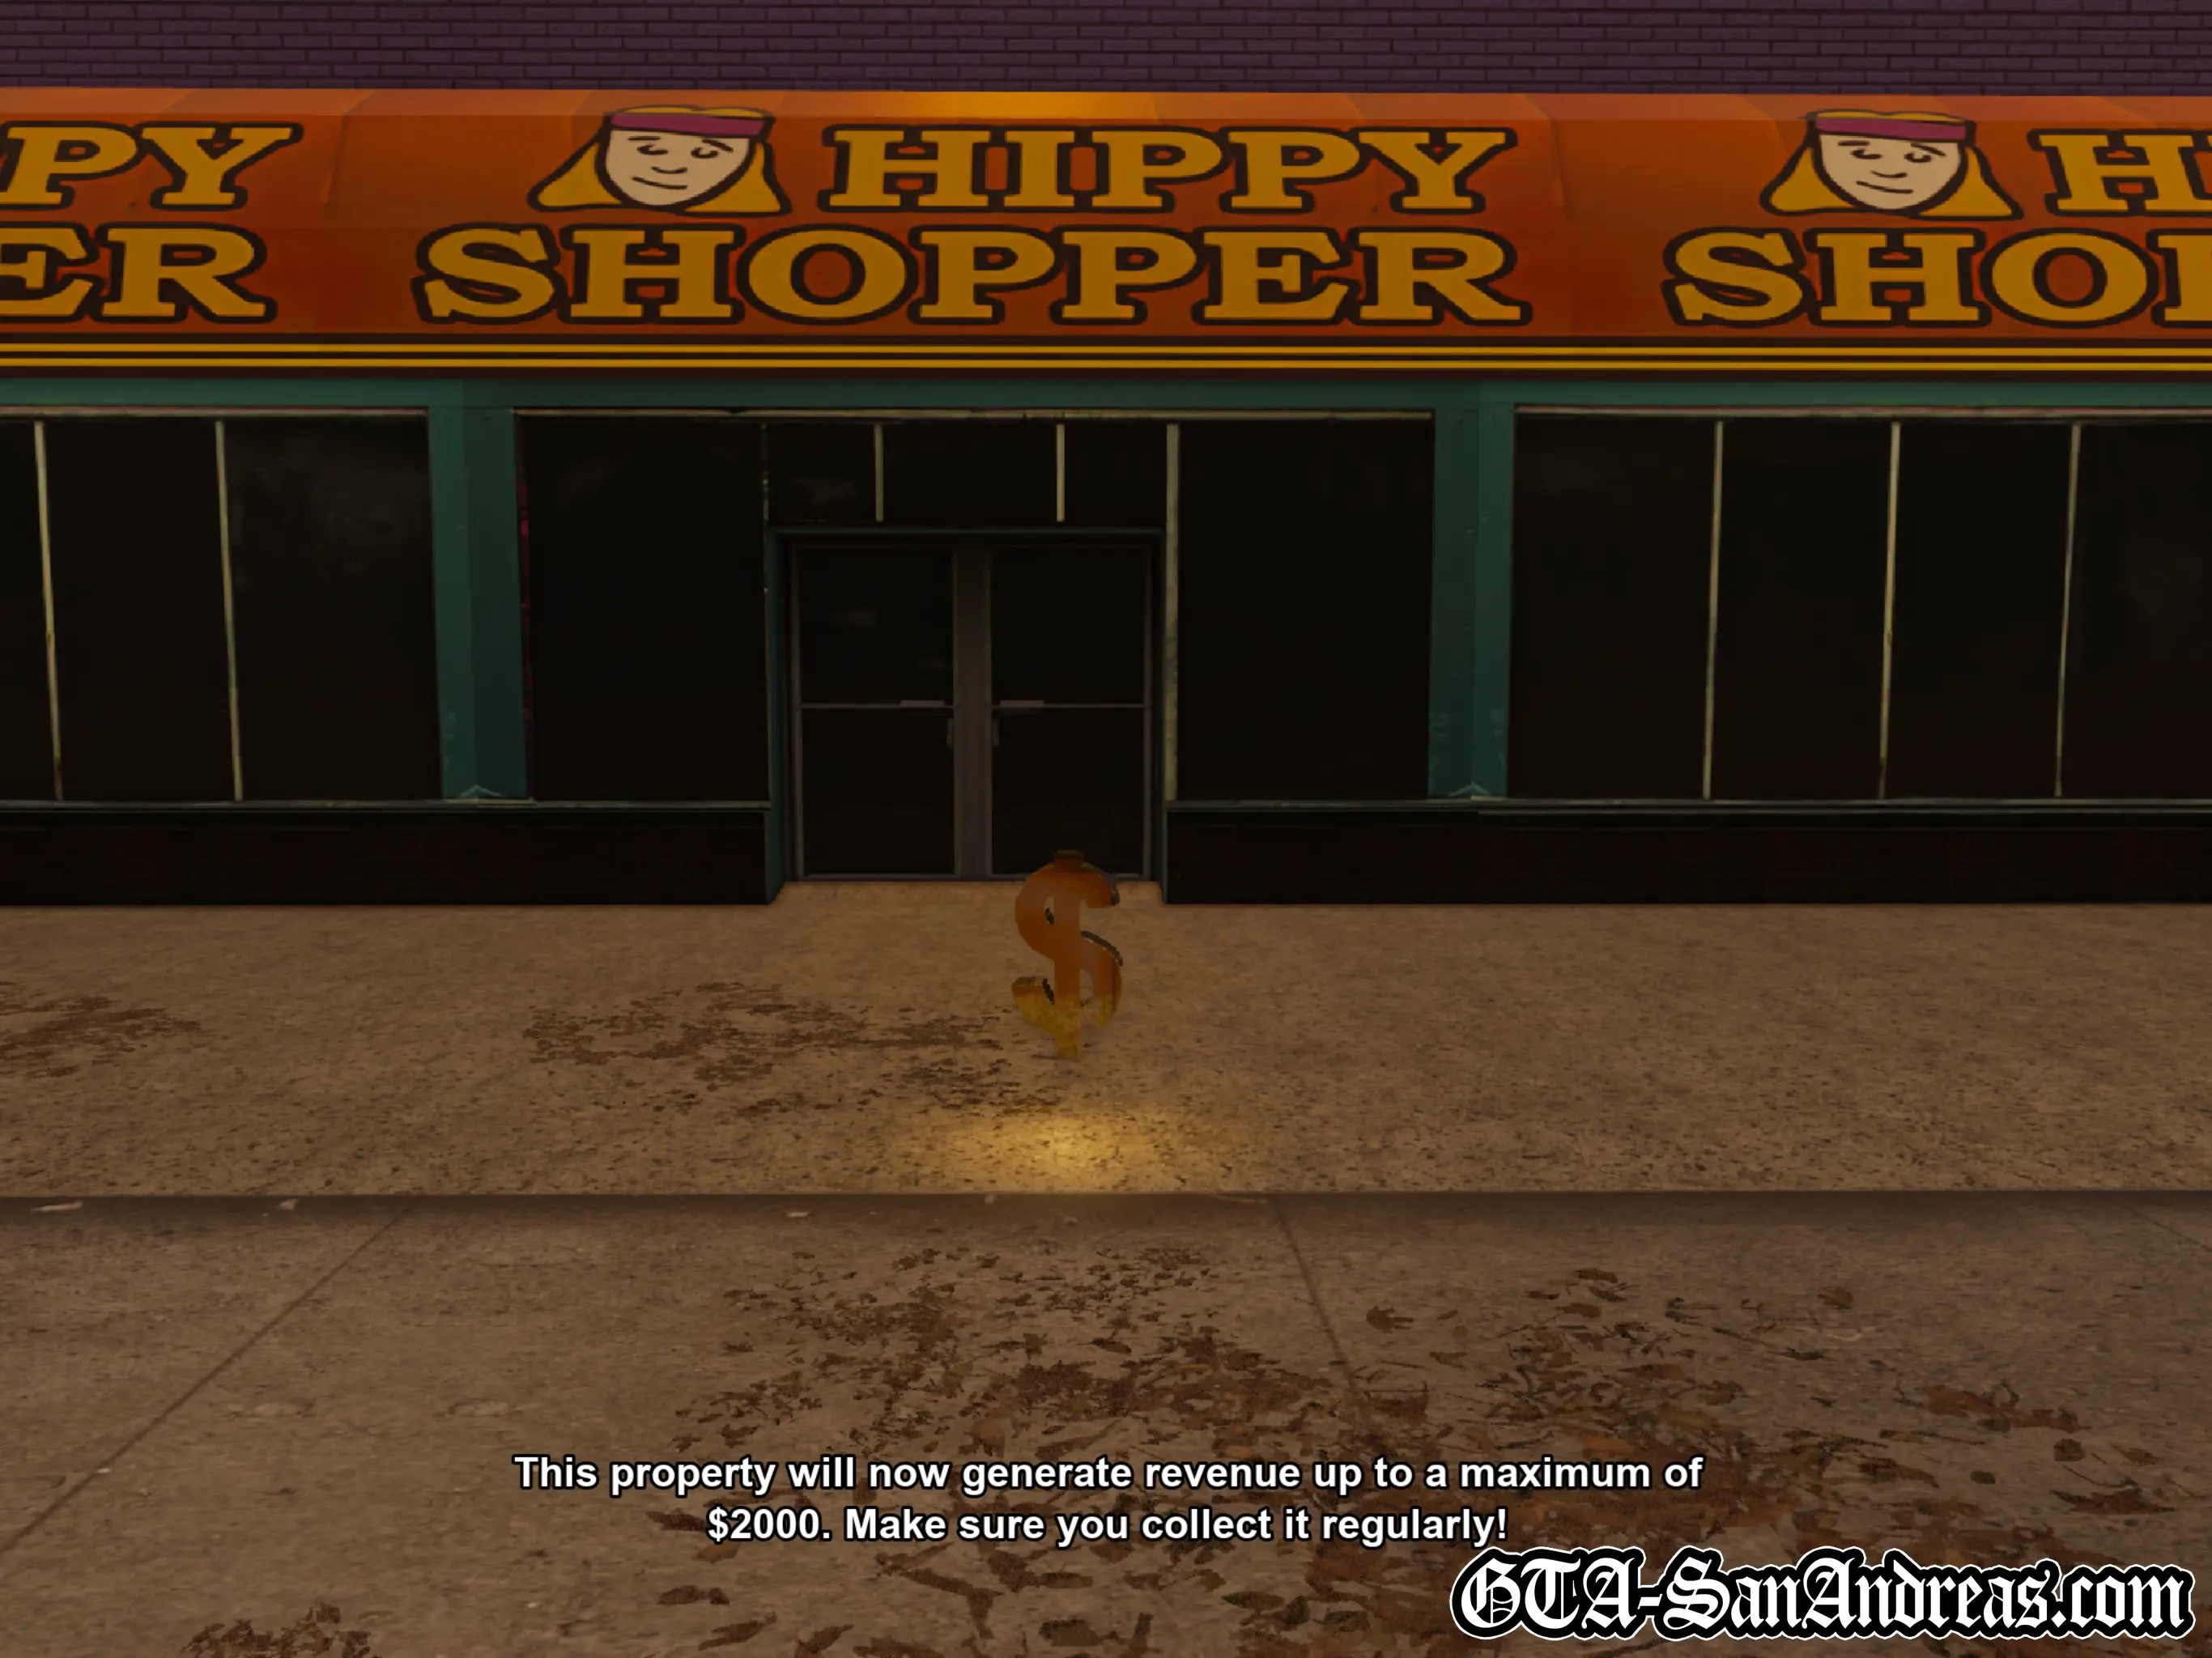
Hippy Shopper has been acquired as an asset and will generate up to $2,000 on a daily basis which you must manually collect.
Hints & Tips
Completing this challenge is a great way to improve your bike skill.
Screenshots
Original PS2 Screenshots
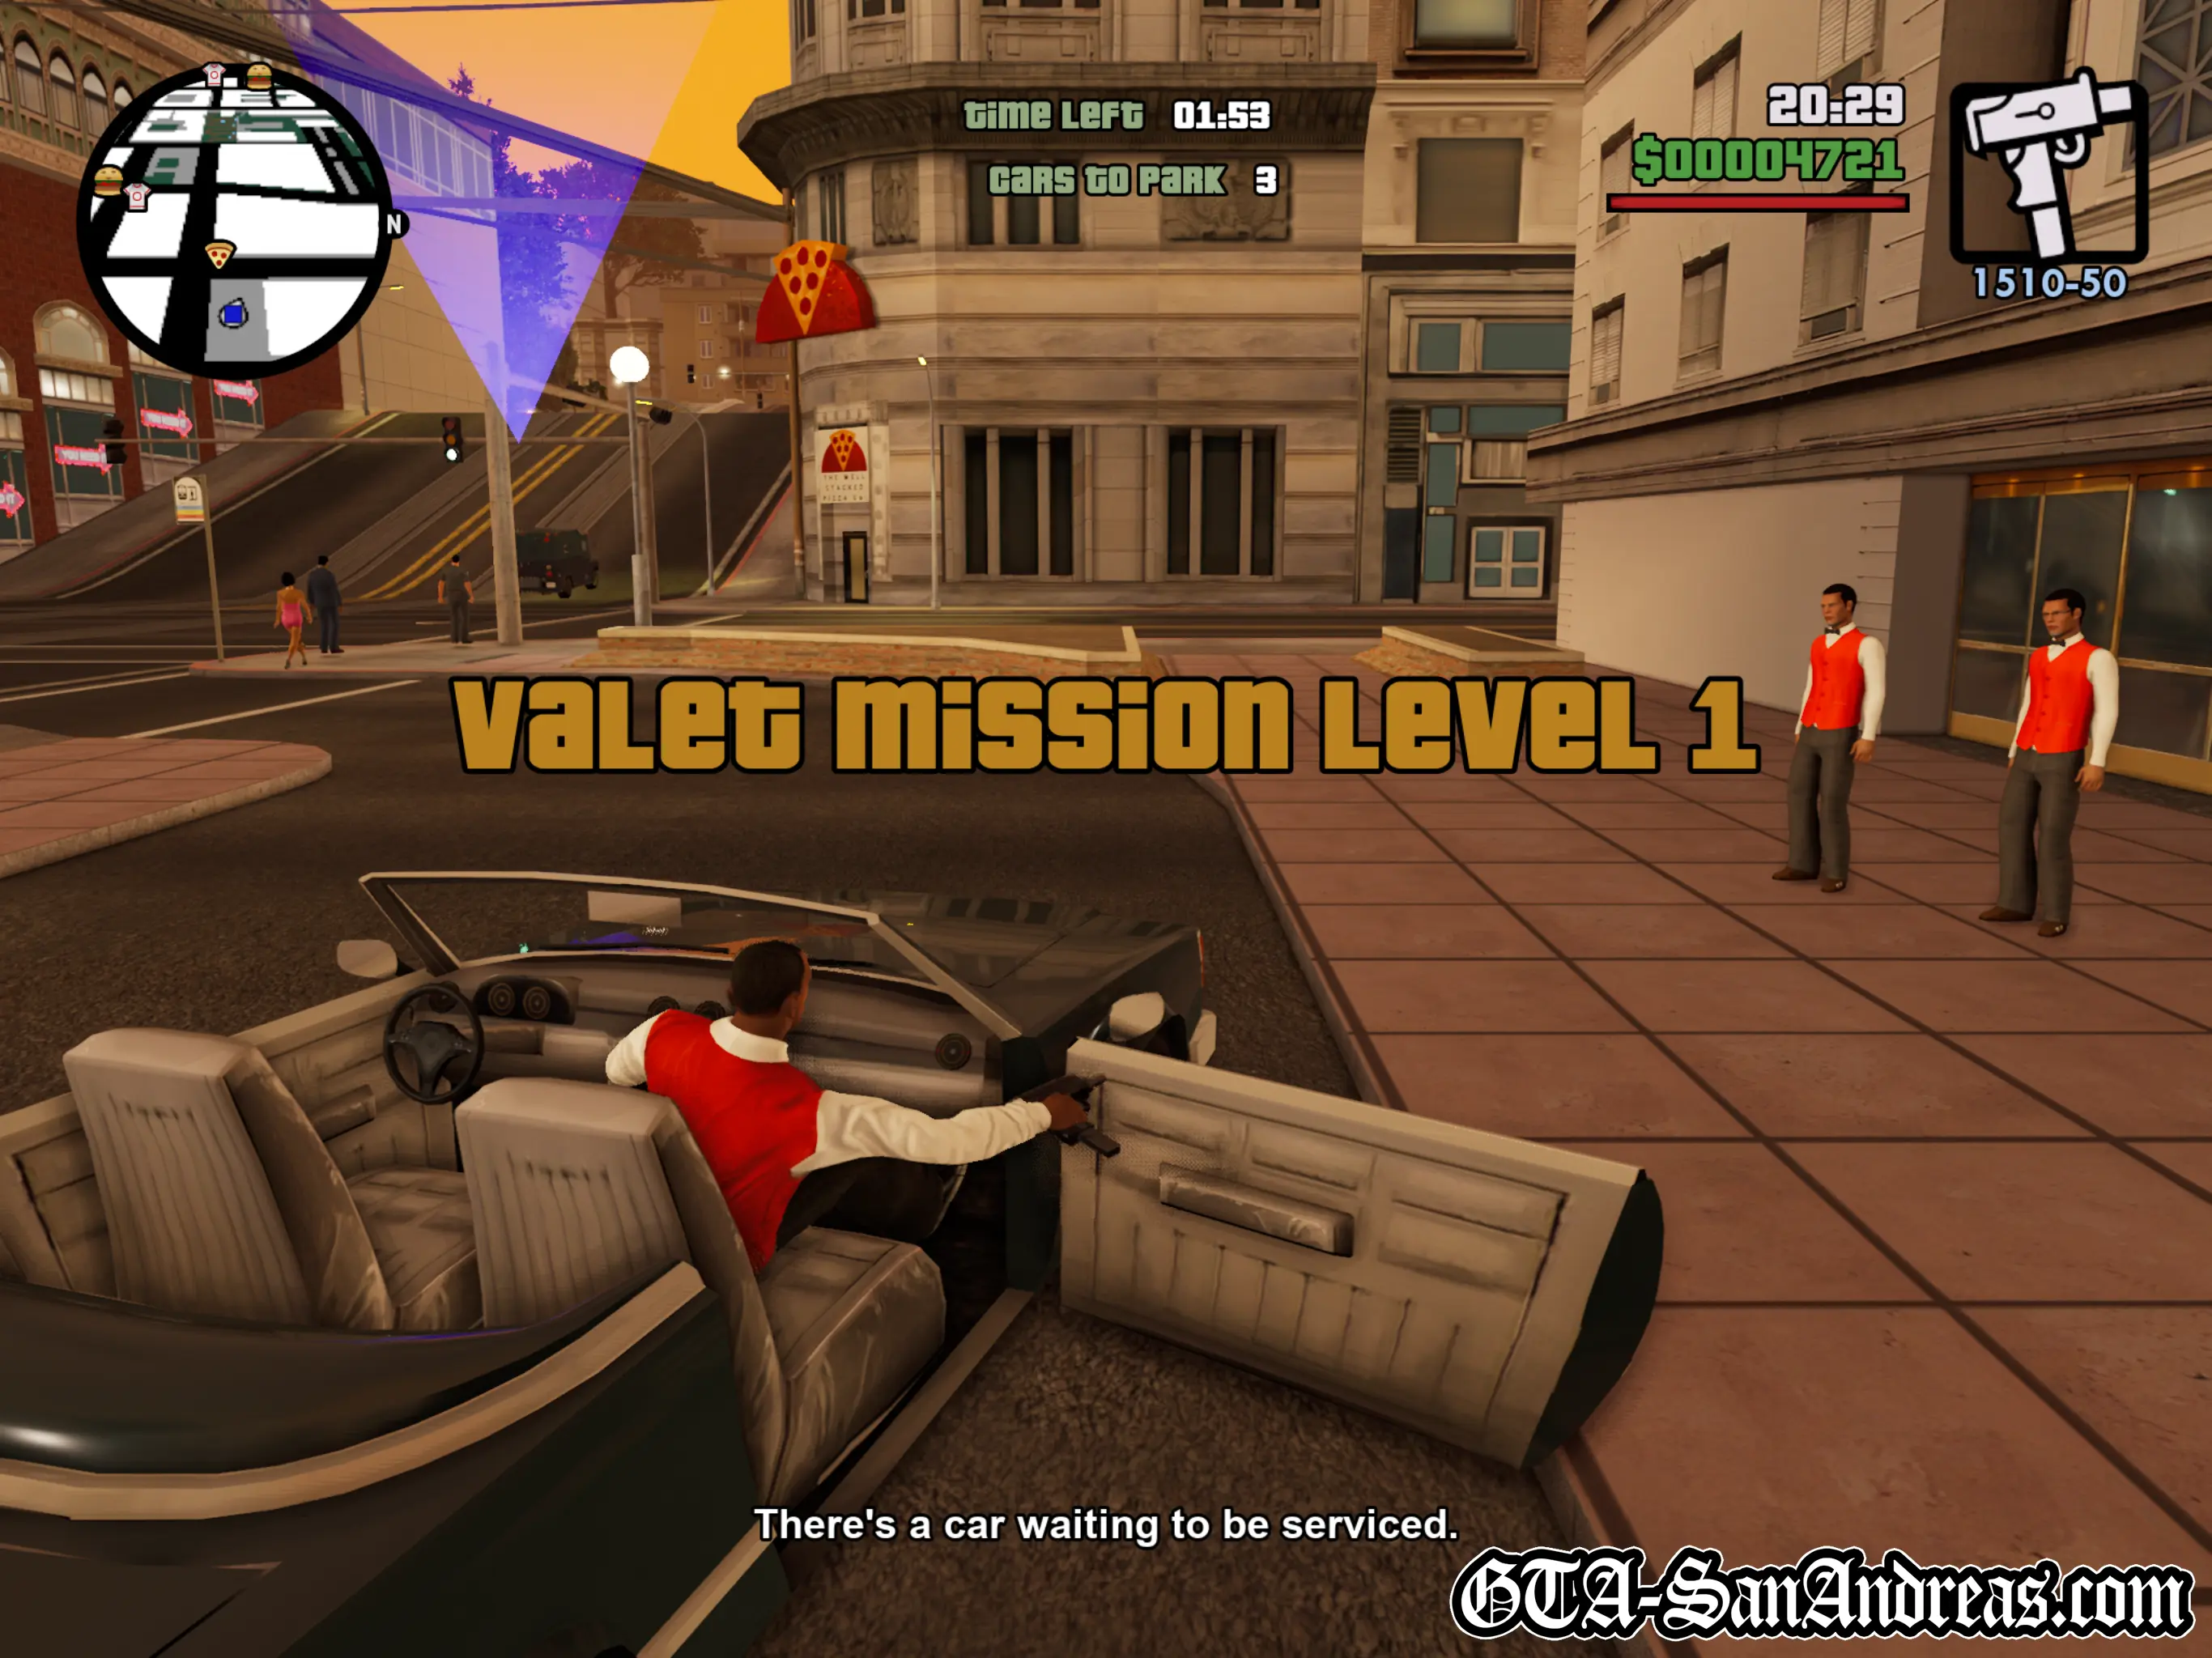
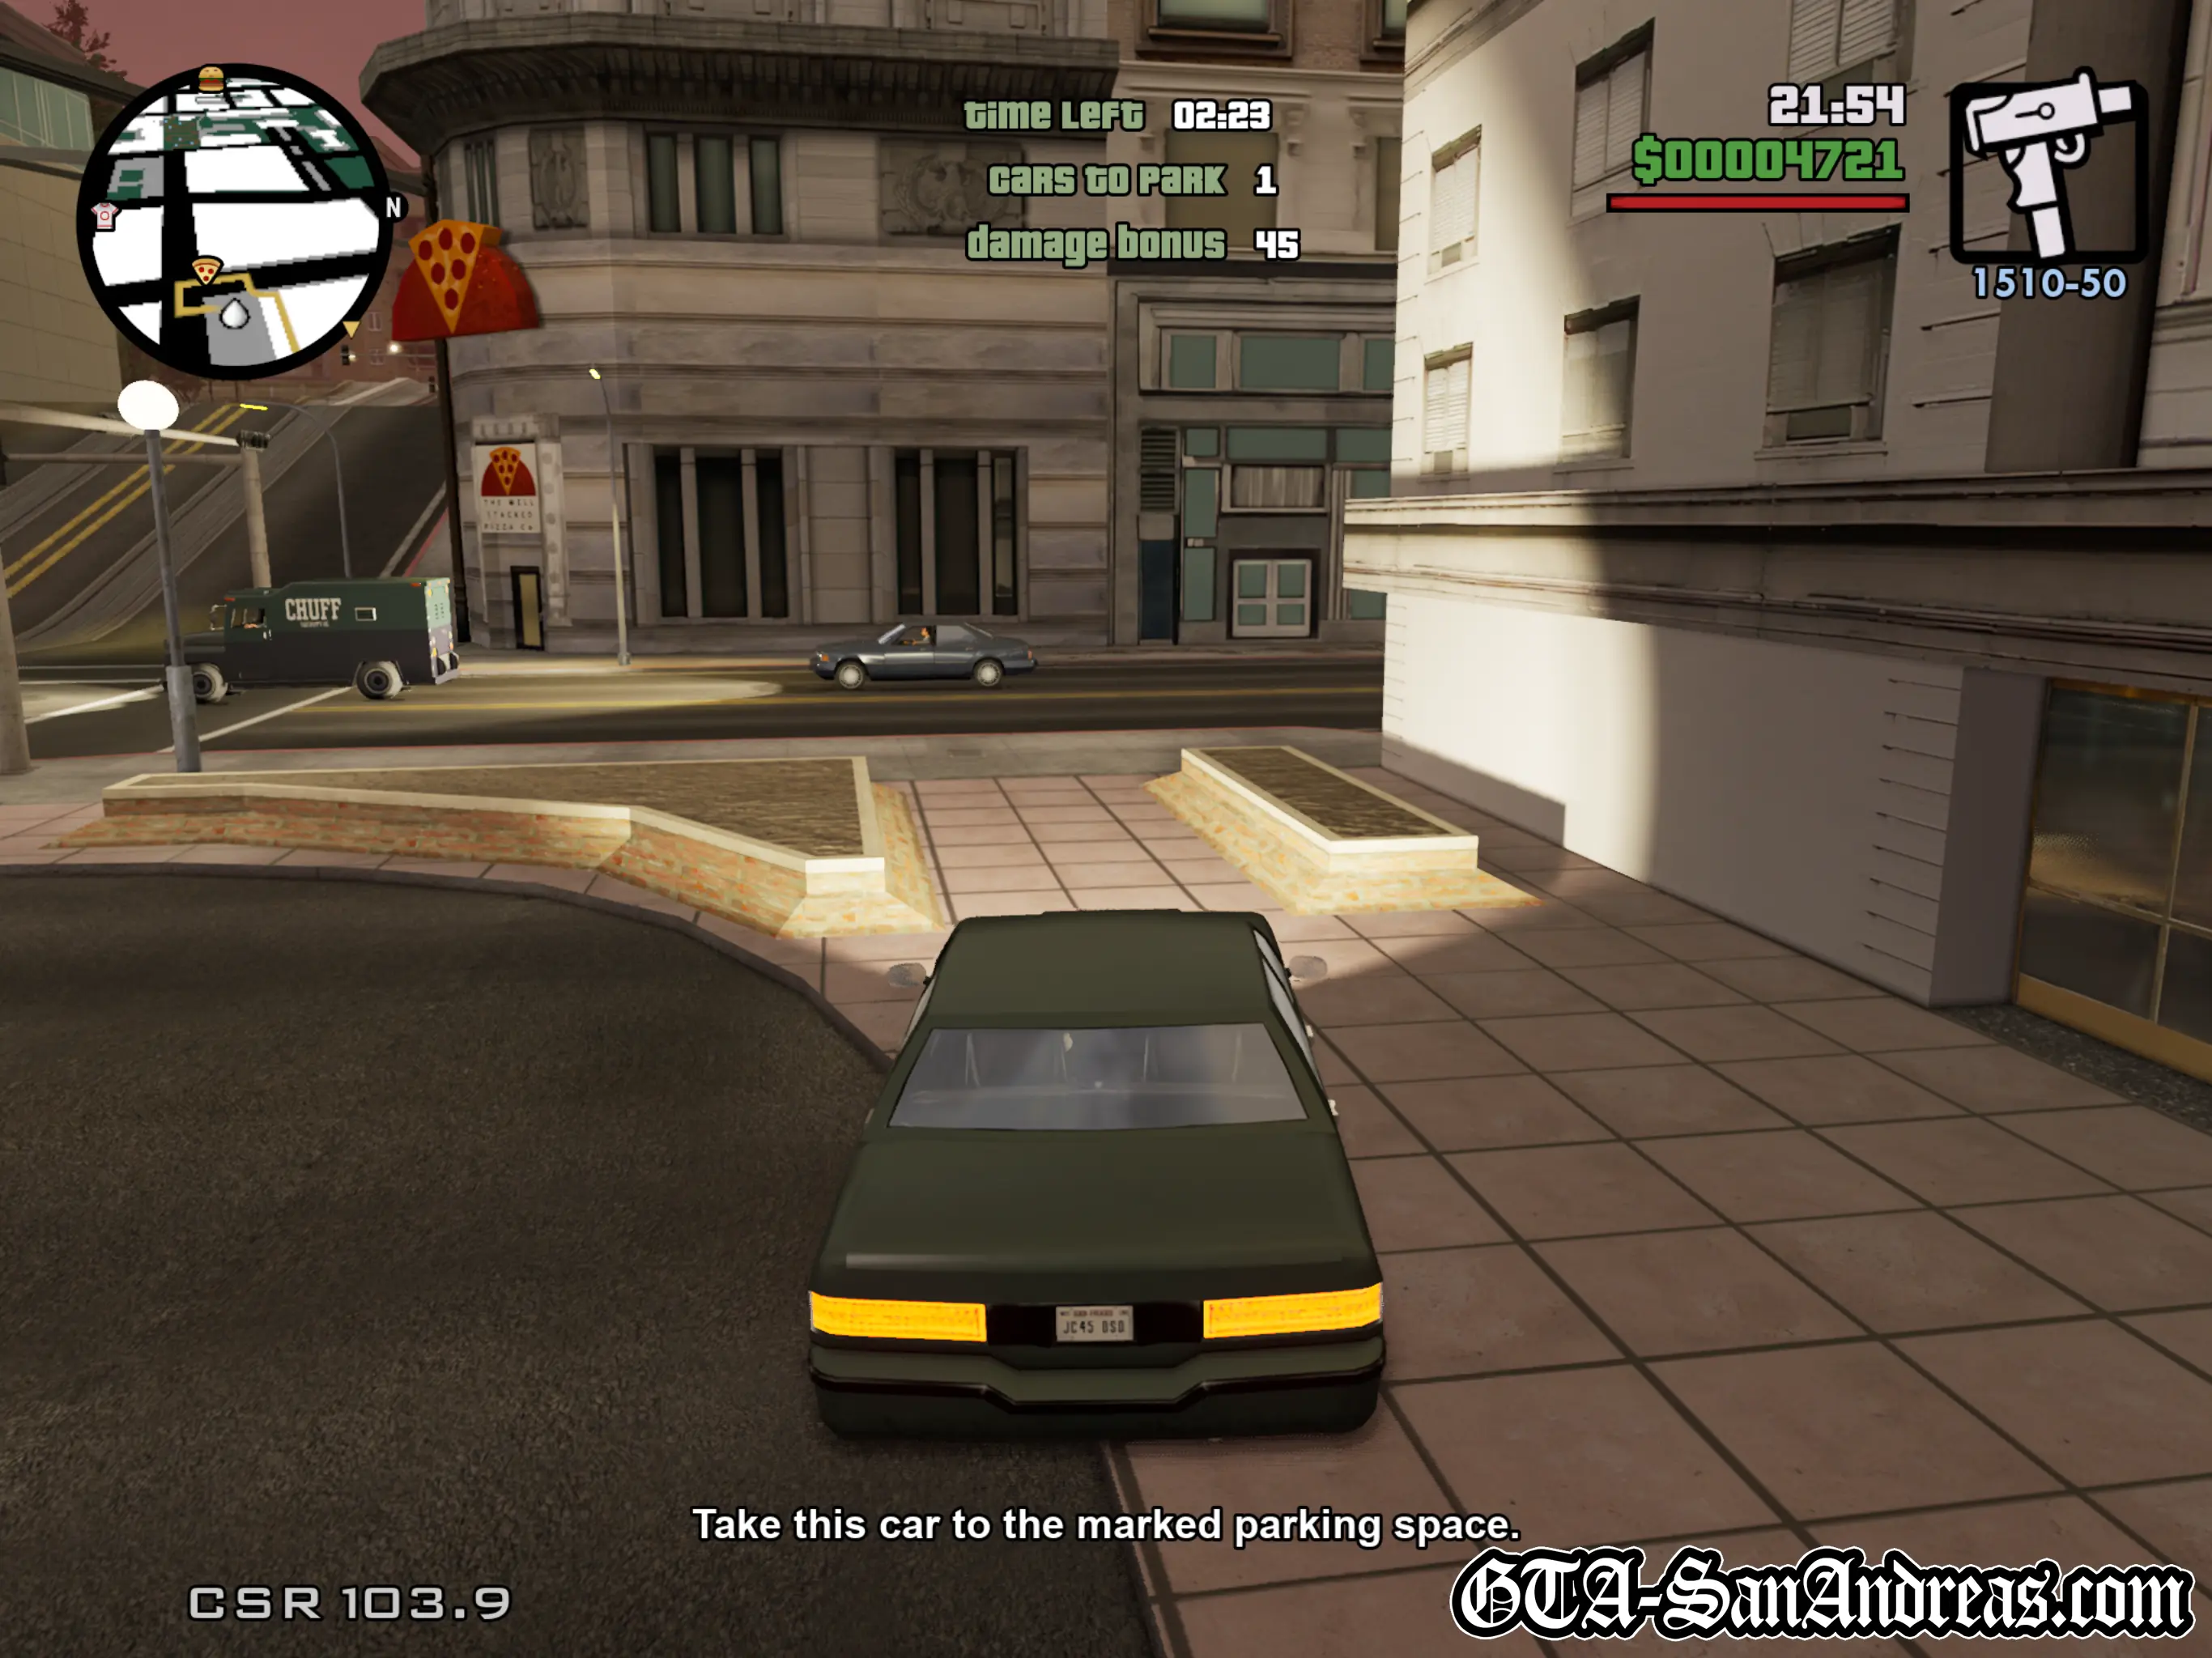
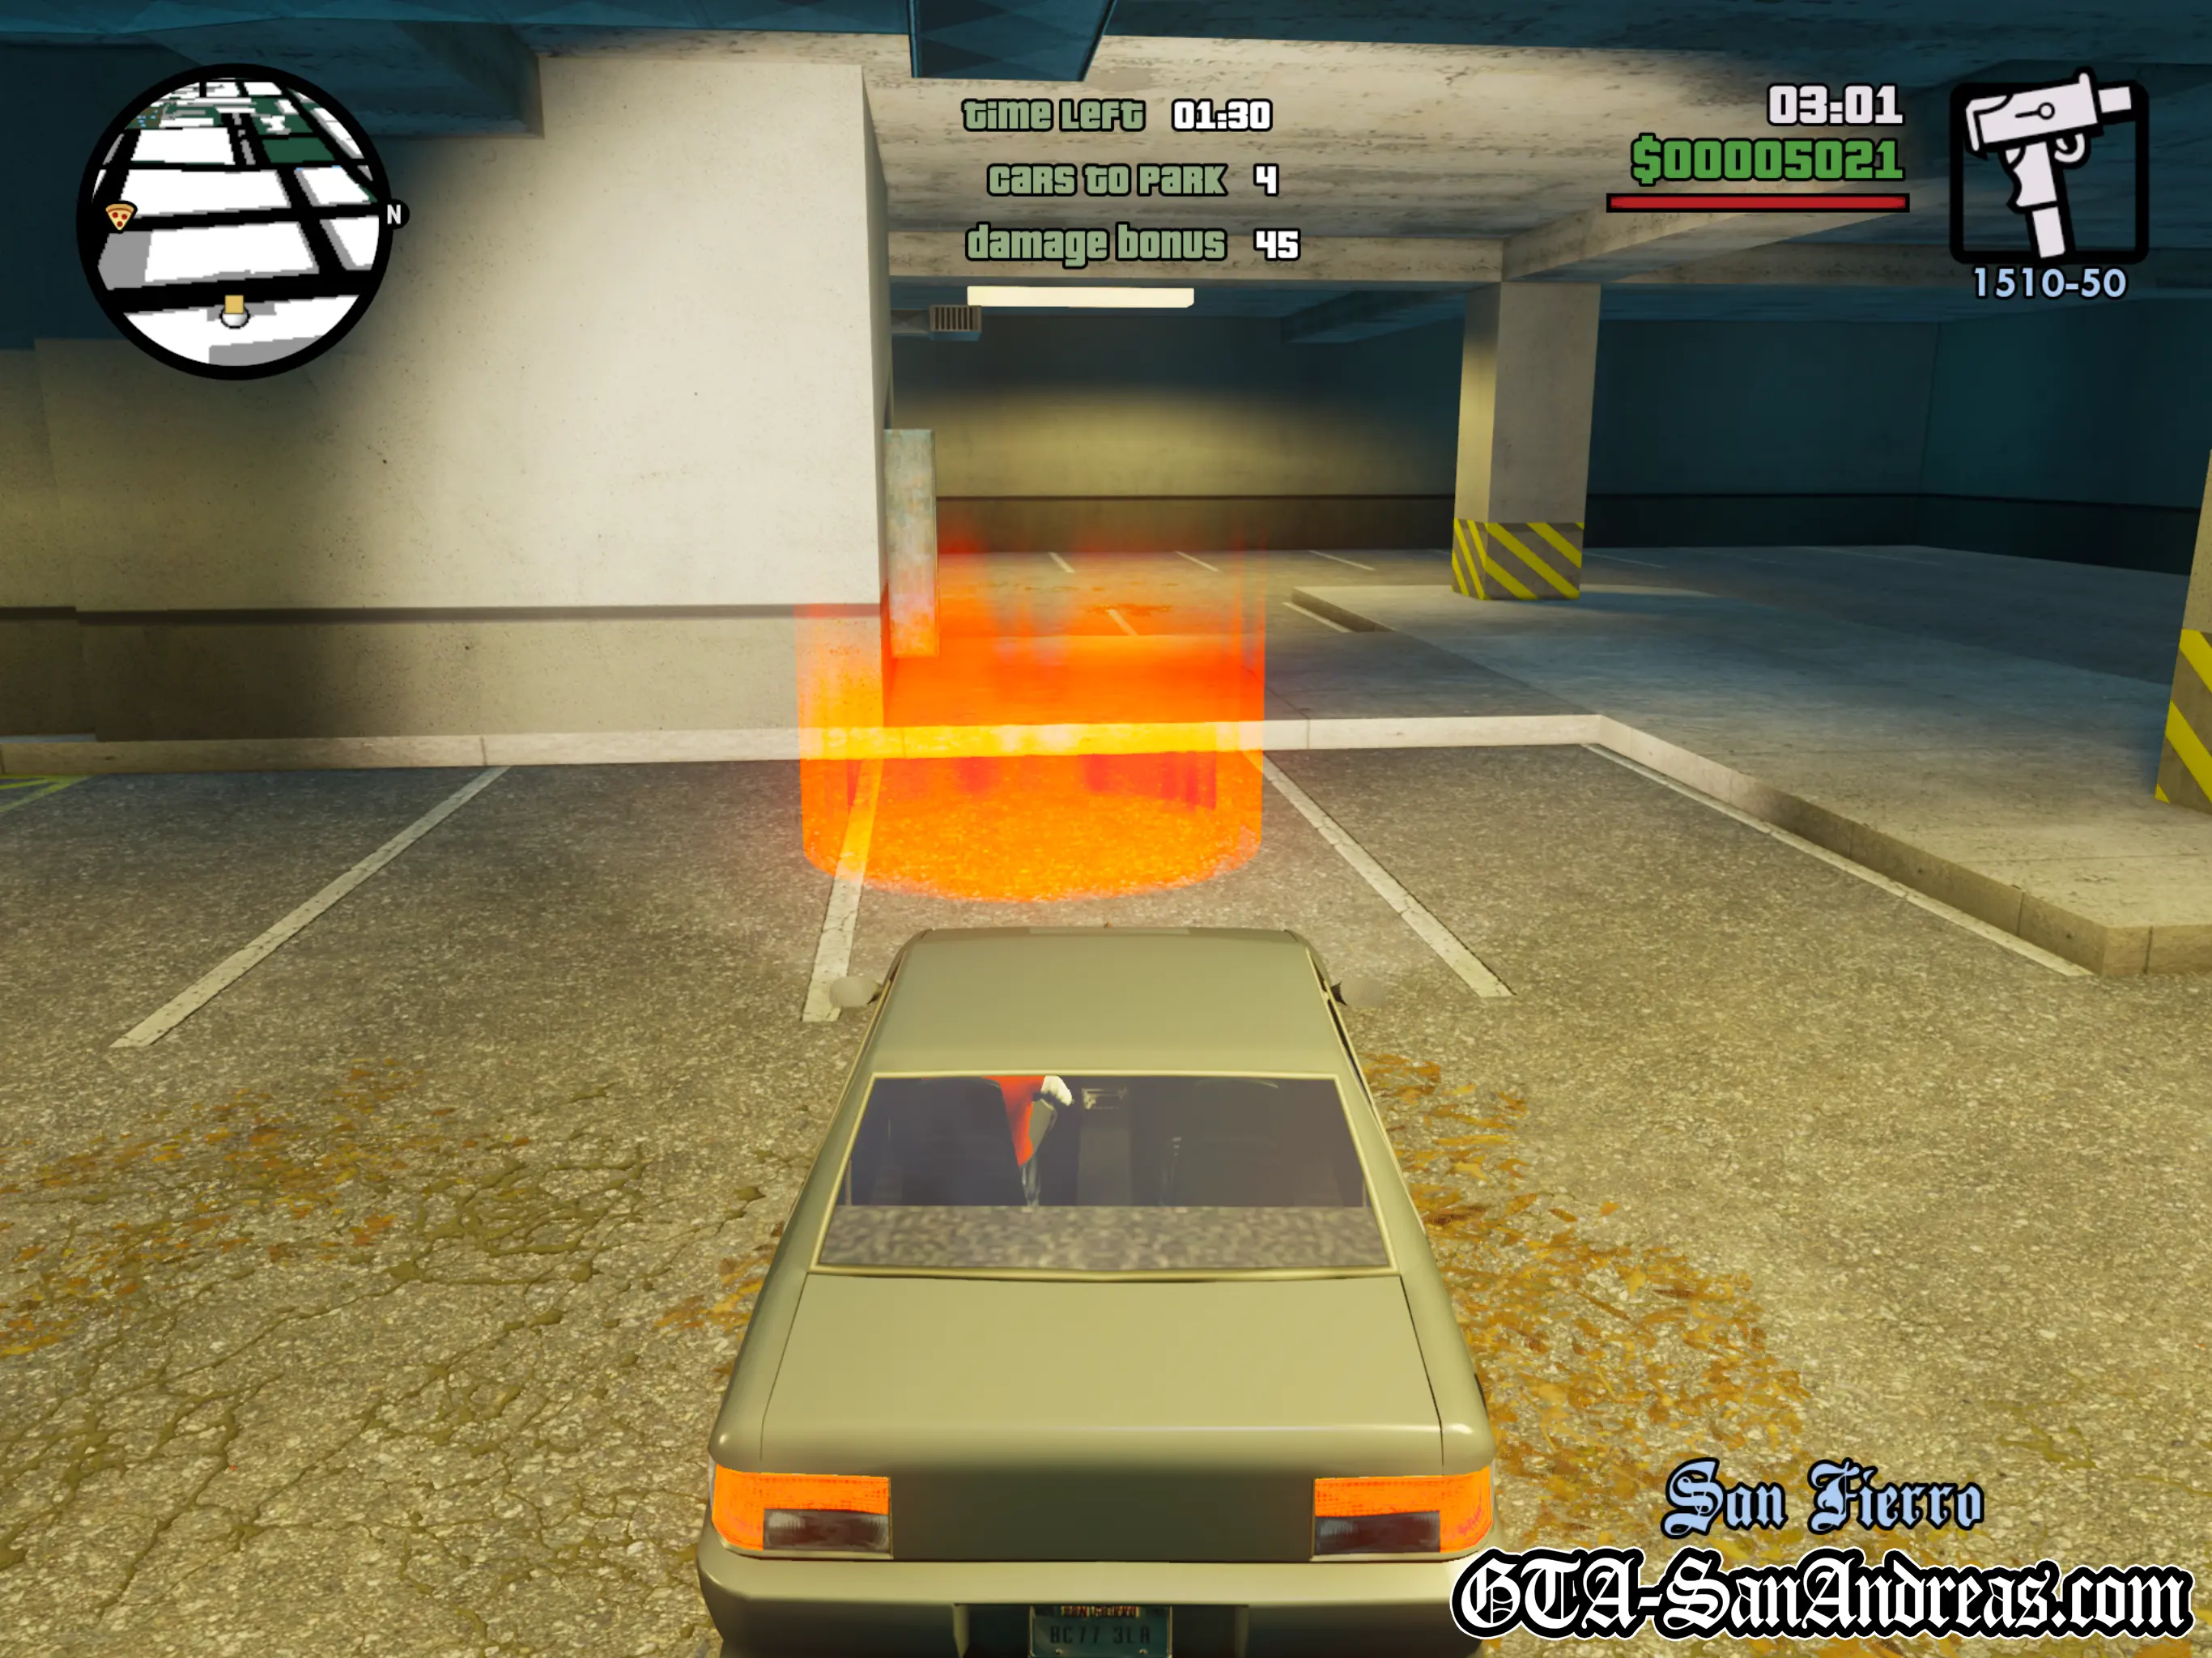
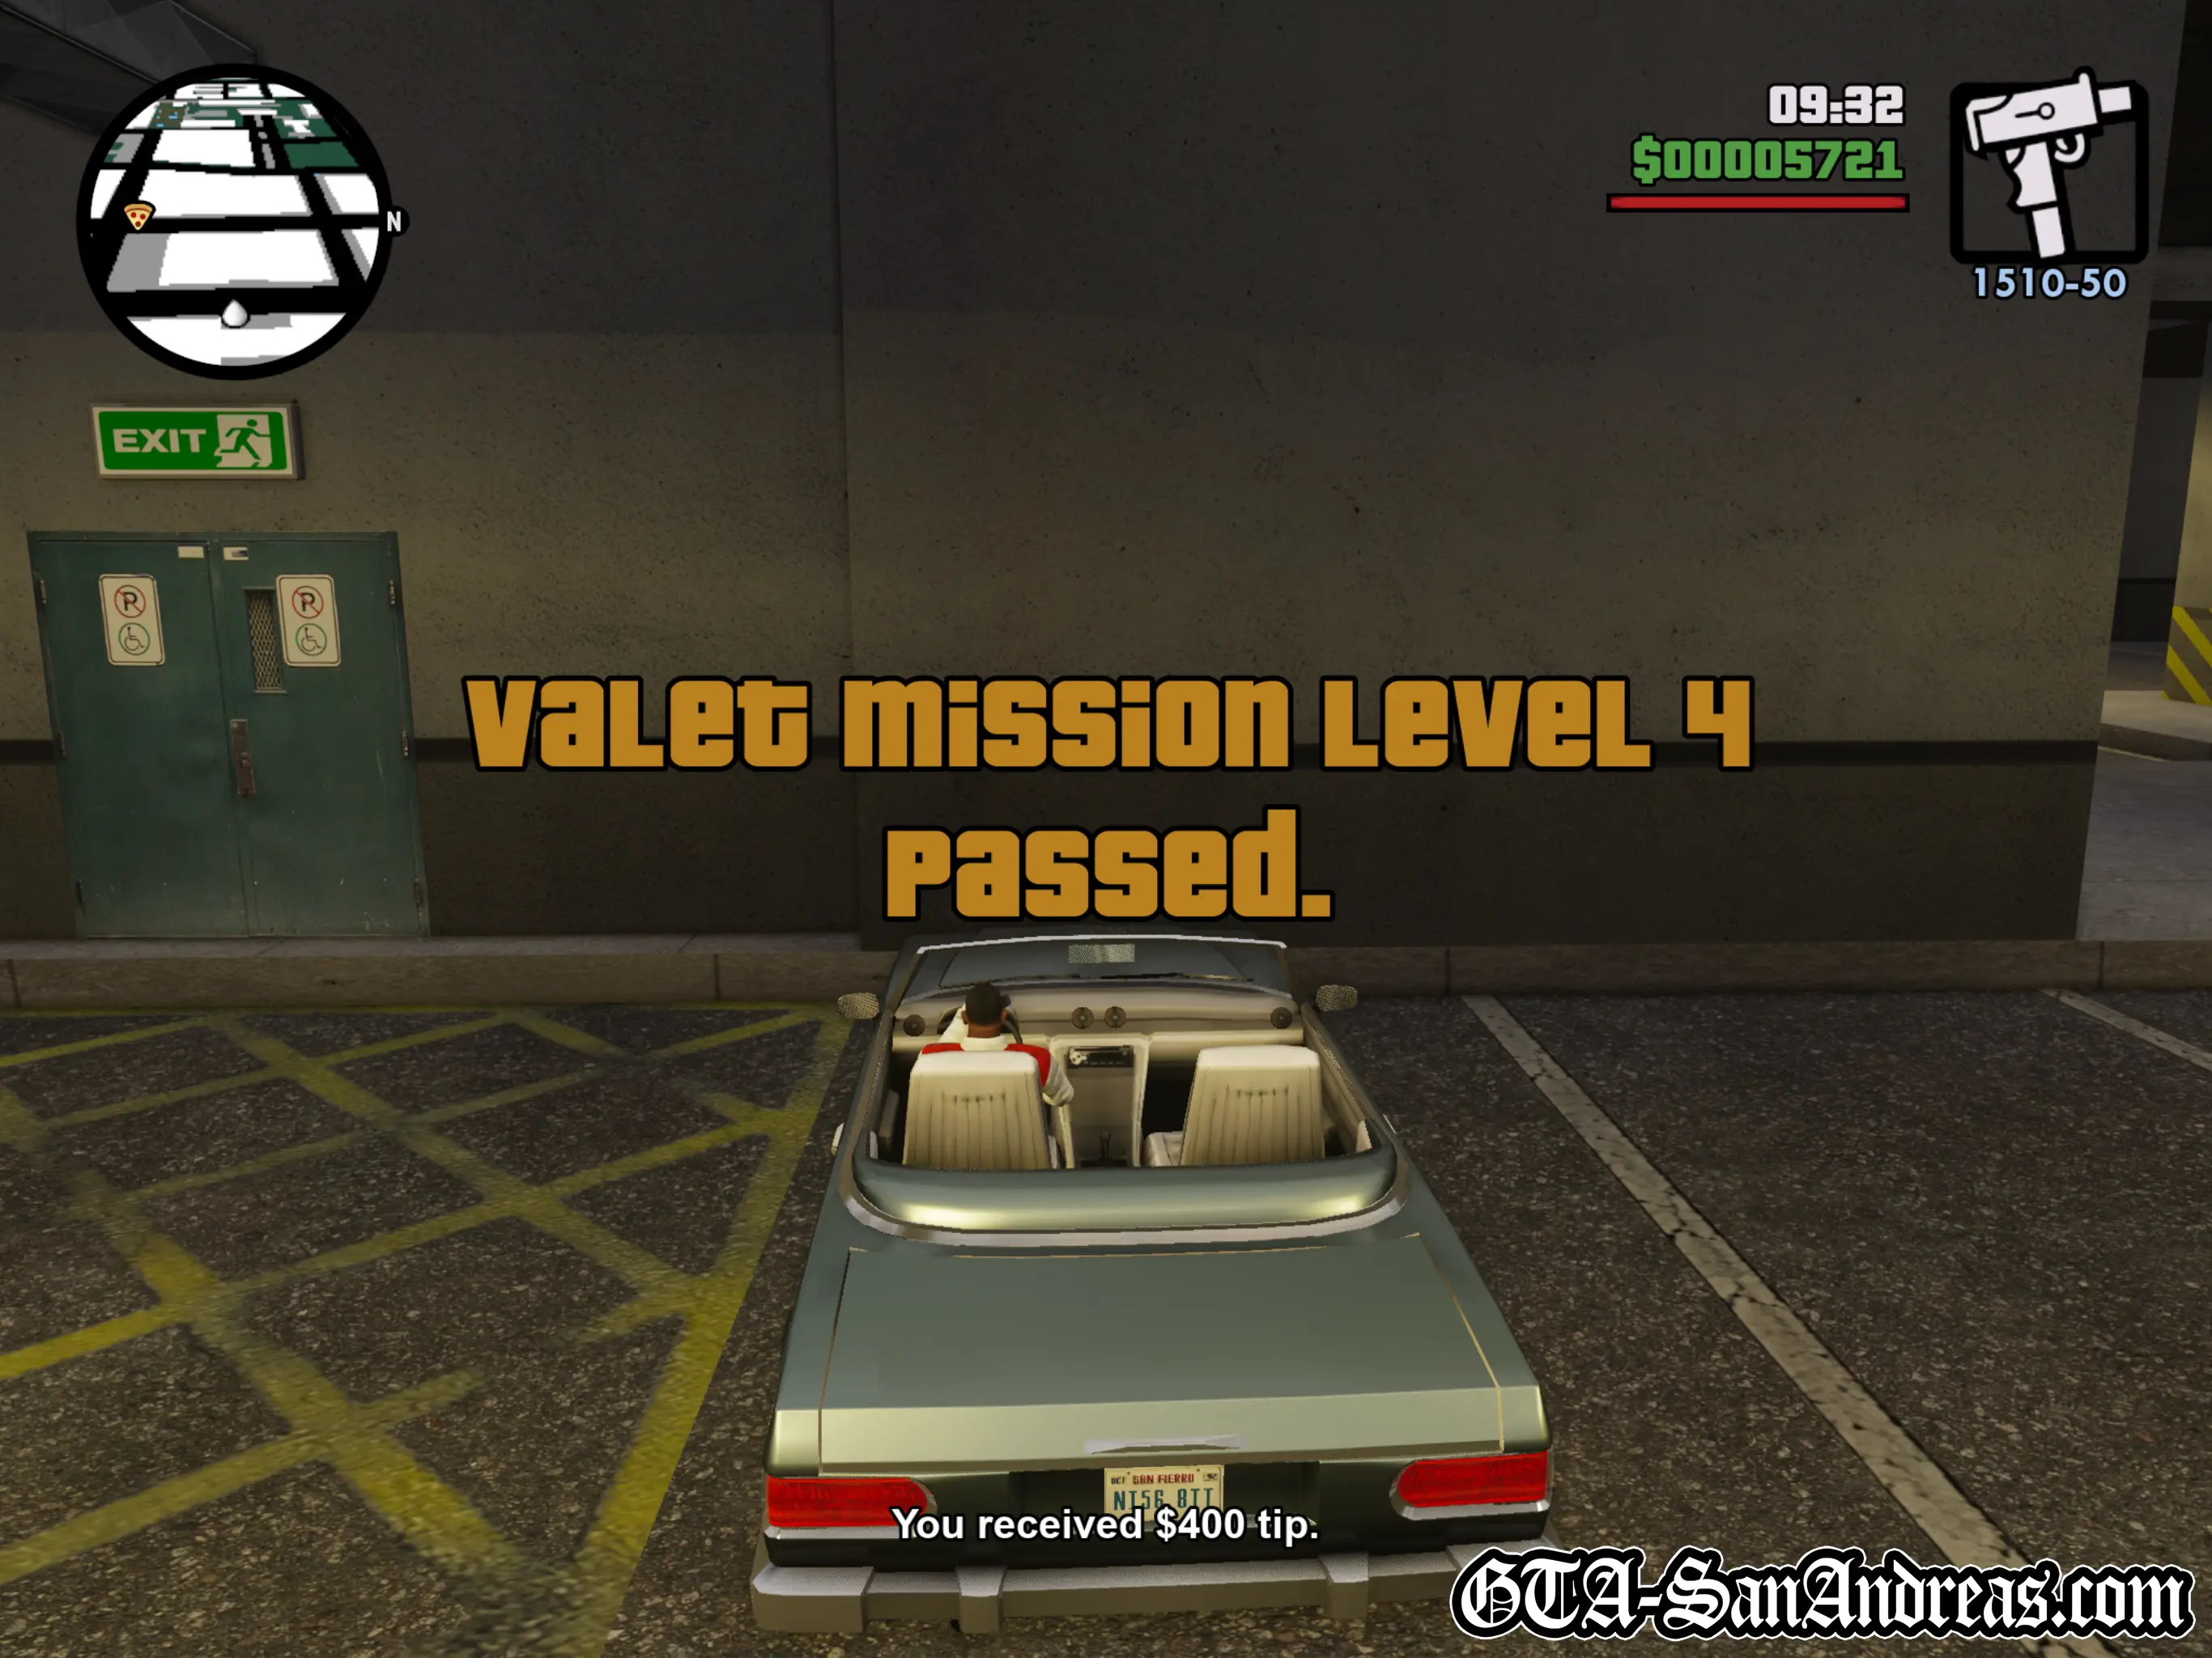
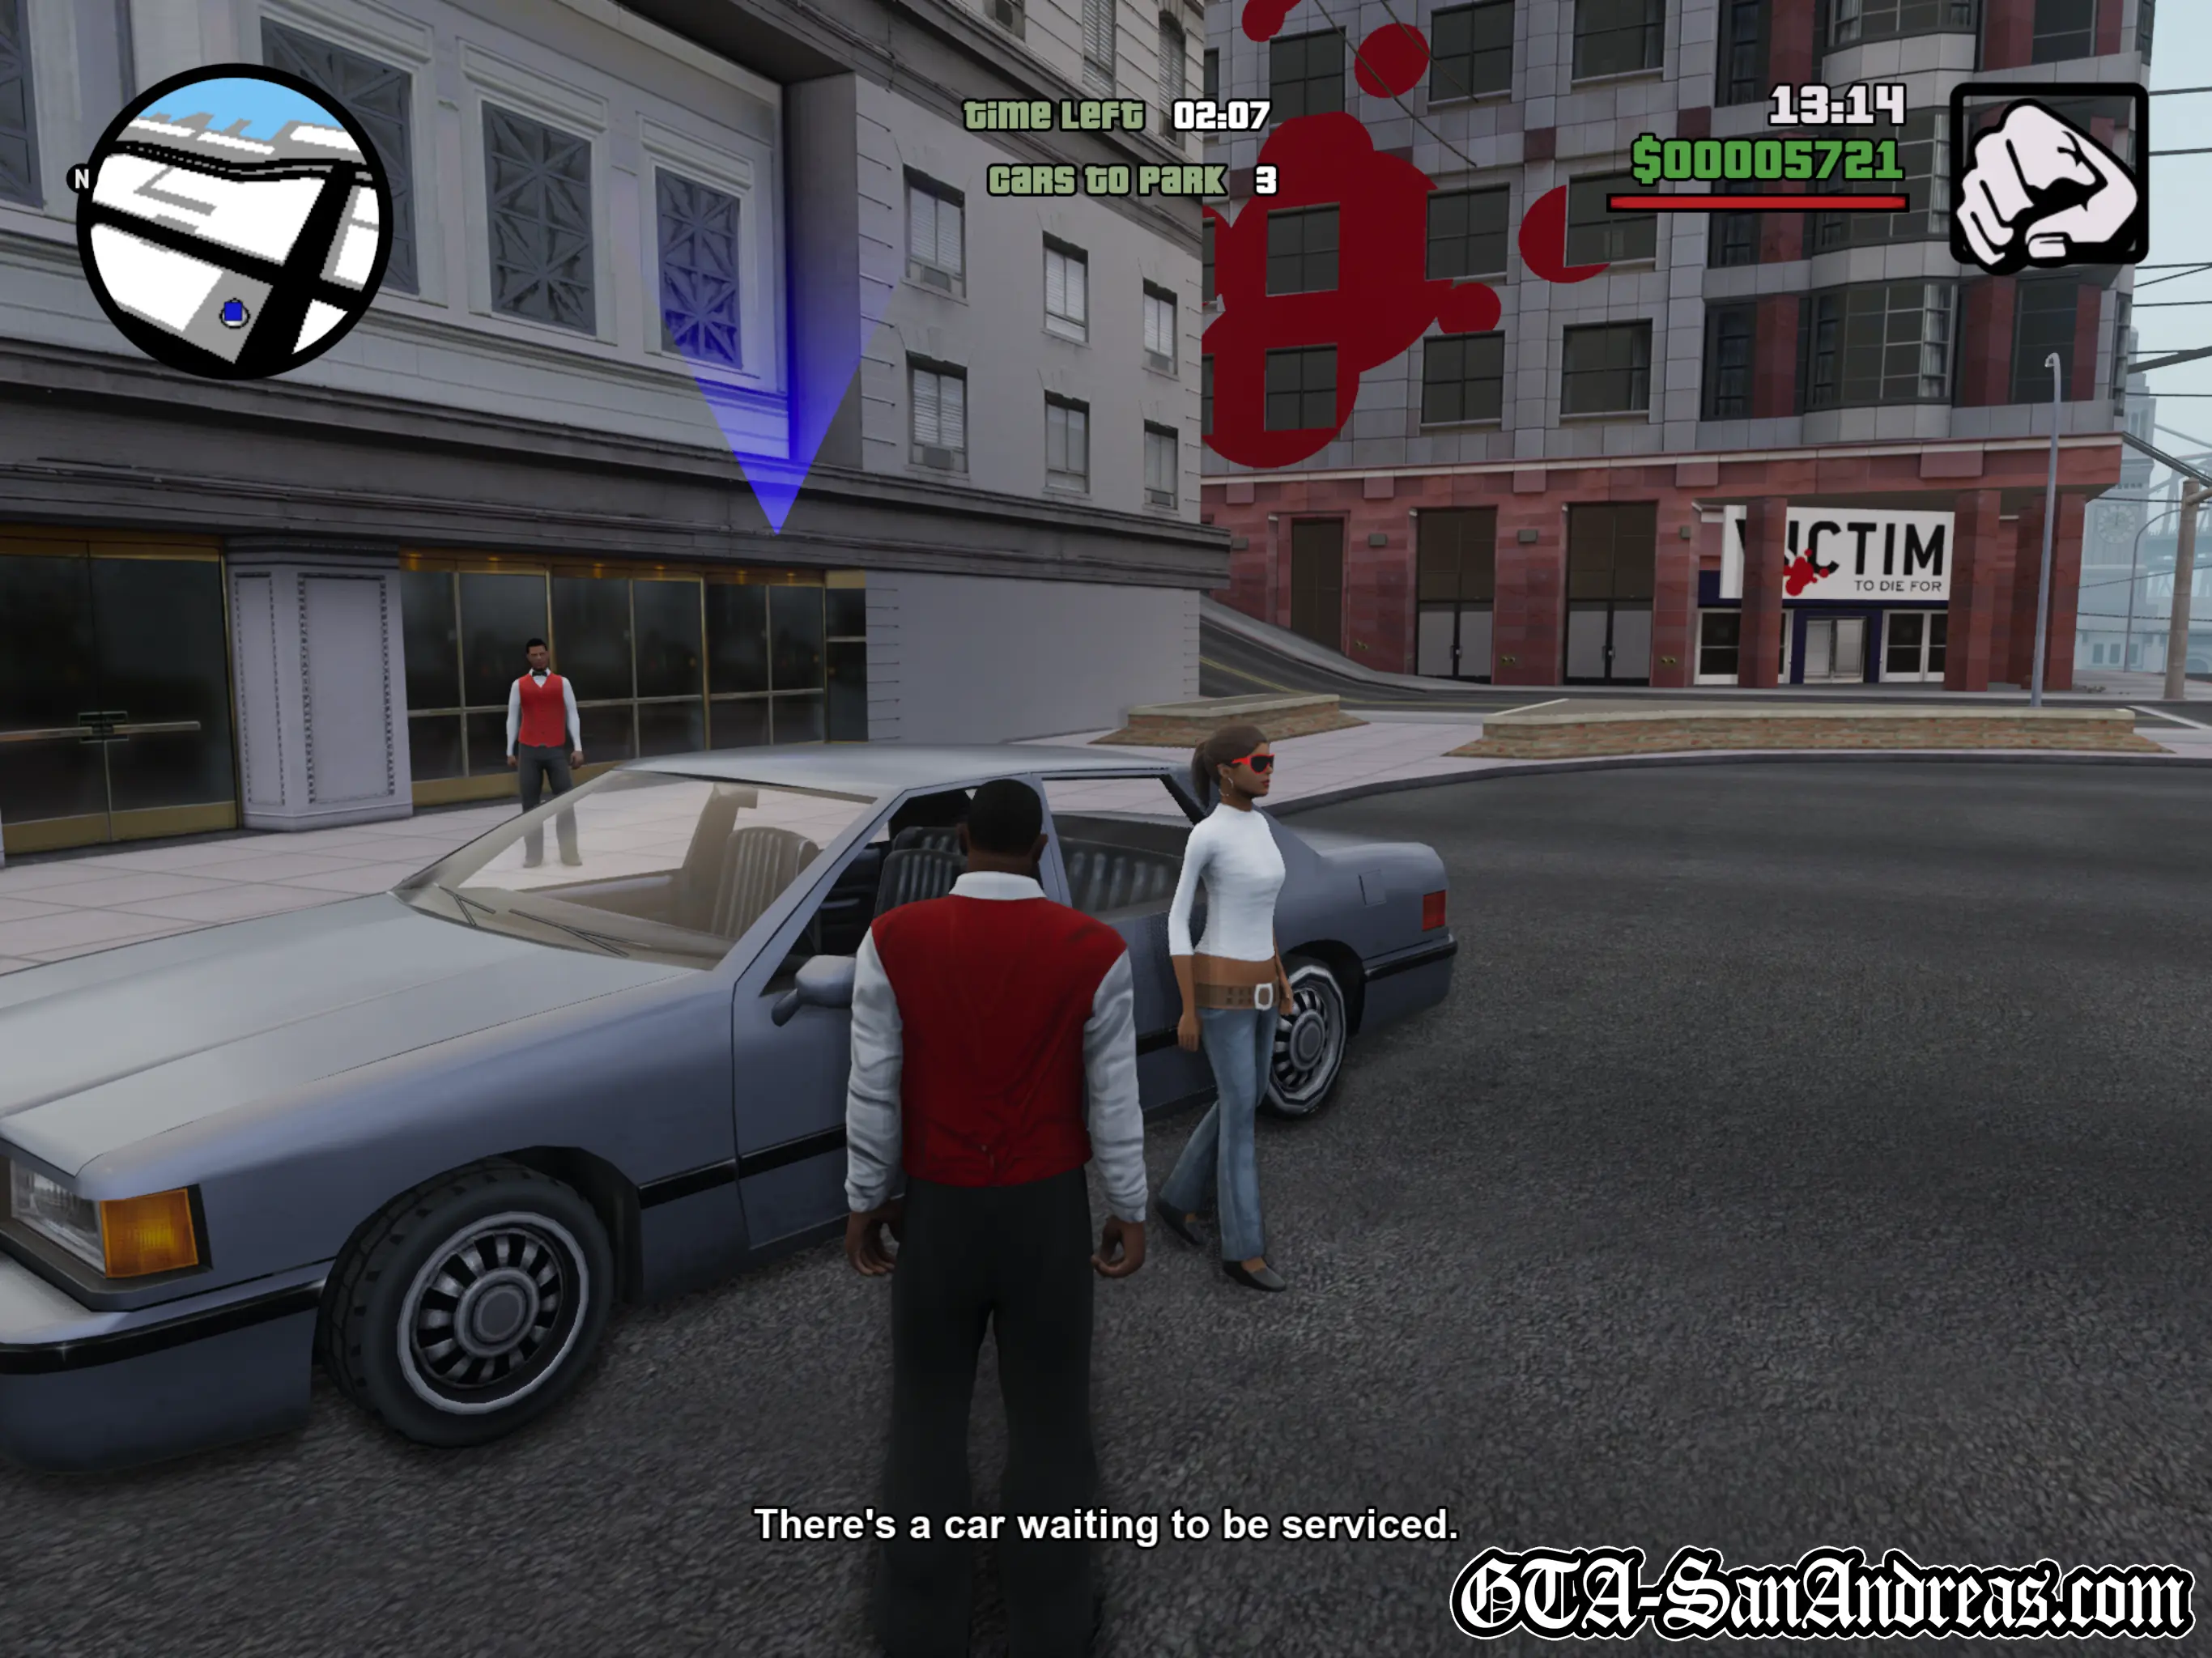
Valet Parking

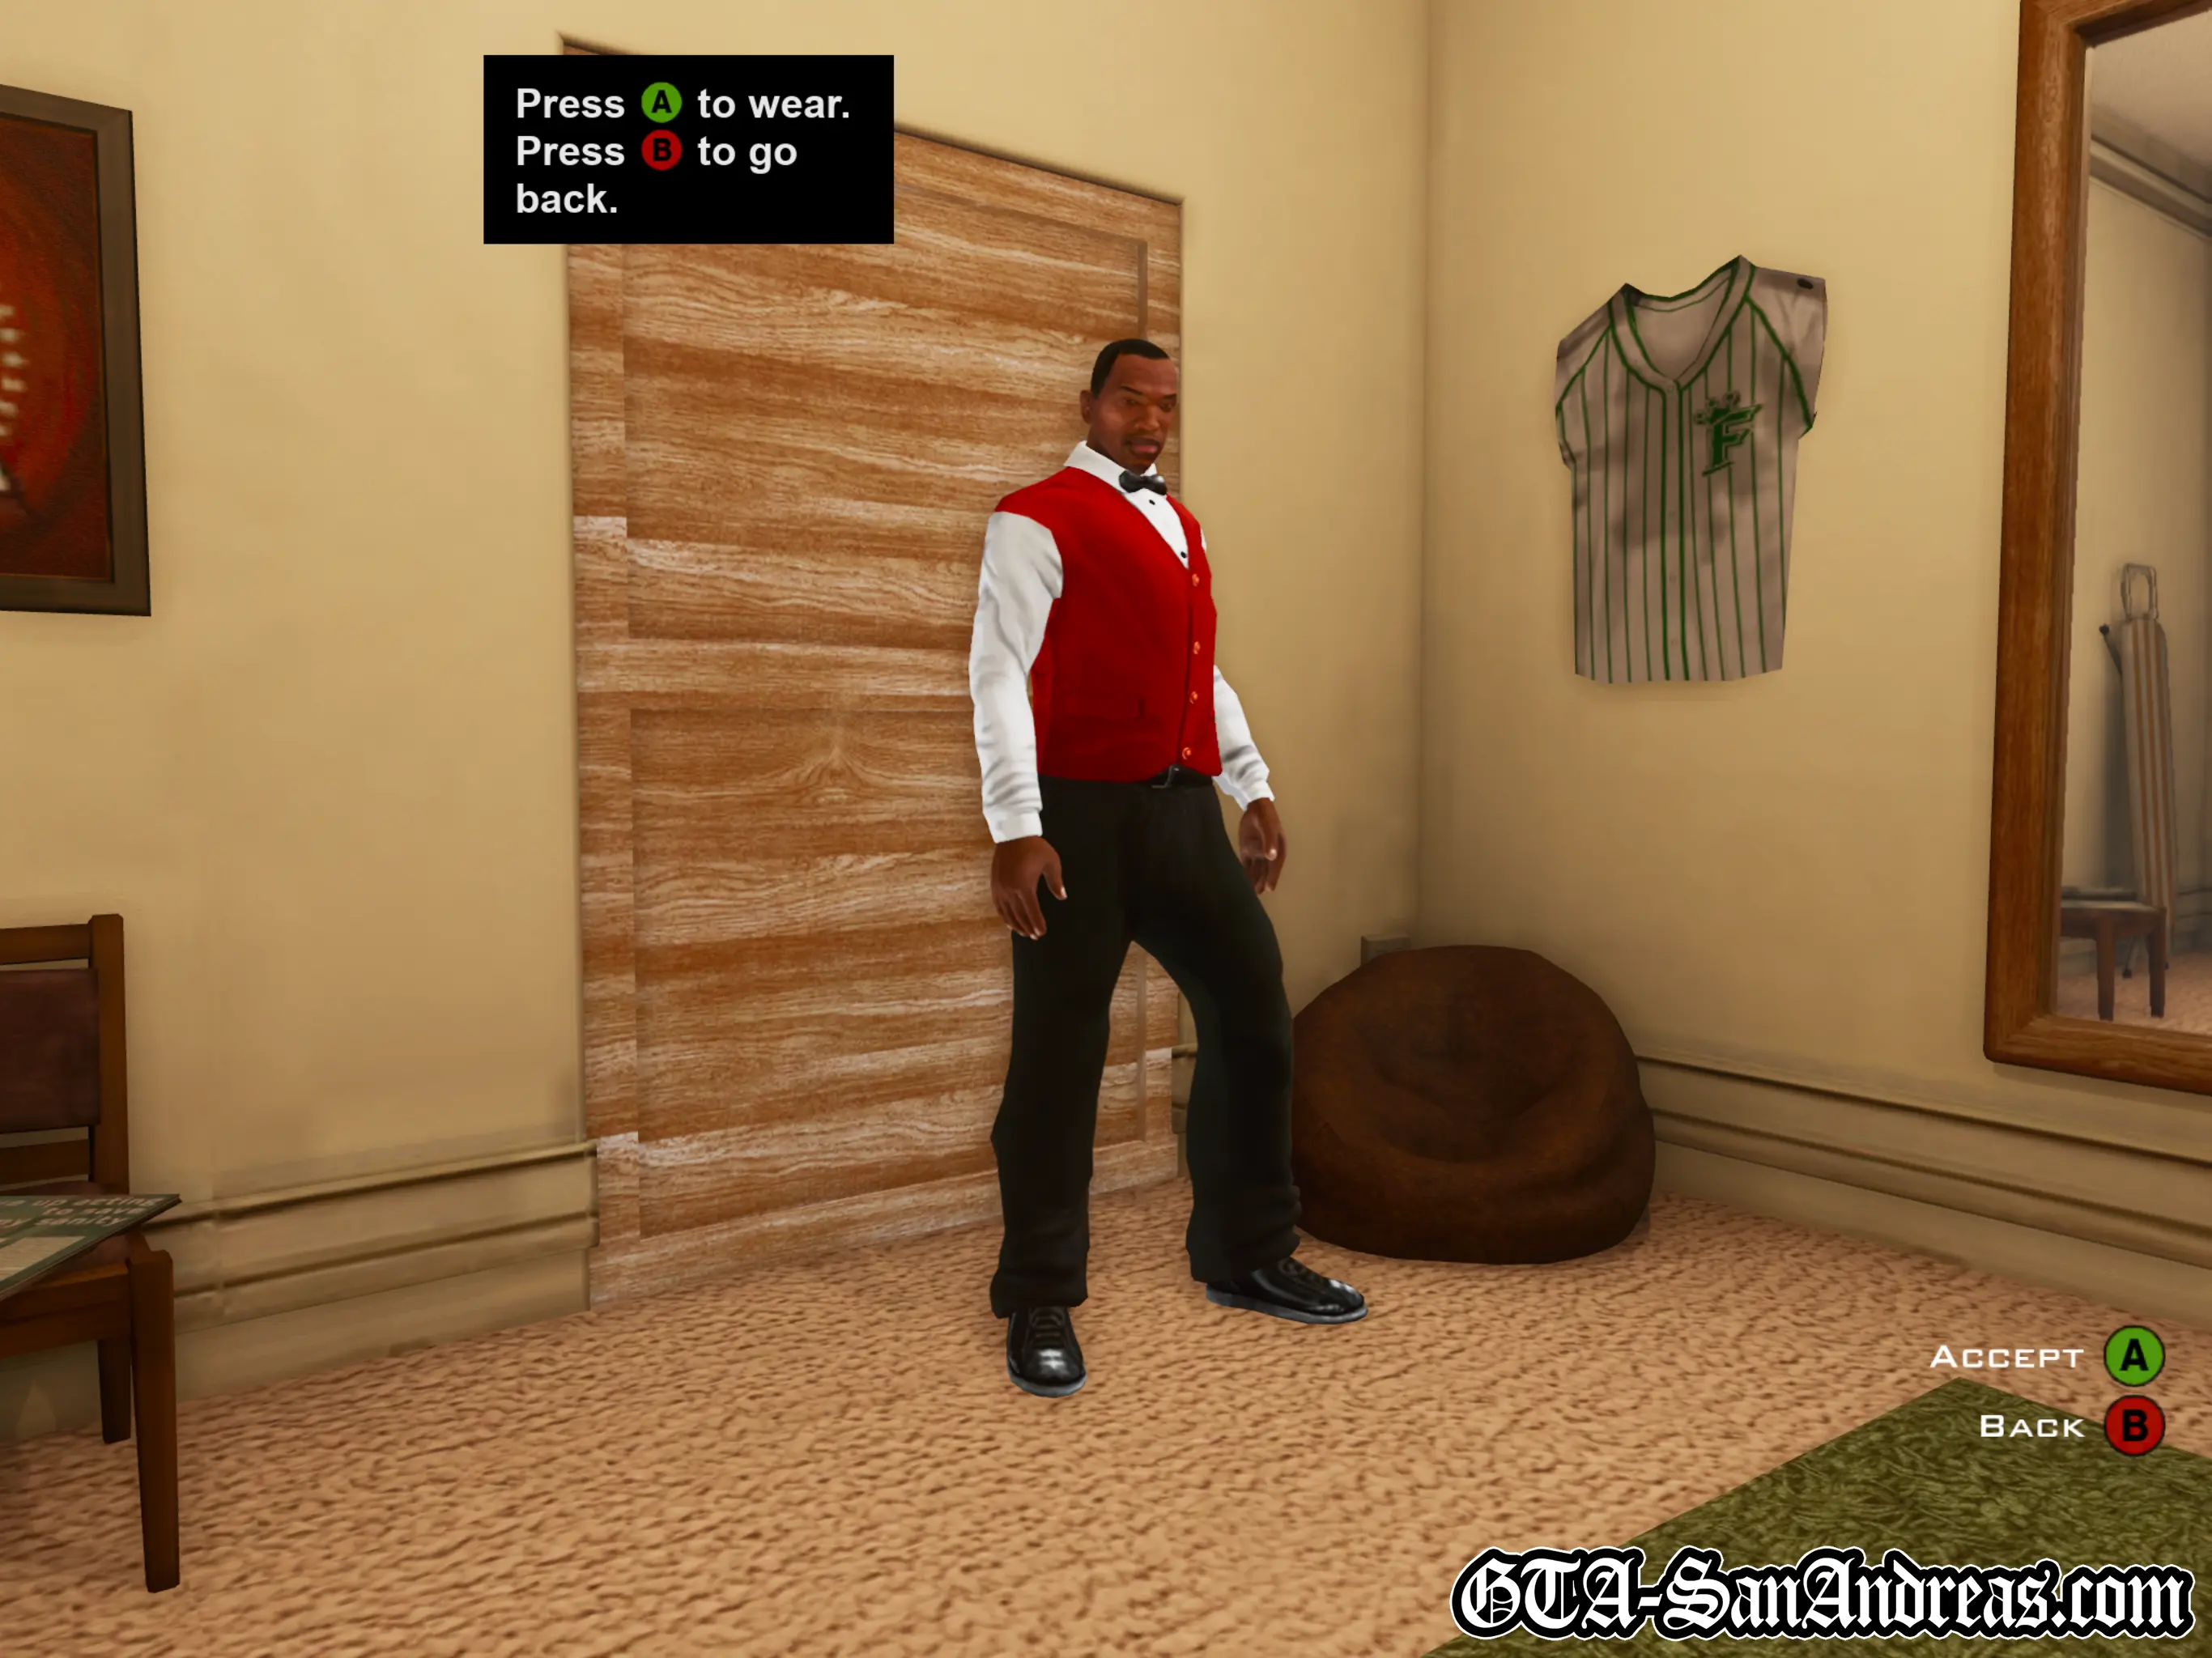
Valet Parking Missions are unlocked after completion of the mission "555 WE TIP". In order to start these missions you will need to be wearing the Valet outfit which is delivered to your wardrobe after that mission. Head to a safehouse and change into it before attempting to start these missions.
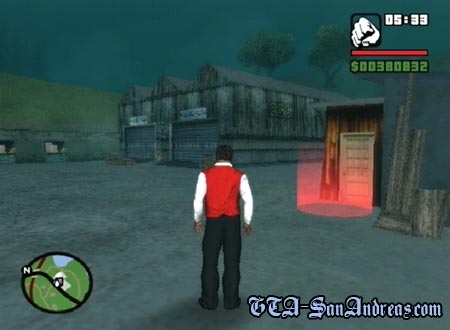
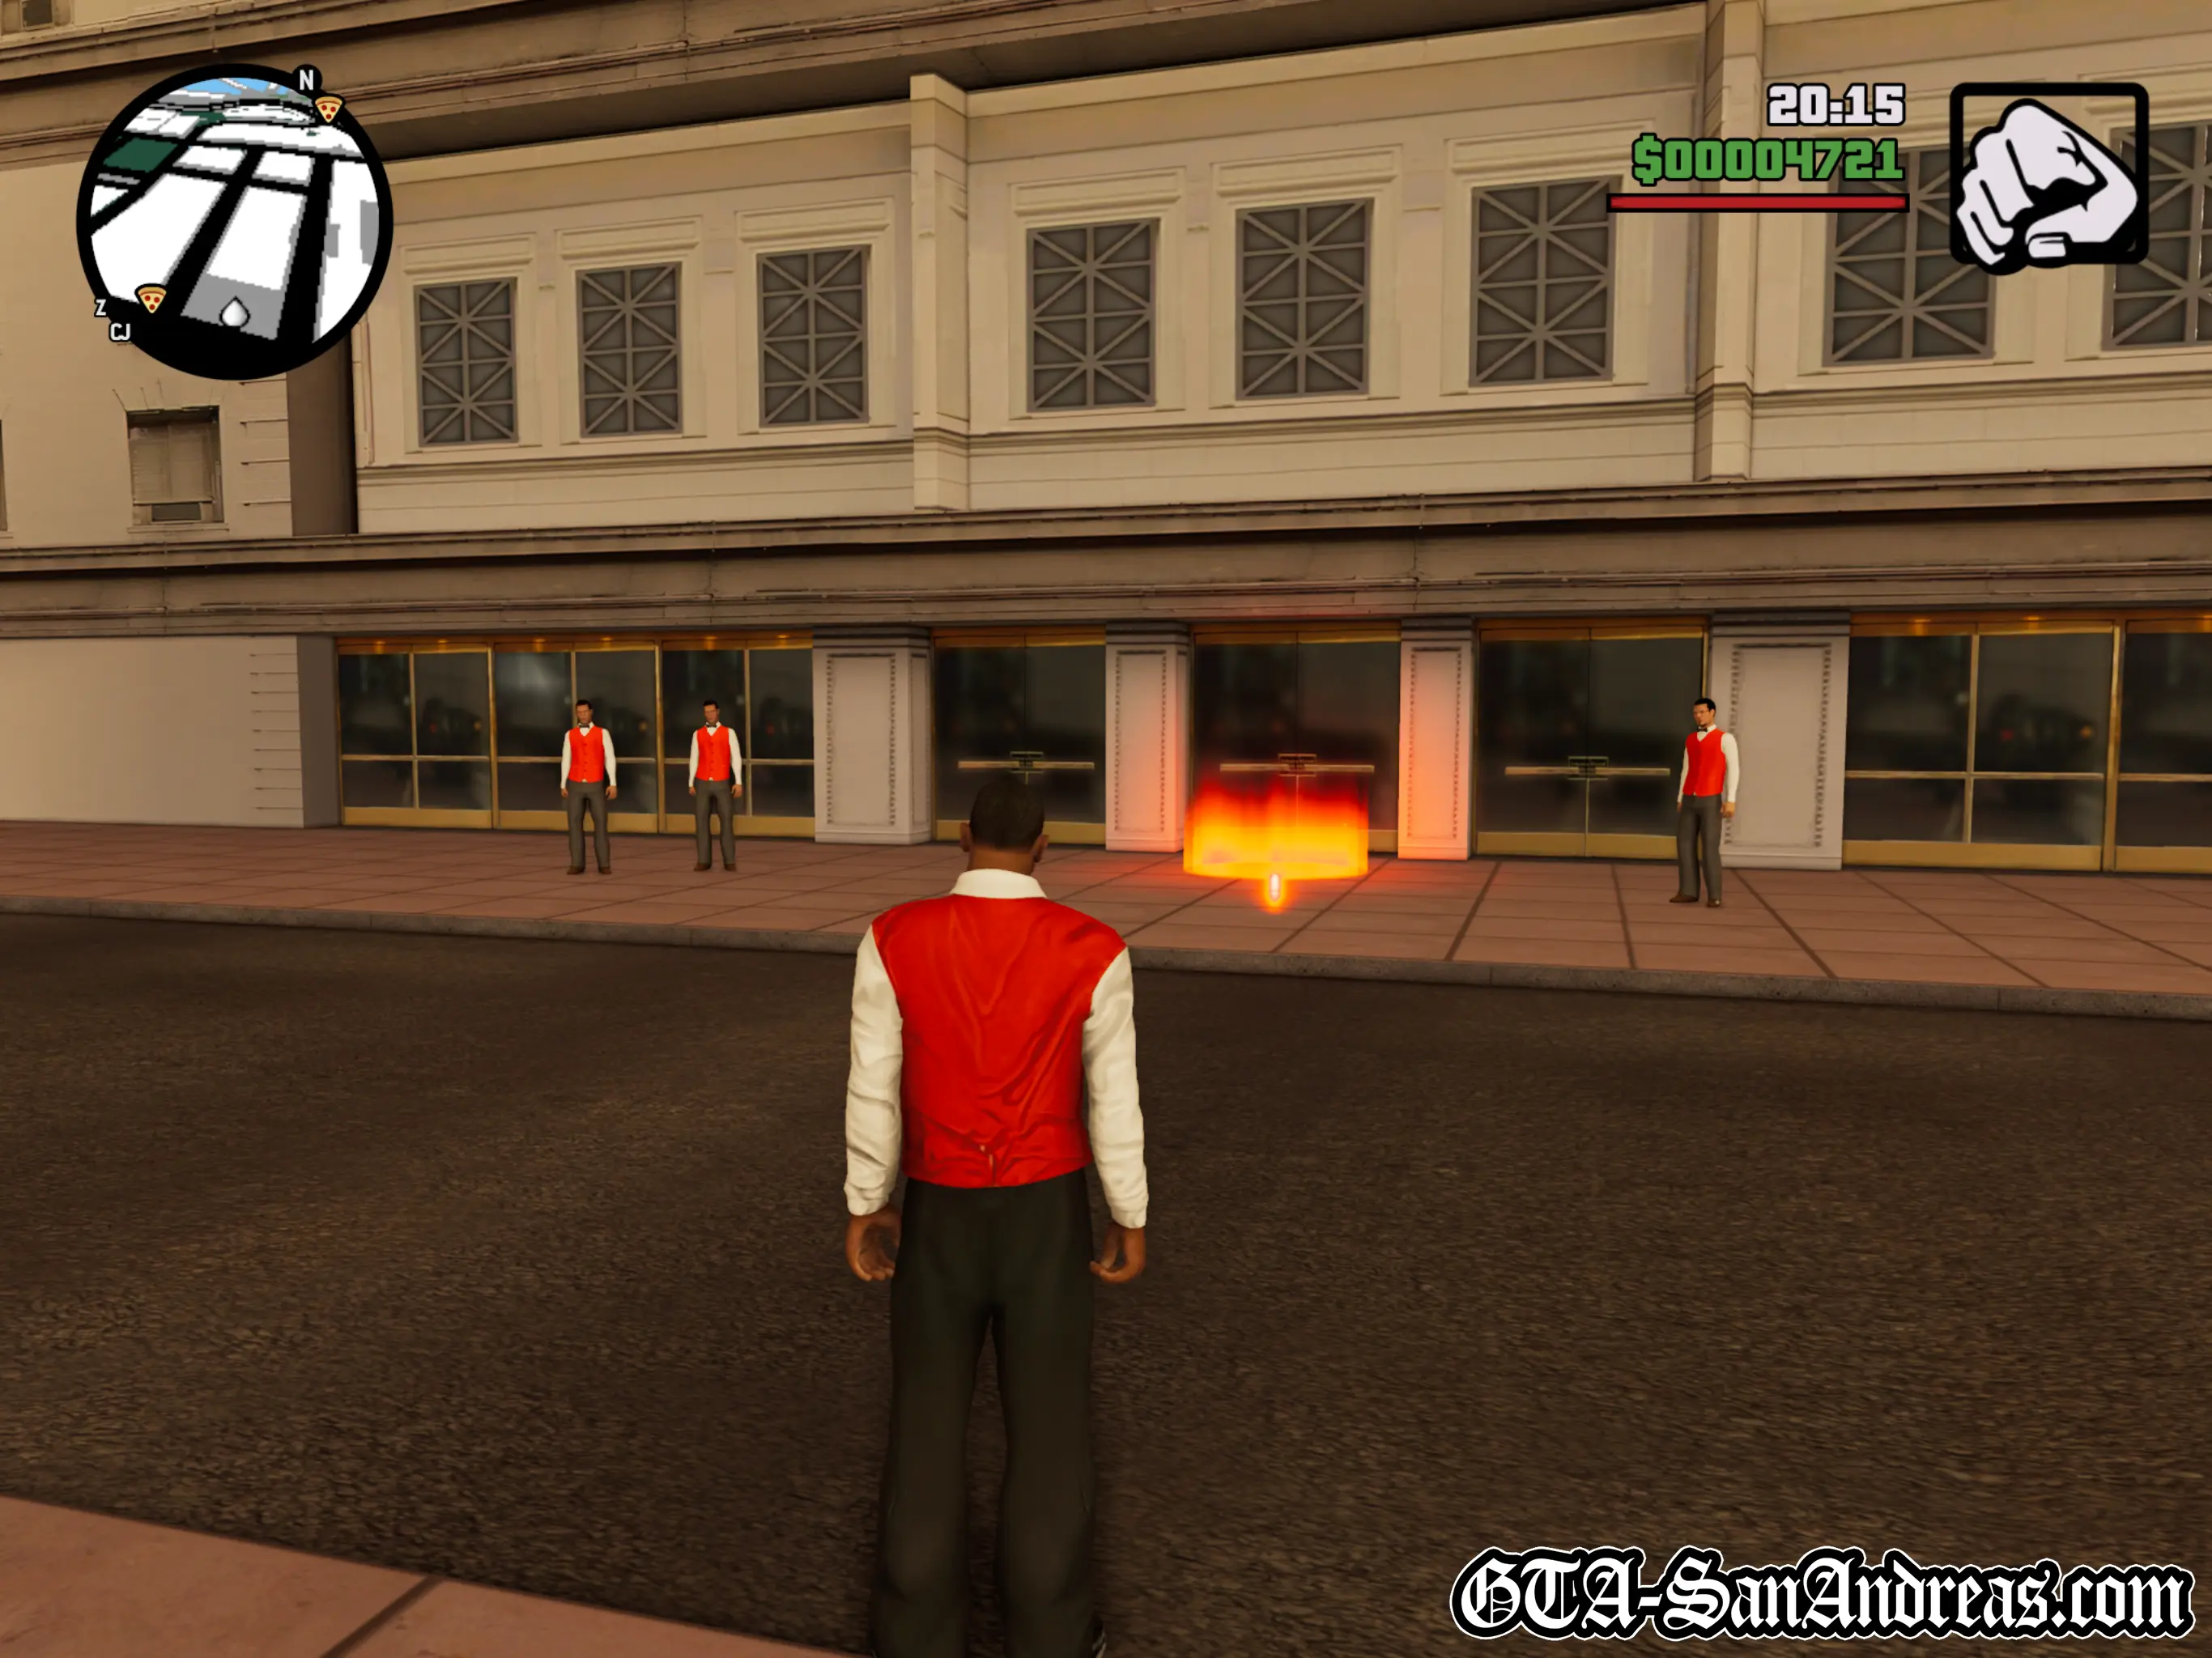
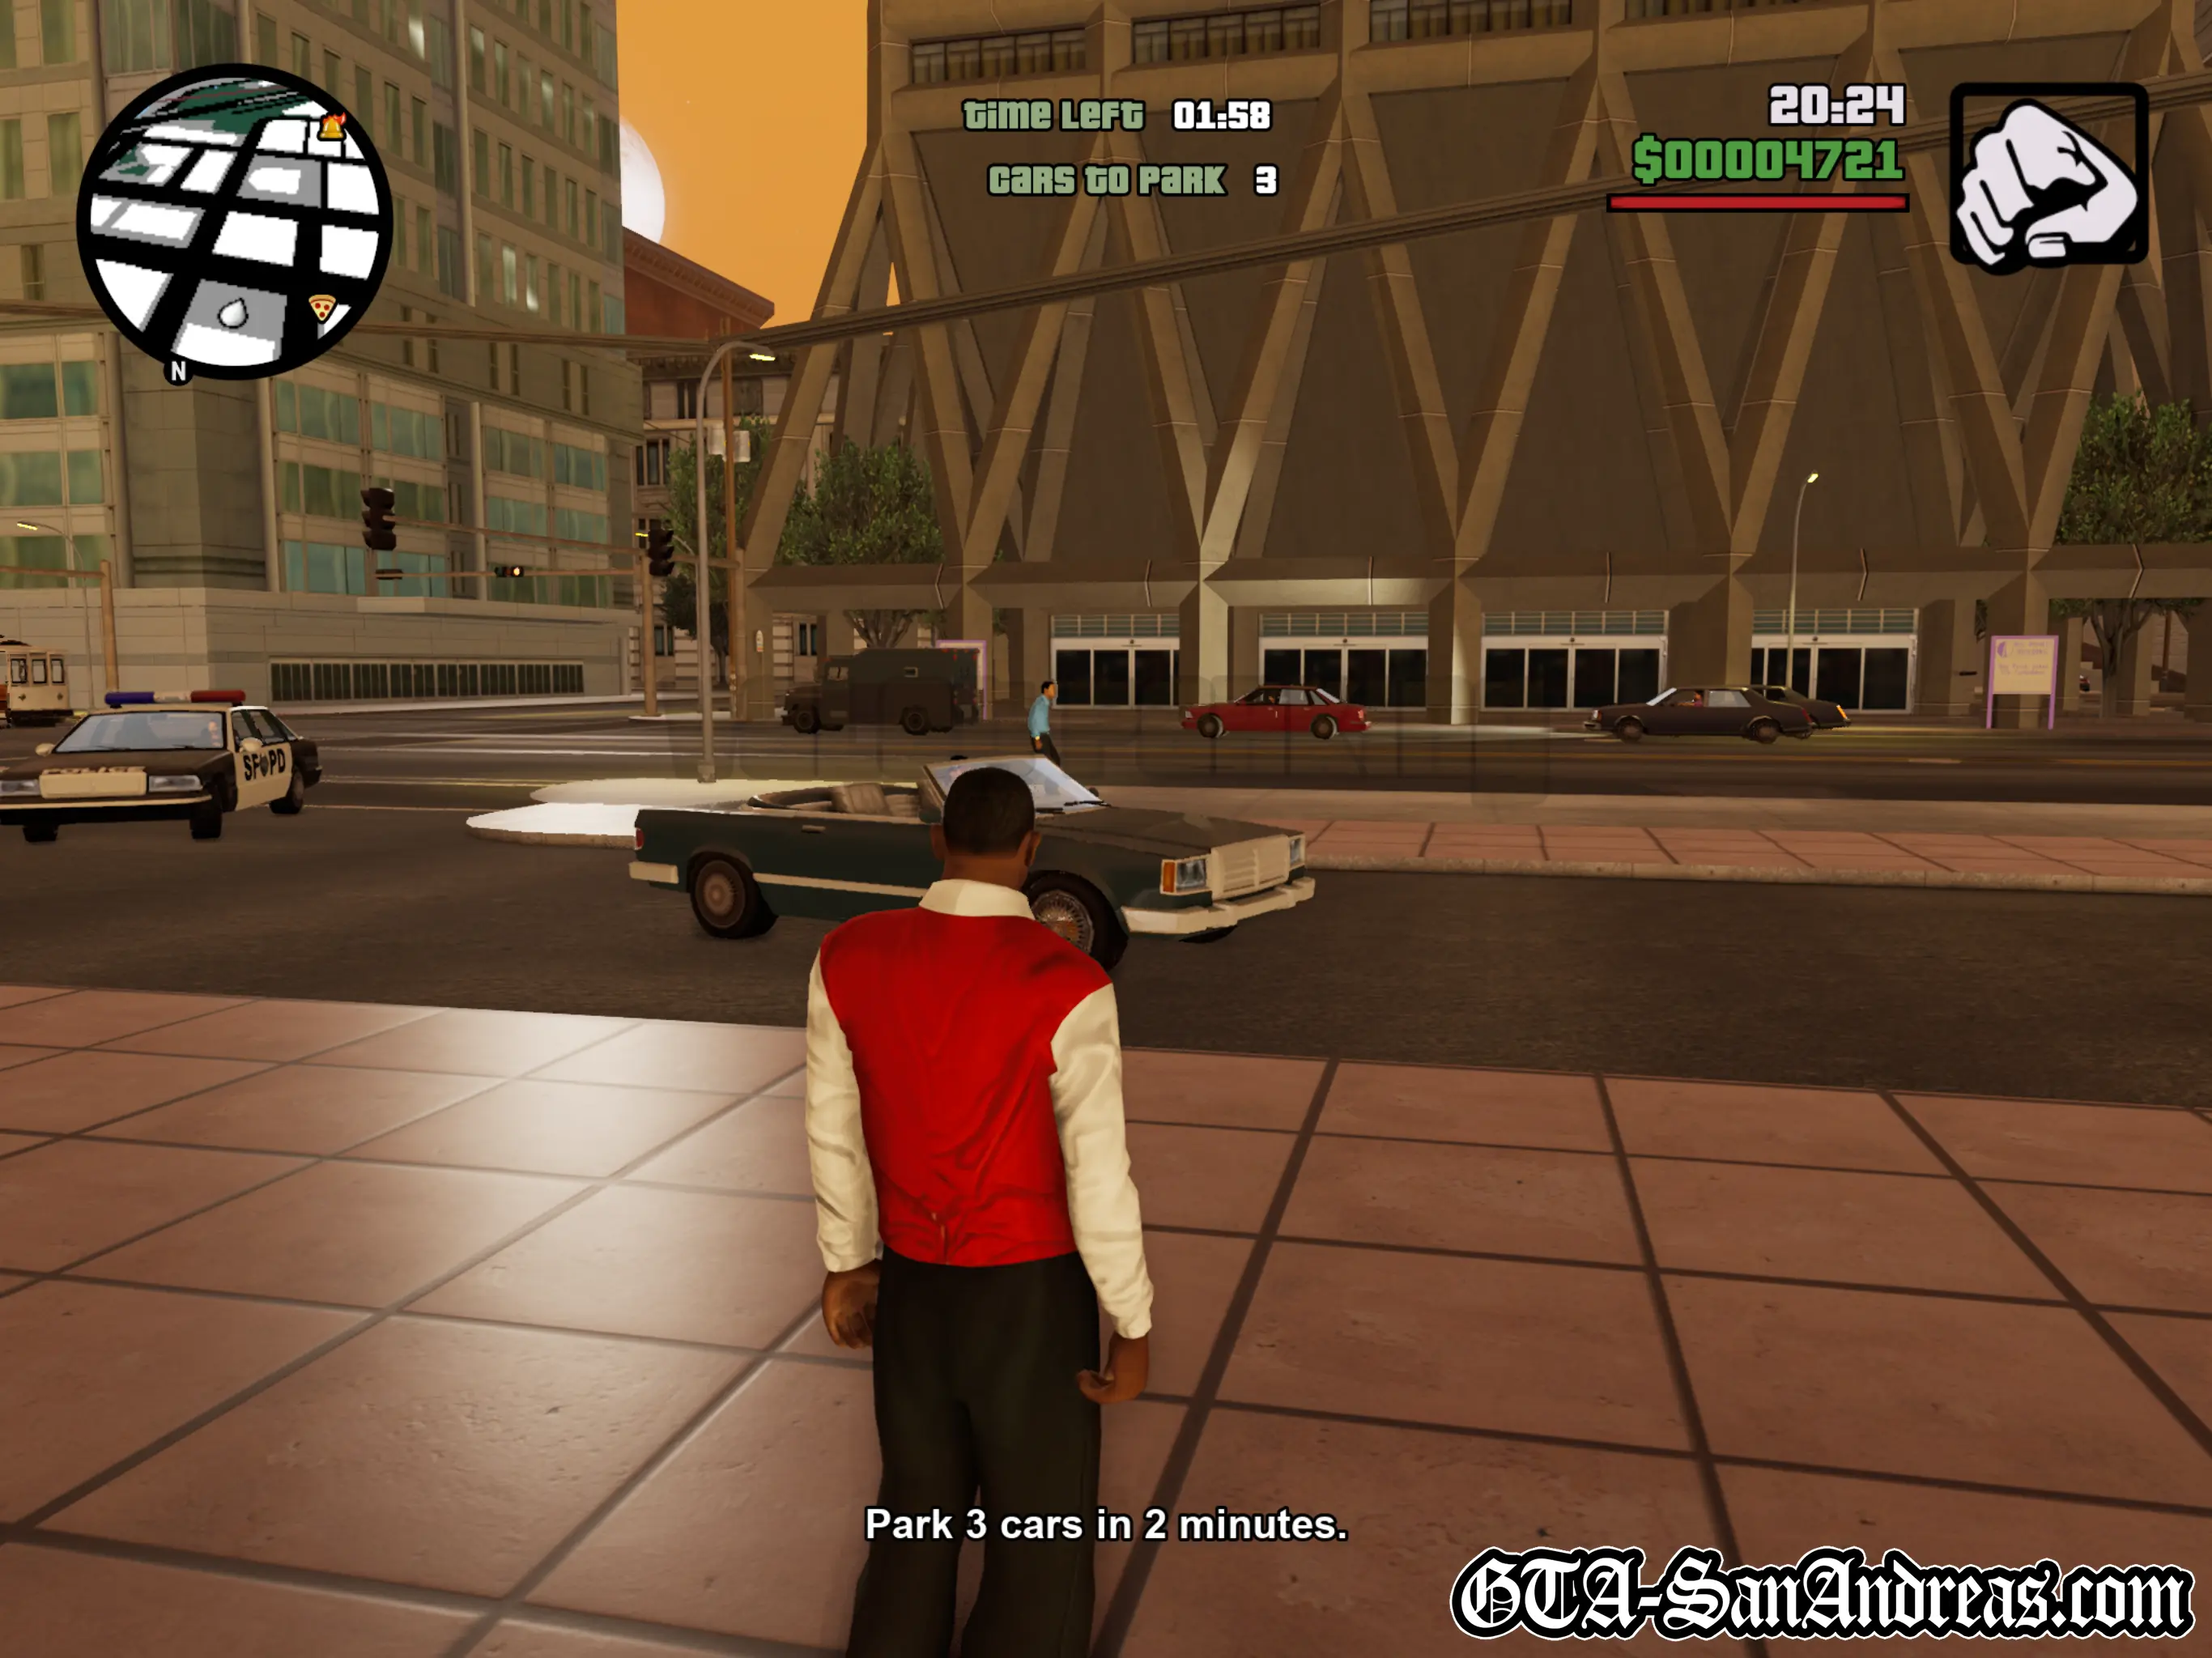
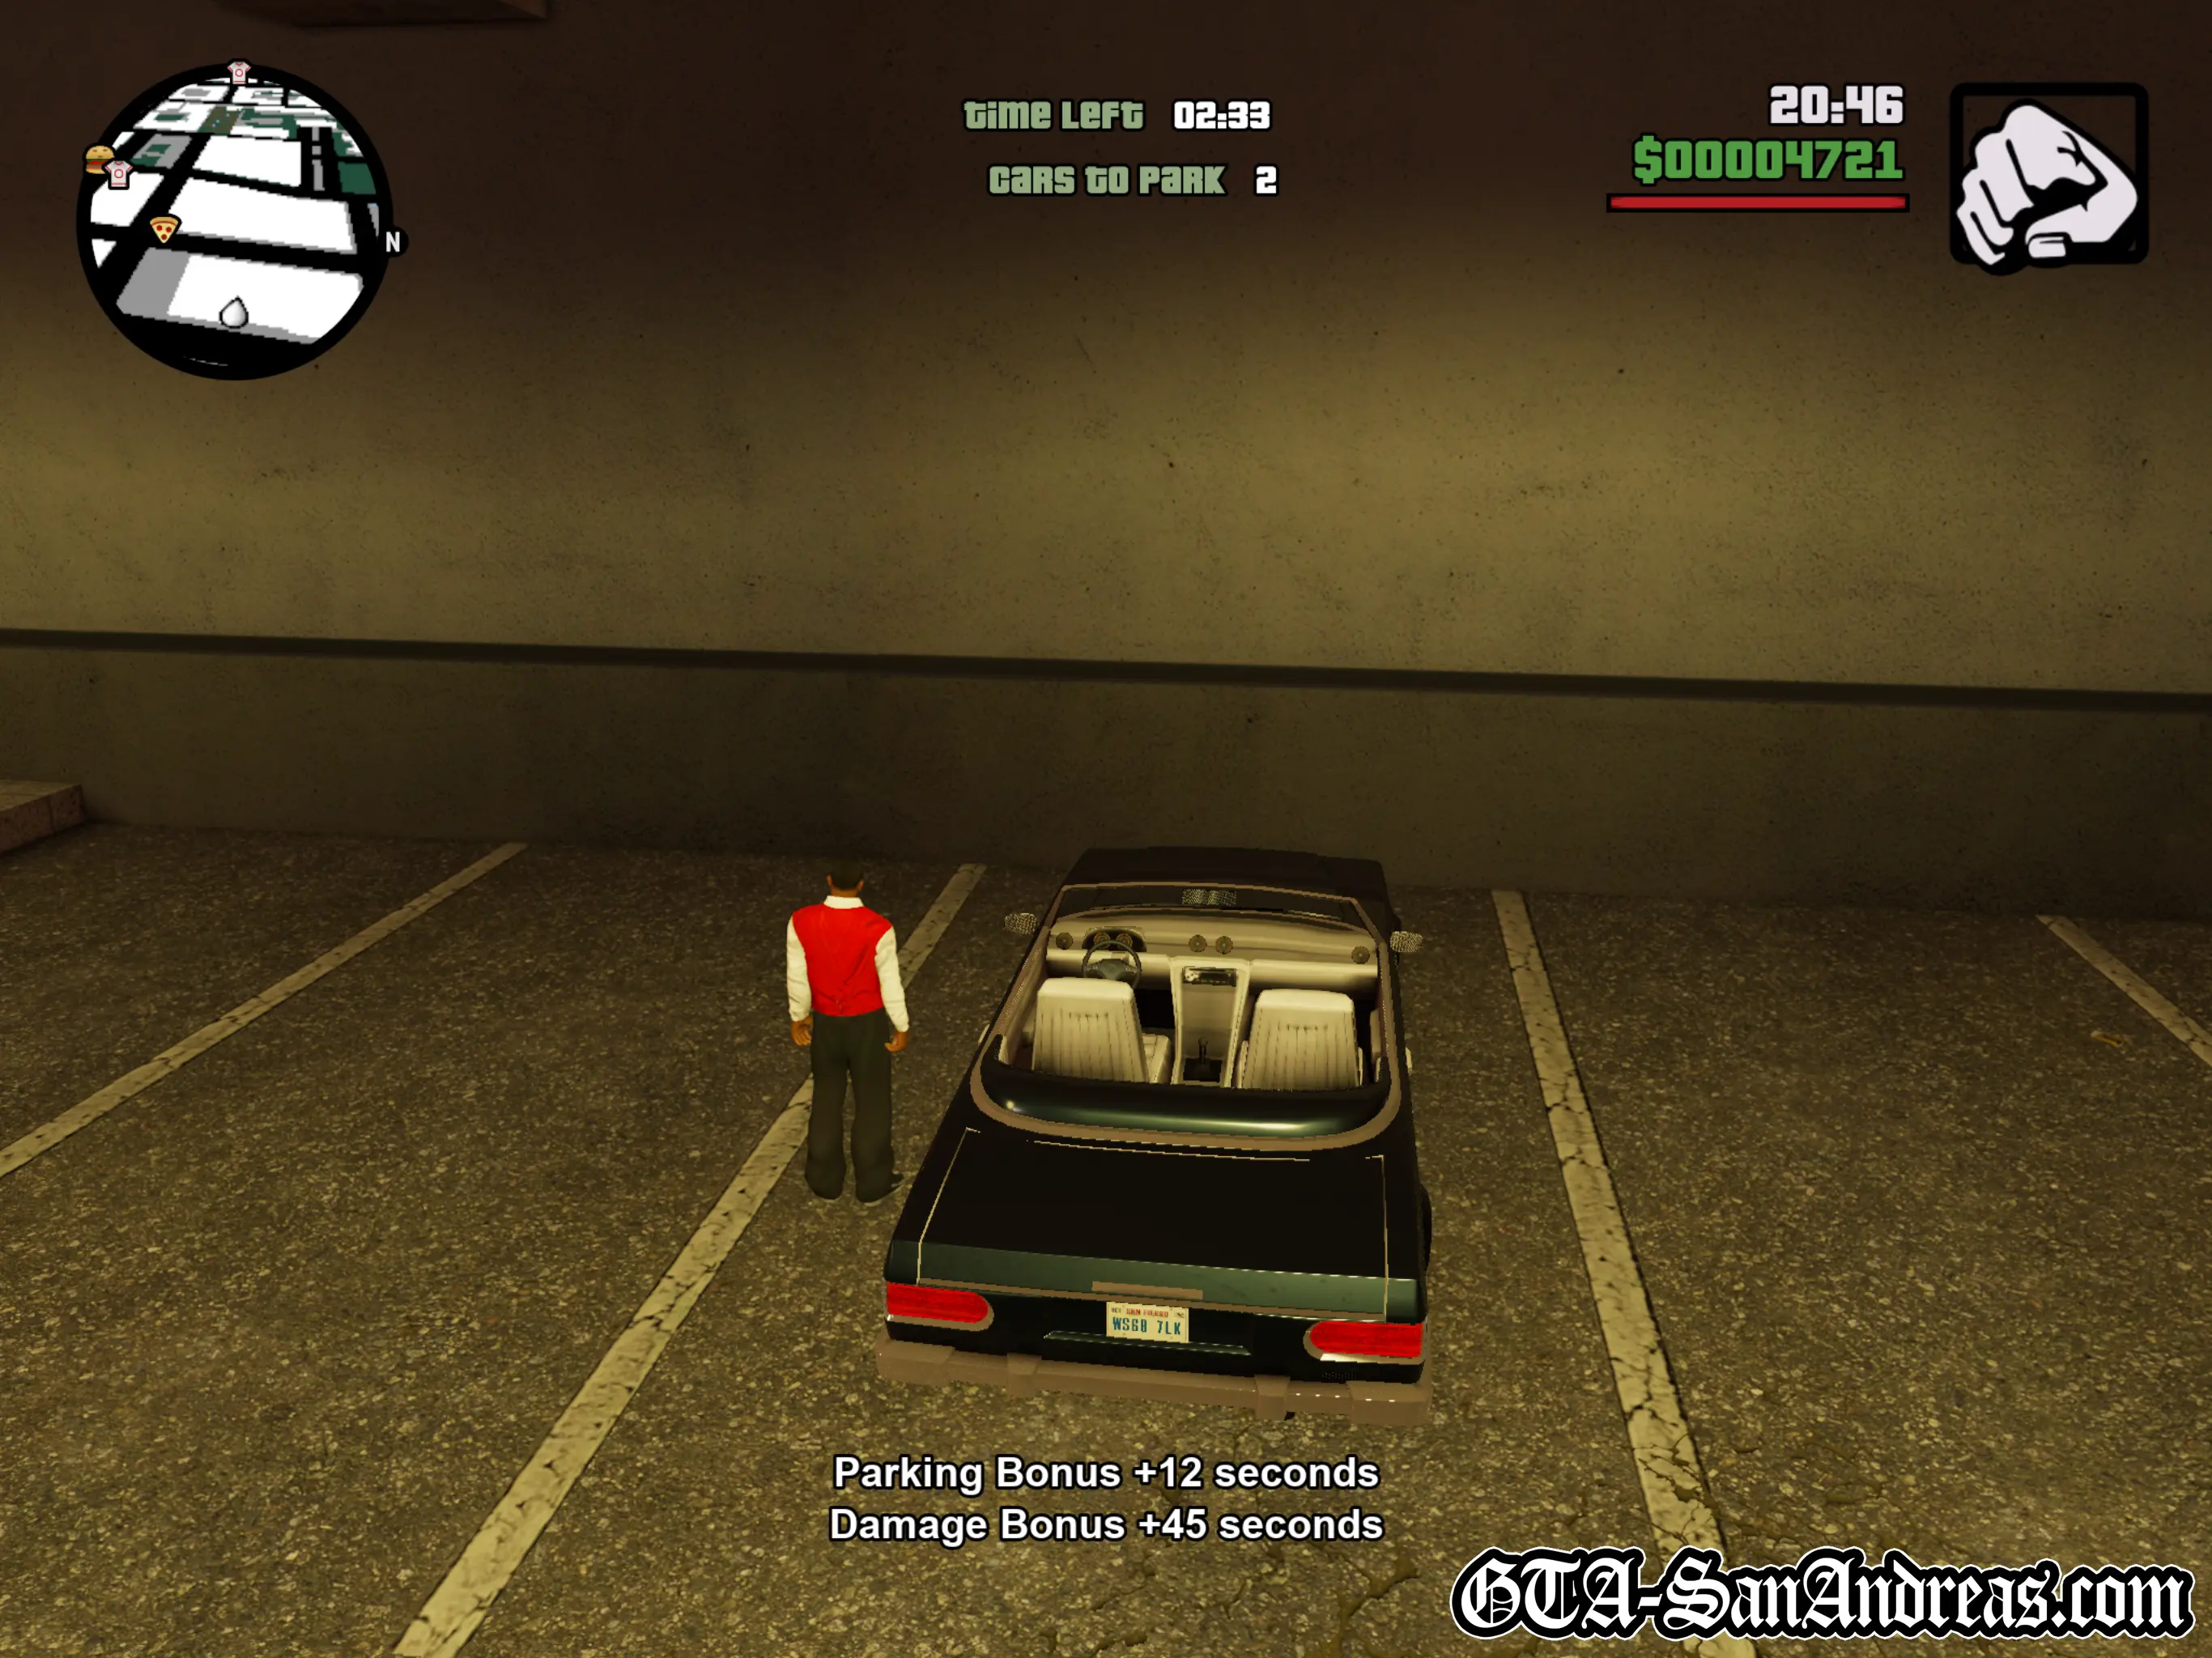
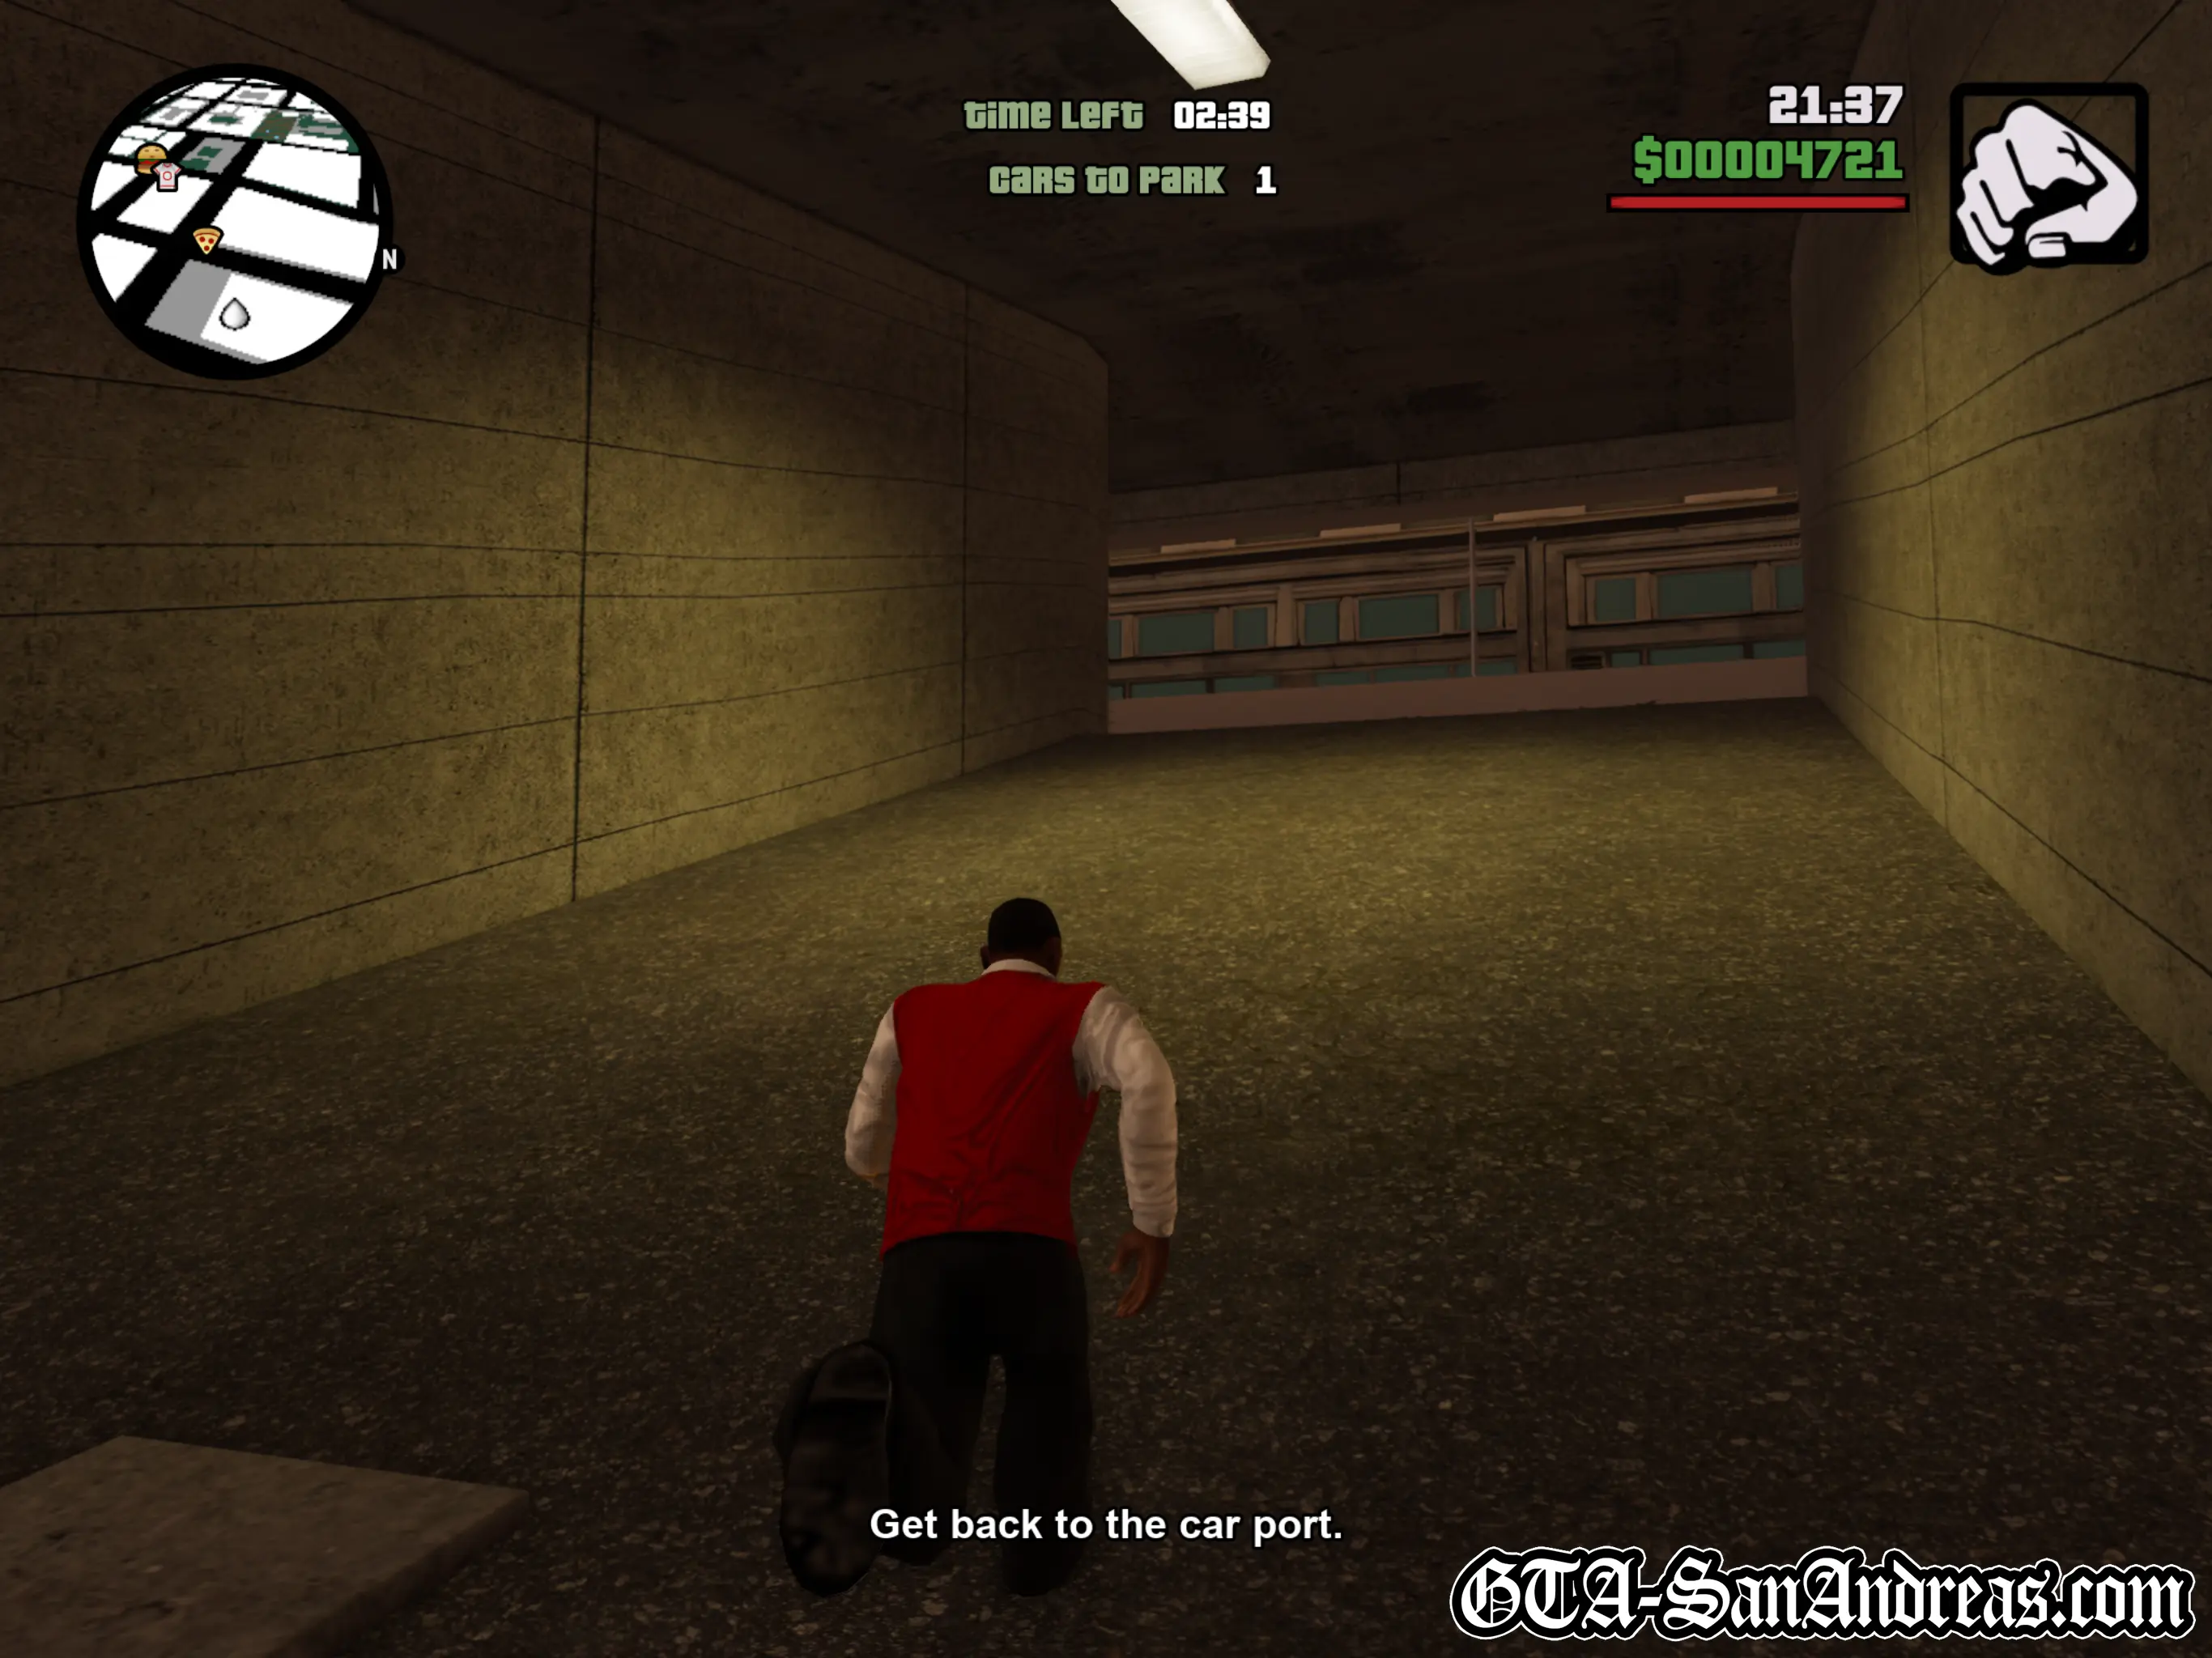
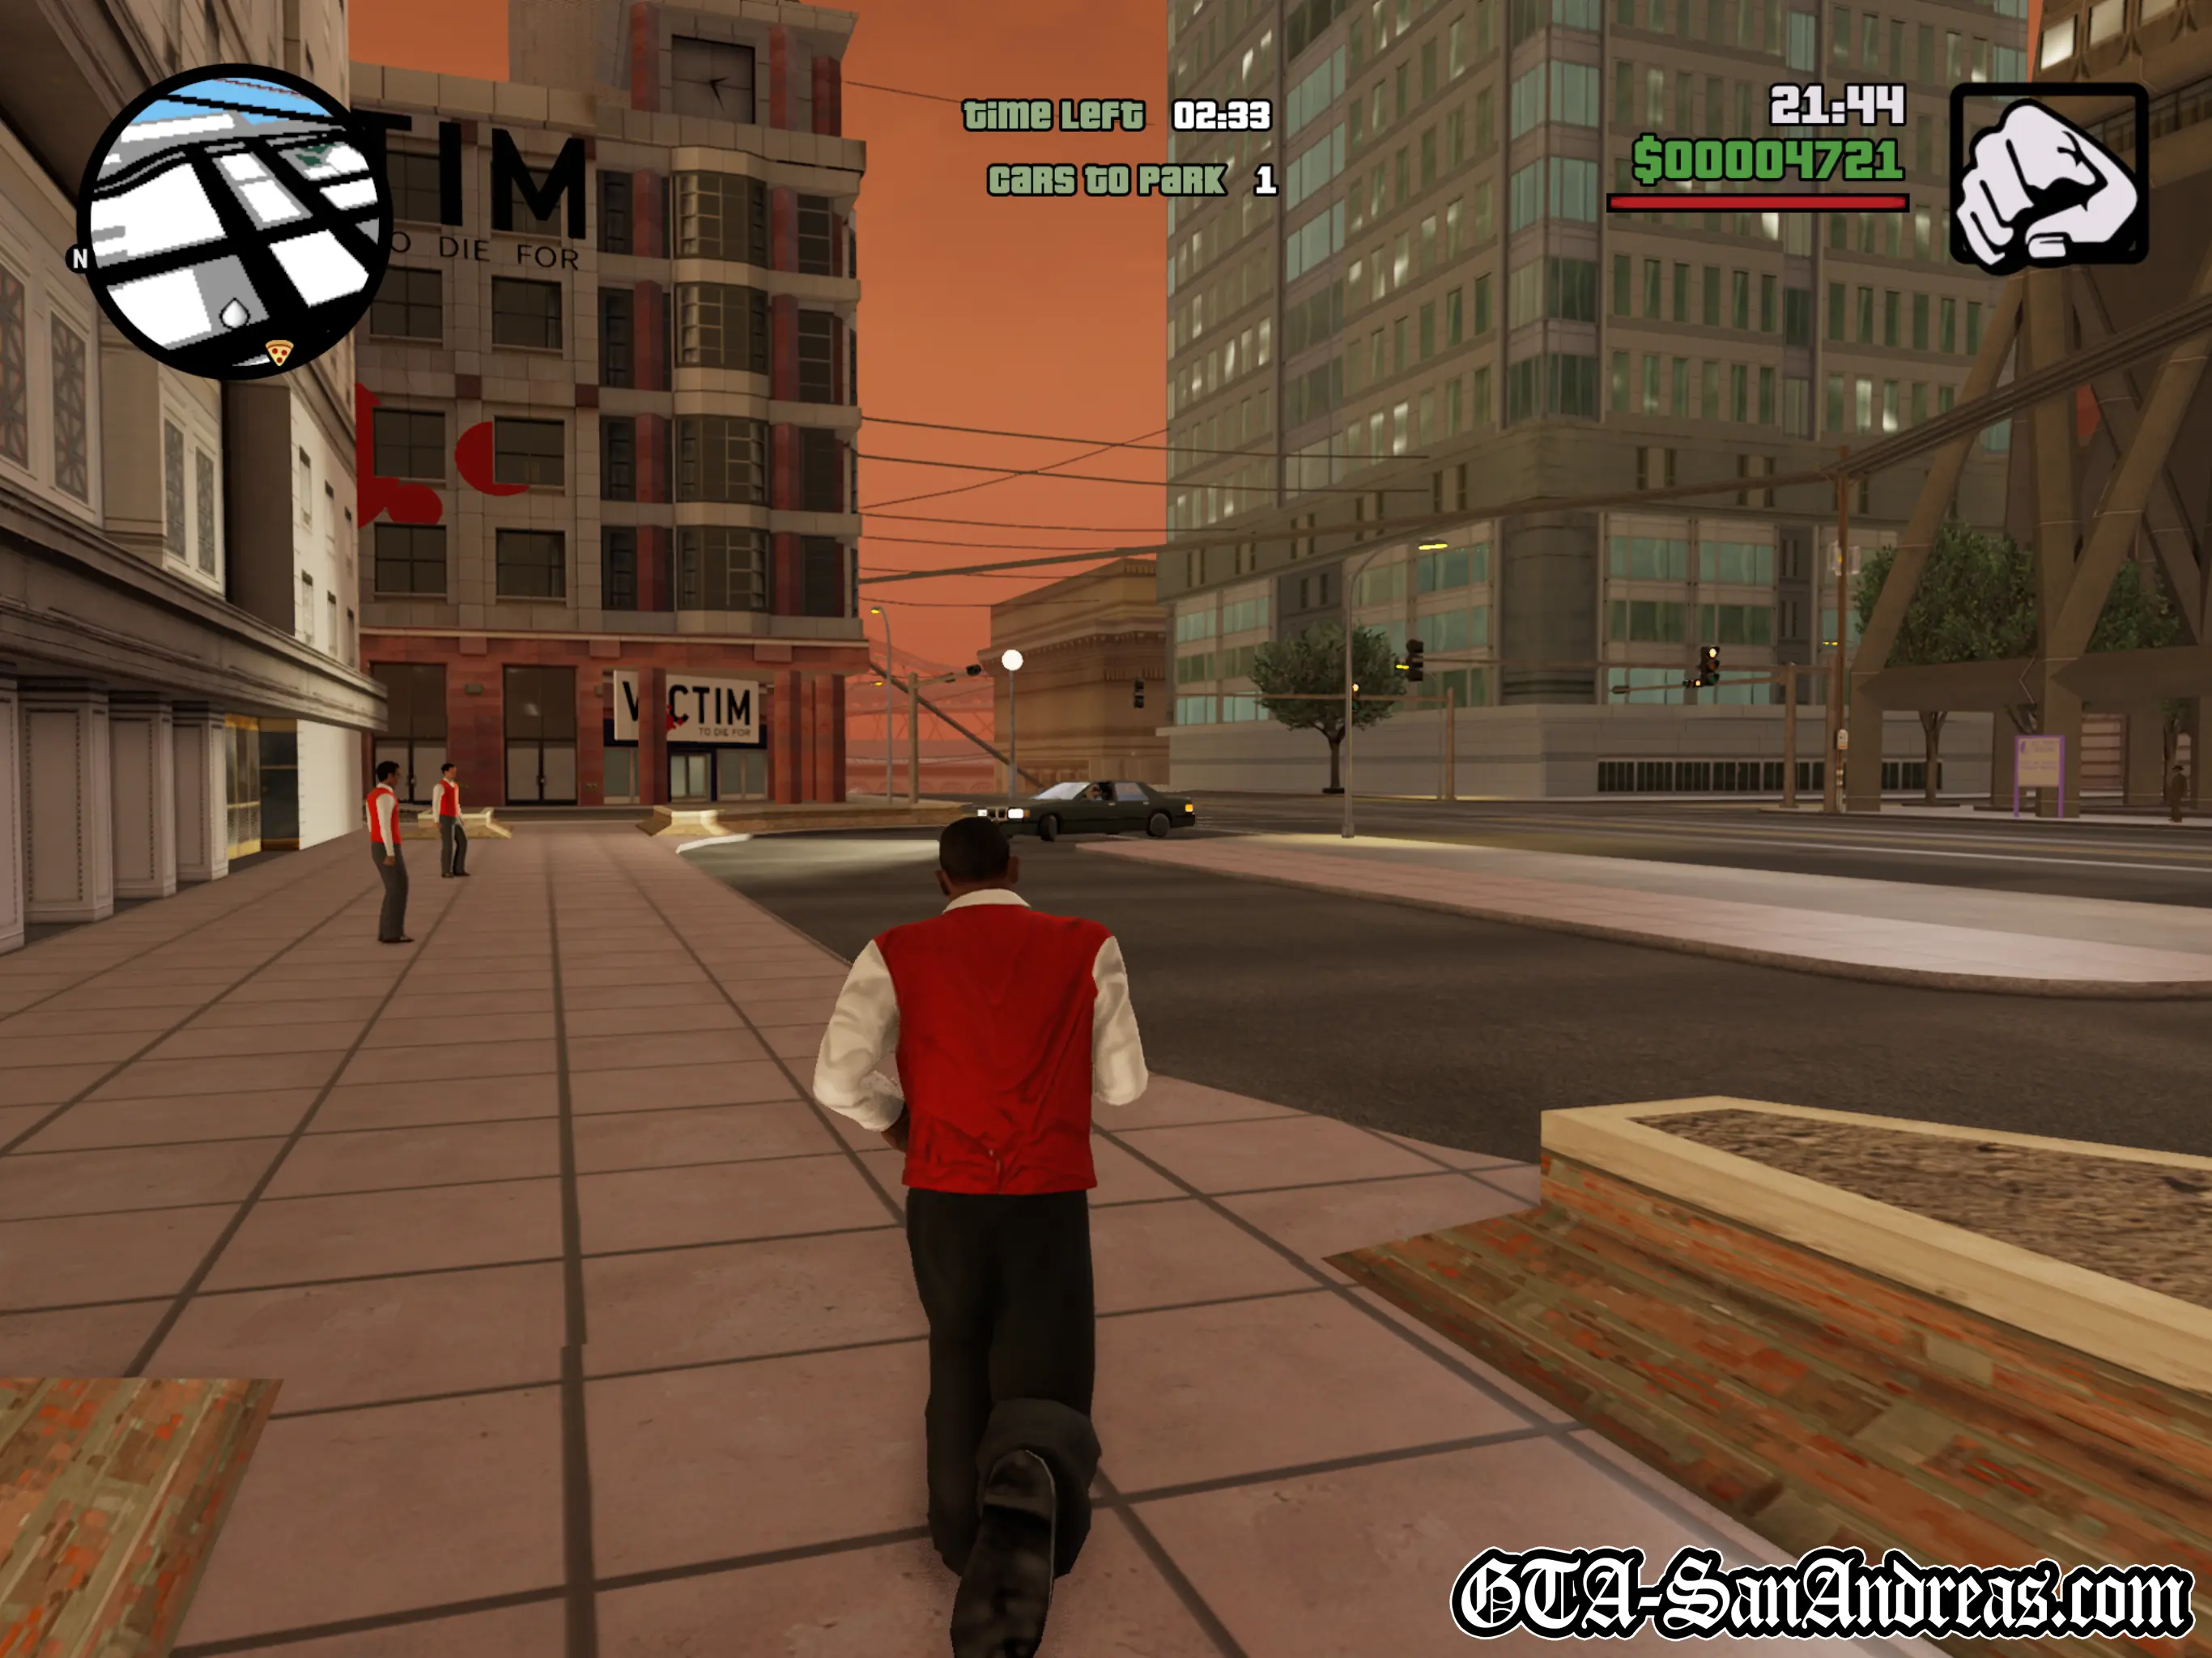
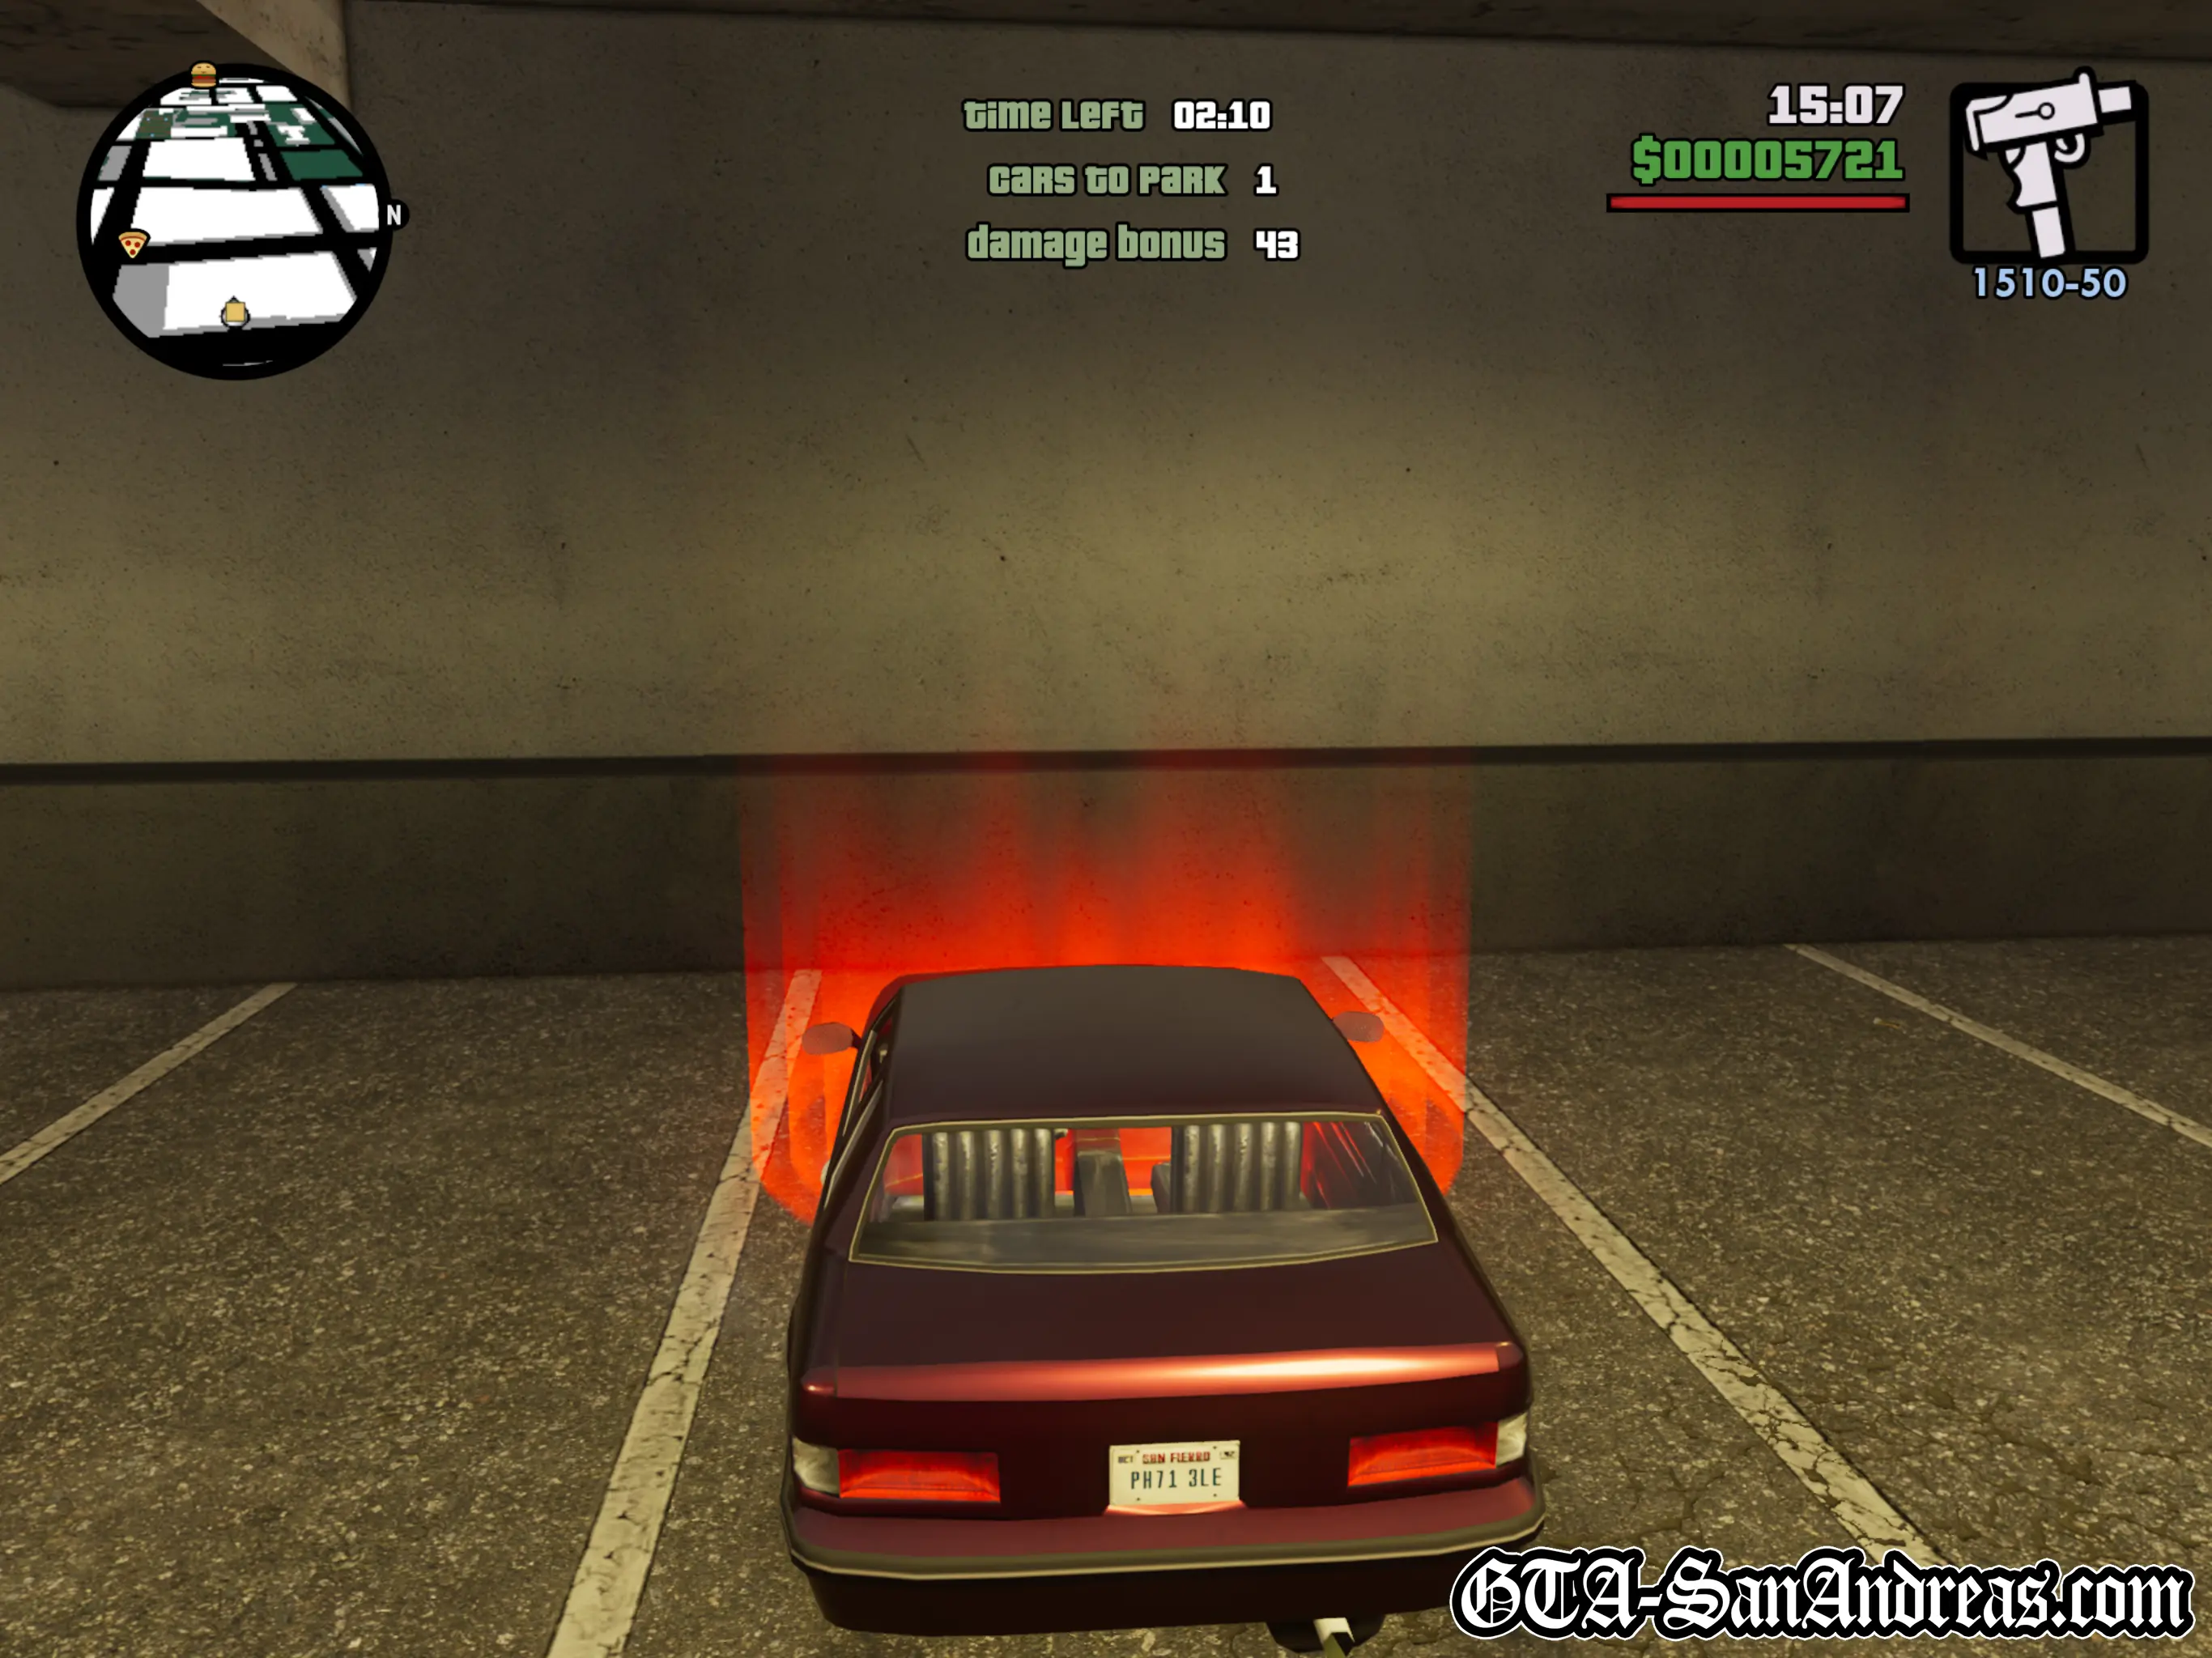
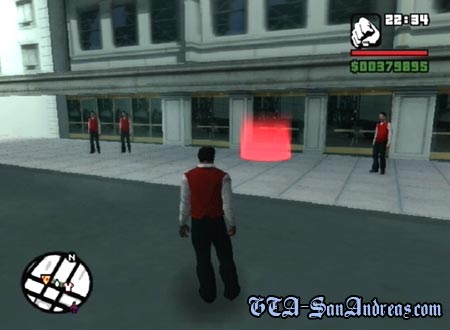
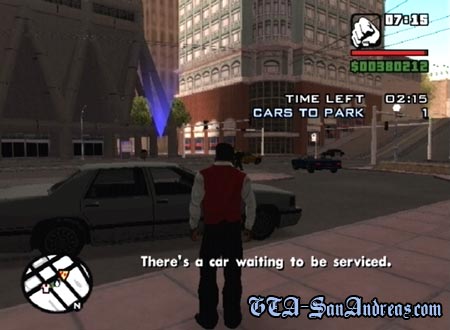
Stand in the red marker to start the mission. Your objective is simple. Stand with the other couriers and wait for a vehicle to park in front of the hotel. When it does, get into the car before any of the other couriers and drive it down into the car park and park it in the space highlighted by a red marker.
Hints & Tips
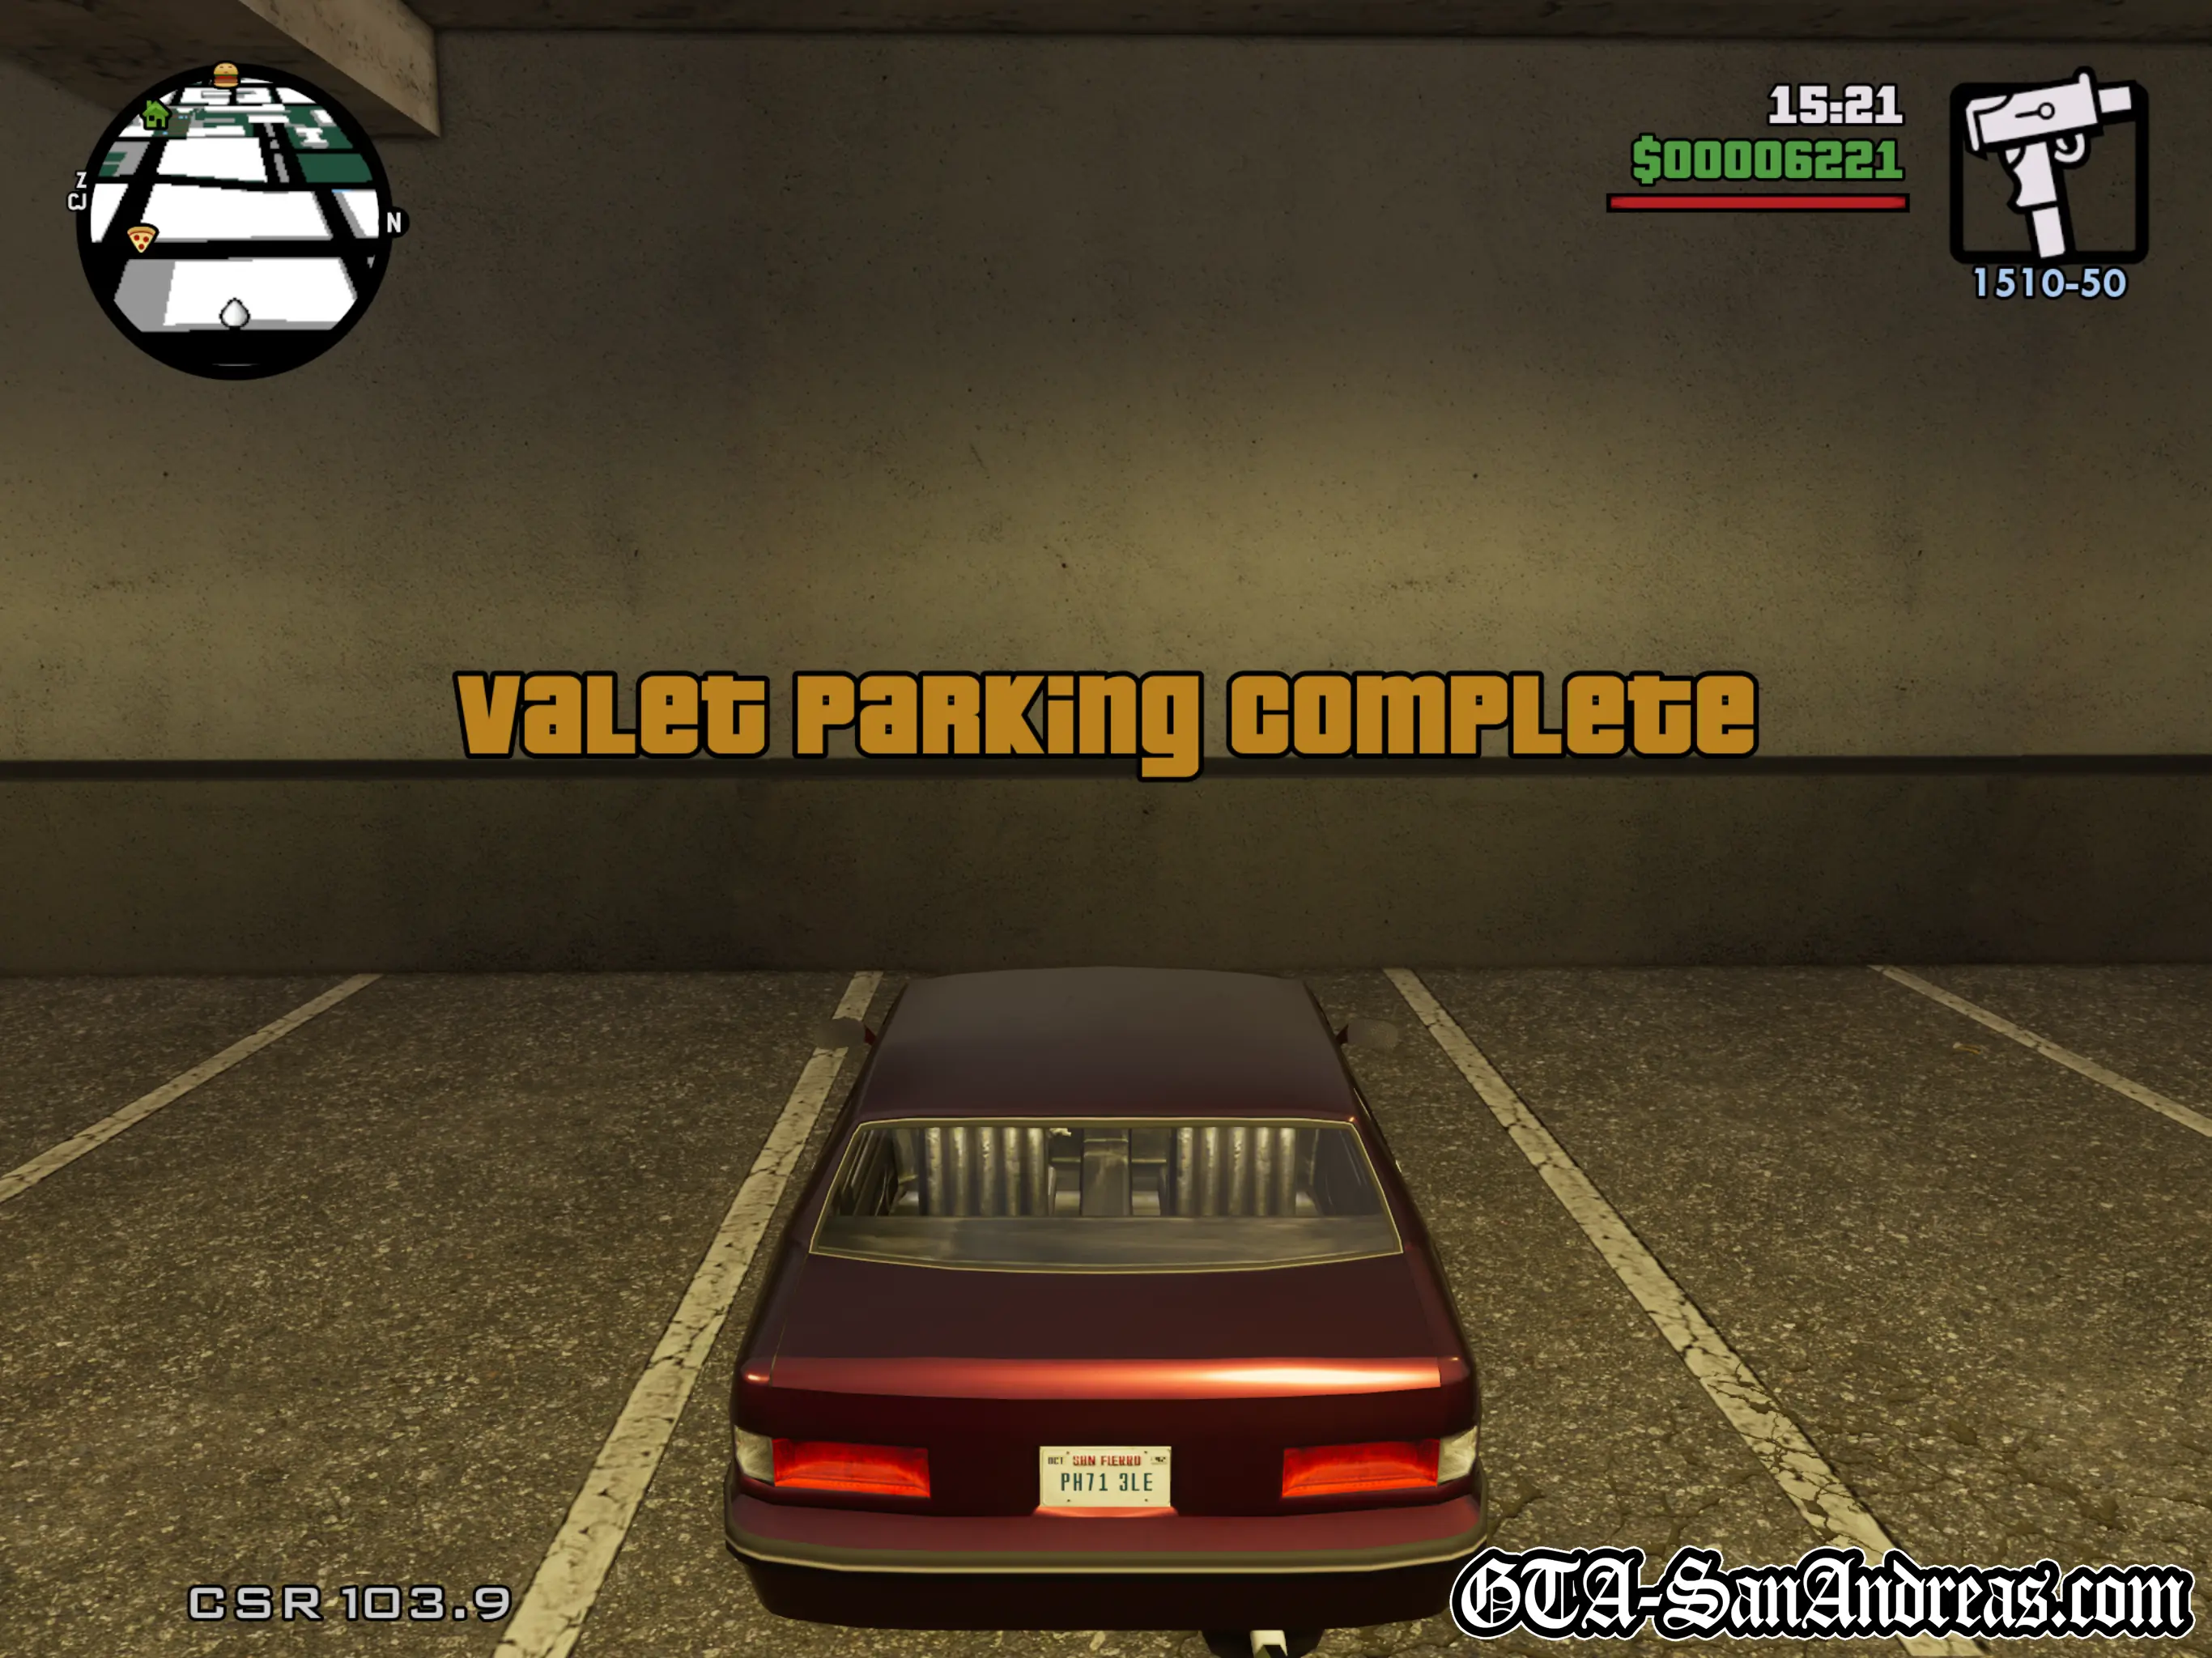
You will be awarded additional bonus time for parking the car nicely (straight in the bay) and keeping it damage free.
Once you've parked one car, sprint back up to the front of the hotel and wait for the next one. If you are too slow getting back, another courier may take the next parked car and you'll need to wait for another one to arrive which will cause your time to tick away.
Continue through the five levels required for overall completion. On each level, an additional parked car is required, however you should have more than enough time if you go as quickly as you can.
Mission Overview
| Level | Cars To Park | Start Time |
|---|---|---|
| Level 1 | 3 Cars | 2 Mins |
| Level 2 | 4 Cars | 2 Mins |
| Level 3 | 5 Cars | 2 Mins |
| Level 4 | 6 Cars | 2 Mins |
| Level 5 | 7 Cars | 2 Mins |
$1000
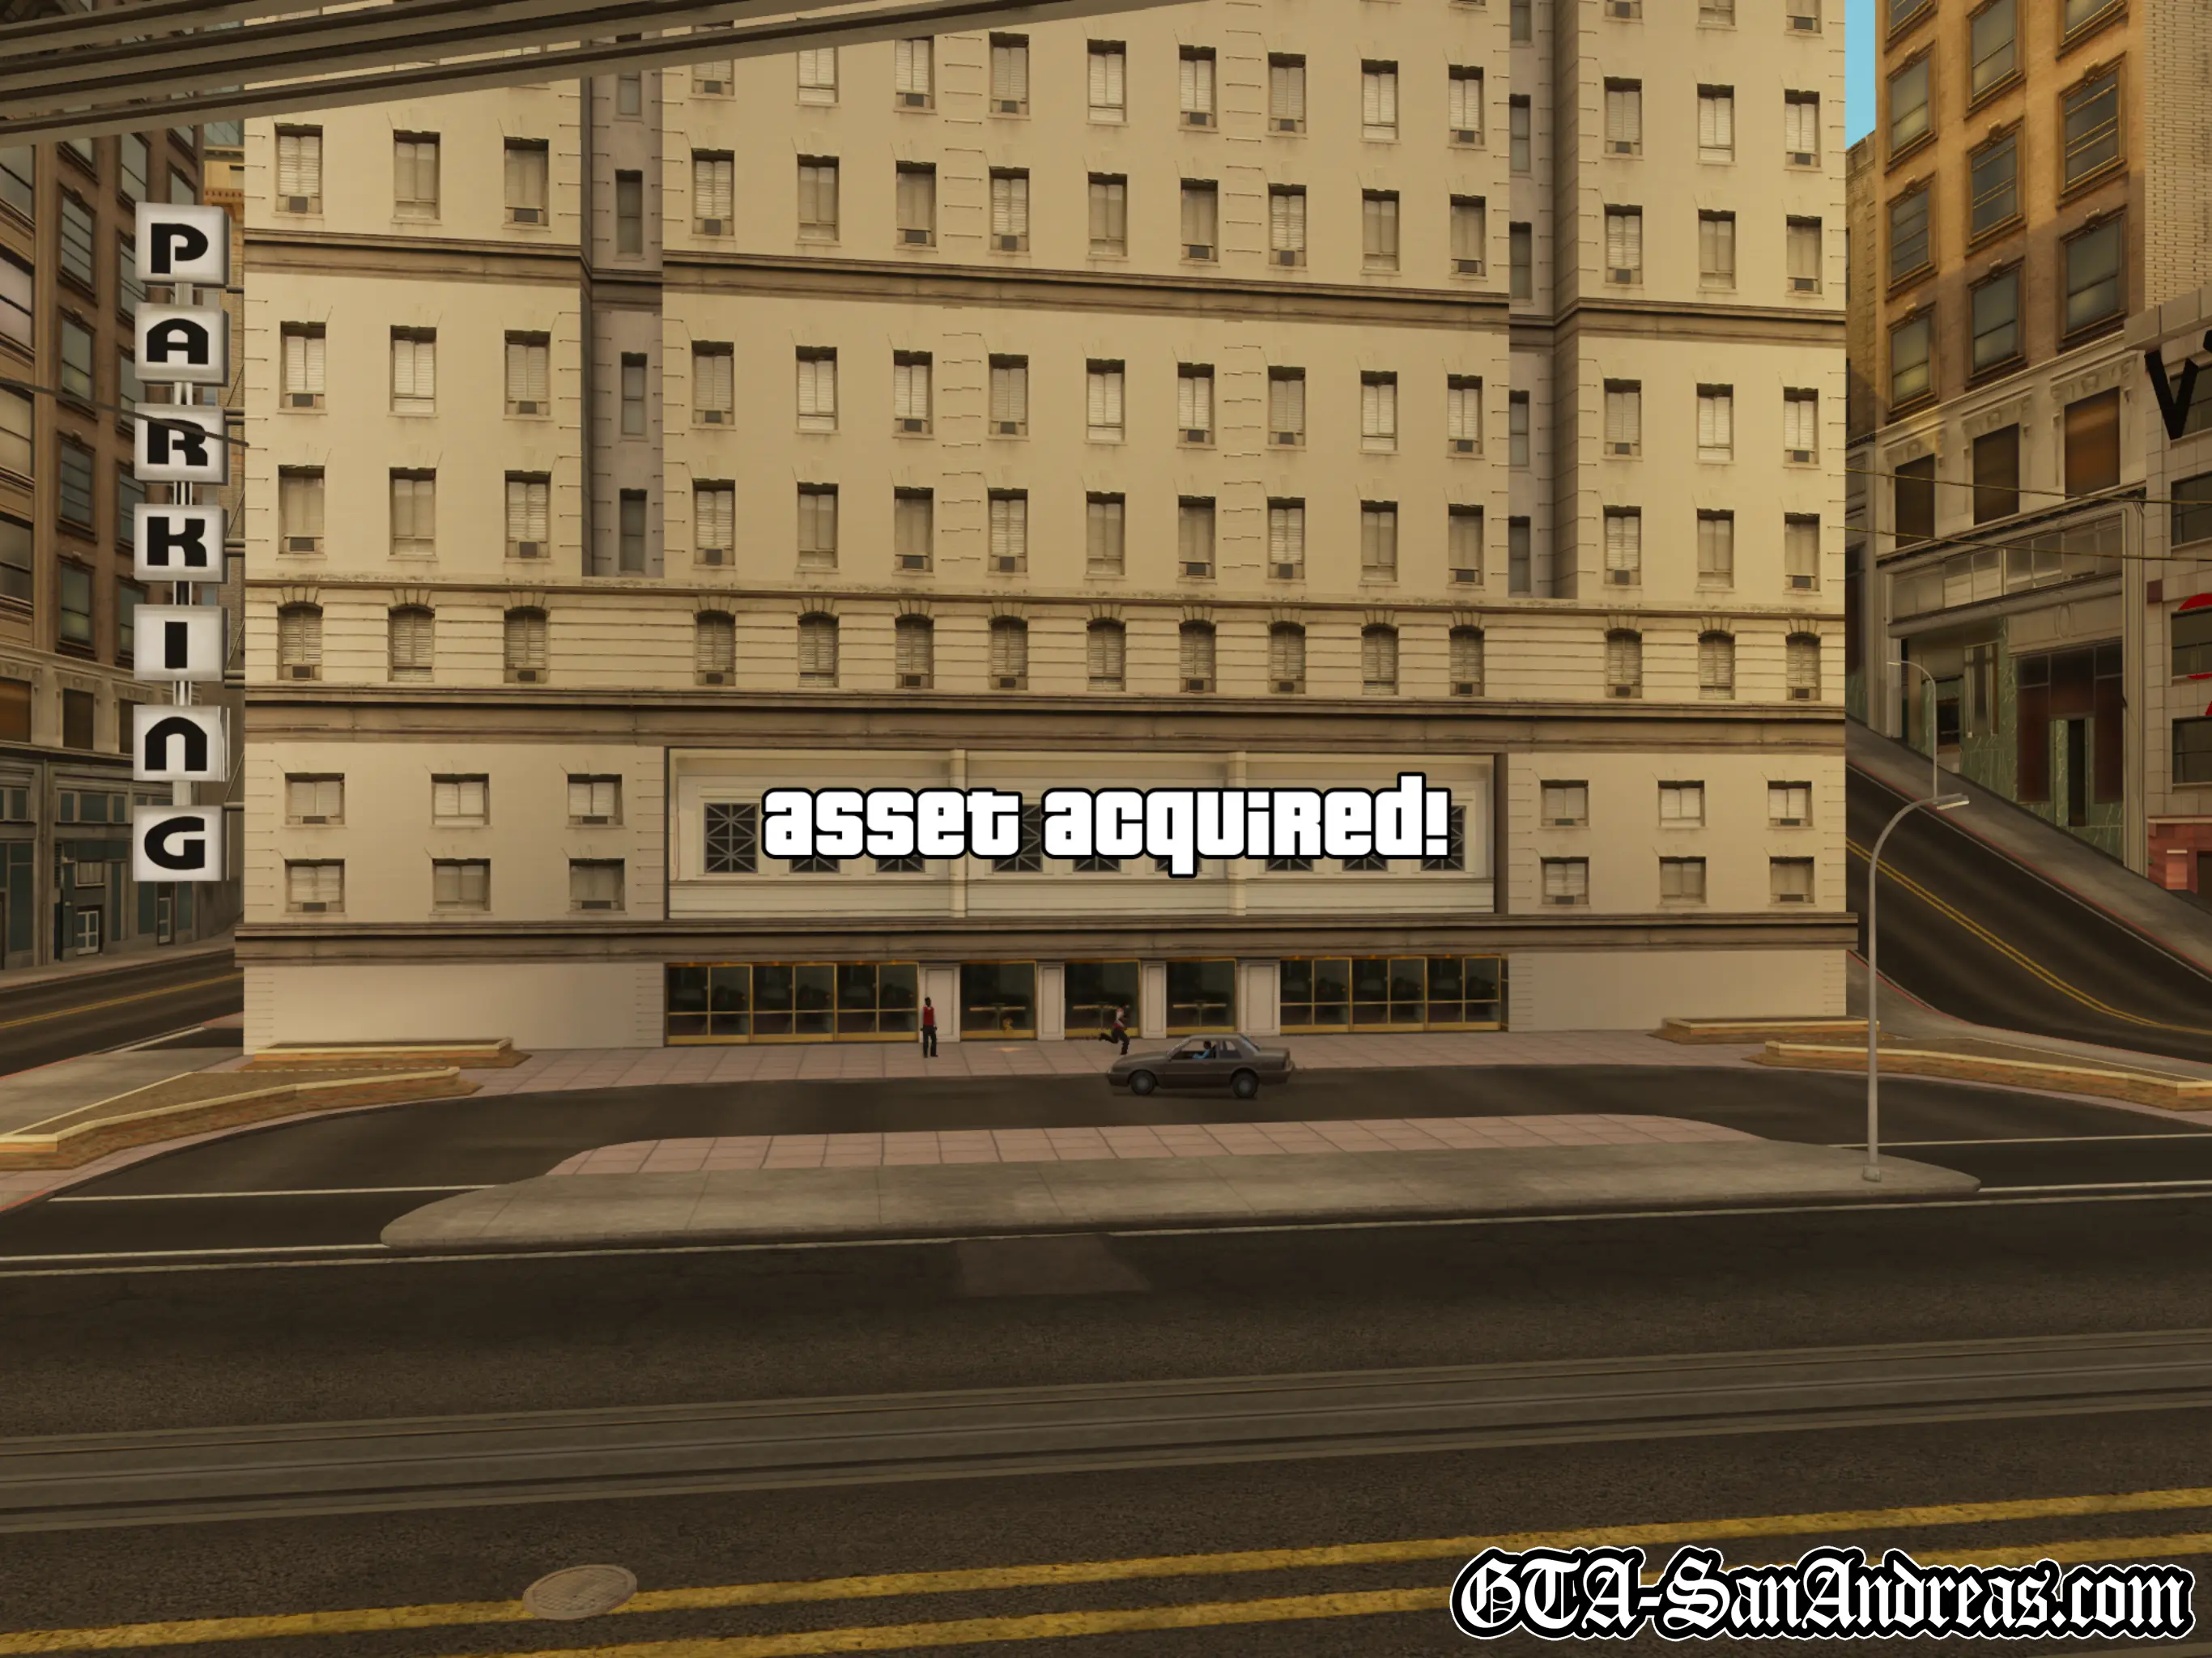
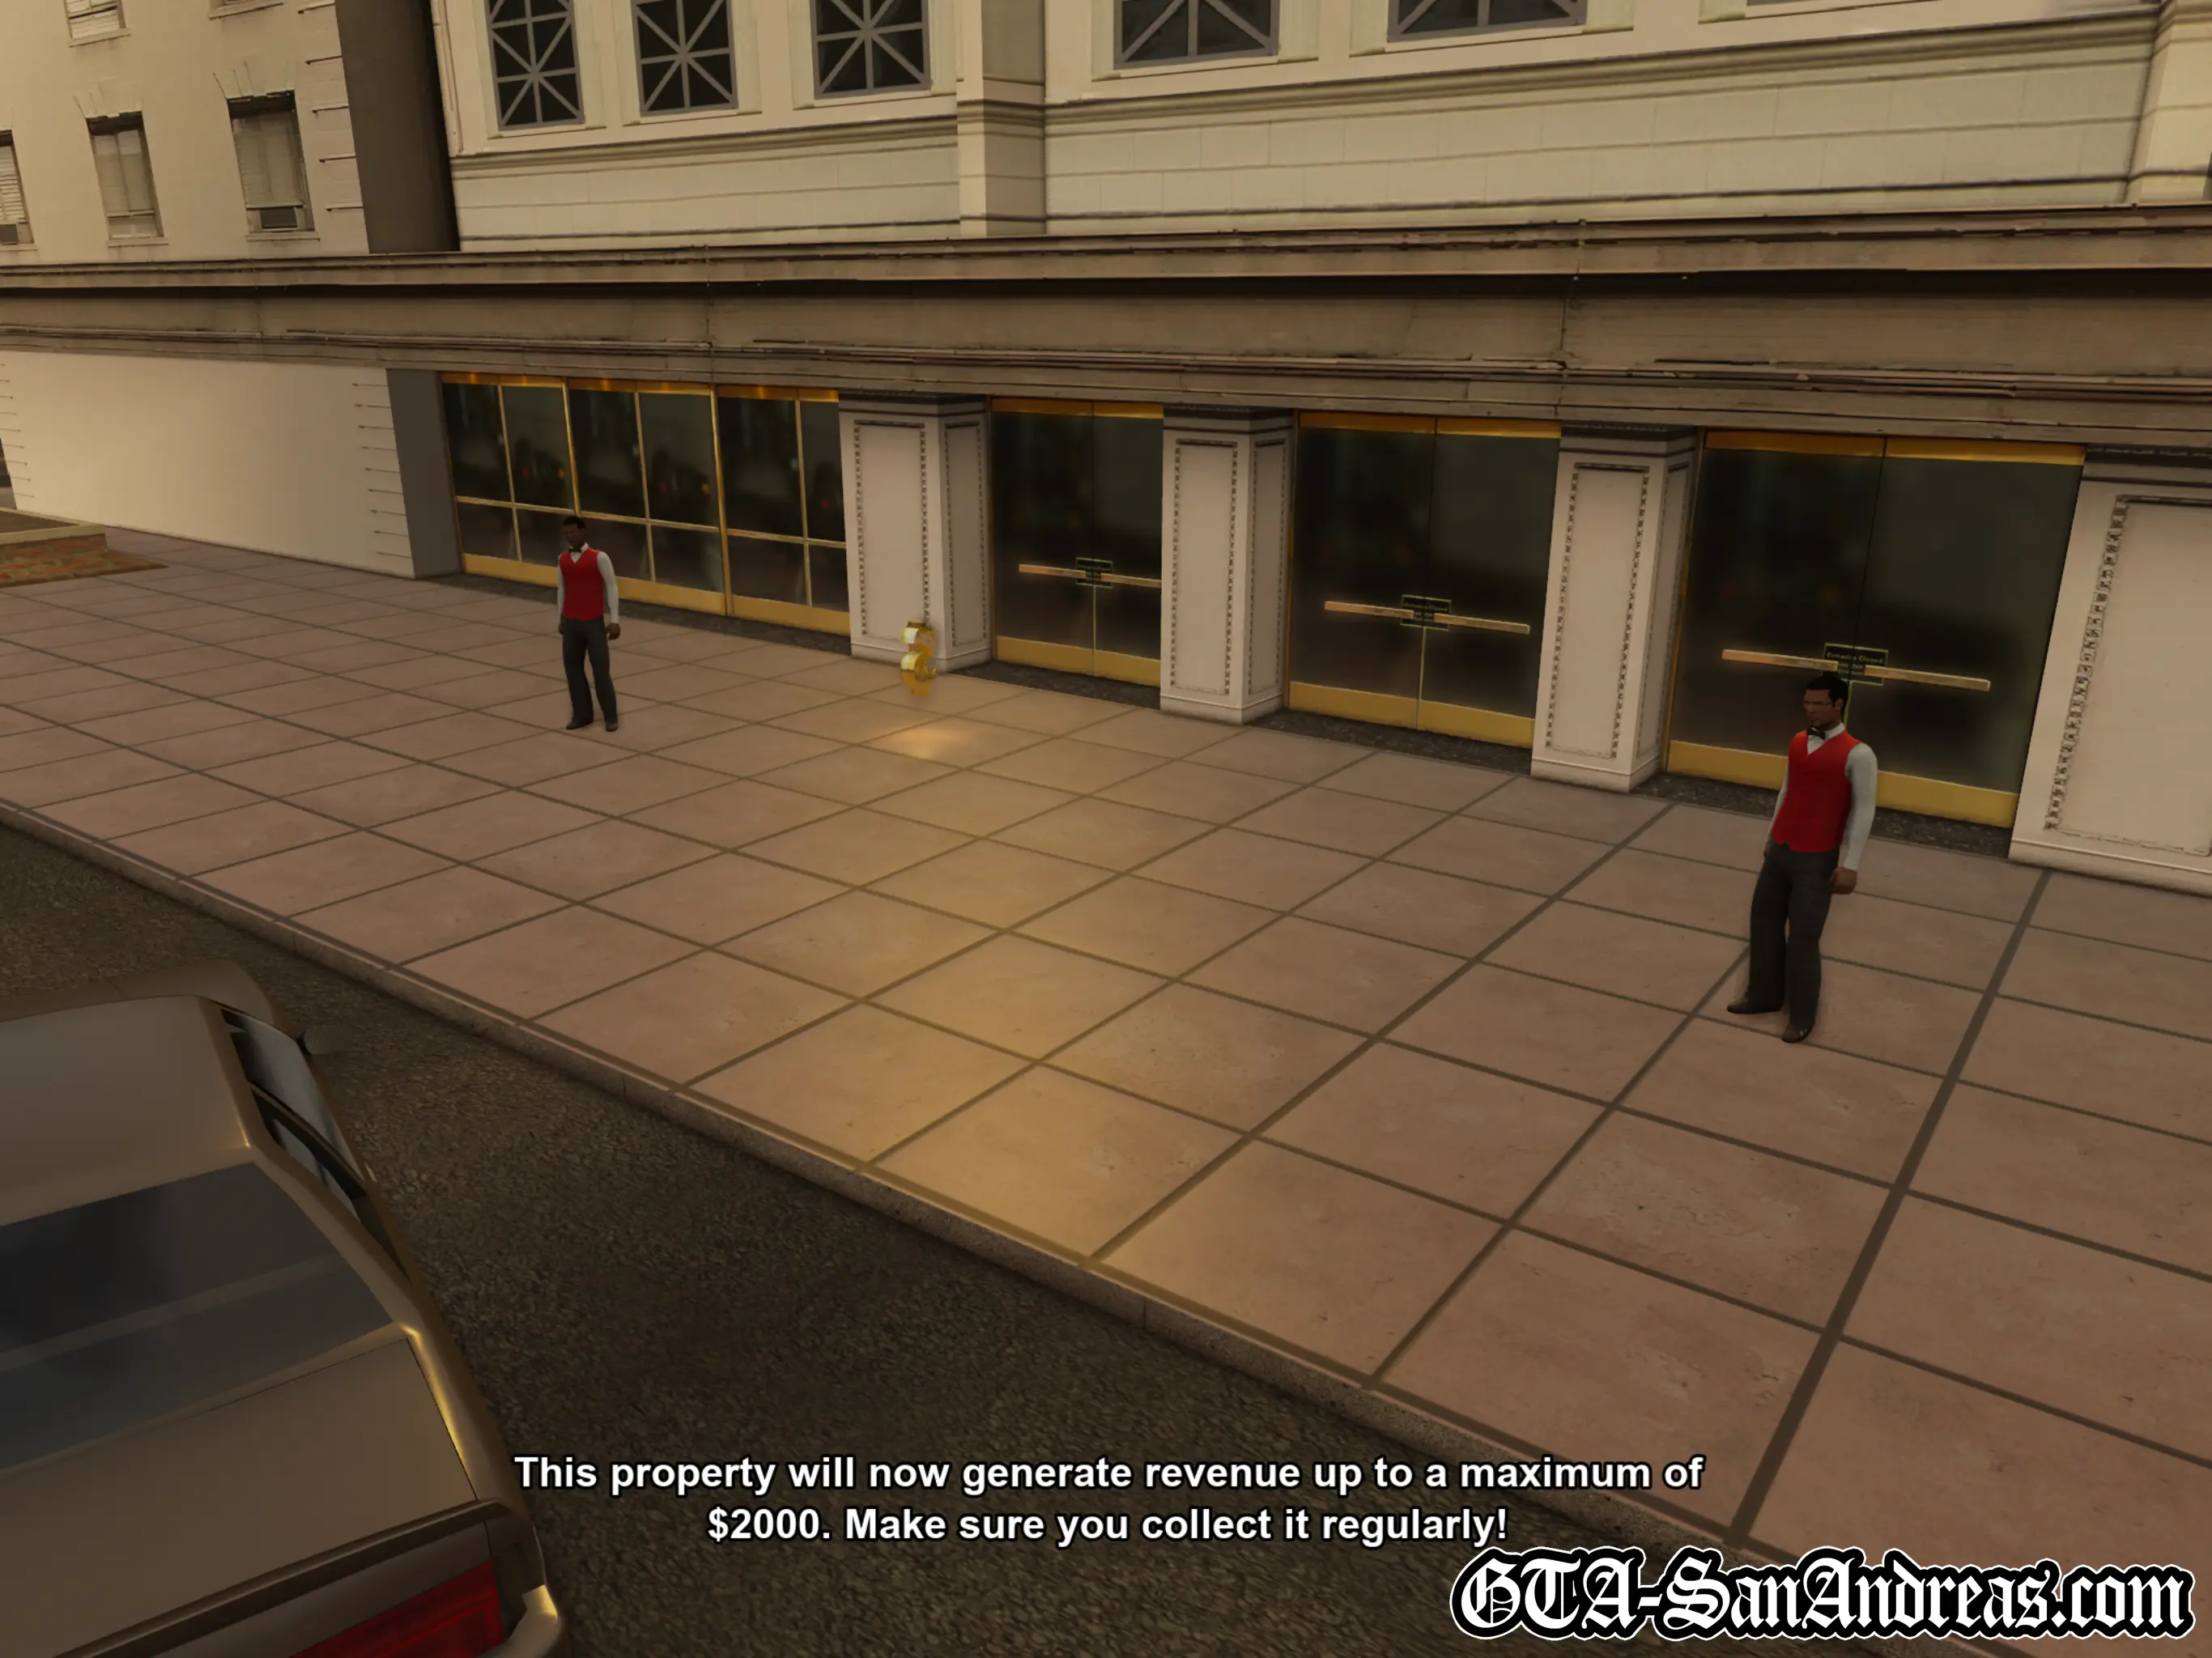
Post-Mission
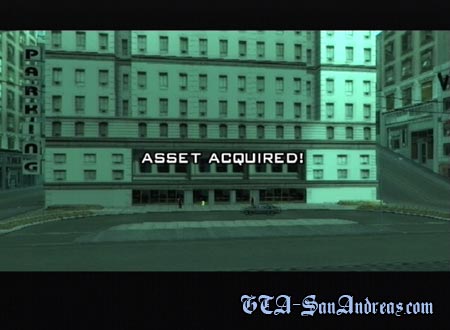
The hotel has been acquired as an asset and will generate up to $2,000 on a daily basis which you must manually collect.
Screenshots


Original PS2 Screenshots
Las Venturas
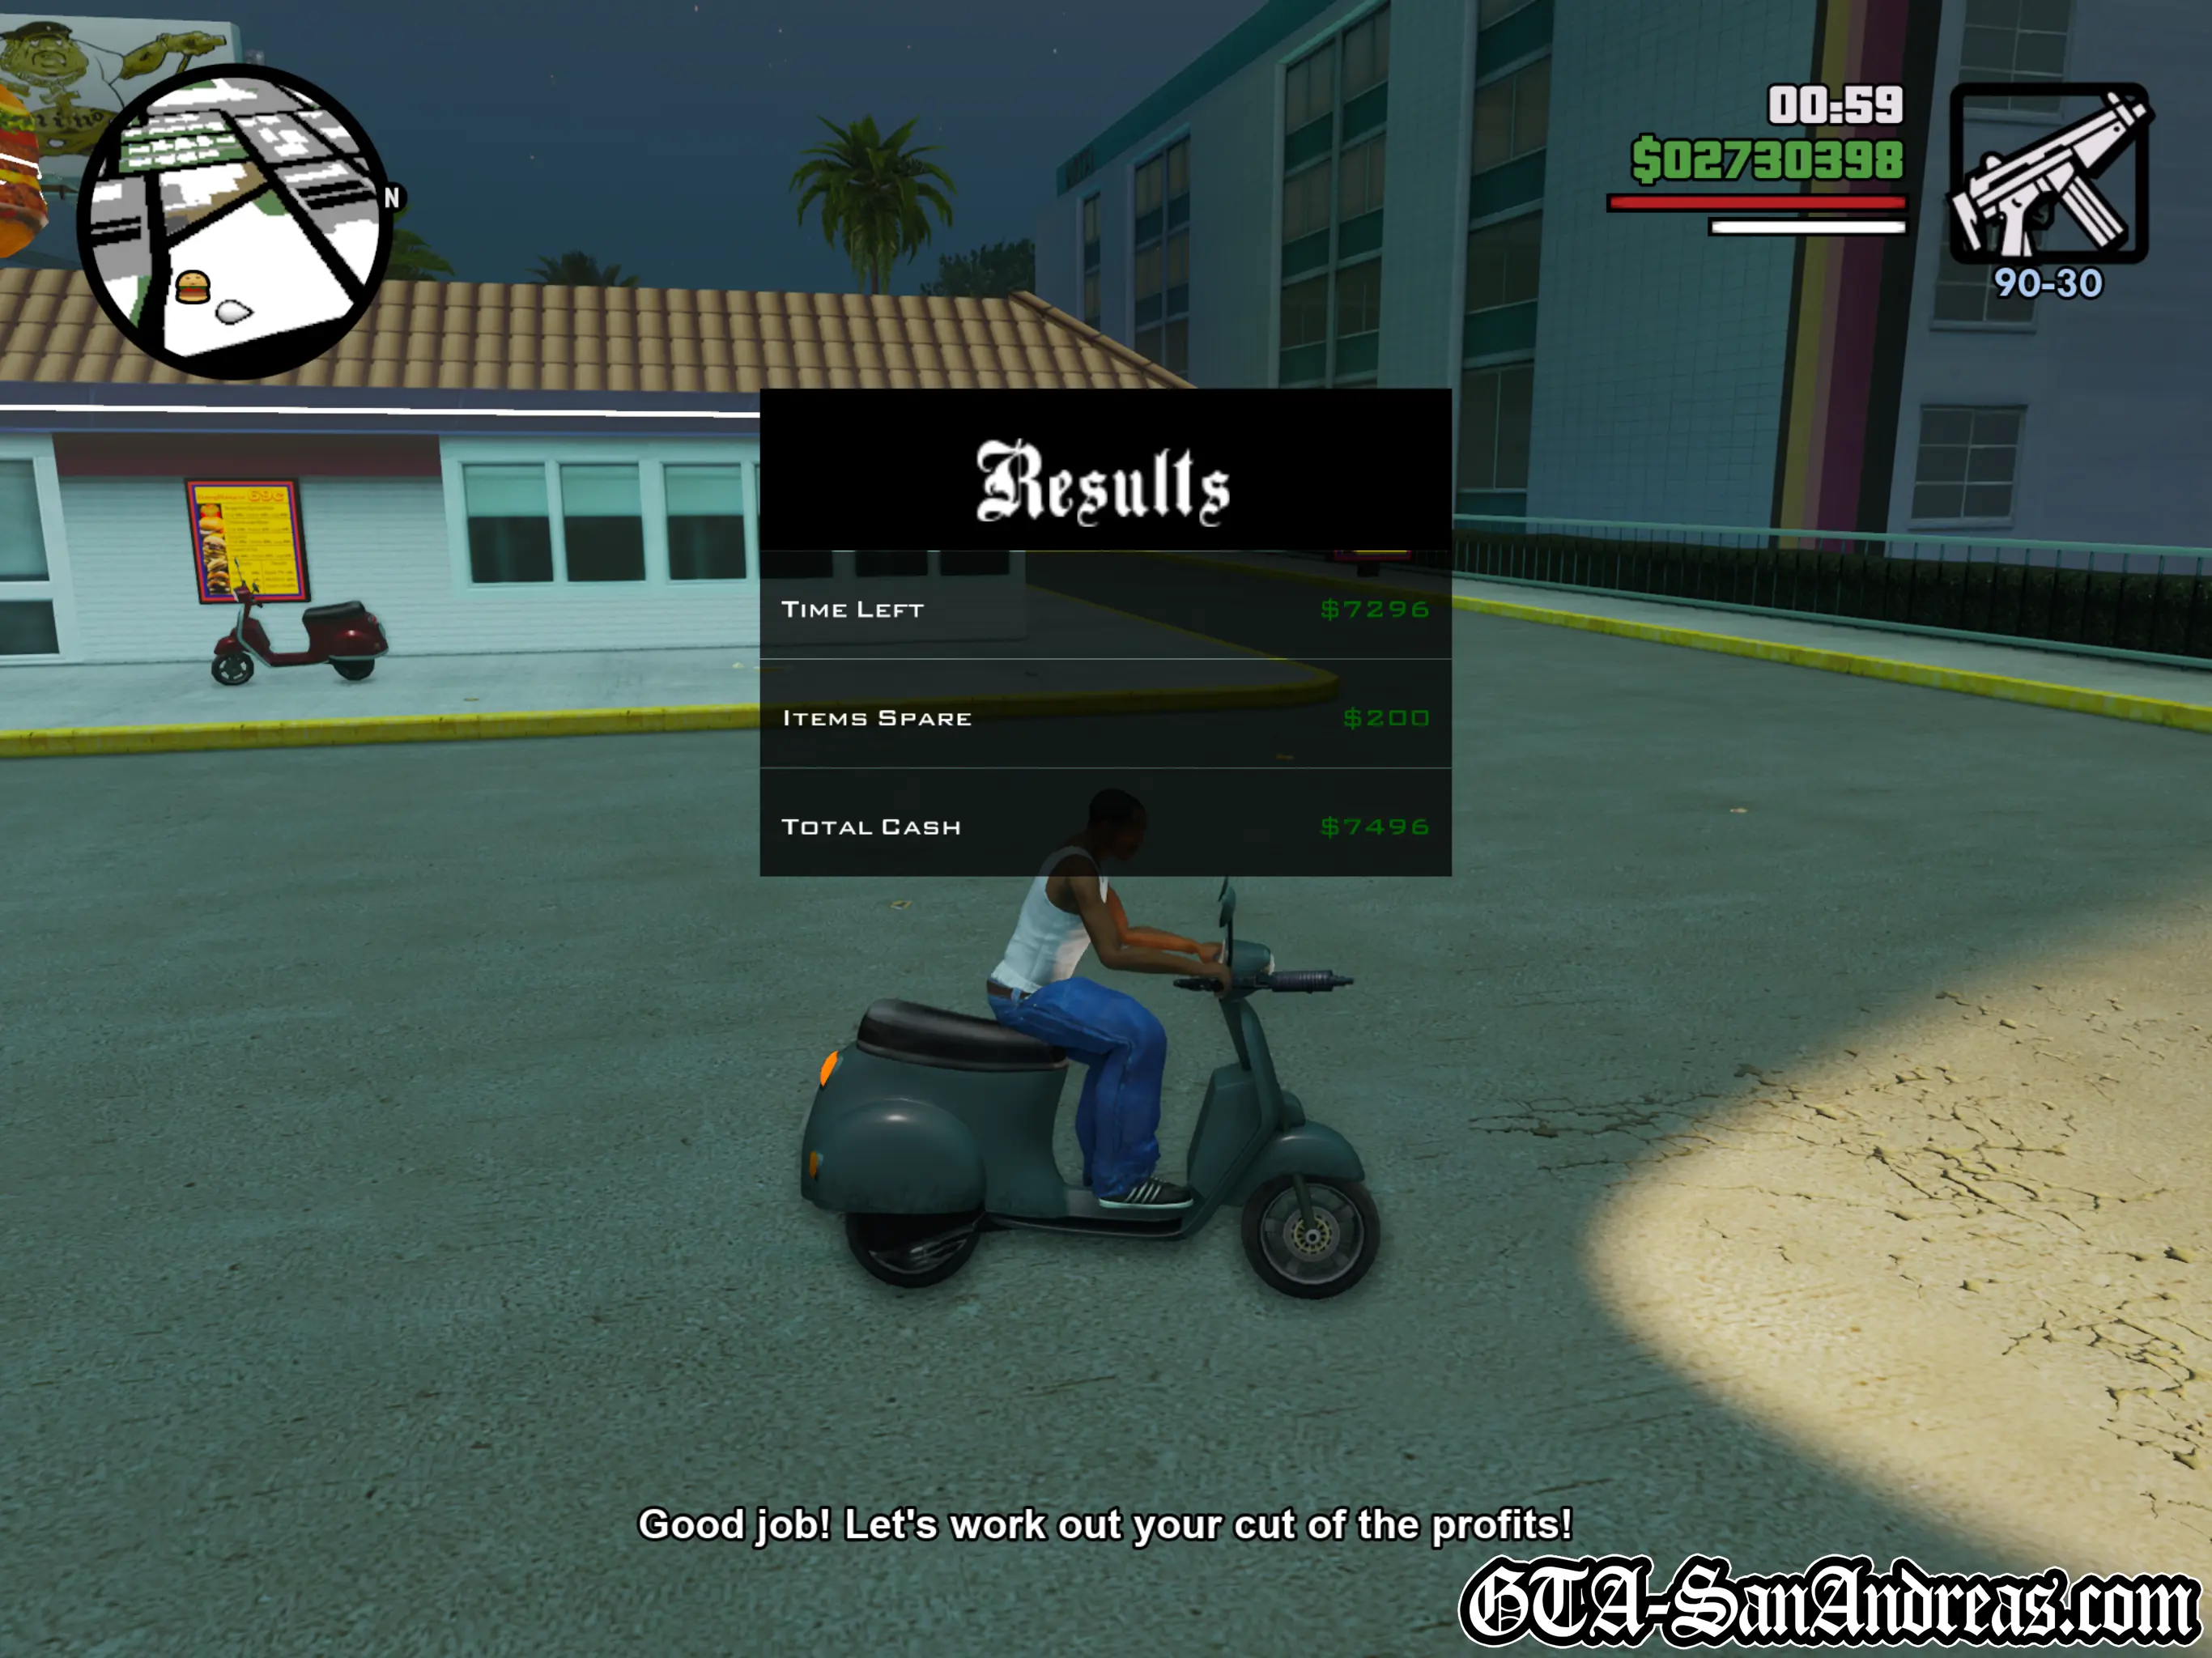
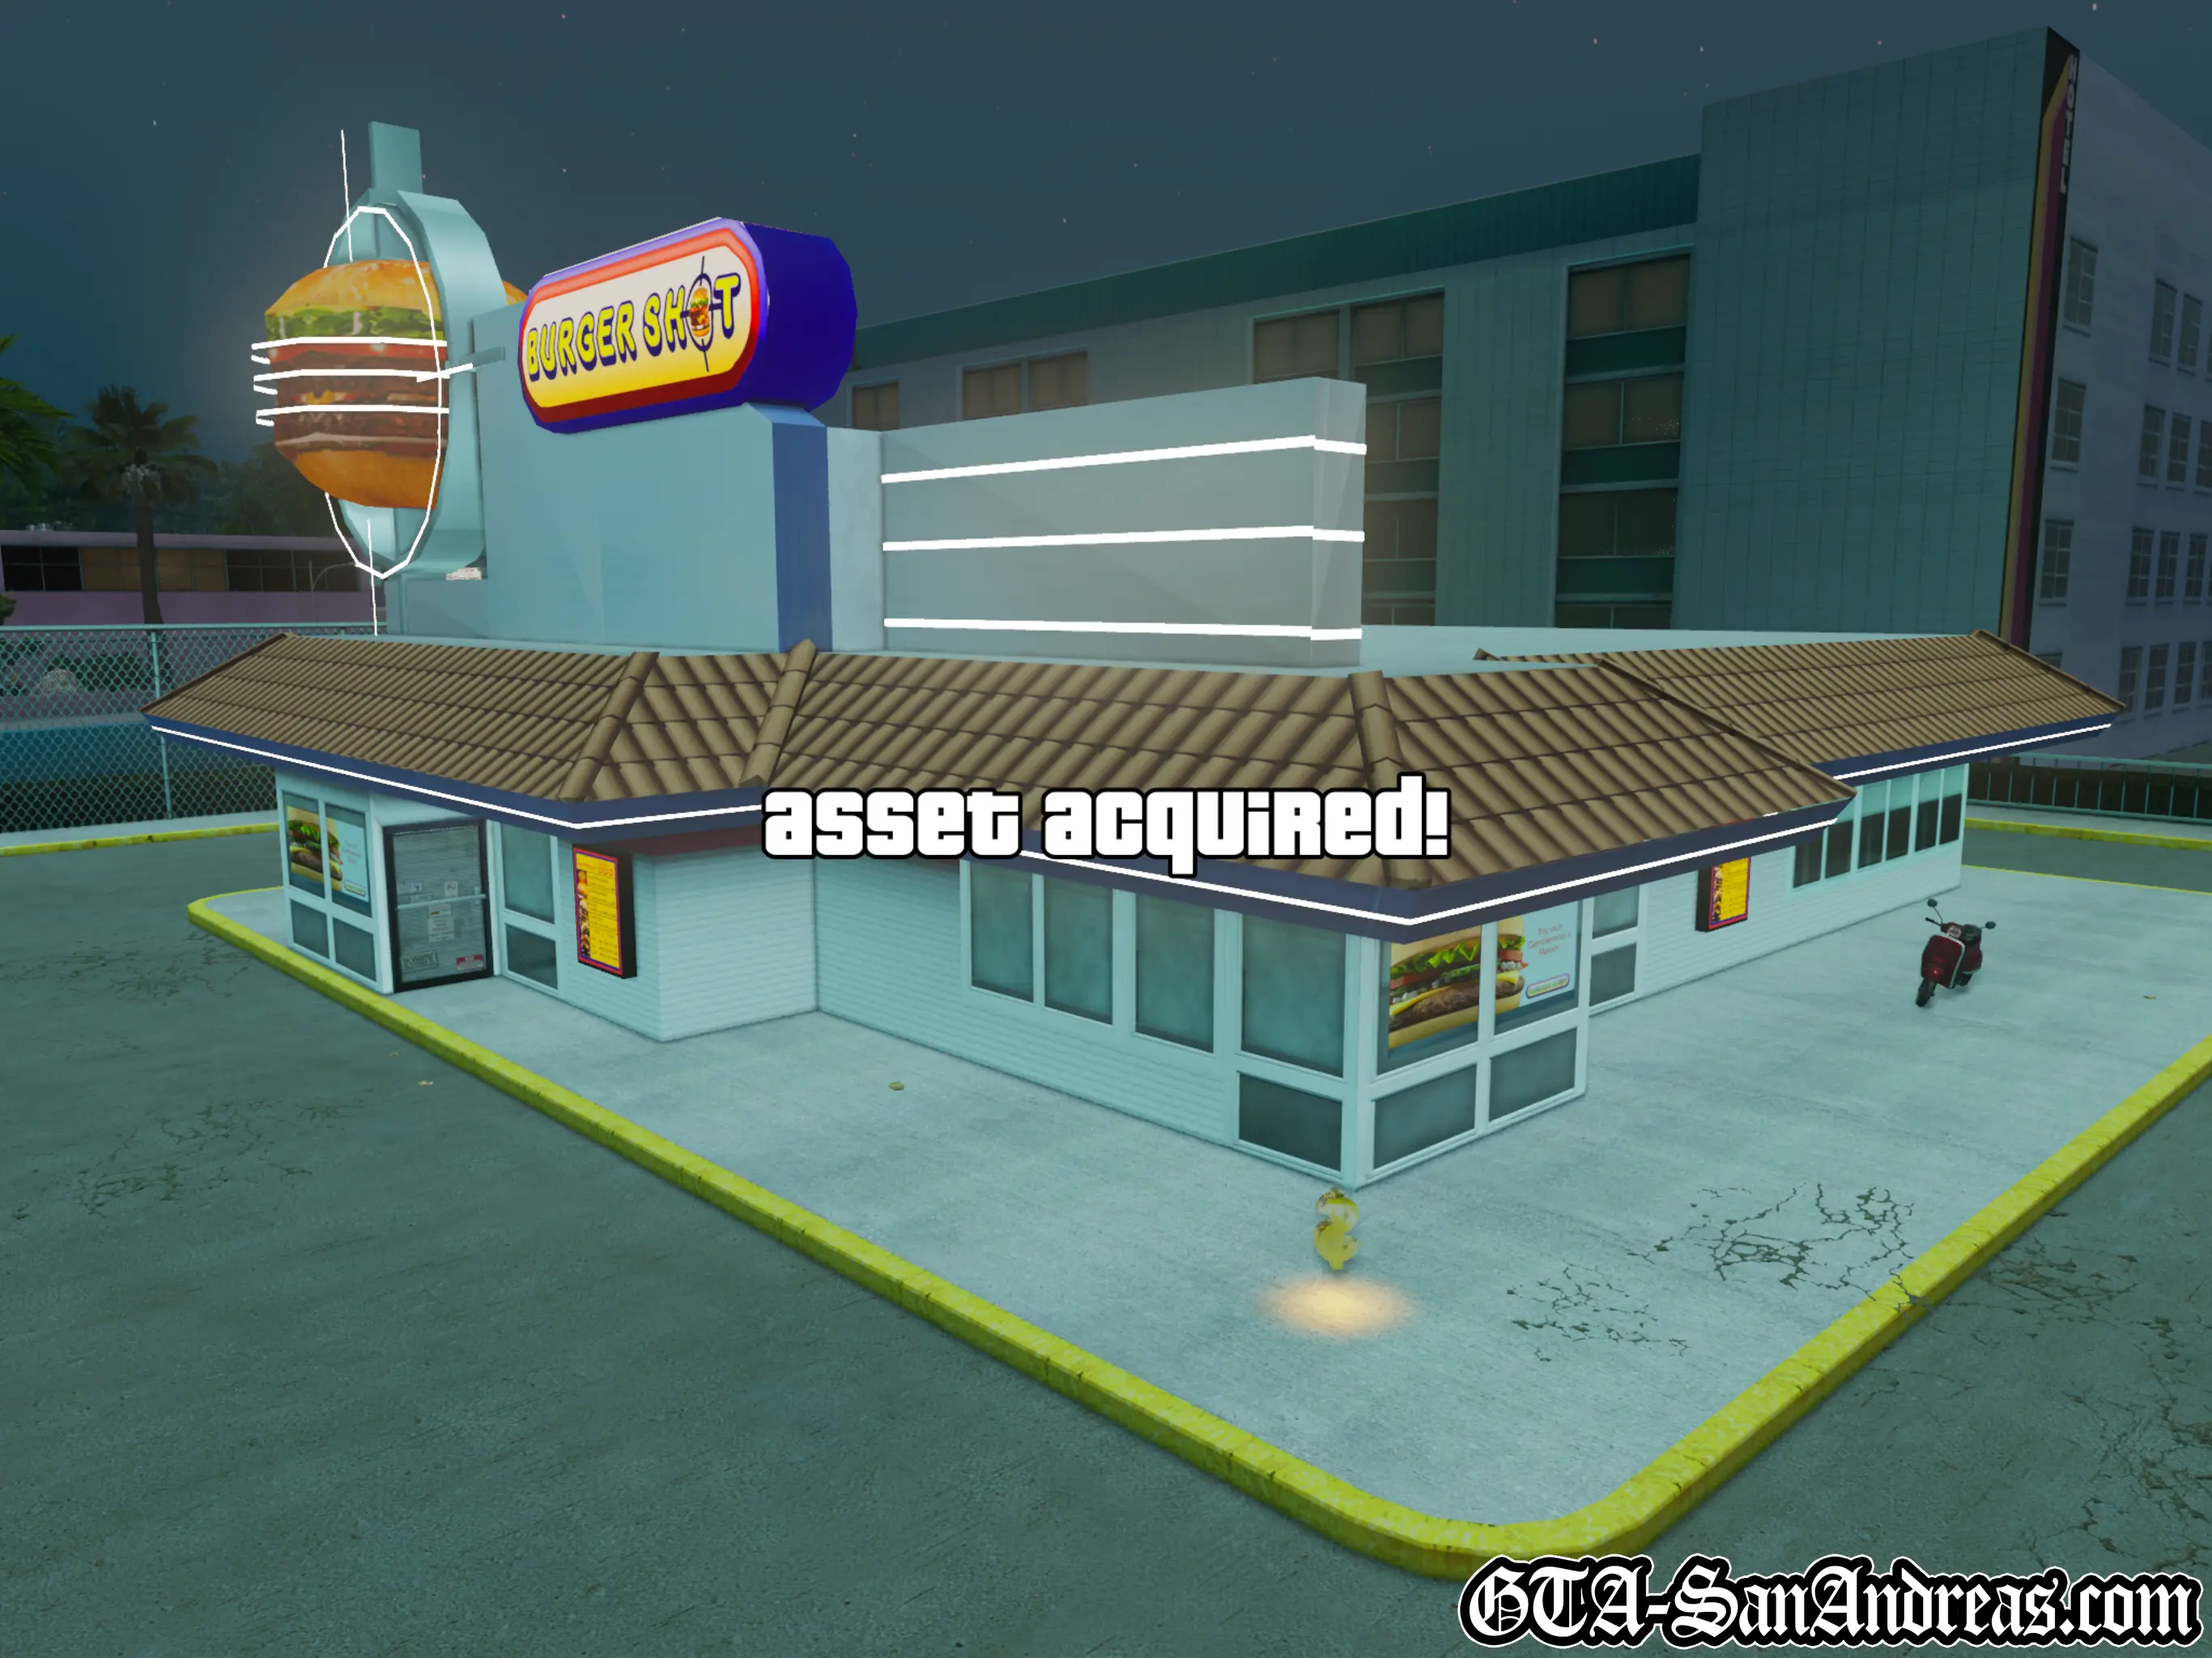
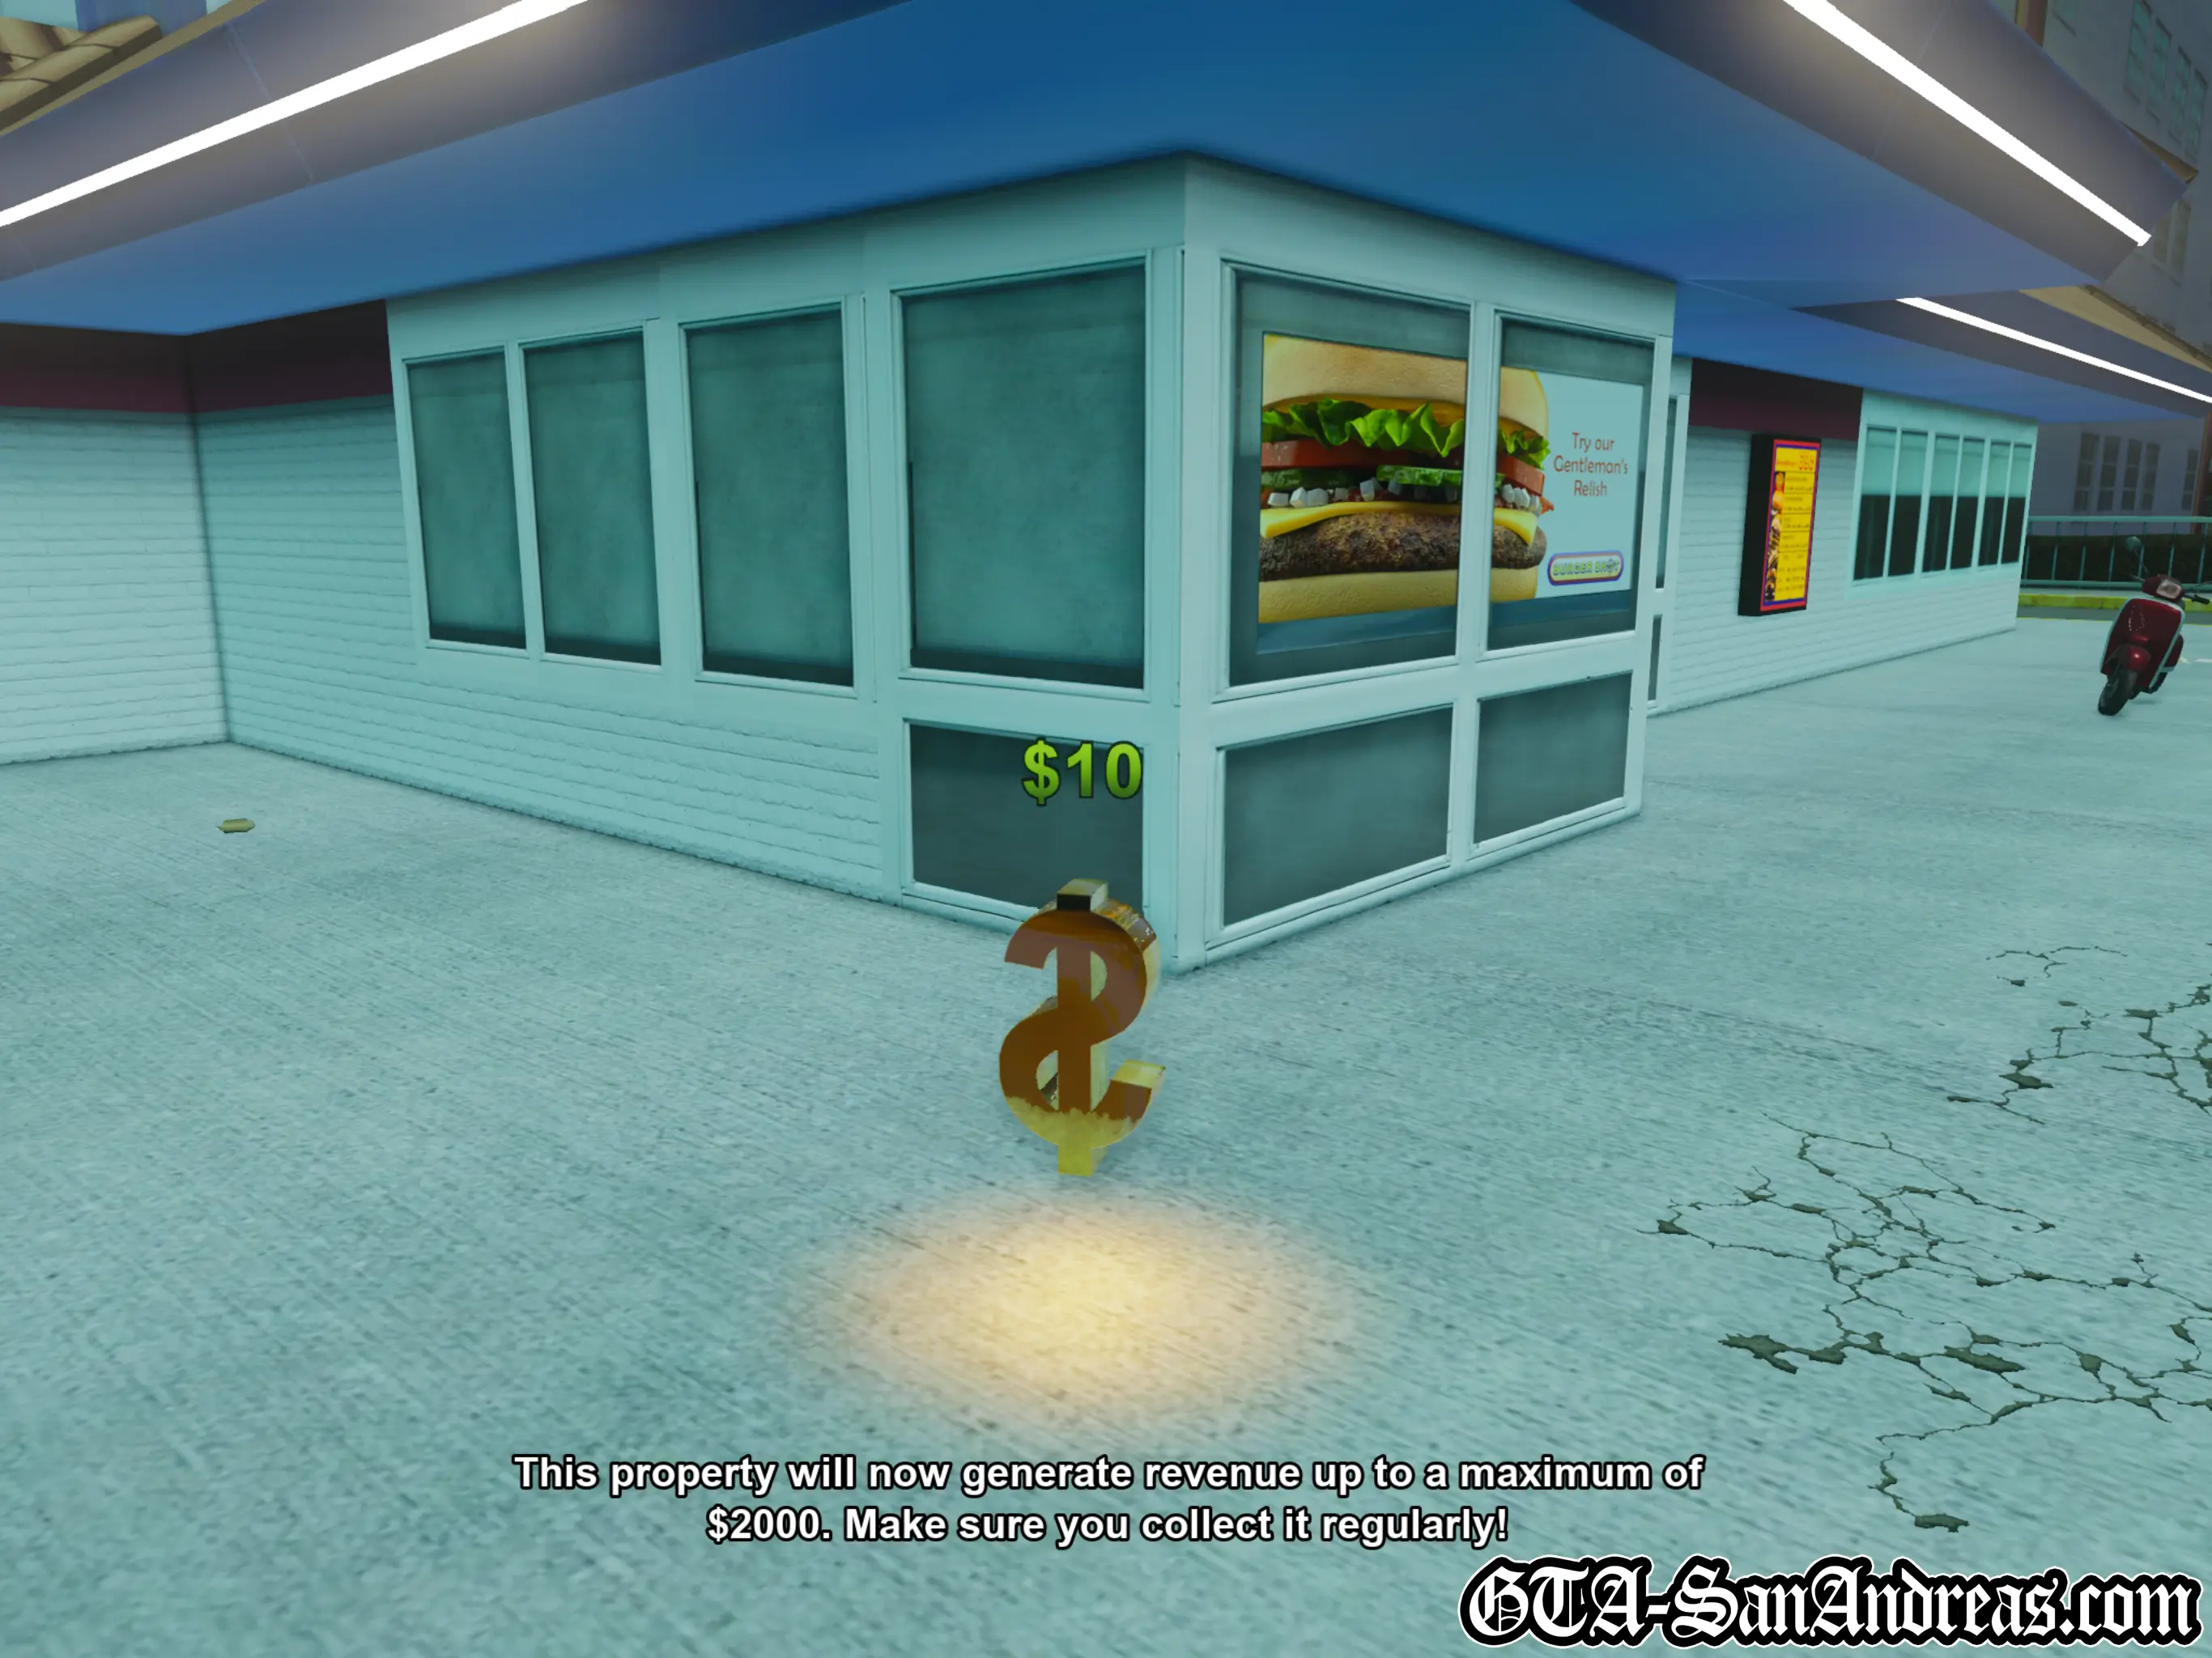
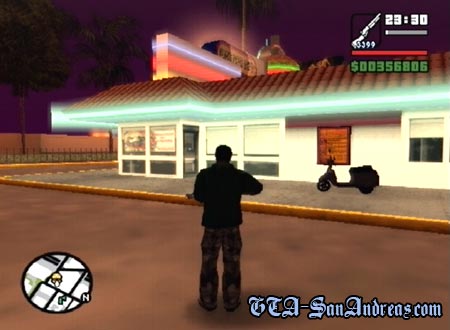
Courier Mission - Burger Shot
Each city has a hidden Courier Mission which involves making deliveries for a business, very similar to the Pizza Delivery missions from GTA Vice City. These are technically hidden challenges, however they'll reward the business as an asset on completion.
In Las Venturas, the courier challenge can be found outside the Central Burger Shot. This is located in Redsands East which is to the dead in the center of the Las Venturas area. Make your way to the Burger Icon on the radar in the center of Las Venturas.
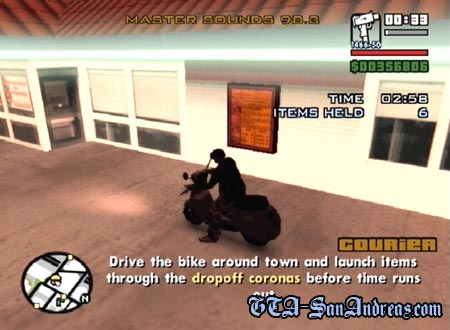
Once you get there, go around the building until you find a parked Faggio moped. Upon getting on the Faggio you'll start the missionand be given 6 items to deliver to 3 large red coronas.
Drive to each location marked with a yellow blip on the map and use the drive-by feature to throw the package through each corona. If you miss the corona you can drive over the package to pick it back up then try again. Once a package is delivered, immediately head for the next one.
Be aware that unlike the BMX challenge in Los Santos, crashing the Faggio moped will result in damage and you need to keep the bike in one piece in order to finish the mission.
Hints & Tips
Try to keep hold of any remaining items after completing the deliveries as you'll be rewarded with a bonus for them. You'll also receive a time bonus, so the quicker you get back, the more cash you'll receive.
Once you've fed a package into each corona, head back to Burger Shot for your rewards and to start the next level. This time you need to deliver 4, then 5 and on the final level you'll need to deliver 6 items.
The final level is more difficult as the delivery points are scattered all over San Fierro, meaning you need to drive pretty fast to get there and back in time.
Once you get through the 4th and final delivery level, you'll complete the mission and be rewarded for your hard work.
Mission Overview
| Level | Items Held | Deliveries |
|---|---|---|
| Level 1 | 6 Items | 3 Deliveries |
| Level 2 | 6 Items | 4 Deliveries |
| Level 3 | 7 Items | 5 Deliveries |
| Level 4 | 8 Items | 6 Deliveries |
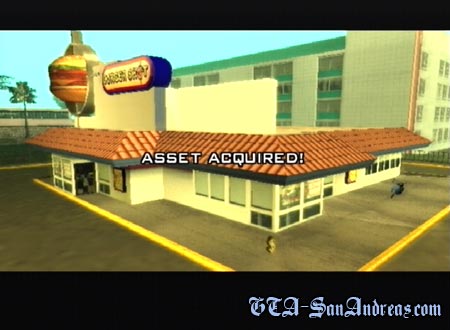
Post-Mission
Burger Shot has been acquired as an asset and will generate up to $2,000 on a daily basis which you must manually collect.
Hints & Tips
Completing this challenge is another great way to improve your bike skill.
Screenshots

Original PS2 Screenshots
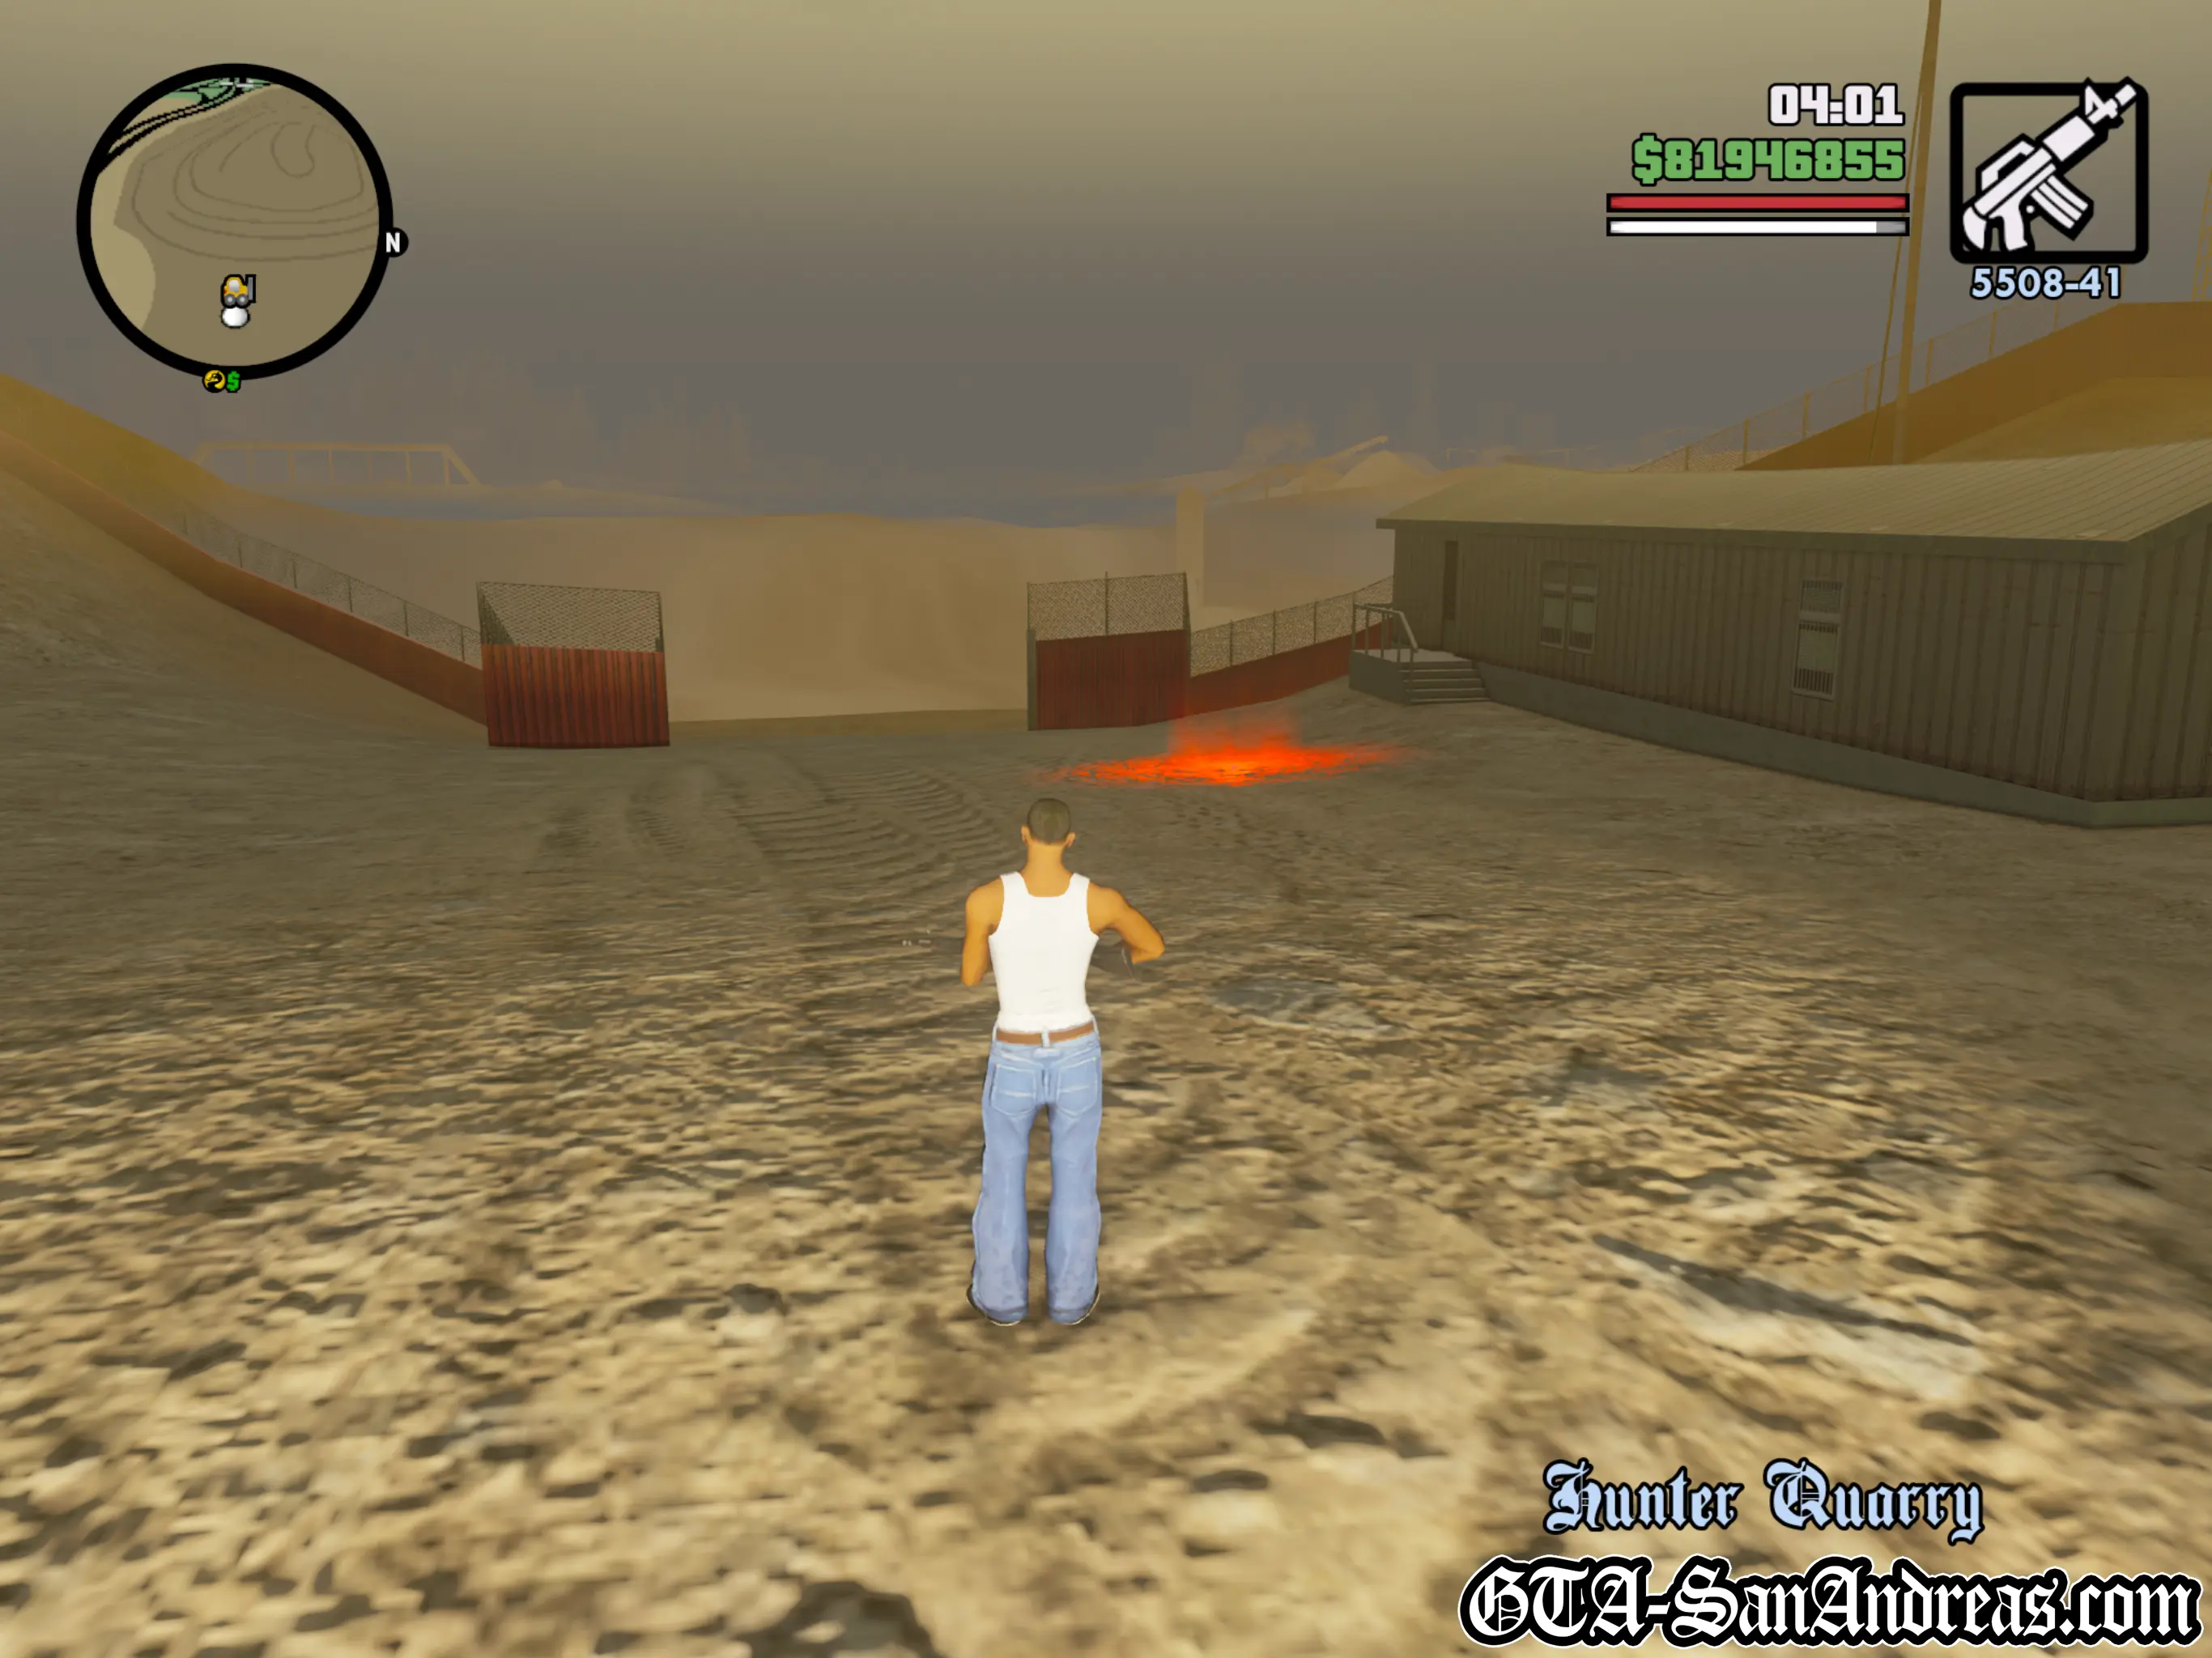
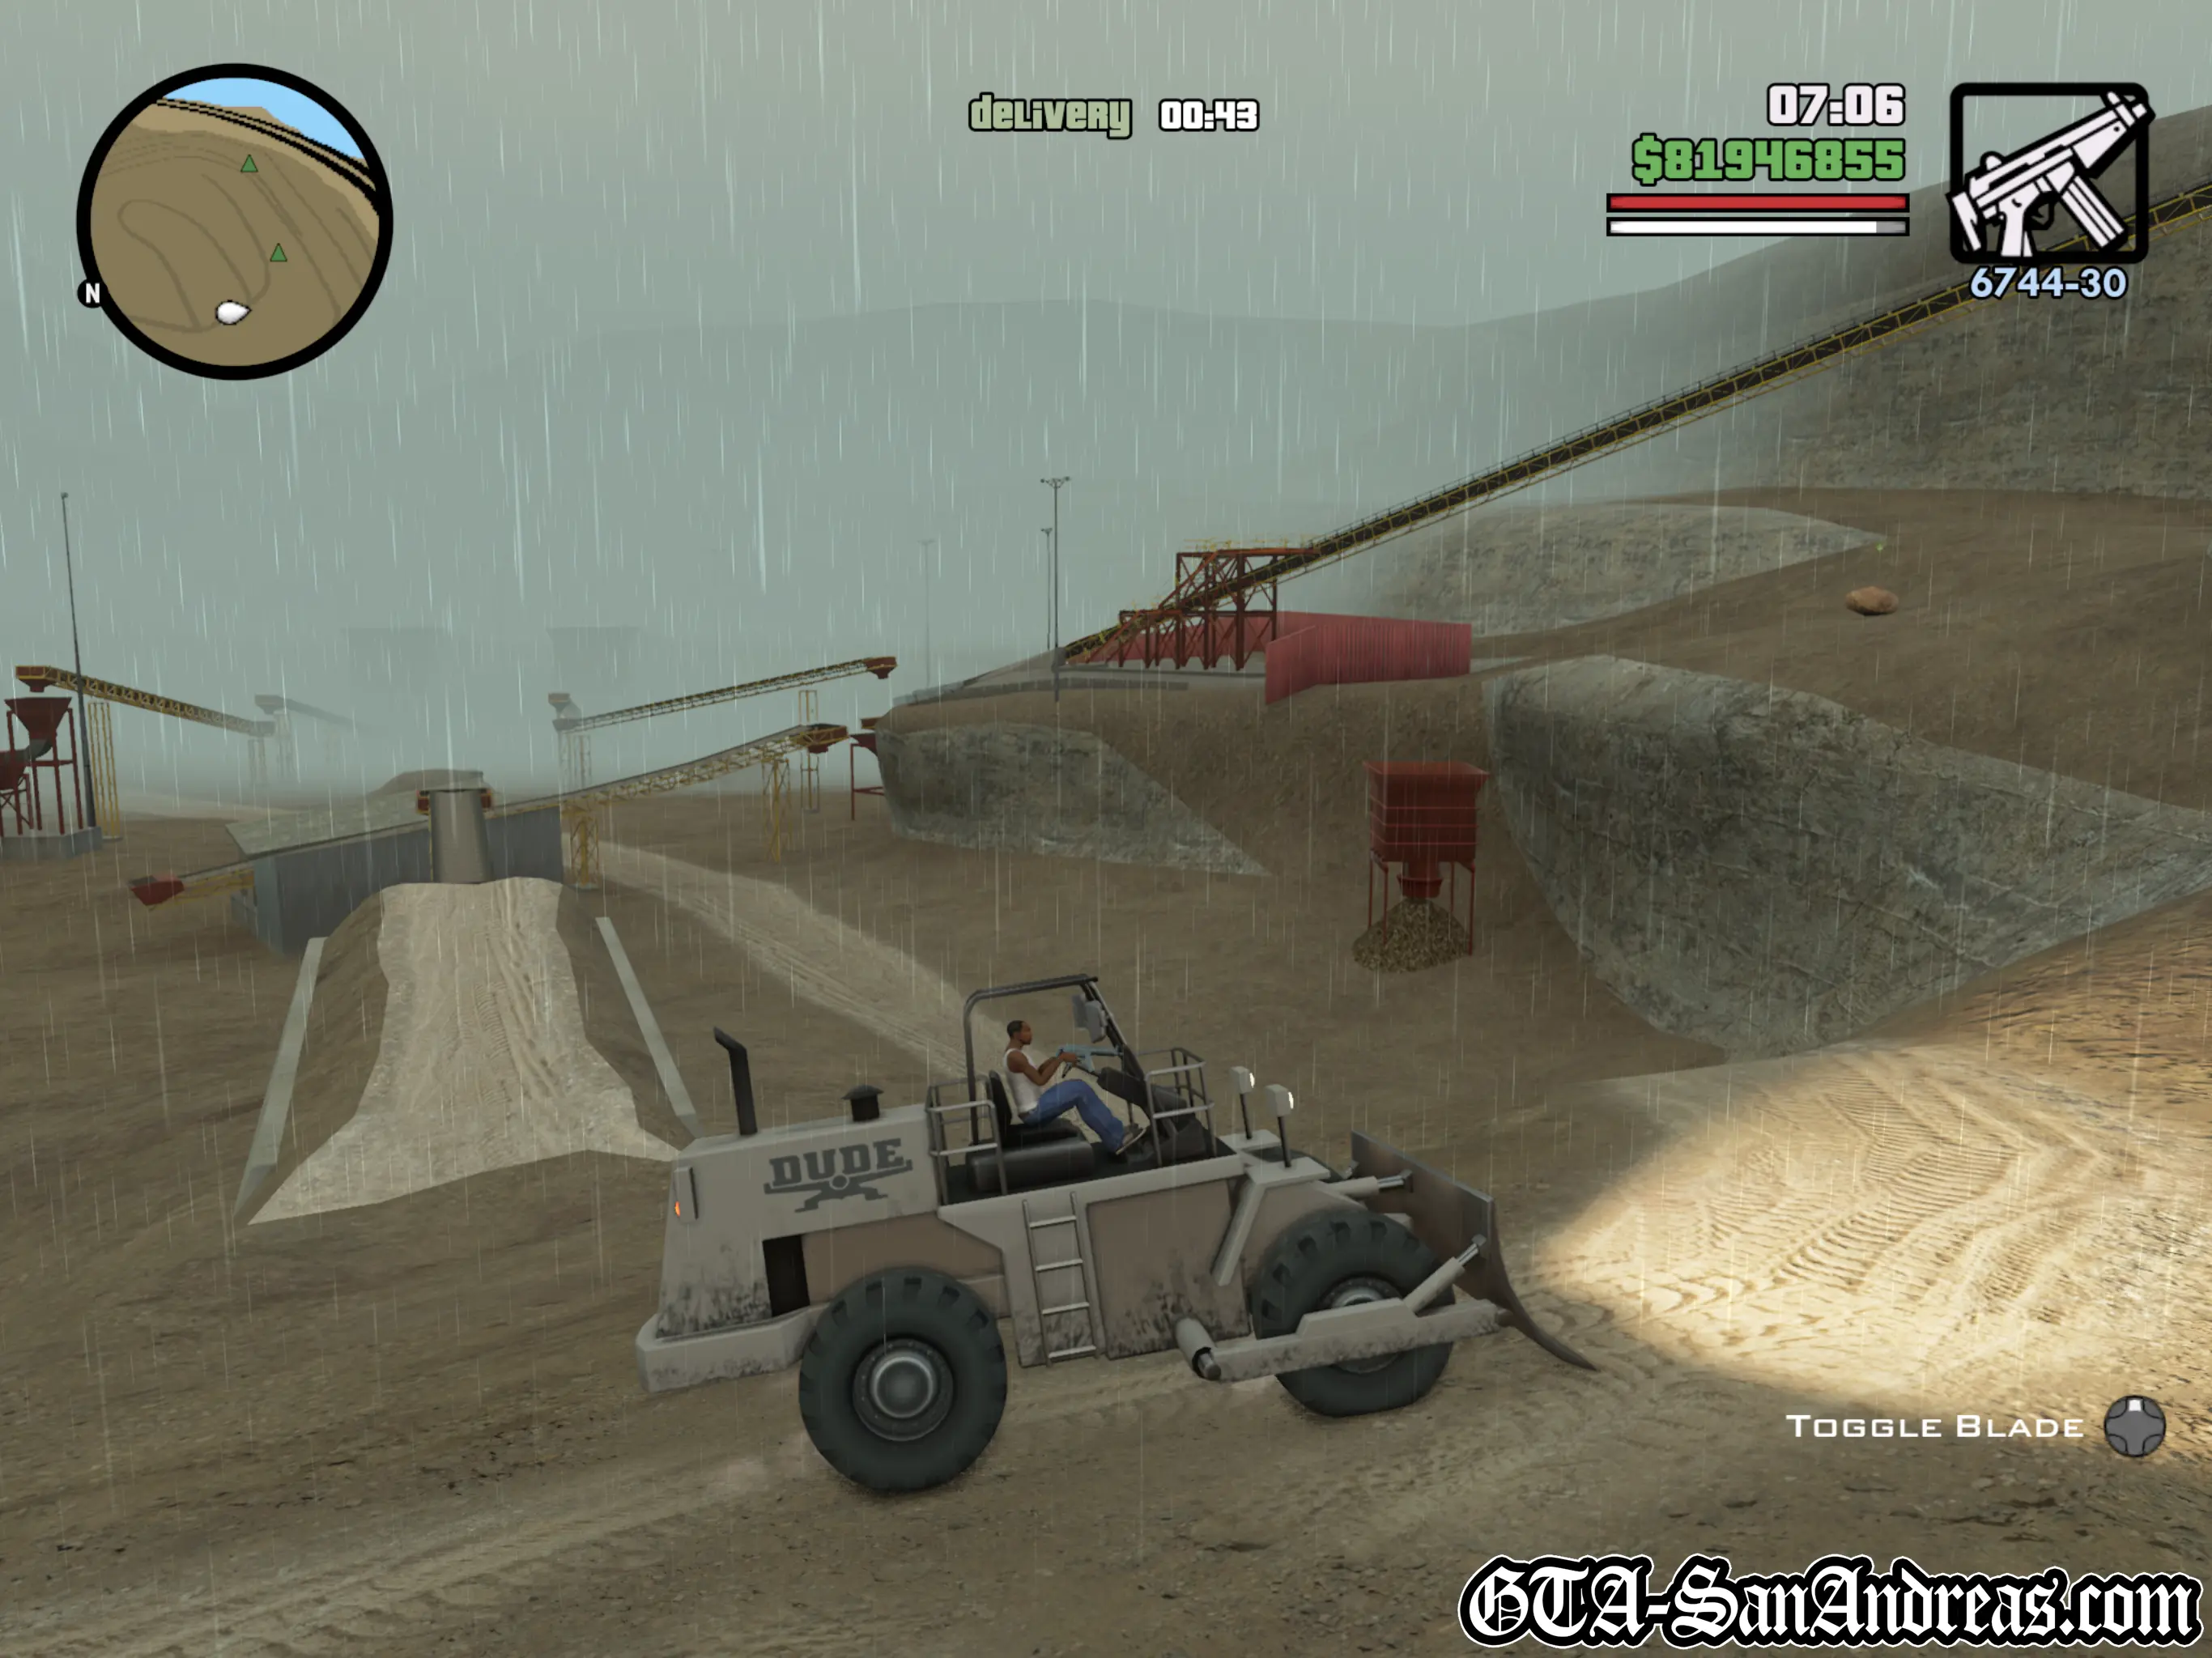
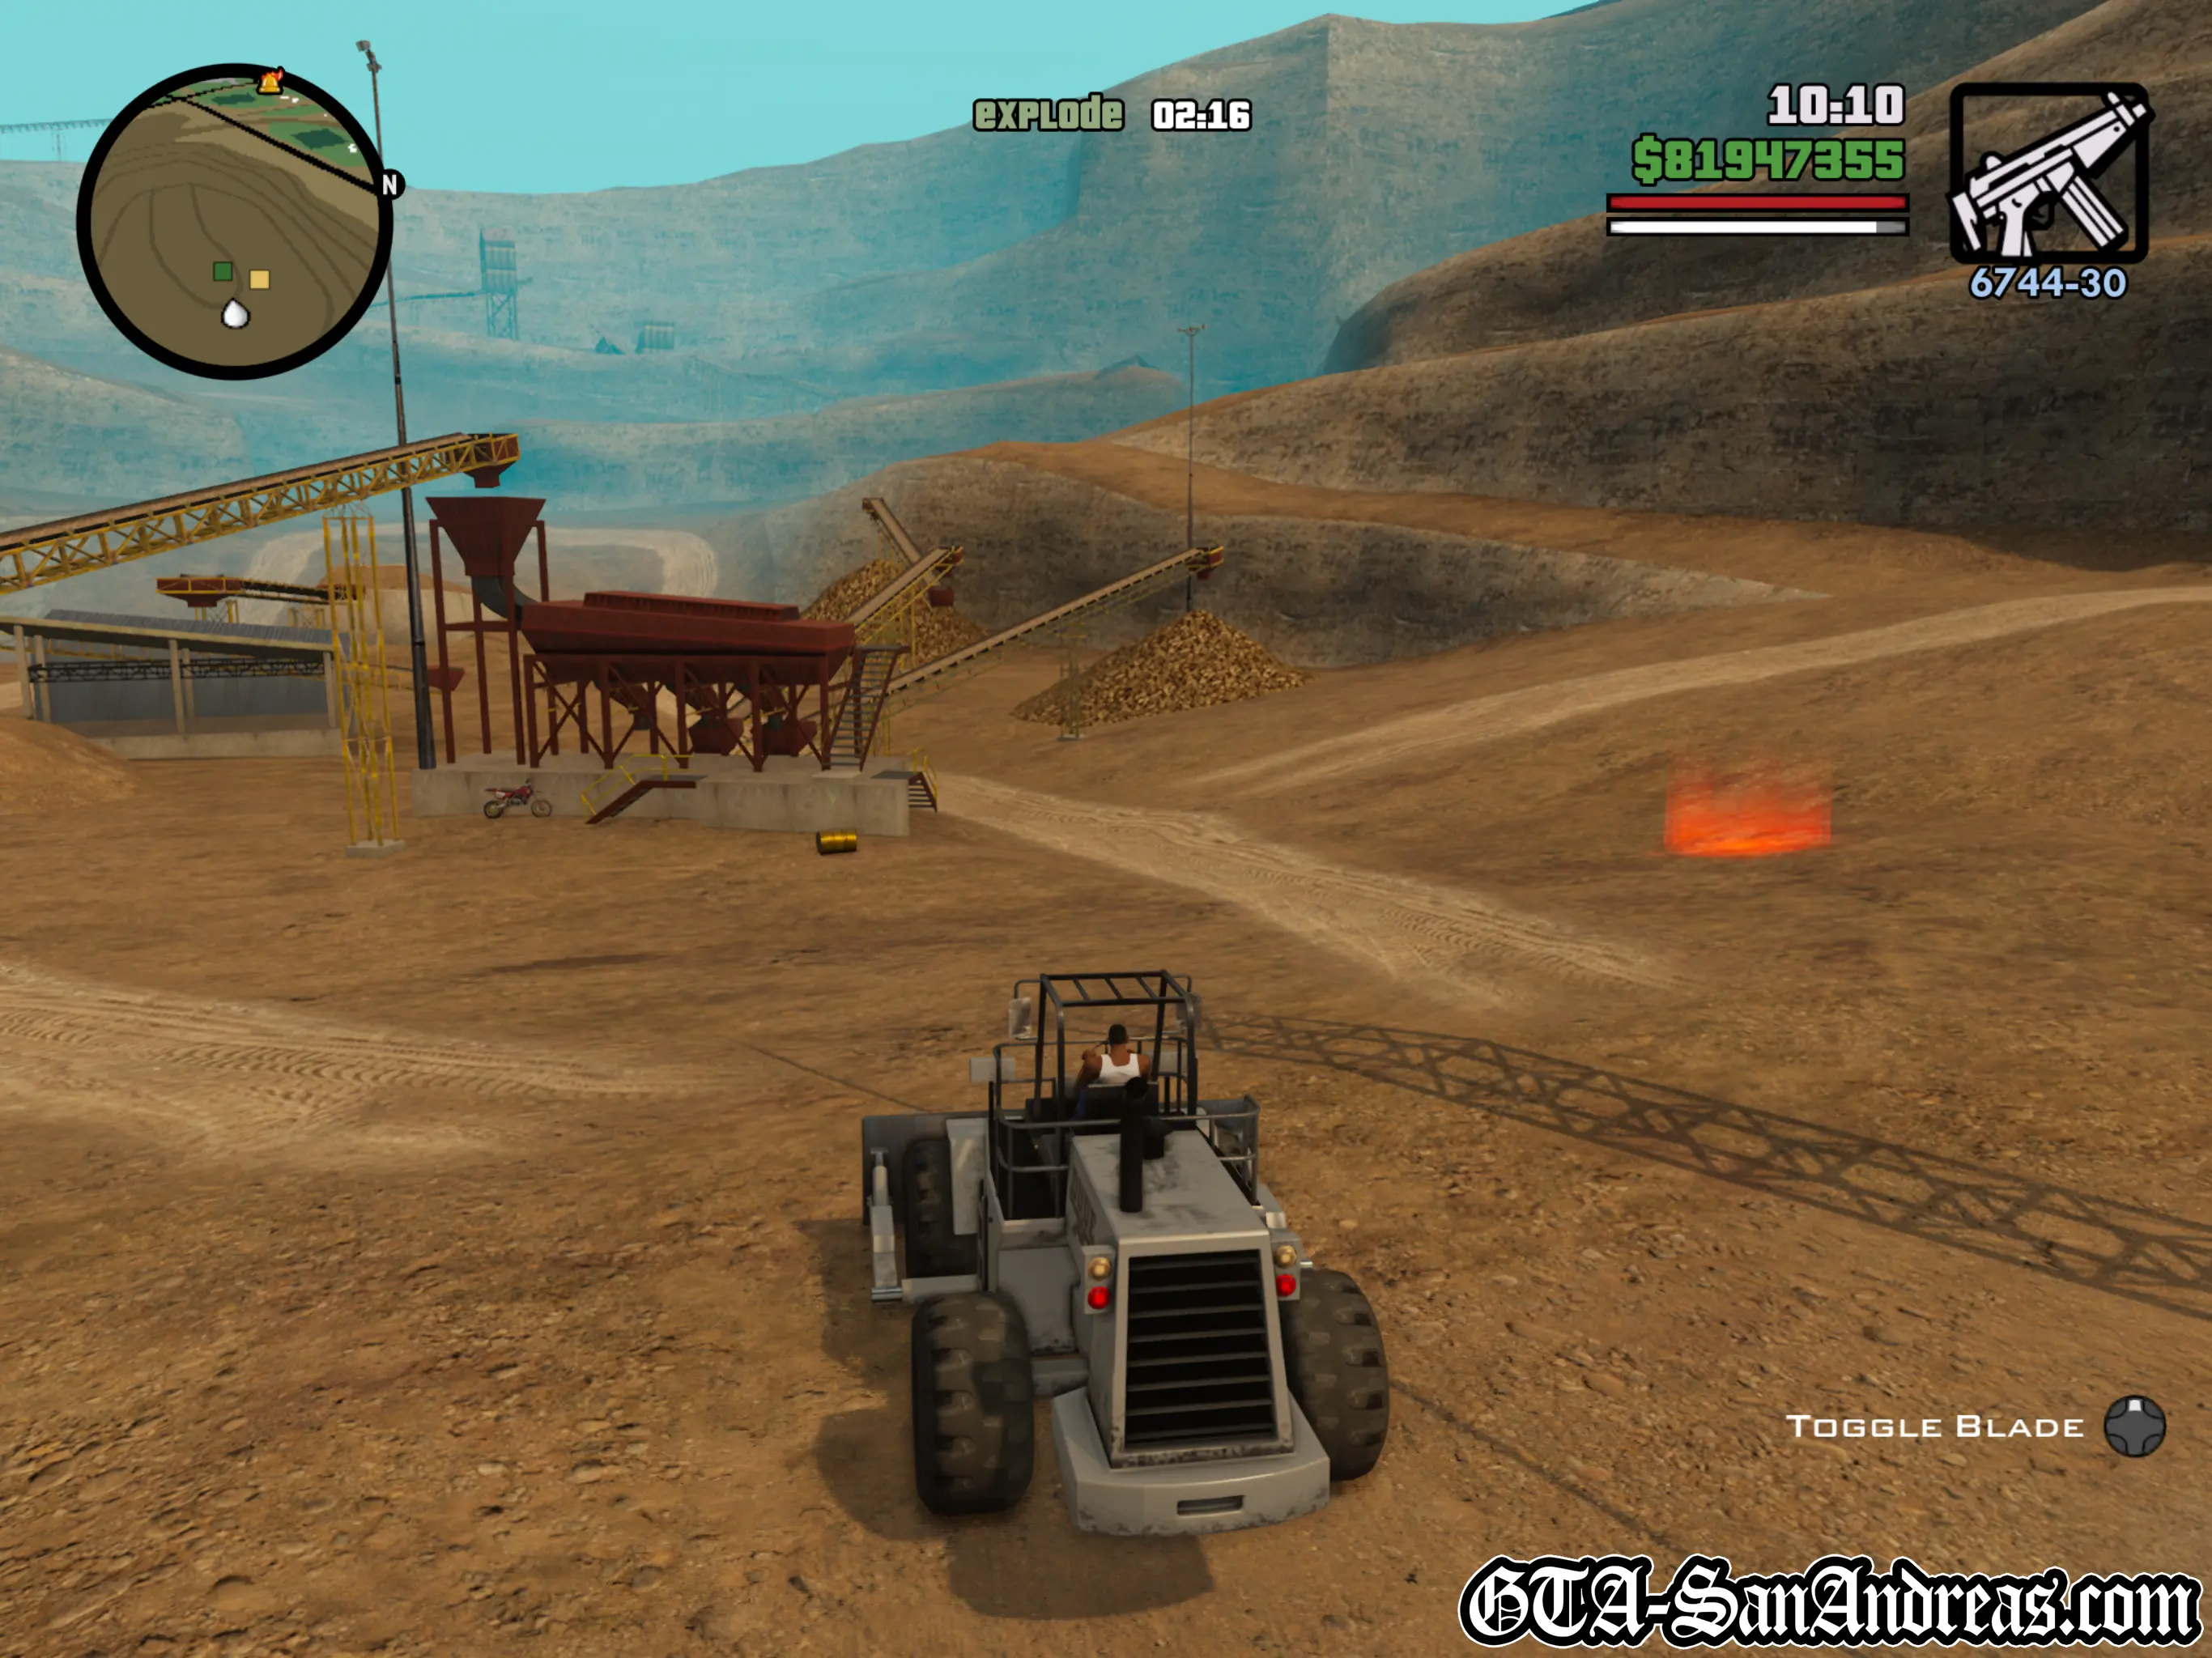
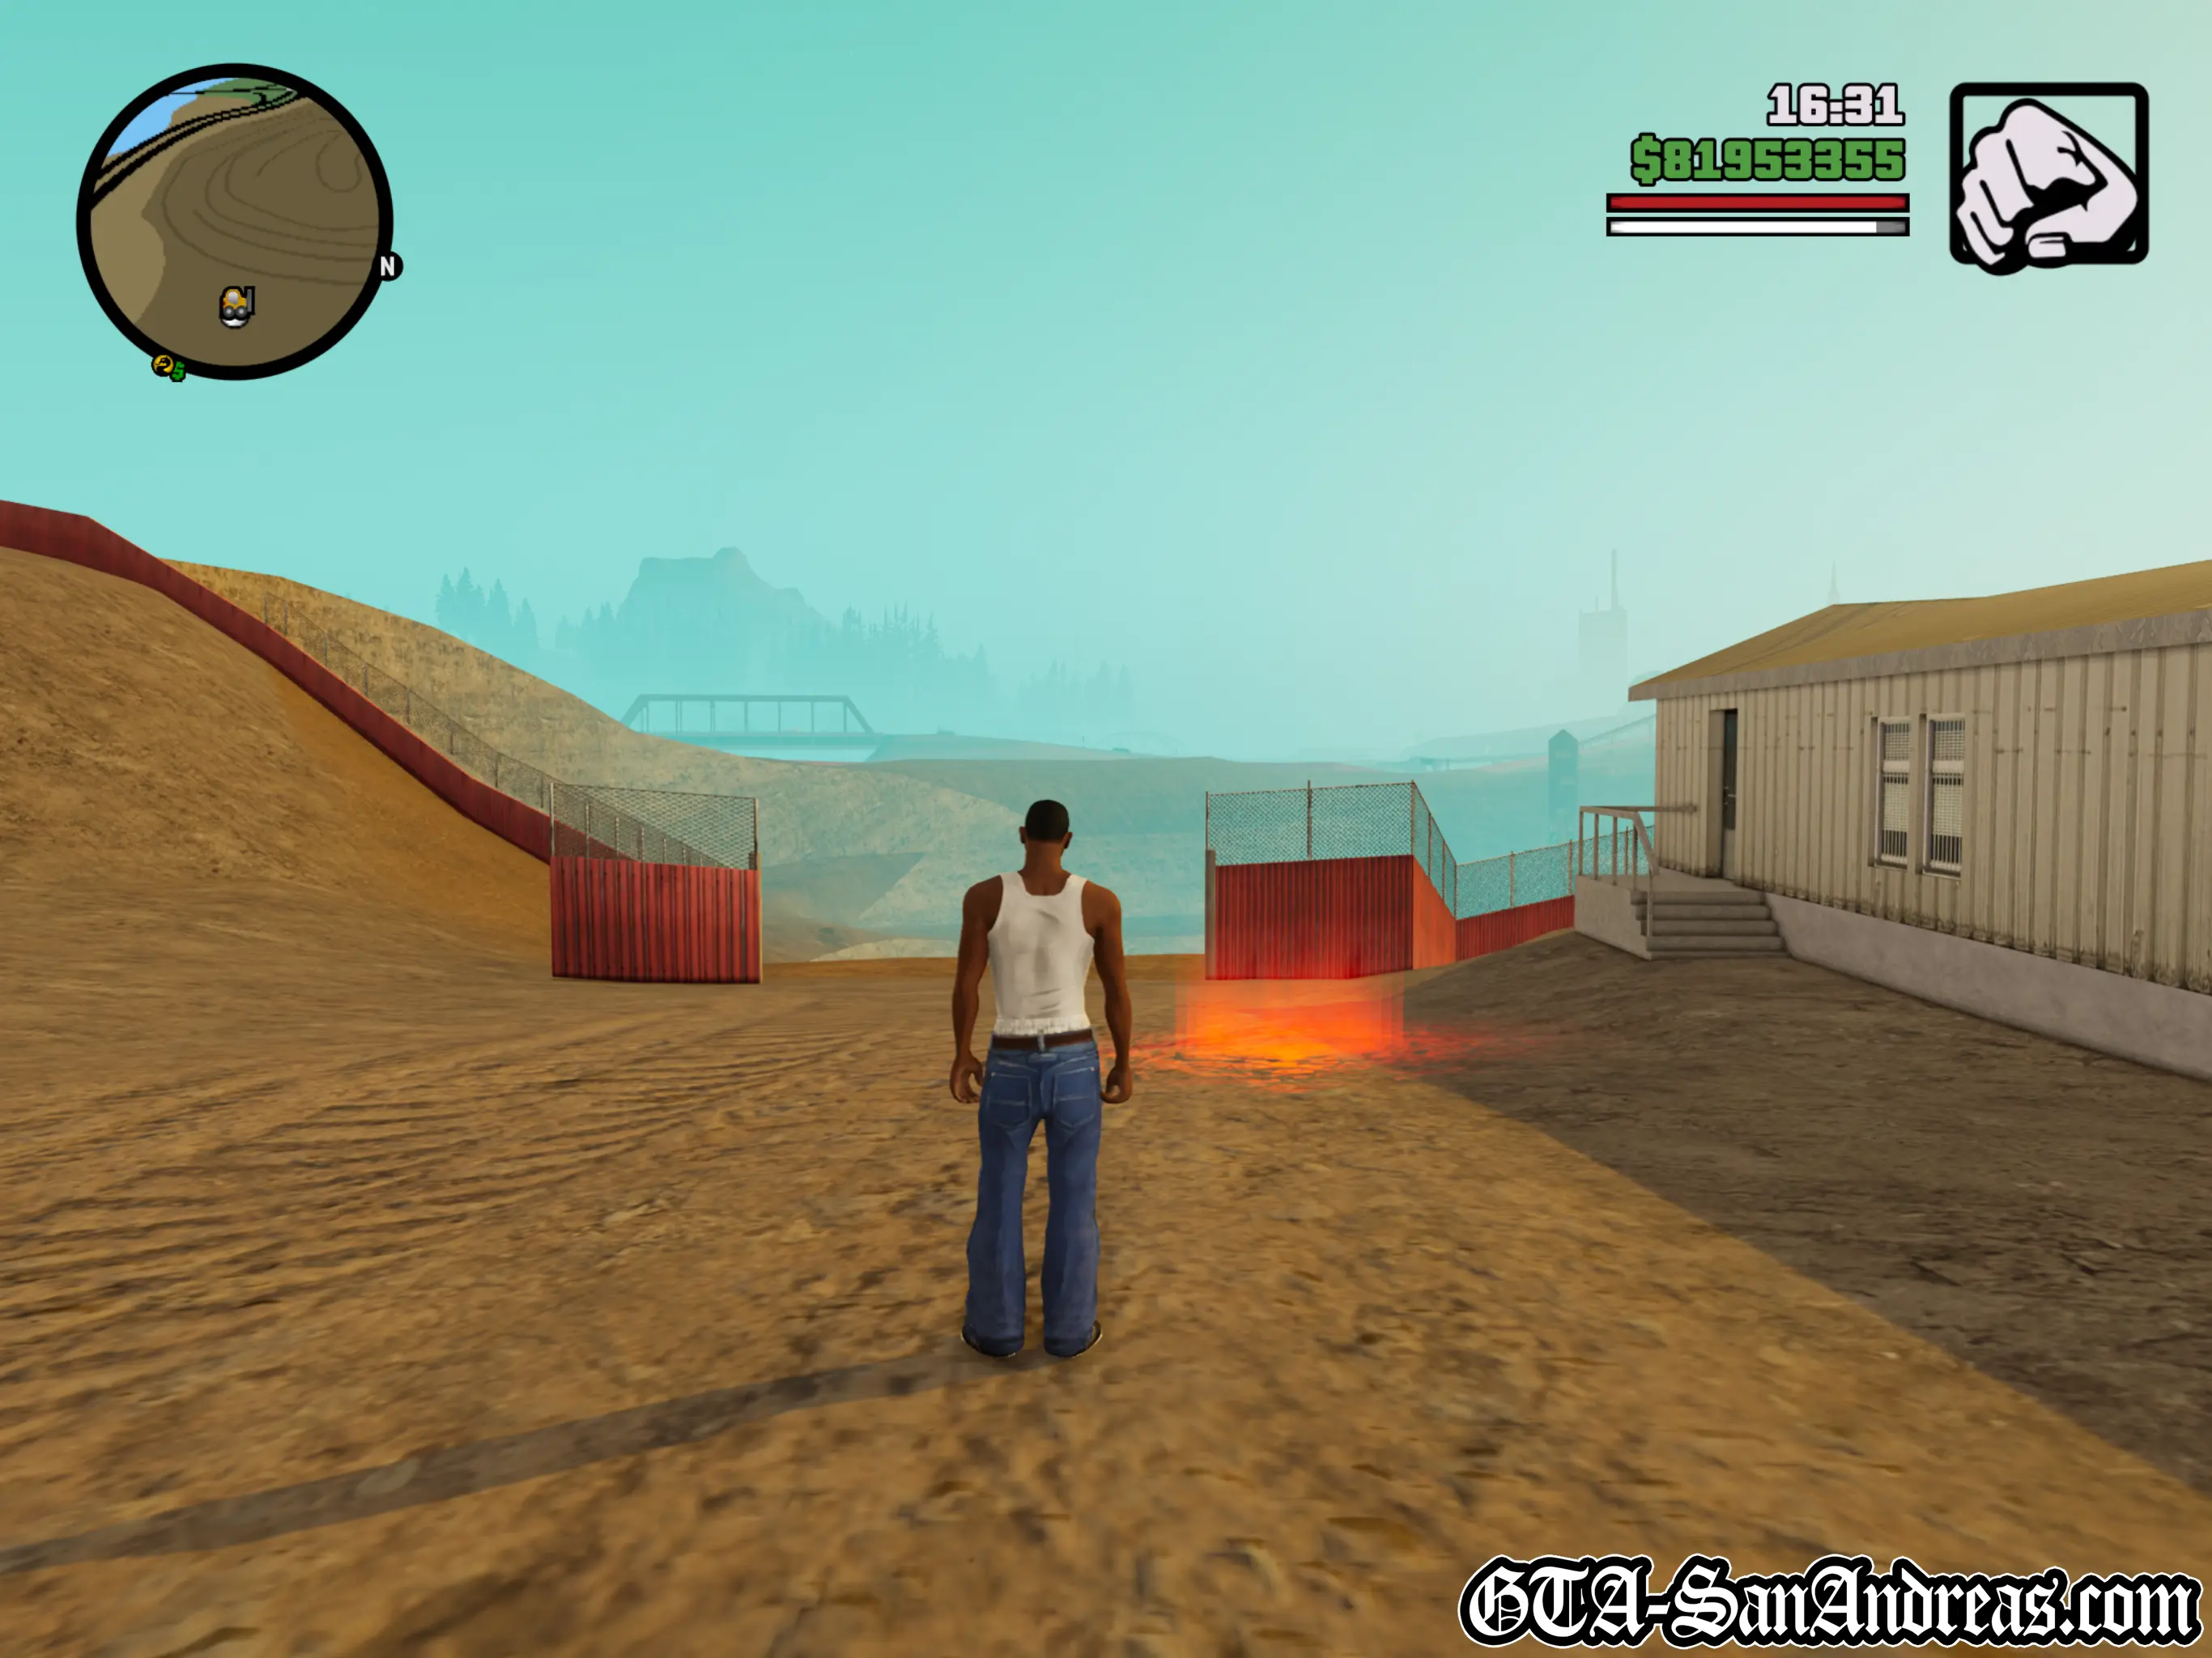
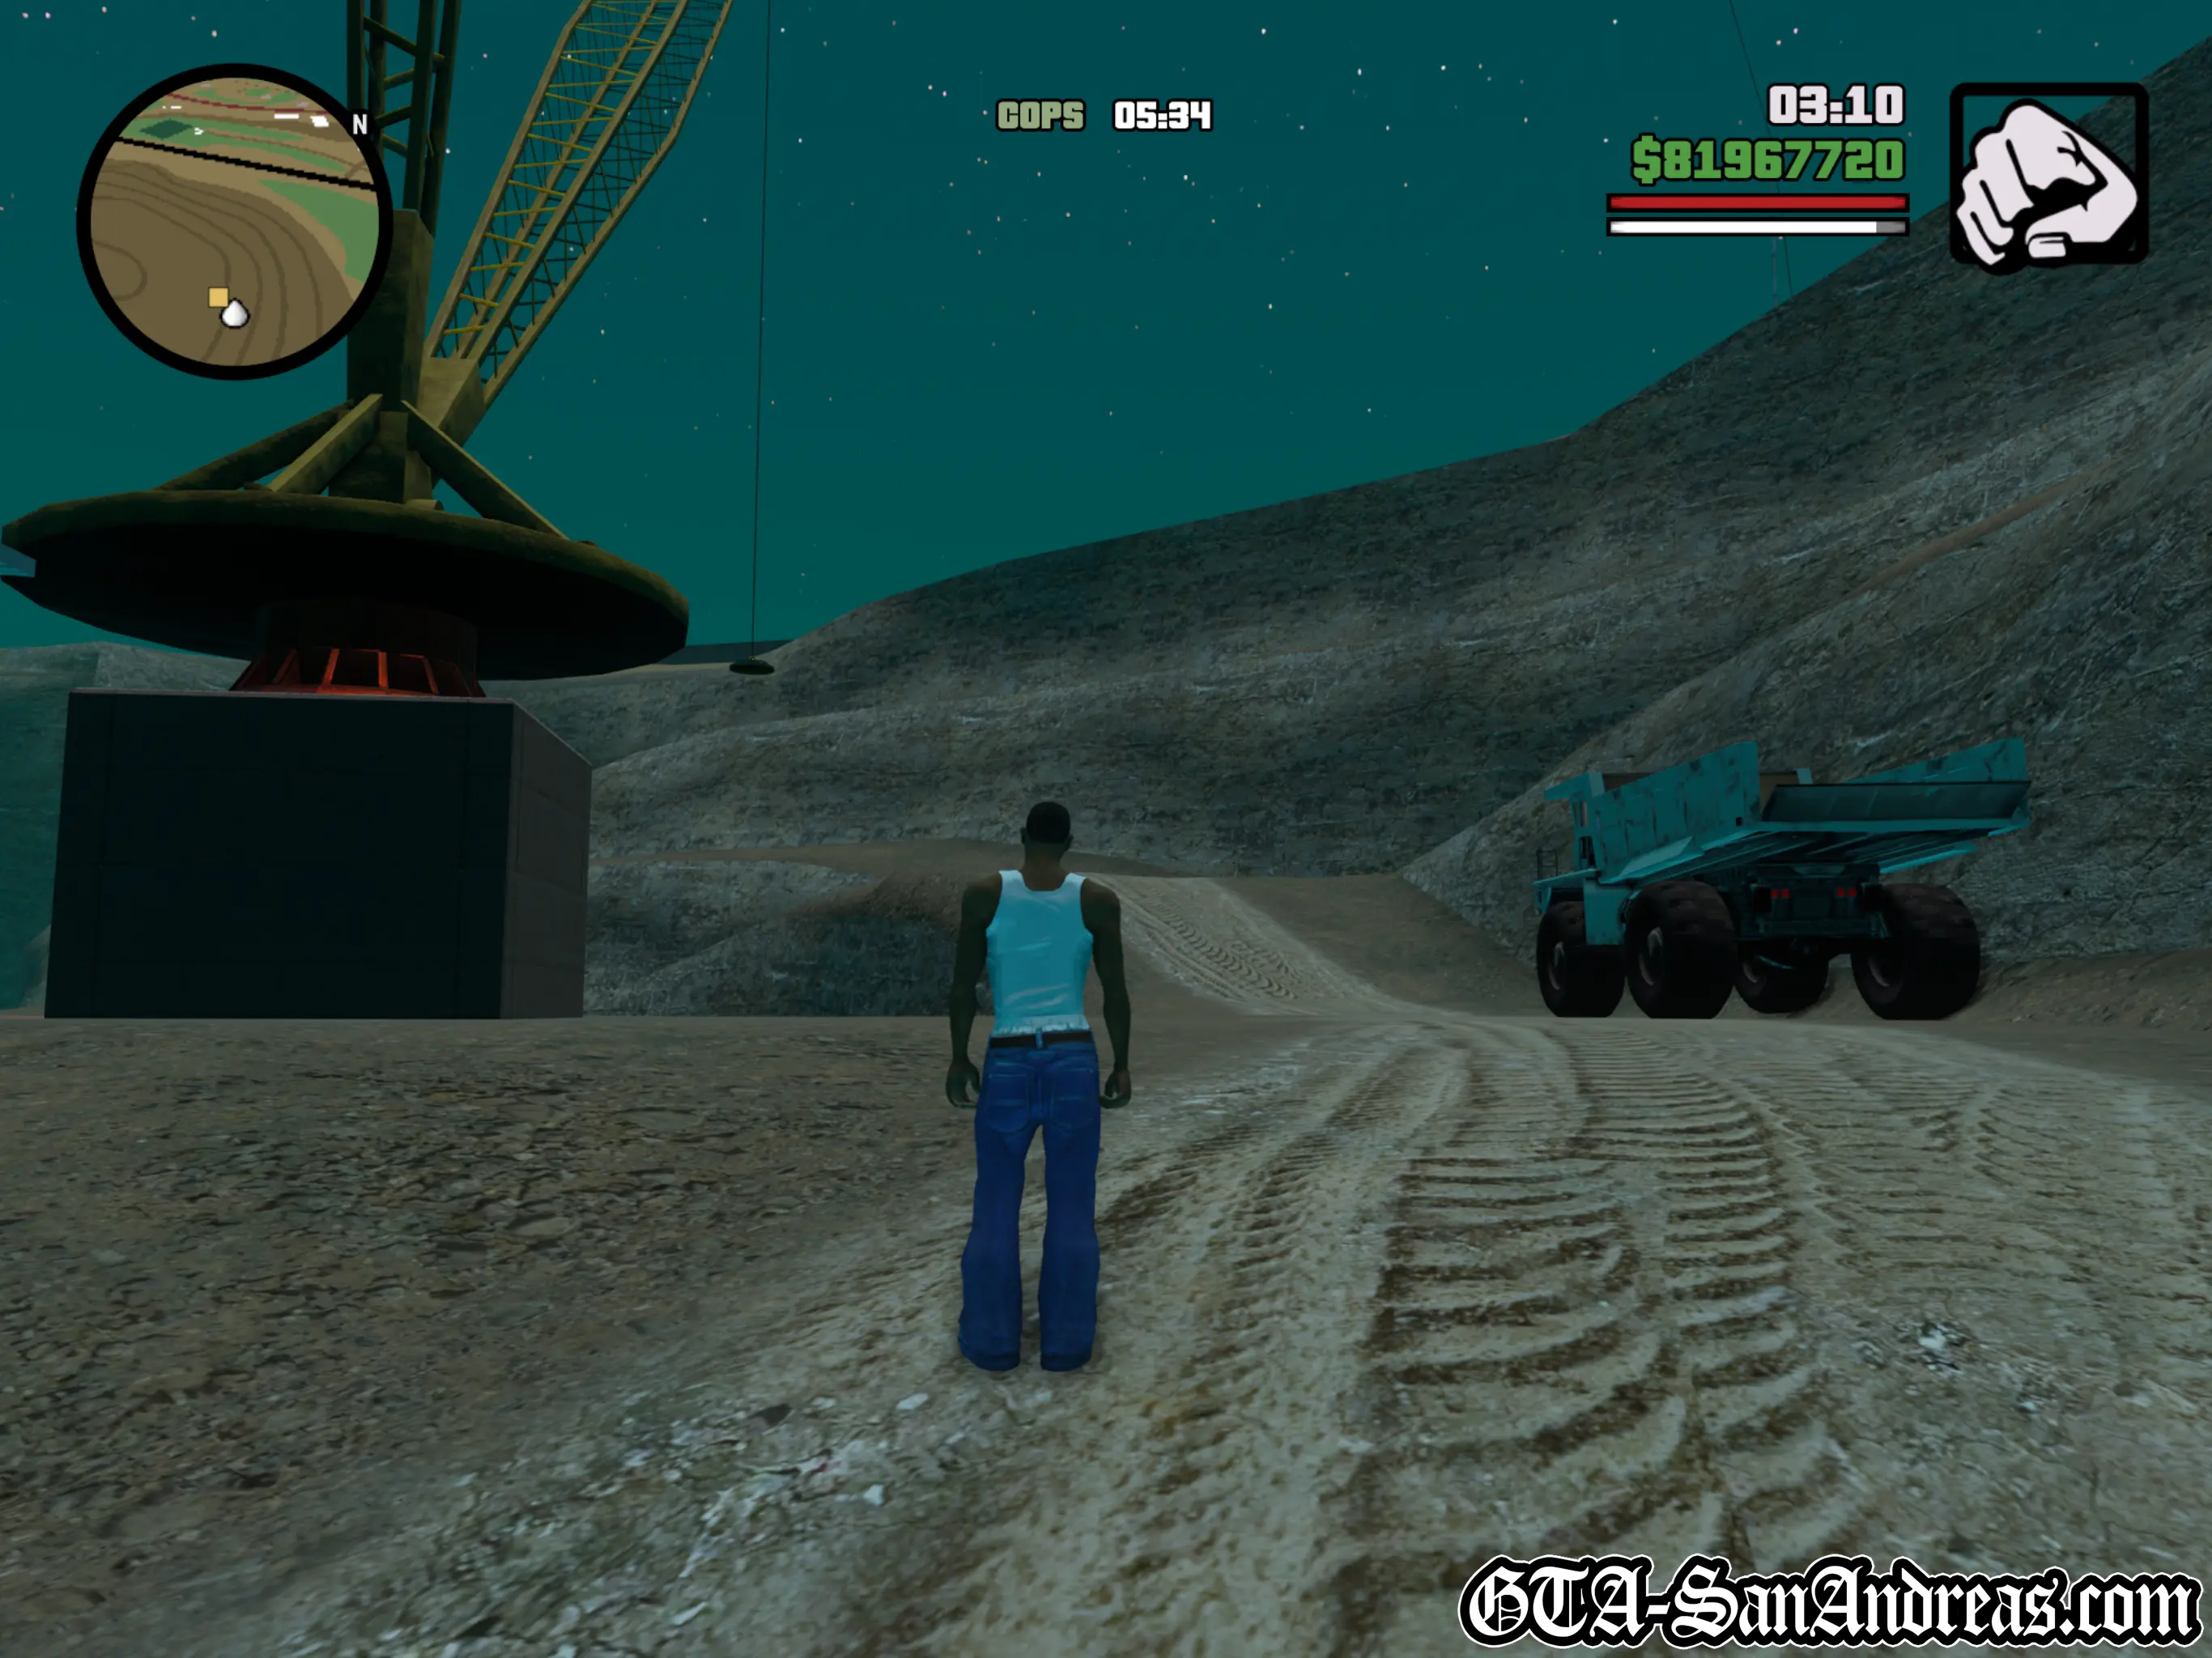
Quarry Missions - Hunter Quarry
The Quarry missions are unlocked after completion of "Explosive Situation" for Wu Zi Mu. They can be found at the ![]() bulldozer icon in the center of the desert.
bulldozer icon in the center of the desert.
There are seven missions to complete, all of which revolve around around various construction machinery.
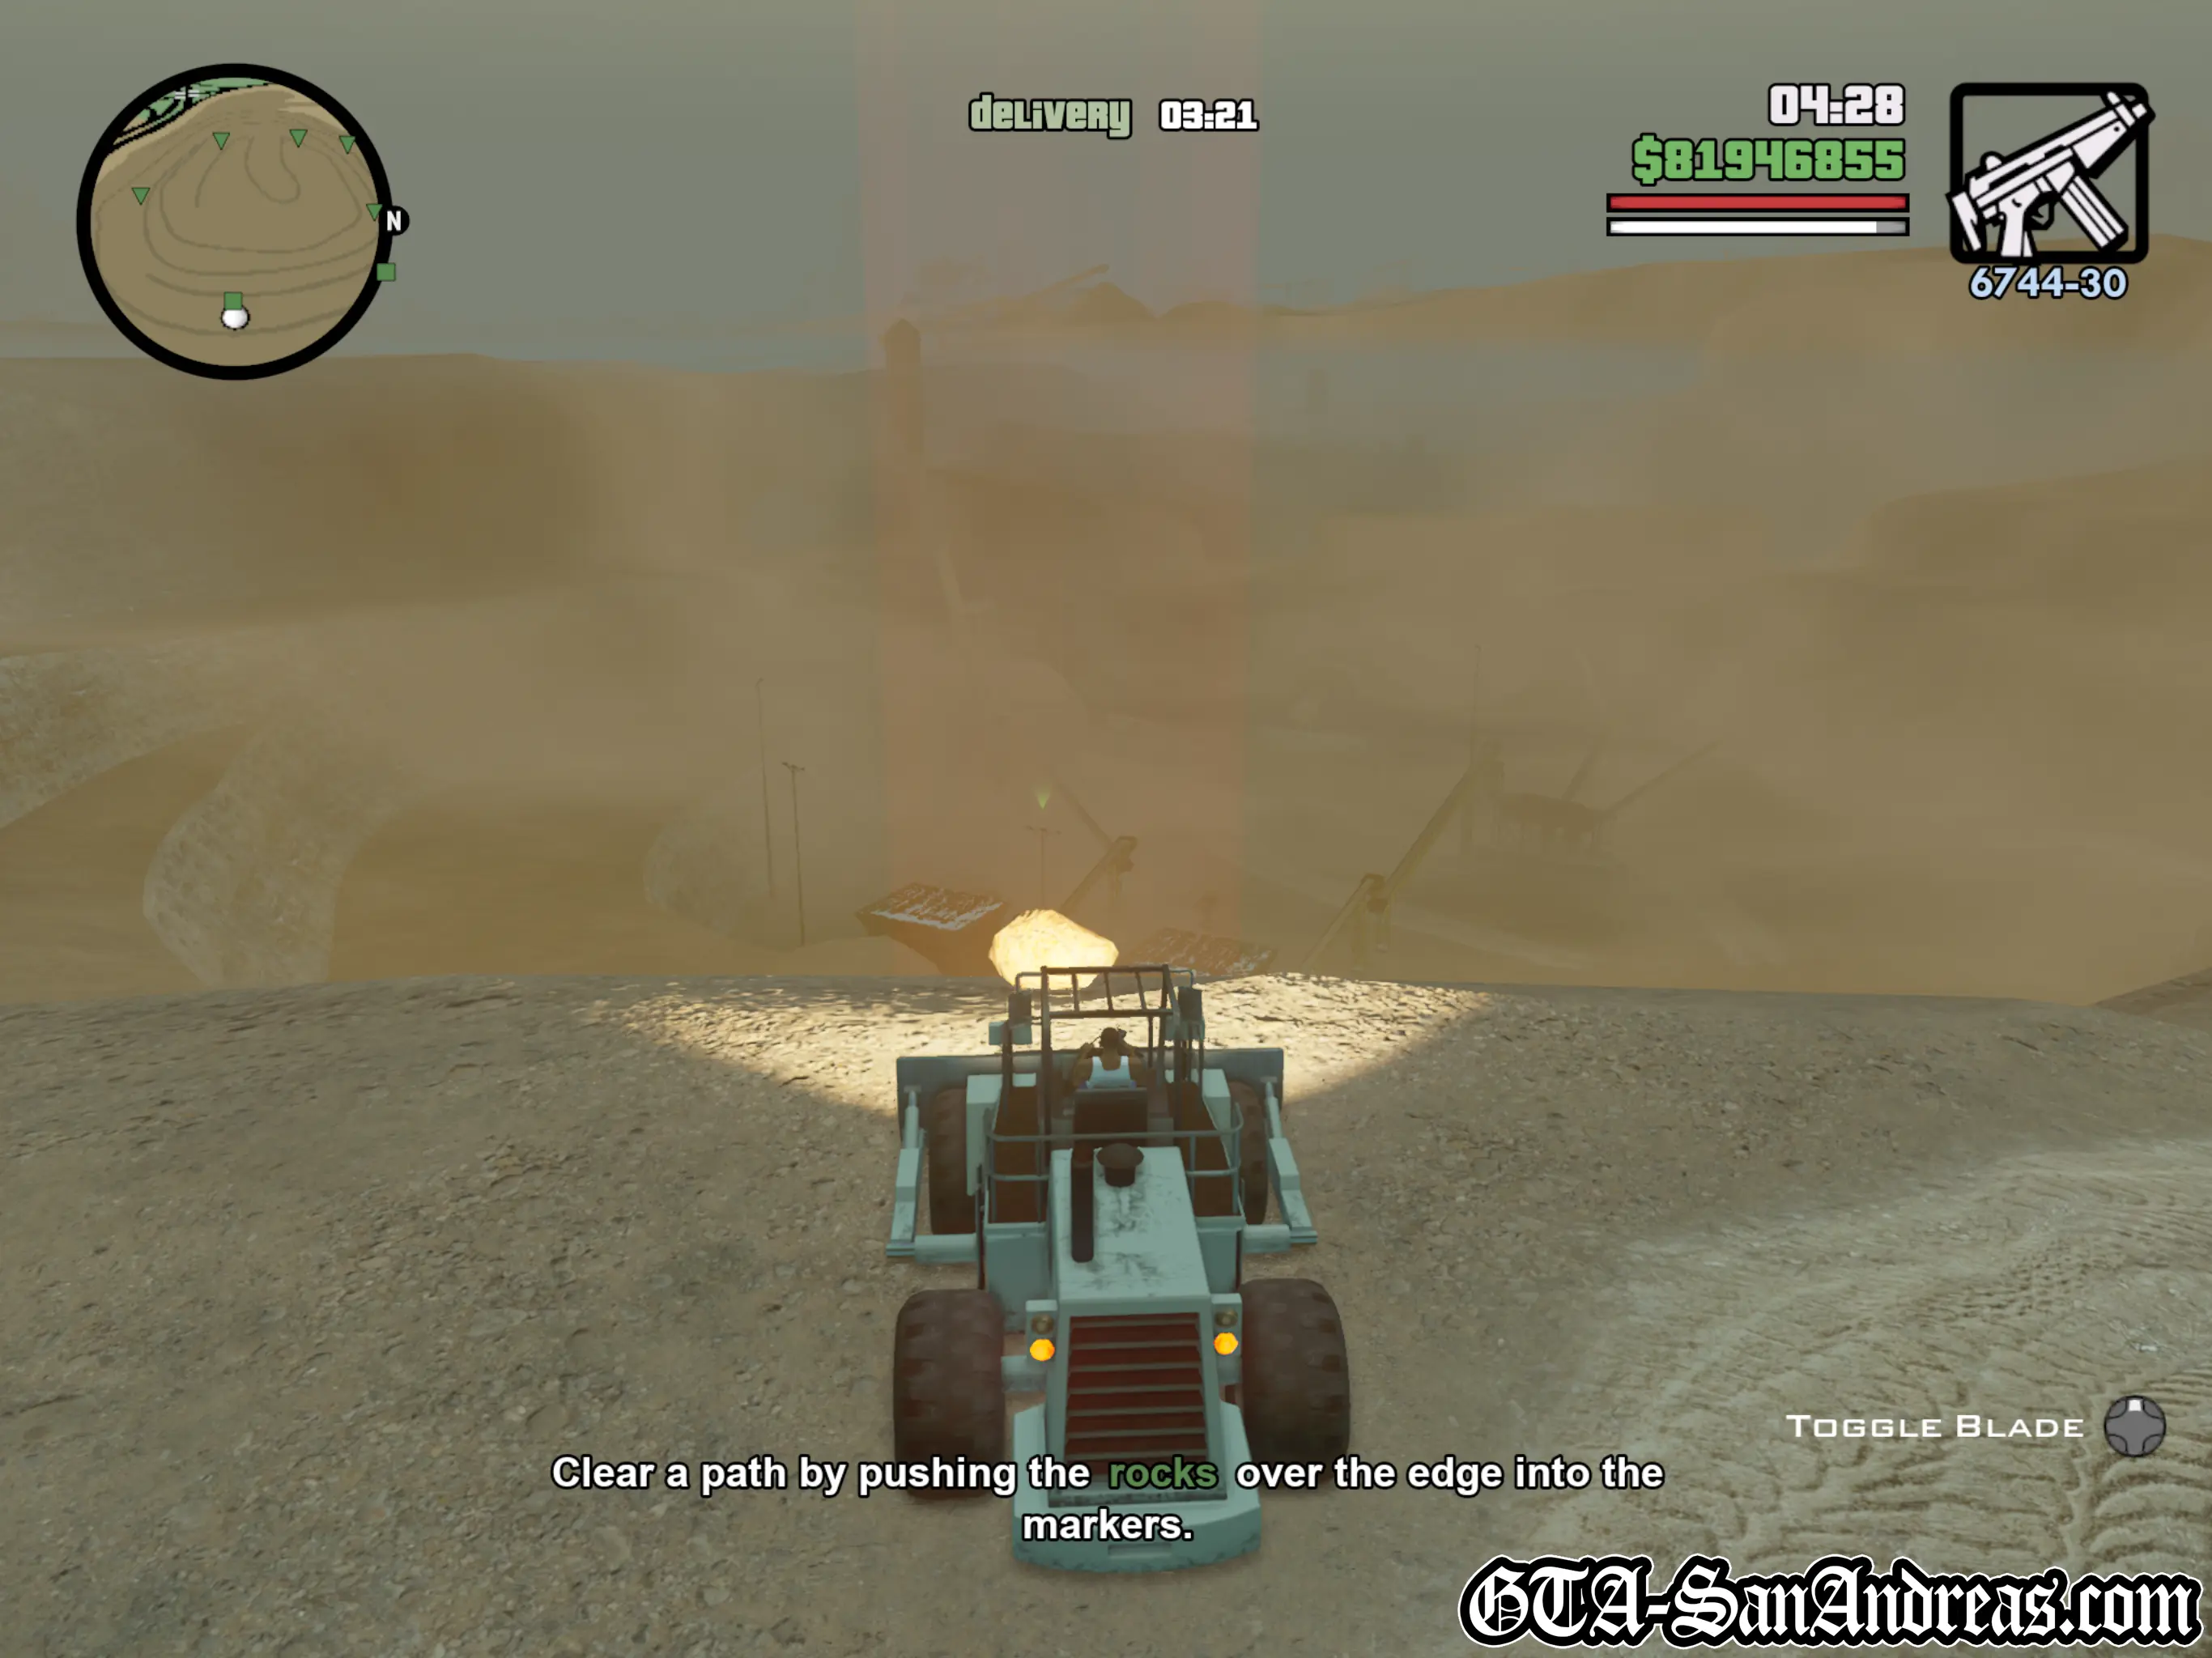
 Hunter Quarry - Mission 1
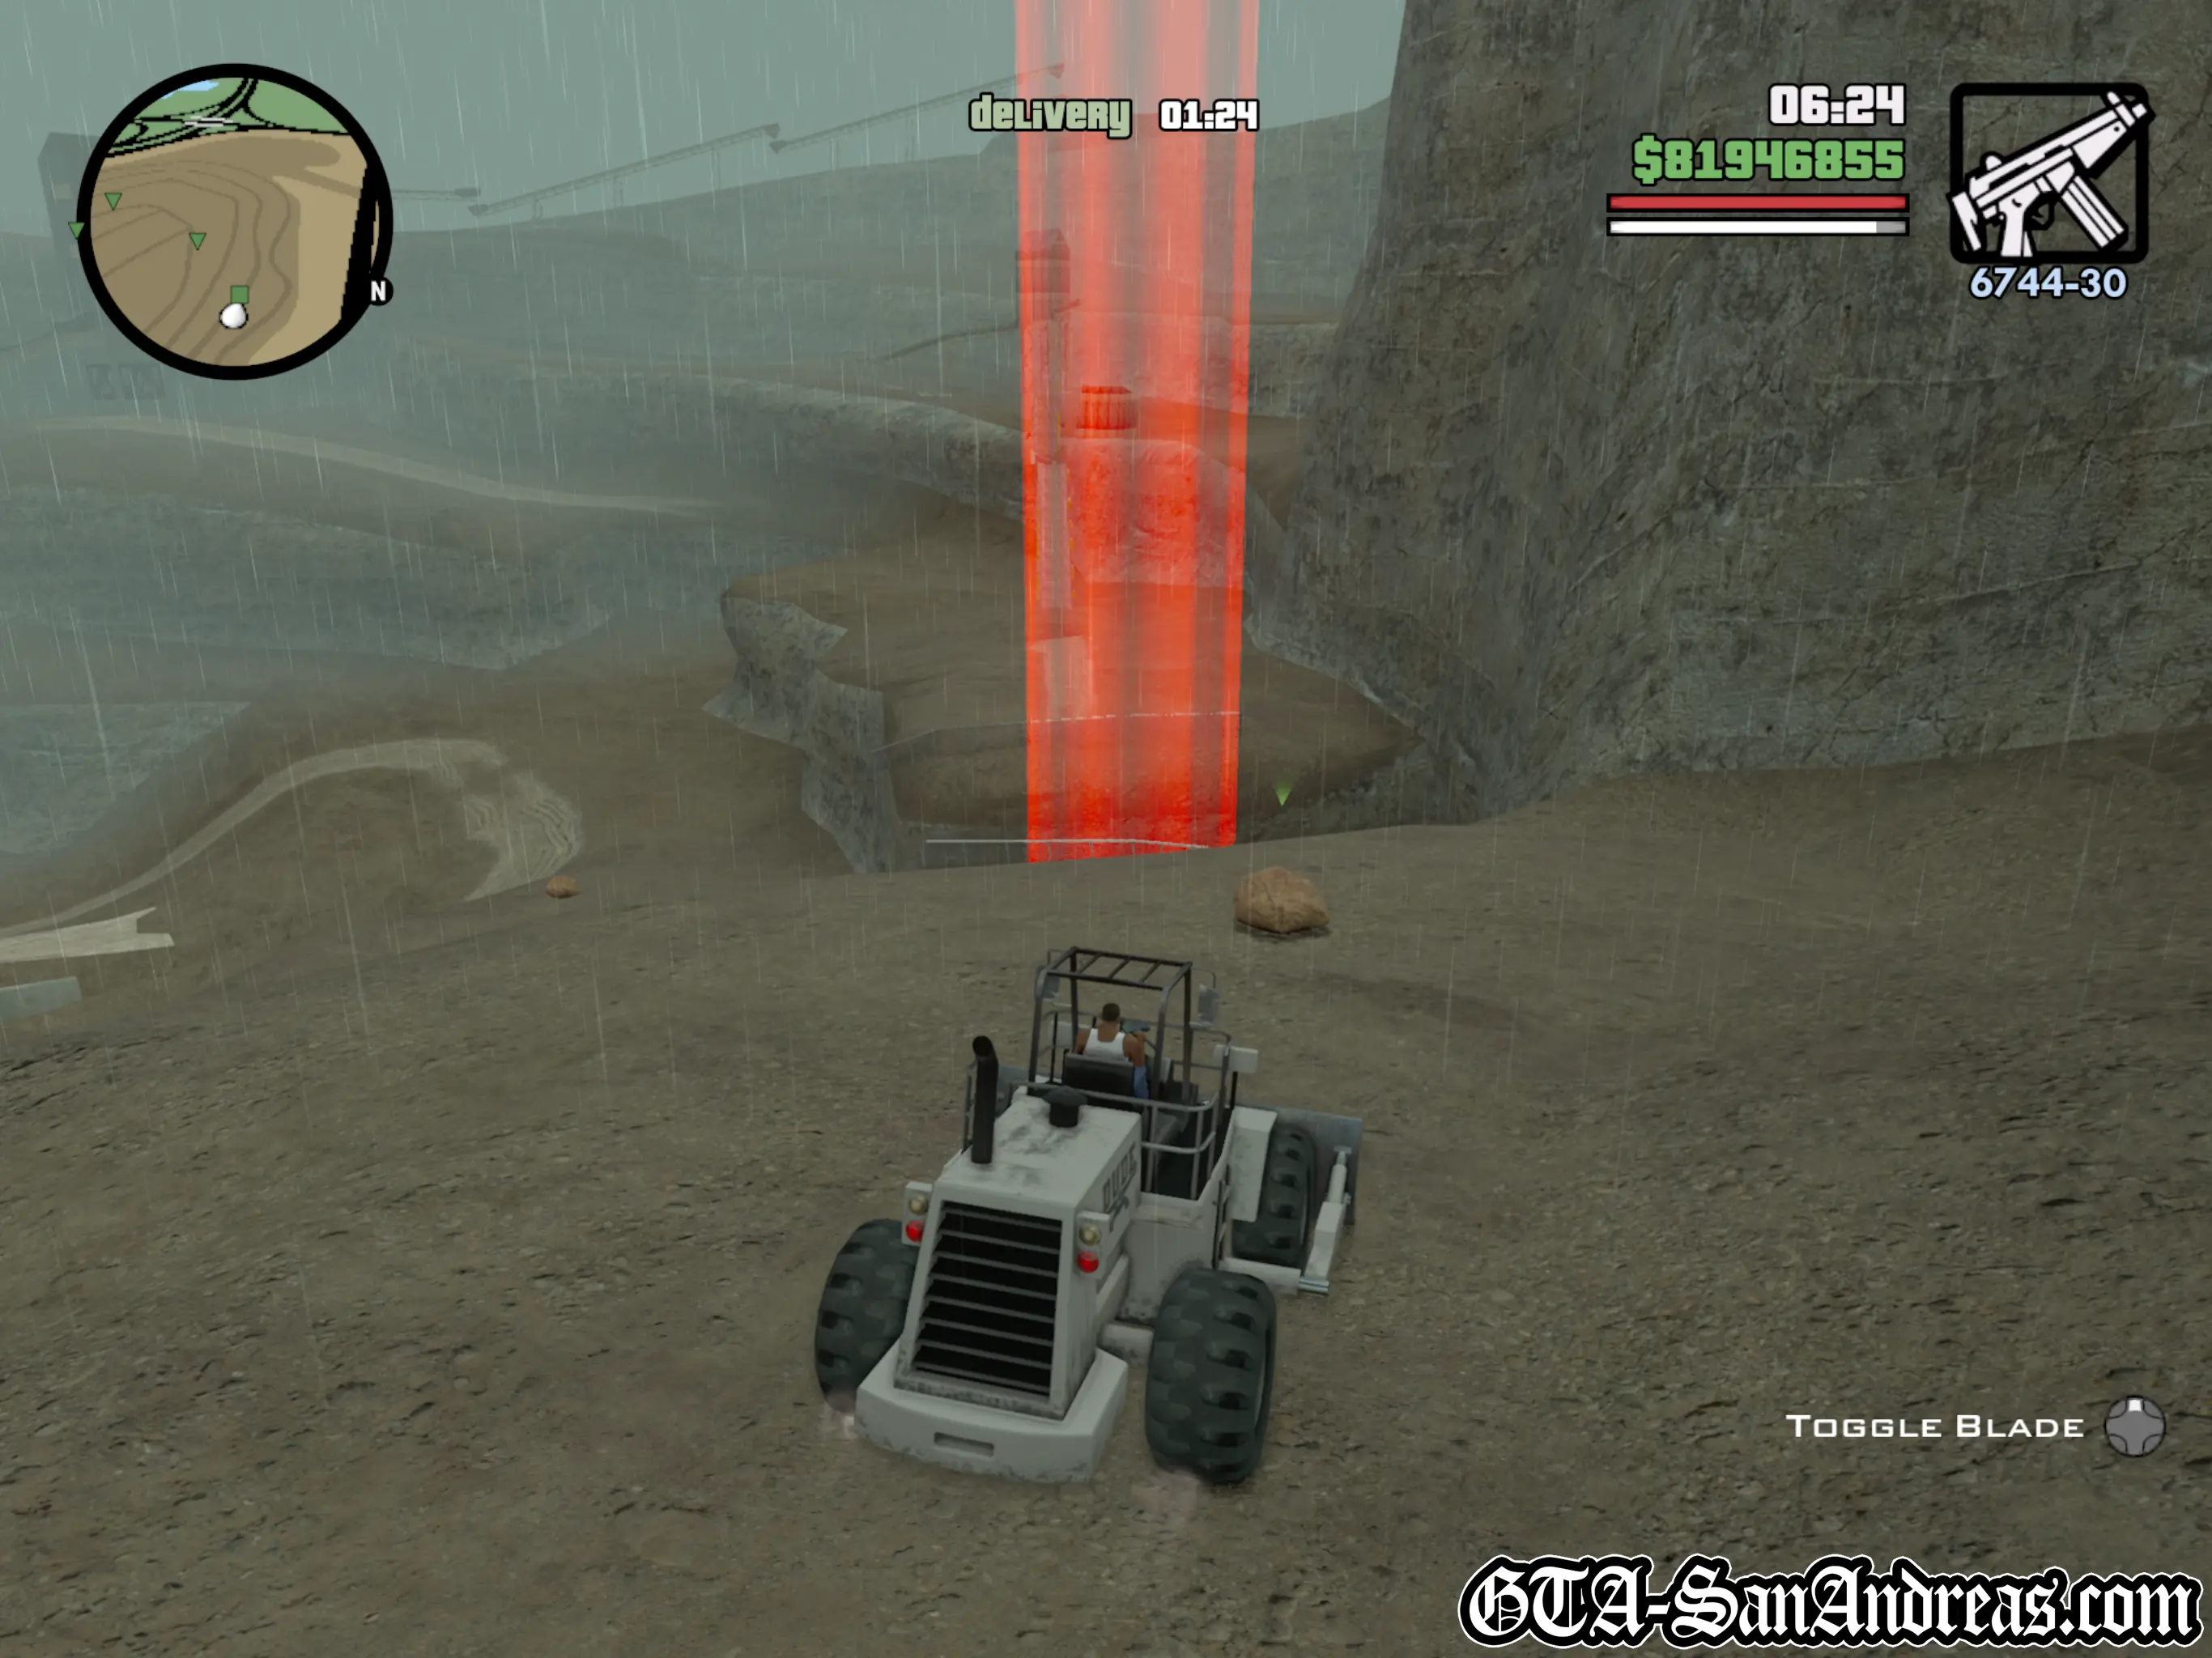
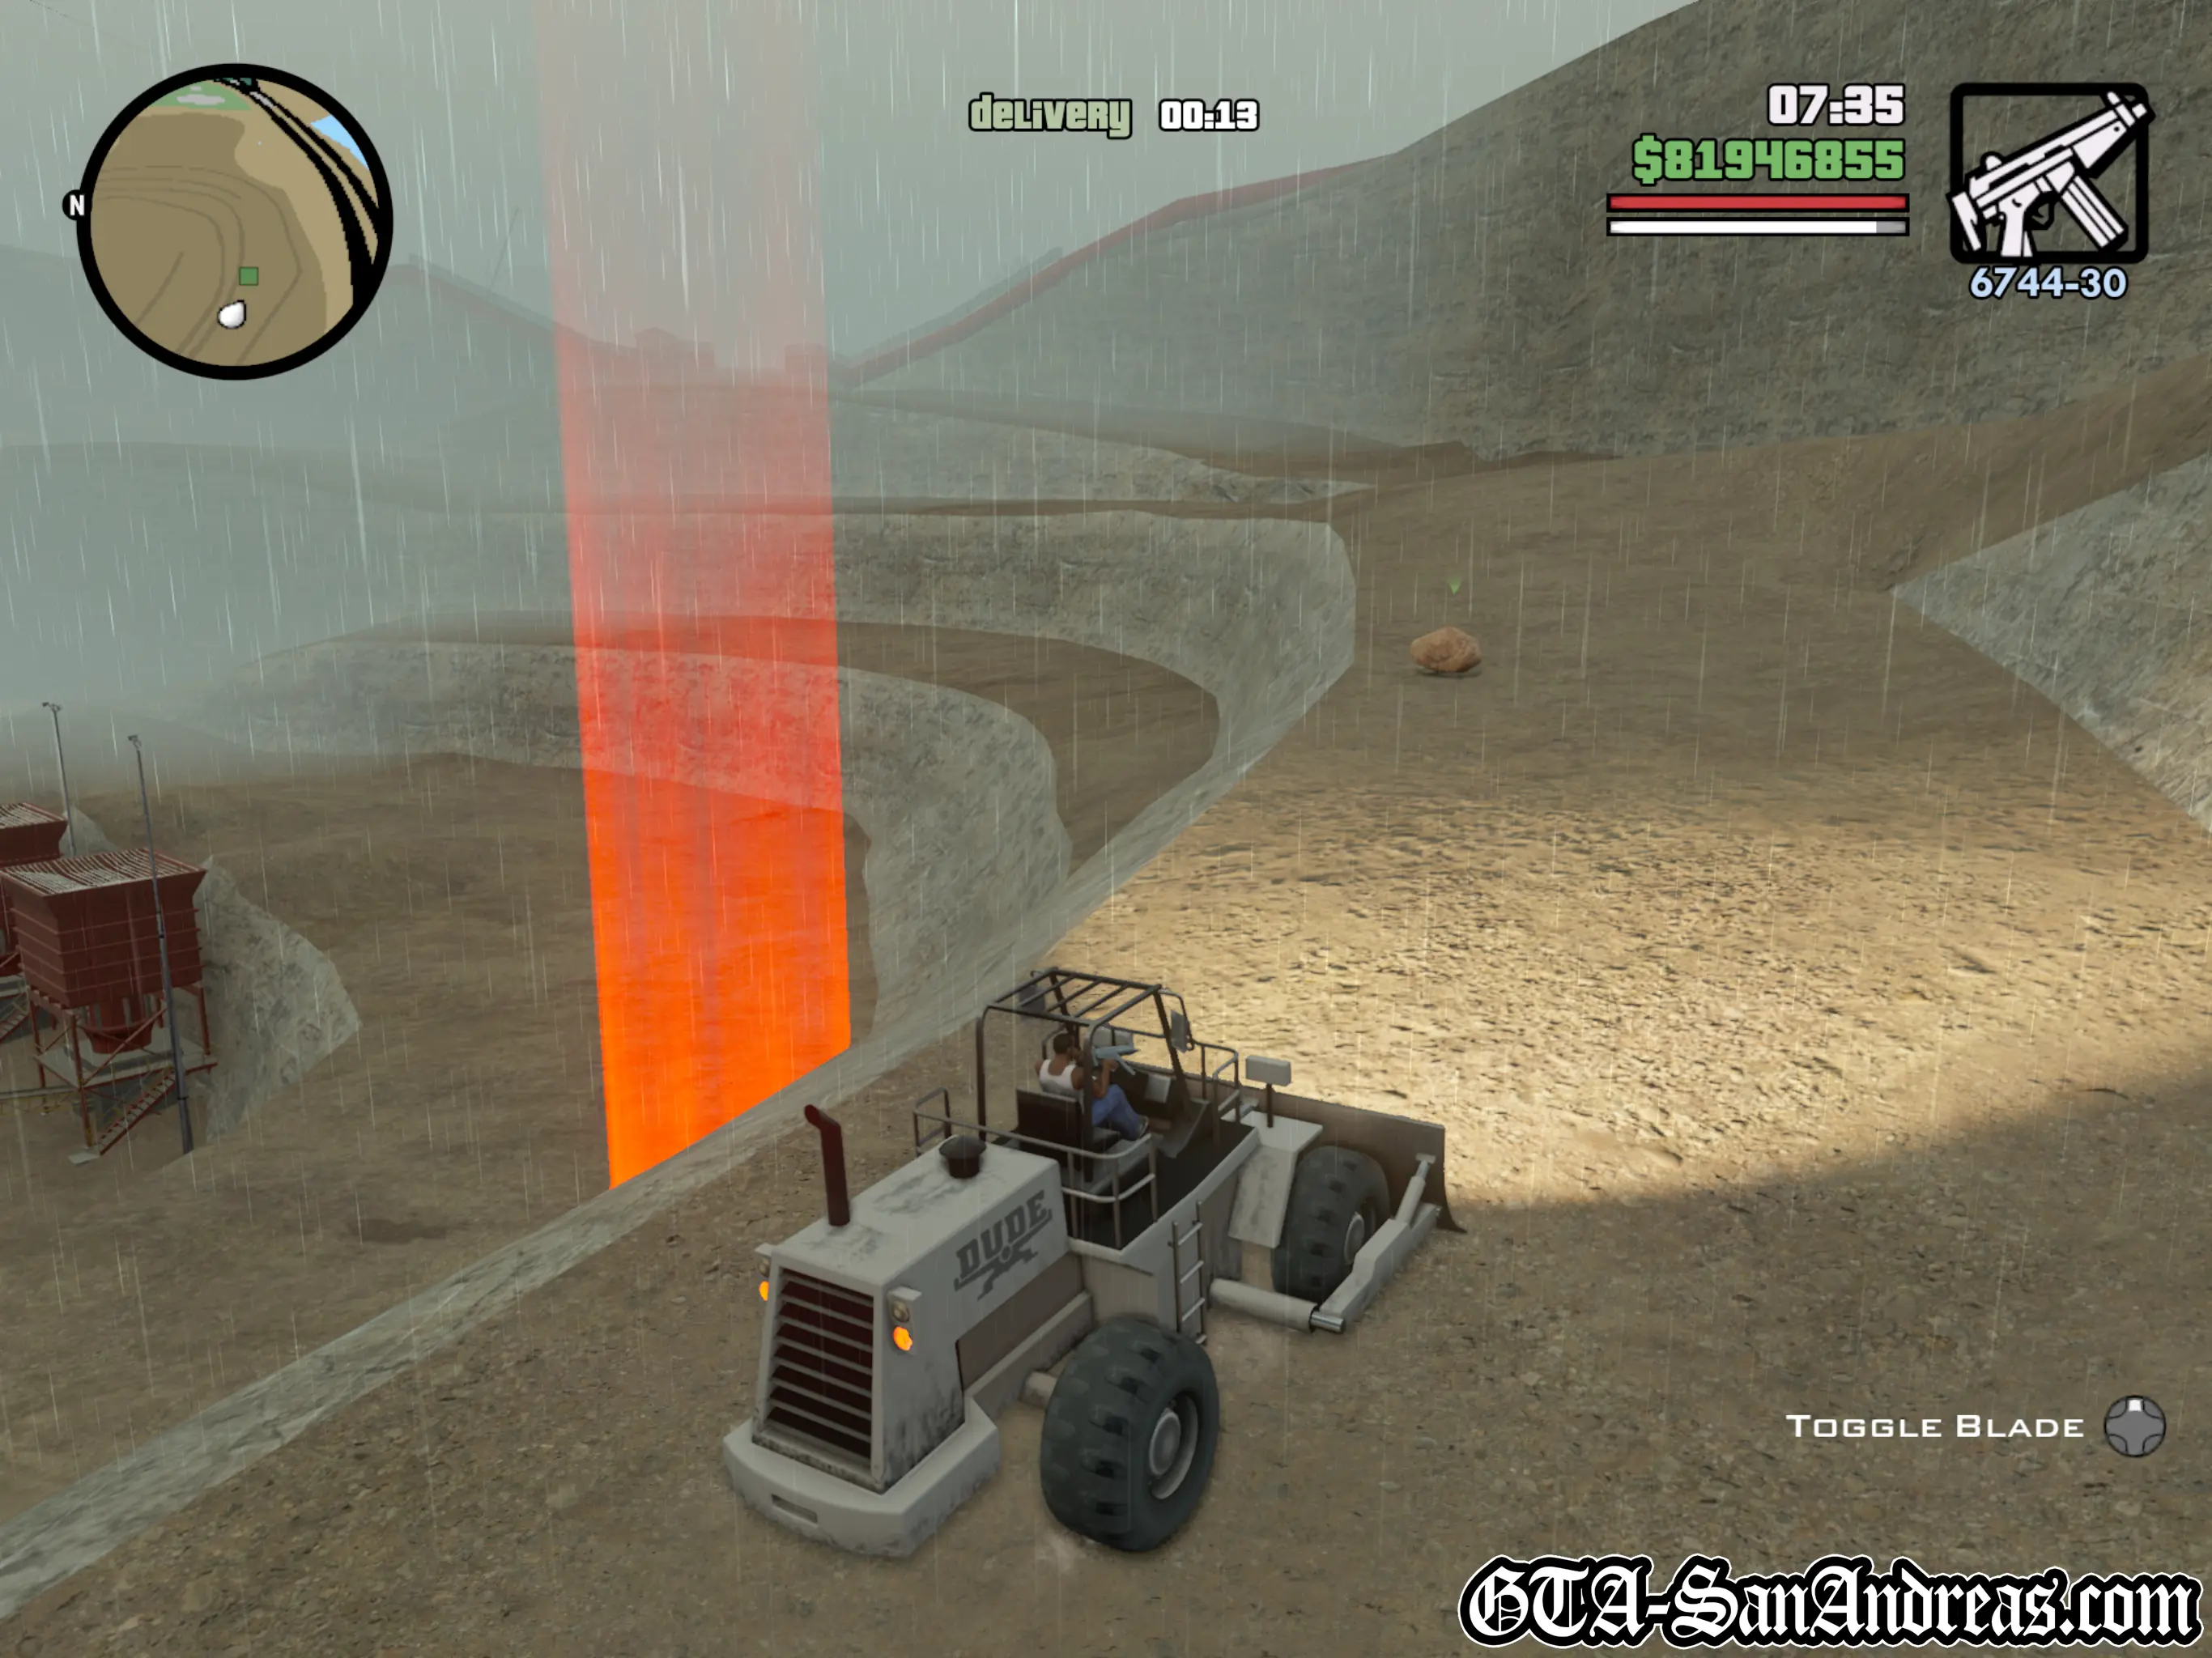
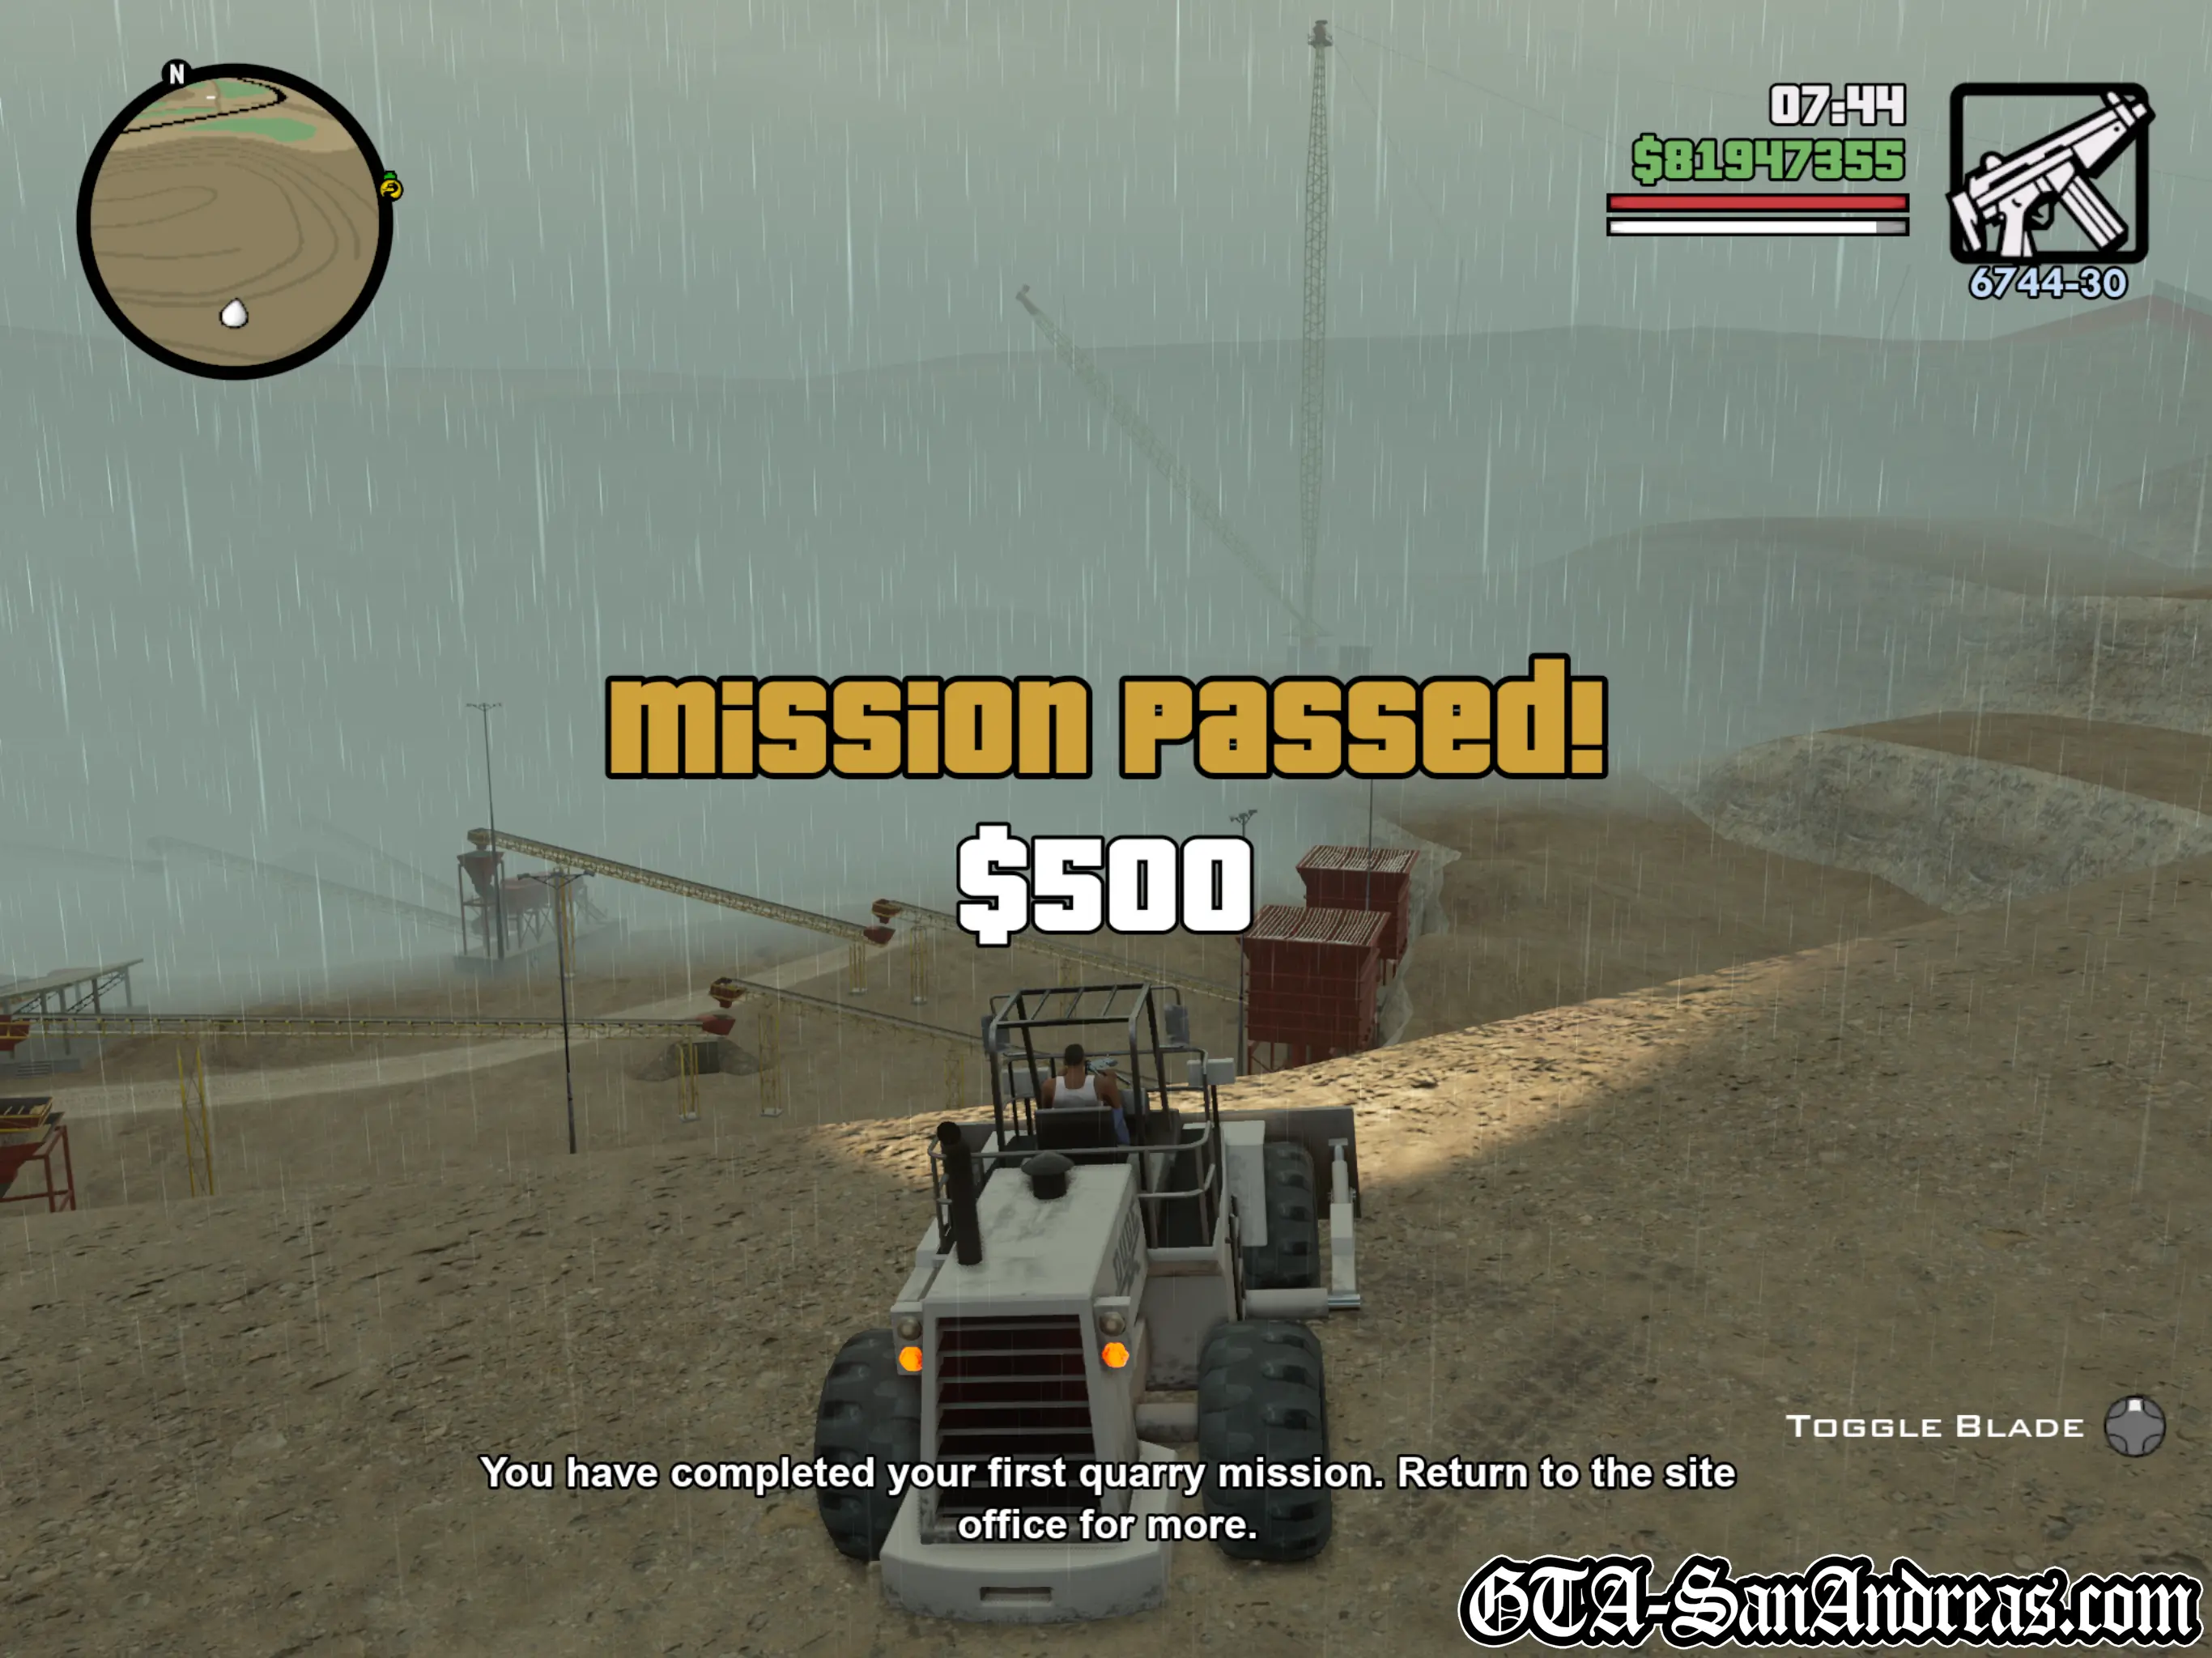
Use the bulldozer to clear the paths before the next delivery arrives.
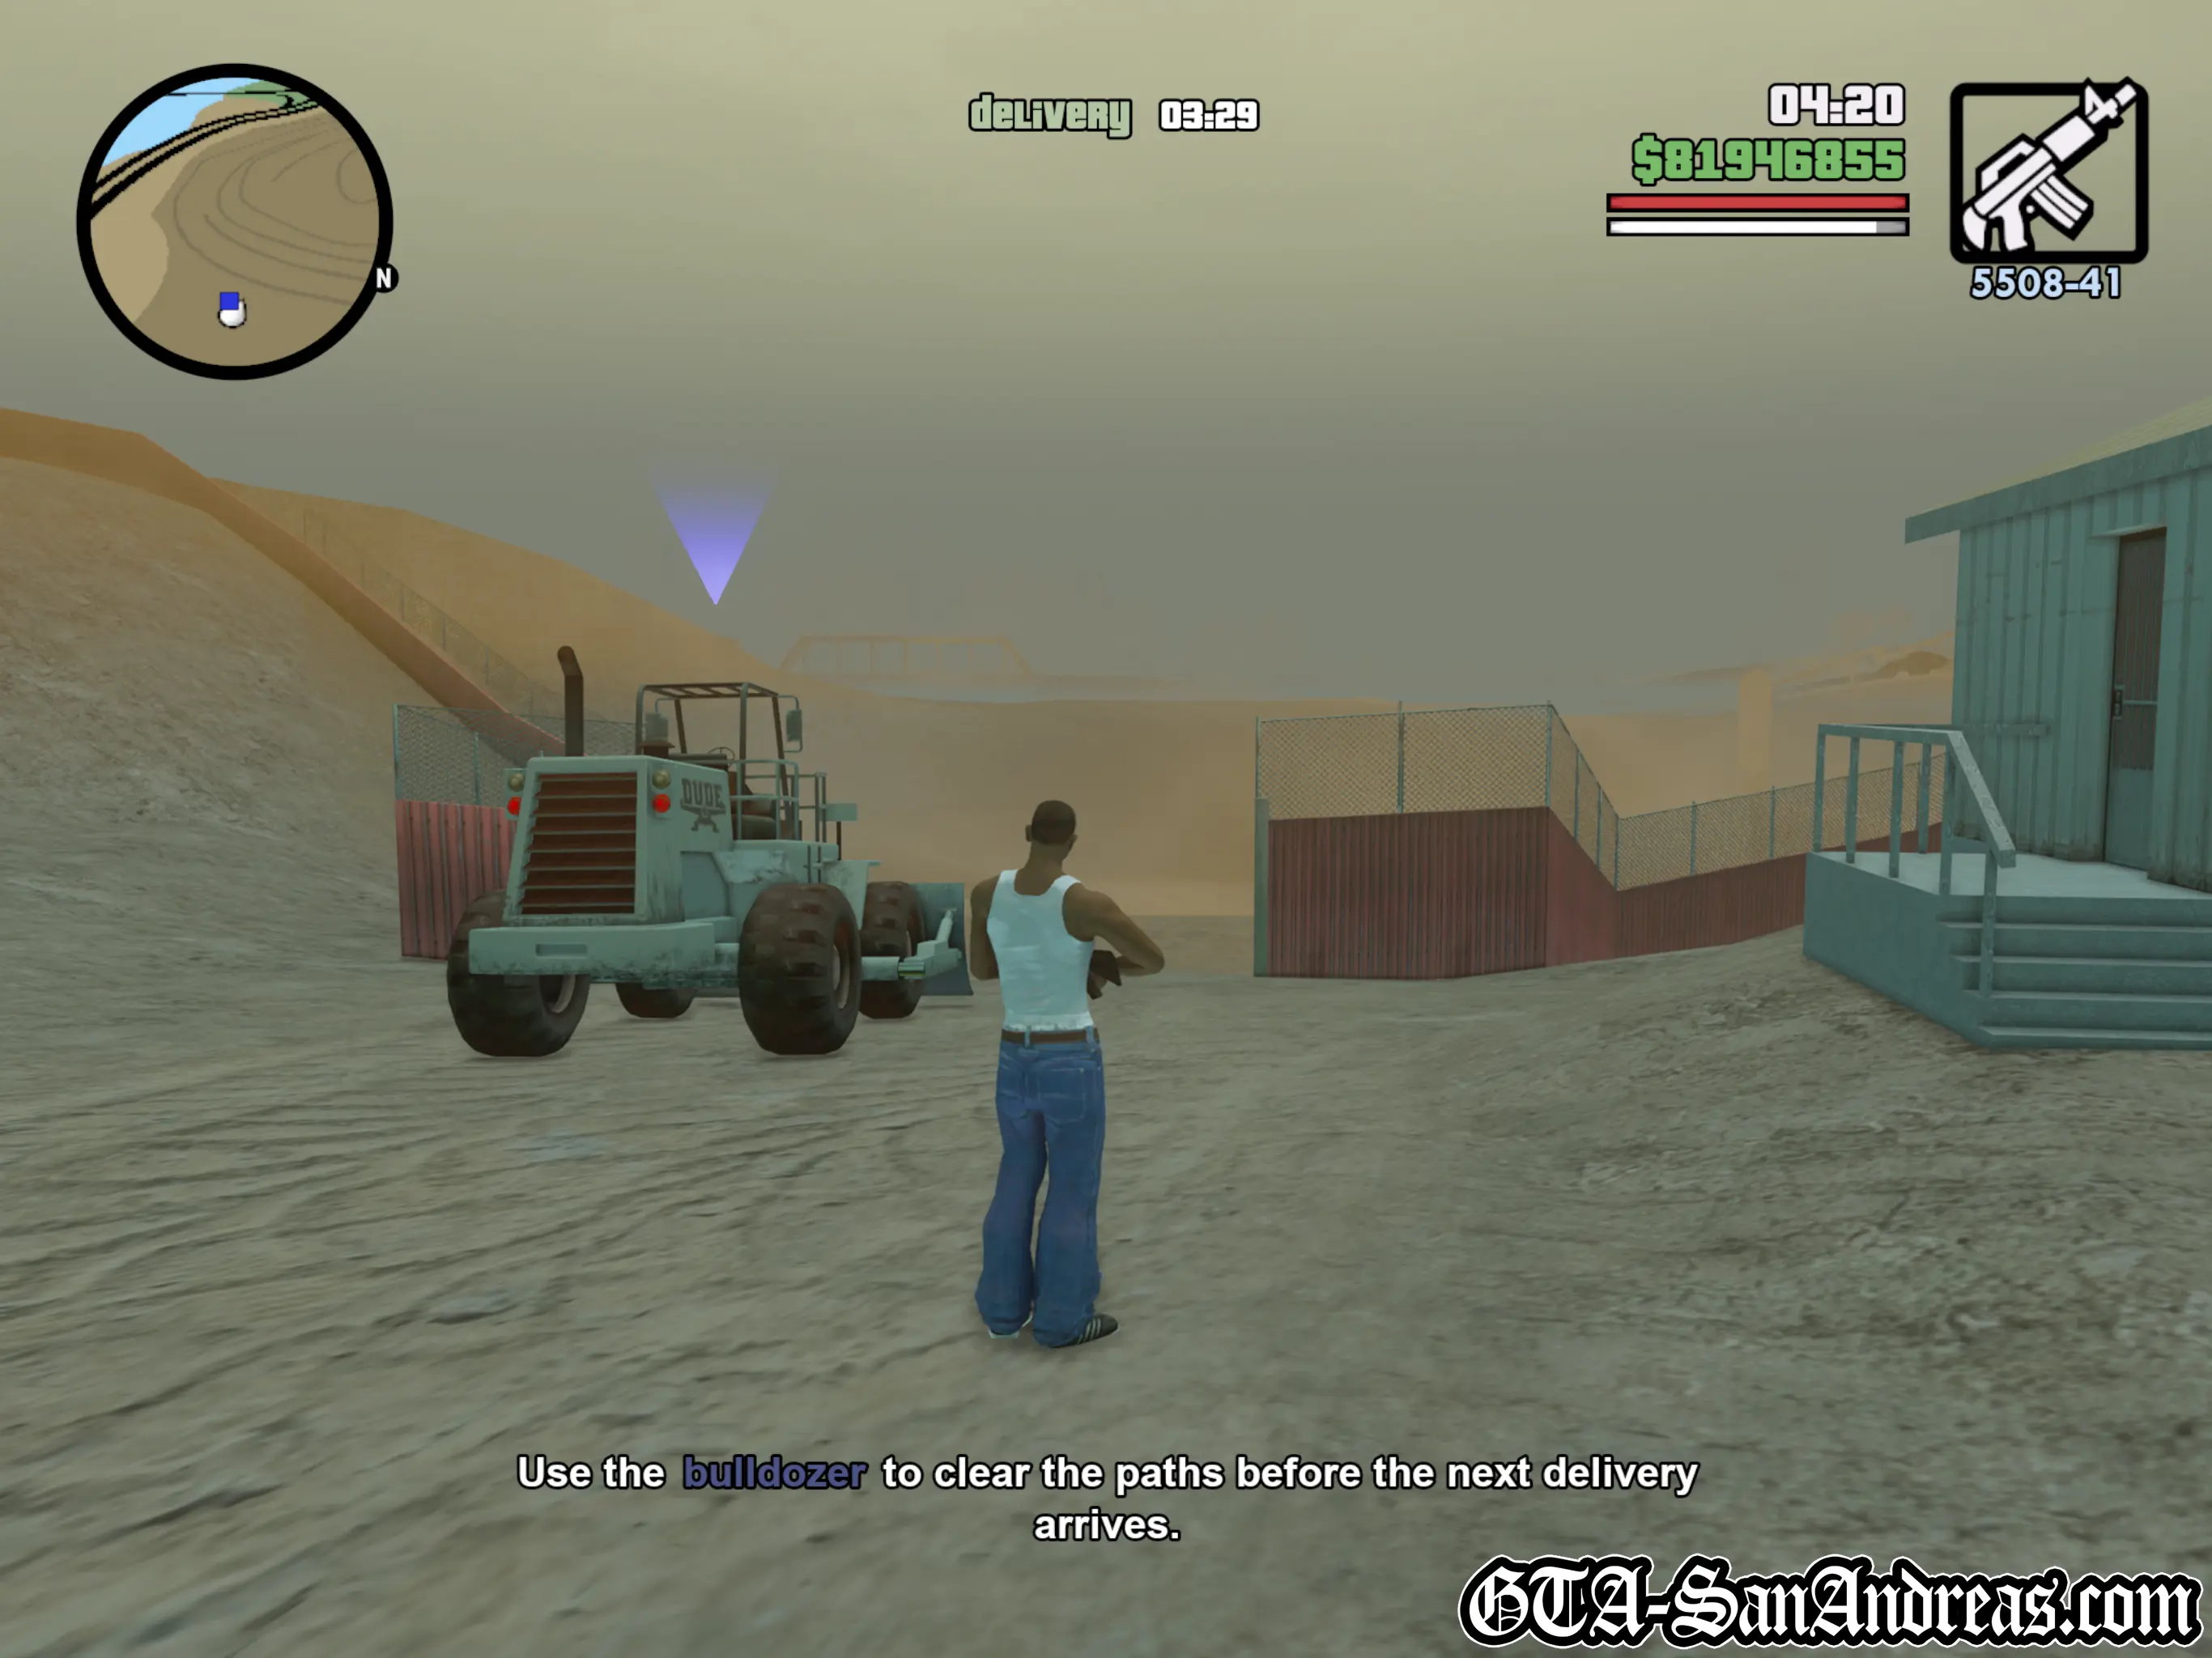
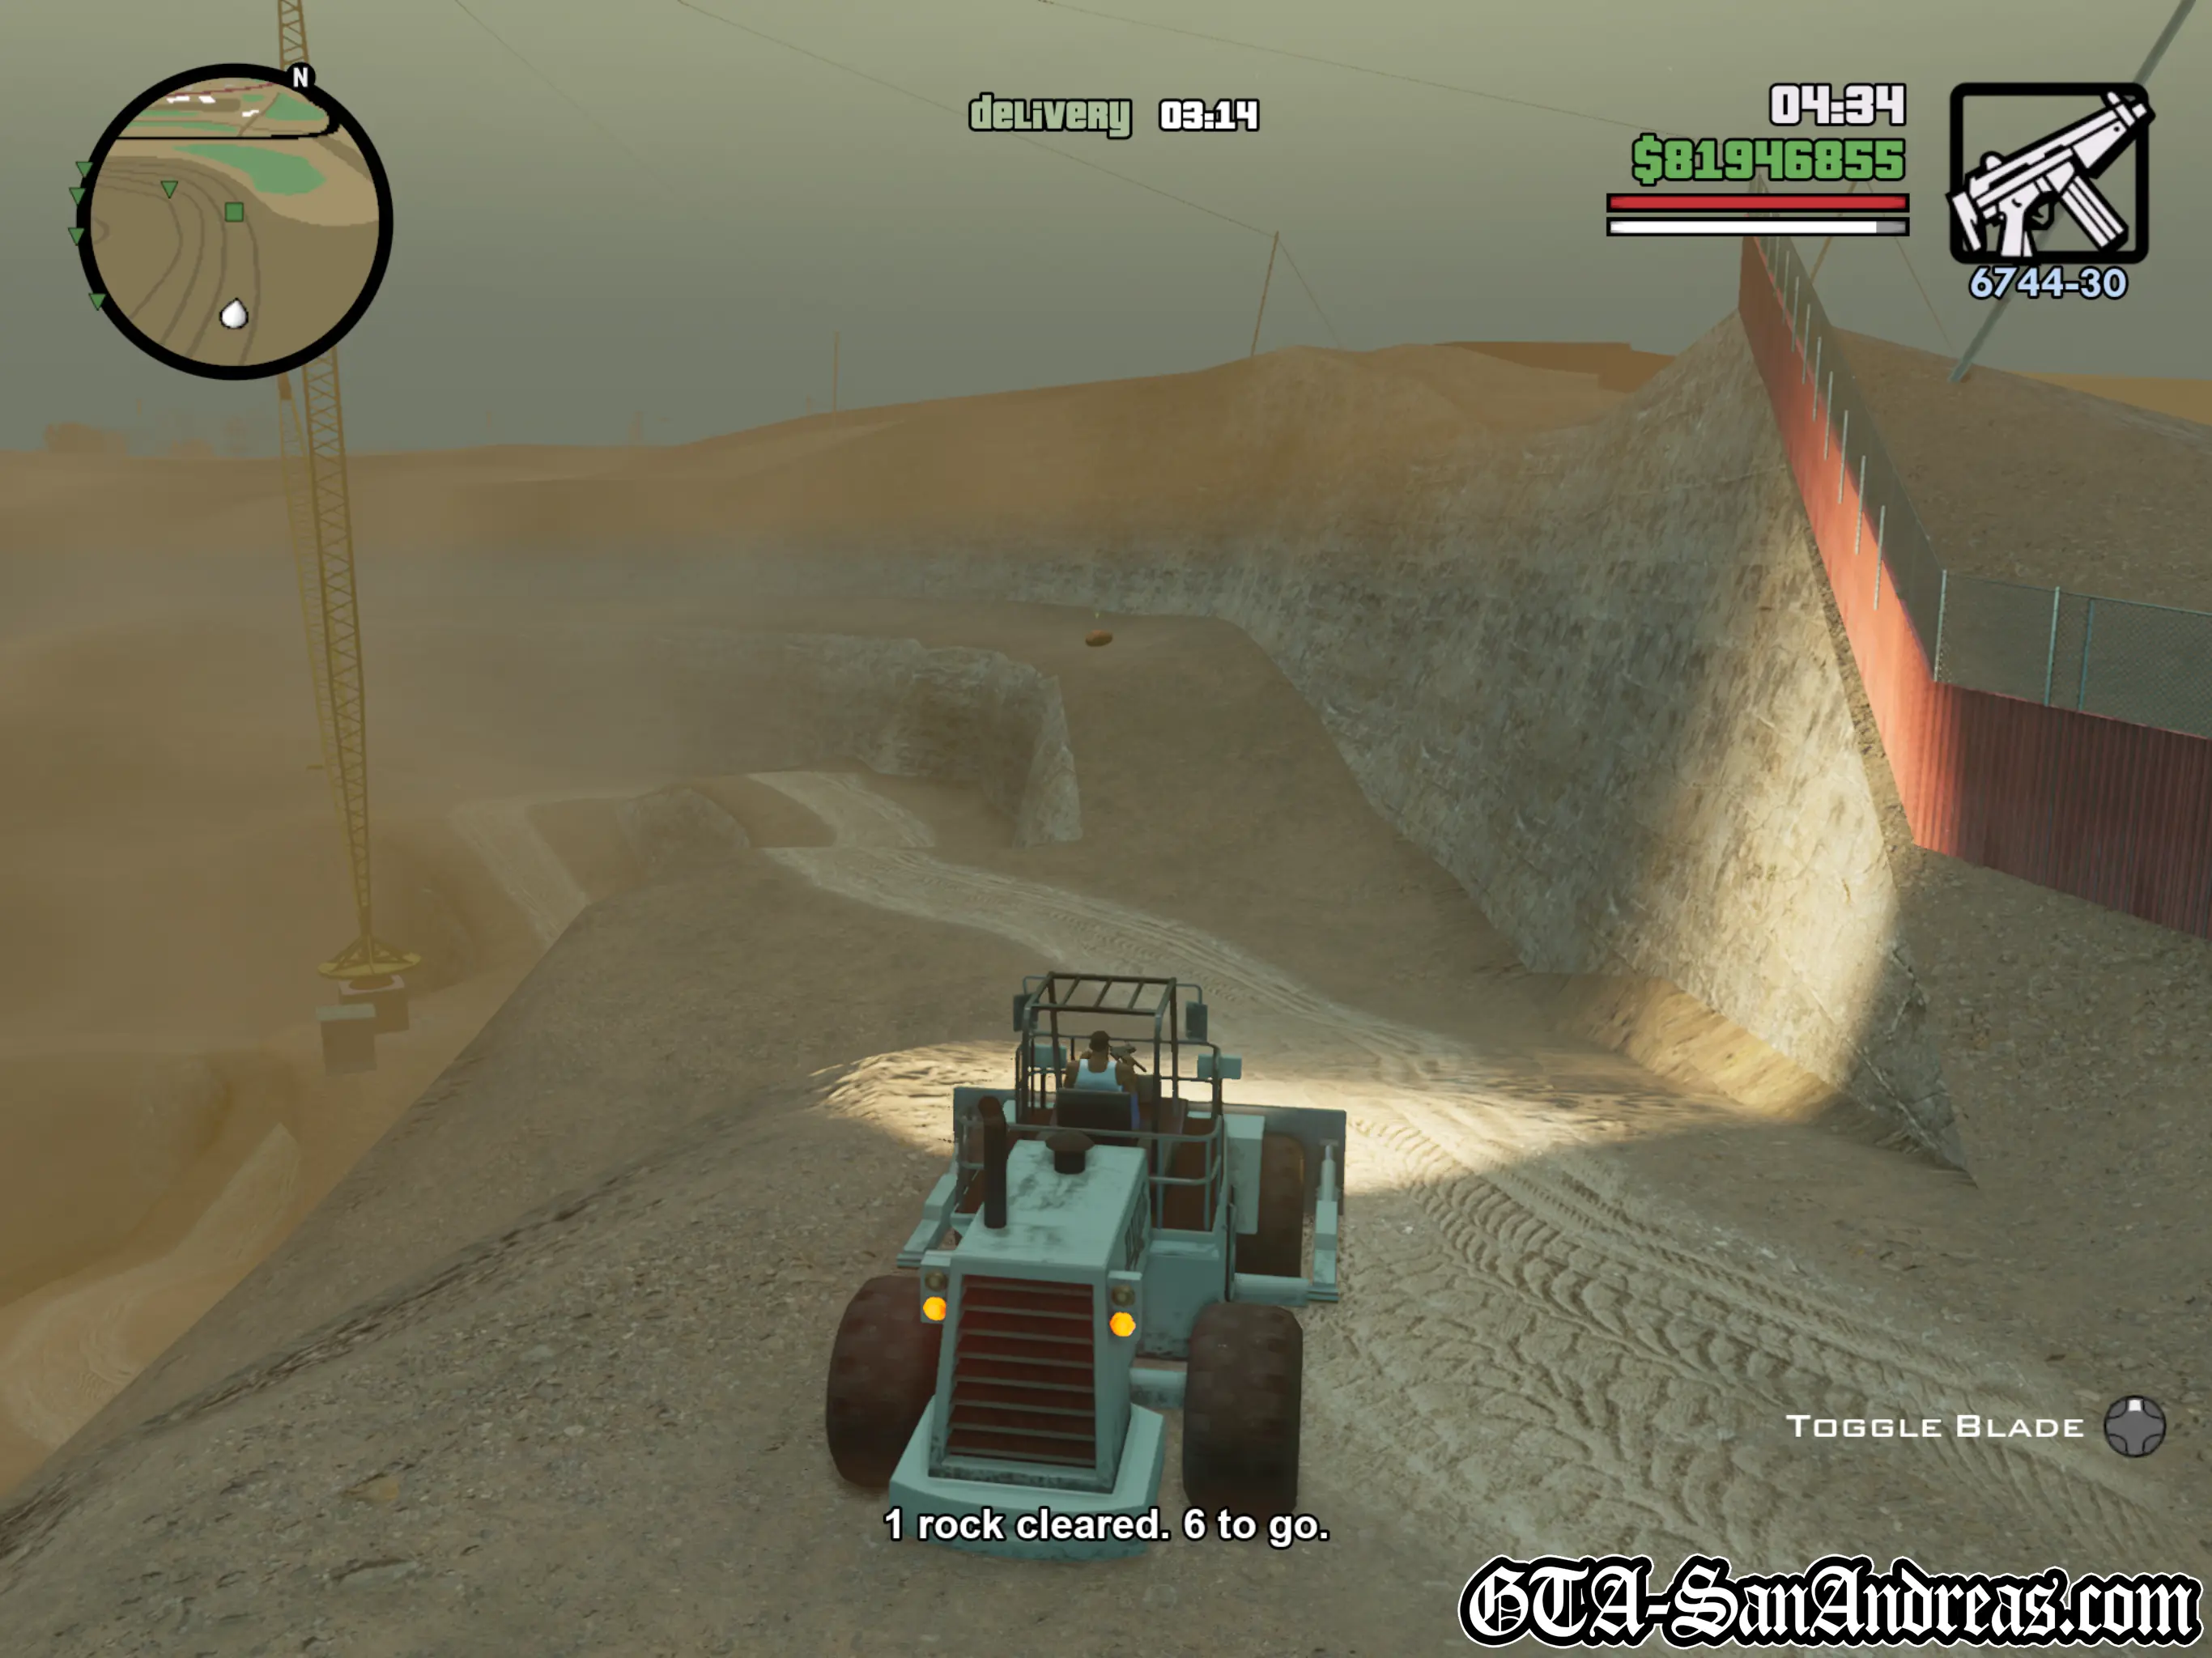
This mission is timed and requires you to push 7 rocks into red marked areas in order to clear the path.
This is relatively easy, although you'll use up most of your time driving around the quarry.
Jump in the Dozer and drive forward. Nudge against the rock and push it over the side, then head down to the right and push another rock over the side and into the red marker.
Hints & Tips
I strongly recommend following the path carefully and not driving over the side or the Dozer will likely roll all of the way down to the bottom and you'll waste a lot of time driving back up.
Continue around to the right and you'll notice the next rock is below you so head down and push the next rock off the track then head towards another around to the left.
You may have to drop down and go up the small ramp from the bottom level, then up to the left to reach it.
Once you've cleared it, head back along the path and knock another rock off the road.
Head up the path to the left and knock another one down, then head along the path to knock the final rock off the end.
Screenshots
Hunter Quarry - Mission 2
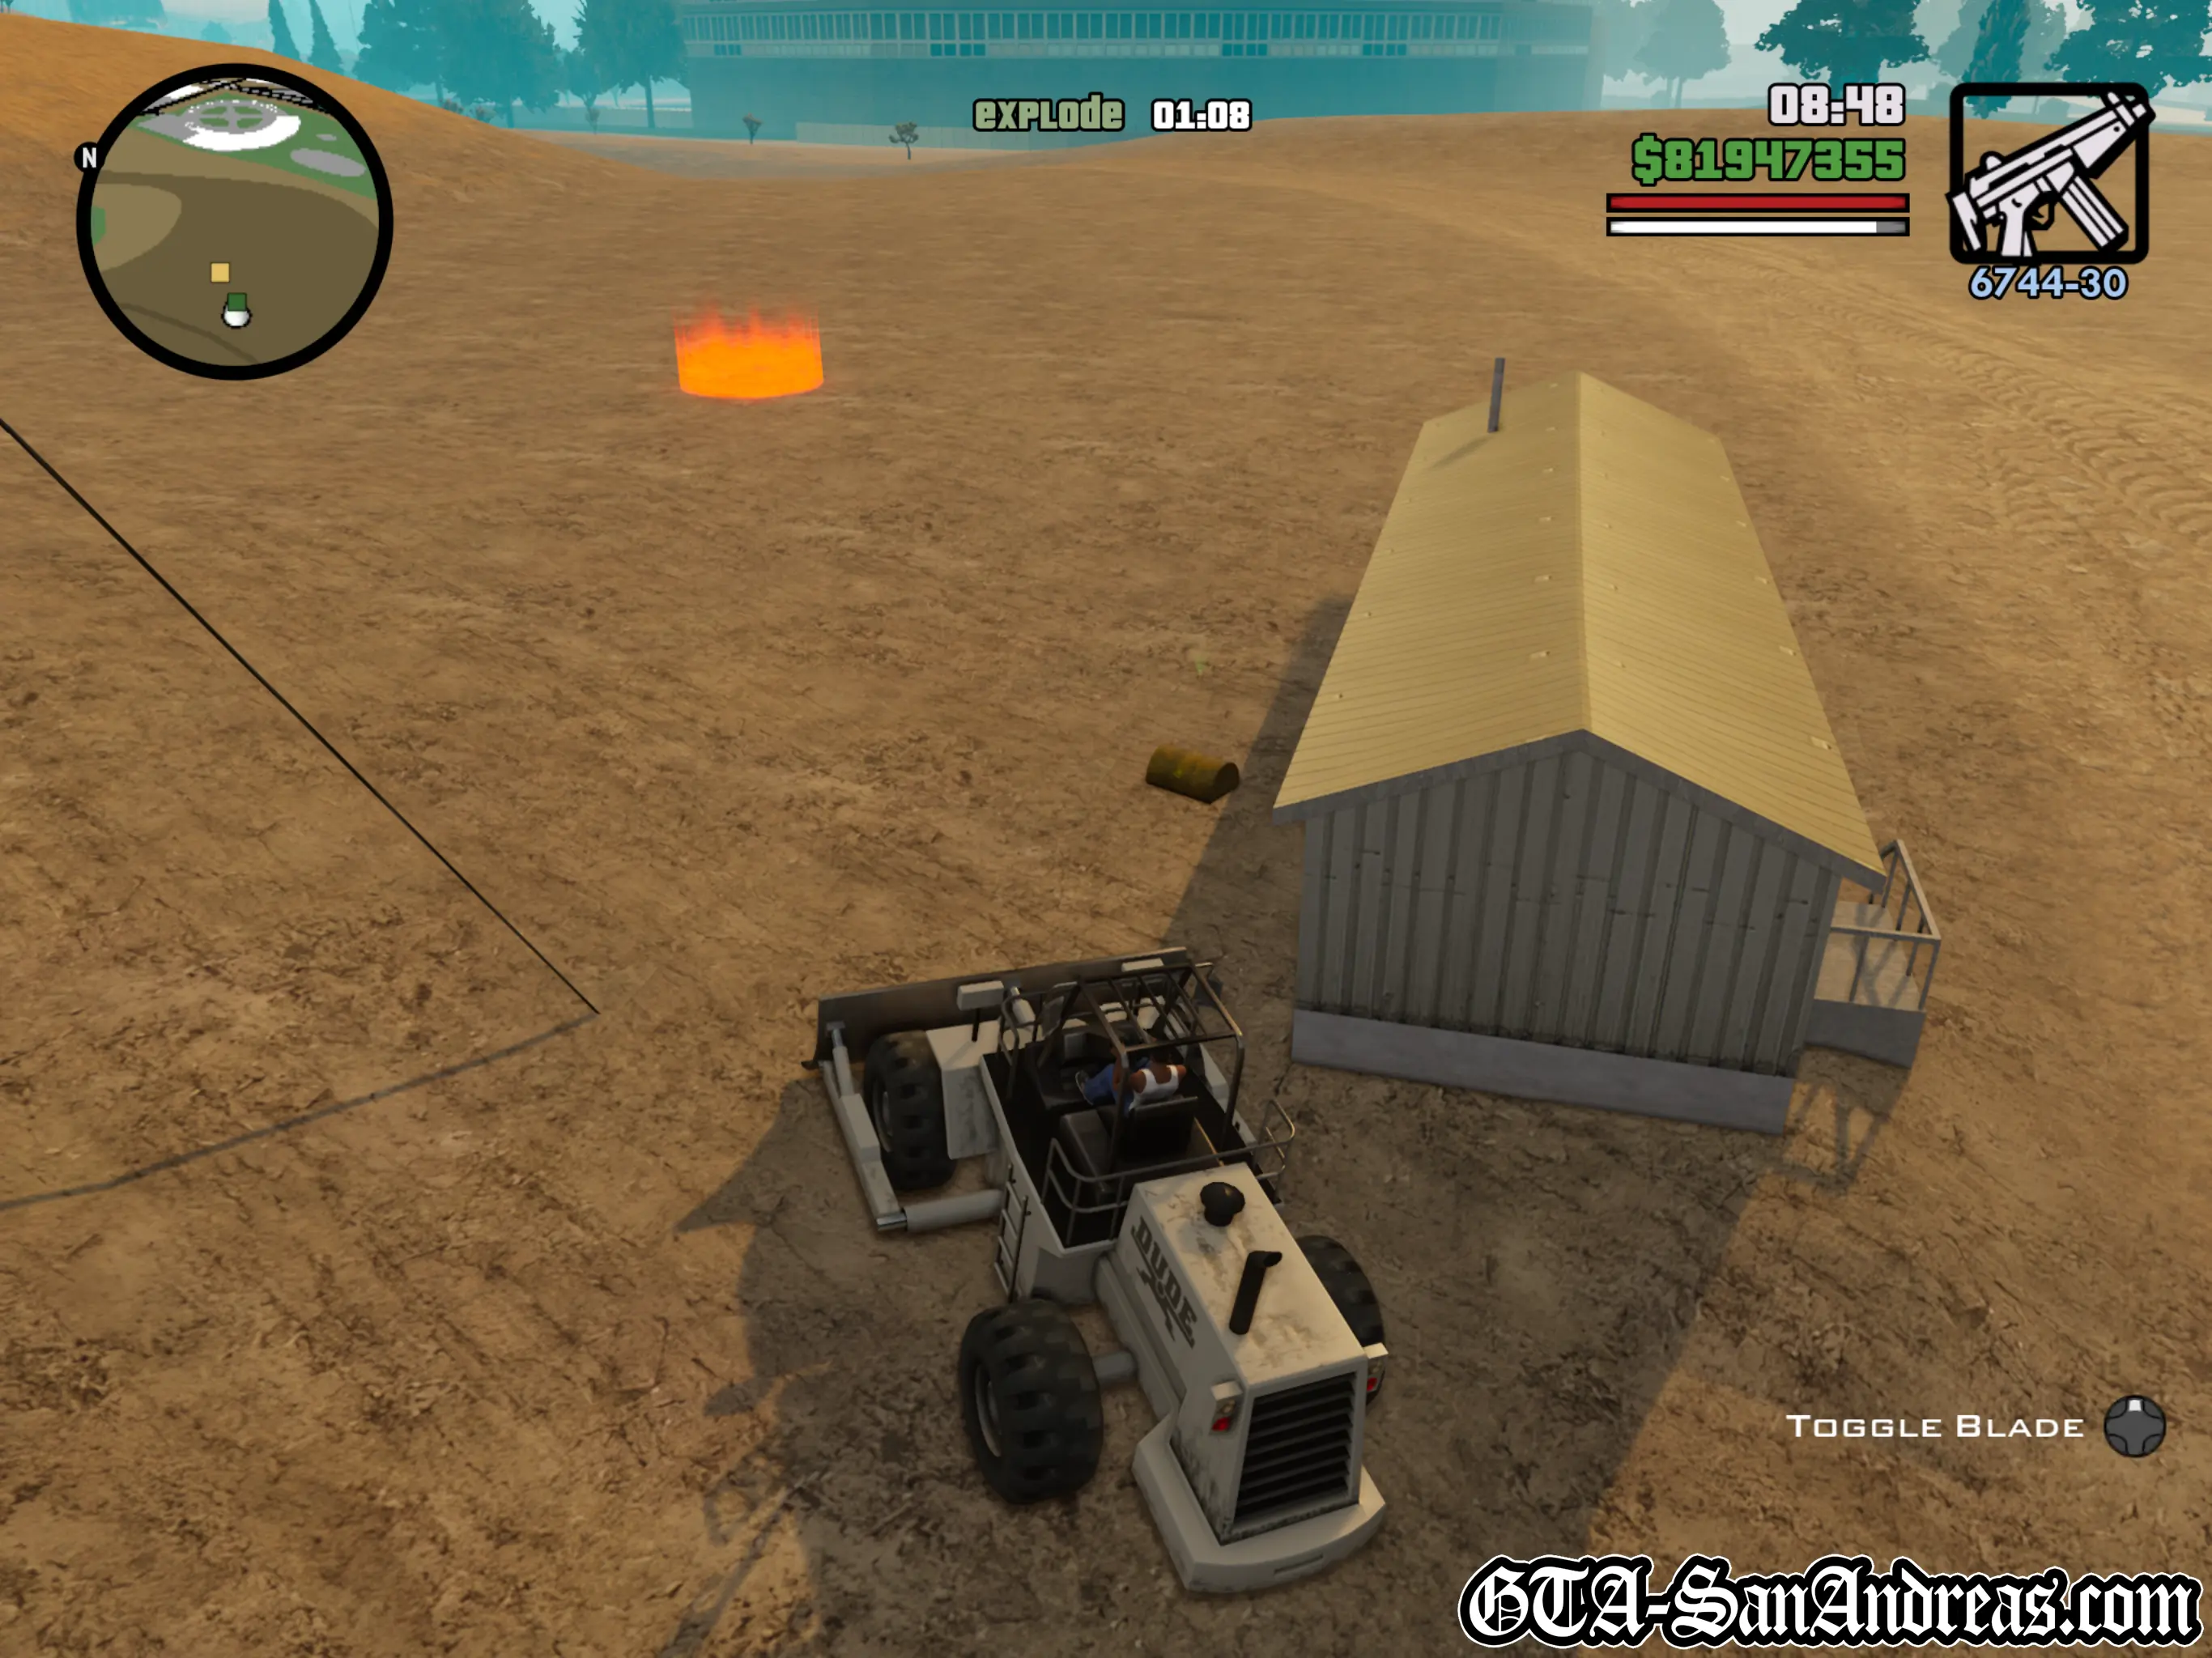
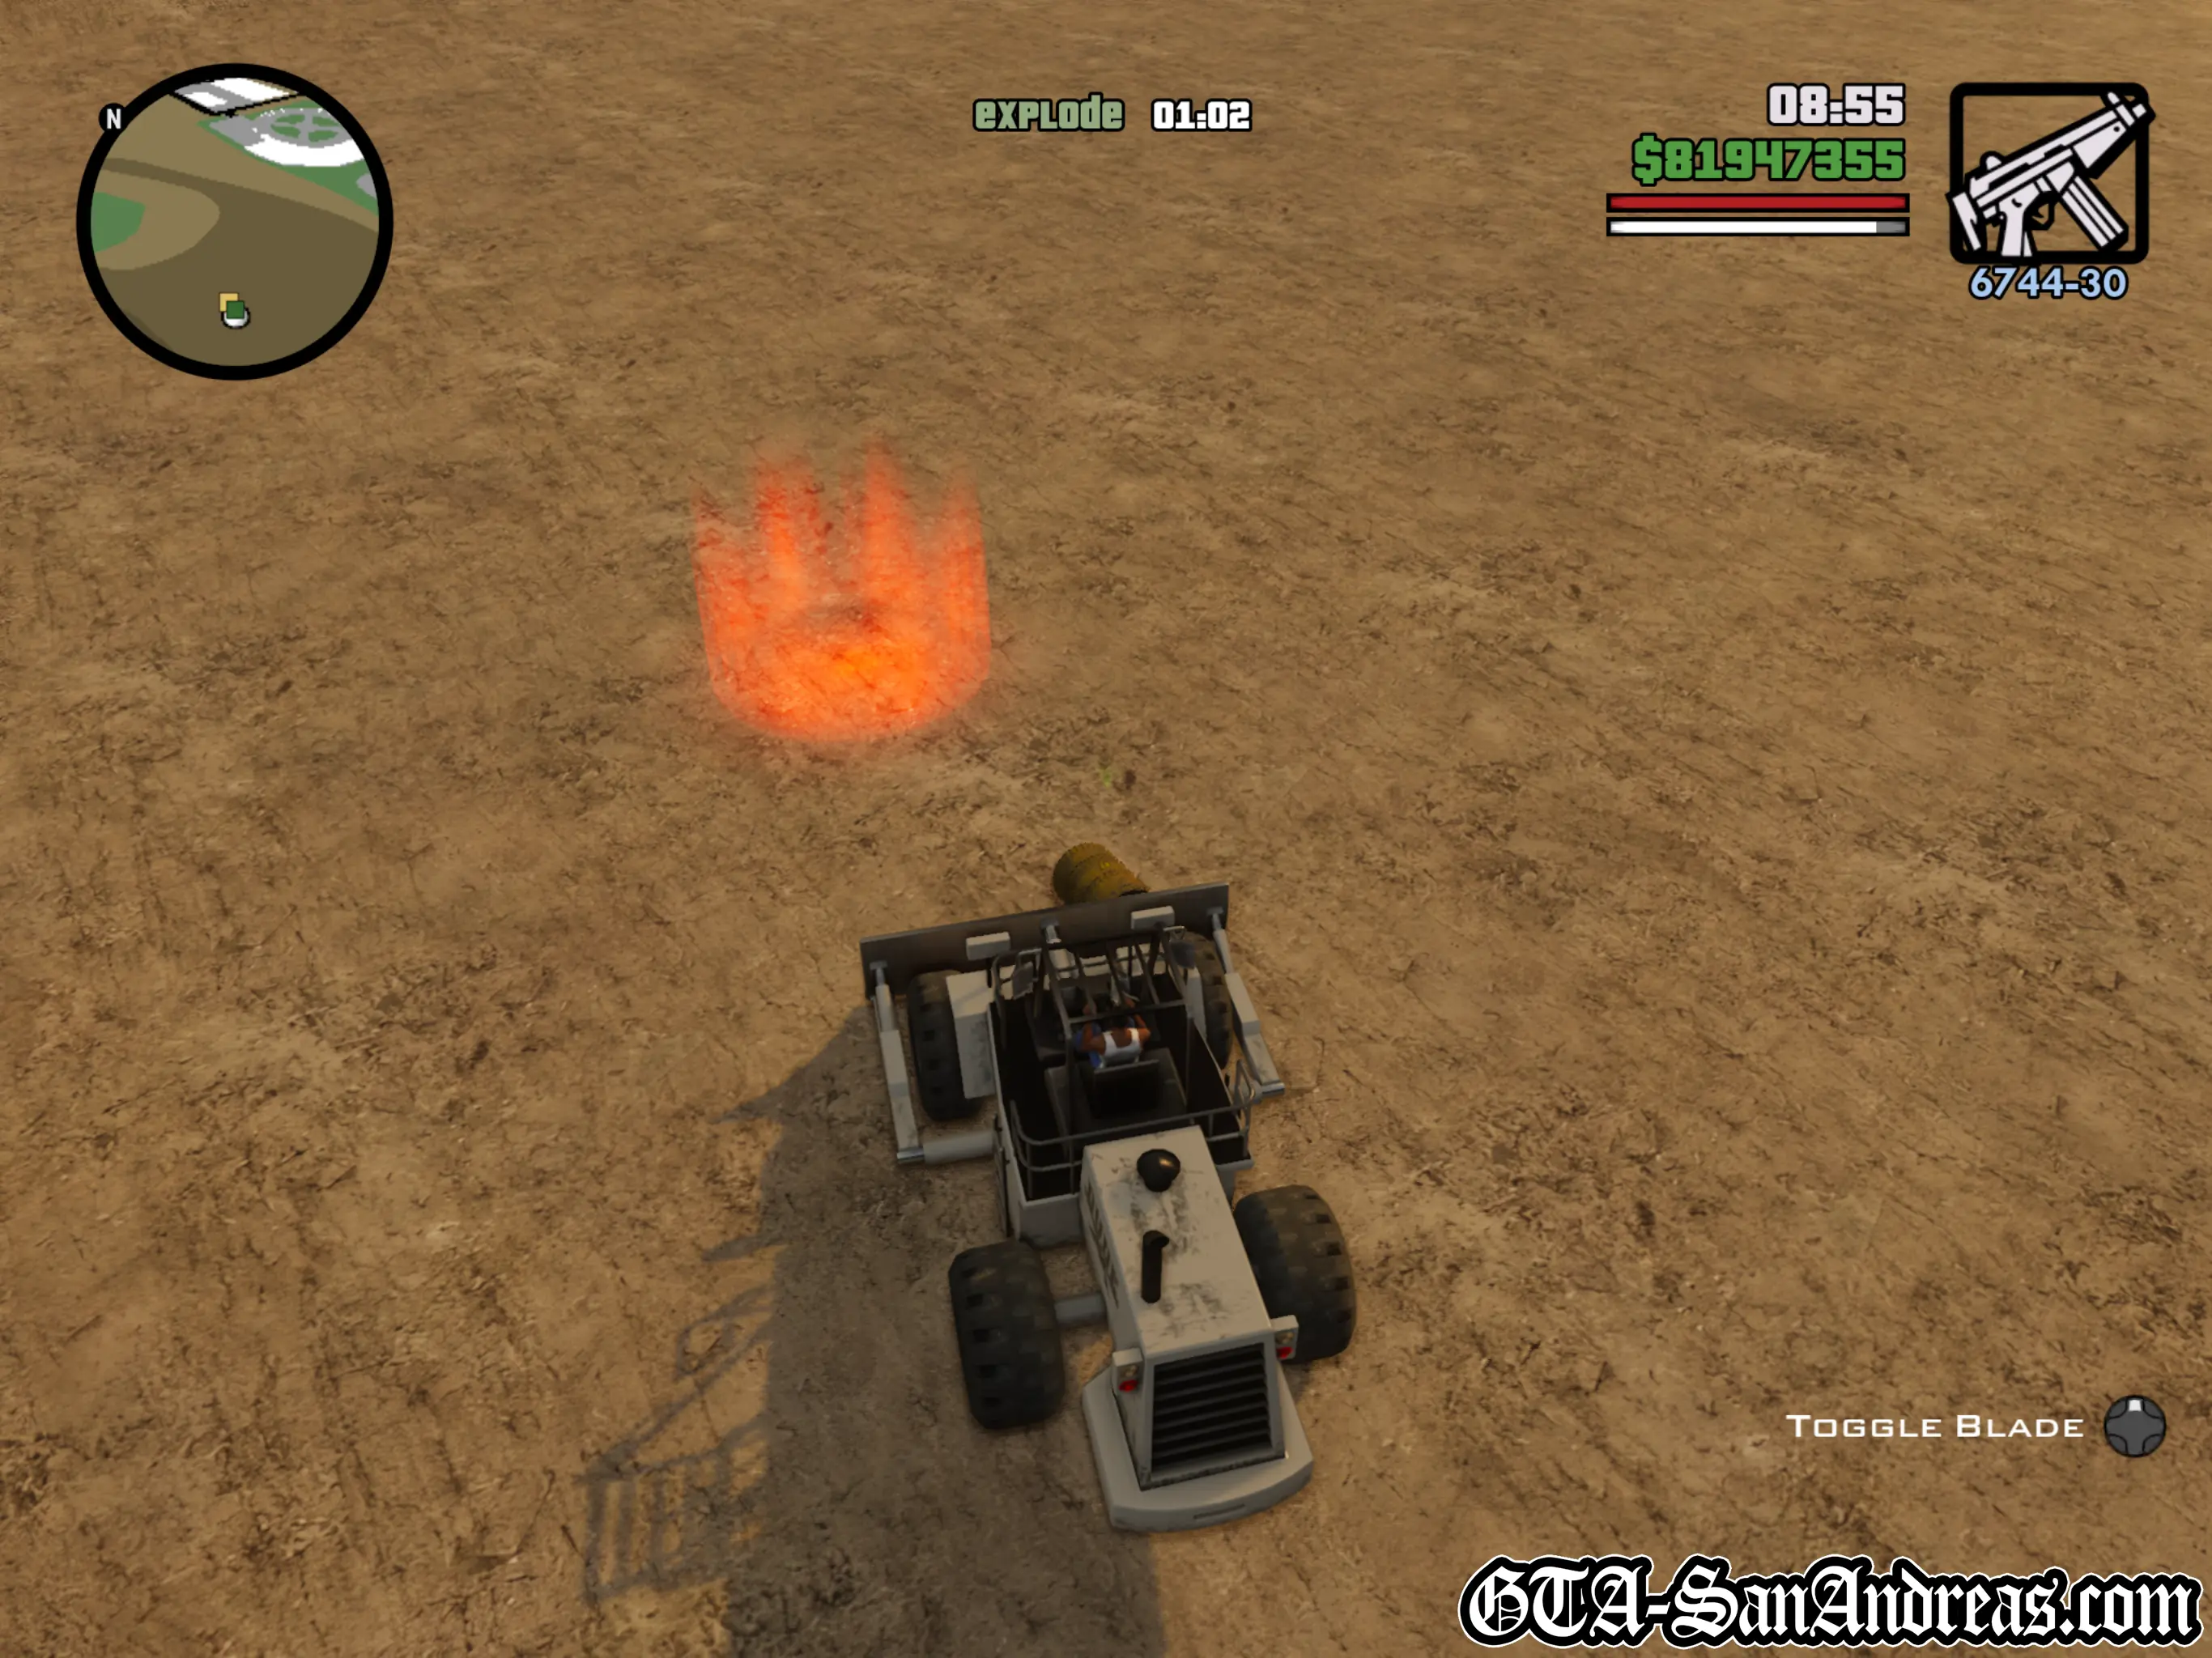
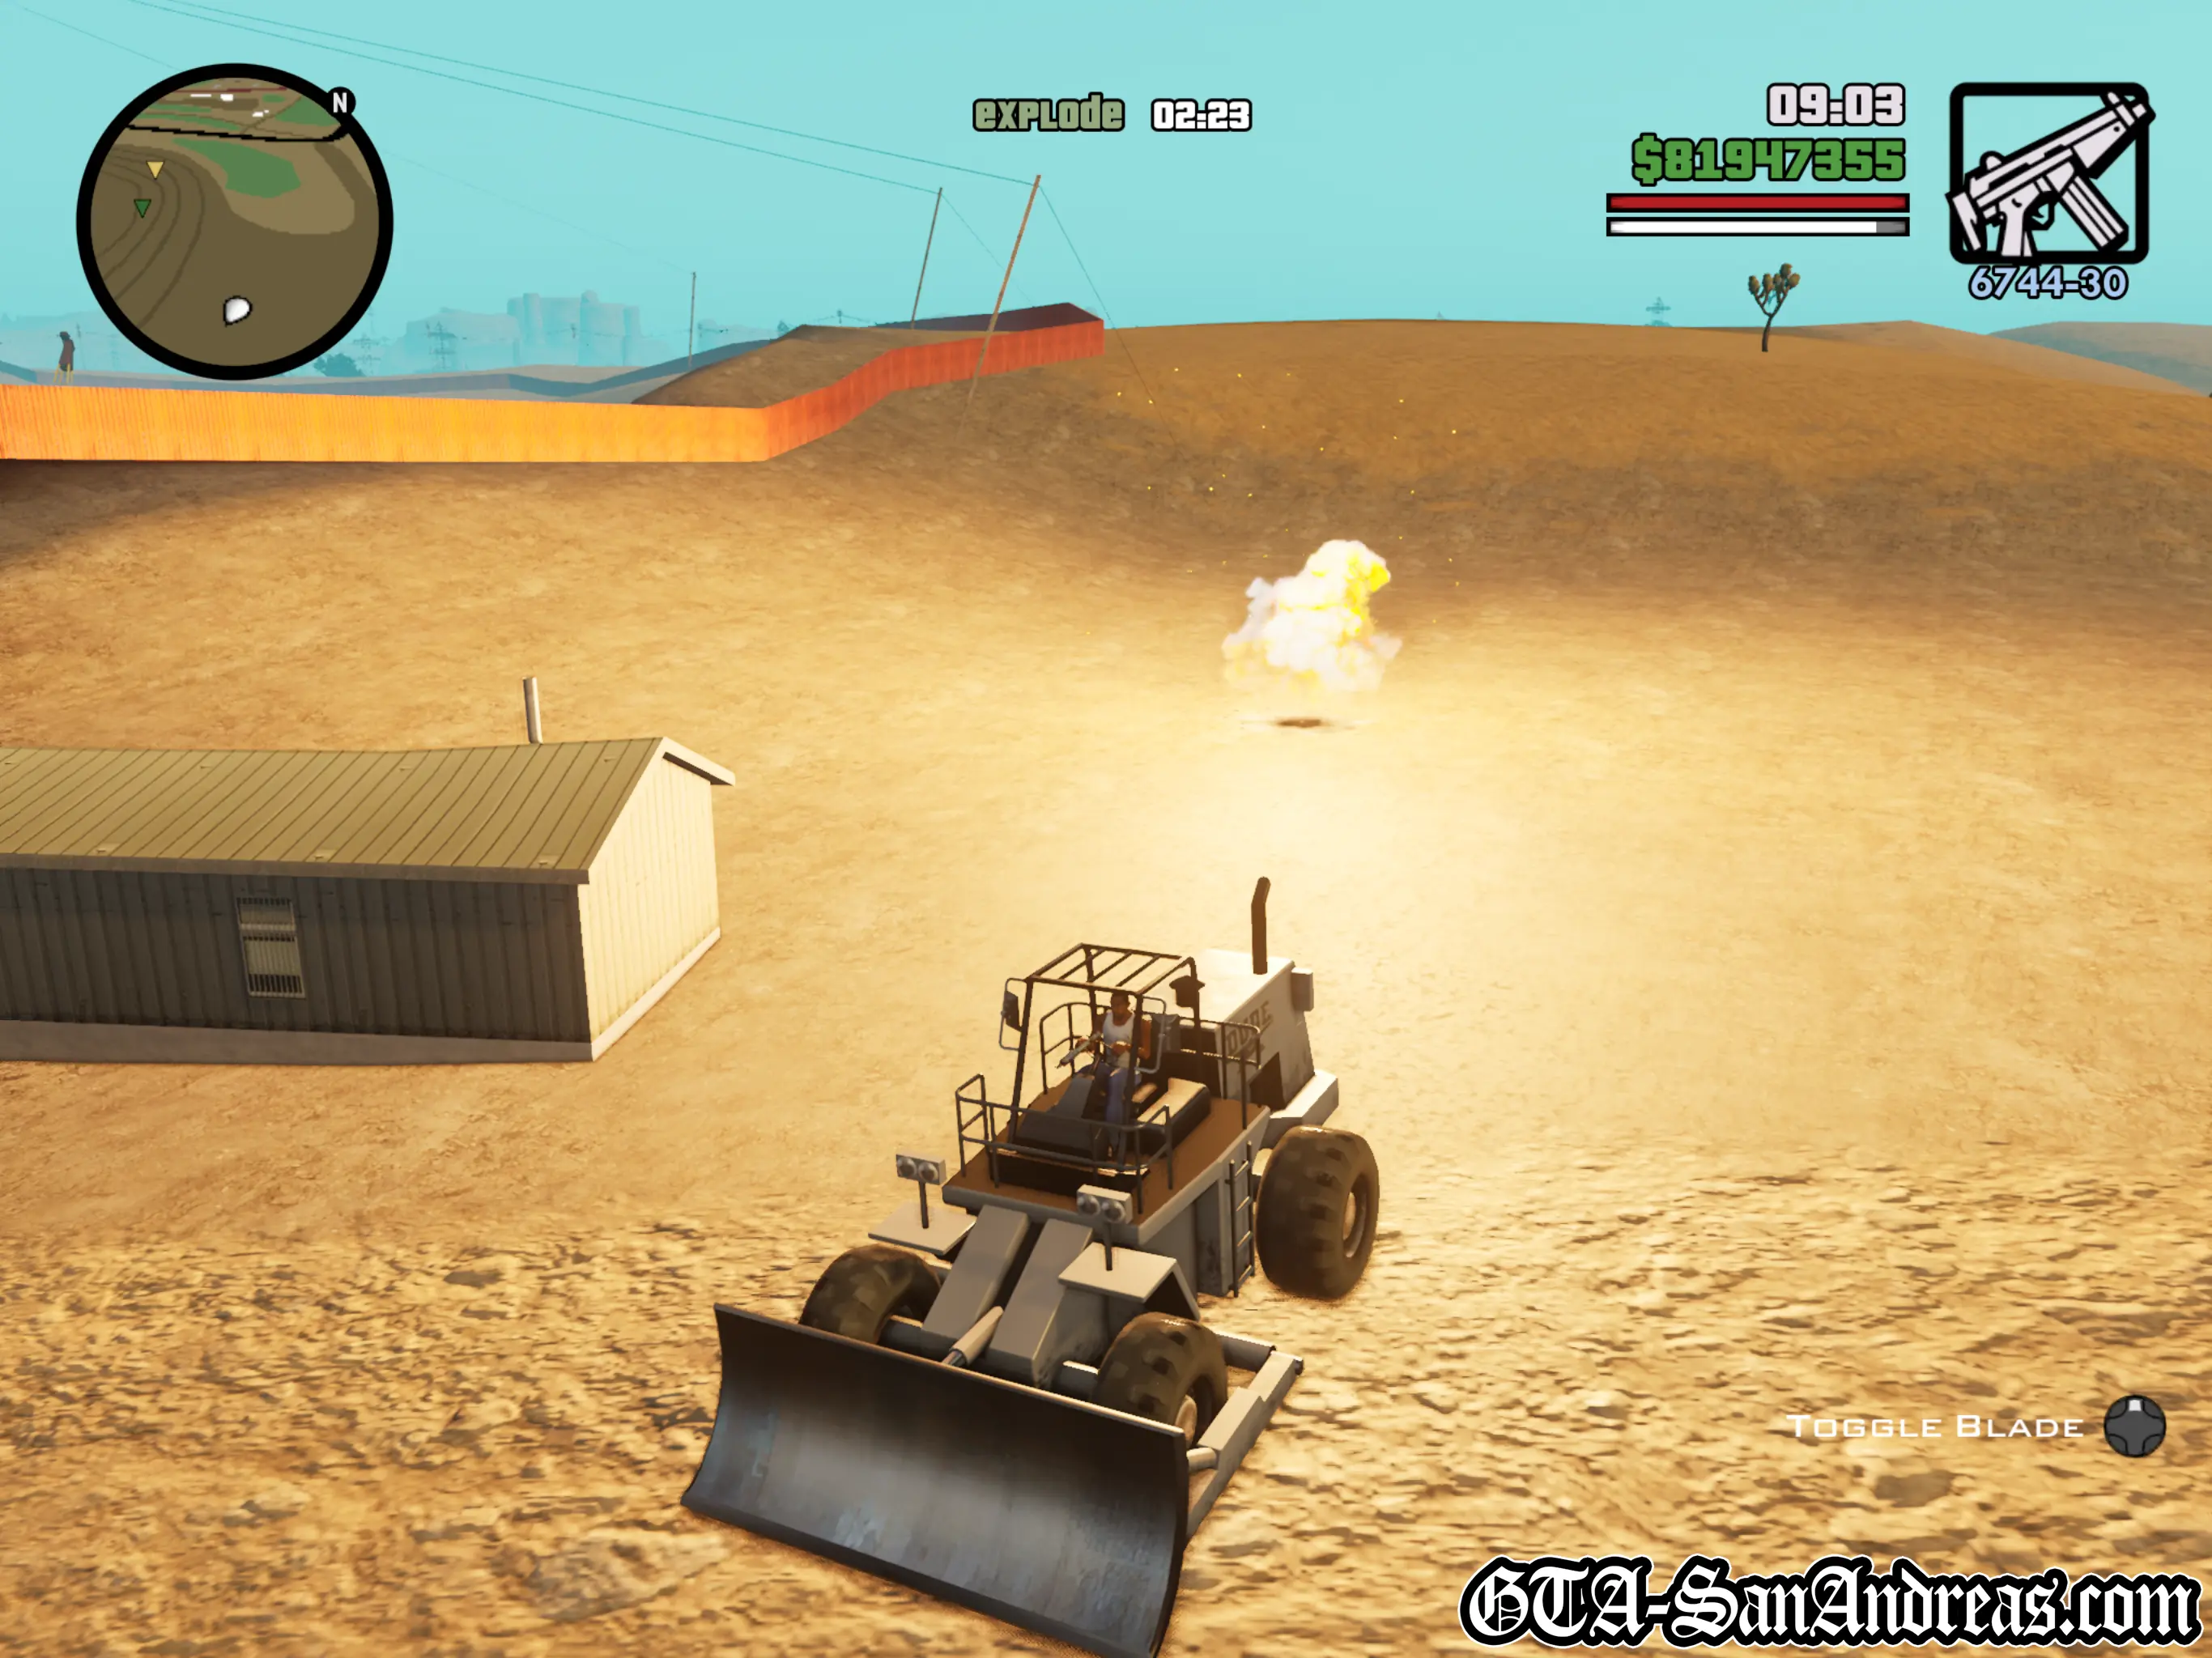
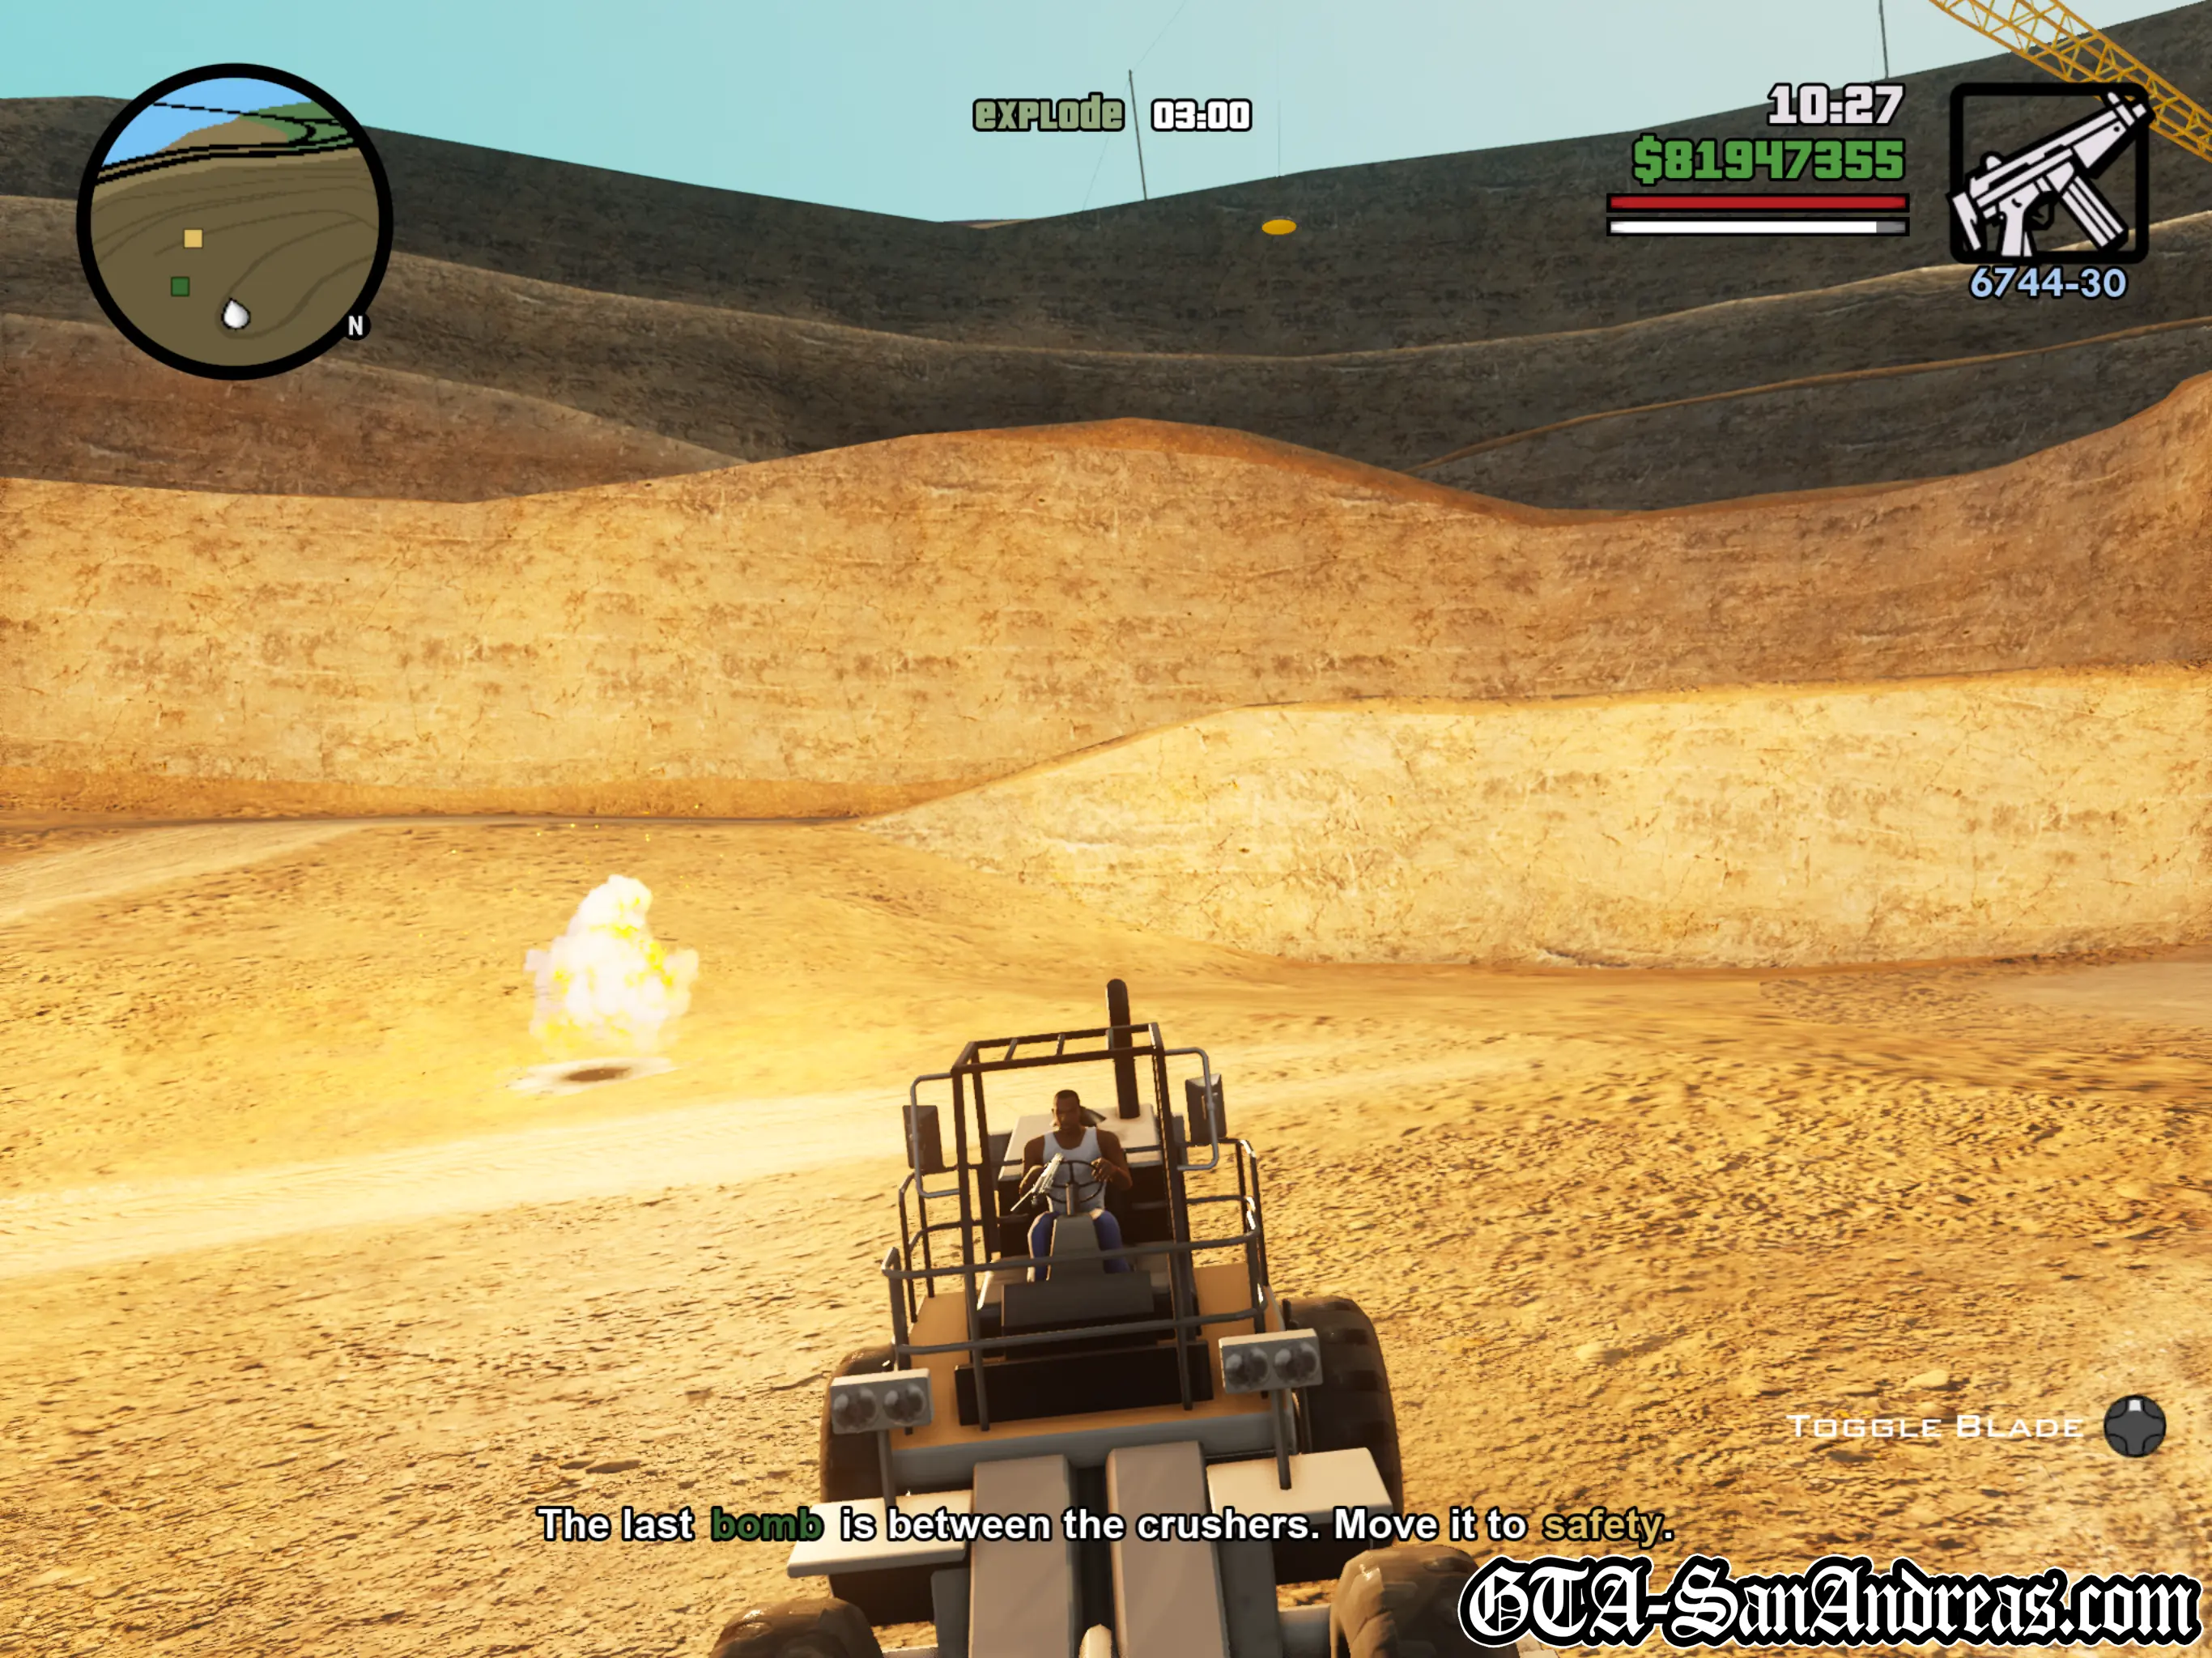
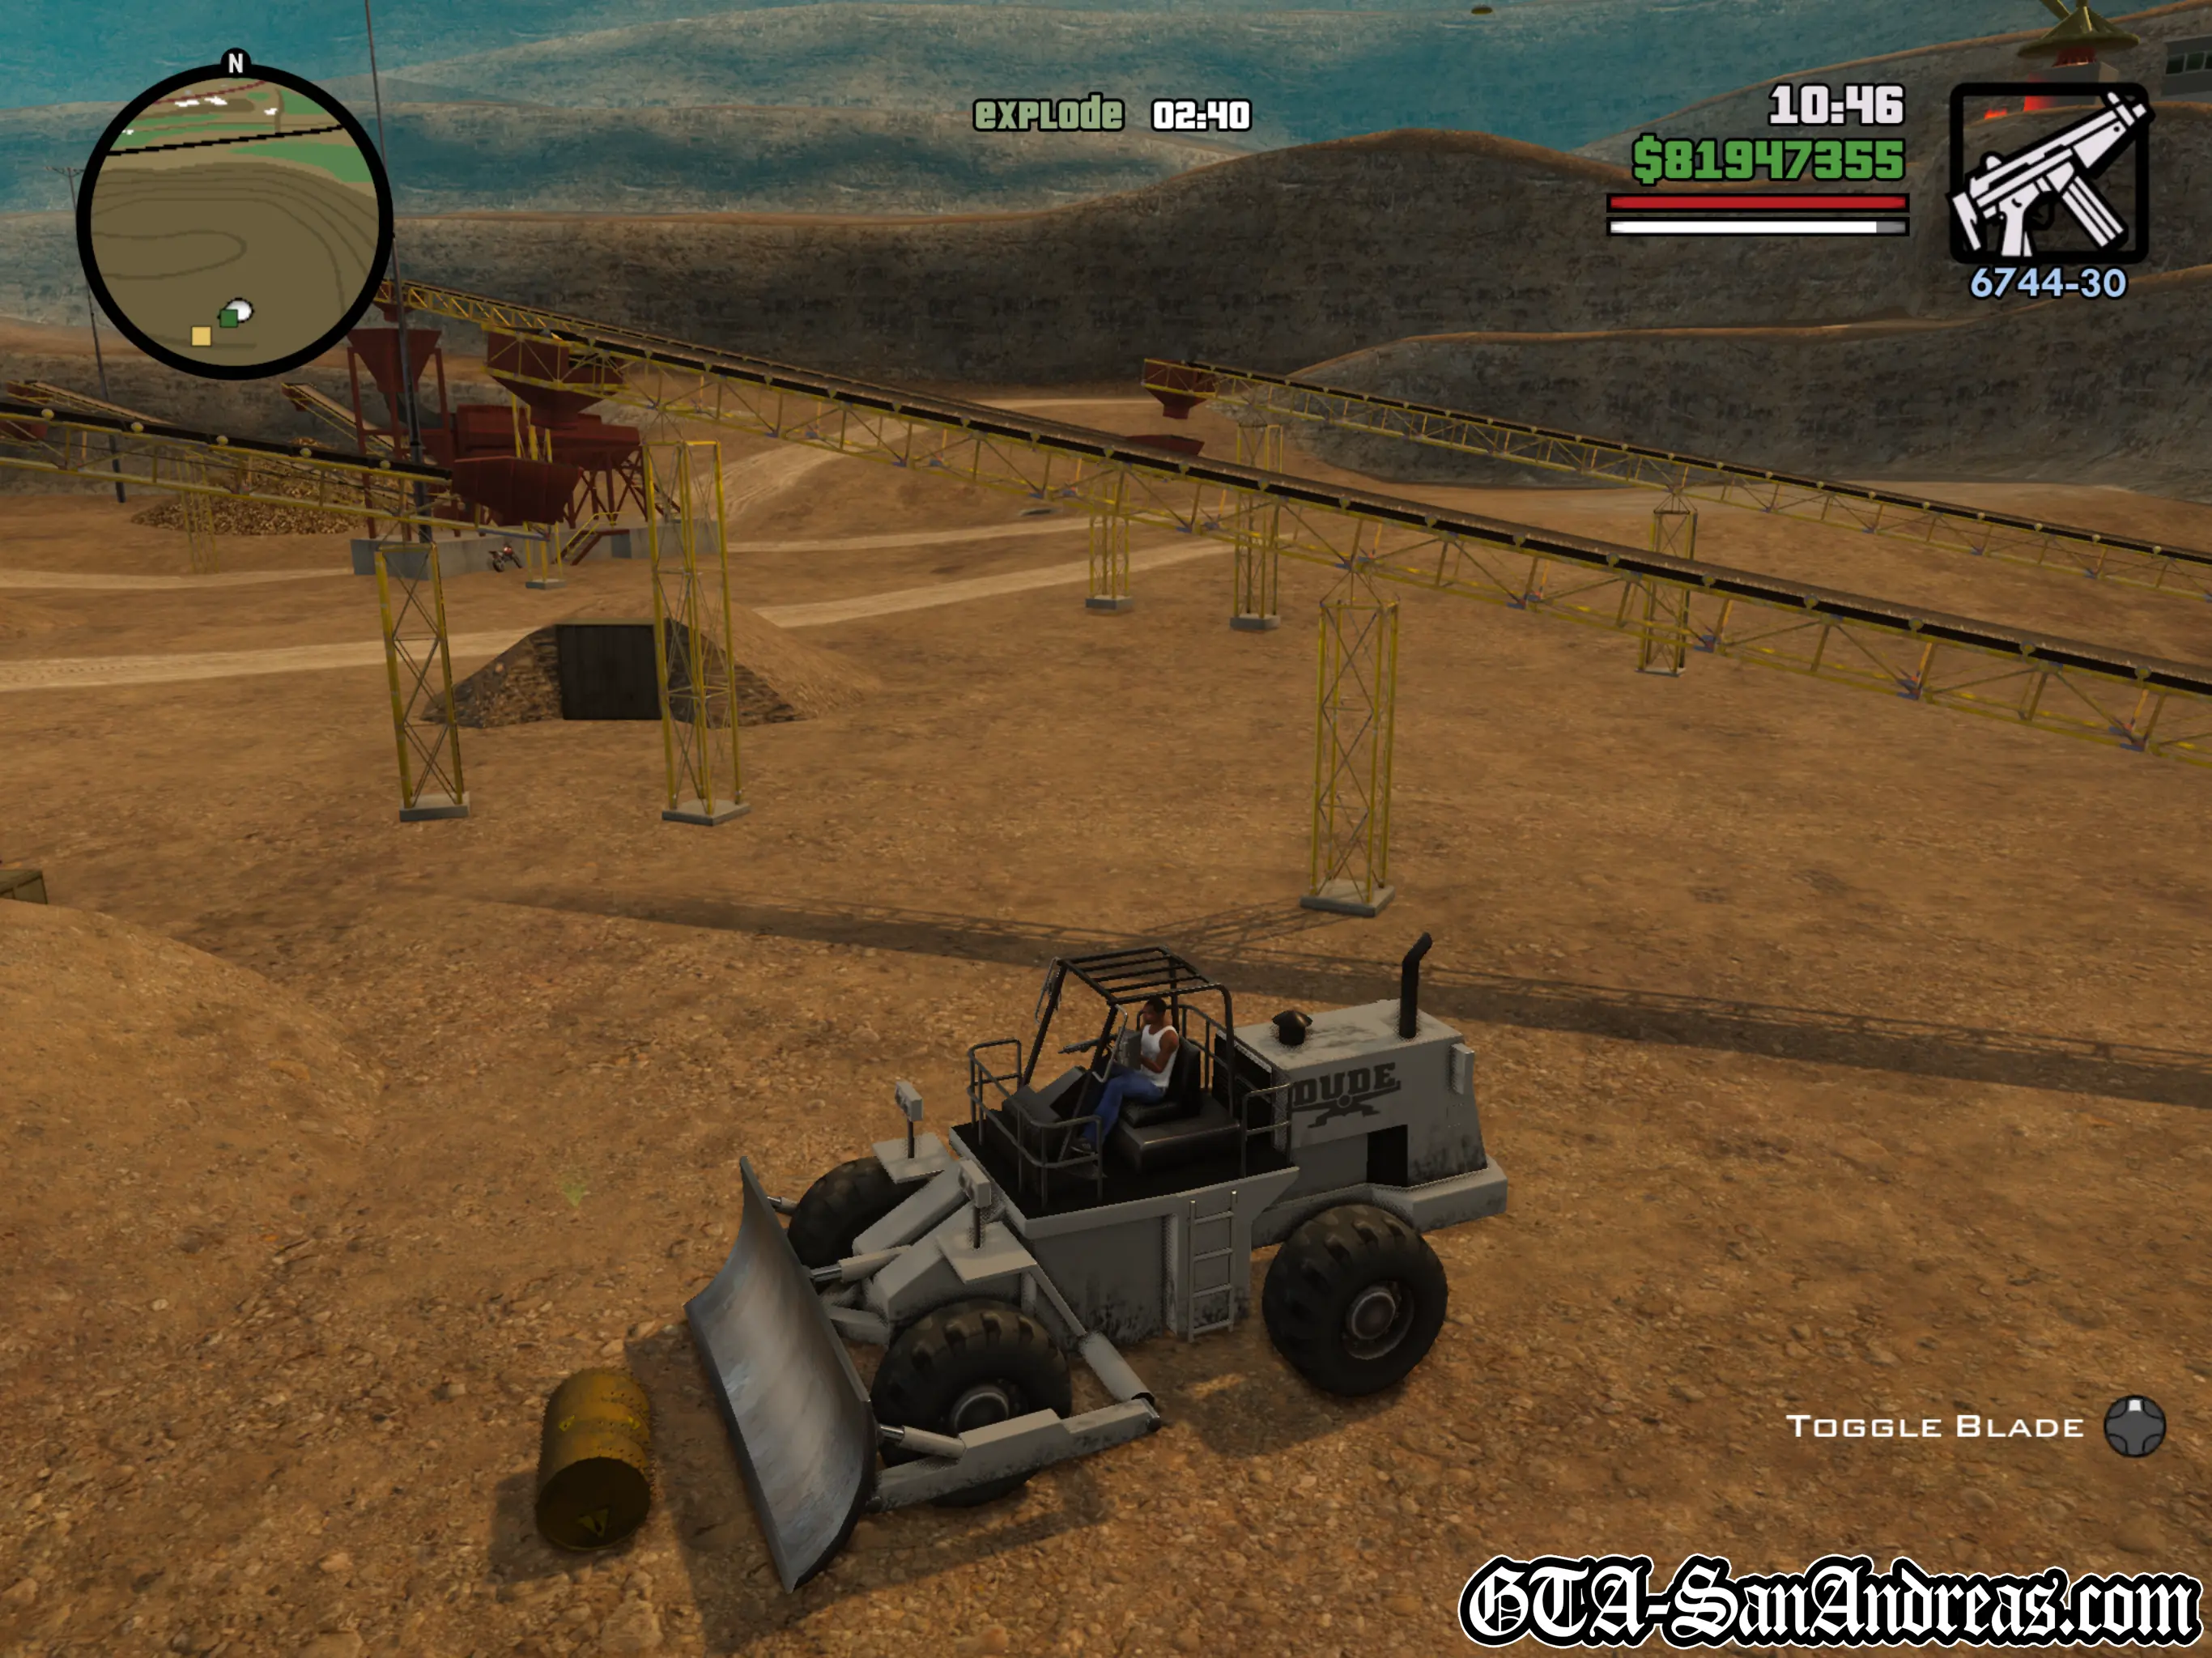
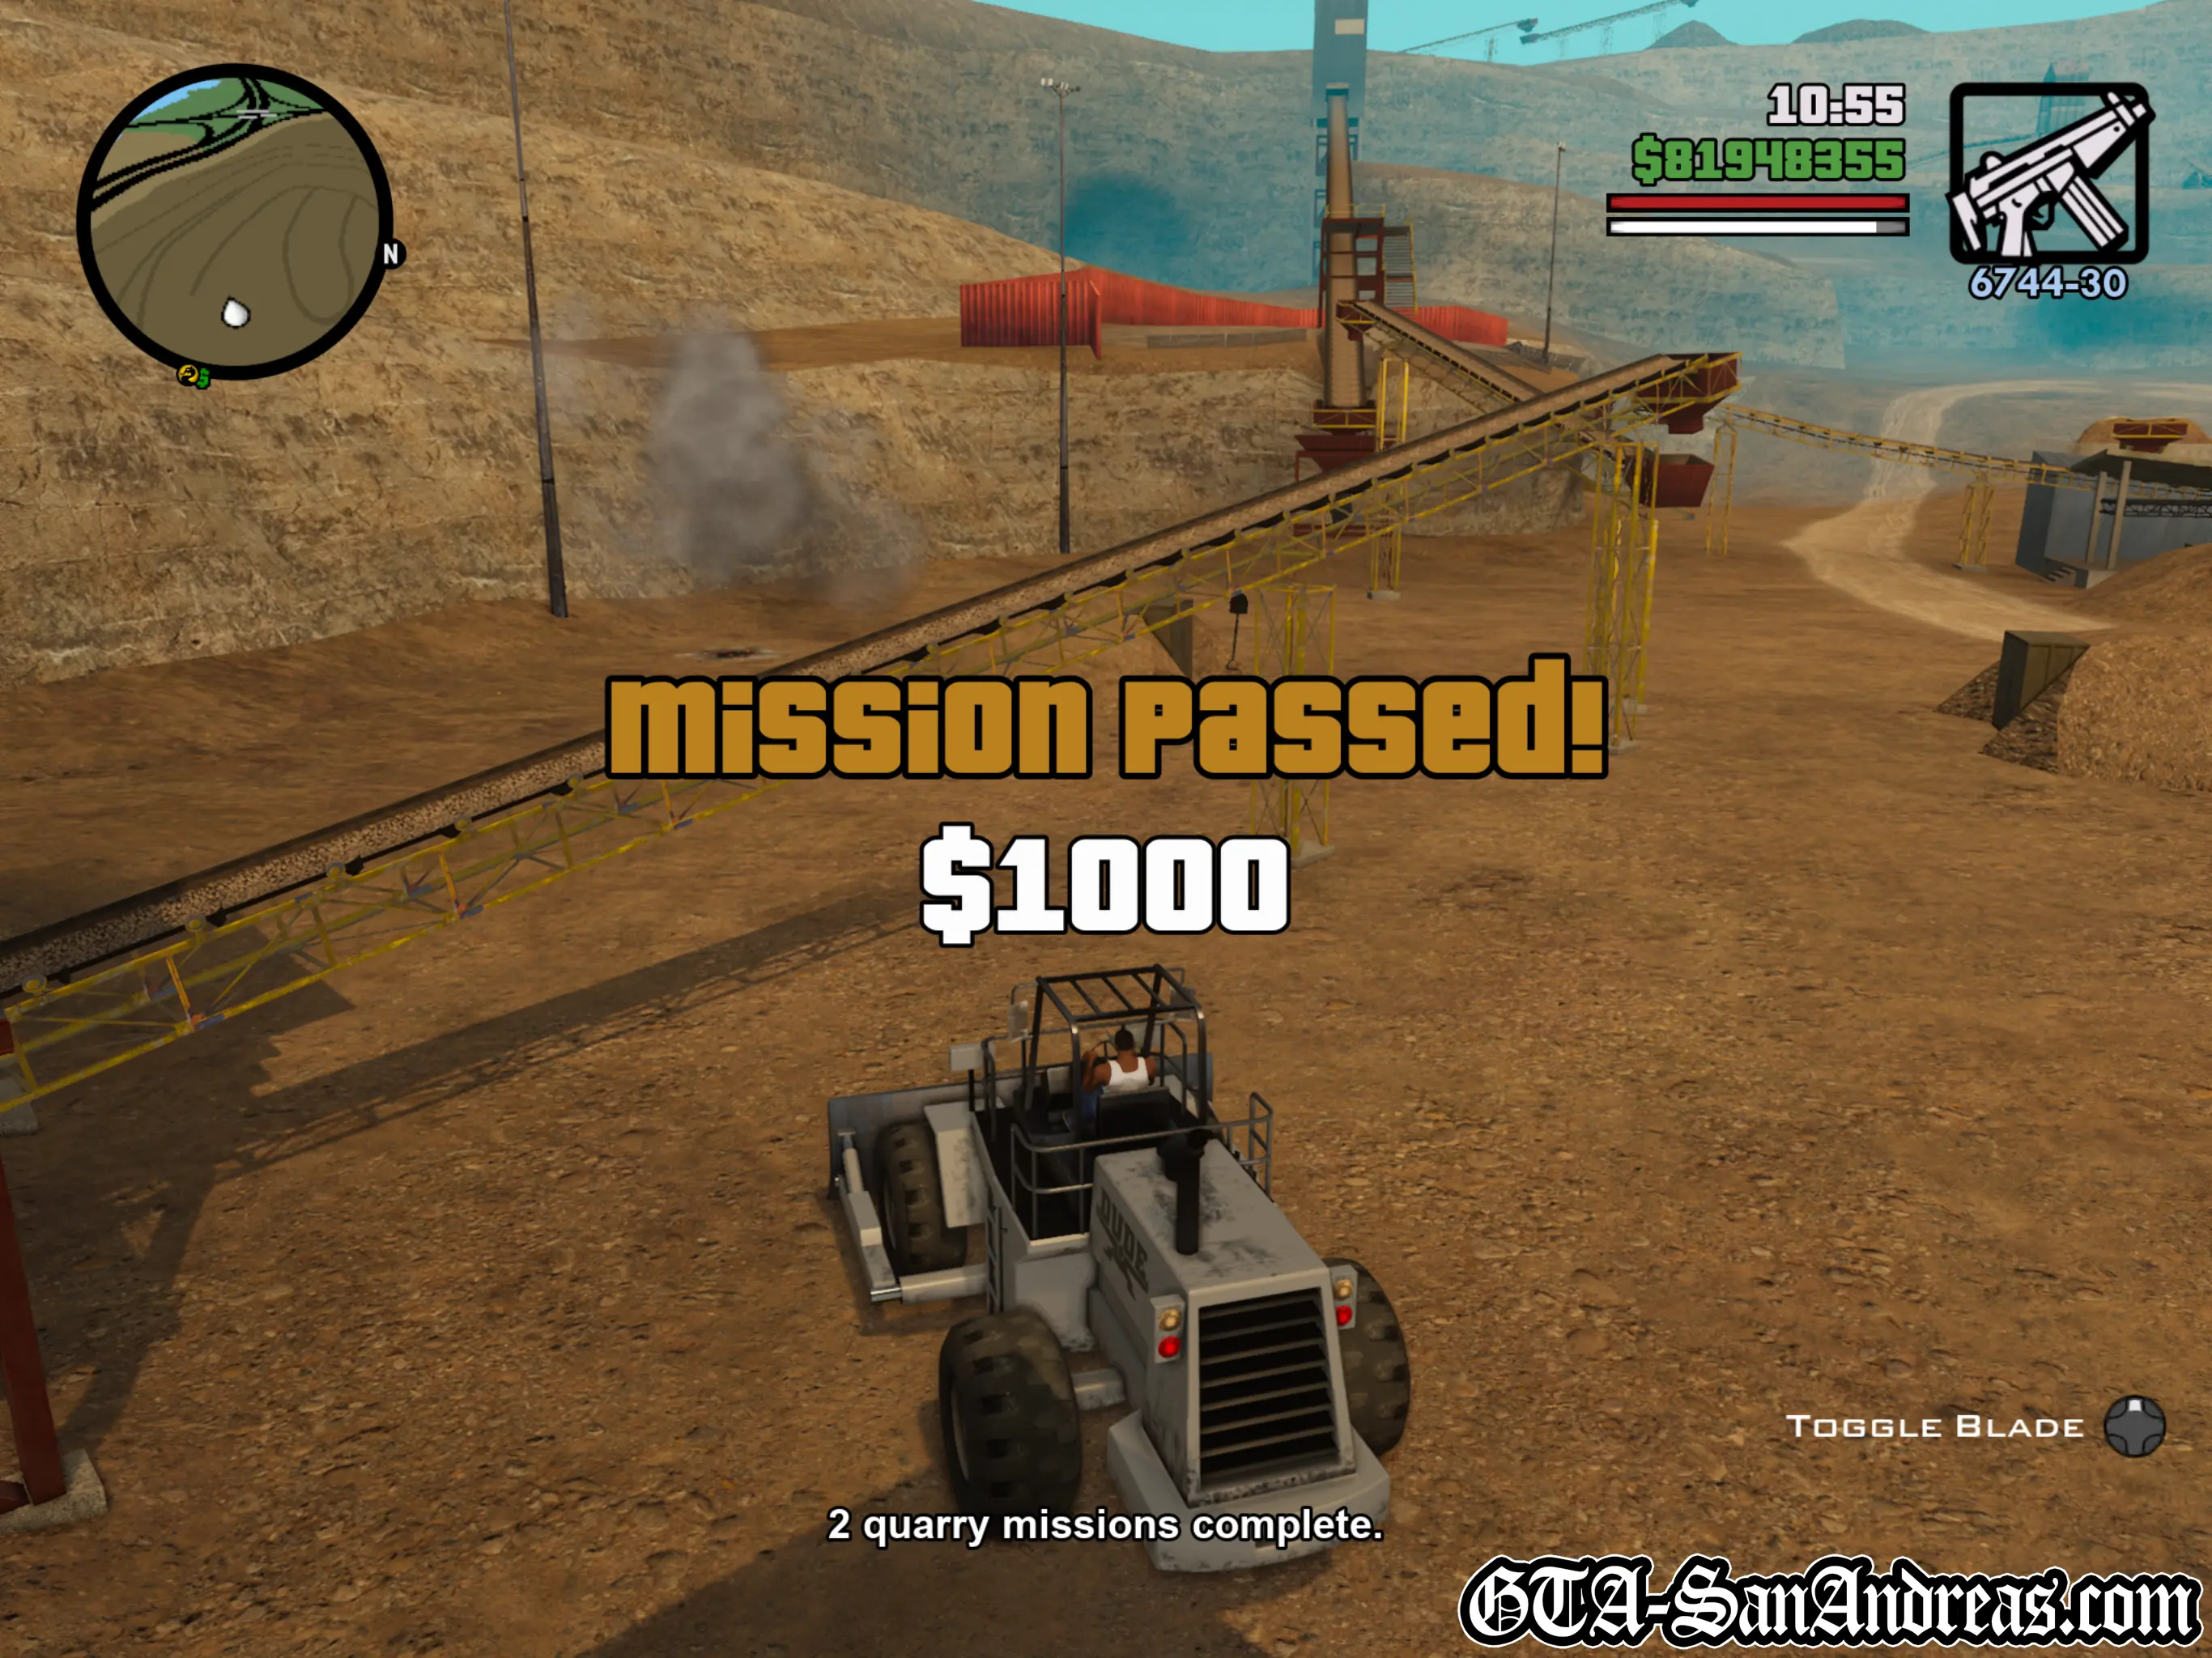
Bombs have been planted by a rival organization. Use the bulldozer to push the bombs to safe area markers.
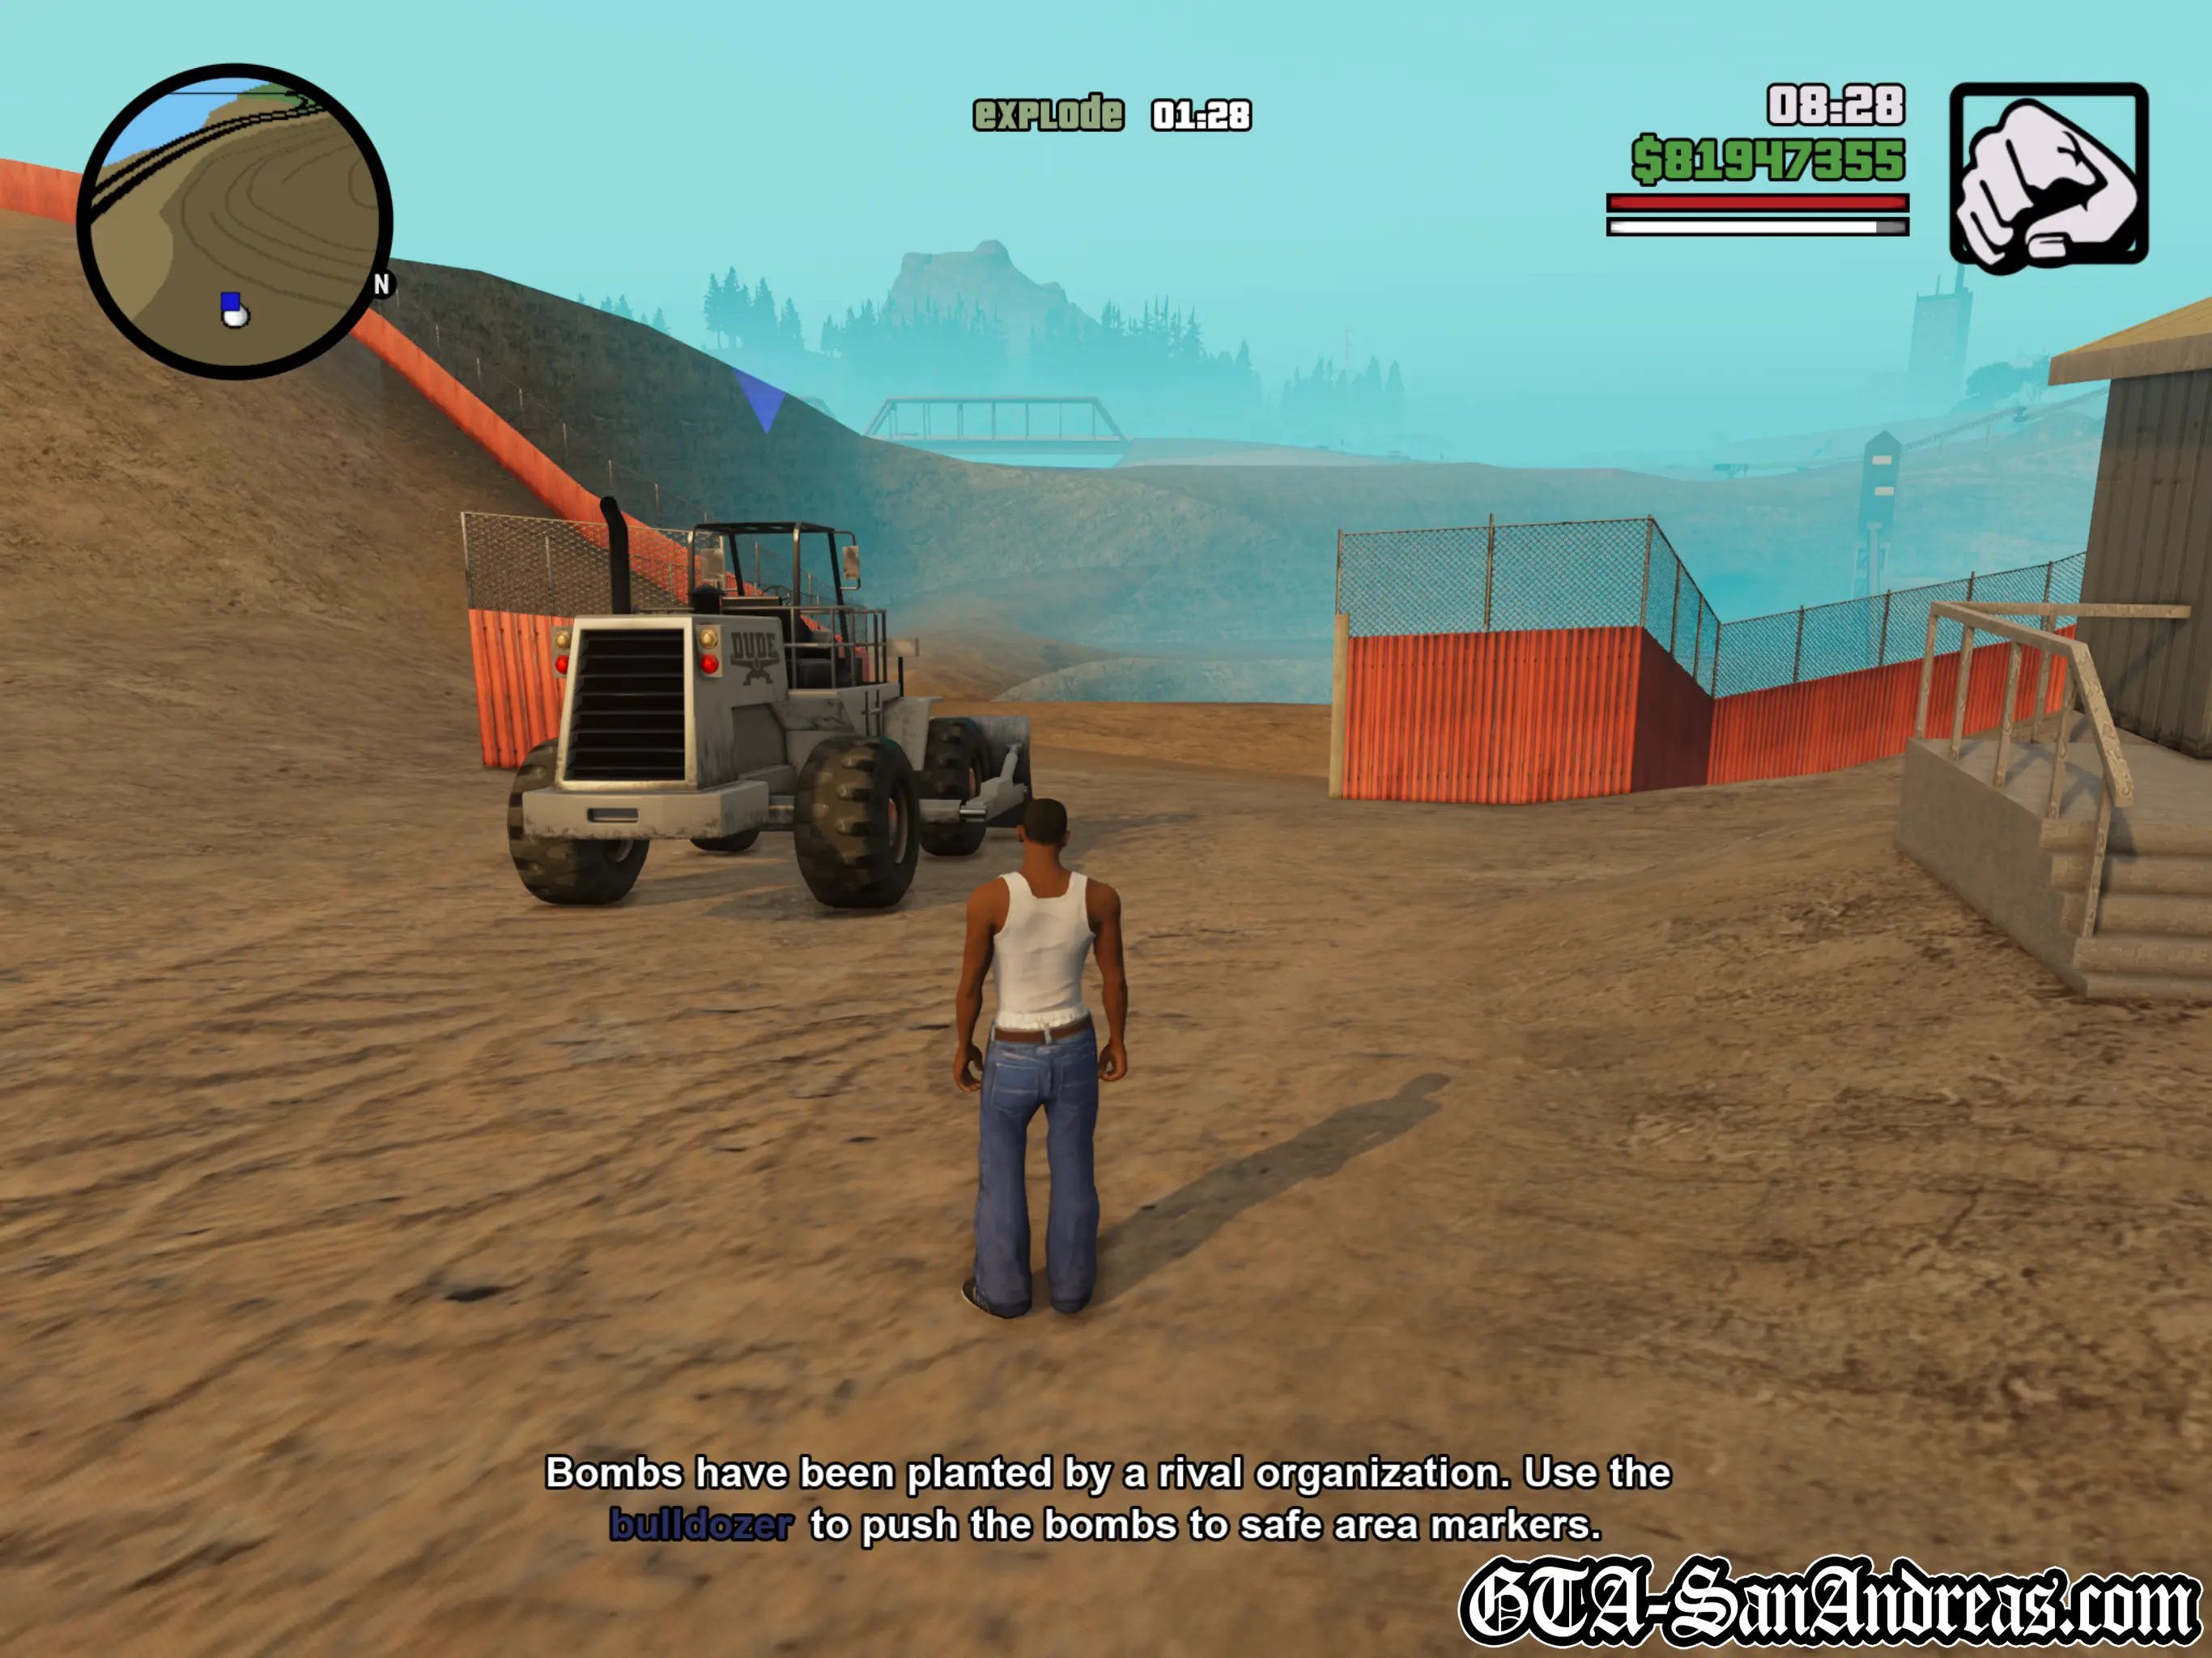
This mission is timed and you need to push stuff around using the bulldozer again.
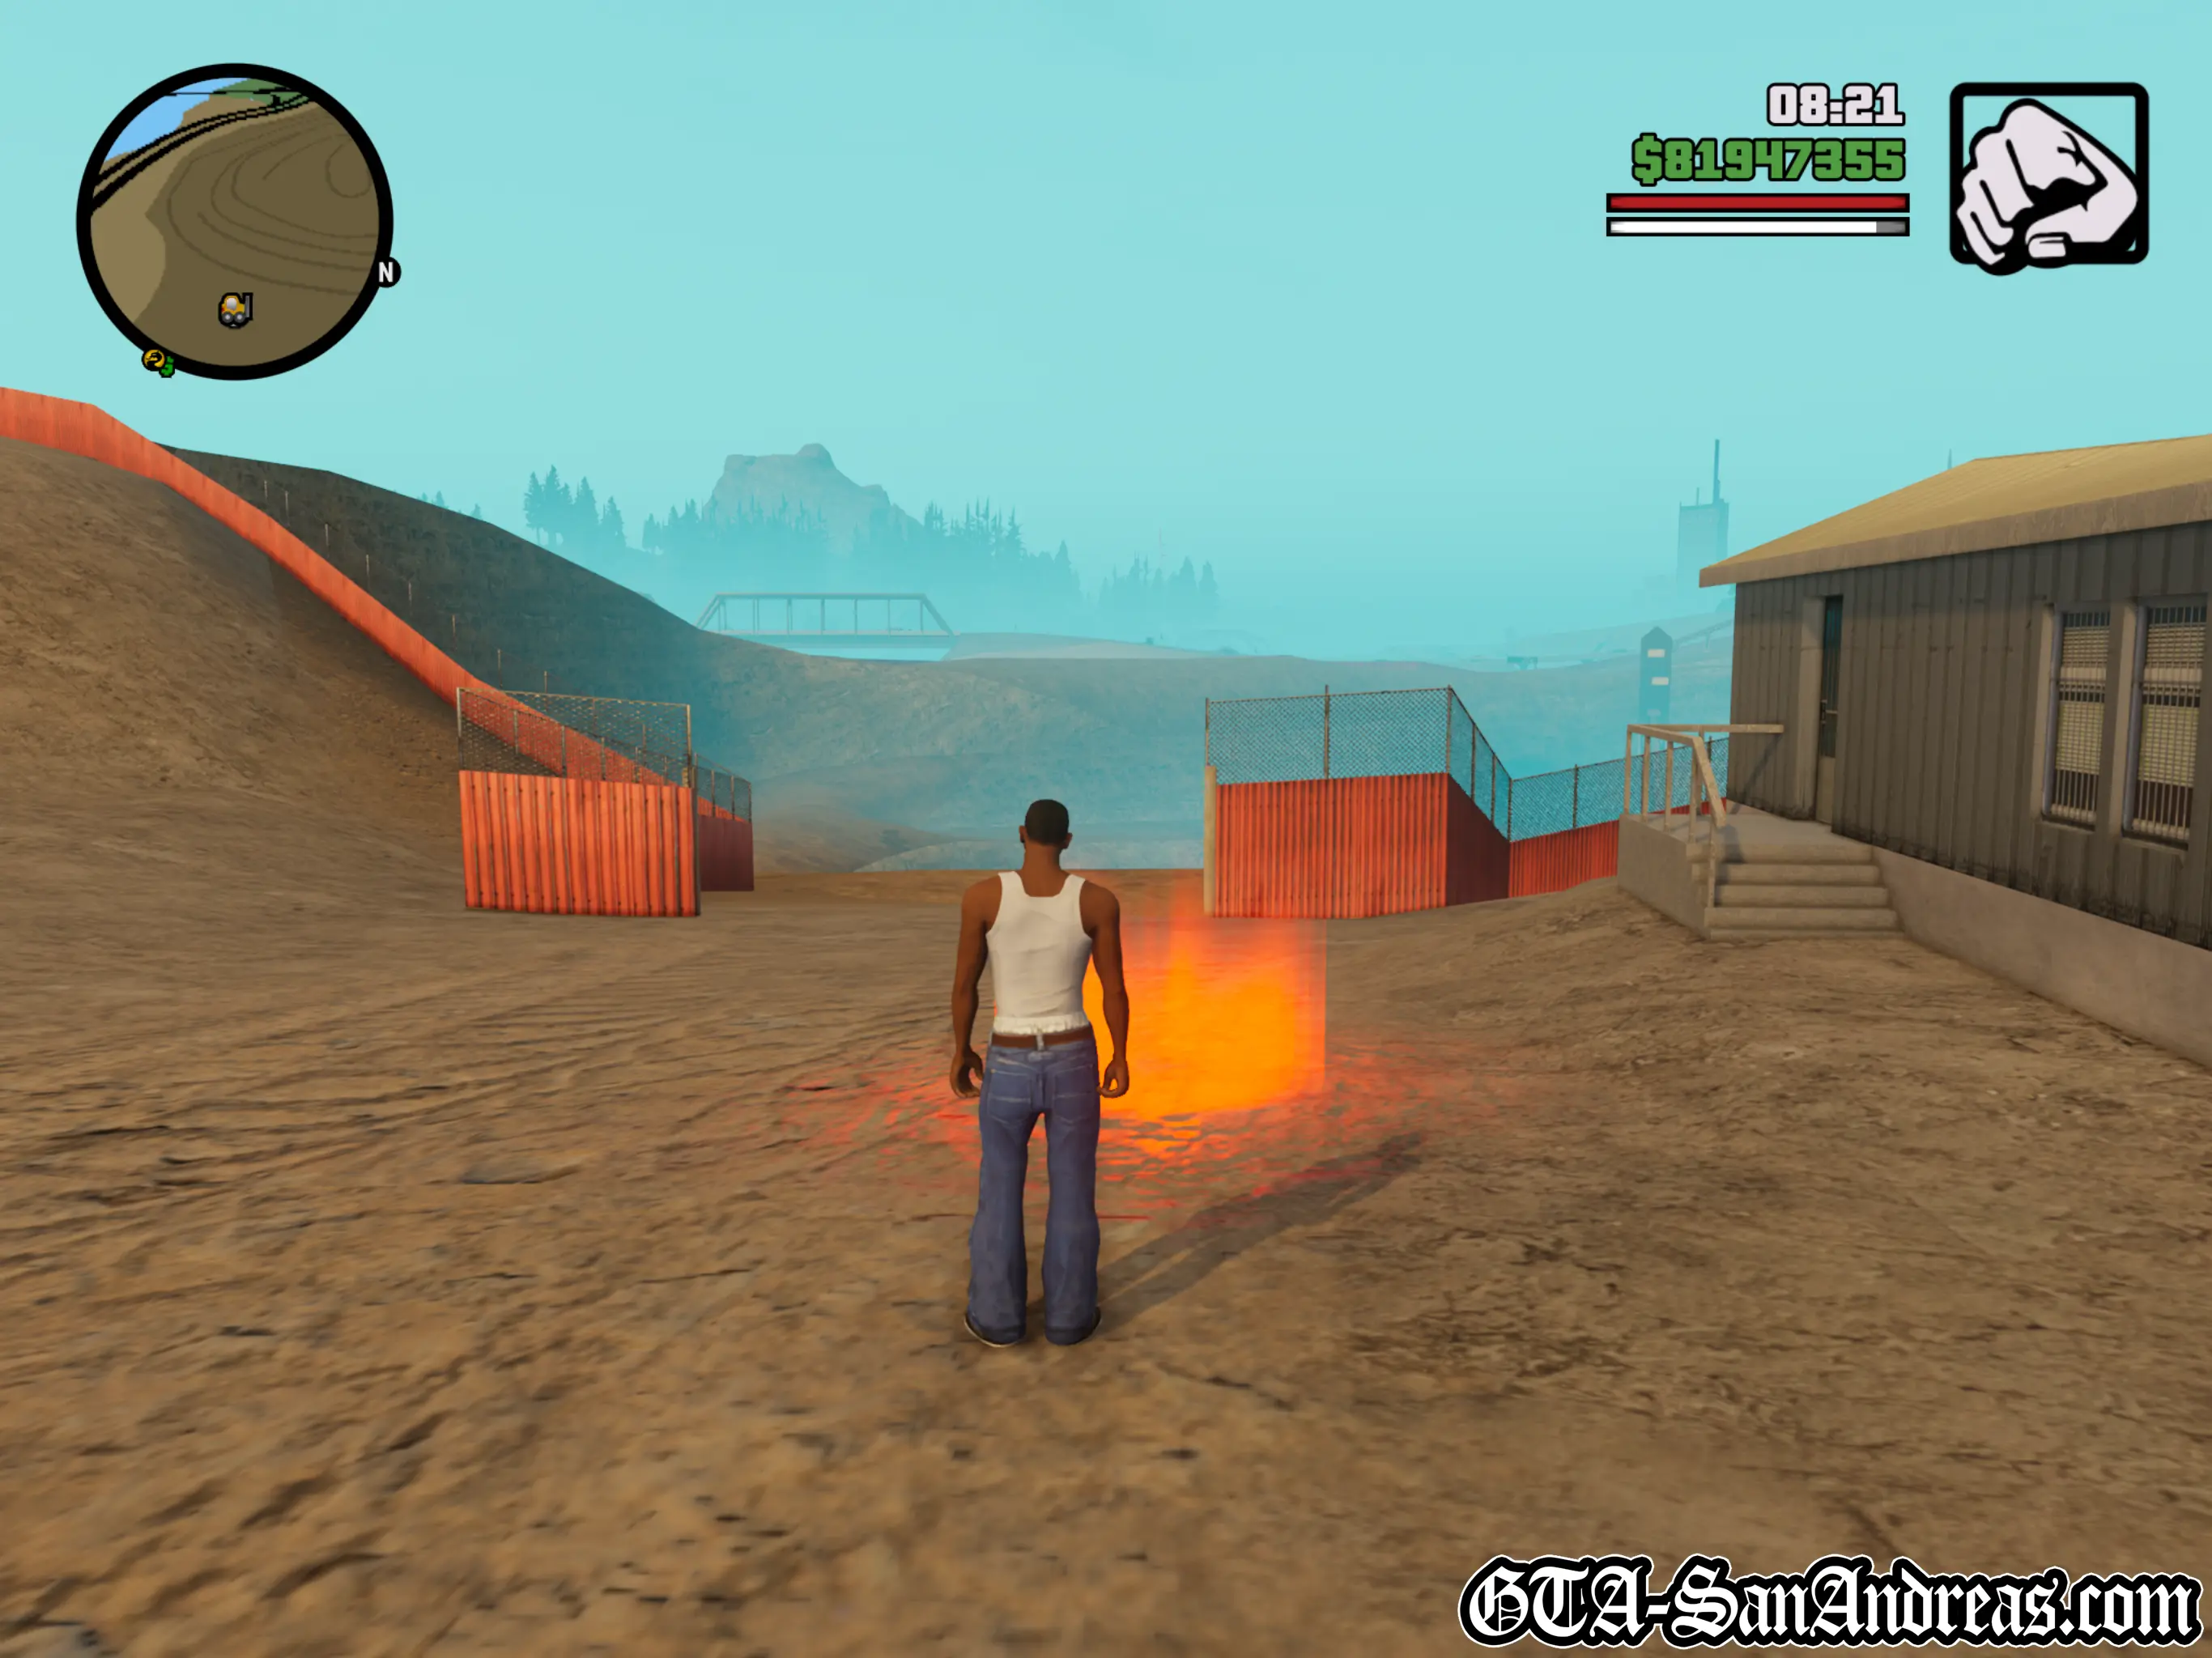
Get in the Dozer and you'll be told of a bomb behind the hut where you start the mission, so drive around to it and use the blade at the front to push the barrel into the red circle. This can be pretty frustrating as the barrel doesn't exactly stick to the front of the vehicle, but you have more than enough time to do it so just keep nudging it until you get it where it needs to be.
Once it's in the safe zone you'll be told that there's a bomb at the crane so head down the hill (drive off the side if you wish - as long as you're aiming for the crane so you don't fall too far down) and get behind the barrel to push it up the two slopes and into the red circle.
After that, make your way down to the bottom of the Quarry where you'll need to push another barrel into red circle nearby. It's not too difficult providing you approach it from directly behind.
The final bomb is close-by again, found between the crushers behind you. Push it into the red circle within the generous allotted time then get out of the truck and run like hell before it blows up.
Screenshots
Hunter Quarry - Mission 3
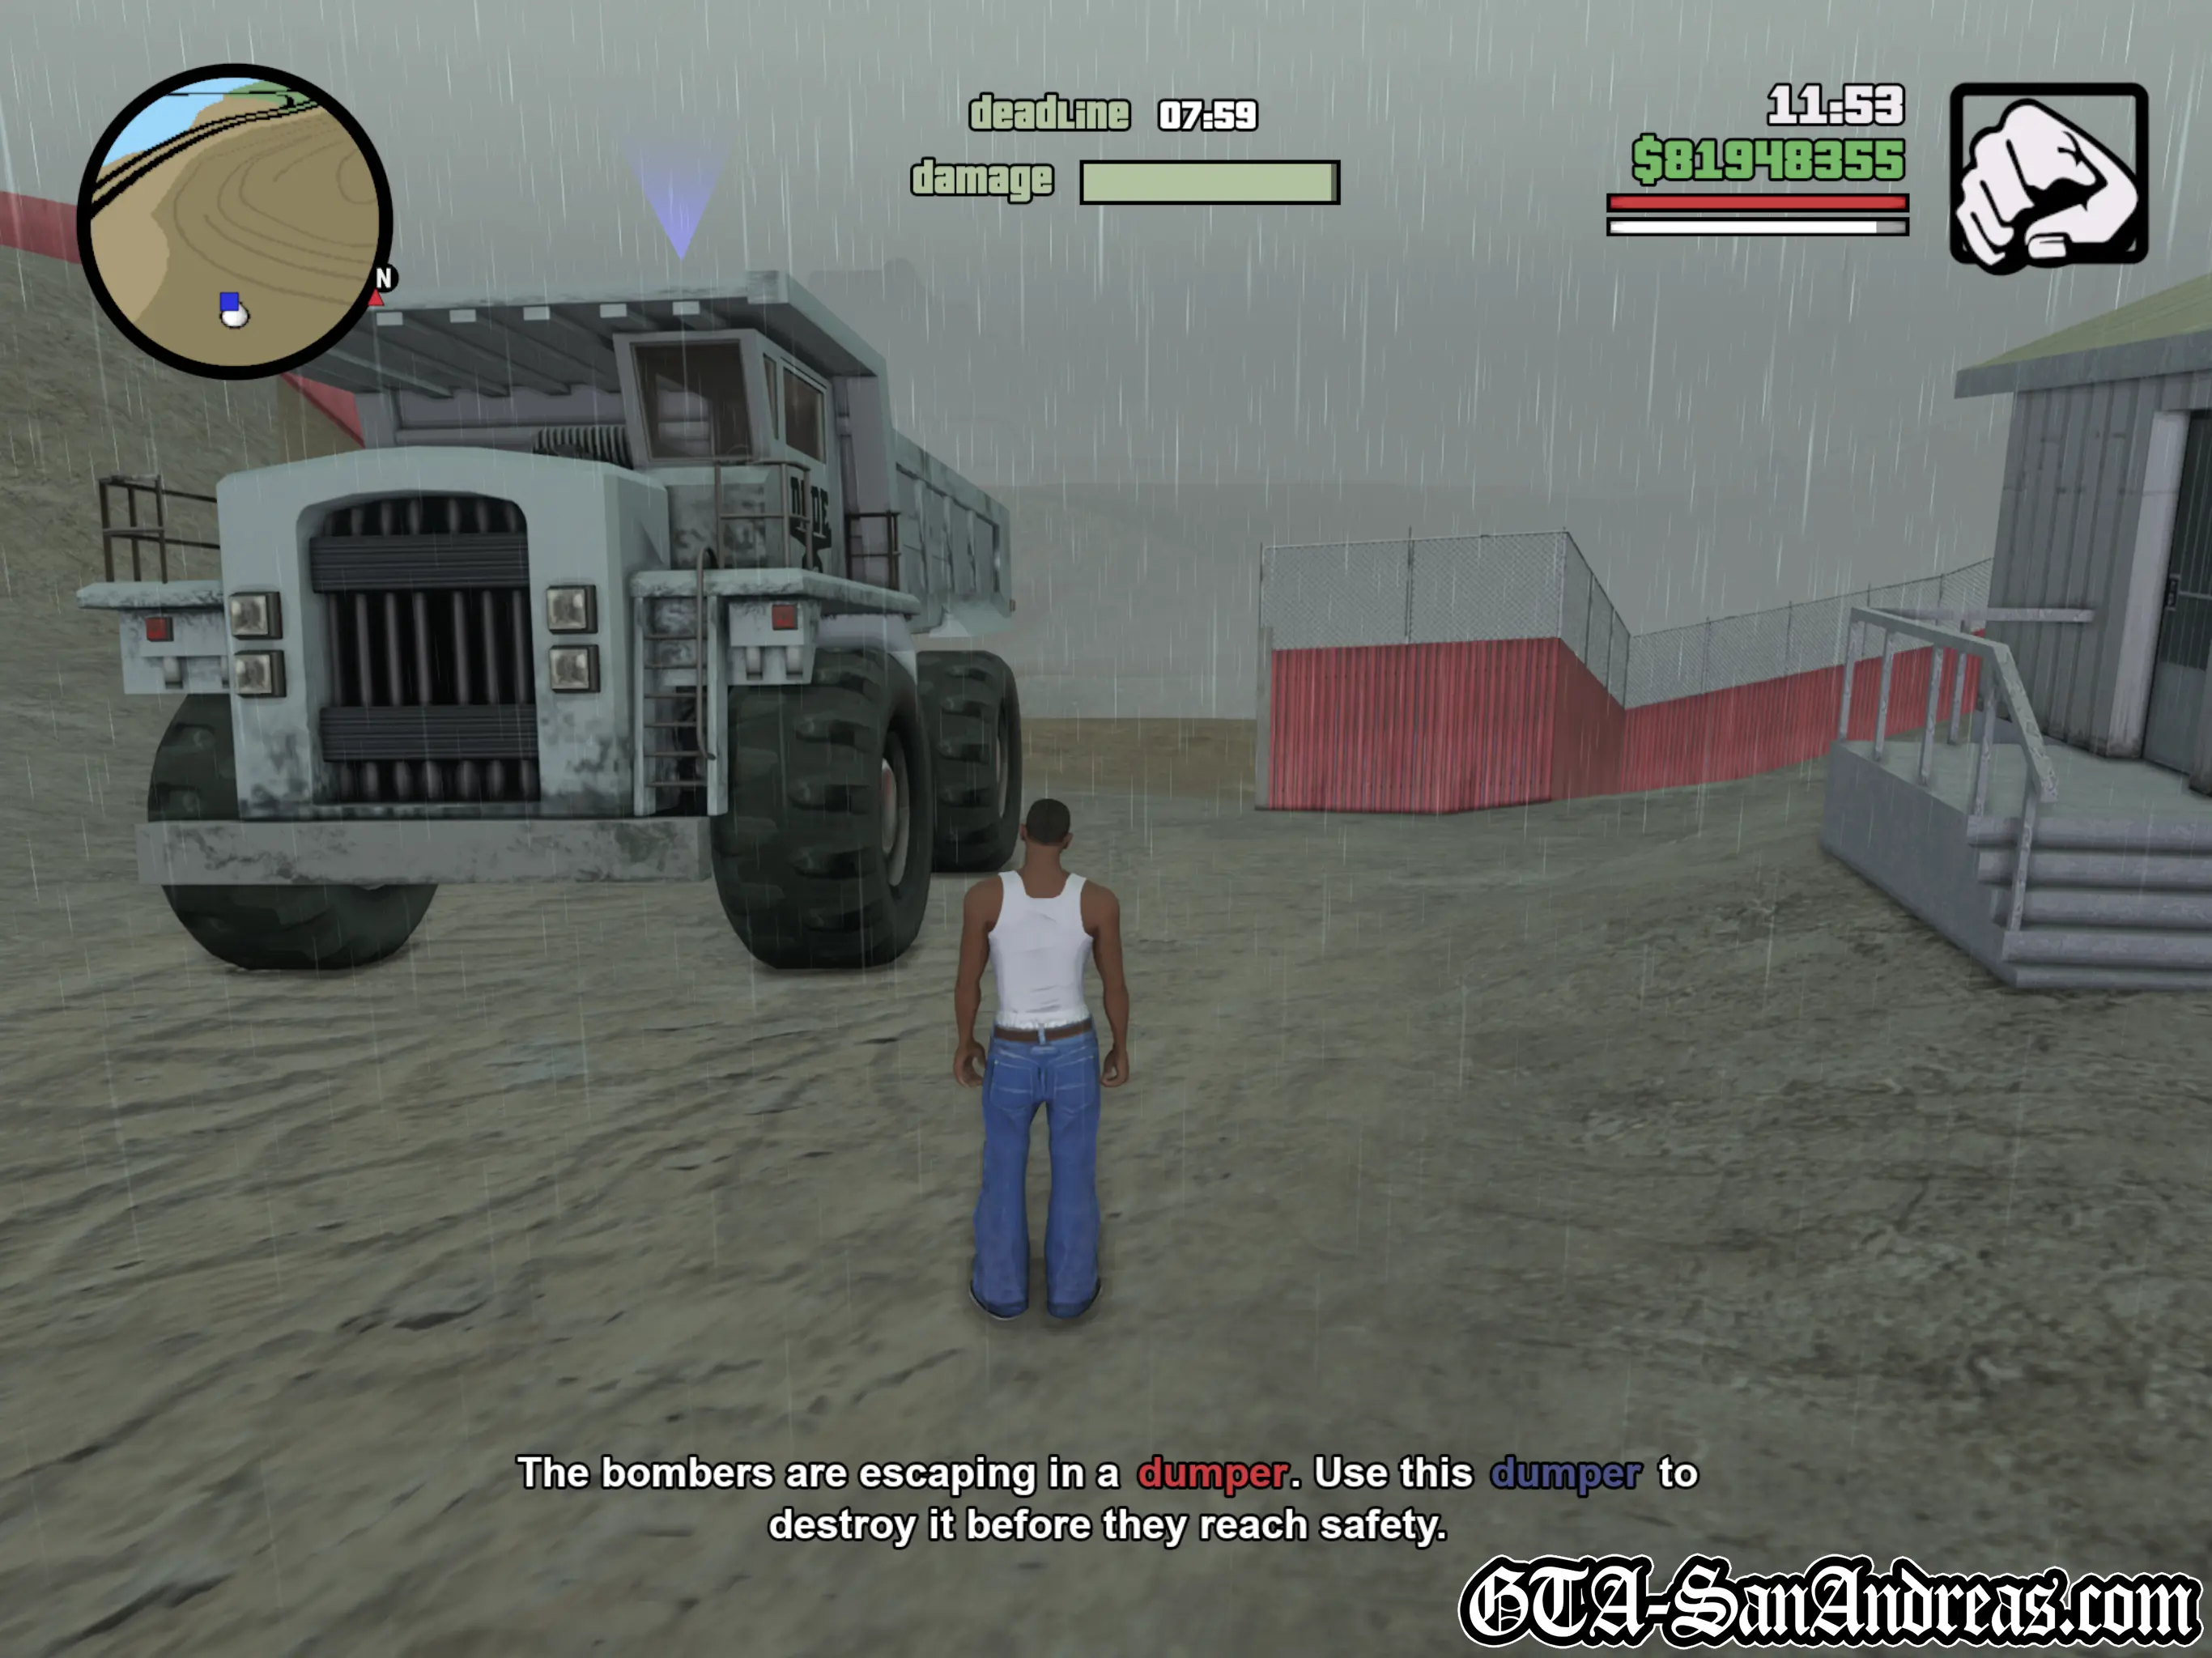
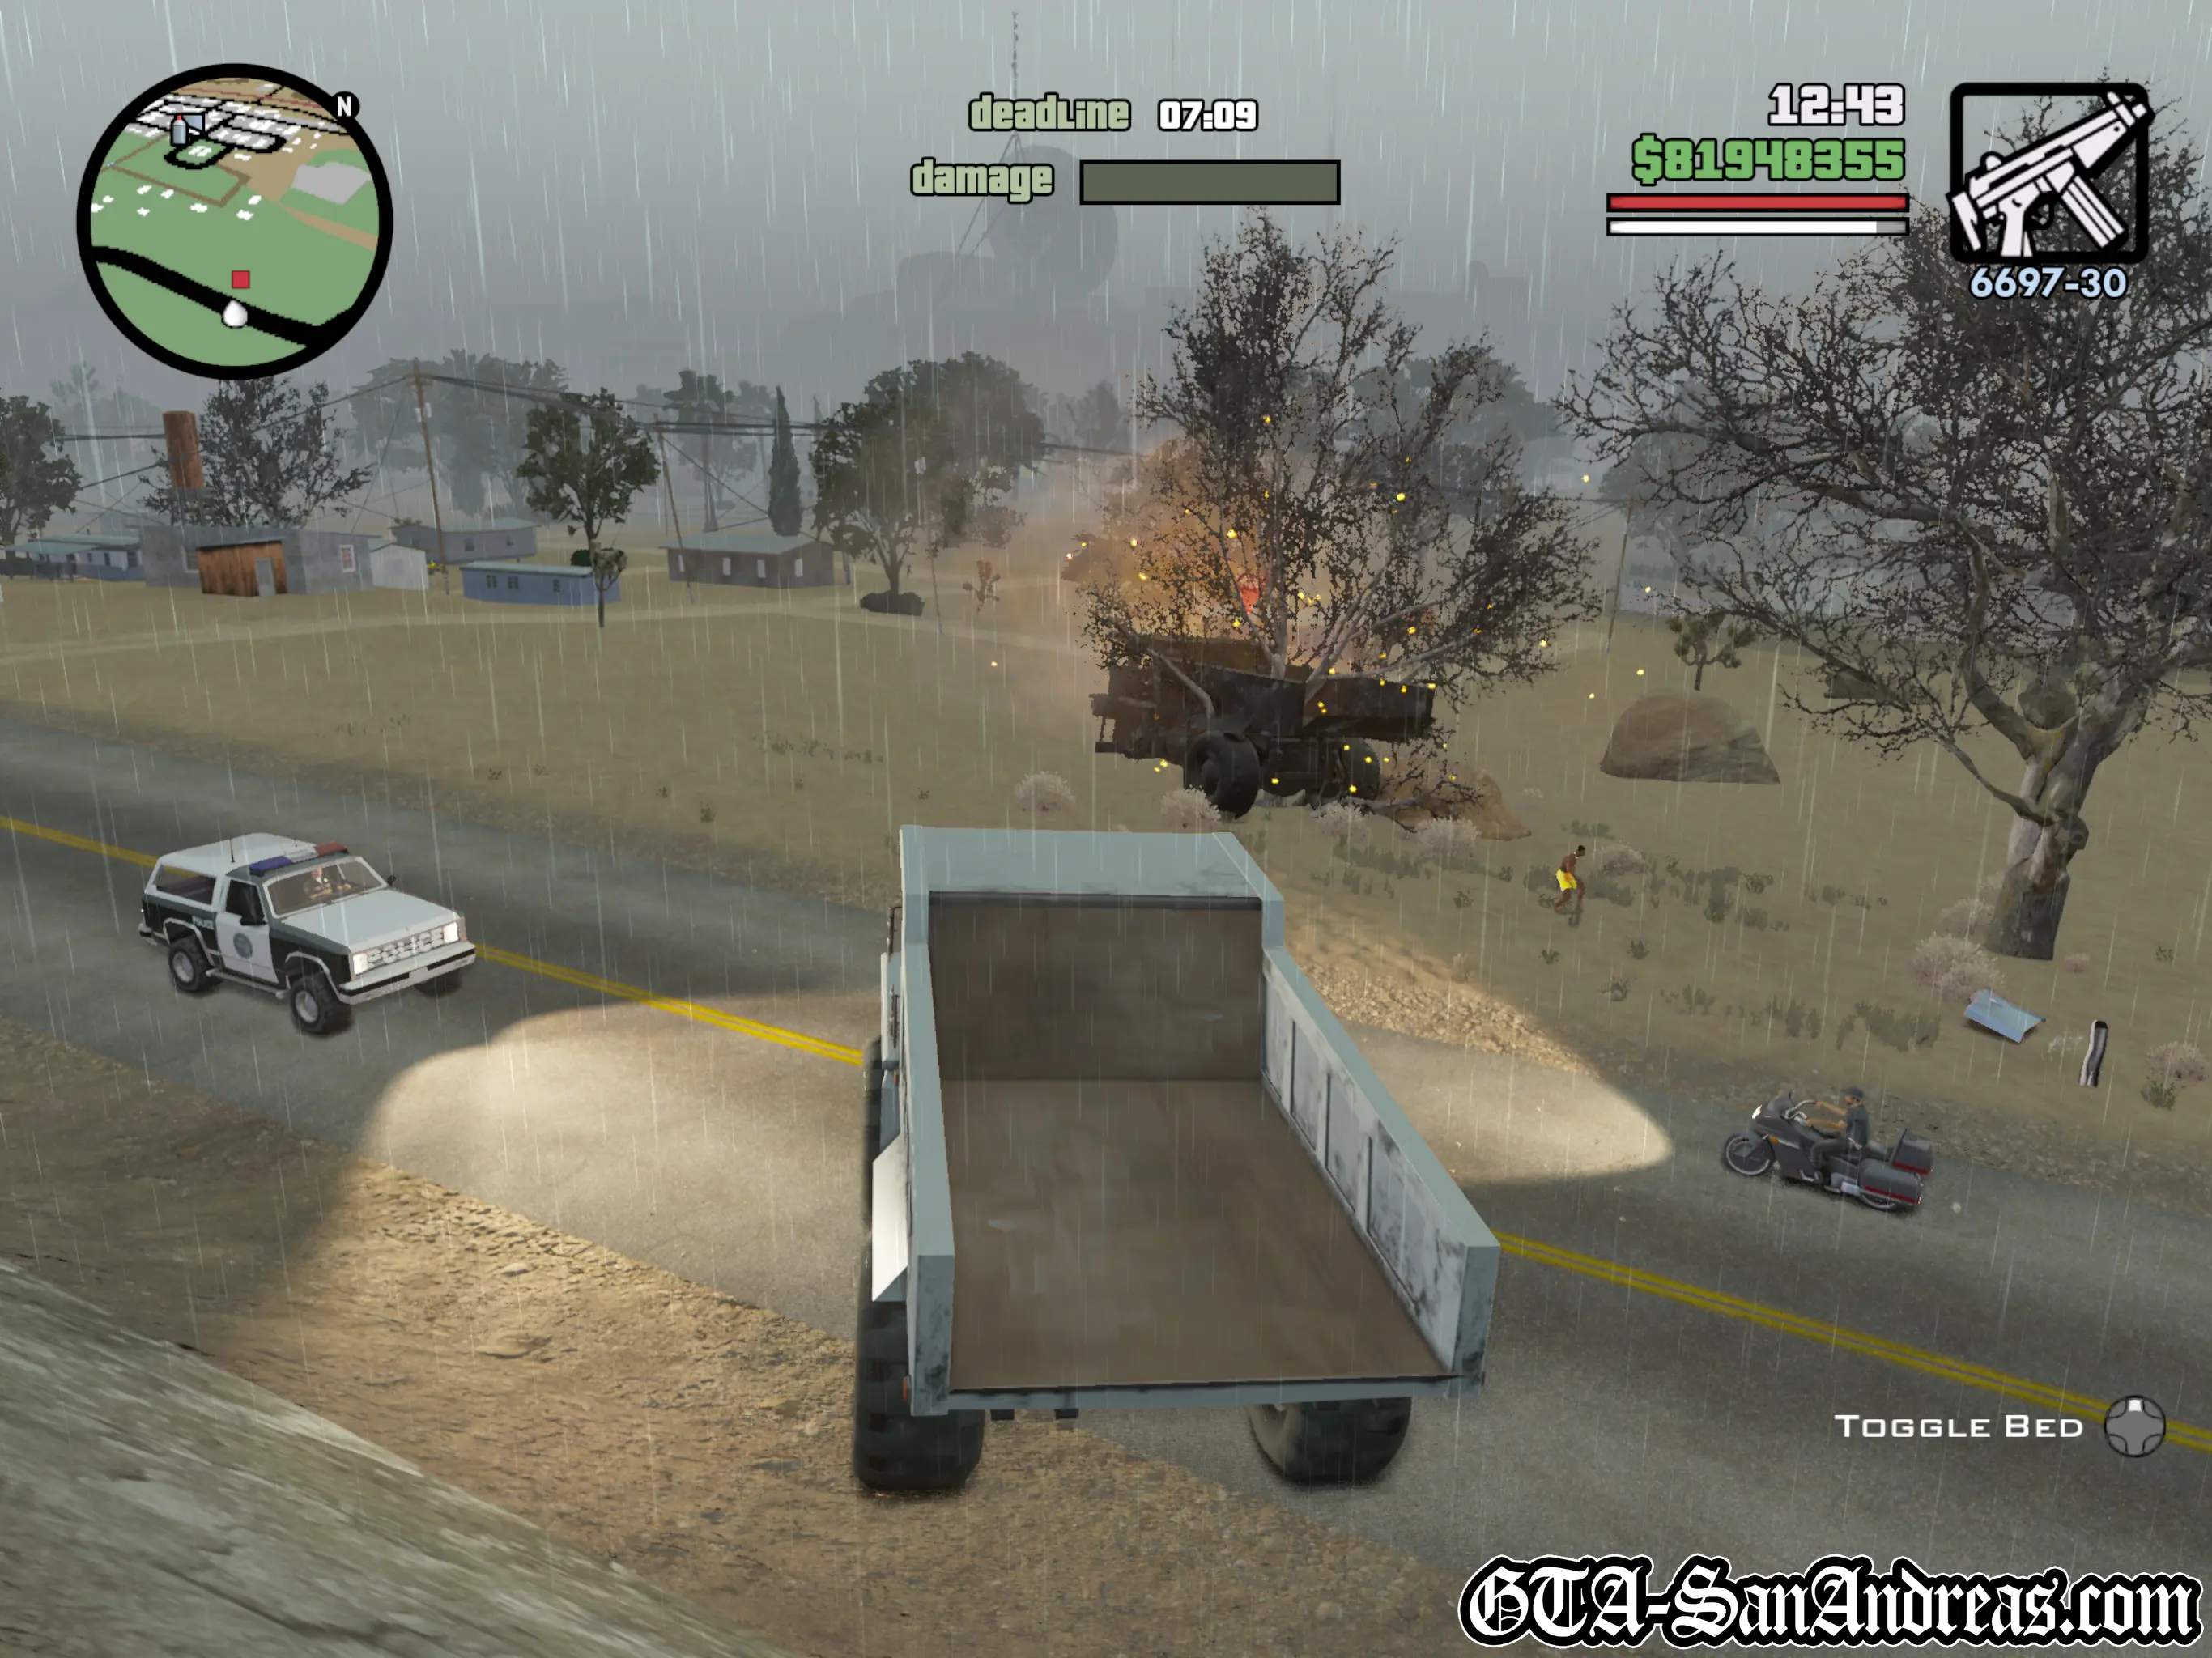
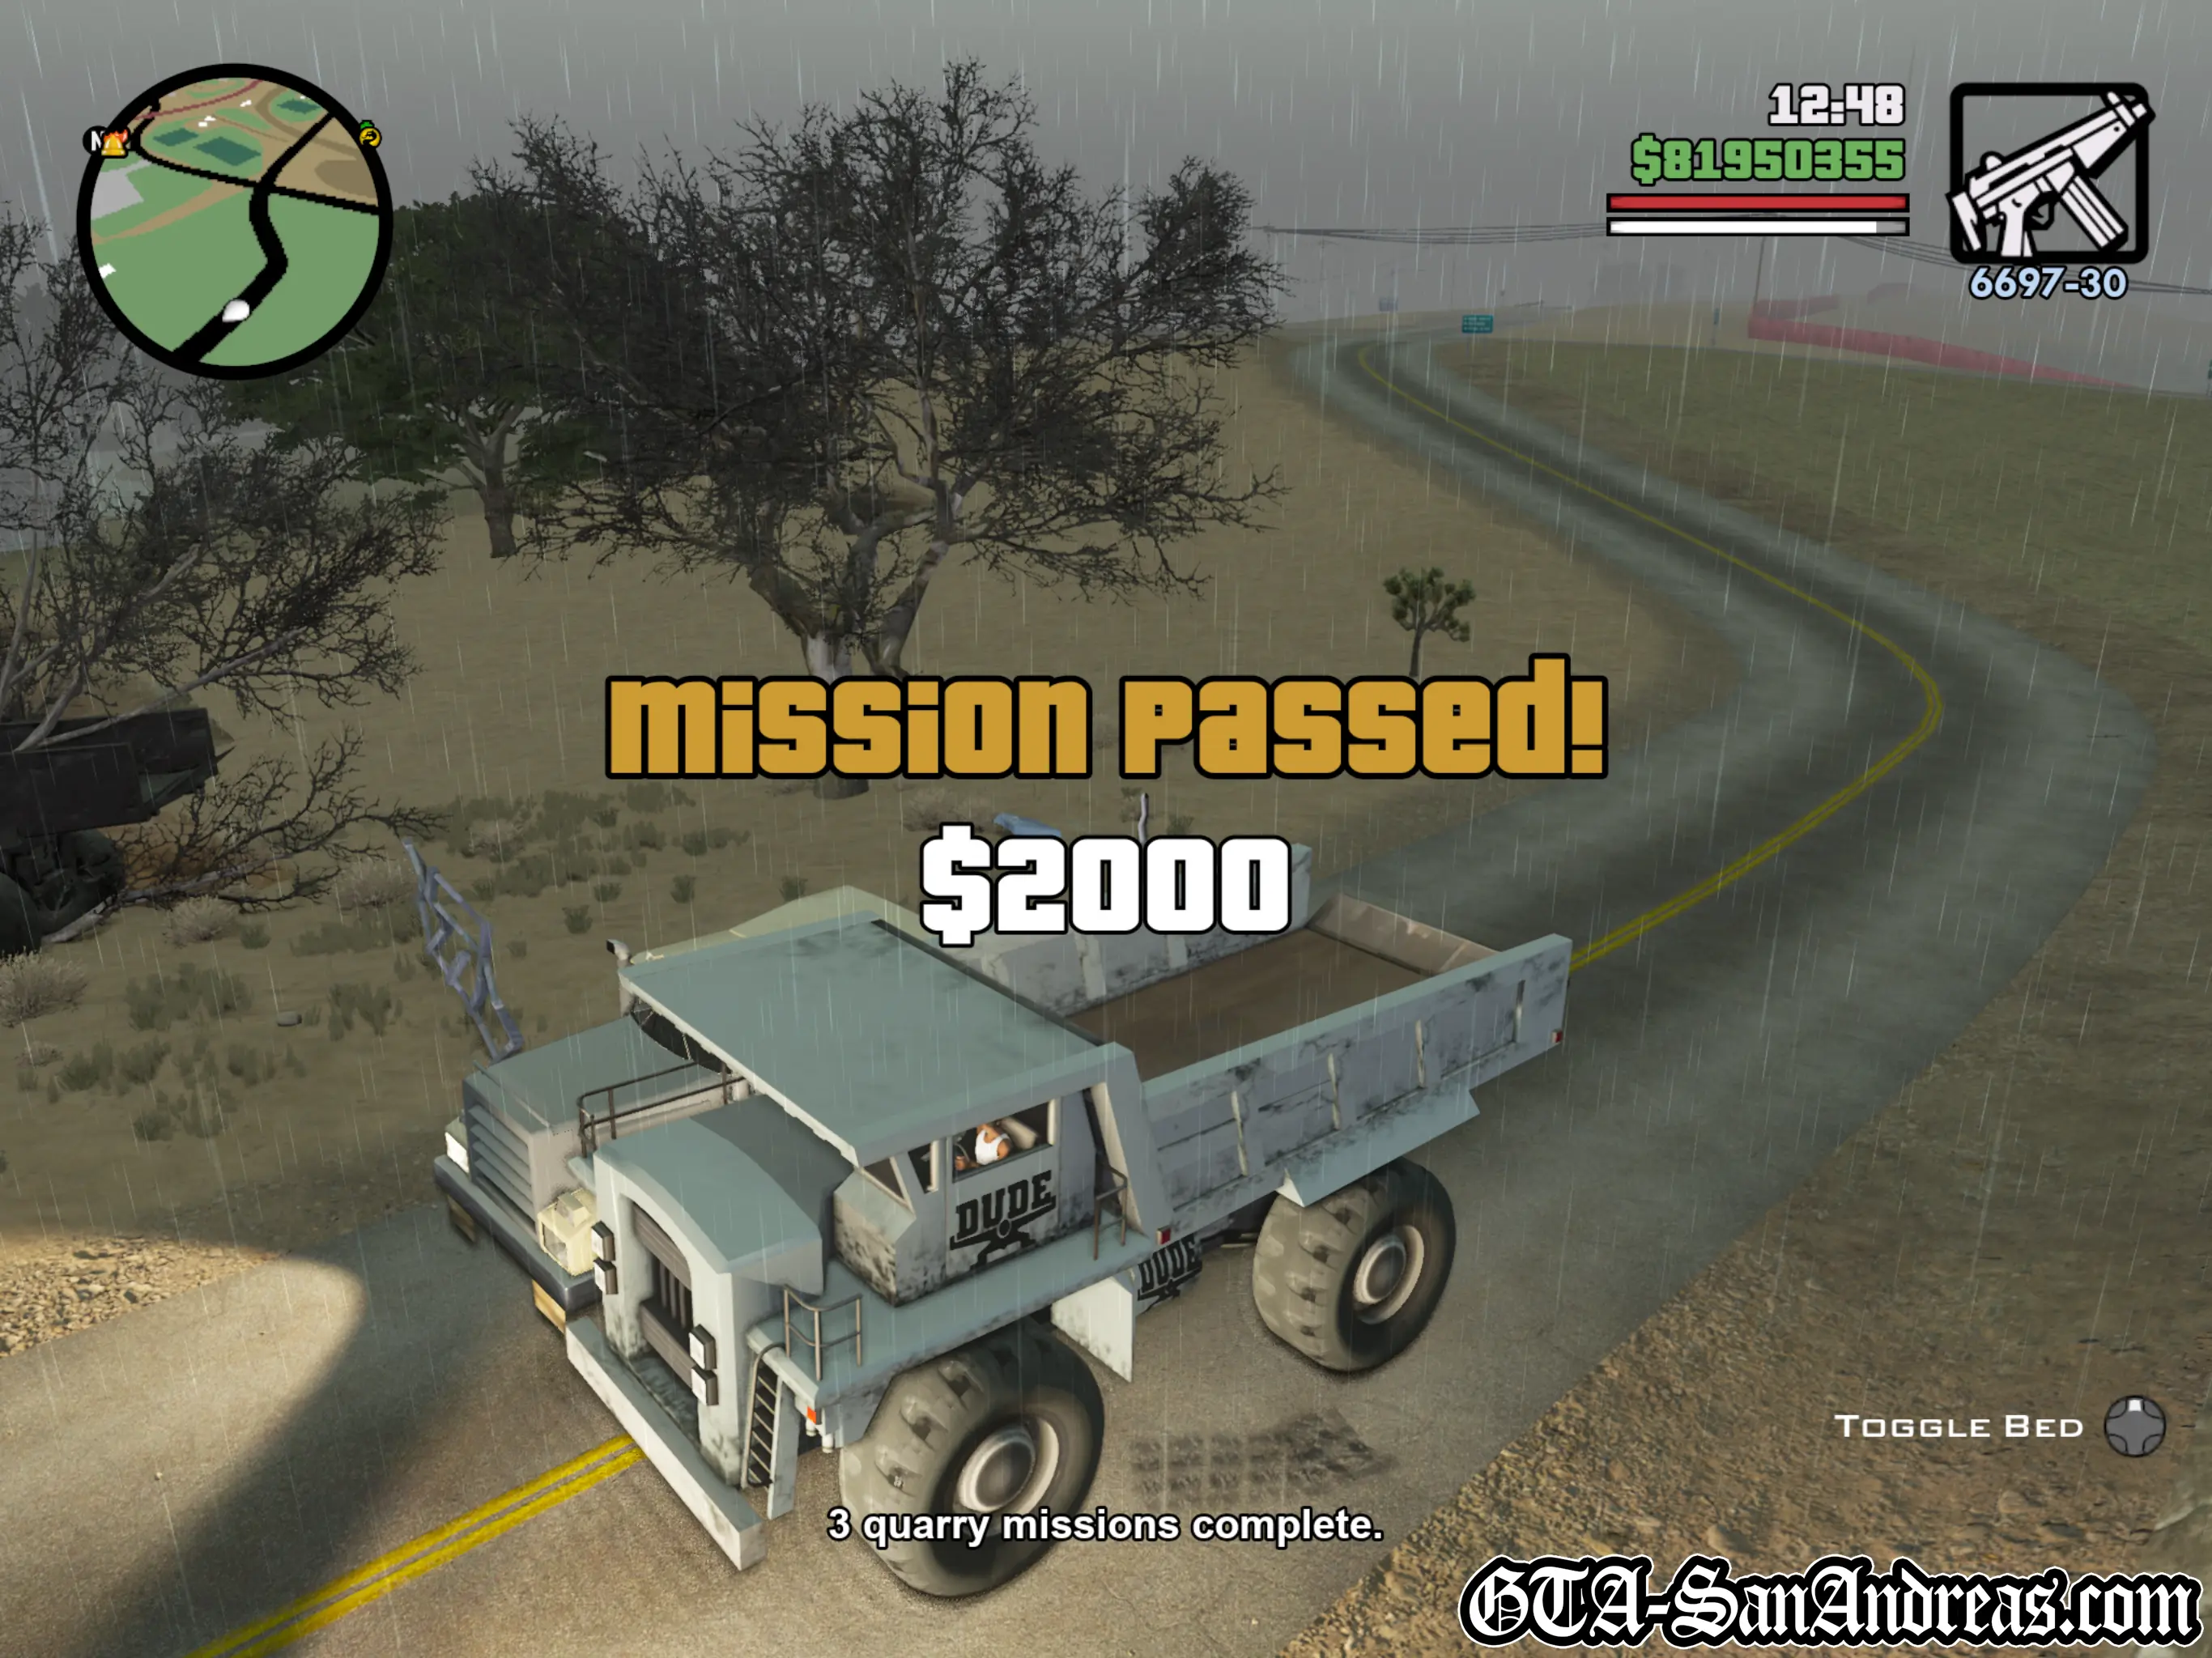
The bombers are escaping in a dumper. Use this dumper to destroy it before they reach safety.
Another timed mission, although this one isn't as repetitive as before.
Jump in the huge Dumper truck and make your way around the outside of the Quarry while chasing after the red blip on the radar. If you have a sub-machine gun you can simply drive-by the truck until it goes boom. If not, or if you want a bit more entertainment, try to smashing it to pieces with the Dumper truck or knock it into the water as it passes through Tierra Robada.
Screenshots
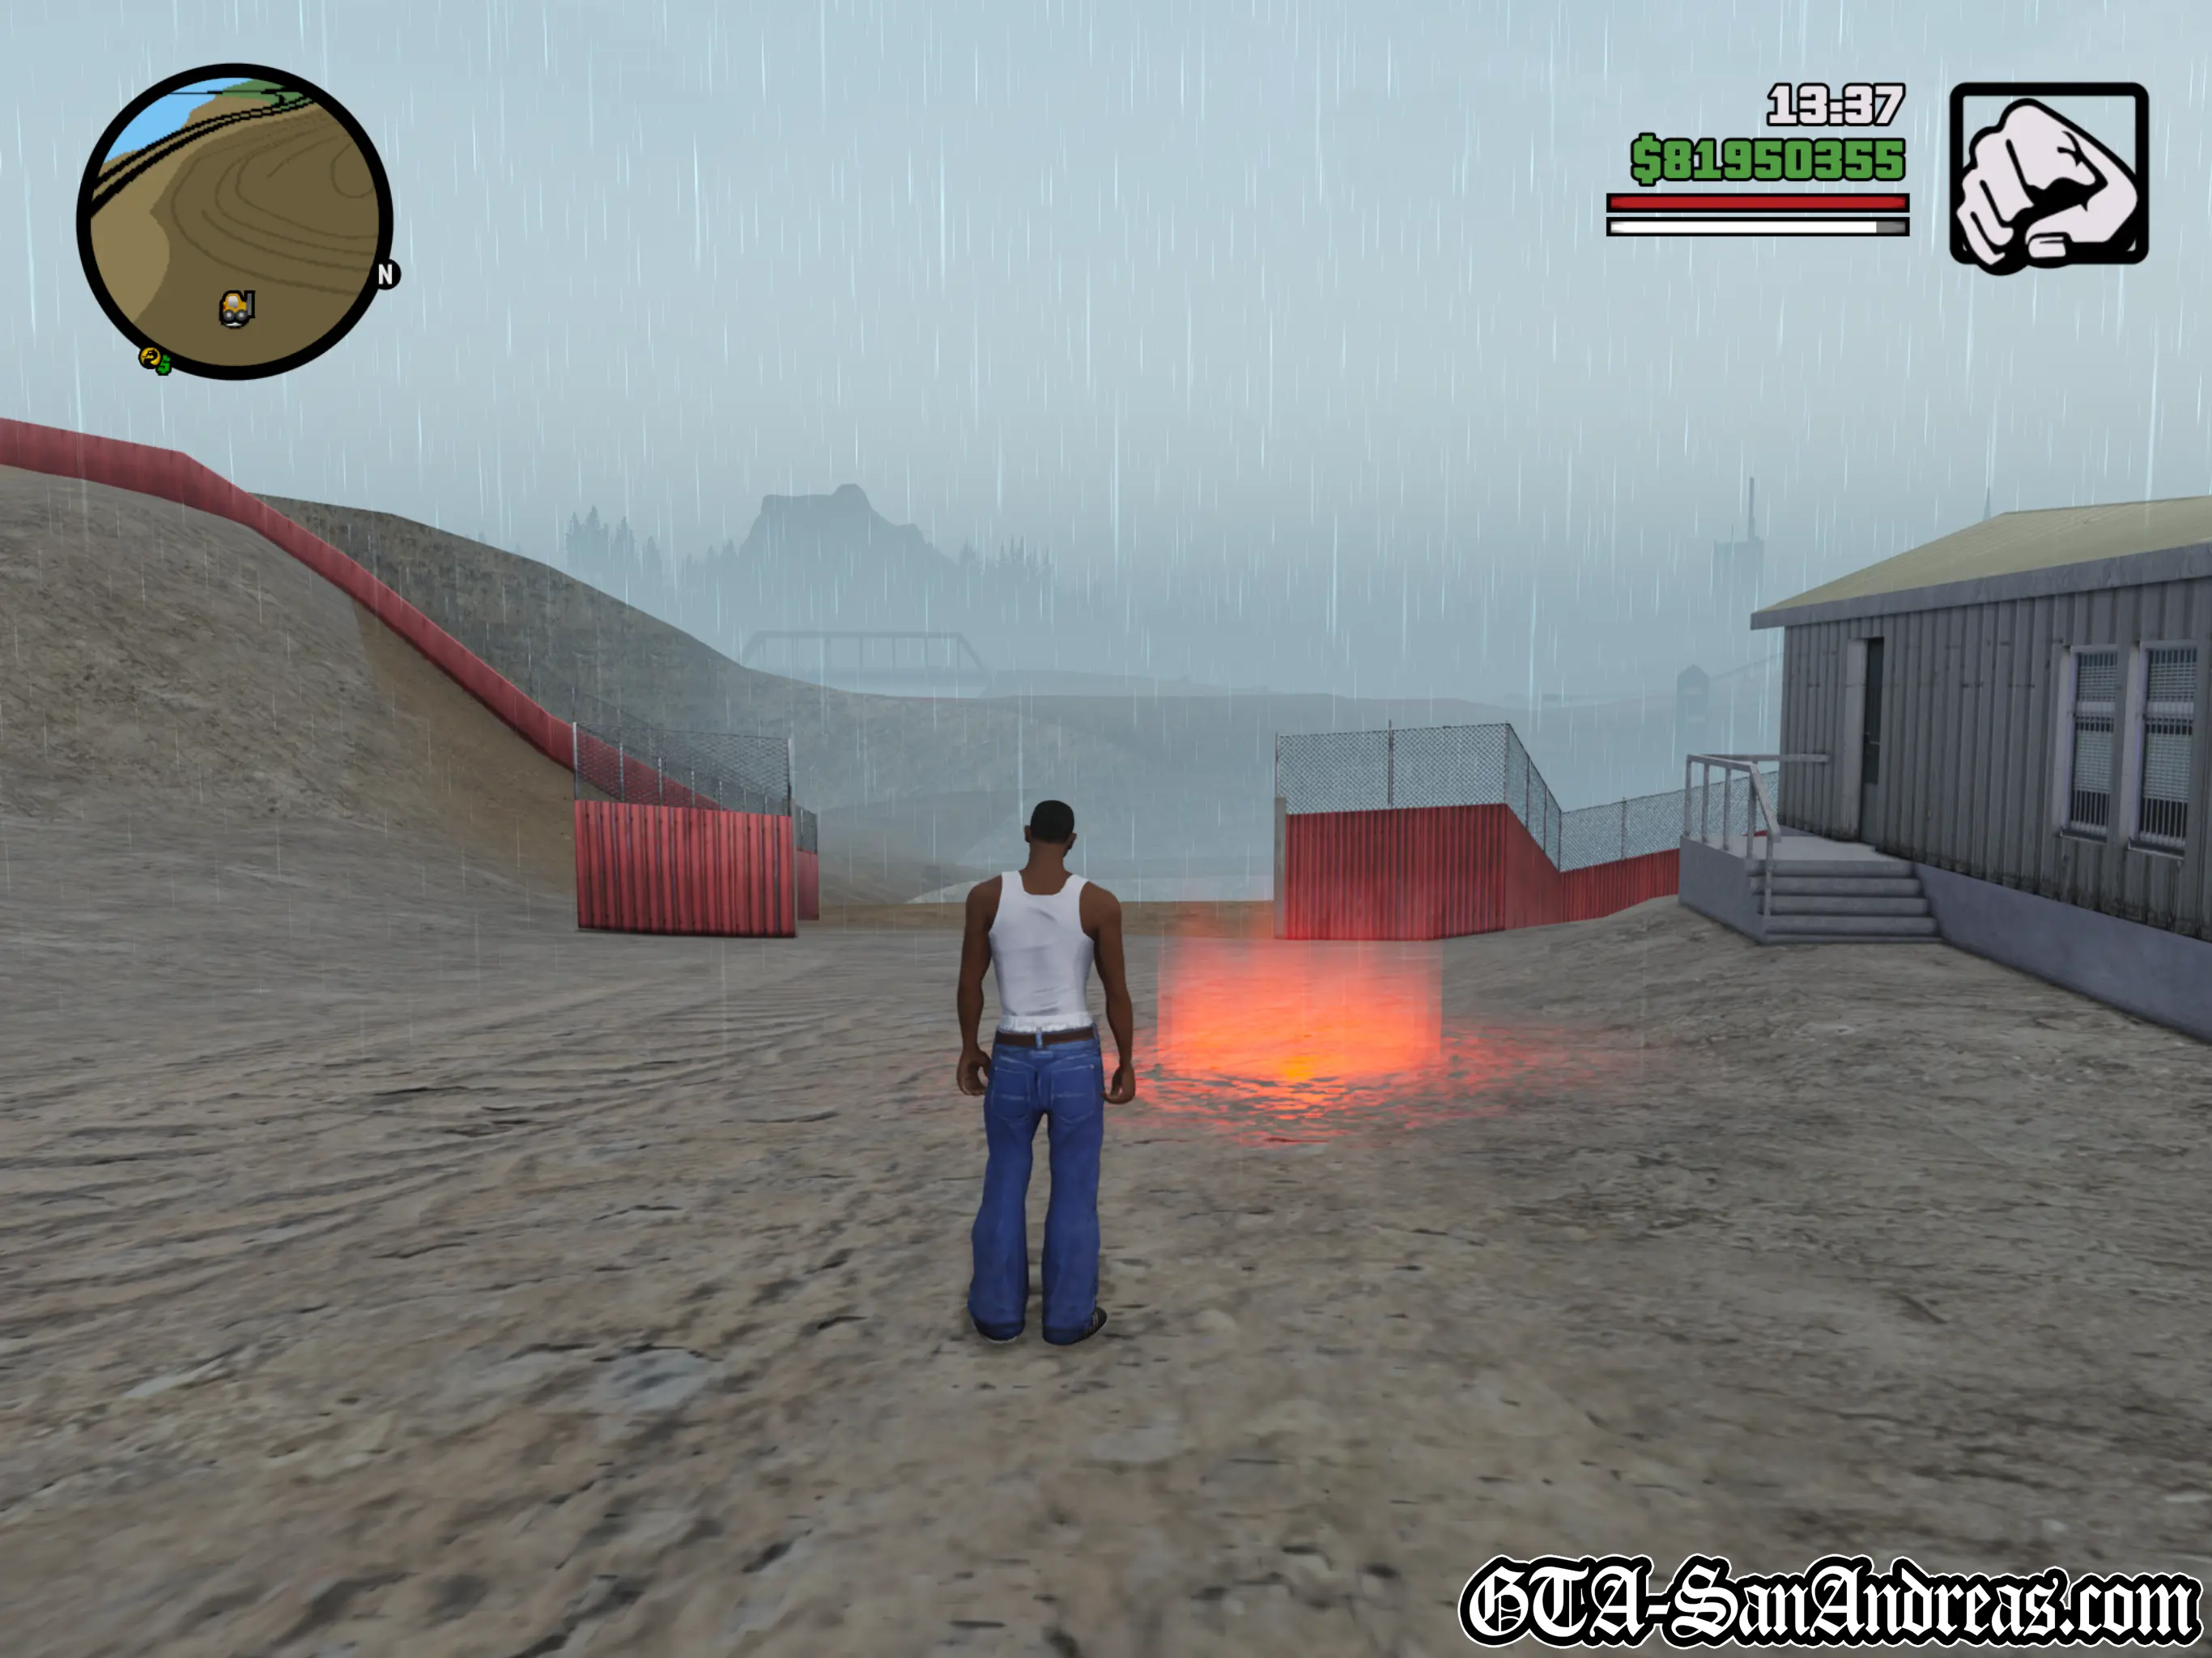
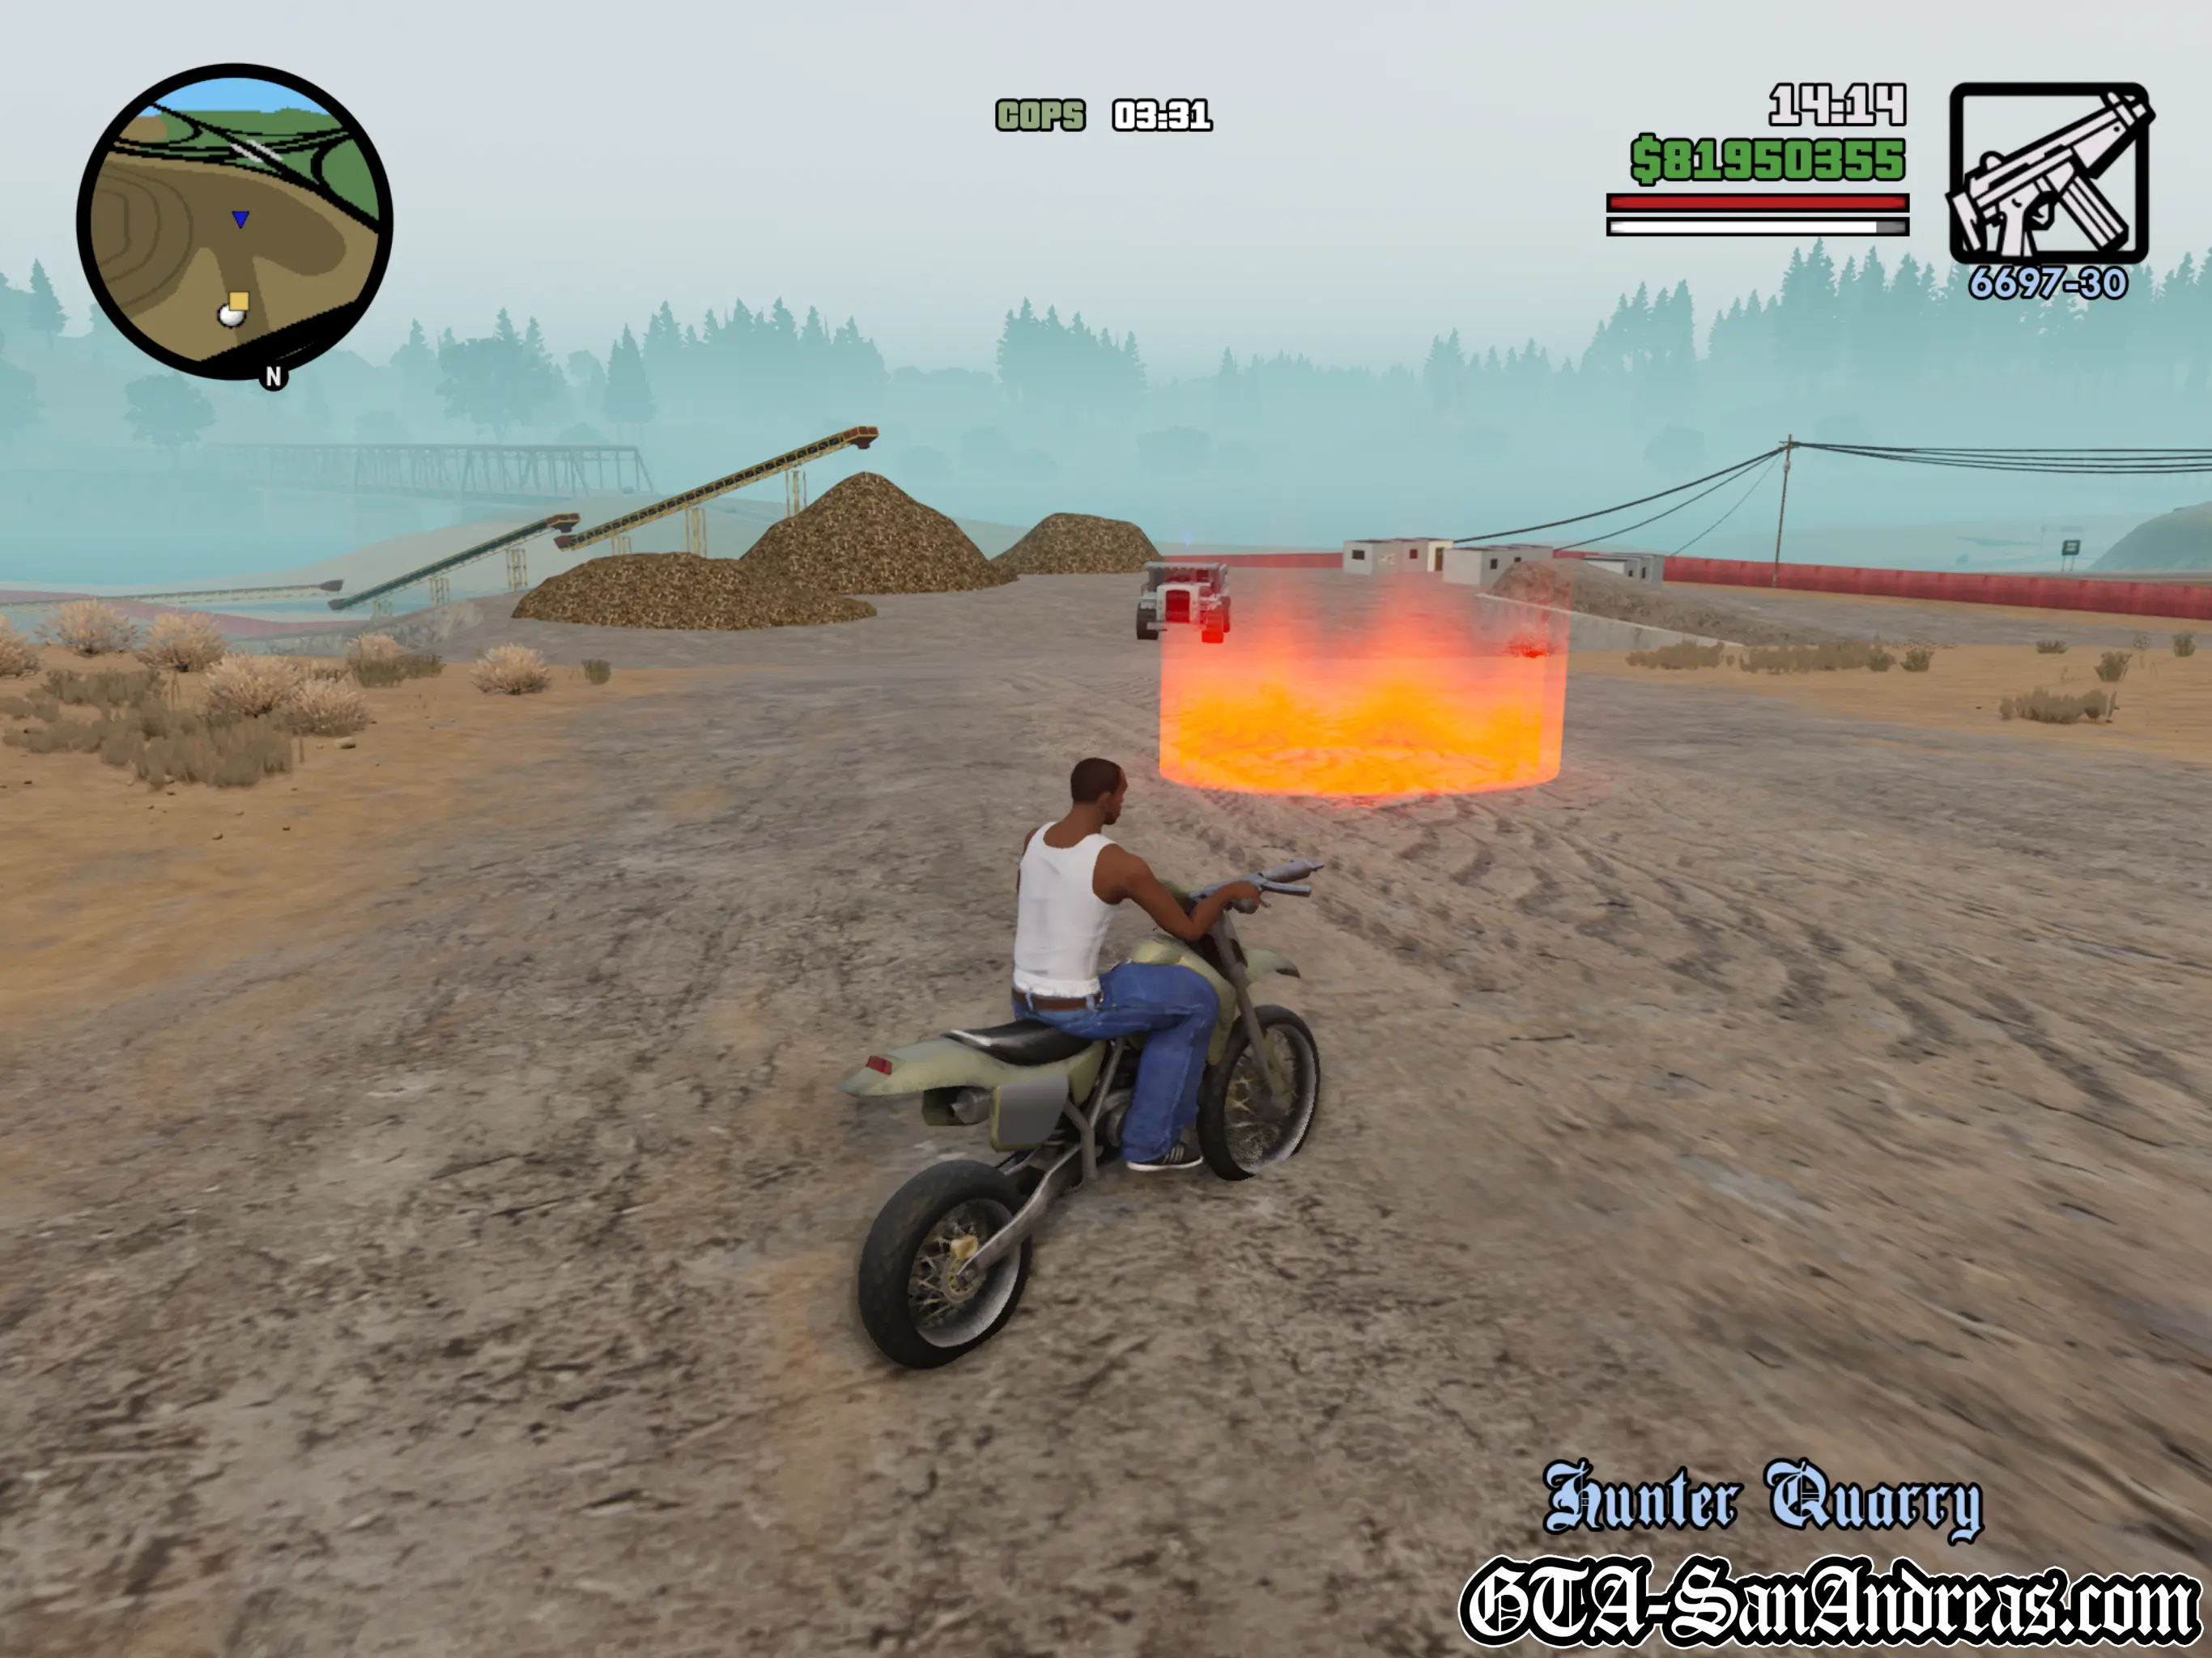
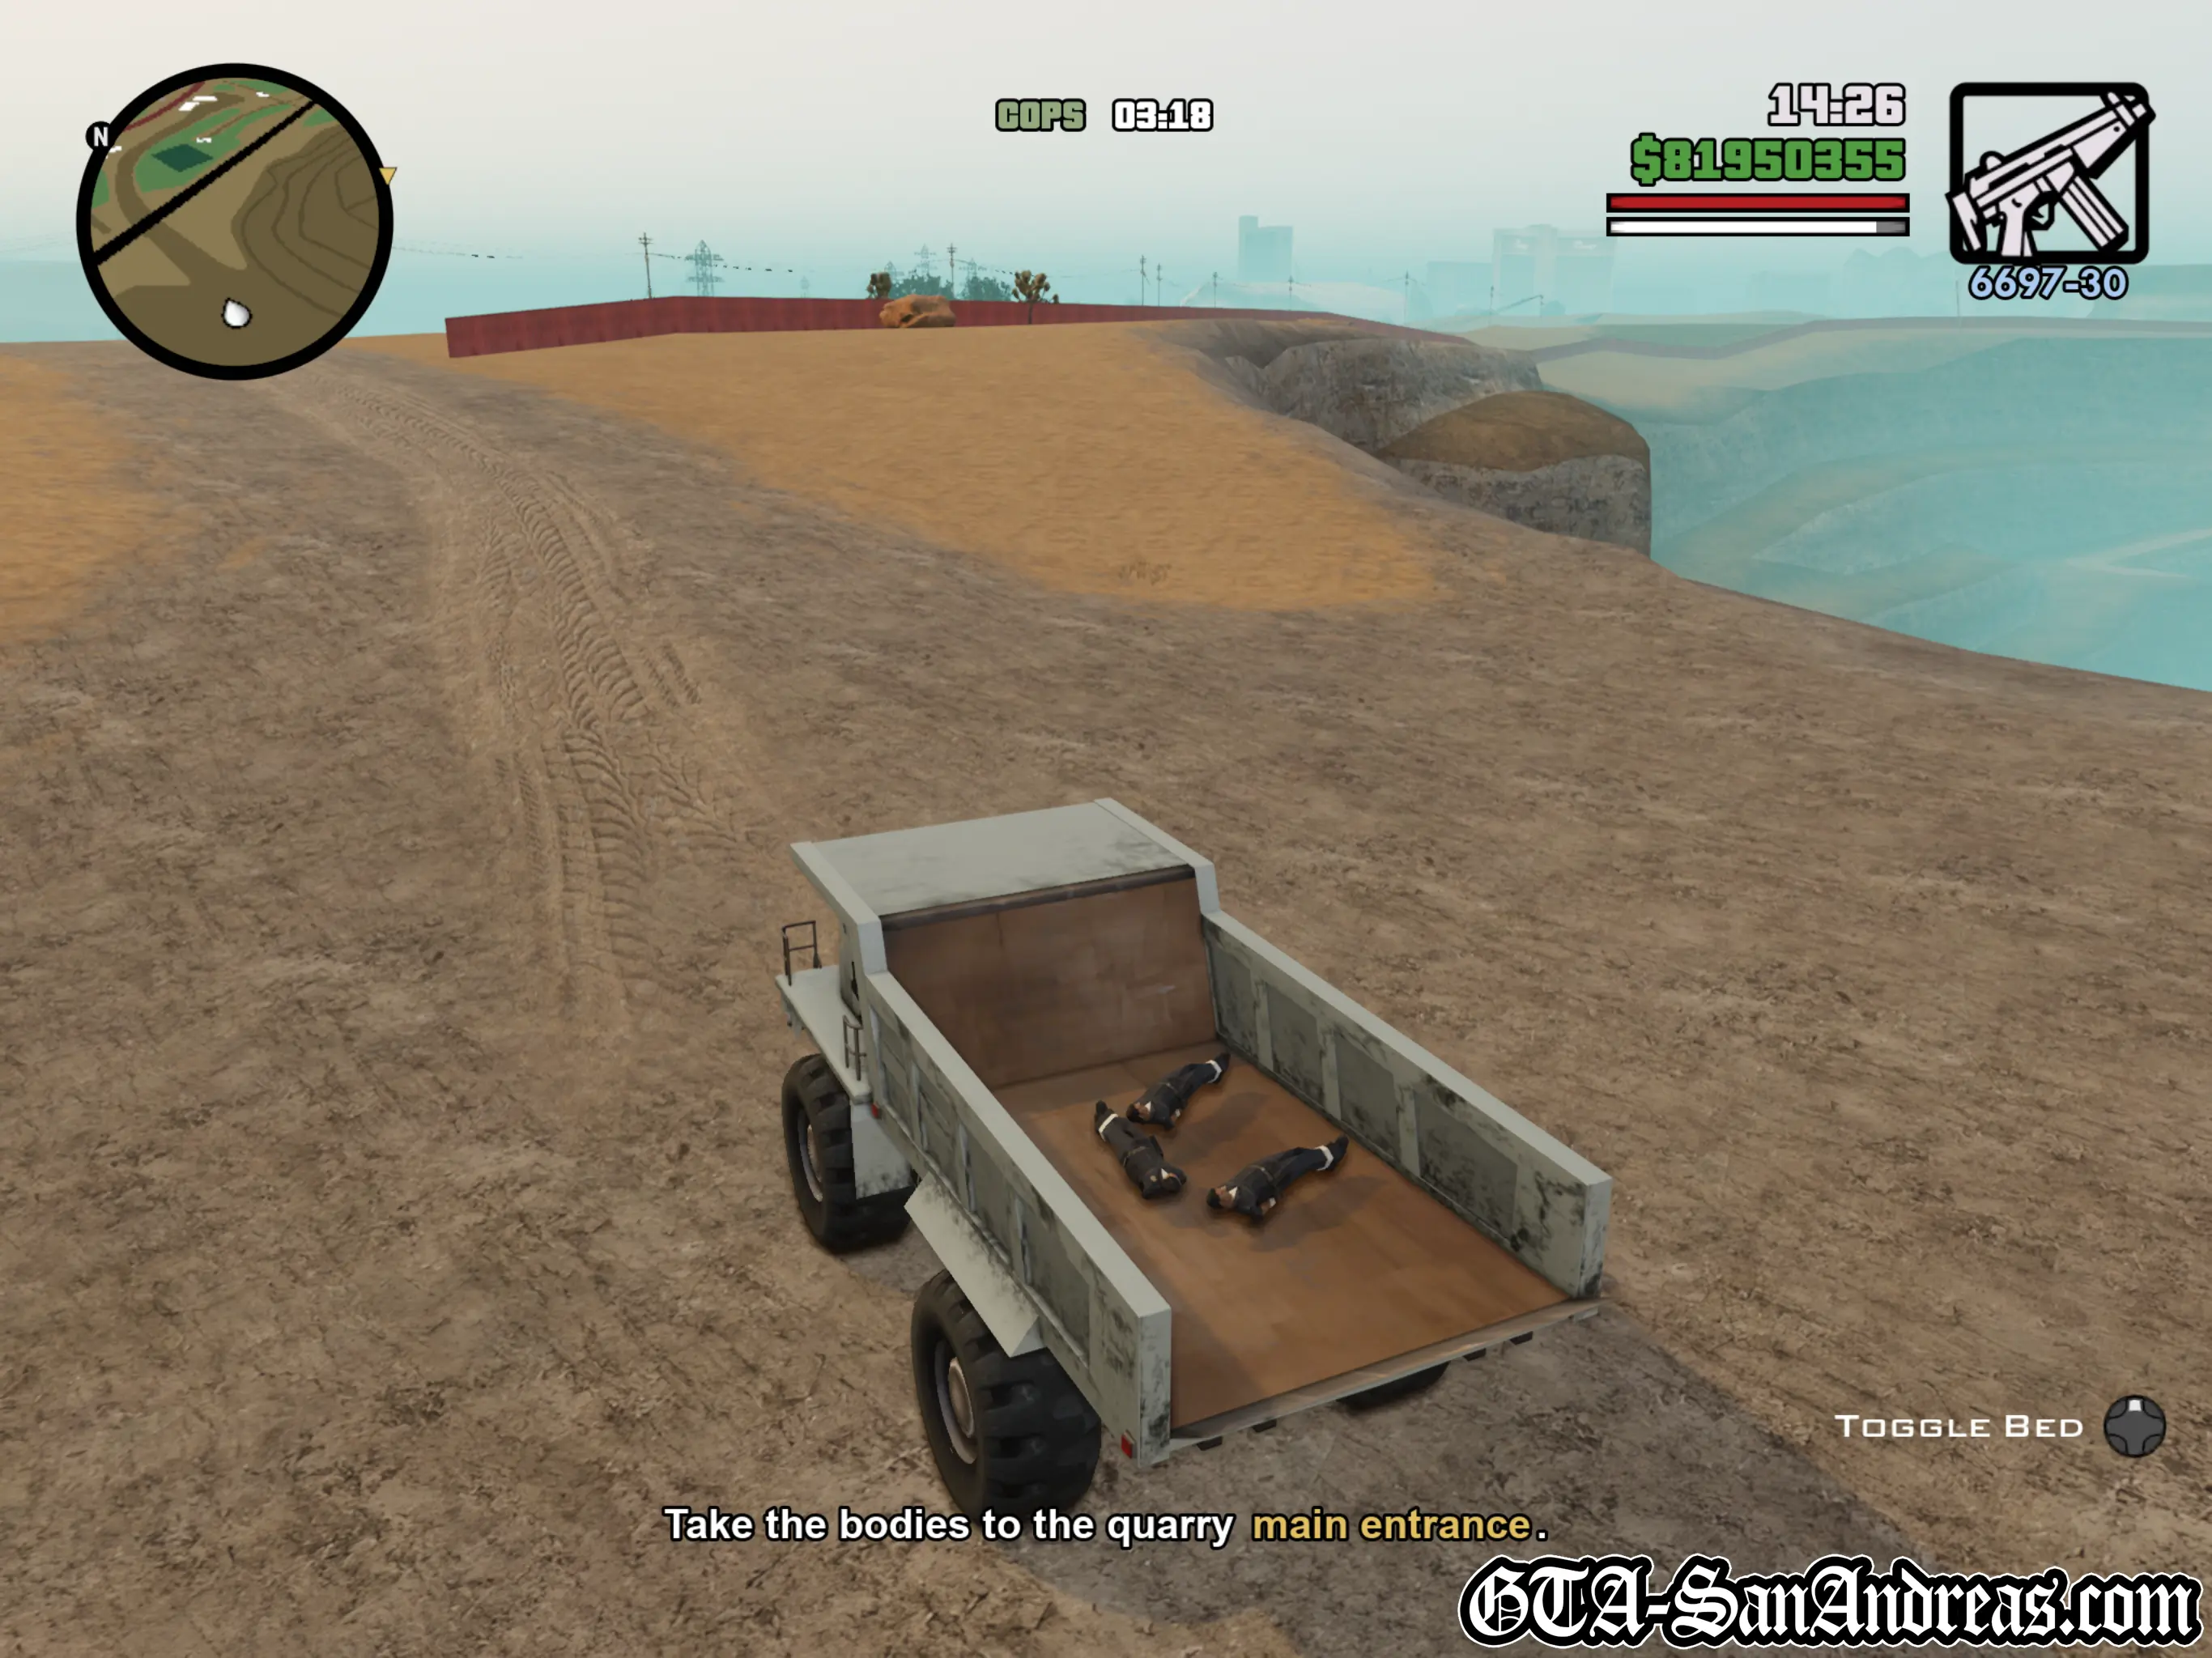
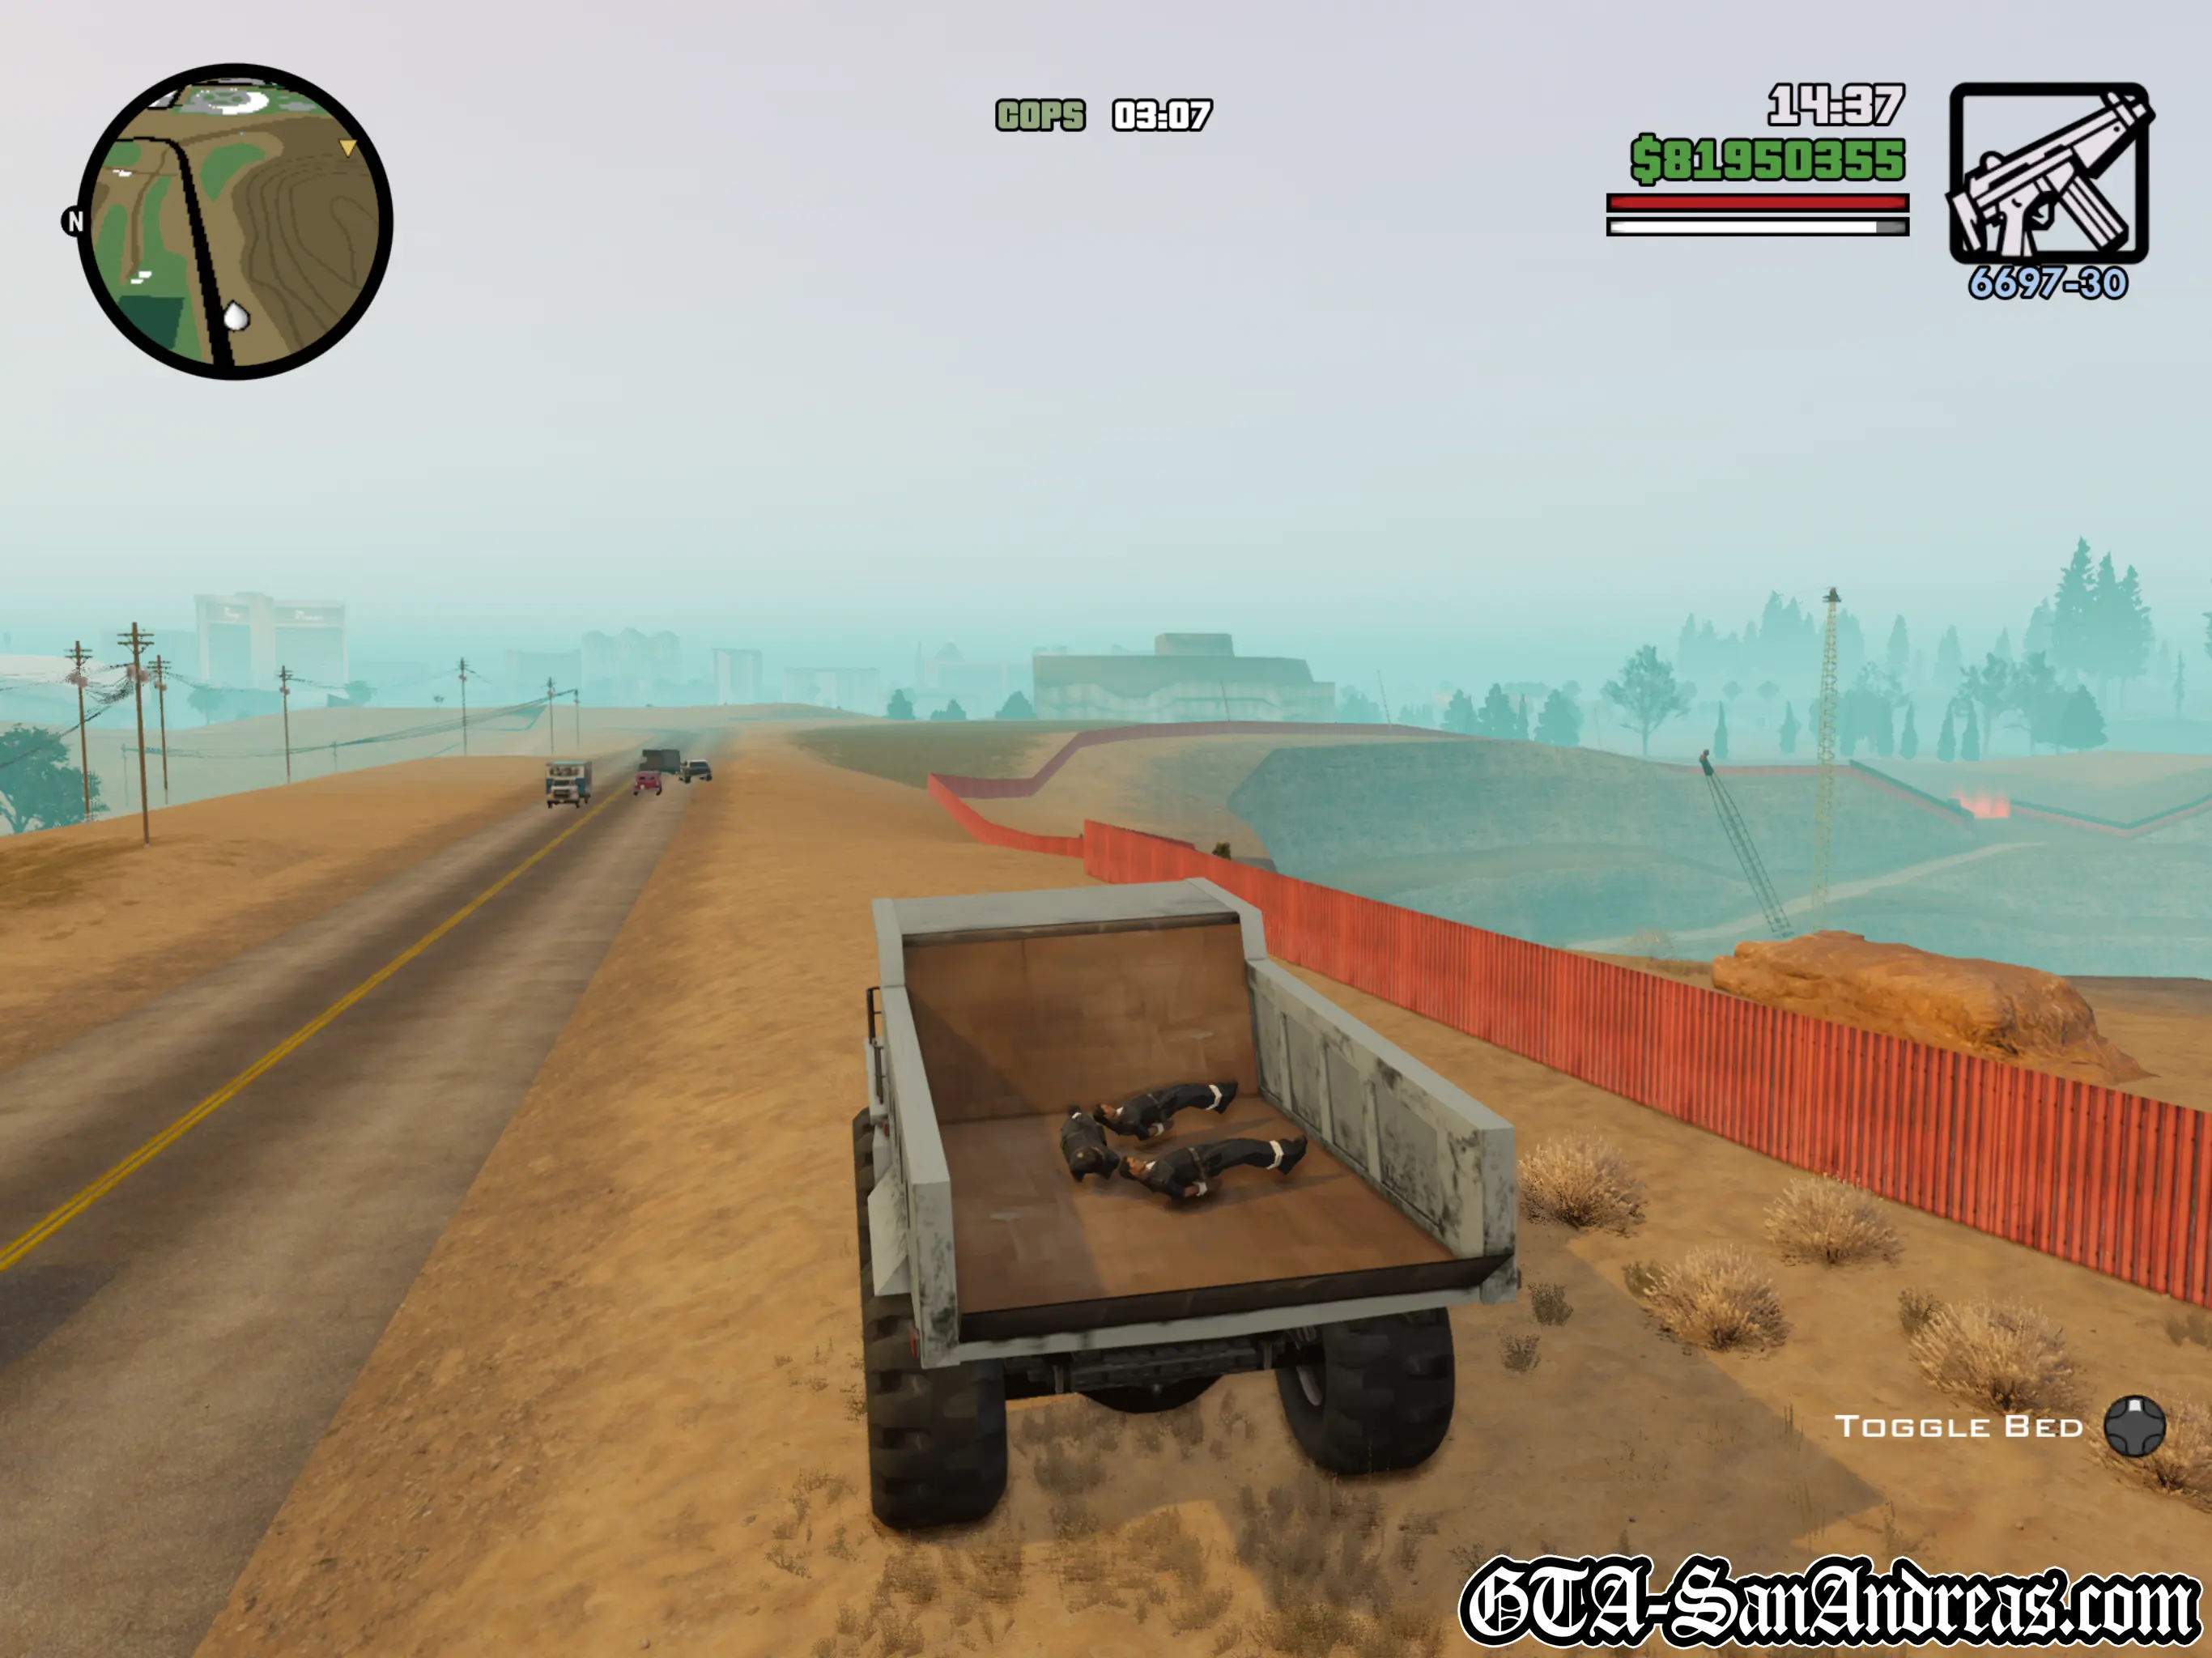
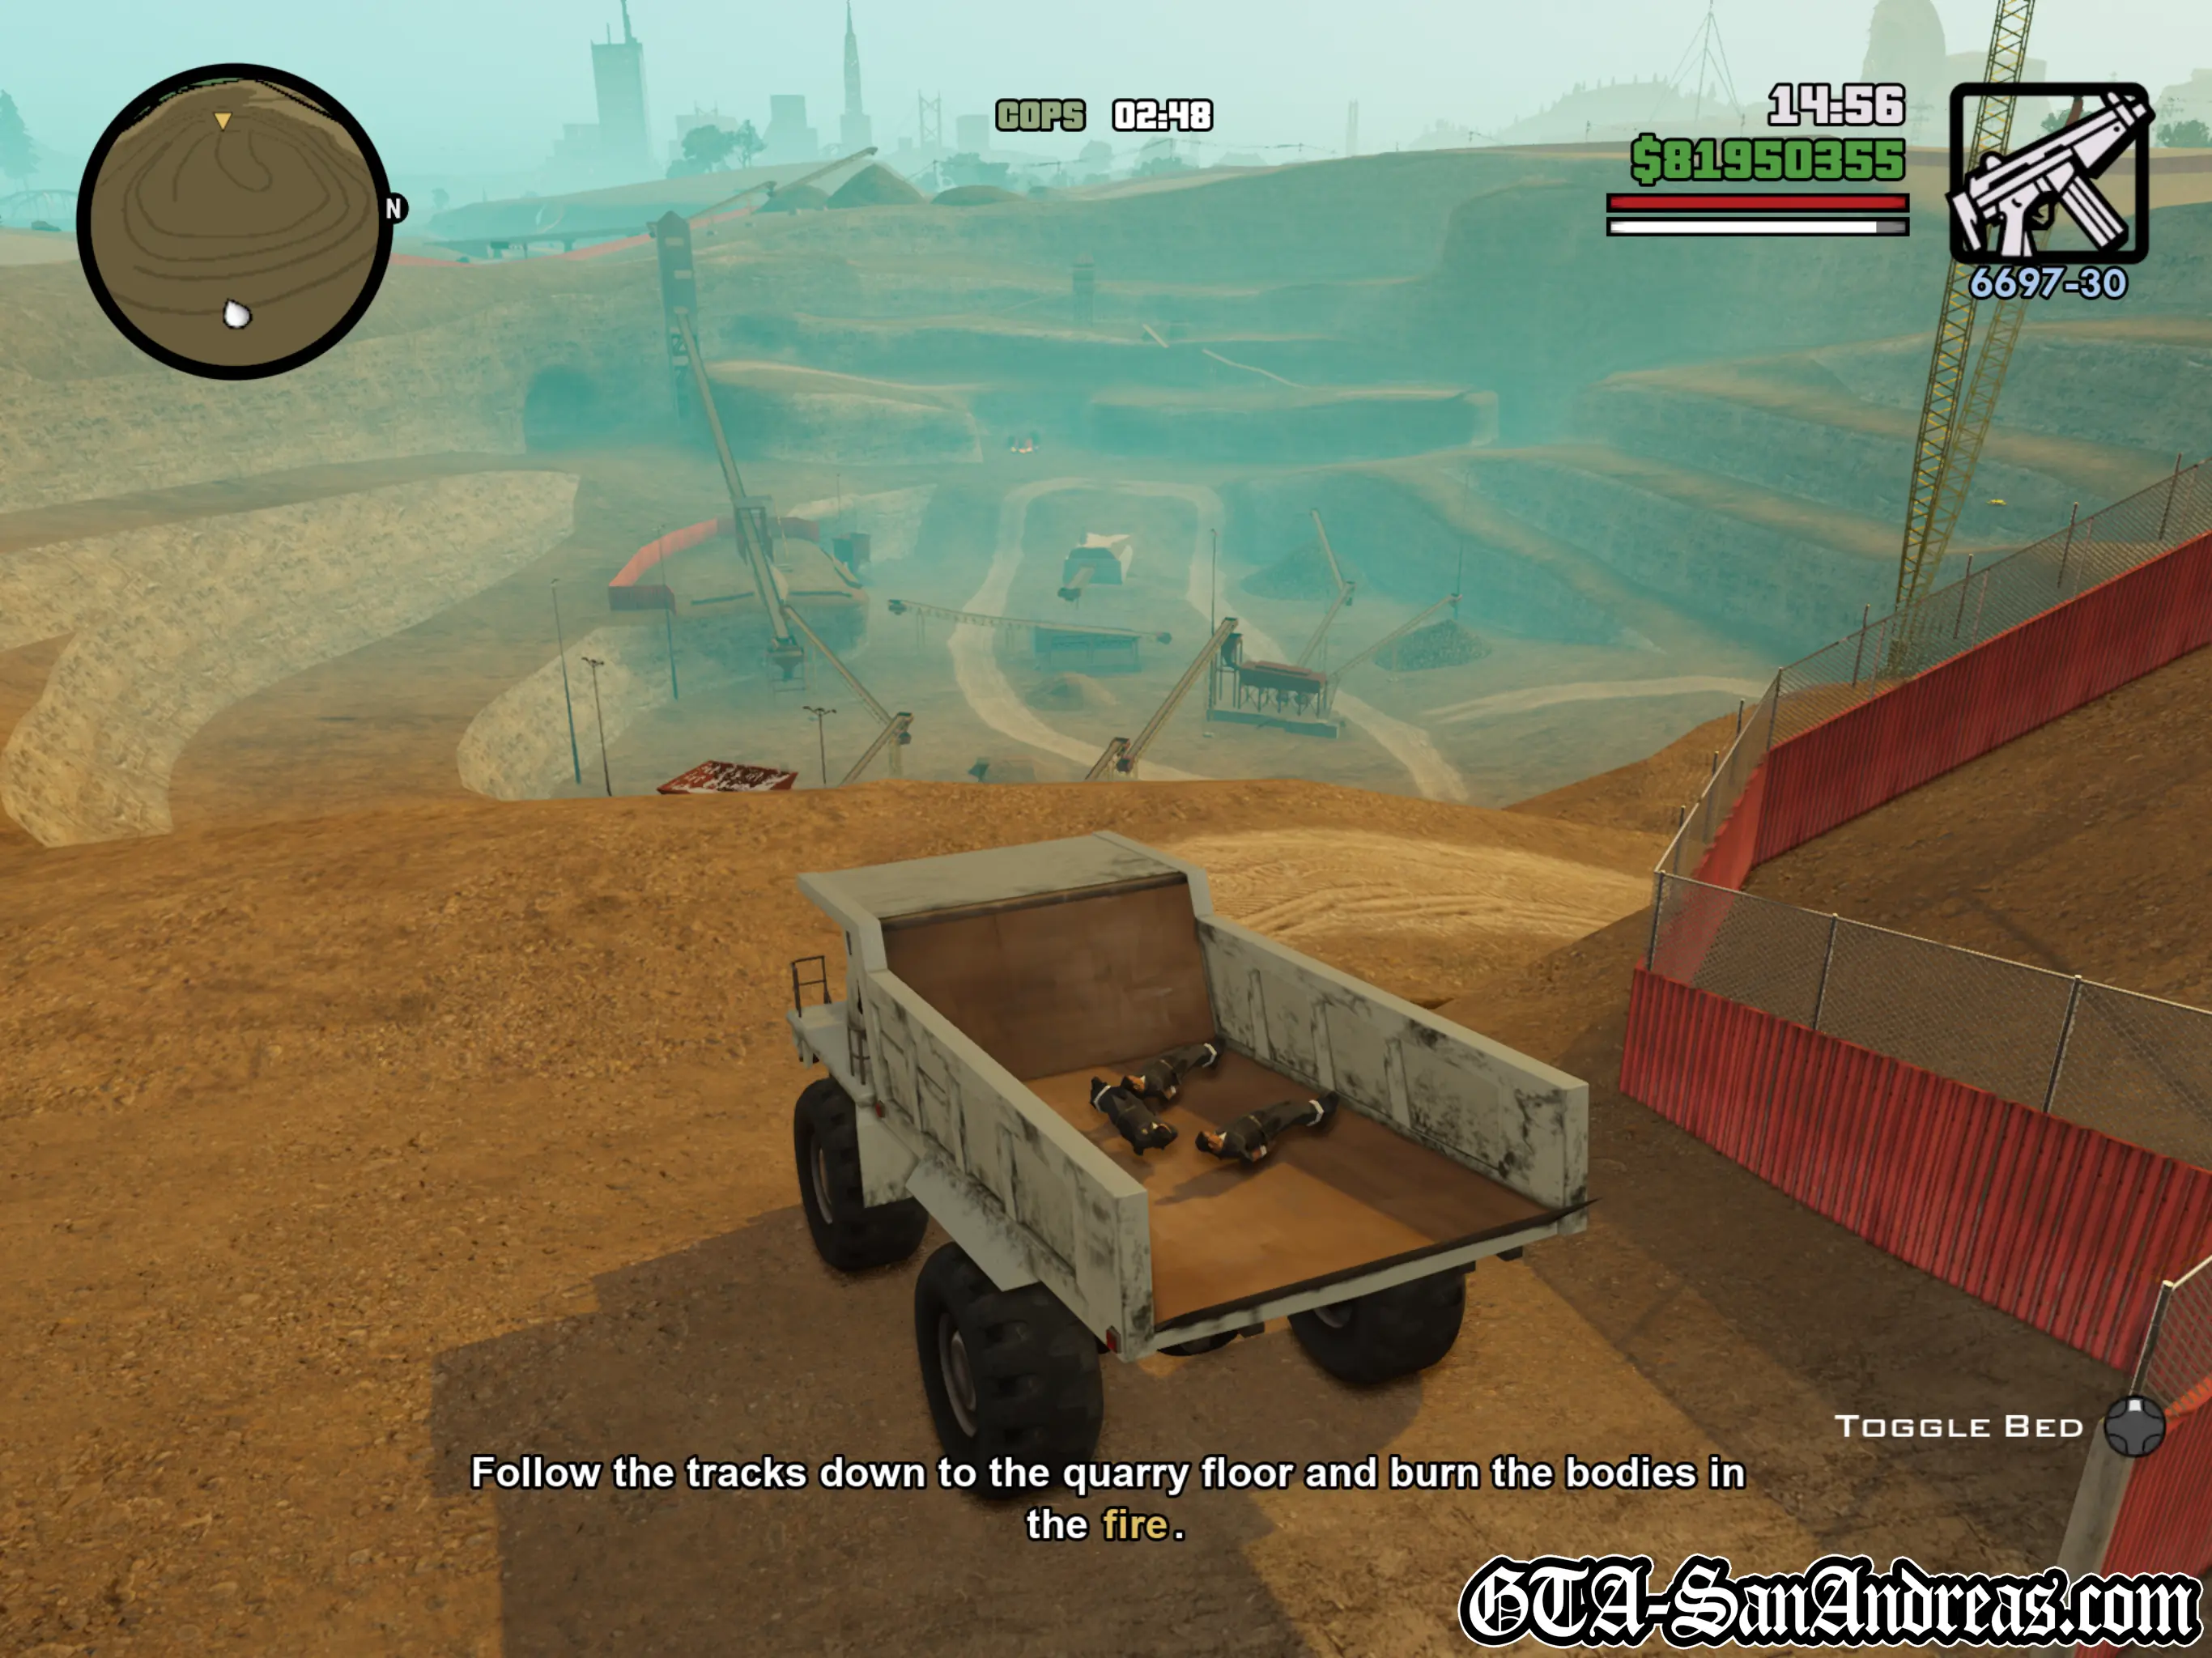
Hunter Quarry - Mission 4
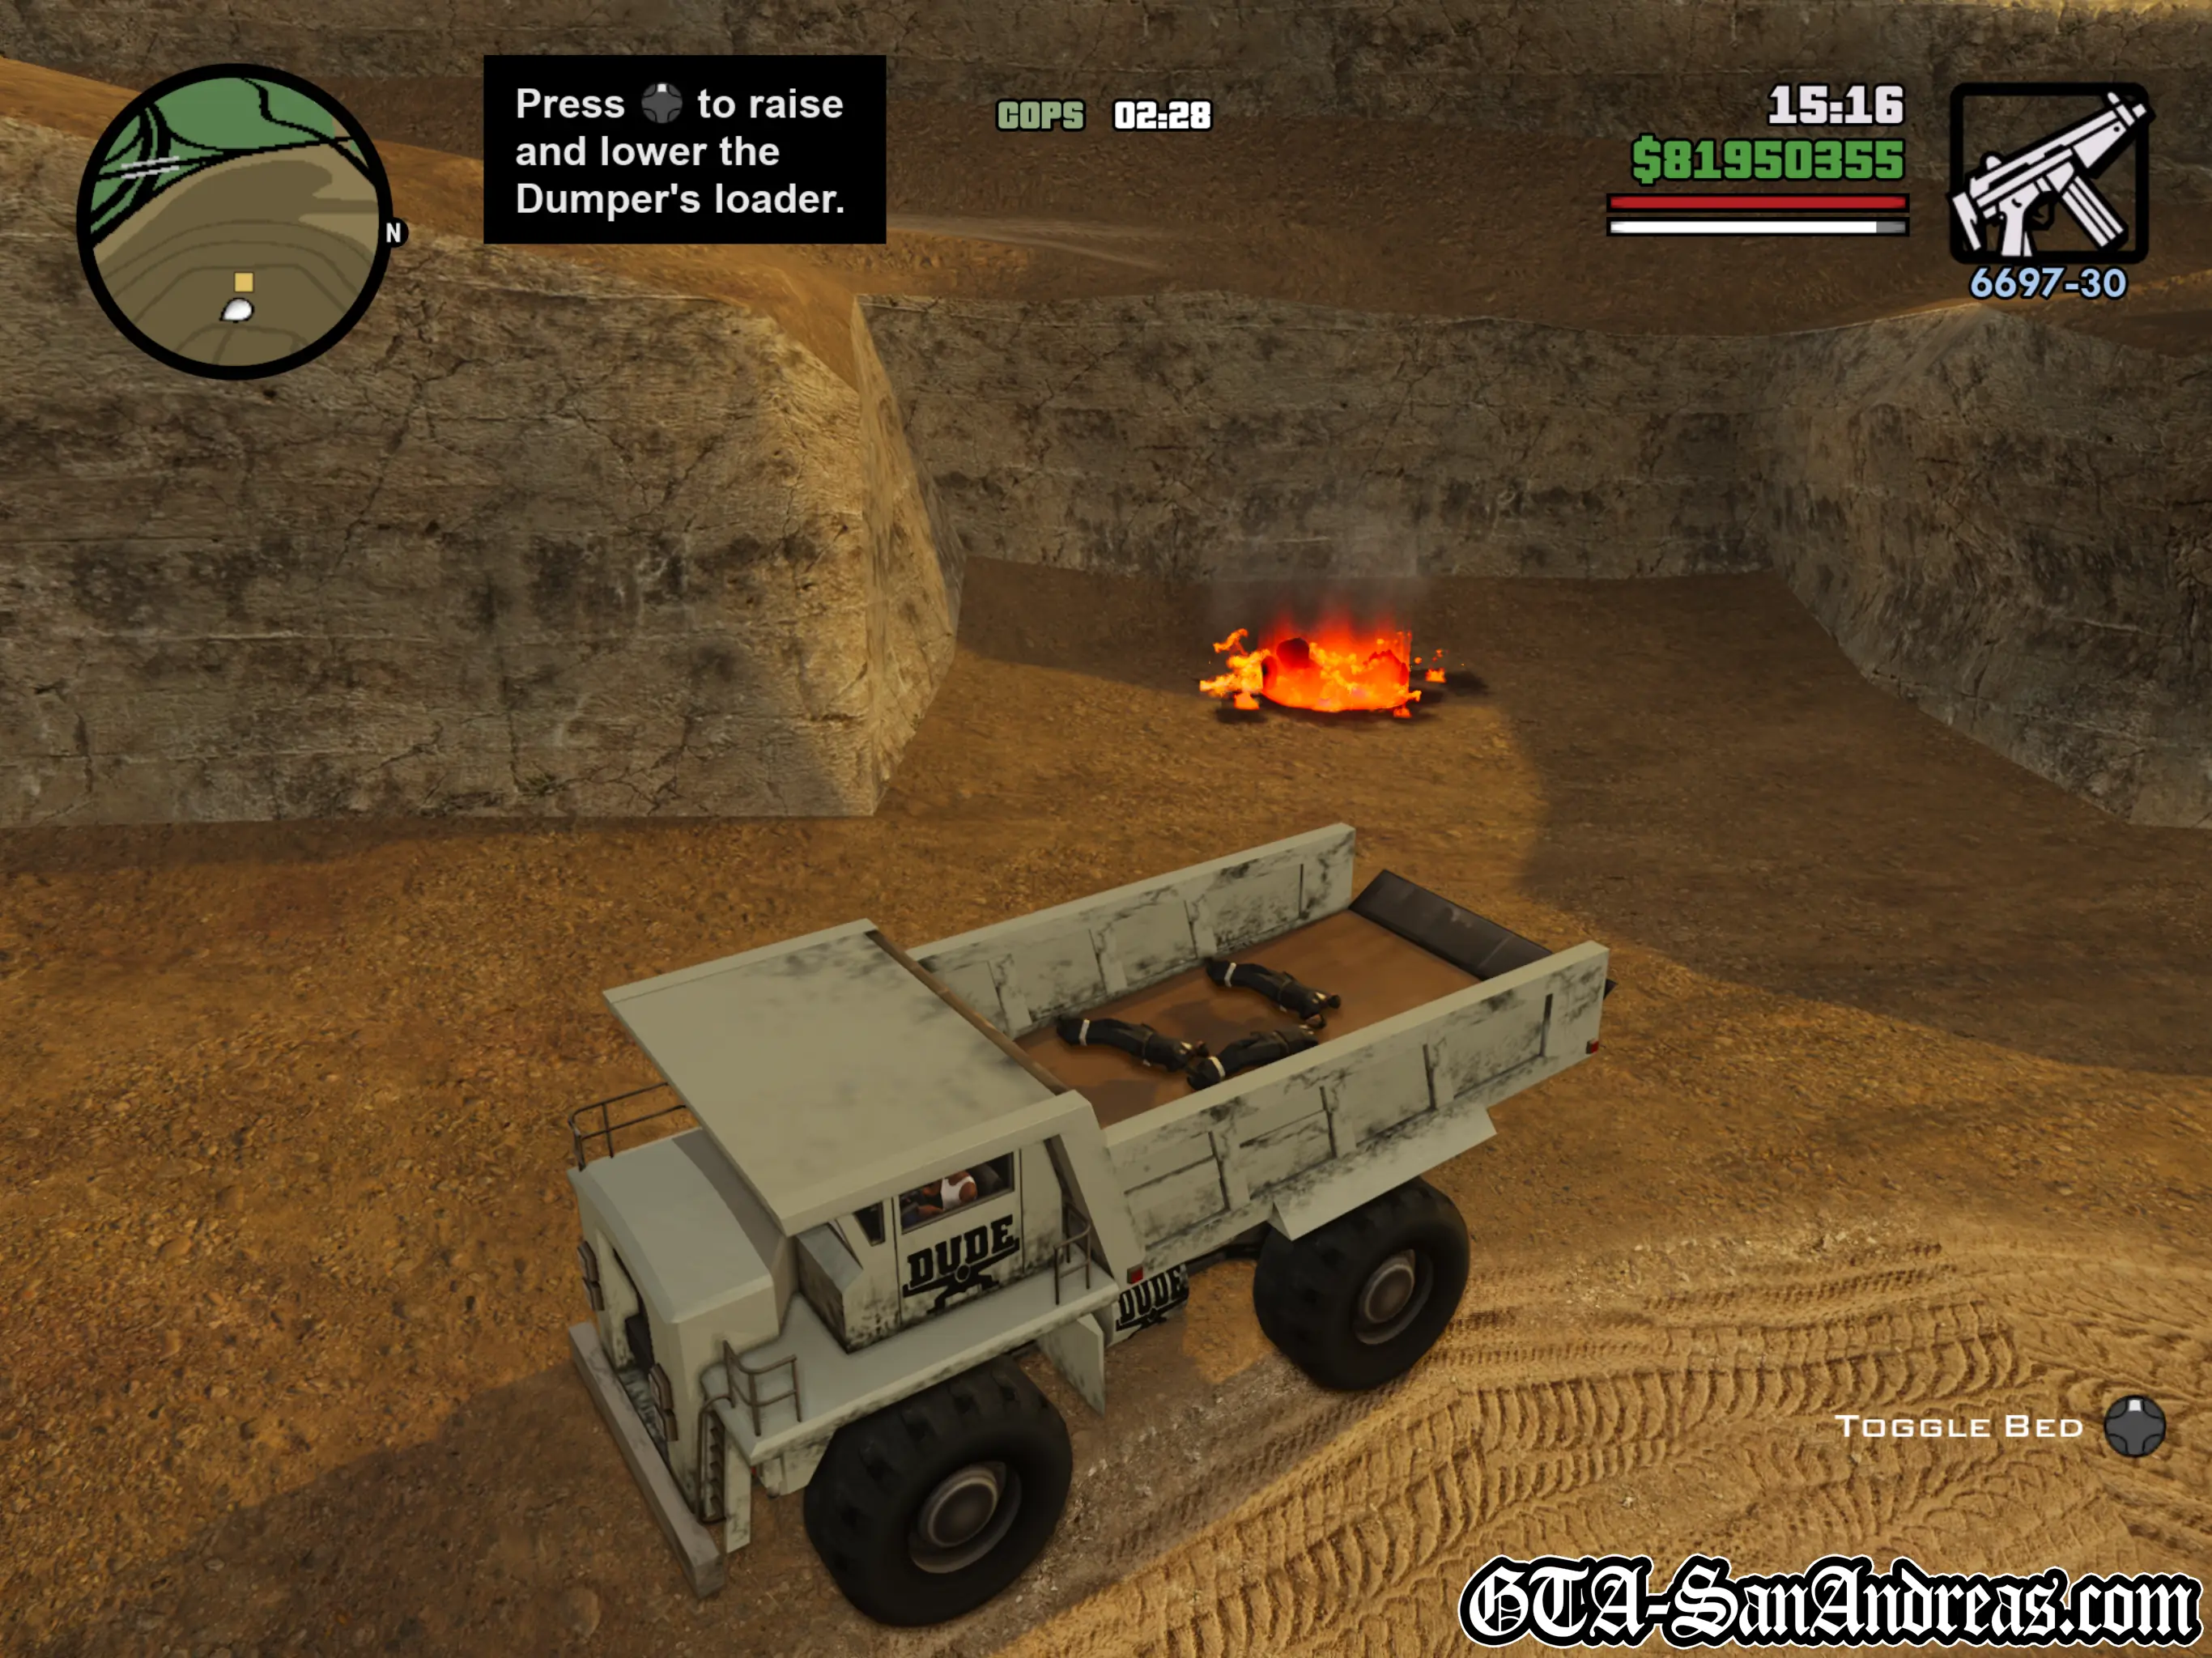
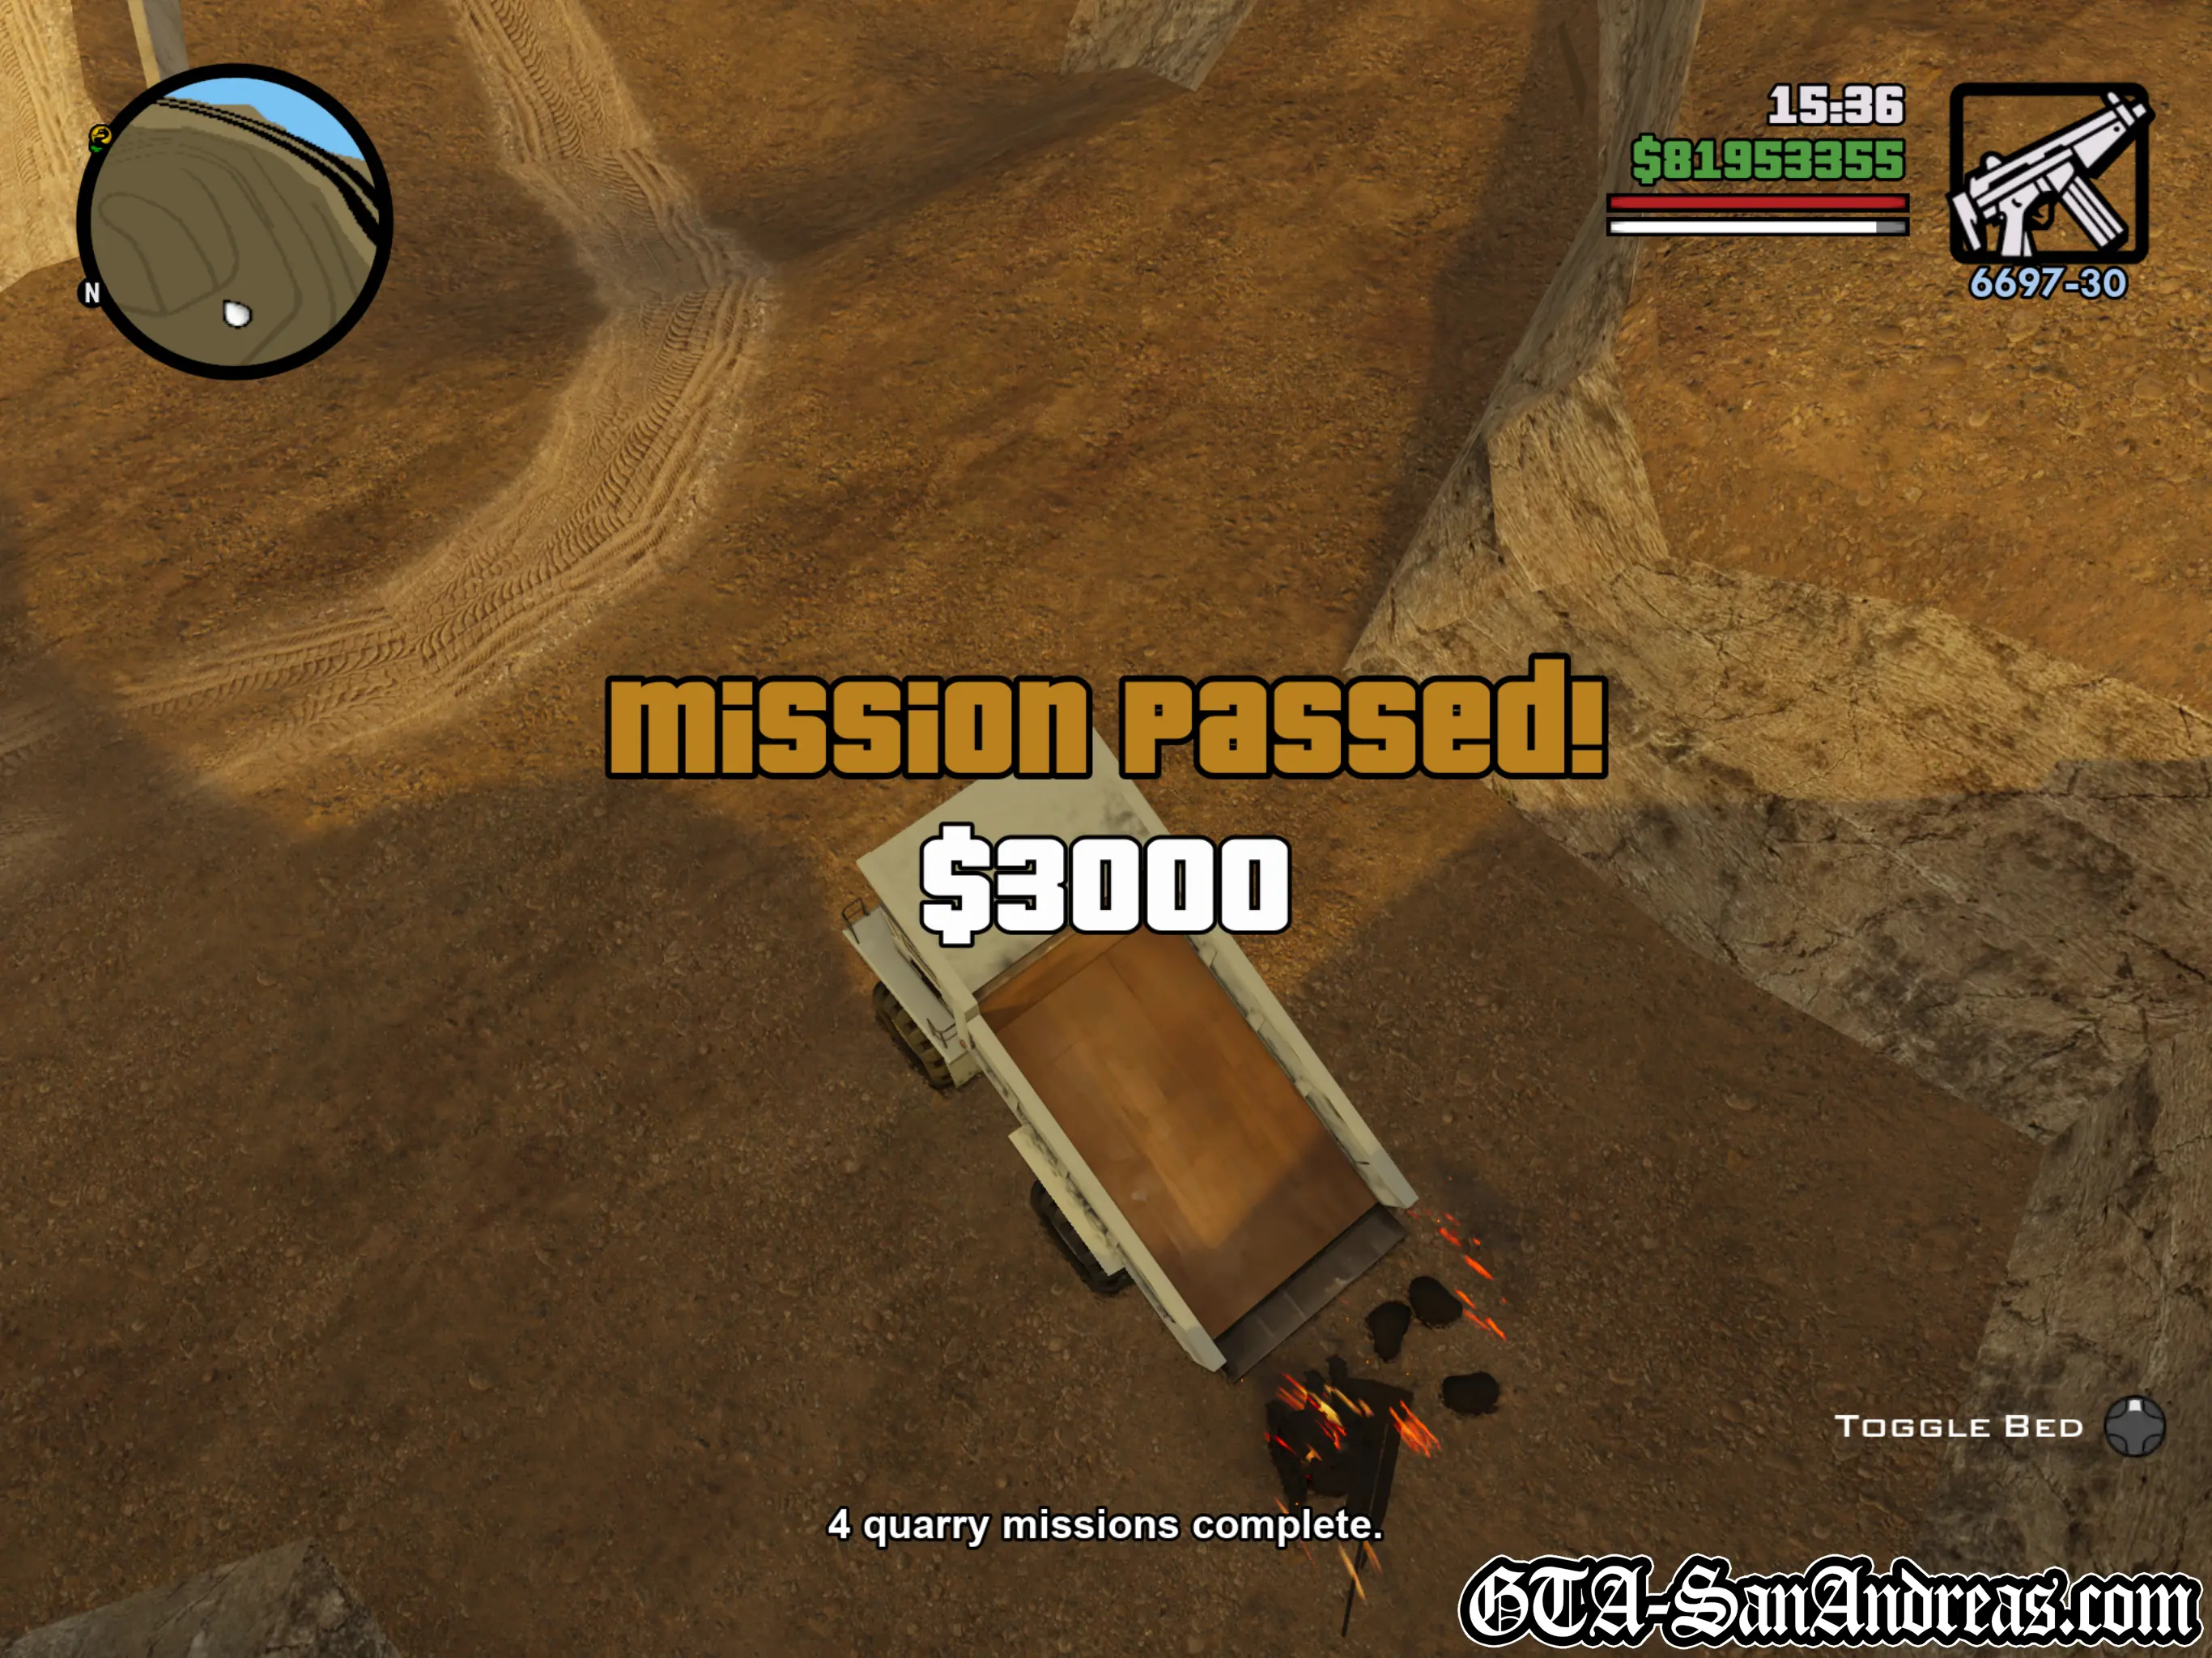
The bombers have been caught. Their bodies are loaded on a dumper at the quarry's other entrance. Dump them before the cops come snooping.
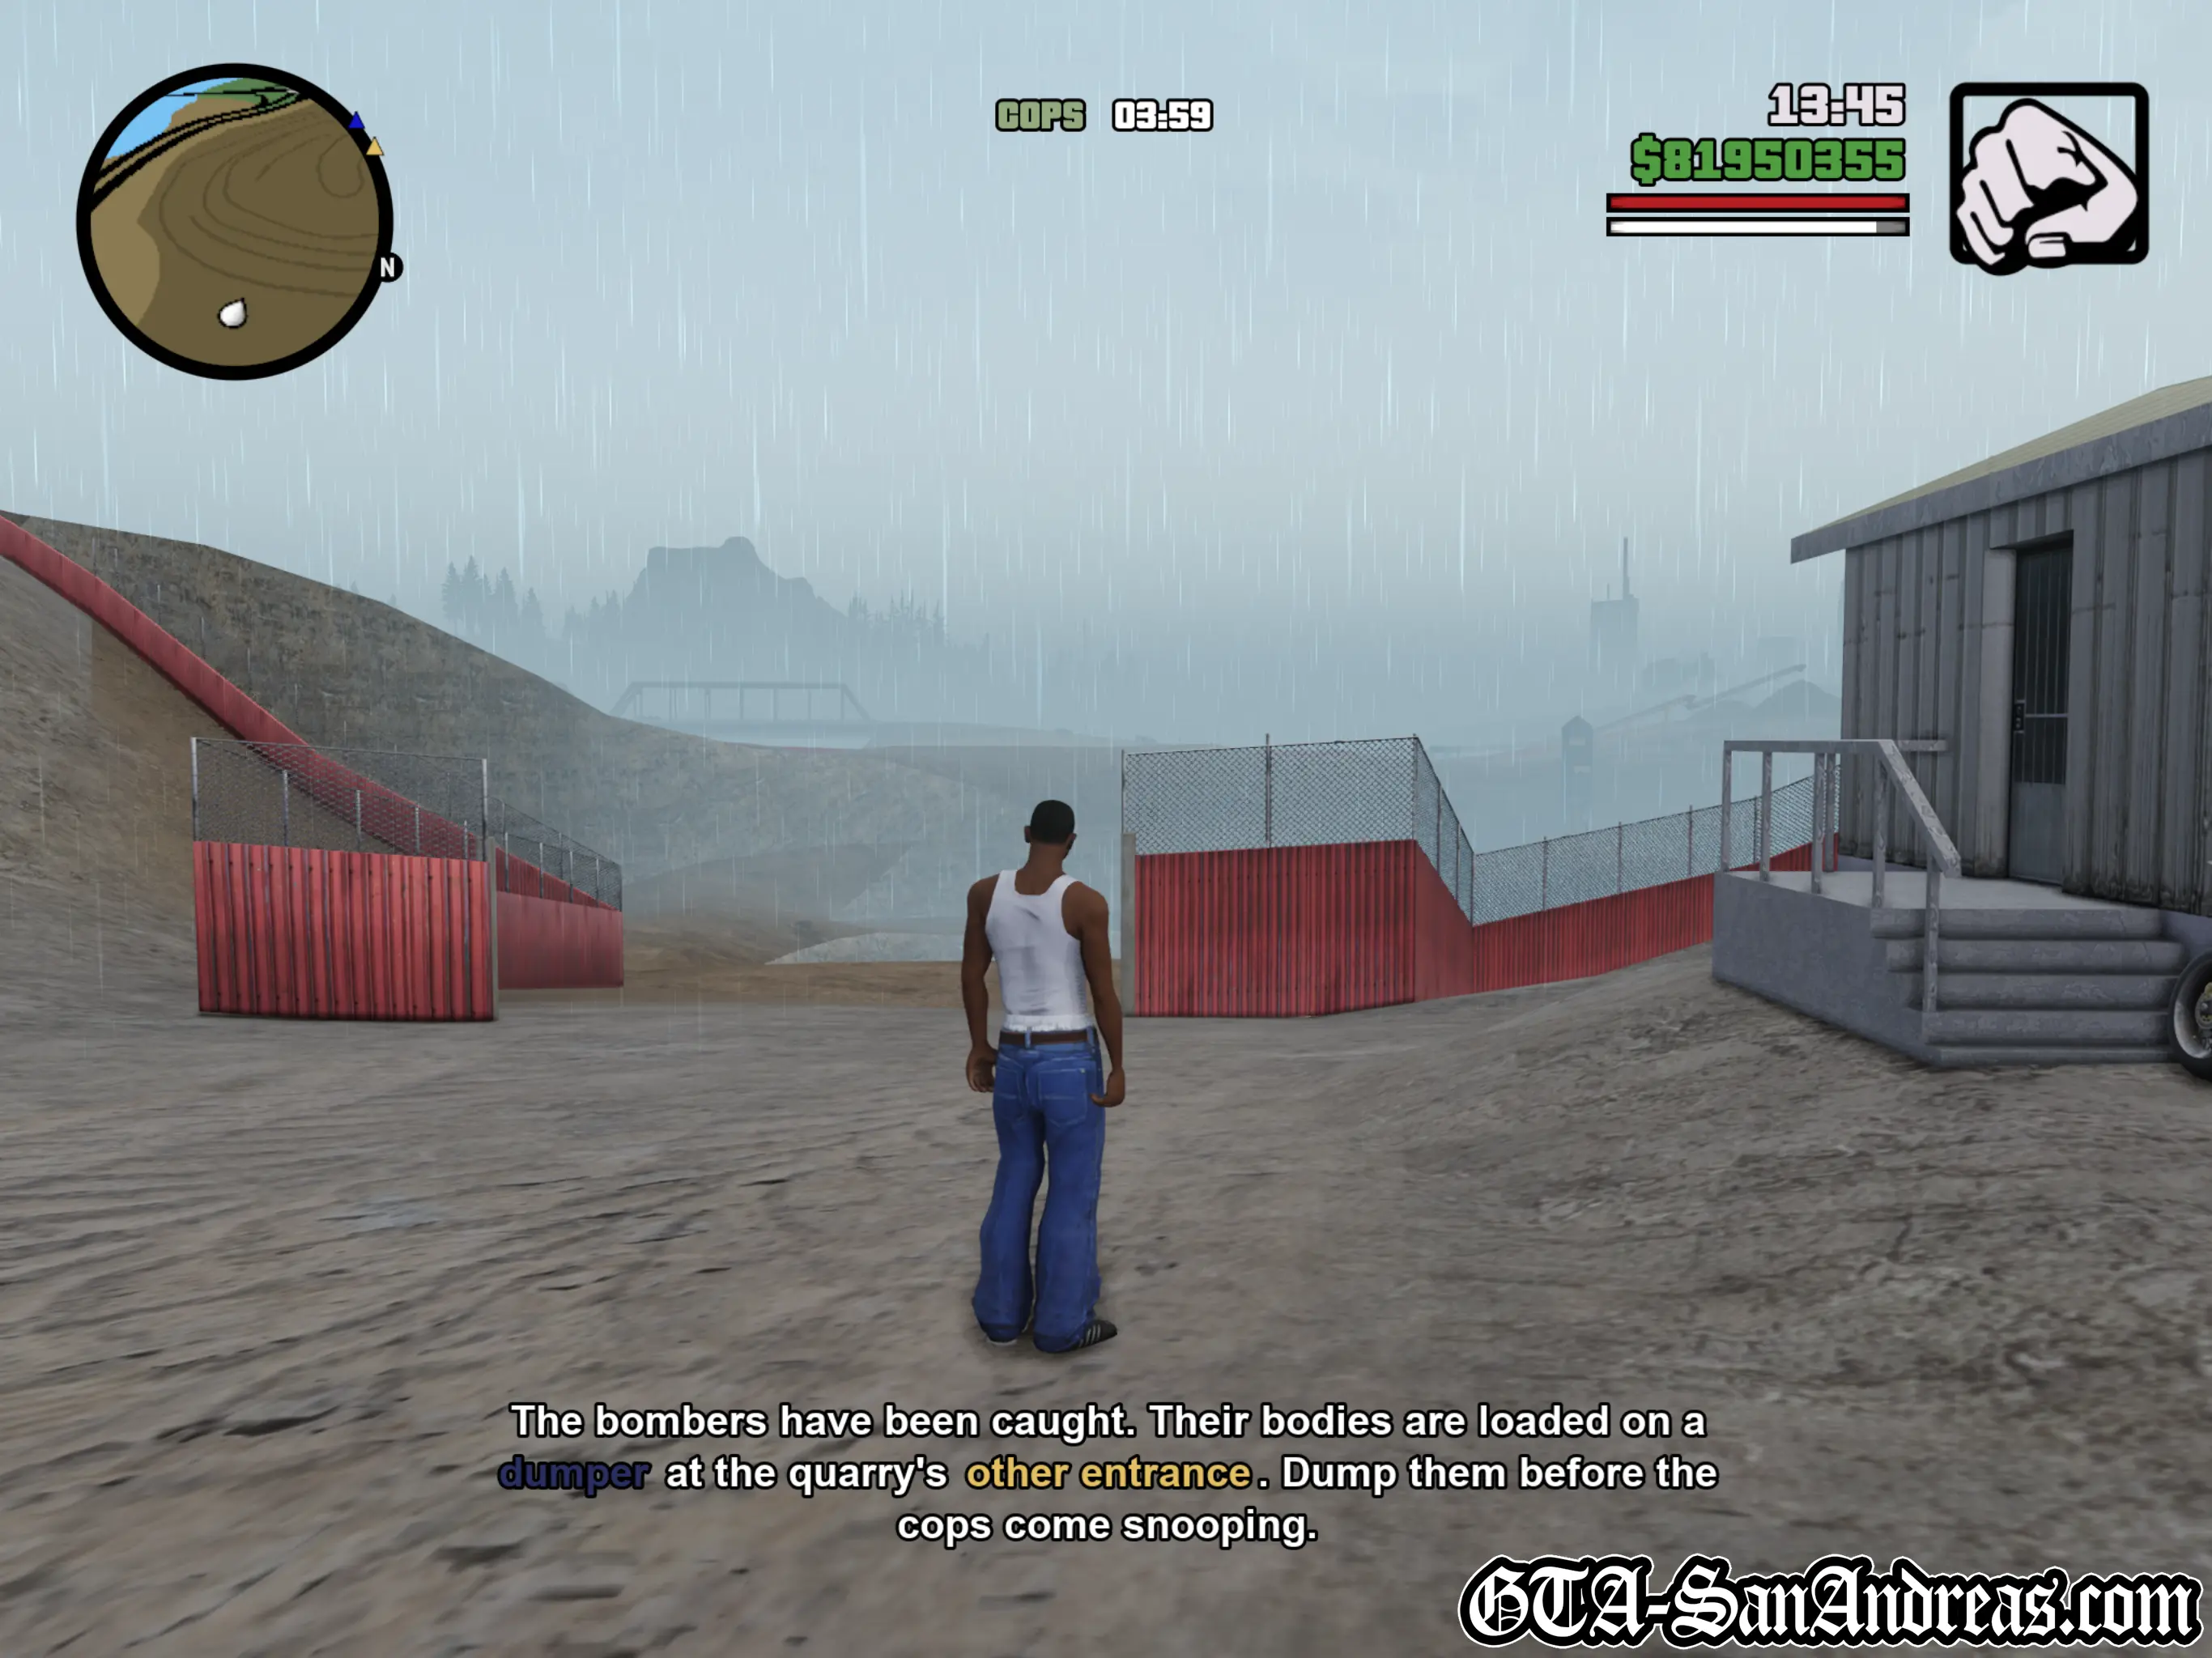
Another timed mission. Grab the nearby Sanchez and make your way towards the blue blip on the radar at the other side of the quarry. Go around the quarry, not through it.
When you get to the marked location, get in the Dumper and follow the same route back to the Quarry entrance. Be careful not to crash the Dumper though, as the bodies in the back aren't very stable and any sort of collision will make them come unstuck. If they fall out it's a mission failure.
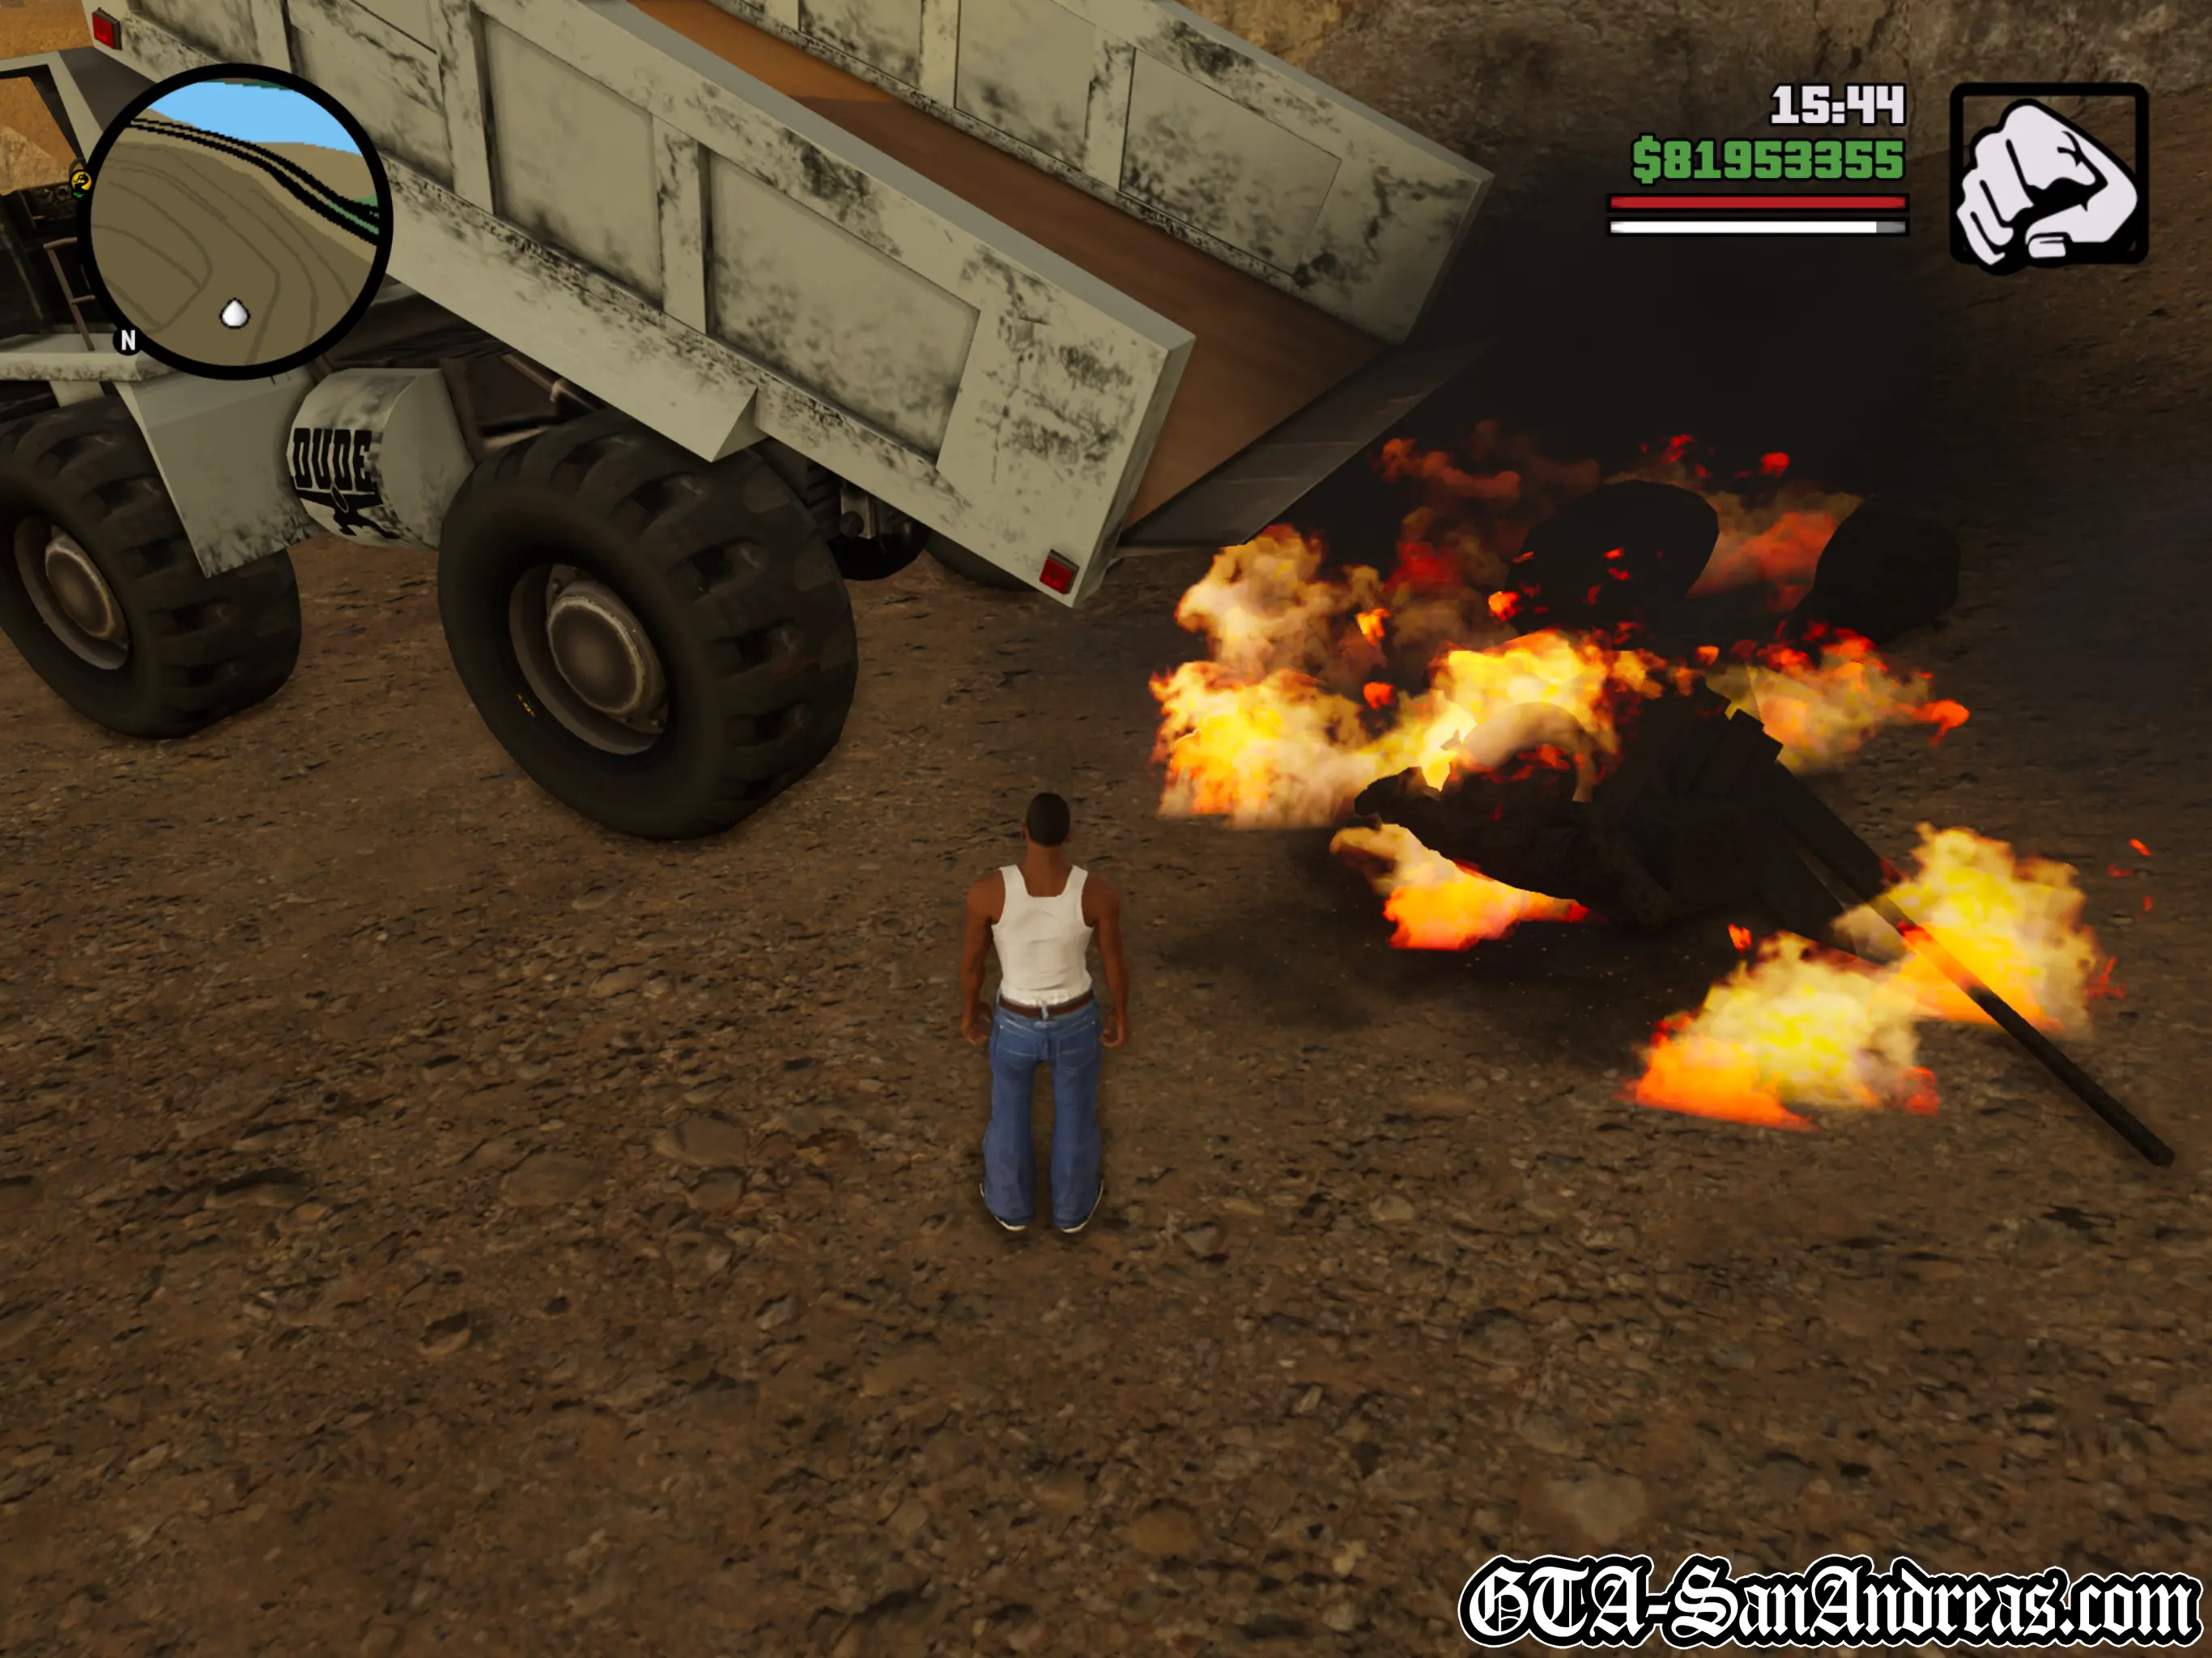
Once you get back to the quarry entrance, follow the path down to the left until you reach the bottom of the quarry then reverse towards the fire when you reach it. Press the correct button and the dumper will tip out the bodies onto the fire. You may want to hold the handbrake while it does so to prevent the truck moving forwards.
Screenshots

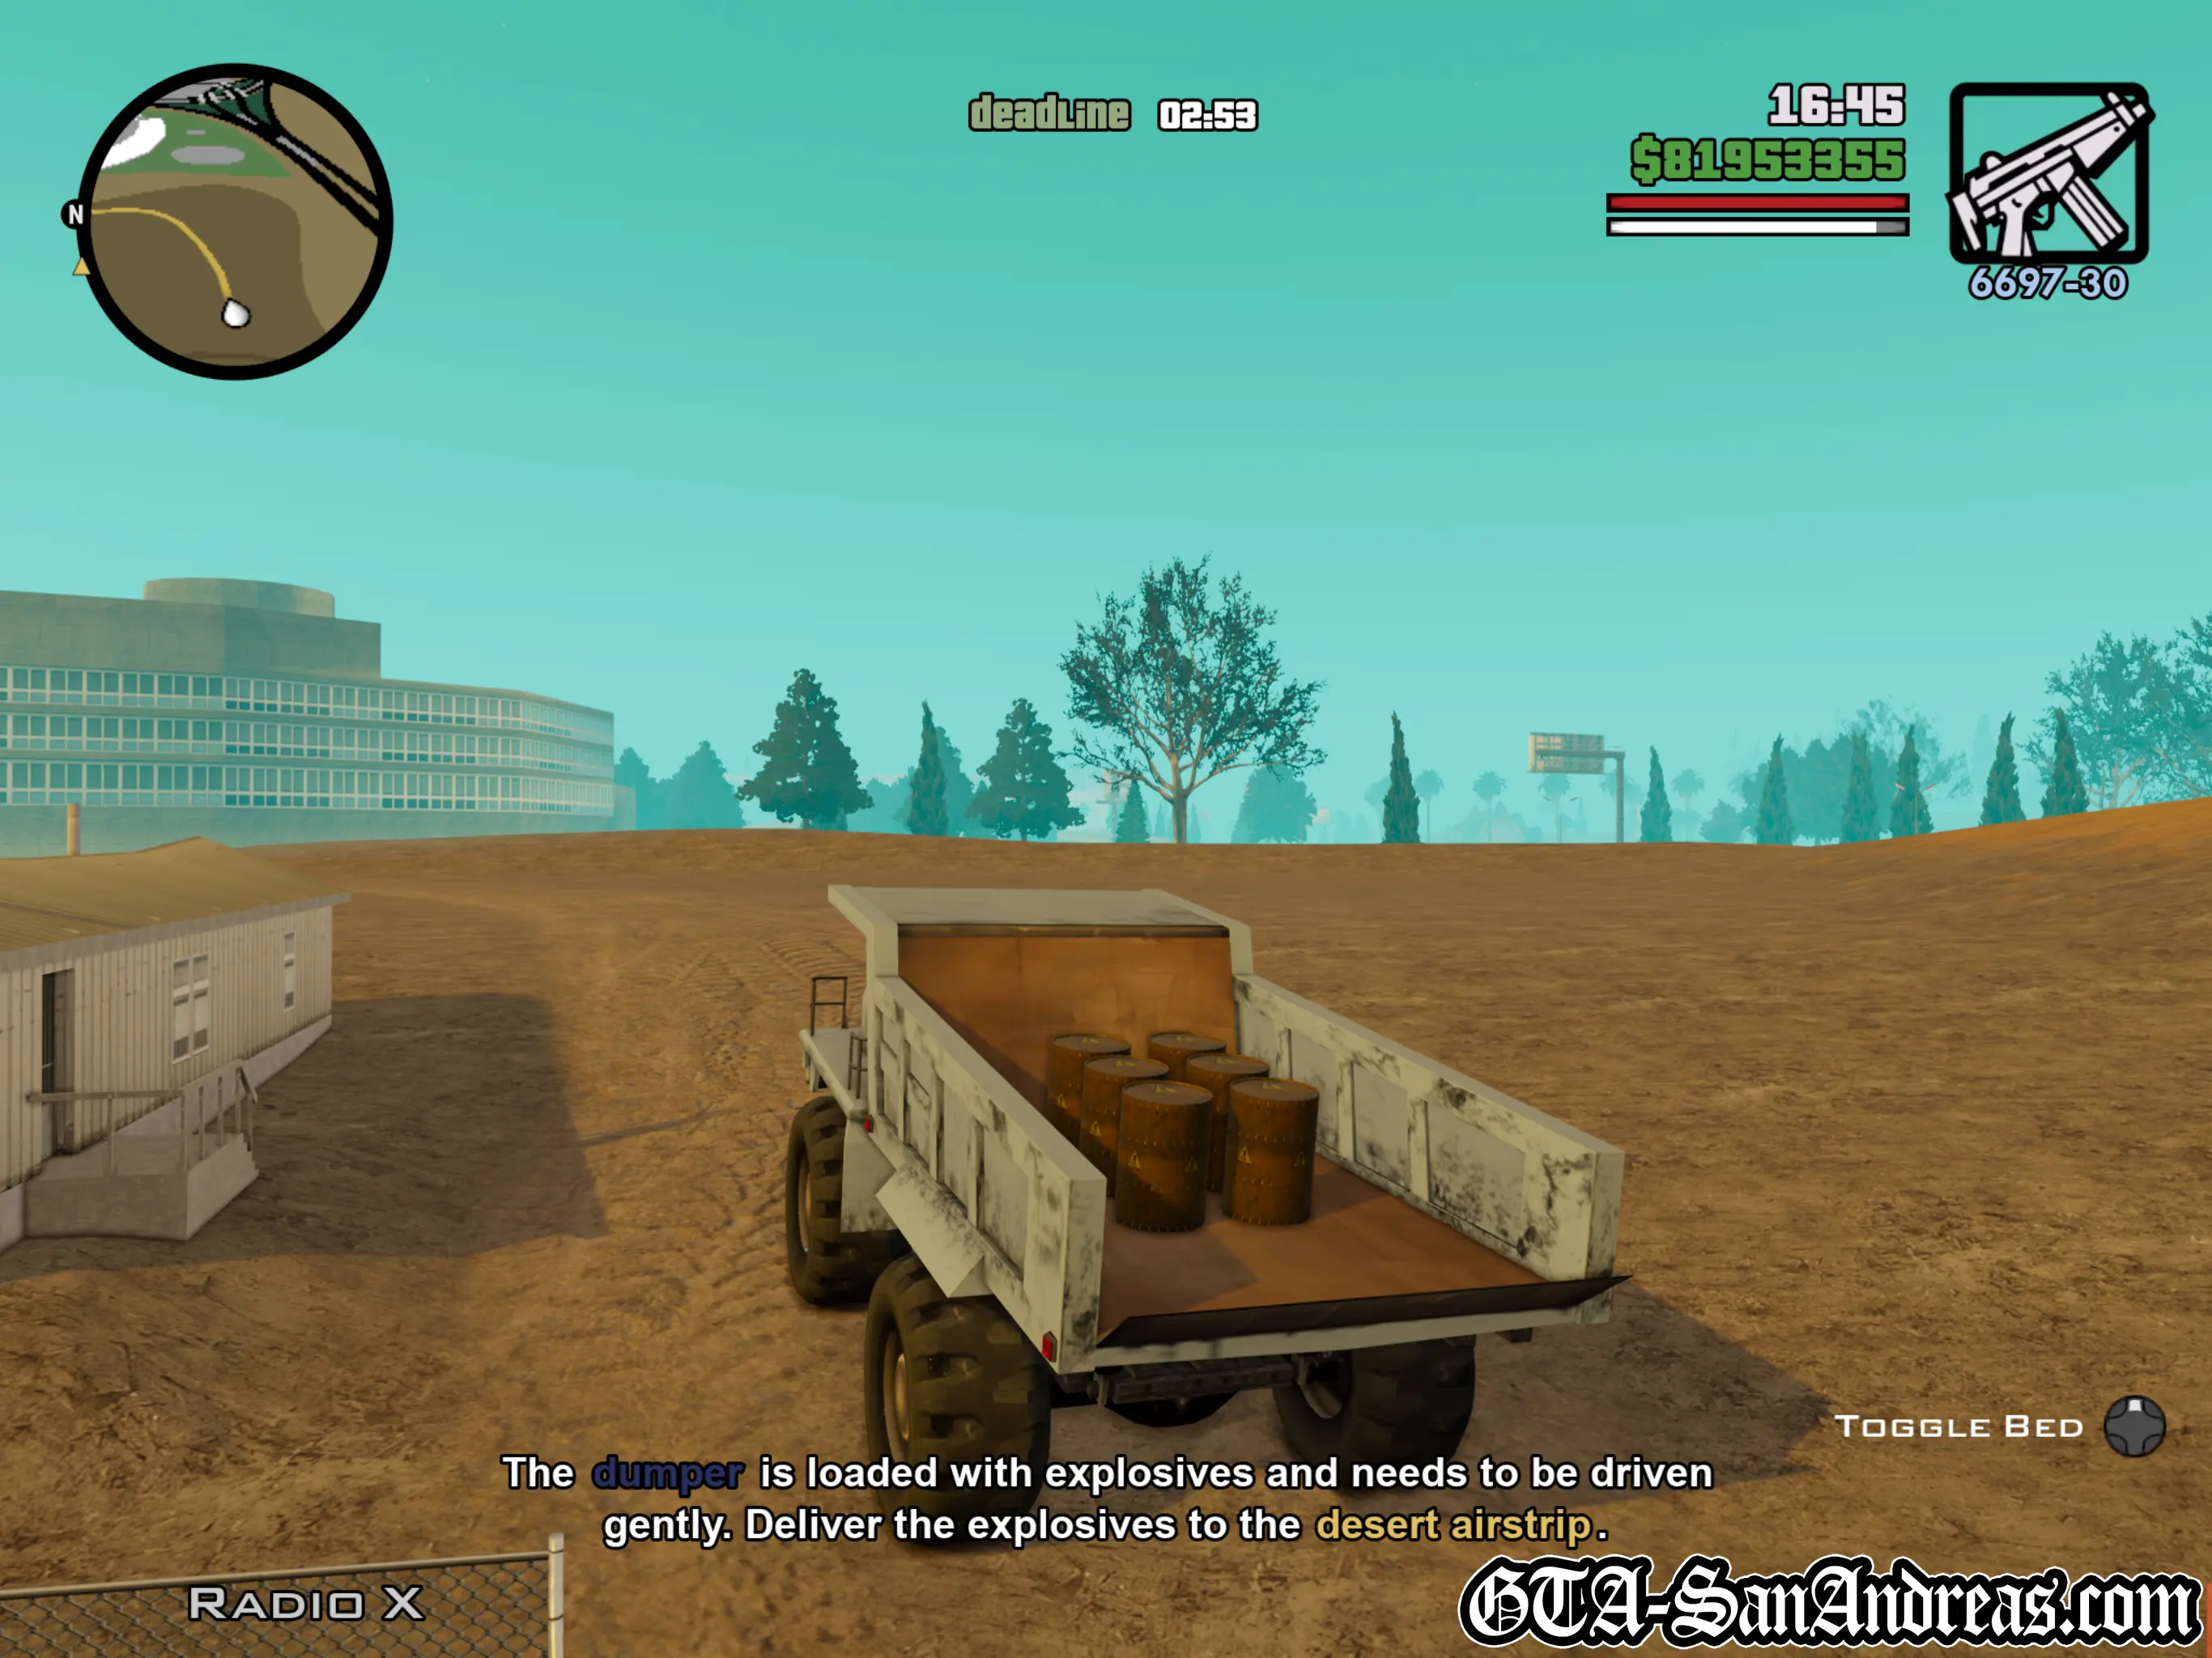
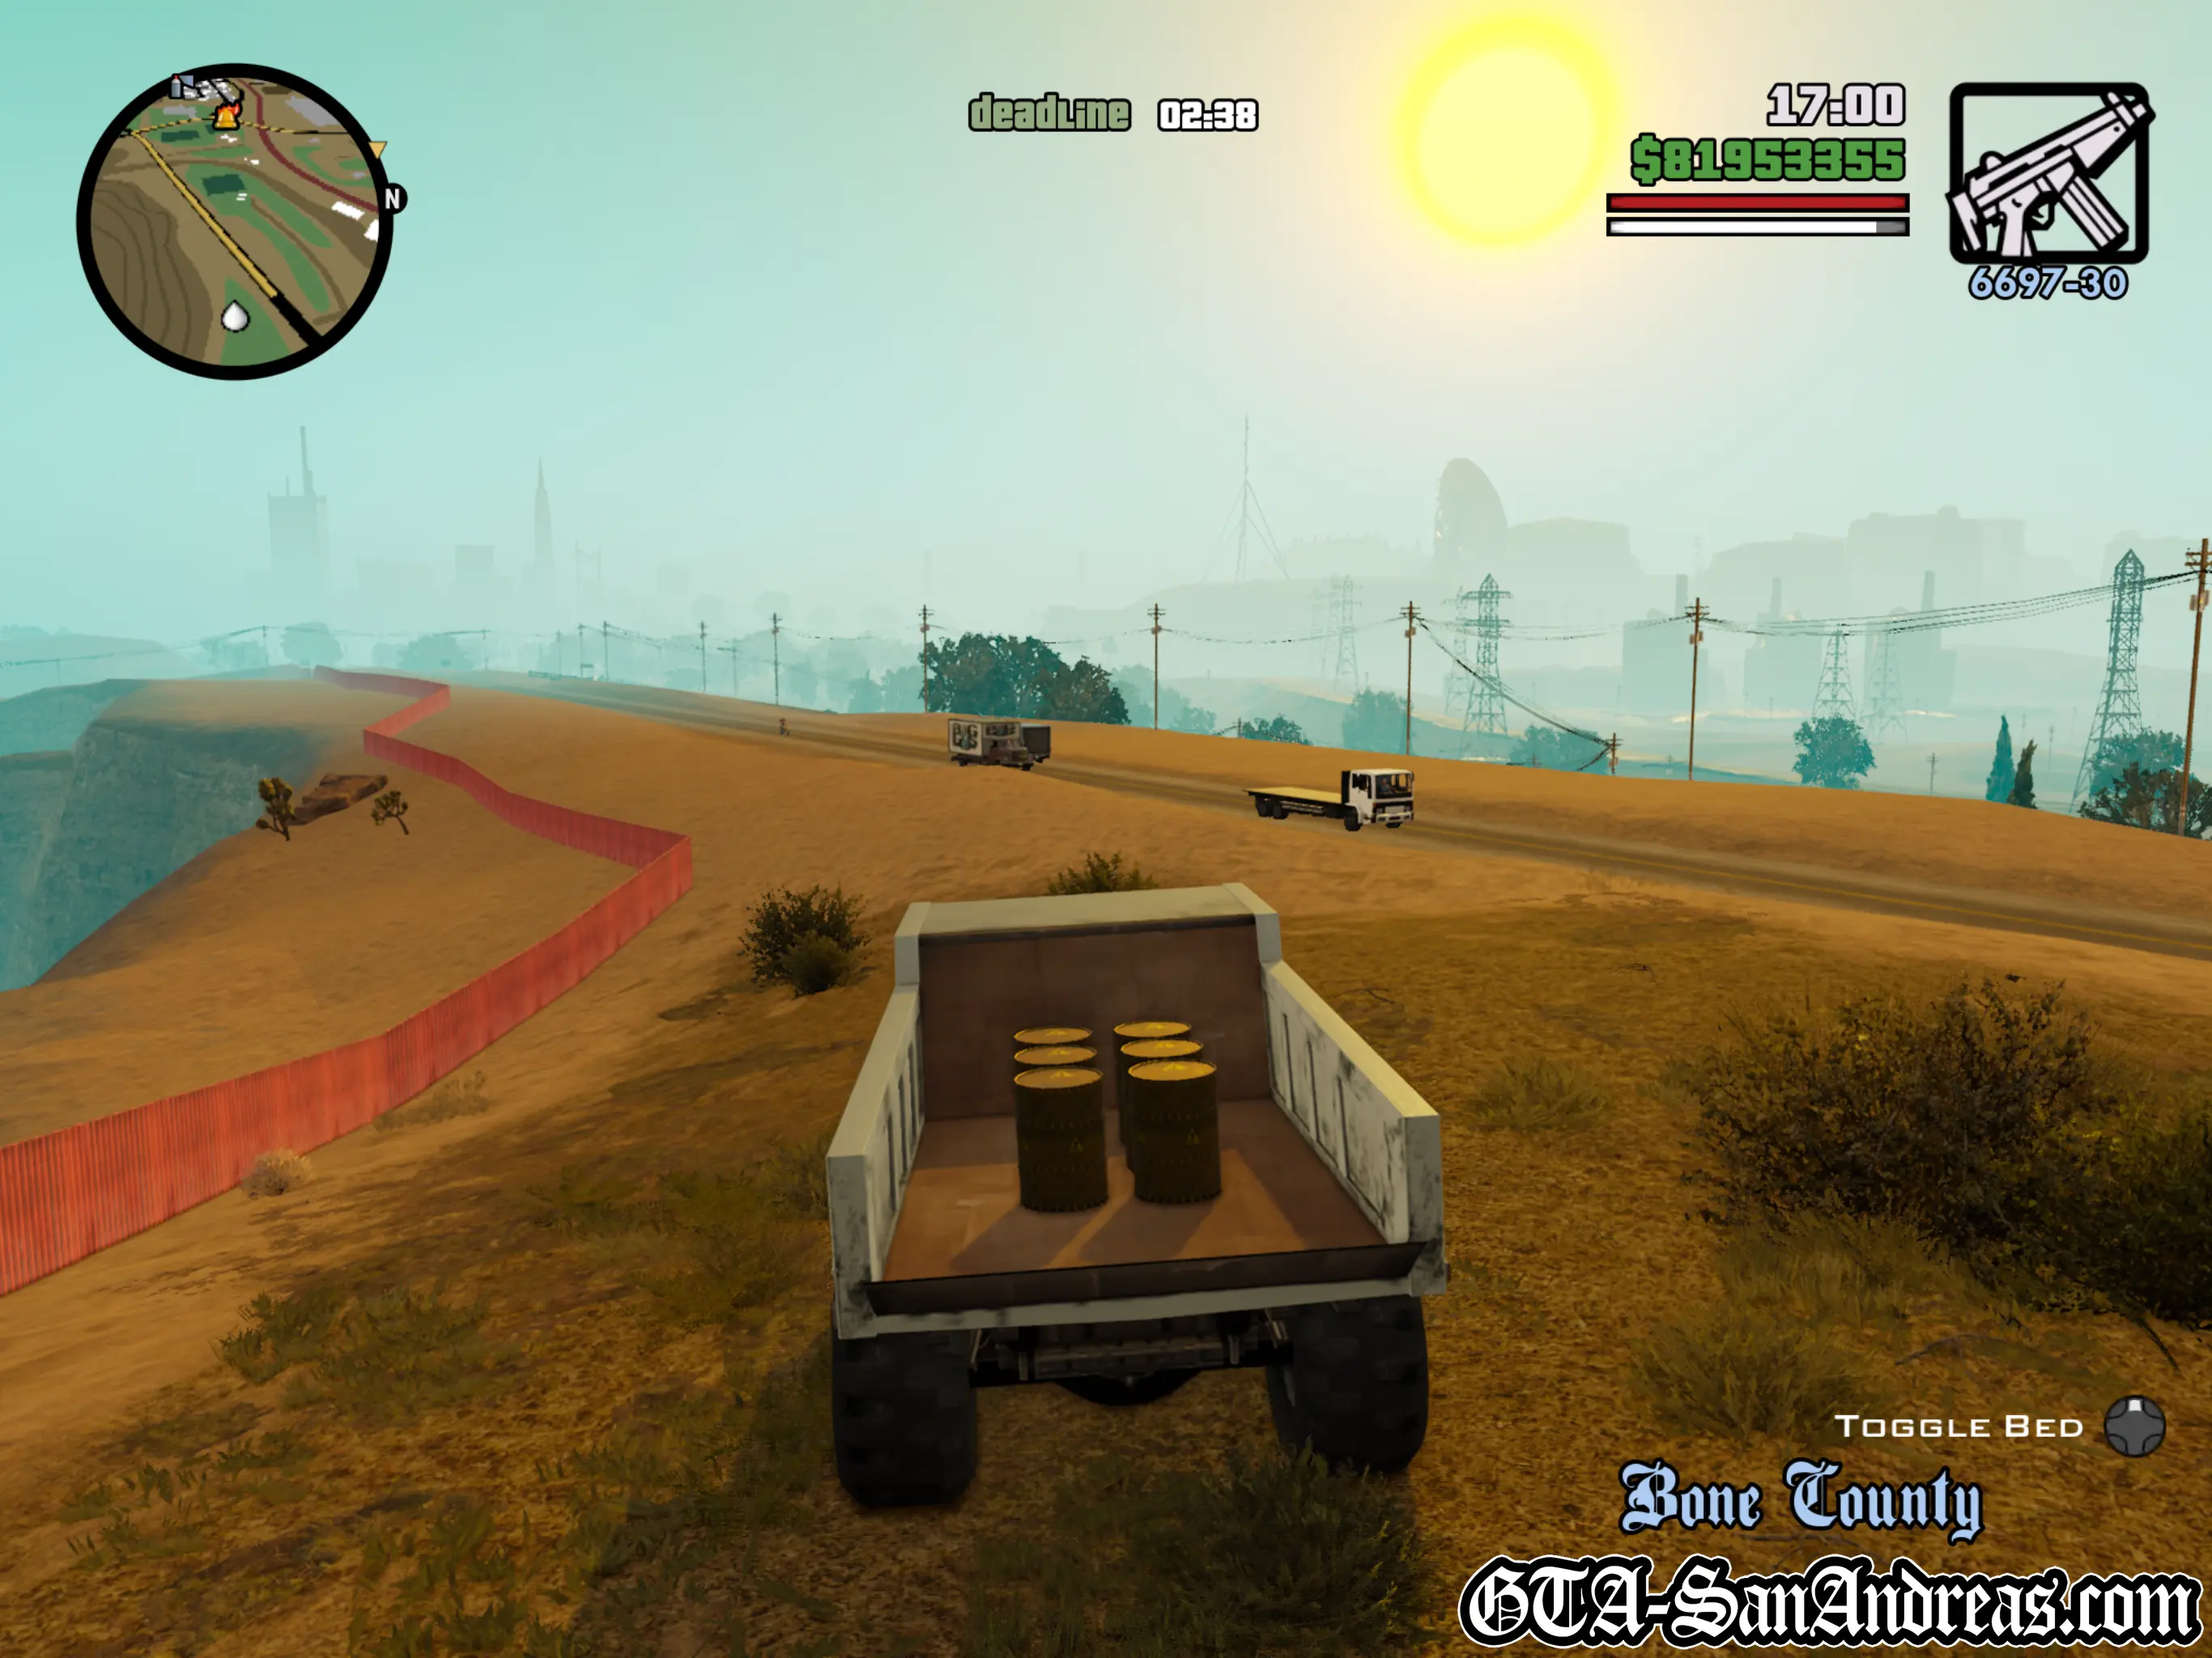
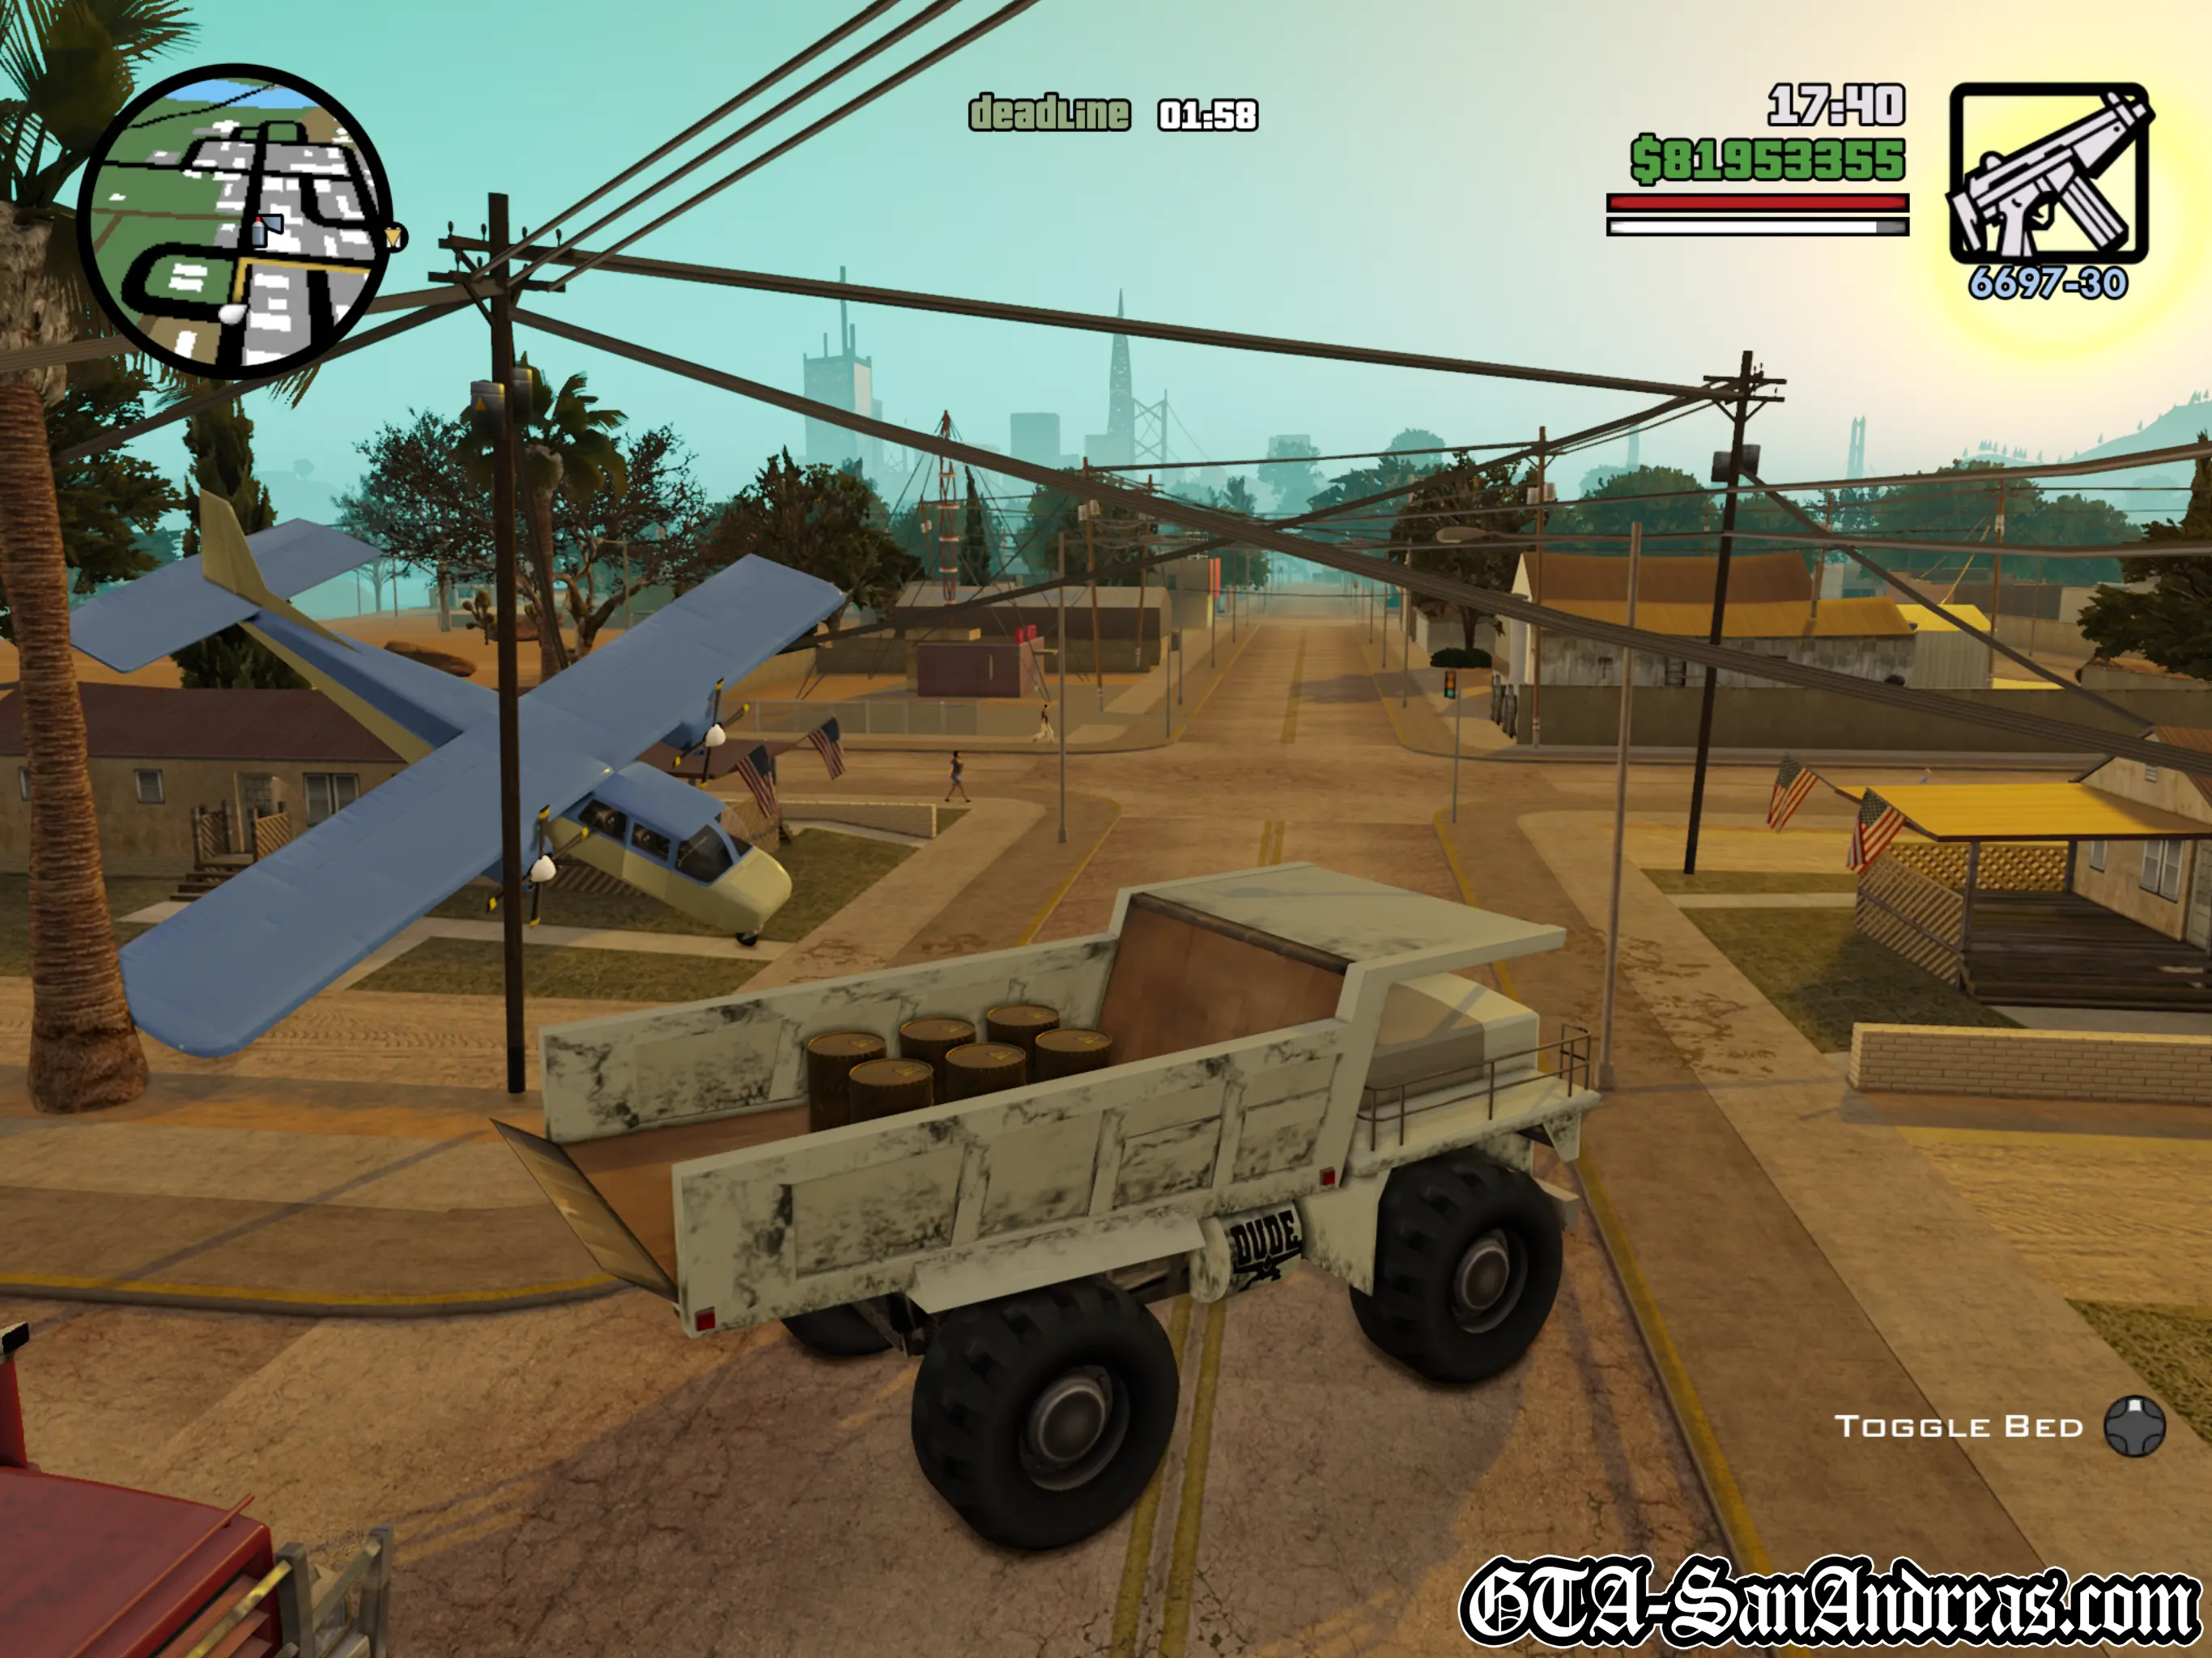
Hunter Quarry - Mission 5
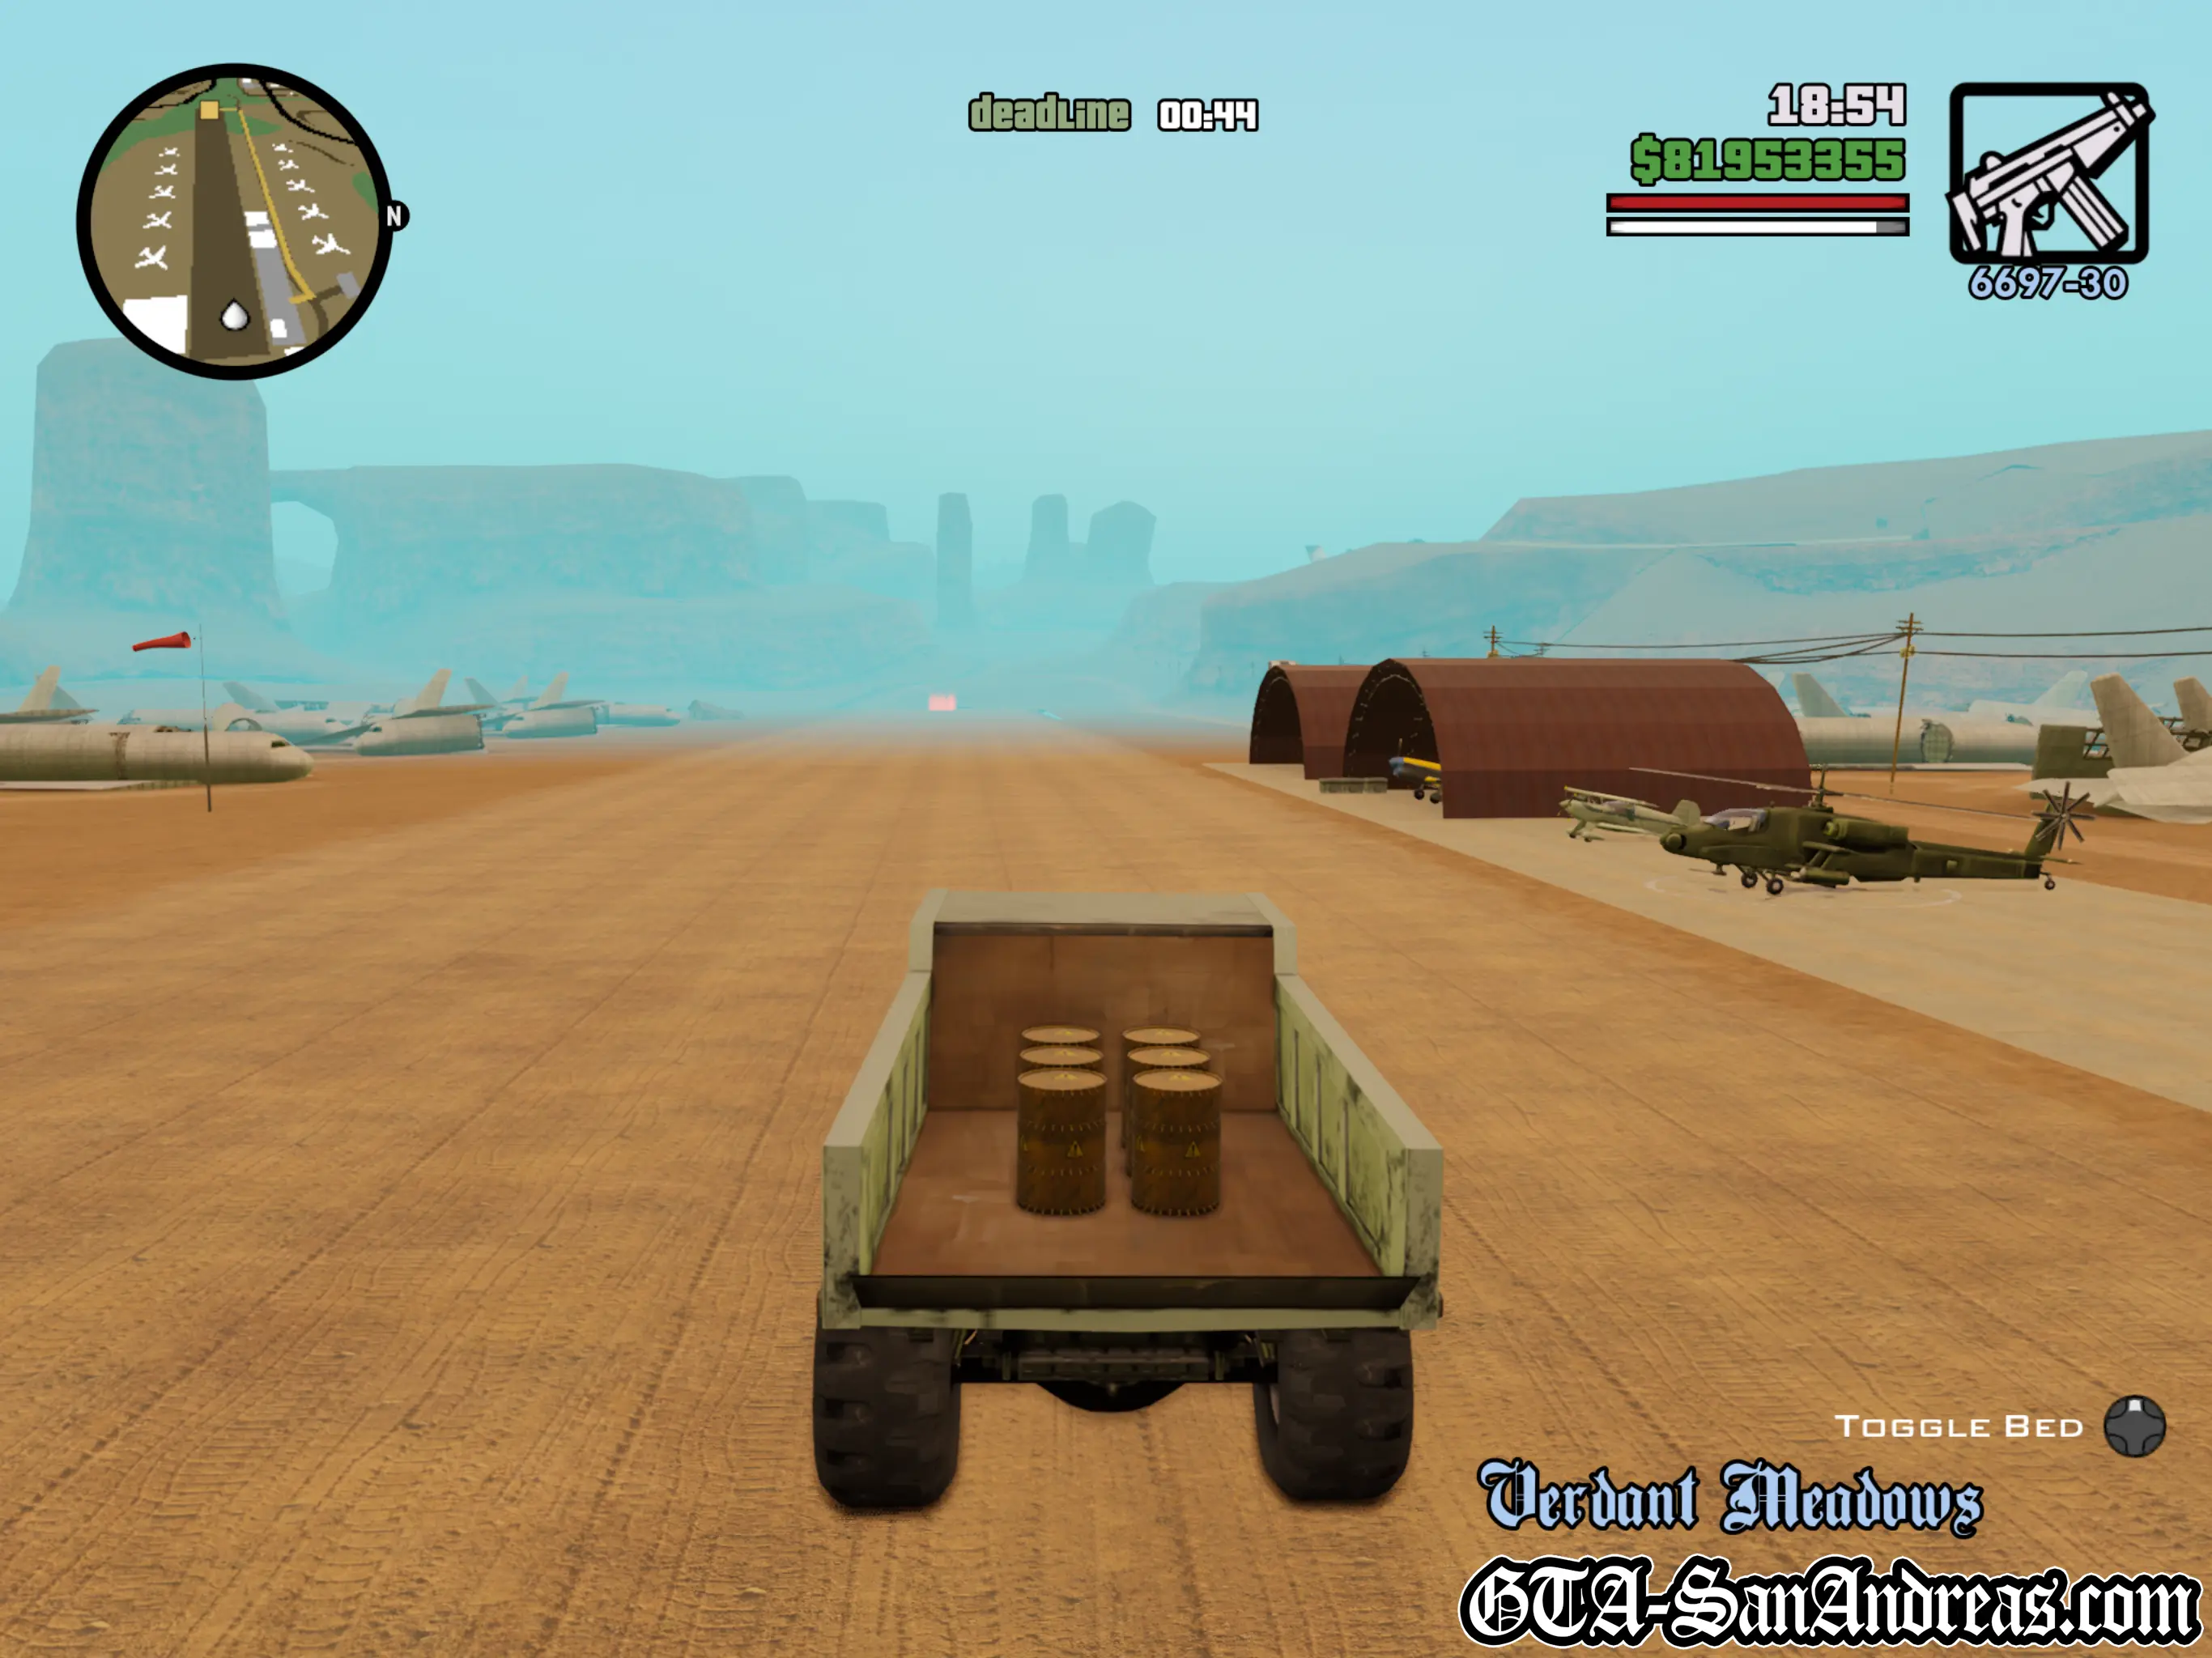
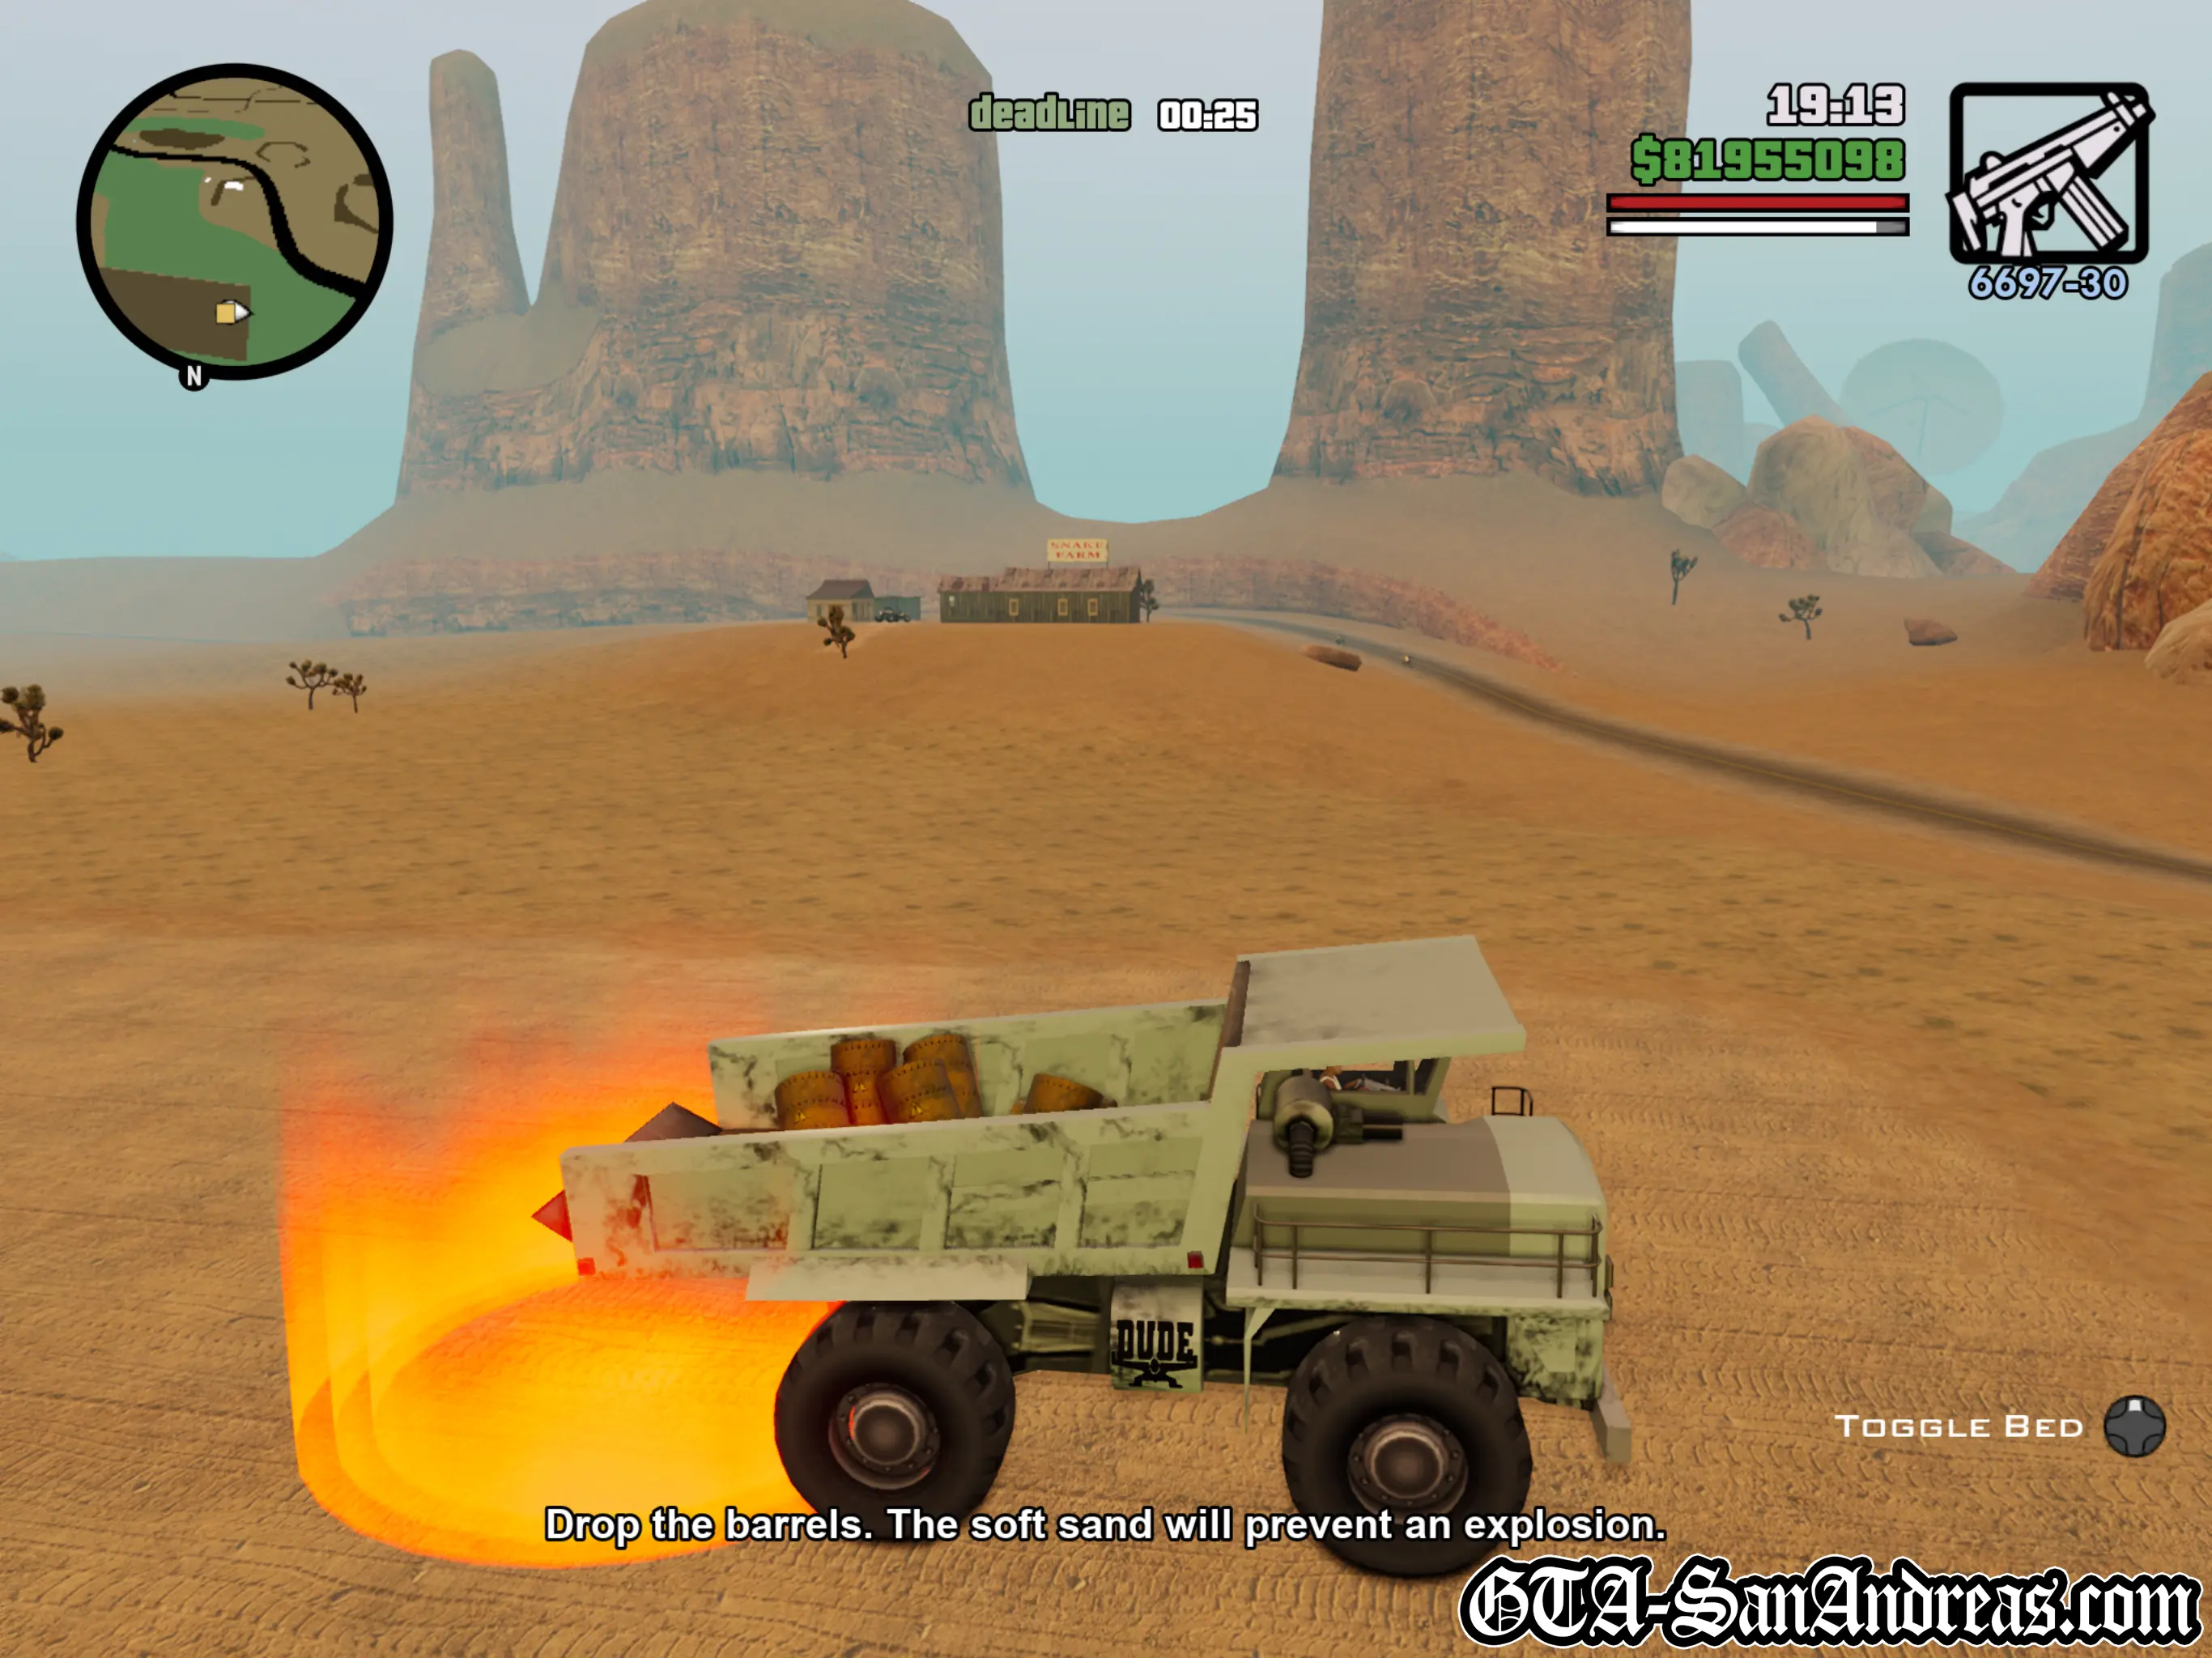
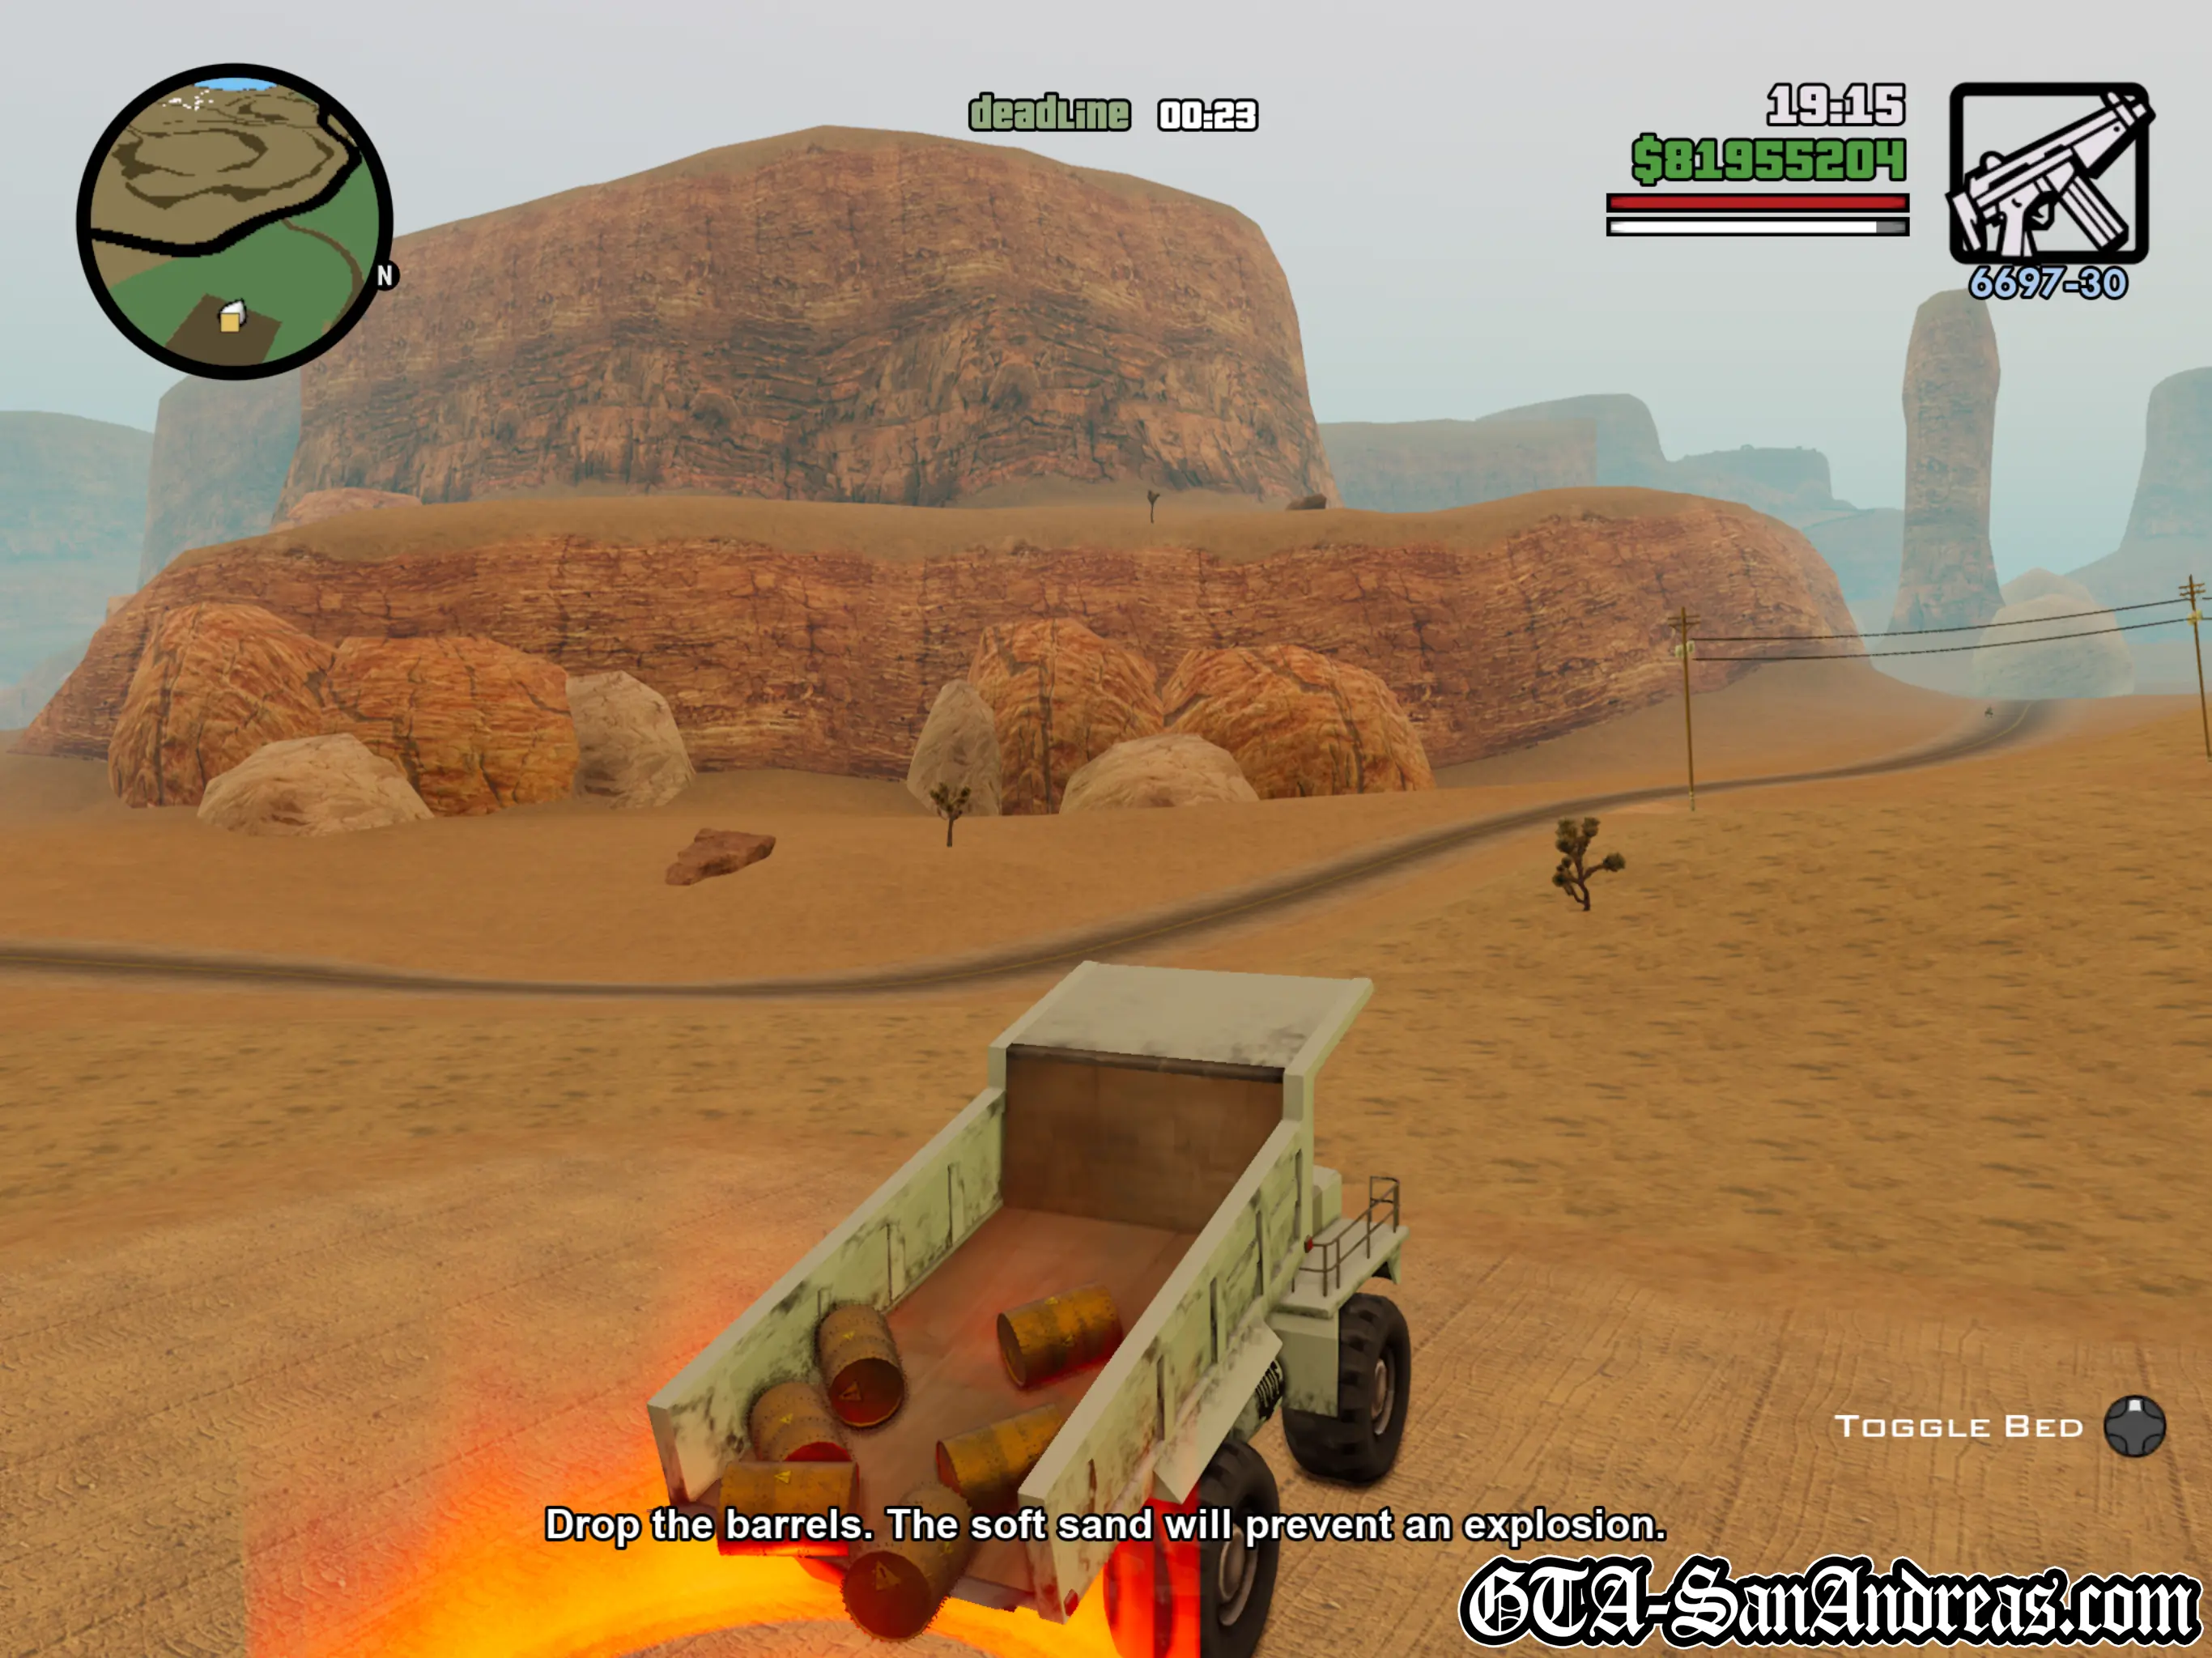
The dumper is loaded with explosives and needs to be driven gently. Deliver the explosives to the desert airstrip.
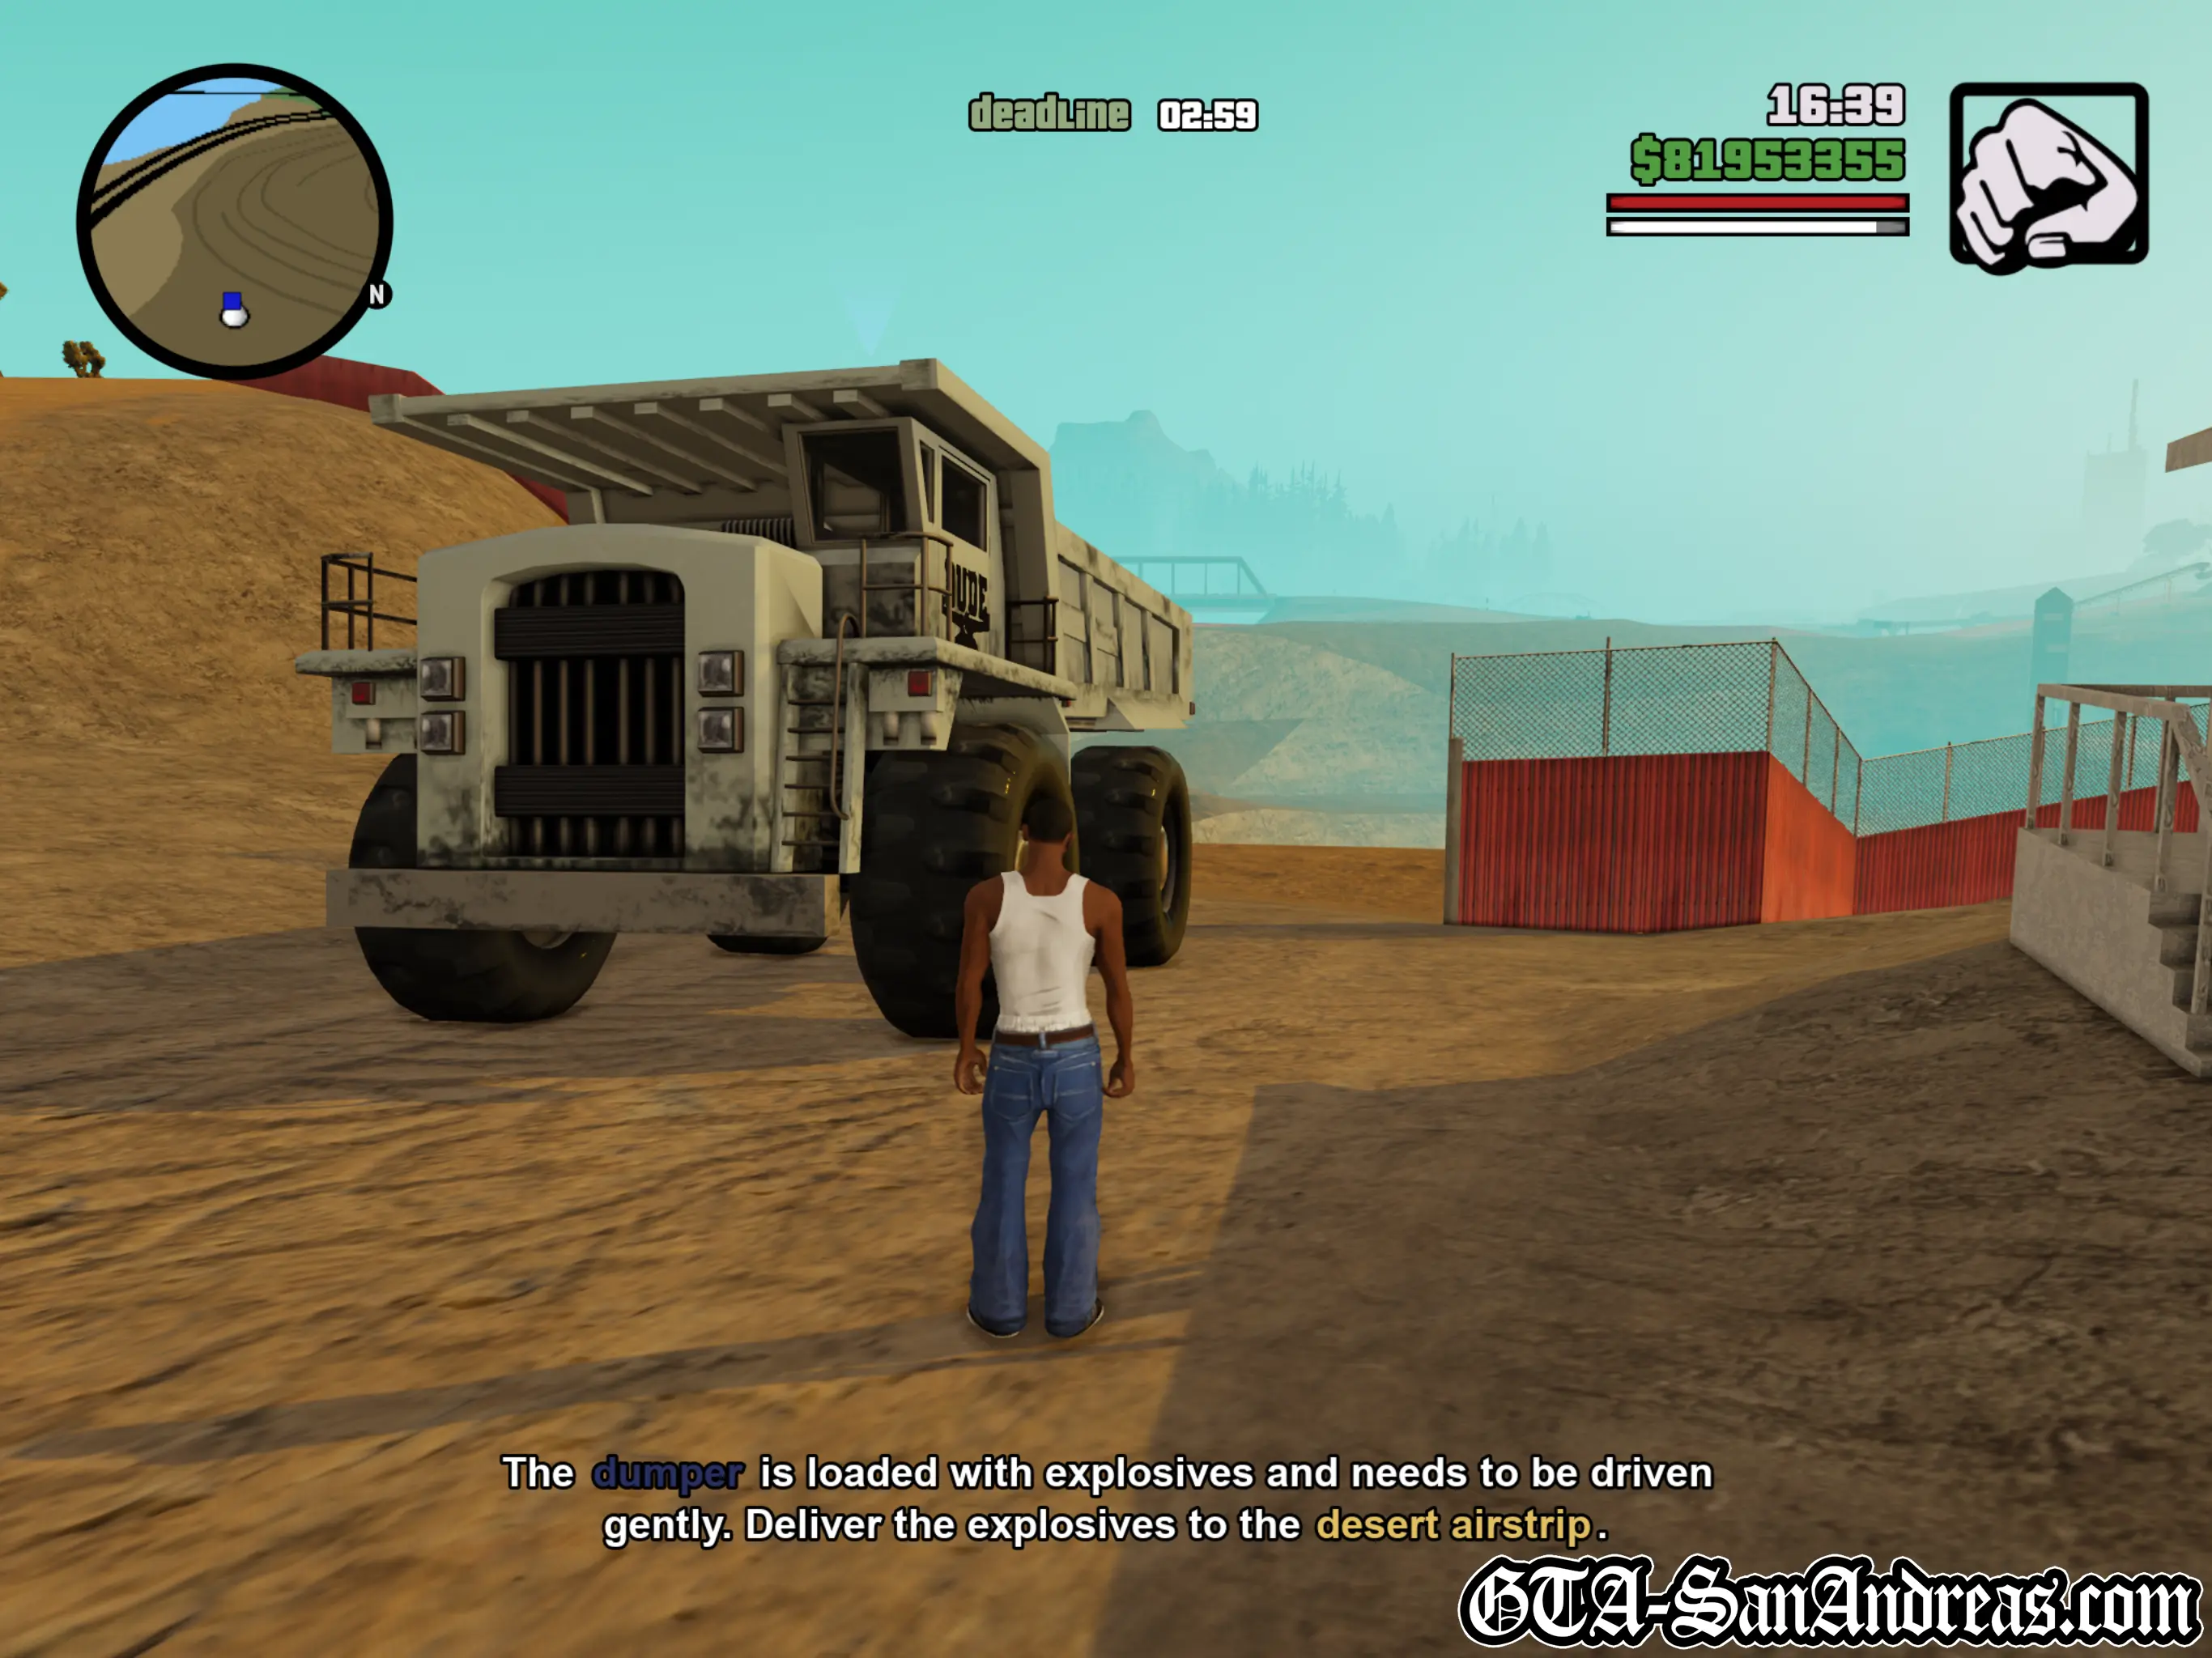
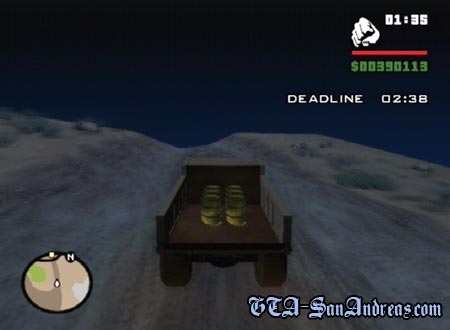
This mission is timed, but you also need to ensure you drive carefully as one major collision or about three minor ones will cause the barrels to explode.
Choose your own route to the desert airstrip. I'd suggest to go to the right, follow the road around and to the left, continue North and left again then work your way down to the drop off point.
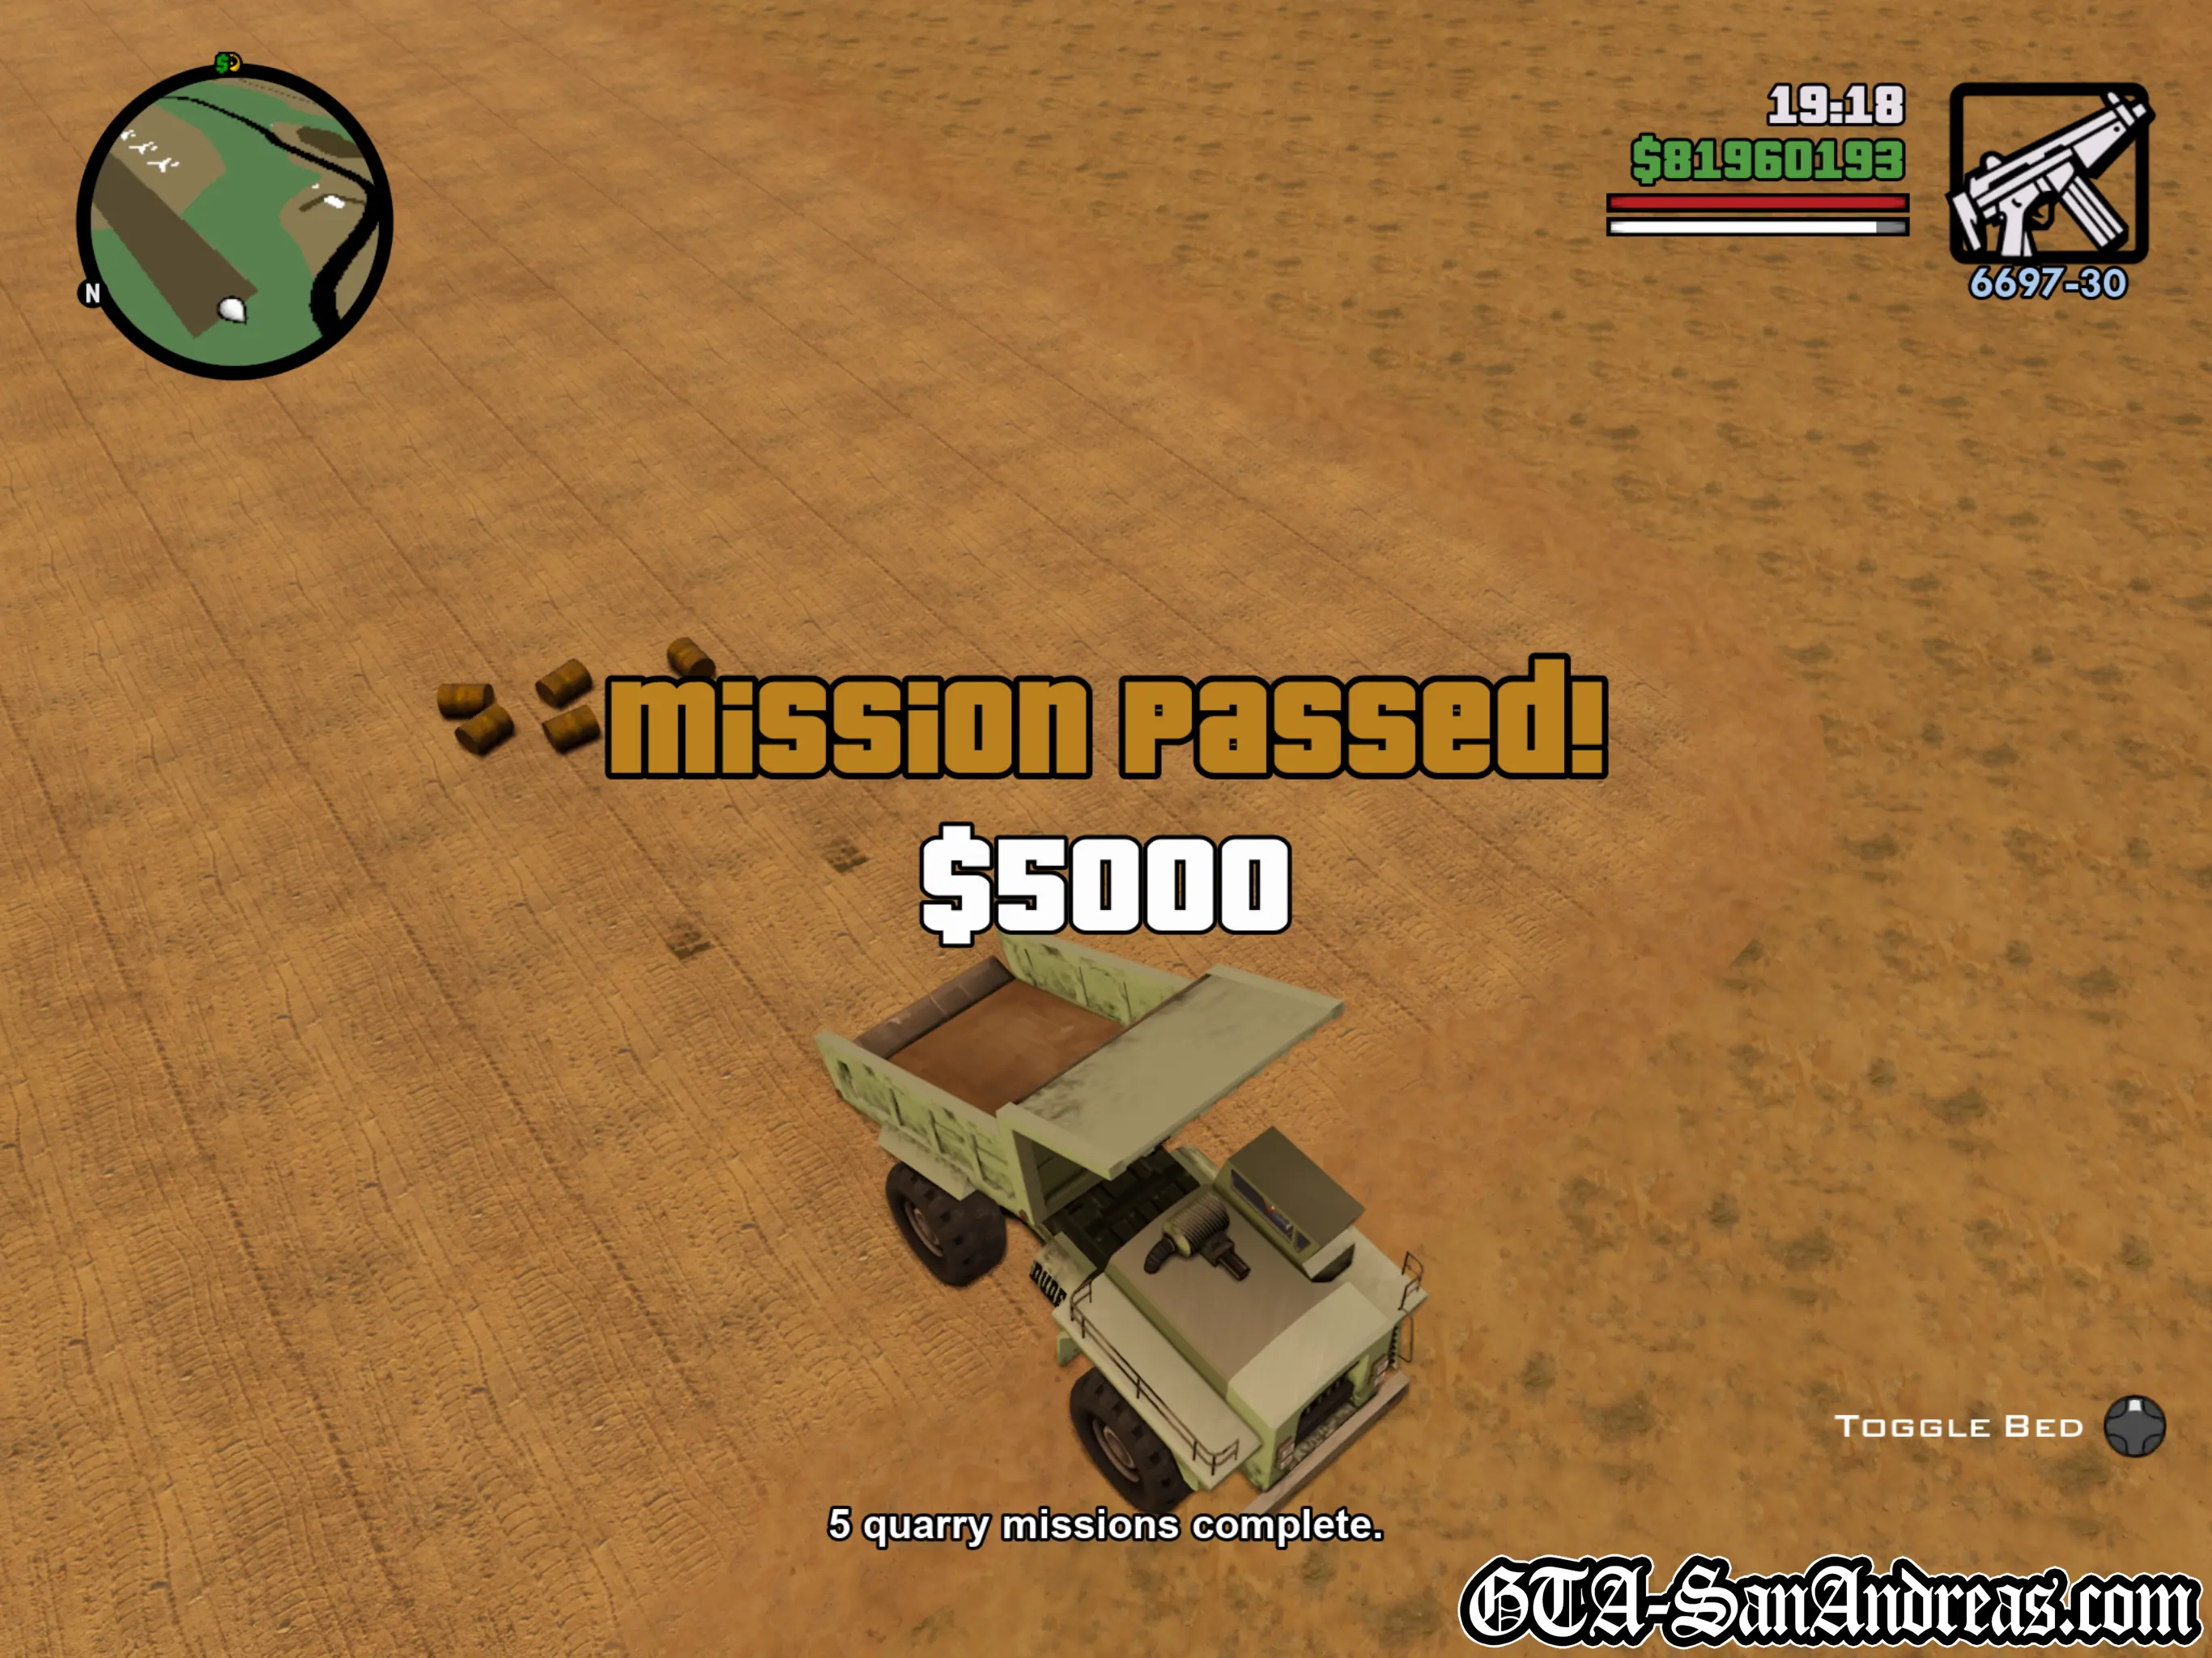
A glitch will often occur on this mission and the game will award you a huge insane stunt bonus when you drop off barrels in the red marker at the airfield.
Screenshots
Hunter Quarry - Mission 6
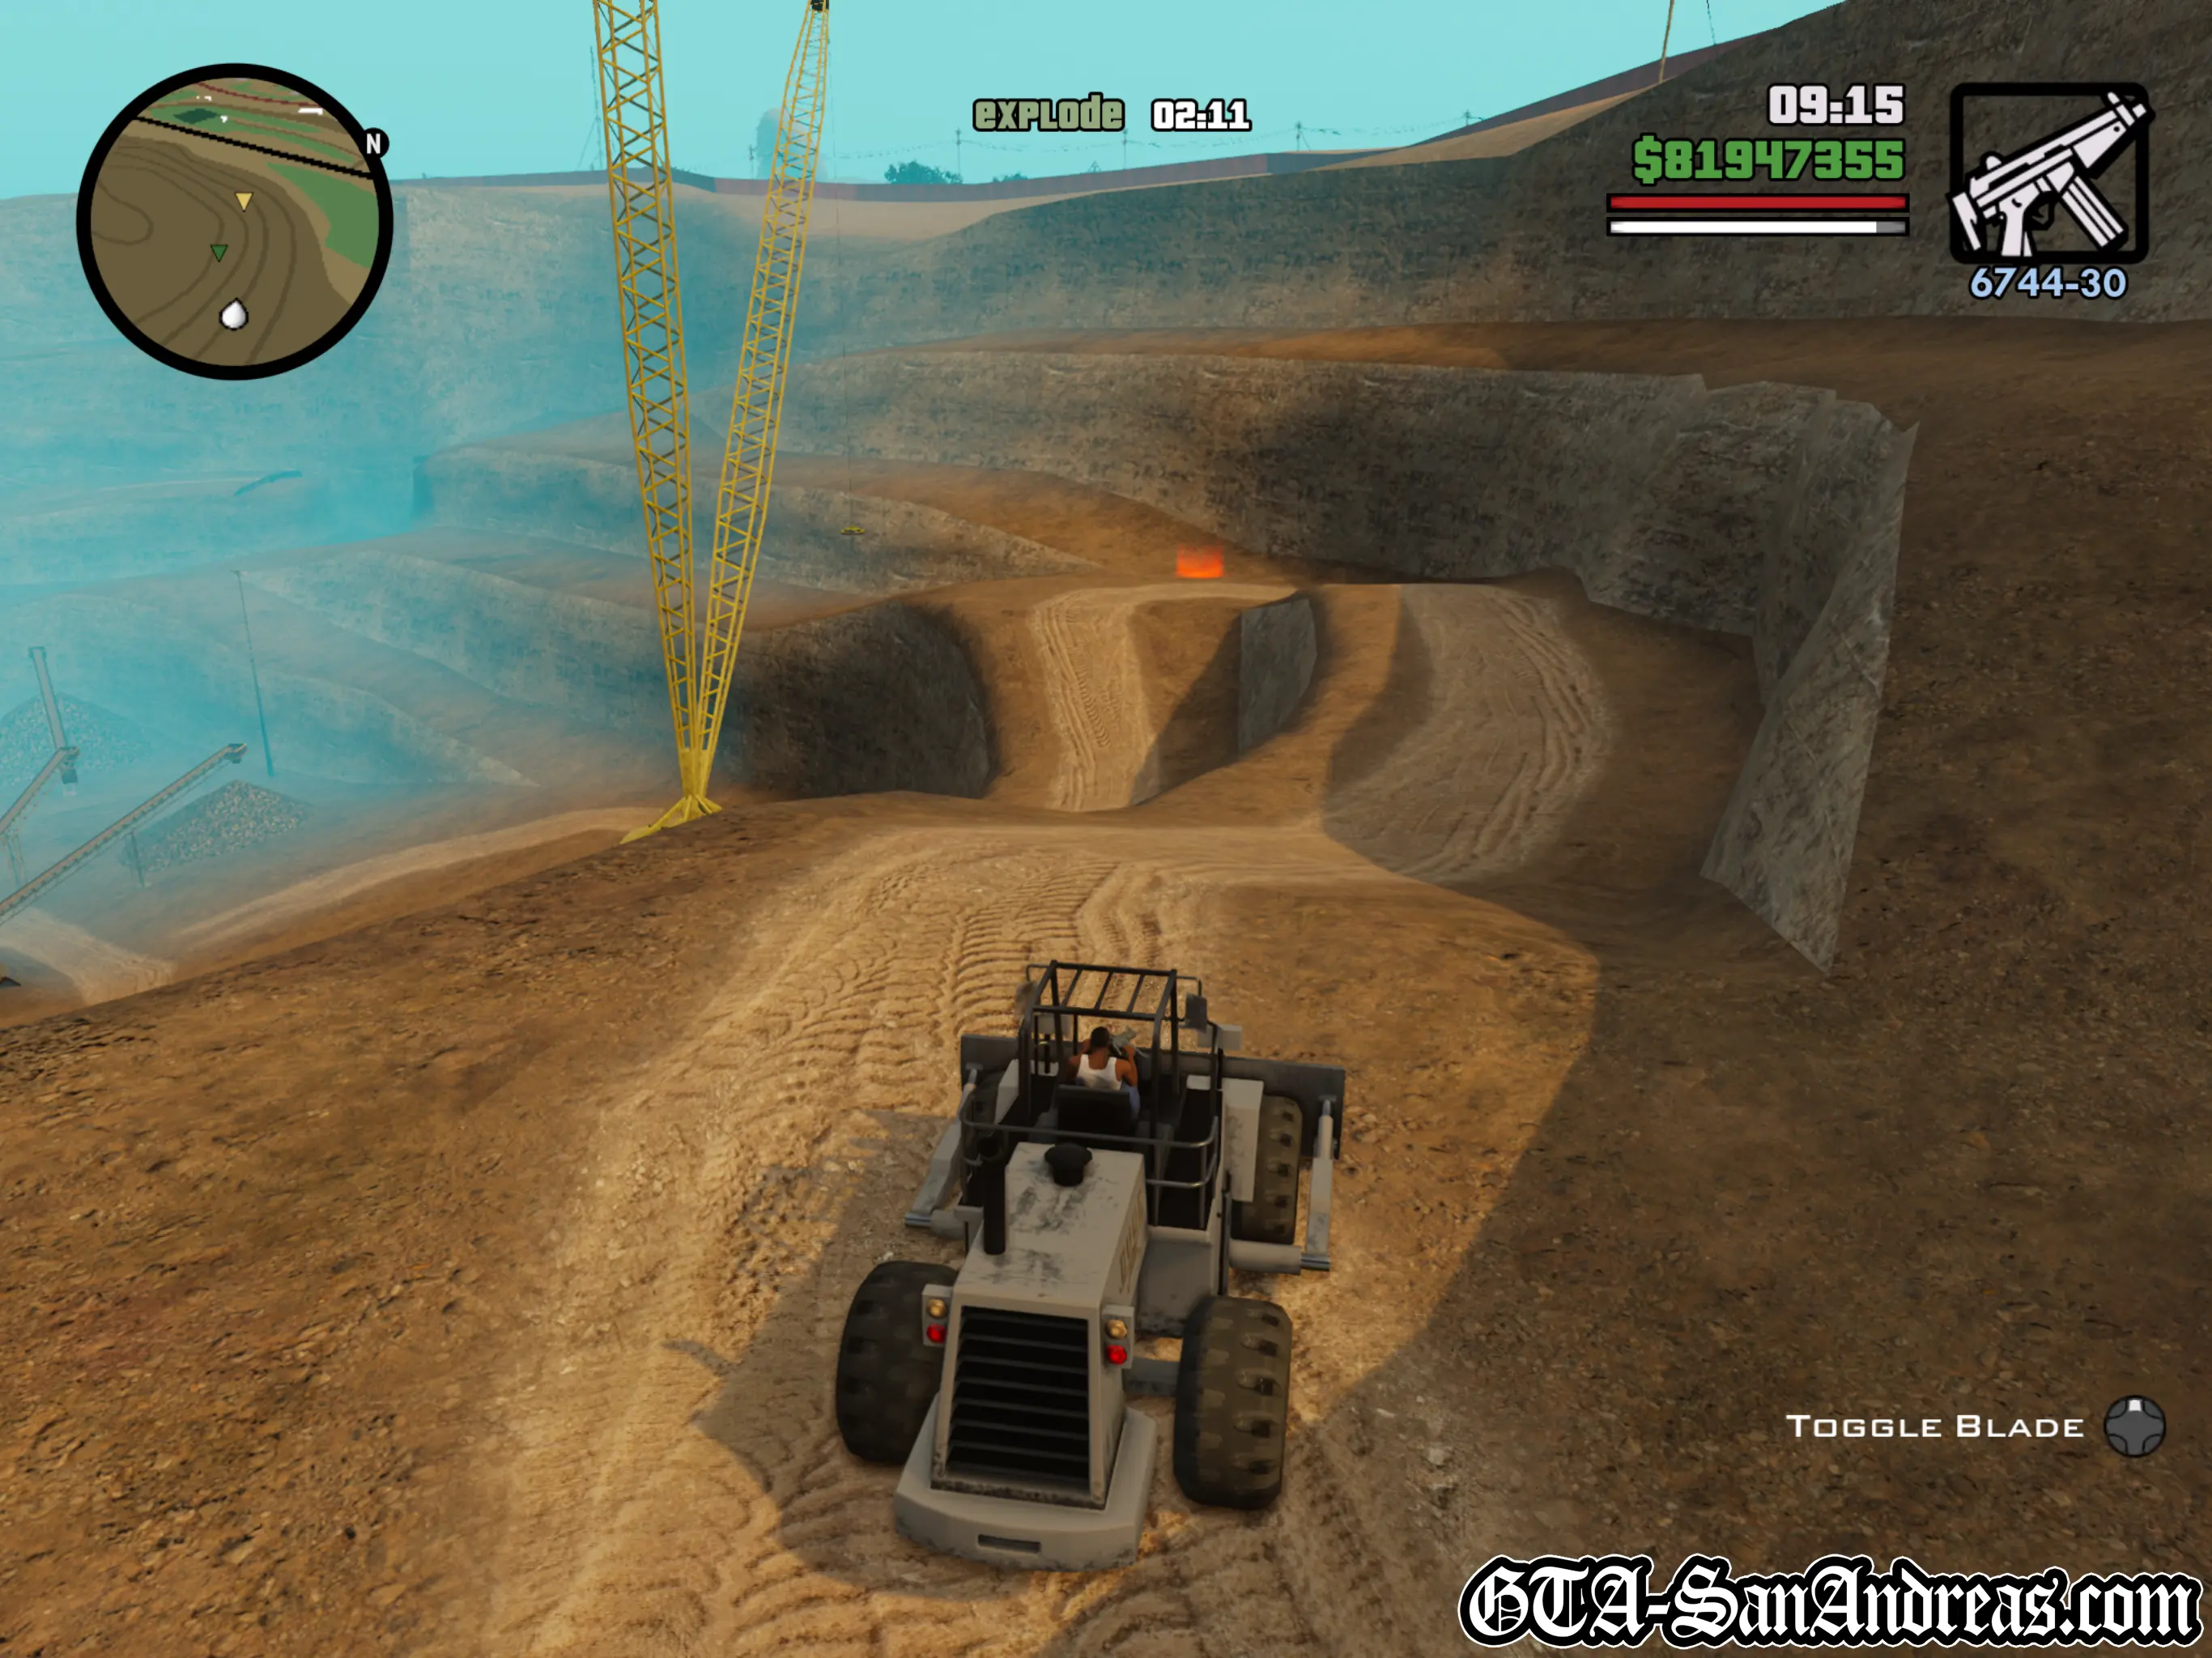
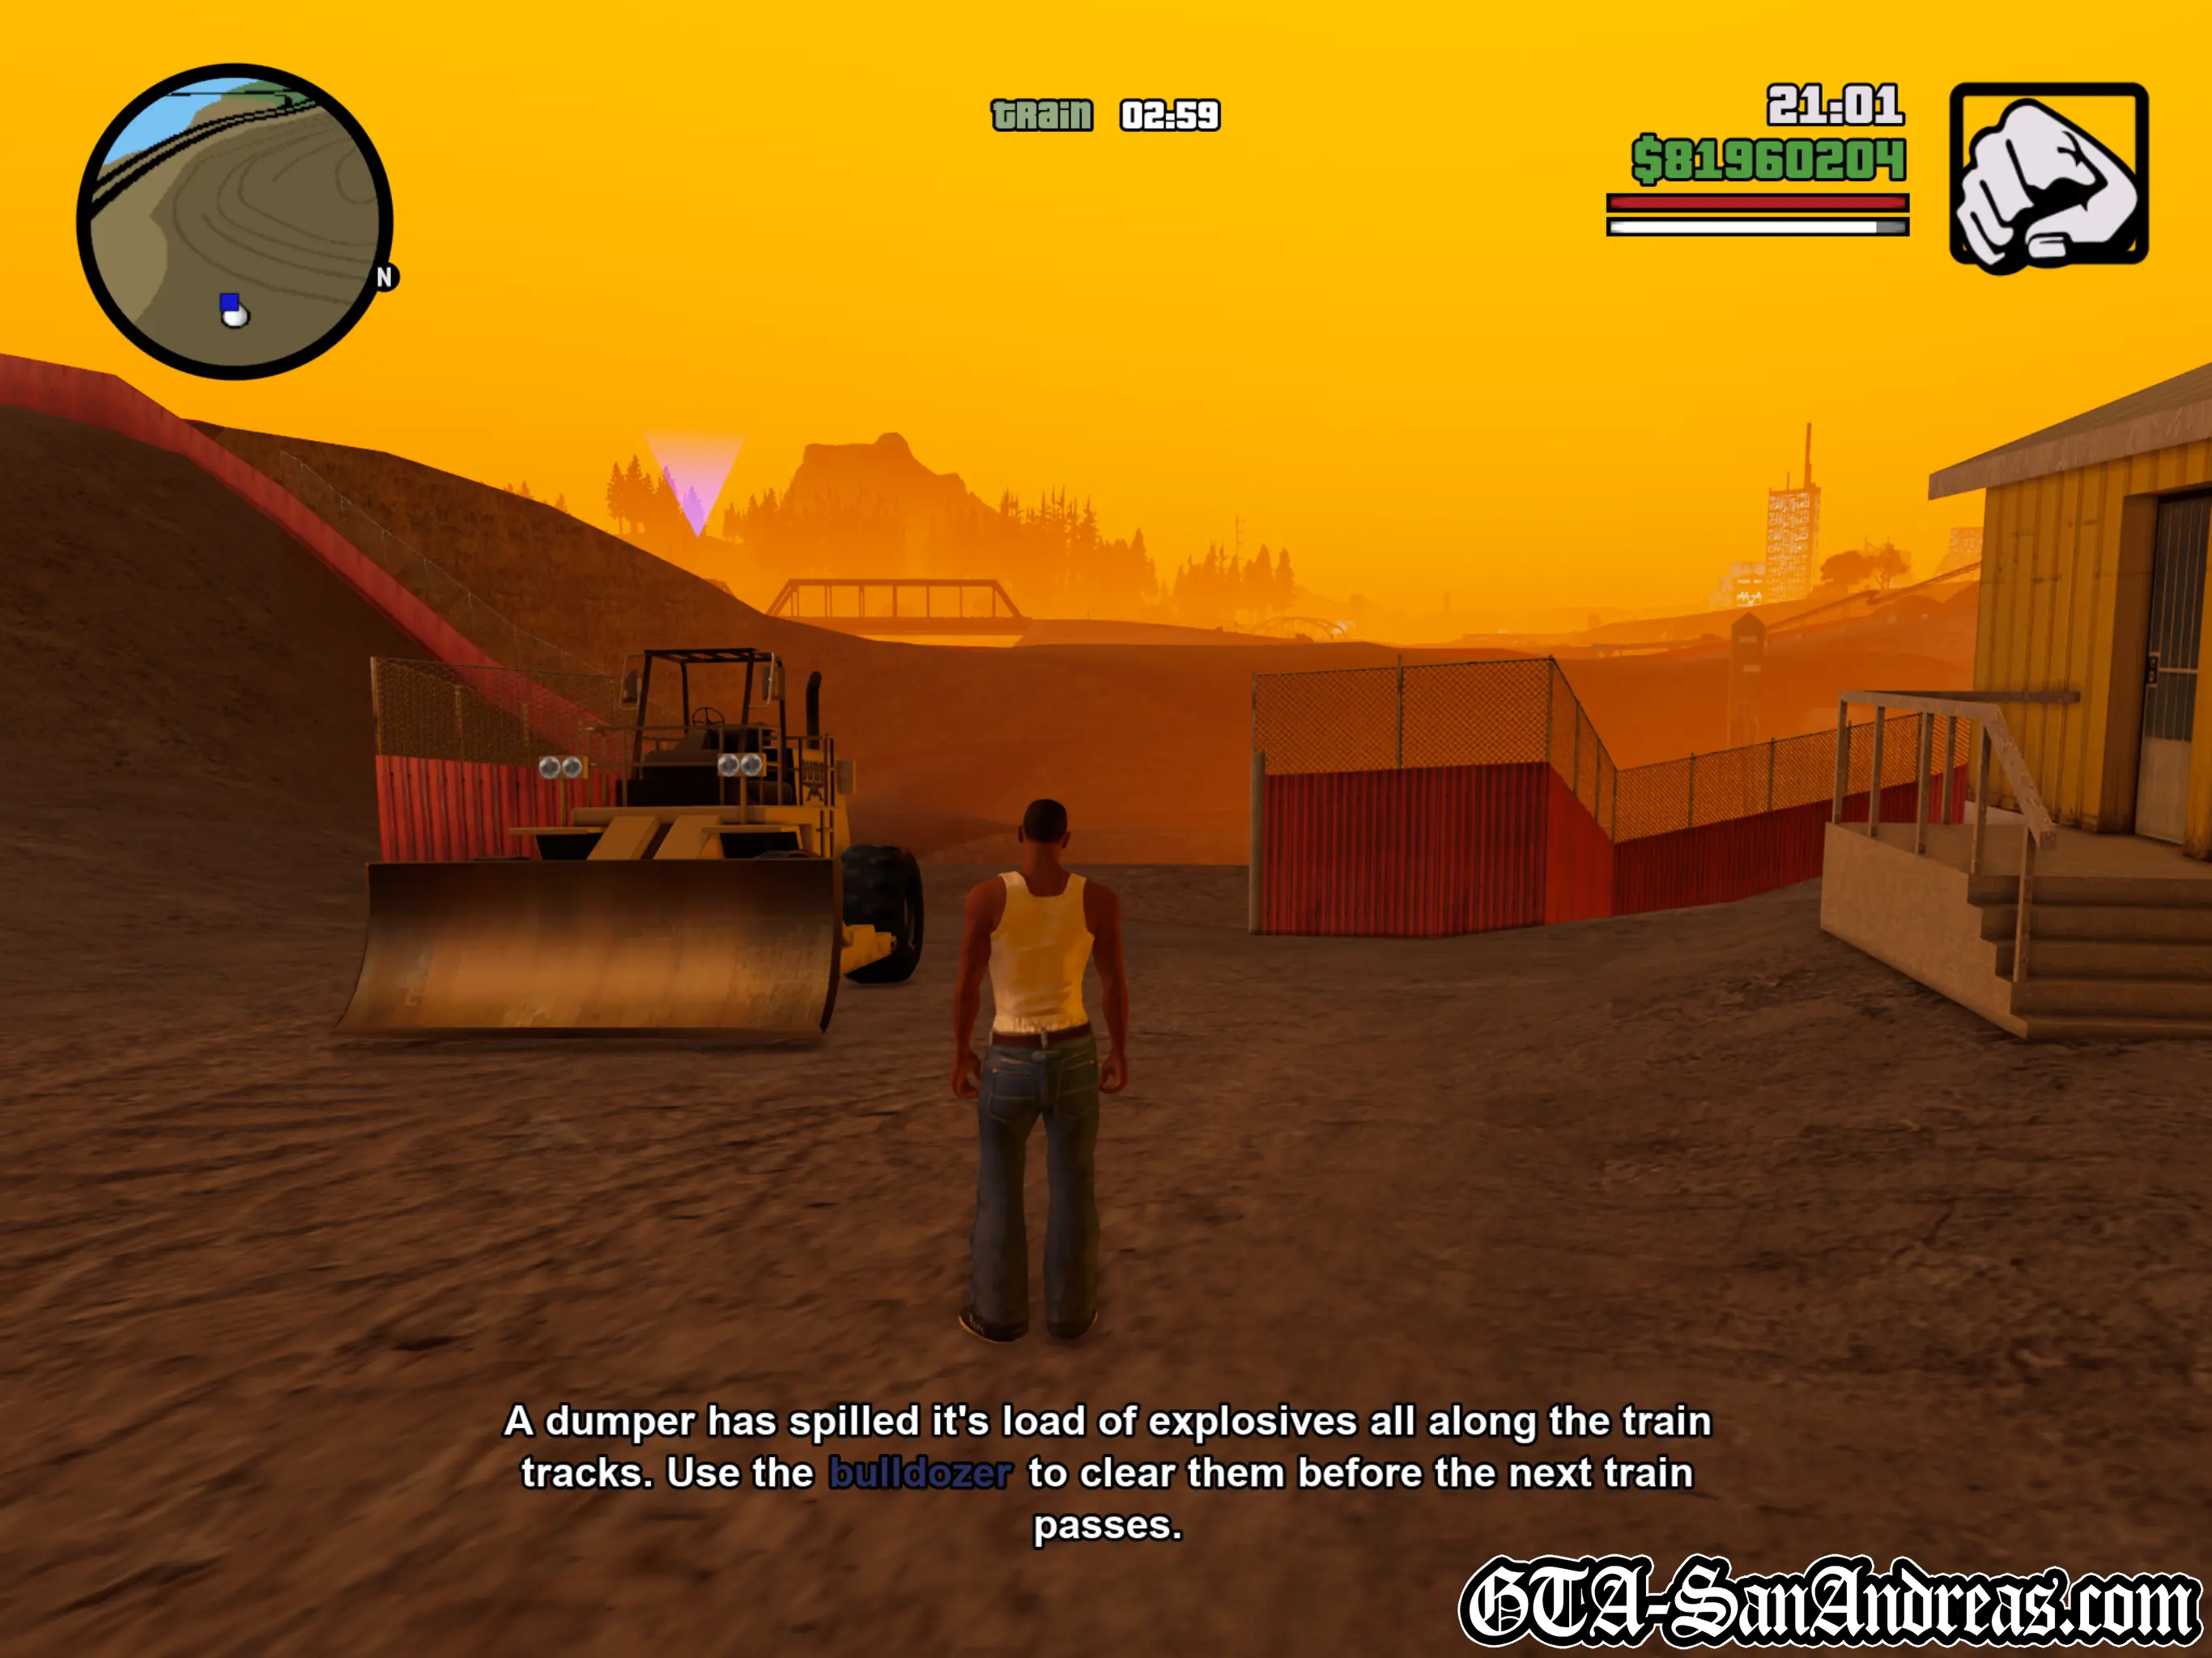
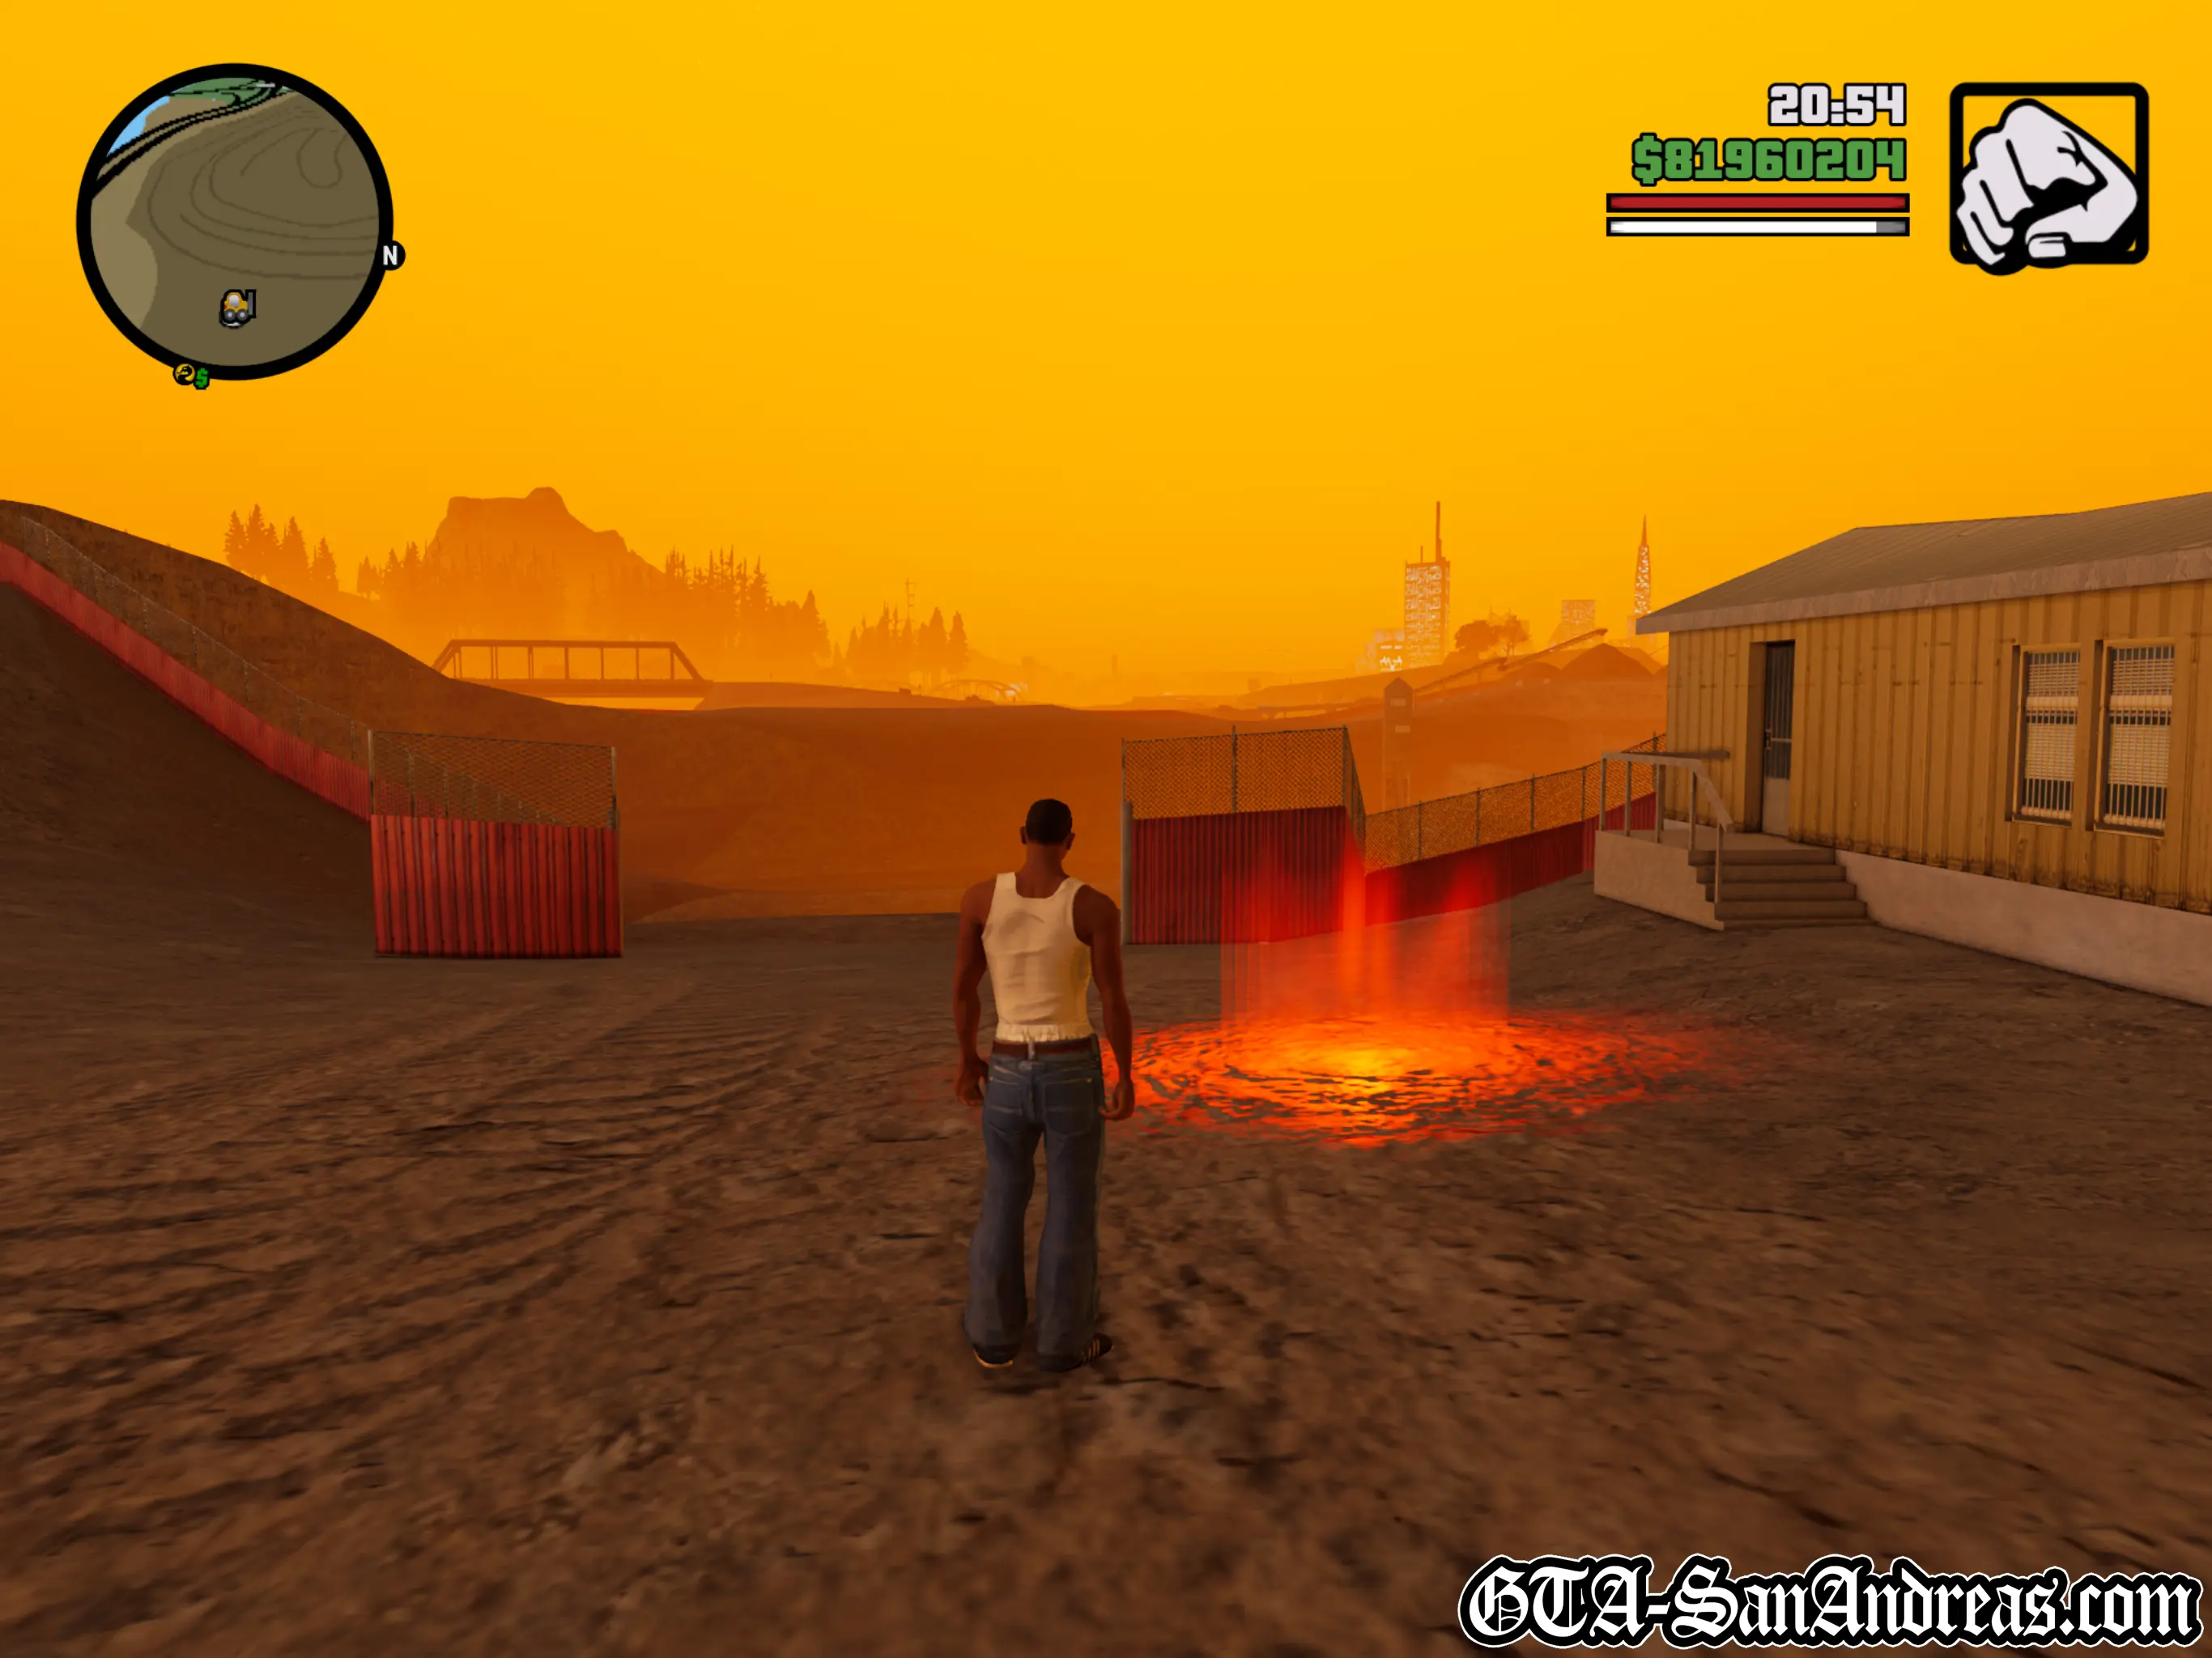
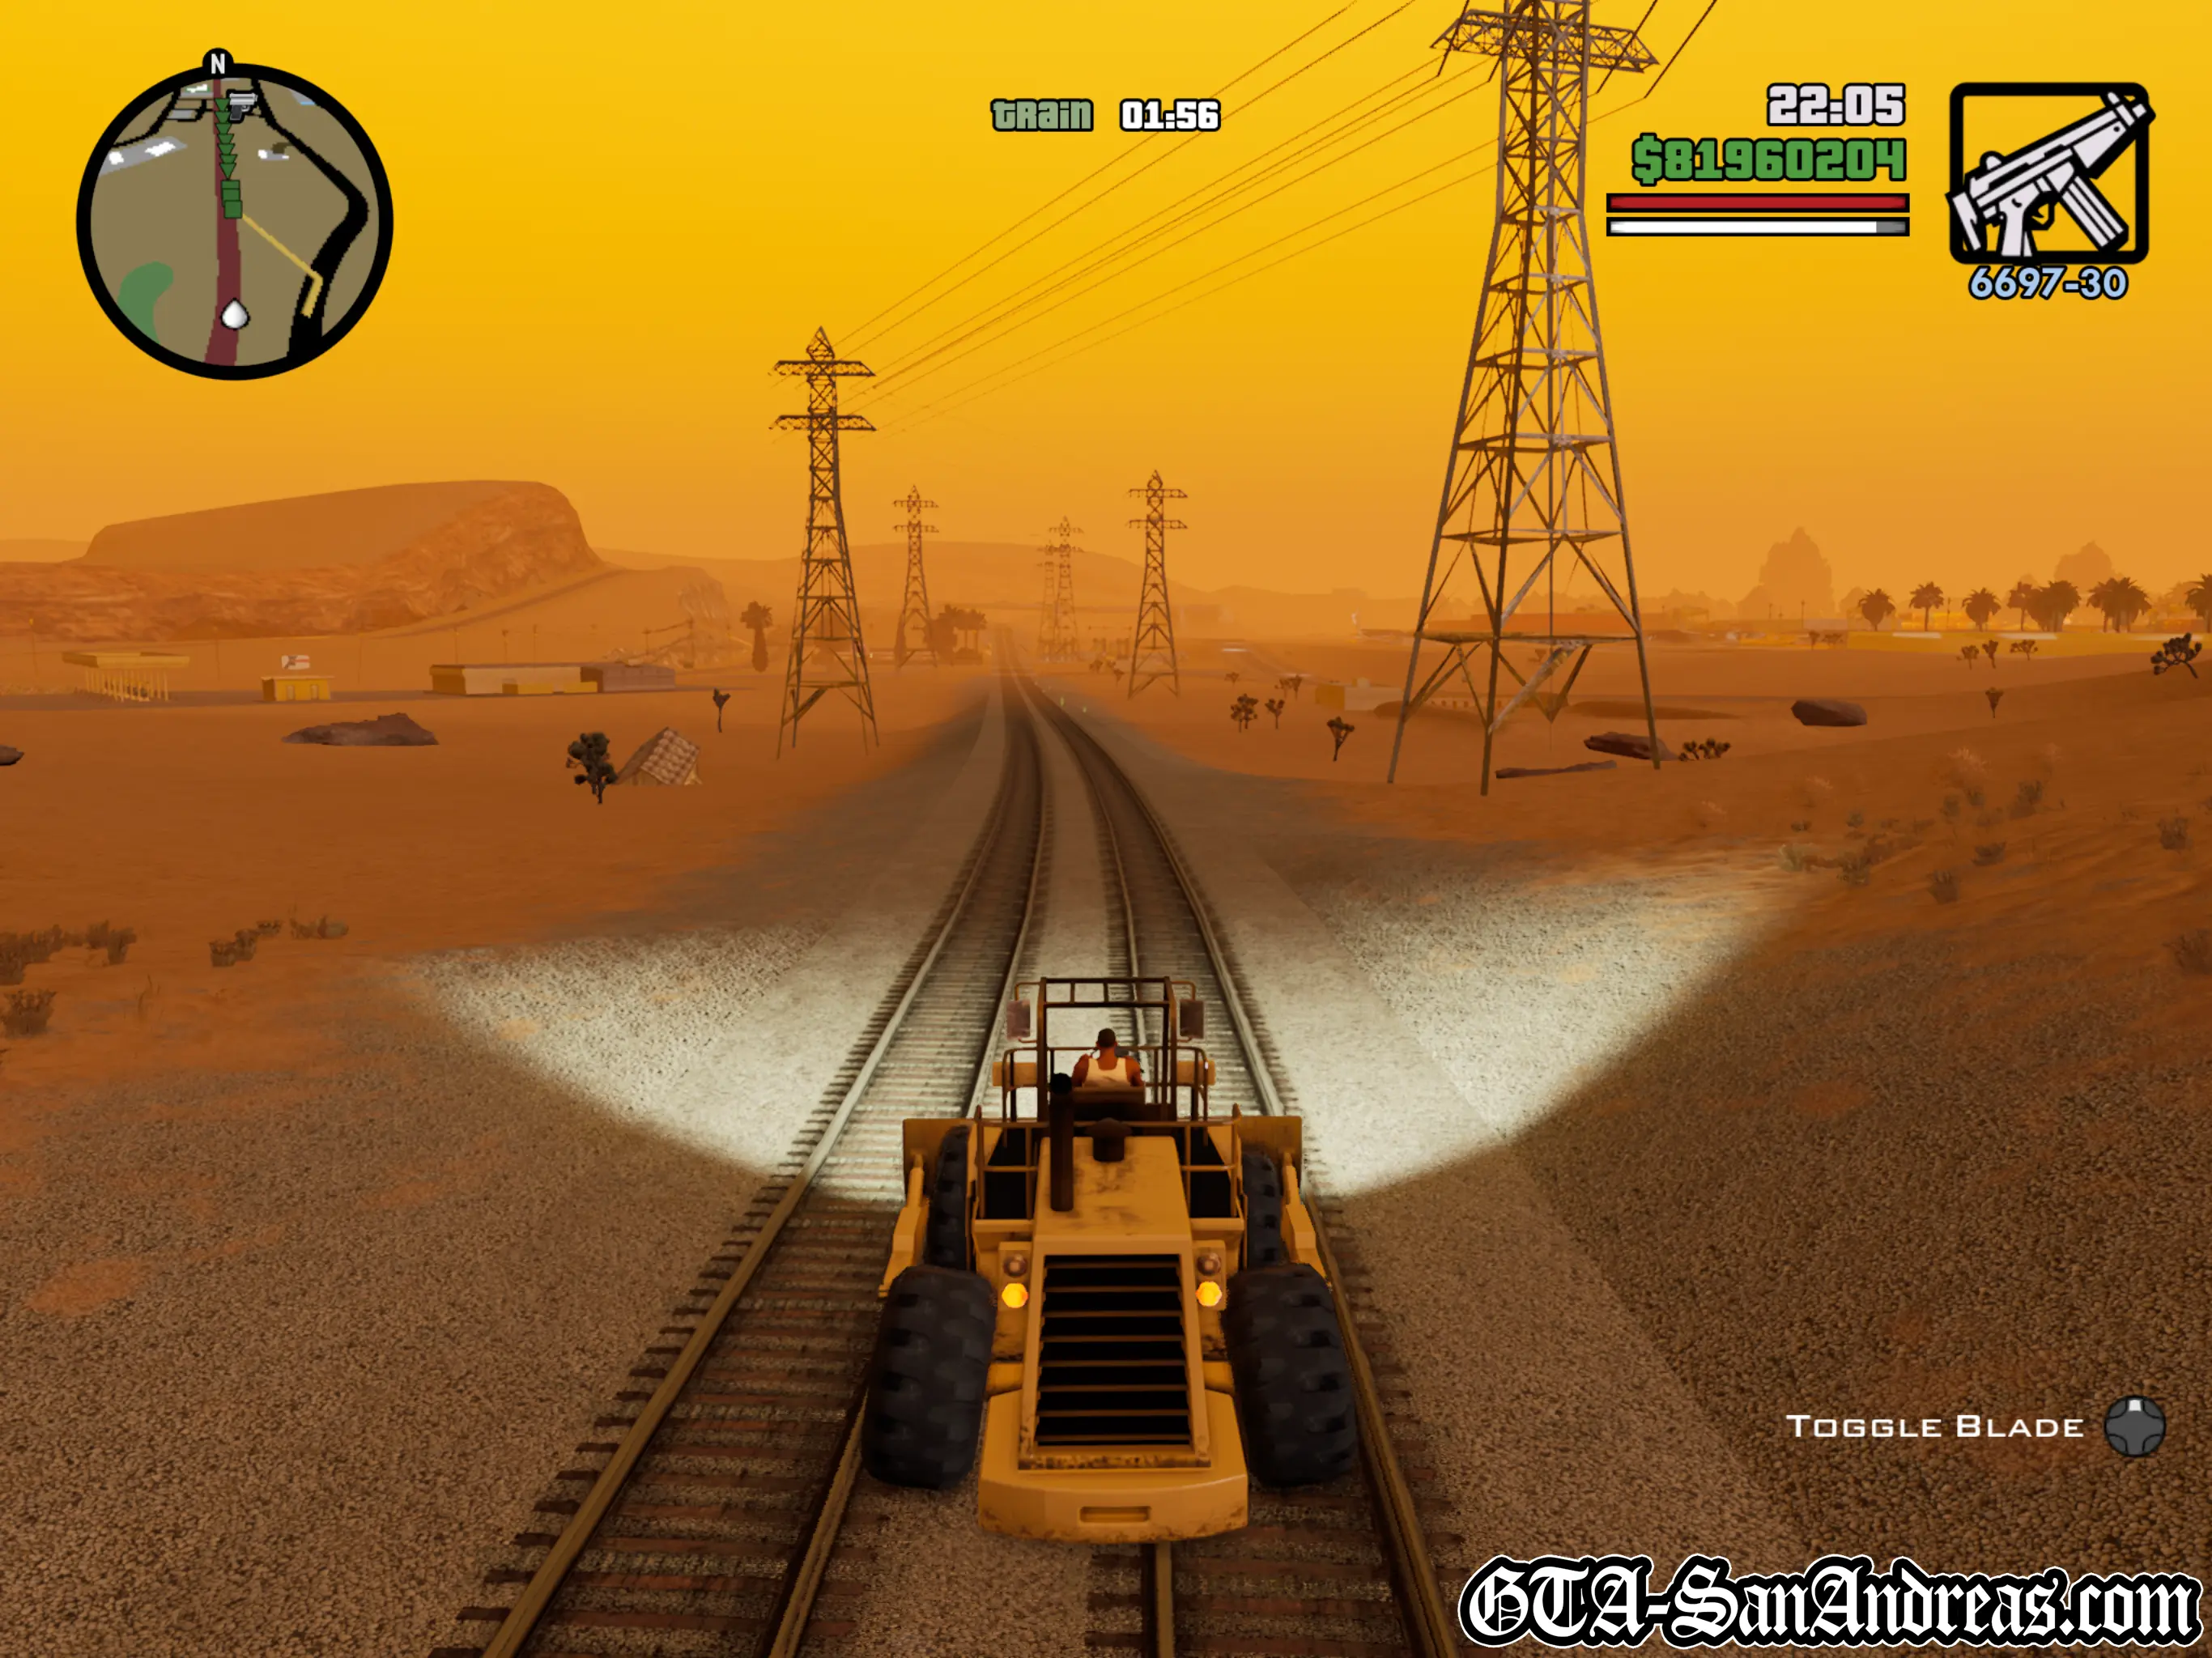
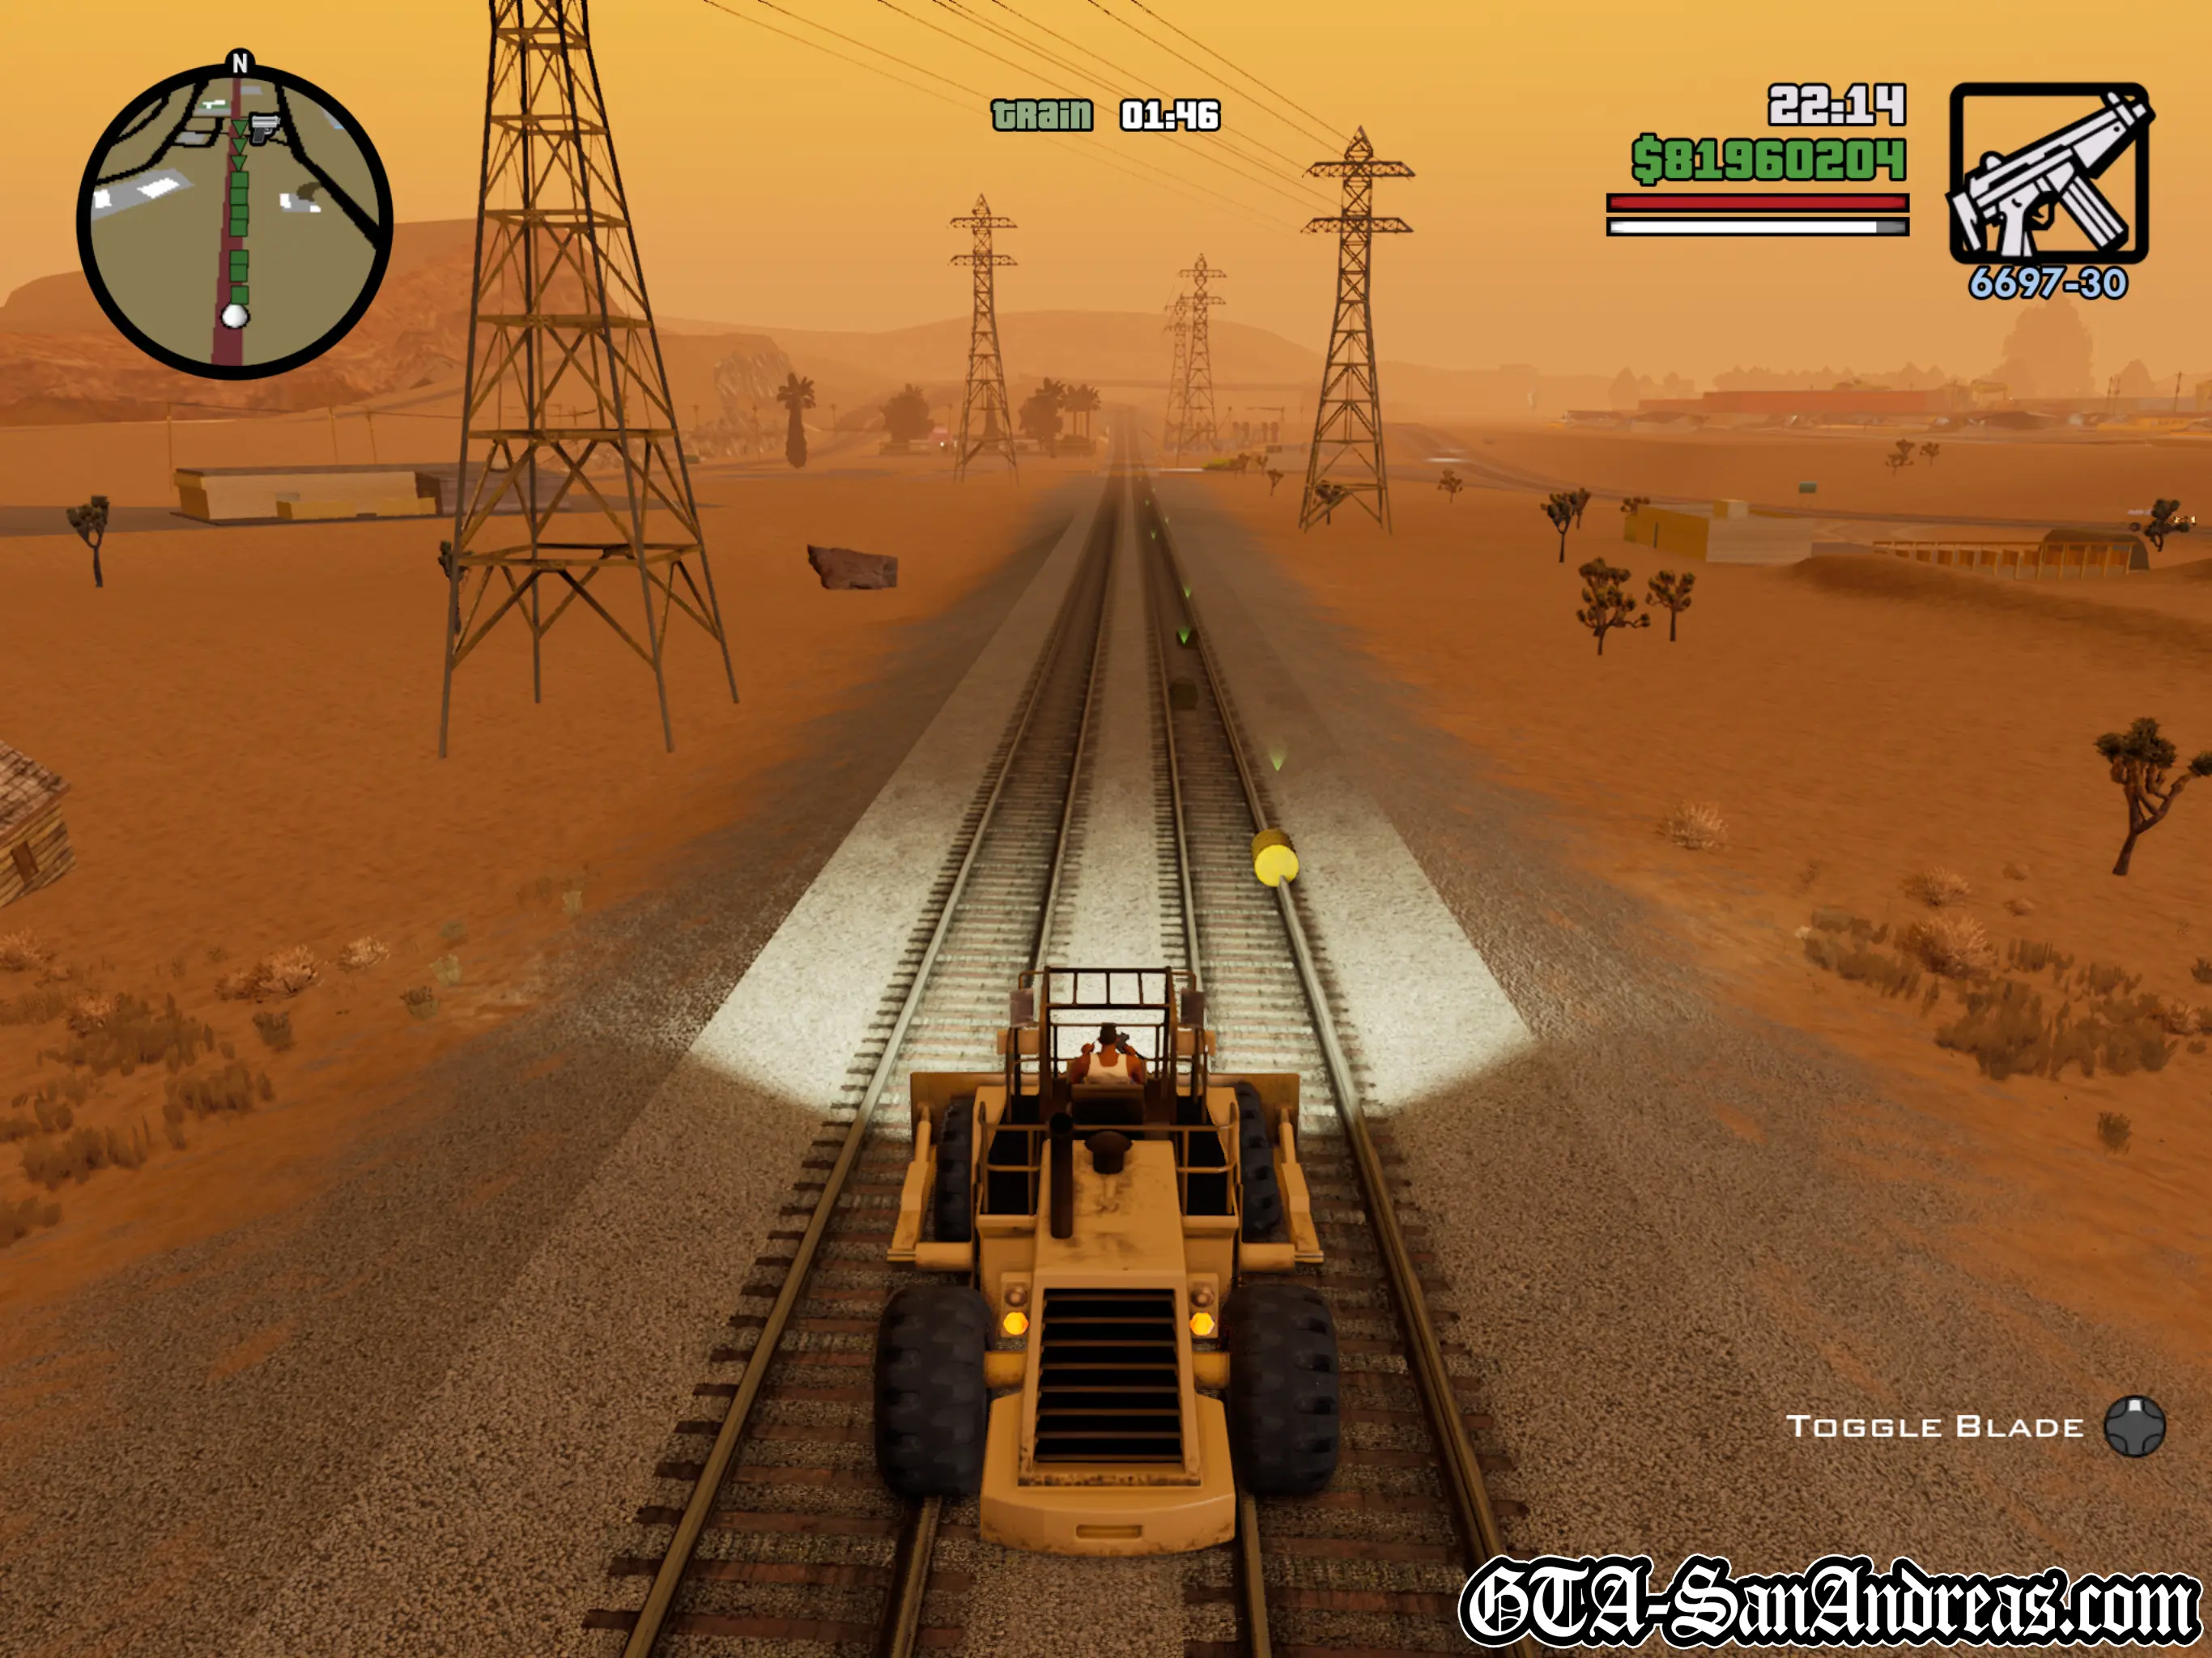
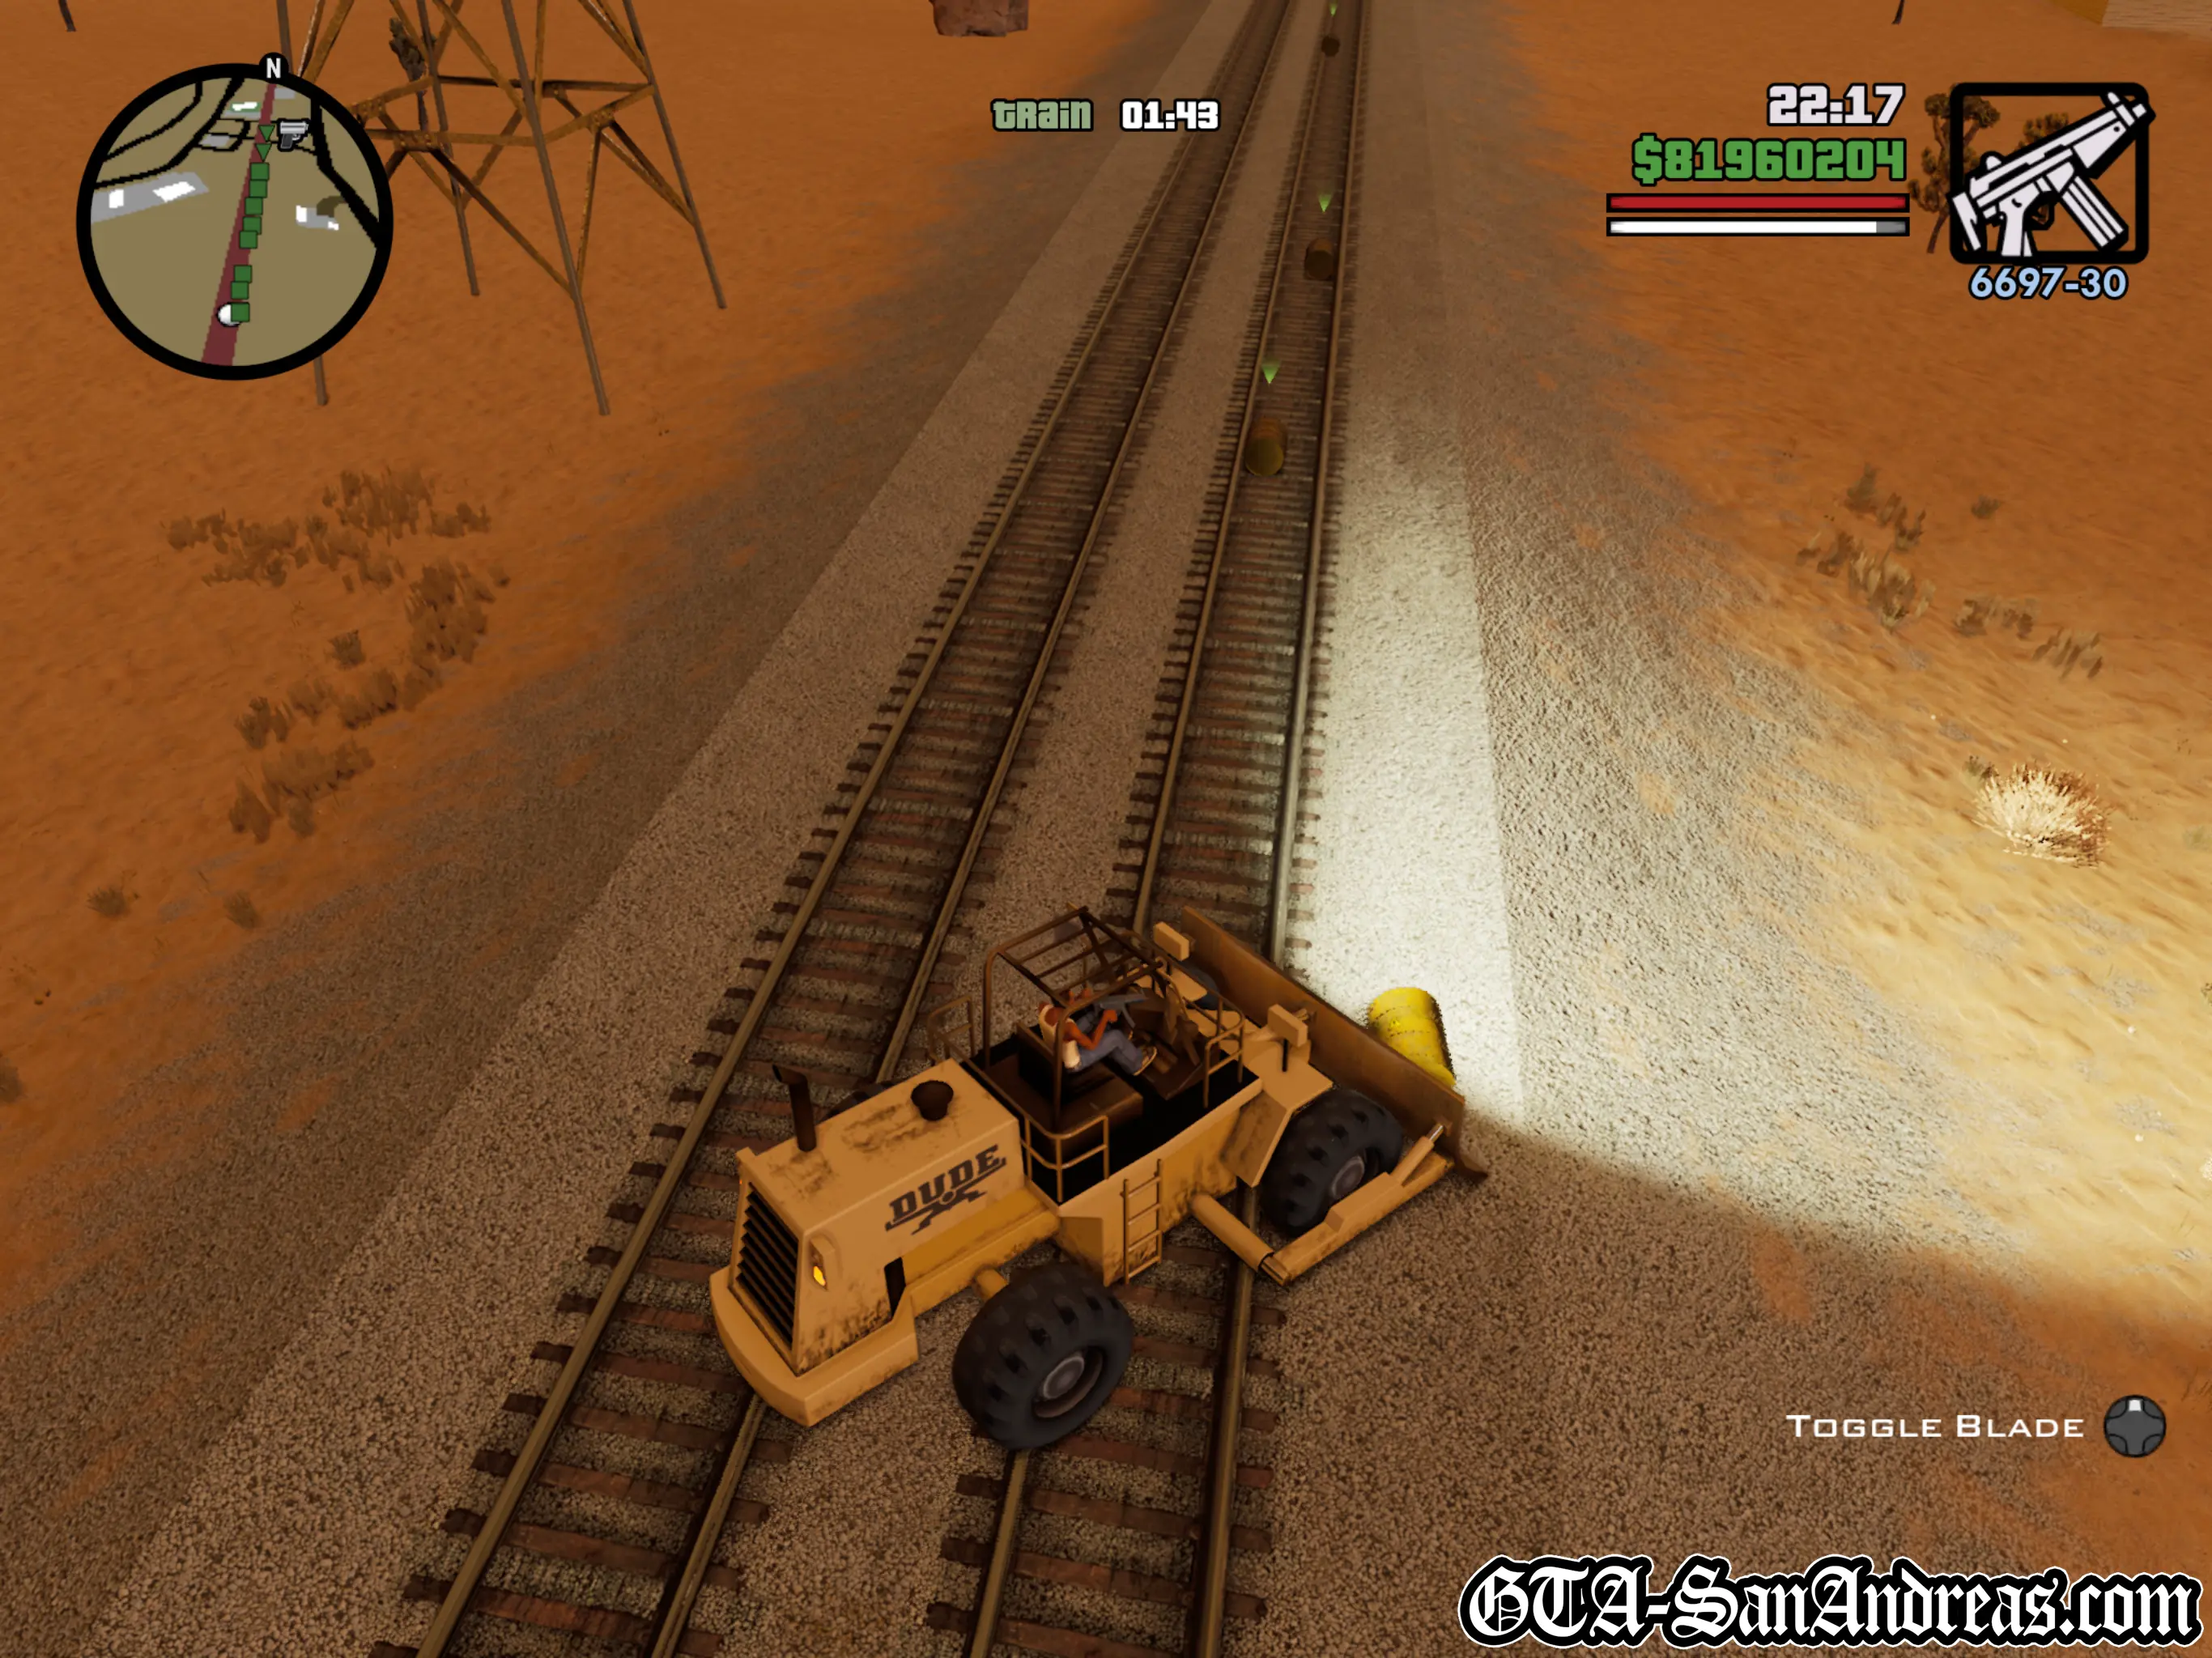
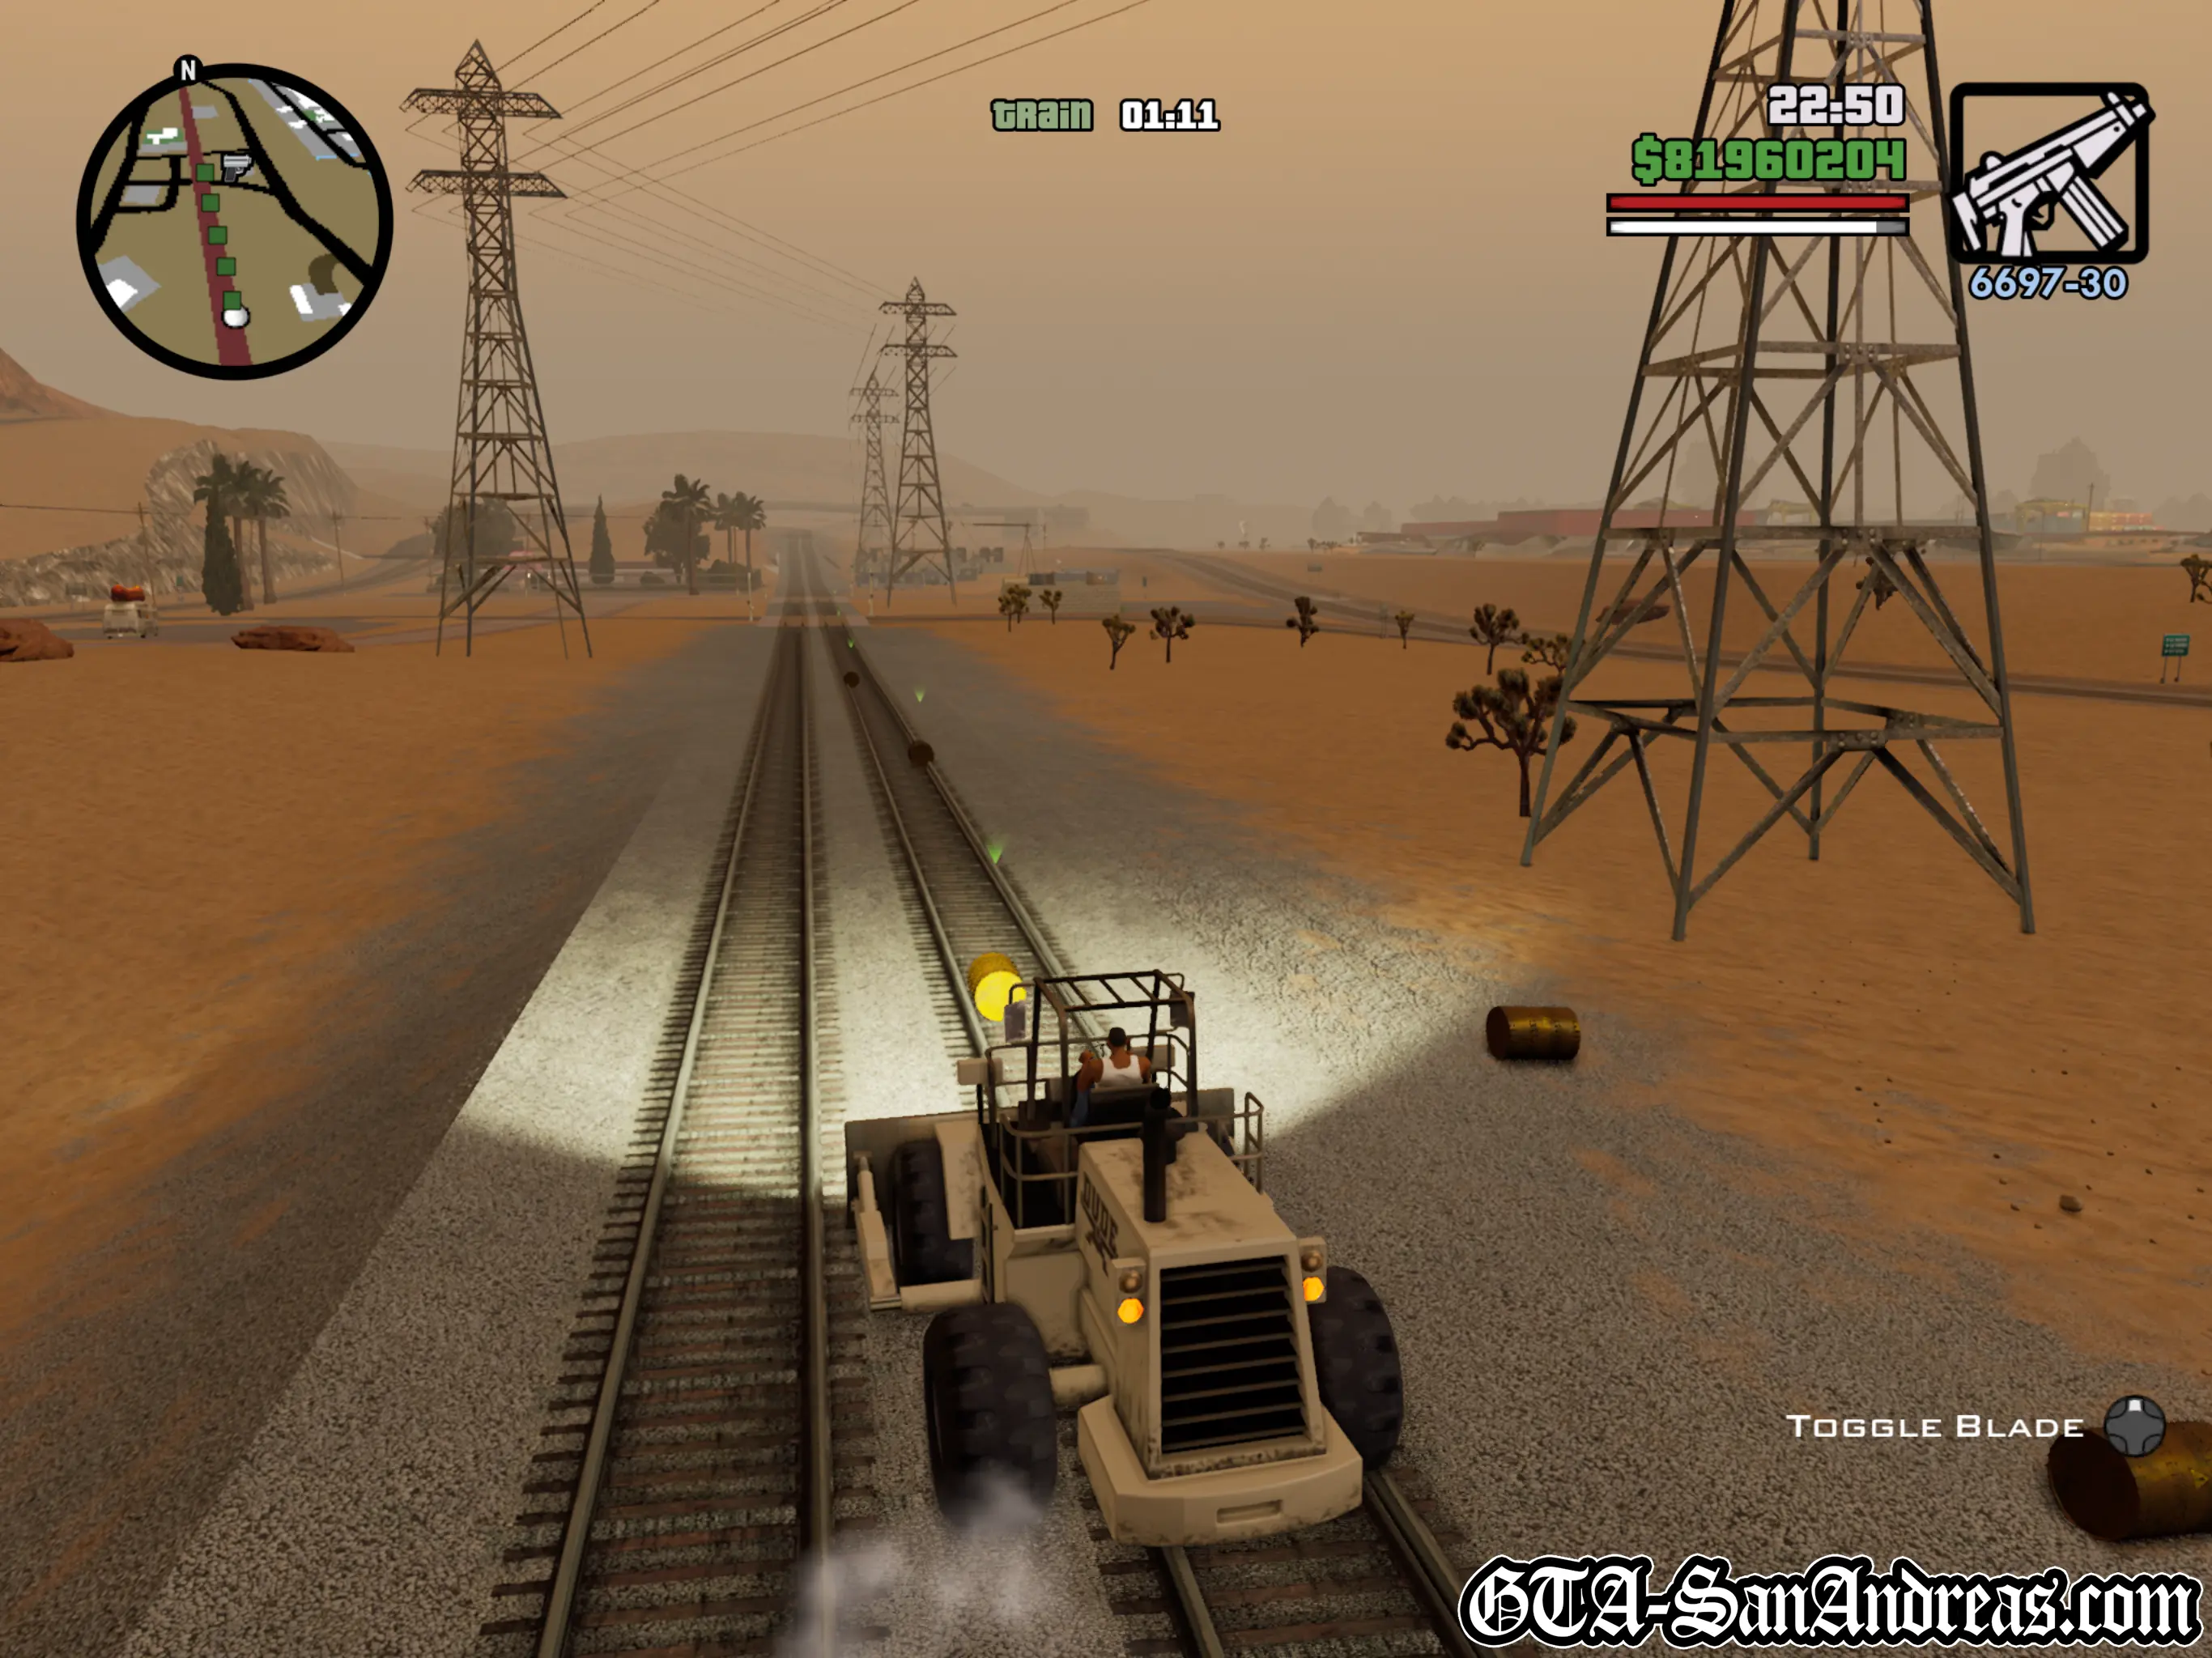
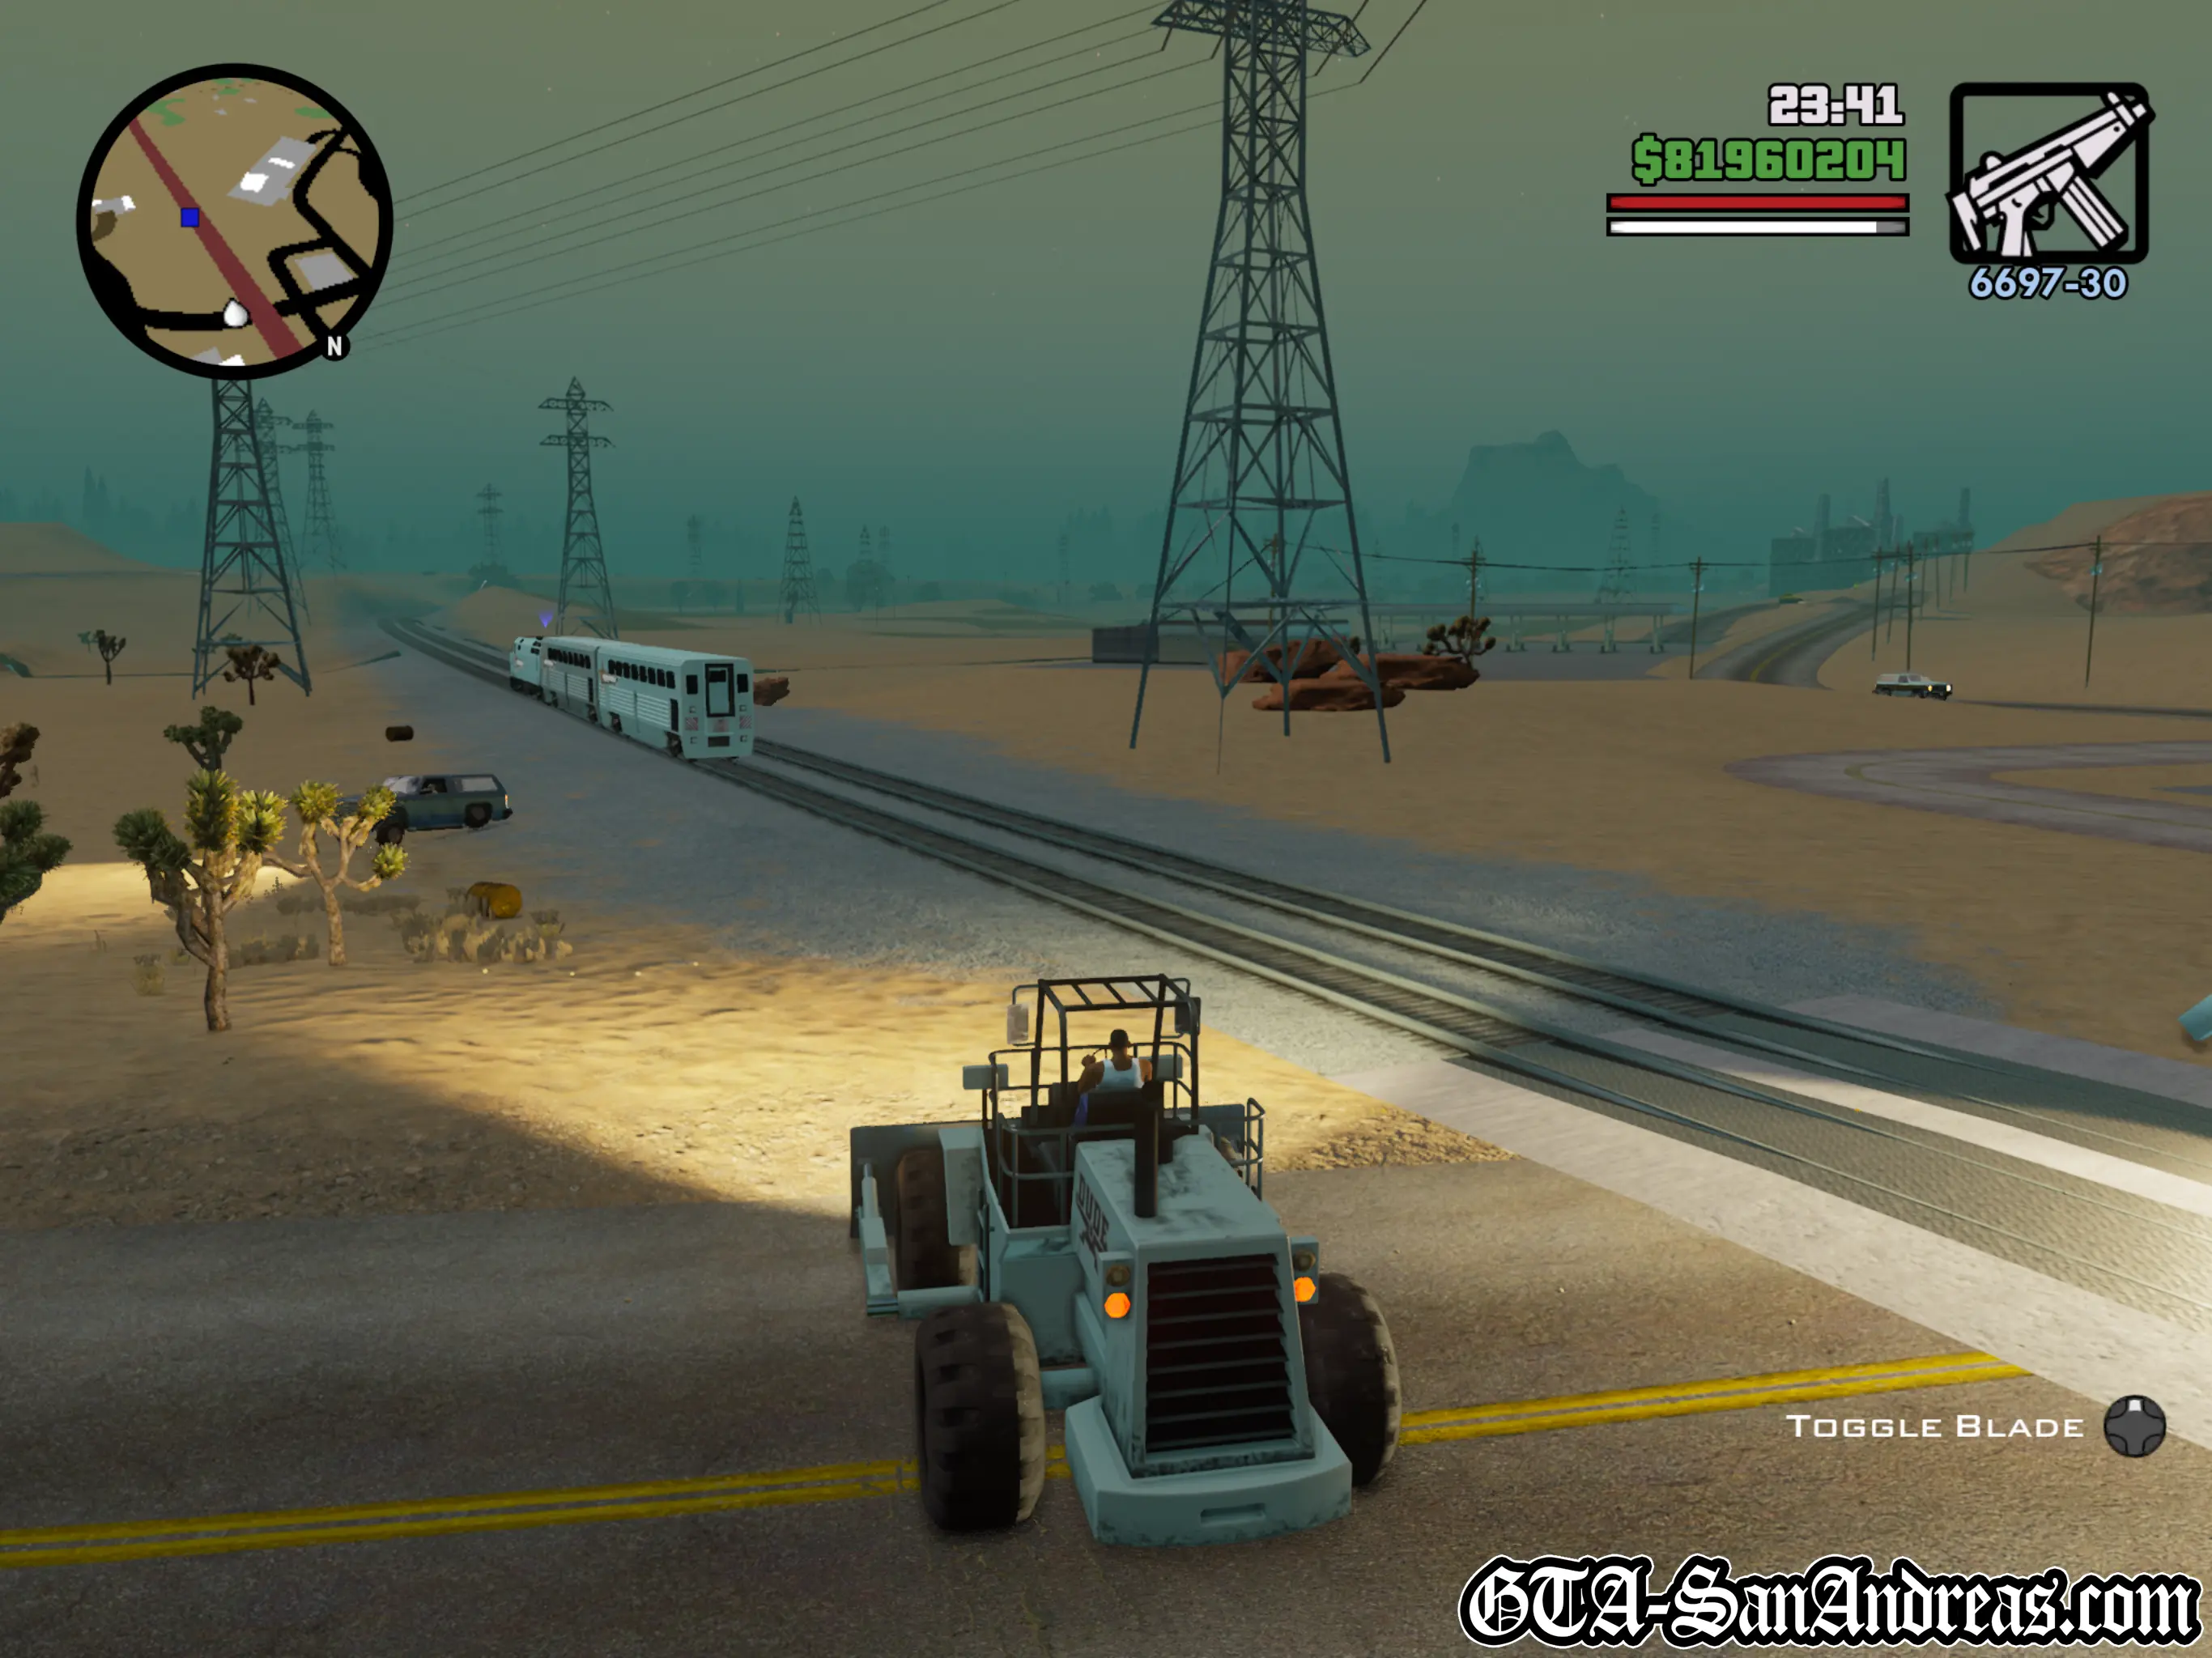
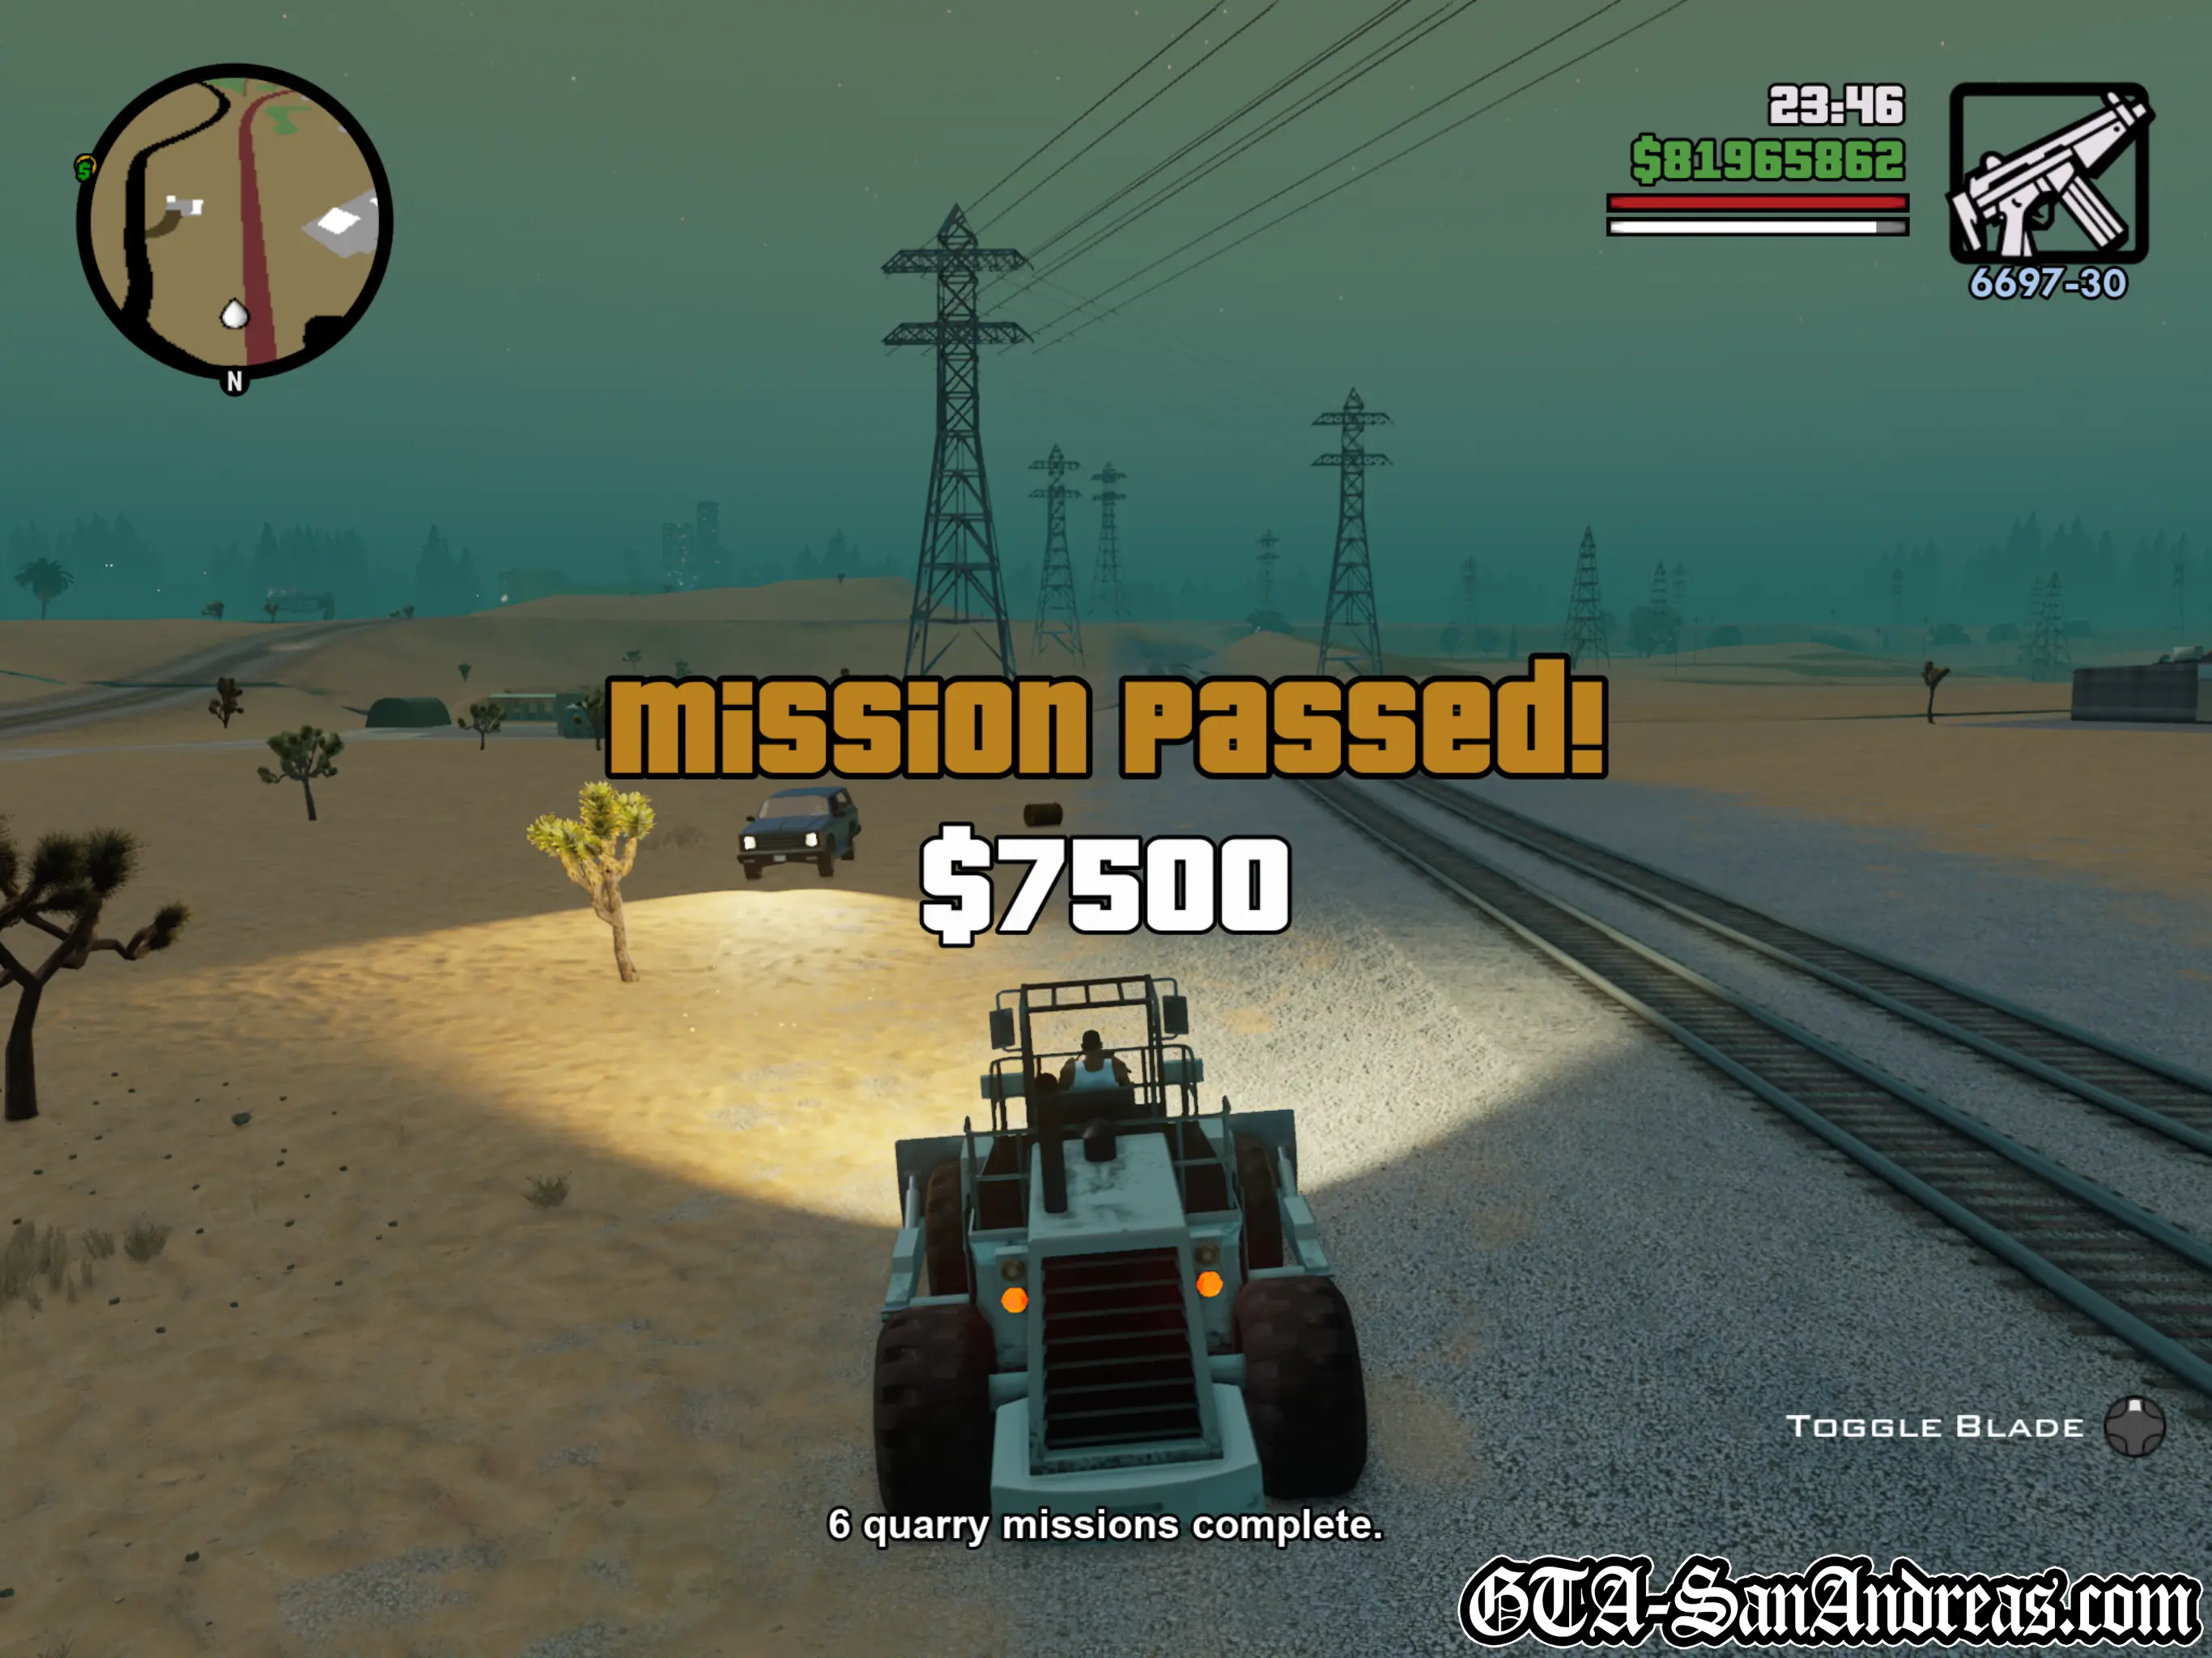
A dumper has spilled it's load of explosives all along the train tracks. Use the bulldozer to clear them before the next train passes.
This mission once again comes with a timer.
Get in the bulldozer and make your way towards the train tracks which you'll find by going straight and then left and down the hill.
Once you arrive, just drive along the tracks and push all of the barrels with green arrows off to the side until their arrow disappears. Some of them need to be nudged further away from the tracks than you'd expect, so don't move on until you see the green arrow disappear.
Keep going along the tracks and remove them all before the time runs out and the train comes flying down the track. The mission is relatively simple if I'm honest as you're given a generous amount of time.
Screenshots
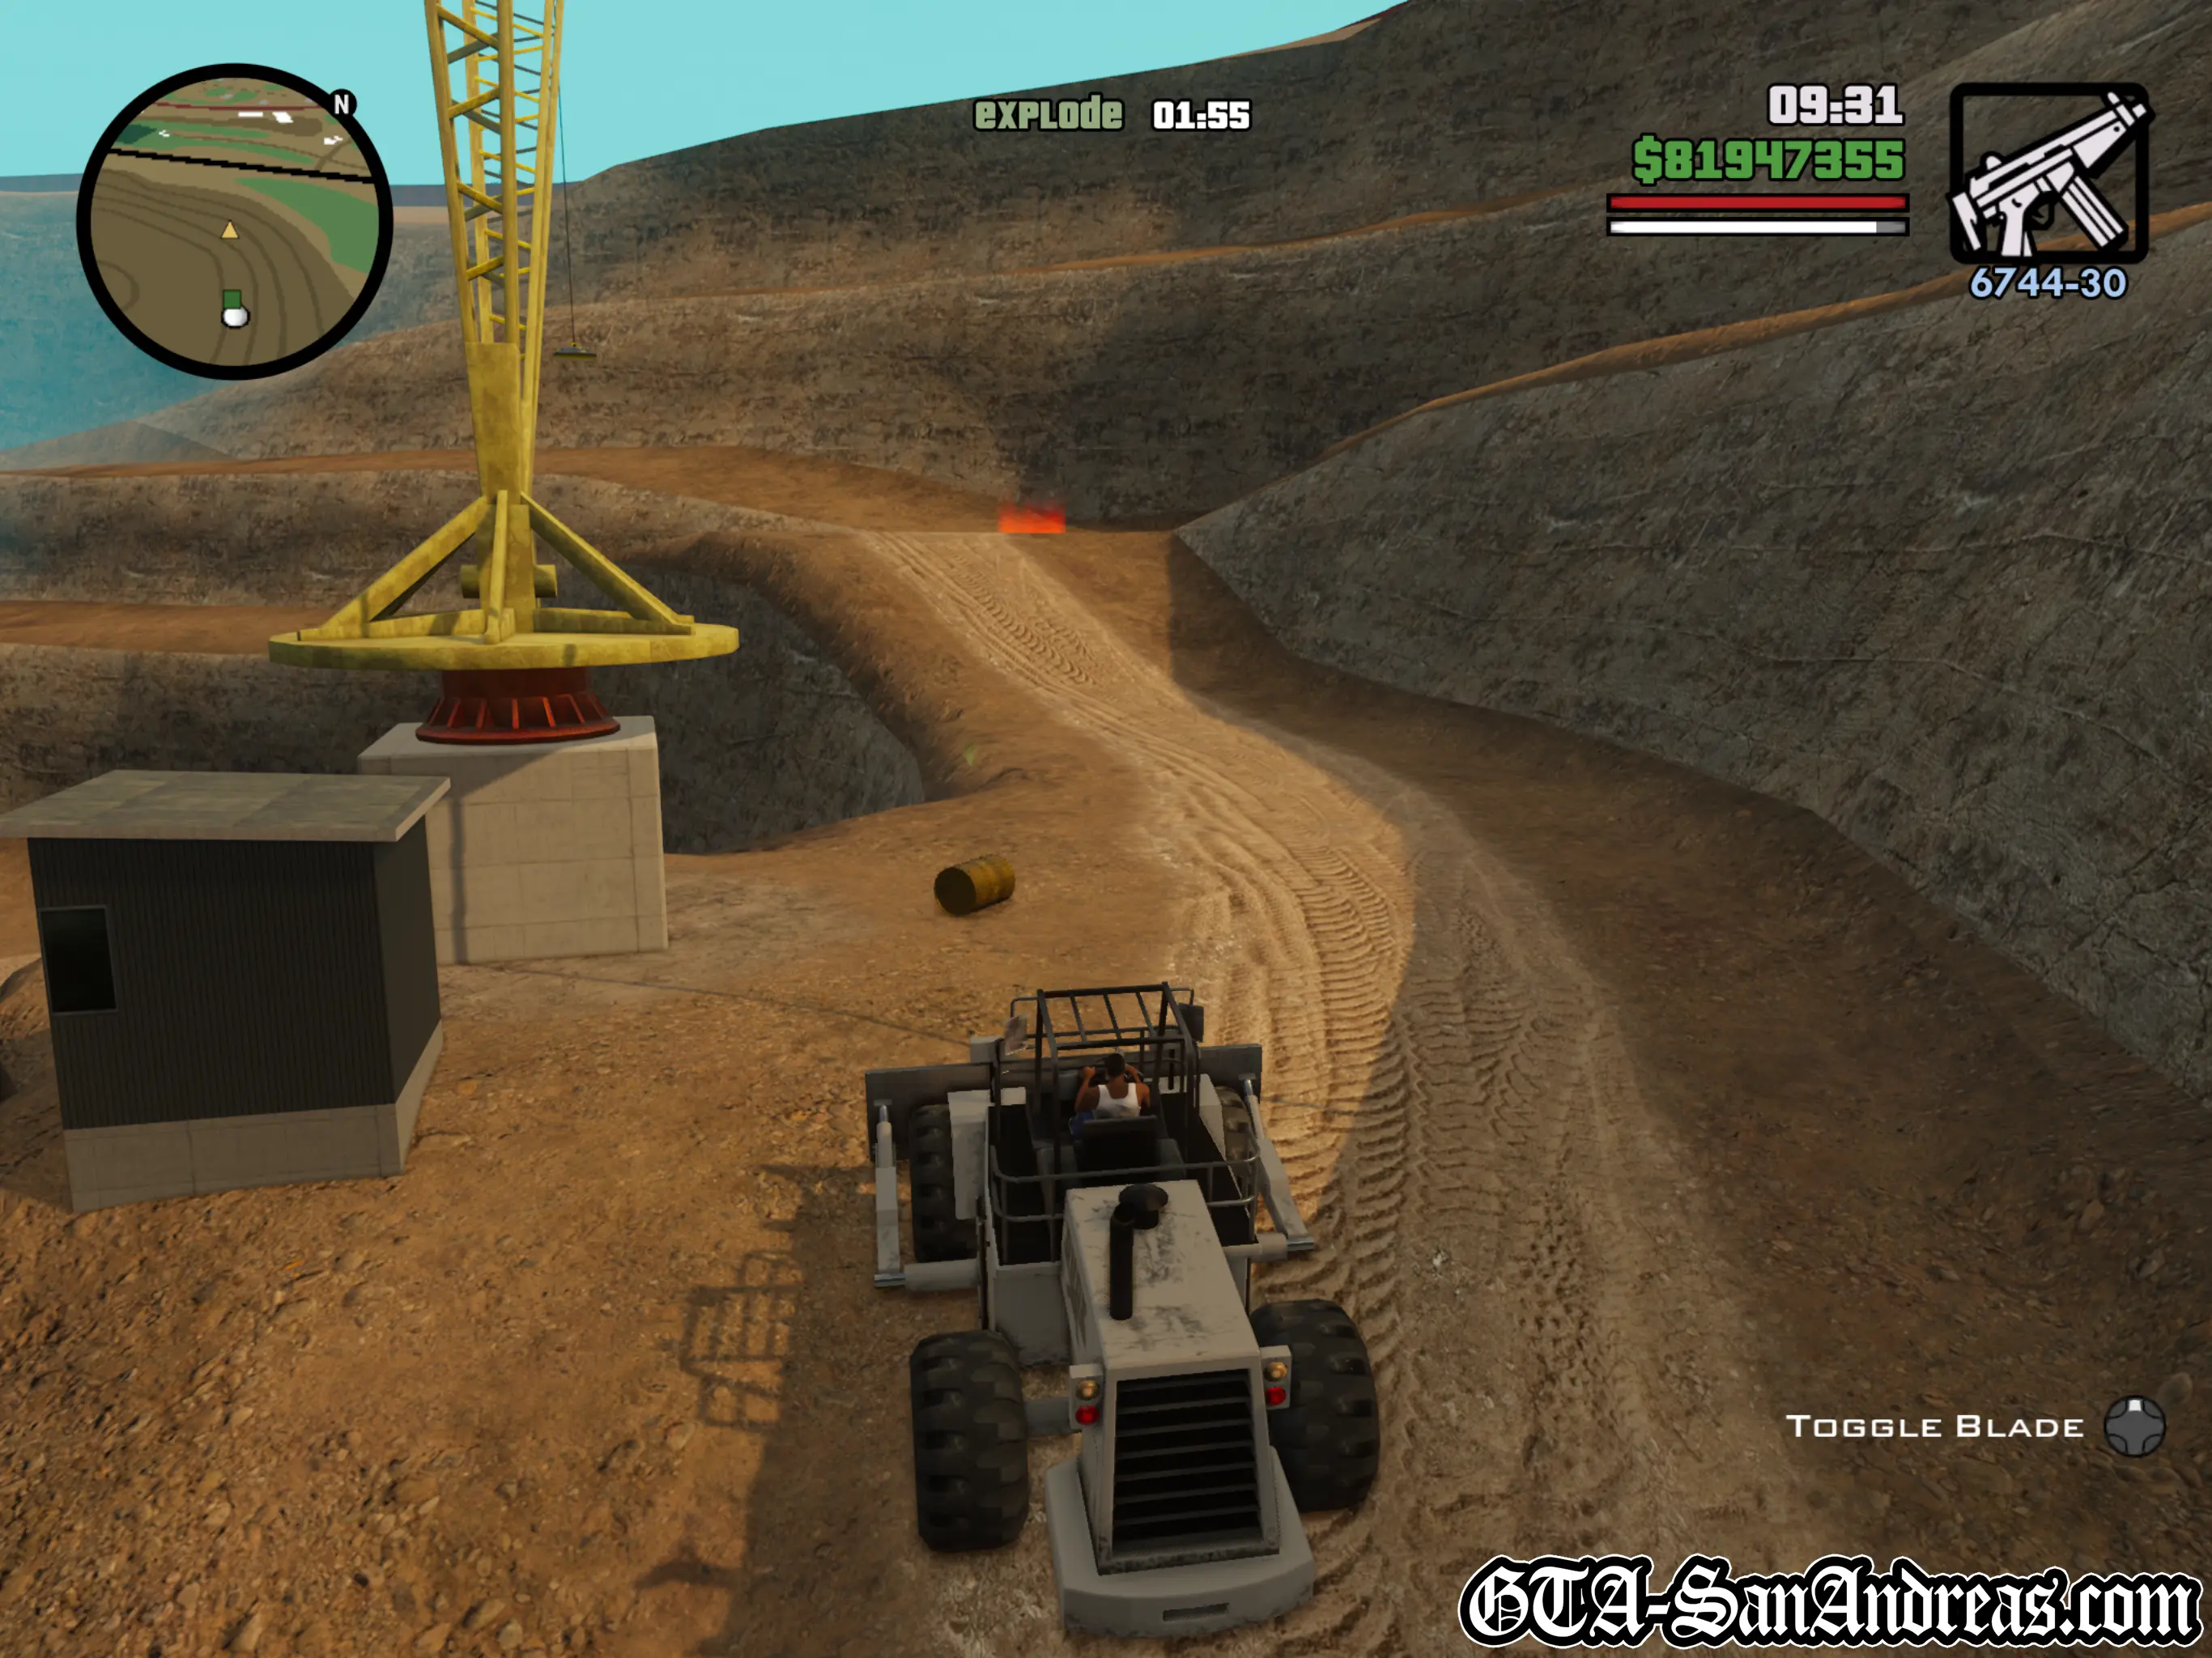
Hunter Quarry - Mission 7
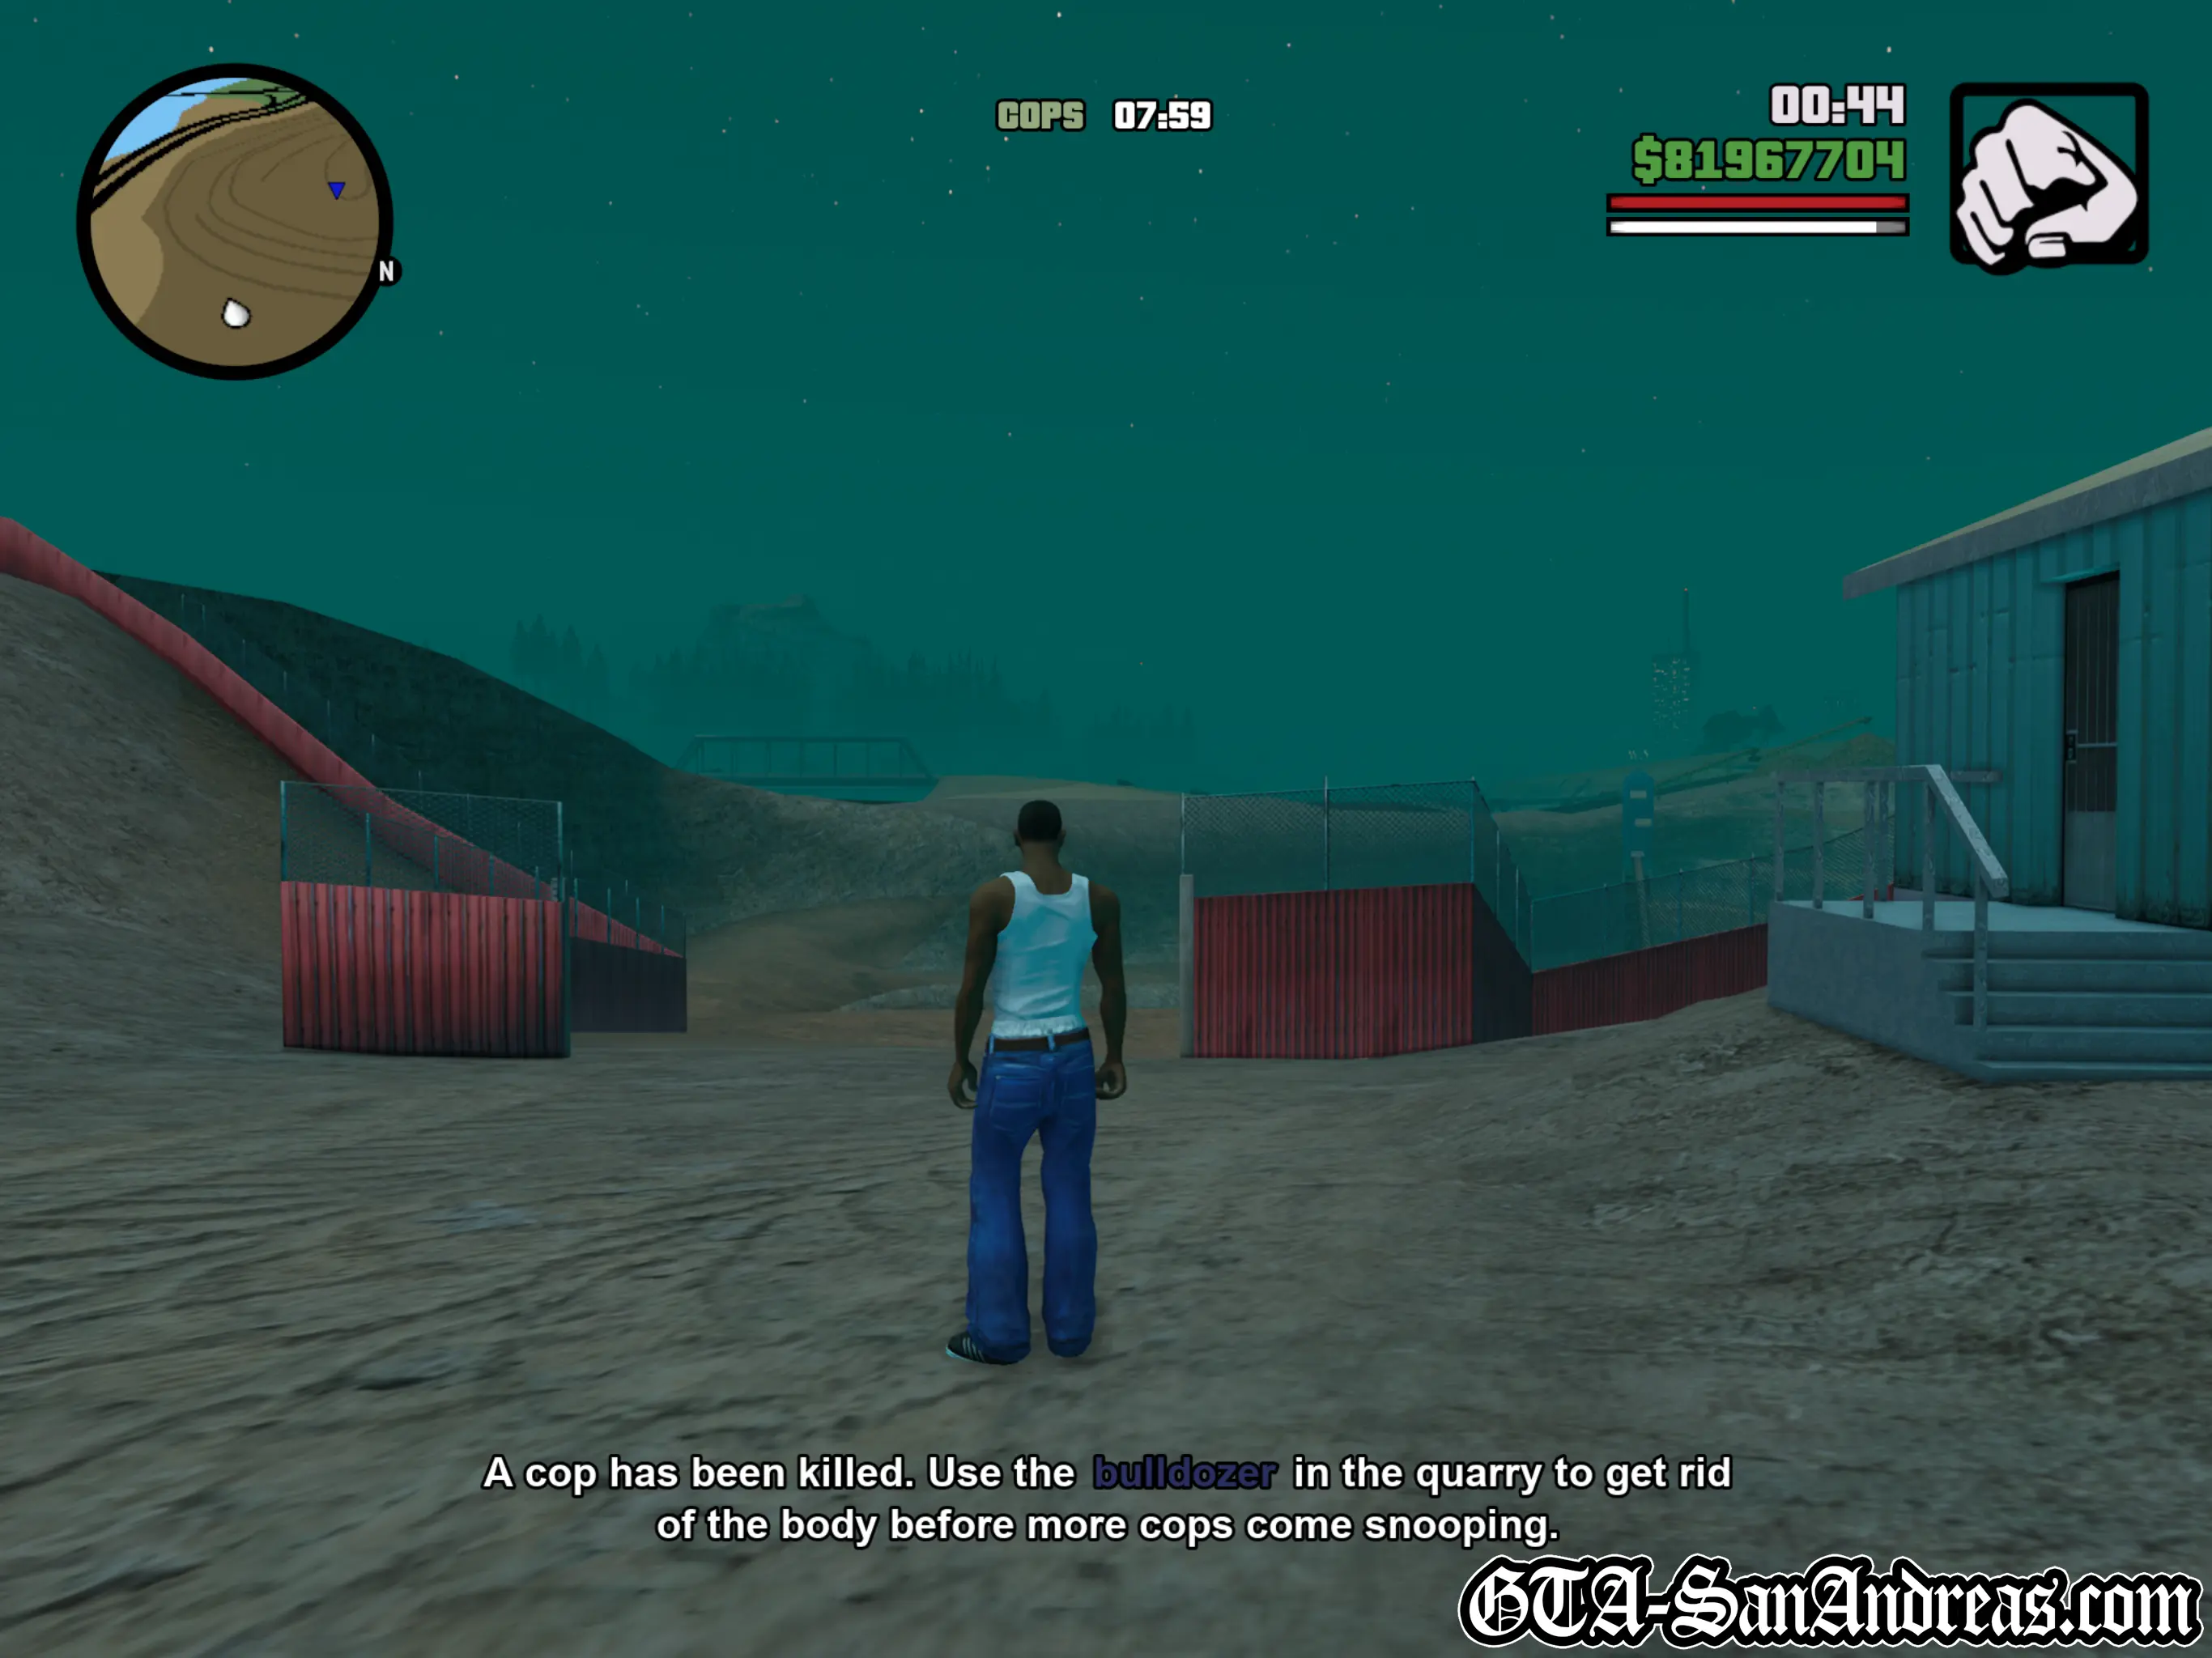
A cop has been killed. Use the bulldozer in the quarry to get rid of the body before more cops come snooping.
You guessed it, this is also a timed mission.
When you start, grab the Sanchez near the hut and use it to jump all of the way to the bottom of the quarry. Once there, get in the Dozer and you'll be told to push the body and bike towards the crane pick up area.
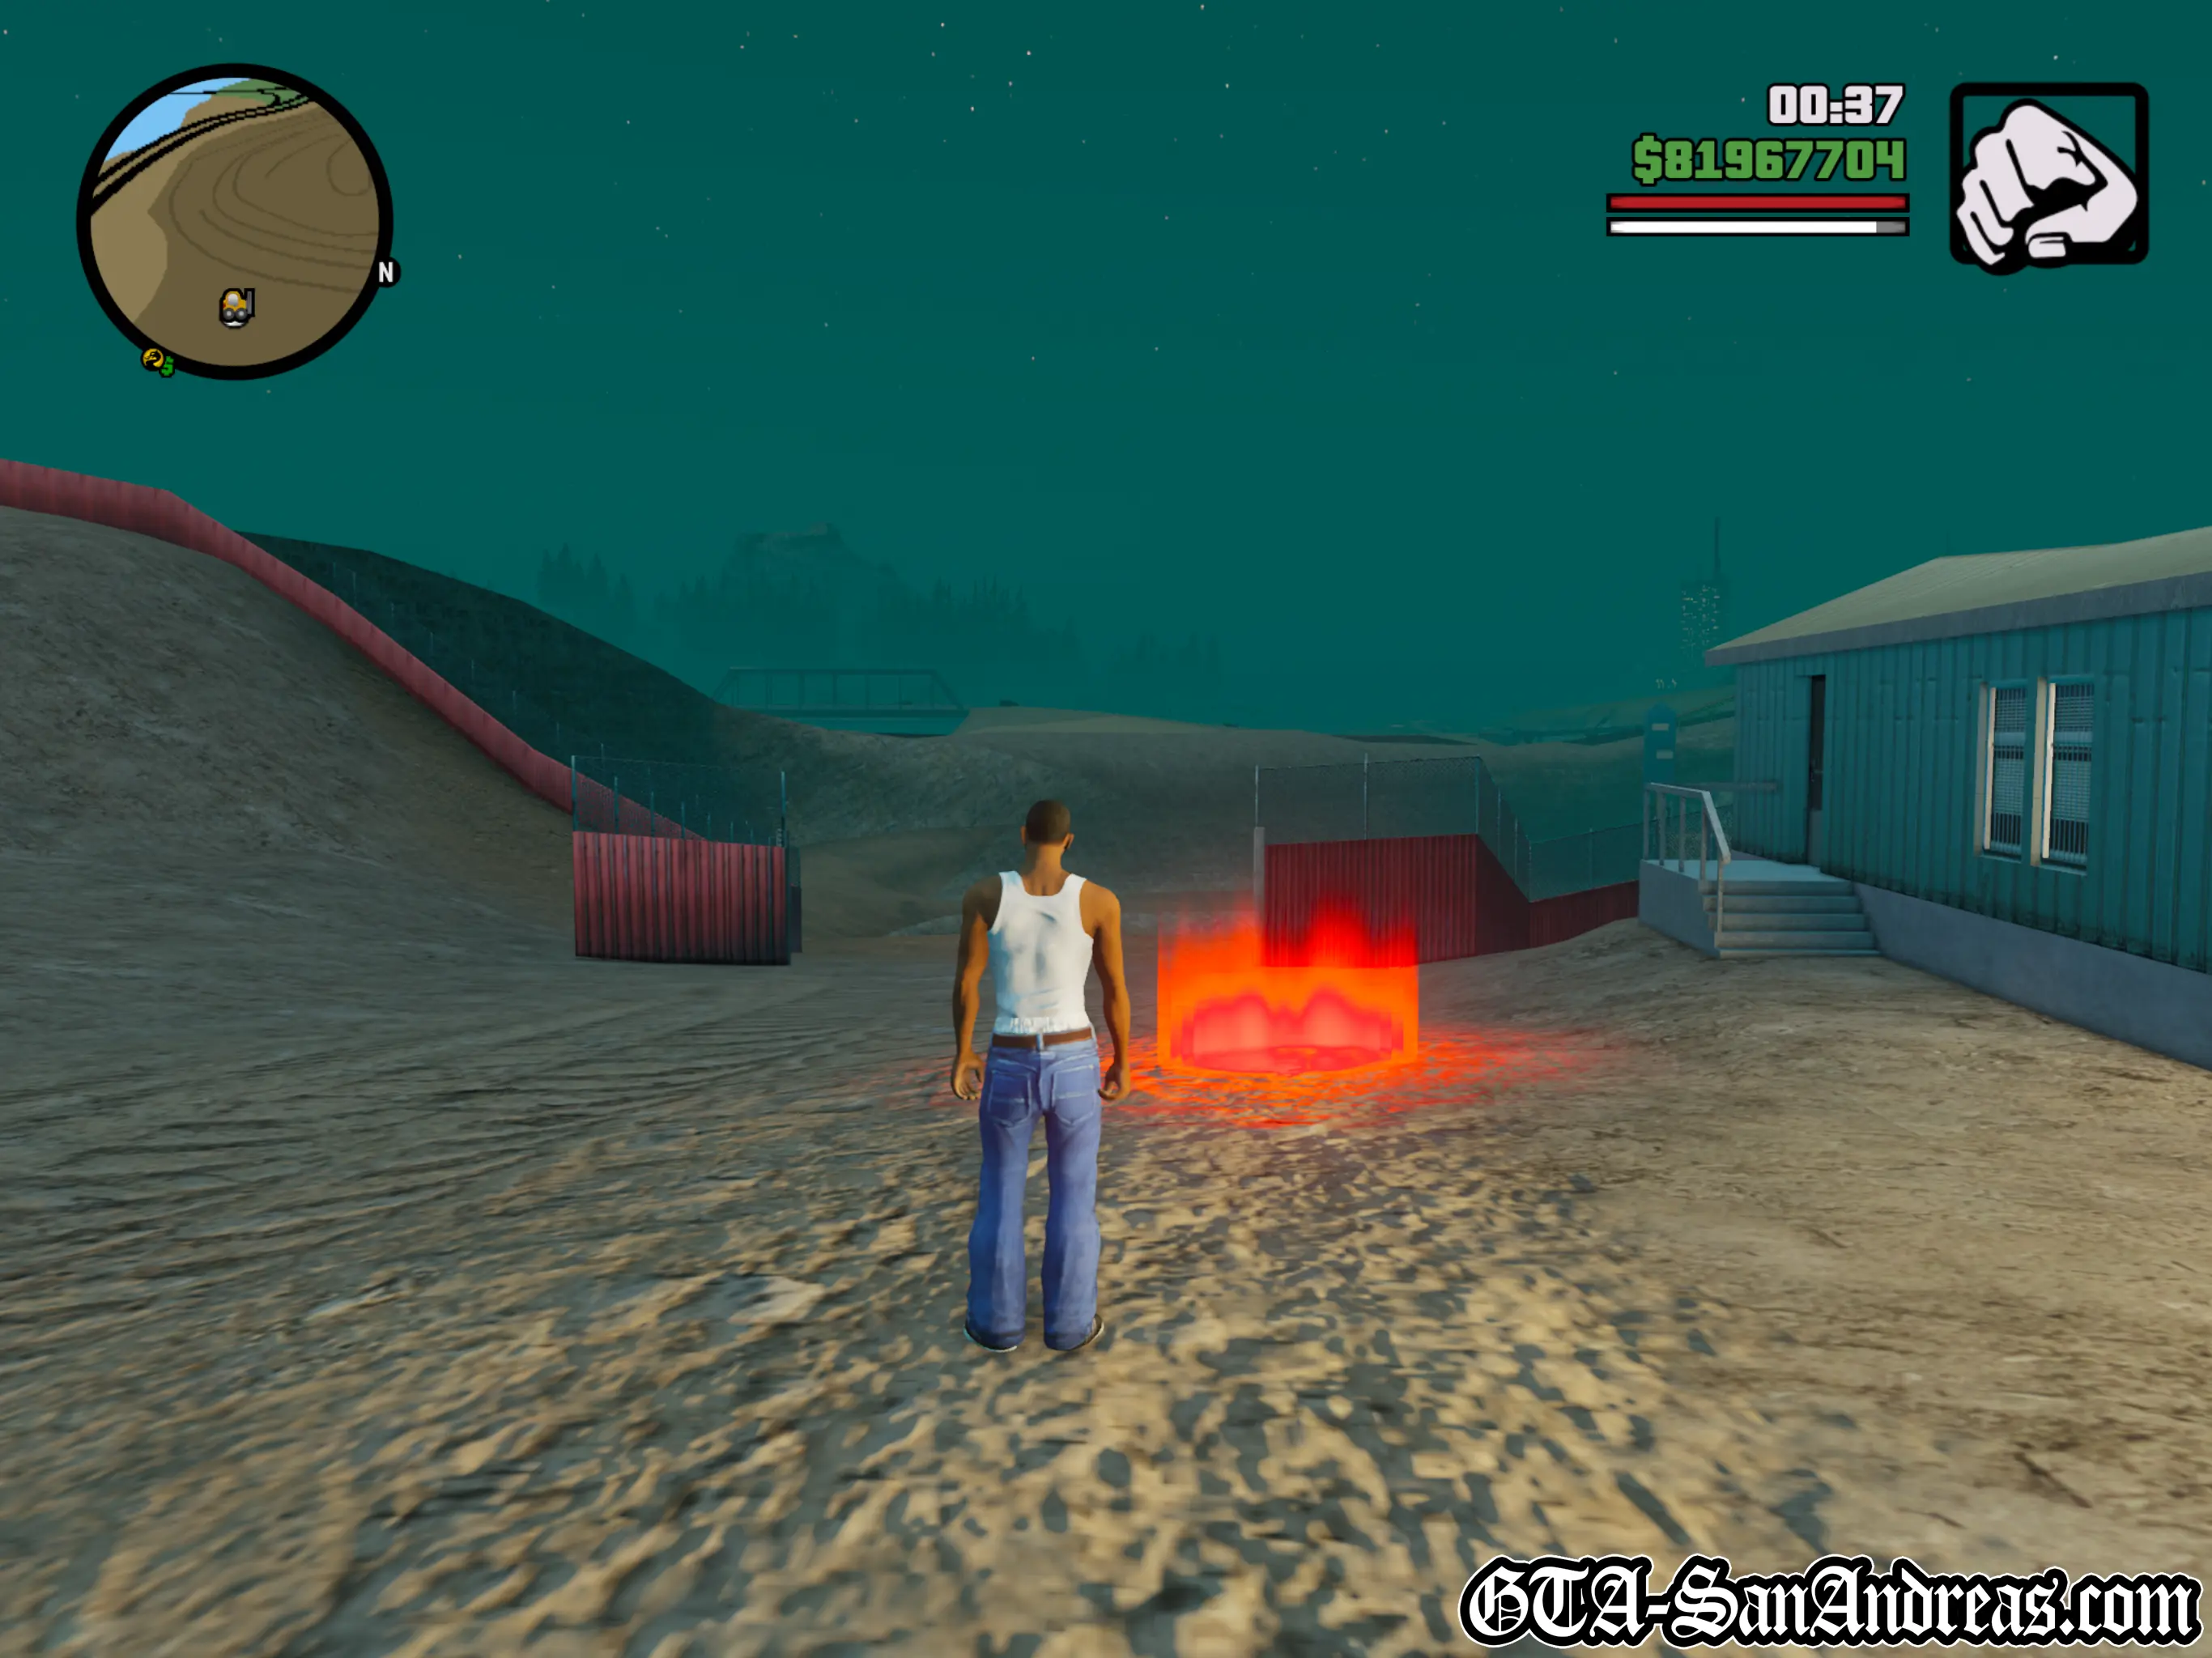
Head across to the right and get behind the body, then push it down the hill towards the crane. Leave it in the red circle then head across to the other side of the area and push the bike towards the same place.
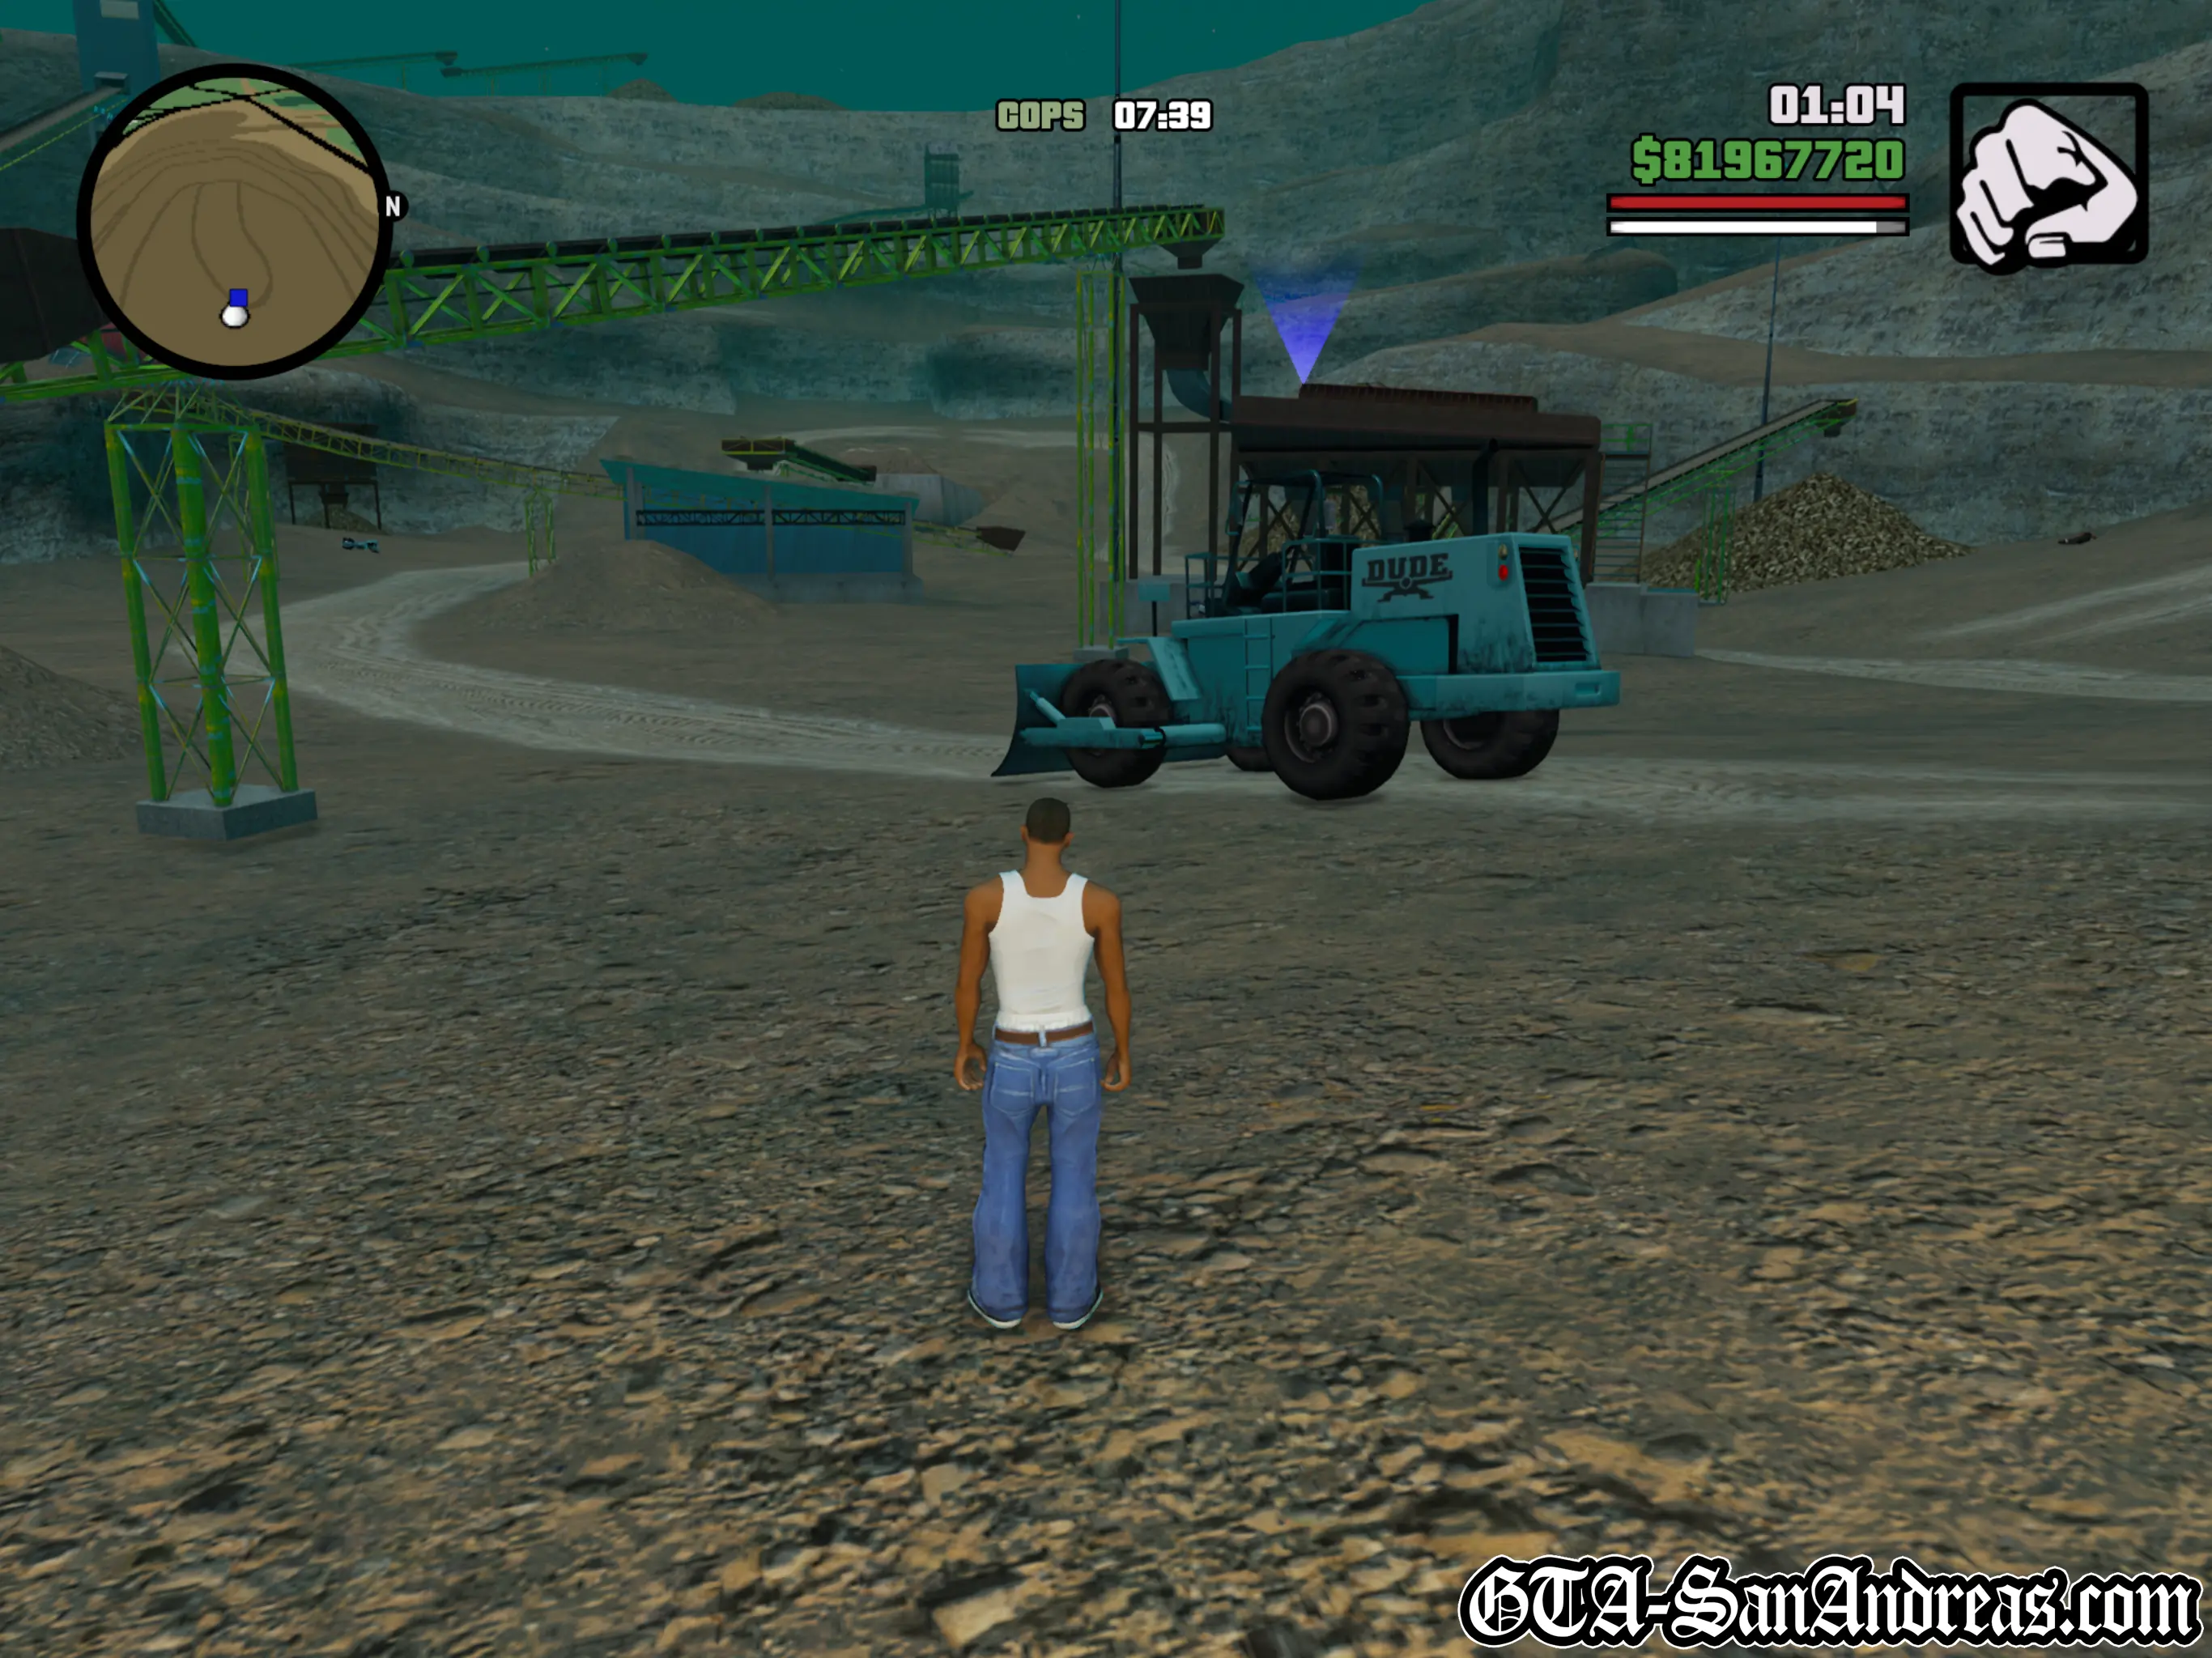
Once both items are in position, grab your Sanchez if you parked it close and drive up the hill to the crane.
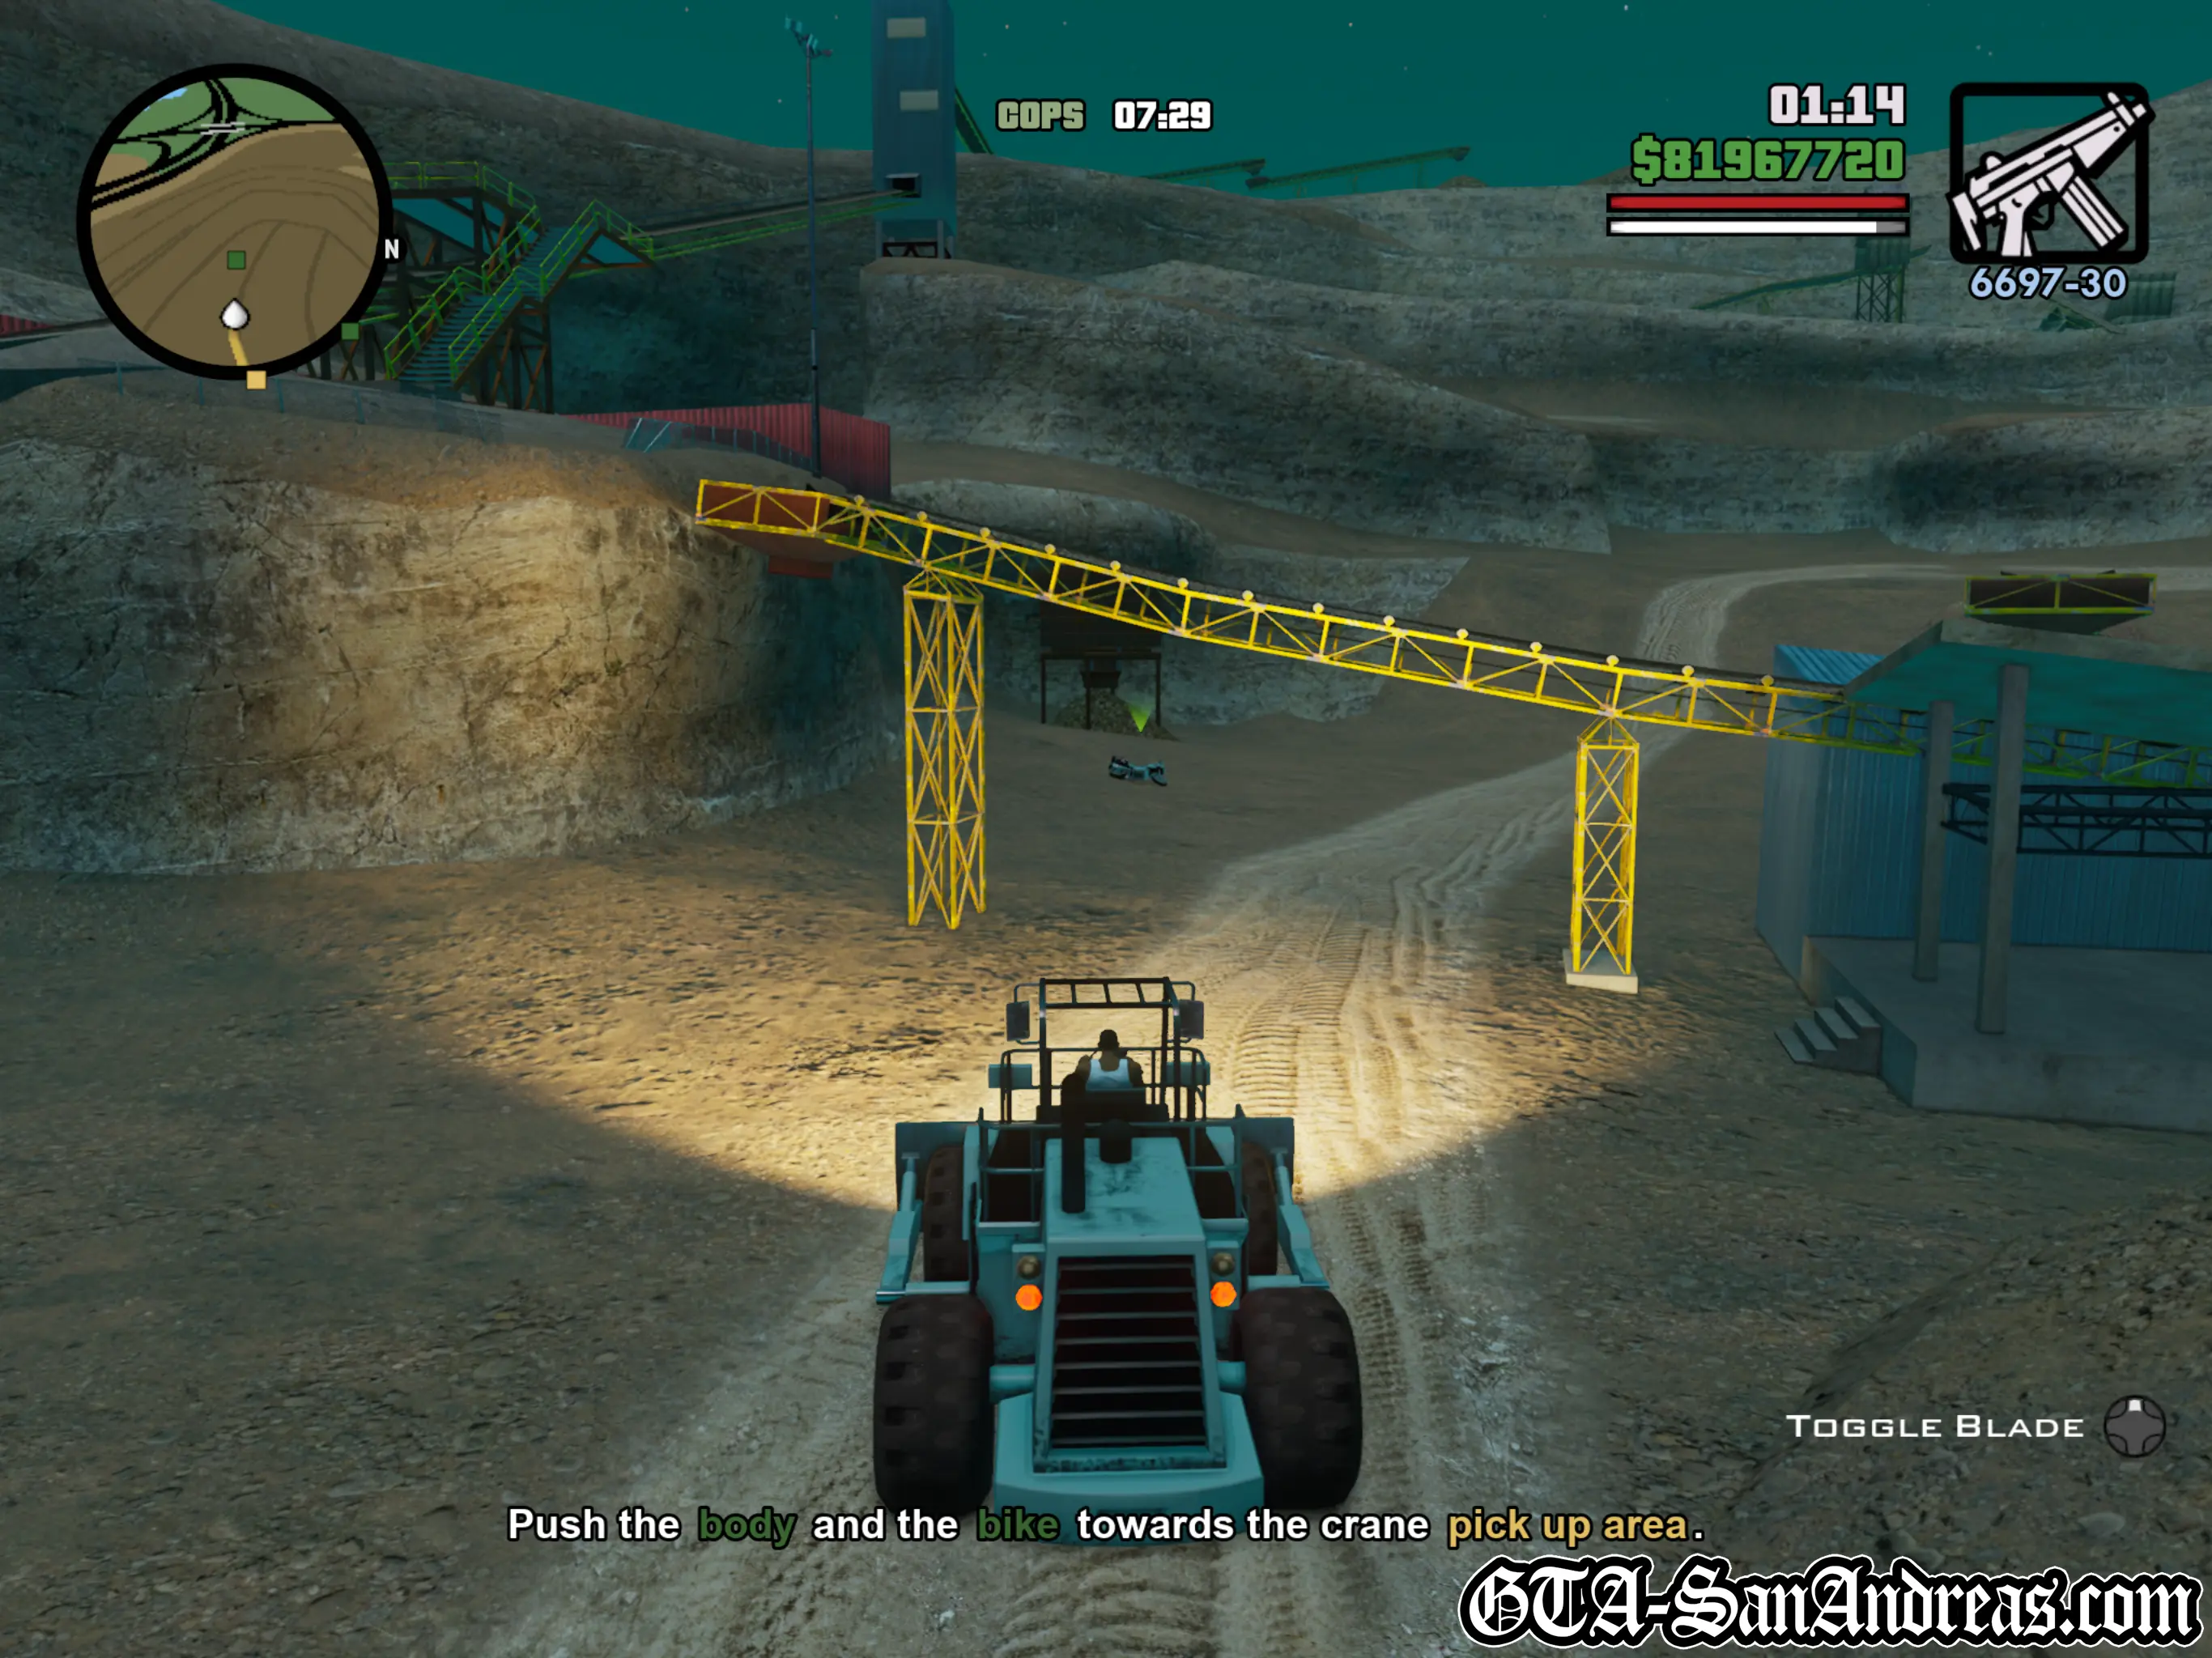
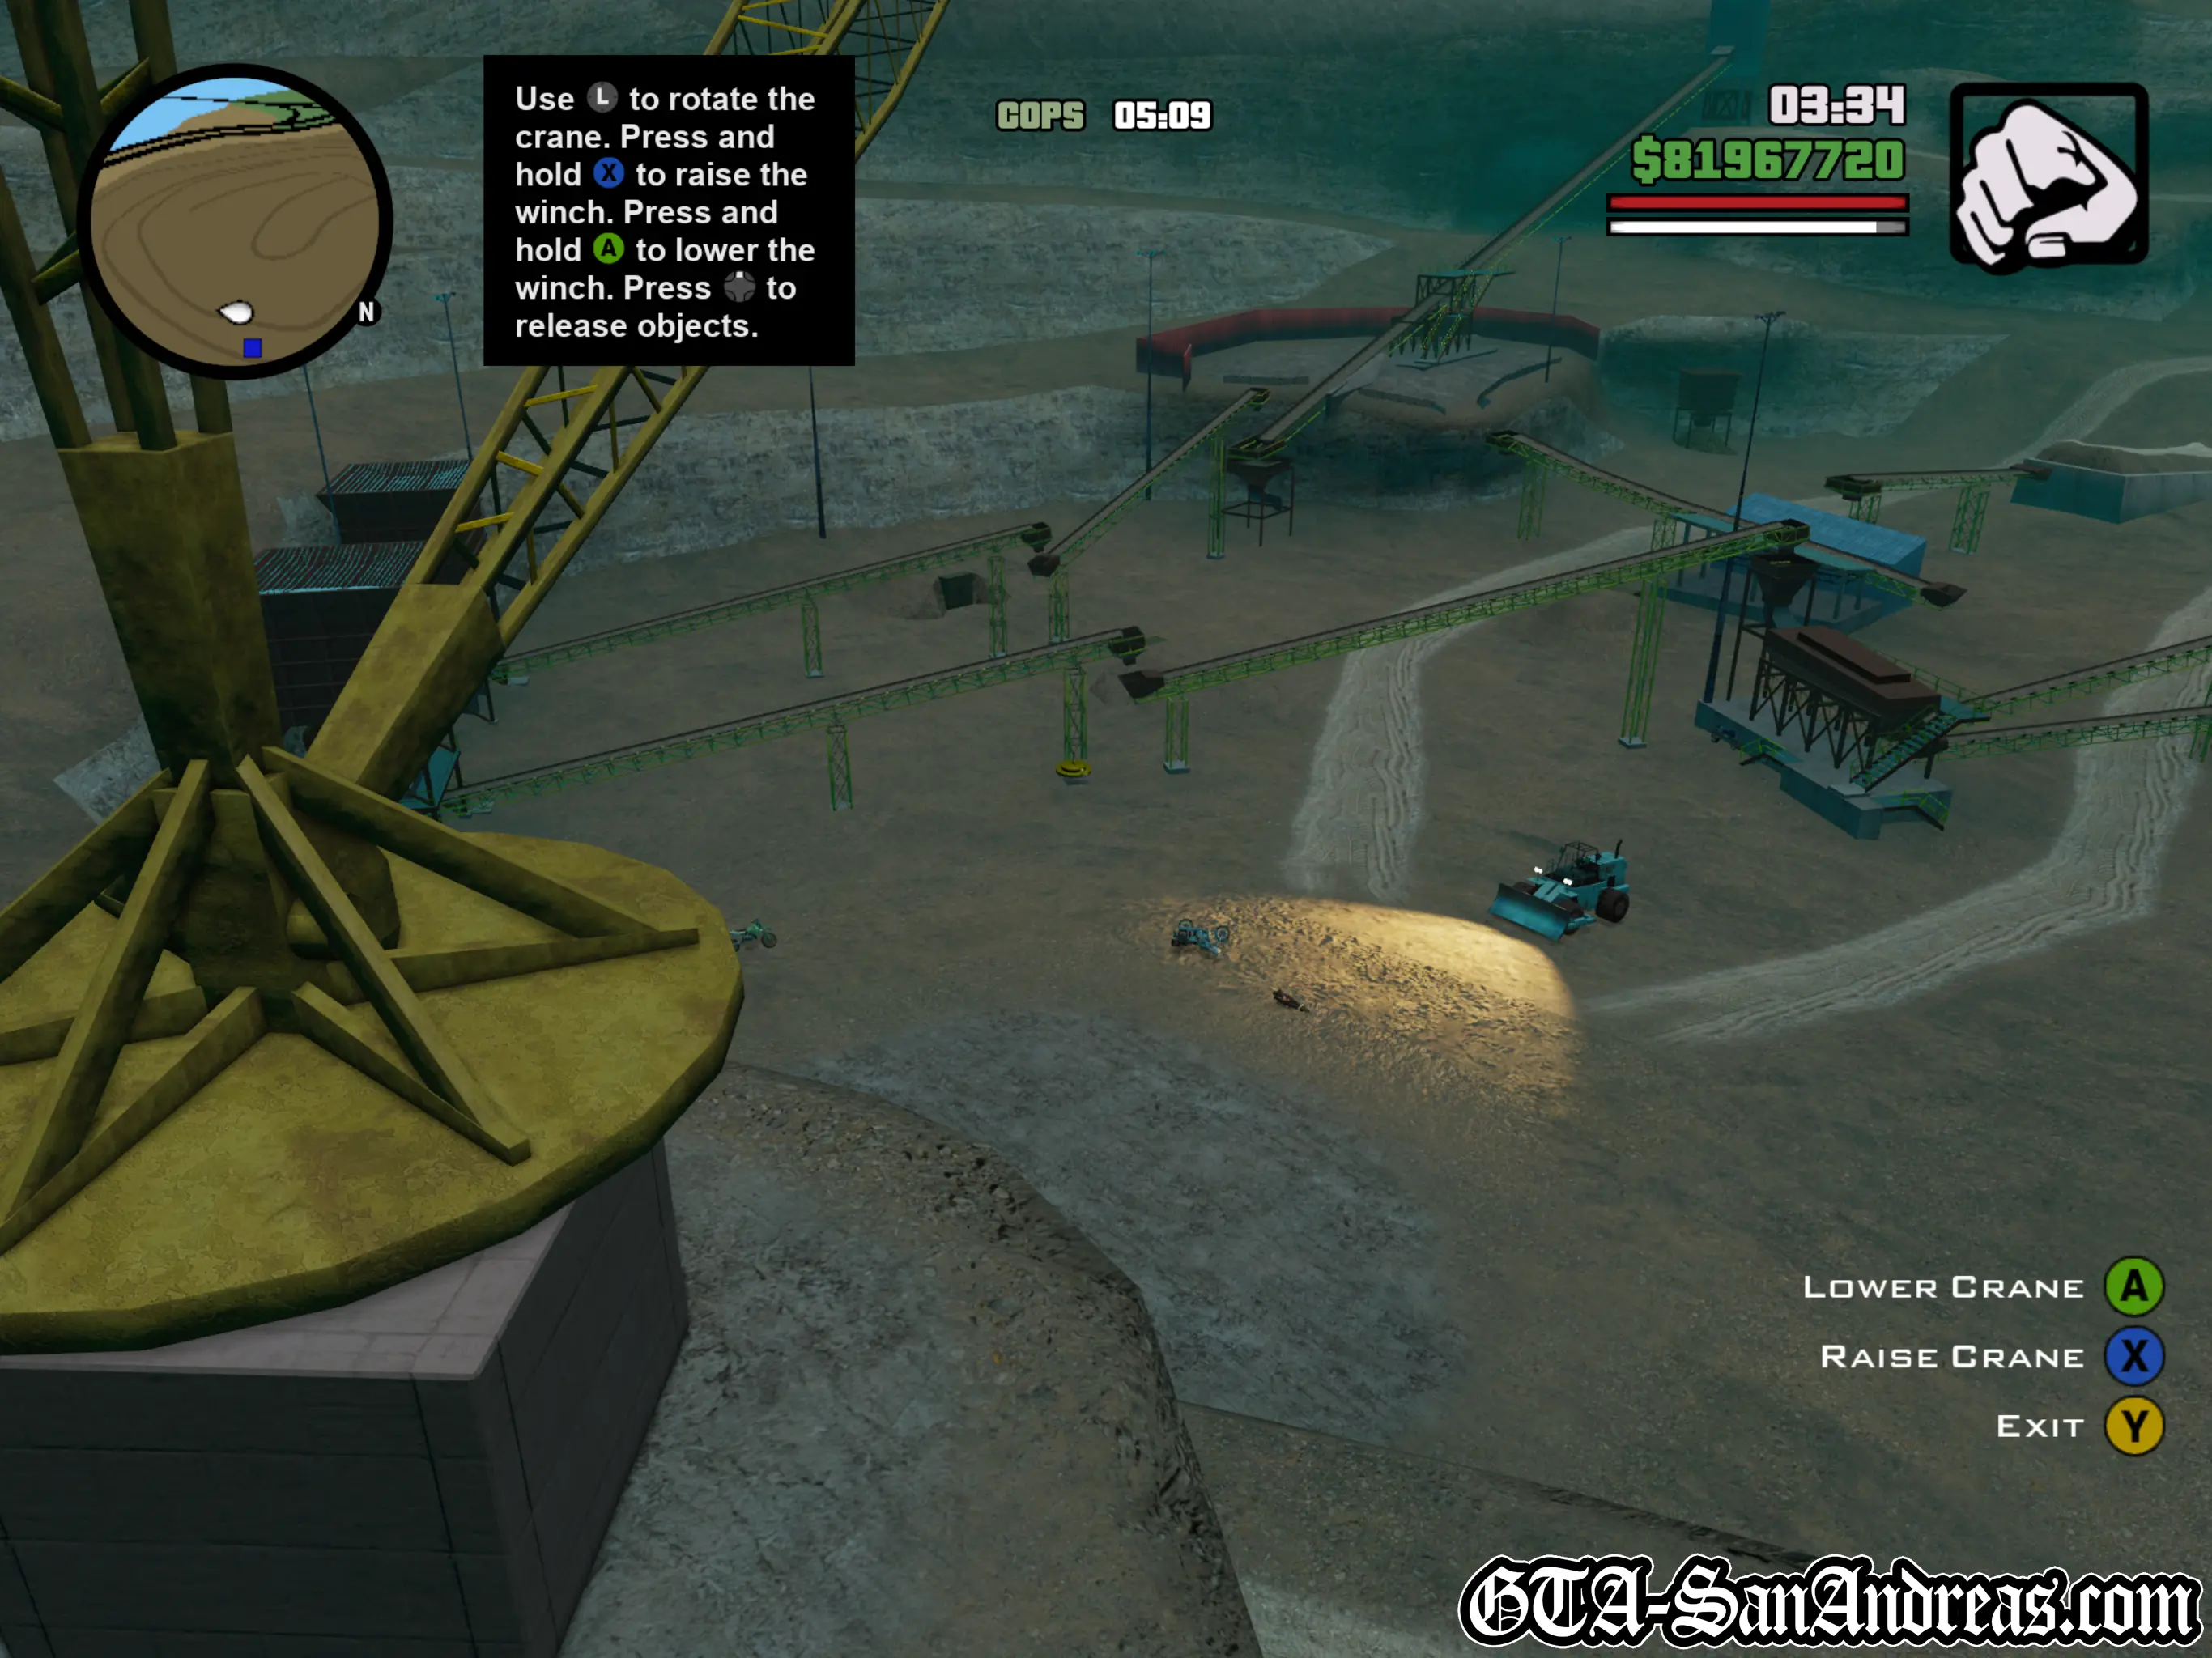
Once at the crane, stand in the red marker and take control of it. Spin it around to the left and hold the correct button to lower the magnet to pick up the body or bike, raise the magnet, then lift up the crane and drop them one by one into the back of the dumper.
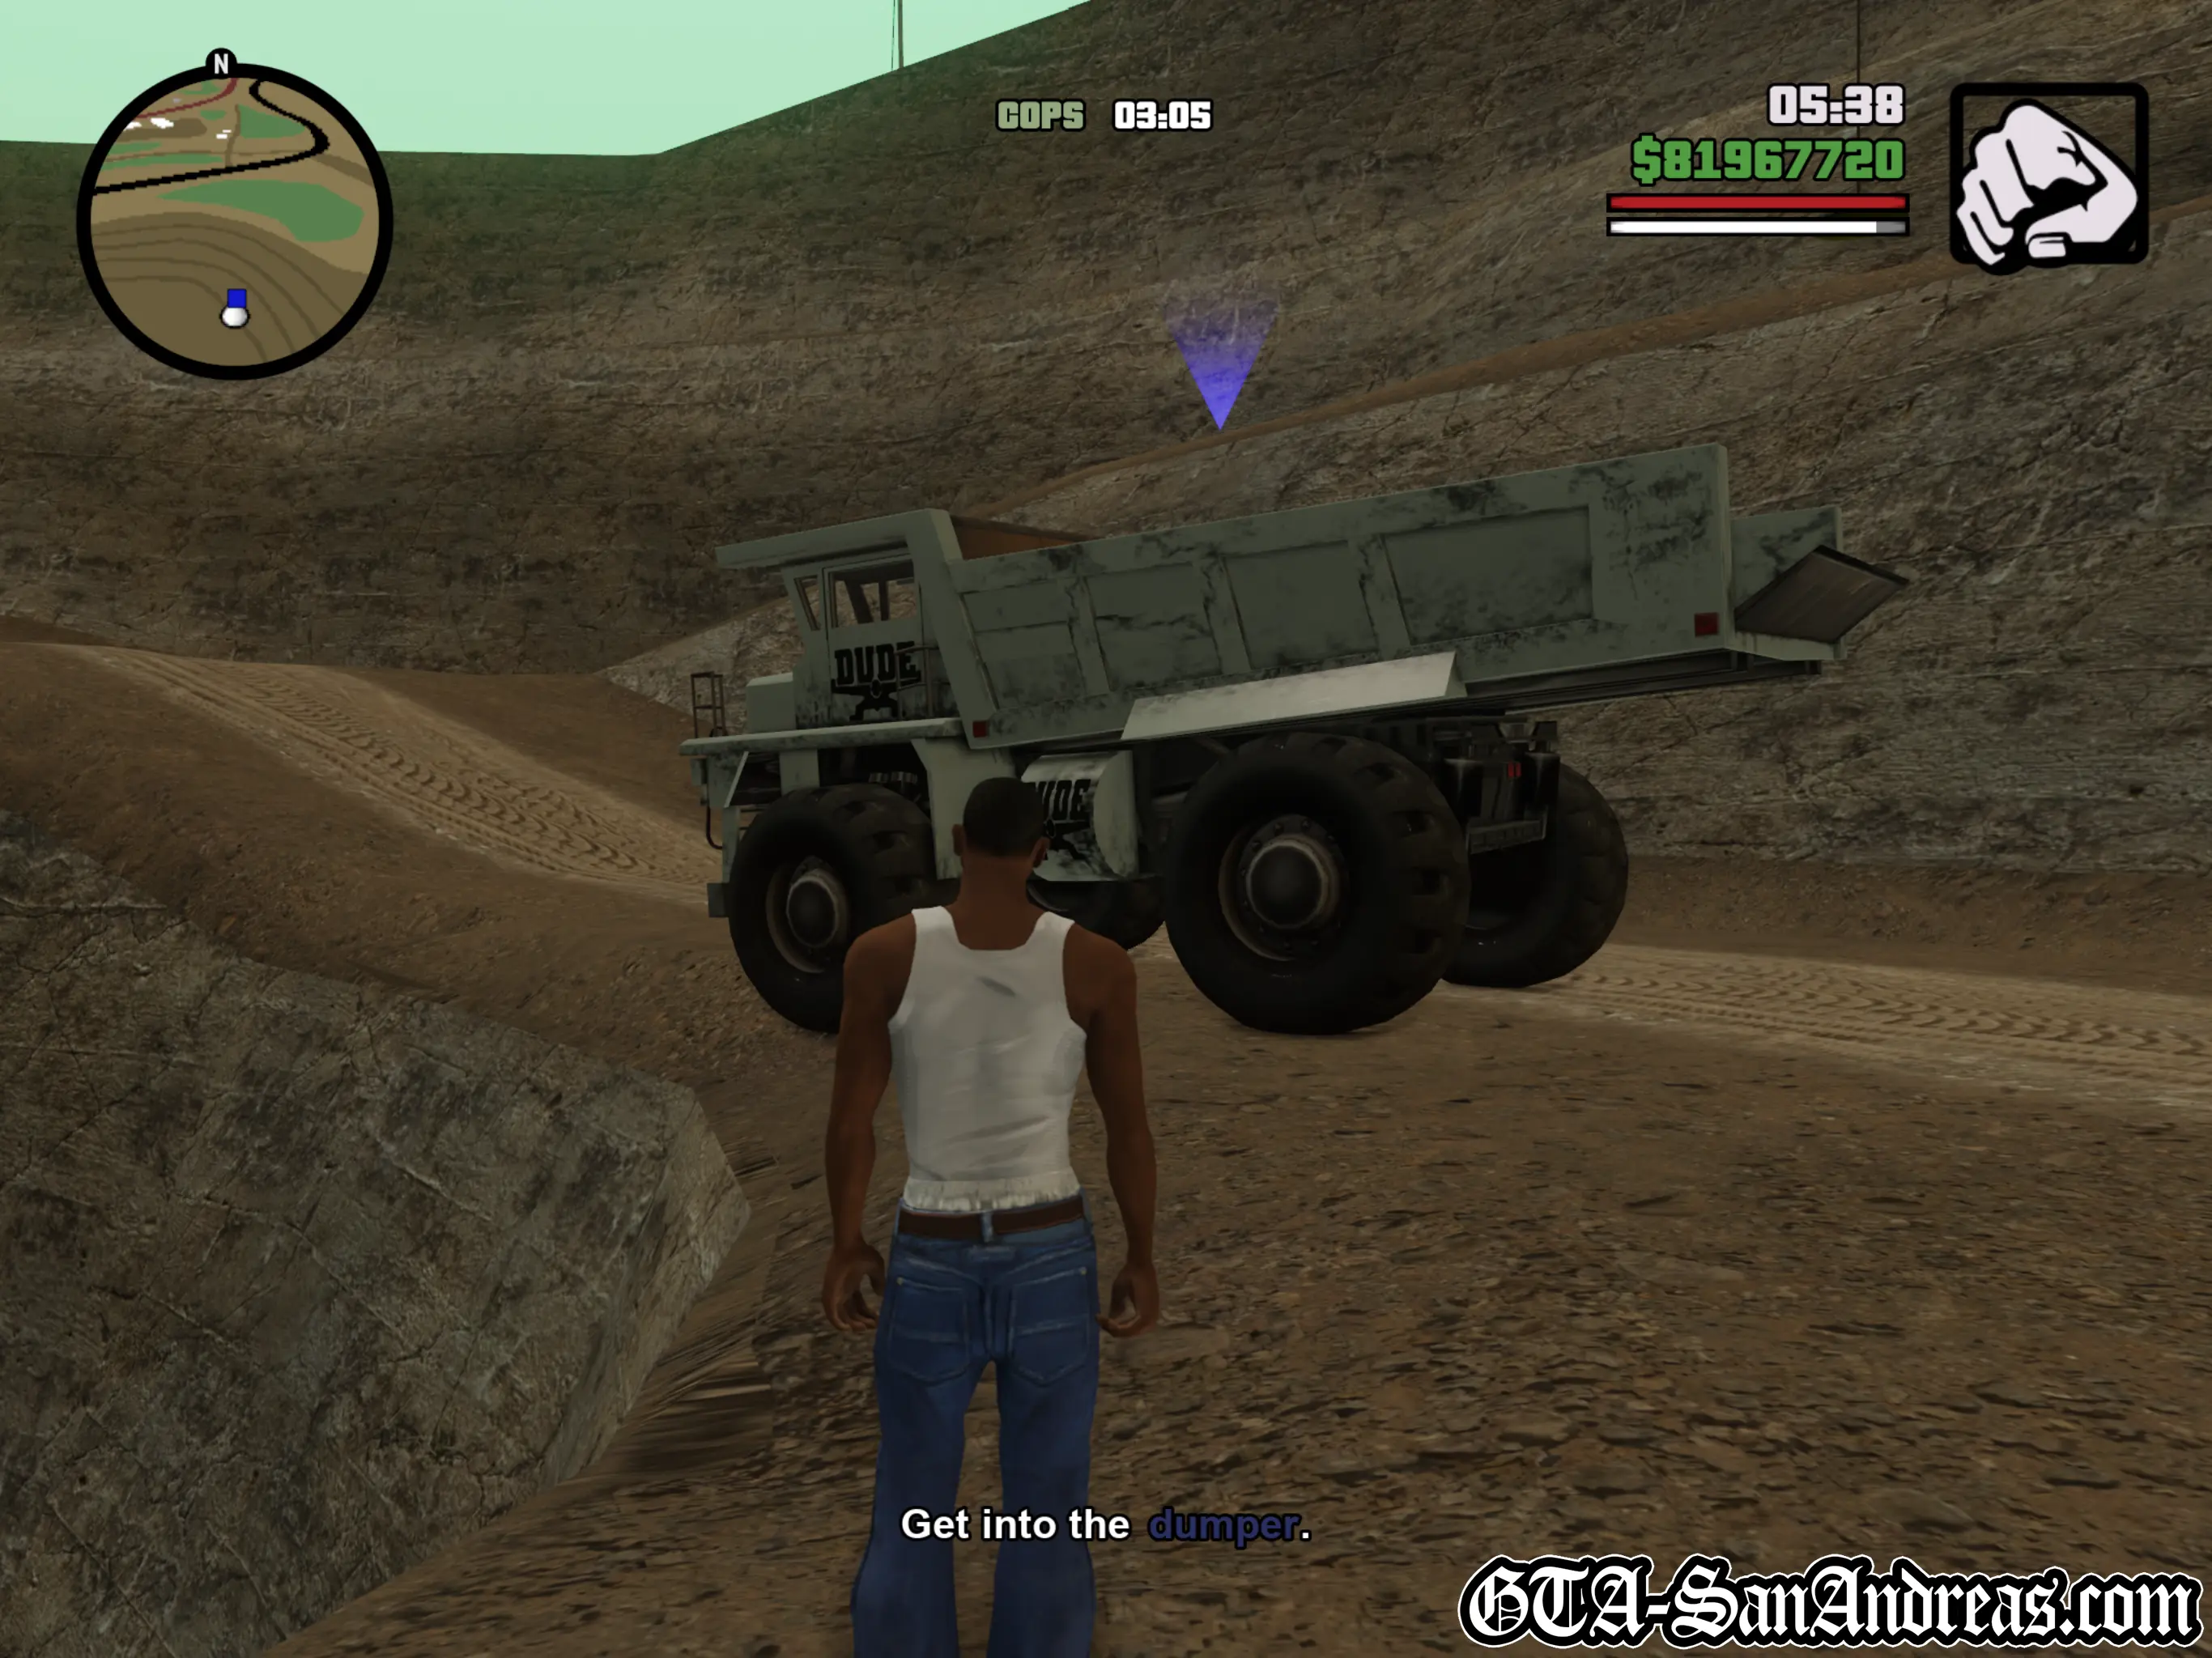
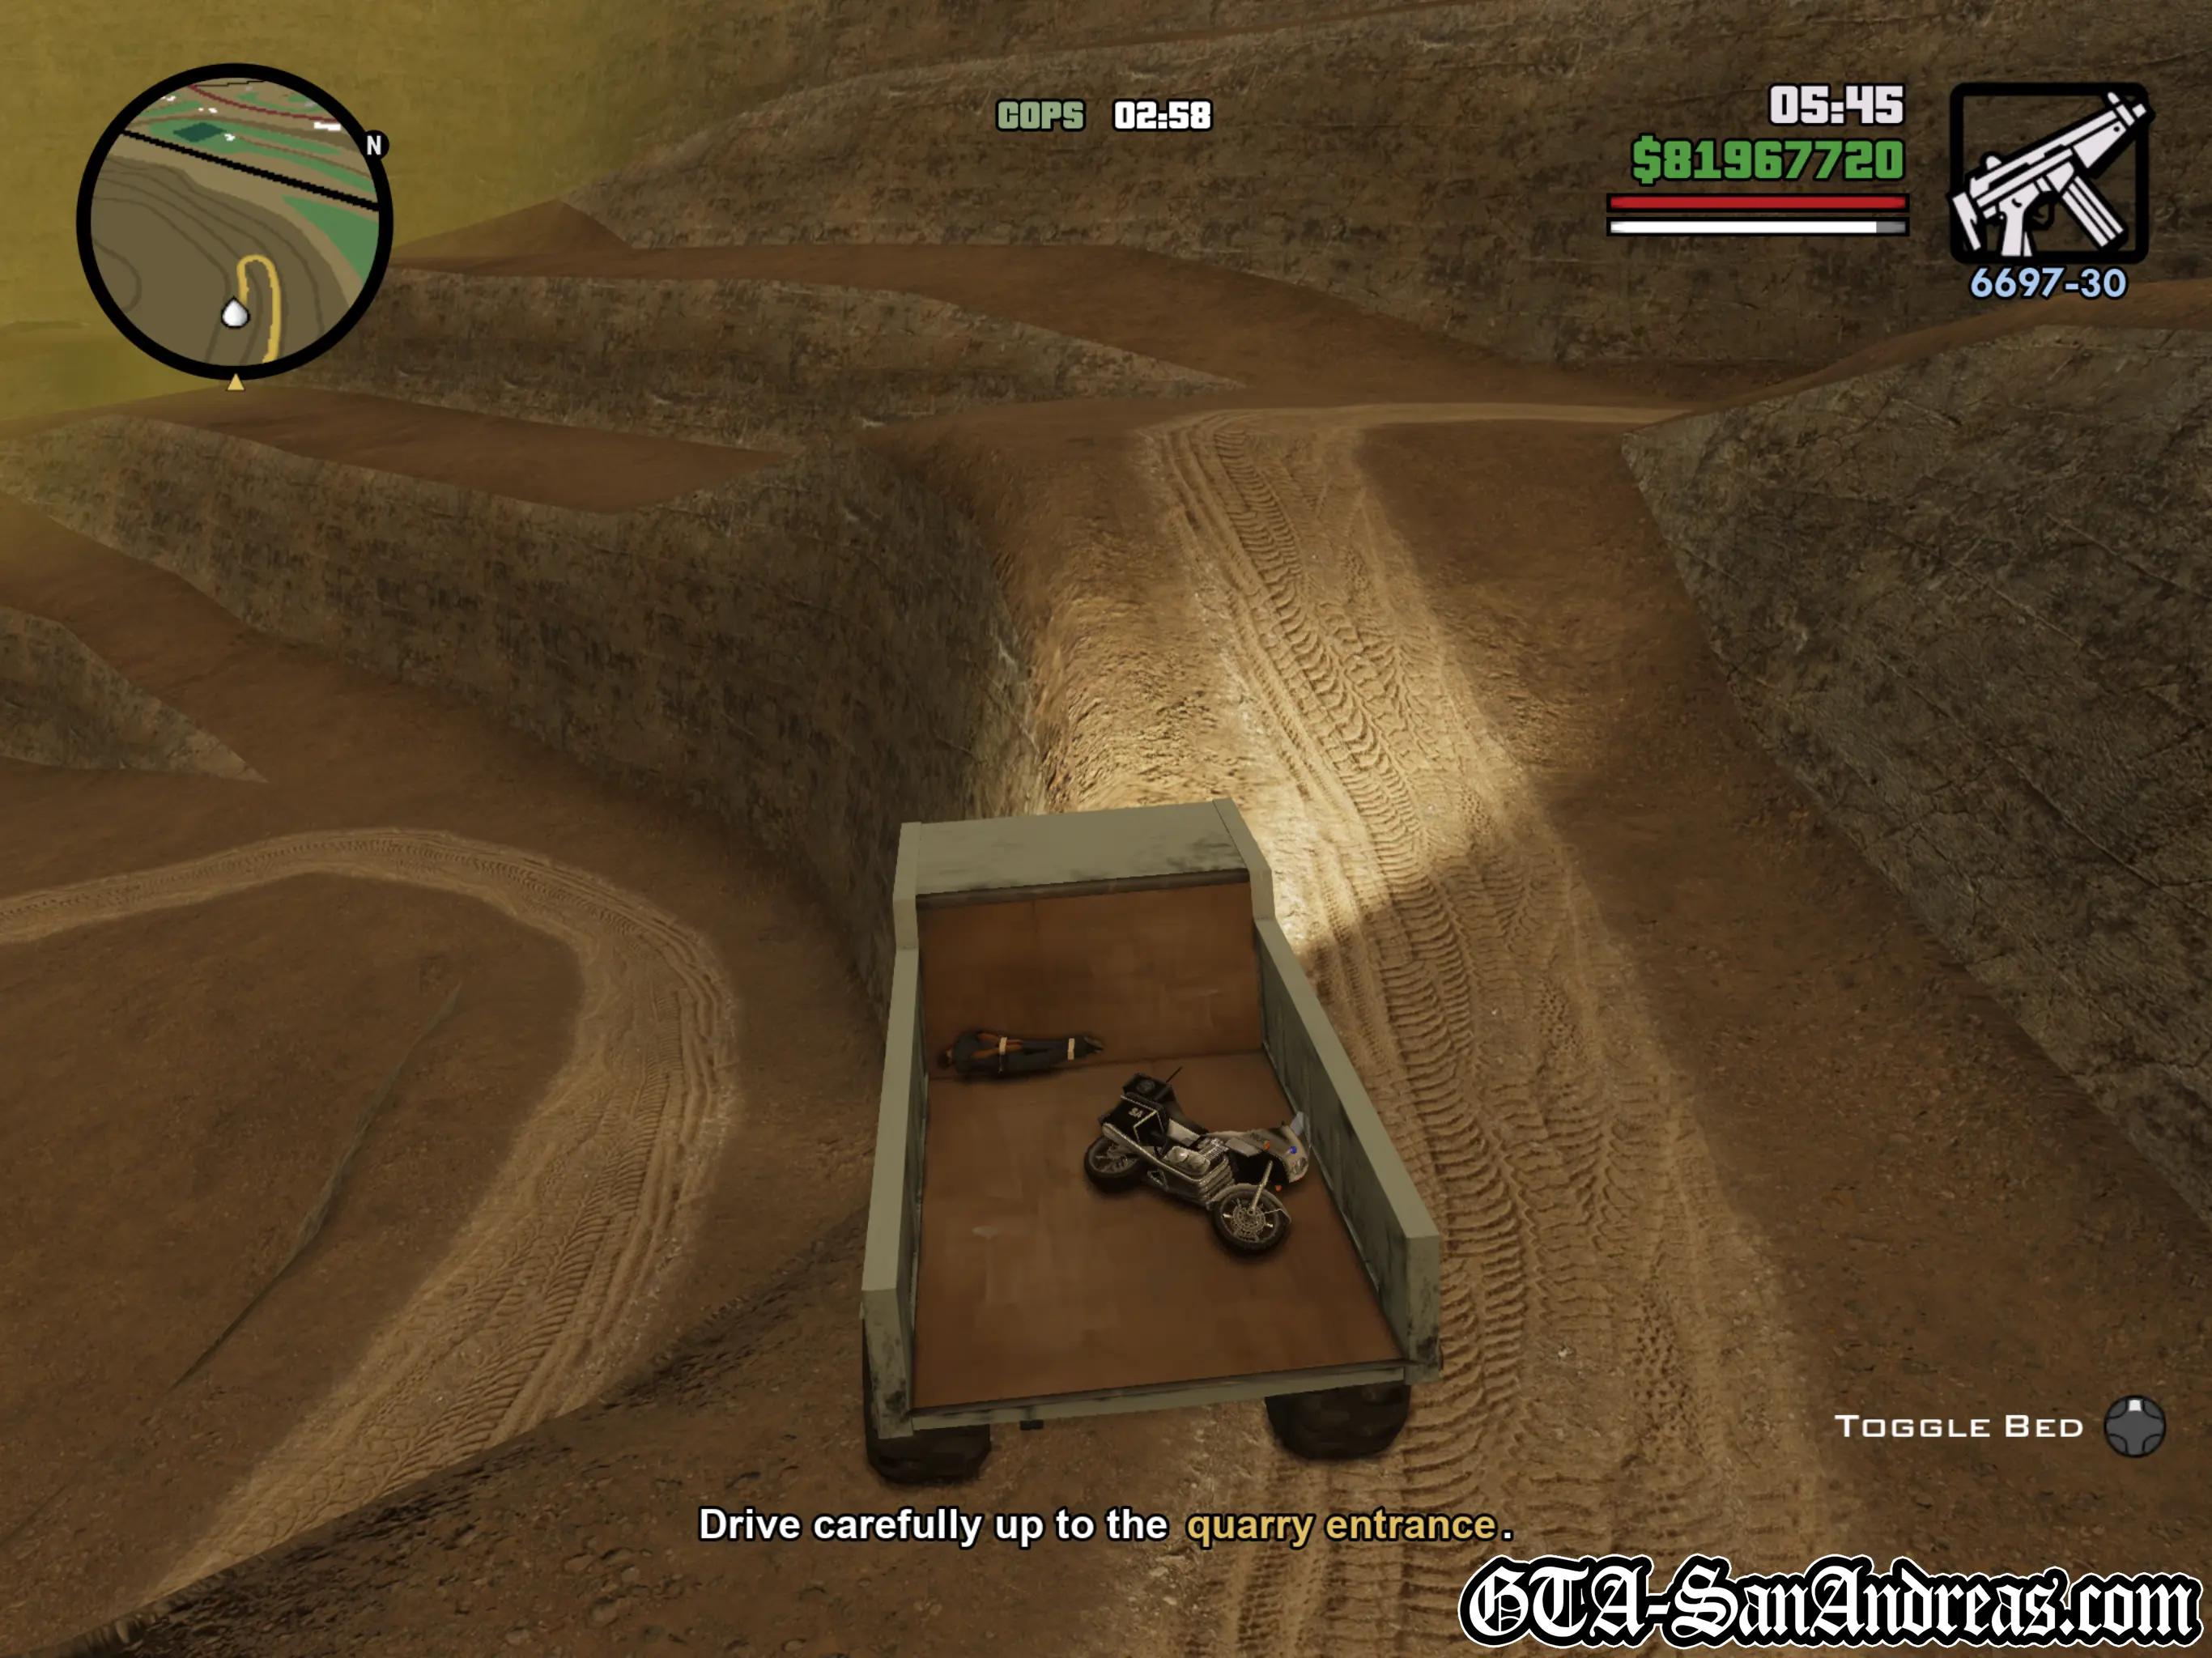
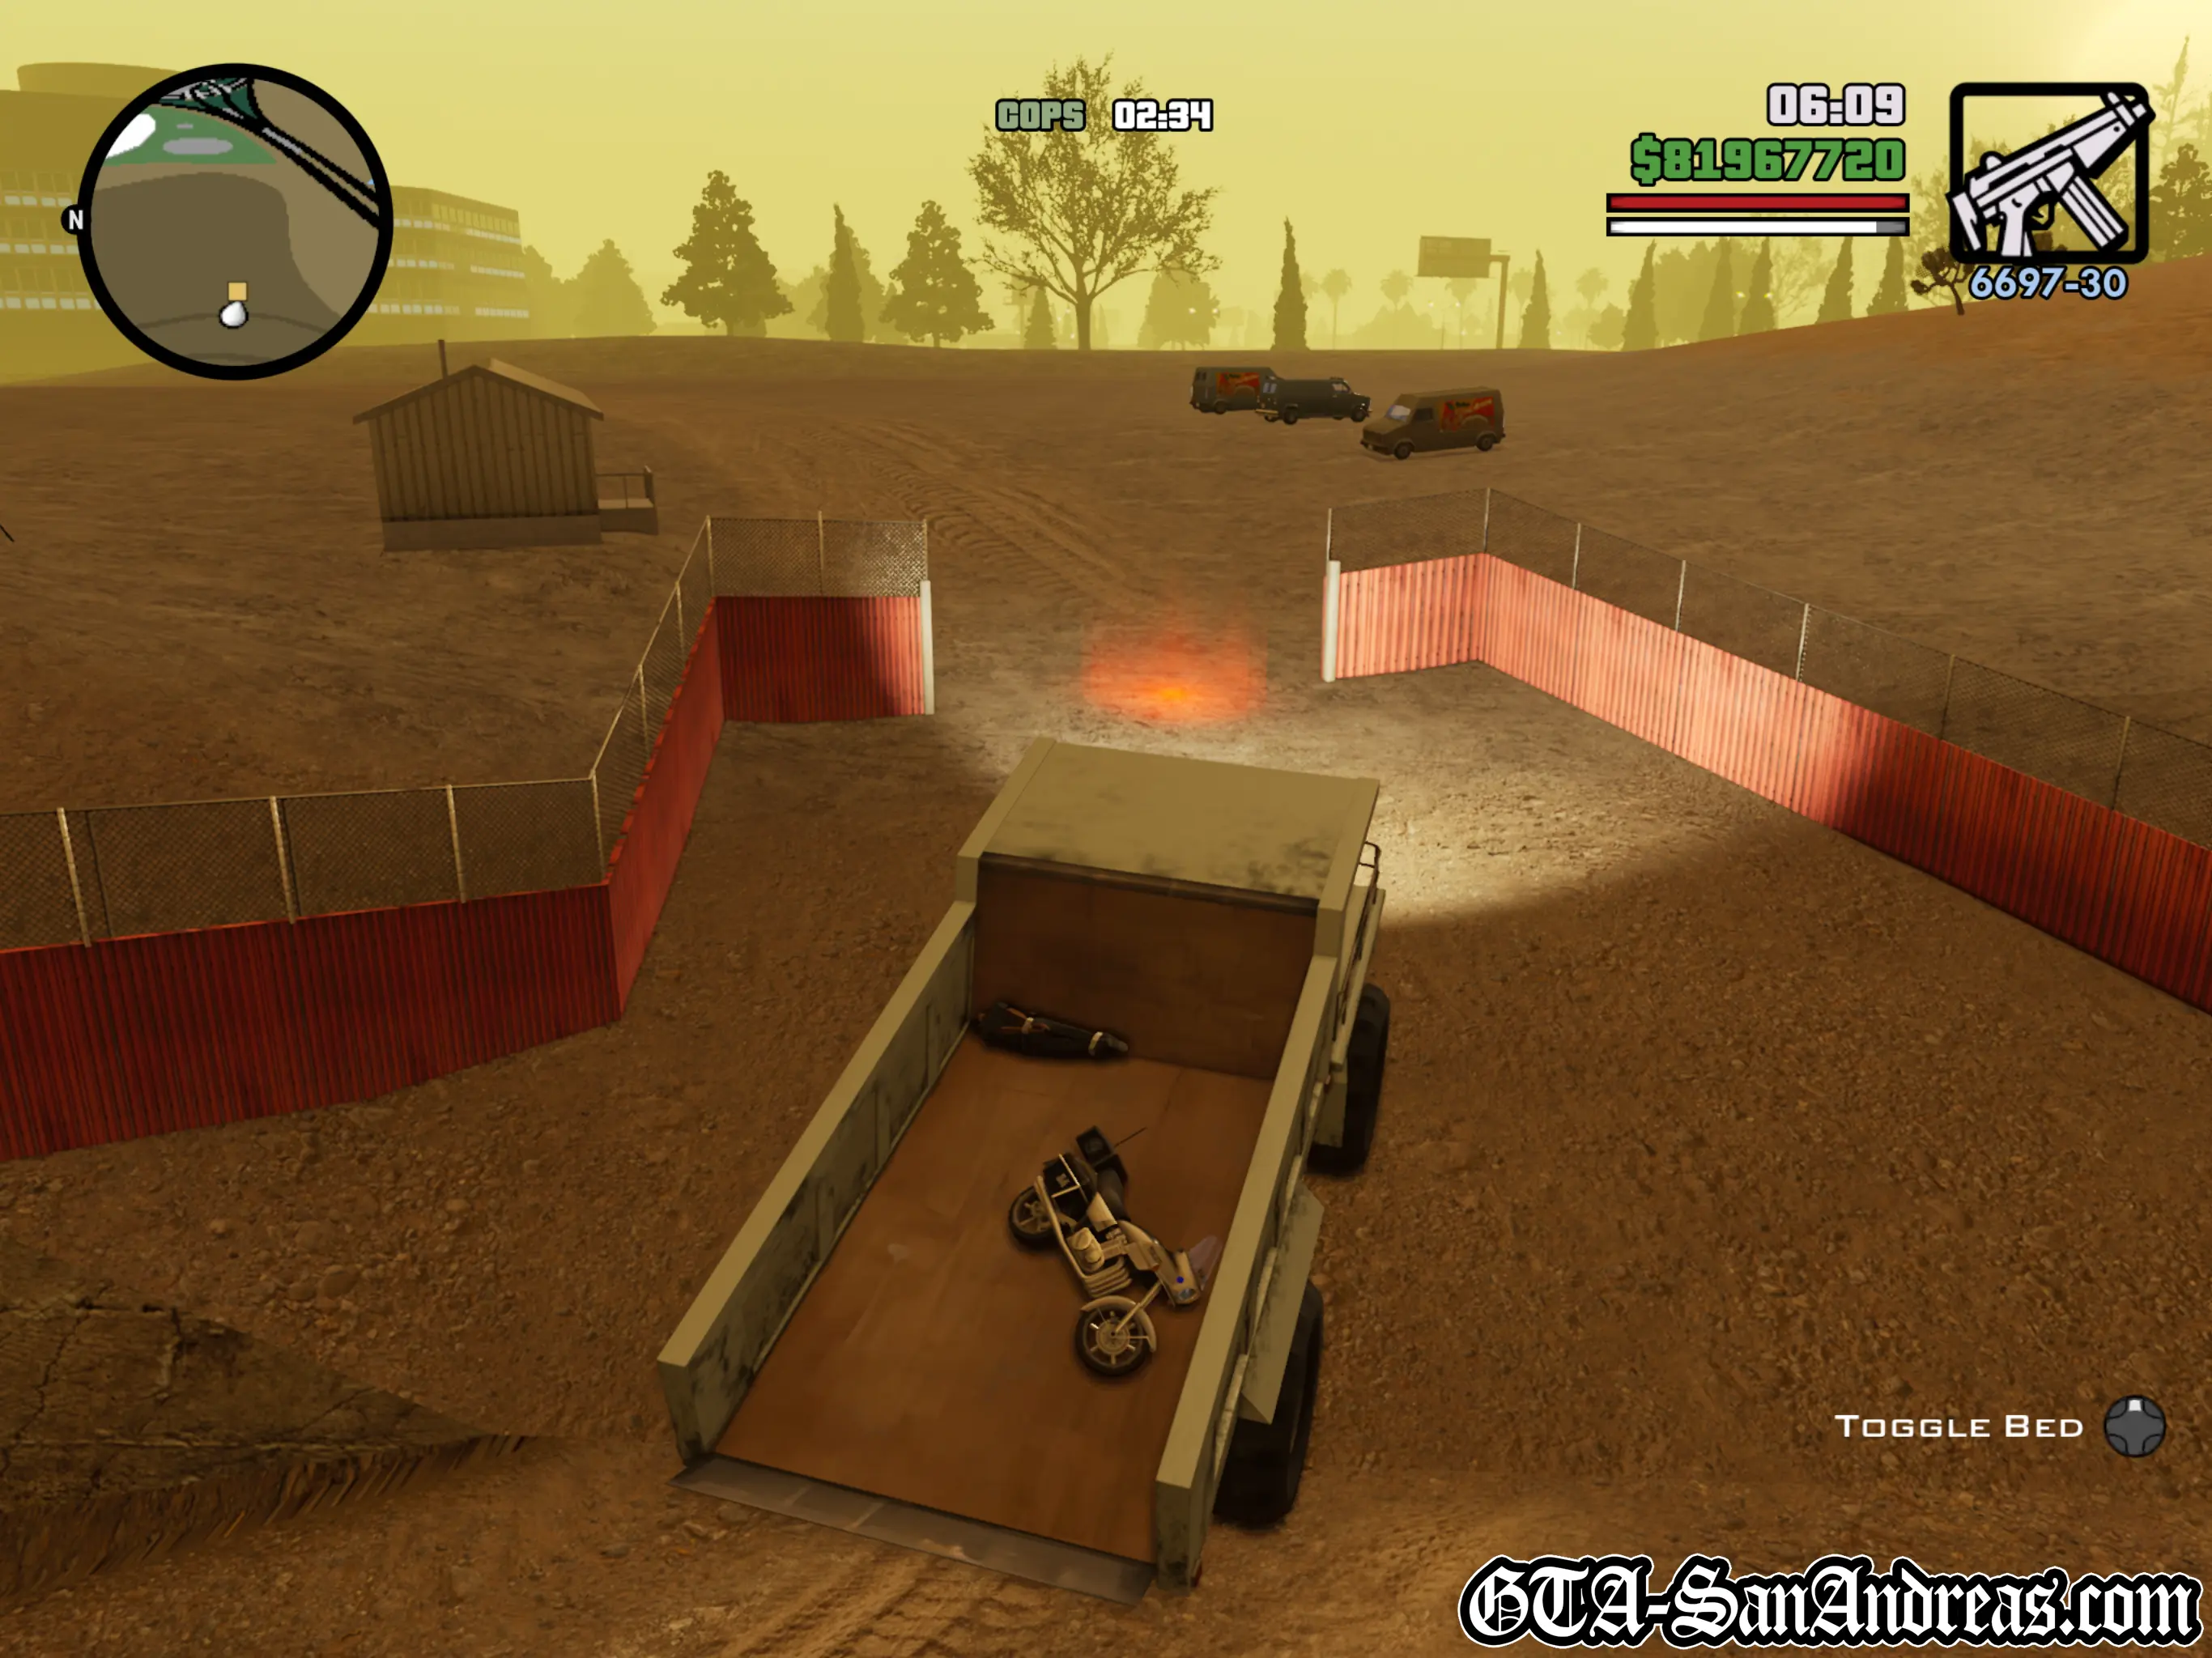
Once they're both in the truck you'll be told to get into the Dumper and drive to the quarry entrance, so carefully make your way up the hill and drive through the gates. Like a previous mission, your cargo is delicate and too many crashes or heavy impacts can cause them to fall out.
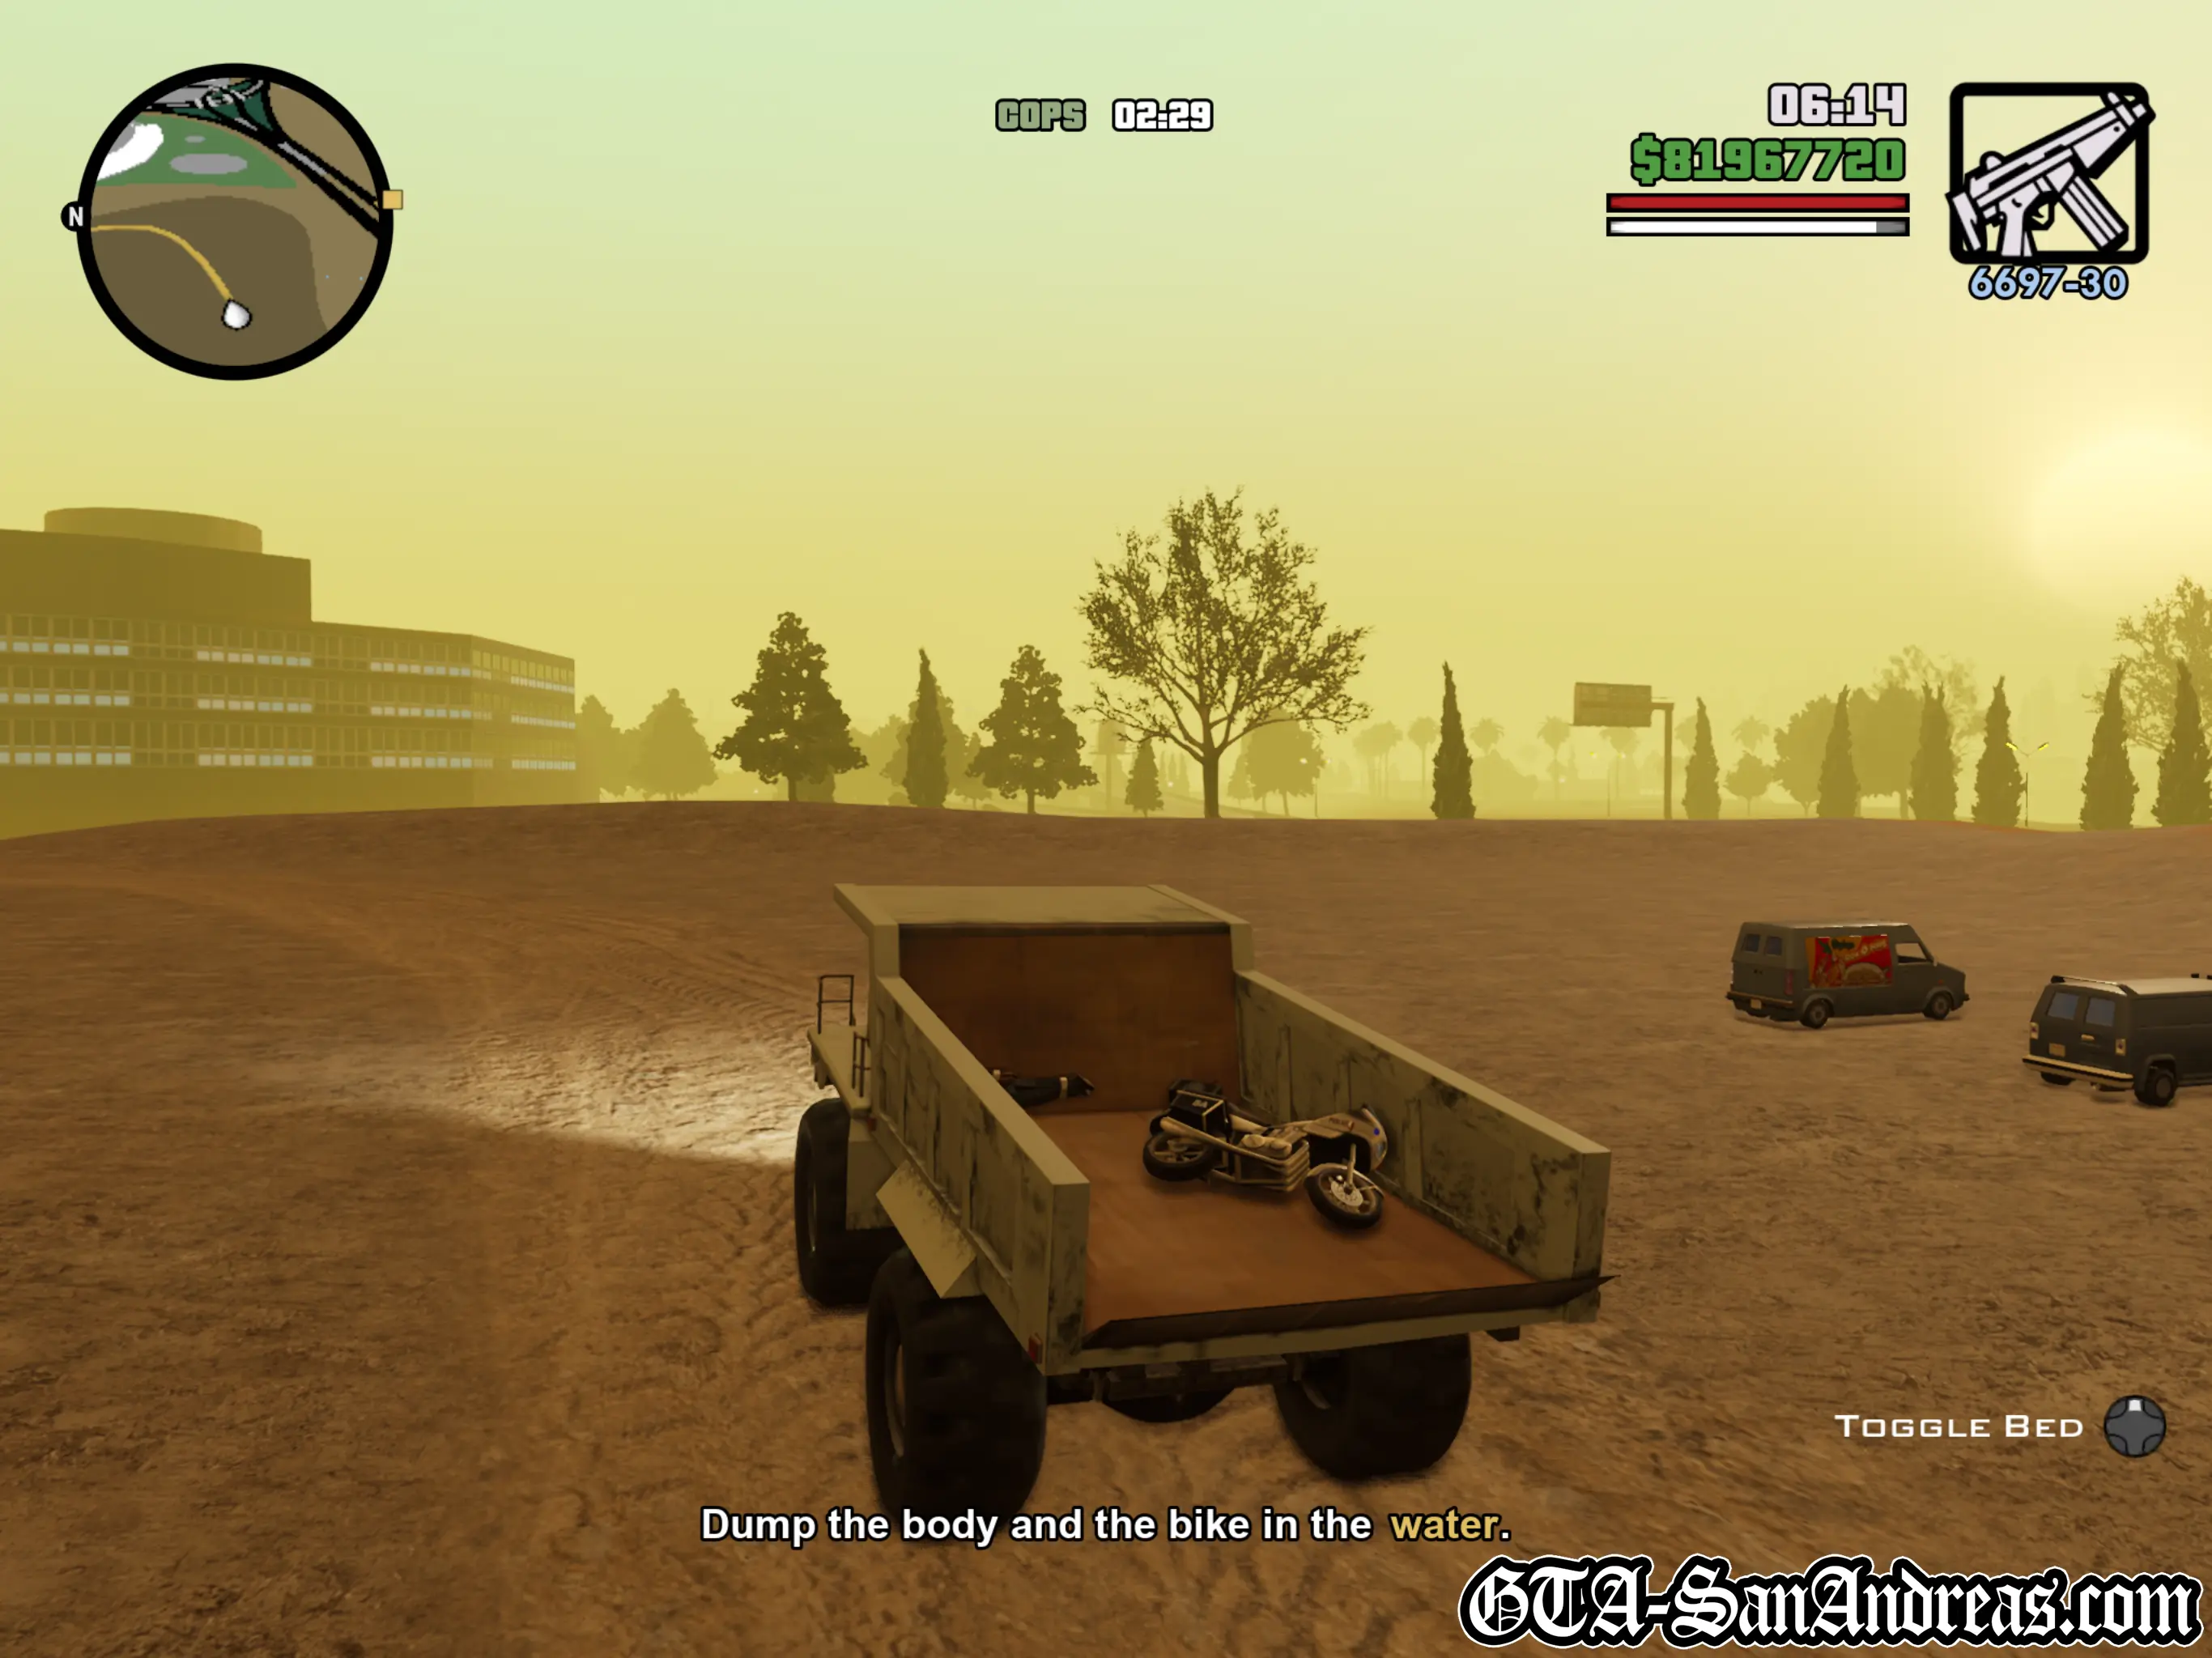
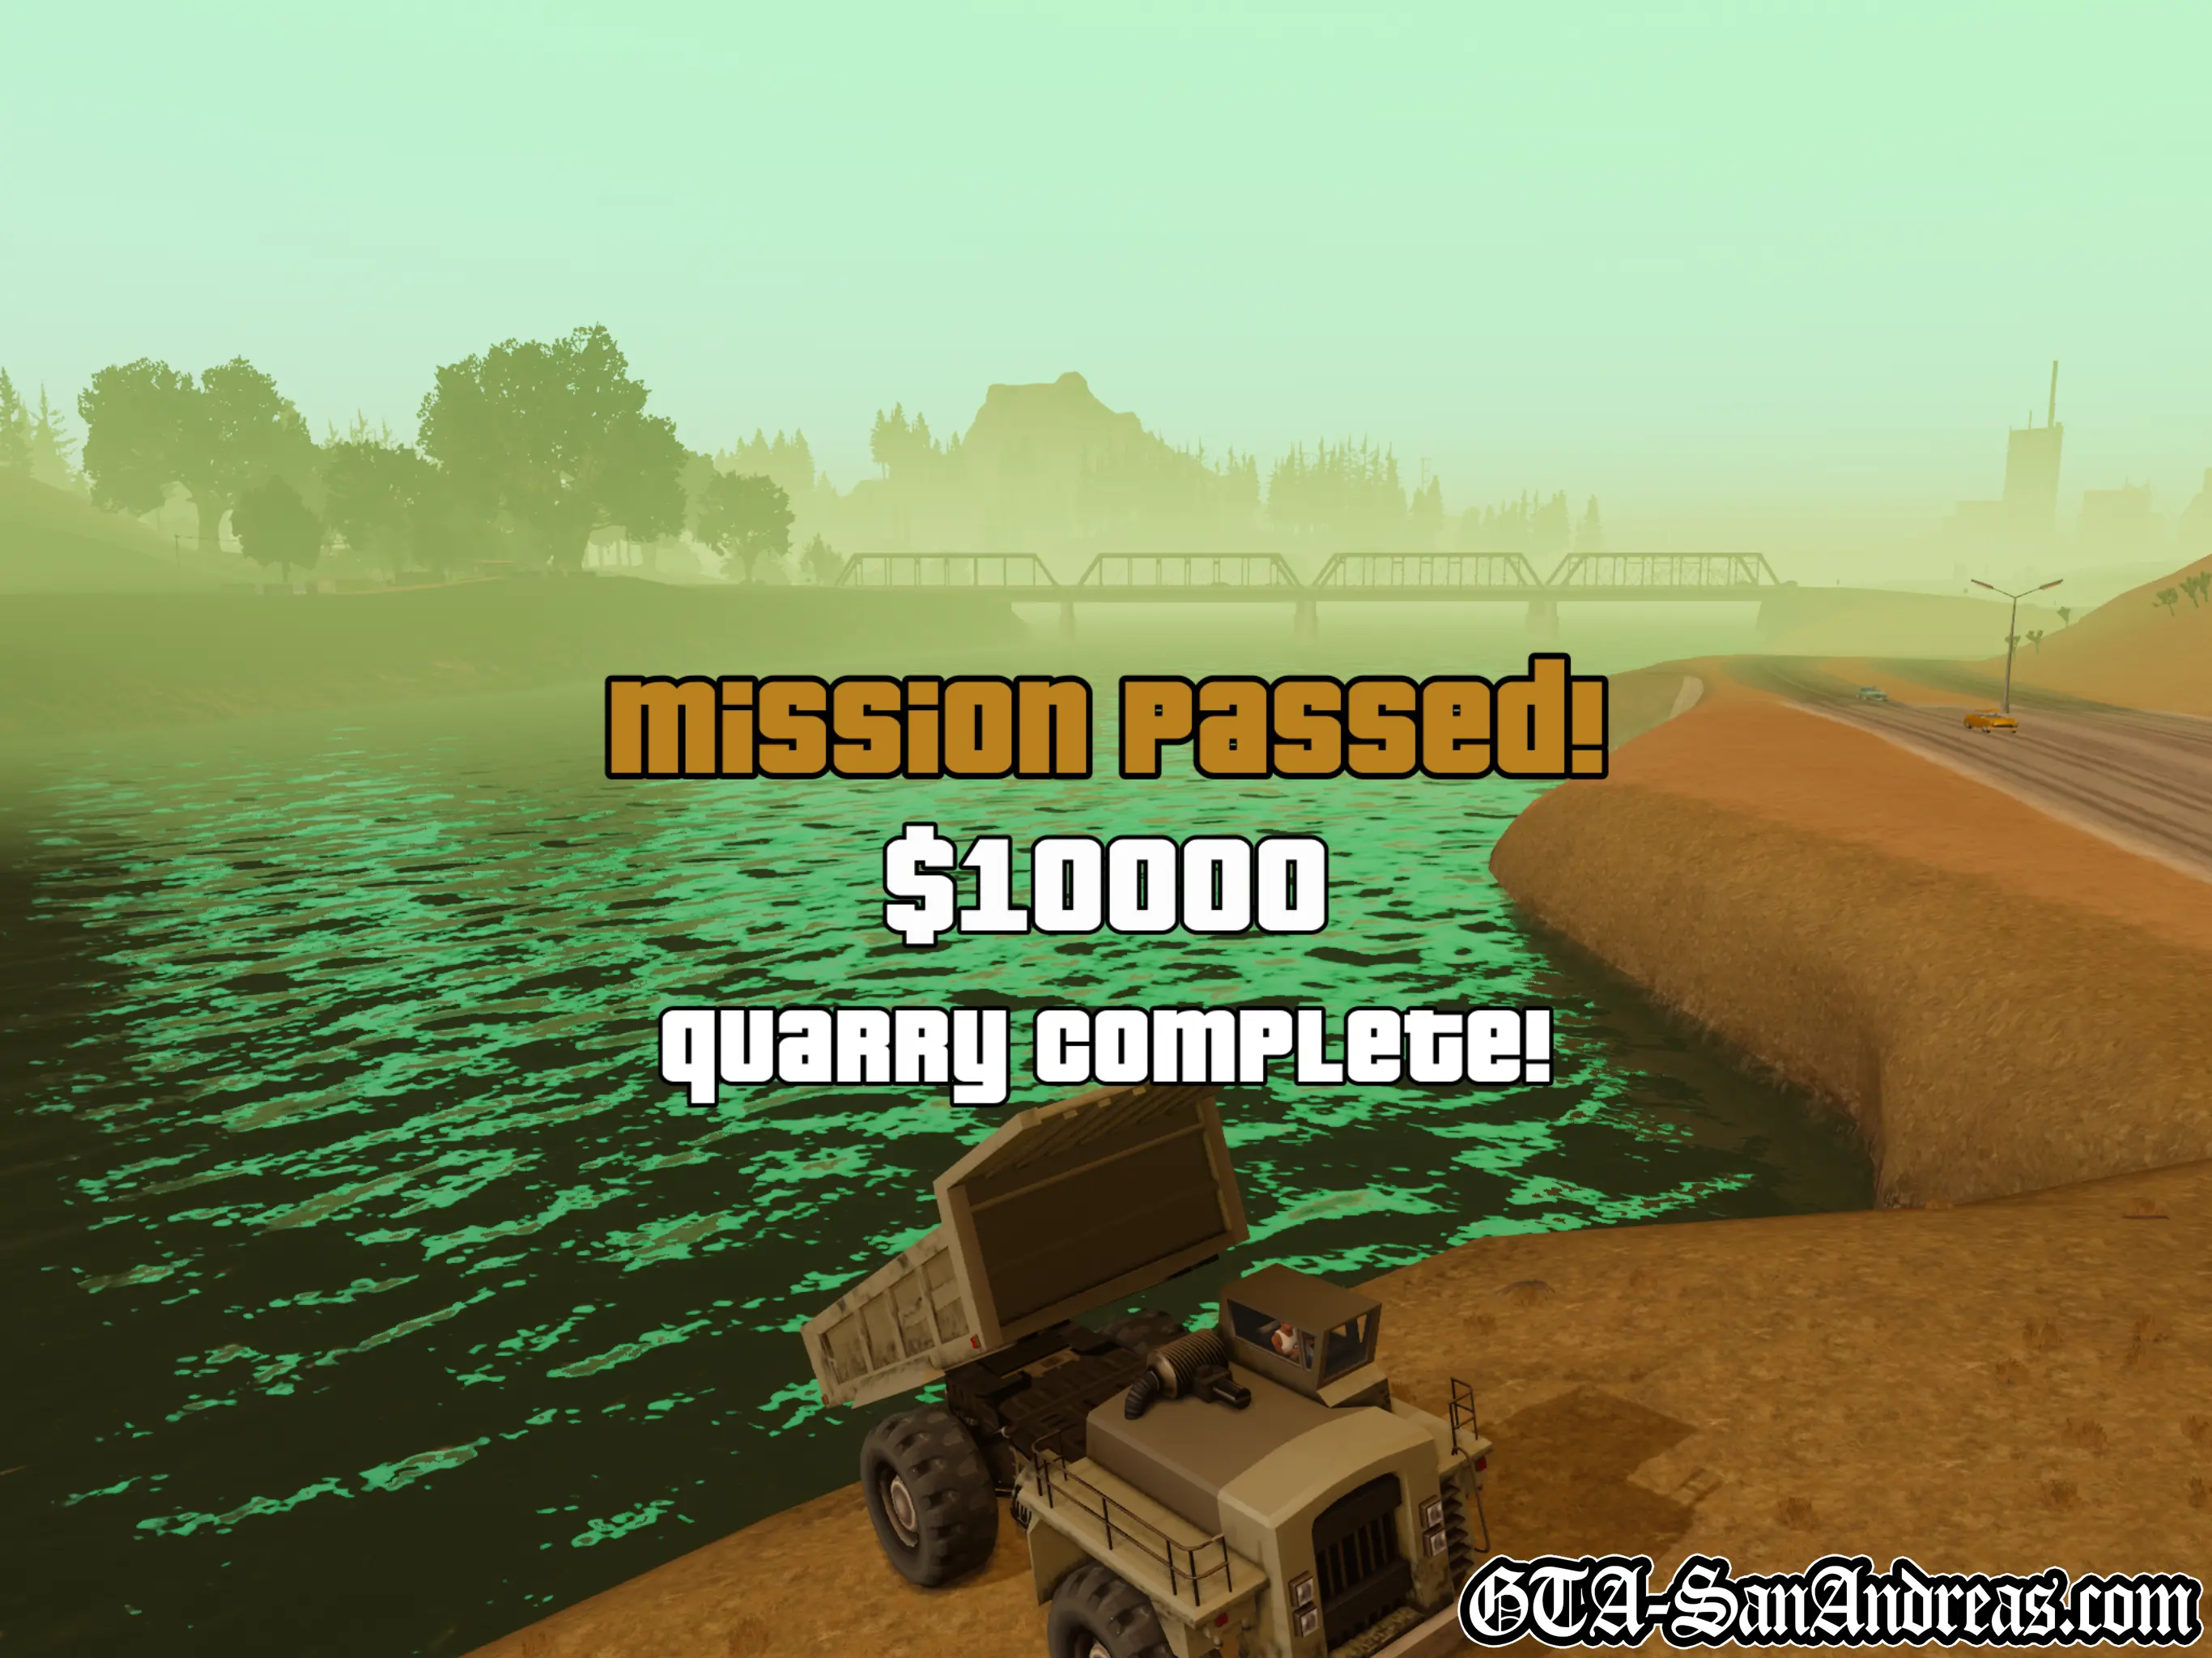
Once you reach the quarry entrance, you'll be told to dump the body and bike into the water so head to the red marker and reverse up to the water. Press the correct button to raise the bed of the dumper truck and dump the objects into the water. Make sure you use the handbrake to ensure the truck doesn't end up in the water as well.
Screenshots


Post-Mission
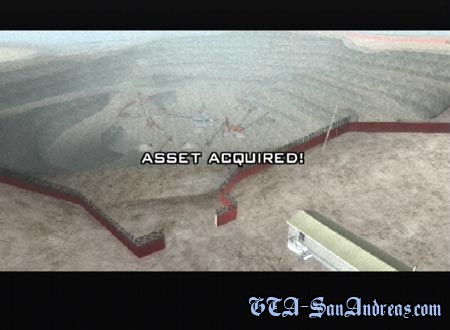
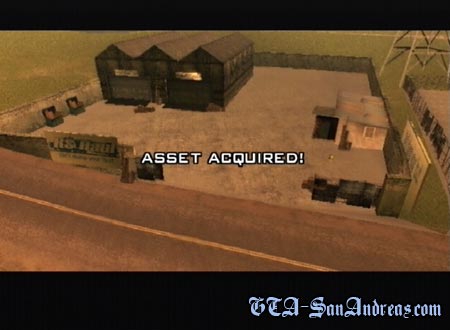
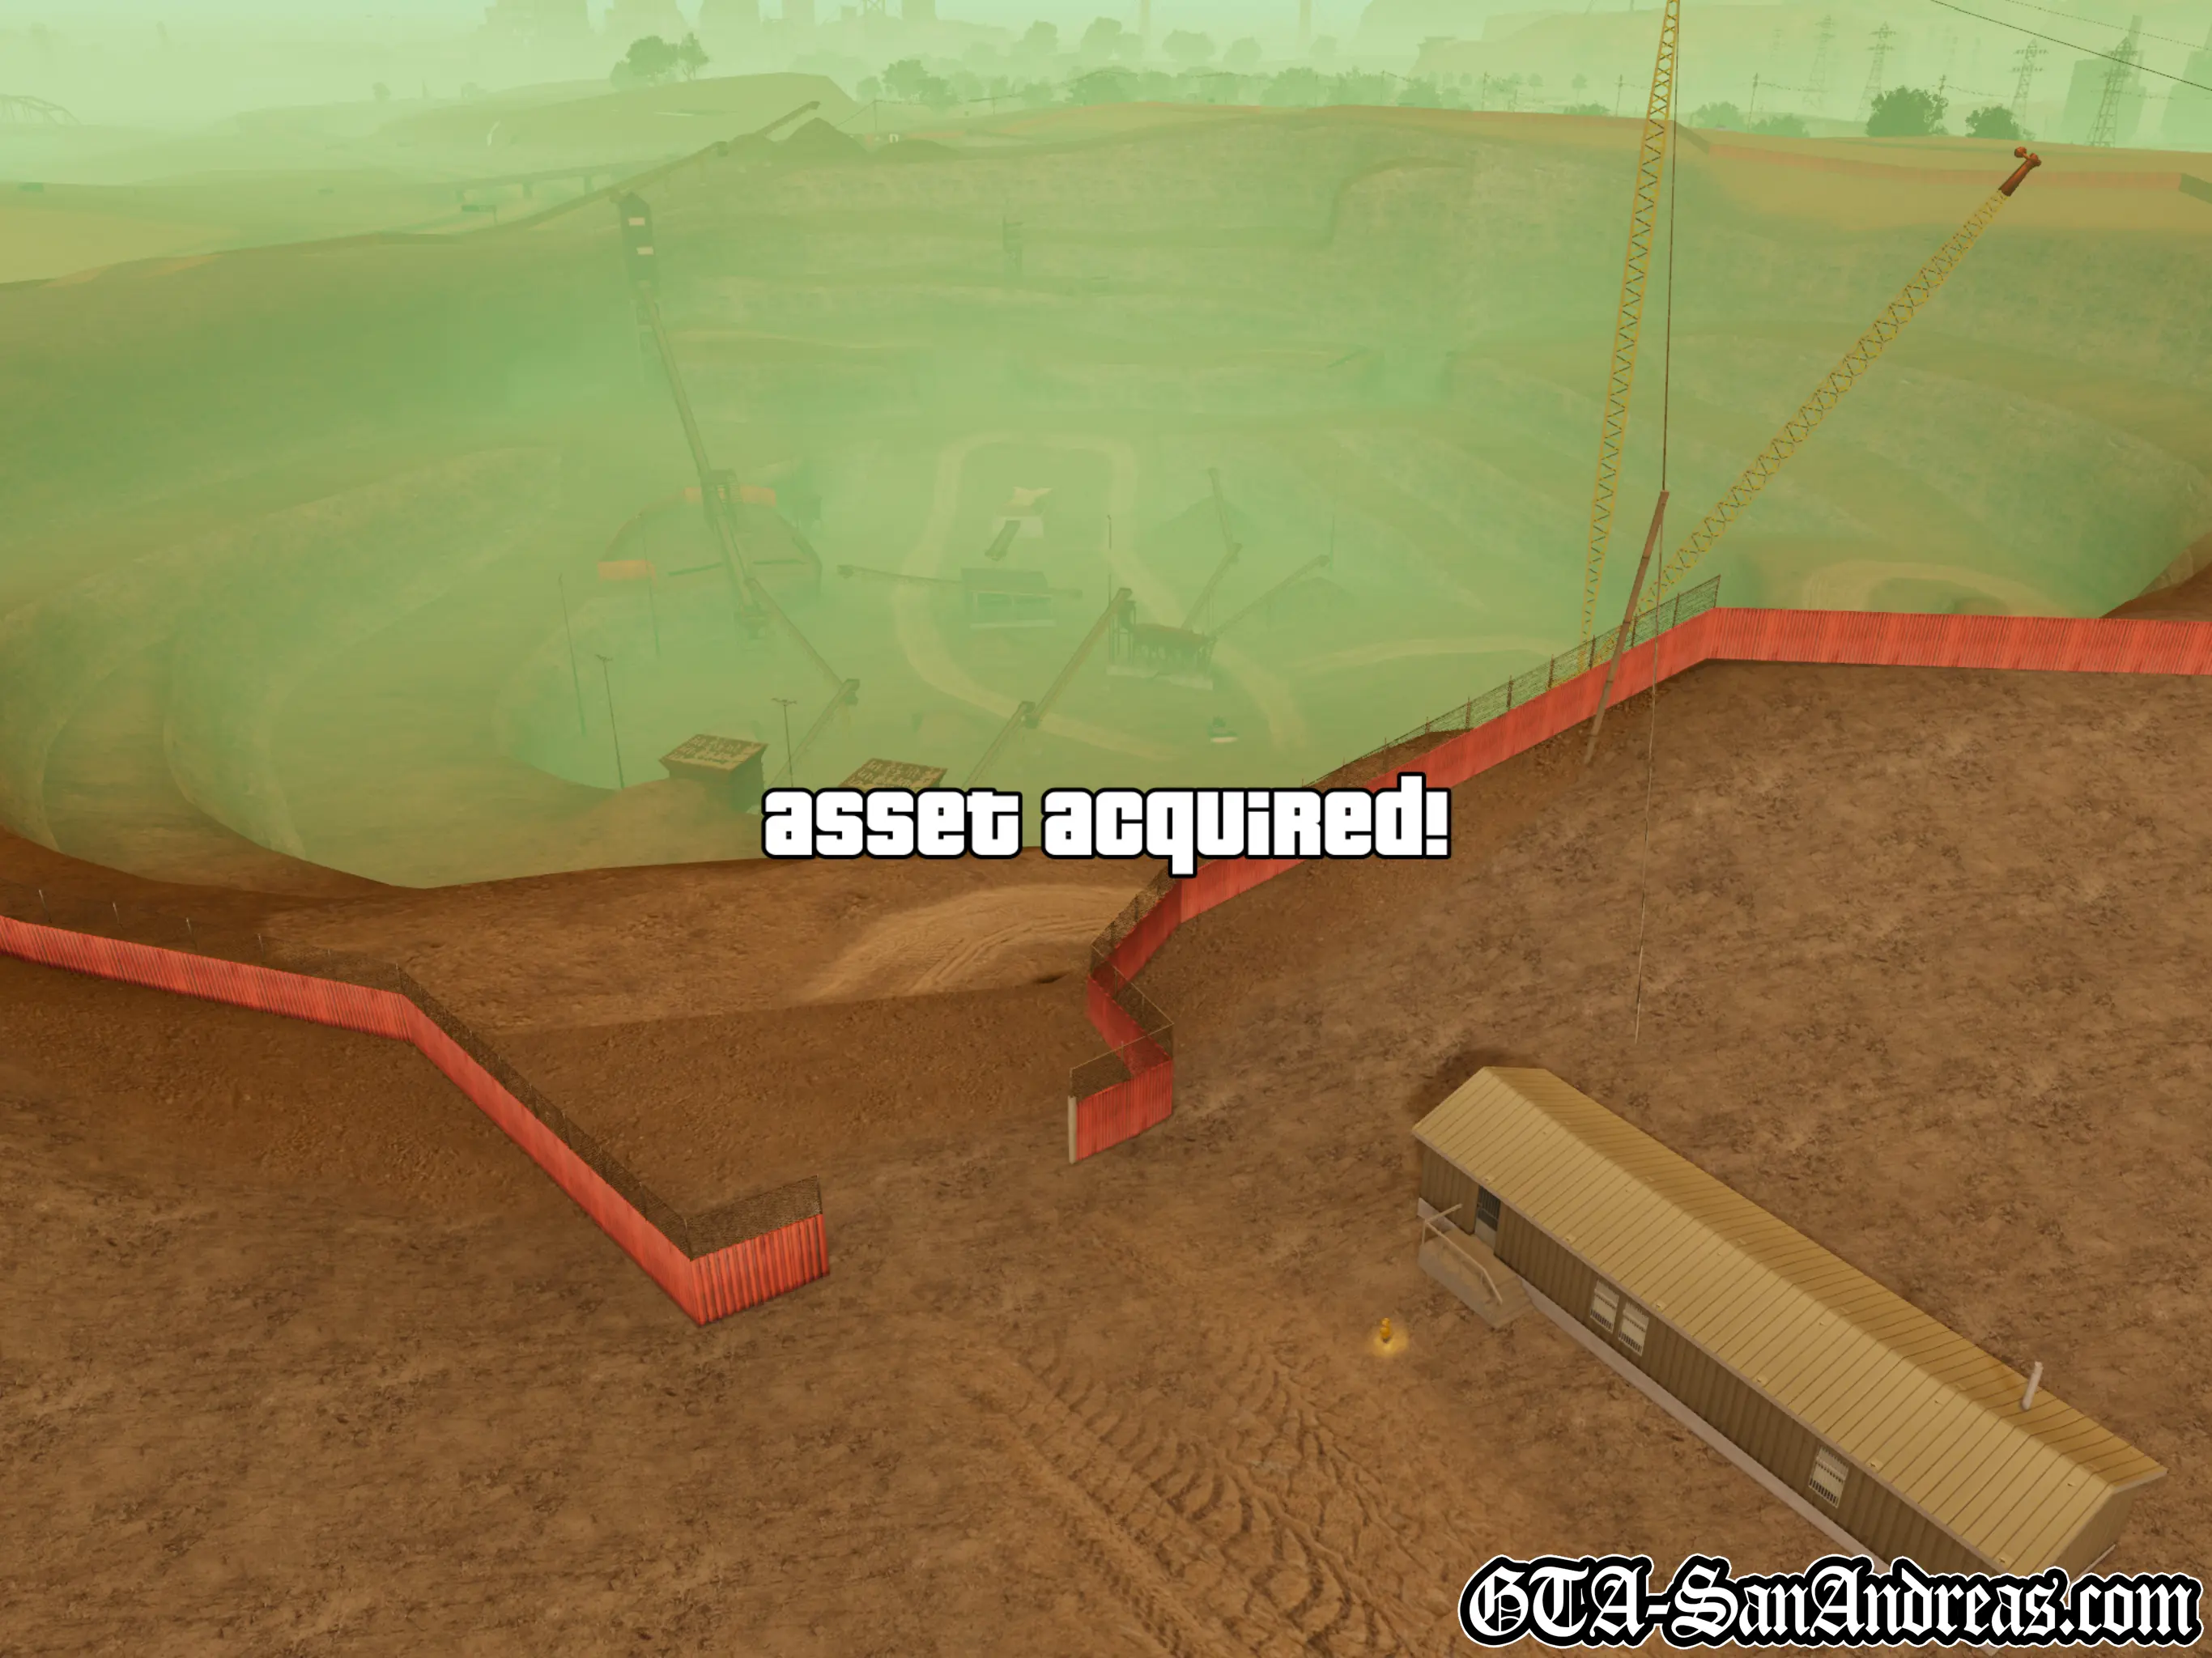
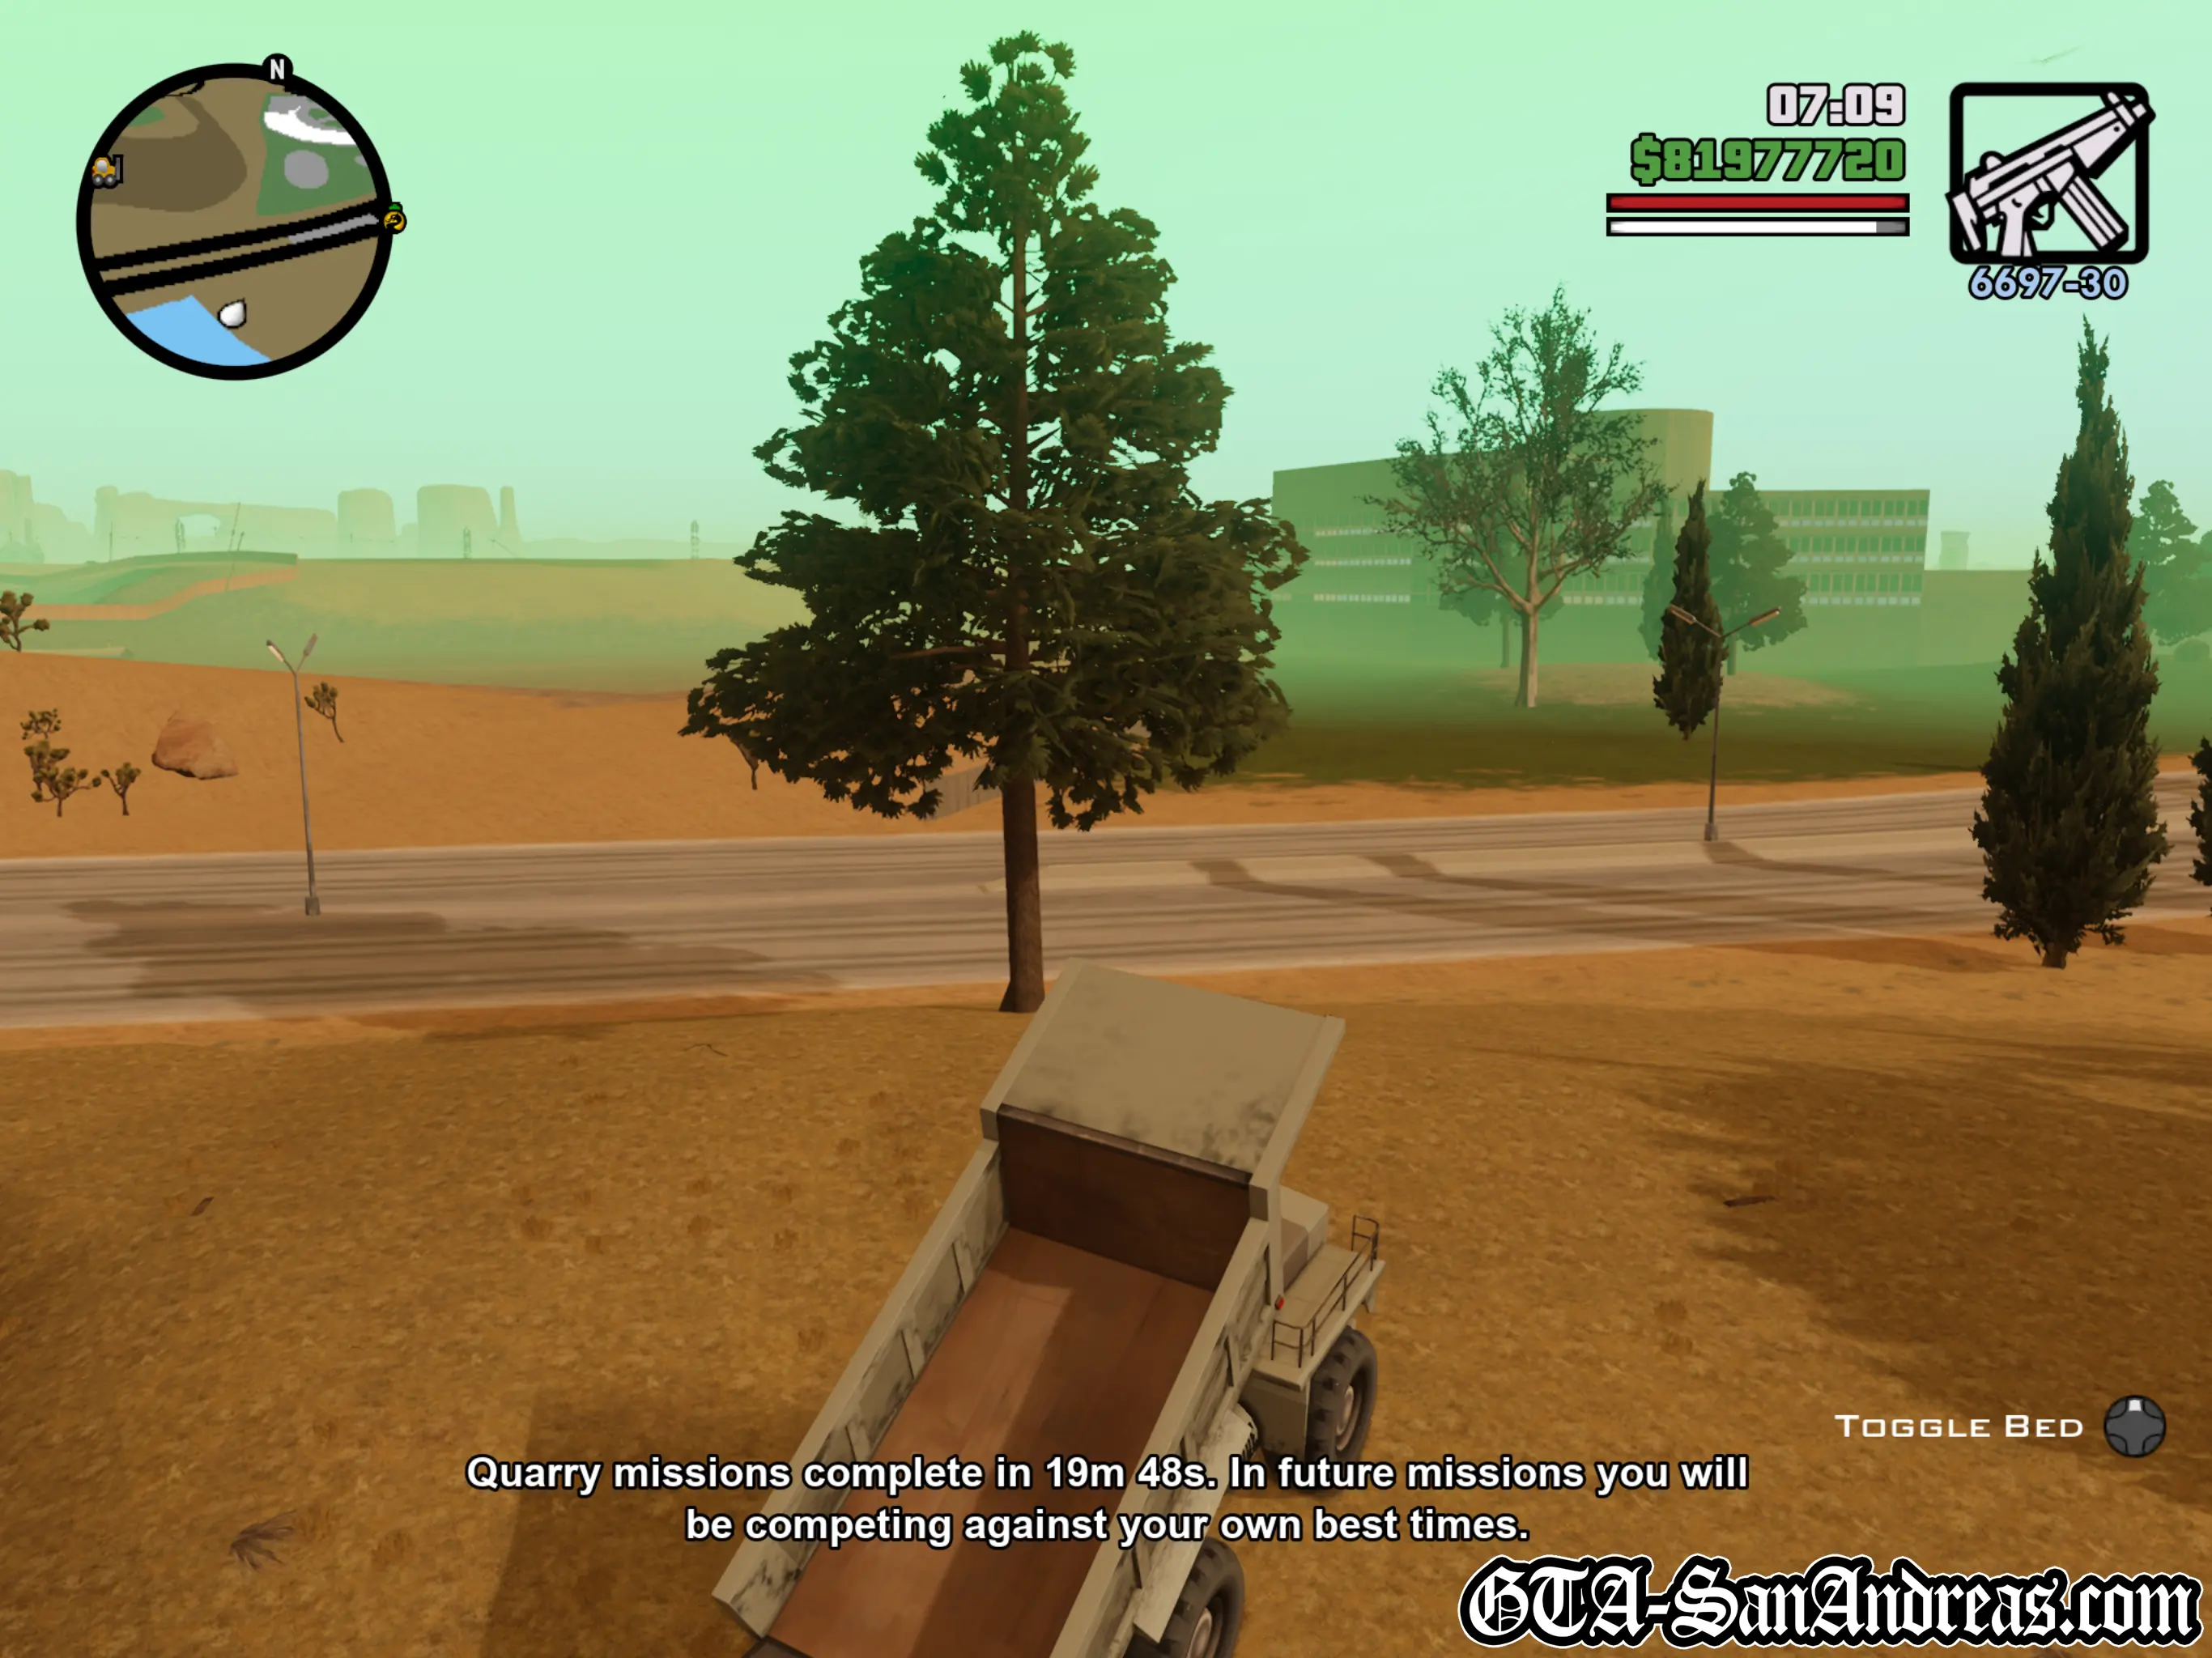
Hunter Quarry has been acquired as an asset and will generate up to $2,000 on a daily basis which you must manually collect.
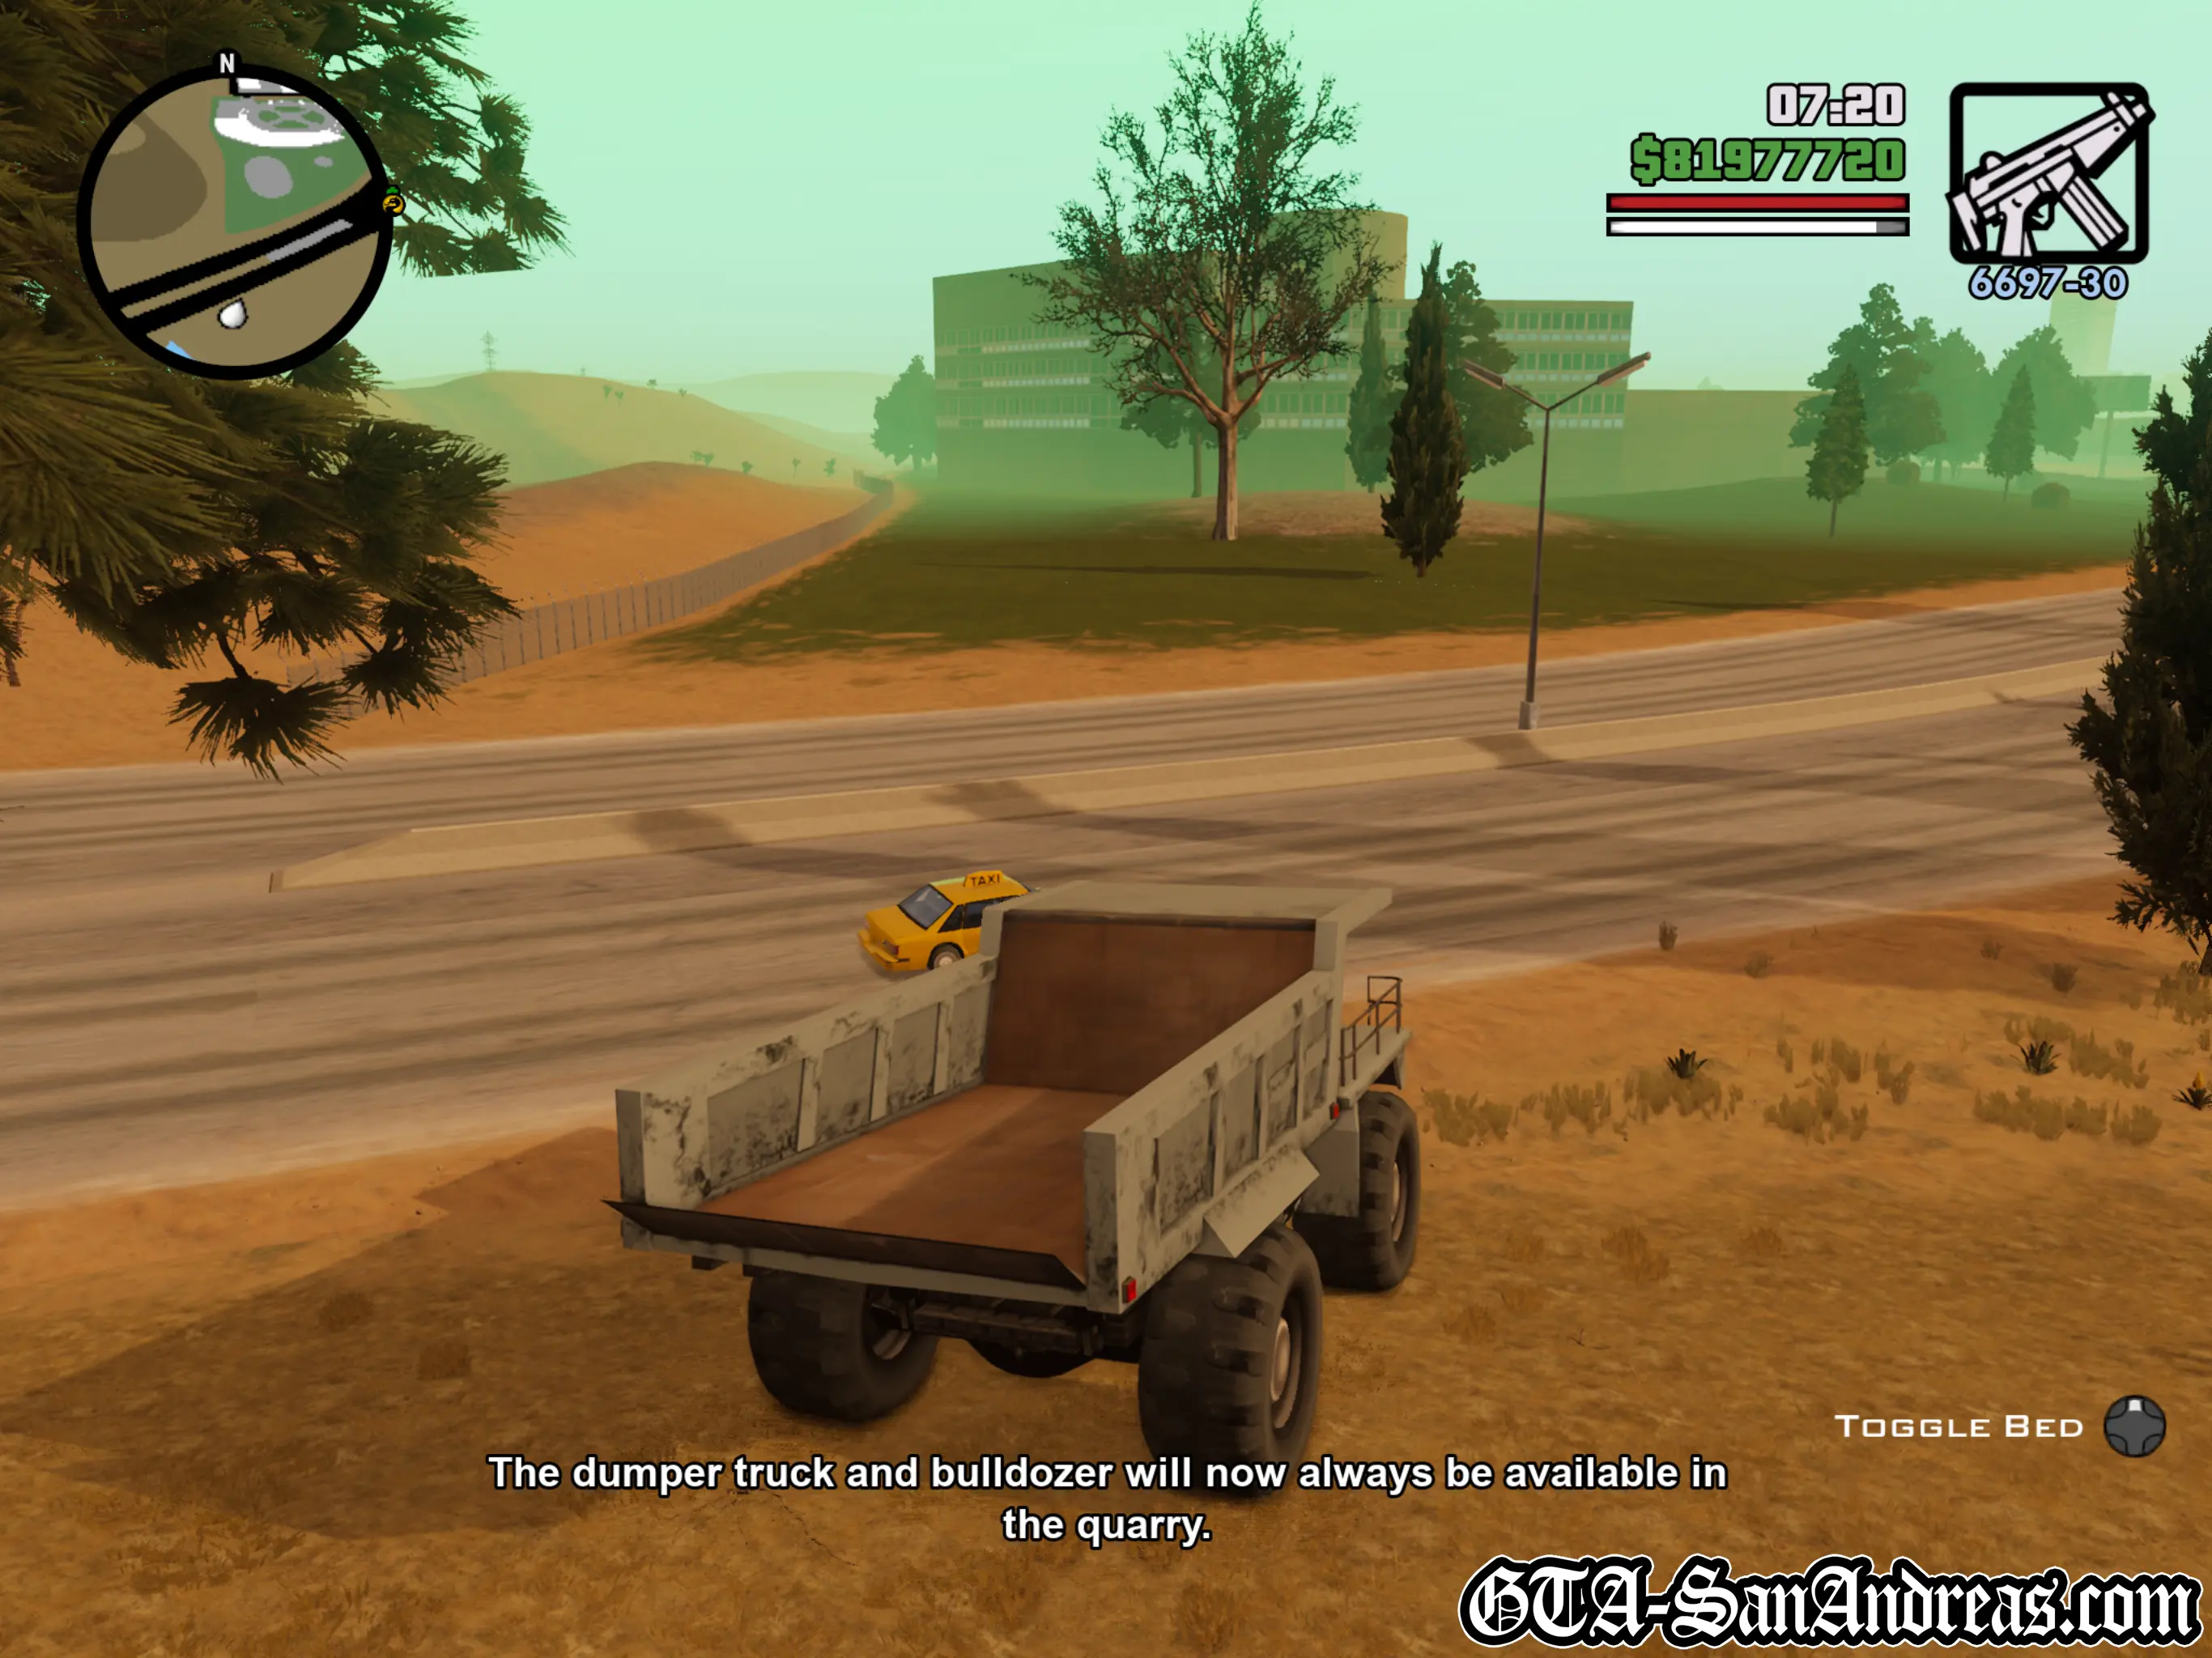
The dumper truck and bulldozer will always be available from the quarry.
Original PS2 Screenshots